
How to Update an Asset in FreshService for a New User
Learn the step-by-step process to update an asset in FreshService when deploying it to a new user. Follow our guide to ensure a smooth transition.
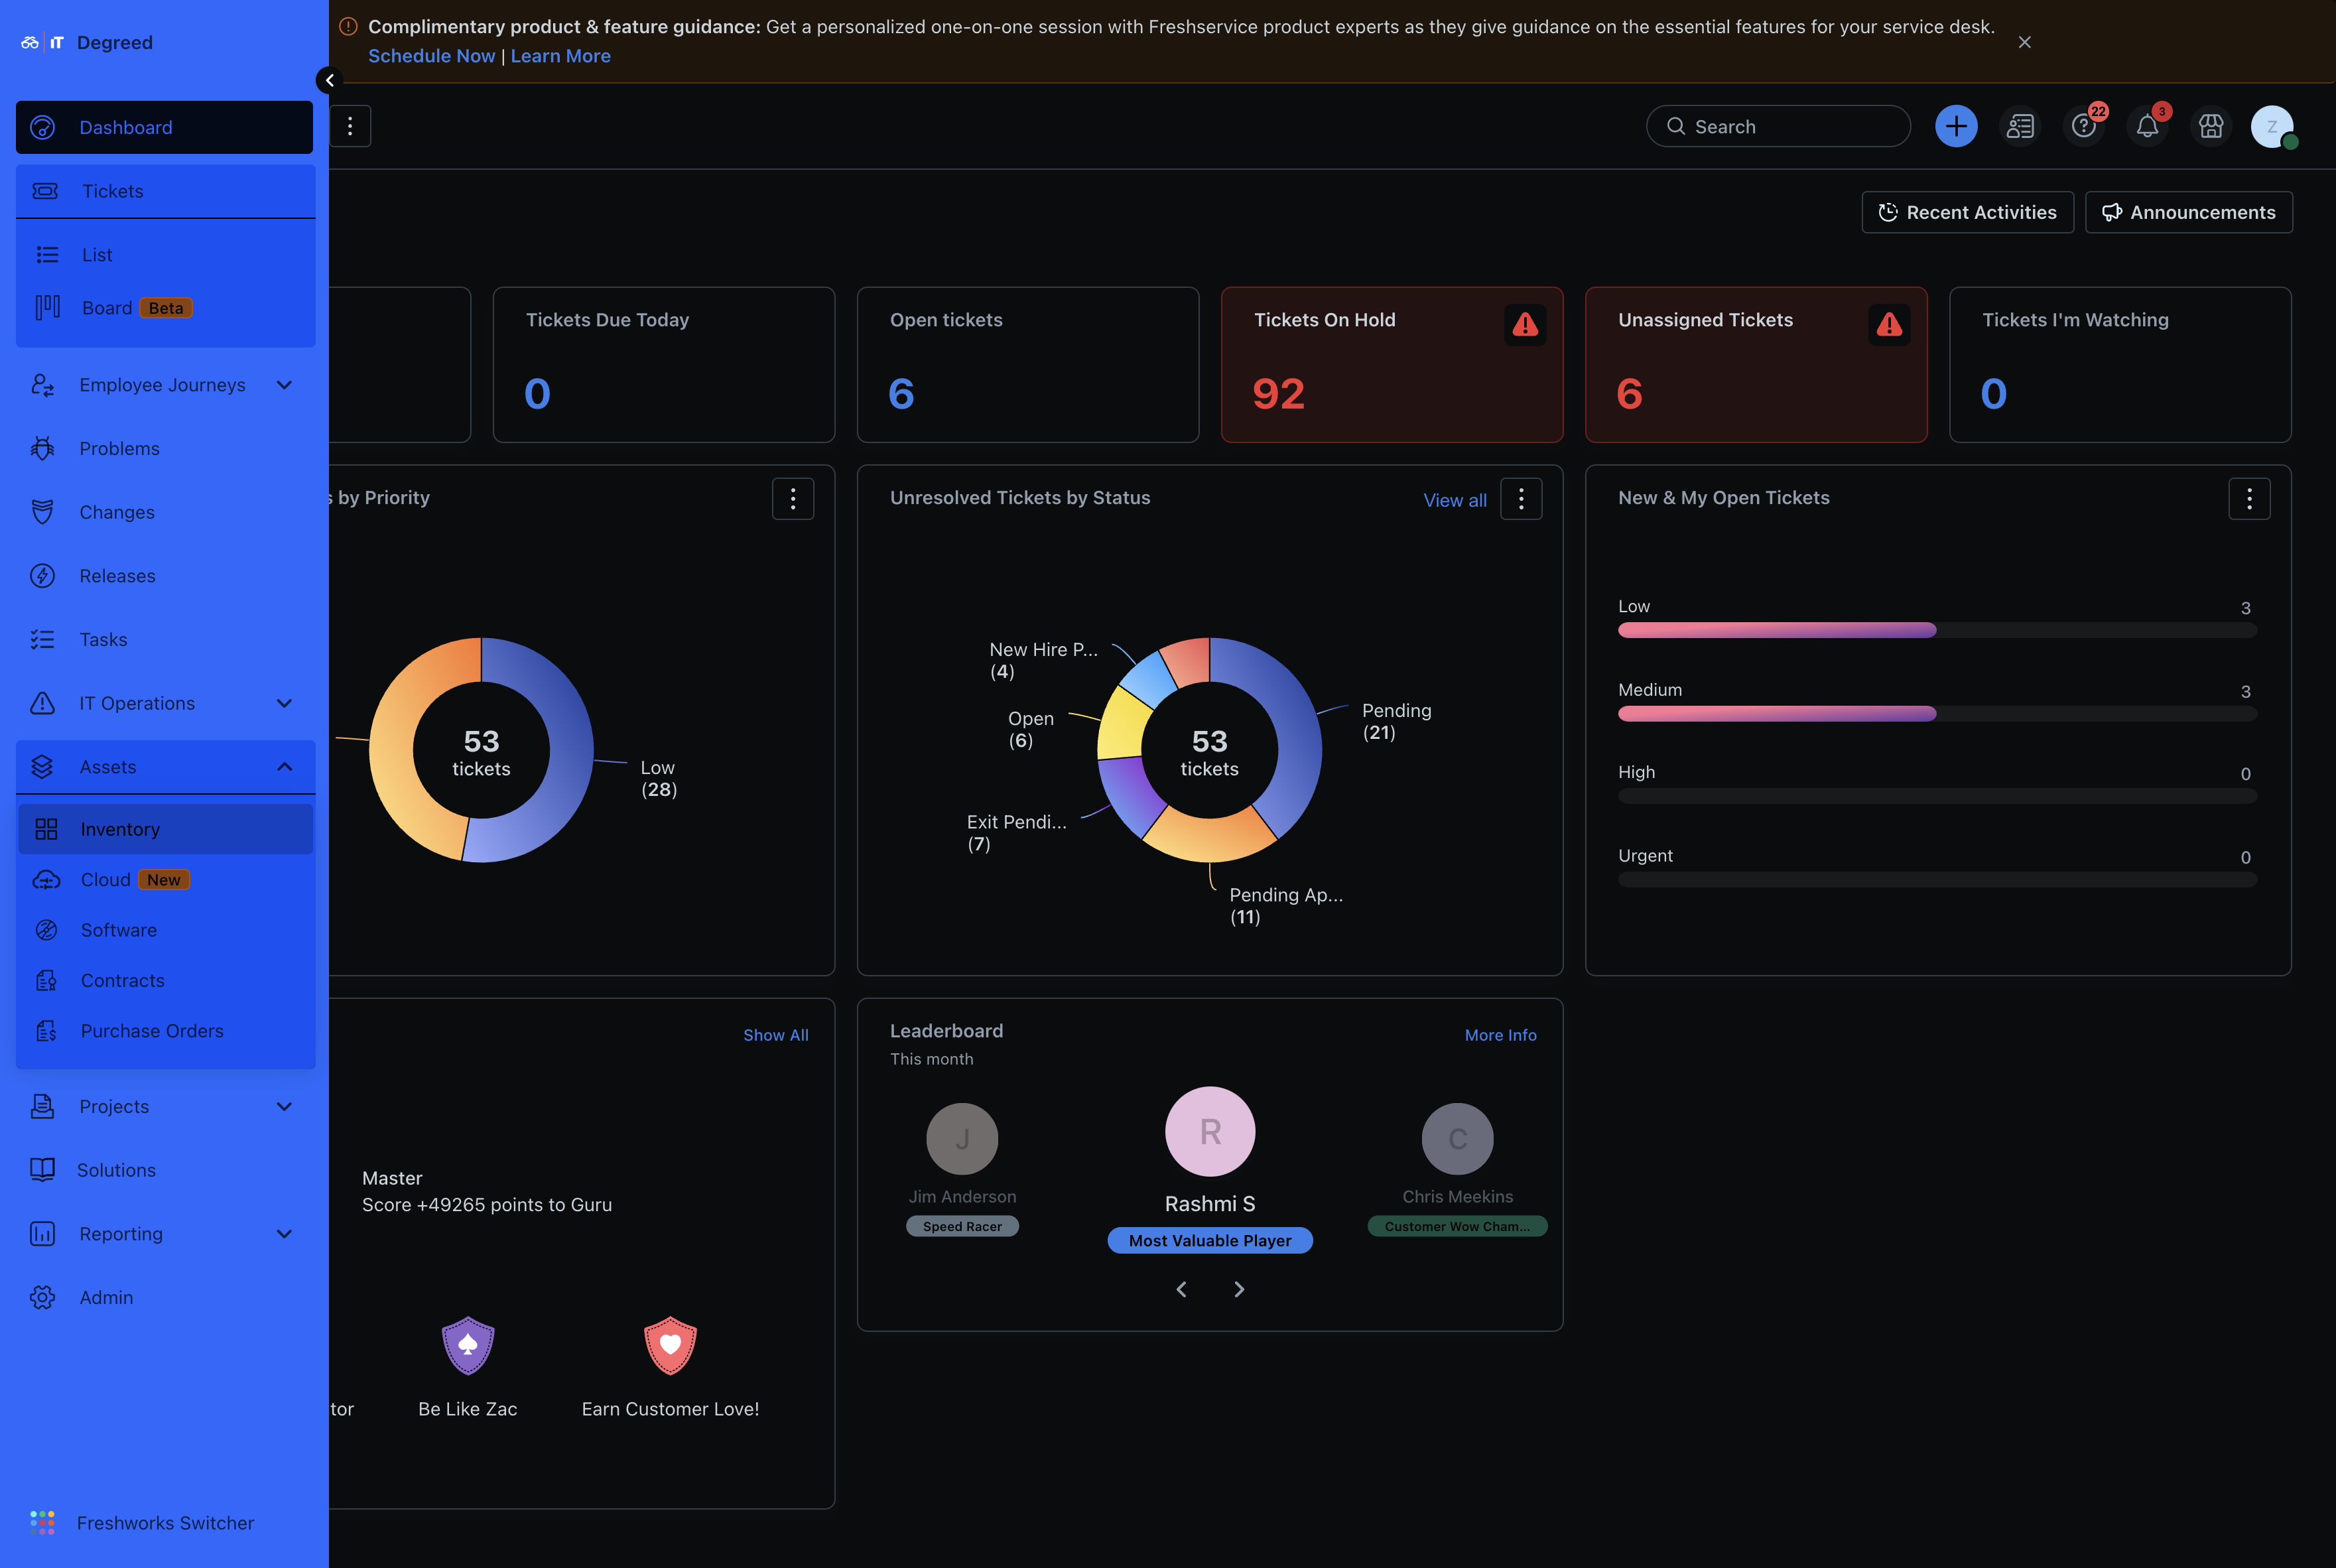
In this guide, we'll learn how to update an asset in FreshService when deploying it to a new user. This process ensures that asset information is accurate and up-to-date, which is crucial for inventory management and tracking.
We'll cover how to navigate the FreshService dashboard, locate the asset, and update its details, including the assigned user, department, and deployment date.
Let's get started.
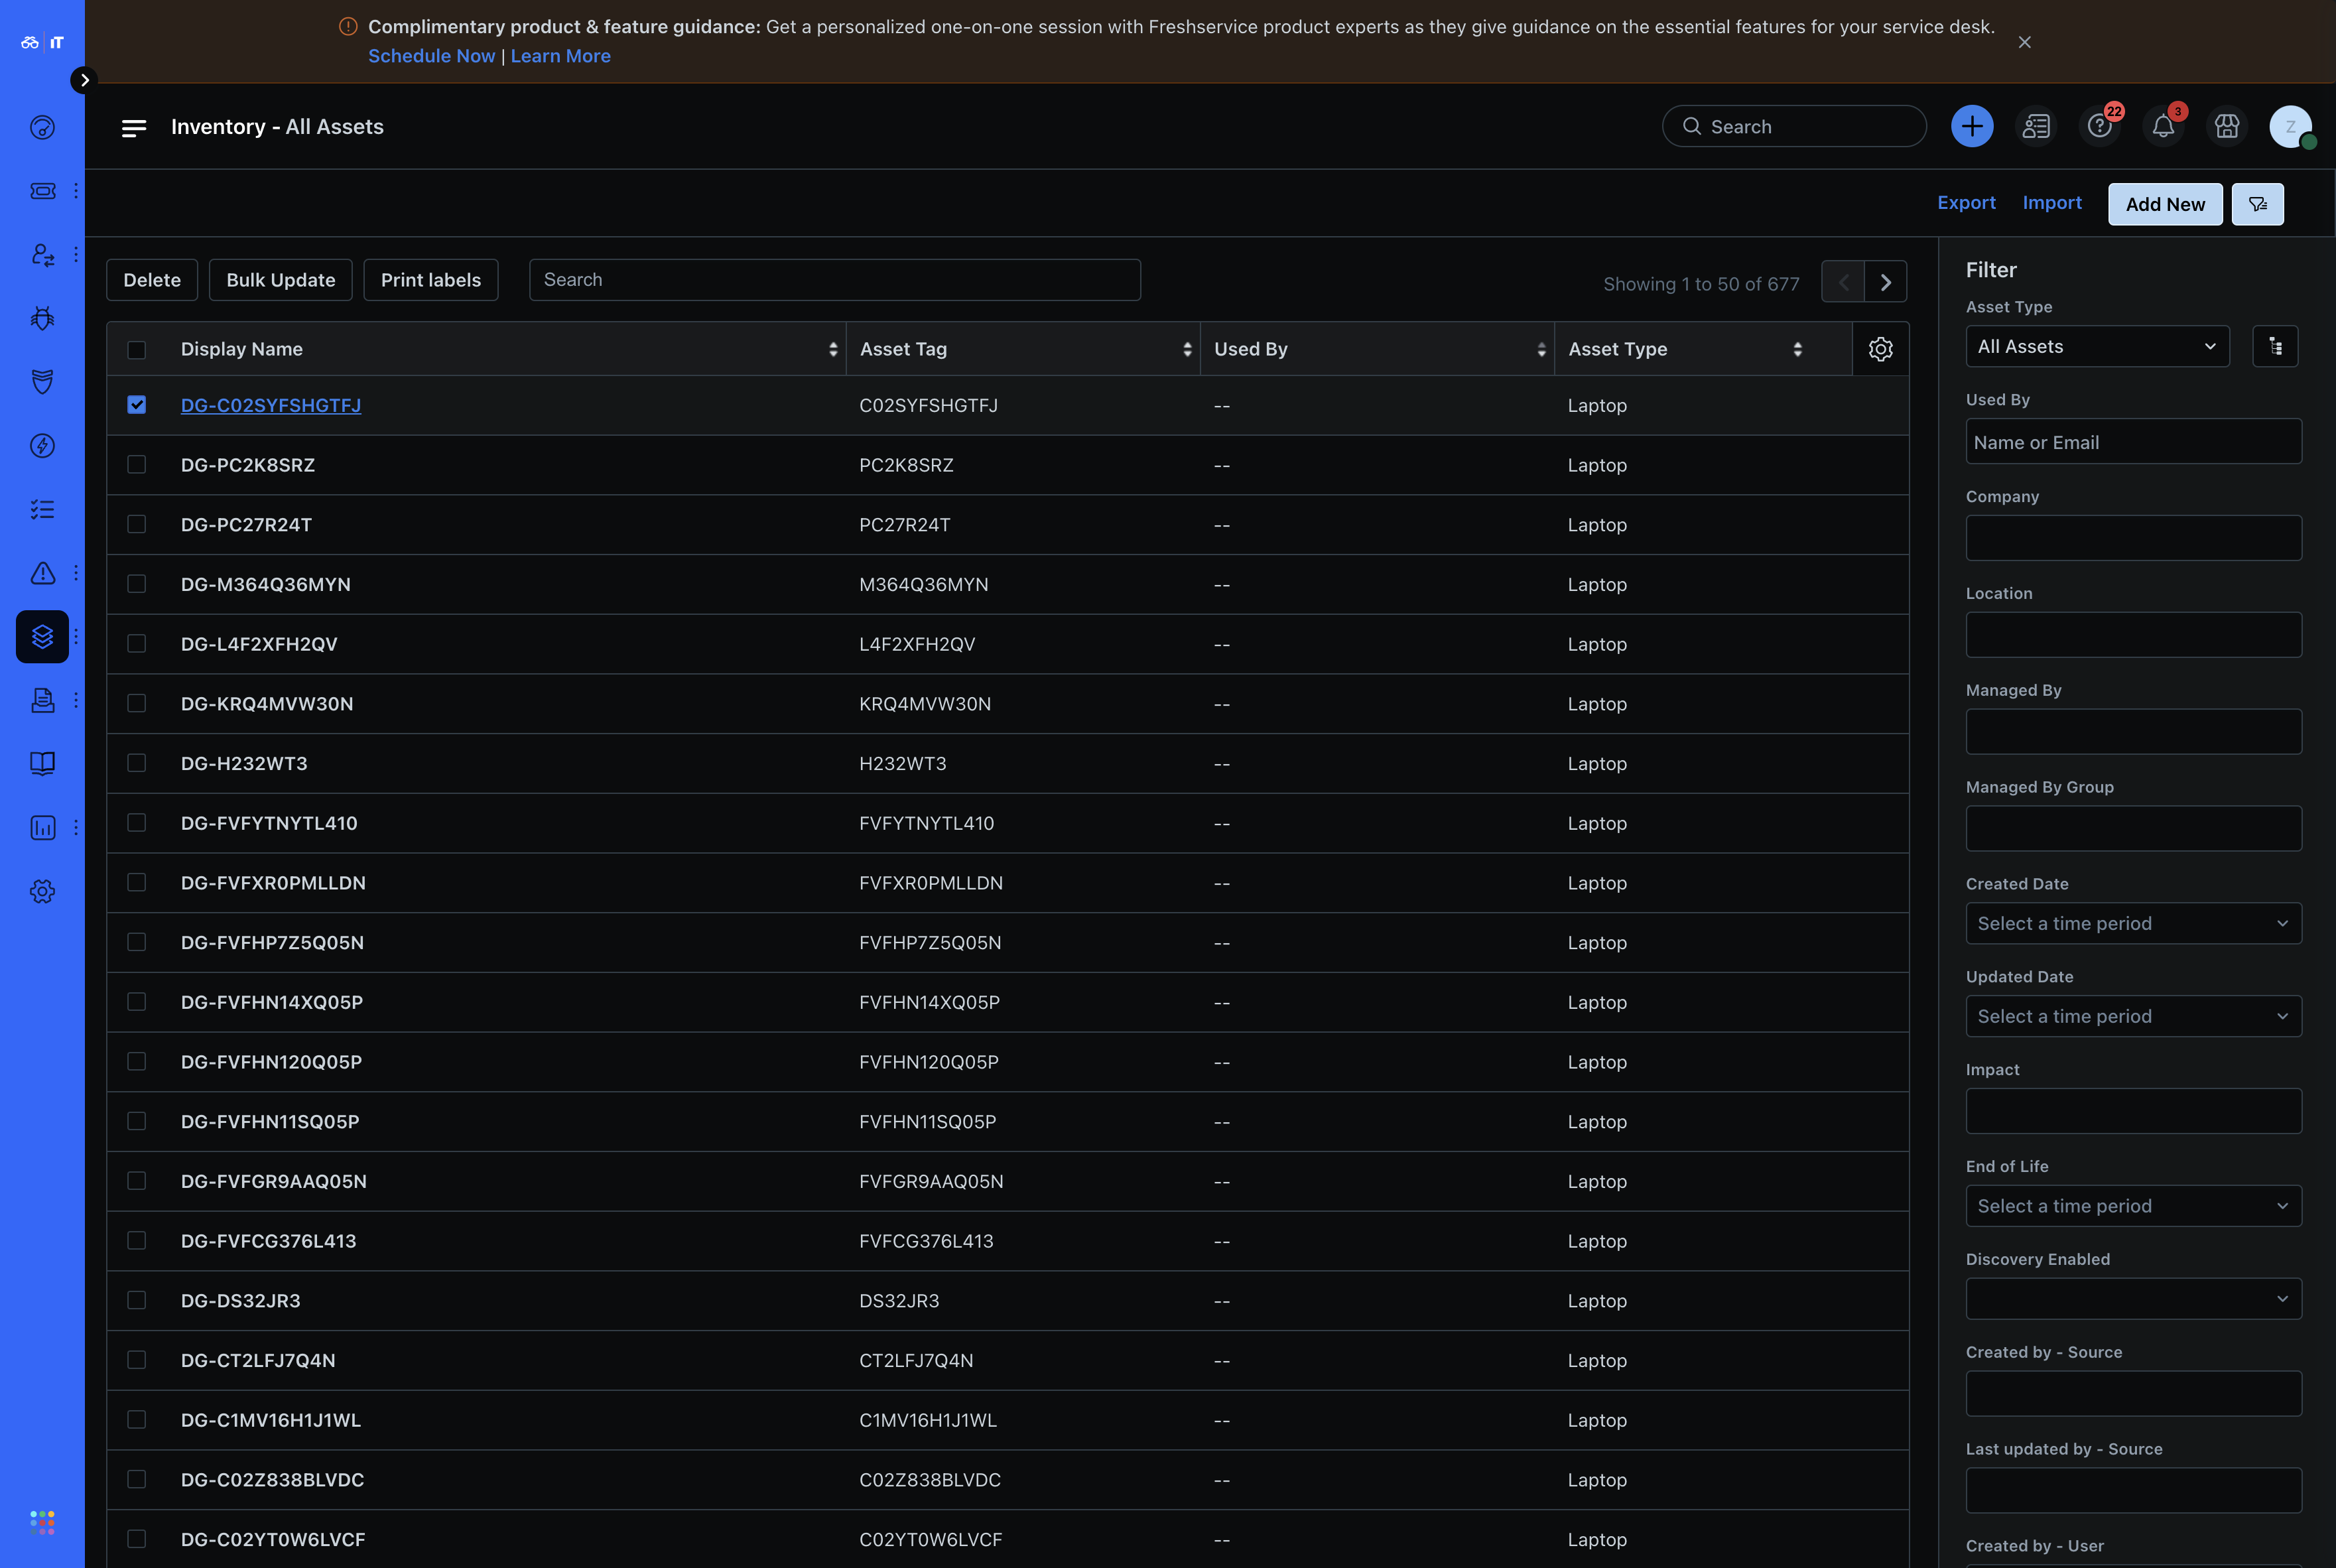
Once we're in, the asset names are the serial numbers of the devices., The asset tag is also a serial number. You can search for a serial number or a user at the top. Once you find the one you need to edit, click the device name to expand it's information.
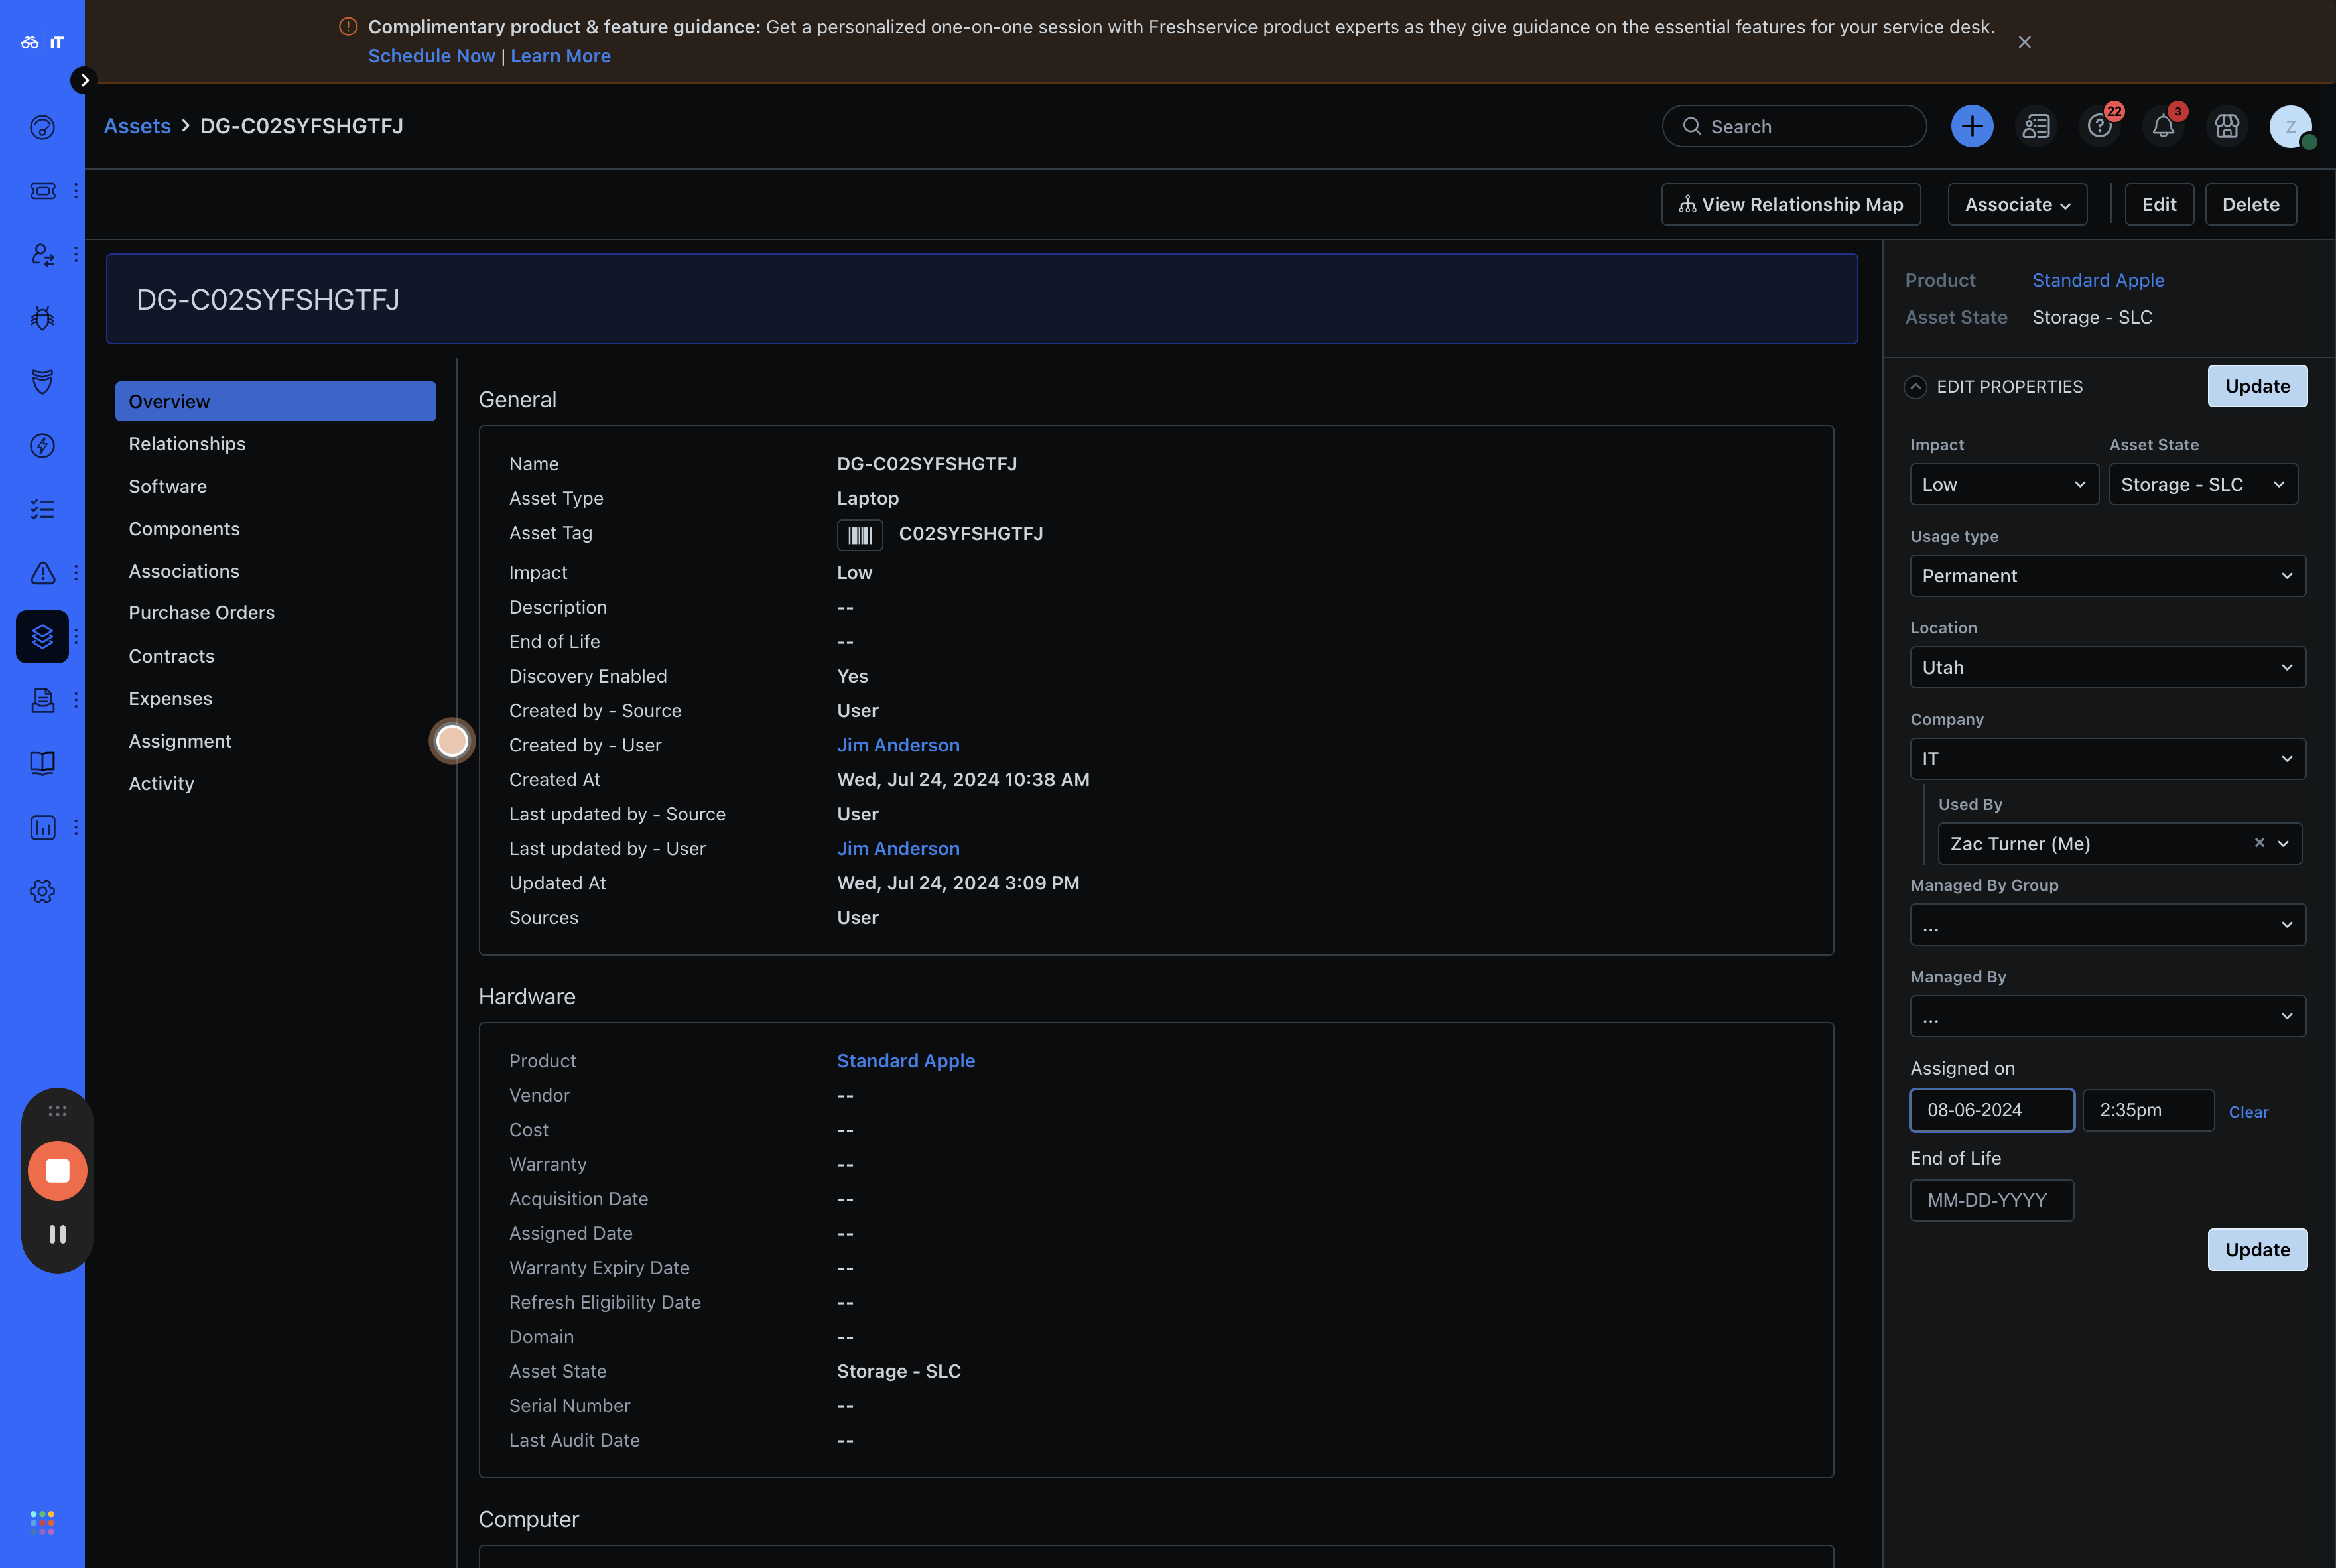
This is a view of all the asset information.
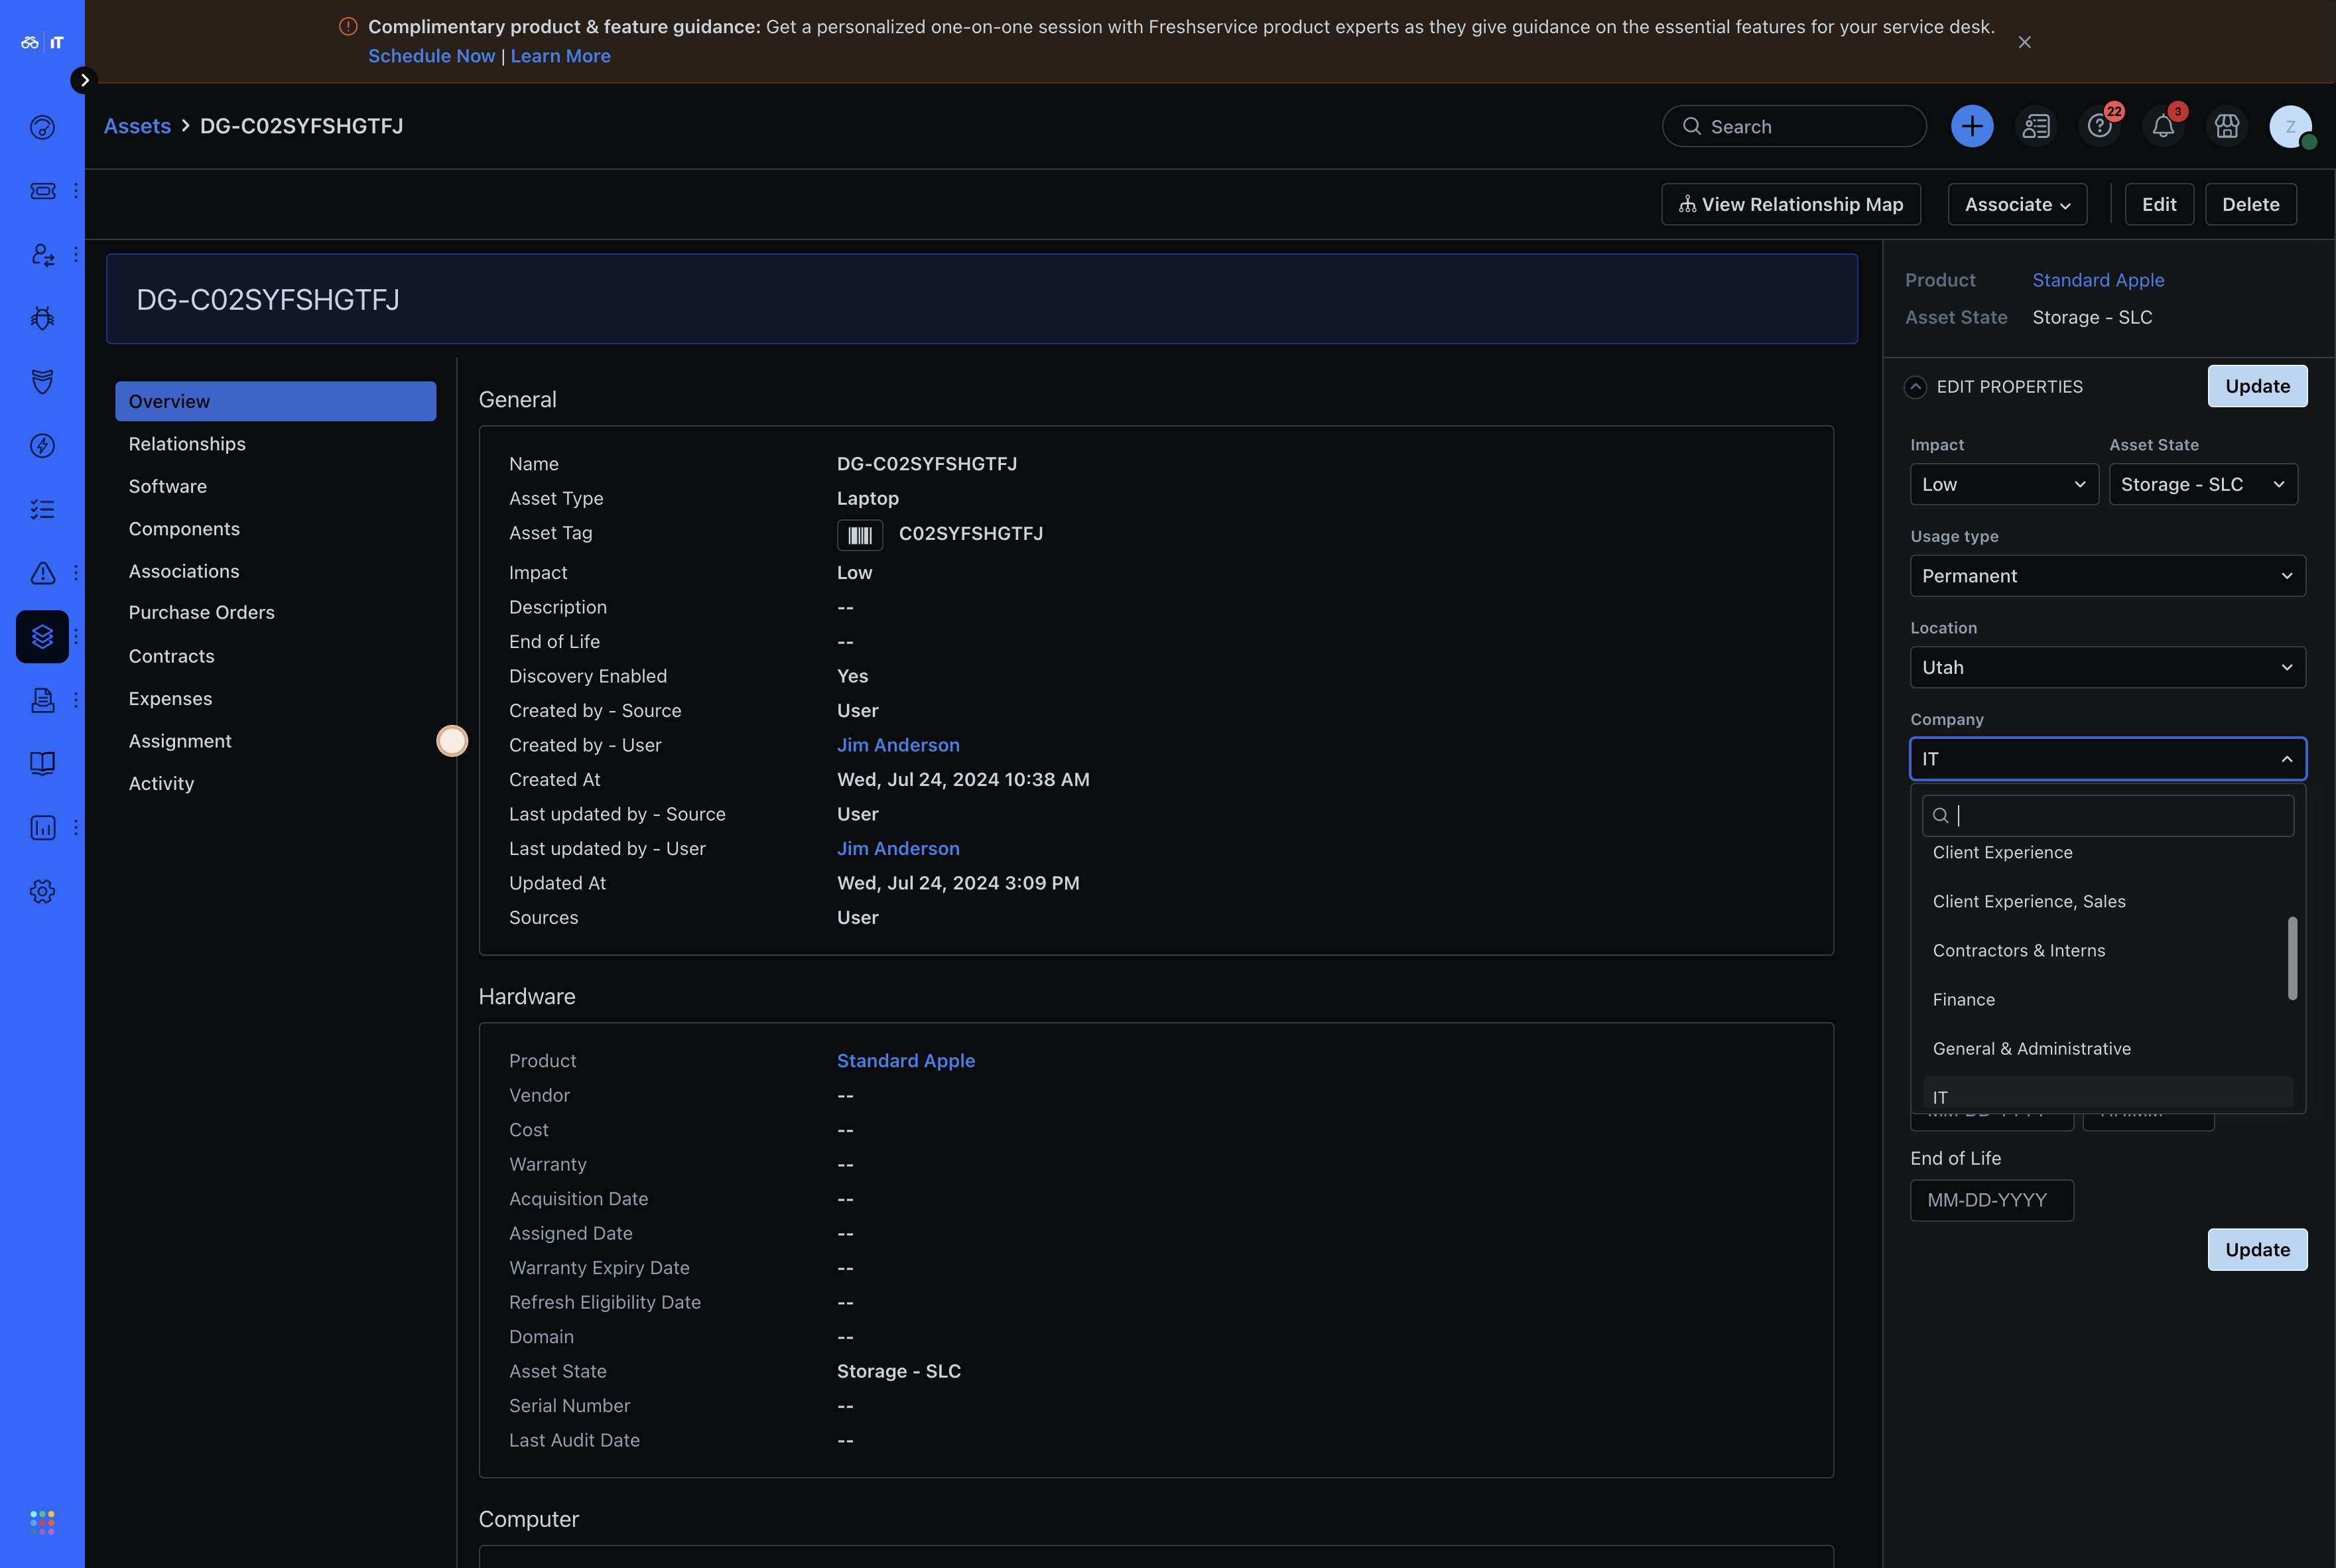
From here, a device overview appears. You can view and edit the hardware information as needed.
To assign it to a new user, click "Company" and choose their department name.
The user needs to have a department assigned to them in order for them to appear. If you do not see the user in the list, make sure their user profile is up to date.
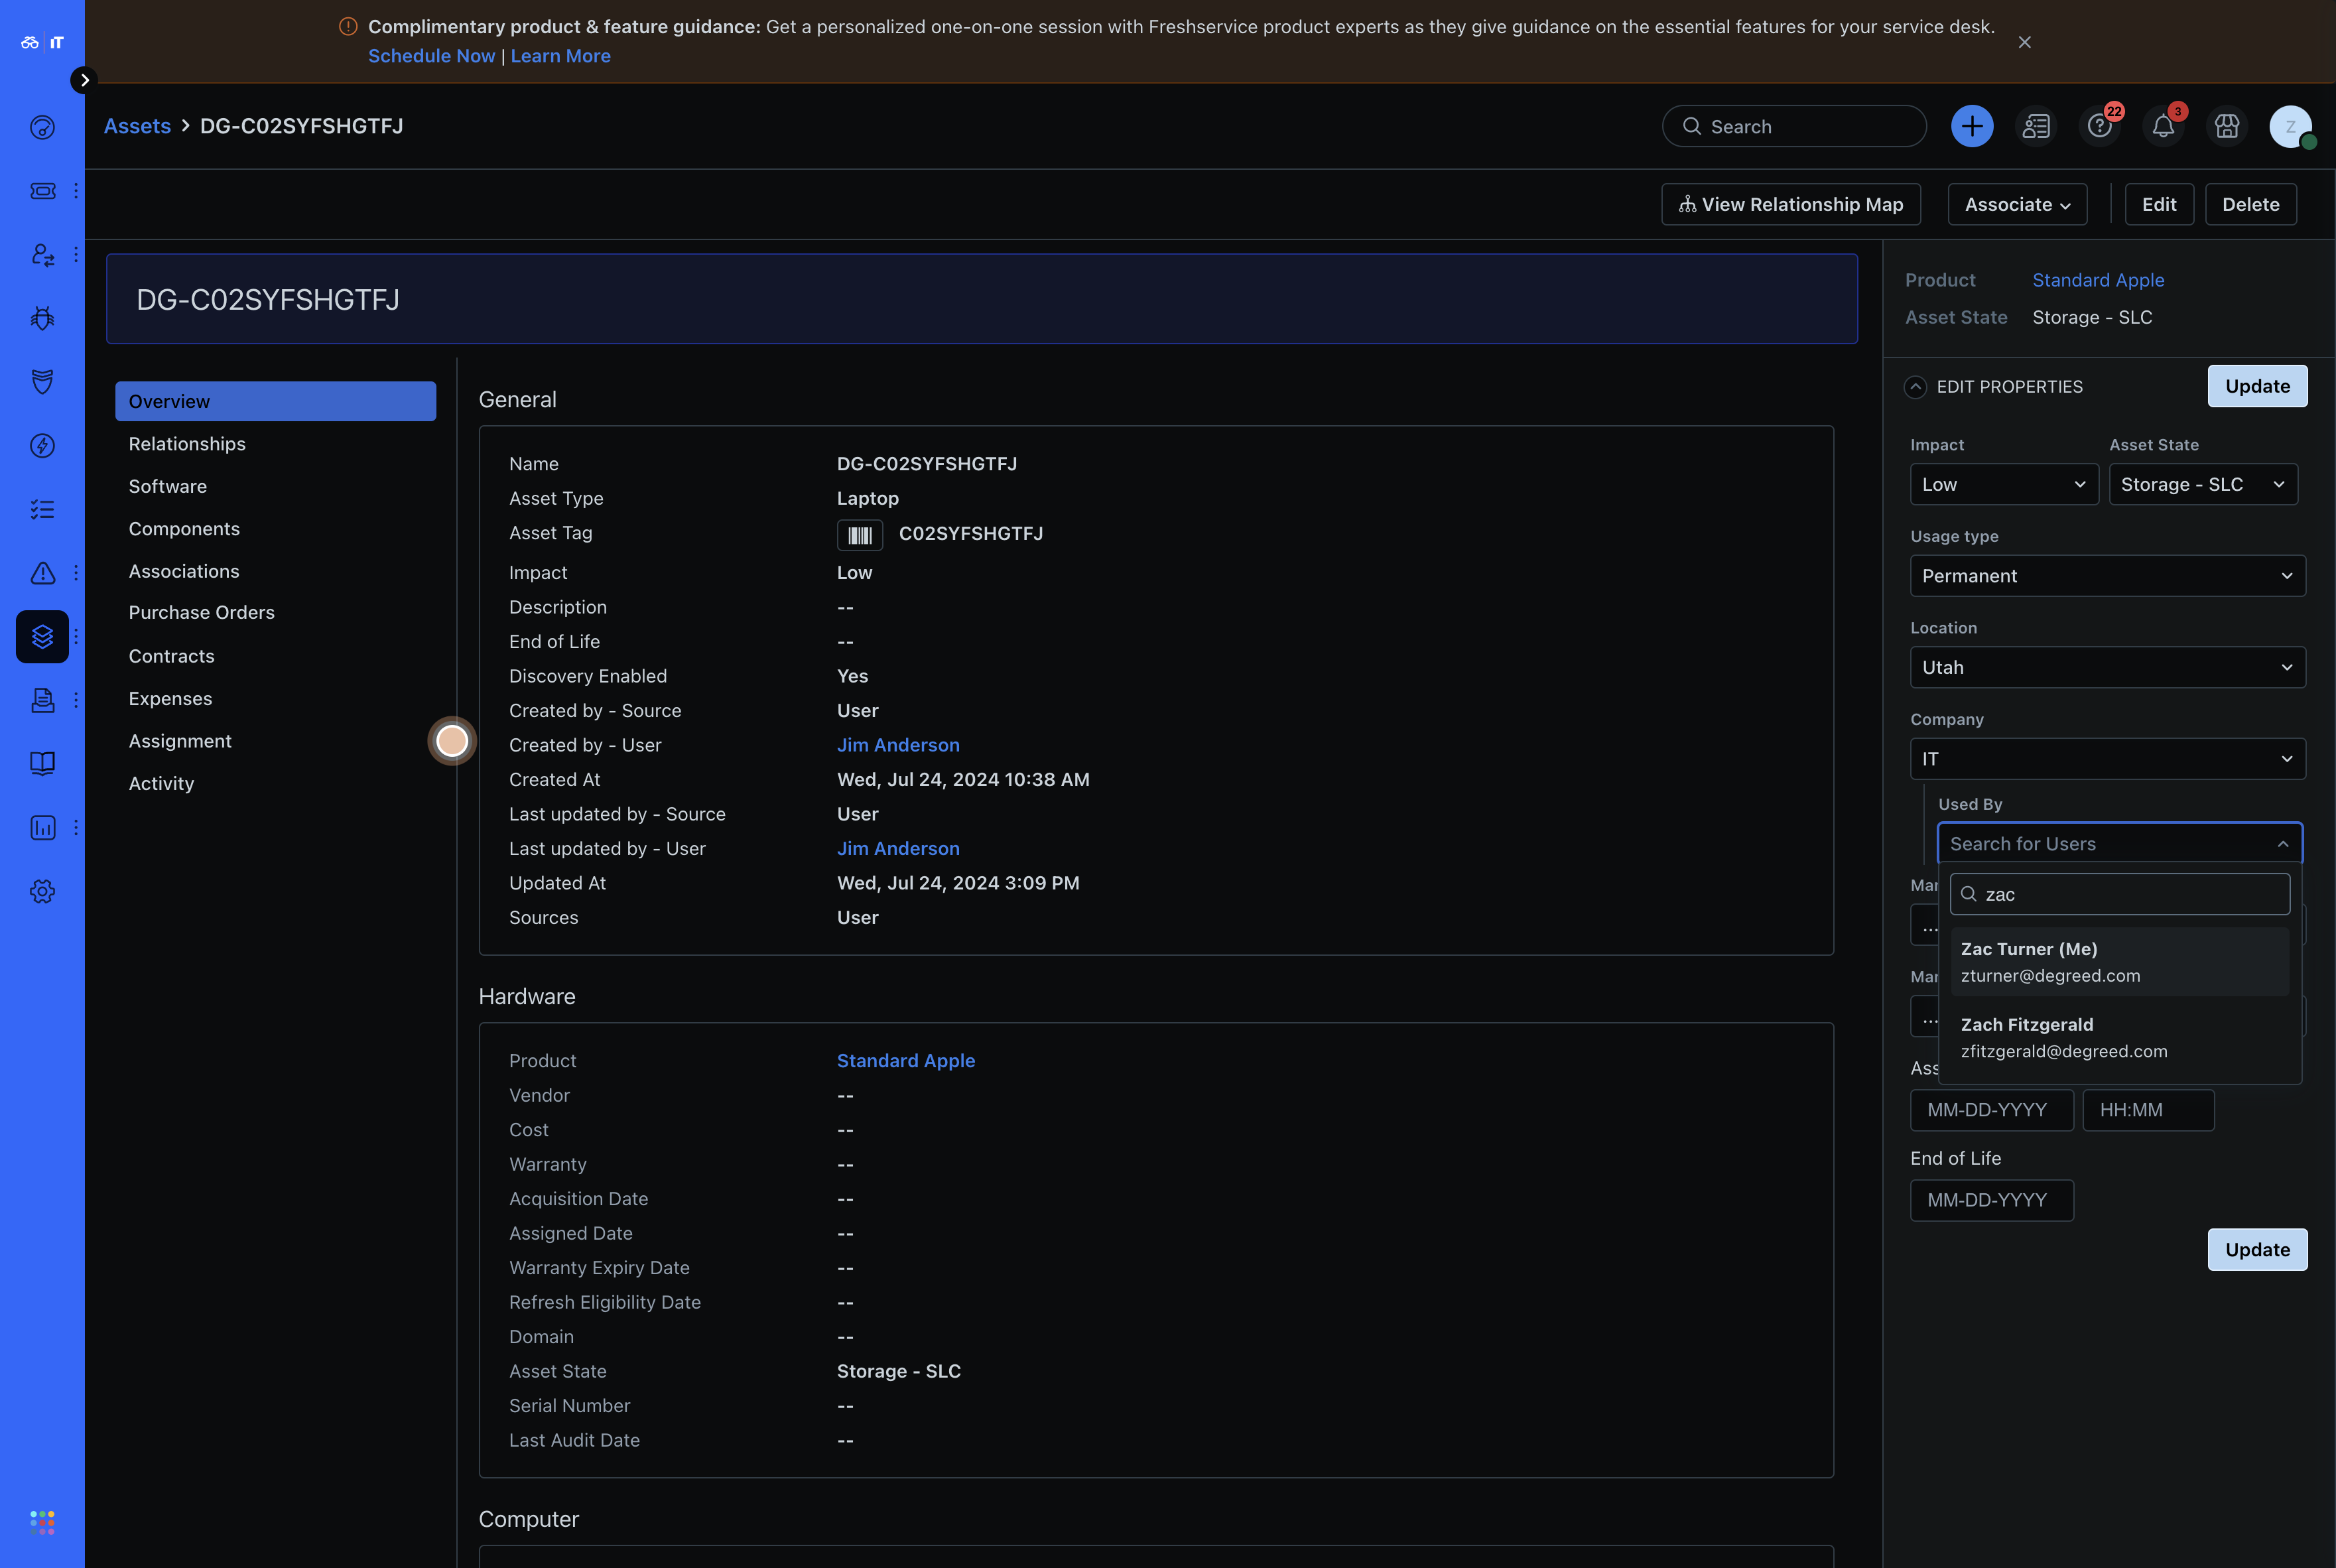
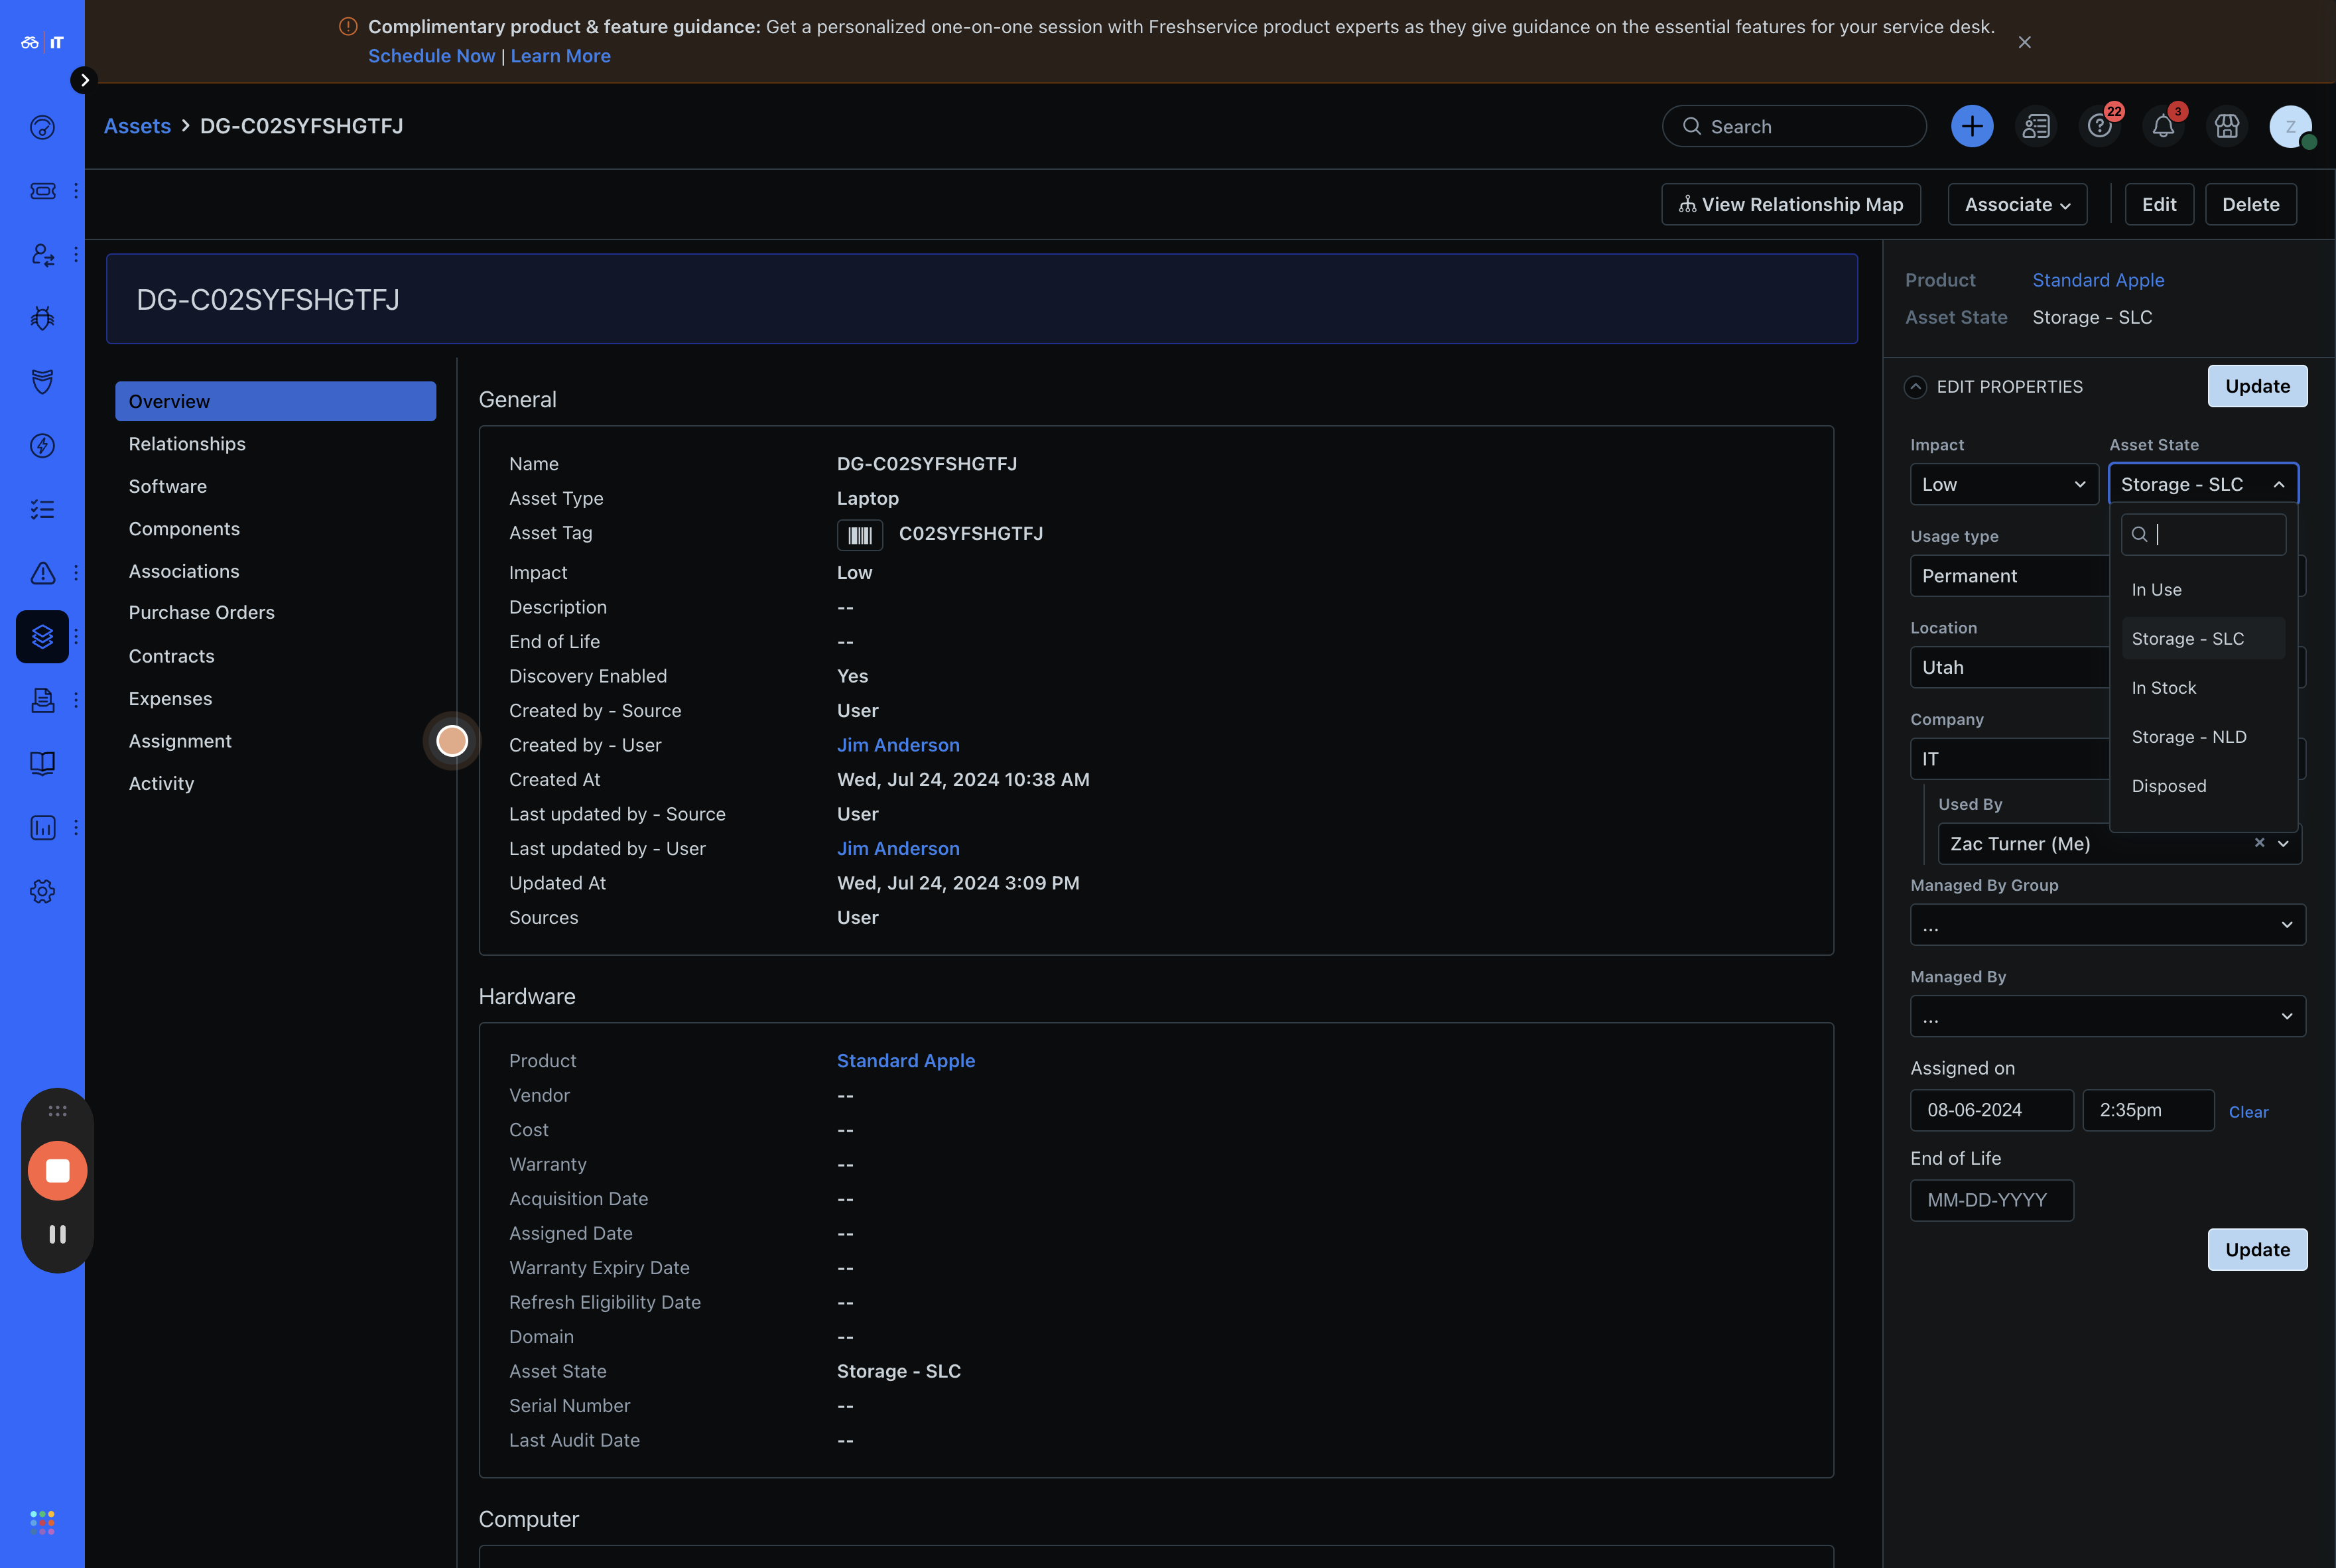
Afterward, change the asset state to "In Use" if the device is being deployed to a user.
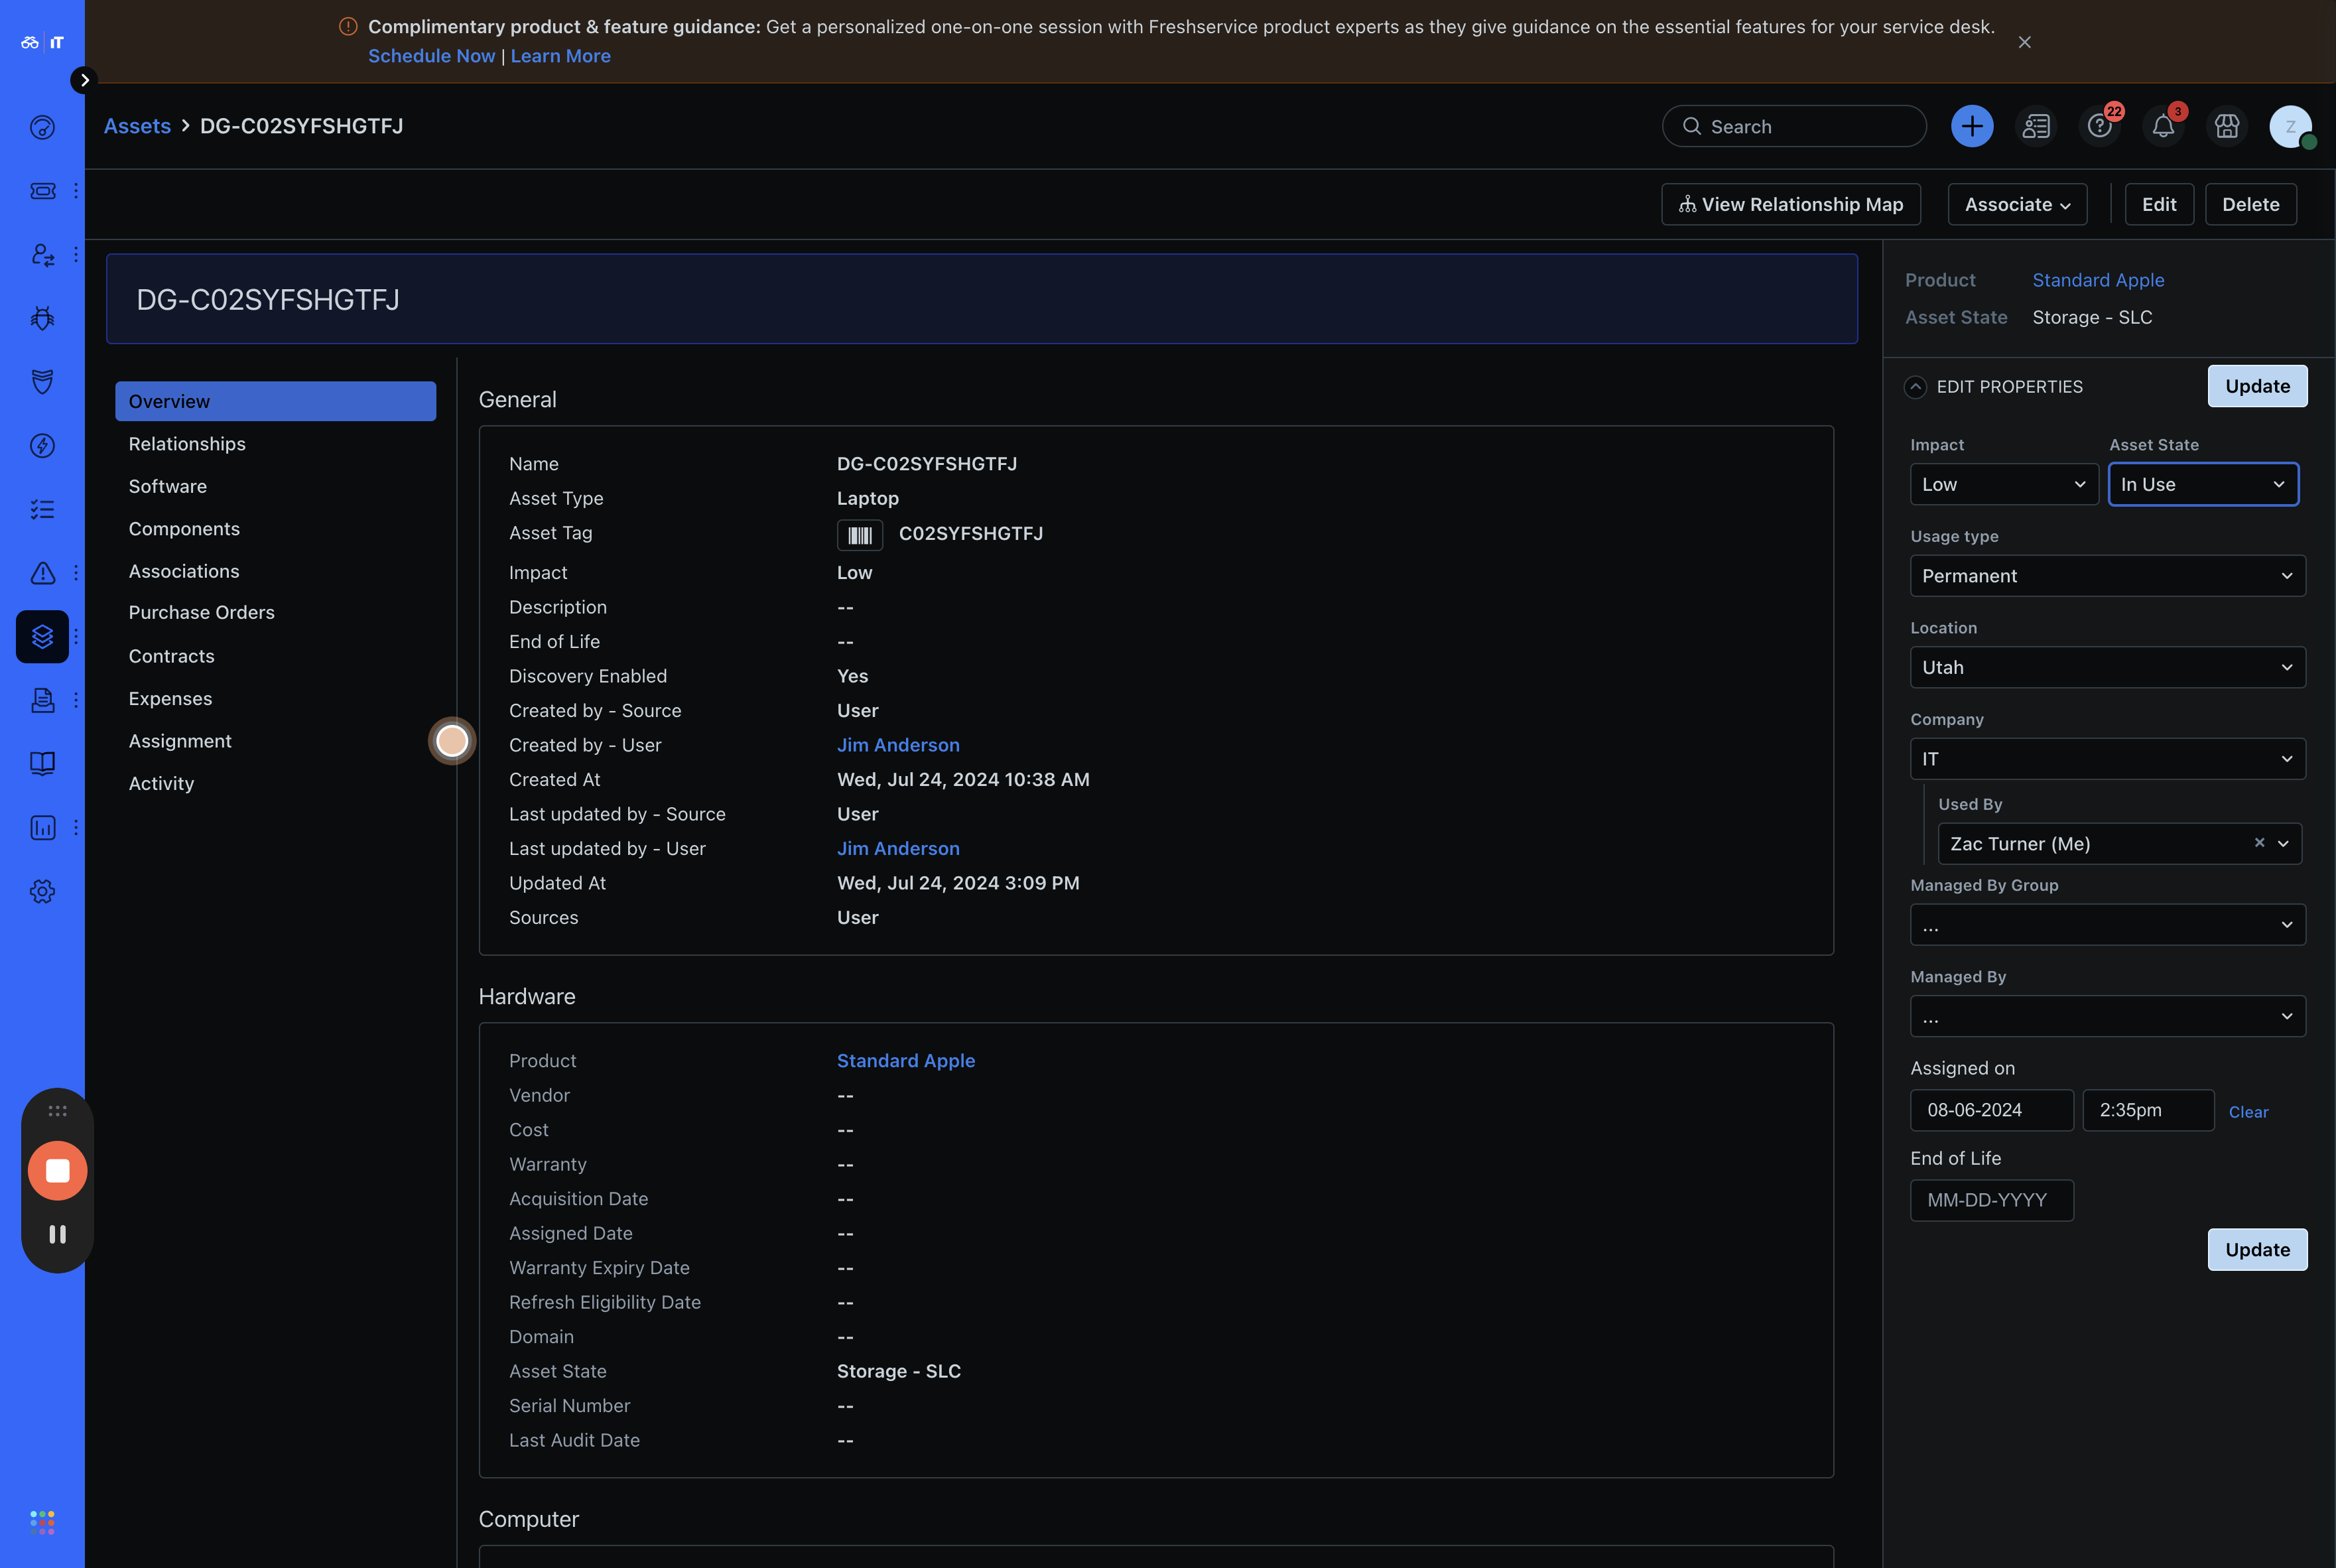
Then, click "Update", and you're all set!