How to Update and Export COA Files in Illustrator for Art Editions
Learn step-by-step how to manage, update, and export Certificate of Authenticity (COA) files in Adobe Illustrator, including tips for formatting, adding signatures, and selecting artboard ranges for editions like The Scream and Mona Lisa.
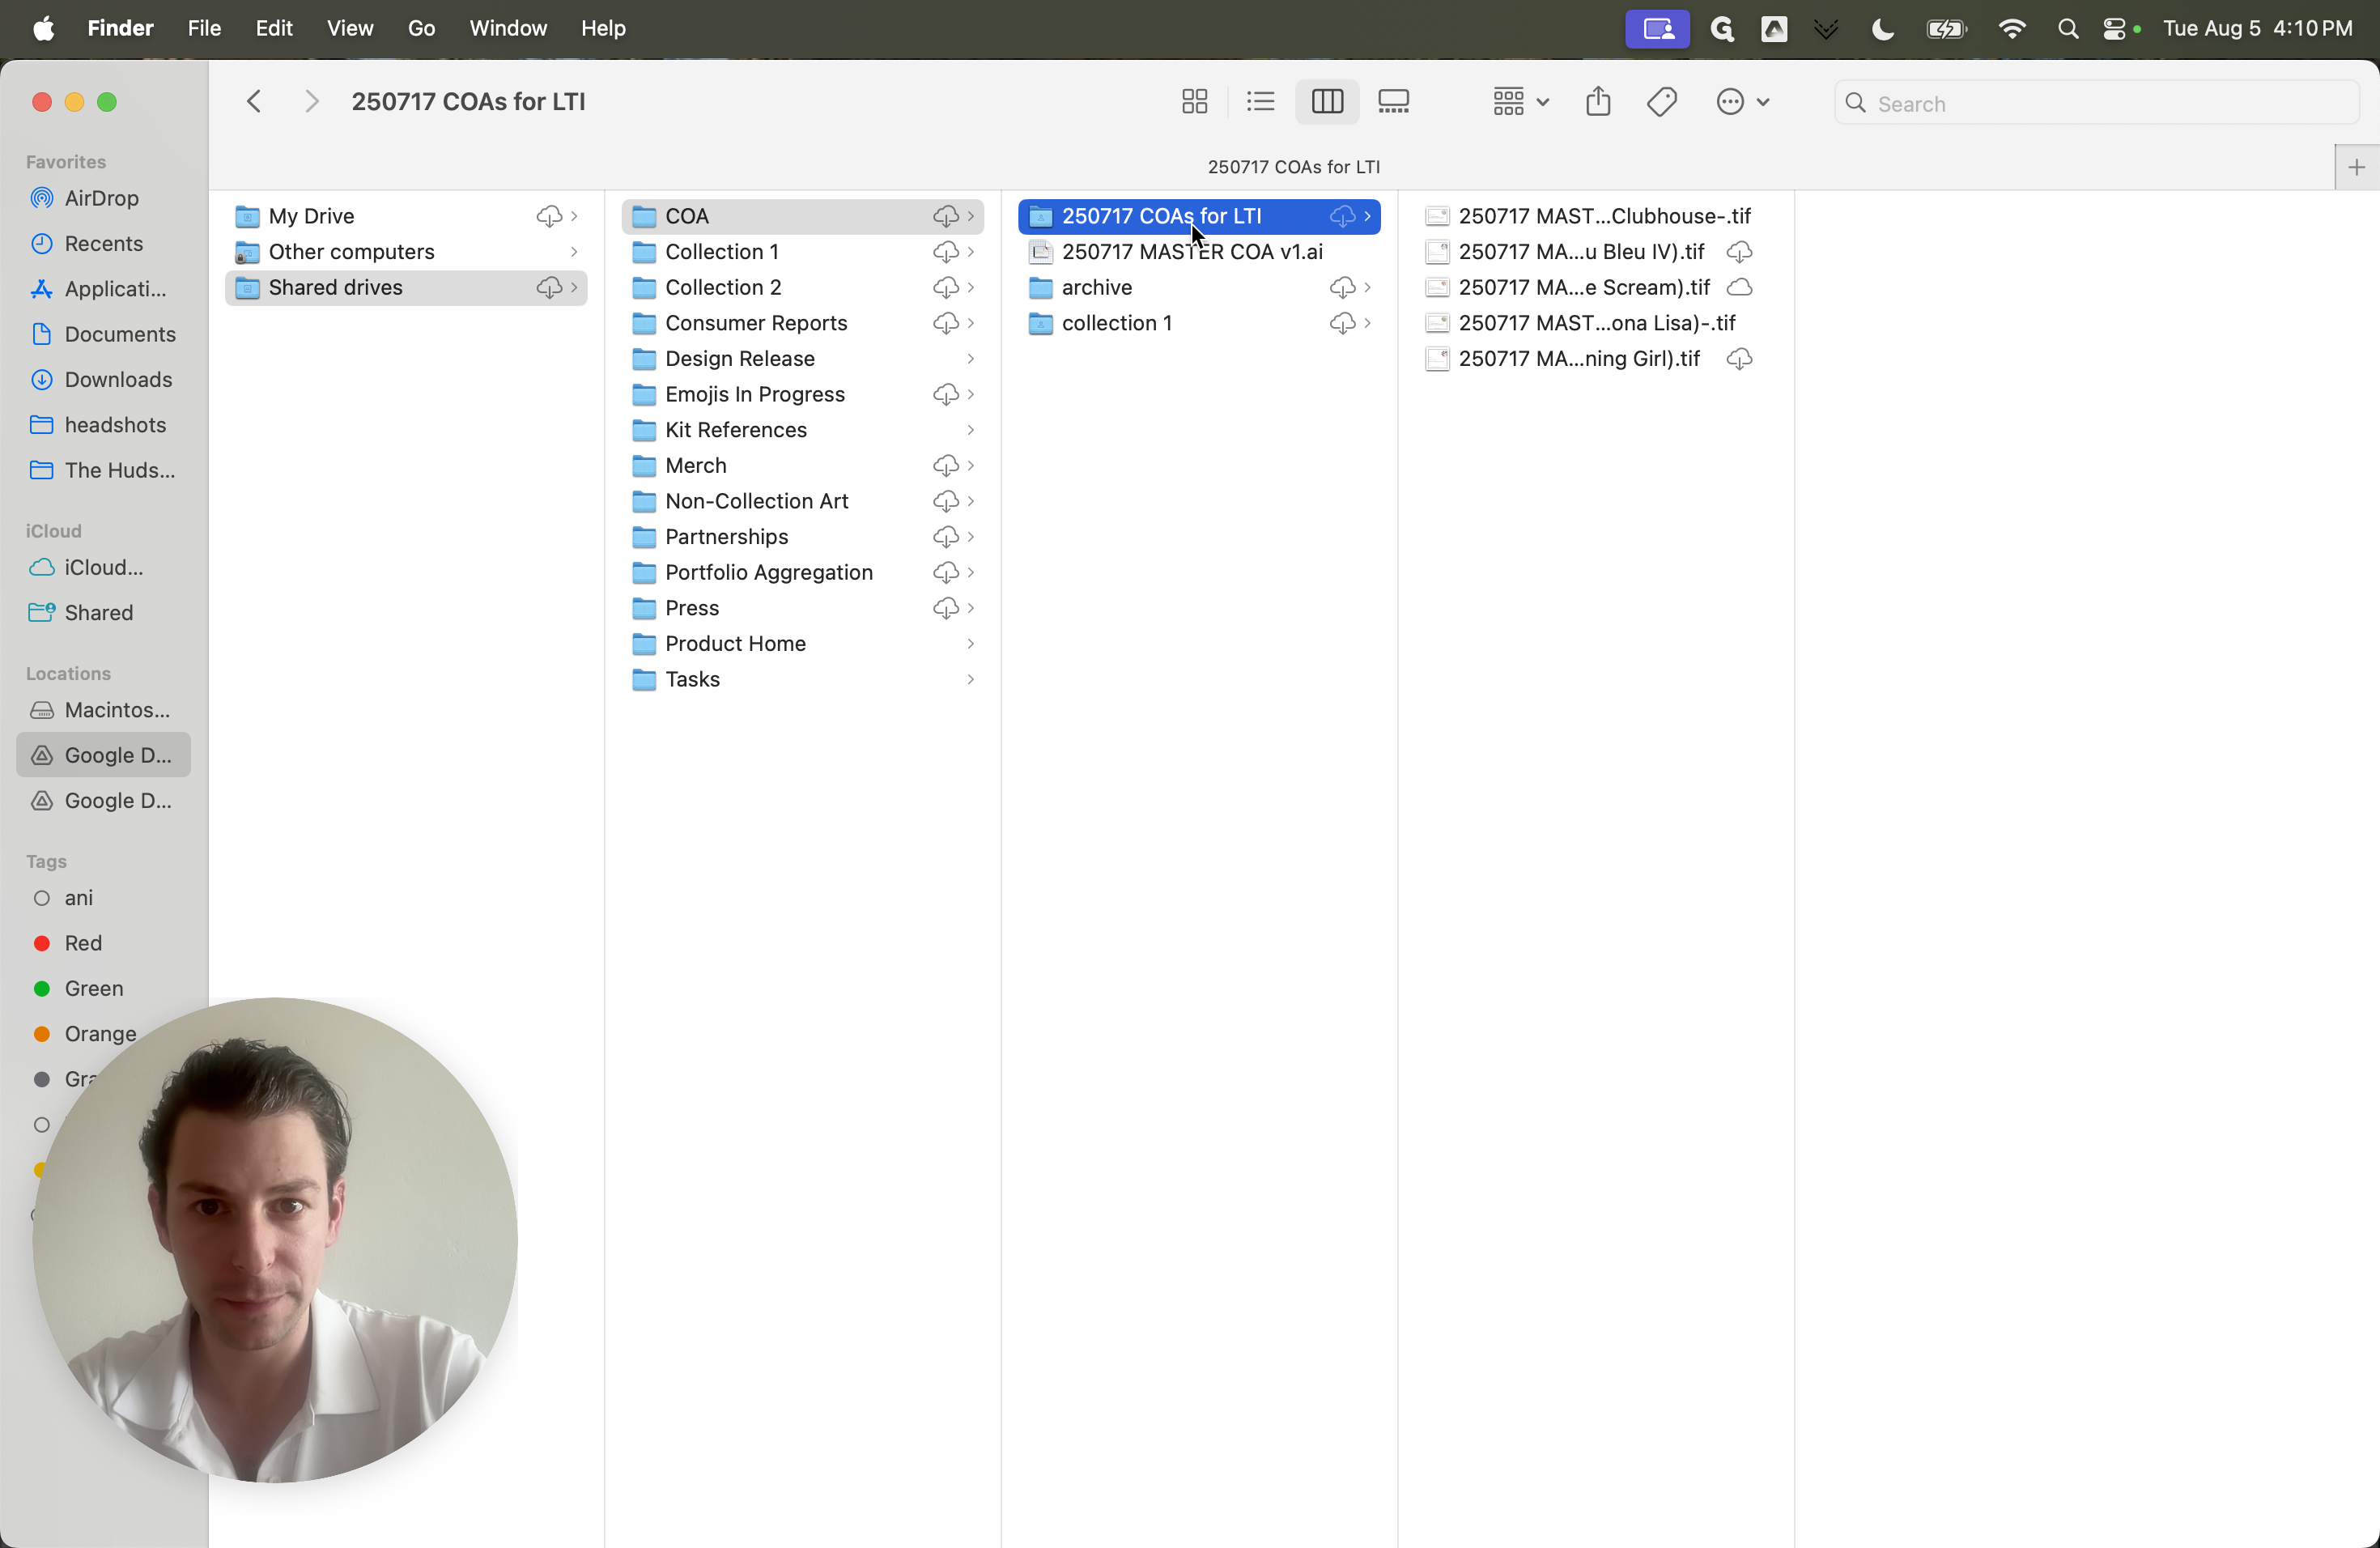
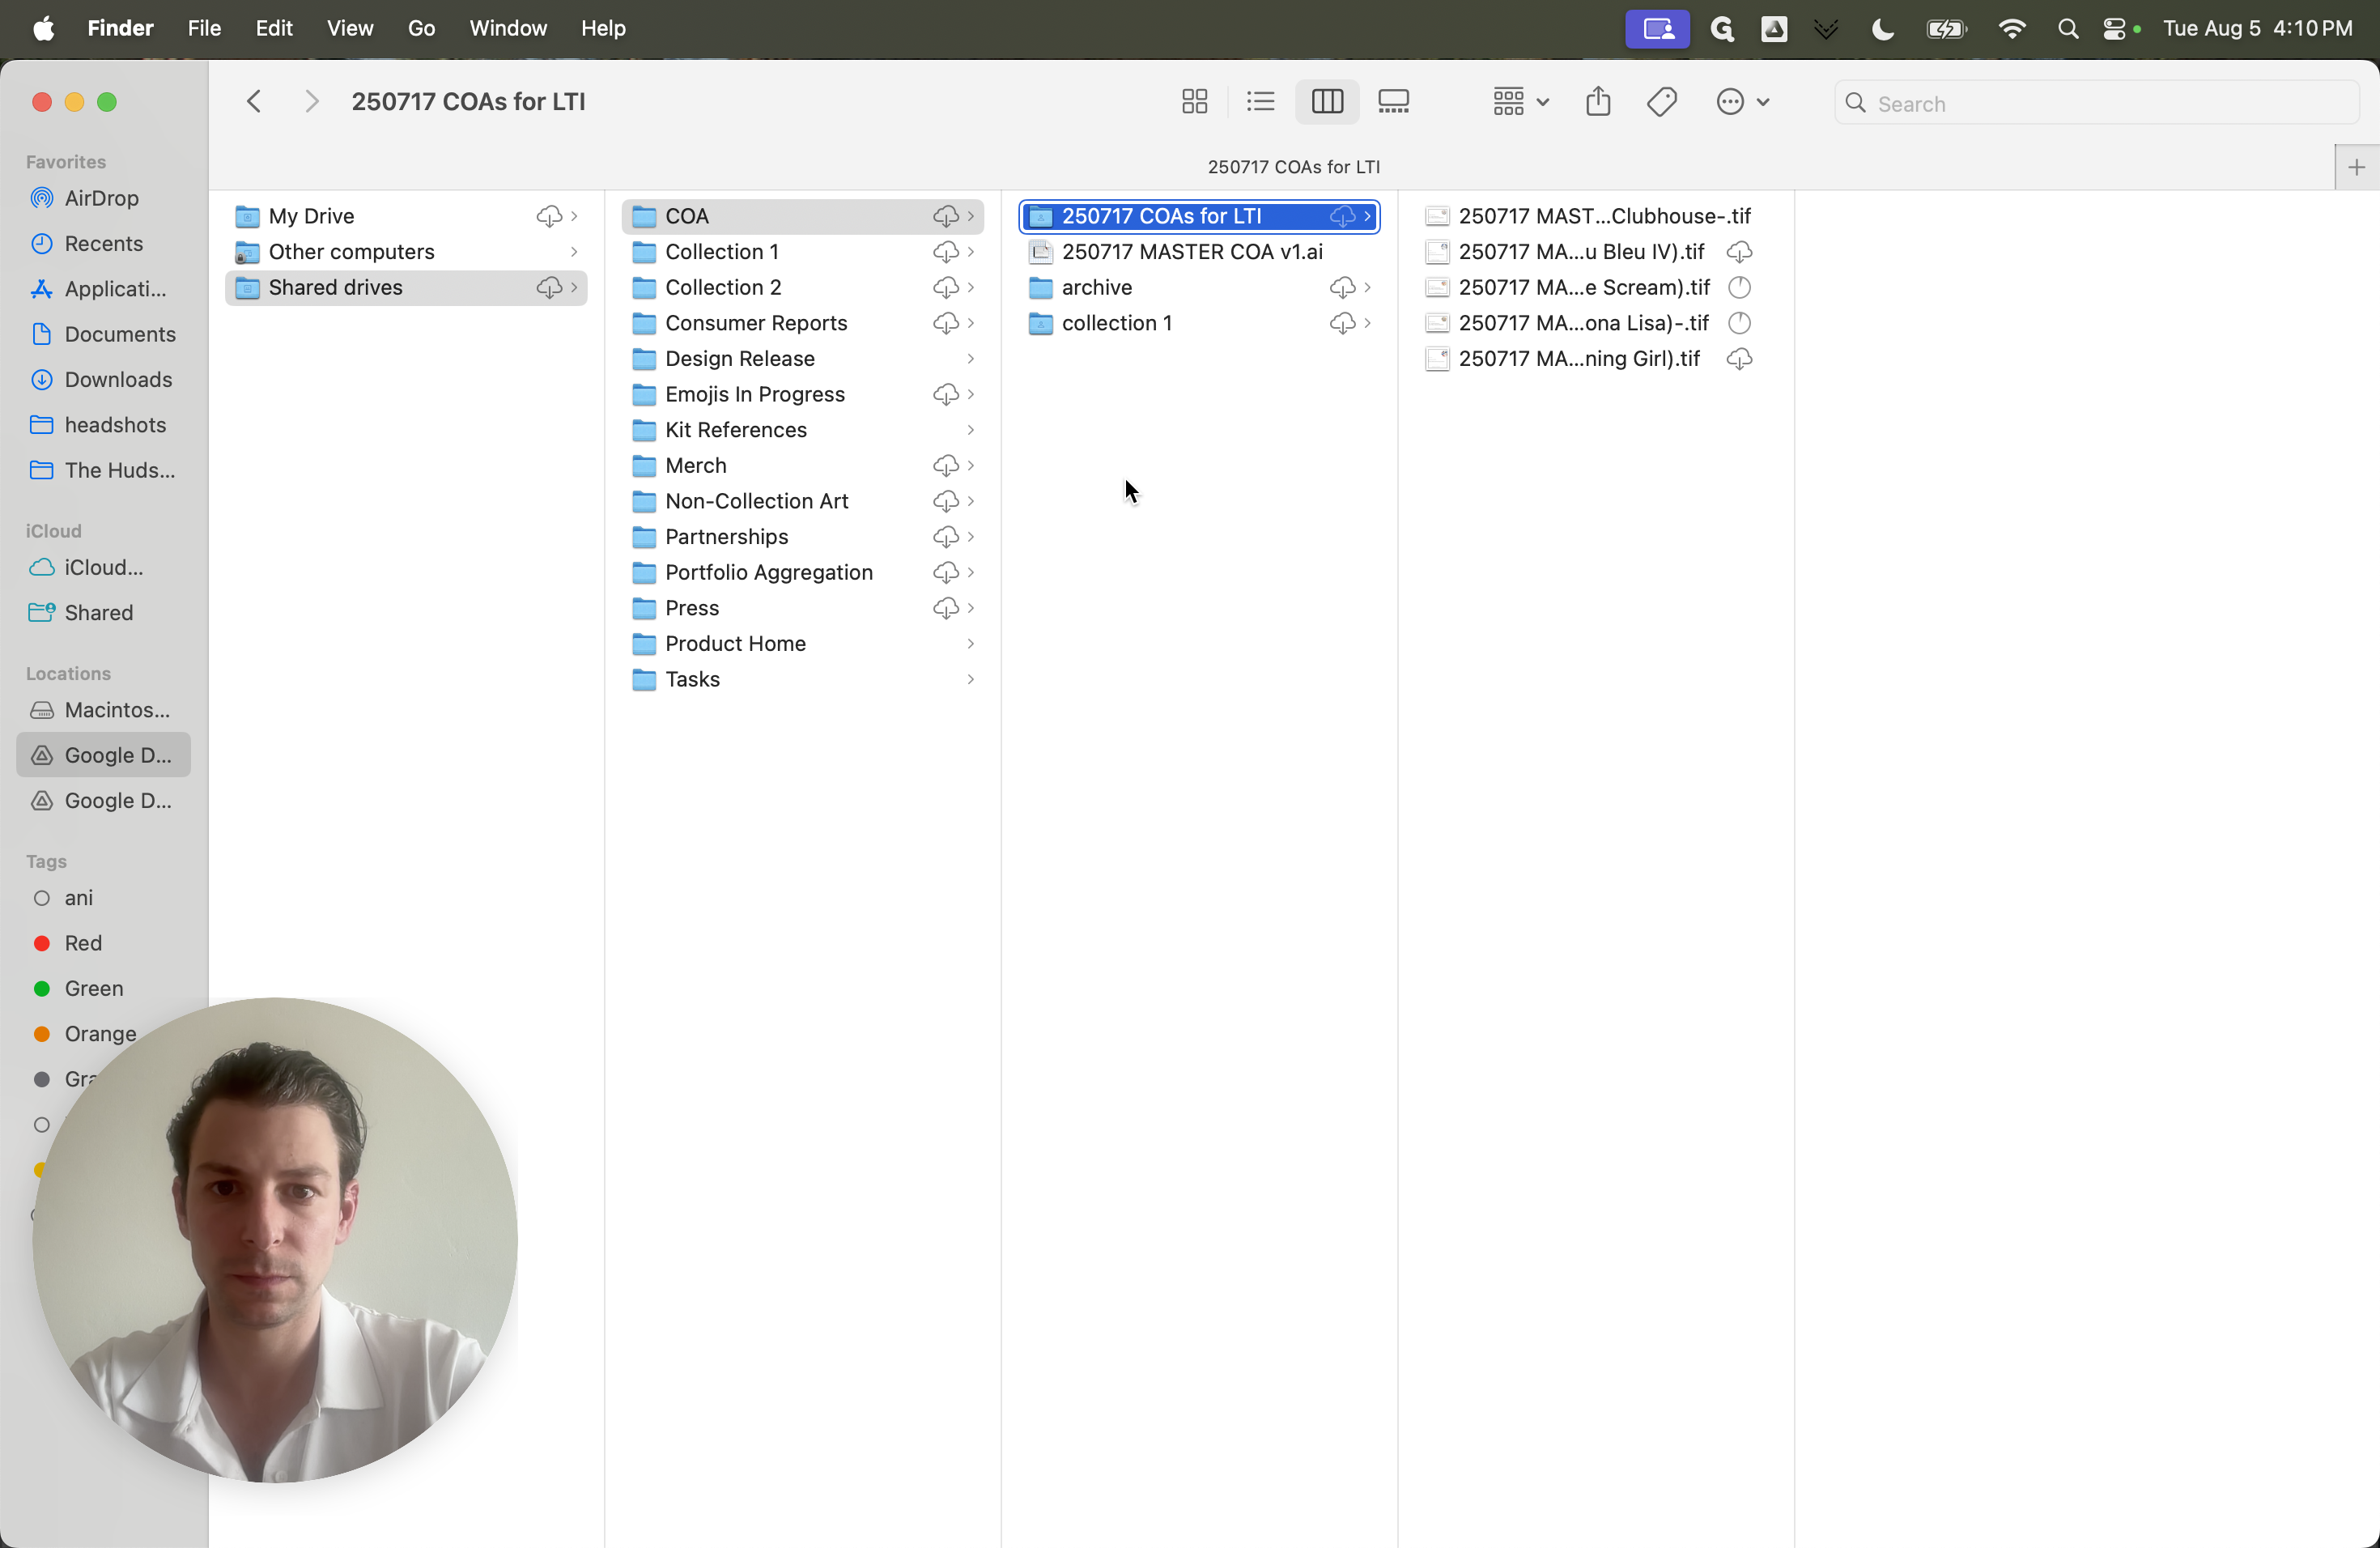
In this guide, we'll learn how to export specific artboards from a master Certificate of Authenticity (COA) file in Adobe Illustrator. This process helps keep all COAs in a consistent format and makes it easier to print or share them when needed. We'll focus on selecting the correct artboards for export, ensuring that template elements like signature boxes and edition numbers are handled correctly.
Let's get started
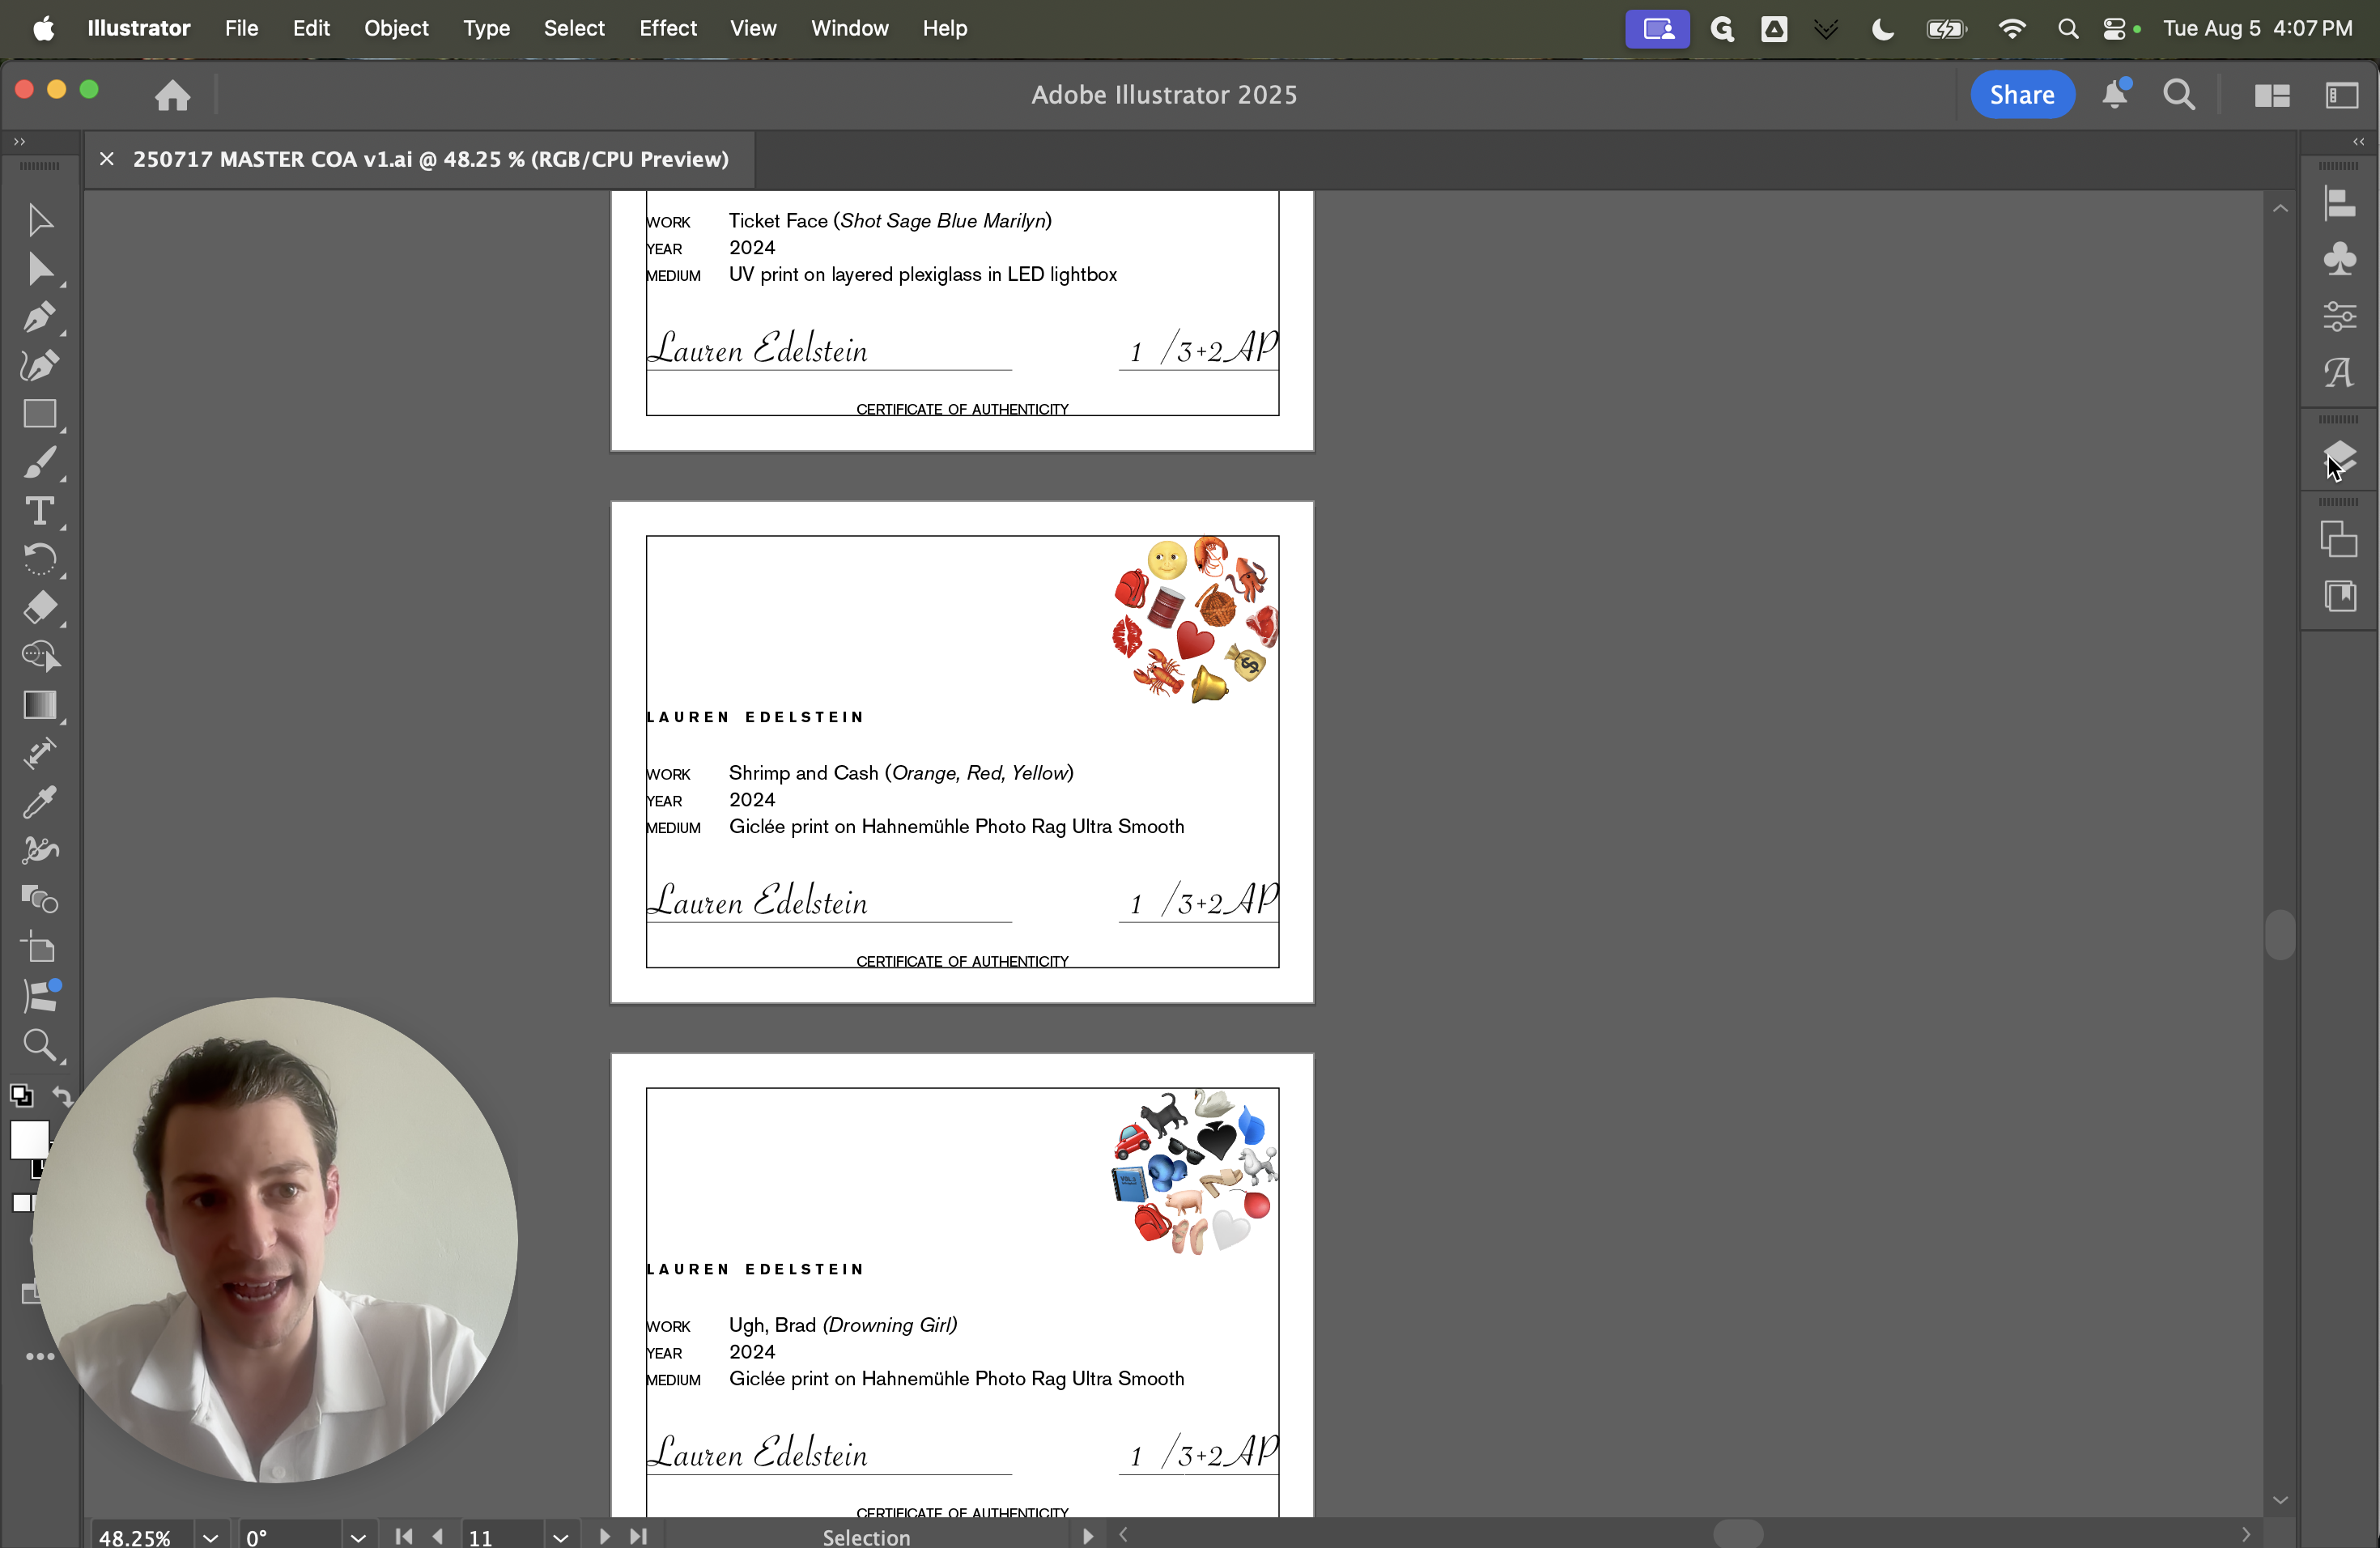
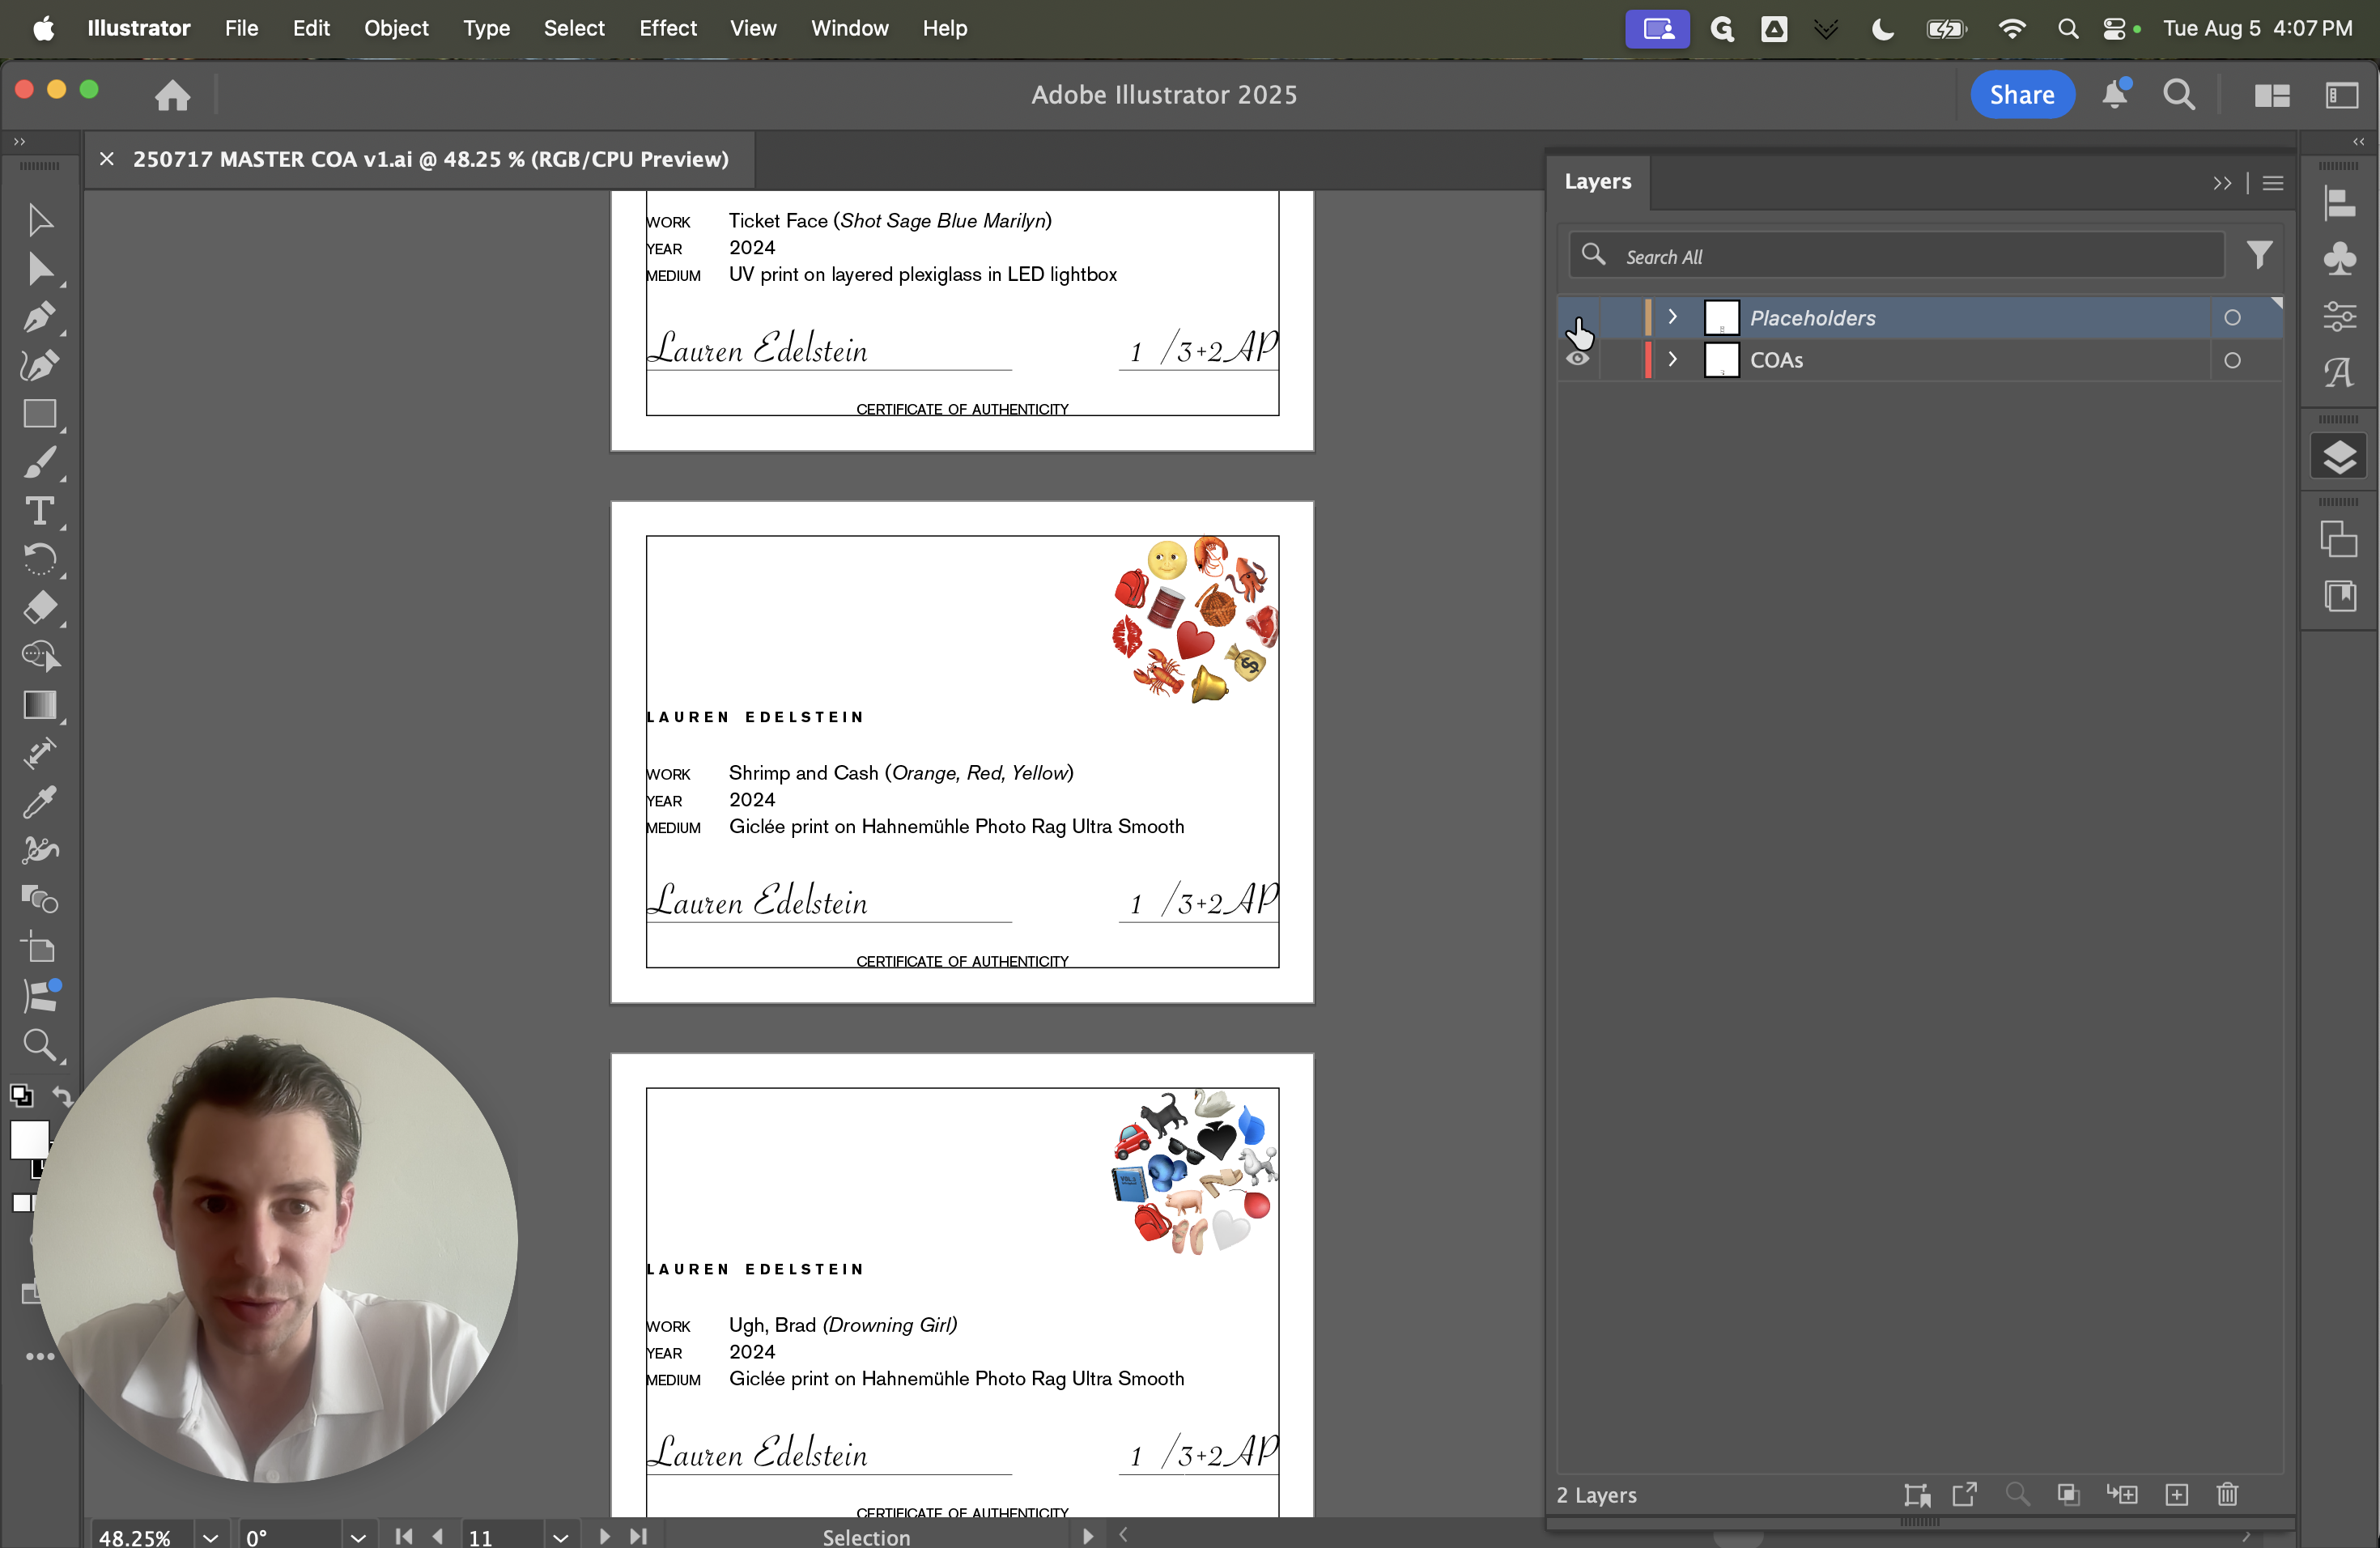
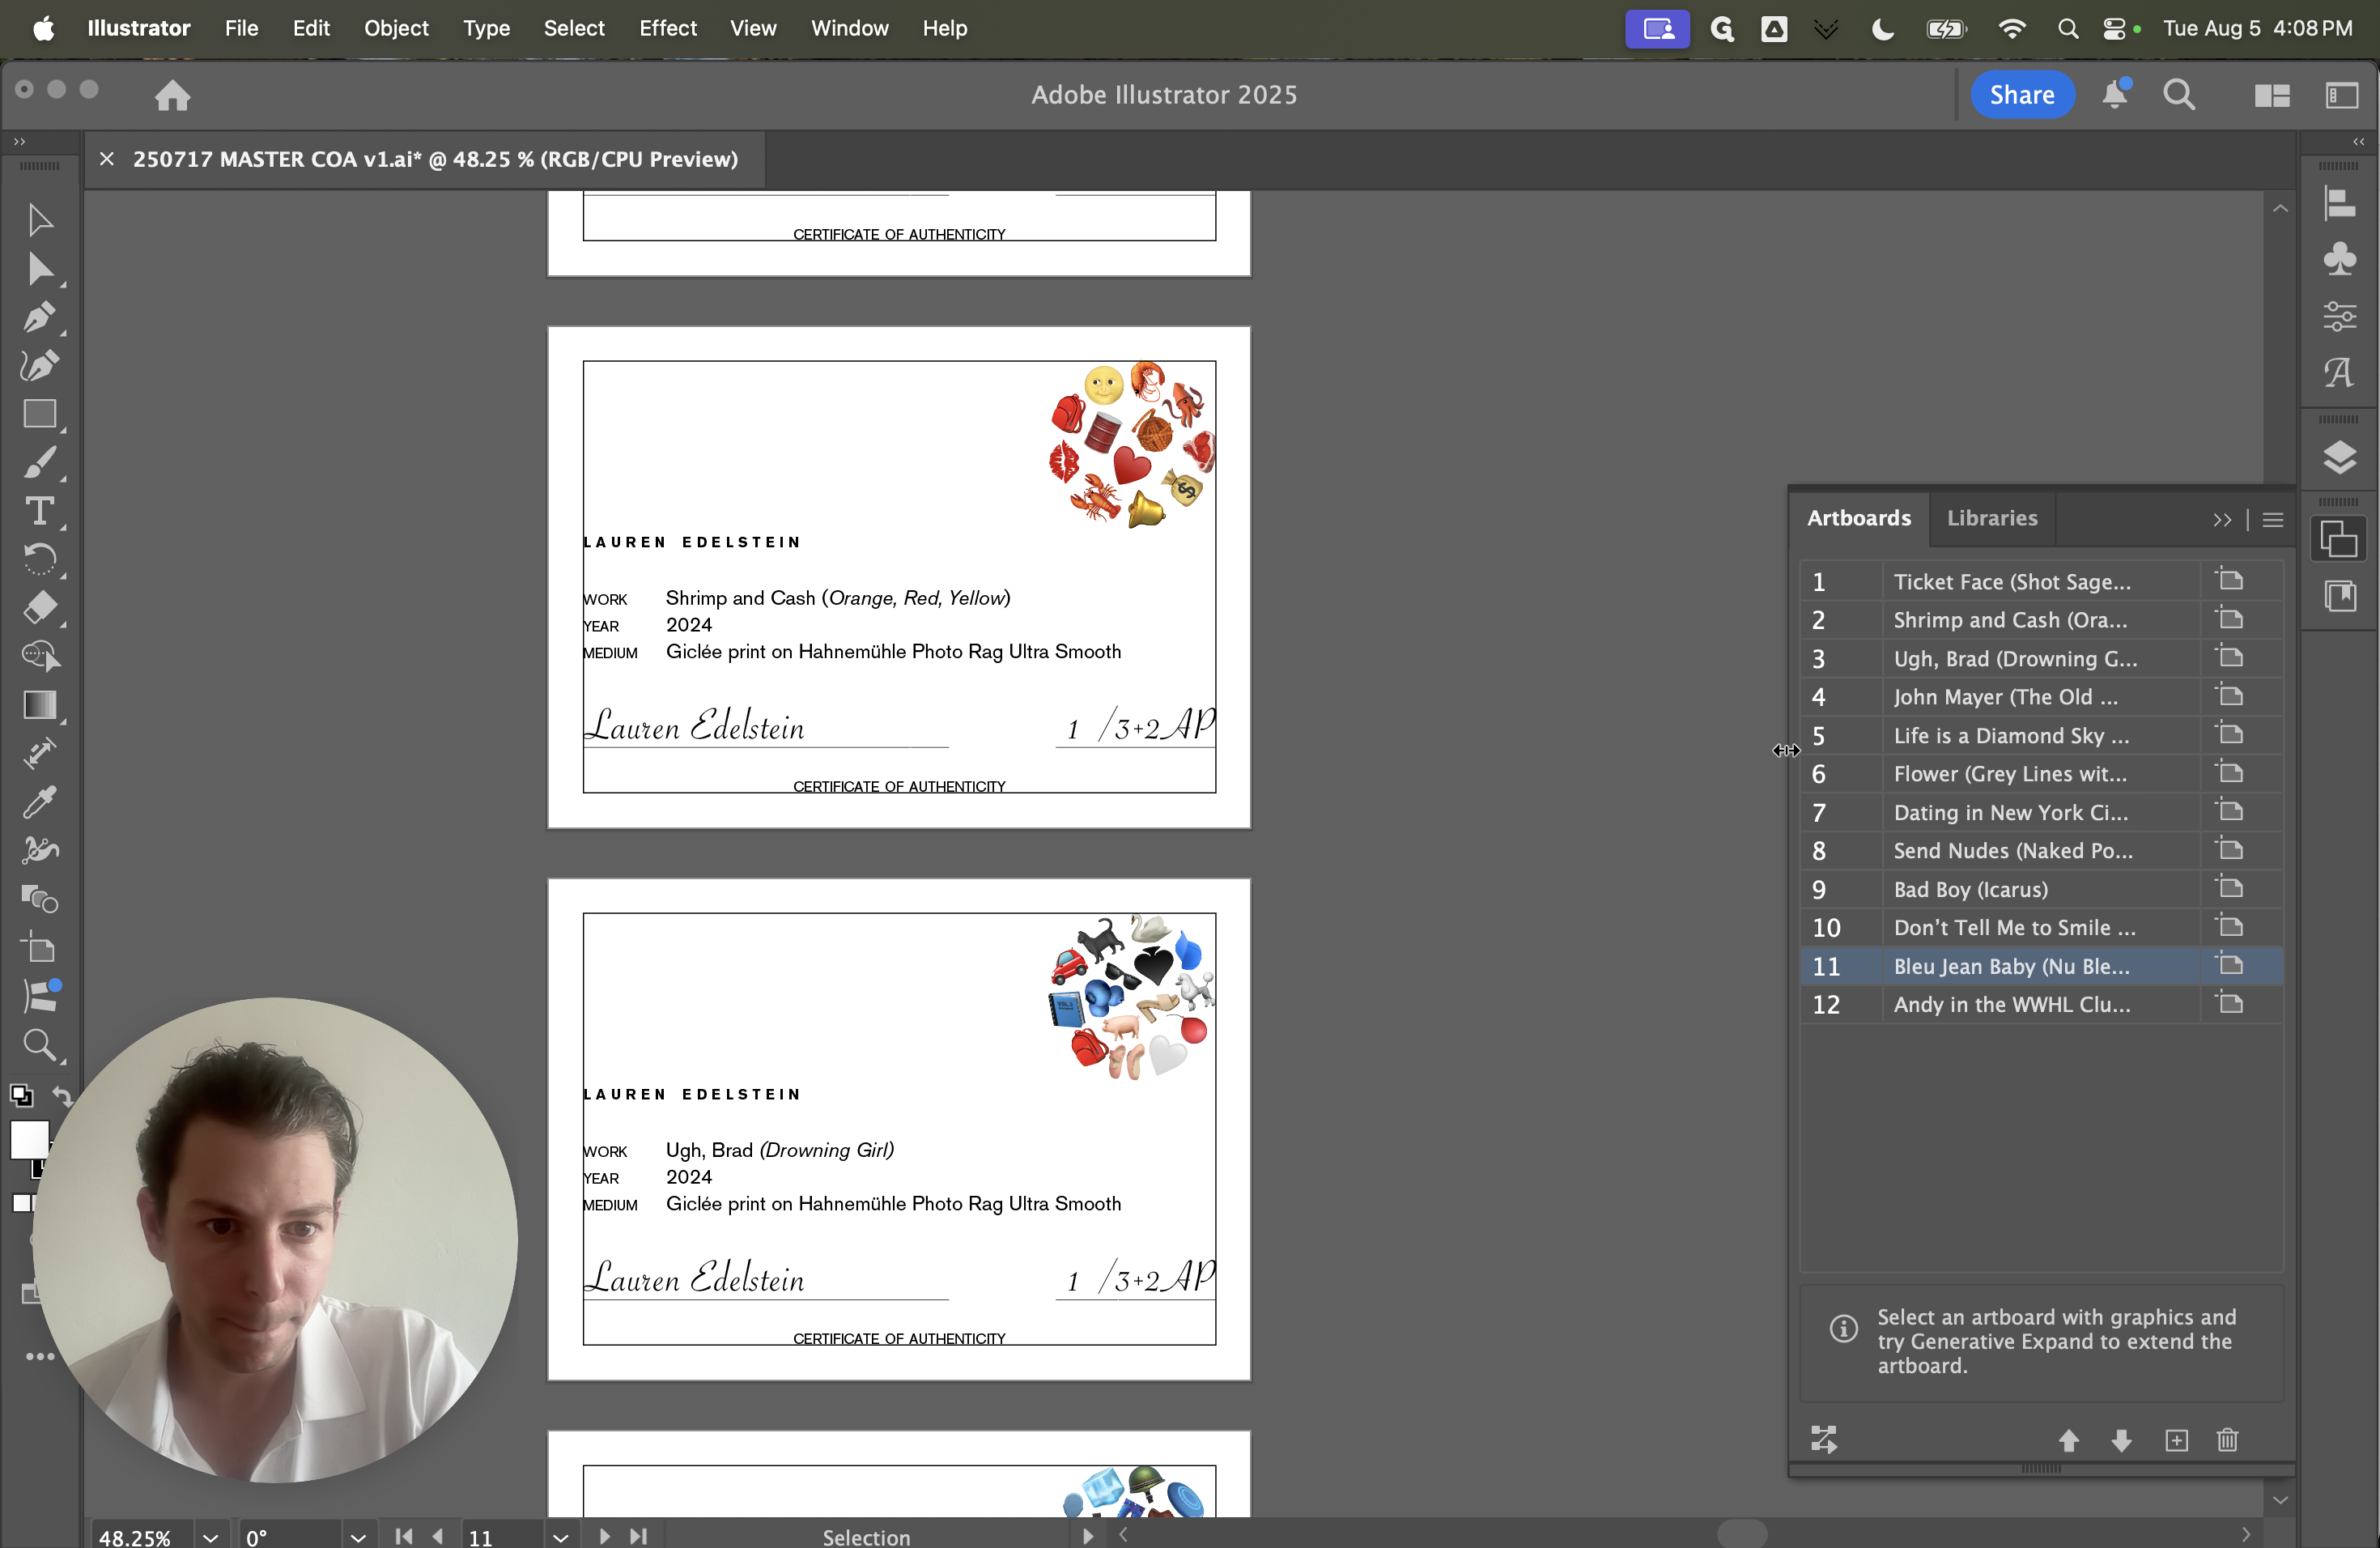
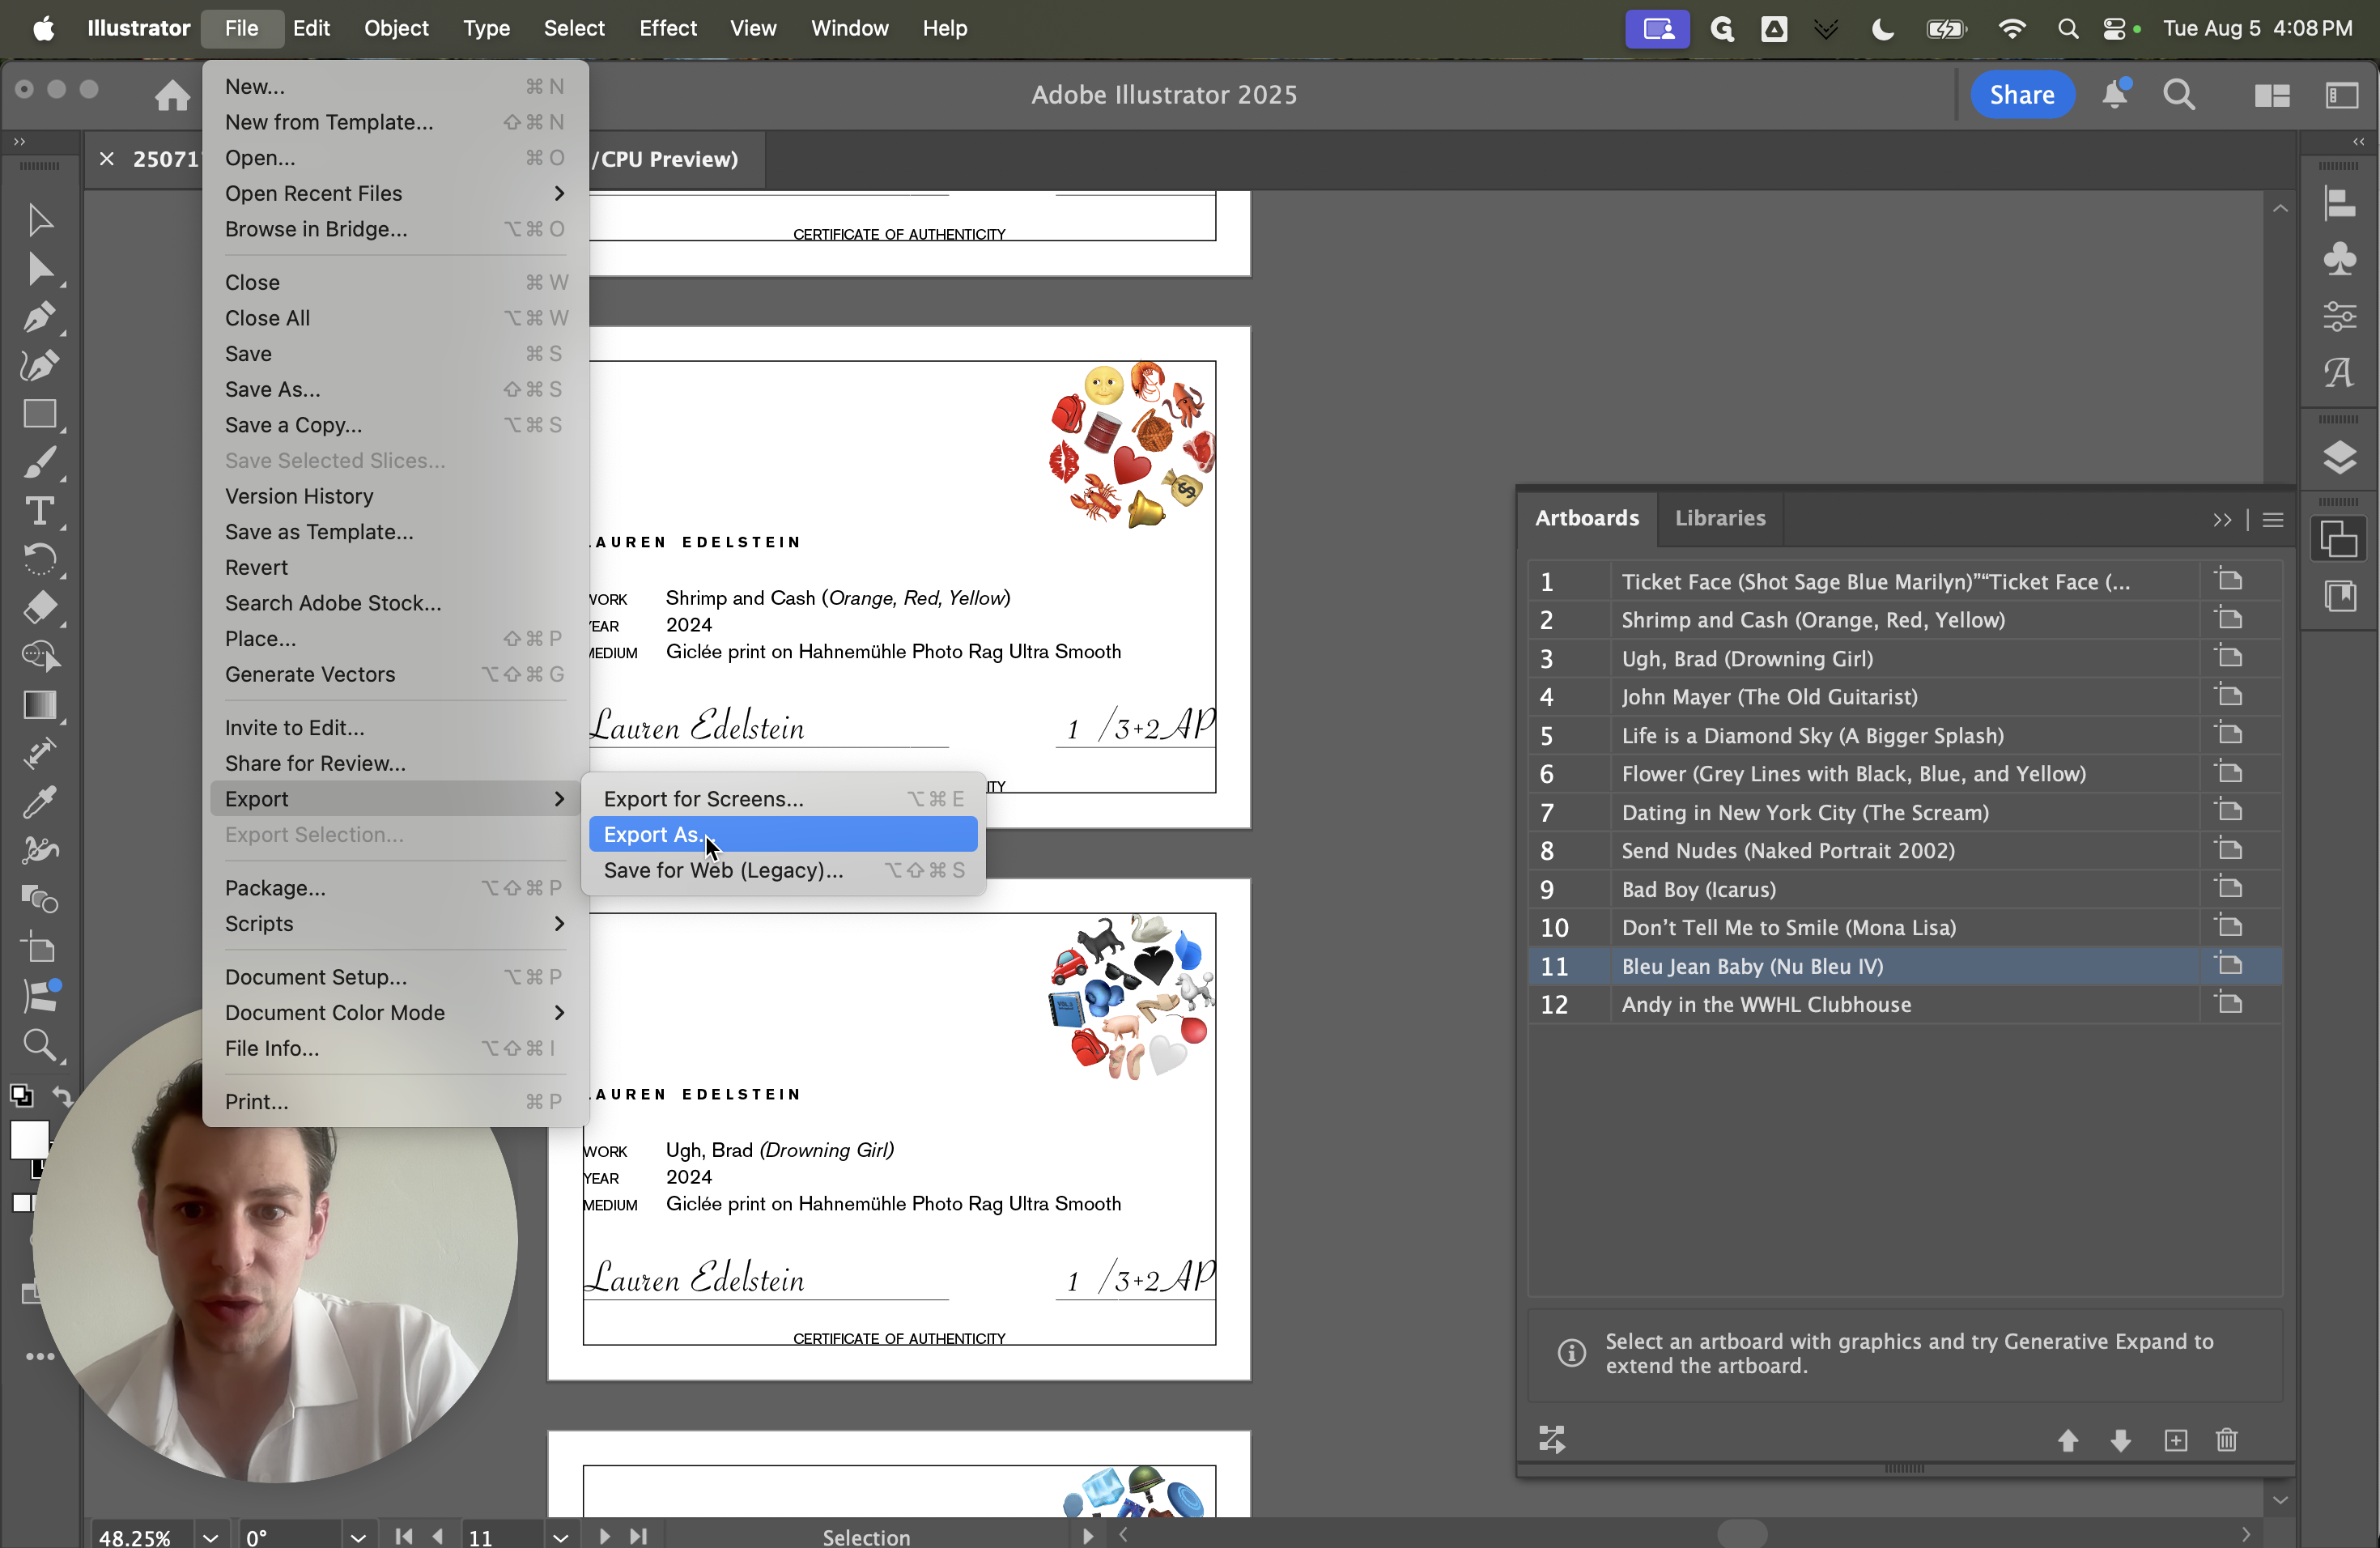
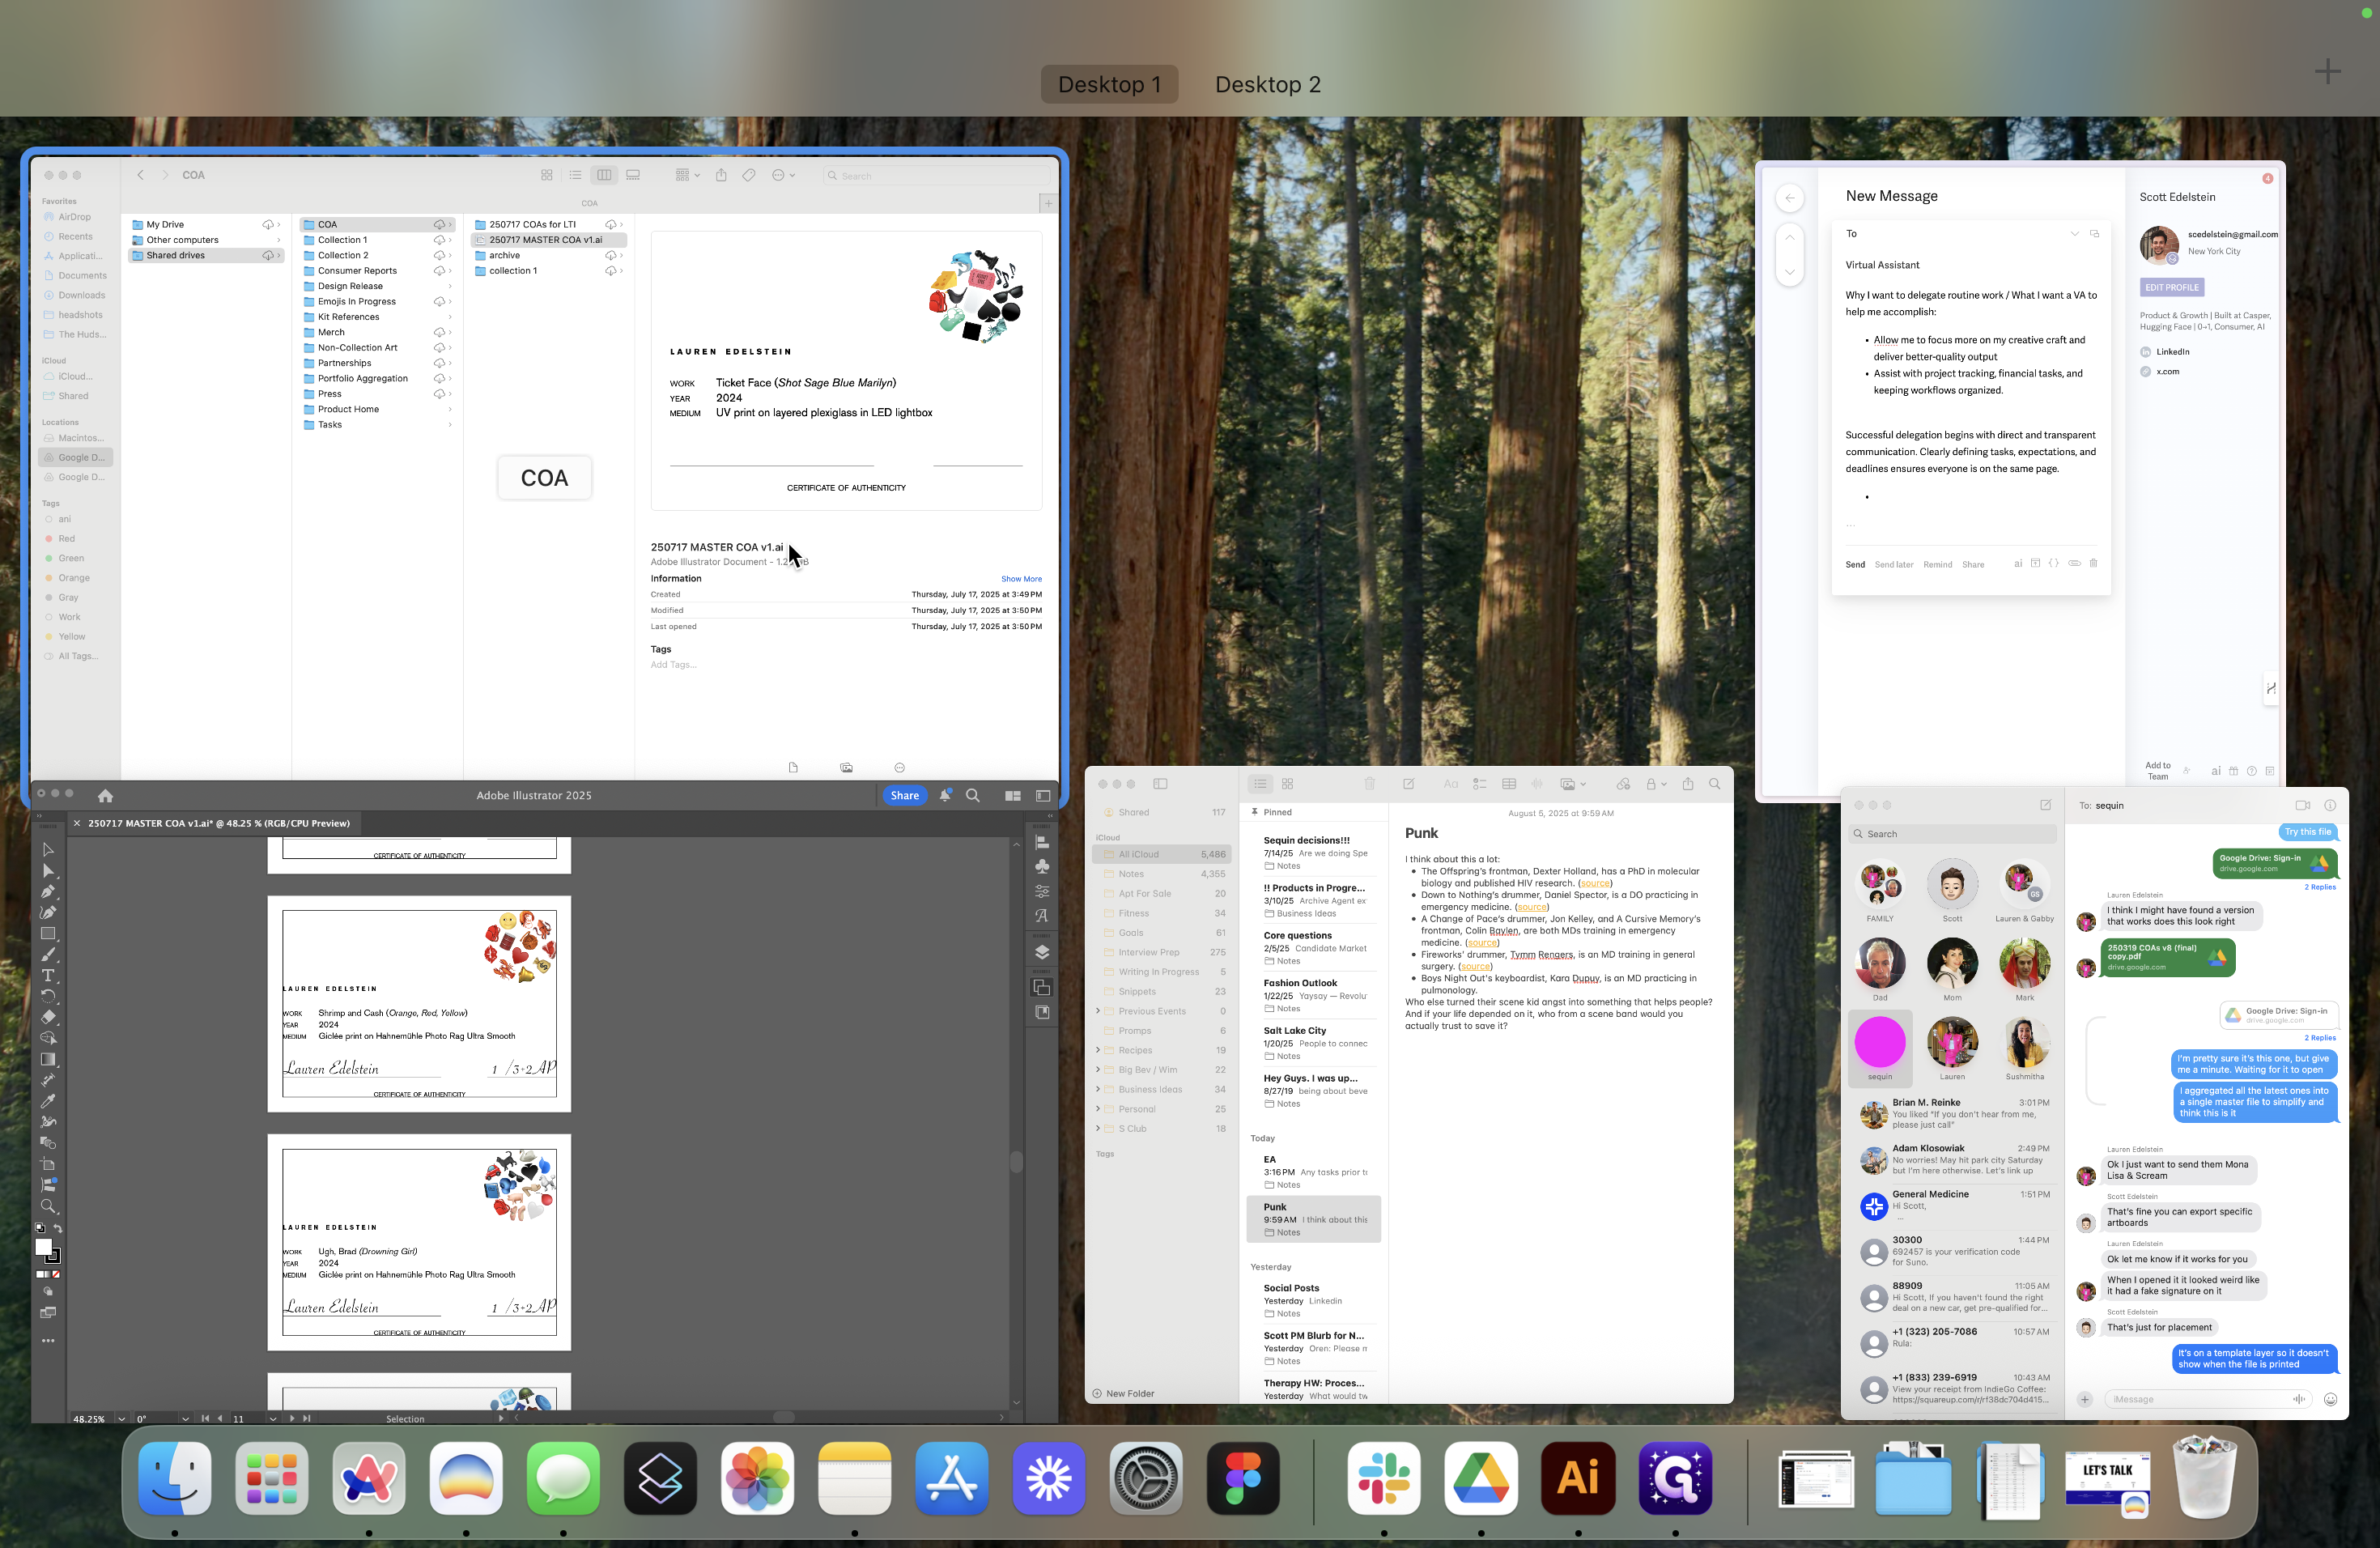
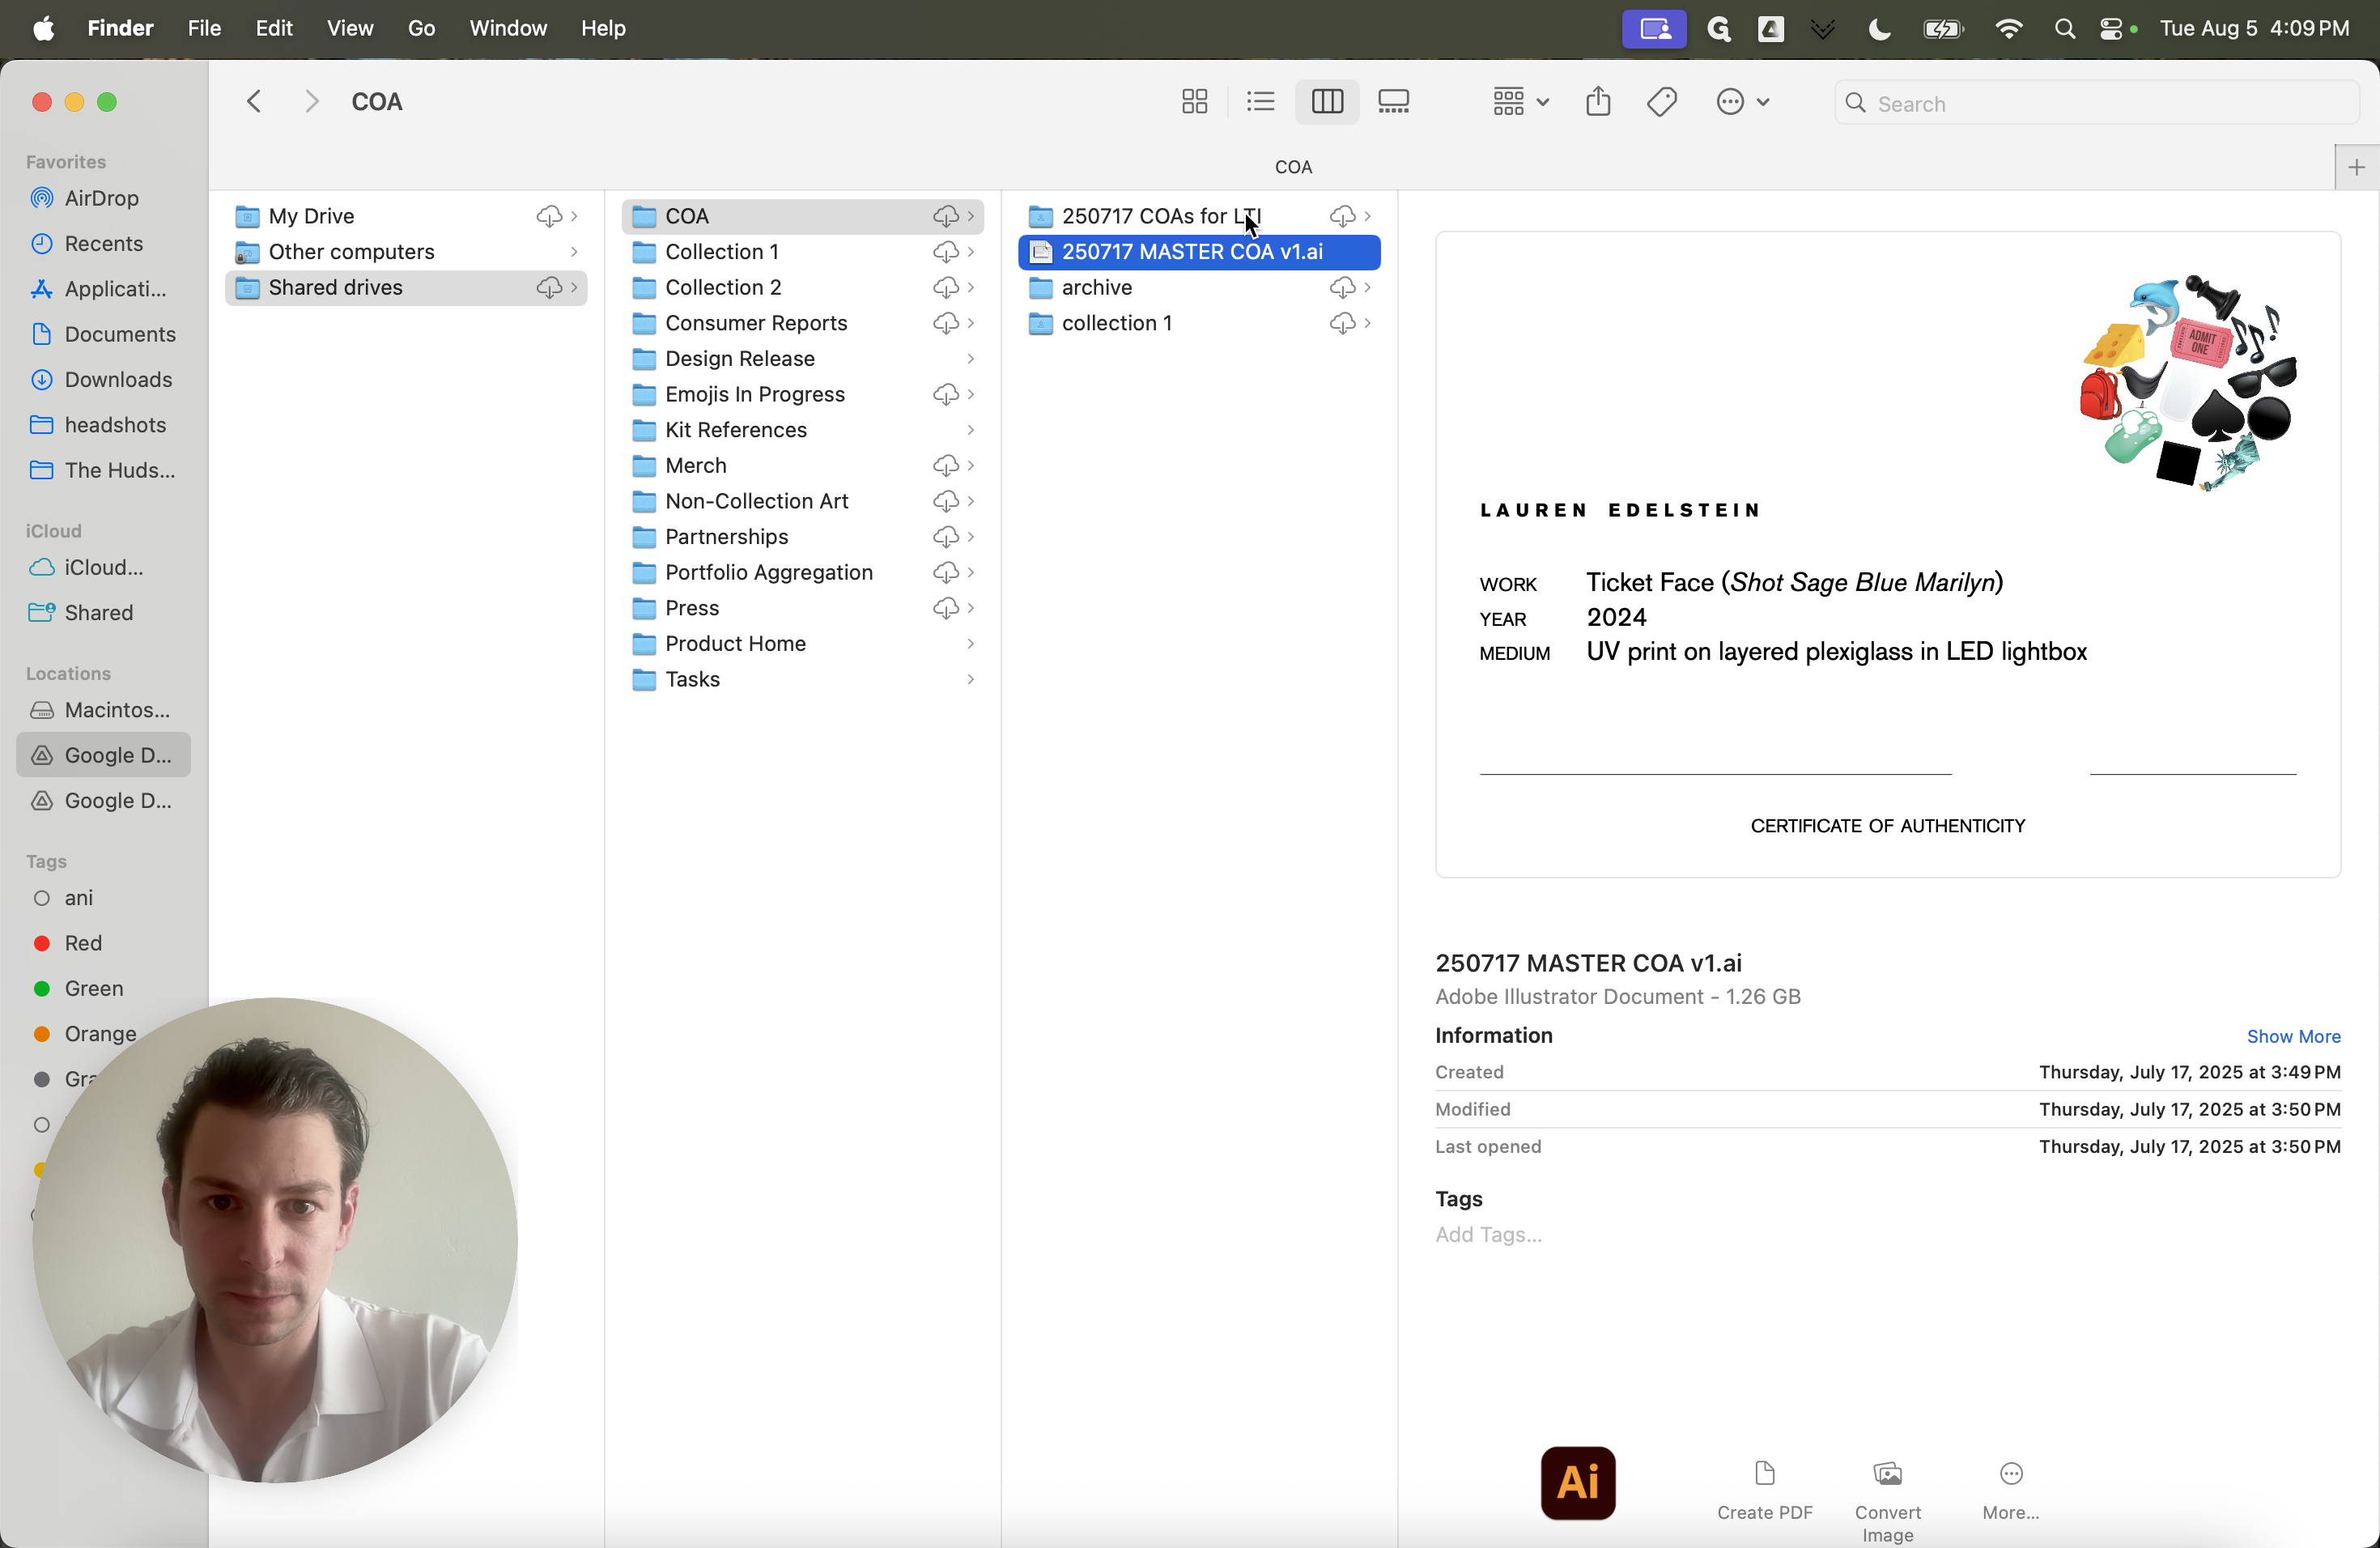
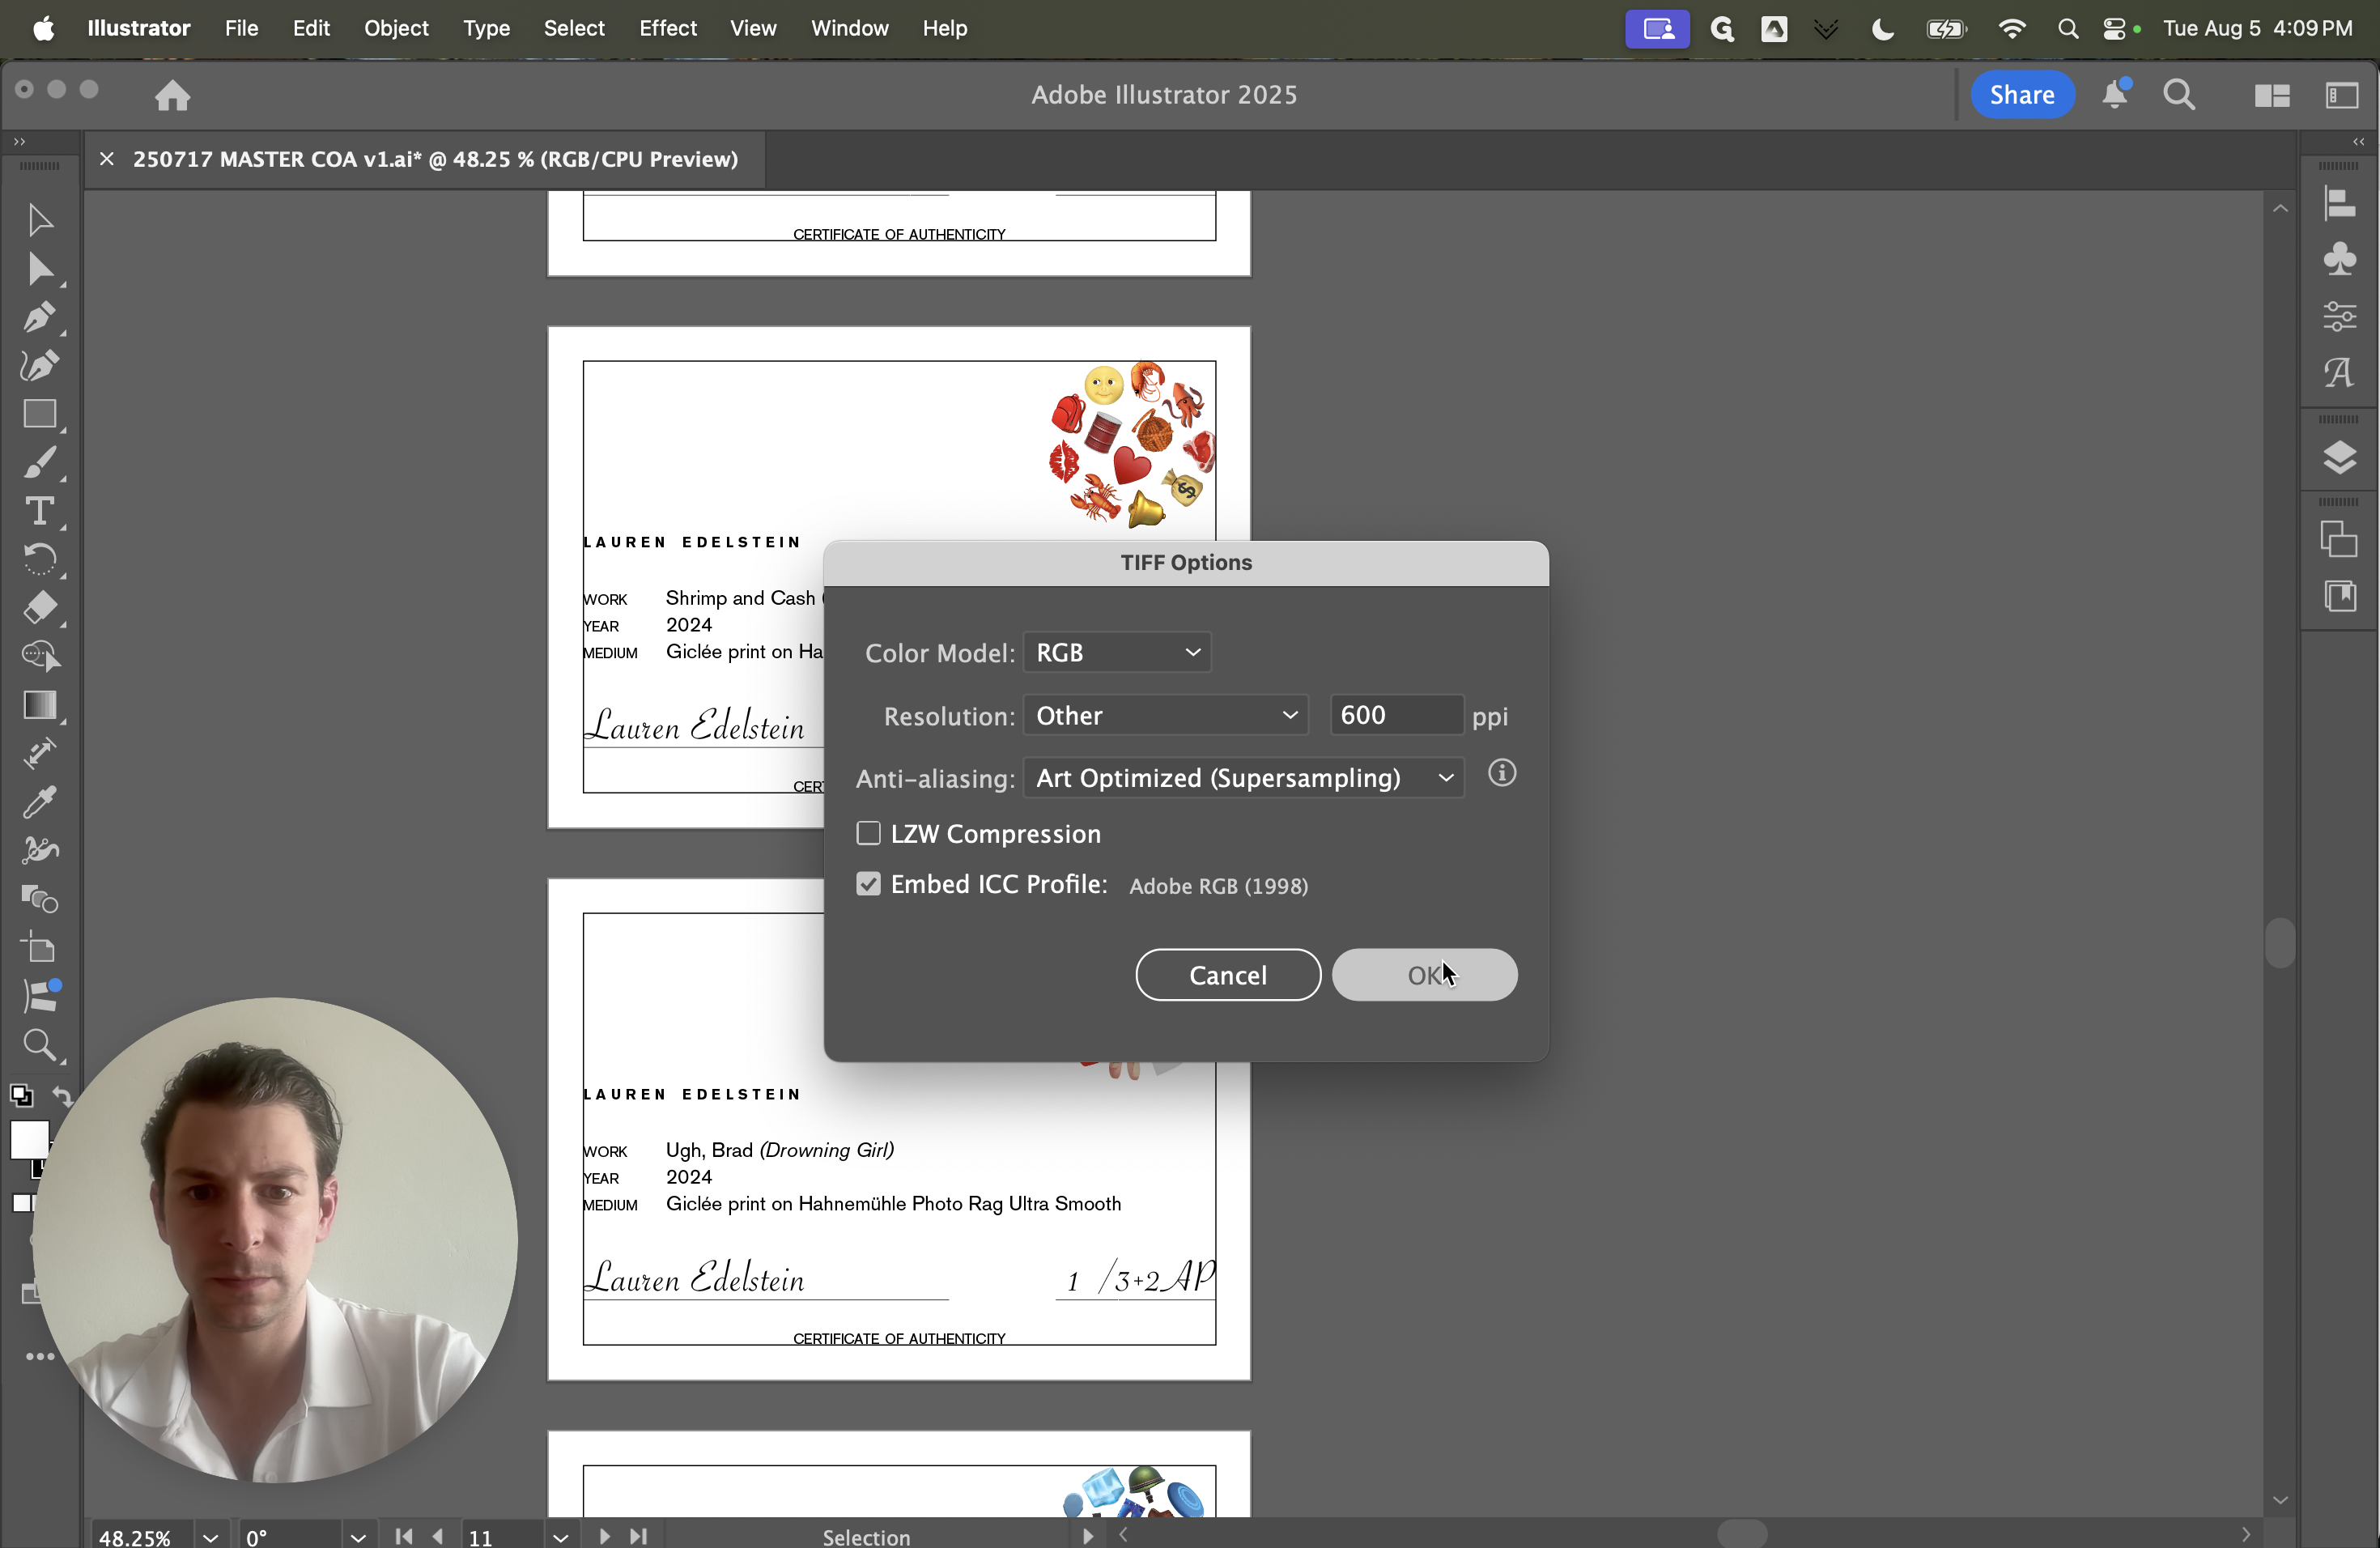
I have the master COA file open and have been adding each new COA we create, updating the date as needed. This way, everything is in the same format and easy to find when we need to print, especially since we just sold a new edition of work. The box around the text, the signature, and the edition number are all added in Illustrator on a template layer. You will write the signature and edition number with a pen.

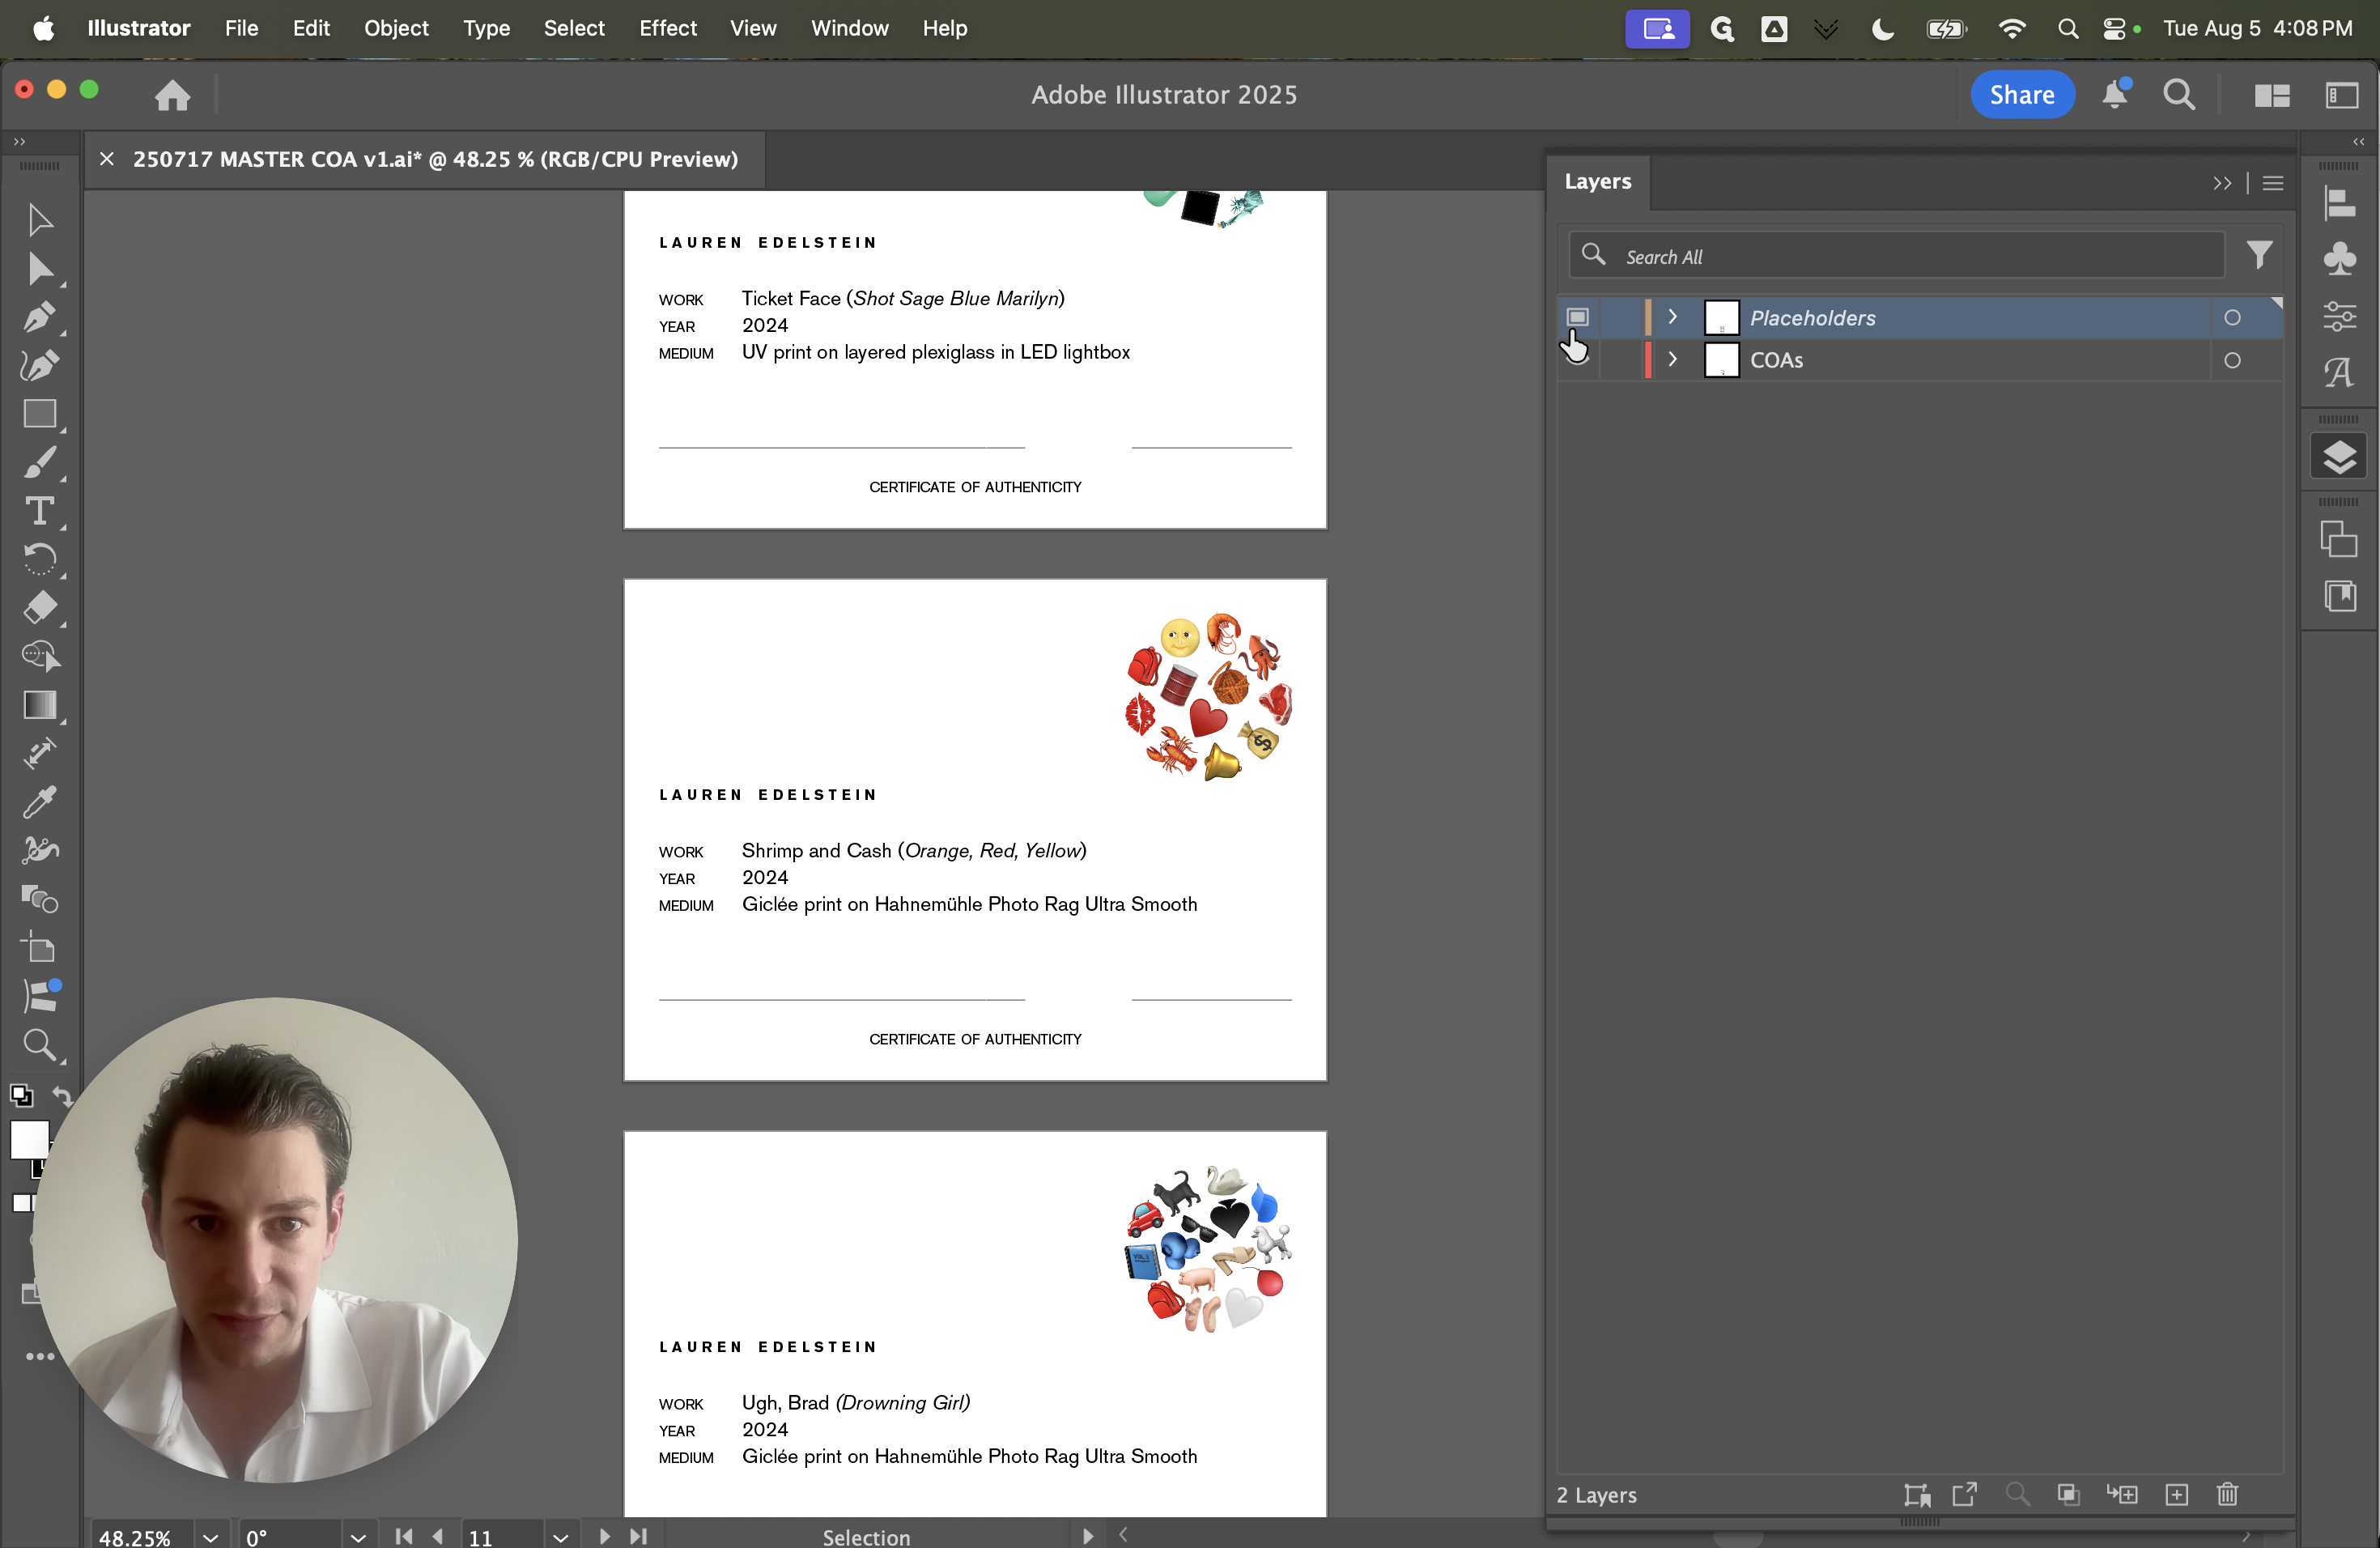
We can do this if it helps you, just to see.
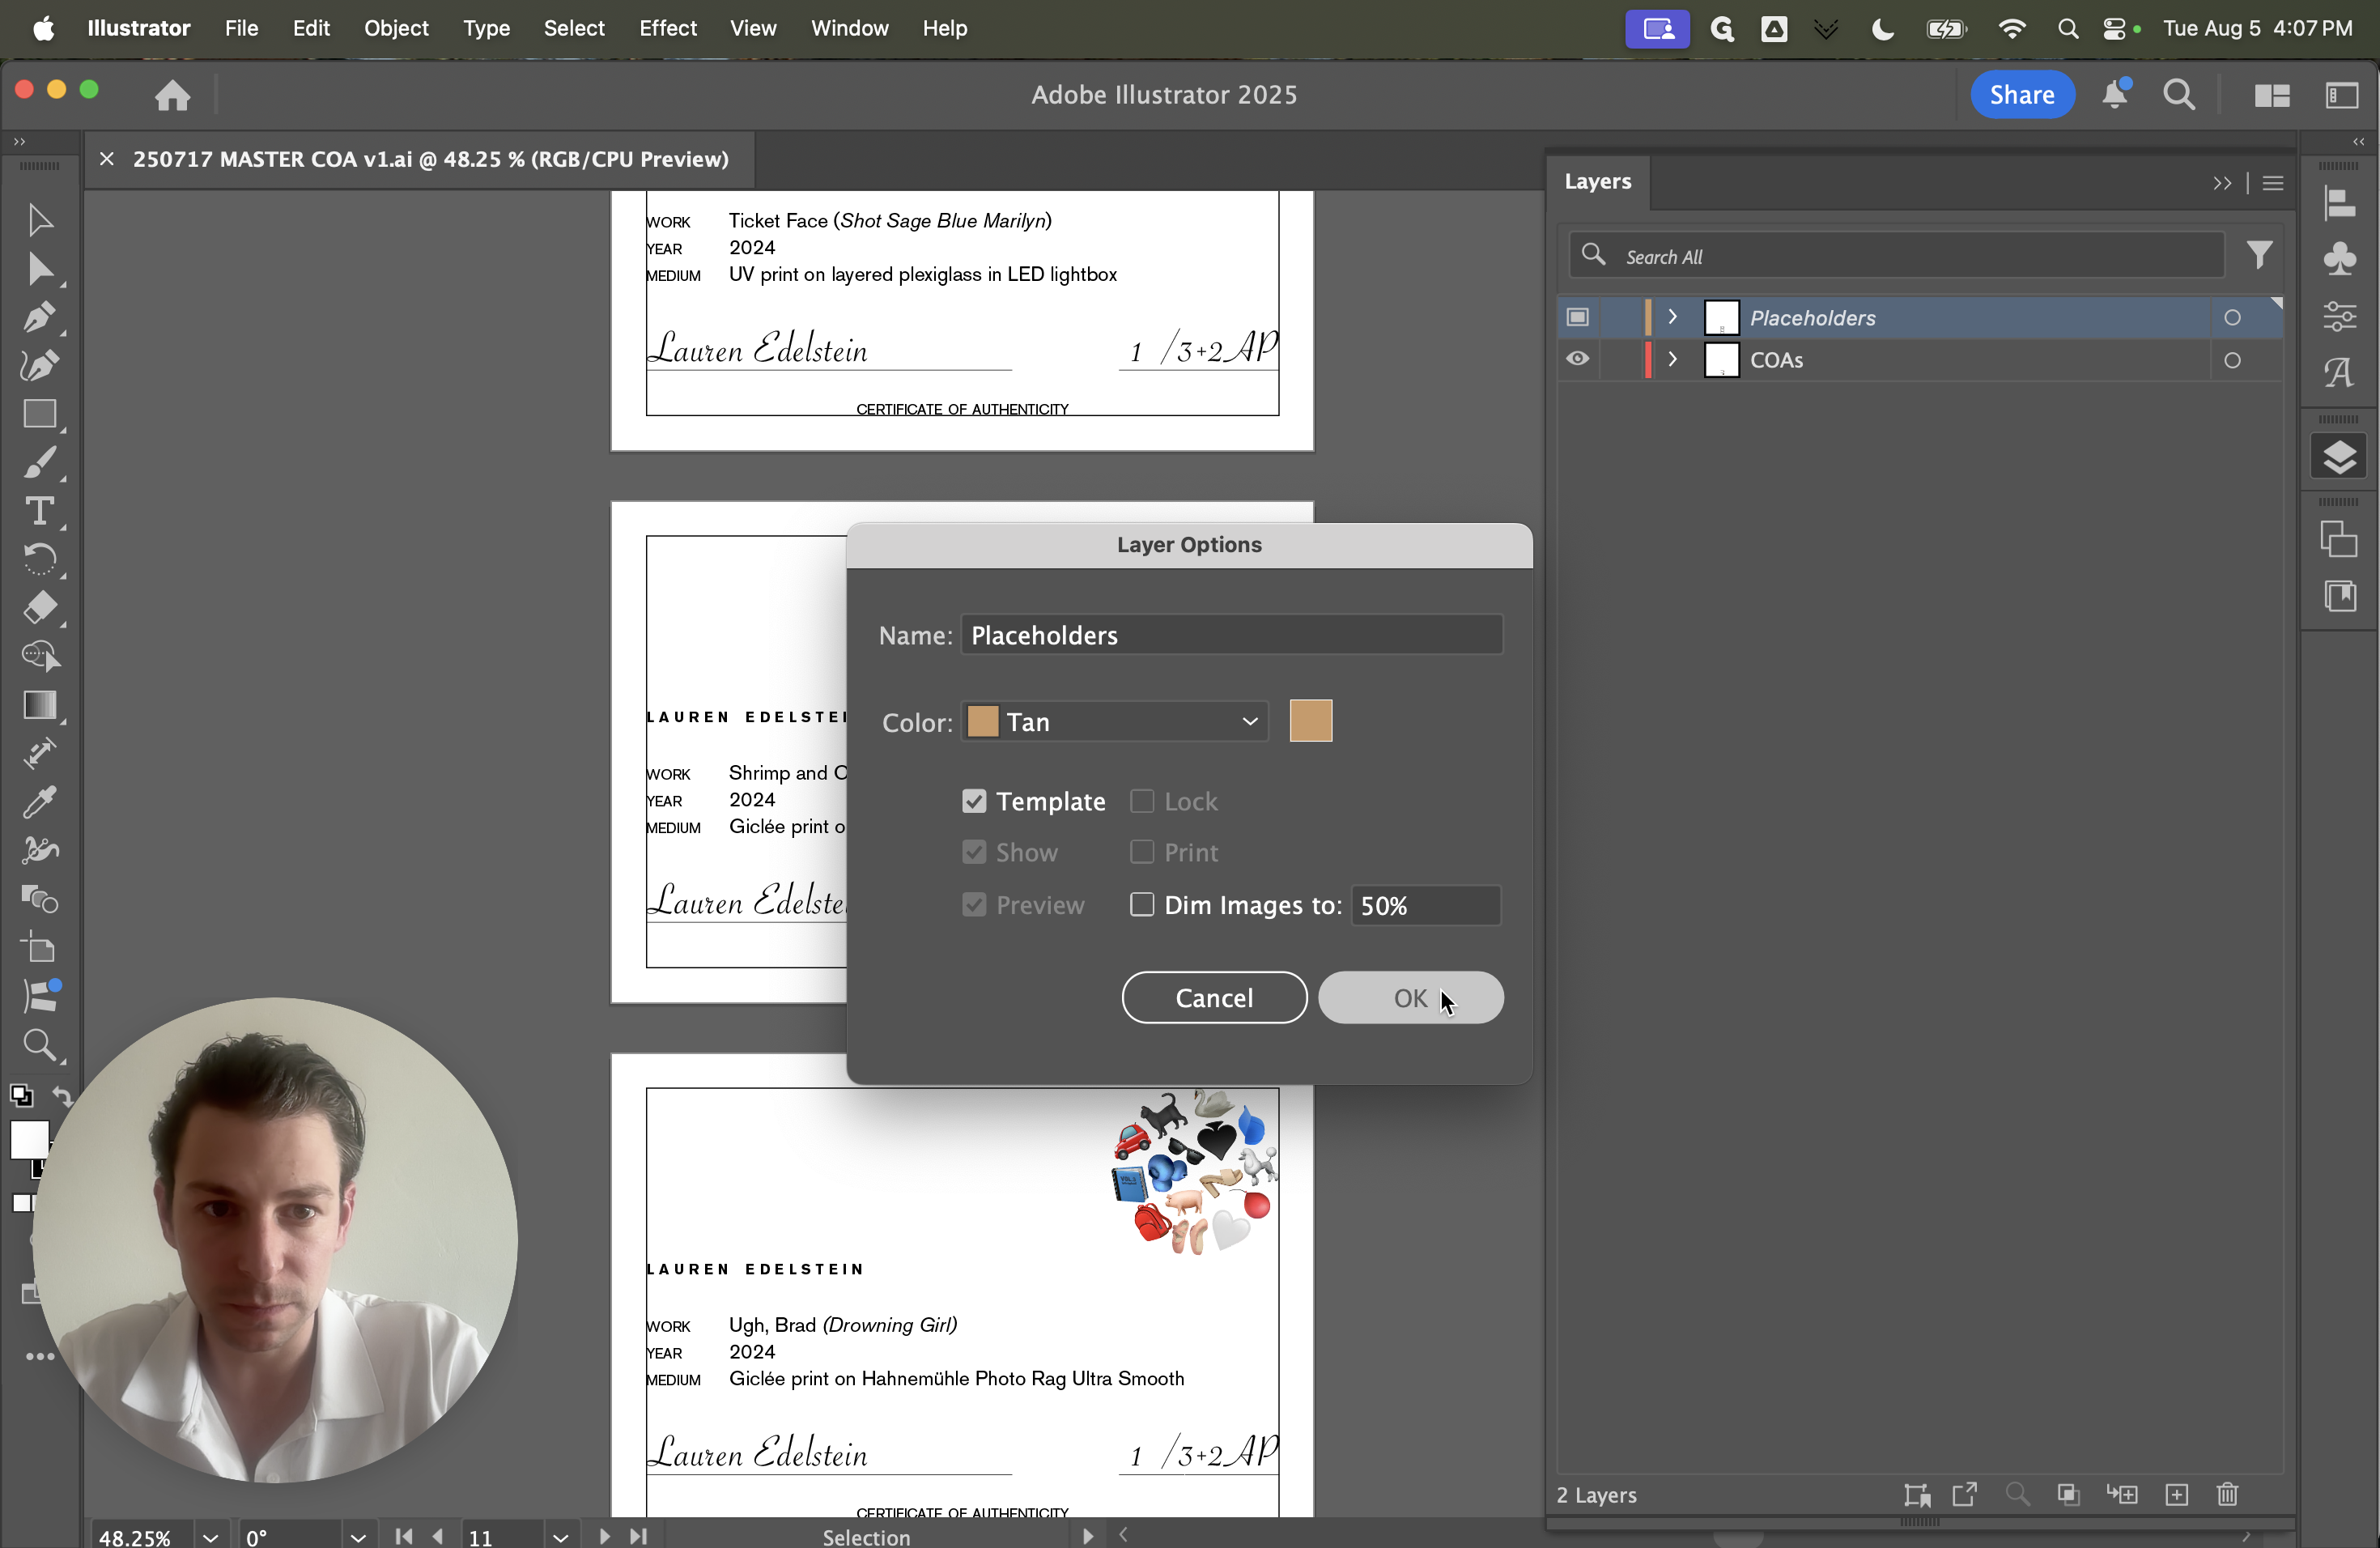
Even if we leave this on, they won't print or export.
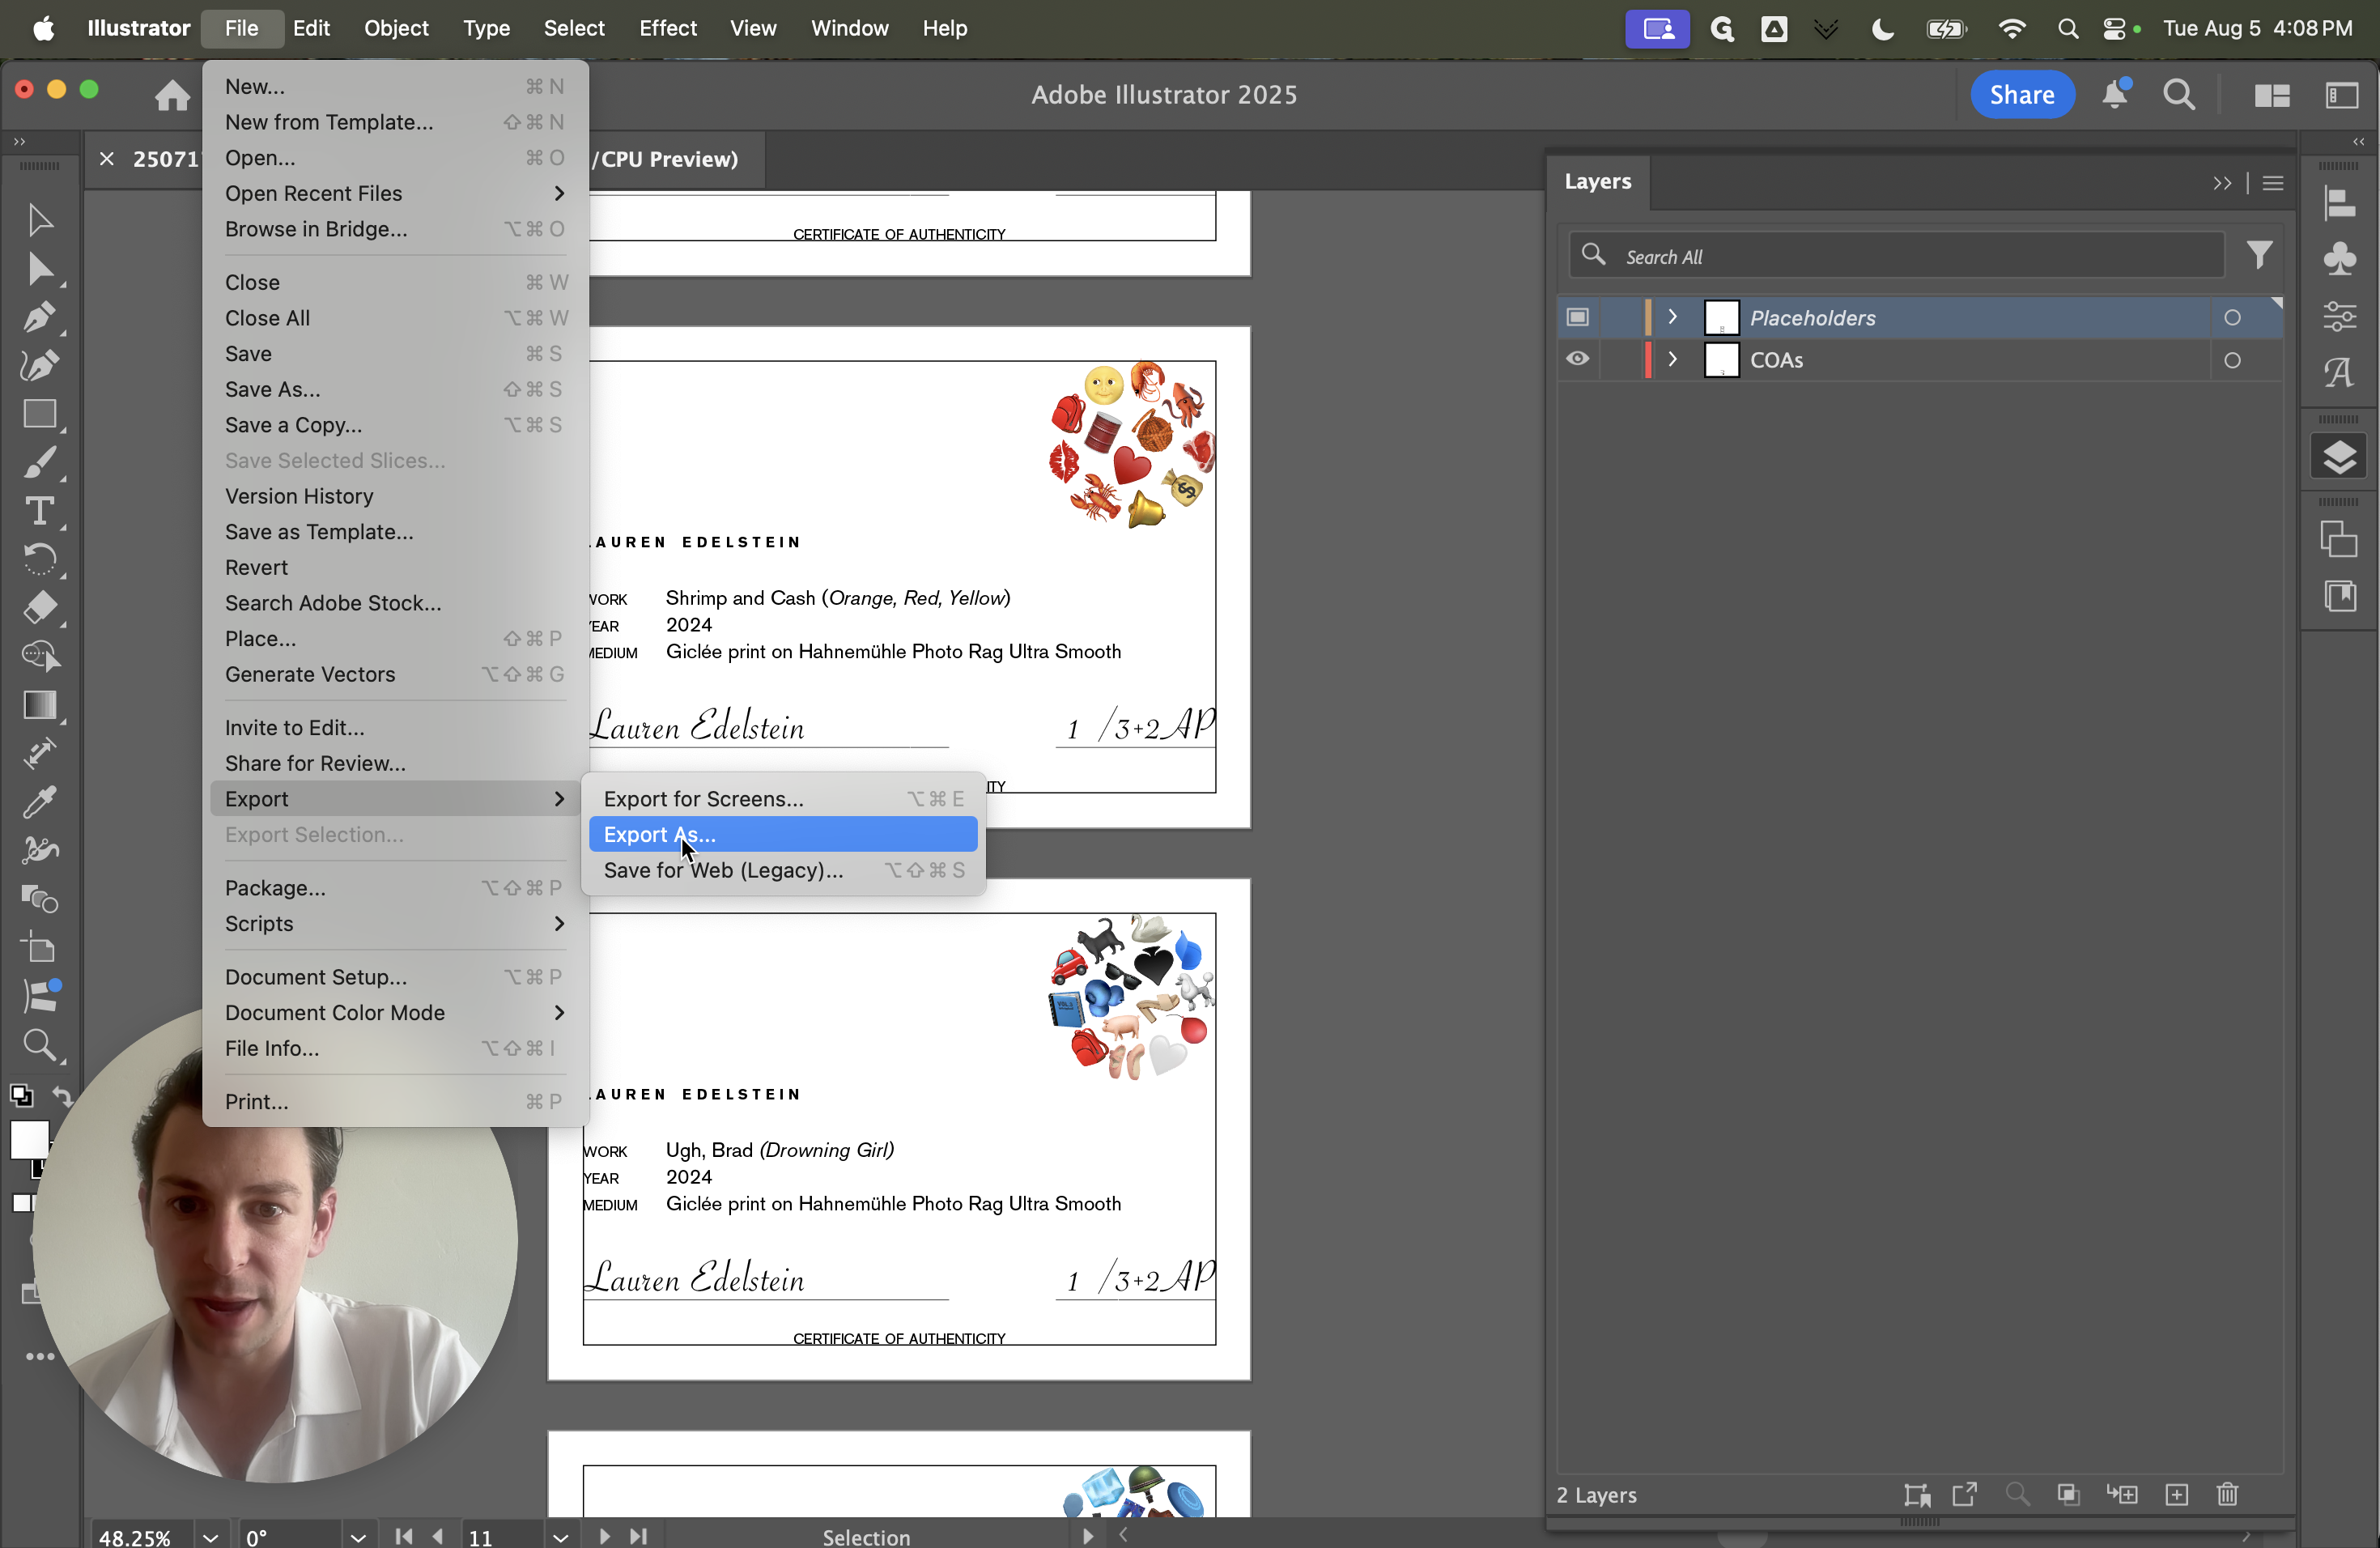
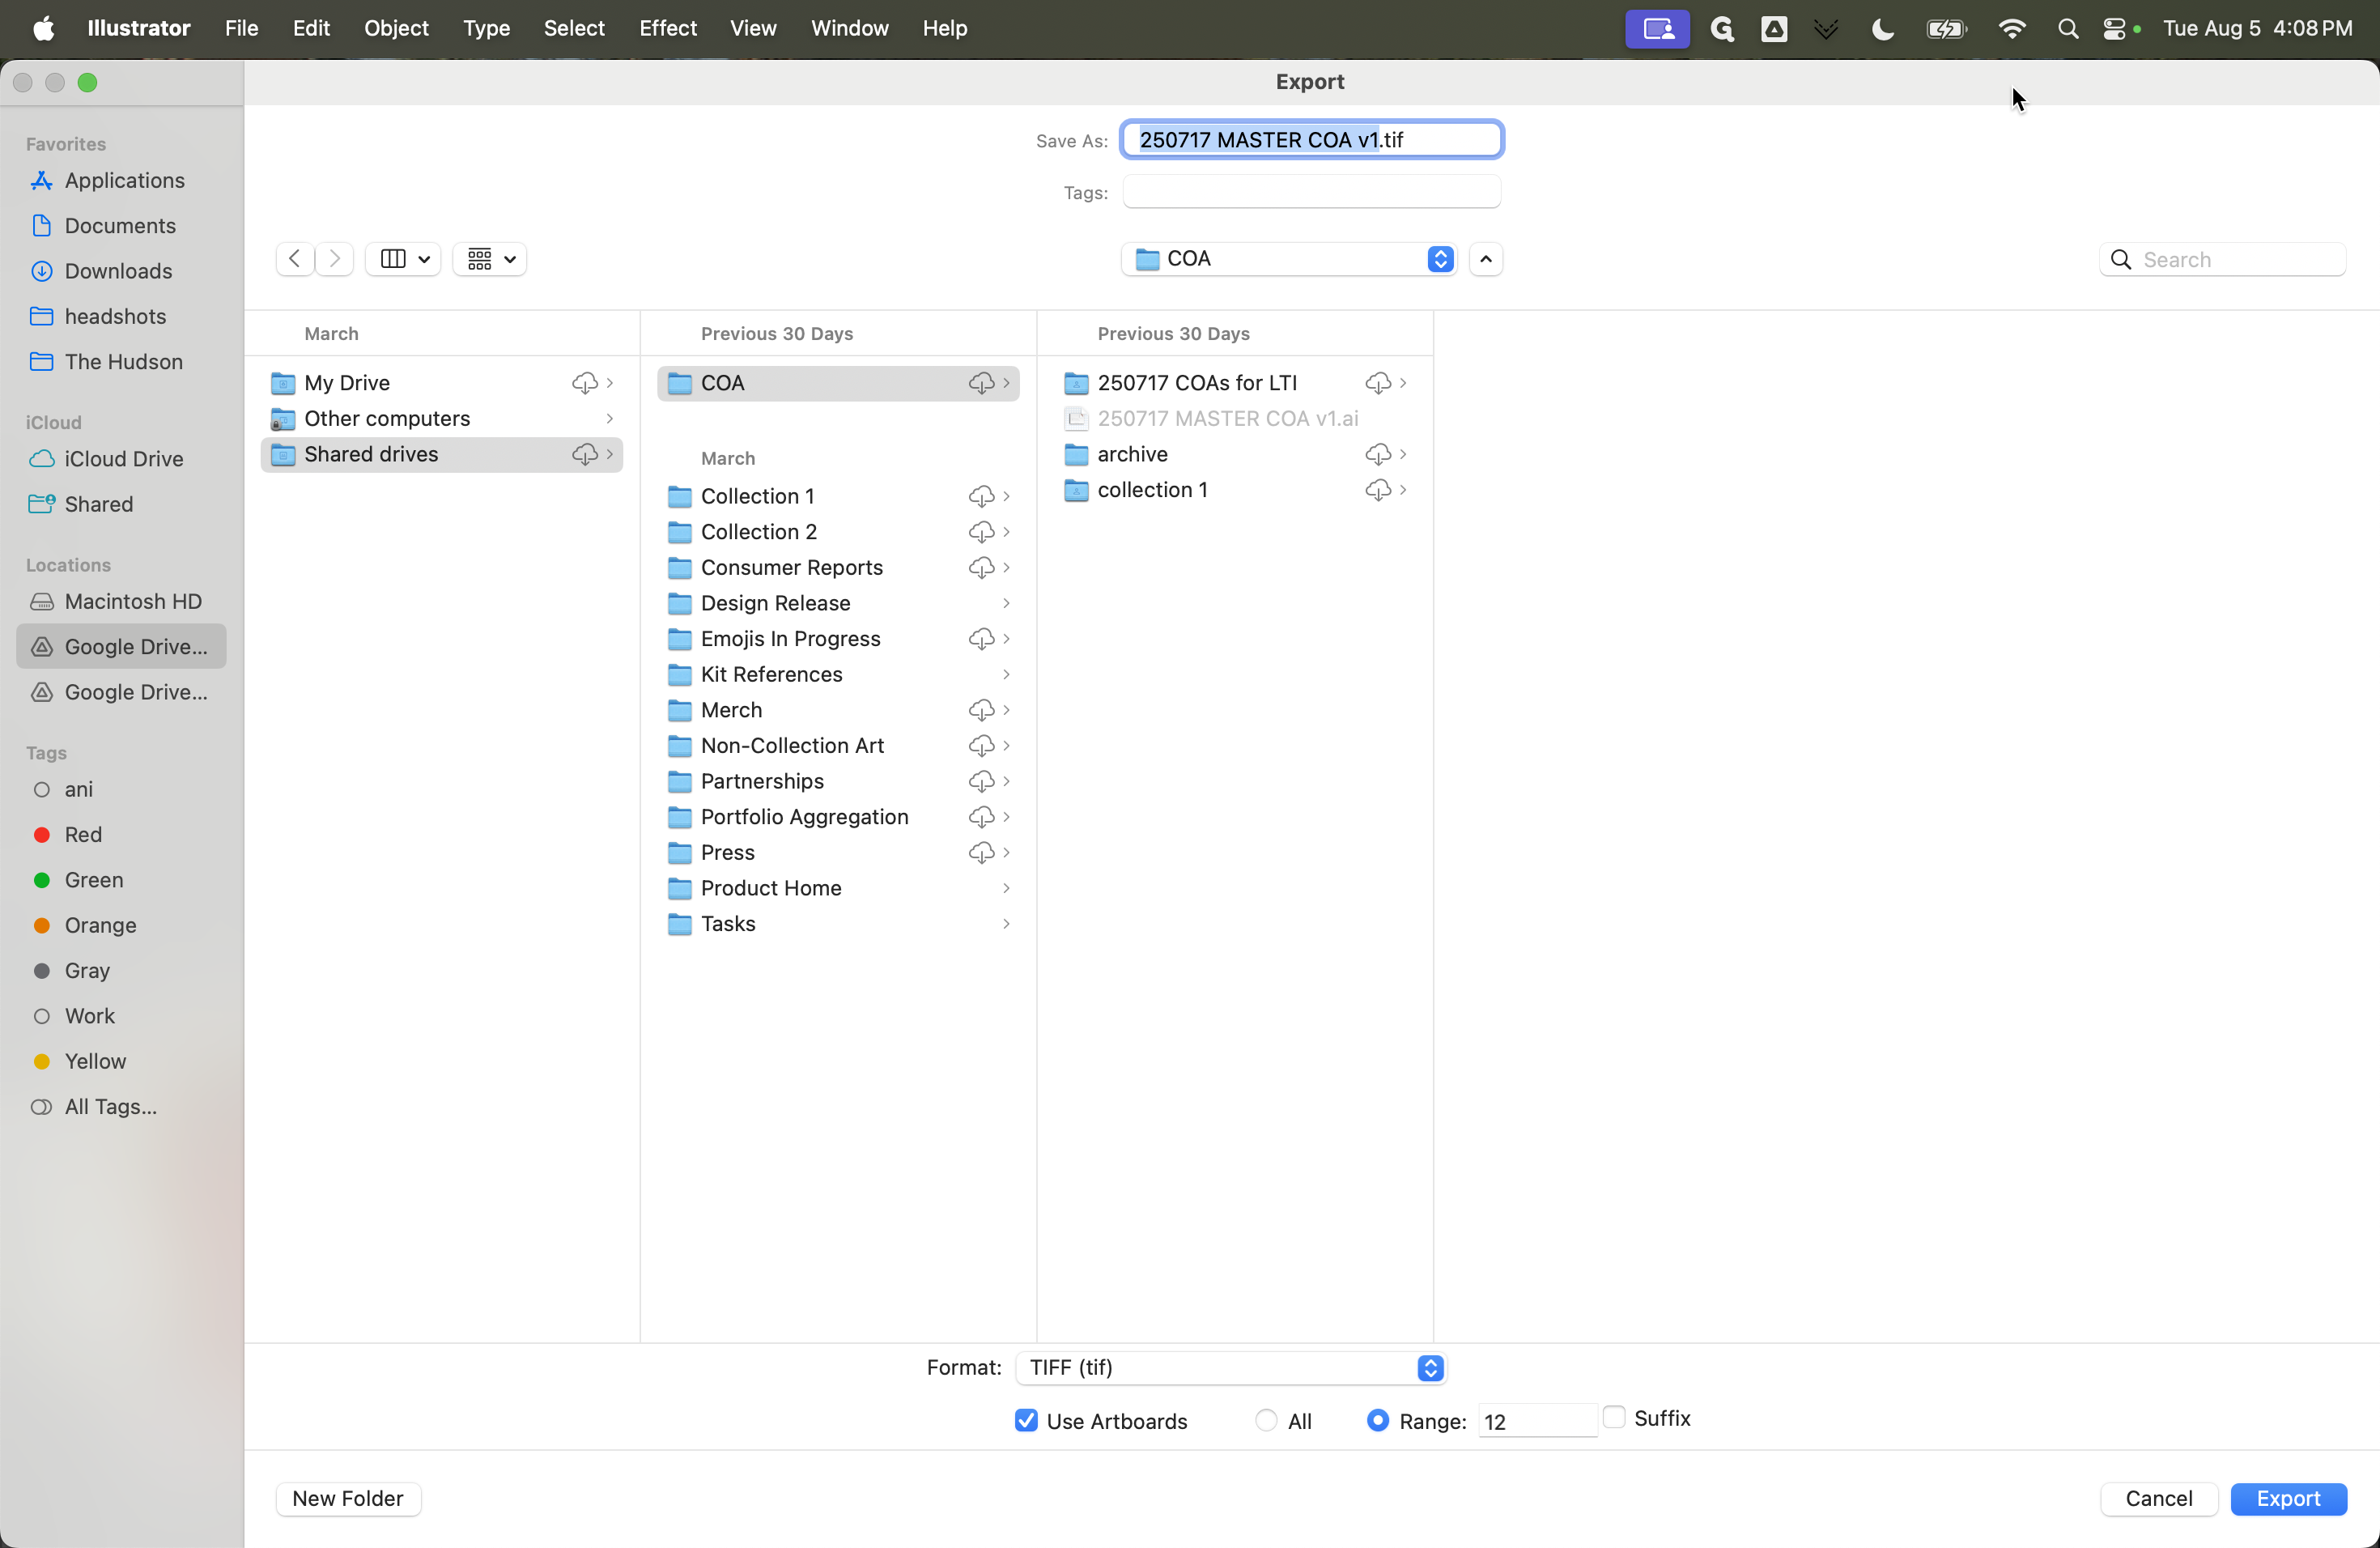
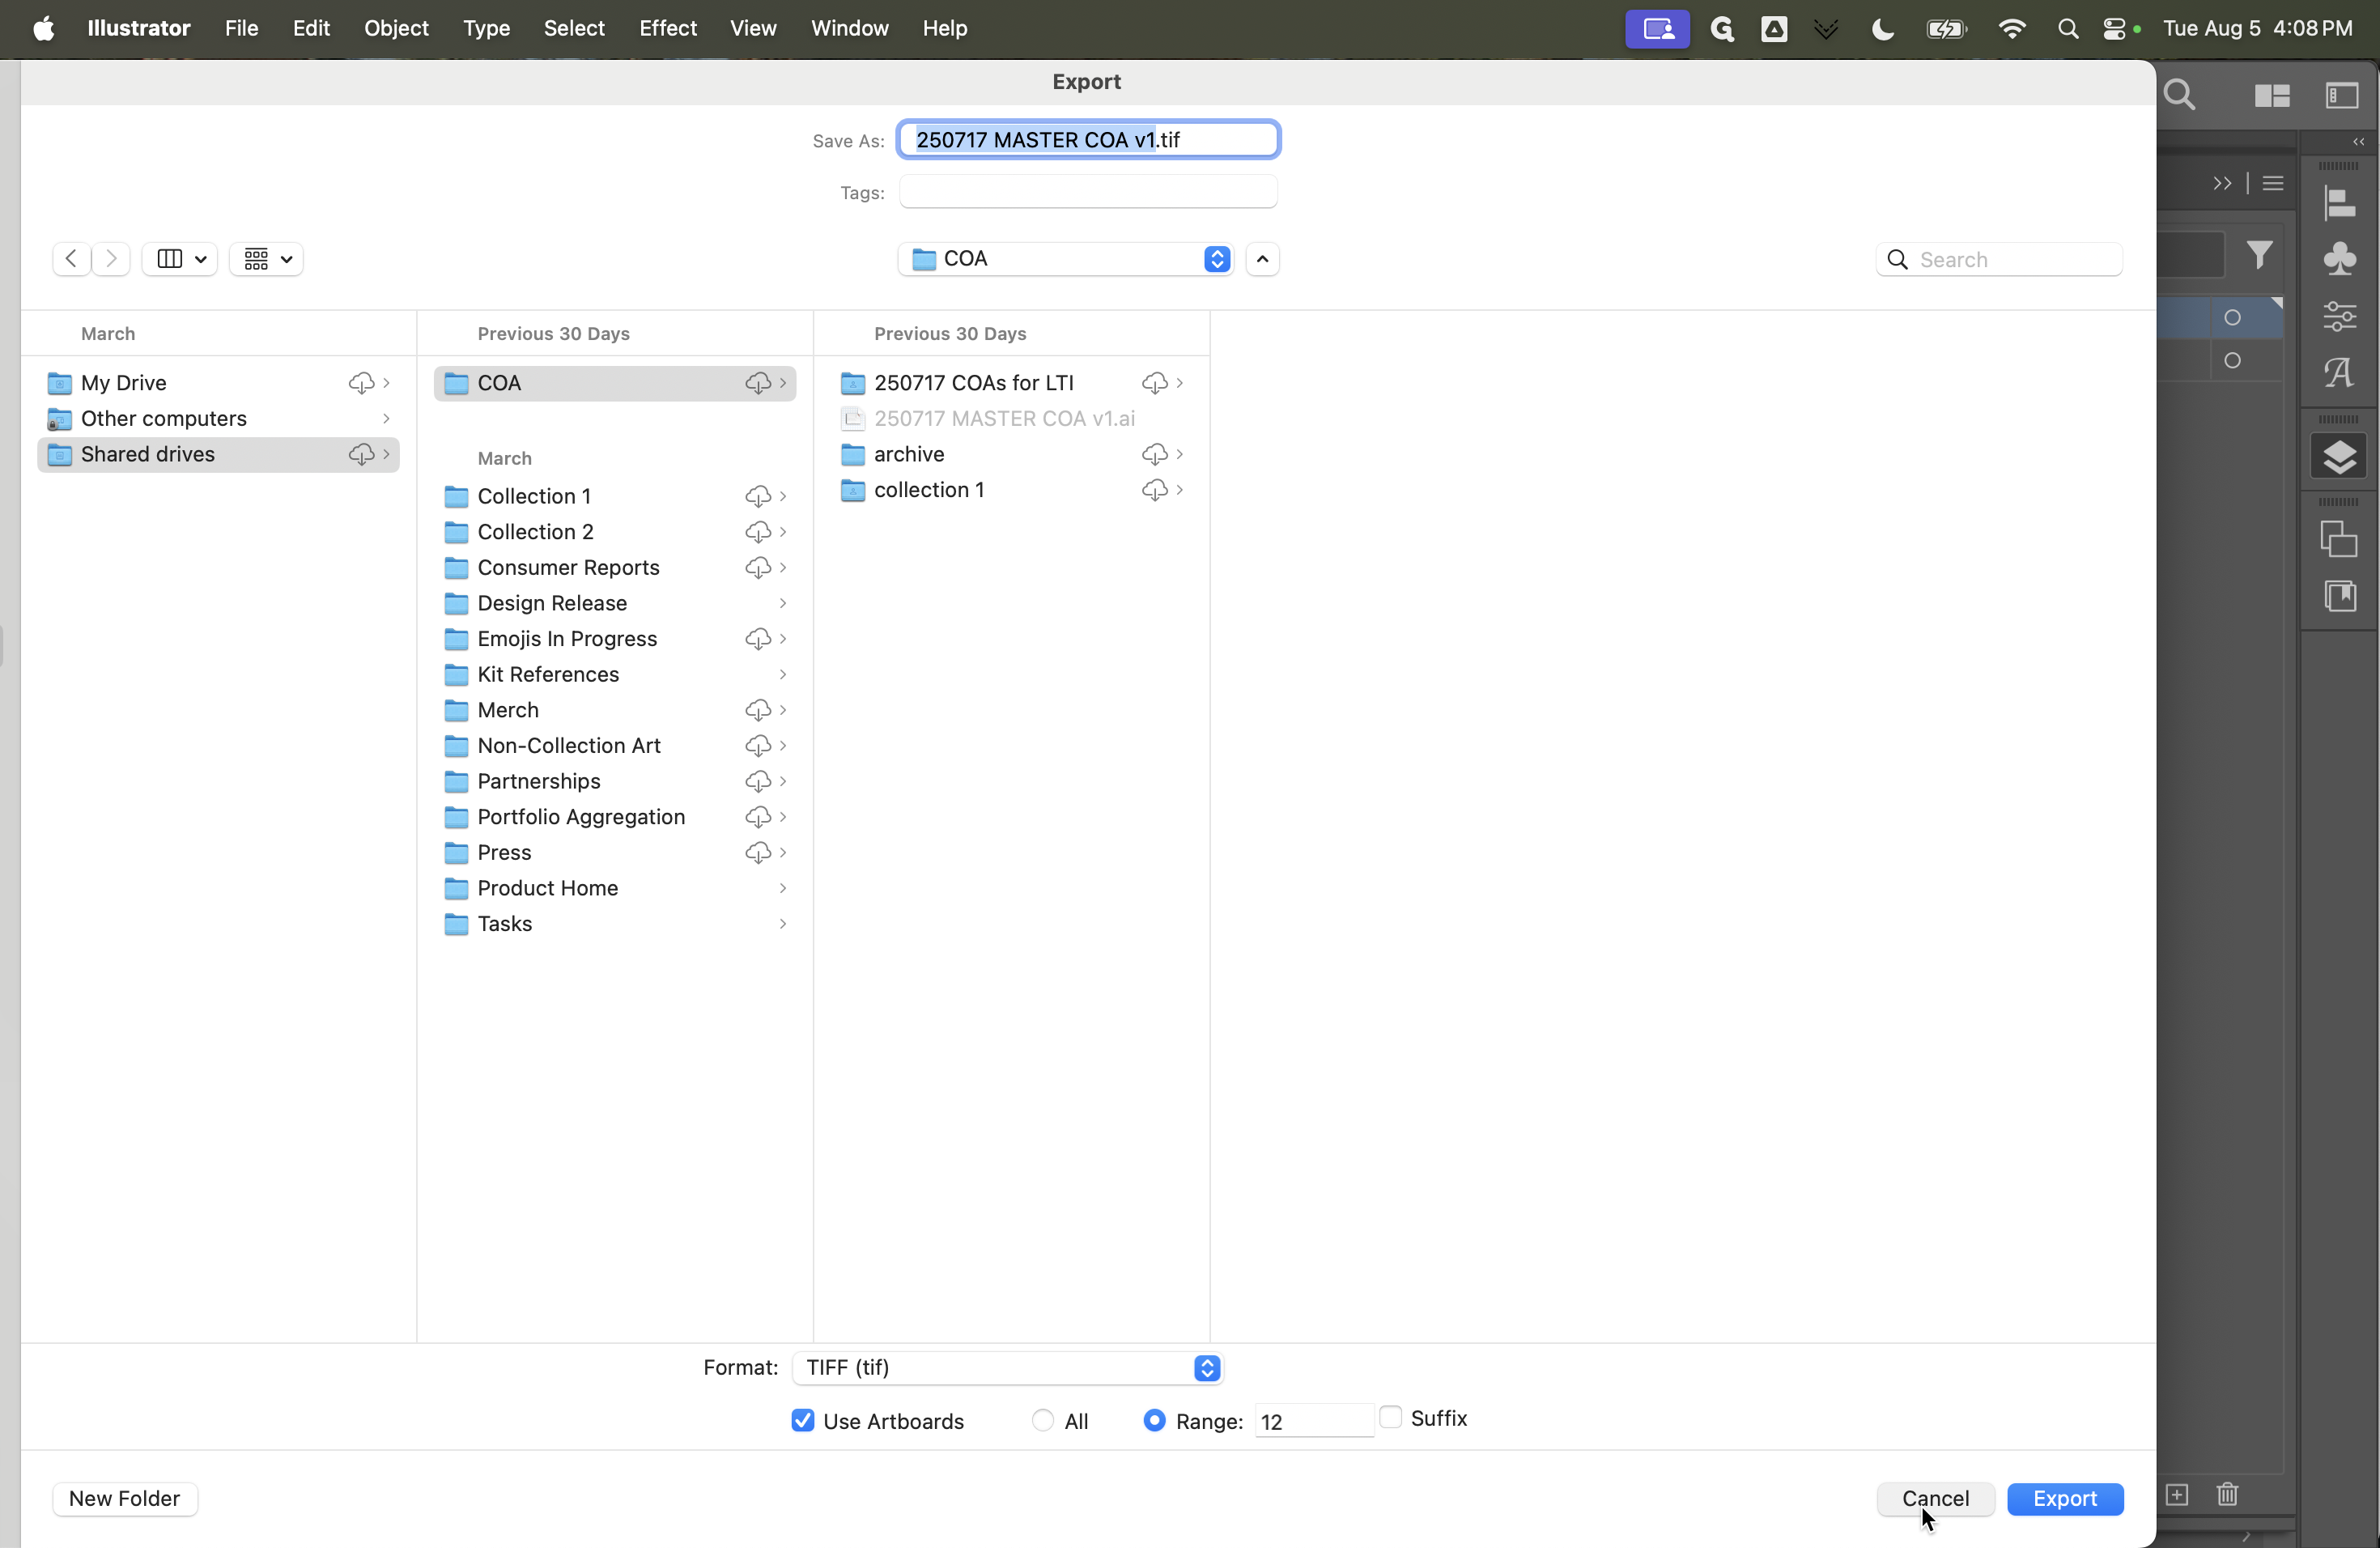
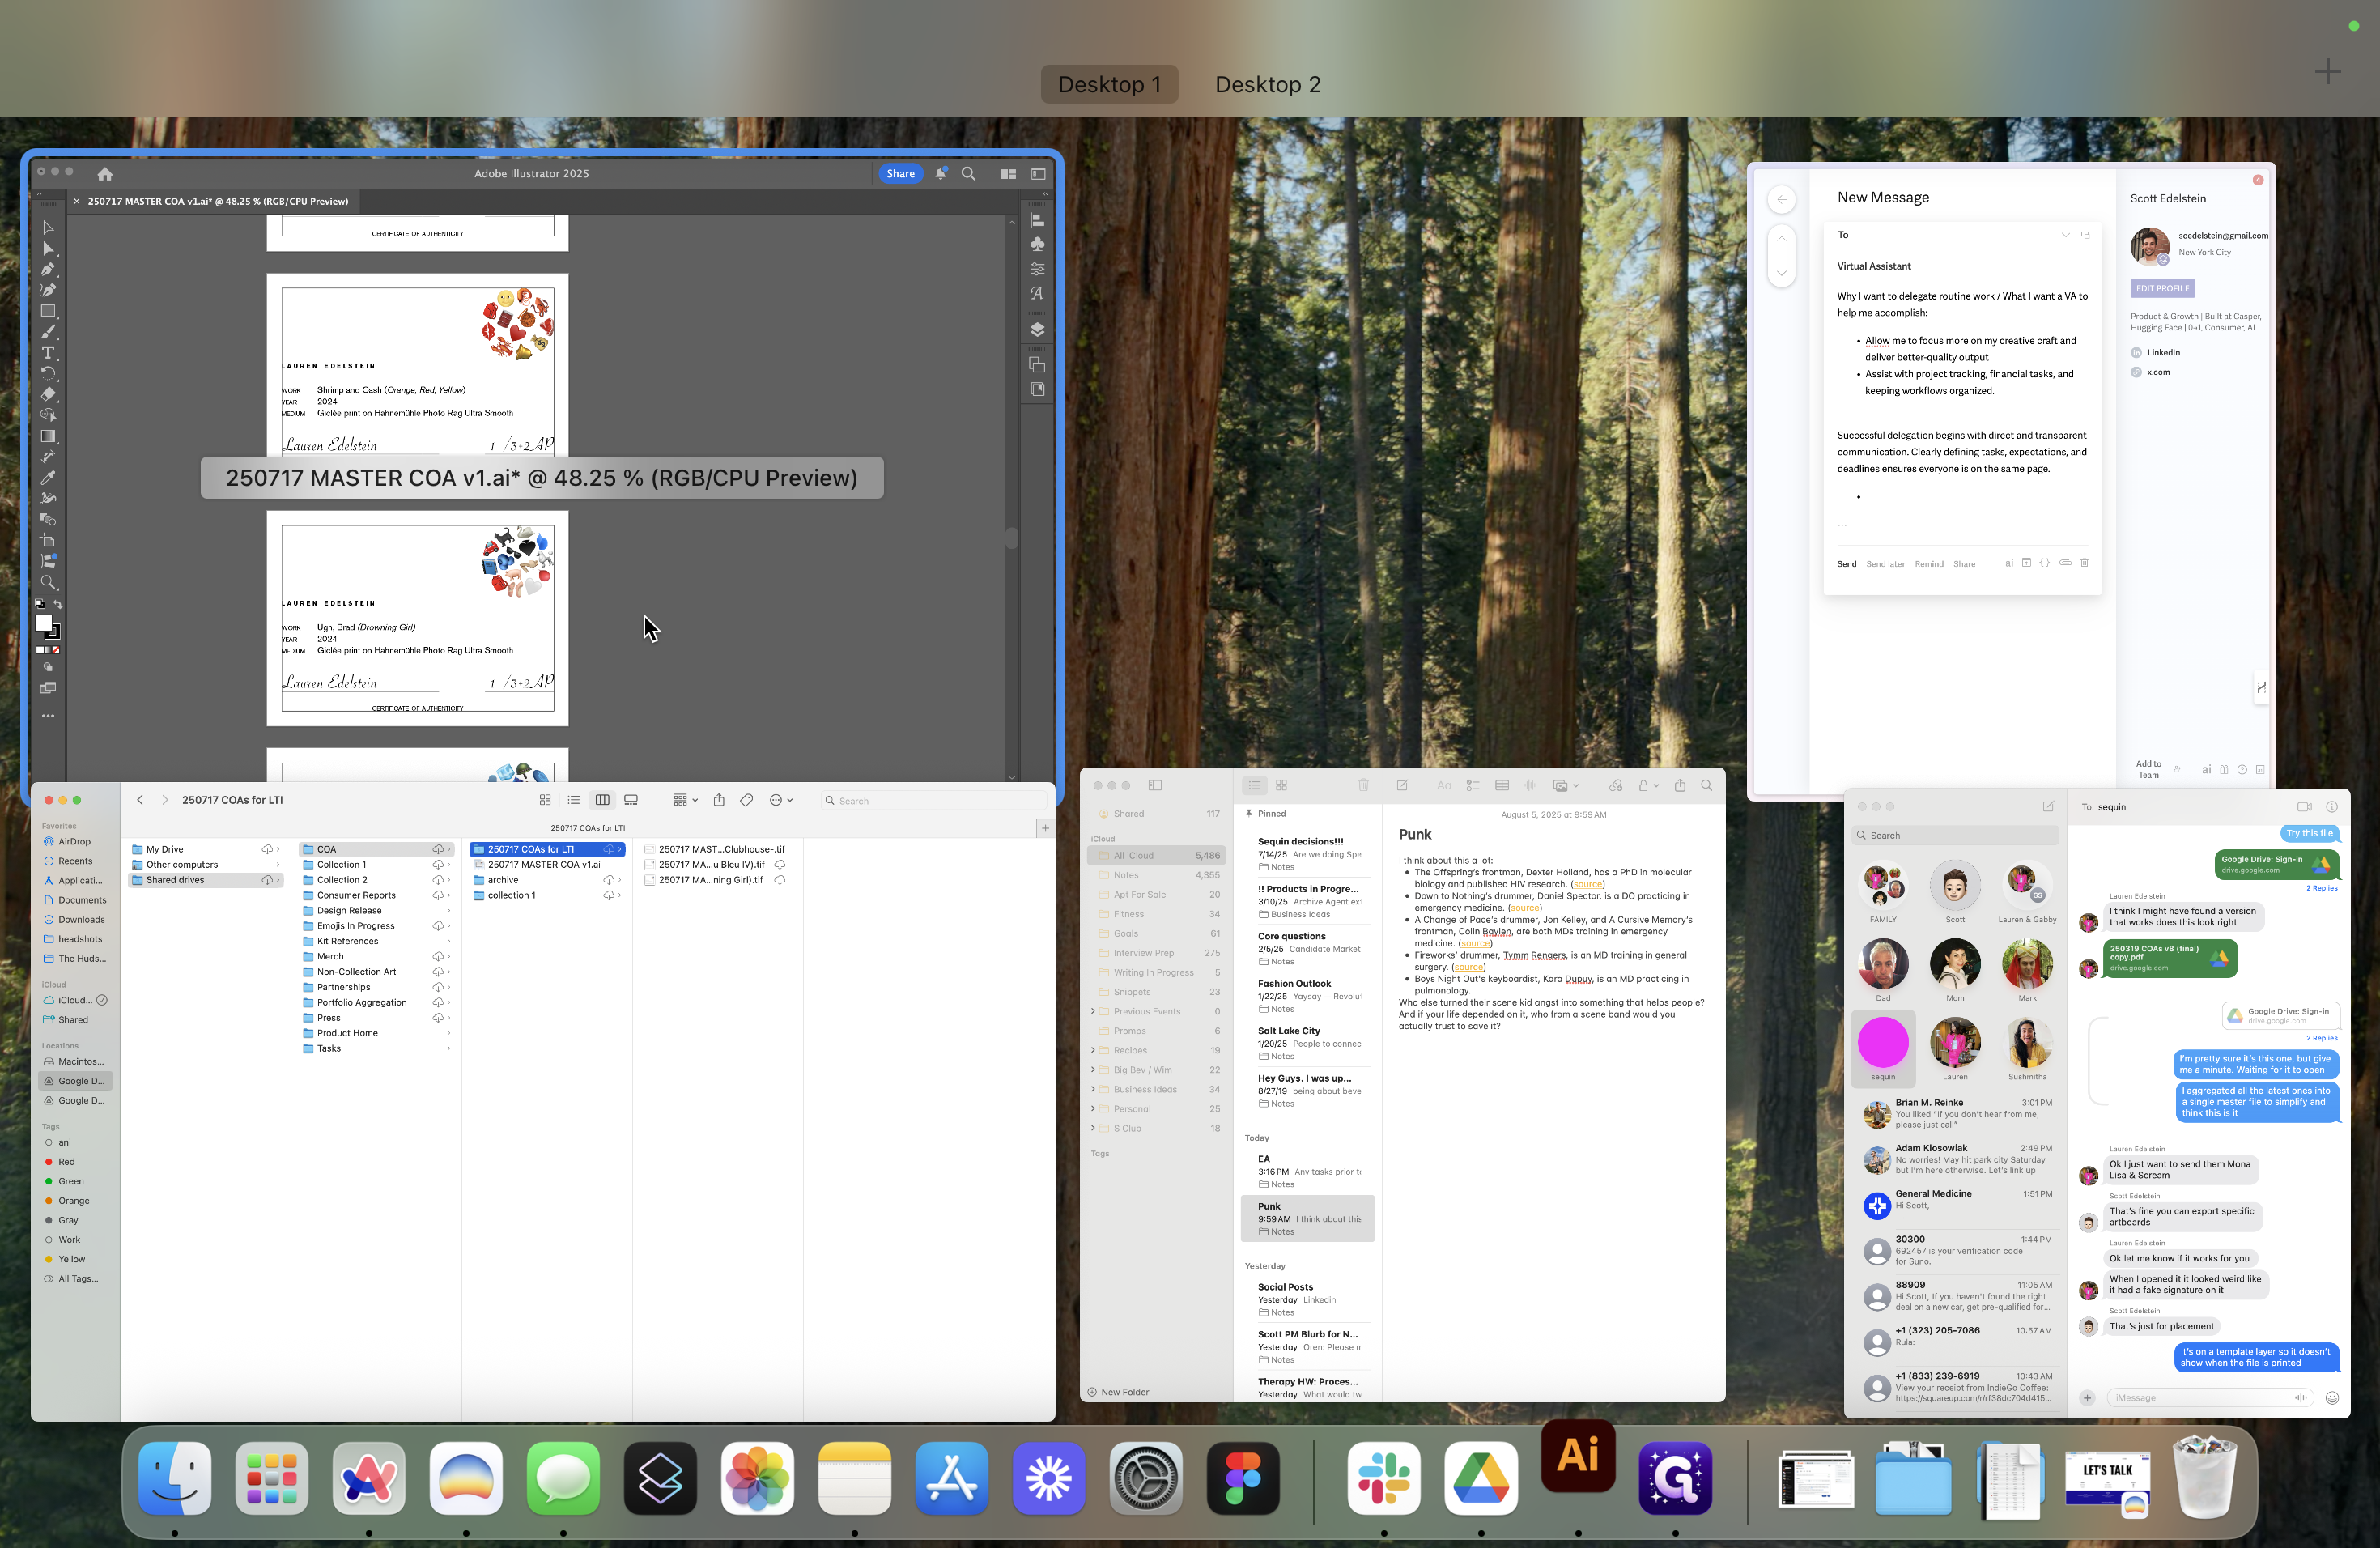
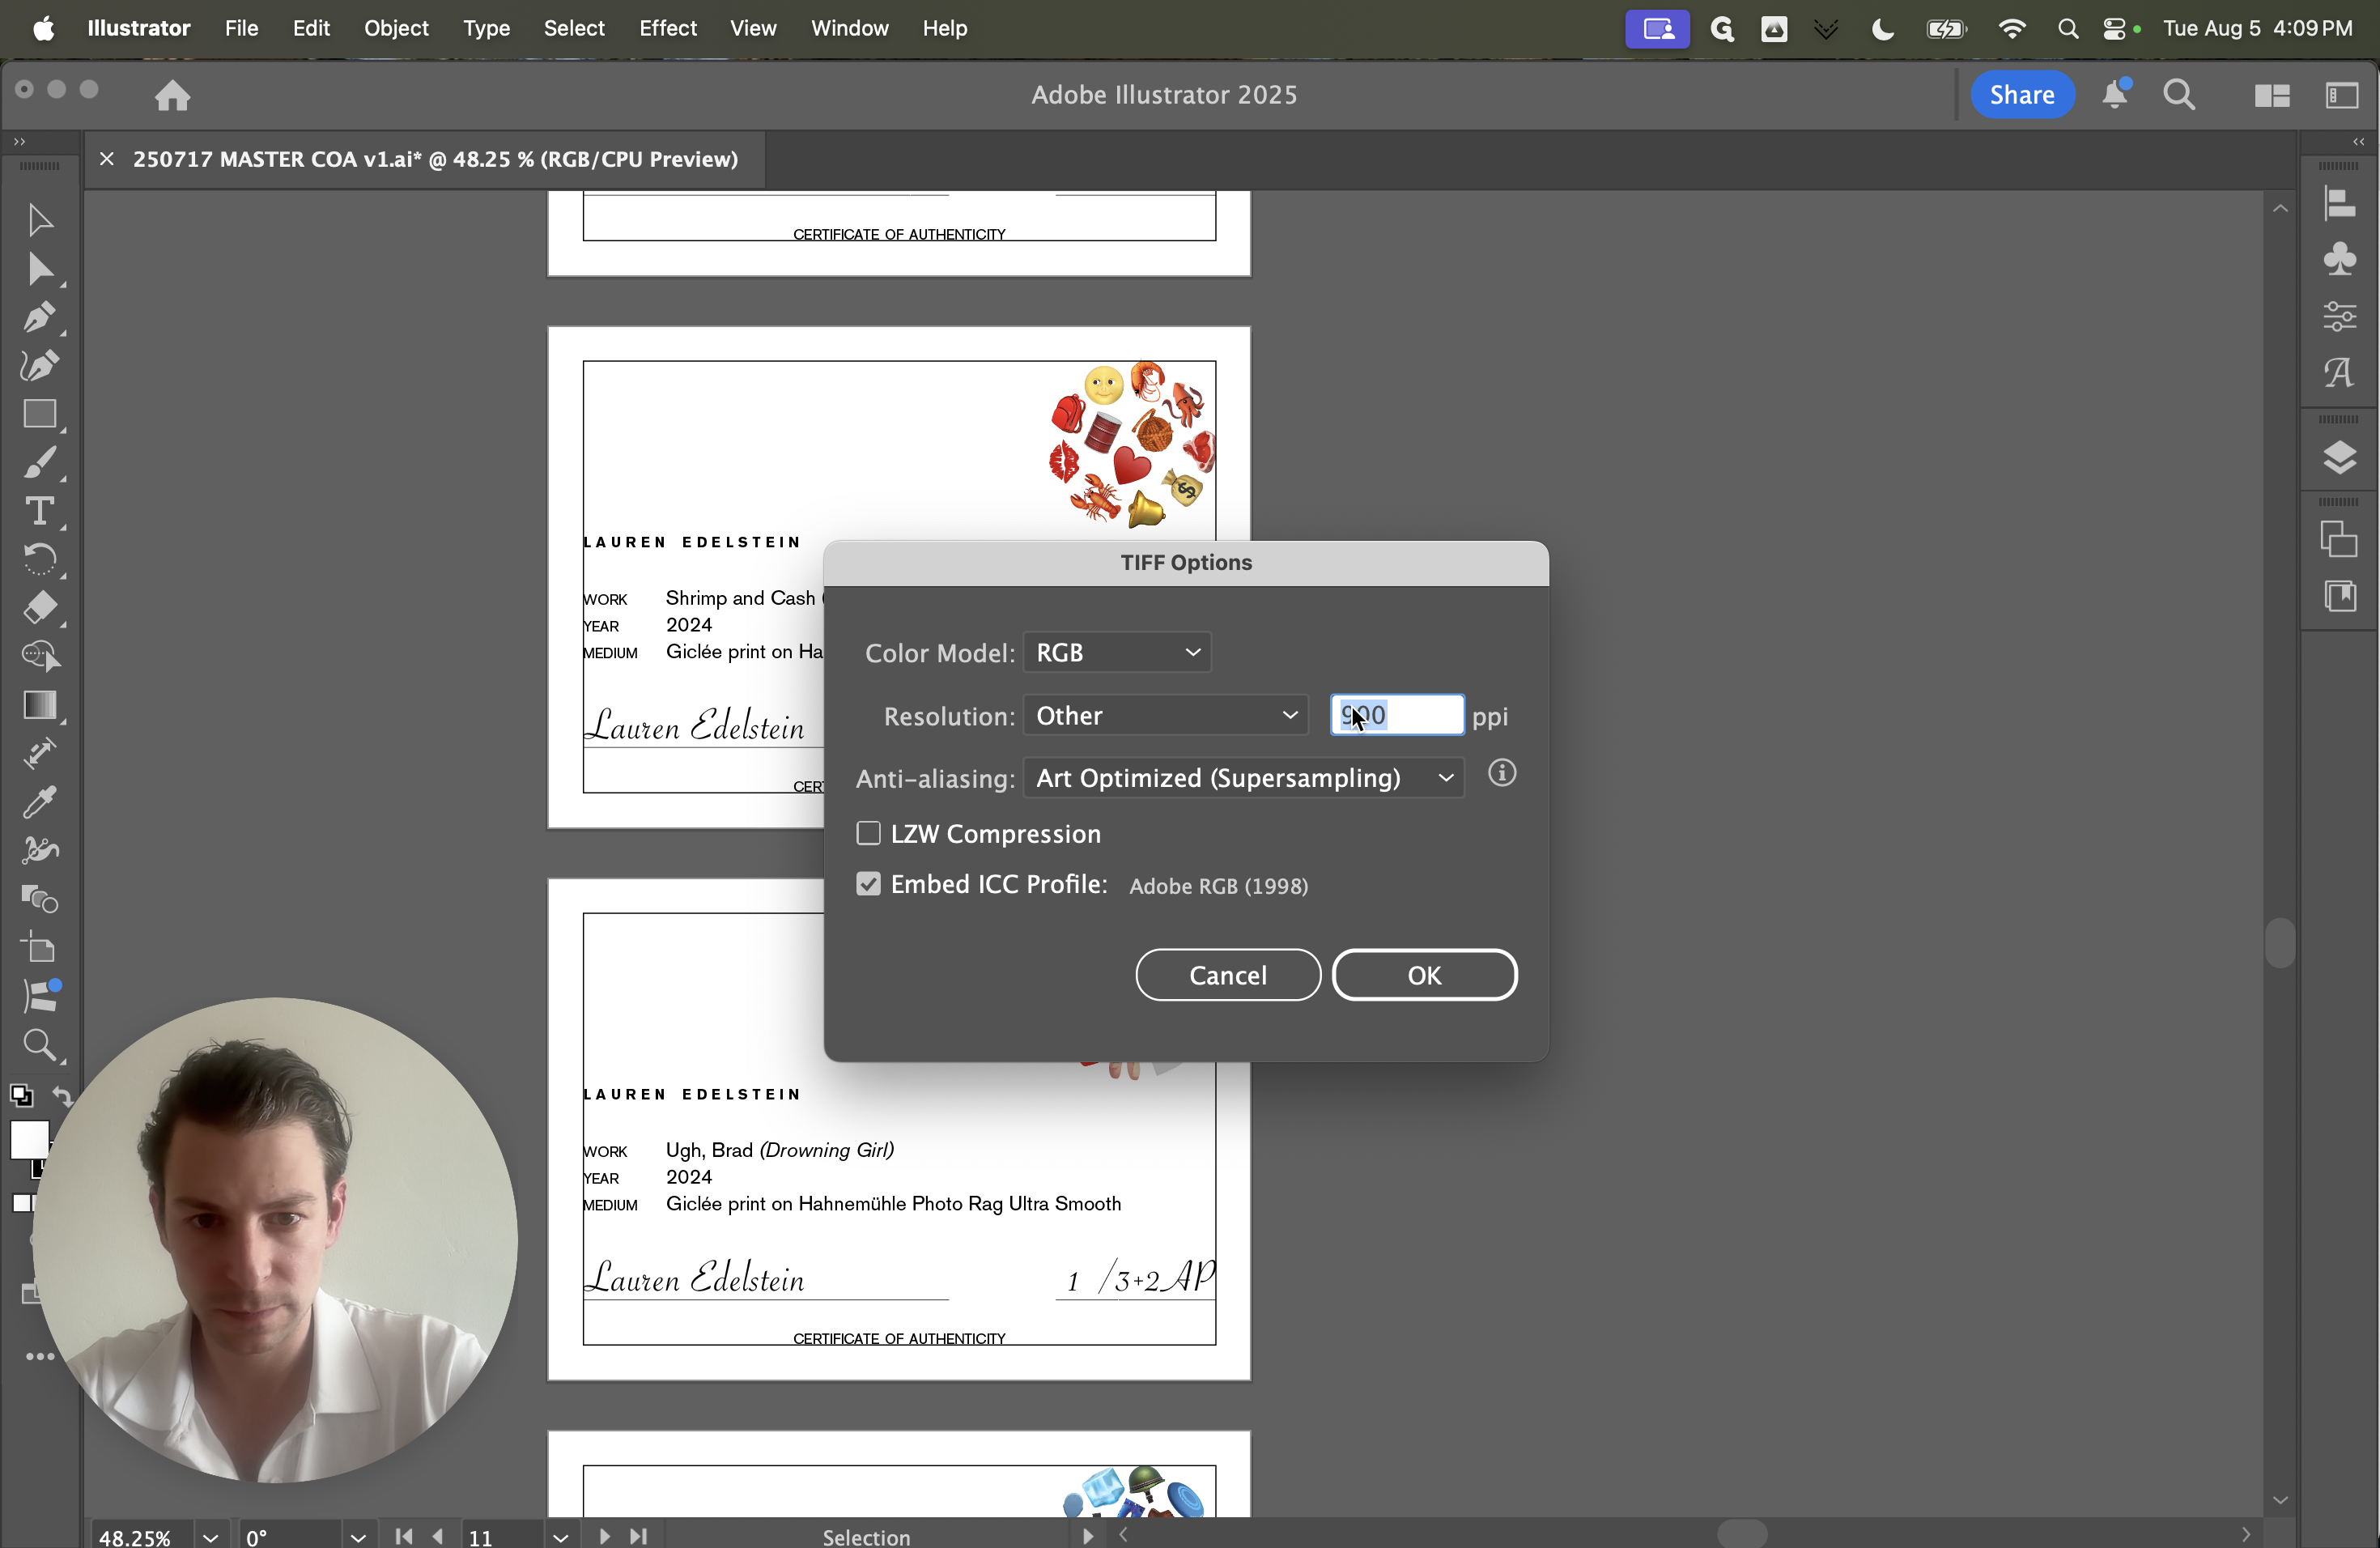
Let's see. I'm going to select Export As.
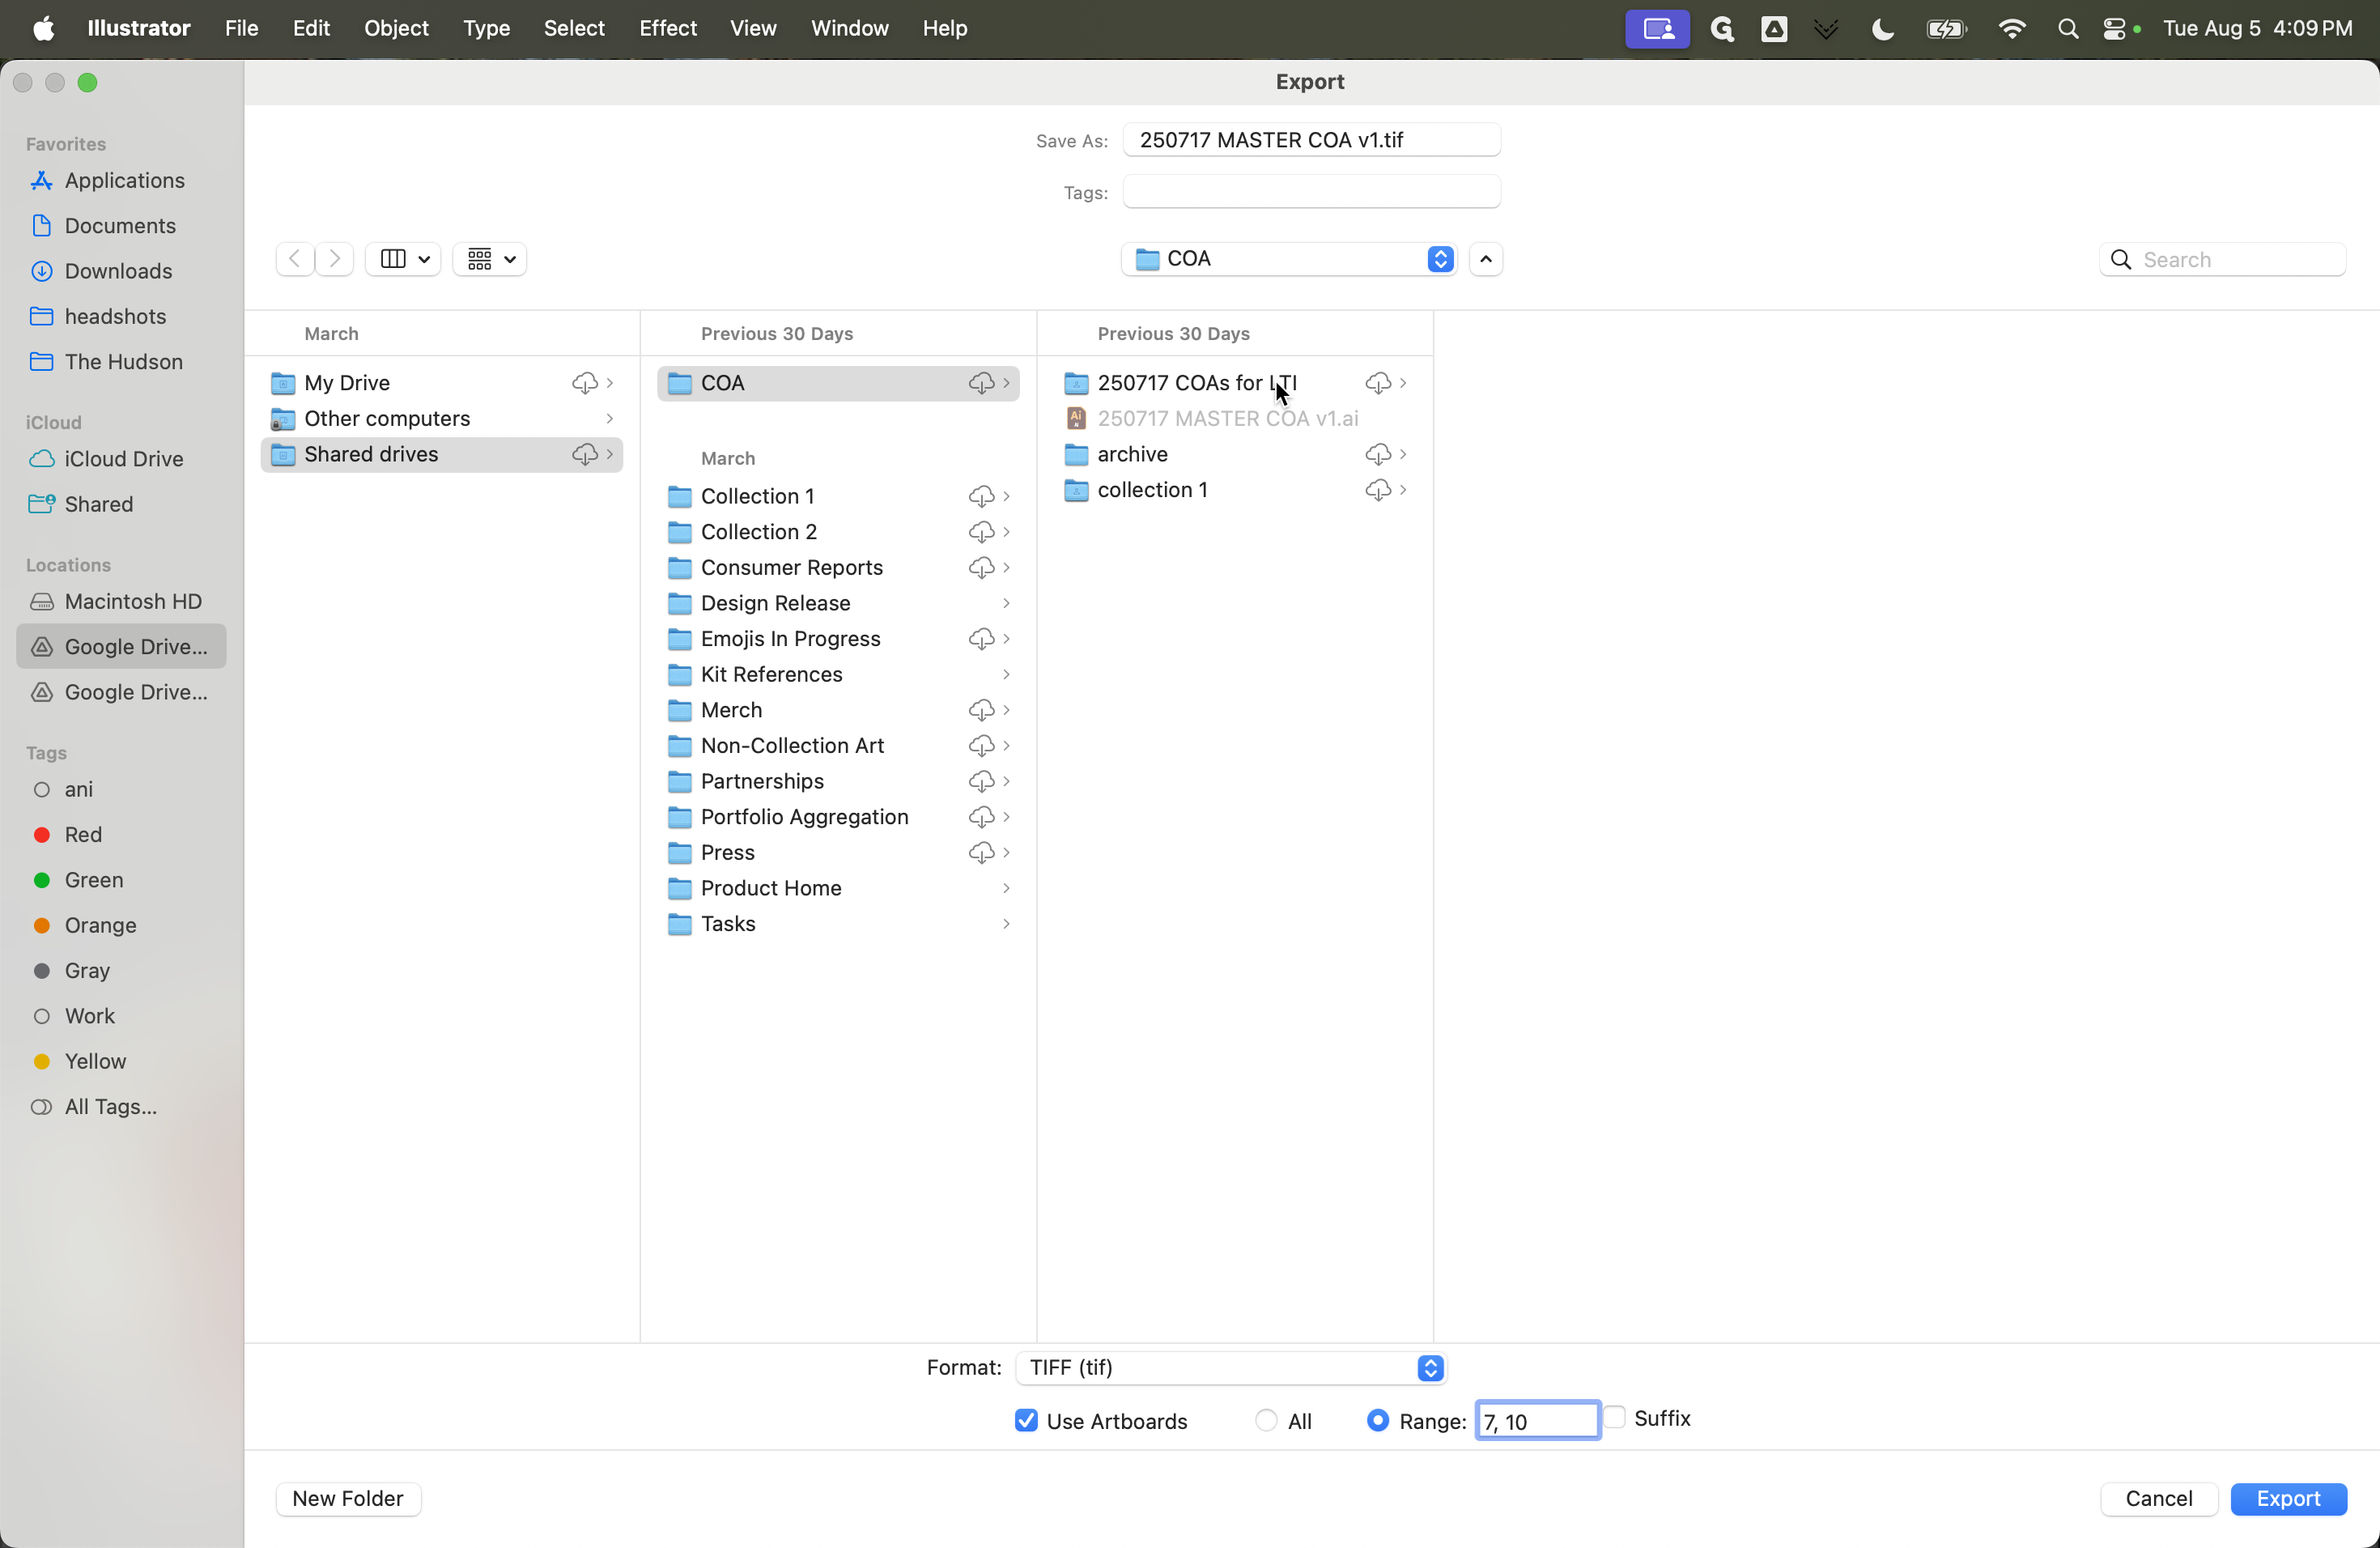
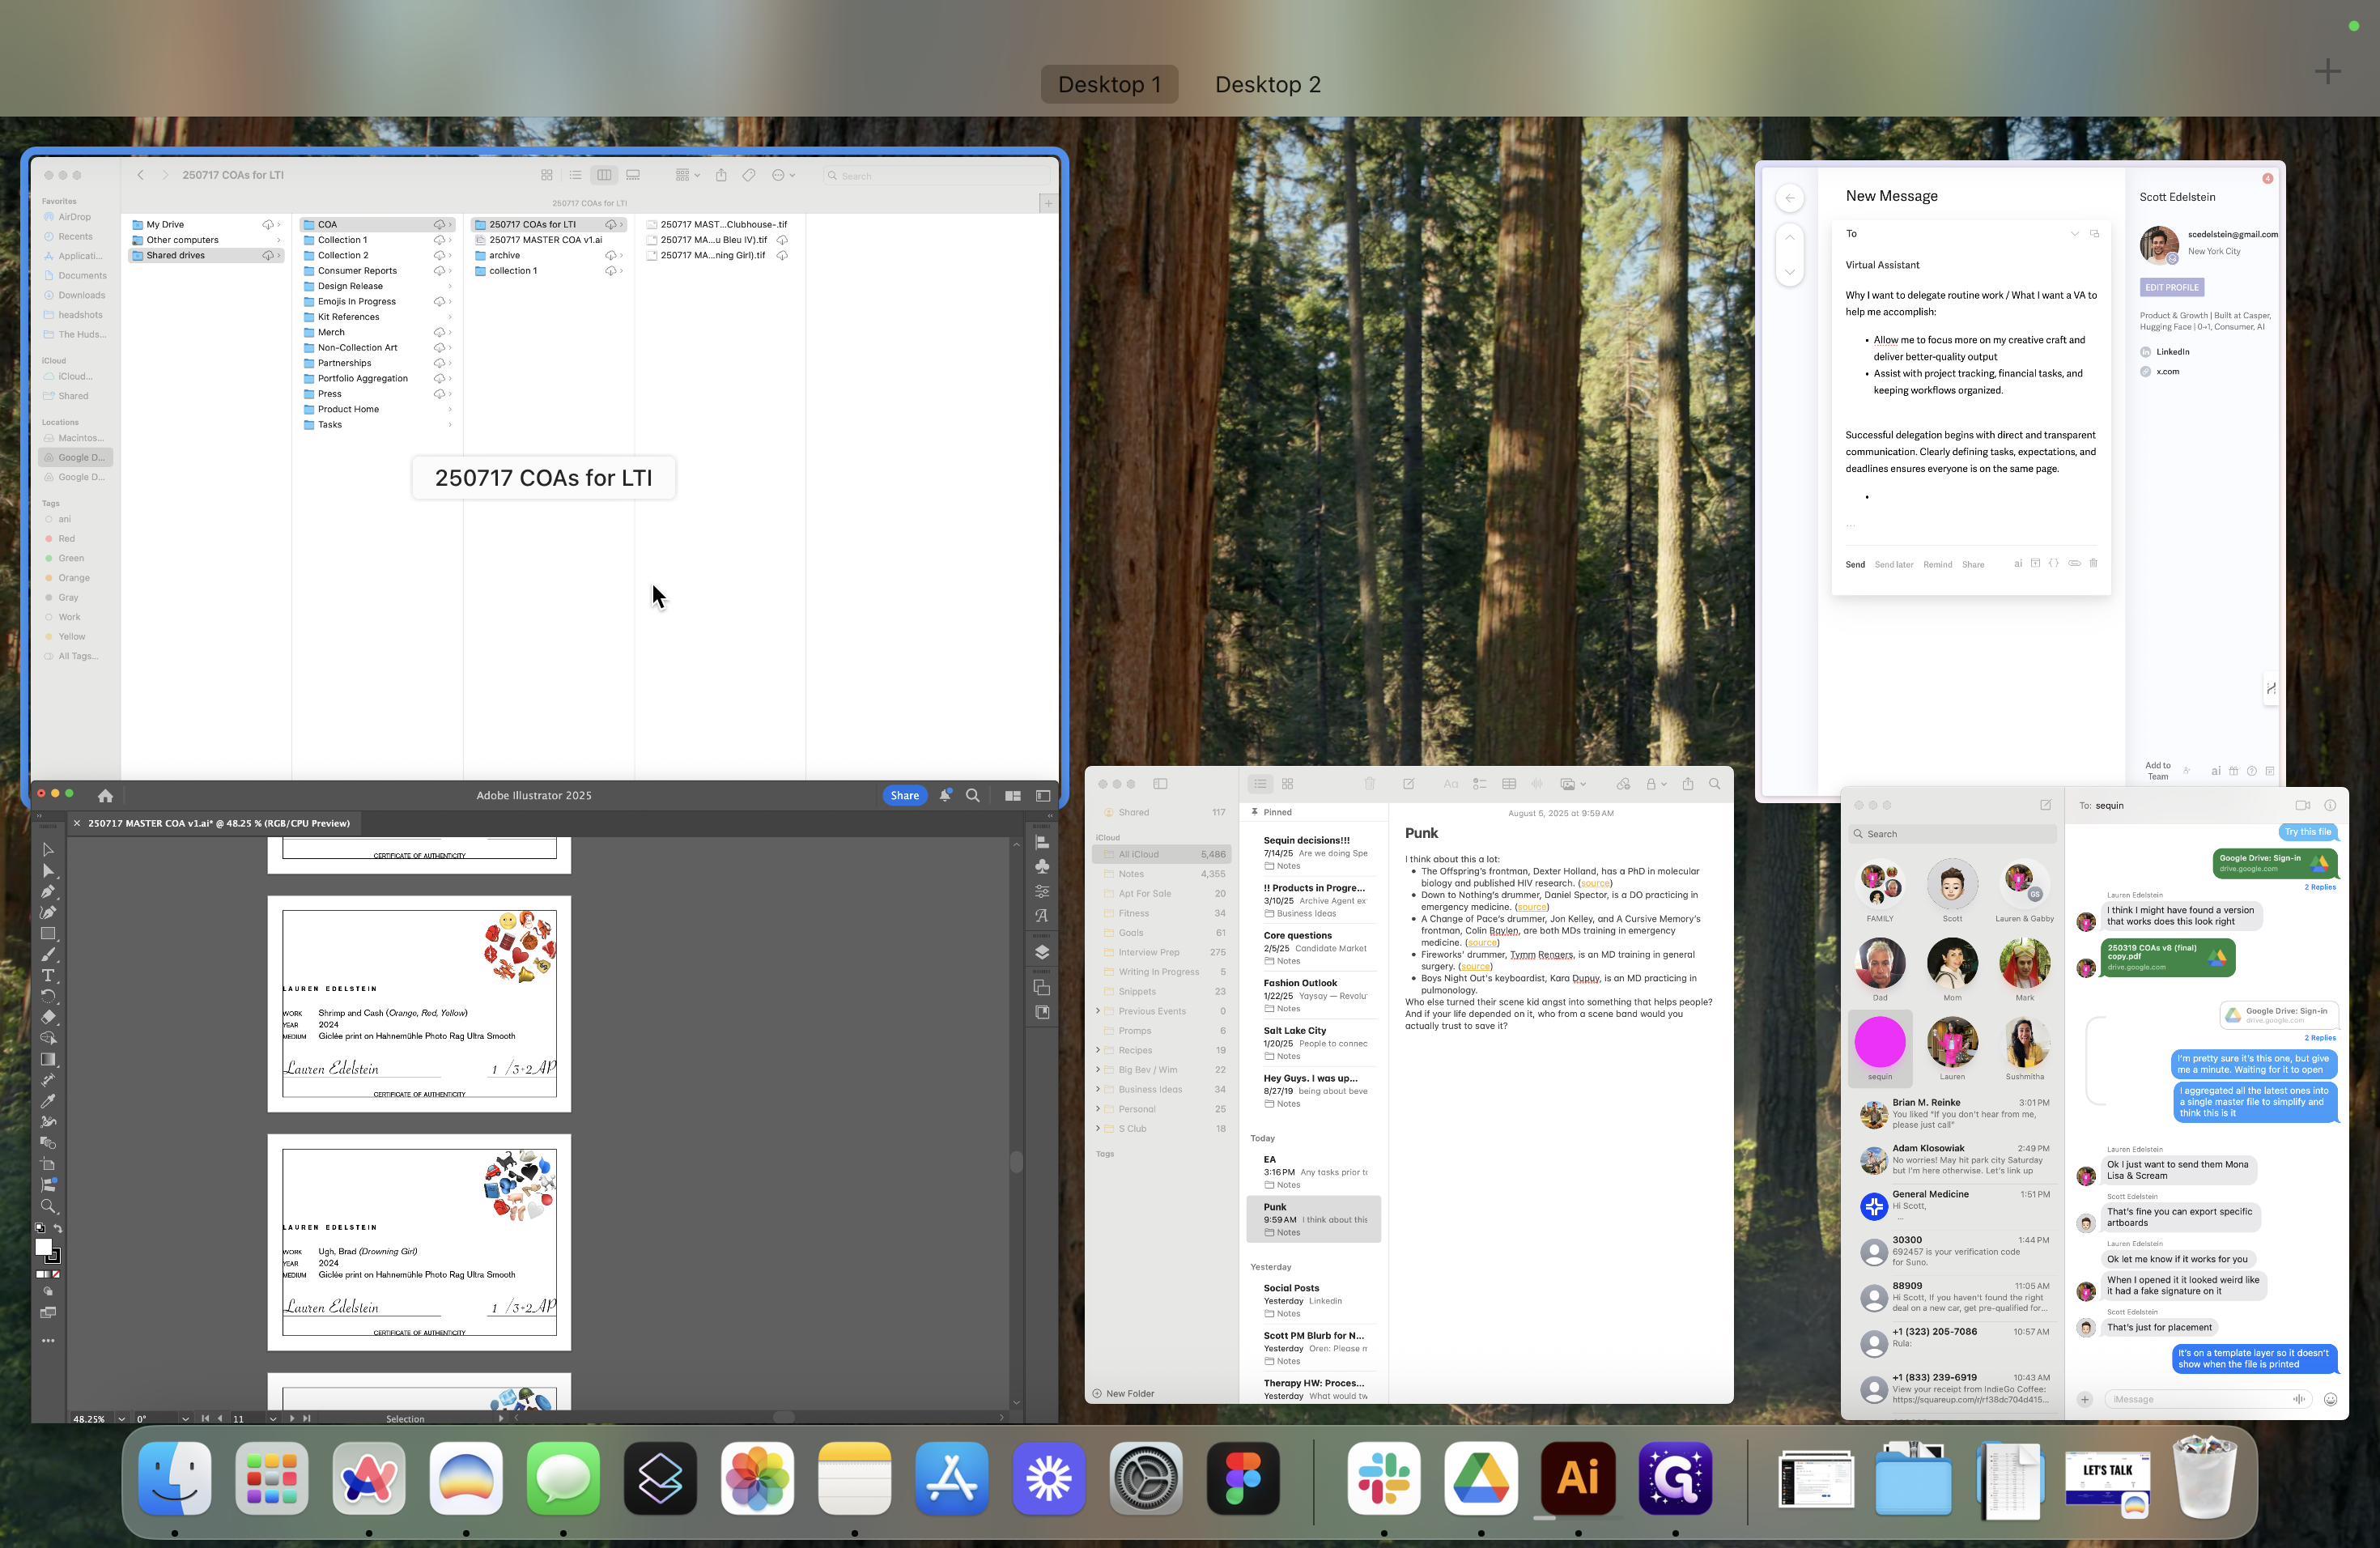
Next, select Use Artboards. Before setting the range, let's first determine which range we need.

We need 10 and 7 for the range.
Those are the artboard numbers for The Scream and Mona Lisa.
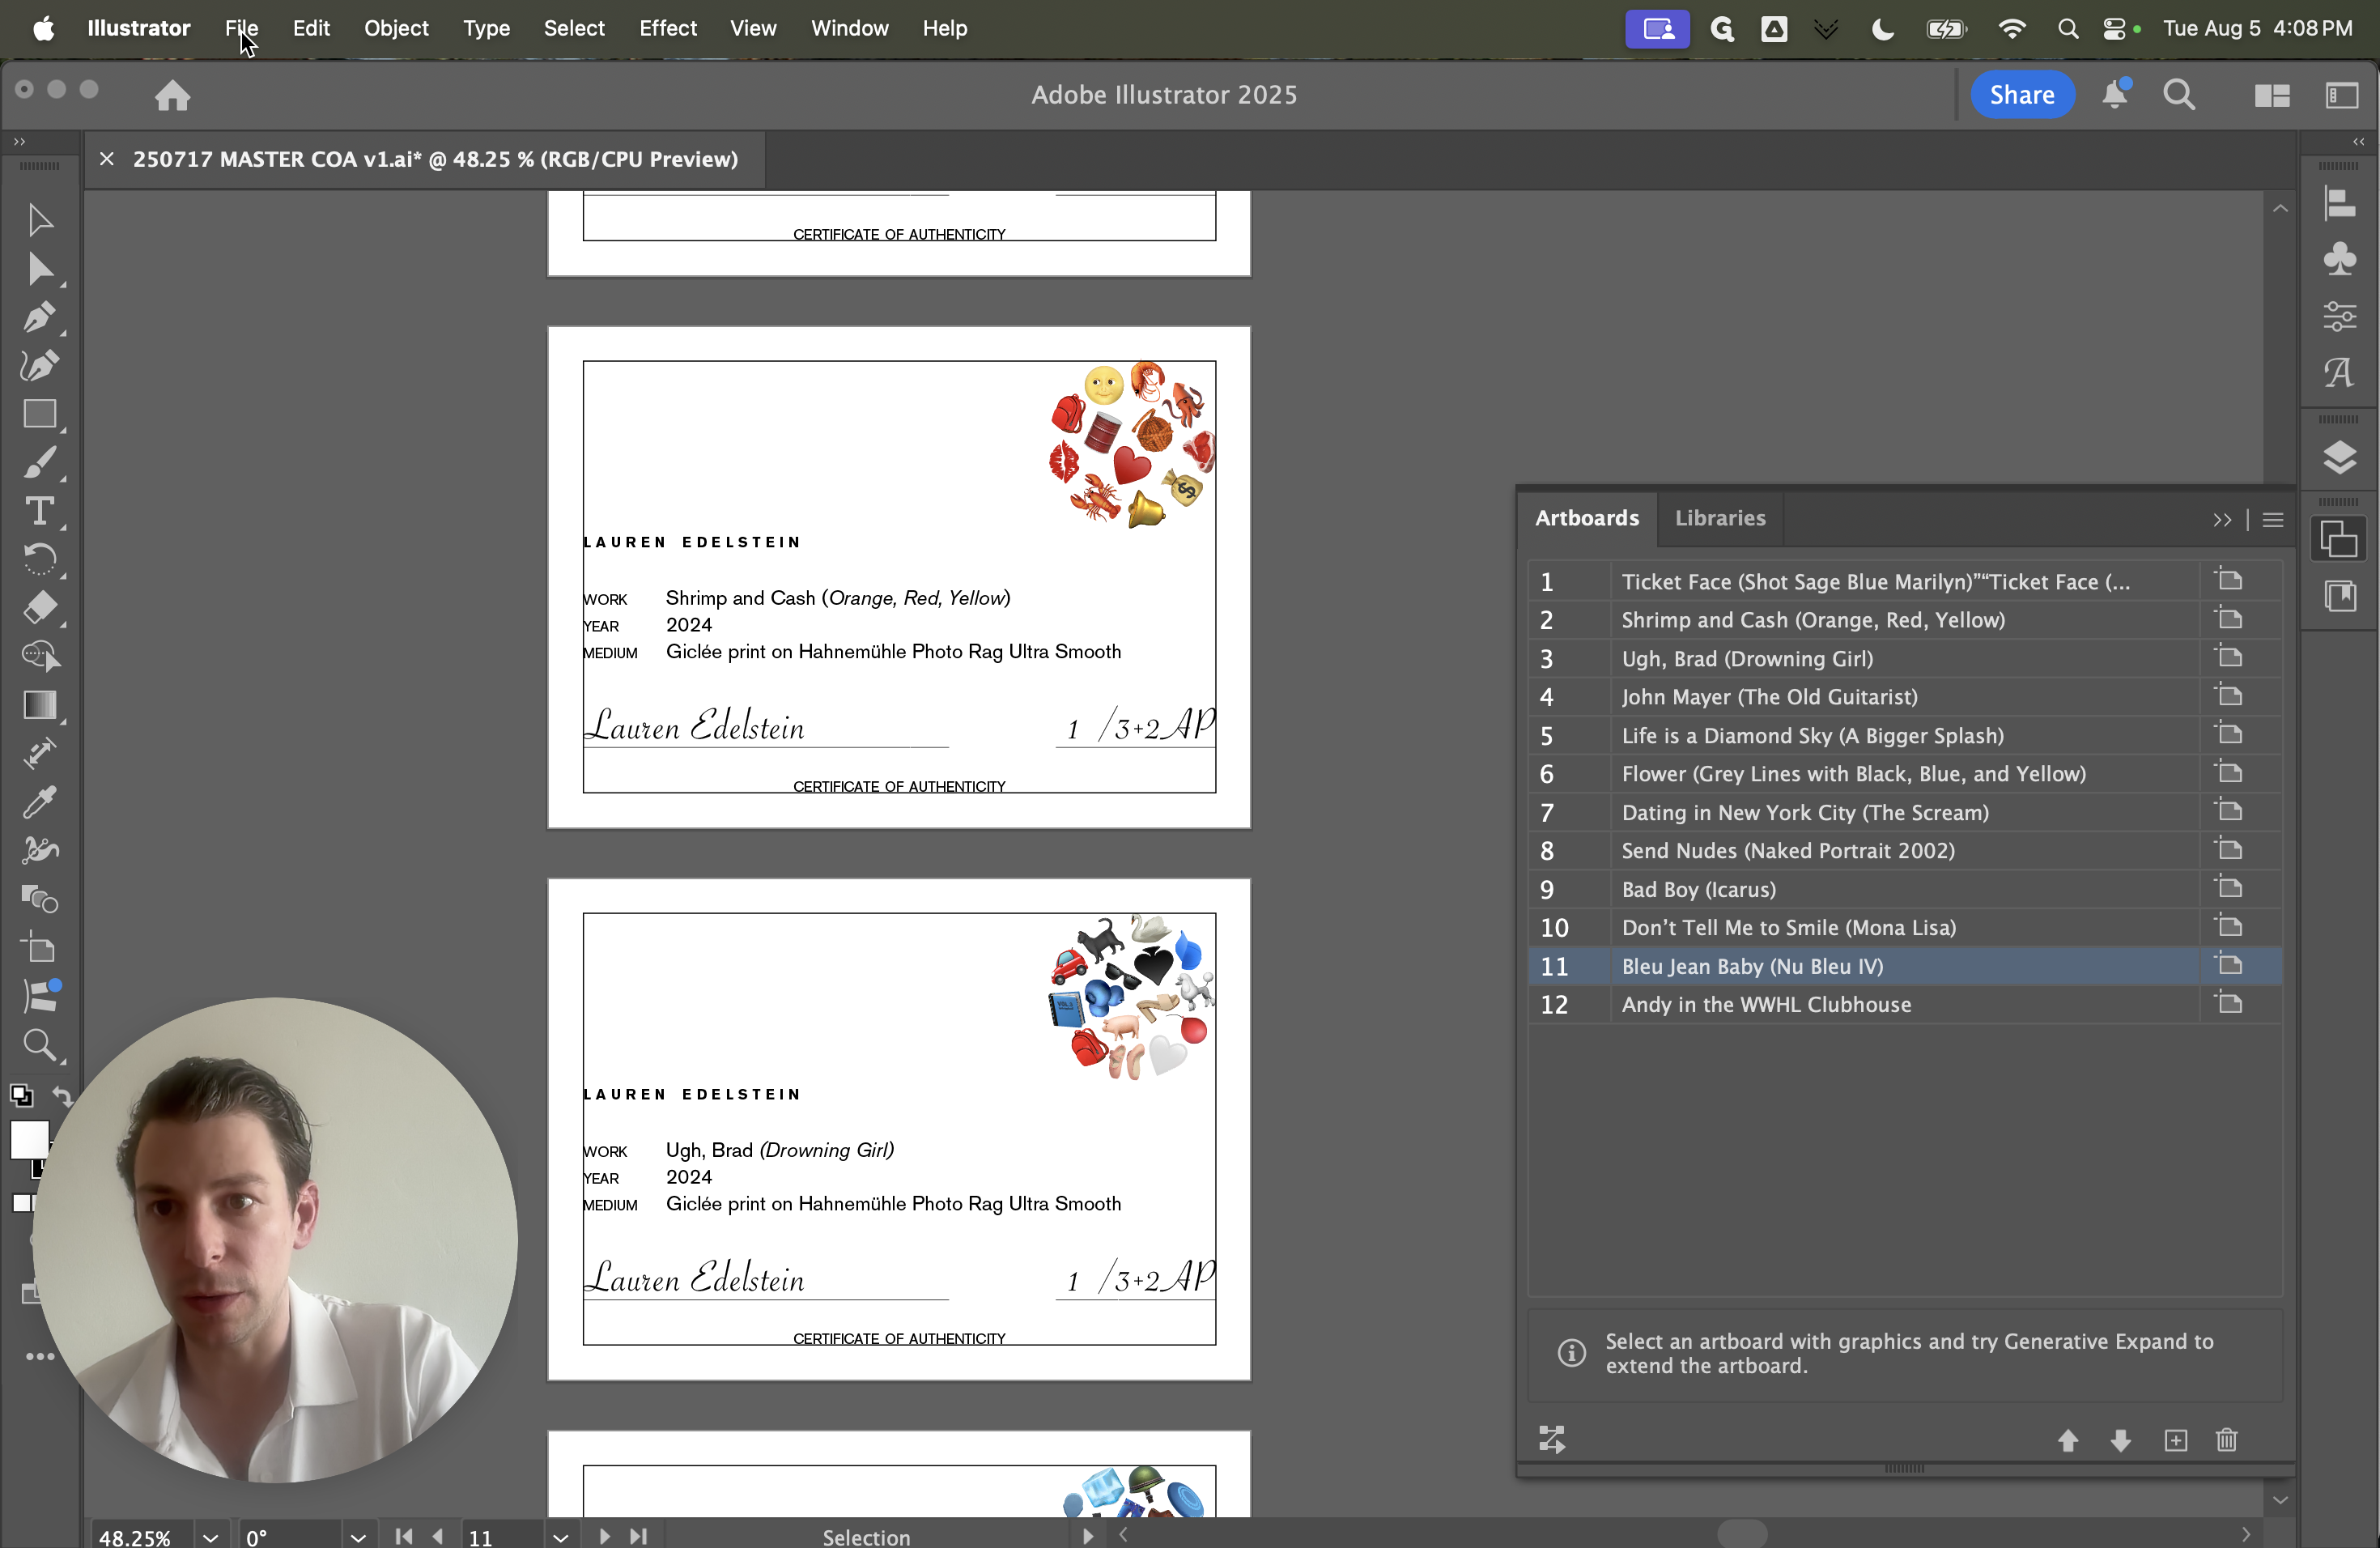
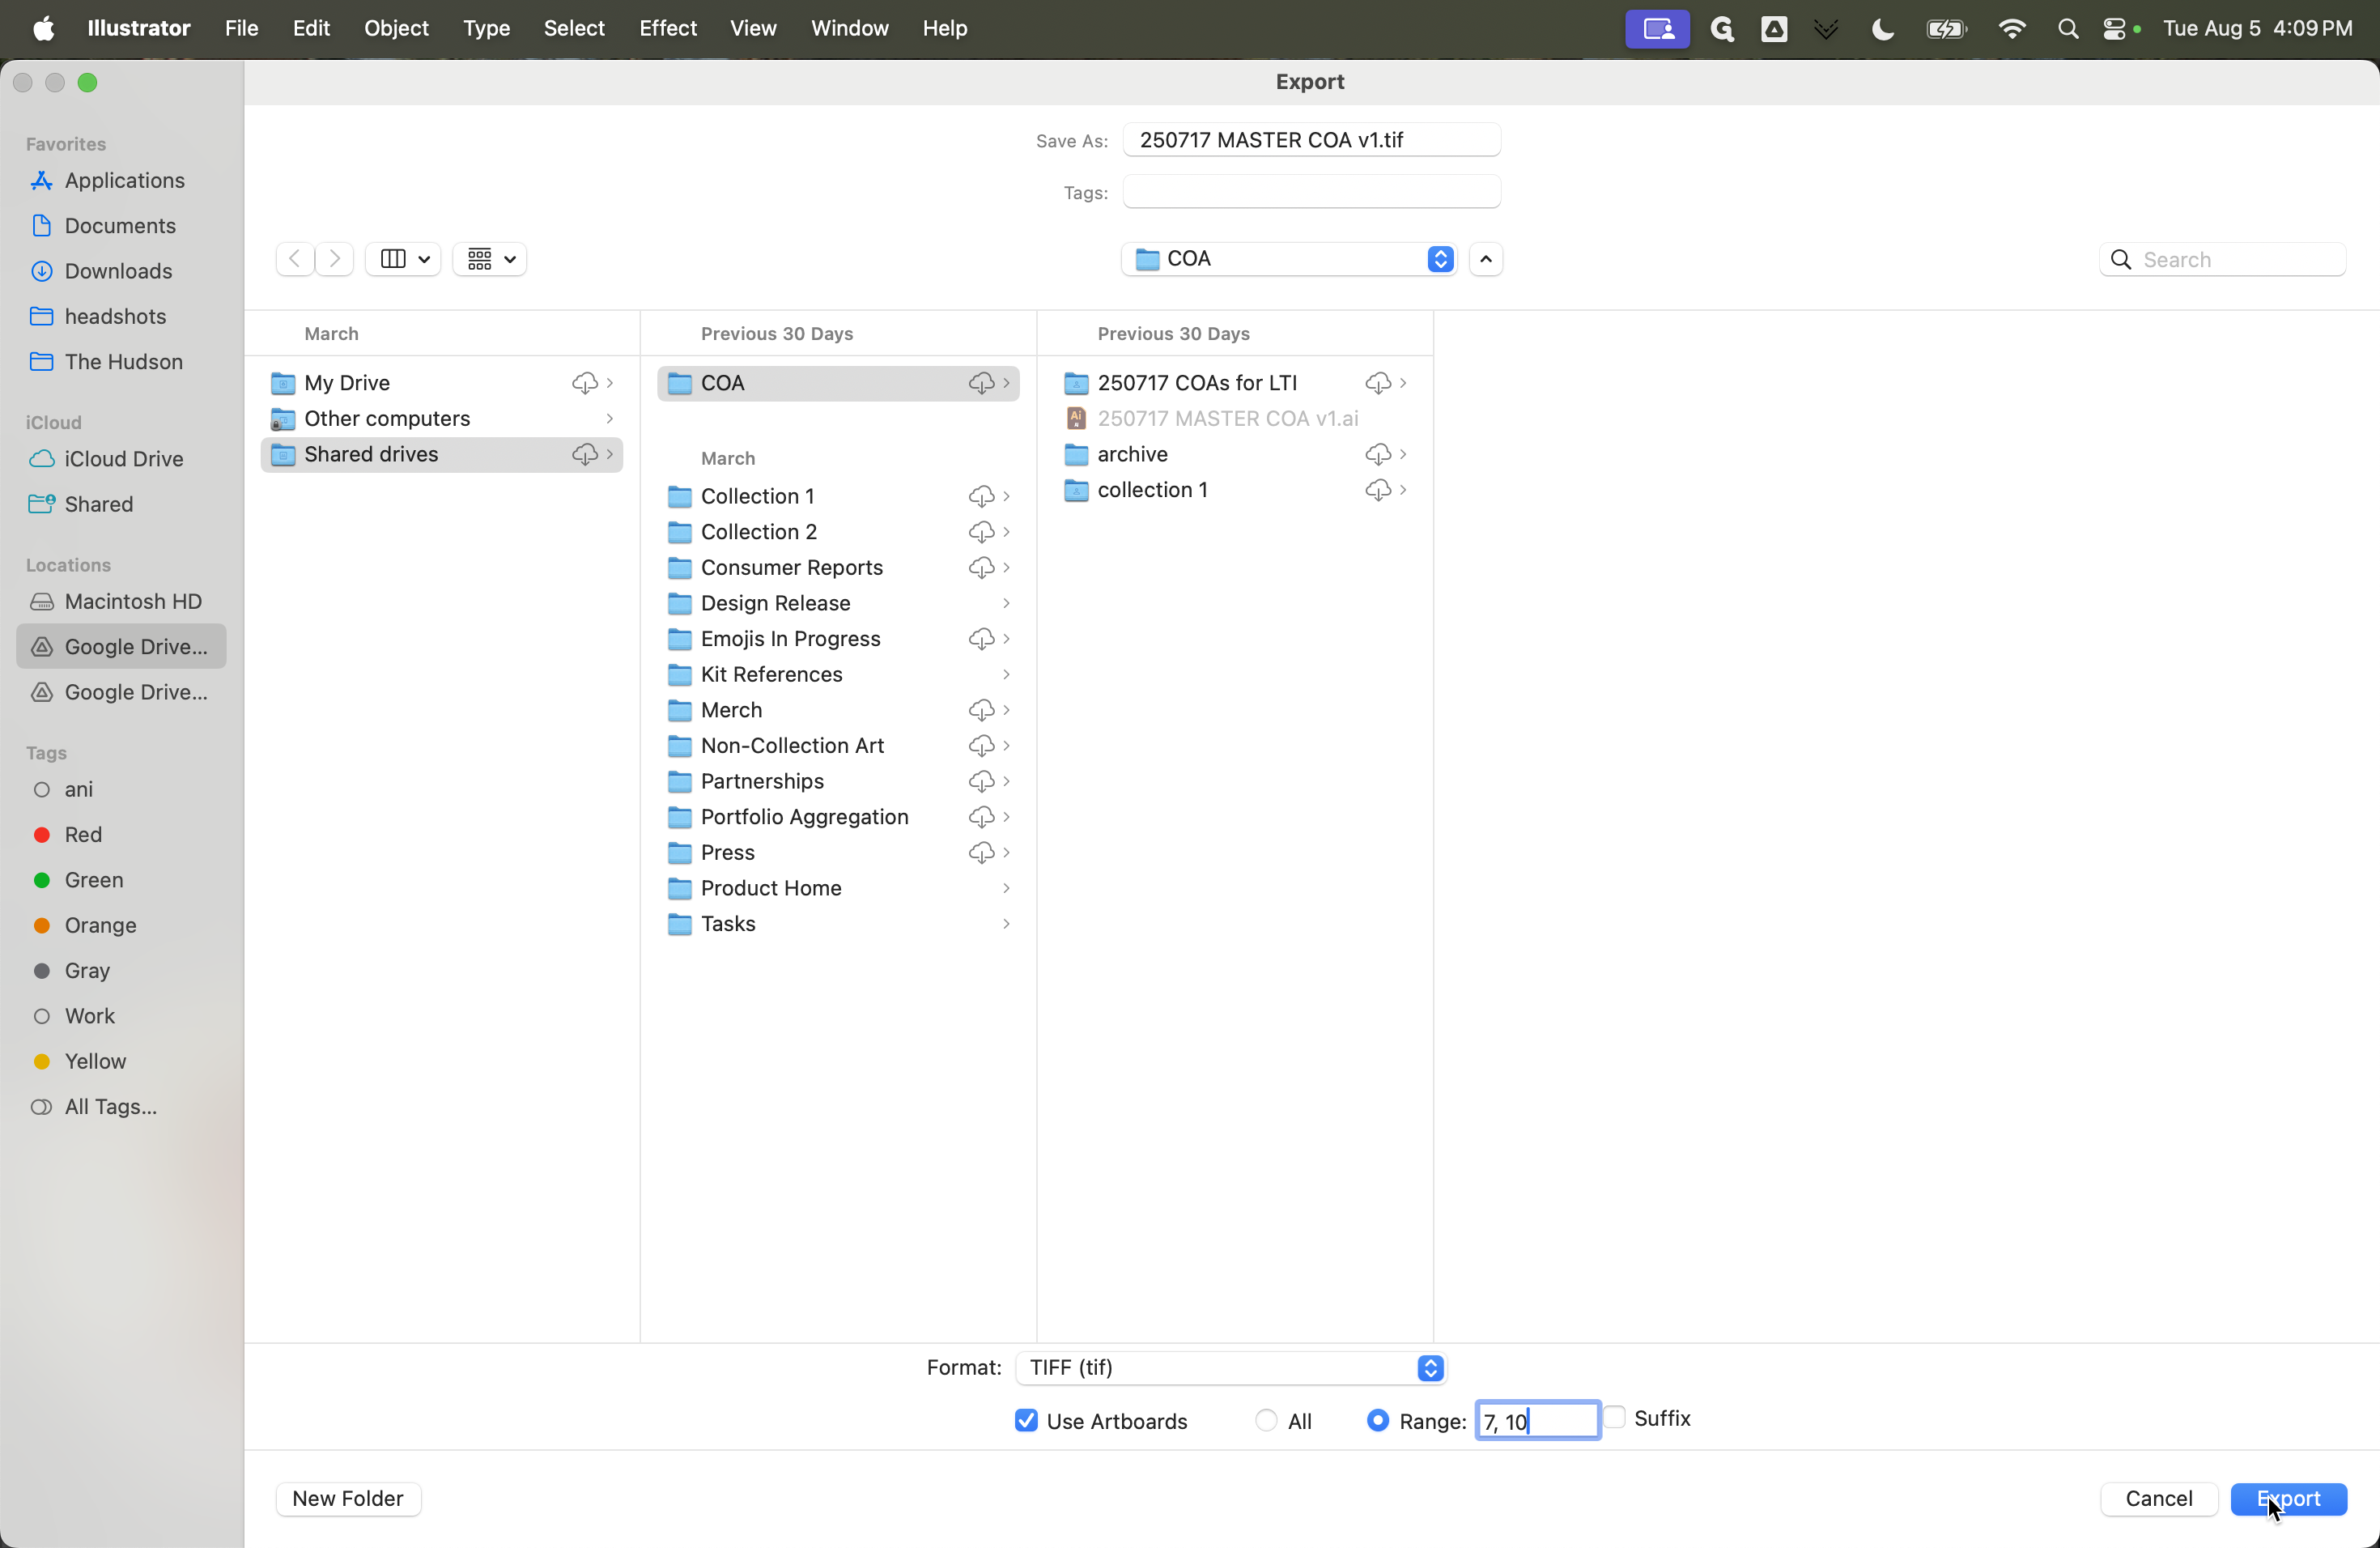
7, comma, 10, and then...


Let's see if that works.

It looks like they are appearing here.
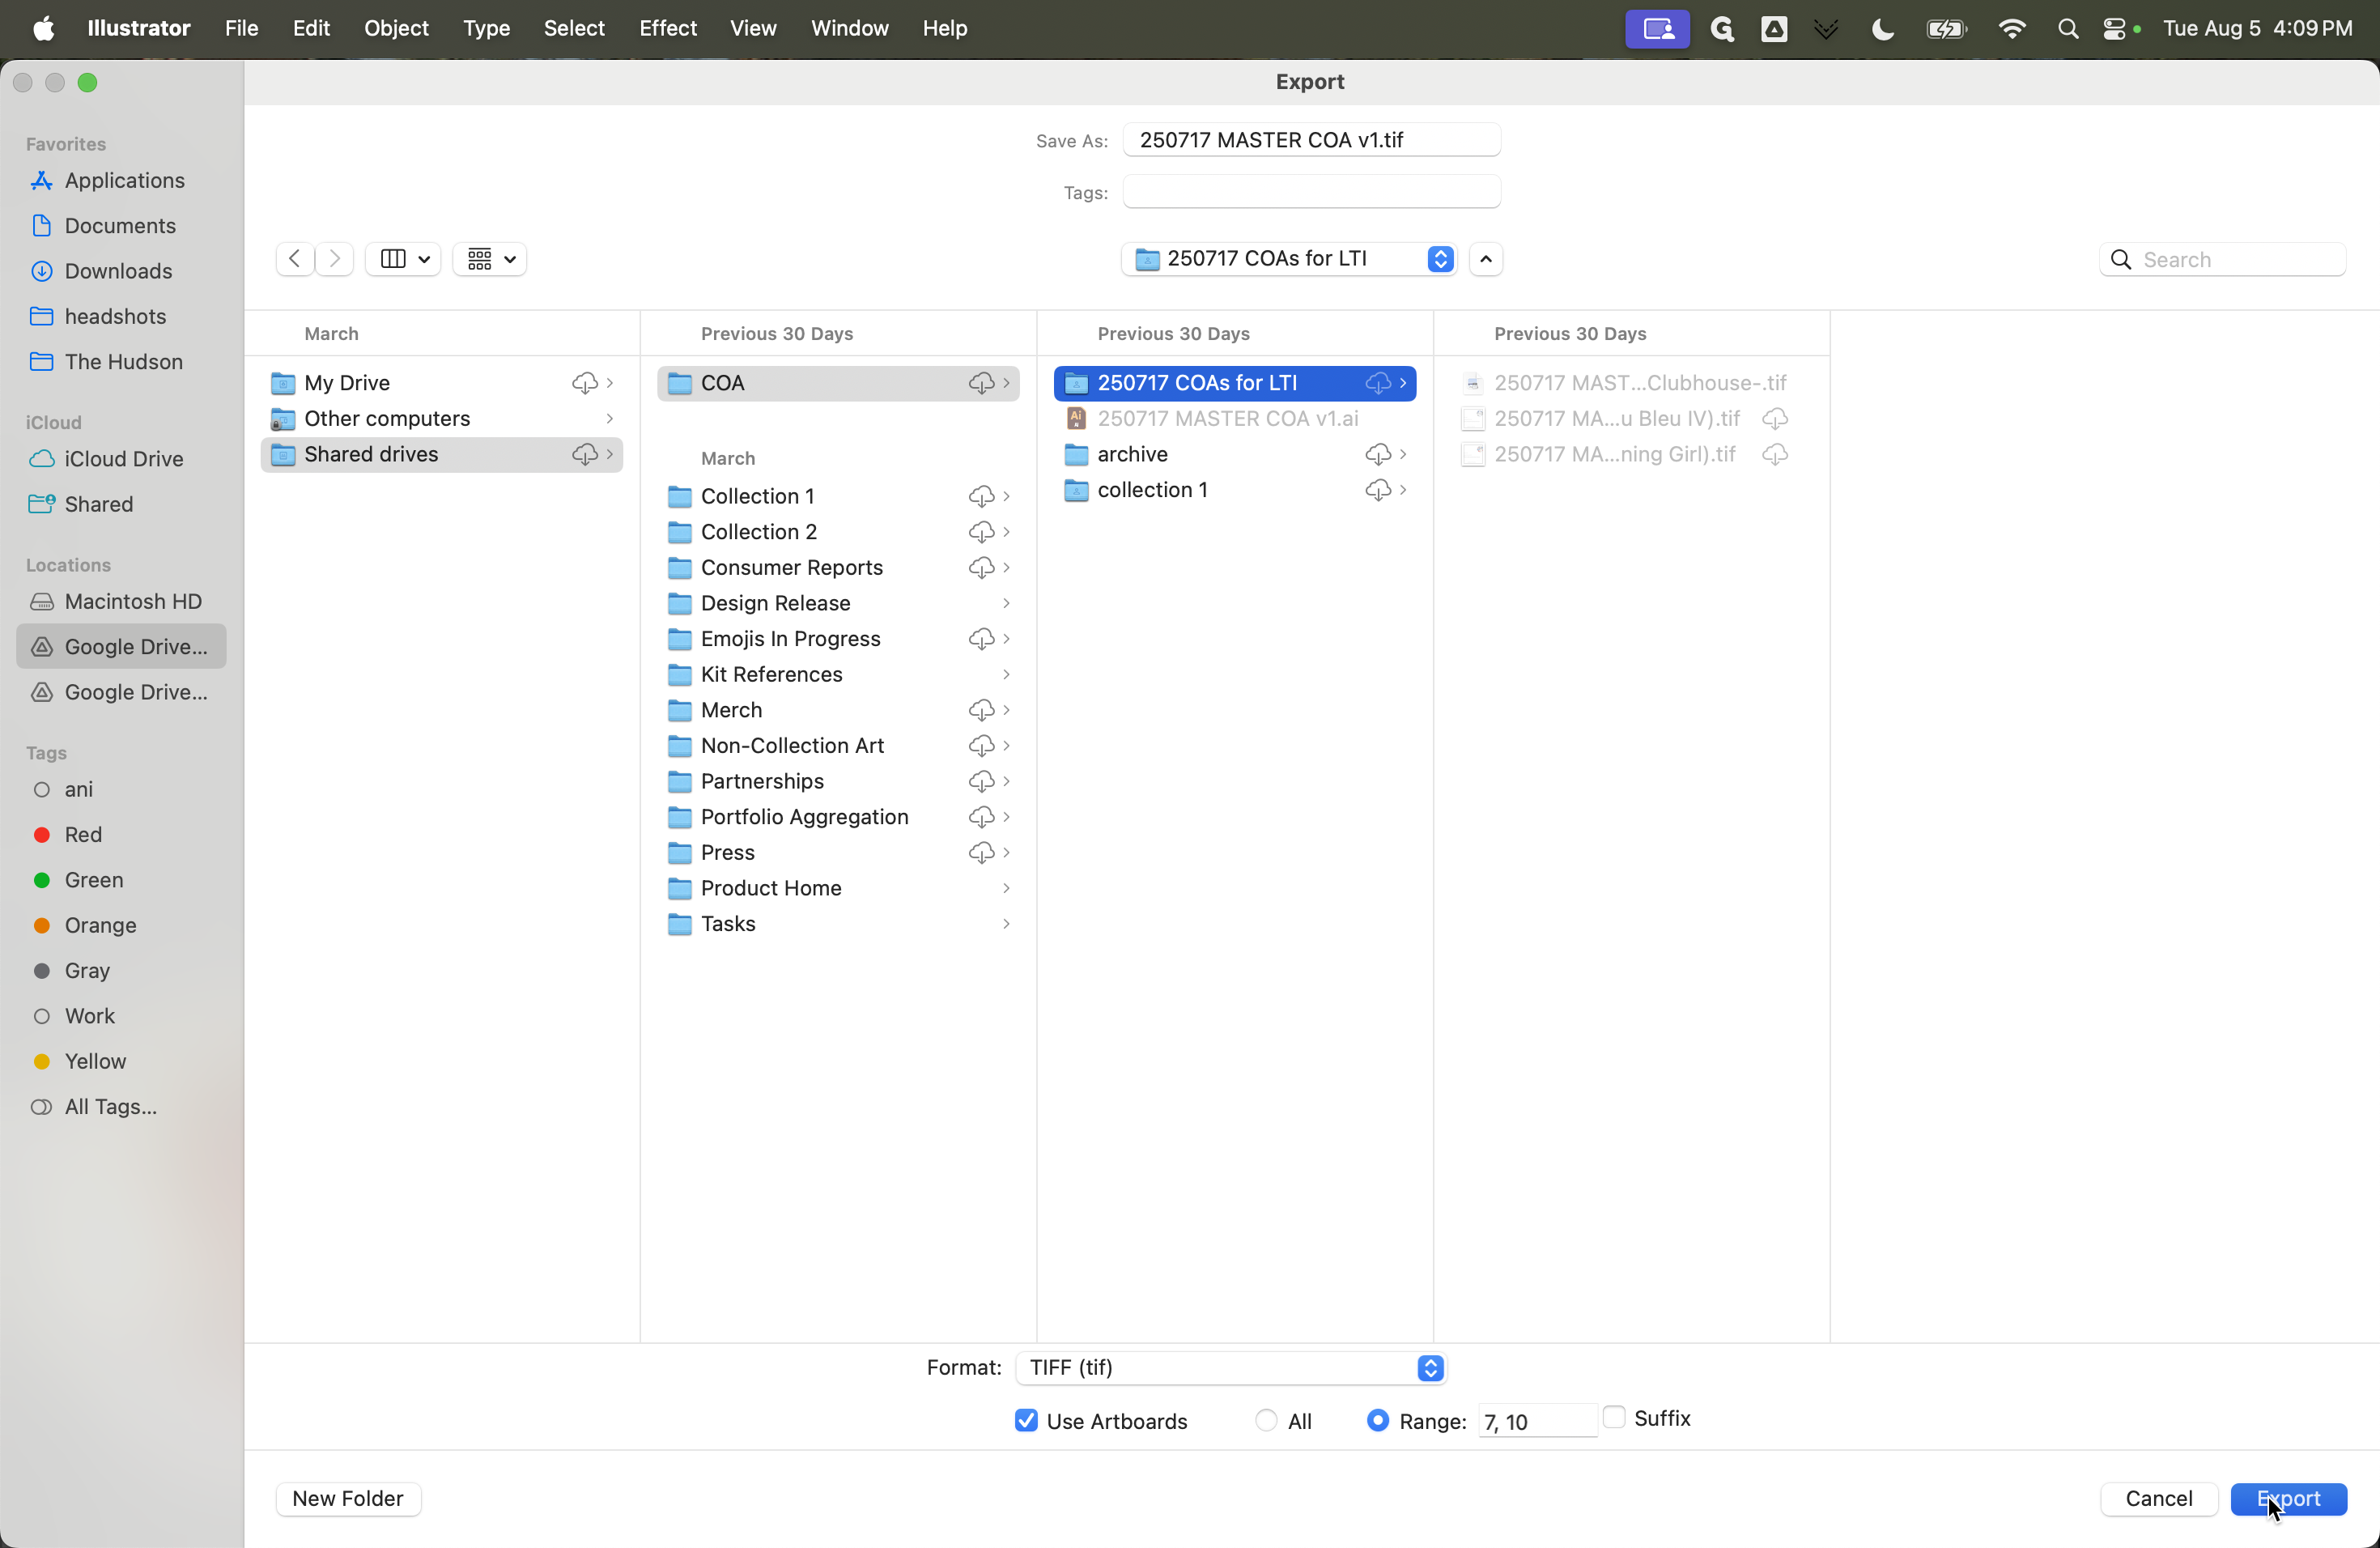

Let me update it.