Bill Aging Reports: Part 4/5
Step-by-step guide for updating, organizing, and formatting bill review and Comp 1 Bill Aging Reports in Excel, including tips for copying, pasting, renaming tabs, and ensuring data accuracy.
In this guide, we'll learn how to update and organize weekly billing and summary reports using spreadsheet tools. The process includes copying data from previous reports, renaming files and tabs, adjusting dates, and ensuring information for clients like Penn National, CEP, and Prime is accurate and well-formatted.
You'll also see how to use features like Paste Special, sorting, and formatting to keep your reports clear and consistent.
Let's get started
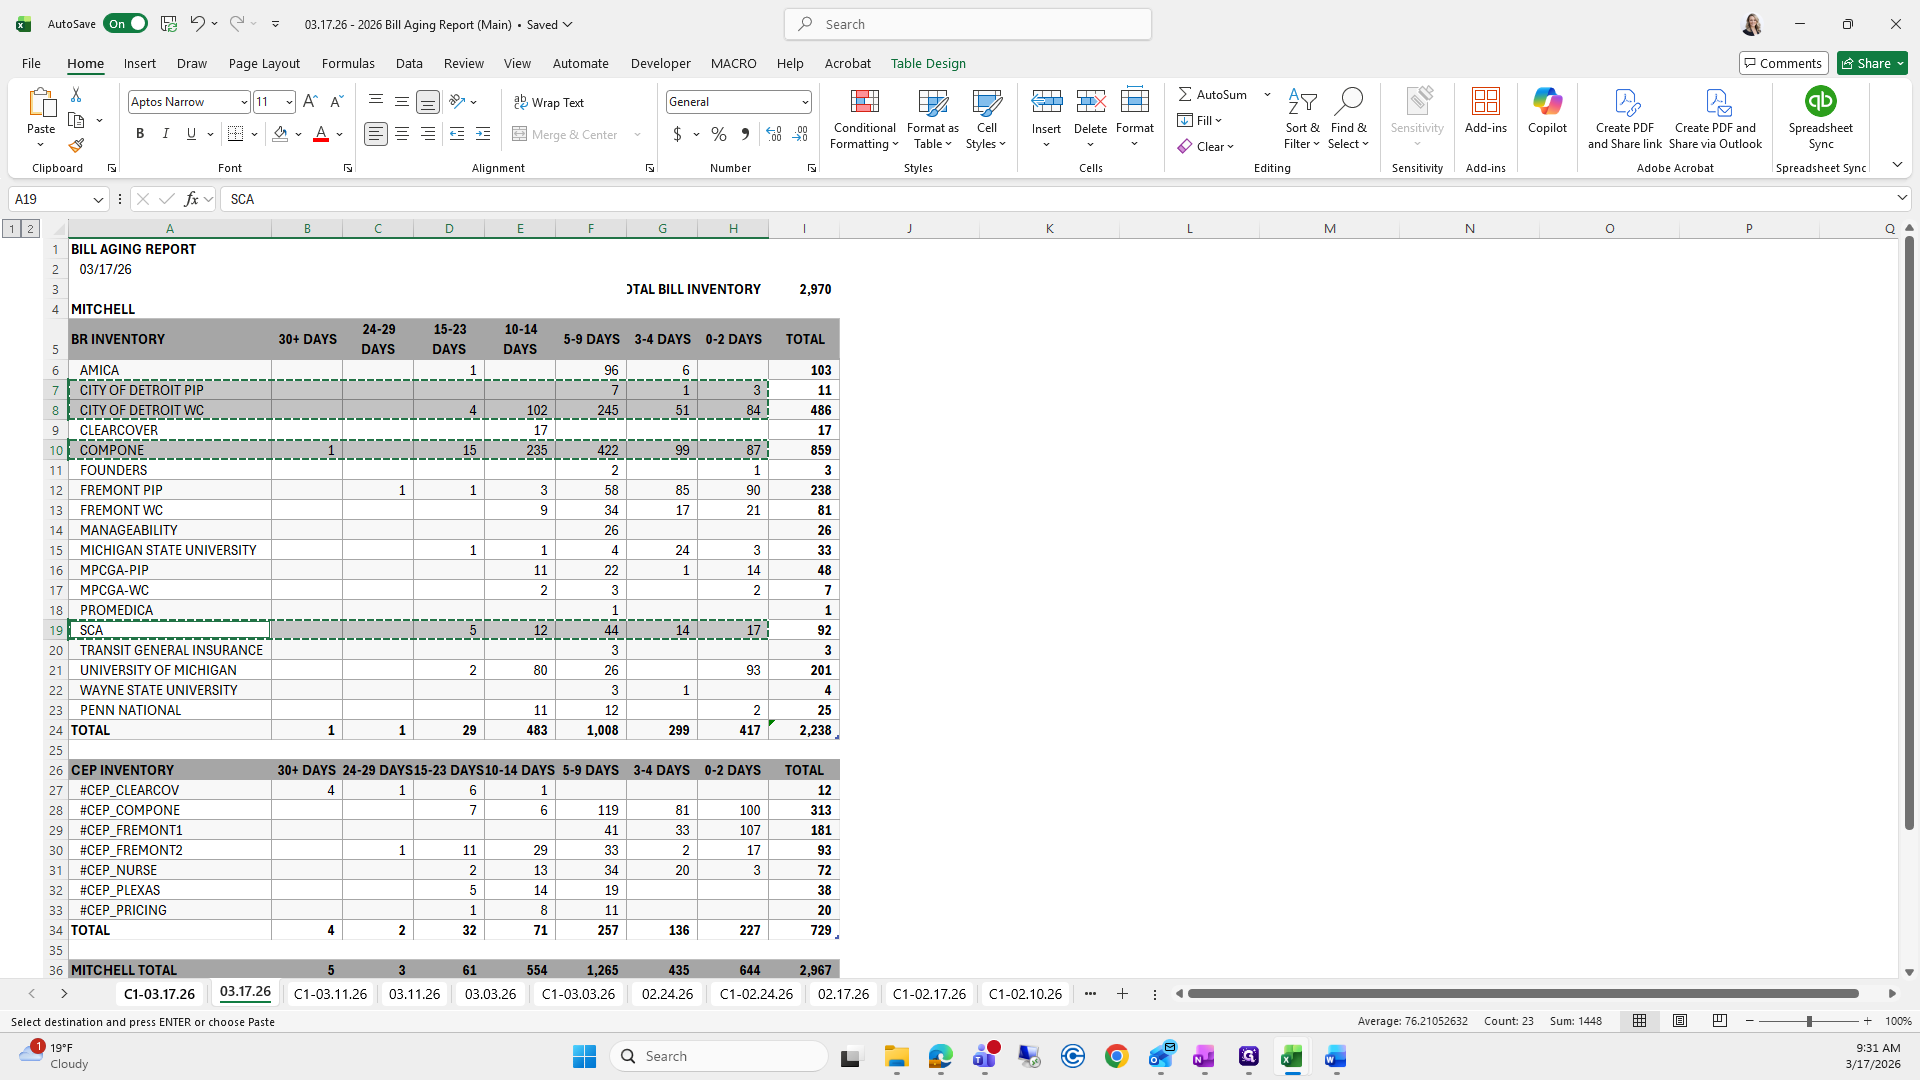
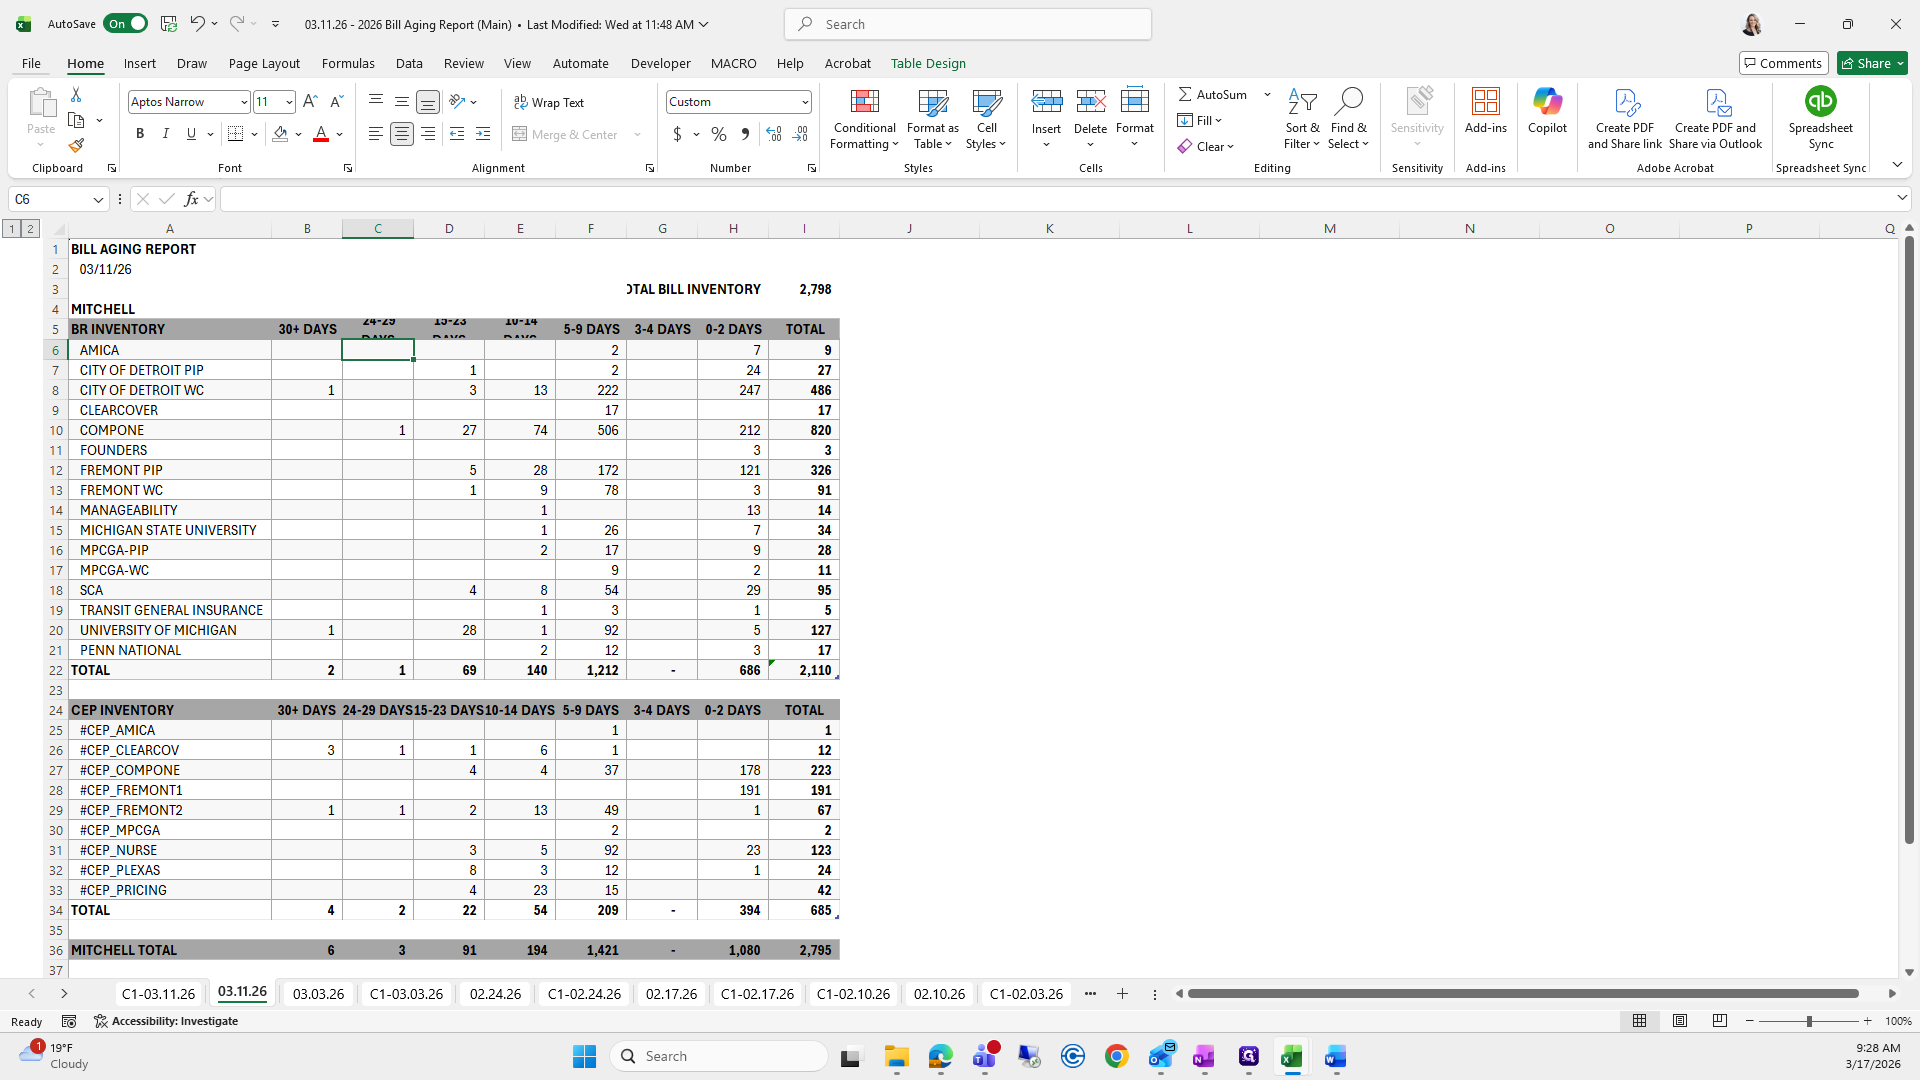
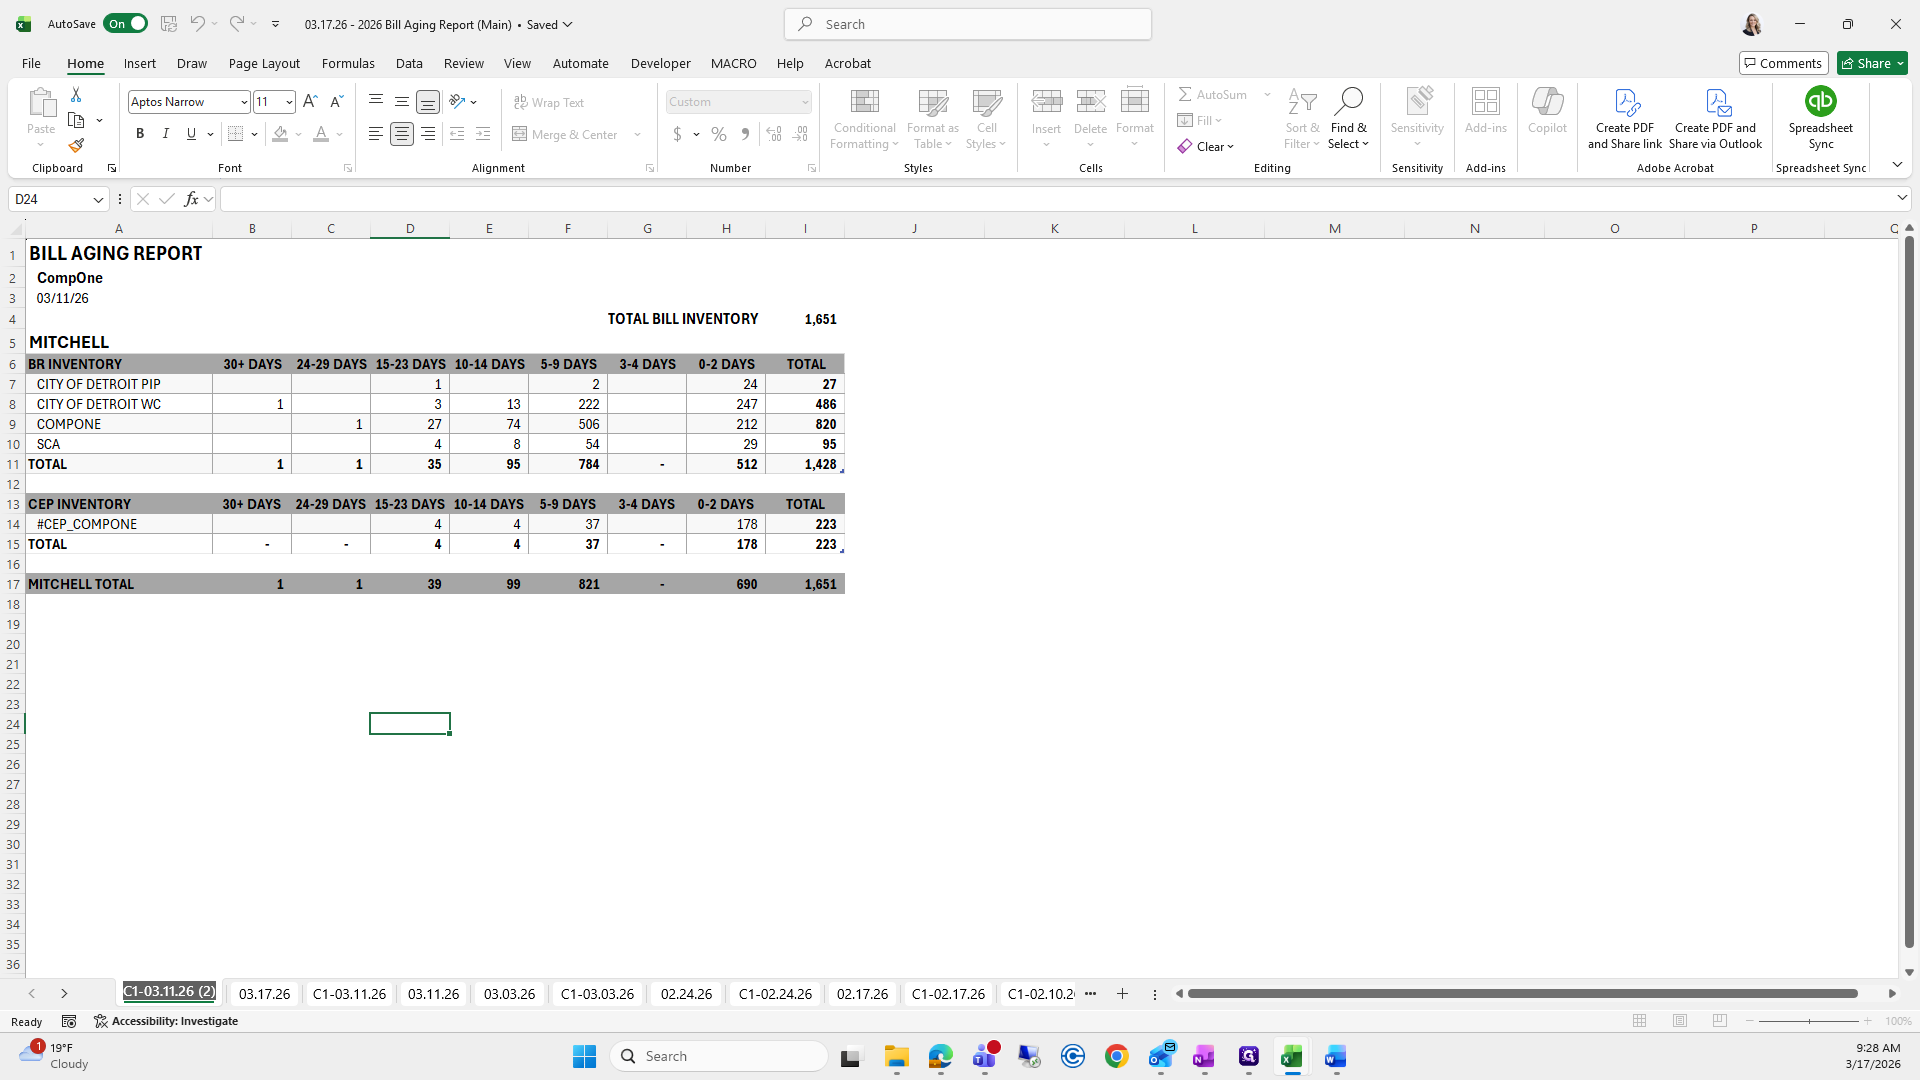
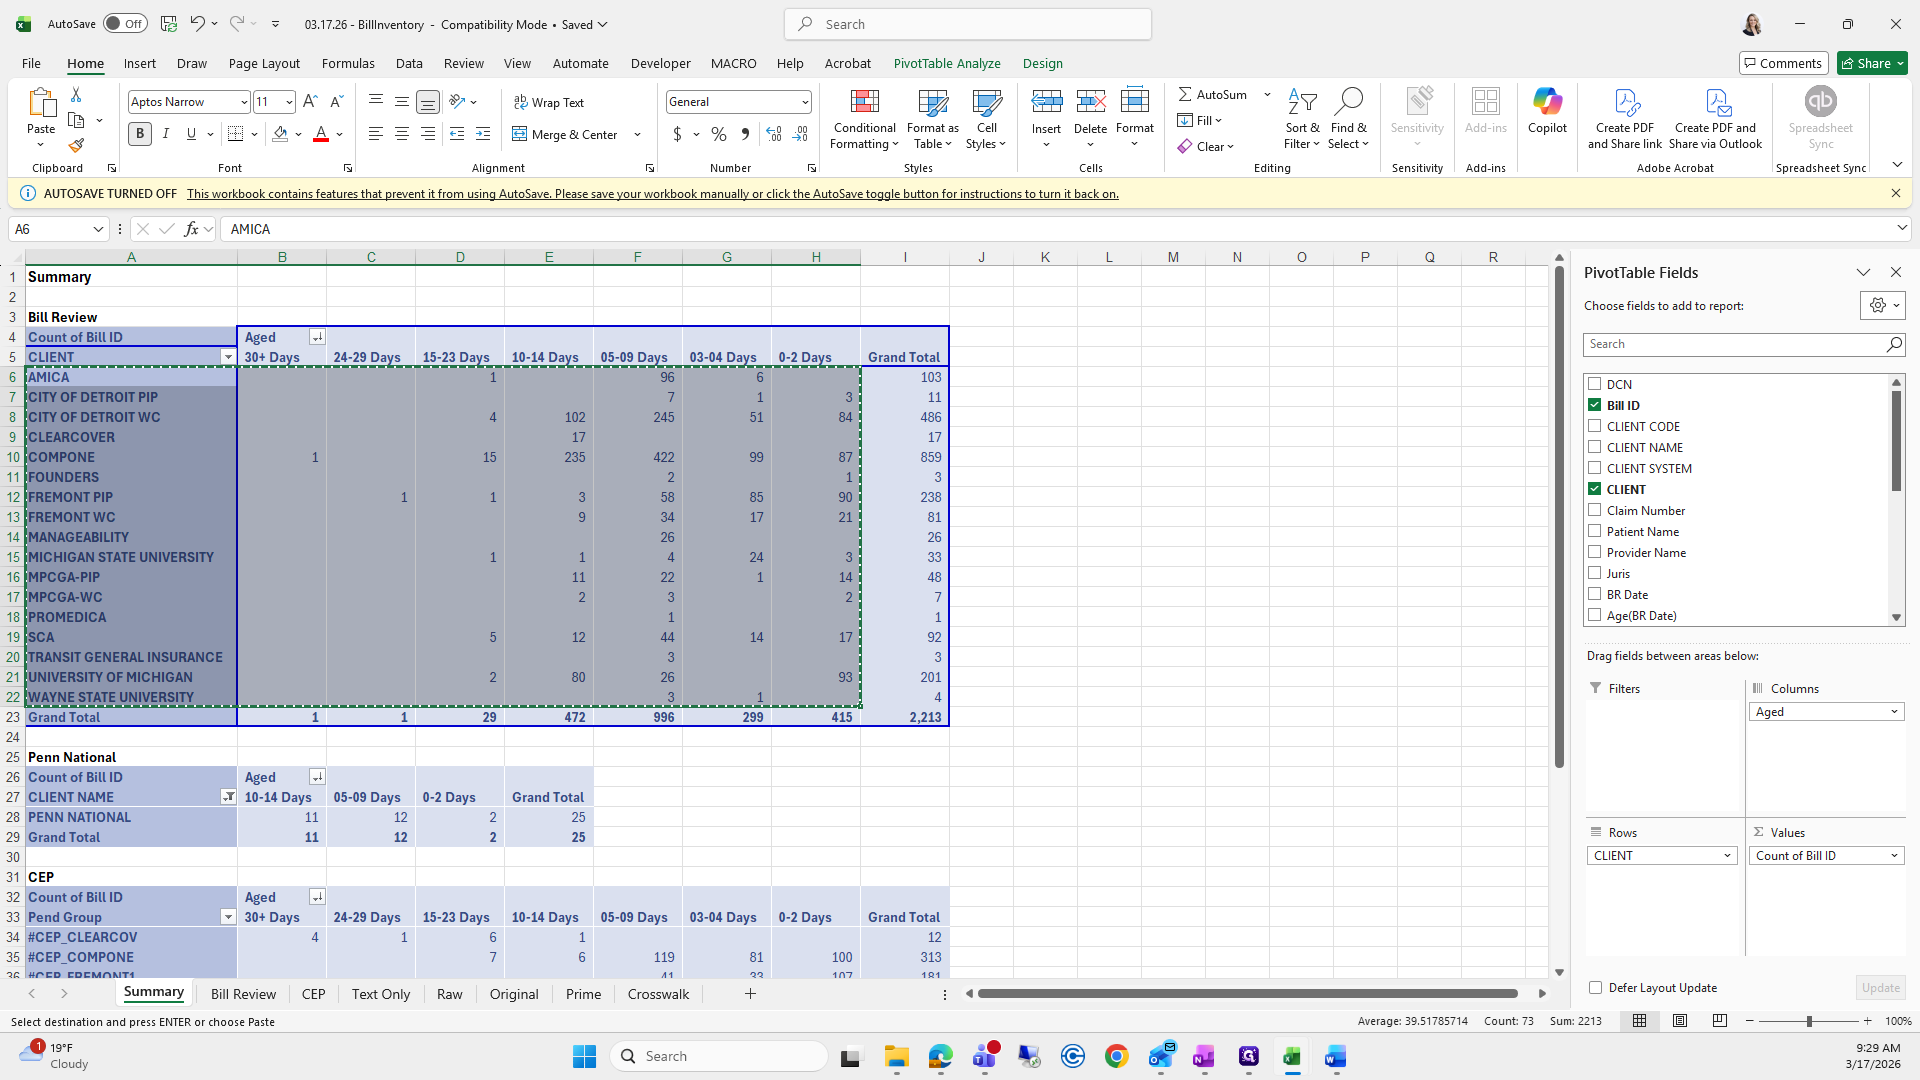
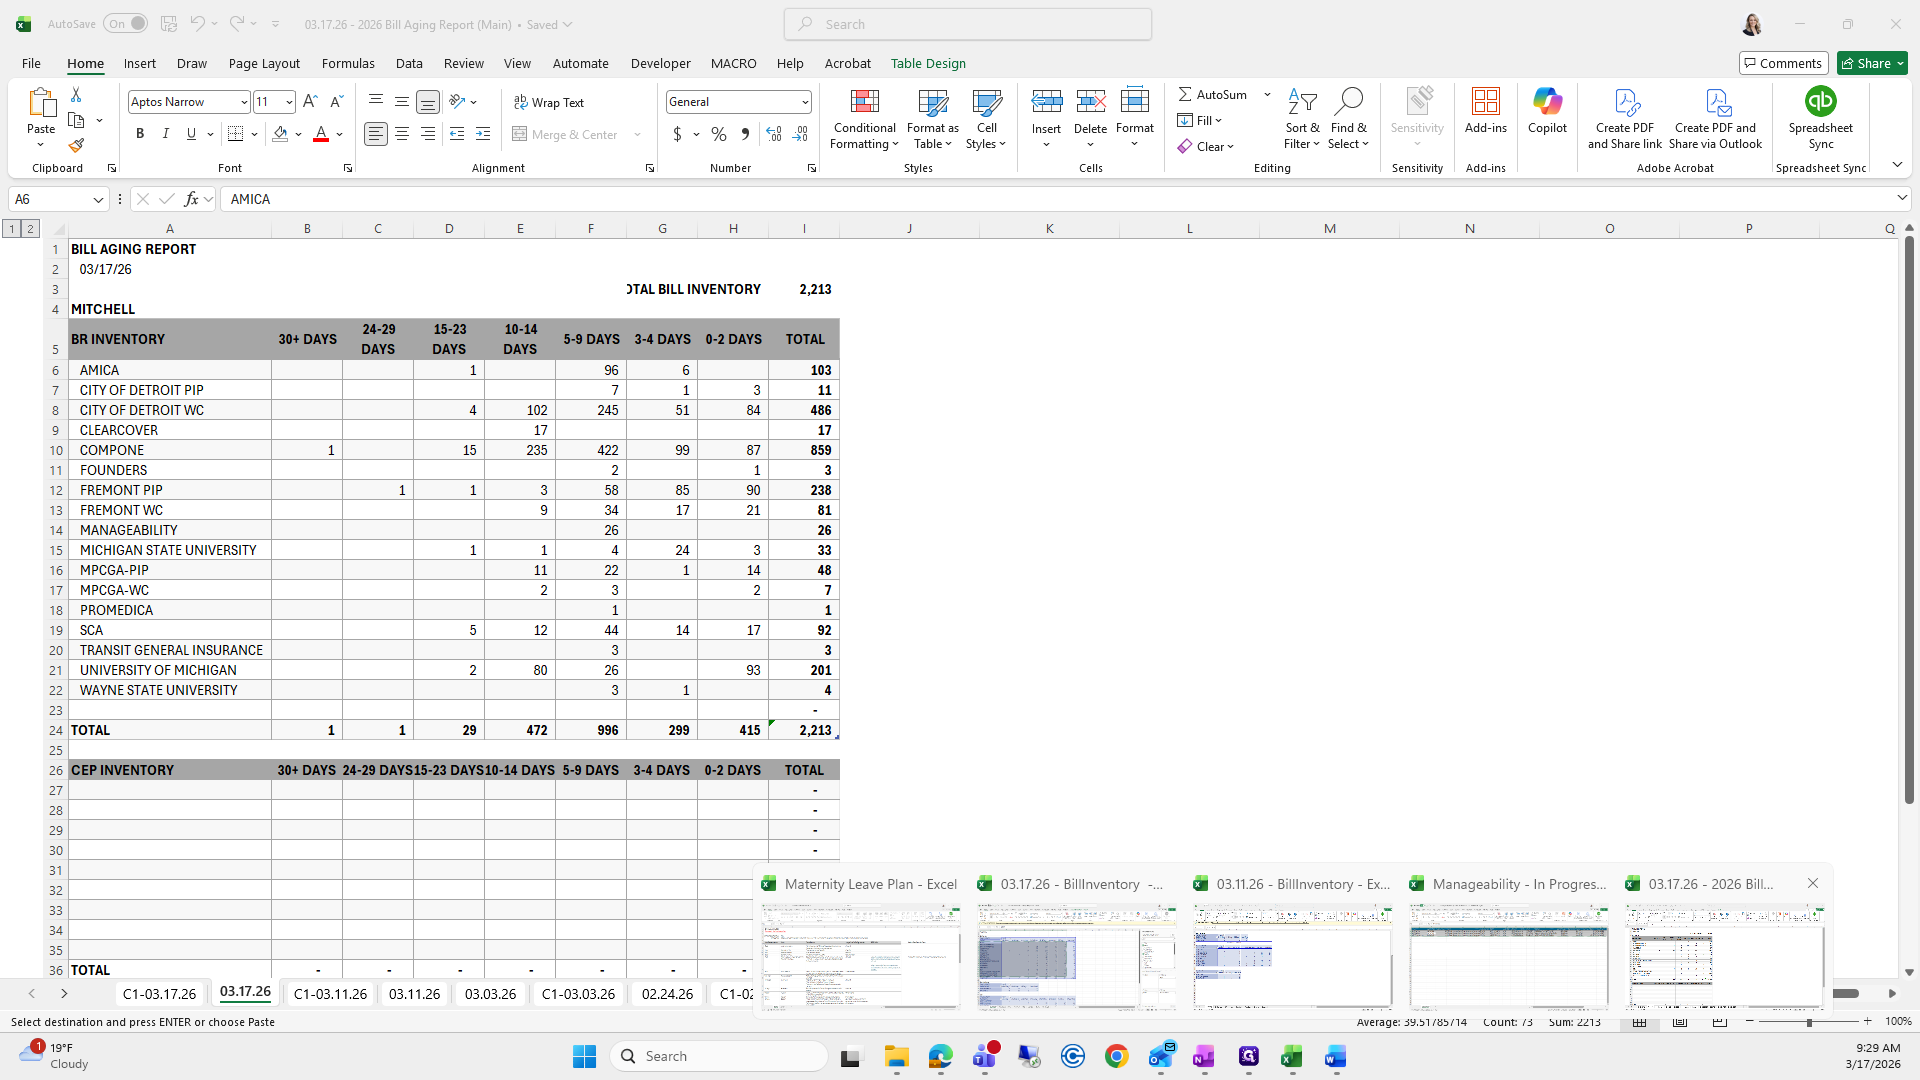
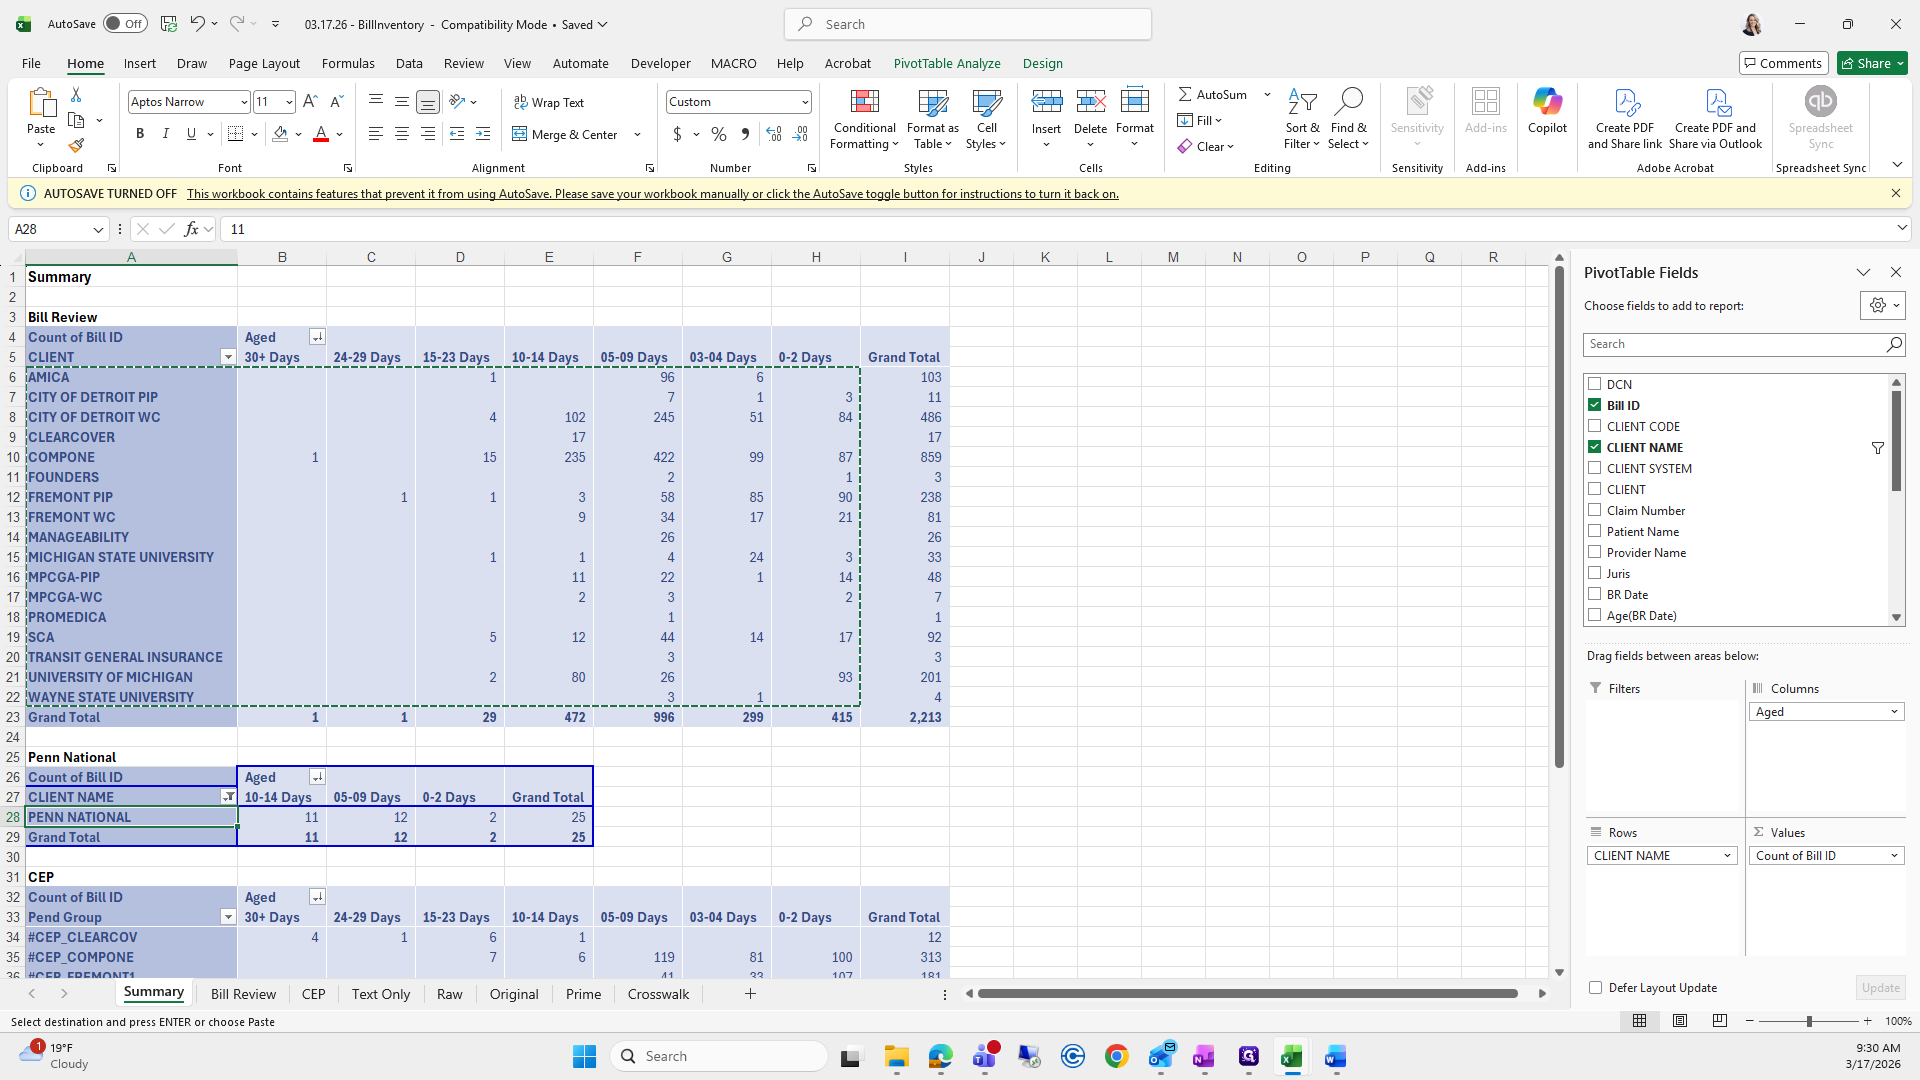
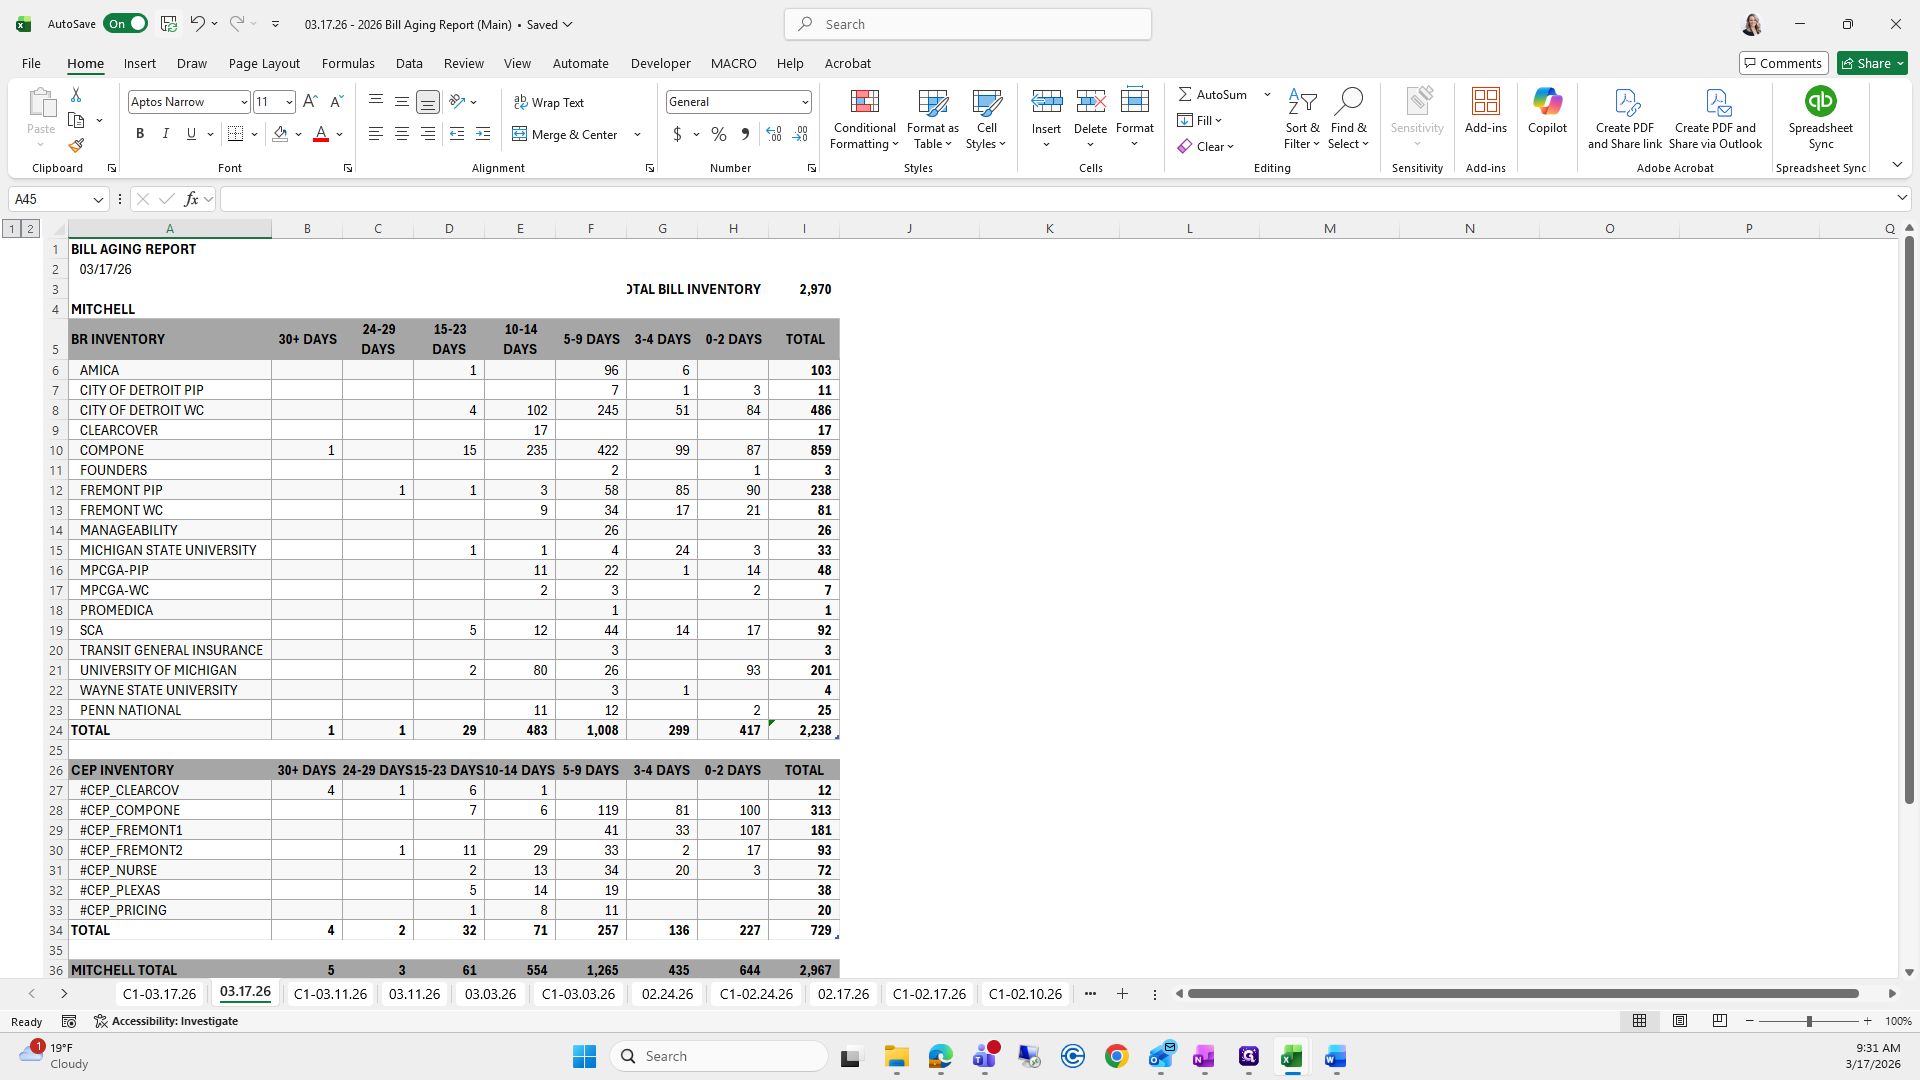
Okay. Now that we have finished, I will select all of these and quickly make them the same size.
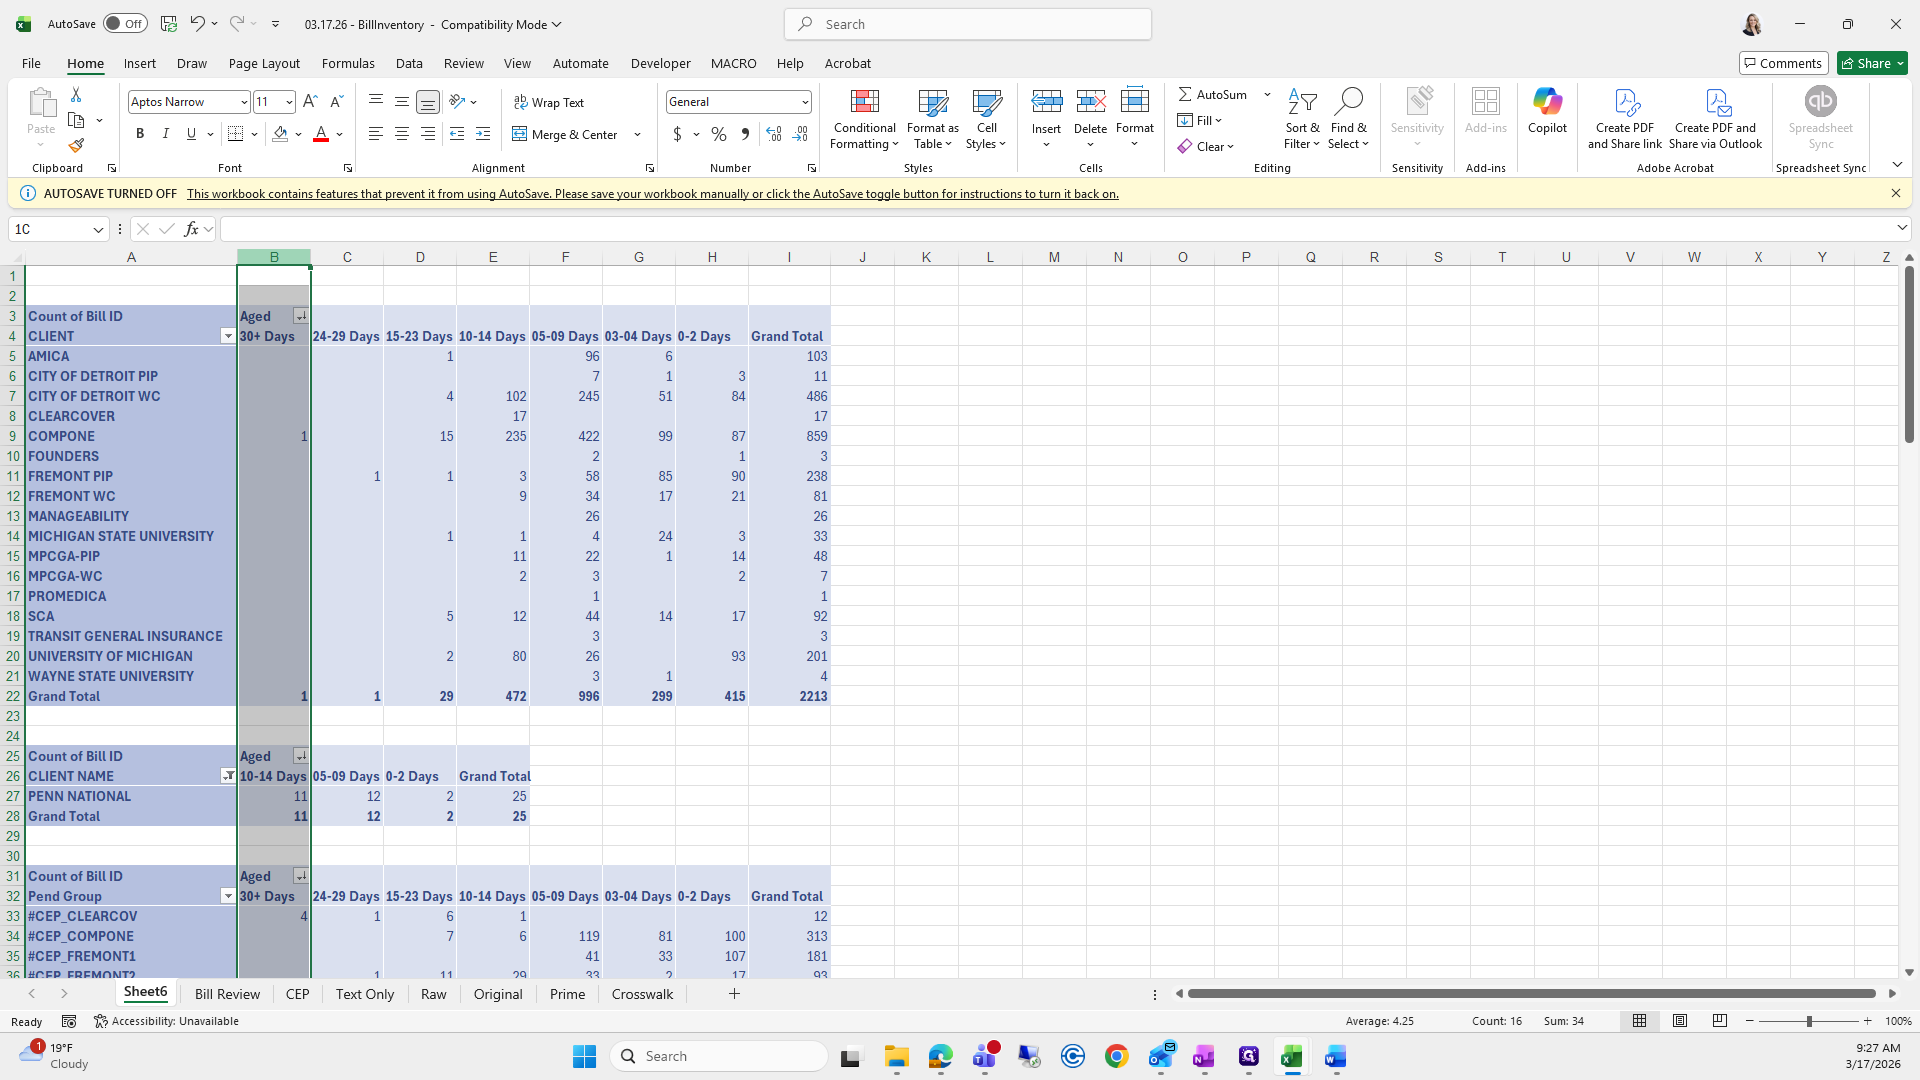

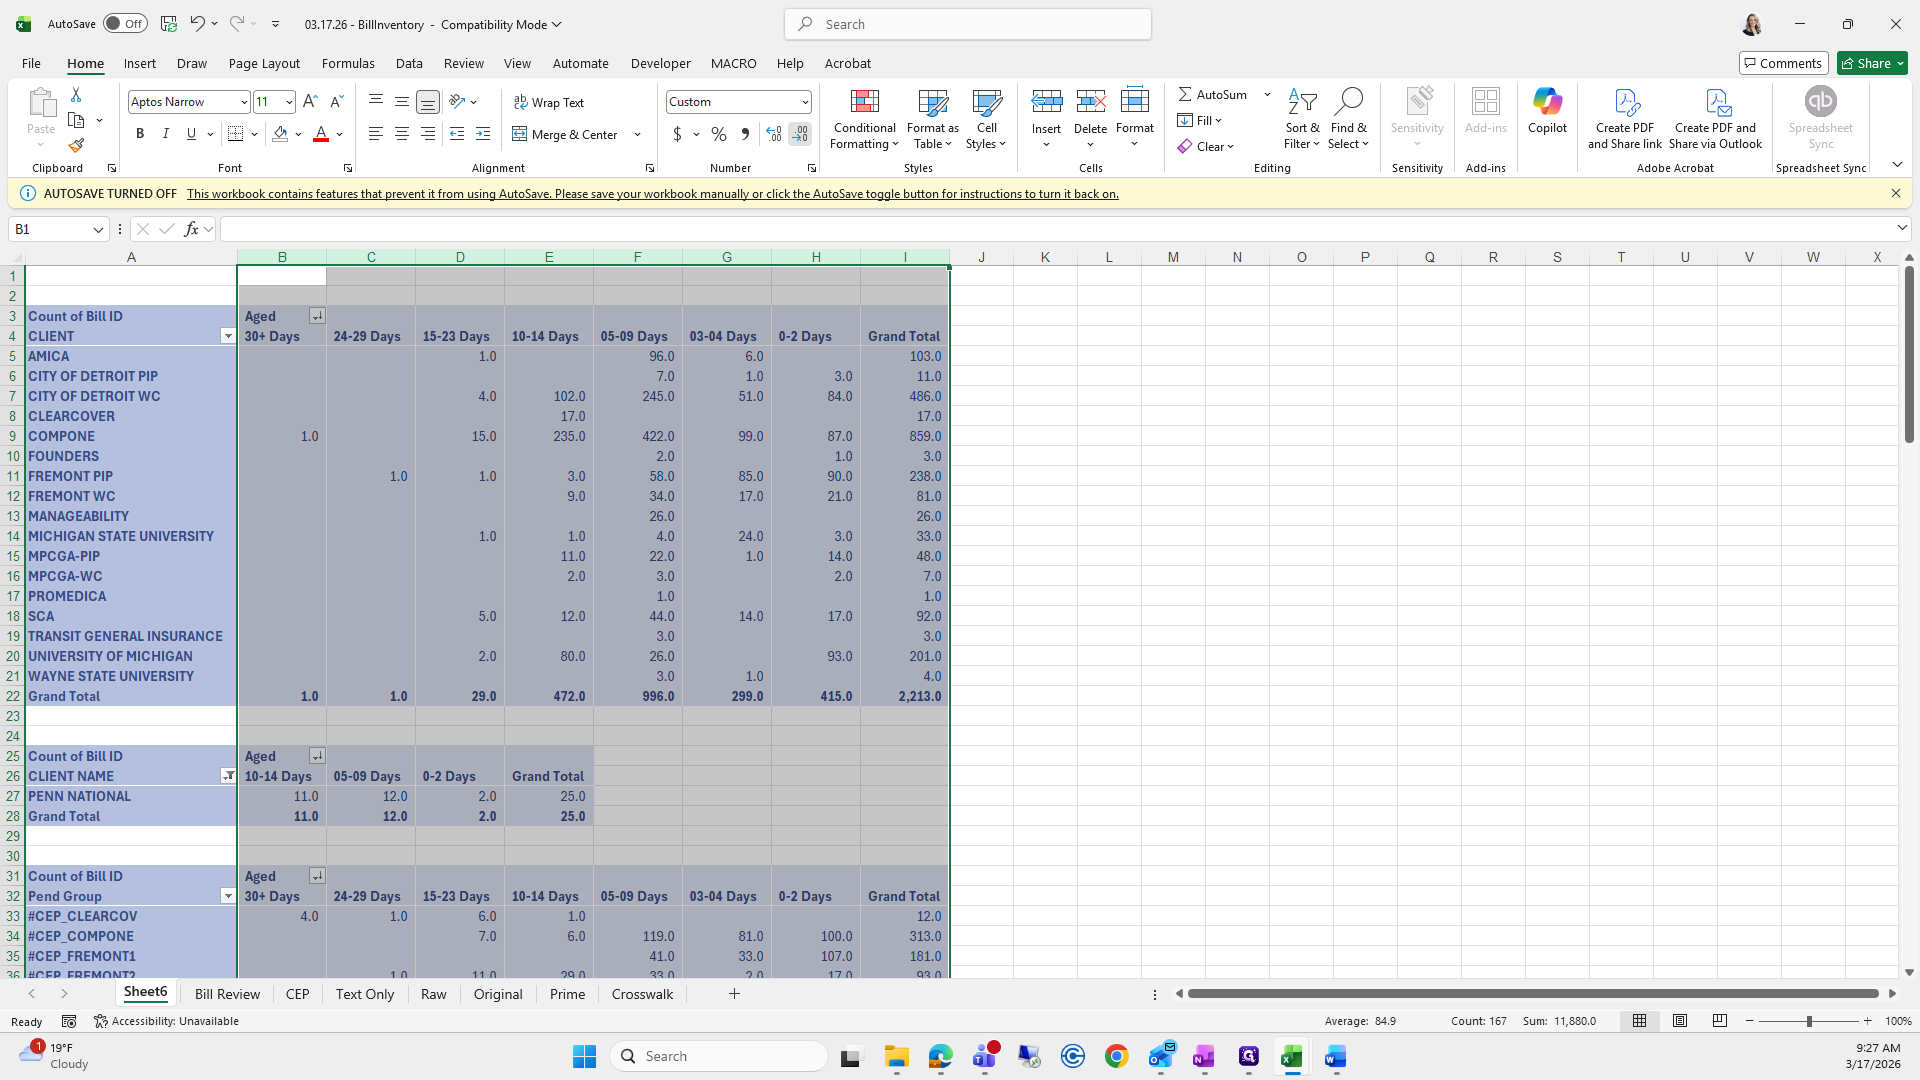
I like the comma; remove decimals.
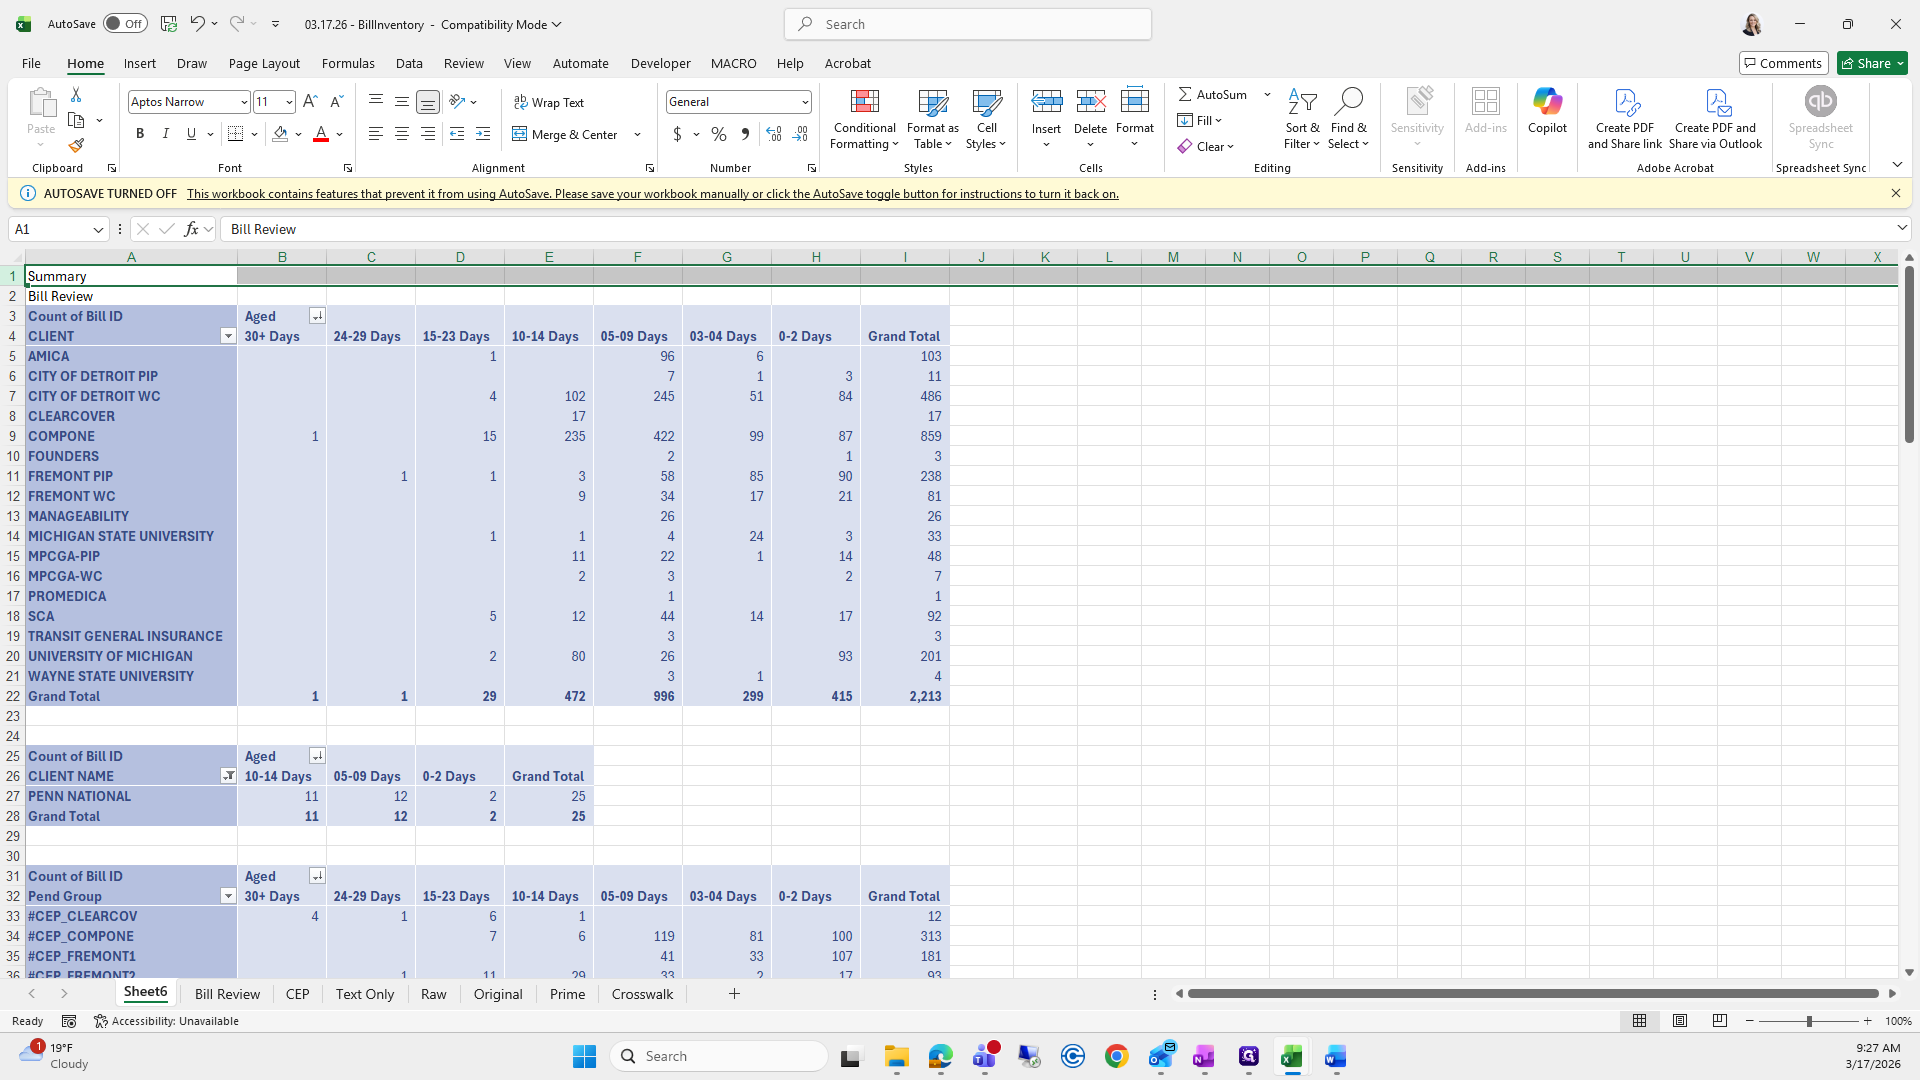
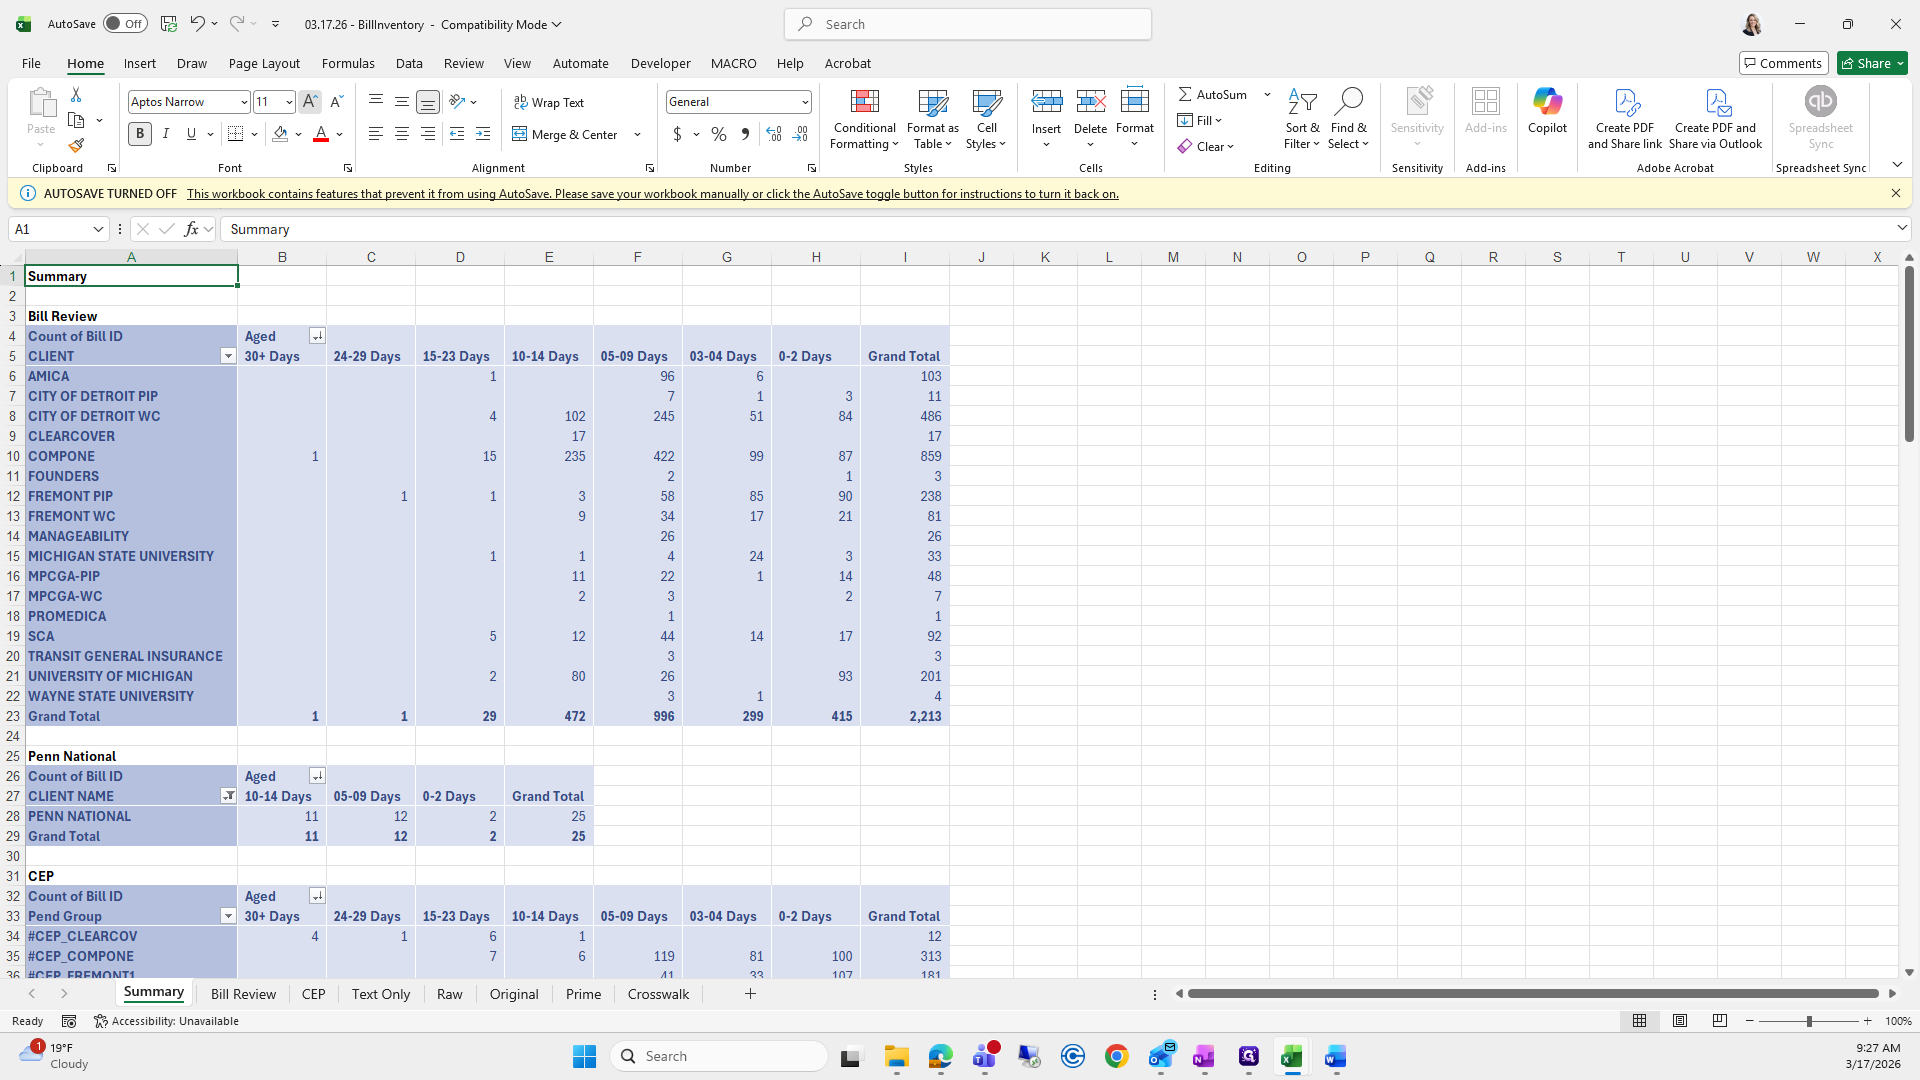
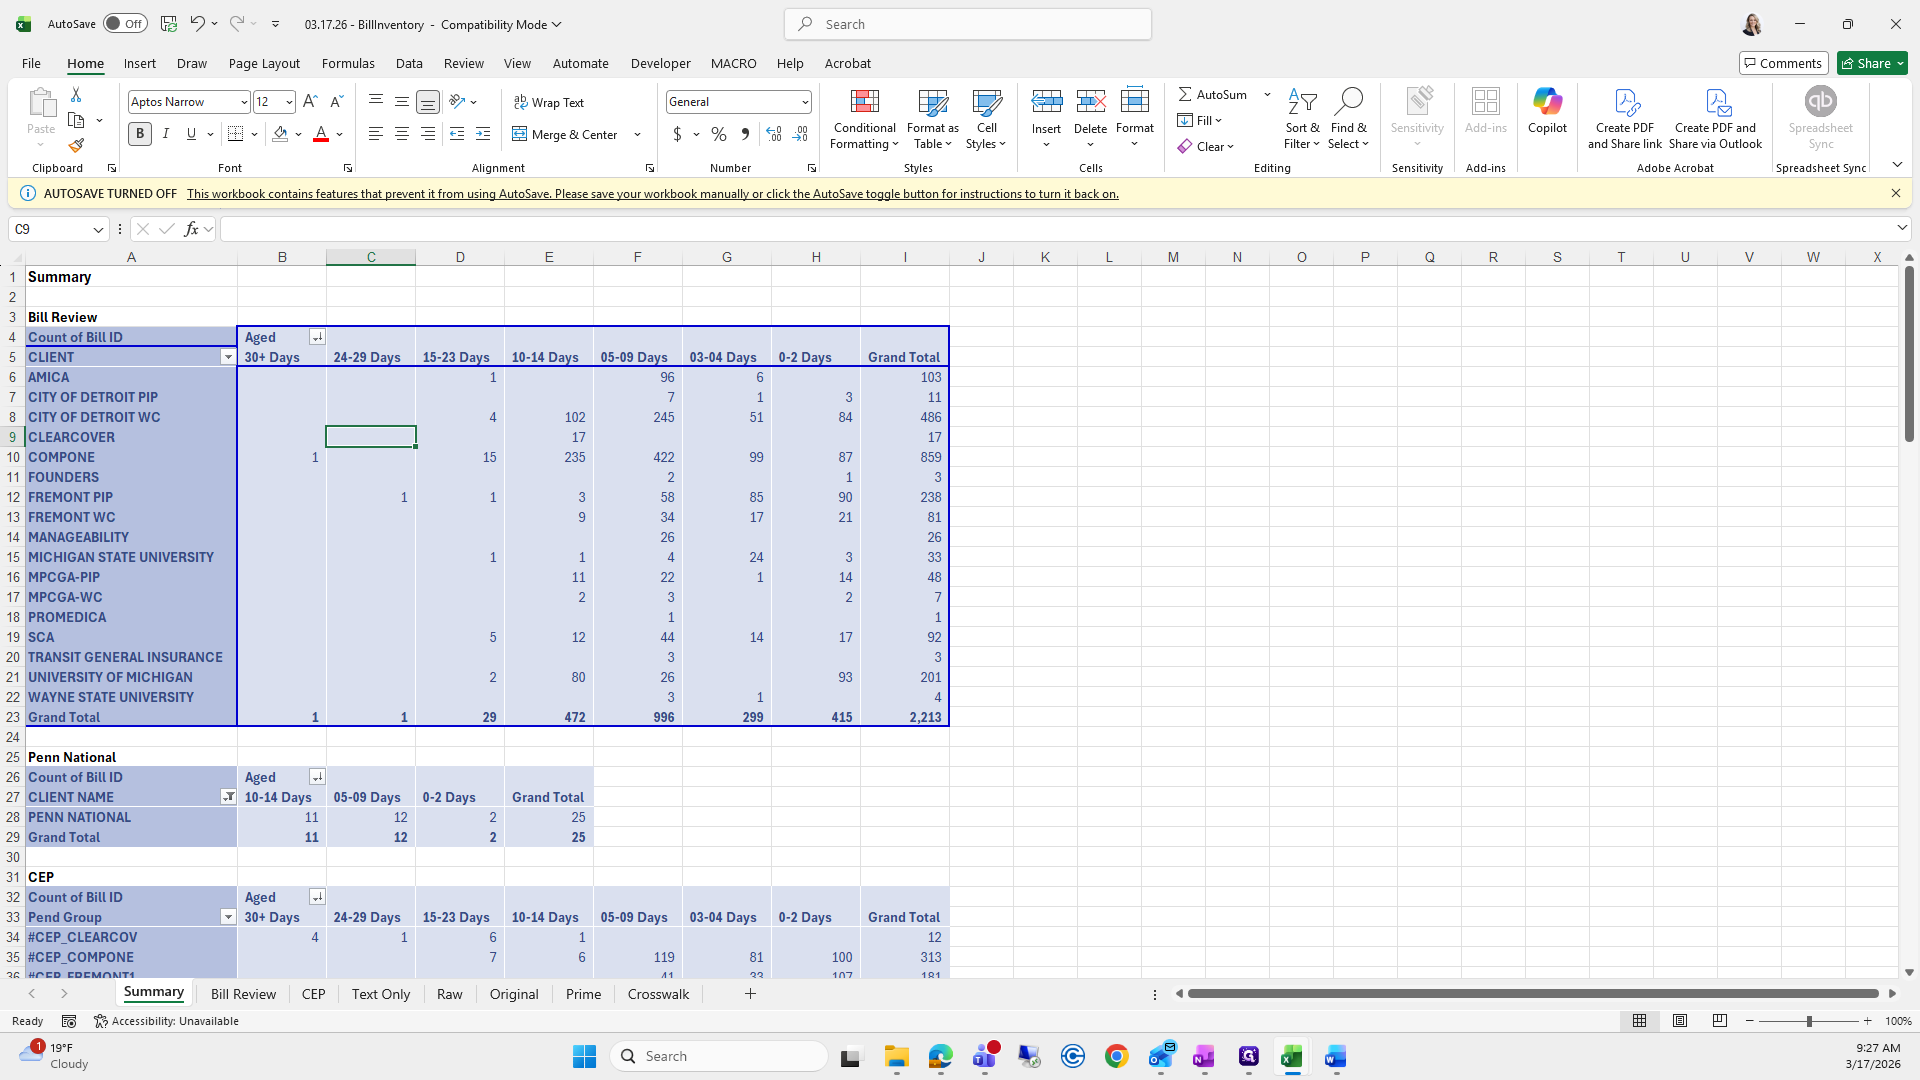
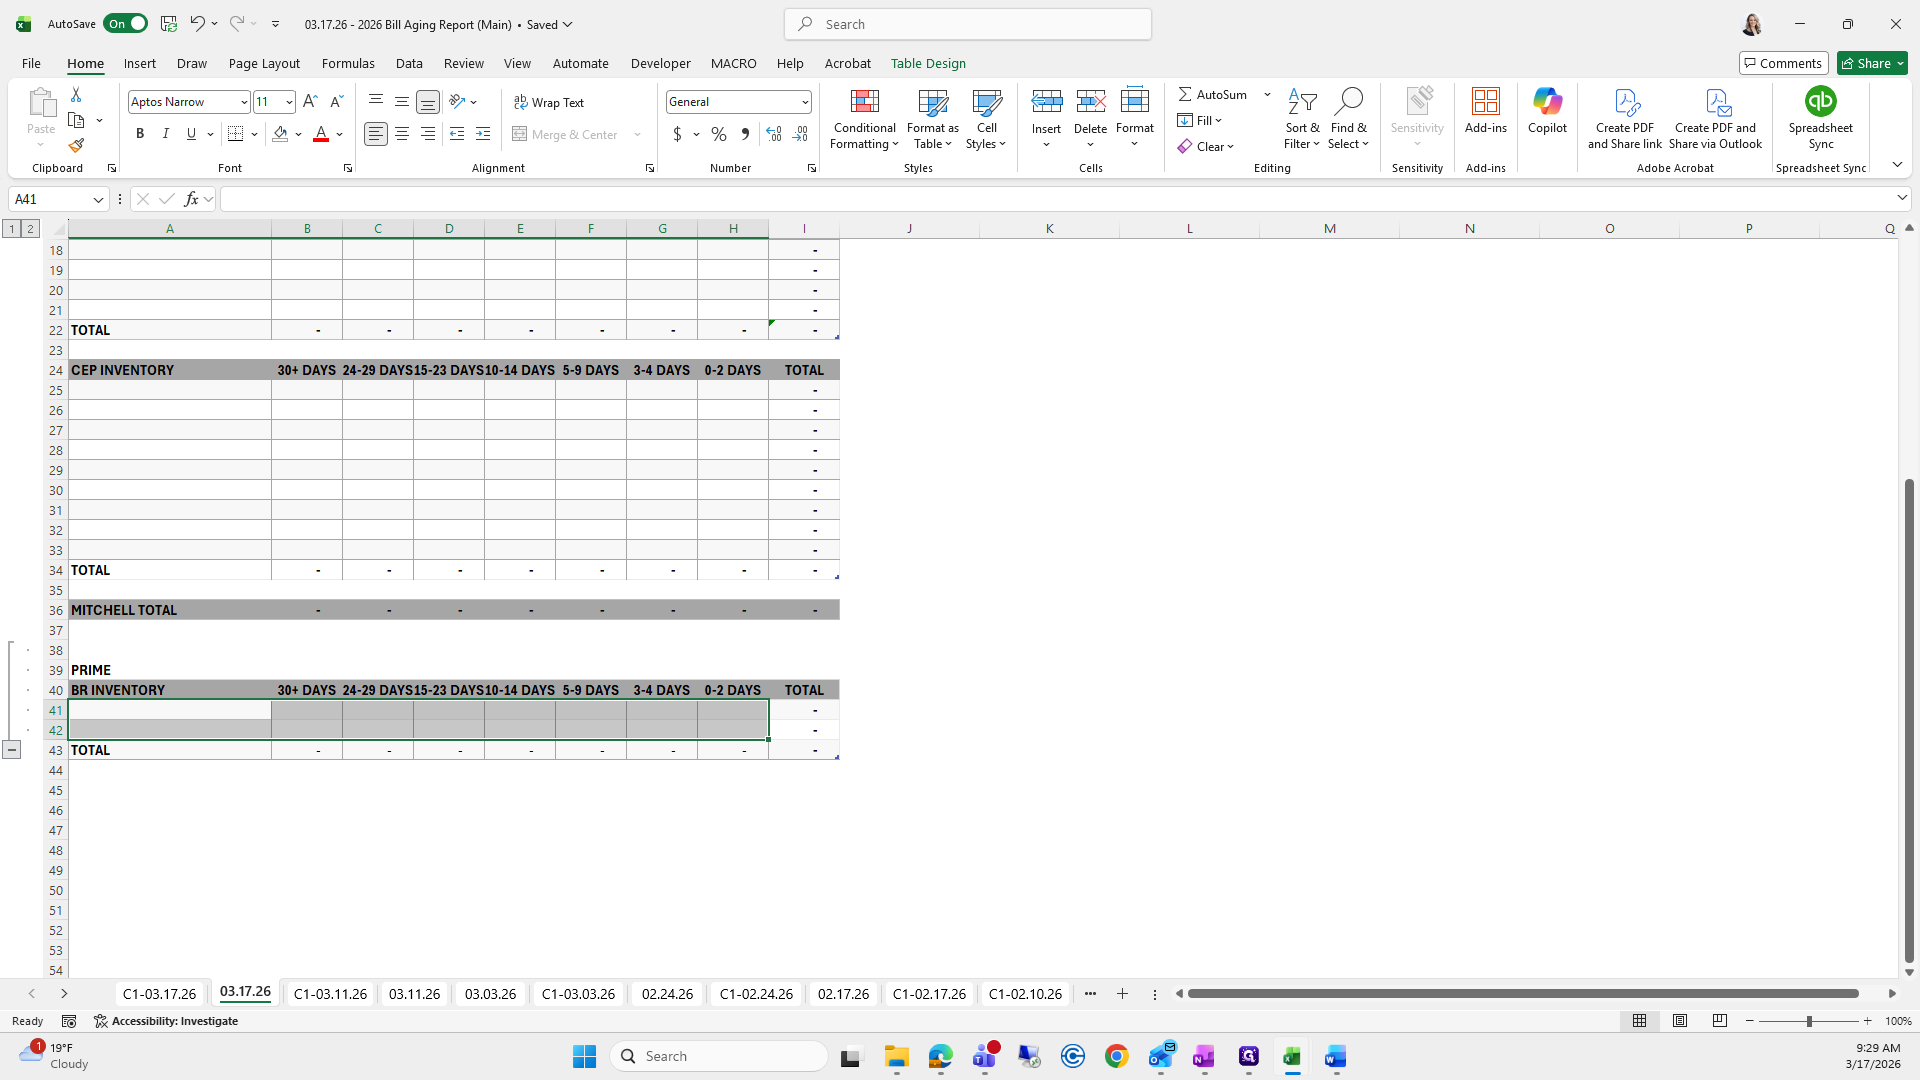
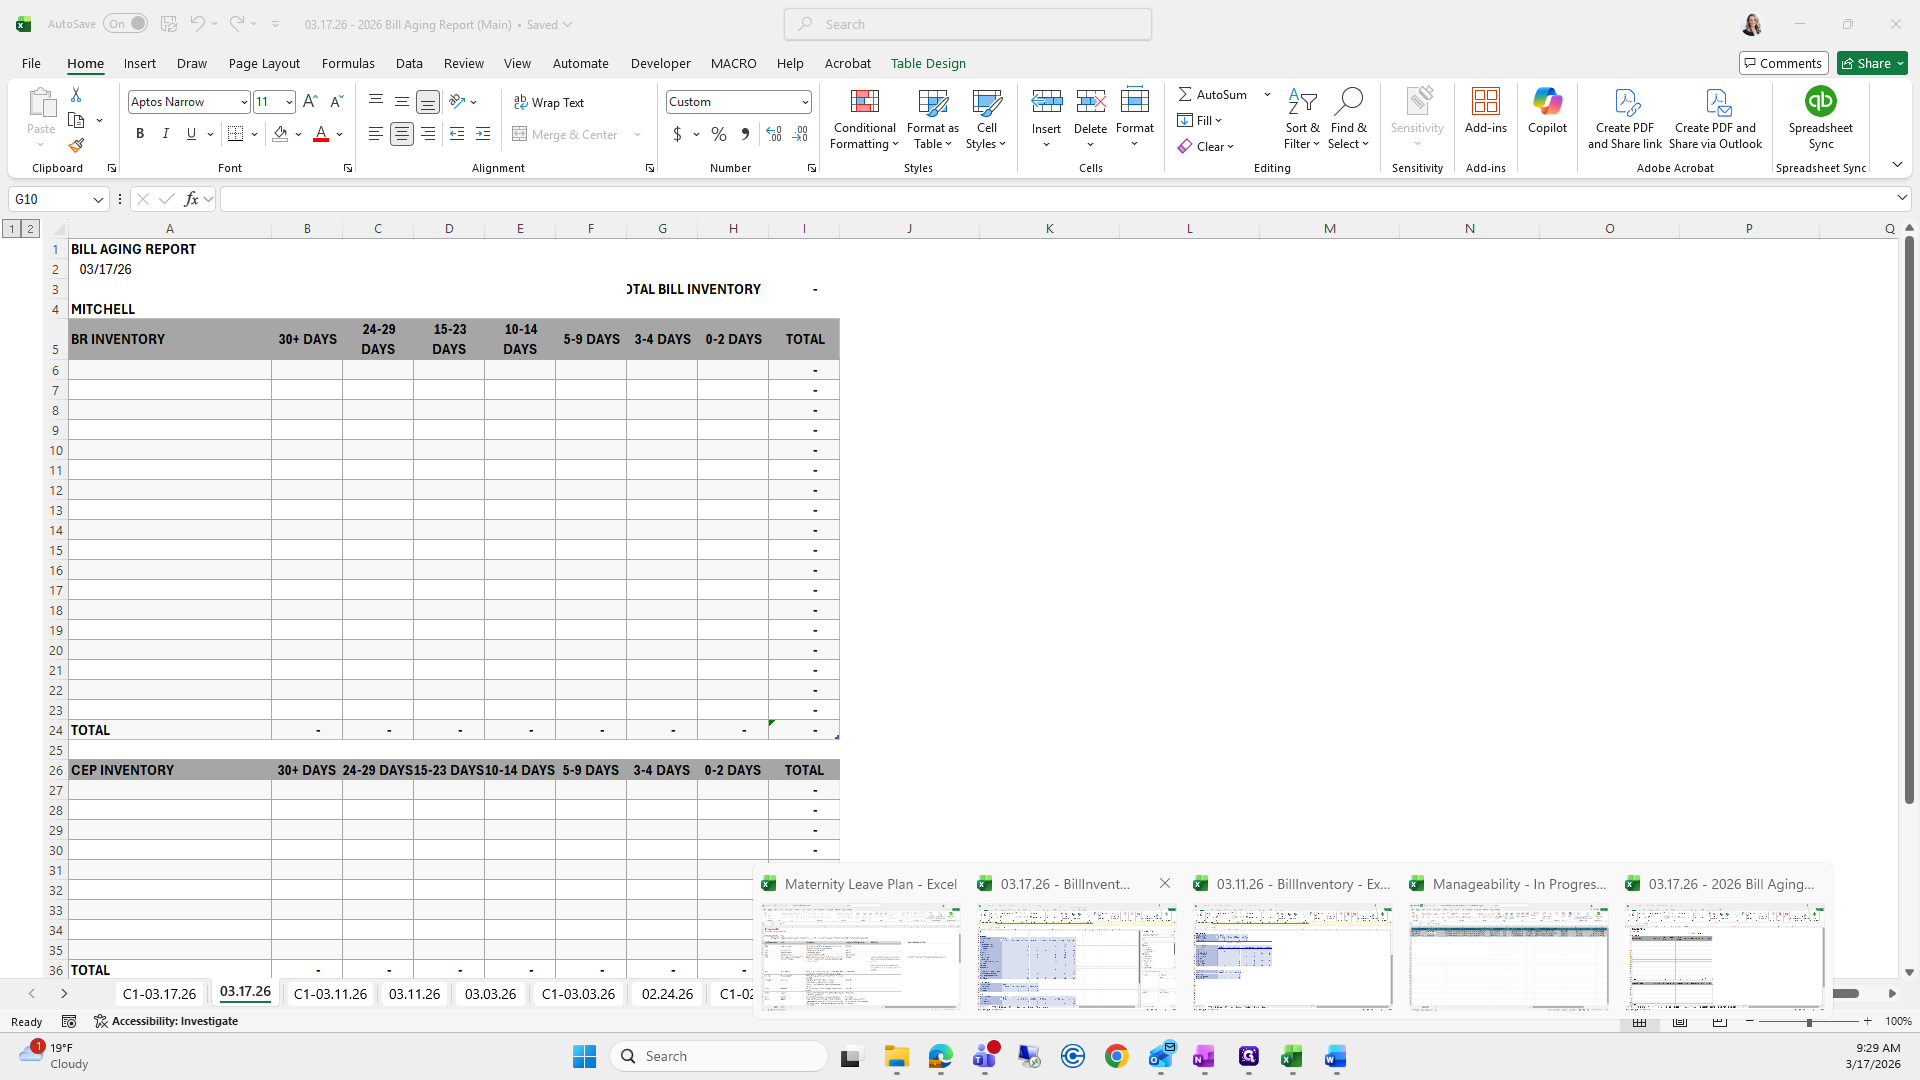
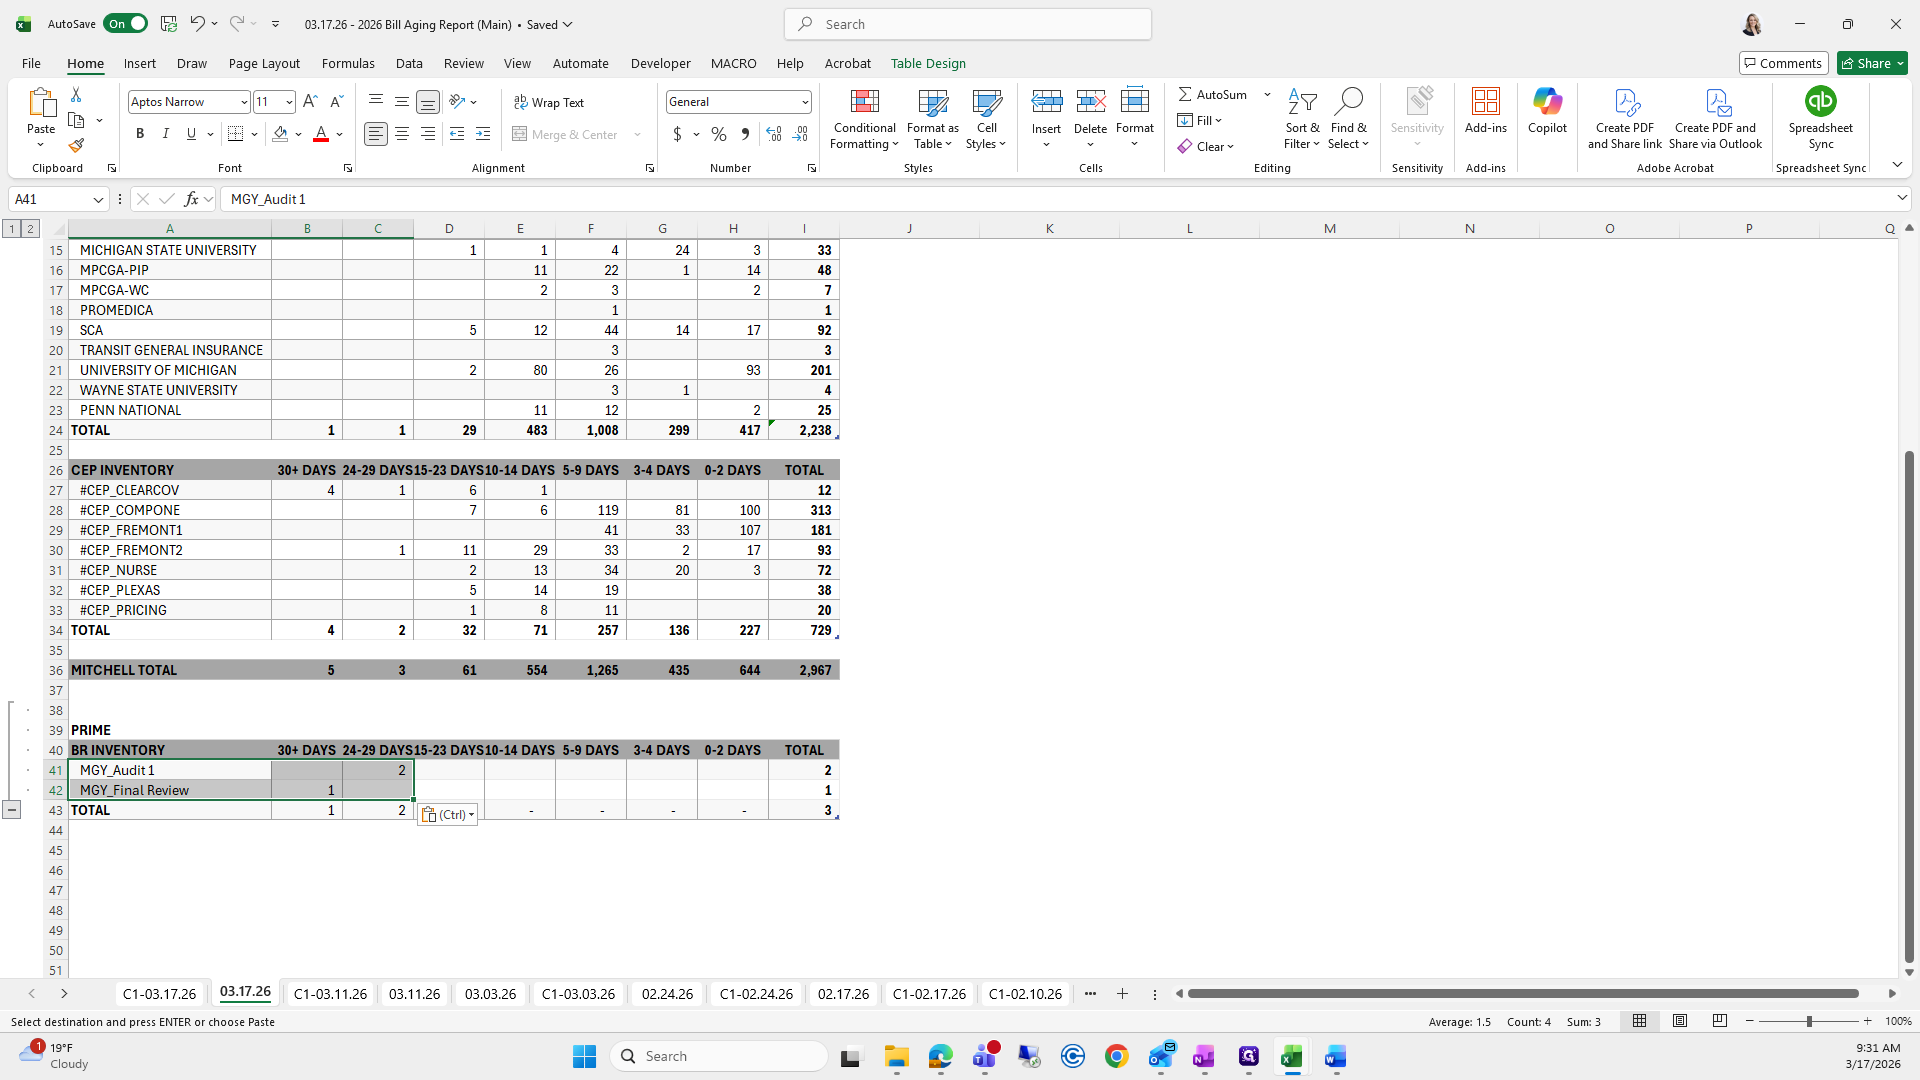
Next, write "Summary" below this section.
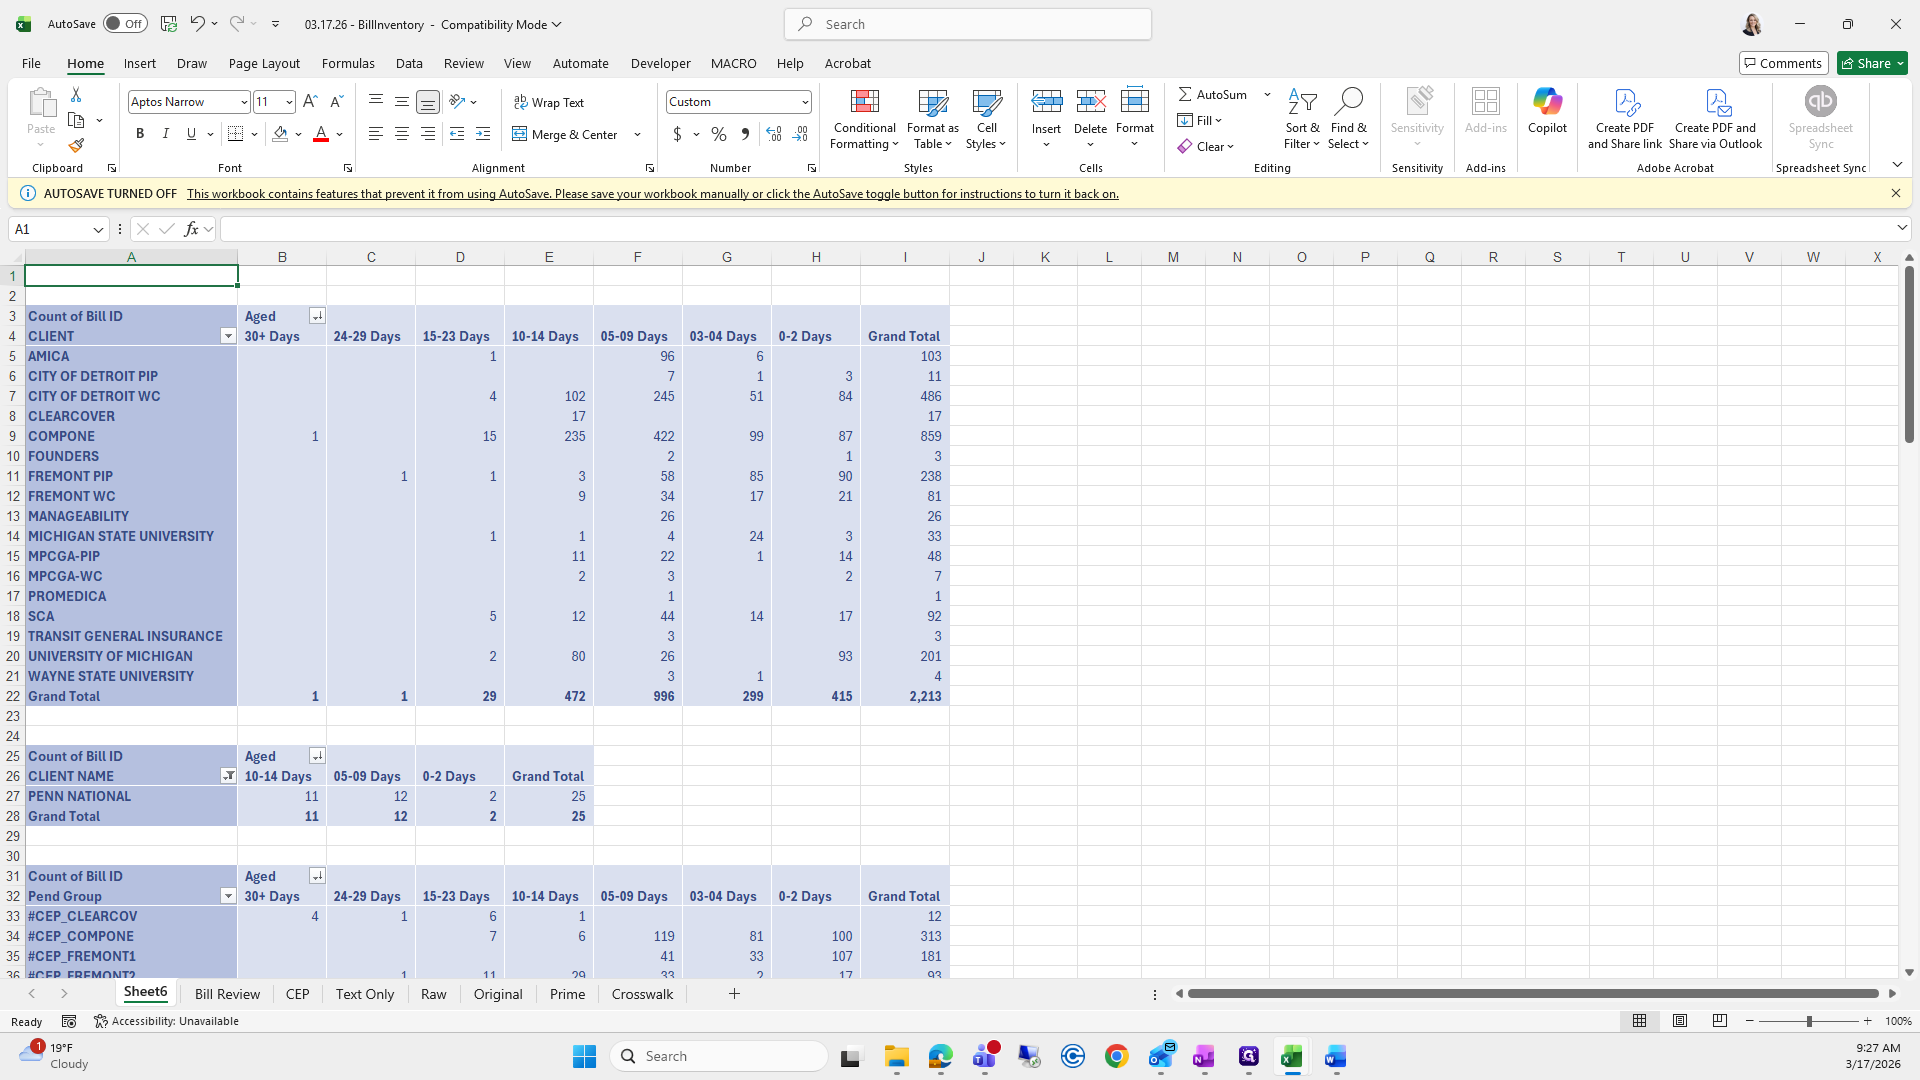
This is bill review.

So... Oop, oop.

""
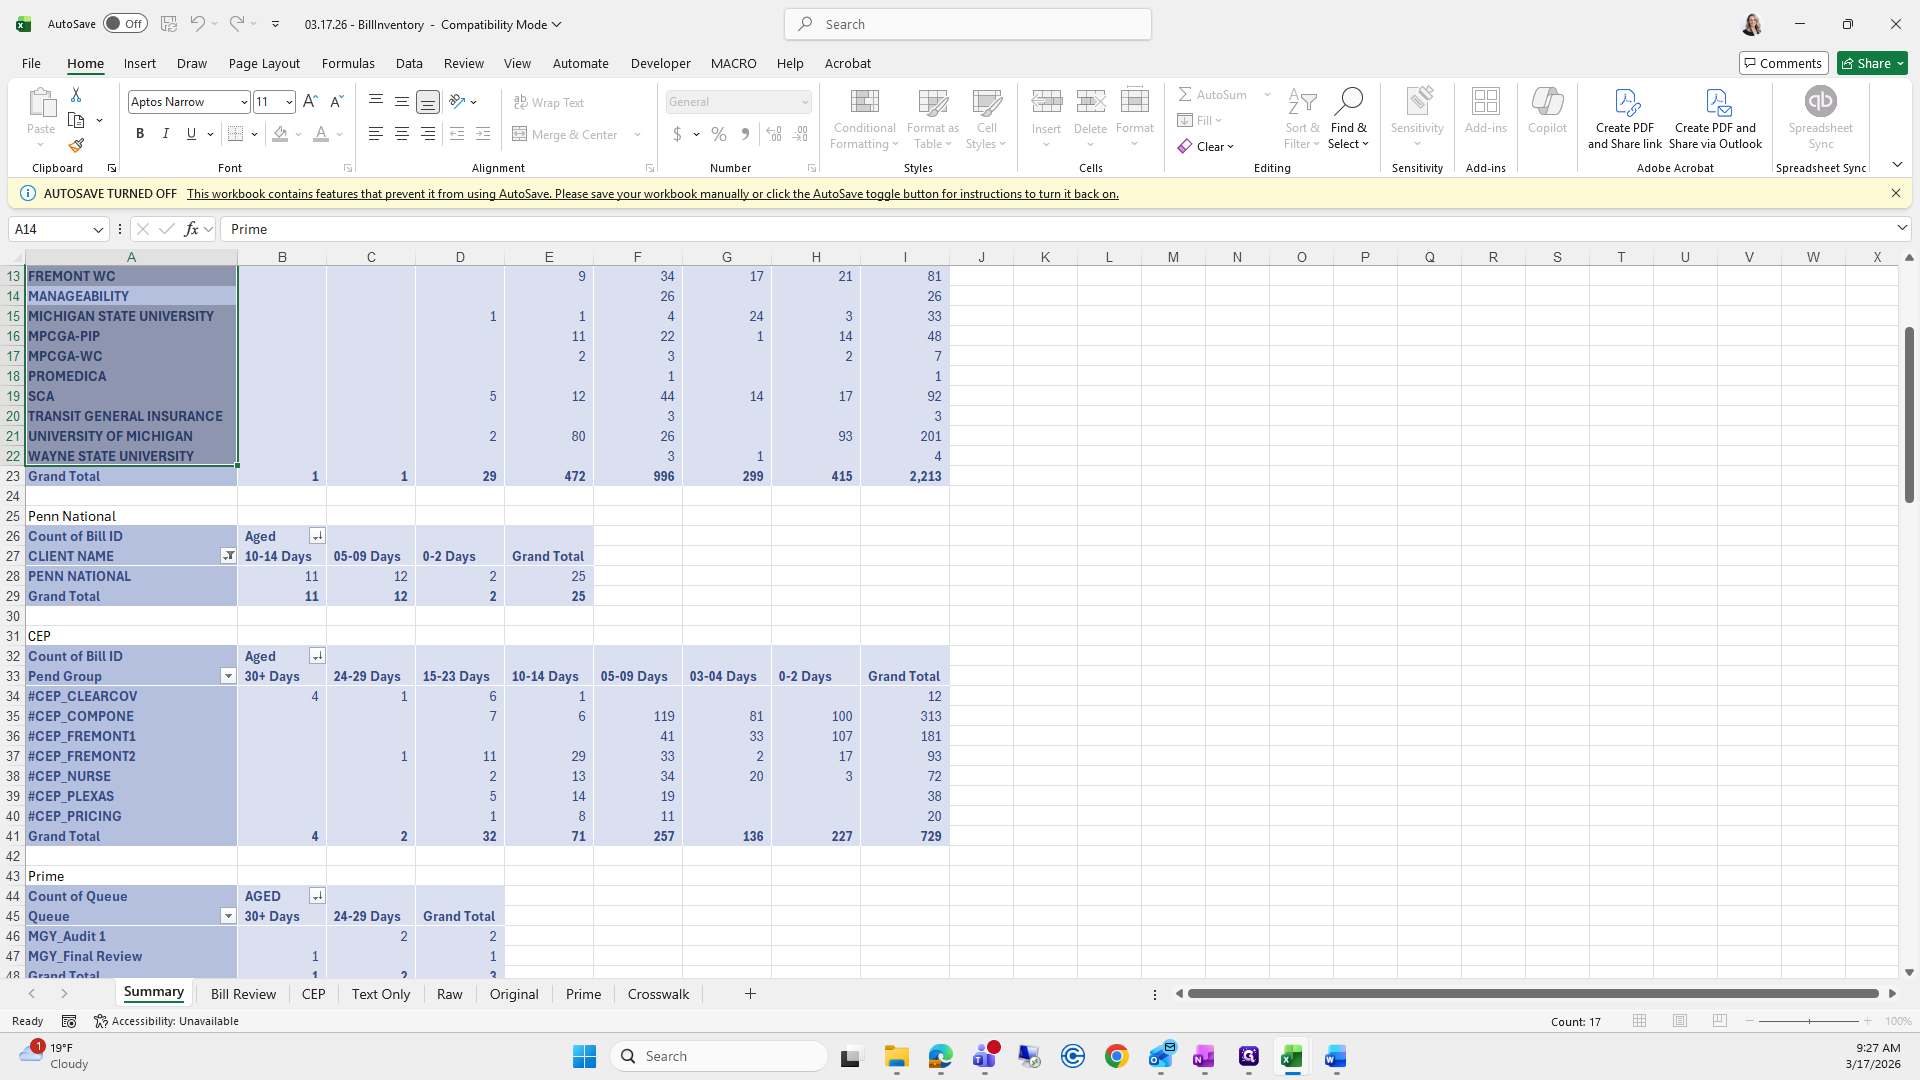
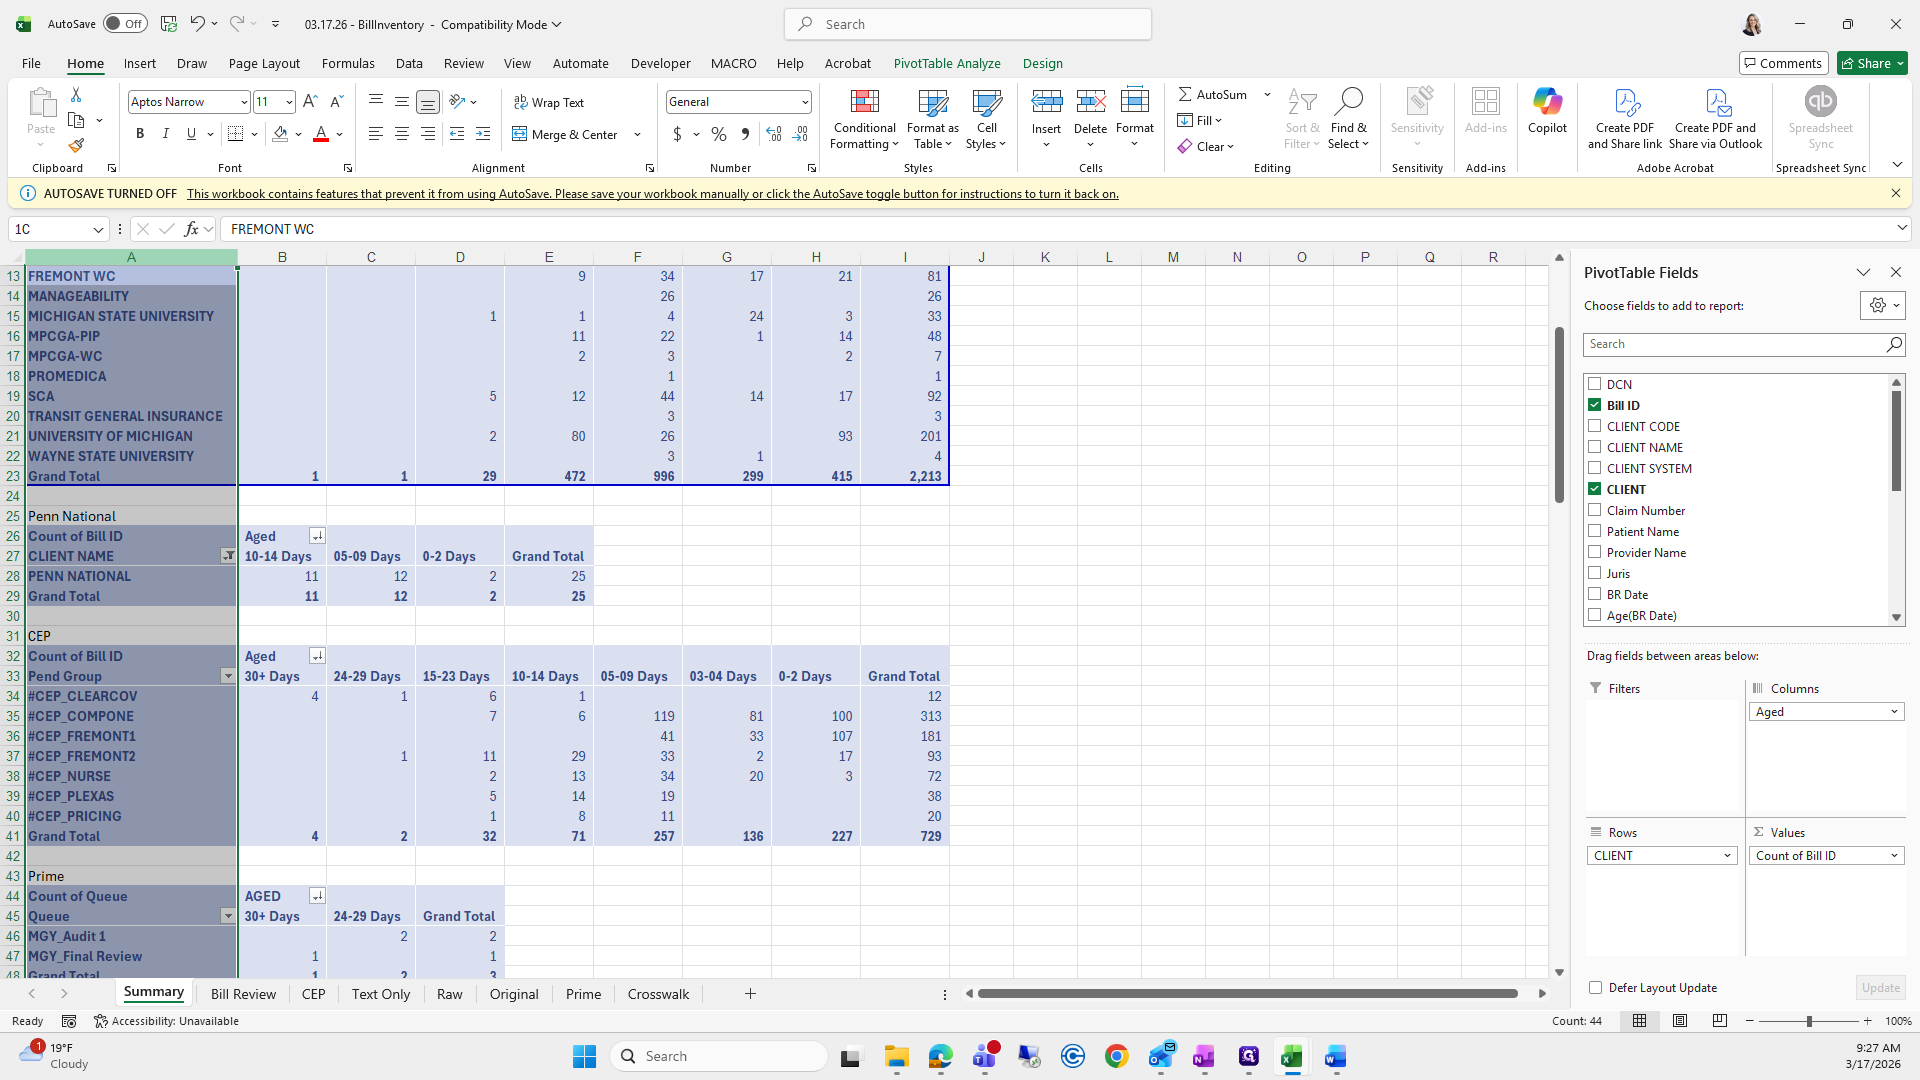
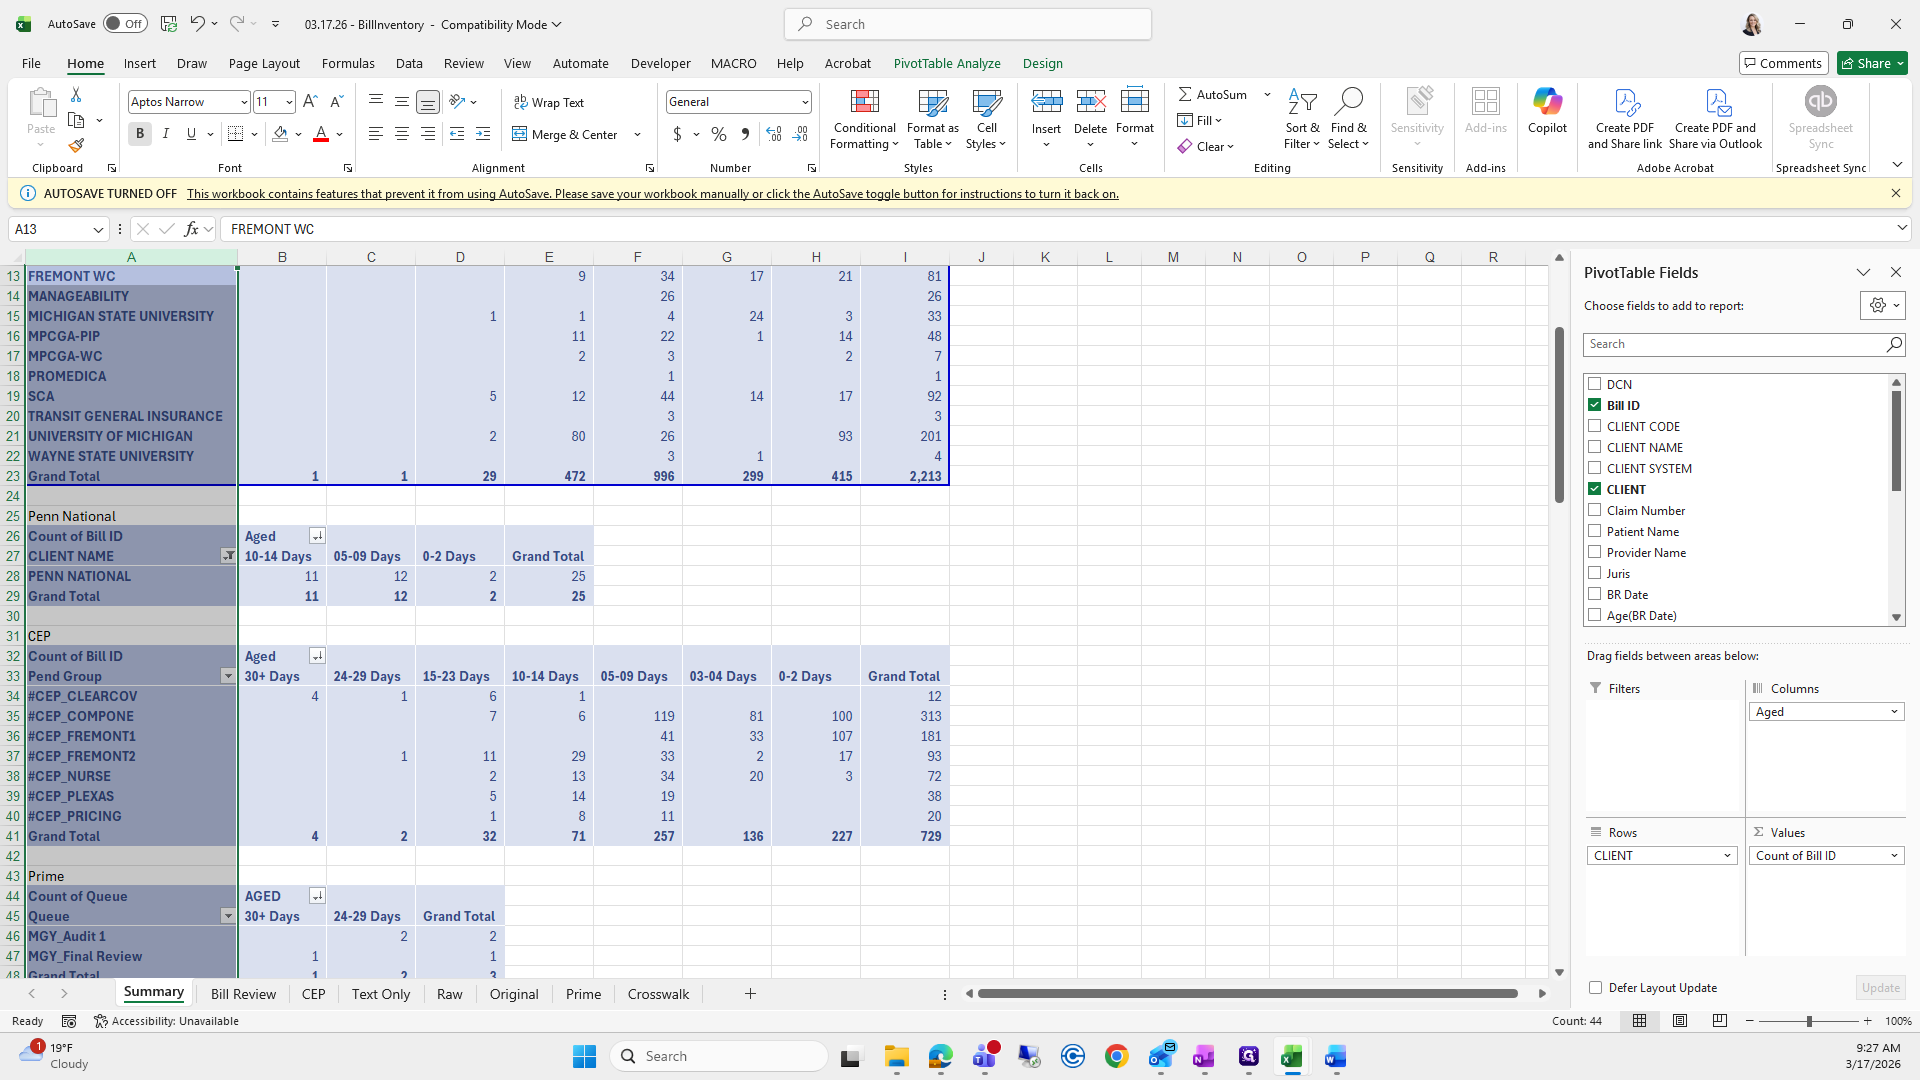
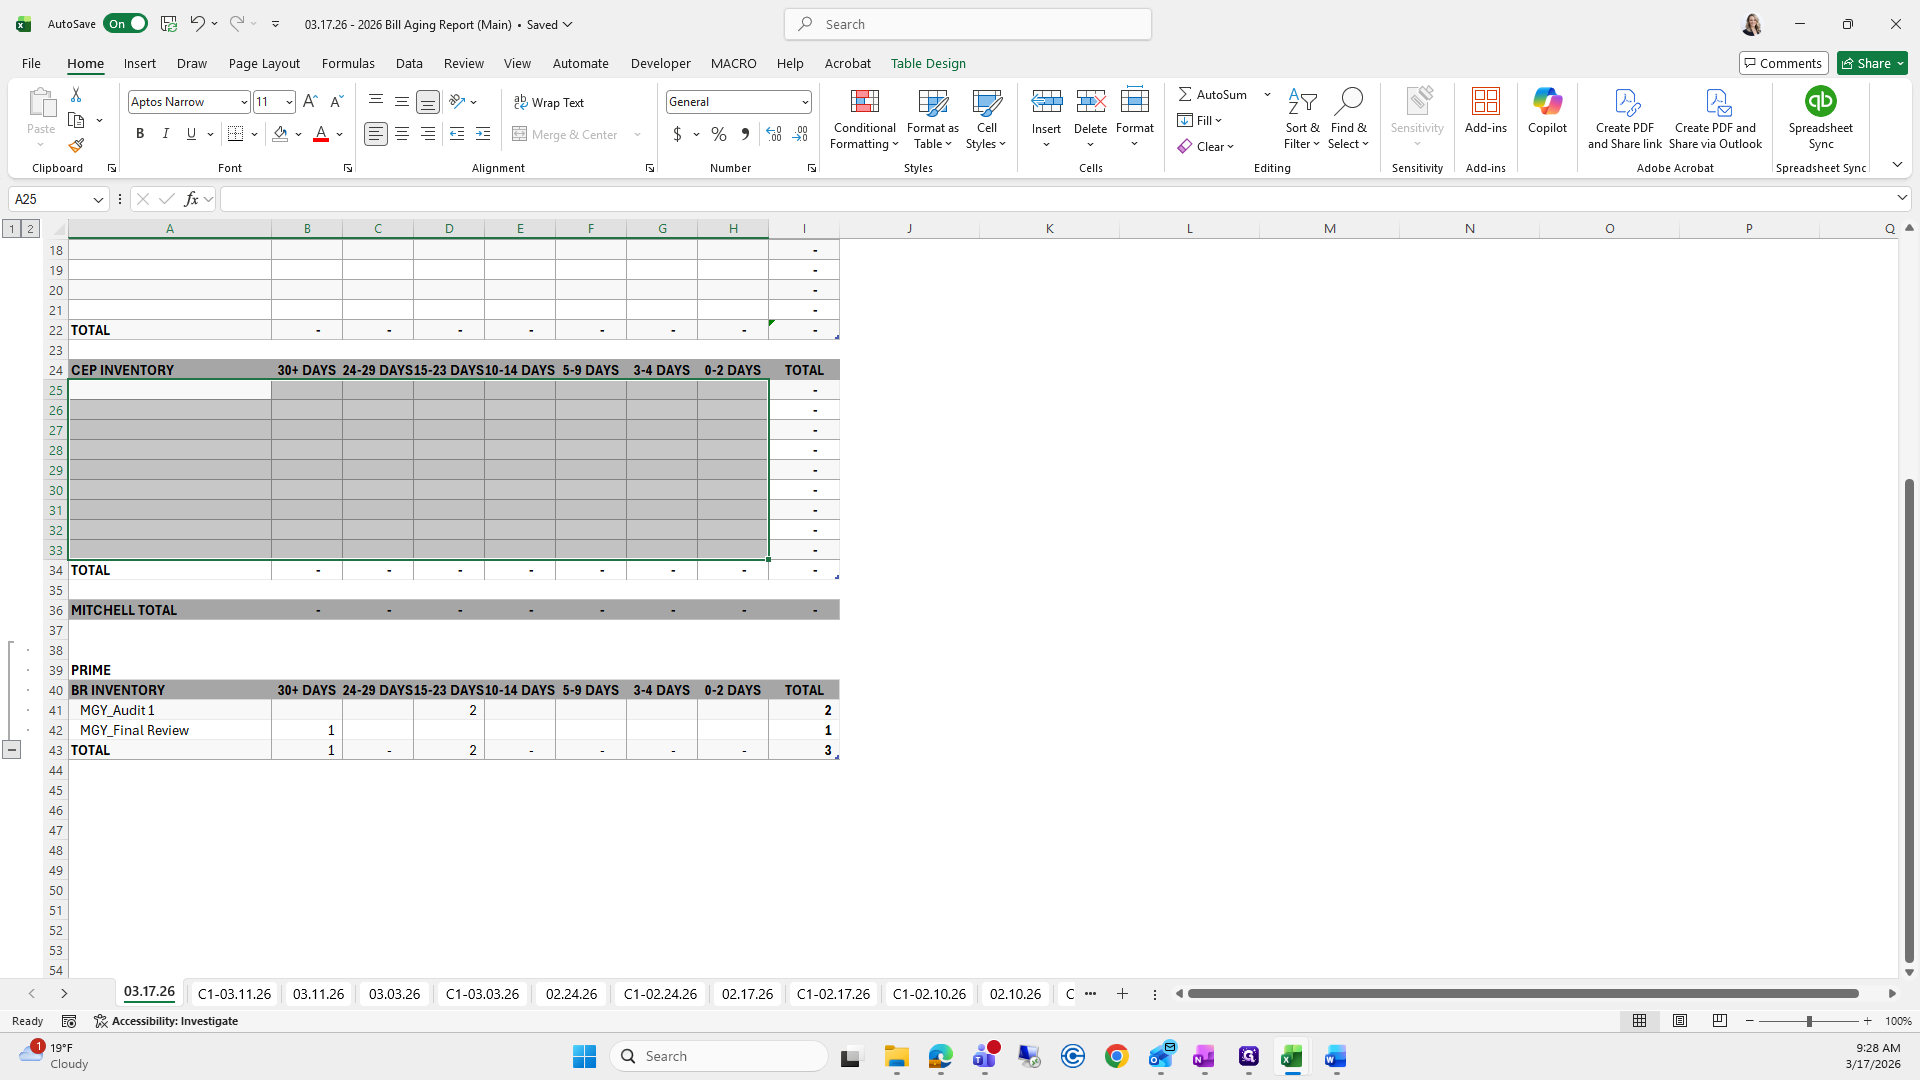
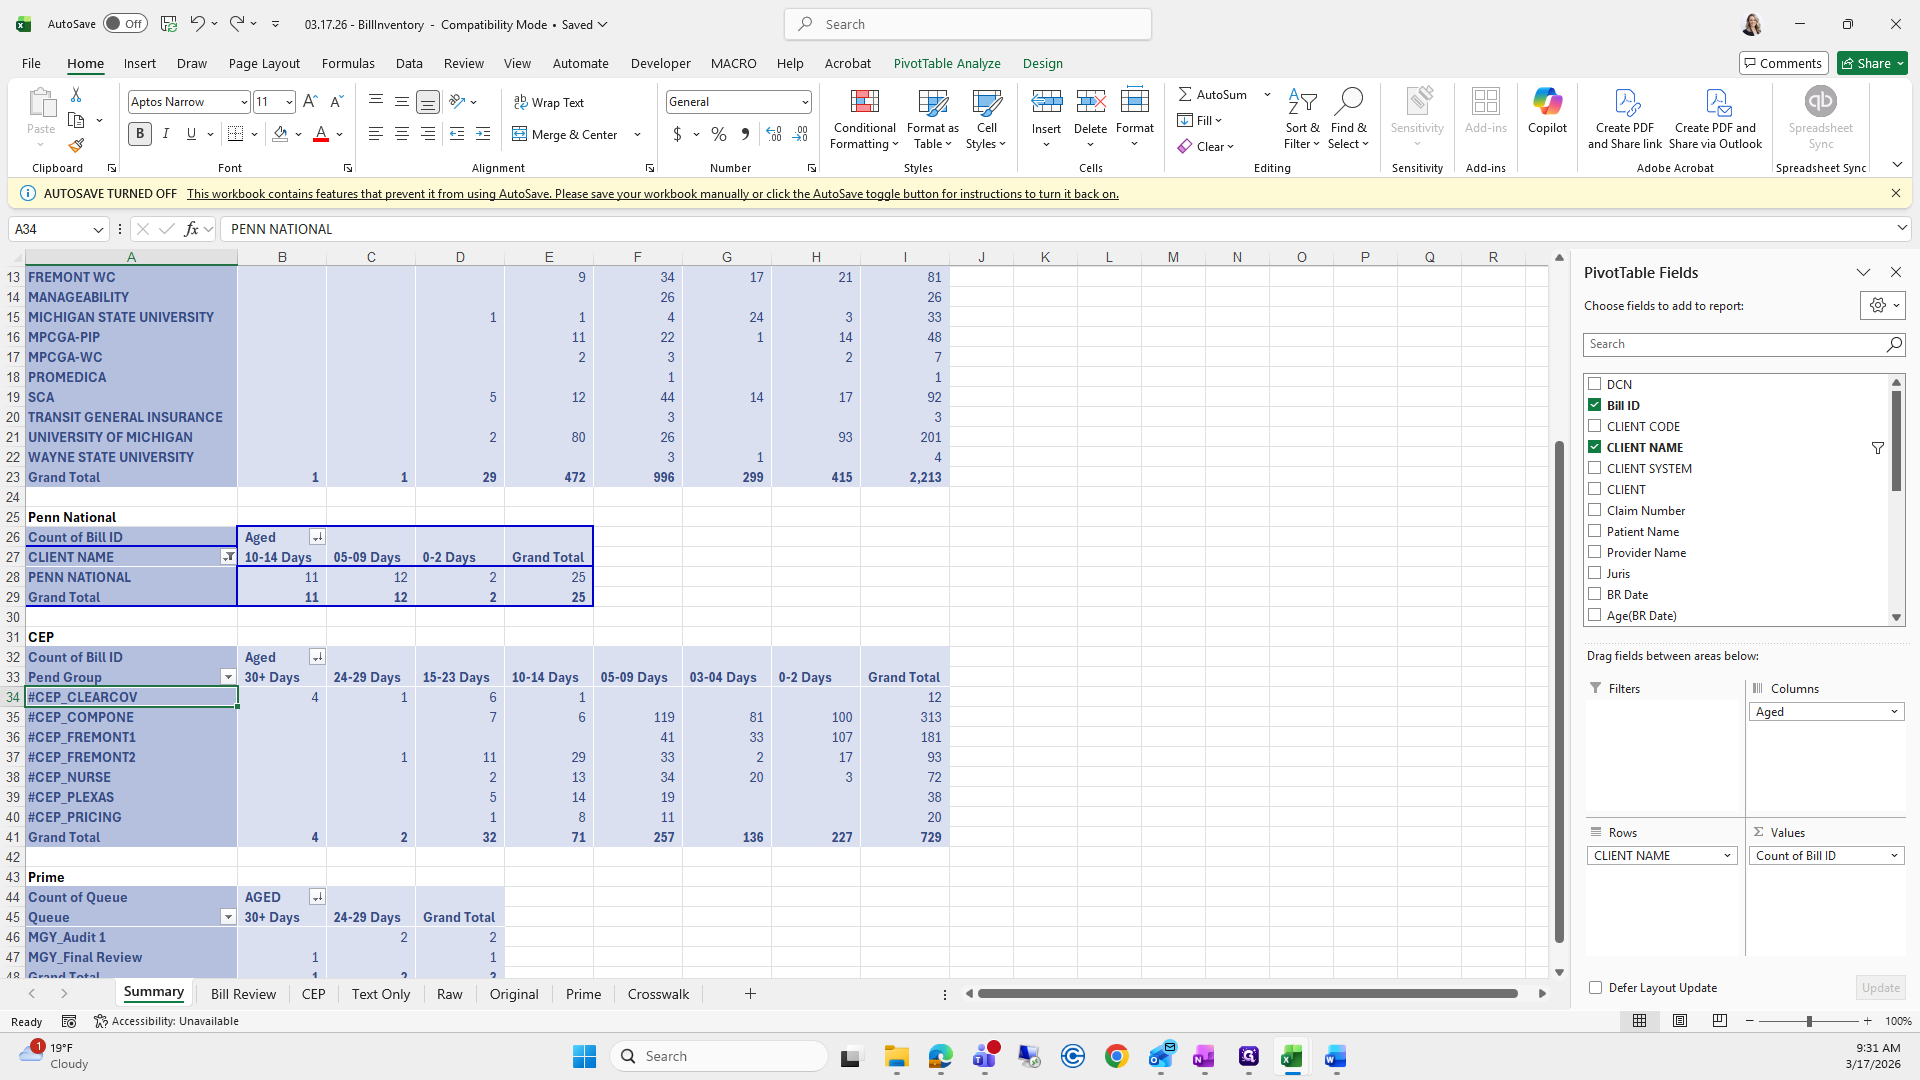
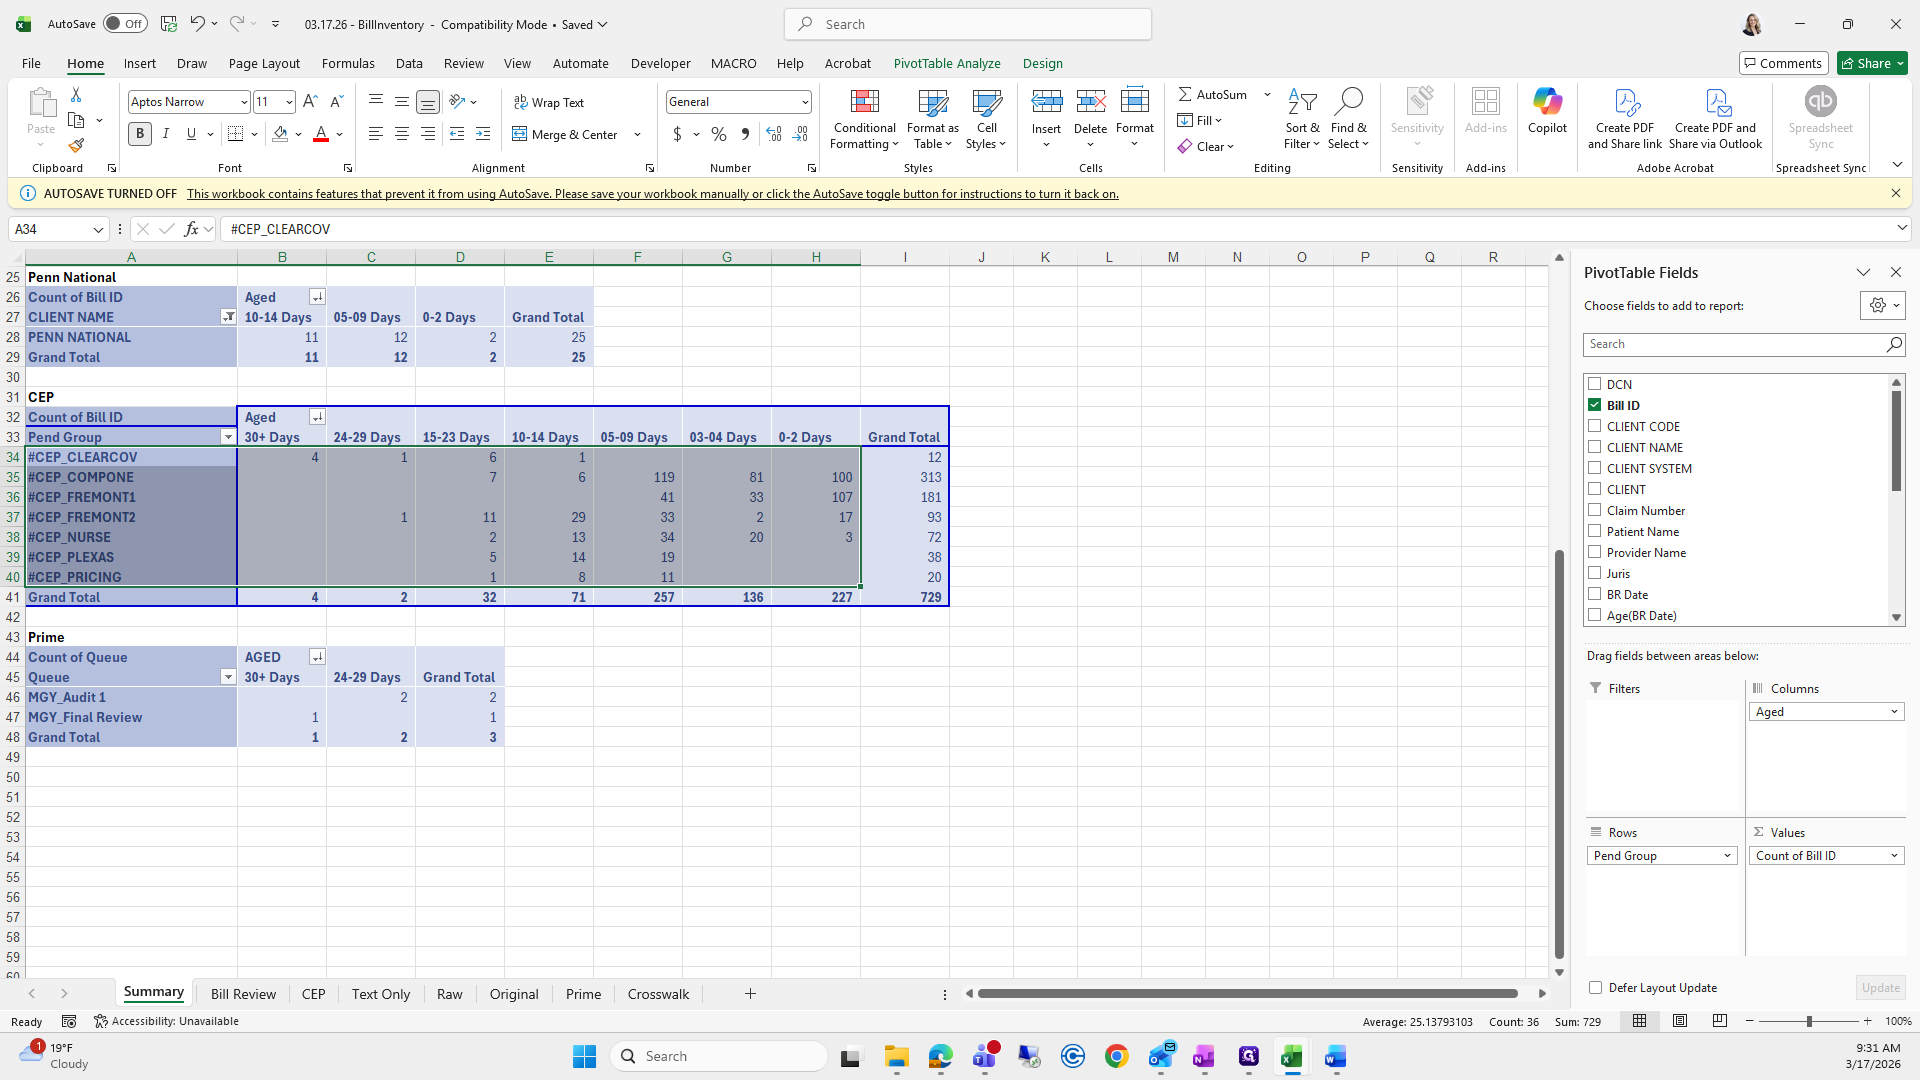
This is Penn National, this is CEP, and this is called Prime.
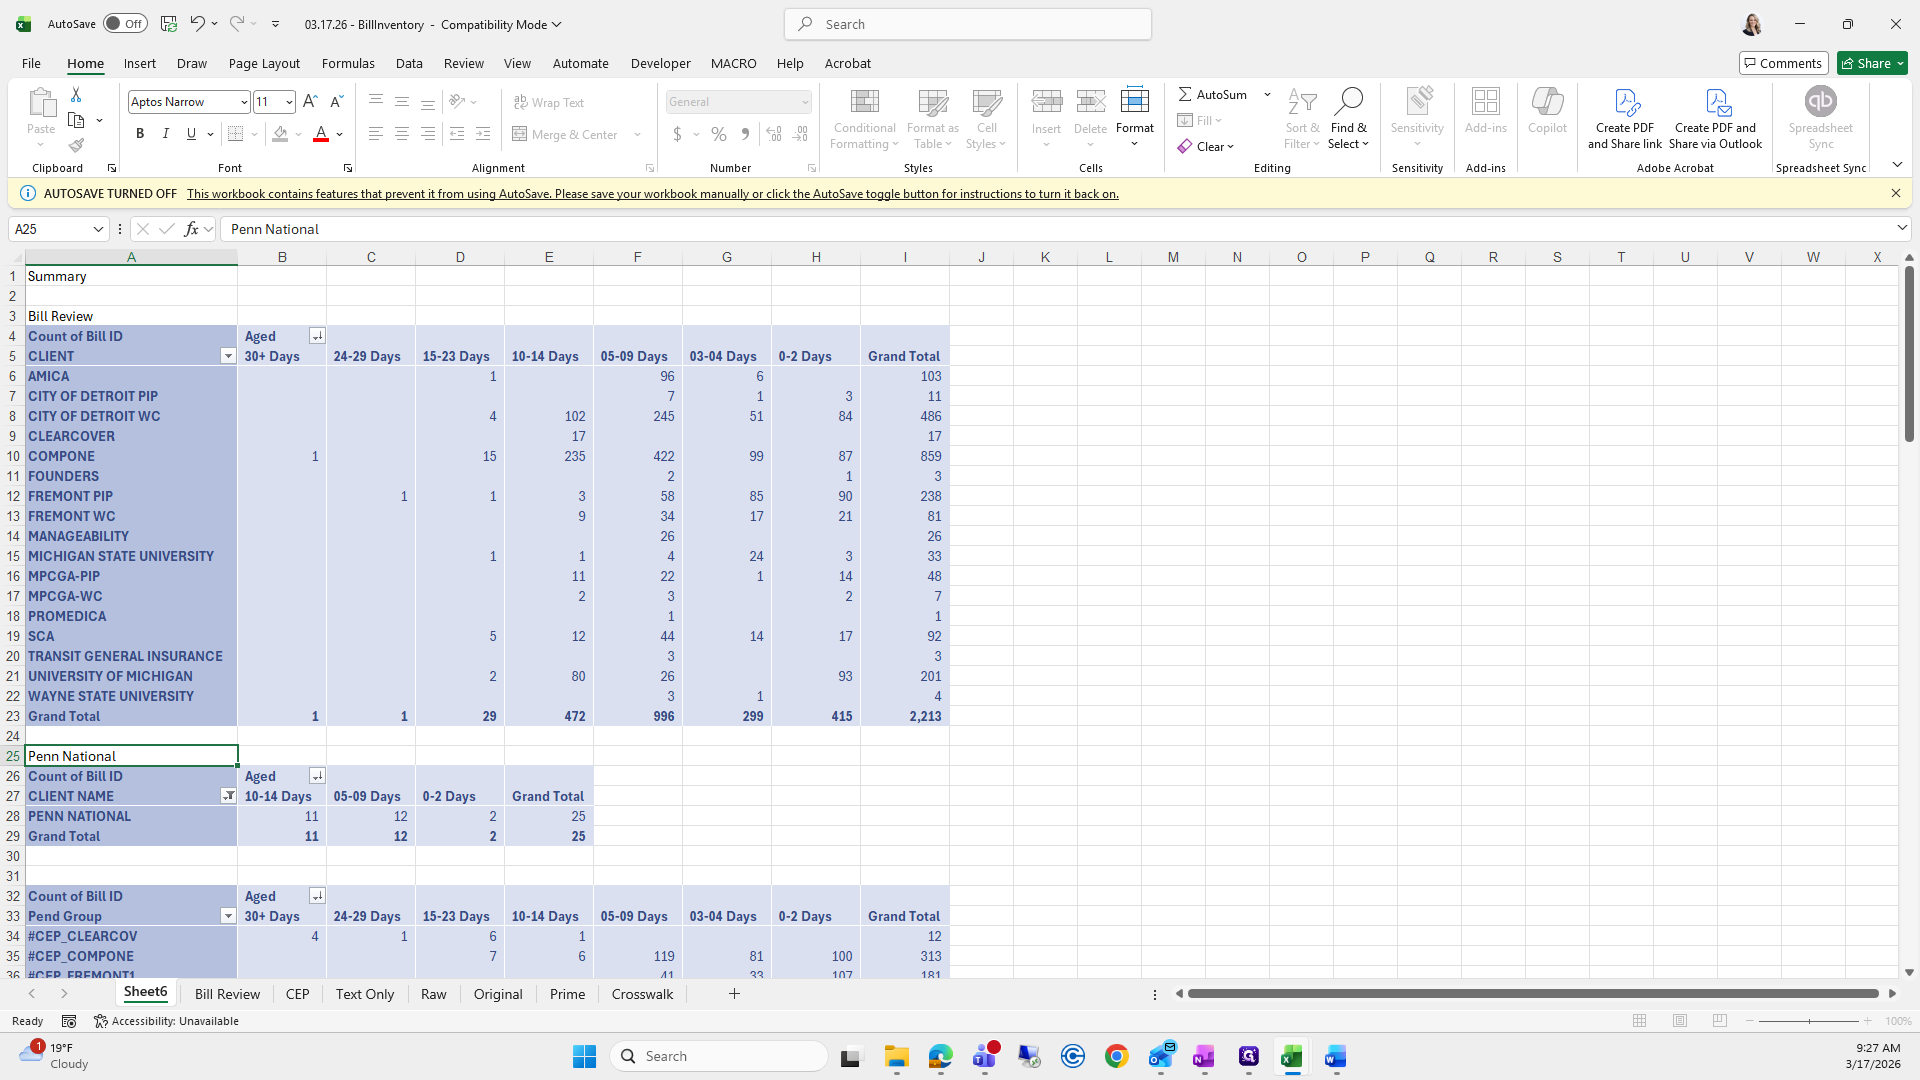
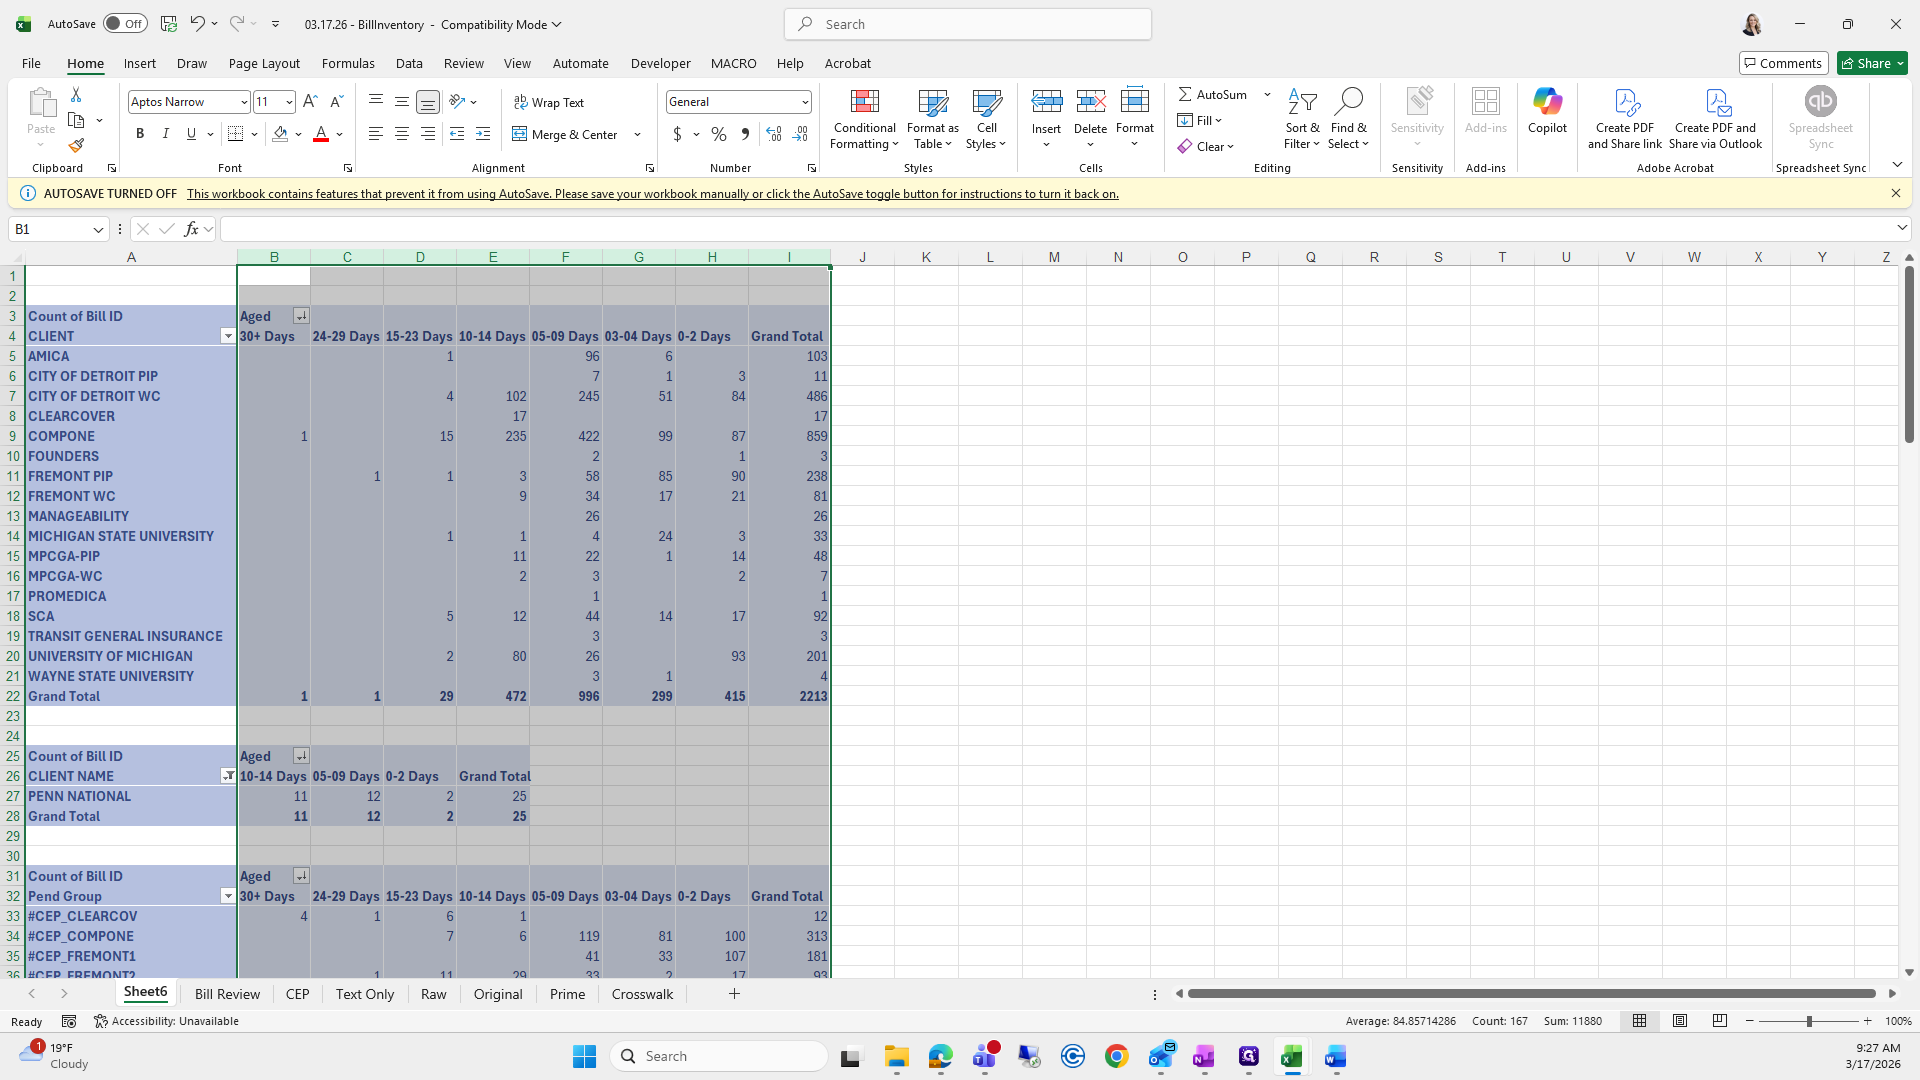
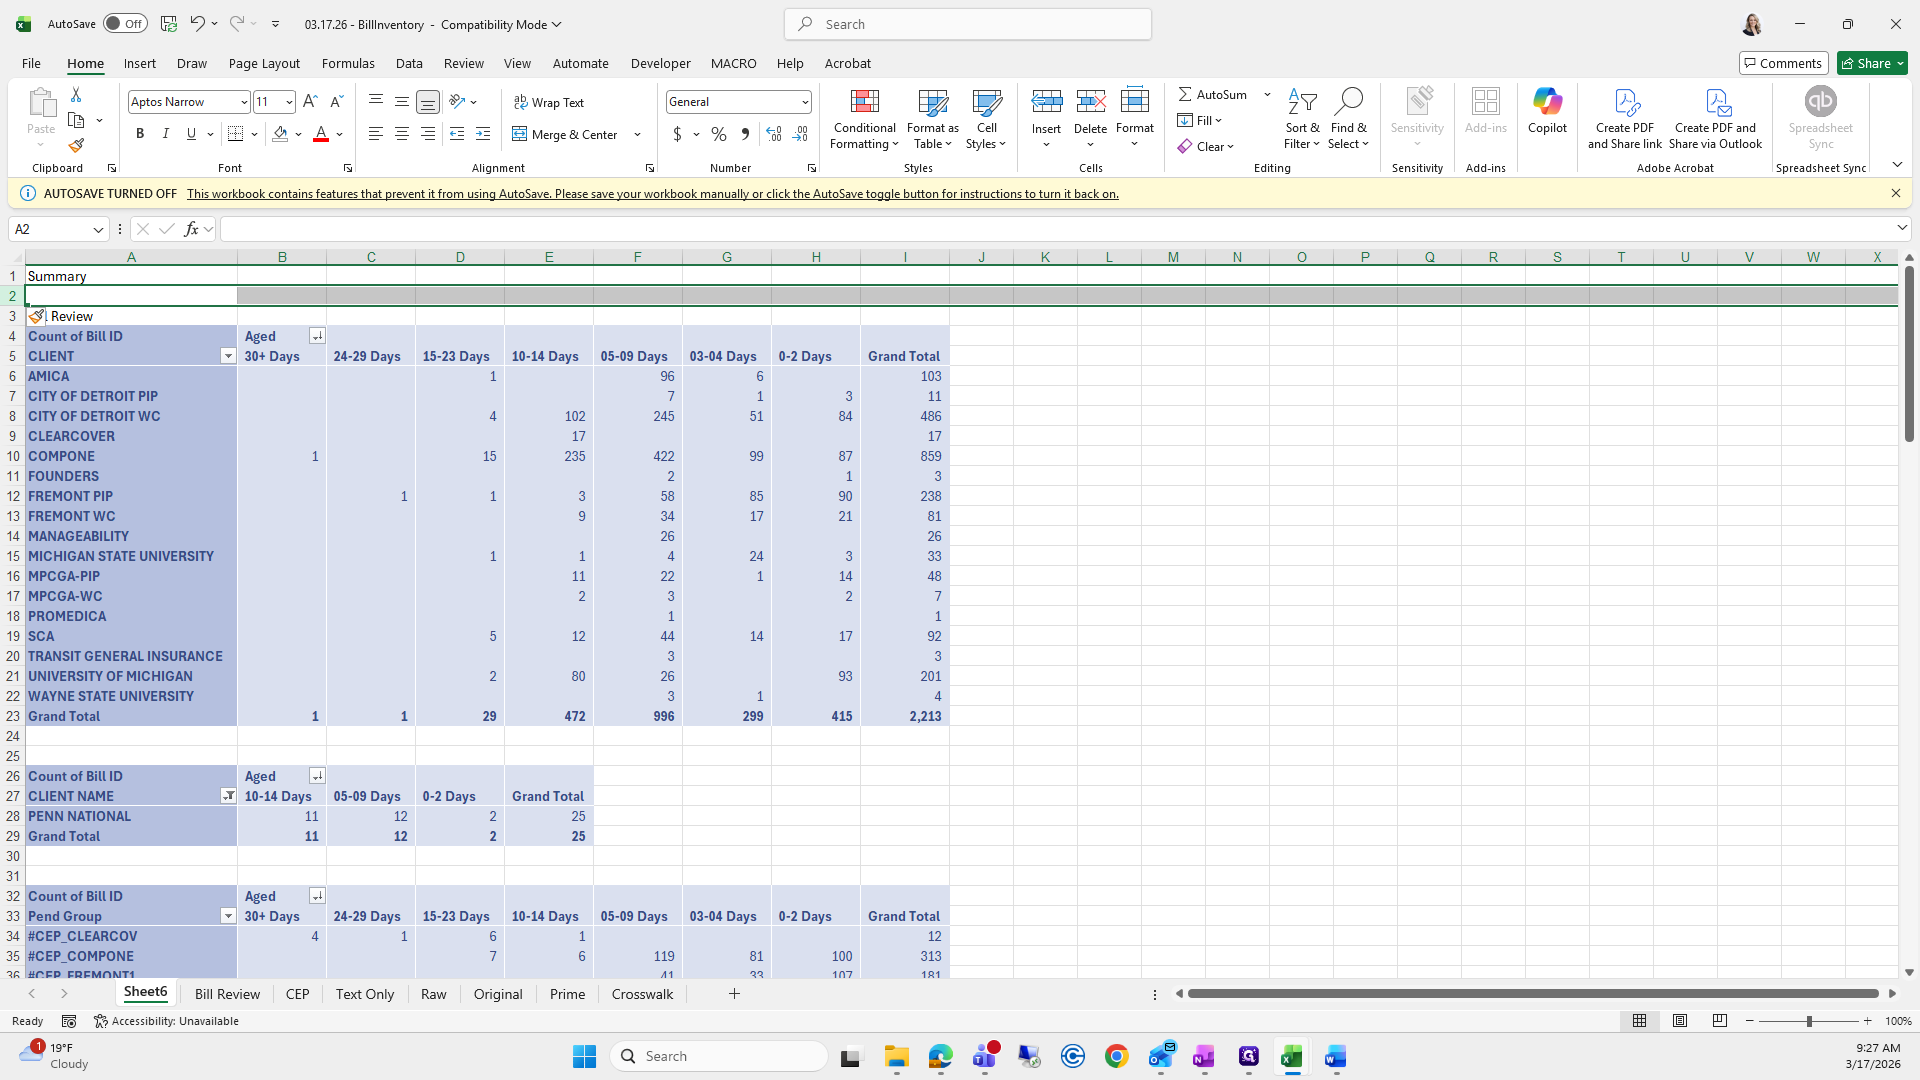
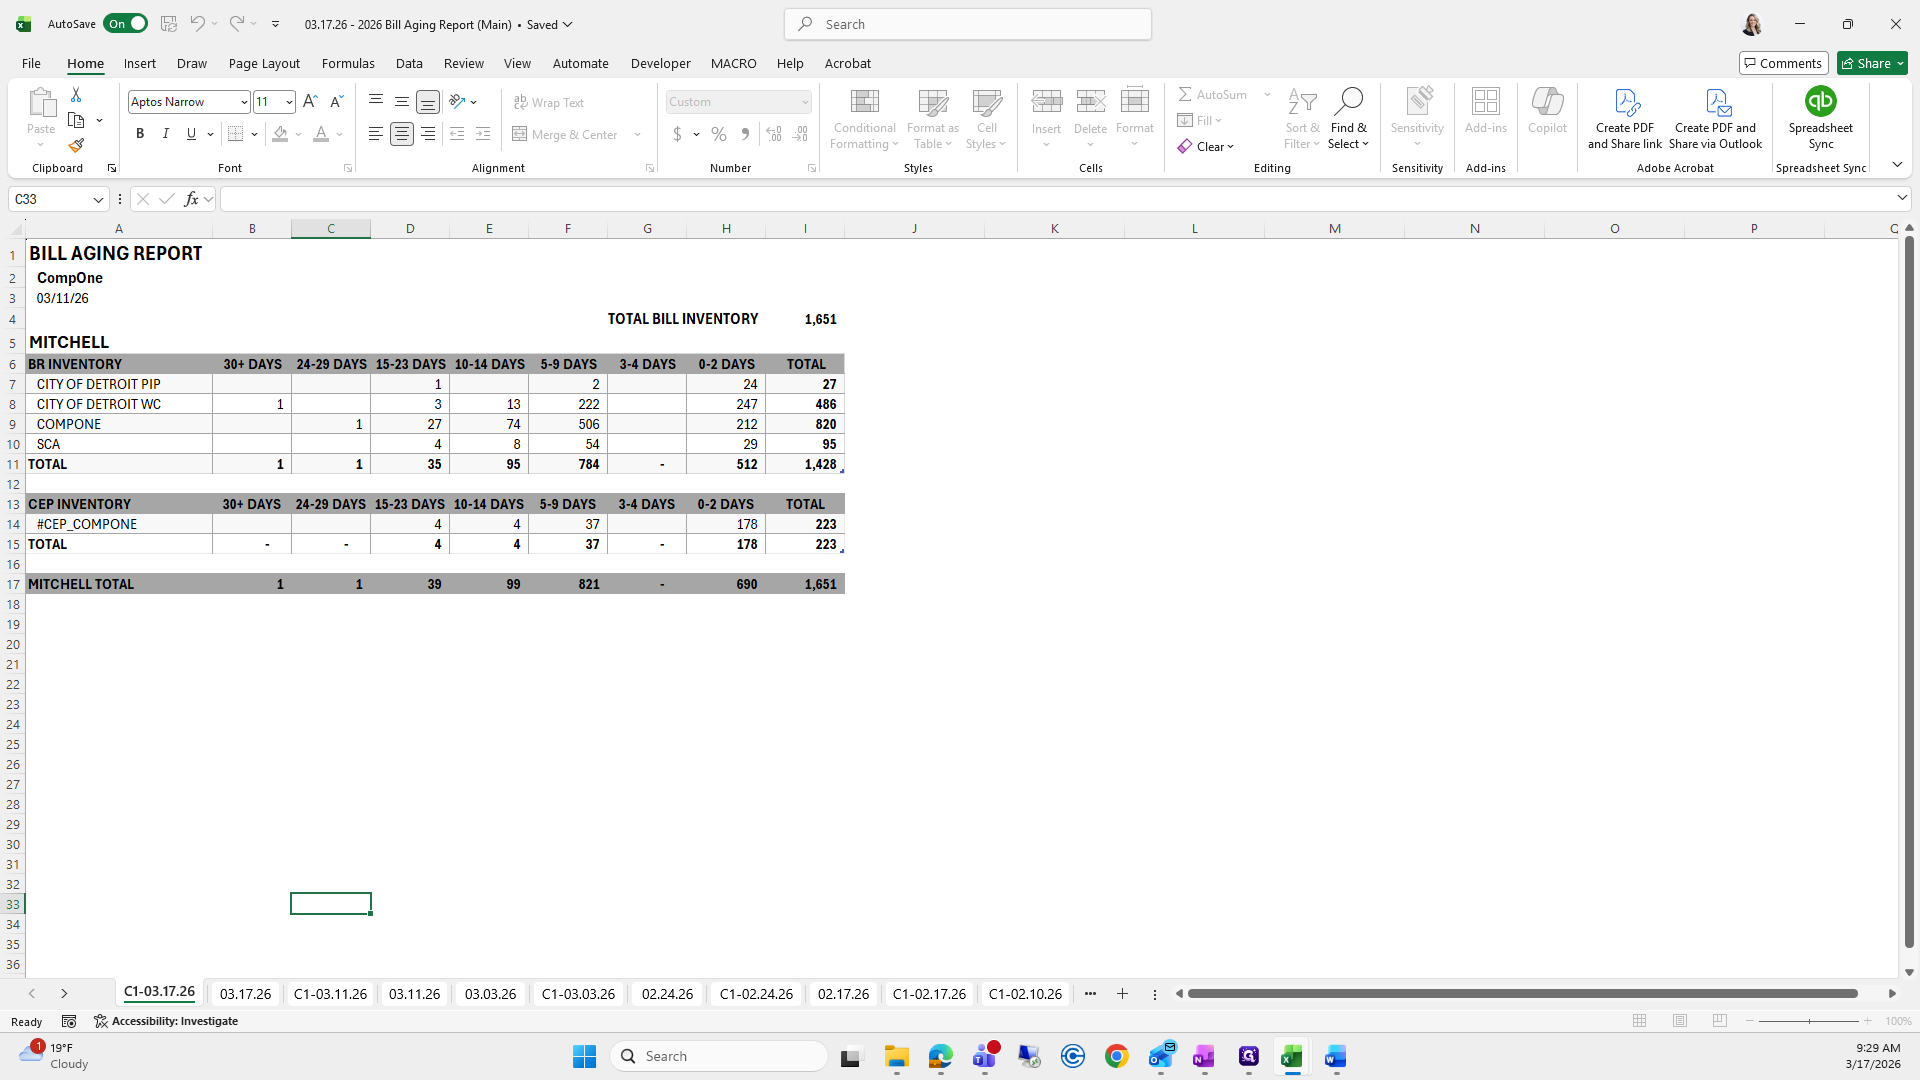
I will rename this tab to Summary.

I will bold this entire row, this entire column, and then this part is done.

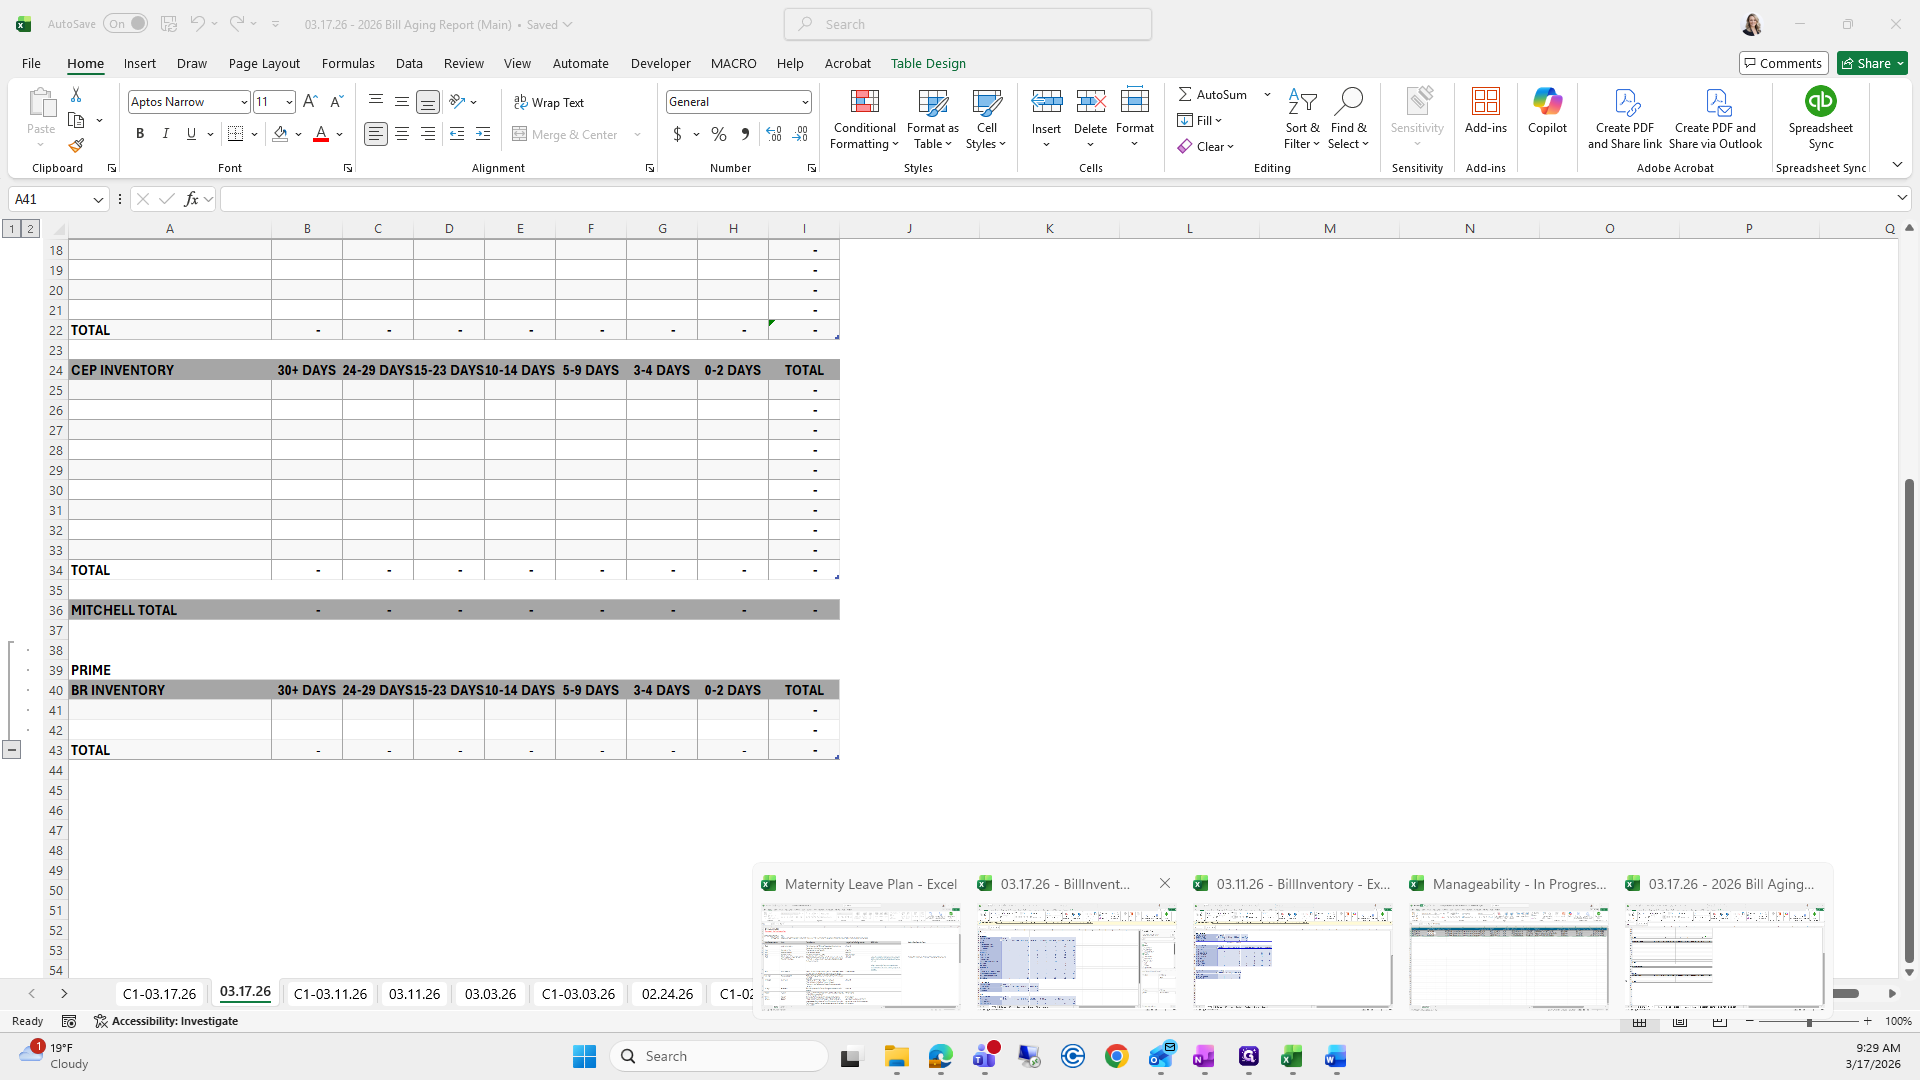
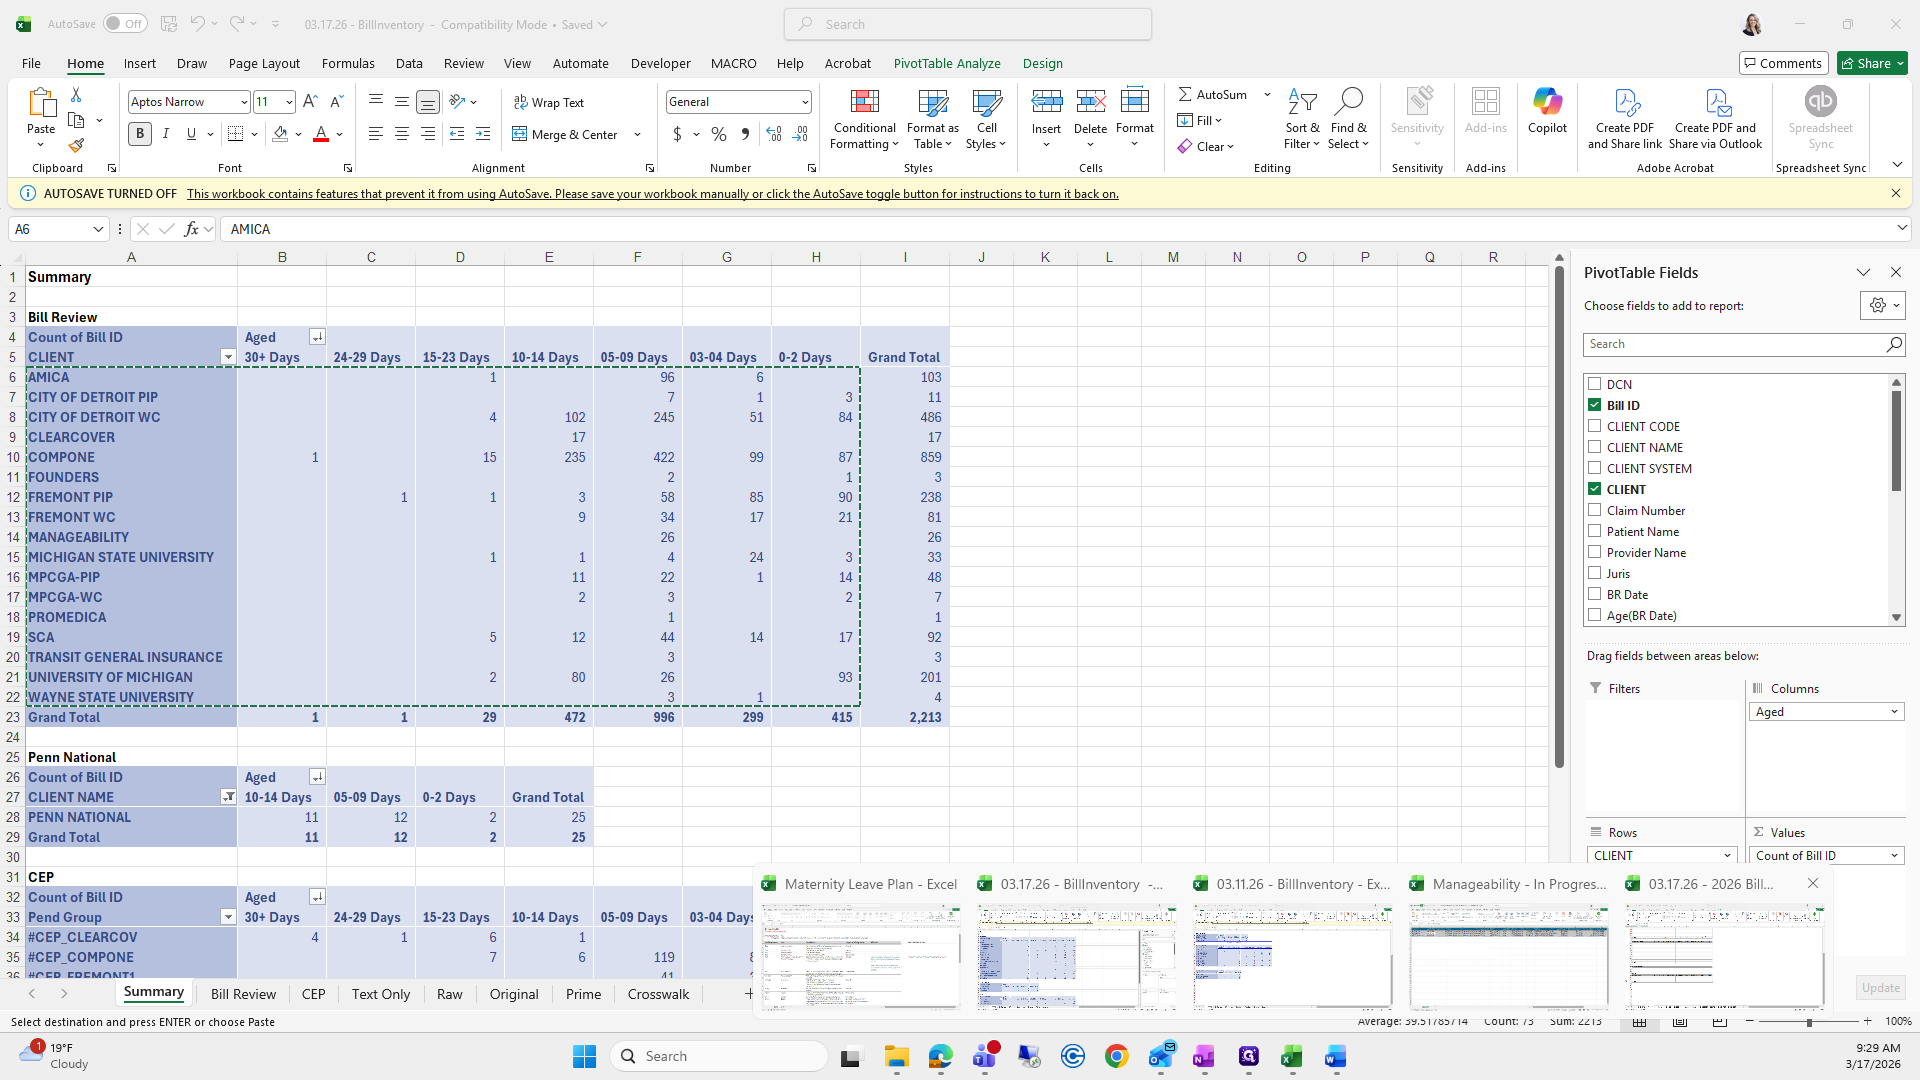
Now comes the easy part.
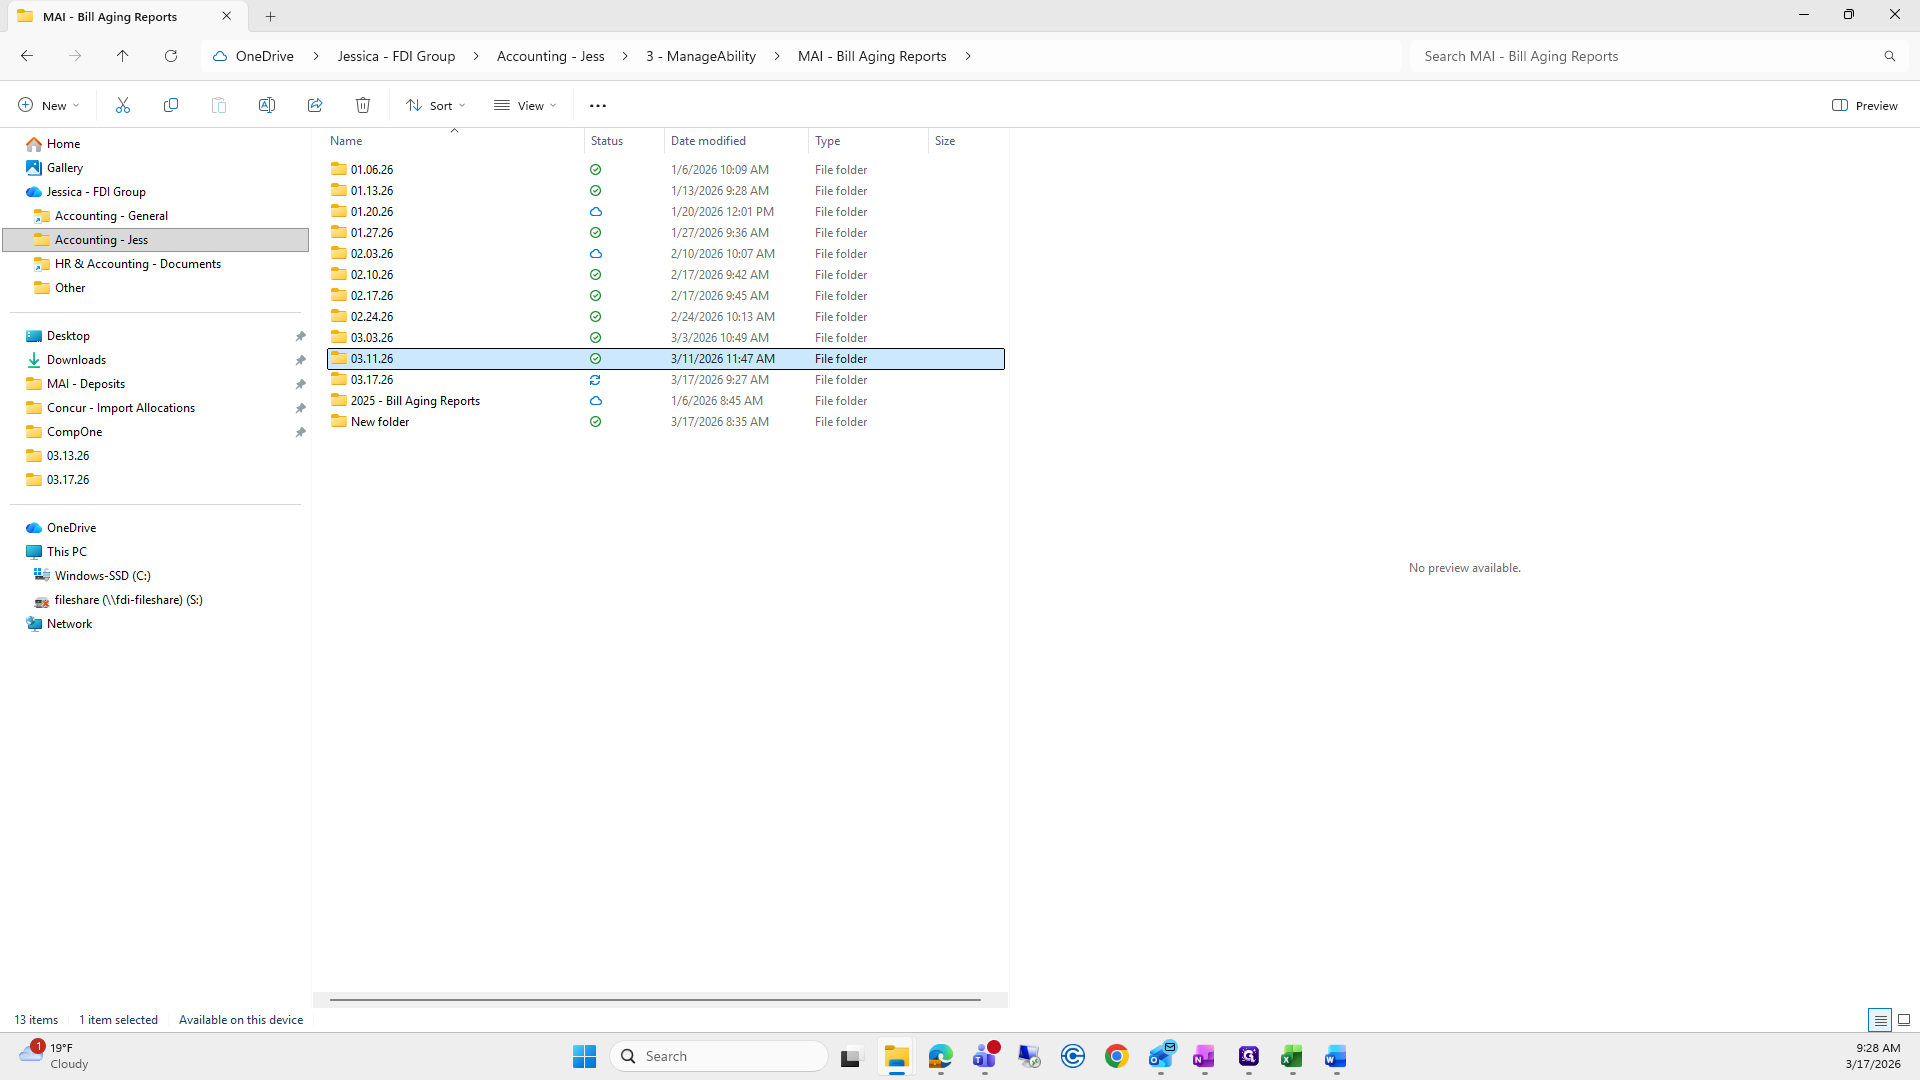
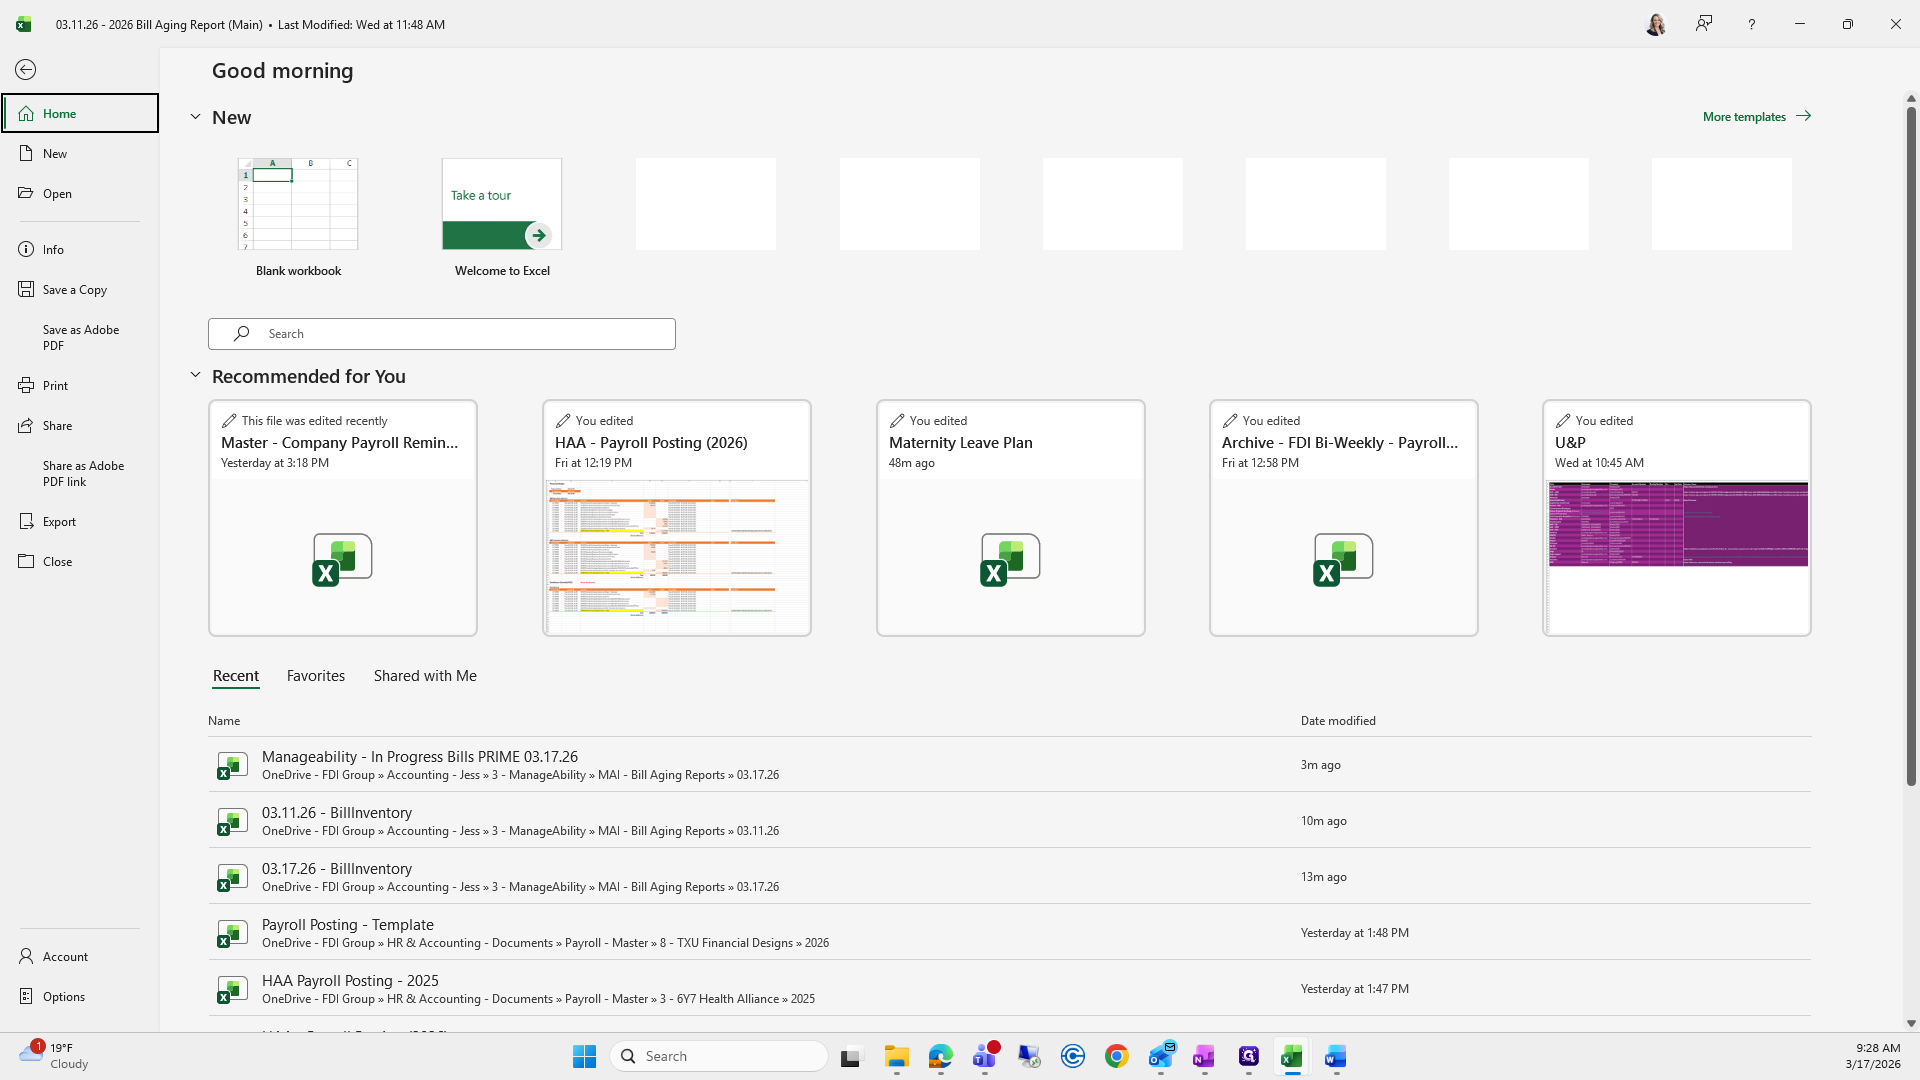
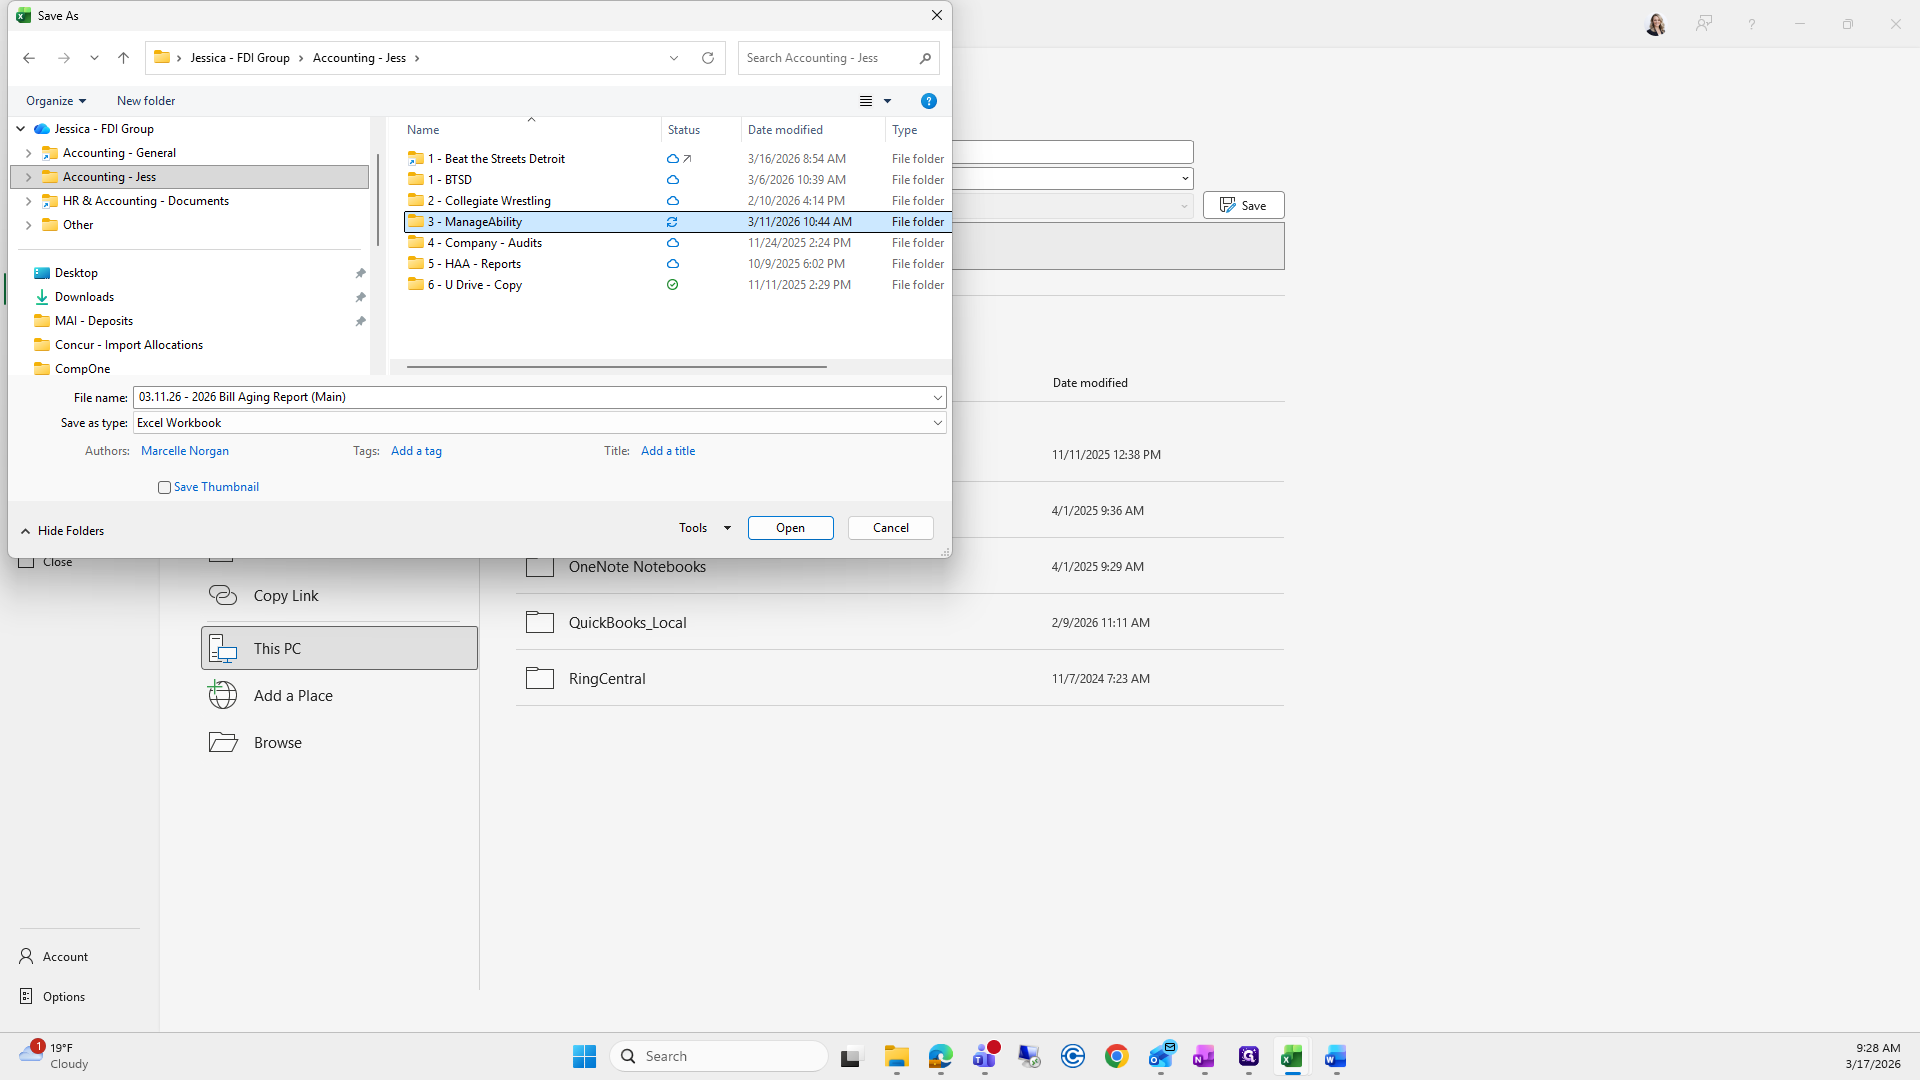
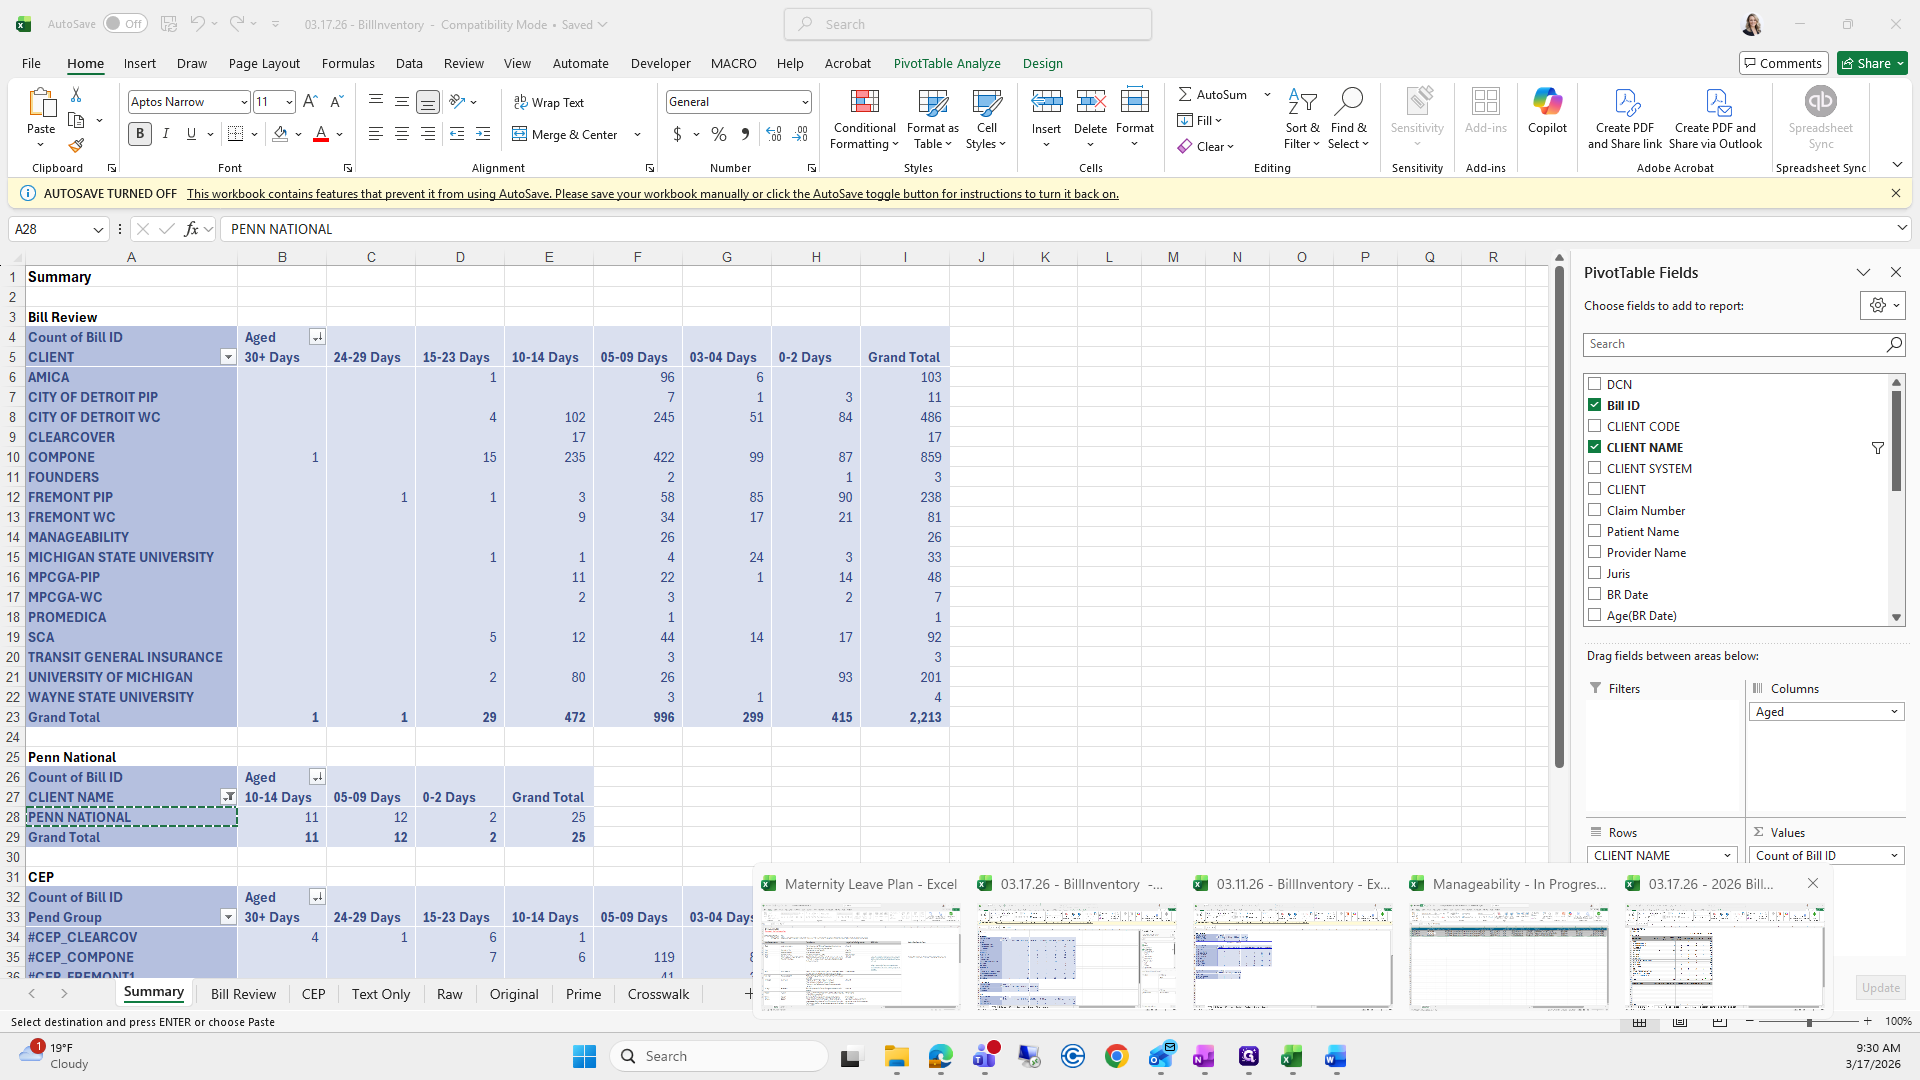
We will go back to the 311 folder.

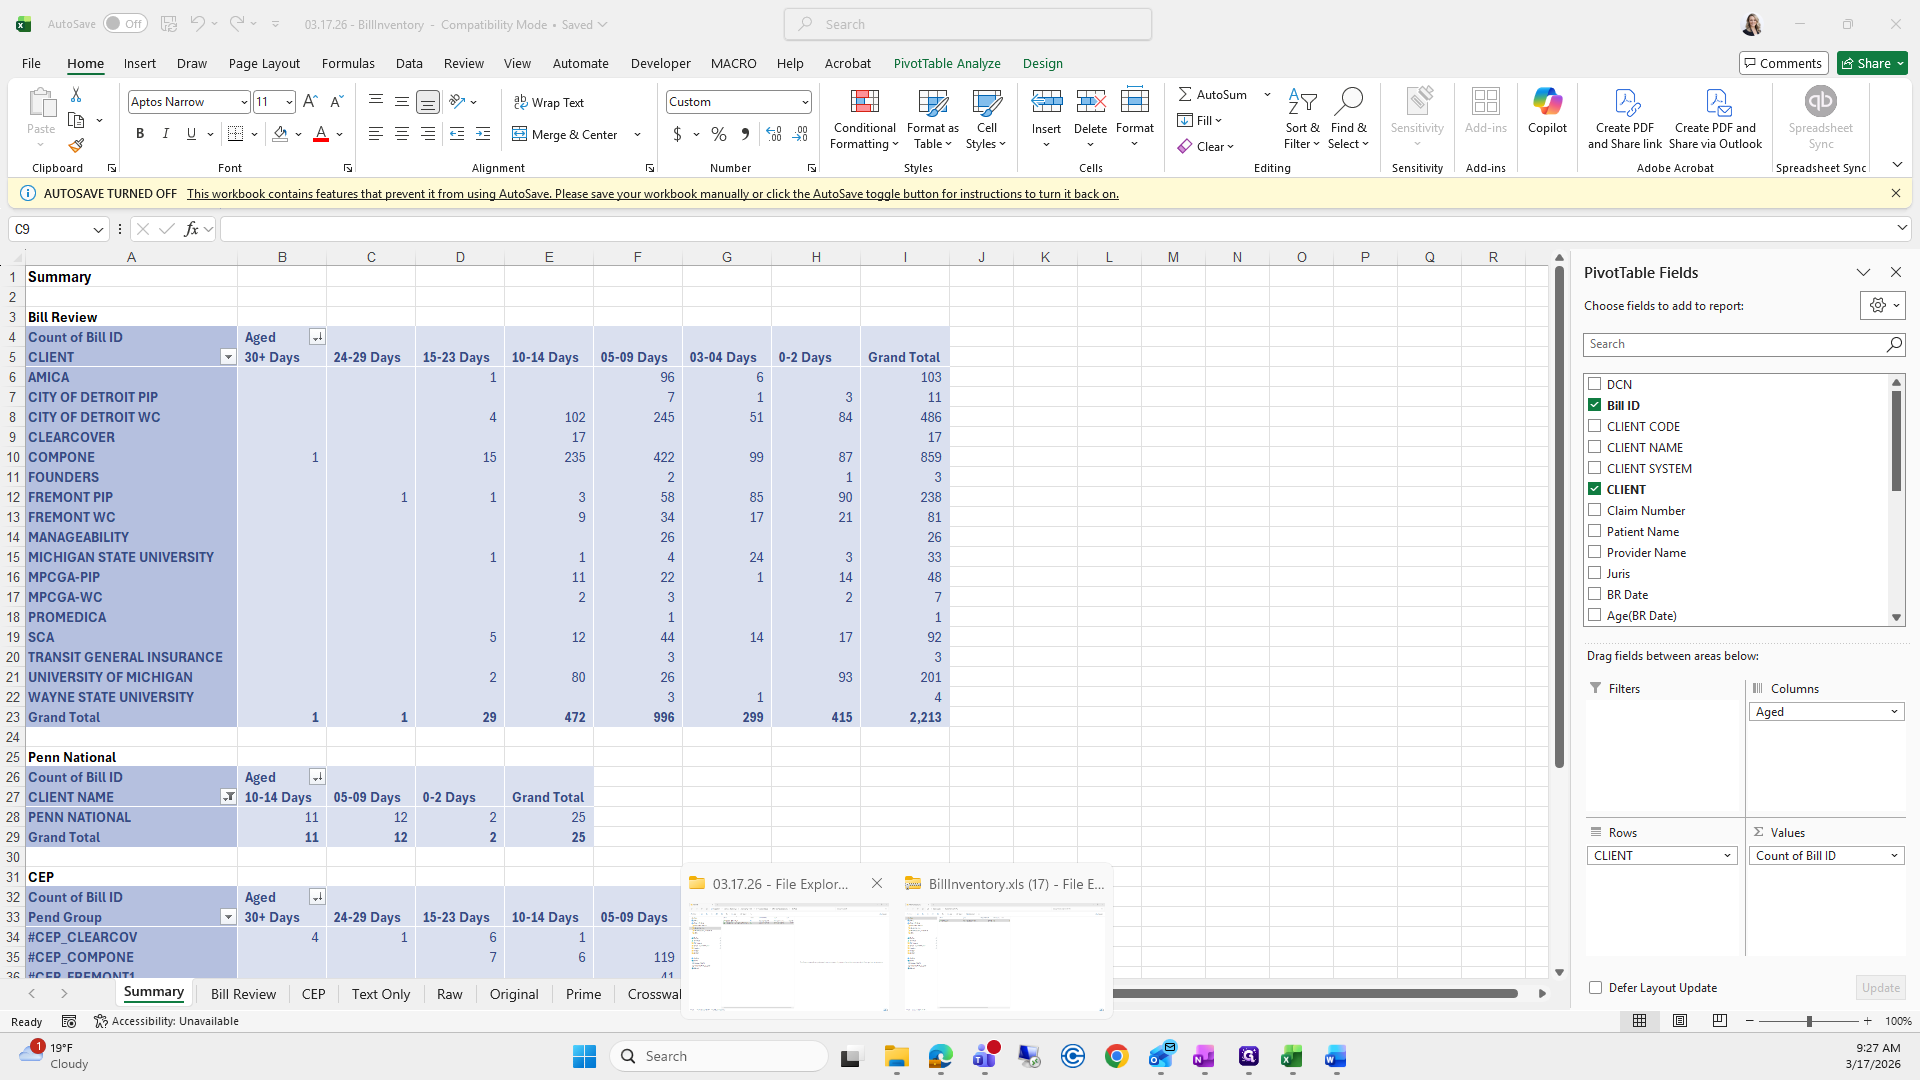
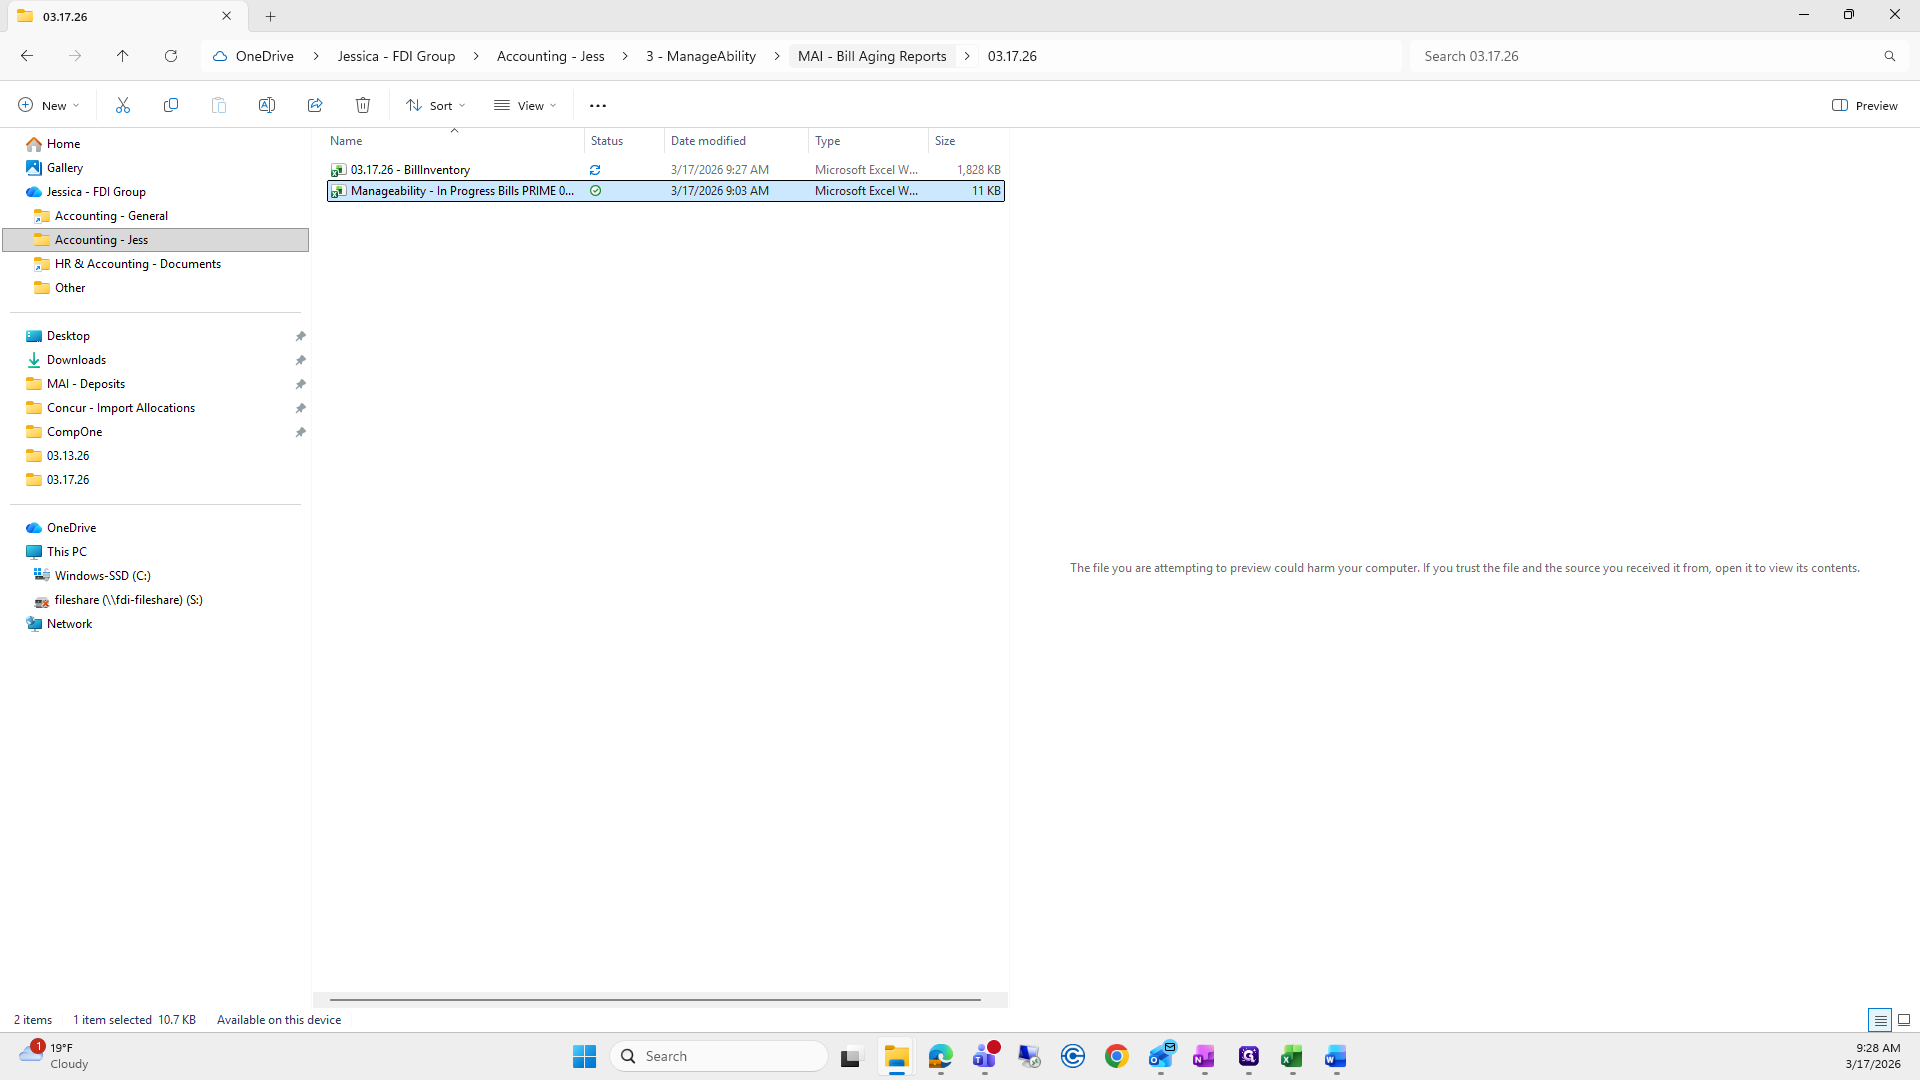
We're going to grab this file.
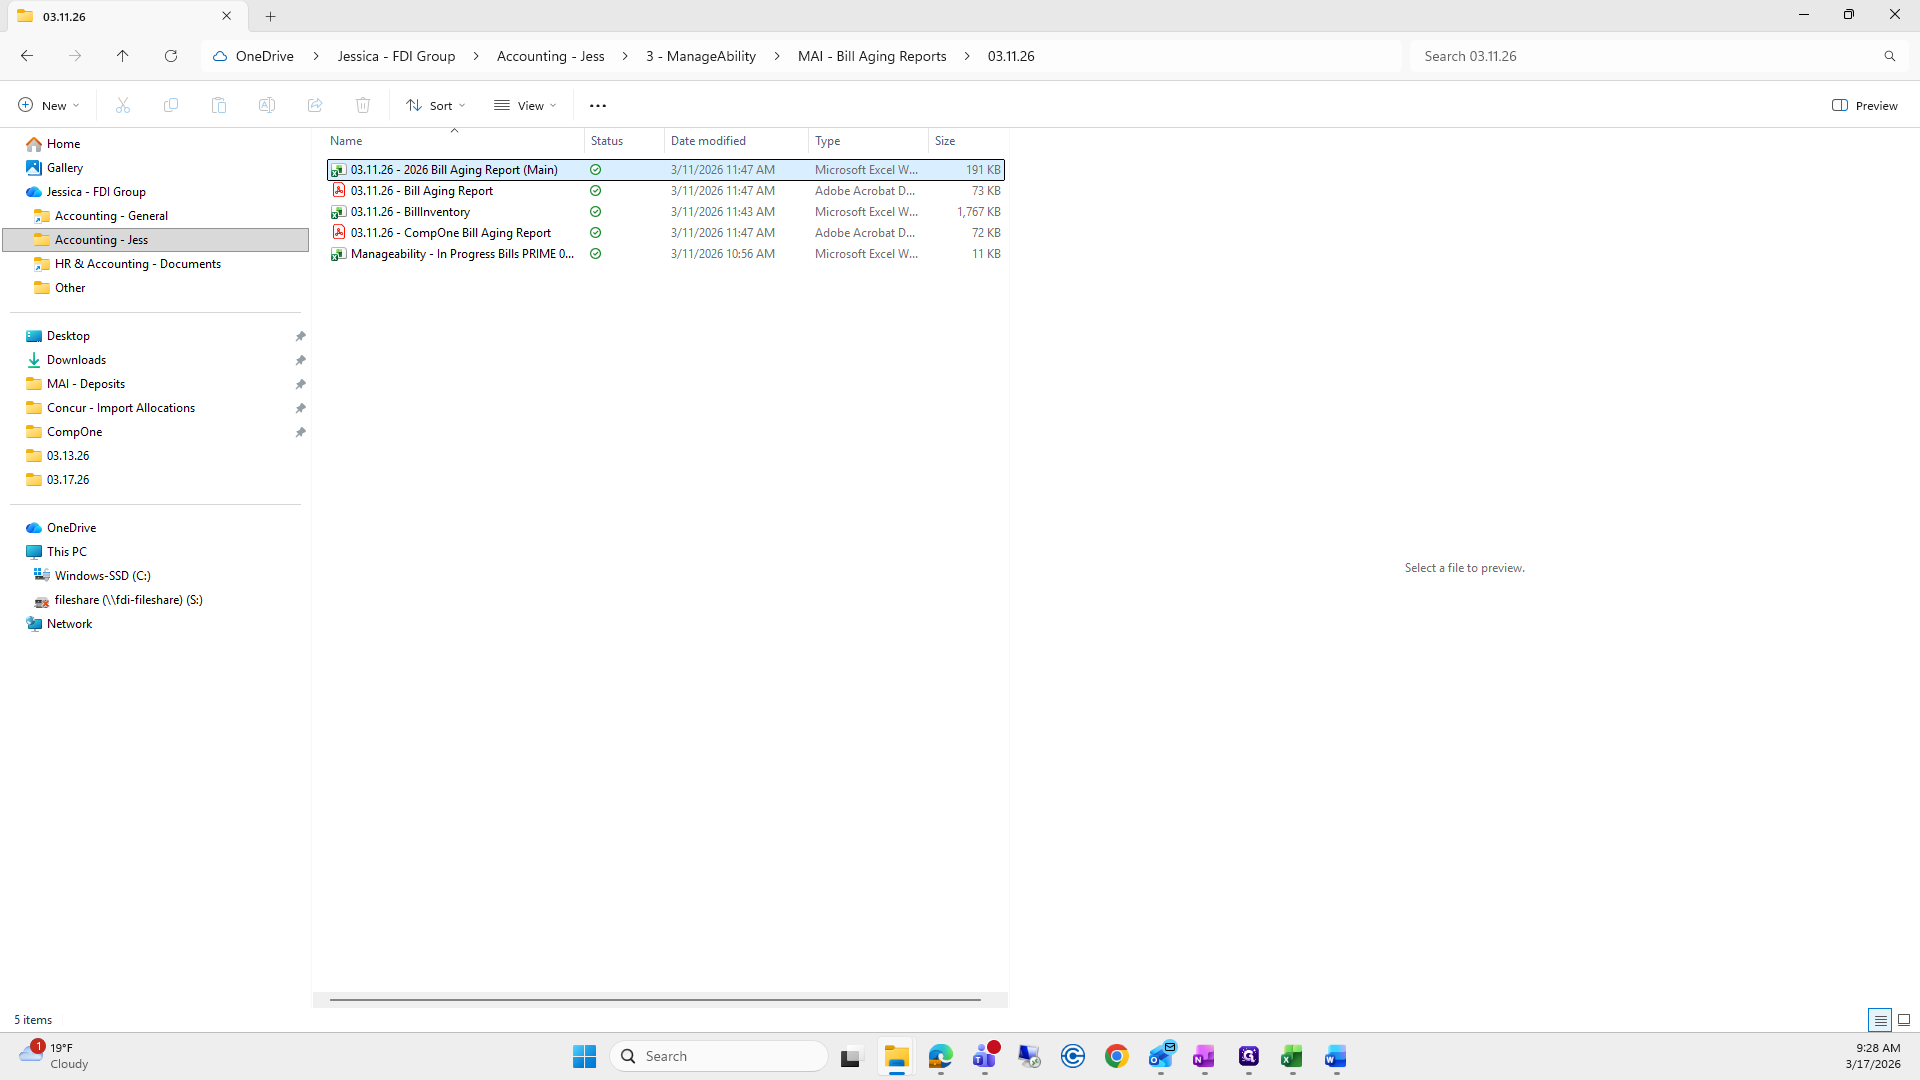
Open it.
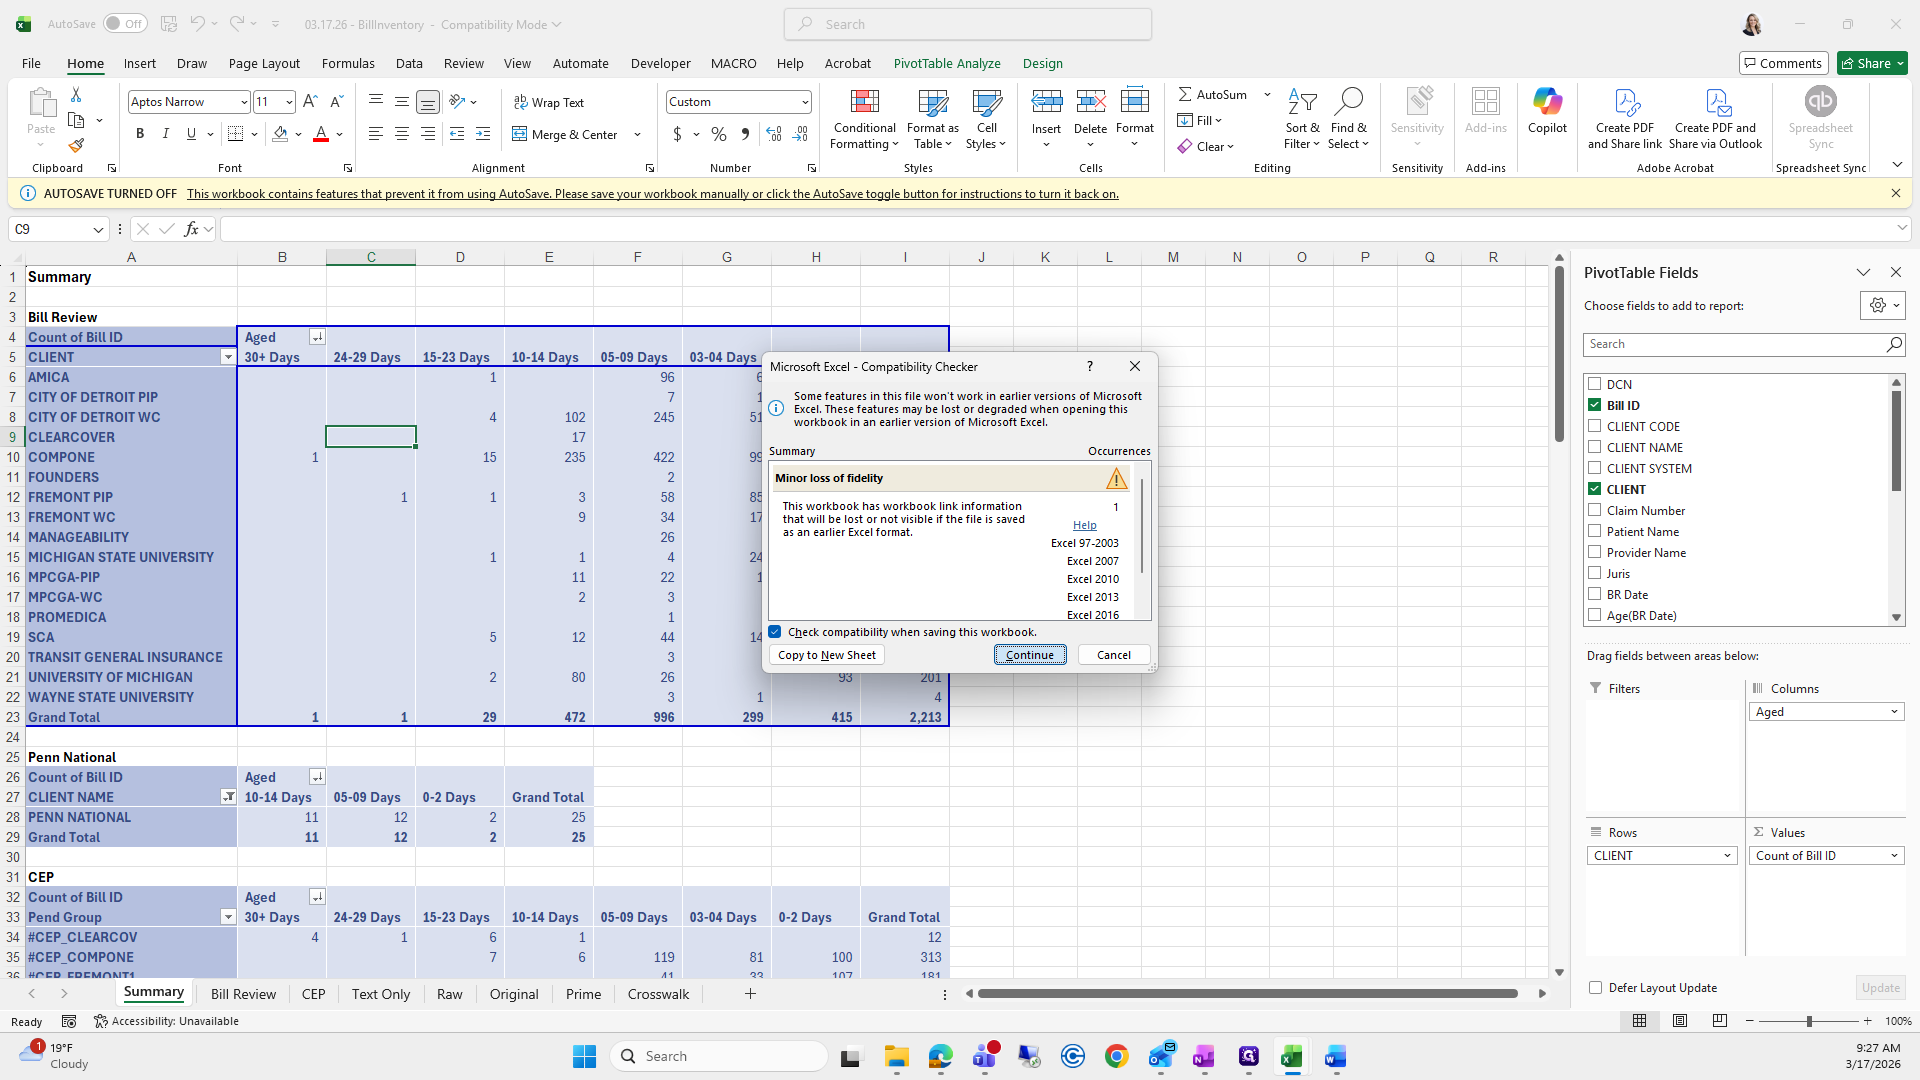
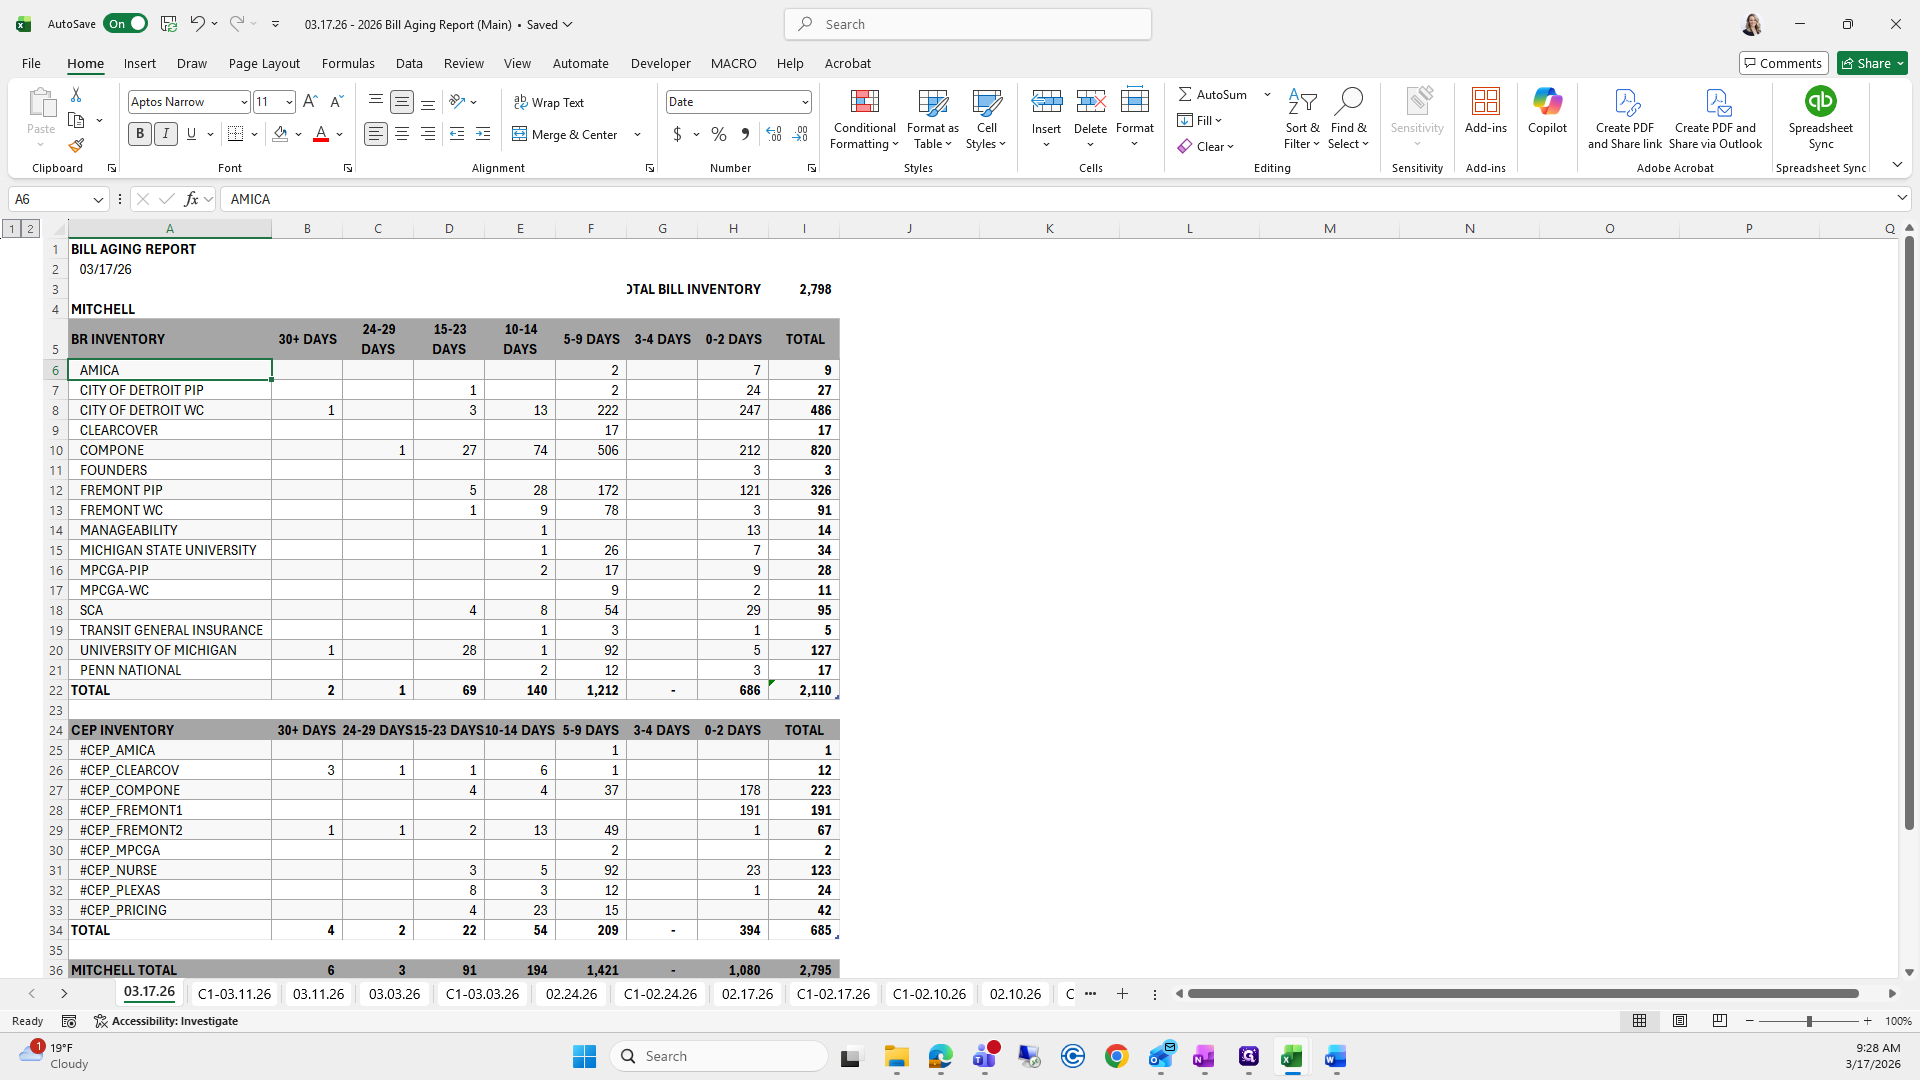
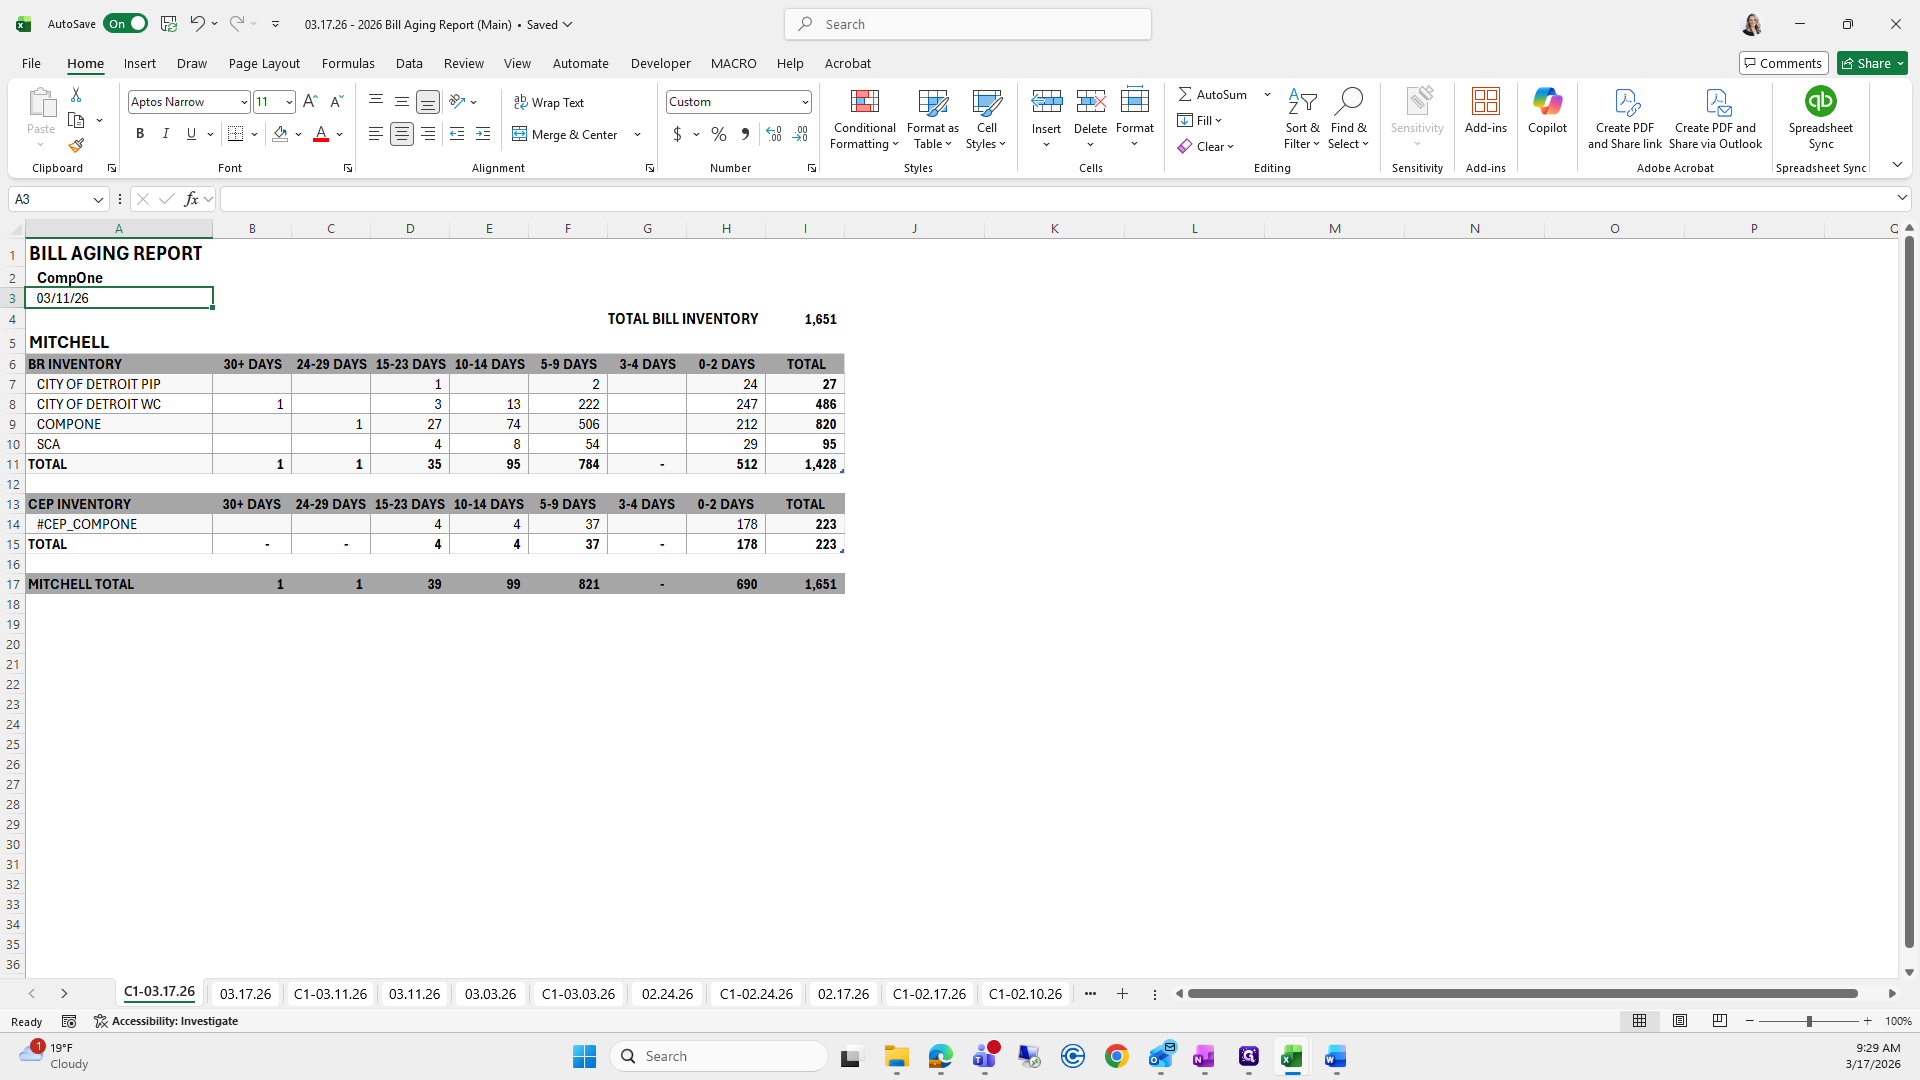
First, save a copy of the file into your 317 folder.
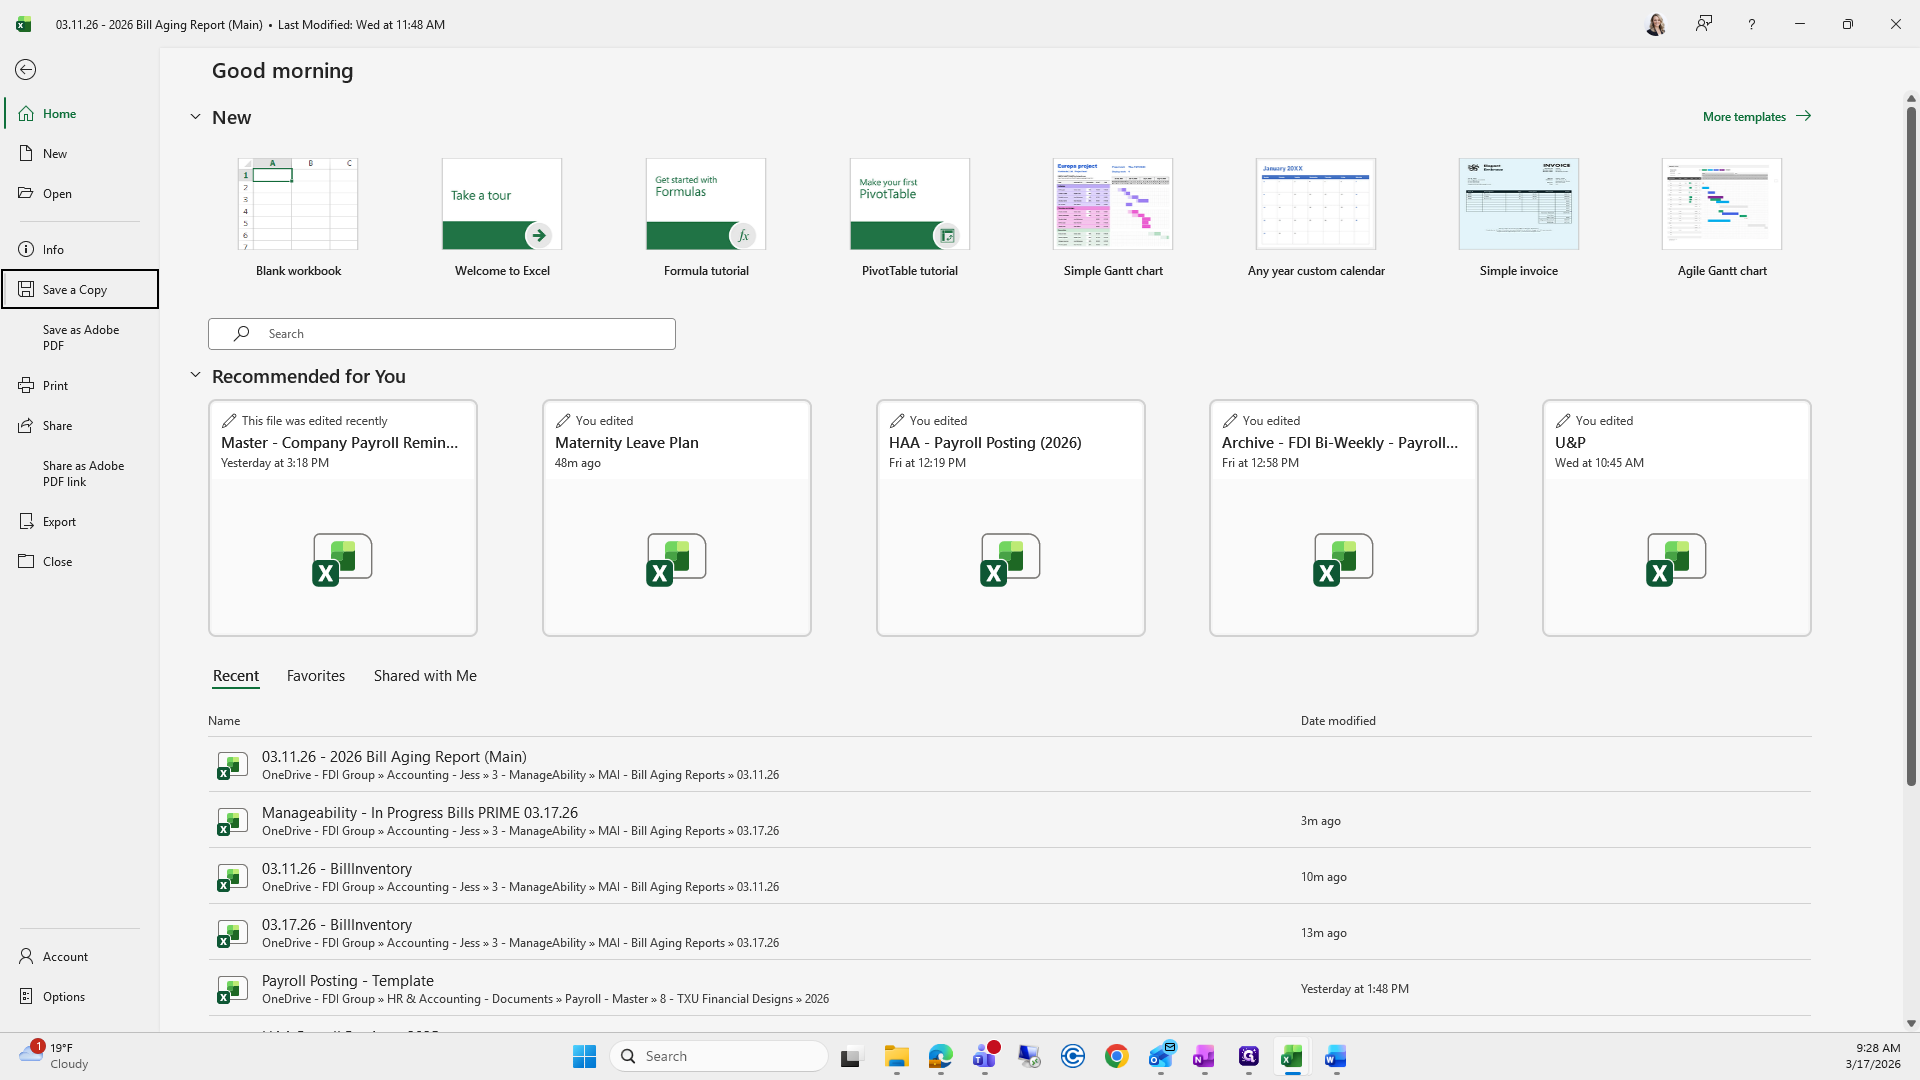
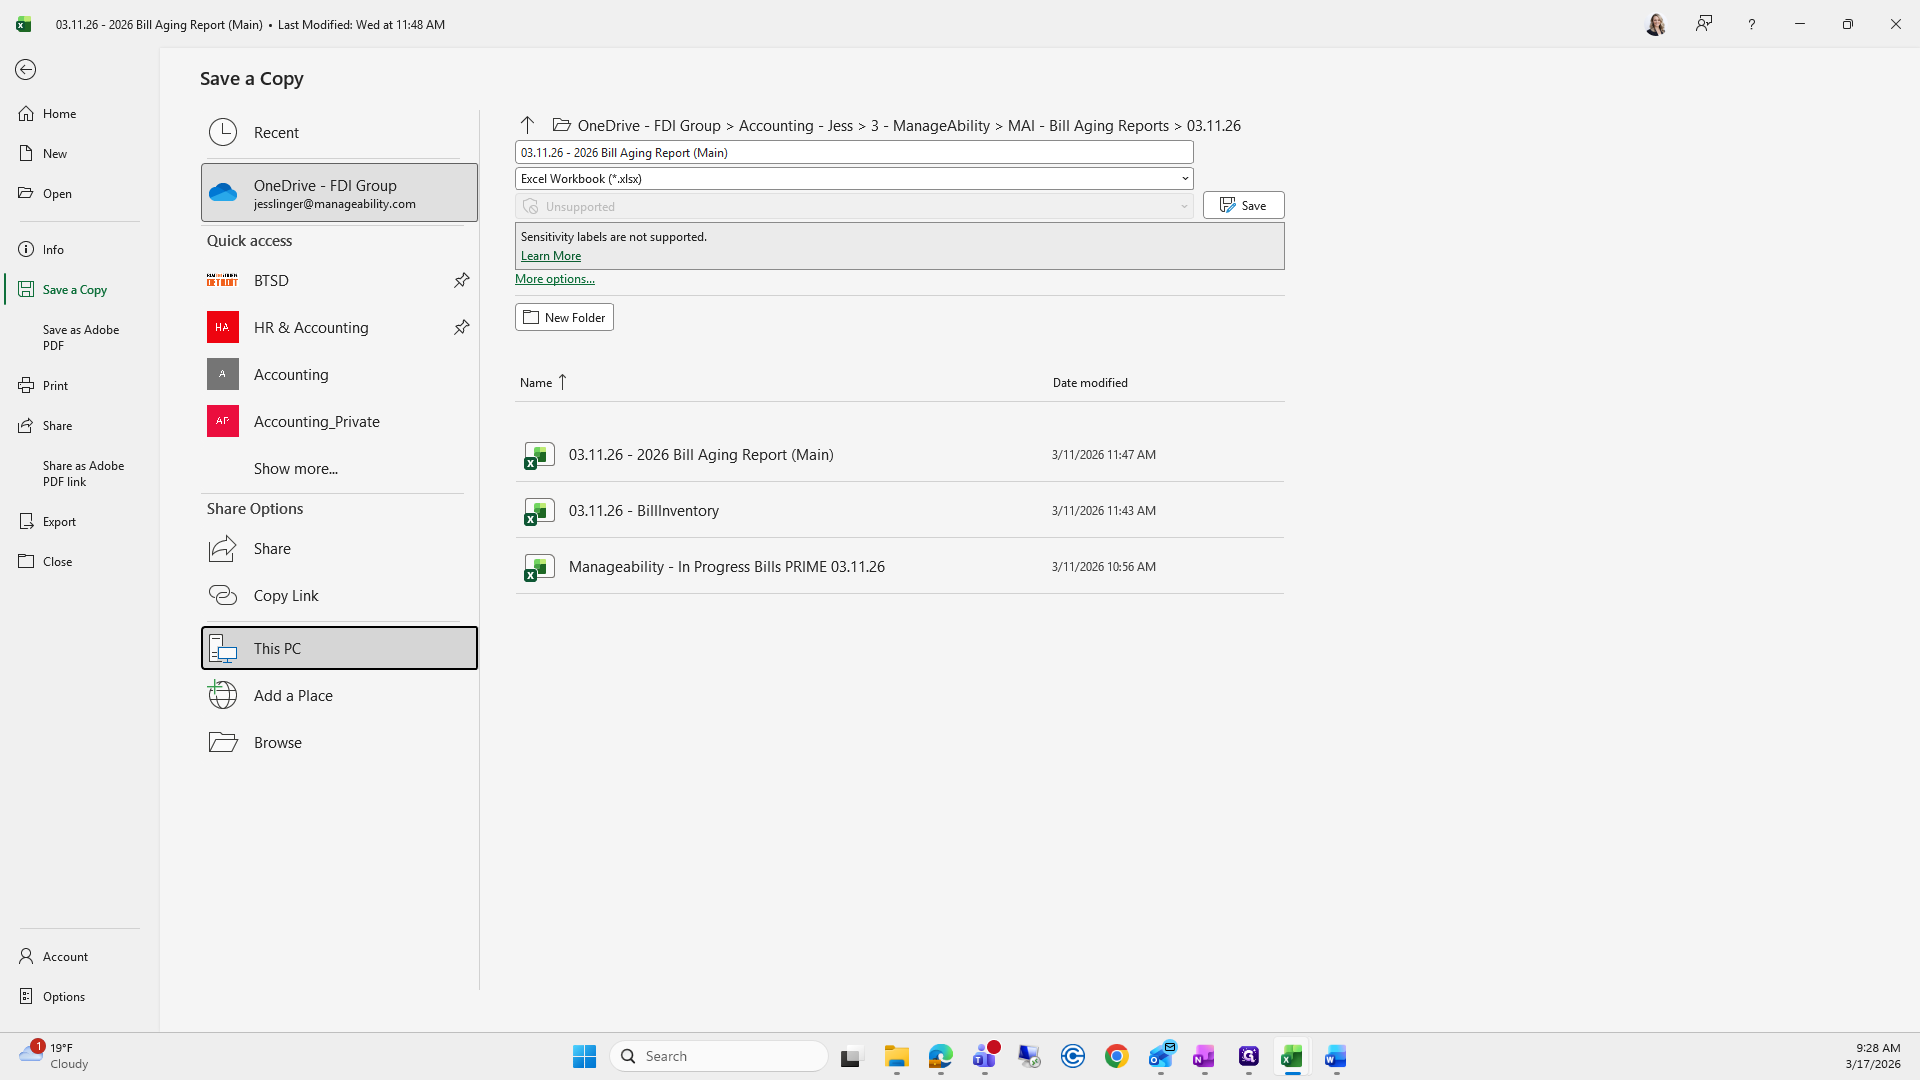
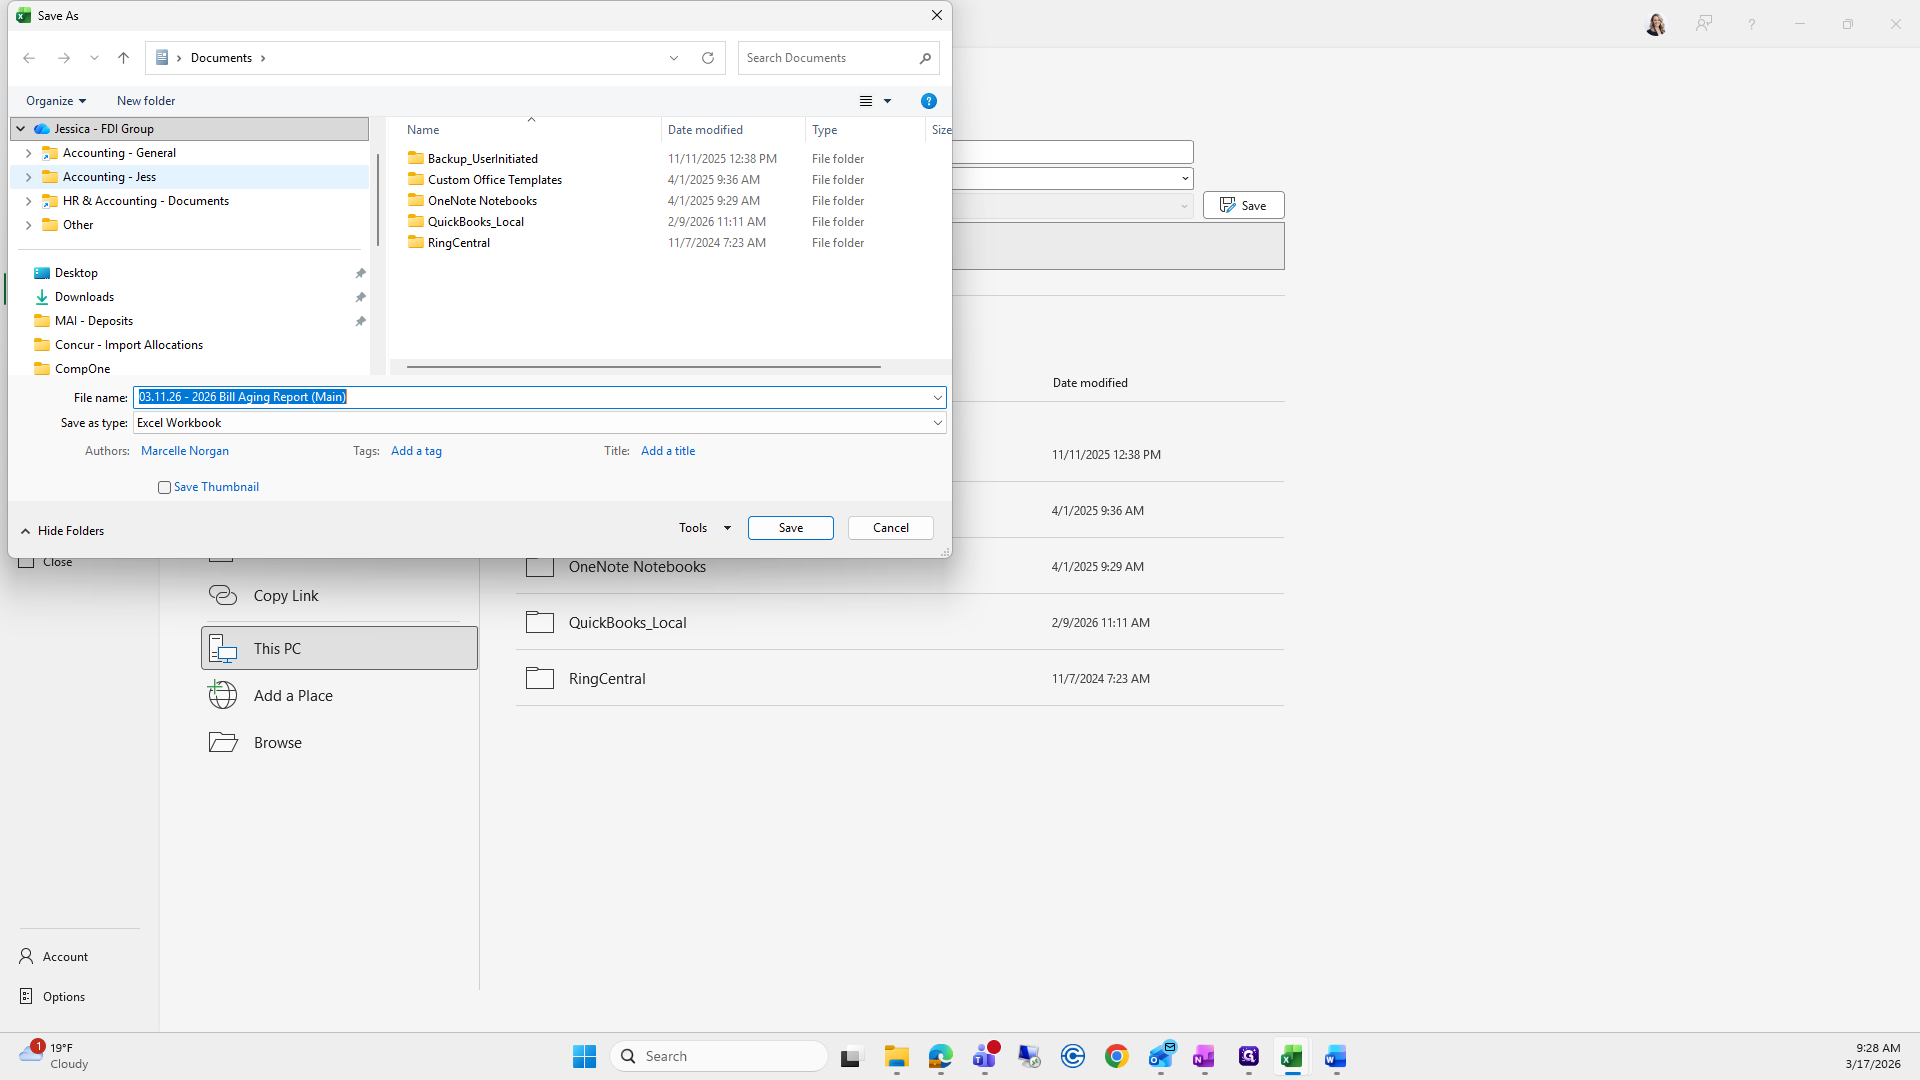
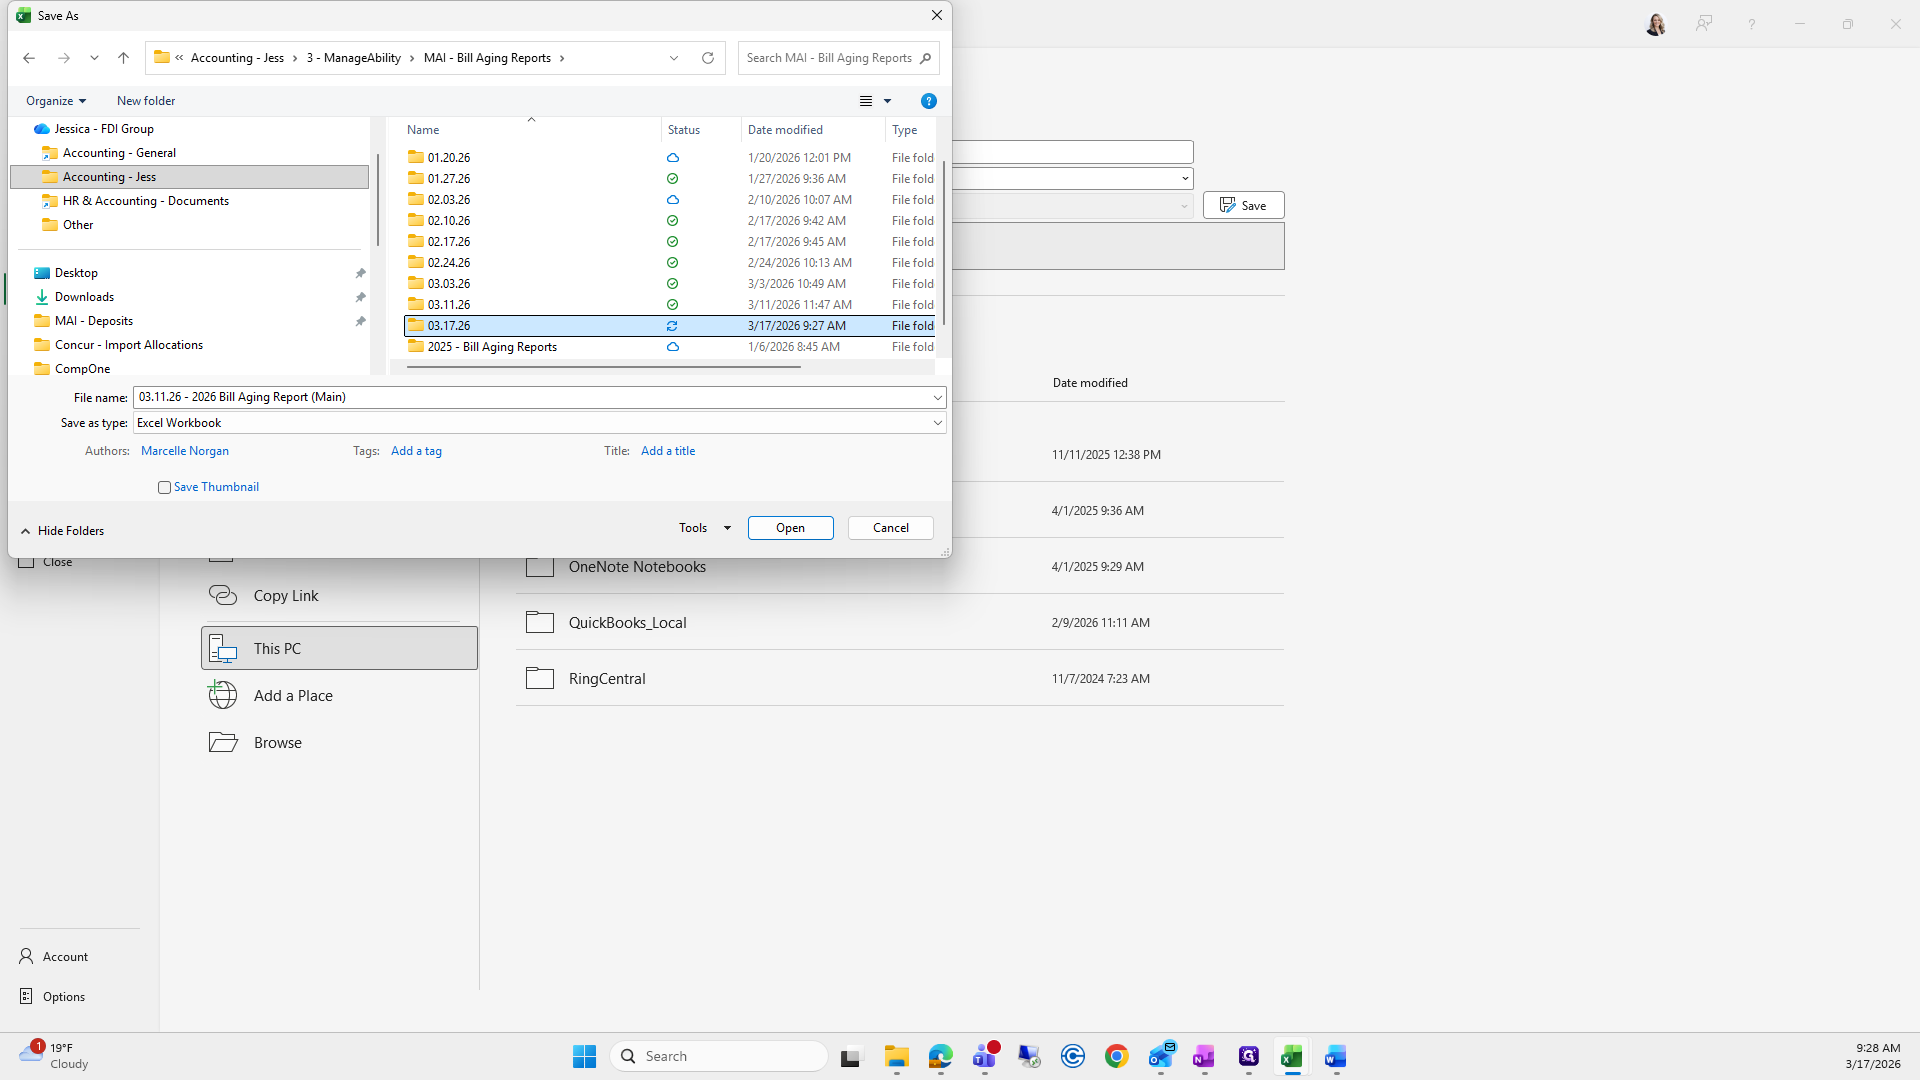
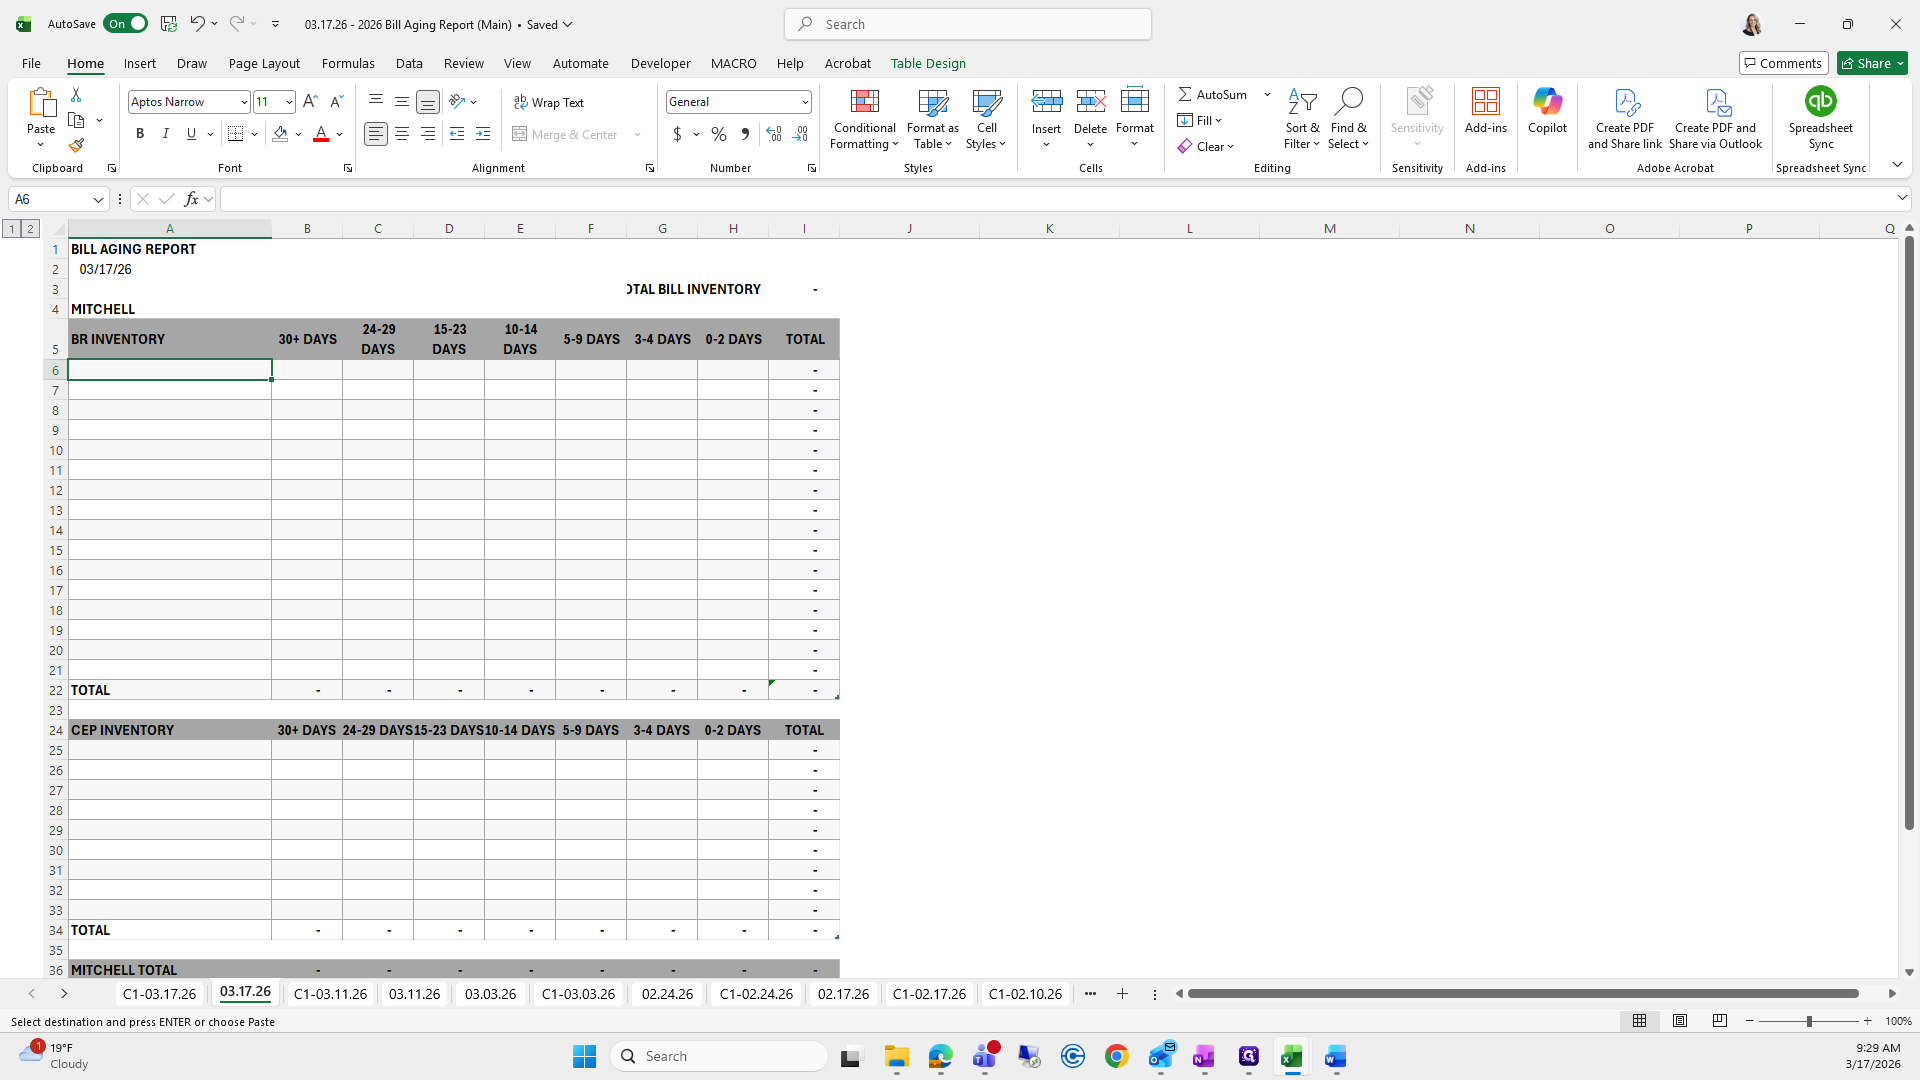
We will rename it 317.
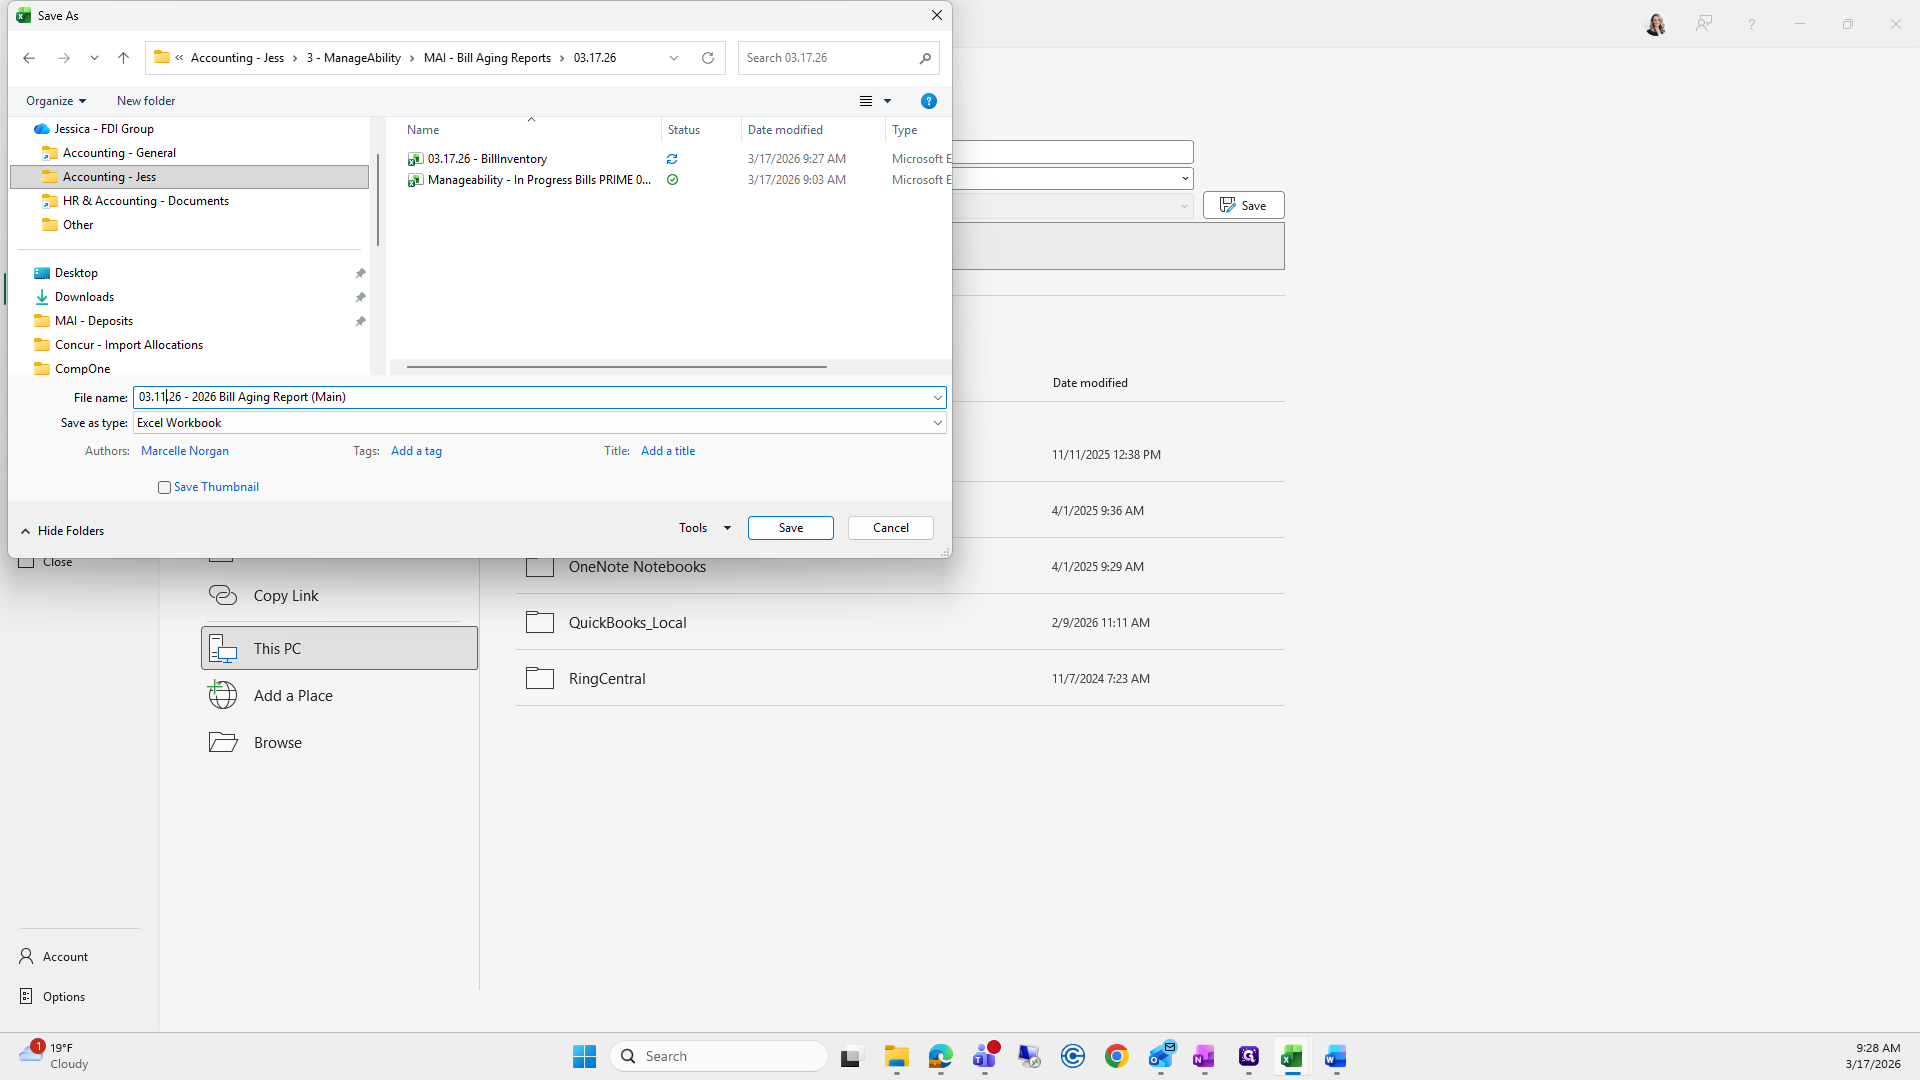
Click Save.
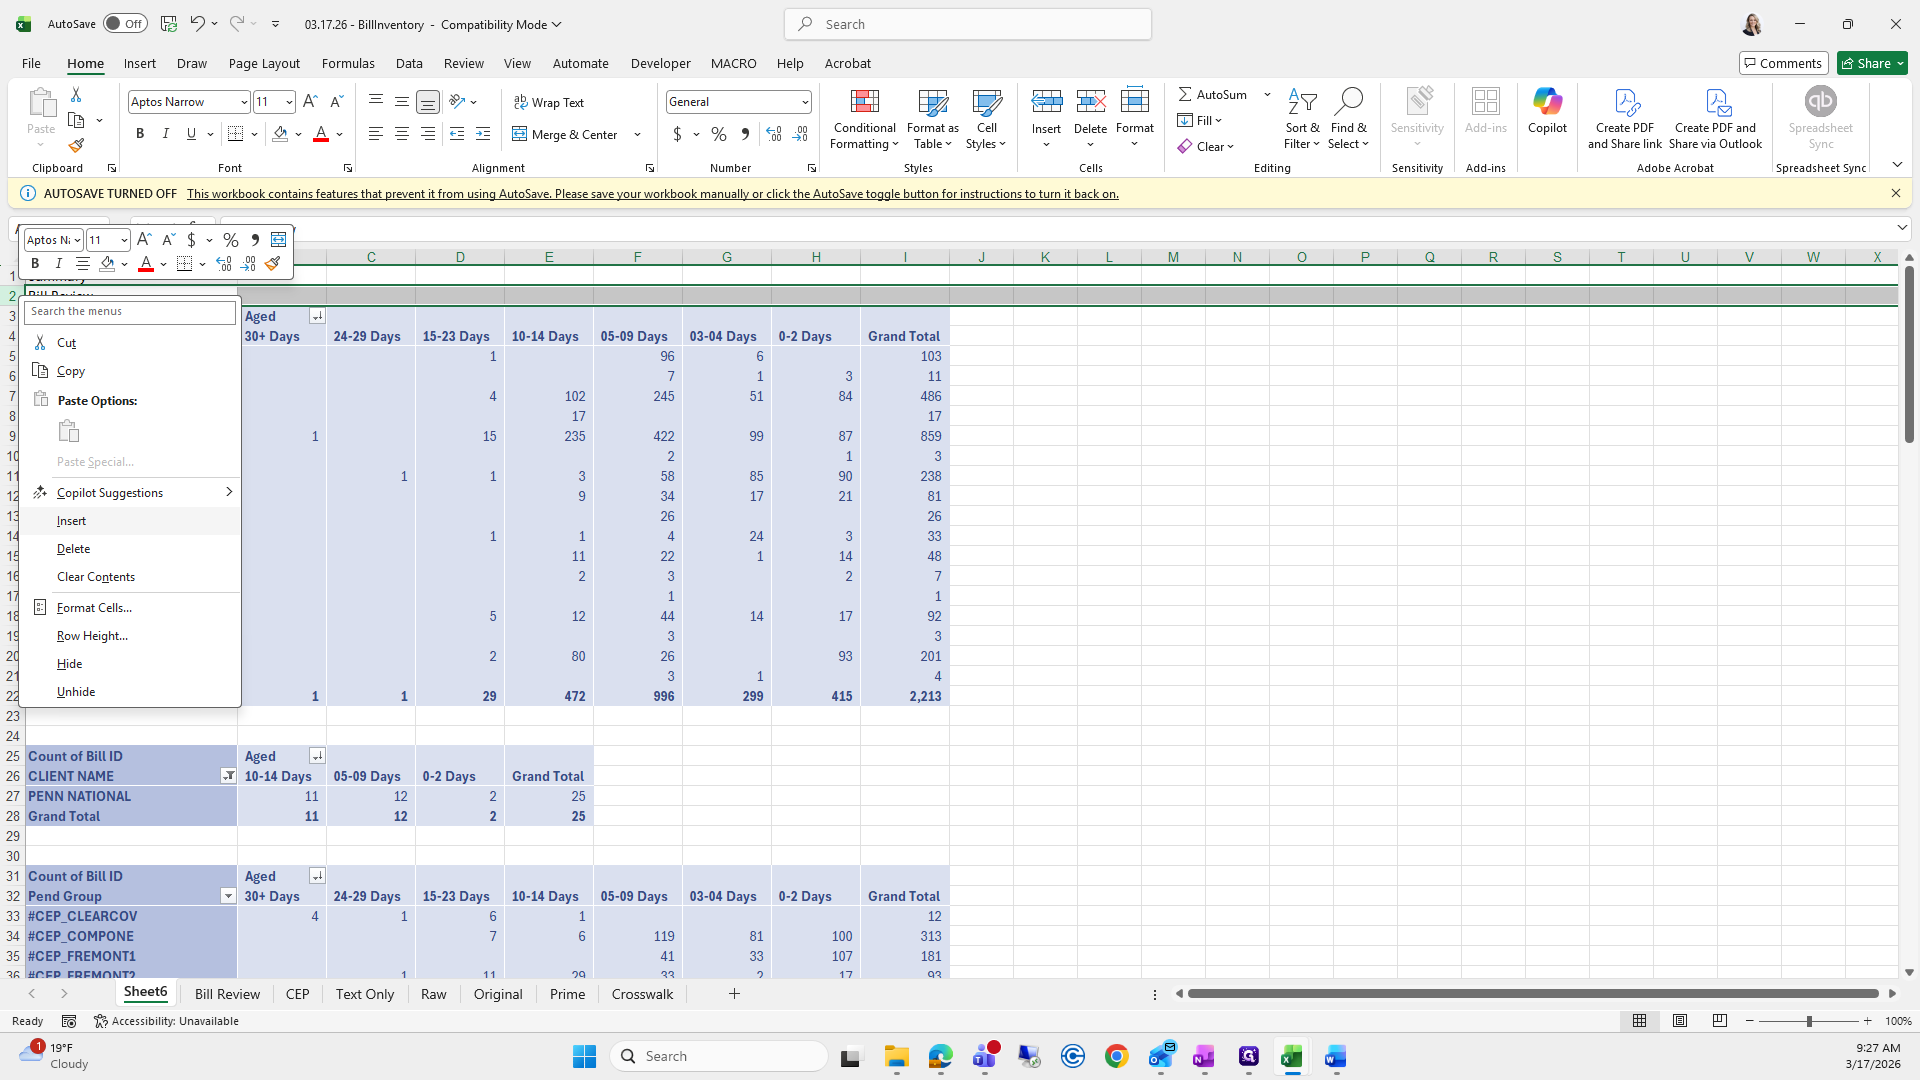
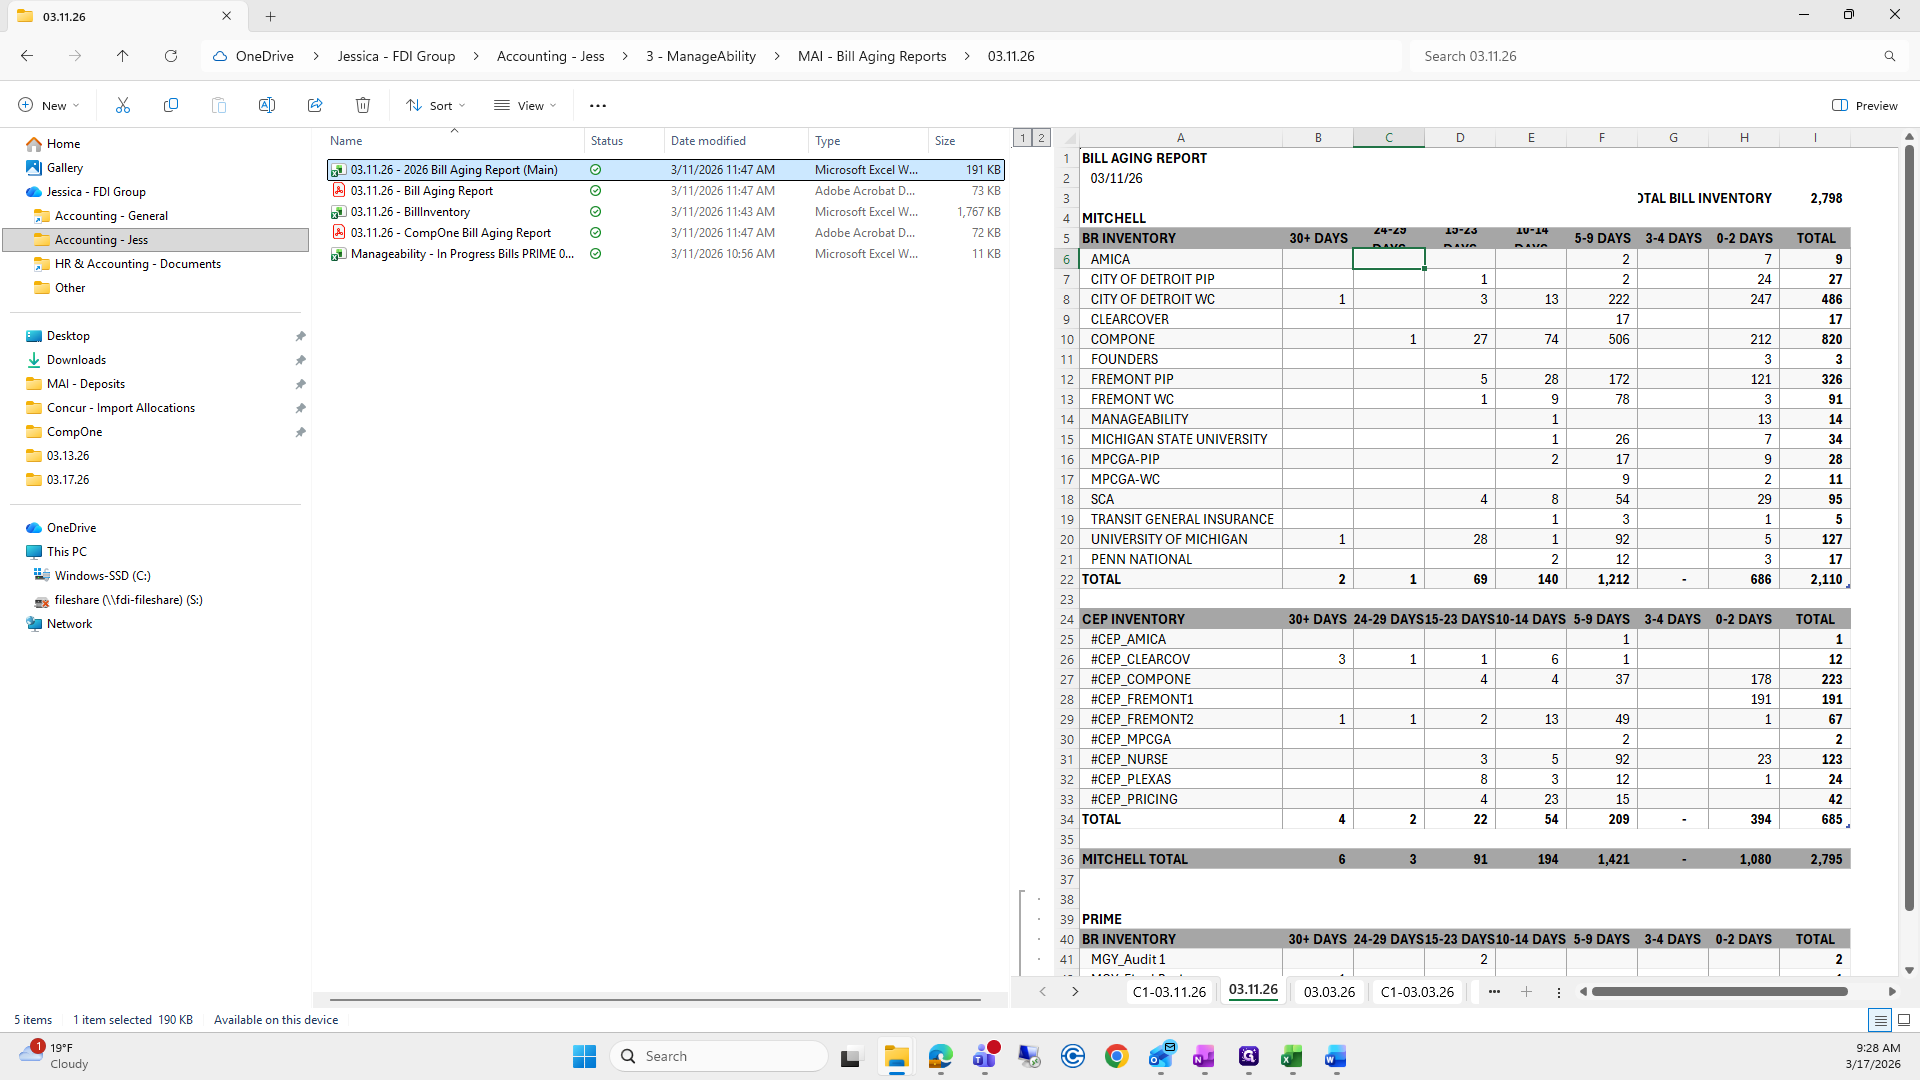
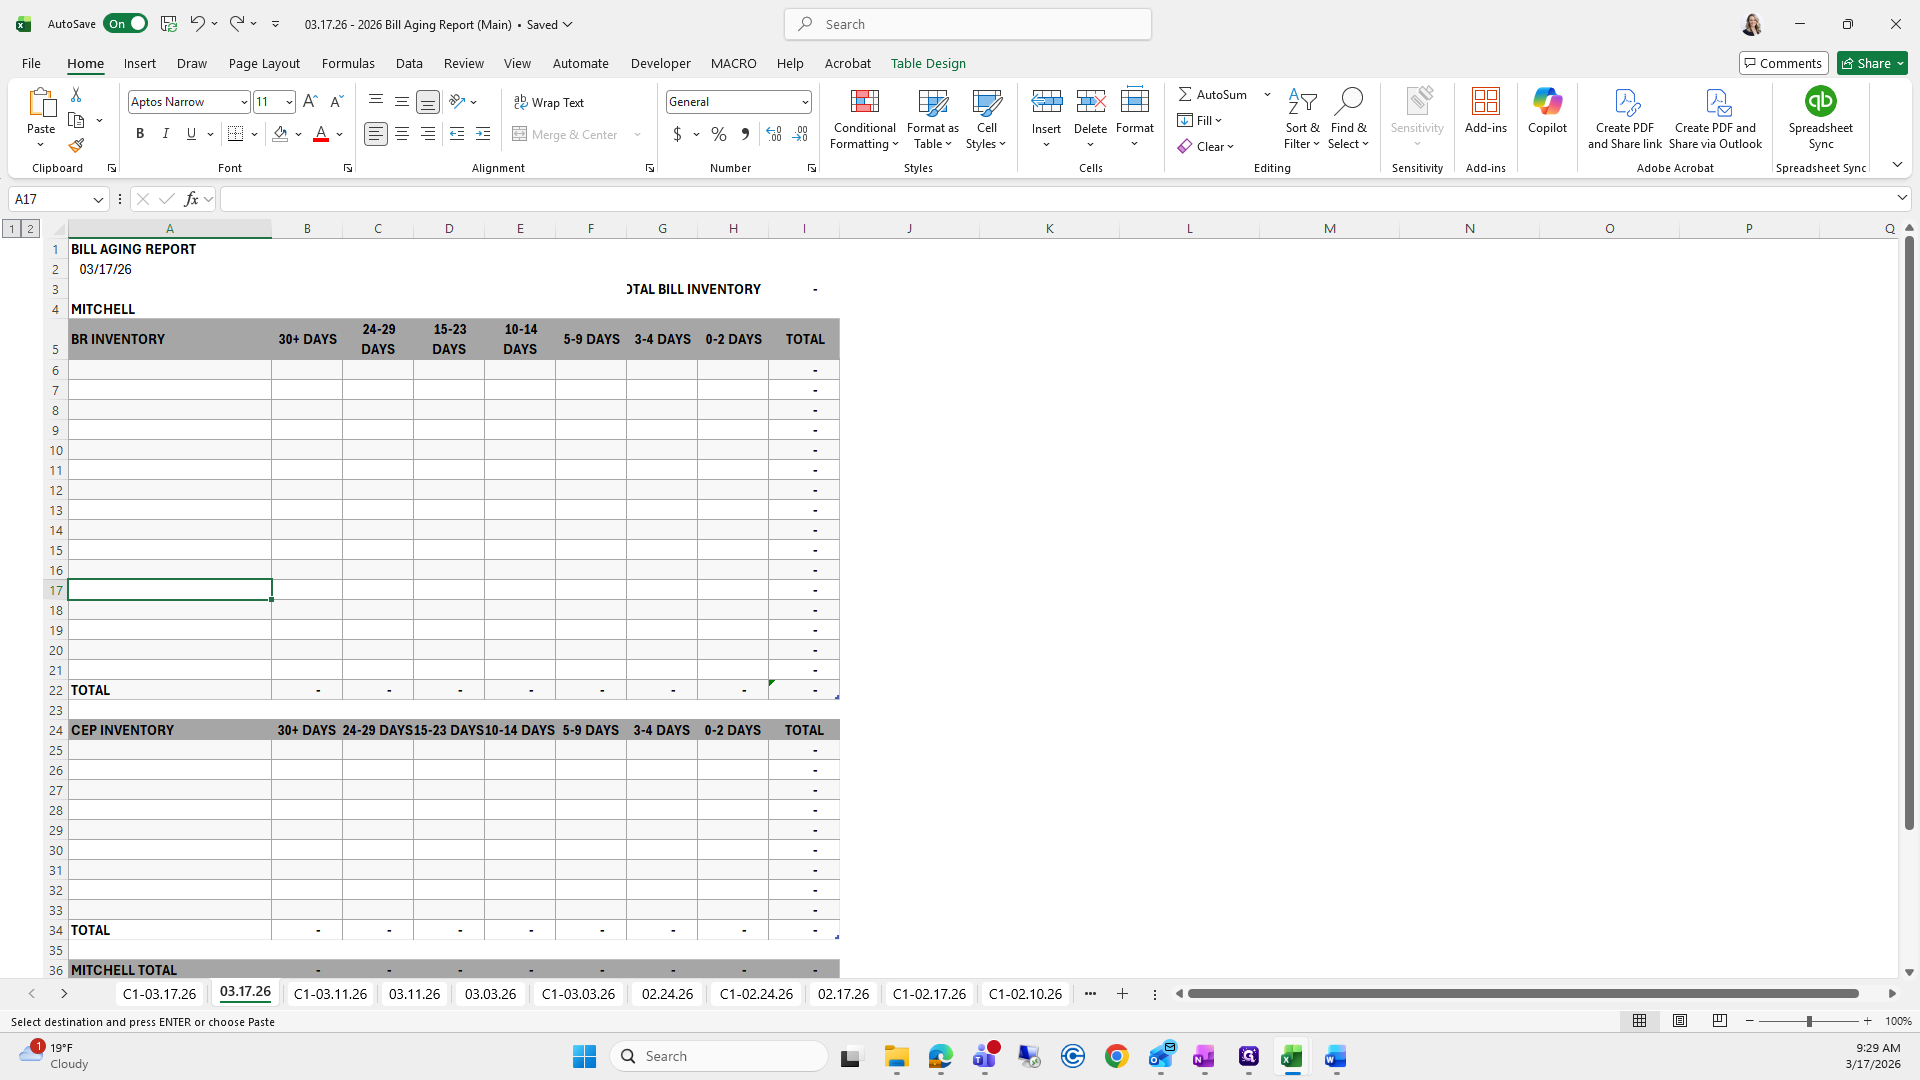
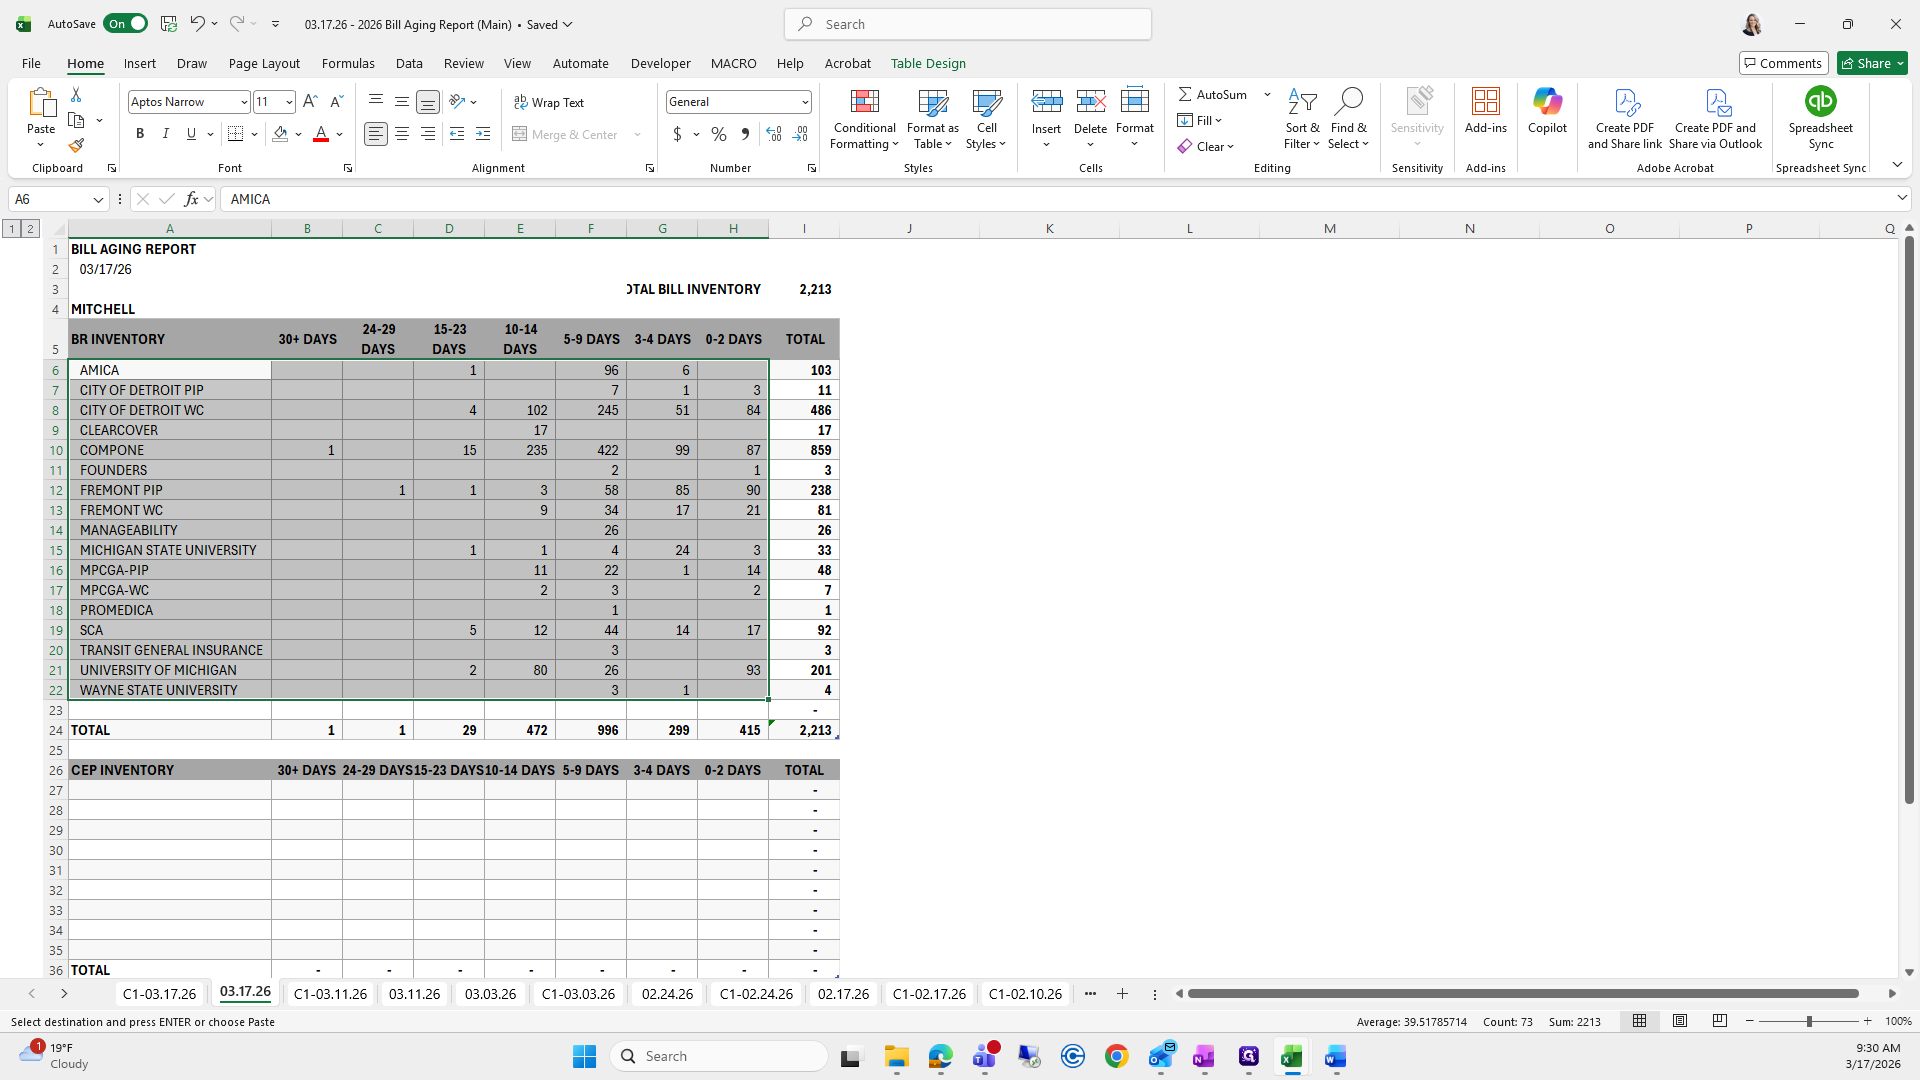
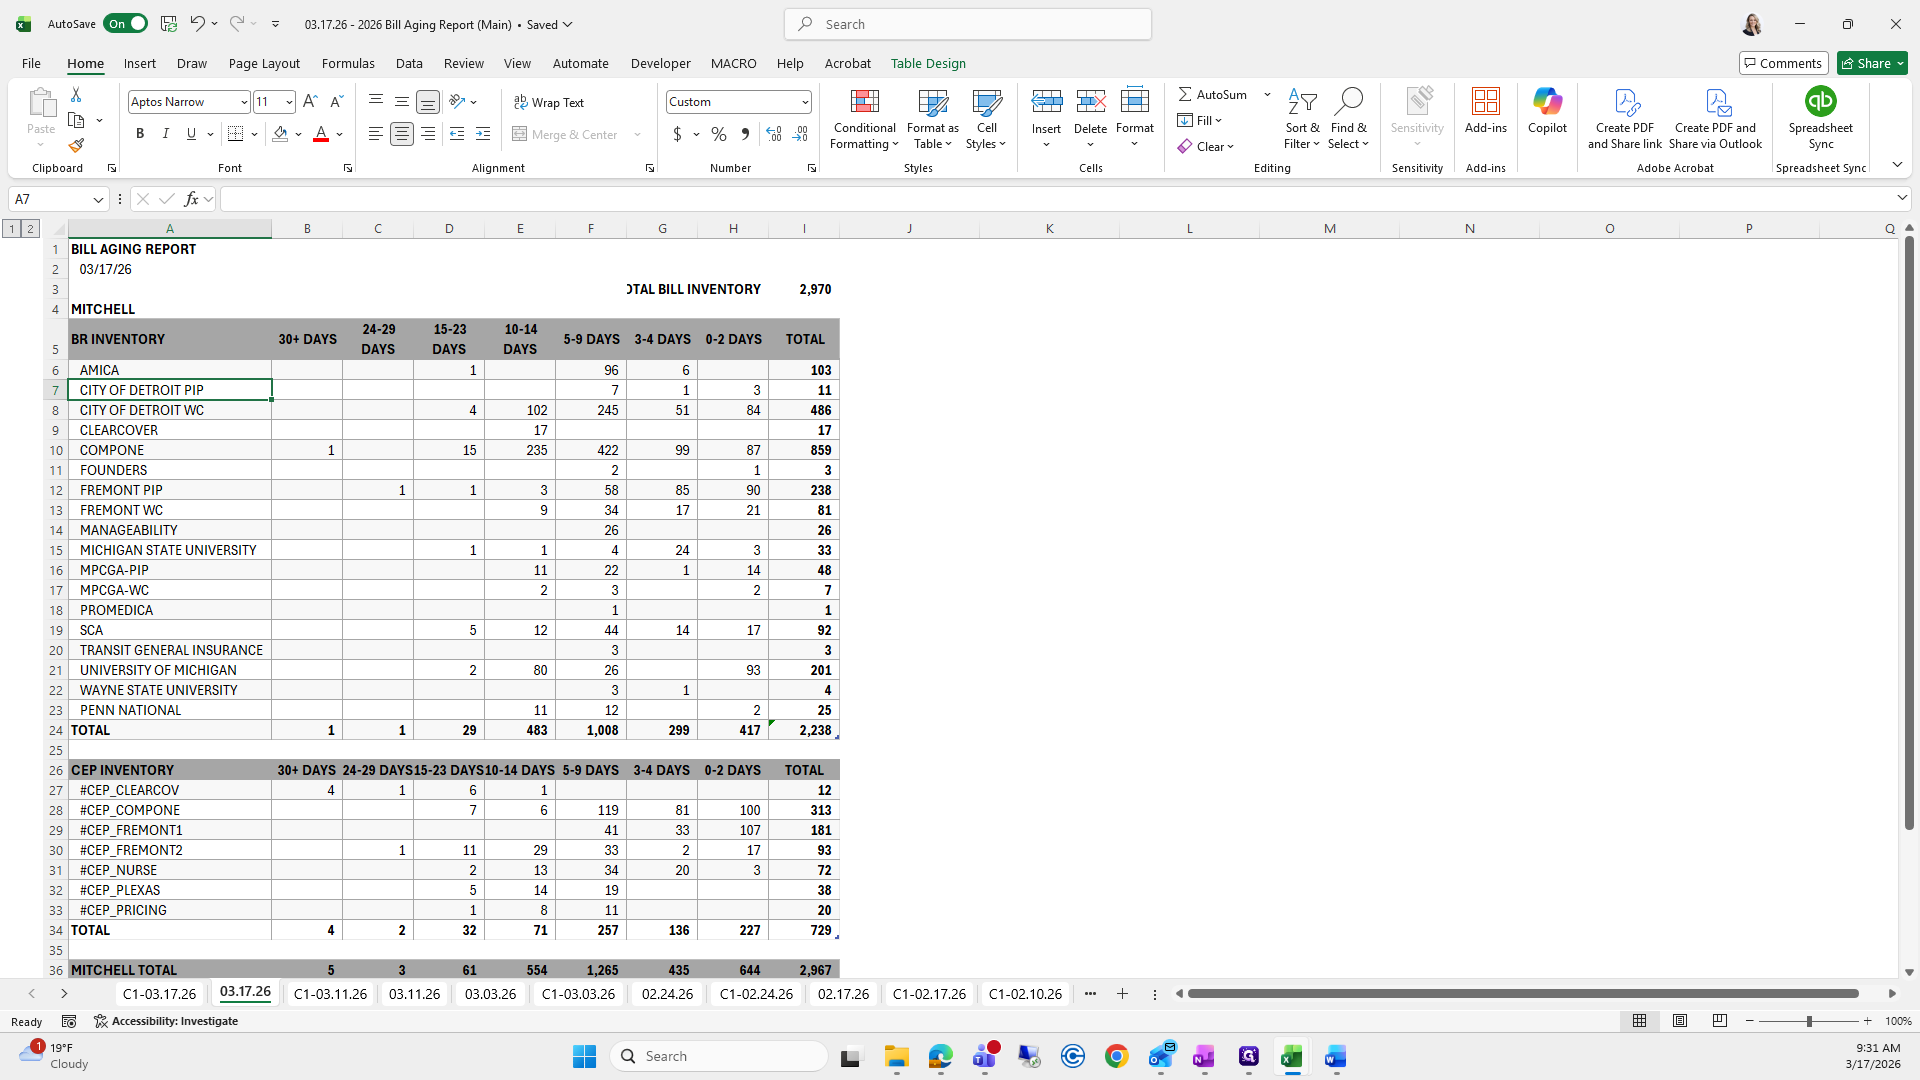
Next, copy last week's sheet, update the tab date, and change the date at the top. Then, delete those items.


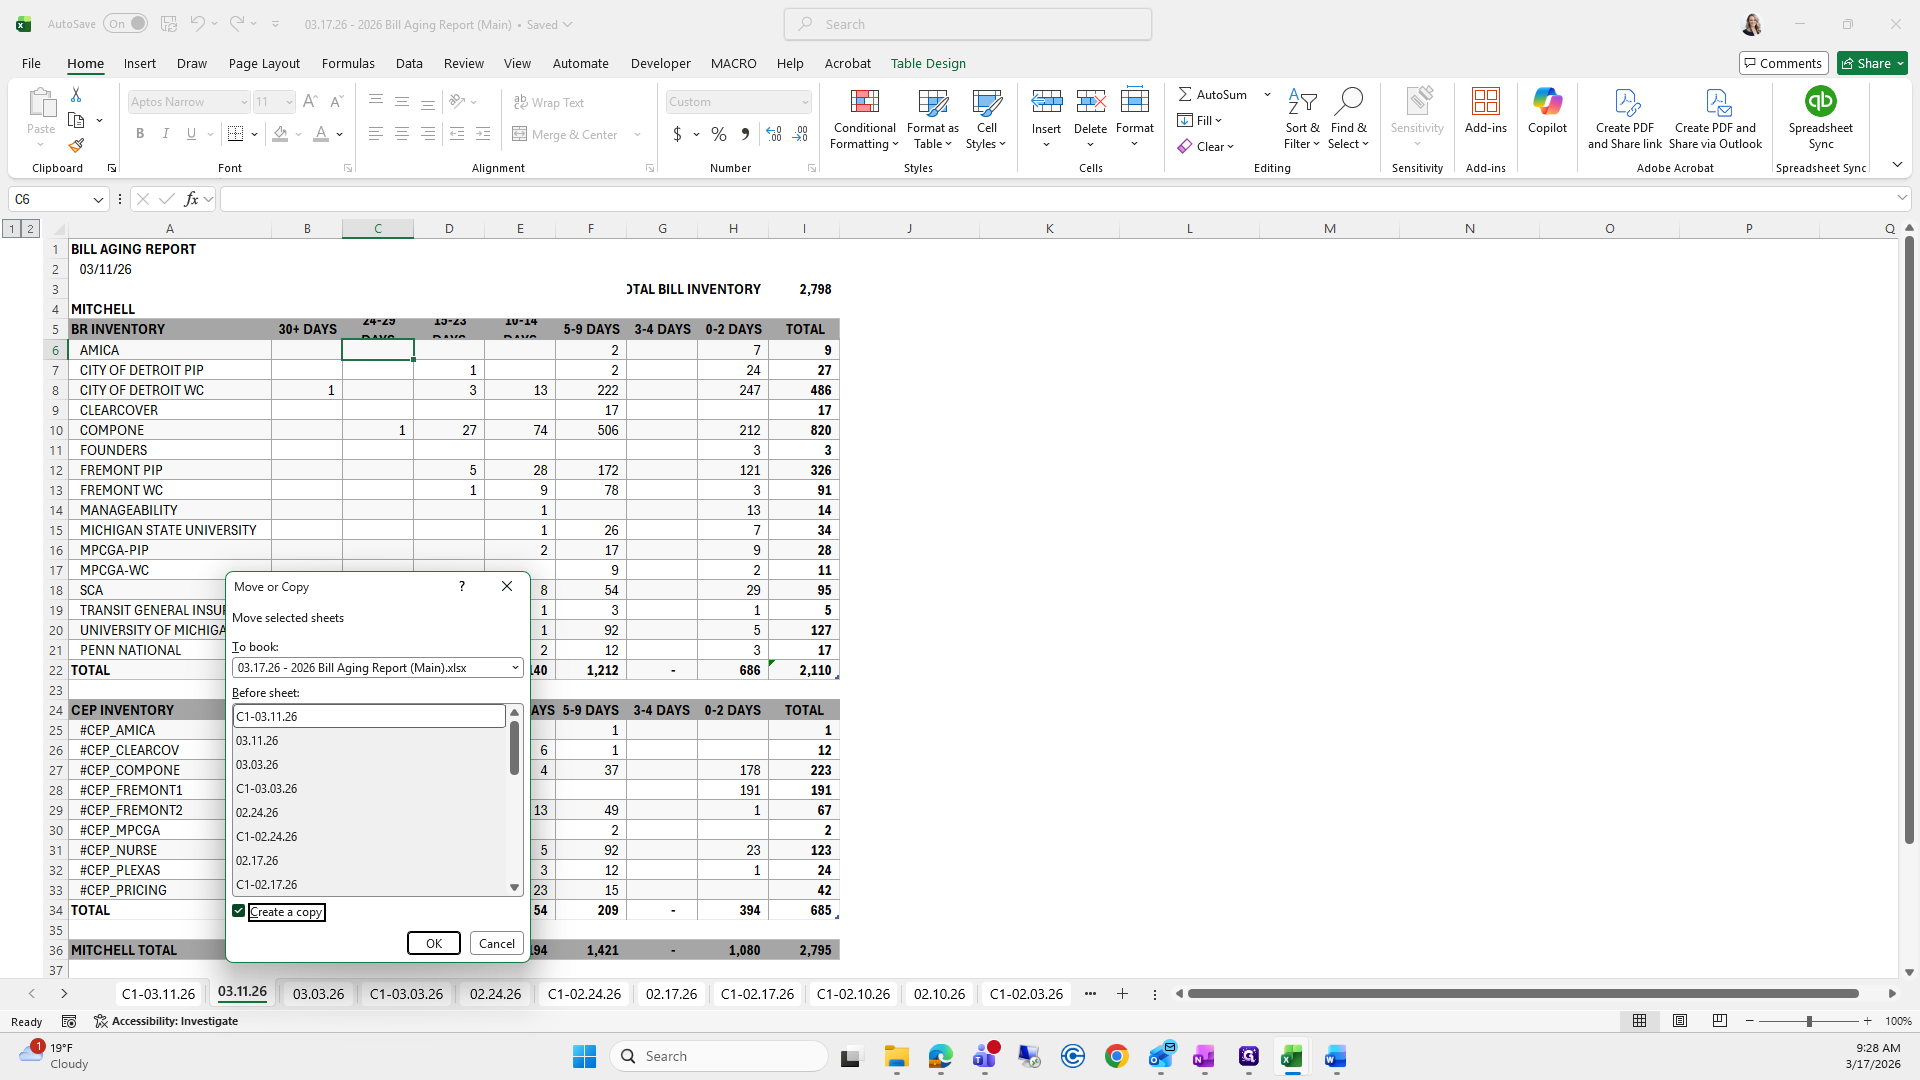
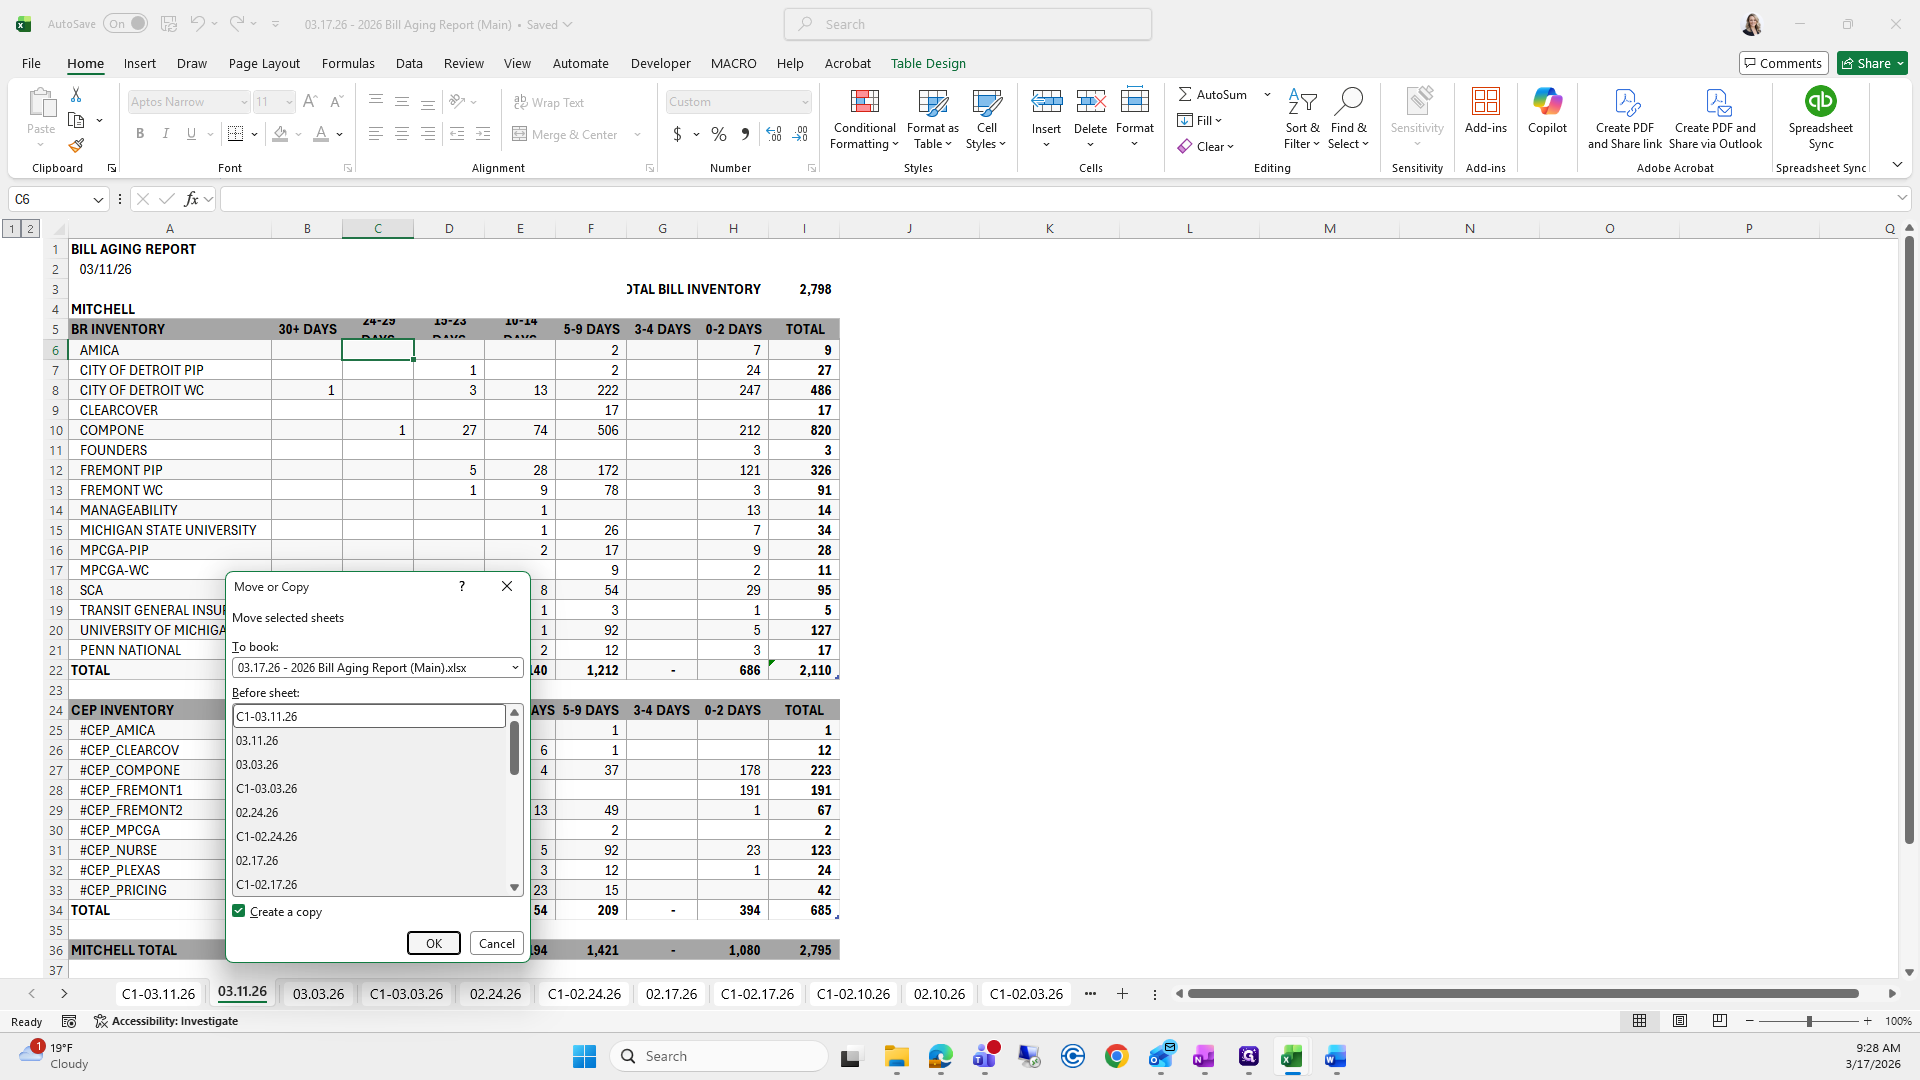
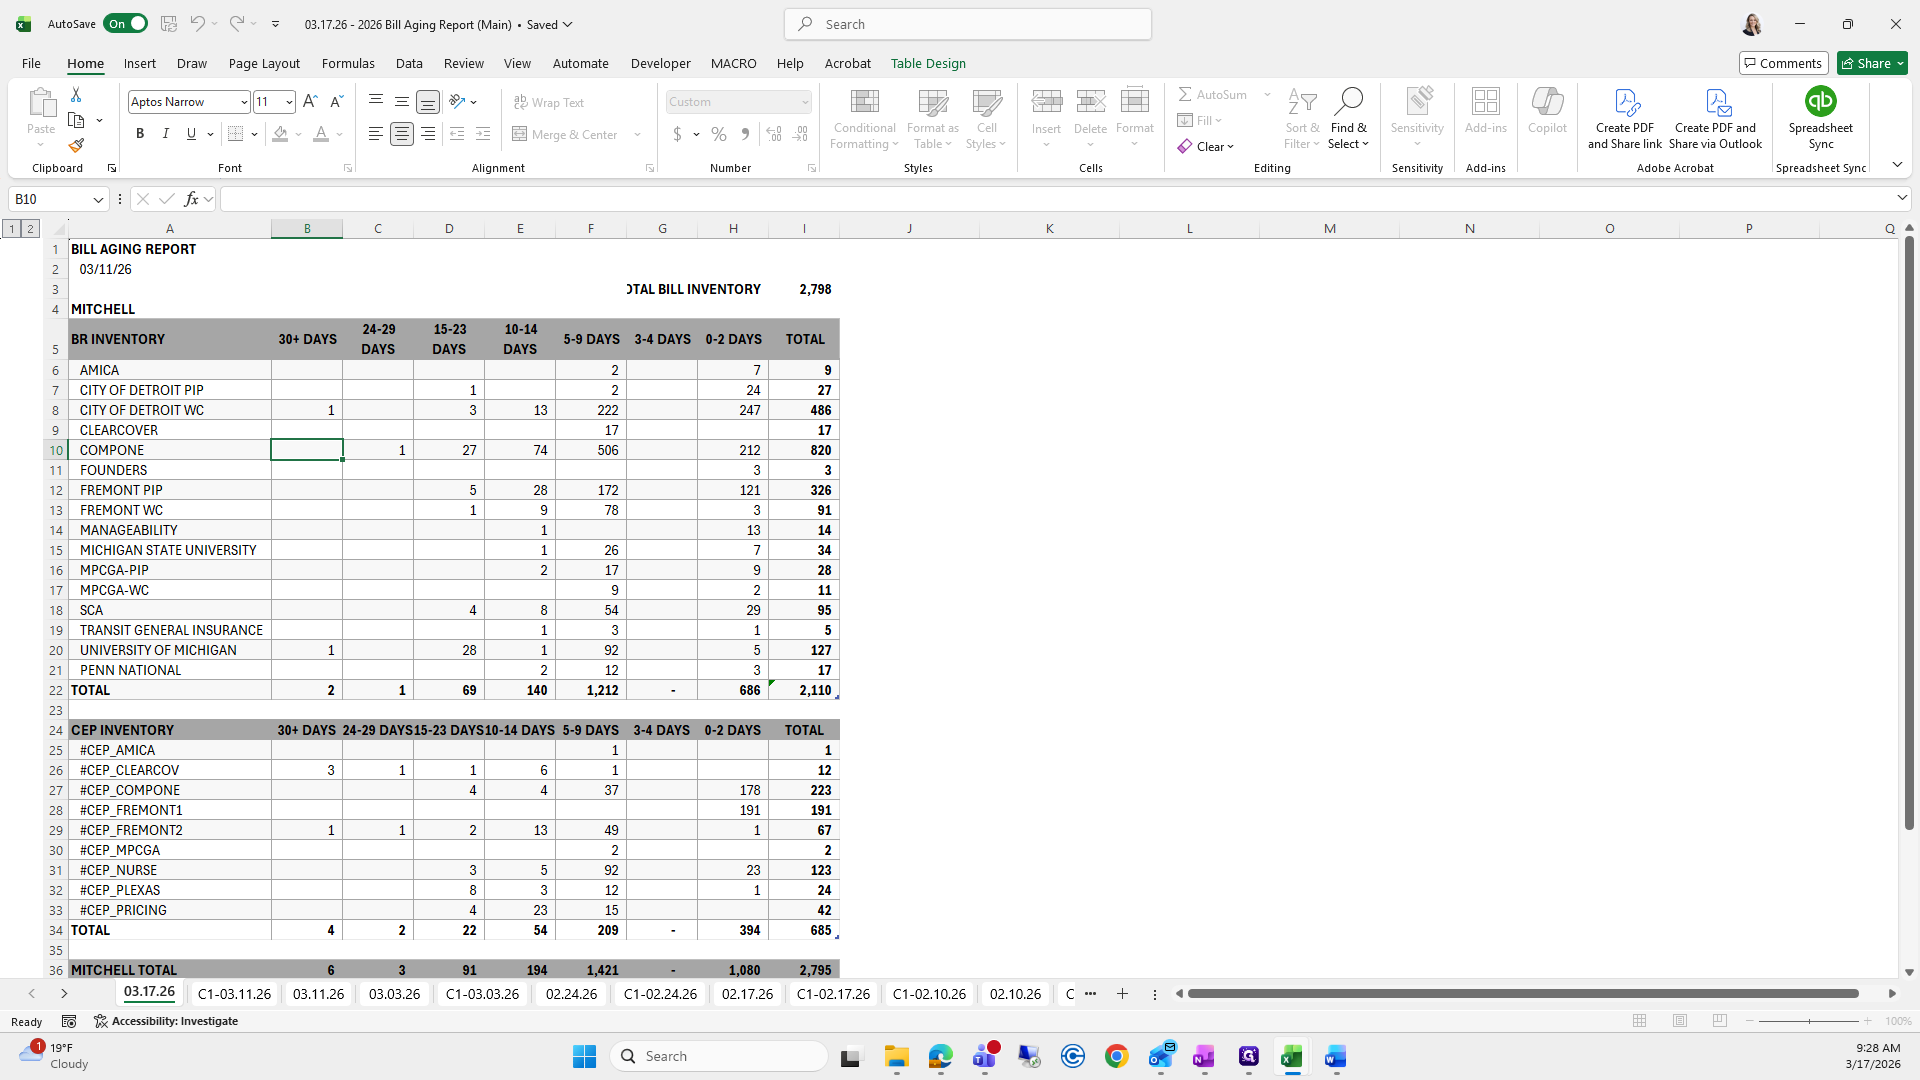
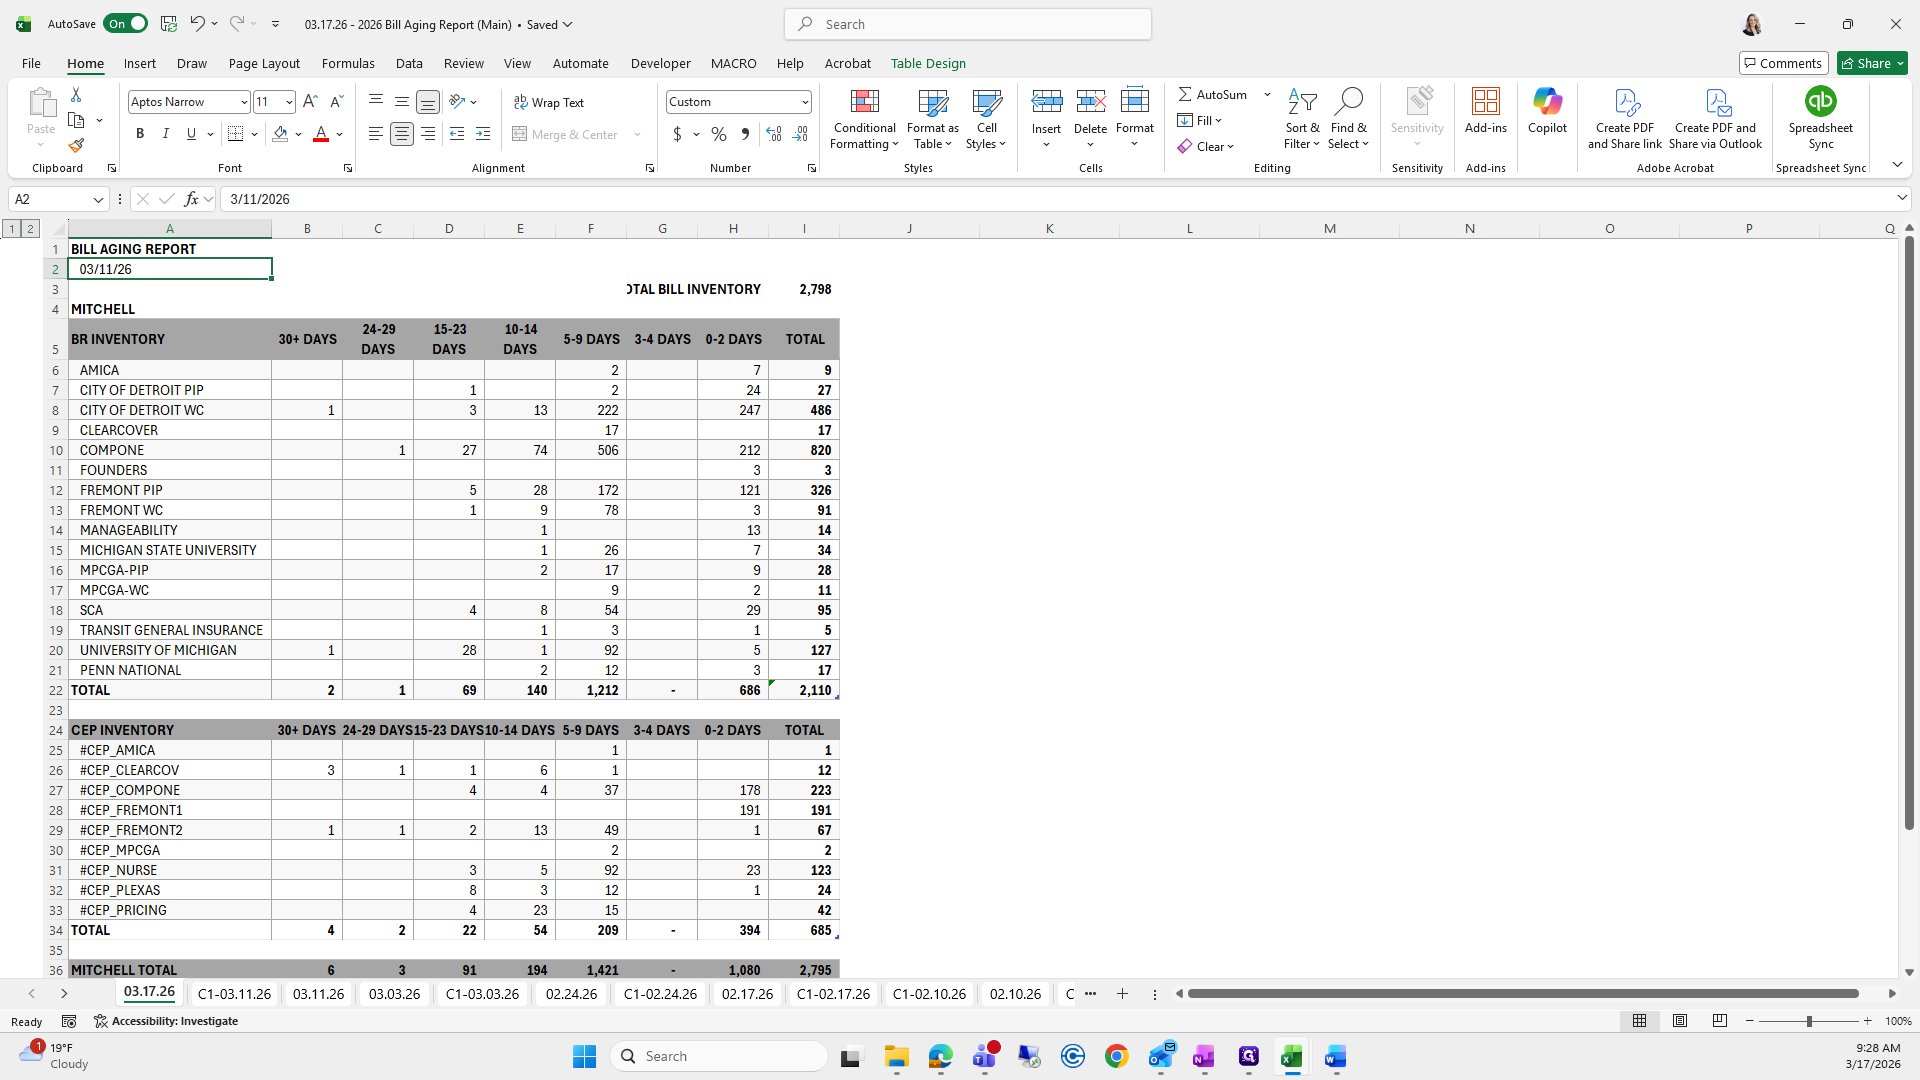
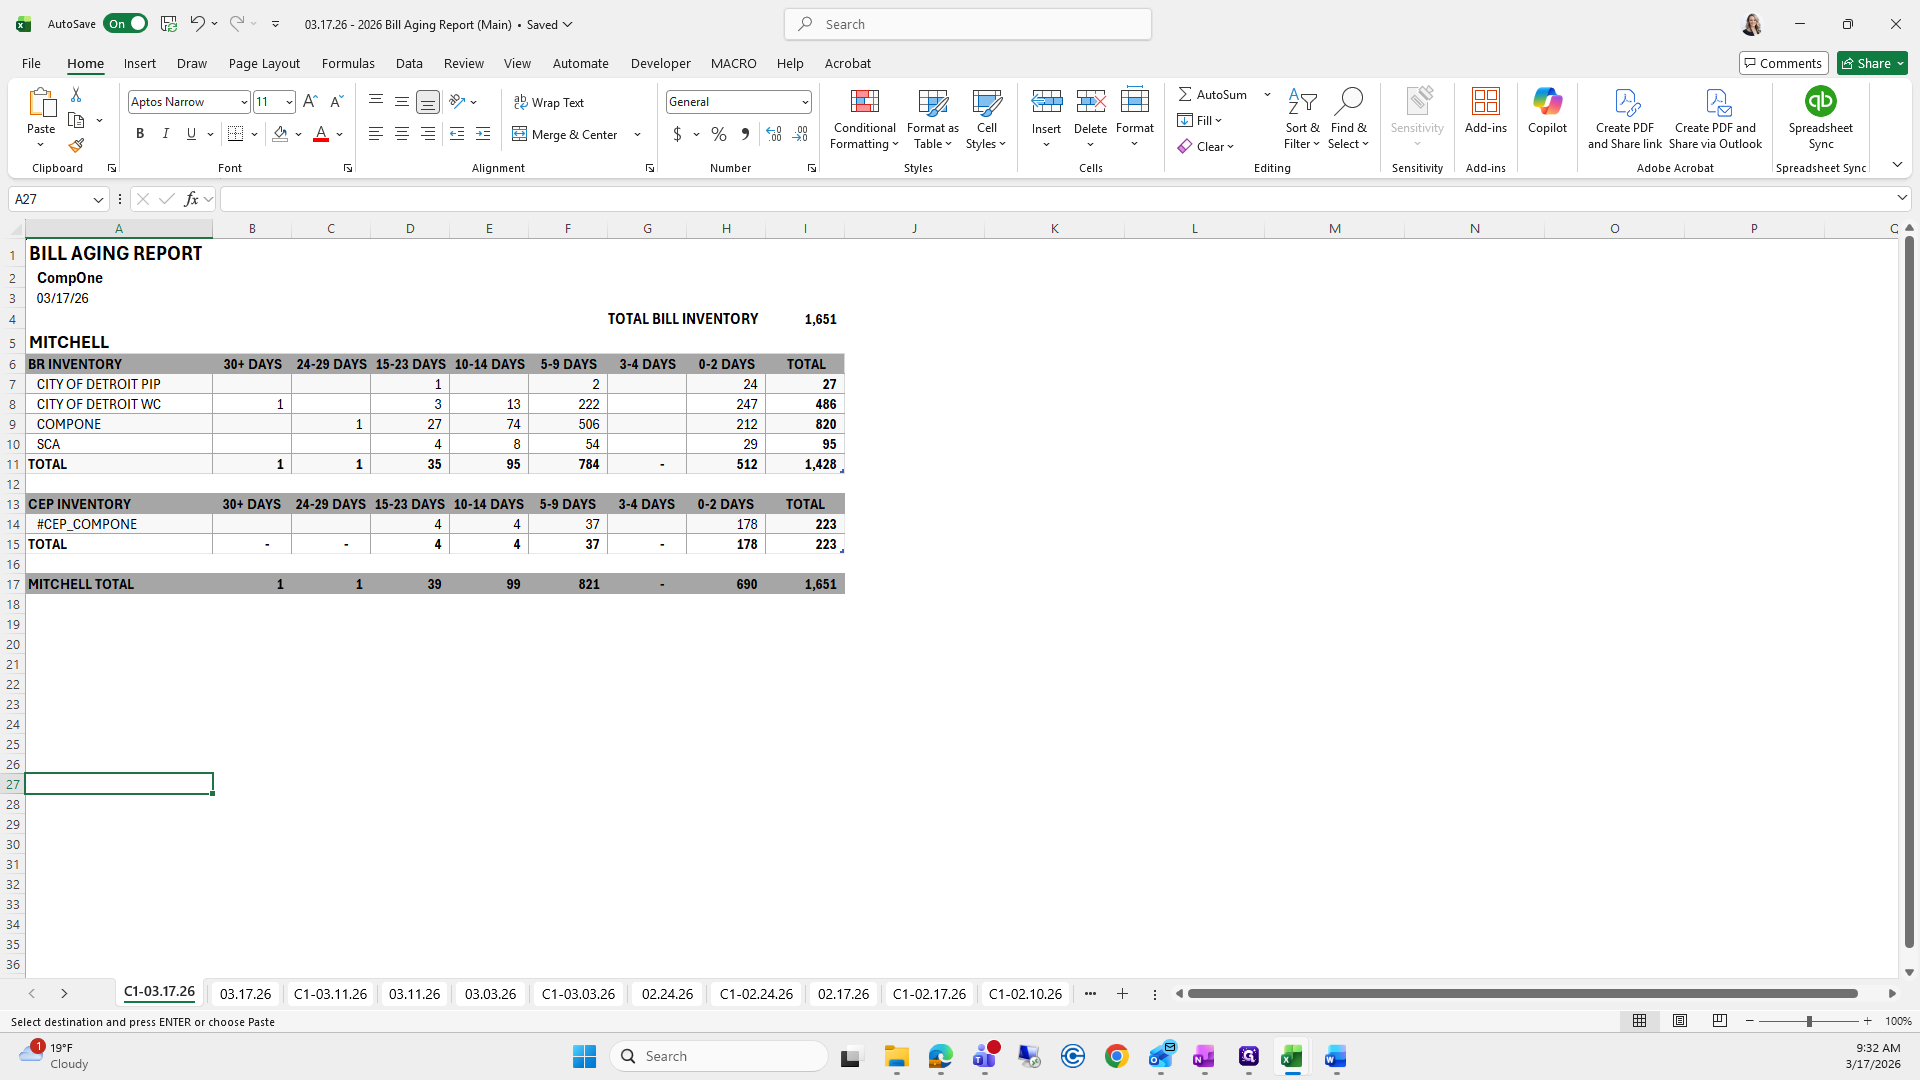
Same process applies here for the Comp 1 Bill Aging Report.

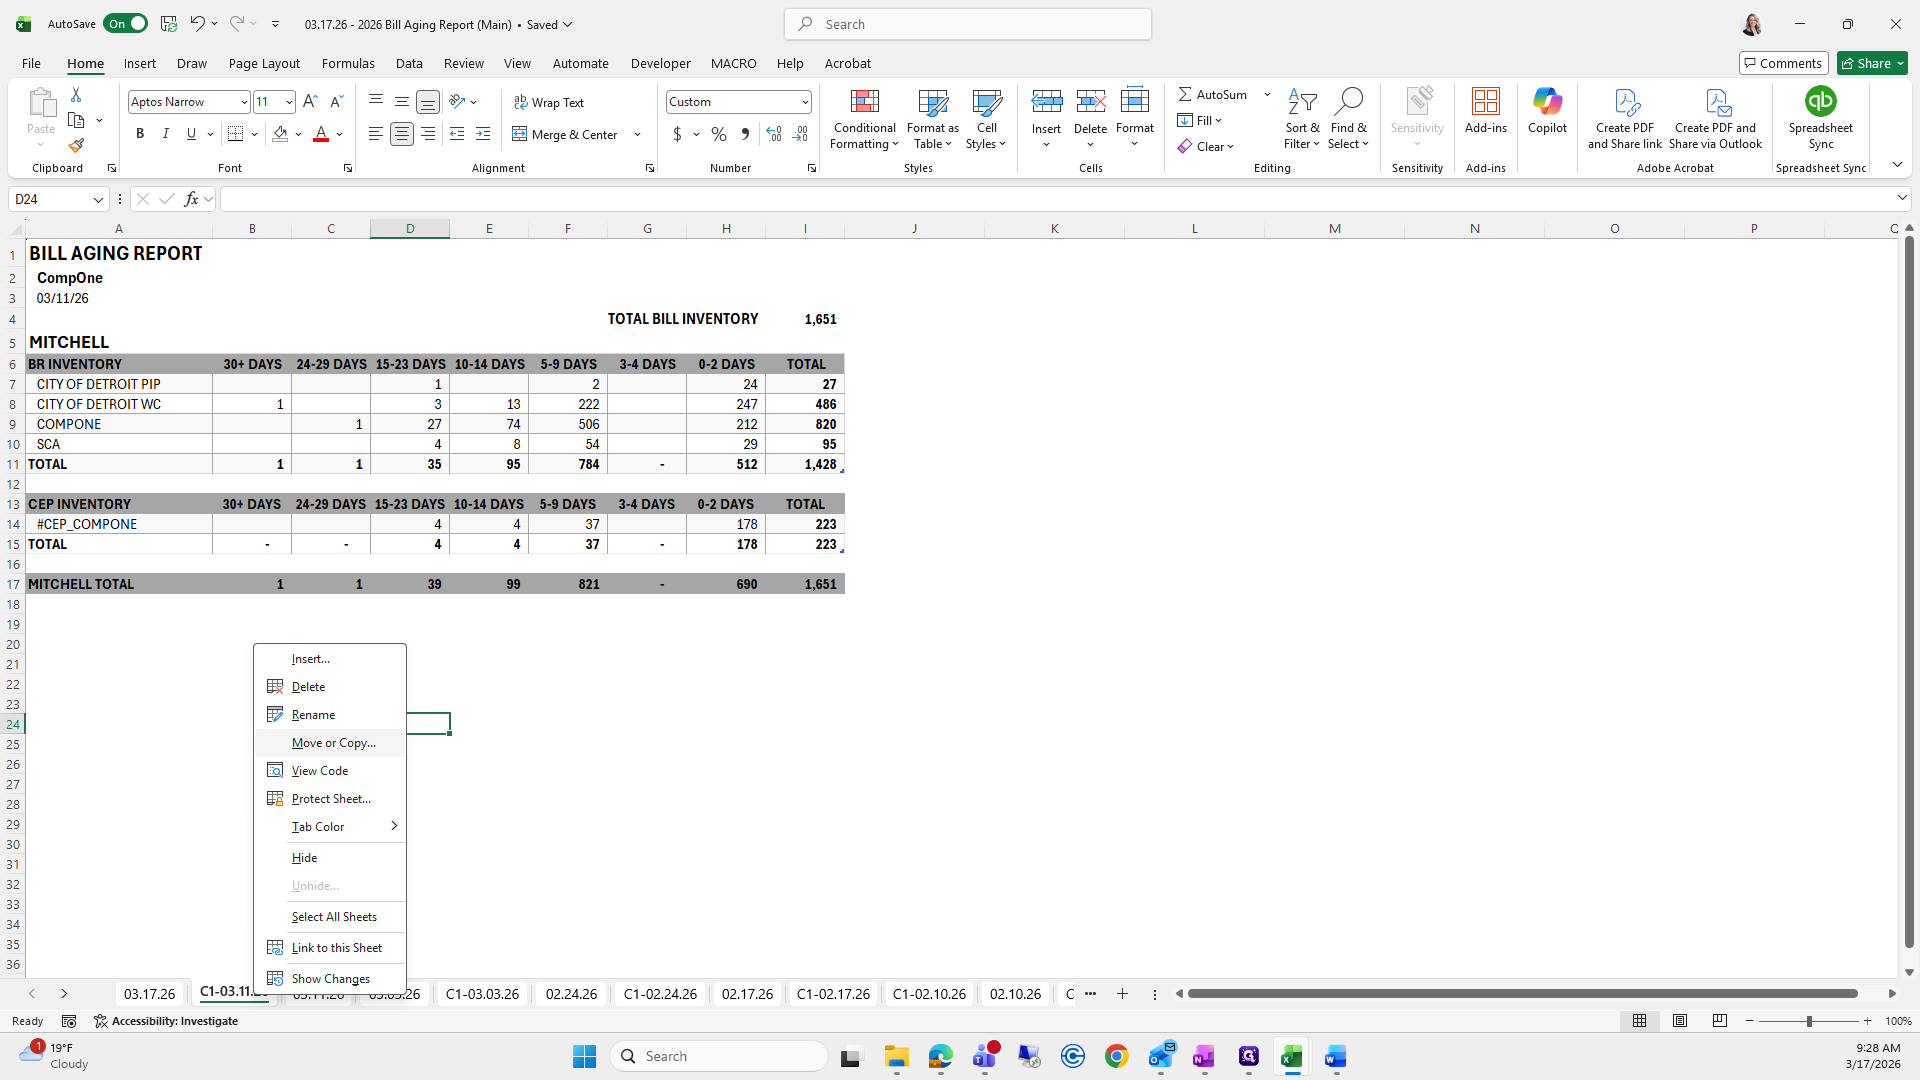
I will move and copy it, rename it to today's date, update the date above, and then continue.

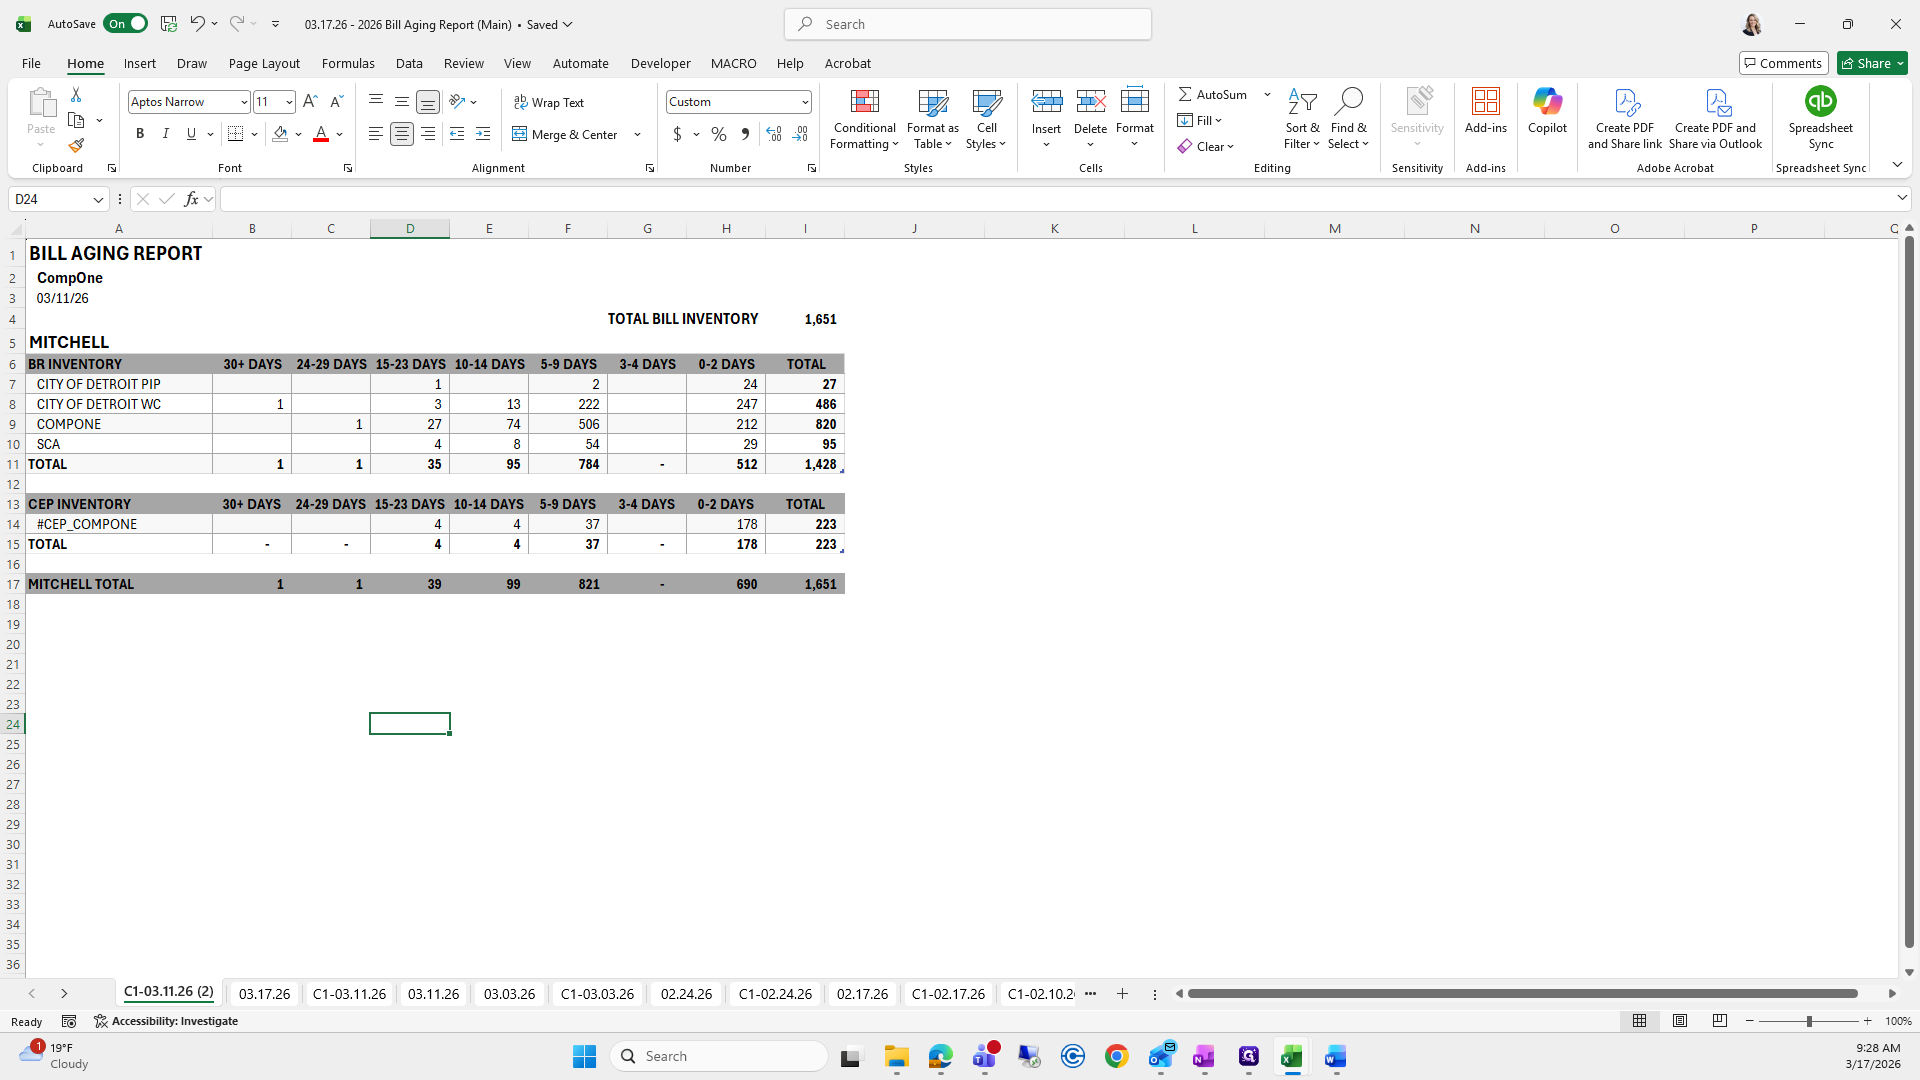
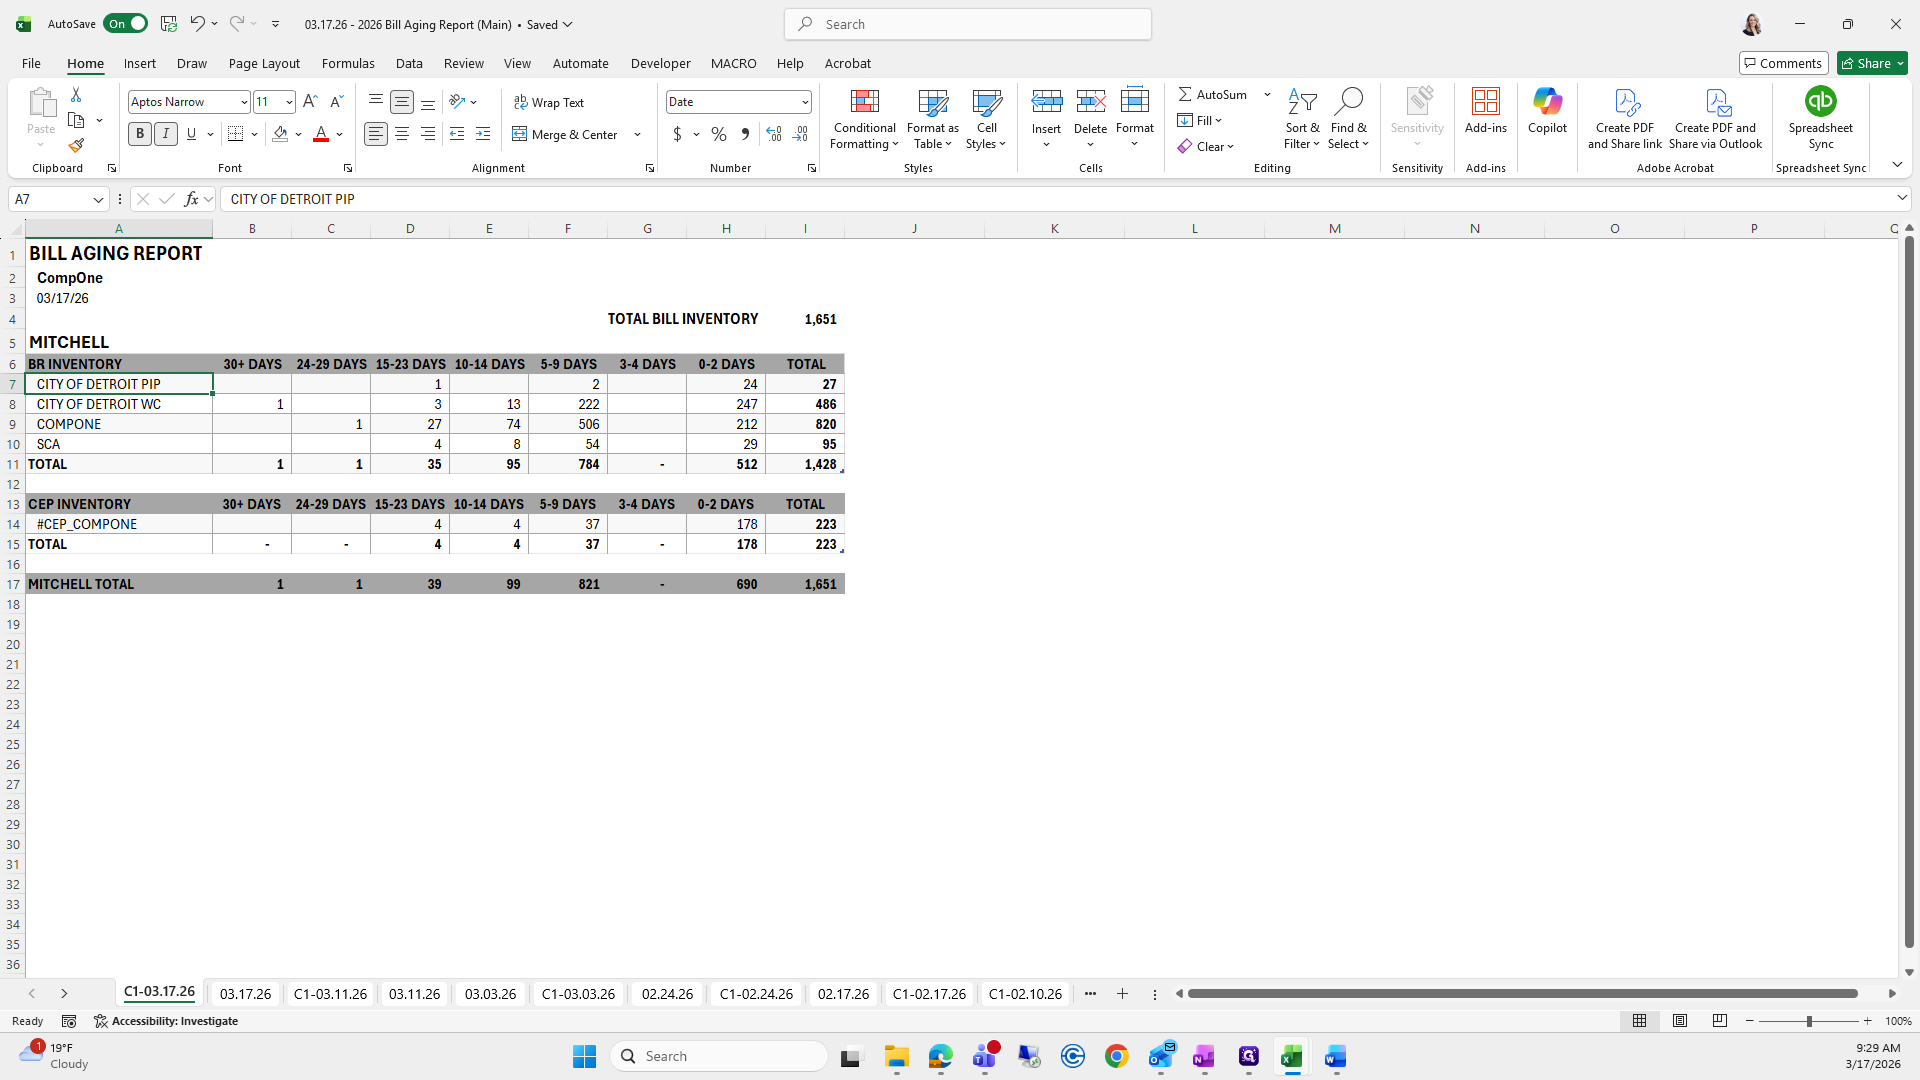
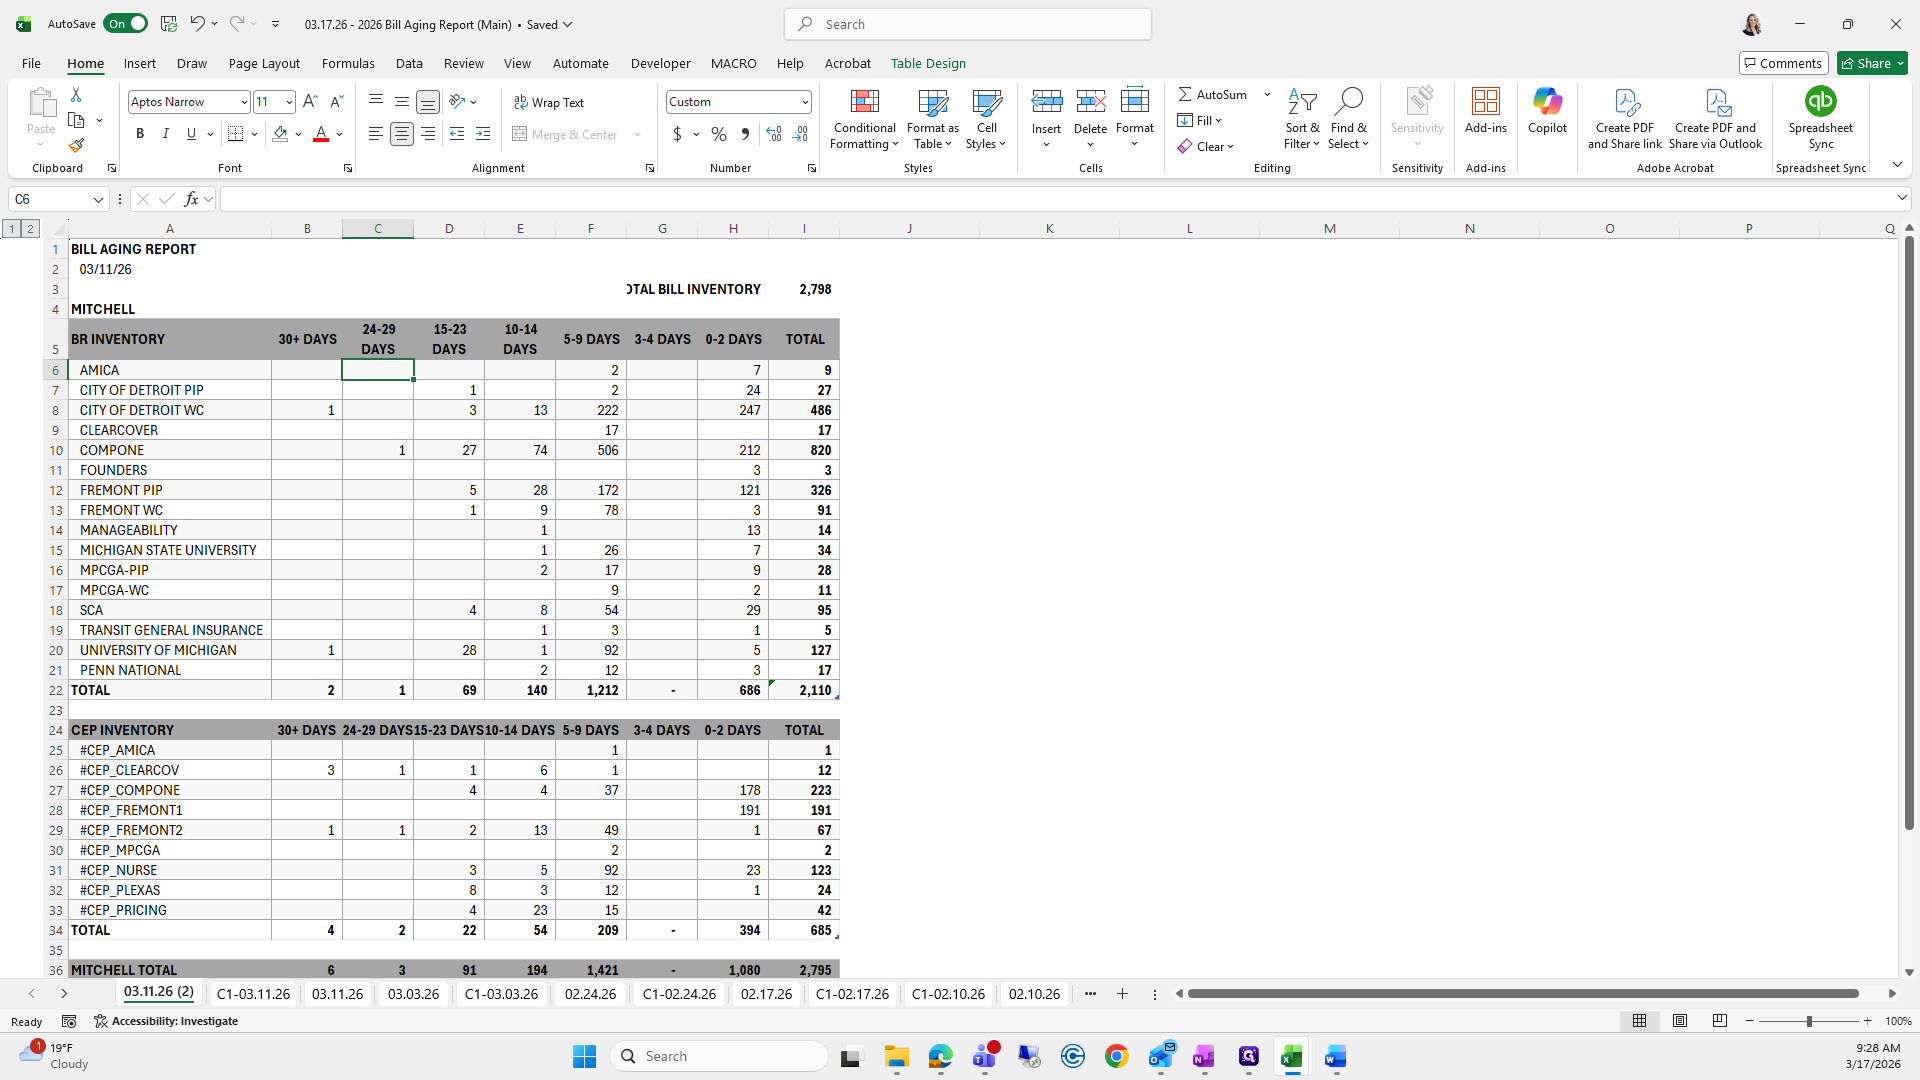
I'll leave it so you can see which ones we will do.


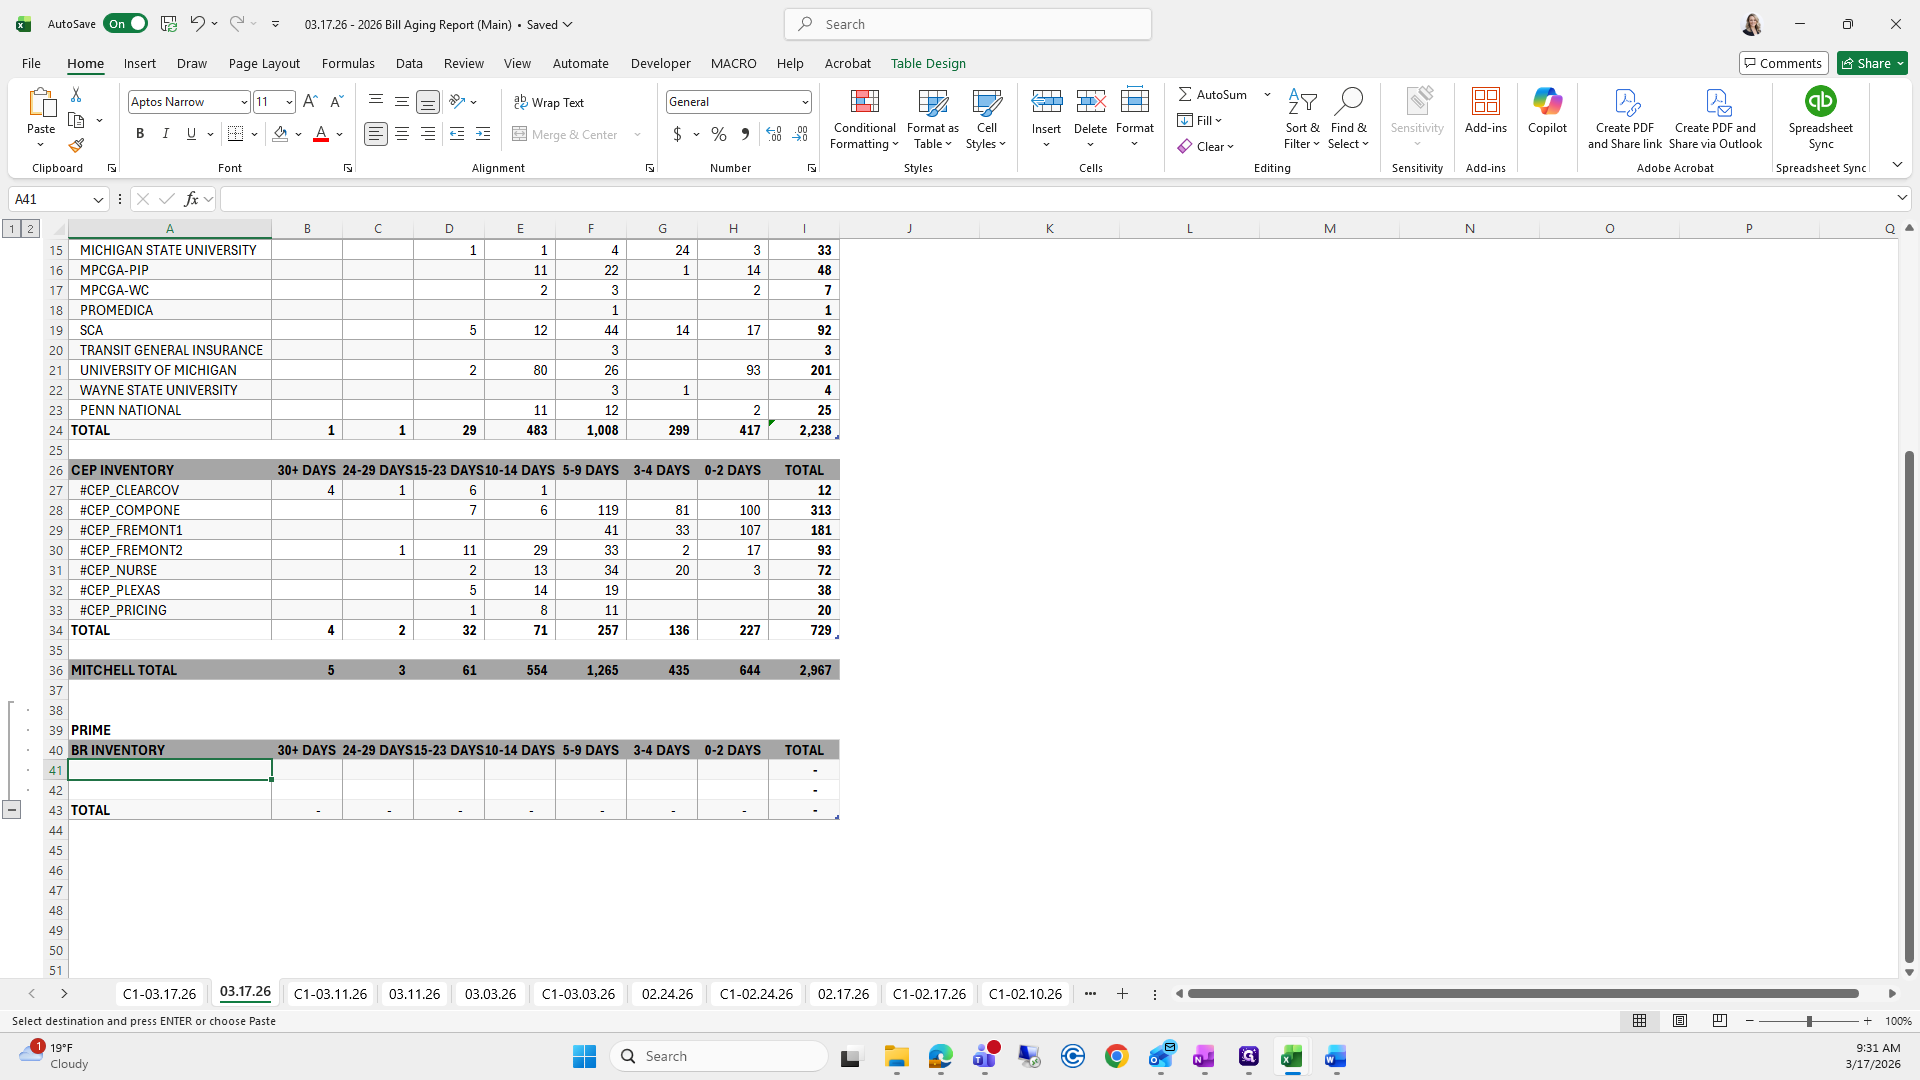
For 317, I will go to our 317.
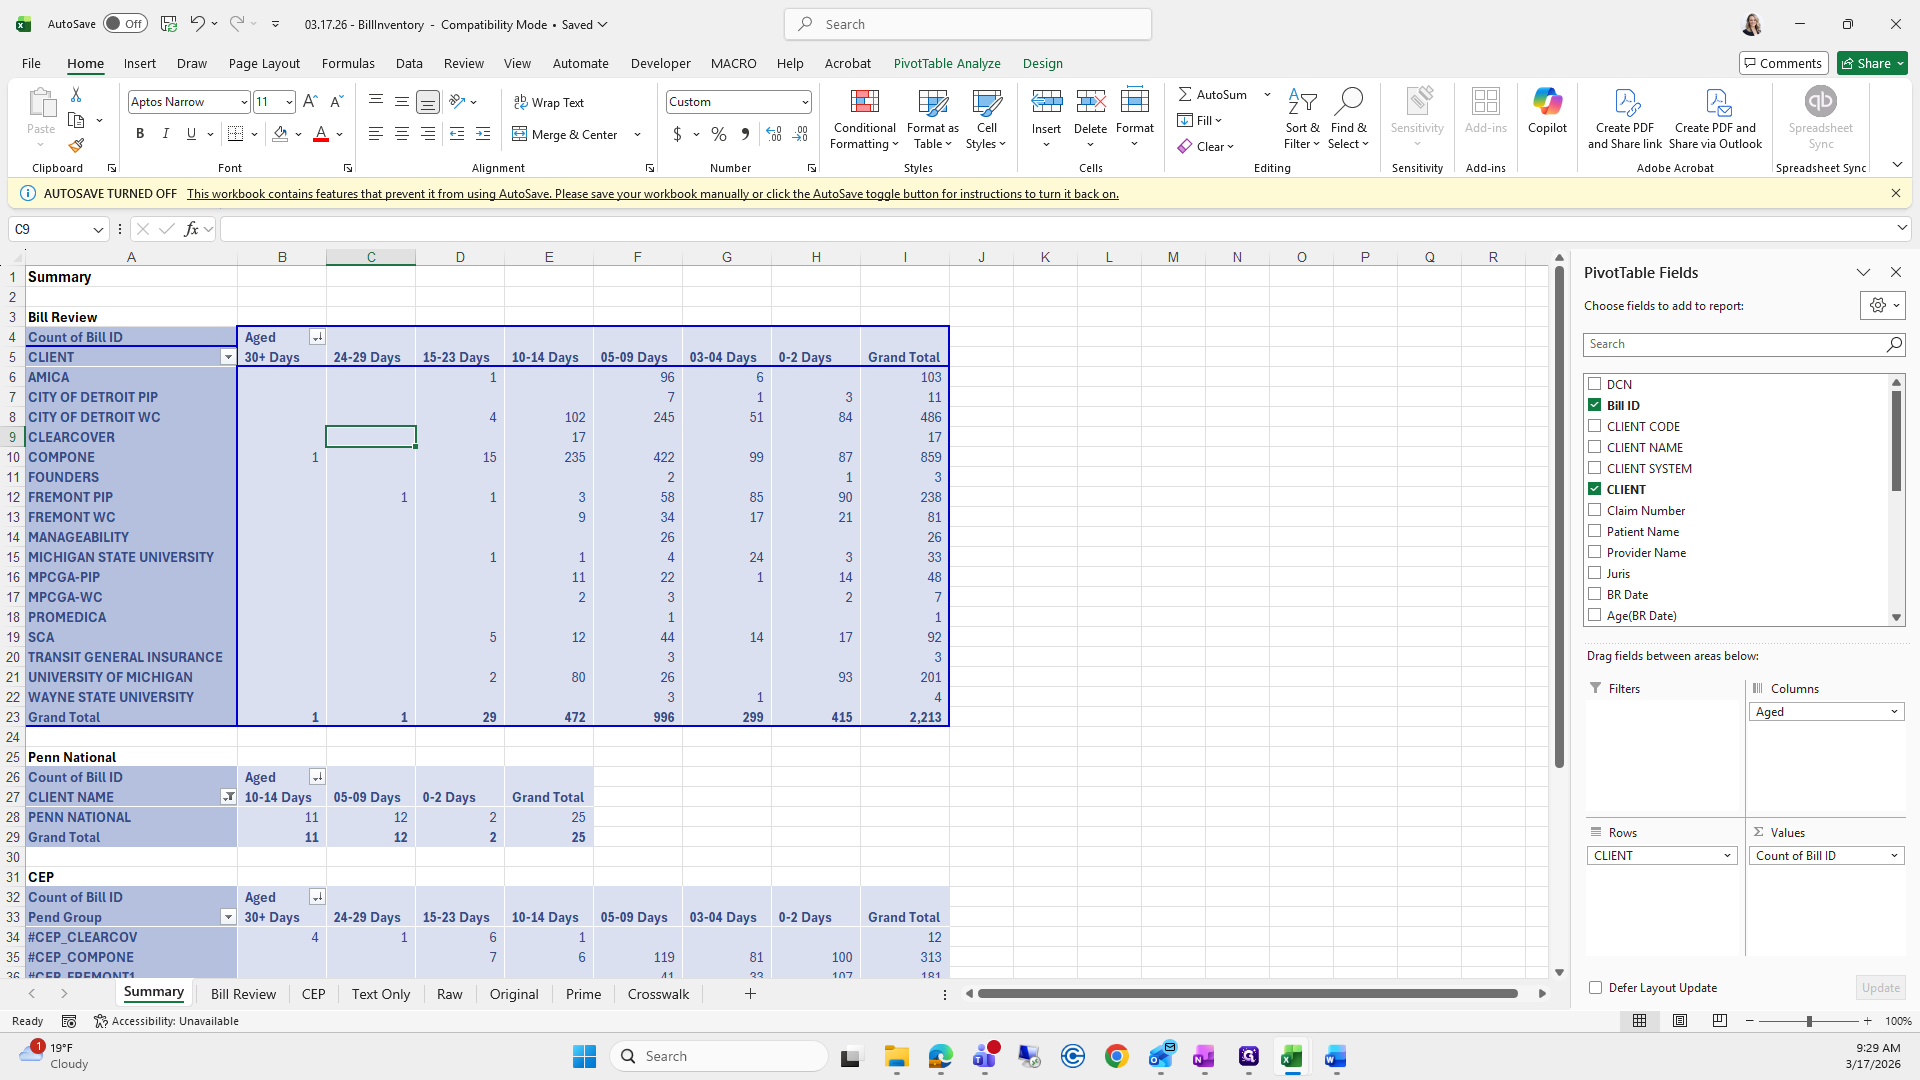
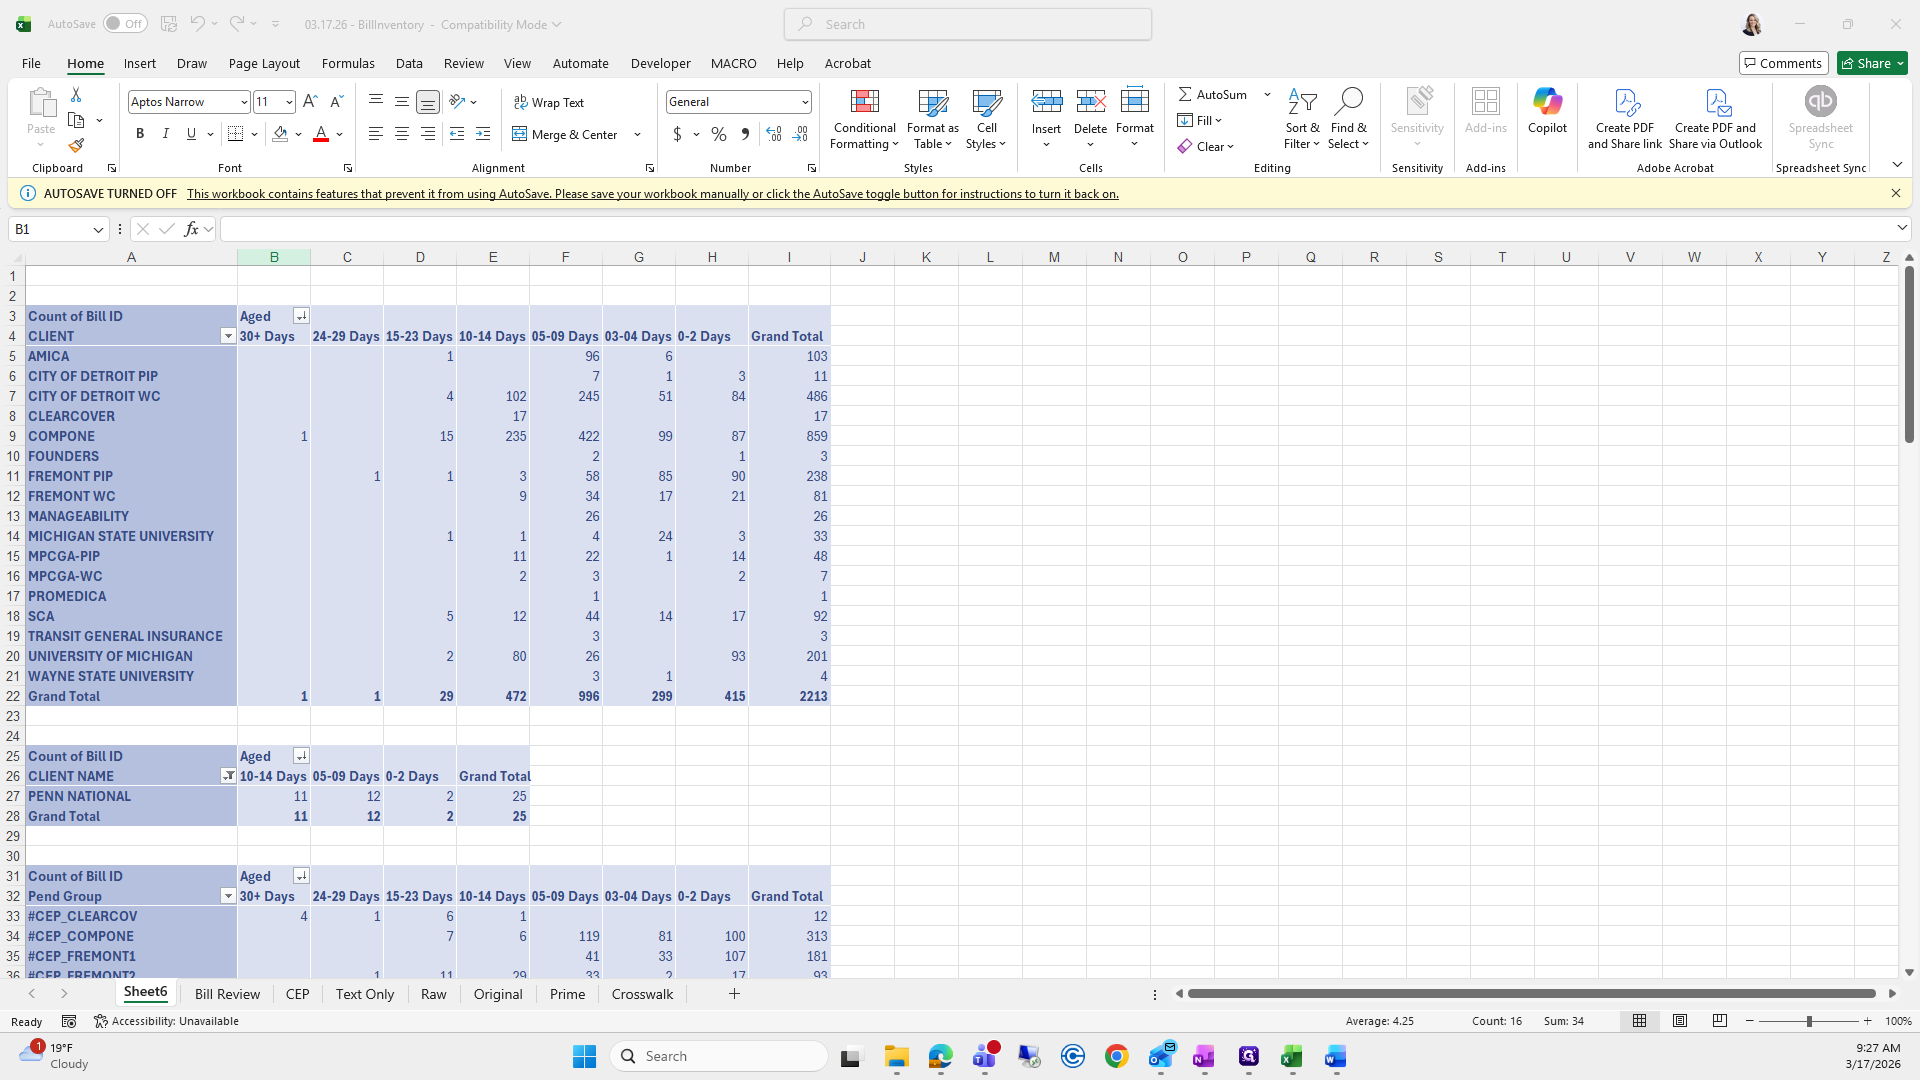
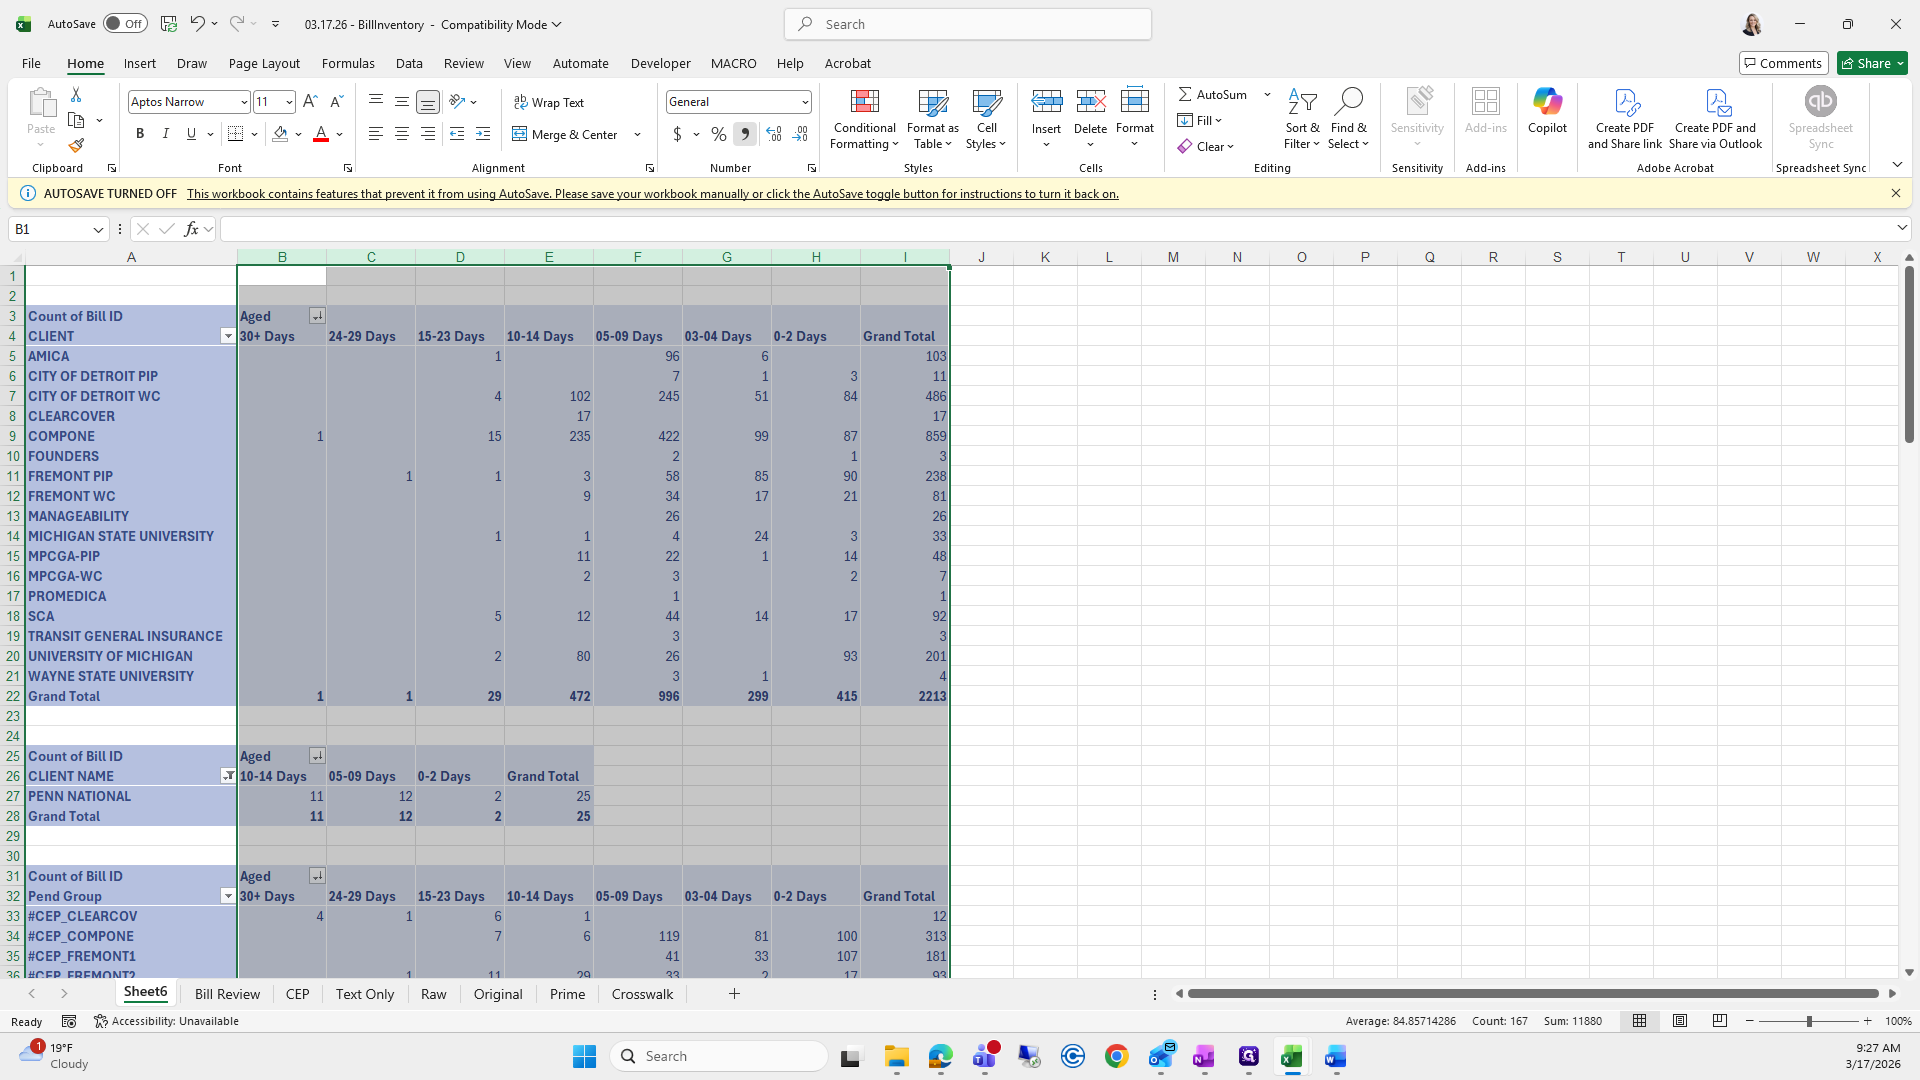
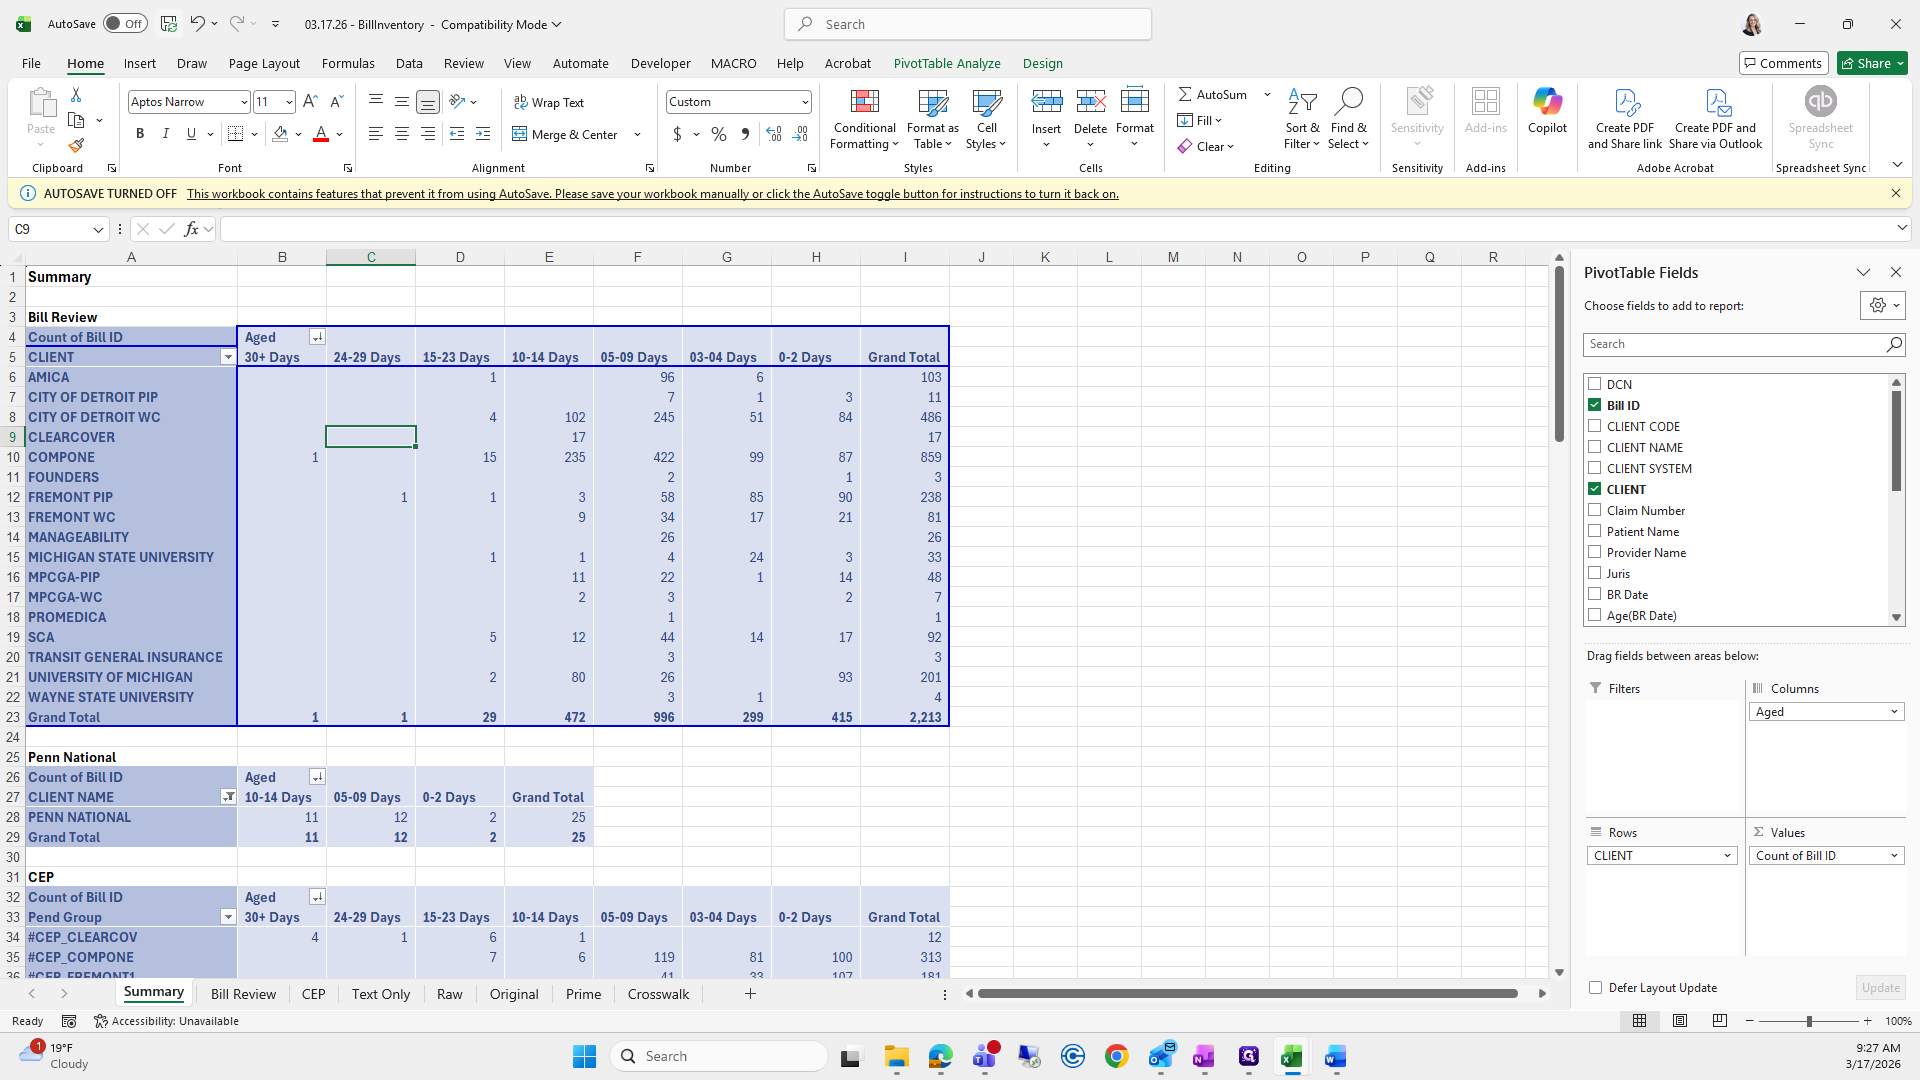
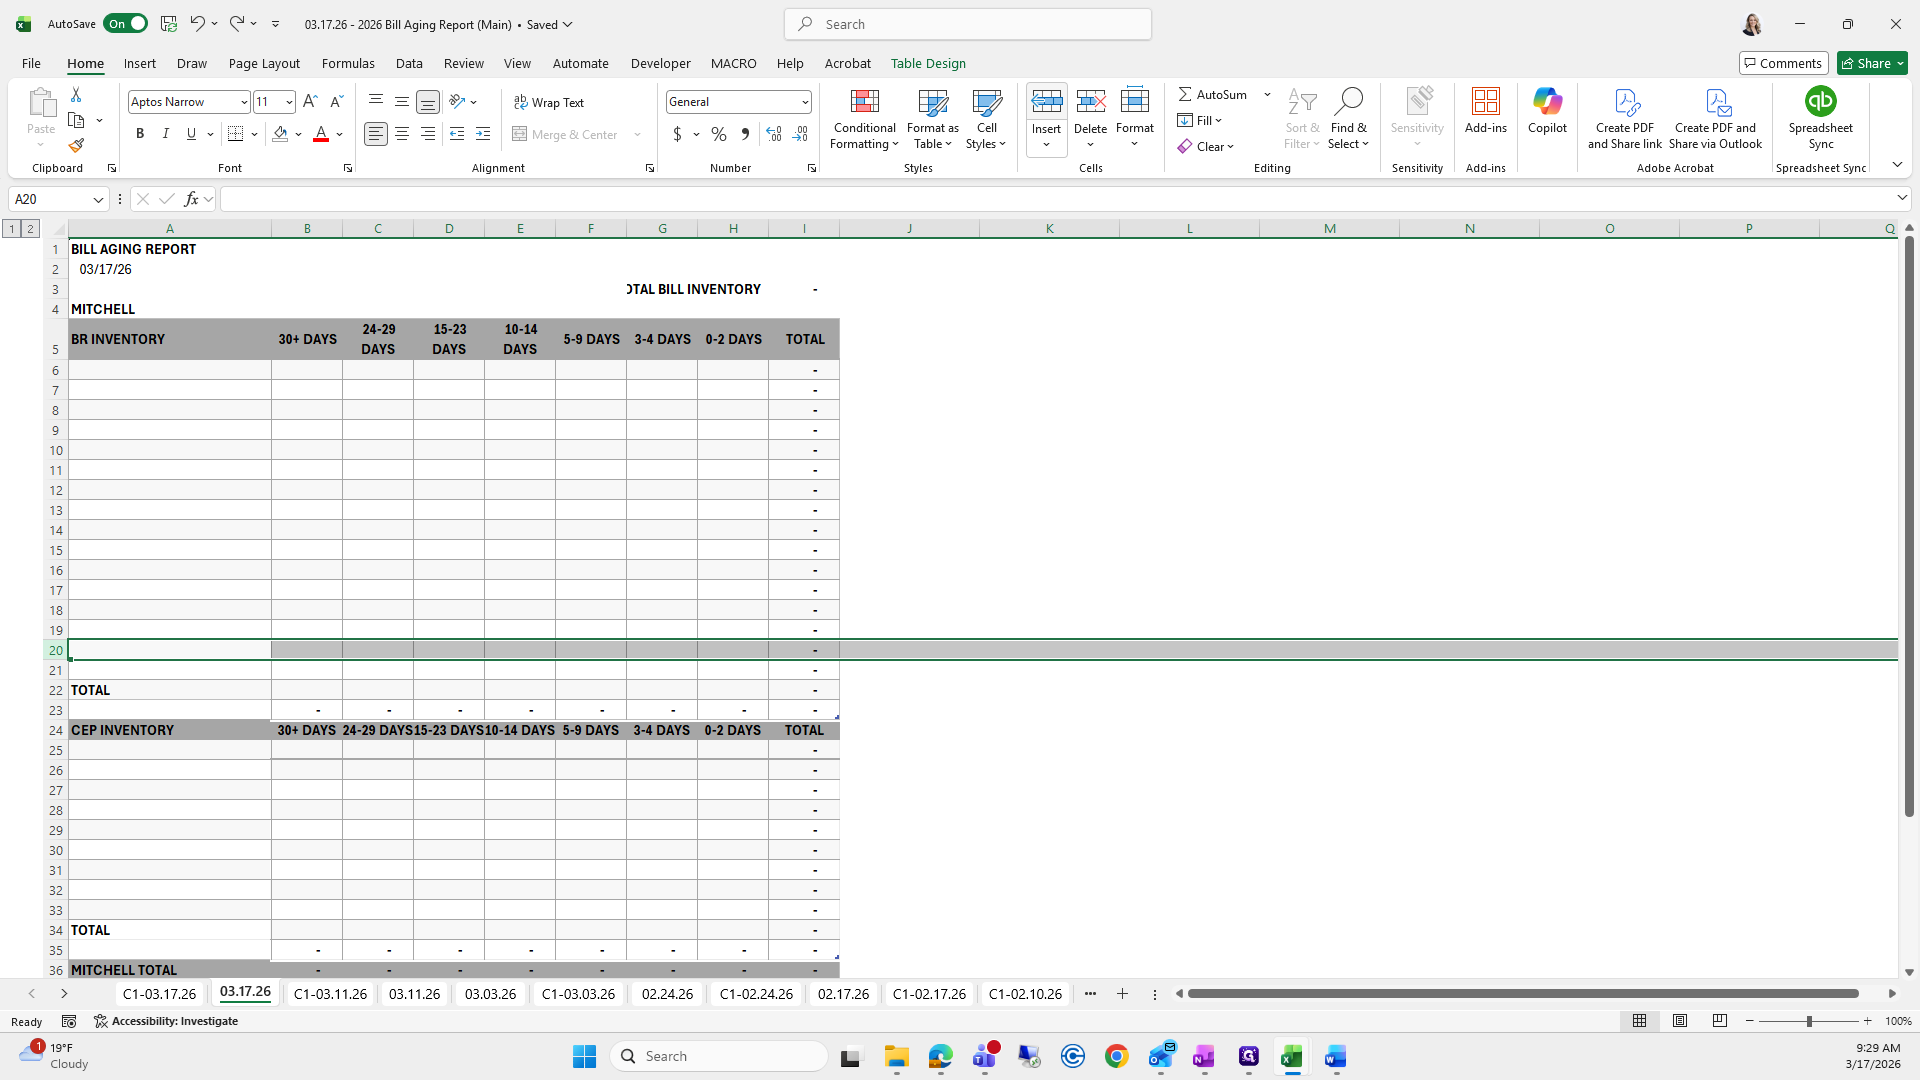
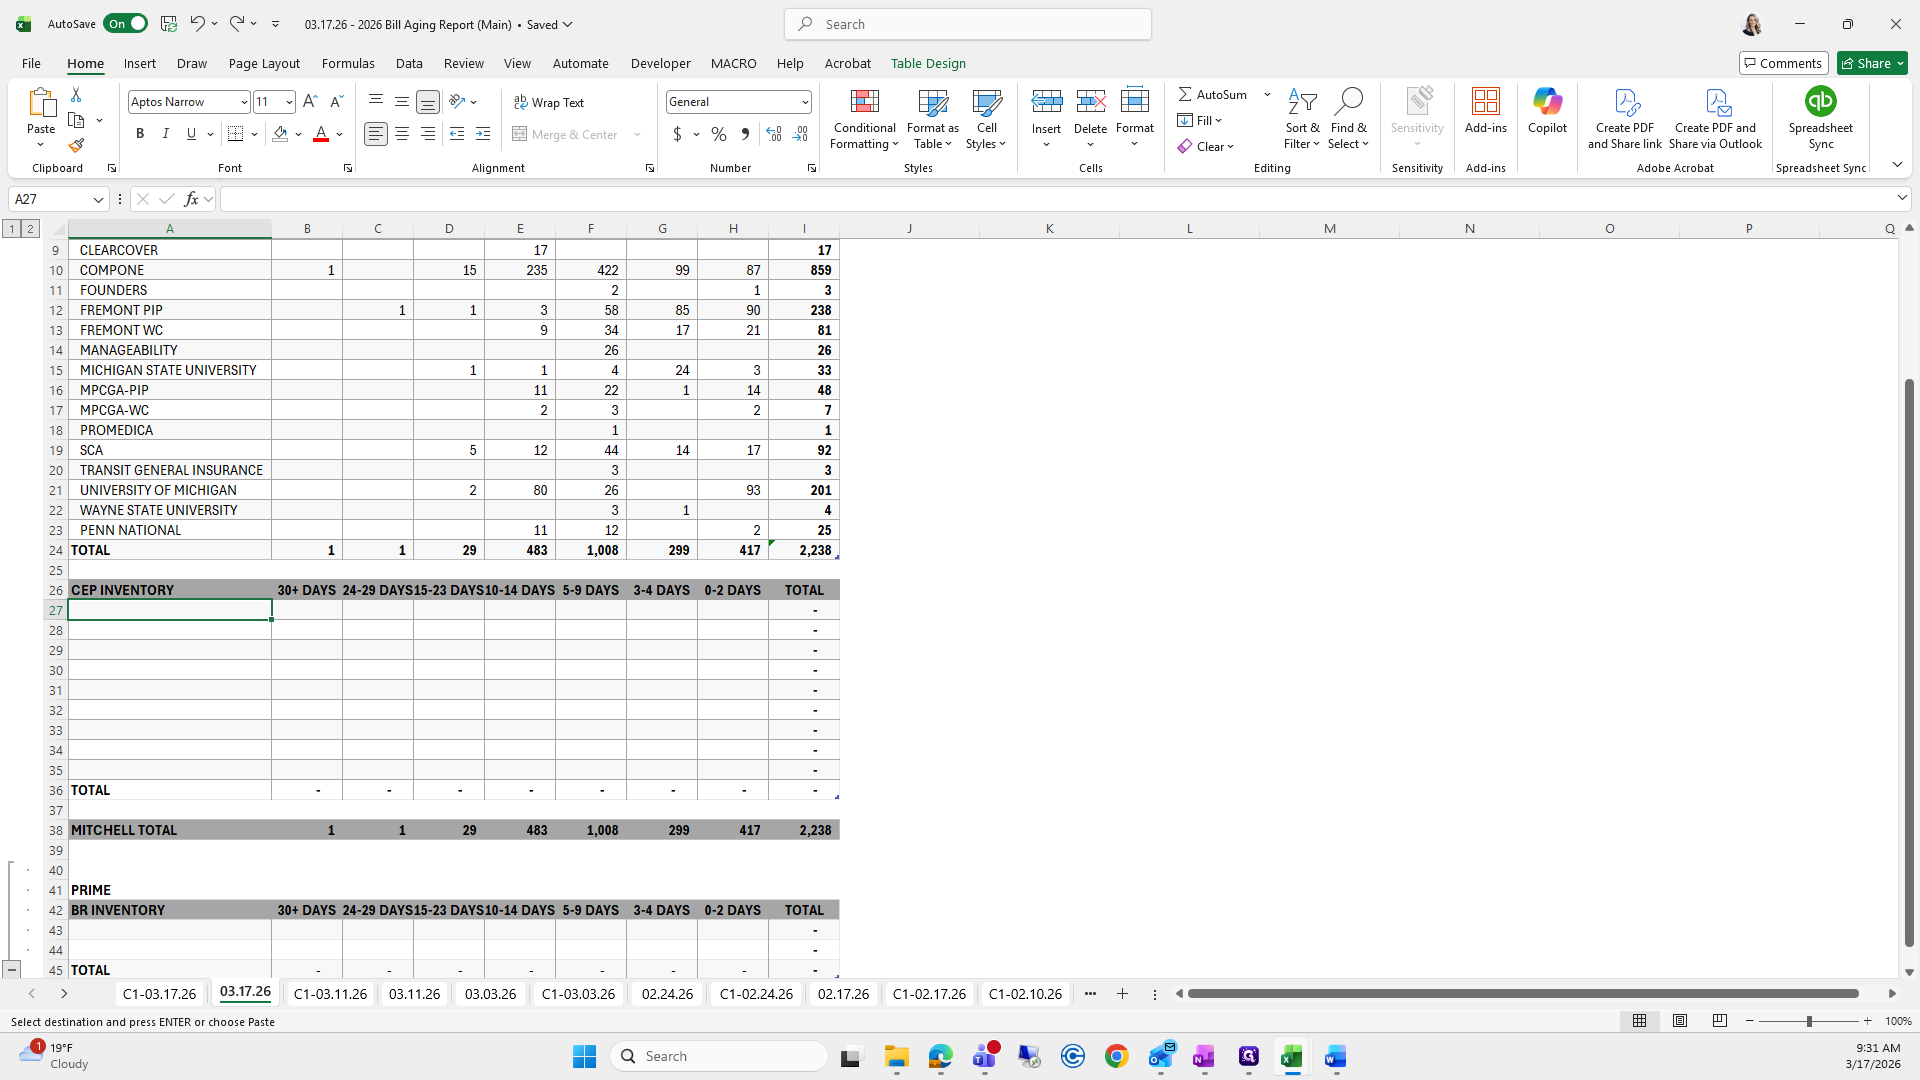
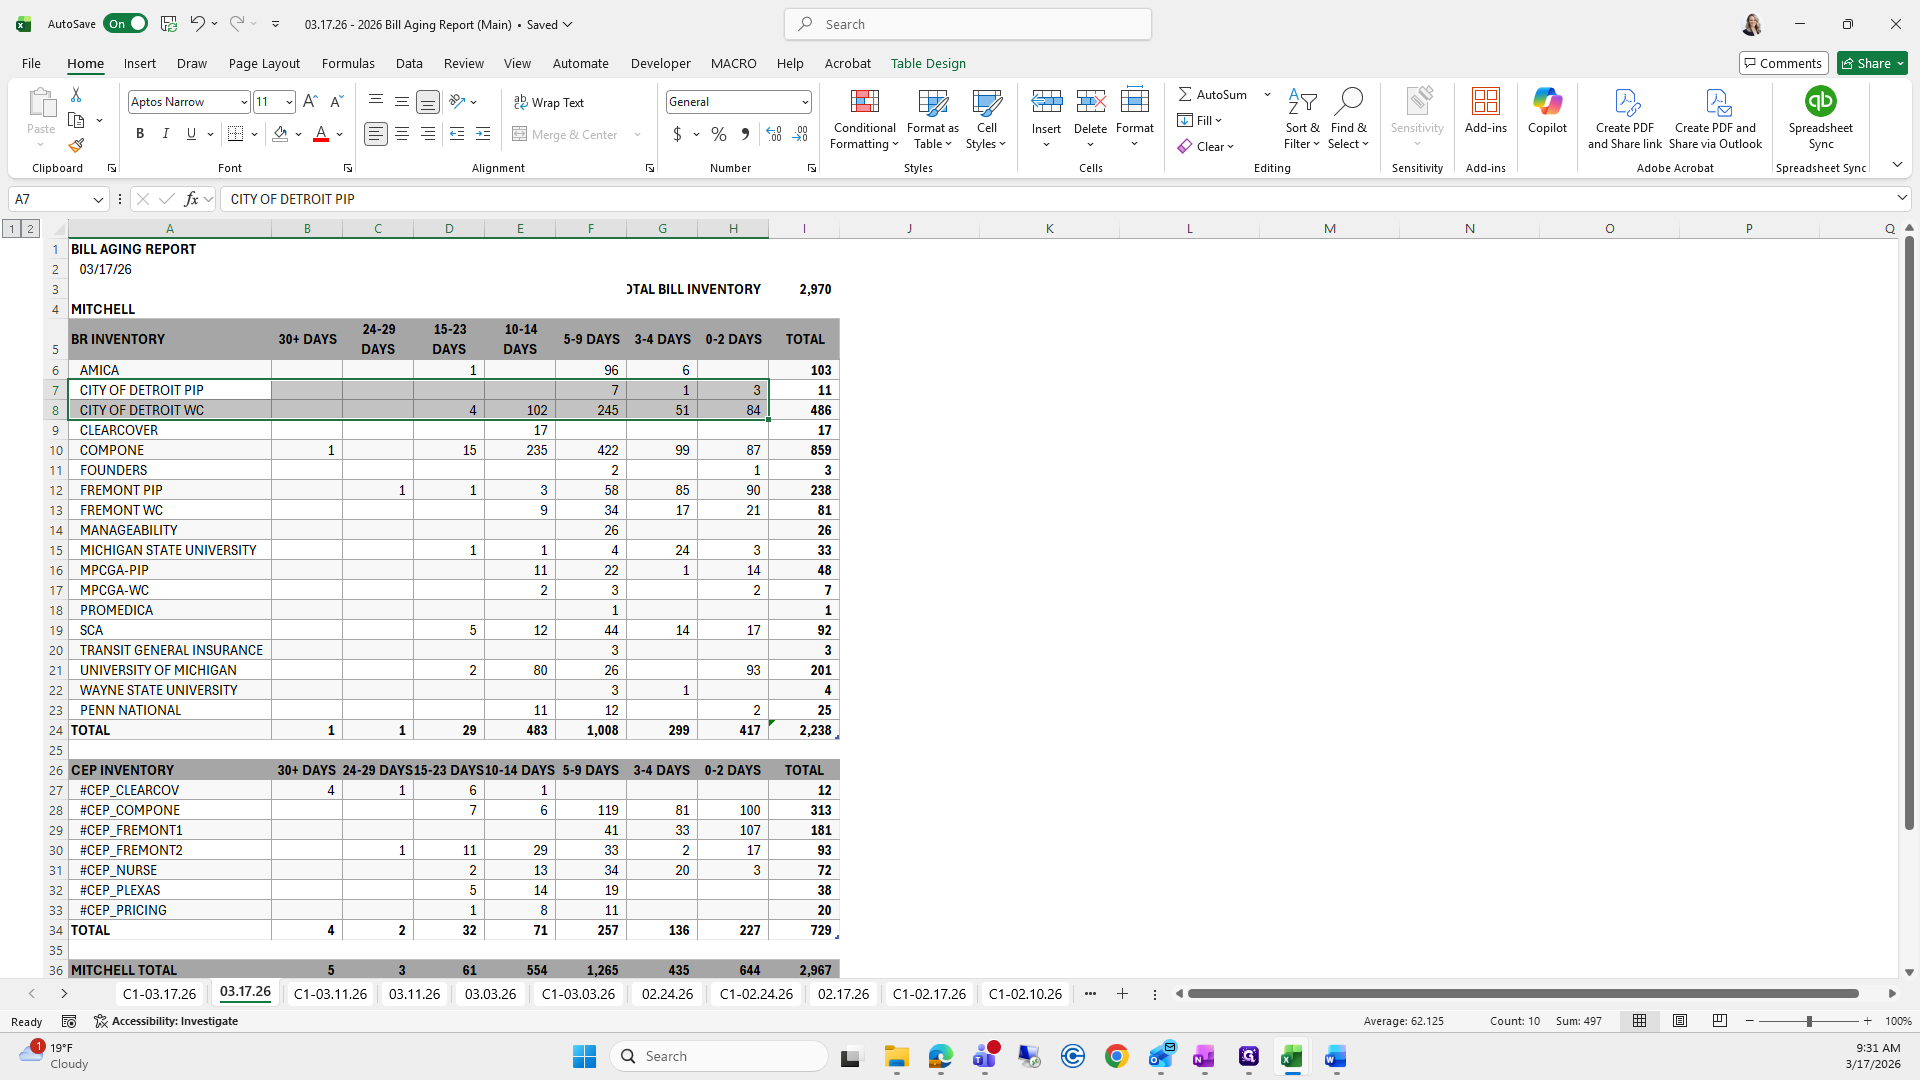
We will copy and paste below the client, all the way over to zero to two days.
""
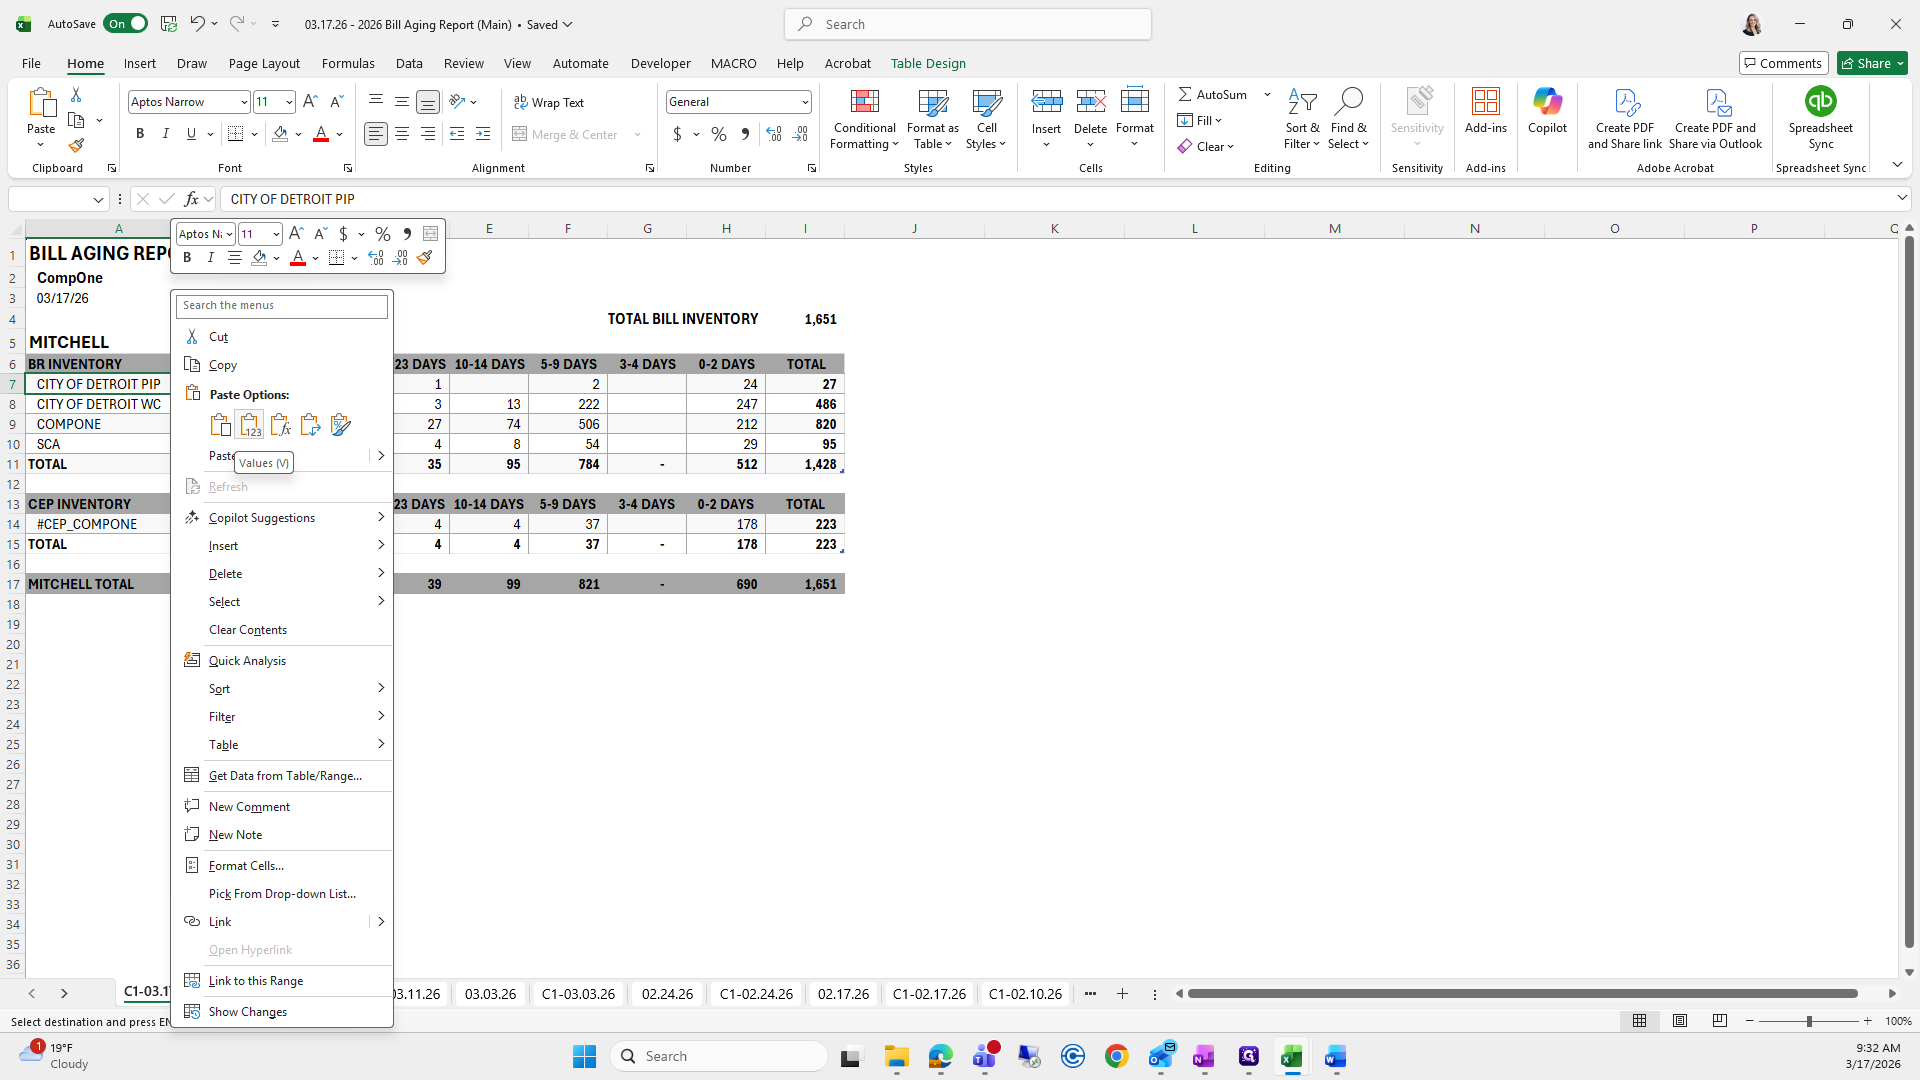
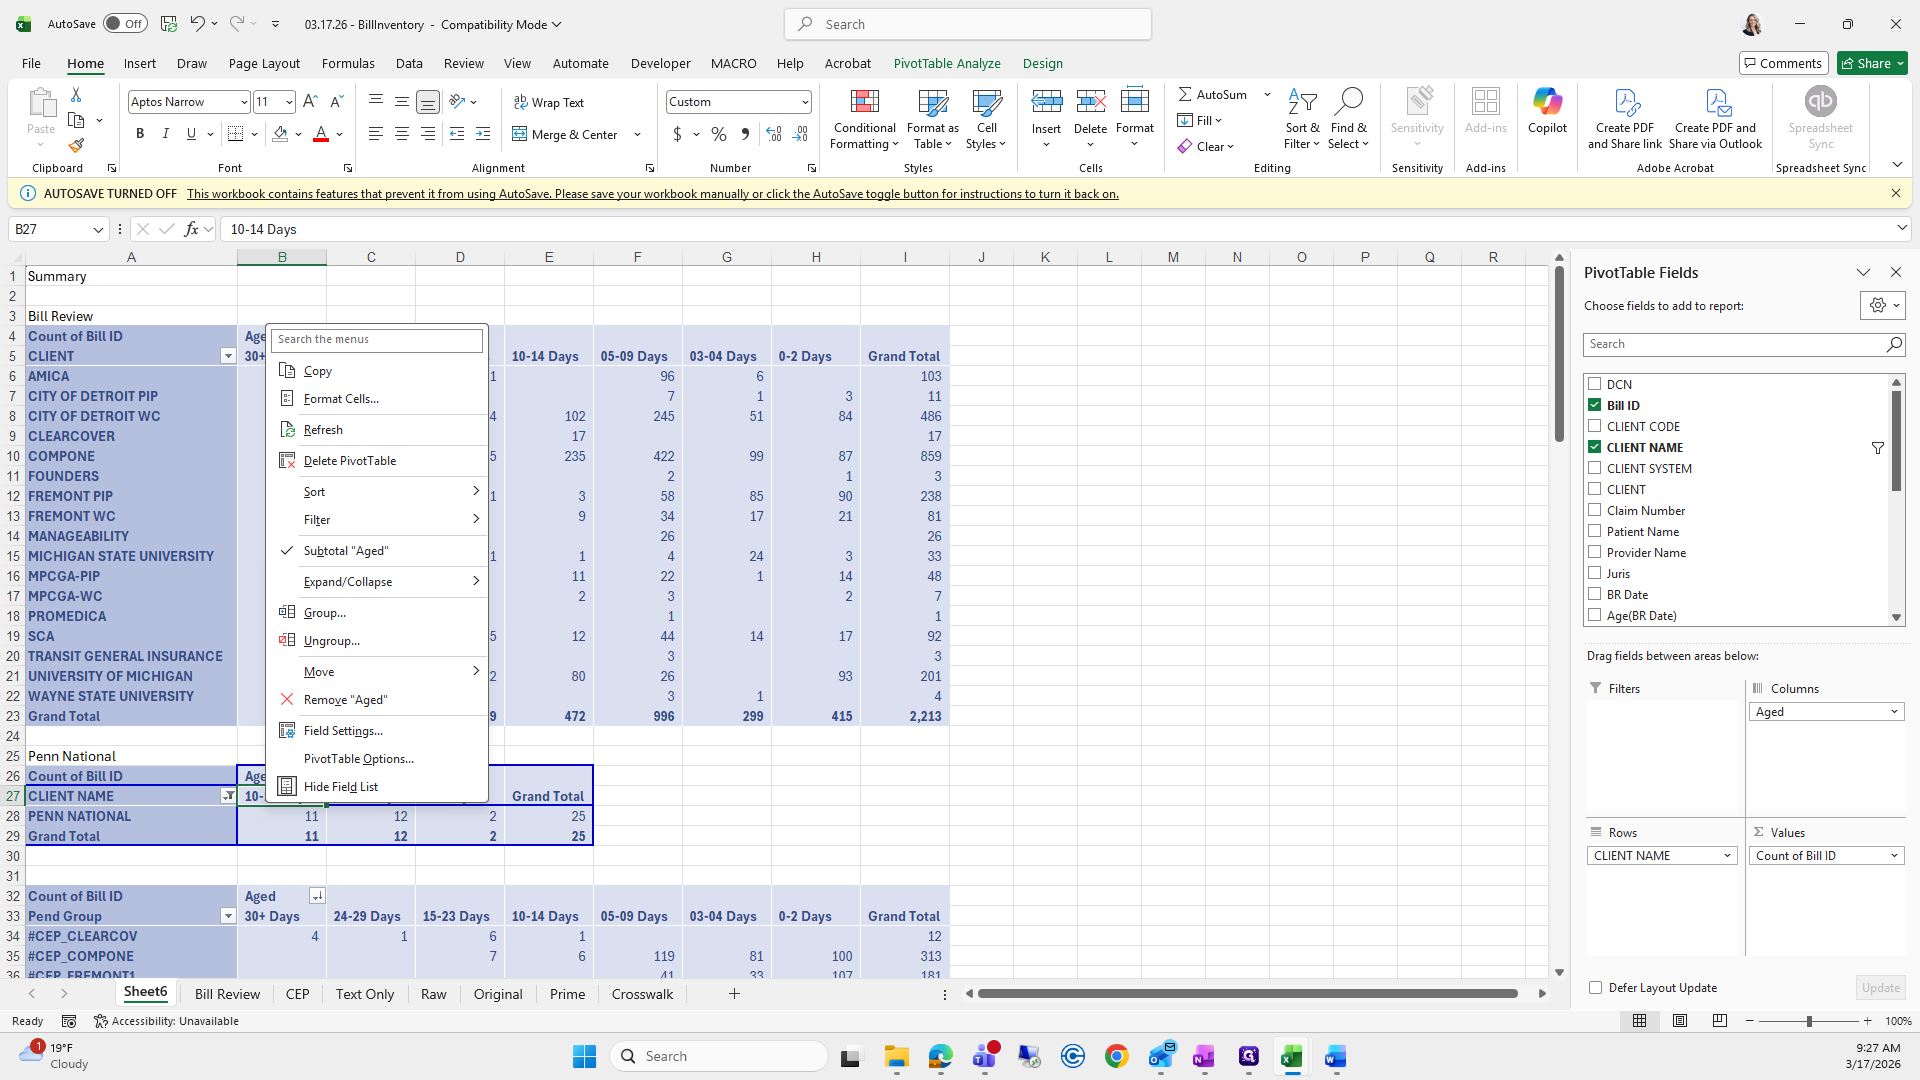
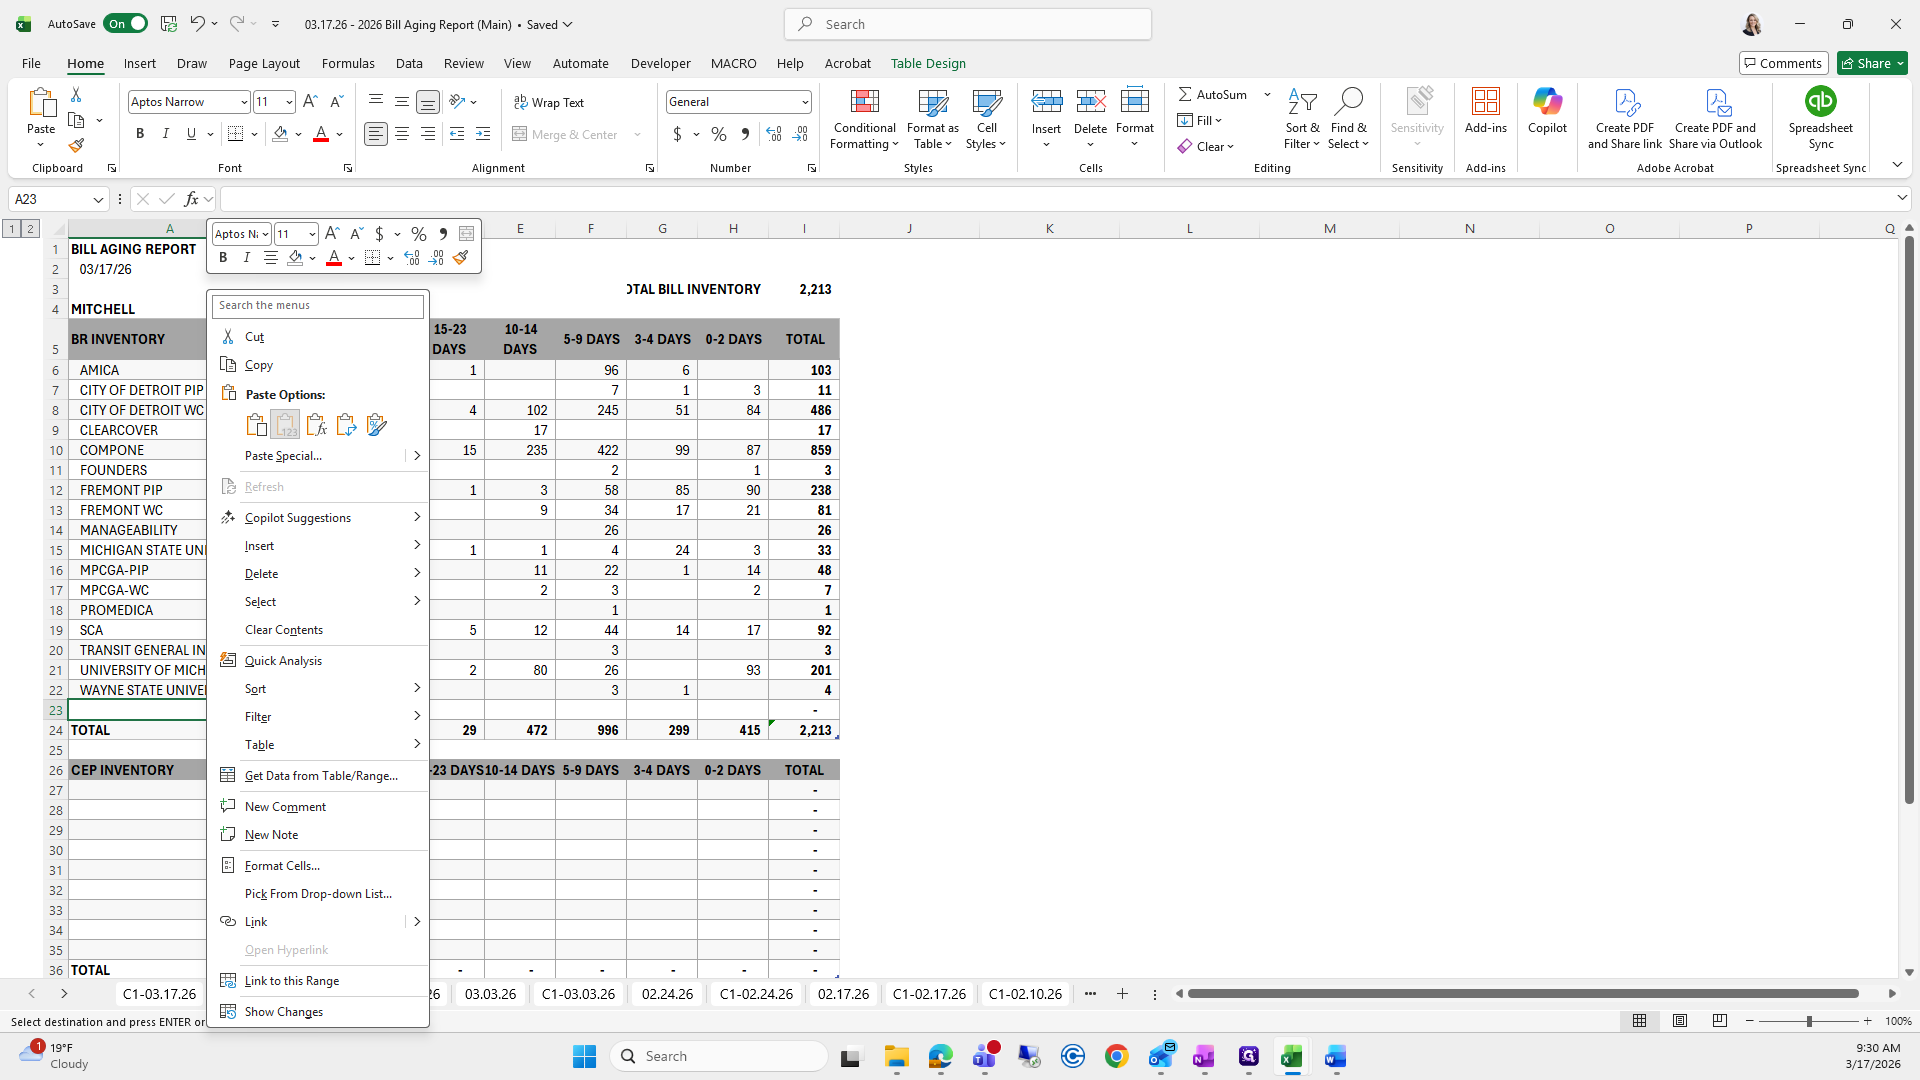
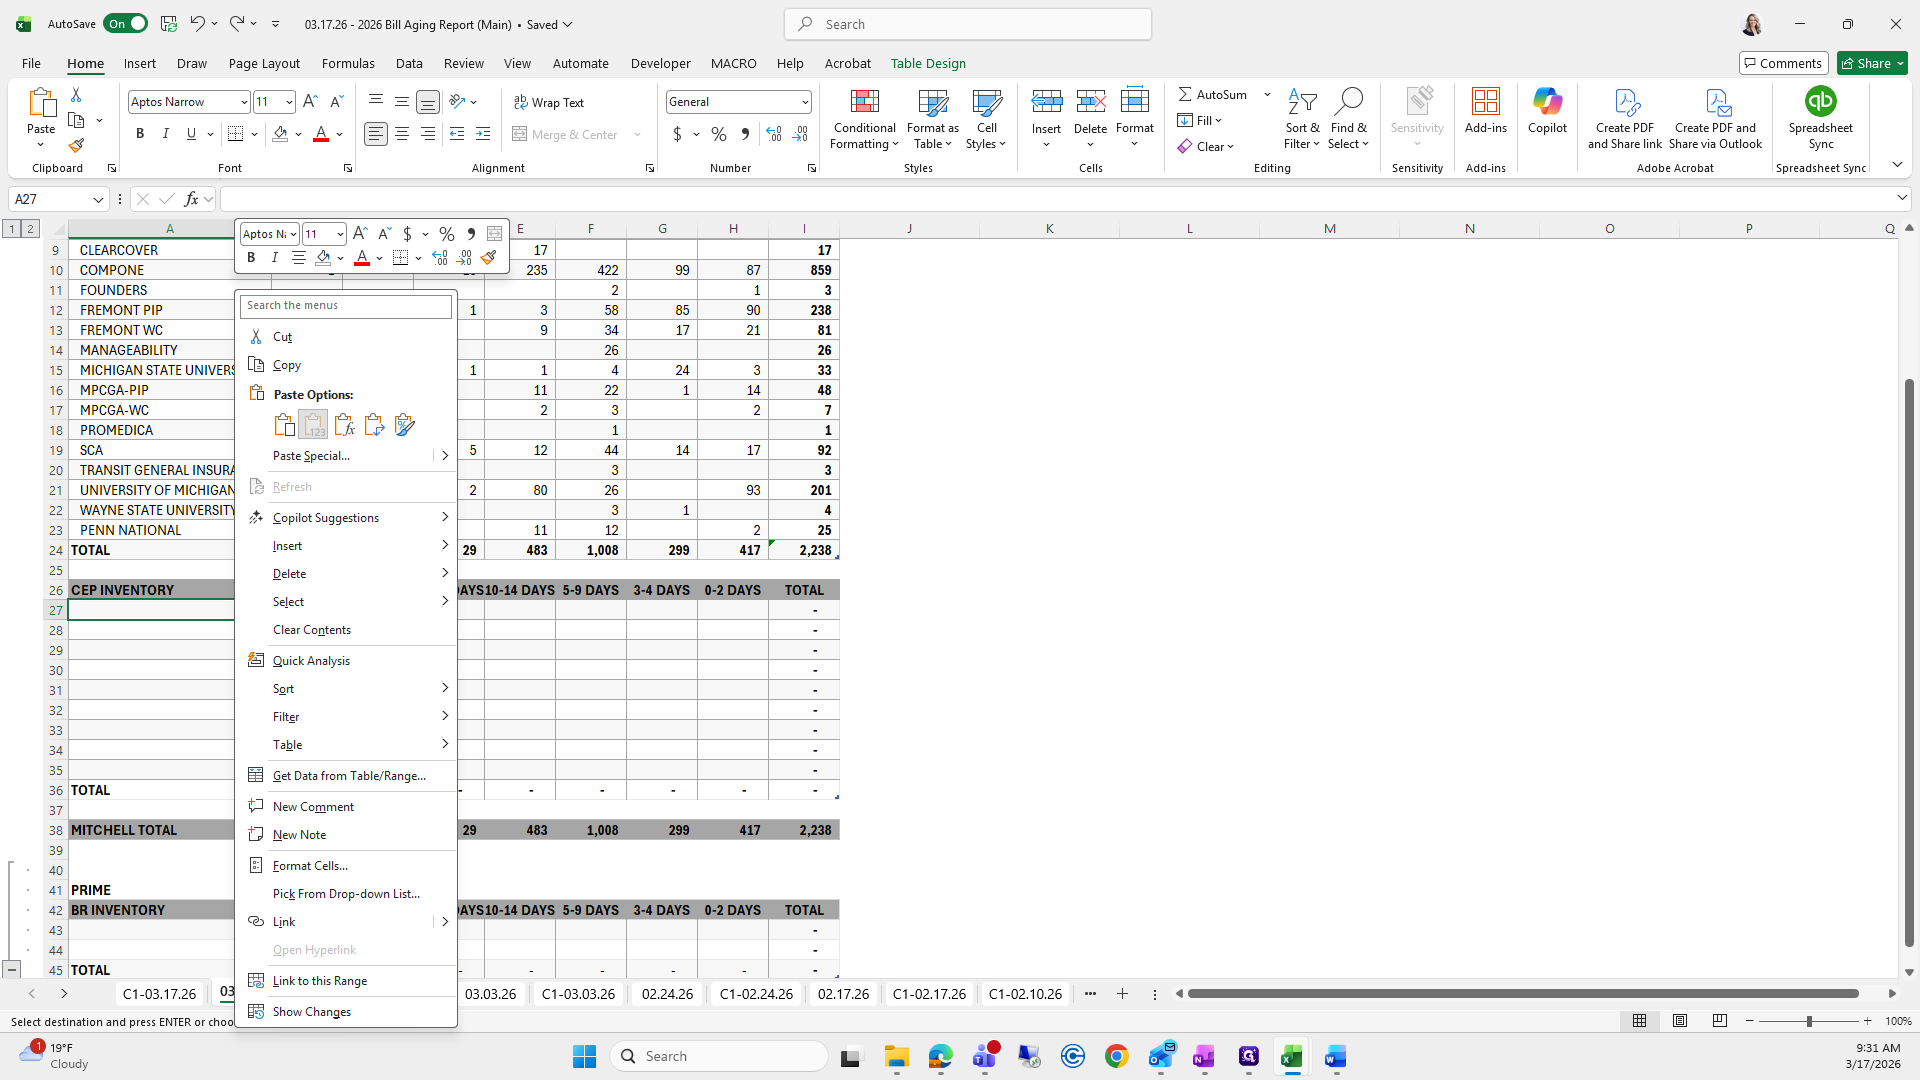
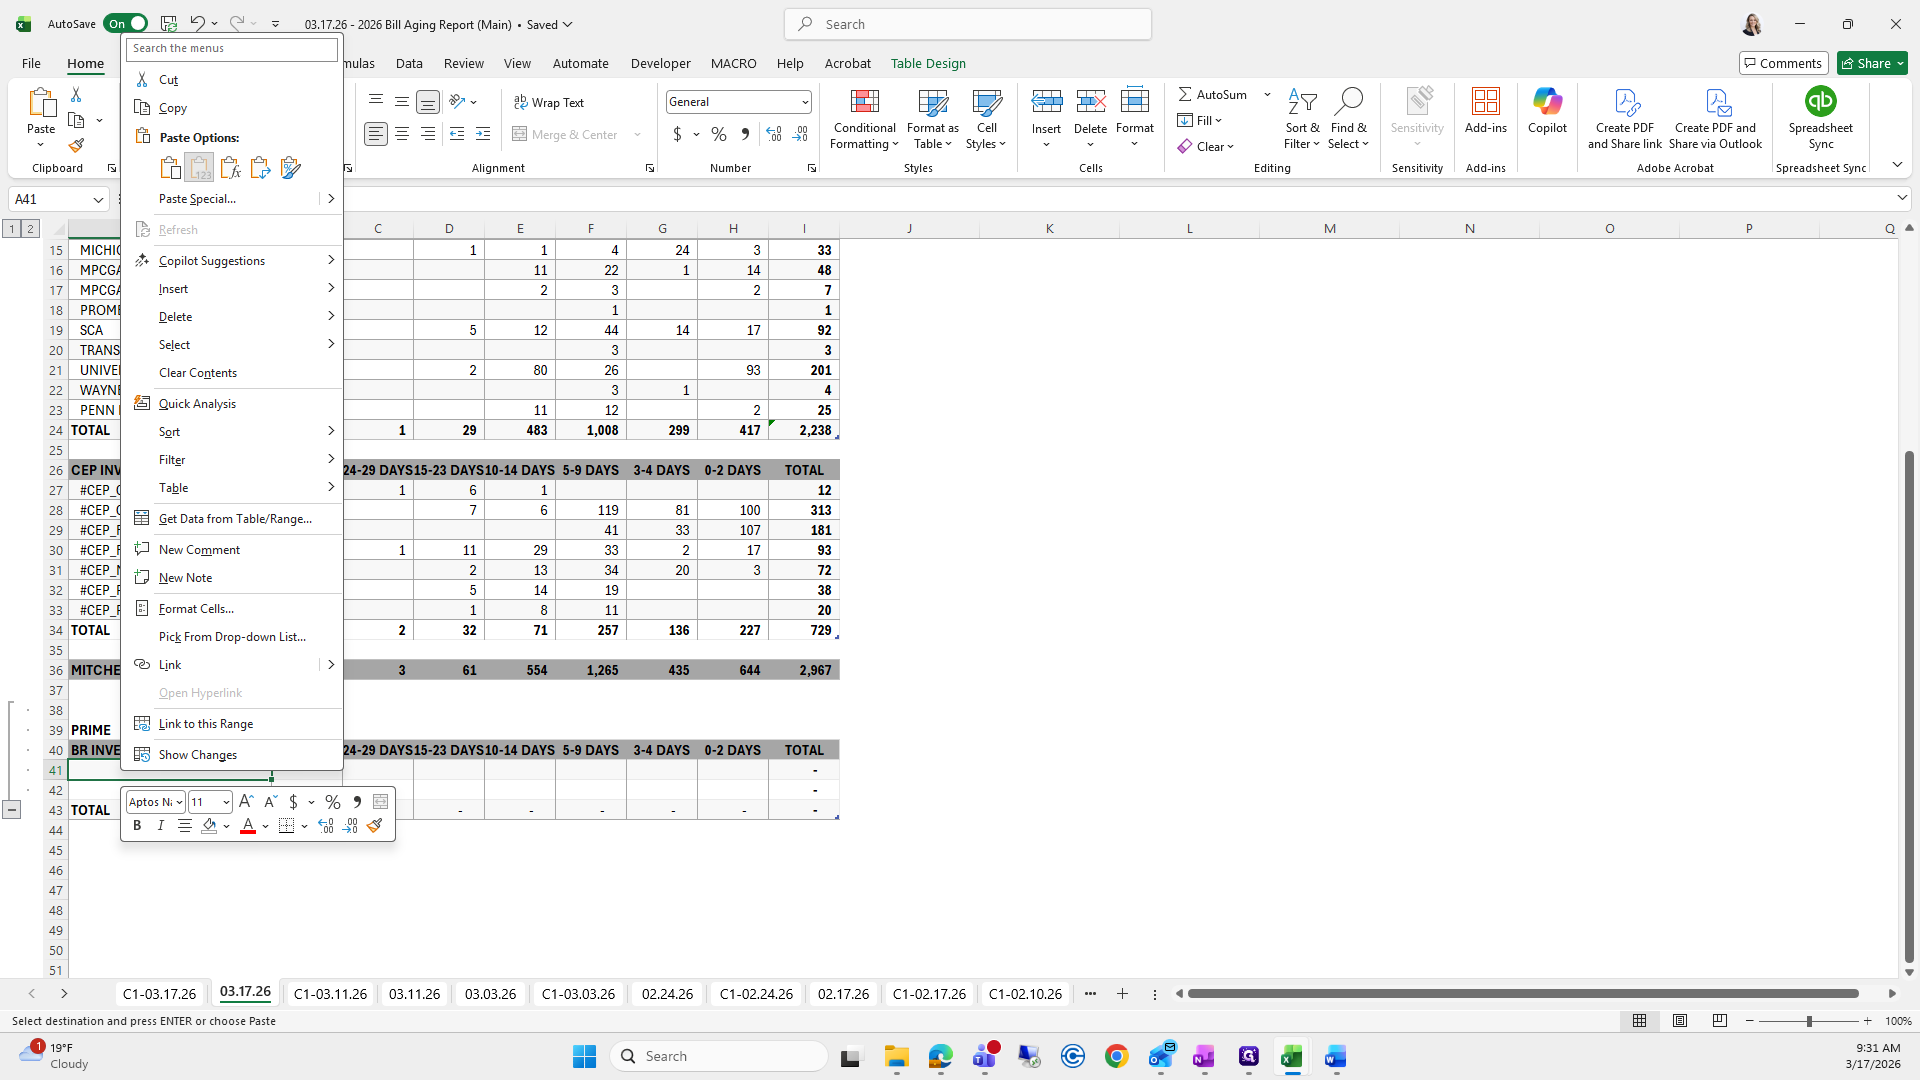
Right-click and select Paste Special. Sometimes, there may be more content than expected from last week. If that happens, press Control Z to undo.
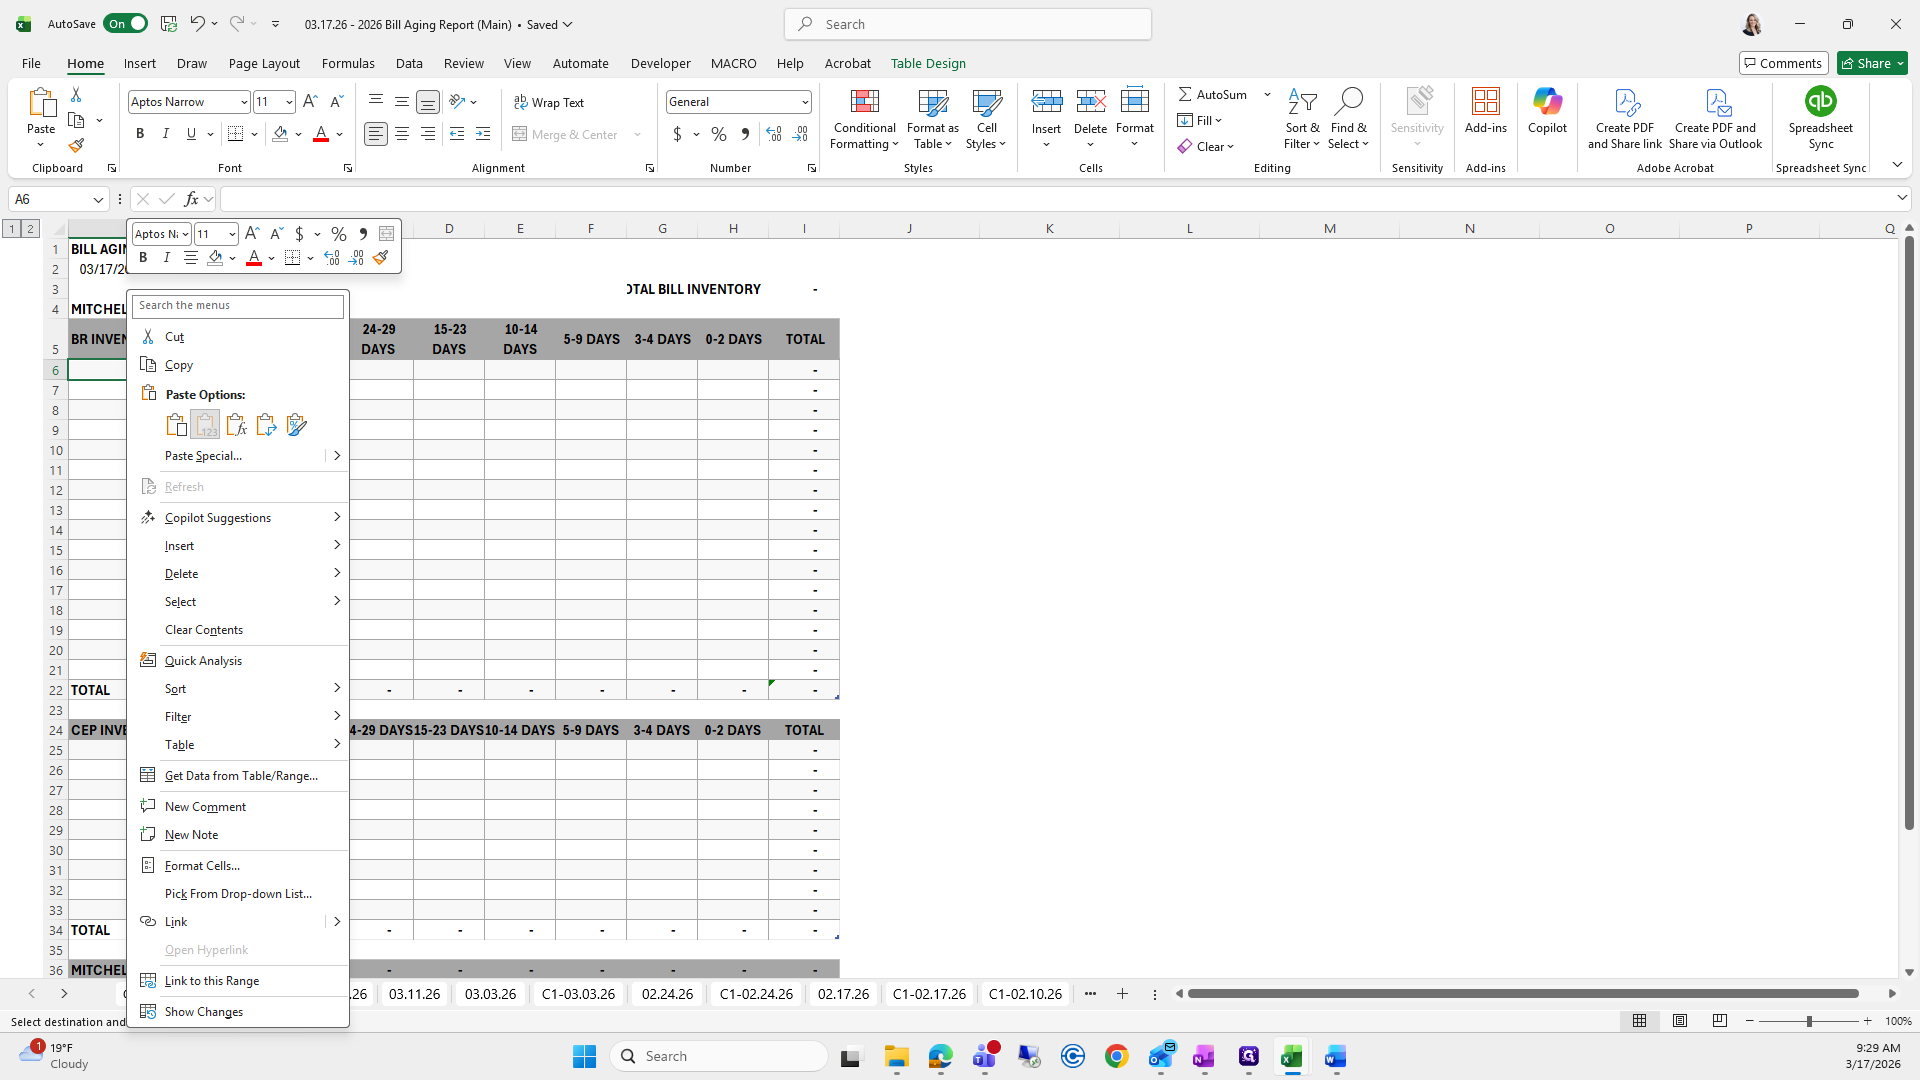

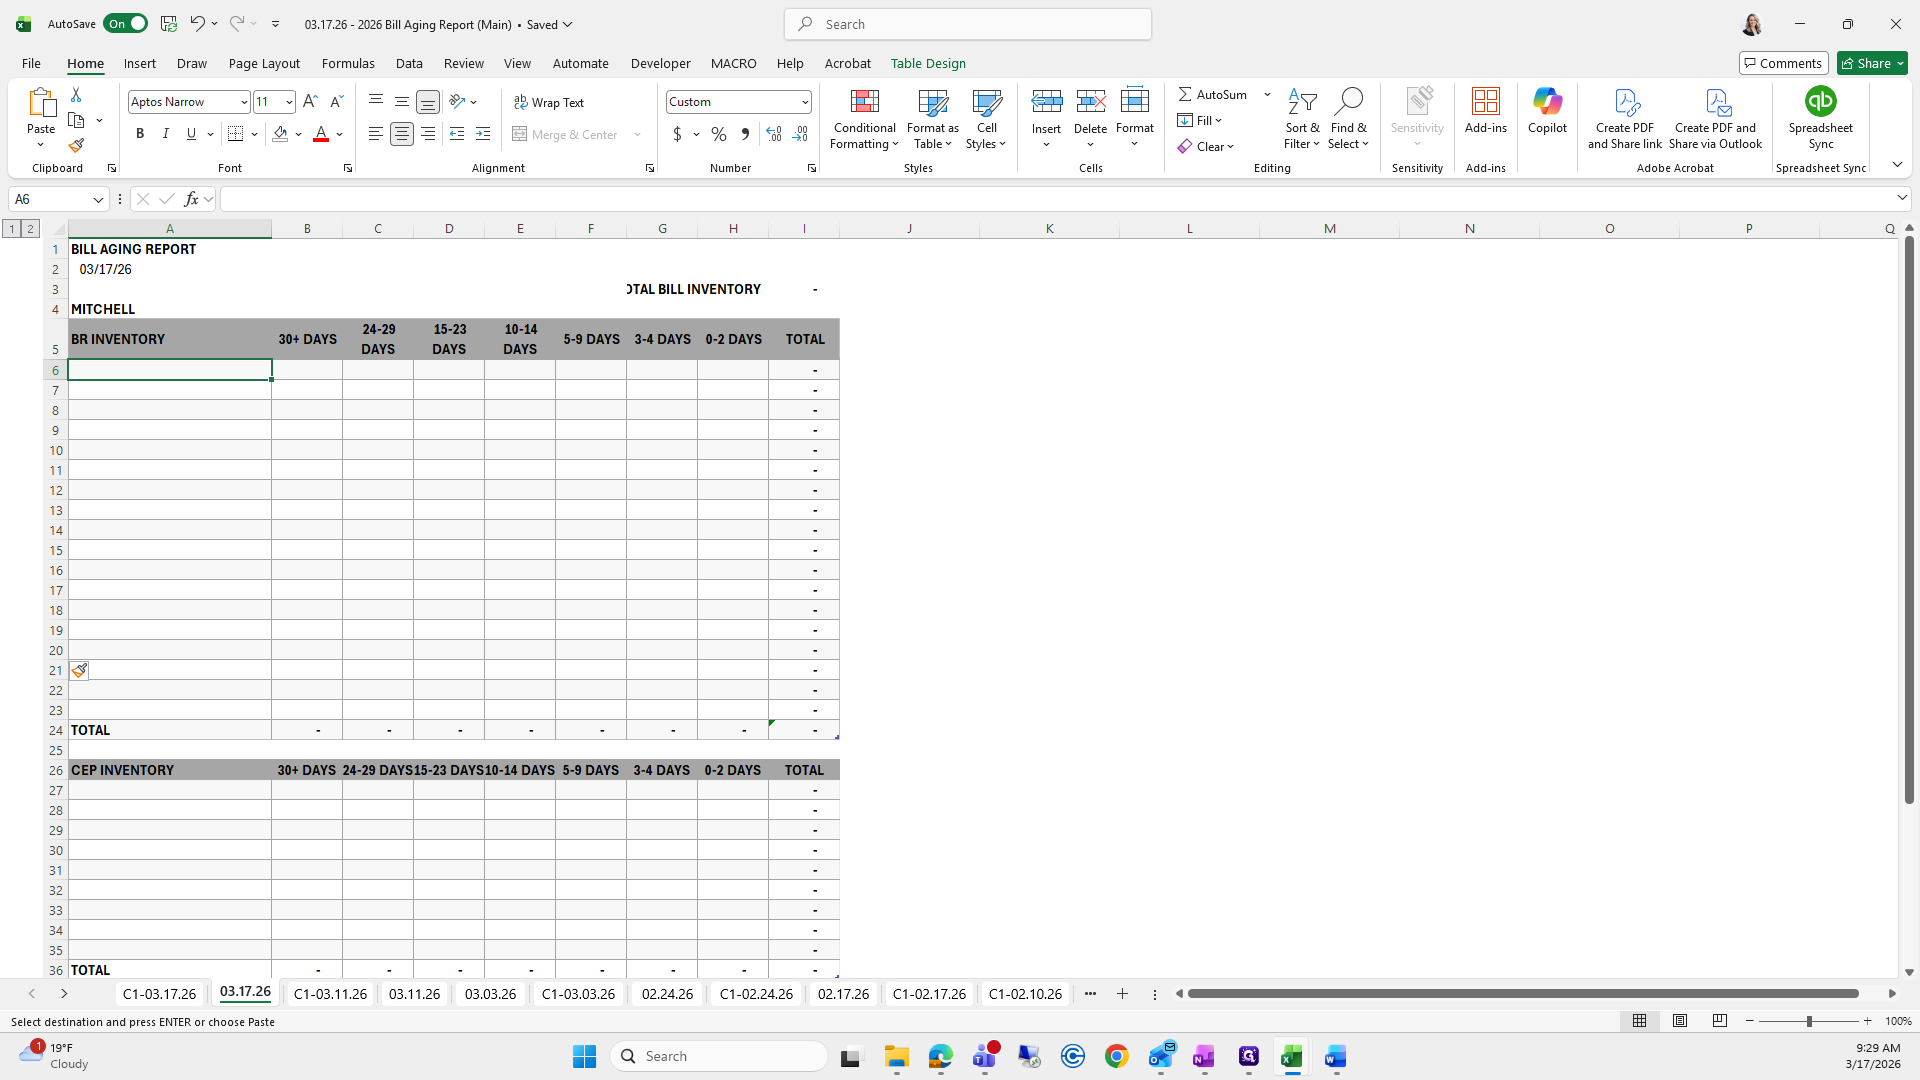
I'm going to add two more lines because that's what we'll need.
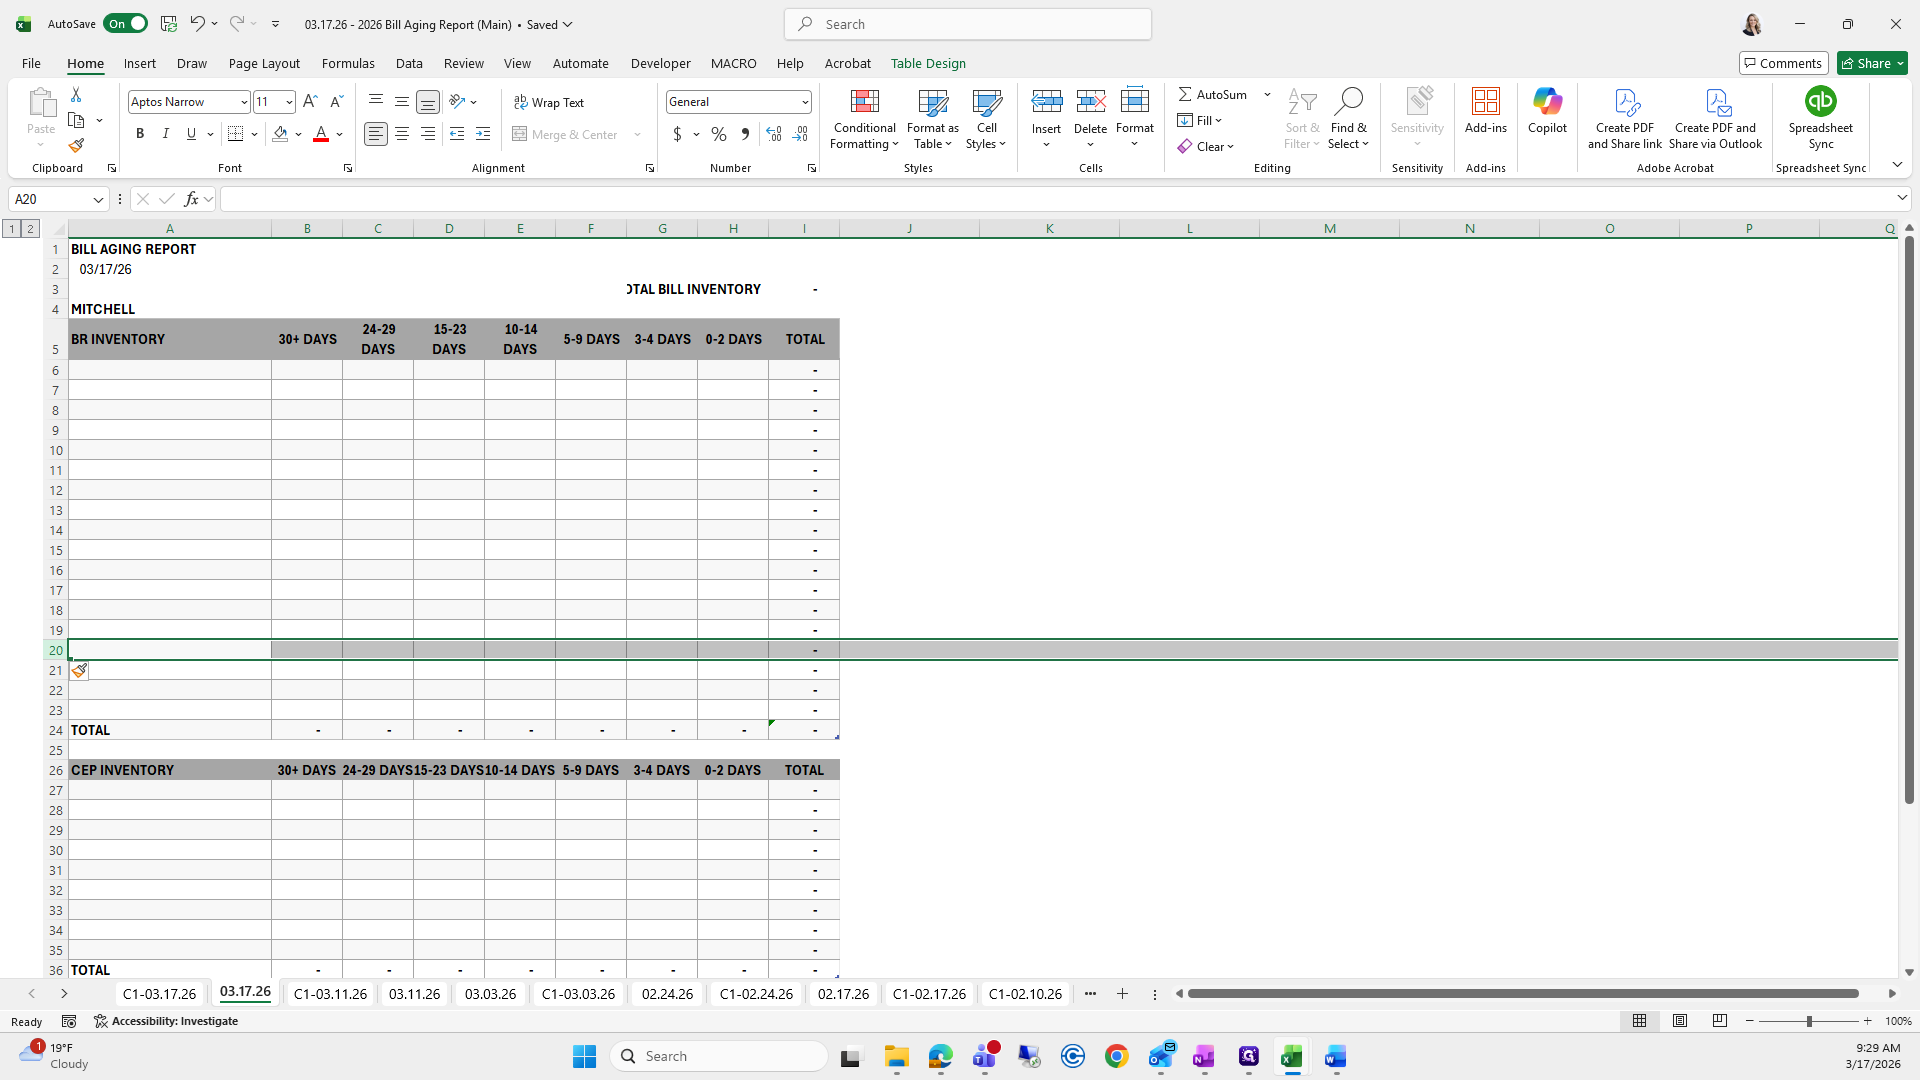
I'm going back, copying, and using Paste Special.
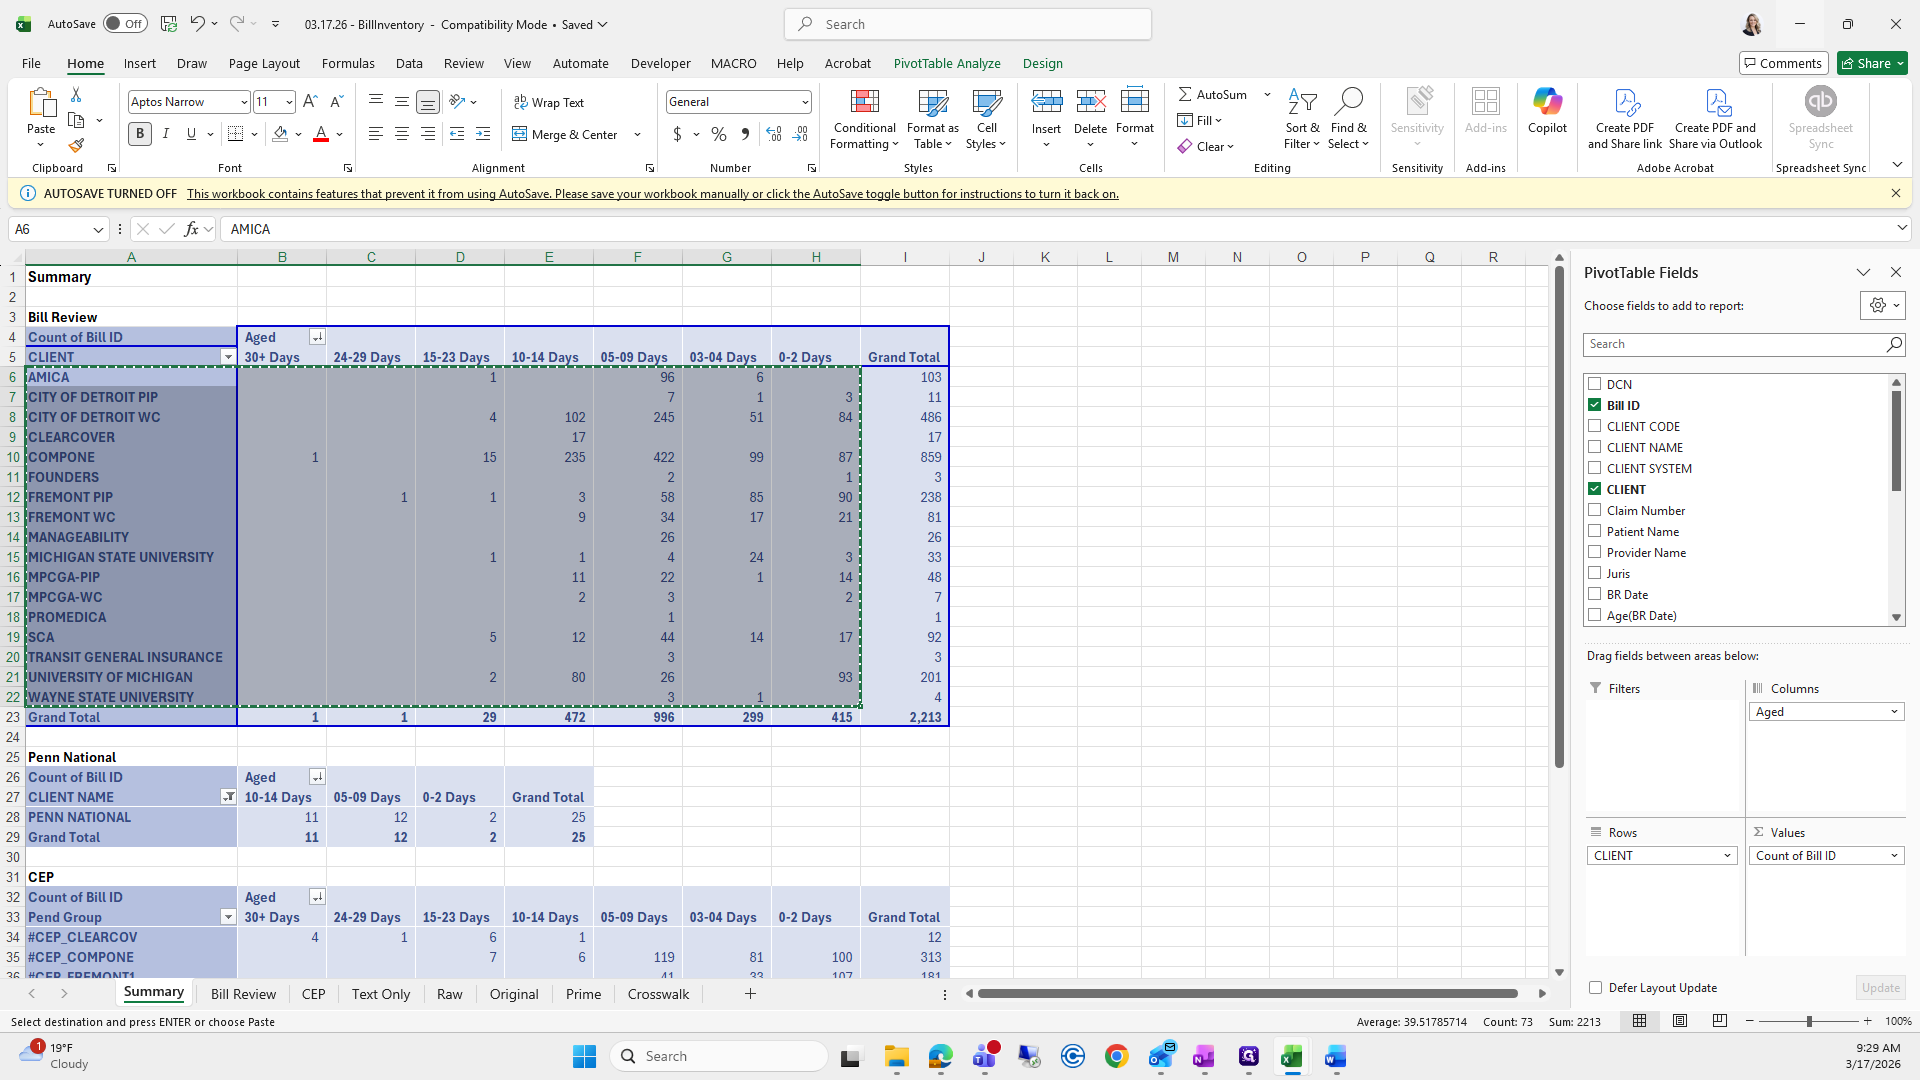

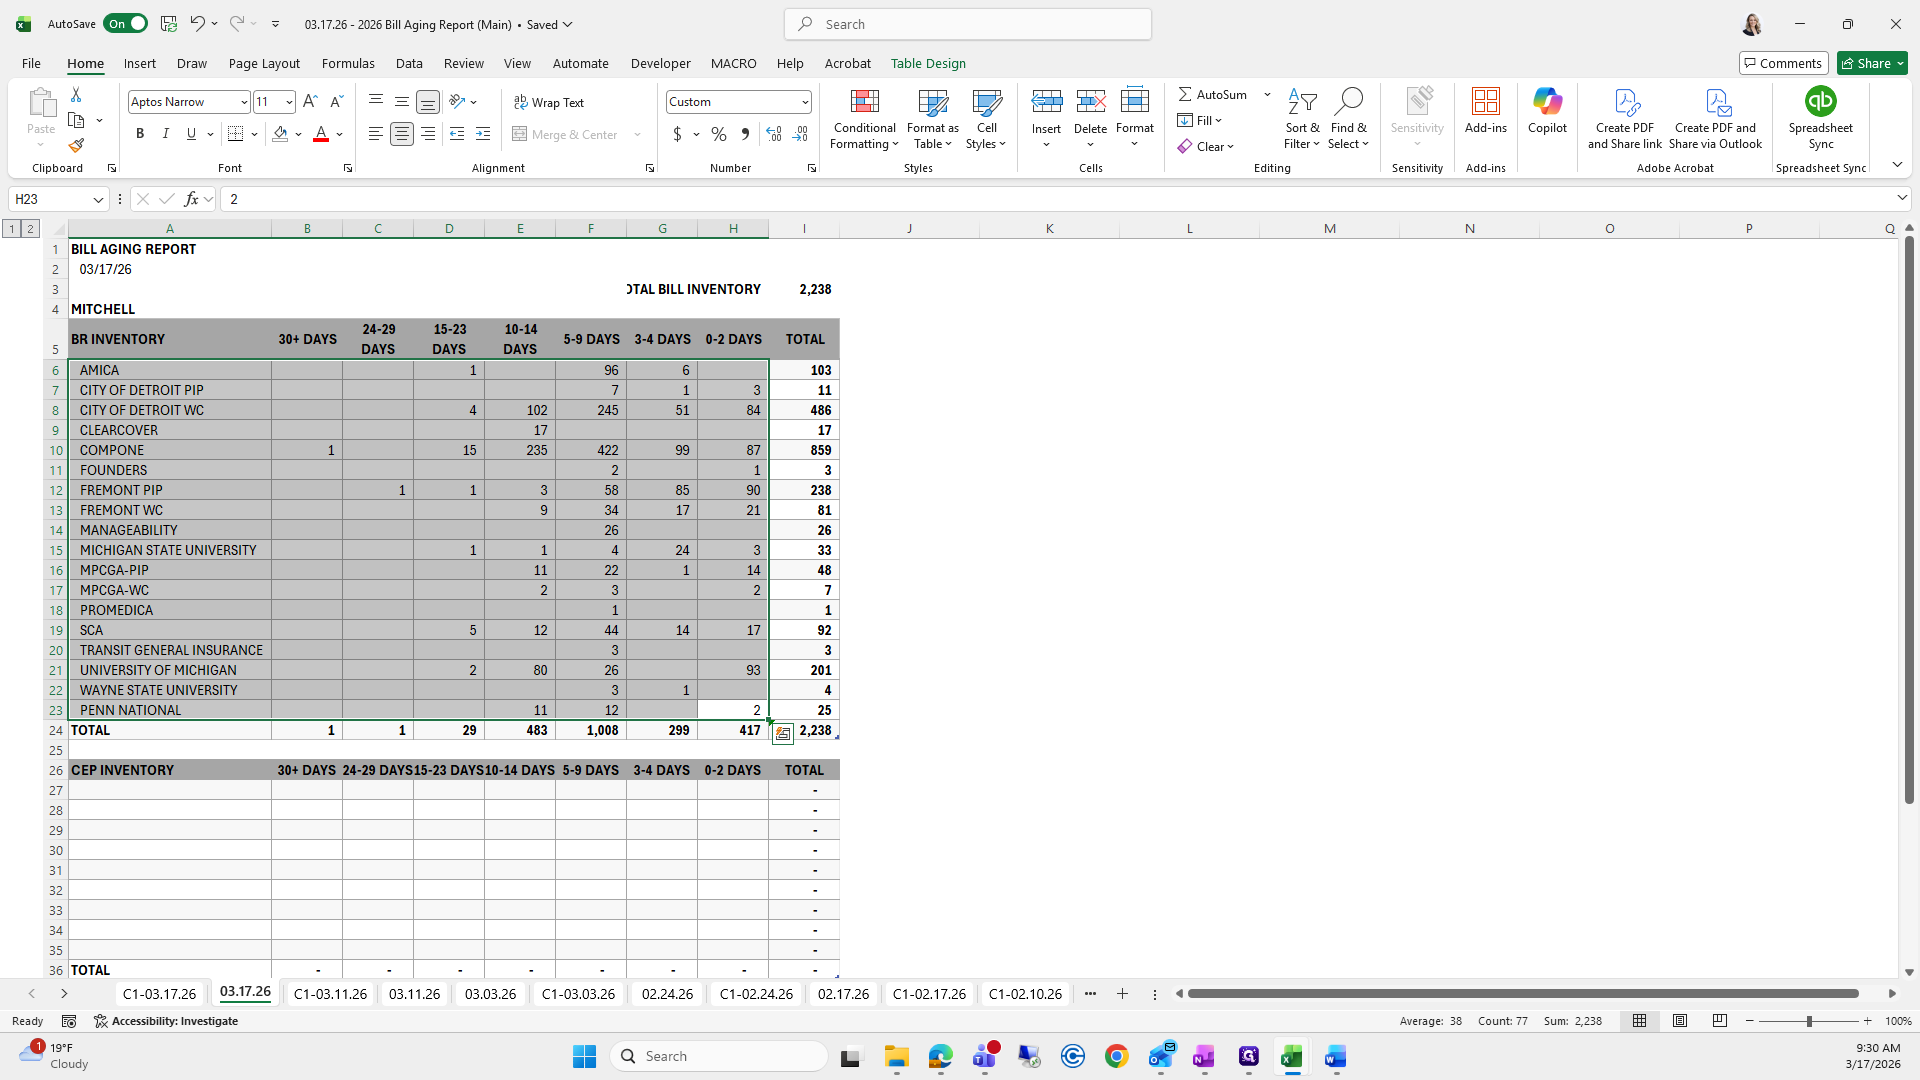
We also need to include Penn National.
Try to go quickly so we don't need to make another video.


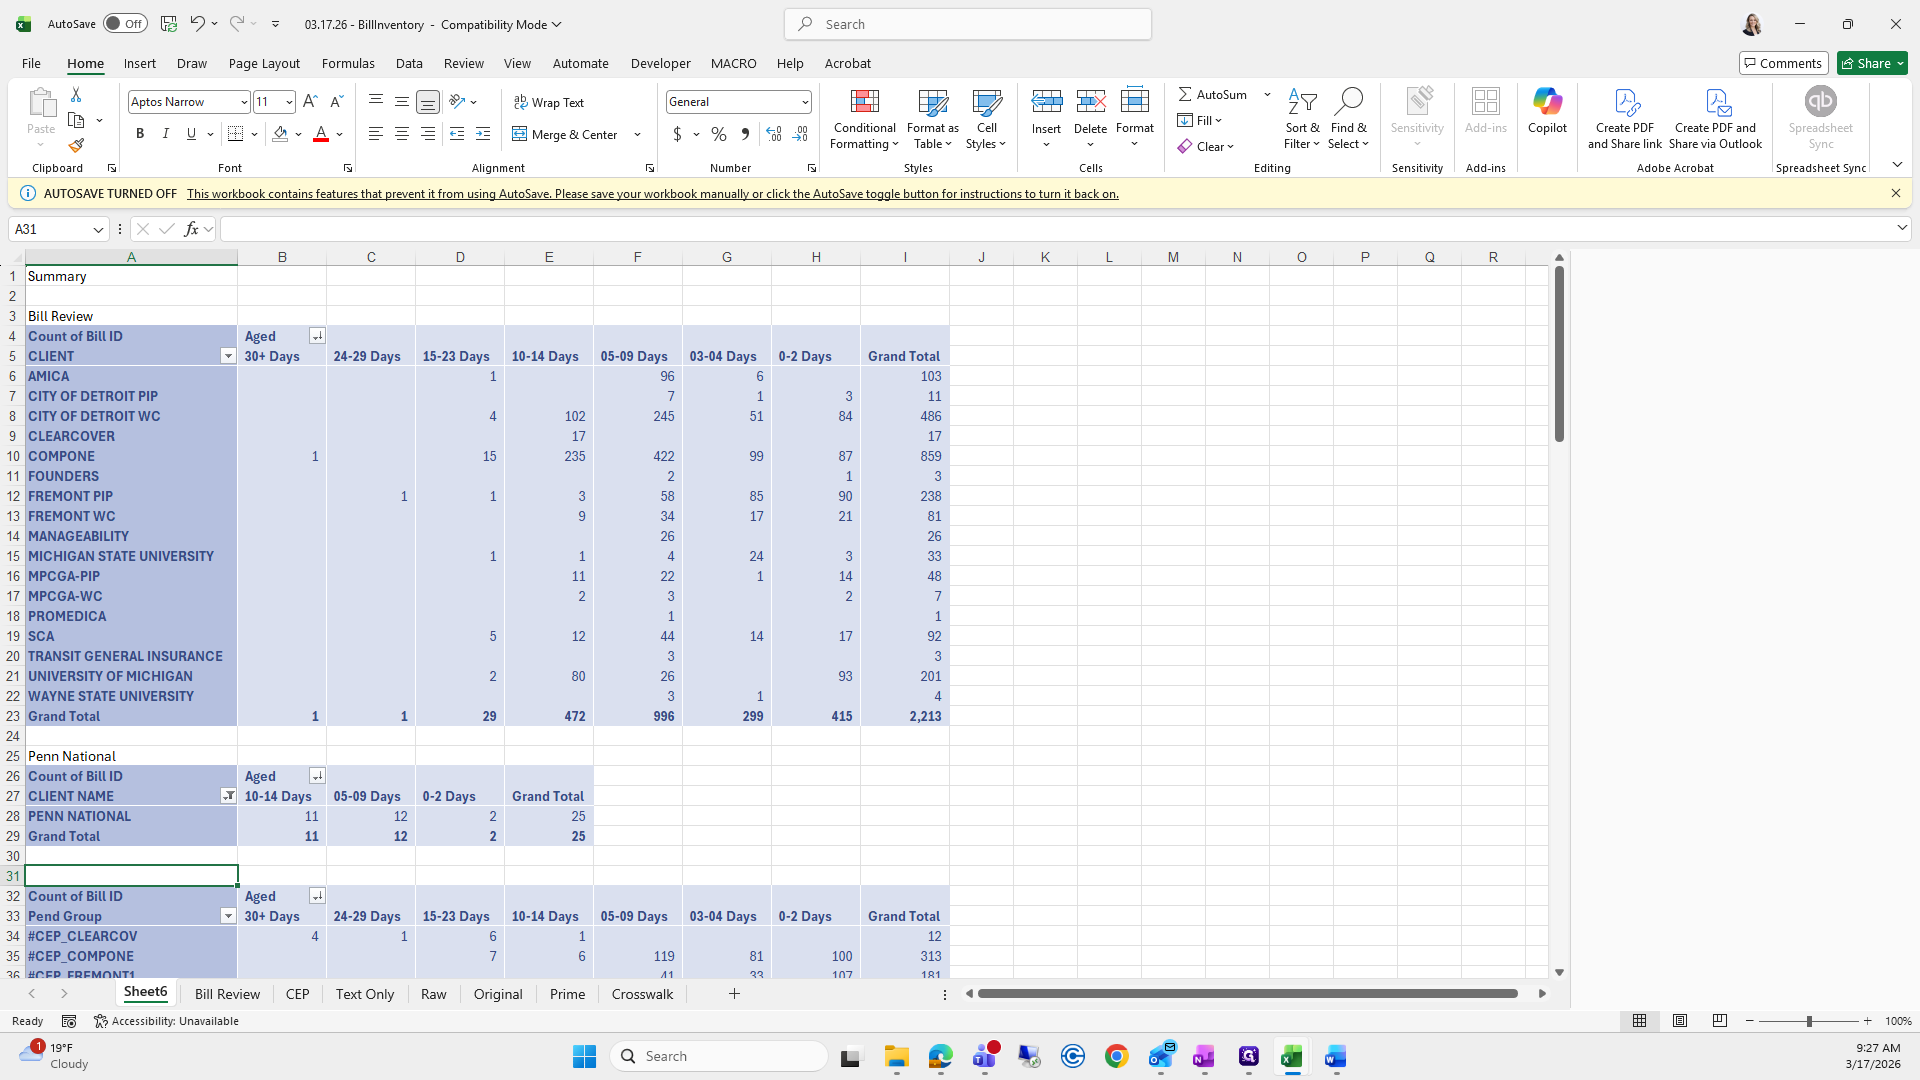
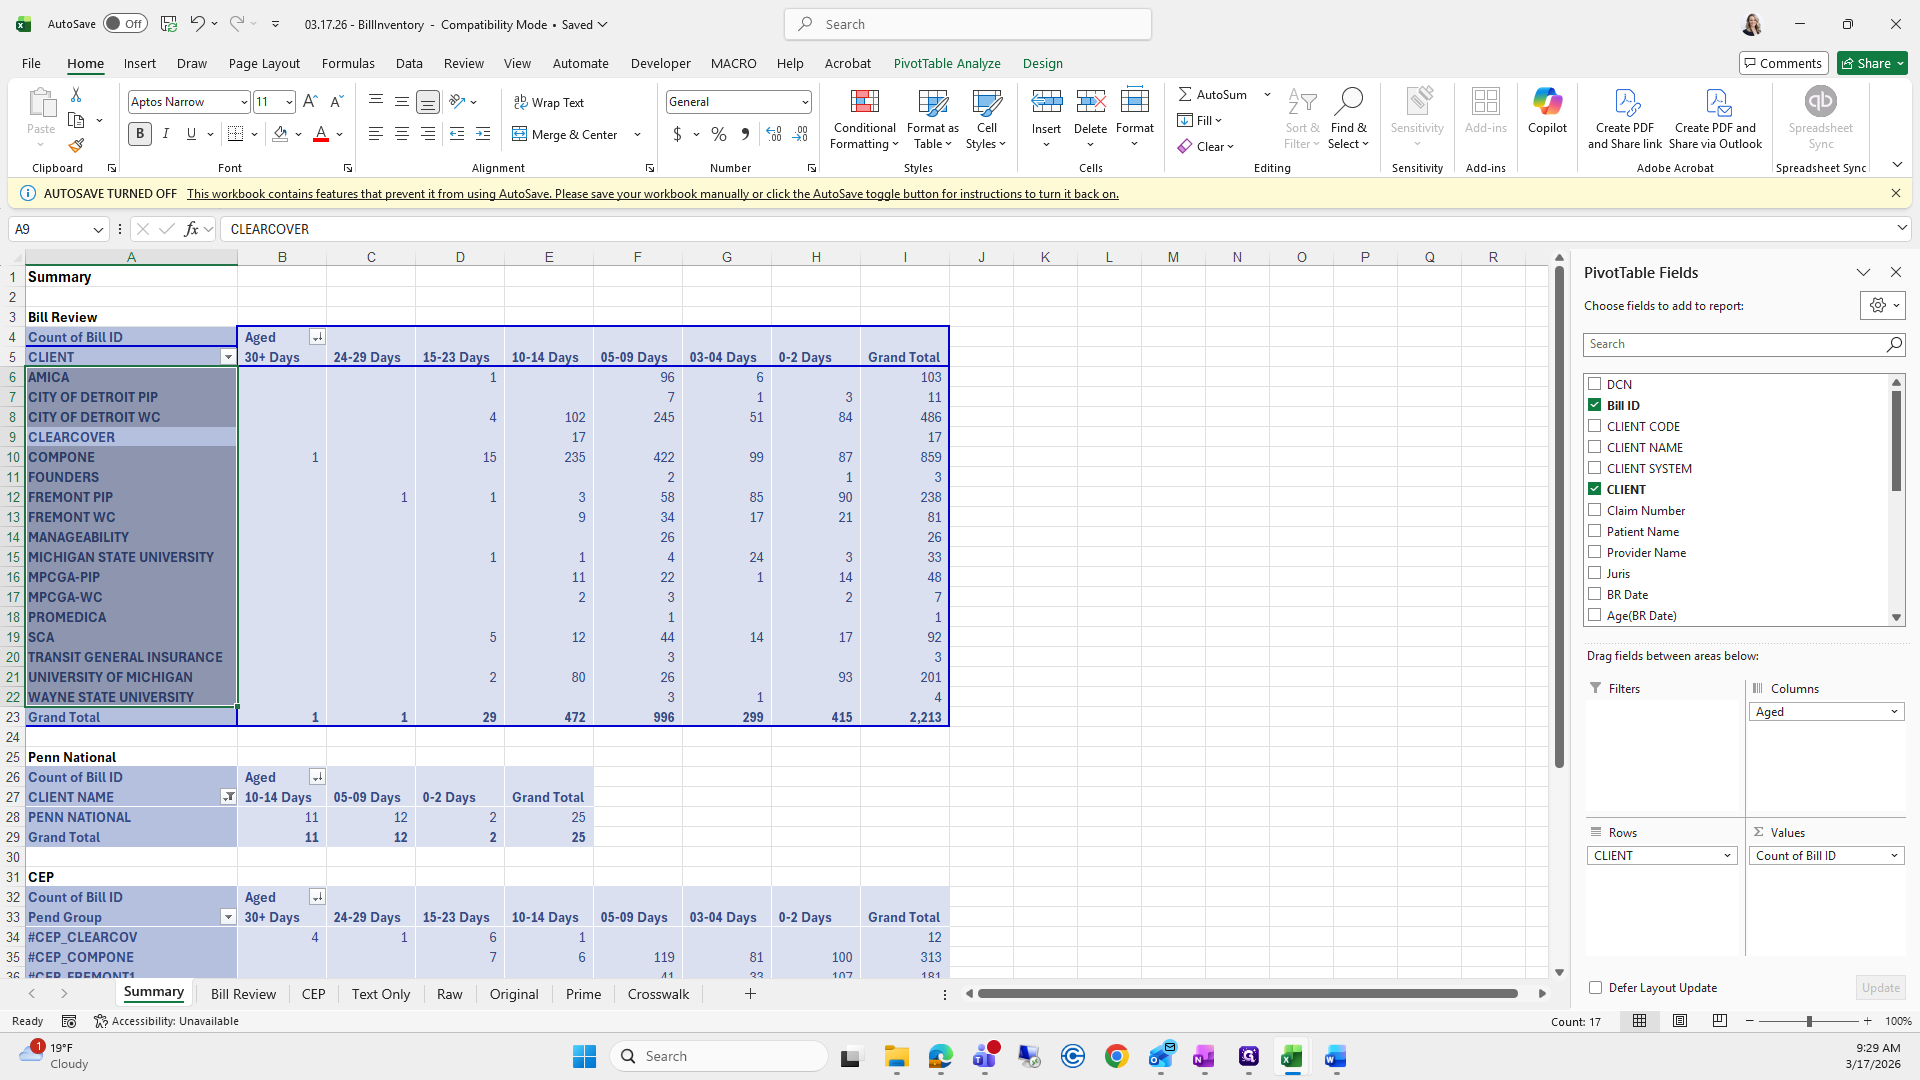
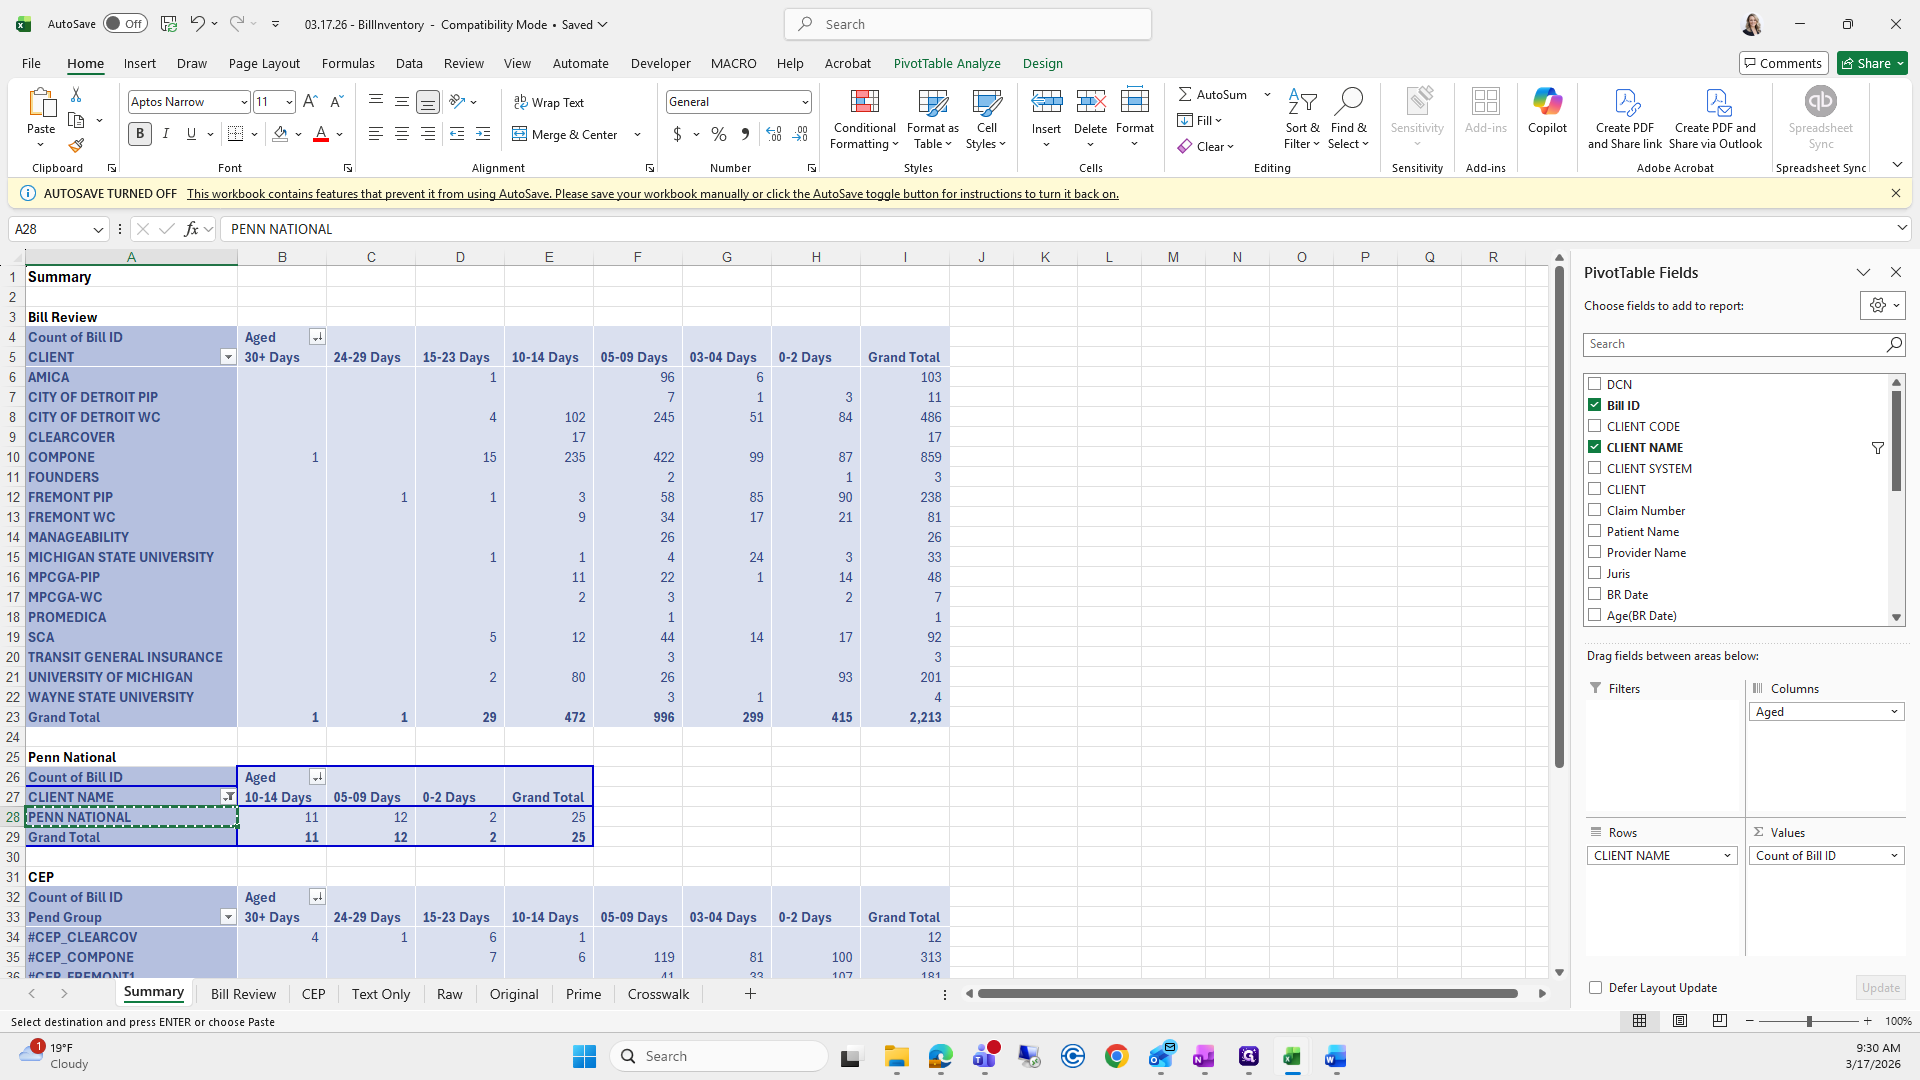
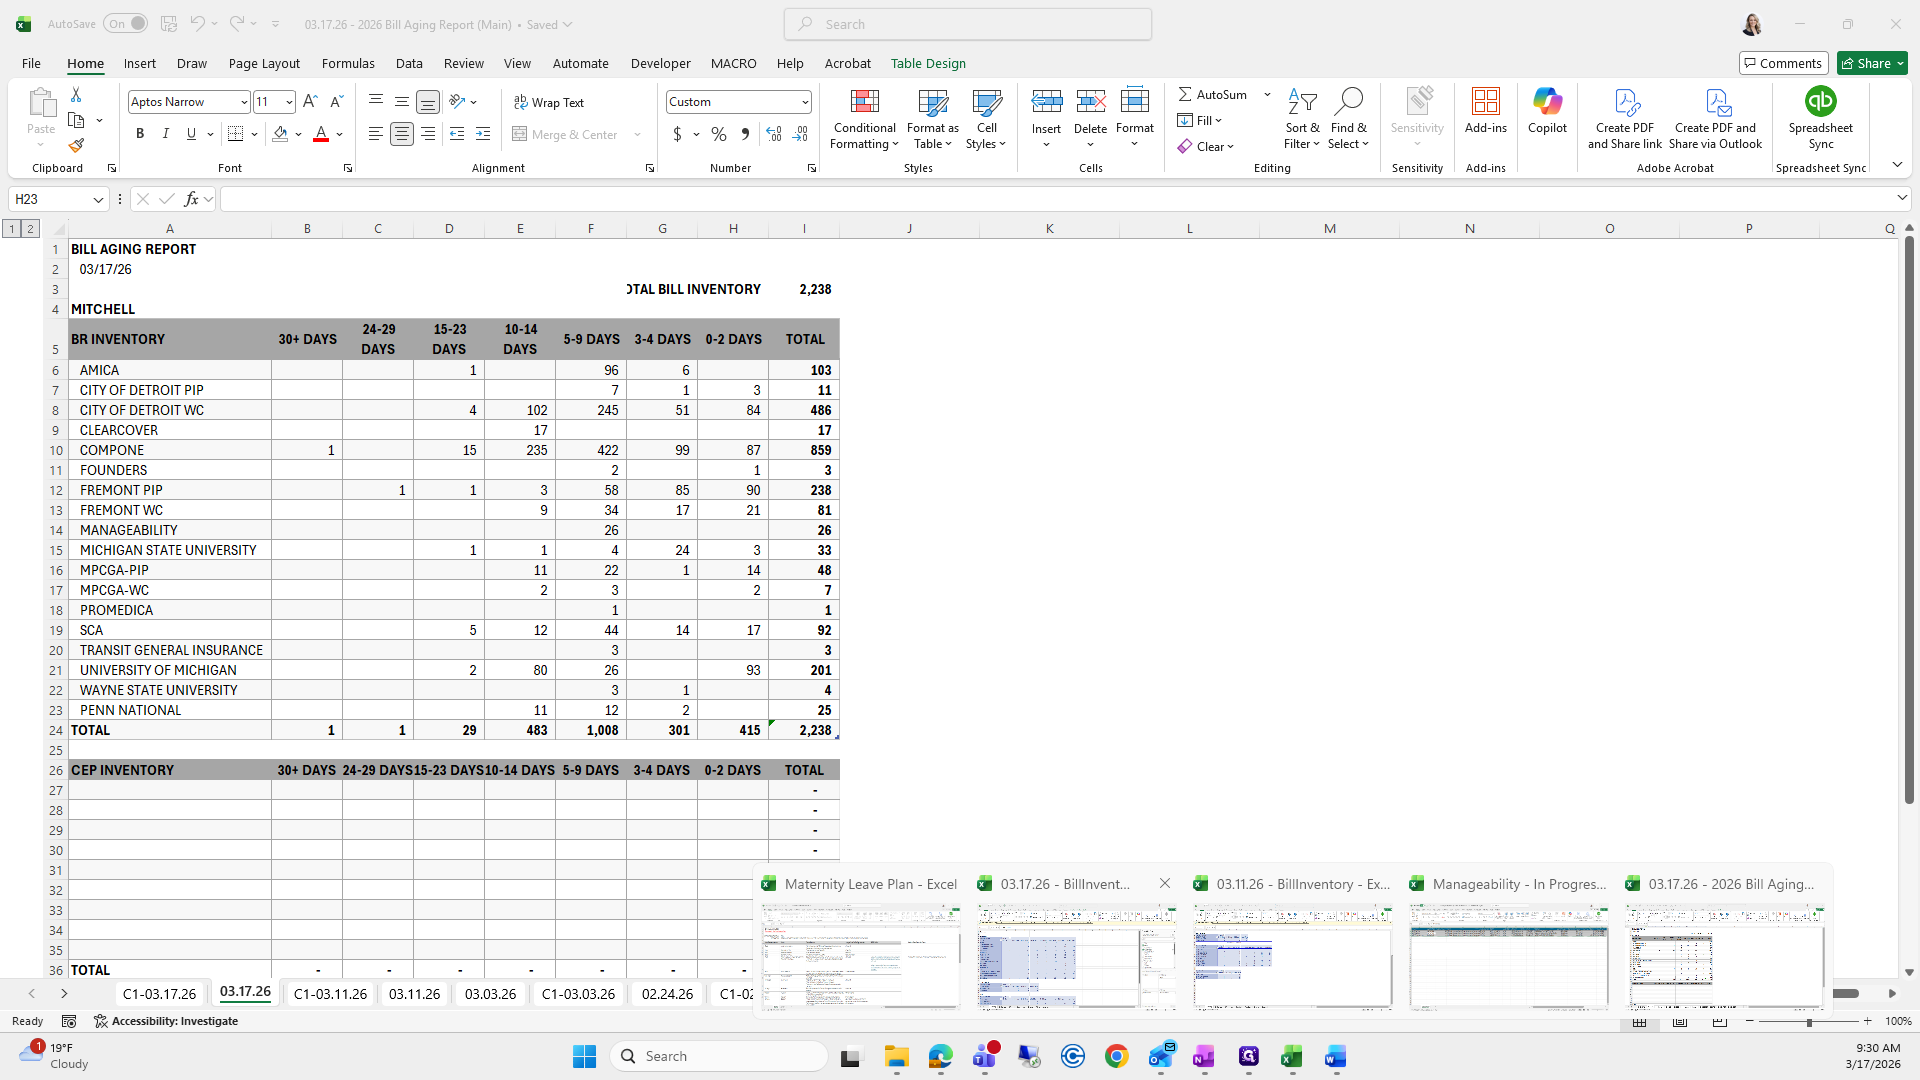
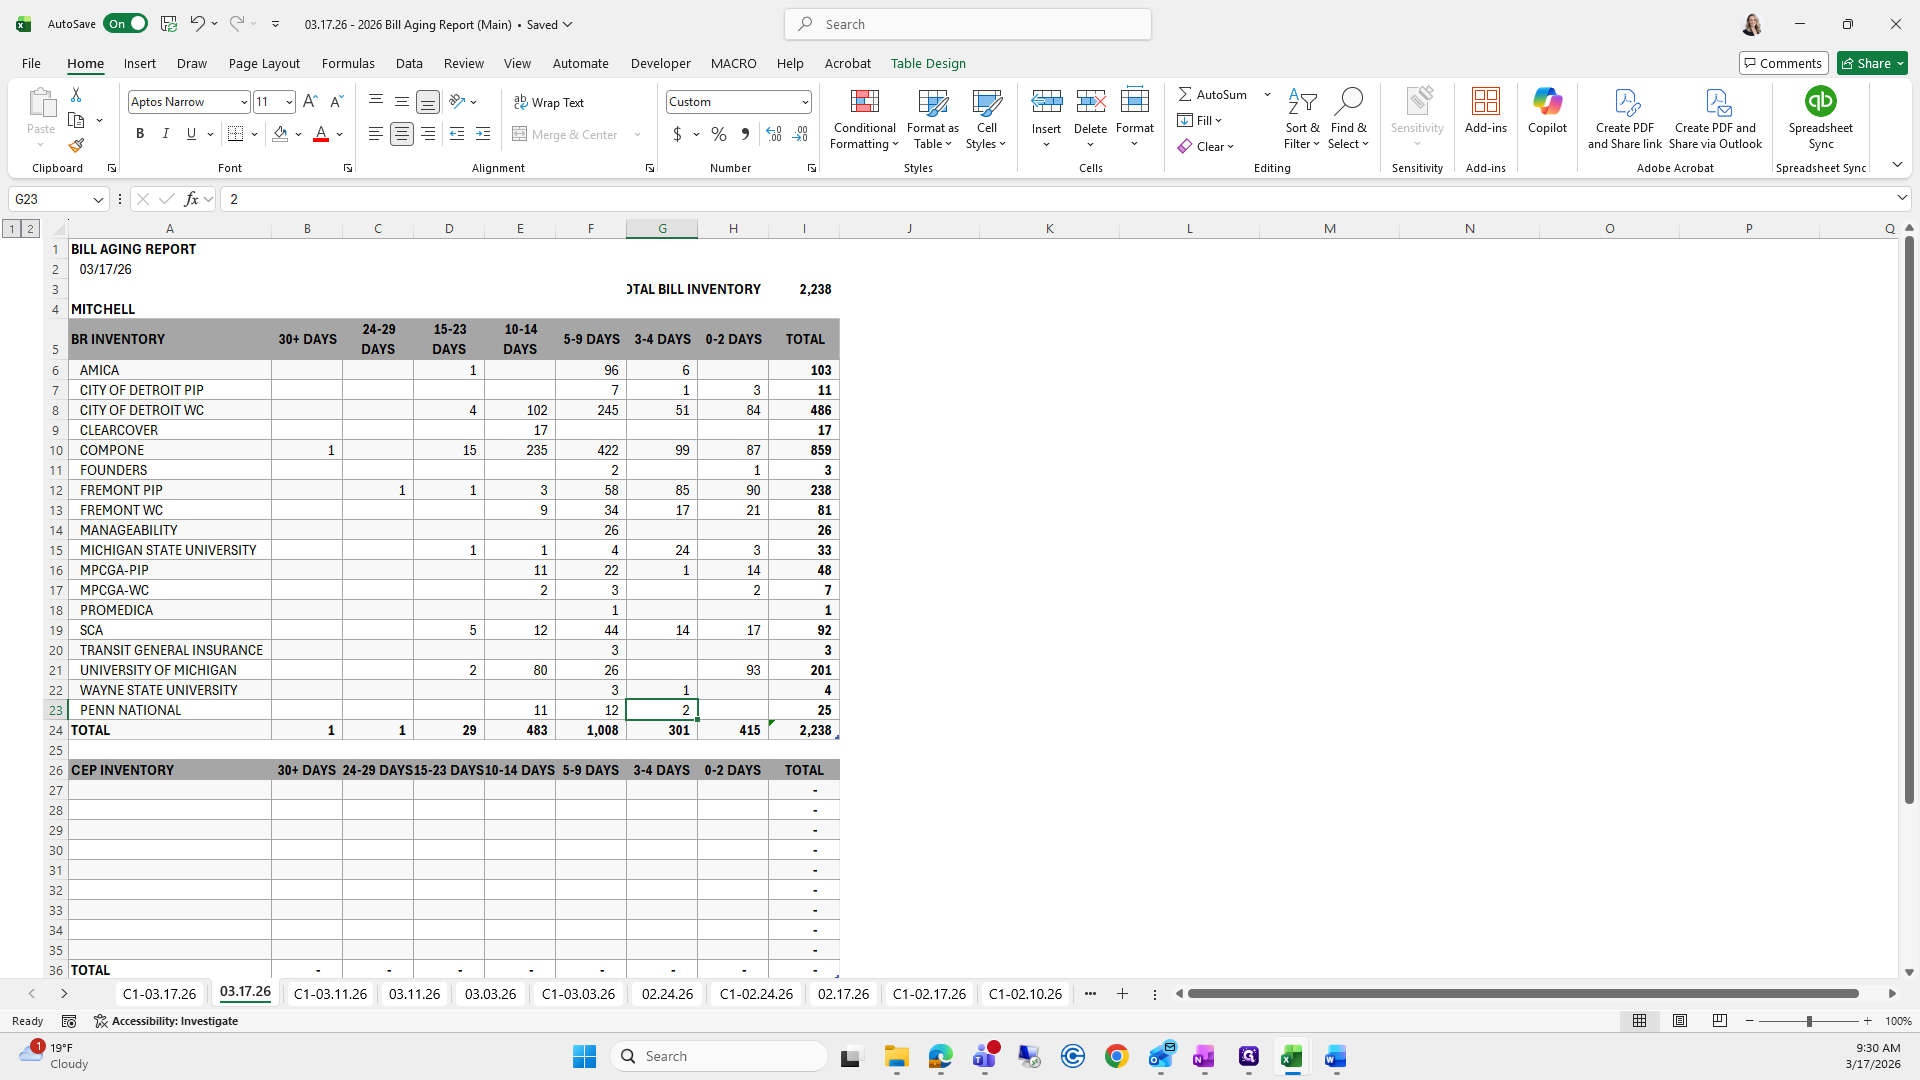
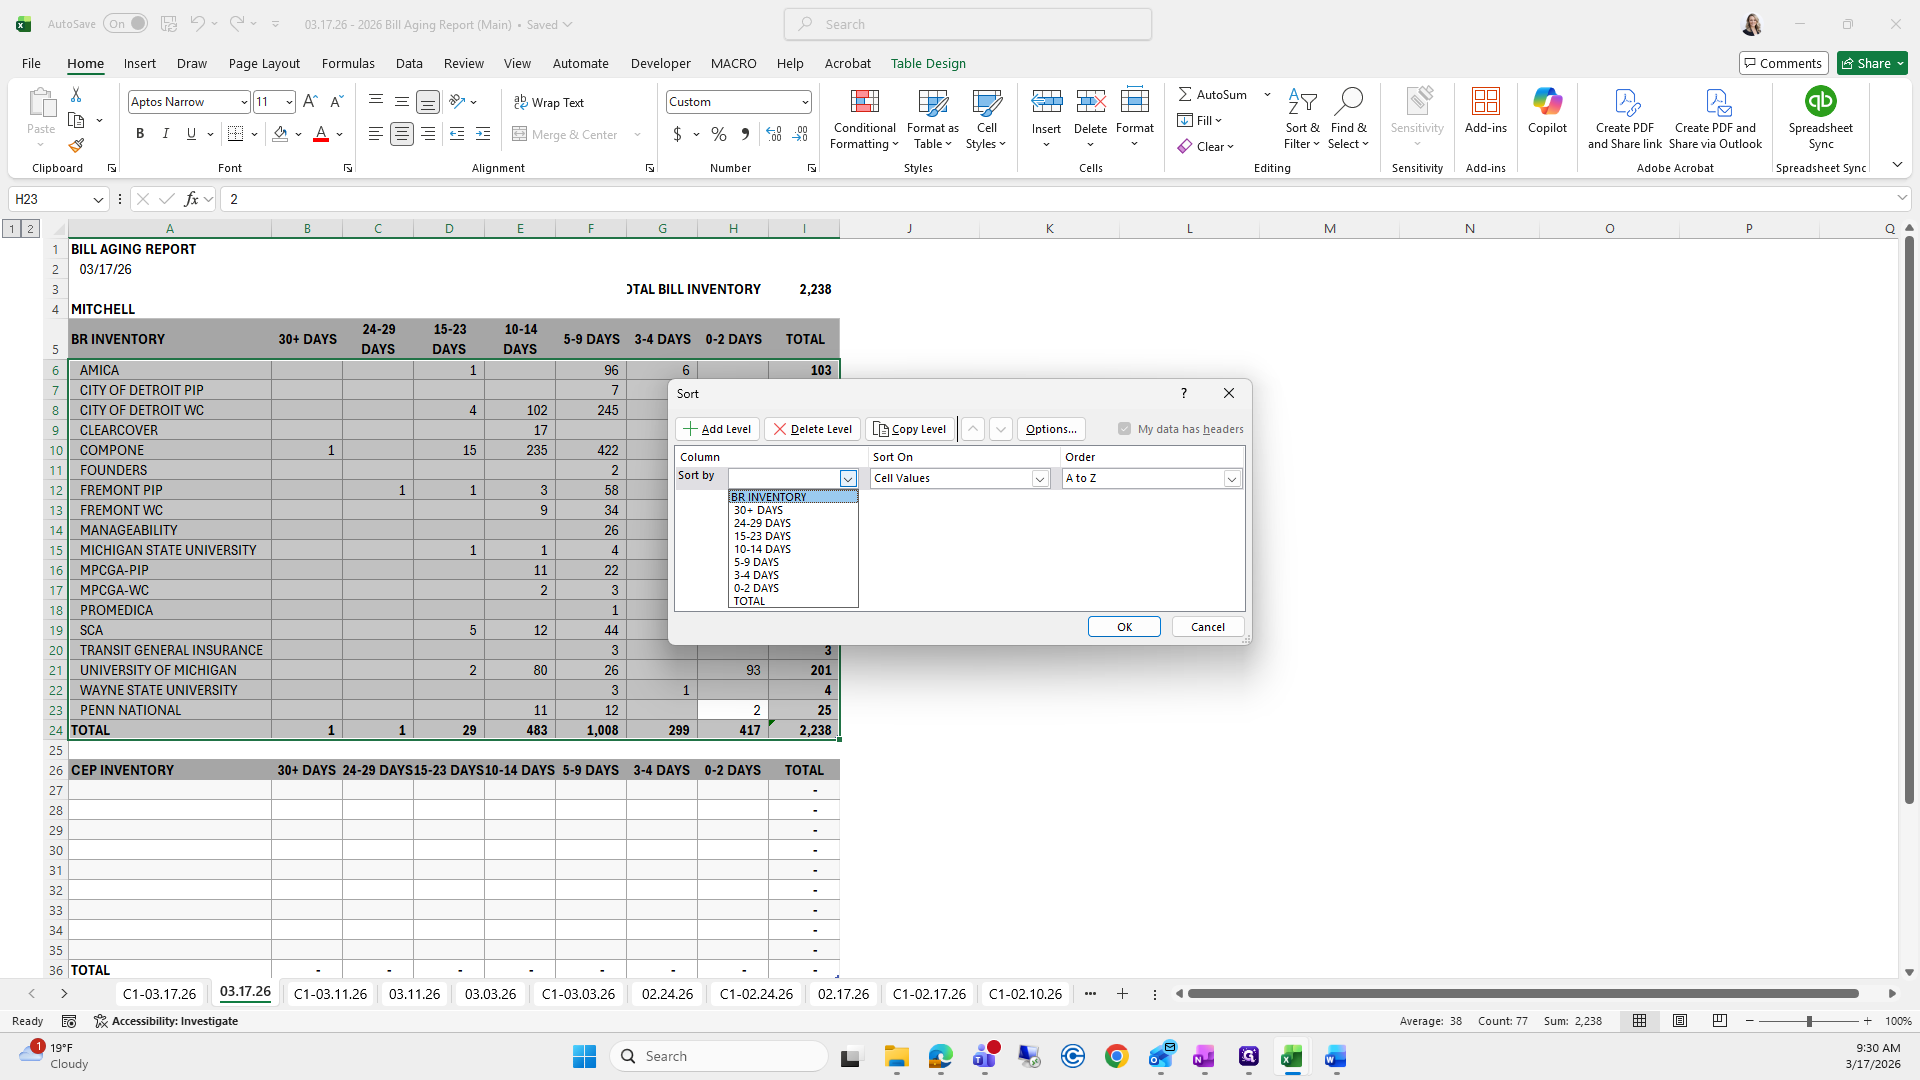
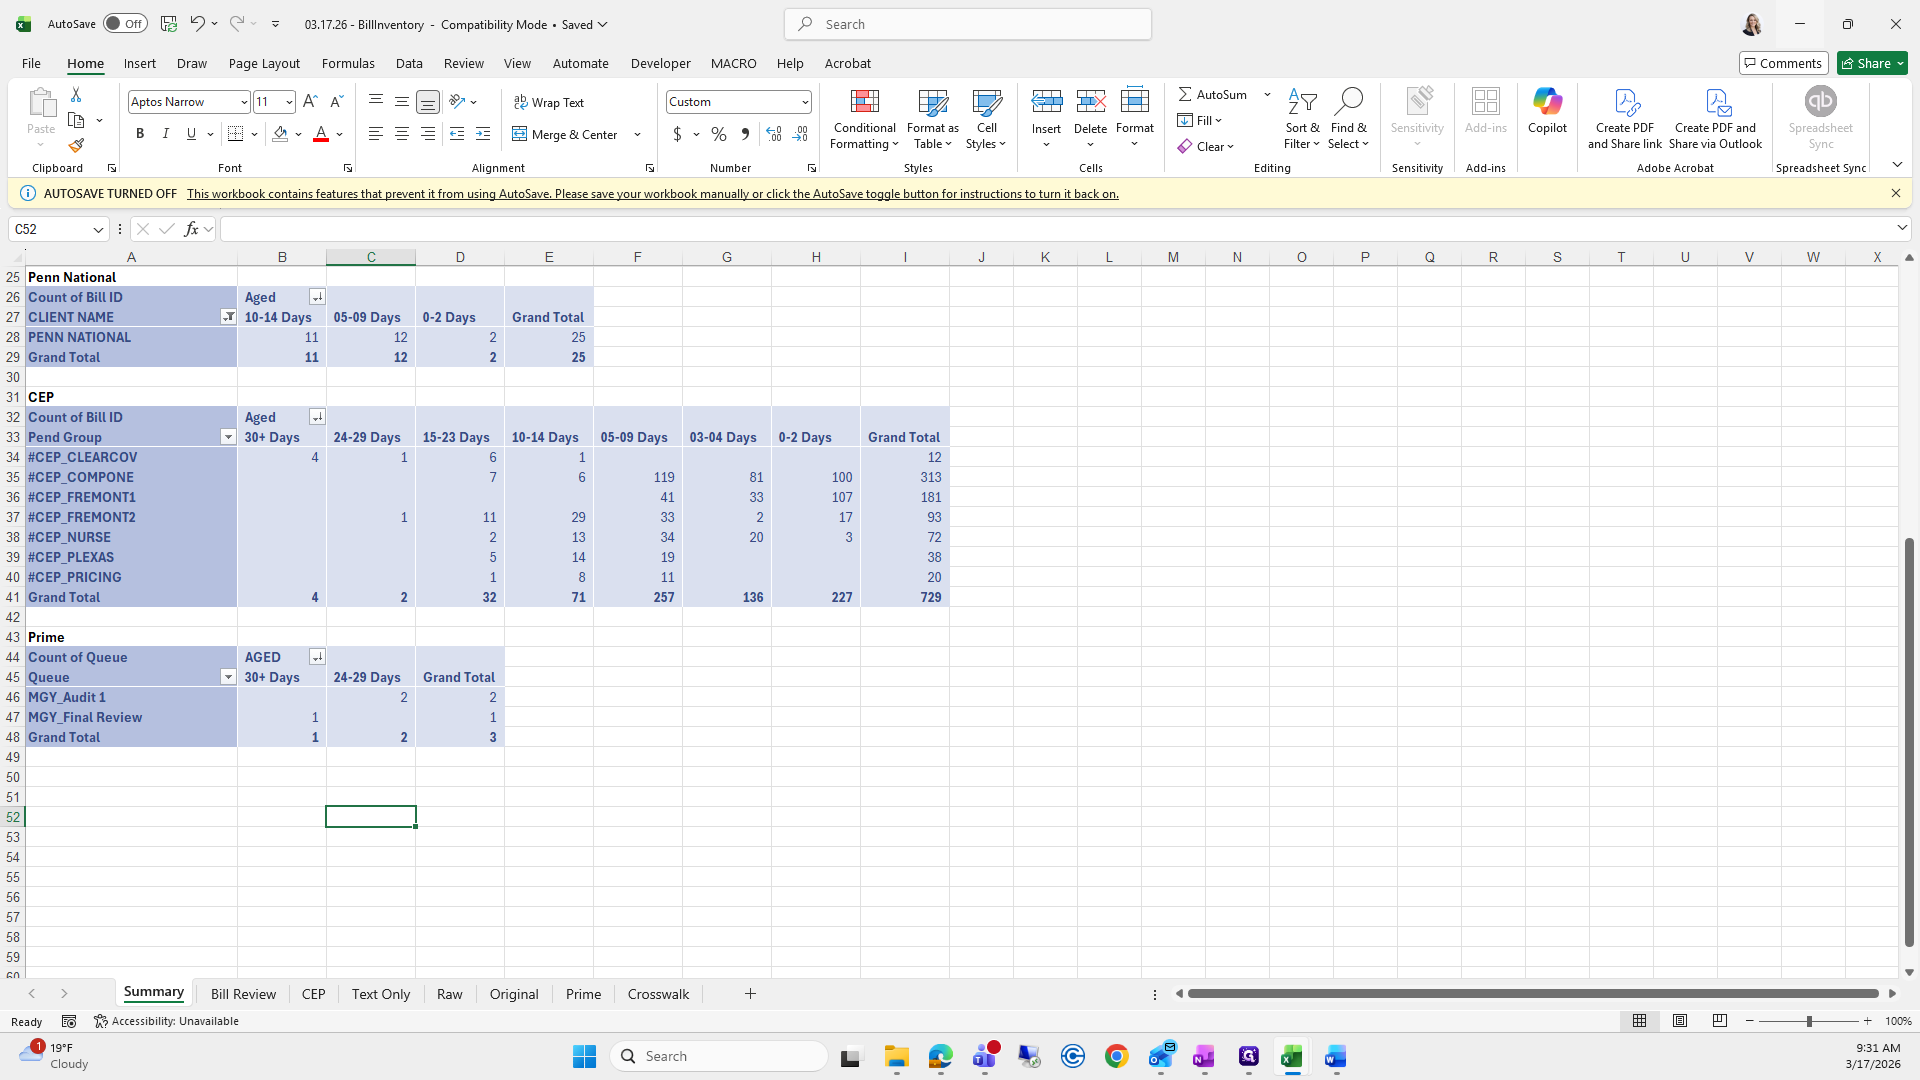
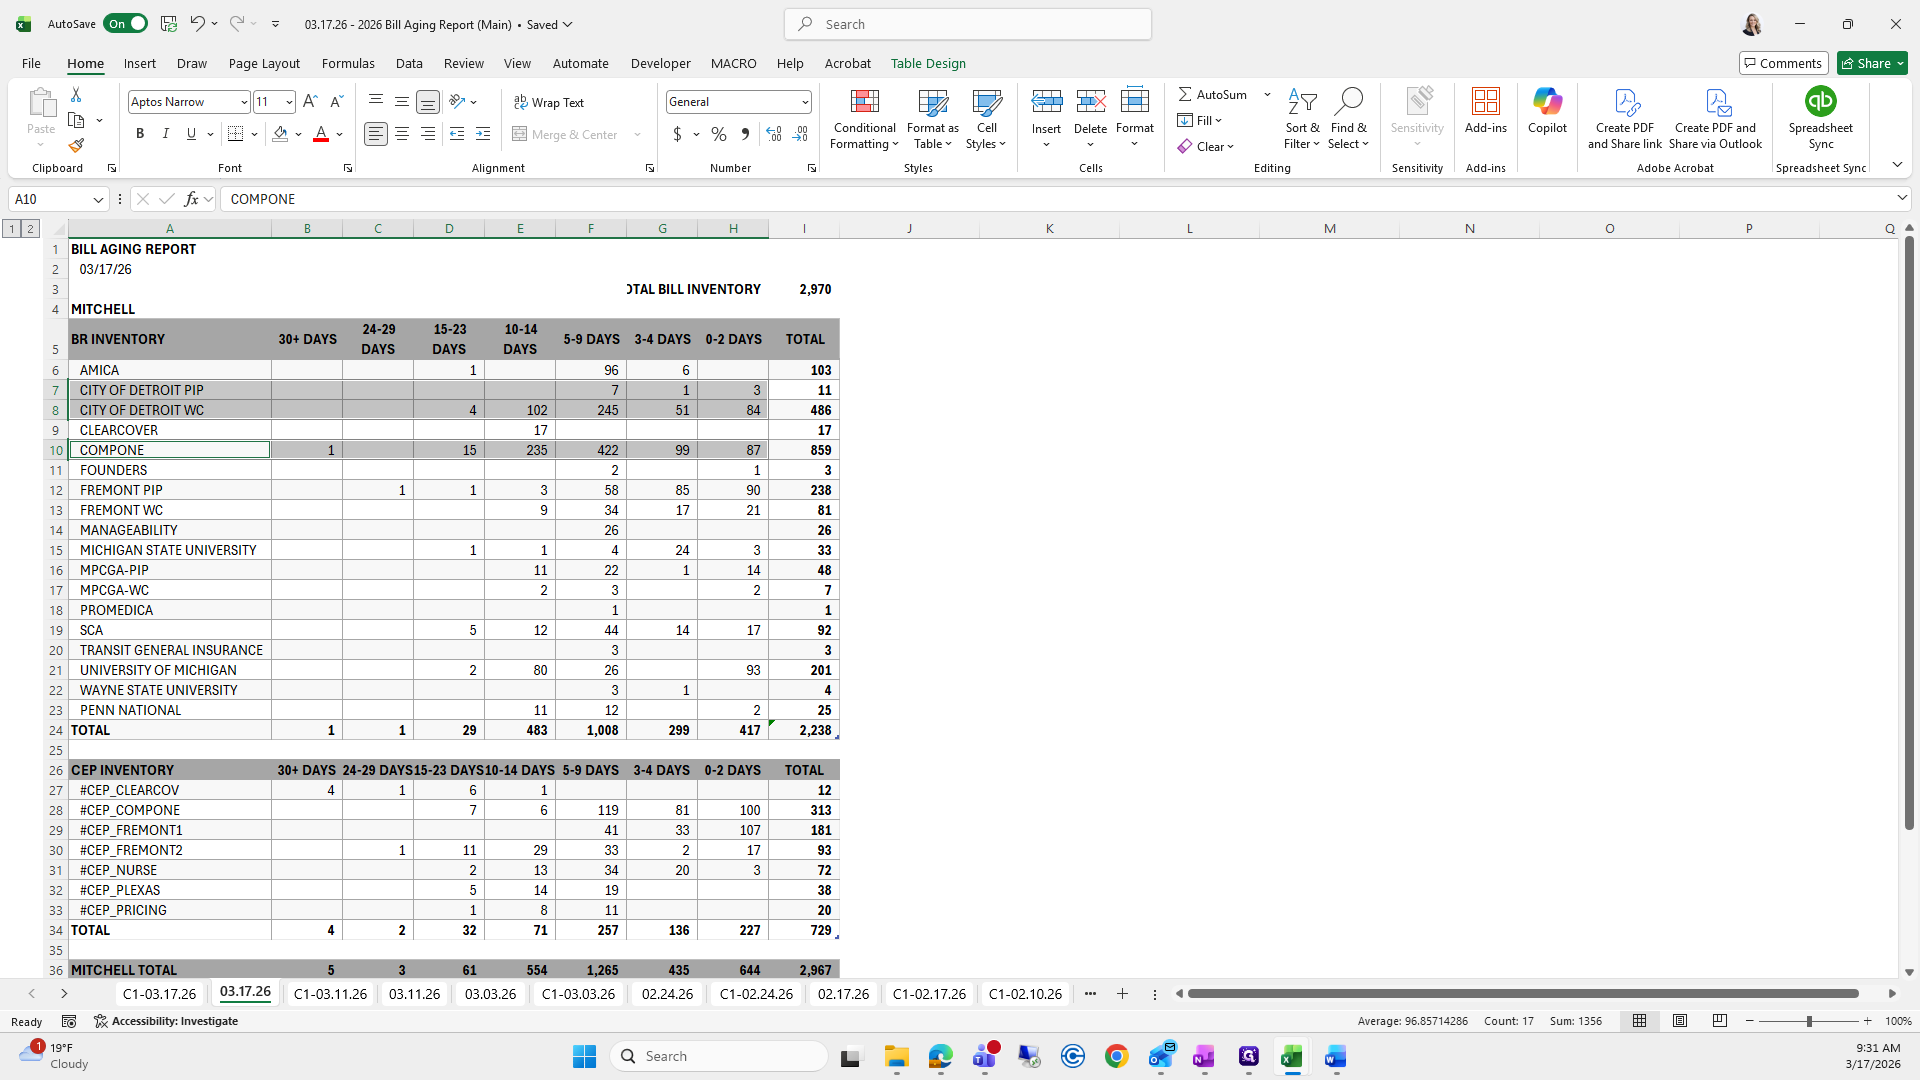
Okay, you can see there aren't as many. We'll copy and paste Penn National first, then grab 11, 12, and 2.

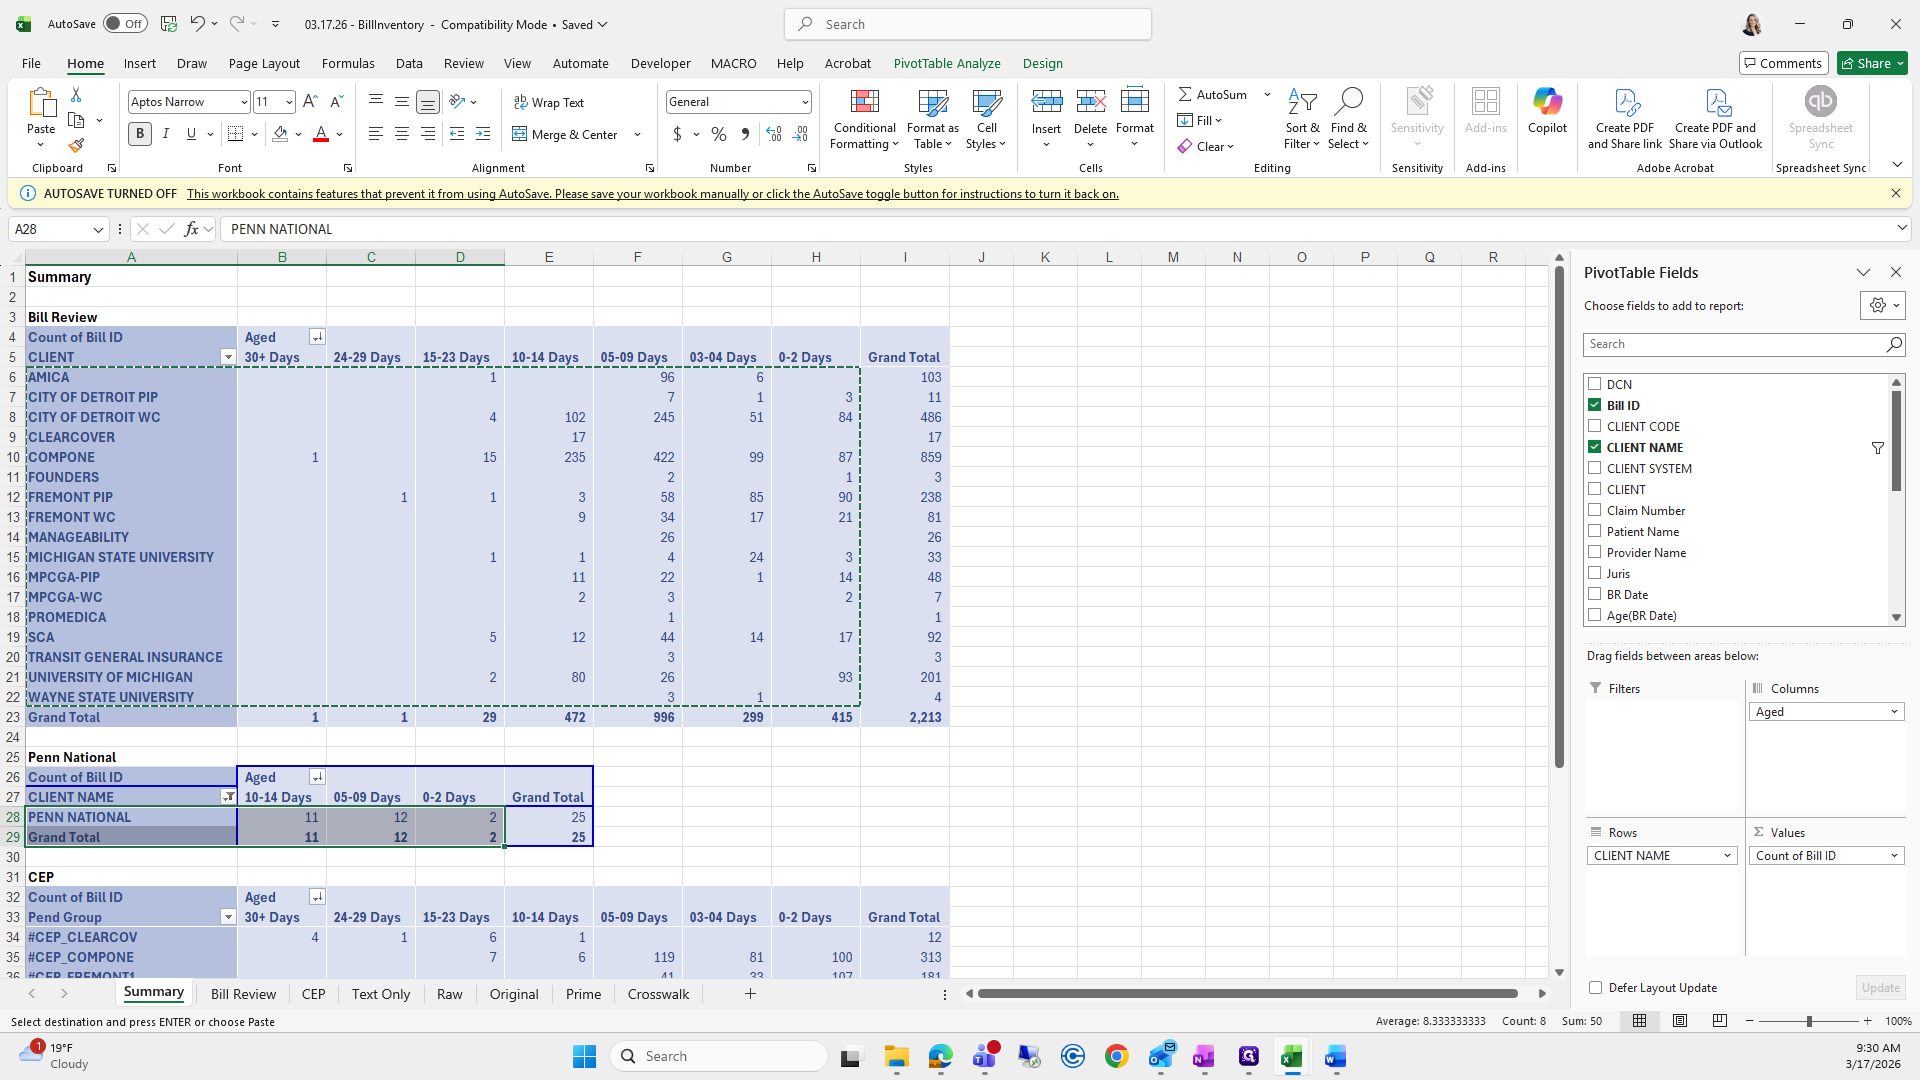
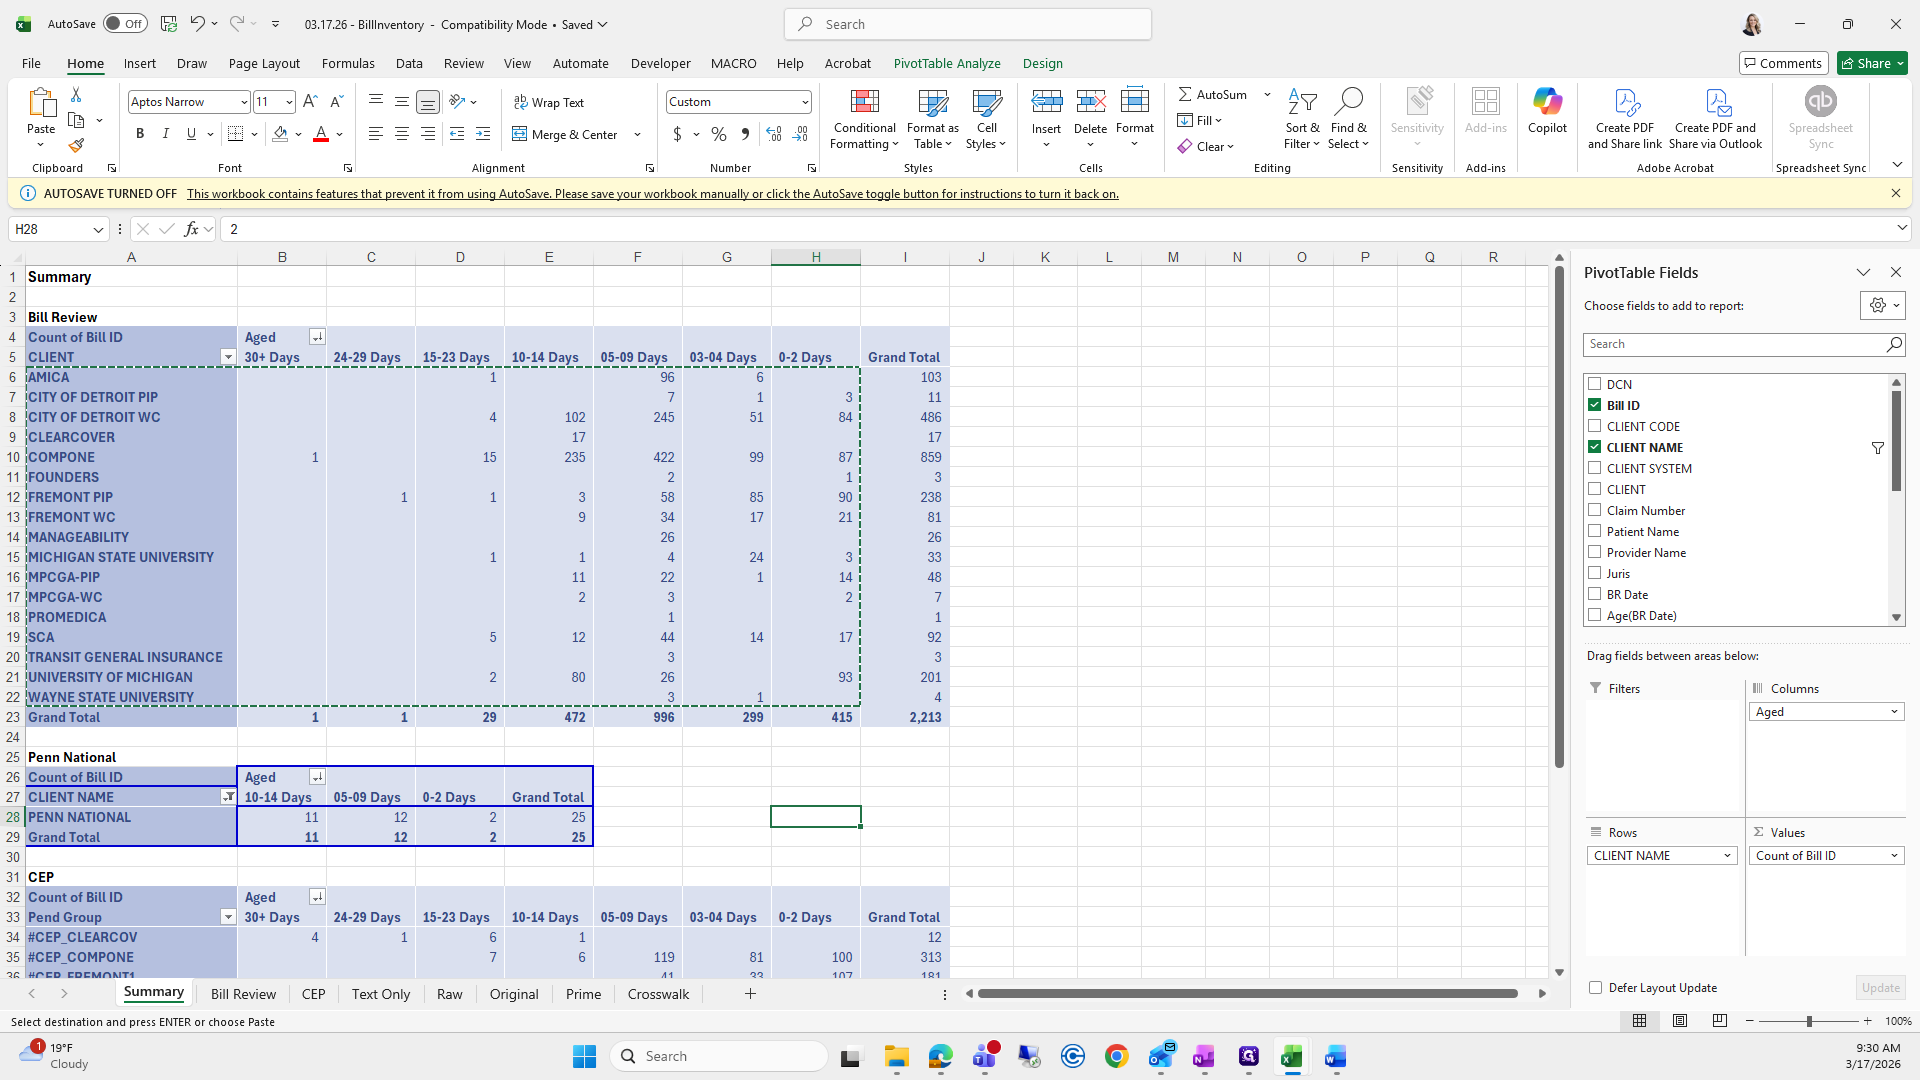
I will type them in, starting at 10/14. 11, 12, and 2.
I can't remember.


I don't think that's correct, so I'll double-check it.

So, 10/14, 5, and 2.


10/14, 5...

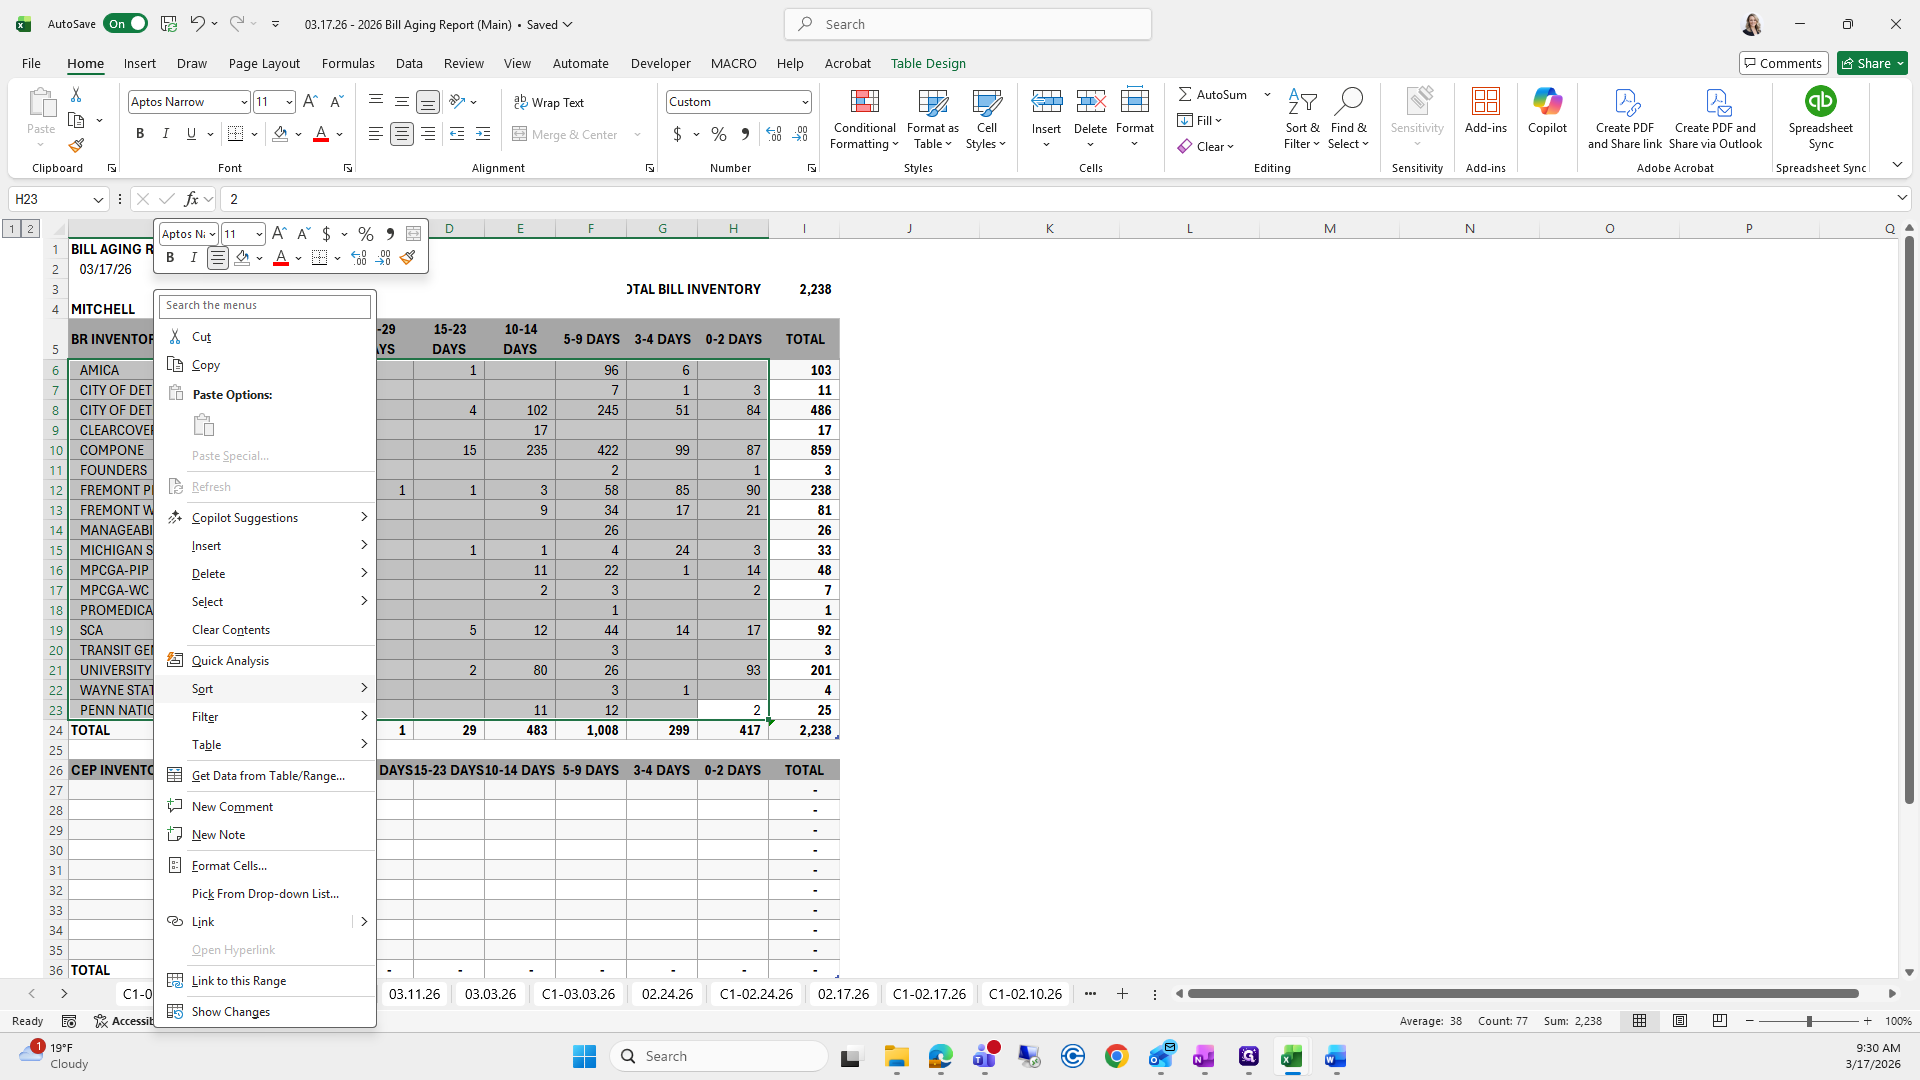
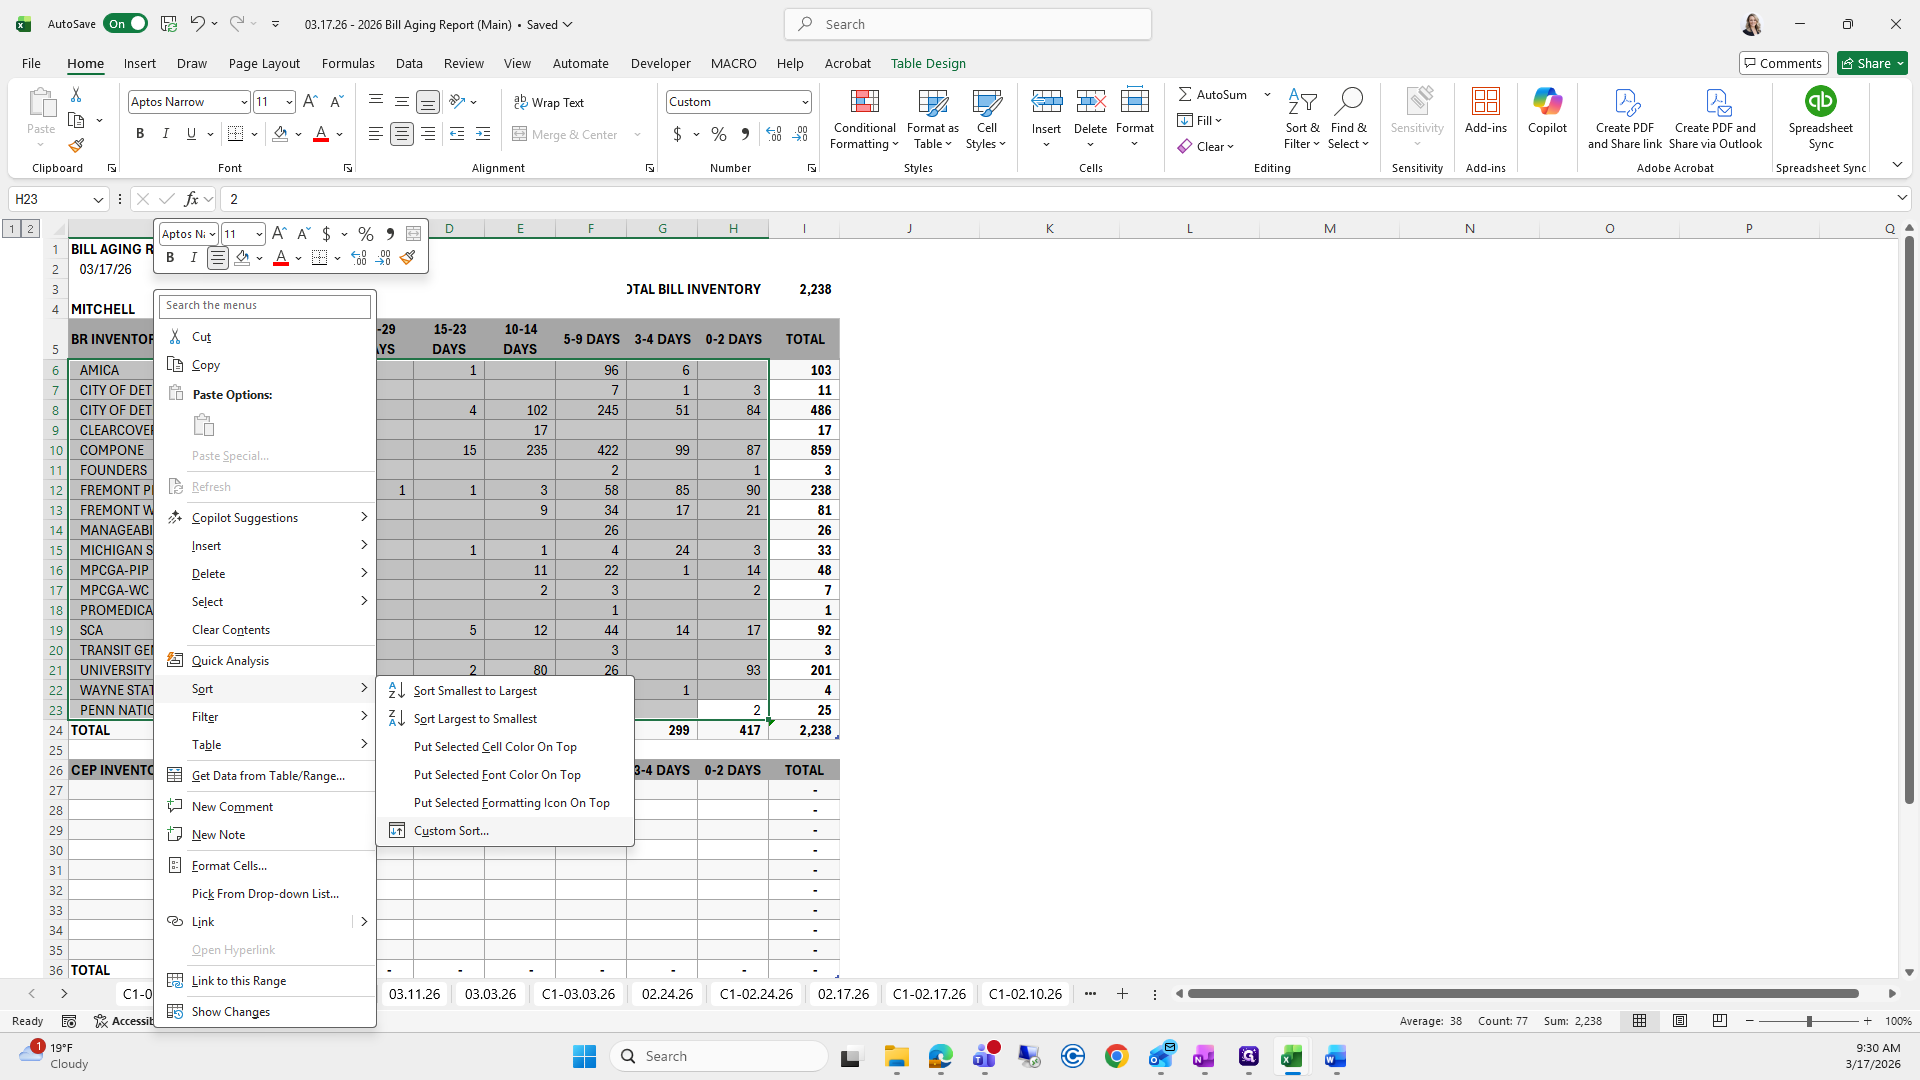
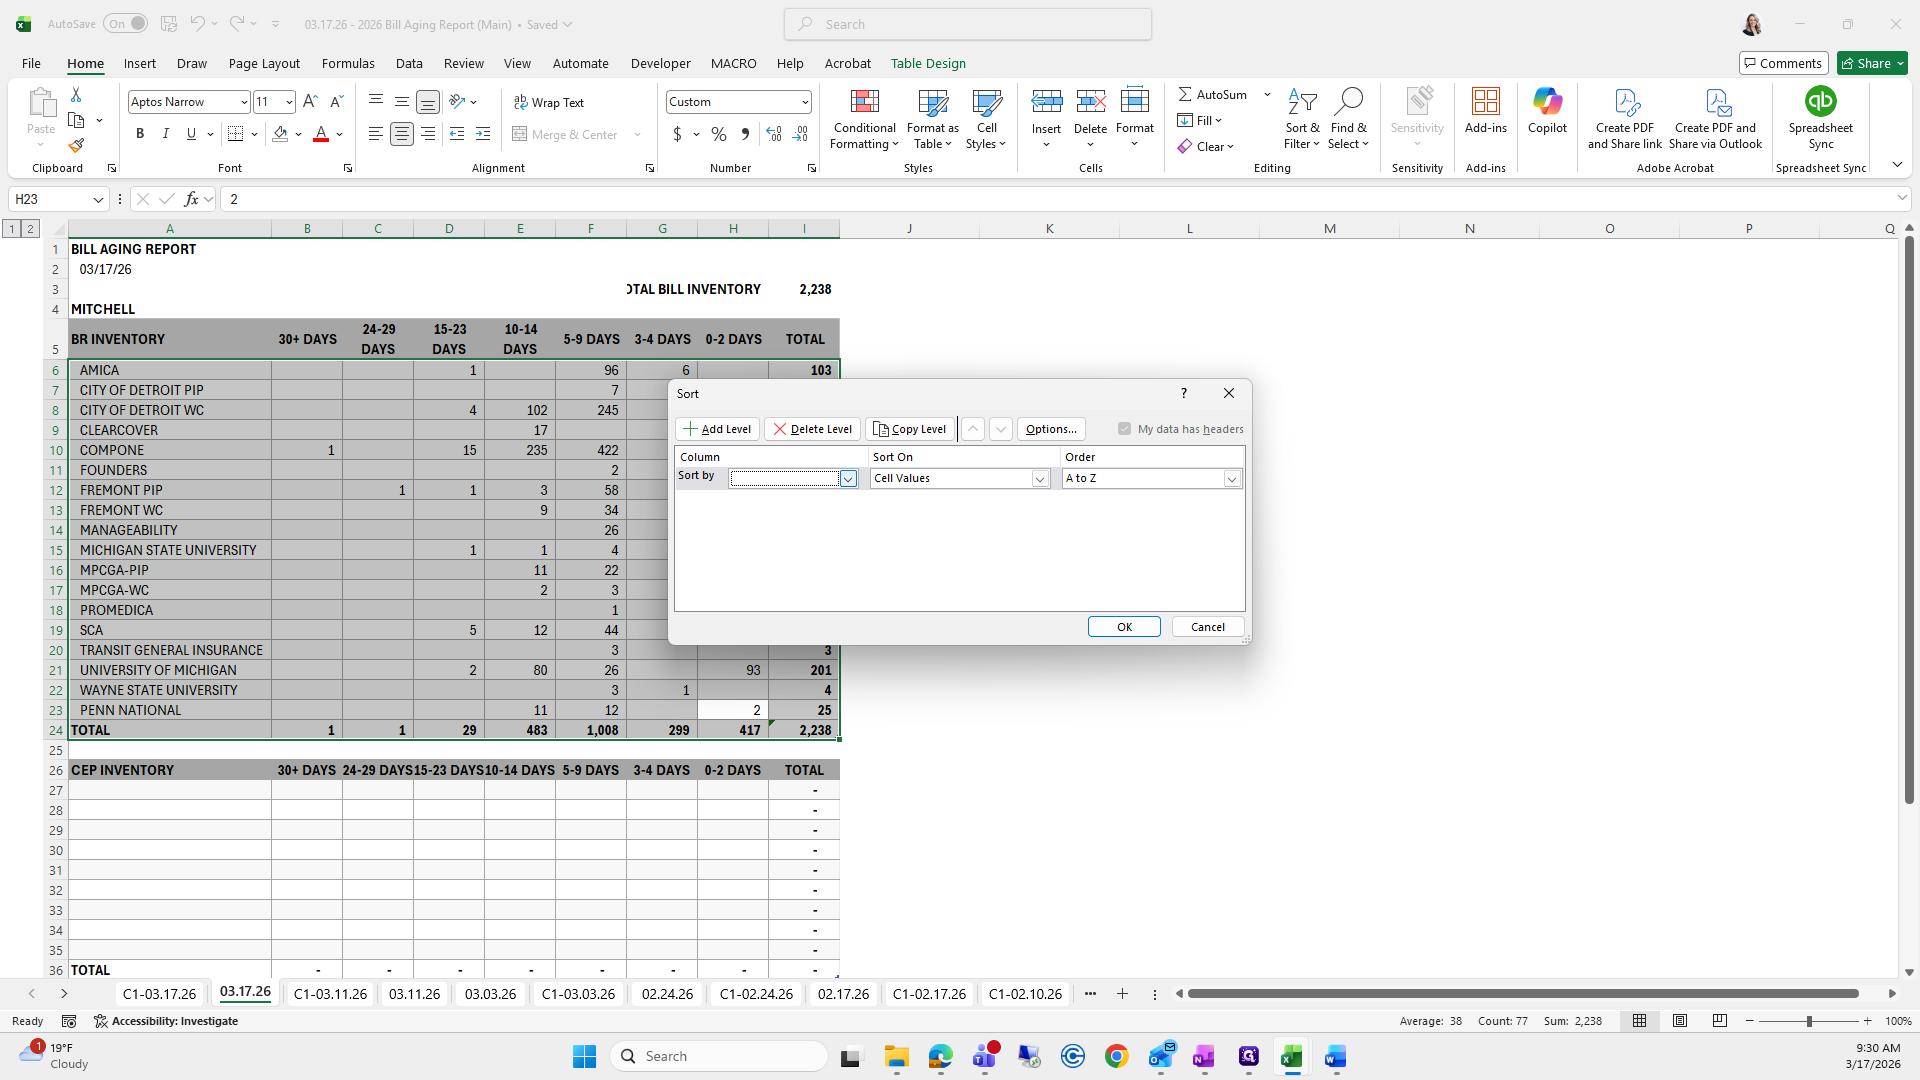
This is wrong. This goes here. I usually sort it in alphabetical order.
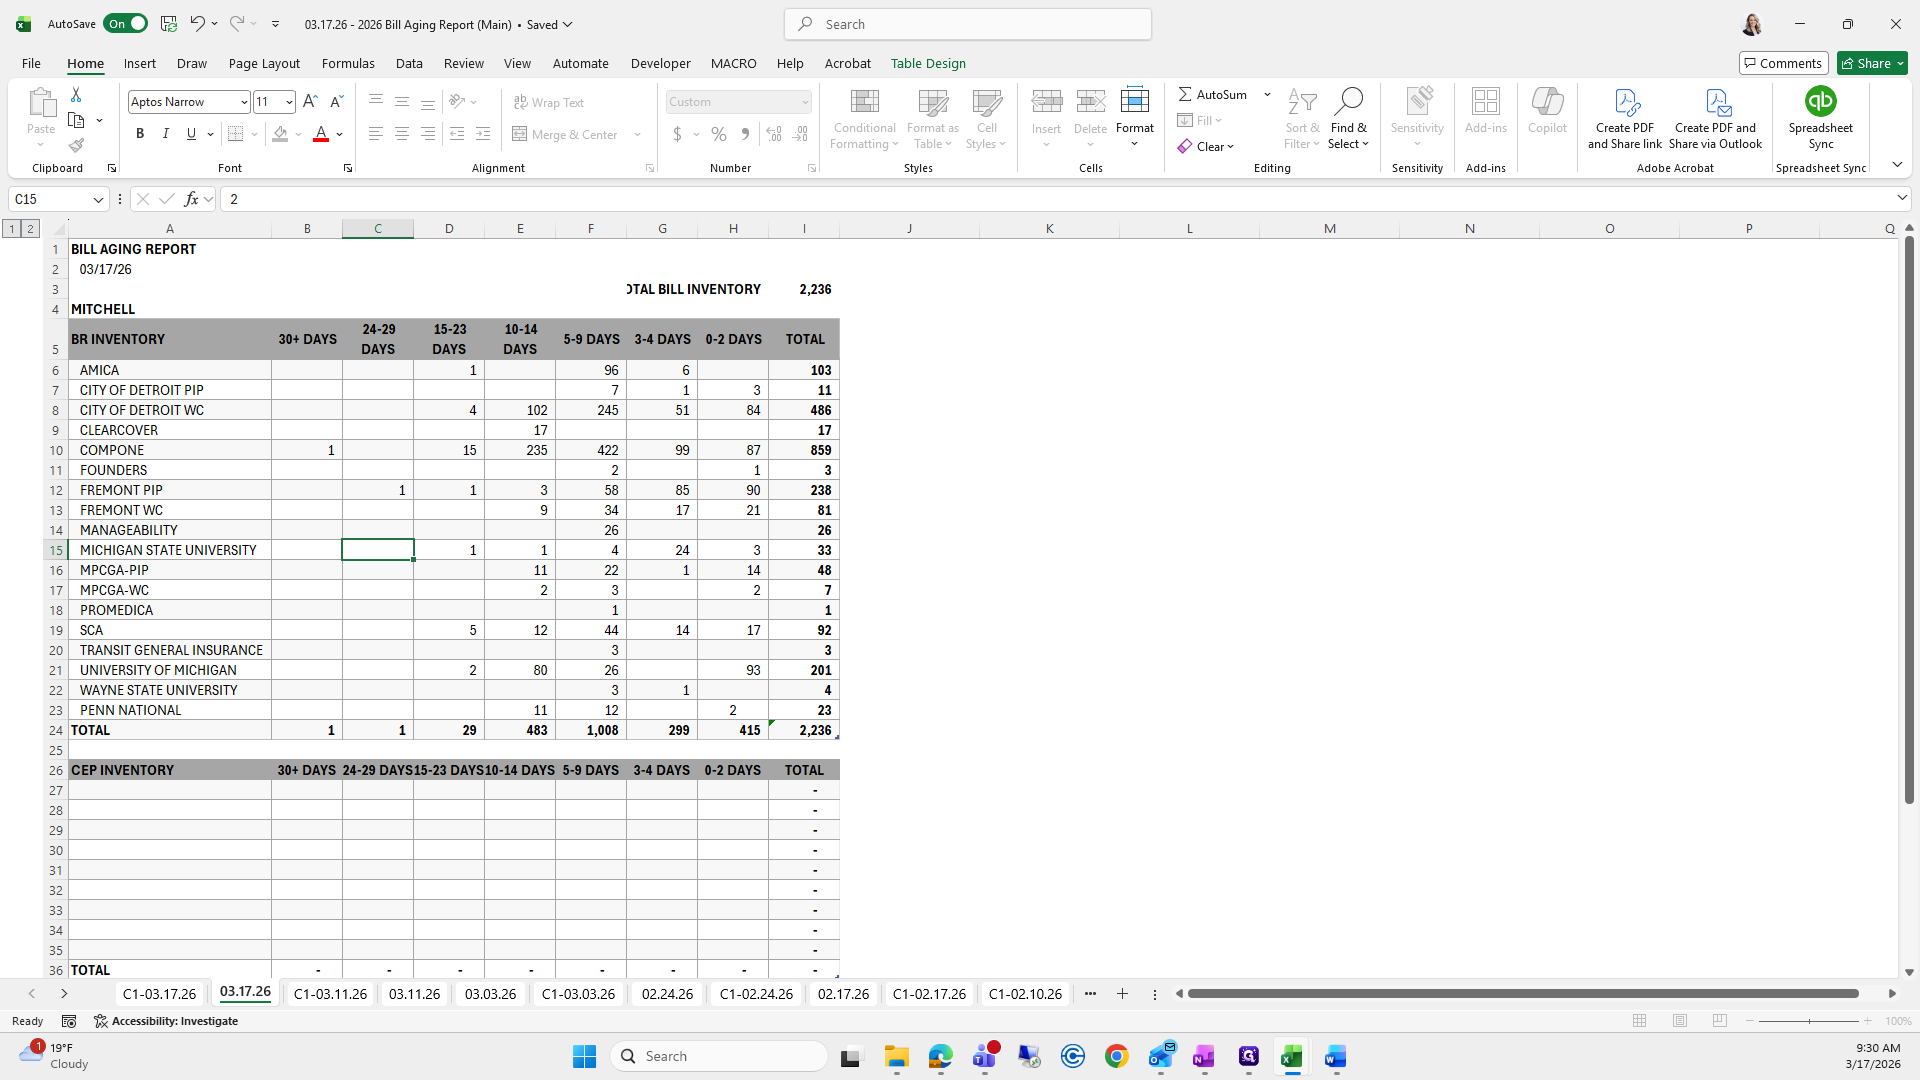

Okay, screw it.

We'll leave it like that.

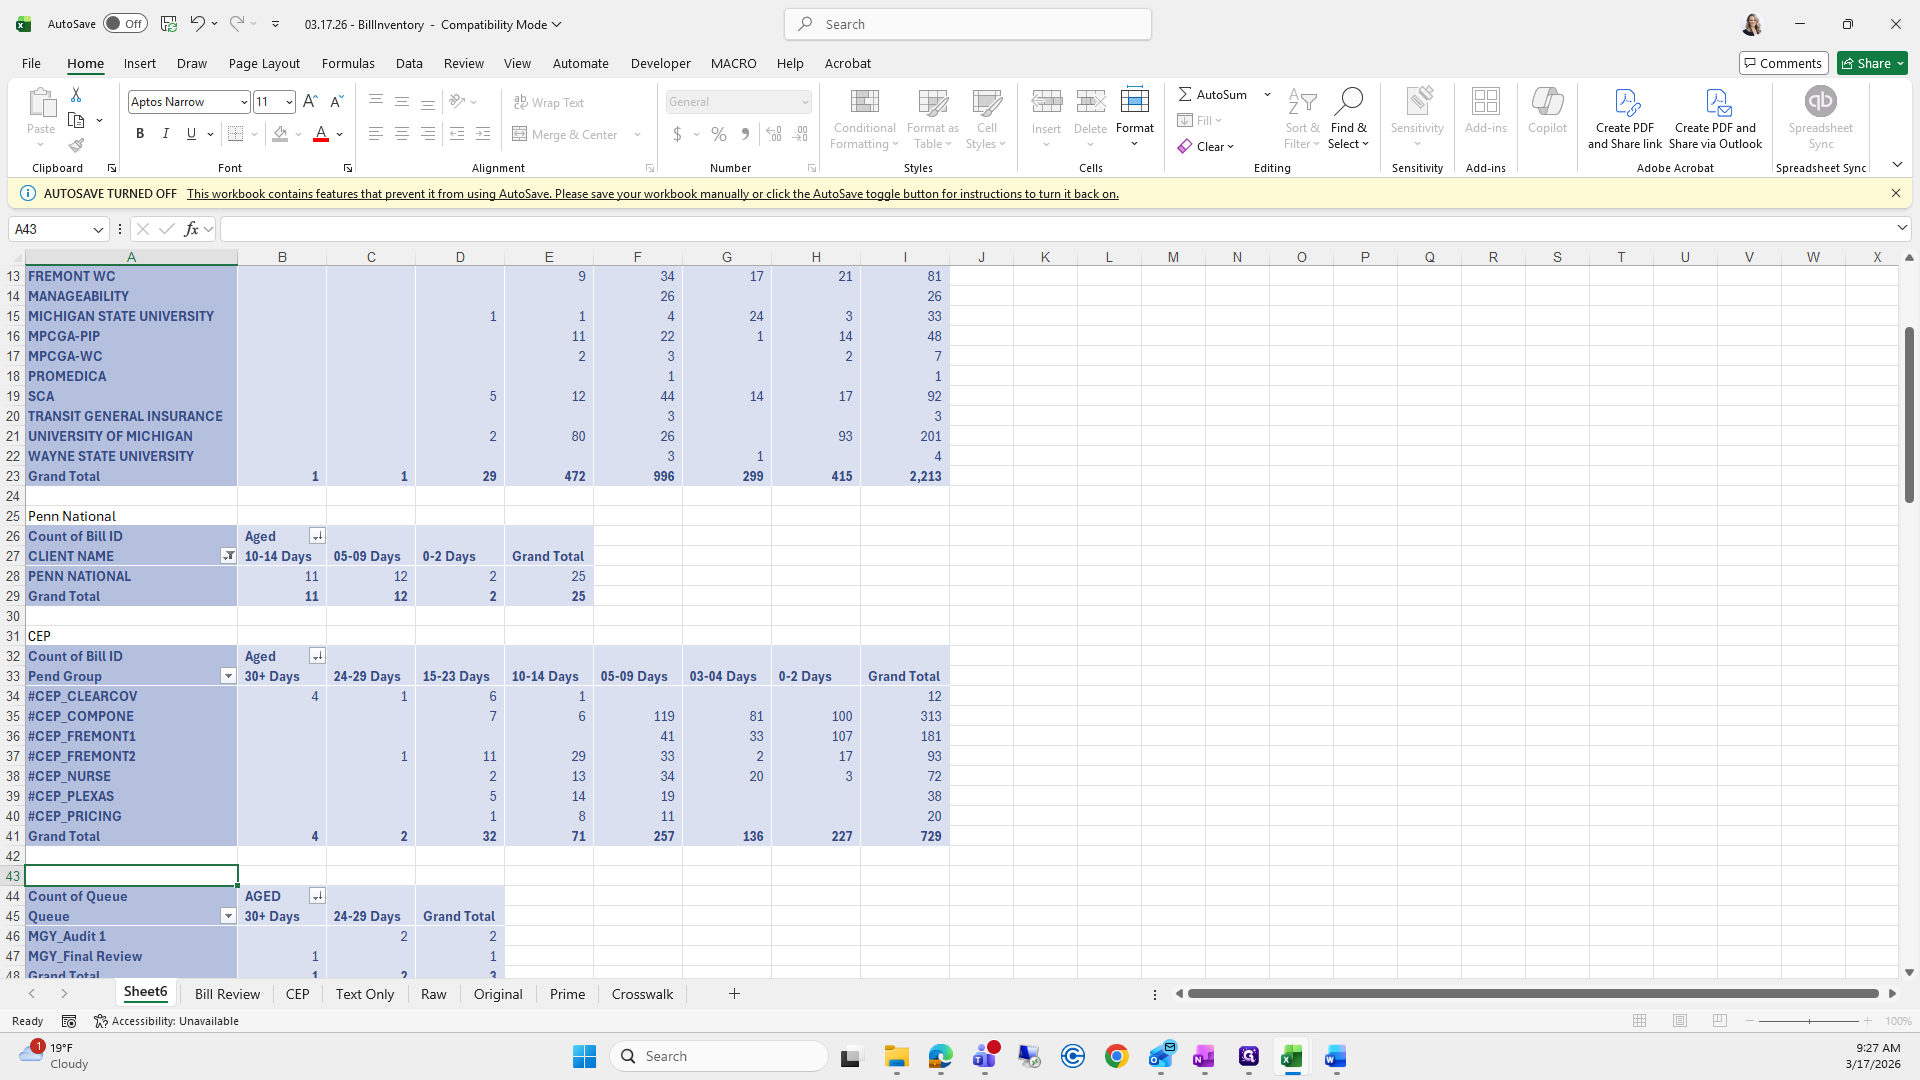
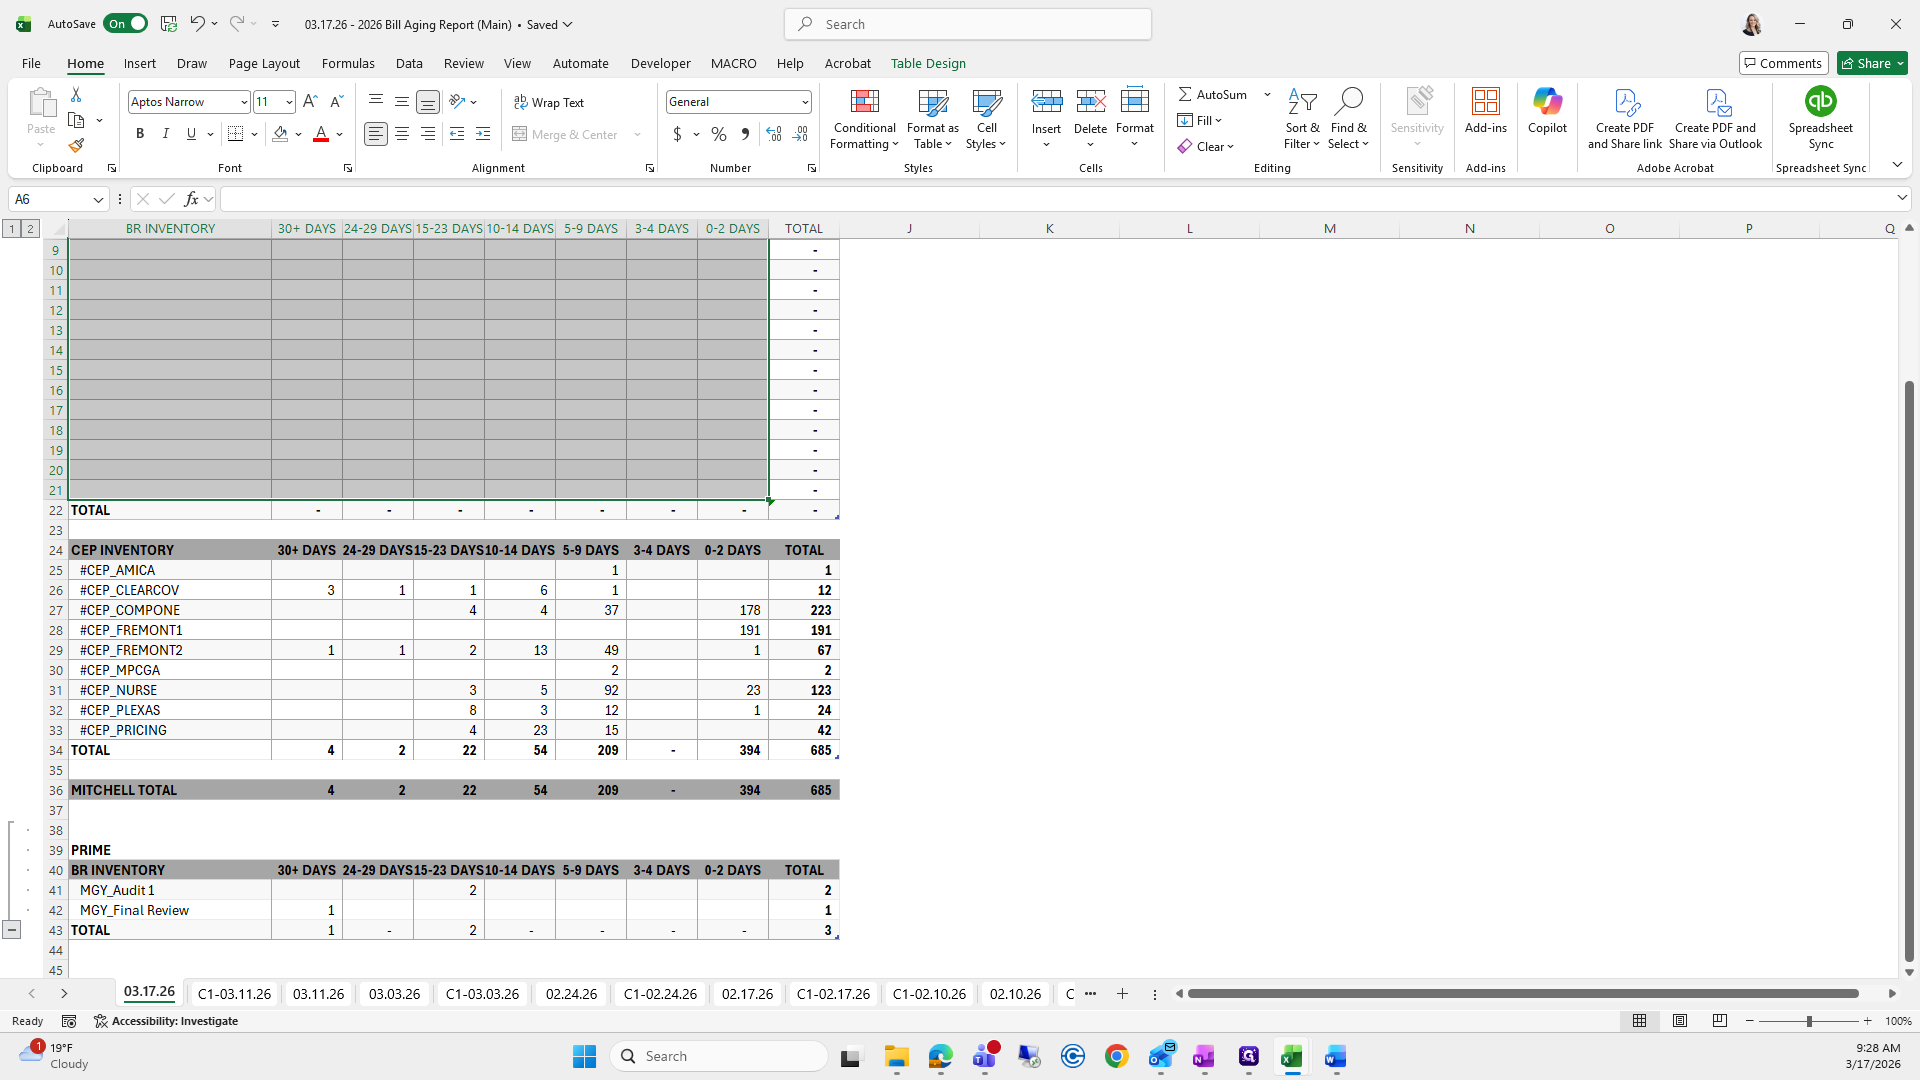
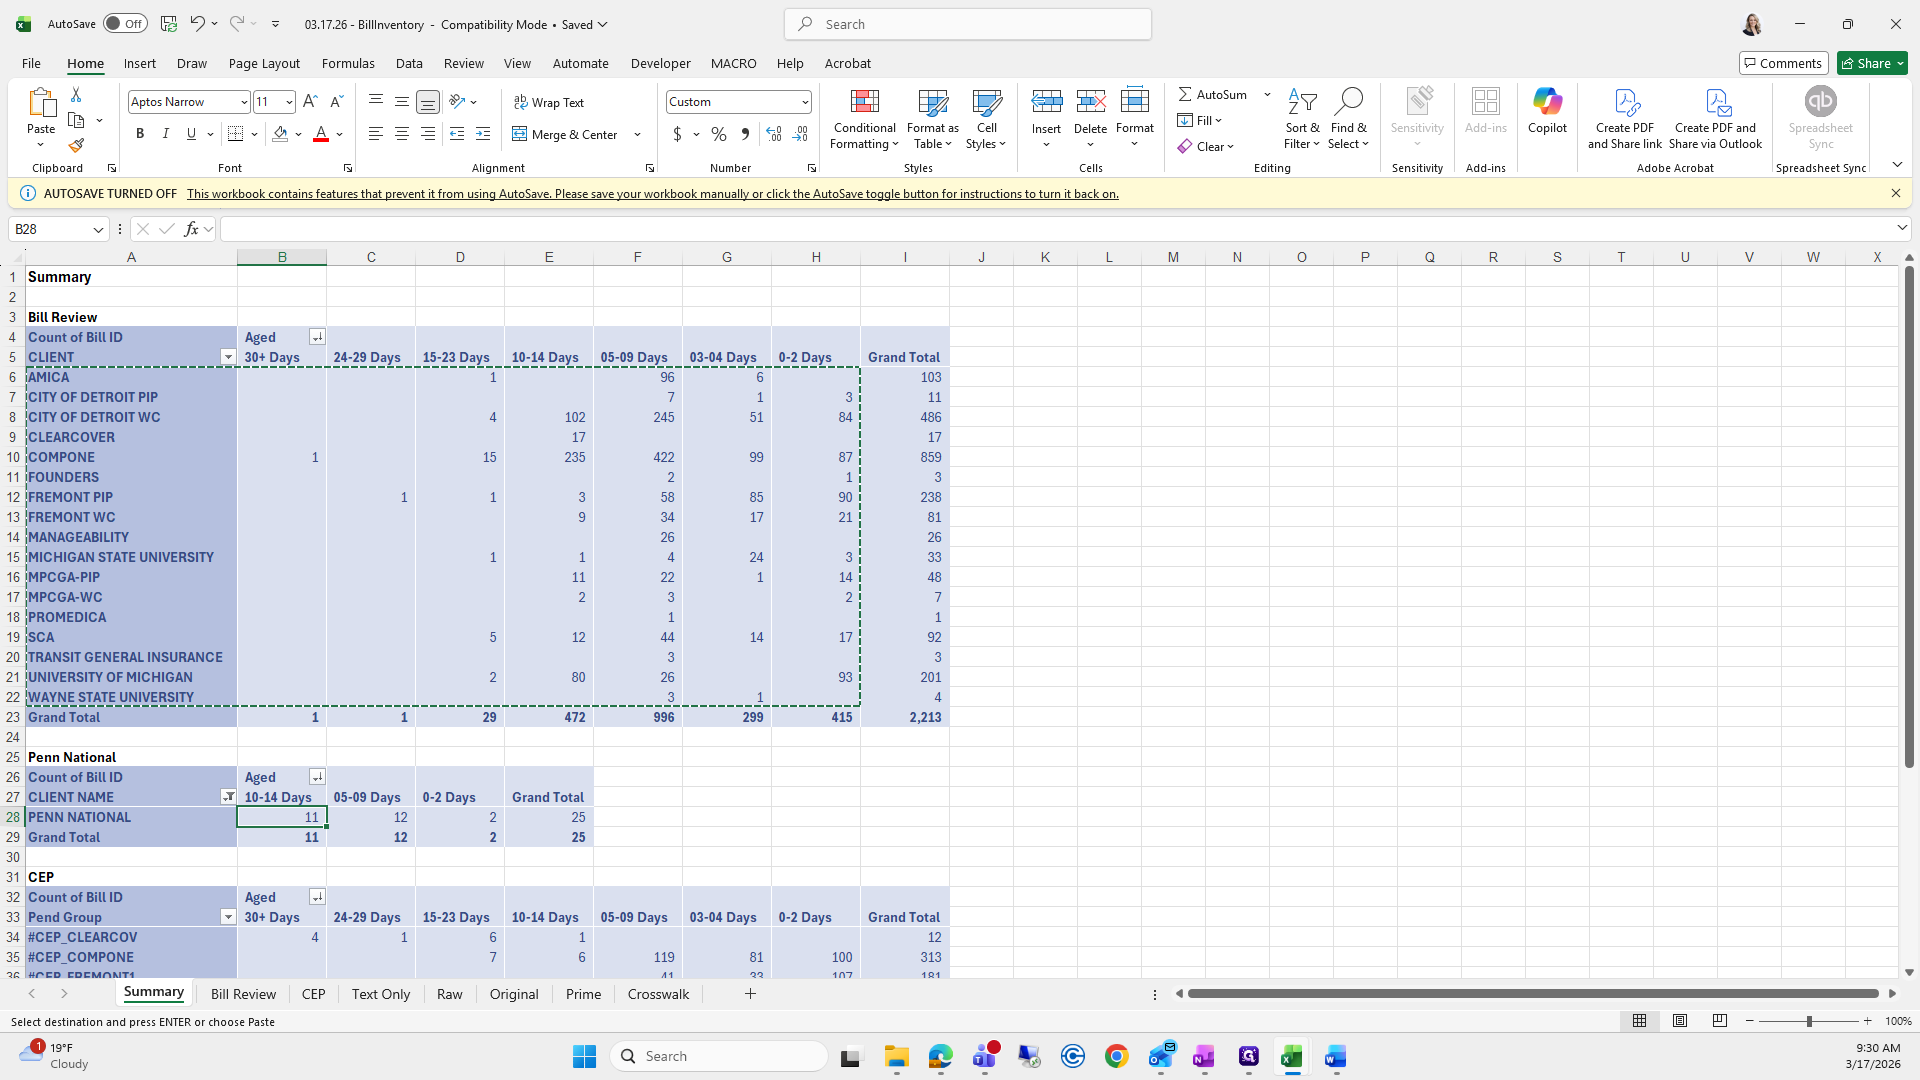
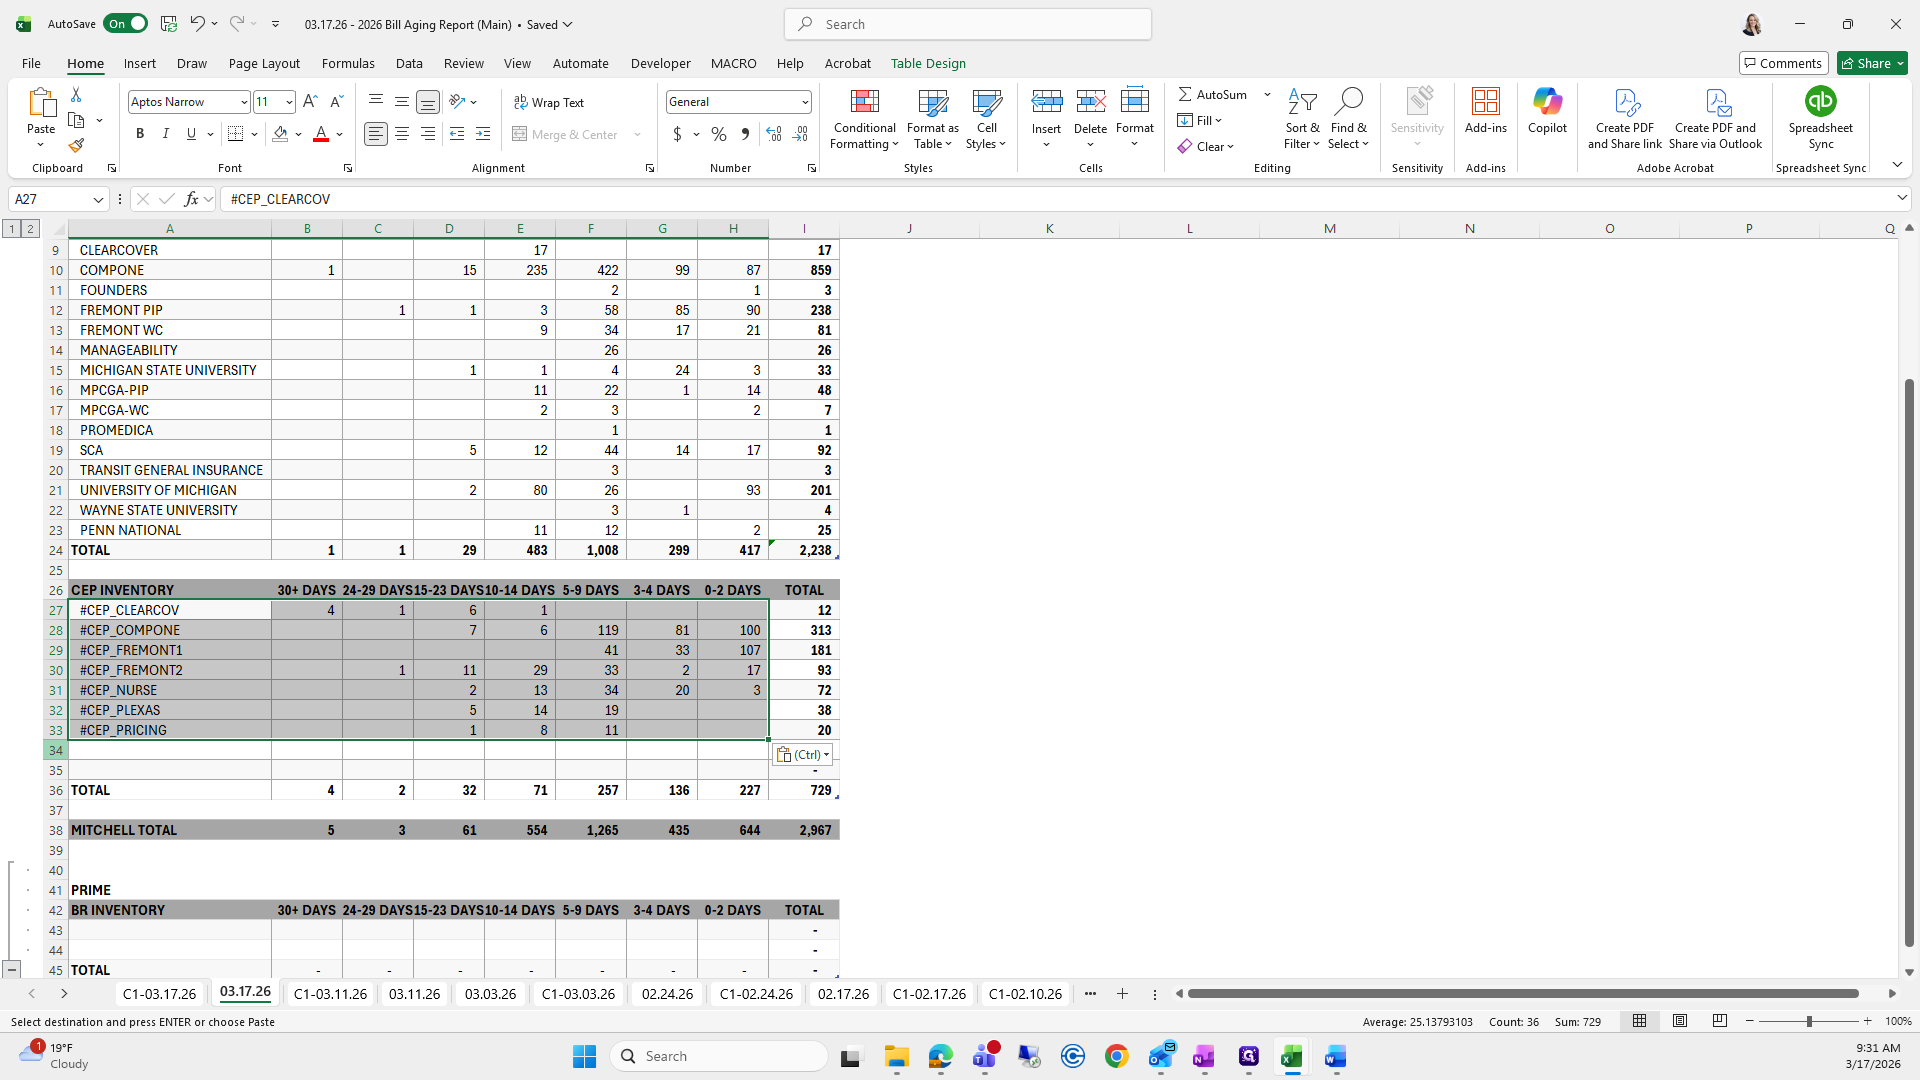
For CEP, we'll get that from our 317 file.

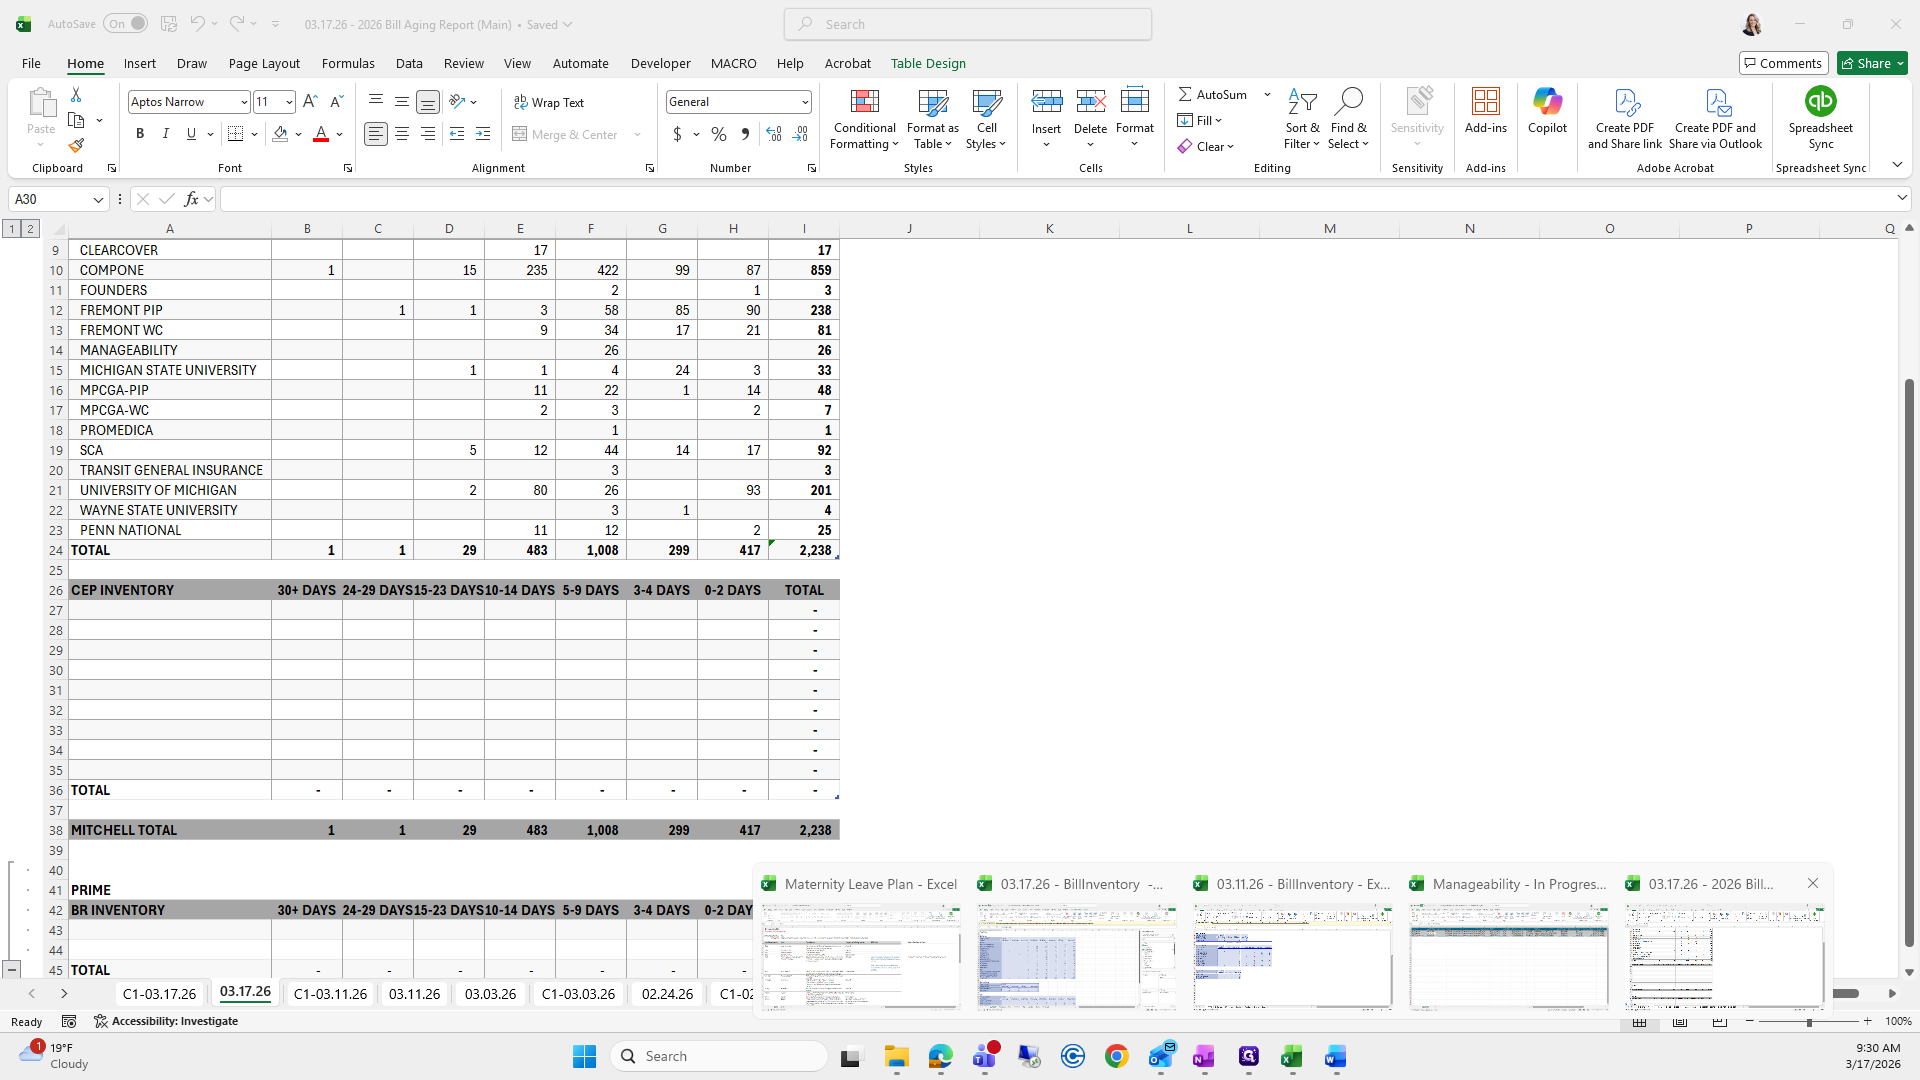

""
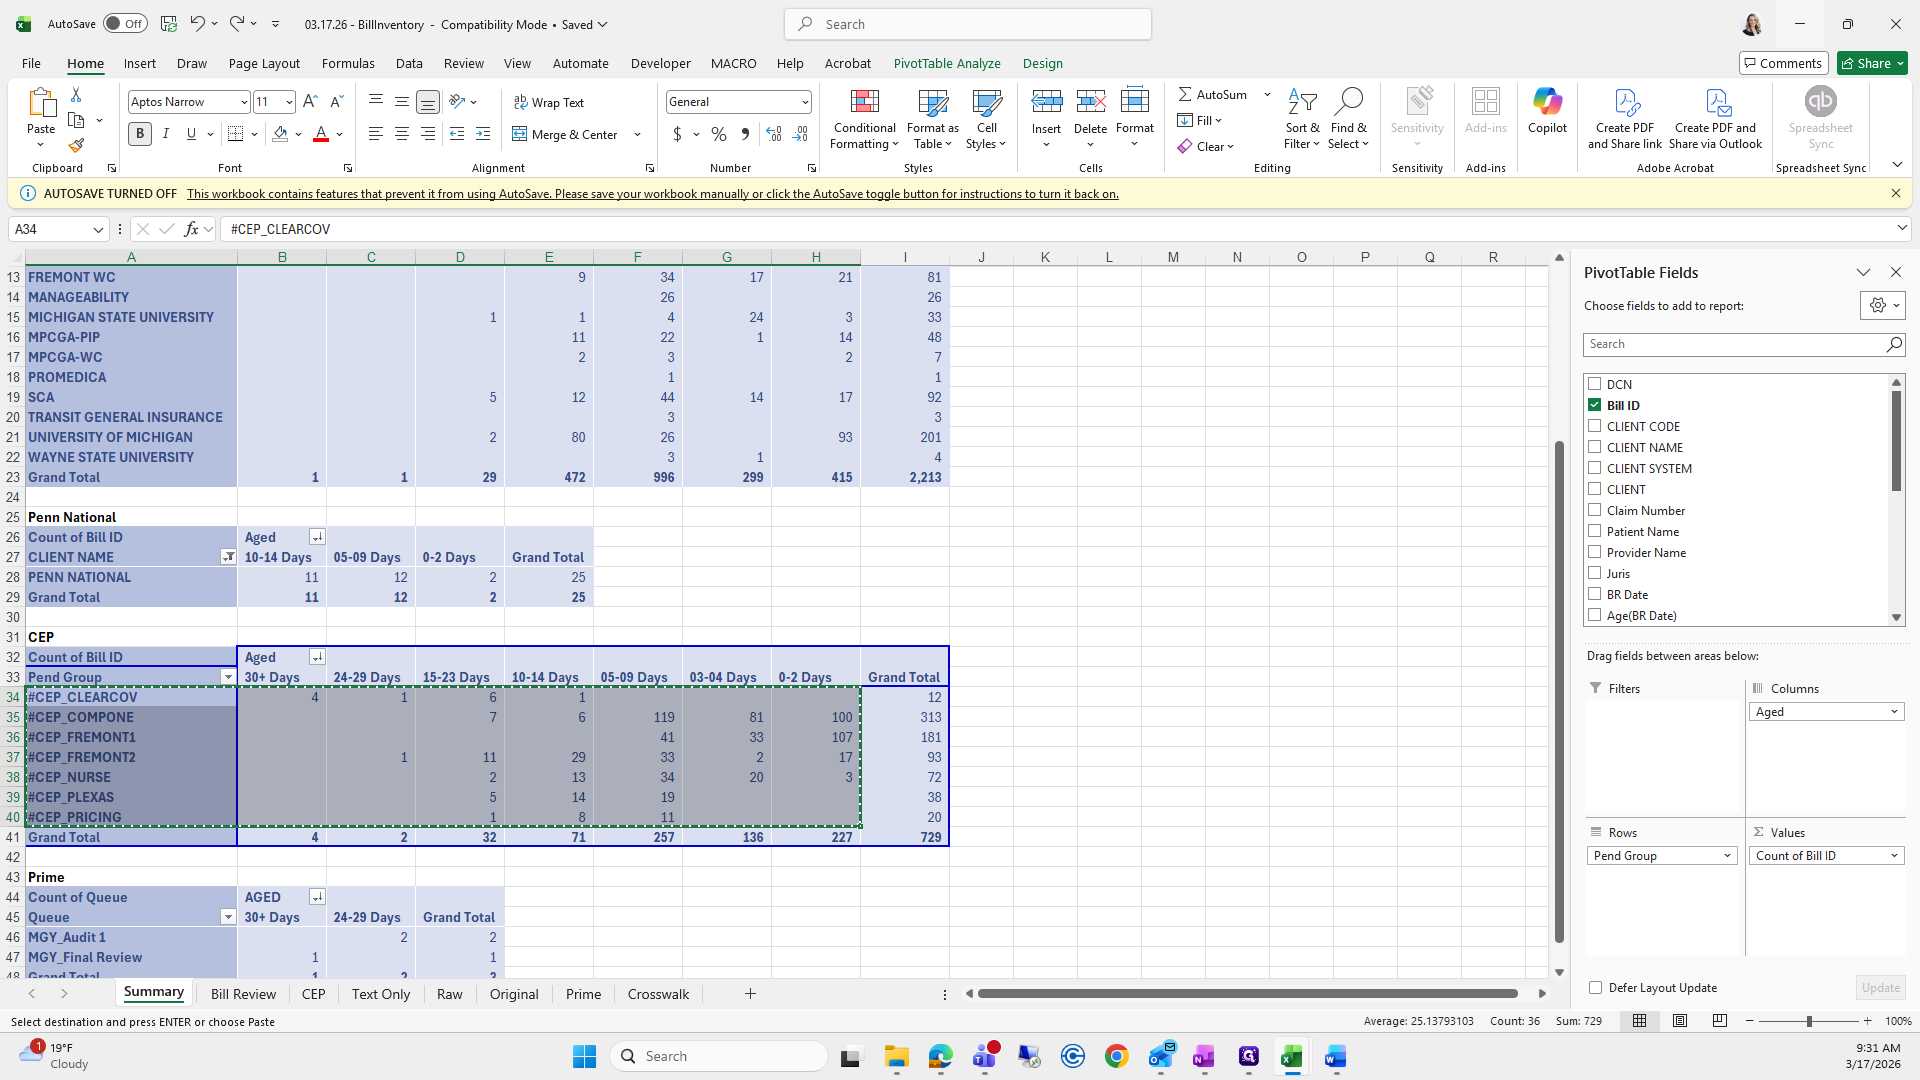
Paste Special.
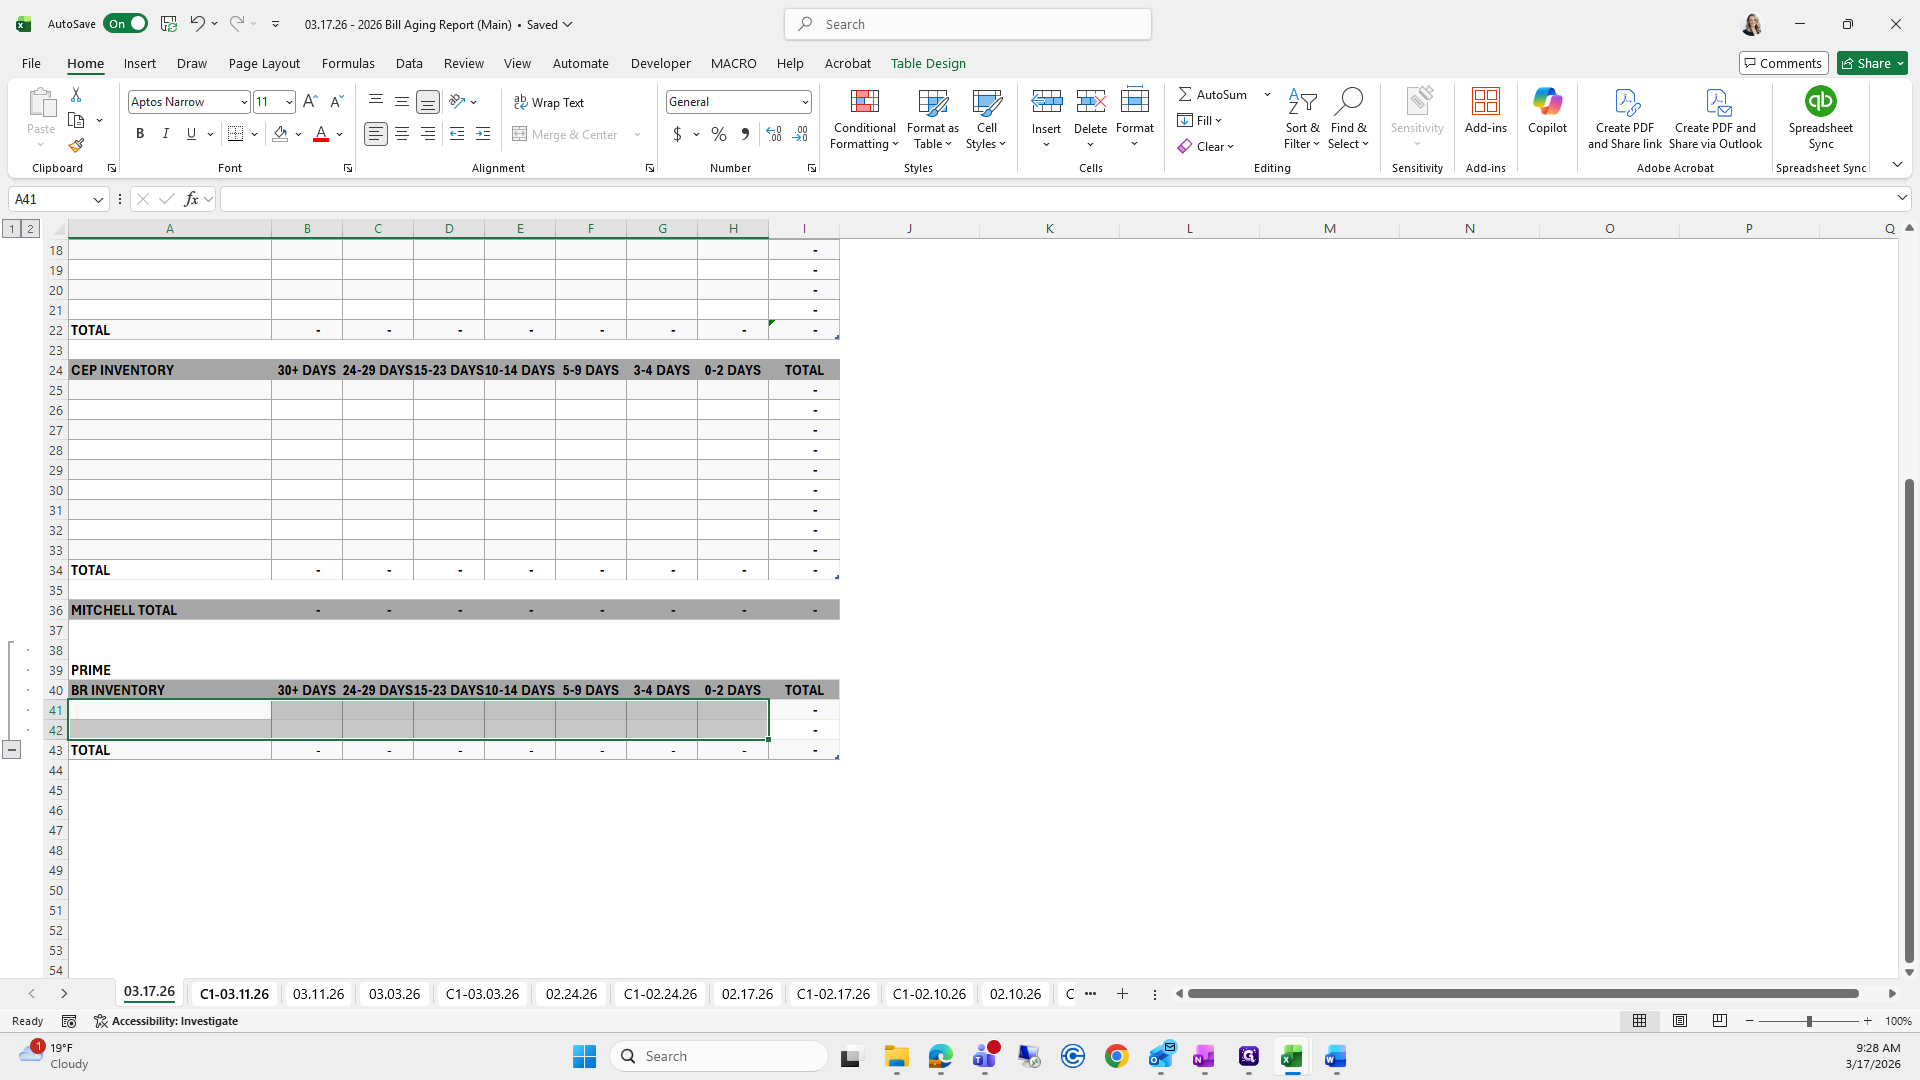
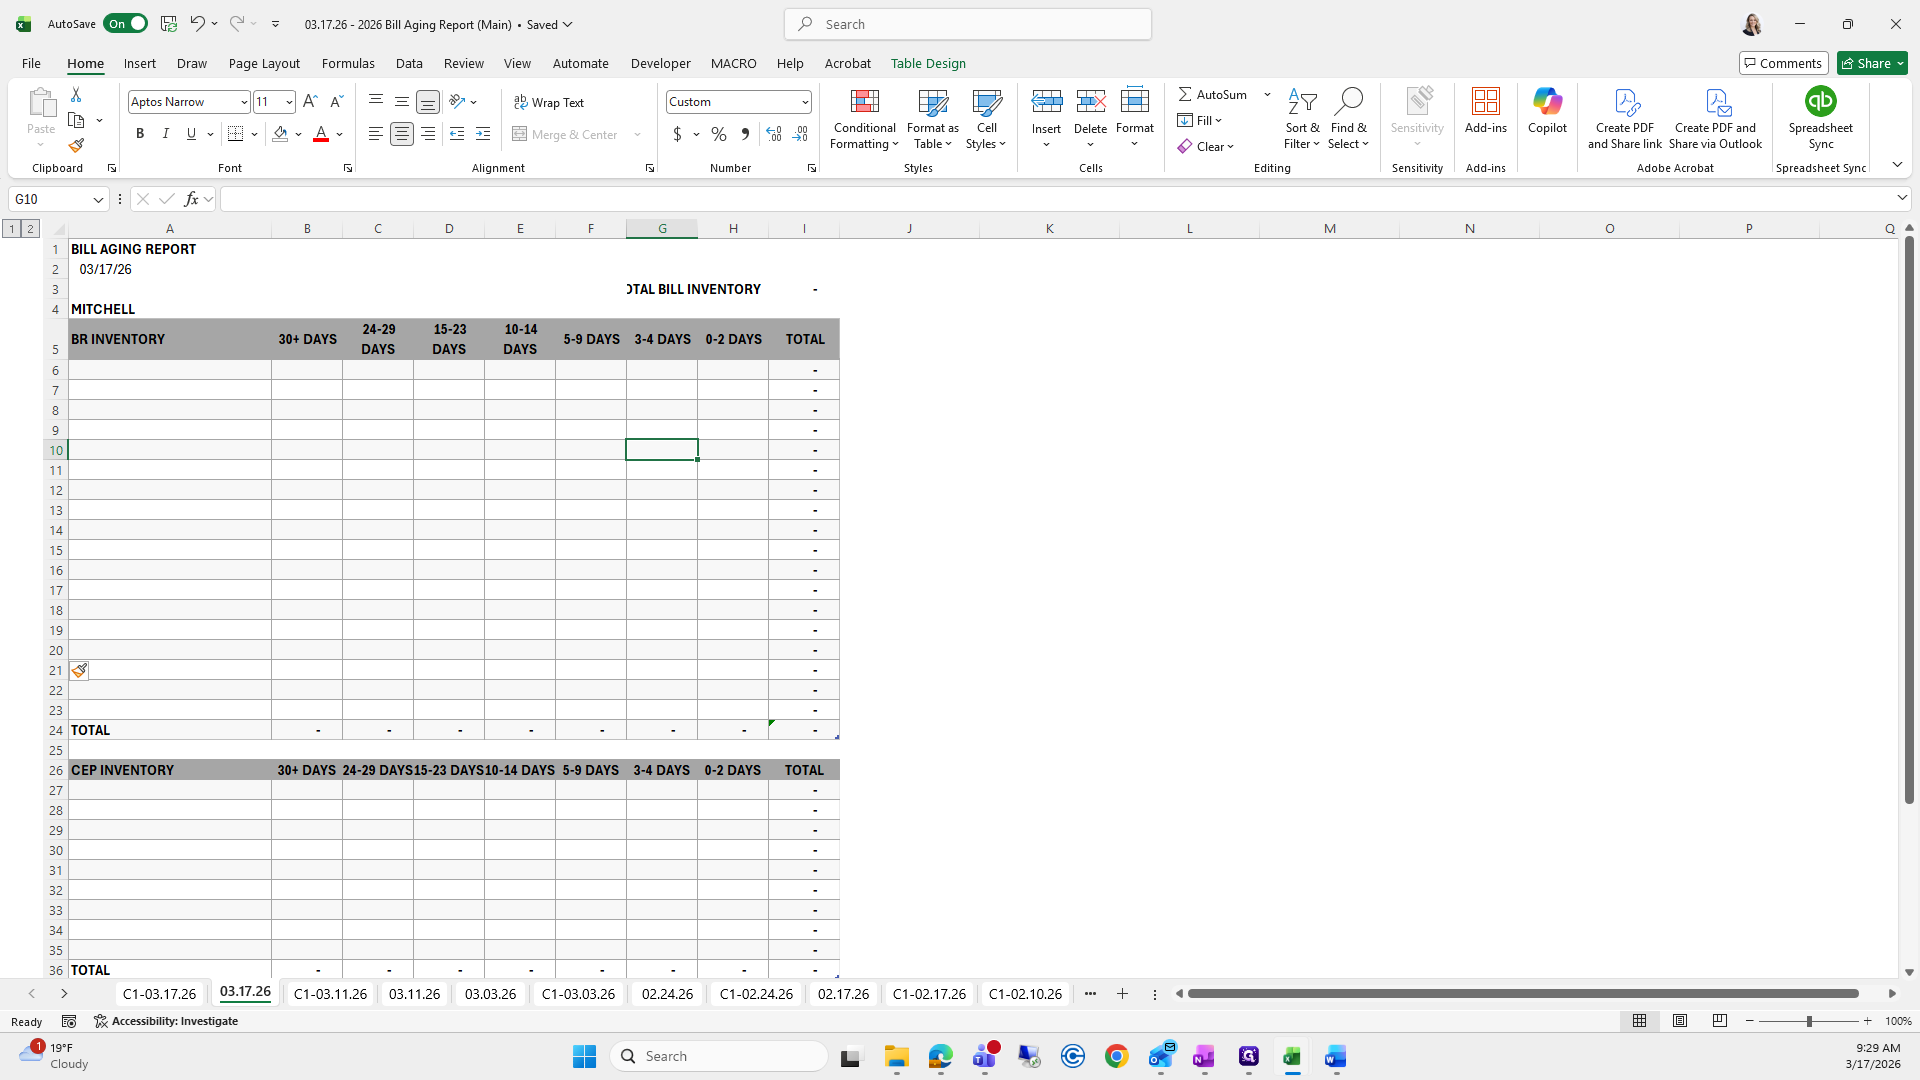
I will remove the extra rows.
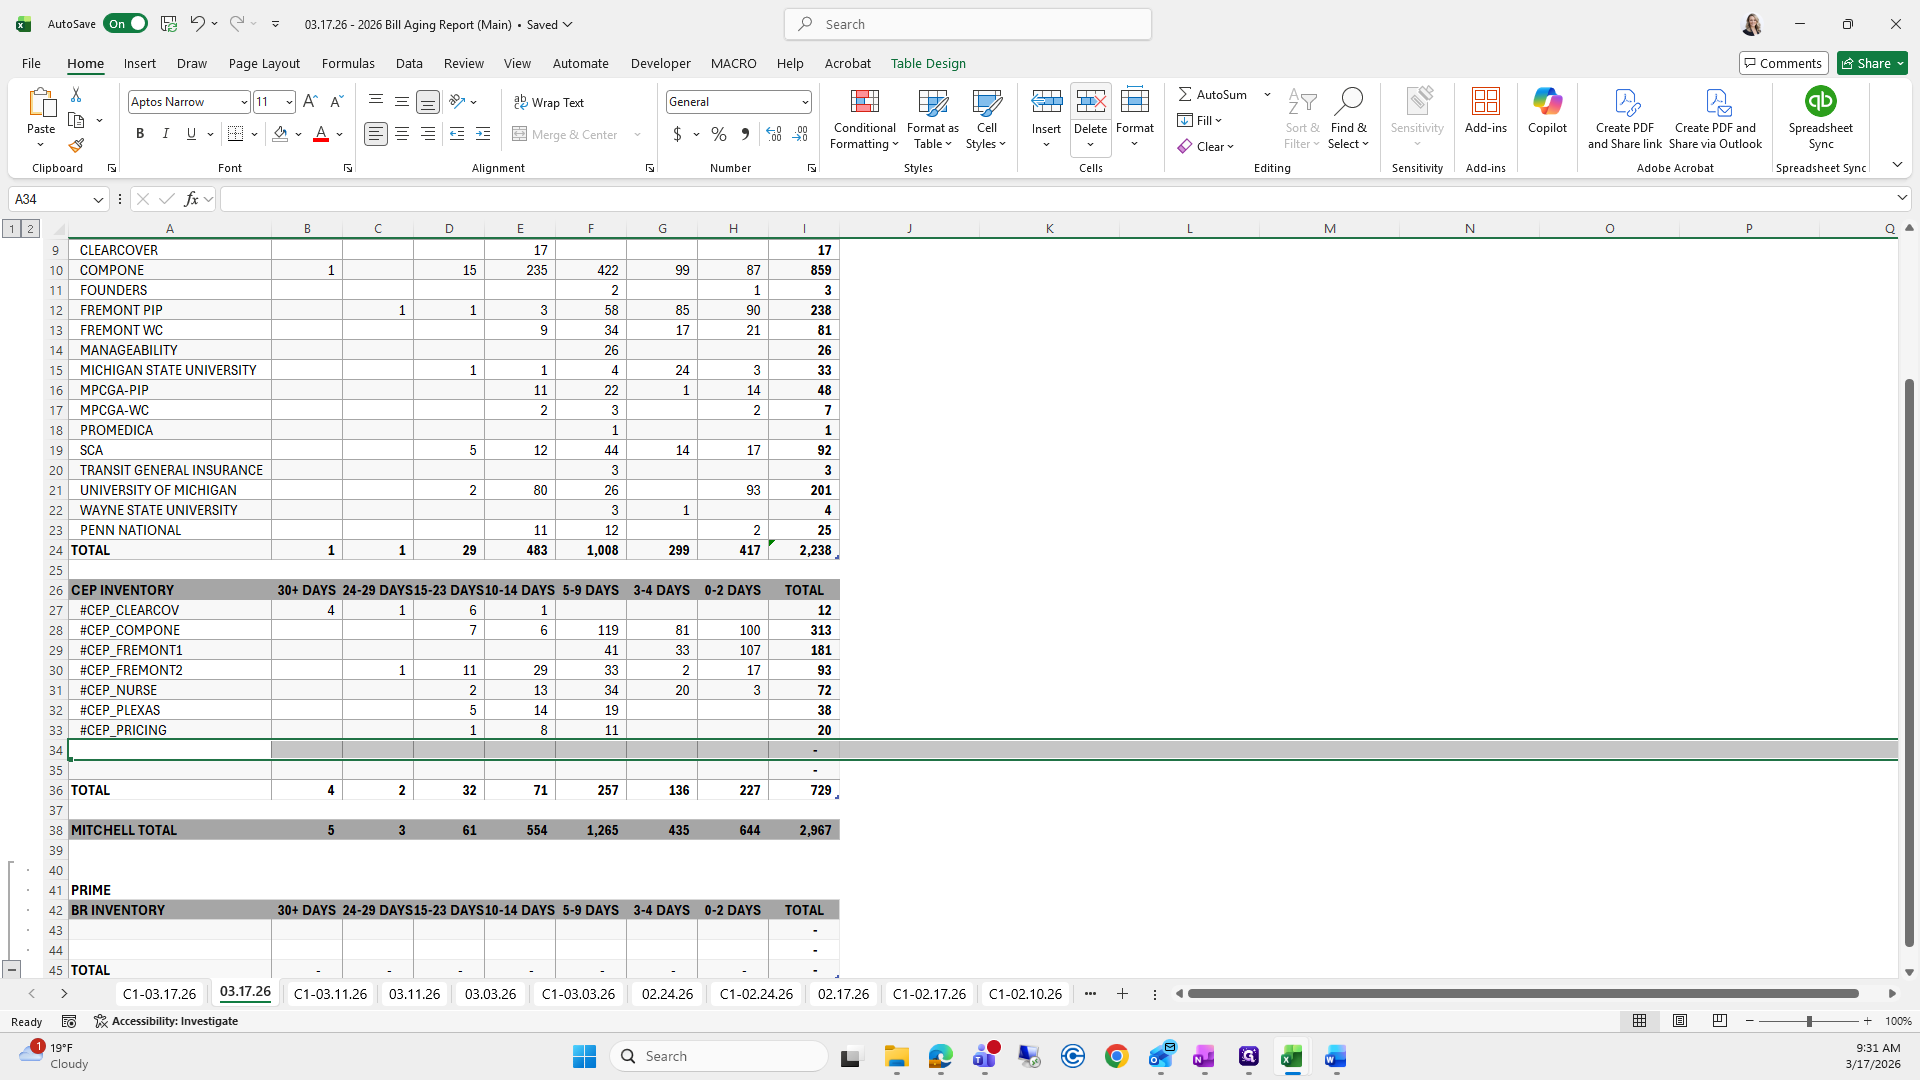
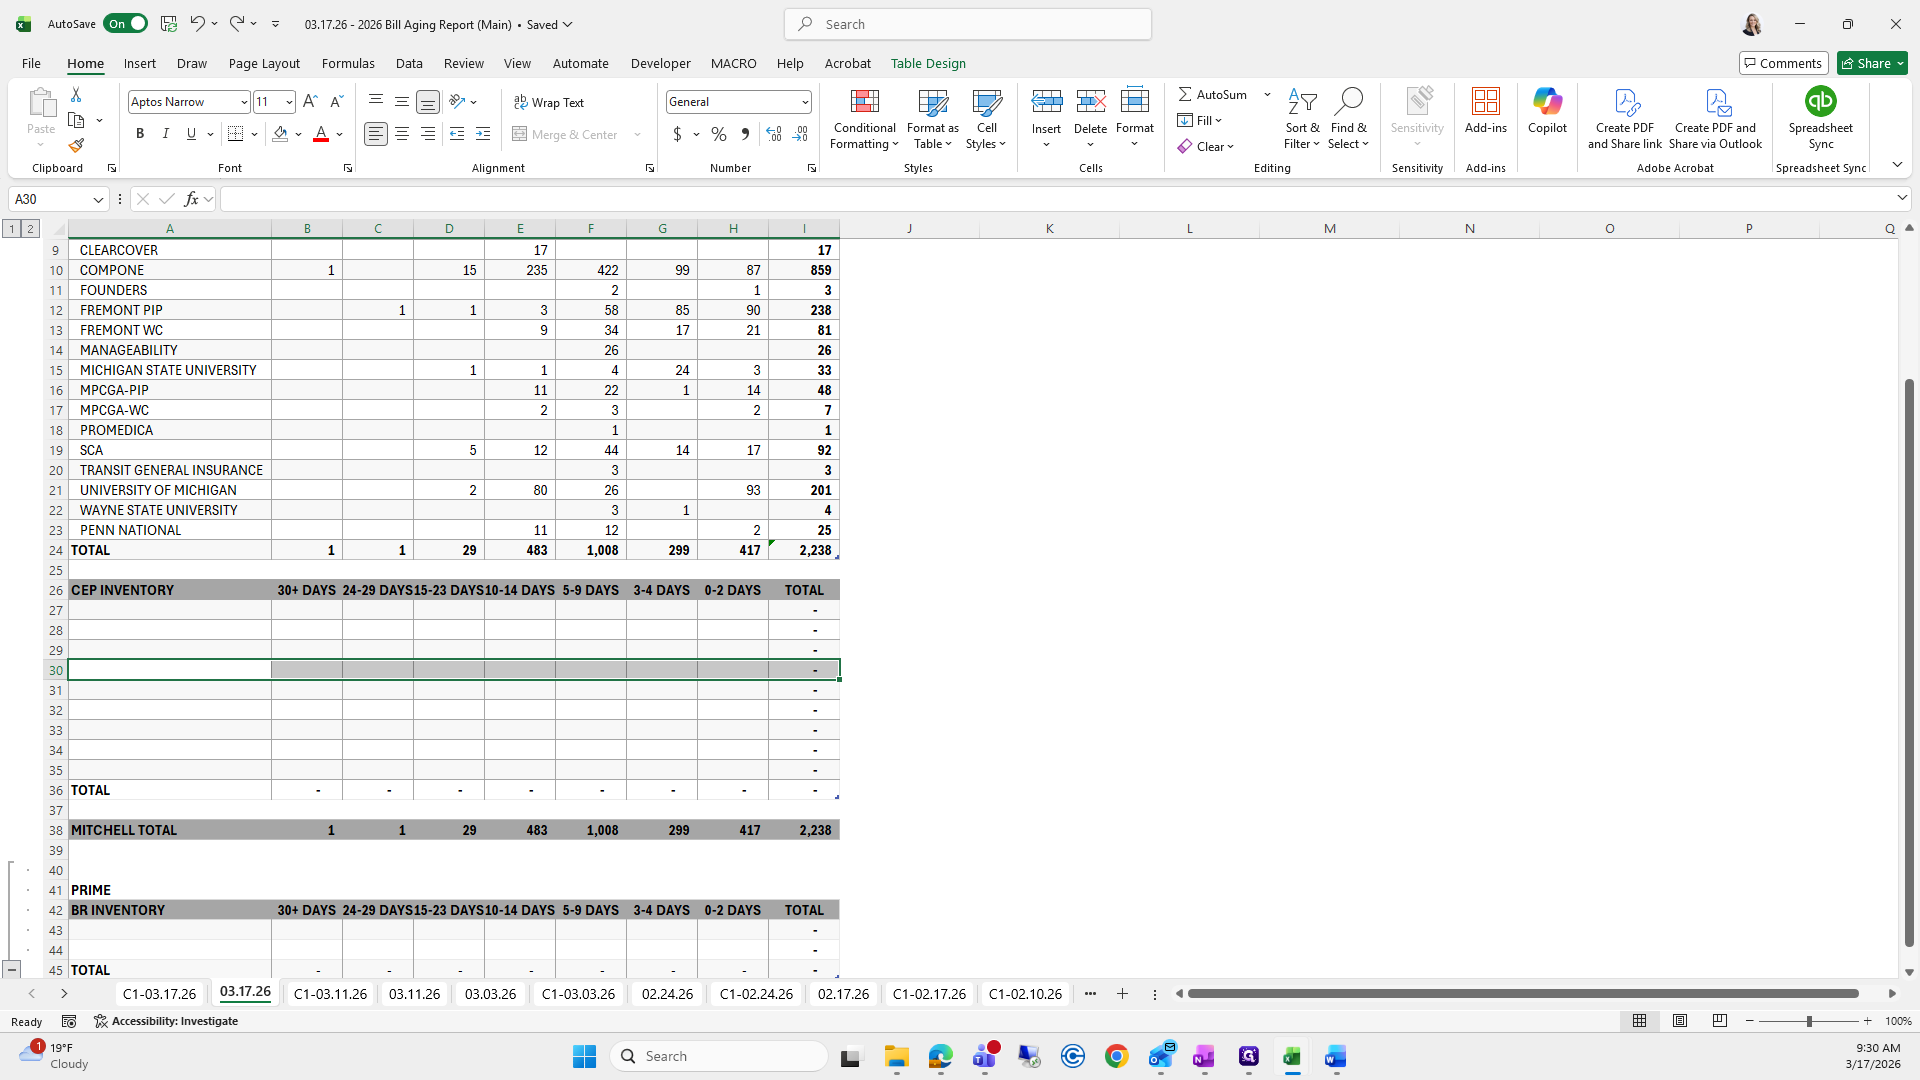
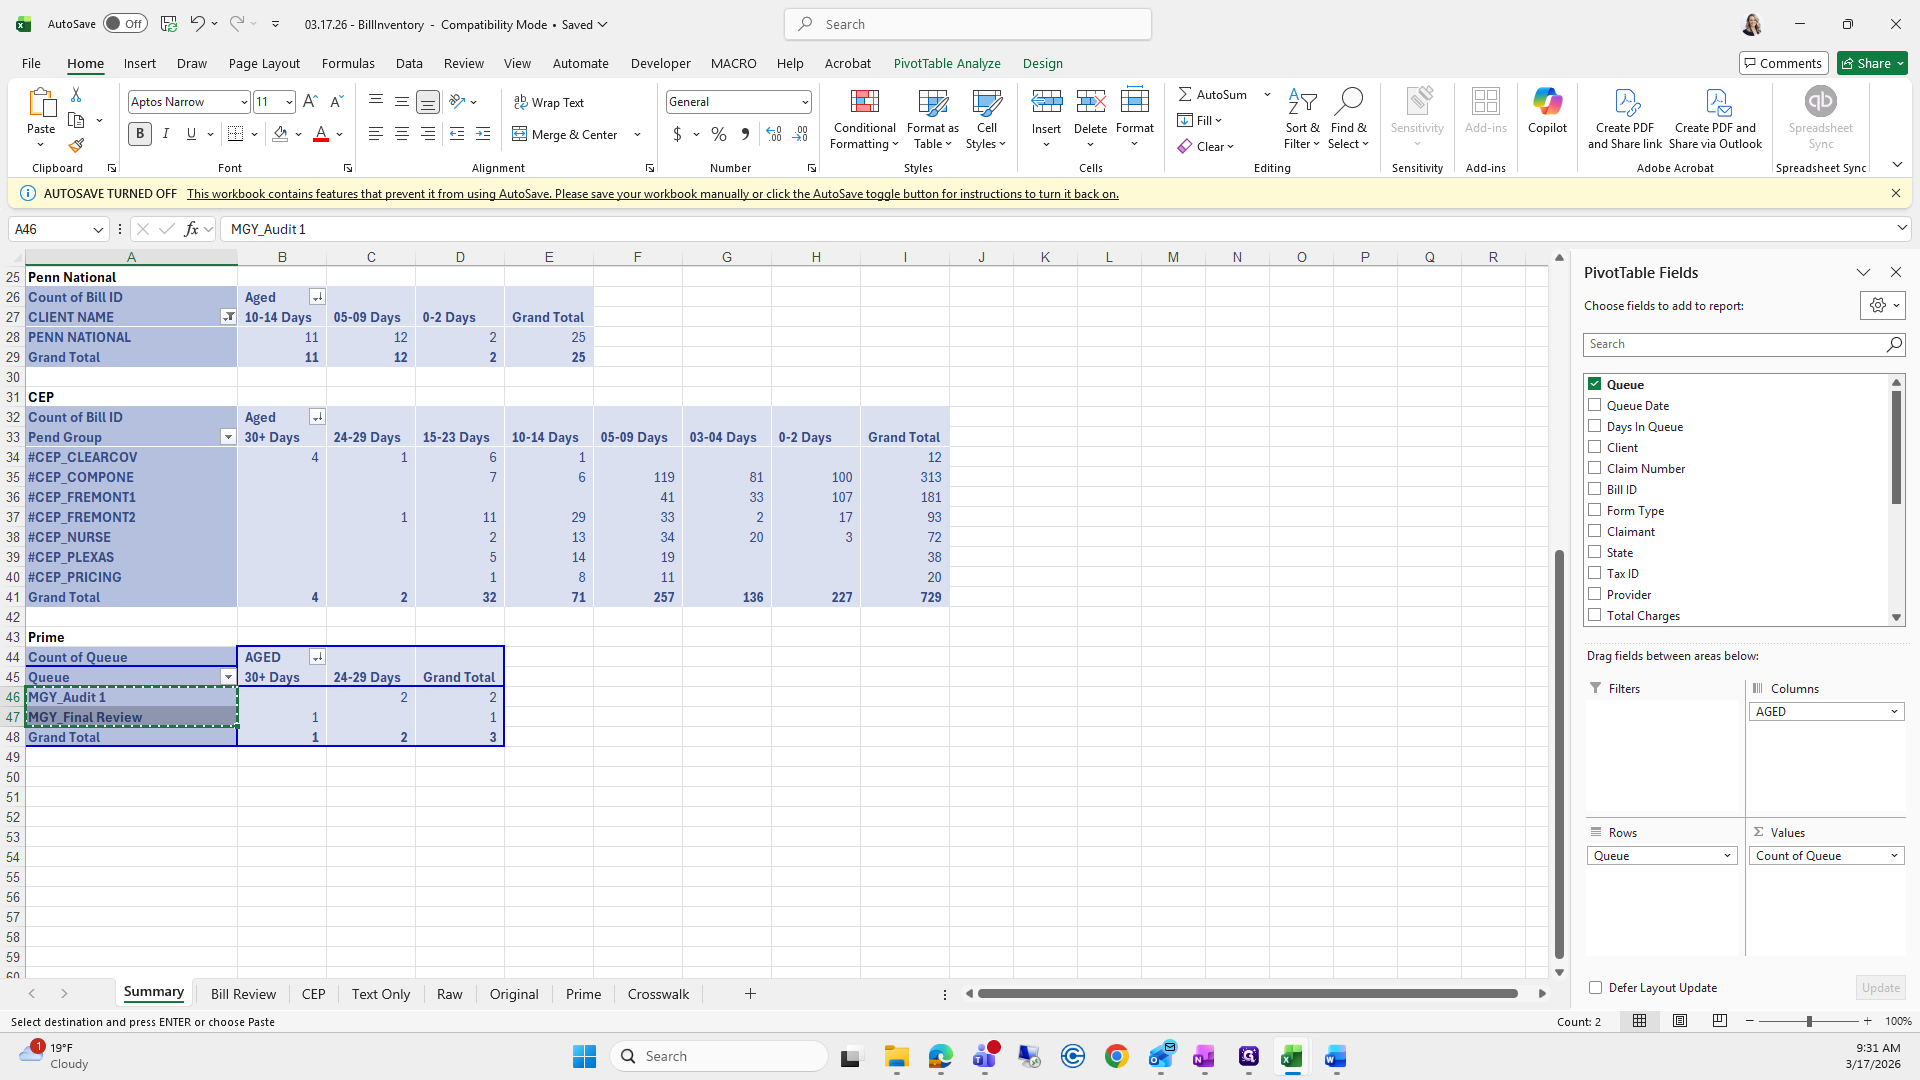
Do the same for Prime.
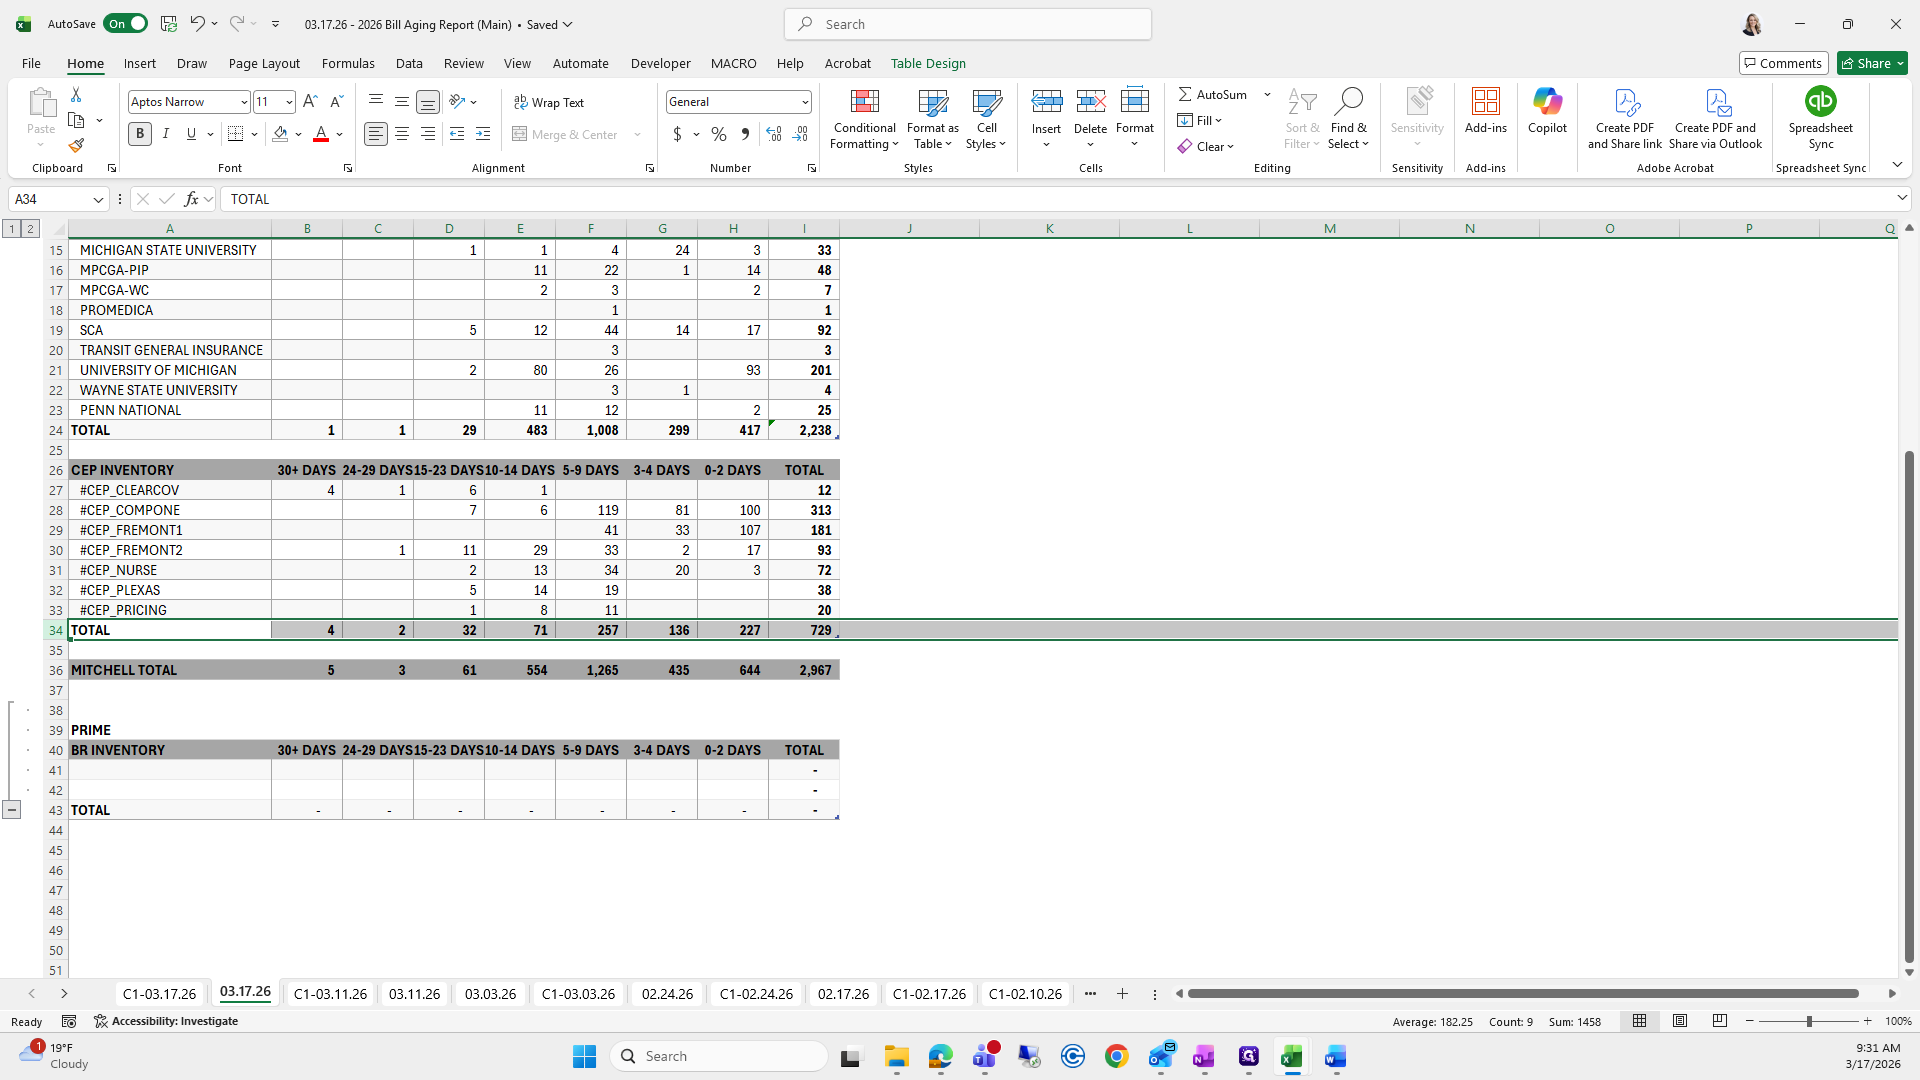

That should be fine.


Oops.

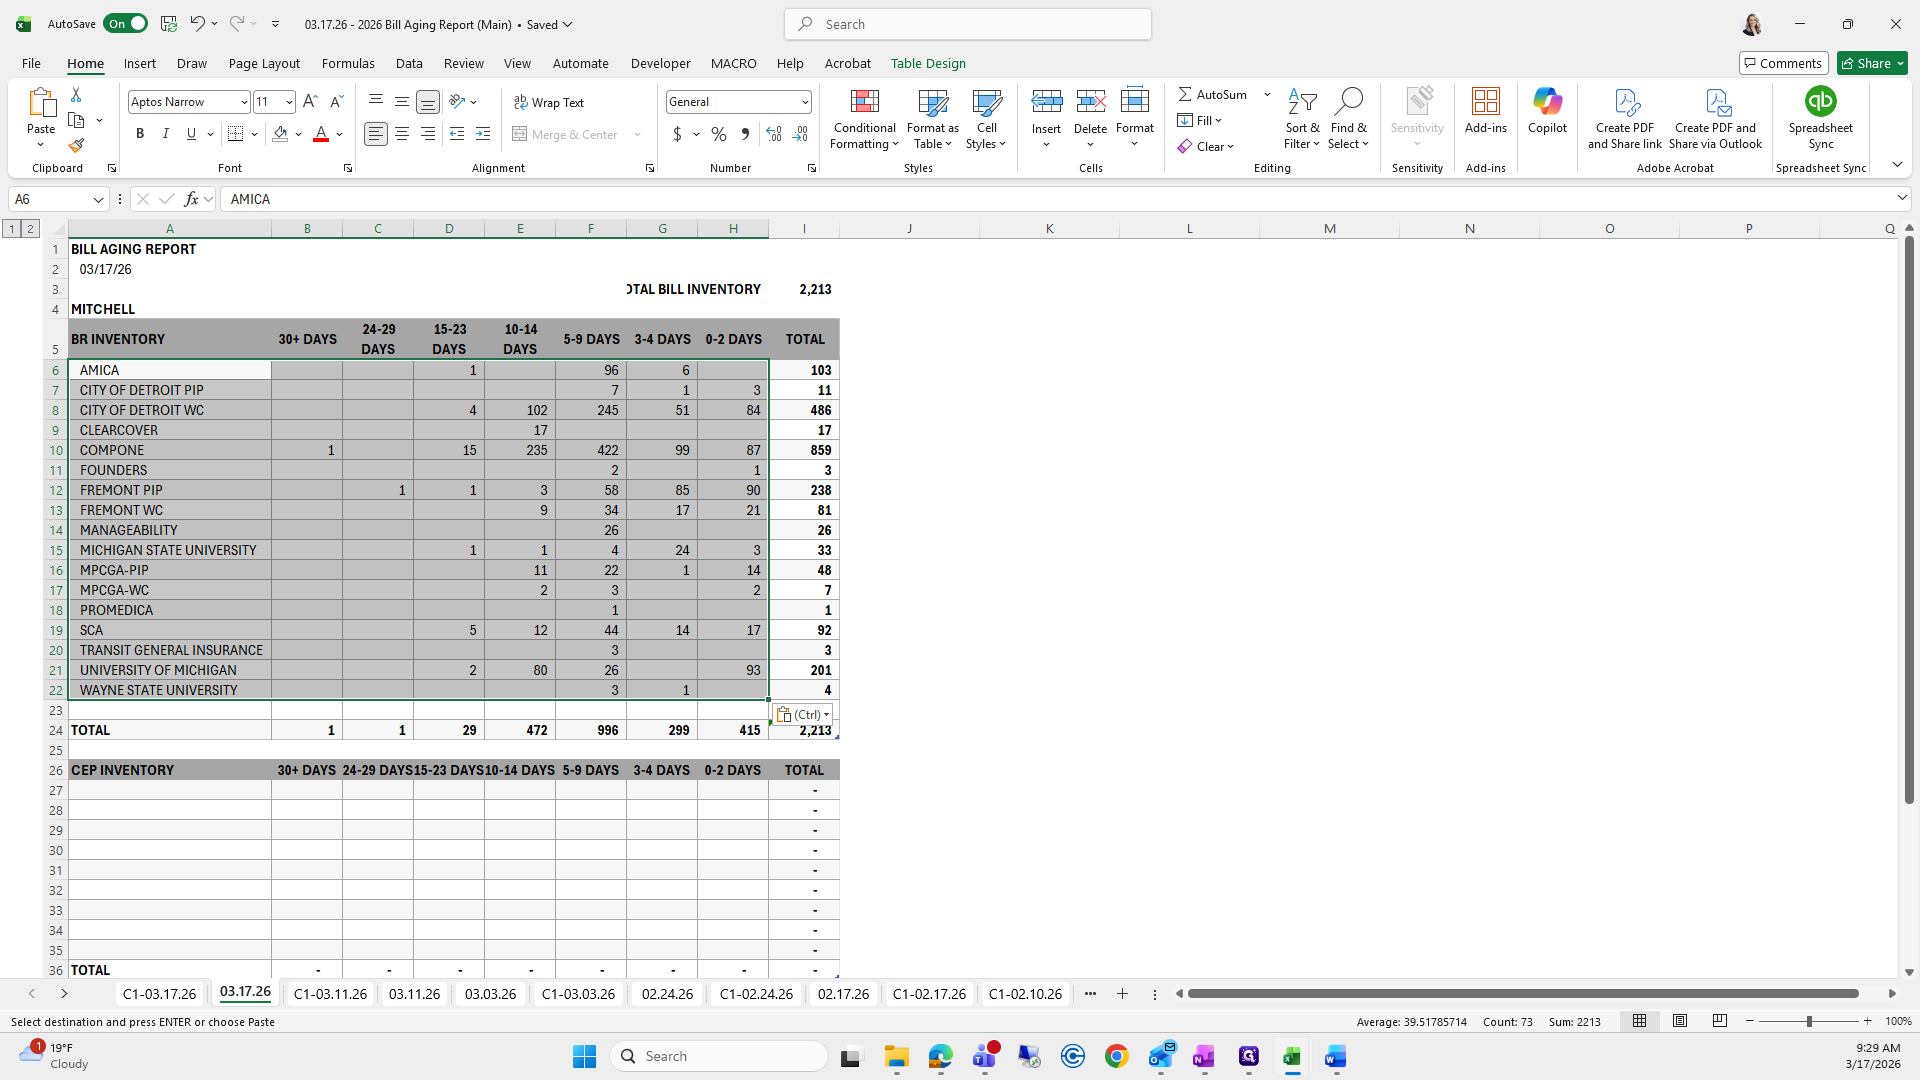
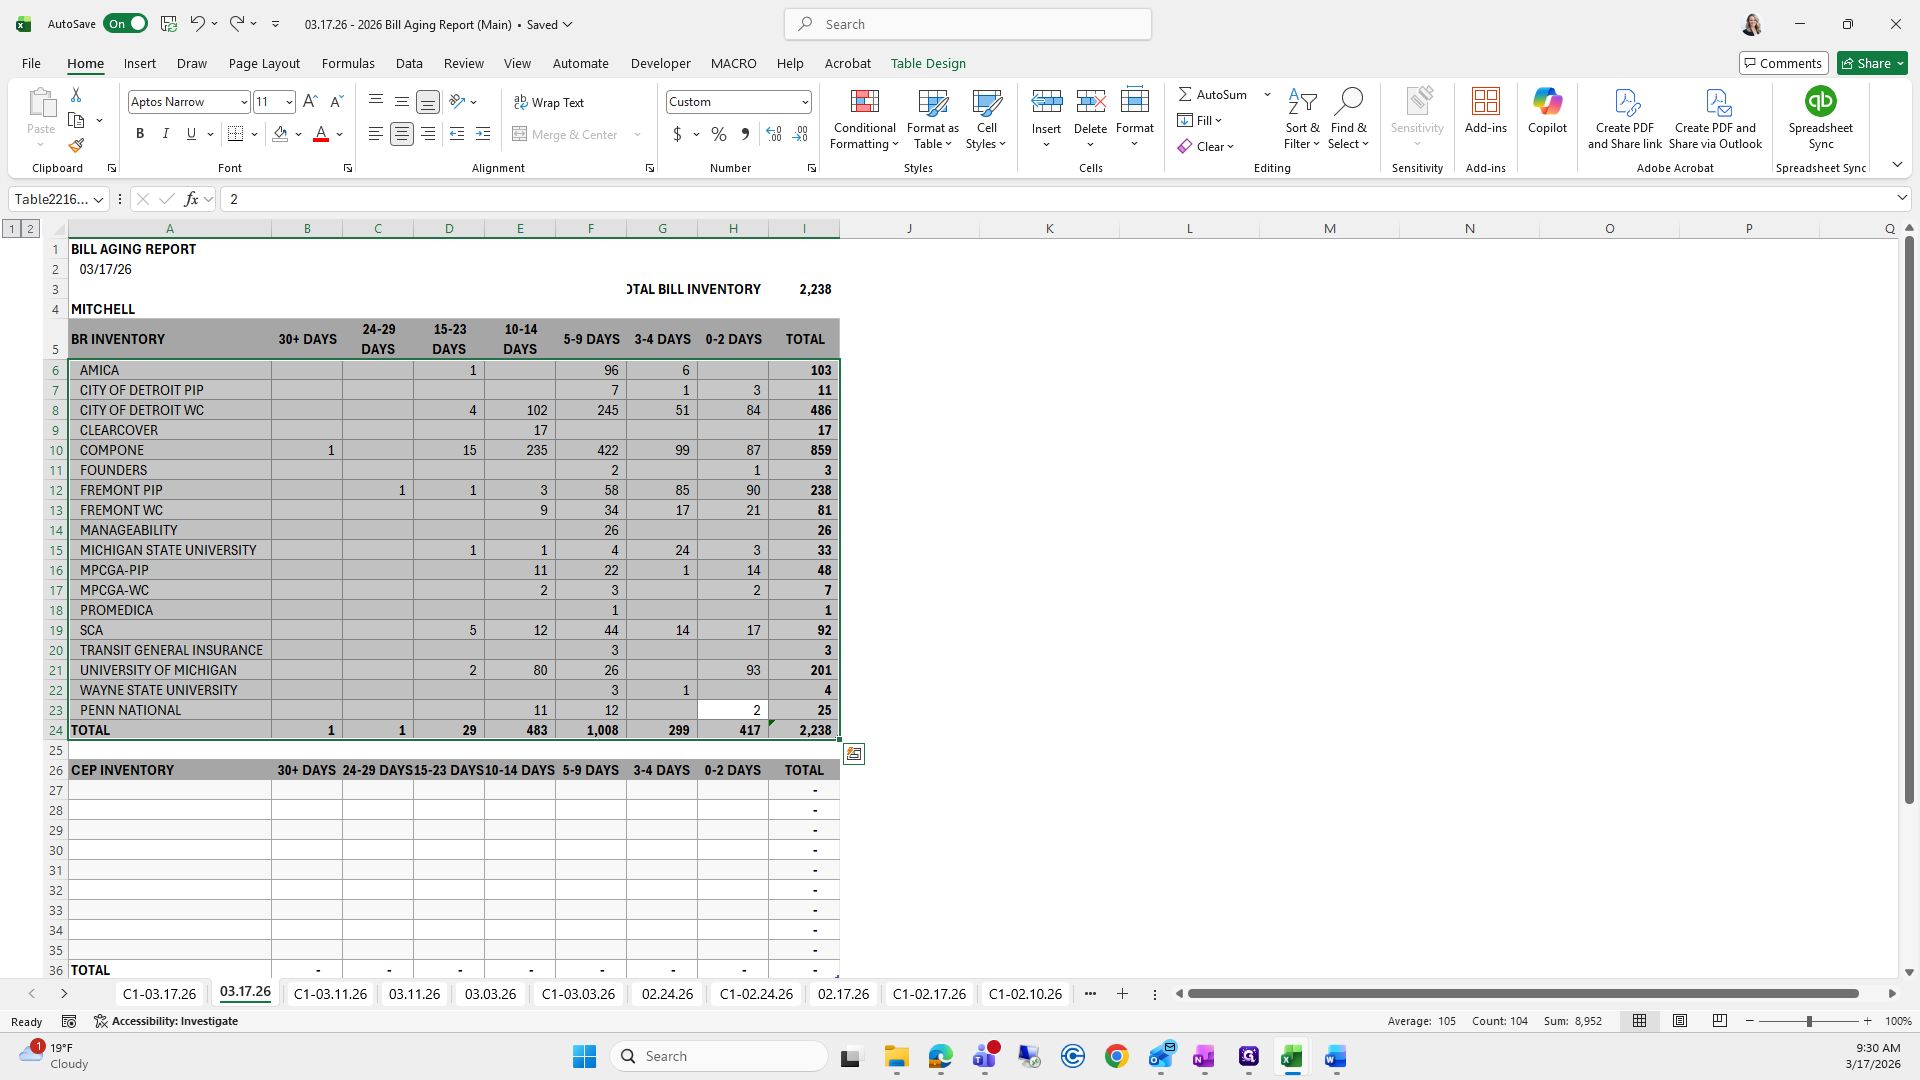
Make sure the days line up, and that the times of 30 and 24 match.


We will look at that.
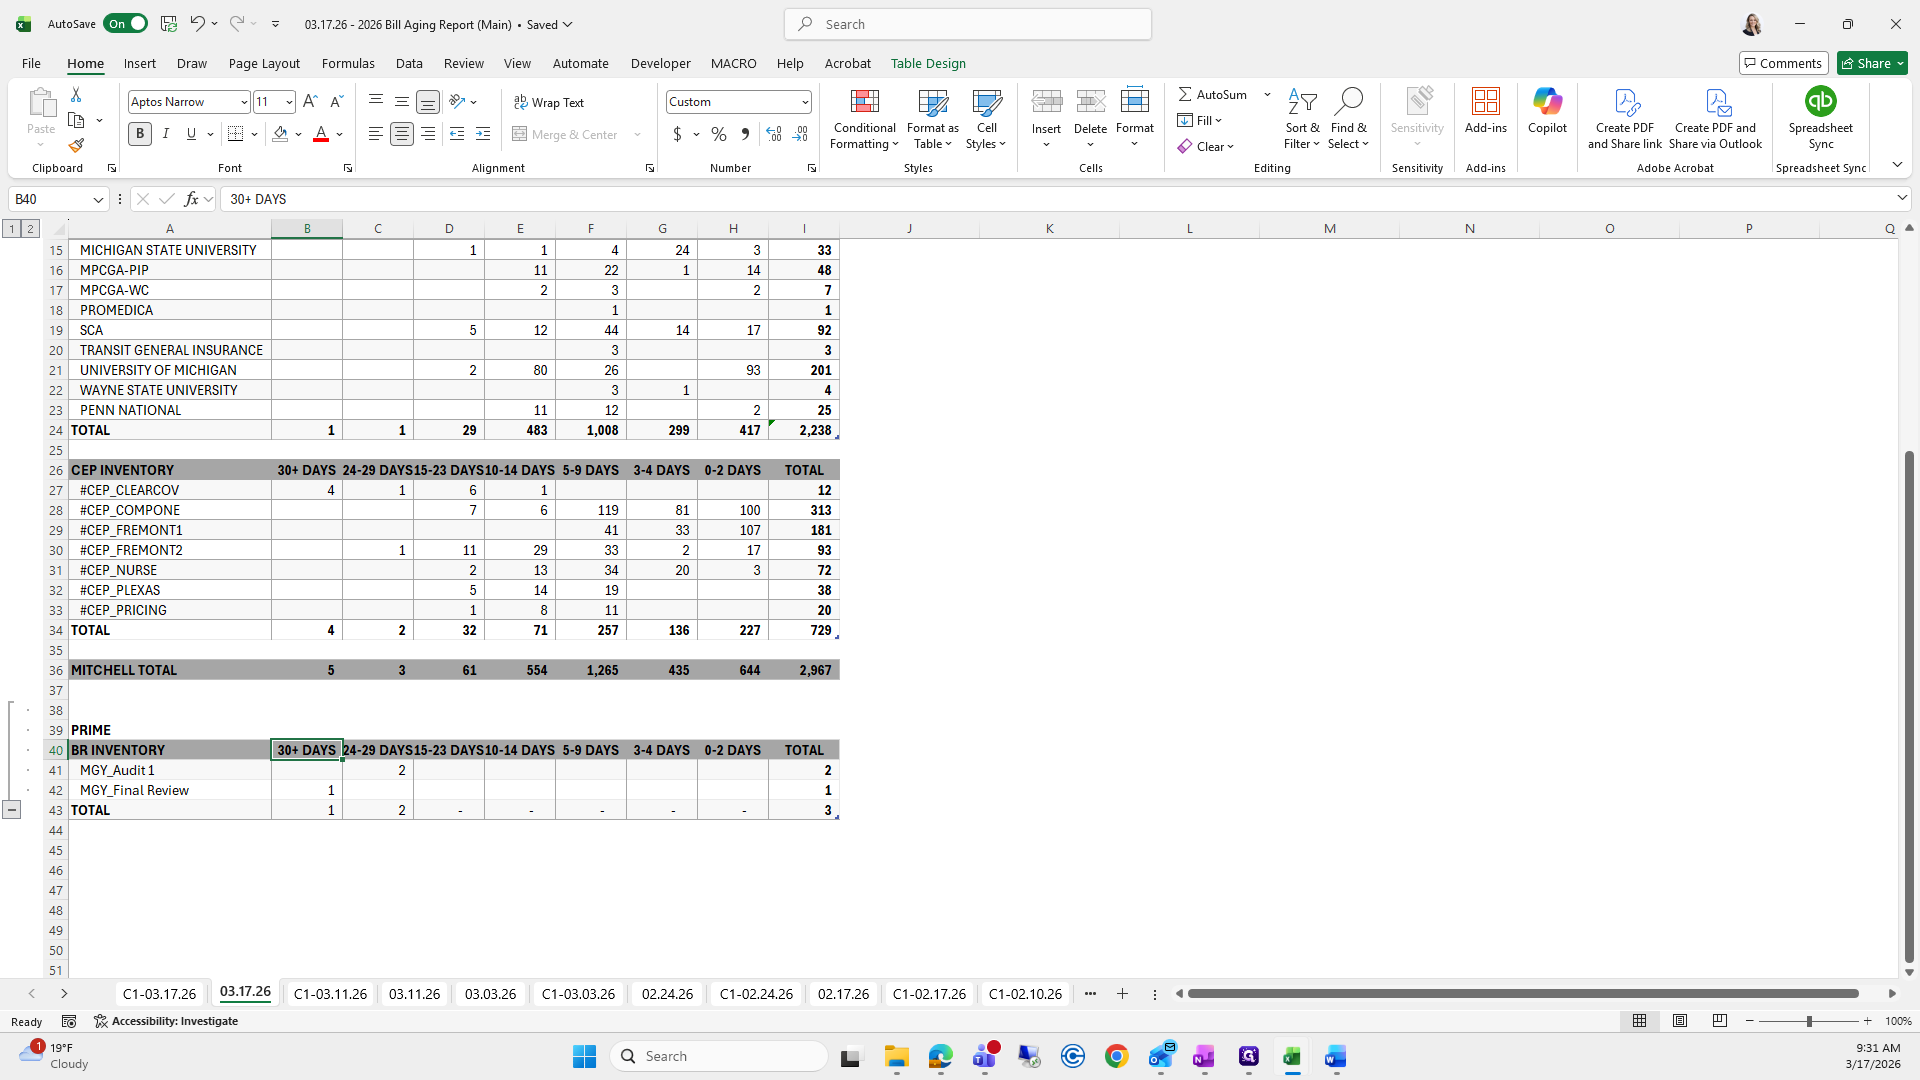
They do, so that looks good.
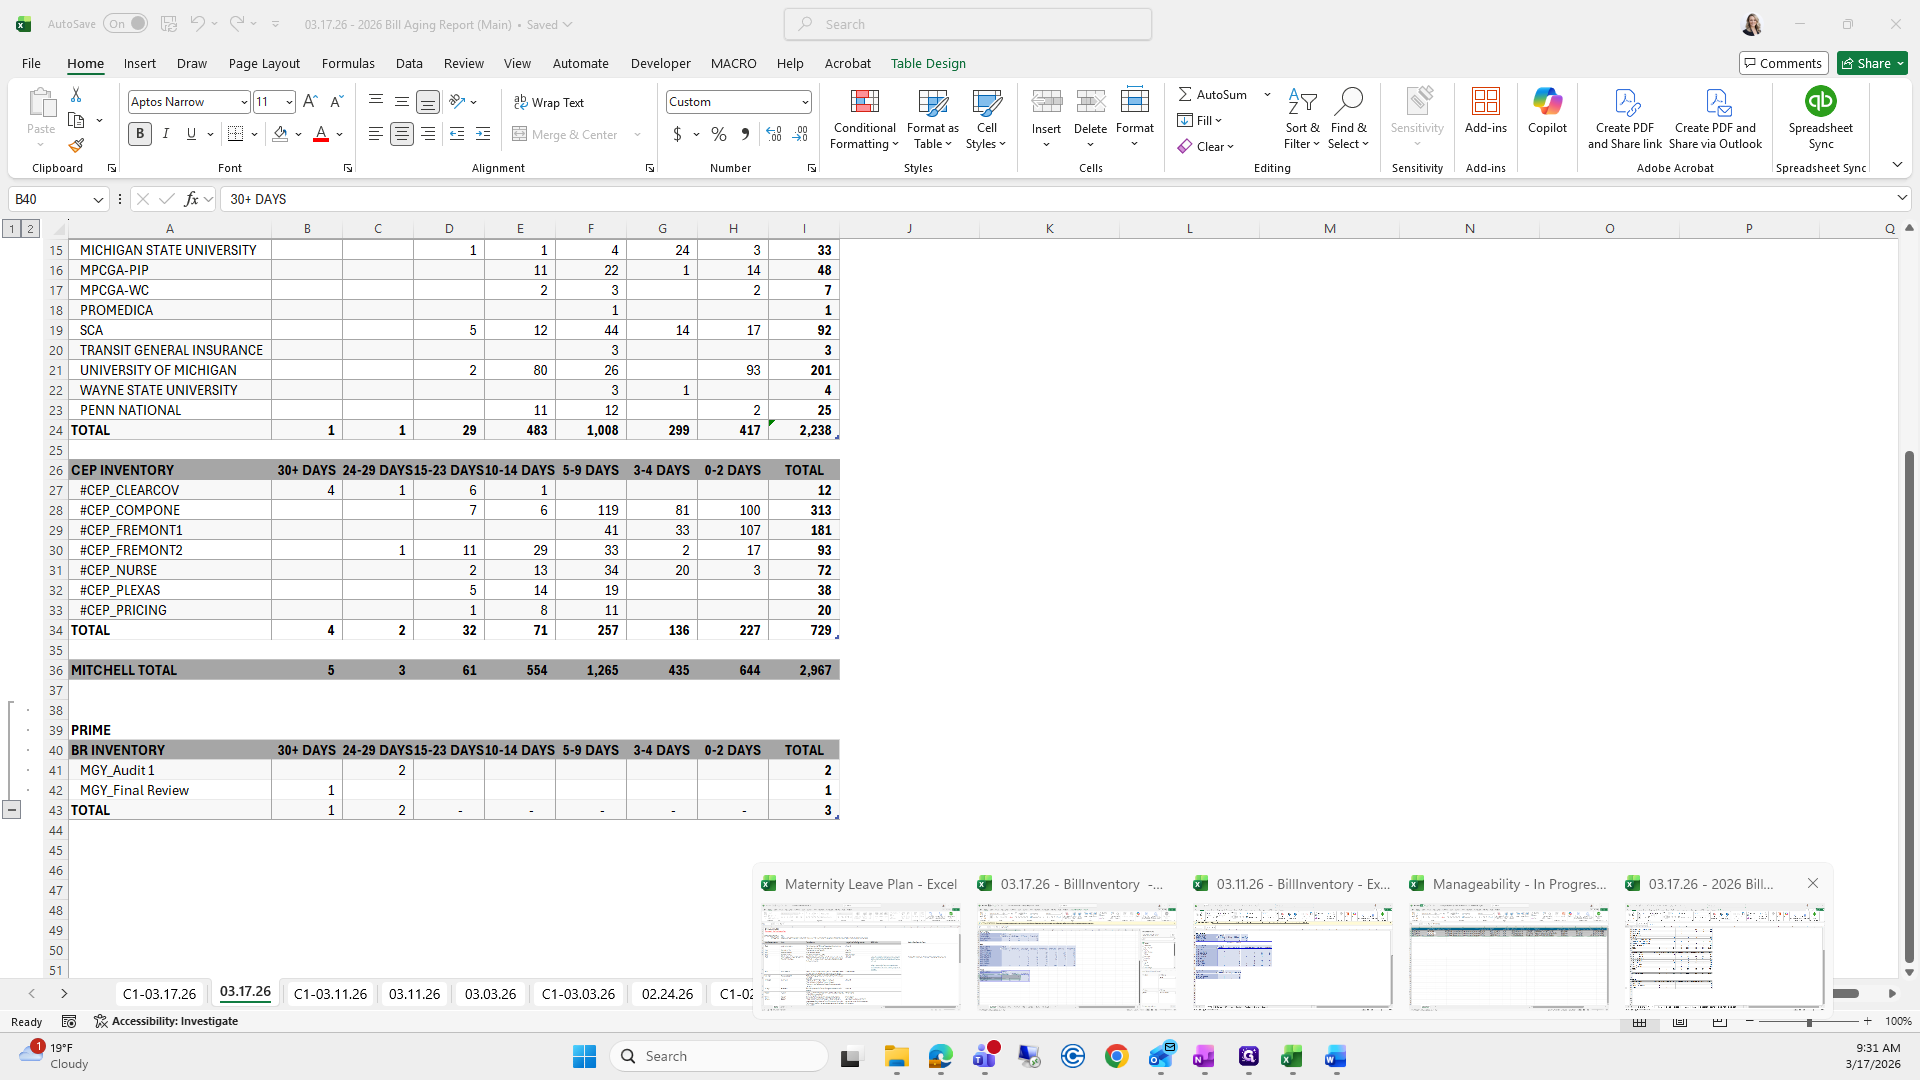


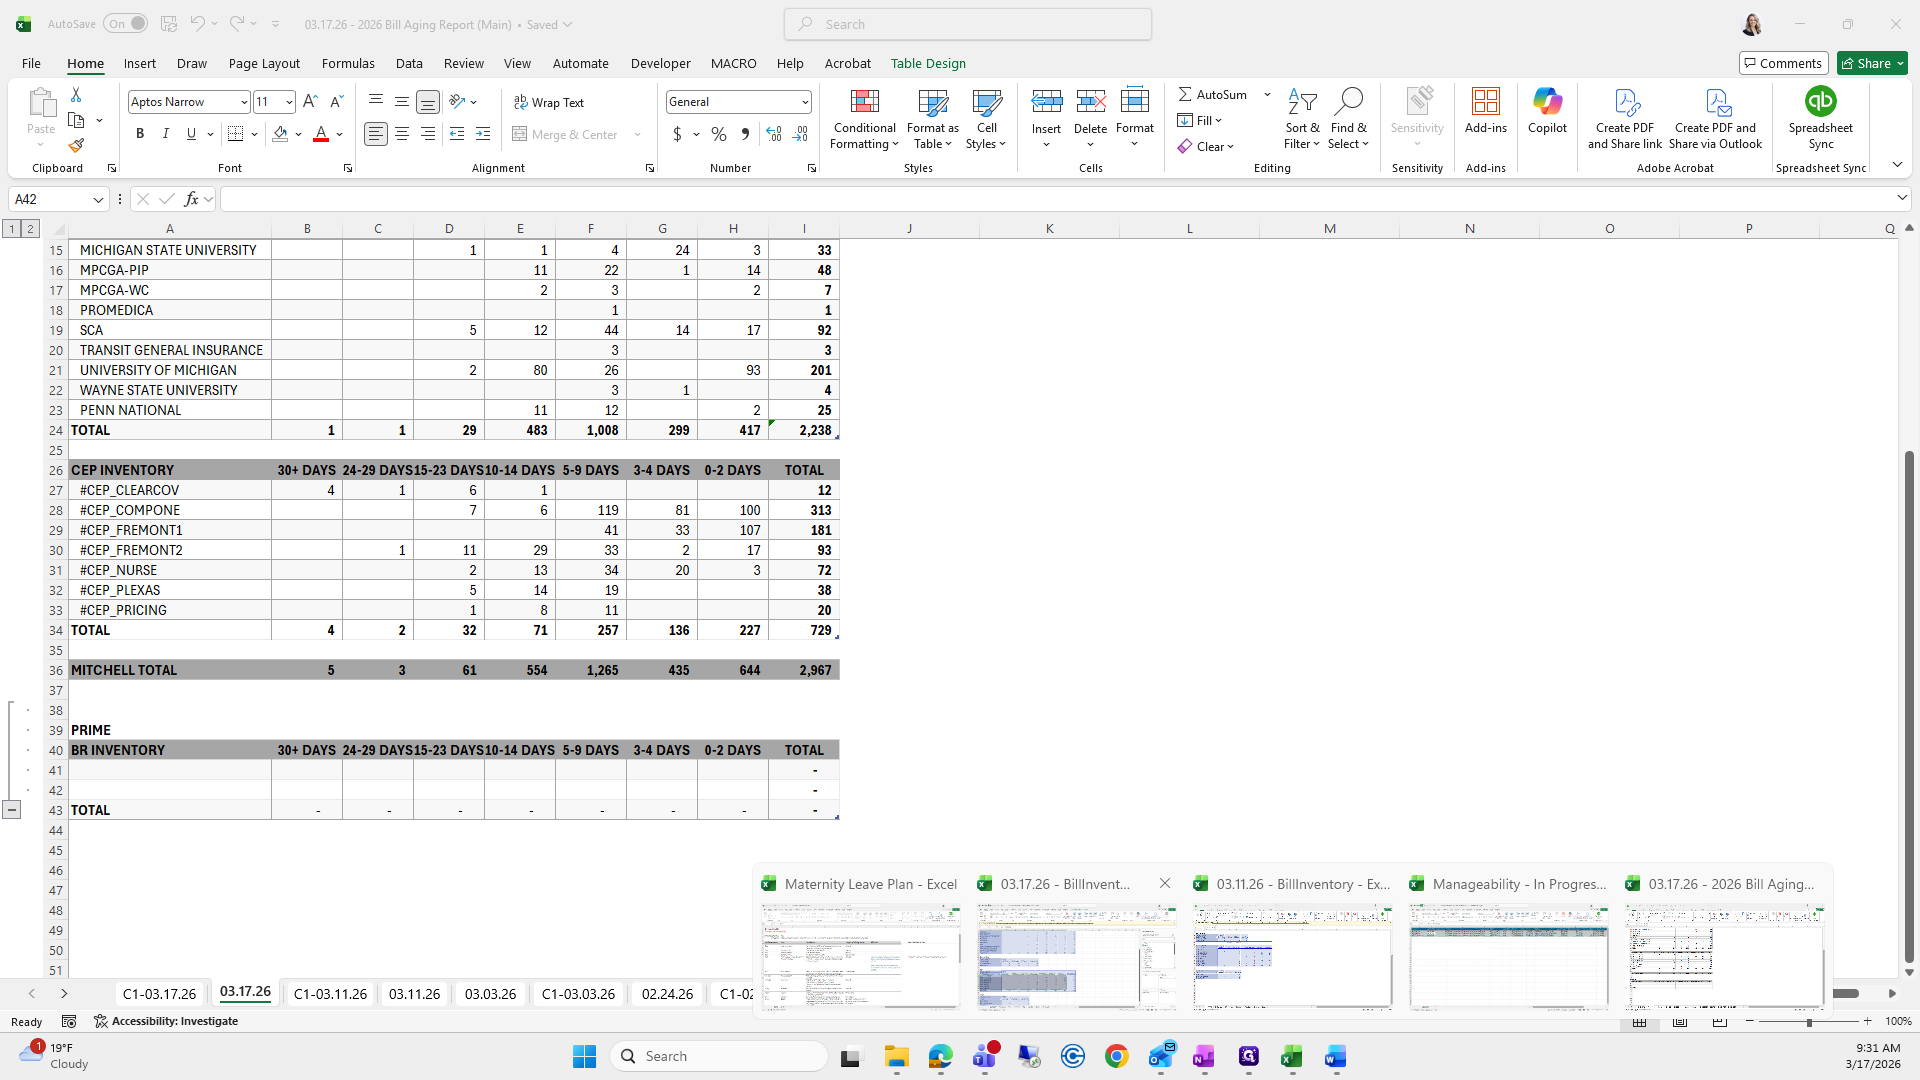
From here, the last step is coming up. We're running out of time again, so there will be several videos for this process.

We're going to gather all of the City of Detroit's Comp 1 and FCA.
We will copy and paste this using Paste Special, and do the same for Comp 1.