Icon

Bill Aging Reports: Part 2/5

Learn step-by-step how to update bill aging inventory reports, insert columns, copy formulas, use crosswalks, and filter data in Excel for efficient financial reporting.

By Jessica Esslinger

In this guide, we'll learn how to update and organize bill aging reports by copying formulas, managing data across multiple sheets, and filtering client information. This process helps ensure that your reports are accurate and up to date. You will also learn how to clean up data and prepare separate tabs for different review processes.

Let's get started

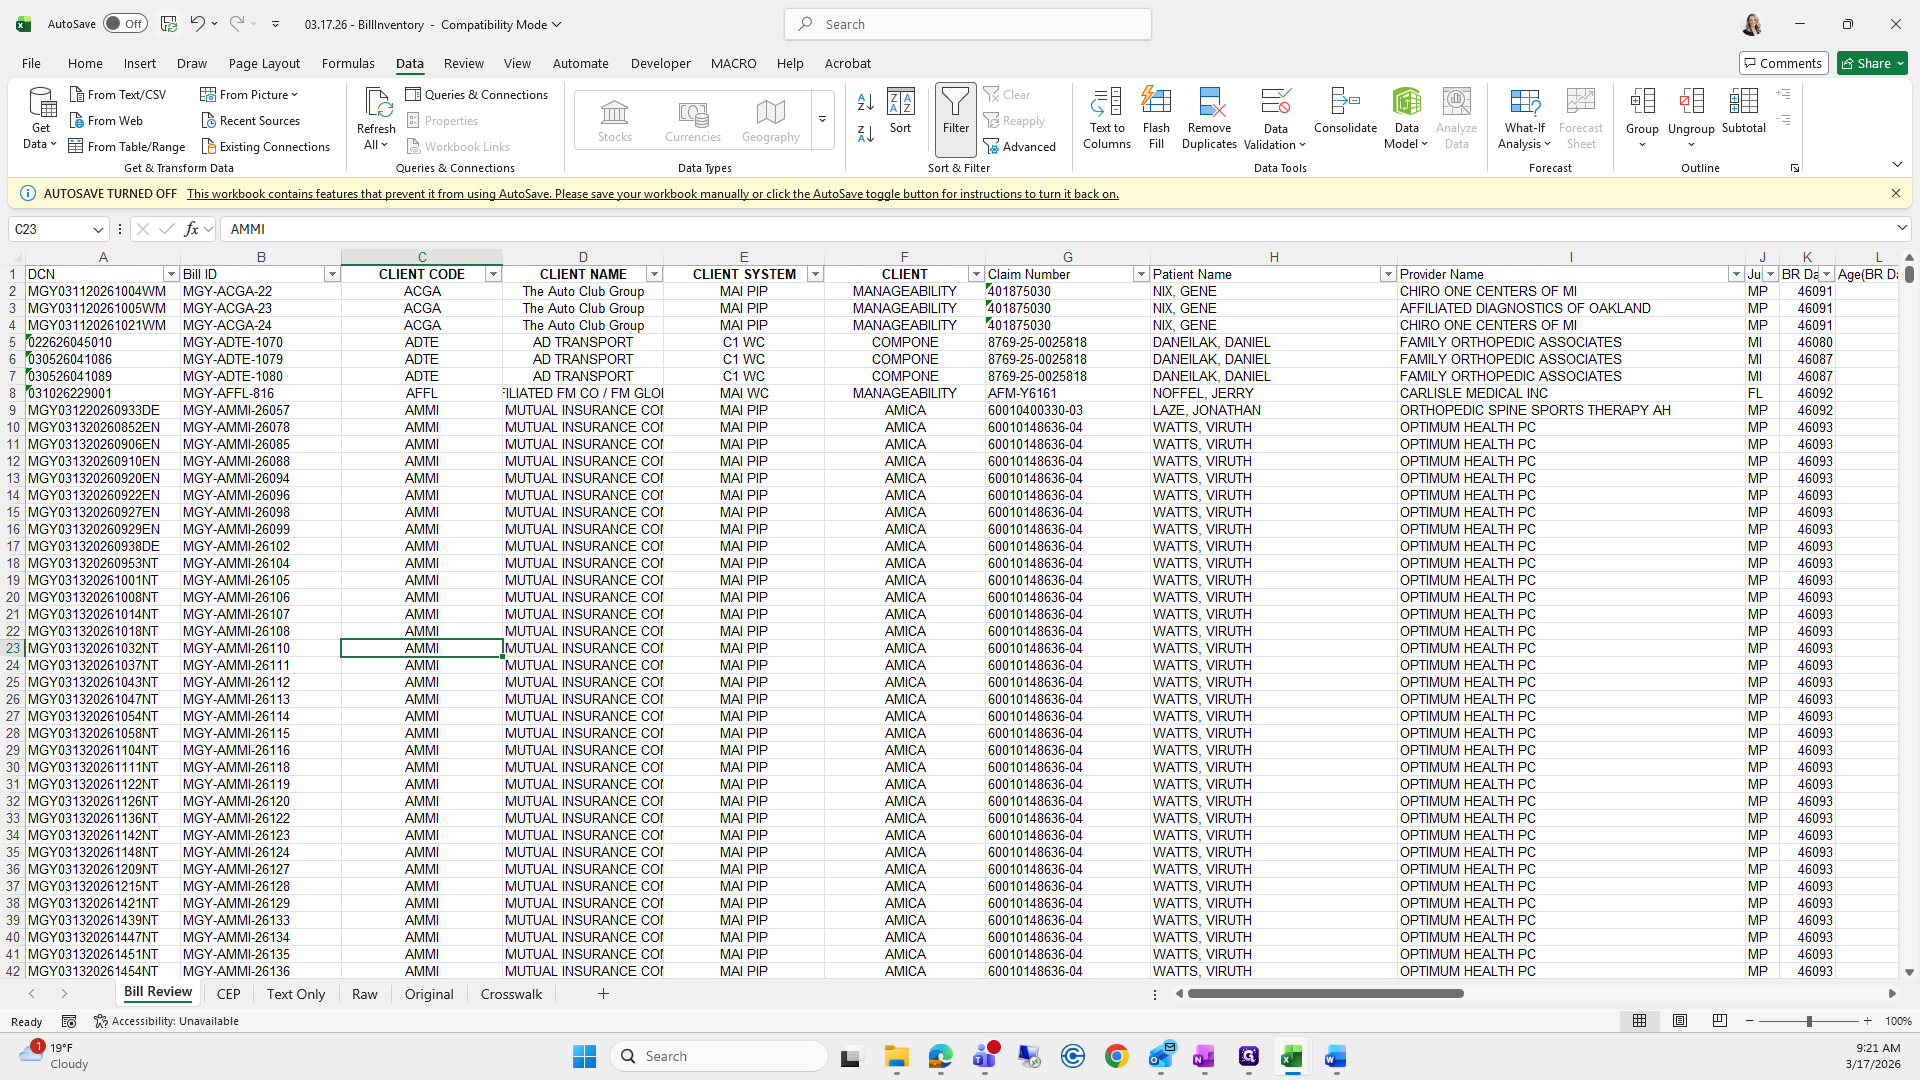
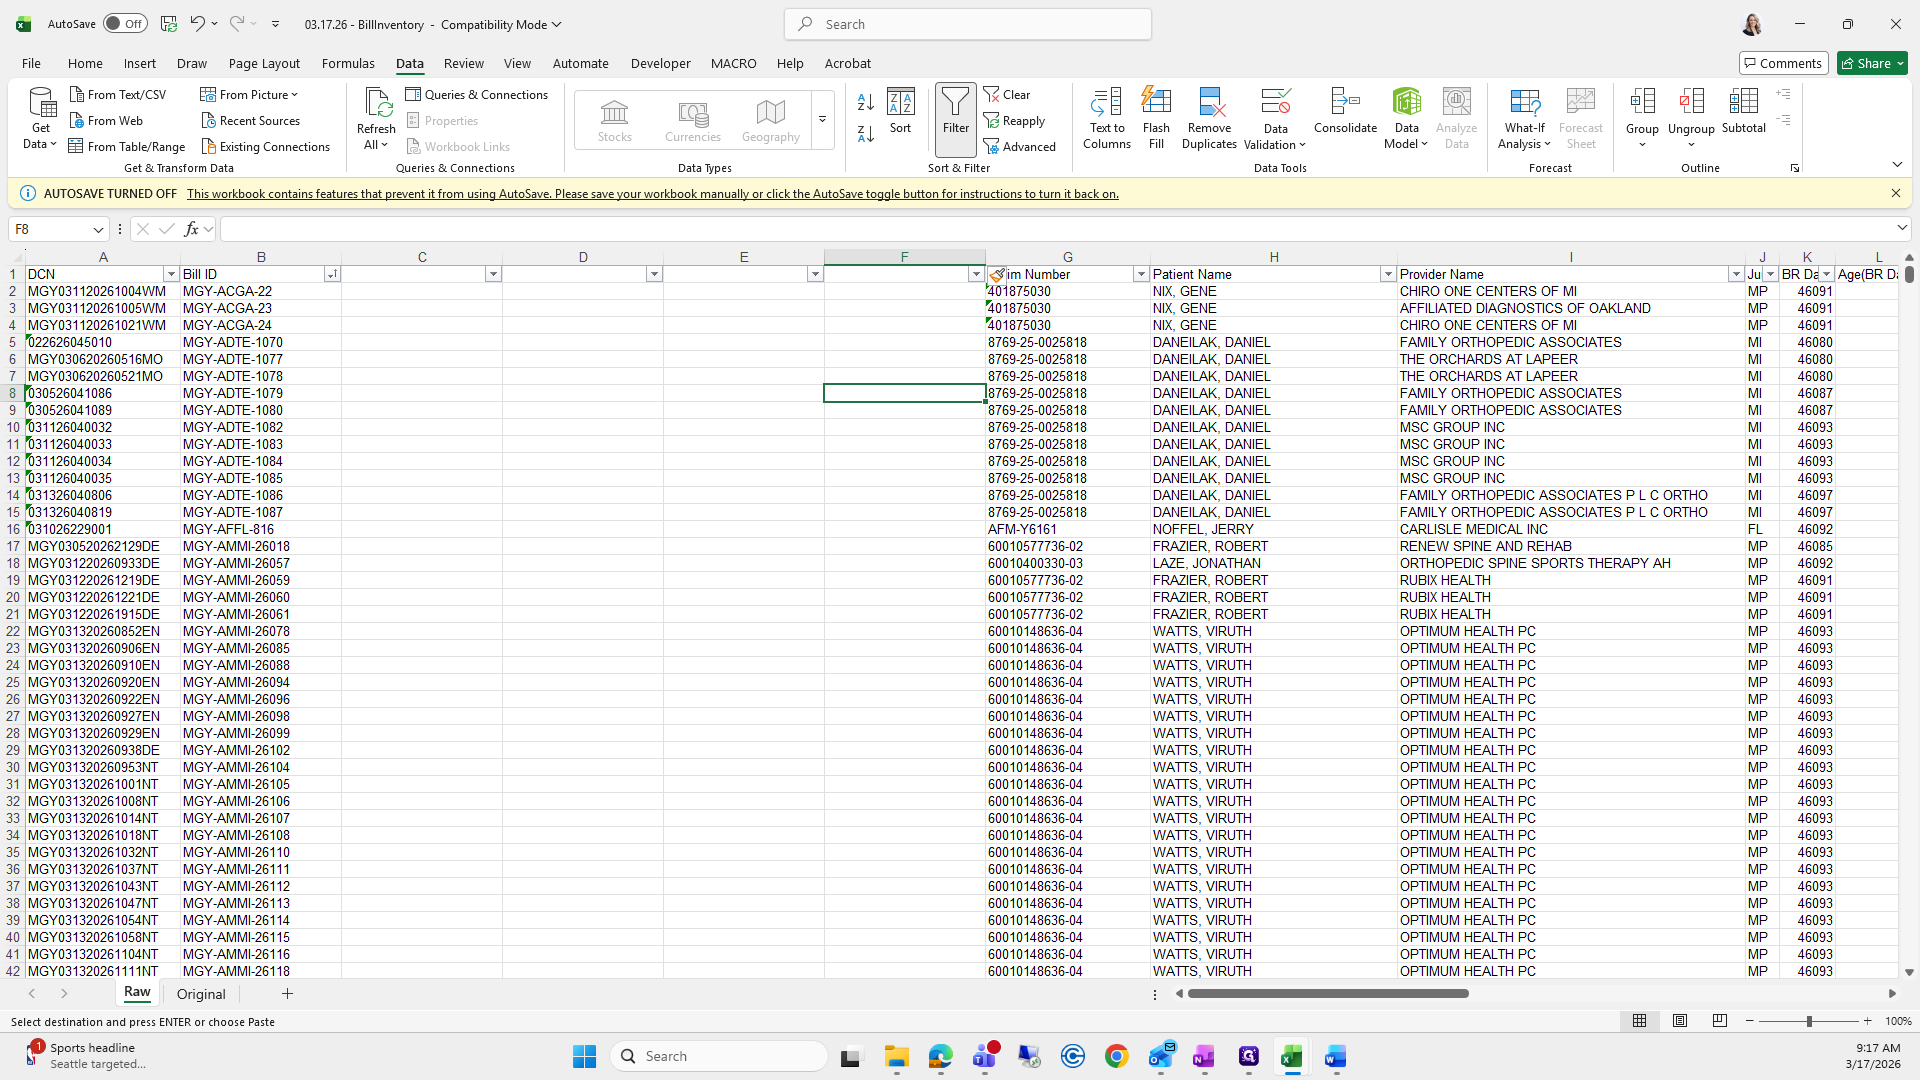
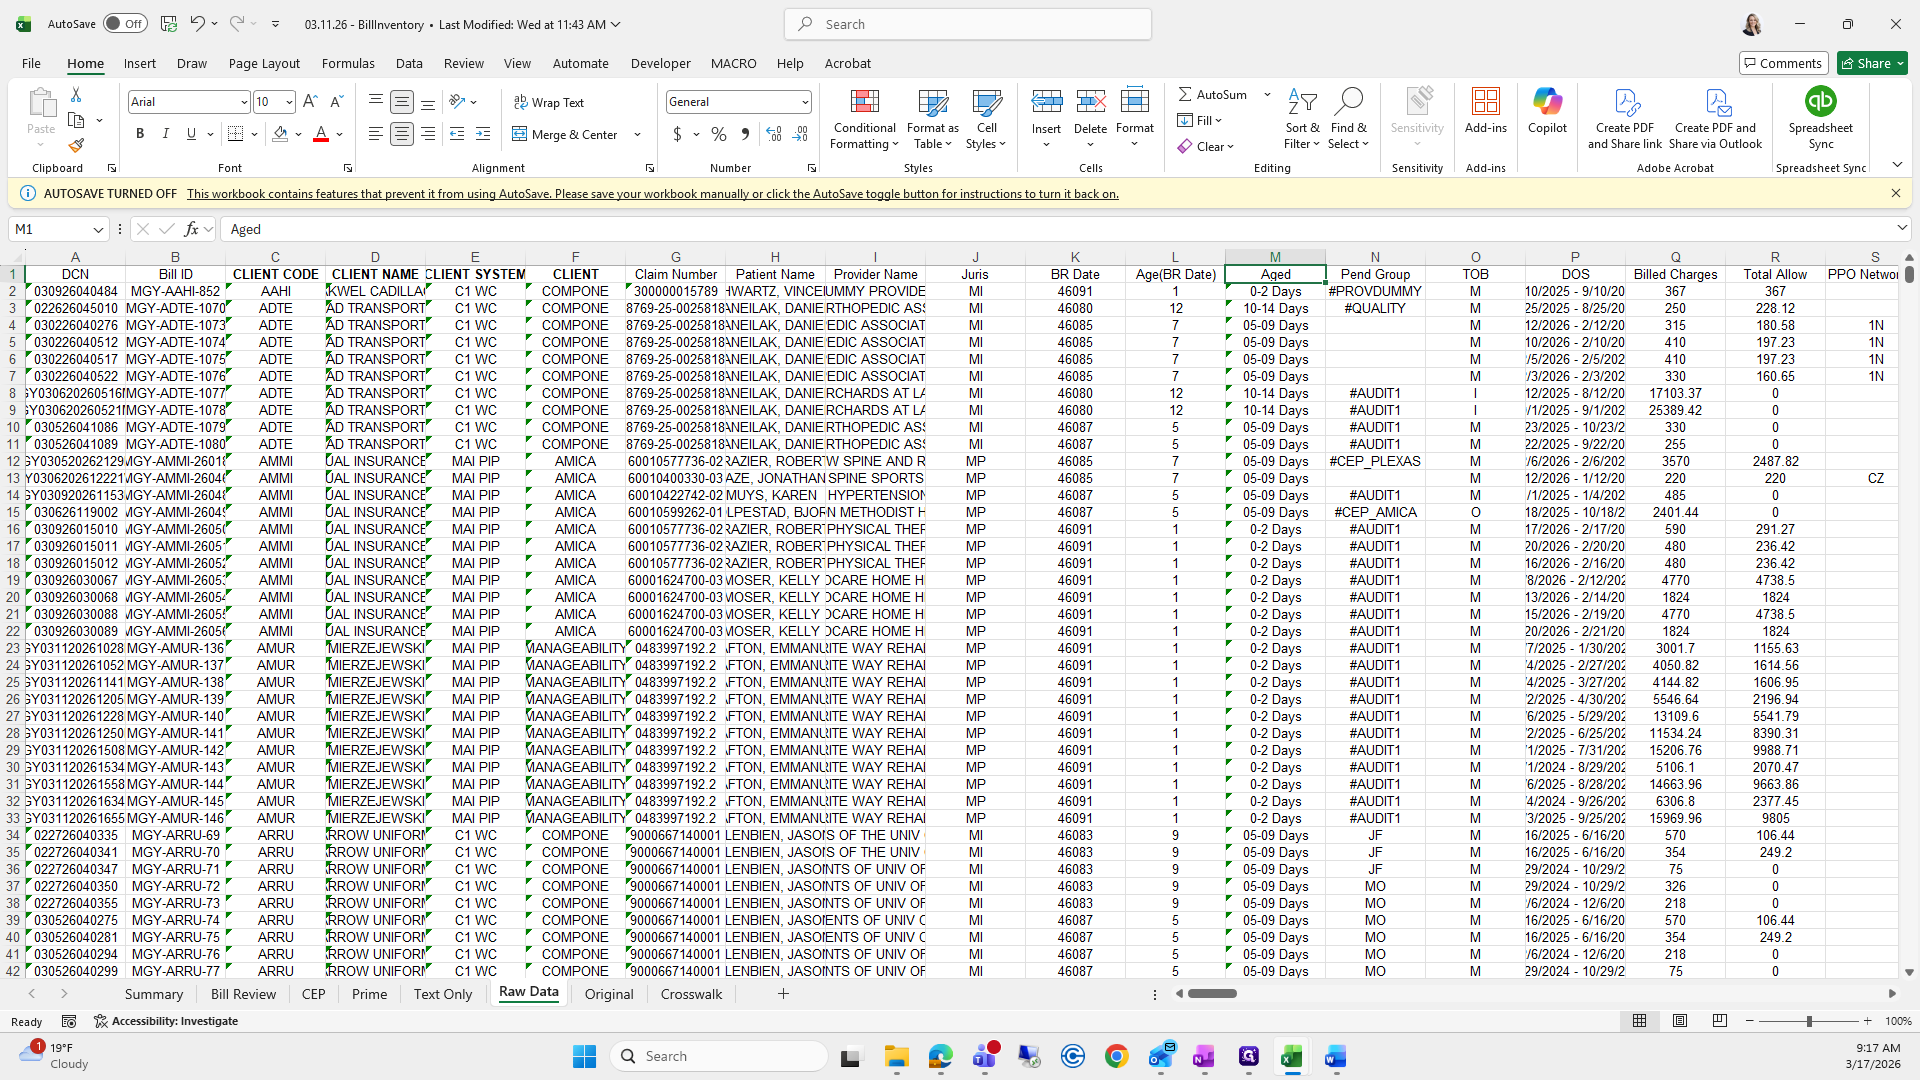
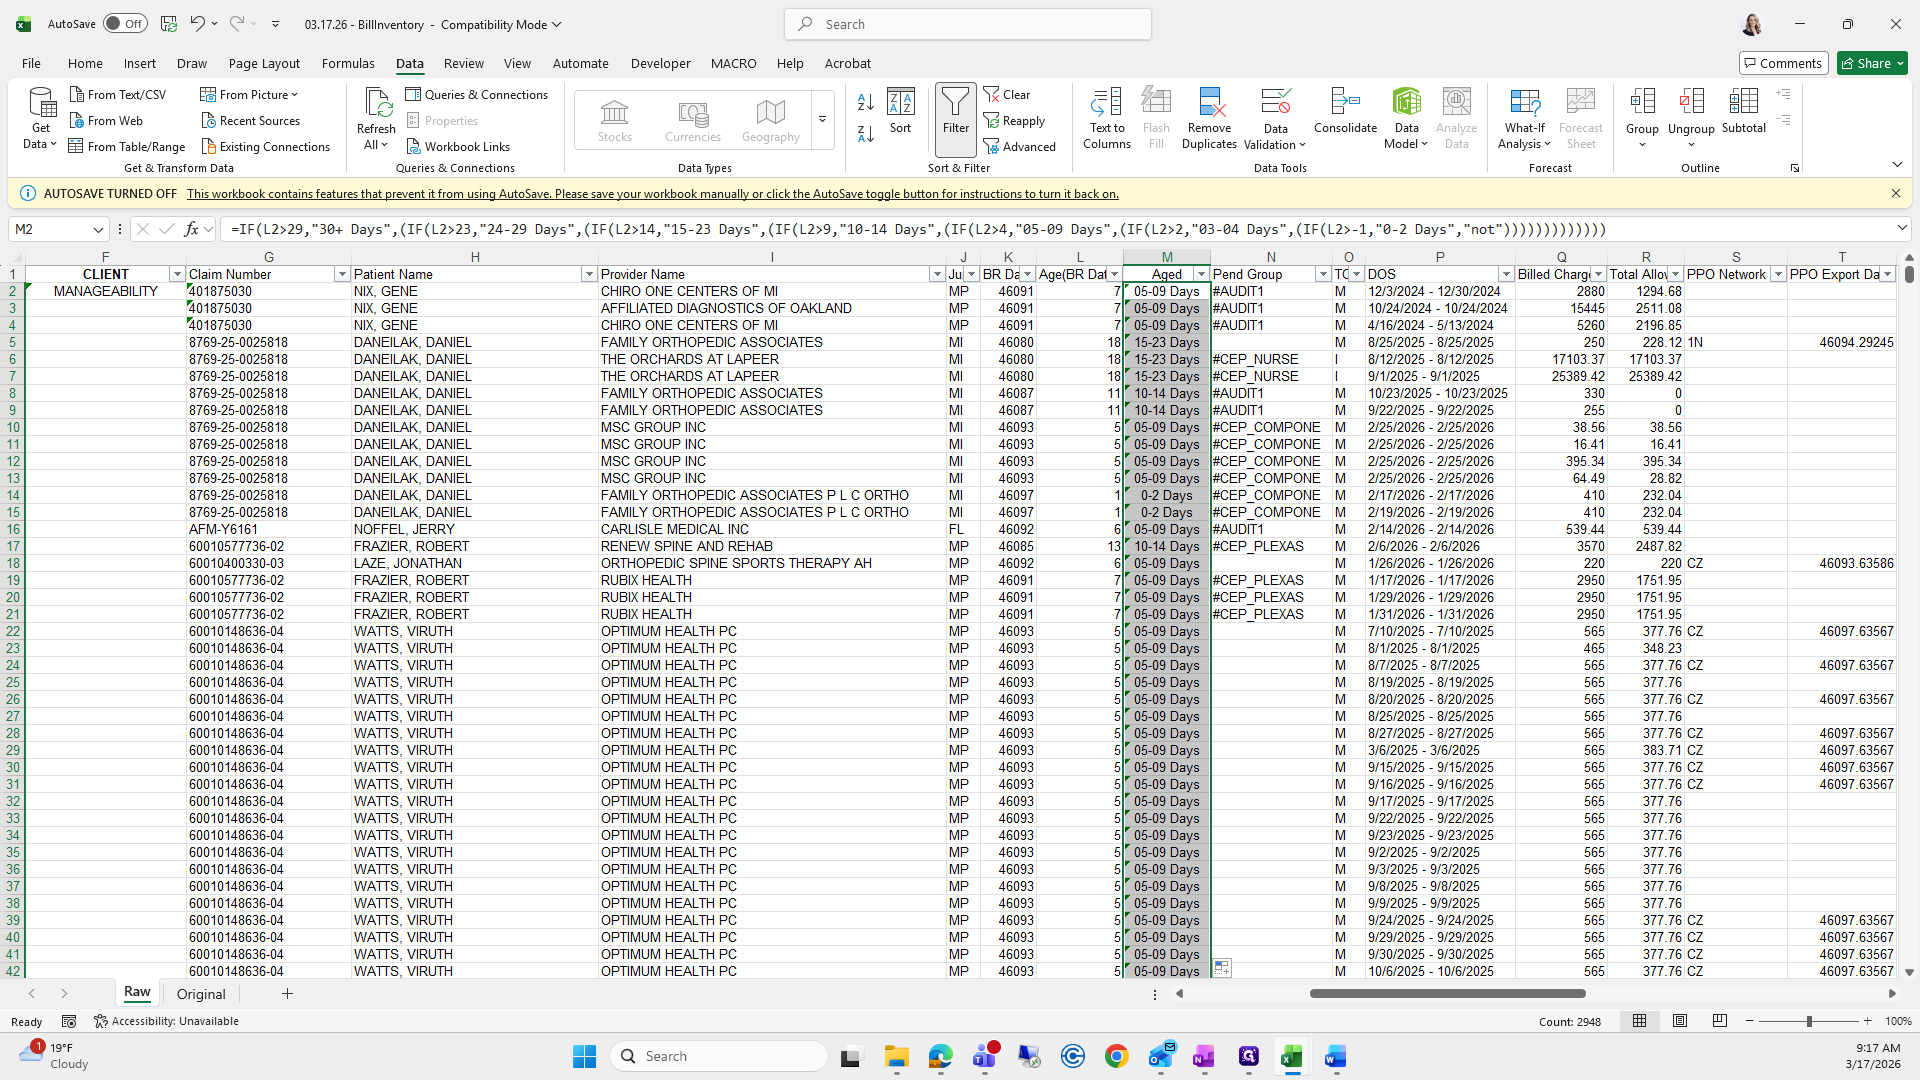
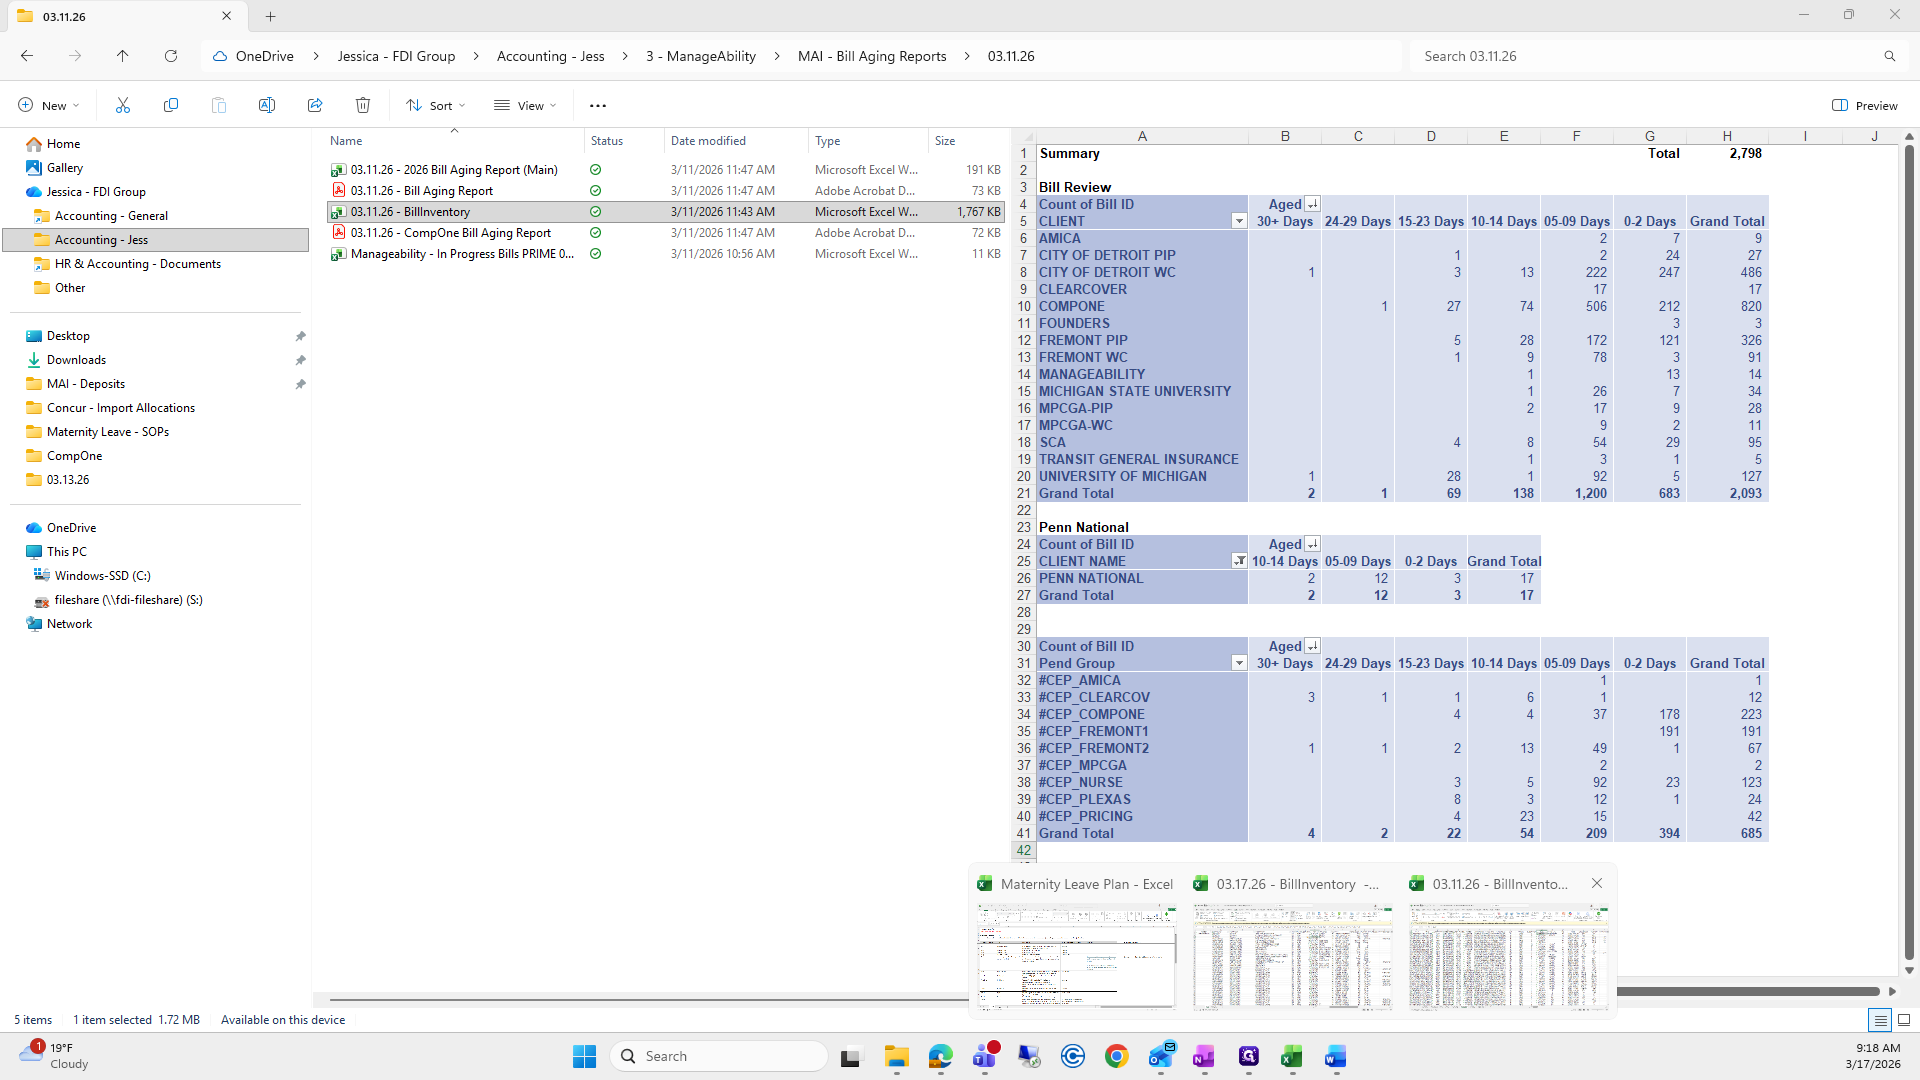
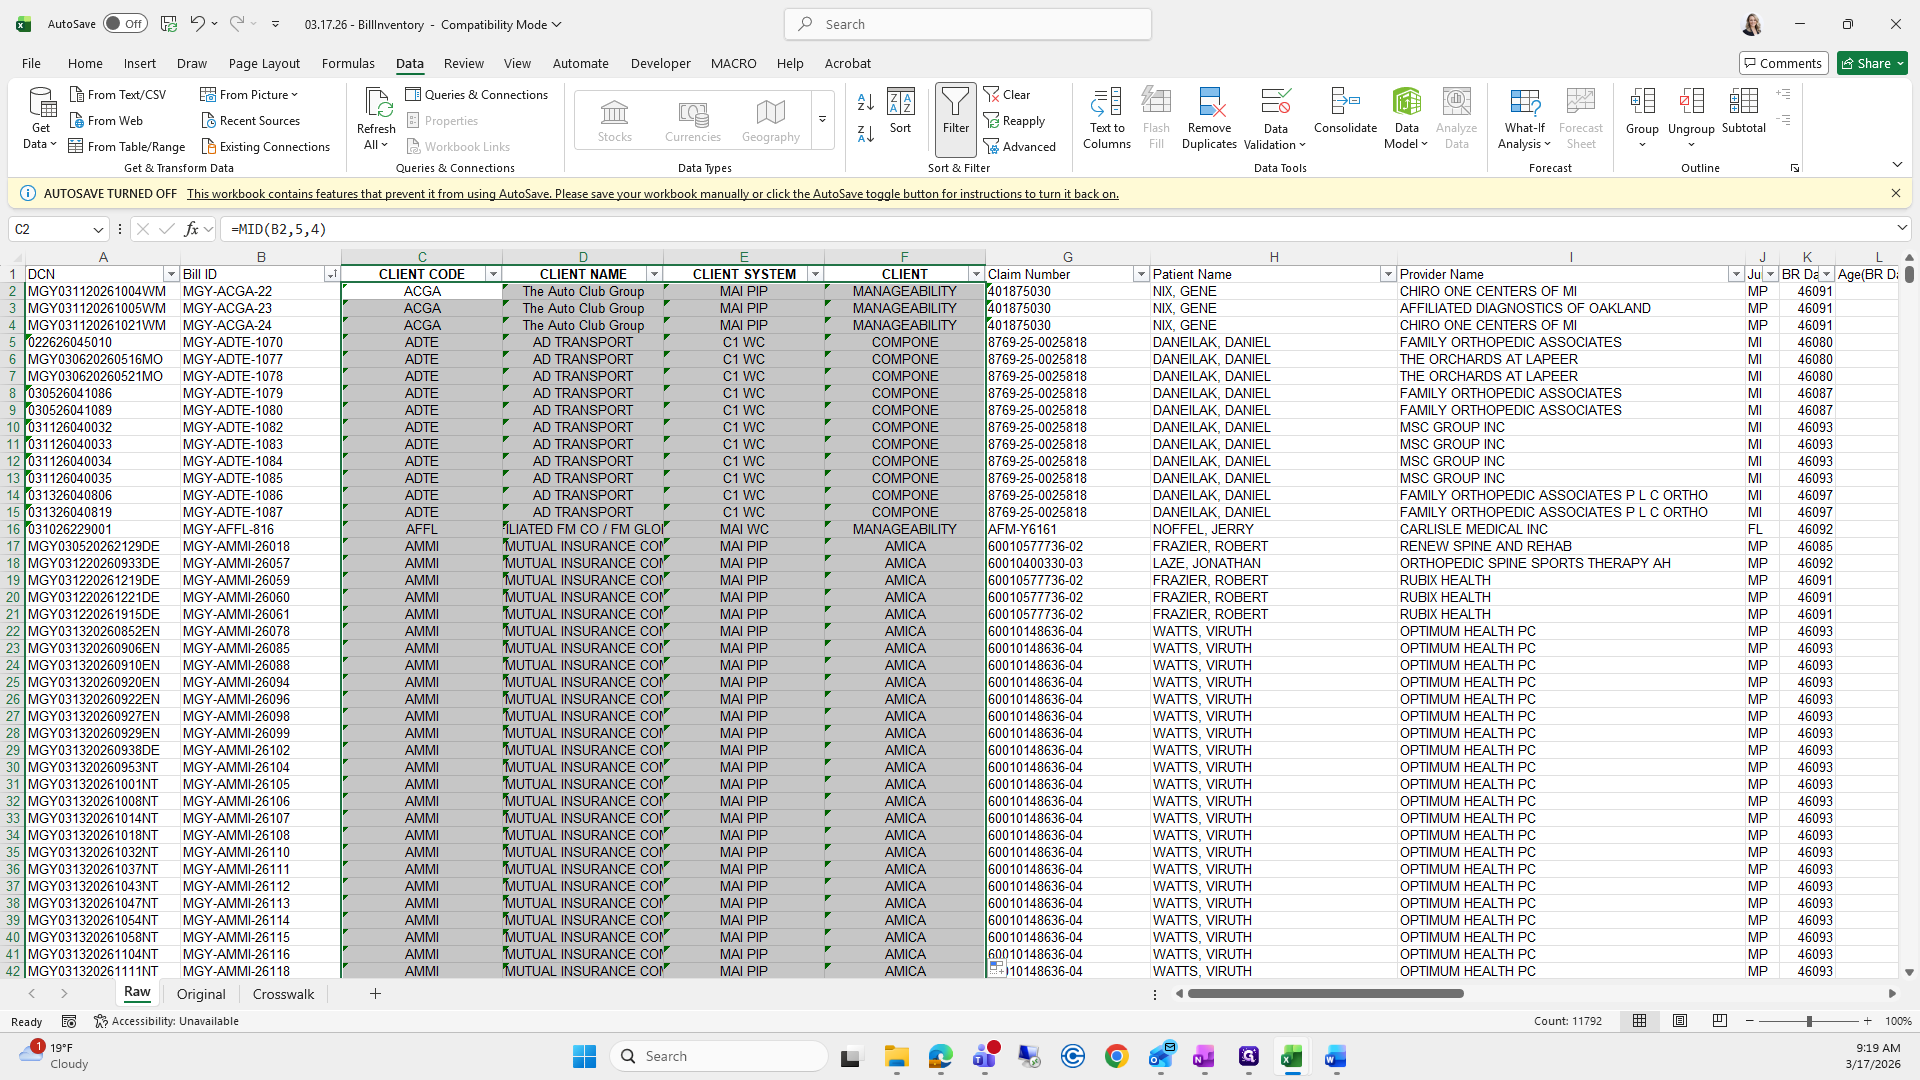
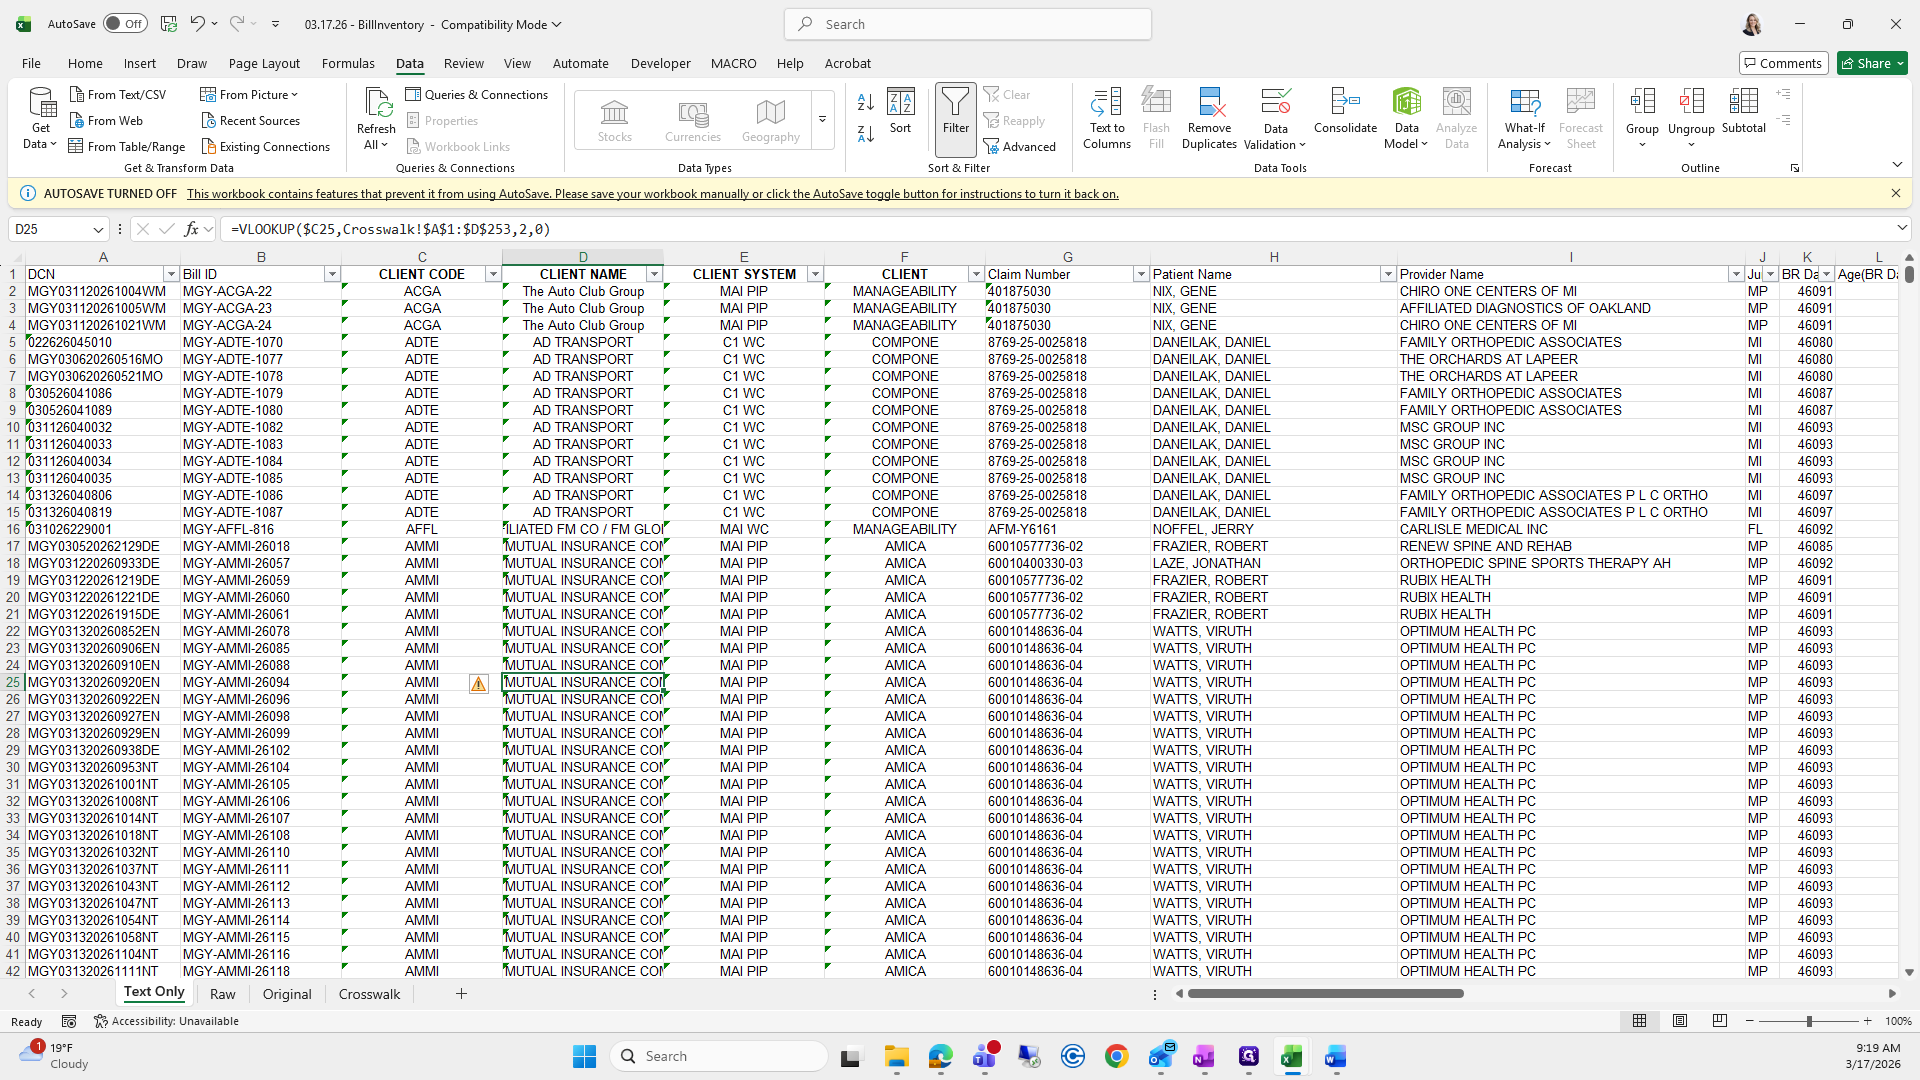
Okay. After inserting the four columns, I go back to the bill aging reports I previously had.

1
Click here
Step #1: Click here
2
Click on "MAI - Bill Aging Reports"
Step #2: Click on "MAI - Bill Aging Reports"

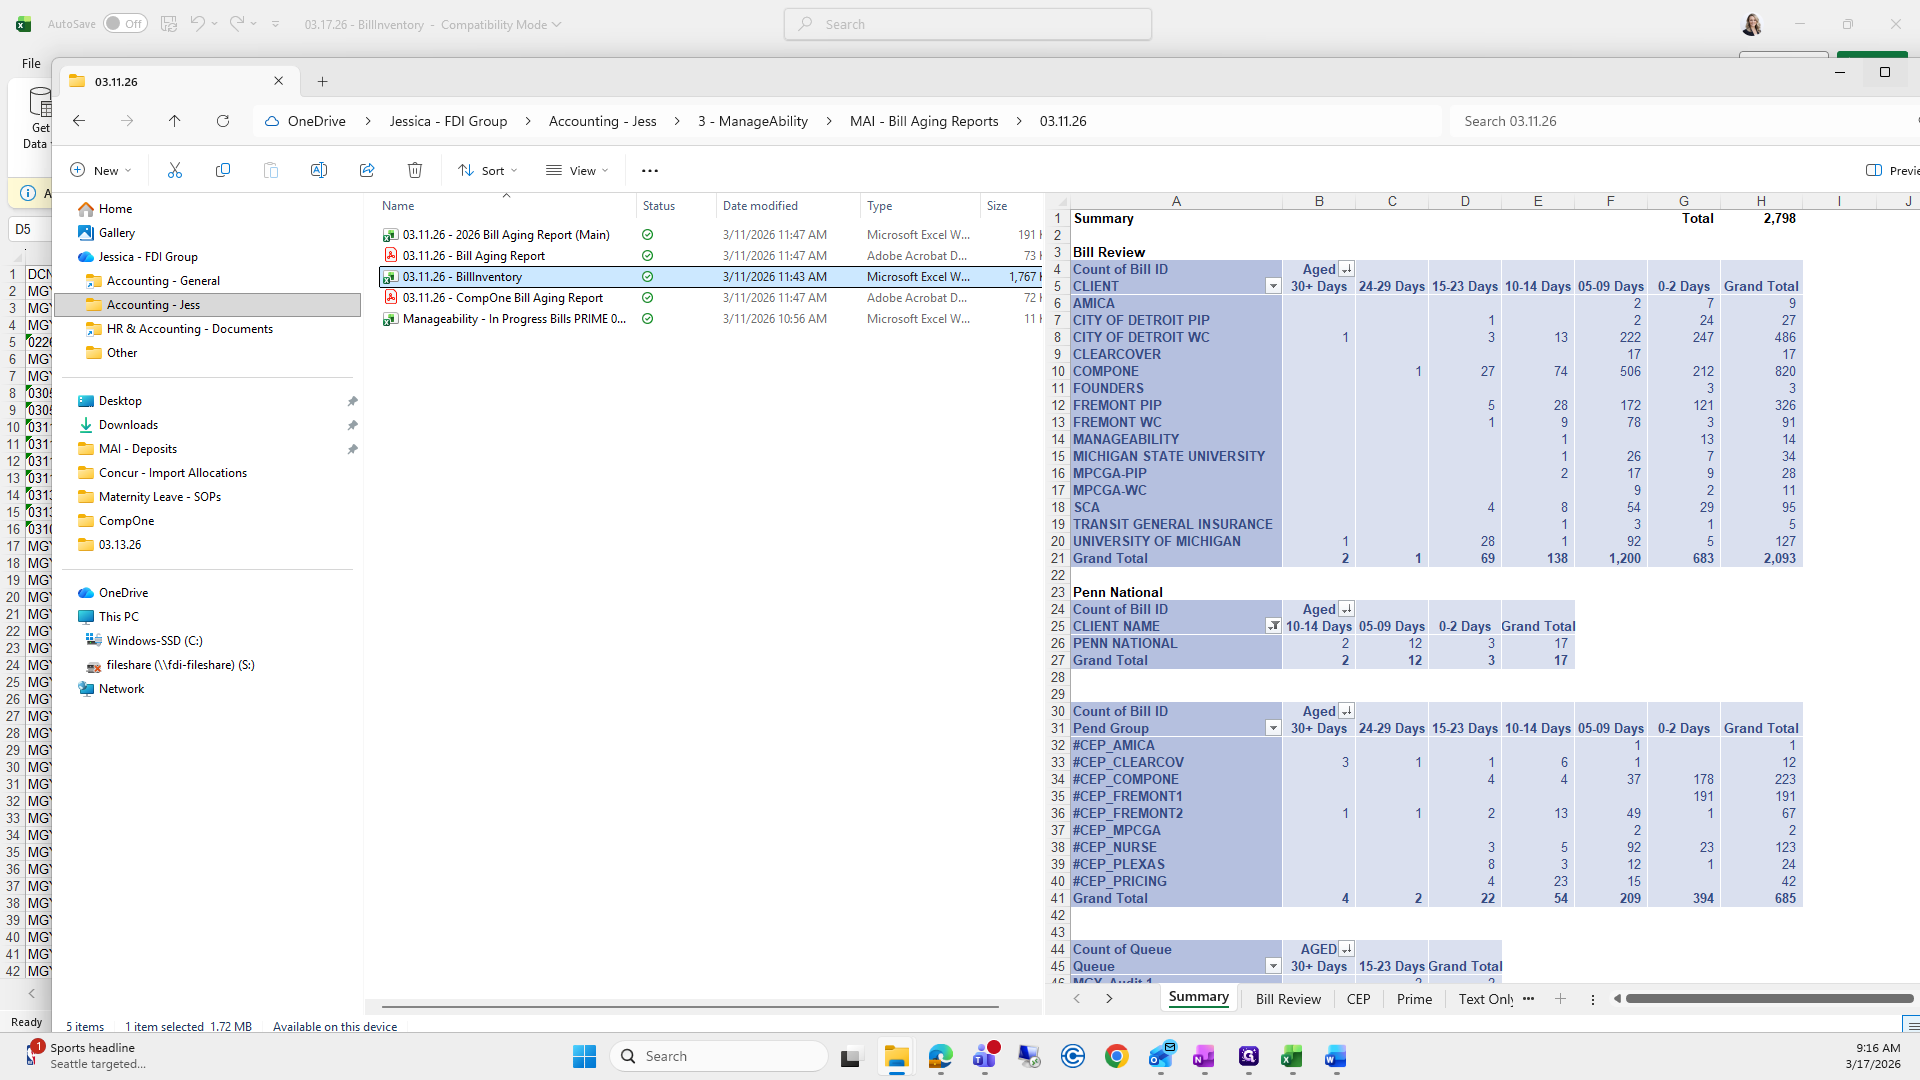
I will go to 311 and open last week's bill aging inventory report.

3
Double-click here
Step #3: Double-click here
4
Double-click on "Aging"
Step #4: Double-click on "Aging"

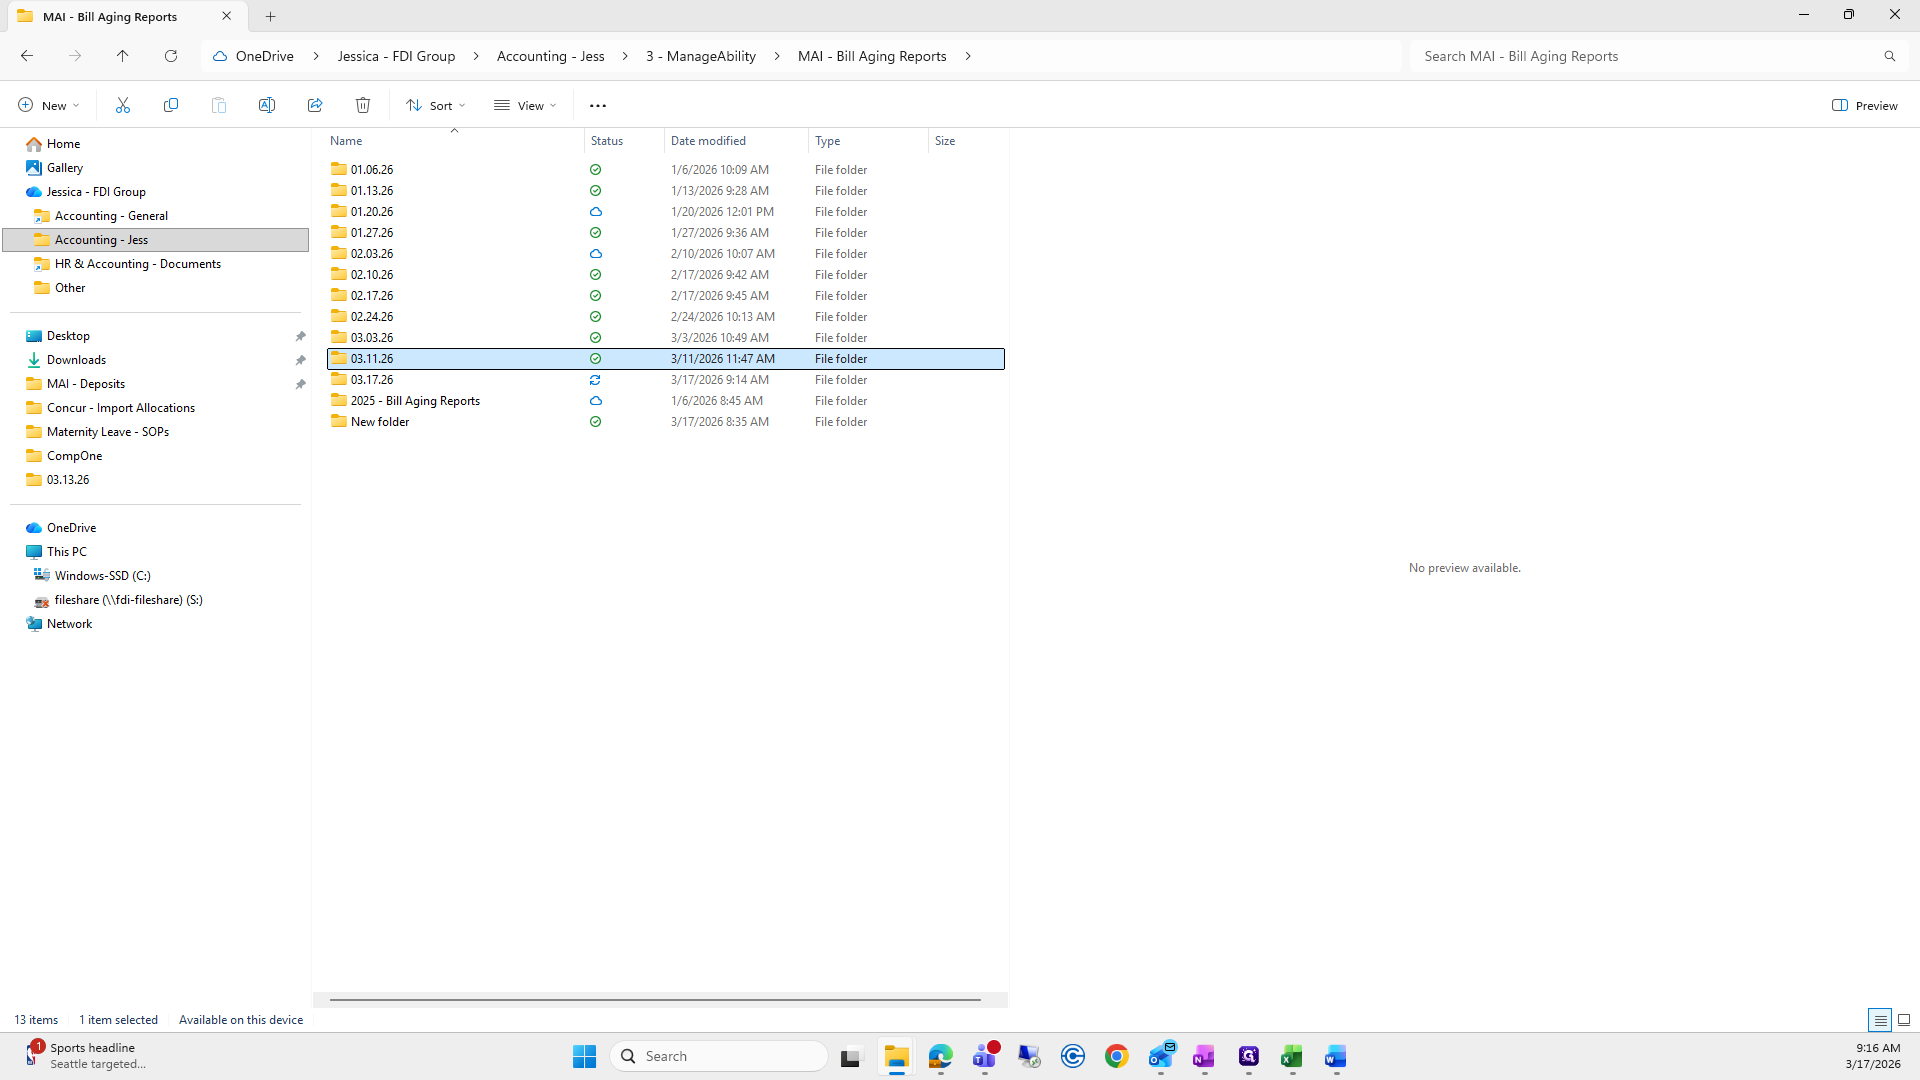
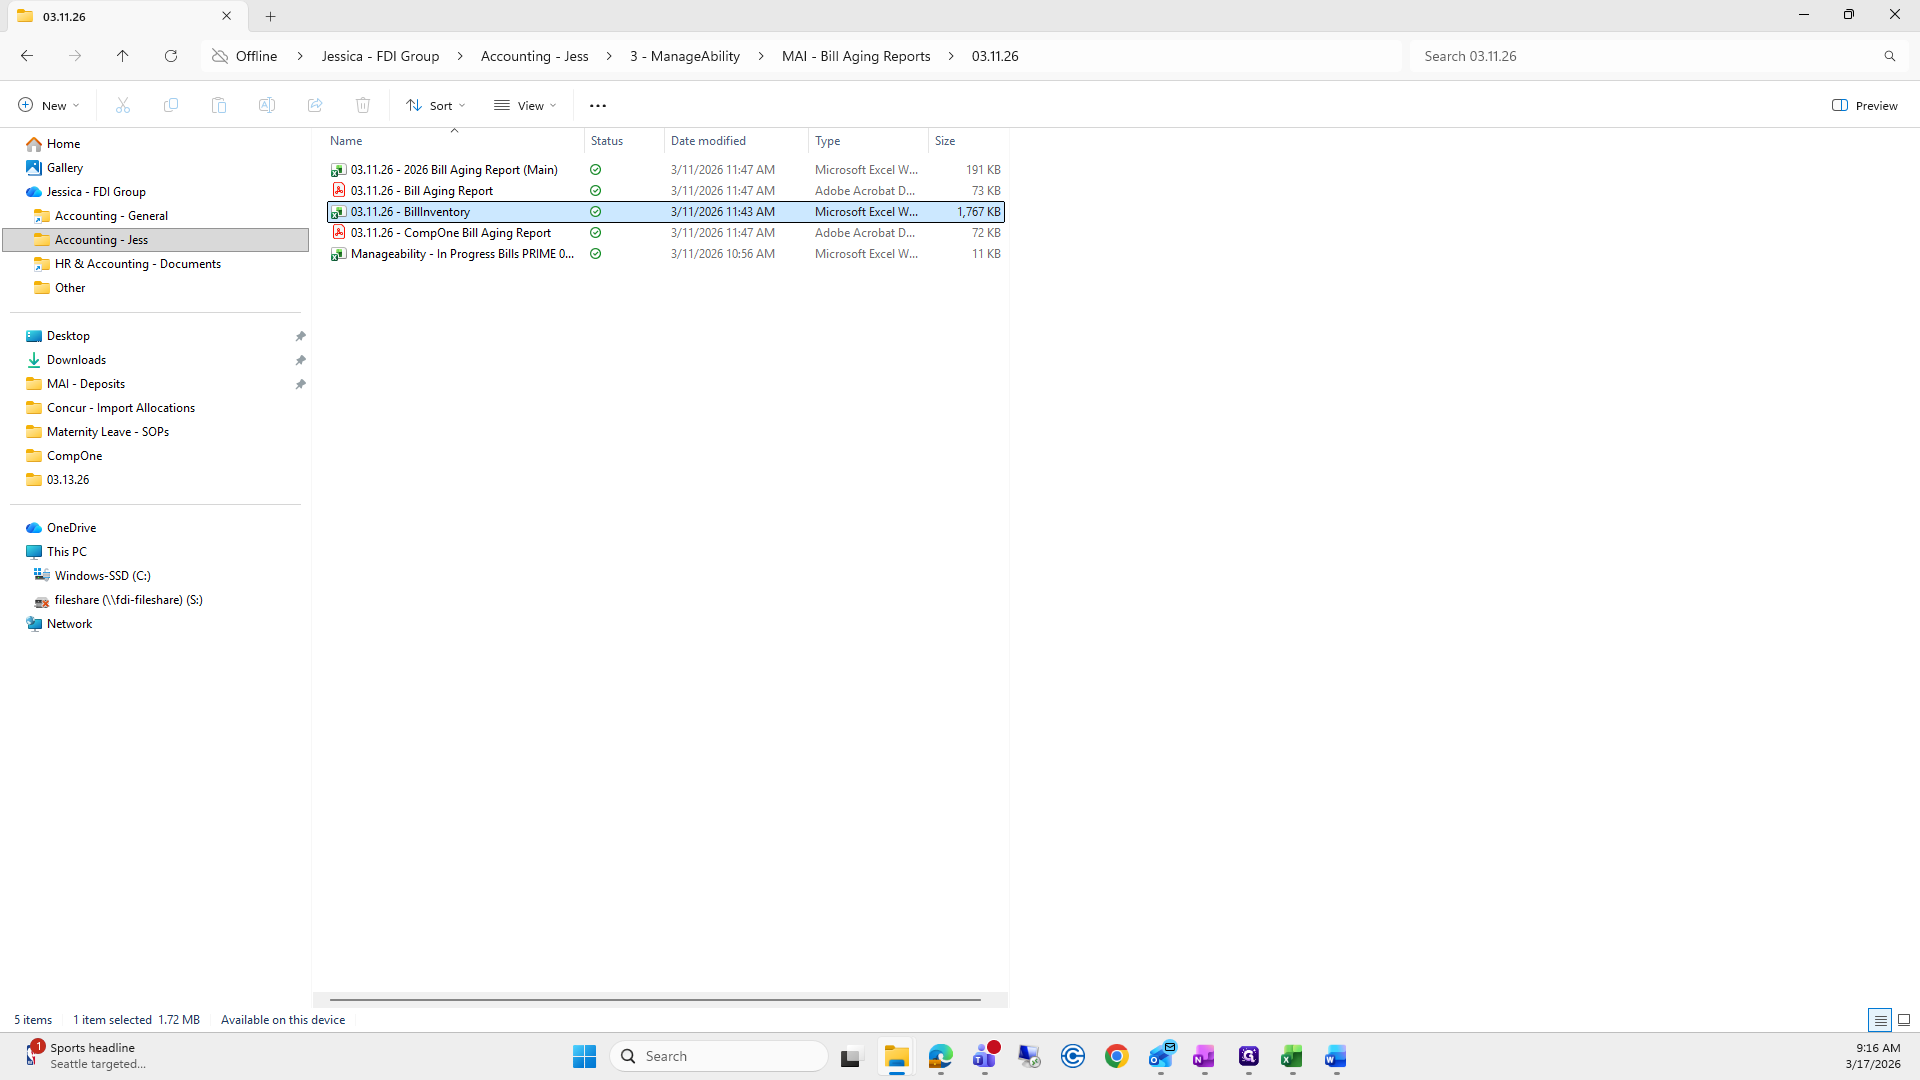
I just need to copy and paste the formulas because it's much easier than entering them manually.

5
Click on "Raw Data"
Step #5: Click on "Raw Data"

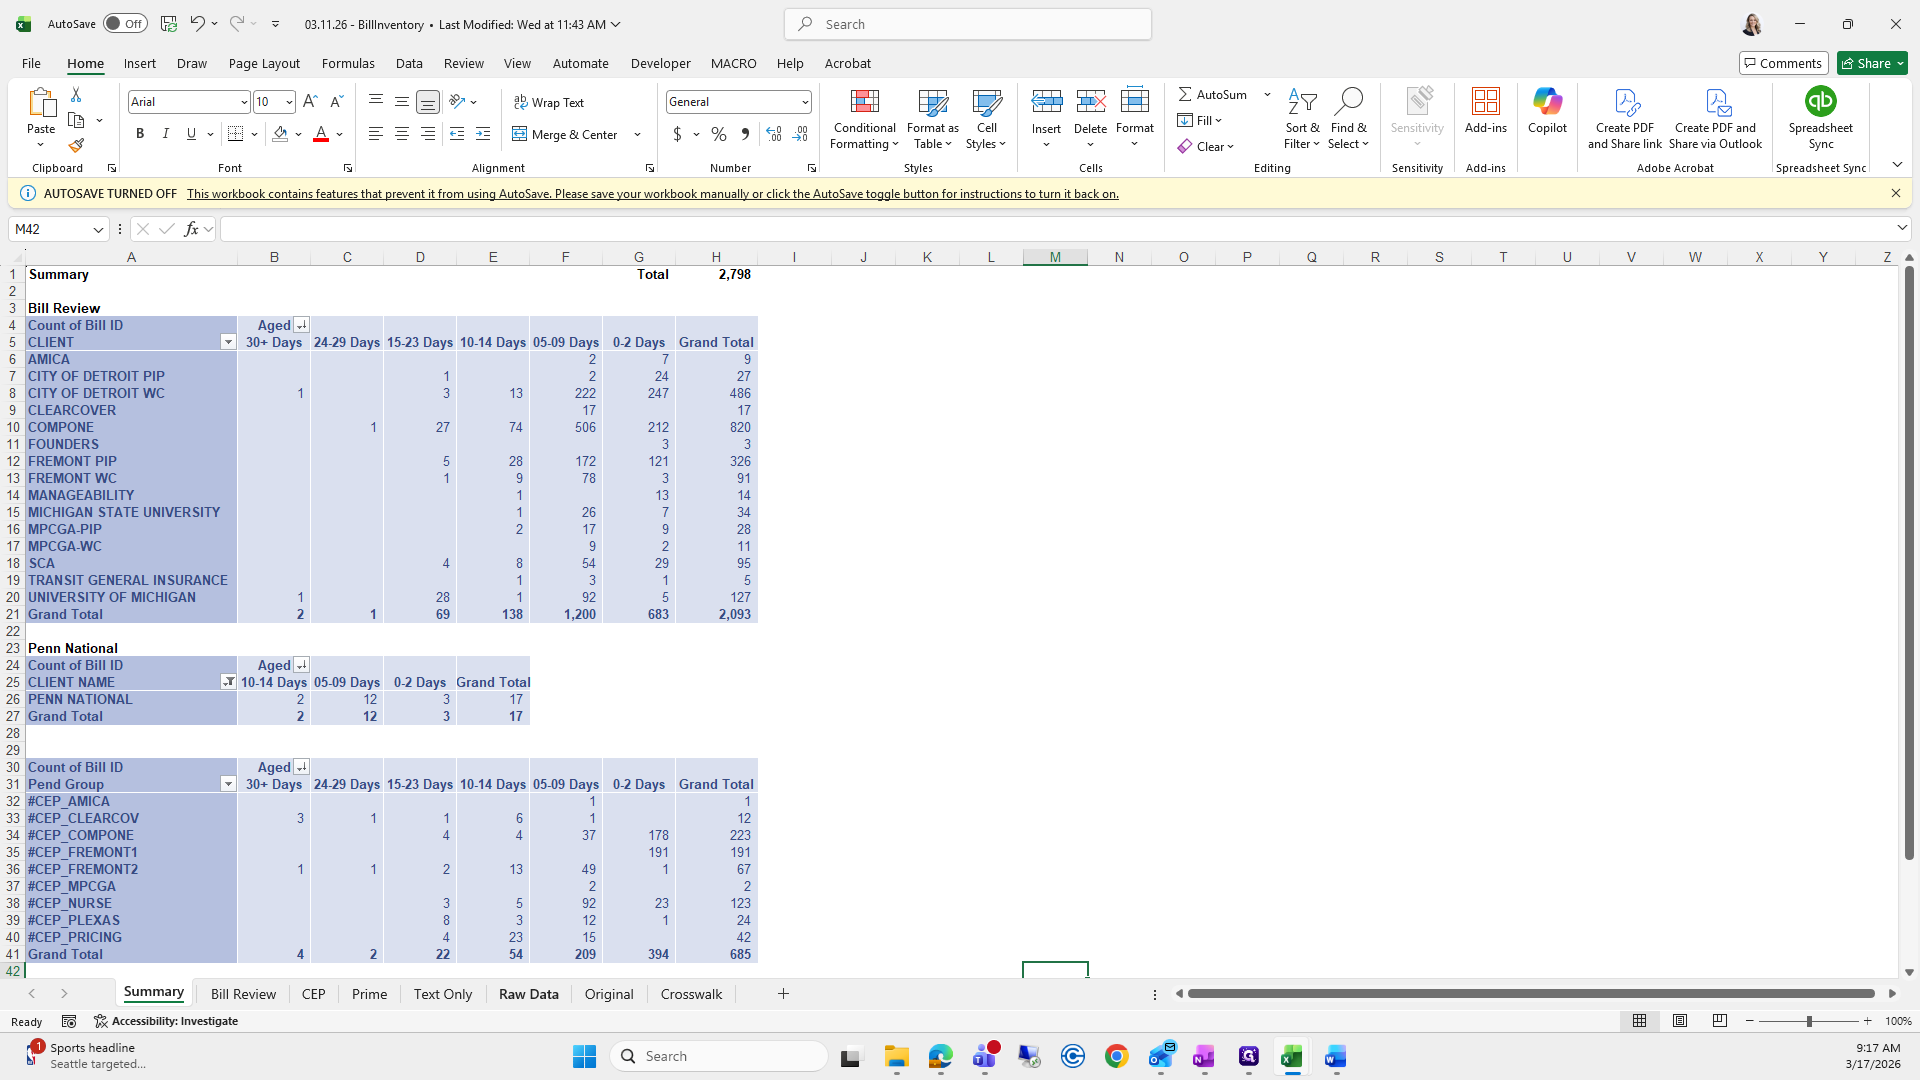
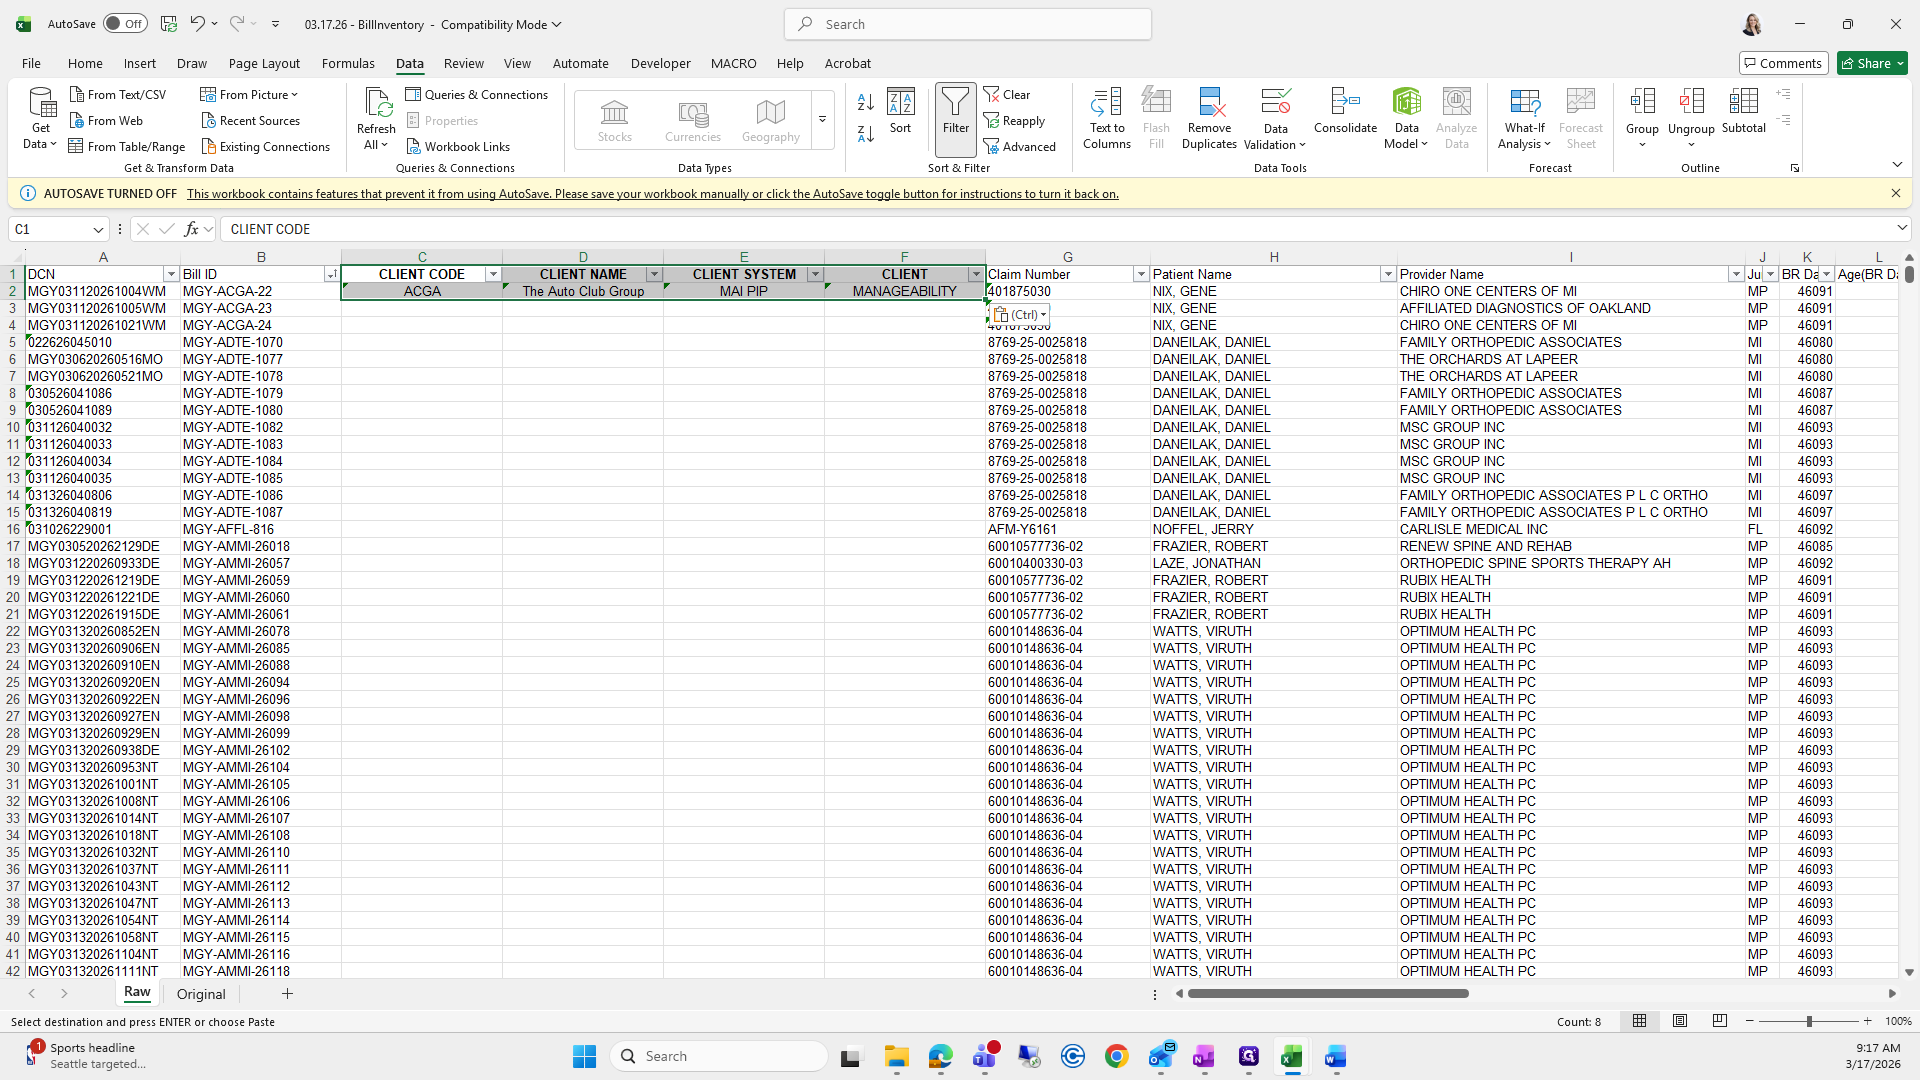
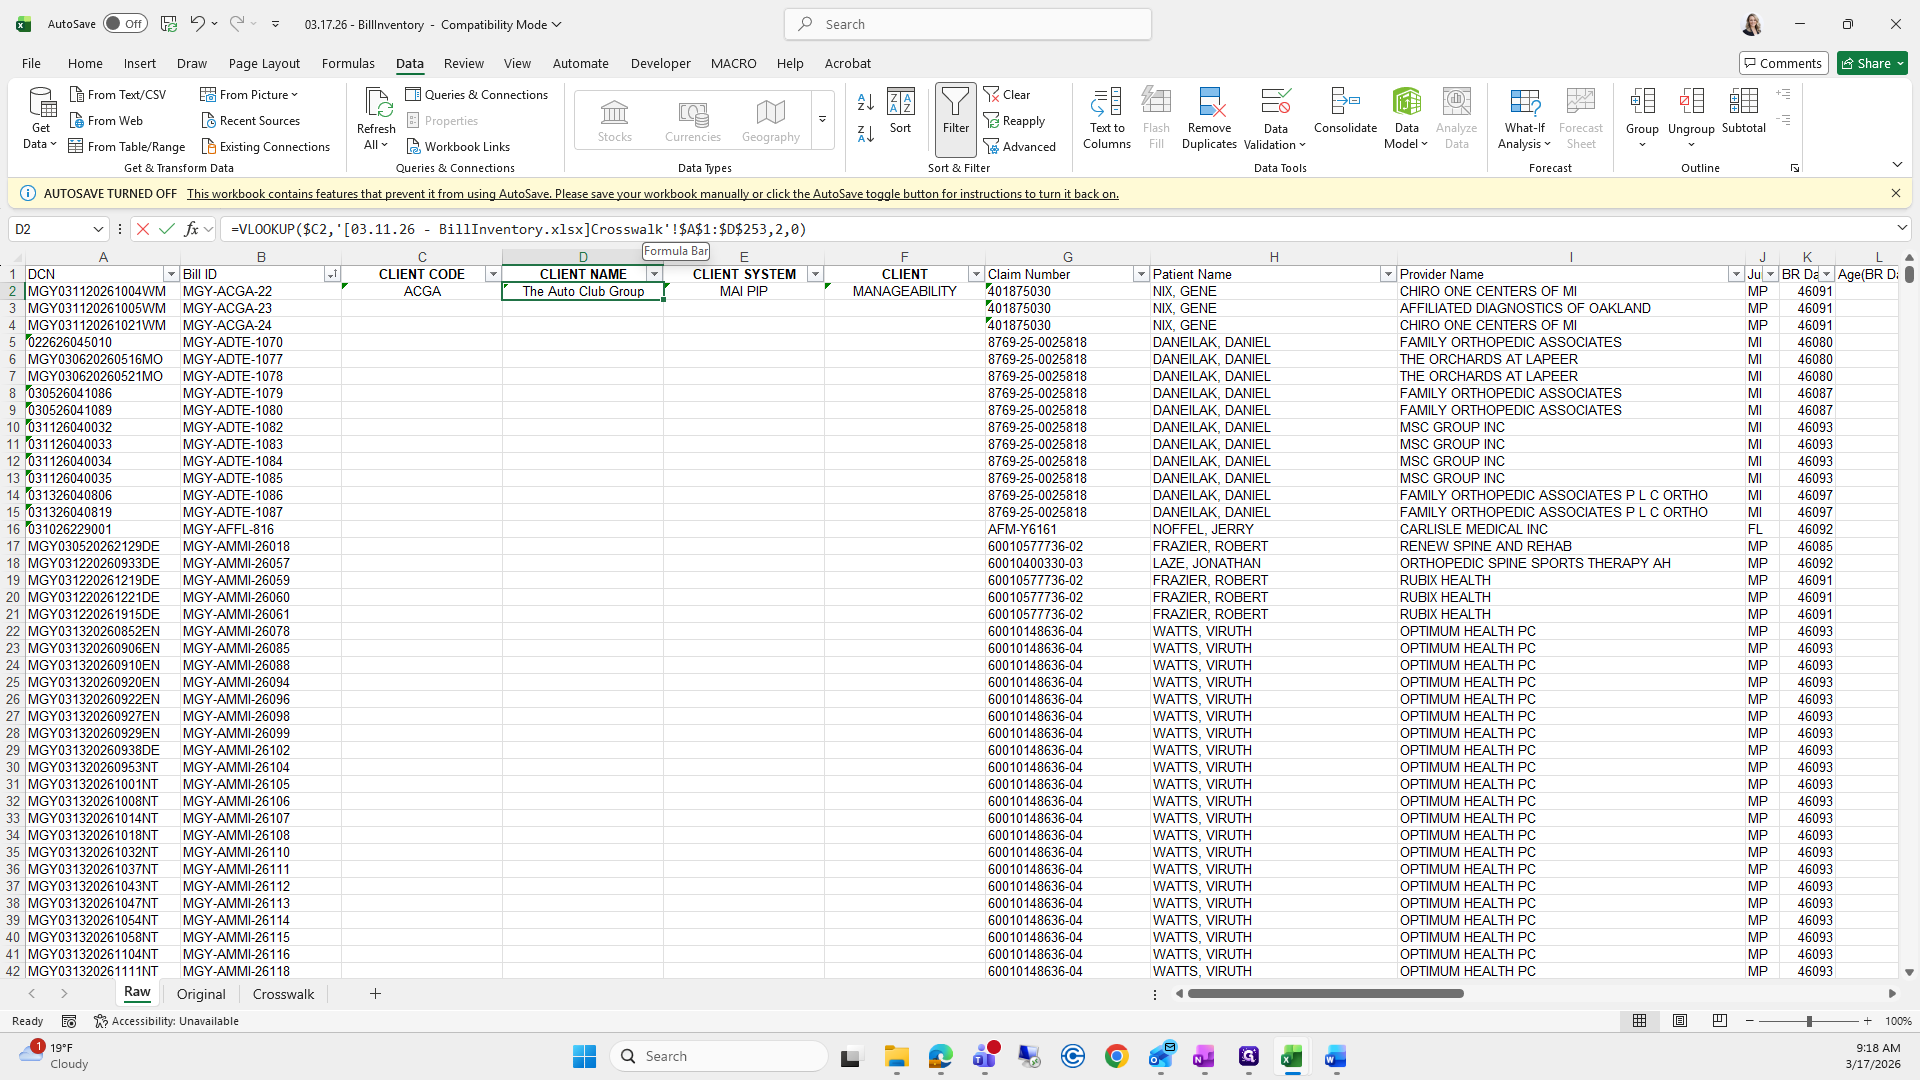
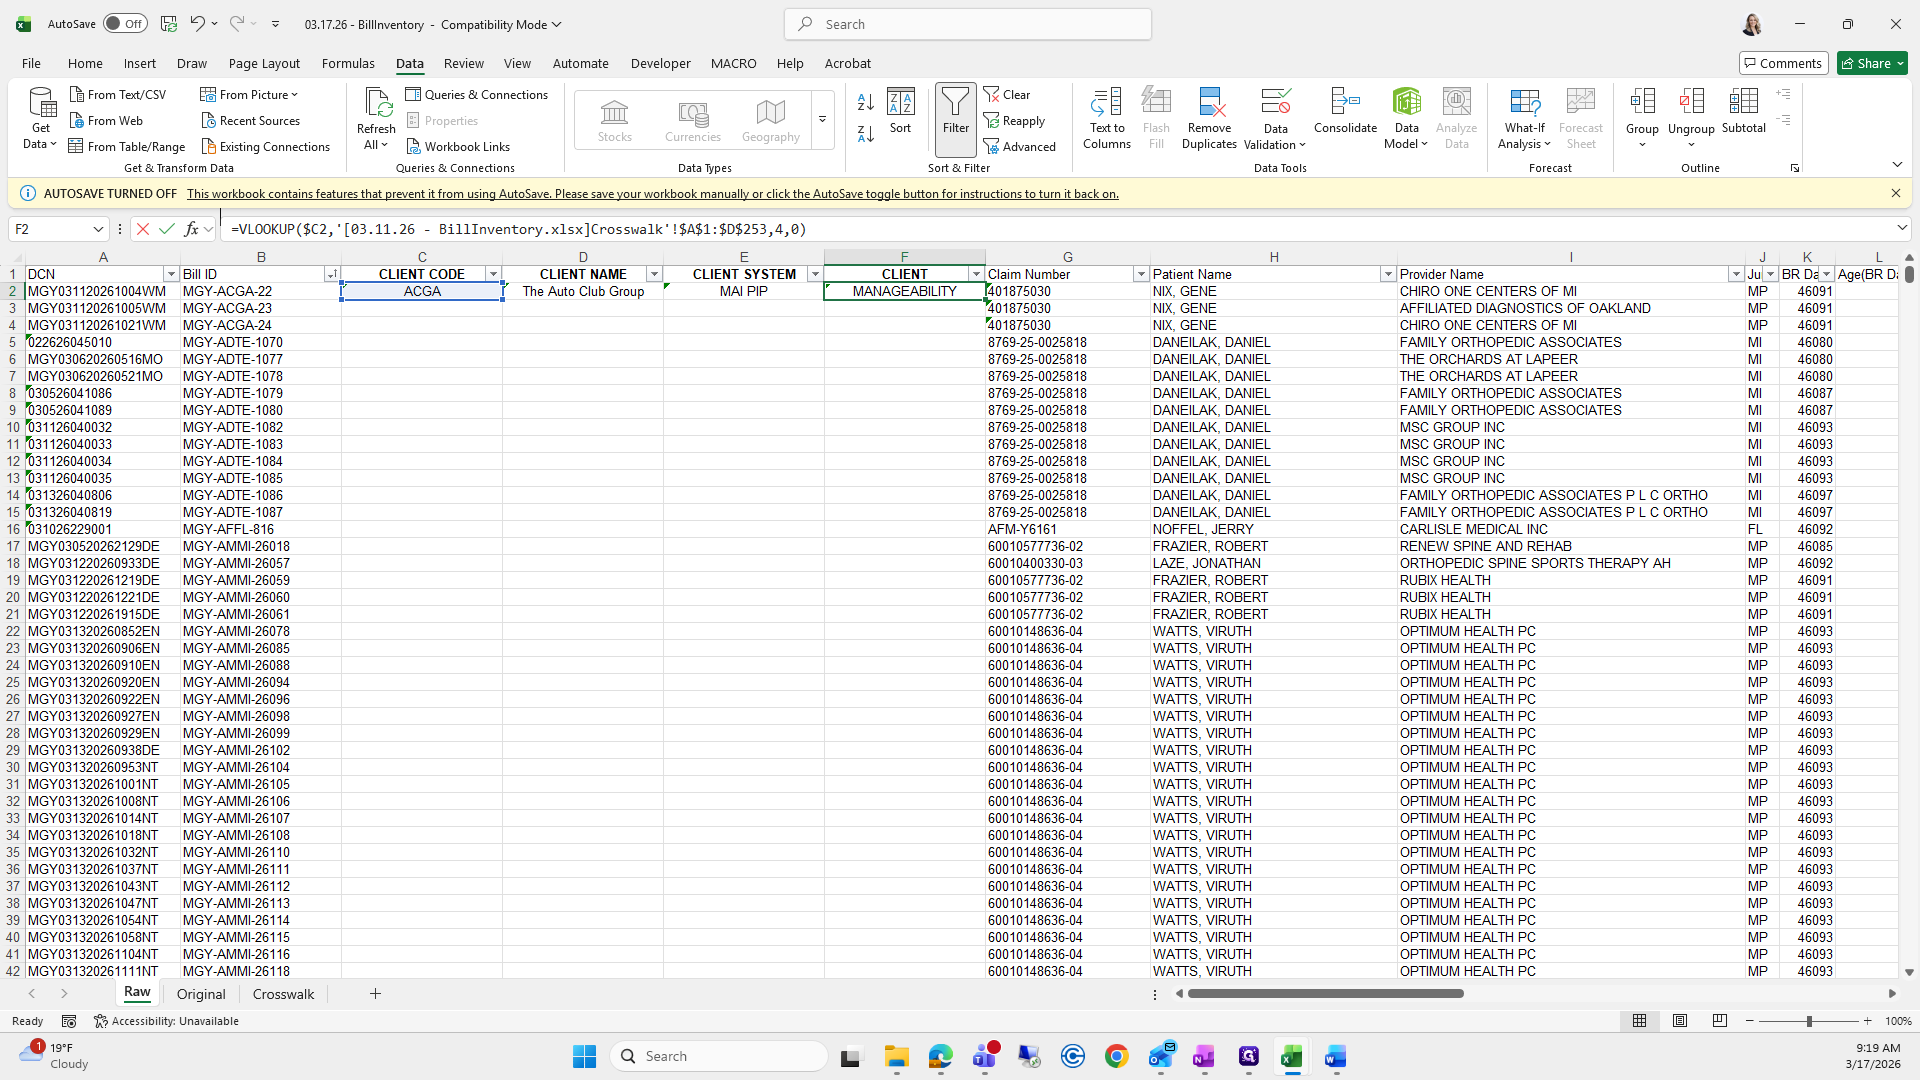
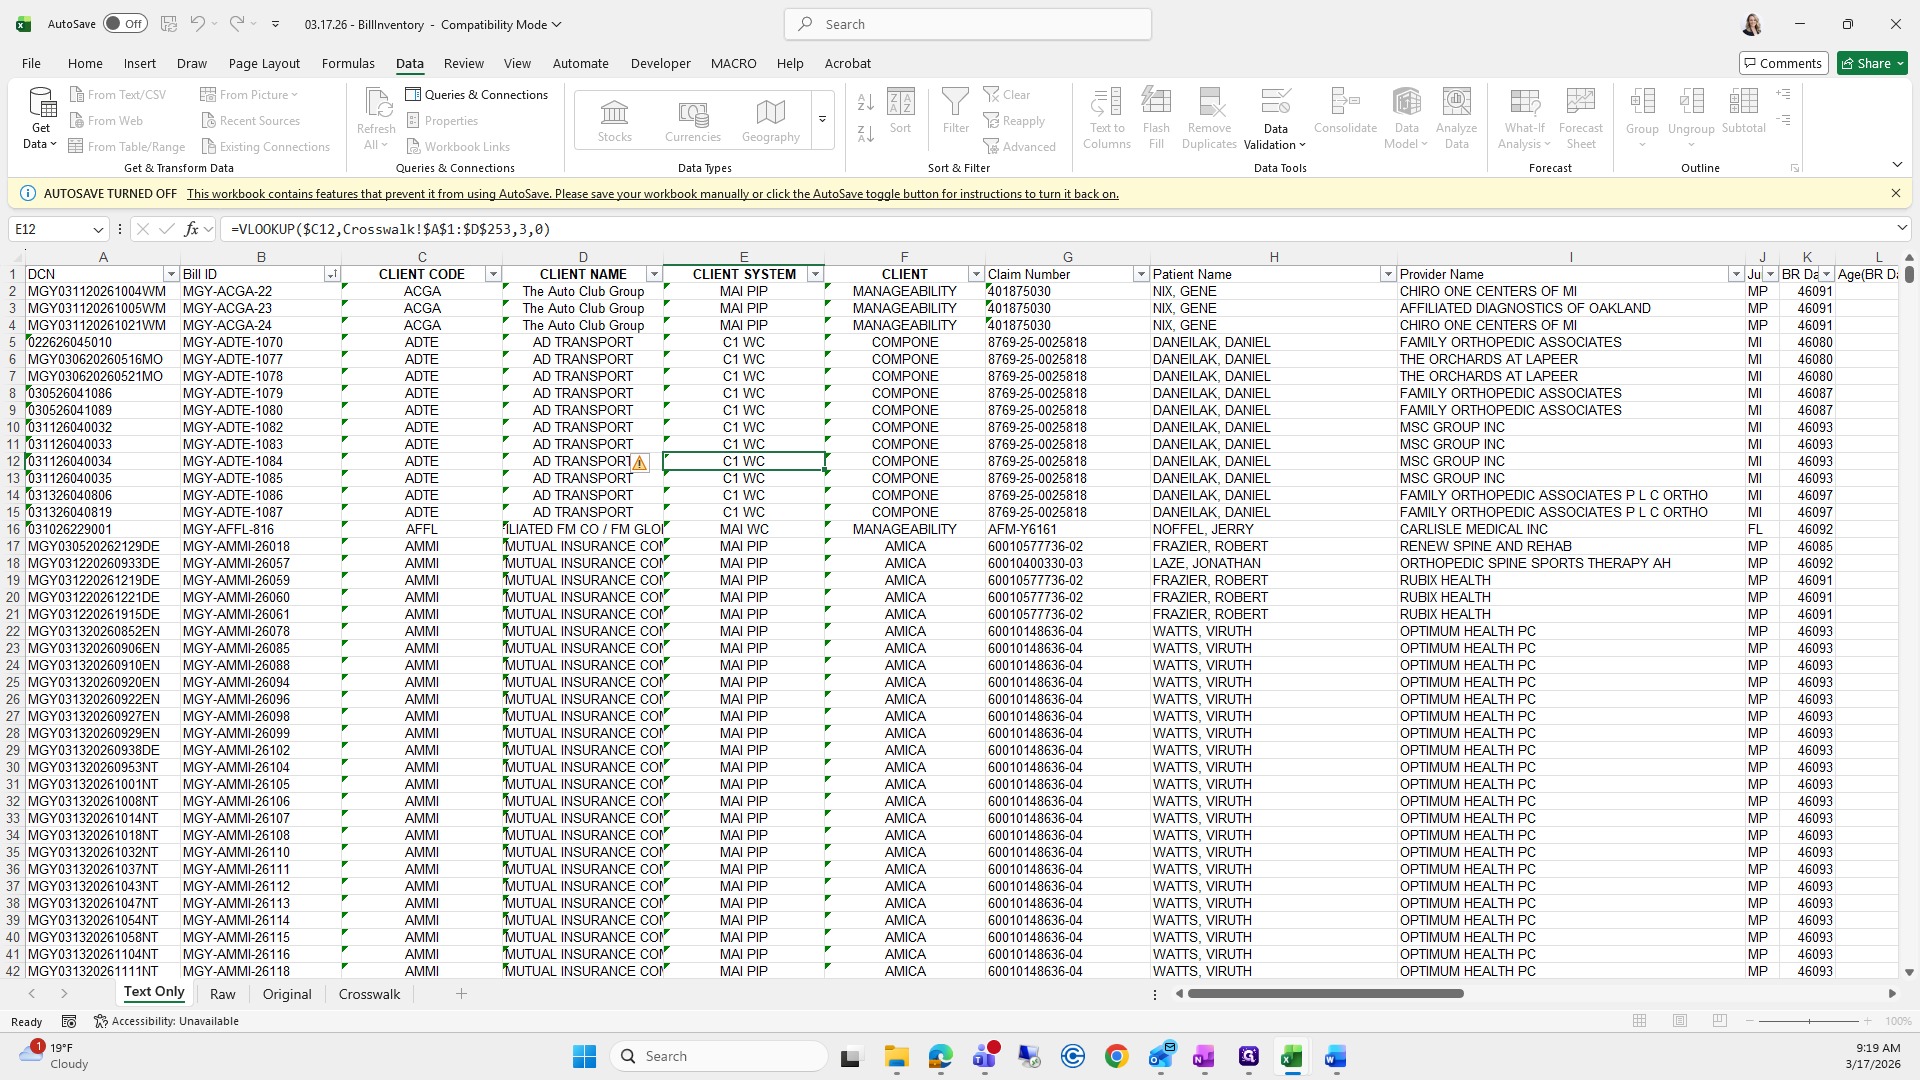
I'll take columns C1 and C2 and drag them over to F1 and F2.
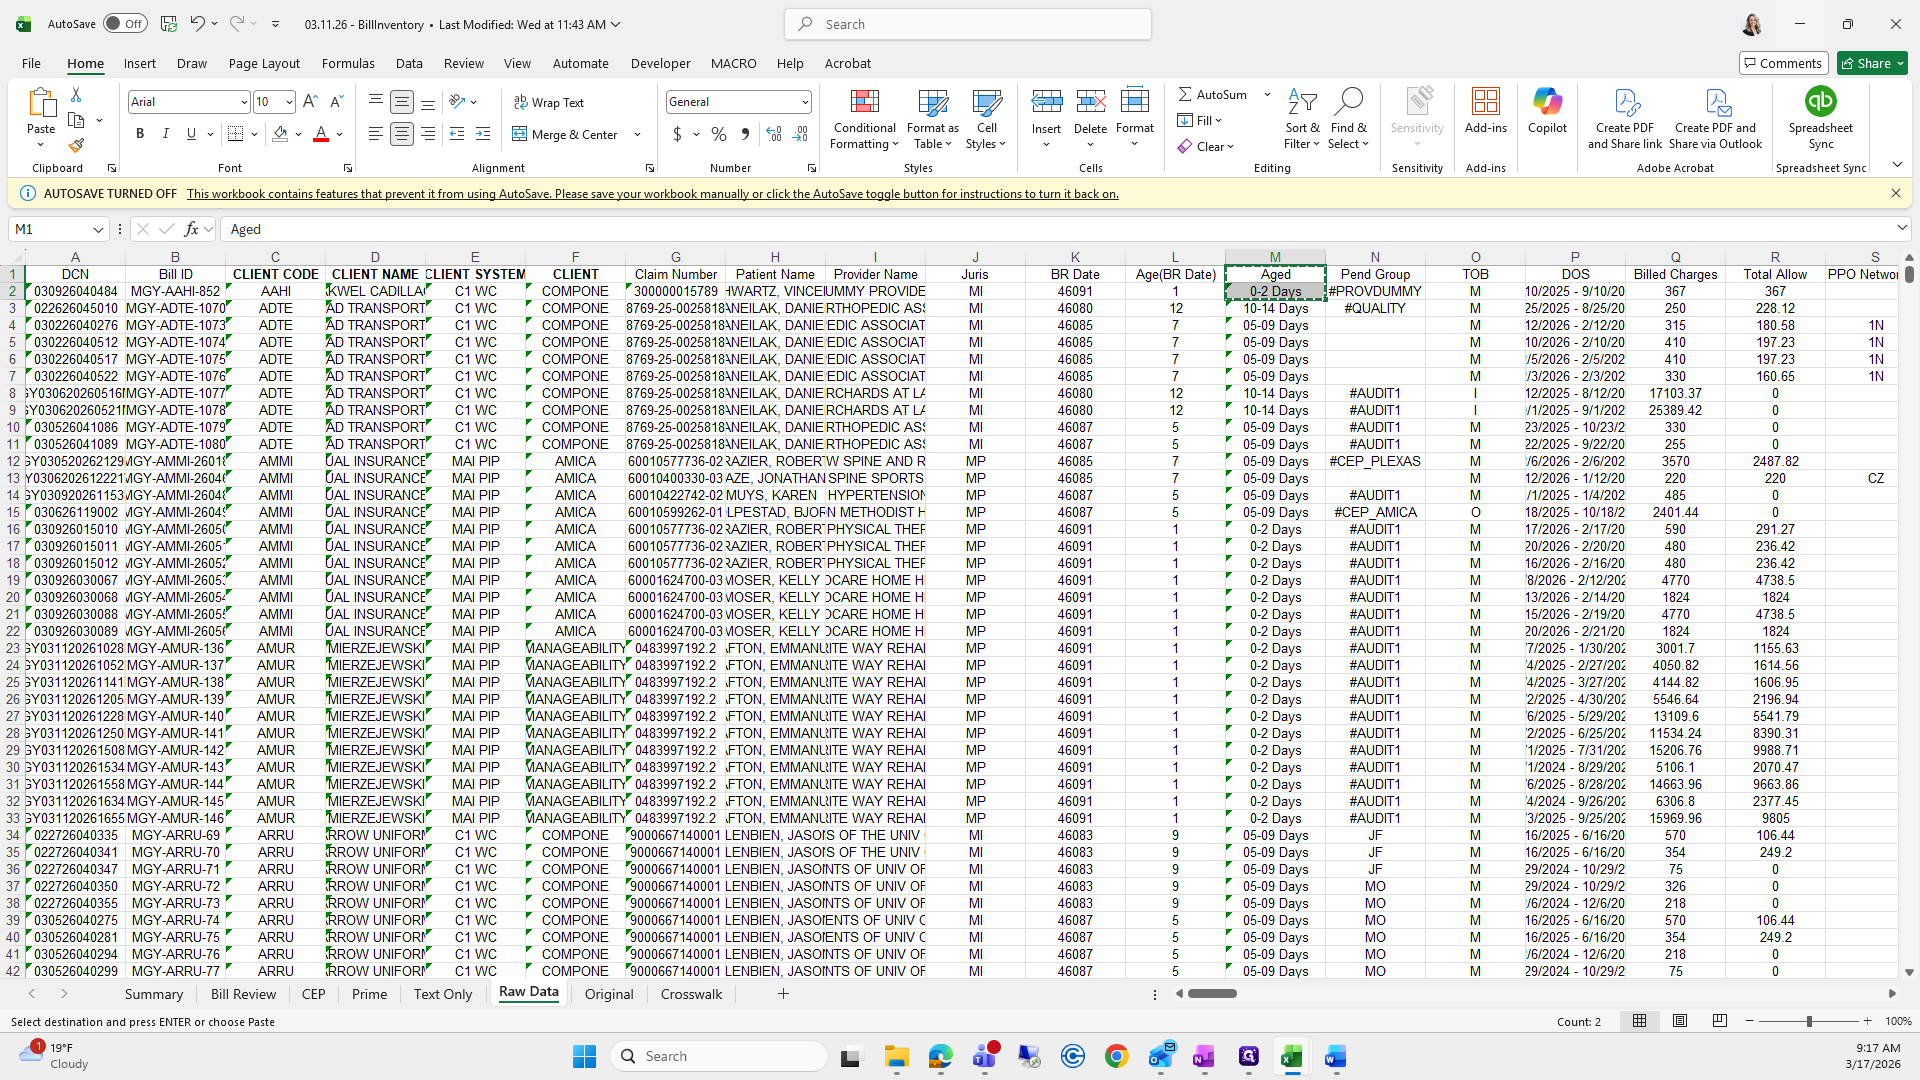
6
Click on "C"
Step #6: Click on "C"
7
Drag "C"
Step #7: Drag "C"

I will copy it.

8
Type "Ctrl + C"
9
Click here
Step #9: Click here

I will paste it, not as values, just as a regular paste.

10
Click here
Step #10: Click here
11
Right-click here
Step #11: Right-click here
12
Click here
Step #12: Click here
13
Click here
Step #13: Click here

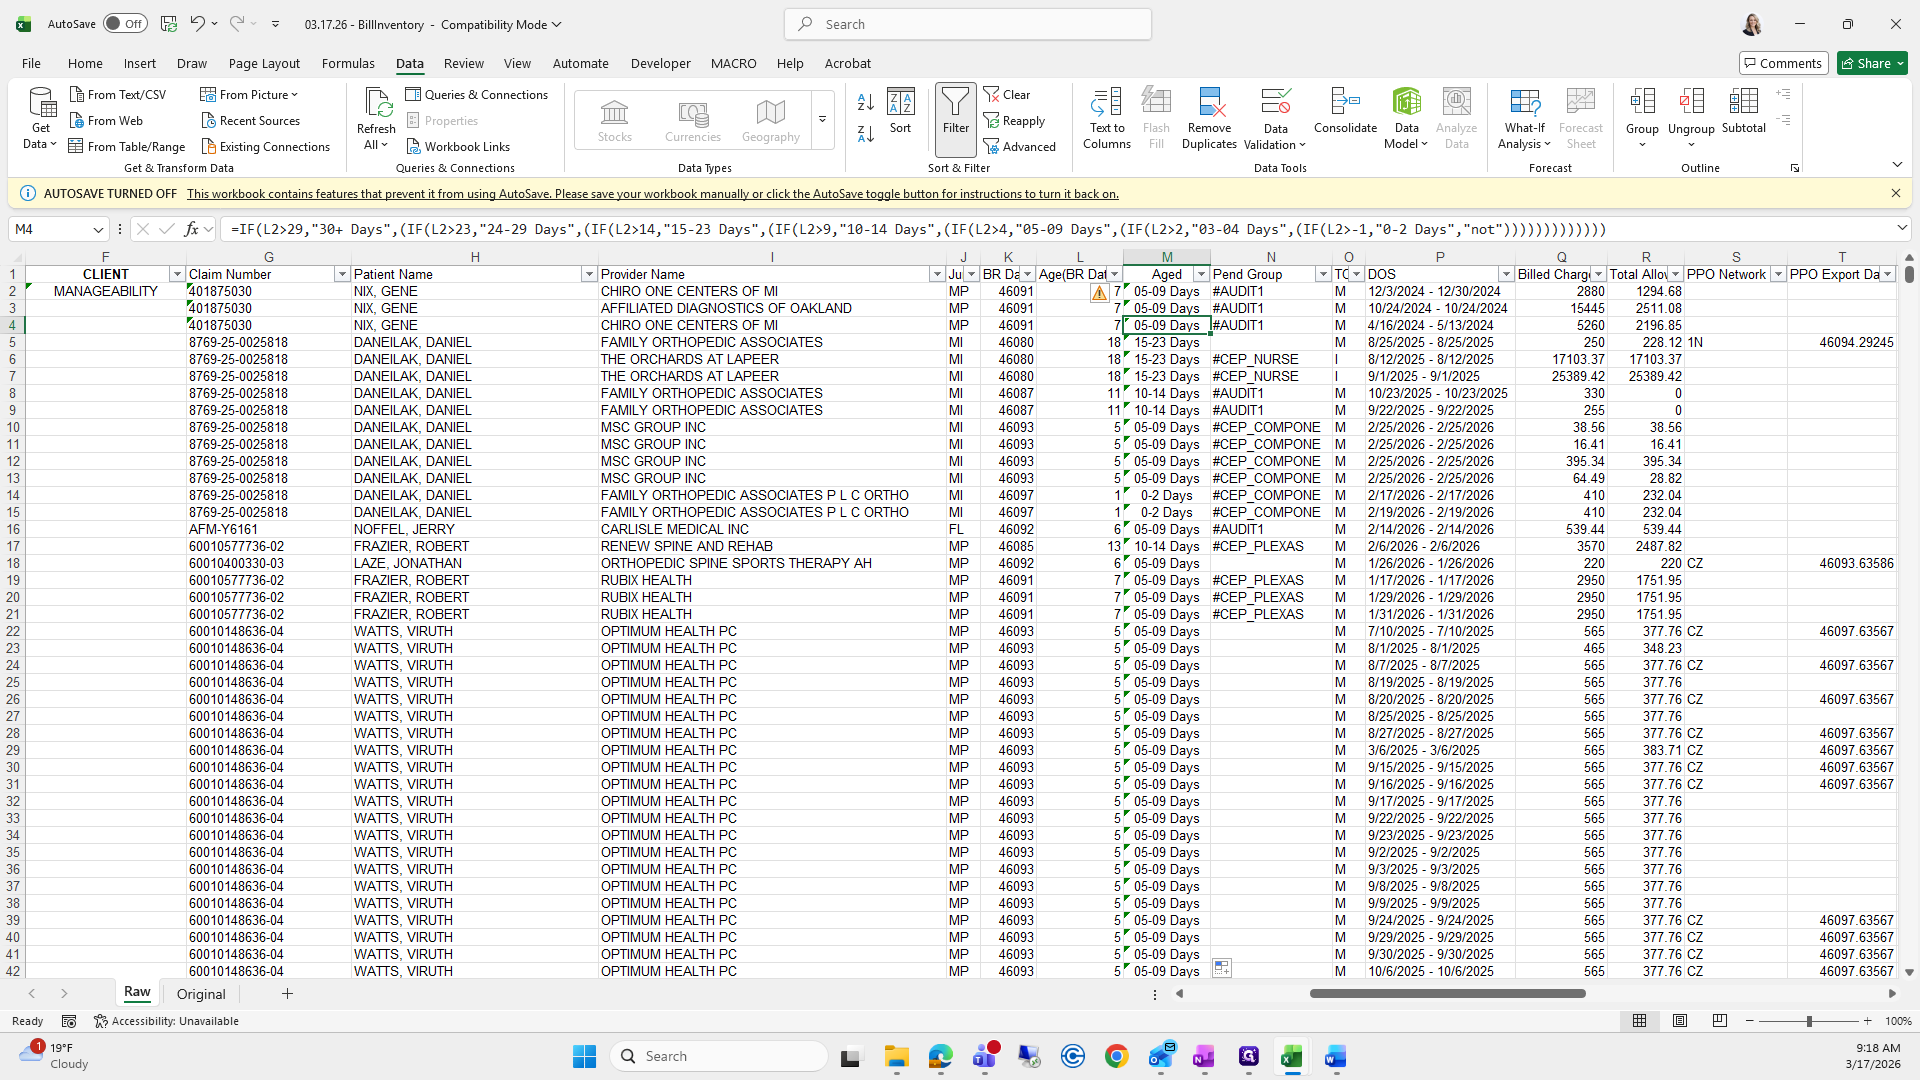
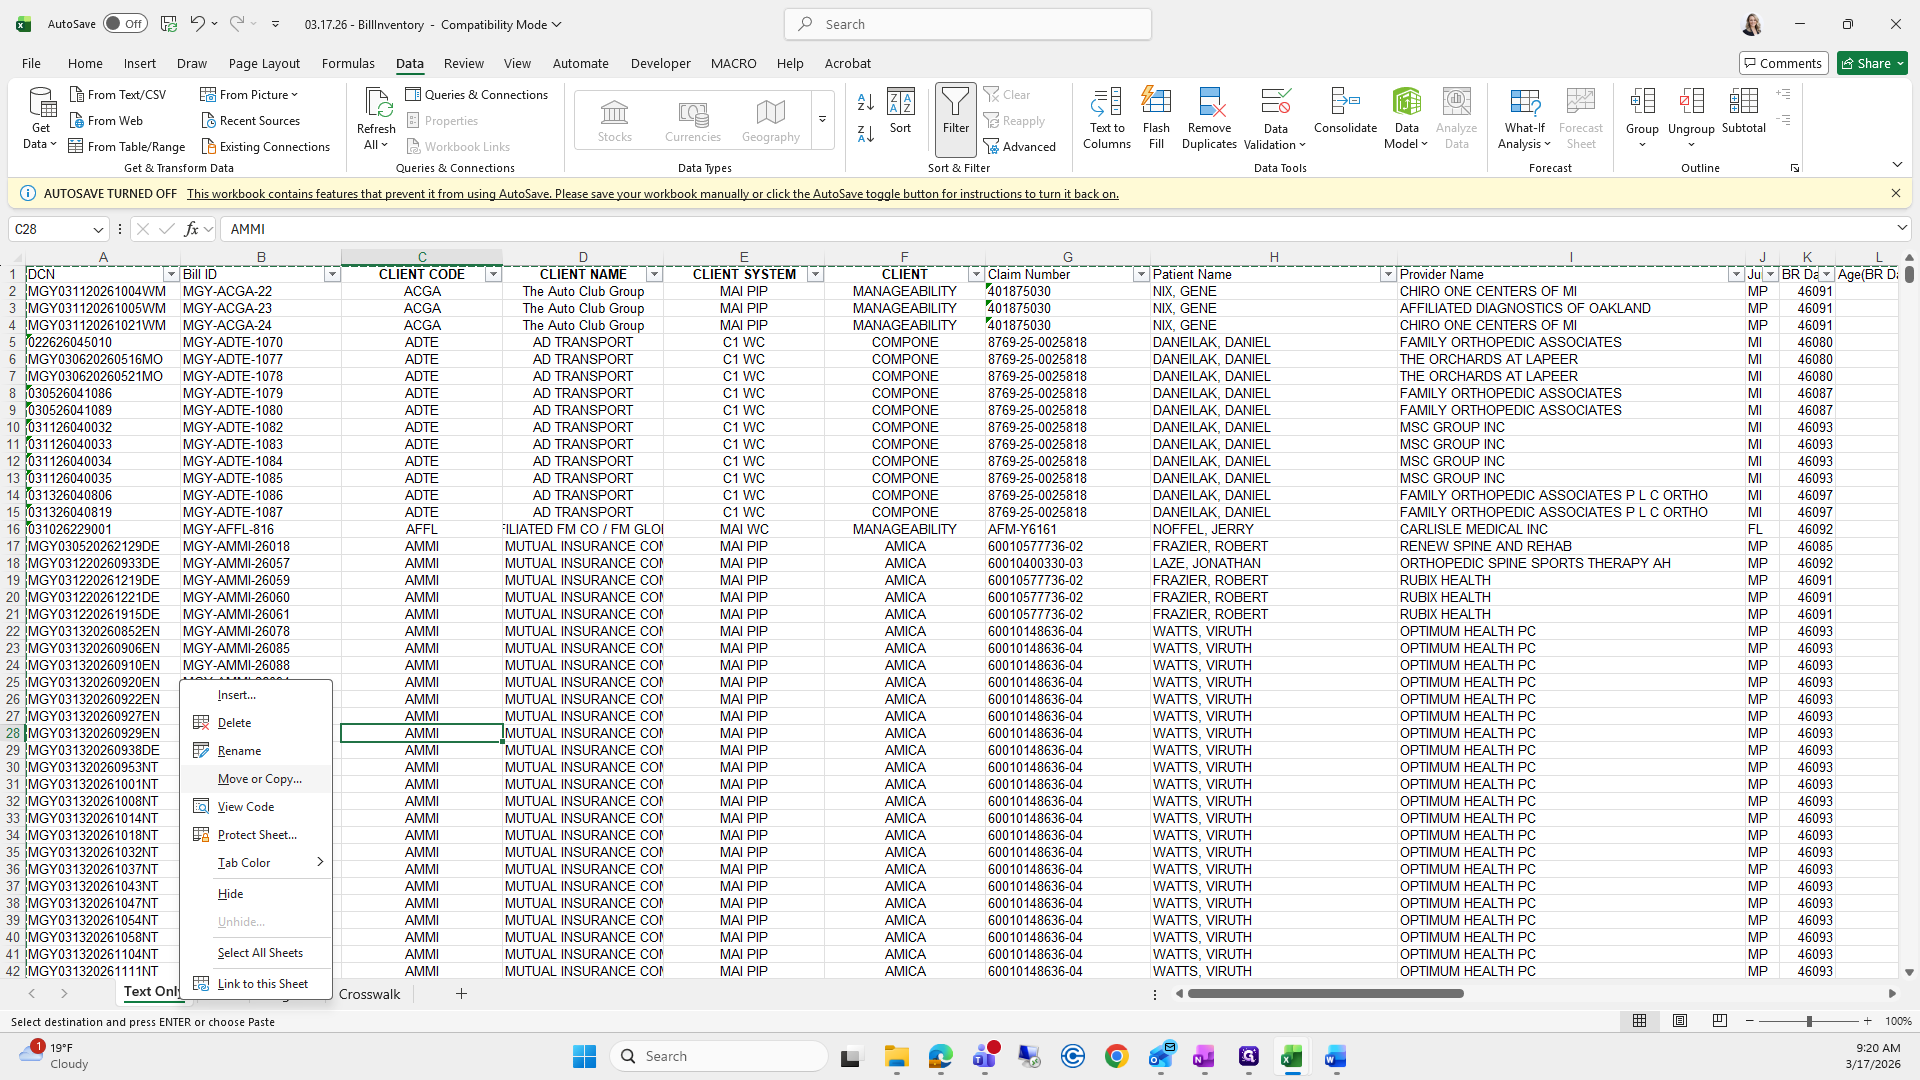
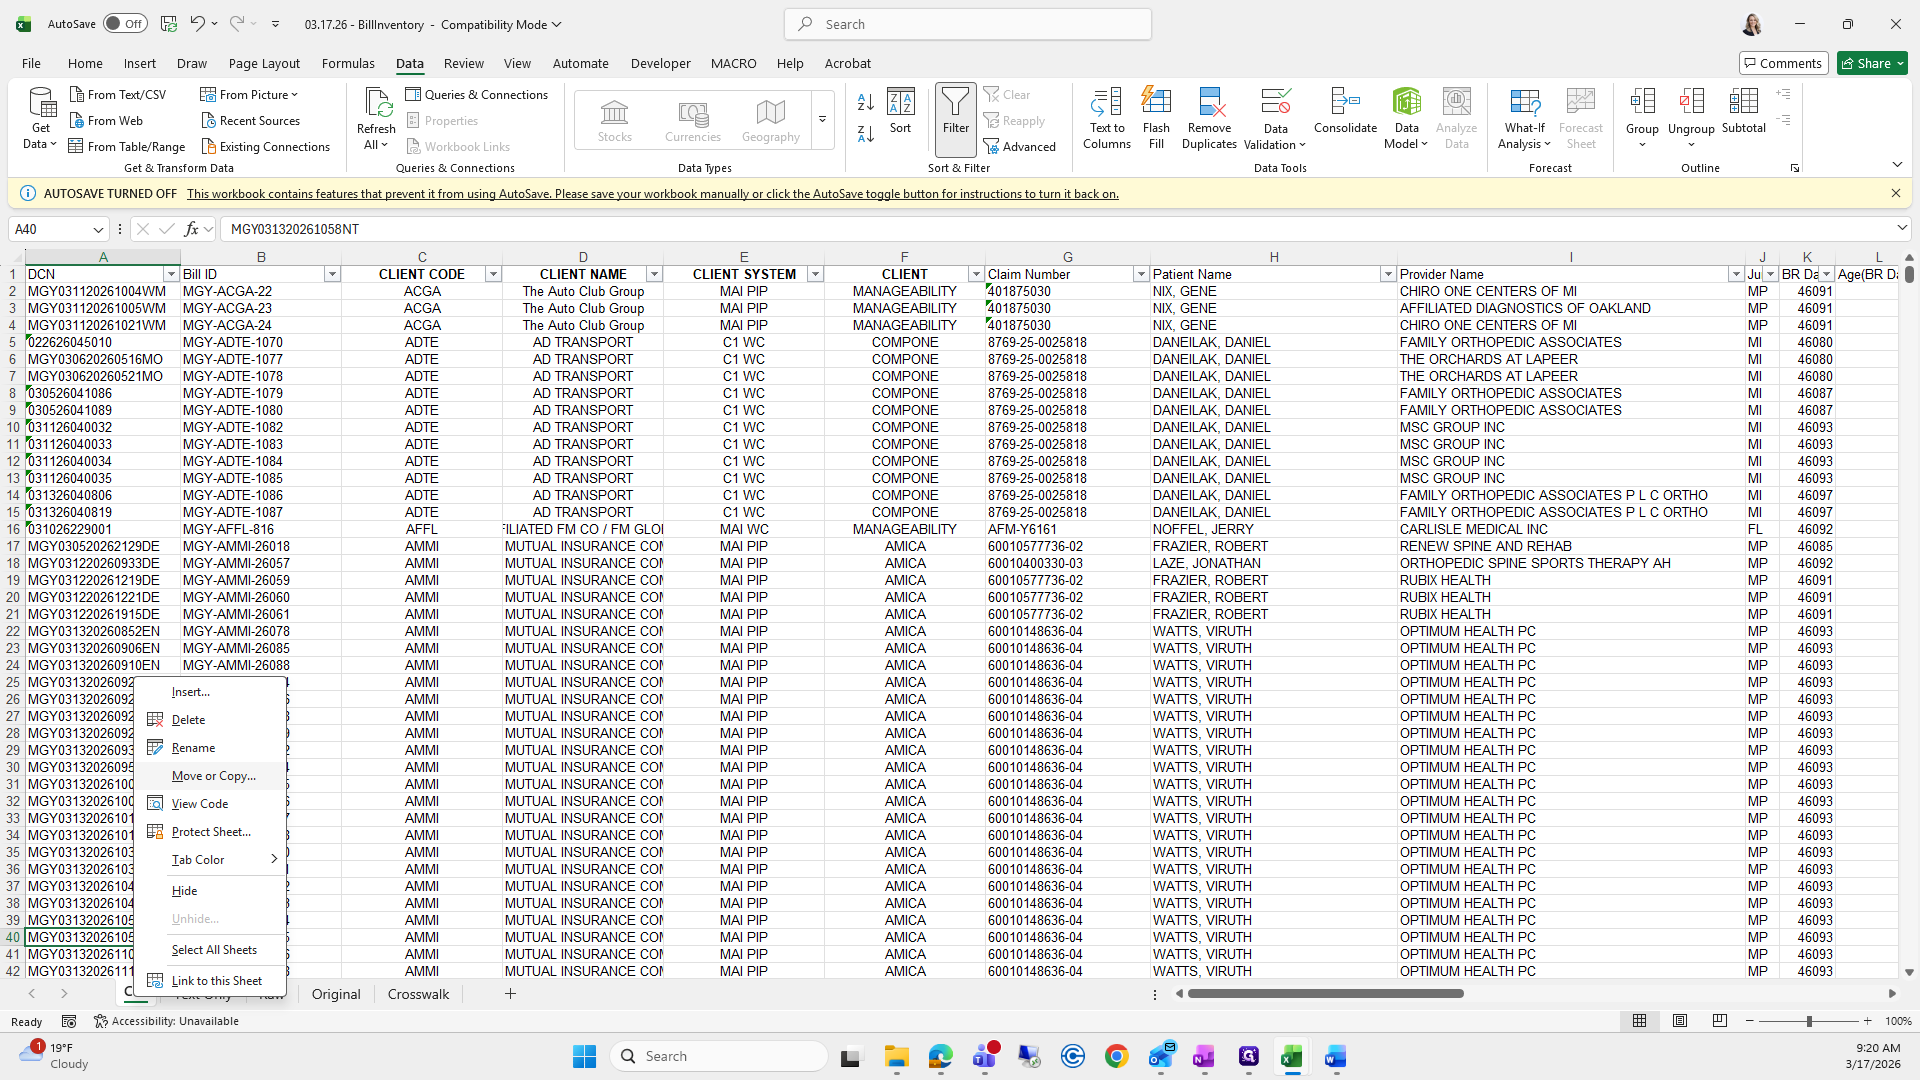
I will also scroll over to column M, right-click, select Insert, and then go back to the 311.

14
Double-click here
Step #14: Double-click here
15
Click on "M"
Step #15: Click on "M"
16
Right-click on "M"
Step #16: Right-click on "M"
17
Click here
Step #17: Click here
18
Click here
Step #18: Click here
19
Click here
Step #19: Click here

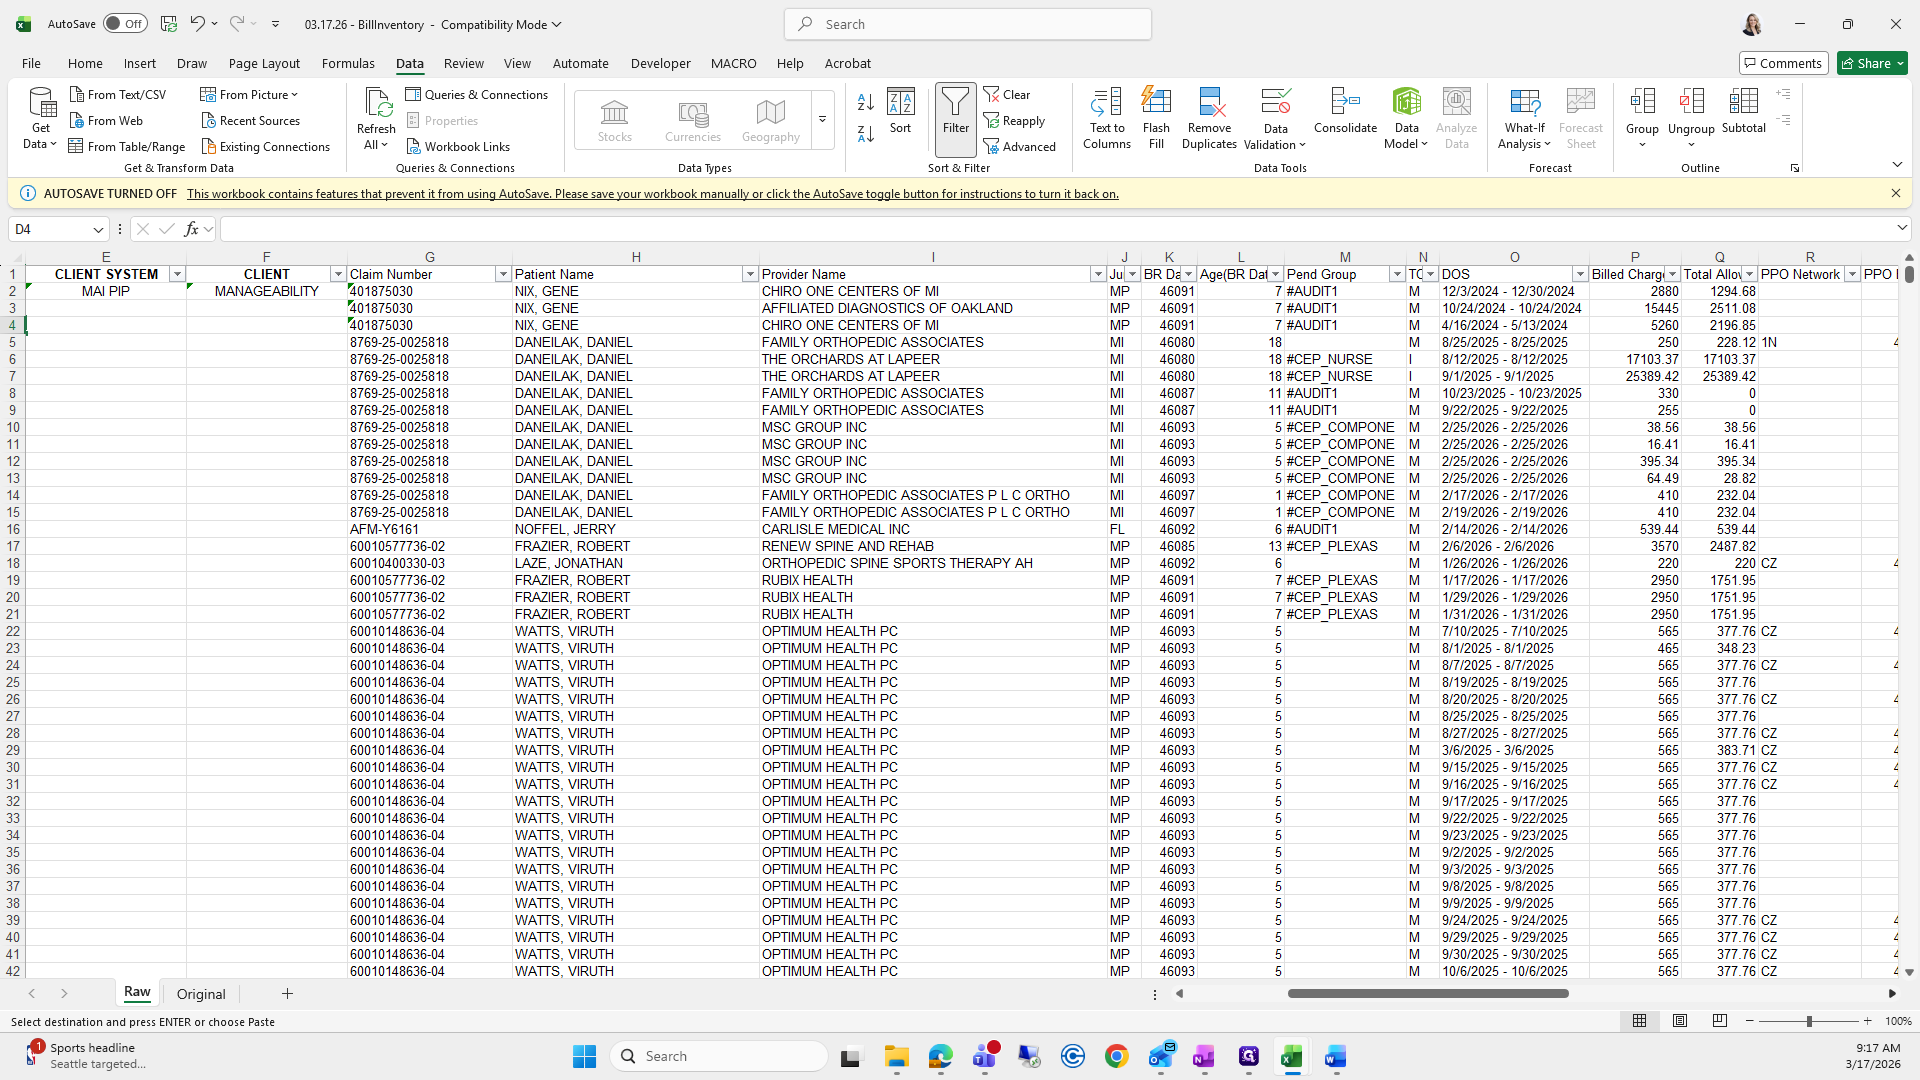
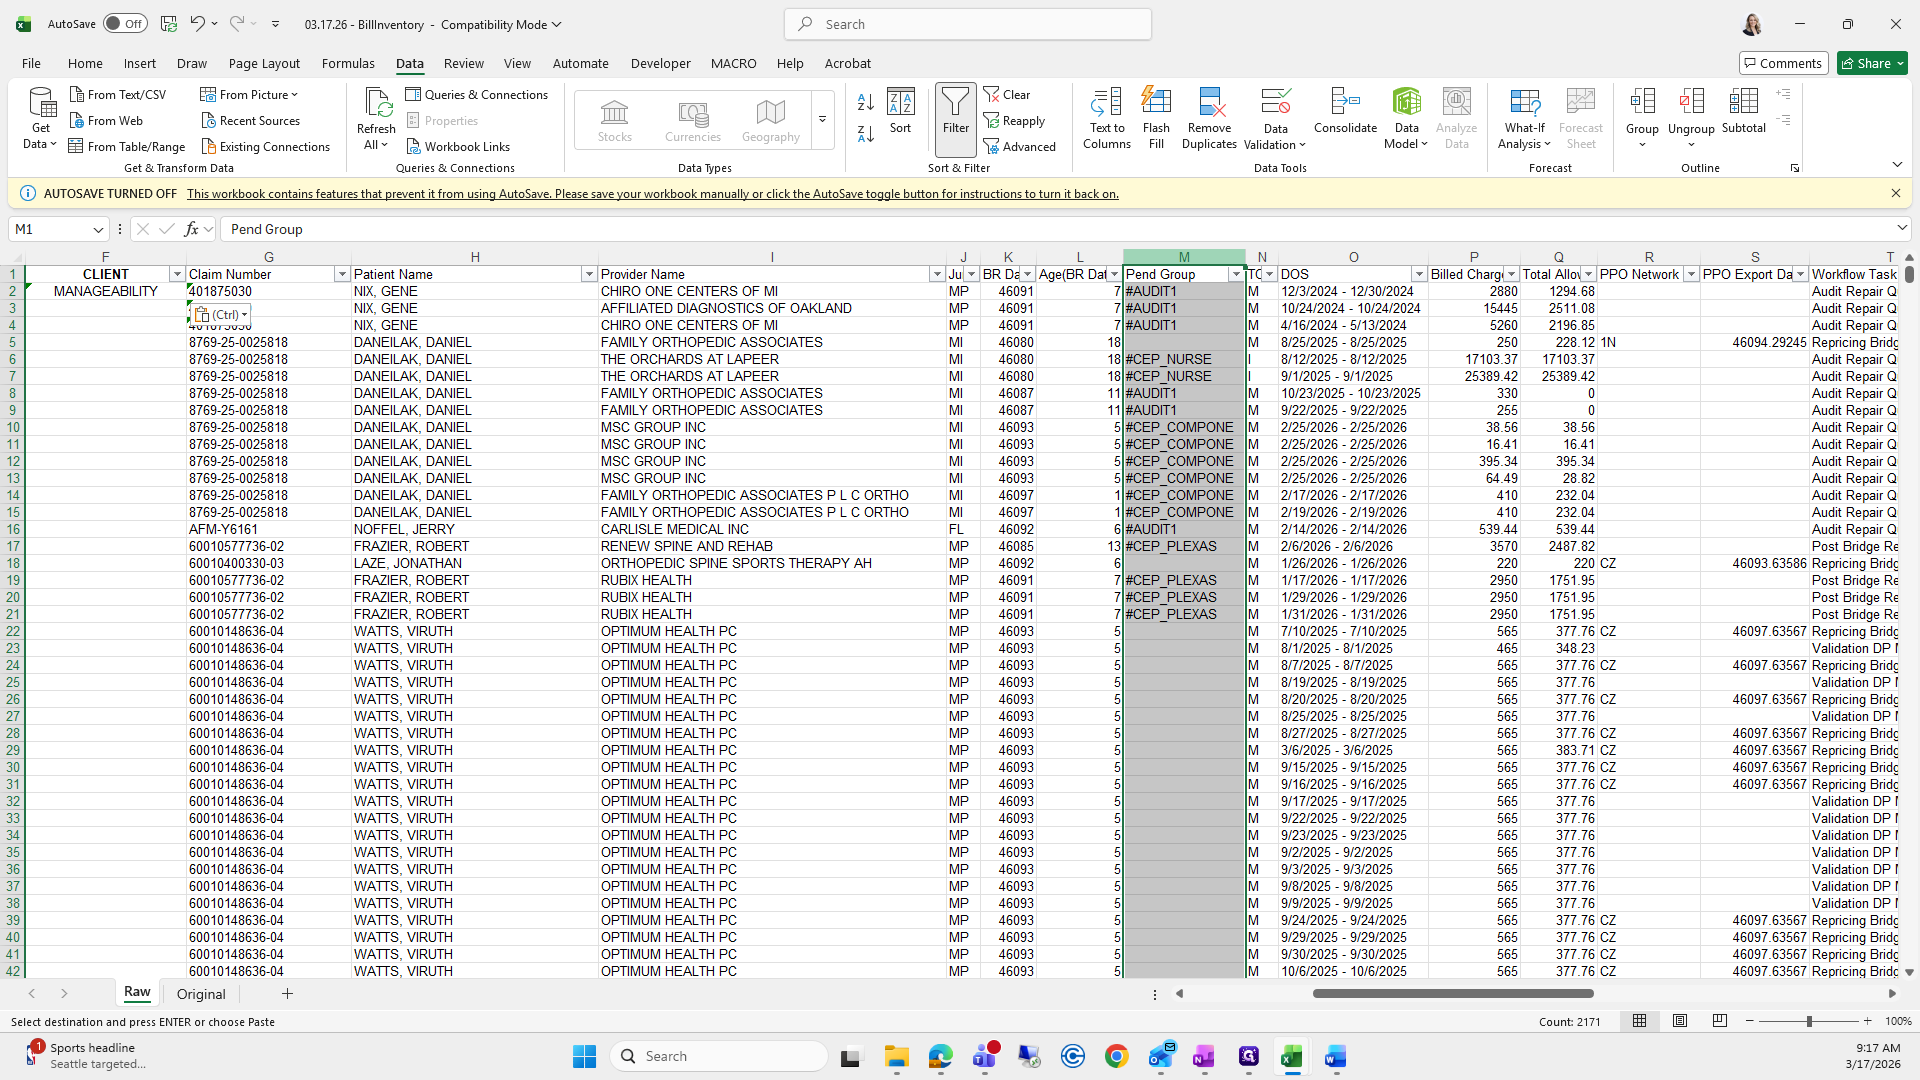
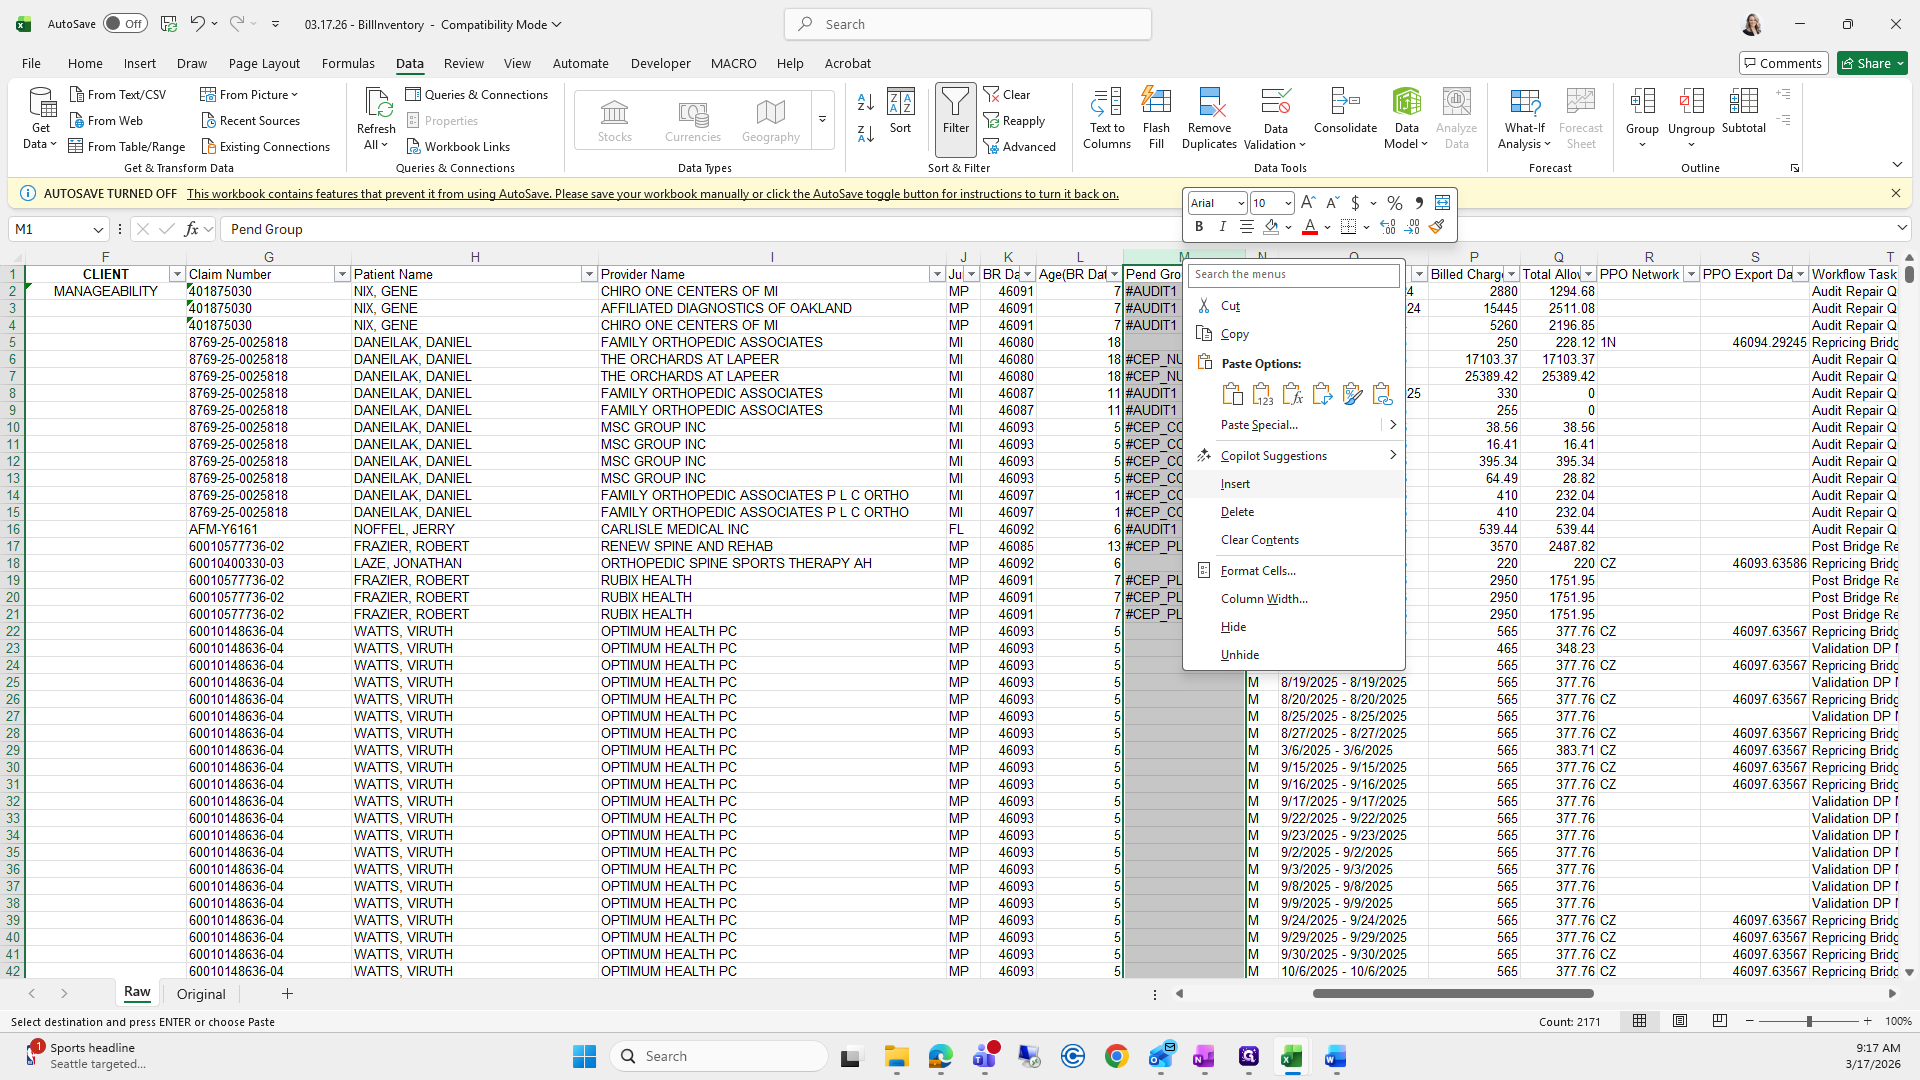
We will do the same thing. Row M is where we made the insertion on the other sheet.

20
Click on "Aged"
Step #20: Click on "Aged"
21
Click on "Aged"
Step #21: Click on "Aged"

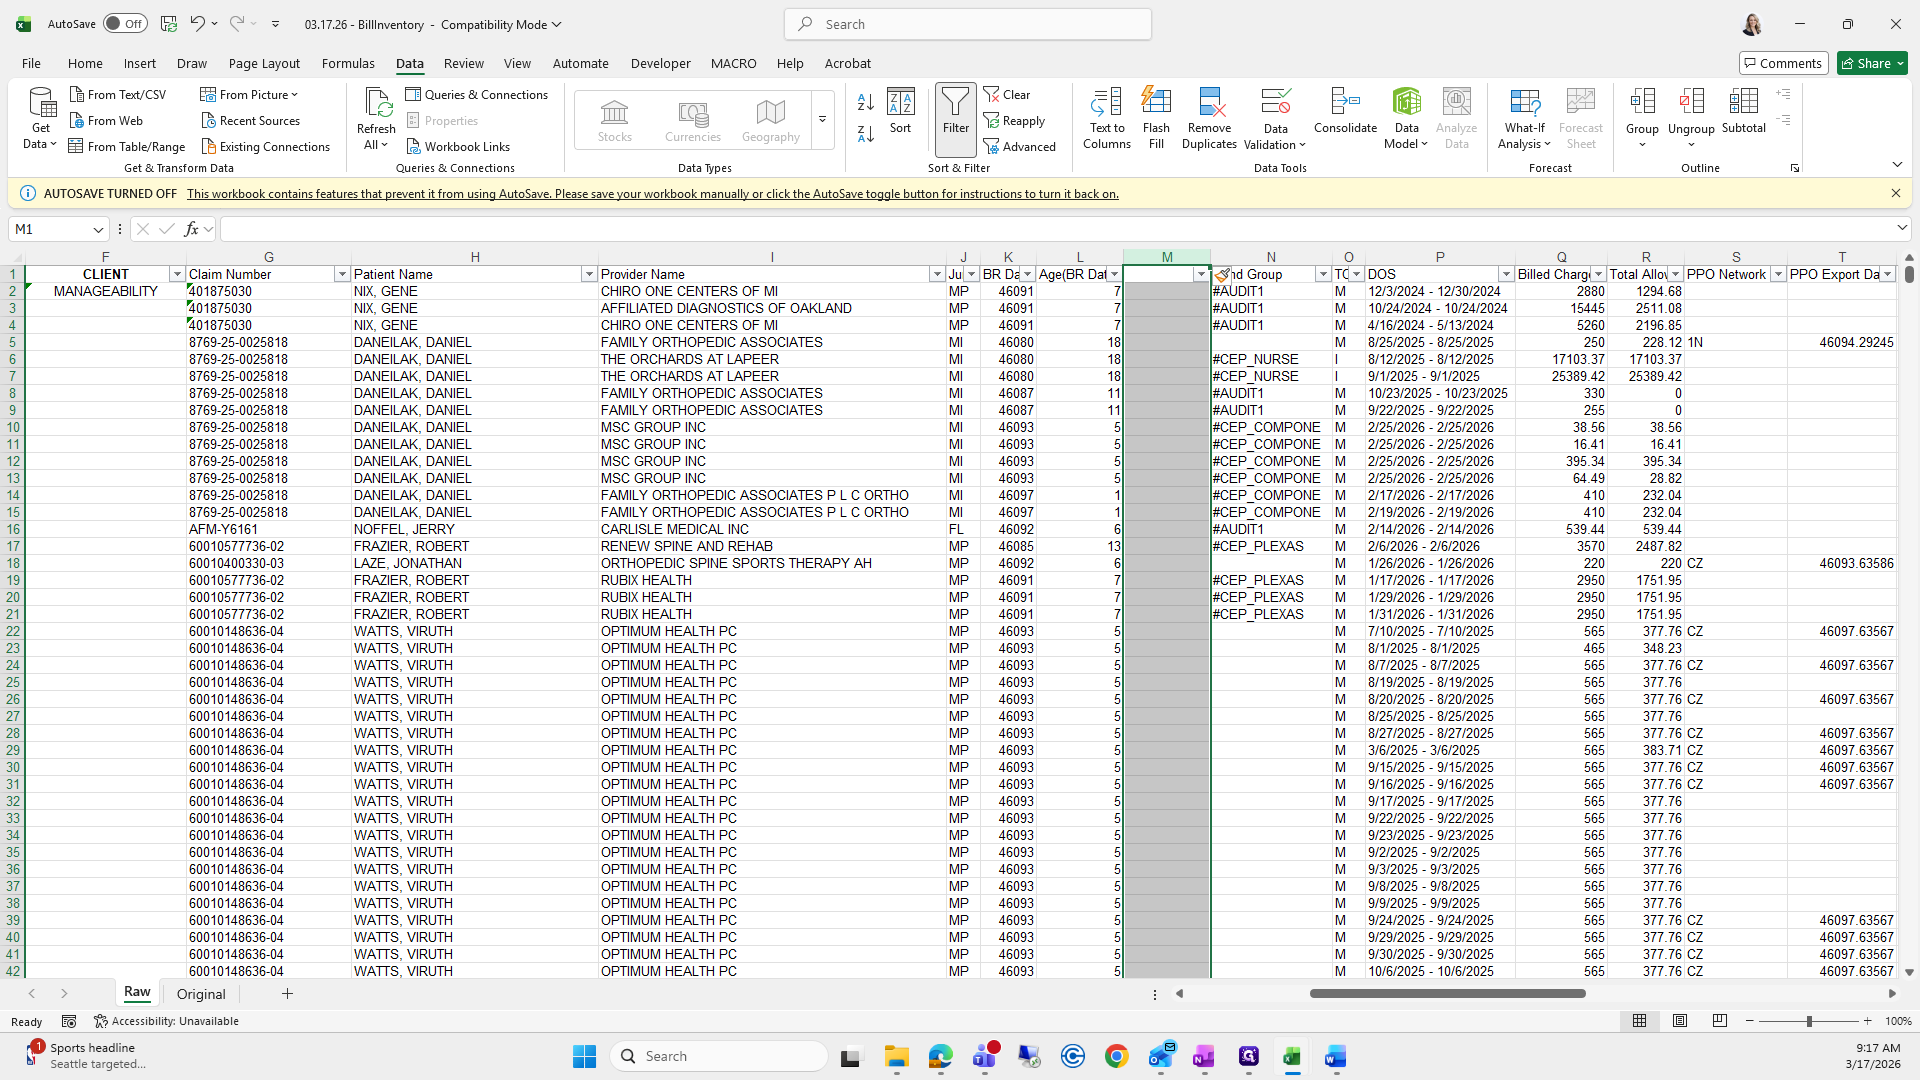
Copy it because it contains a formula, then paste it.

22
Type "Ctrl + C"
23
Click here
Step #23: Click here
24
Click here
Step #24: Click here
25
Type "Ctrl + V"

From here, for this specific row, you can double-click and let it go all the way down.

26
Click here
Step #26: Click here
27
Click on "Pend Group"
Step #27: Click on "Pend Group"
28
Double-click on "Days"
Step #28: Double-click on "Days"

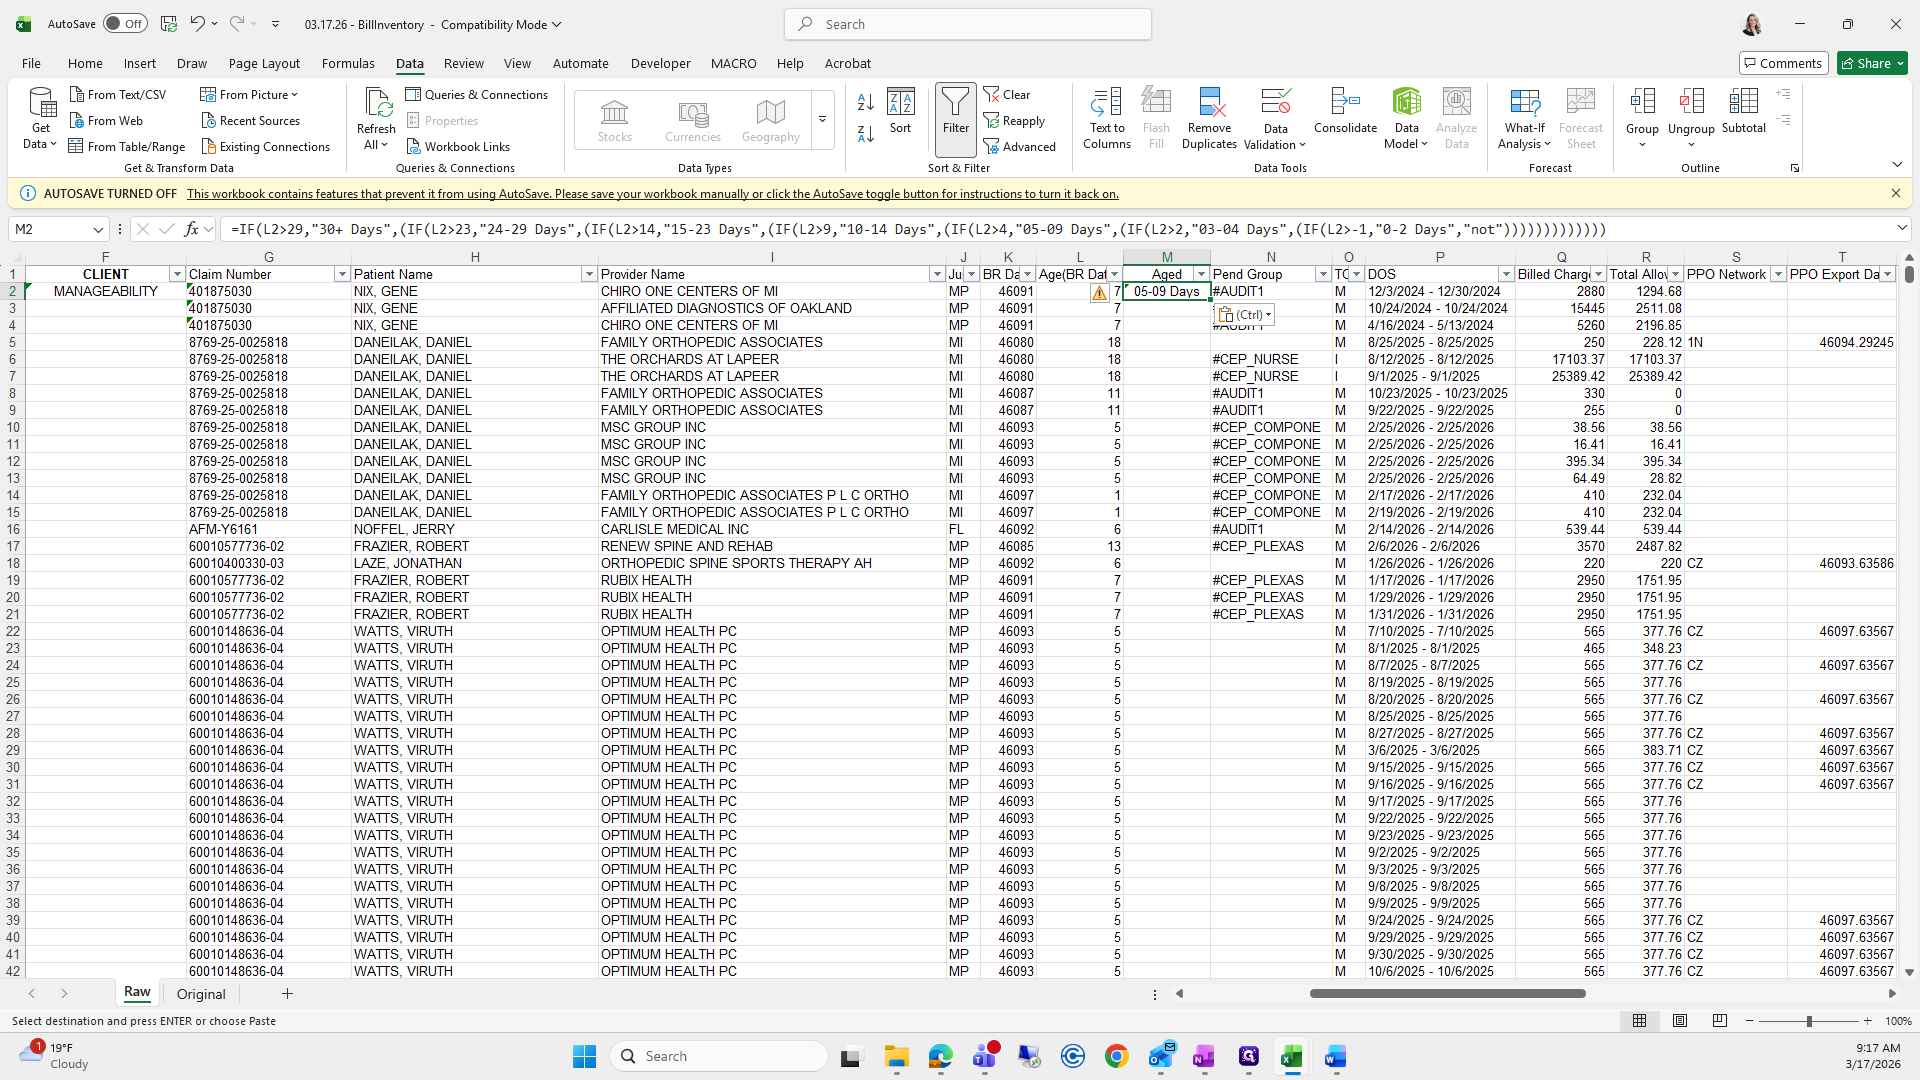
I like to double-click to make sure it's only selecting column L, and not any other column.

29
Click on "05-09 Days # AUDIT1"
Step #29: Click on "05-09 Days # AUDIT1"
30
Double-click on ","
Step #30: Double-click on ","
31
Type "Esc"
32
Click on "15-23 Days"
Step #32: Click on "15-23 Days"

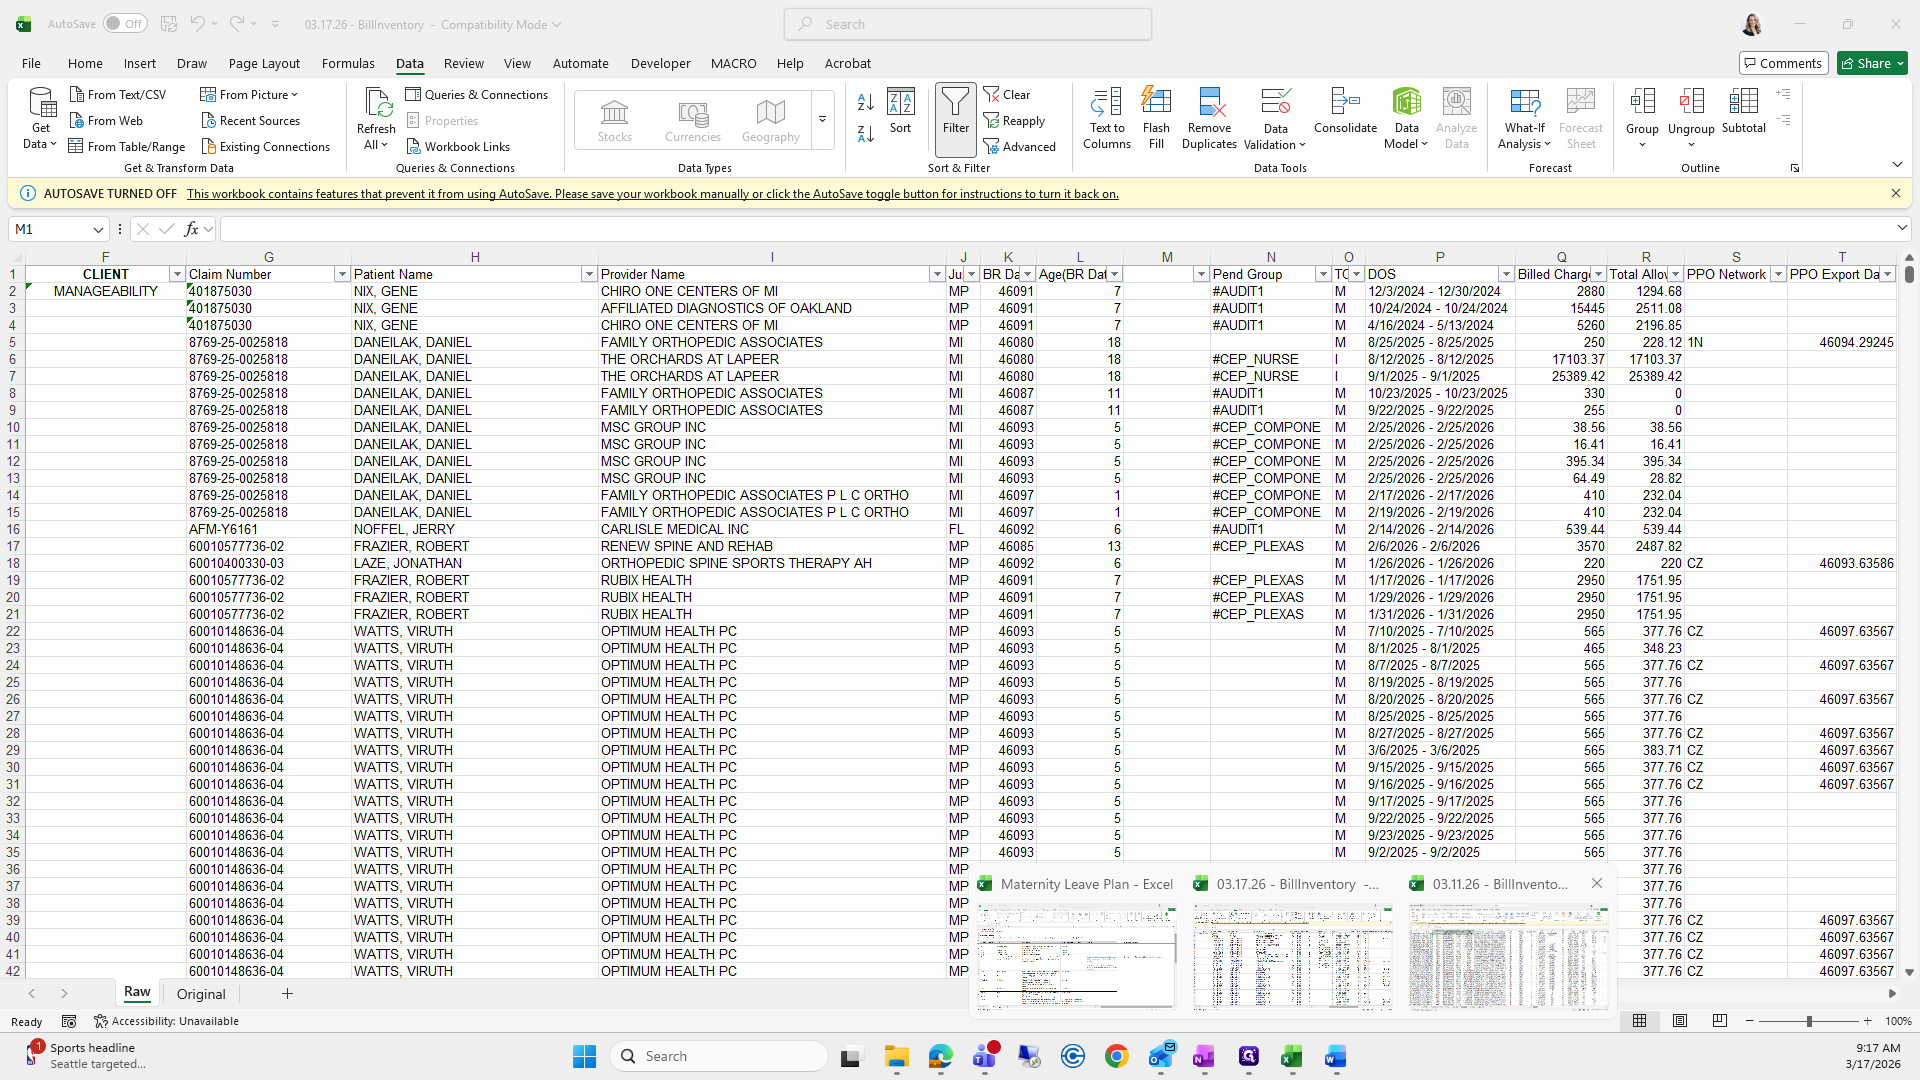
All right. Then I will go back to the other sheet.

33
Click here
Step #33: Click here
34
Click here
Step #34: Click here
35
Click here
Step #35: Click here
36
Click on "Crosswalk"
Step #36: Click on "Crosswalk"

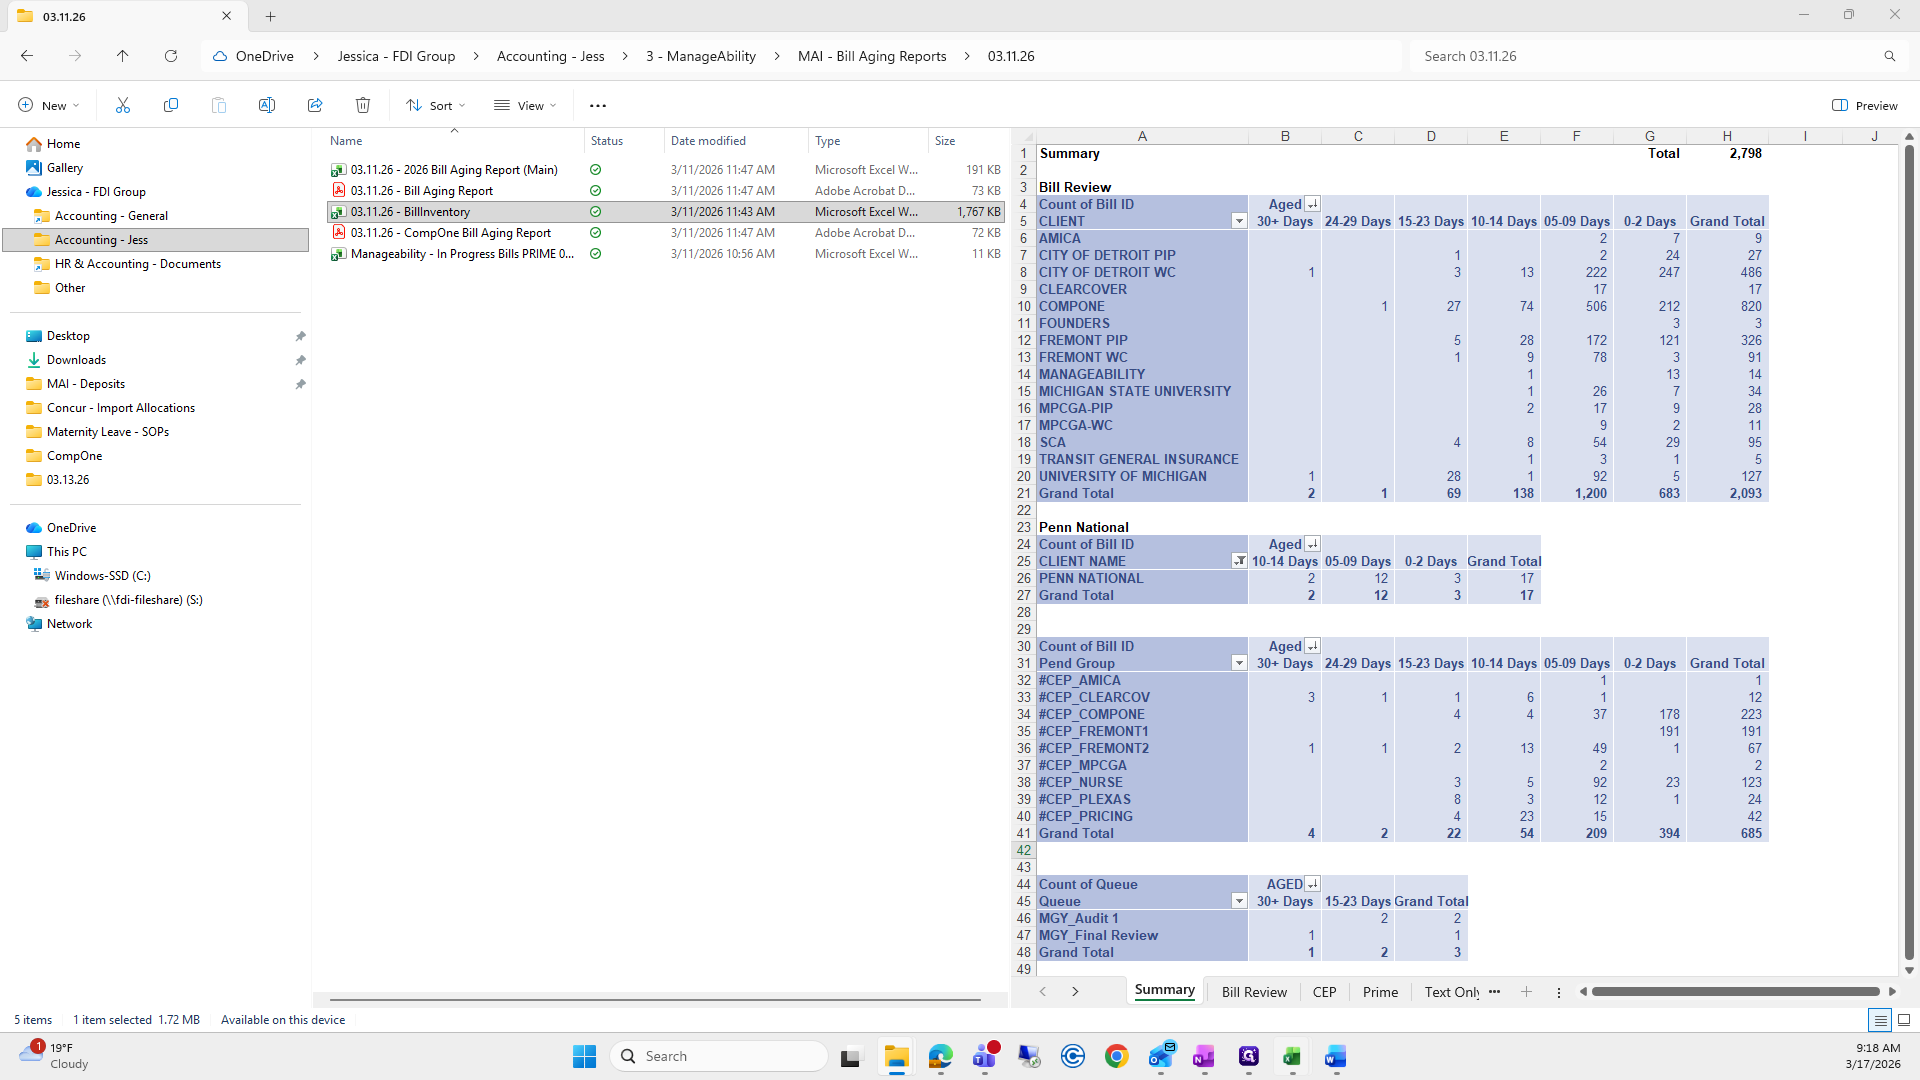
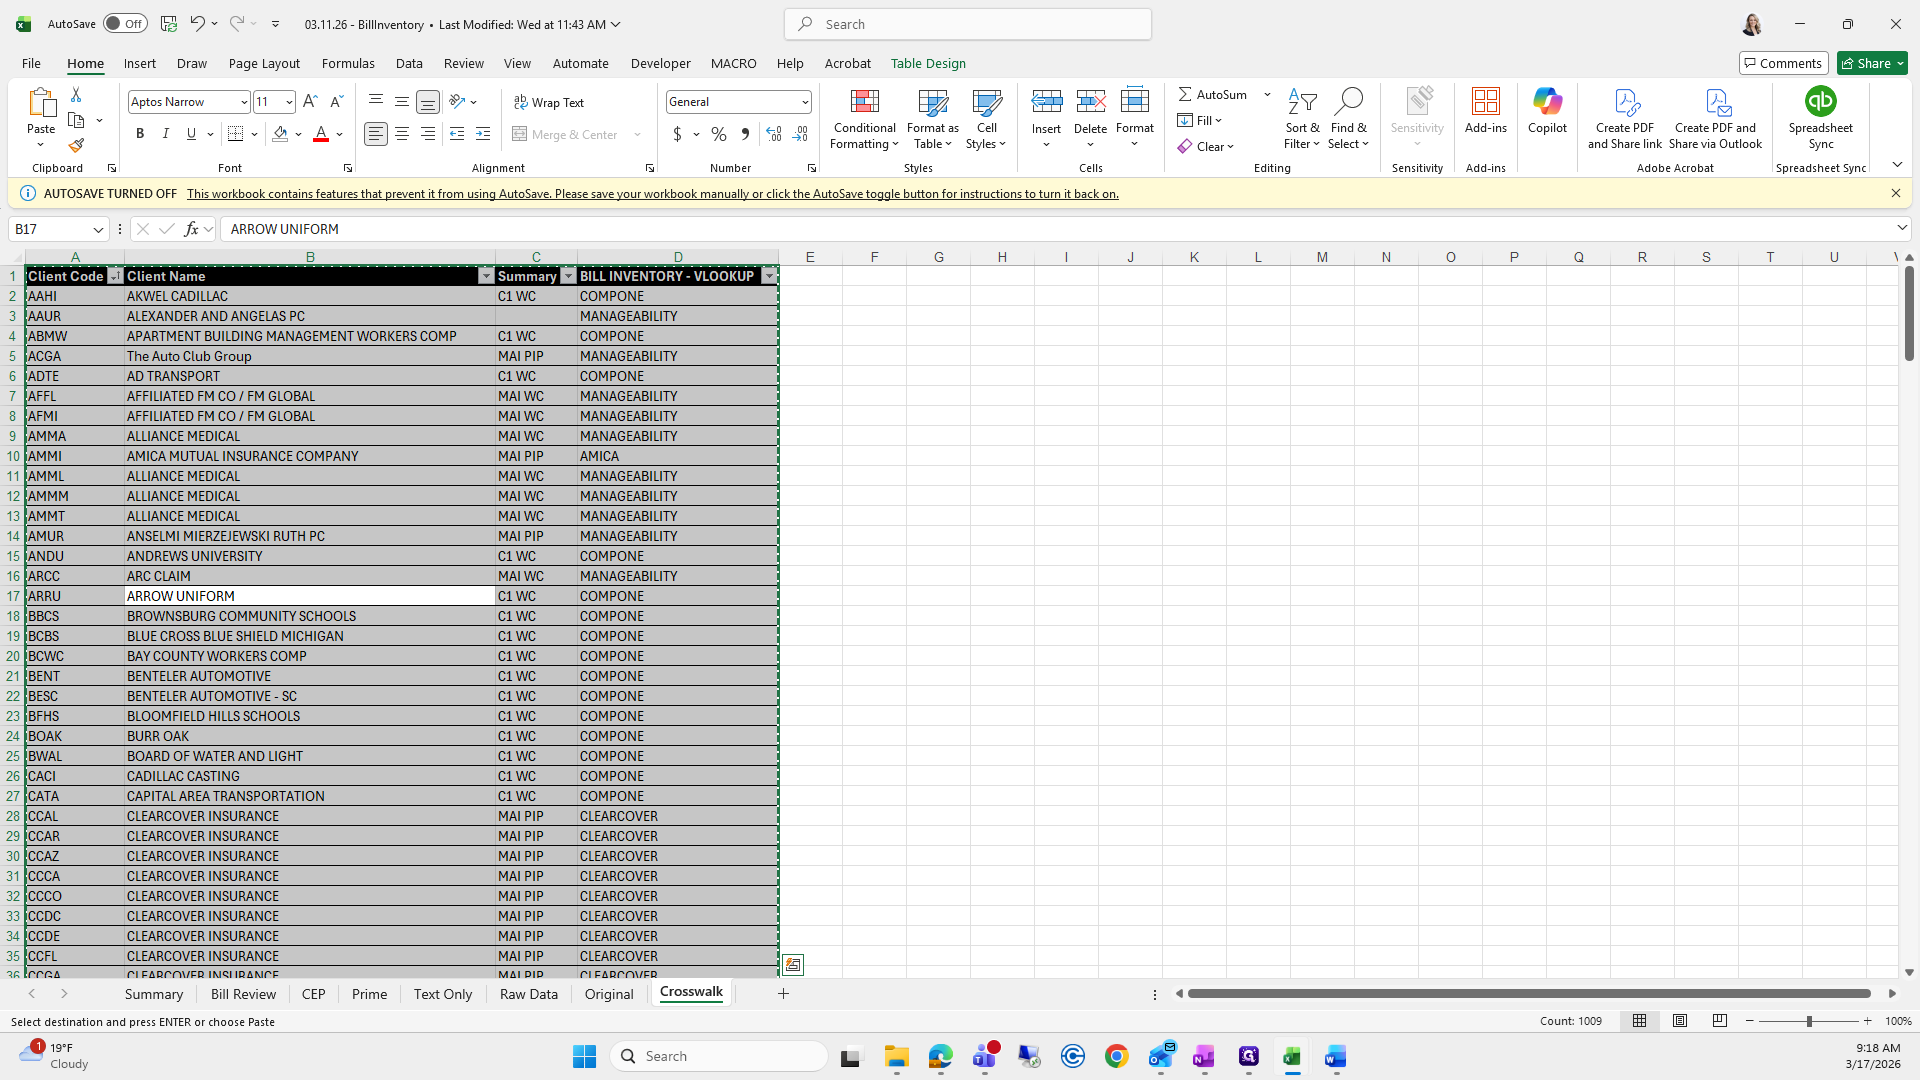
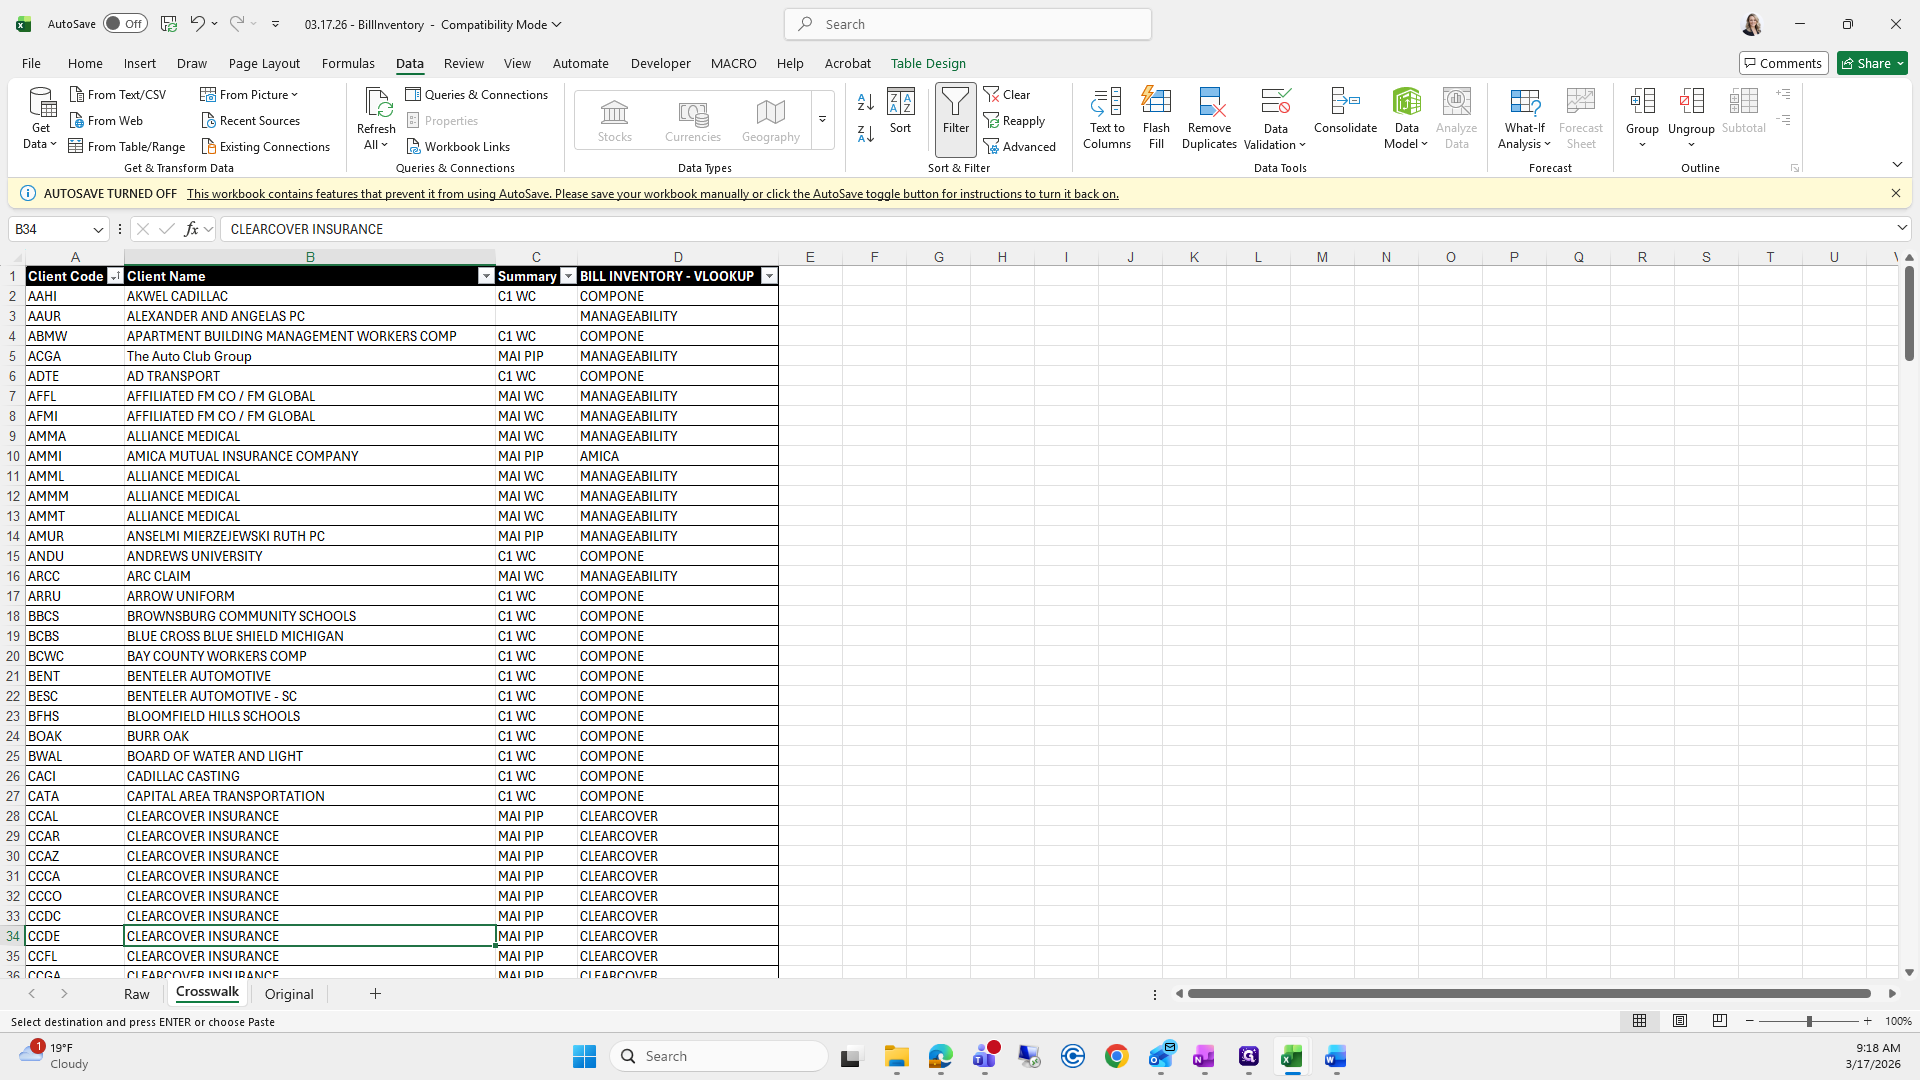
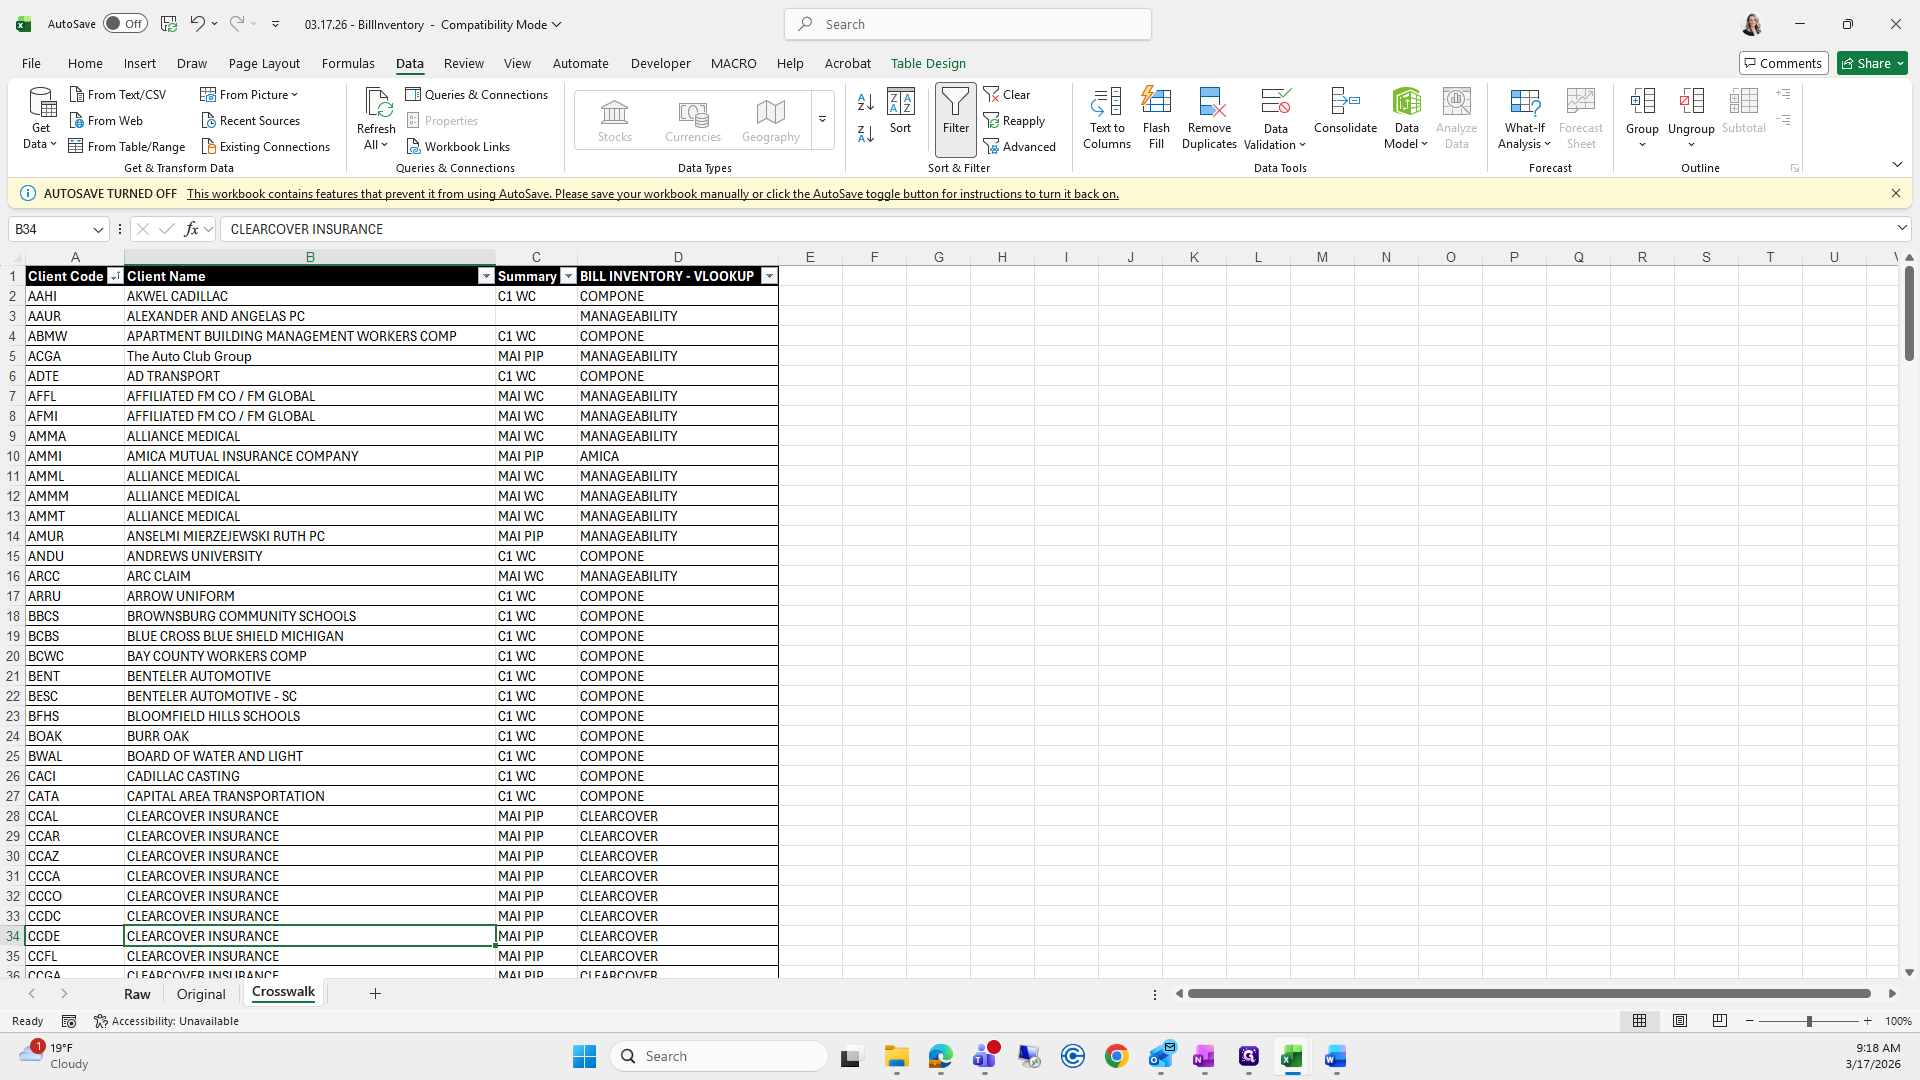
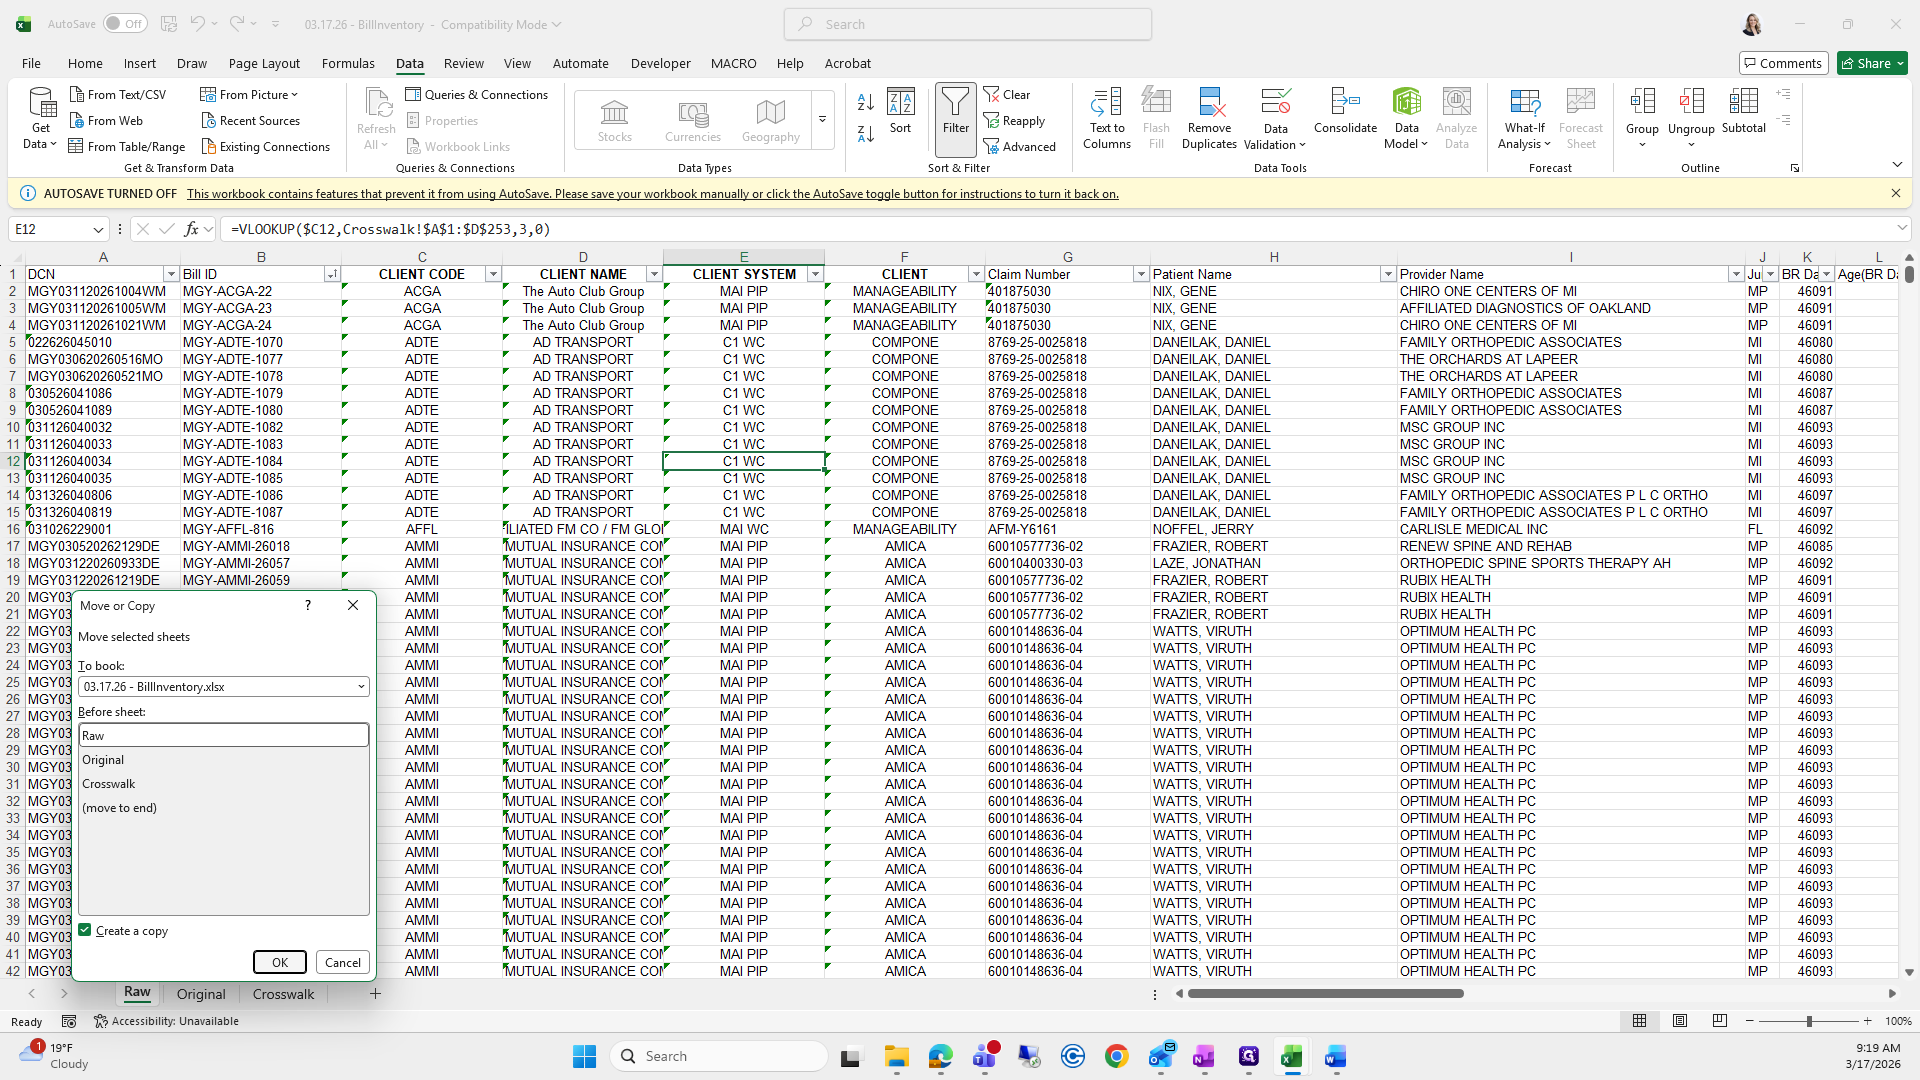
I'm going to use this crosswalk.

37
Click on "IMANAGEABILITY"
Step #37: Click on "IMANAGEABILITY"

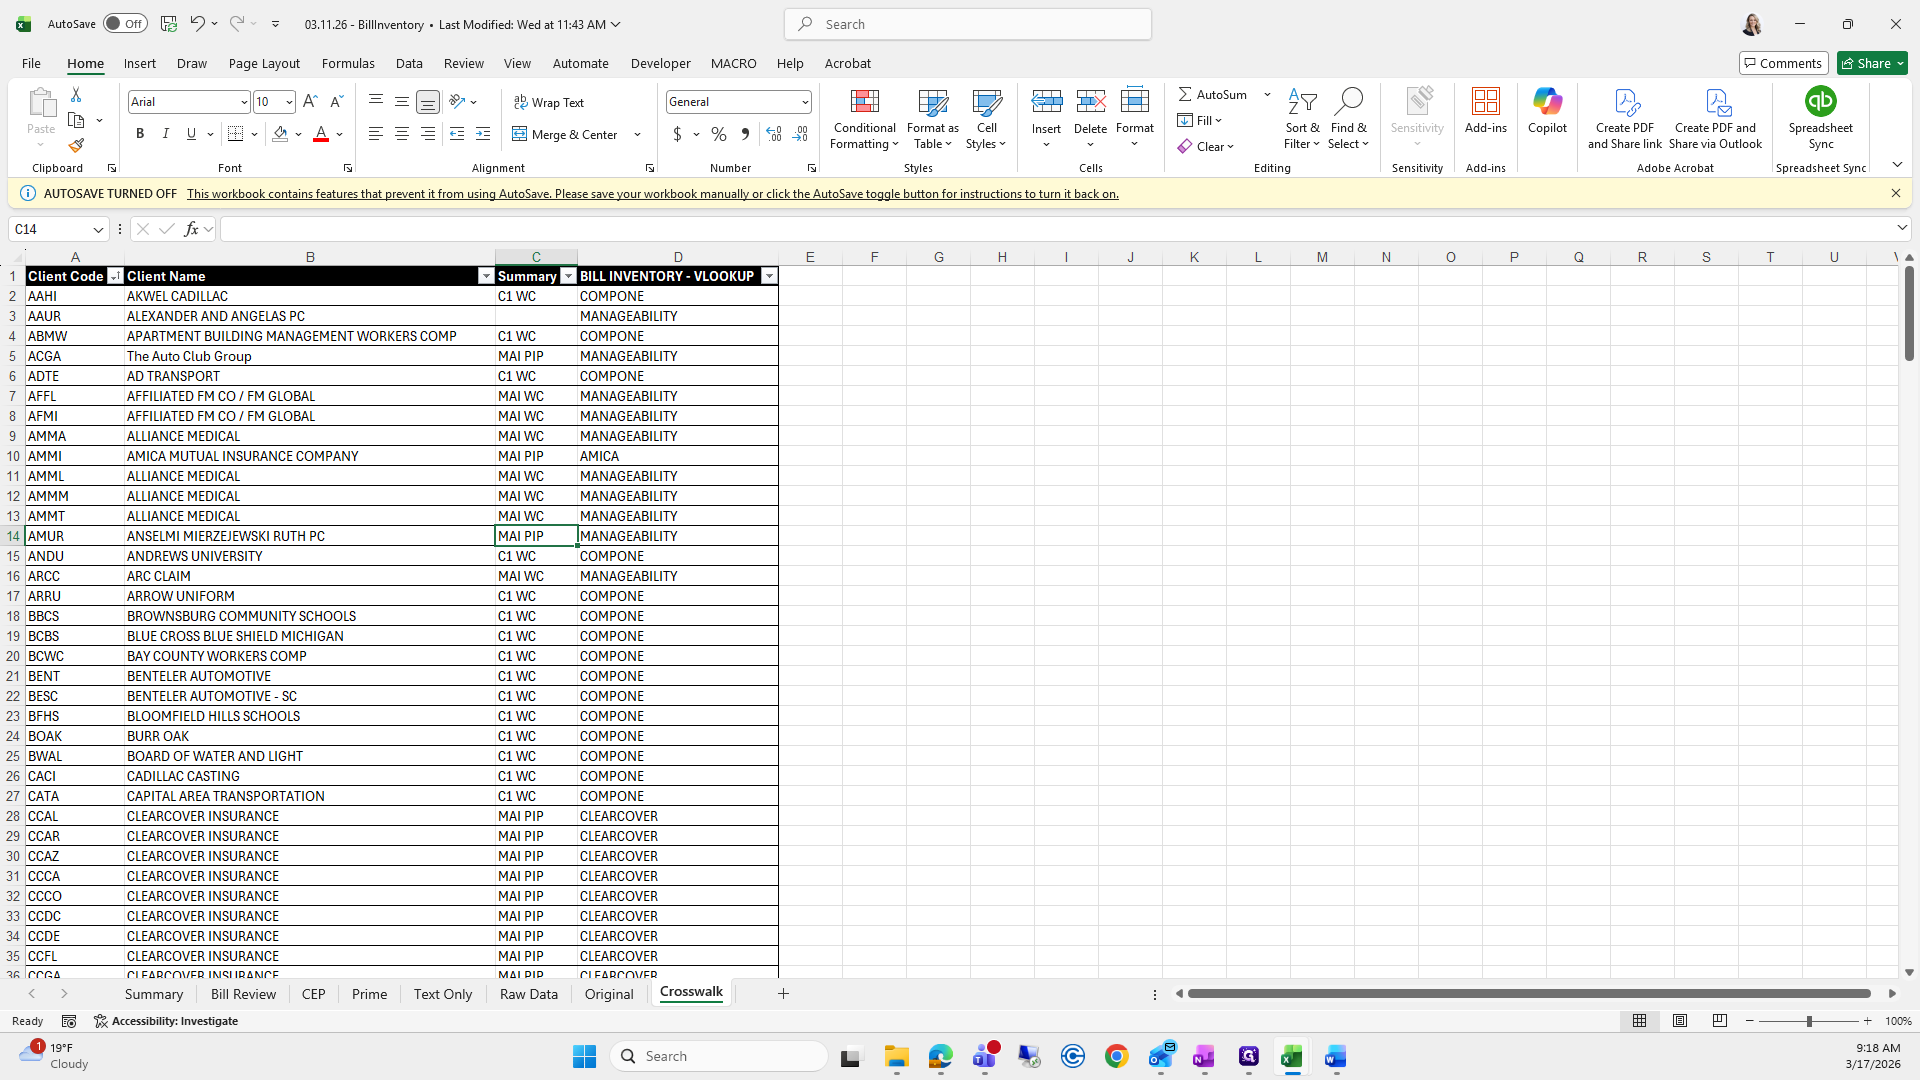
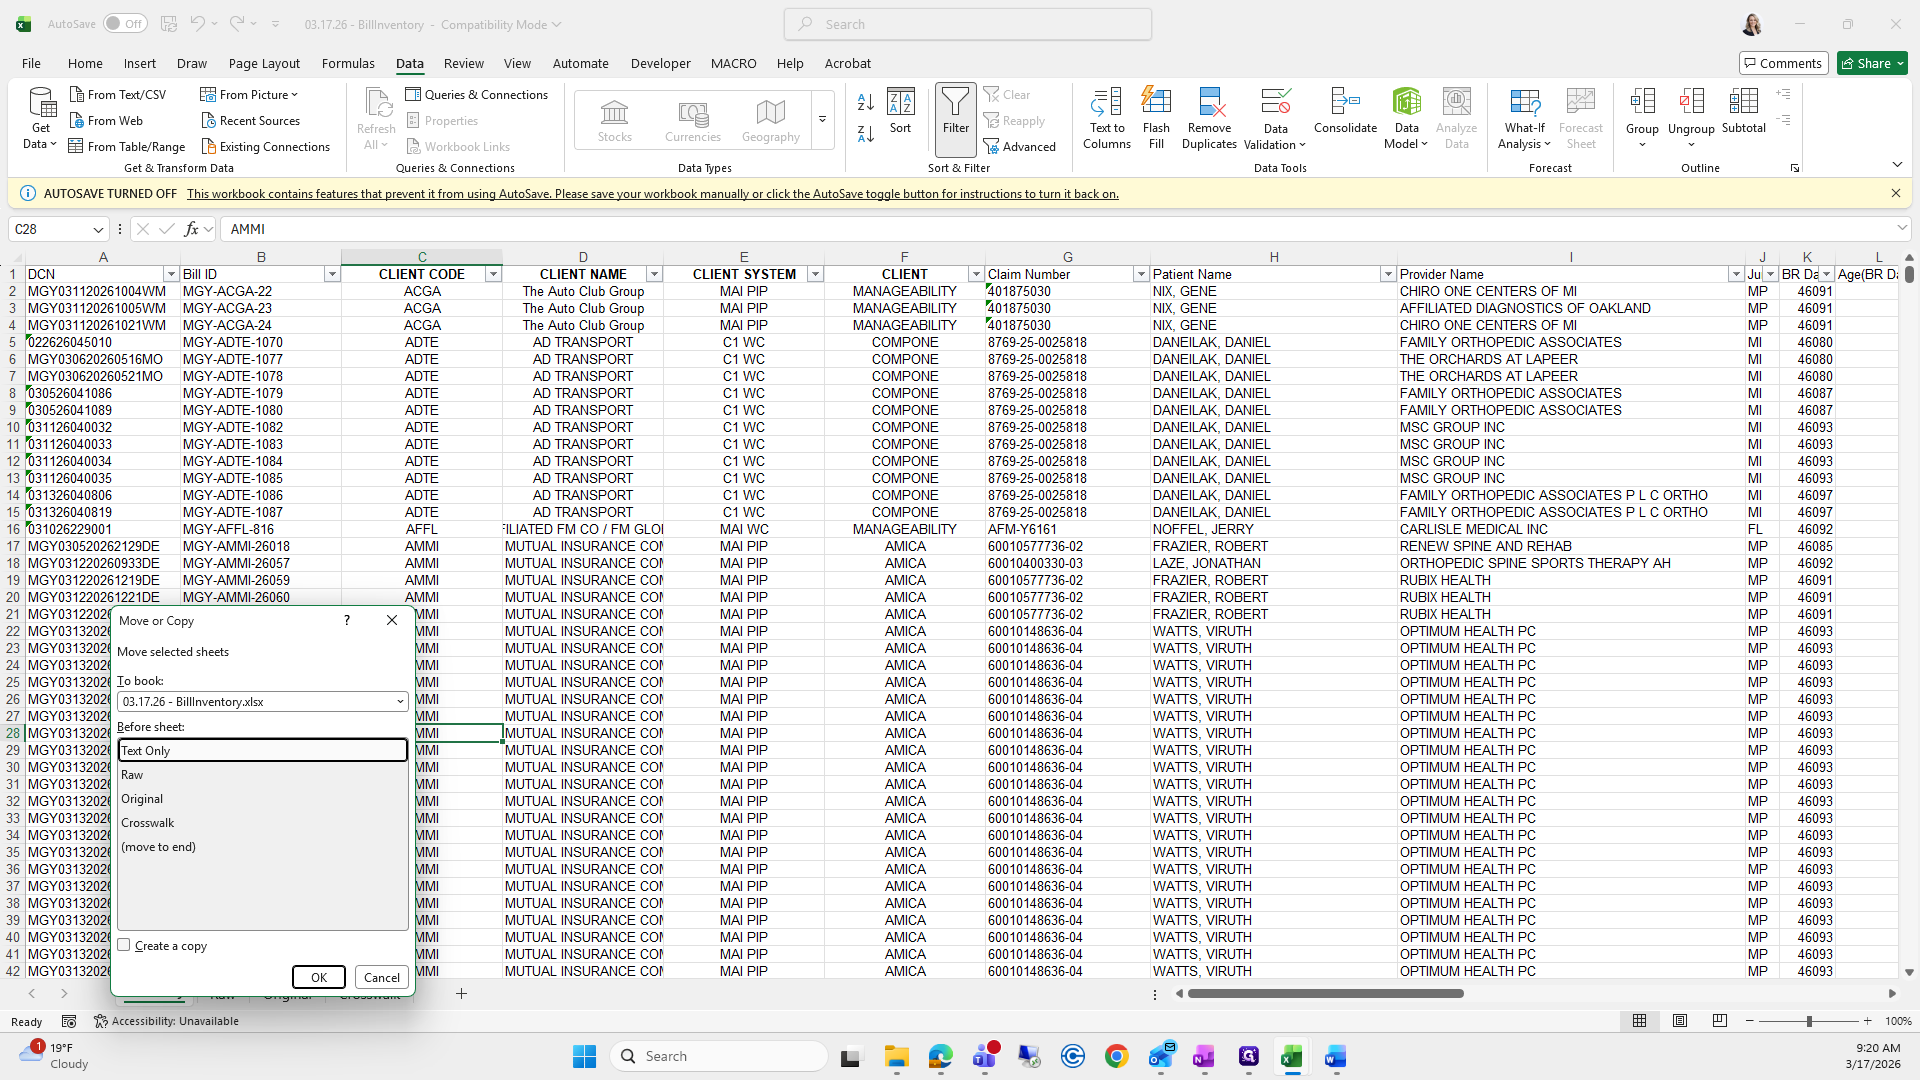
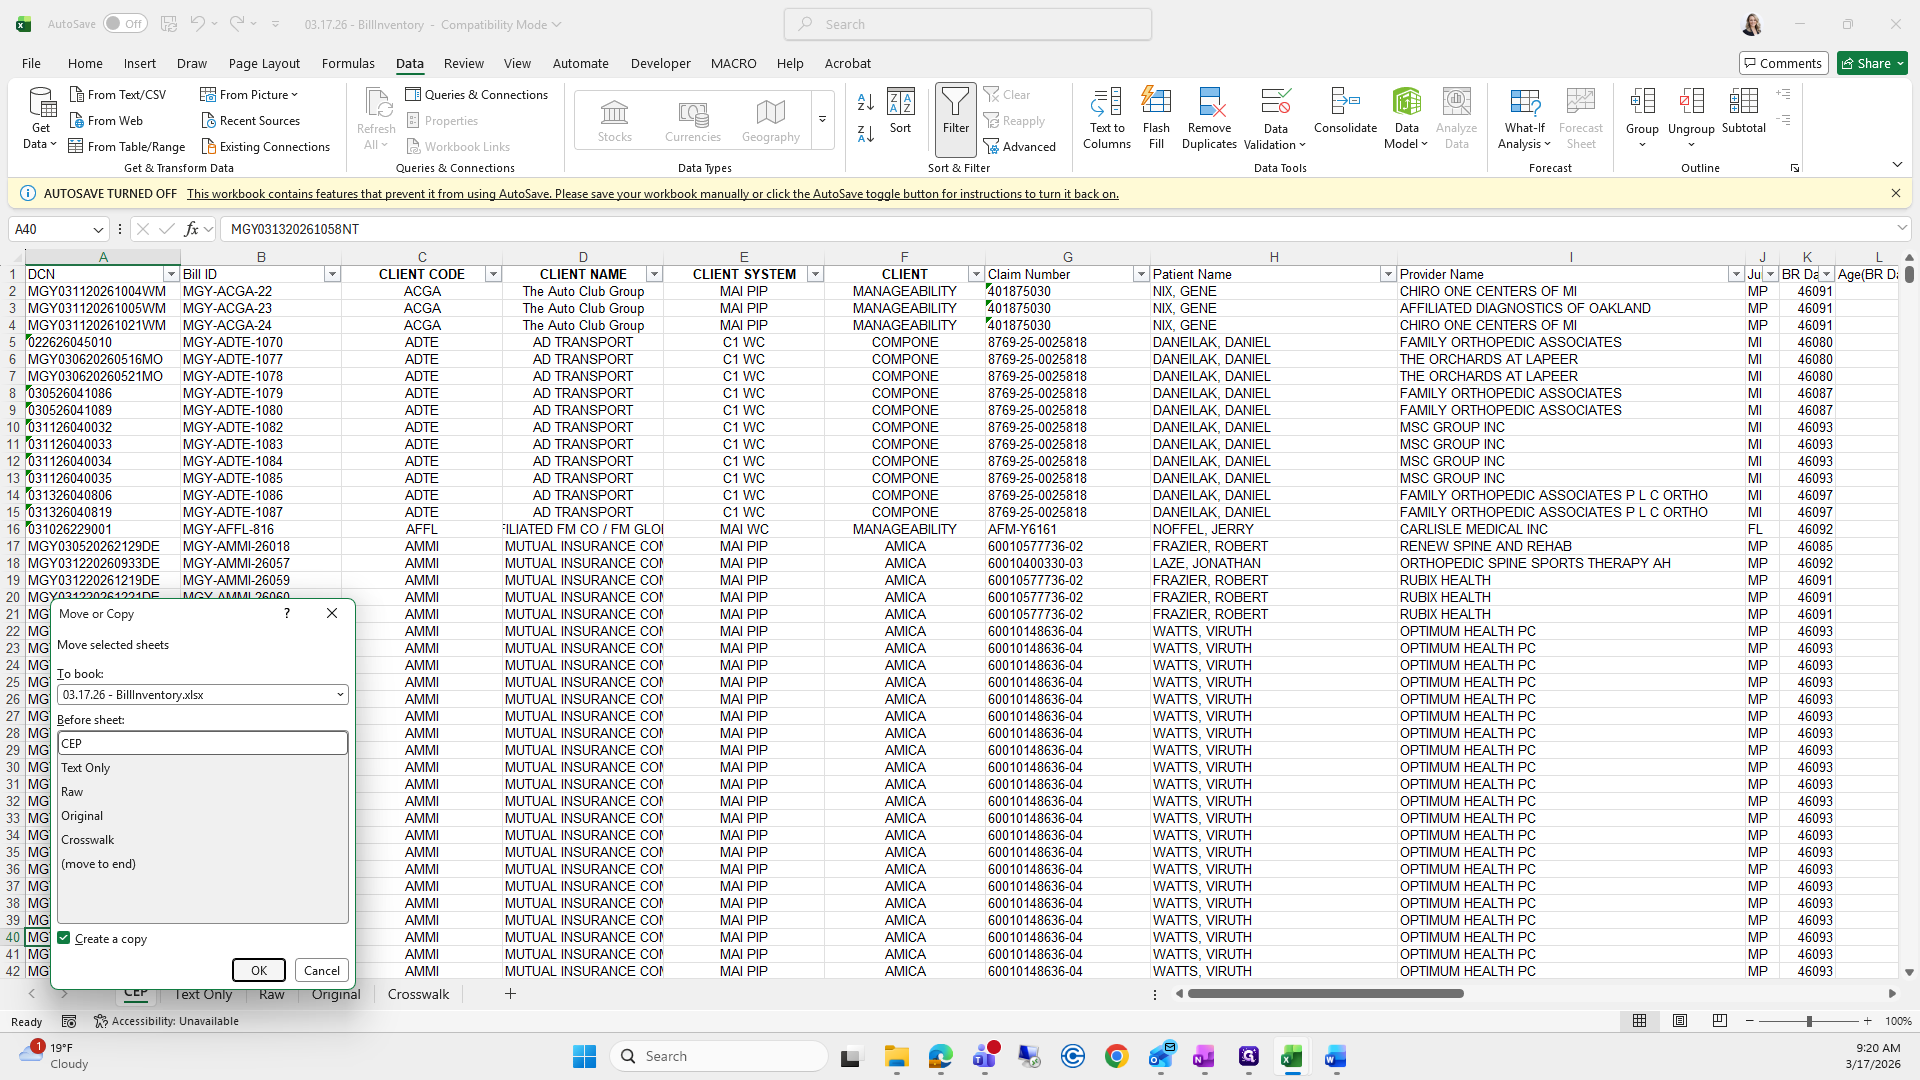
I usually move and copy over, but for some reason it doesn't take everything.

38
Right-click on "Crosswalk"
Step #38: Right-click on "Crosswalk"
39
Click here
Step #39: Click here
40
Click here
Step #40: Click here
41
Click on "C1"
Step #41: Click on "C1"
42
Type "Ctrl + A"

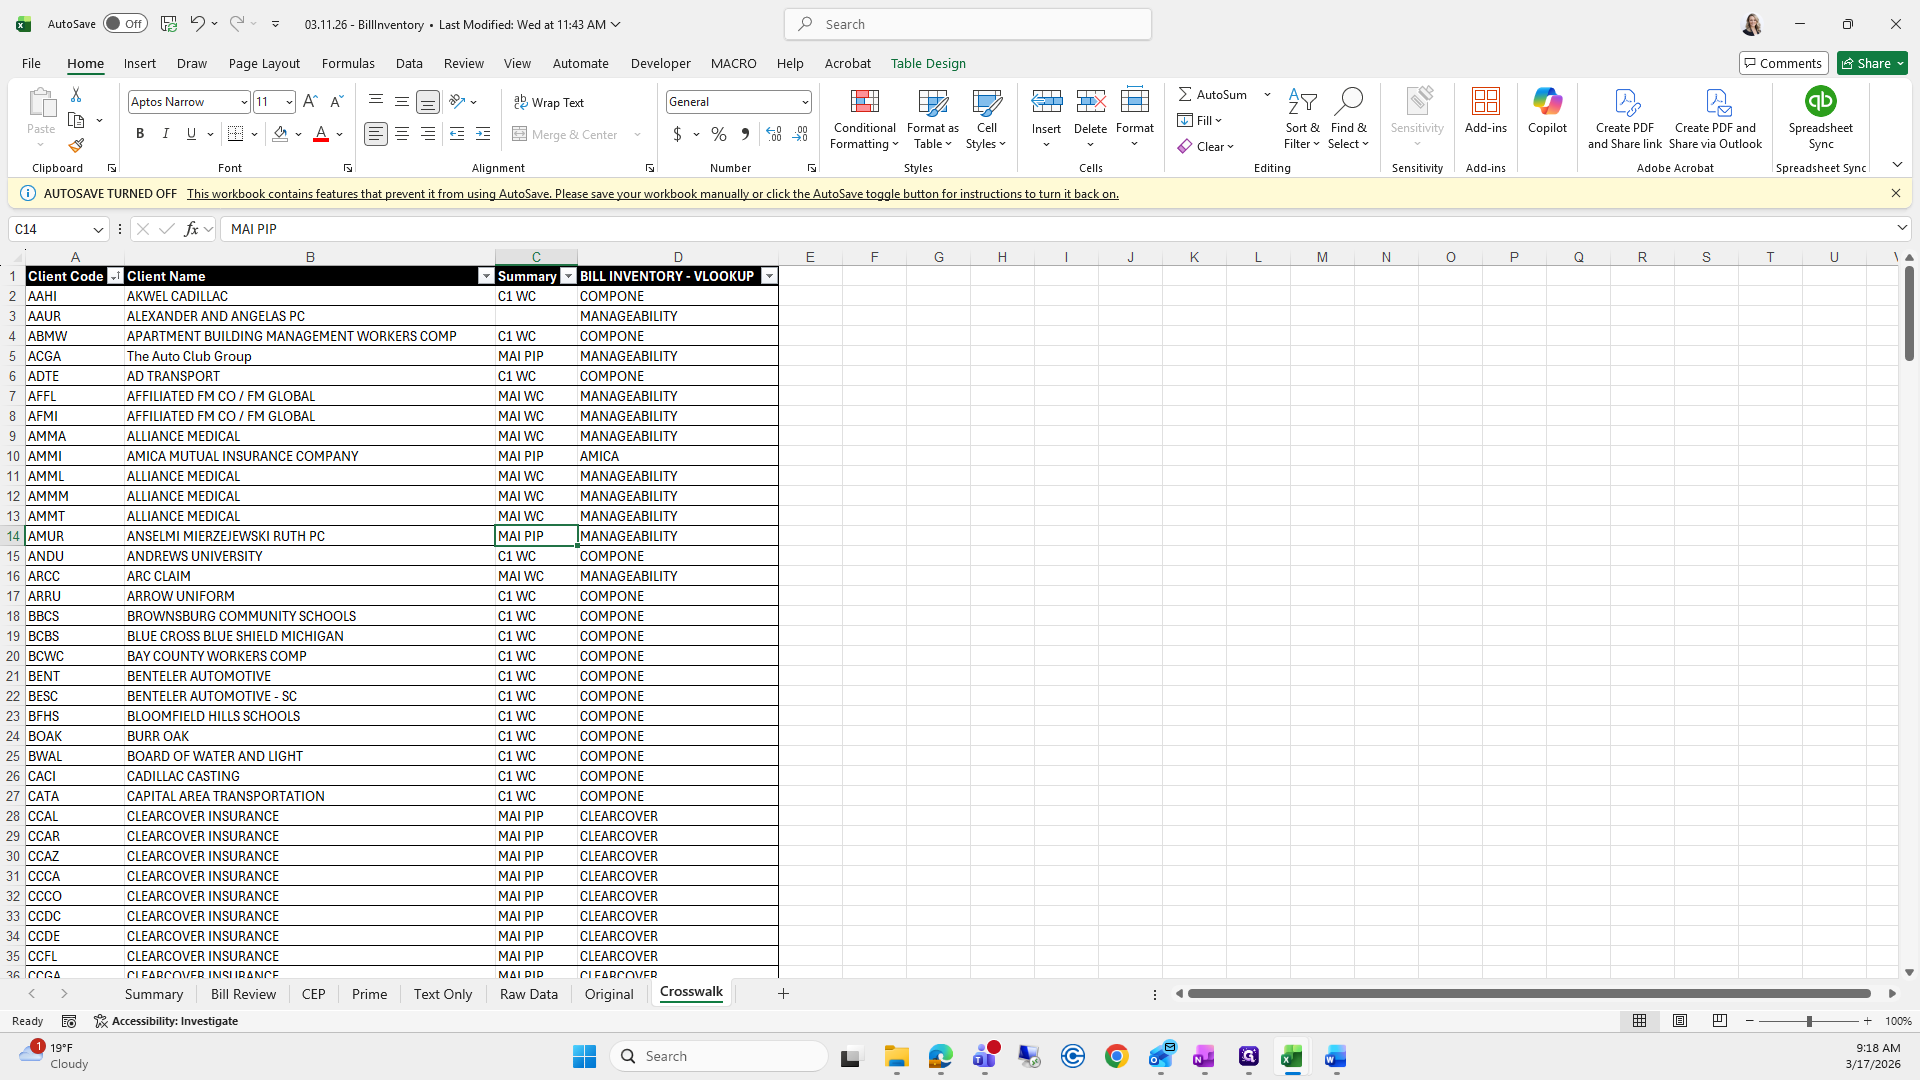
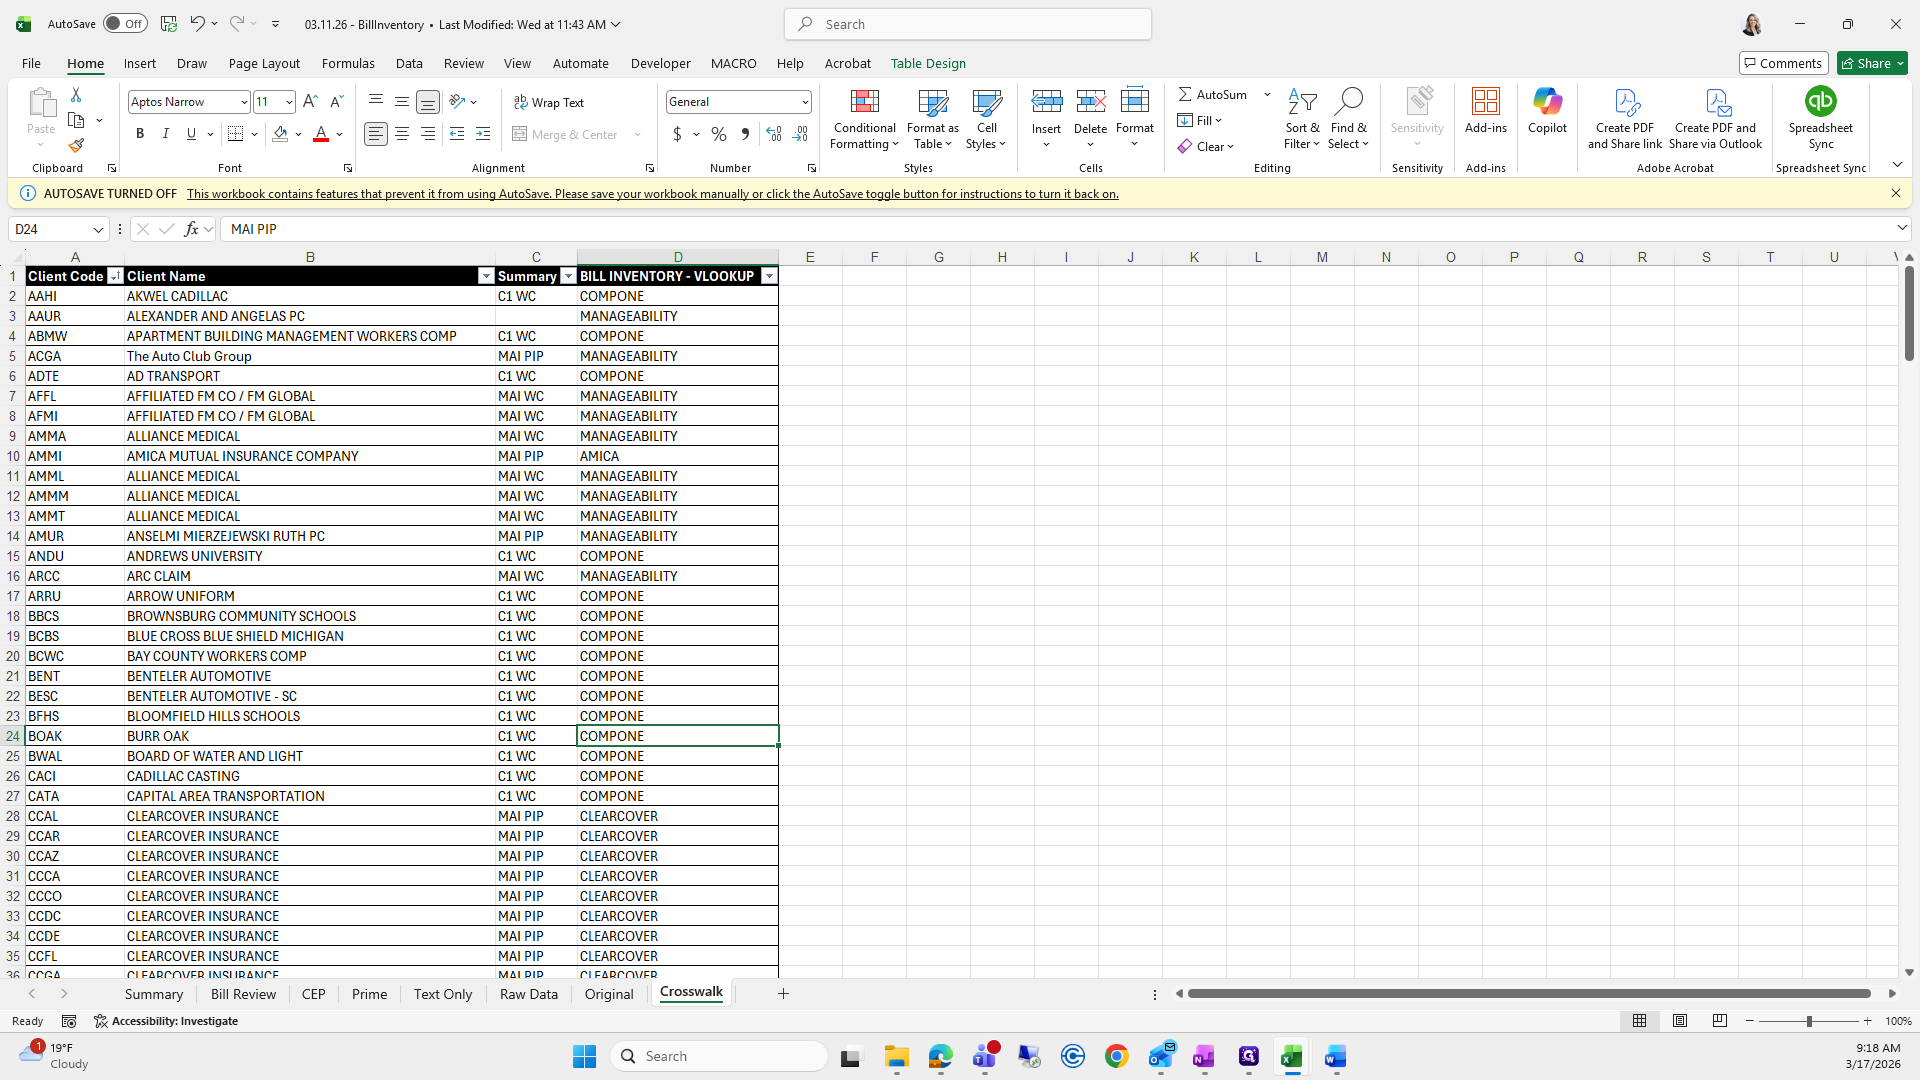
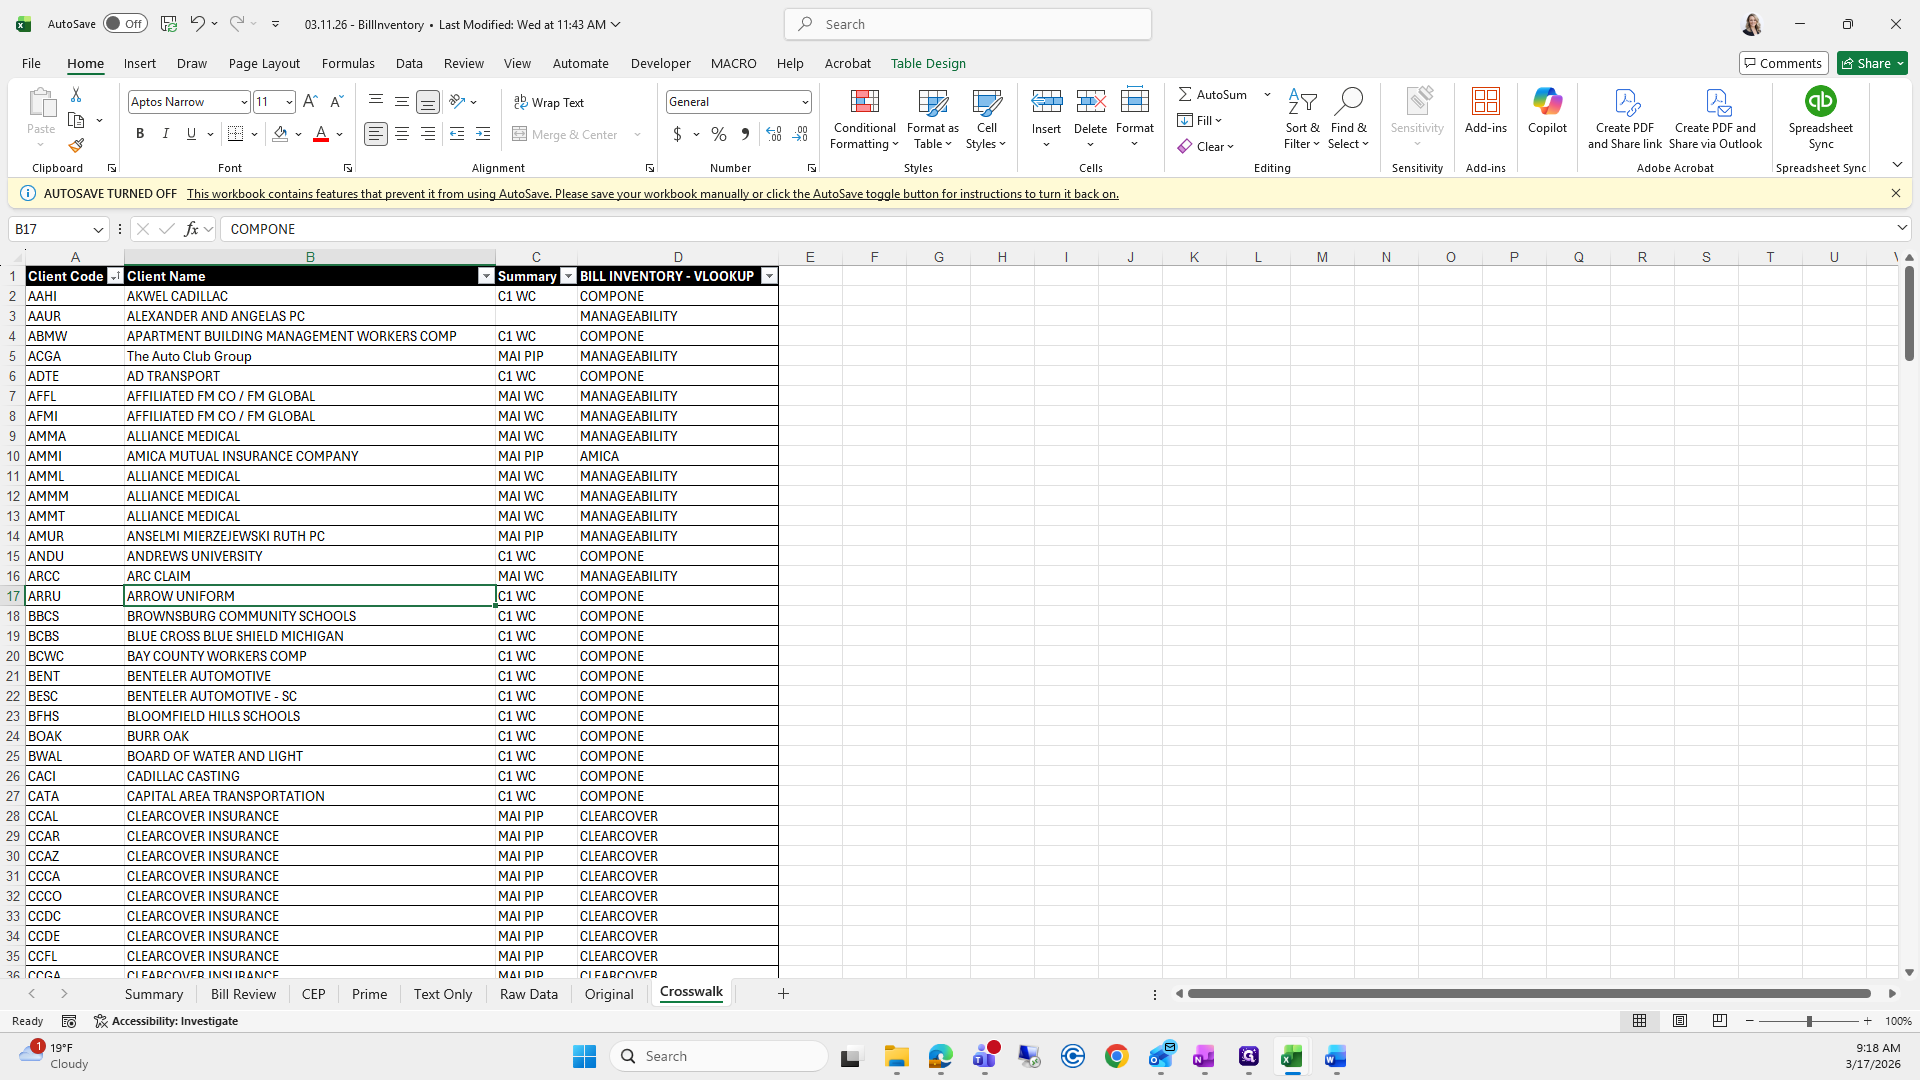
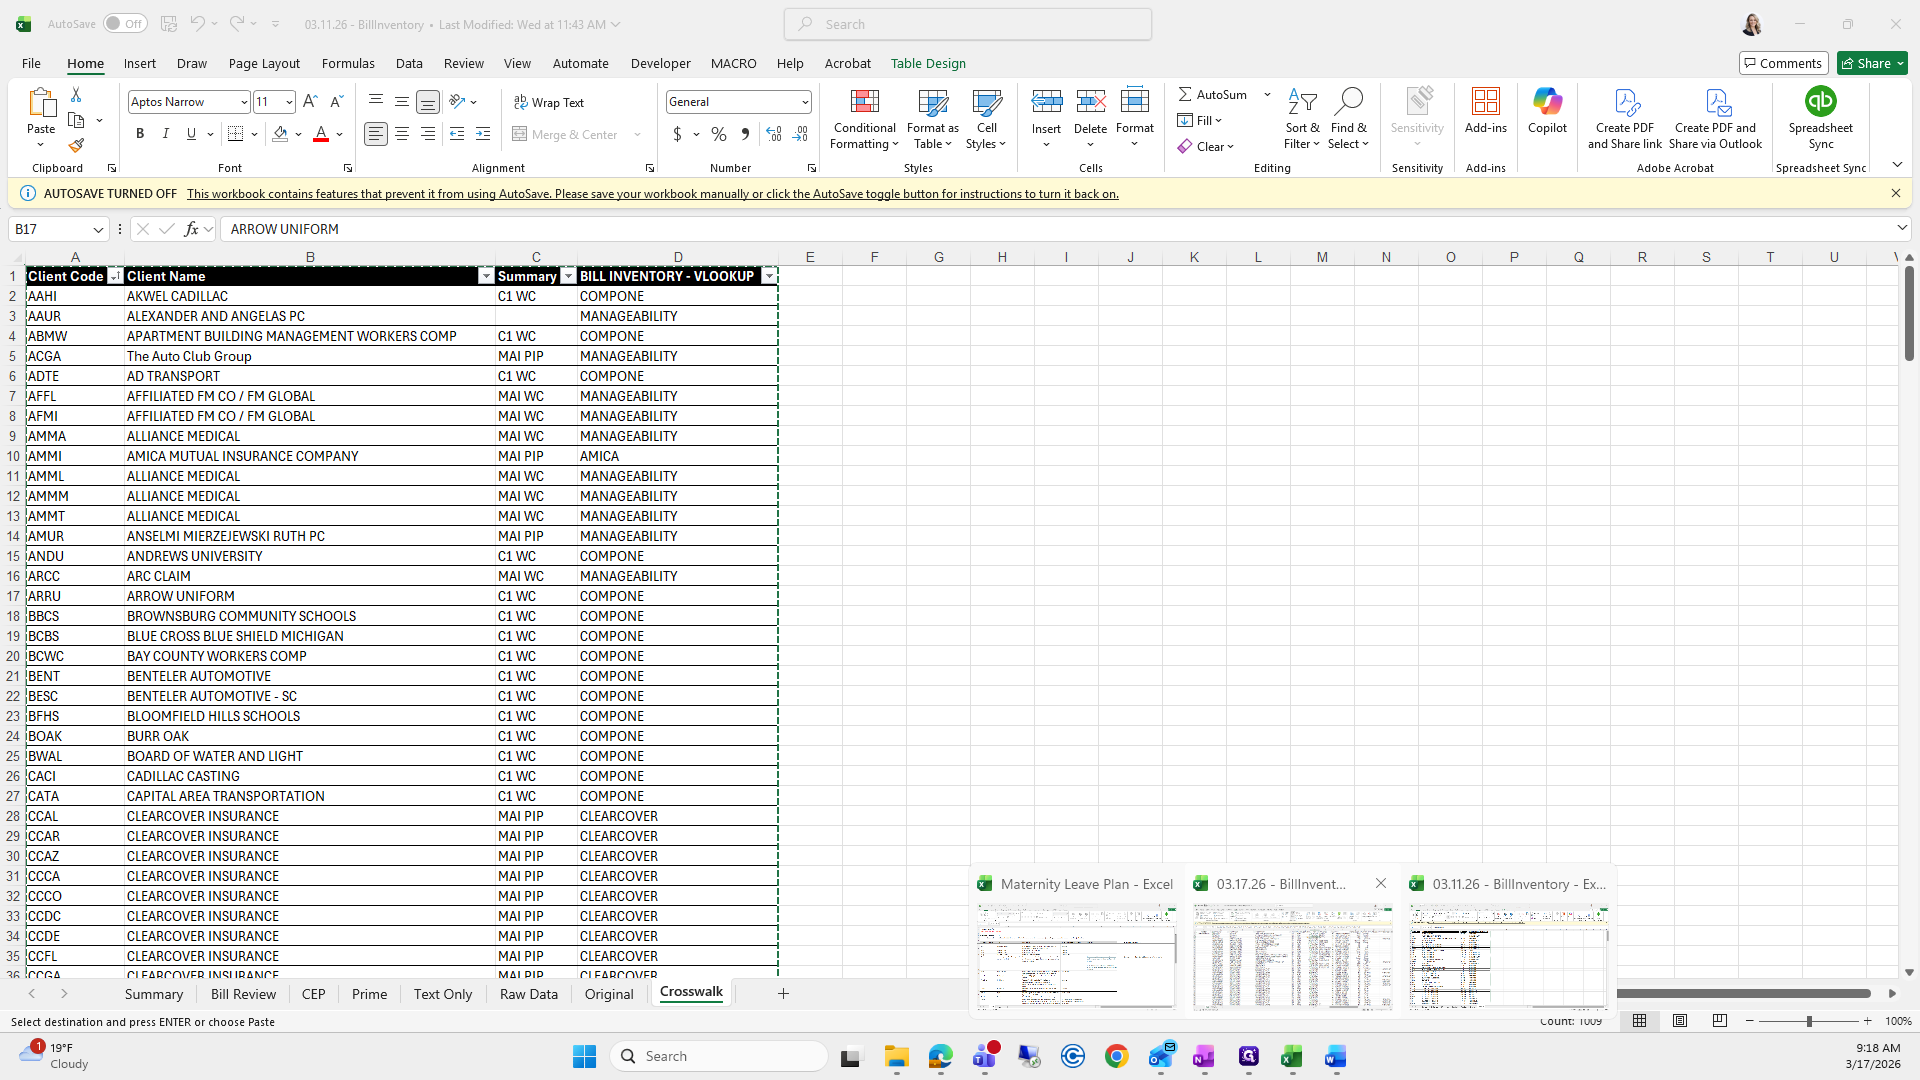
I will select all, copy, return to 317, paste the crosswalk, and rename the tab Crosswalk.

43
Type "Ctrl + A"
44
Type "Ctrl + C"
45
Click here
Step #45: Click here
46
Click here
Step #46: Click here
47
Click on "+"
Step #47: Click on "+"
48
Type "Ctrl + V"
49
Type "Ctrl + A"
50
Type "Ctrl + A"
51
Double-click on "Client Code - Client Name"
Step #51: Double-click on "Client Code - Client Name"
52
Double-click on "CLEARCOVER INSURANCE"
Step #52: Double-click on "CLEARCOVER INSURANCE"
53
Type "Crosswalk"

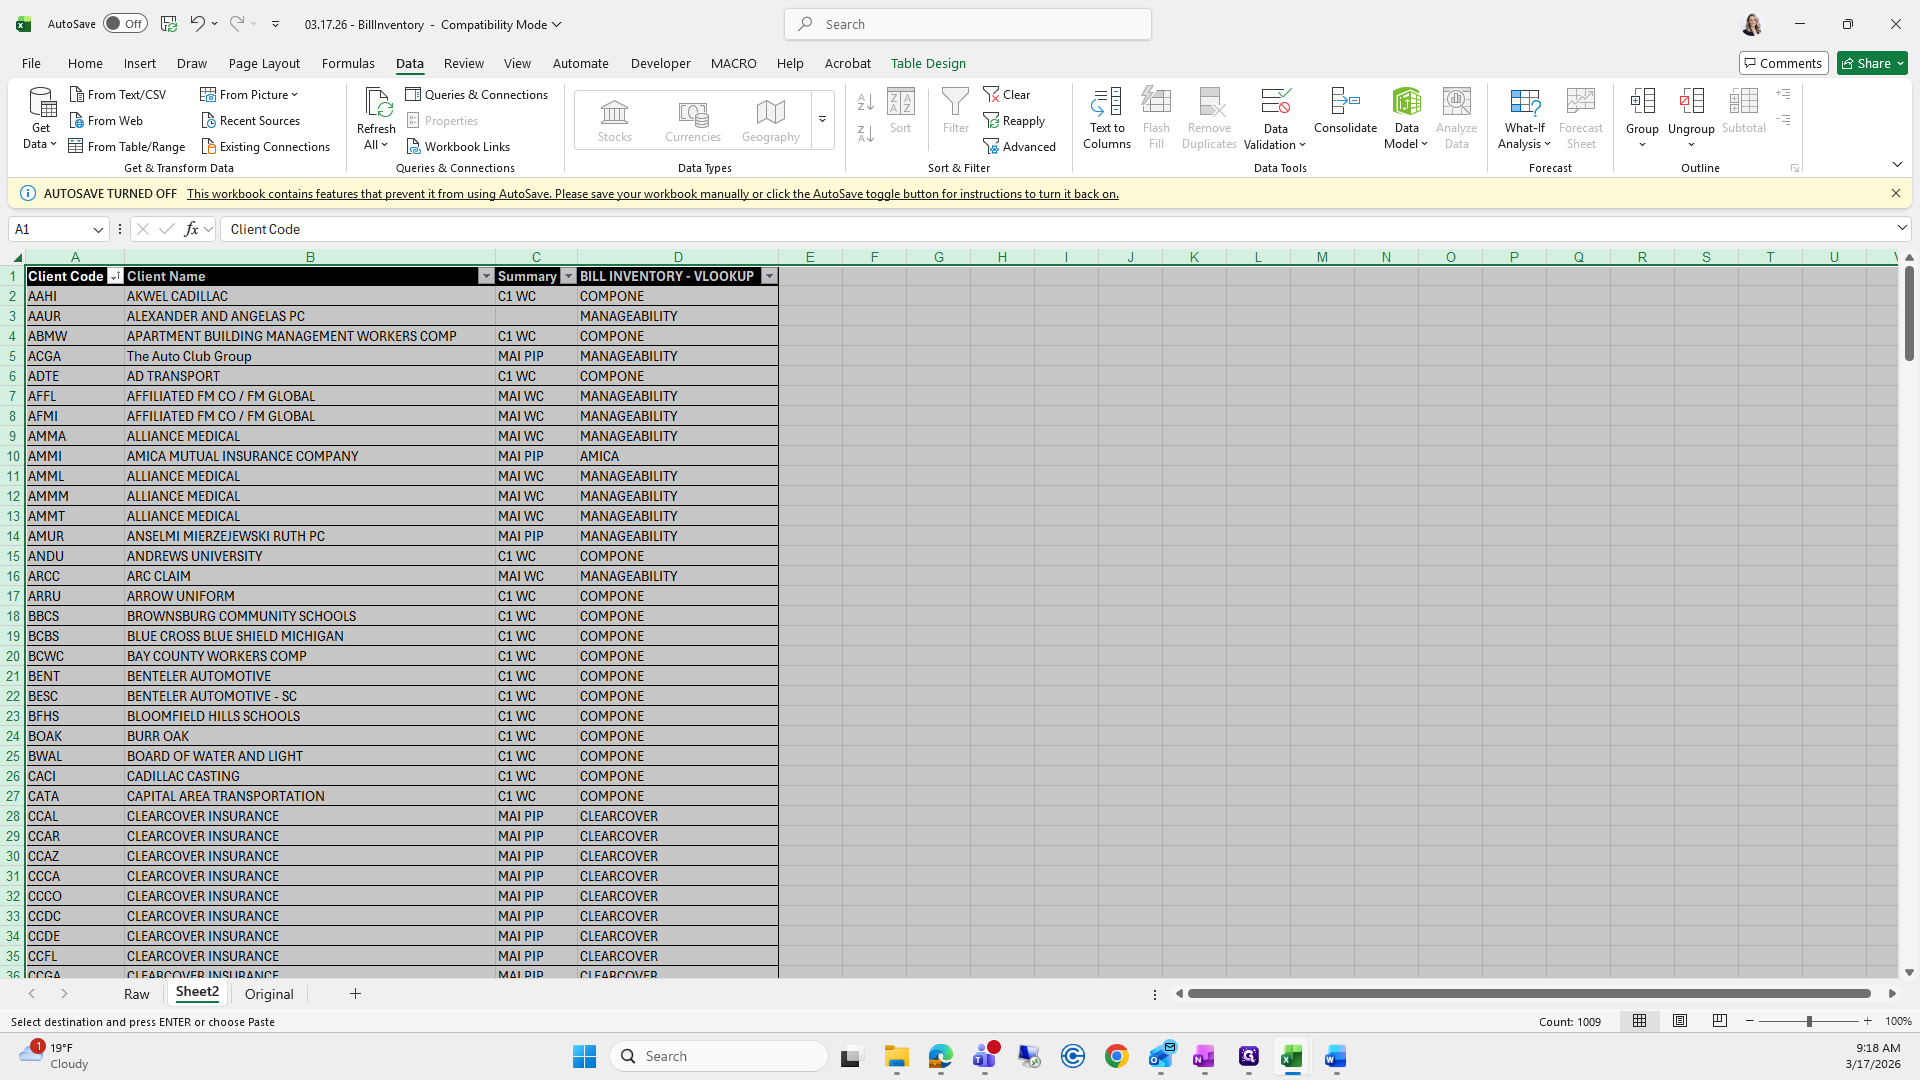
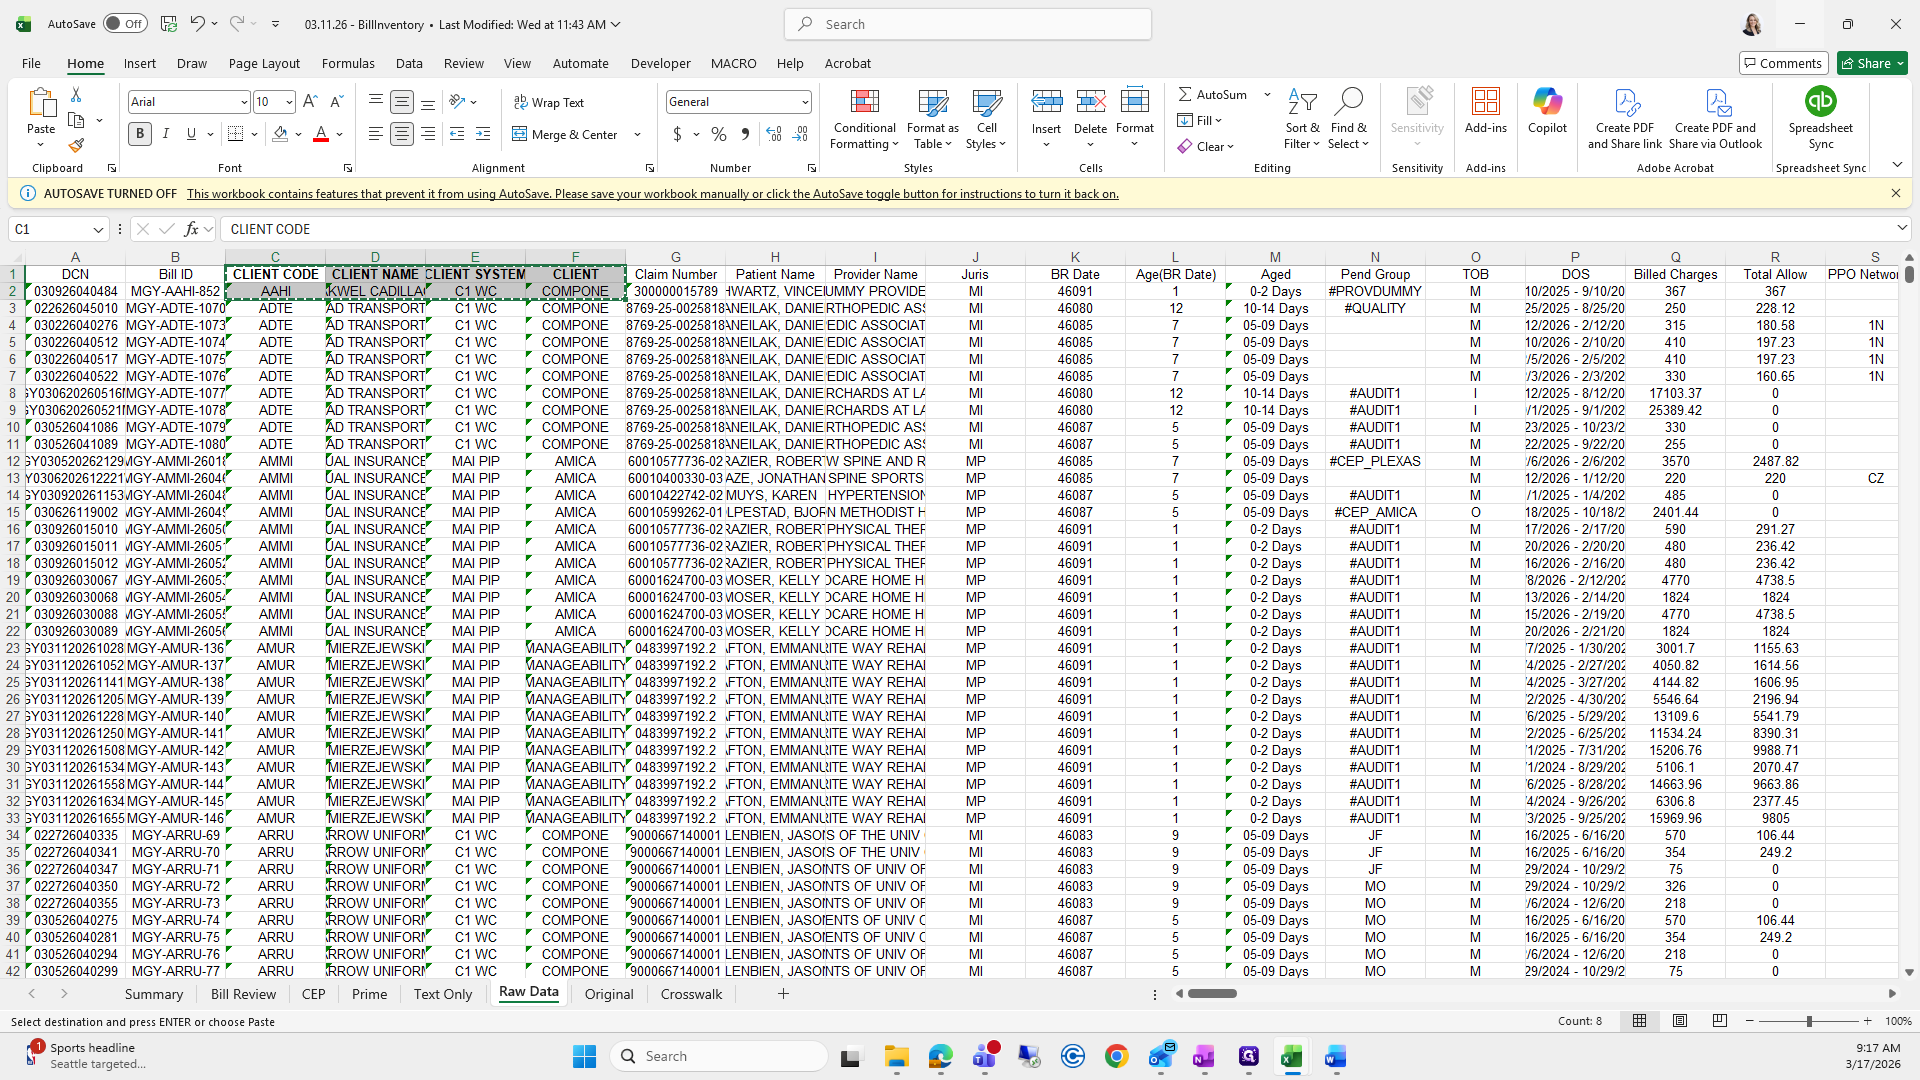
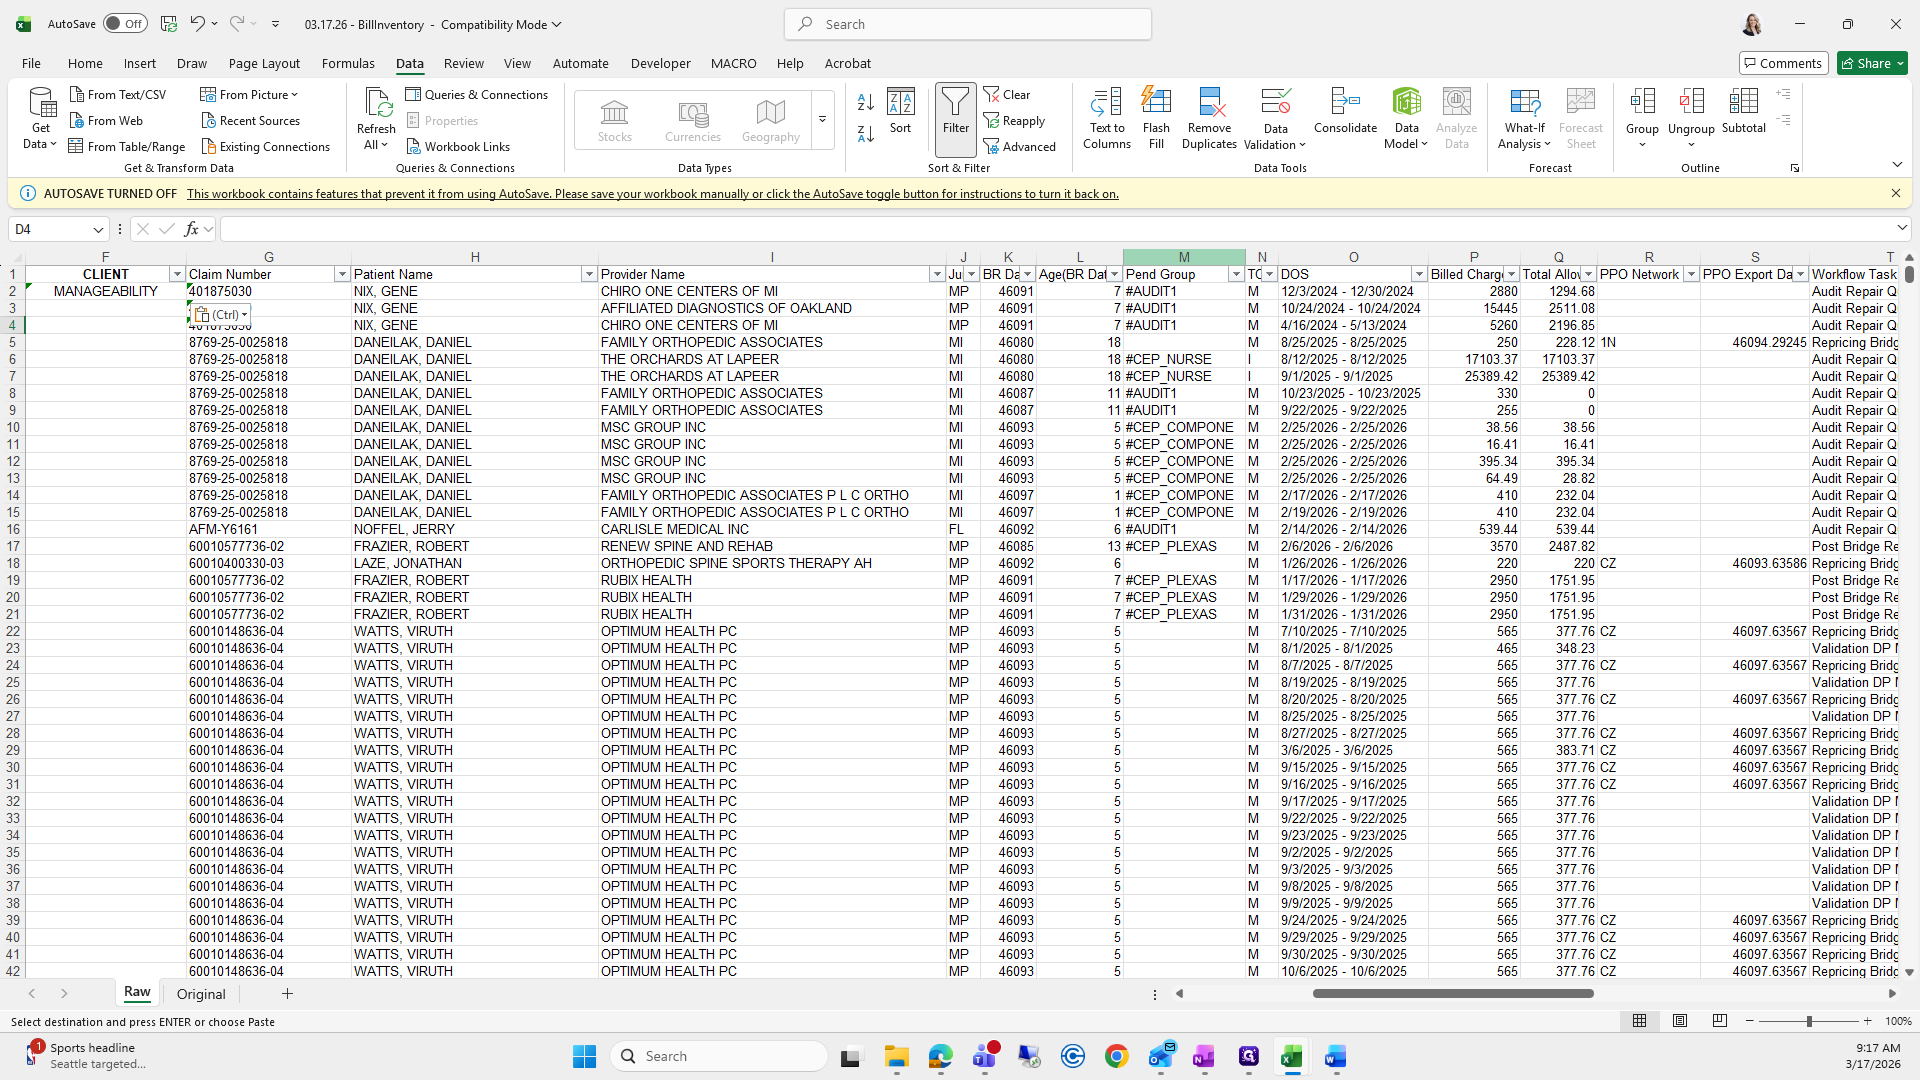
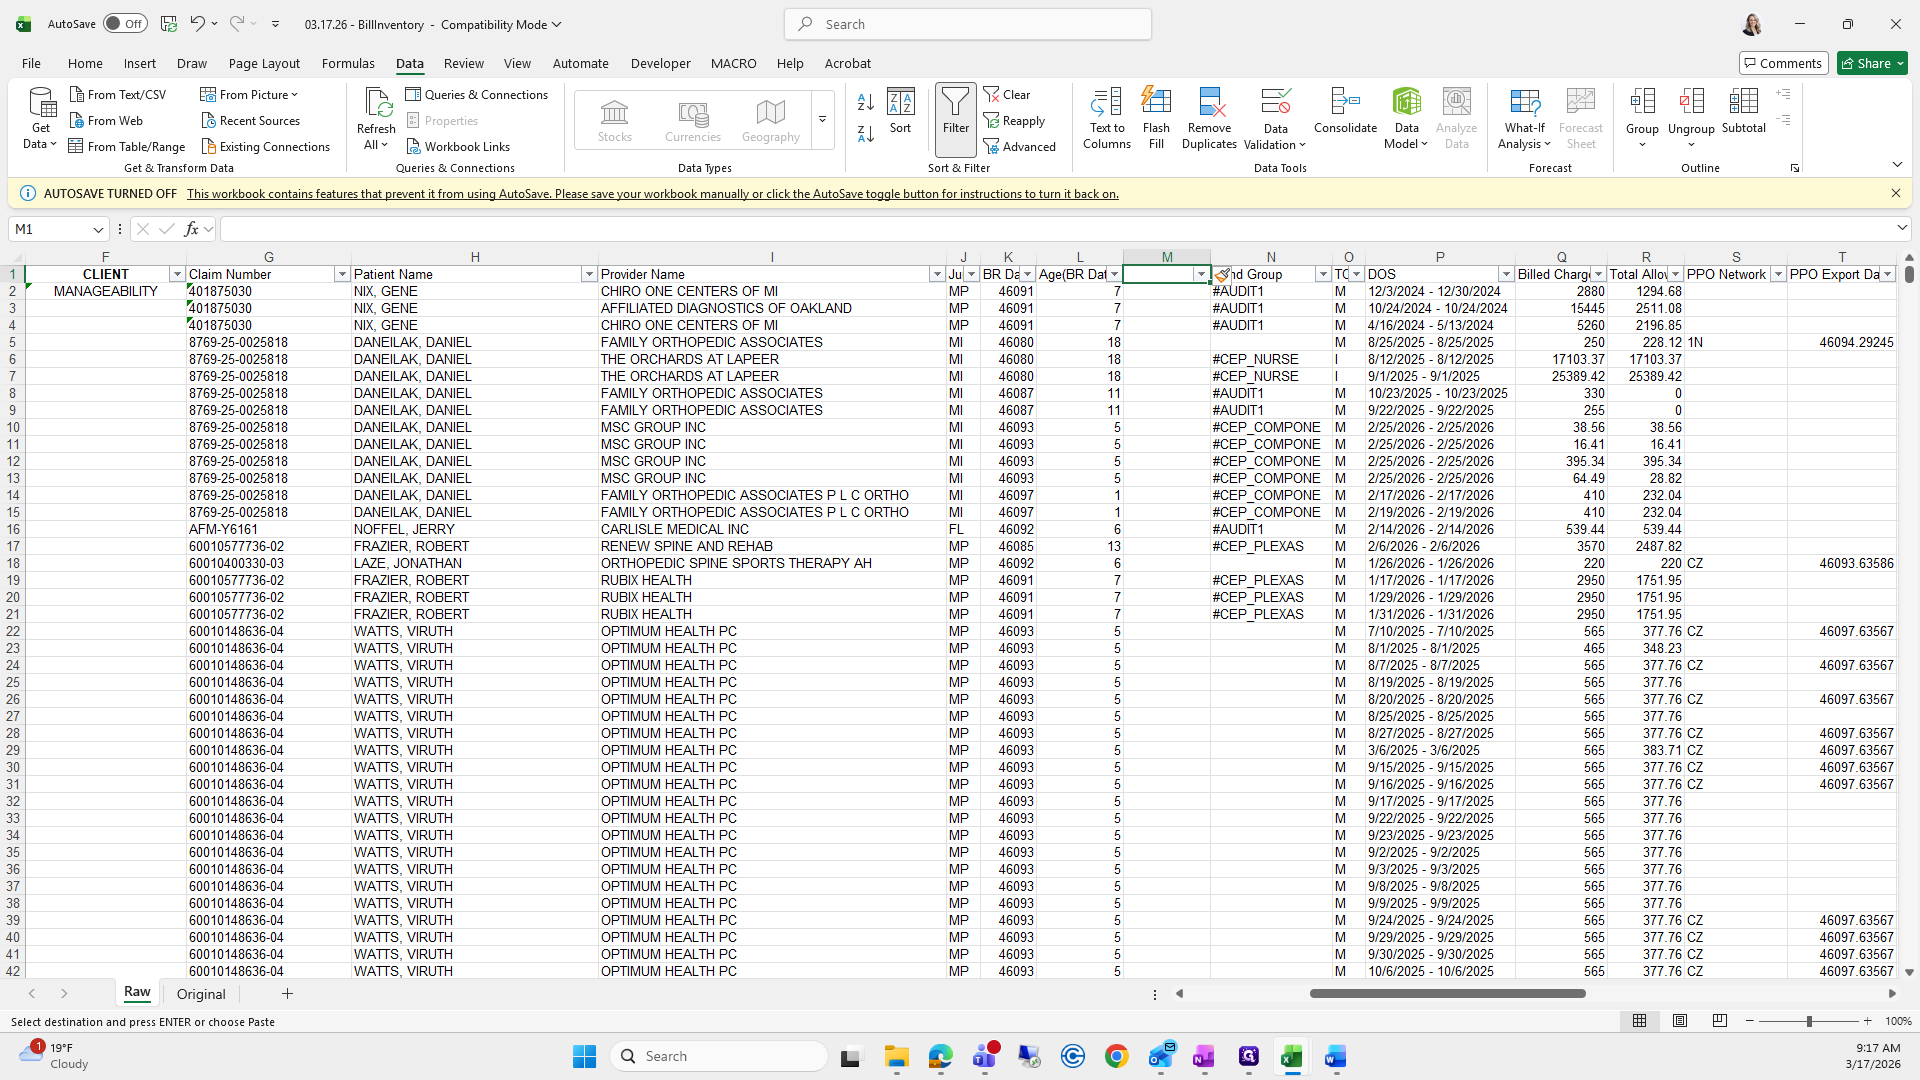
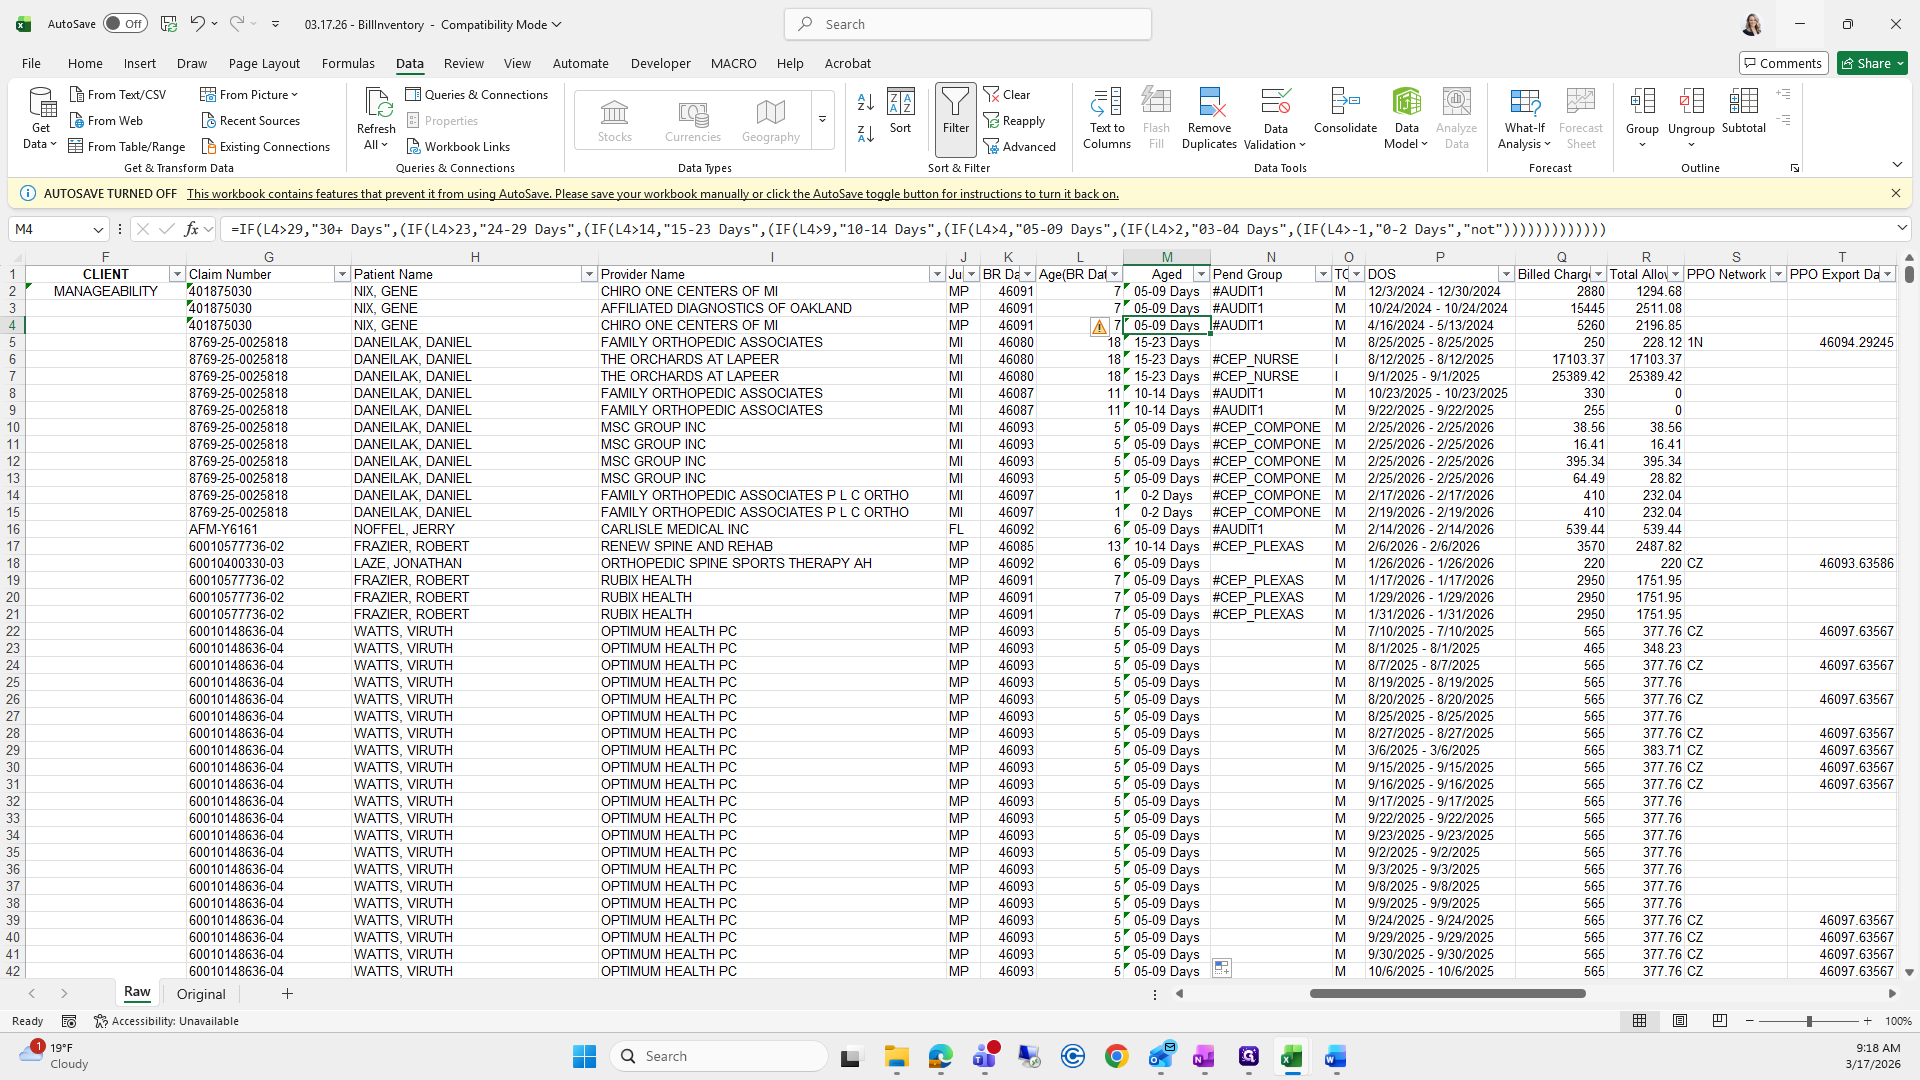
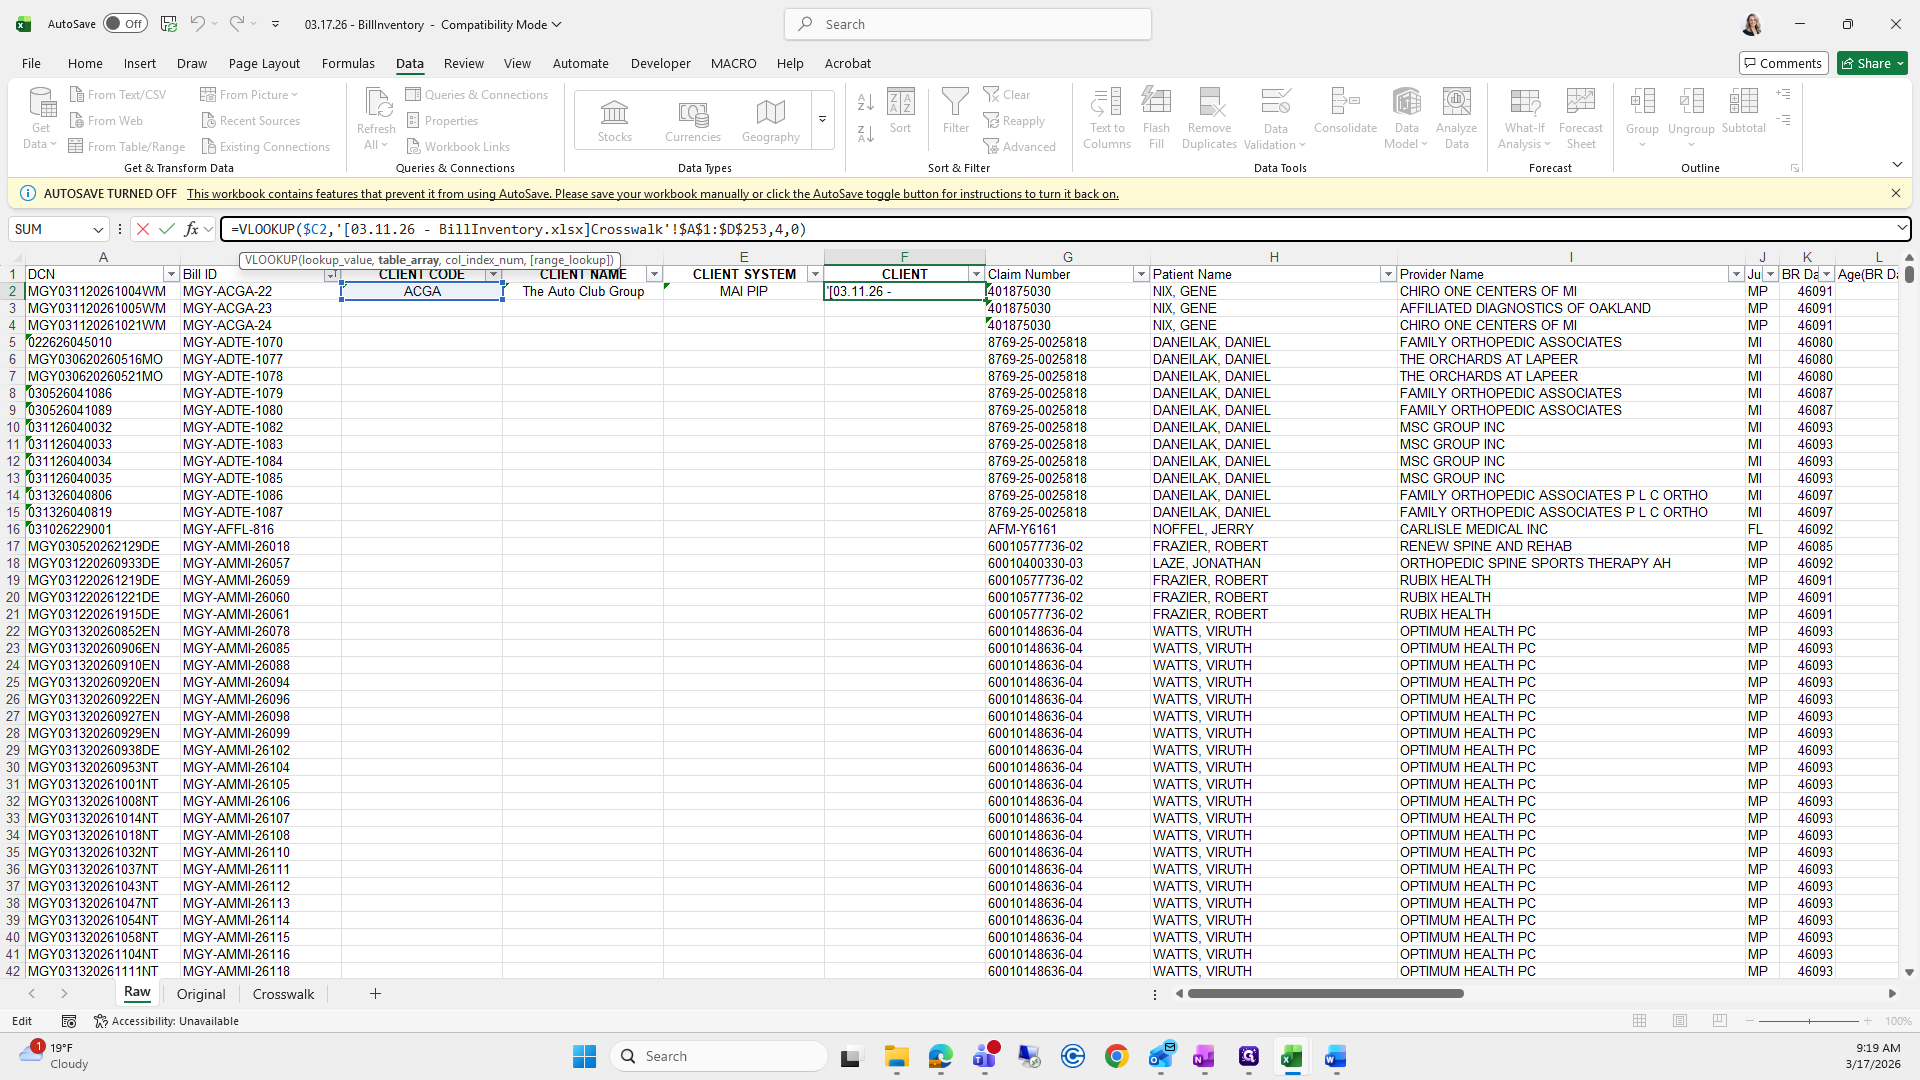
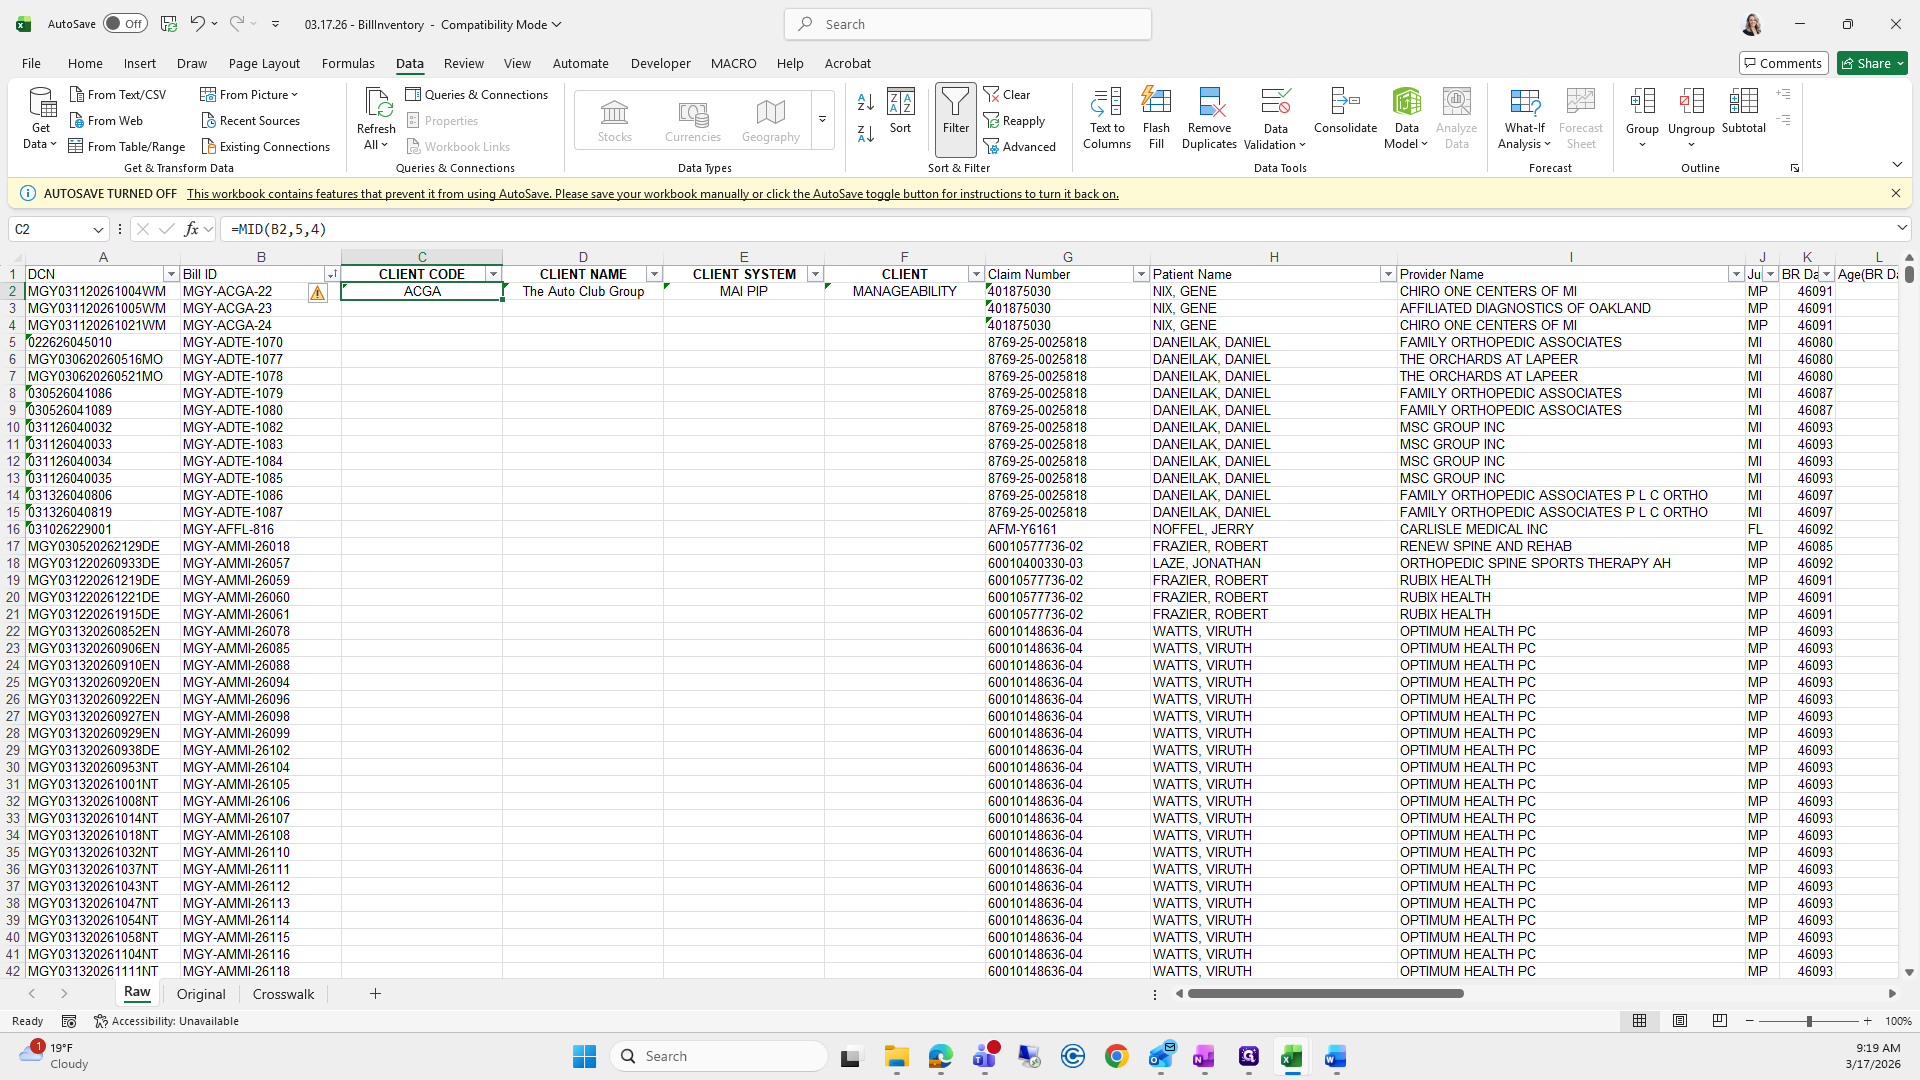
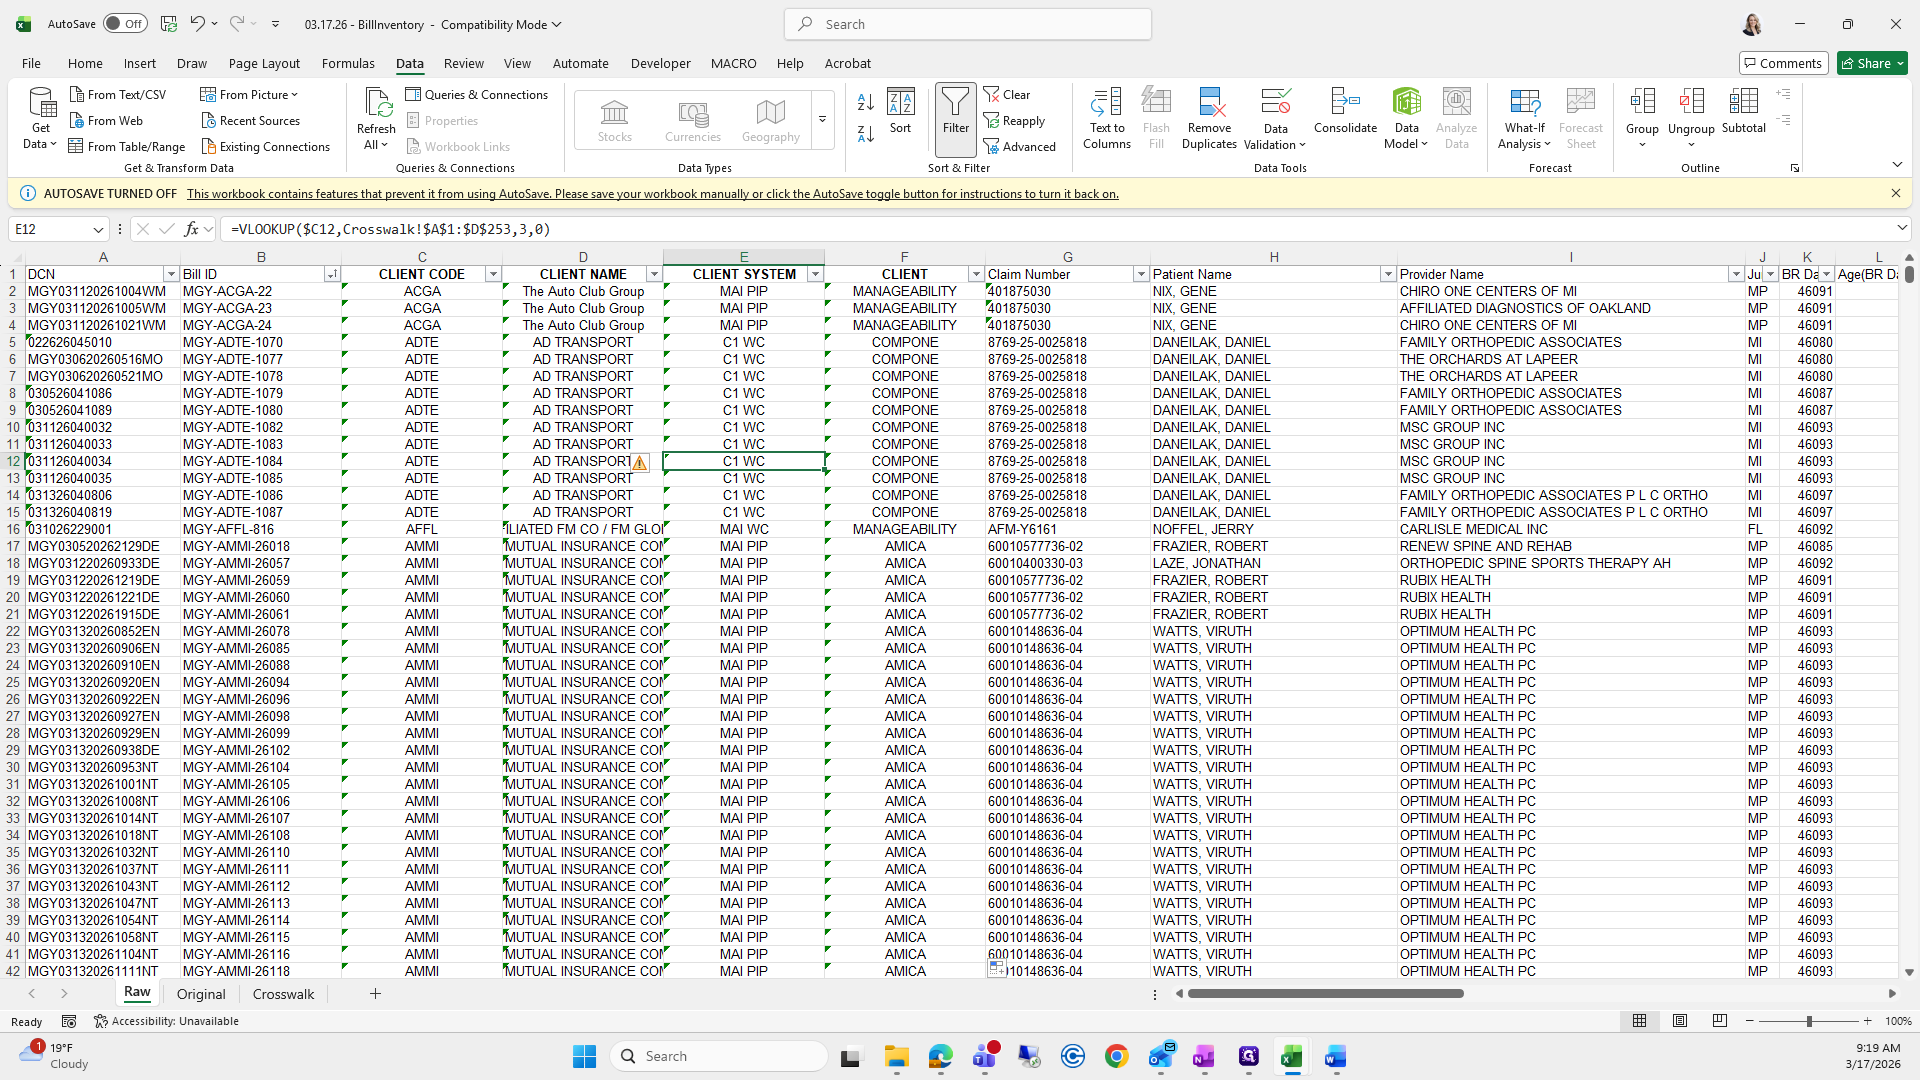
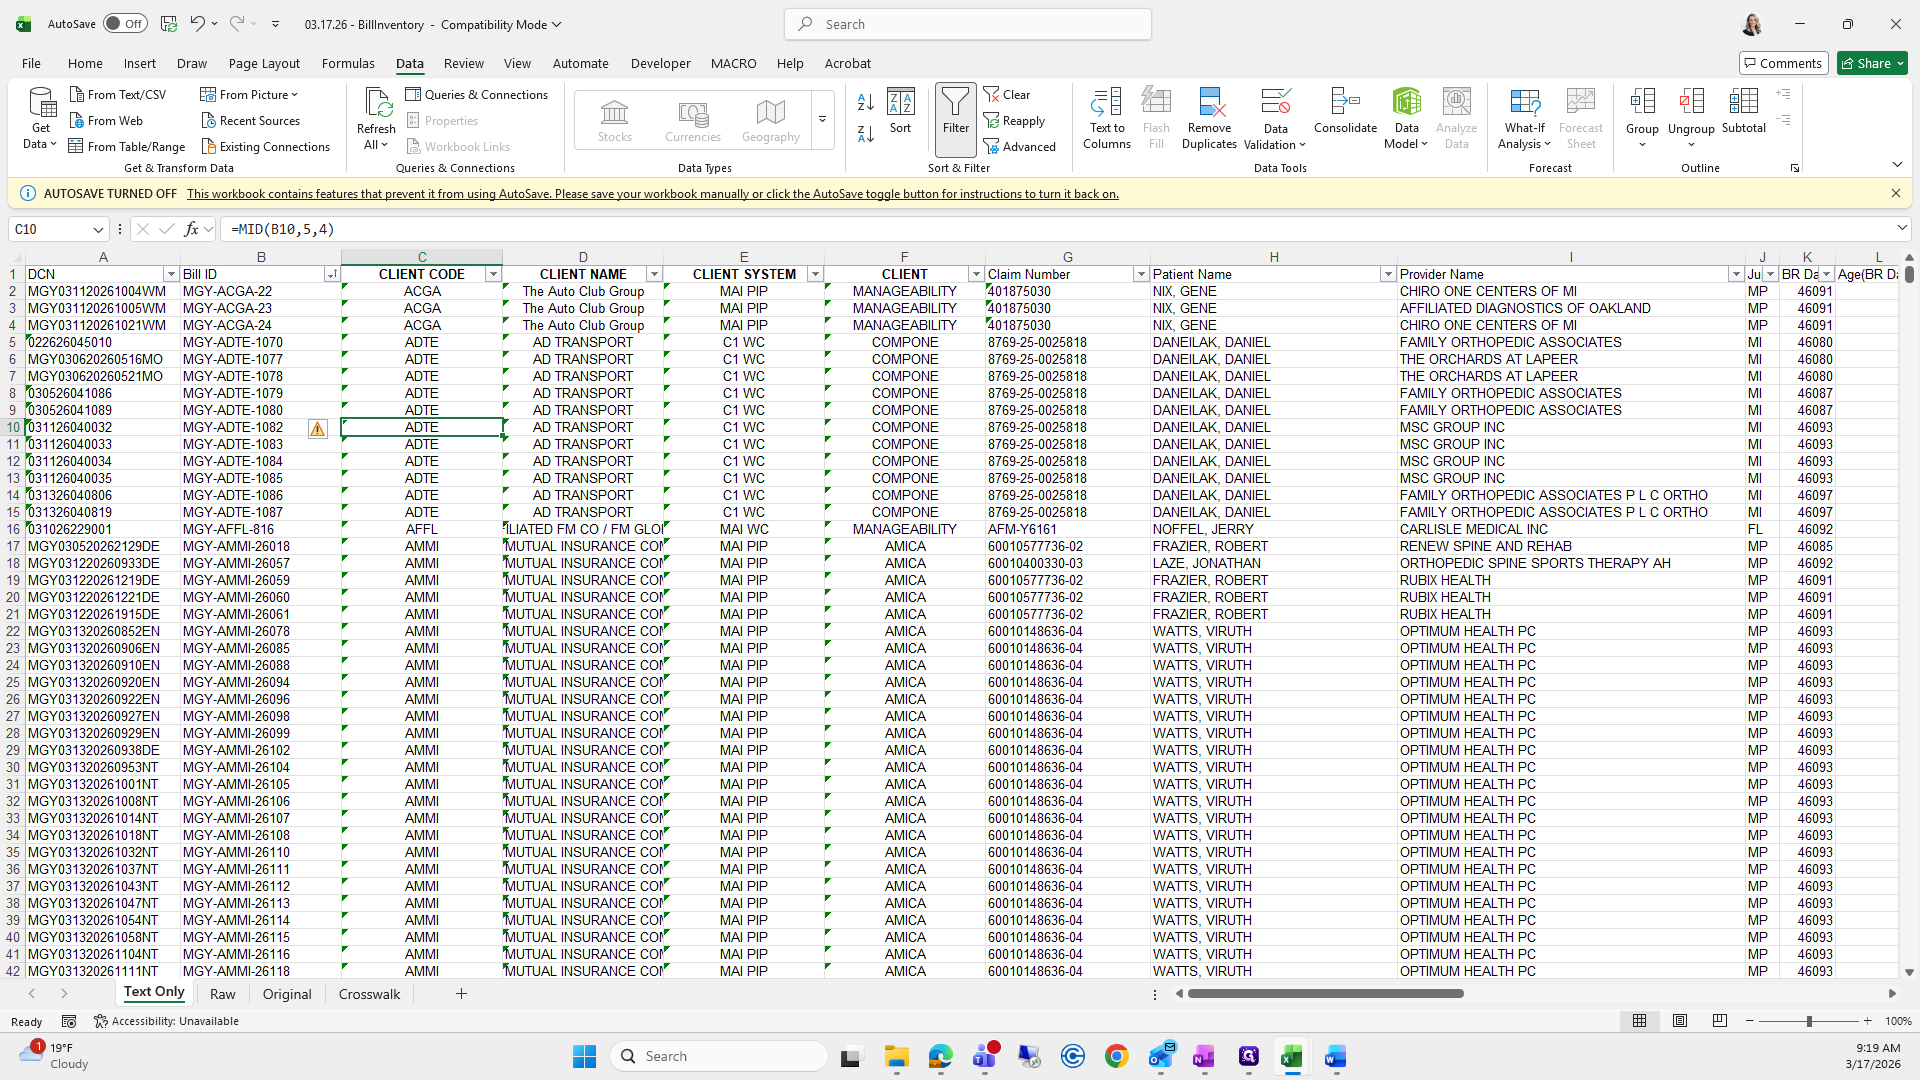
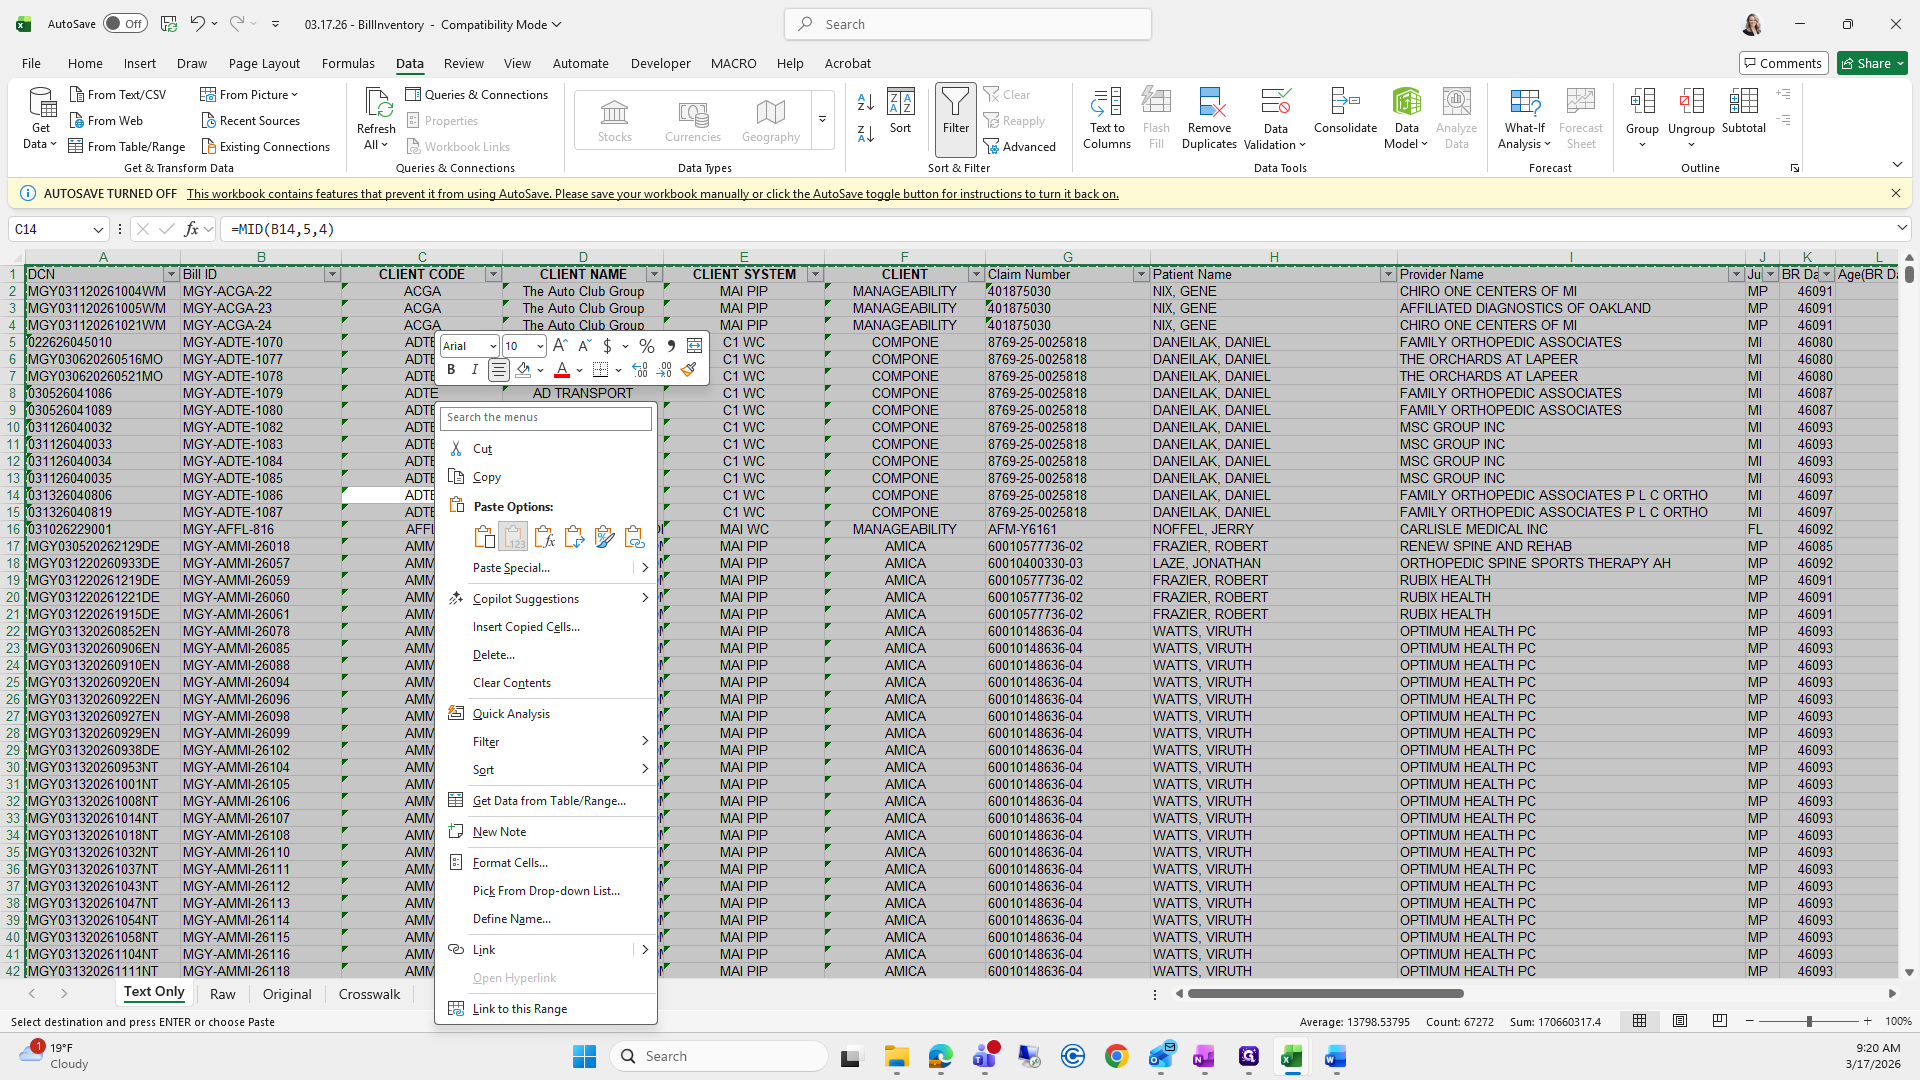
Next, go back to the raw tab. Move over to the cells we pasted. This one is fine because it only has the MID formula. The next one is still pulling the crosswalk from 311.

54
Drag "Crosswalk"
Step #54: Drag "Crosswalk"
55
Click on "Accessibility"
Step #55: Click on "Accessibility"
56
Drag "M 10/6/2025 - 10/6/2025"
Step #56: Drag "M 10/6/2025 - 10/6/2025"
57
Click here
Step #57: Click here
58
Drag "CLIENT CODE"
Step #58: Drag "CLIENT CODE"
59
Click on "ACGA"
Step #59: Click on "ACGA"
60
Click here
61
Drag "'"
Step #61: Drag "'"

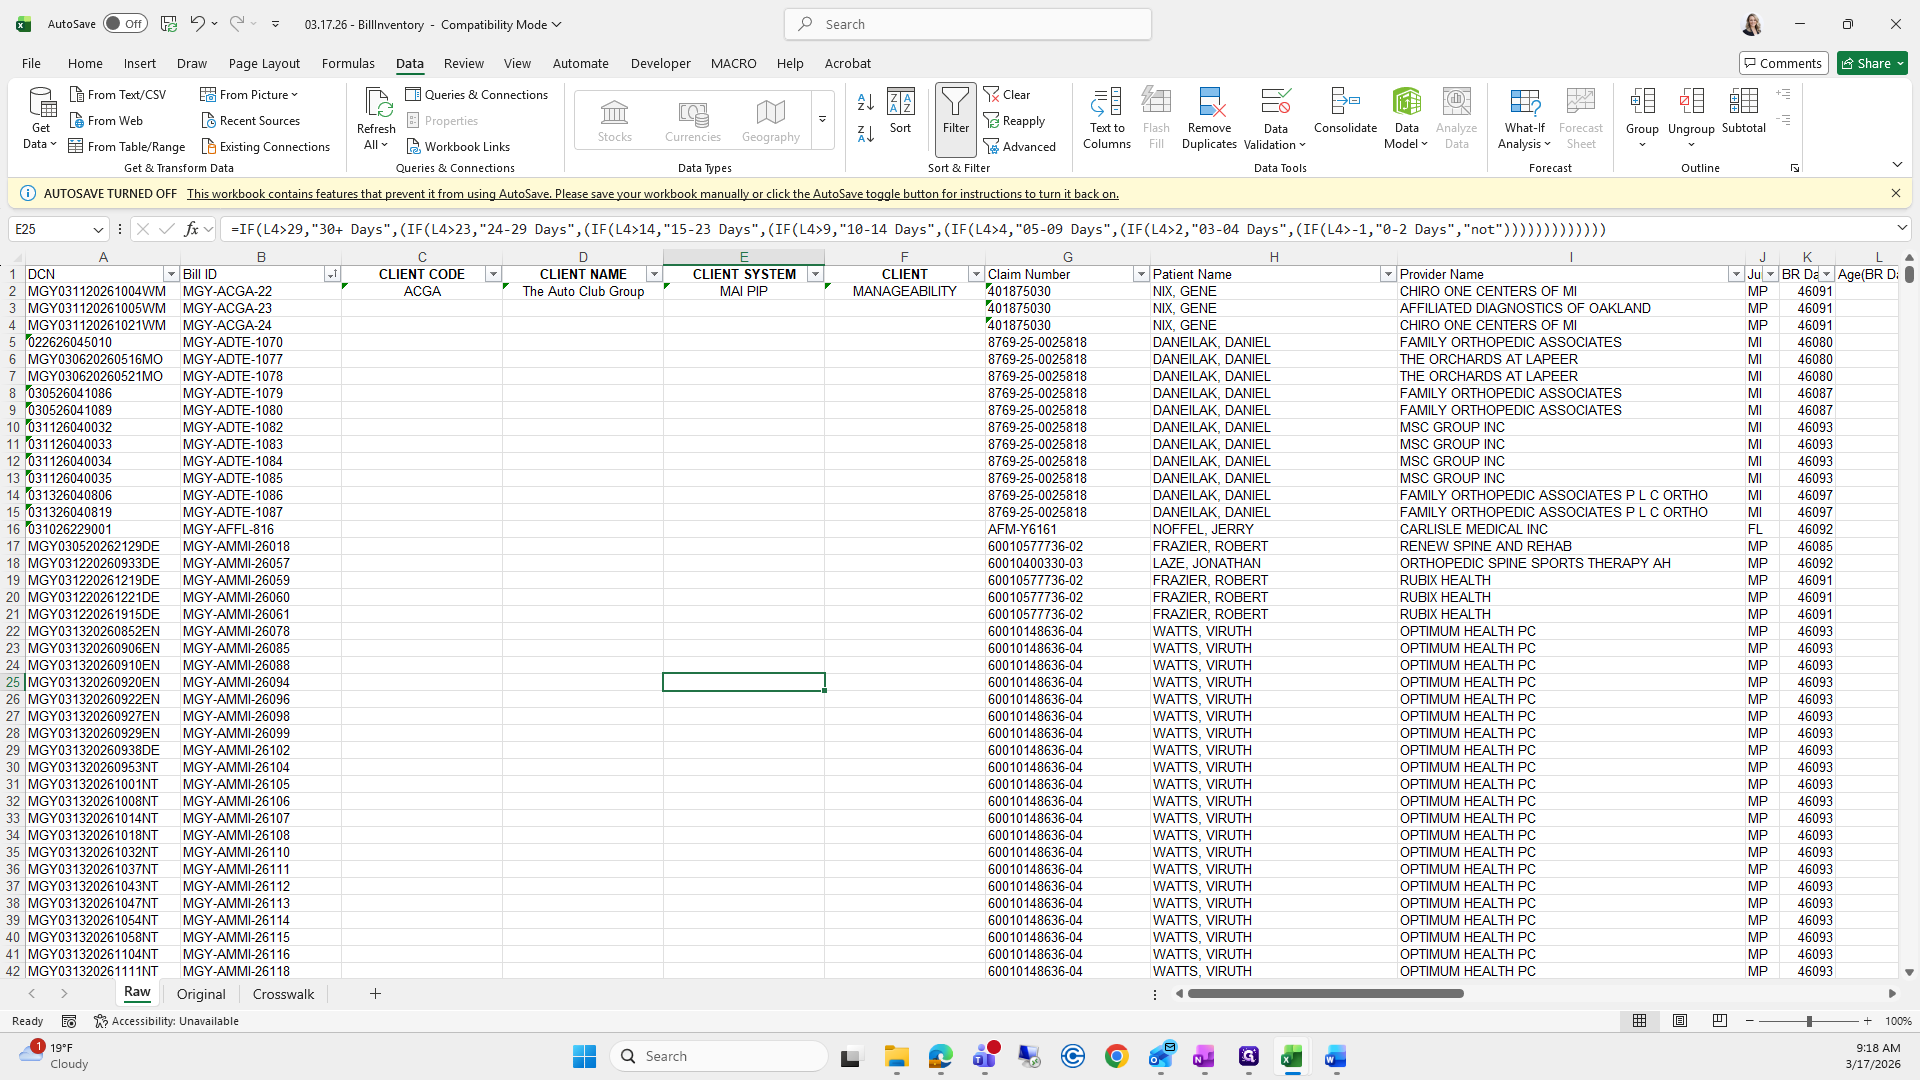
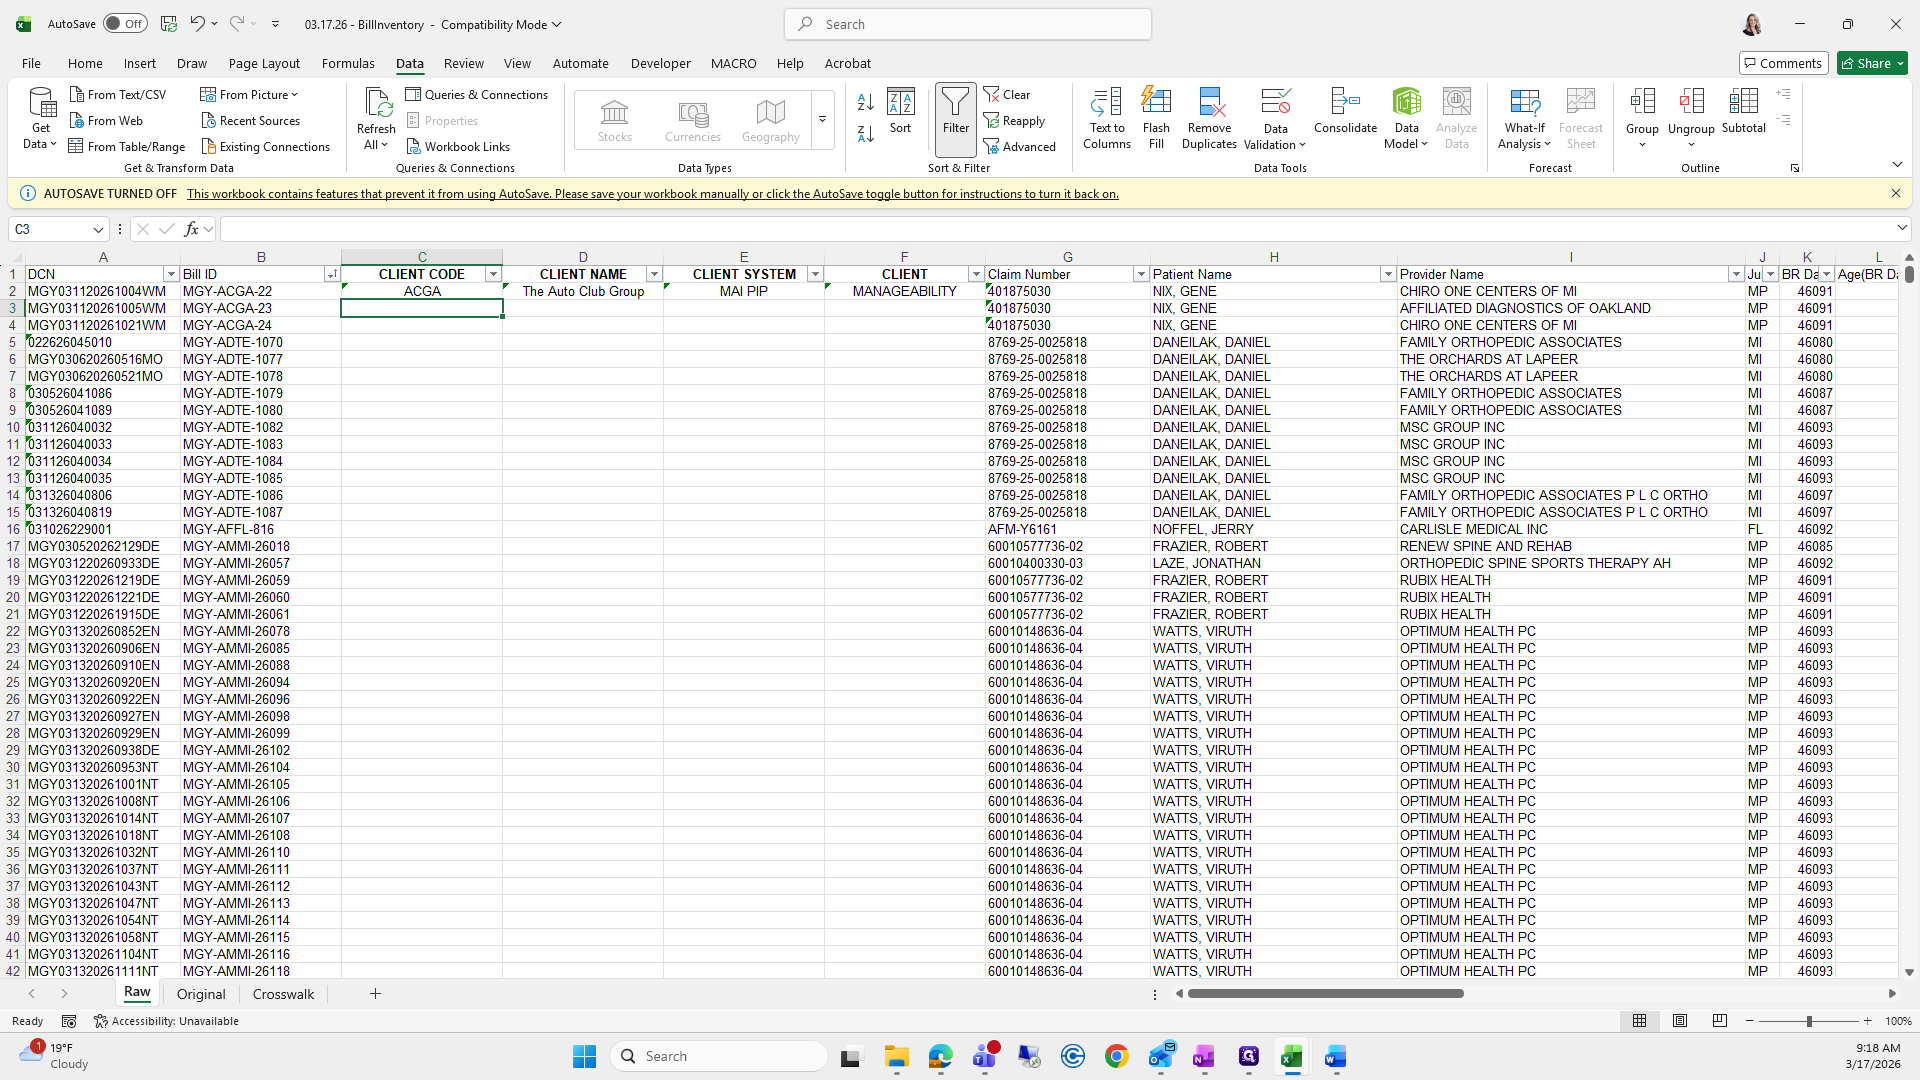
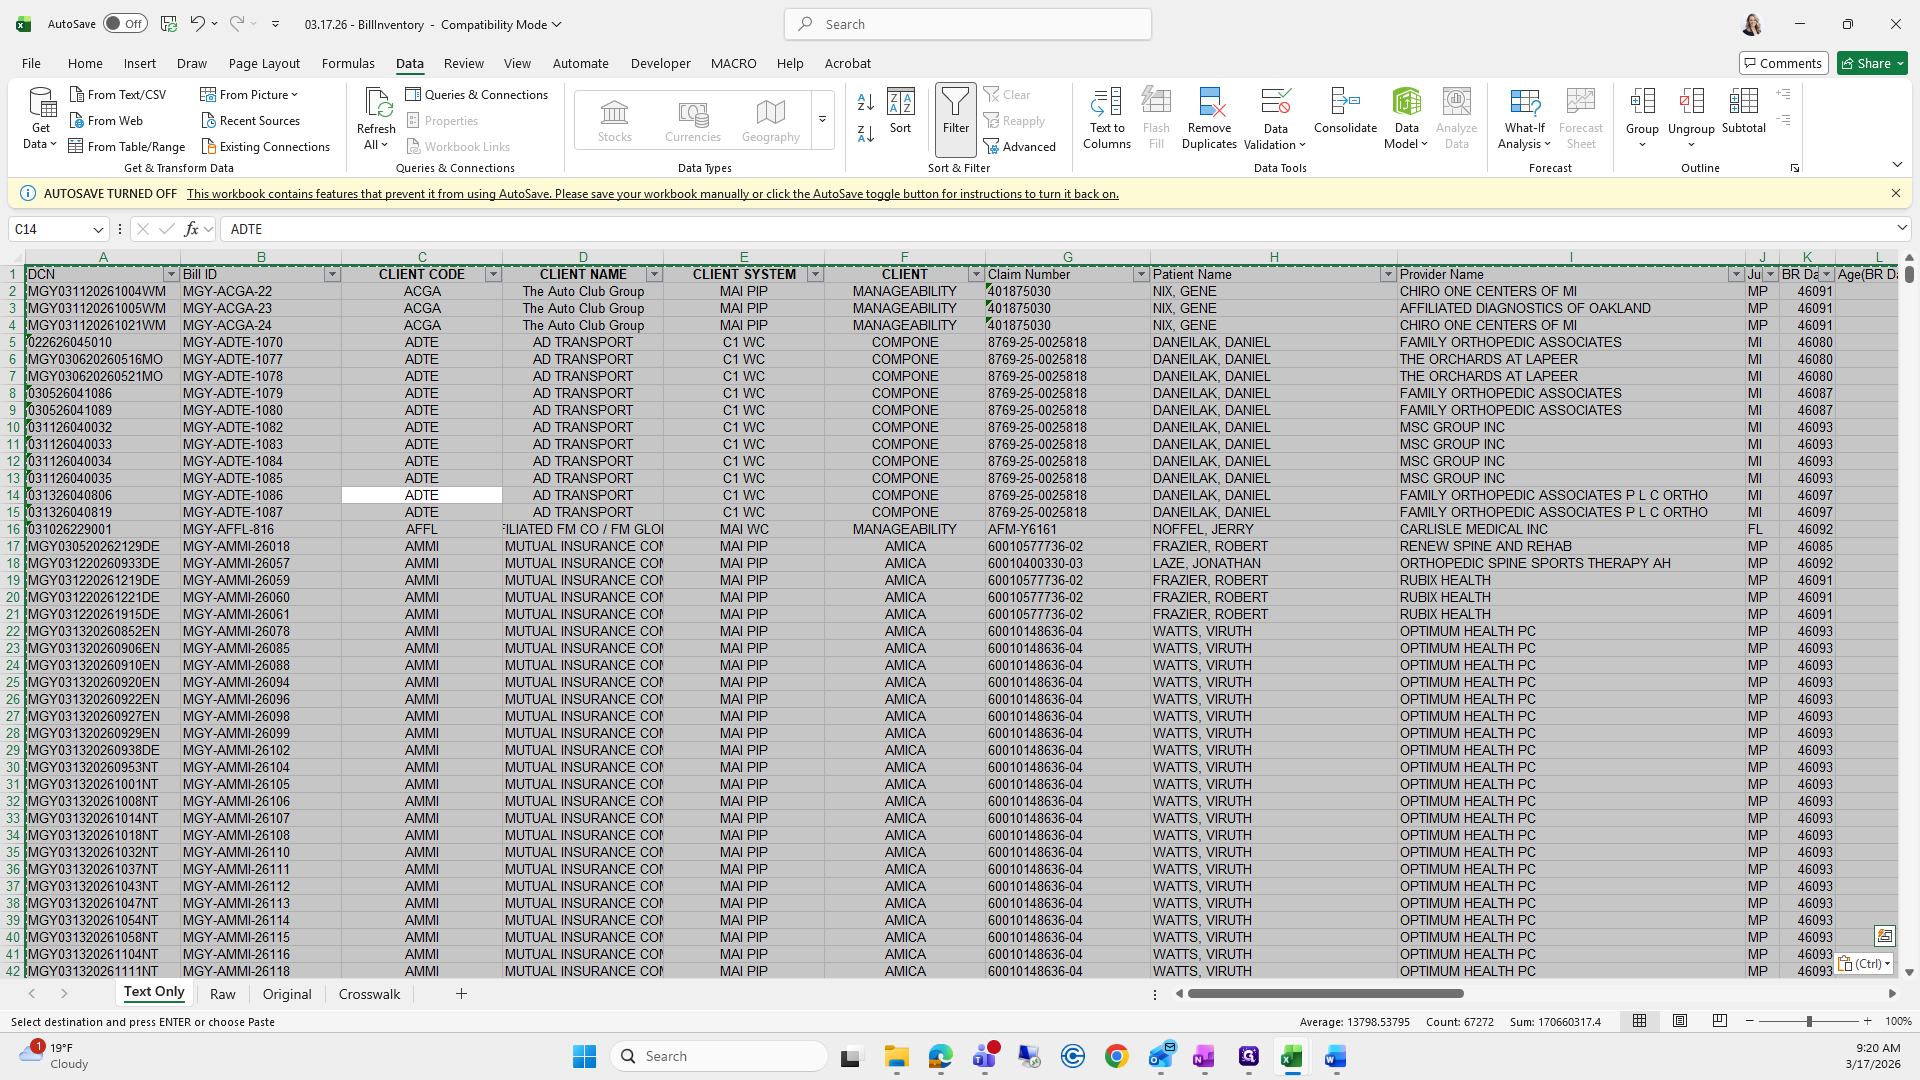
Highlight the text inside the brackets, press delete, then press enter. Repeat: highlight the bracketed text, delete, and press enter.

62
Type "Enter"
63
Click on "MAI PIP"
Step #63: Click on "MAI PIP"
64
Drag "["
Step #64: Drag "["
65
Type "Enter"
66
Click on "MANAGEABILITY"
Step #66: Click on "MANAGEABILITY"

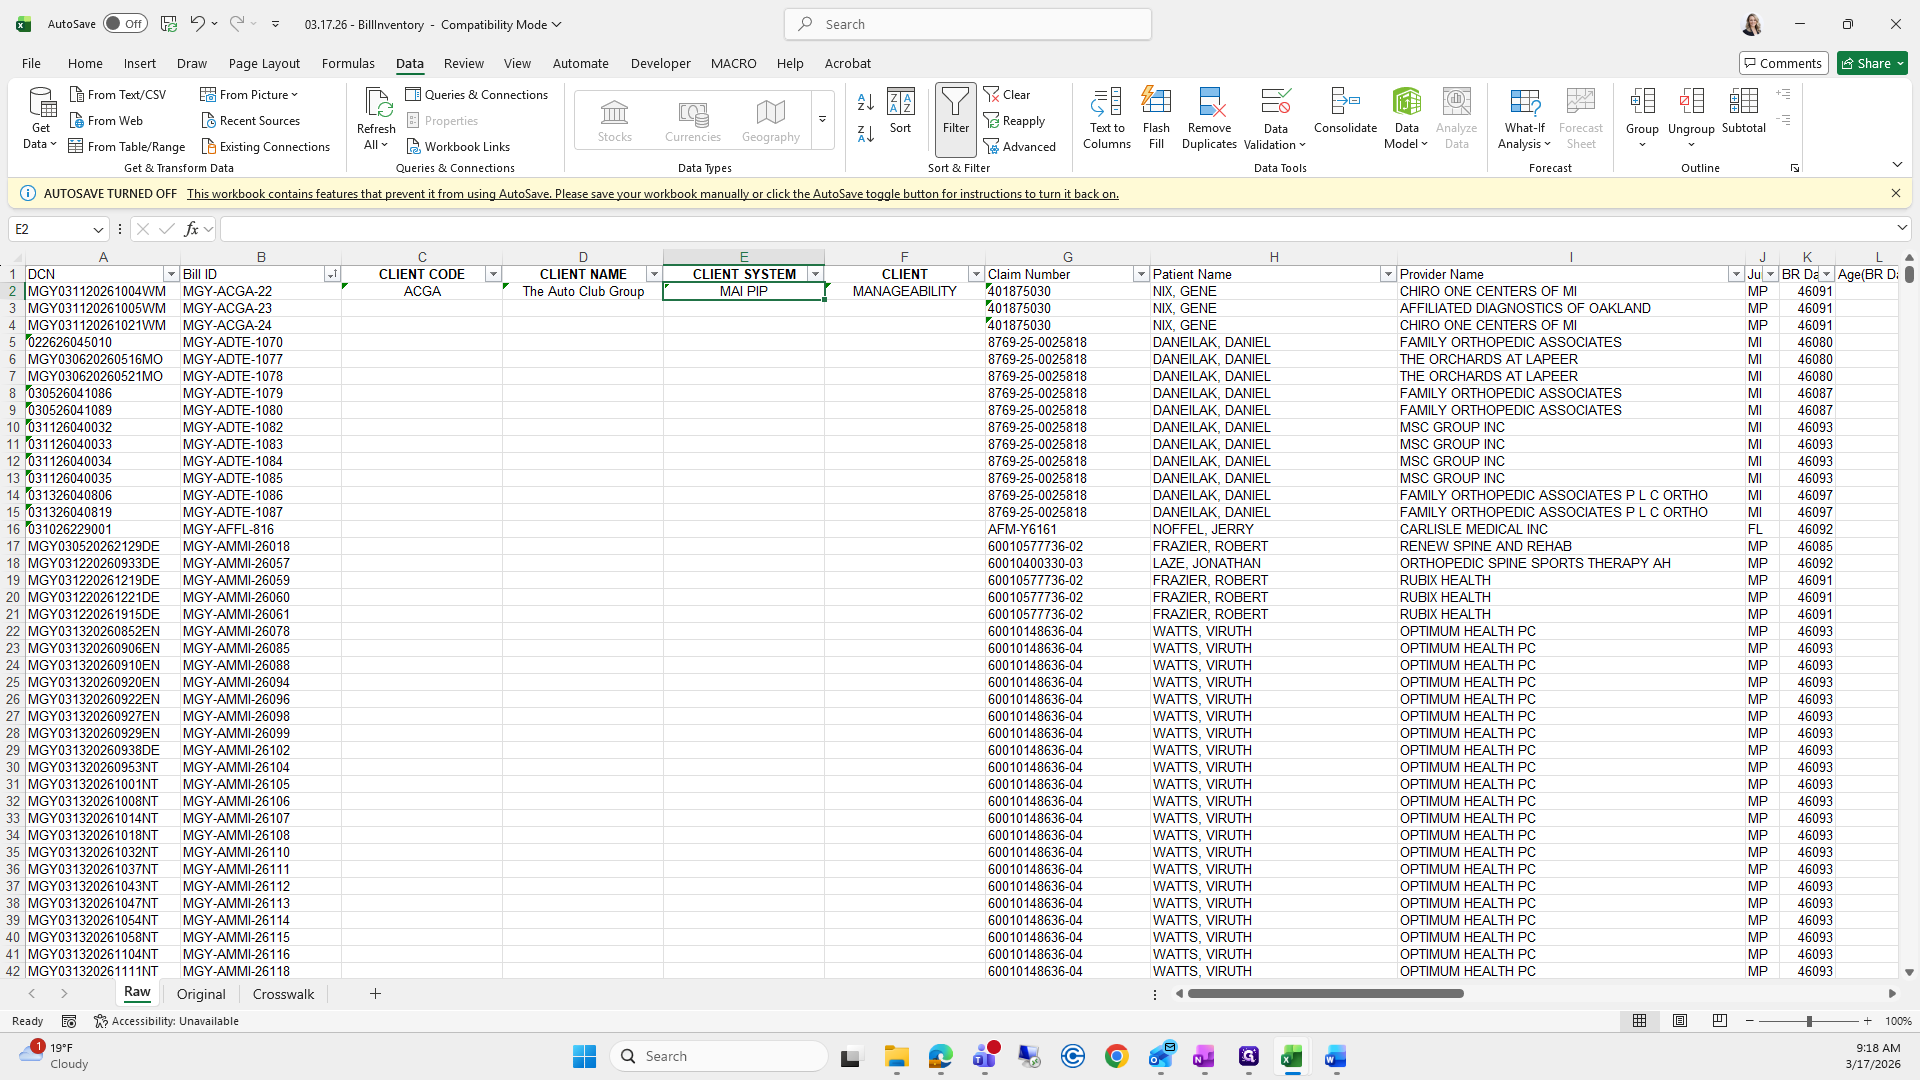
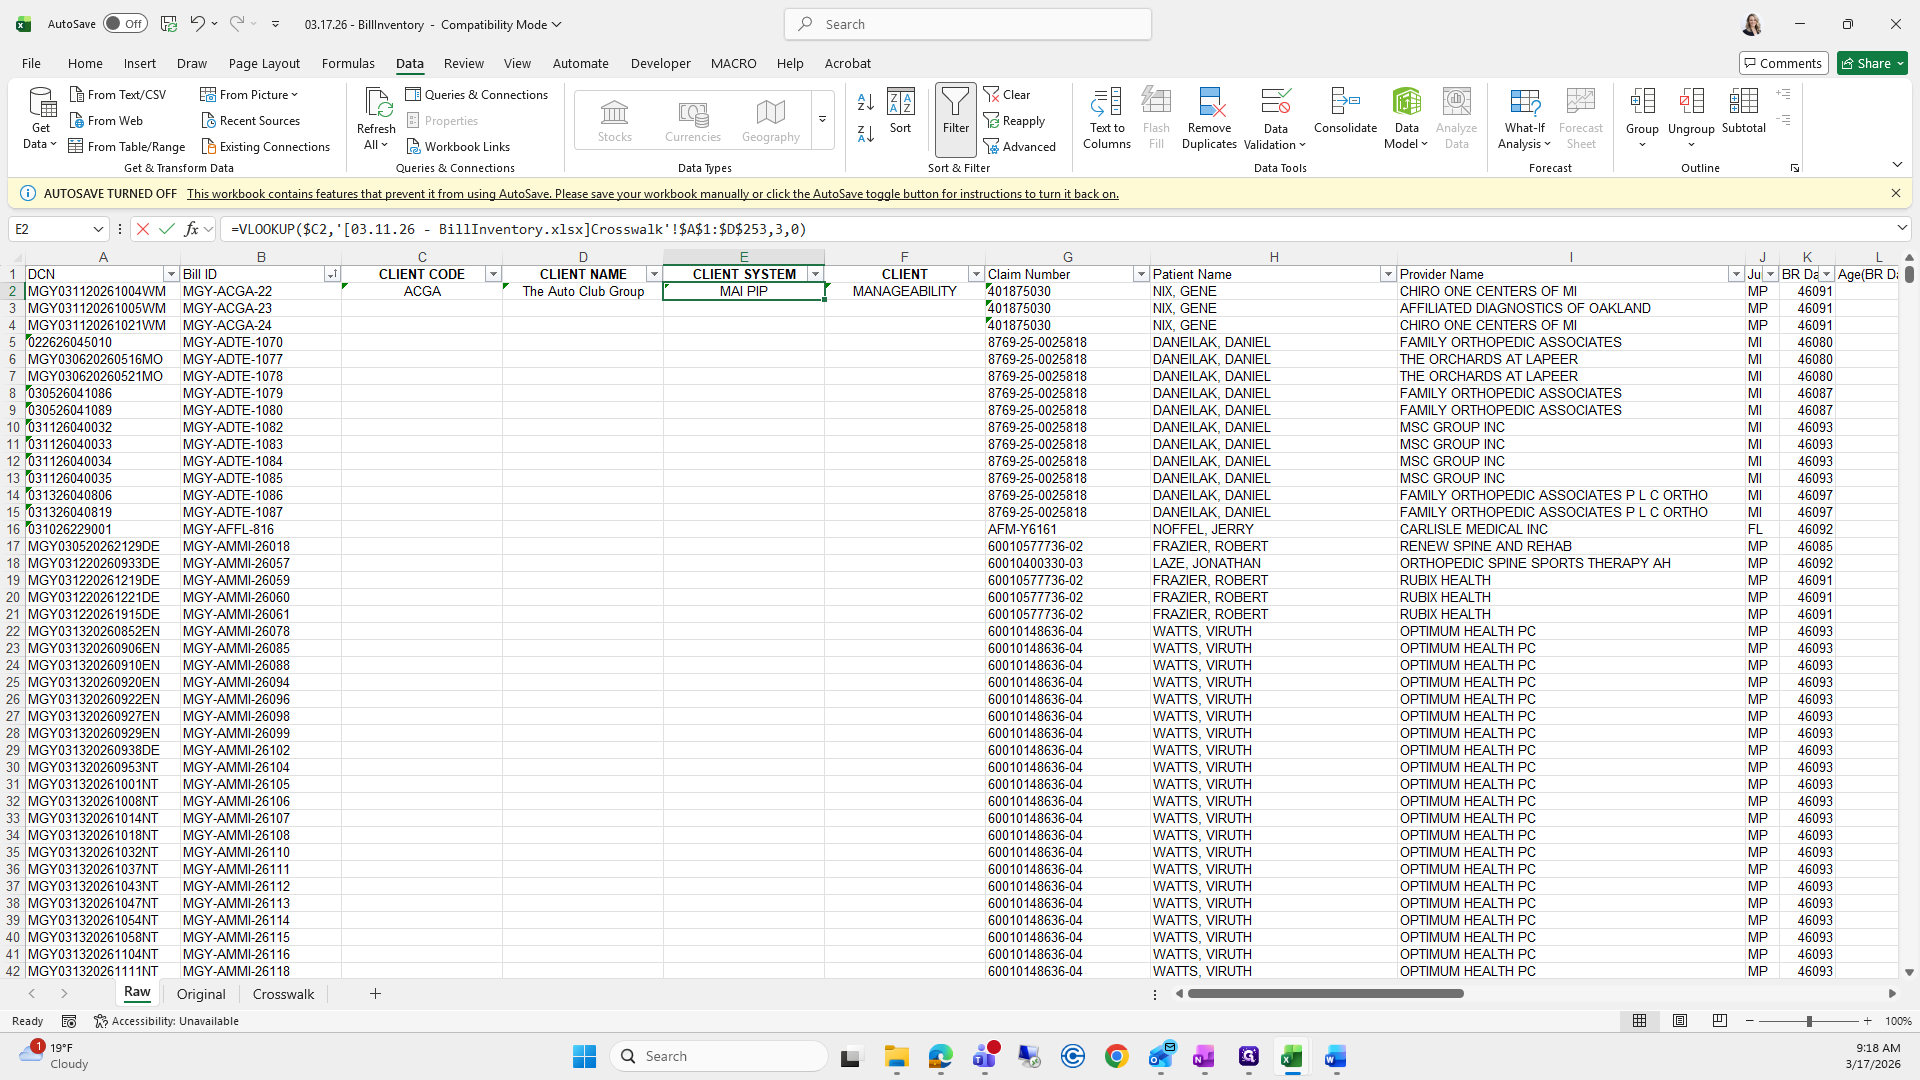
Next, delete what is in the brackets and press enter.

67
Click on "'"
Step #67: Click on "'"
68
Drag "["
Step #68: Drag "["
69
Type "Enter"

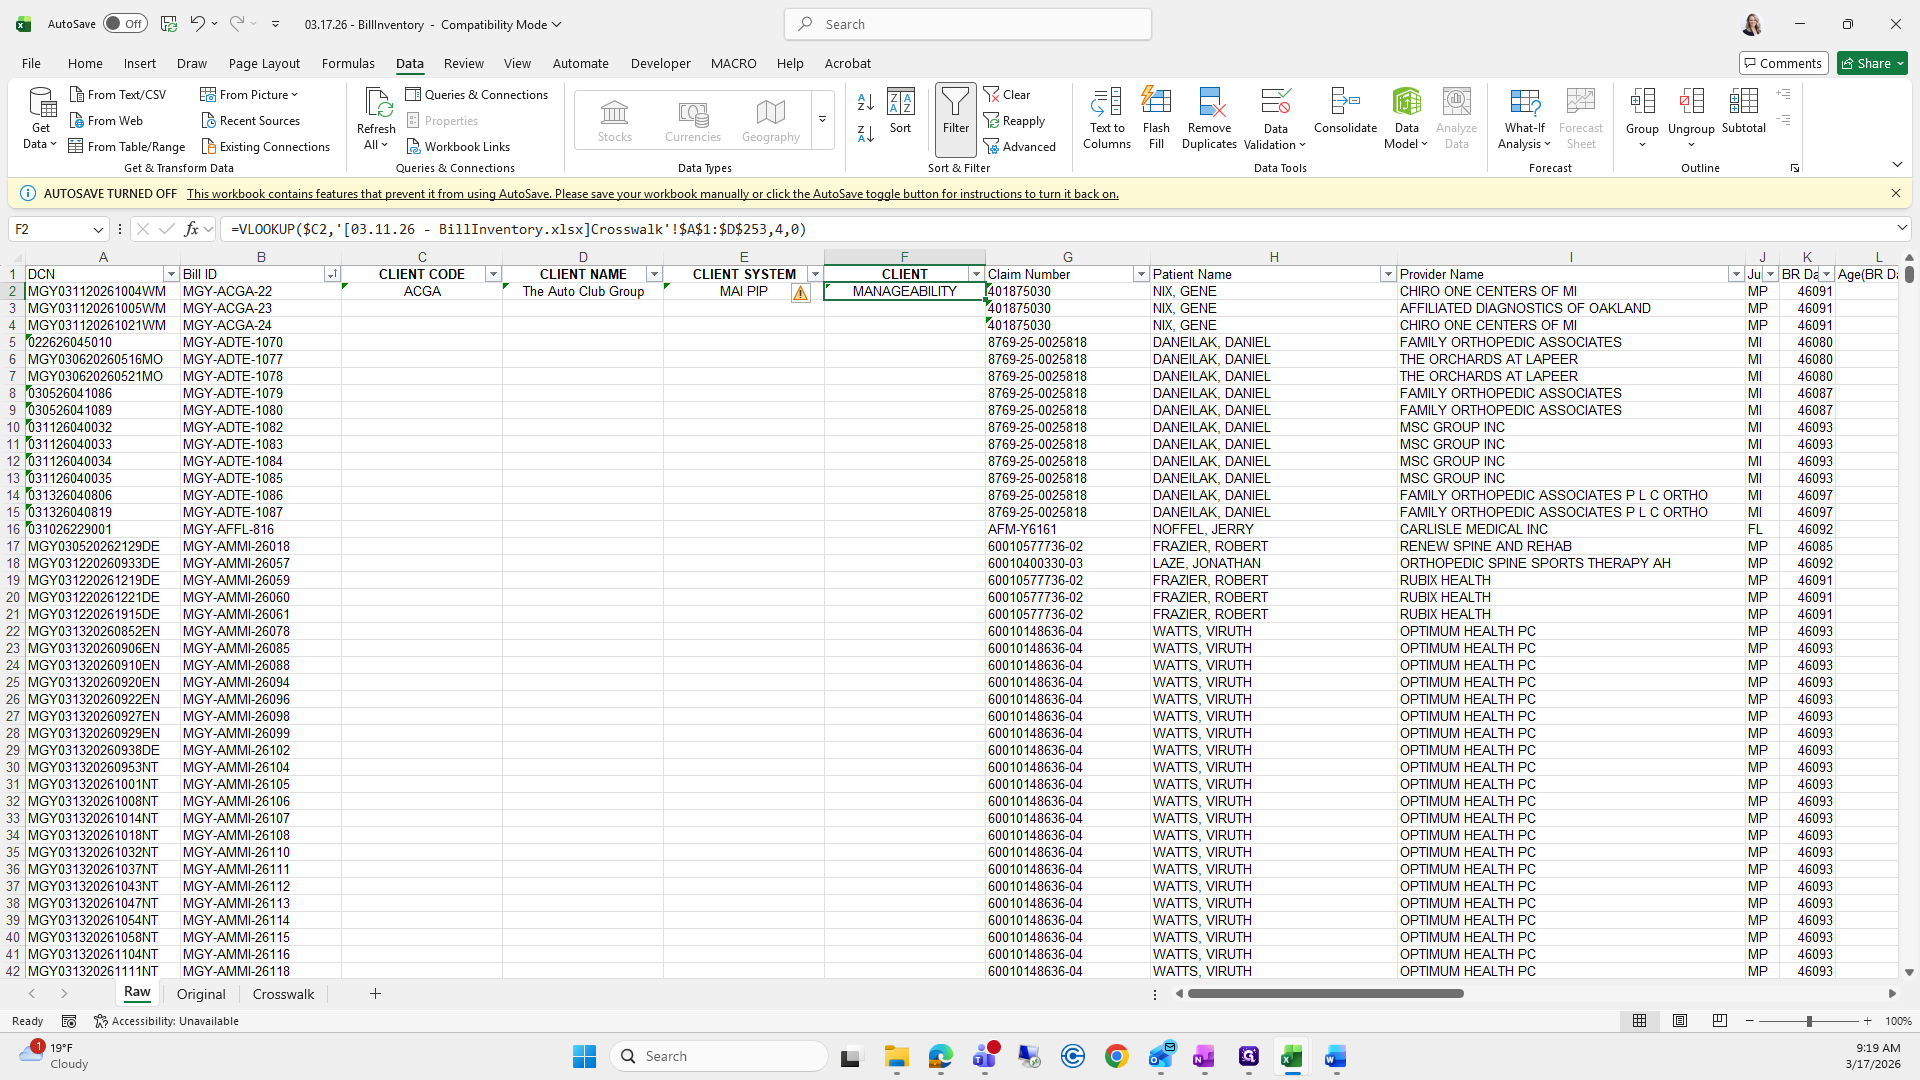
Then I grab all three and drag them down.

70
Drag "ACGA"
Step #70: Drag "ACGA"
71
Double-click on "401875030"
Step #71: Double-click on "401875030"
72
Click here
Step #72: Click here

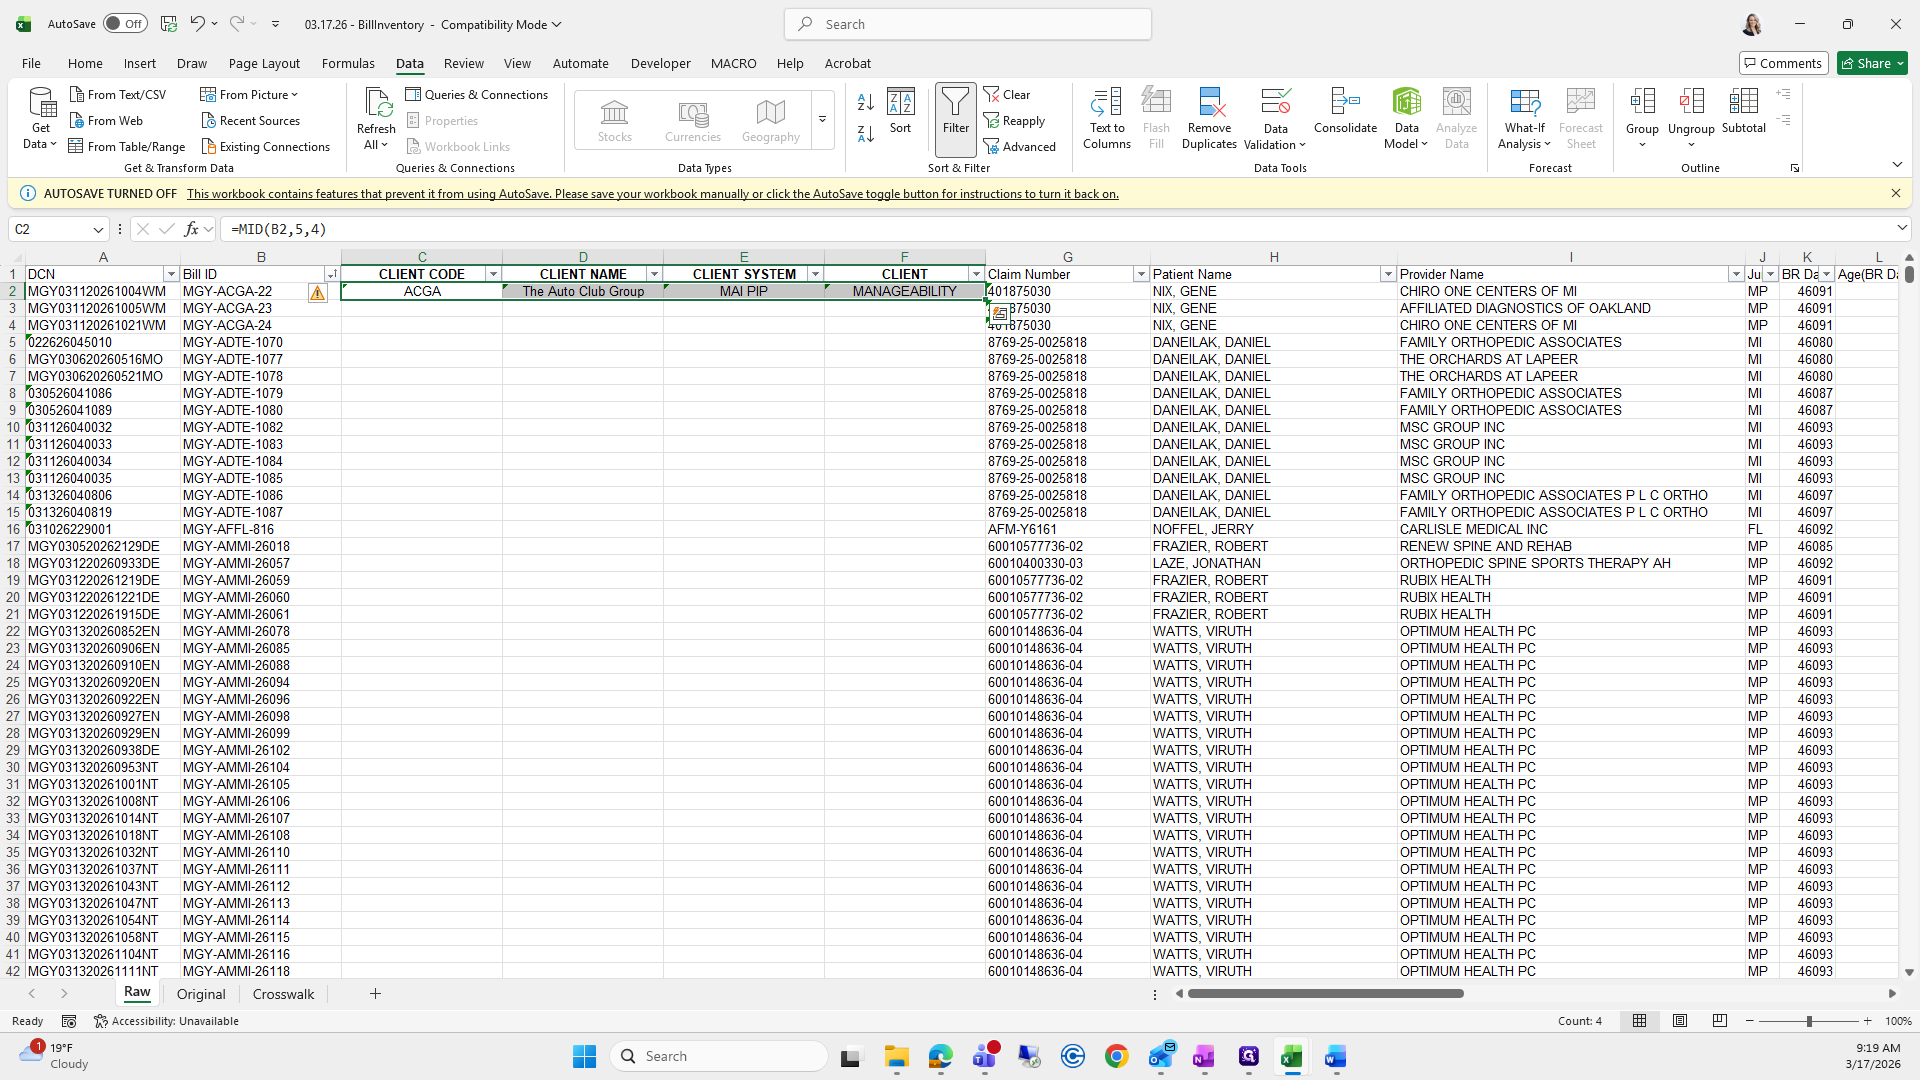
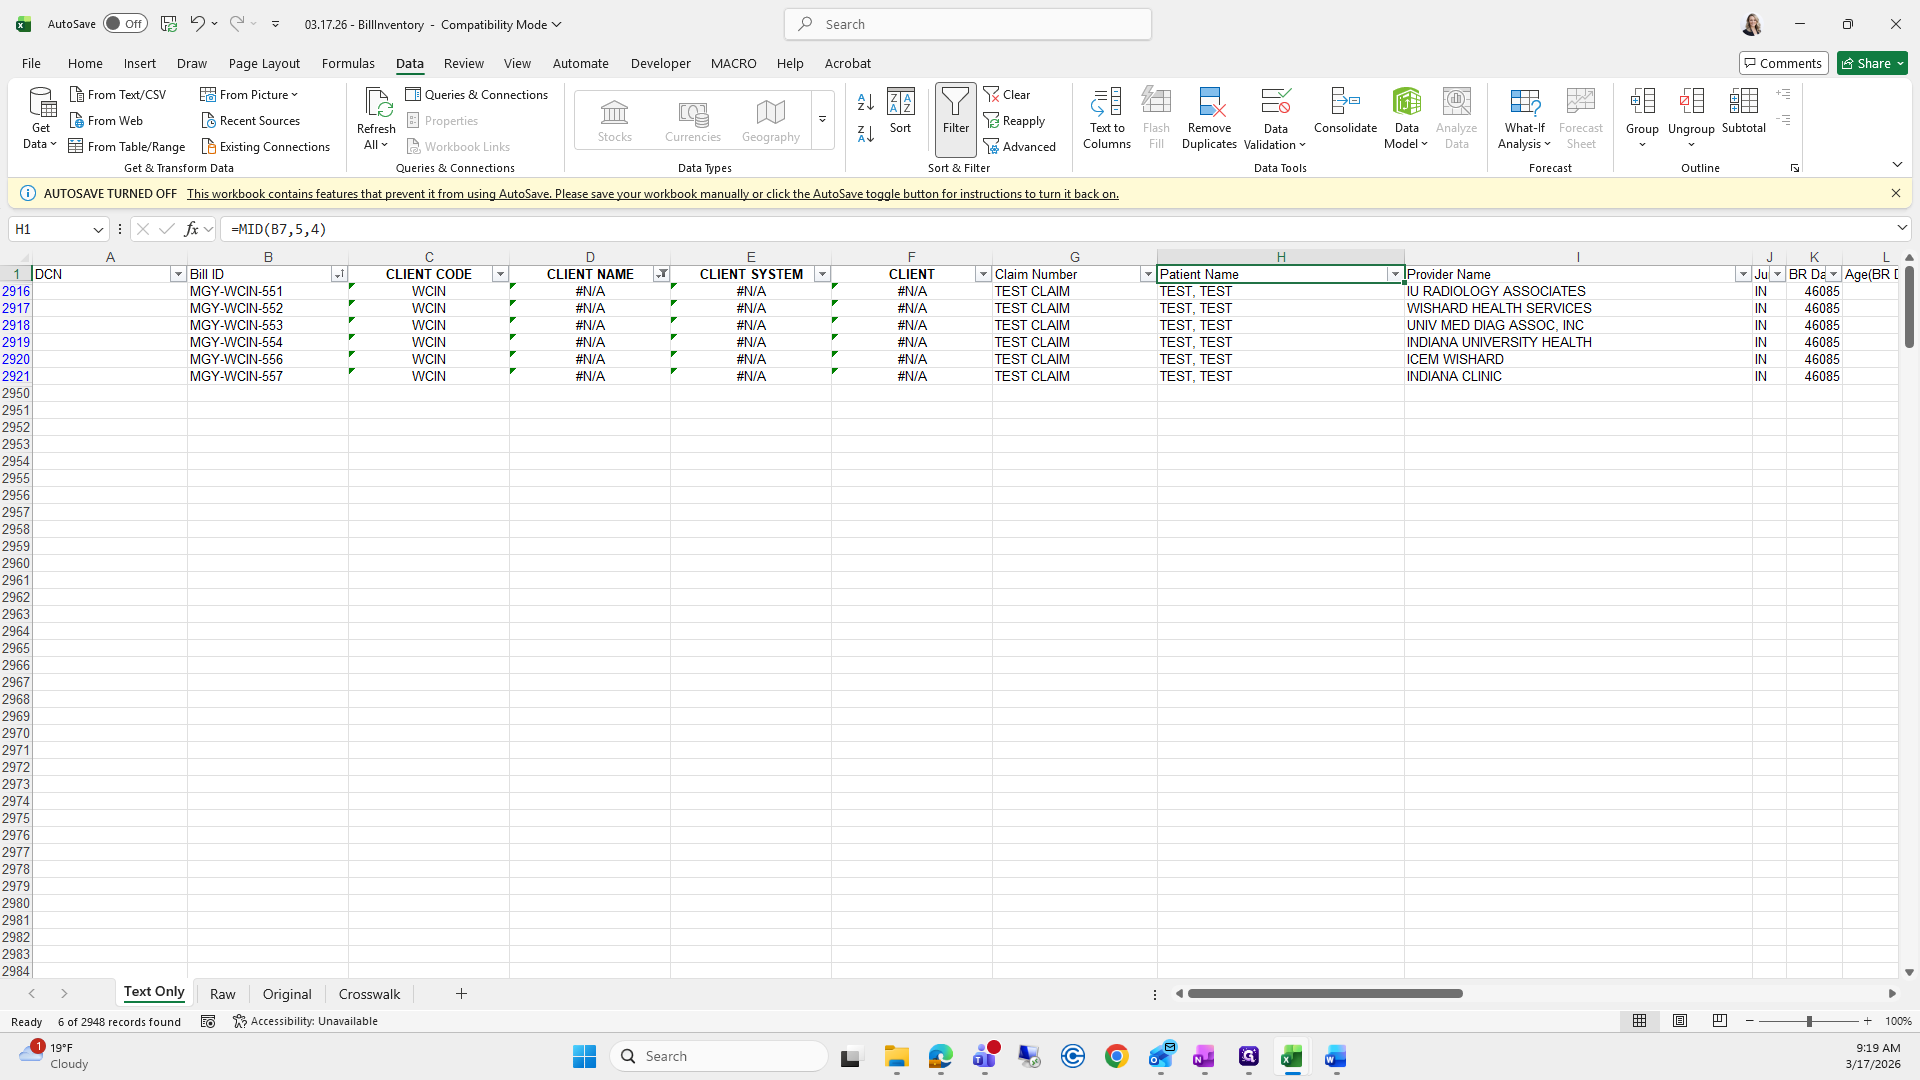
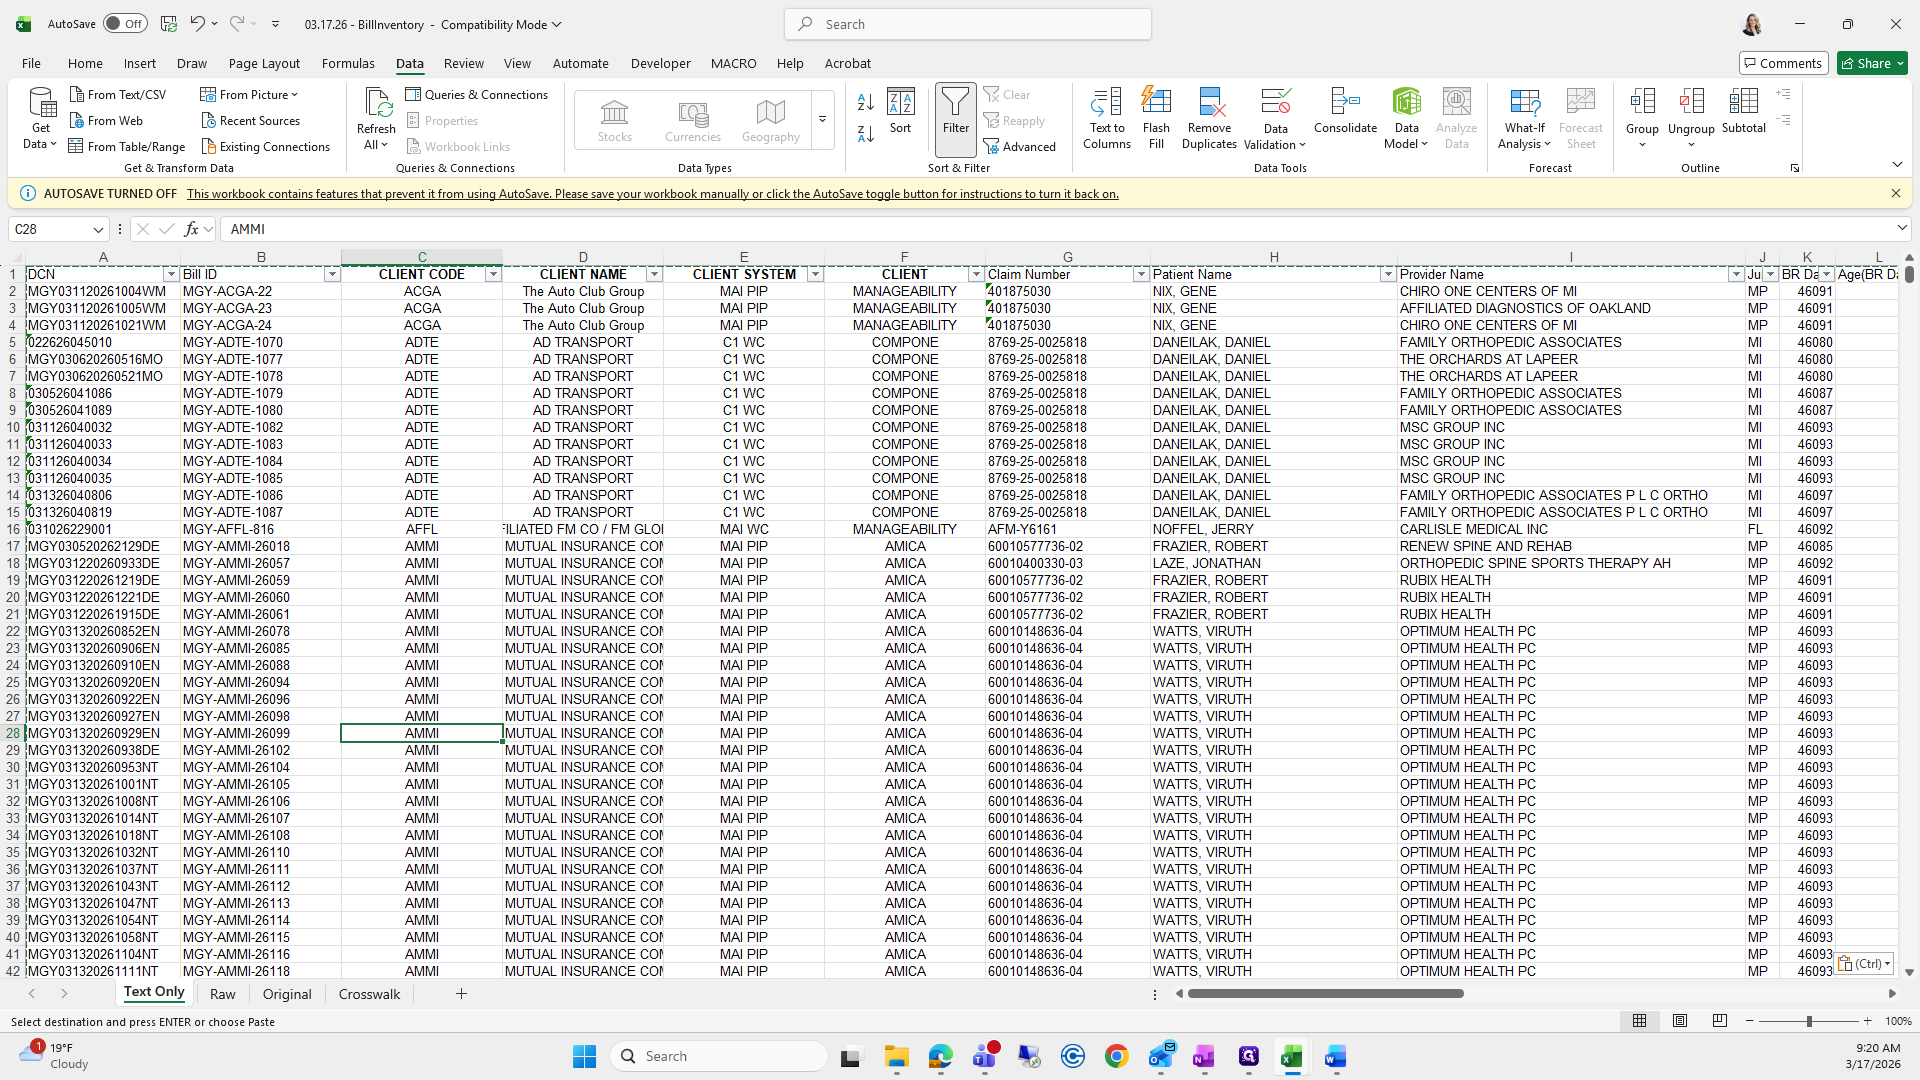
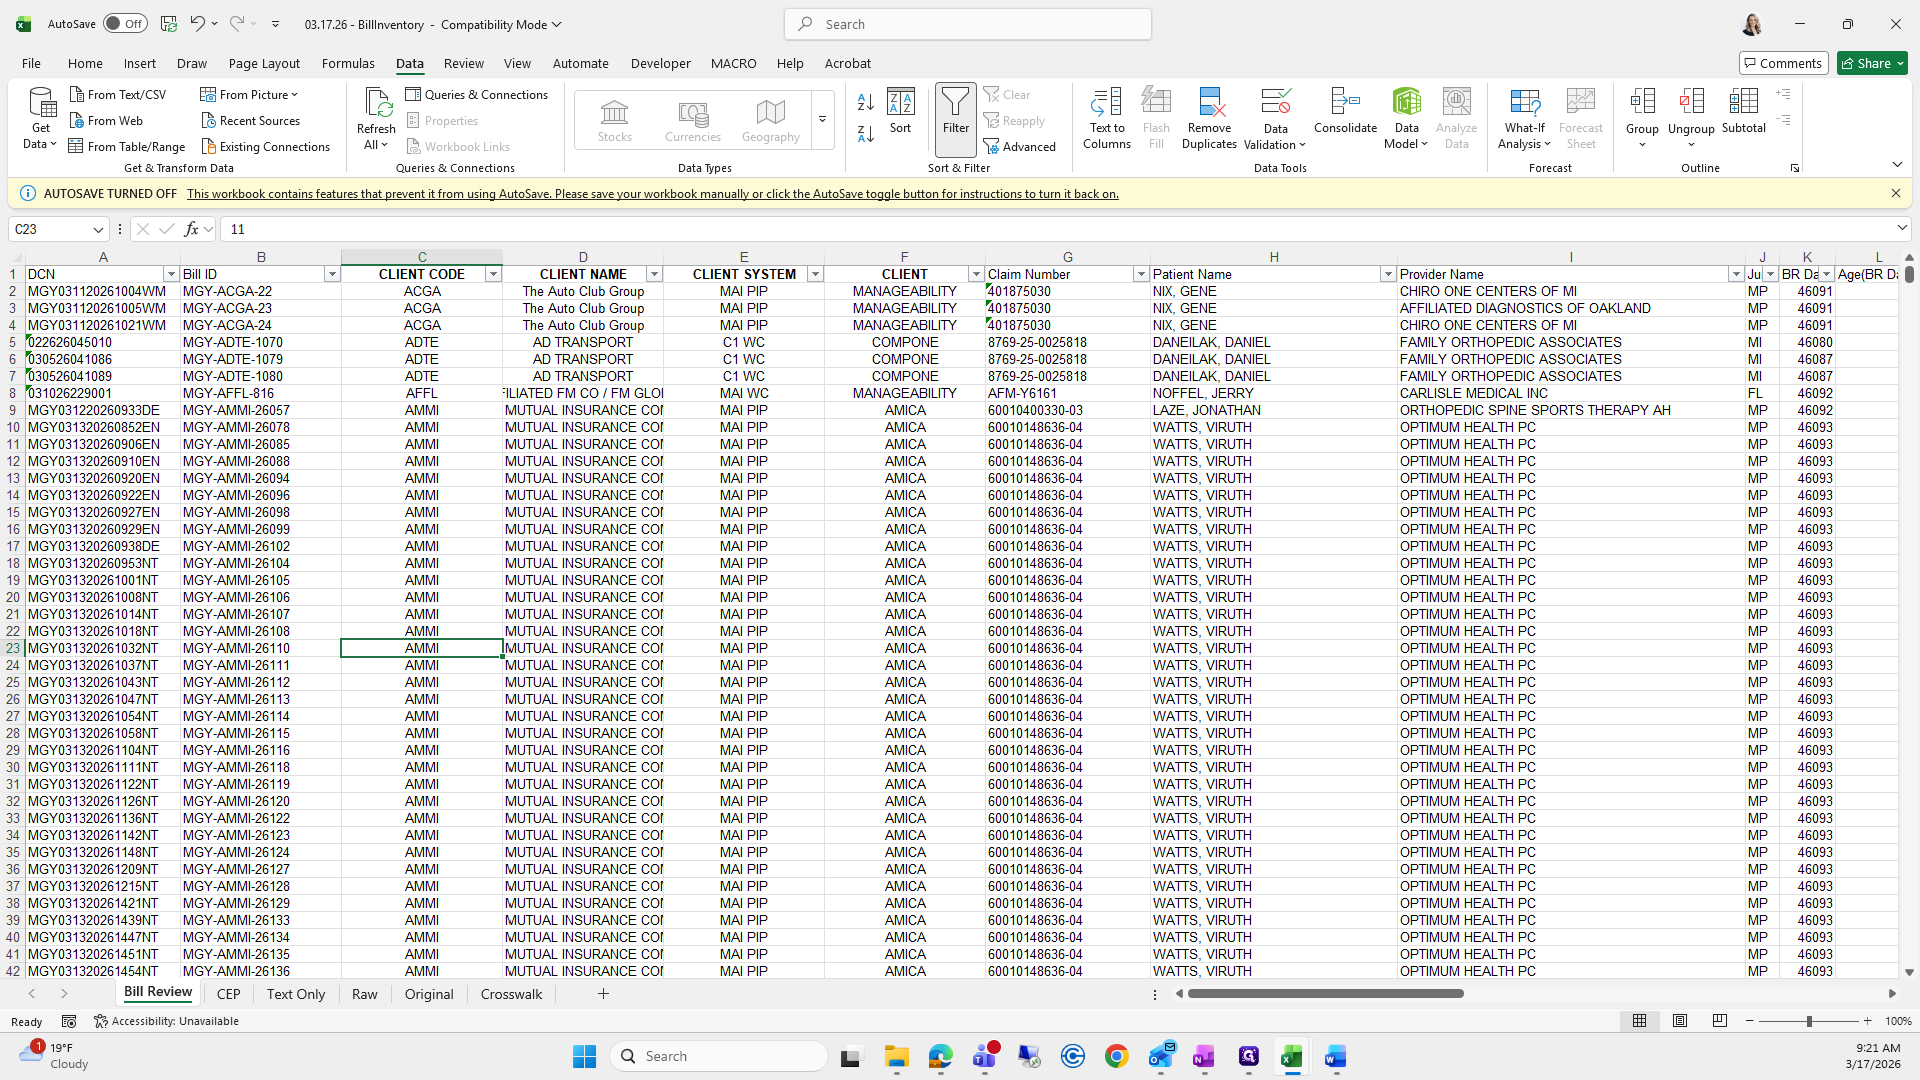
From here, I copy and paste, saving text only. Before pasting values, I check if any client names are missing.

73
Right-click on "Raw"
Step #73: Right-click on "Raw"
74
Click on "Move or Copy"
Step #74: Click on "Move or Copy"
75
Double-click on "OK"
Step #75: Double-click on "OK"
76
Double-click on "Raw"
Step #76: Double-click on "Raw"
77
Type "Text Only"
78
Click on "MGY - AMMI"
Step #78: Click on "MGY - AMMI"
79
Click here
Step #79: Click here
80
Click on "ADTE"
Step #80: Click on "ADTE"
81
Click on "Group"
Step #81: Click on "Group"

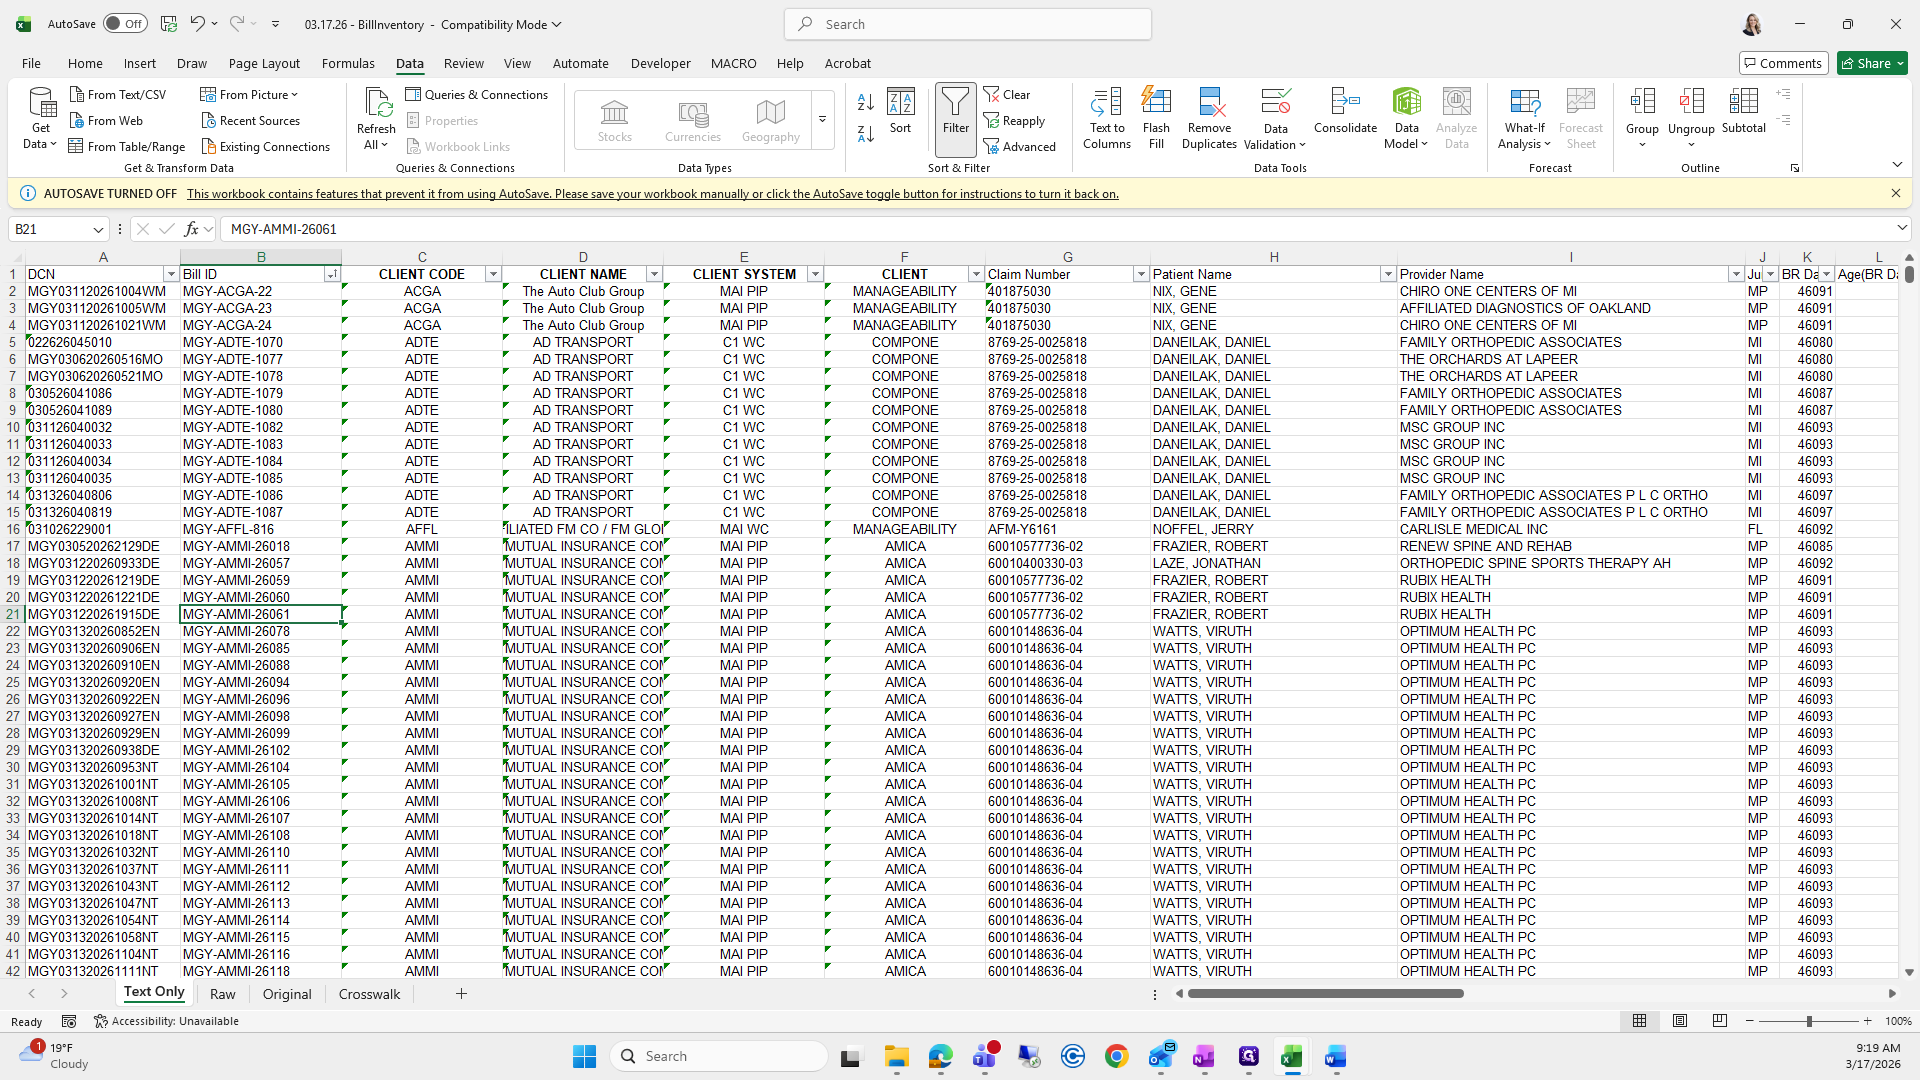
By filtering it earlier, I remove the filter, go all the way down, and there it is.

82
Drag "AFFILIATED FM CO / FM GLOBAL"
Step #82: Drag "AFFILIATED FM CO / FM GLOBAL"

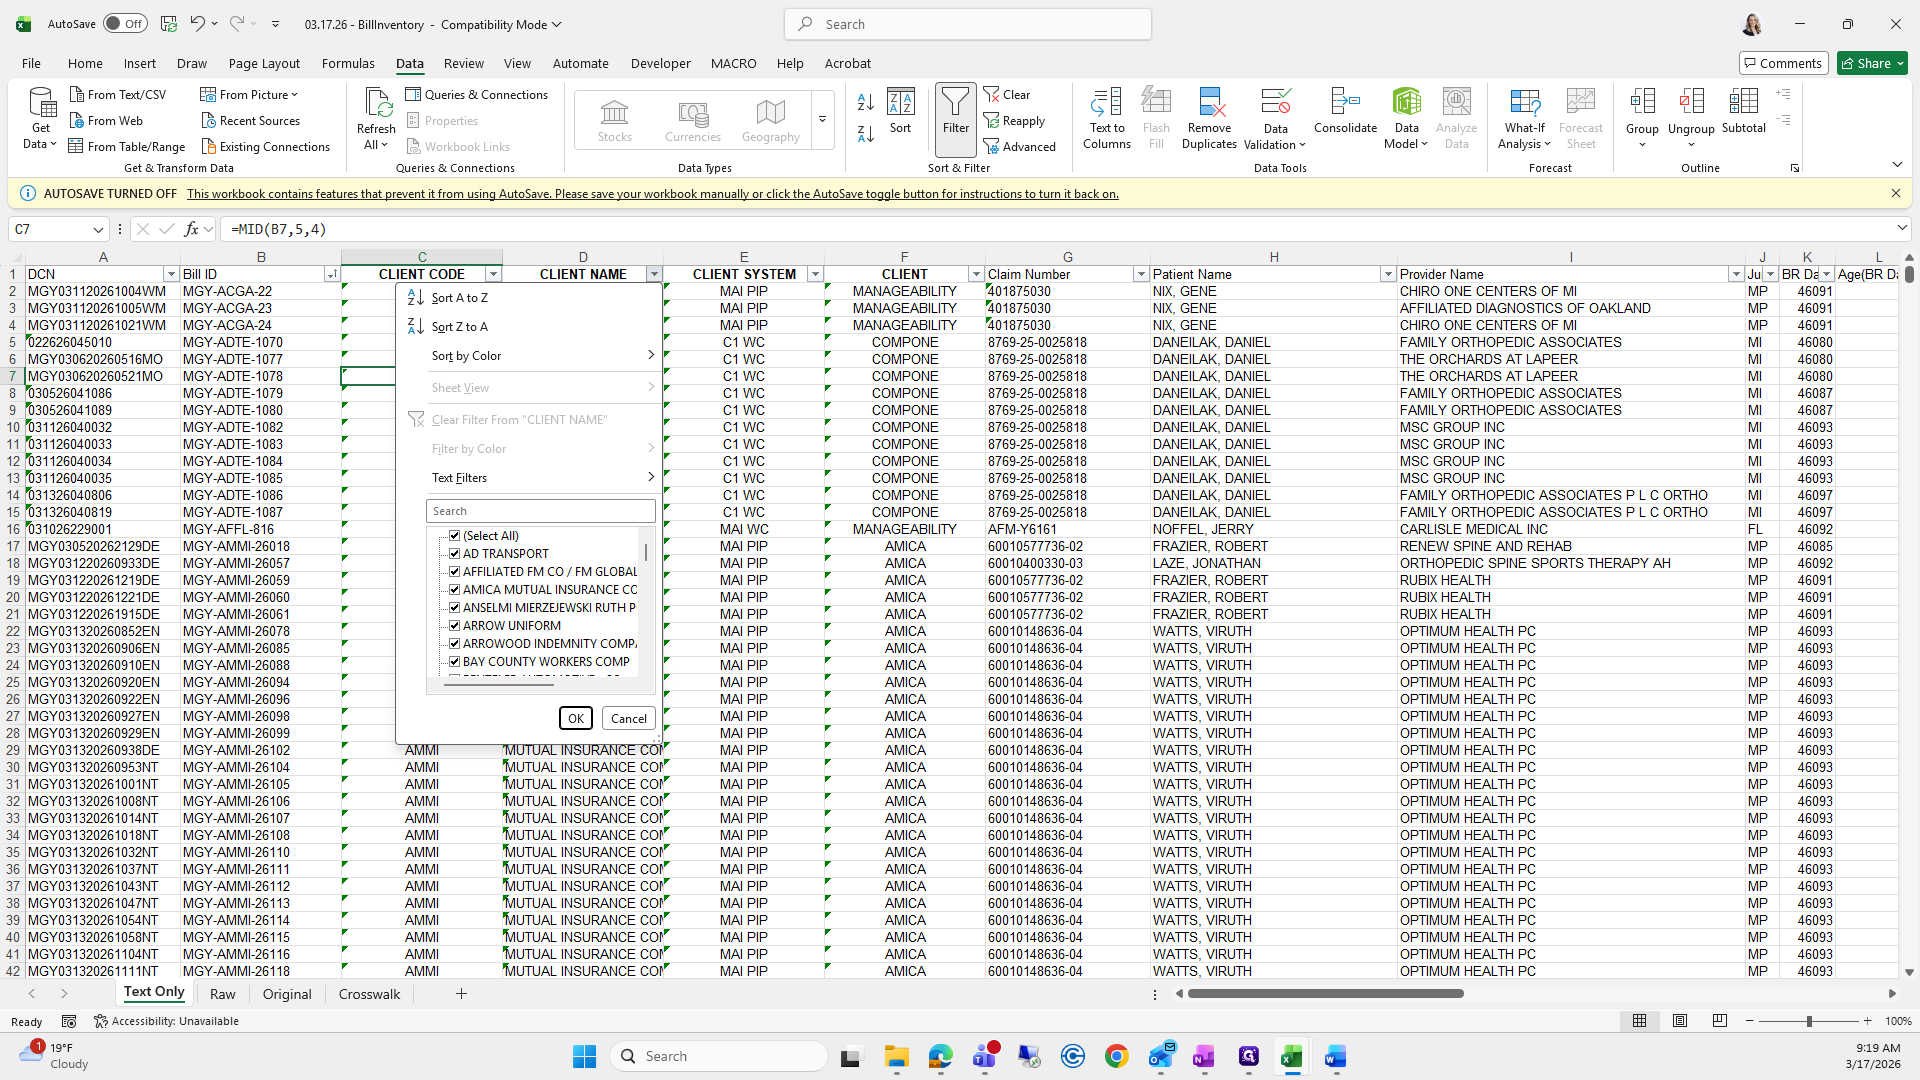
I will select all and go to NA.

83
Drag "WESTERN MICHIGAN UNIVERSIT"
Step #83: Drag "WESTERN MICHIGAN UNIVERSIT"
84
Click on "Select All"
Step #84: Click on "Select All"
85
Drag here
Step #85: Drag here
86
Click on "# N / A"
Step #86: Click on "# N / A"
87
Click on "OK"
Step #87: Click on "OK"

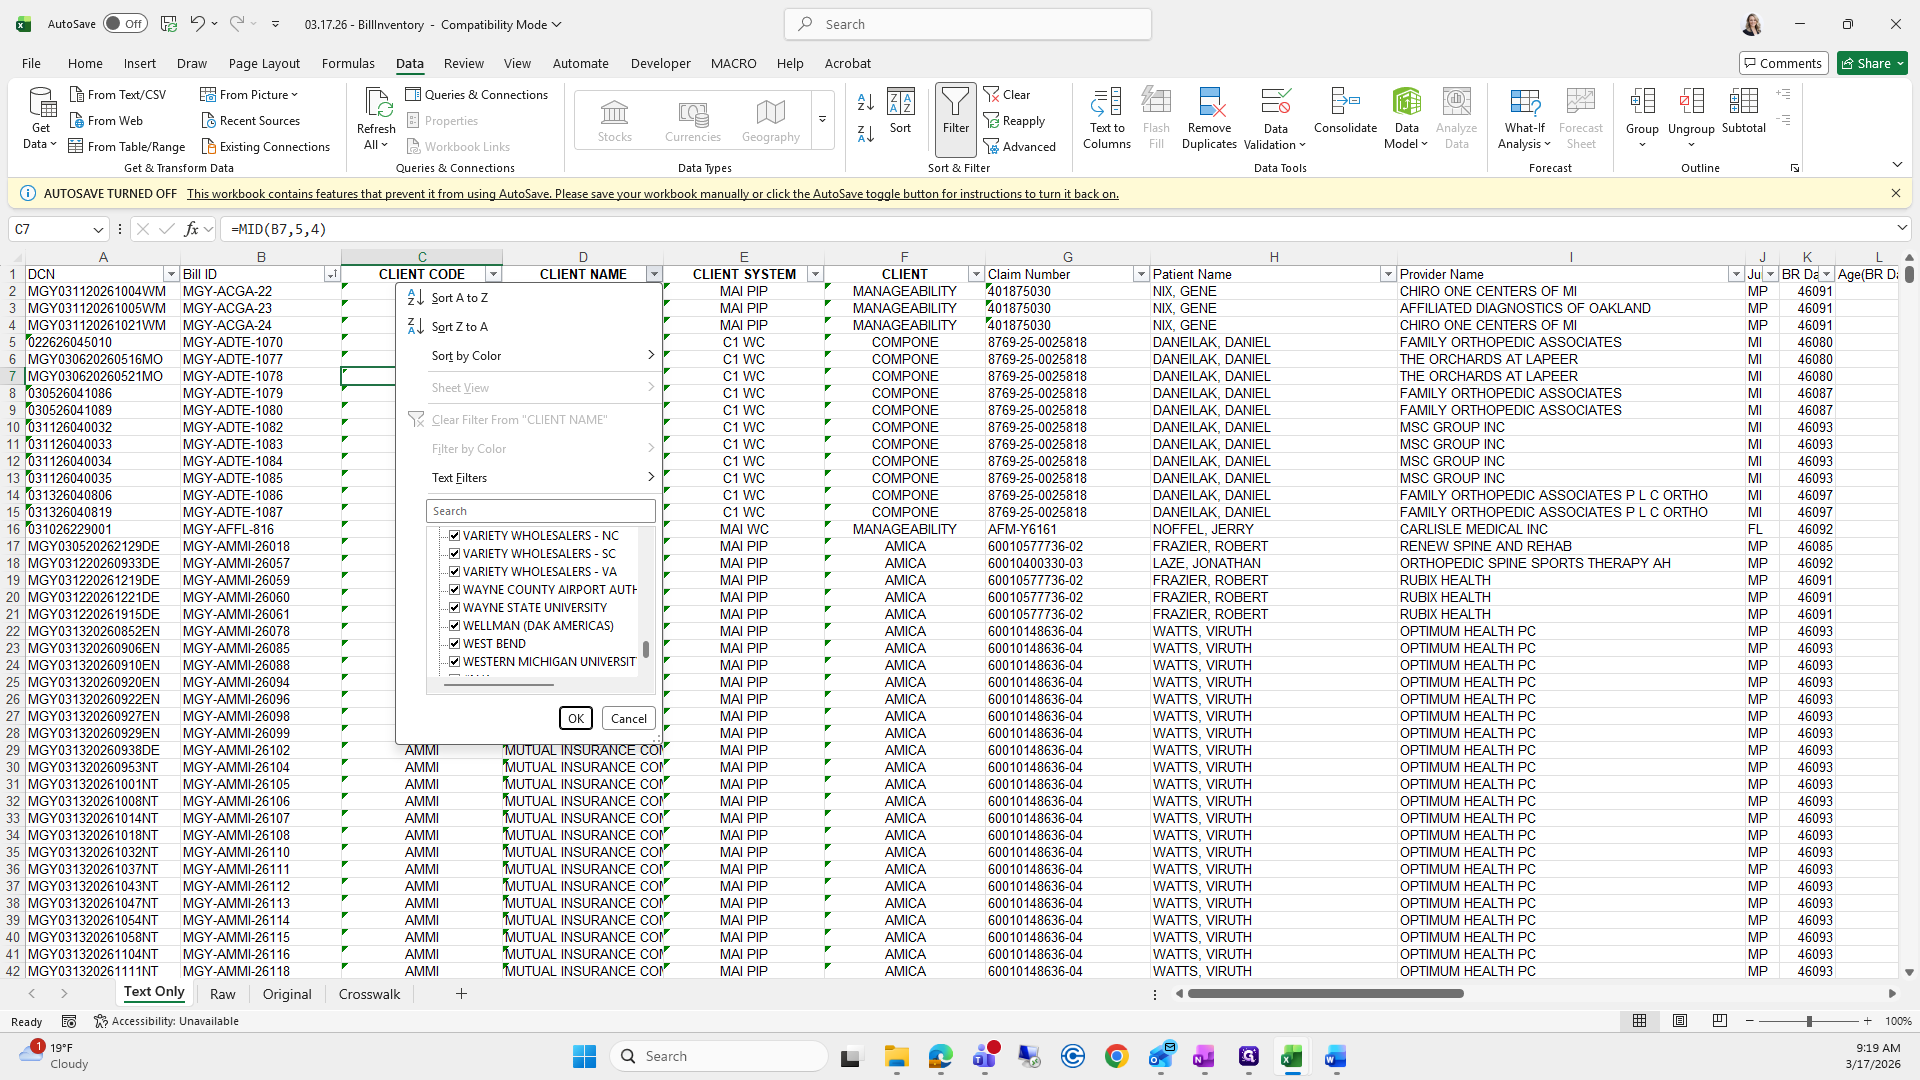
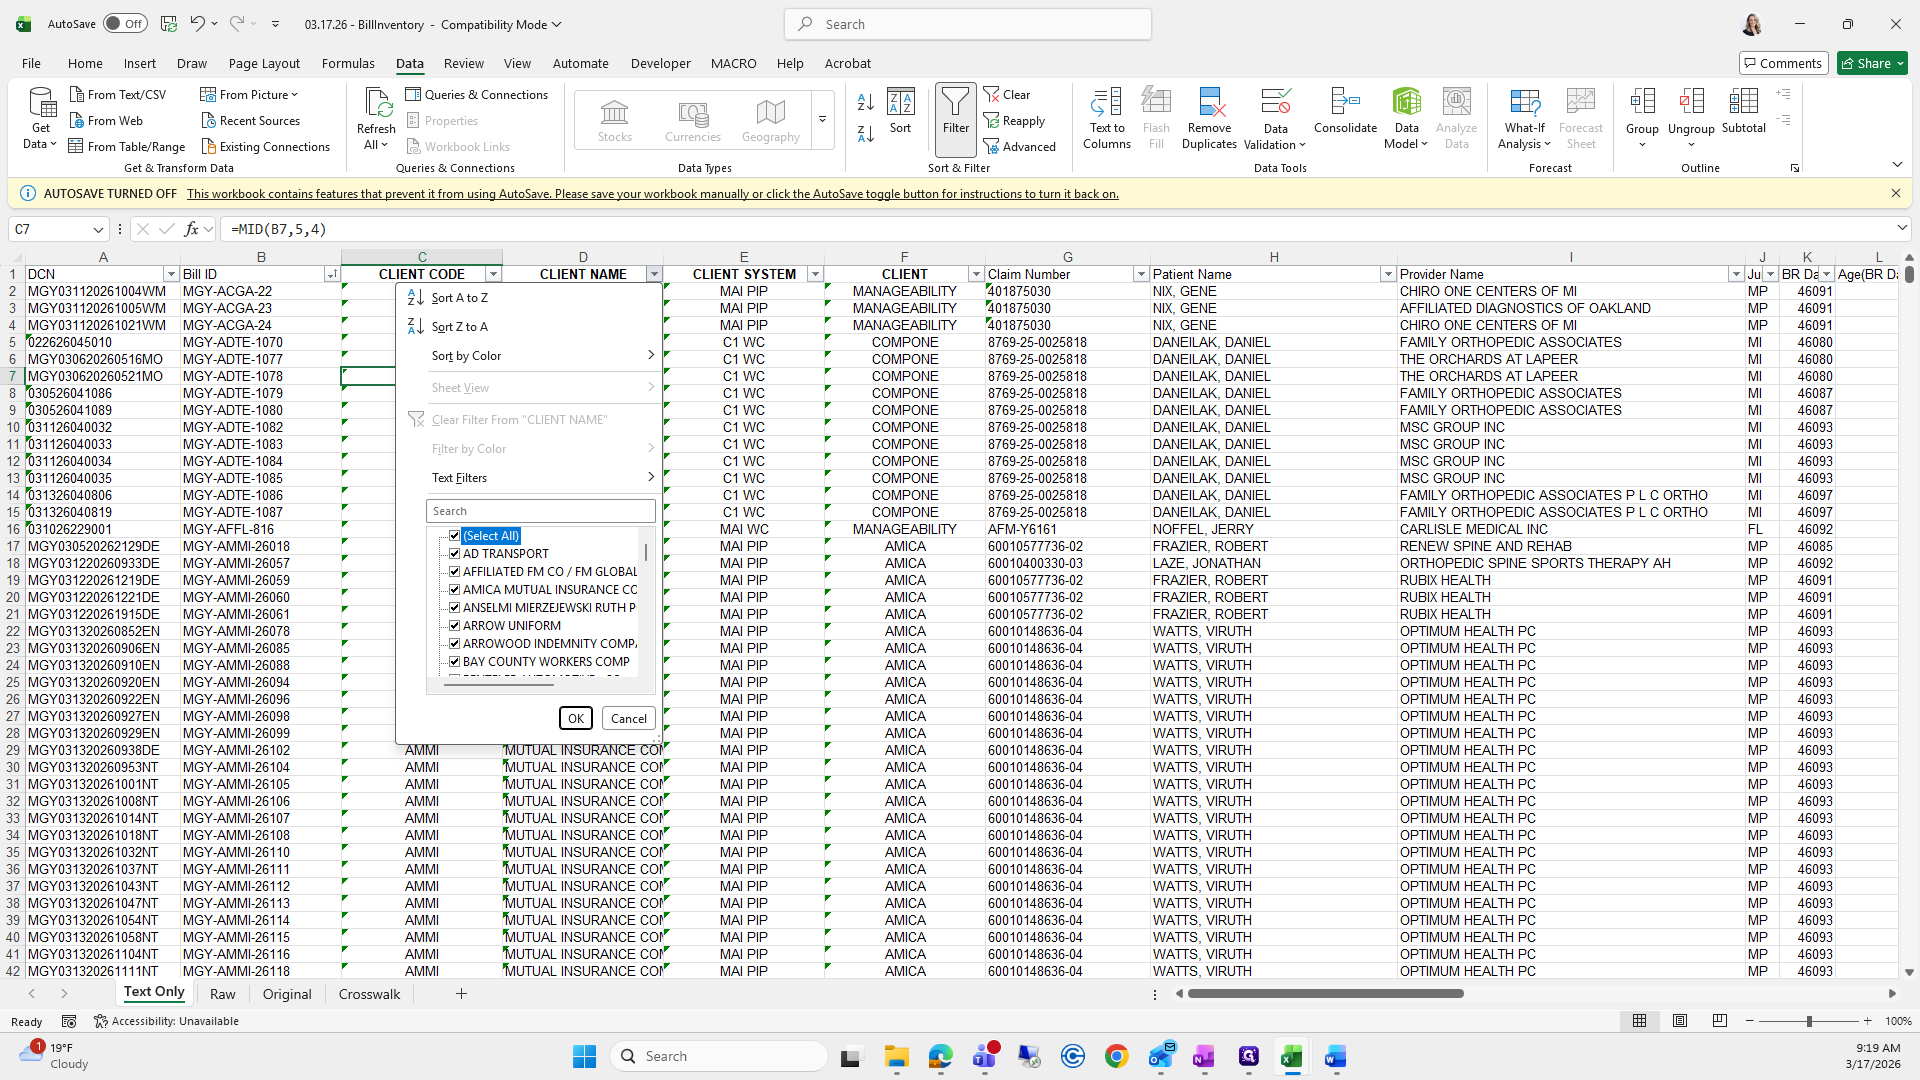
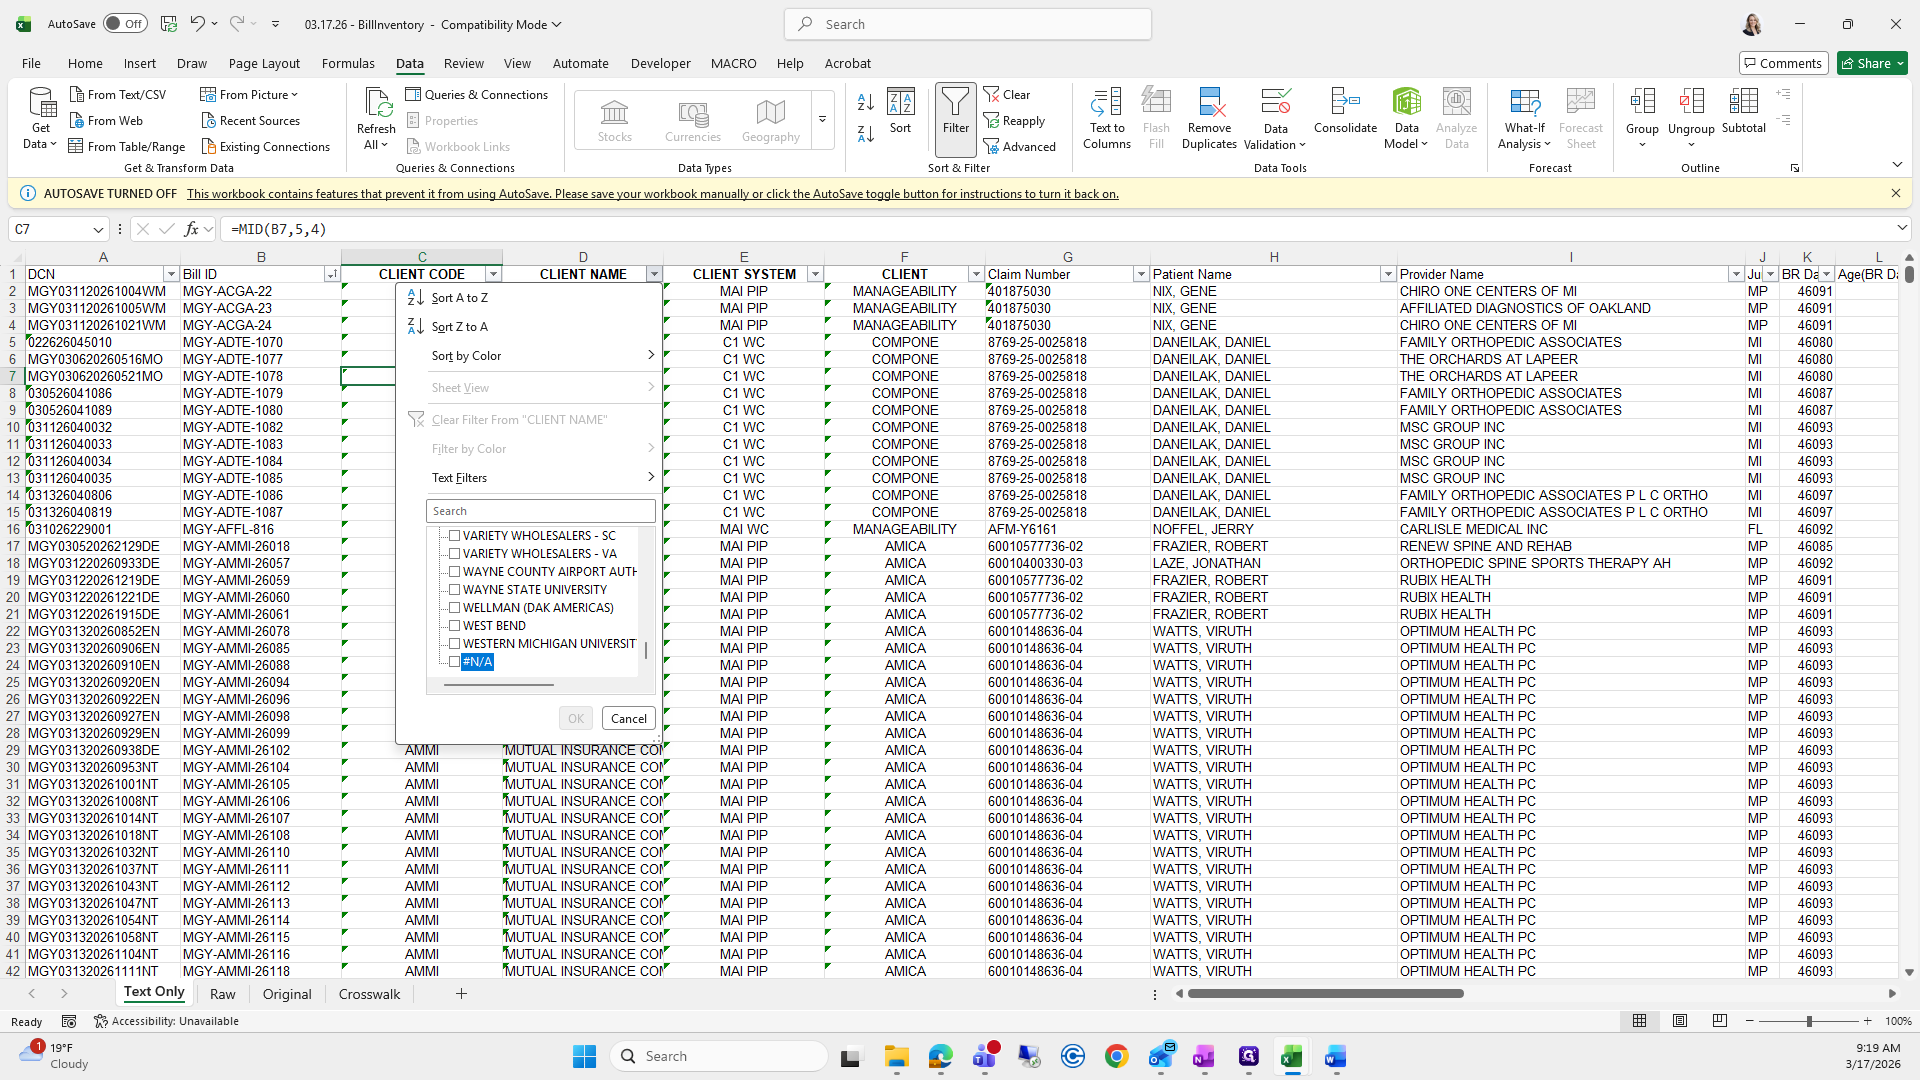
These are tests, so we just need to delete those rows.

88
Drag here
Step #88: Drag here
89
Drag "2916"
Step #89: Drag "2916"
90
Right-click here
Step #90: Right-click here
91
Click here
Step #91: Click here

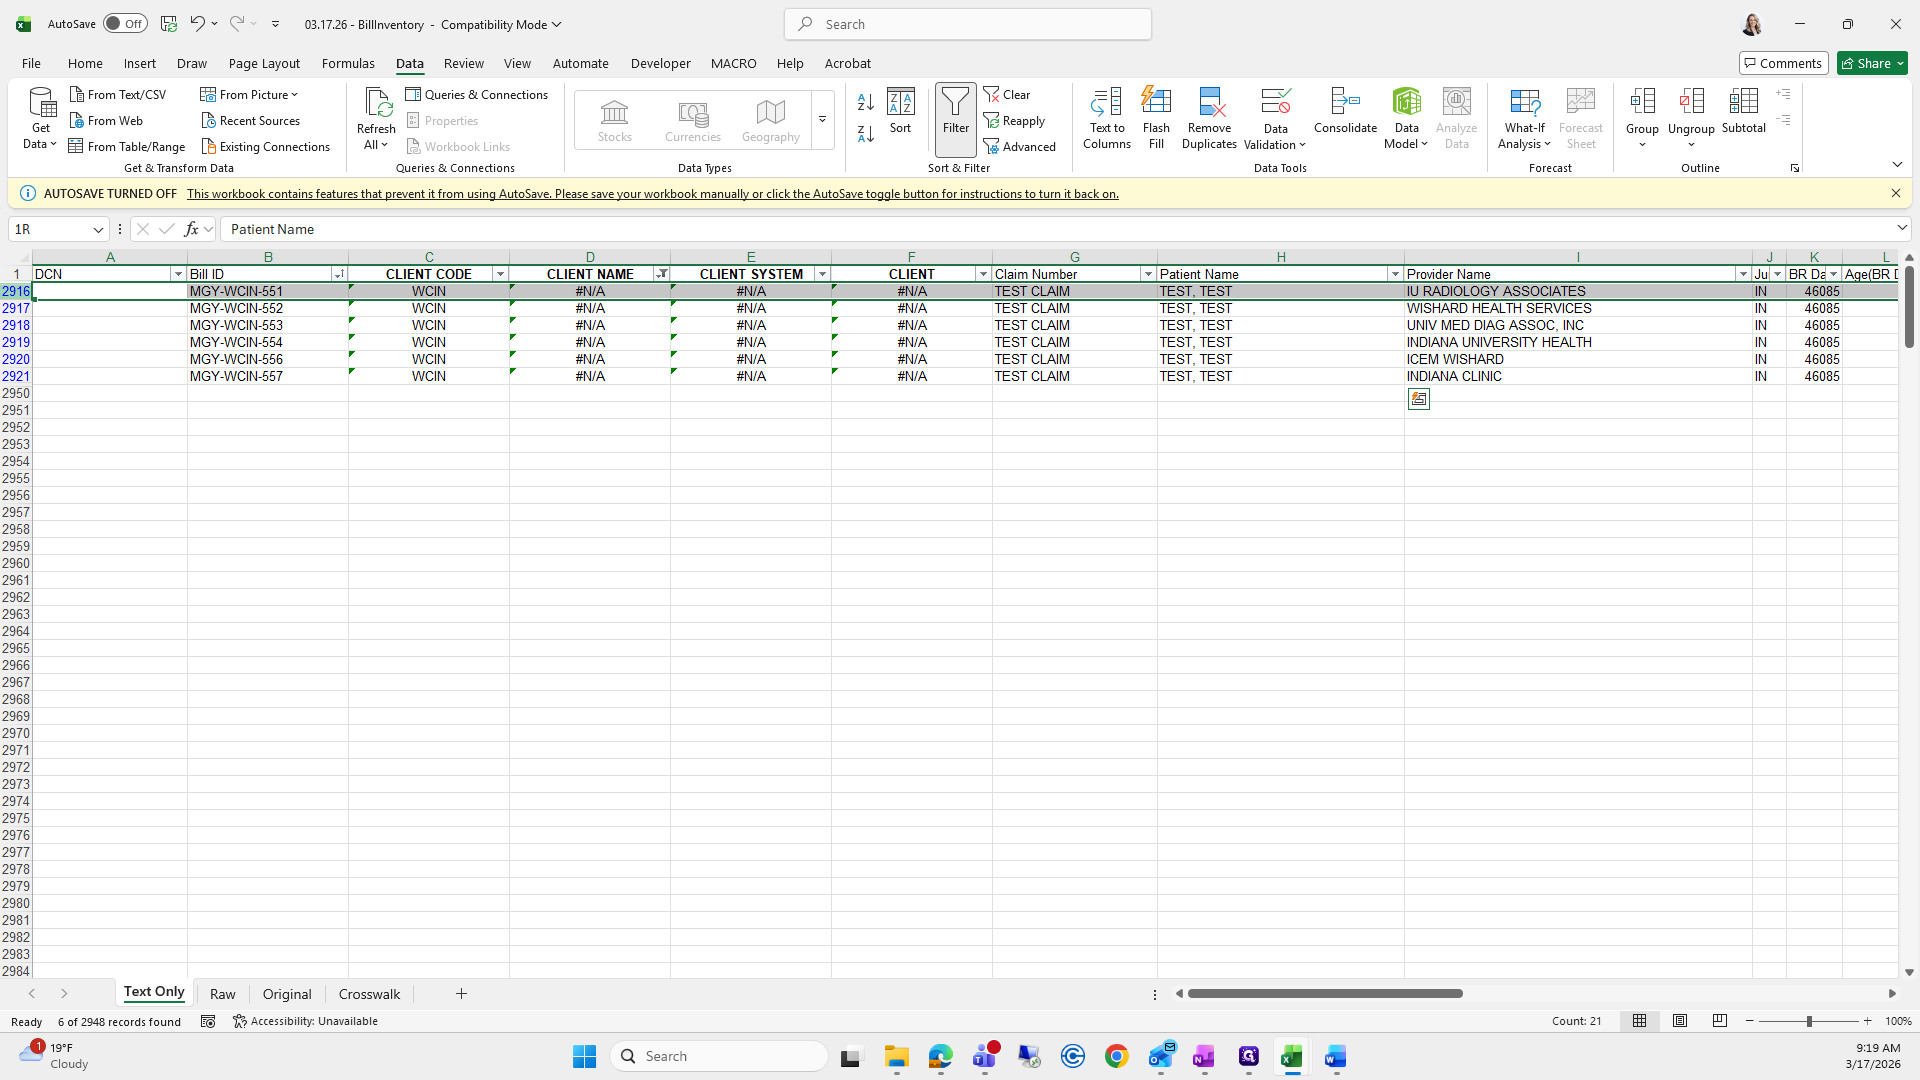
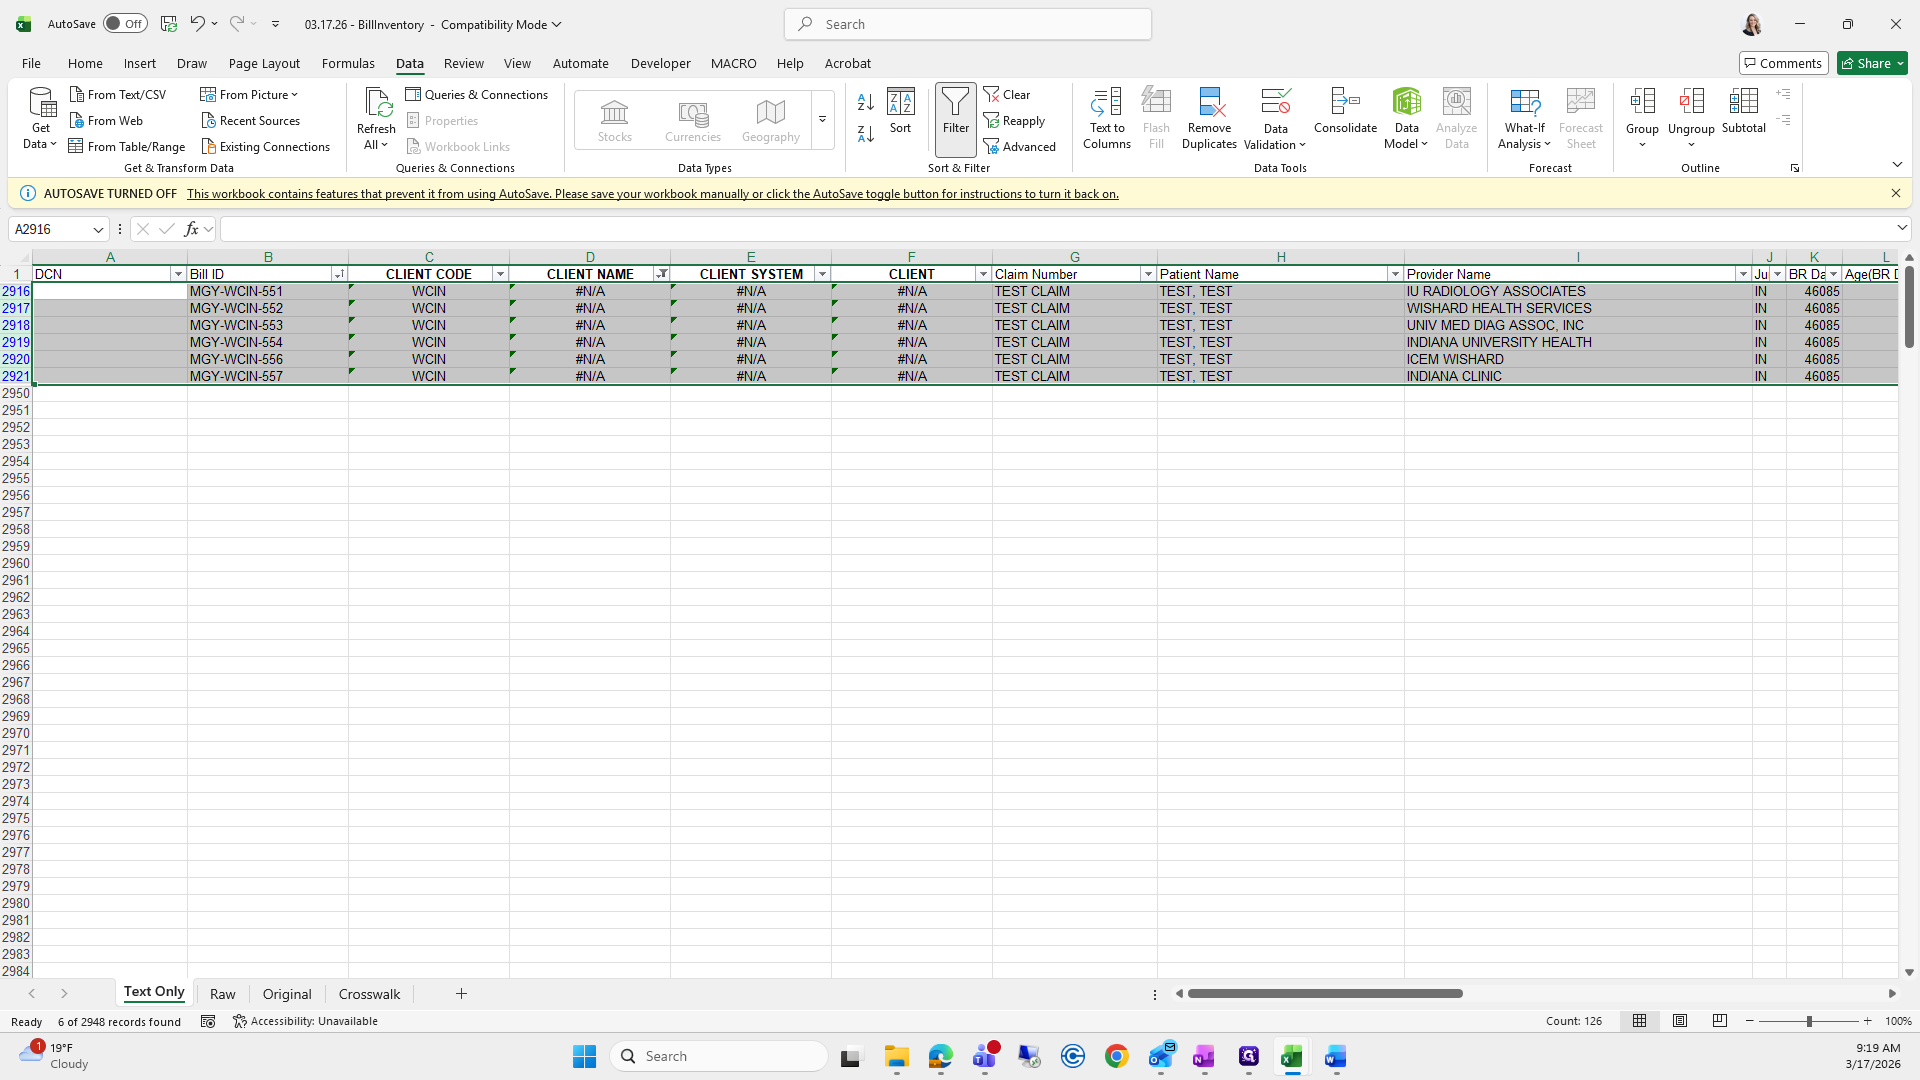
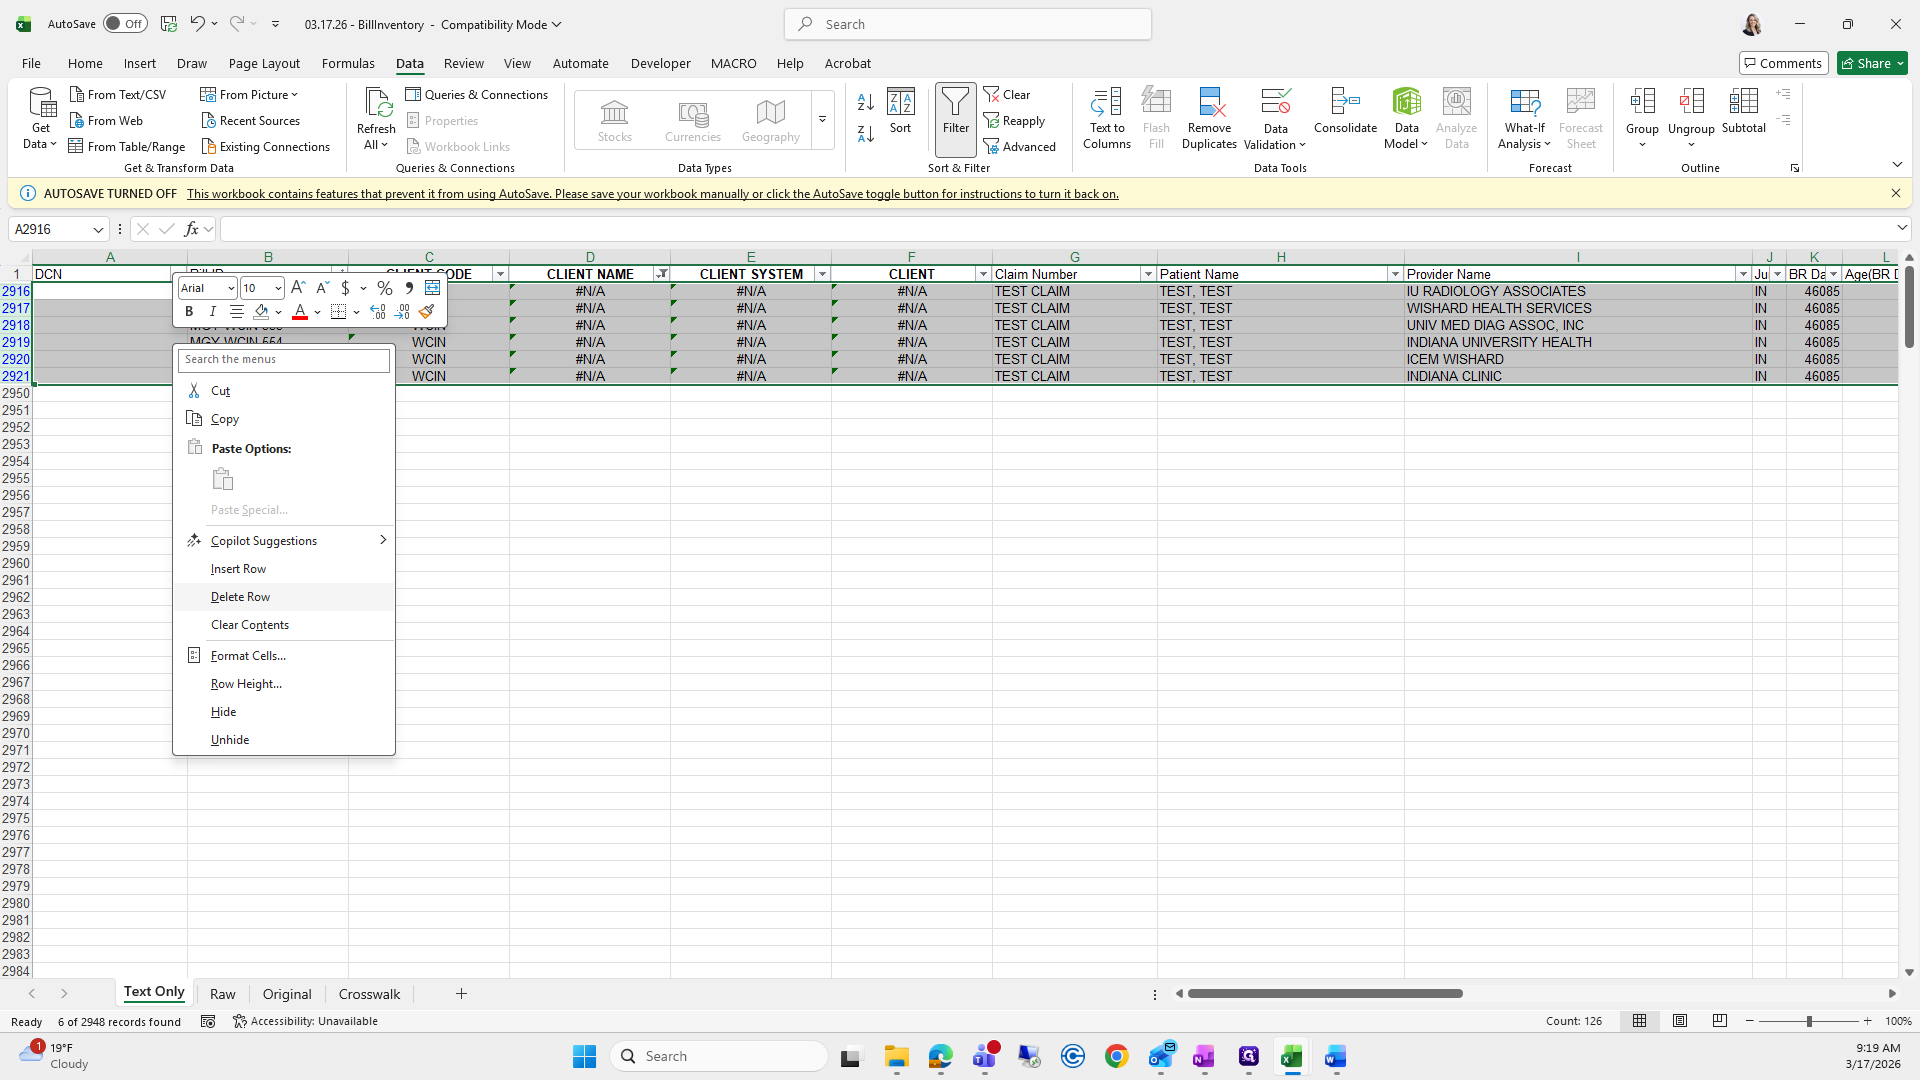
Then I'll press clear.

92
Click on "Clear"
Step #92: Click on "Clear"

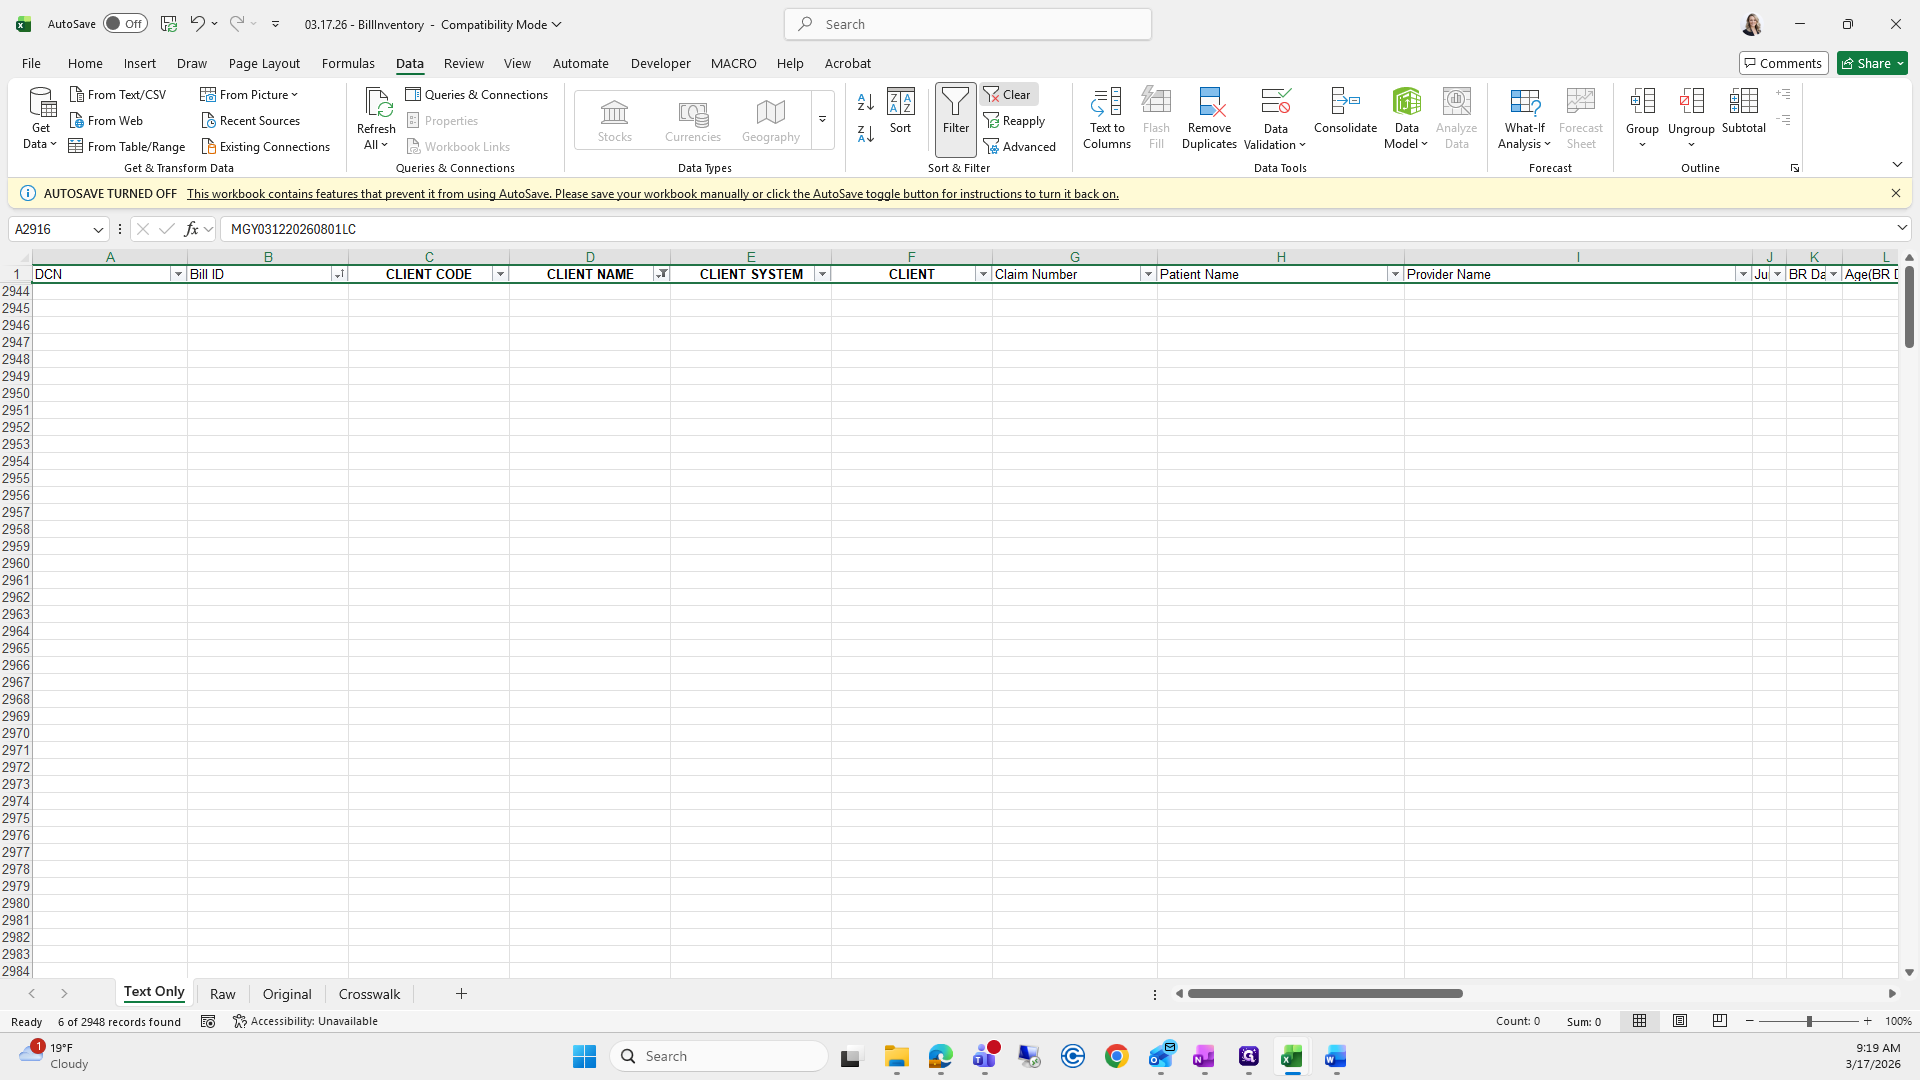
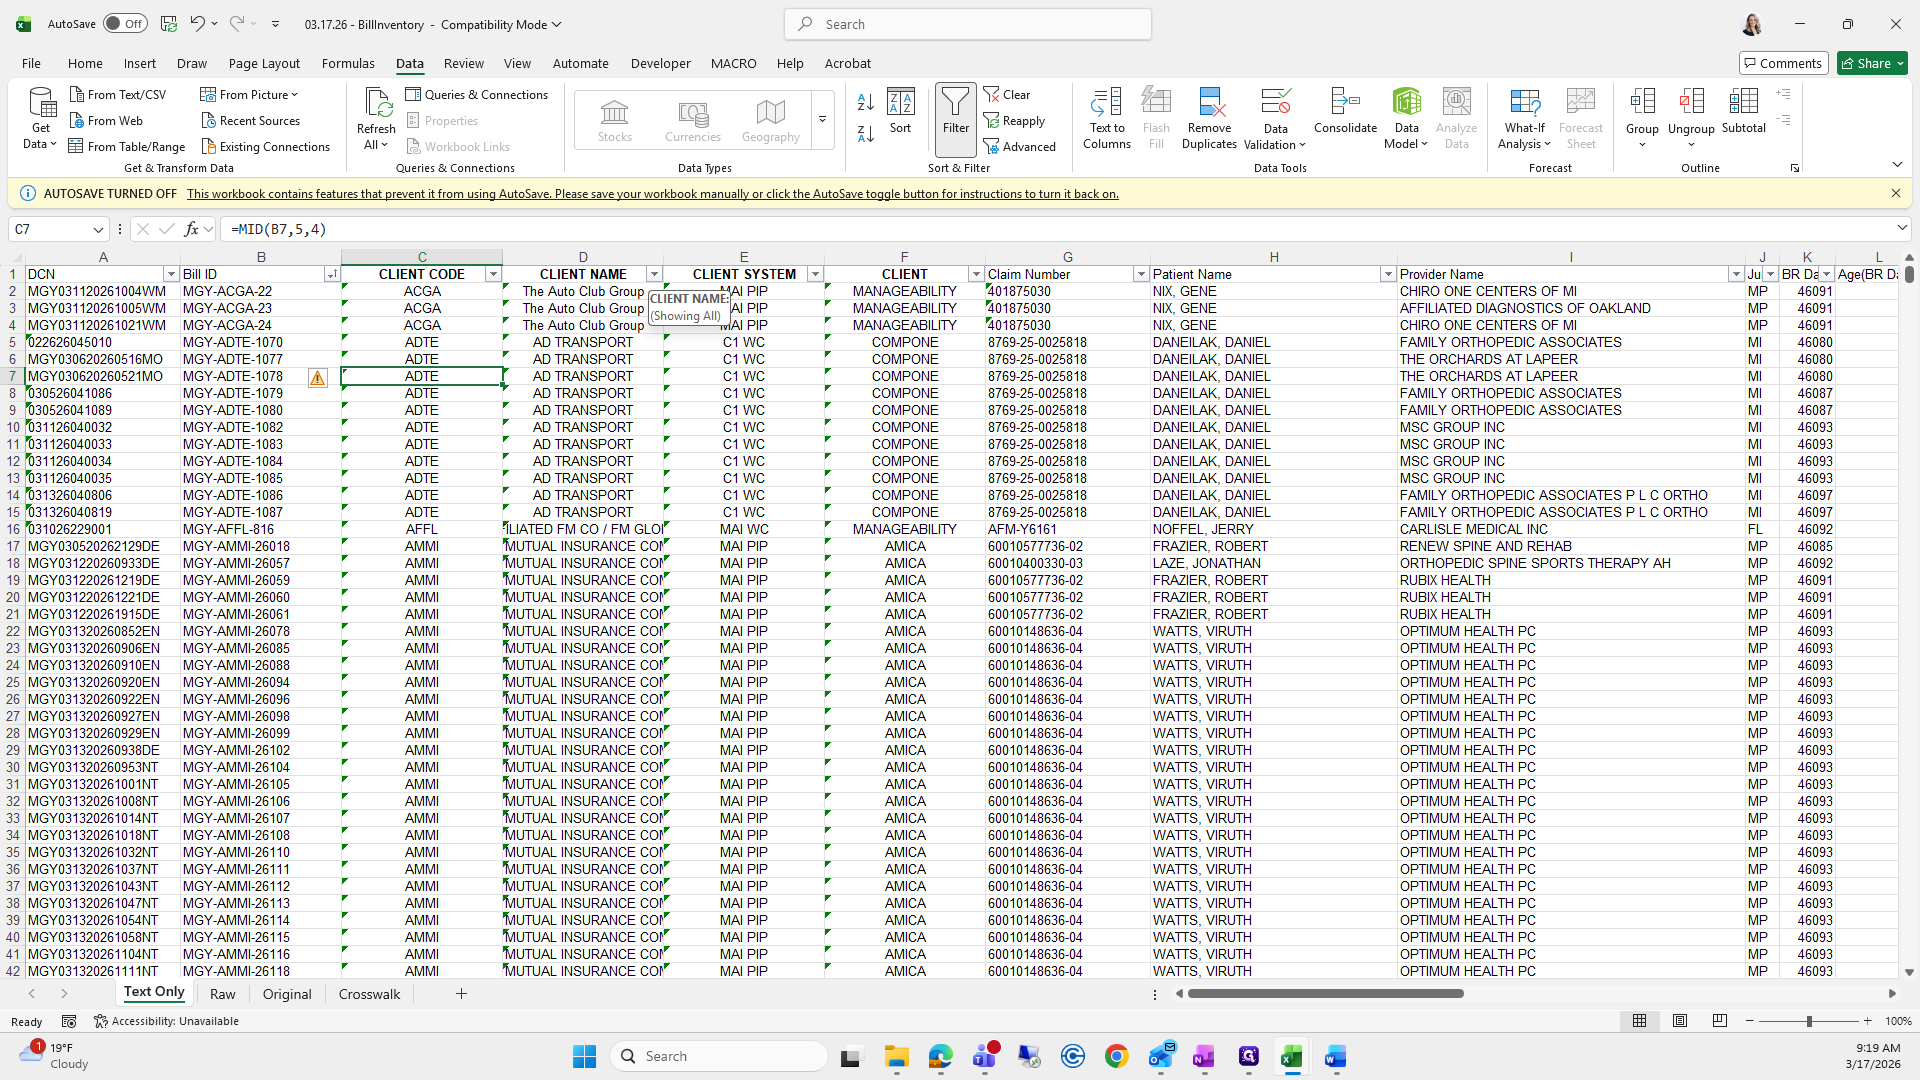
Go to the client name and scroll down. Check if there are any NAs.

93
Click on "The Auto Club Group"
Step #93: Click on "The Auto Club Group"
94
Drag here
Step #94: Drag here

Nope.

95
Click on "Cancel"
Step #95: Click on "Cancel"

Client system, any NAs?

96
Click here
Step #96: Click here

Nope. This looks good.

97
Double-click on "MUTUAL INSURANCE COM"
Step #97: Double-click on "MUTUAL INSURANCE COM"
98
Click here
Step #98: Click here

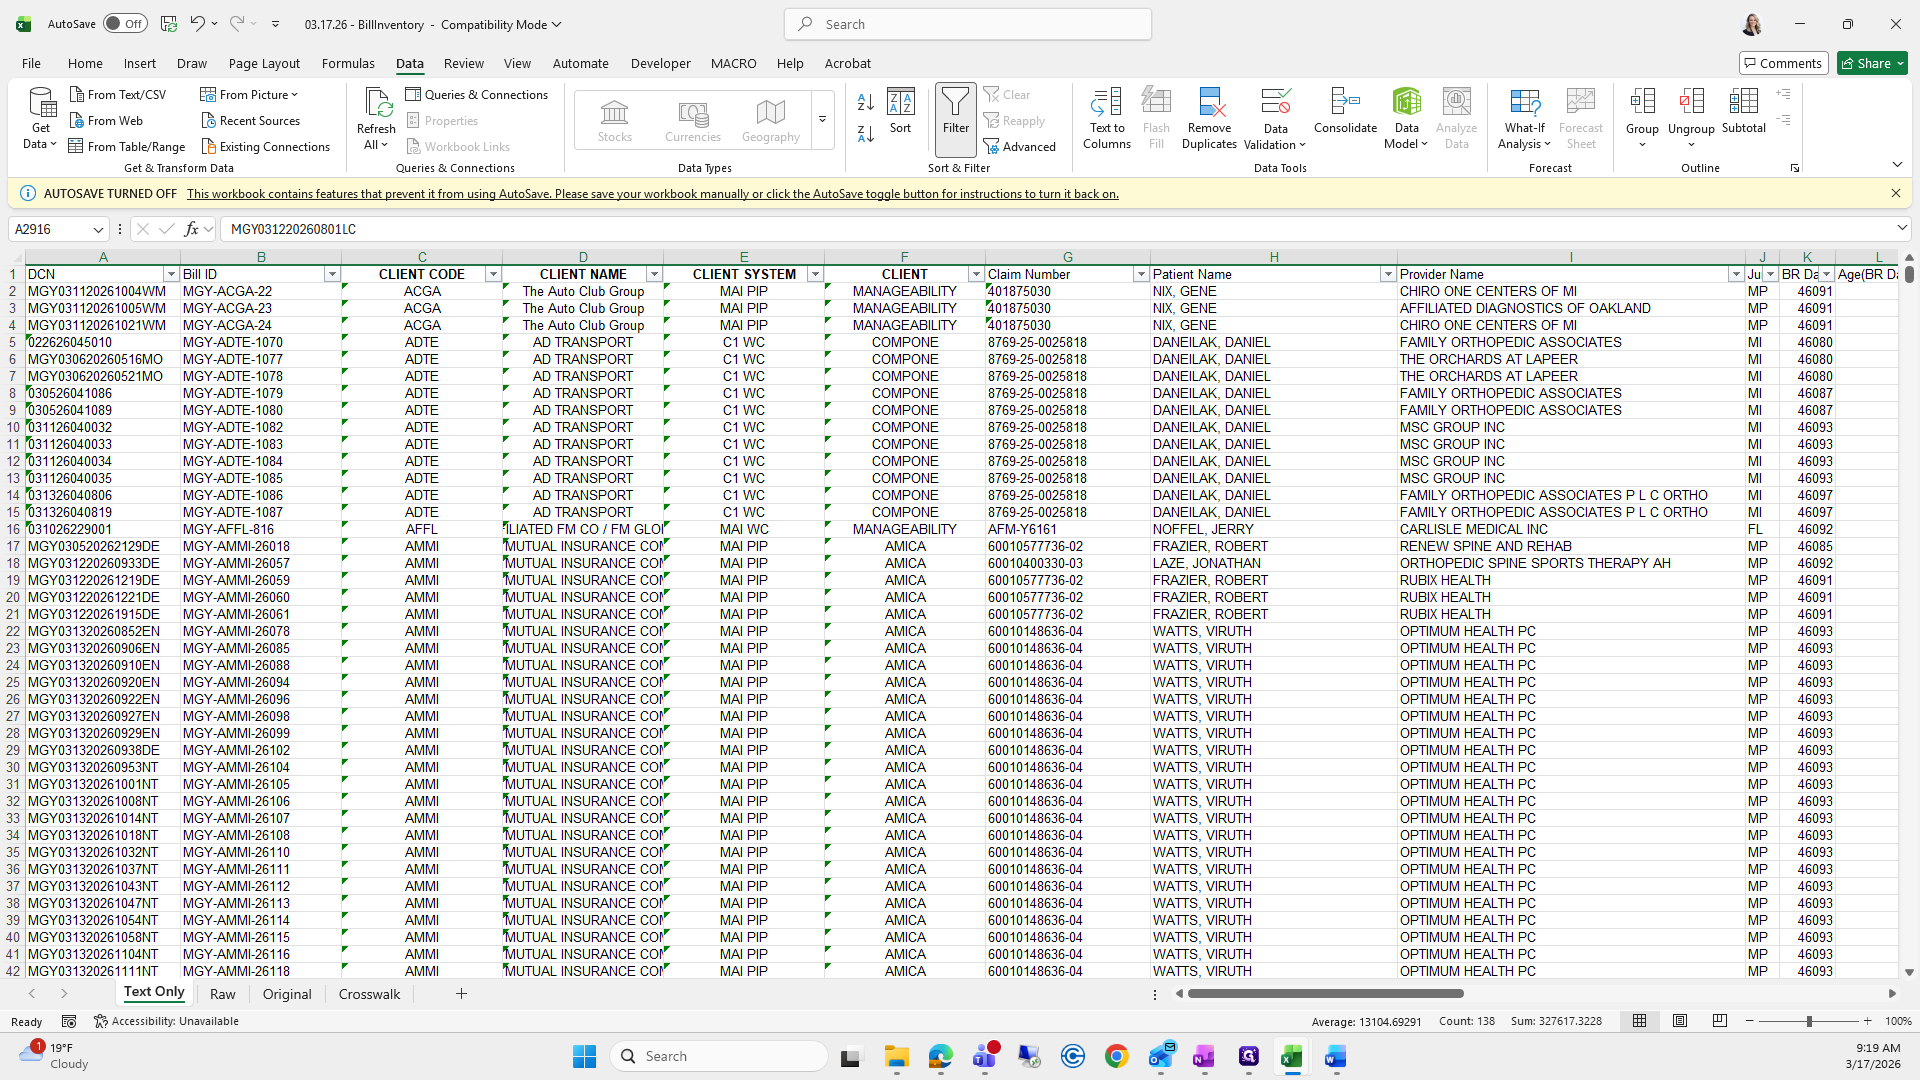
I will select all, copy, and paste values.

99
Type "Ctrl + A"
100
Type "Ctrl + C"
101
Right-click on "ADTE"
Step #101: Right-click on "ADTE"
102
Click on "LOL123"
Step #102: Click on "LOL123"
103
Click here
Step #103: Click here

It's text only.

104
Right-click on "Text Only"
Step #104: Right-click on "Text Only"

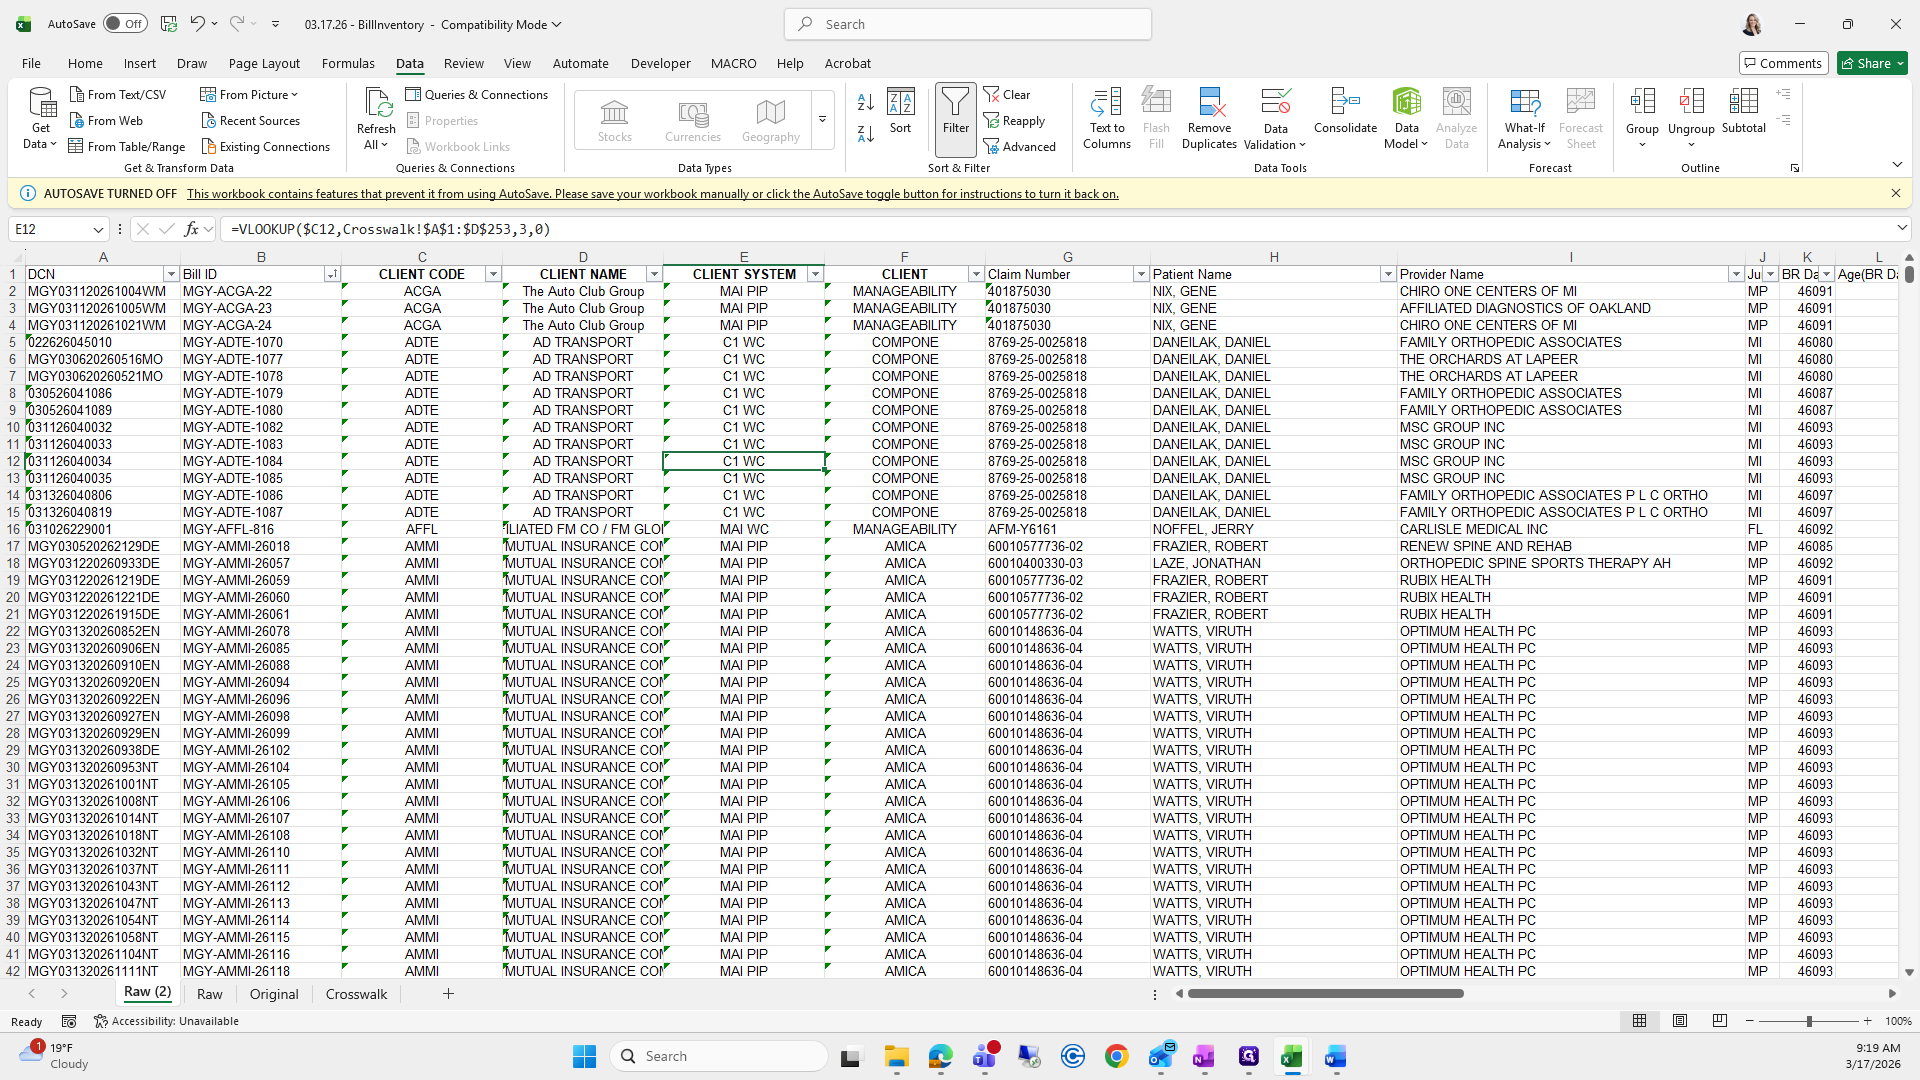
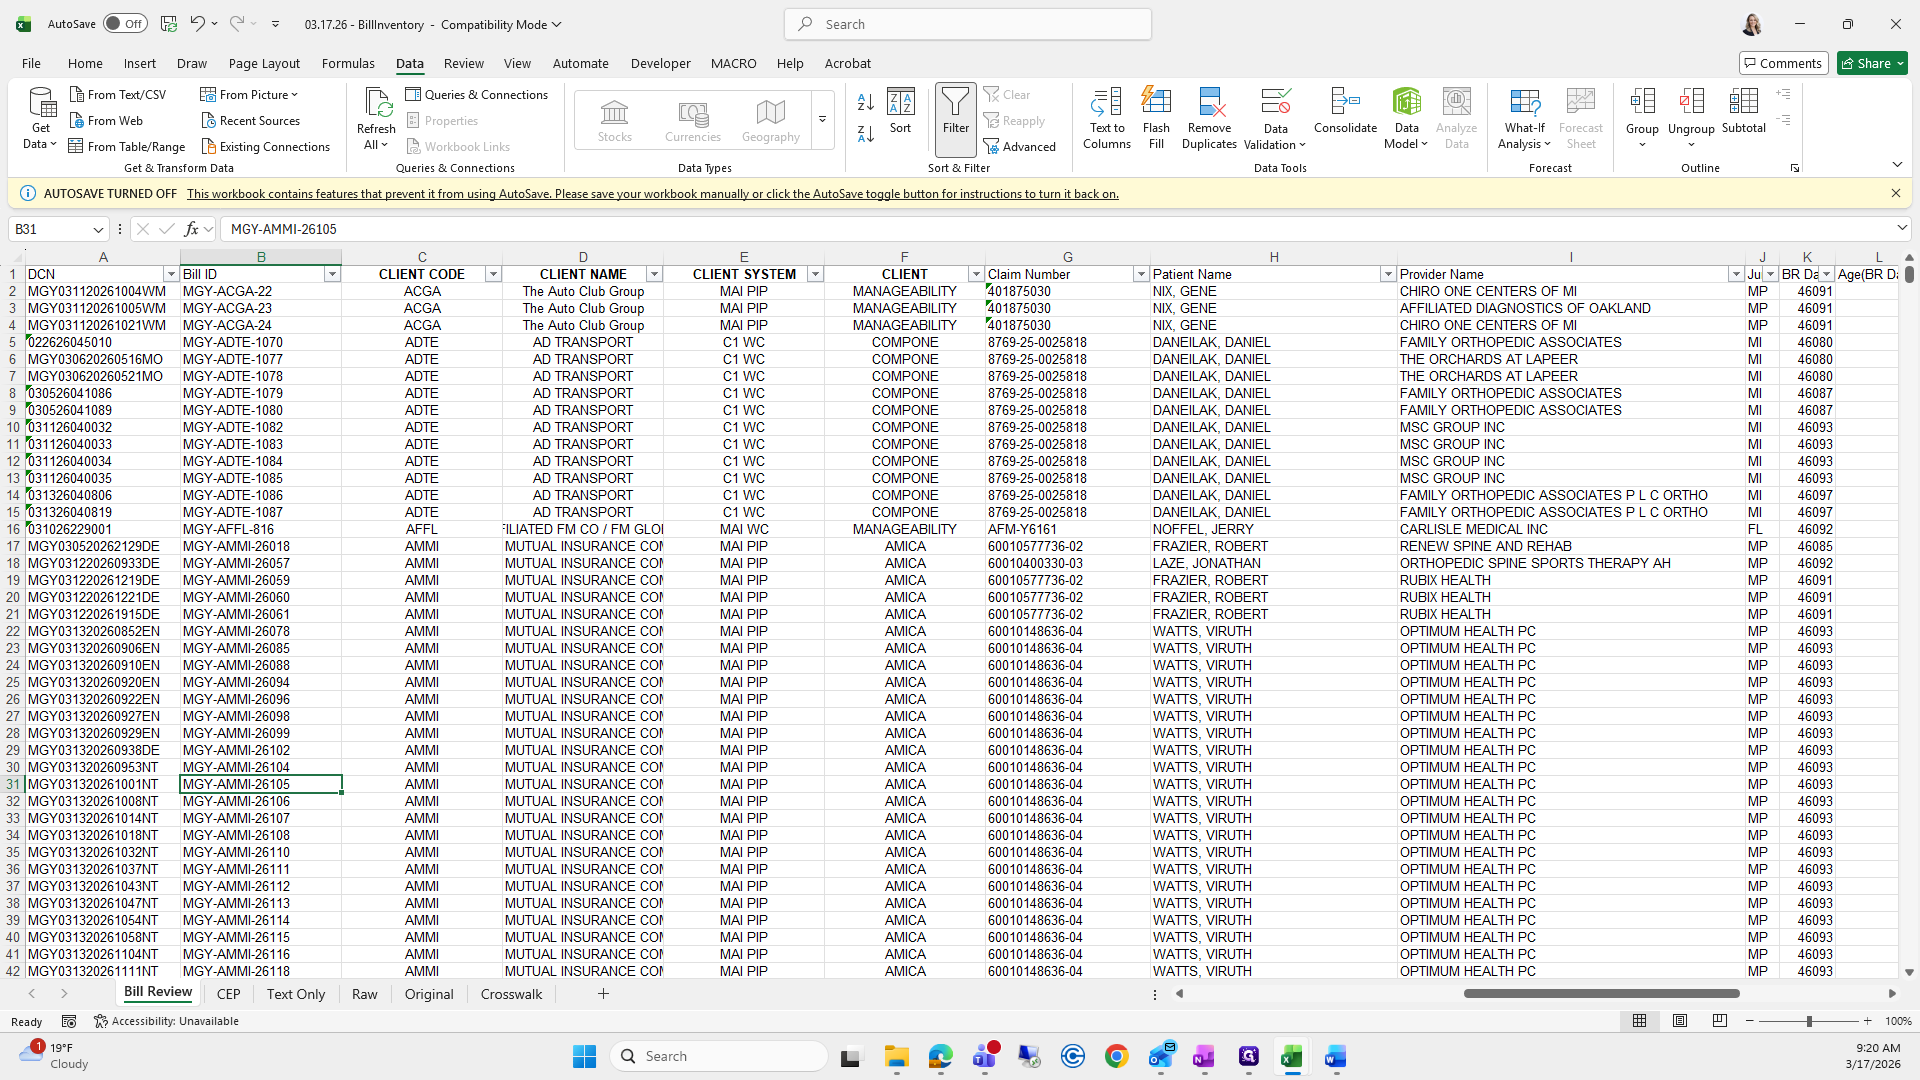
From here, I will move and copy it one more time.
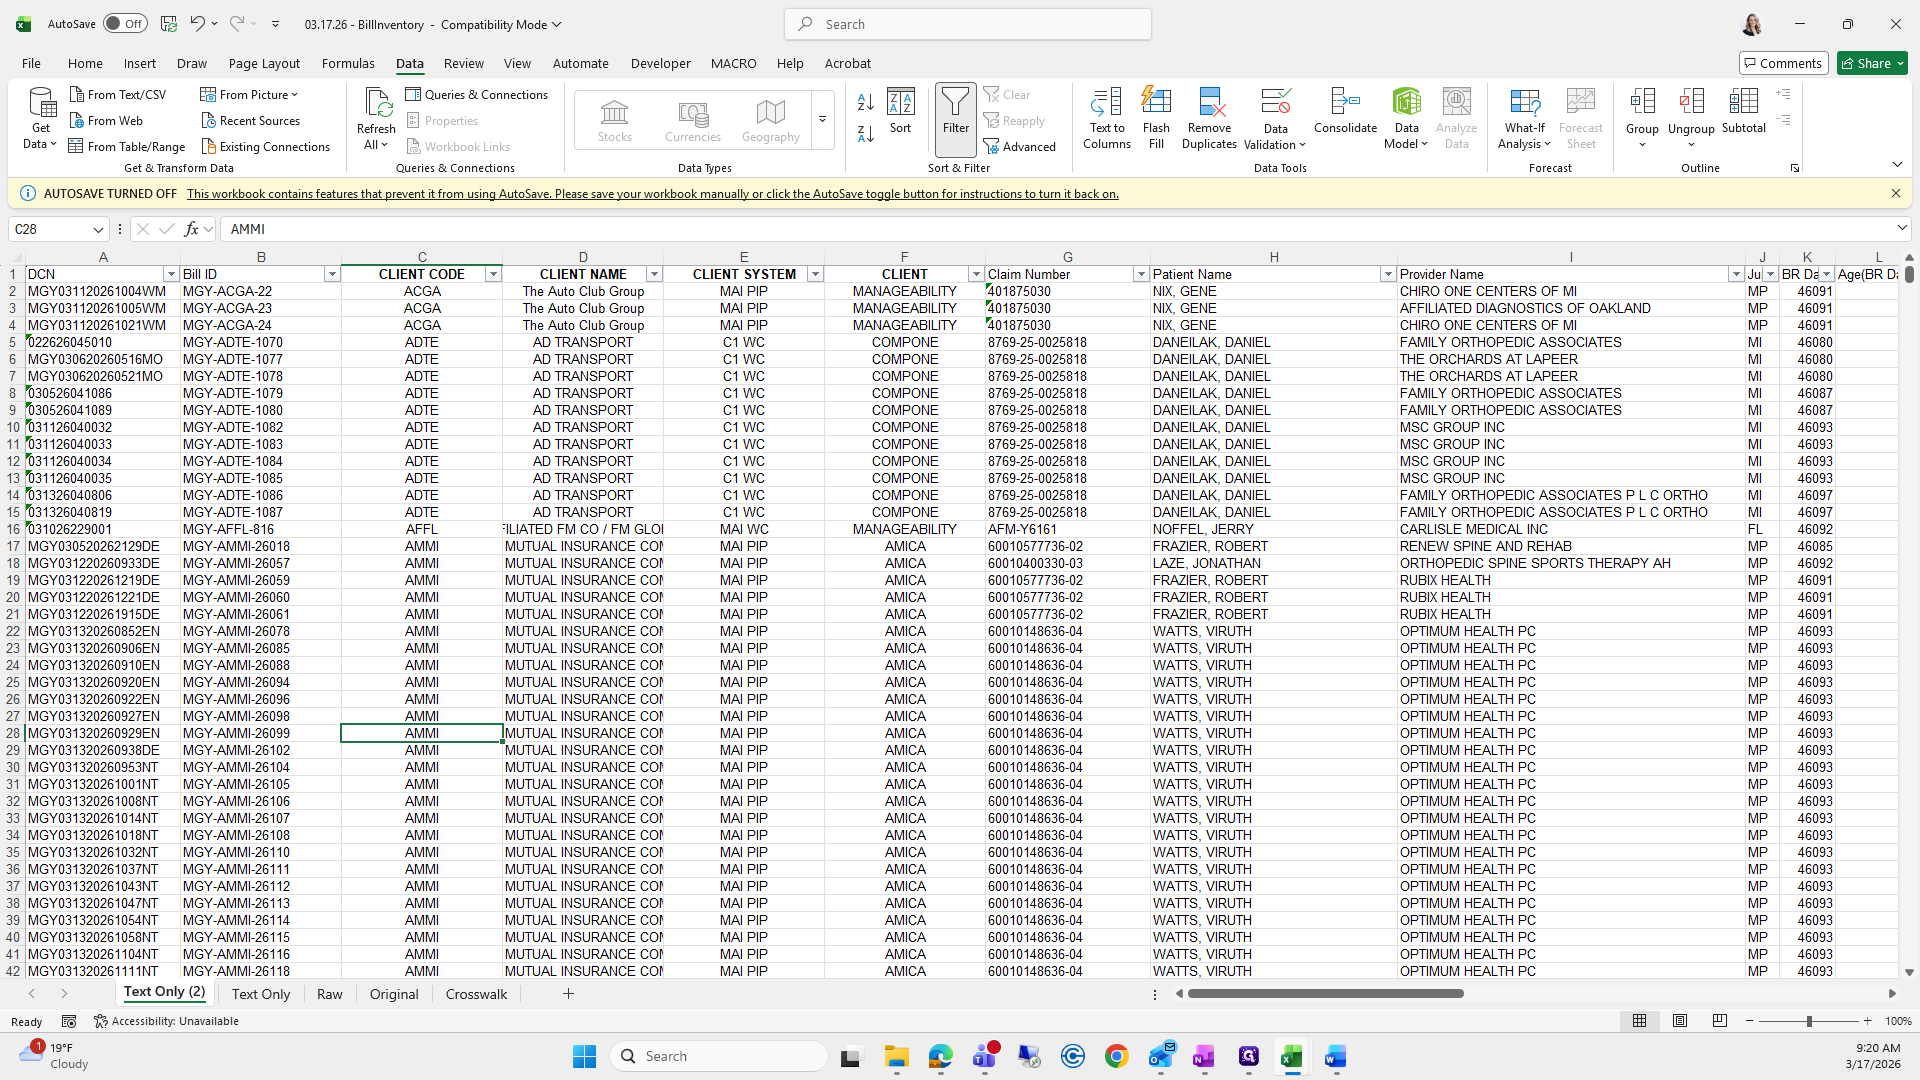
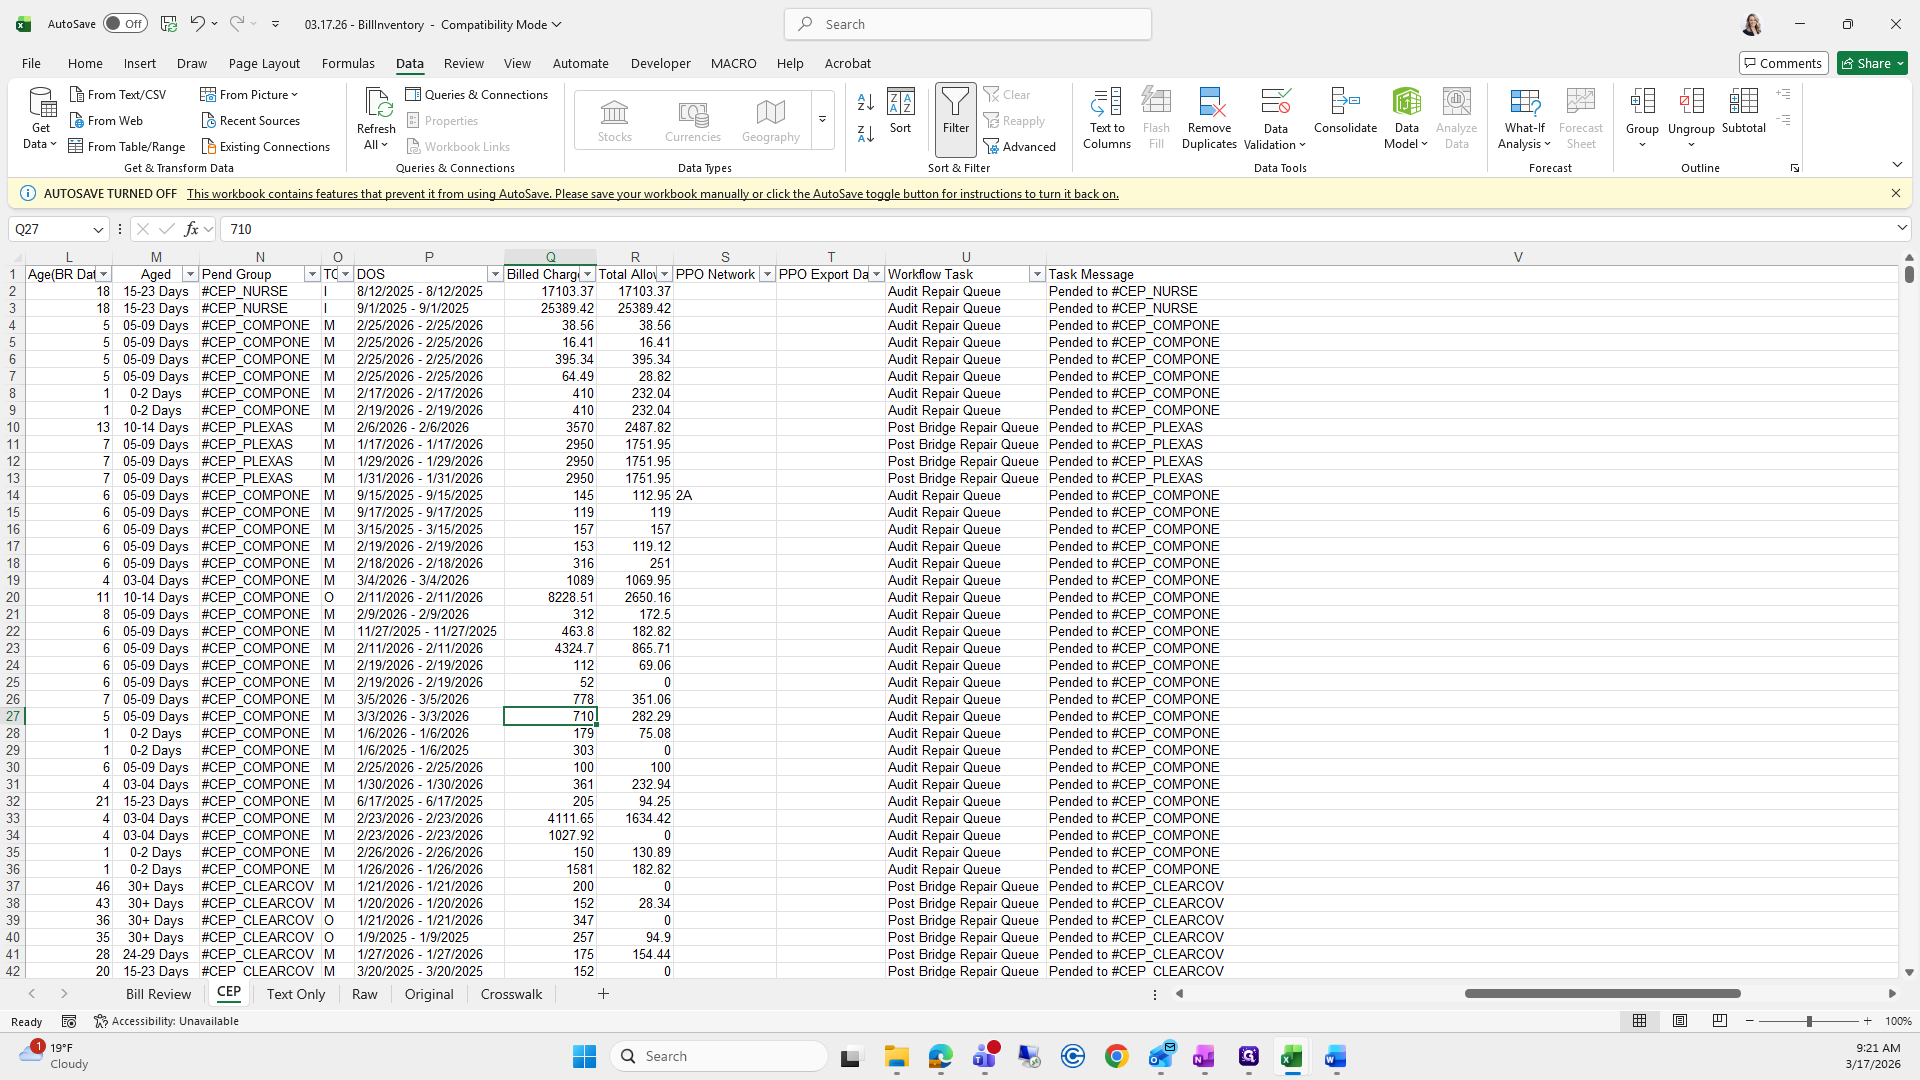
105
Click on "AMMI"
Step #105: Click on "AMMI"
106
Right-click on "Text Only"
Step #106: Right-click on "Text Only"
107
Click on "Move or Copy"
Step #107: Click on "Move or Copy"
108
Click on "Create a copy"
Step #108: Click on "Create a copy"
109
Click on "OK"
Step #109: Click on "OK"
110
Double-click on "Text Only ( 2 )"
Step #110: Double-click on "Text Only ( 2 )"

Call this one CEP.

111
Type "CEP"

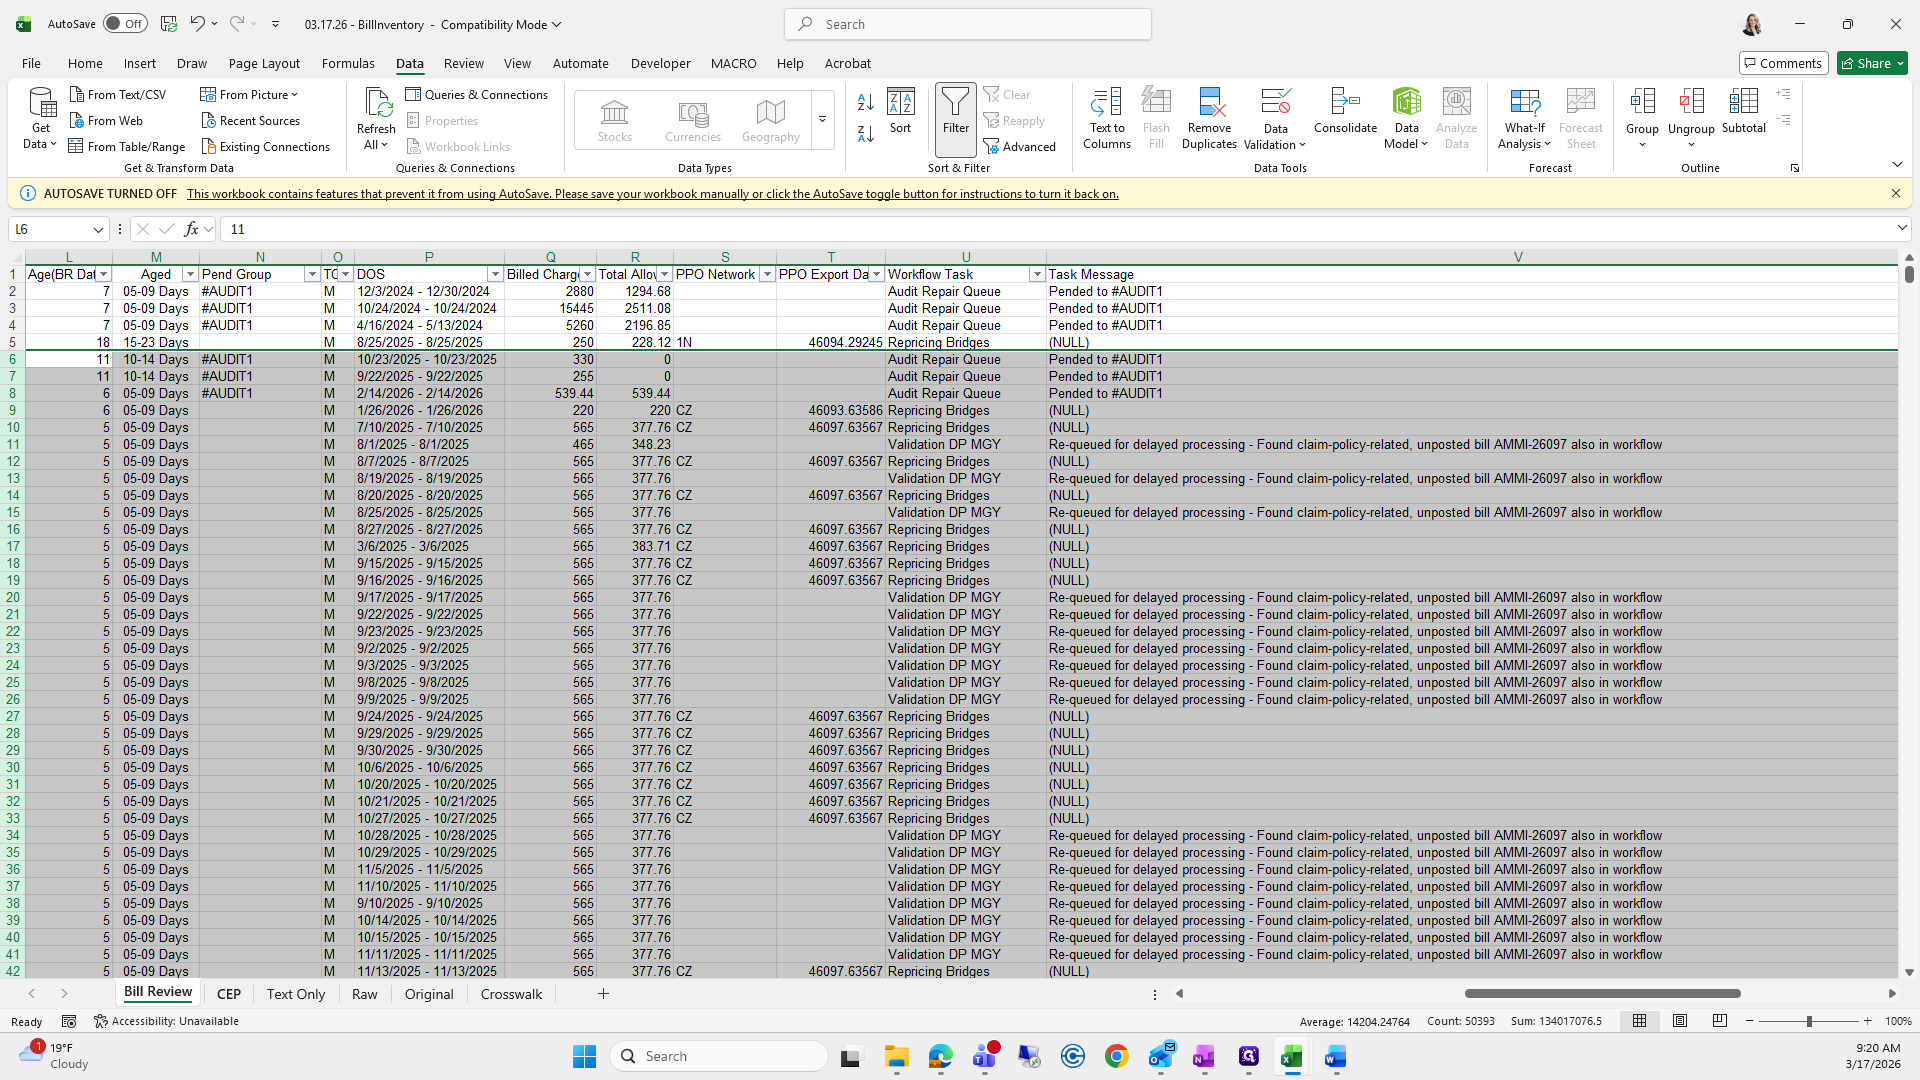
Copy this one again and name it Bill Review.

112
Right-click on "CEP"
Step #112: Right-click on "CEP"
113
Click on "Move or Copy ..."
Step #113: Click on "Move or Copy ..."
114
Double-click on "OK"
Step #114: Double-click on "OK"
115
Double-click on "42 MGY031320261111NT"
Step #115: Double-click on "42 MGY031320261111NT"

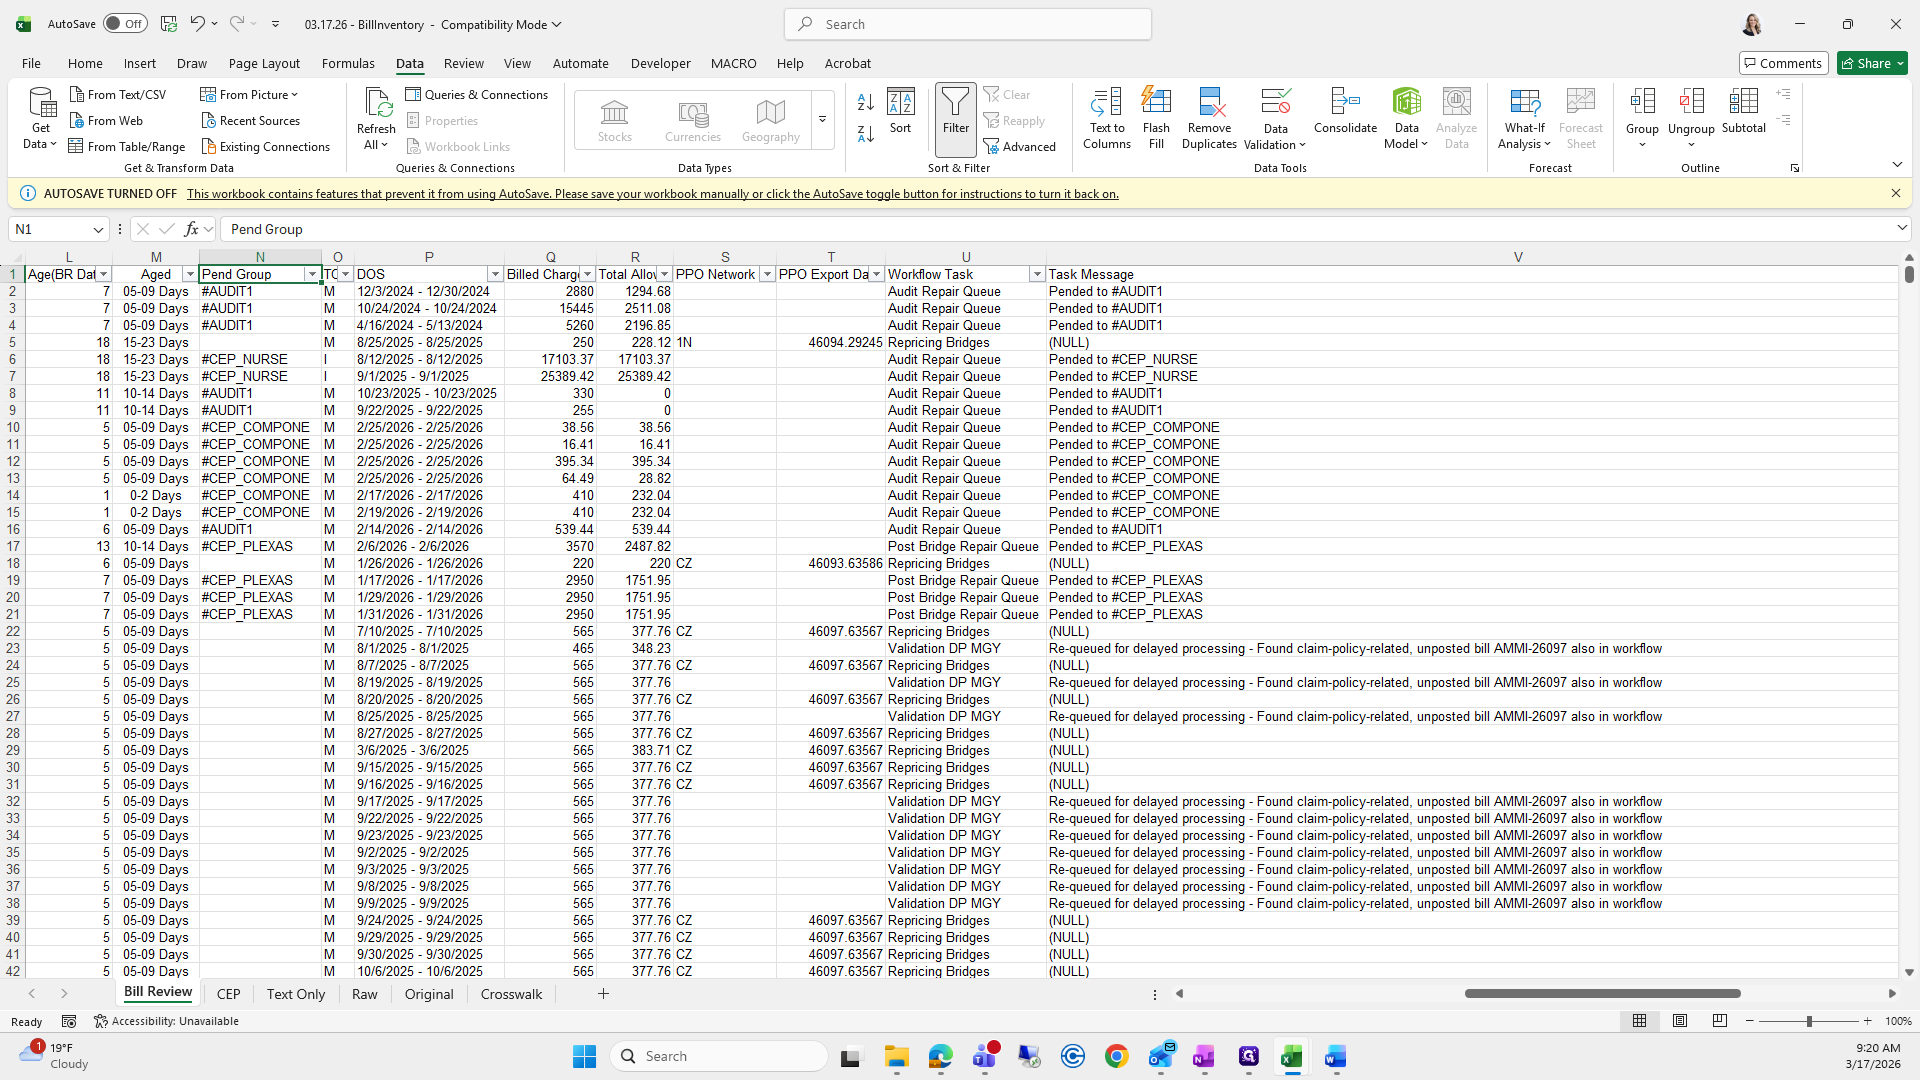
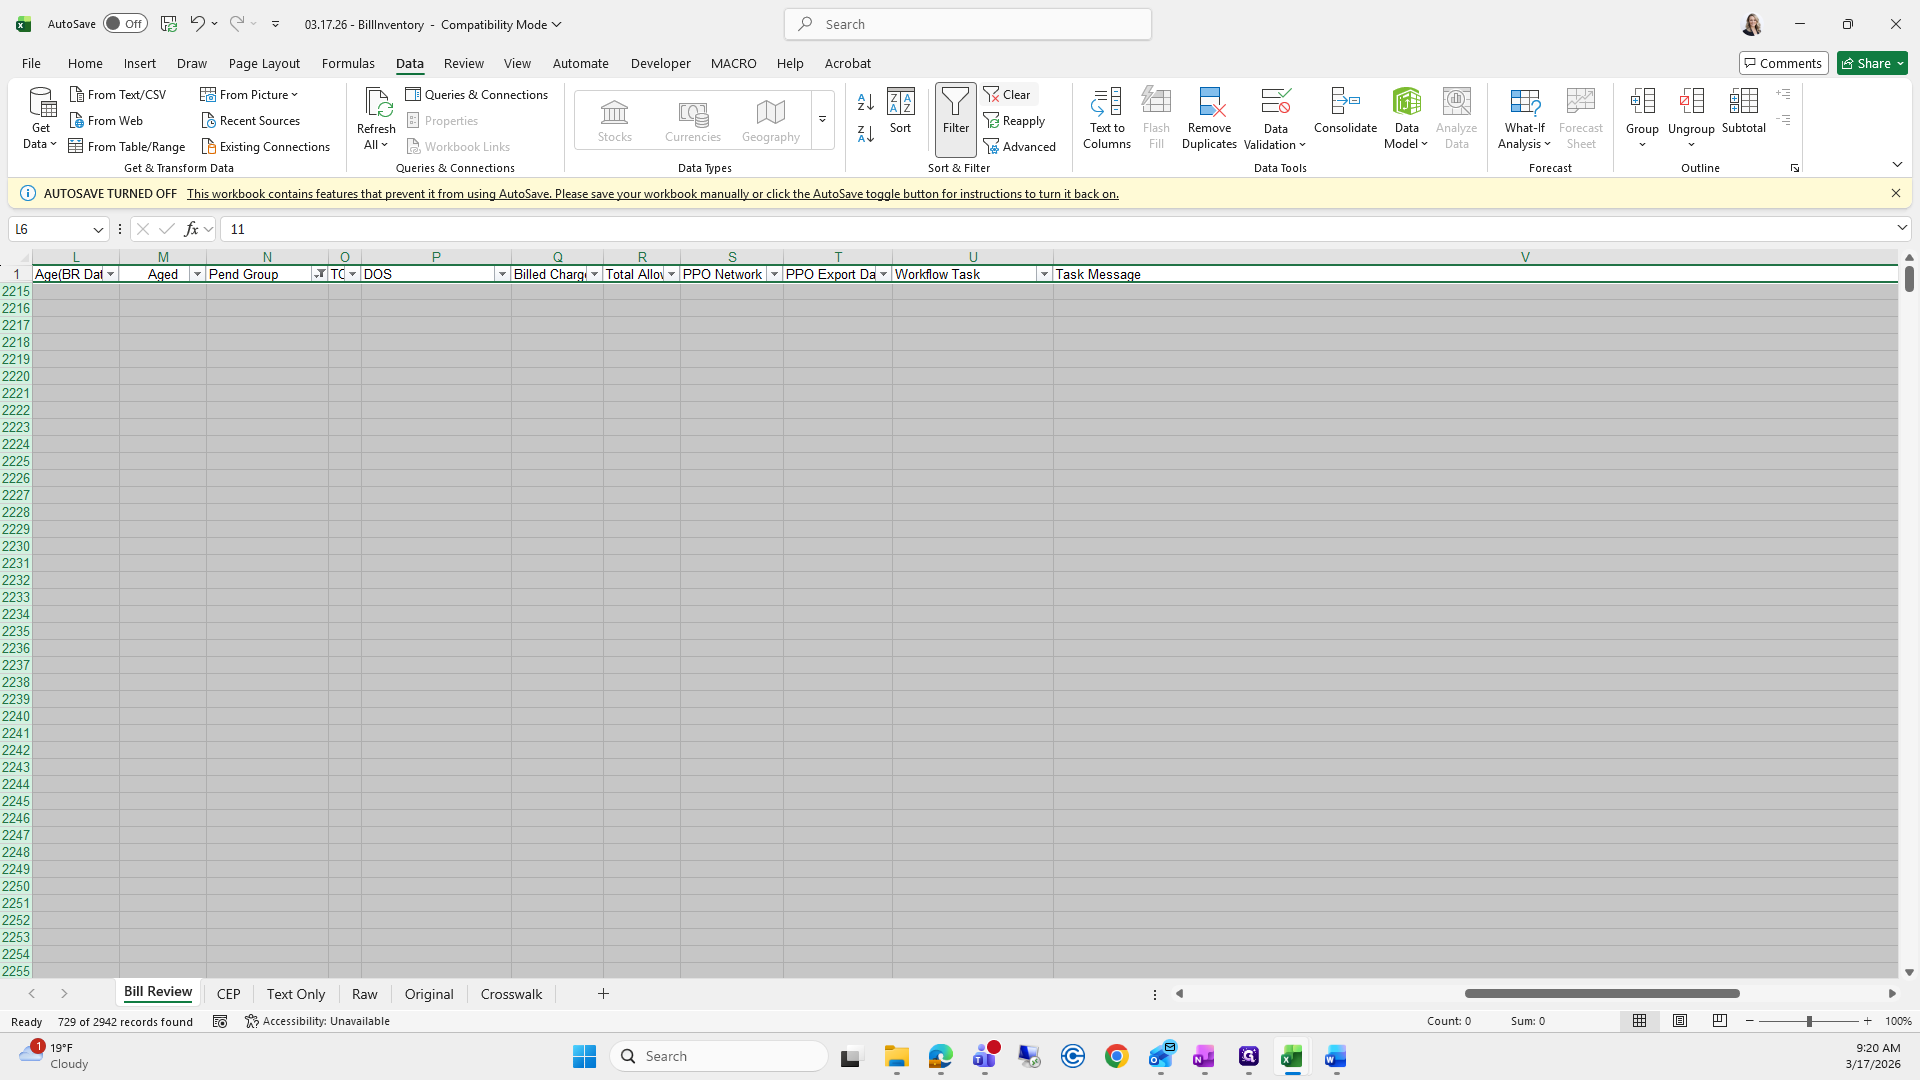
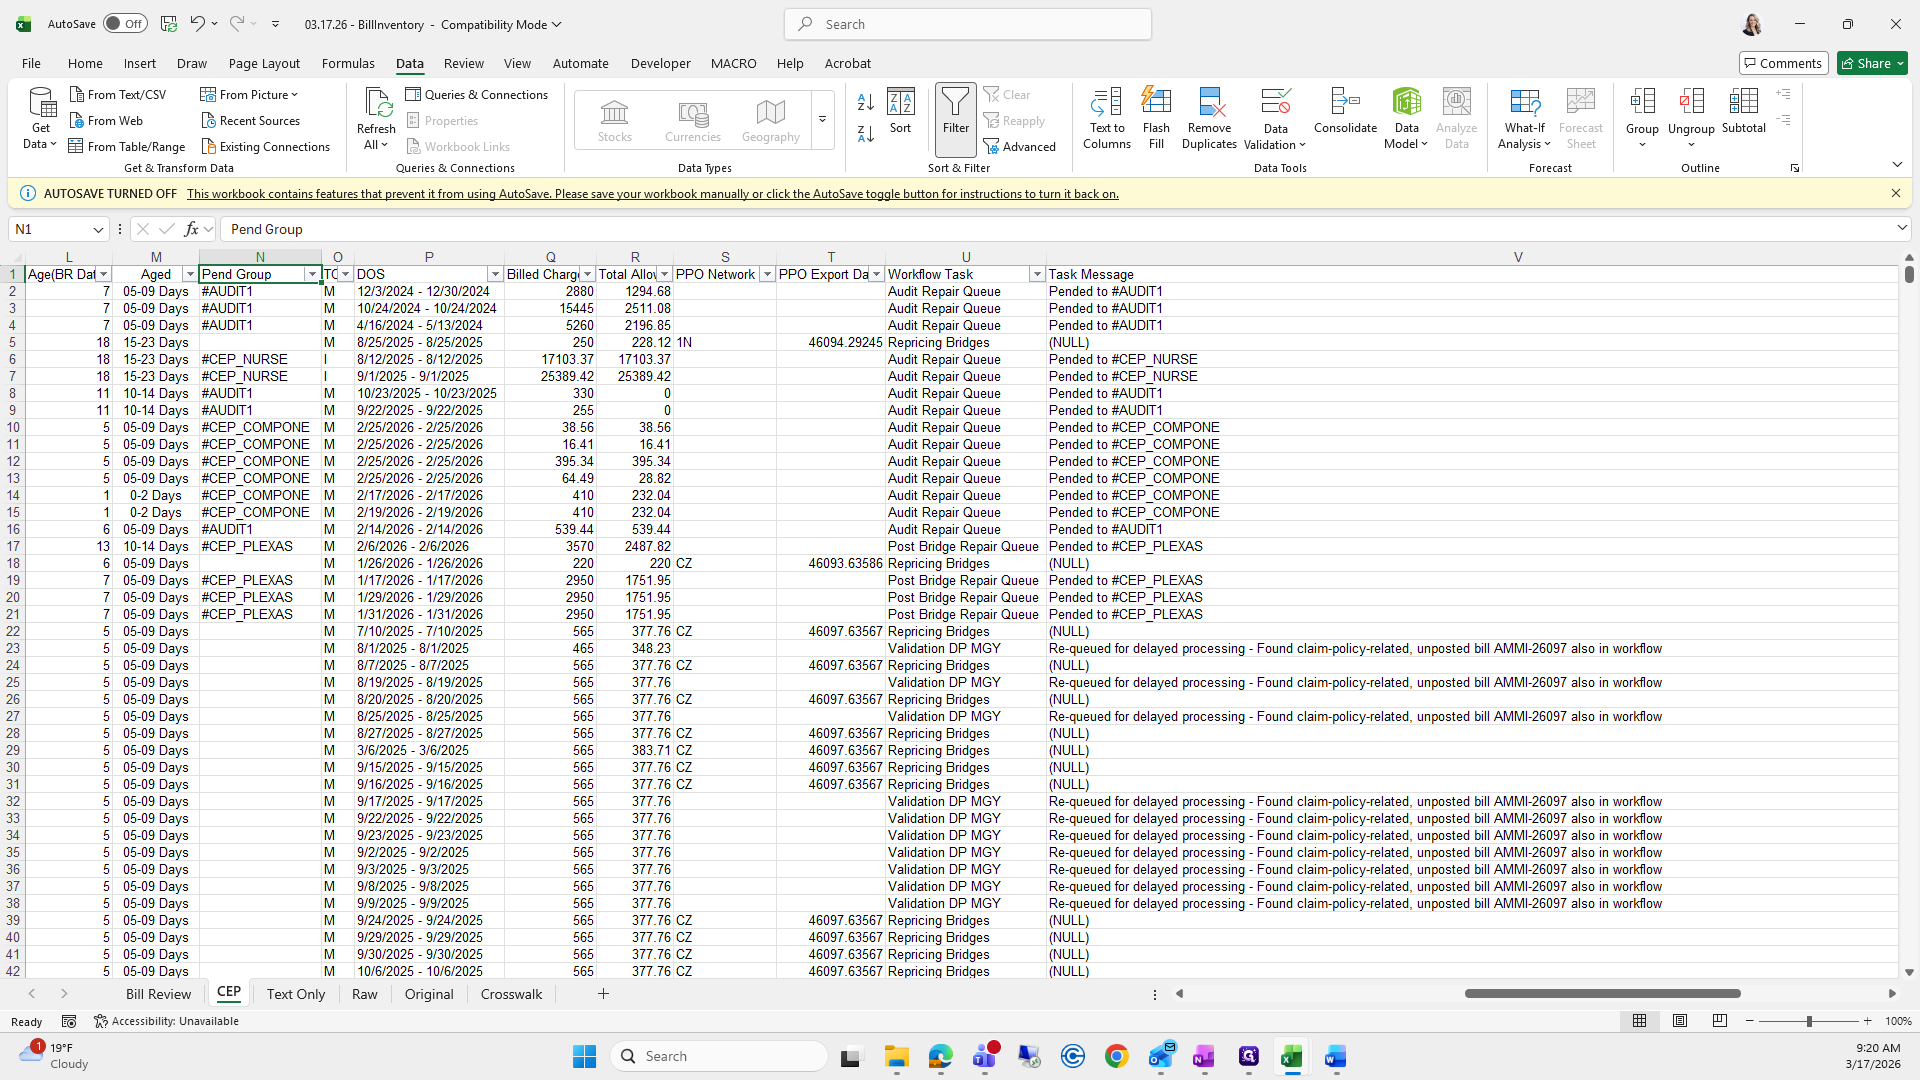
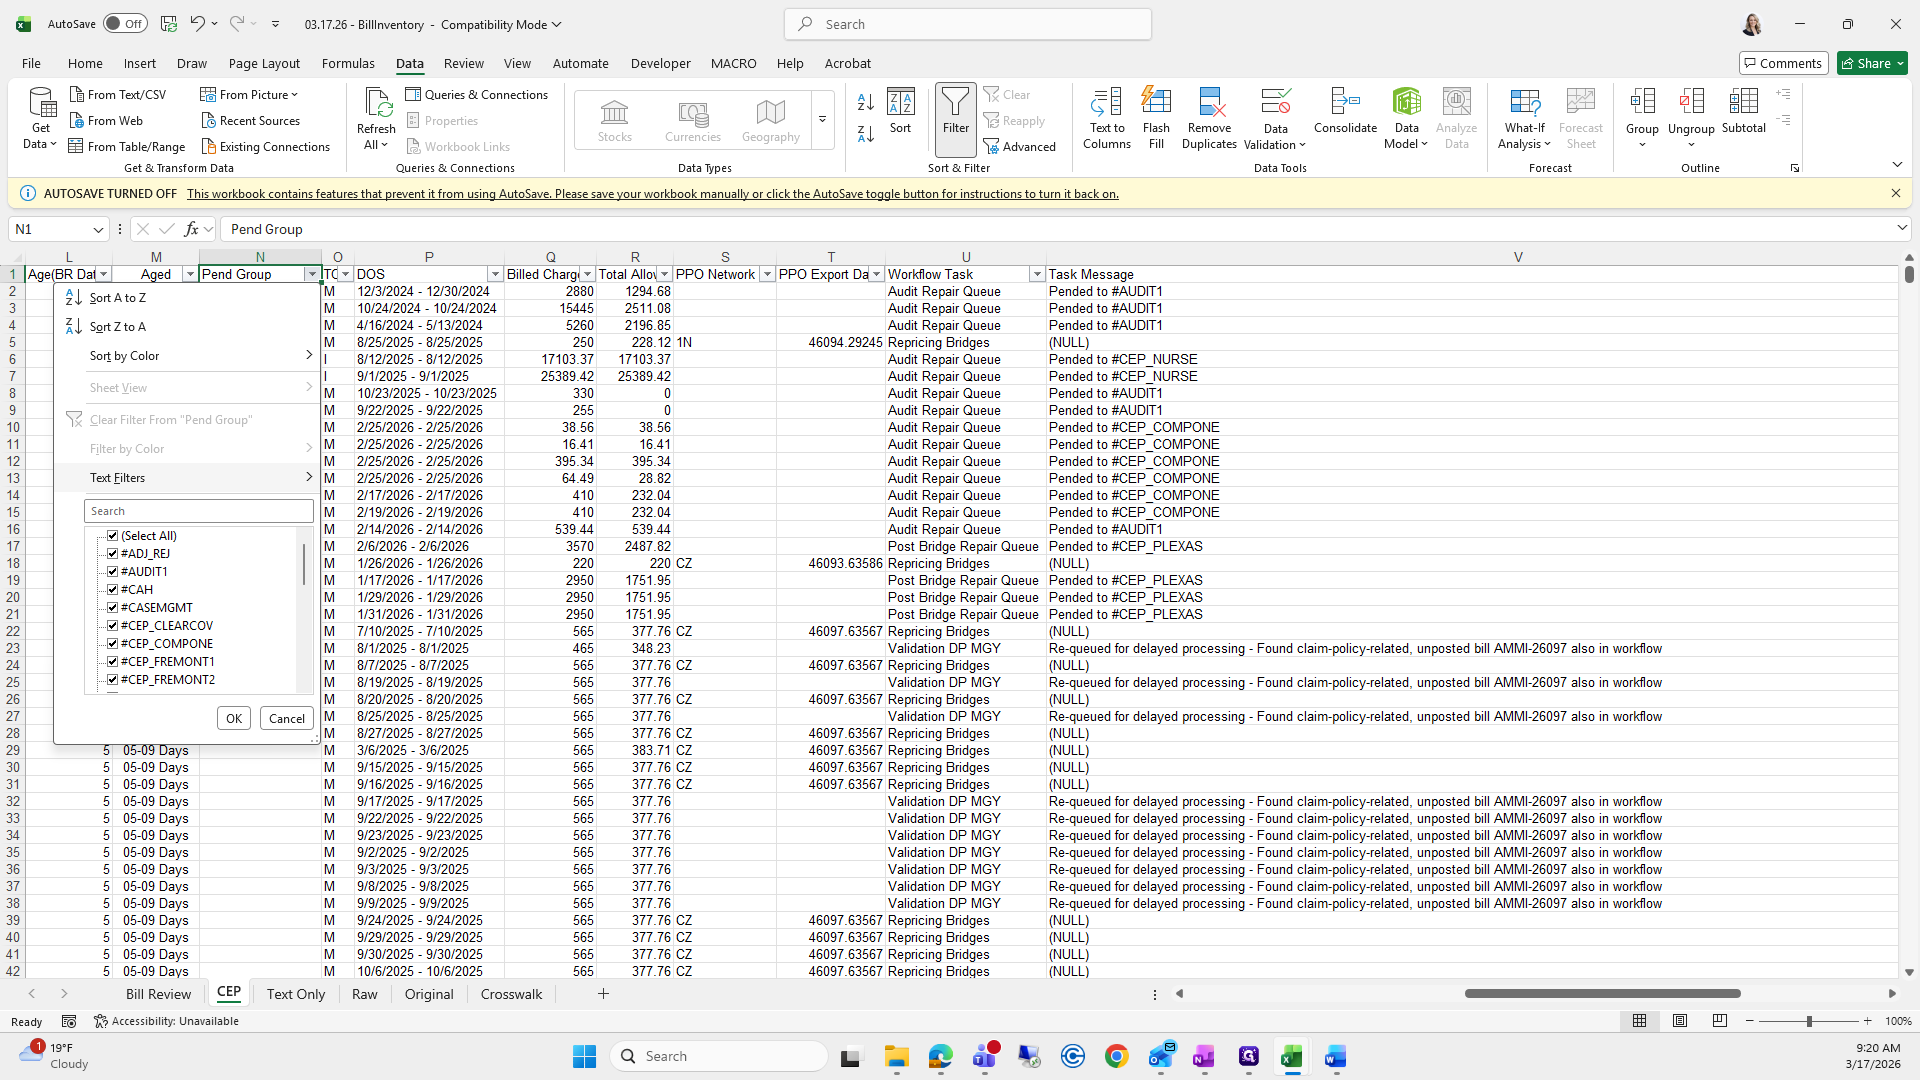
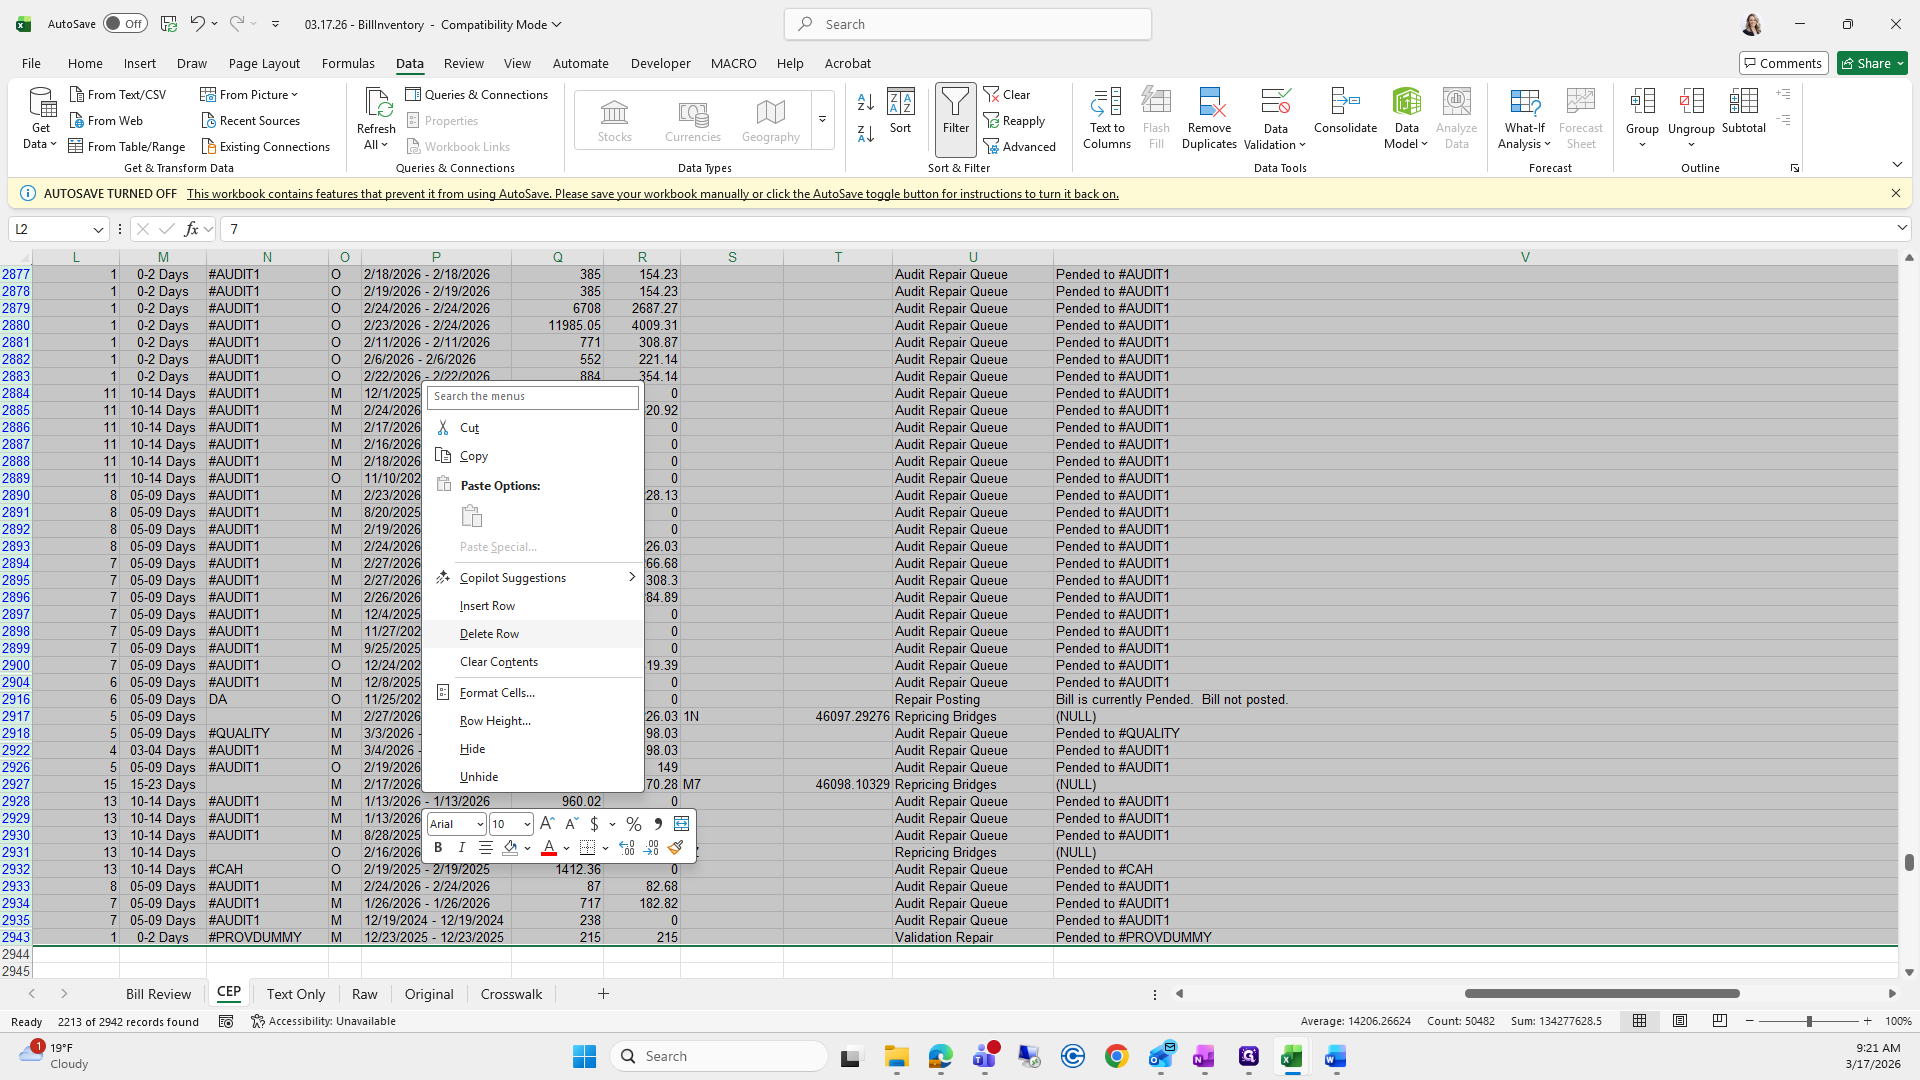
I am going to scroll over to the column called Penn Group.

116
Type "Bill Review"
117
Click on "MGY - AMMI - 26106"
Step #117: Click on "MGY - AMMI - 26106"
118
Click here
Step #118: Click here
119
Click on "N"
Step #119: Click on "N"
120
Click on "TO"
Step #120: Click on "TO"

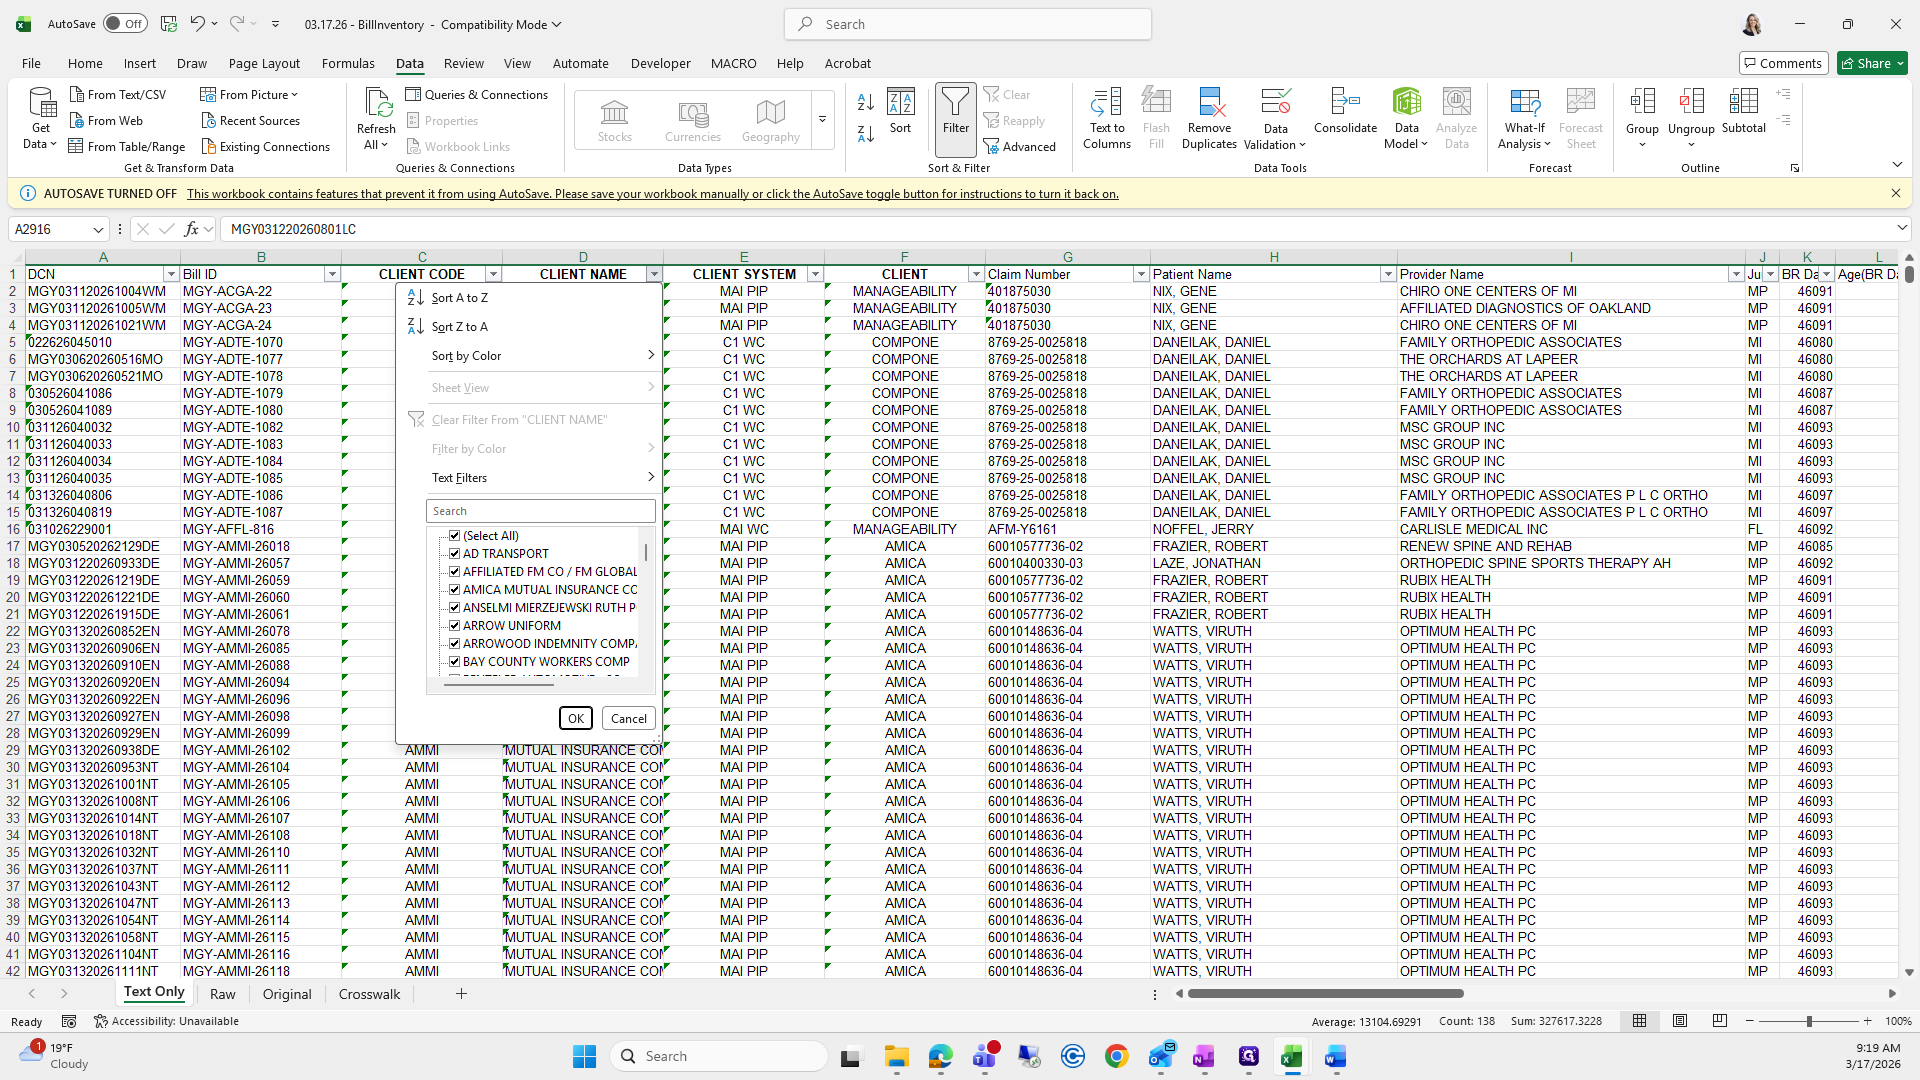
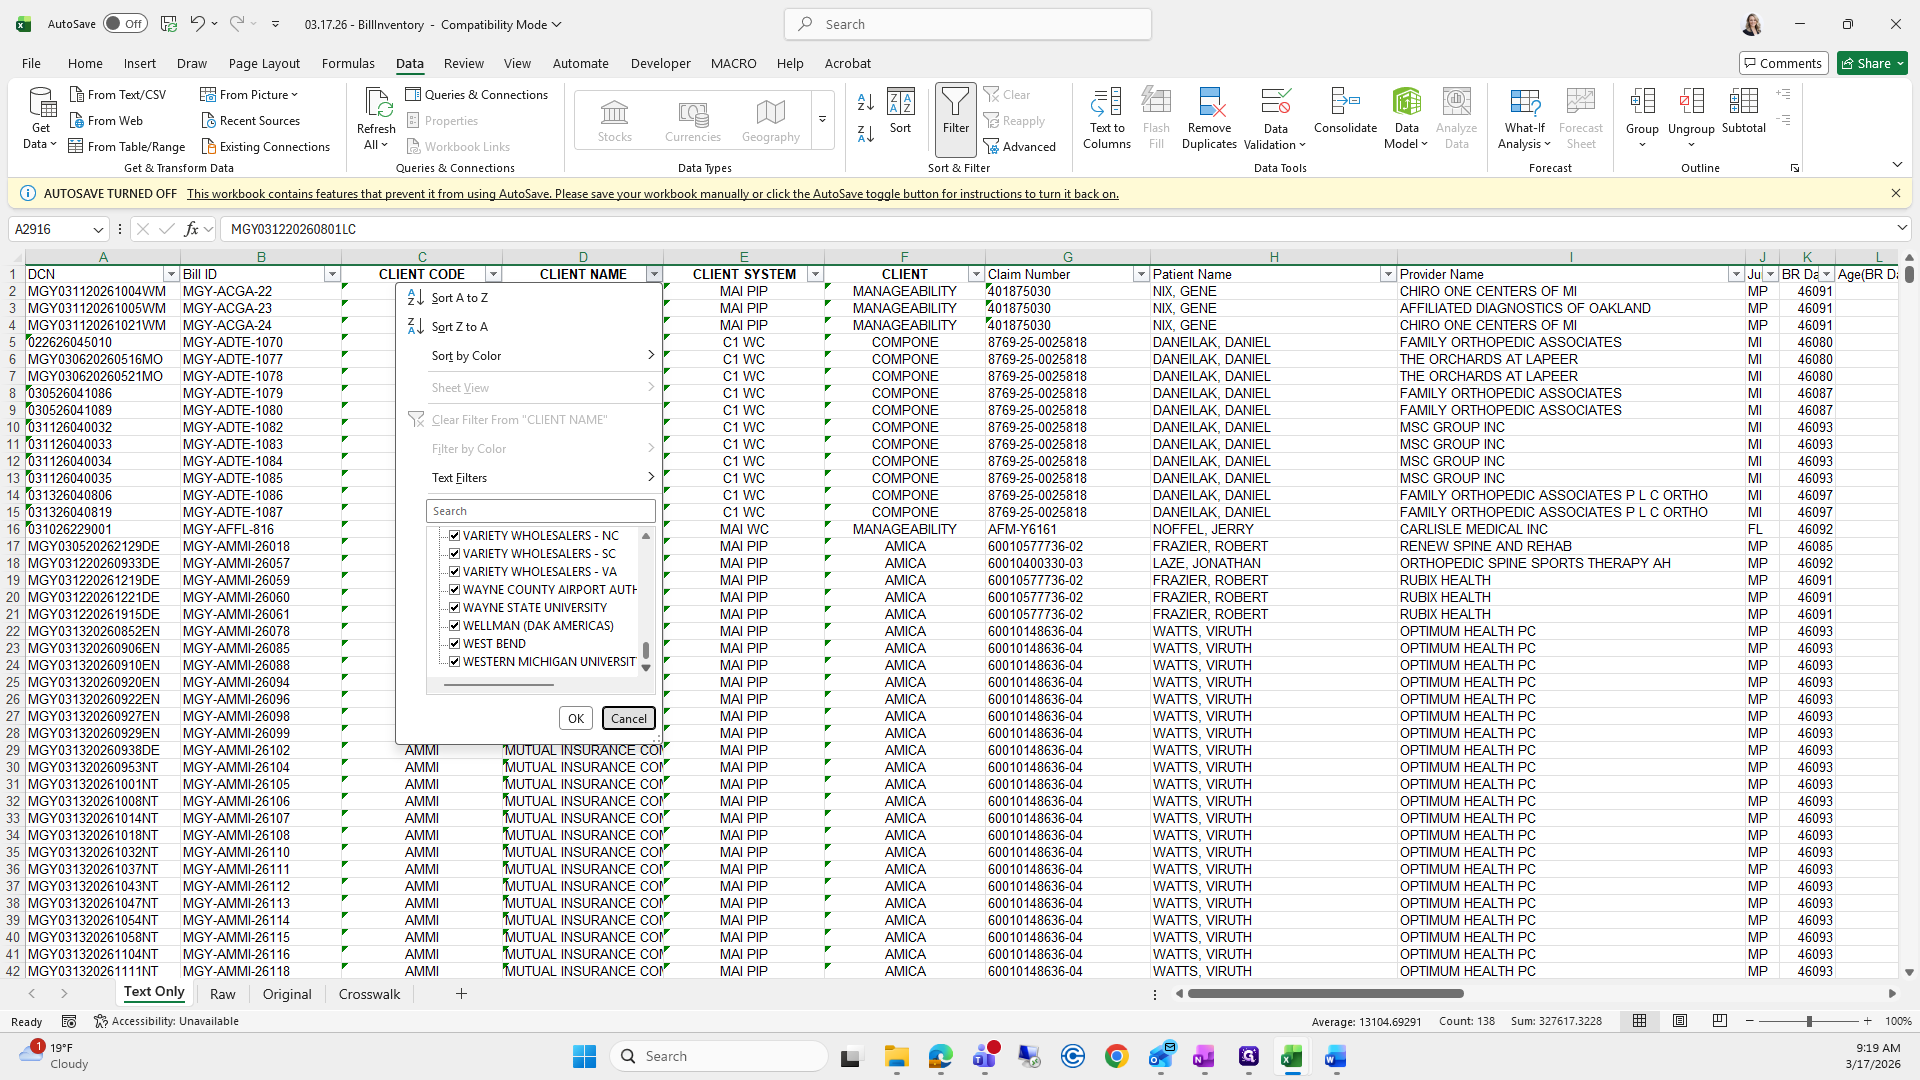
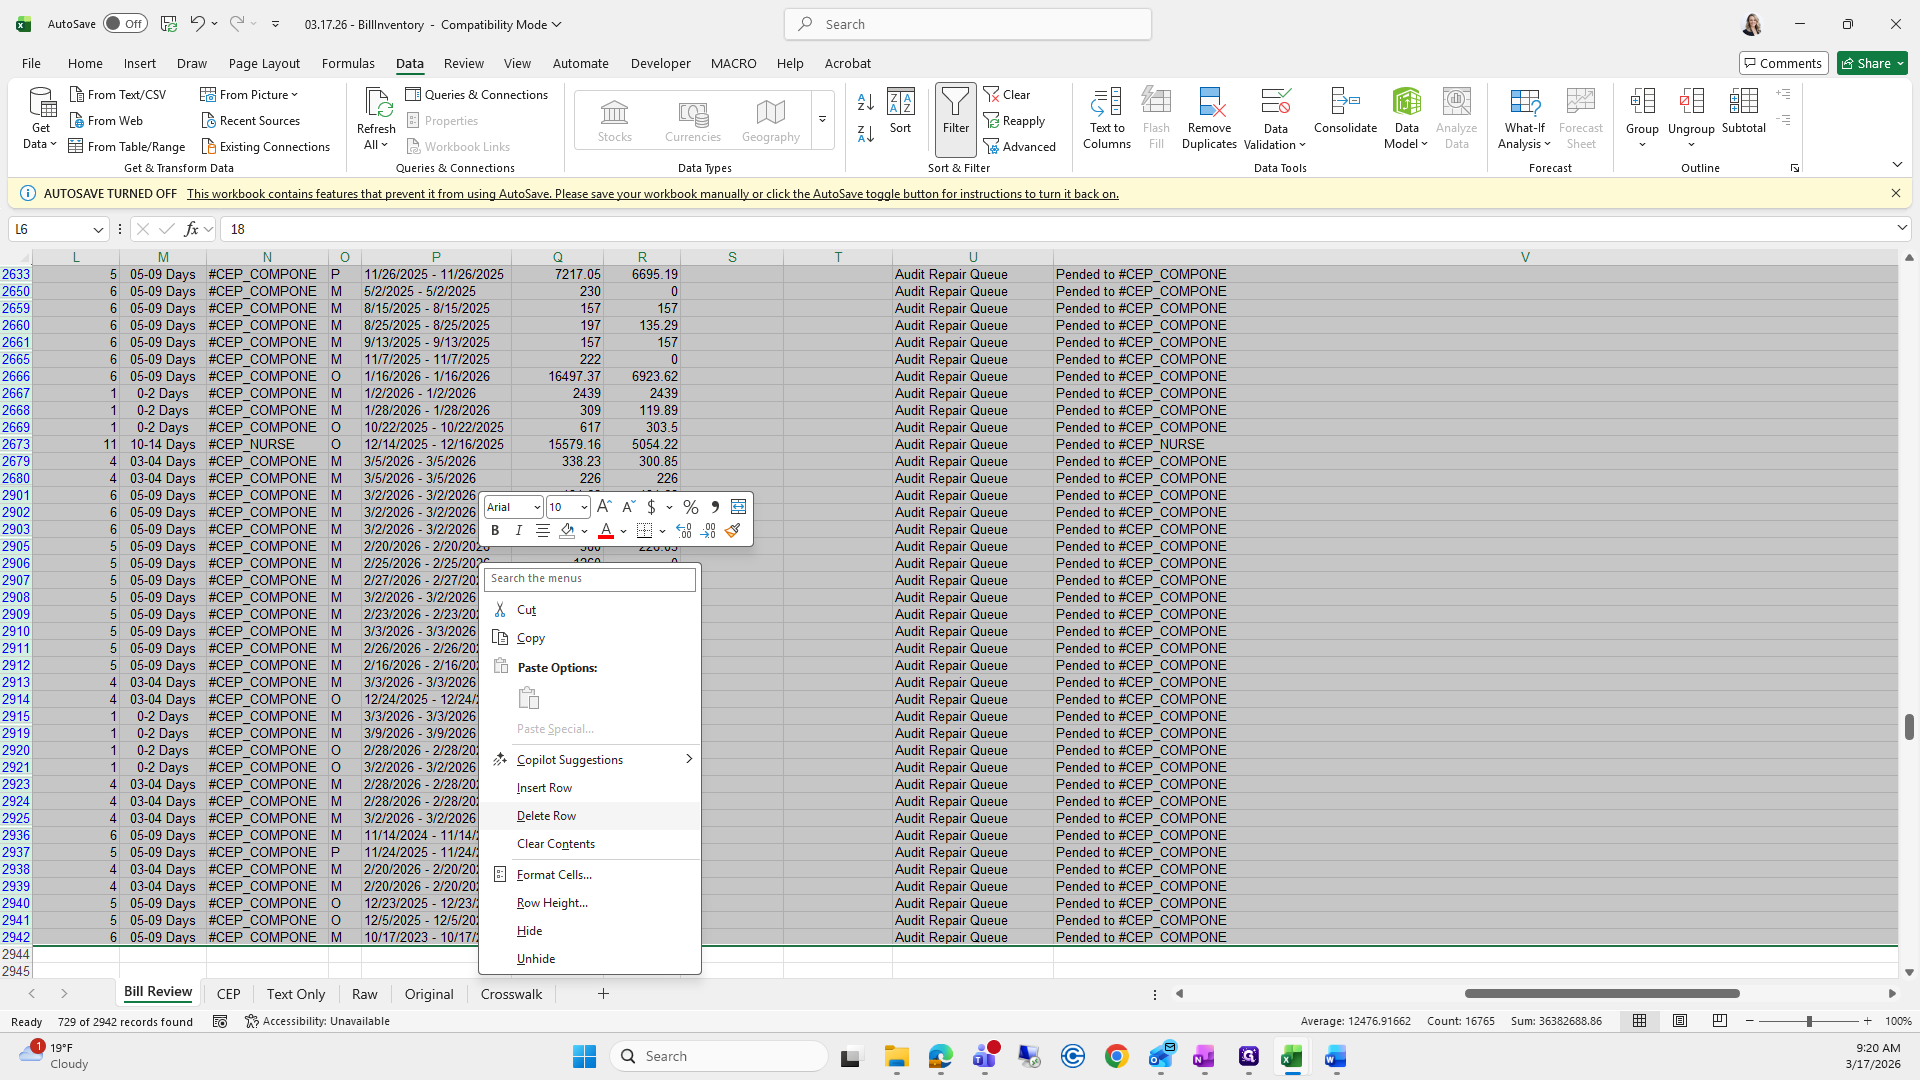
We will filter this by going to text filters, selecting "contains CEP," clicking OK, and then deleting all of the rows like this.

121
Click here
Step #121: Click here
122
Click on "..."
Step #122: Click on "..."
123
Type "CEP"
124
Click on "OK"
Step #124: Click on "OK"
125
Click on "6"
Step #125: Click on "6"
126
Drag "6"
Step #126: Drag "6"
127
Right-click on "2 / 25 / 2026- 2/25/2026"
Step #127: Right-click on "2 / 25 / 2026- 2/25/2026"

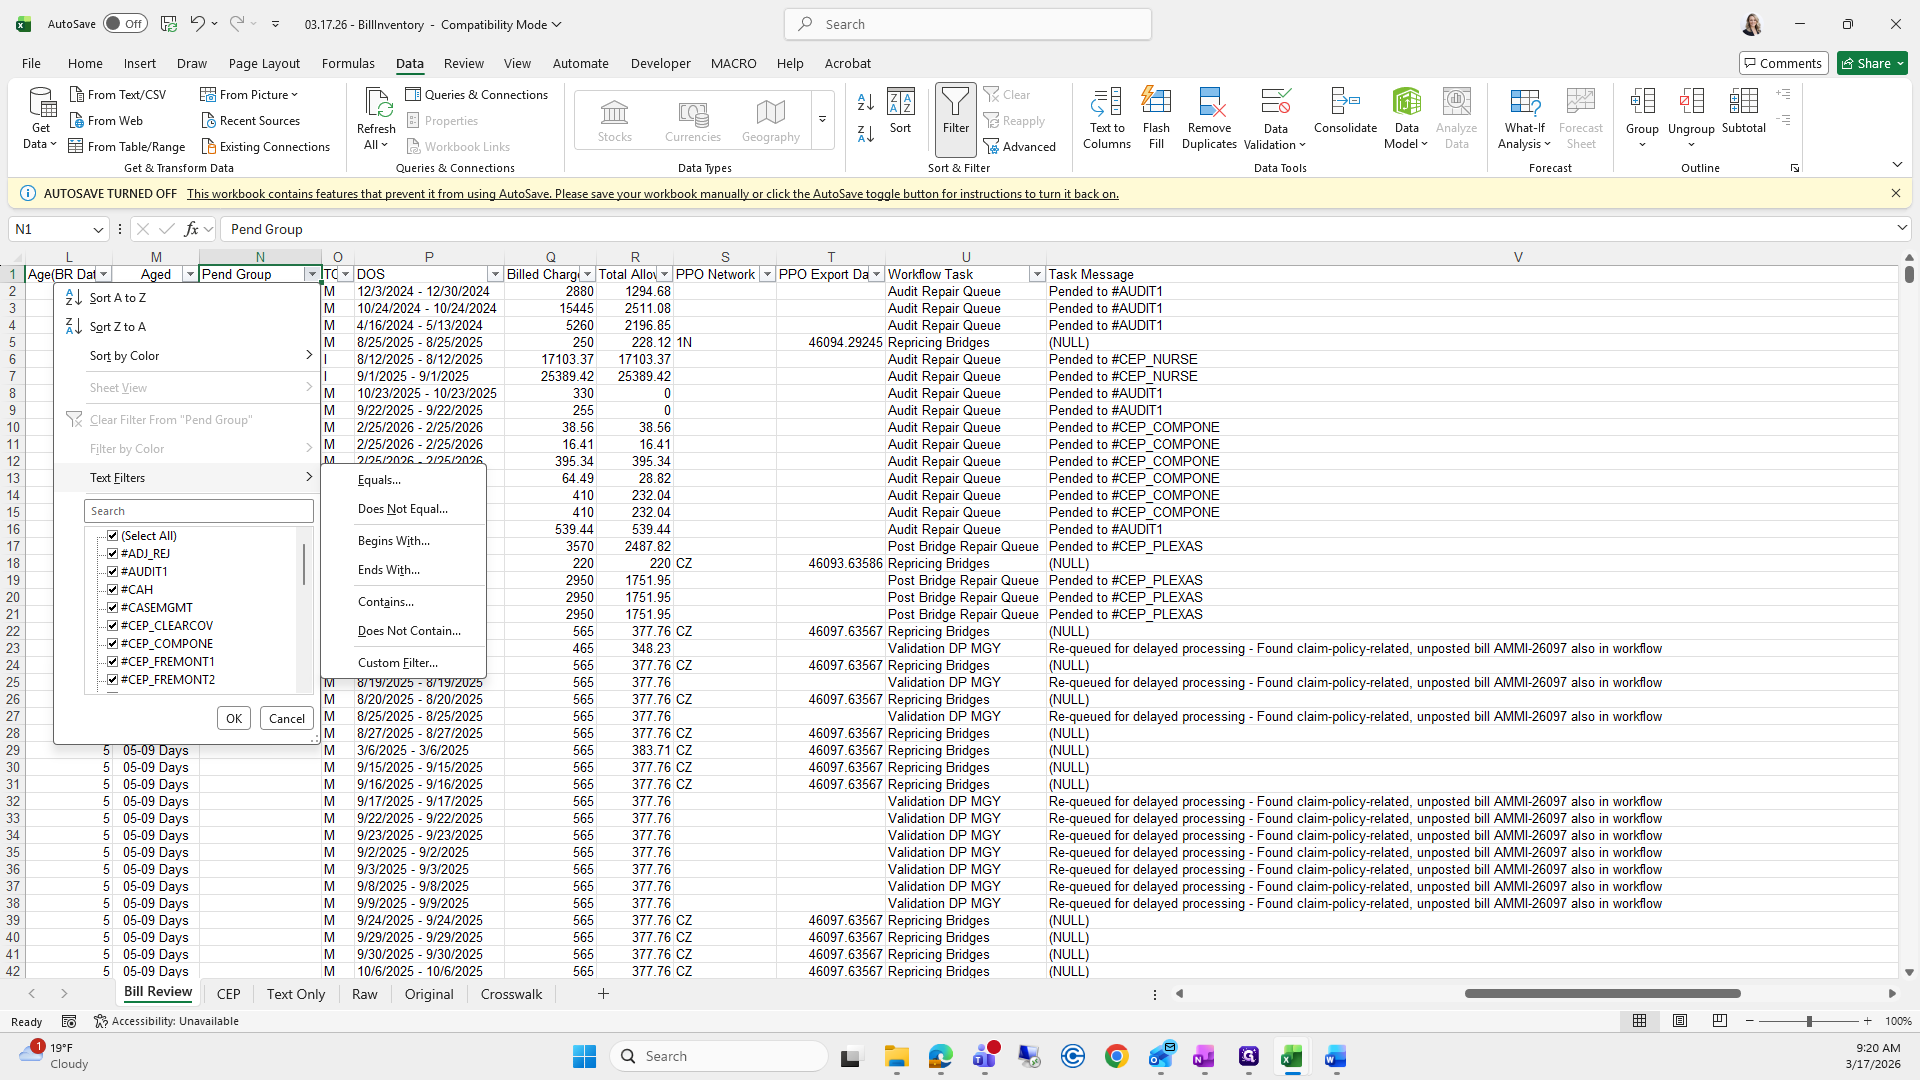
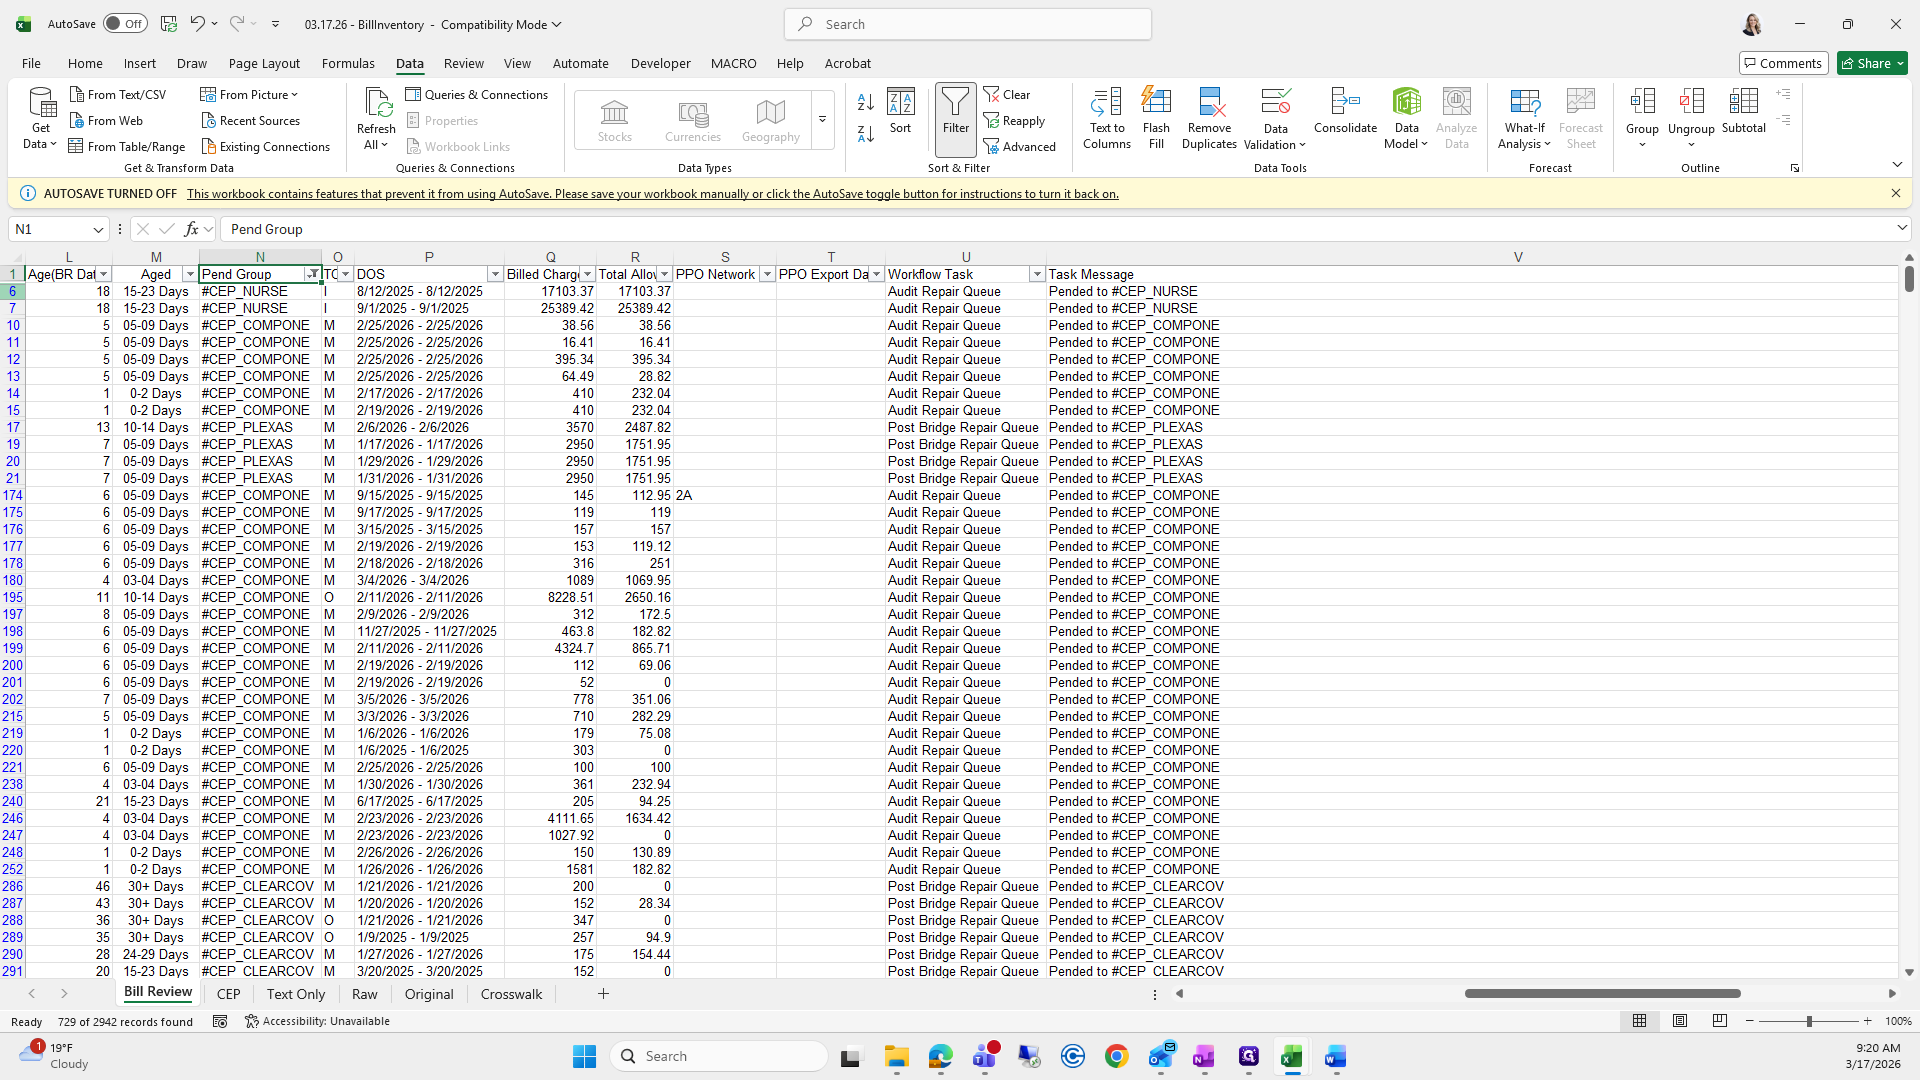
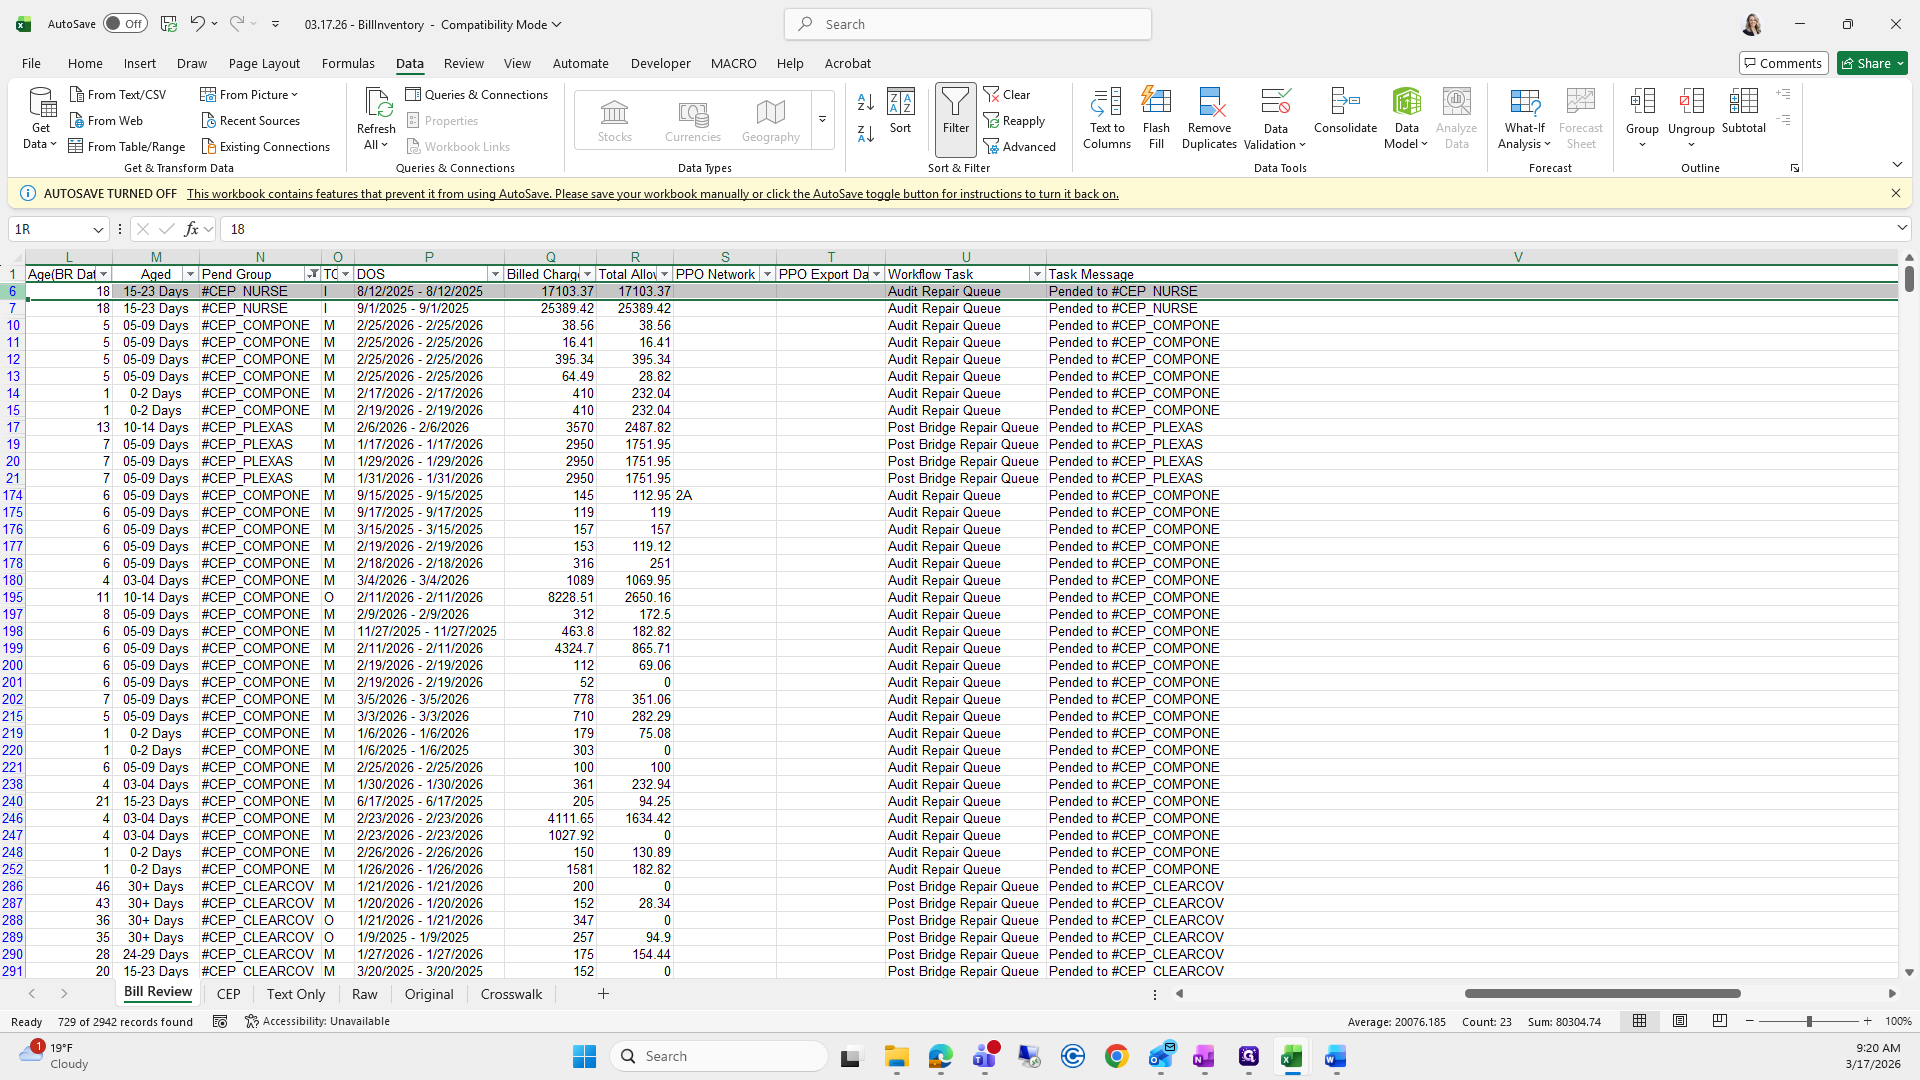
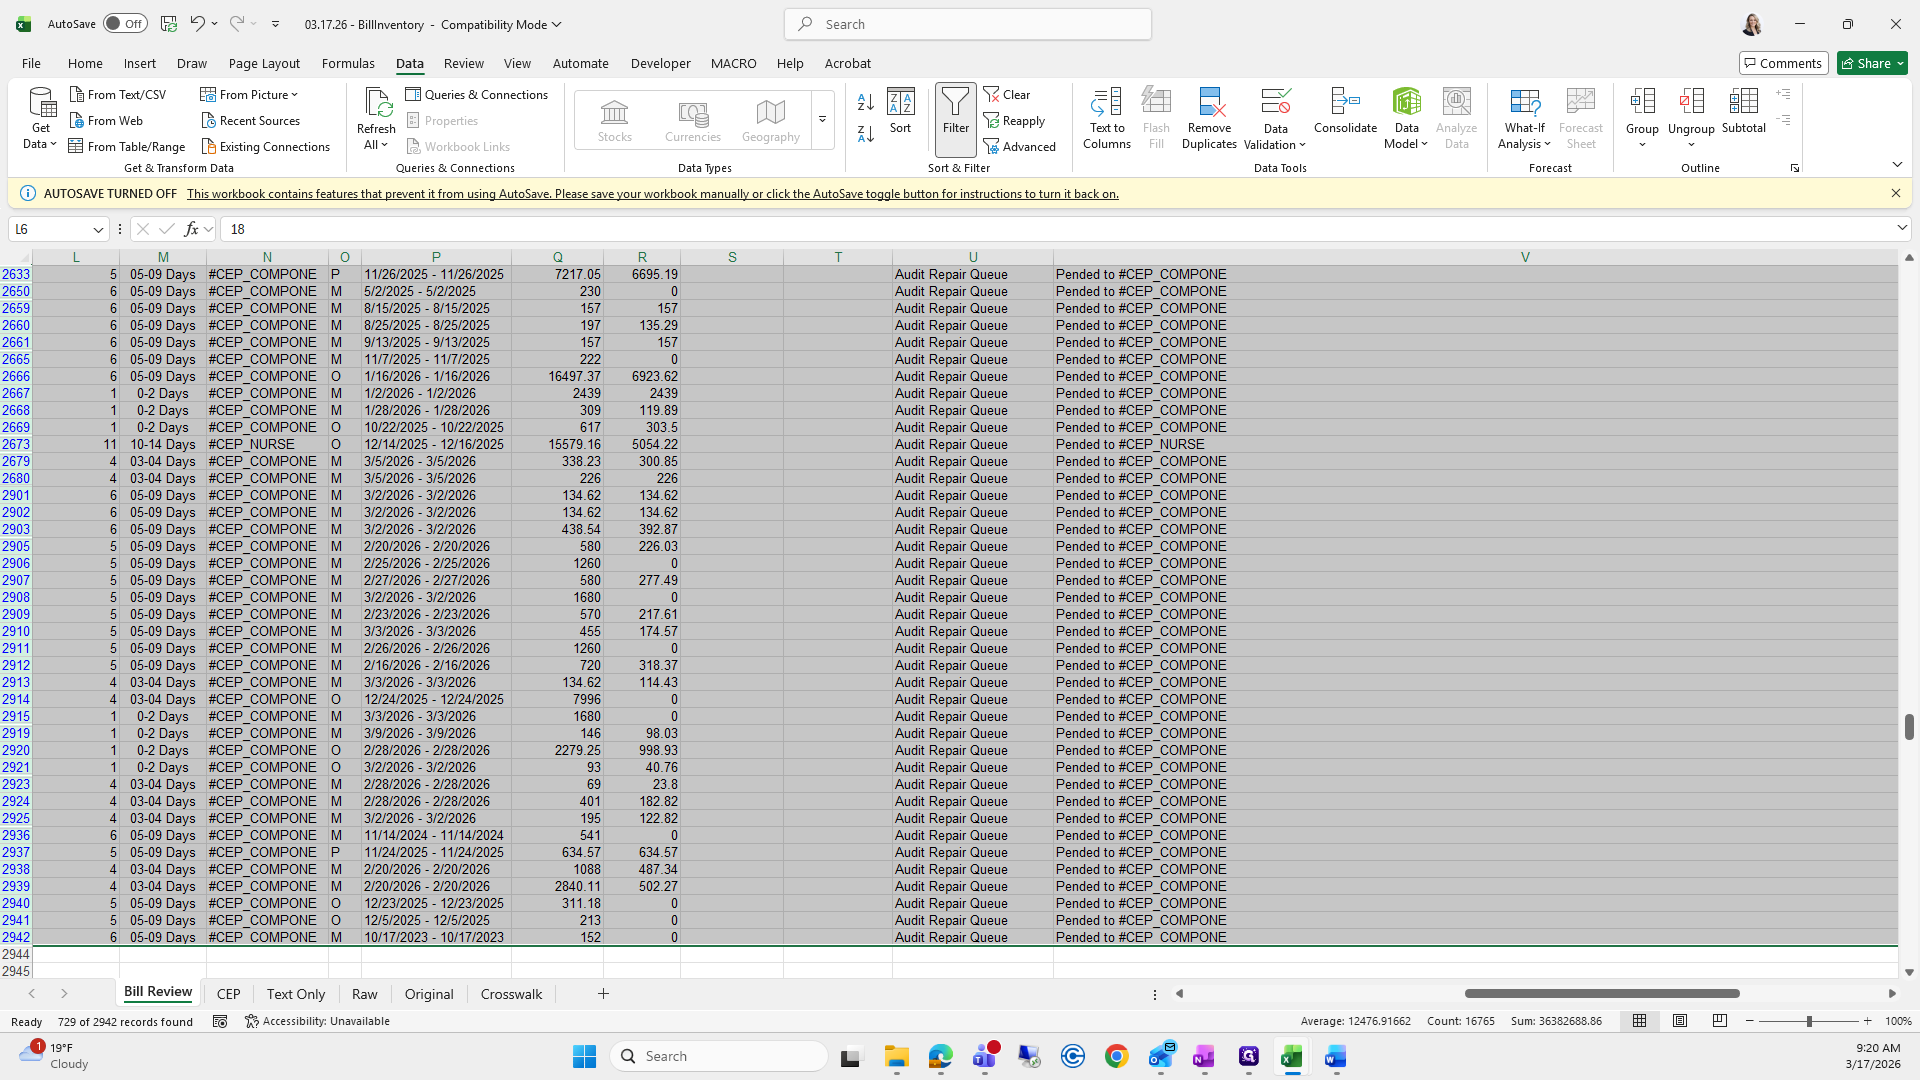
Delete rows containing CEP to capture only bill review.

128
Click on "Delete Row"
Step #128: Click on "Delete Row"
129
Click on "Clear"
Step #129: Click on "Clear"

Click Clear, go to CEP, and do the same thing, except select "does not contain."

130
Click on "CEP"
Step #130: Click on "CEP"
131
Click here
Step #131: Click here
132
Click on "N"
Step #132: Click on "N"
133
Click on "ITC"
Step #133: Click on "ITC"

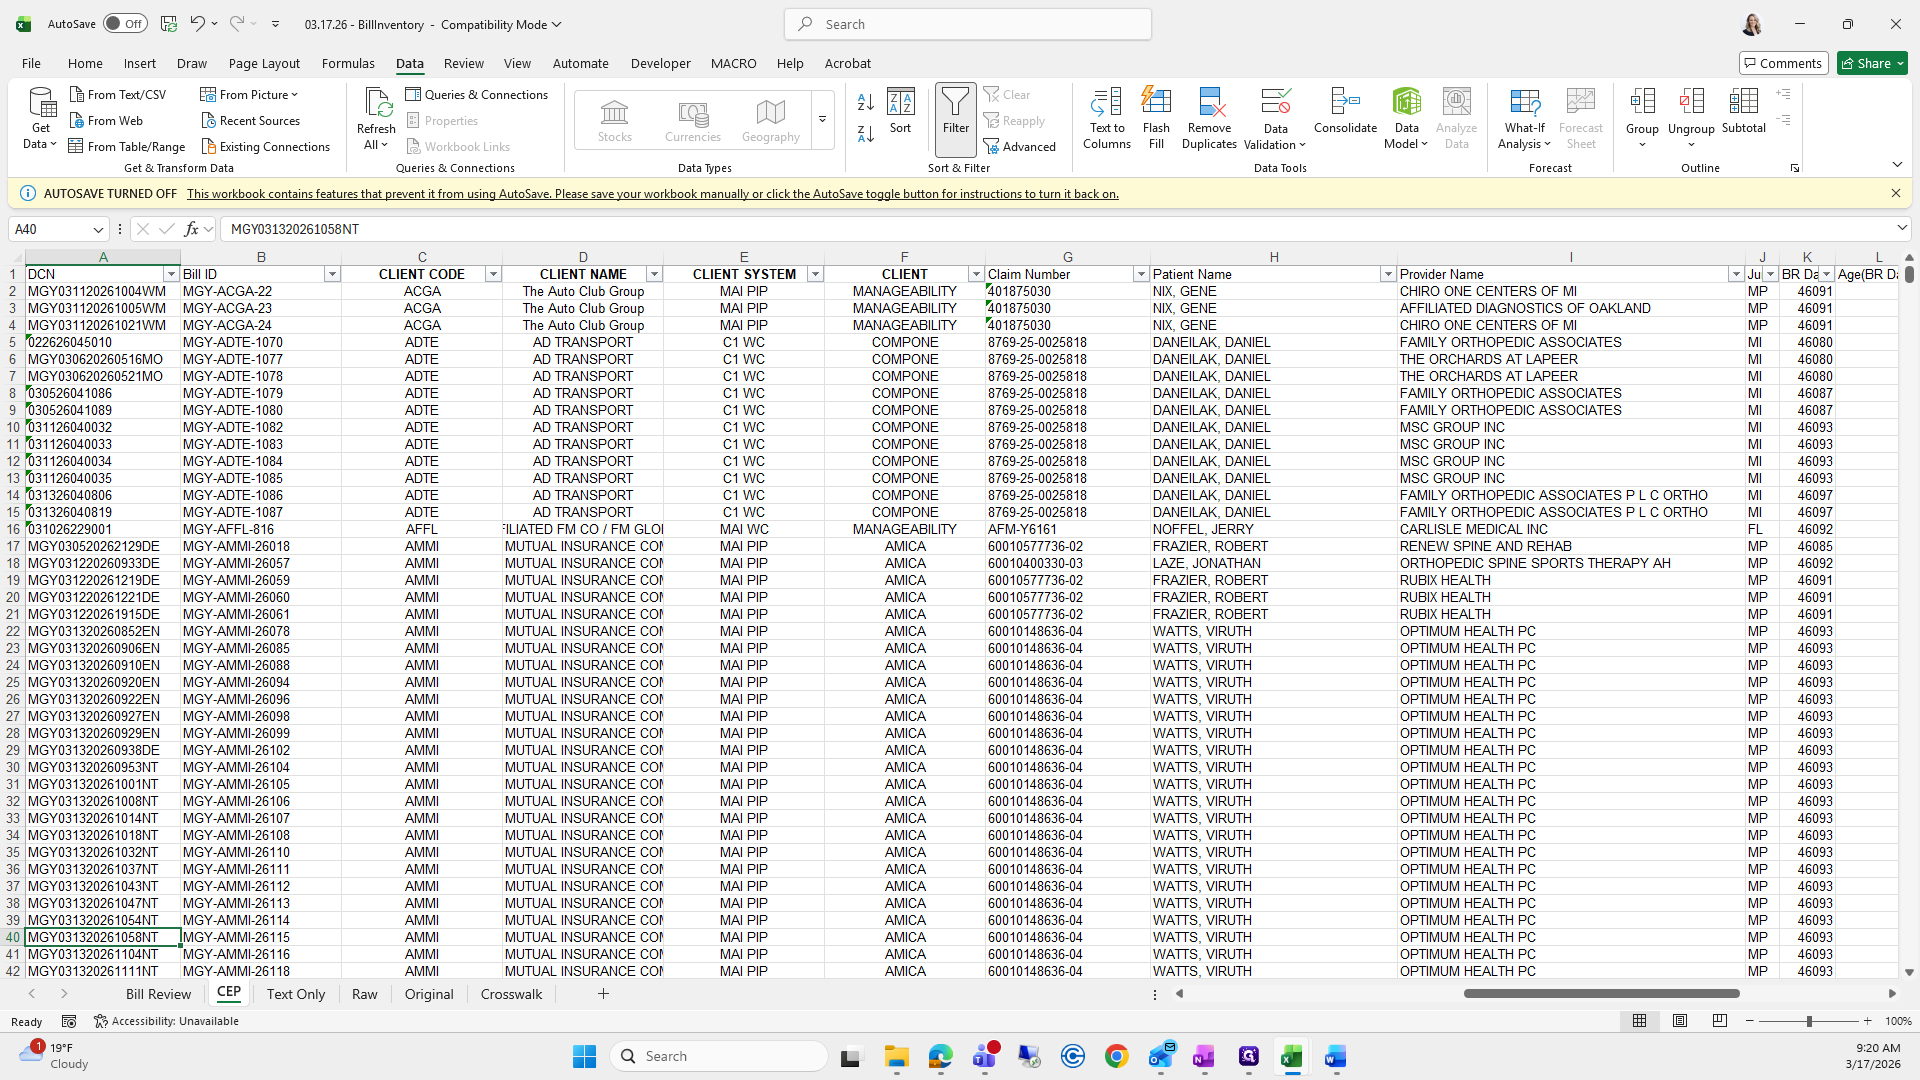
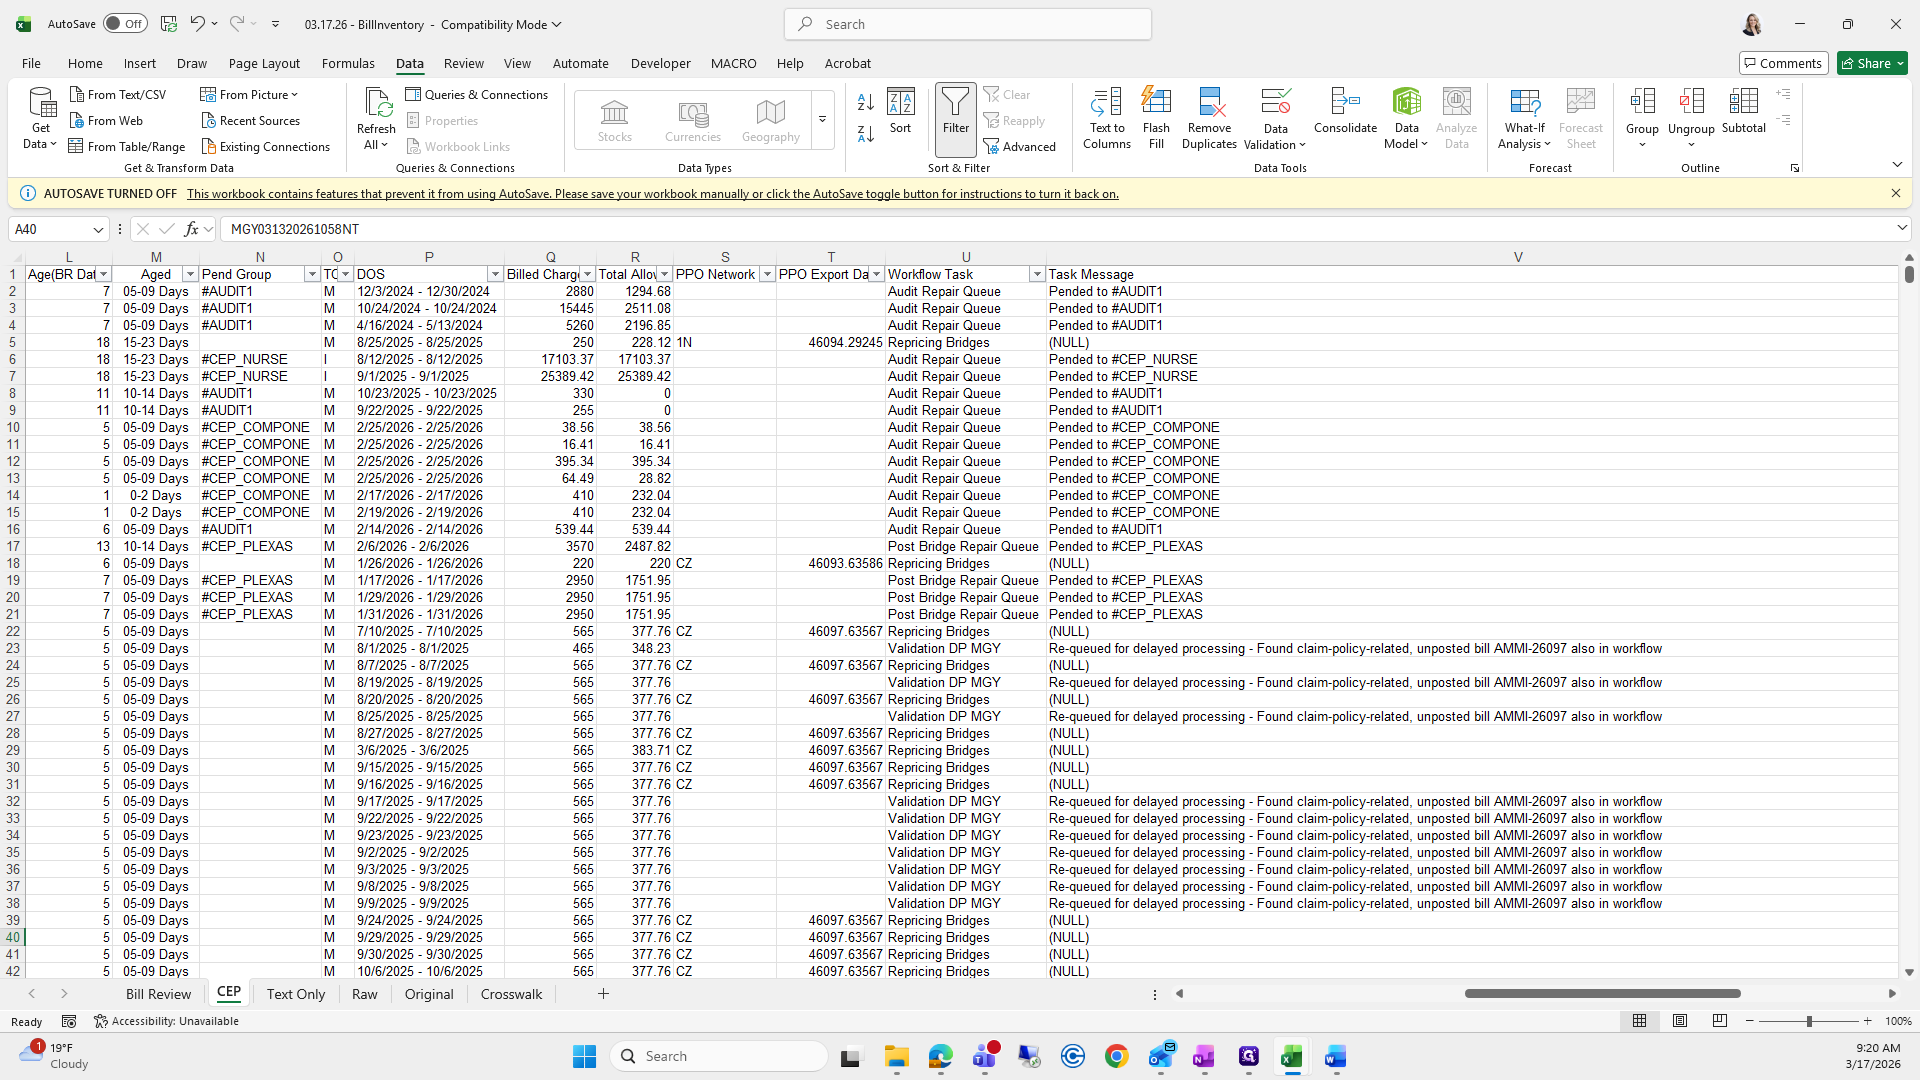
Penn Group filters do not contain CEP.

134
Click on "Text Filters"
Step #134: Click on "Text Filters"
135
Click on "Does Not Contain ..."
Step #135: Click on "Does Not Contain ..."
136
Type "CEP"
137
Click on "OK"
Step #137: Click on "OK"

Okay.

138
Drag "2"
Step #138: Drag "2"

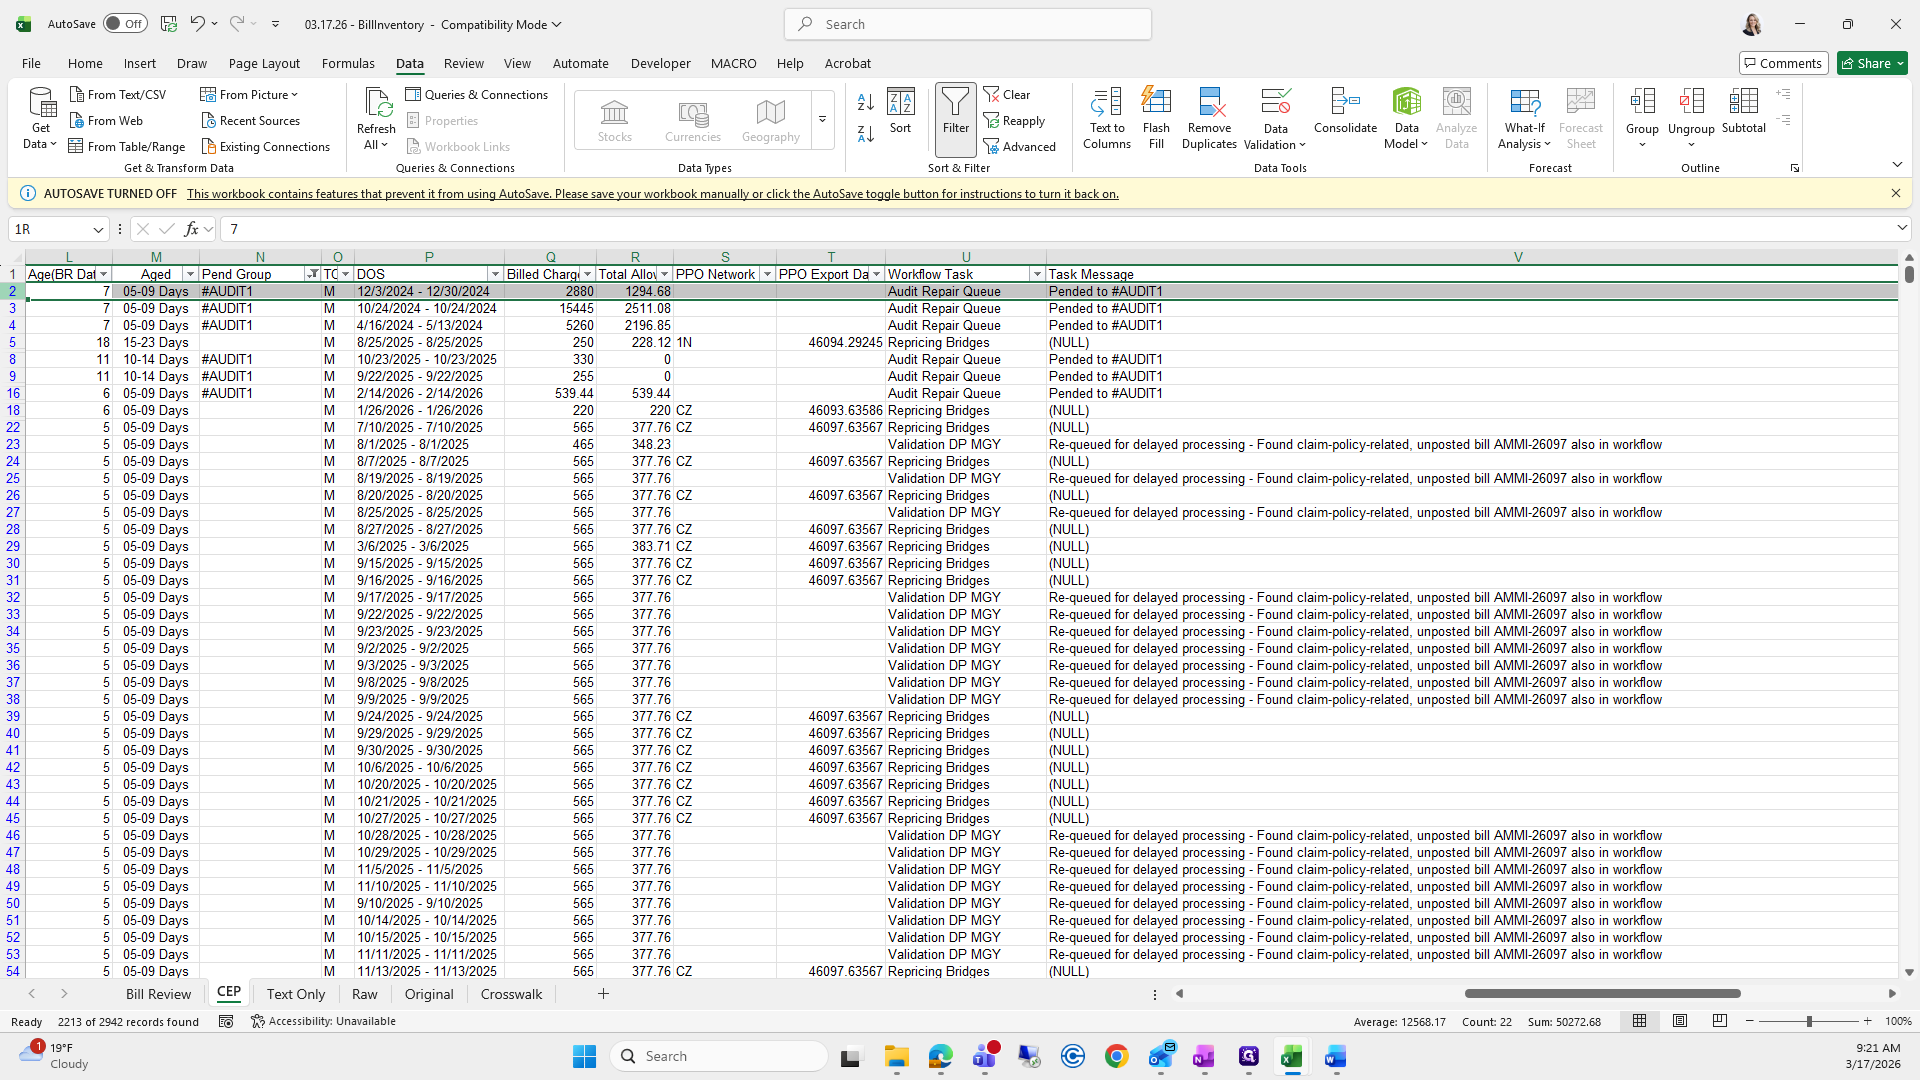
This one is a bit longer, so it will only contain CEP. This video will end in about 20 seconds, so I will stop here. I will continue in the third video, which will likely finish the series.

139
Right-click on "2/17/2026 - 2/17/2026"
Step #139: Right-click on "2/17/2026 - 2/17/2026"
140
Click here
Step #140: Click here
141
Click on "Clear"
Step #141: Click on "Clear"
142
Click here
Step #142: Click here
143
Click on "Bill Review"
Step #143: Click on "Bill Review"
144
Drag here
Step #144: Drag here
145
Click here
Step #145: Click here

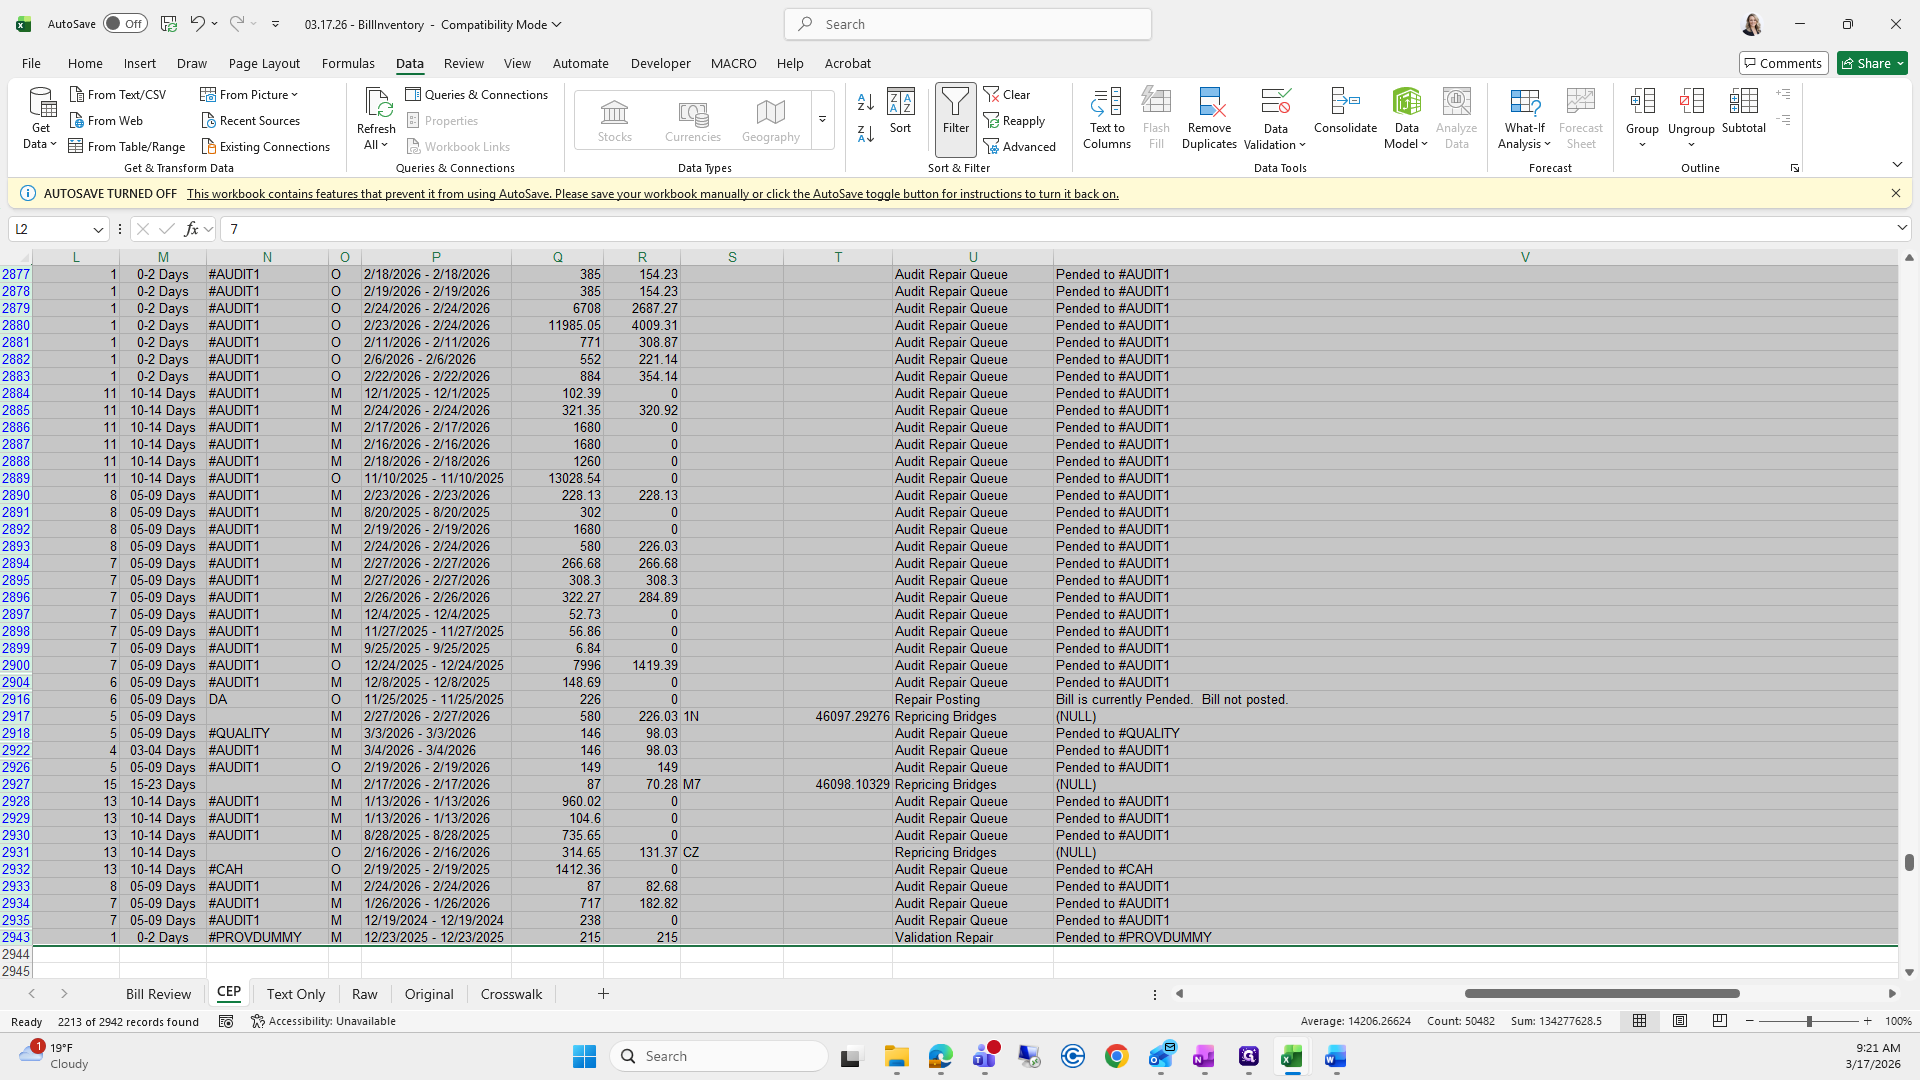
I will save this and all our work. I'll see you in a minute.

146
Click here
Step #146: Click here
147
Click on "Continue"
Step #147: Click on "Continue"

Bill Aging Reports: Part 2/5