msCFO - How to Update Timesheets Using BigTime
A step-by-step guide on how to update timesheets using Big Time. Learn how to navigate the interface, select tasks and roles, and code your time accordingly.
By Vignesh Mohan
In this guide, we'll learn how to update timesheets using BigTime efficiently.
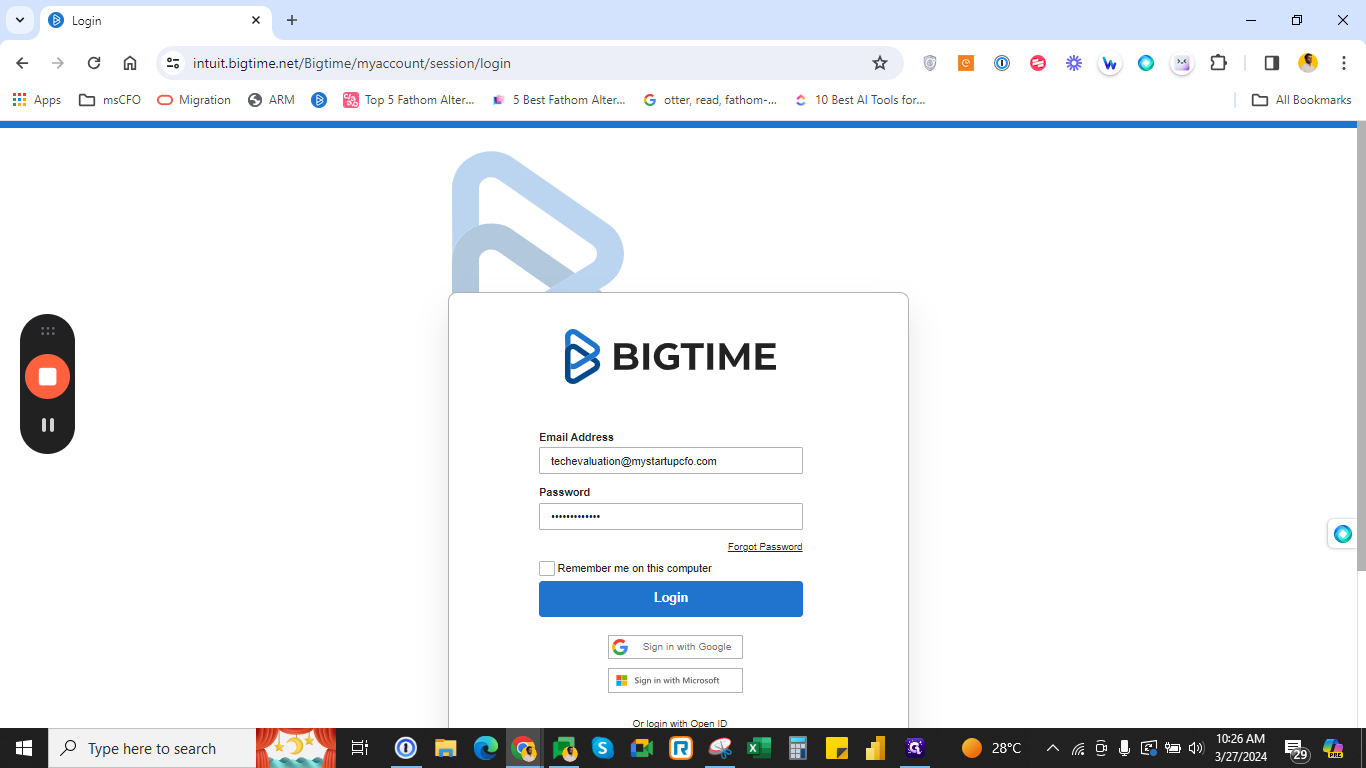
To begin, make sure you have your user ID and password ready for login. Remember, you can opt to stay signed in by selecting "remember me on this computer.
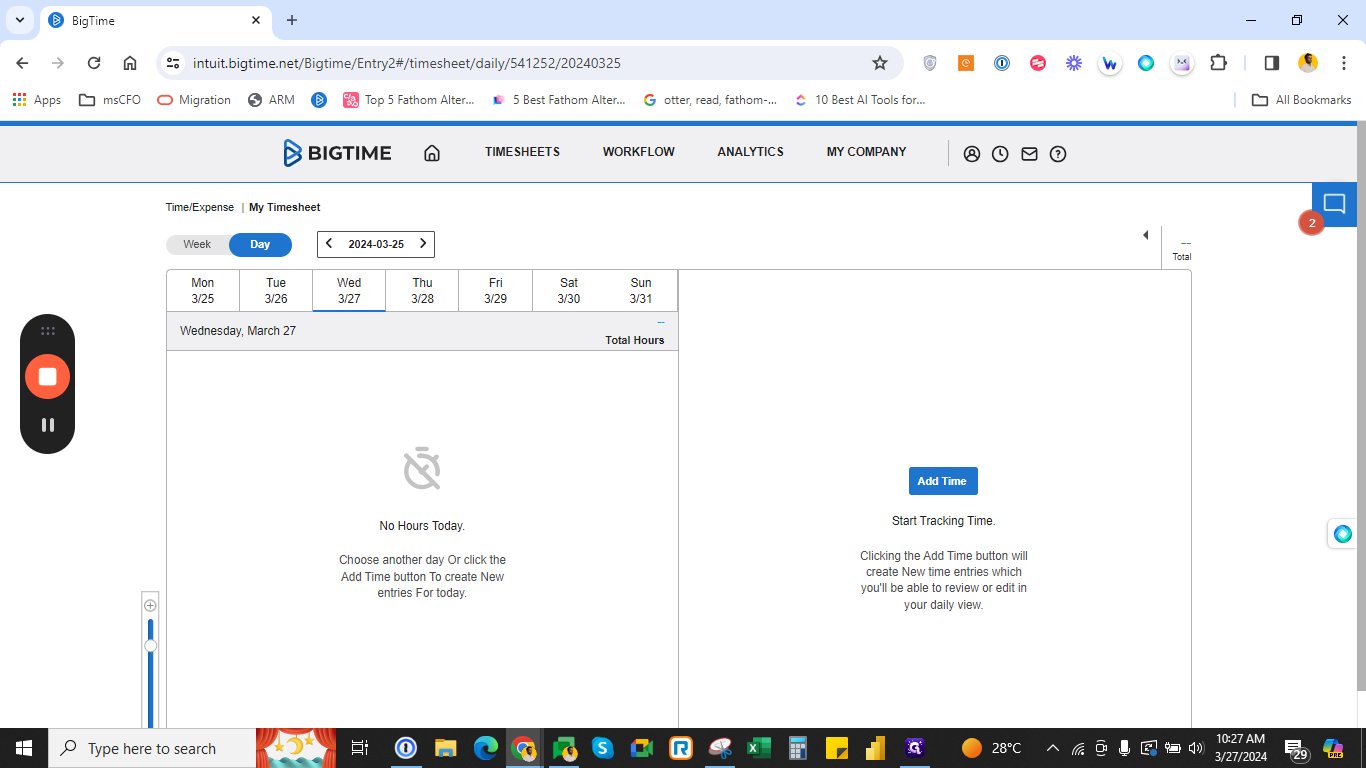
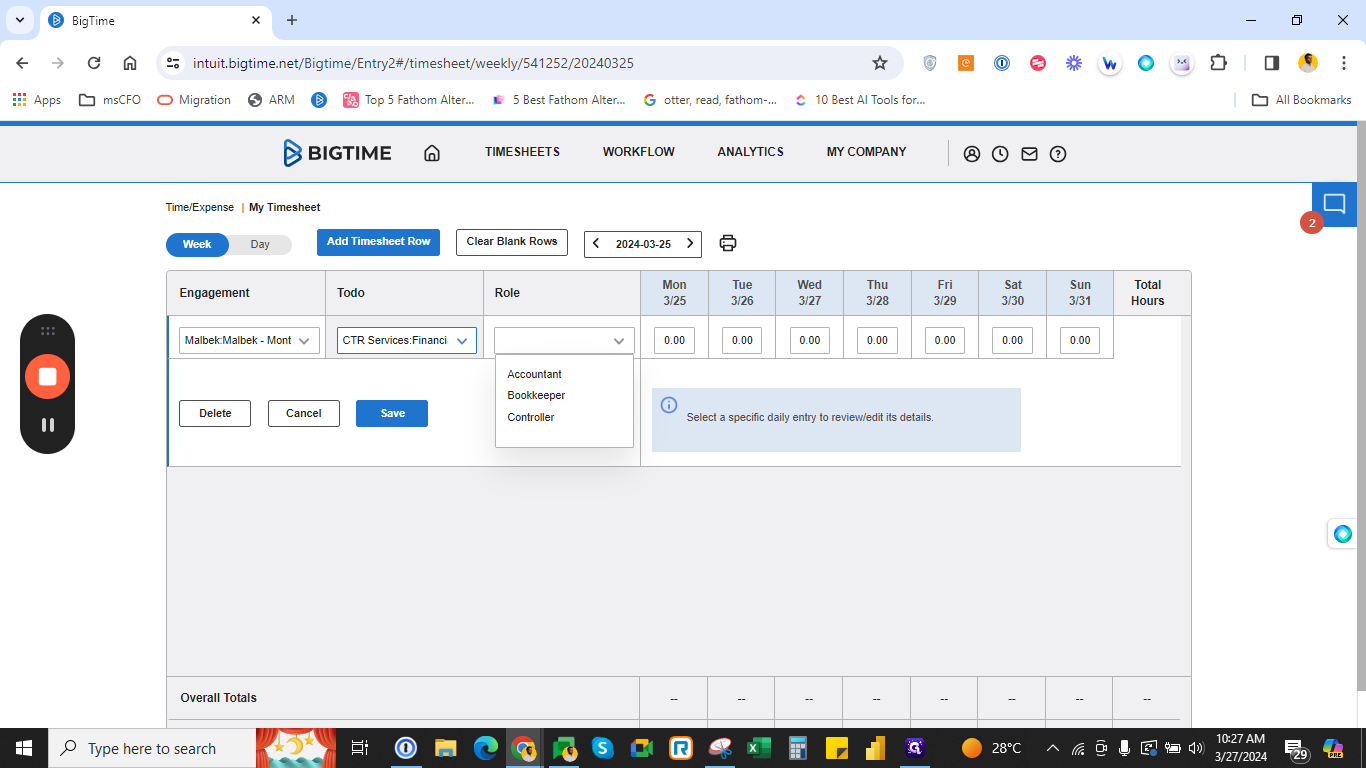
" Once logged in, you'll access the timesheet interface where you can switch between day and weekly views. Updating timesheets is straightforward - just click on "add timesheet row" and select the engagements you're working on.
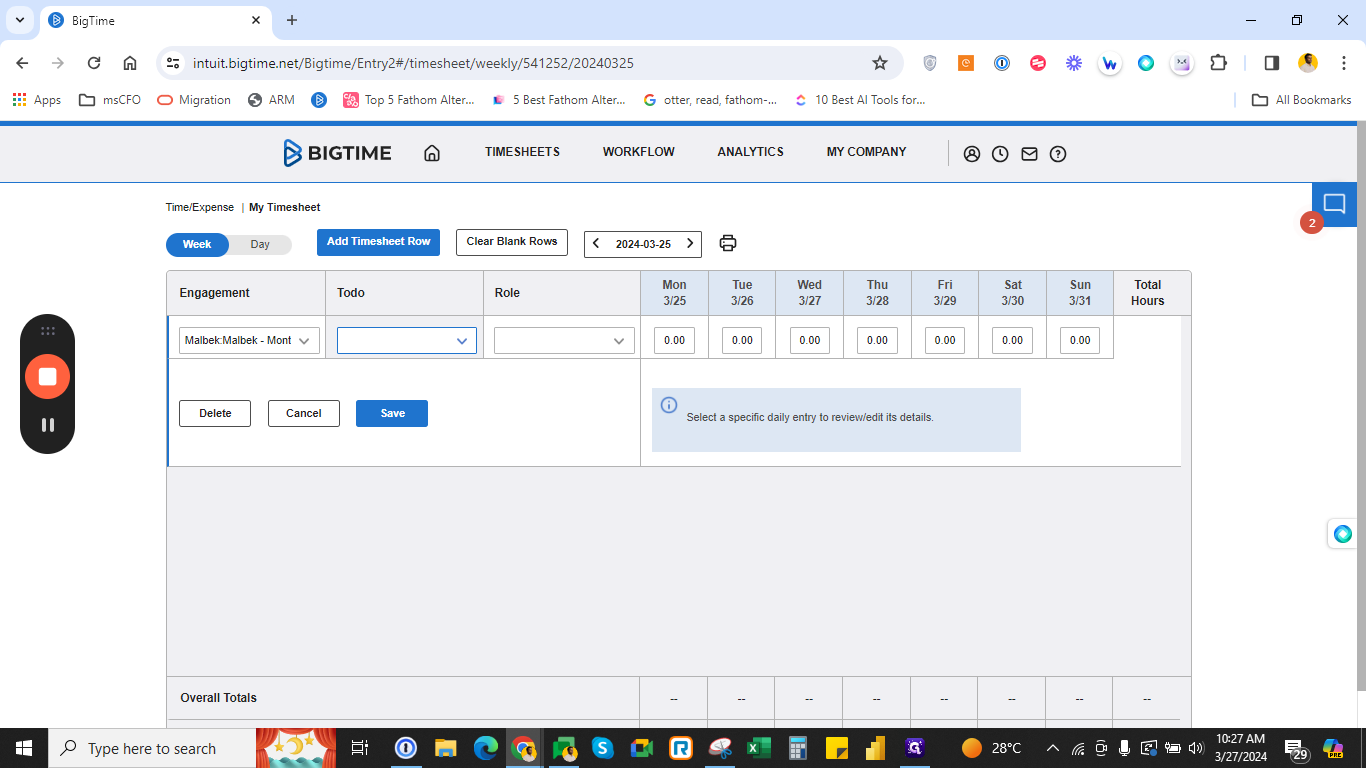
Ensure to choose the correct roles and tasks. Code your time accurately, and you're all set.
1
Use the e-mail ID and password provided for sign-in. Hit on "Remember me on this computer" to avoid signing in again
2
Click "Login"

3
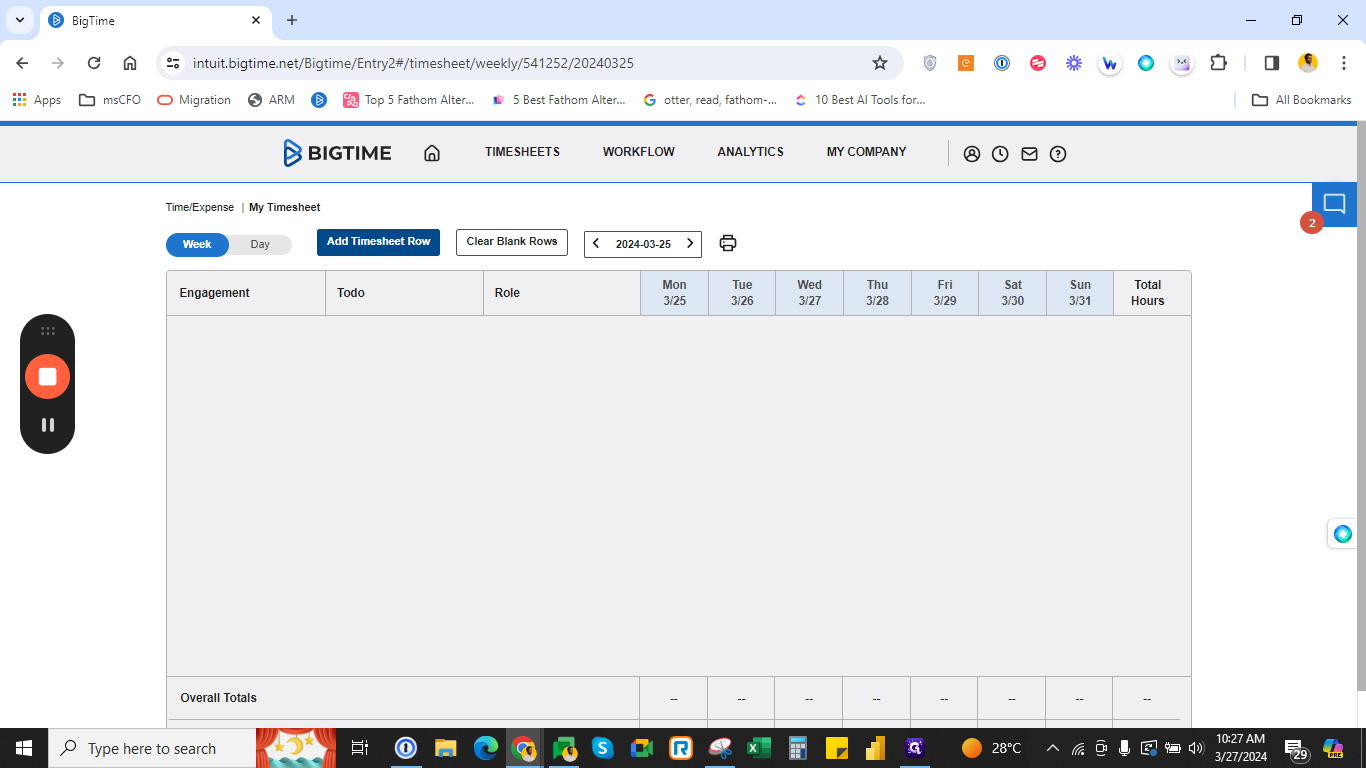
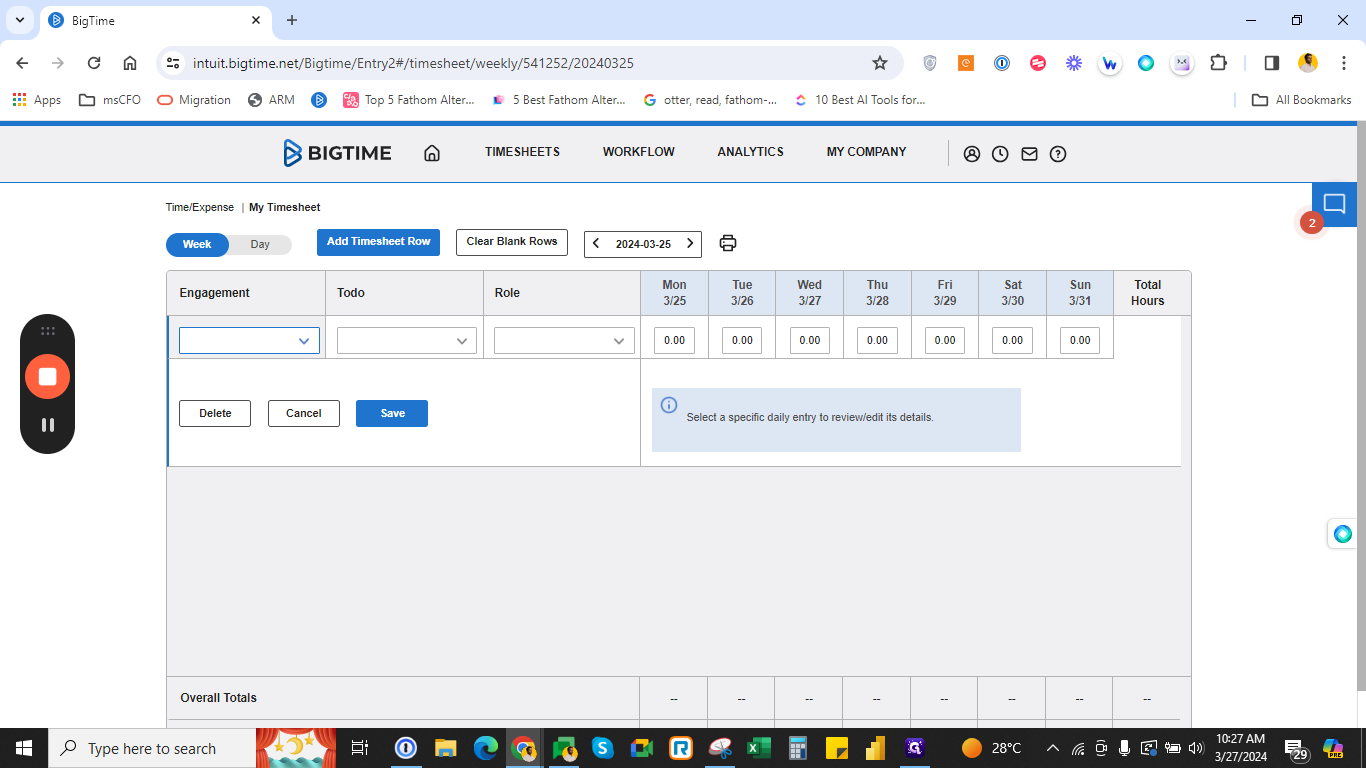
Click "Week"
4
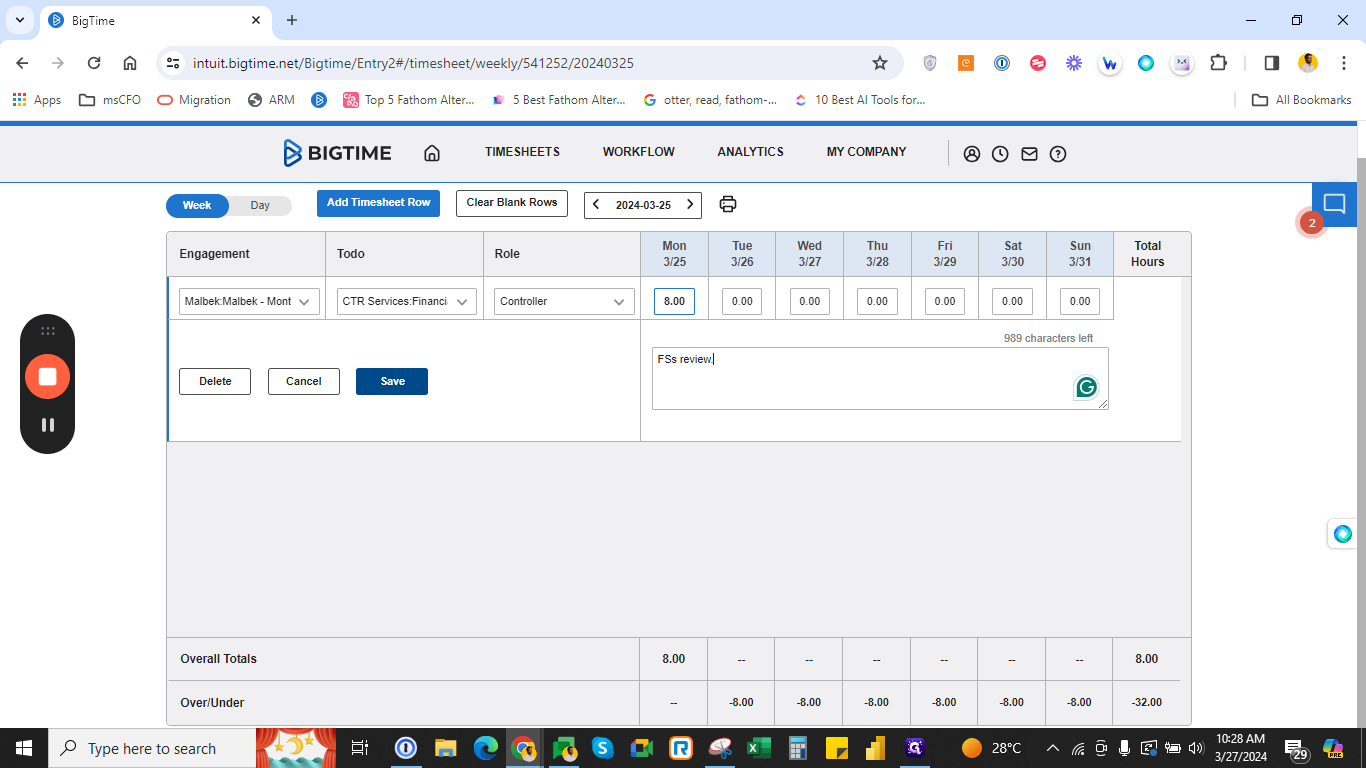
Click "Add Timesheet Row"
5
Click here
6
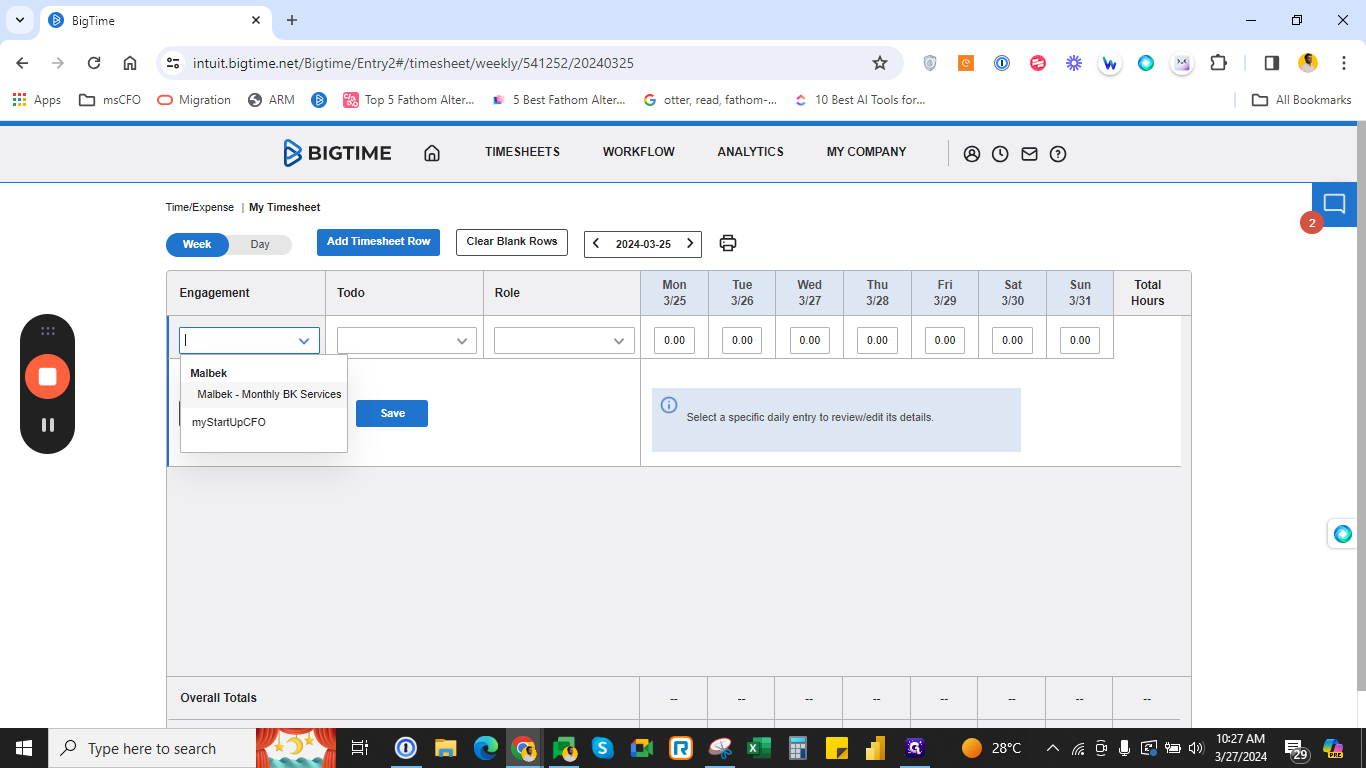
Click on the available client dropdown
7
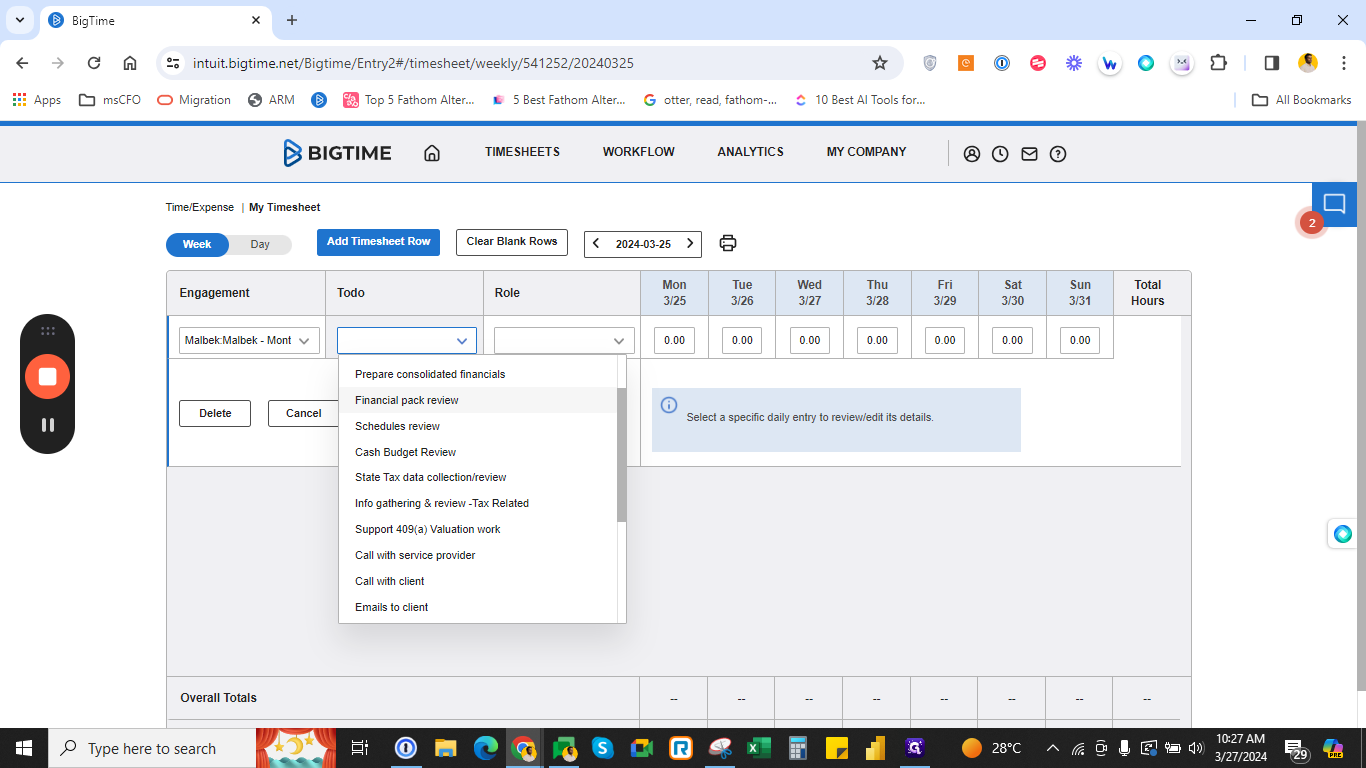
Choose the"to-do" task you're working on
8
eg. "Financial pack review"
9
Always choose the role you've been assigned for, this role will be defaulted once the entire Bigtime set up is complete
10
Update time

11
Click "Save"