
How to Upload a Custom Logo into a Glitter Guide
Learn how to easily upload a custom logo into a Glitter Guide with this step-by-step guide.
By Yuval Karmi
In this guide, we'll learn how to upload a custom logo into a Glitter Guide. This process involves navigating to the correct guide in your browser, editing the guide, and uploading your desired icon. By following these steps, you can ensure that your Glitter Guide displays the correct logo.
Let's get started
Here's a quick guide on uploading a custom logo into a Glitter Guide. First, open your browser and navigate to the correct guide.
1
Navigate to your desired guide

2
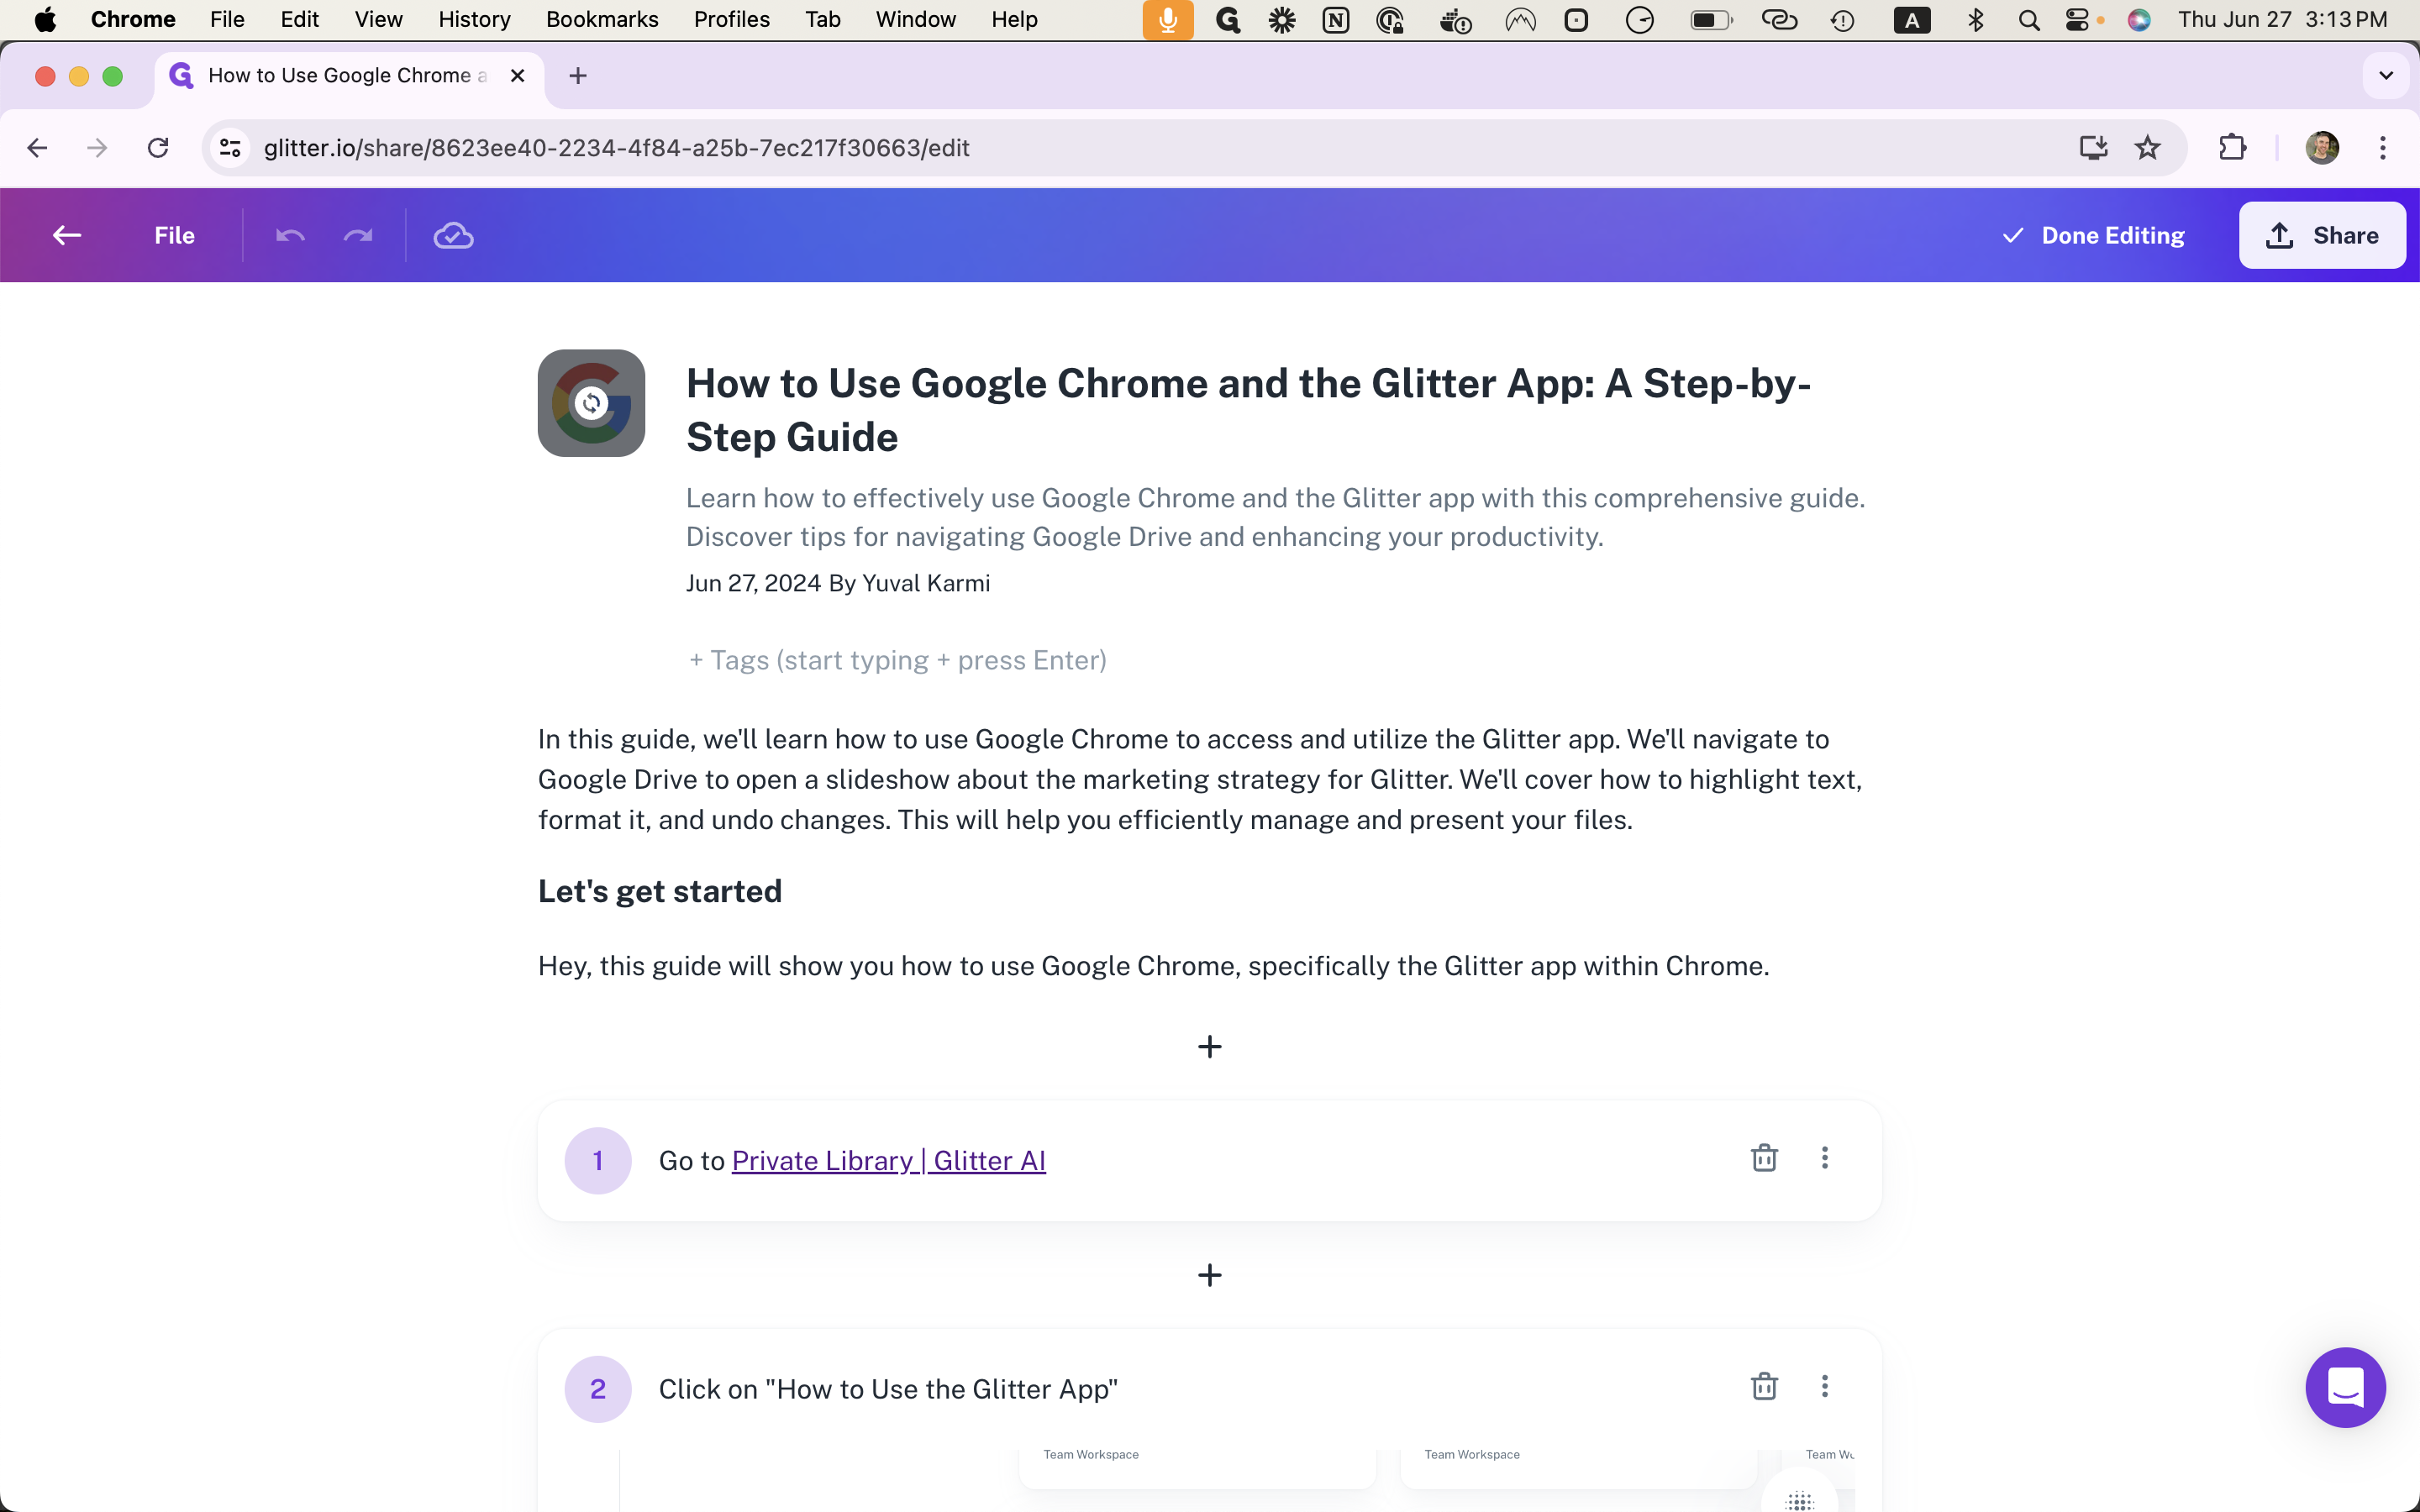
Click on "Edit"
3
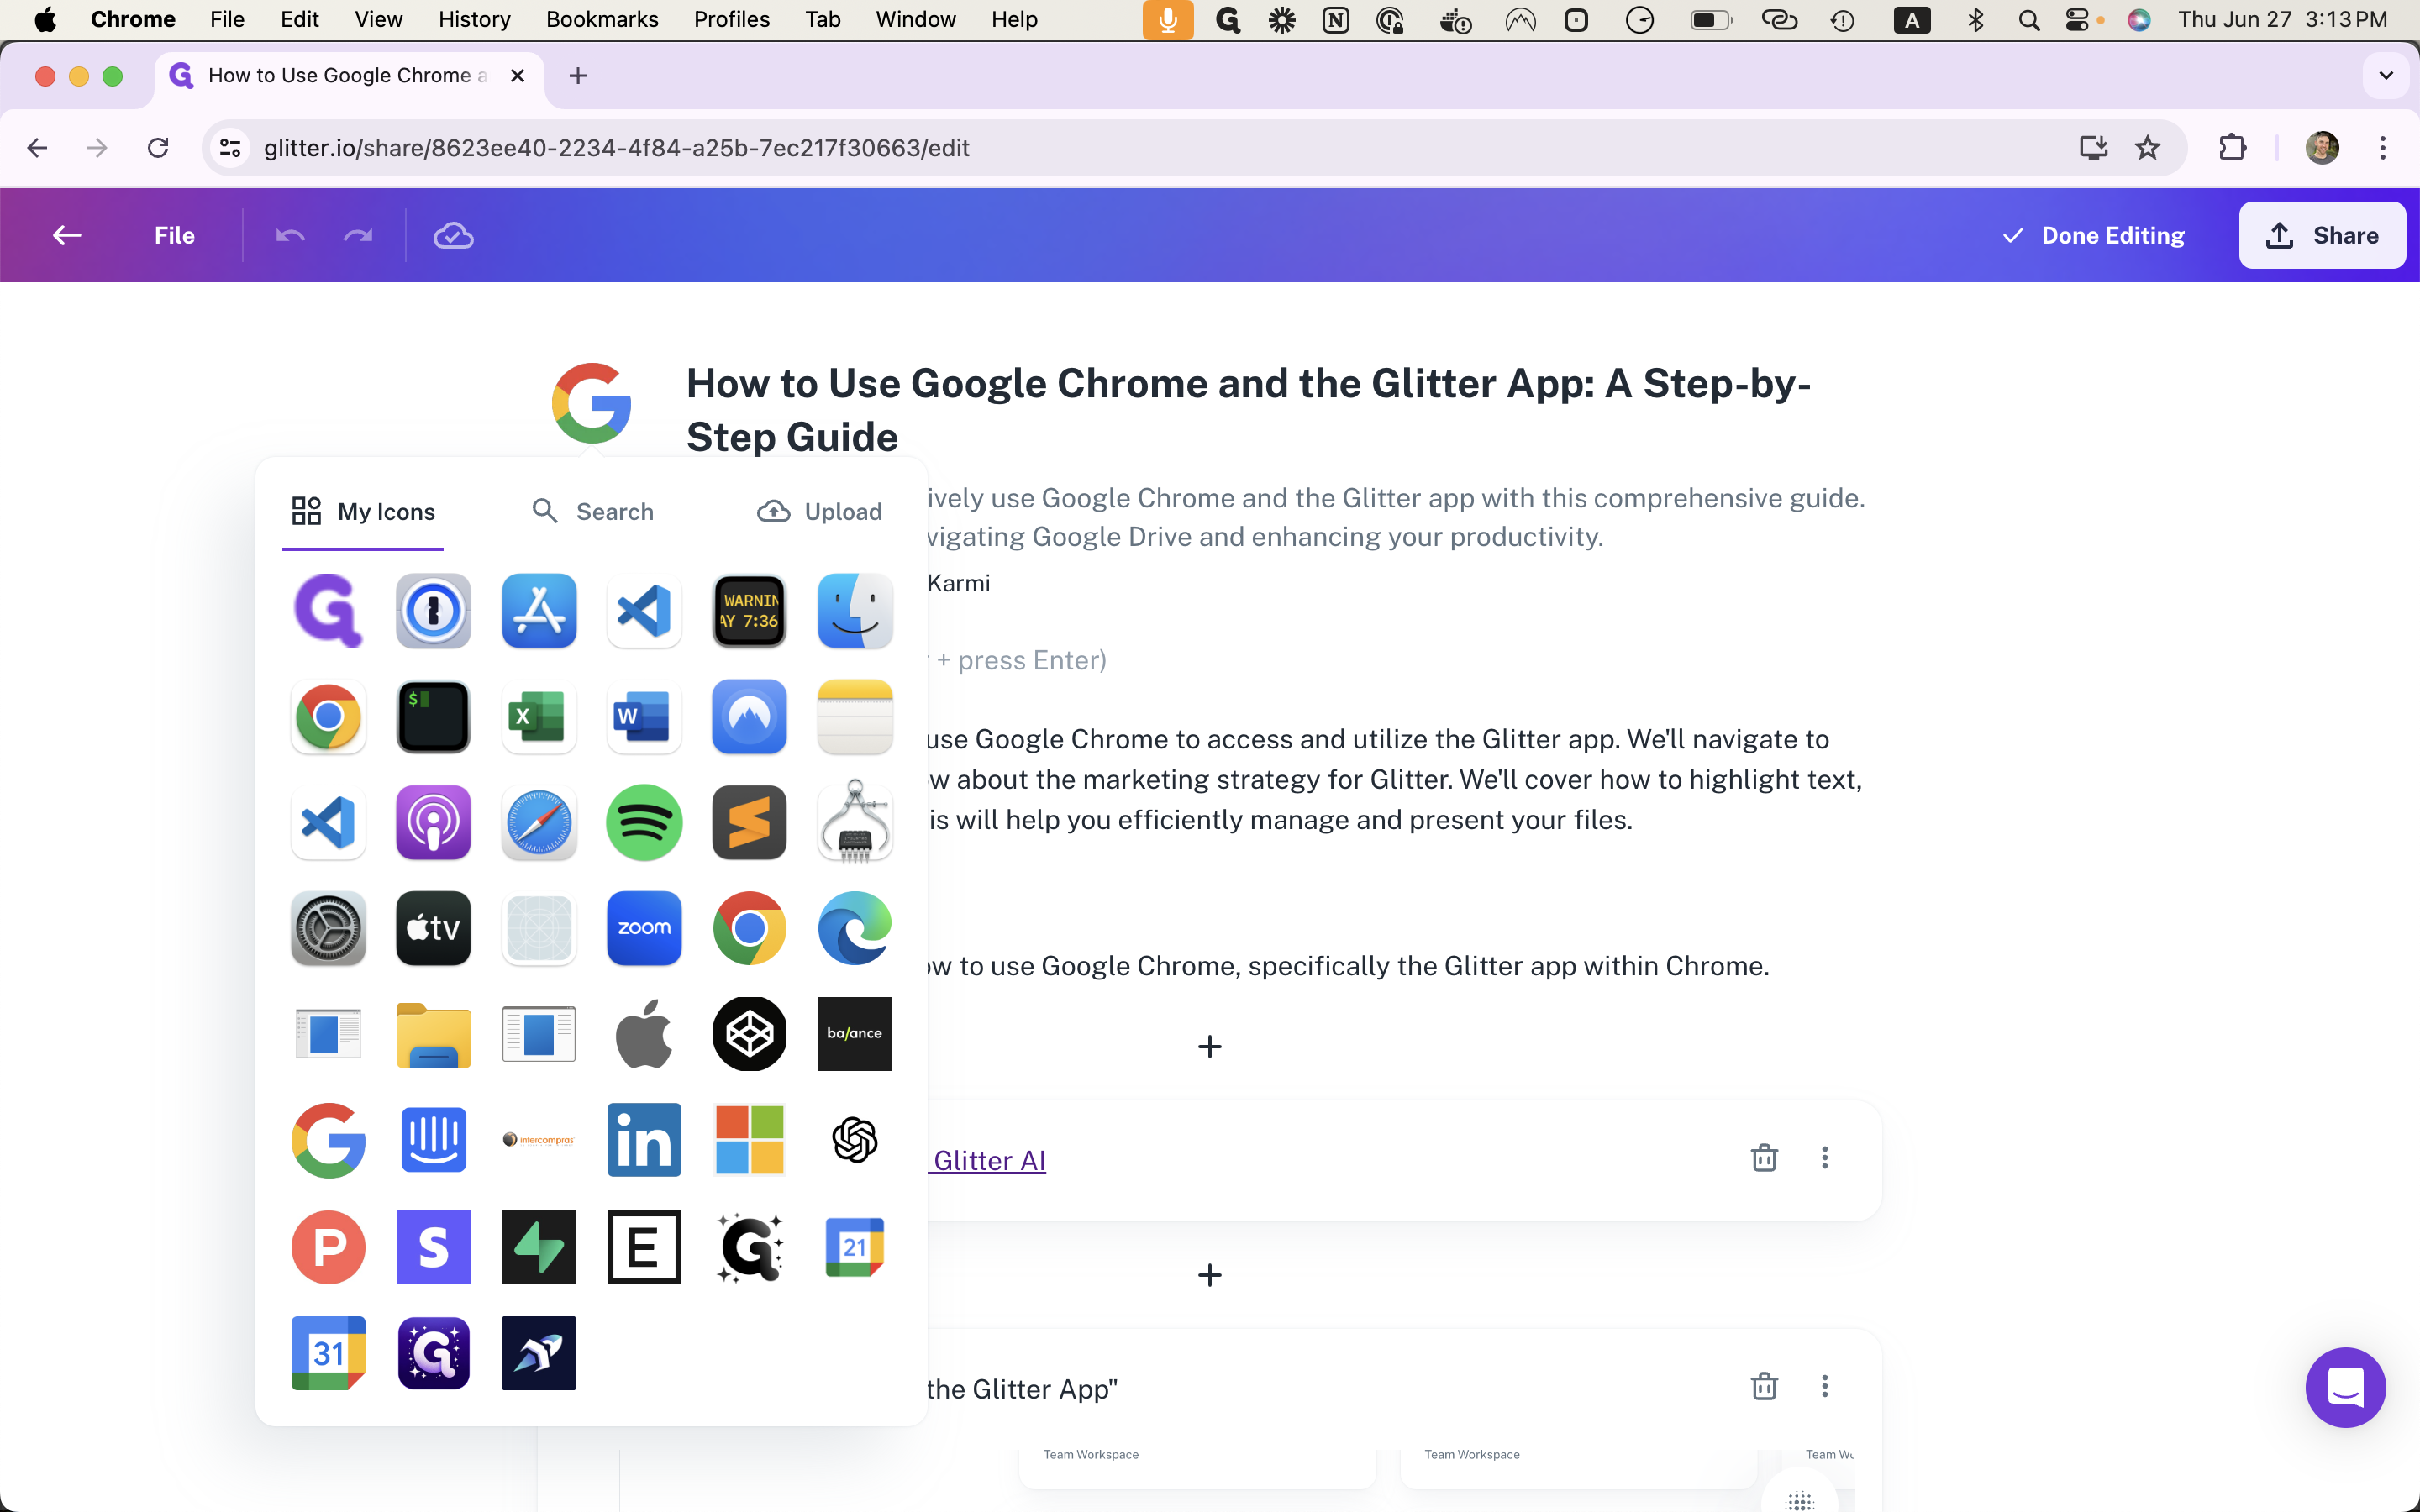
Click on the existing logo
Click on "Upload," then select and upload your own icon.
4
Click on "Upload"
5
Click on "Upload your own icon"
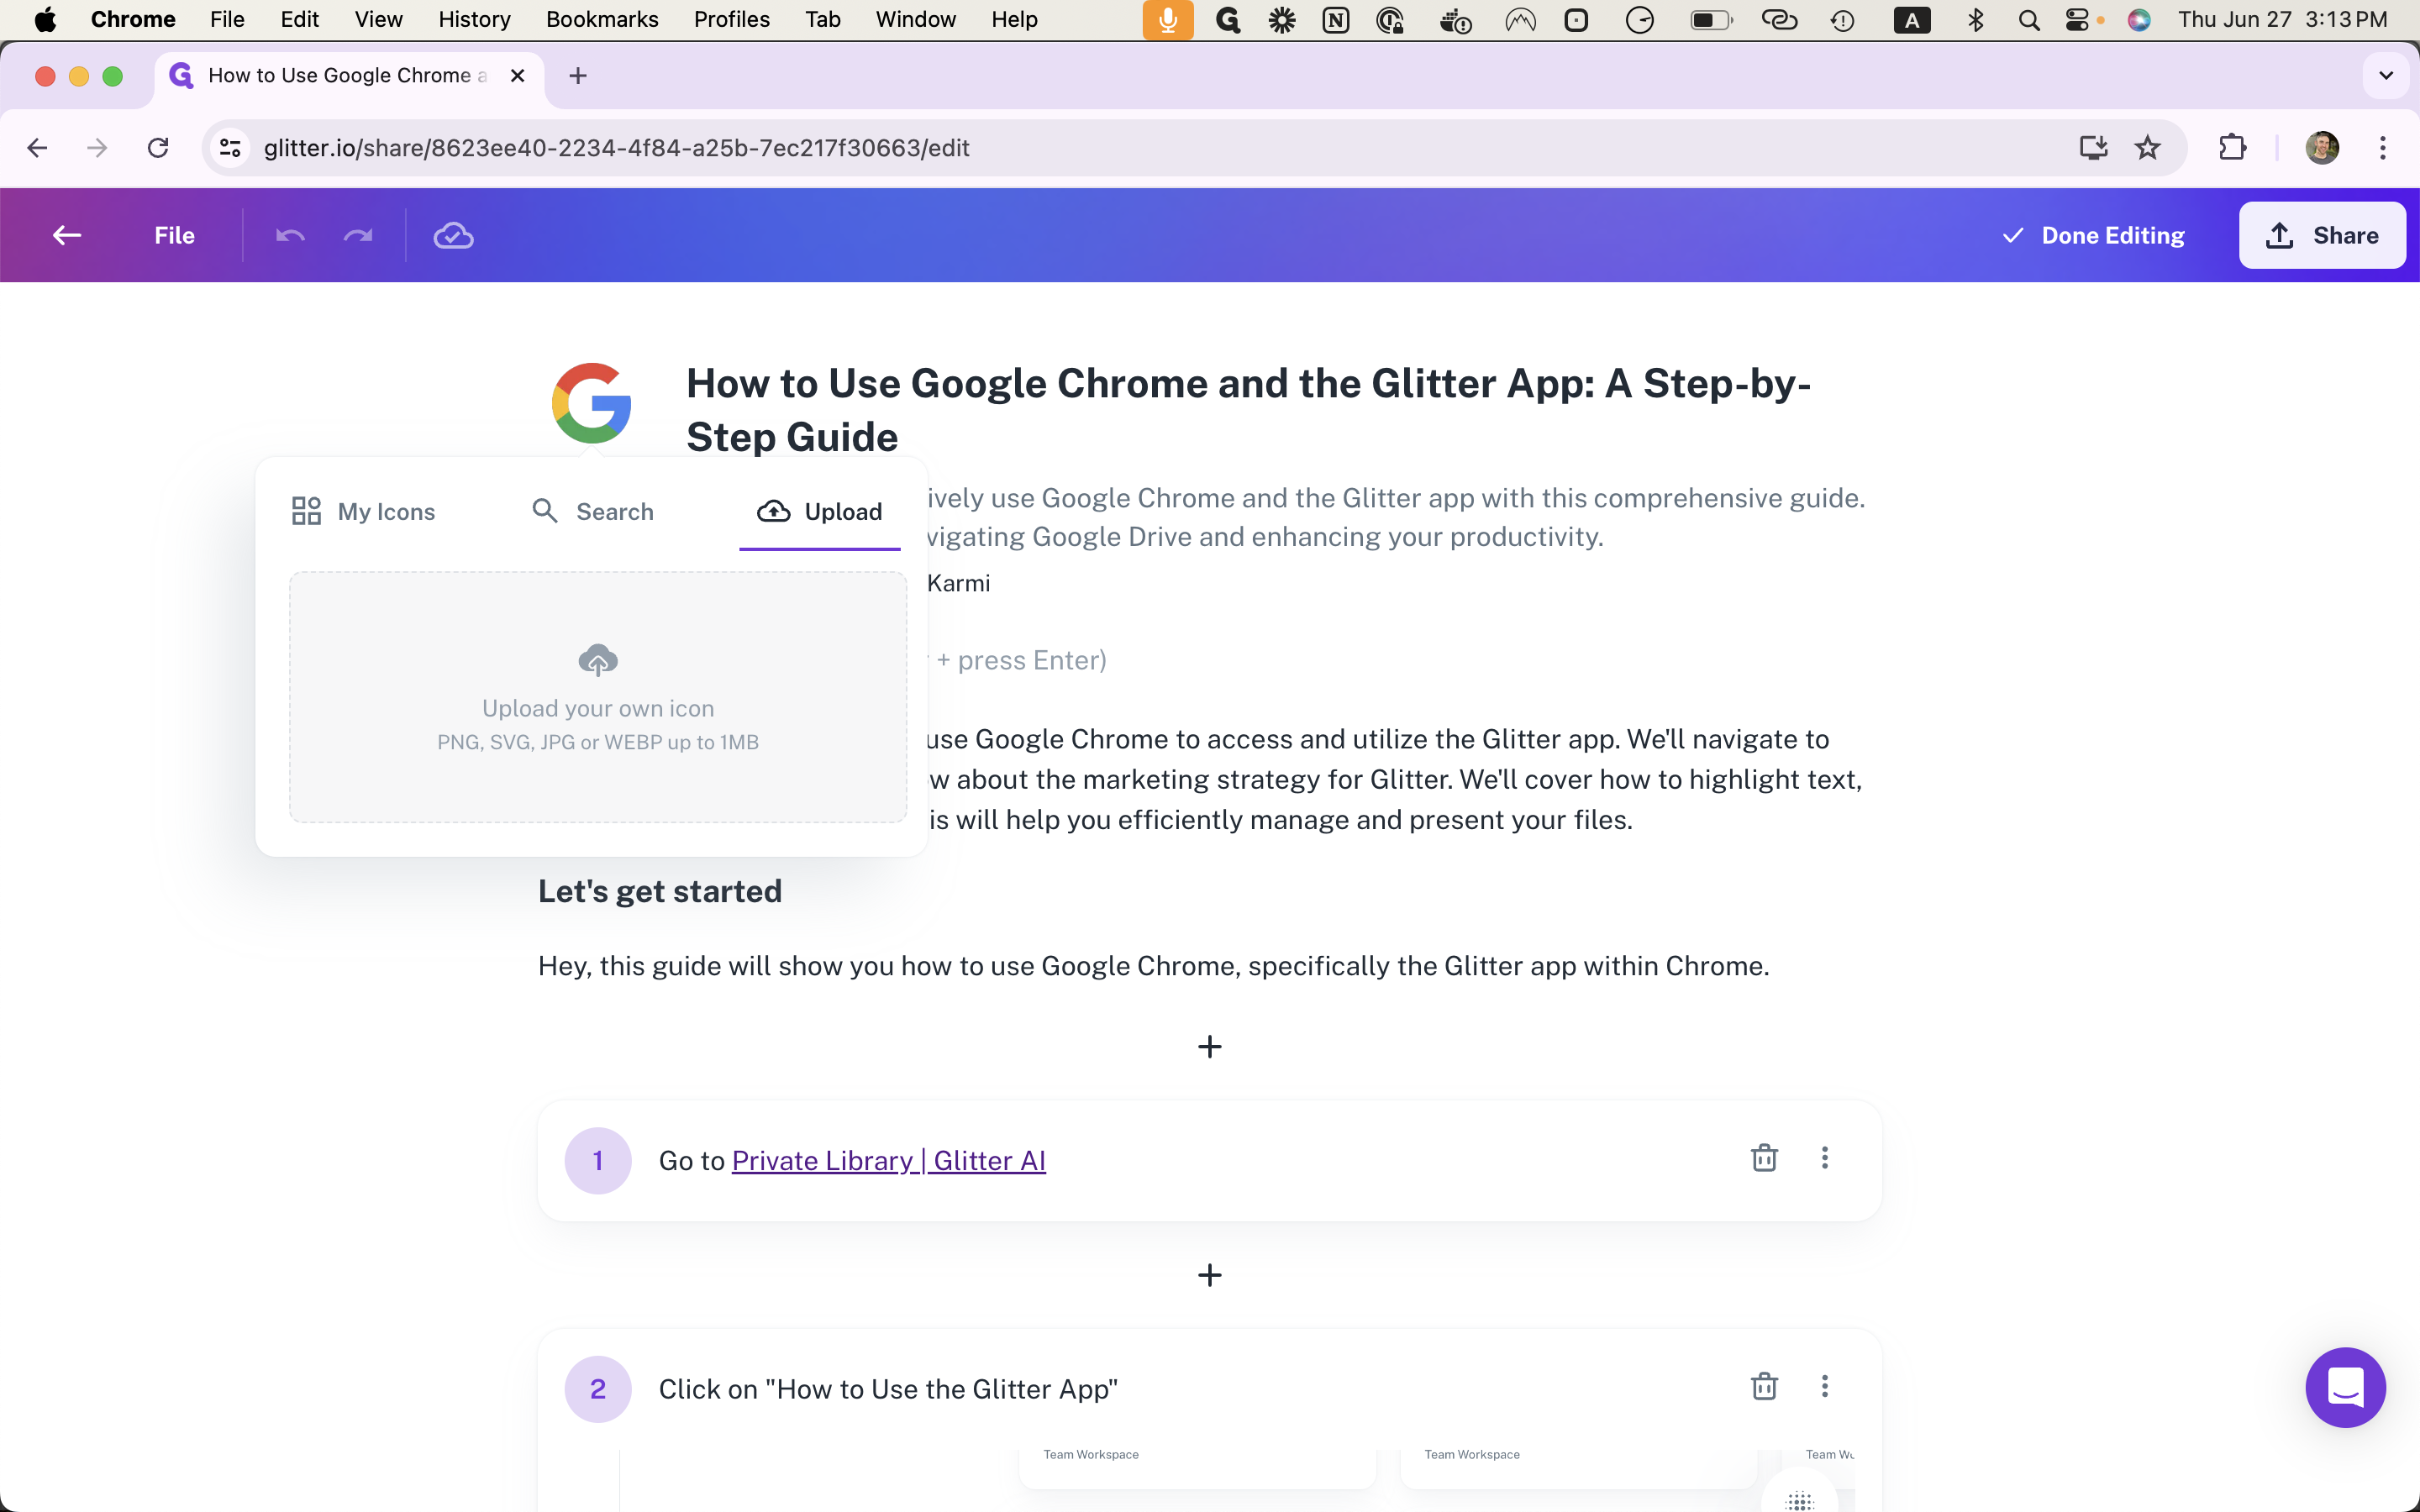
Select the icon from your computer in the dialog that opens.
6
Your icon will now upload "Uploading"
