
How to Upload Customers Using a Spreadsheet
Learn the step-by-step process of uploading customers using a spreadsheet, such as Excel or a tab-delimited file. Follow our guide to easily import your customer data.
In this guide, we'll learn how to upload customer data using a spreadsheet like Excel or a tab-delimited file. This process involves selecting your file, mapping your column headers to match the system's headers, and previewing the data before finalizing the upload. By following these steps, you can ensure that your customer information is accurately imported and ready for use.
Let's get started
Let's go through the process of uploading customers using a spreadsheet, such as Excel or a tab-delimited file.
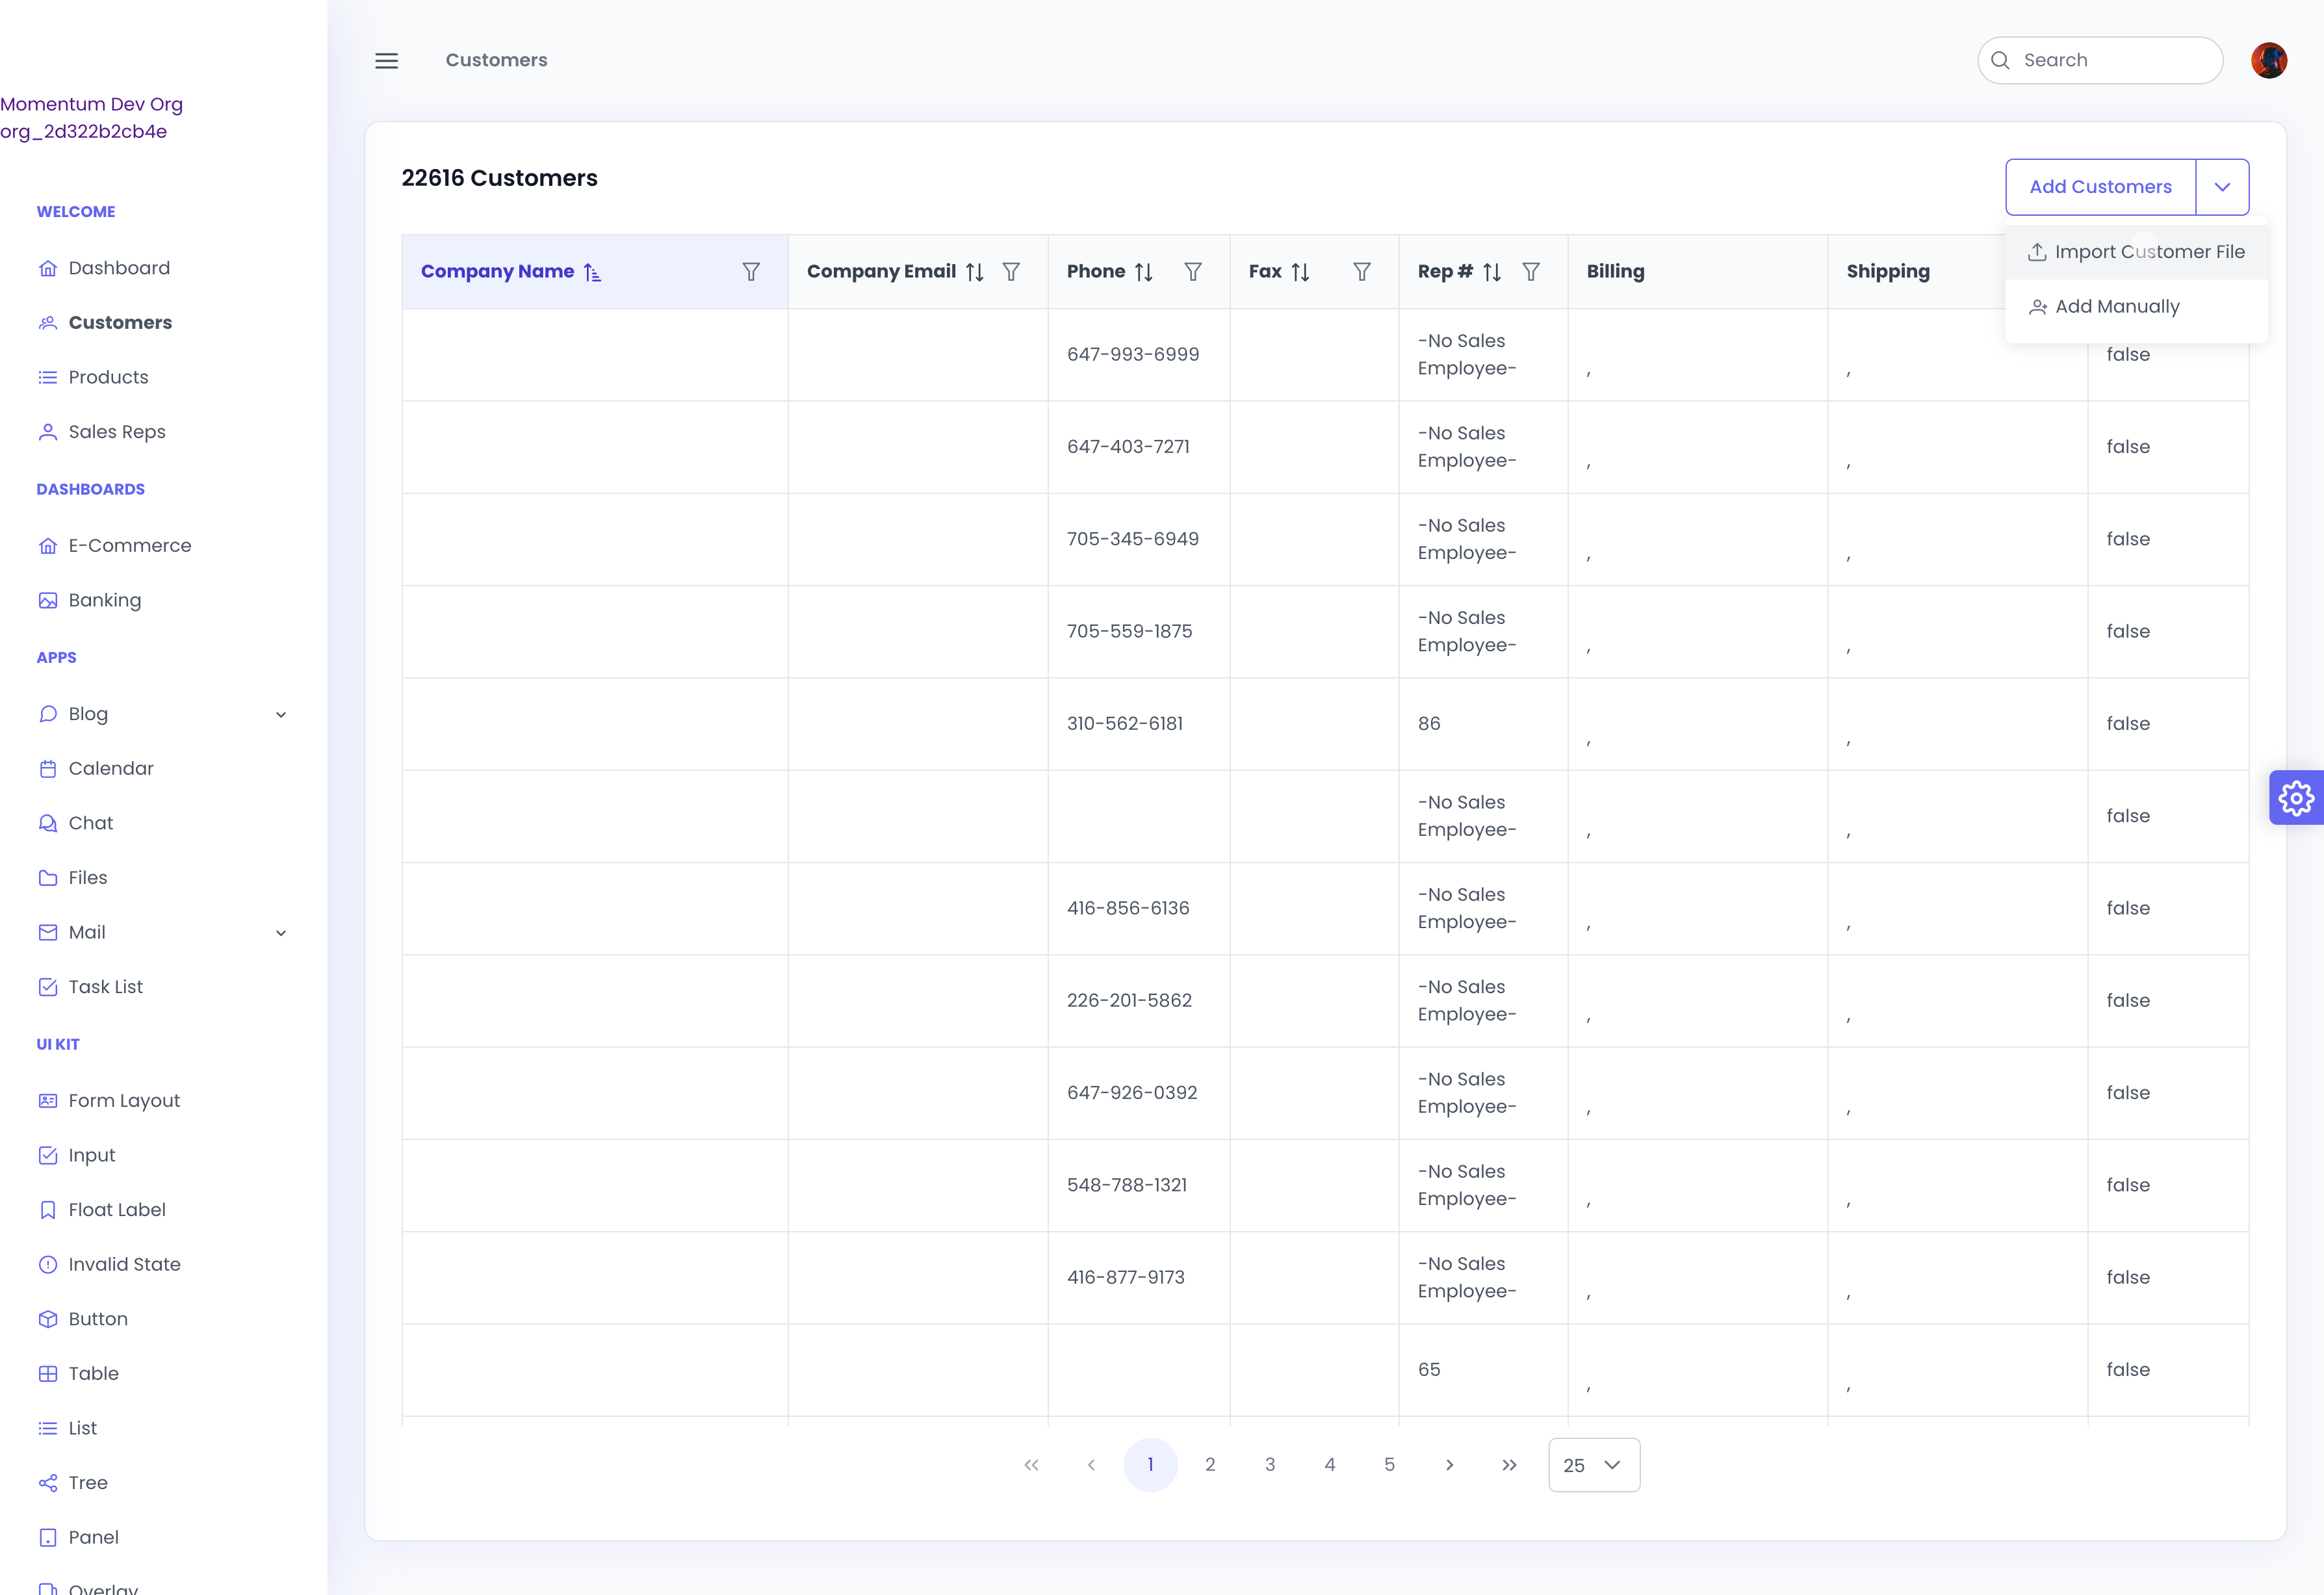
Click on "Import Customer File" here.

Click on Select File. Scroll and find the sheet you want to upload. Click Open, and a preview of the mapped headers will appear. Map your column headers with our column headers.


As you can see, it appears we've already mapped this file. You can tell because there are some matches that have been made.


When a match is made, the row turns green.

Once we have our headers mapped, we click "Preview." This gives us a preview of our data that was uploaded in the spreadsheet.

It also indicates which columns of data will be ignored, so we know this data will not be imported. The rest of the data will be mapped based on the column headings provided.


Finally, click "Upload" and wait a moment for the customers to be uploaded.


Once that's complete, we can view our customers.

It's that simple.