Icon

How to Upload First Aid and CPR Credentials into Dimensions

Learn the step-by-step process to upload First Aid and CPR credentials into Dimensions, including data cleaning and import validation.

By Jacob Higgison

In this guide, we'll learn how to upload First Aid and CPR credentials into Dimensions. This process involves receiving a weekly report via email, exporting it to CSV, and cleaning the data in Excel. We'll use XLOOKUP to validate employee IDs and format dates for import. Finally, we'll import the cleaned data into Dimensions to update the credentials.

Let's get started

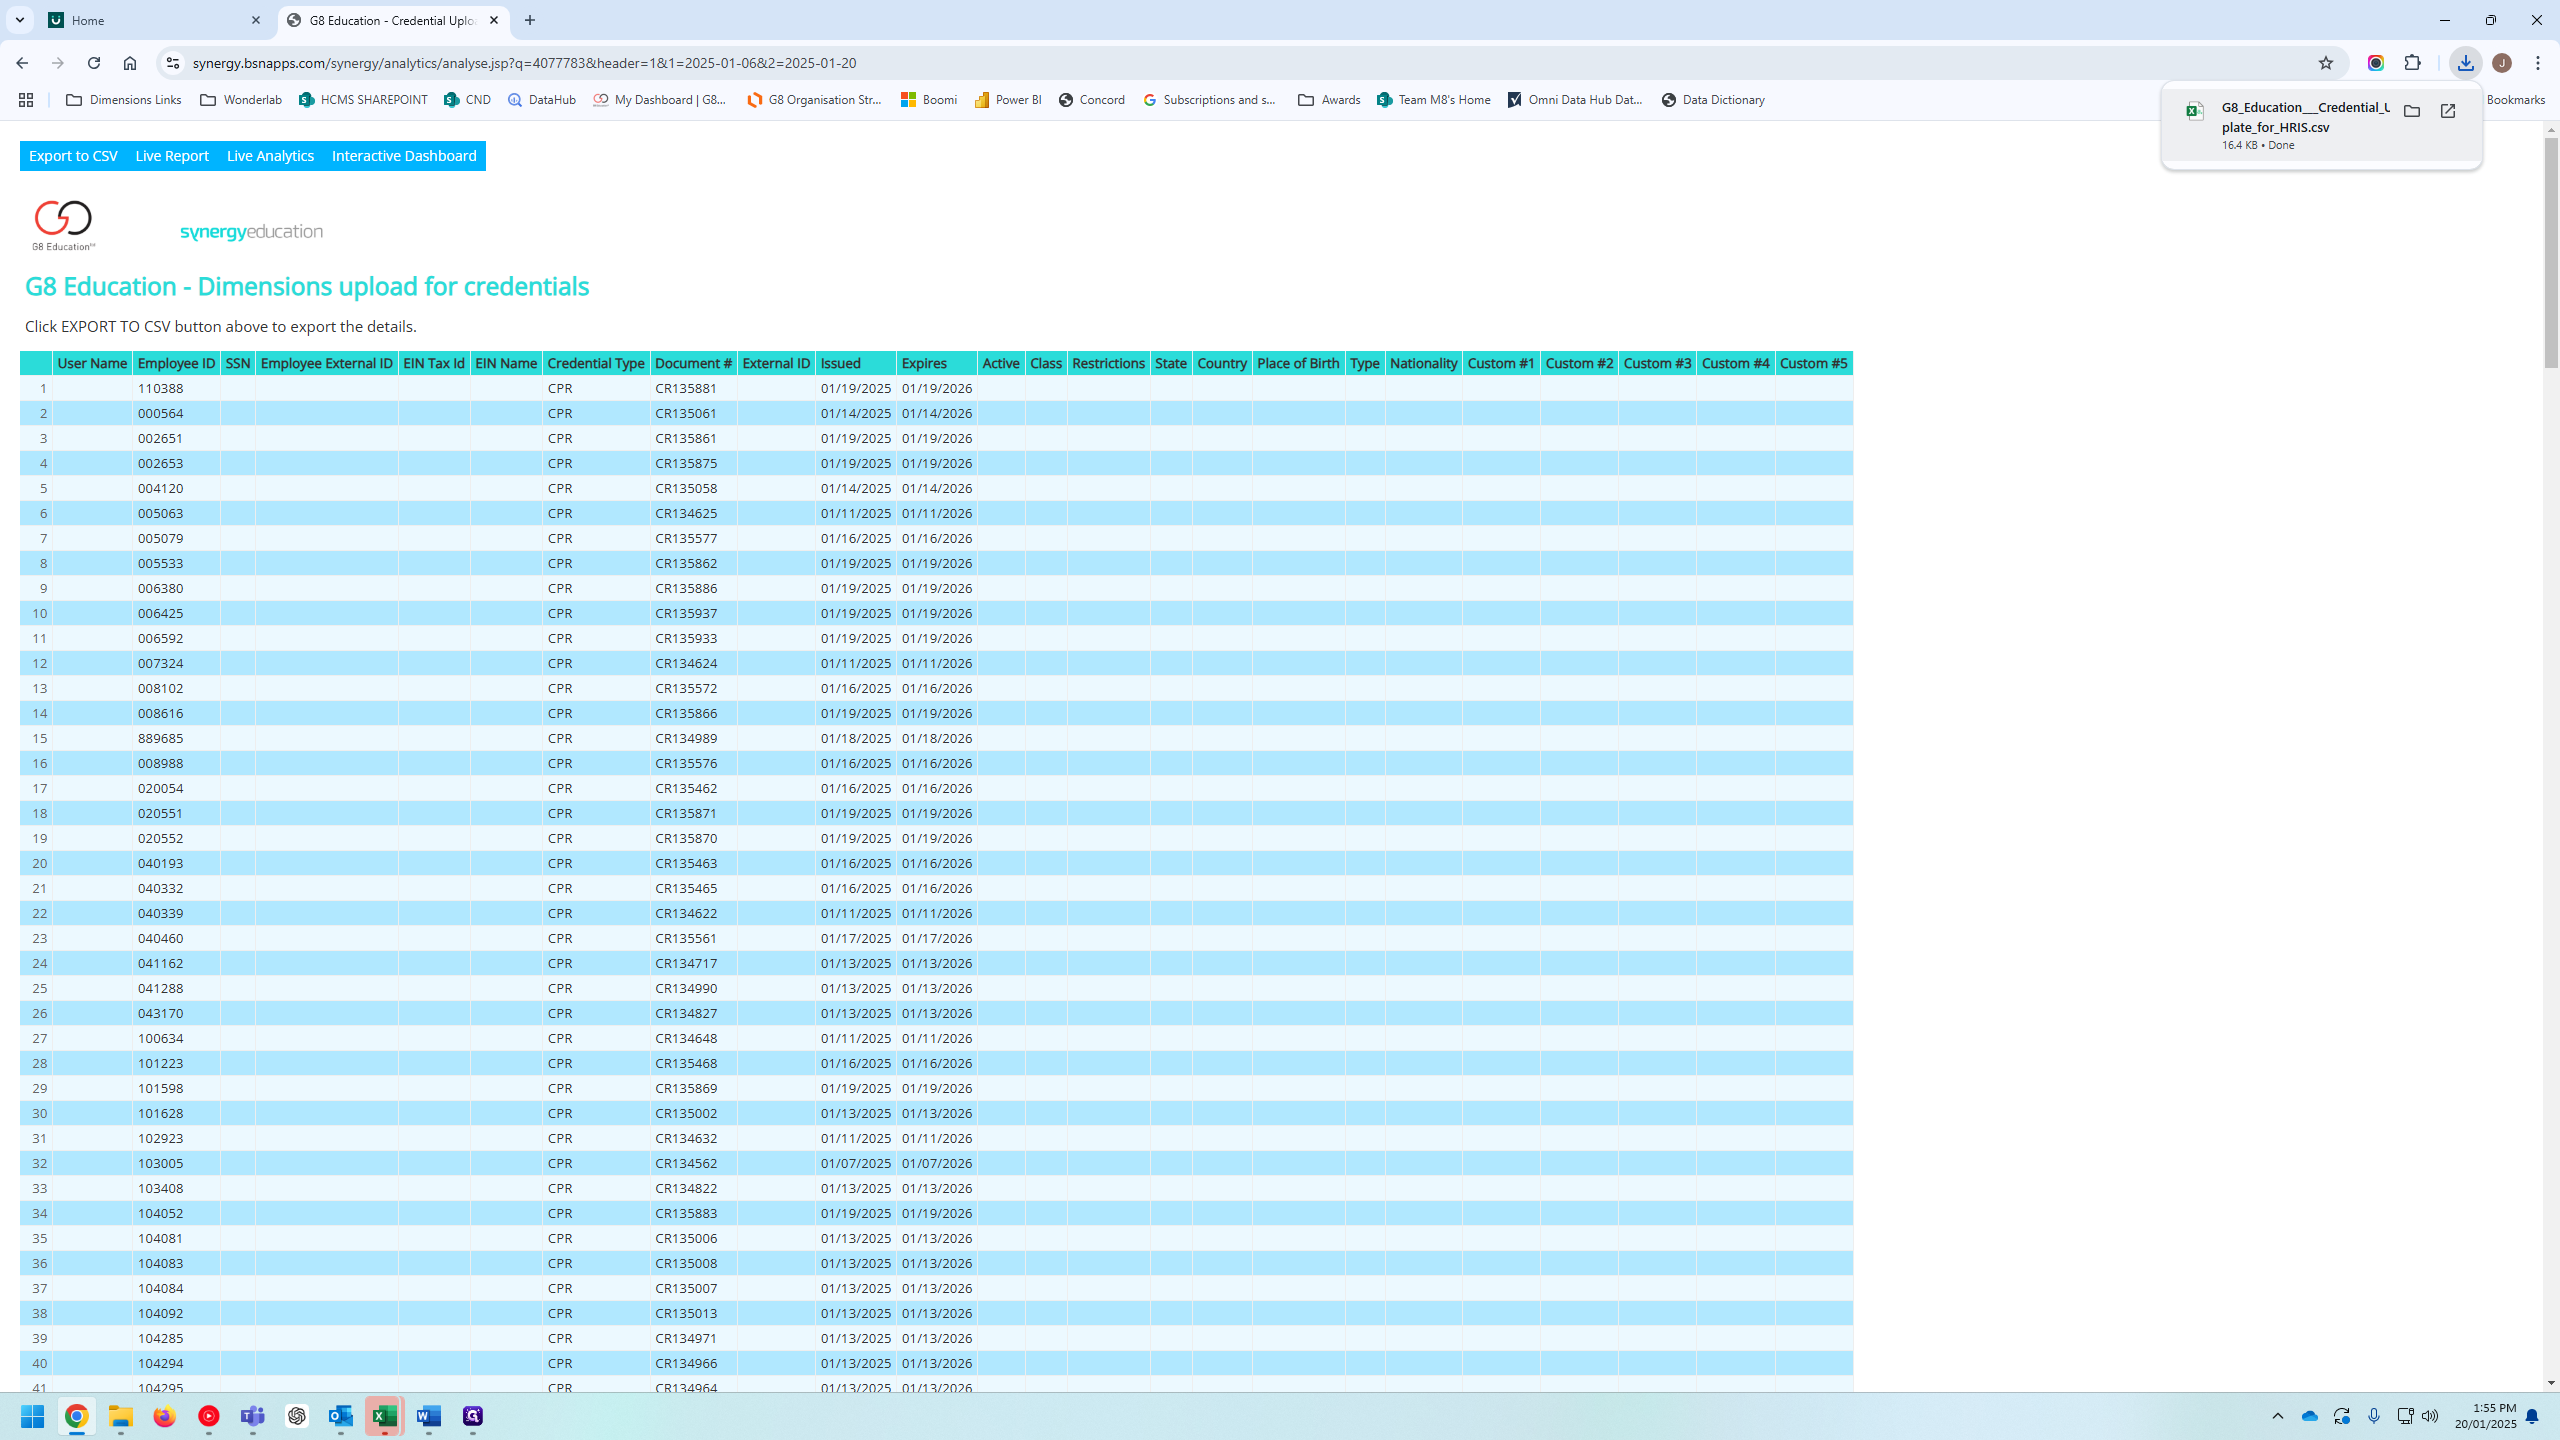
Today, we will upload the First Aid and CPR credentials into Dimensions. This is a weekly task received via URL. Simply open the report from the link in your task.
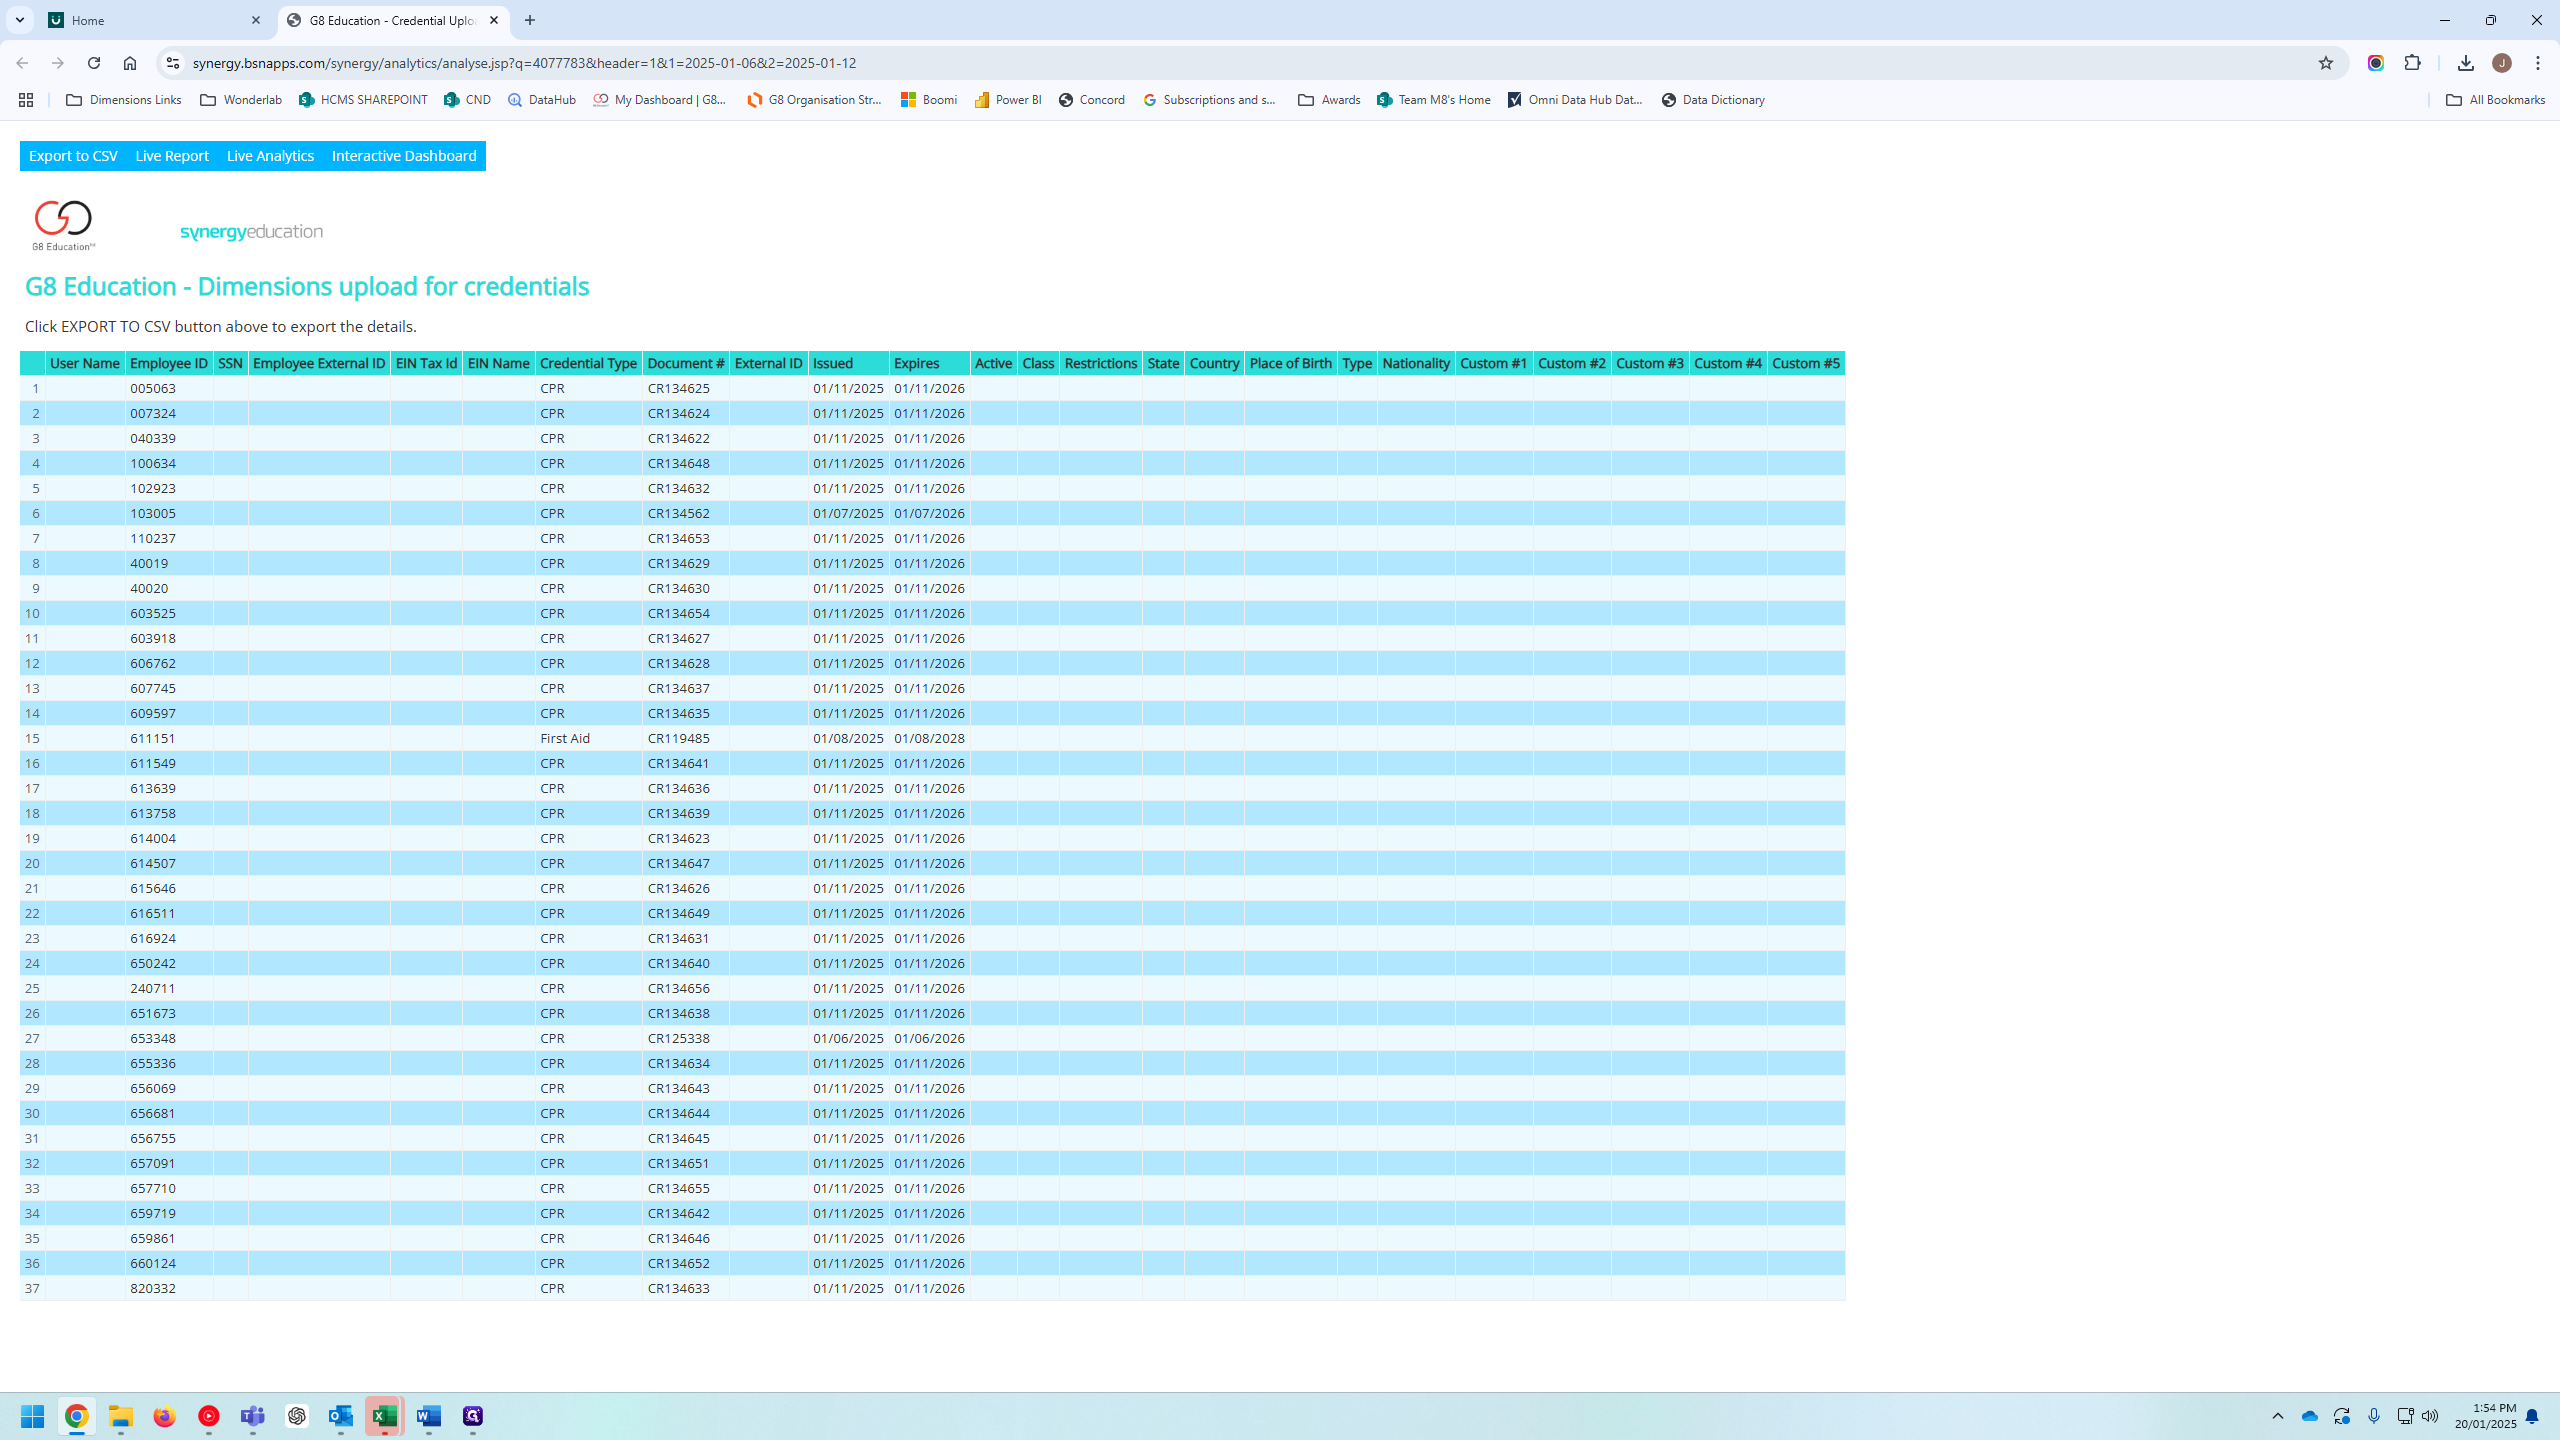
1
Click here
Step #1: Click here

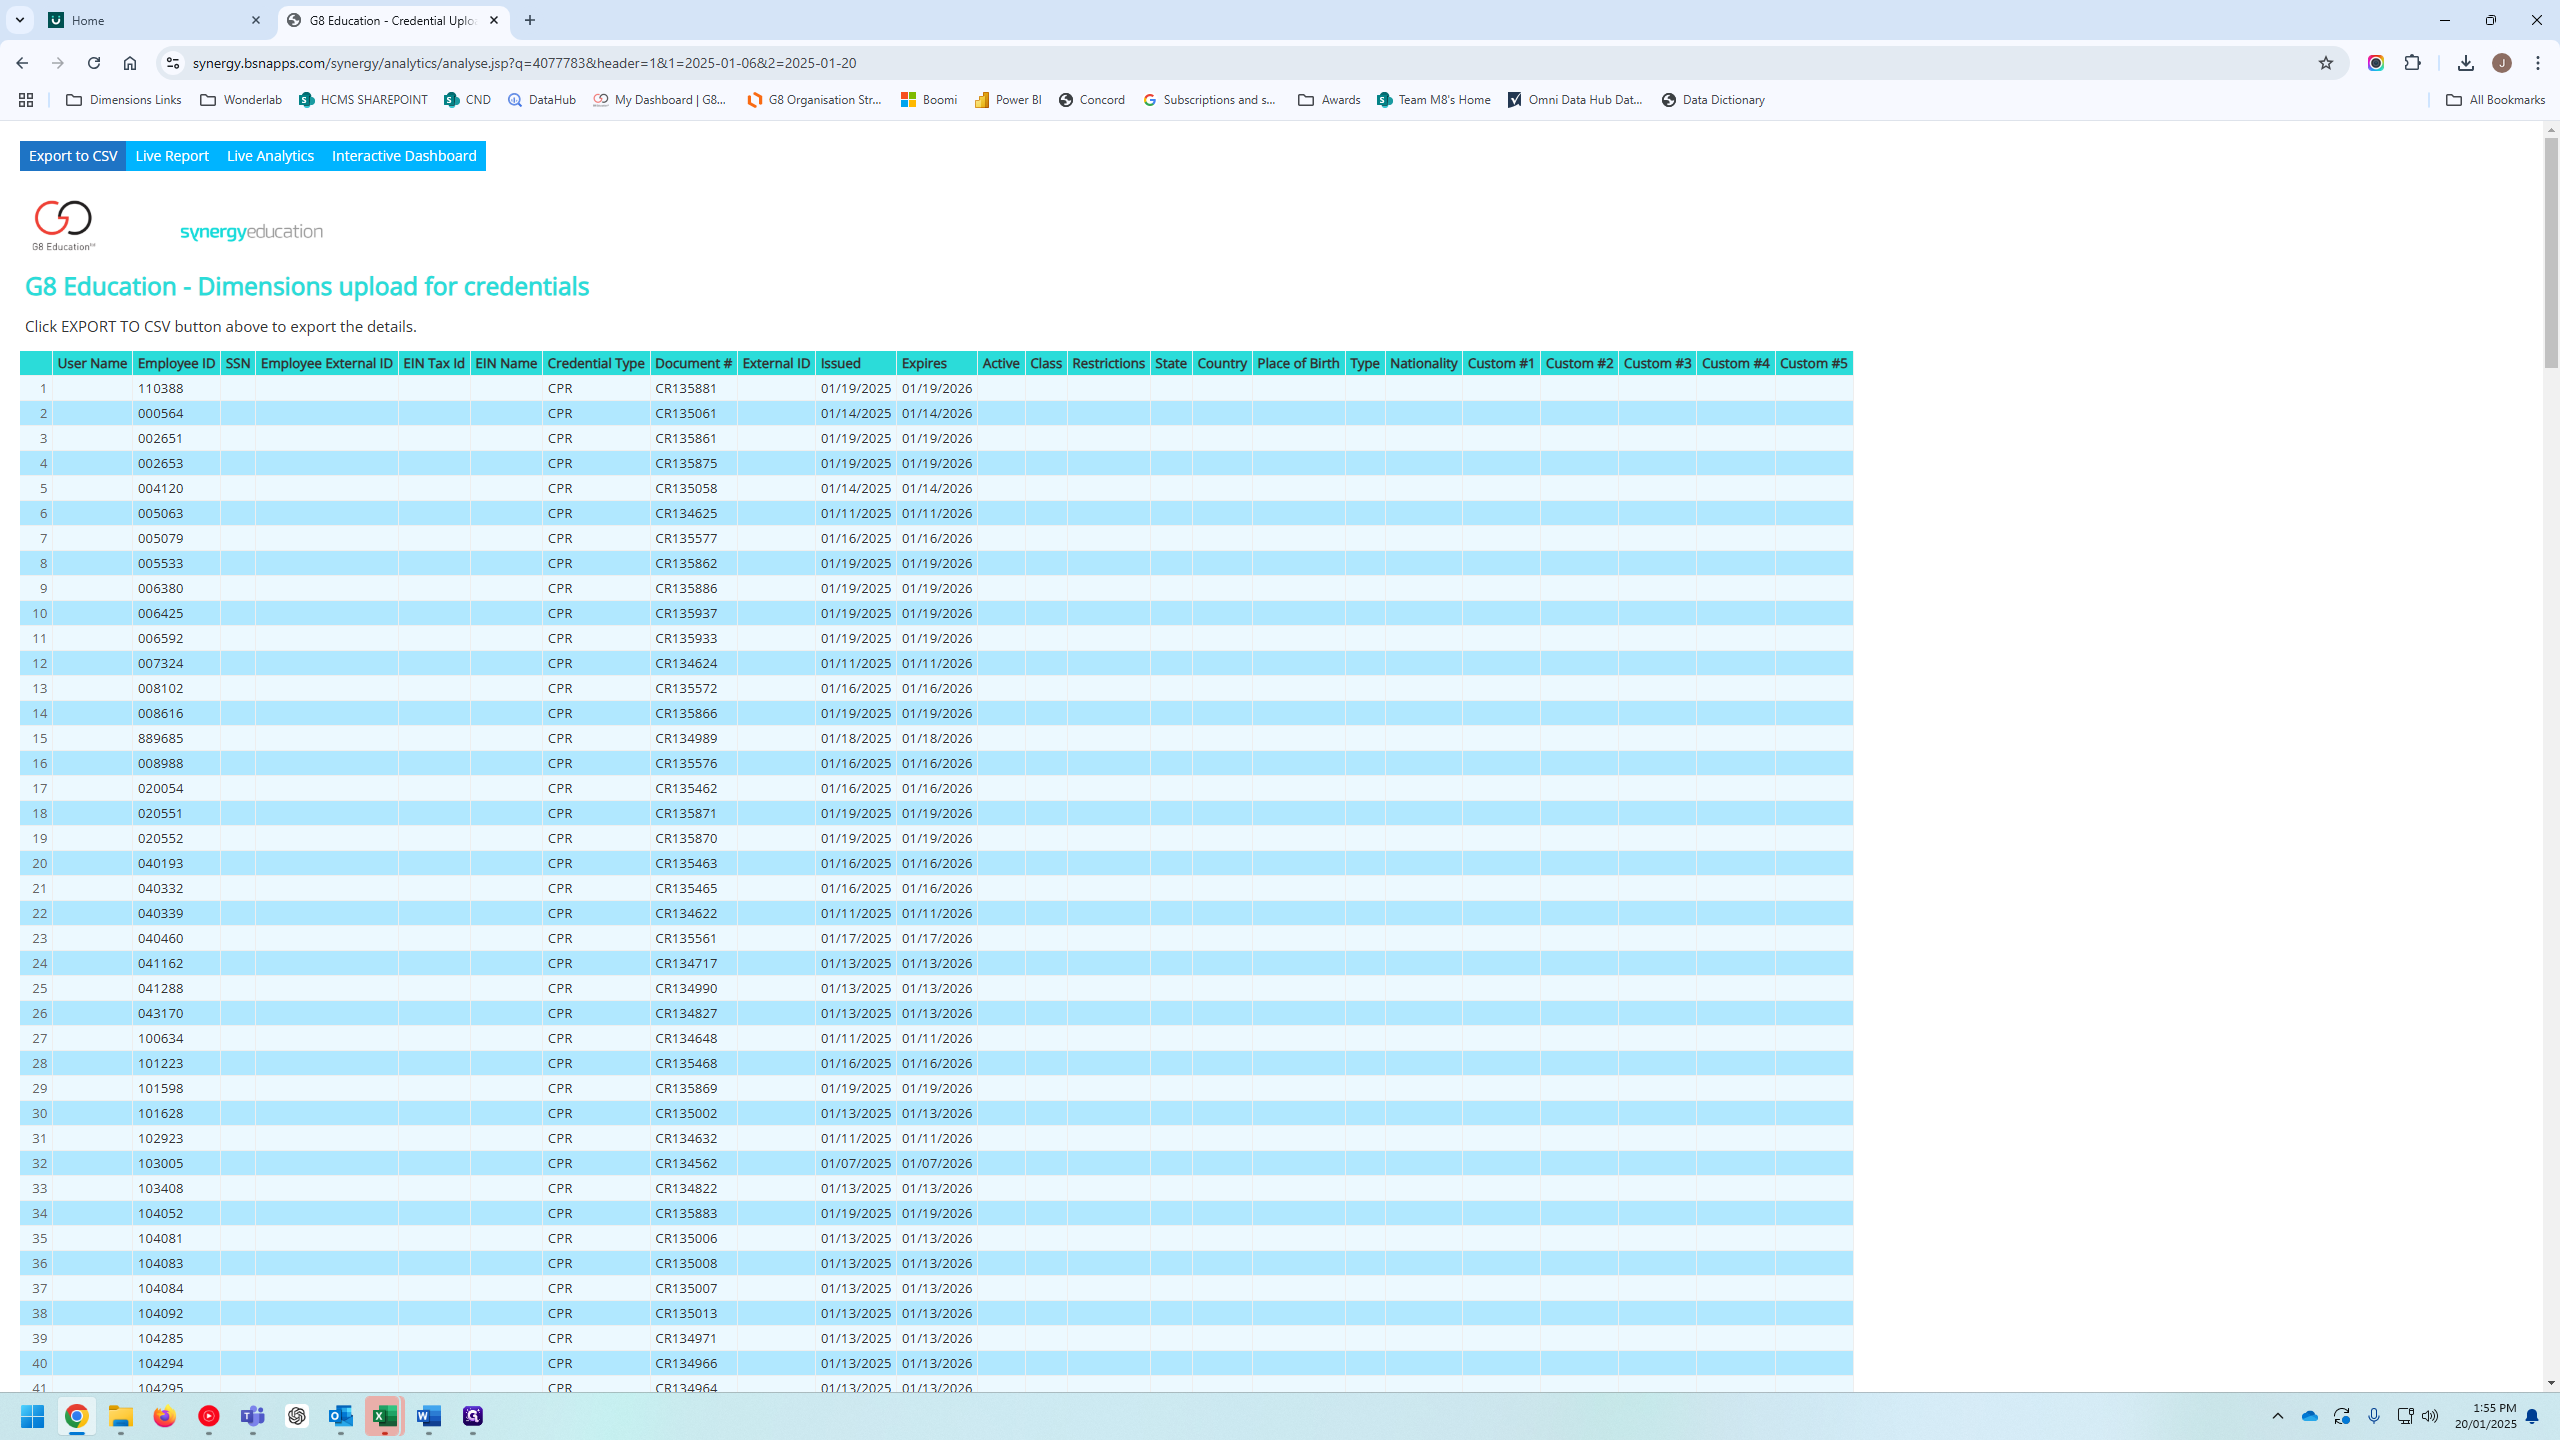
Once you've received it, you can change the URL to reflect the date you're importing. This will provide you with all the data between the imports you've run.
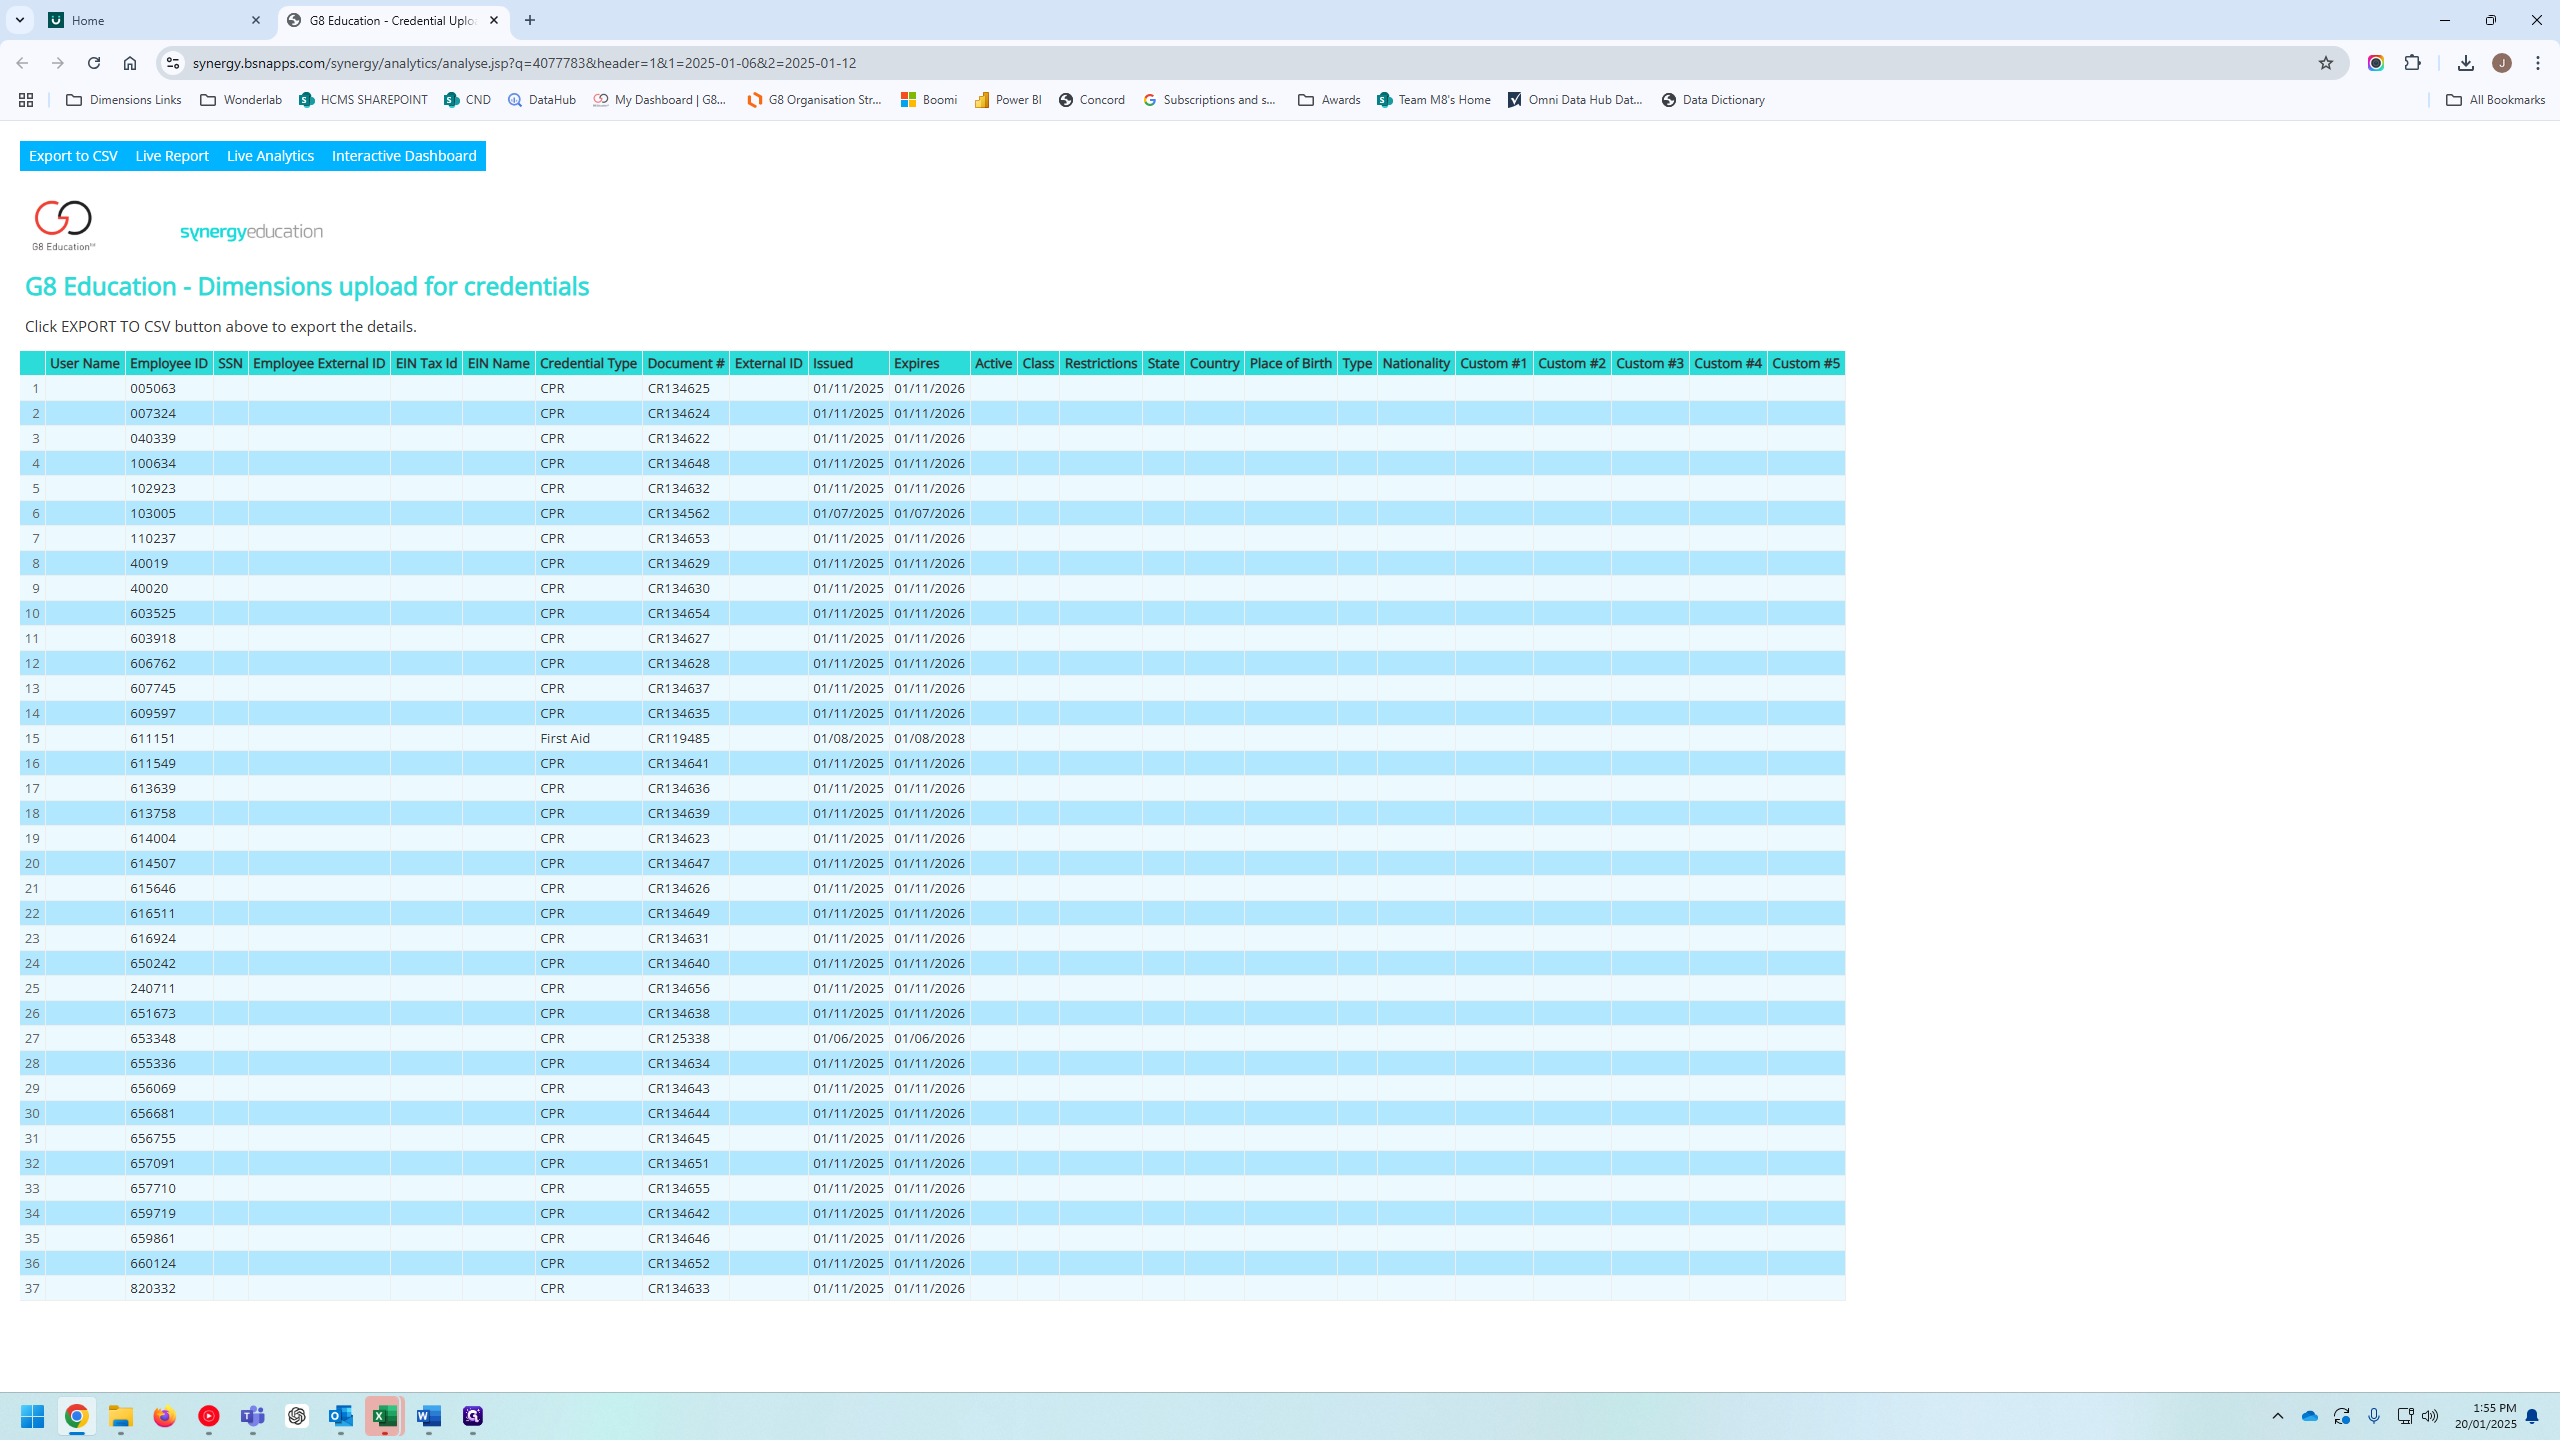
2
Click on the dates in the URL and make the start date the day after the previous upload (you can work this out using the Credential Upload file in the HCMAudits Upload folder
Step #2: Click on the dates in the URL and make the start date the day after the previous upload (you can work this out using the Credential Upload file in the HCMAudits Upload folder

I will export this to CSV, open it, and now it's in Excel.
3
Click on "Export to CSV"
Step #3: Click on "Export to CSV"
4
Double-click on the export
Step #4: Double-click on the export
5
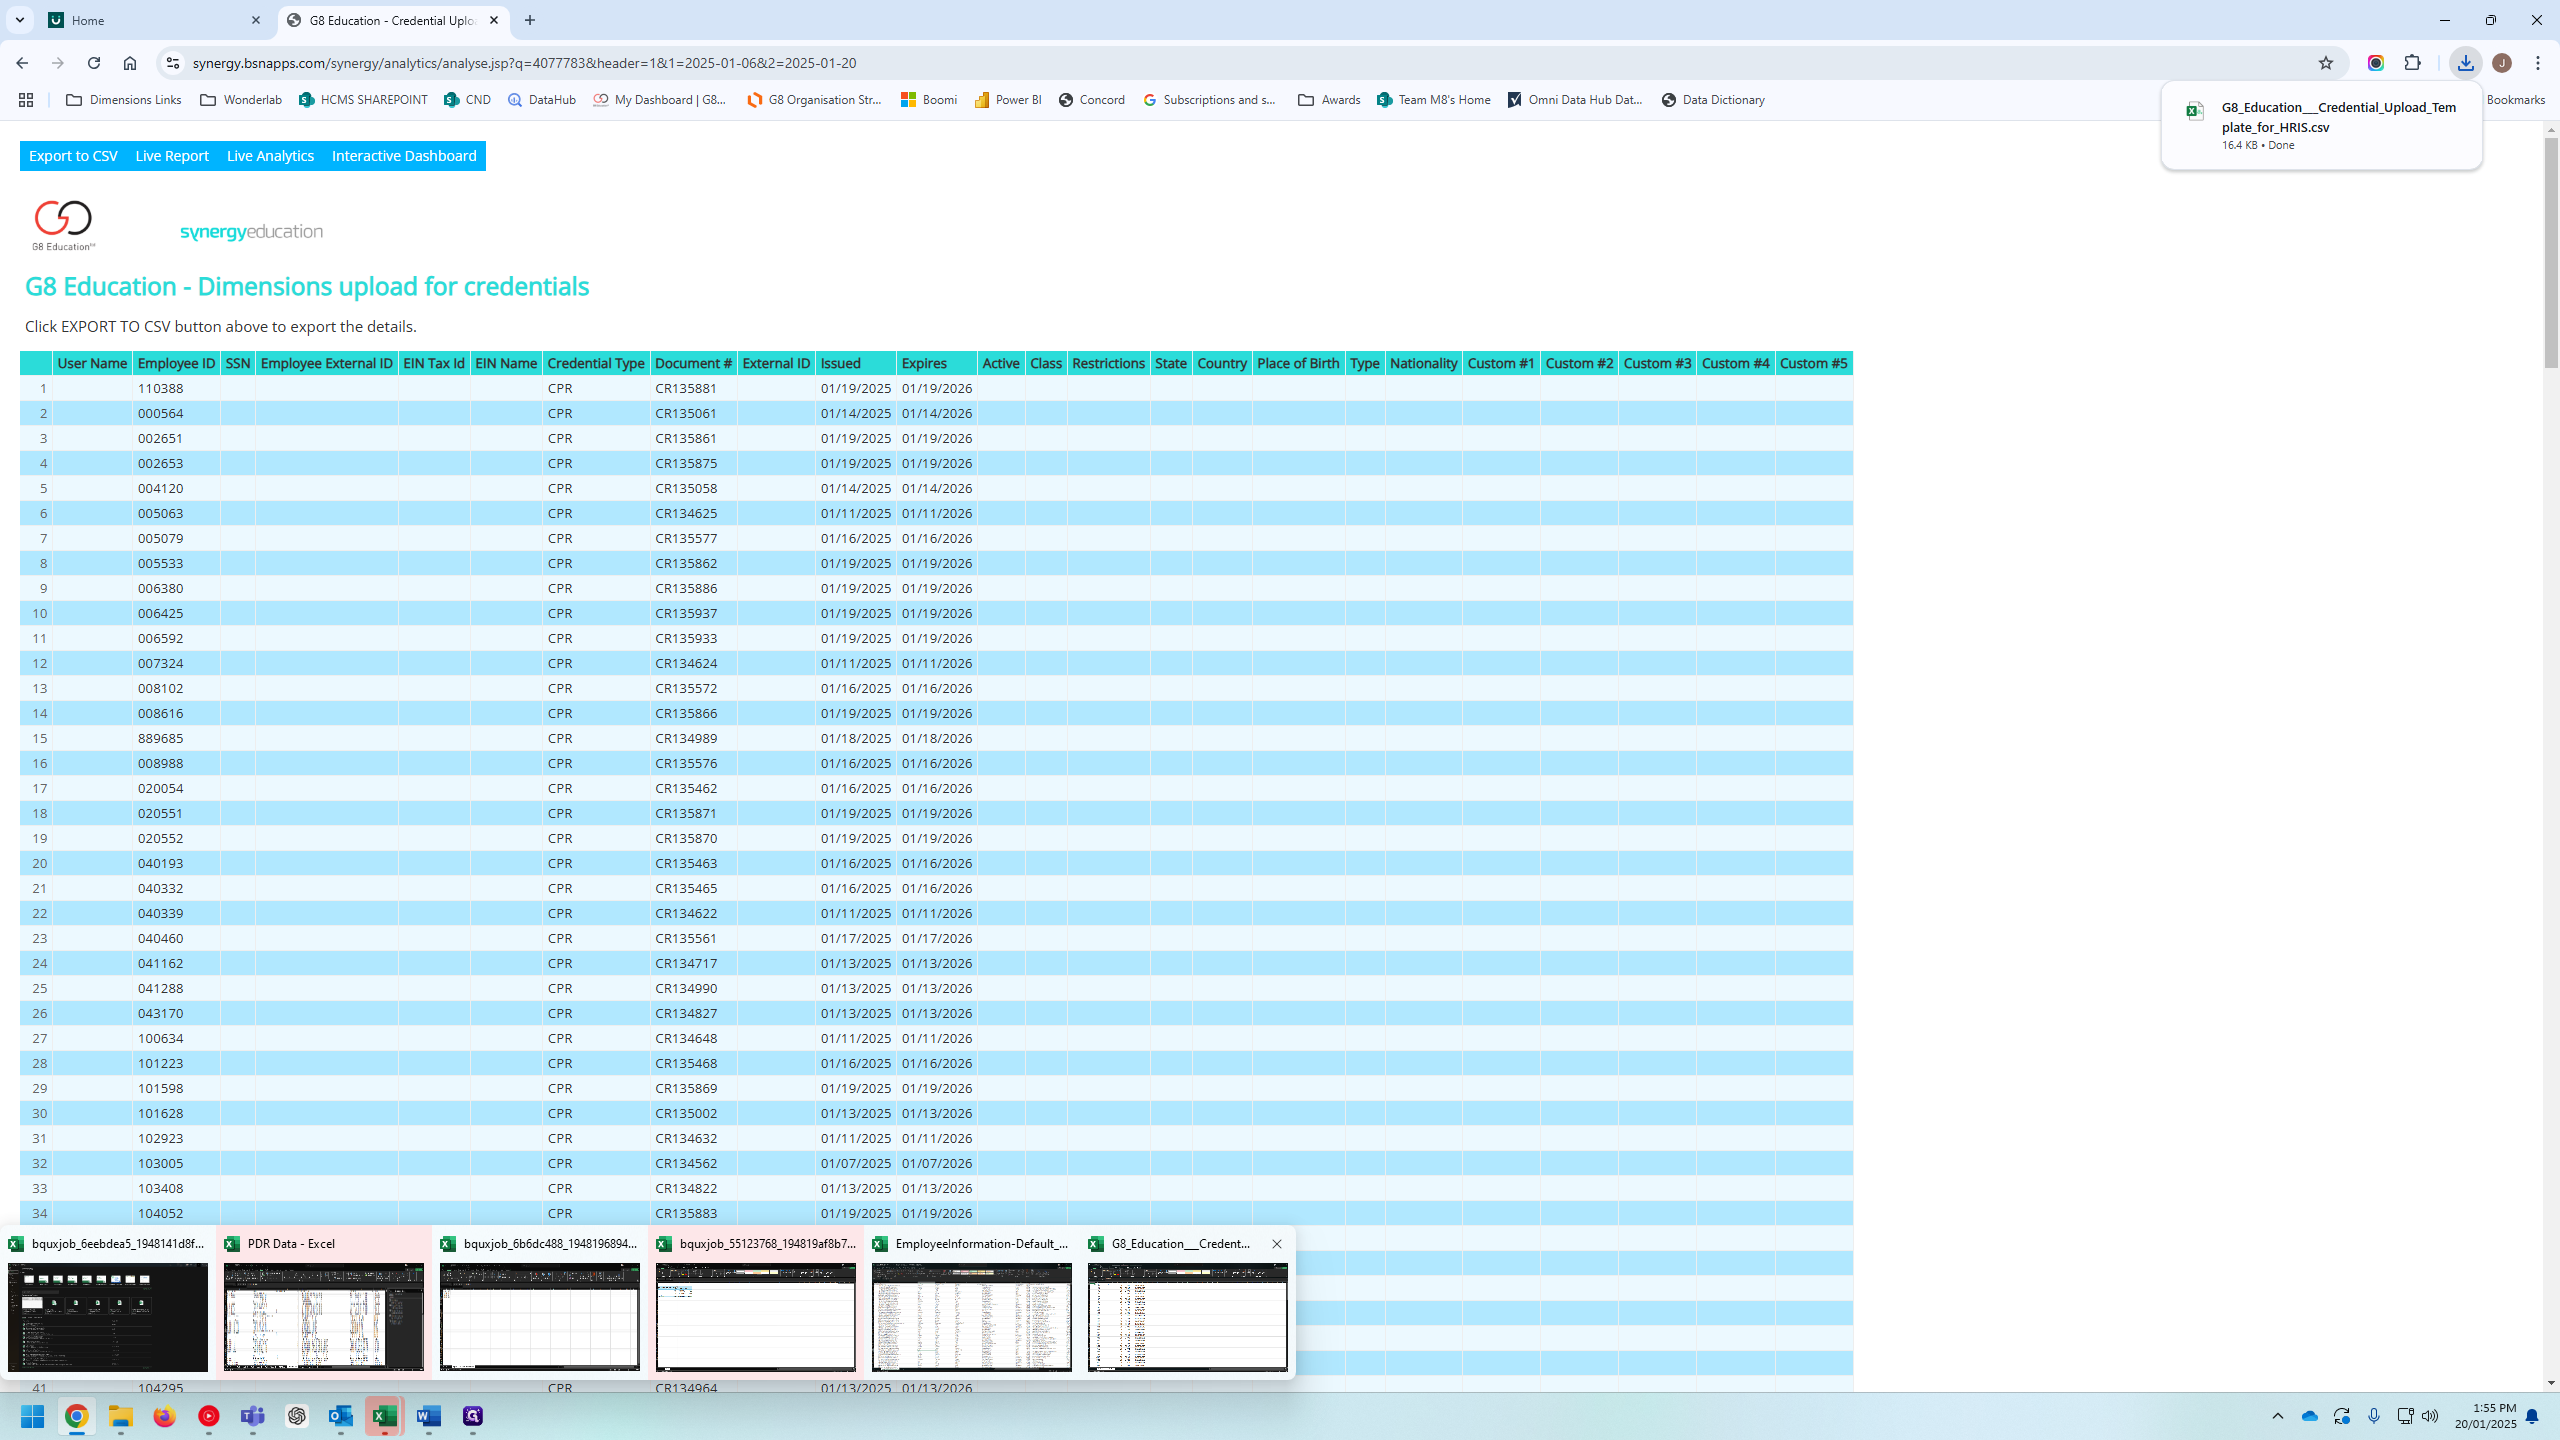
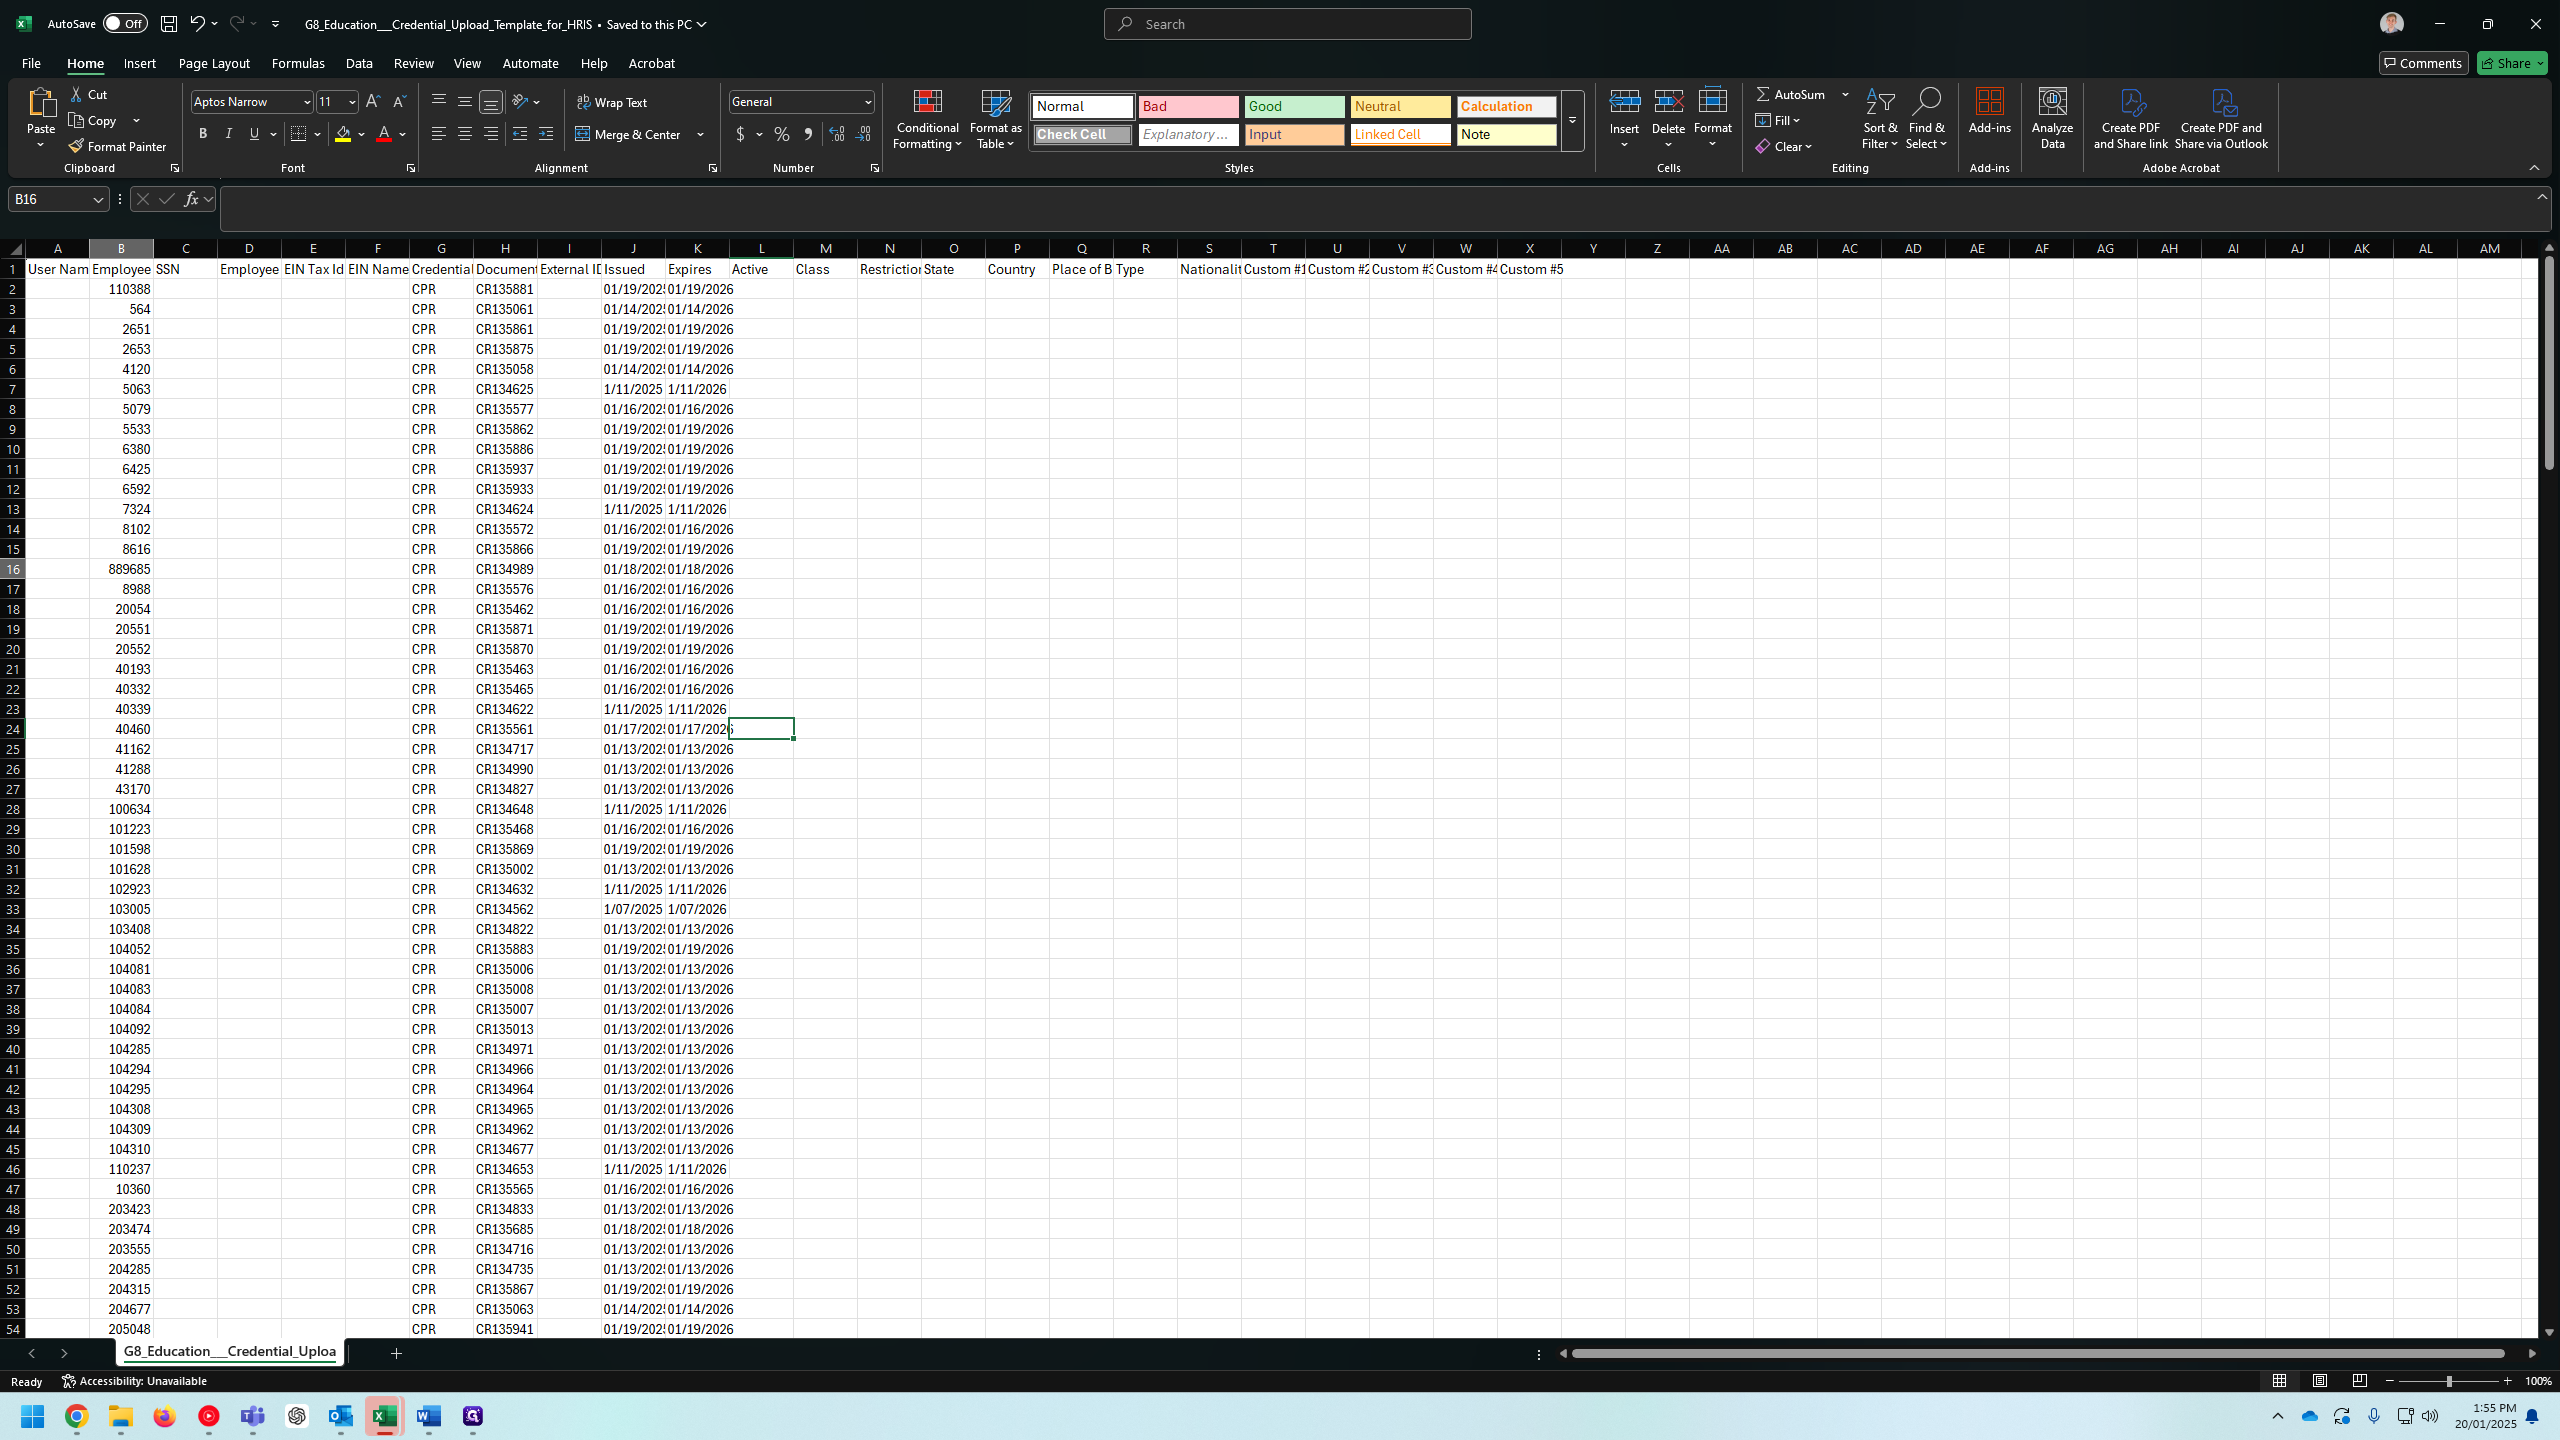
Open the export in Excel
Step #5: Open the export in Excel

Before importing, we need to clean the employee IDs, as many are invalid. For example, this one here.
6
Step #6:

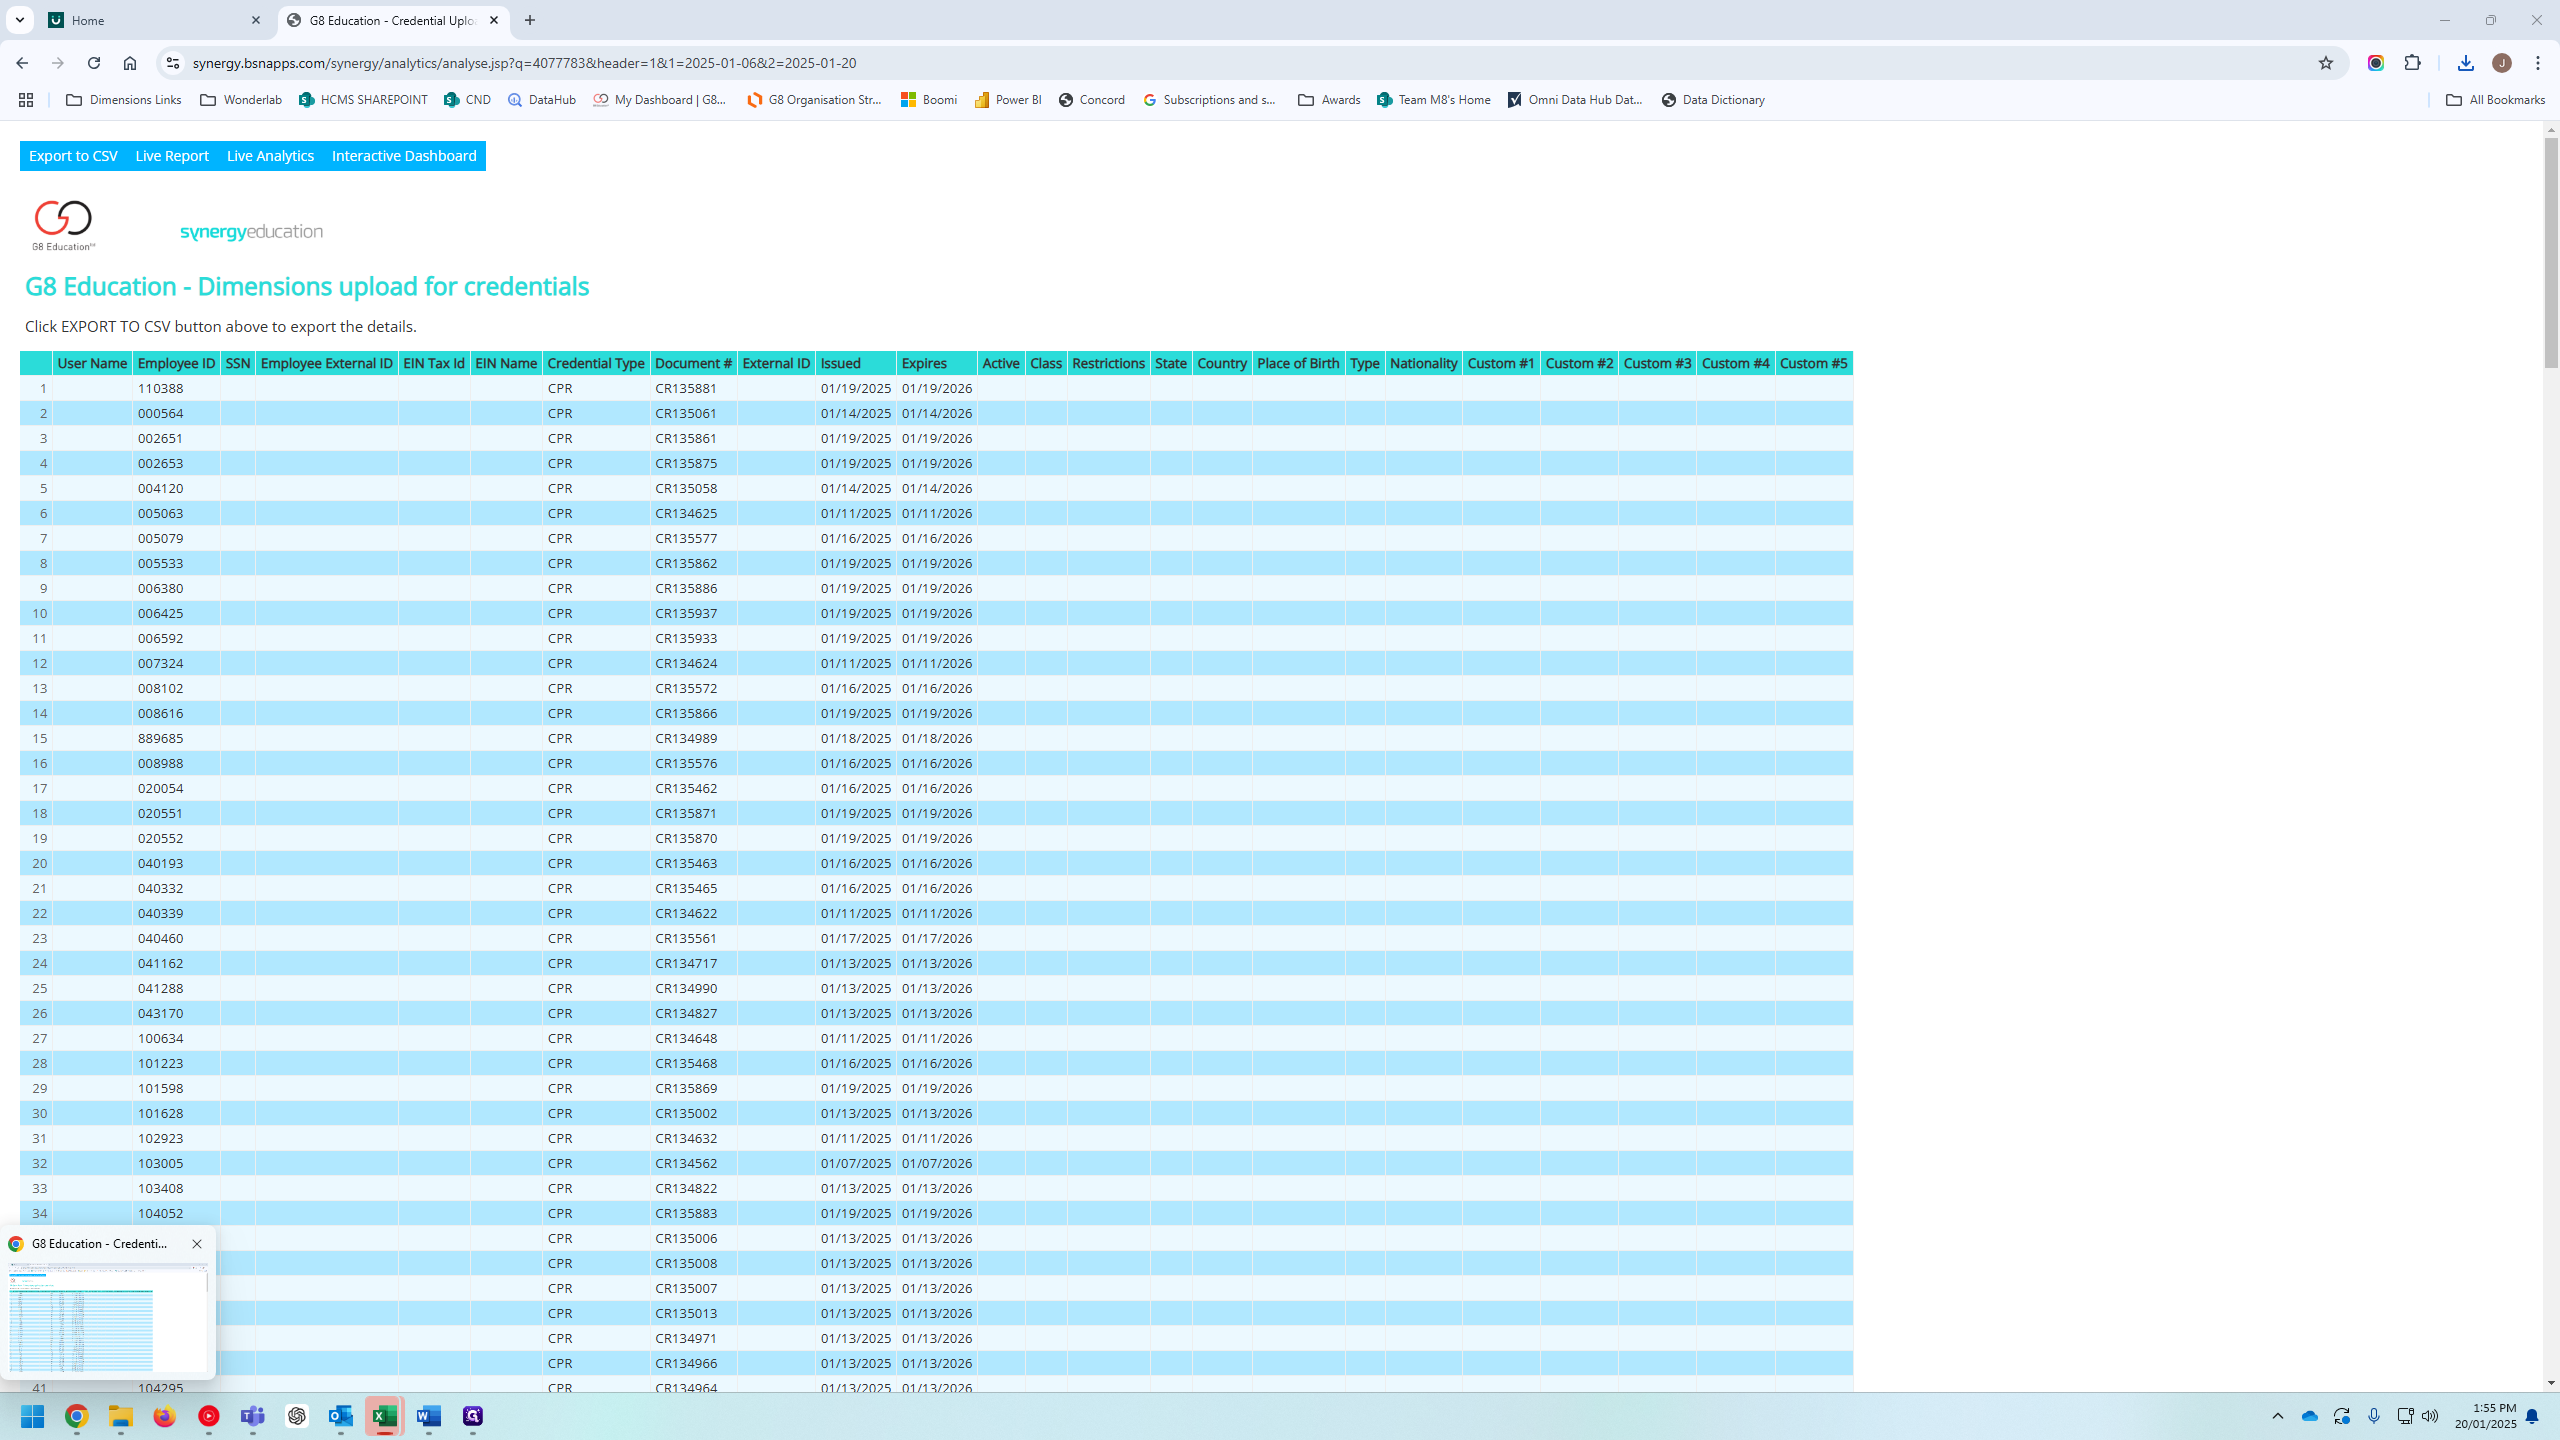
To do that, use an XLOOKUP with an employee listing directly from Dimensions.
7
Click here
Step #7: Click here
8
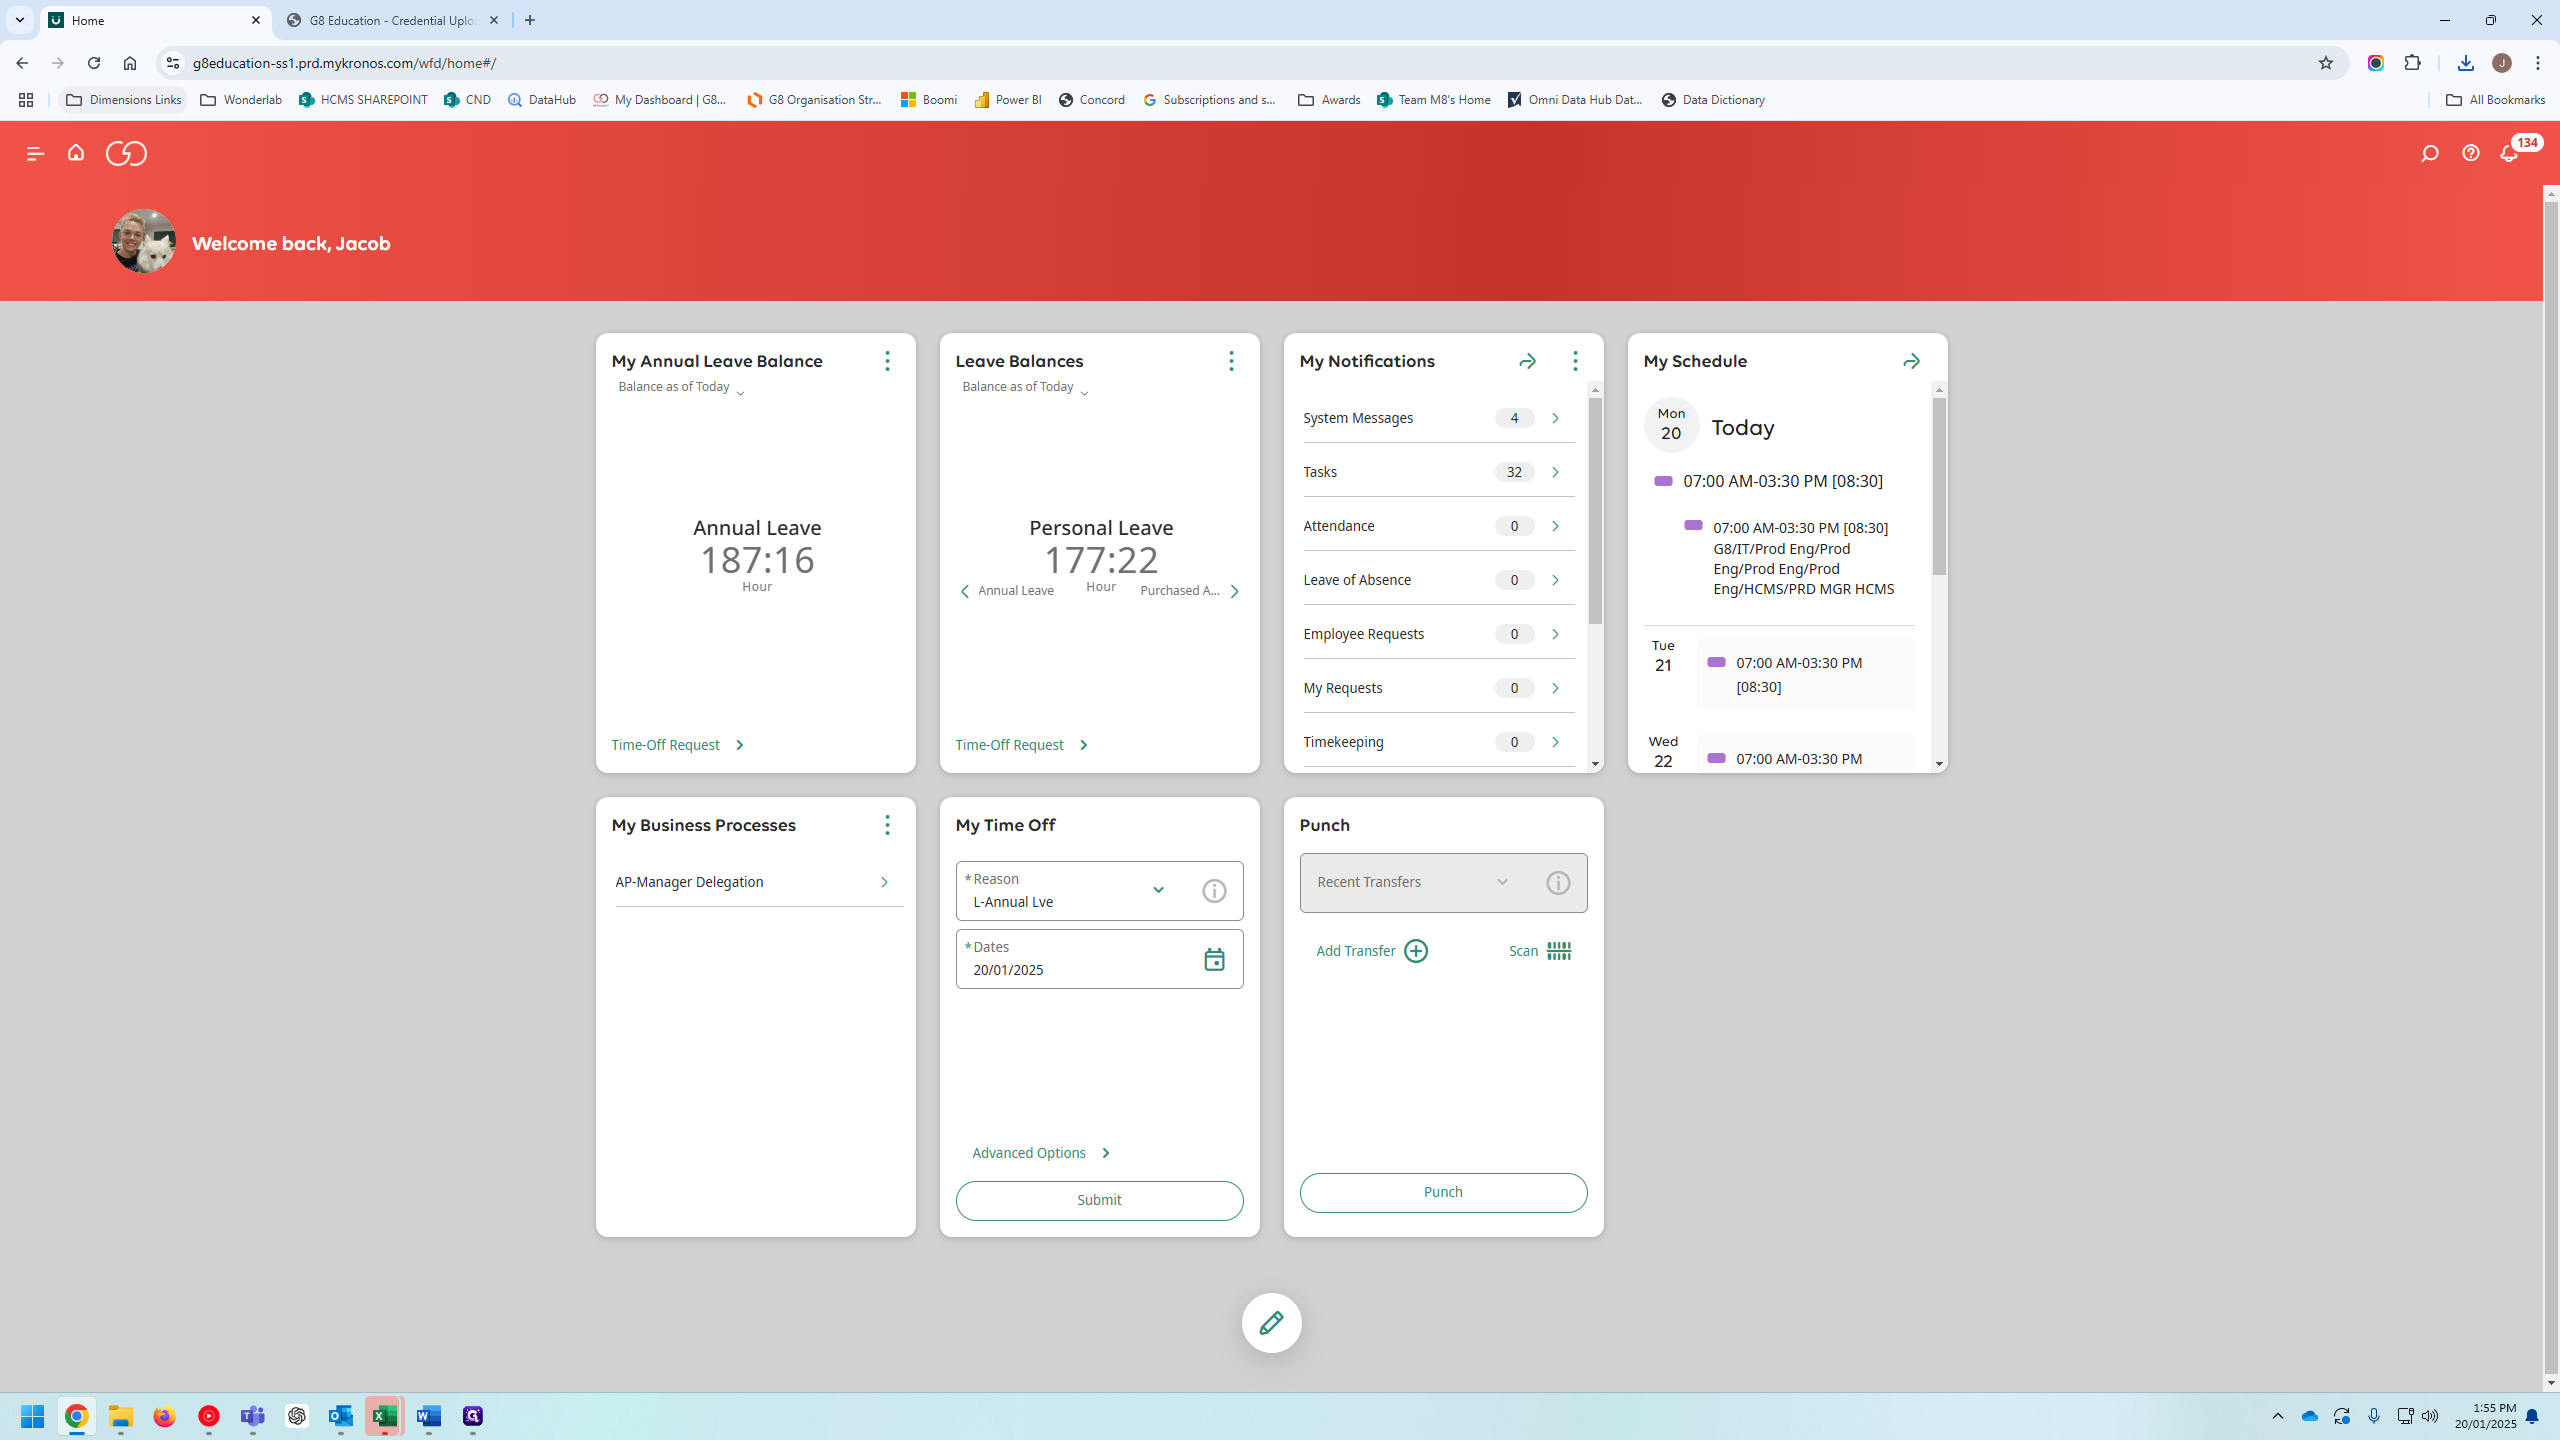
Click on "Dimensions"
Step #8: Click on "Dimensions"

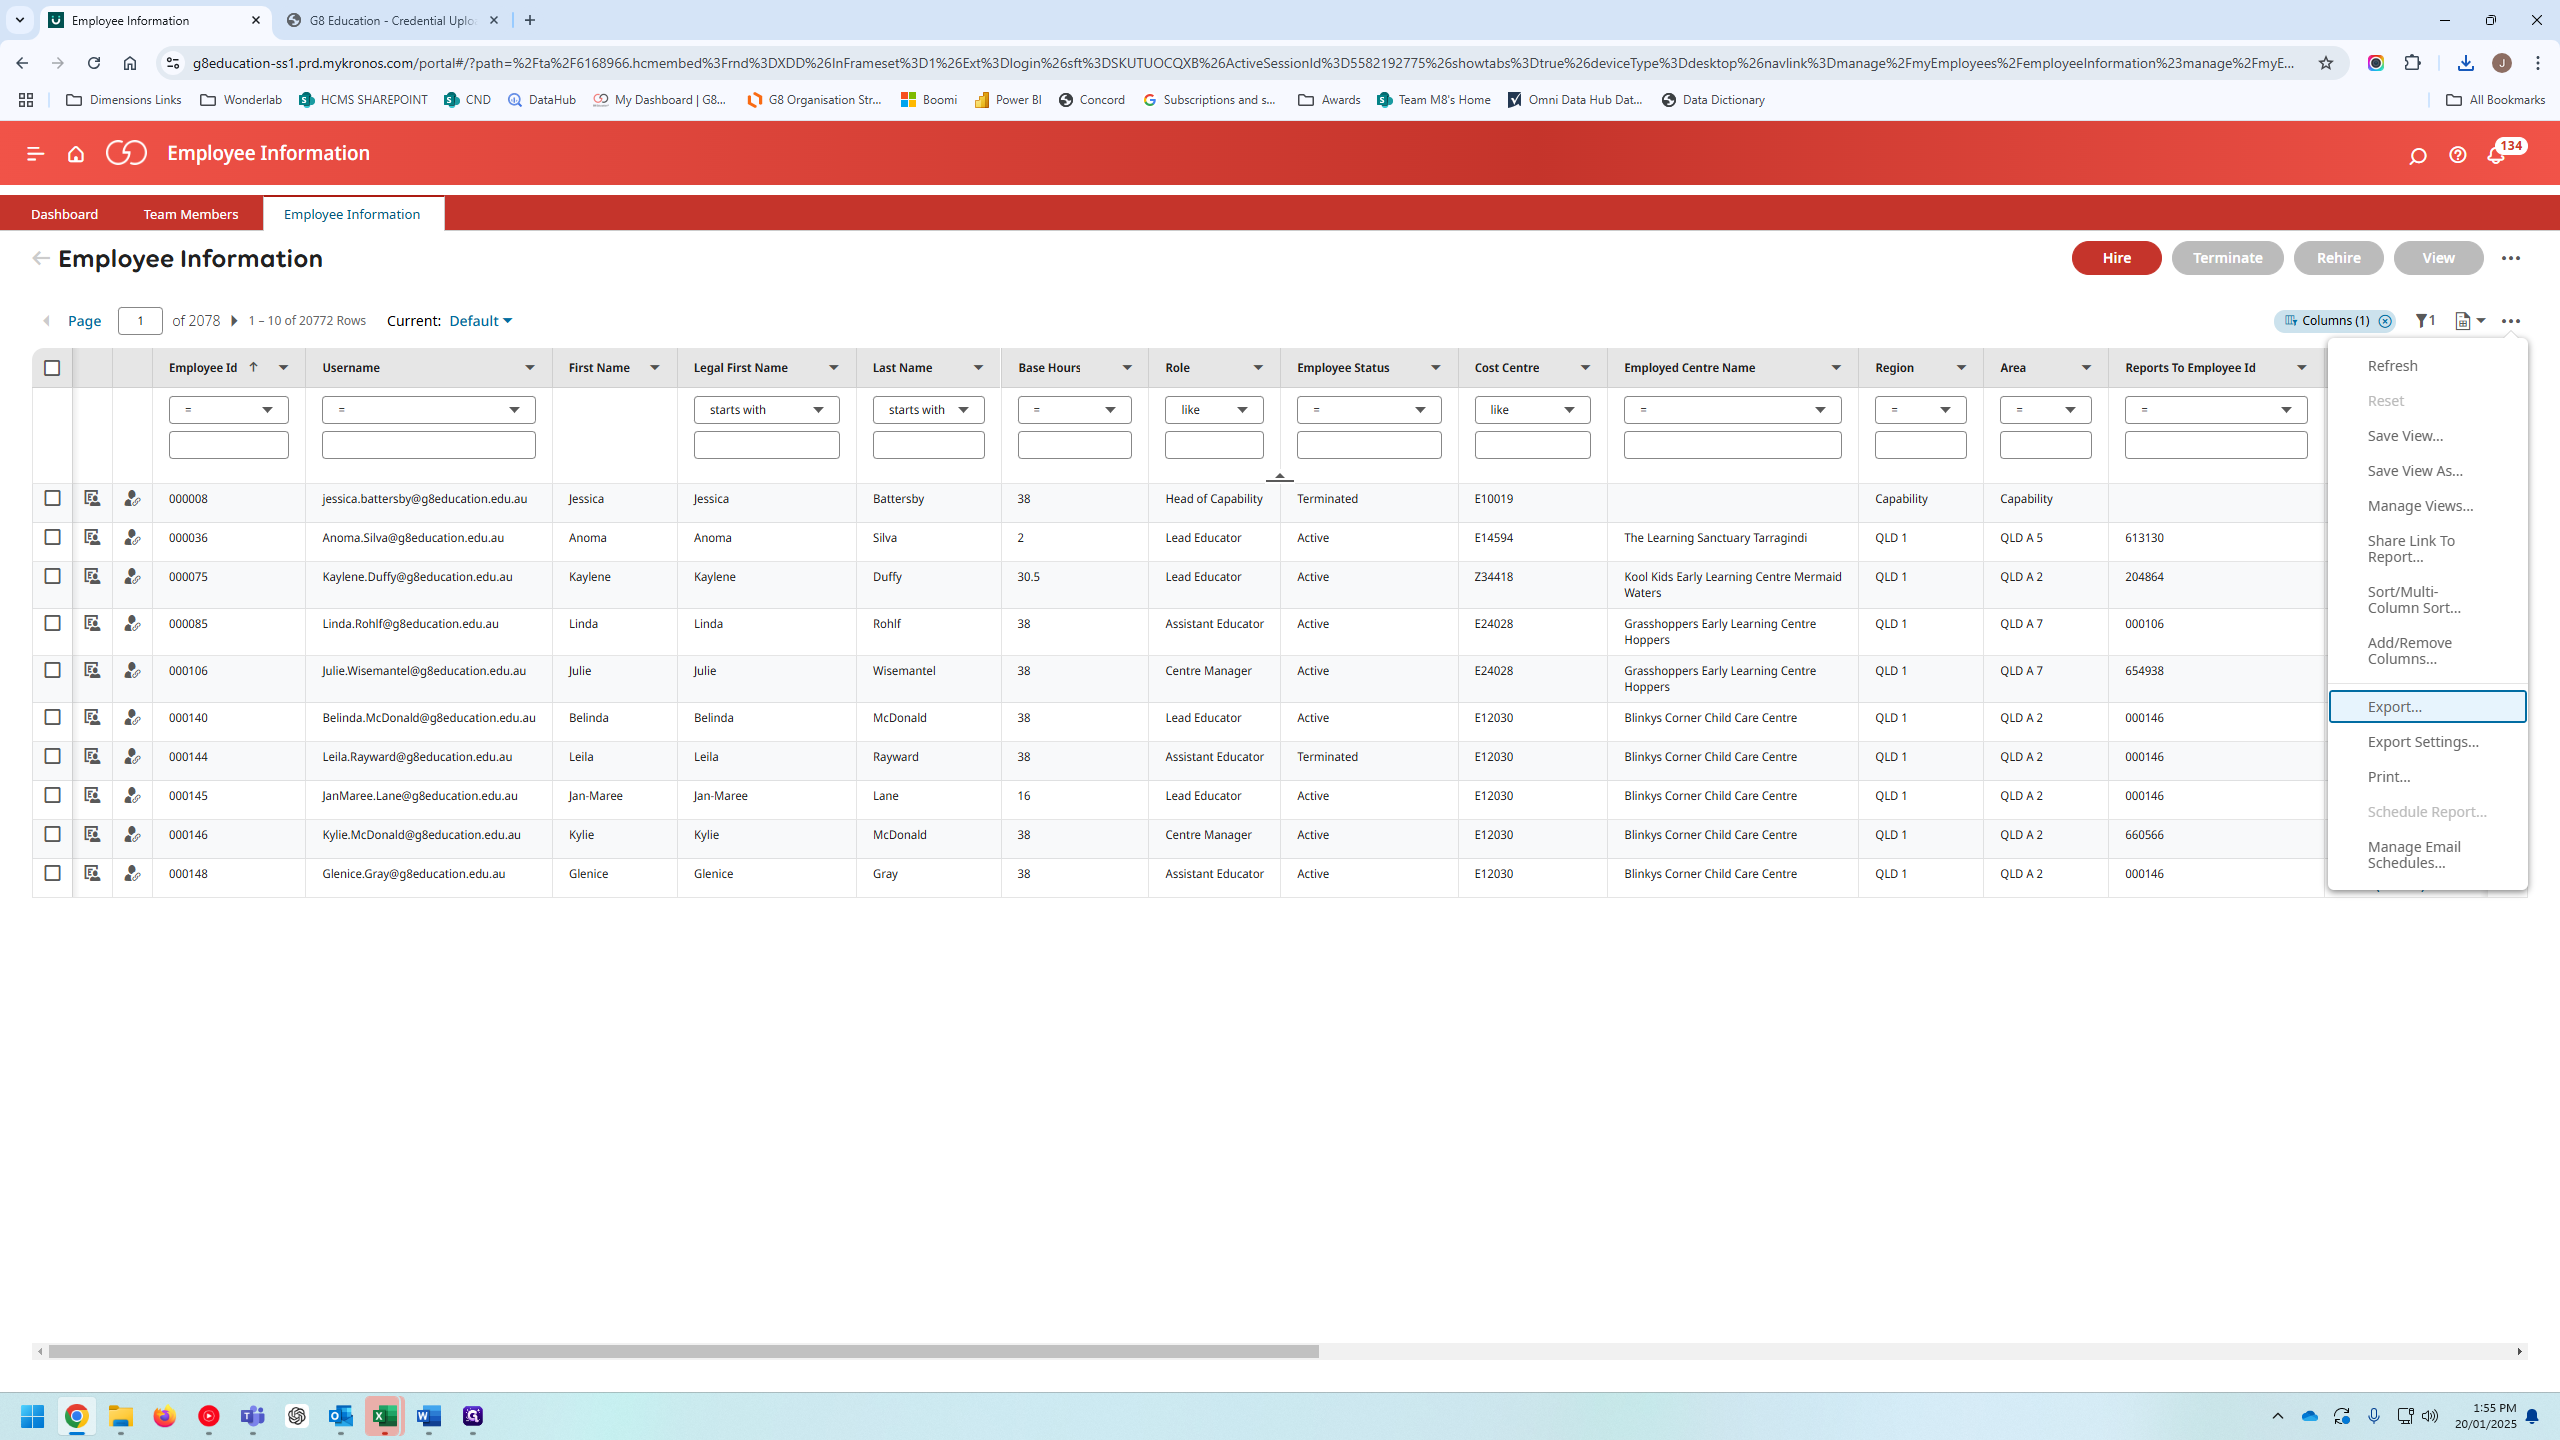
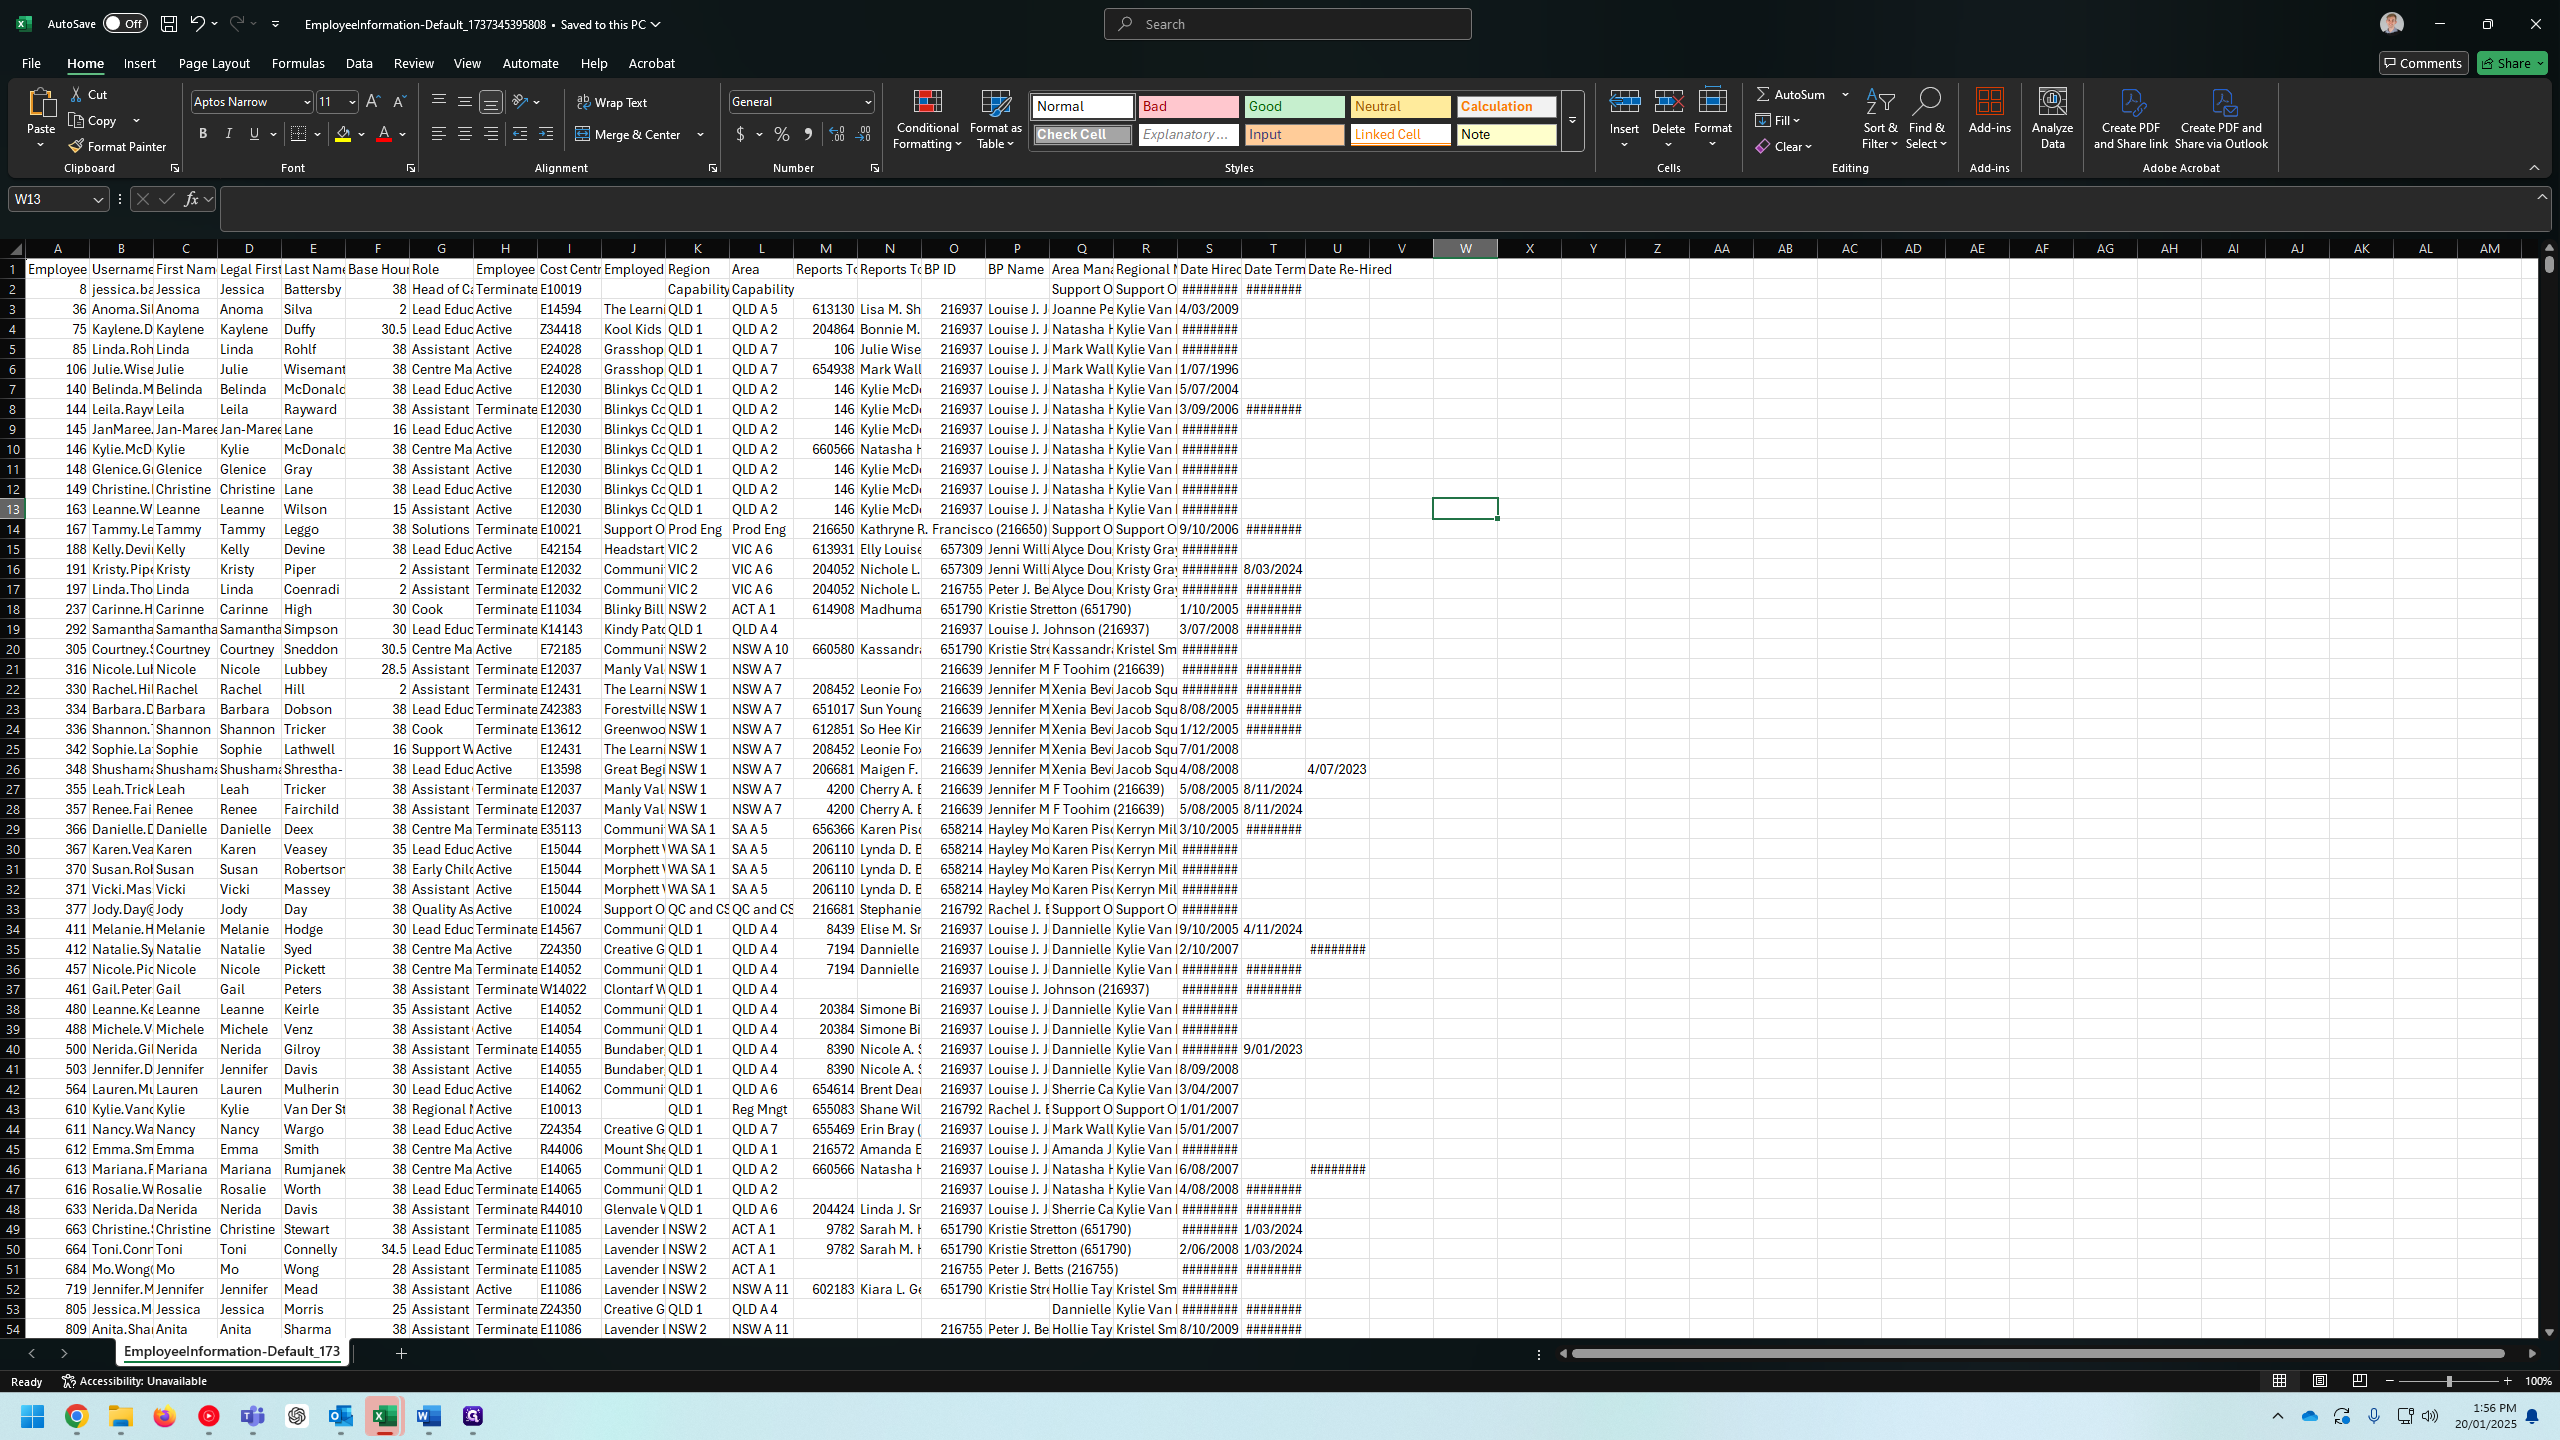
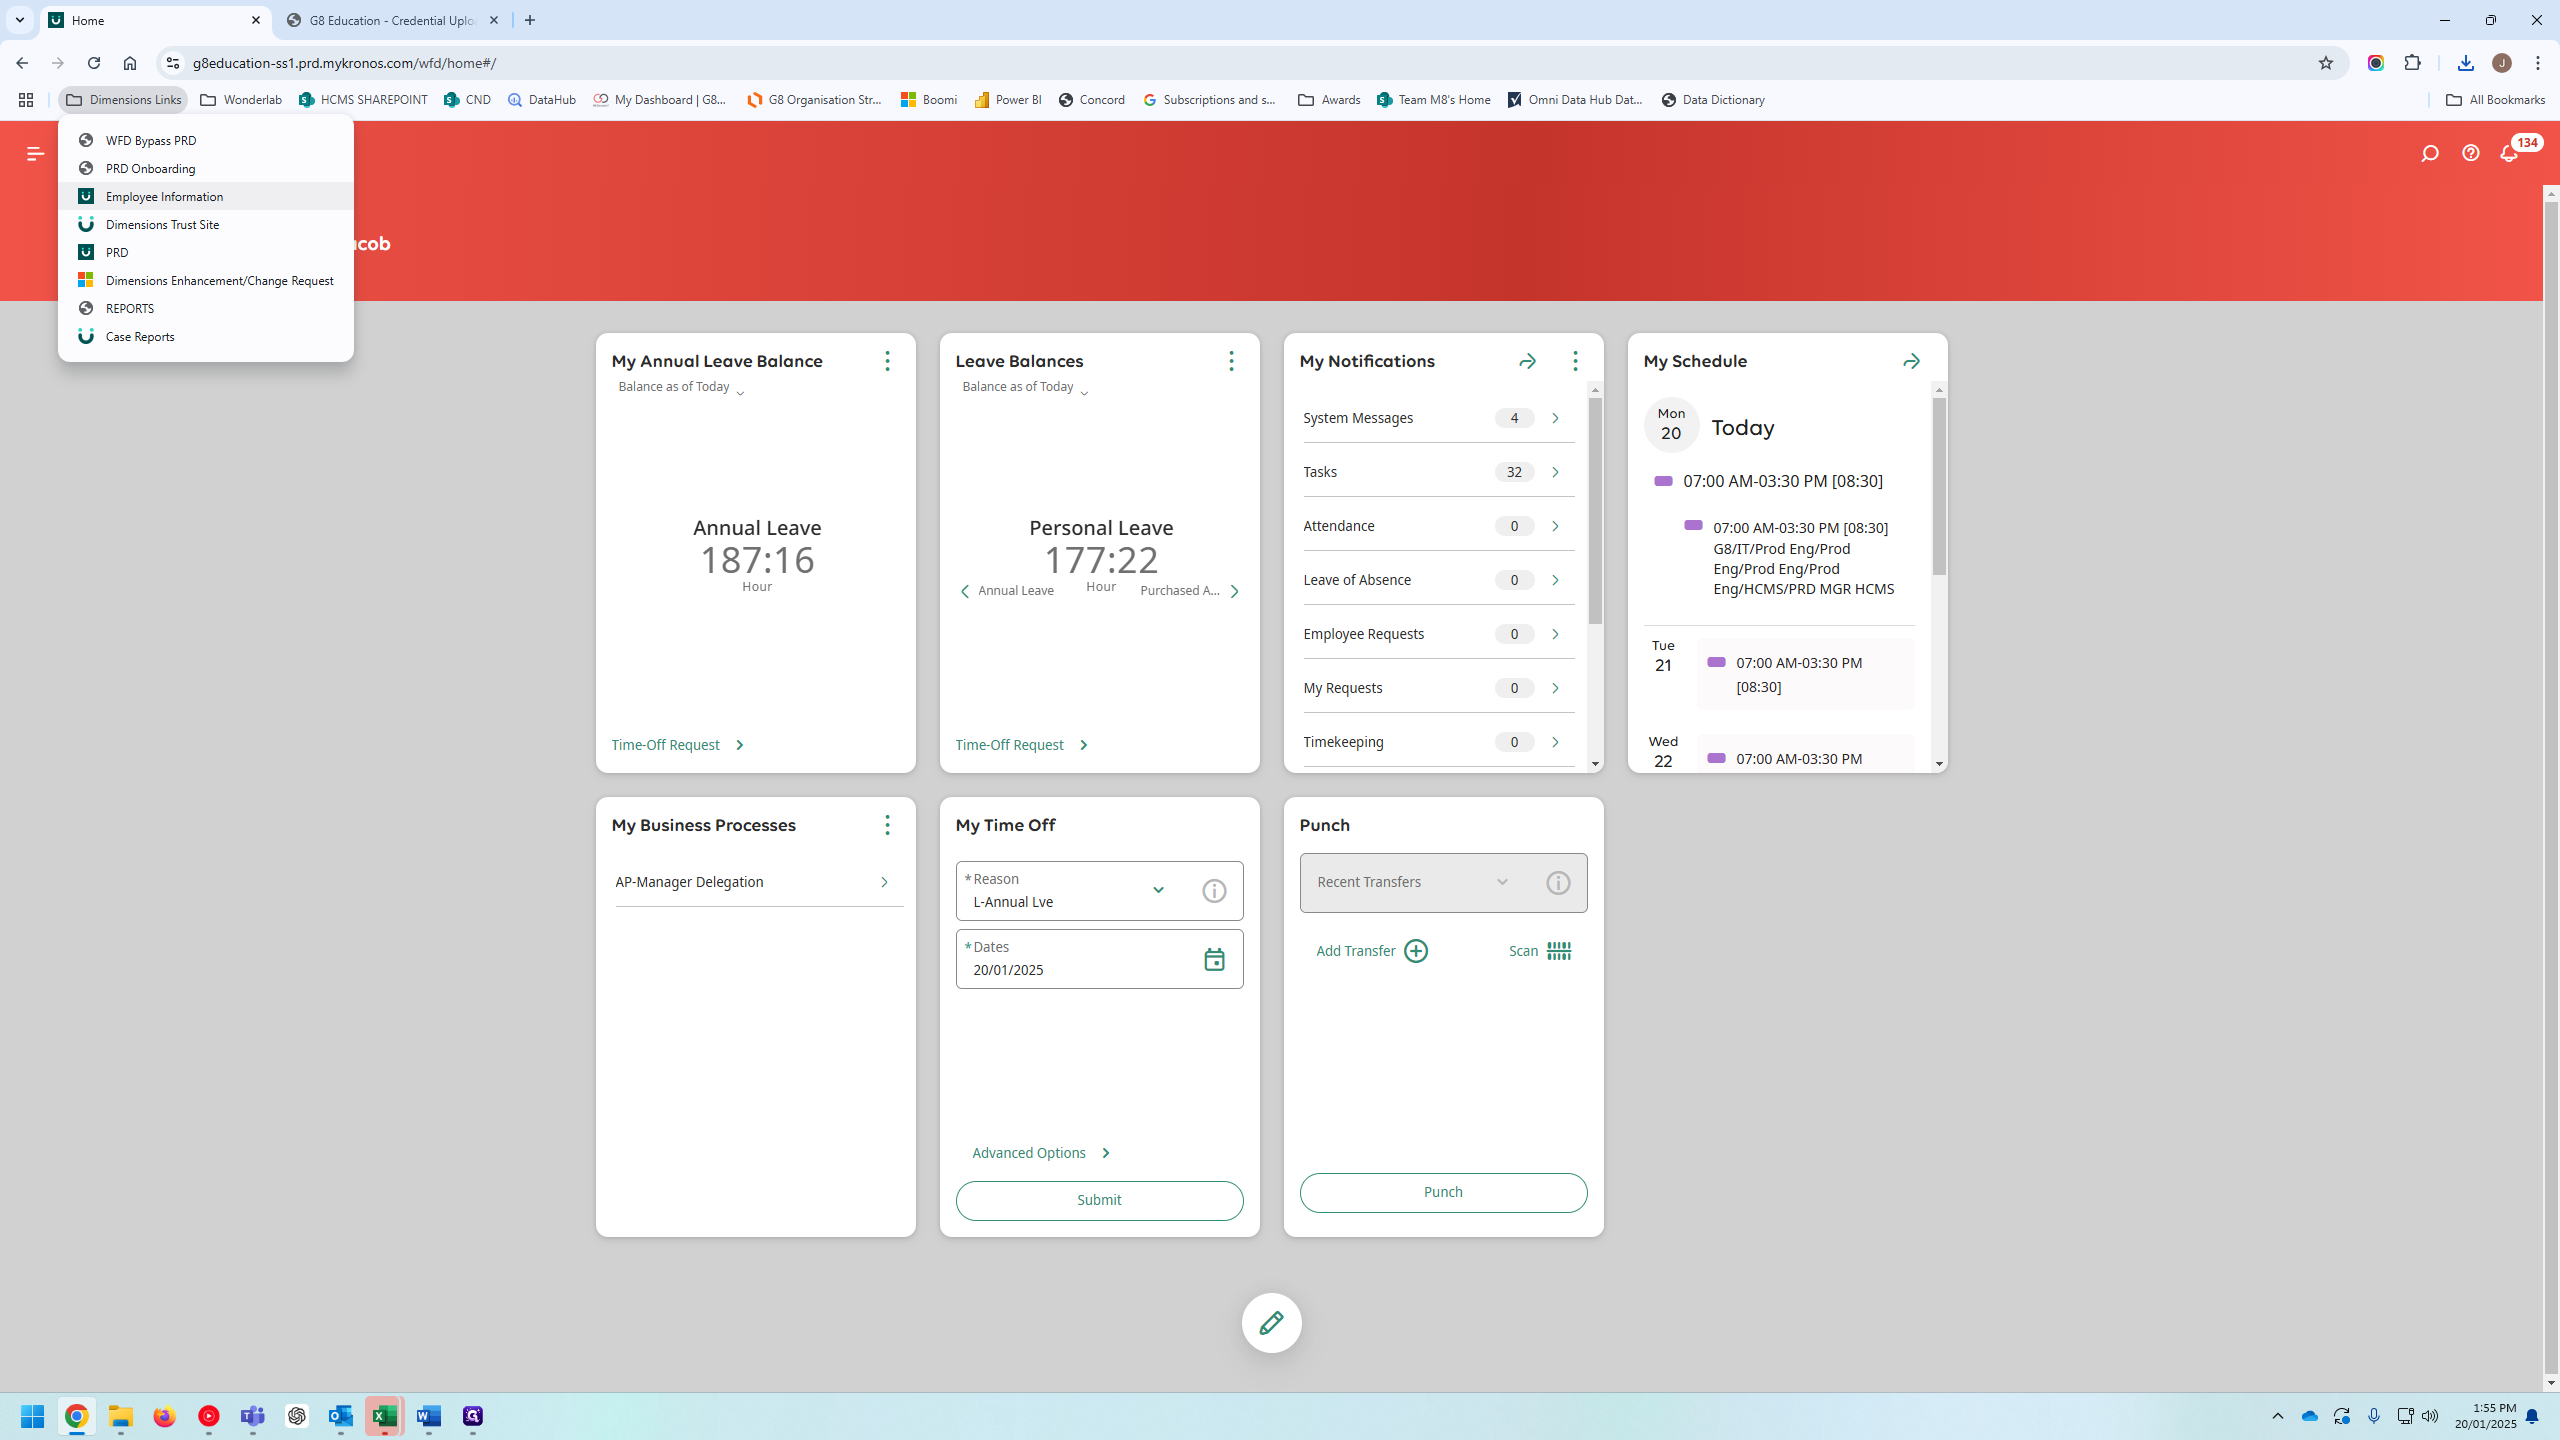
Go to Employee Information, get a list of all team members, and export it.
9
Click on "Employee Information"
Step #9: Click on "Employee Information"
10
Click on "..."
Step #10: Click on "..."

Now that you have that, we'll use XLOOKUP to ensure these are valid.
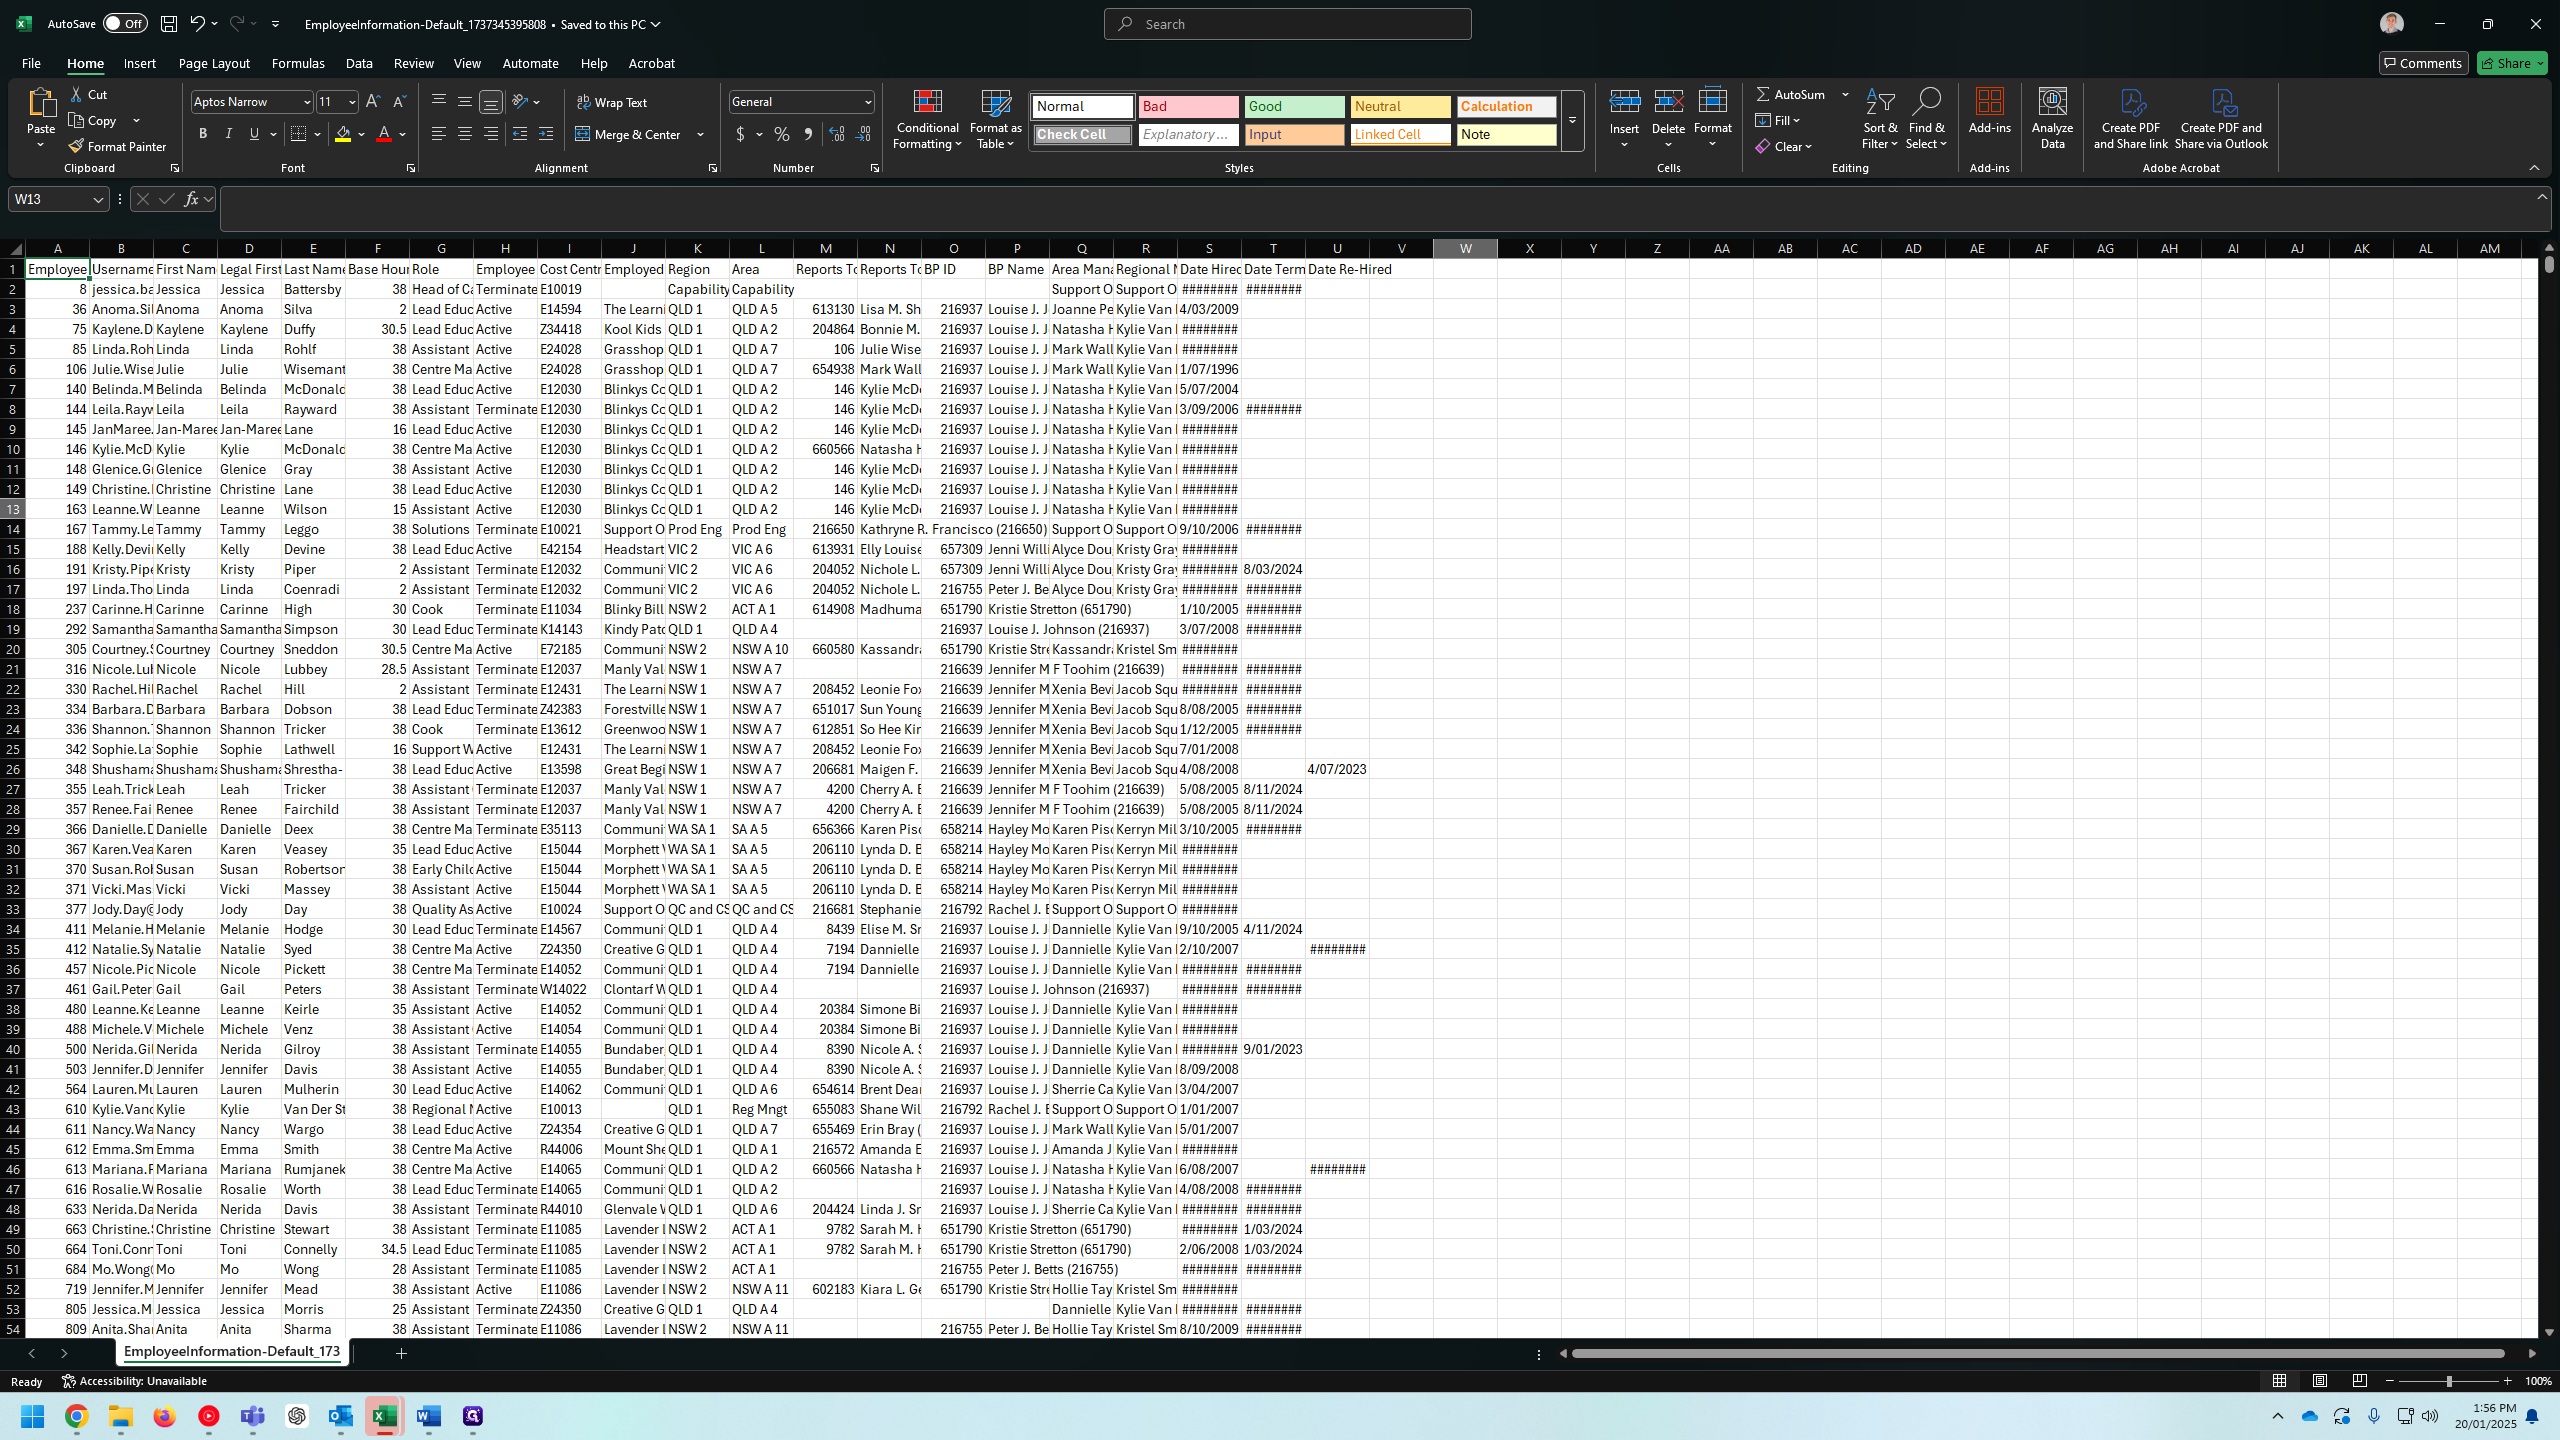
11
Click here
Step #11: Click here
12
Drag here
Step #12: Drag here

In this column, use XLOOKUP to find this value in your list of team member IDs and return it to the same column.
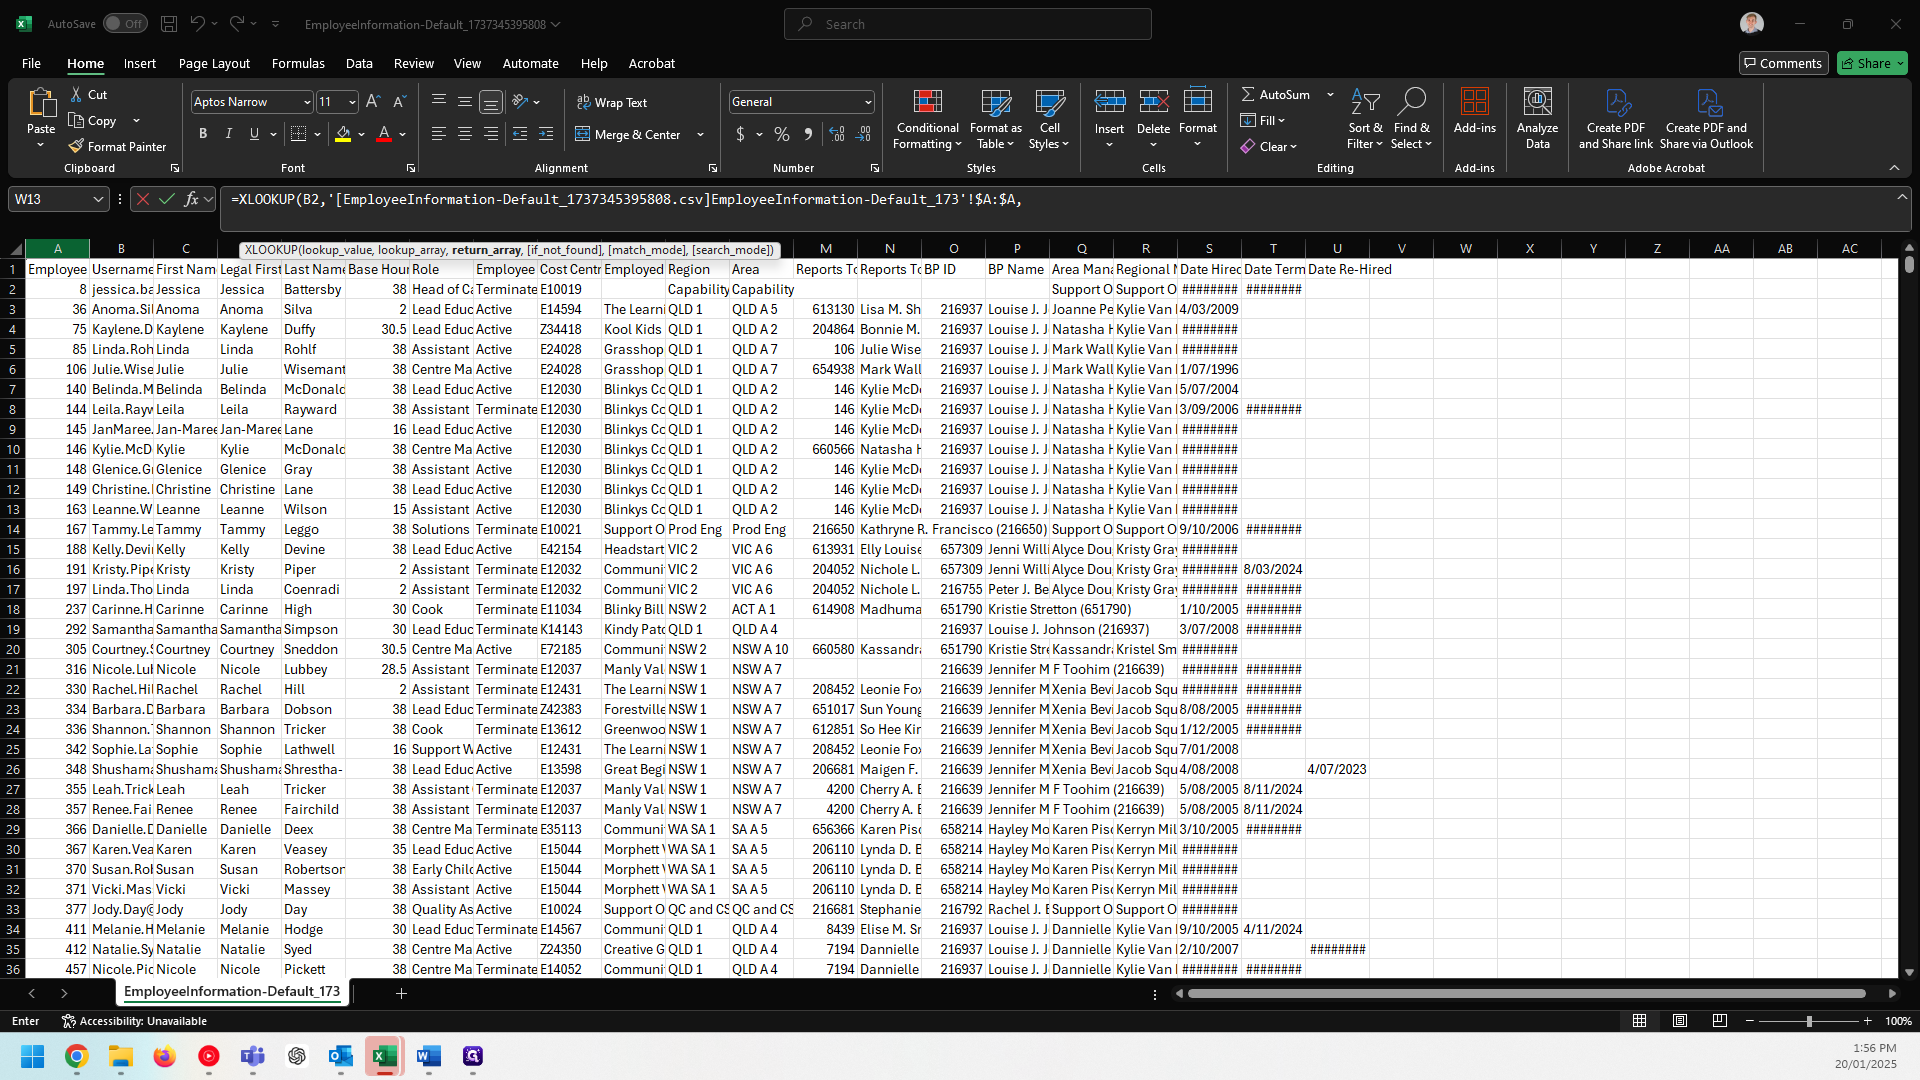
13
Click here
Step #13: Click here

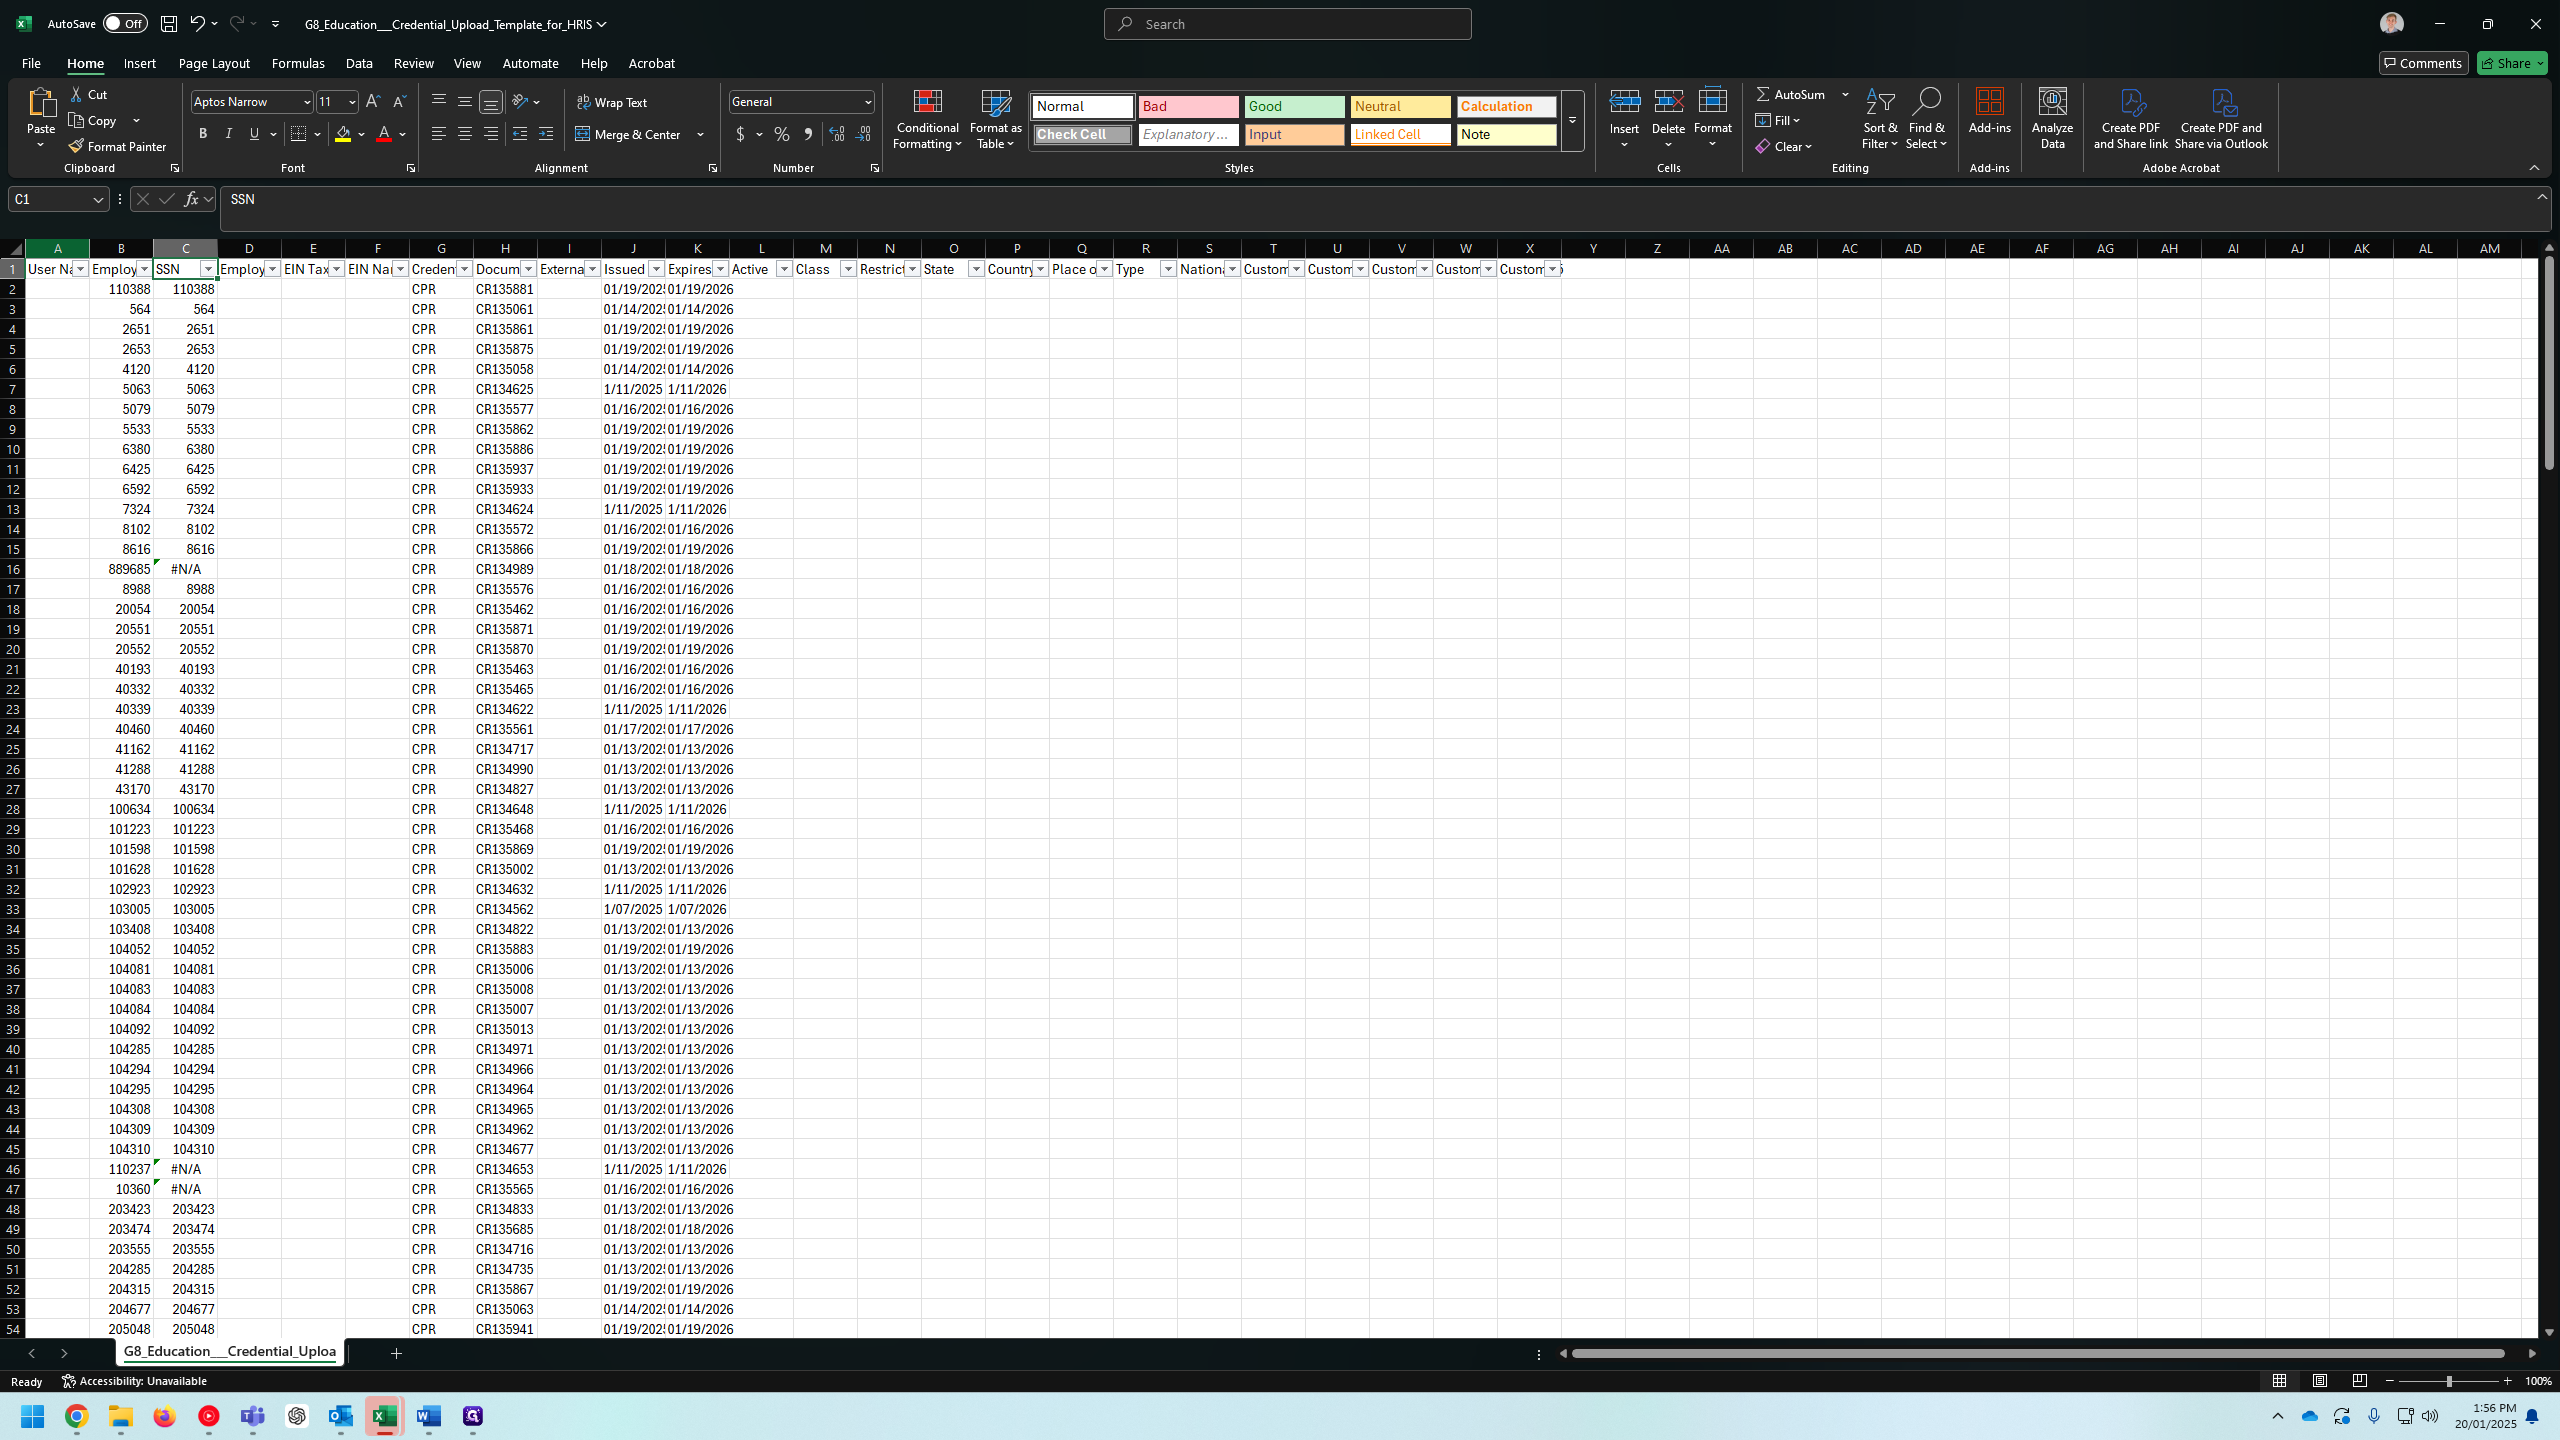
Any that are not valid will display as NA.
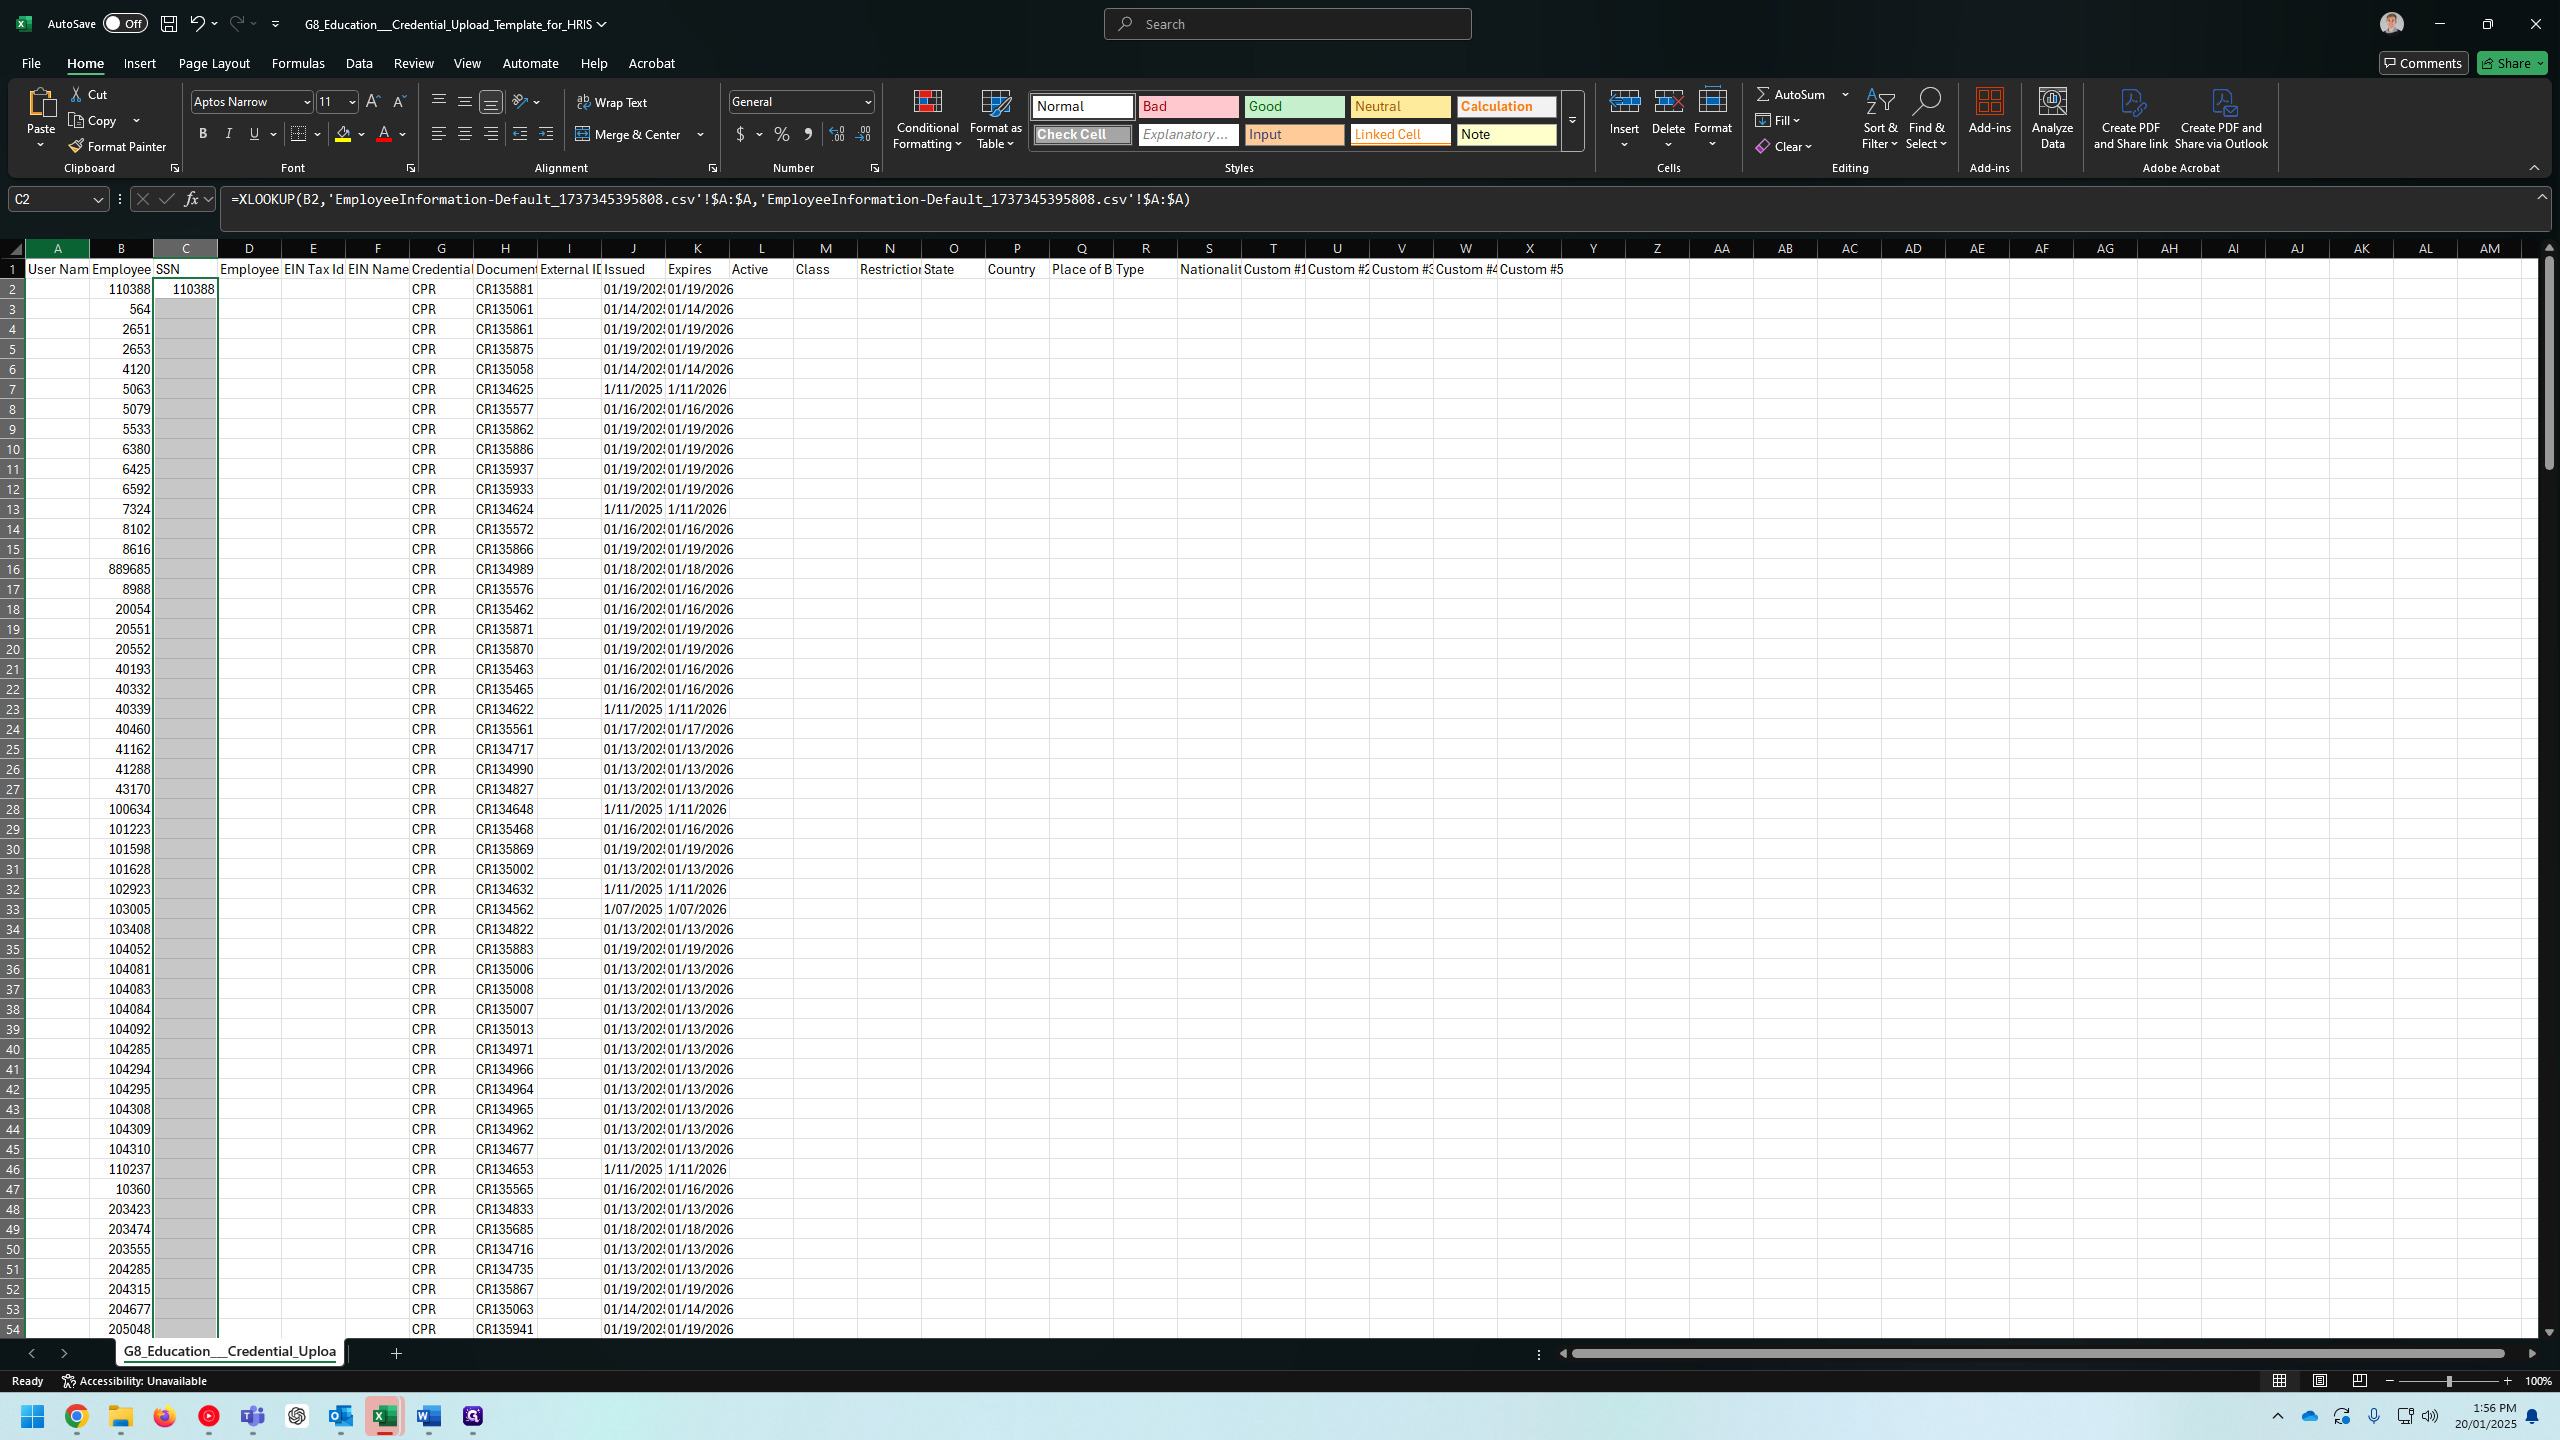
14
Double-click on "110388"
Step #14: Double-click on "110388"

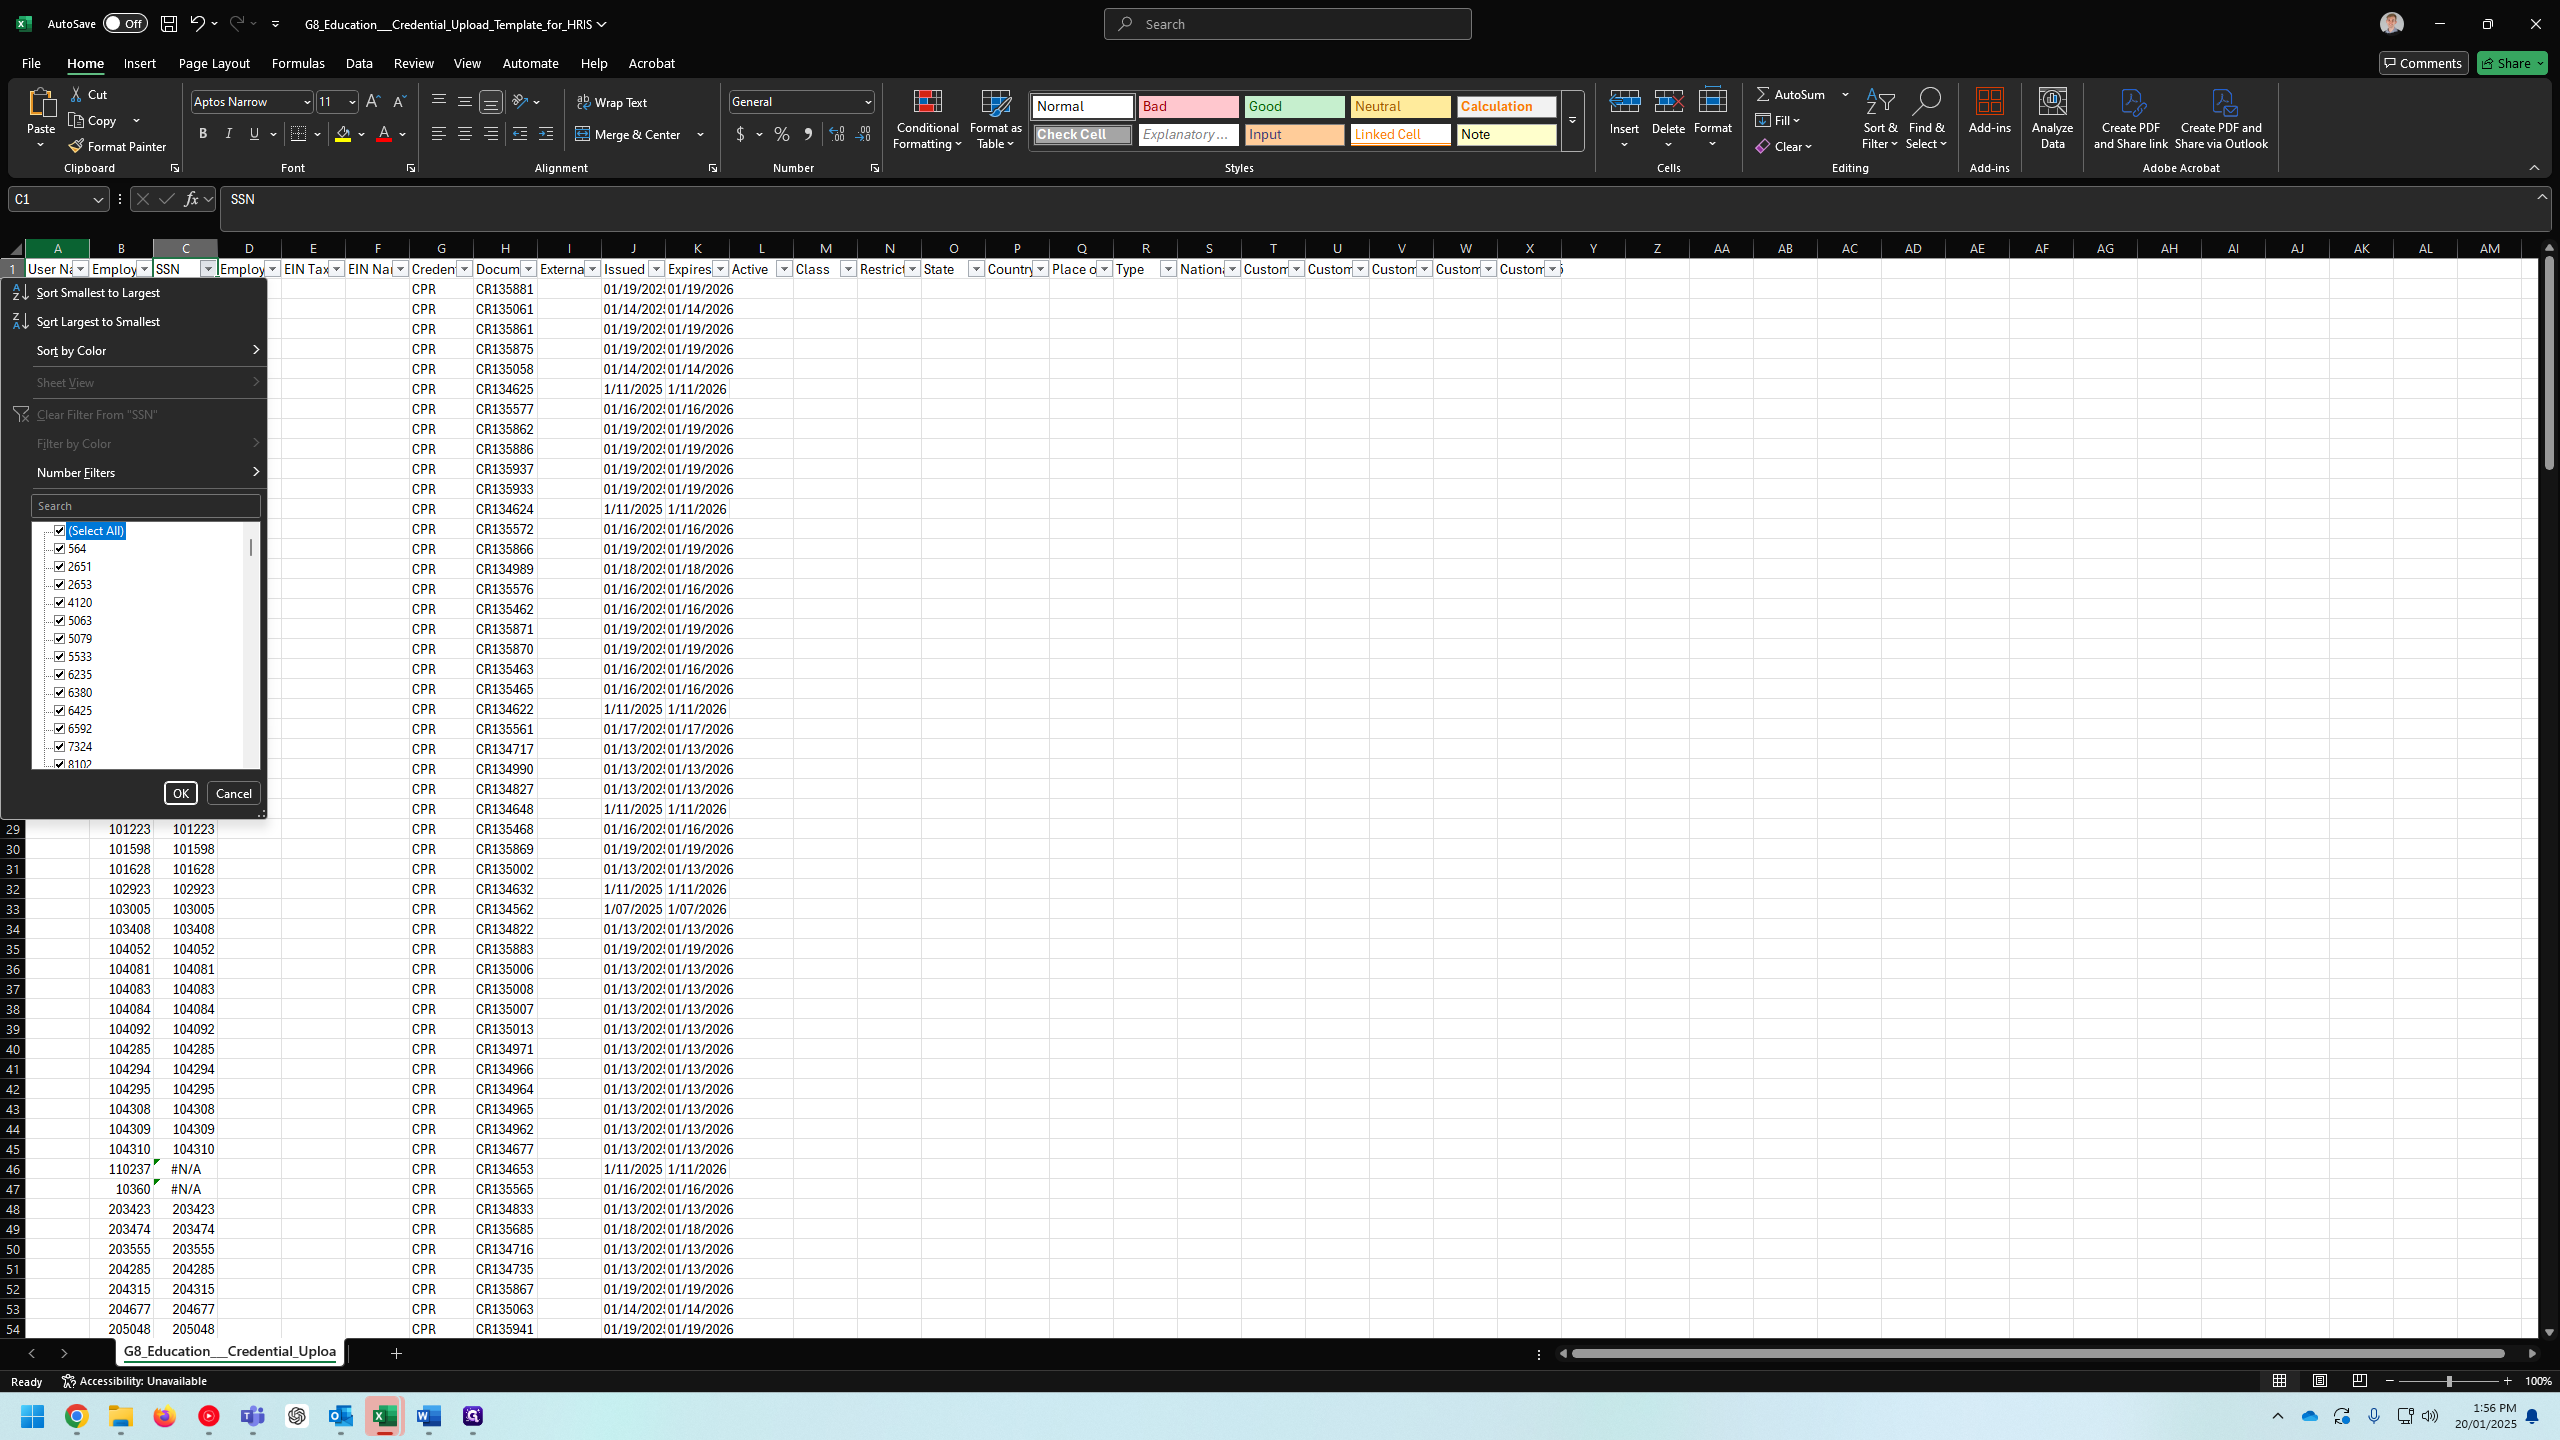
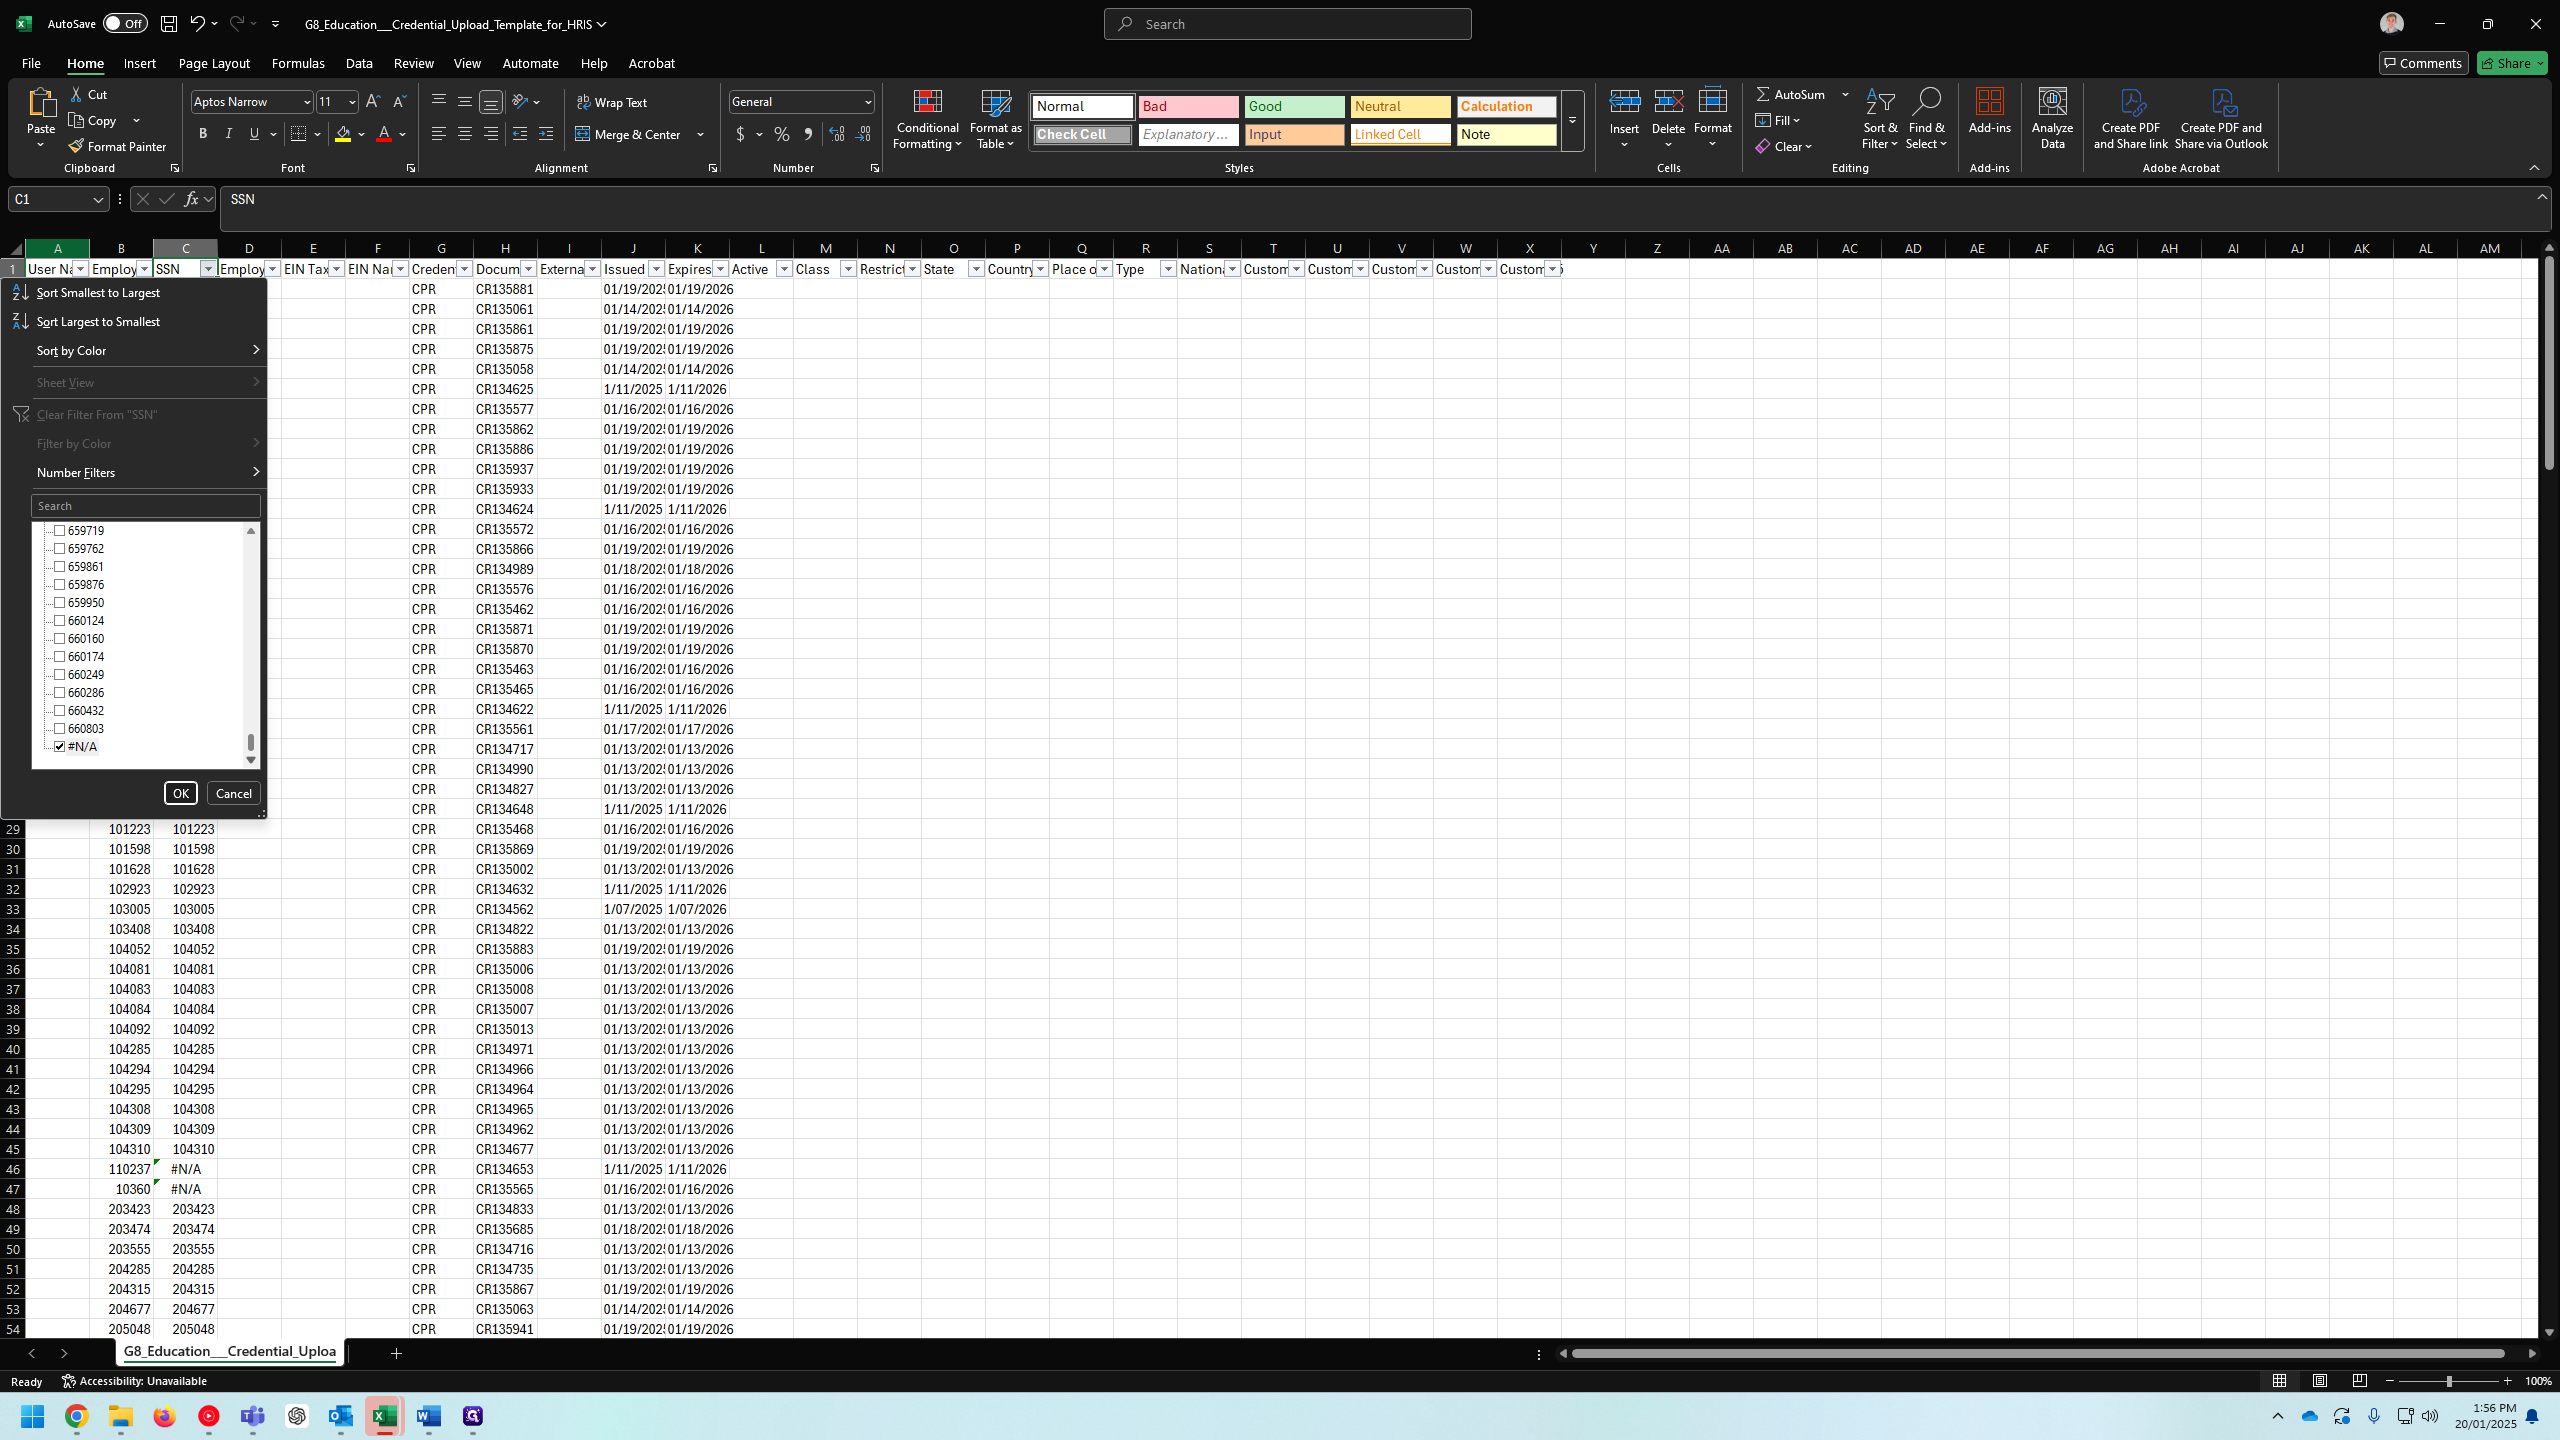
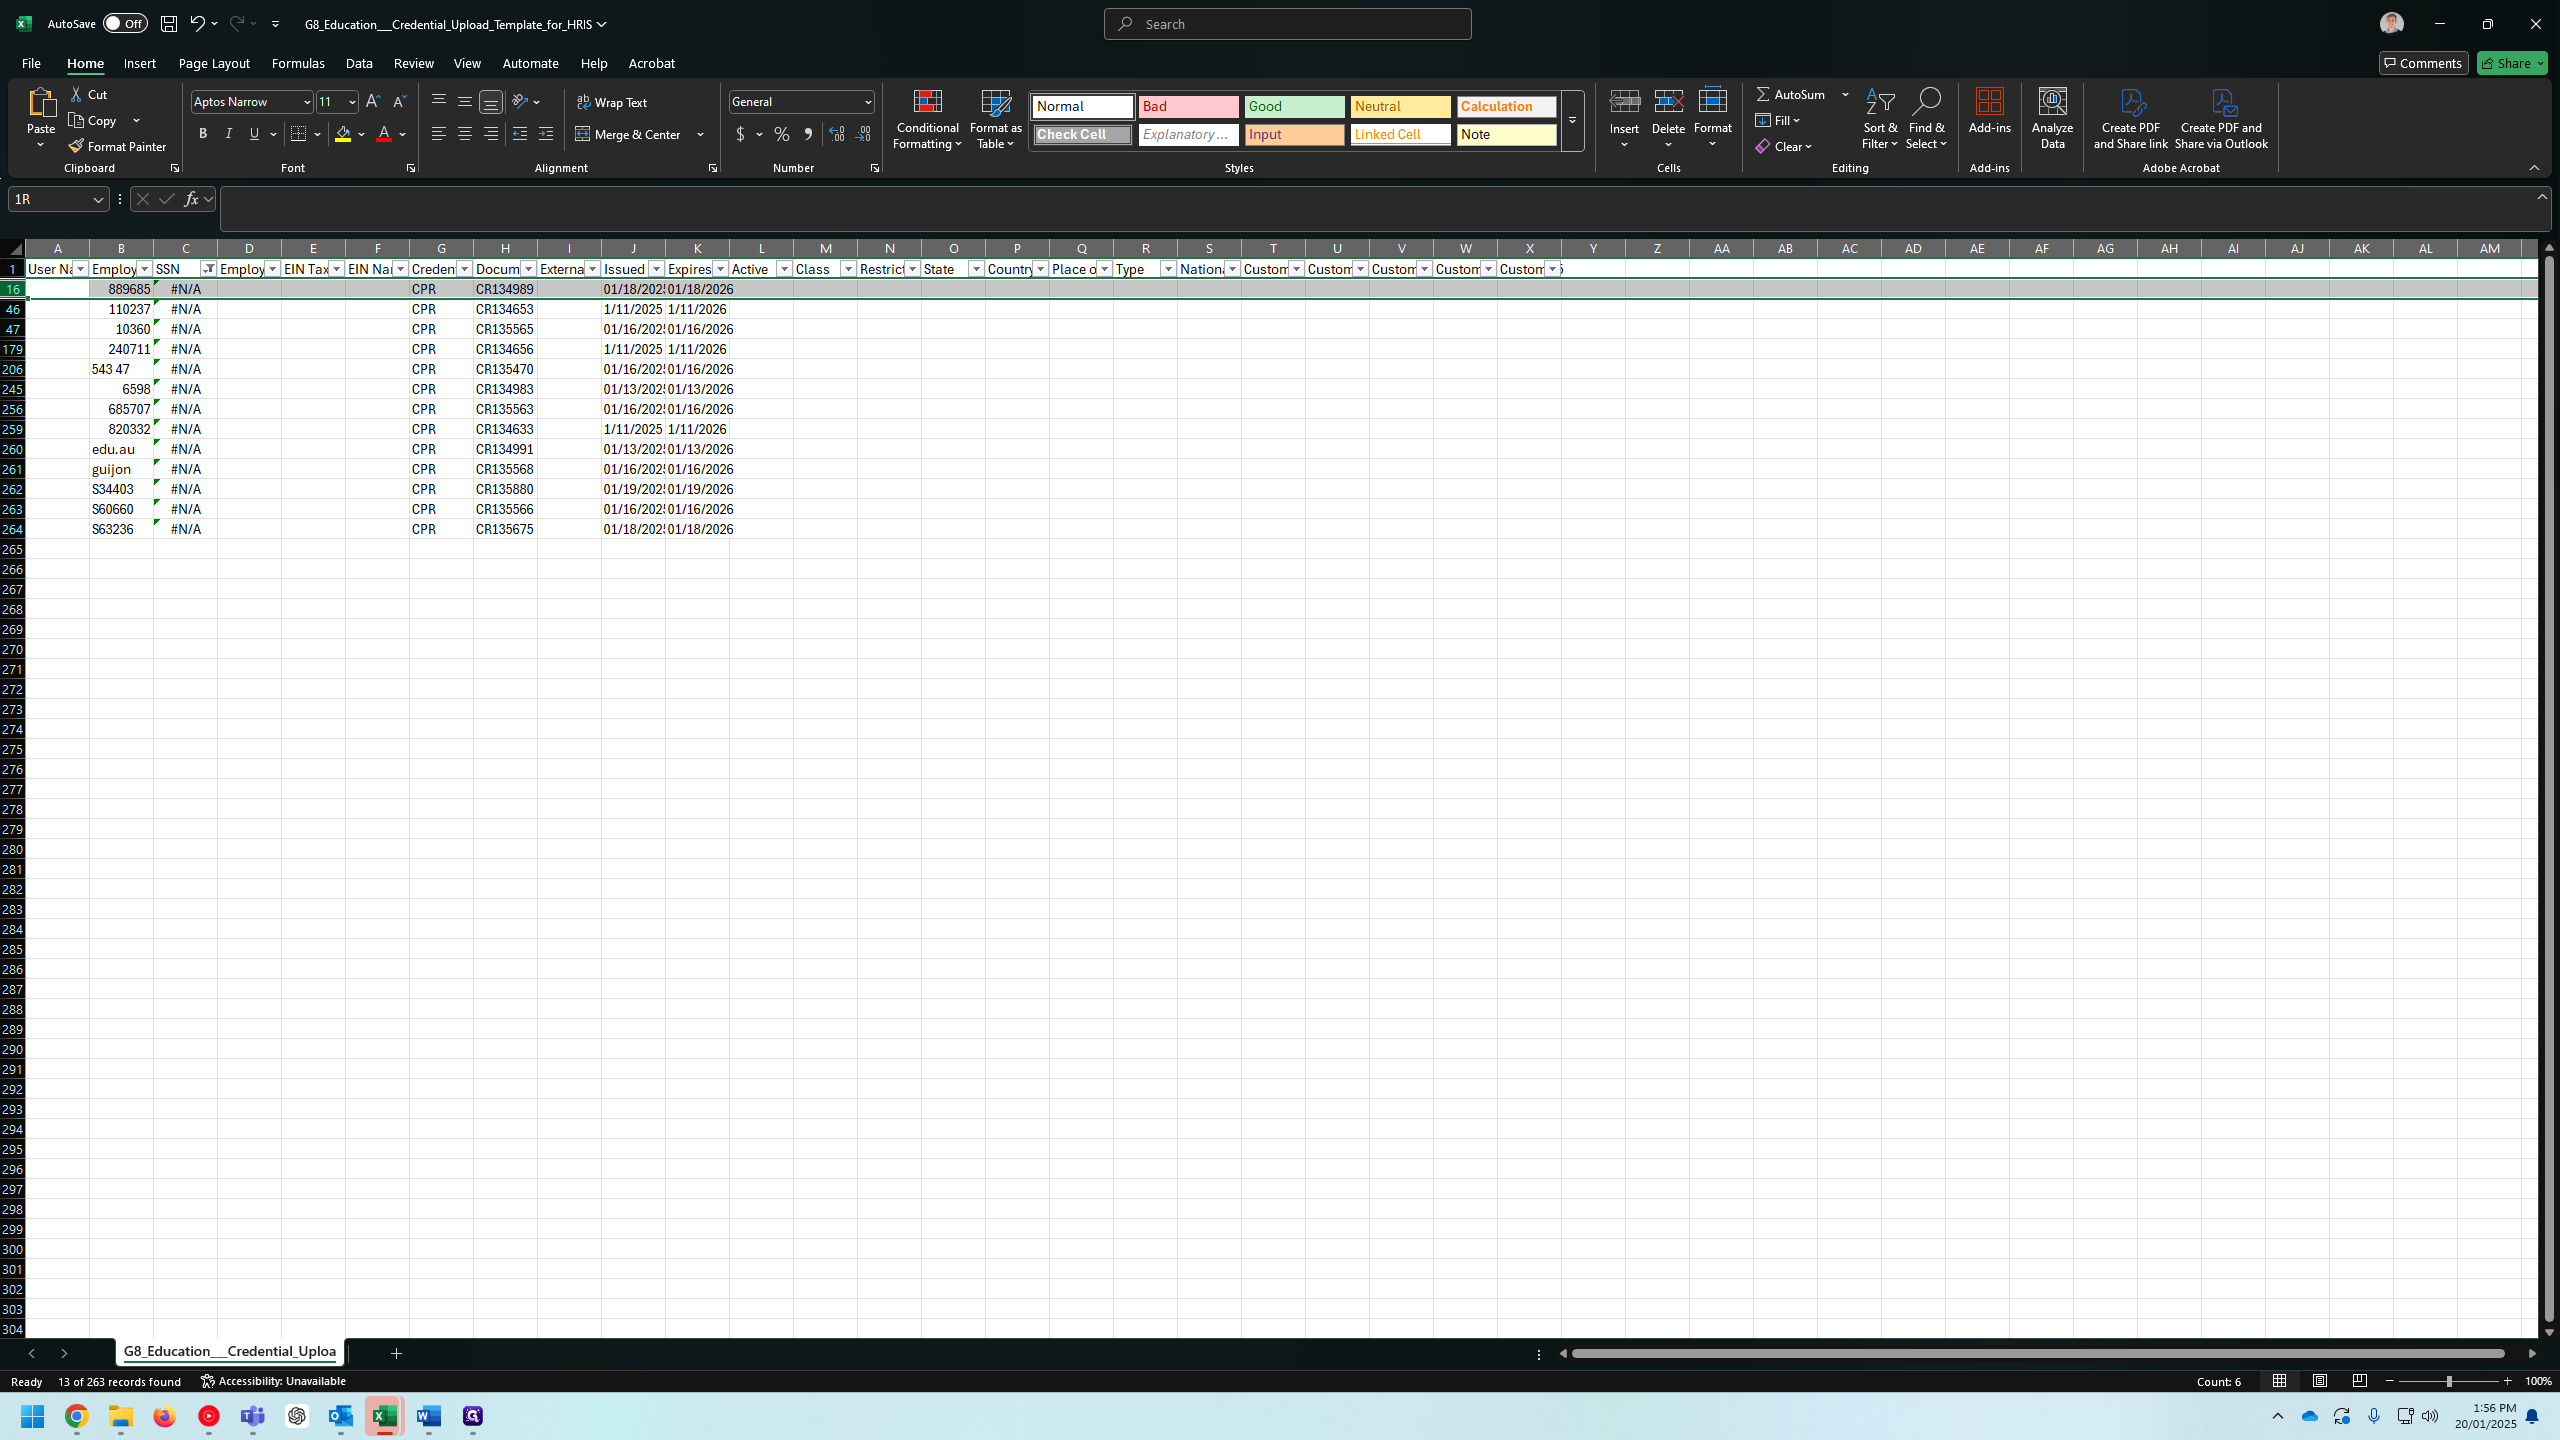
Now, I'm going to filter out the NAs and delete them.
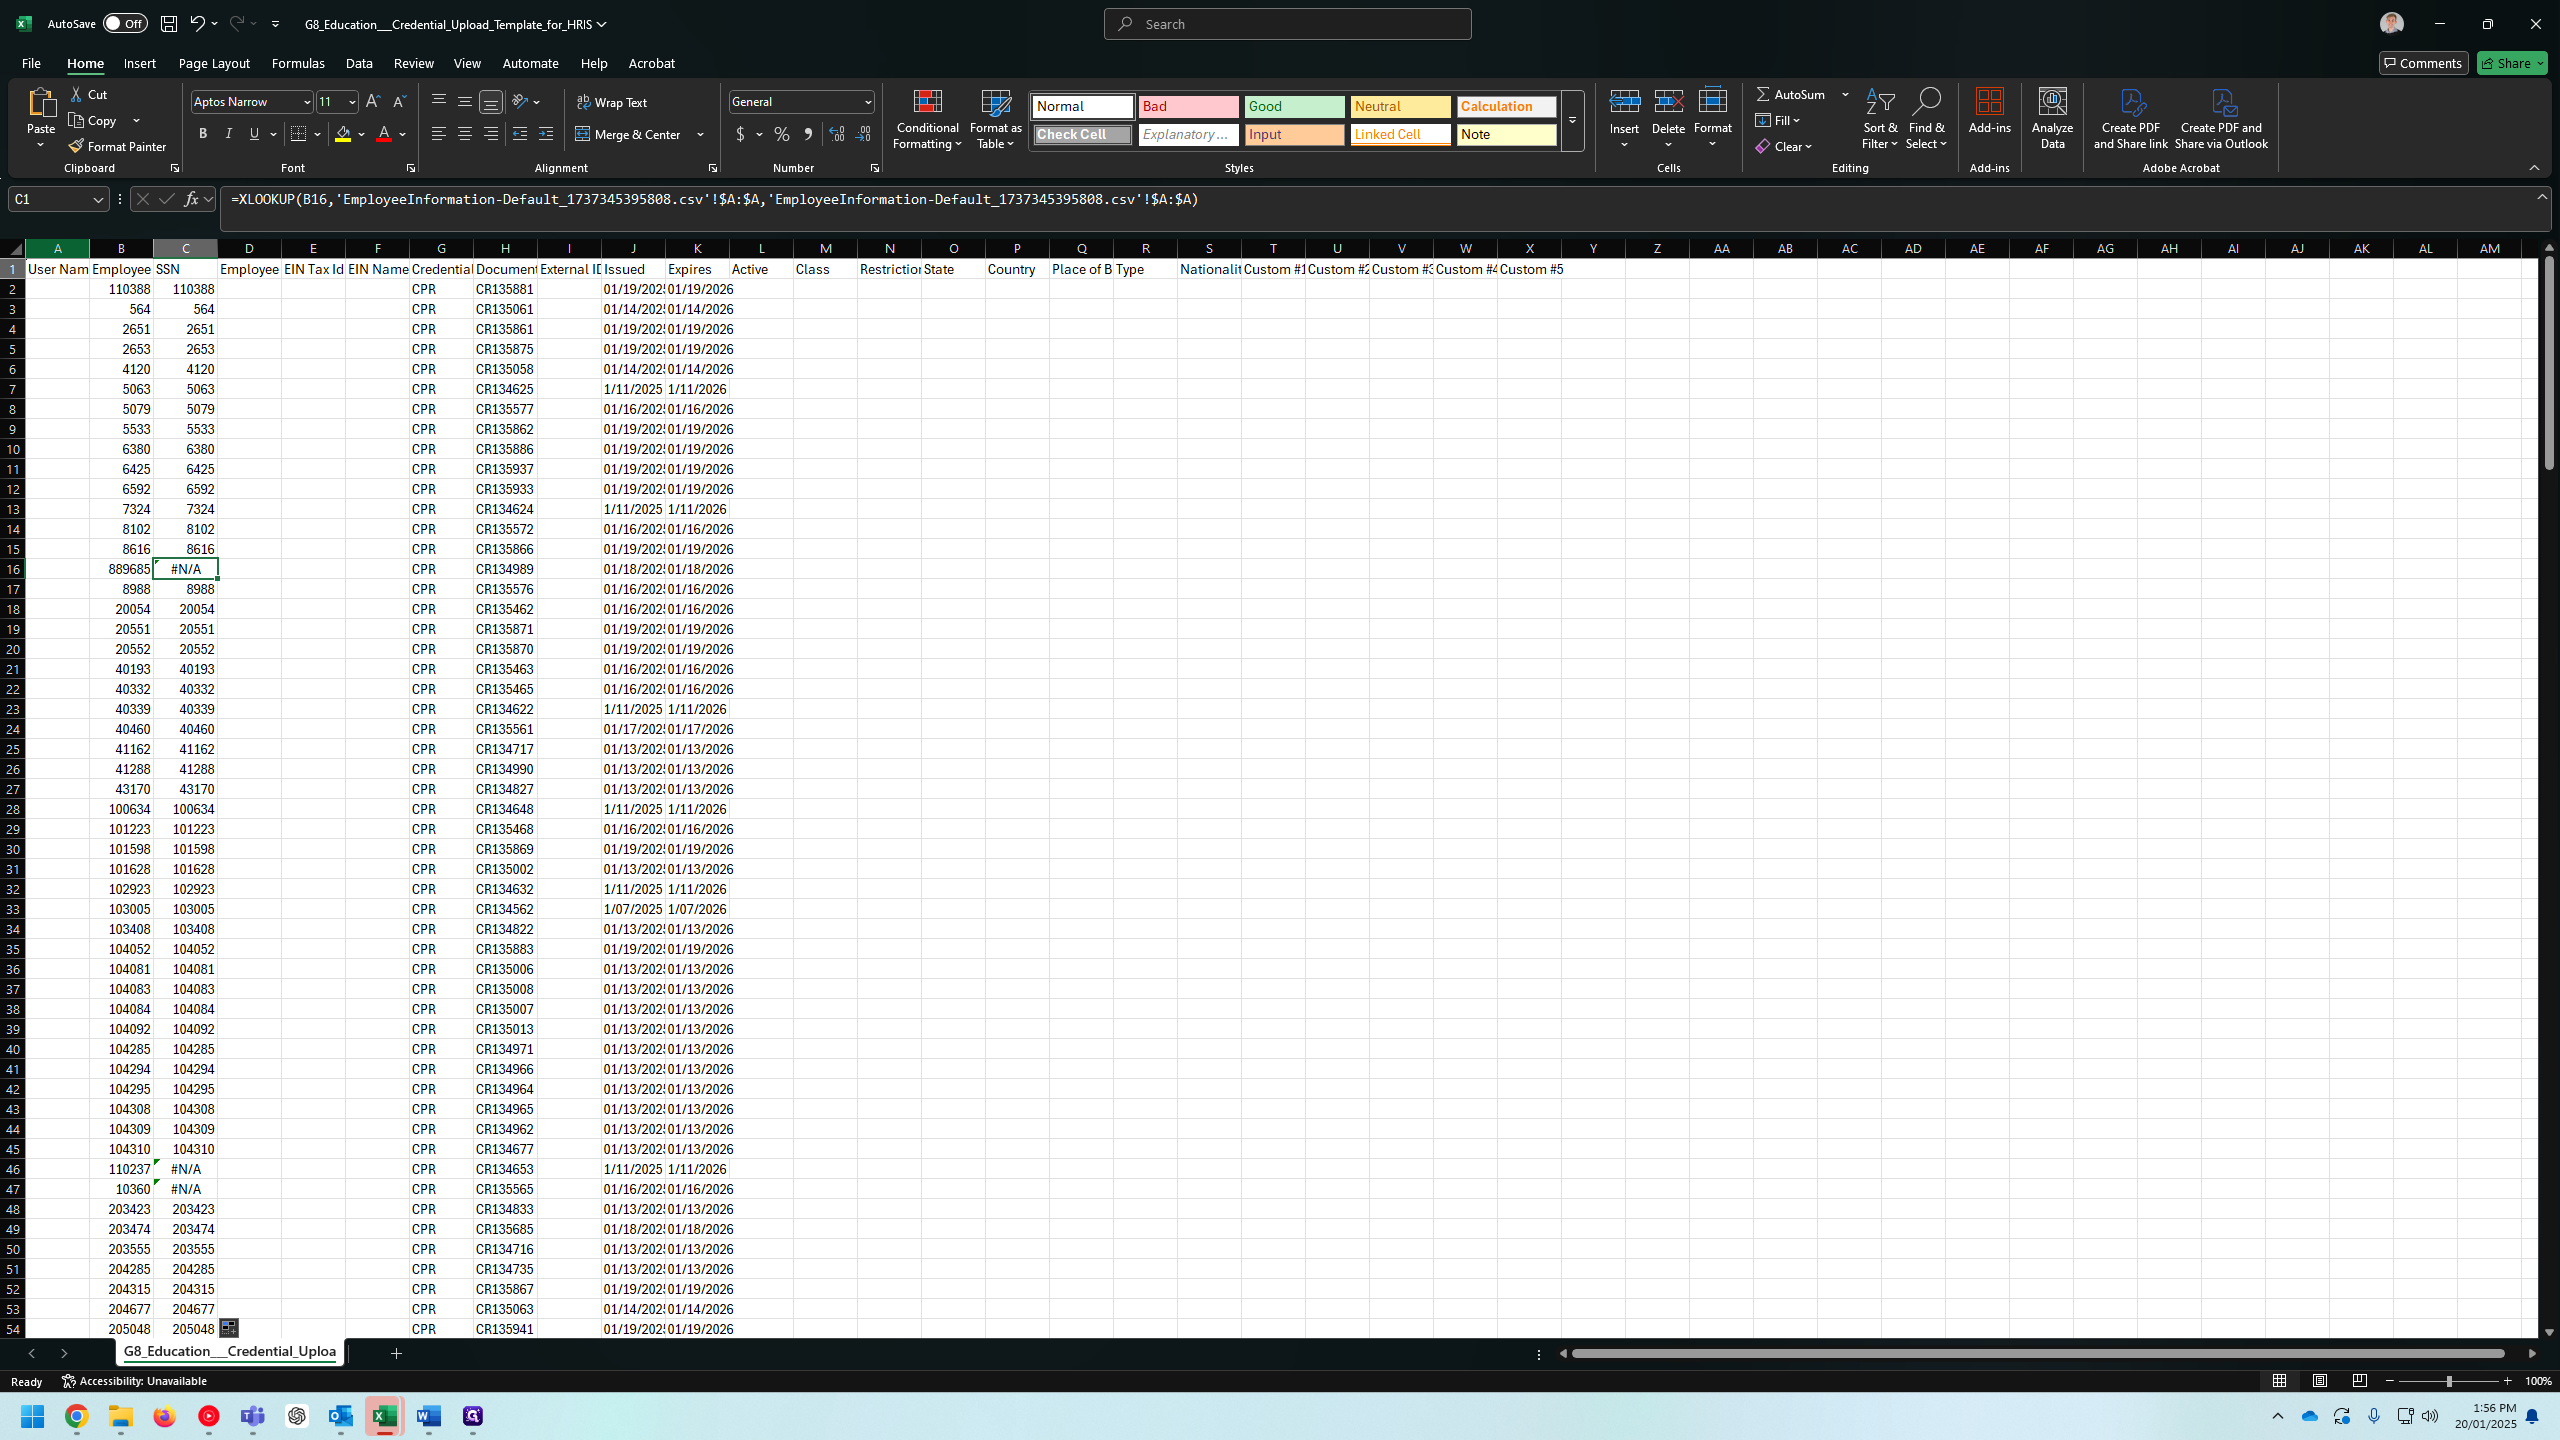
15
Click on "1 User Nam Employee SSN Employee EIN Tax Id EIN Name Credential Document External IC Issued"
Step #15: Click on "1 User Nam Employee SSN Employee EIN Tax Id EIN Name Credential Document External IC Issued"
16
Type "Shift + Ctrl + L"
17
Click on "C"
Step #17: Click on "C"
18
Click on "Select All"
Step #18: Click on "Select All"
19
Click on "ок"
Step #19: Click on "ок"
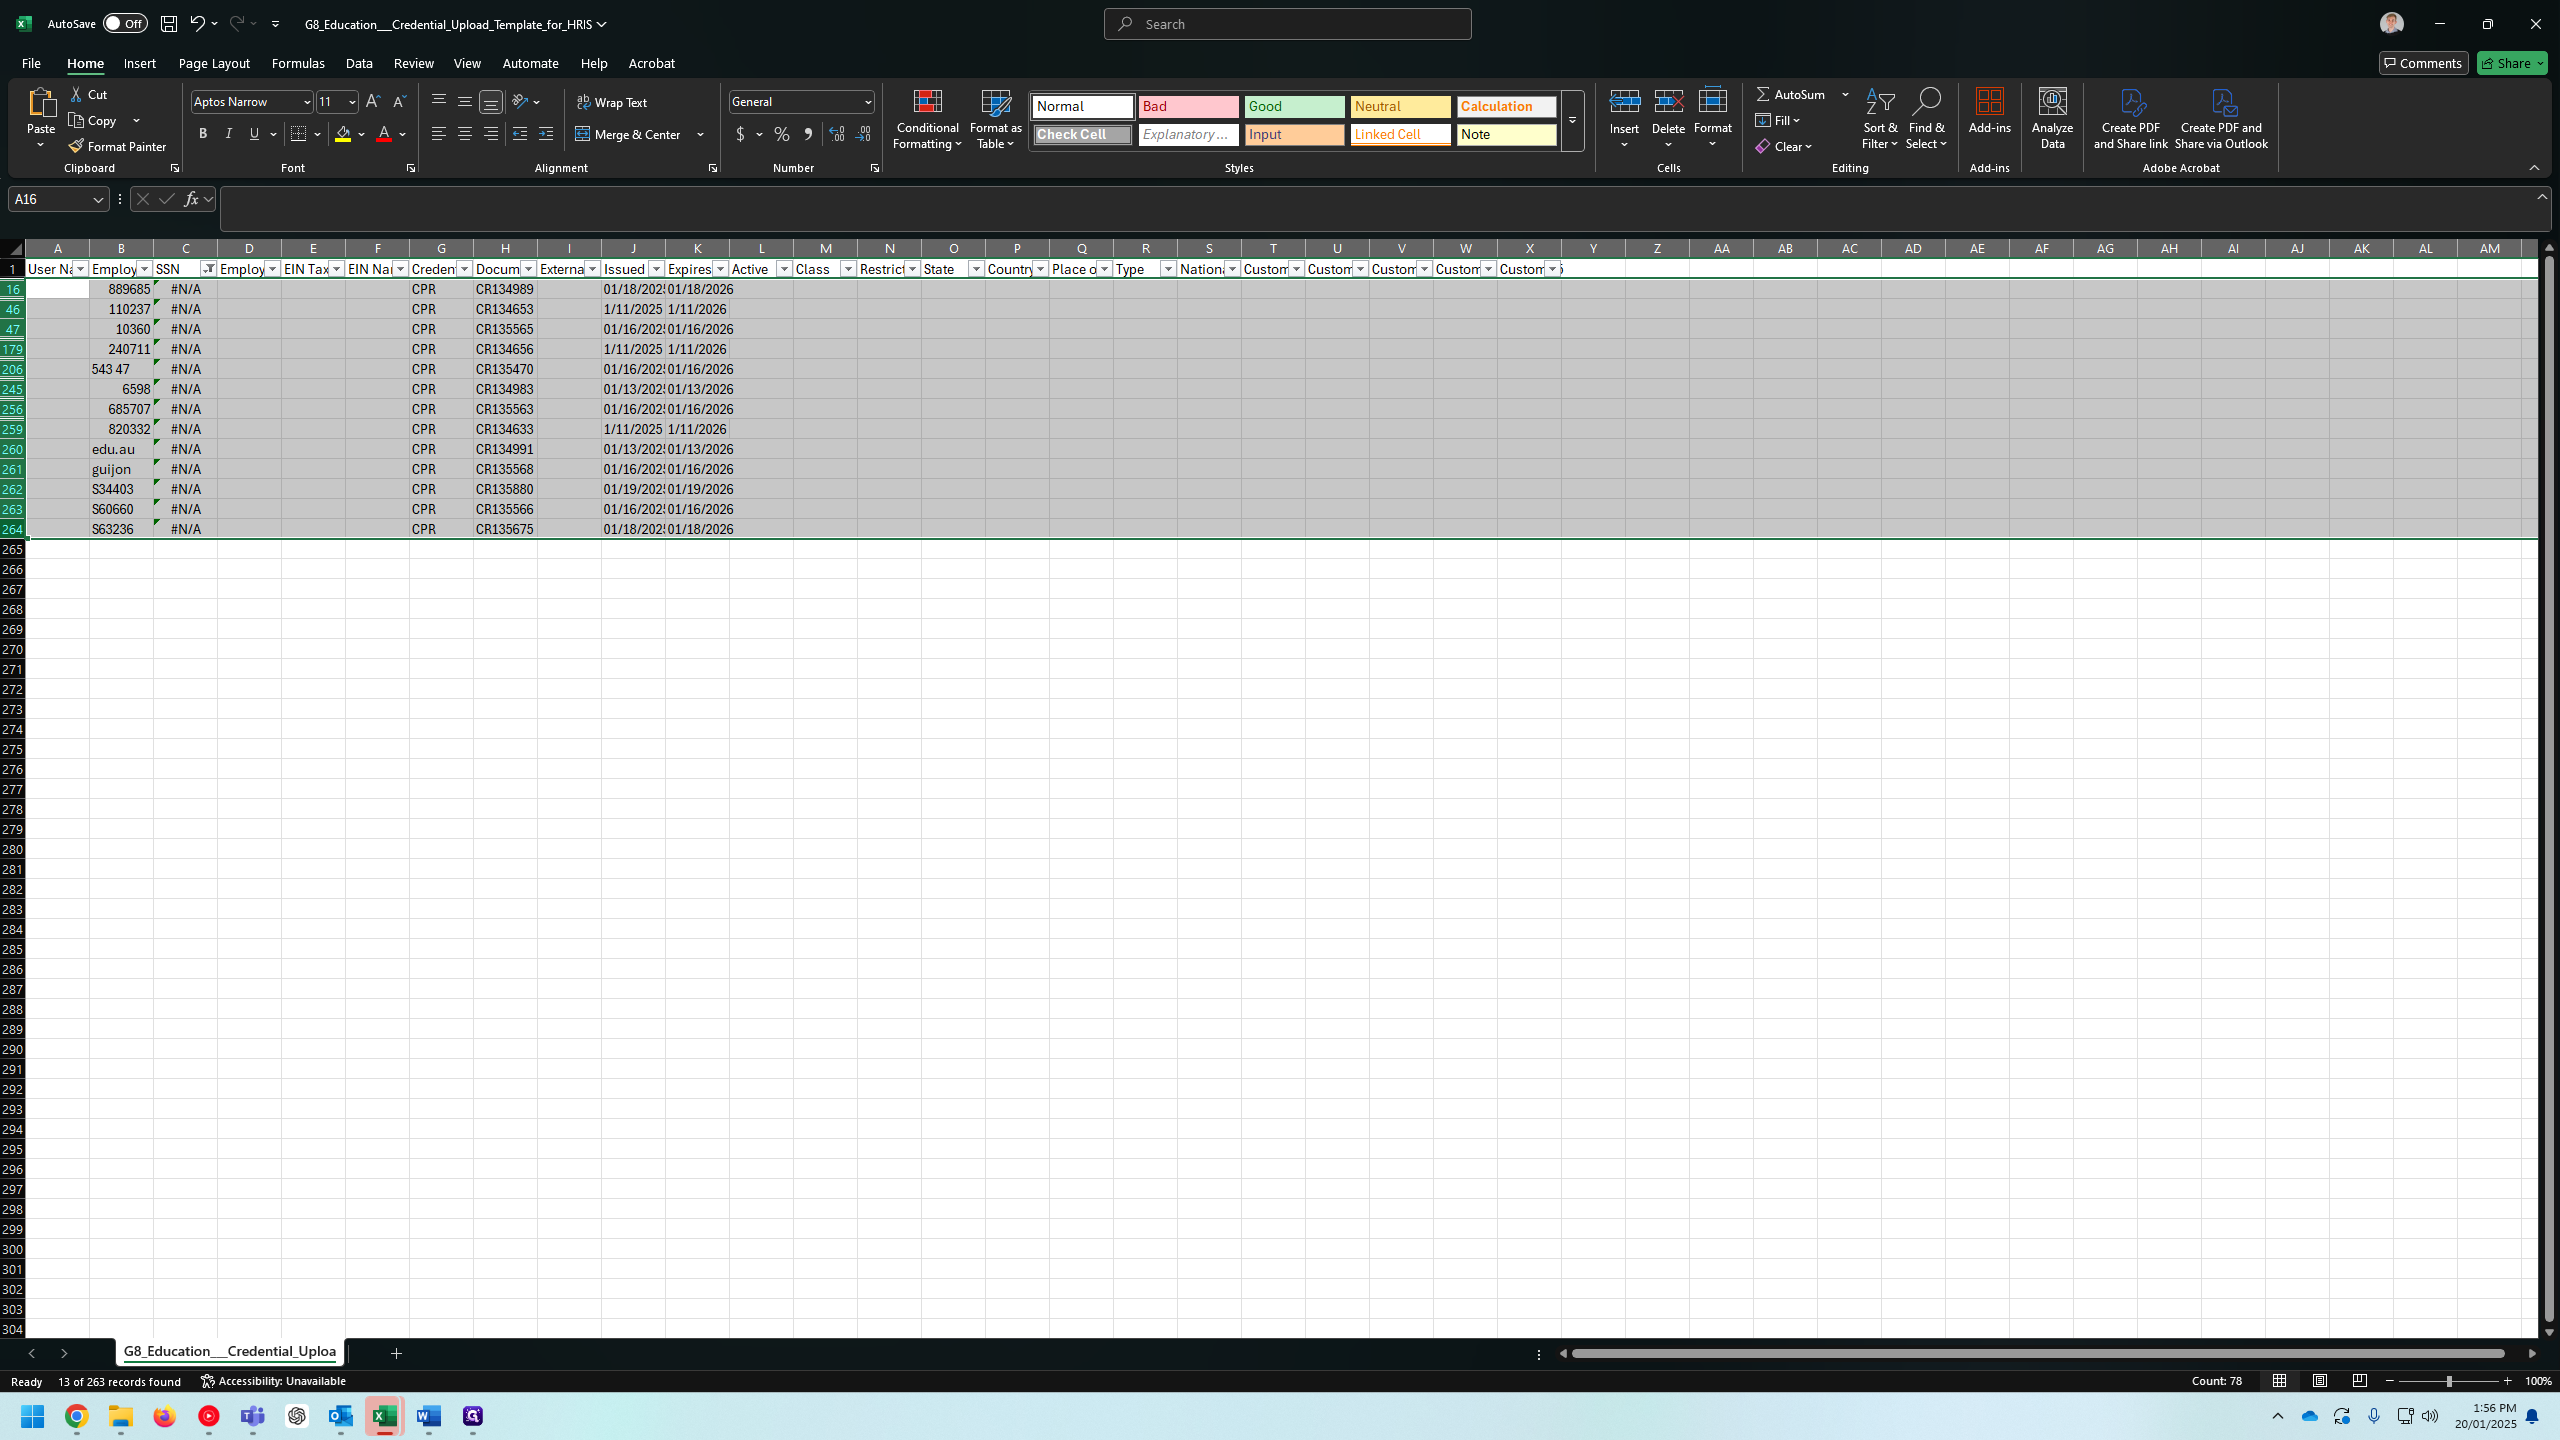
20
Drag "16"
Step #20: Drag "16"
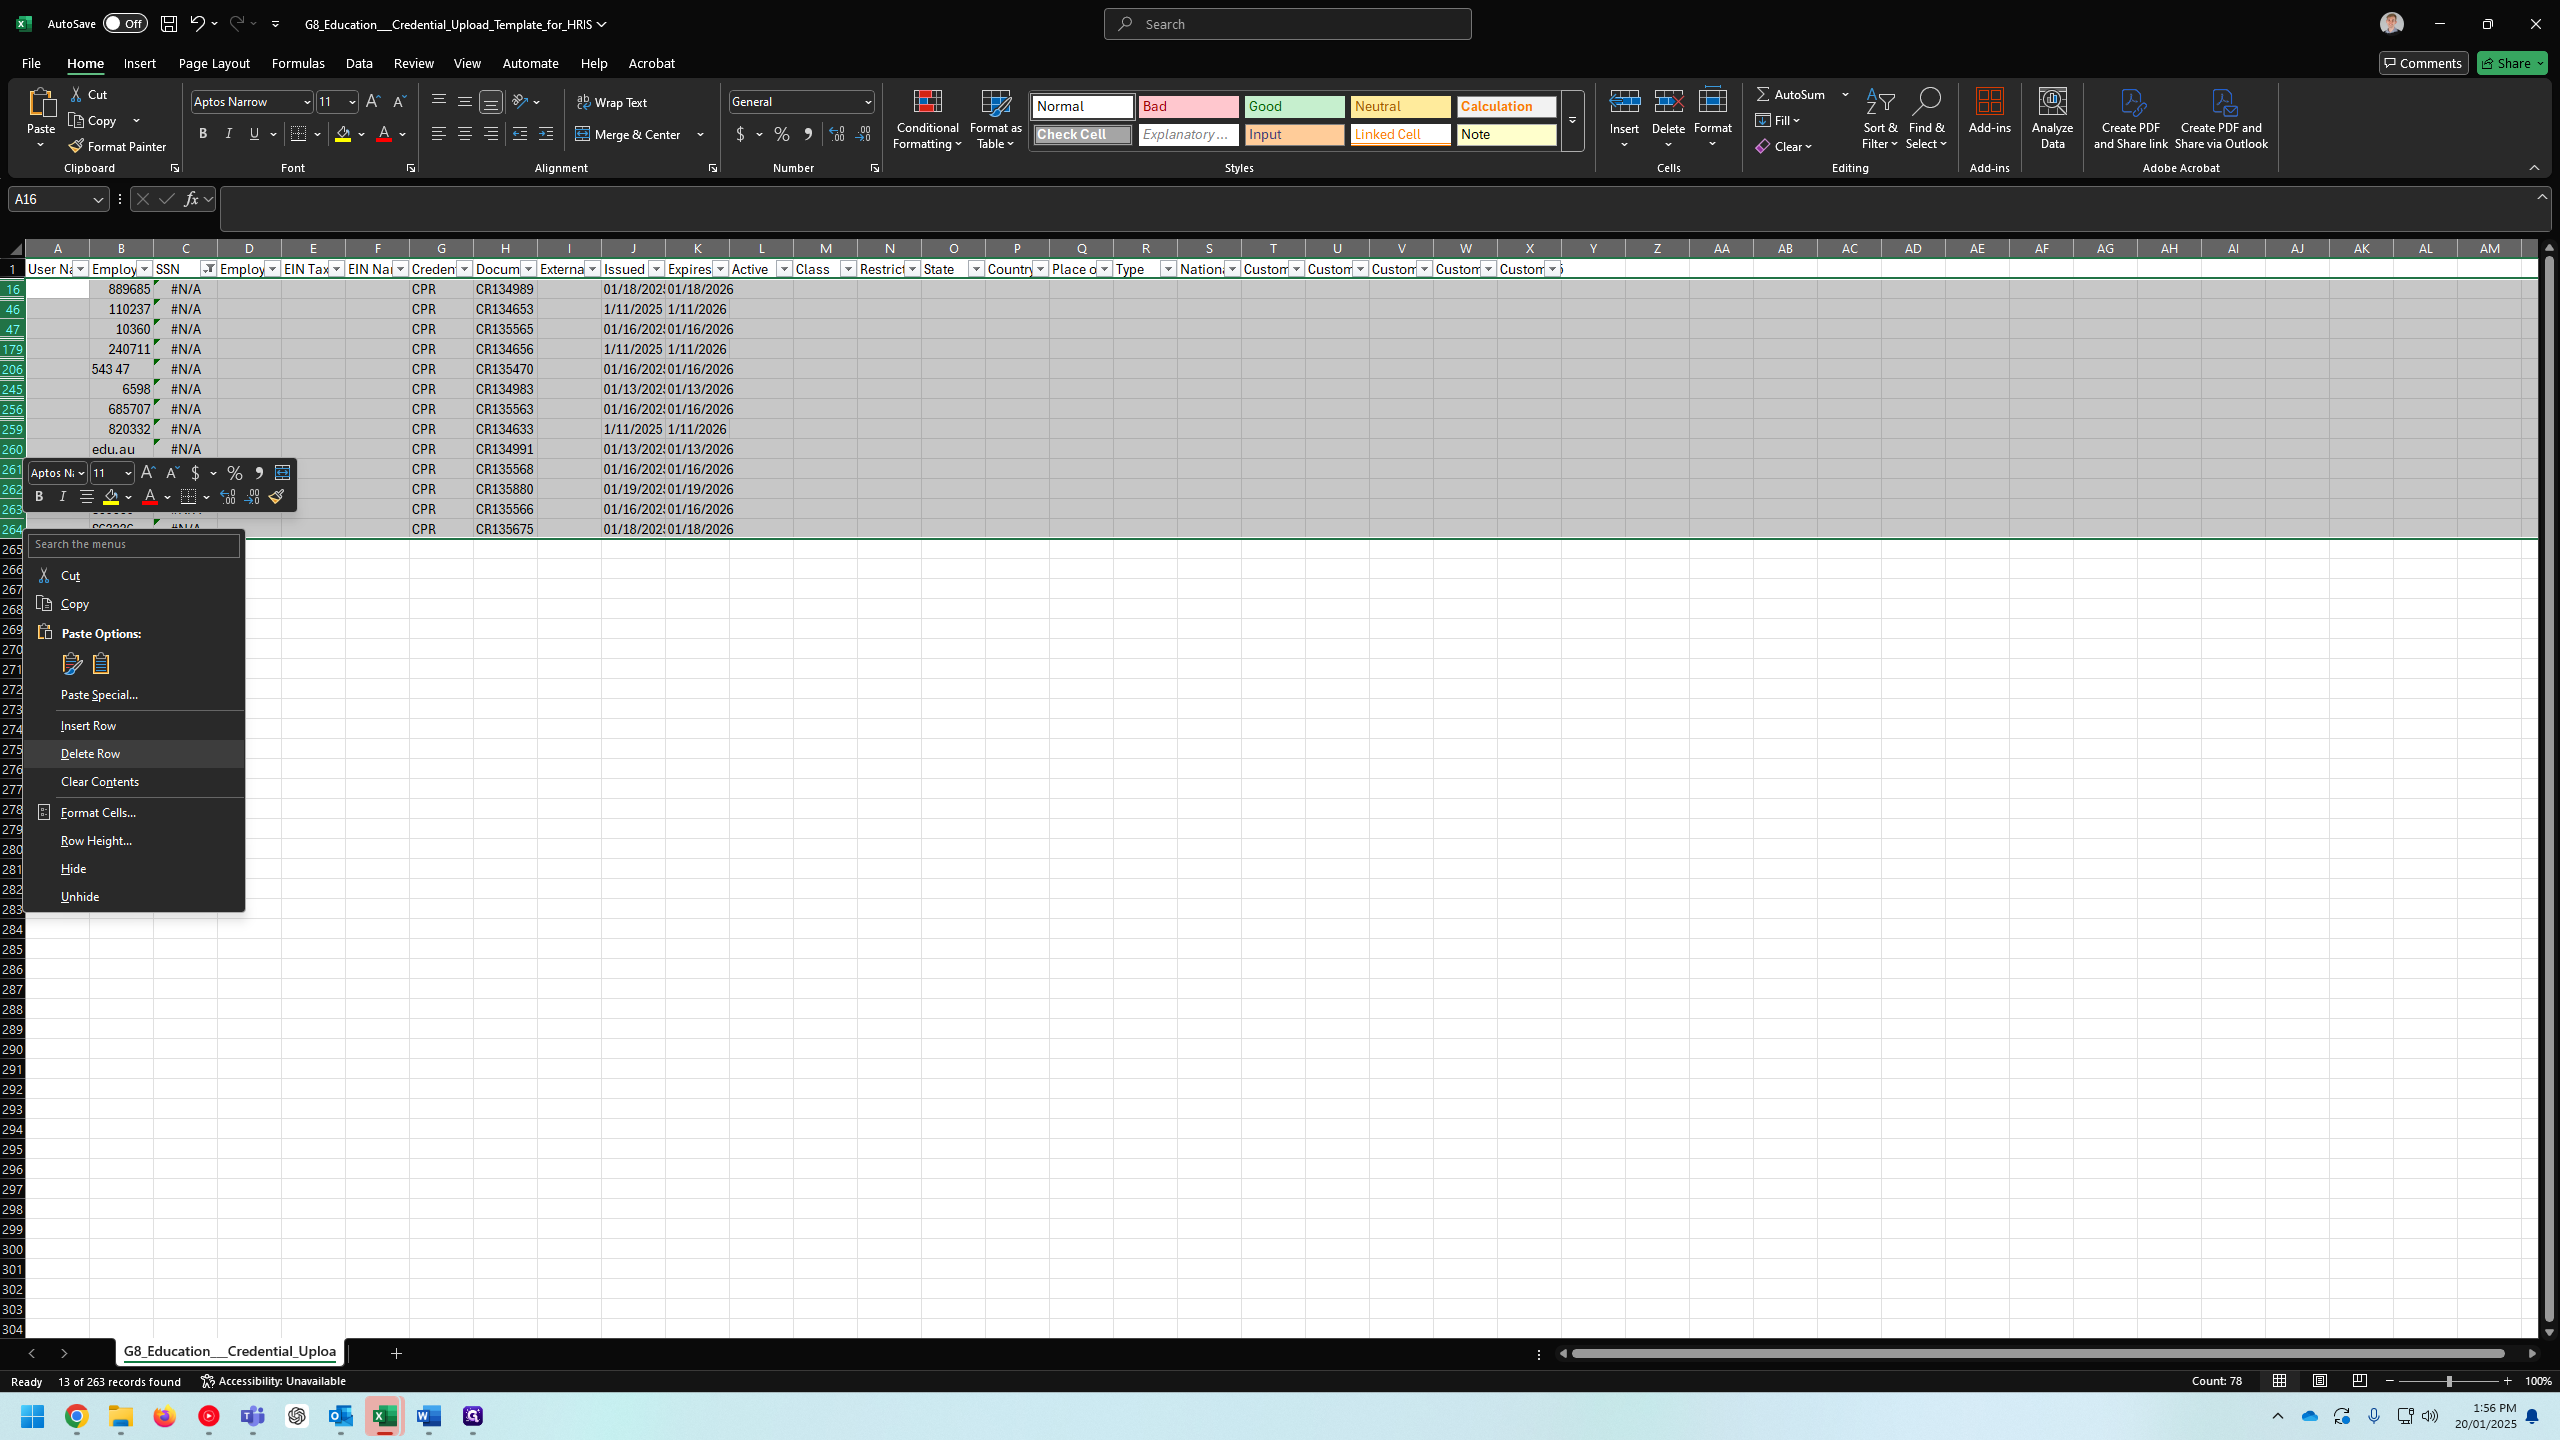
21
Right-click on "264"
Step #21: Right-click on "264"
22
Click on "Delete Row"
Step #22: Click on "Delete Row"

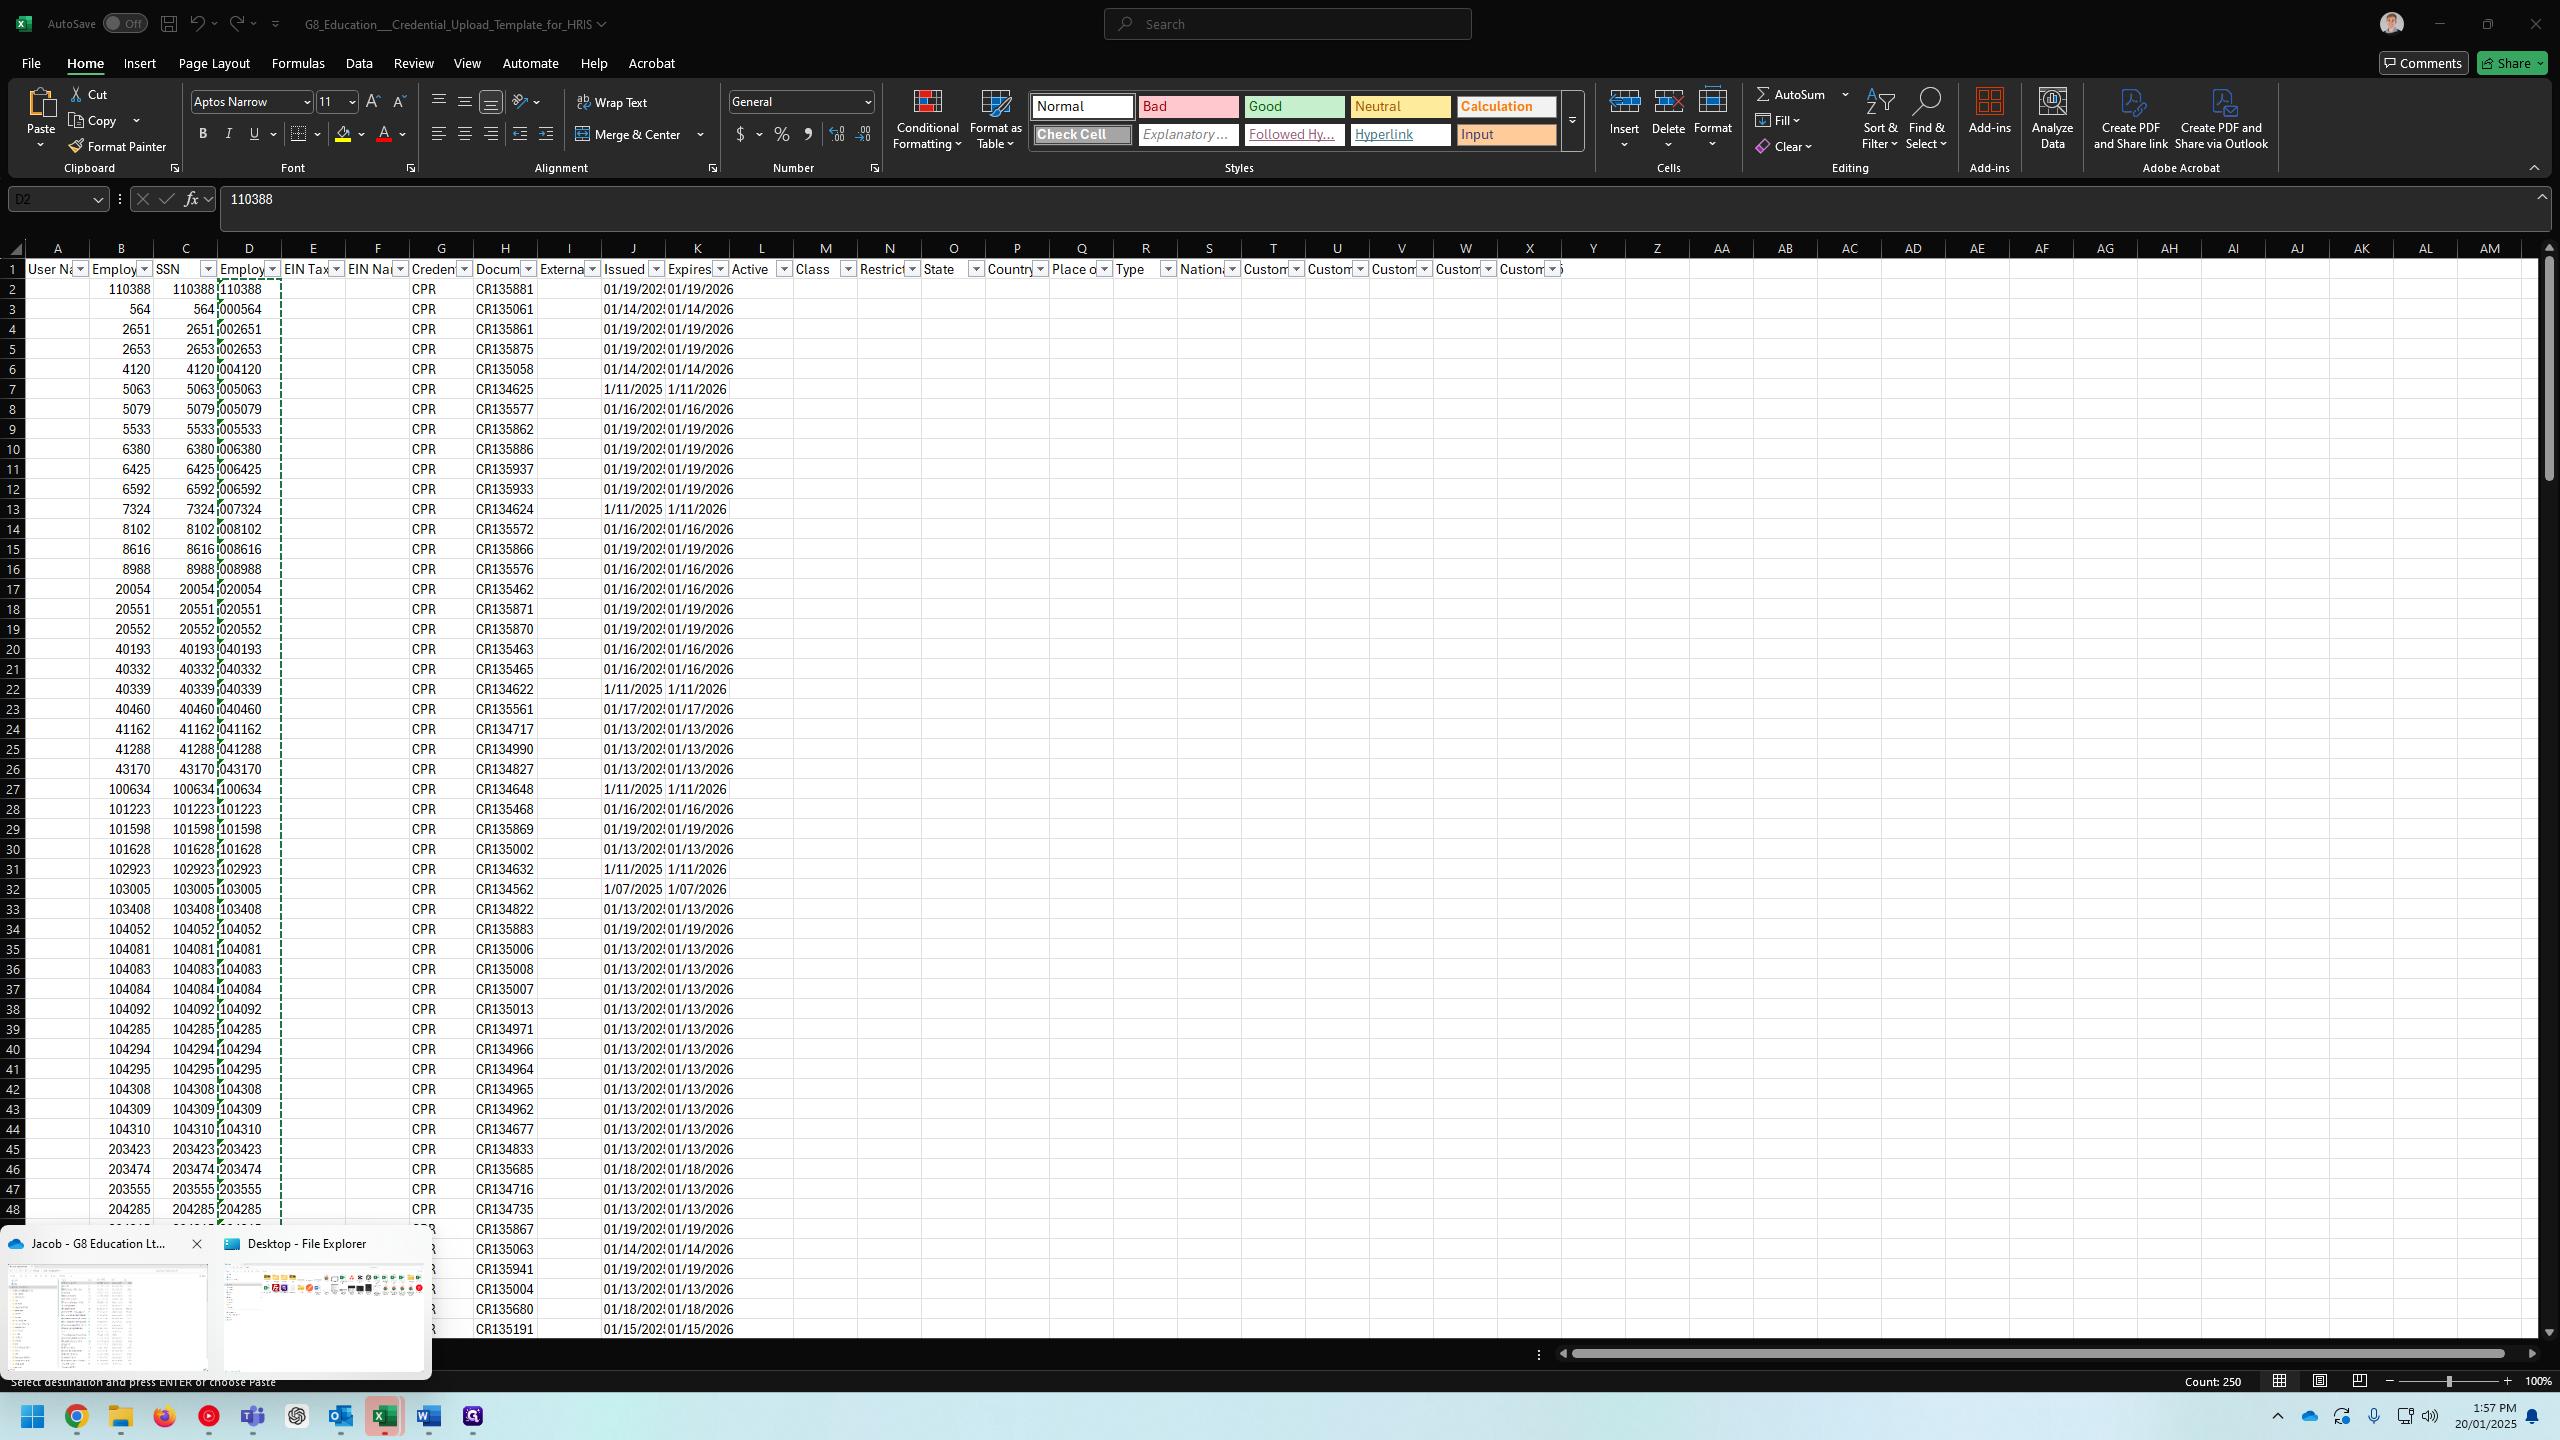
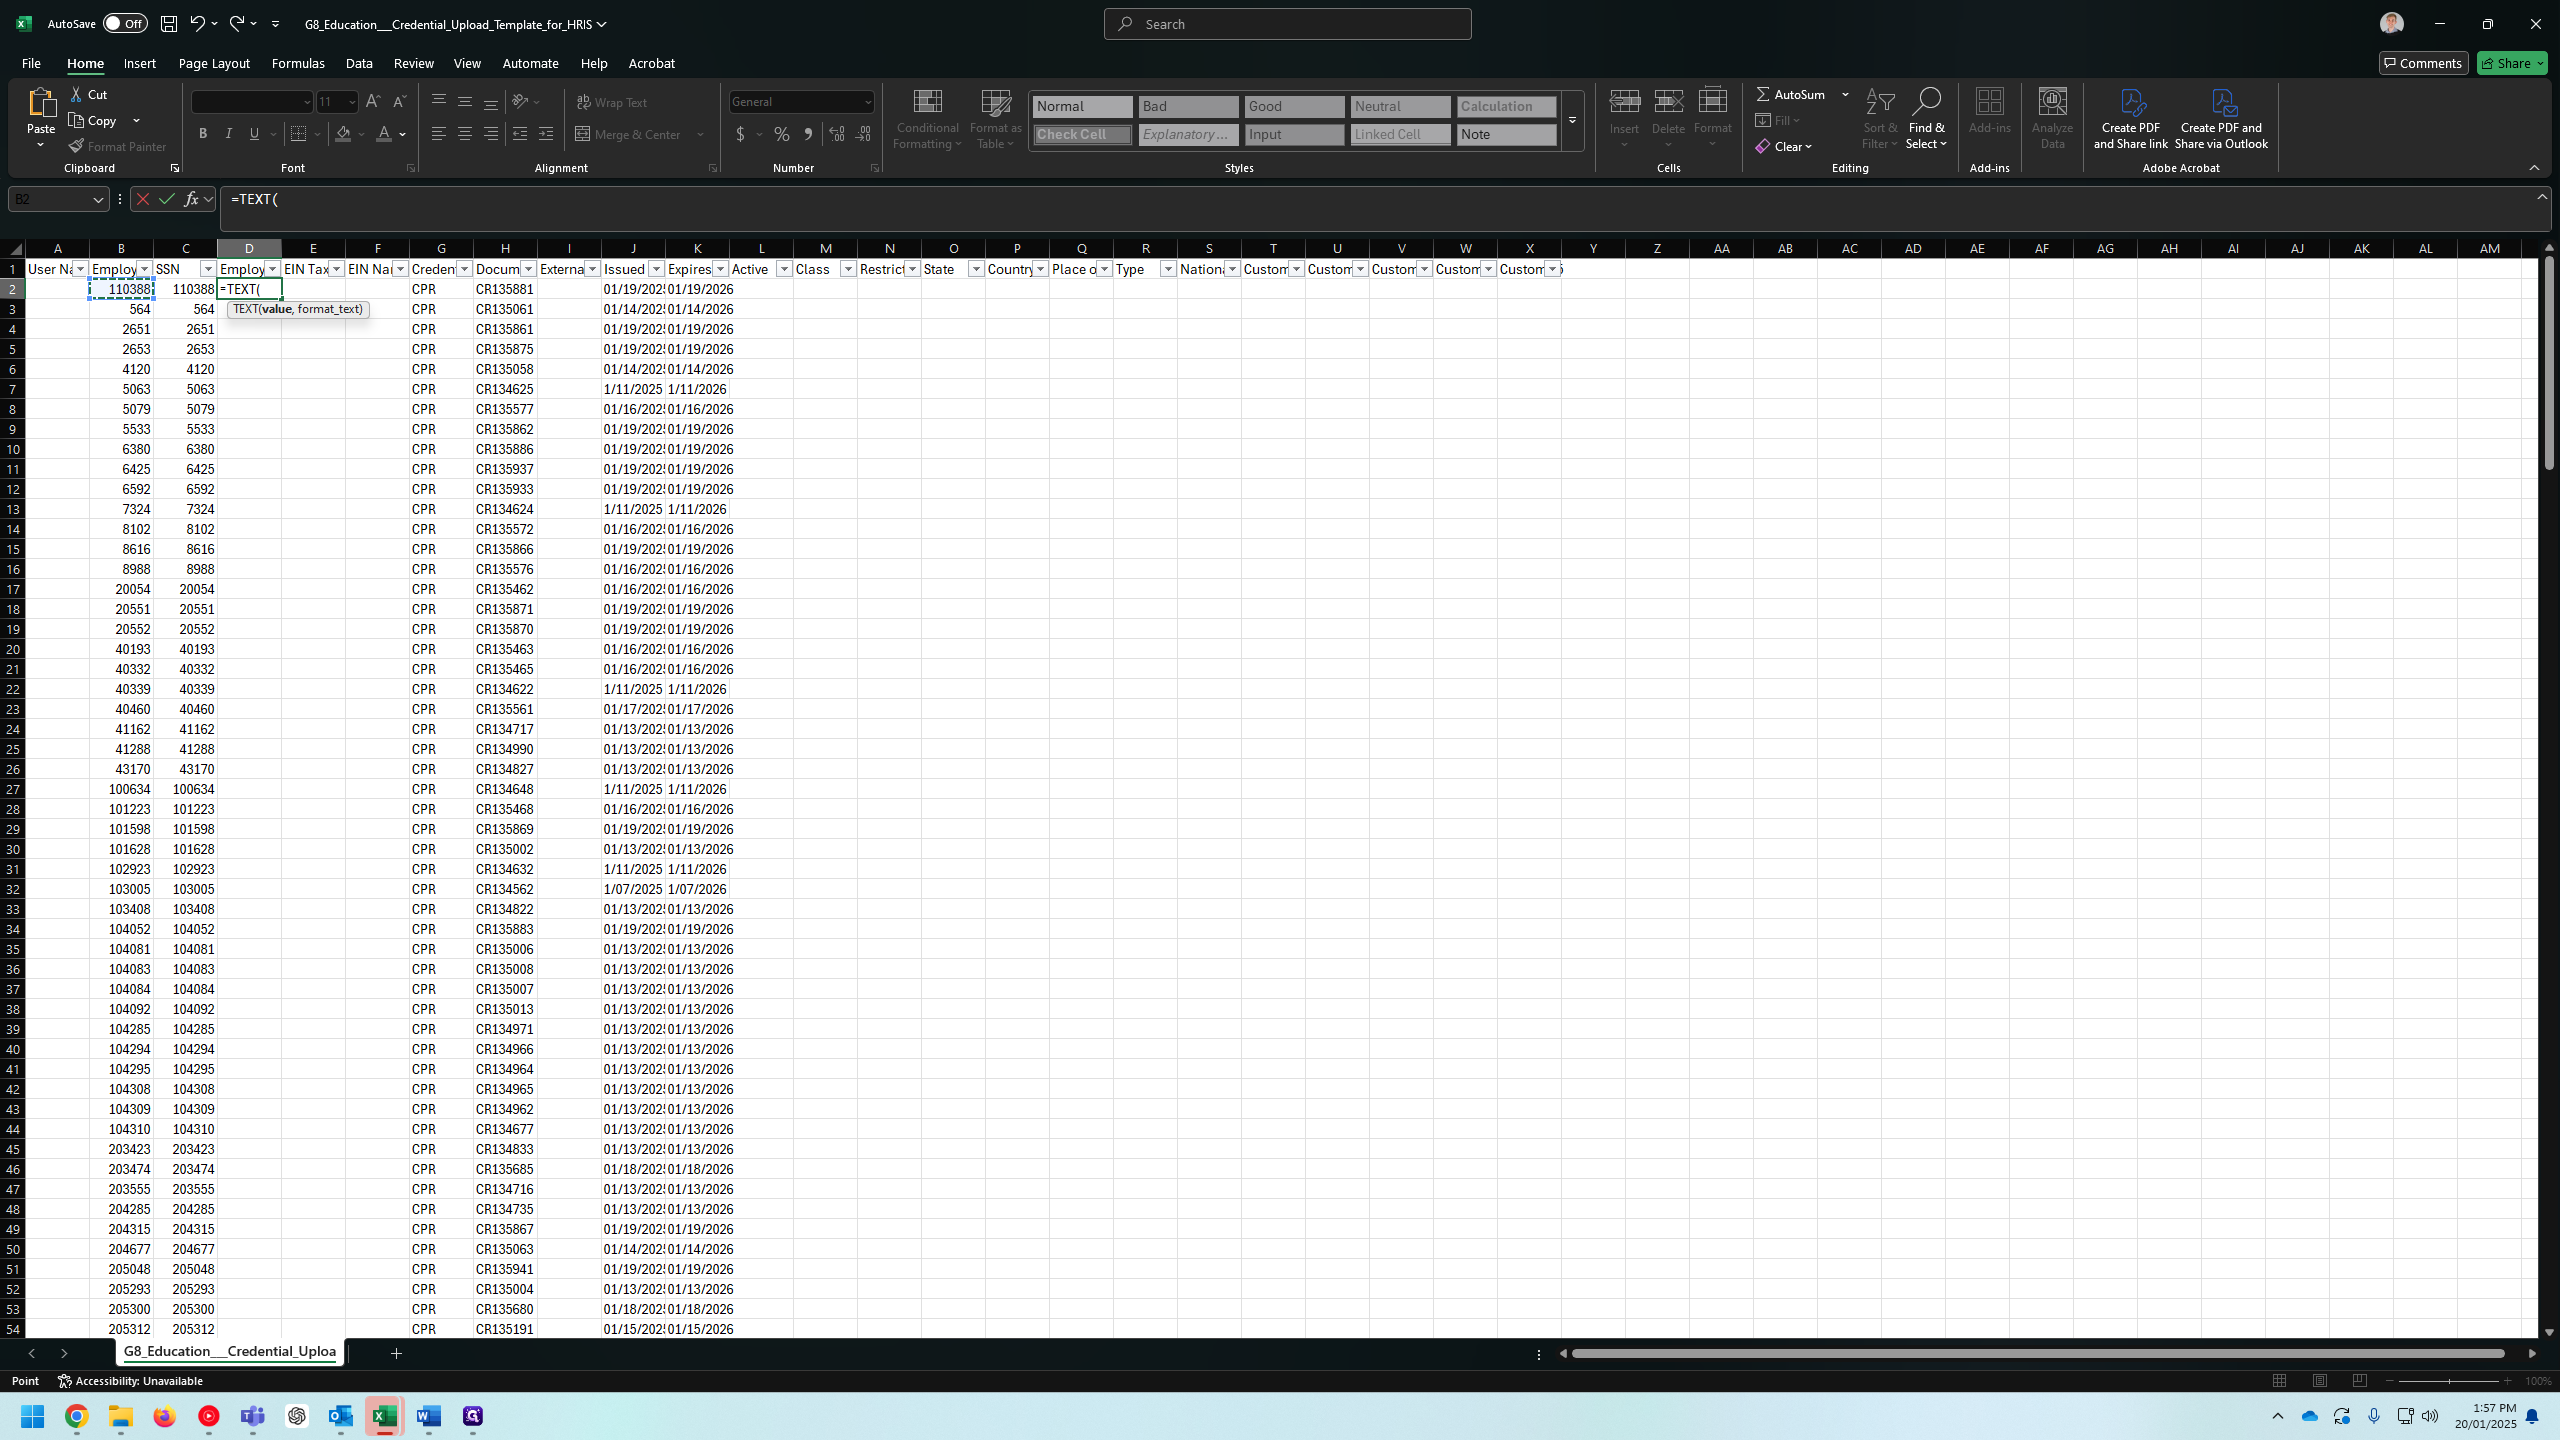
The only remaining task is to convert this to text.
23
Type "=text + Tab"
24
Click on "110388"
Step #24: Click on "110388"

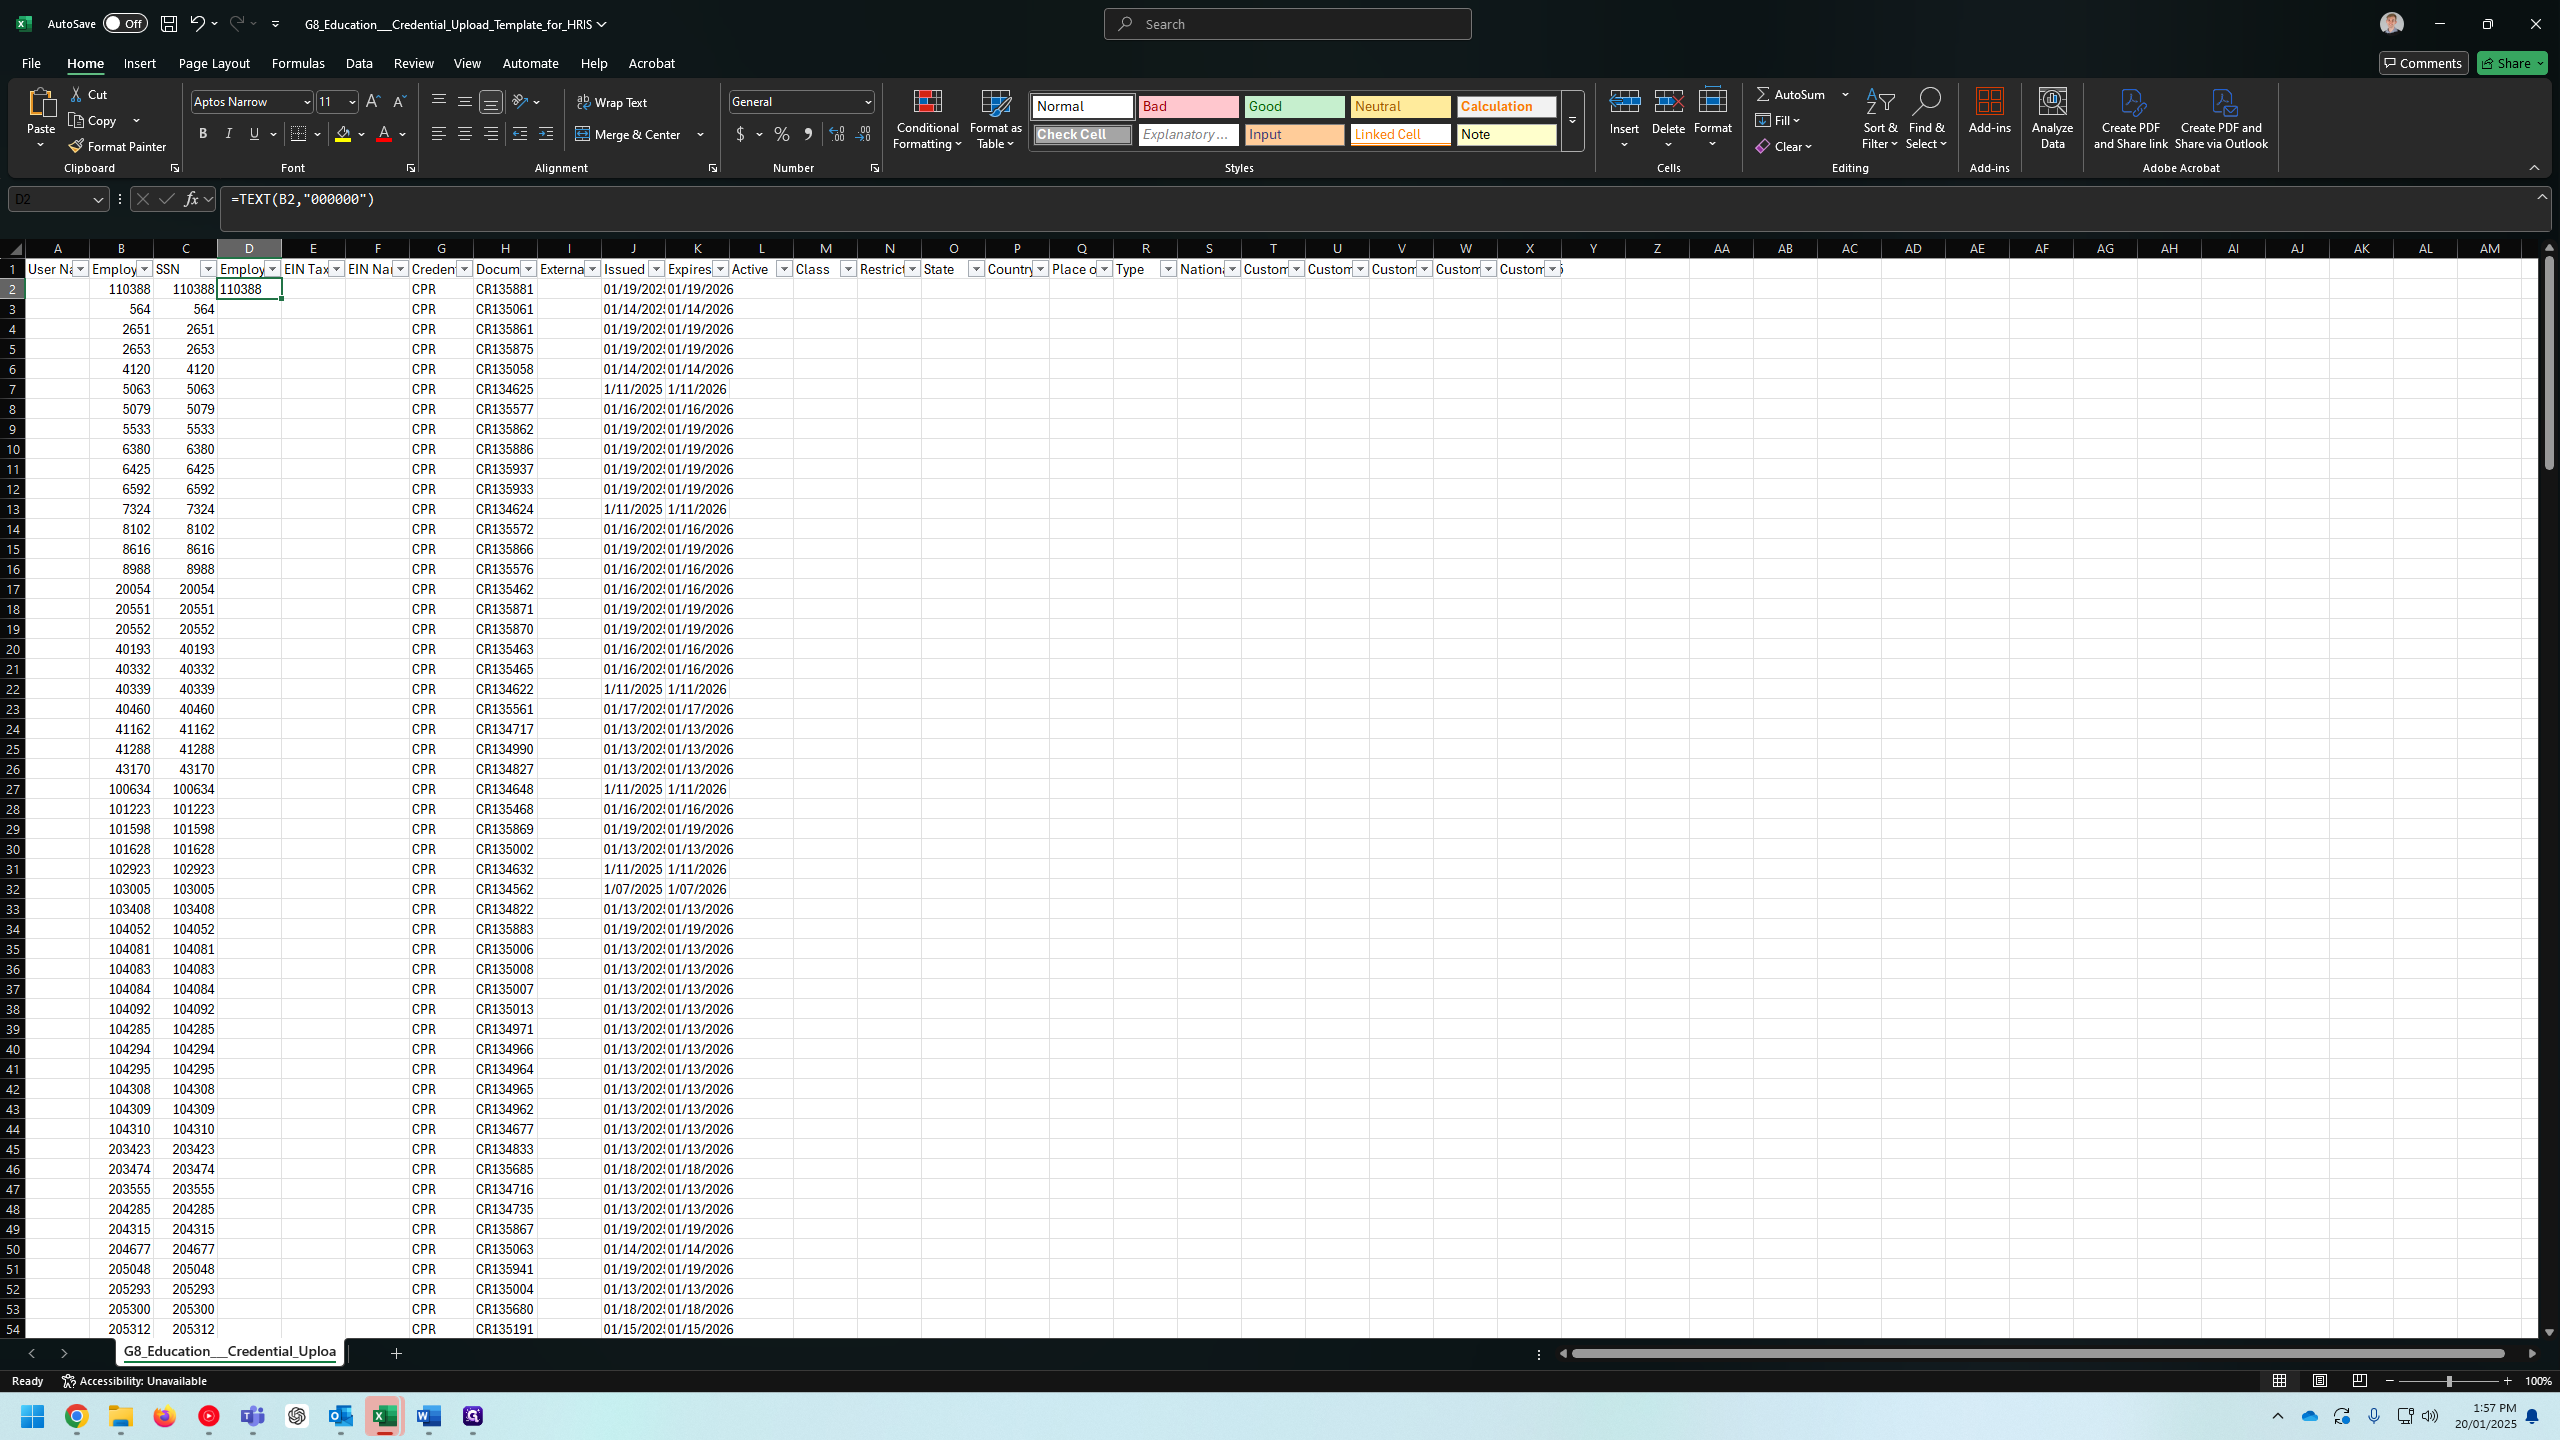
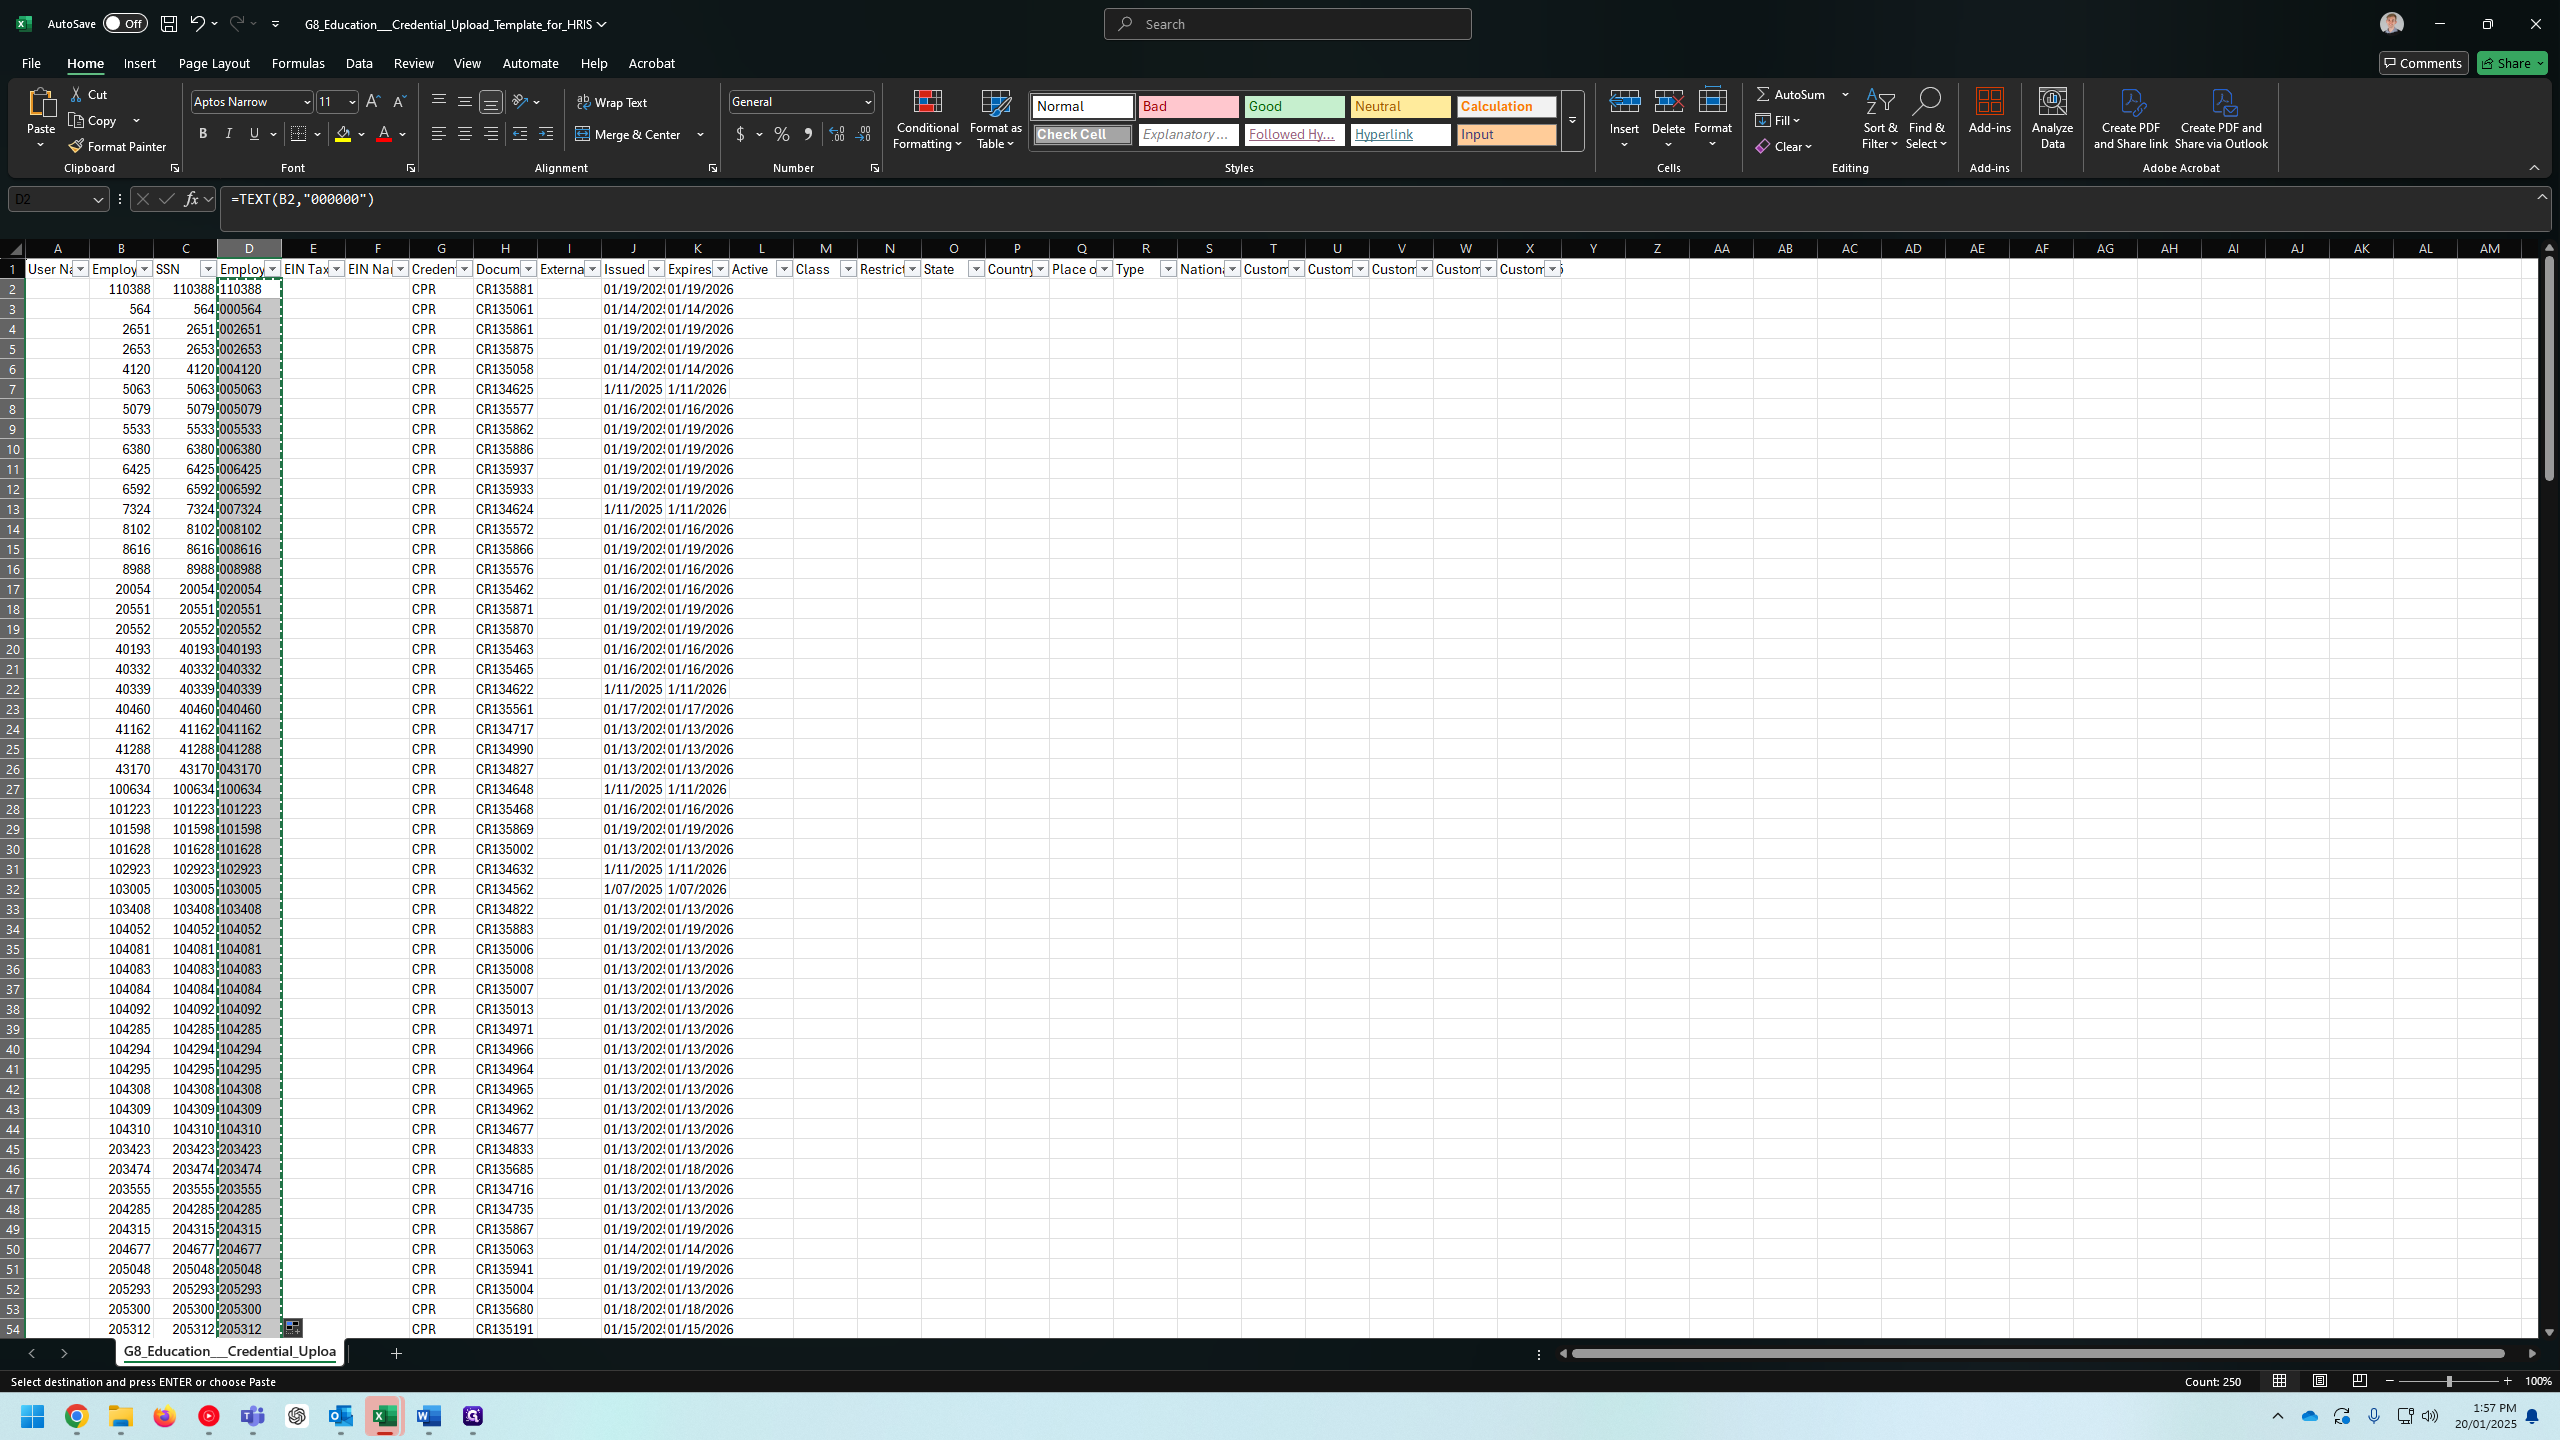
Text this value, ensuring it has leading zeros. This is necessary for uploading it into the system.
25
Type ","000000") + Enter"
26
Double-click here
Step #26: Double-click here
27
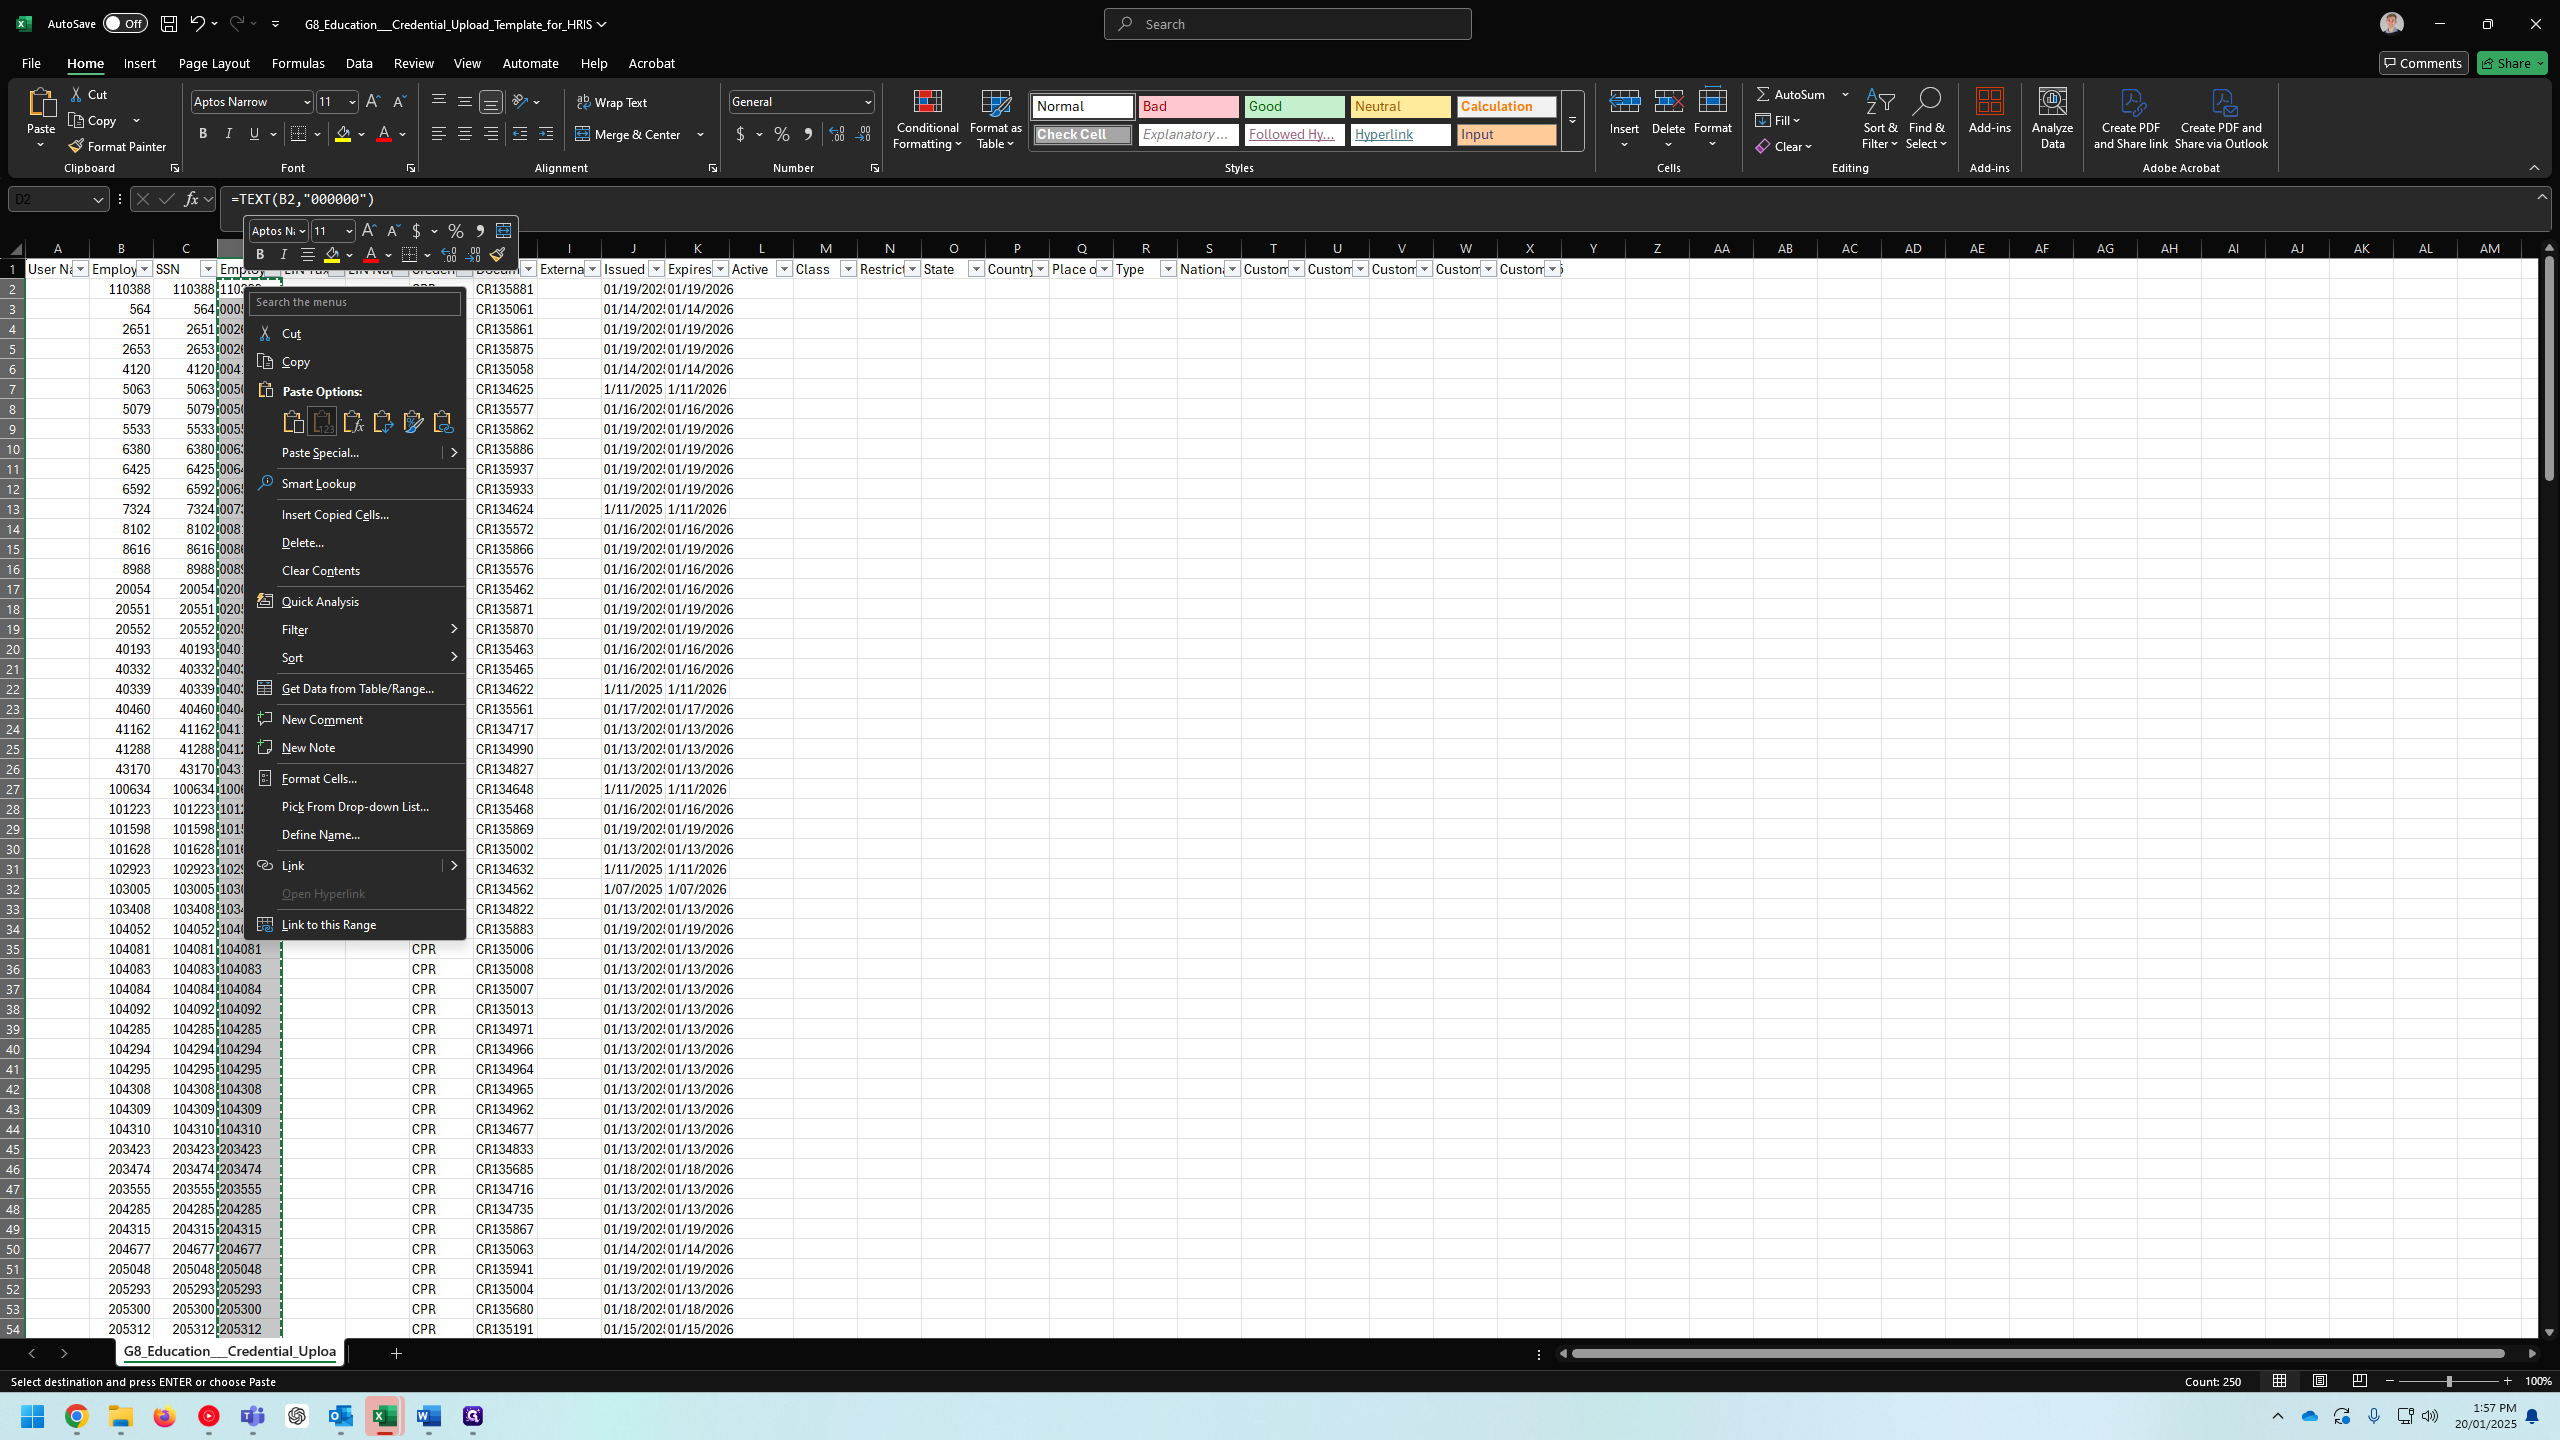
Type "Ctrl + C"
28
Right-click on "110388 110388"
Step #28: Right-click on "110388 110388"

Copy that and then paste the values.
29
Click here
Step #29: Click here

Now, we'll open our most recent credentials import and create a new one with today's date.
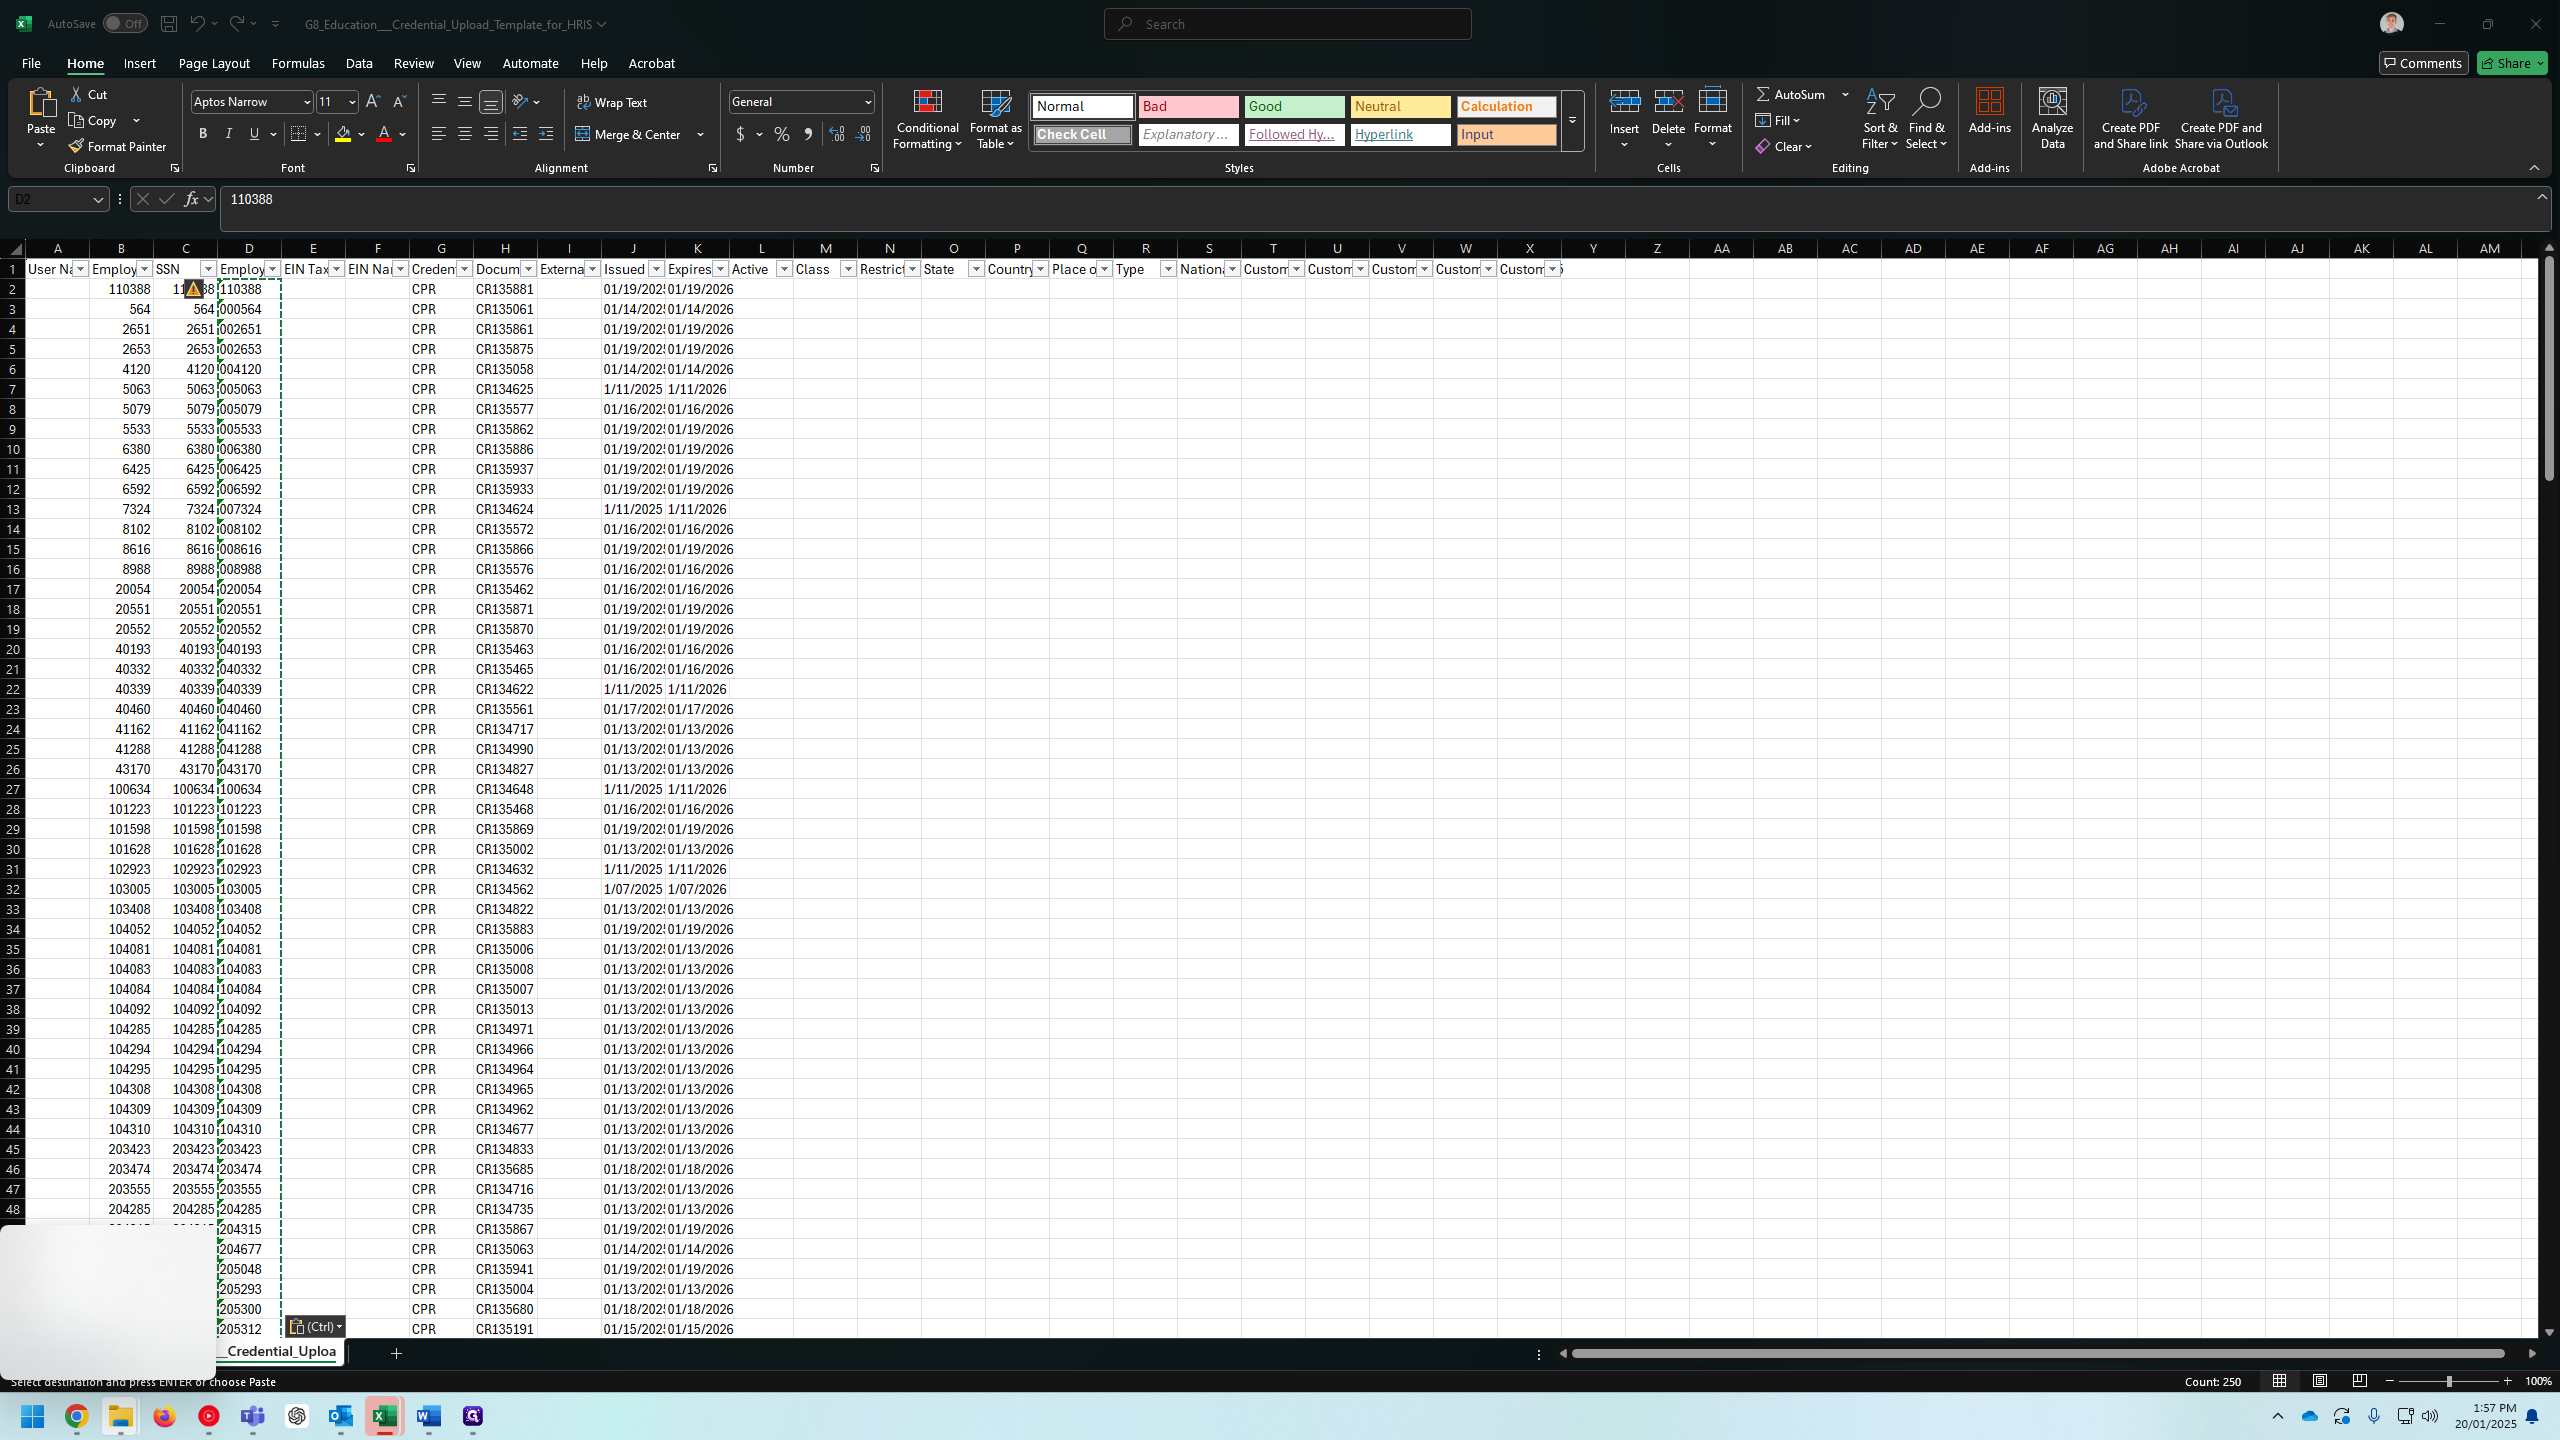
30
Click here
Step #30: Click here
31
Click here
Step #31: Click here

Open it up. Clear the file.

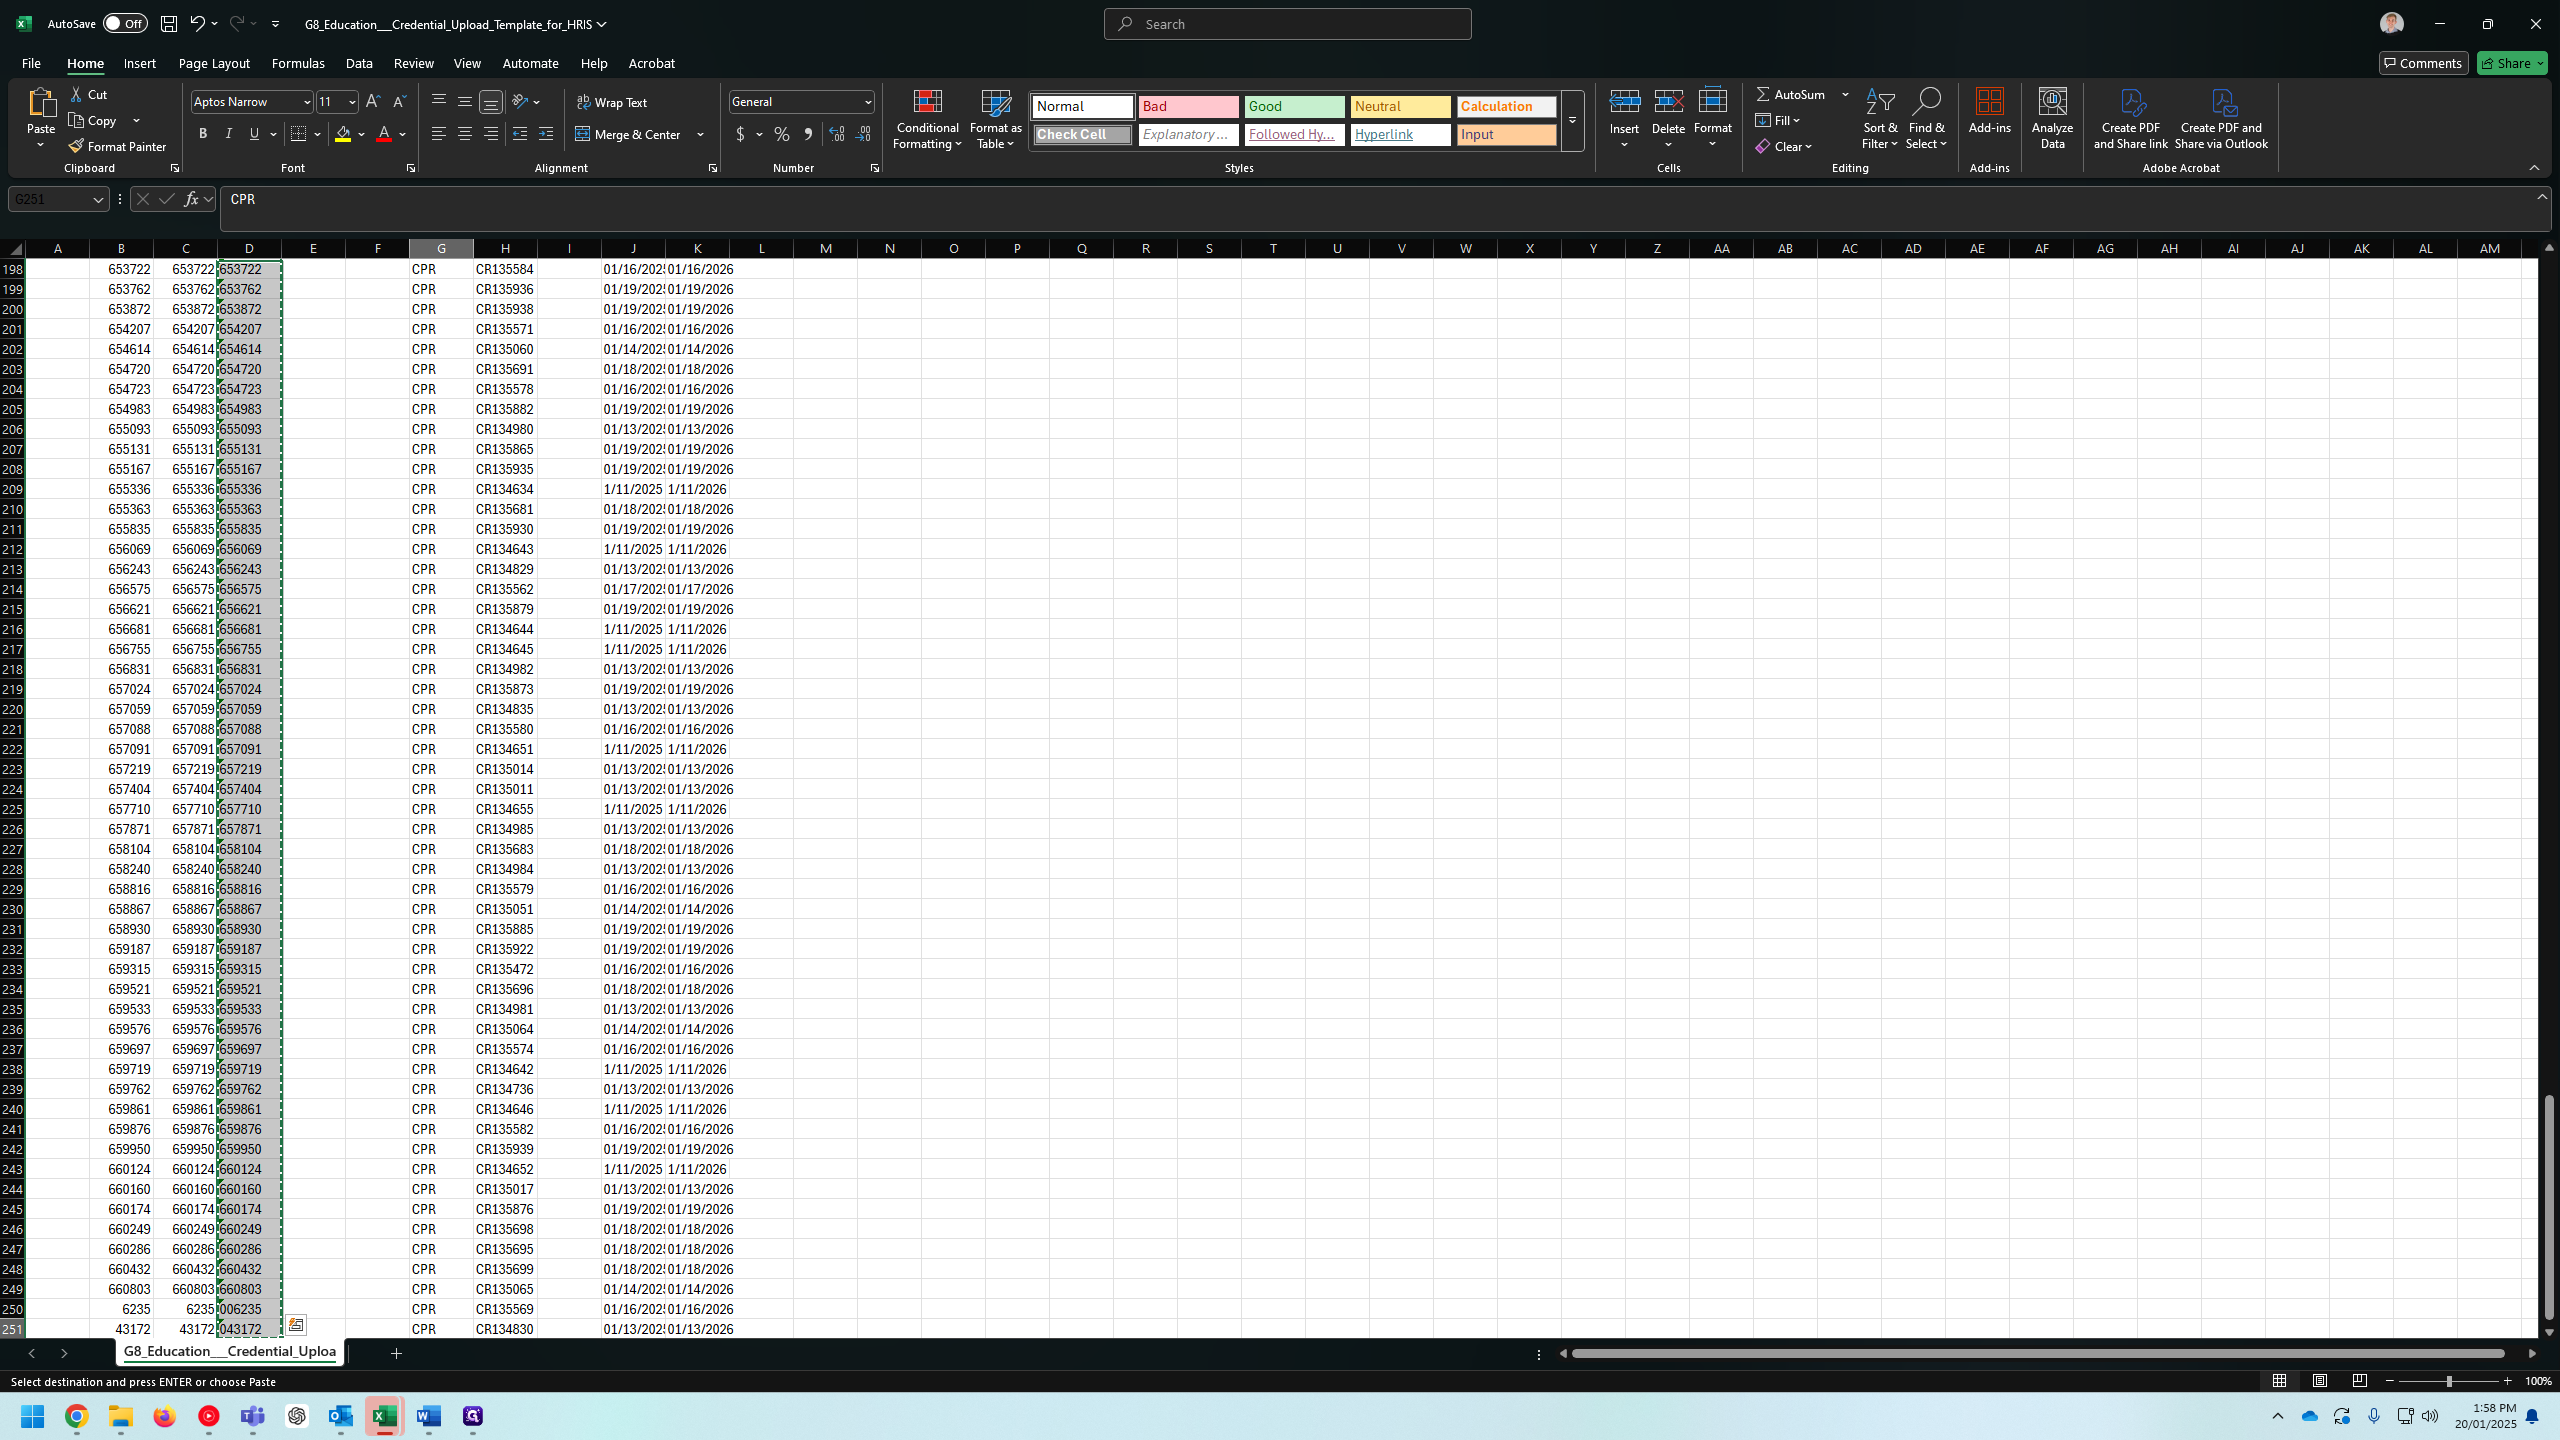
Copy the employee IDs.

Copy the credential type and the document ID.
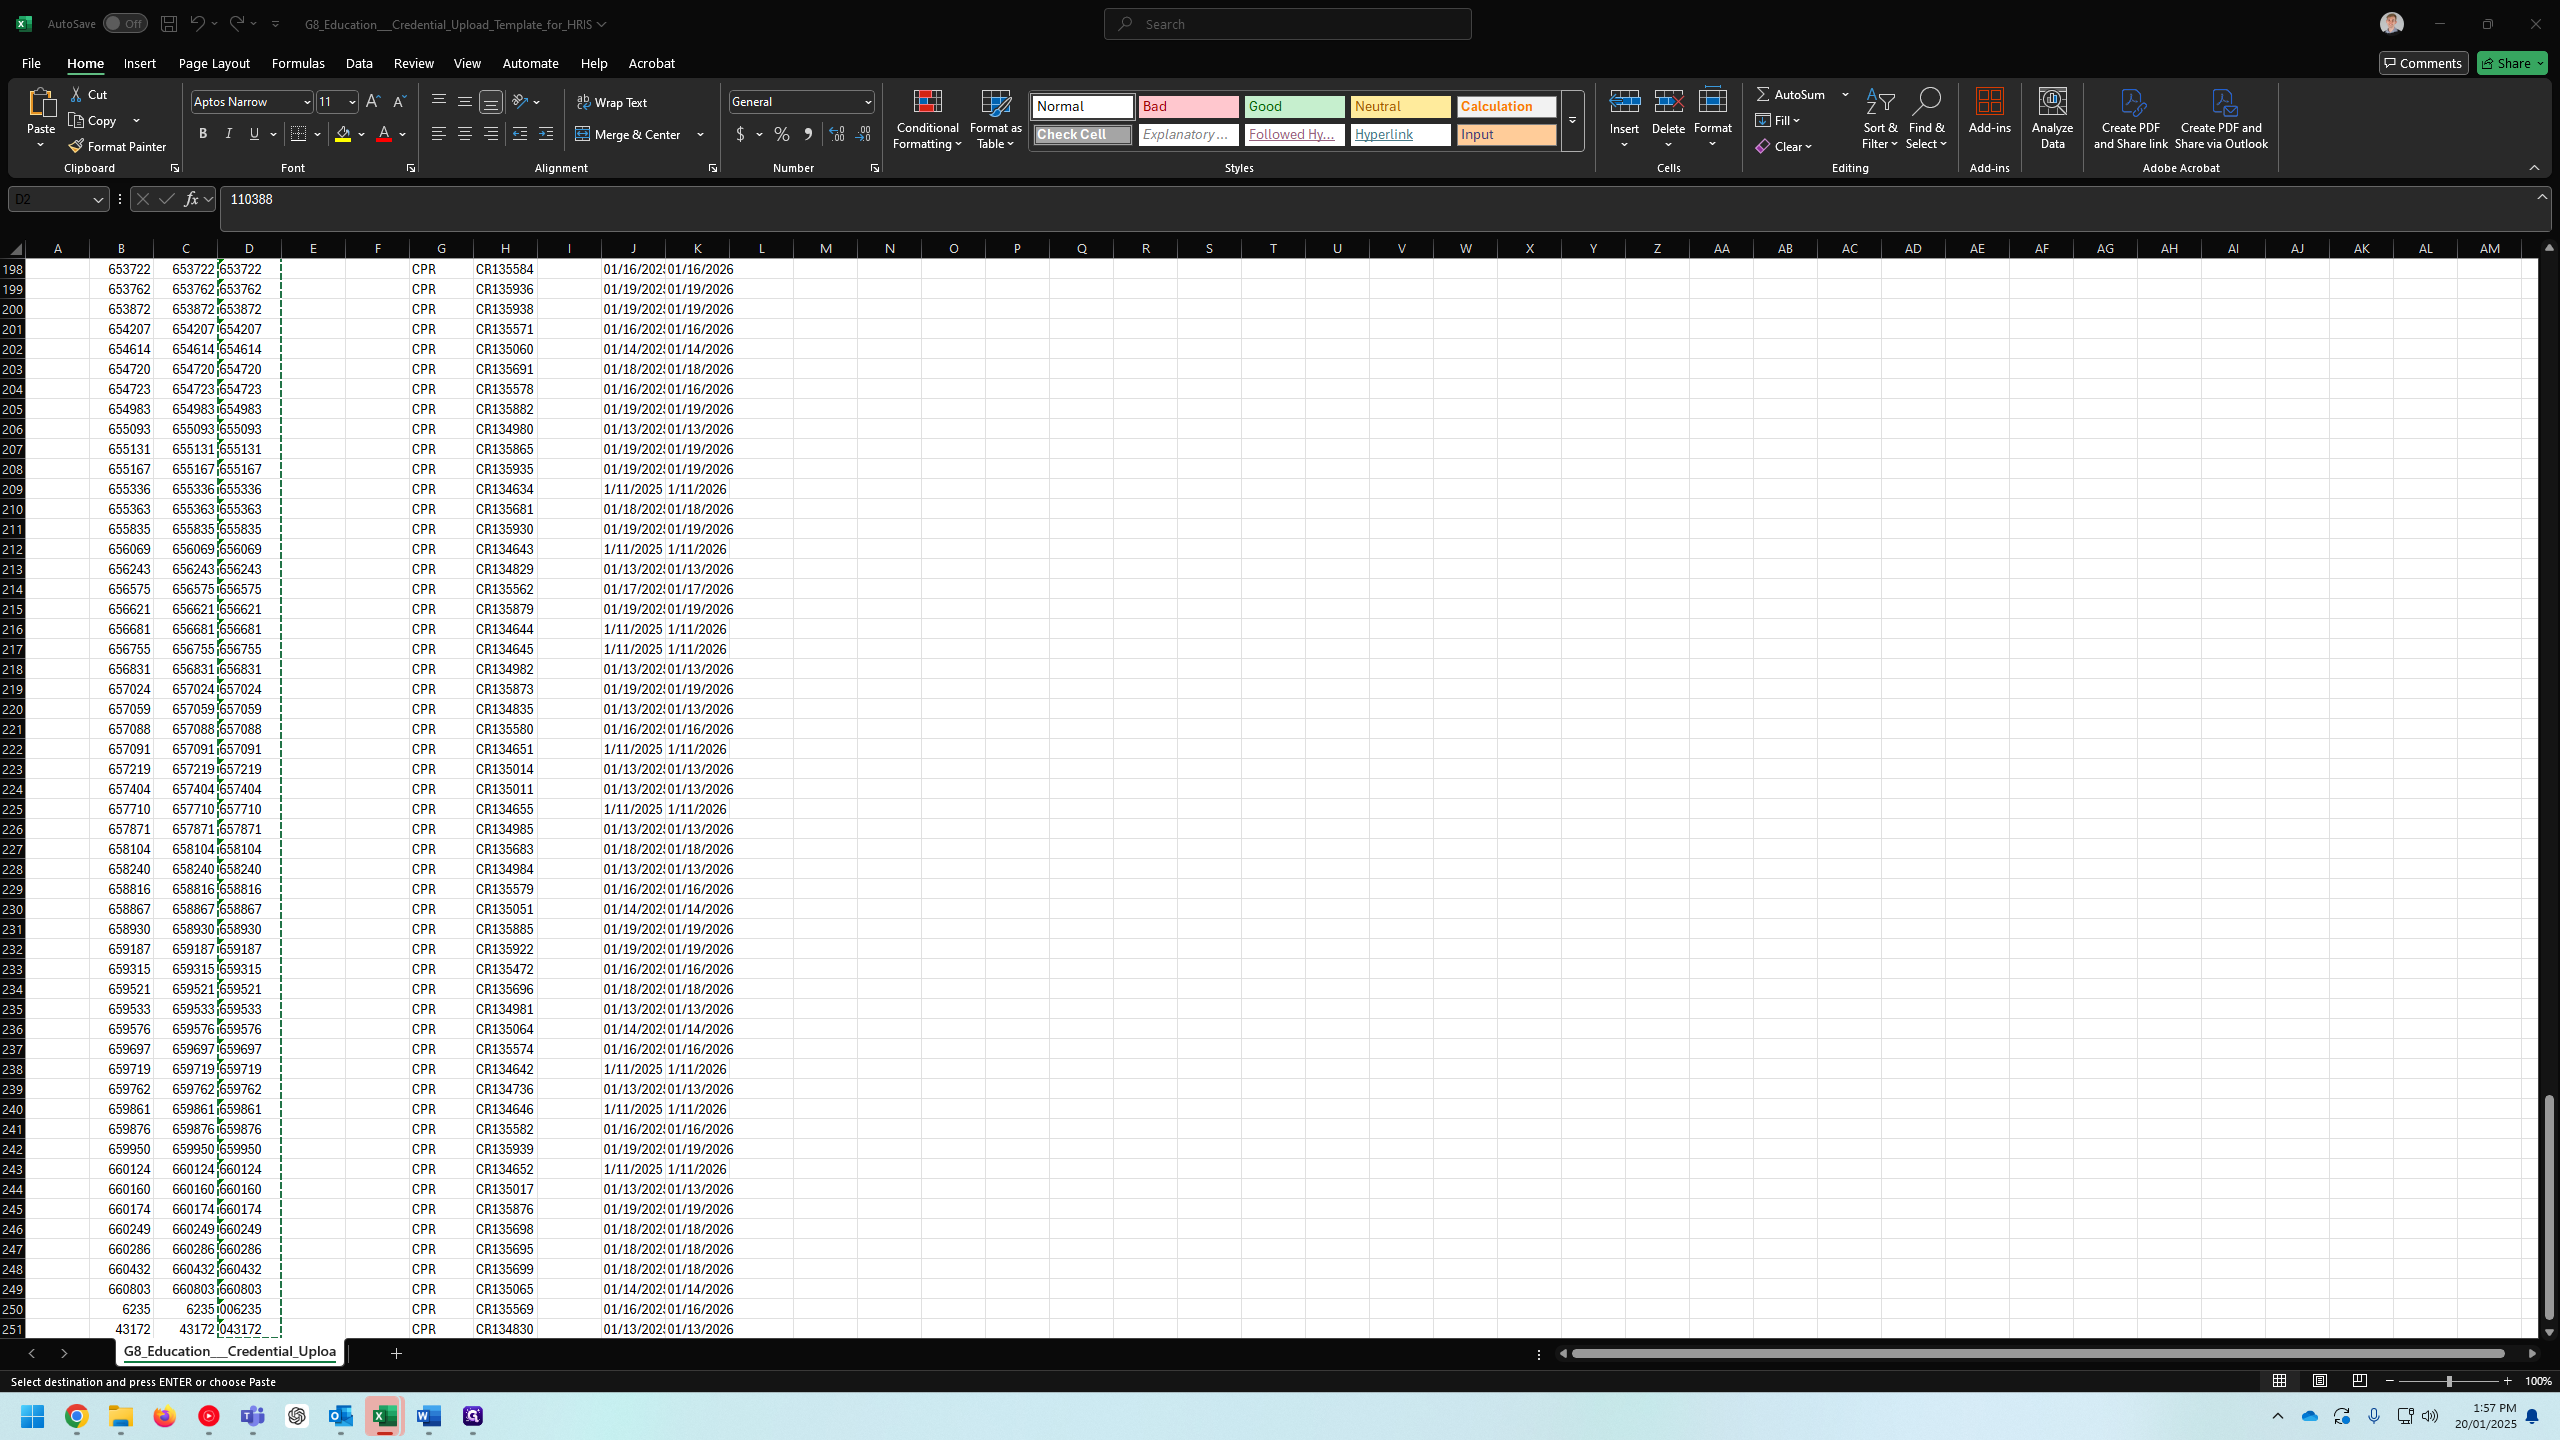
32
Type "Shift + Ctrl + V"
33
Click on "CR134981"
Step #33: Click on "CR134981"
34
Click on "CPR"
Step #34: Click on "CPR"

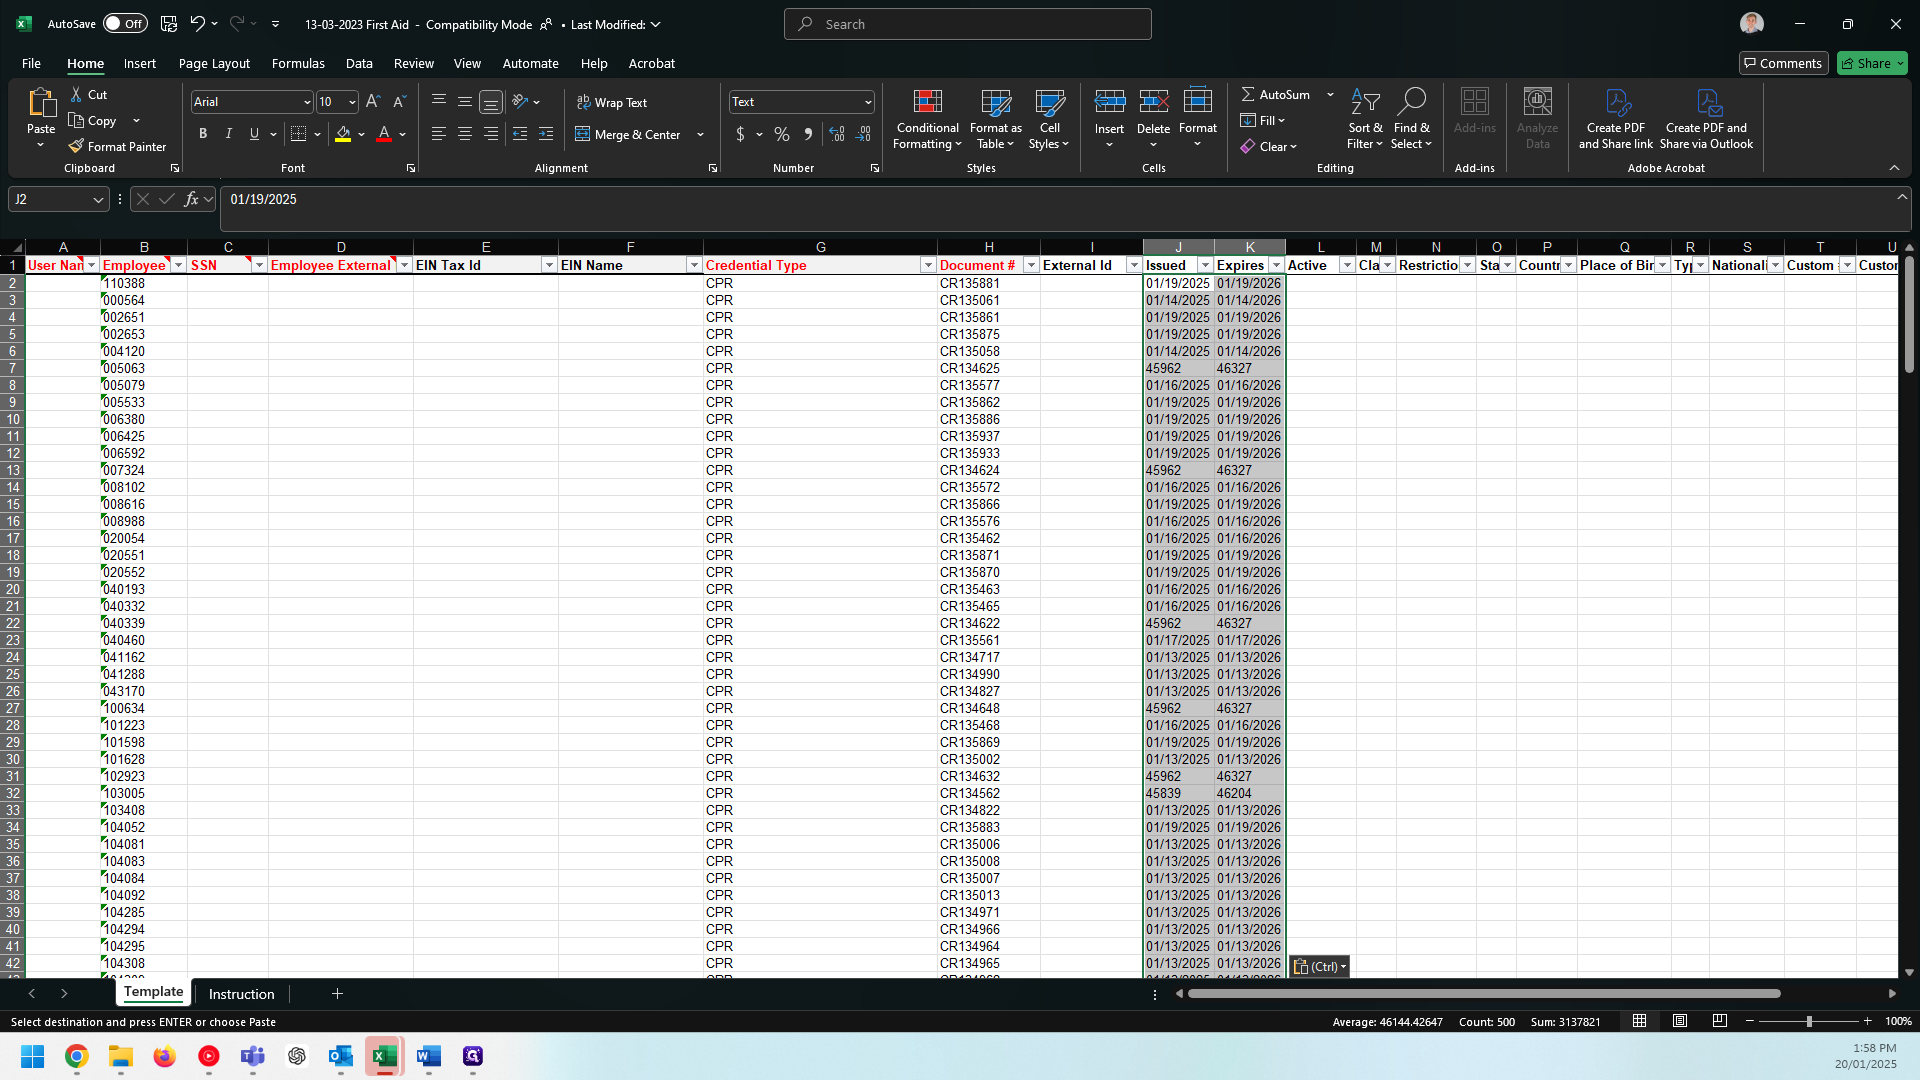
We also include the issued and expired dates, but we need to convert them into text.
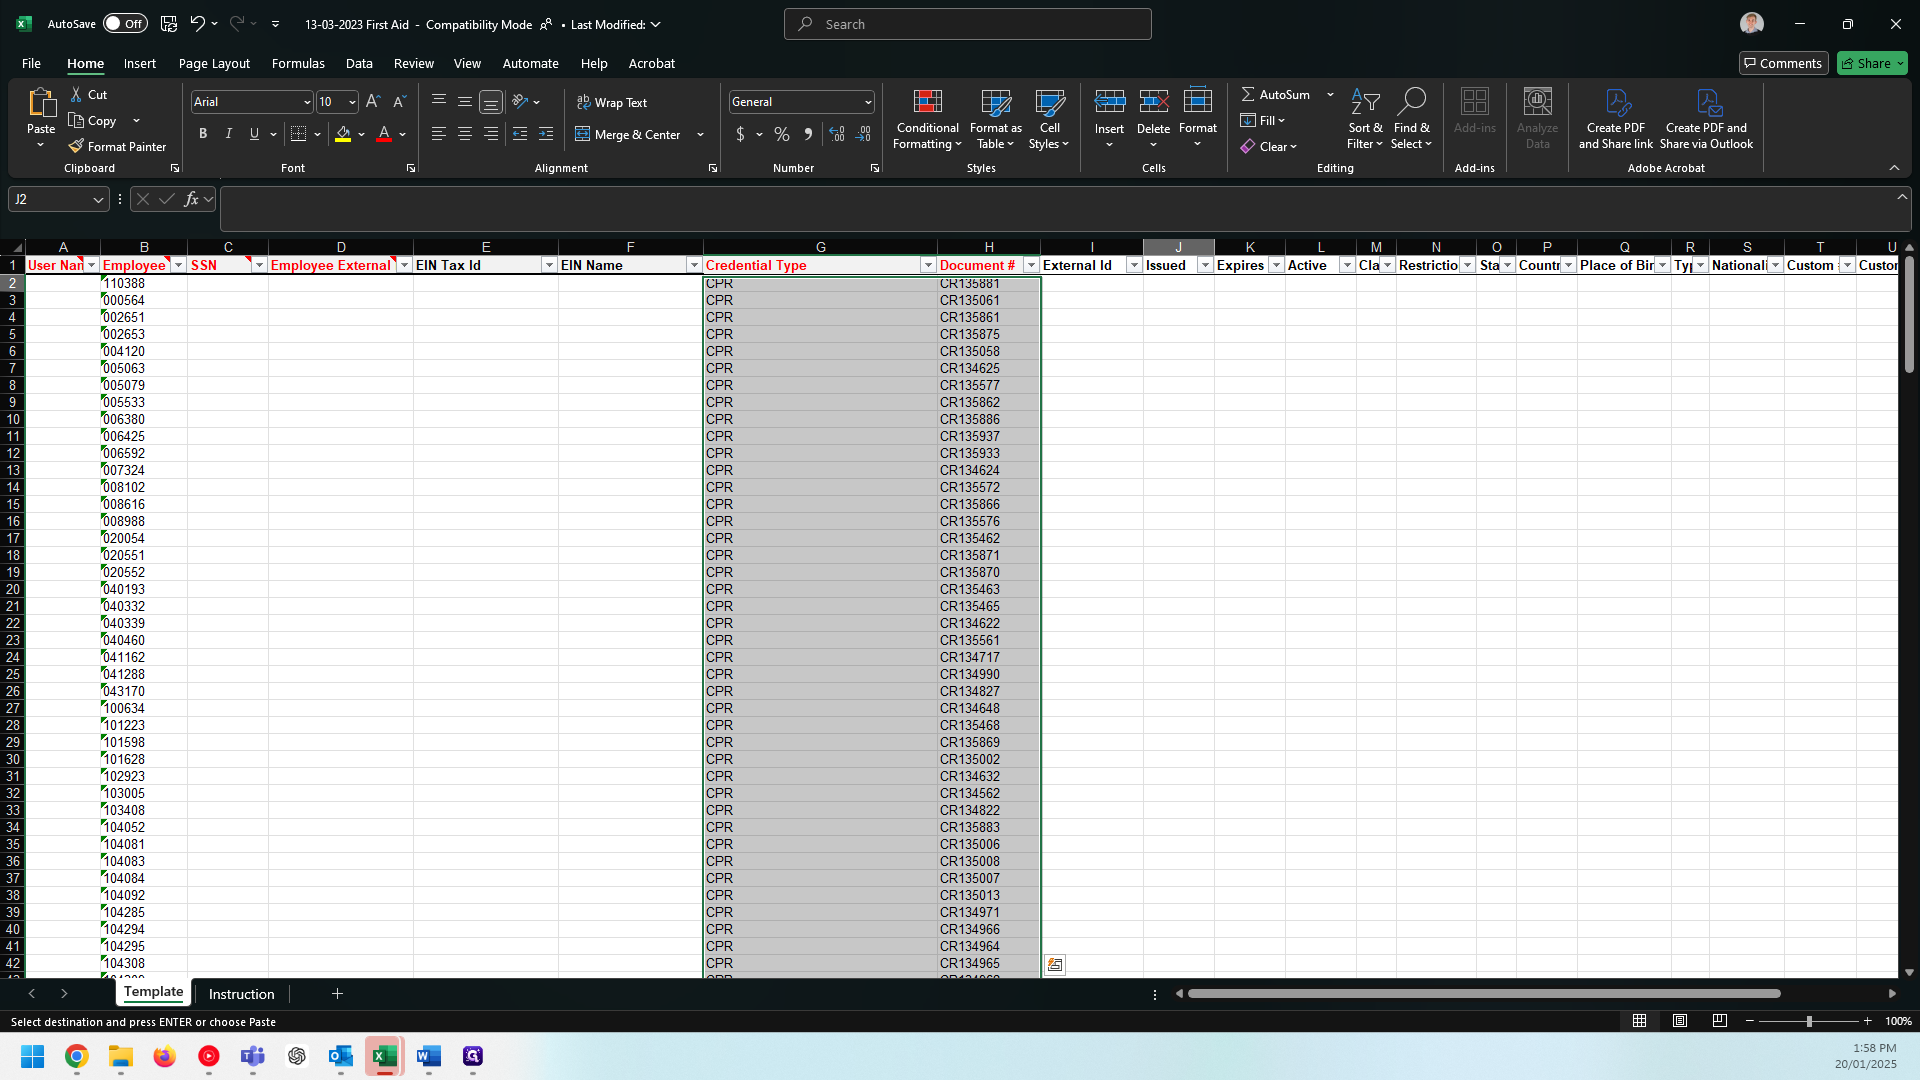
35
Double-click on "▾ Issued"
Step #35: Double-click on "▾ Issued"
36
Type "Shift + Ctrl + V"
37
Click on "01/19/2025 01/19/2026"
Step #37: Click on "01/19/2025 01/19/2026"
38
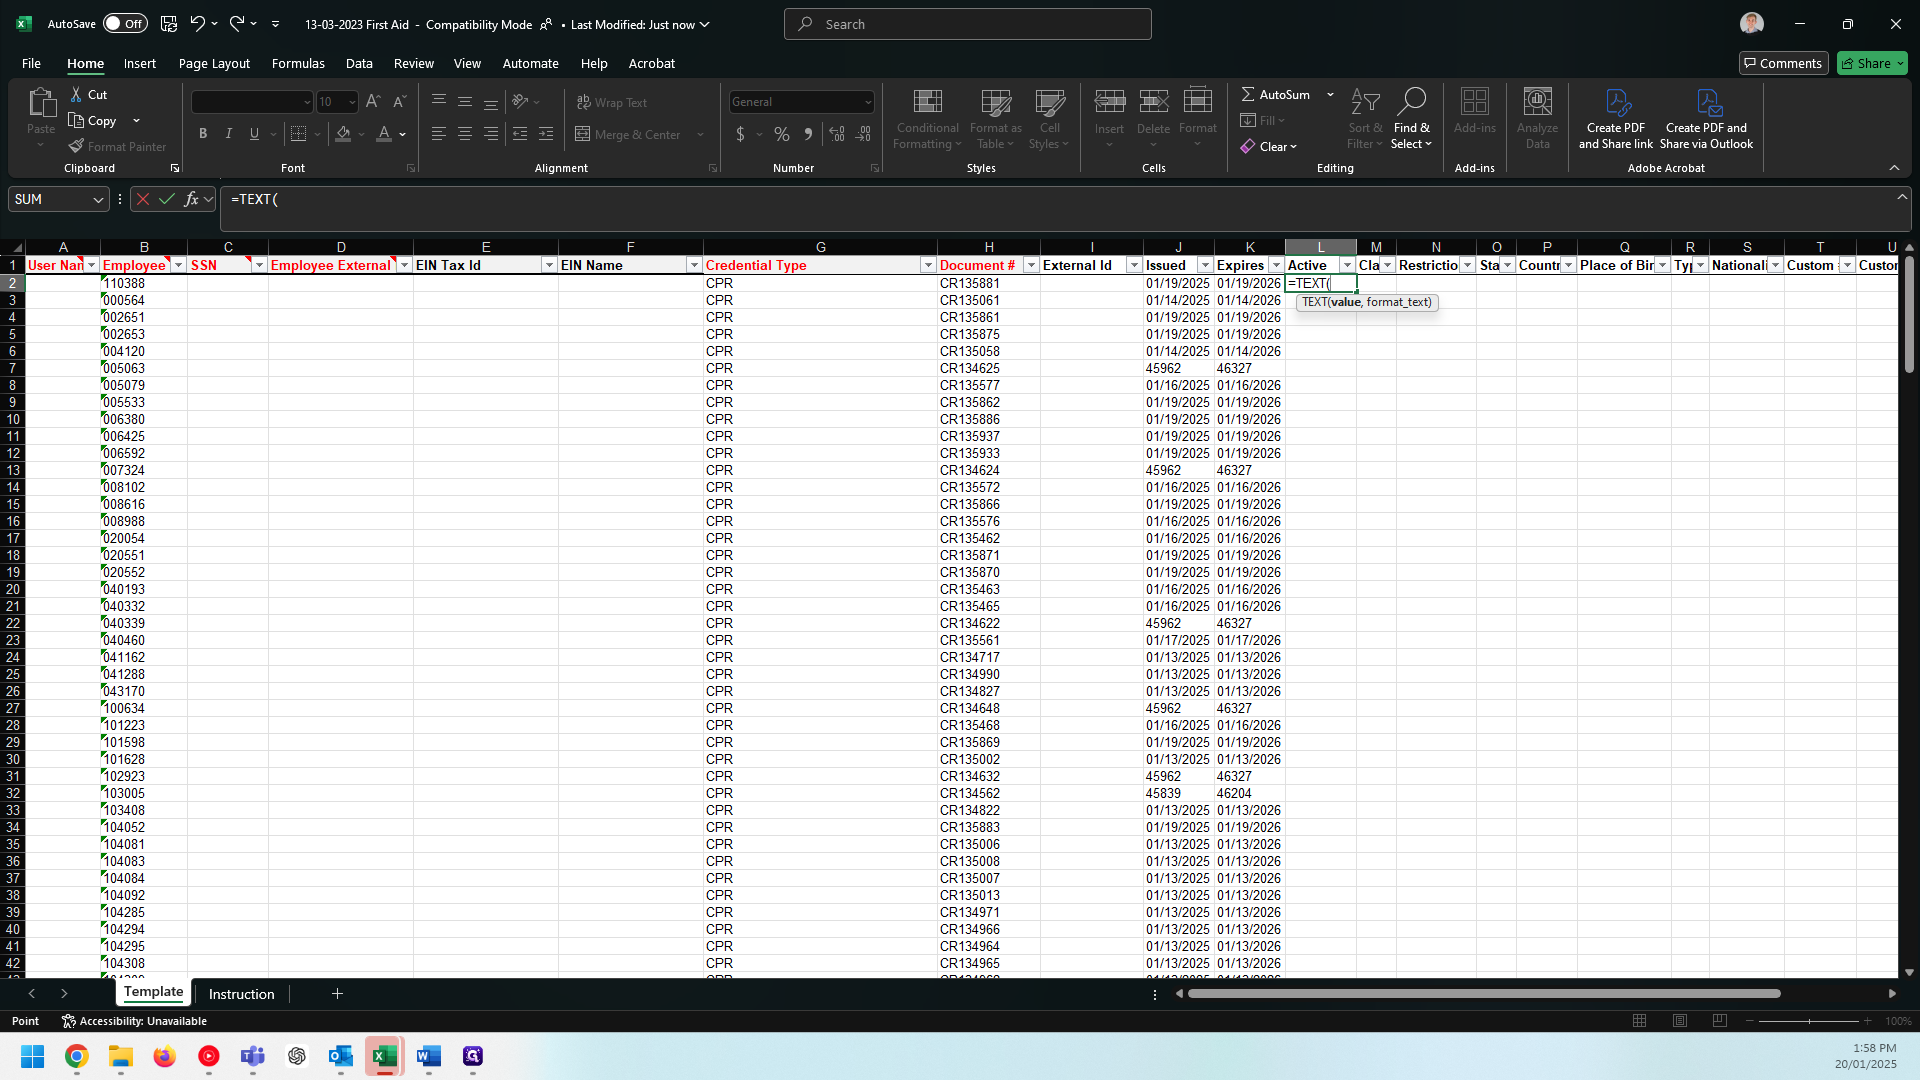
Type "=text + Tab"
39
Click on "01/19/2025"
Step #39: Click on "01/19/2025"

That's month, month, day, day, year, year, year for the American format.

40
Type ","MM/DD/YYY") + Enter"

And then do the same for the expired items.

41
Type "Ctrl + C"
42
Type "Esc"

Copy and paste that, then drag the box to the expired field.

Copy the values, paste them in the desired location, delete the original, save, and it's ready for import.

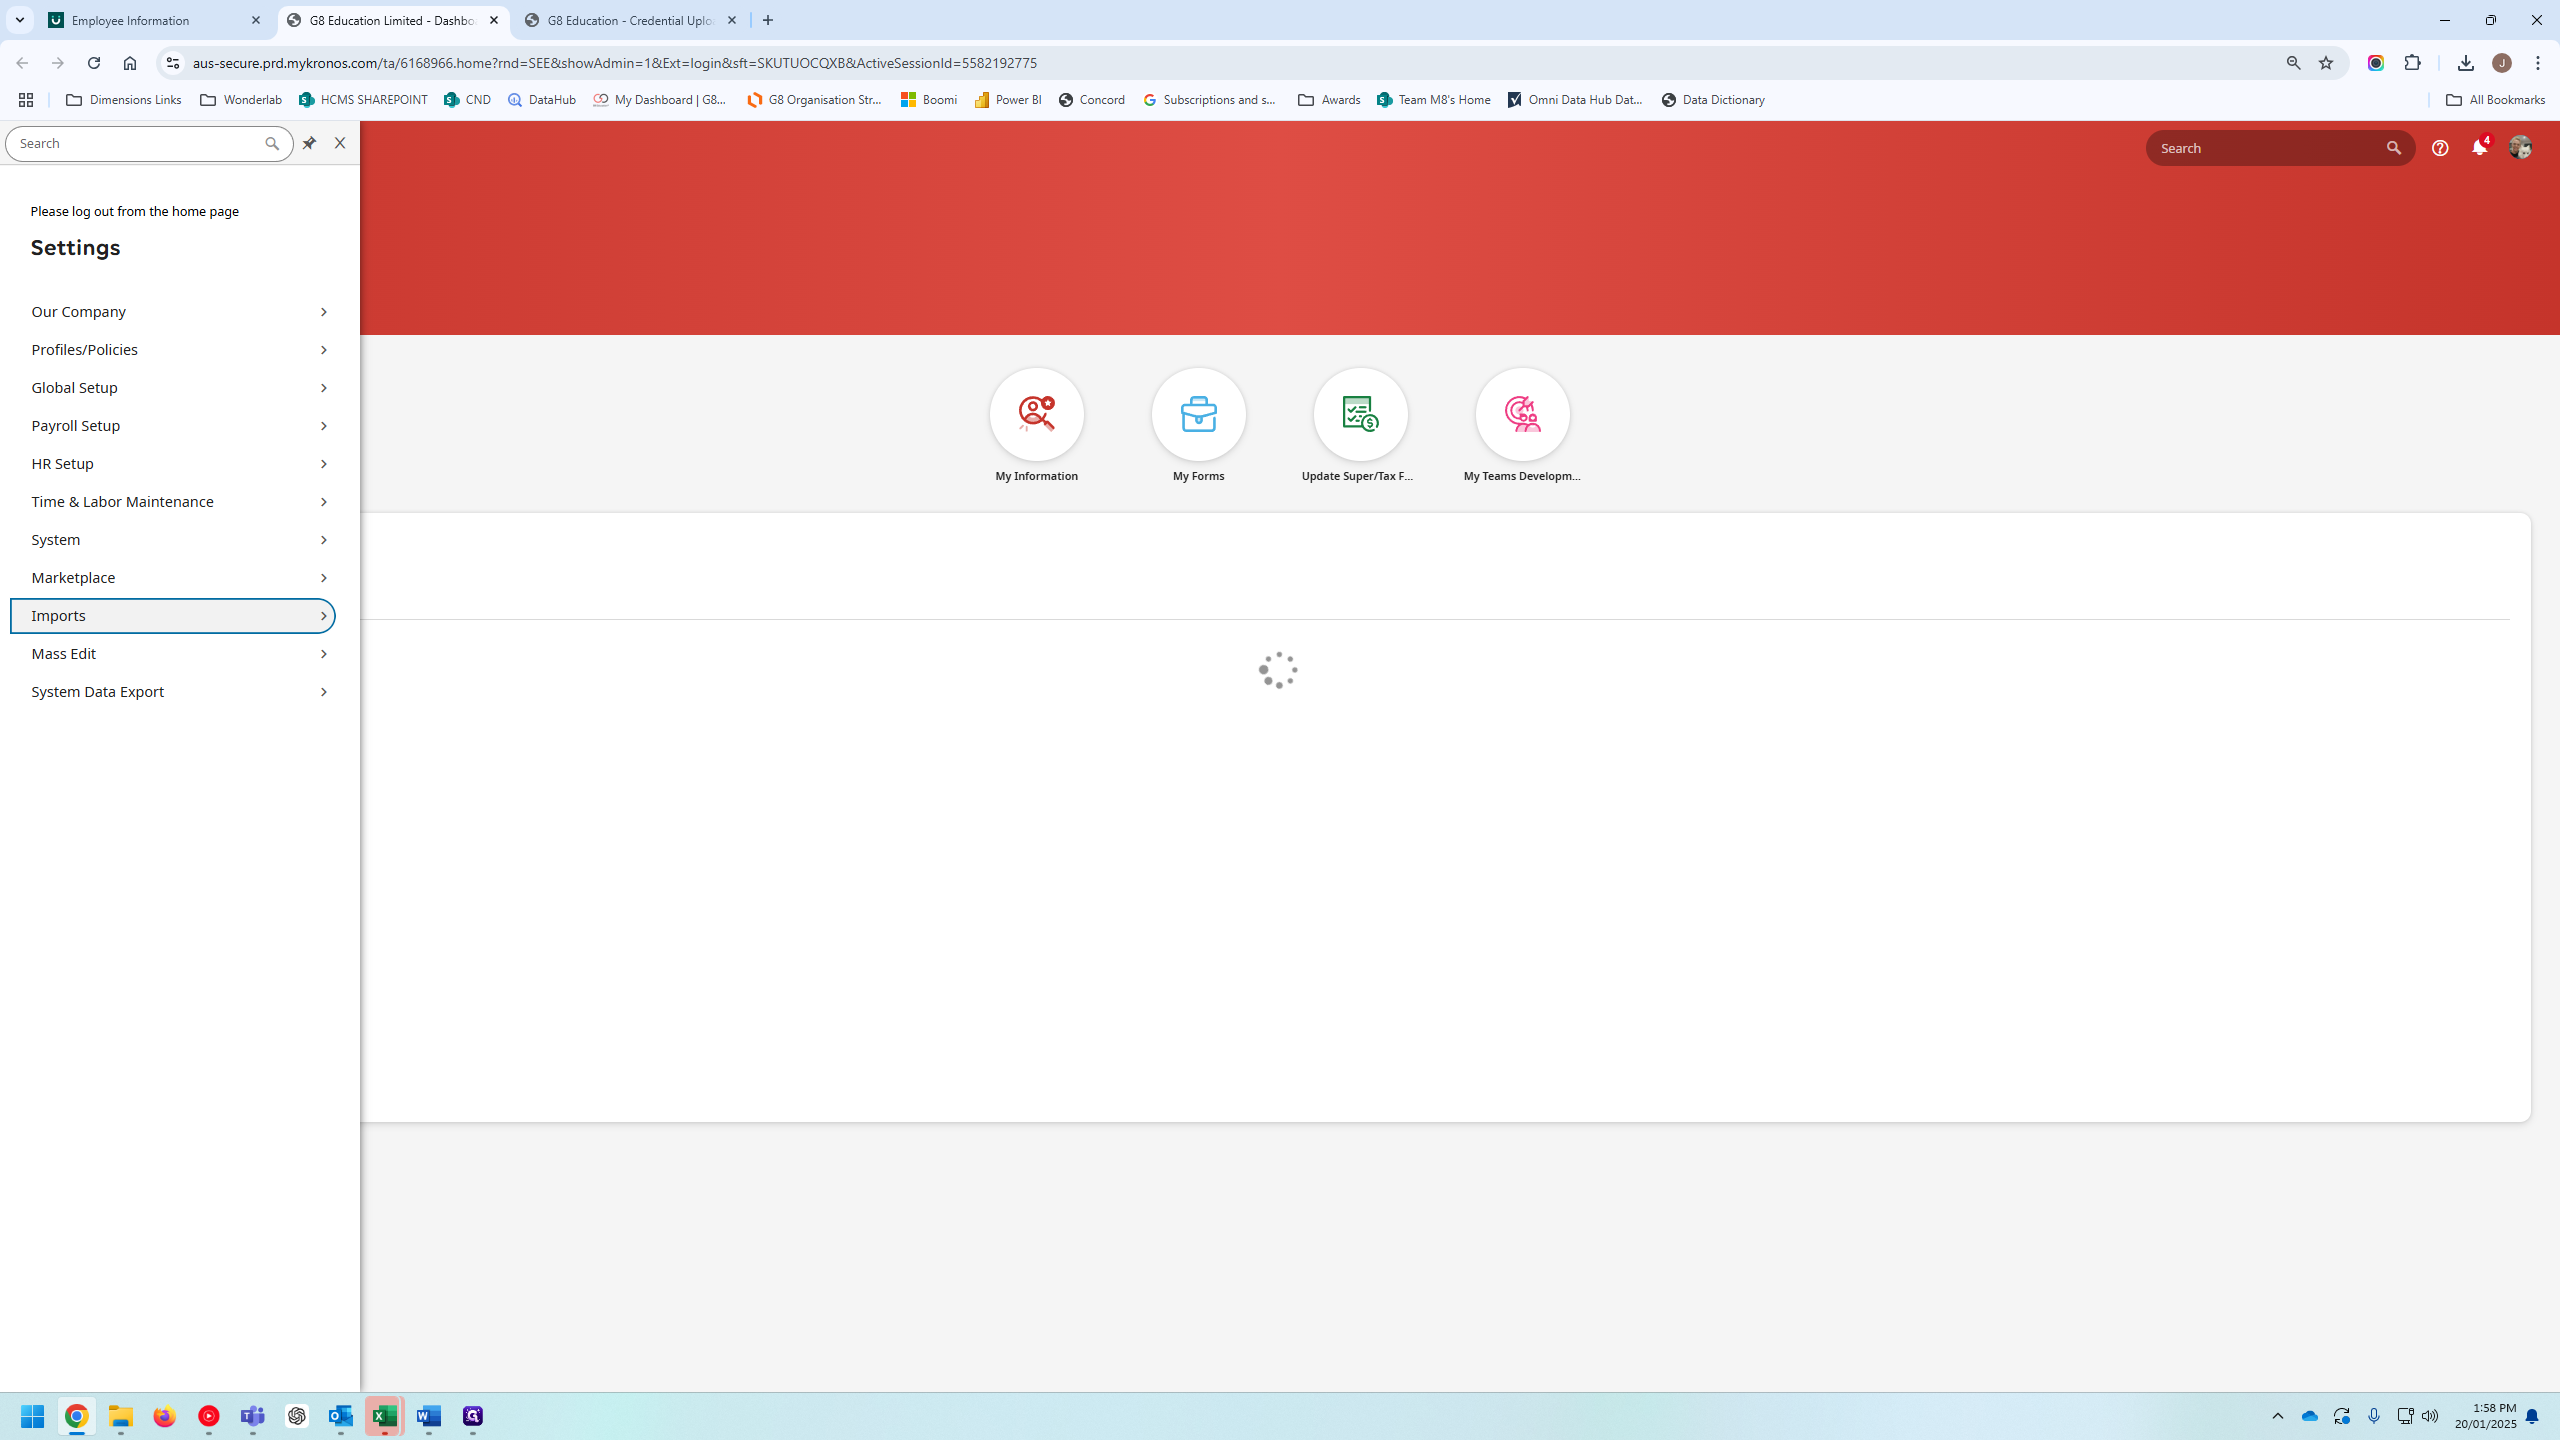
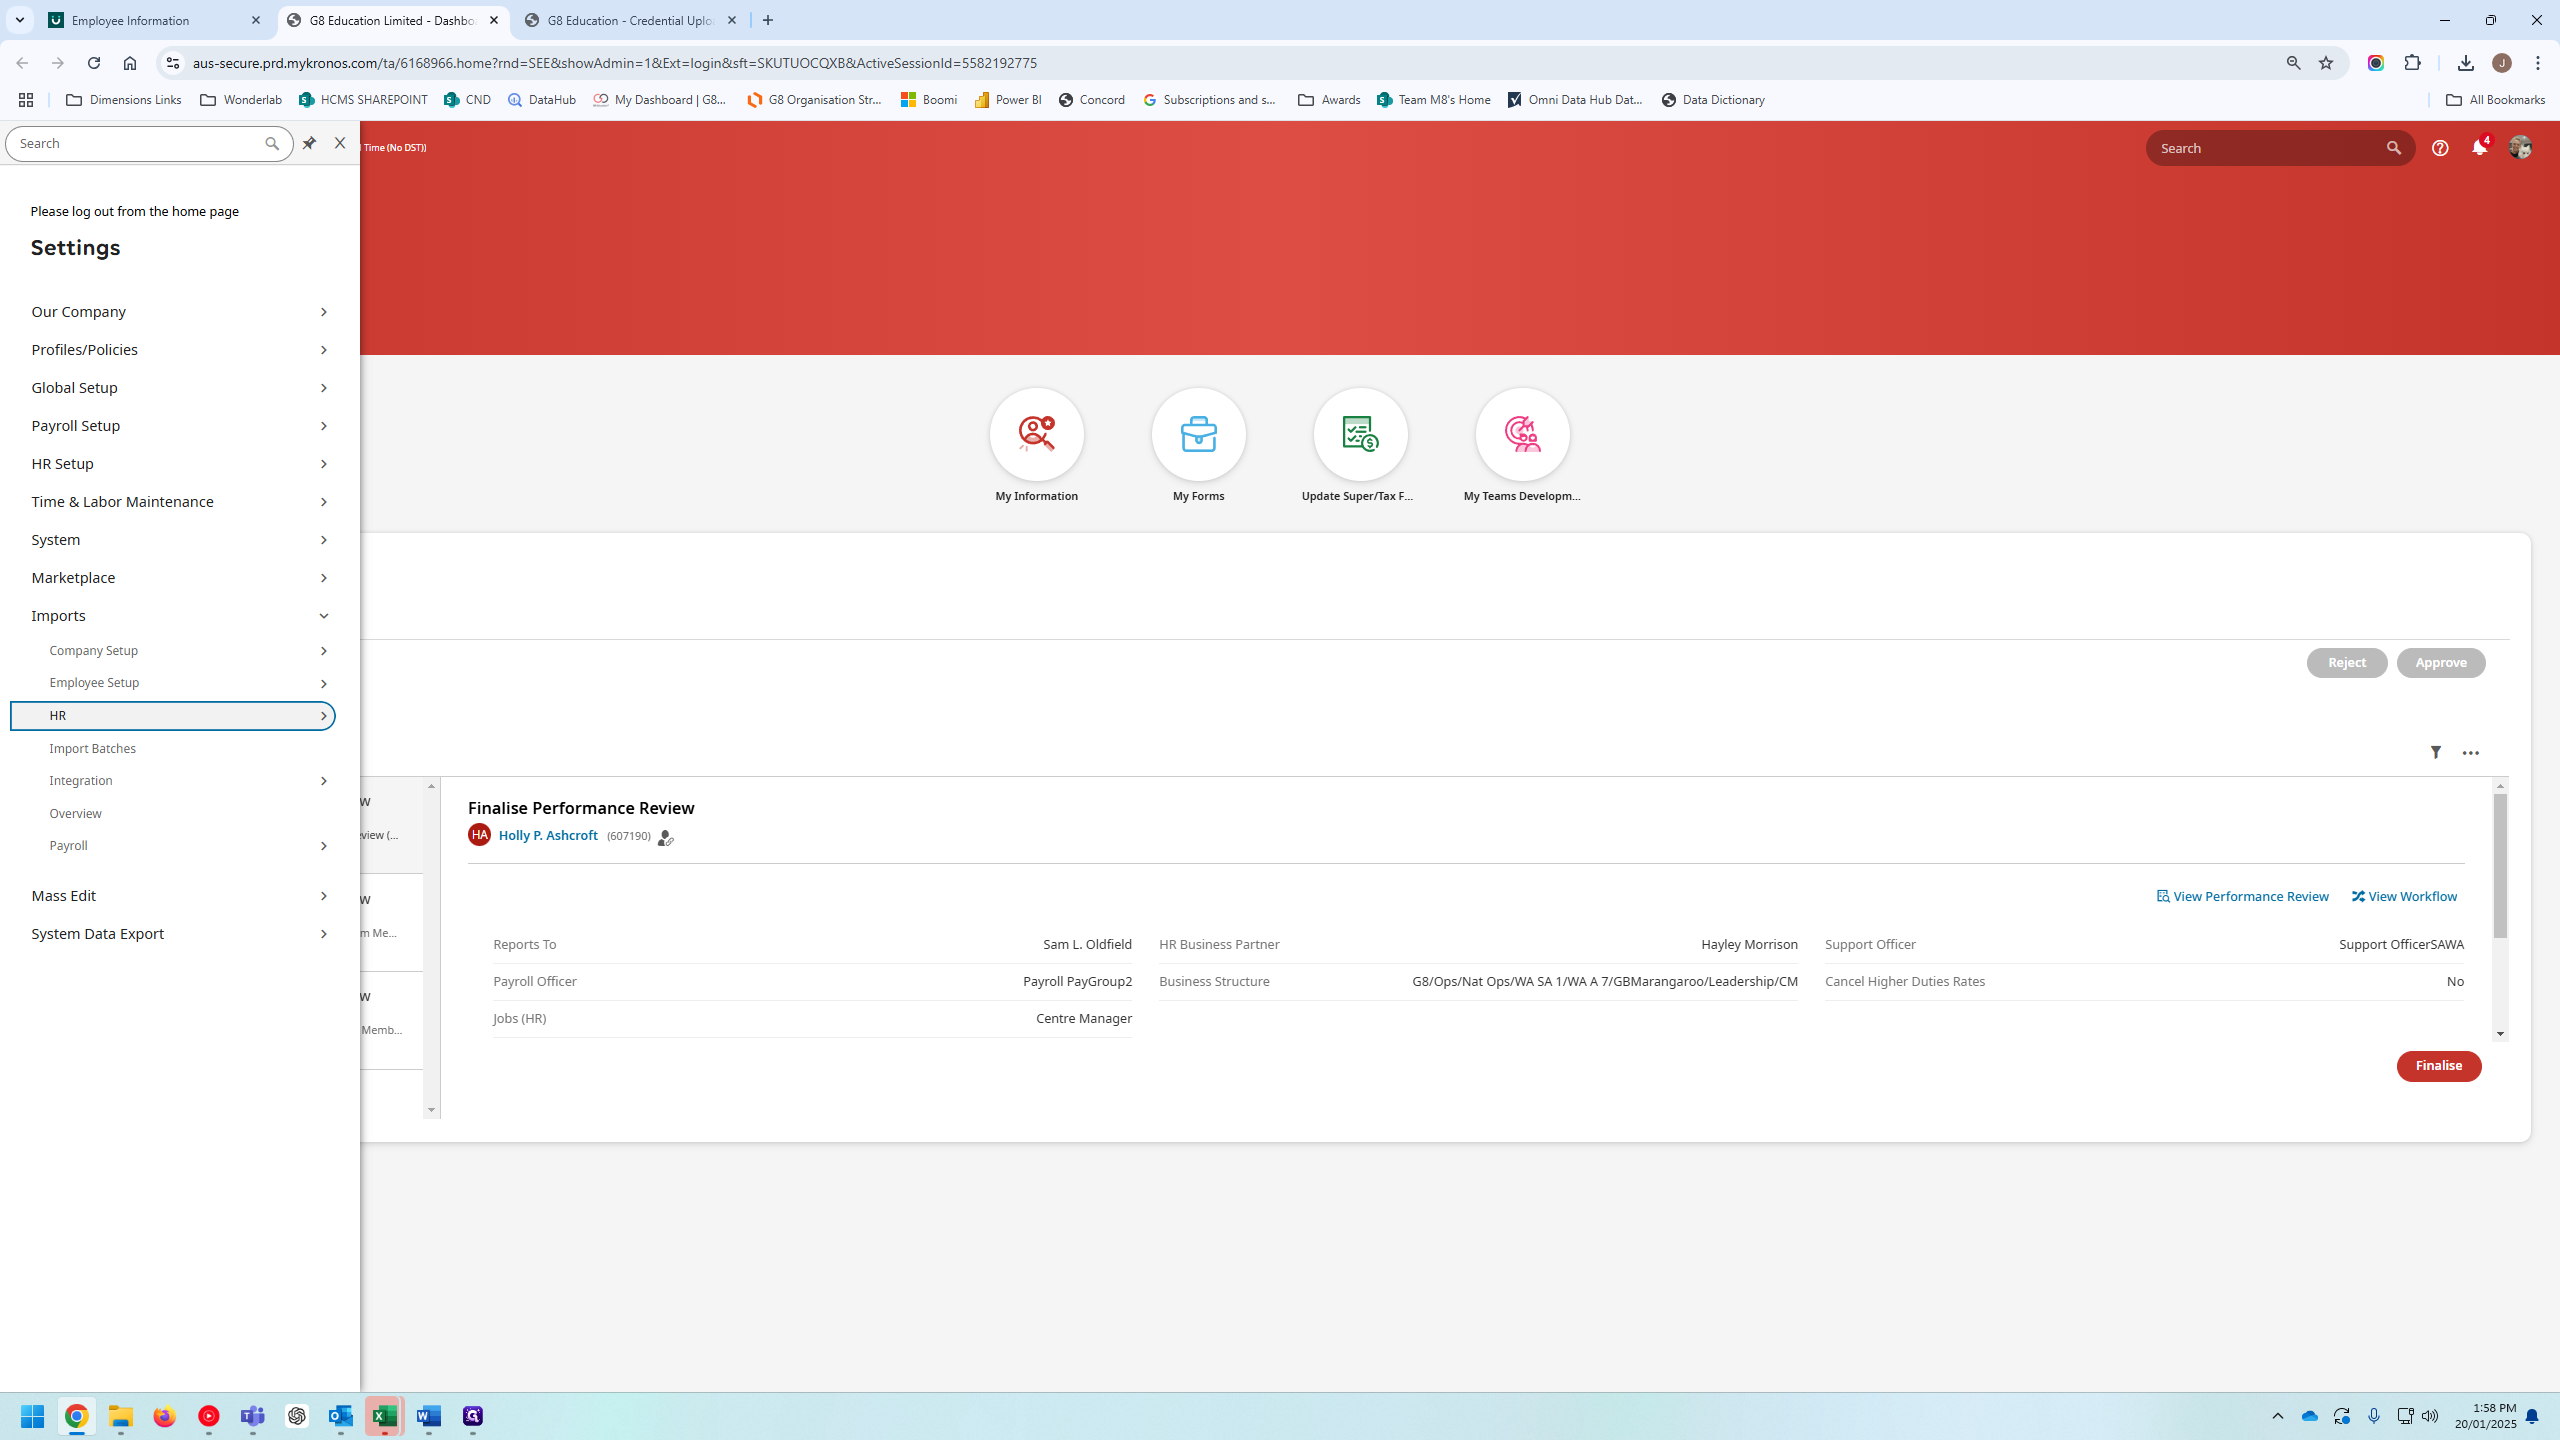
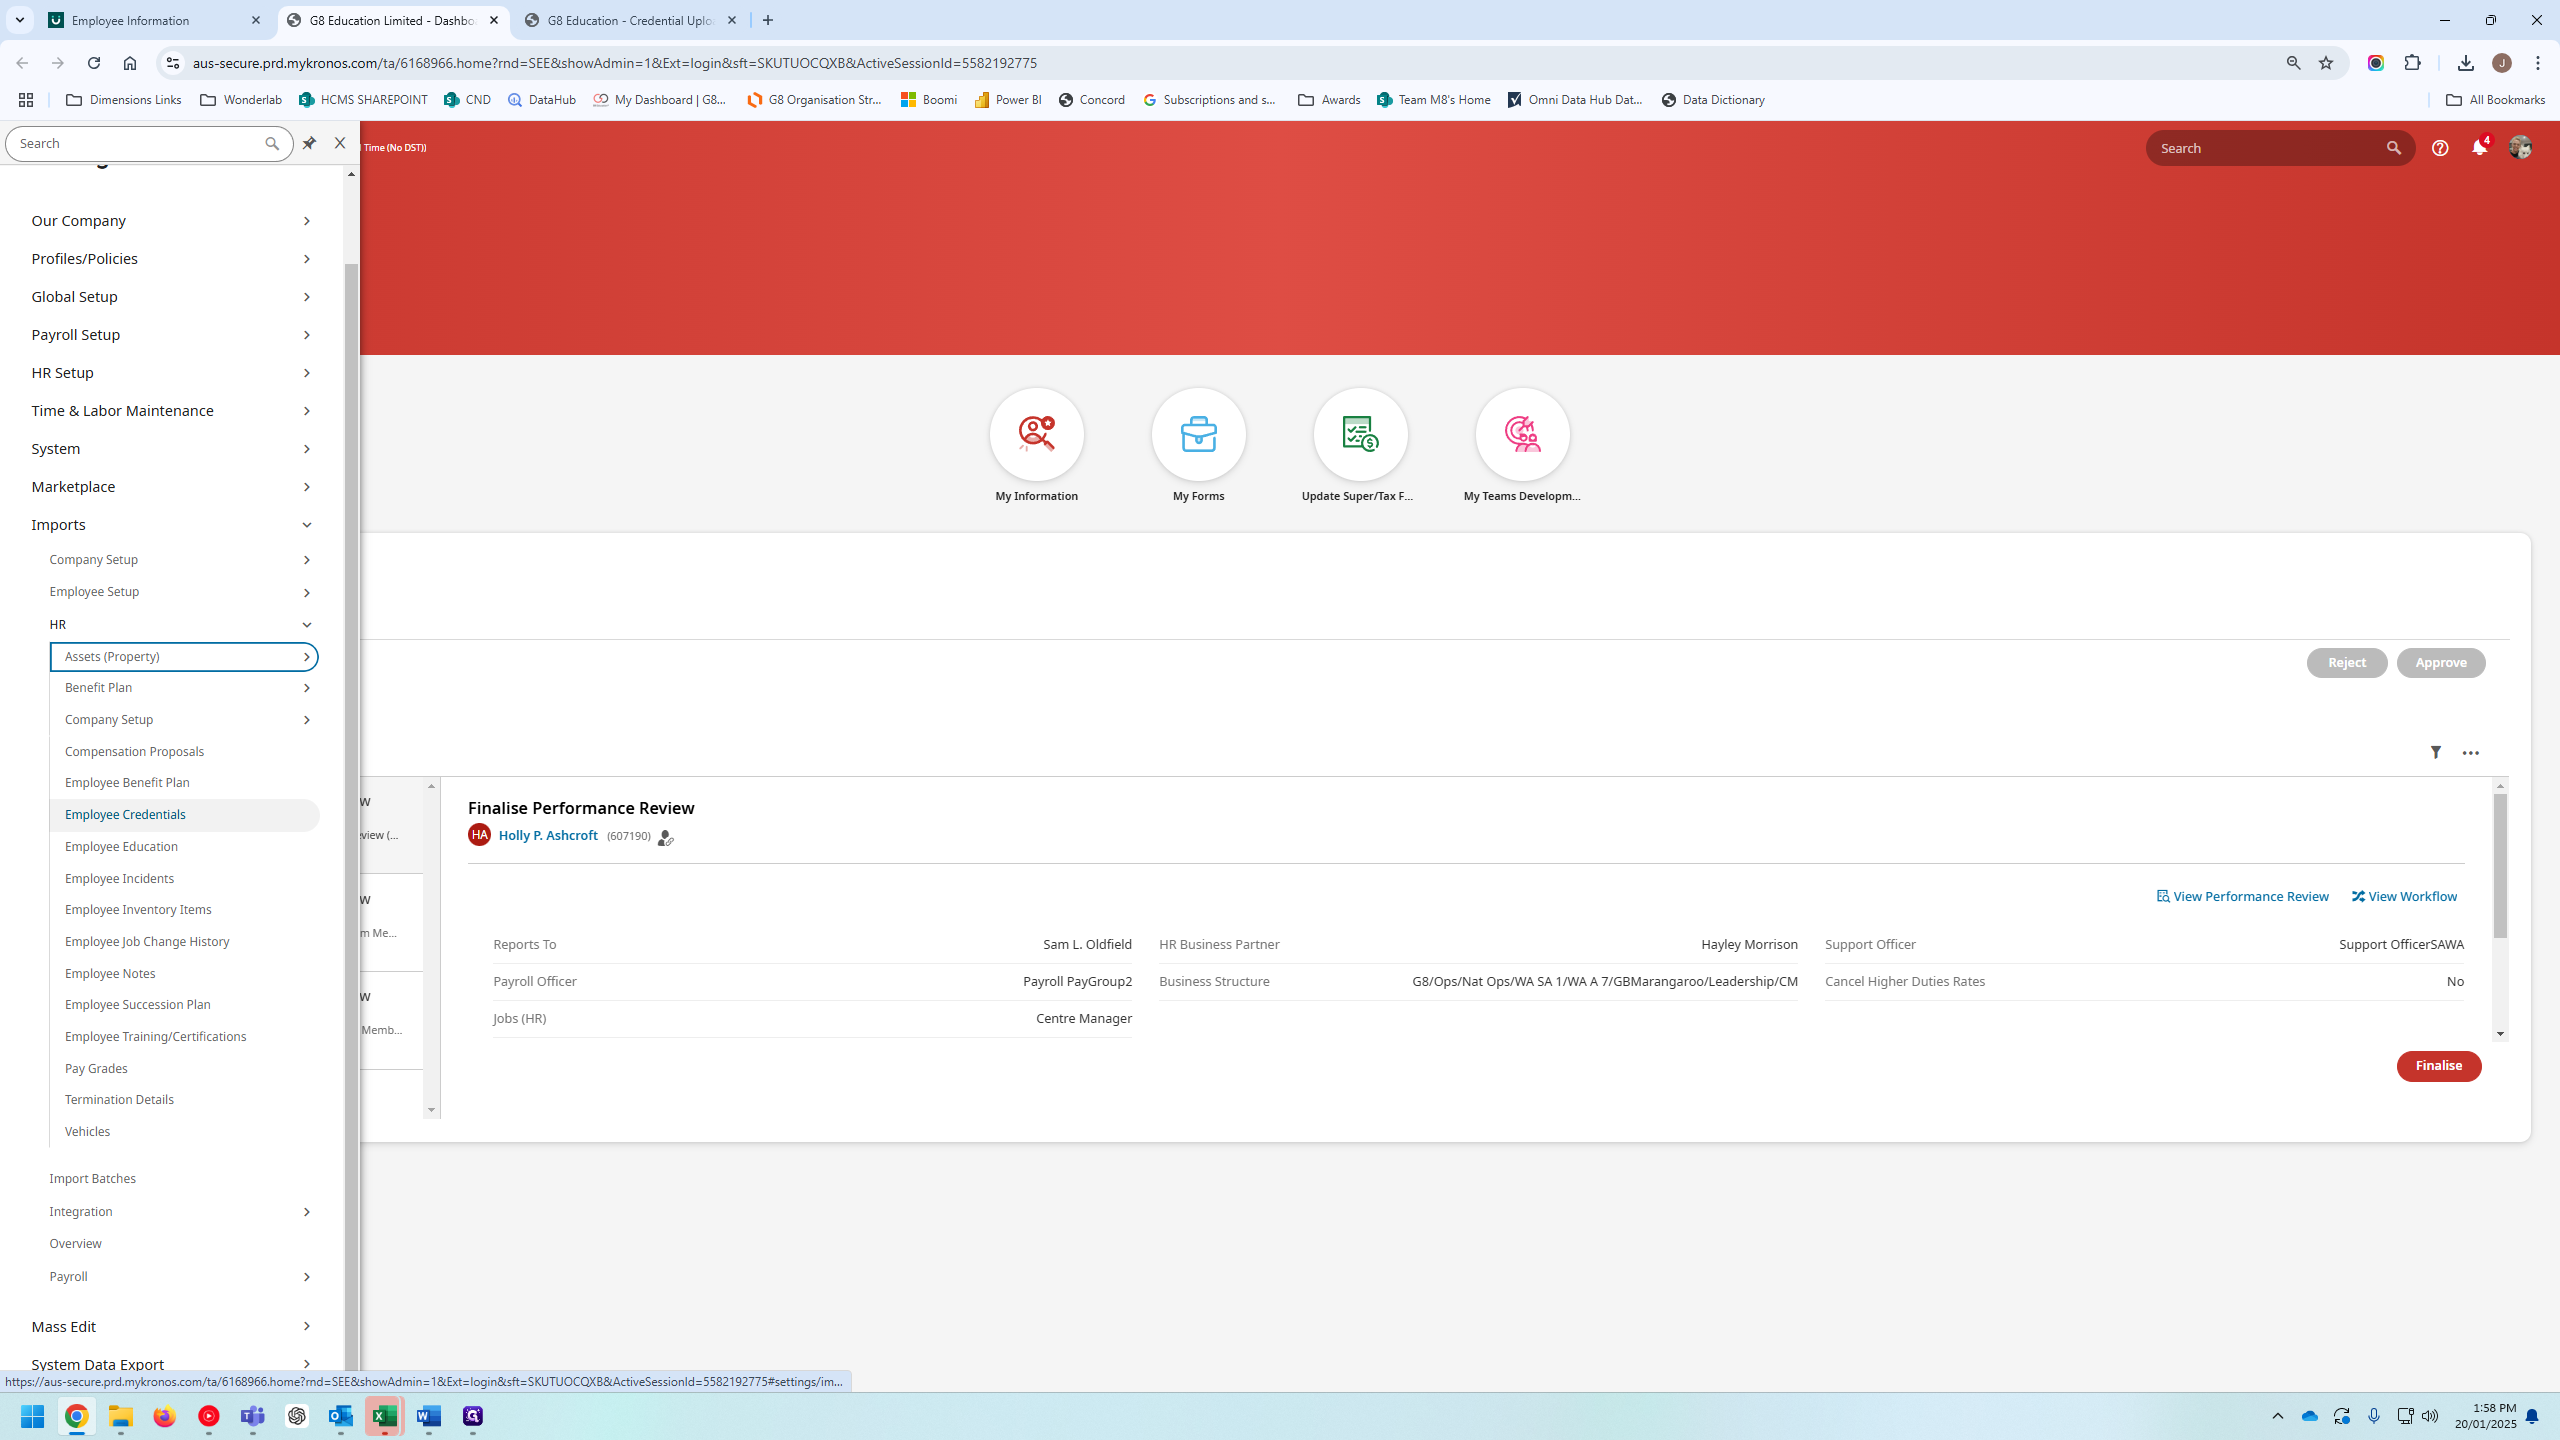
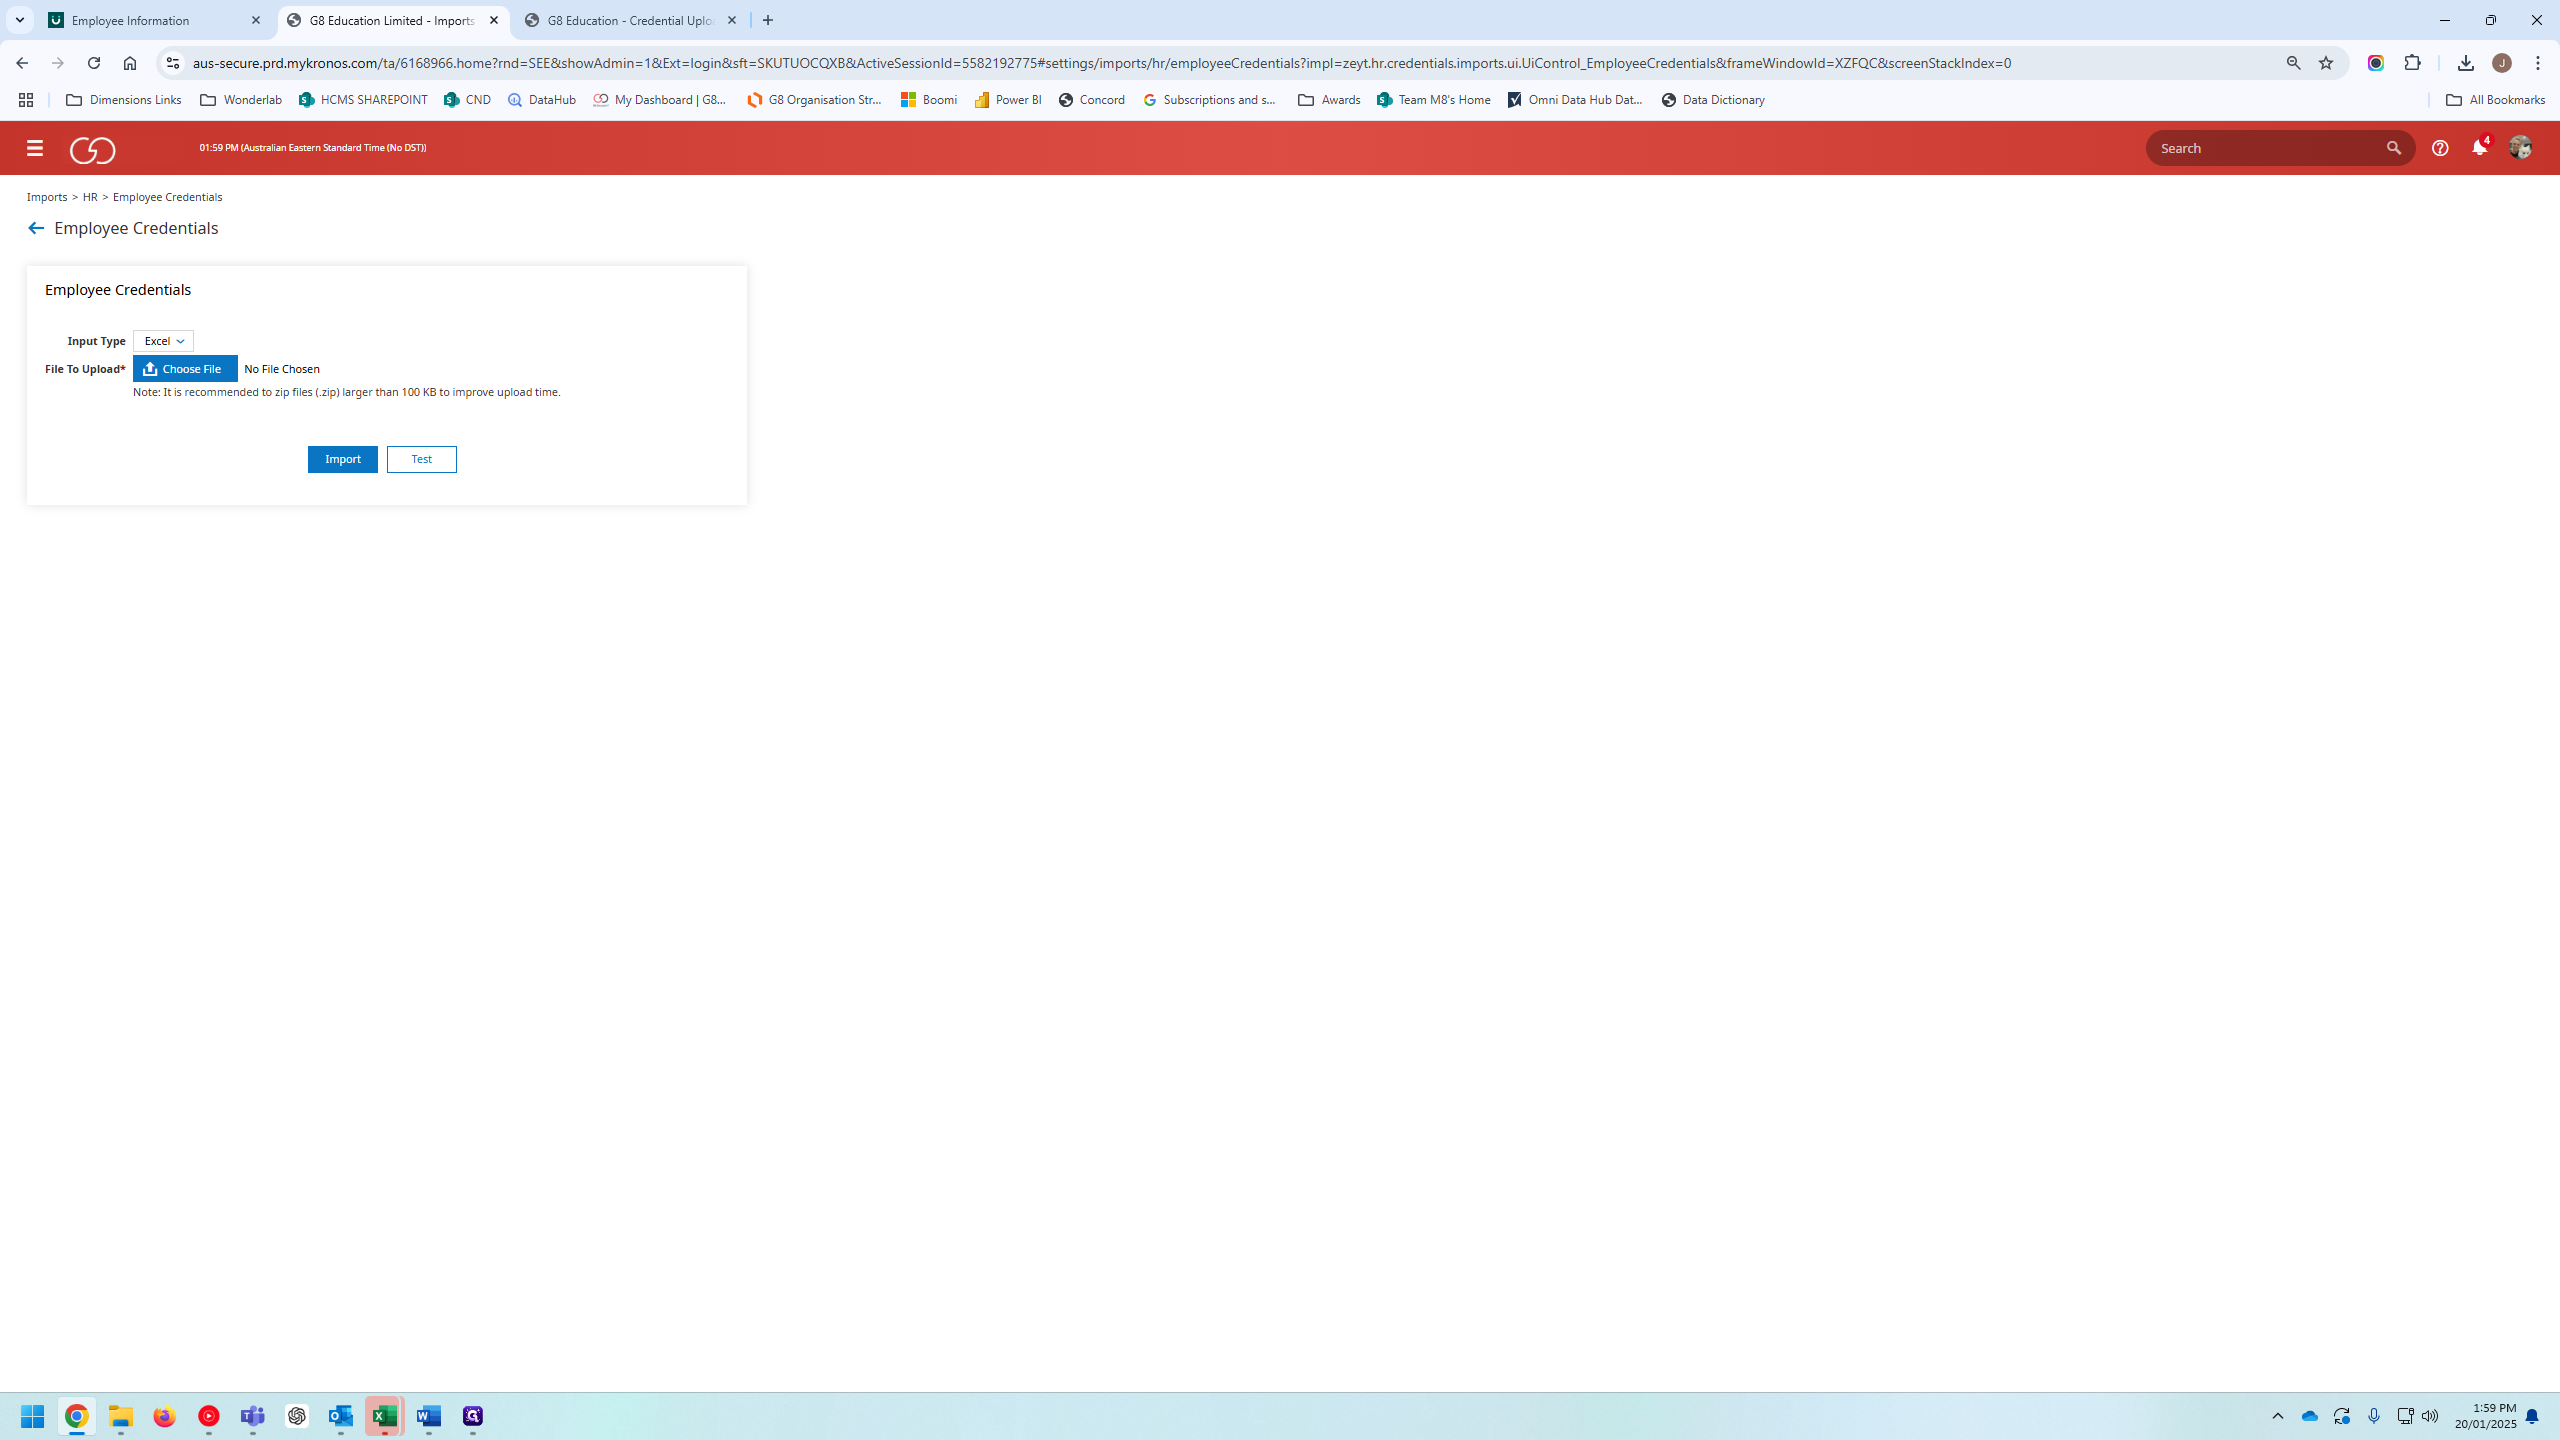
Let's return to dimensions: HCM setup, imports, HR, credentials. Choose the file, test, validate, and import.
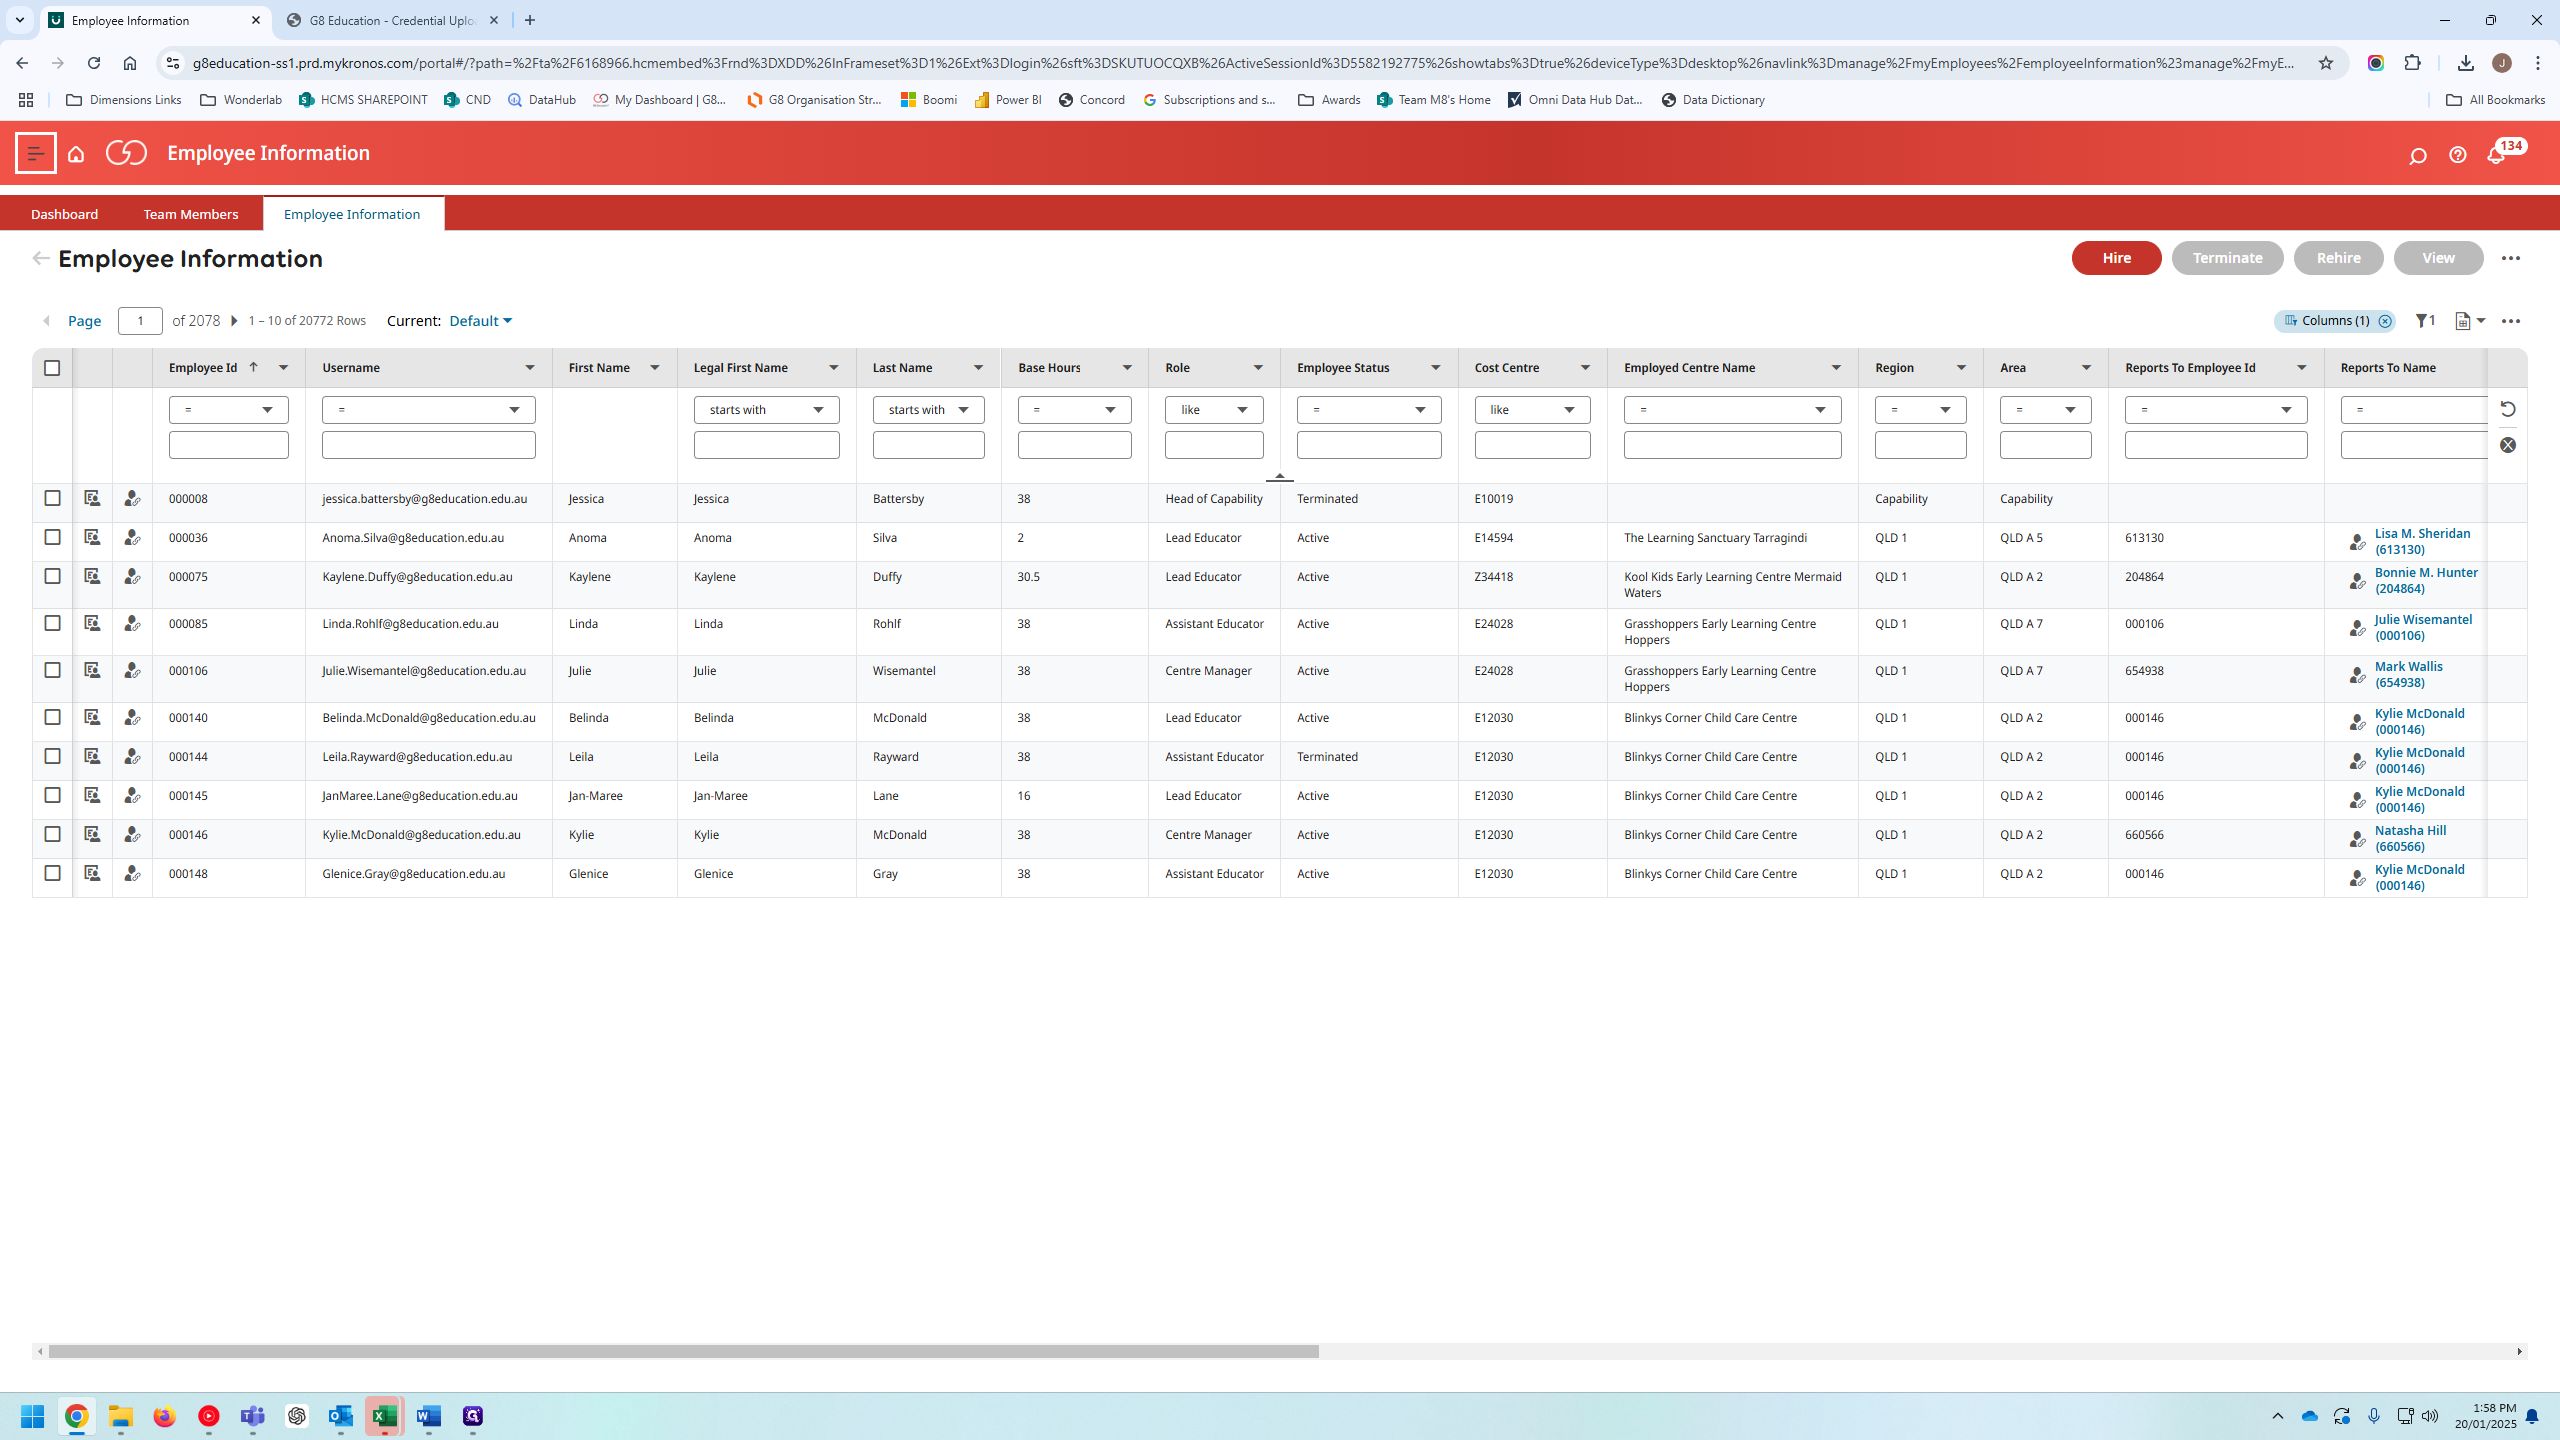
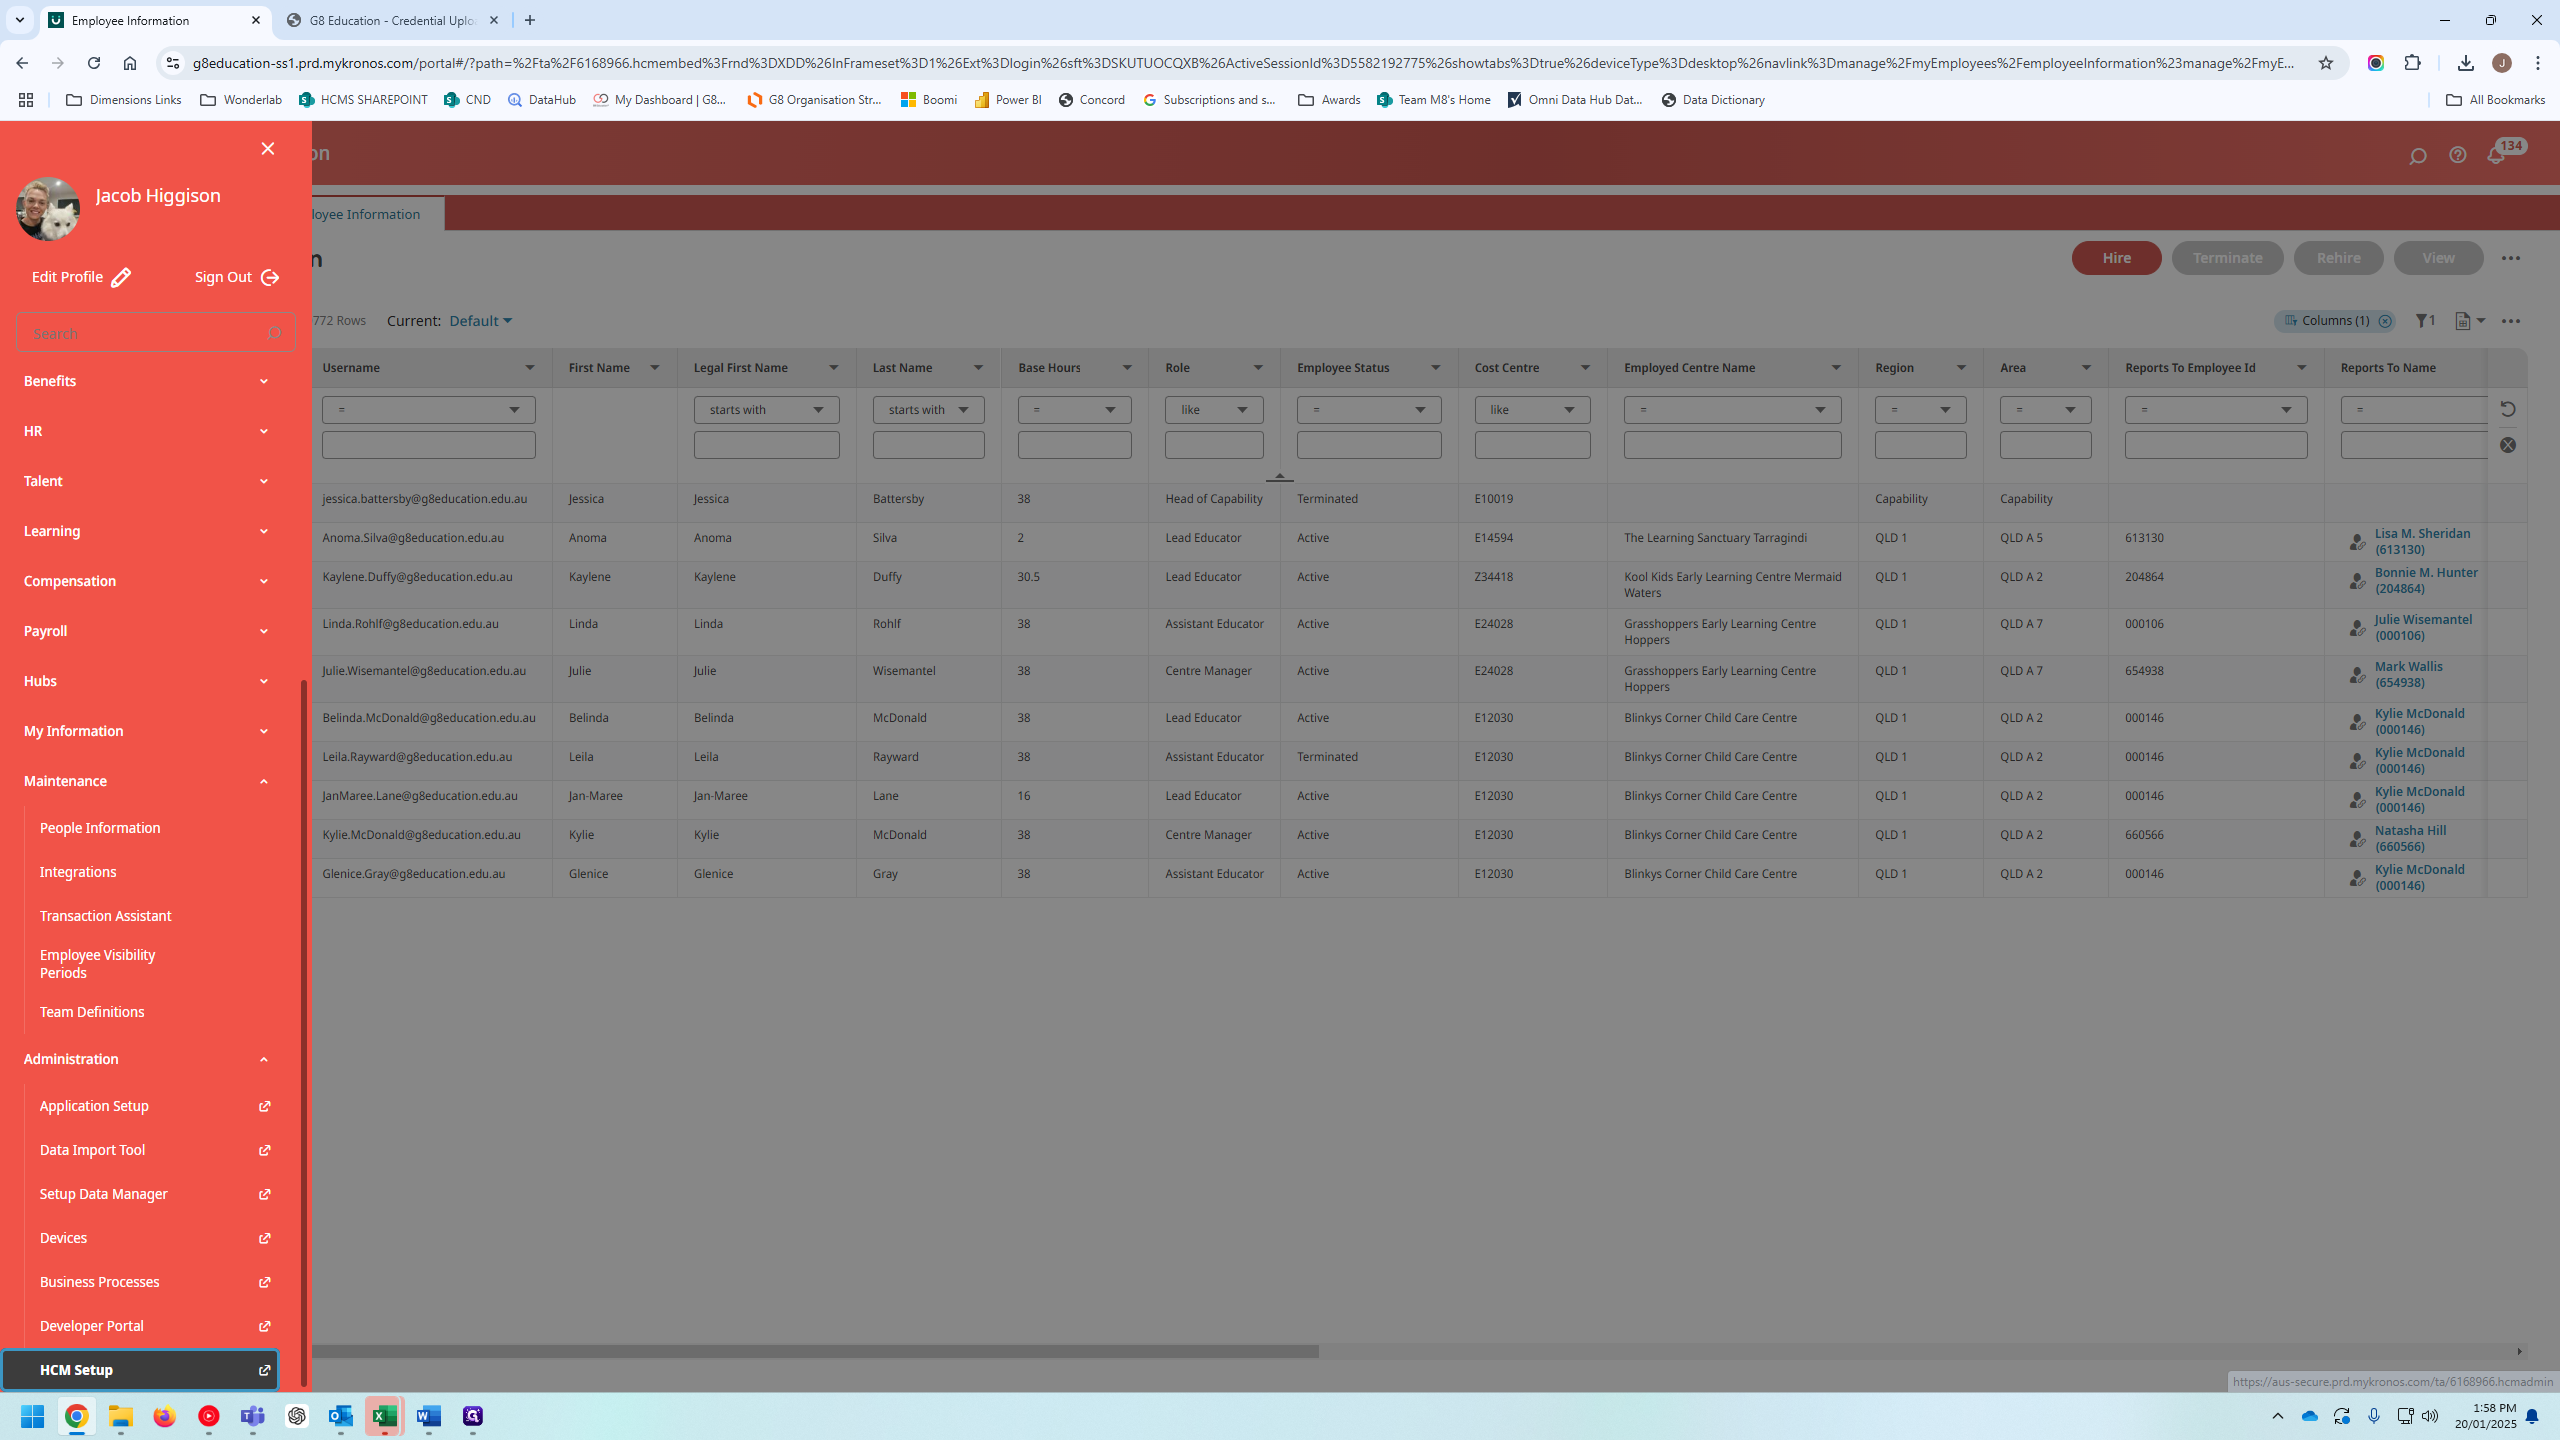
43
Click on "山"
Step #43: Click on "山"
44
Click on "HCM Setup"
Step #44: Click on "HCM Setup"
45
Click on "III"
Step #45: Click on "III"
46
Click here
Step #46: Click here
47
Click here
Step #47: Click here
48
Click on "Employee Credentials"
Step #48: Click on "Employee Credentials"
49
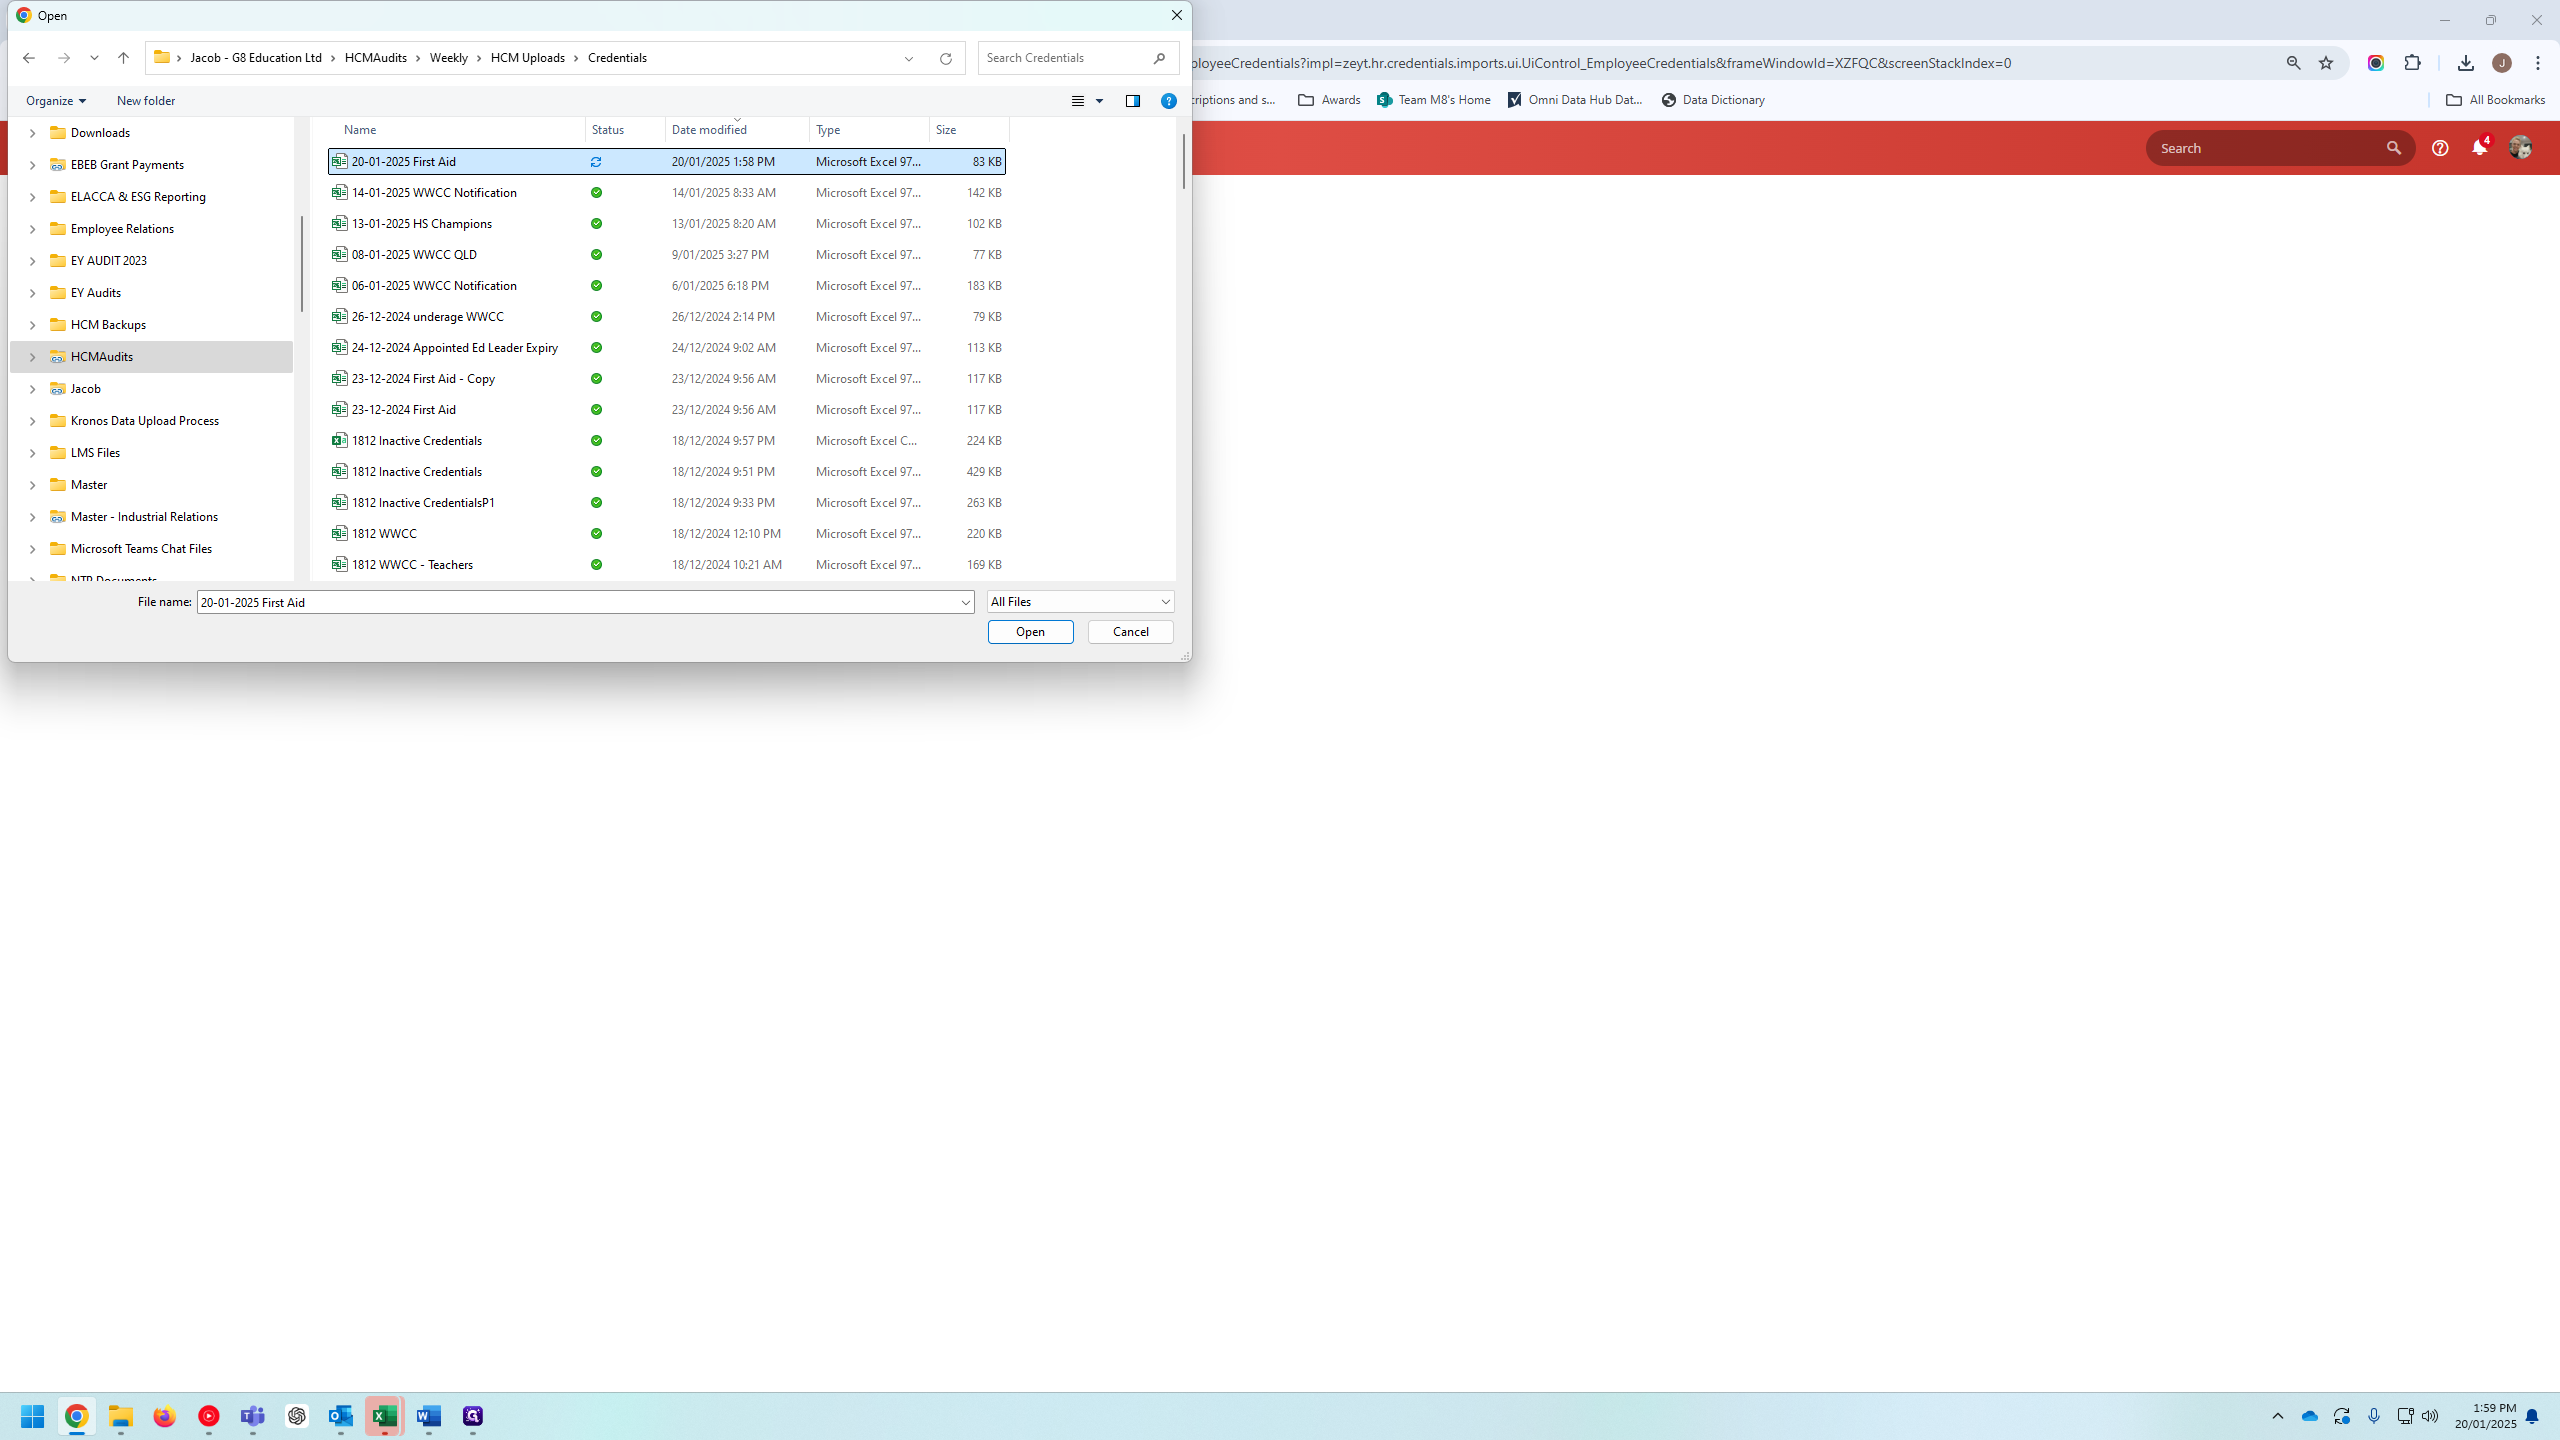
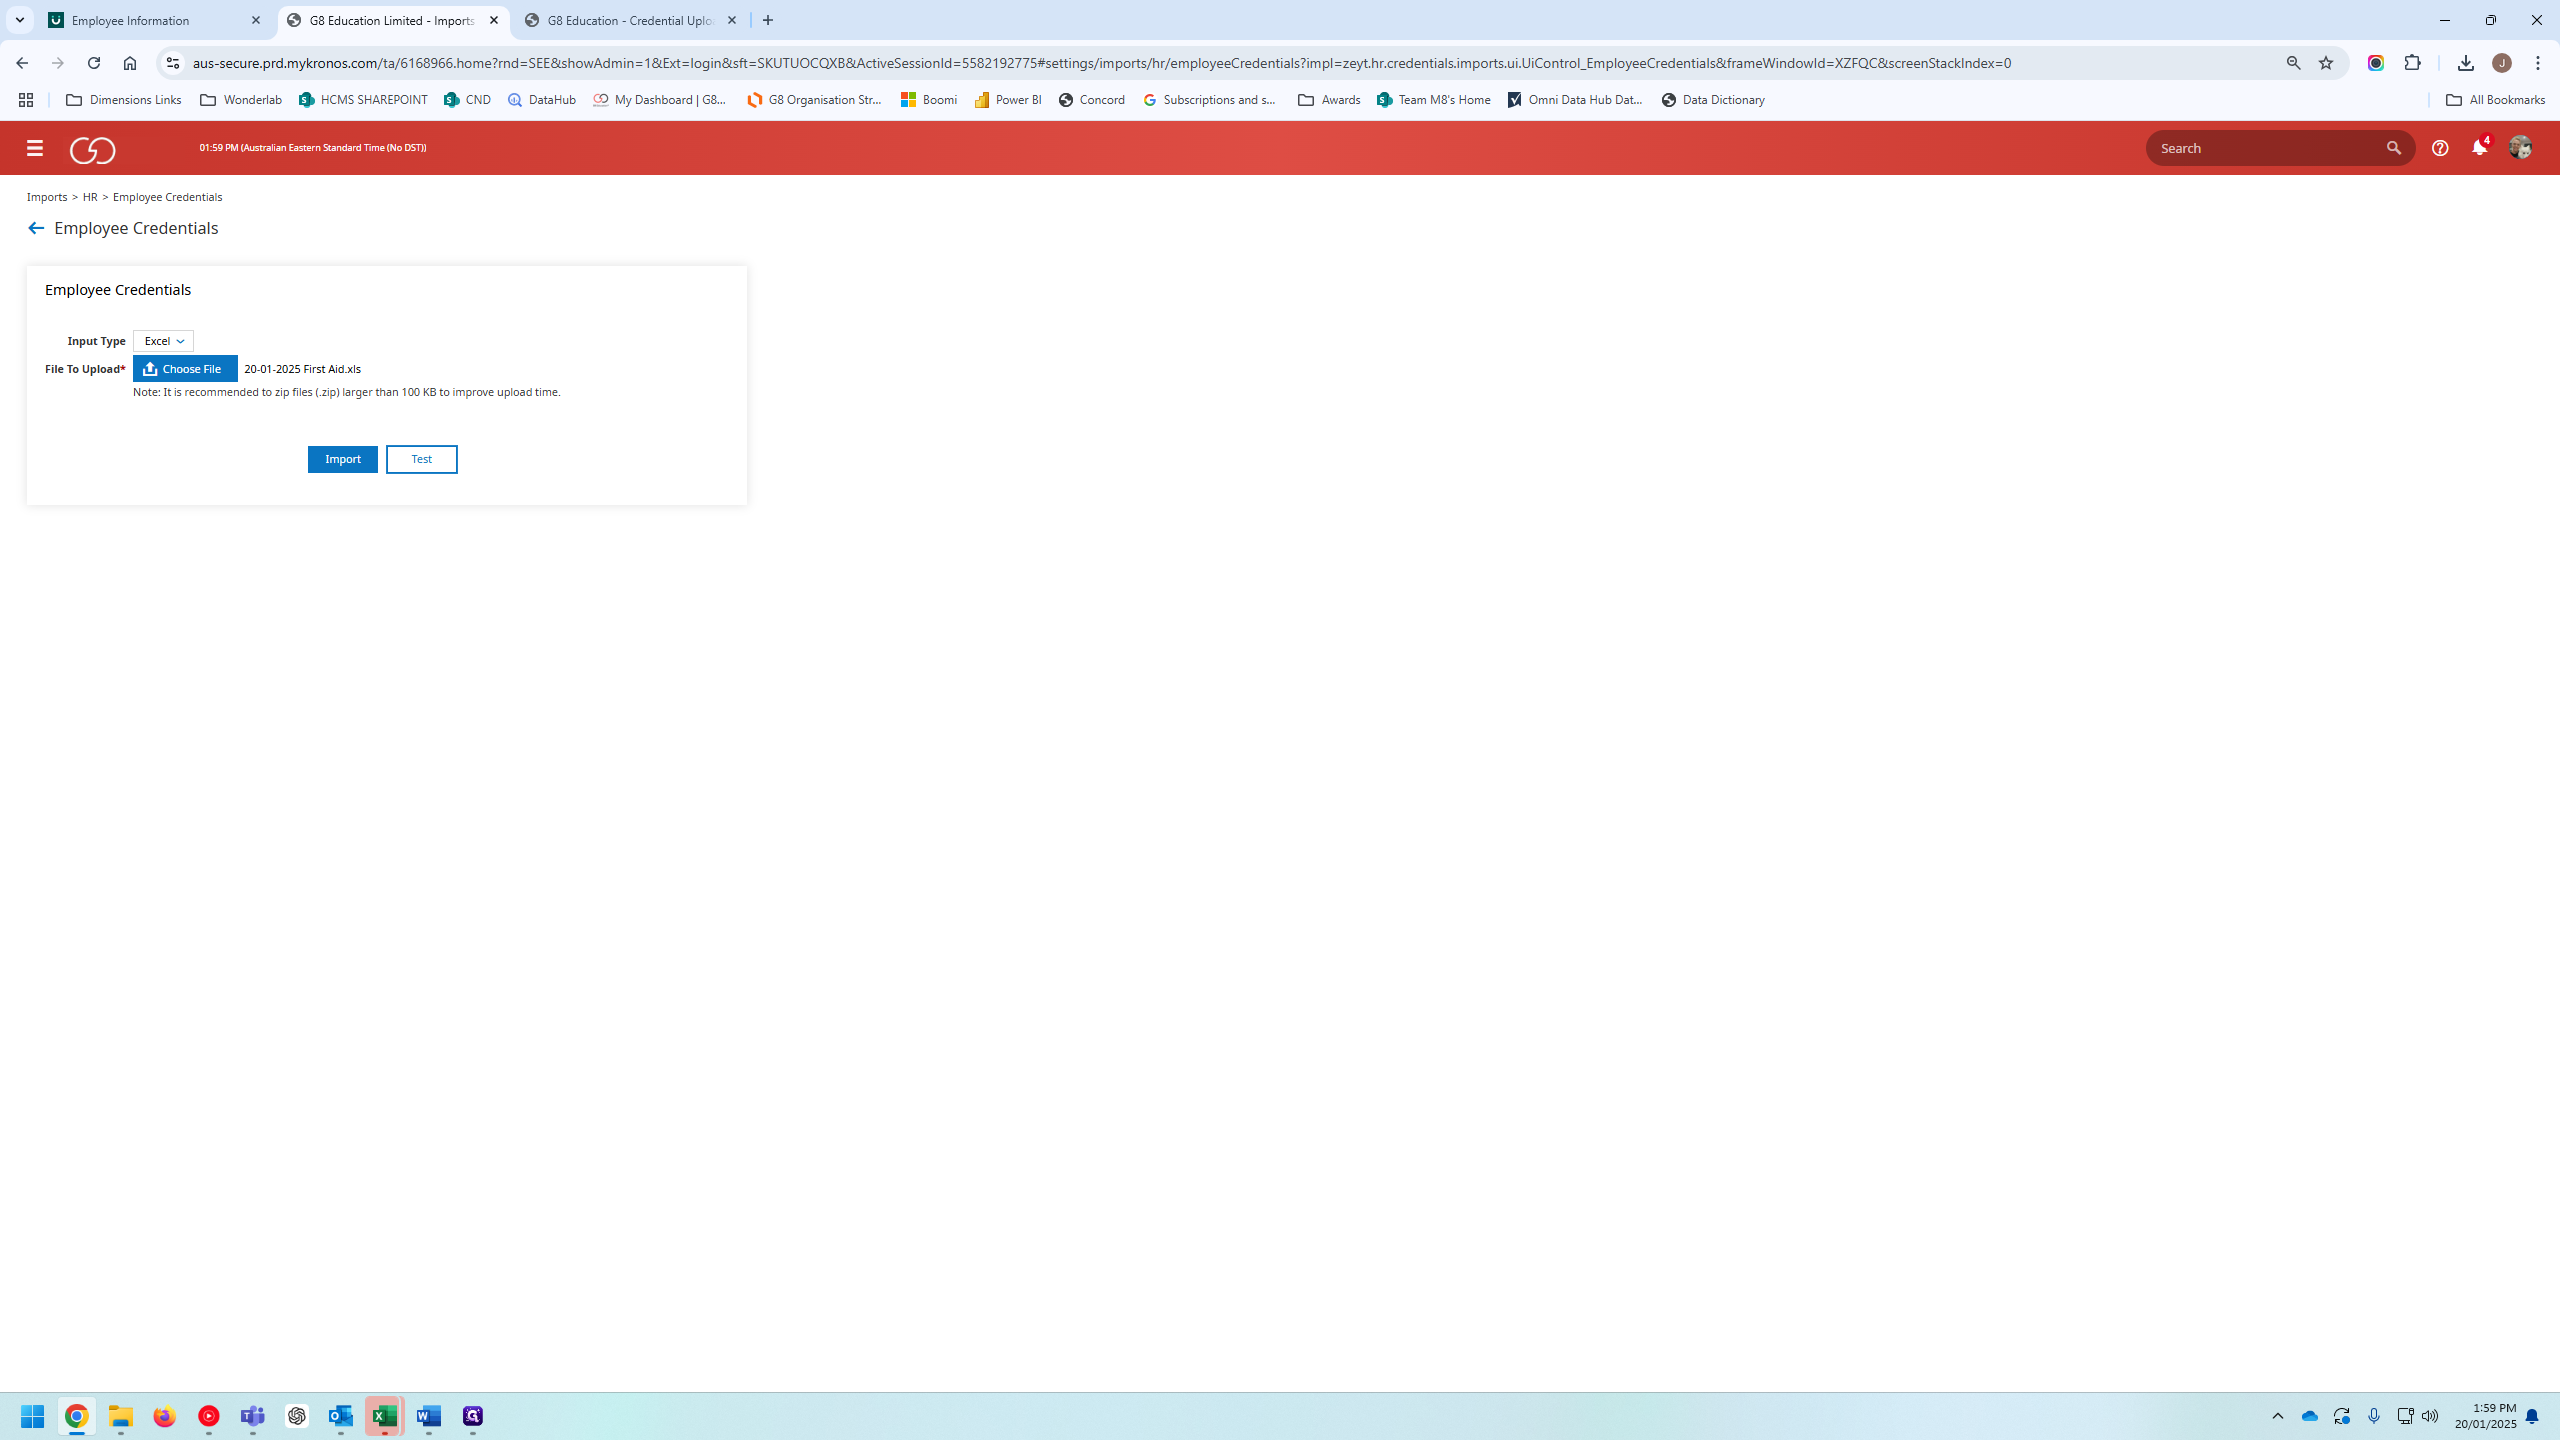
Click on "Choose File"
Step #49: Click on "Choose File"
50
Double-click on "20/01/2025 1:58 PM"
Step #50: Double-click on "20/01/2025 1:58 PM"
51
Click on "Test"
Step #51: Click on "Test"
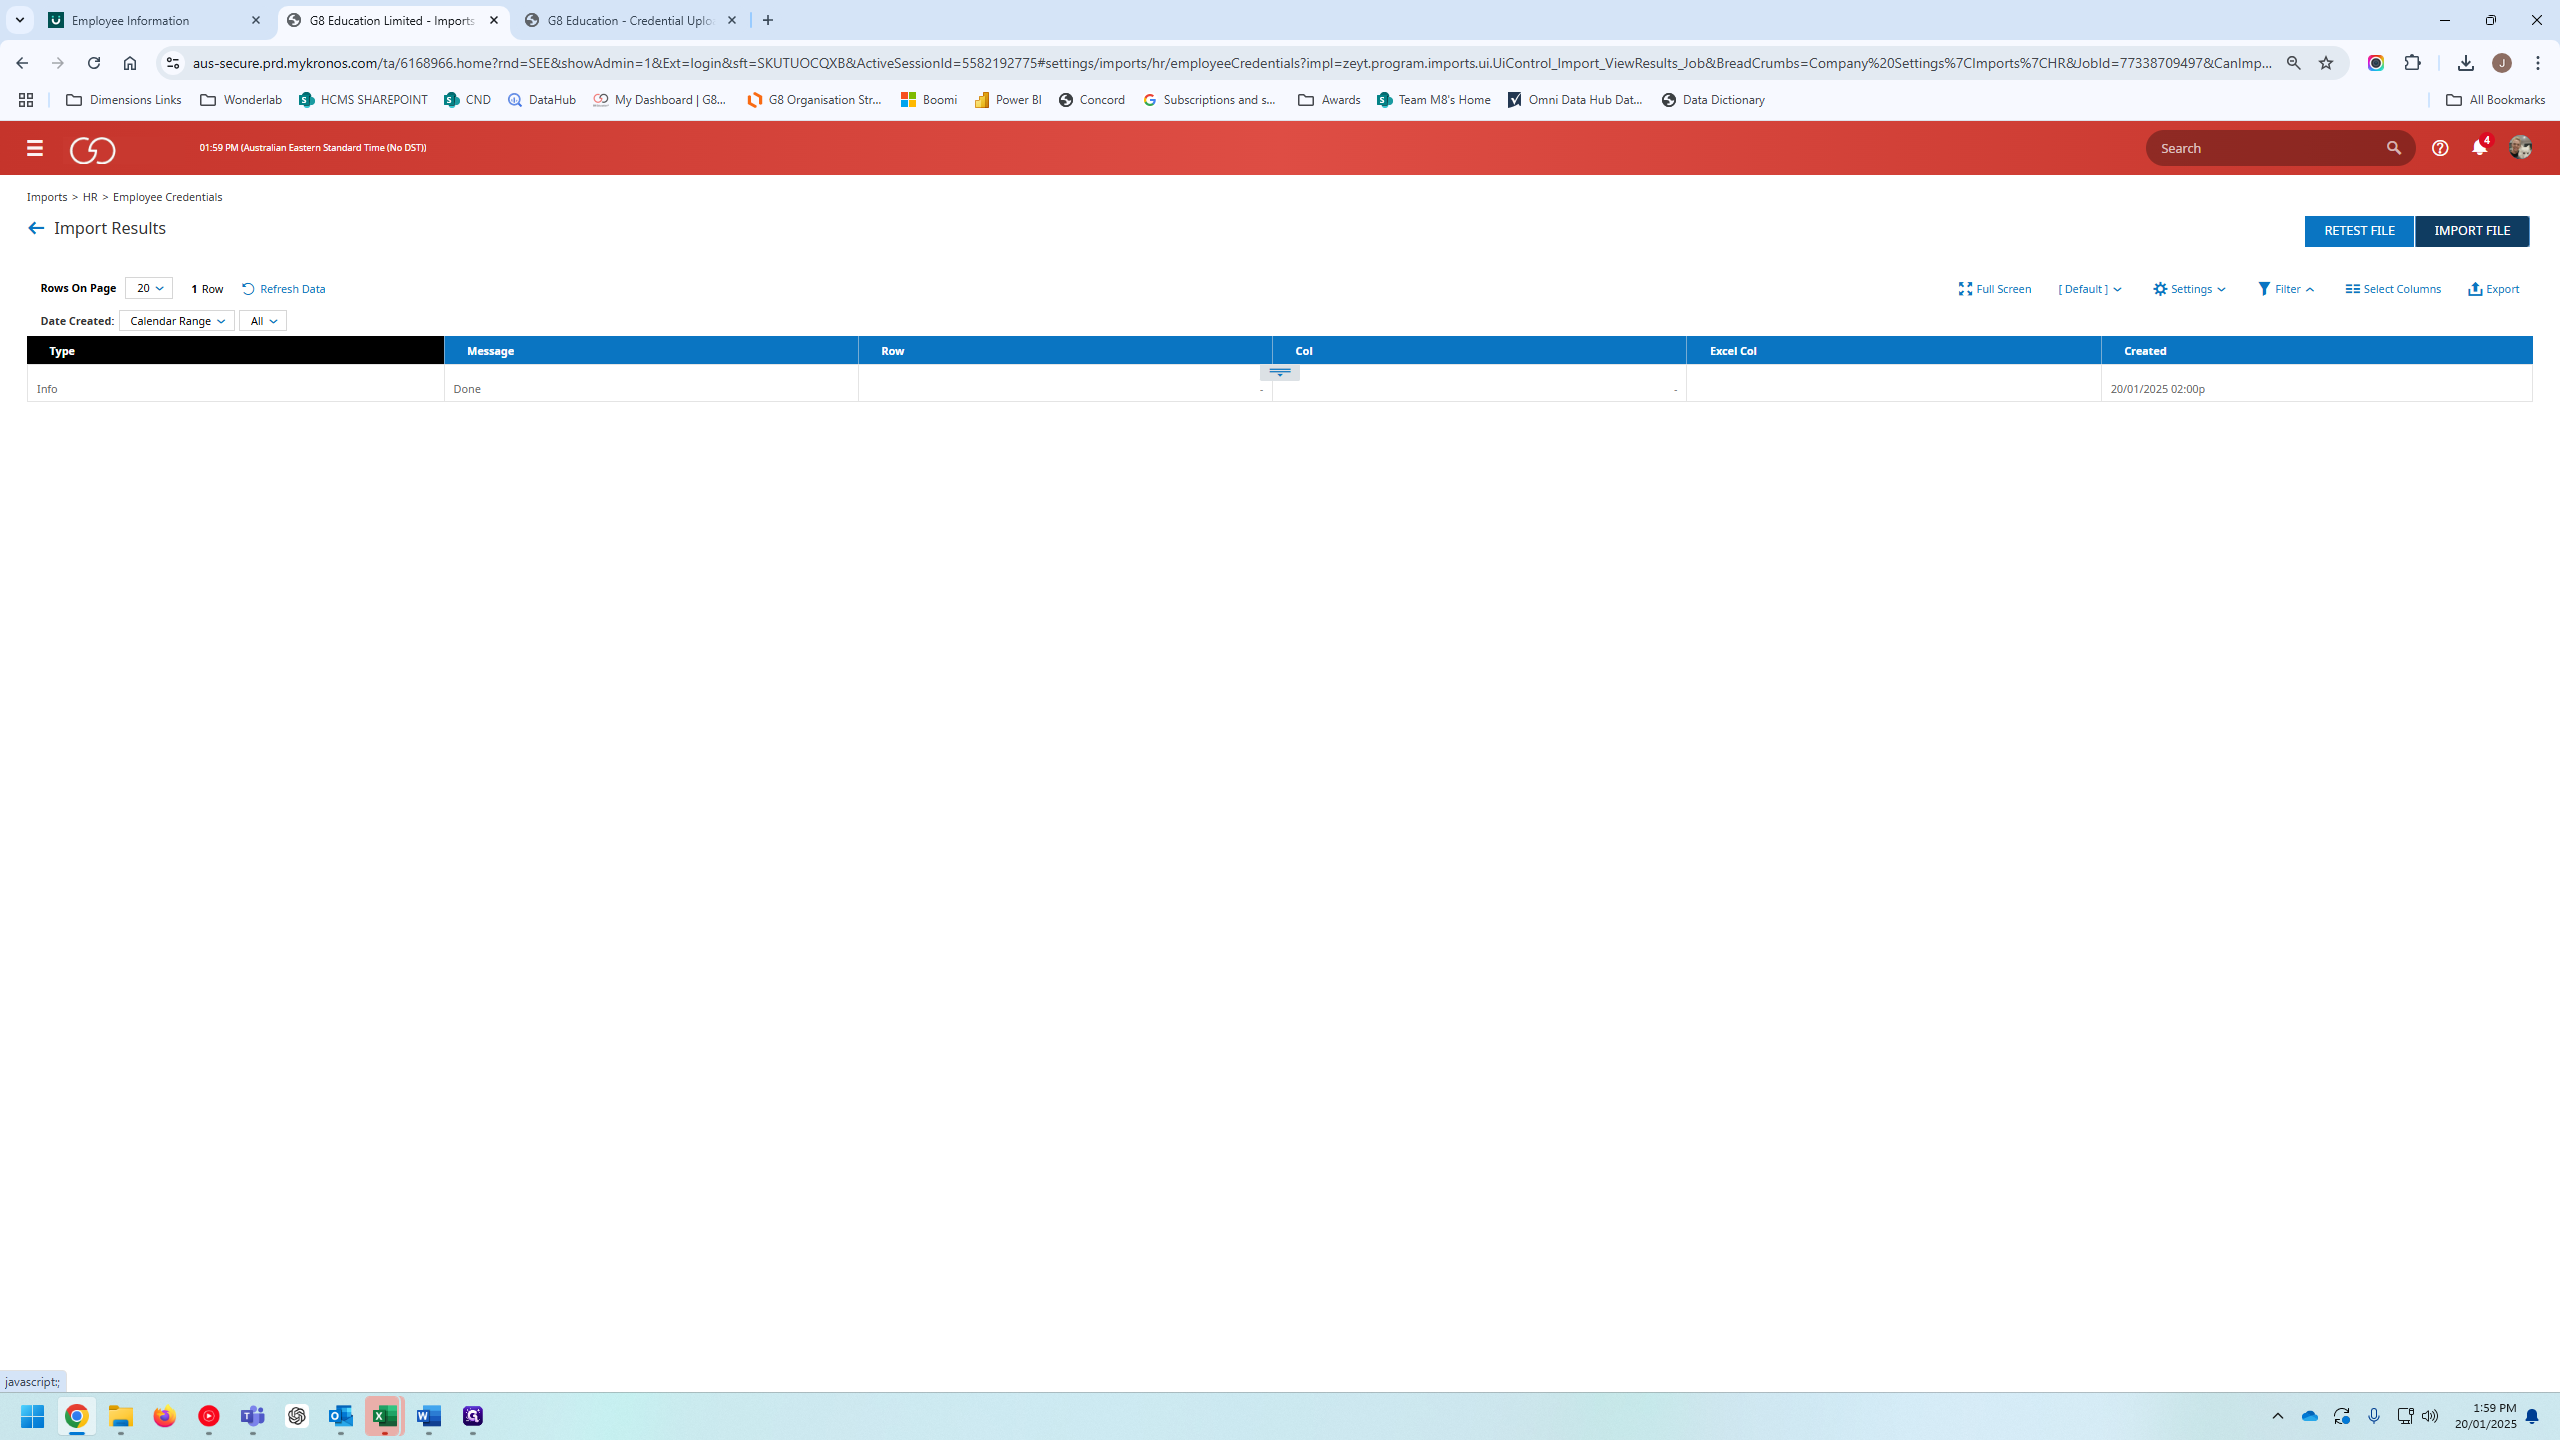
52
Click on "IMPORT FILE"
Step #52: Click on "IMPORT FILE"

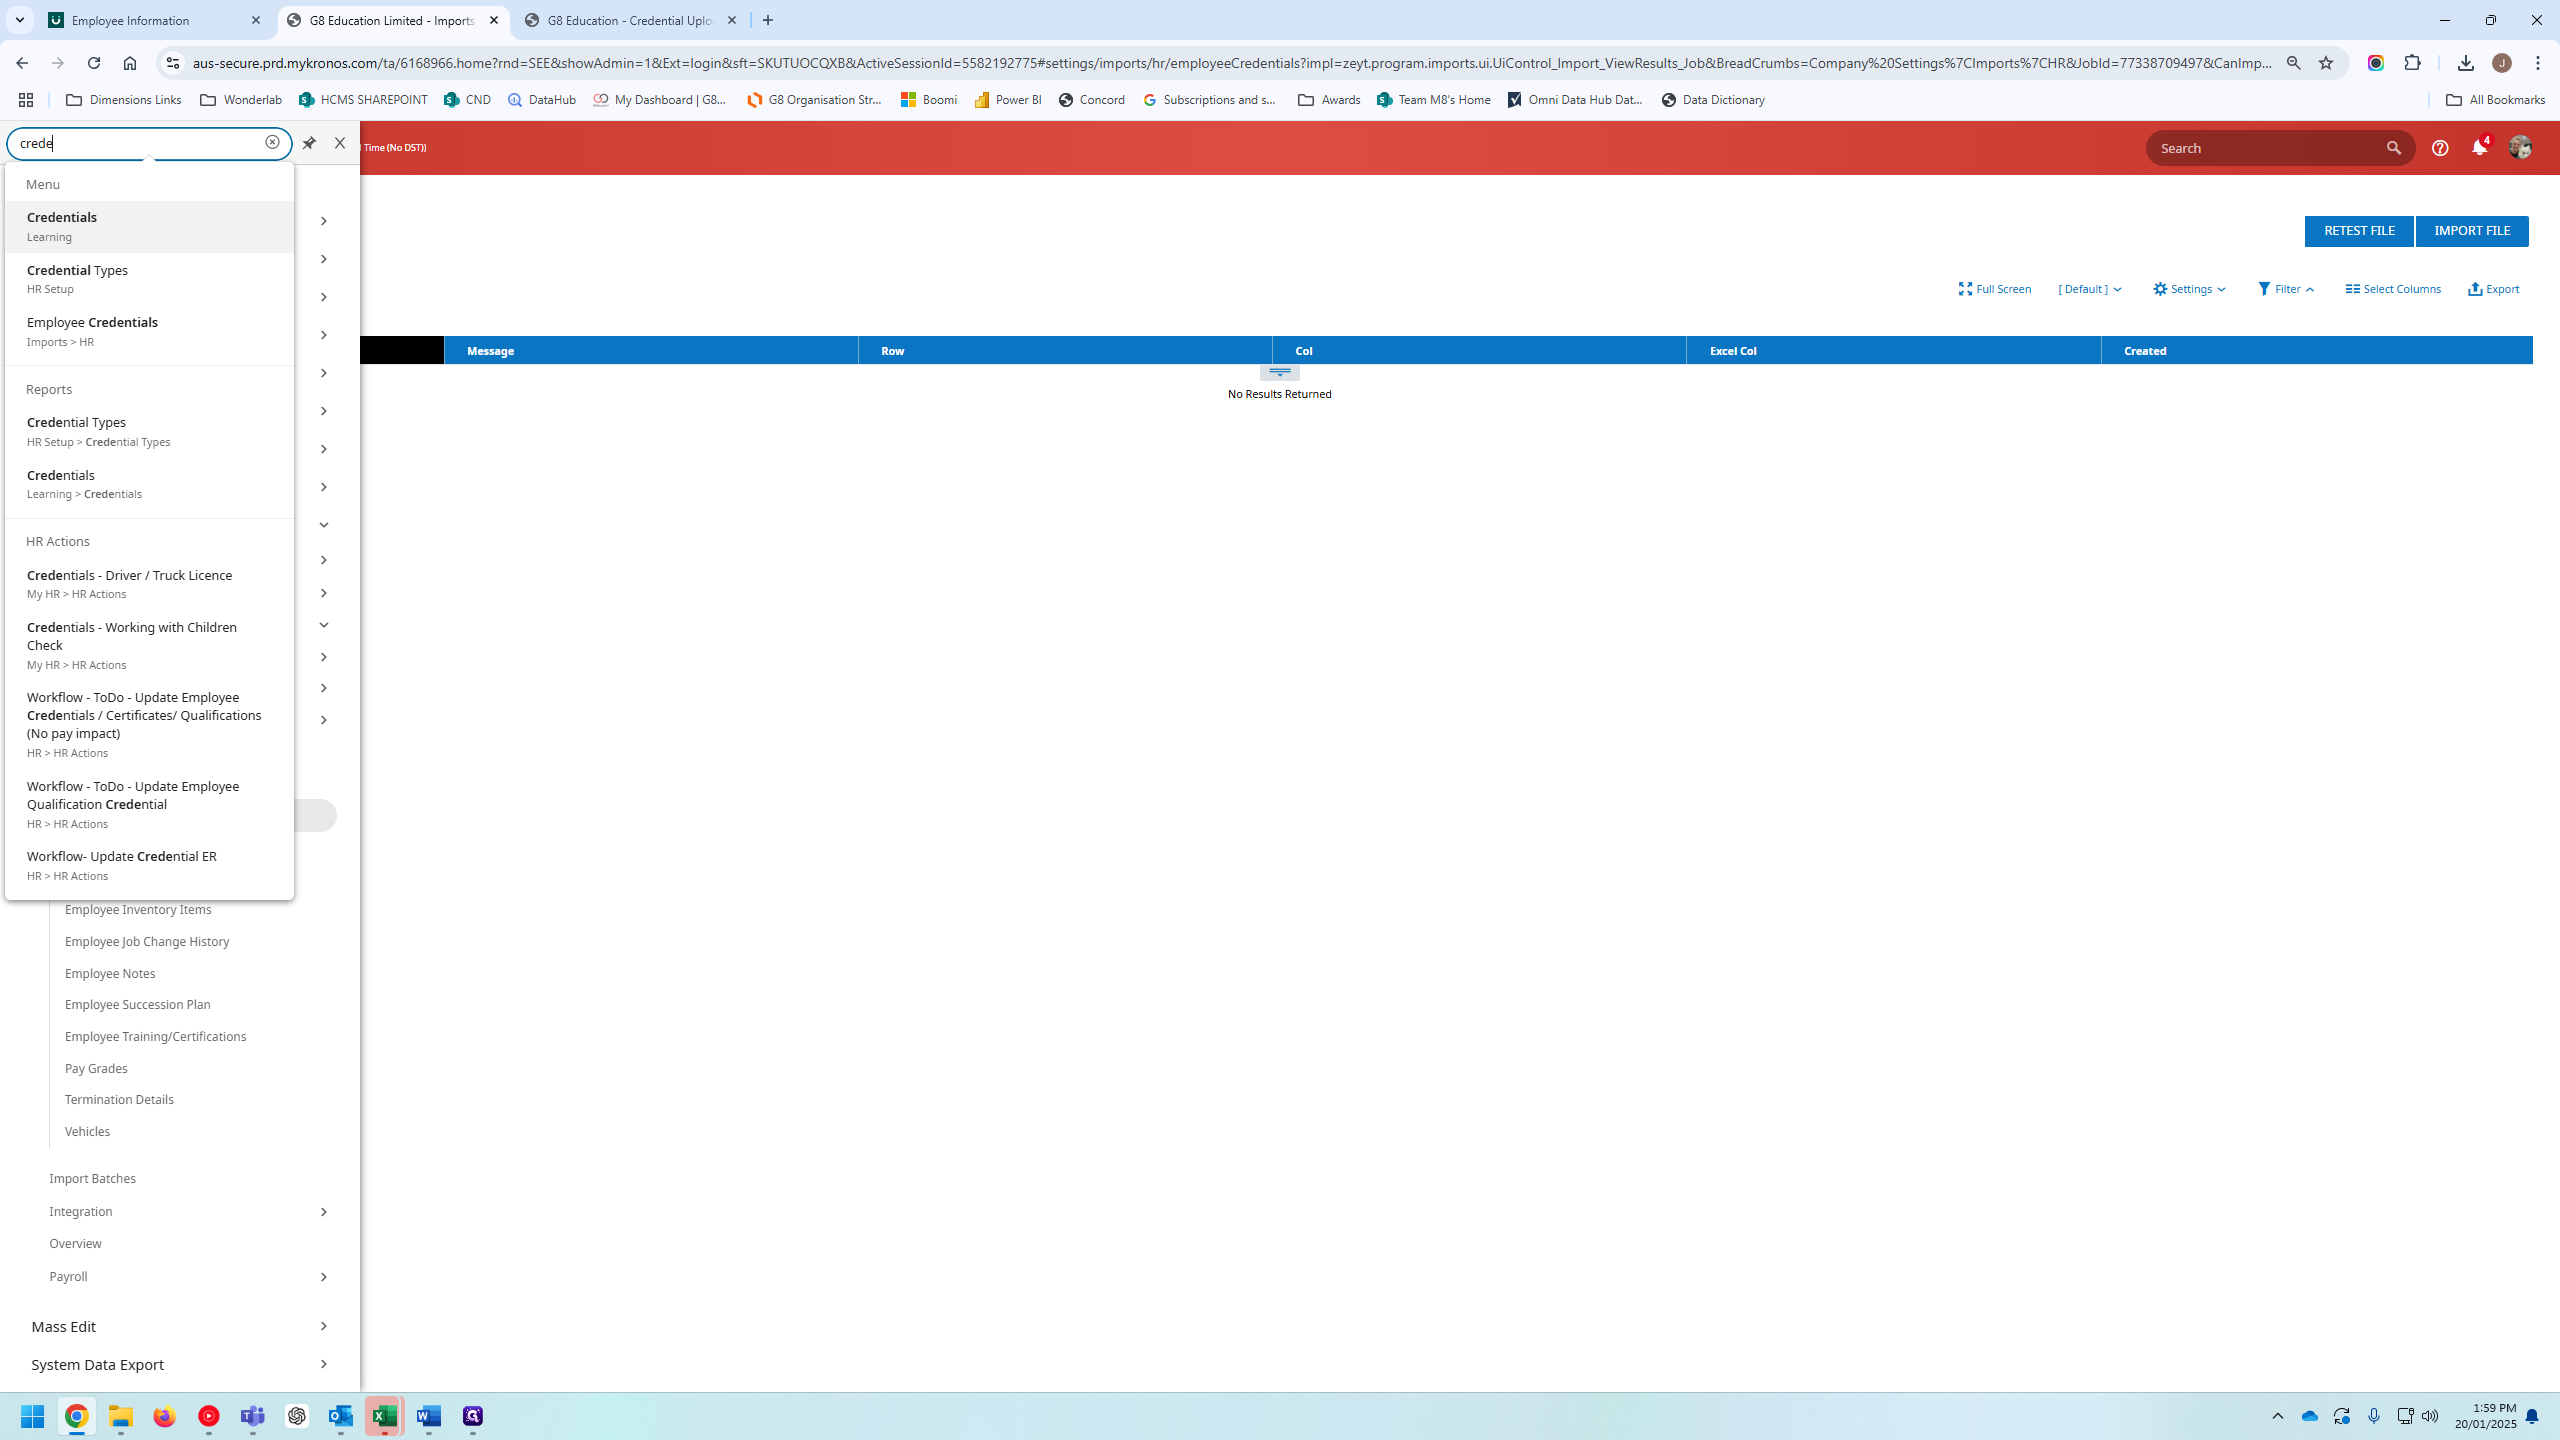
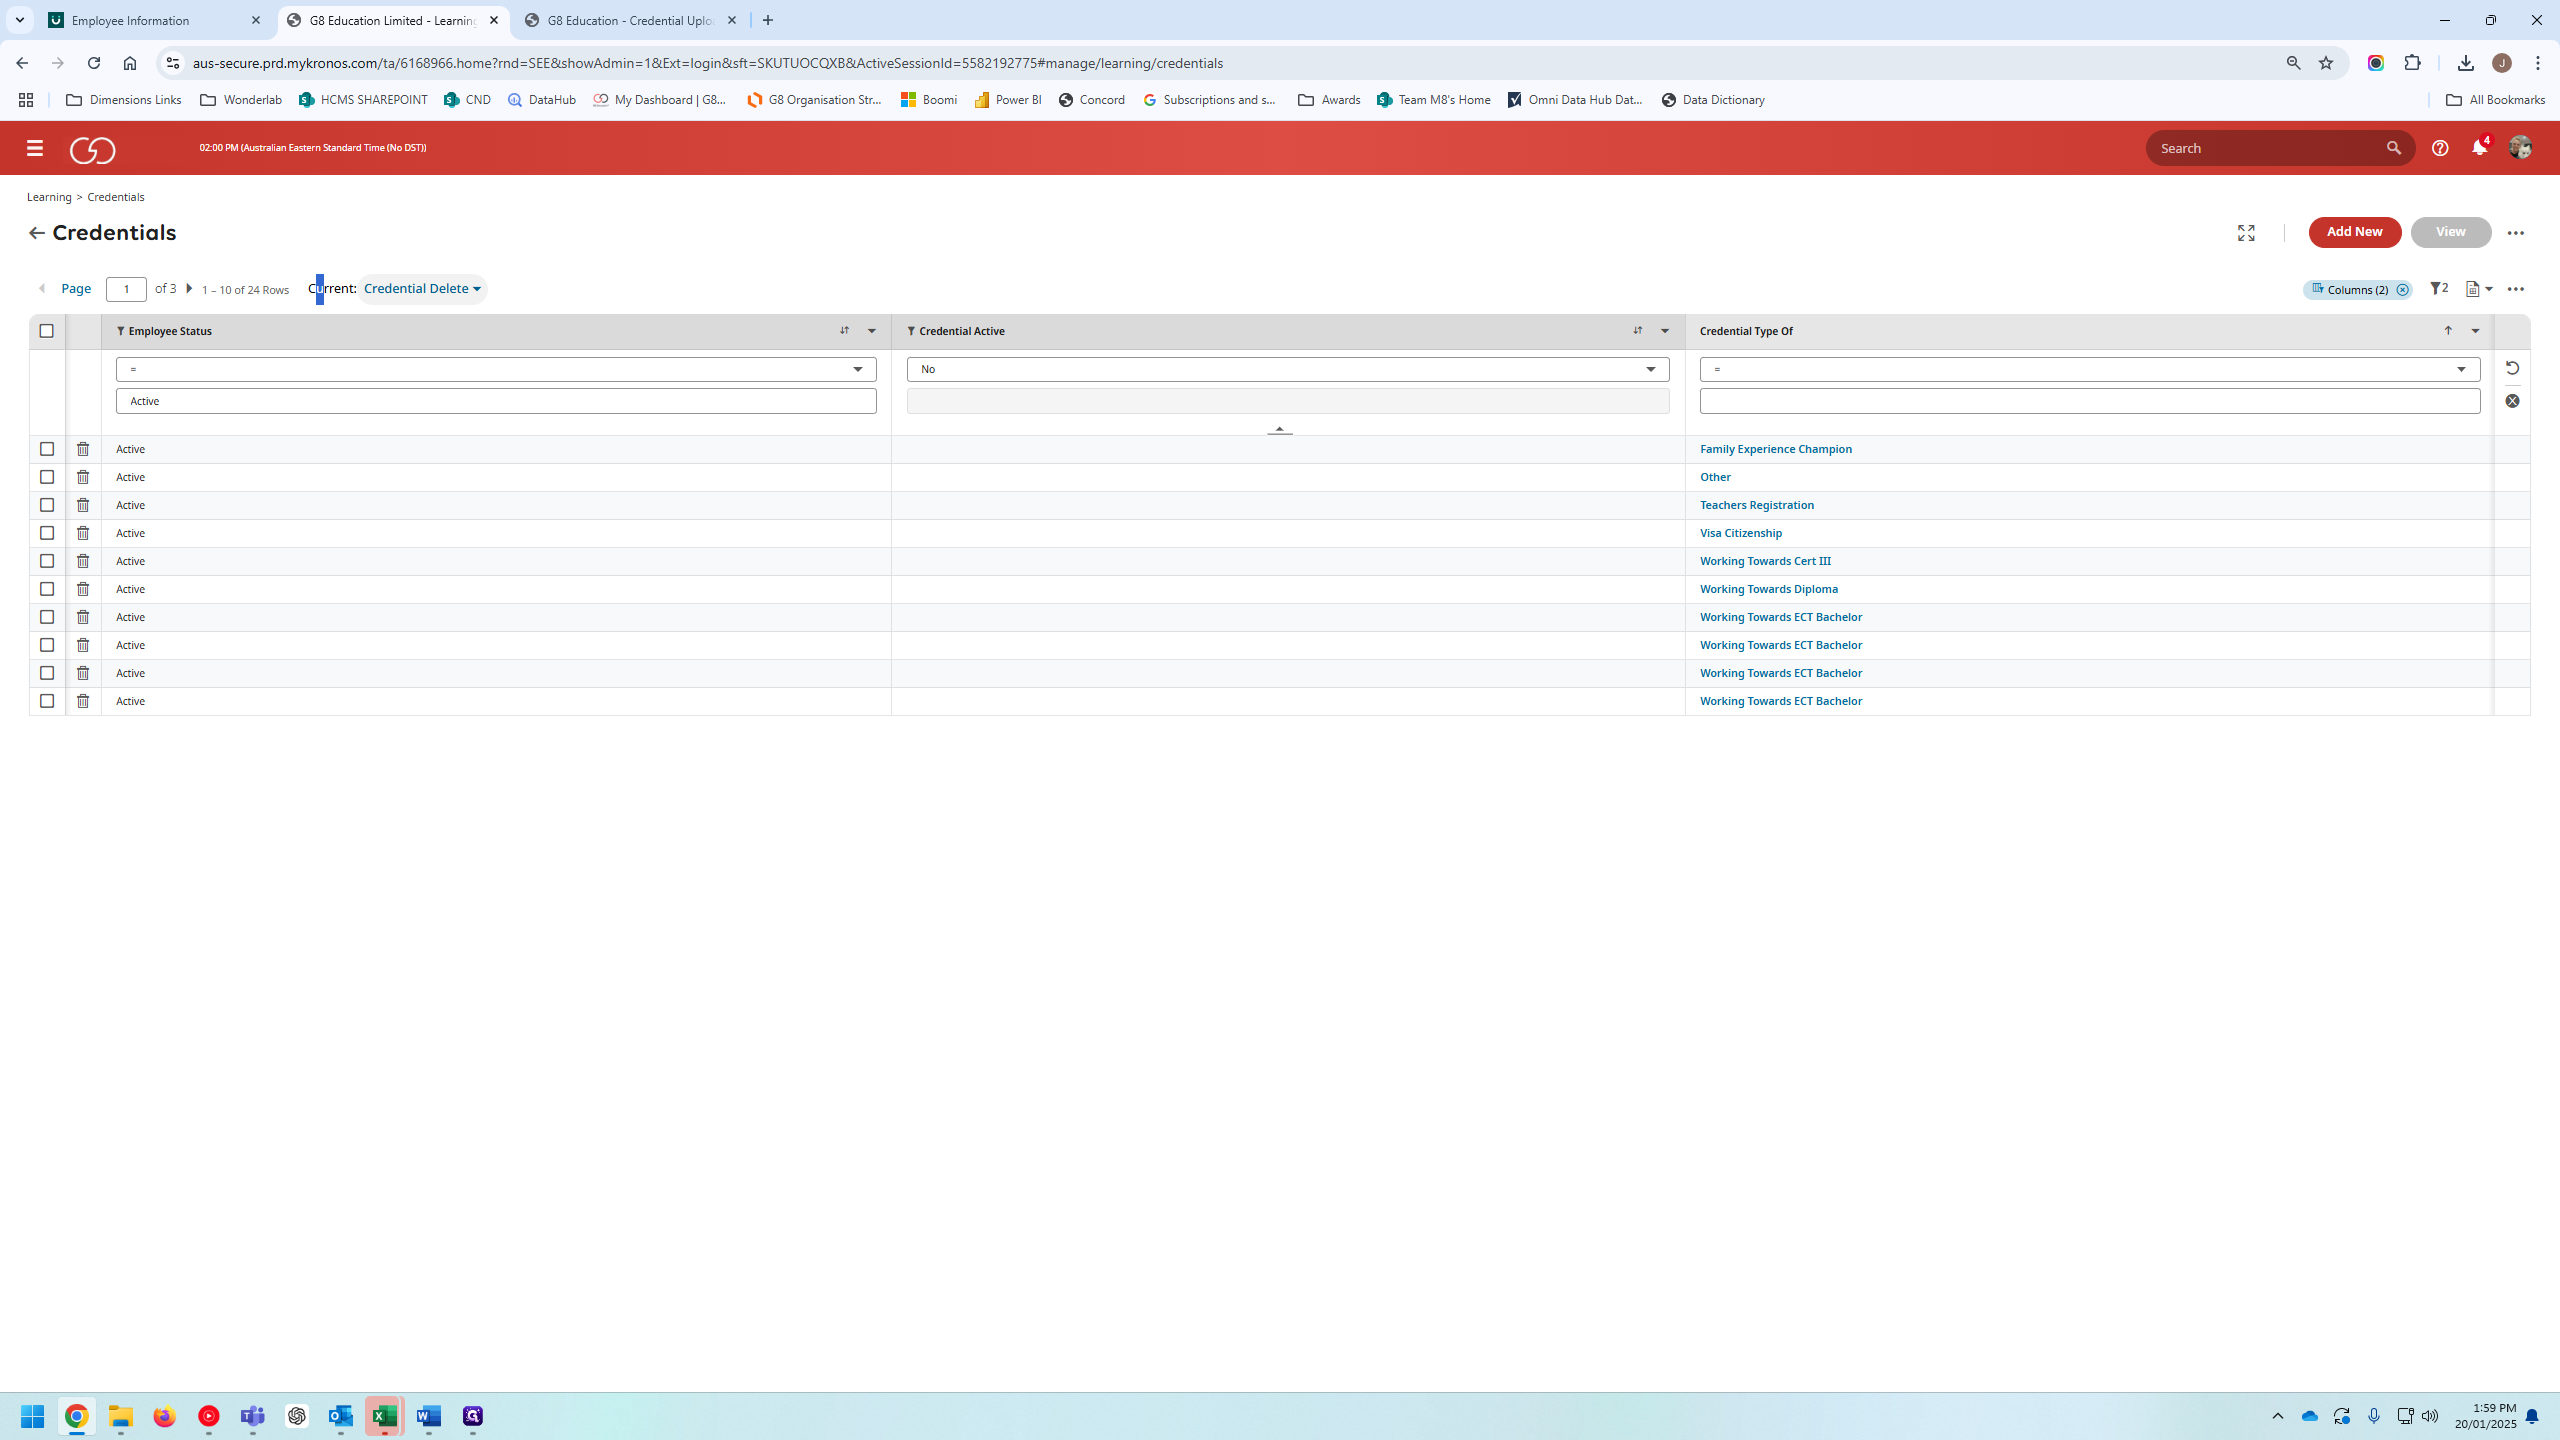
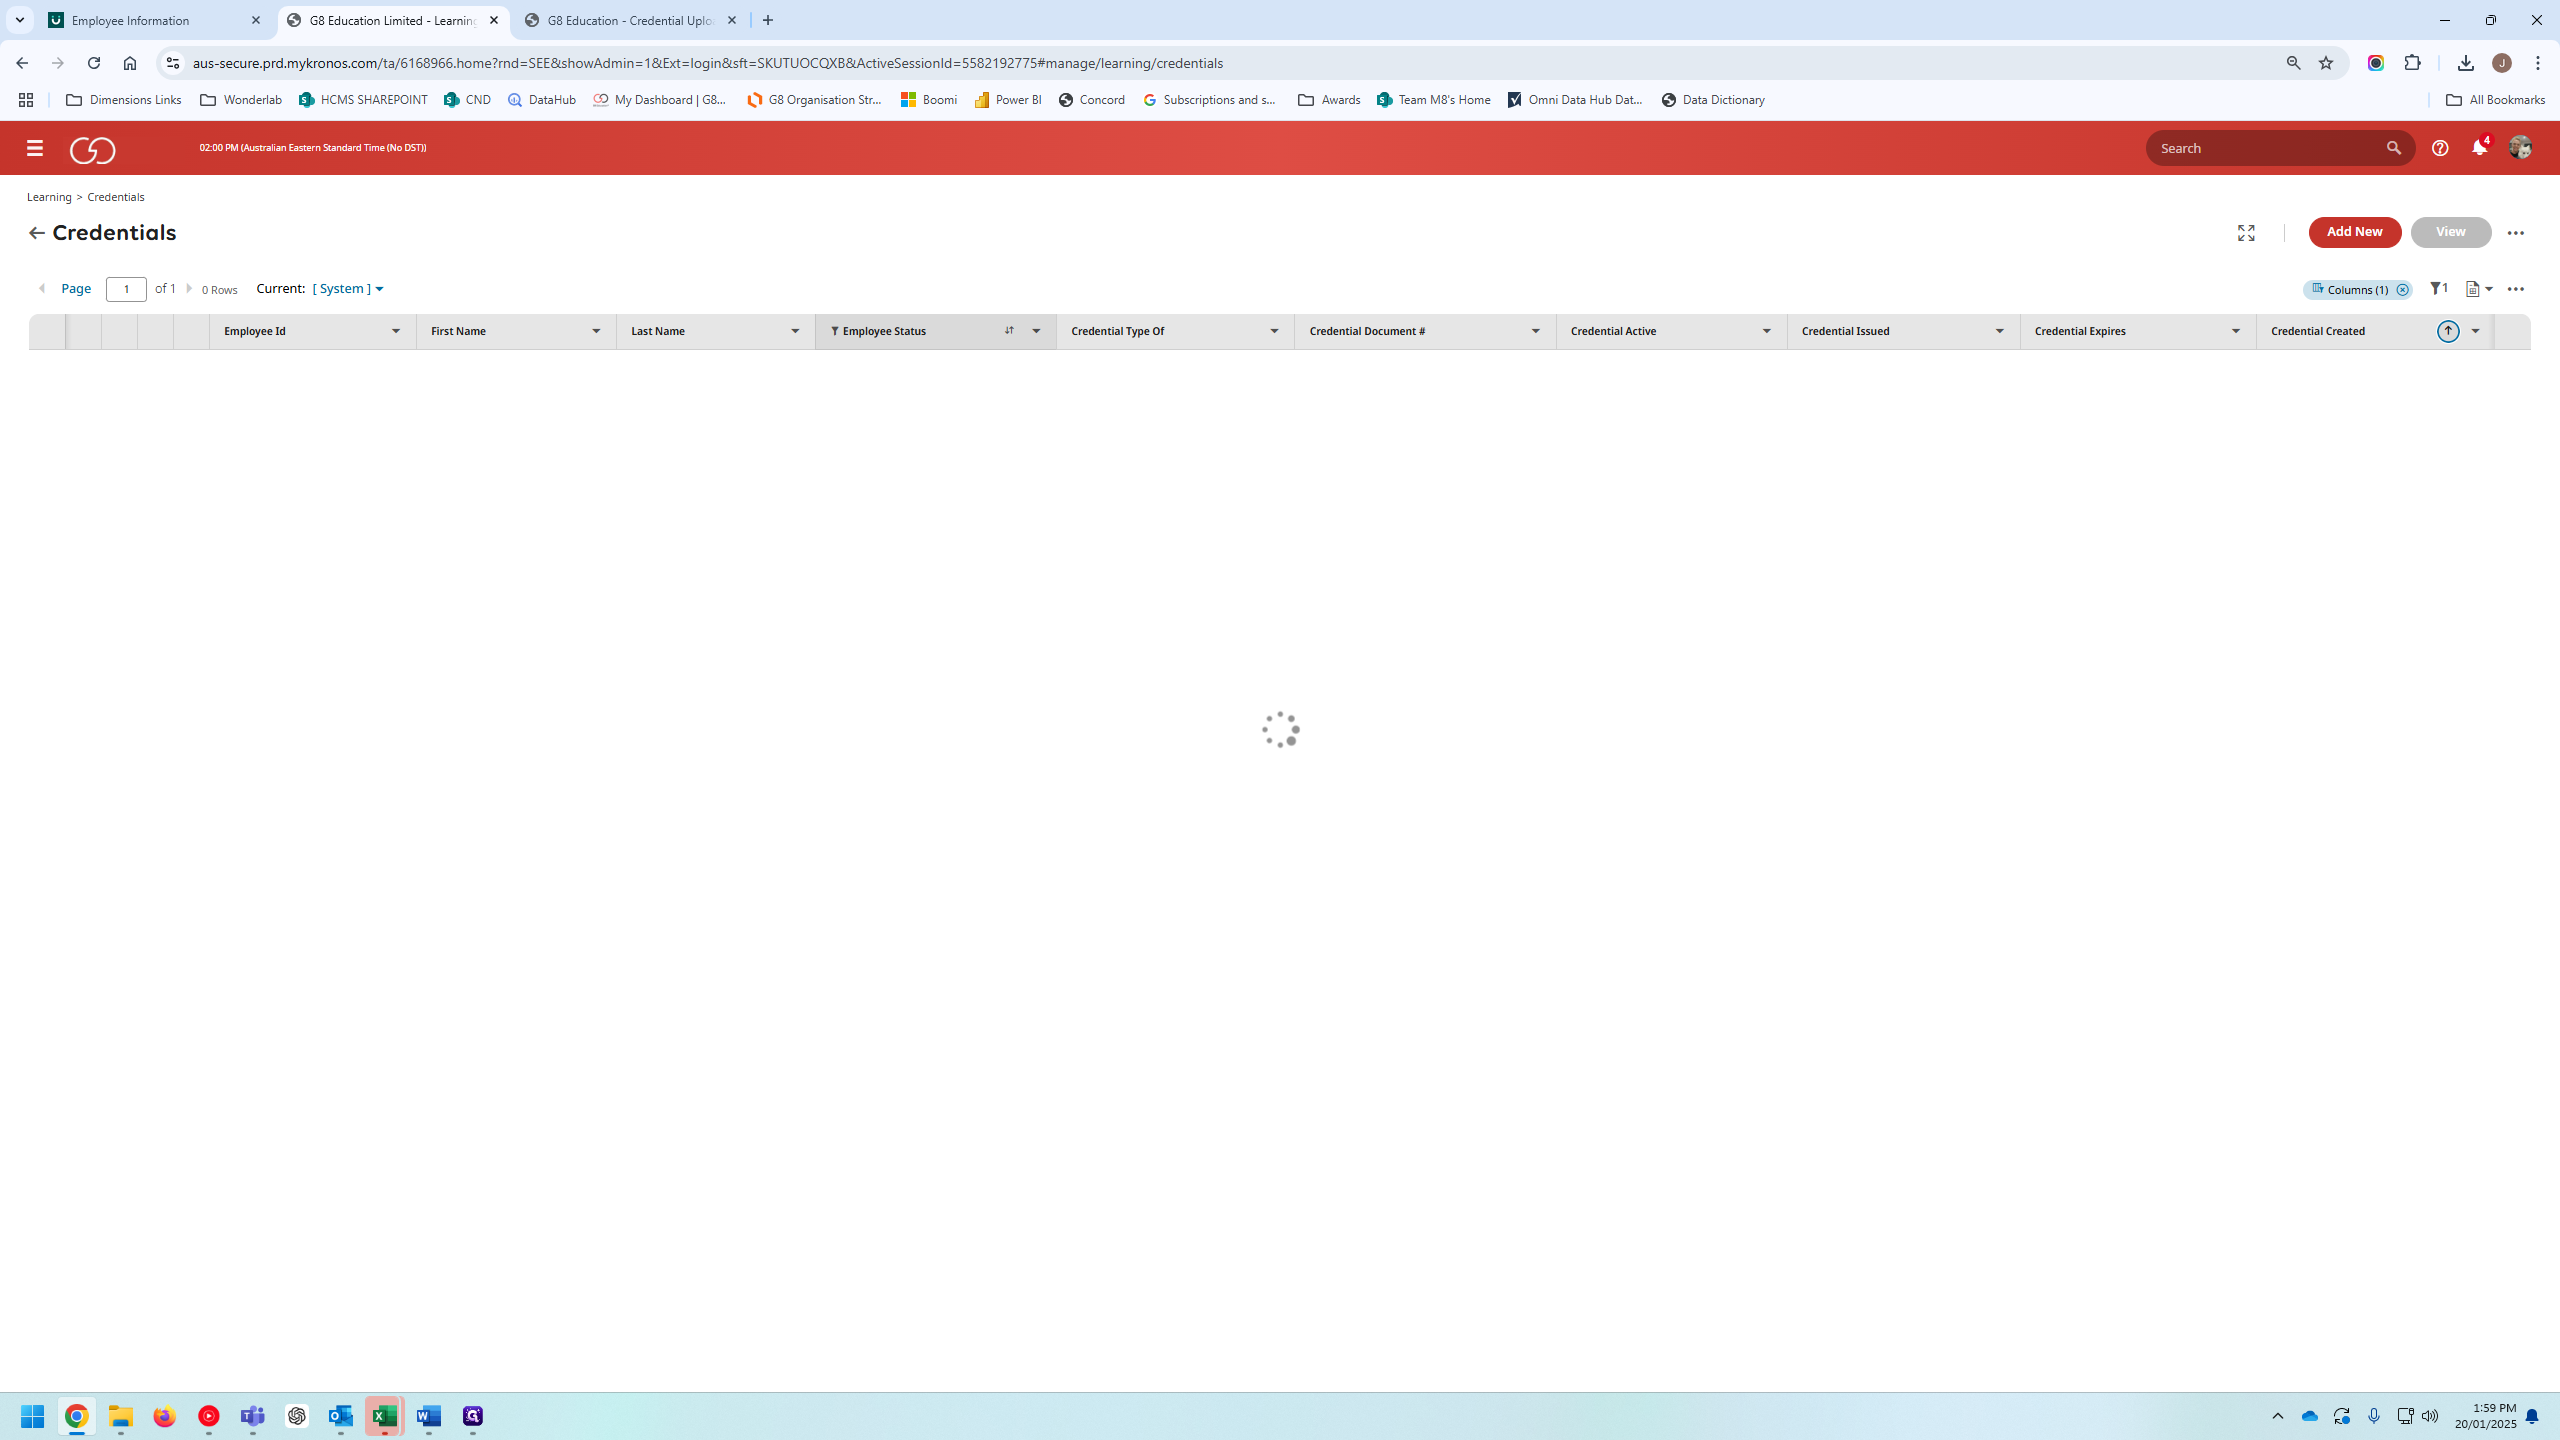
Next, go to the credentials section and check the most recent entries. You will see our credentials listed there.
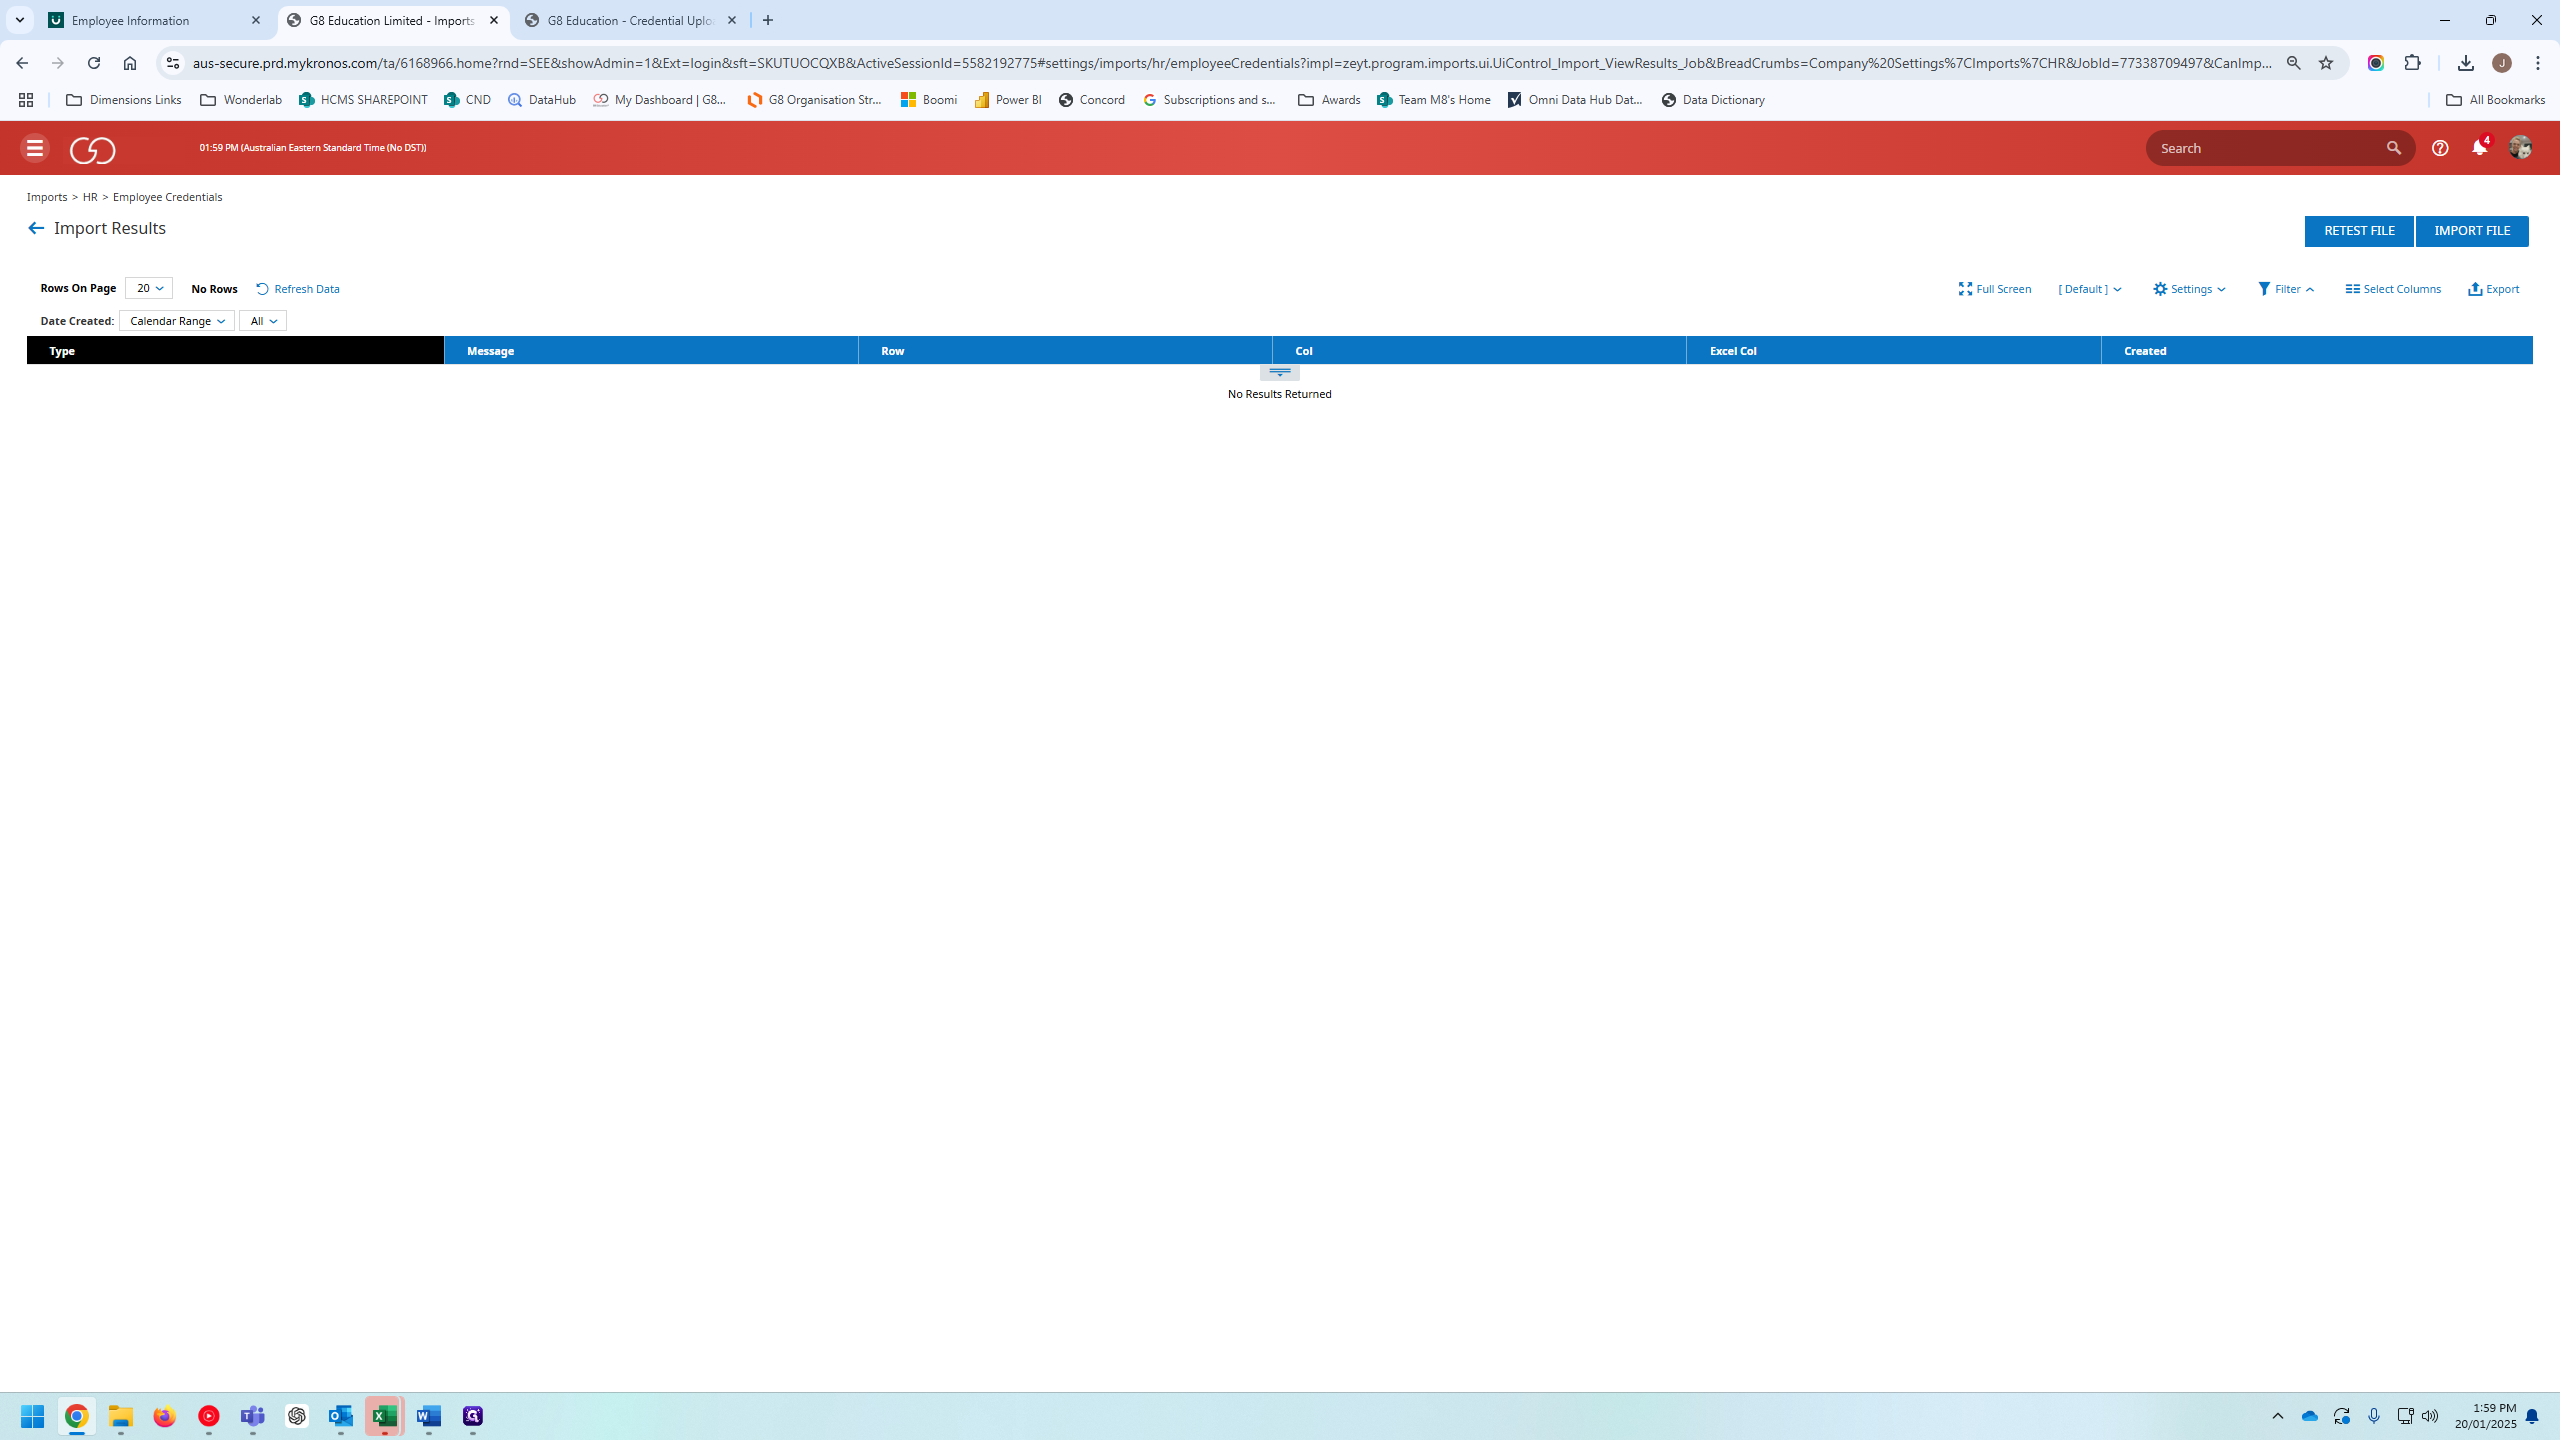
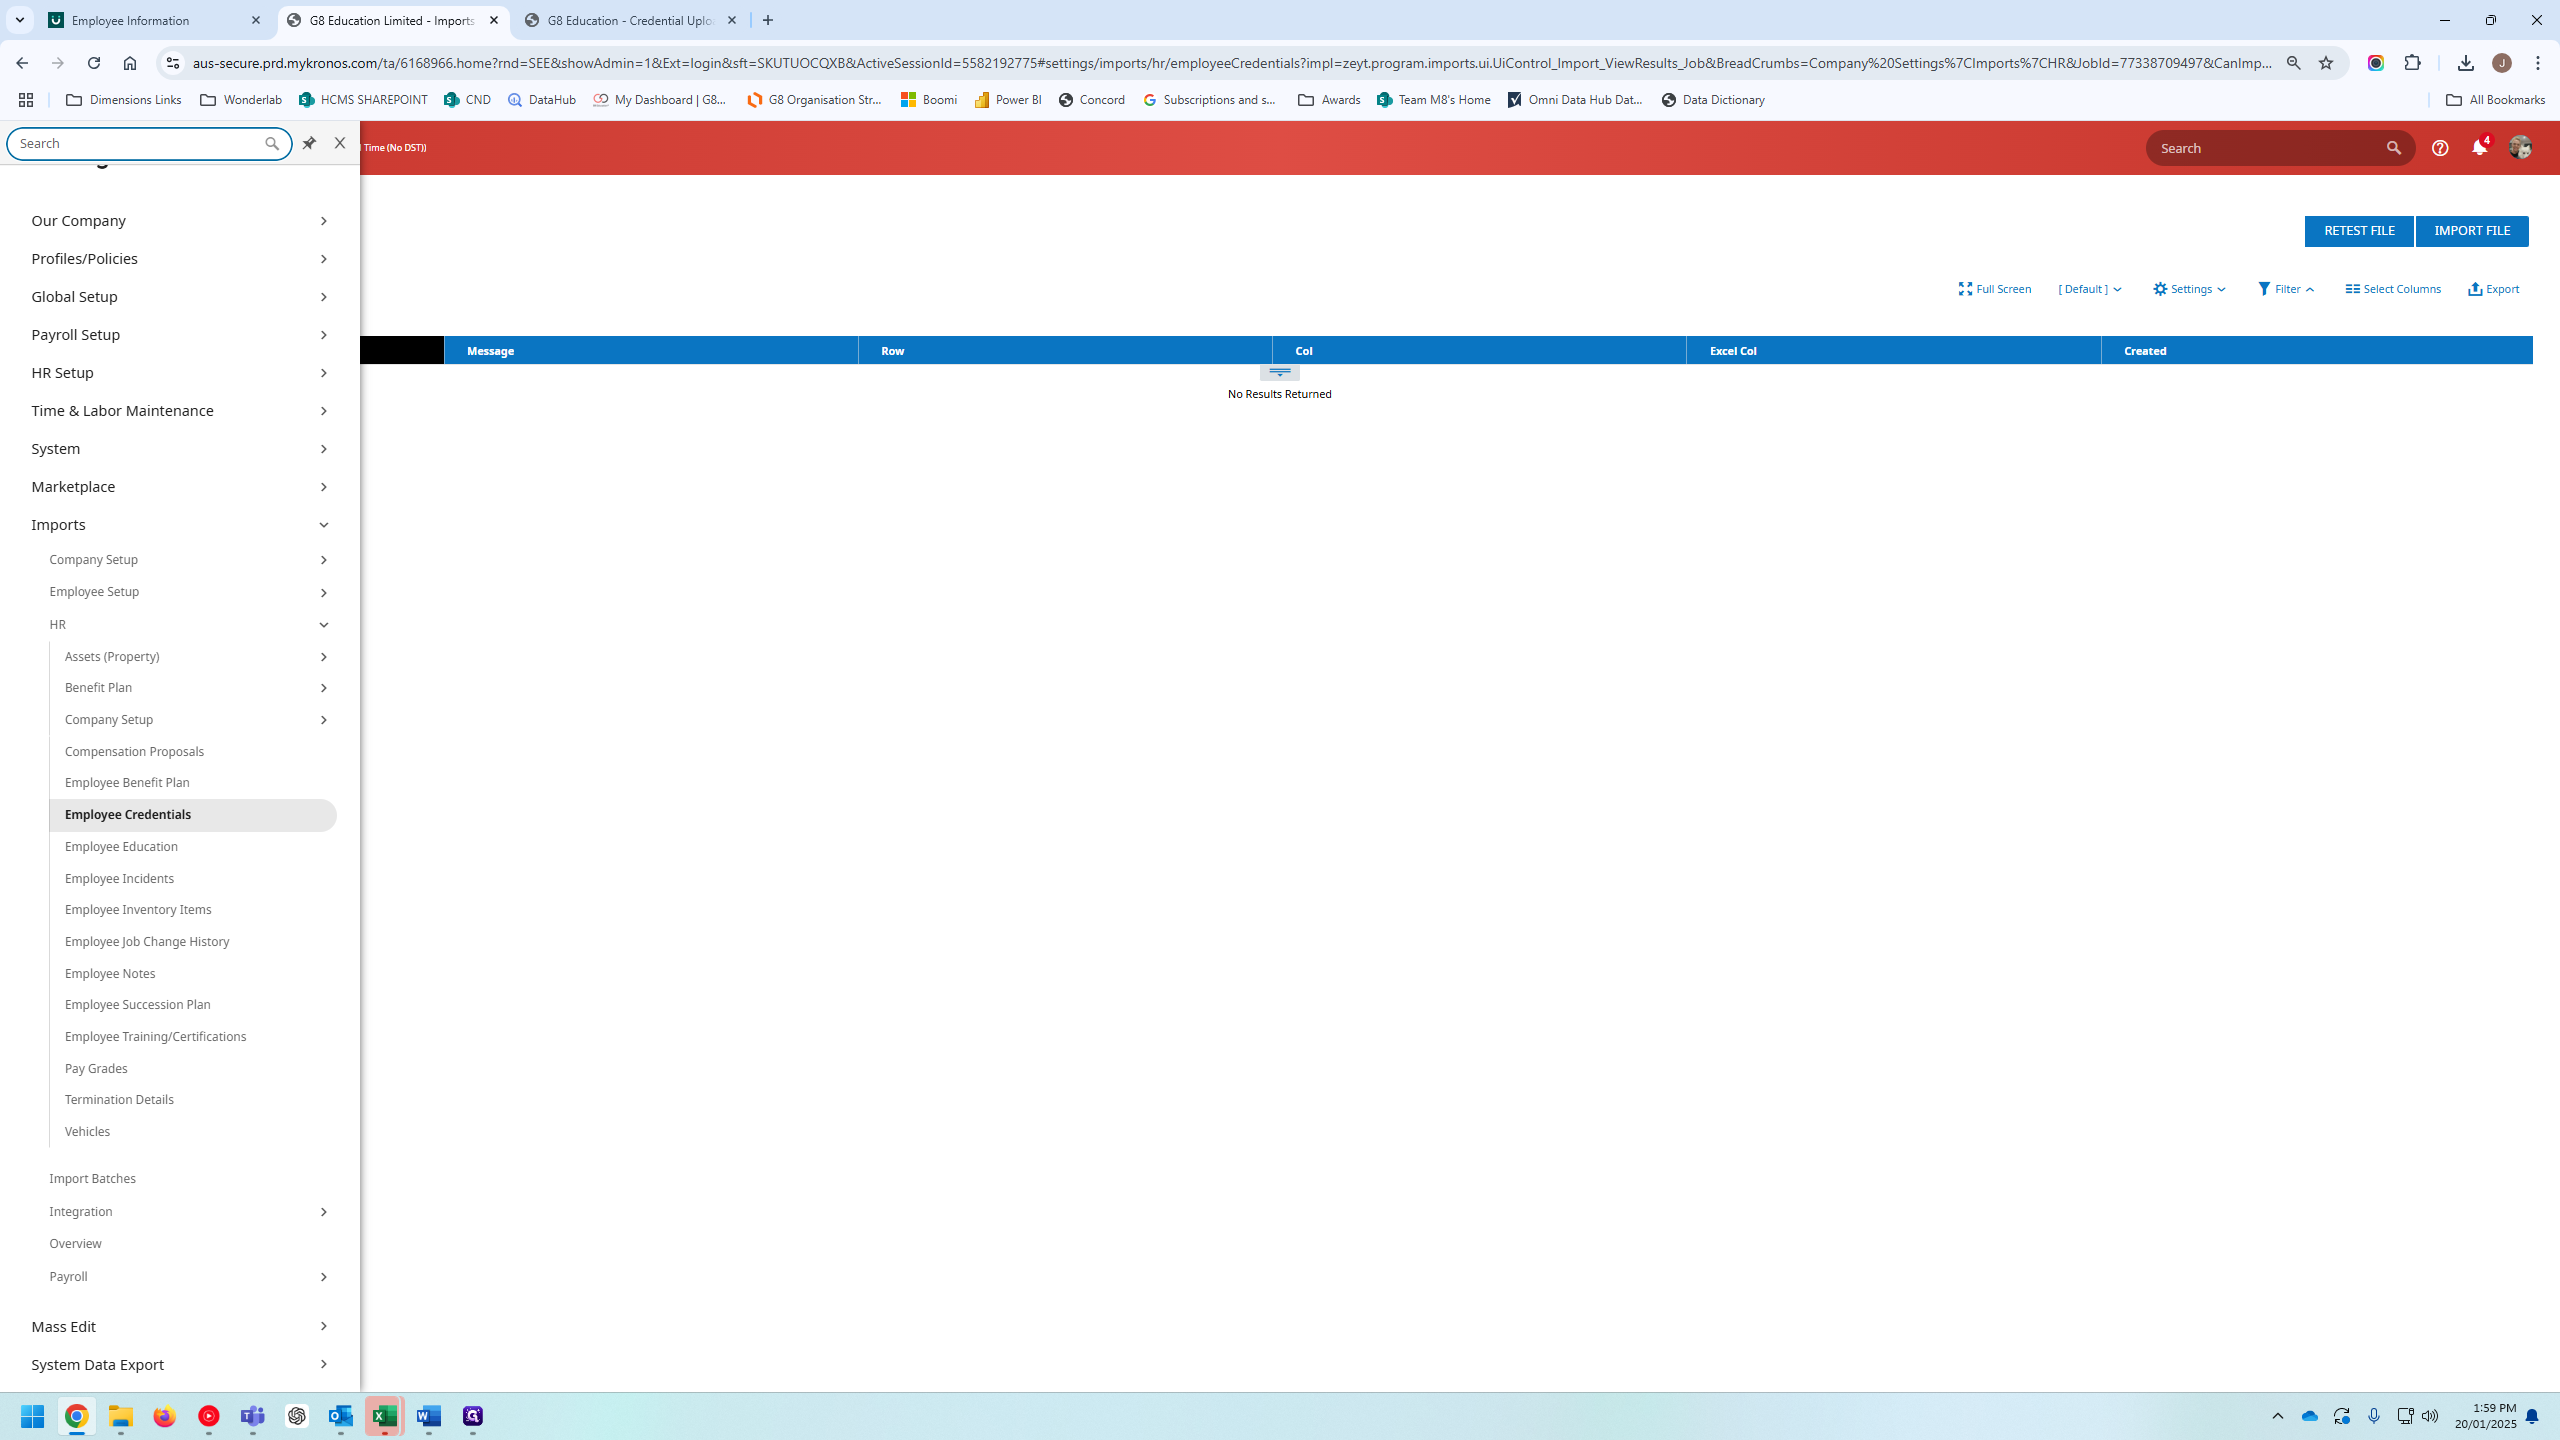
53
Double-click on "E"
Step #53: Double-click on "E"
54
Click here
Step #54: Click here
55
Click here
Step #55: Click here
56
Double-click on "Credential Delete ▾"
Step #56: Double-click on "Credential Delete ▾"
57
Click on "[ System ]"
Step #57: Click on "[ System ]"
58
Double-click here
Step #58: Double-click here