Icon

How to Upload and Format a Blog Post in WordPress

Learn how to upload a finished blog post to WordPress, format blocks, configure scheduling, and apply optimal SEO metadata for publishing.

By Hannah Hicks

This guide demonstrates how to upload, format, and schedule a completed blog draft in WordPress. Following these steps ensures your blog layout looks professional on the front end and includes the necessary SEO metadata to rank in search results.

This procedure is ideal for content managers, copywriters, or site administrators who need to transfer final article copy from a document editor into their WordPress content management system for publication.

Create the Post and Insert Content

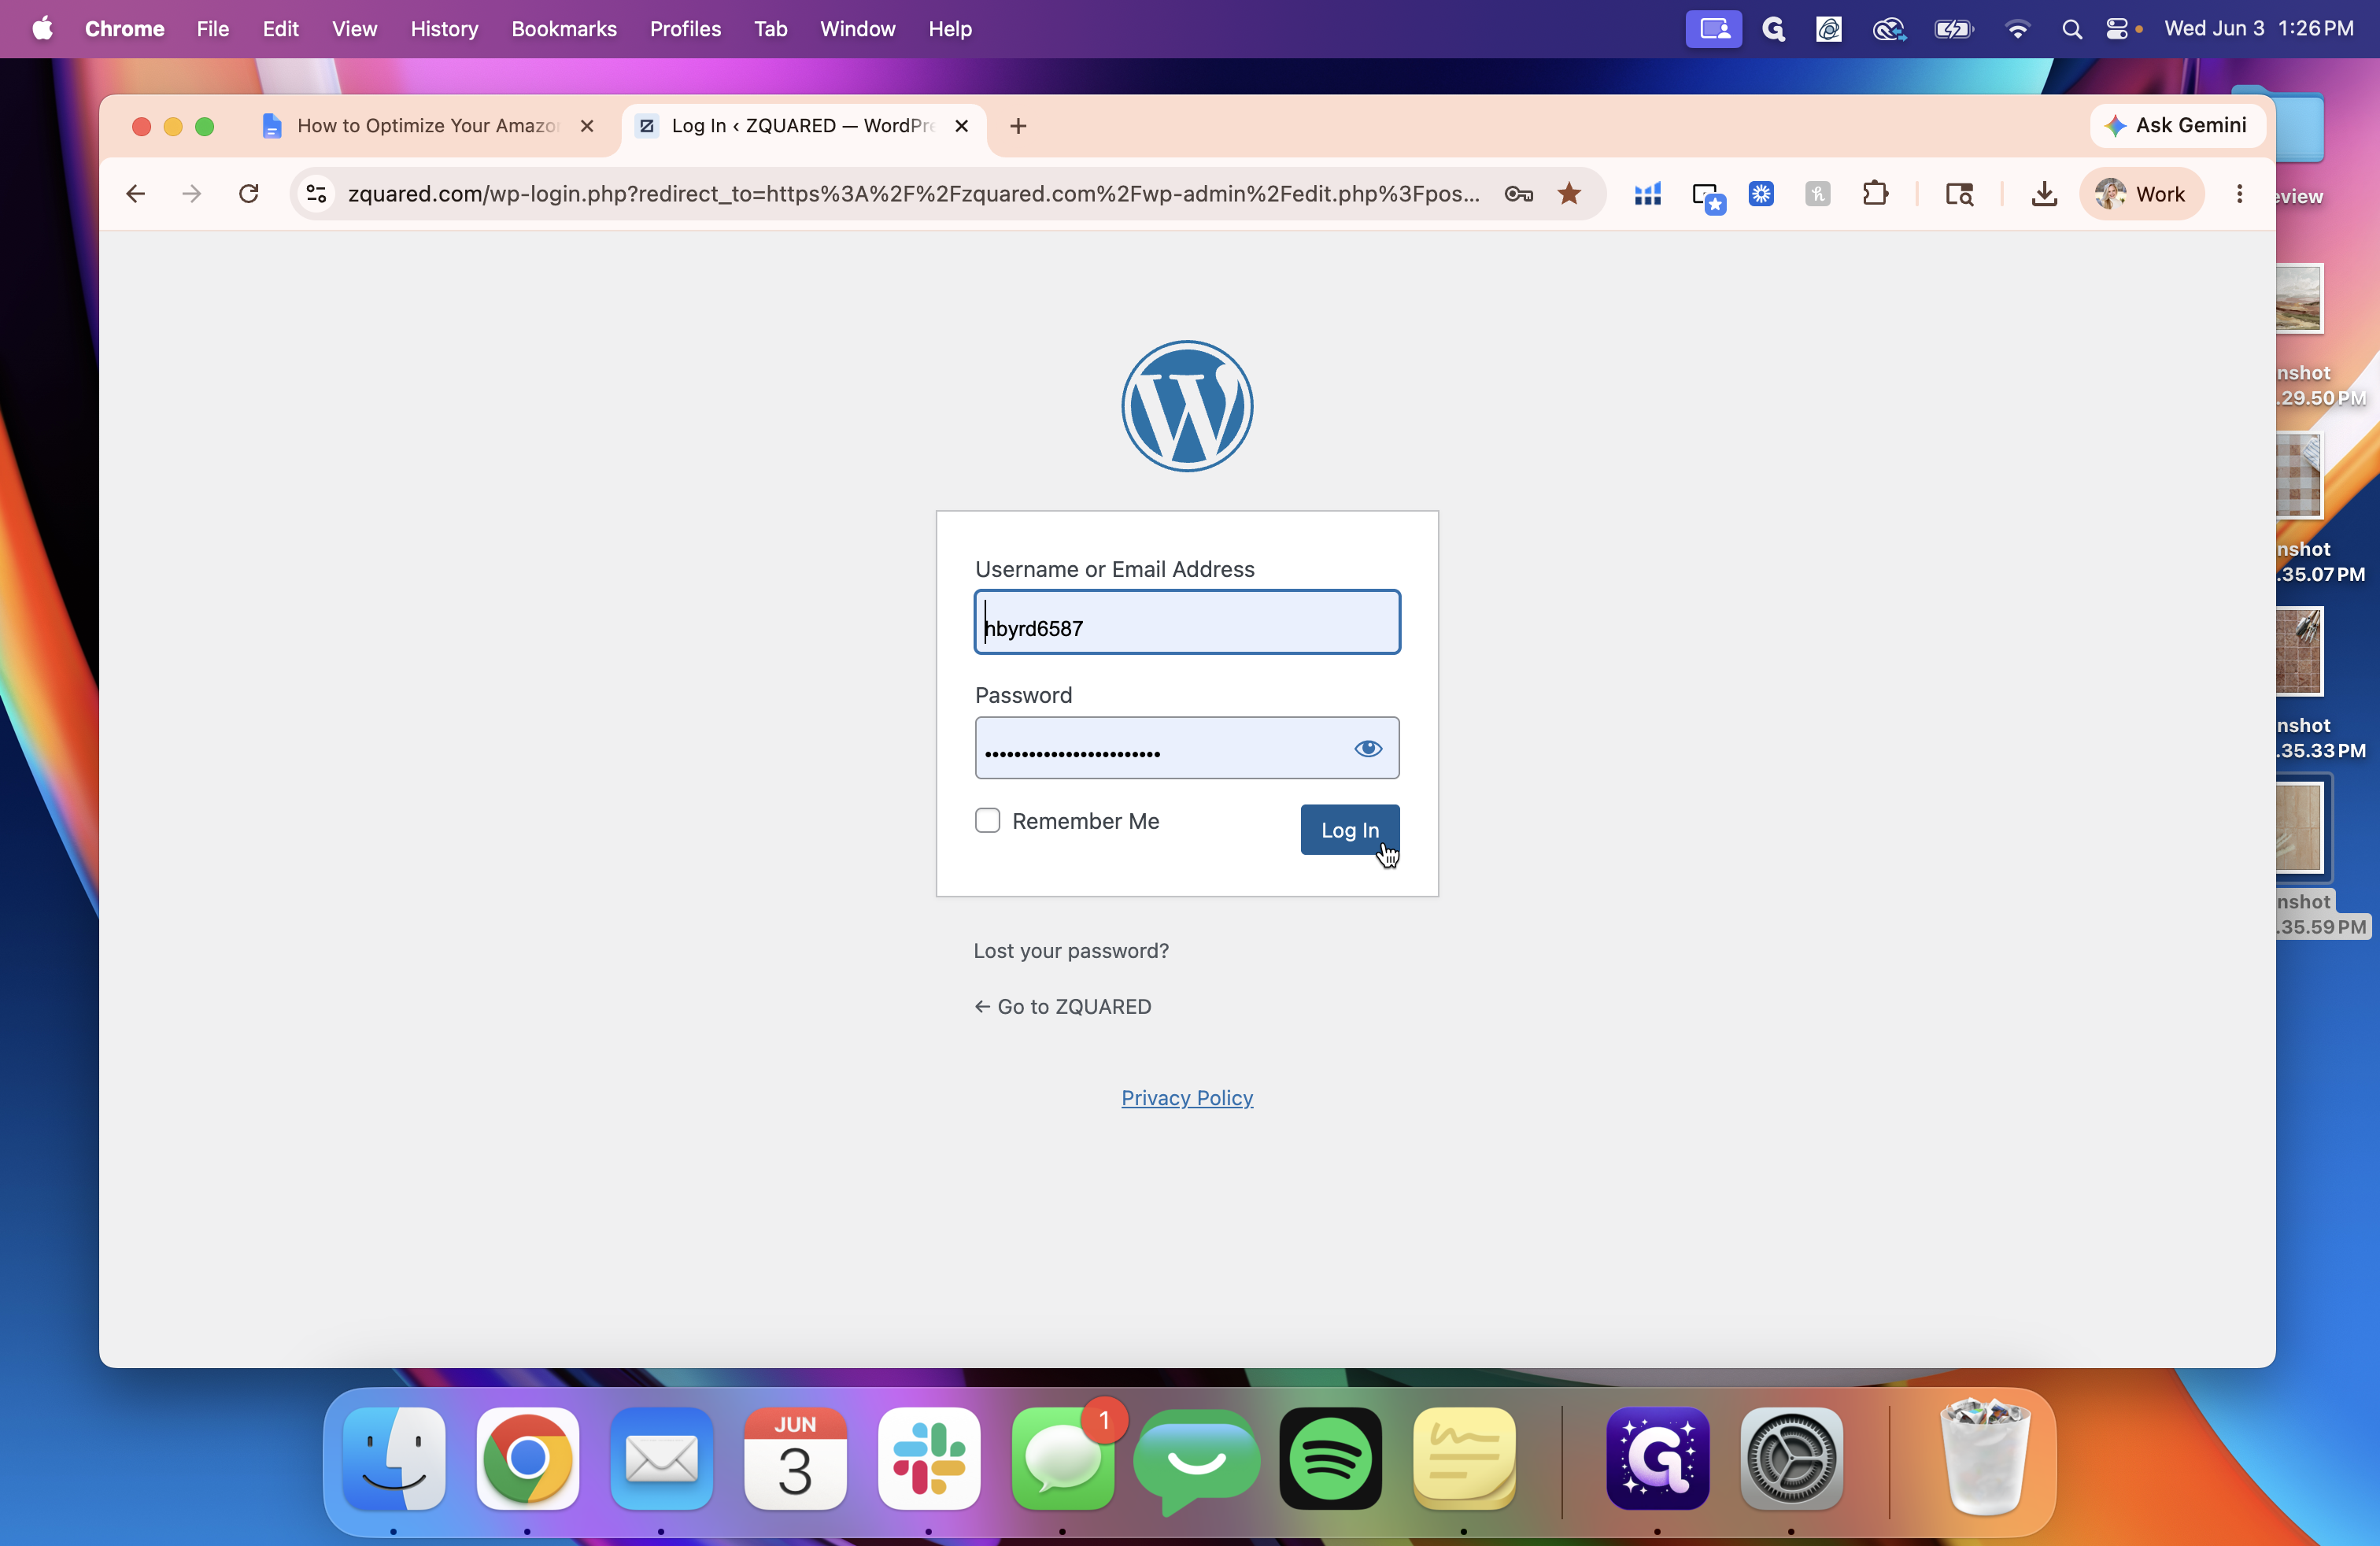
To begin, log in to your site and generate a new post to hold your article text.

1
Log in to your WordPress administrator dashboard.
Step #1: Log in to your WordPress administrator dashboard.
2
Navigate to Posts in the left-hand menu and click Add New to open a blank editor.
Step #2: Navigate to Posts in the left-hand menu and click Add New to open a blank editor.
3
Copy the completed blog content from your external document (like Google Docs) and paste it directly into the WordPress editor body.

Formatting Text and Elements

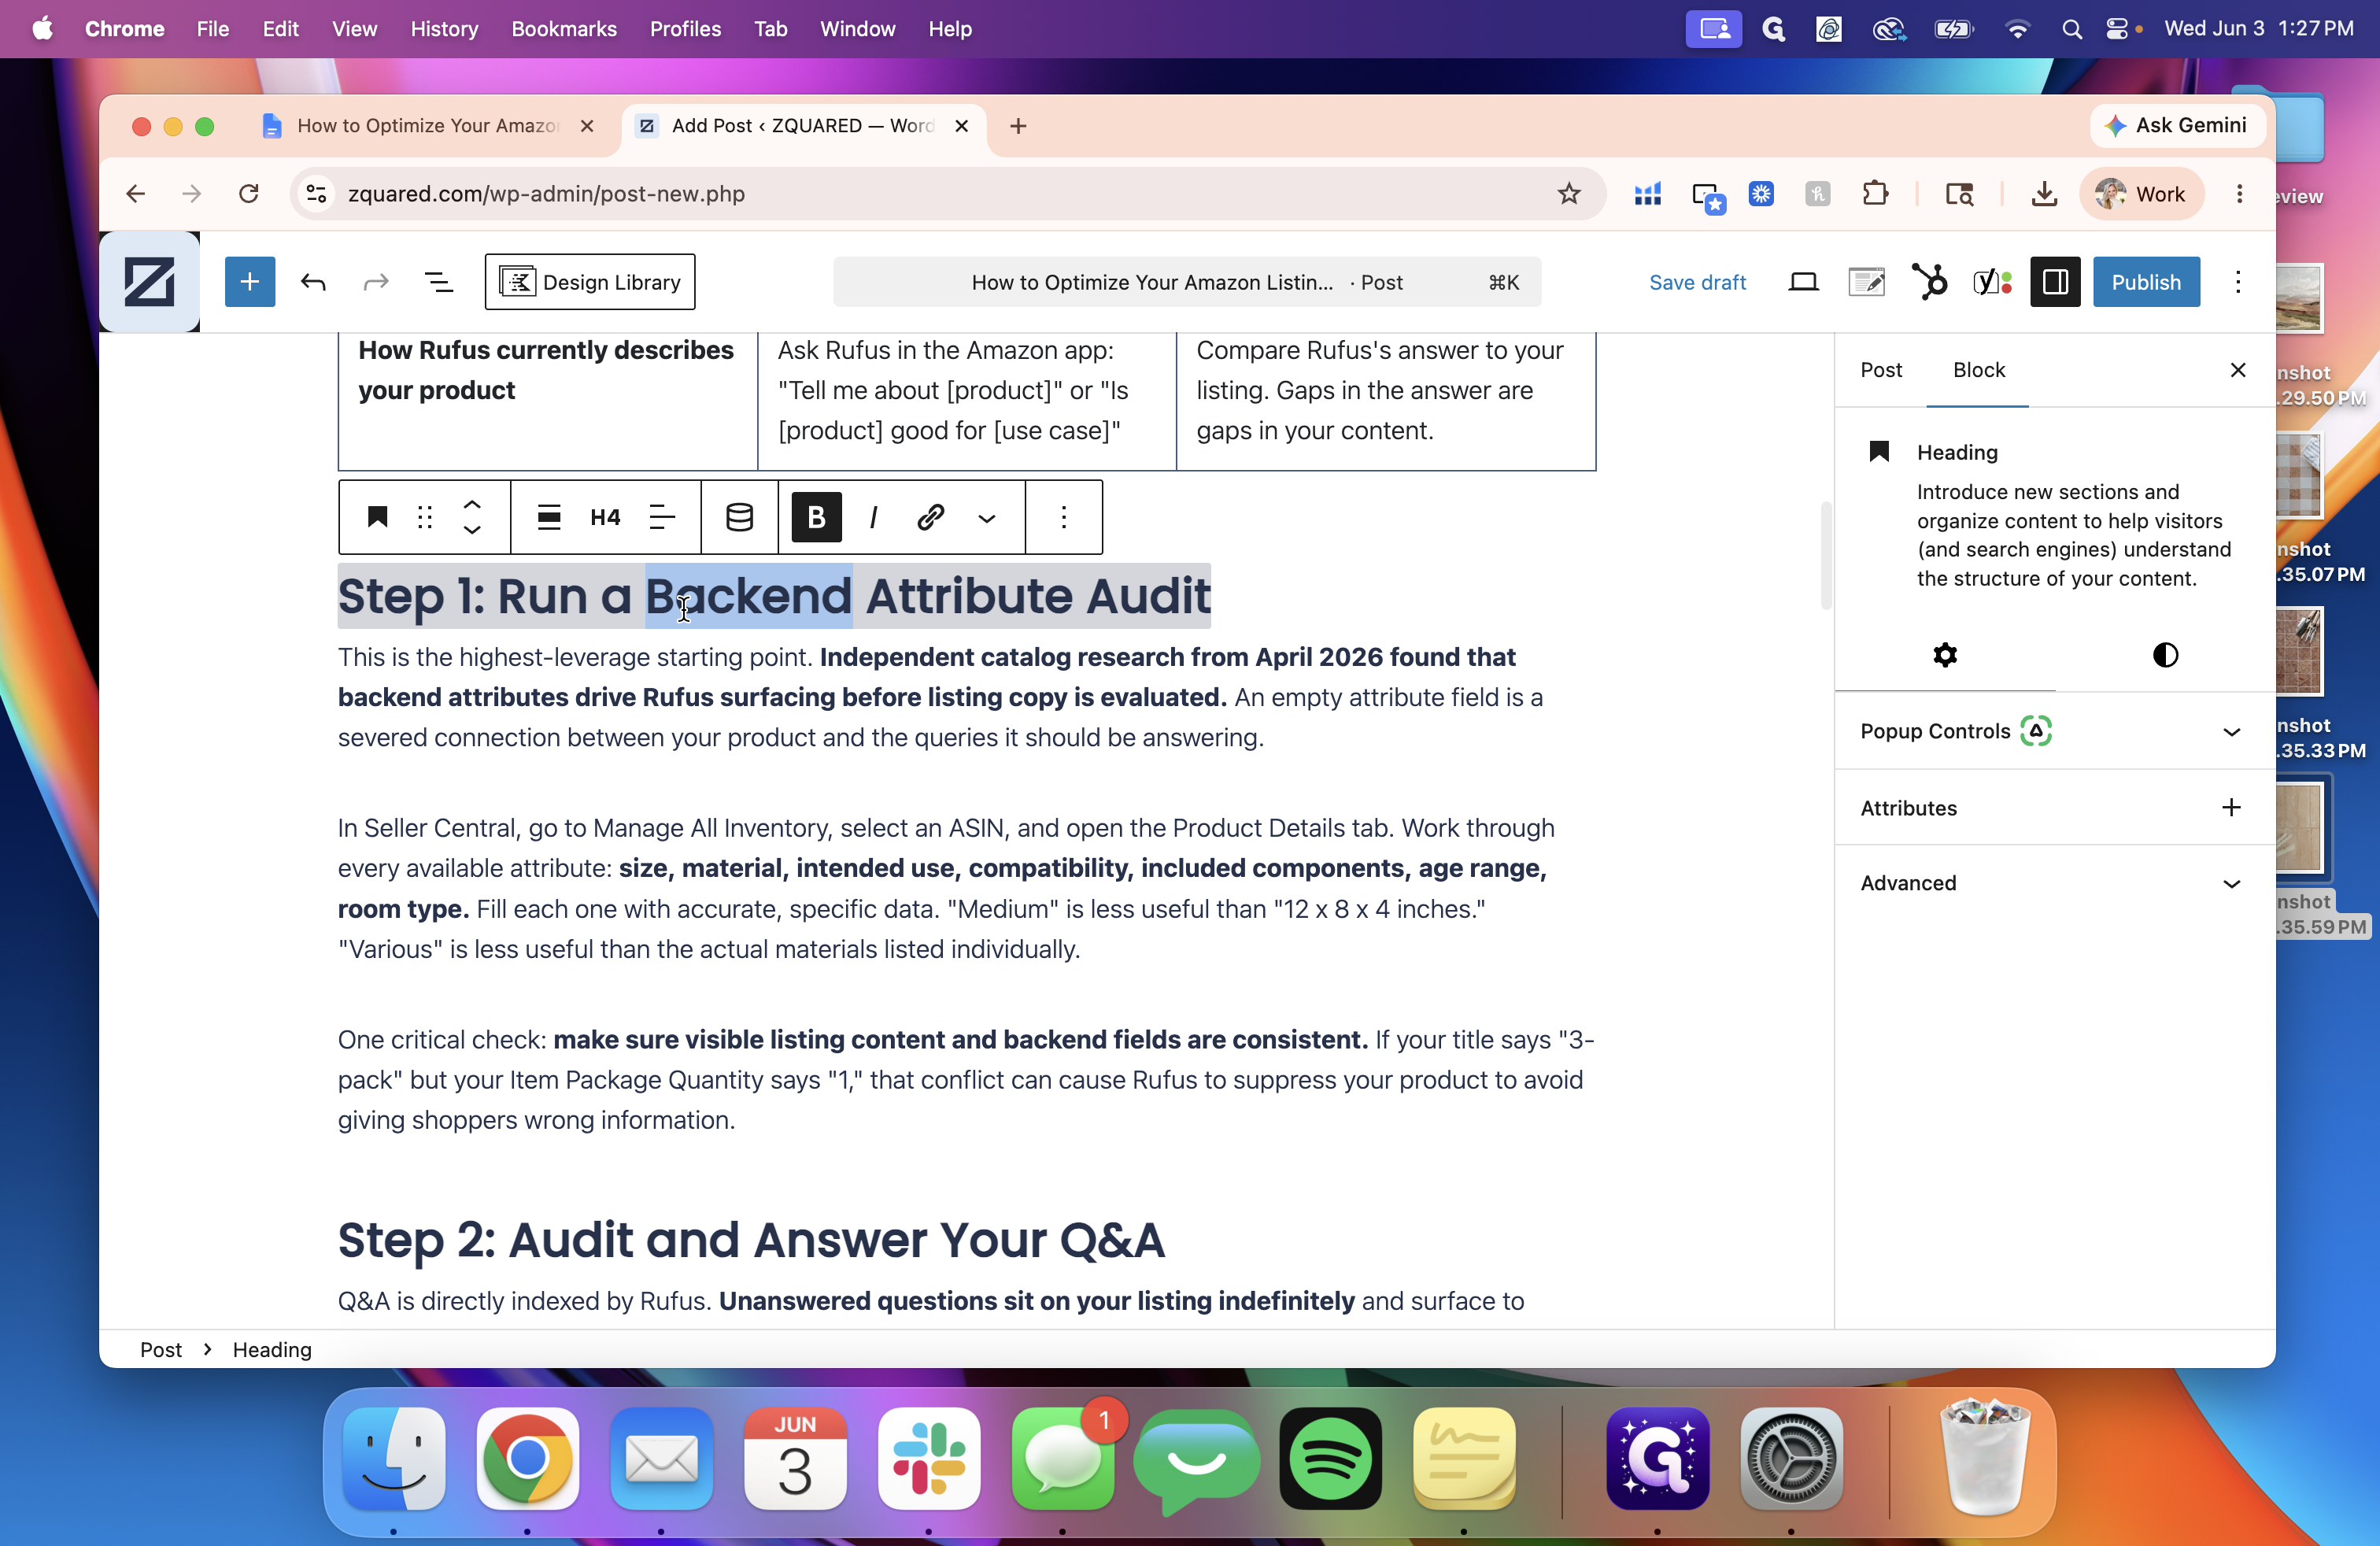
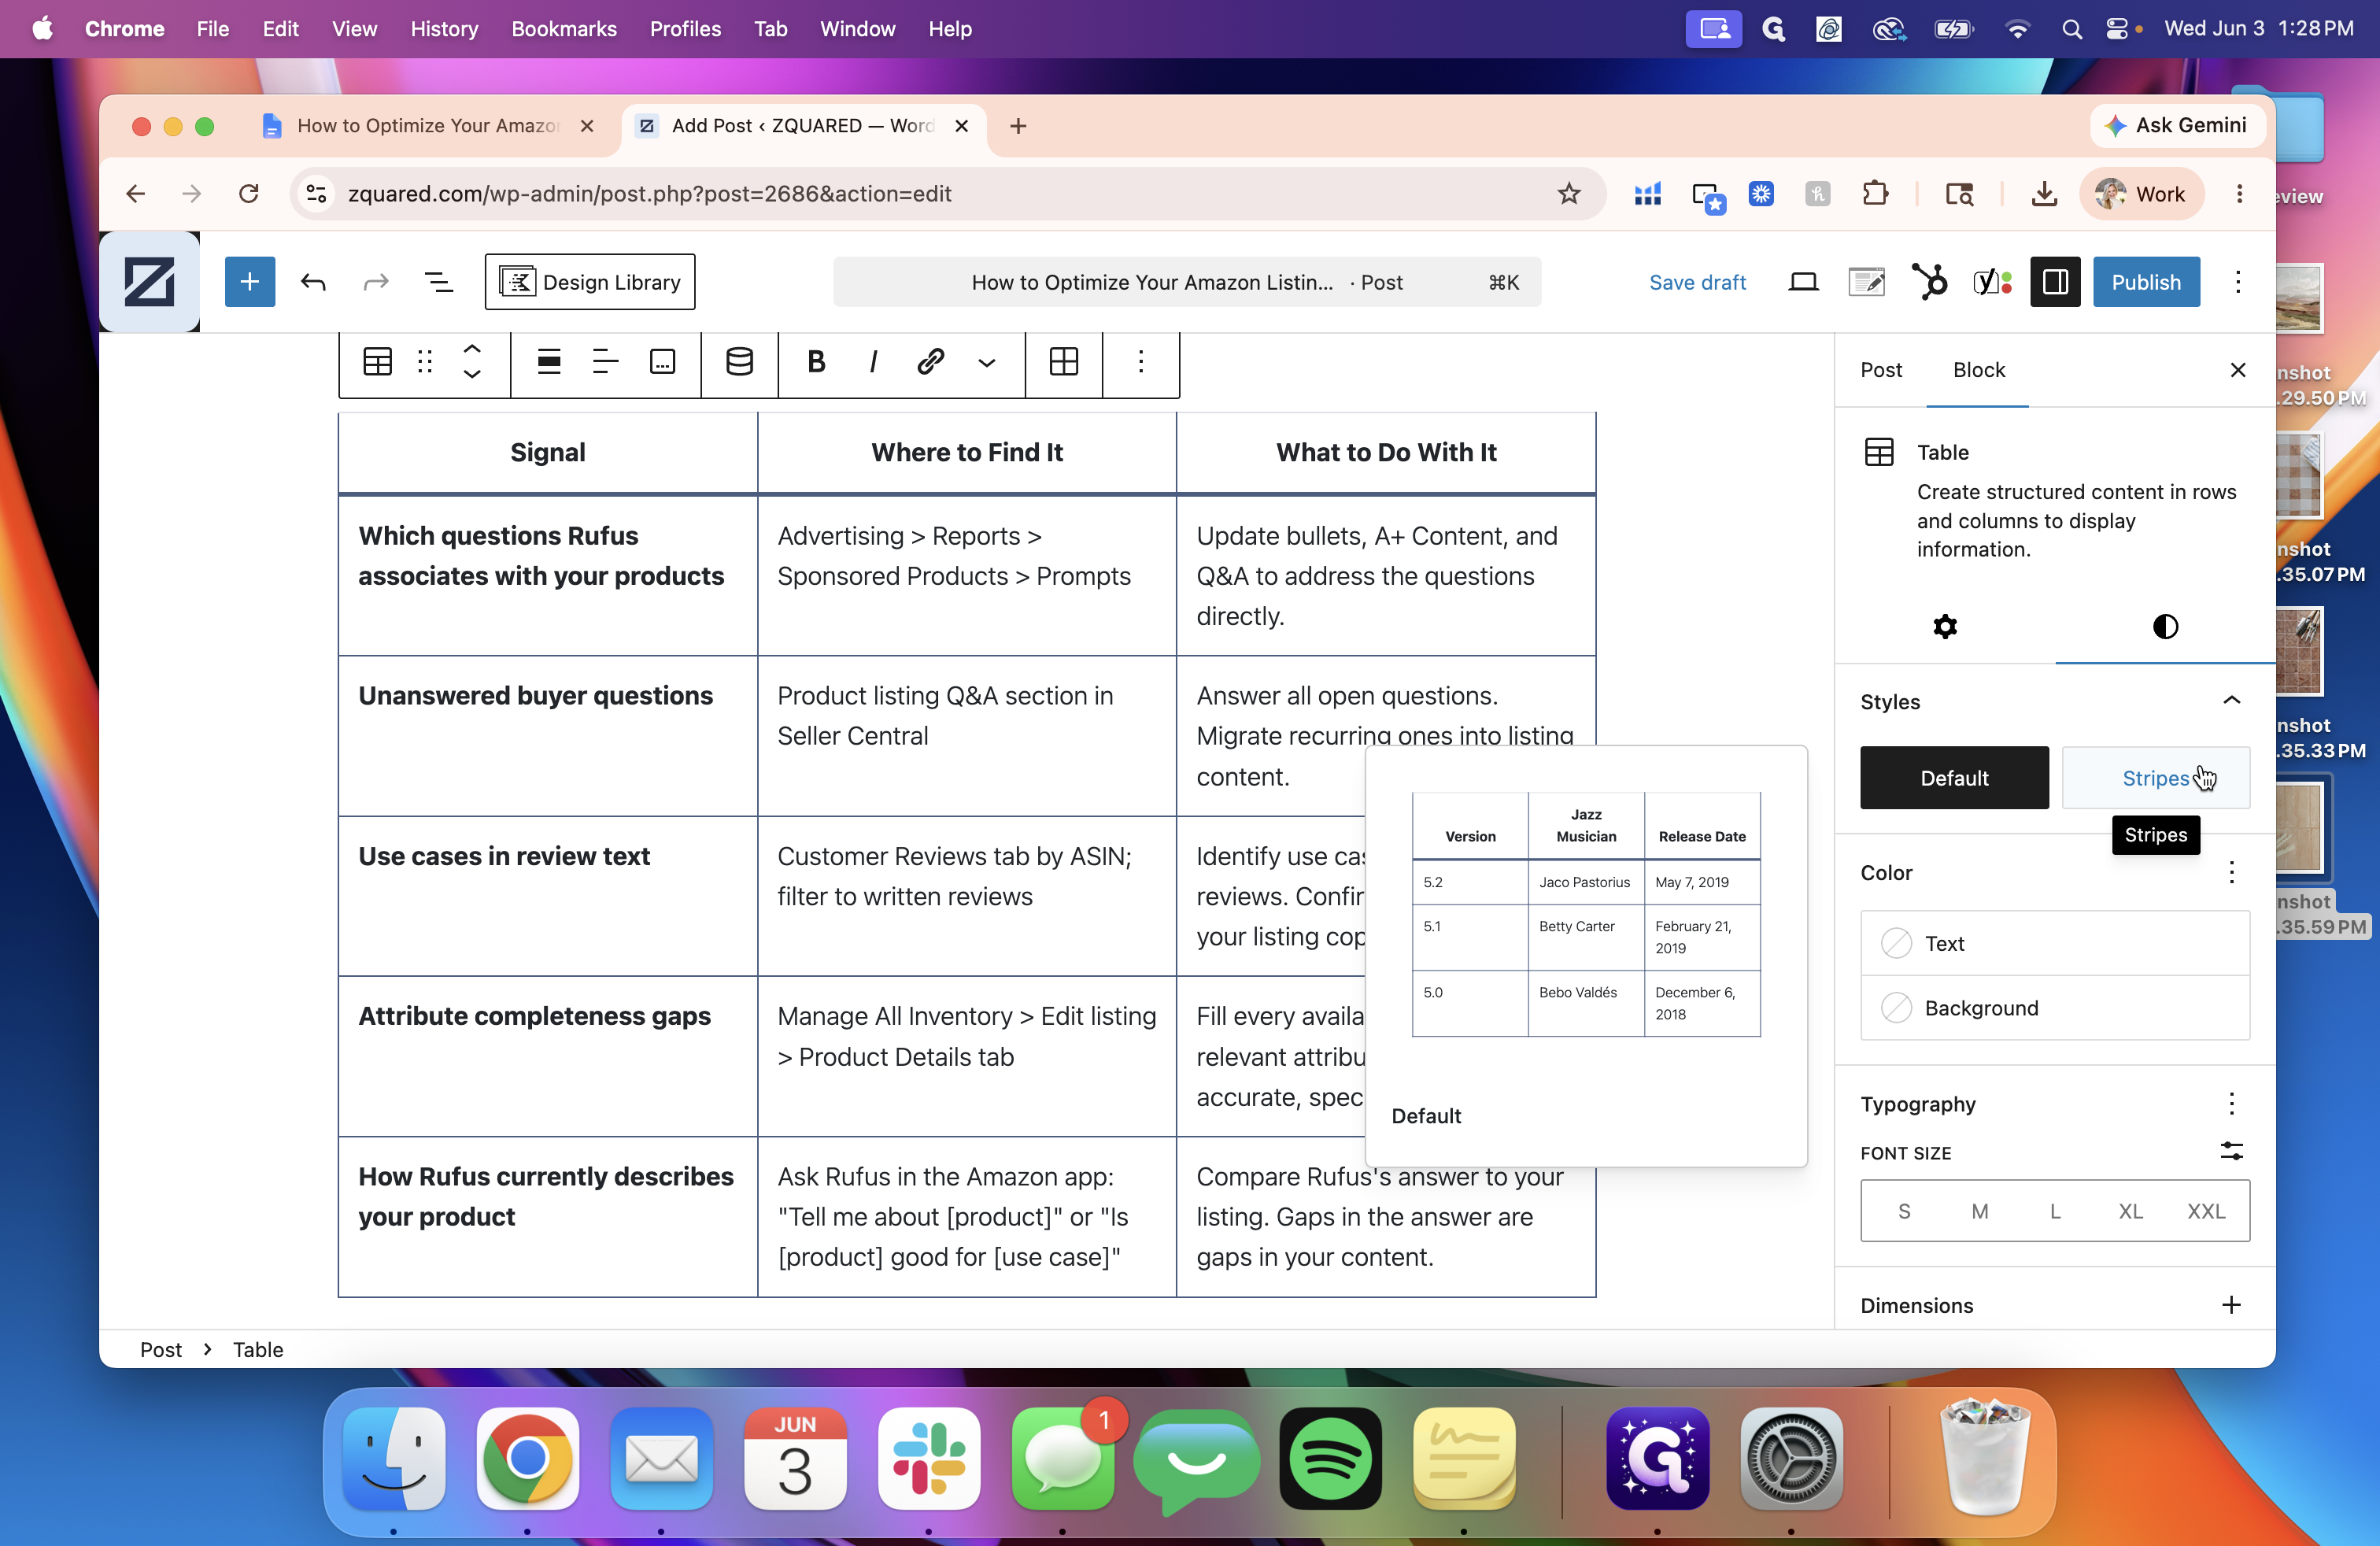
Once the content is in WordPress, review the blocks to ensure formatting transferred cleanly.

4
Check your headings to ensure the hierarchy is correct. The main title should be an H1, and subsequent section headers should be properly nested (e.g., H2, H3, H4).
Step #4: Check your headings to ensure the hierarchy is correct. The main title should be an H1, and subsequent section headers should be properly nested (e.g., H2, H3, H4).
5
If your post includes a table, select the table block, open the block settings sidebar, and under Styles, select Stripes. This typically presents a cleaner look on the front end.
Step #5: If your post includes a table, select the table block, open the block settings sidebar, and under Styles, select Stripes. This typically presents a cleaner look on the front end.
6
Click Preview in new tab in the top-right toolbar to verify how the text and tables are displaying.
Step #6: Click Preview in new tab in the top-right toolbar to verify how the text and tables are displaying.

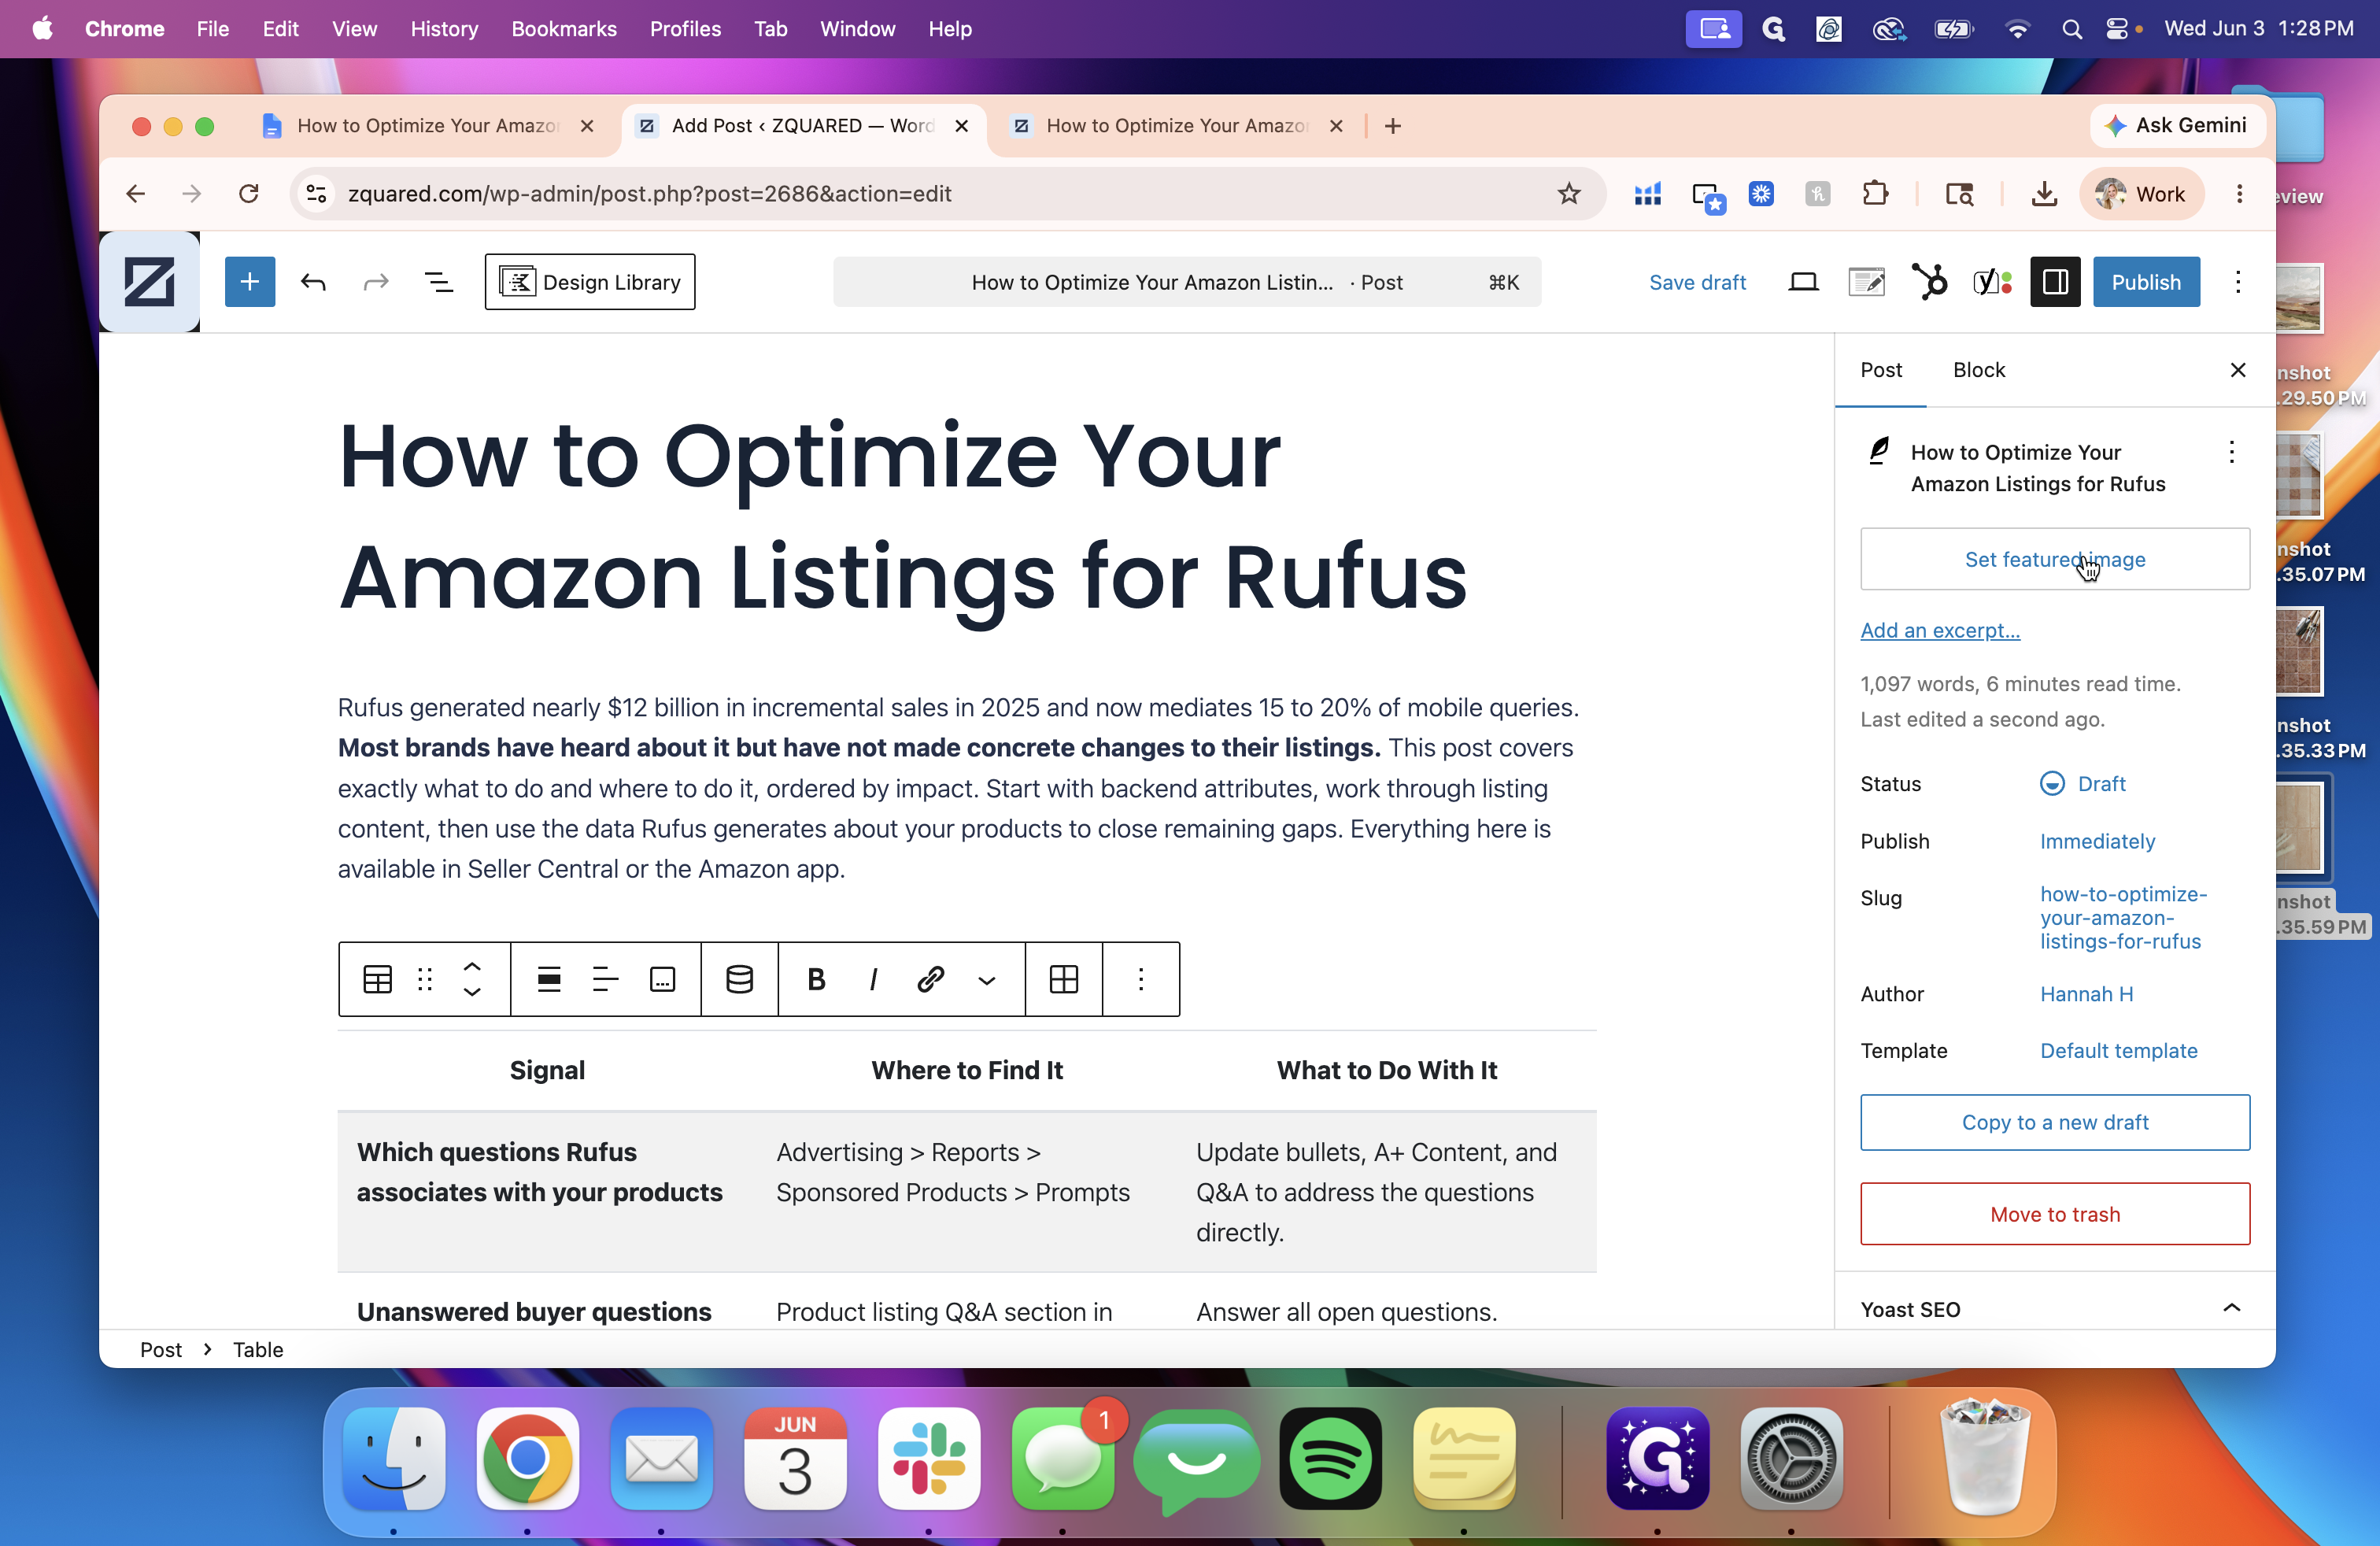
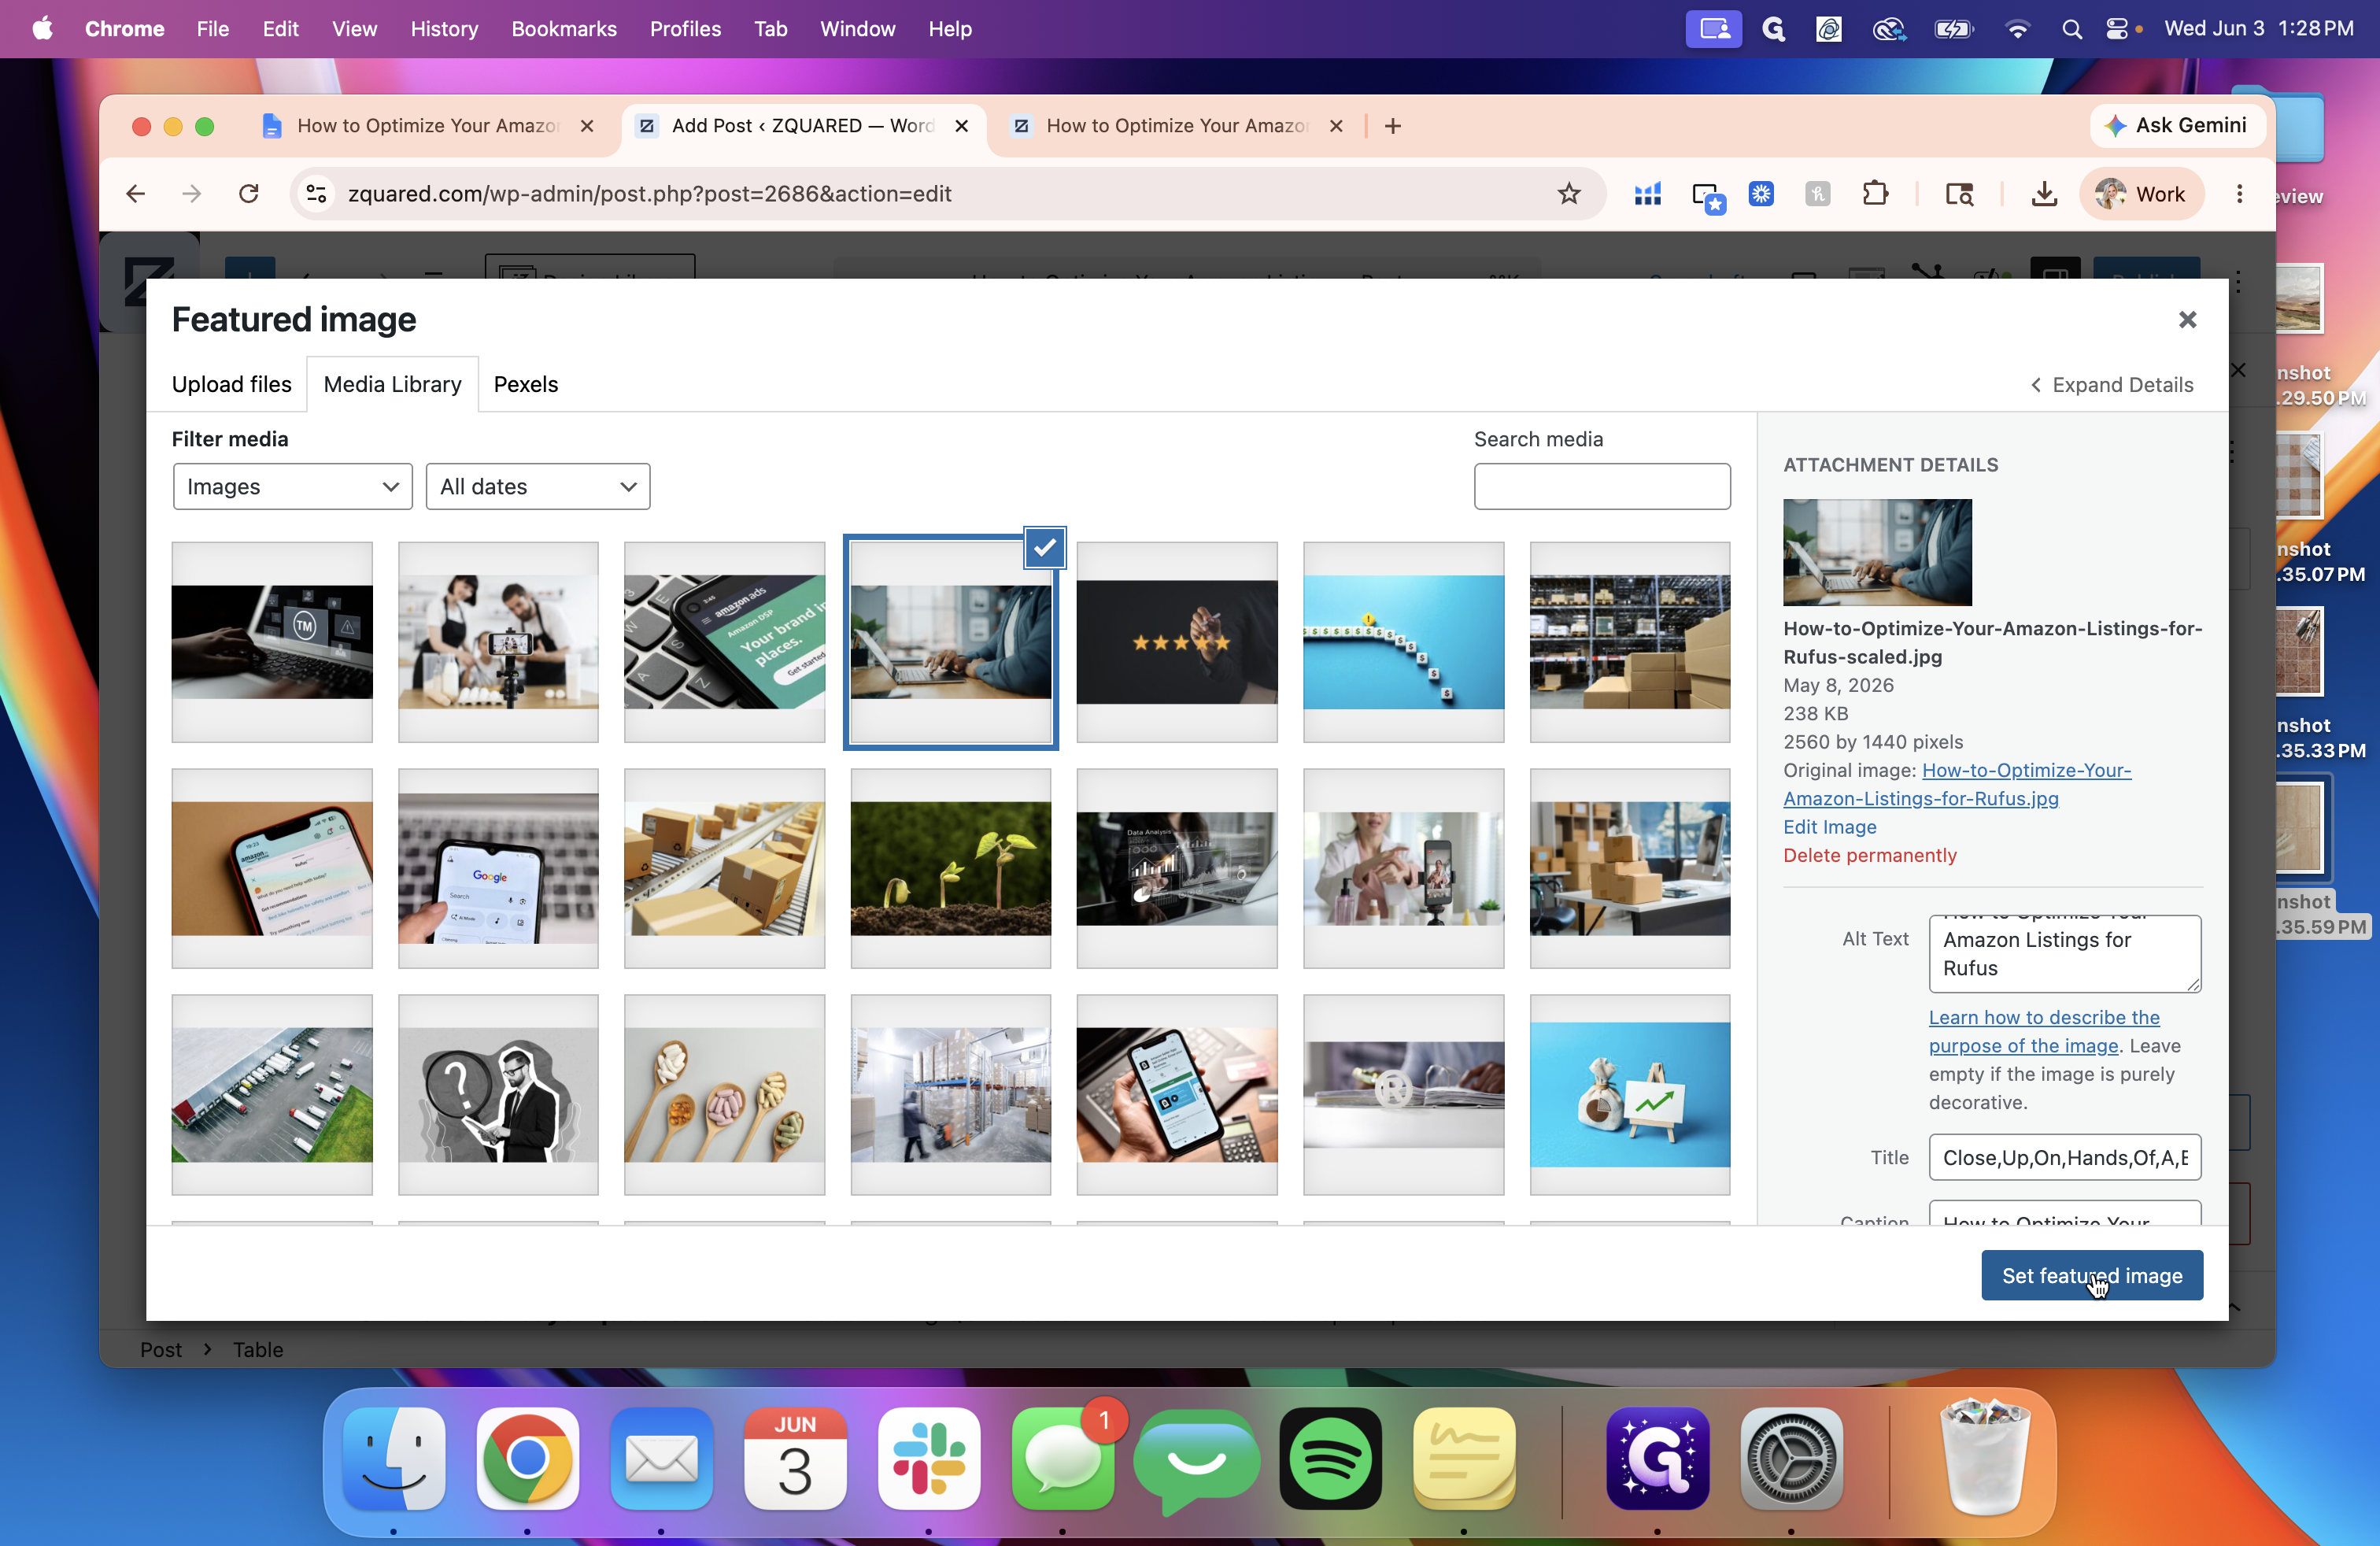
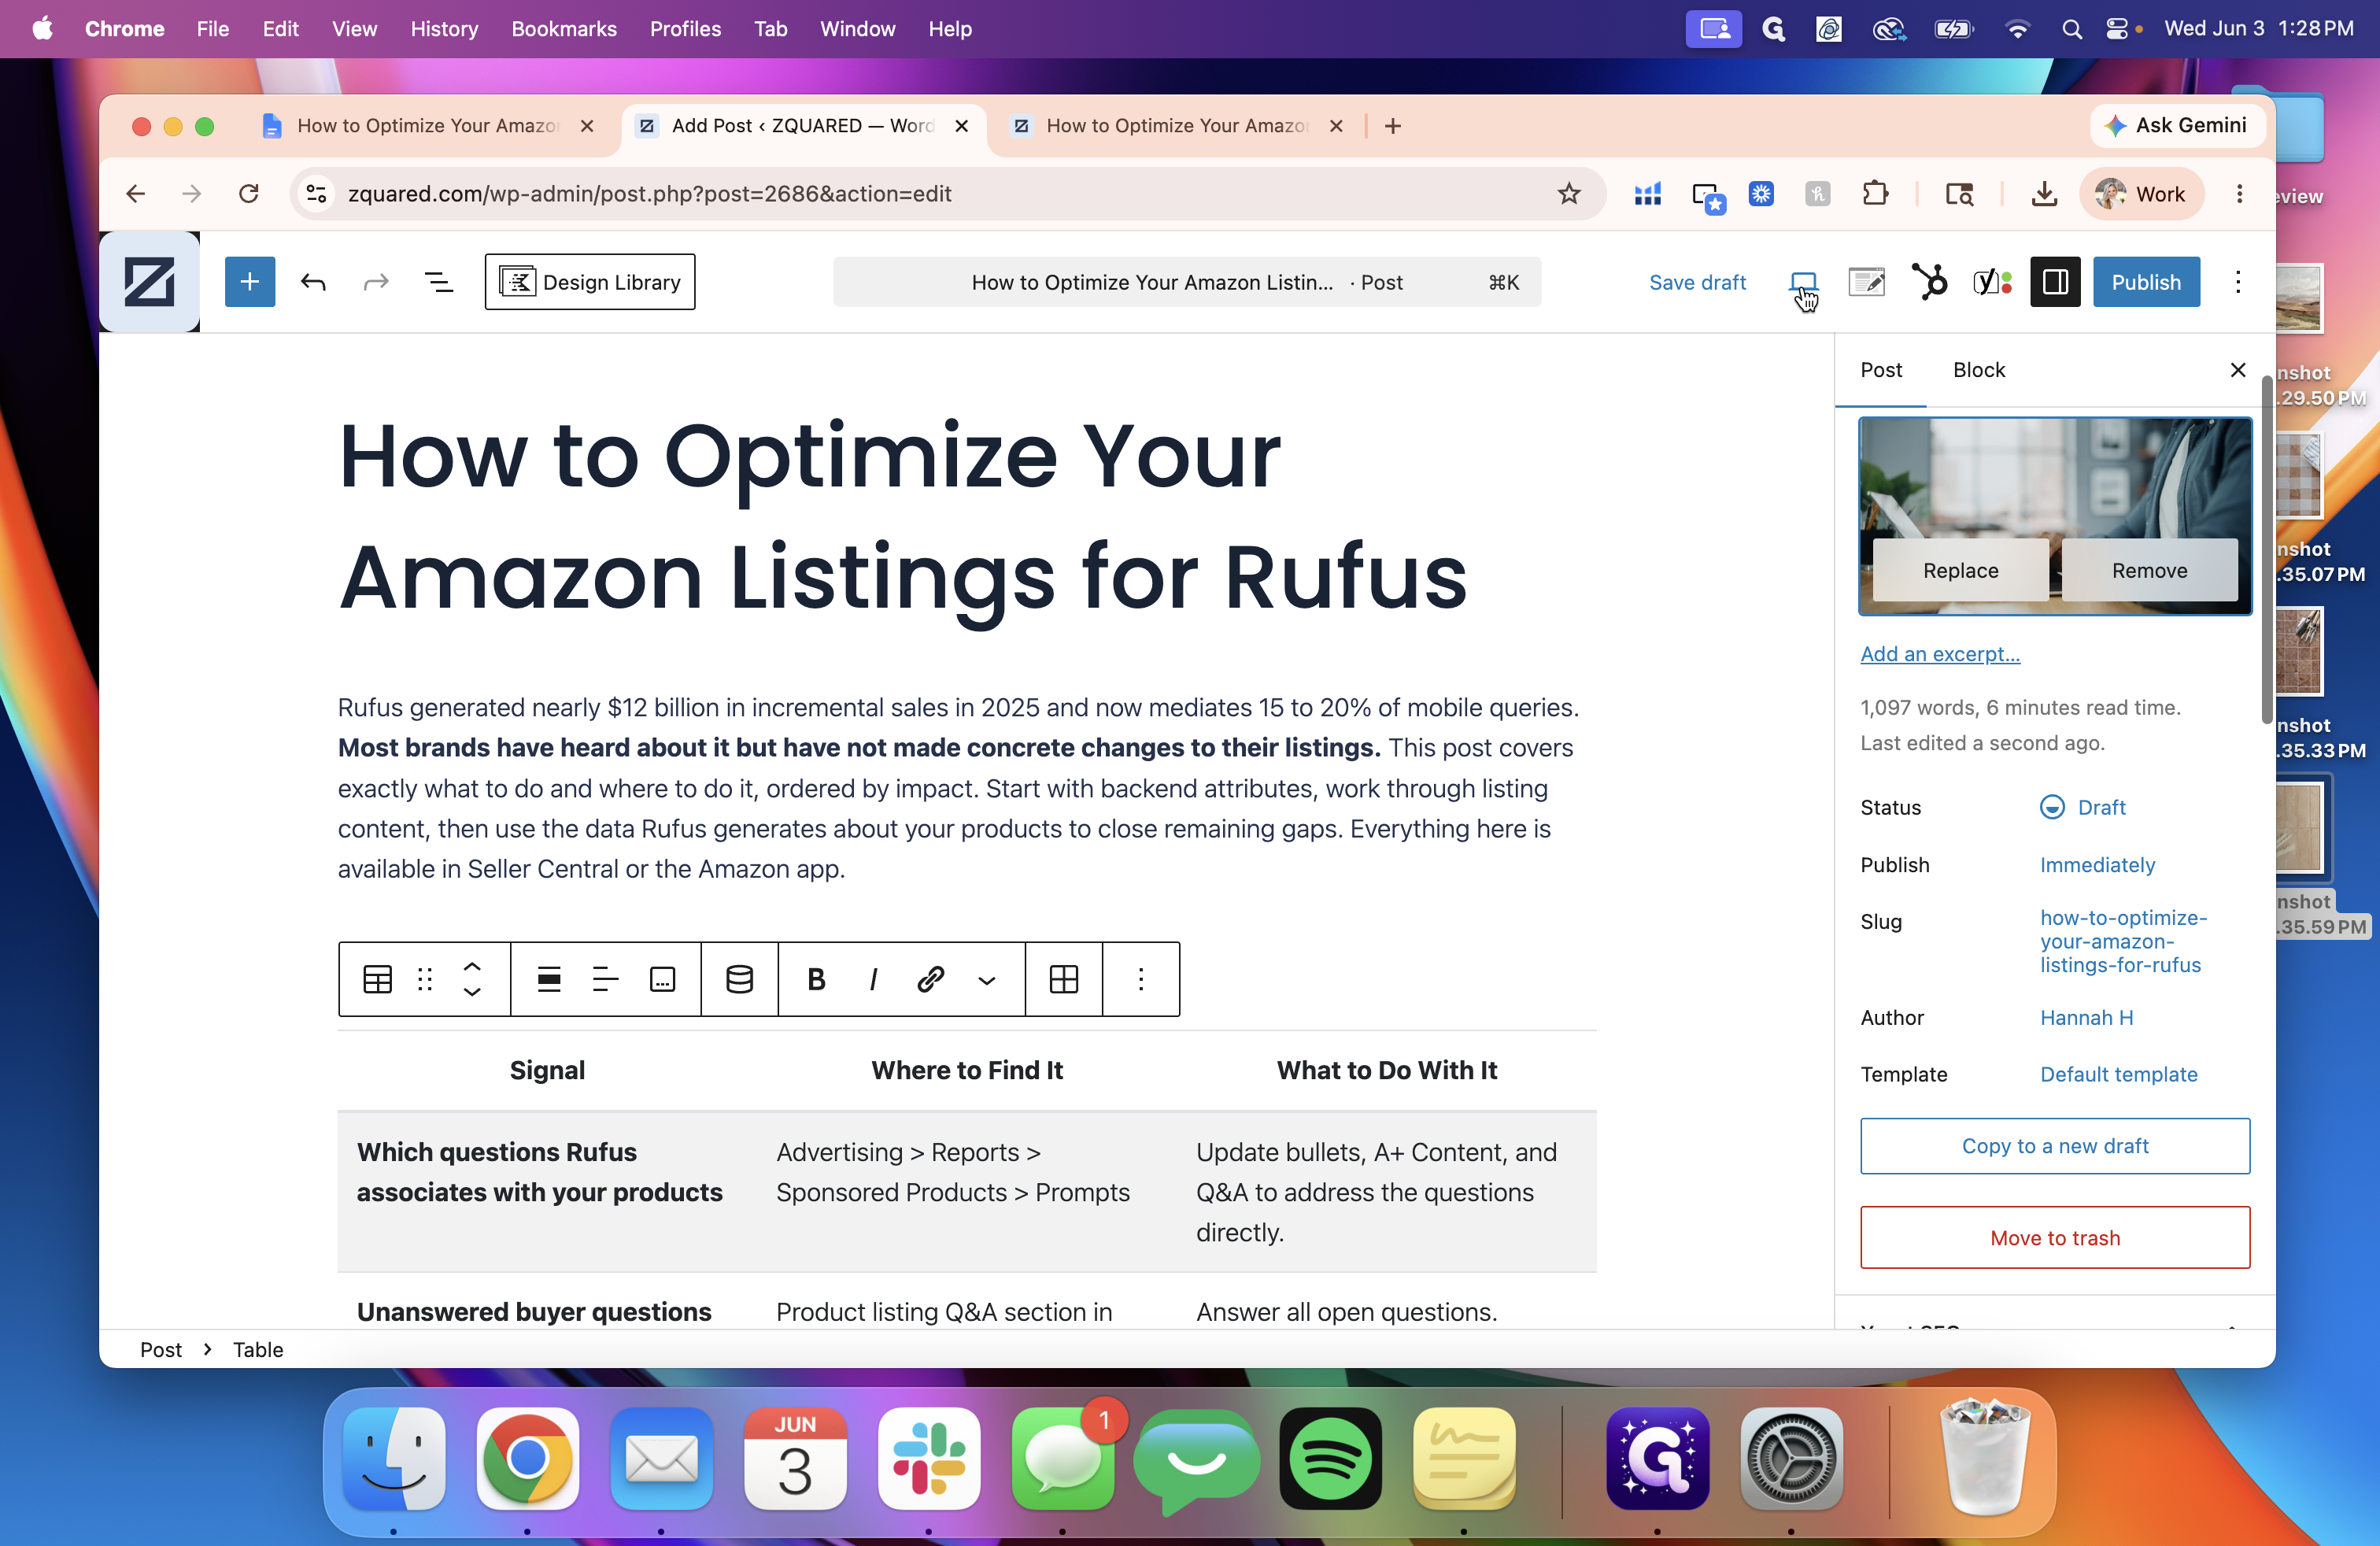
Add the Featured Image

A missing cover photo can cause layout issues or missing thumbnails when the post is shared.

7
In the right-hand post settings sidebar, locate the Featured image section and click Set featured image.
Step #7: In the right-hand post settings sidebar, locate the Featured image section and click Set featured image.
8
Upload your target image and verify that the Alt text, Title, Caption, and Description are filled out accurately, then click the Set featured image button.
Step #8: Upload your target image and verify that the Alt text, Title, Caption, and Description are filled out accurately, then click the Set featured image button.
9
Click Preview in new tab again to confirm the header layout resolves perfectly with the image in place.
Step #9: Click Preview in new tab again to confirm the header layout resolves perfectly with the image in place.

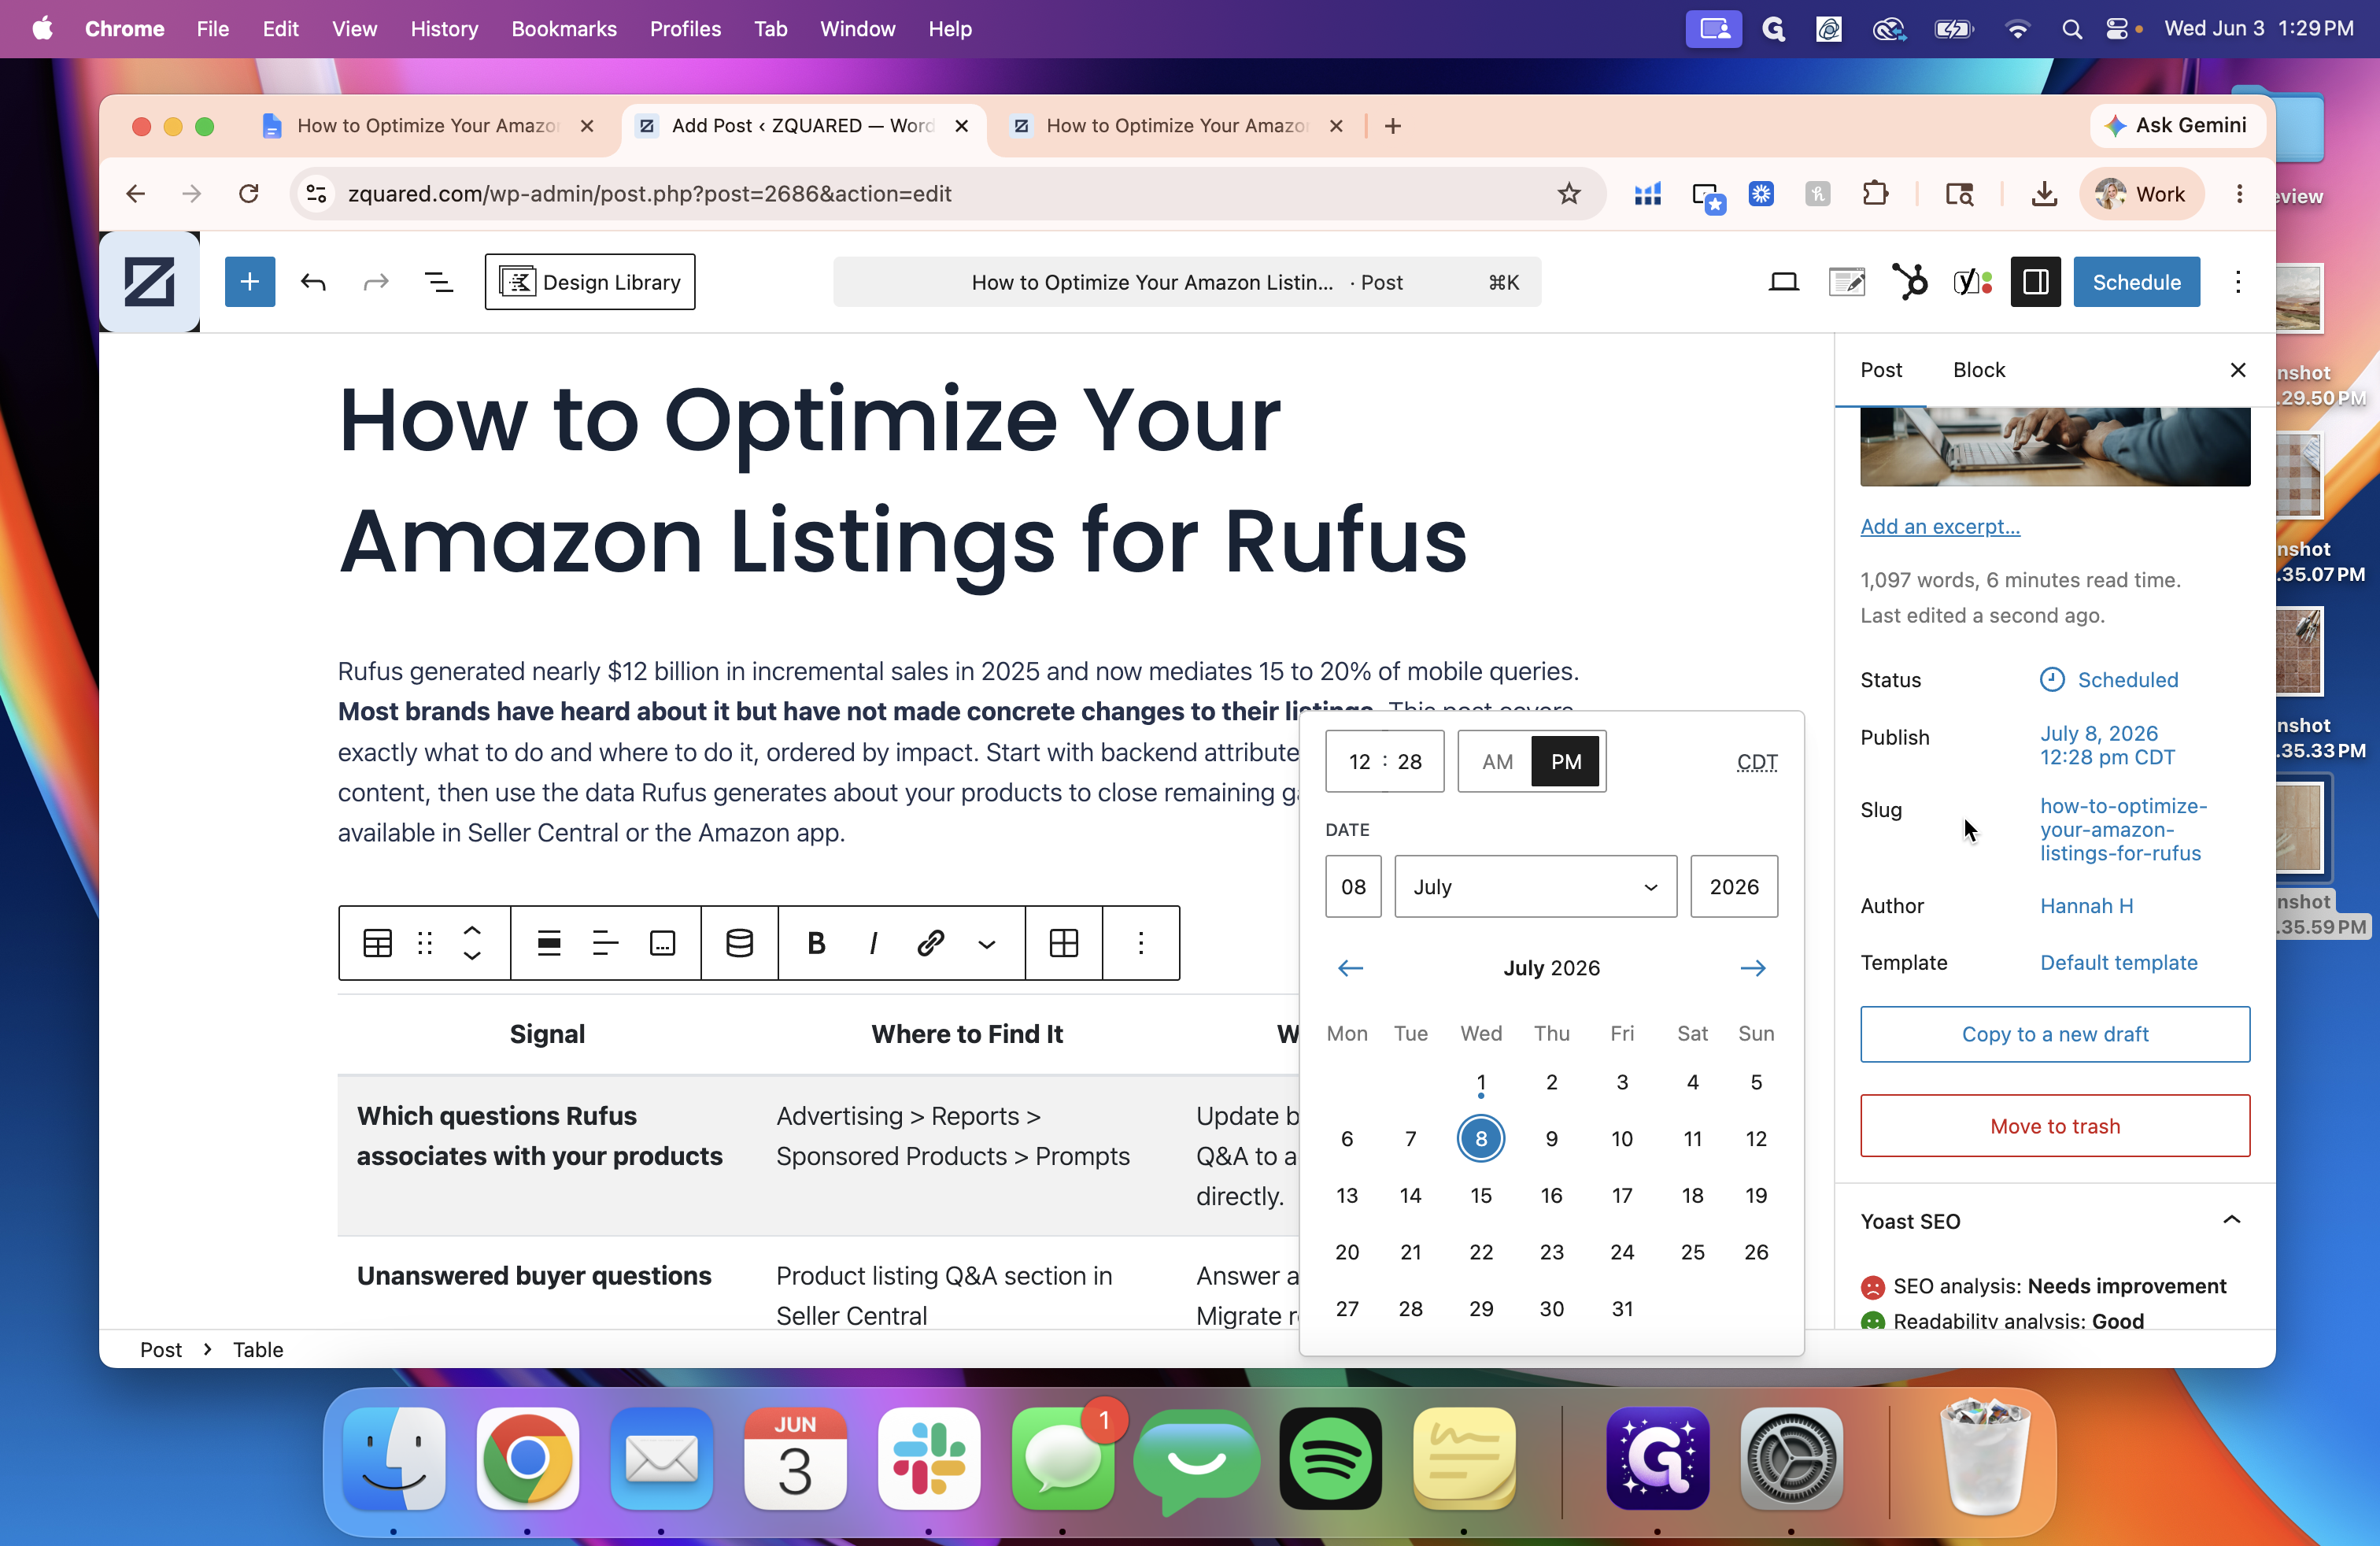
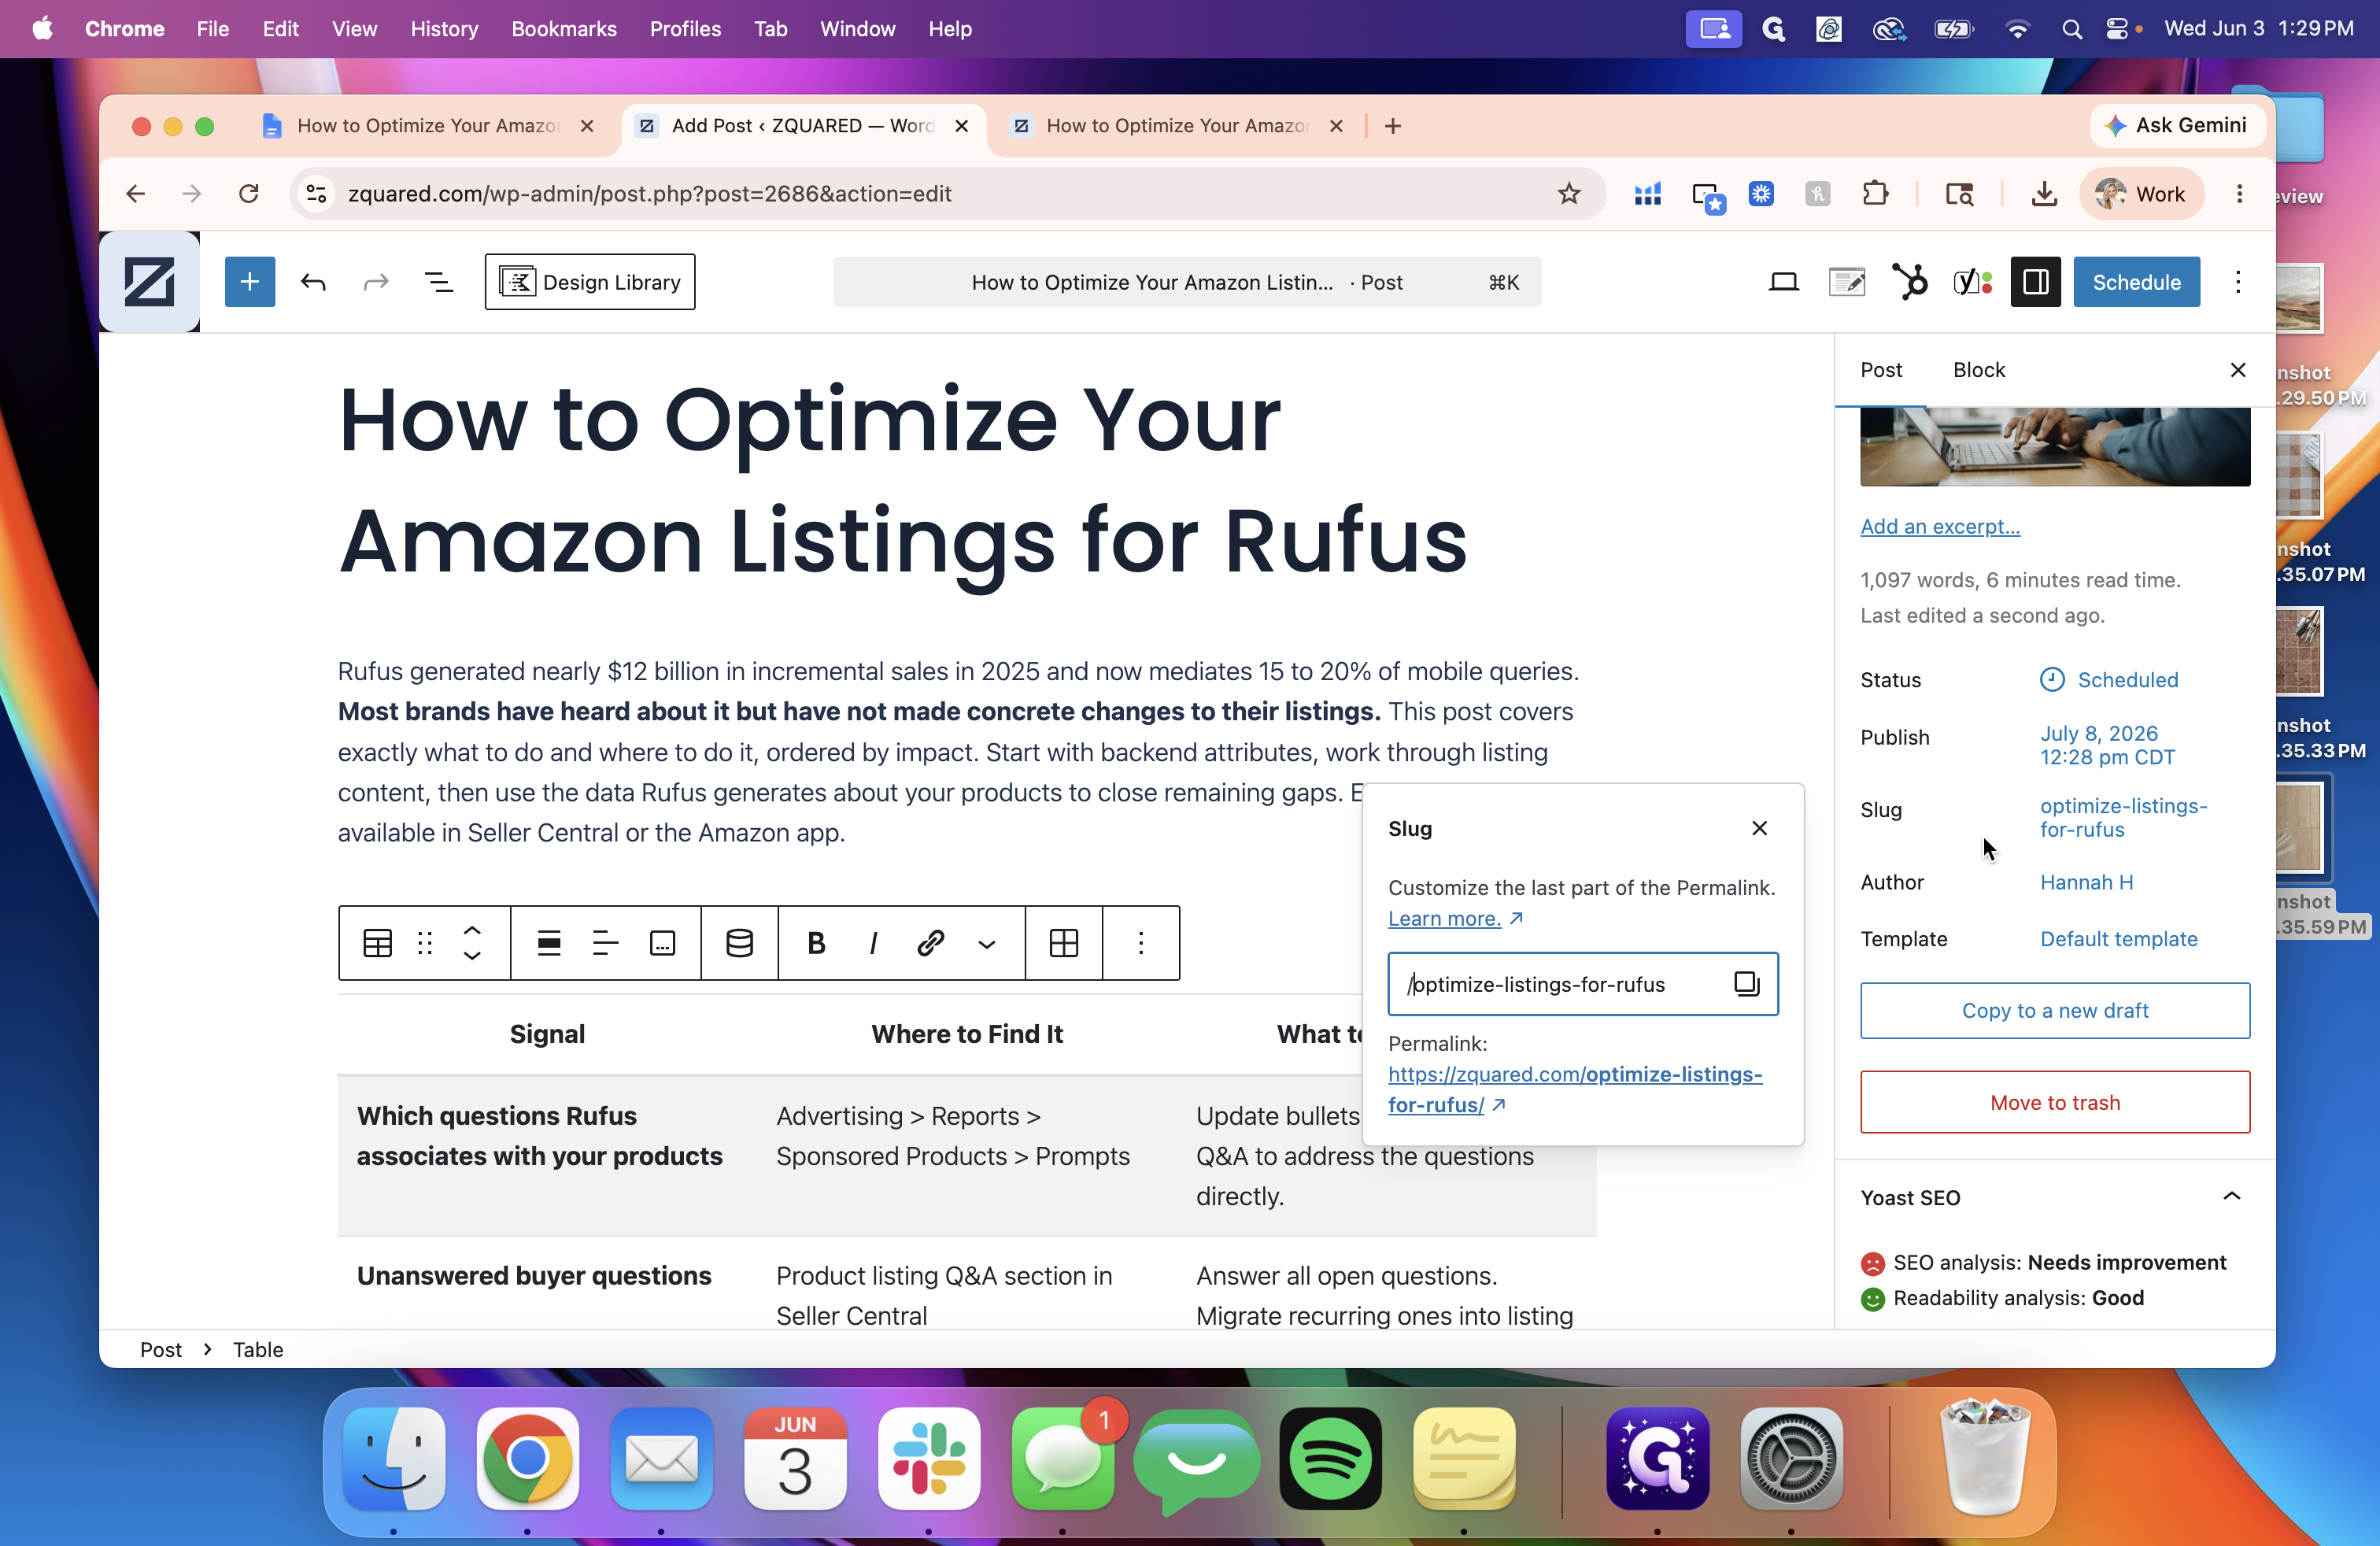
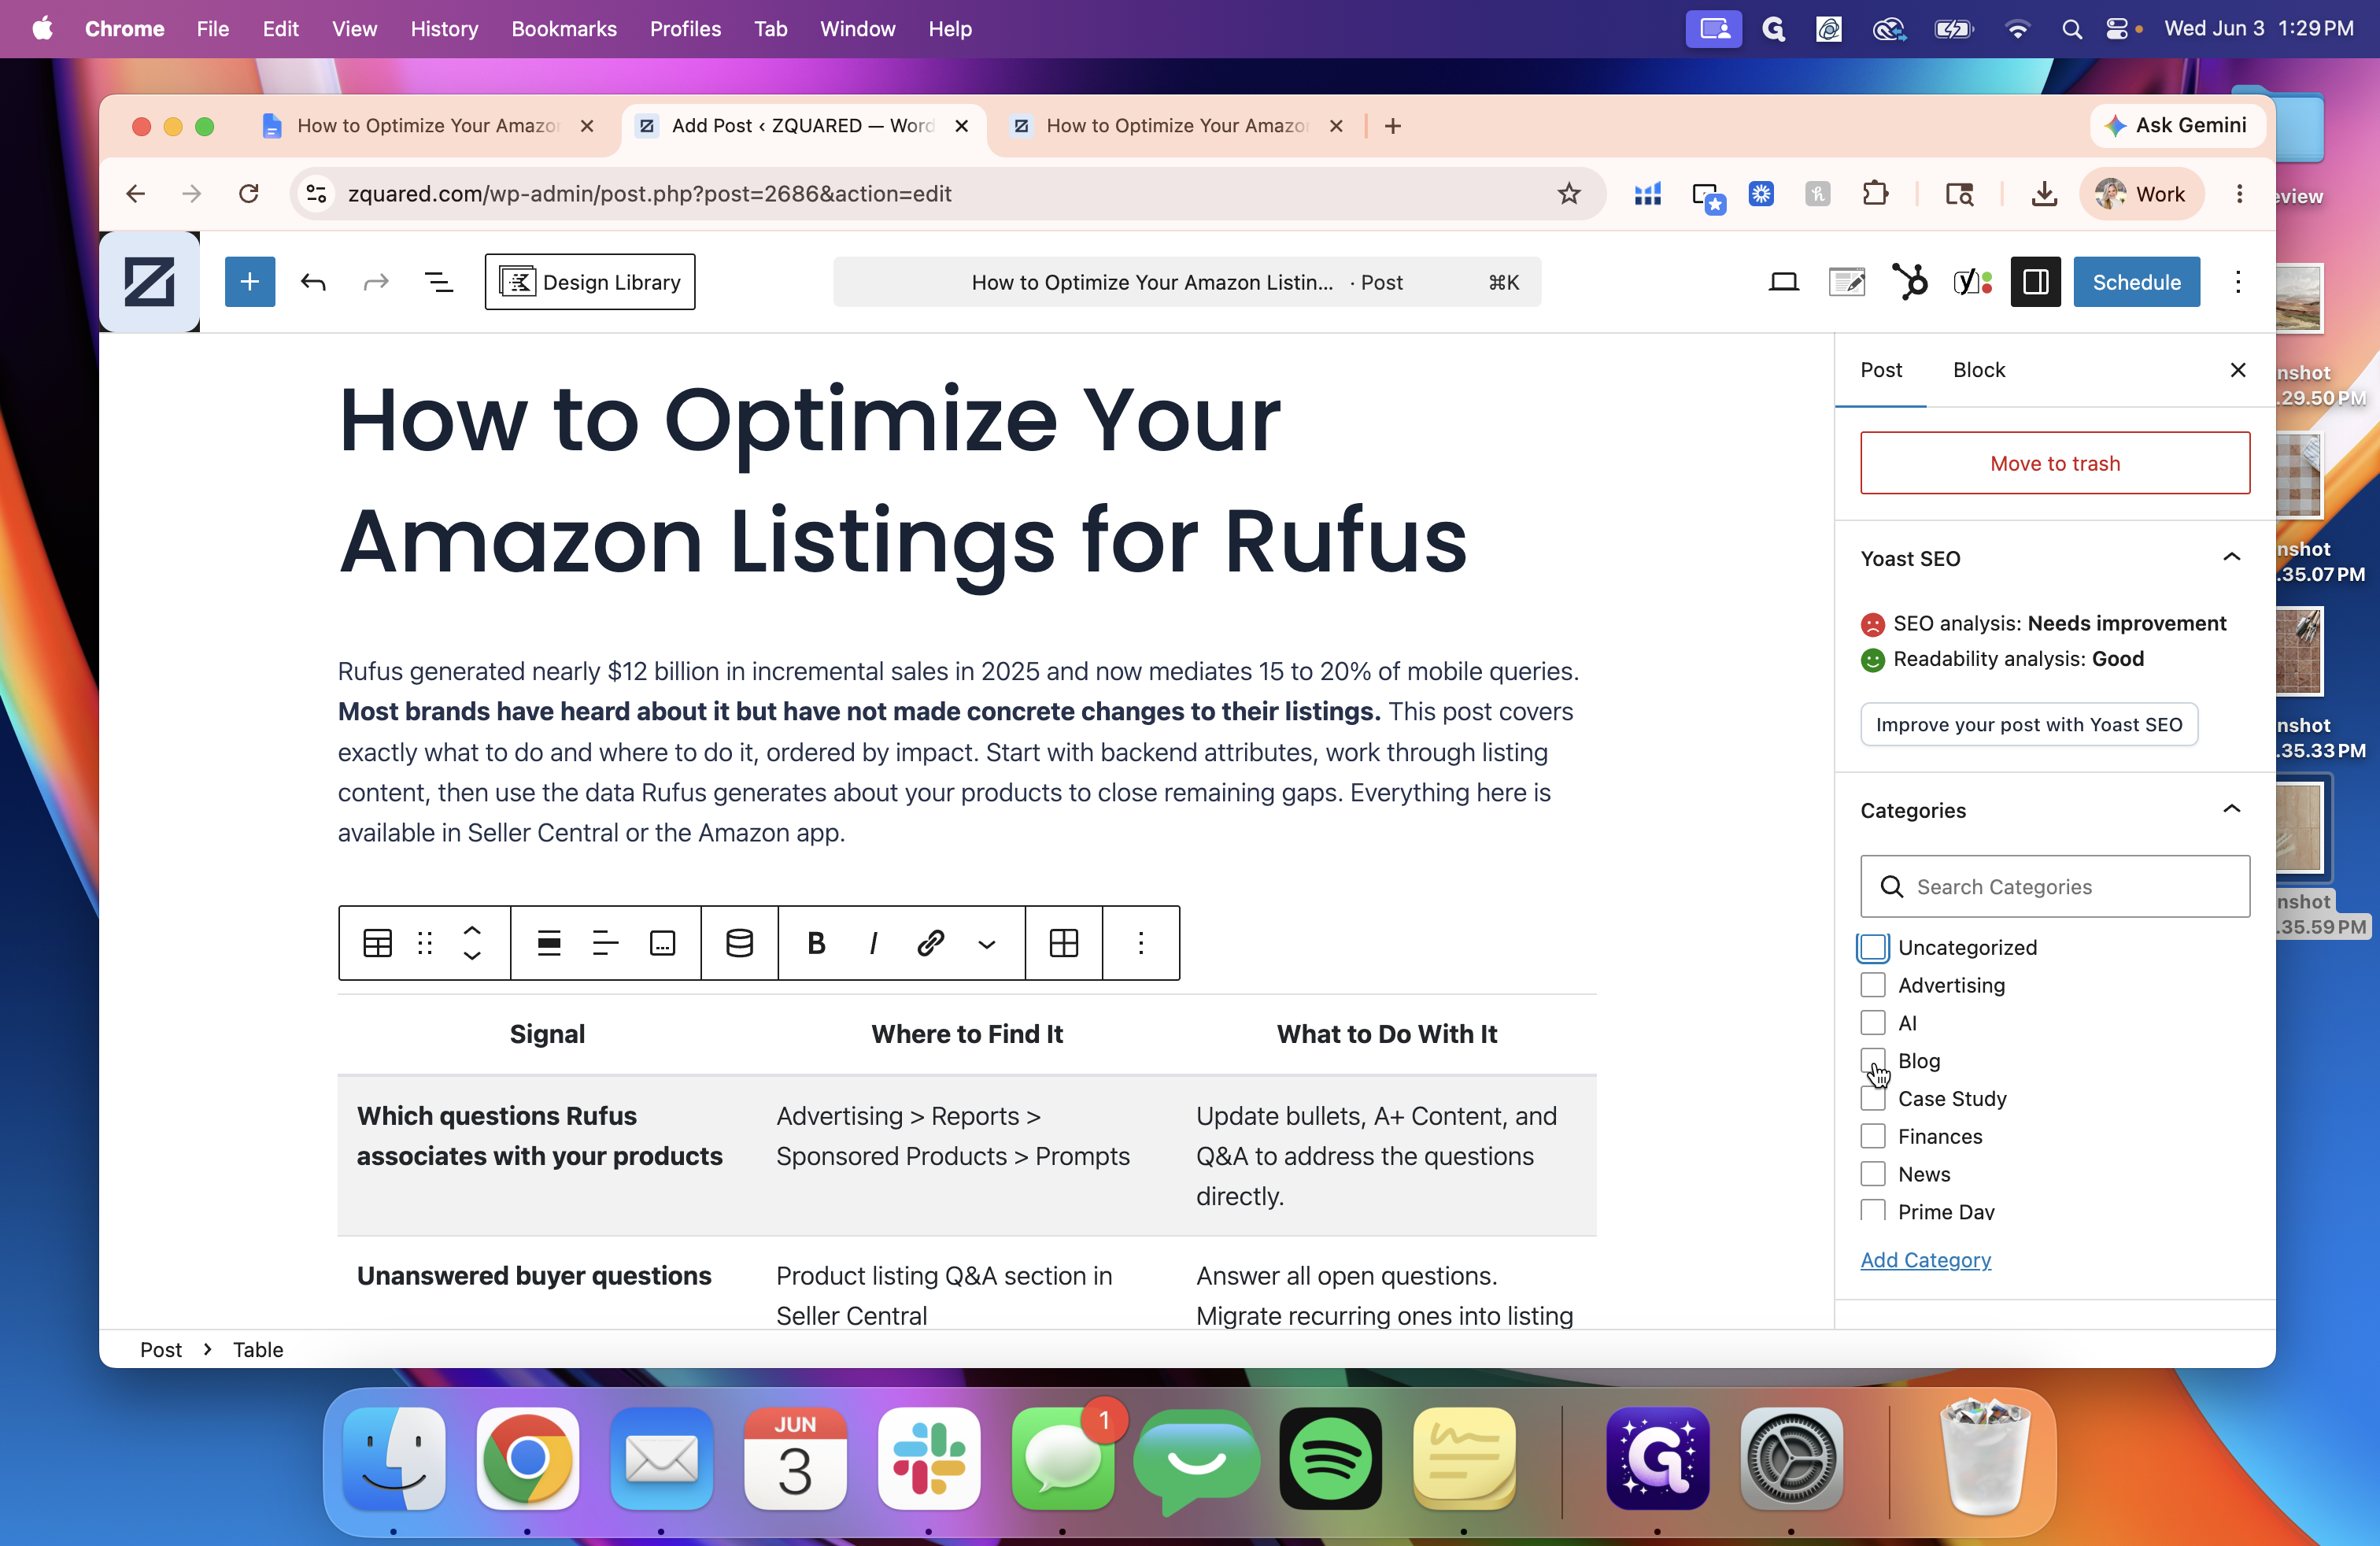
Configure Publishing Details

Set up the post's taxonomy, author details, and scheduling parameters.
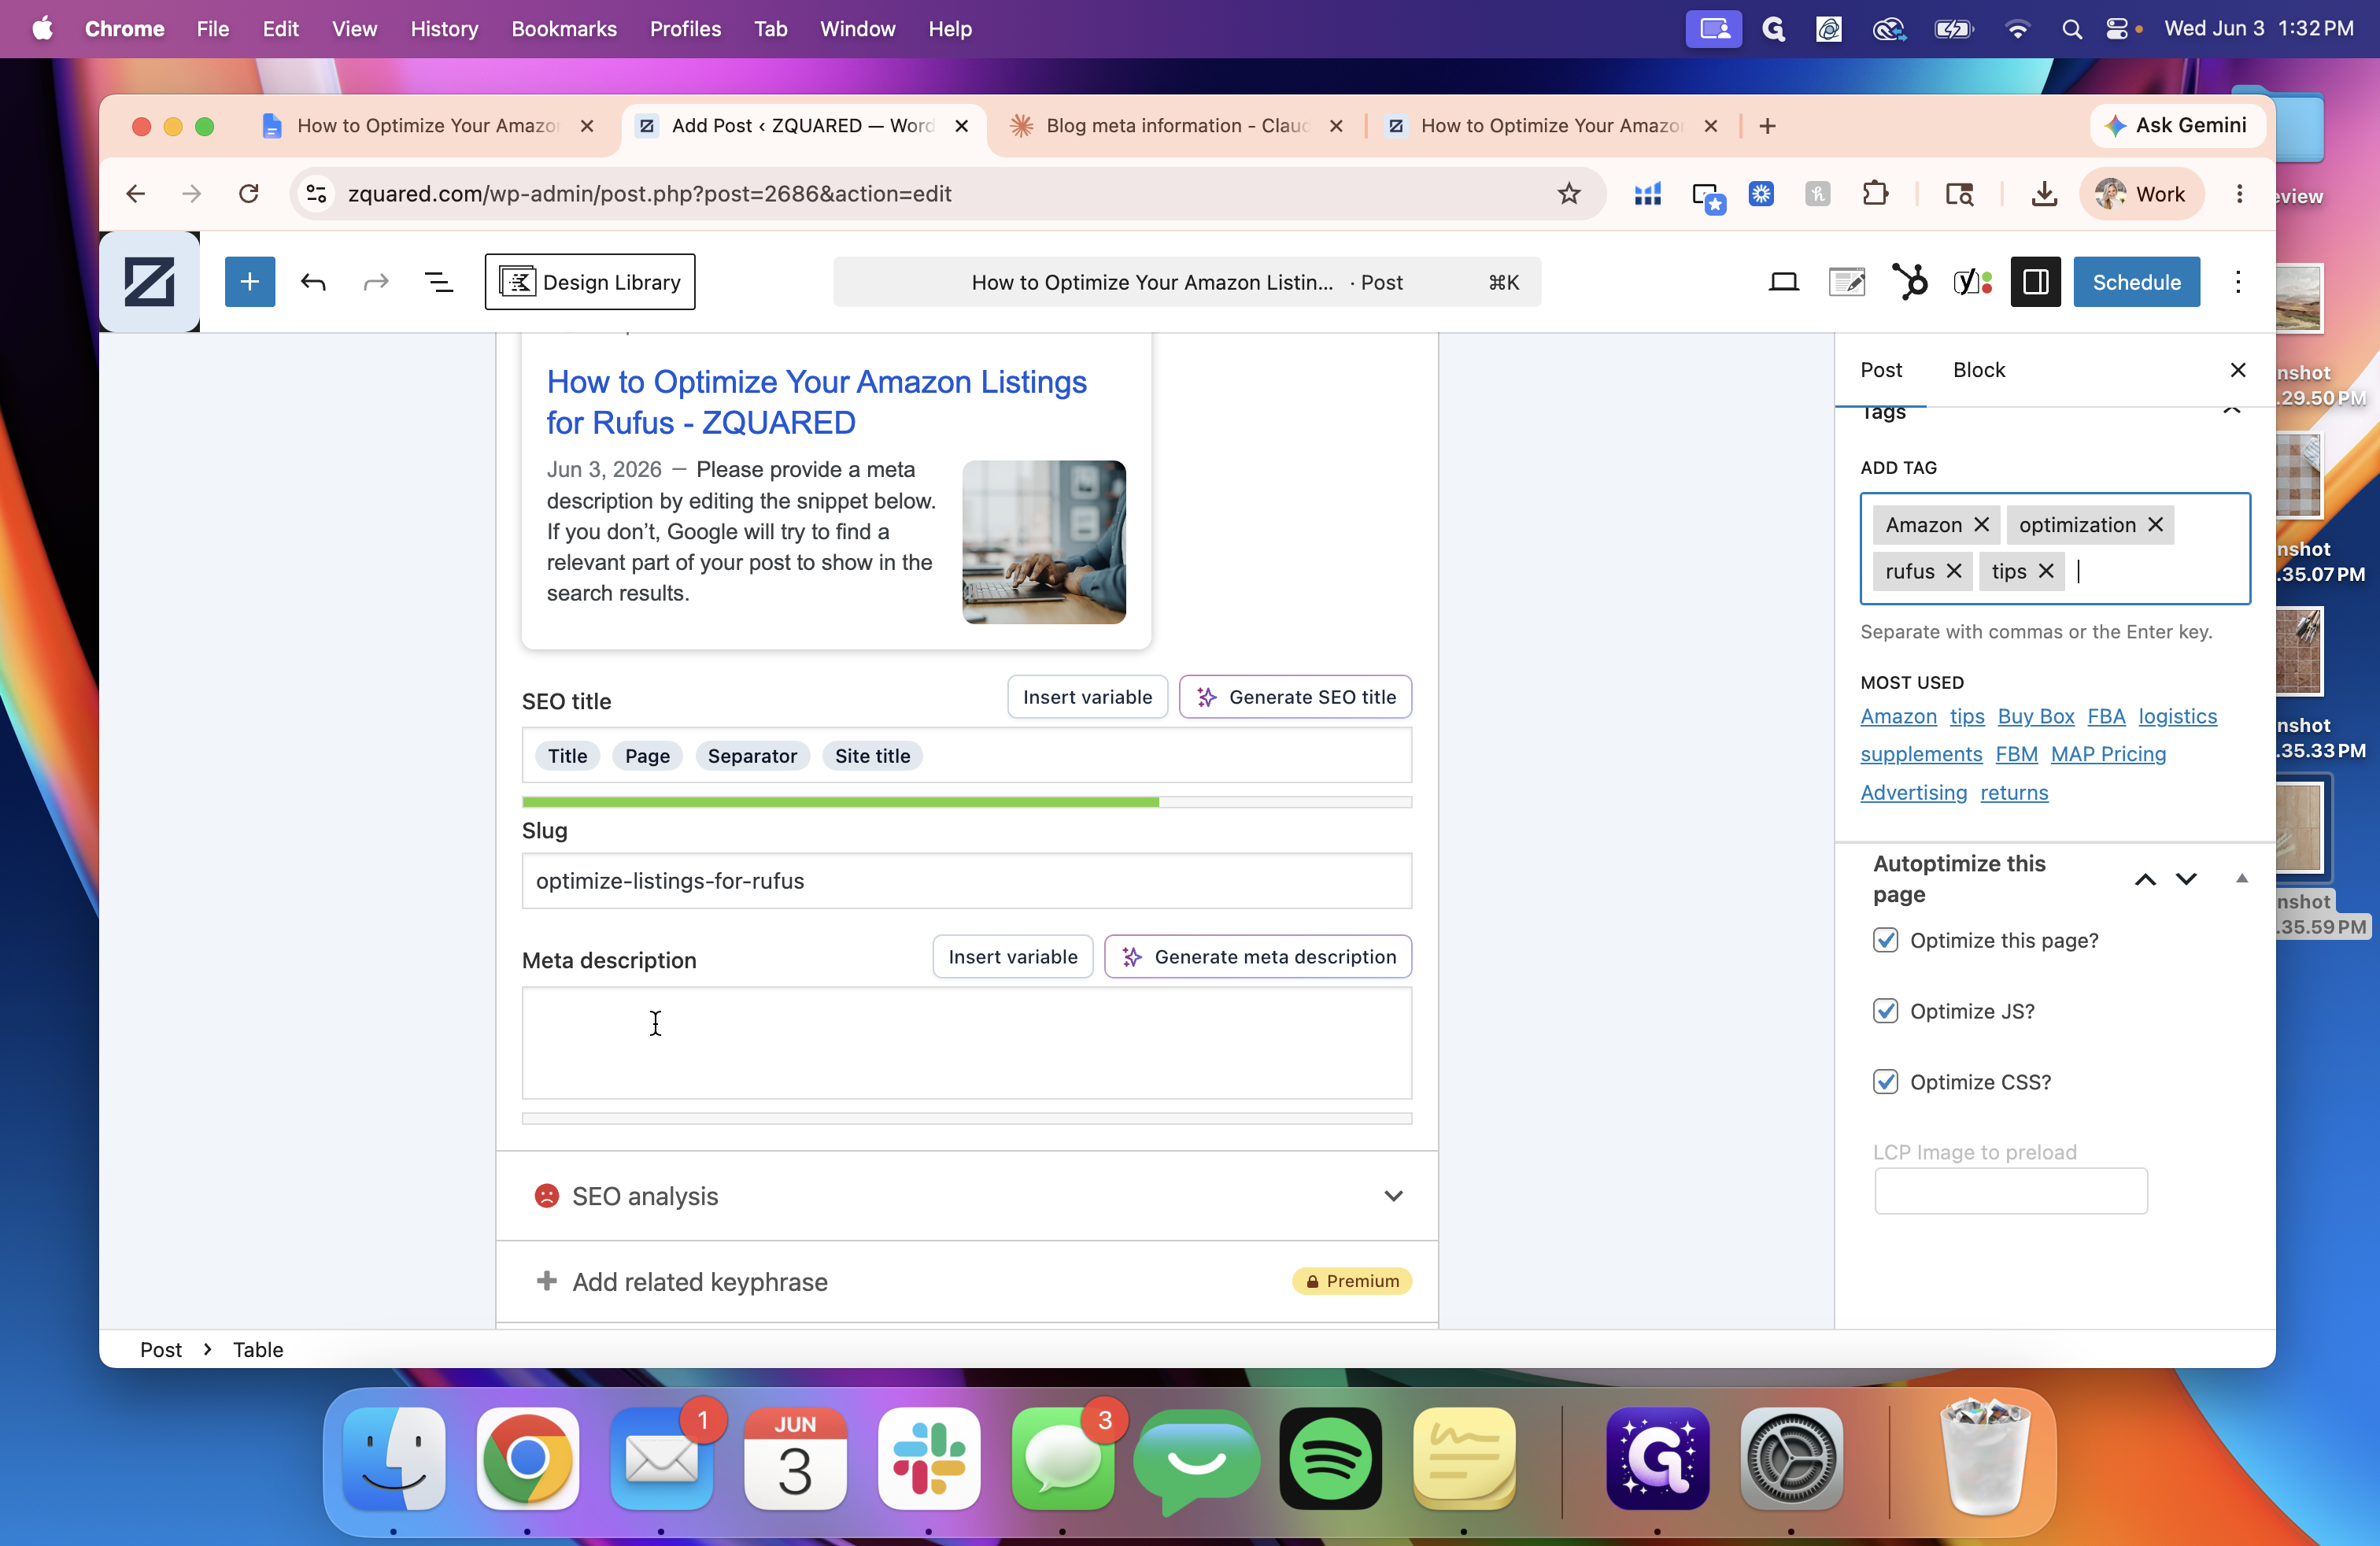
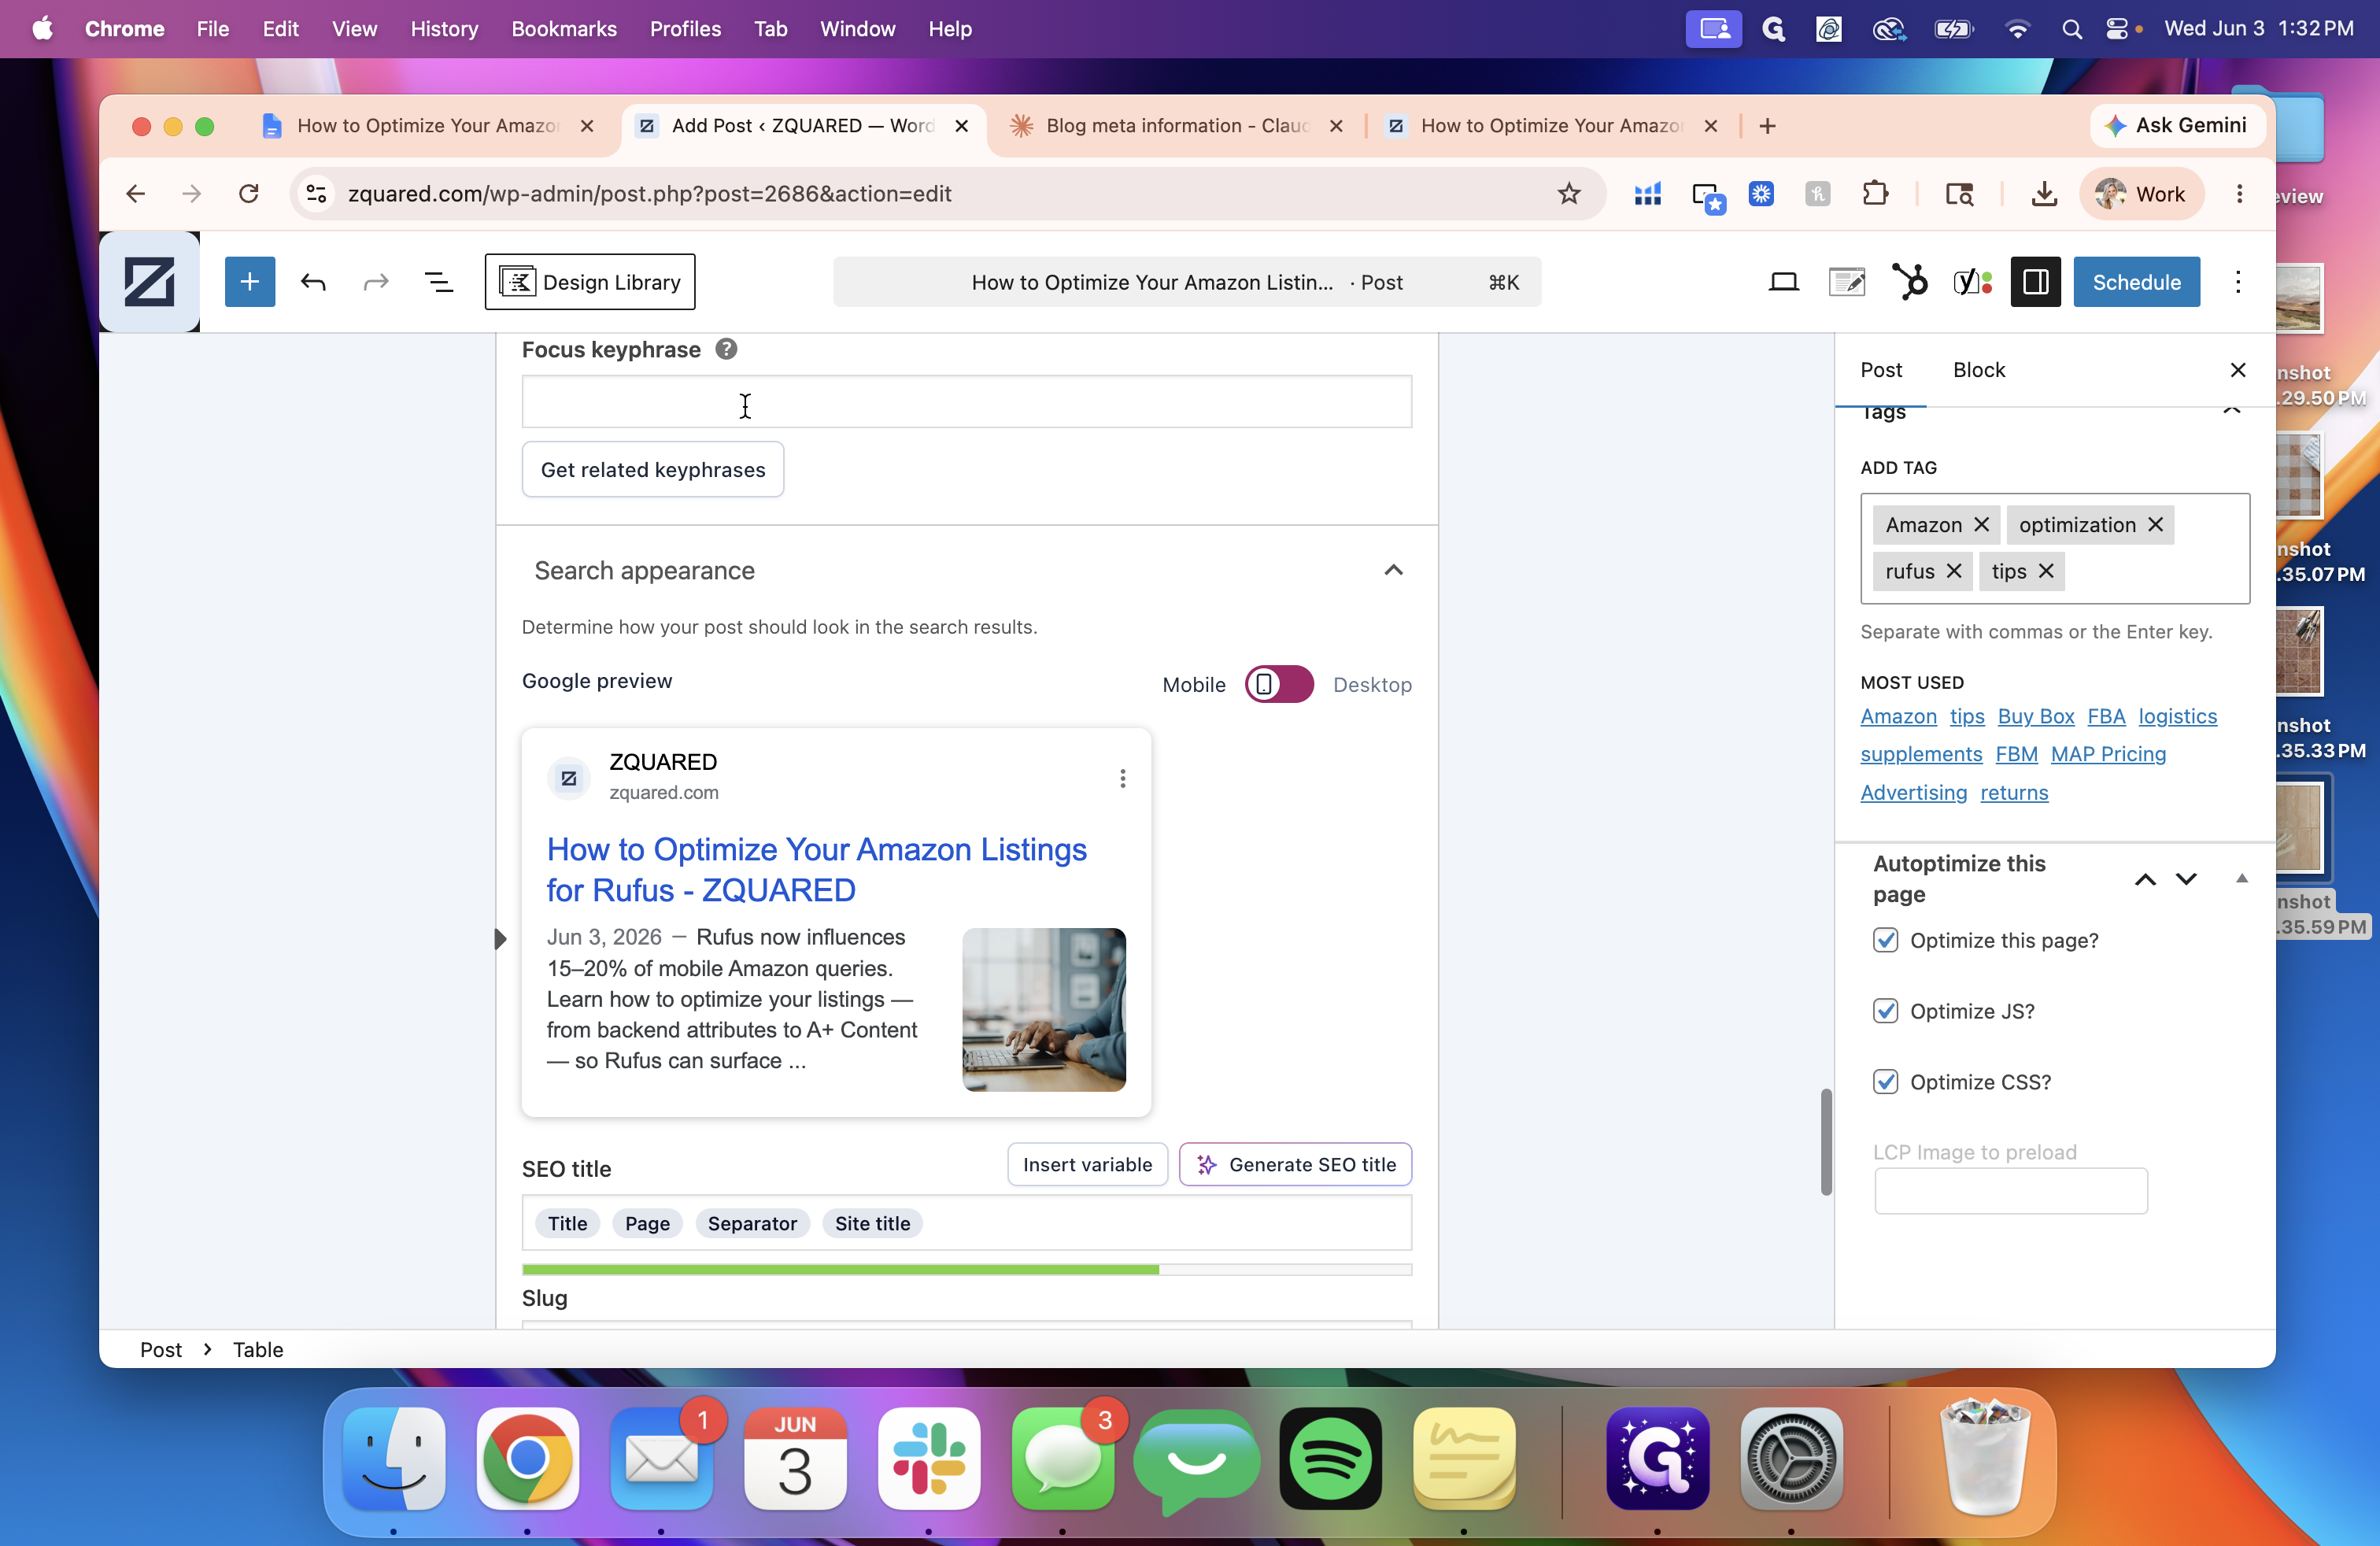
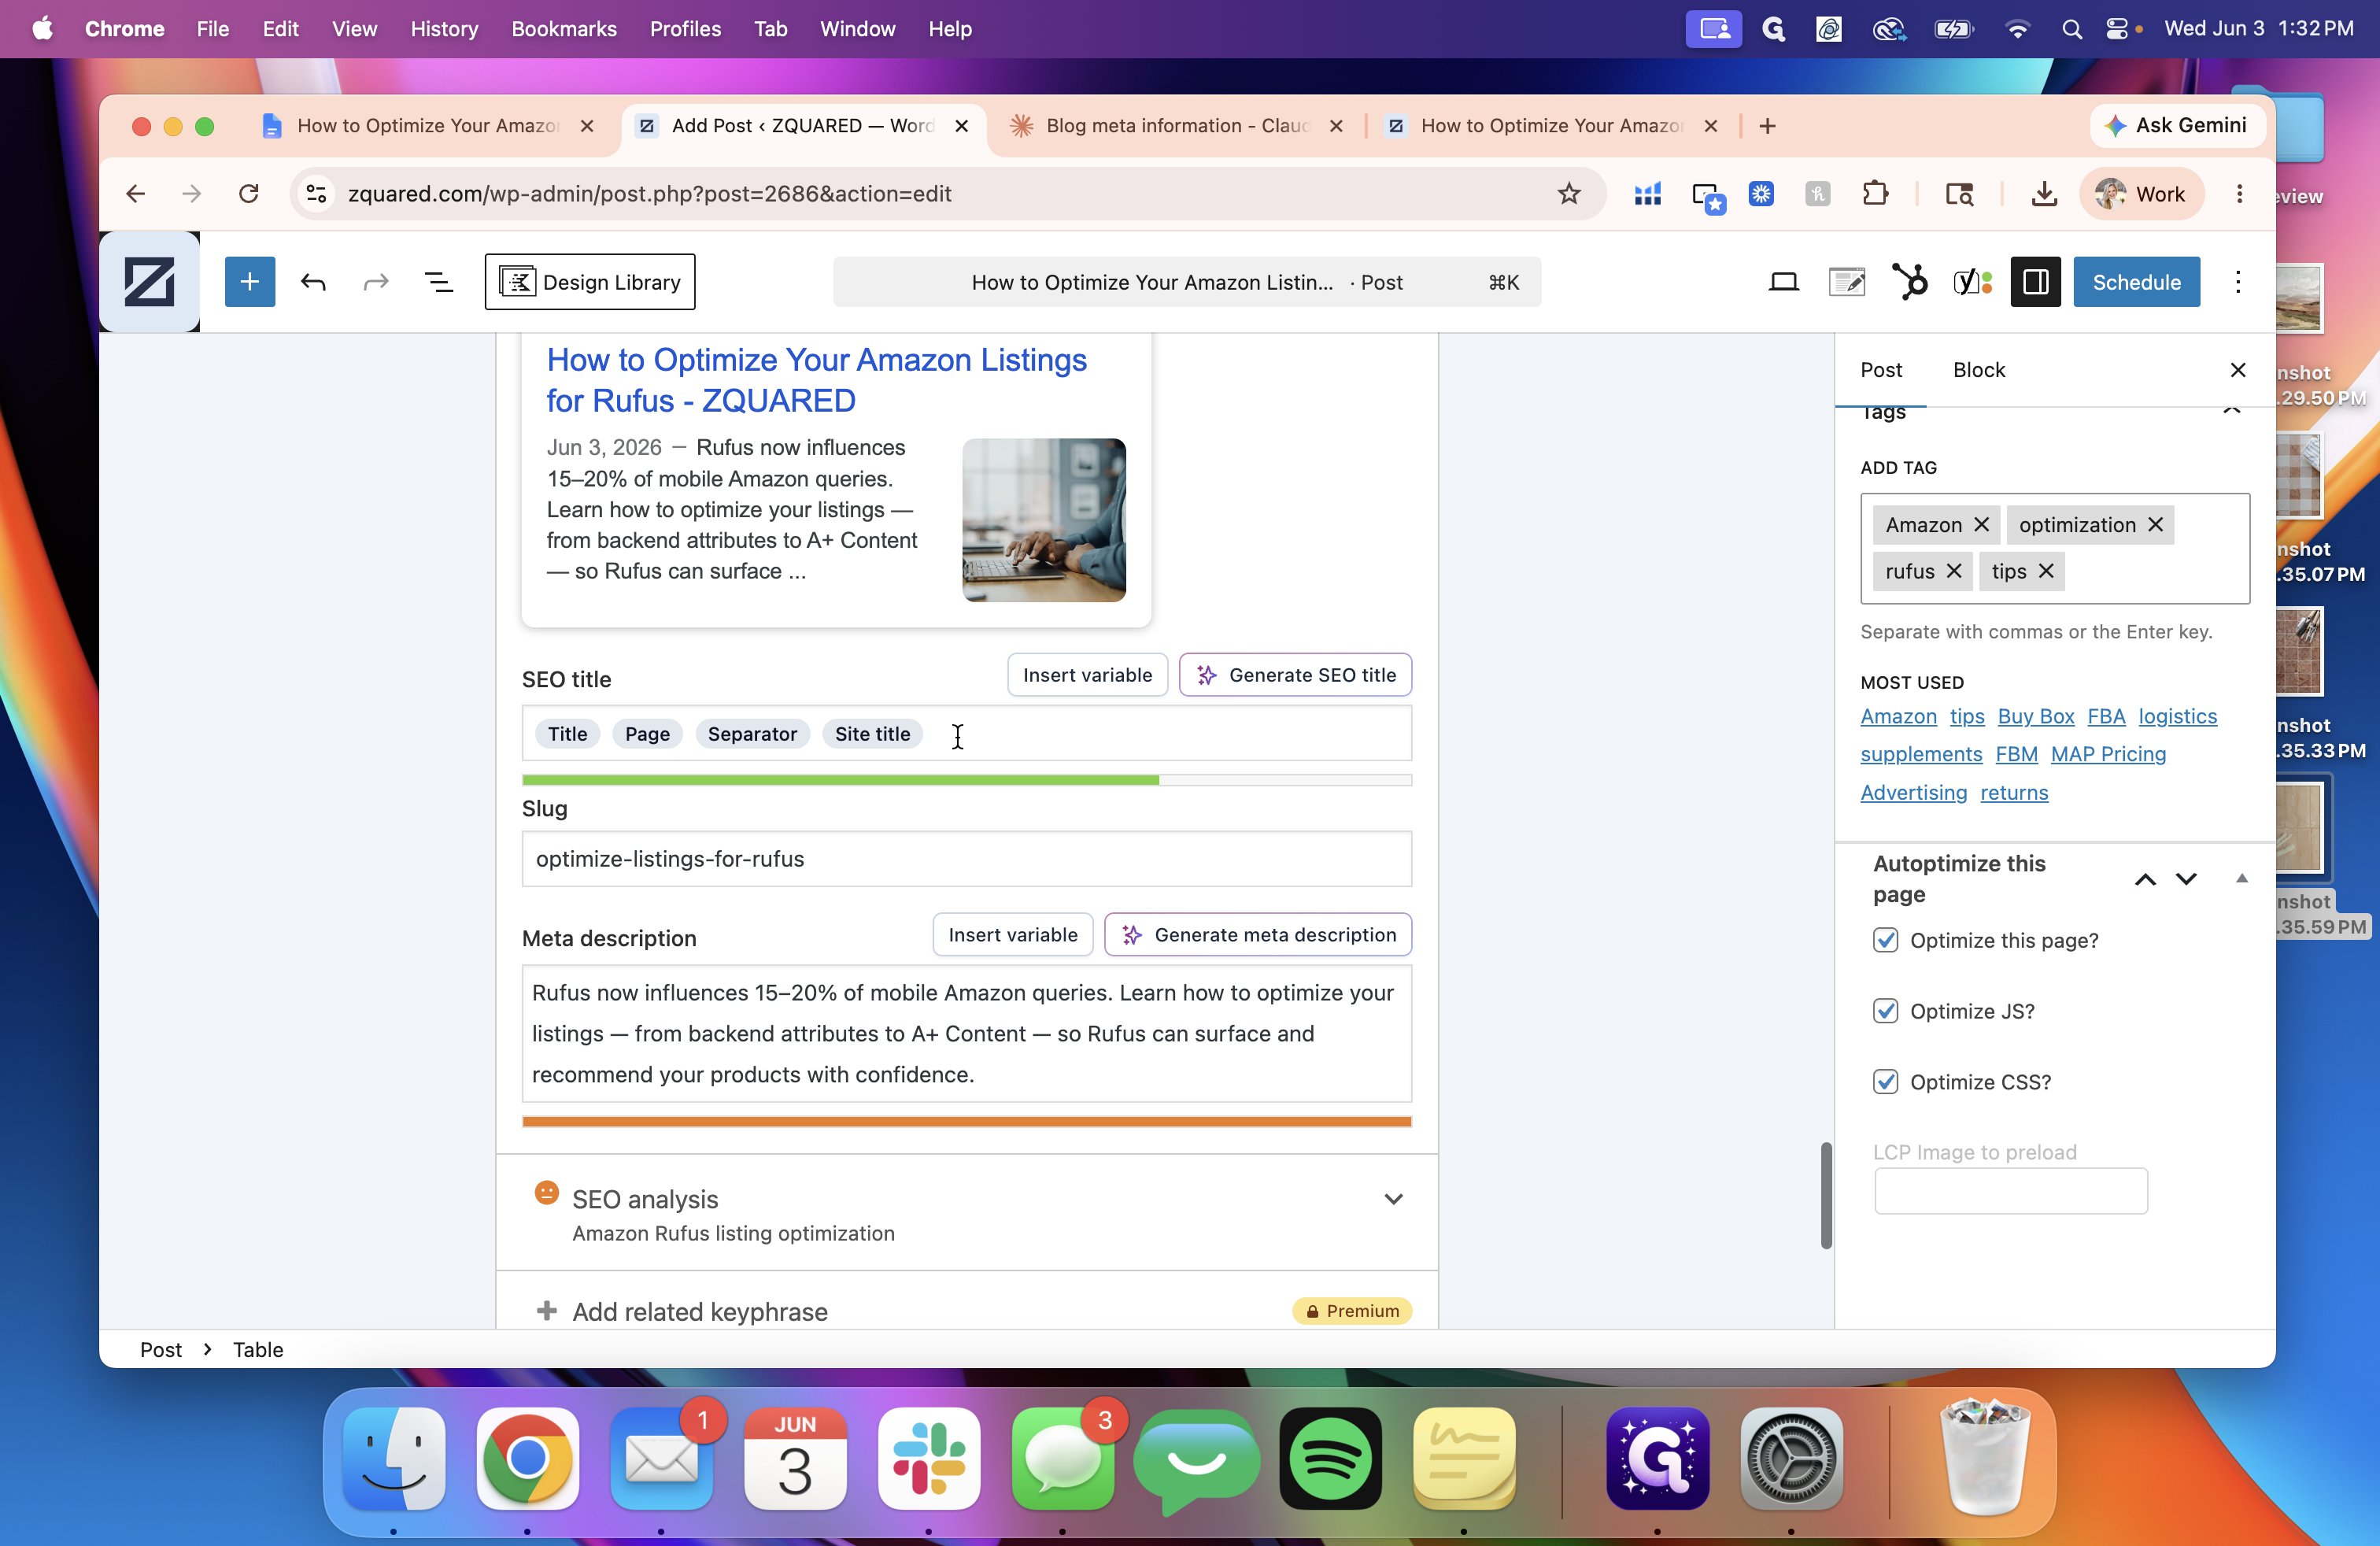
10
Under the post status settings, click the date next to Publish, then use the calendar picker to schedule the exact date and time the post should go live.
Step #10: Under the post status settings, click the date next to Publish, then use the calendar picker to schedule the exact date and time the post should go live.
11
Review the Slug (the URL path). If the auto-populated slug is too long, edit it down to a concise string of 5-6 descriptive words.
Step #11: Review the Slug (the URL path). If the auto-populated slug is too long, edit it down to a concise string of 5-6 descriptive words.
12
Select the correct publishing entity from the Author dropdown menu.
Step #12: Select the correct publishing entity from the Author dropdown menu.
13
In the Categories panel, uncheck "Uncategorized" and select the relevant category (e.g., Blog).
Step #13: In the Categories panel, uncheck "Uncategorized" and select the relevant category (e.g., Blog).
14
Type descriptive keywords into the Tags field (such as "optimization" or product names) and press Enter to add each tag.

Input SEO Metadata

Ensure your post is optimized for search engines by filling out your SEO plugin fields (such as Yoast or Rank Math).

15
Scroll down to your SEO configuration panel and paste your optimized snippet into the Meta description field.
Step #15: Scroll down to your SEO configuration panel and paste your optimized snippet into the Meta description field.
16
Paste your primary target keyword into the Focus keyphrase field.
Step #16: Paste your primary target keyword into the Focus keyphrase field.
17
Update the SEO title field with your targeted title to ensure it displays effectively on search engine results pages.
Step #17: Update the SEO title field with your targeted title to ensure it displays effectively on search engine results pages.

Once all settings are confirmed and previewed, your post is fully scheduled and optimized.

Q: Why does my preview look incorrect or broken at the top of the post?

A: This frequently occurs because a featured image has not been set yet. Navigate to the post settings, upload and select a featured image, and preview the page again to see if the layout corrects itself.

Q: How long should my URL slug be?

A: Best practices dictate keeping your slug to five or six descriptive words. You should edit the auto-populated slug—which usually contains the entire post title—down to a more concise format.

Term

Definition

Slug

The part of a URL that identifies a particular page on a website in an easy-to-read form.

Featured Image

A primary image chosen as the representative visual cover for a blog post, page, or article.

Meta Description

An HTML attribute that provides a brief summary of a web page, often displayed by search engines in search results.

Focus Keyphrase

The primary search term or keyword that you want a specific page or post to rank for in search engines.