How to Upload Invoices or Documents to a Completed Booking
Learn the step-by-step process to upload invoices or additional documents to a completed booking through the overview page and cases link.
In this guide, we'll learn how to upload invoices or additional documents to a completed booking. This process involves navigating through your overview page, accessing the cases link, and selecting the relevant case based on the port and dates. Once you reach the booking overview, you'll find the option to upload documents, allowing you to choose and categorize your files for upload.
Let's get started
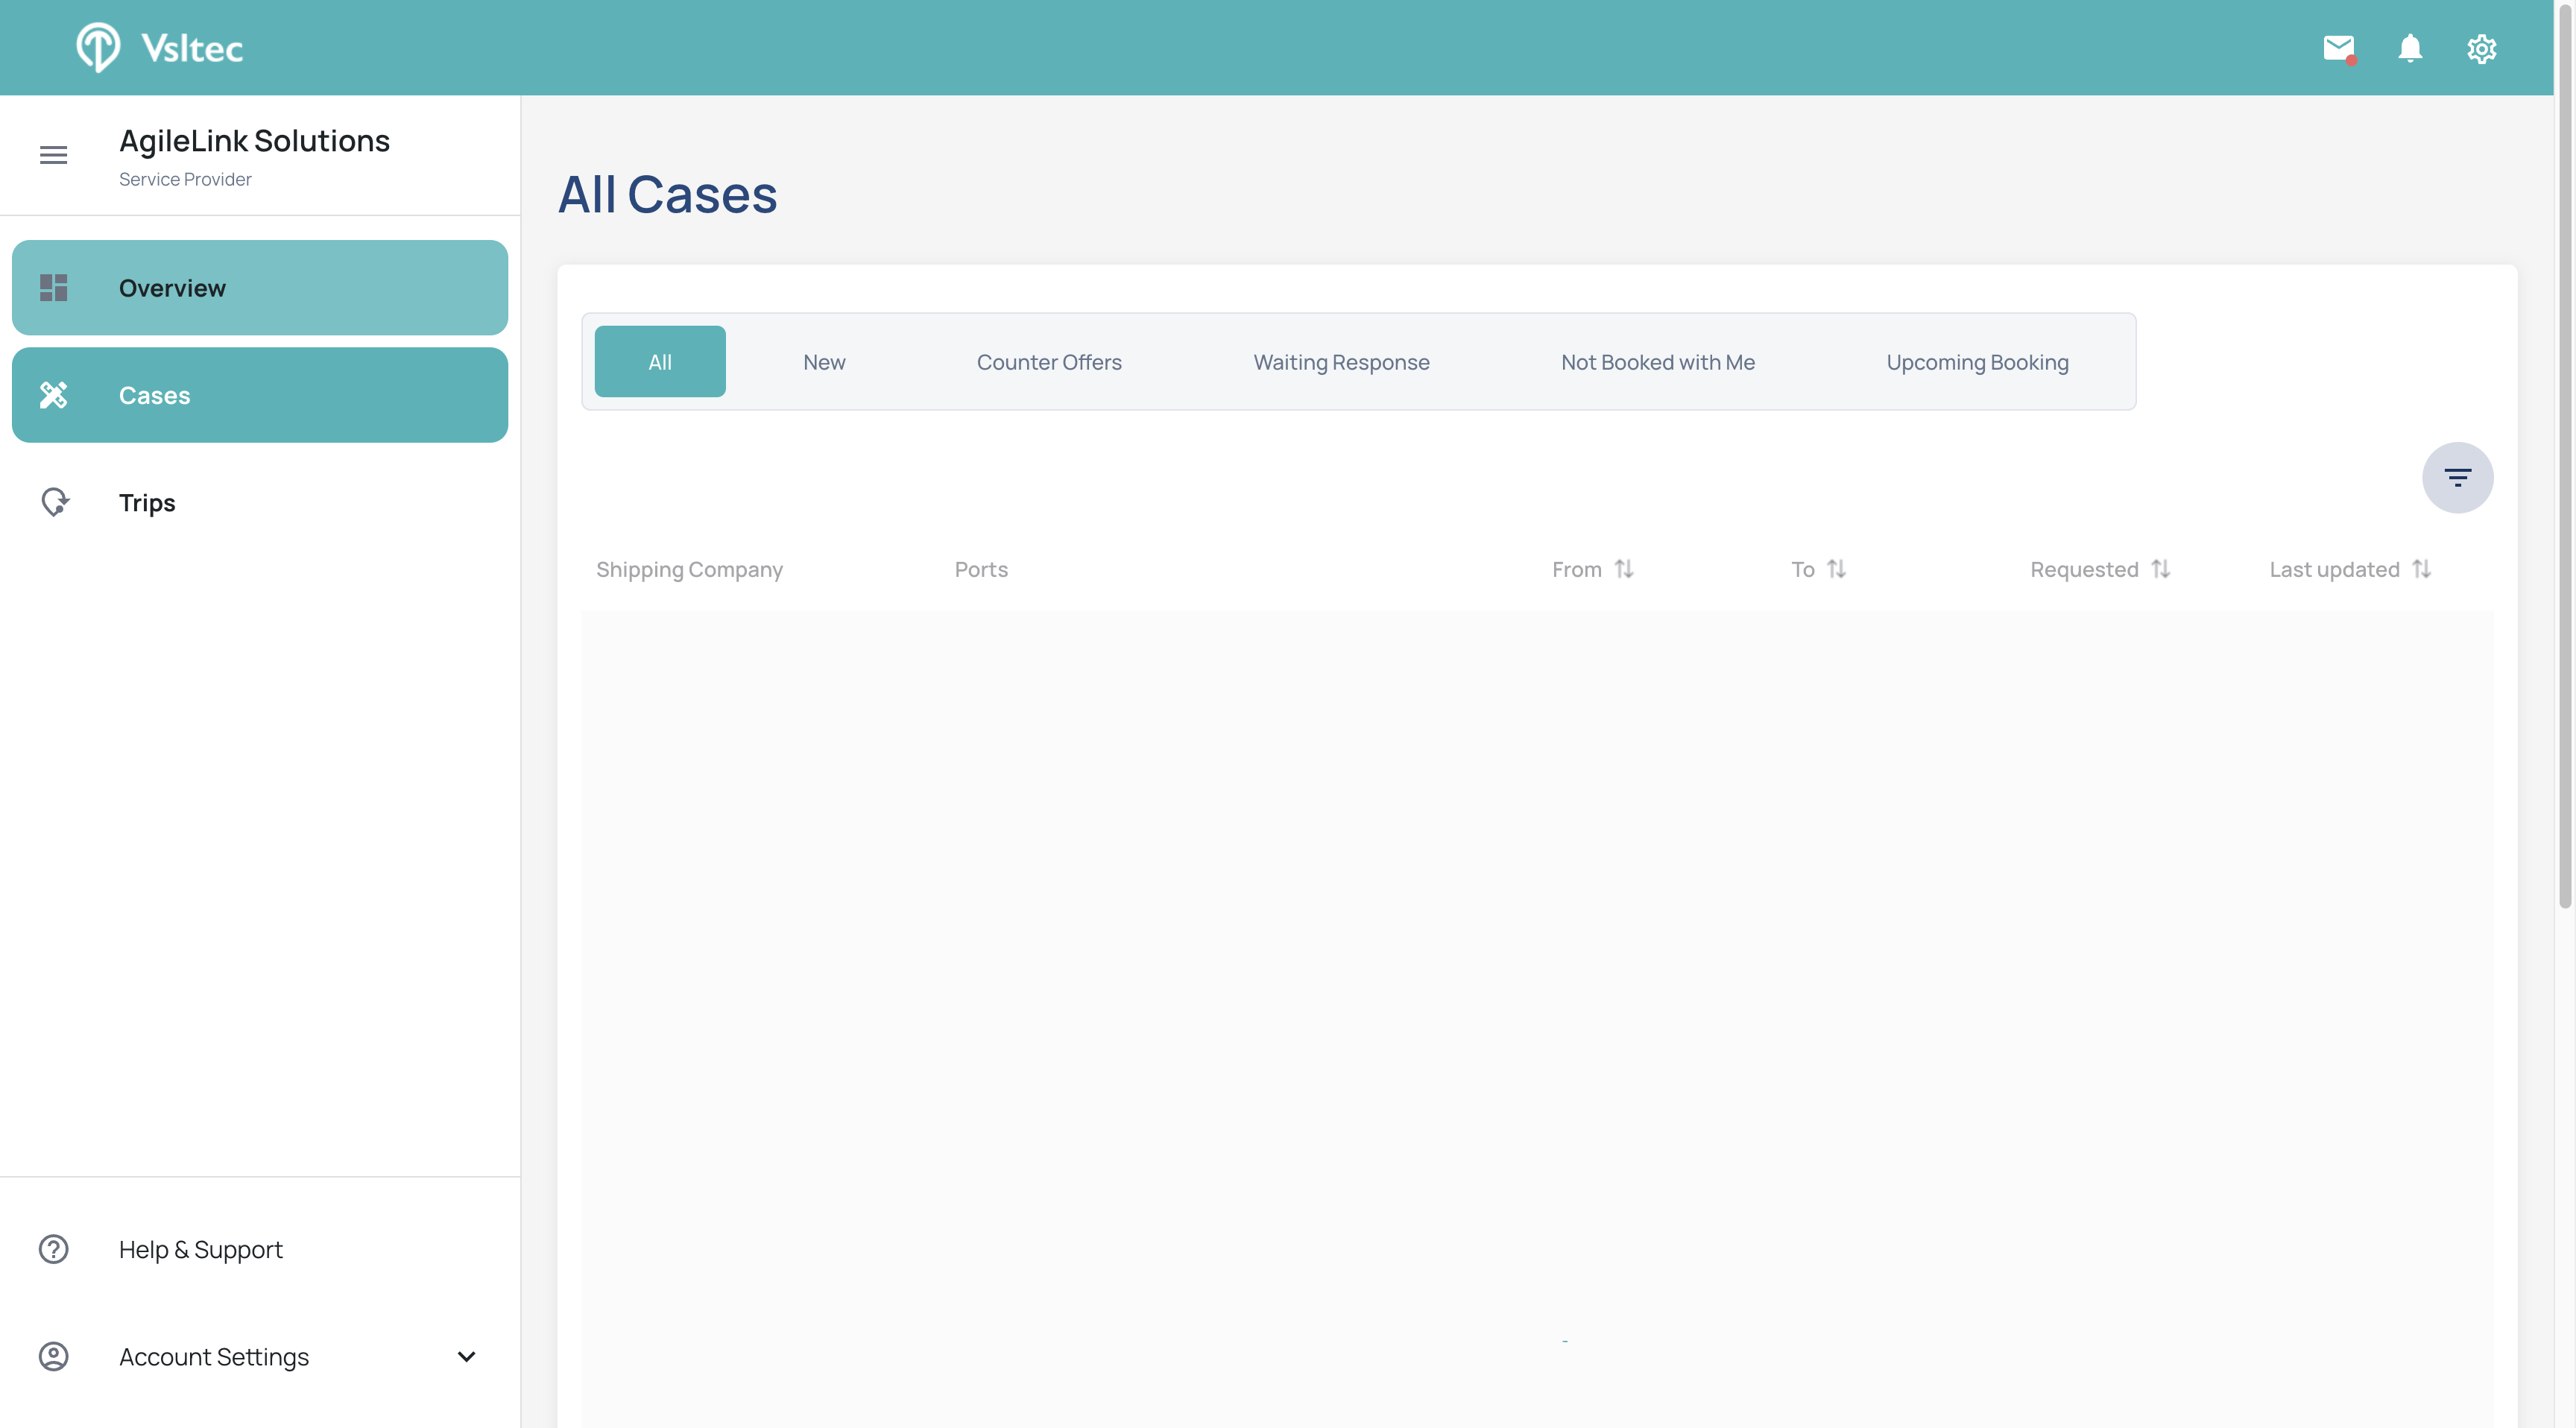
We will learn how to upload invoices or additional documents to a completed booking. First, go to your overview page and click on the "Cases" link in the side menu.
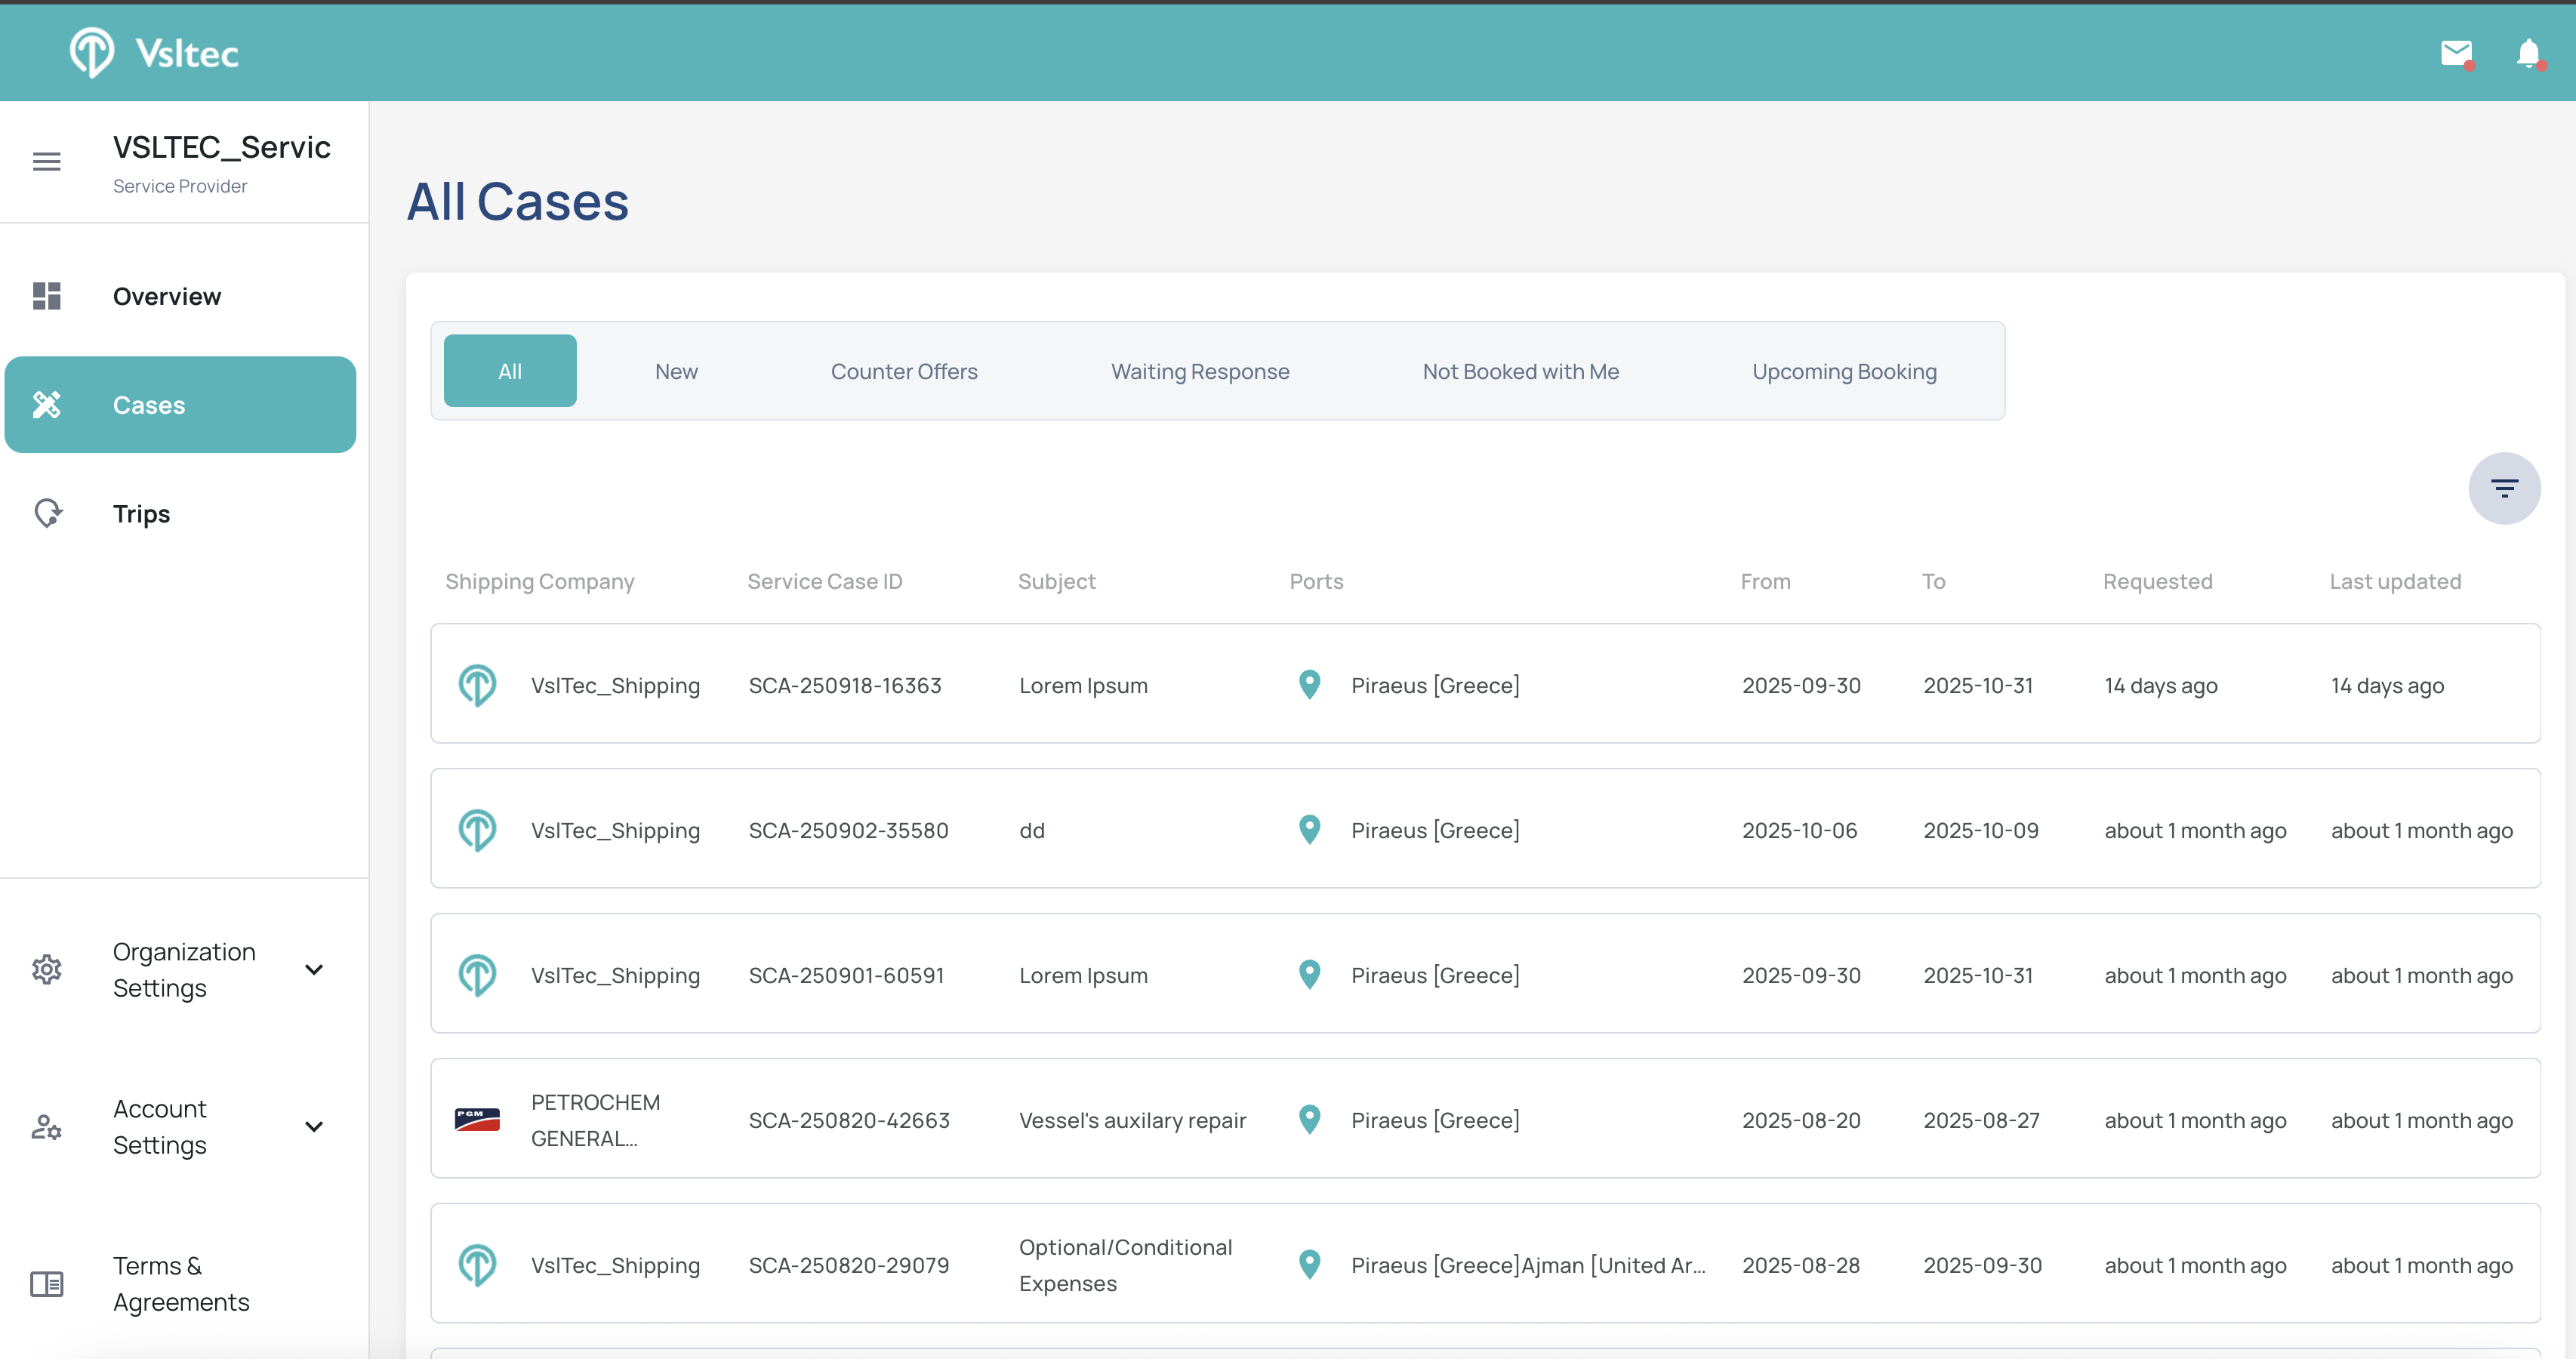
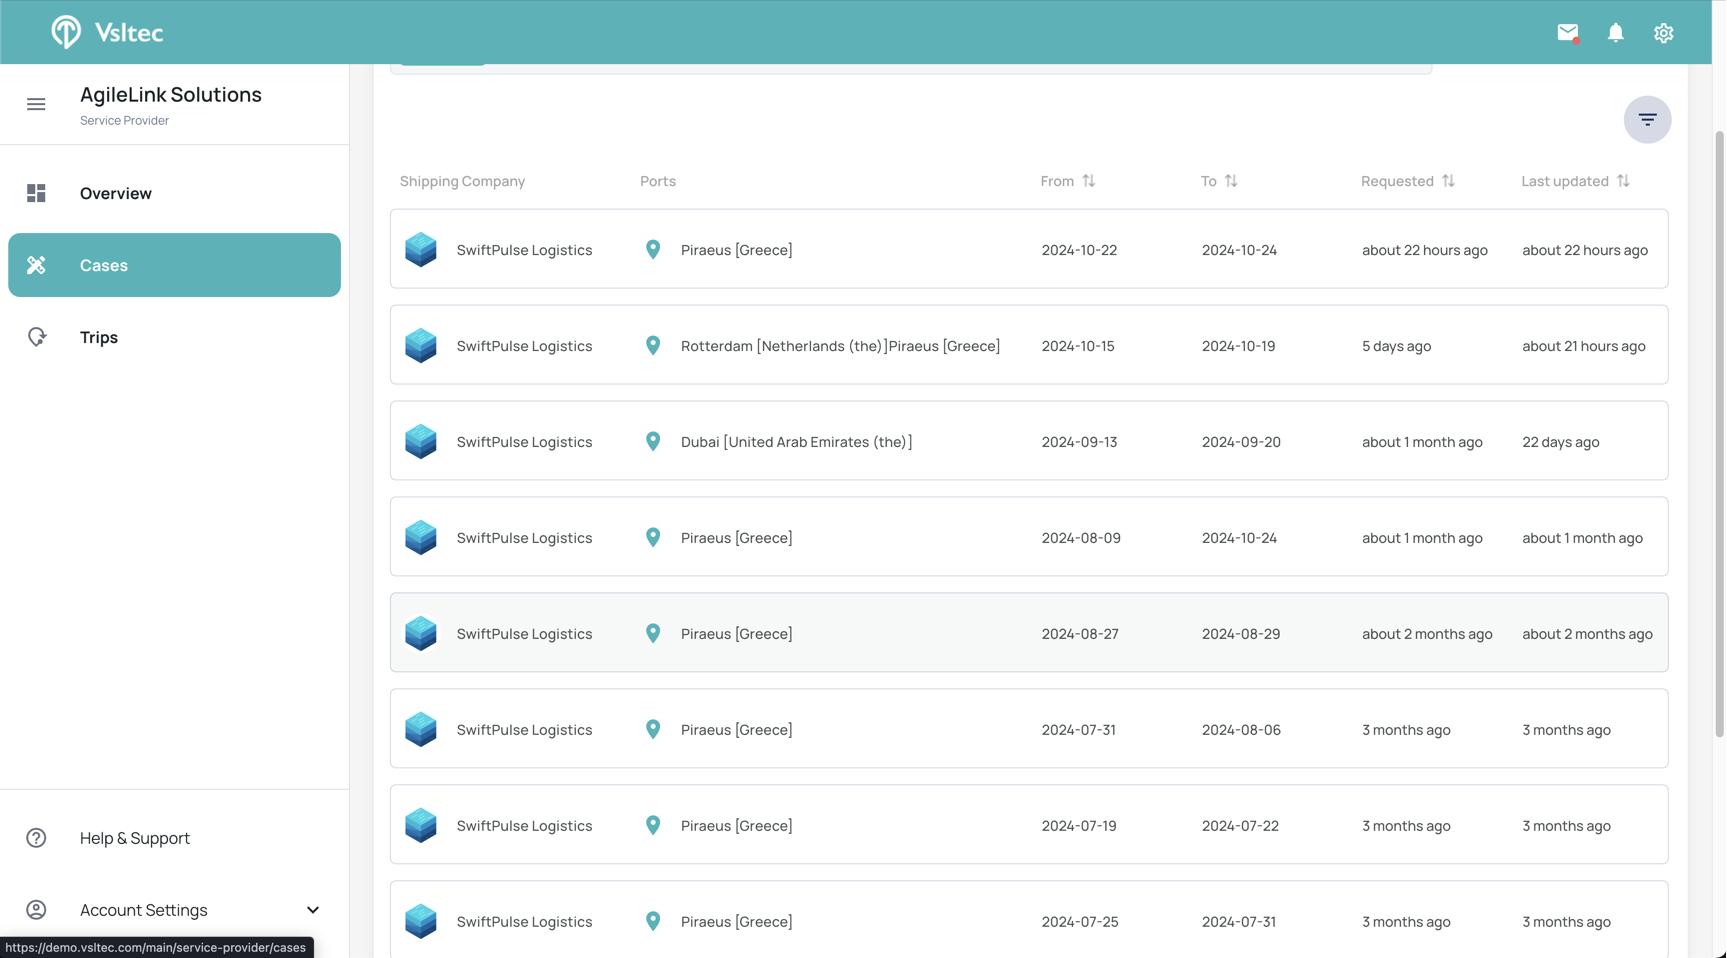
Once you do, scroll down to find your corresponding case related to the port and the dates you worked on. Select that specific case, and you will see a screen displaying your booked quotation.
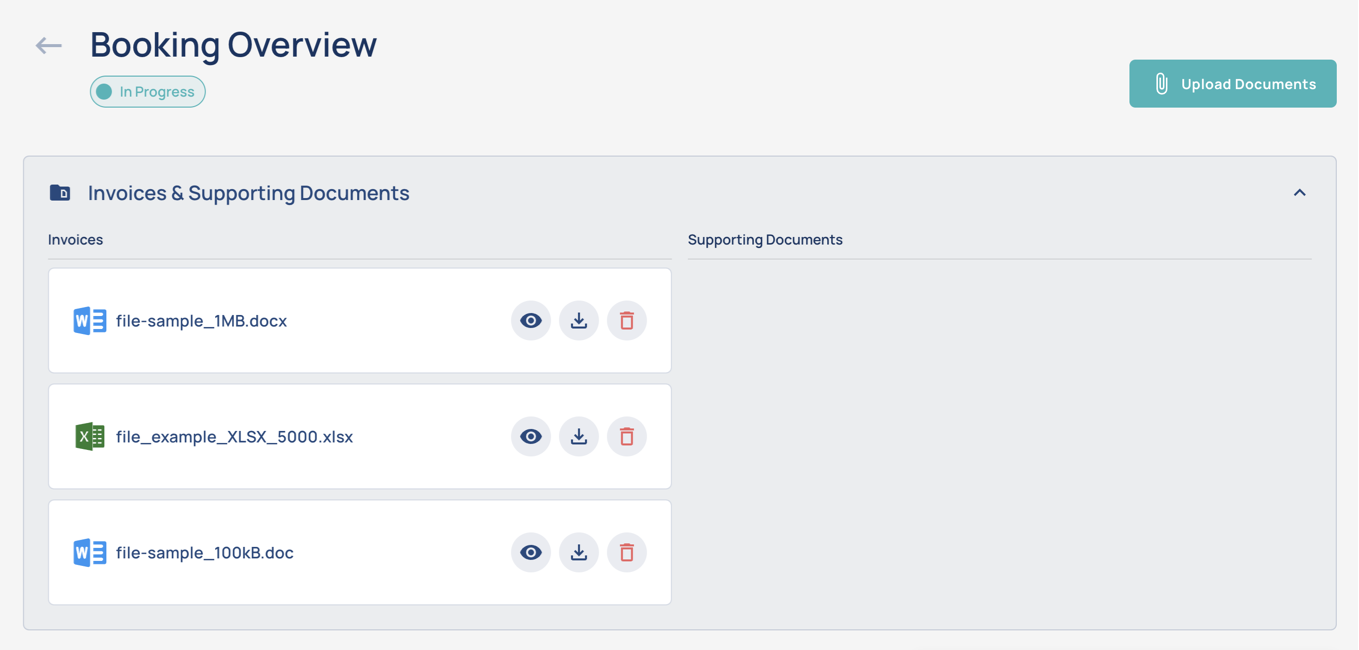
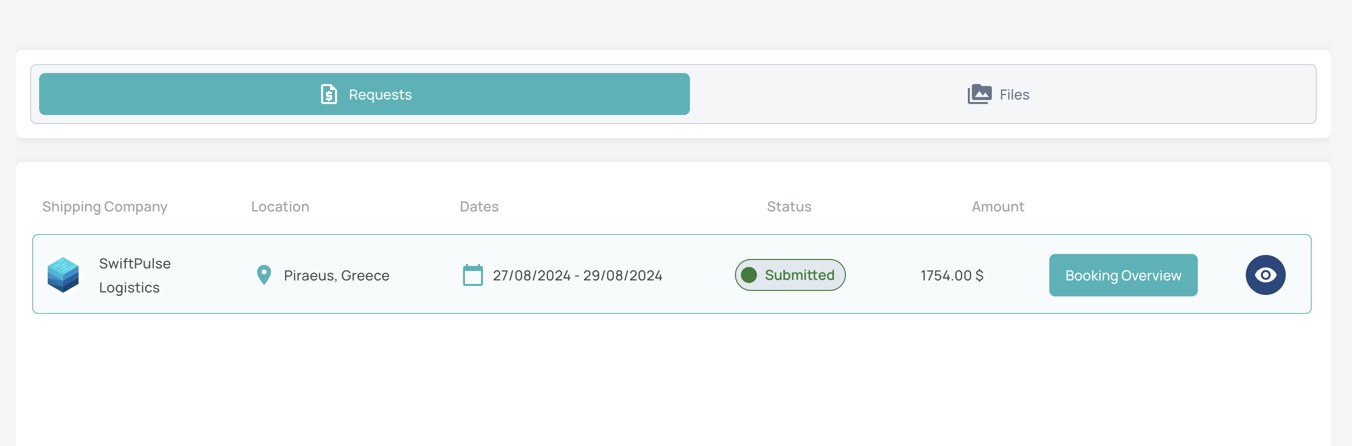
Next, click on "Booking Overview."
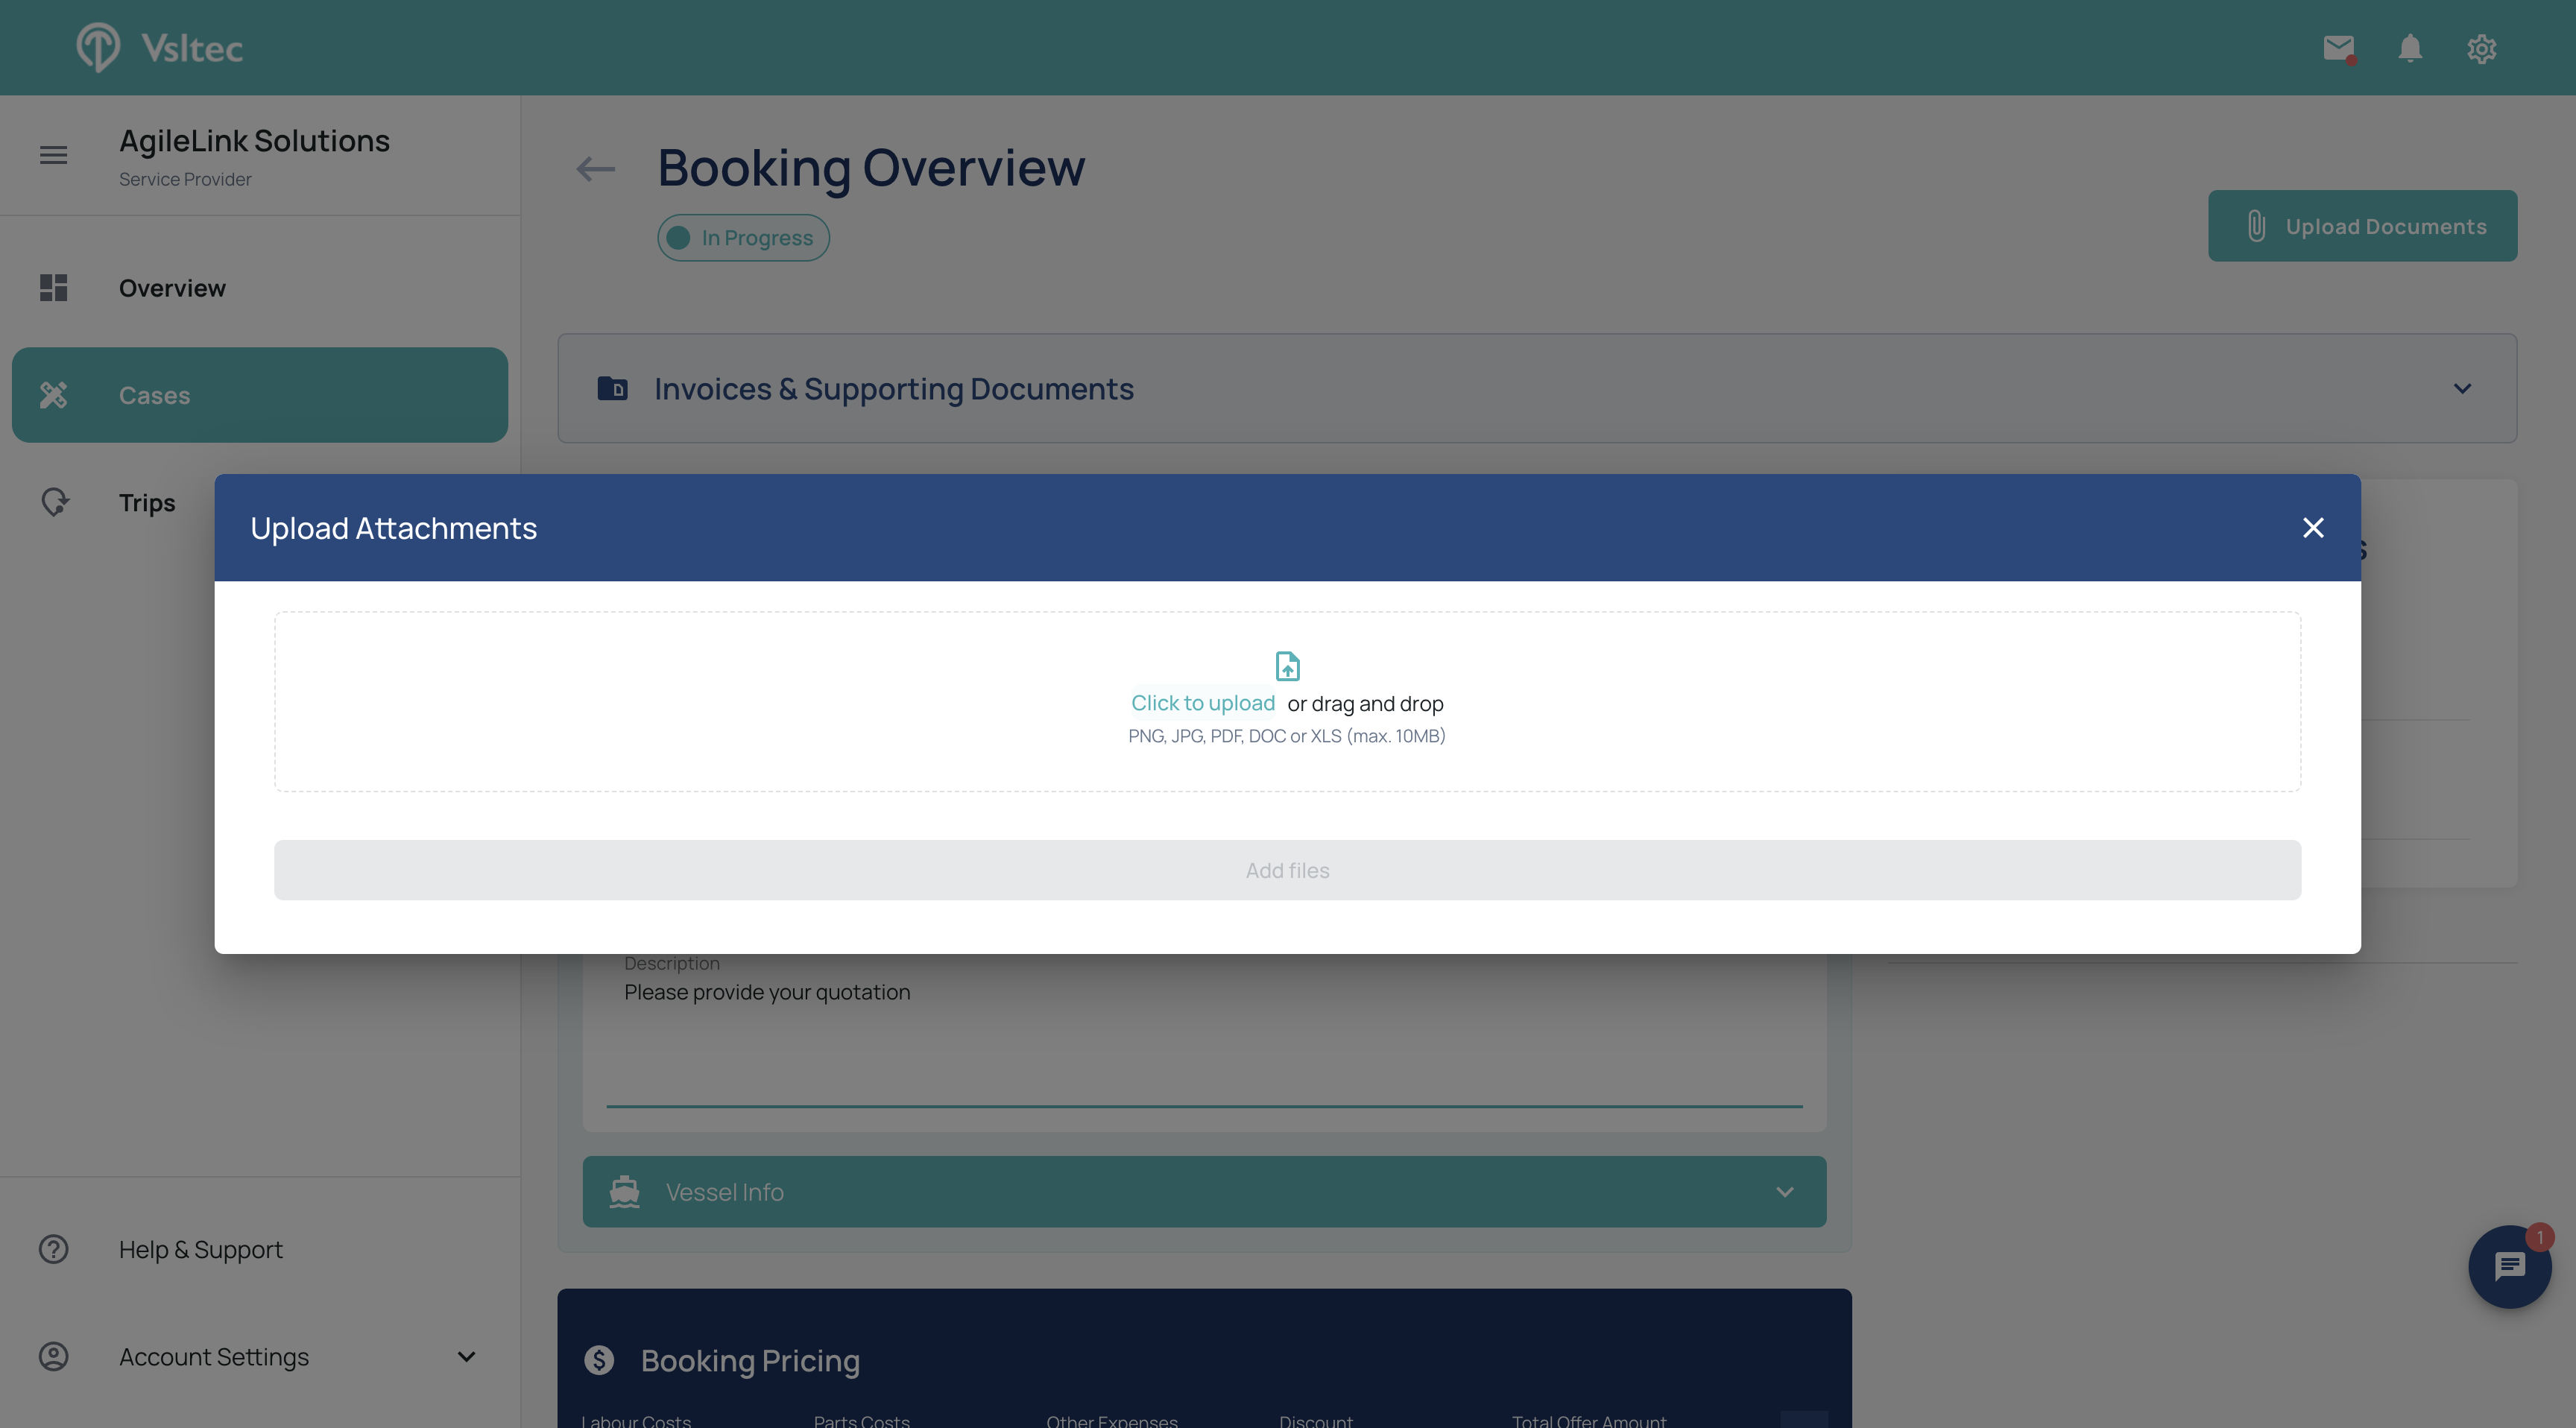
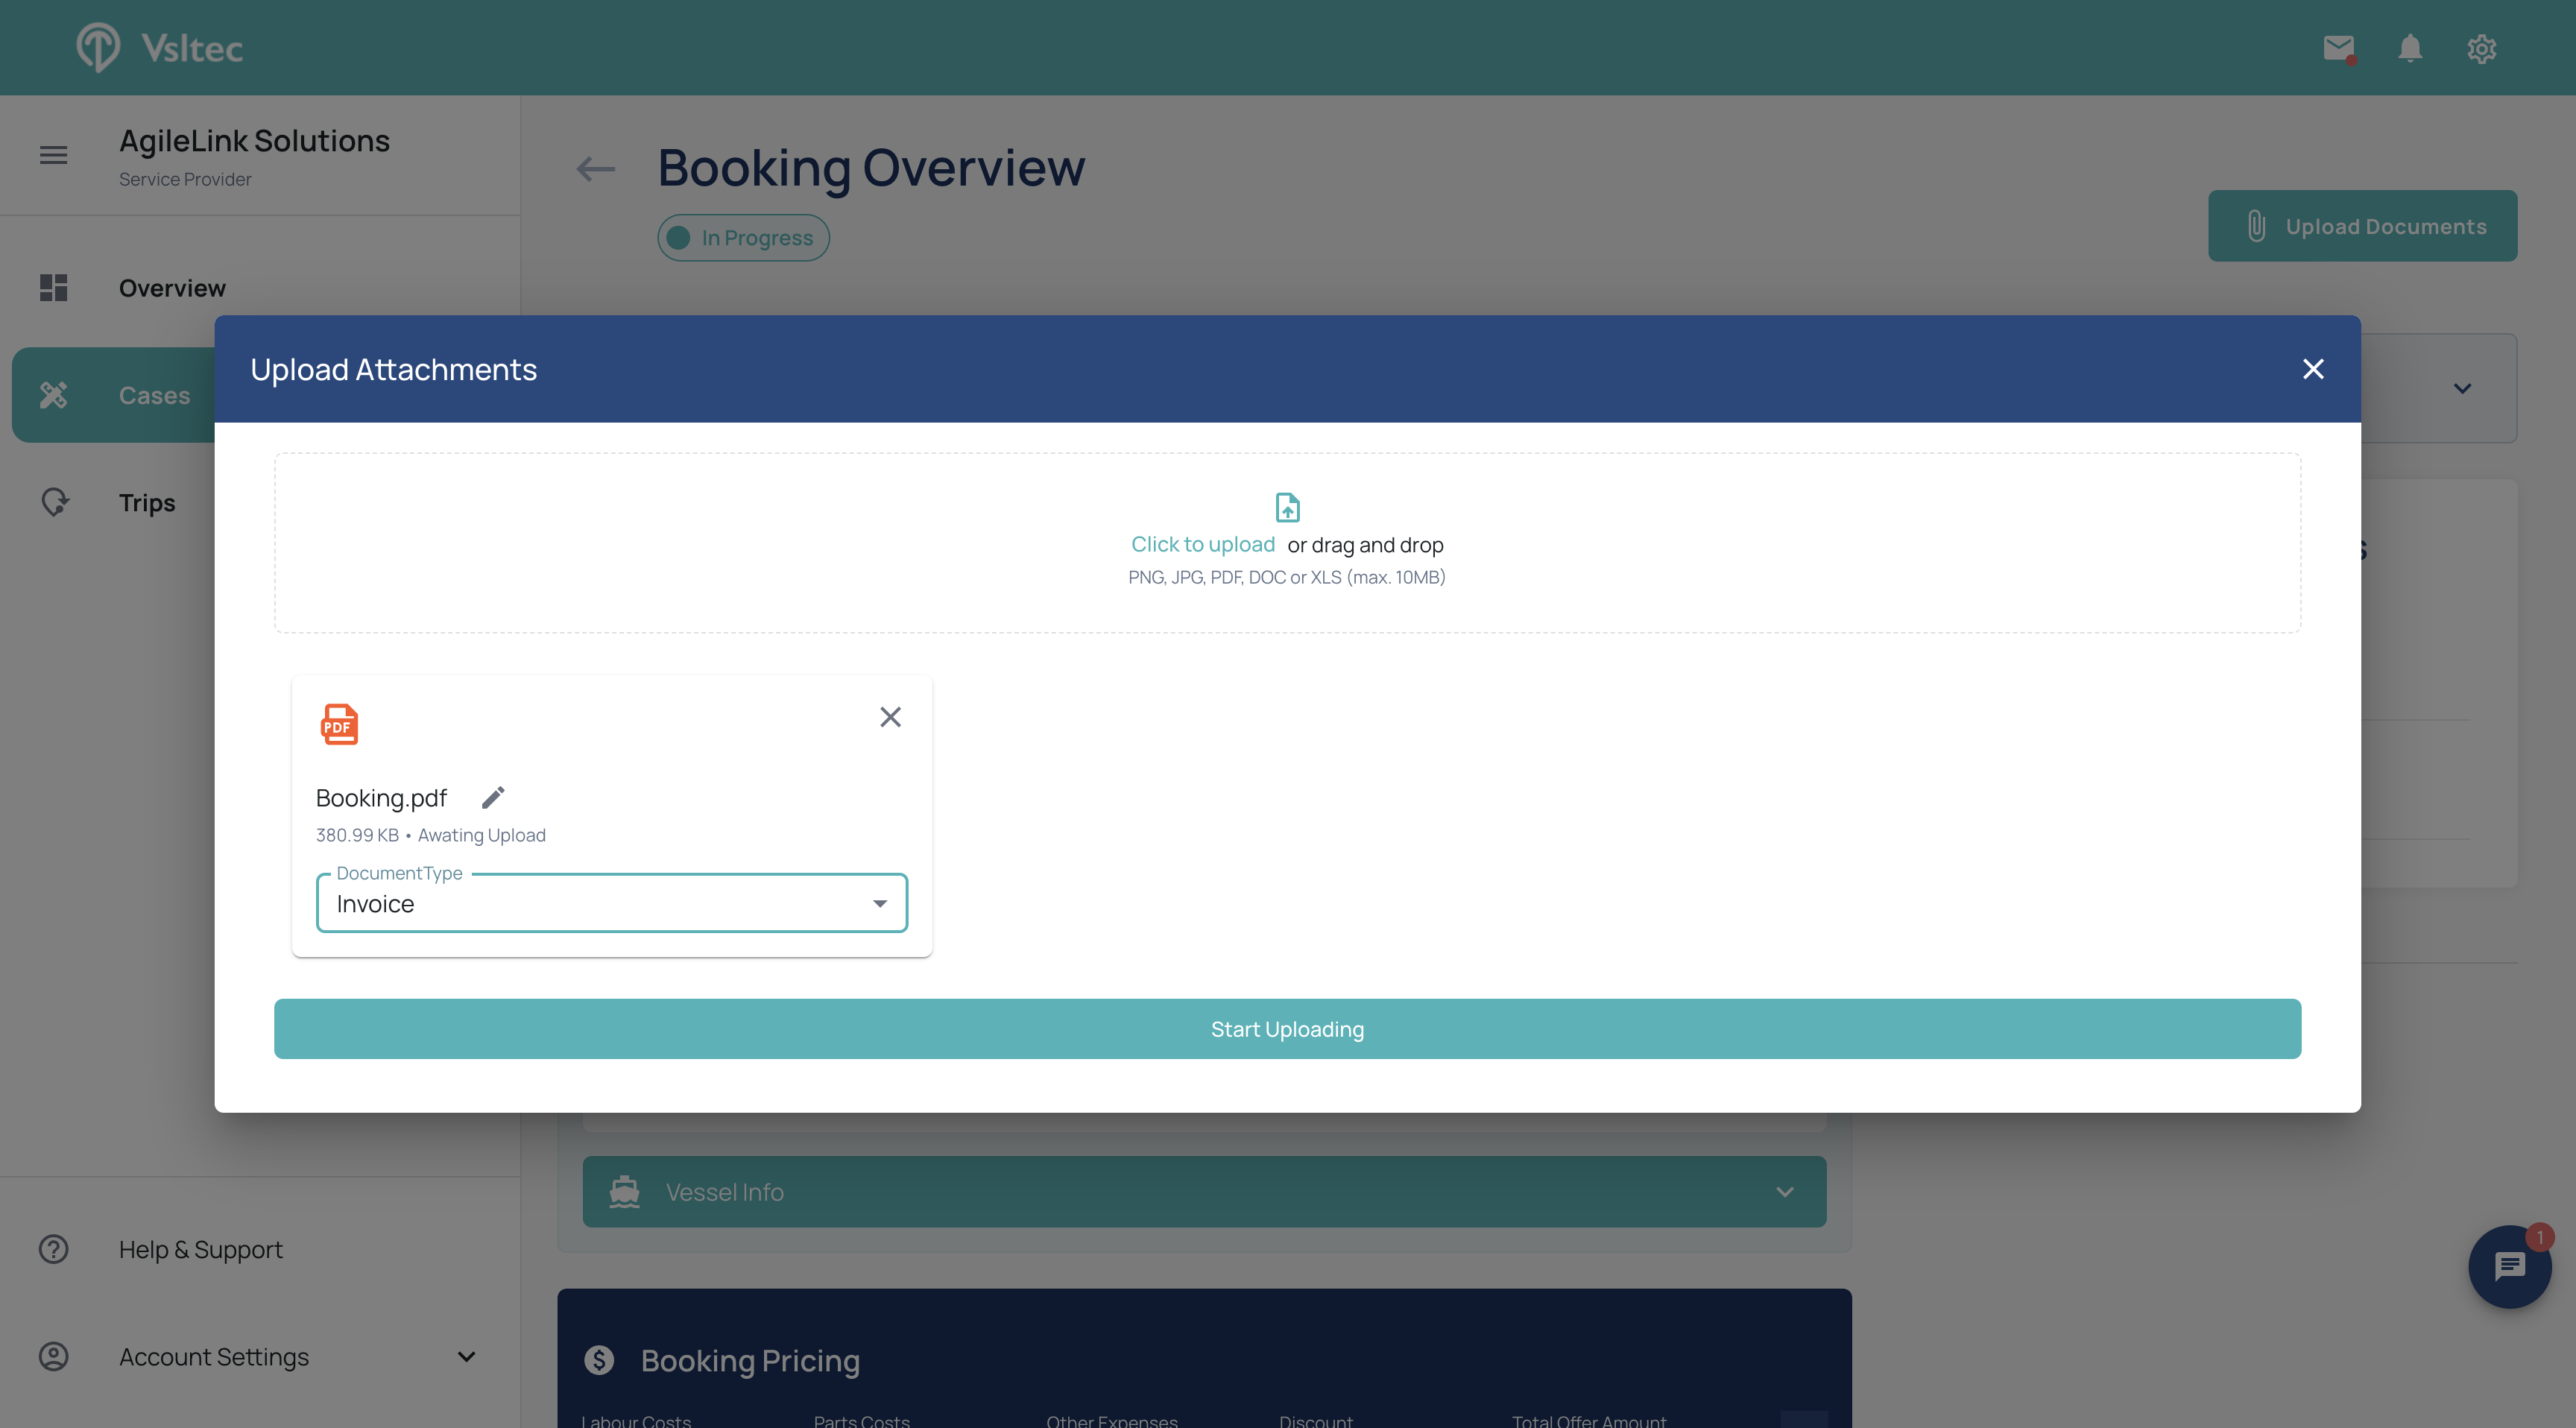
Click on "Upload a Document." Then, select one of your files. Choose the document type, such as an invoice or a supporting document, and click "Start Uploading."