Icon

Uploading Events To The New Elfsight Calendar

Learn how to upload and manage new events on the Elfsight Calendar, including adding event details, images, registration links, and more. Perfect for Cross Church event organizers.

By Brad Claunch

In this guide, we'll learn how to upload new events to the Elfsight calendar for Cross Church. You will see how to add event details, set dates and times, upload images, and include registration links. This process helps keep your church community informed and organized.

Let's get started

It won't always appear this way.

2
Click here
Step #2: Click here

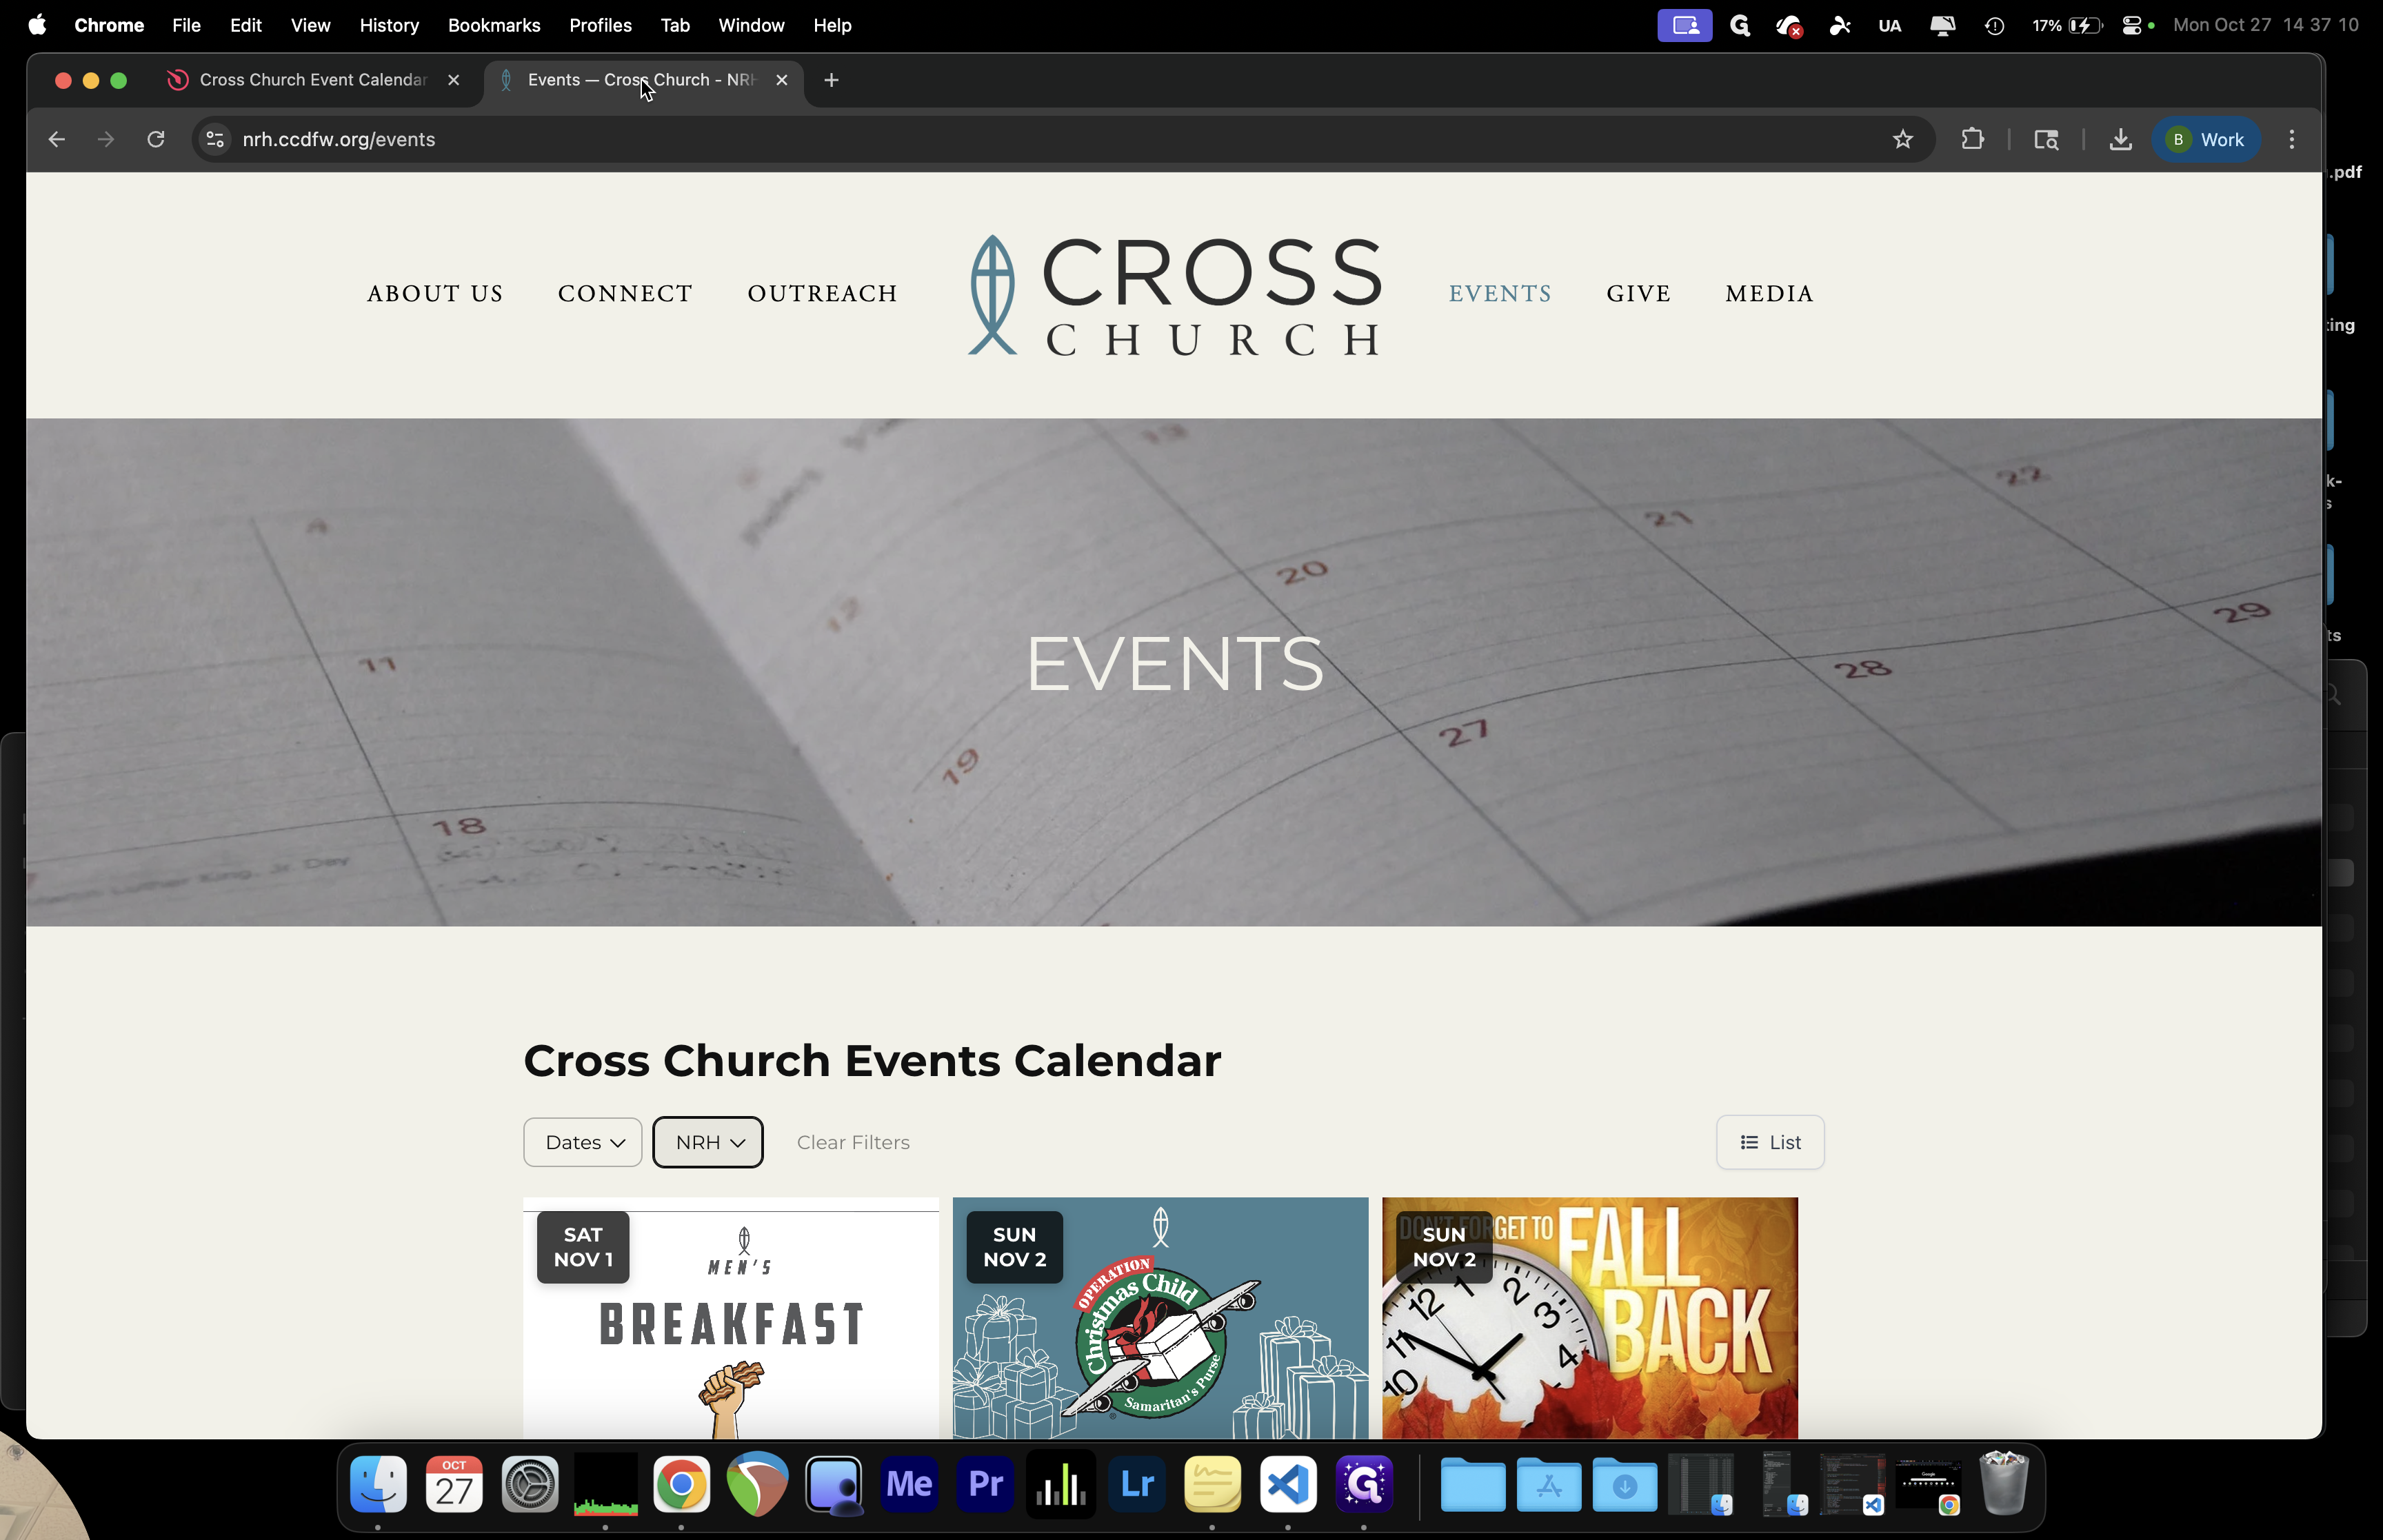
It may appear like this. Select the Cross Church Events Calendar.

3
Click on "Edit"
Step #3: Click on "Edit"

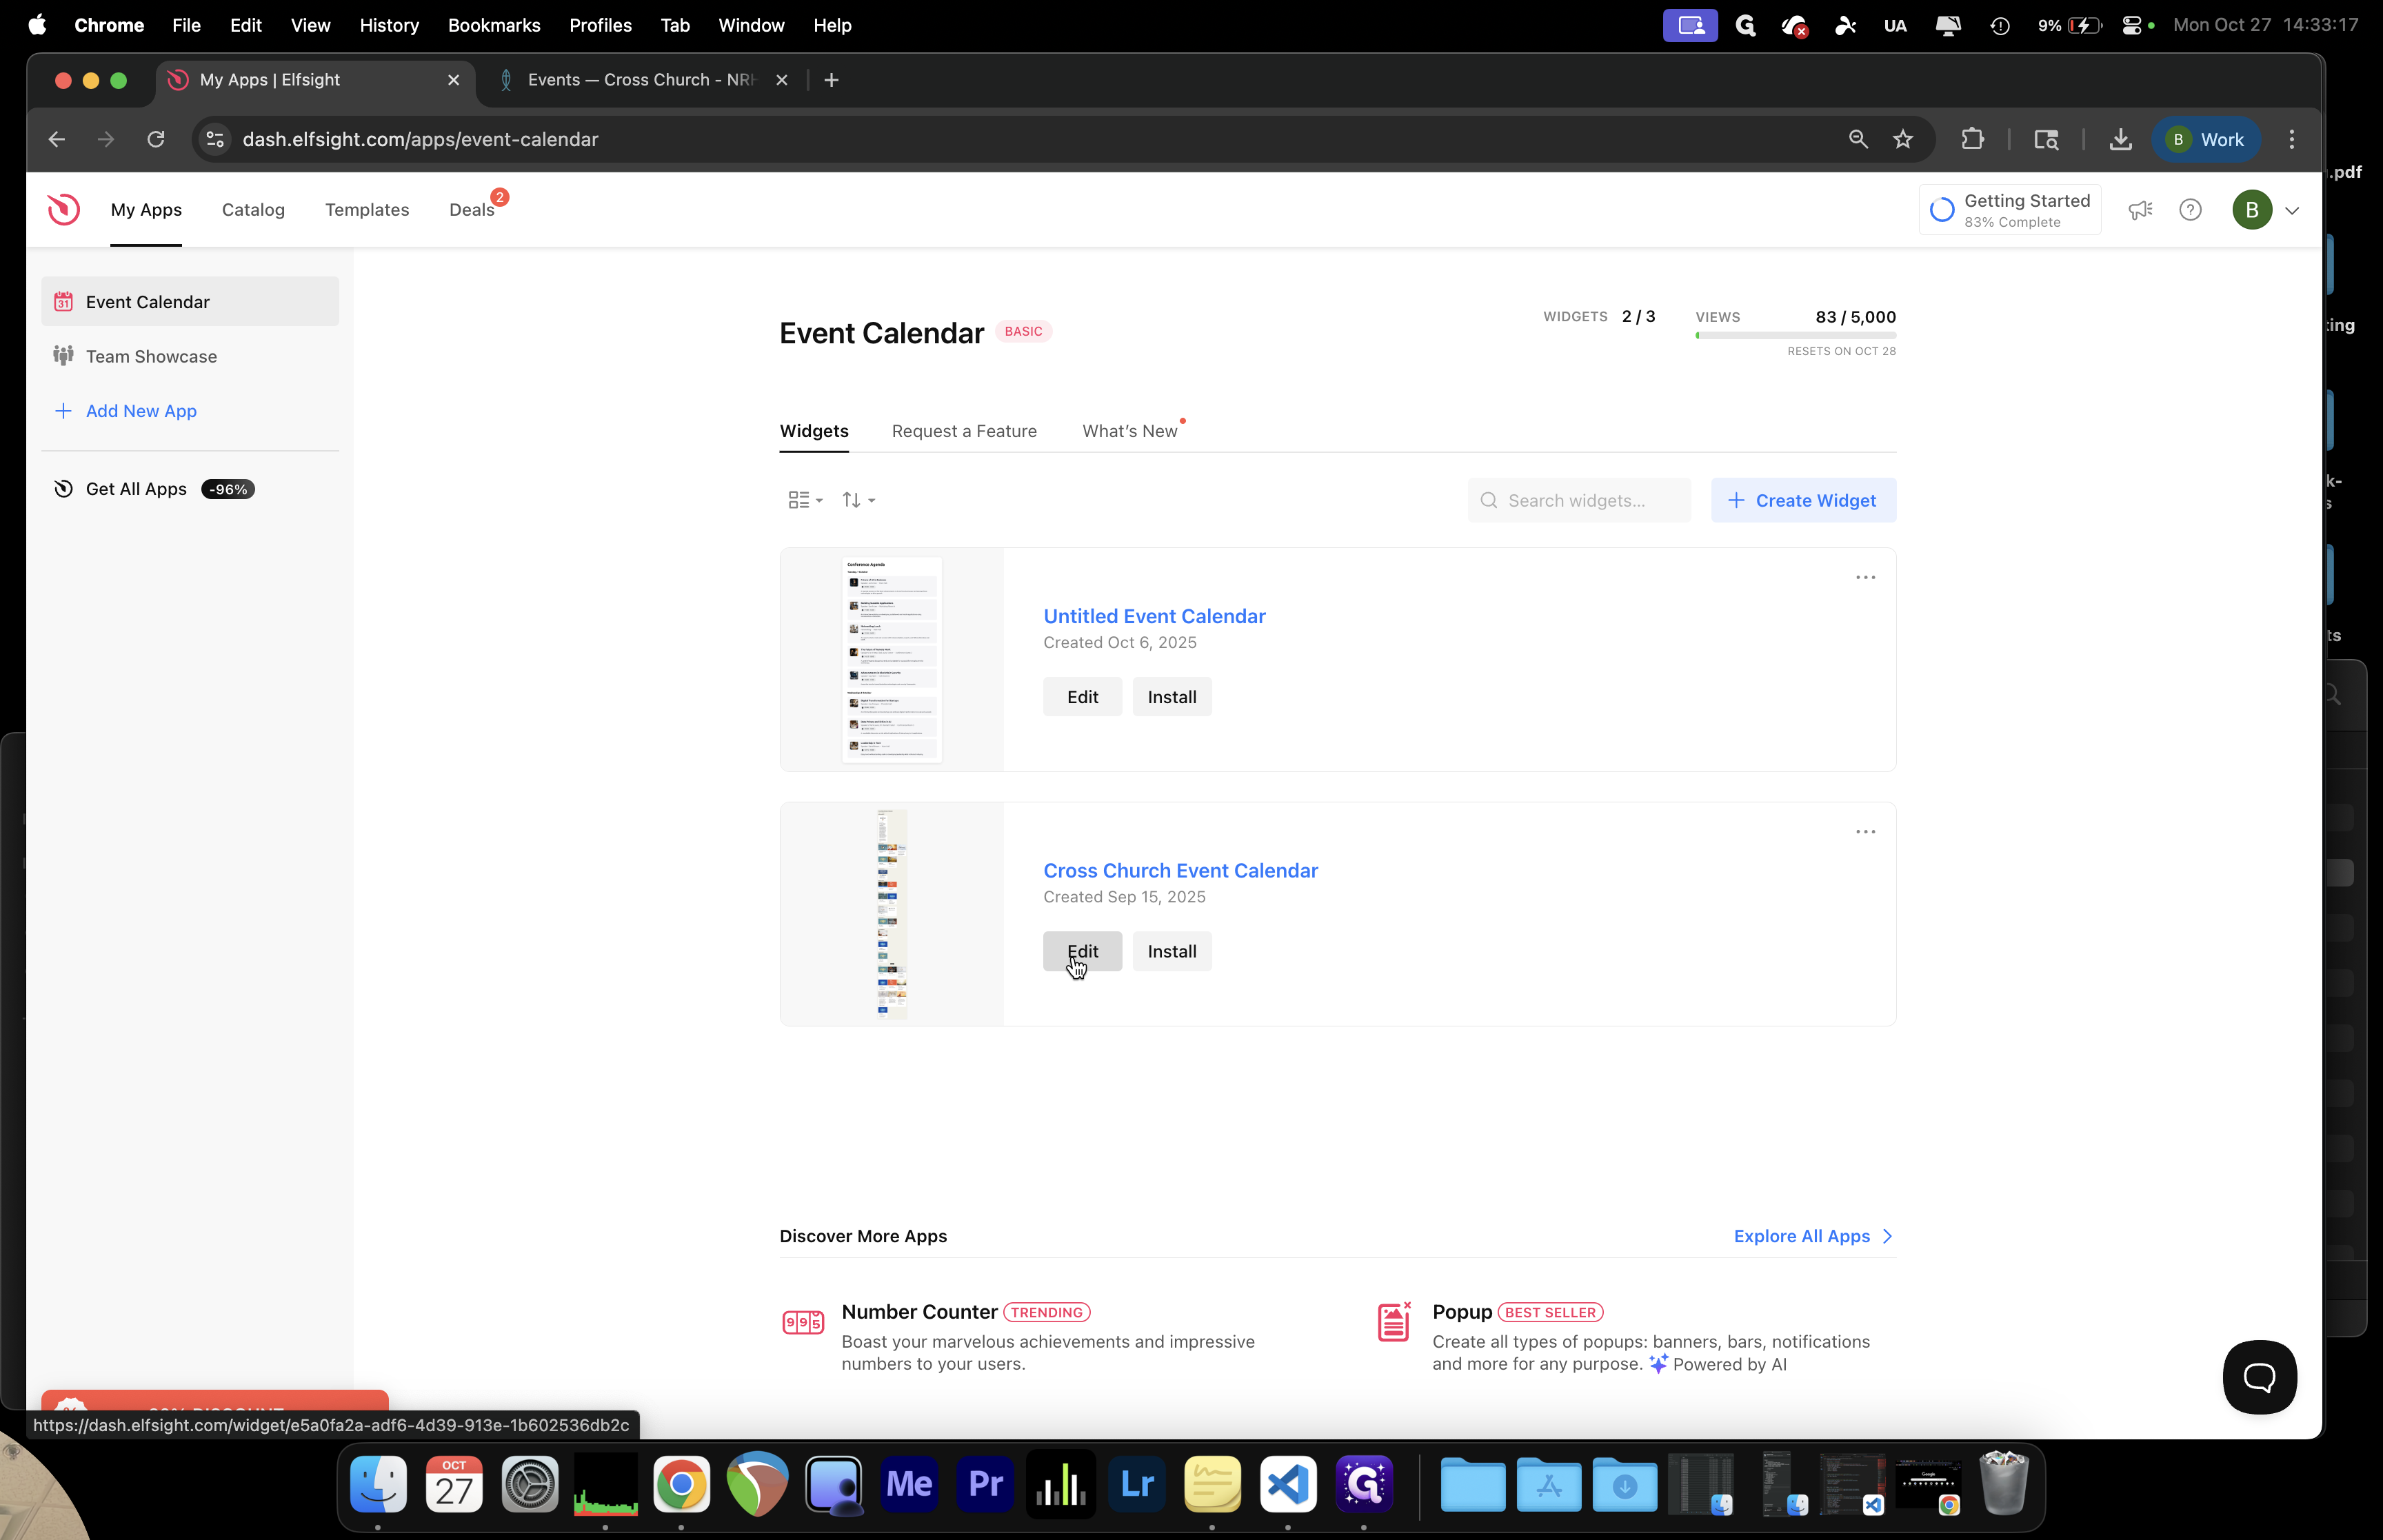
Click the Edit button. Today, we will add a new event.

4
Click on "+ Add Event"
Step #4: Click on "+ Add Event"

Click Add.

5
Click to name your event.
Step #5: Click to name your event.

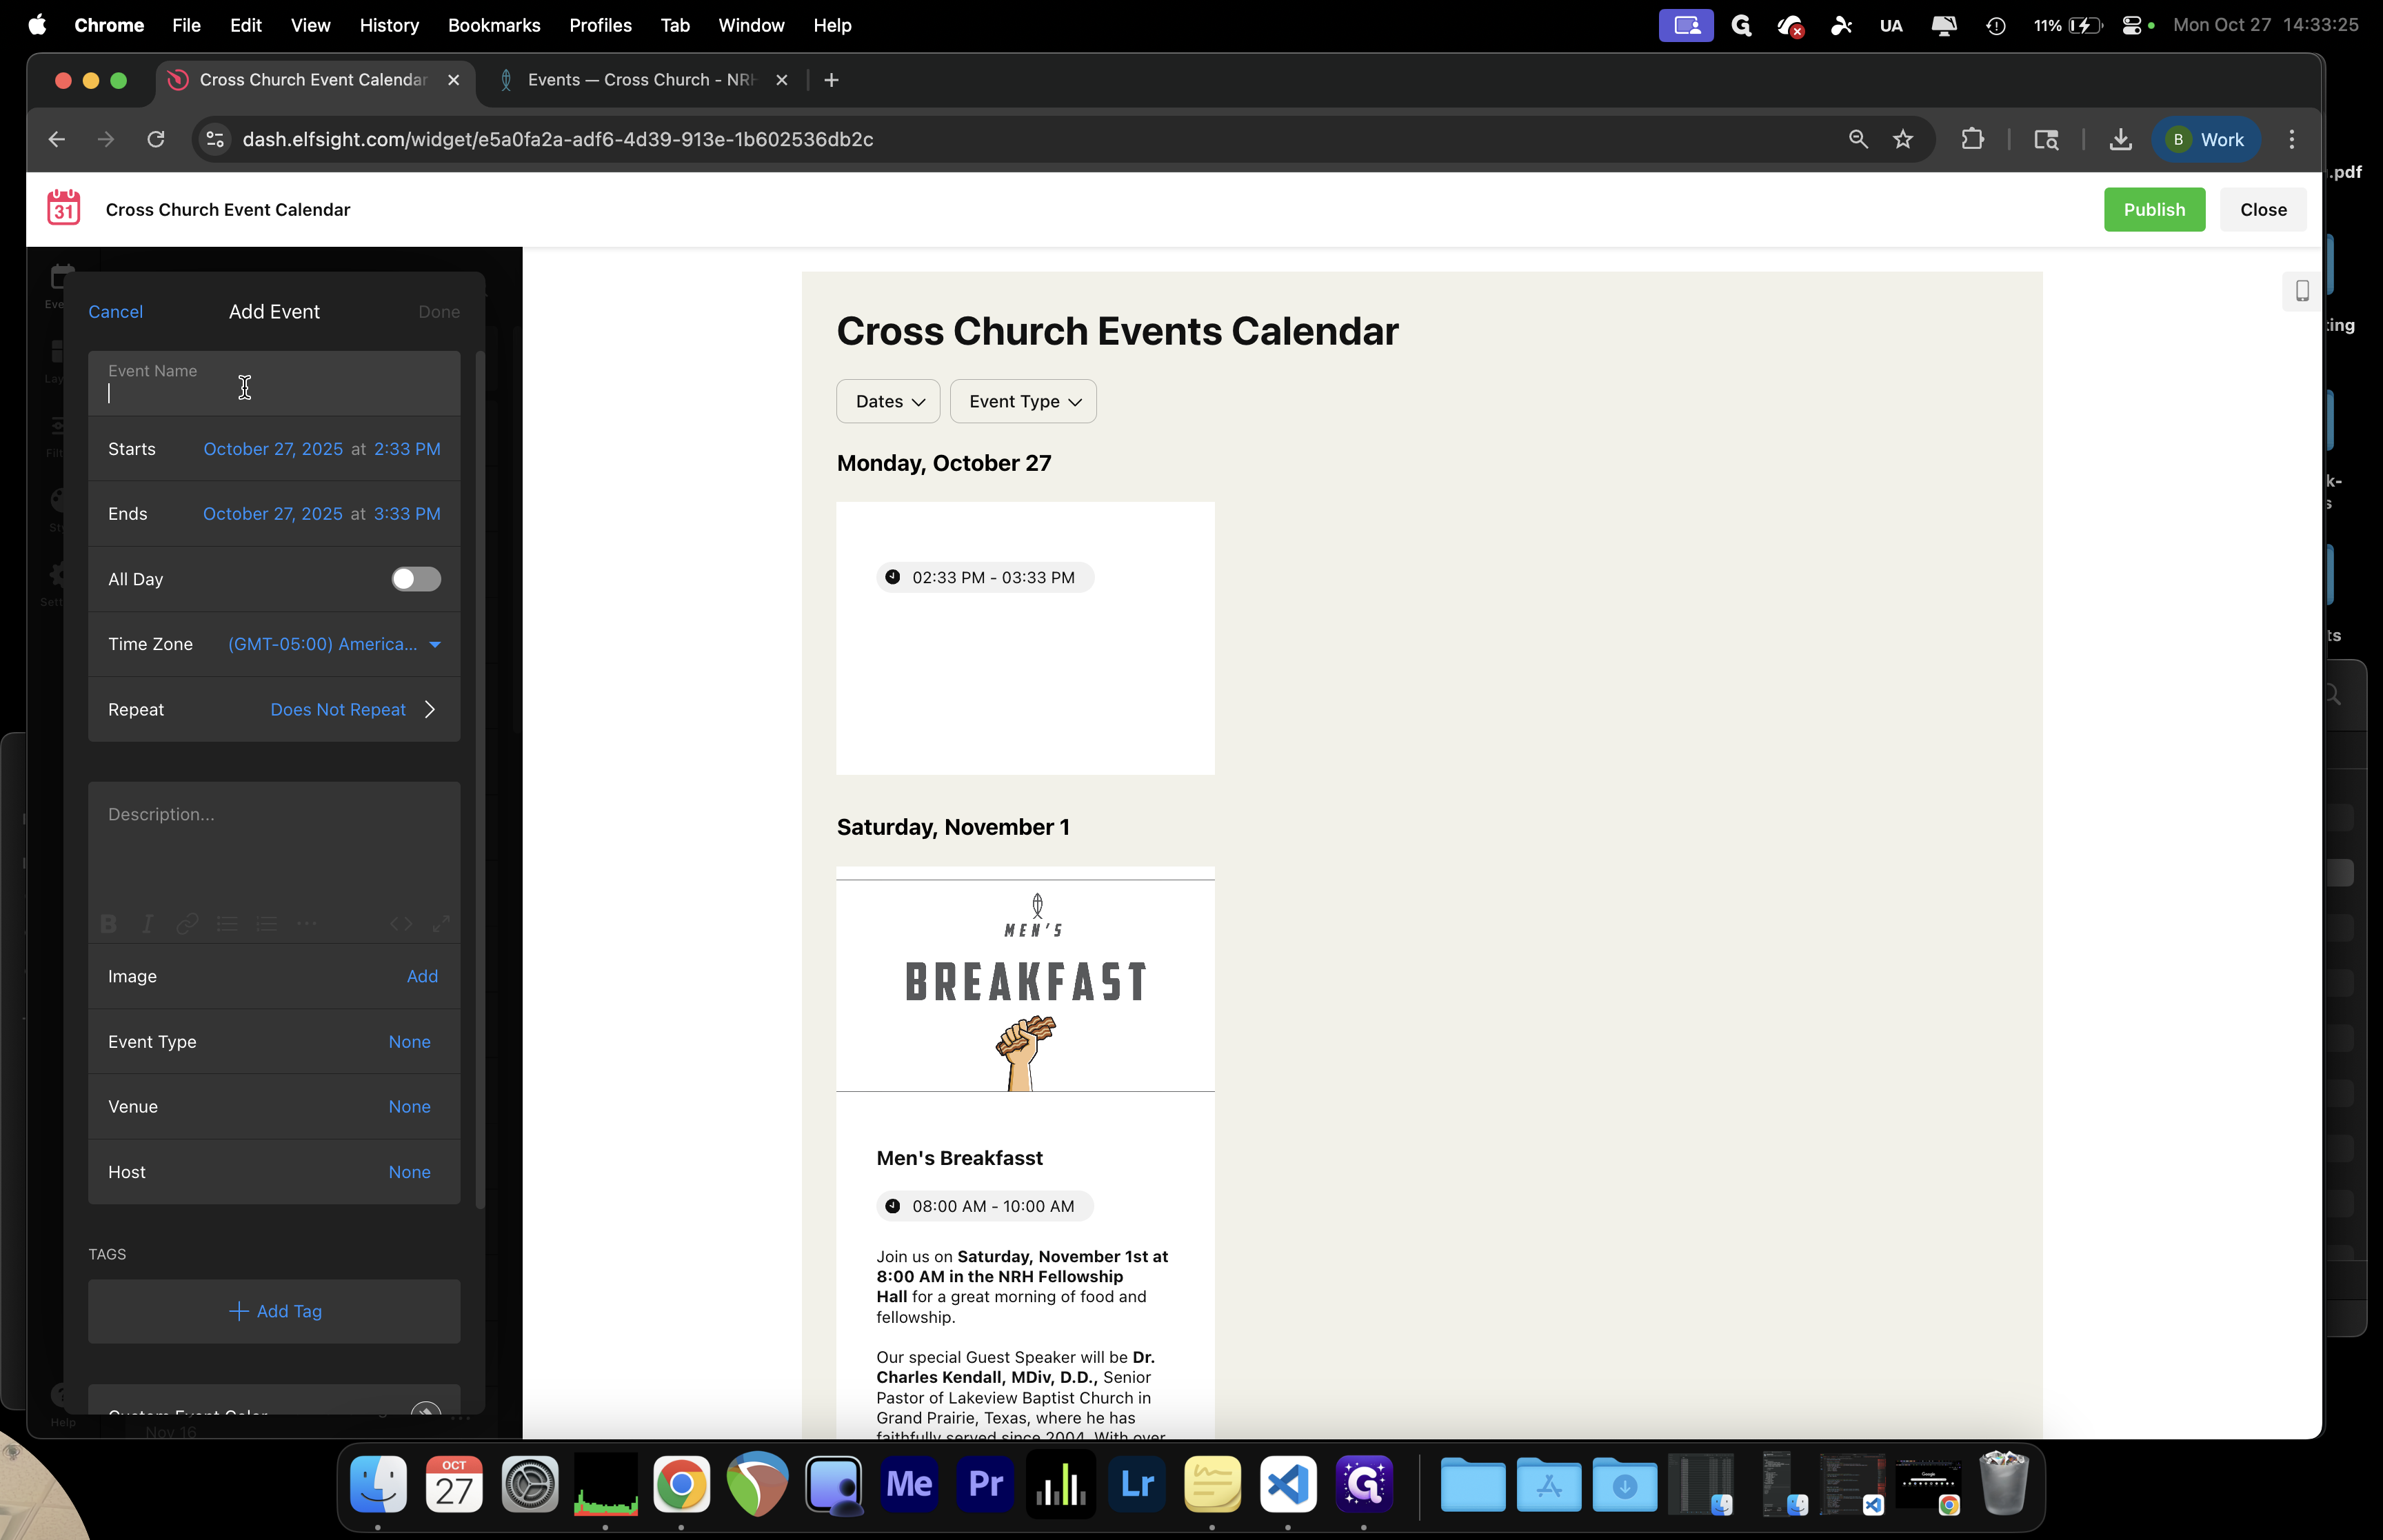
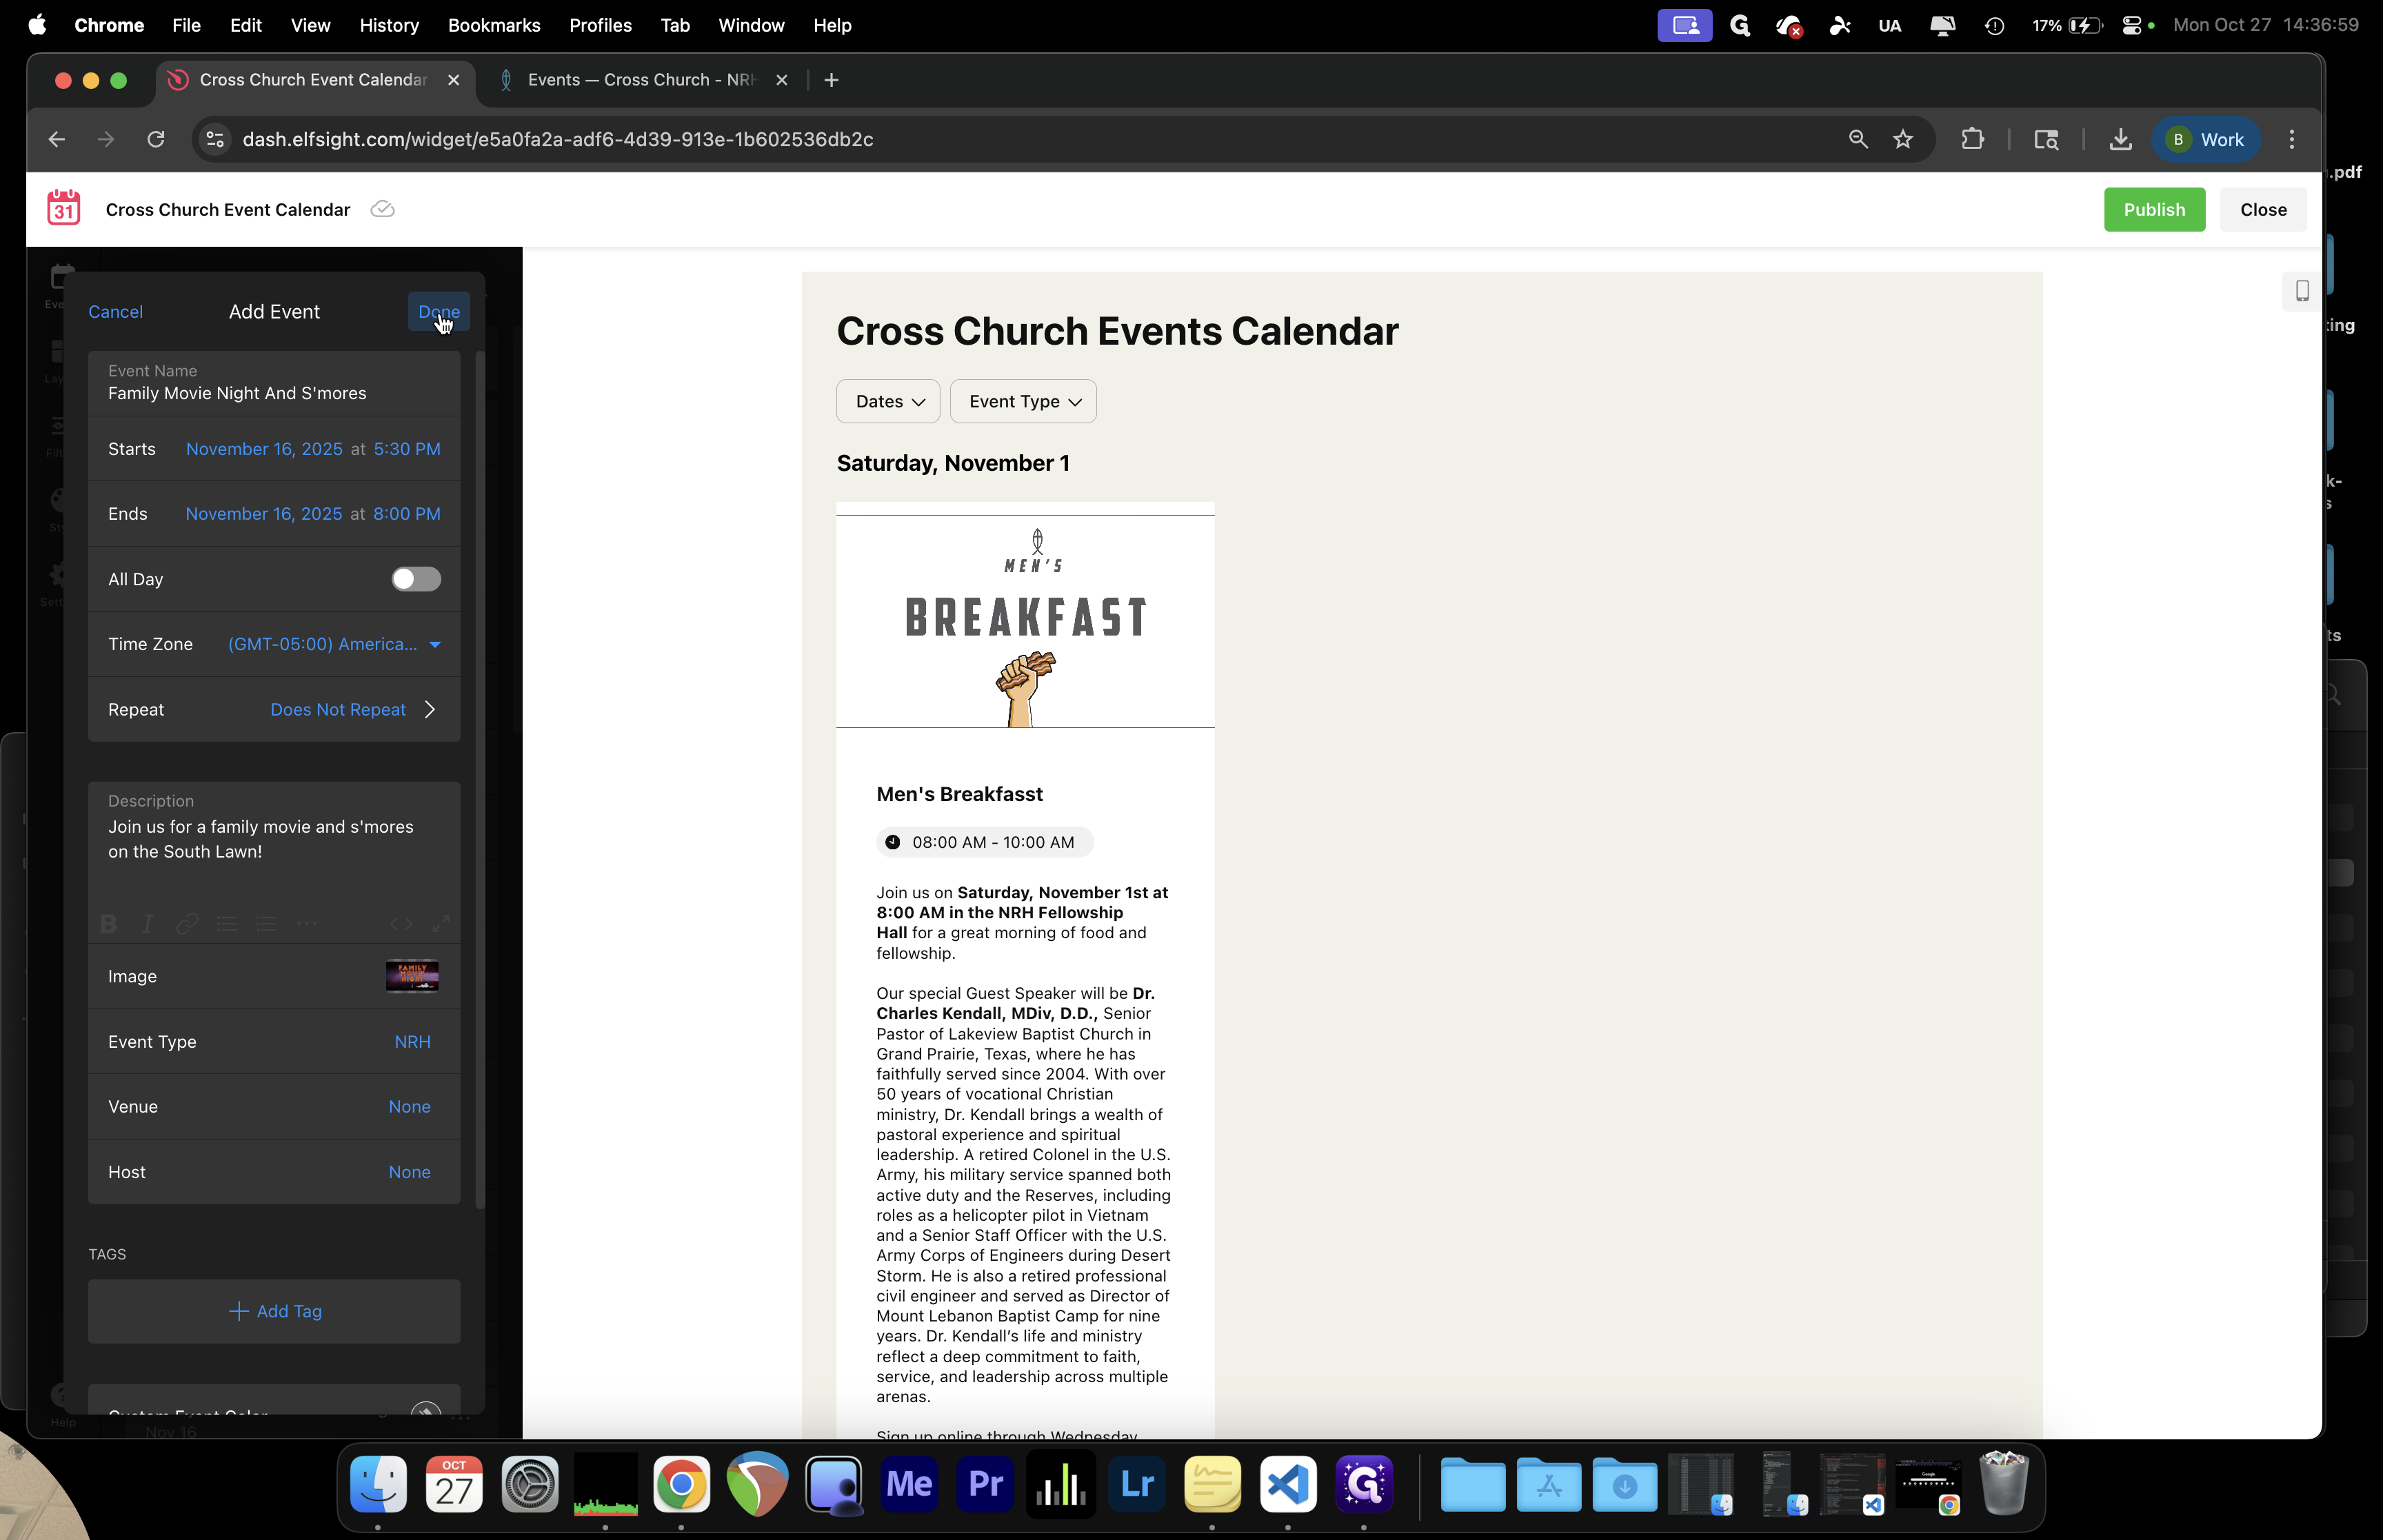
We're going to have a Family Movie Night and S'mores Night

6
Then we need to add the date(s) and time(s) for our event.
Step #6: Then we need to add the date(s) and time(s) for our event.
7
Step #7:

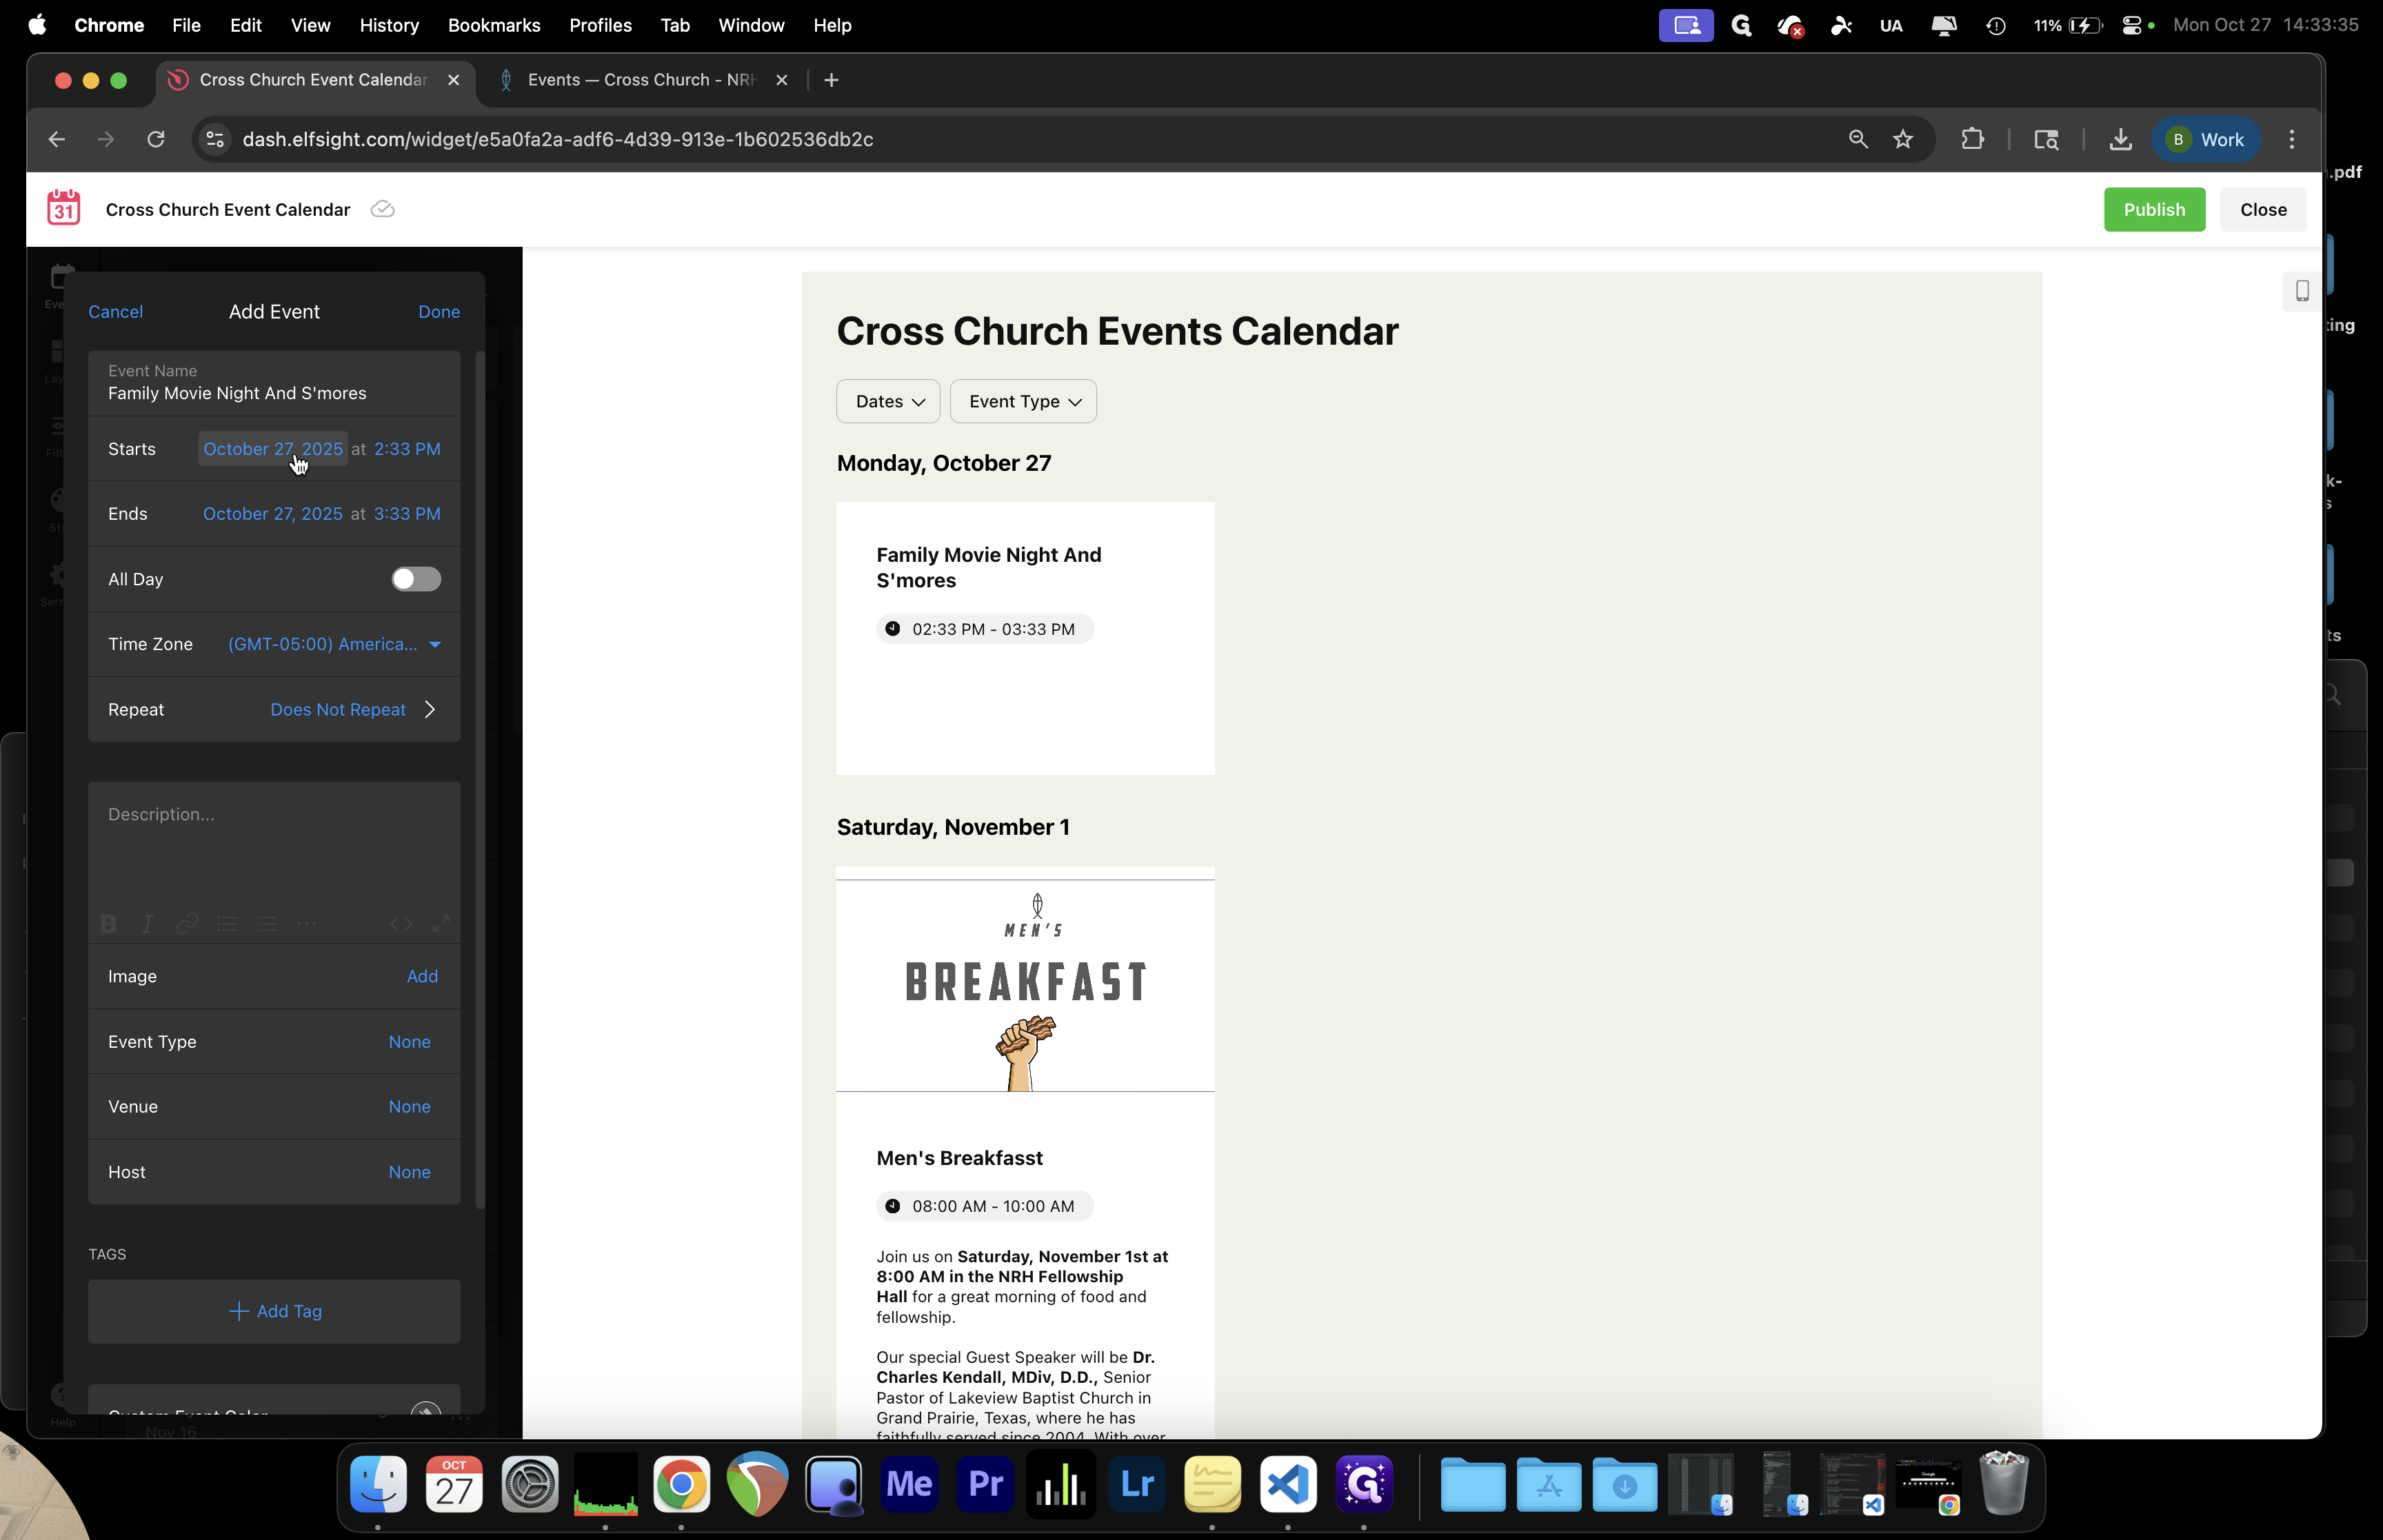
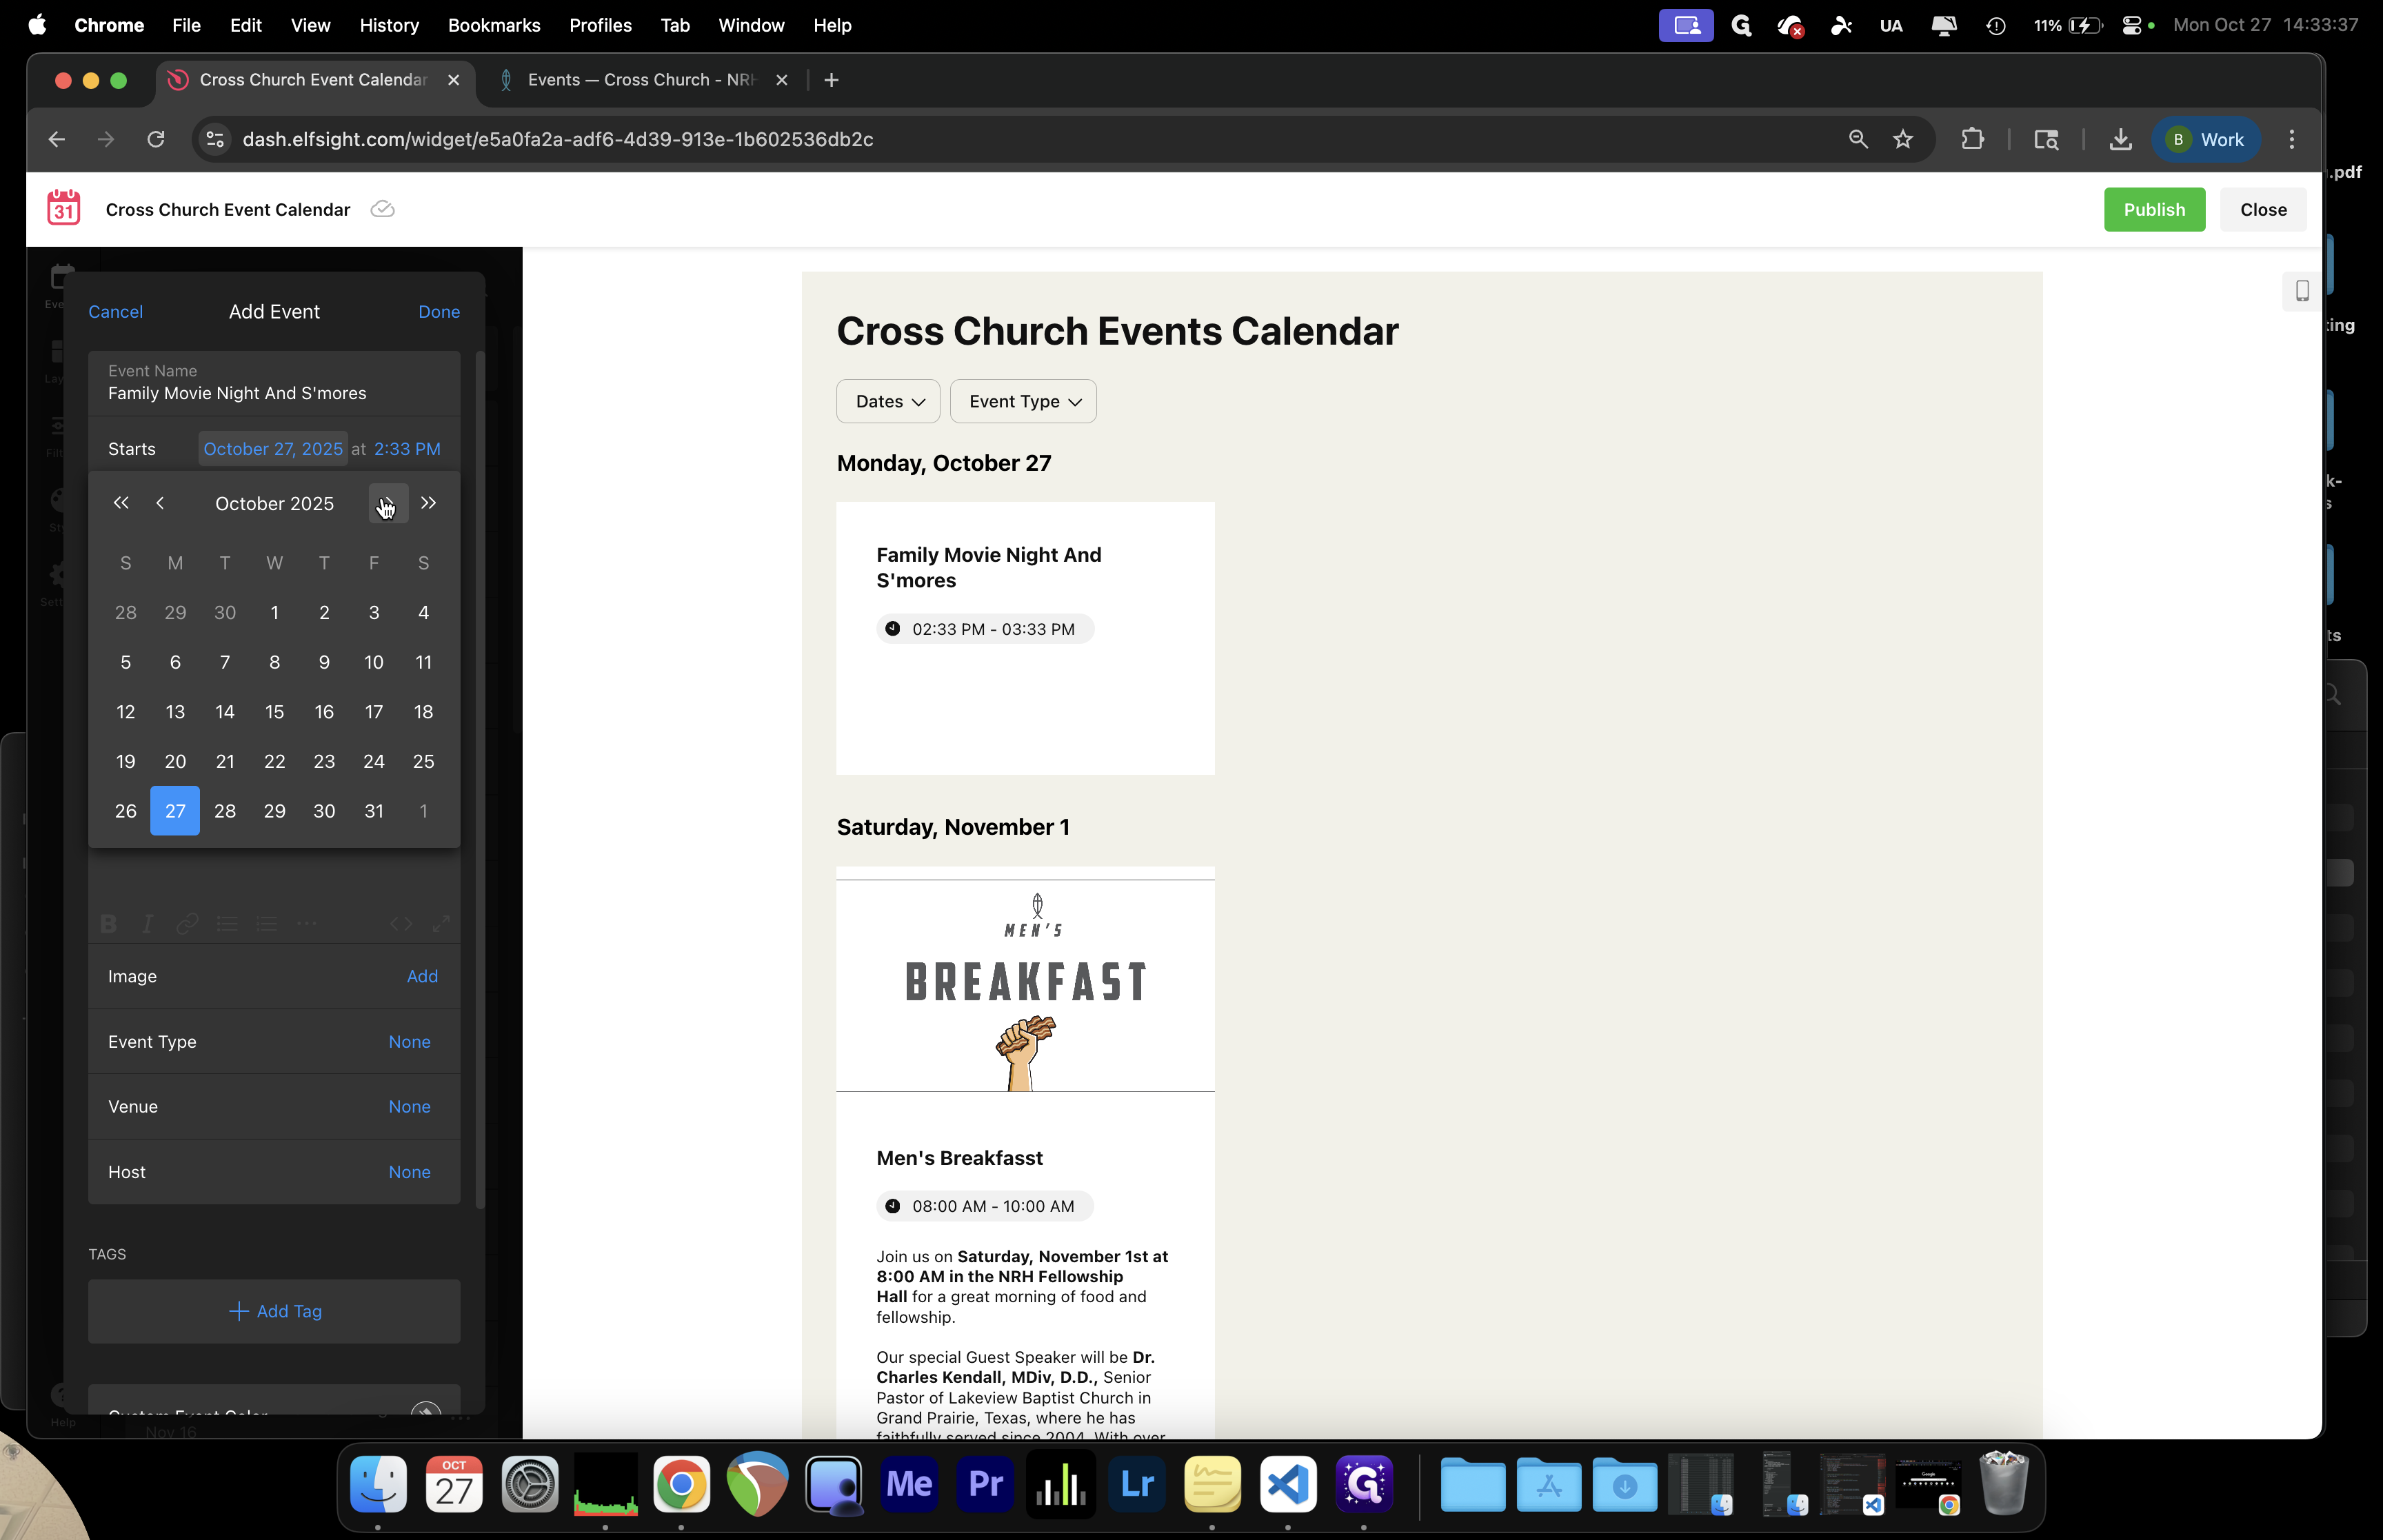
That is coming up on November 16.

8
Step #8:
9
Step #9:

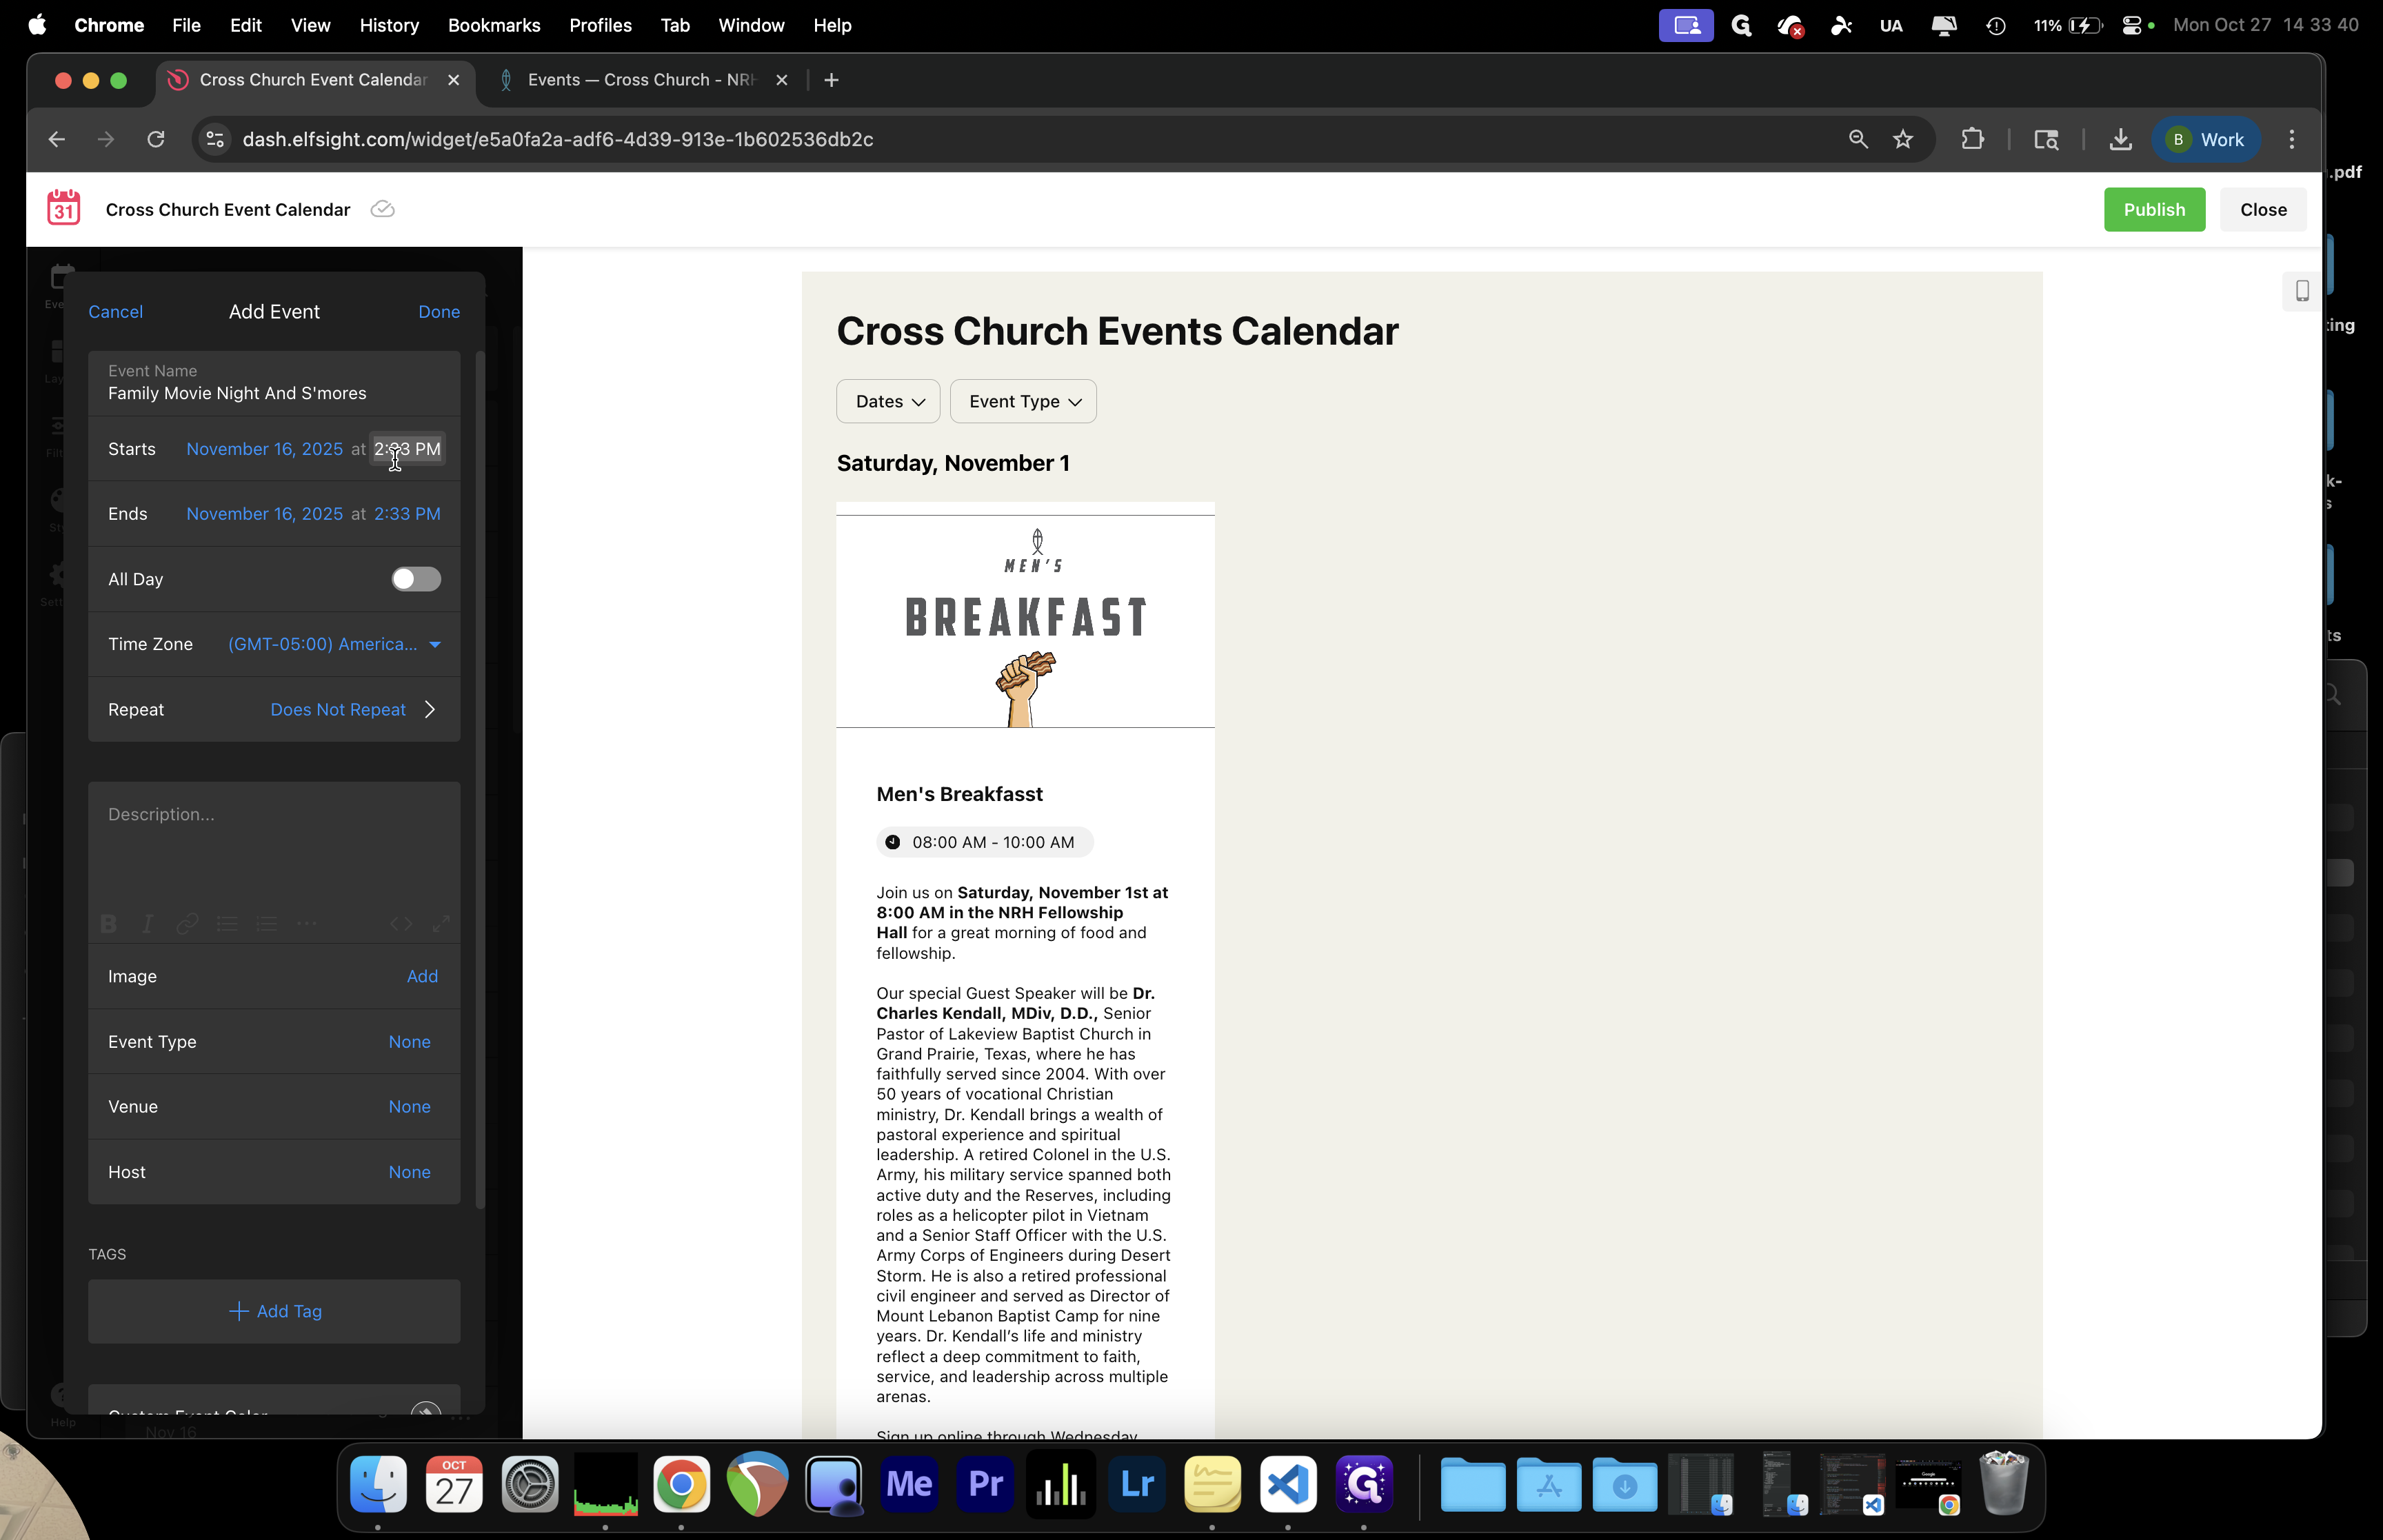
That's what we'll go with. For situations like office closures or holidays, I always select the "All Day" option.

10
All Day Option
Step #10: All Day Option

Other than that, specify the date and time in these boxes, just as you did with the old calendar. A great feature is the ability to manage events like baptisms, Sundays, membership classes, and more. We can set these to repeat automatically based on any of these variables. This is a very helpful tool.

11
Click here
Step #11: Click here

We can customize it and choose how we want it to repeat.

12
Set the repetition of your events.
Step #12: Set the repetition of your events.
13
Or click on "Does Not Repeat"
Step #13: Or click on "Does Not Repeat"

For now, we'll select "Does Not Repeat."

14
Step #14:
15
Click to add a brief description of the event that you are publishing.
Step #15: Click to add a brief description of the event that you are publishing.
16
Join us for a family movie and s'mores
Step #16: Join us for a family movie and s'mores
17
You can Bold certain text or add a Hyperlink right into the description!
Step #17: You can Bold certain text or add a Hyperlink right into the description!
18
We can go here to add our image.
Step #18: We can go here to add our image.
19
Click on "Upload File"
Step #19: Click on "Upload File"

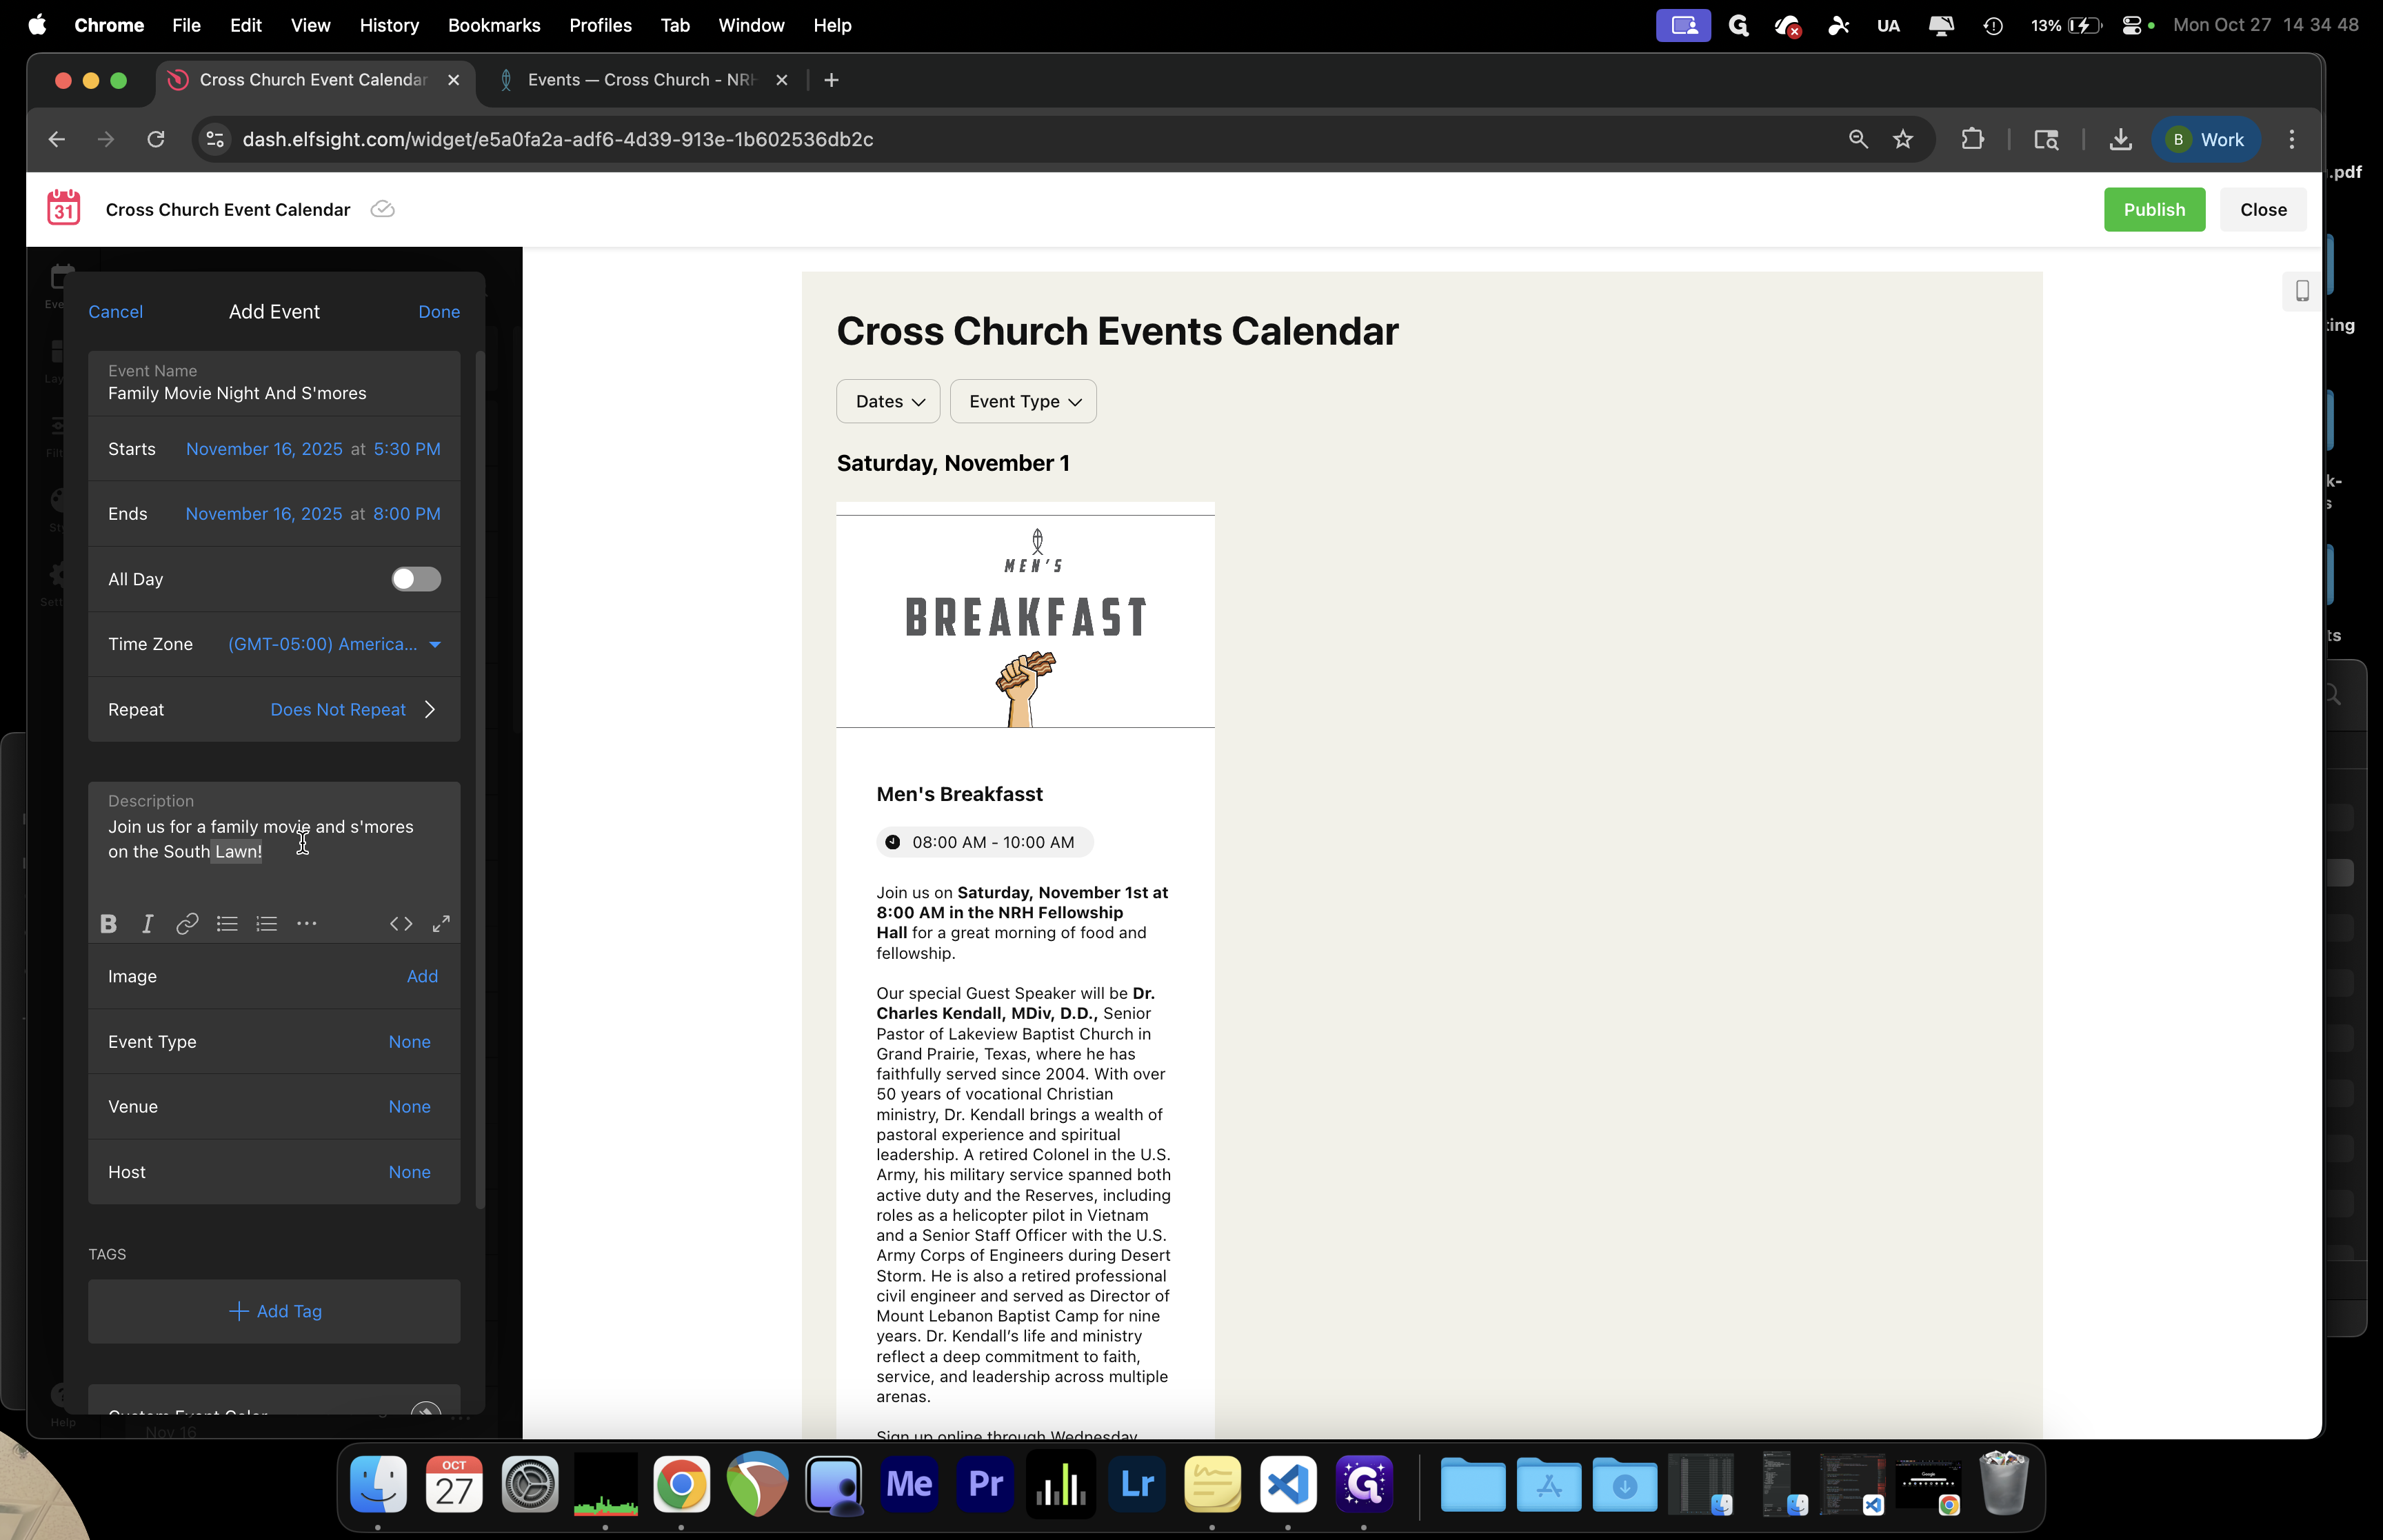
We'll upload the file.

20
Click here
Step #20: Click here

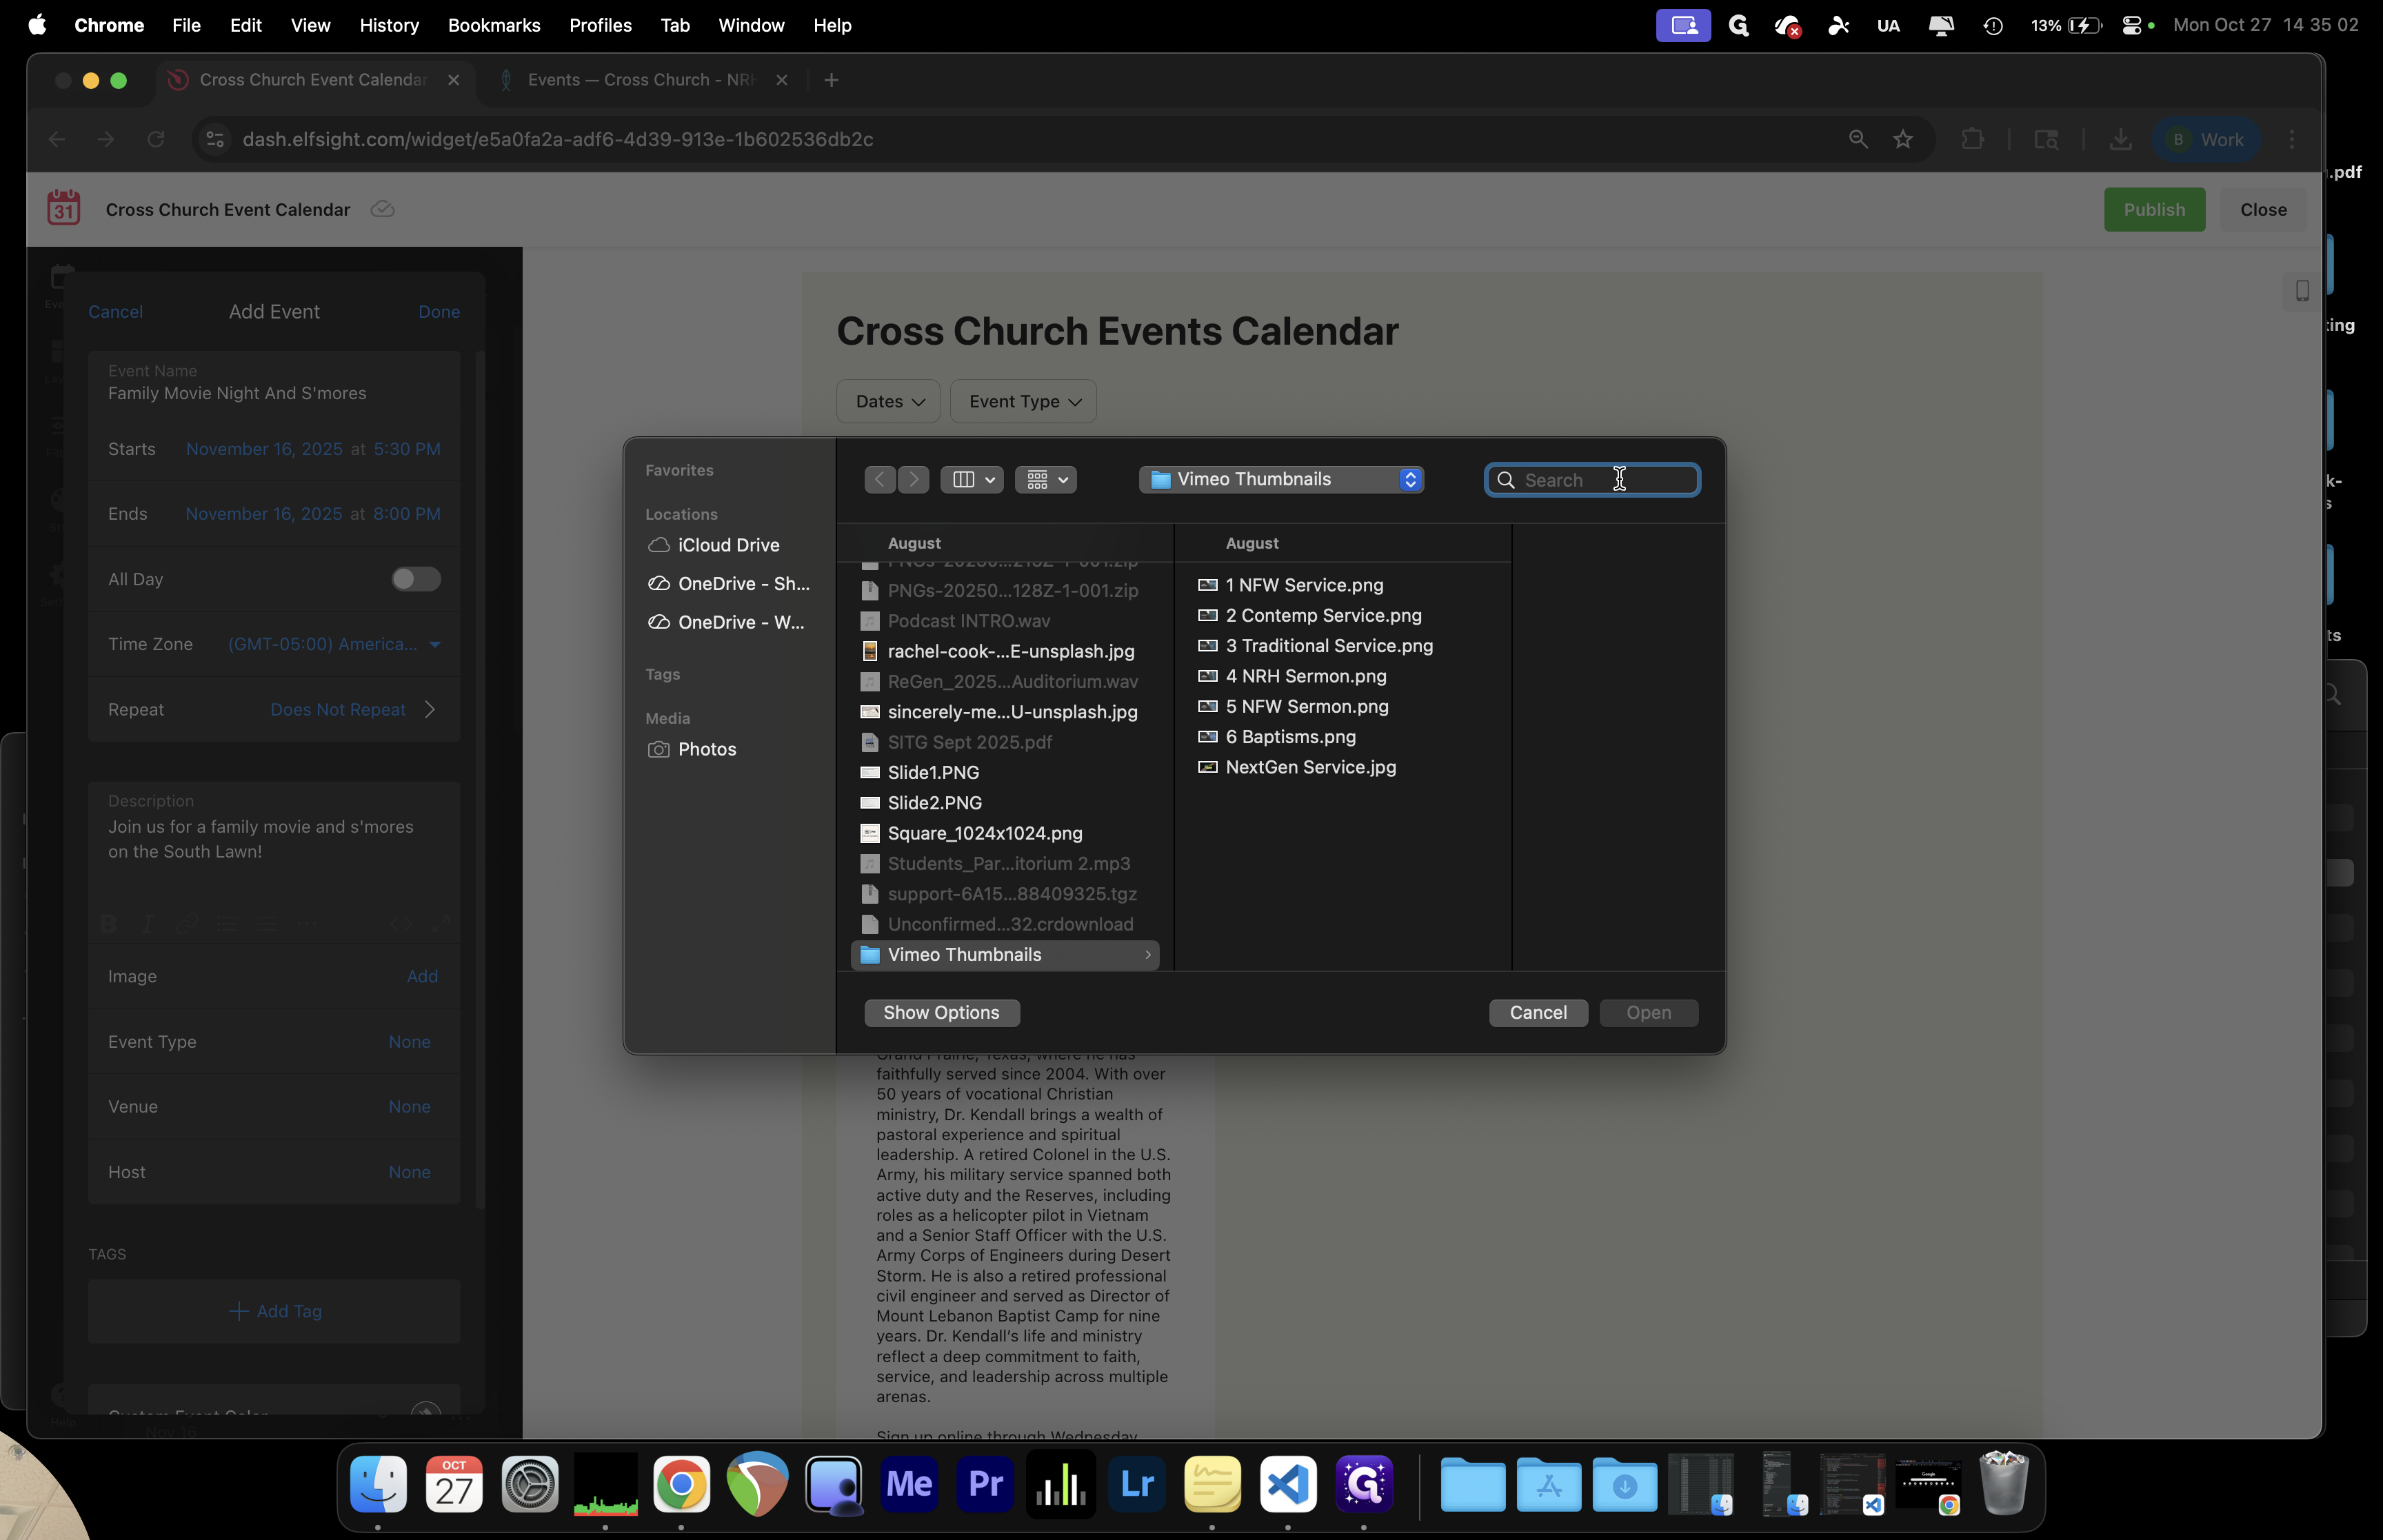
Um, let's see. We'll try uploading the file again.

21
Click on "Add"
Step #21: Click on "Add"
22
Click on "Upload File Upload from URL"
Step #22: Click on "Upload File Upload from URL"

Upload a clean, high-quality graphic for the interface.

As the file uploads, we'll finish filling out this information. The key part is the event type category. This tells us if the event is in North Richland Hills, North Fort Worth, or both.

23
Choose "Event Type"
Step #23: Choose "Event Type"
24
Choose Campus as your Event Type.
Step #24: Choose Campus as your Event Type.
25
Click on "NRH"
Step #25: Click on "NRH"
26
You can choose one campus or both campuses for church wide eventsClick on "NRH"
Step #26: You can choose one campus or both campuses for church wide eventsClick on "NRH"

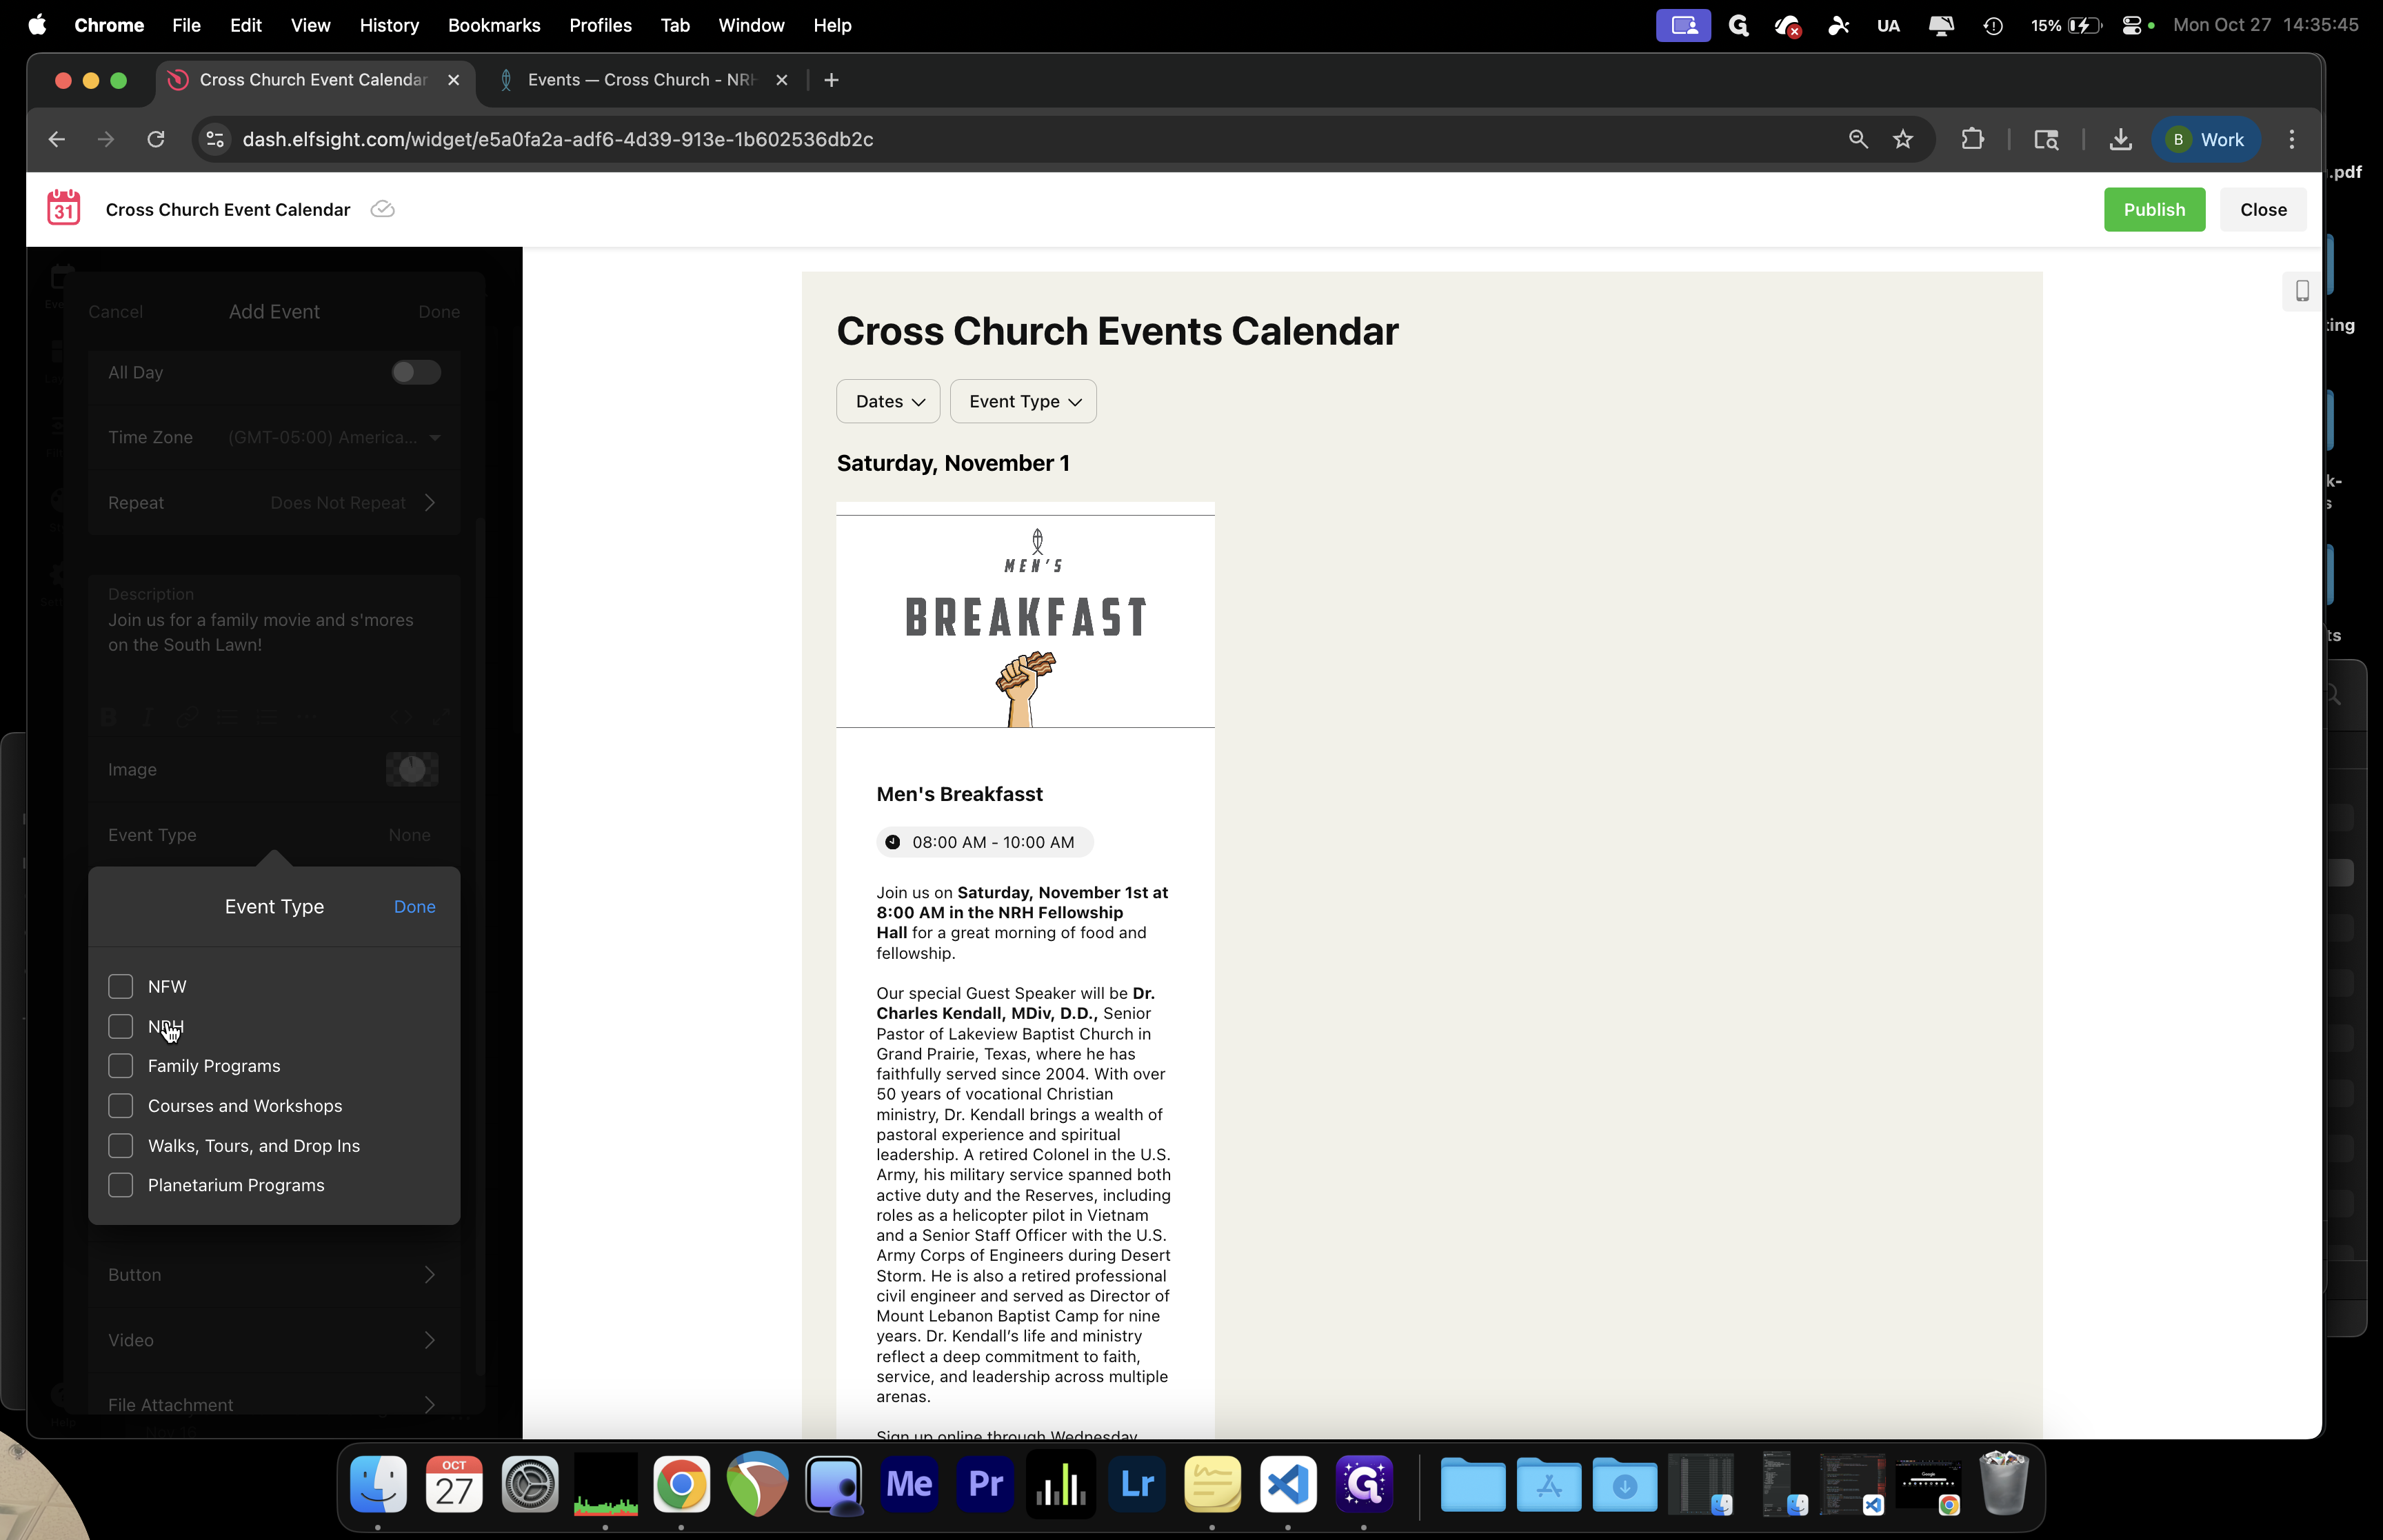
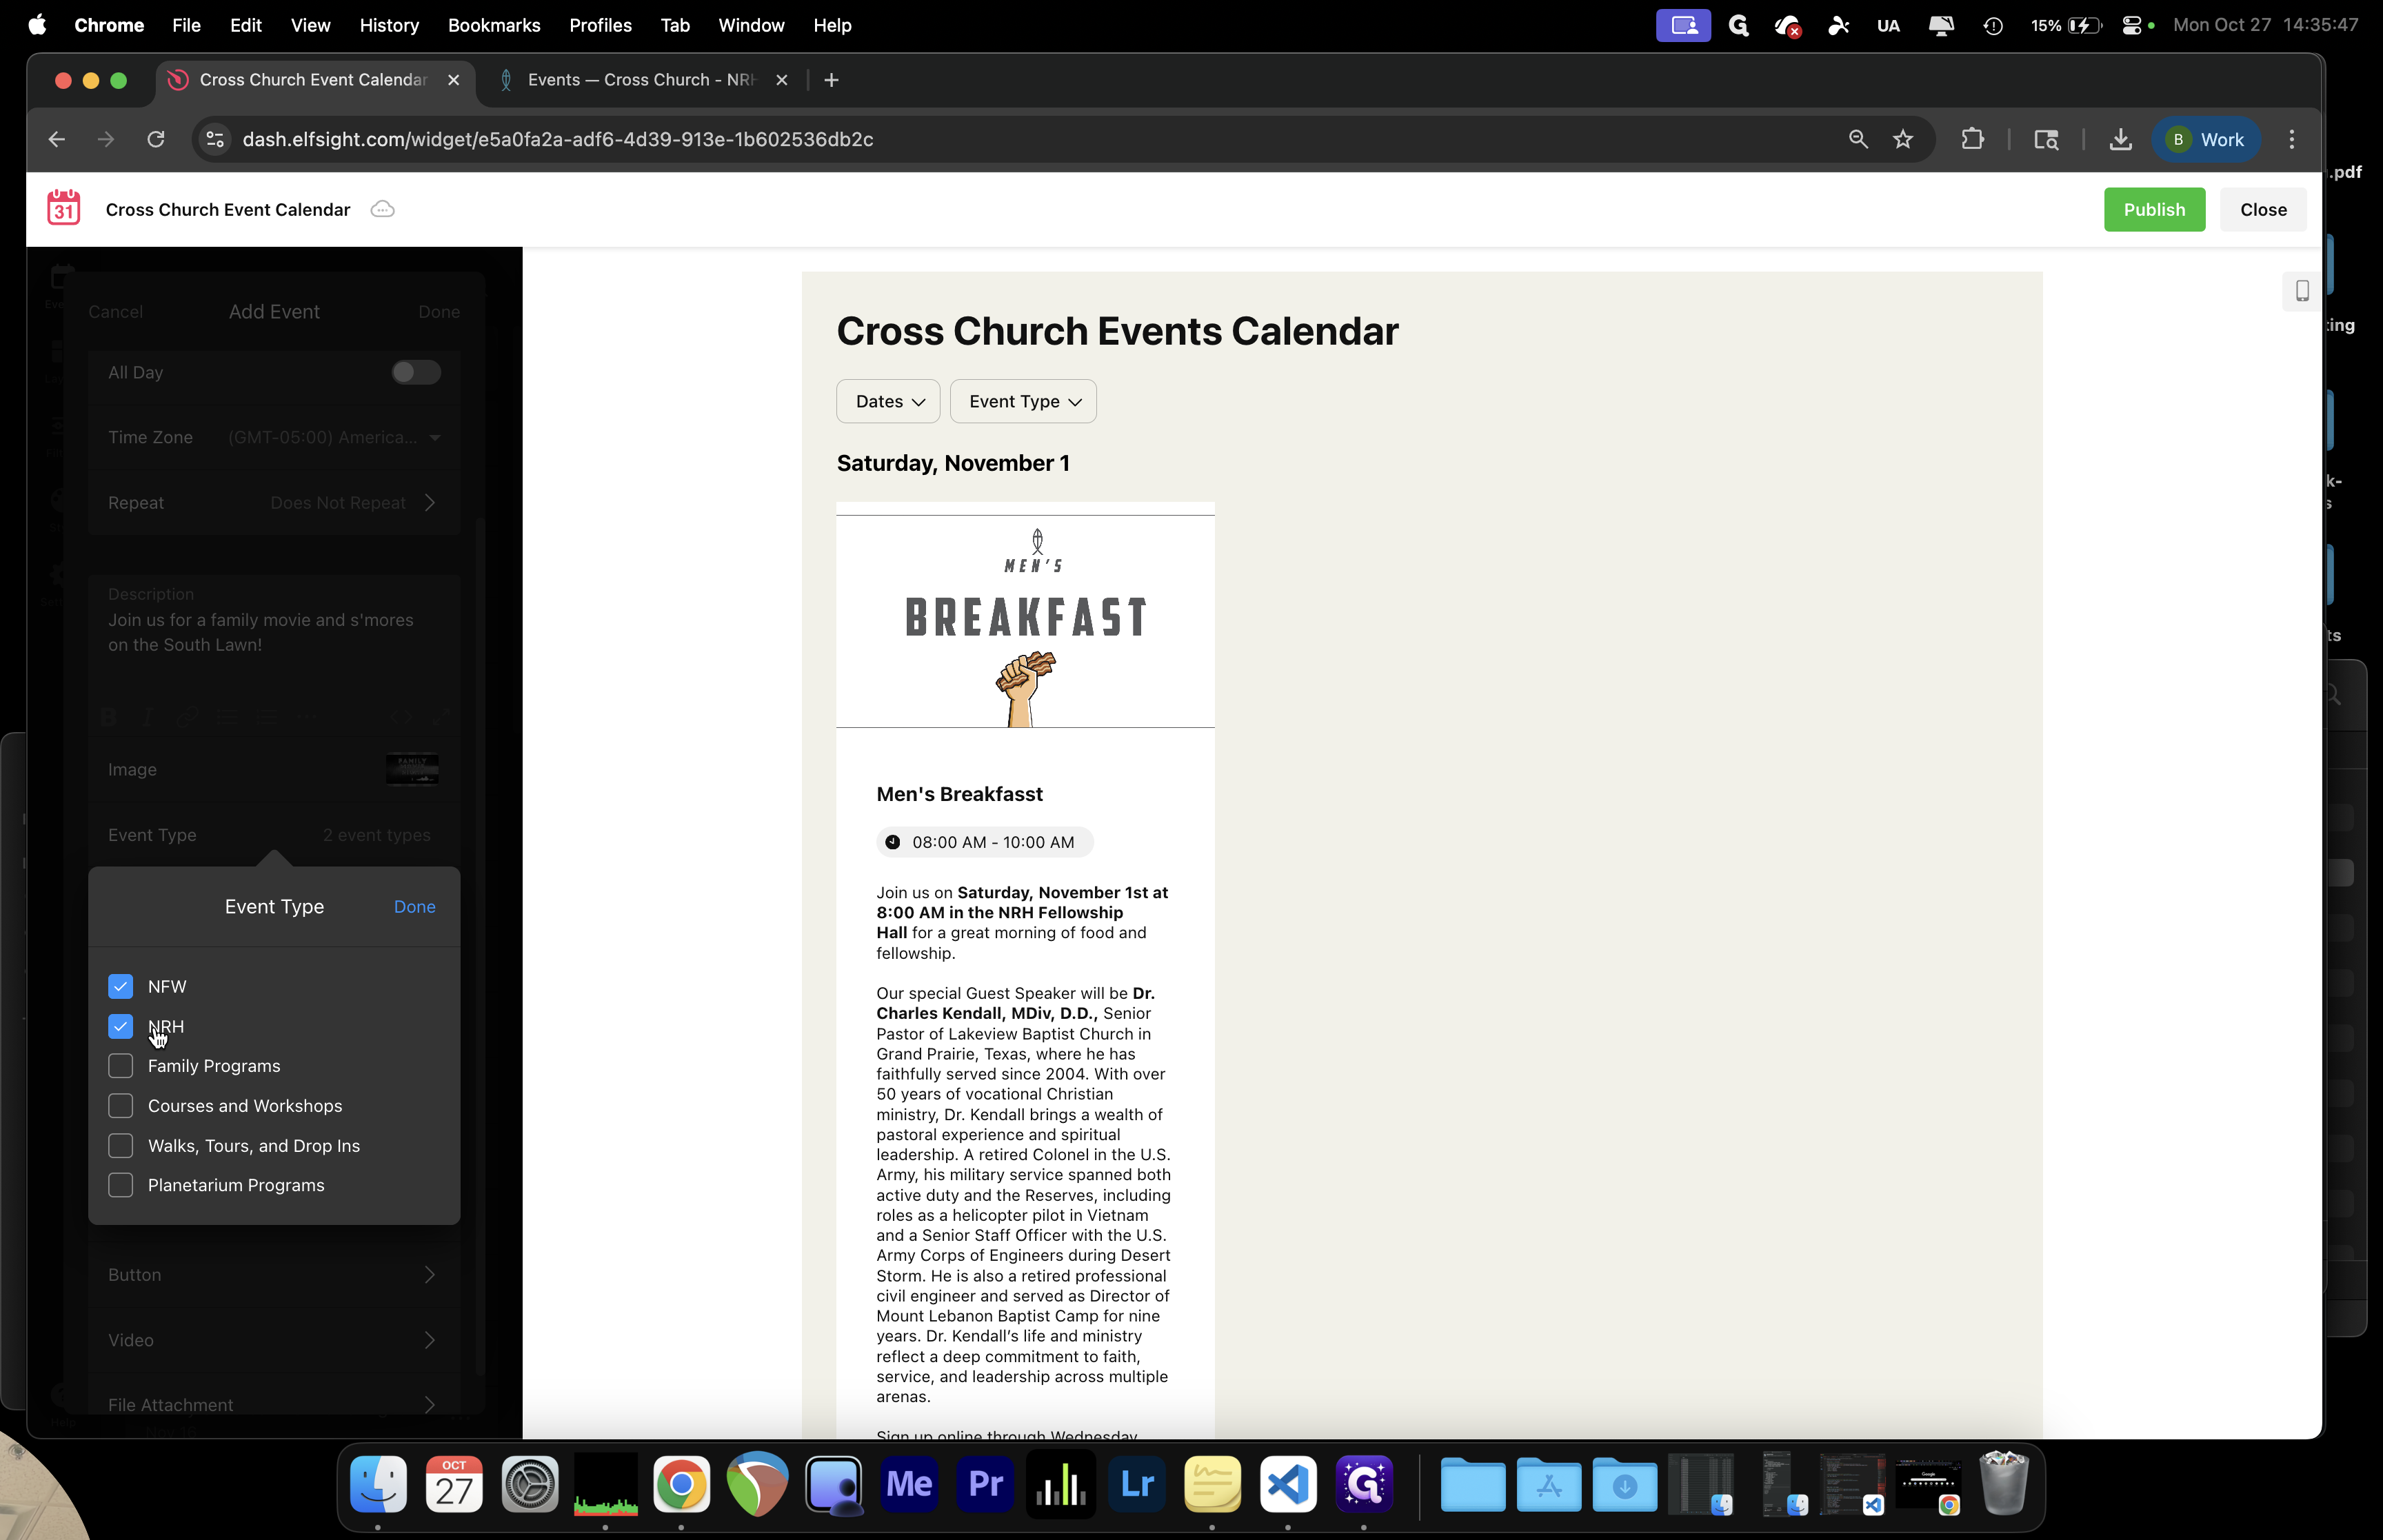
If this a full cross-campus event that we want to promote on both the North Fort Worth and North Richland Hills calendars? If that is the case, check both boxes and click Done.

27
Click here
Step #27: Click here
28
Currently, we are not using the venue.
Step #28: Currently, we are not using the venue.
29
We are not currently using Host either.
Step #29: We are not currently using Host either.

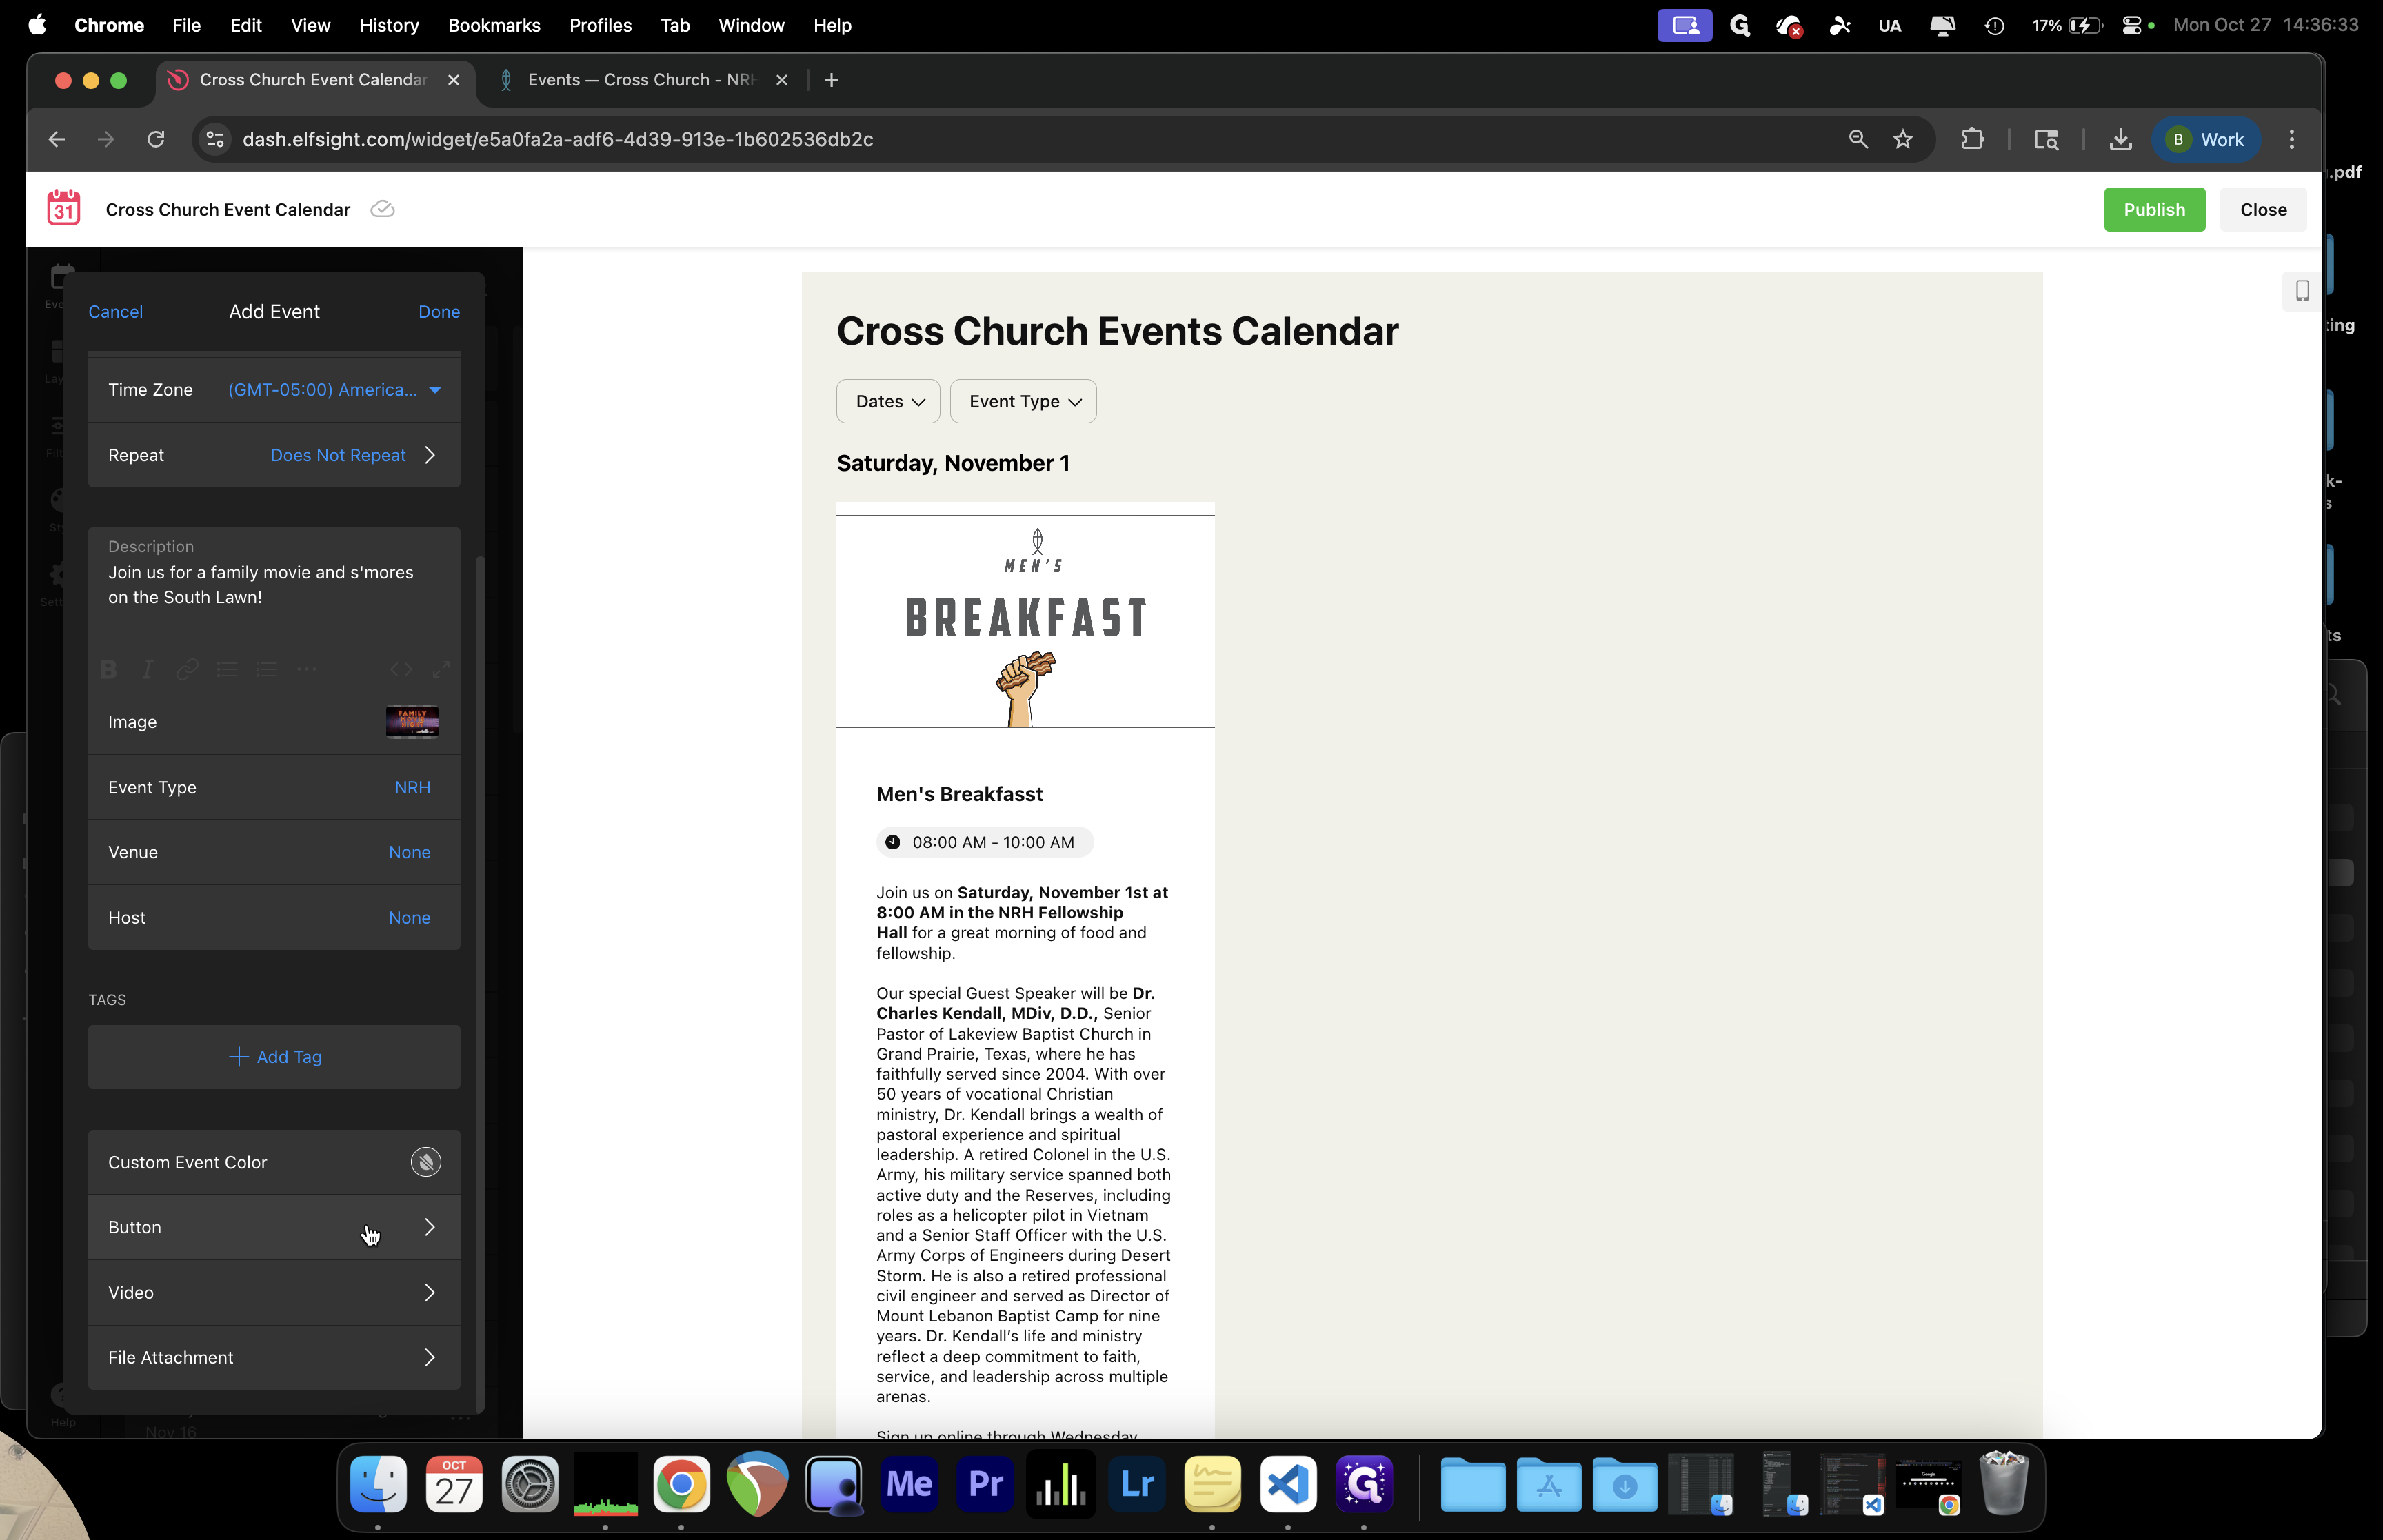
We are not using the host boxes or the tags. We also do not need to choose any custom colors.

If there are videos or specific PDFs to attach, add them here by uploading the files or providing their URLs.

30
Click here
Step #30: Click here
31
Click here
Step #31: Click here
32
Click on "< Back"
Step #32: Click on "< Back"

We can also add a button for registration.

33
Click here
Step #33: Click here
34
Click here
Step #34: Click here
35
Click on "I"
Step #35: Click on "I"

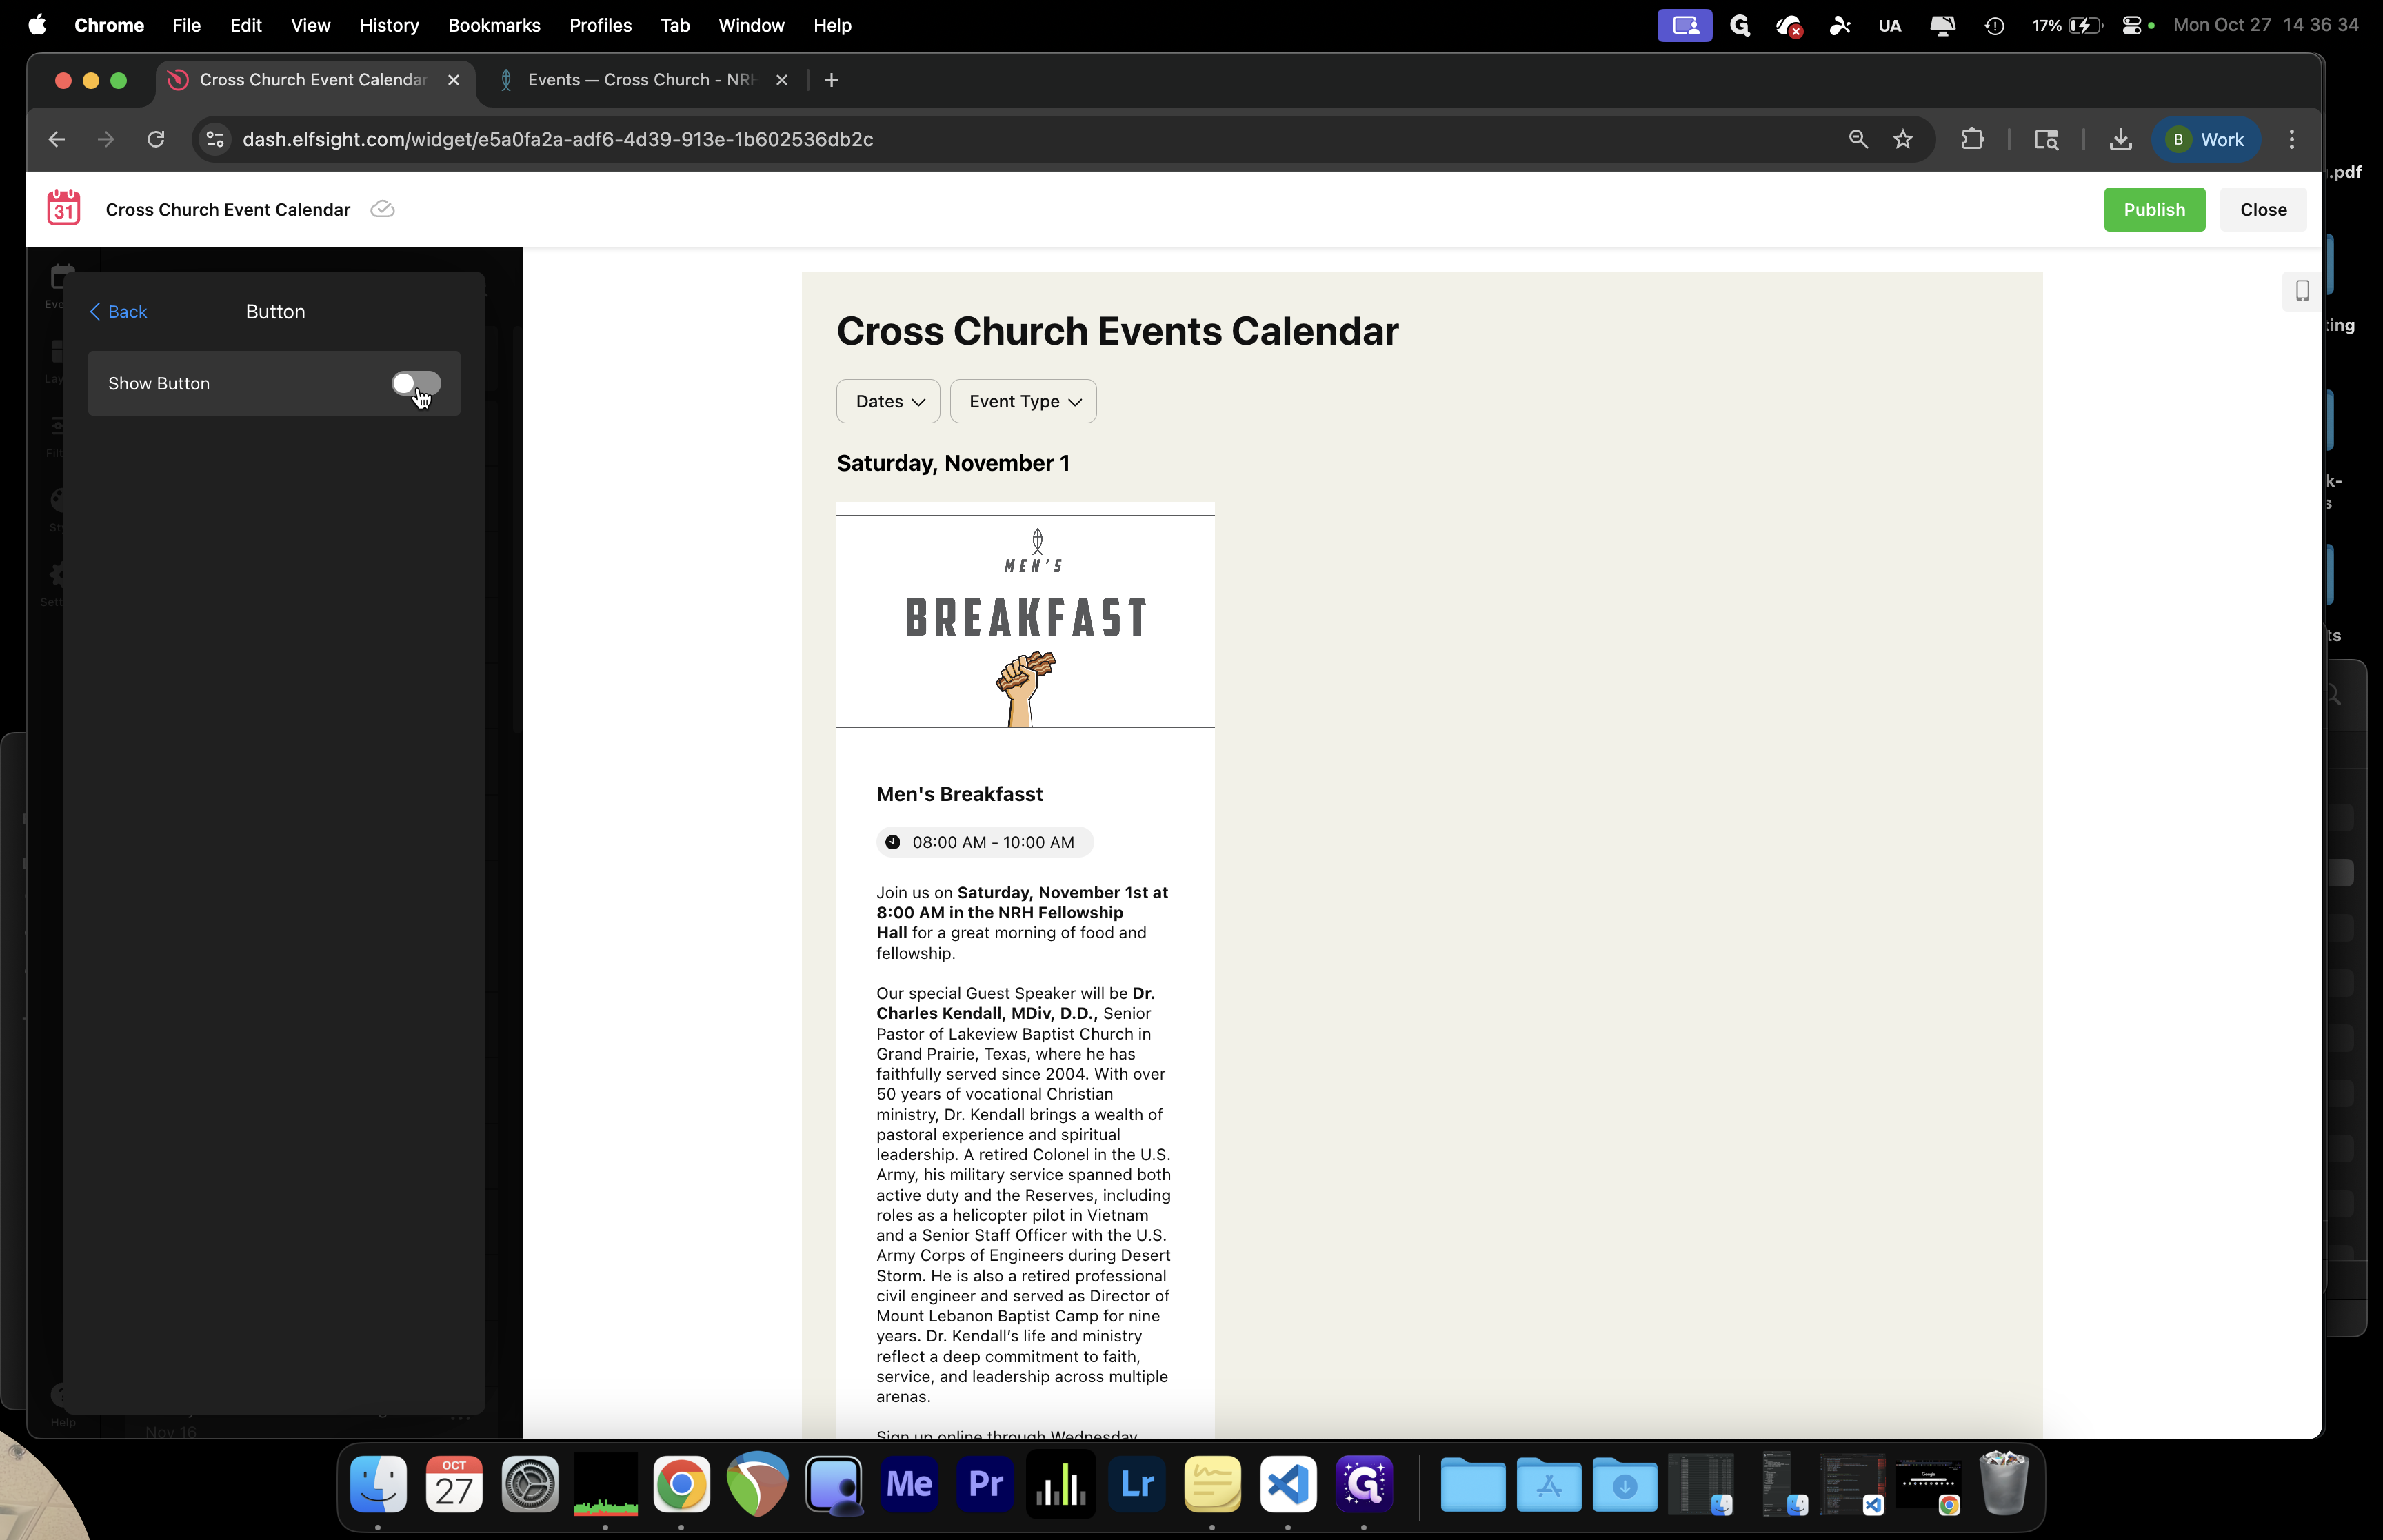
We’ll take this directly to the website.

36
Type "nrh.ccdfw.org + Tab"
37
Drag here
Step #37: Drag here

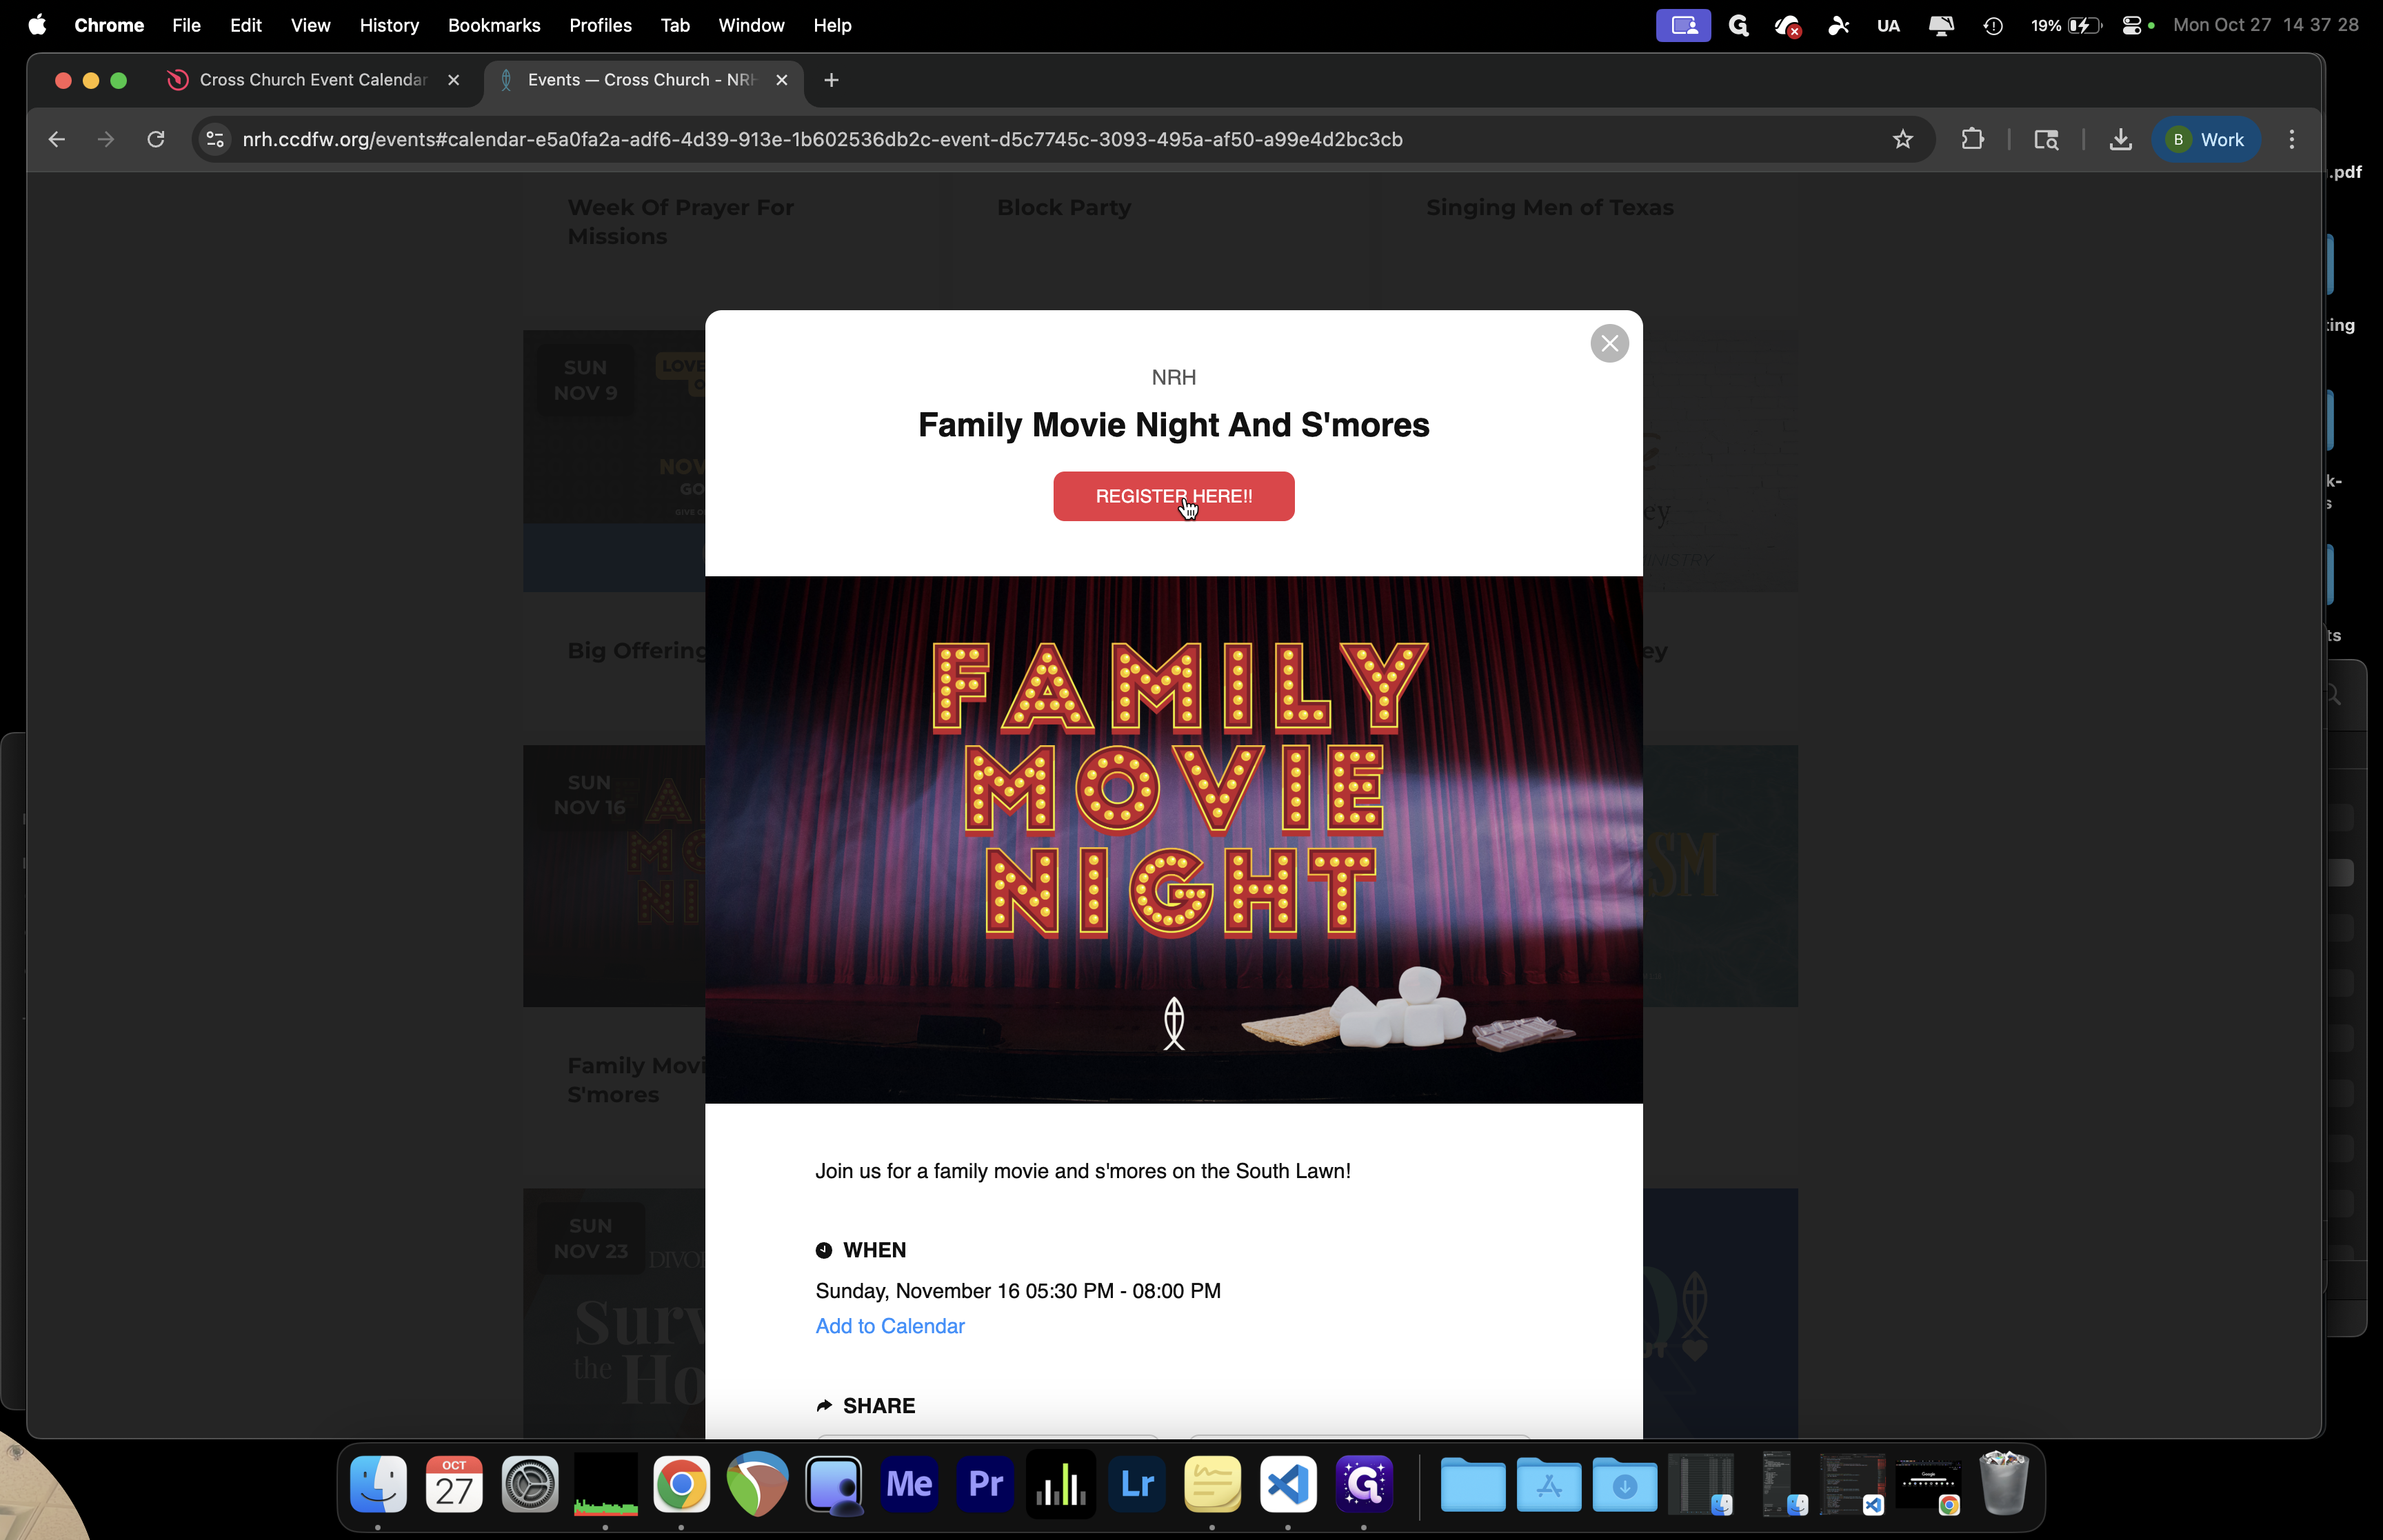
We need to rename this button to "Register Here!!!" to clearly highlight where to register.

38
Click on "Back"
Step #38: Click on "Back"

After that, press Done.

39
Click on "Done"
Step #39: Click on "Done"

That saves the event right away. However, it will not be published until we click the green Publish button.

40
Click on "molish"
Step #40: Click on "molish"

Now, click that. Switch to the events calendar, refresh the page, and scroll down to find Family Movie Night.

41
Let's go check our events calendar!
Step #41: Let's go check our events calendar!

Now, we can click on the event. We didn't add much of a description, but that's fine for this purpose.

42
Click on your new event.
Step #42: Click on your new event.
43
Ensure the description appears as desired.
Step #43: Ensure the description appears as desired.
44
Double check the when and the link if you added a registration button.
Step #44: Double check the when and the link if you added a registration button.

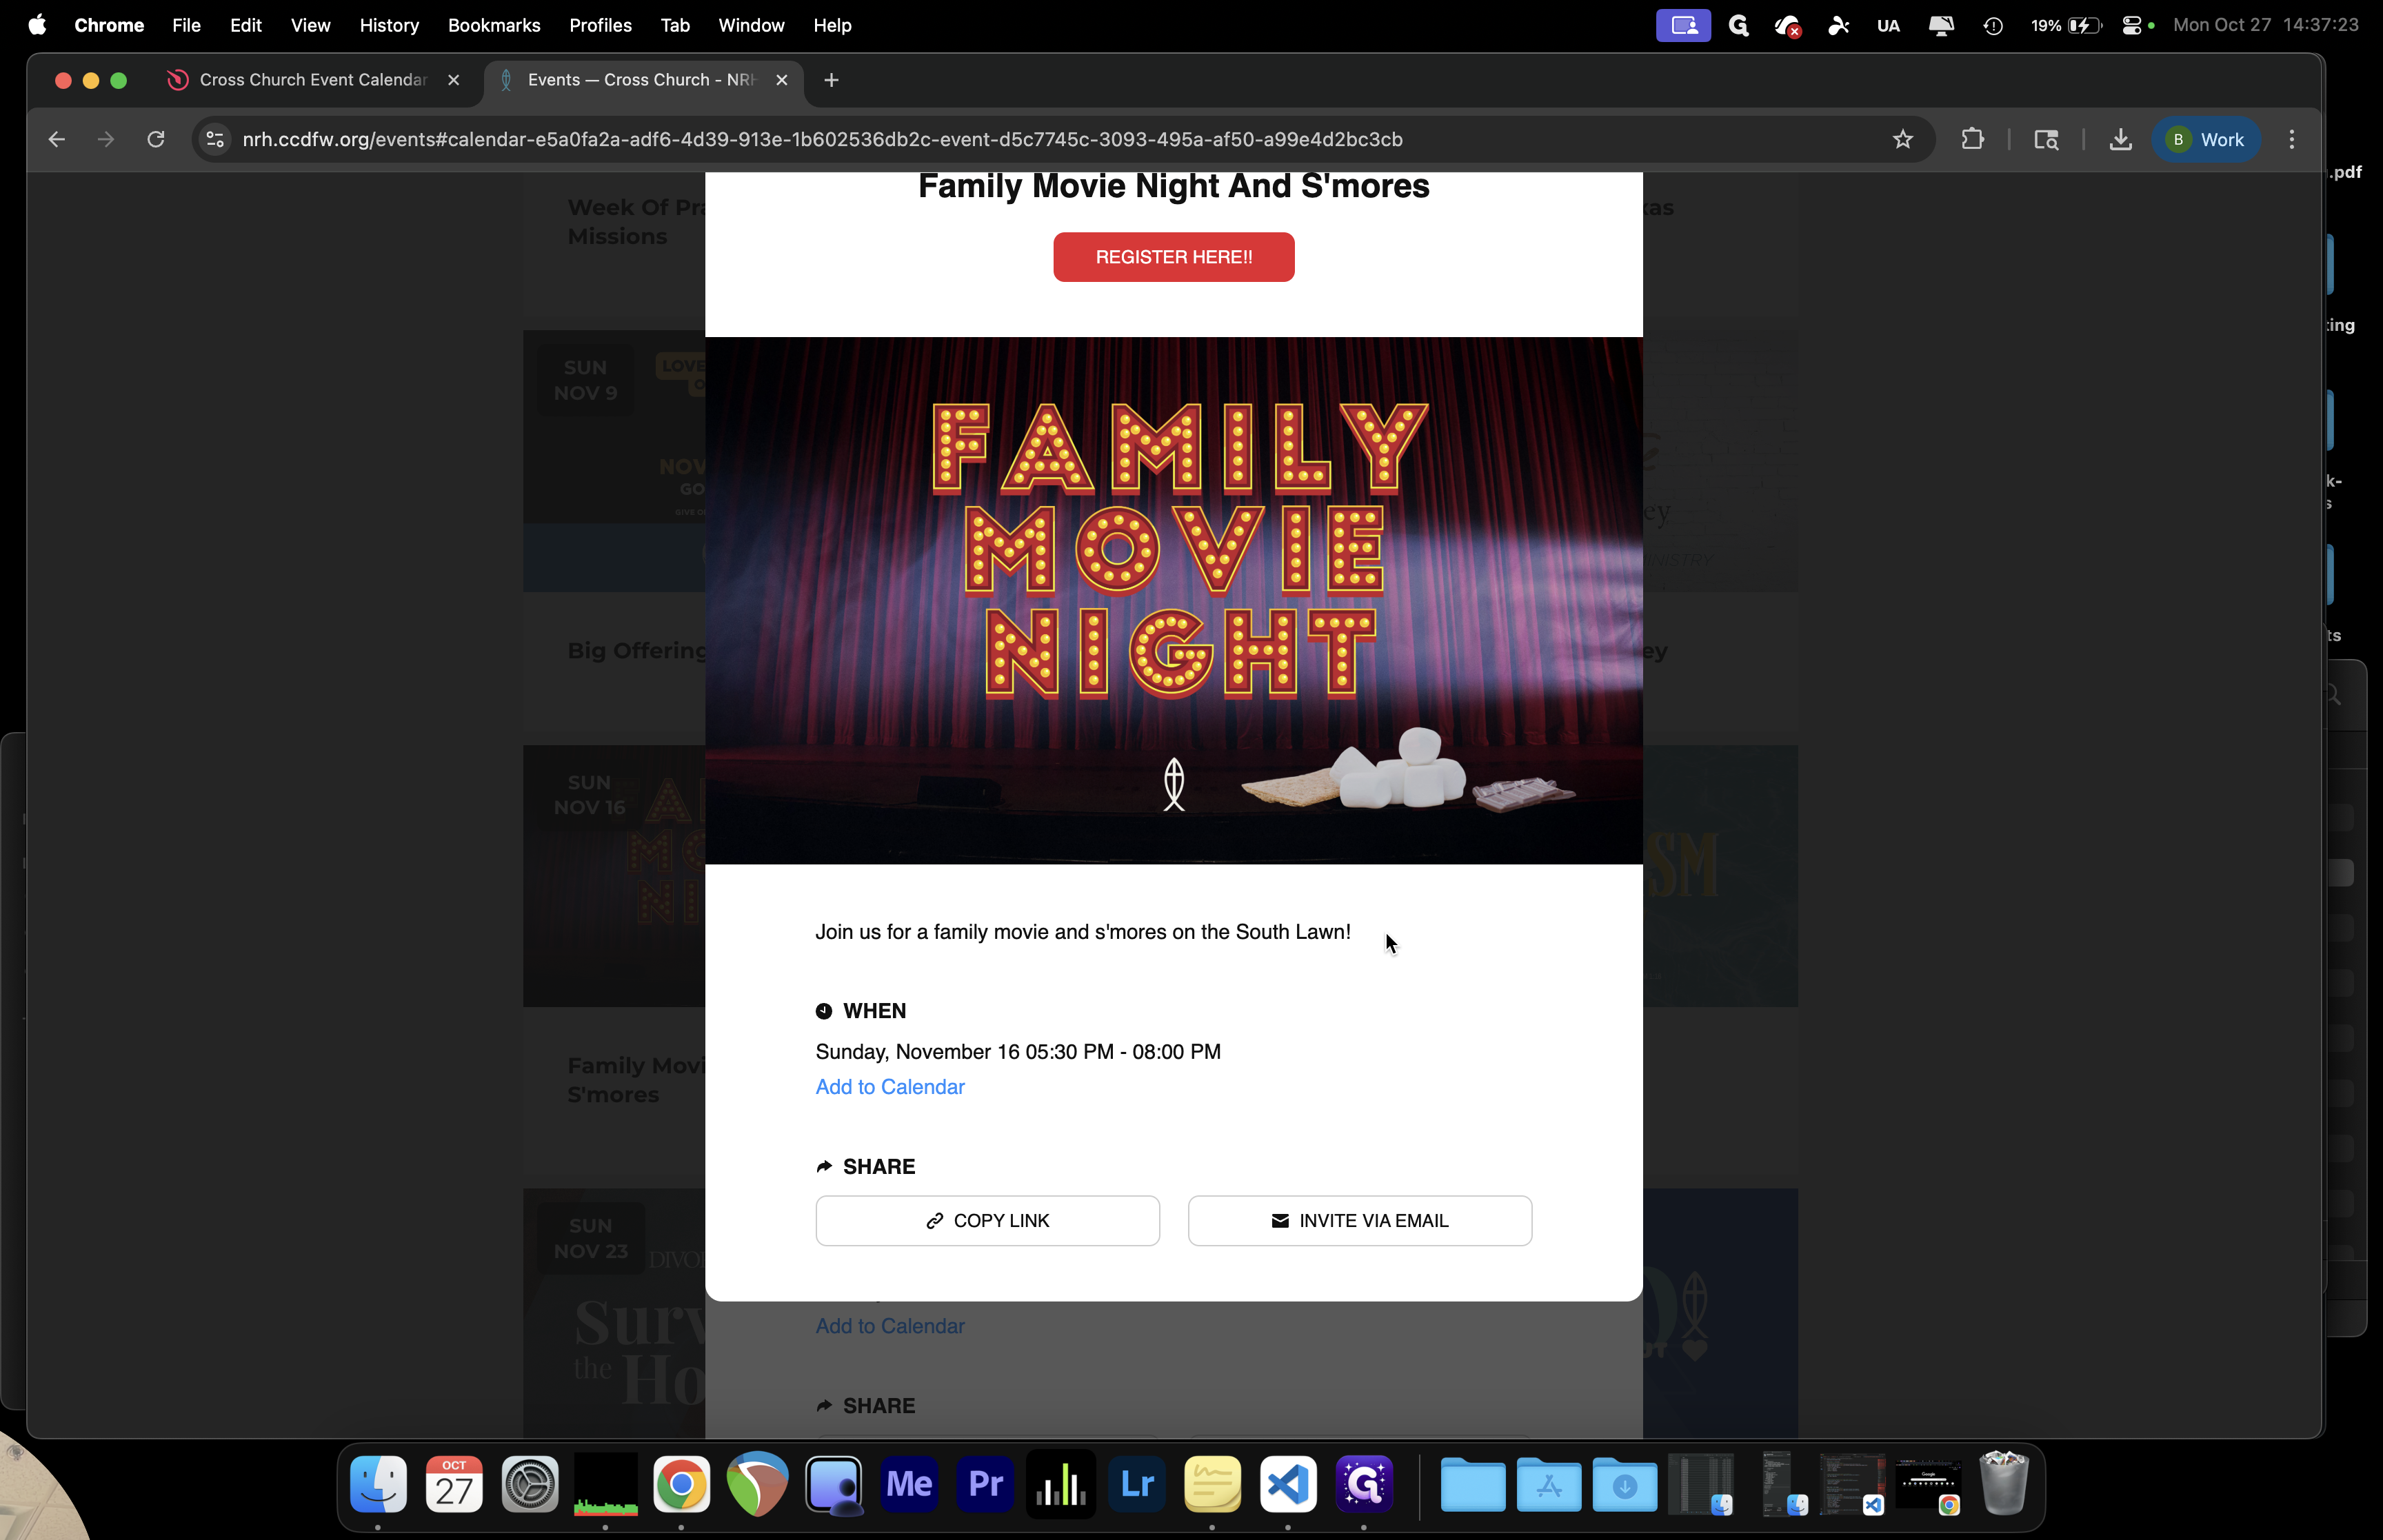
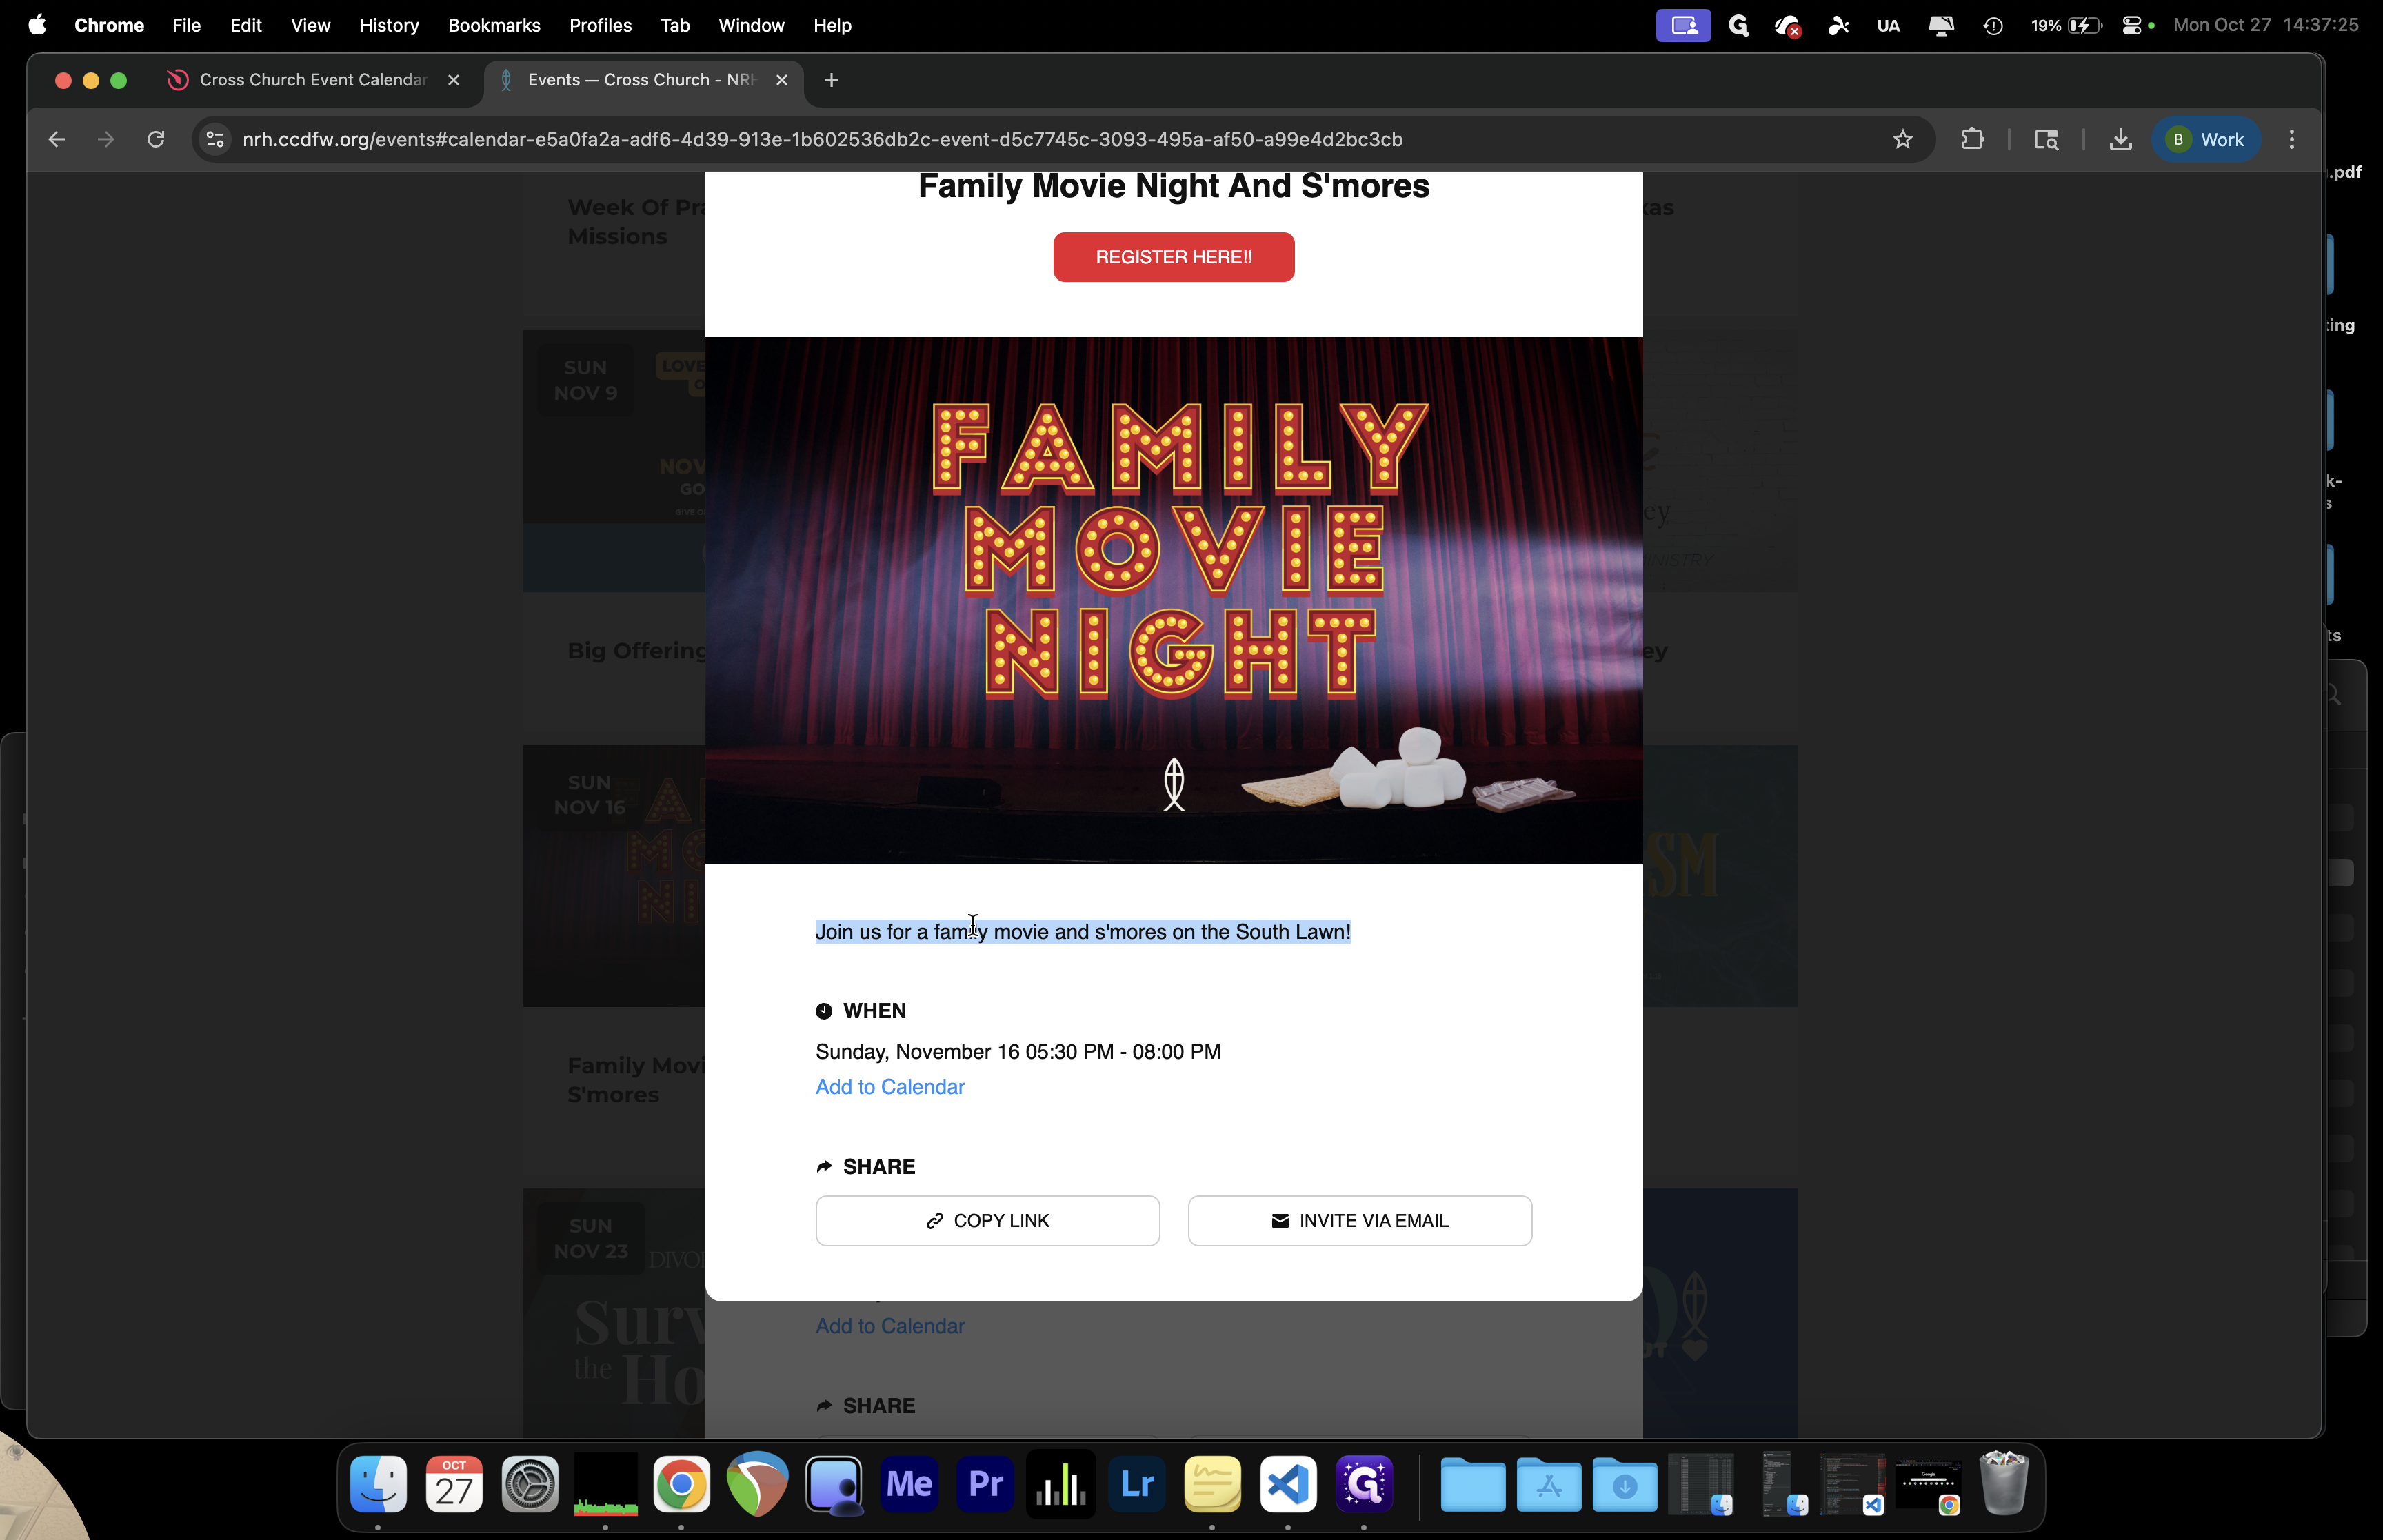
We also have a "Register Here" button, which currently directs users to the website.

45
Click on "REGISTER HERE"
Step #45: Click on "REGISTER HERE"
46
Now that we have verified the link, we can close this tab.
Step #46: Now that we have verified the link, we can close this tab.

We can set this up to direct users to a Realm registration link. This way, we will have the right amount of supplies available for any event.

47
Click here
Step #47: Click here

That's how we use the new Elfsight Calendar. Hope that helps.