How to Upload Photos to Auto HDR and Convert to Virtual Twilight: Step-by-Step Guide
Learn how to upload photos to Auto HDR, convert them to Virtual Twilight, and optimize your workflow with step-by-step instructions. Discover tips for editing, bulk processing, and saving your images efficiently.
In this guide, we'll learn how to upload photos to Auto HDR and convert them to Virtual Twilight. We will cover how to select and upload your images, adjust settings based on whether your photos have been edited, and process them for Virtual Twilight effects. You will also see how to review and download the final images.
Let's get started
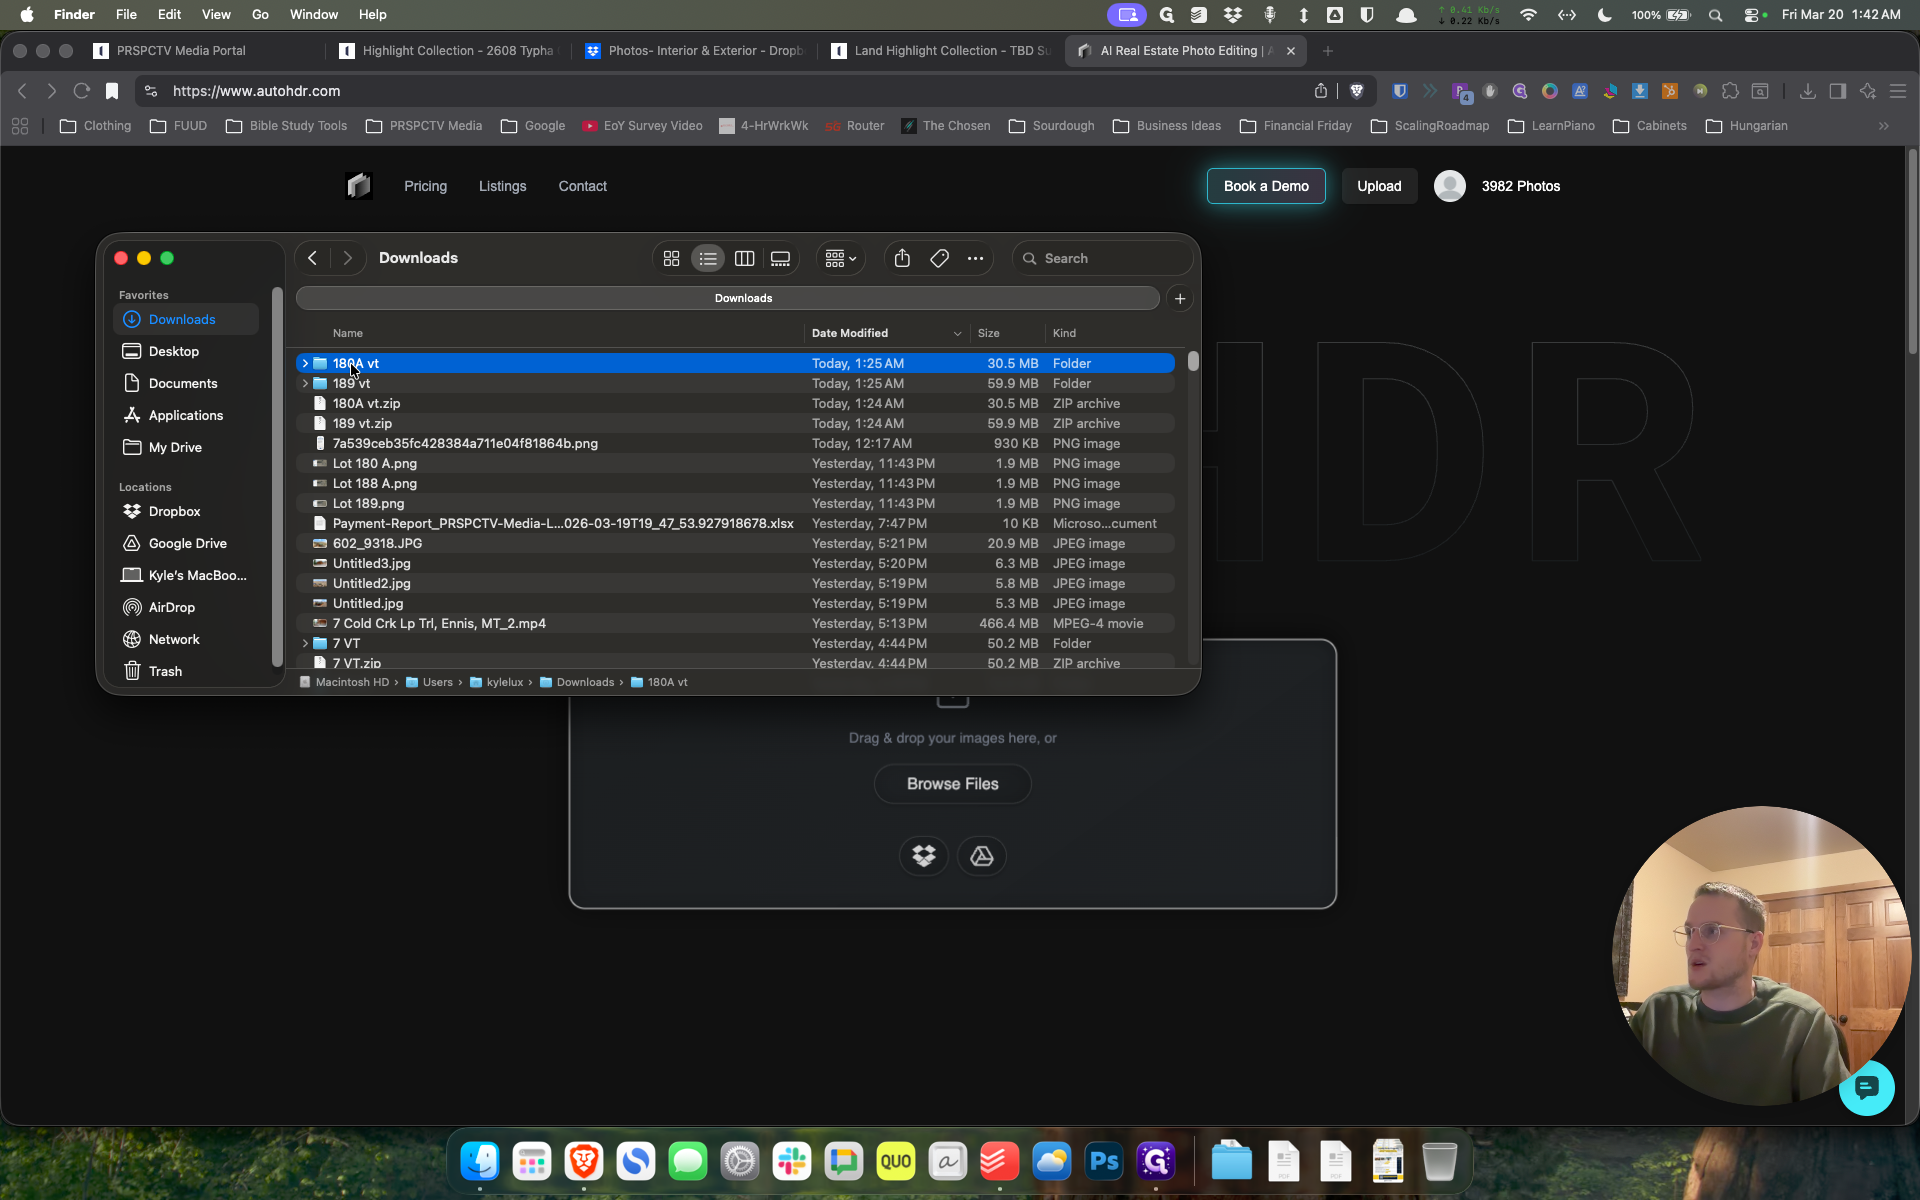
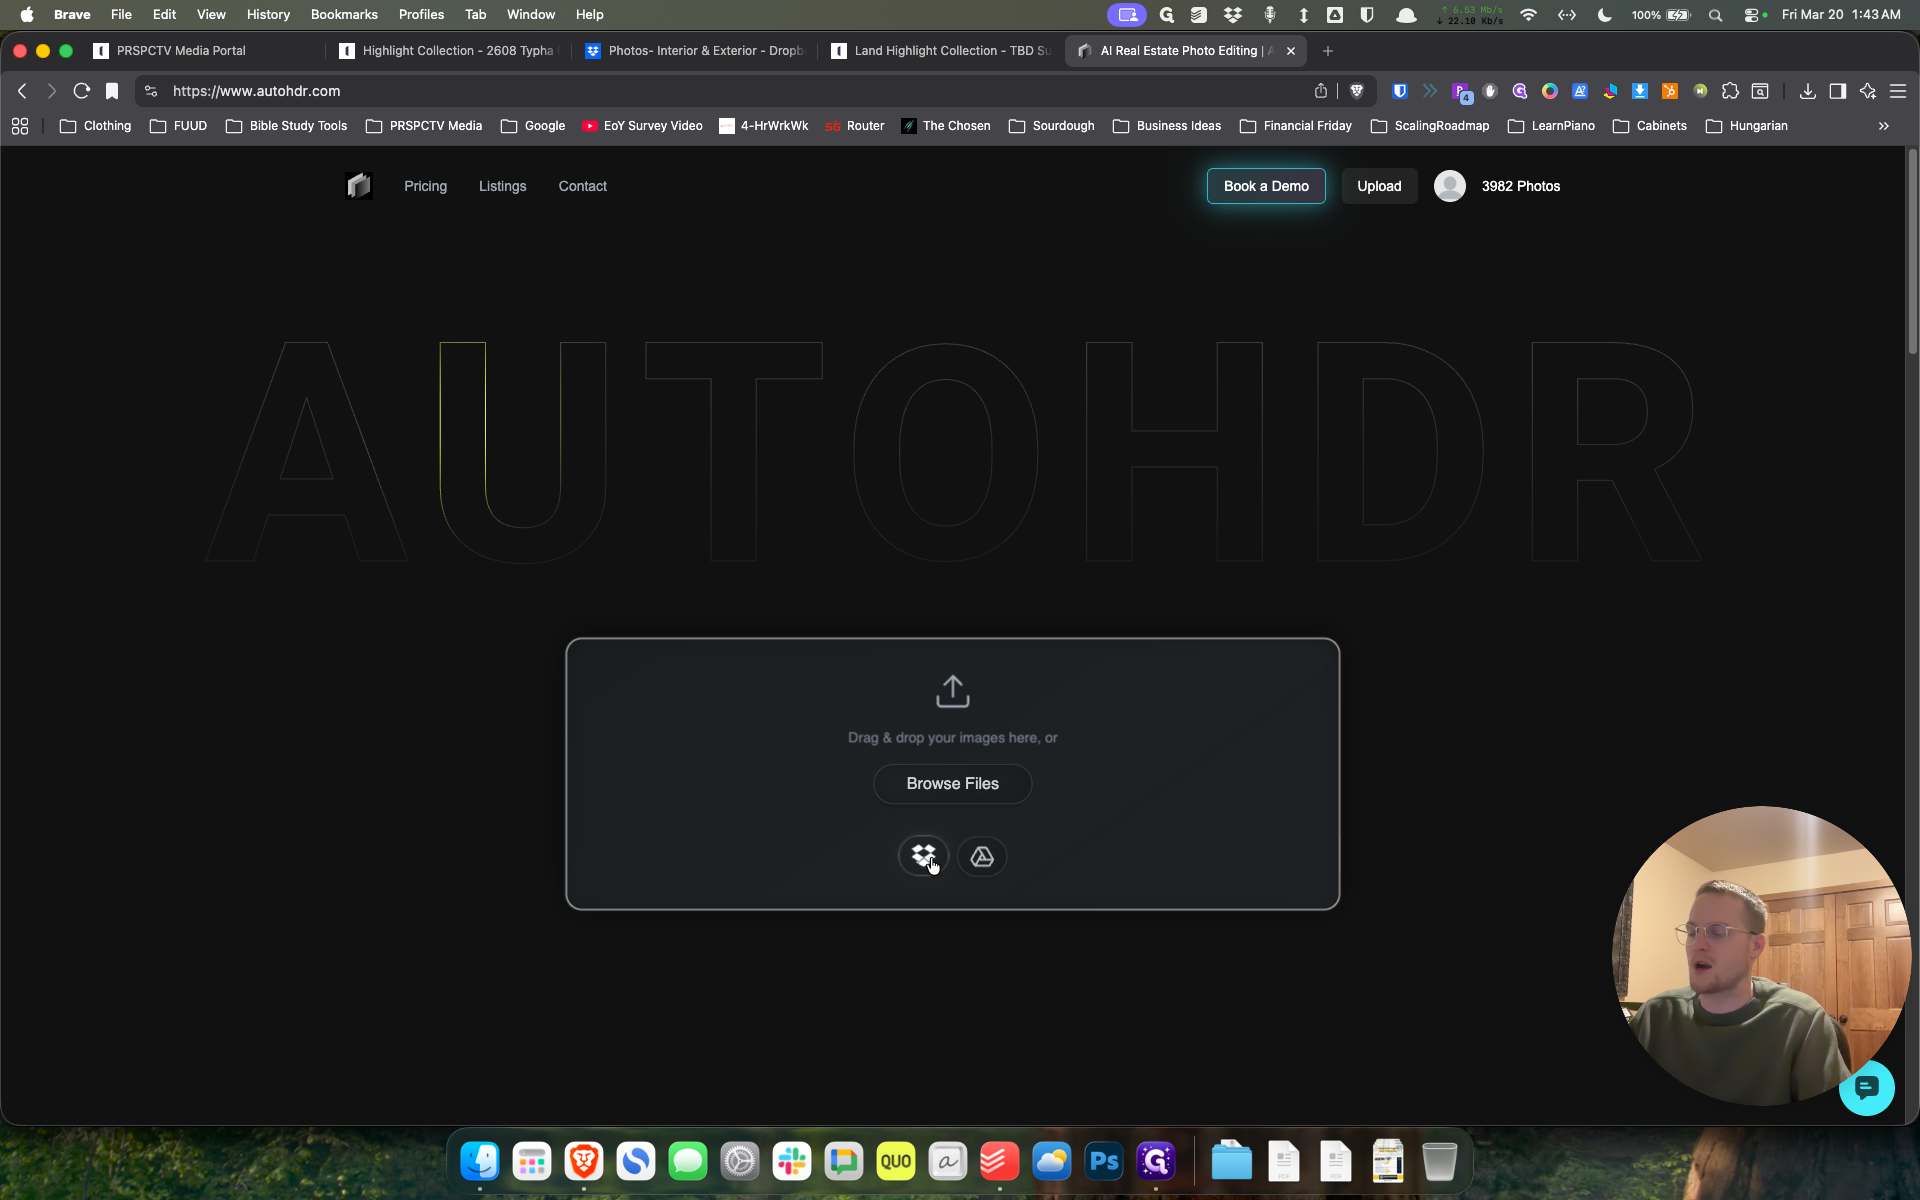
Okay. Here’s how to upload photos to Auto HDR. We will also look at converting them to Virtual Twilight. For this example, I have a few saved to my desktop, but we can also click "Browse Photos." Open Finder, then drag and drop.

That's what we'll do for this one, since I have the three photos selected.
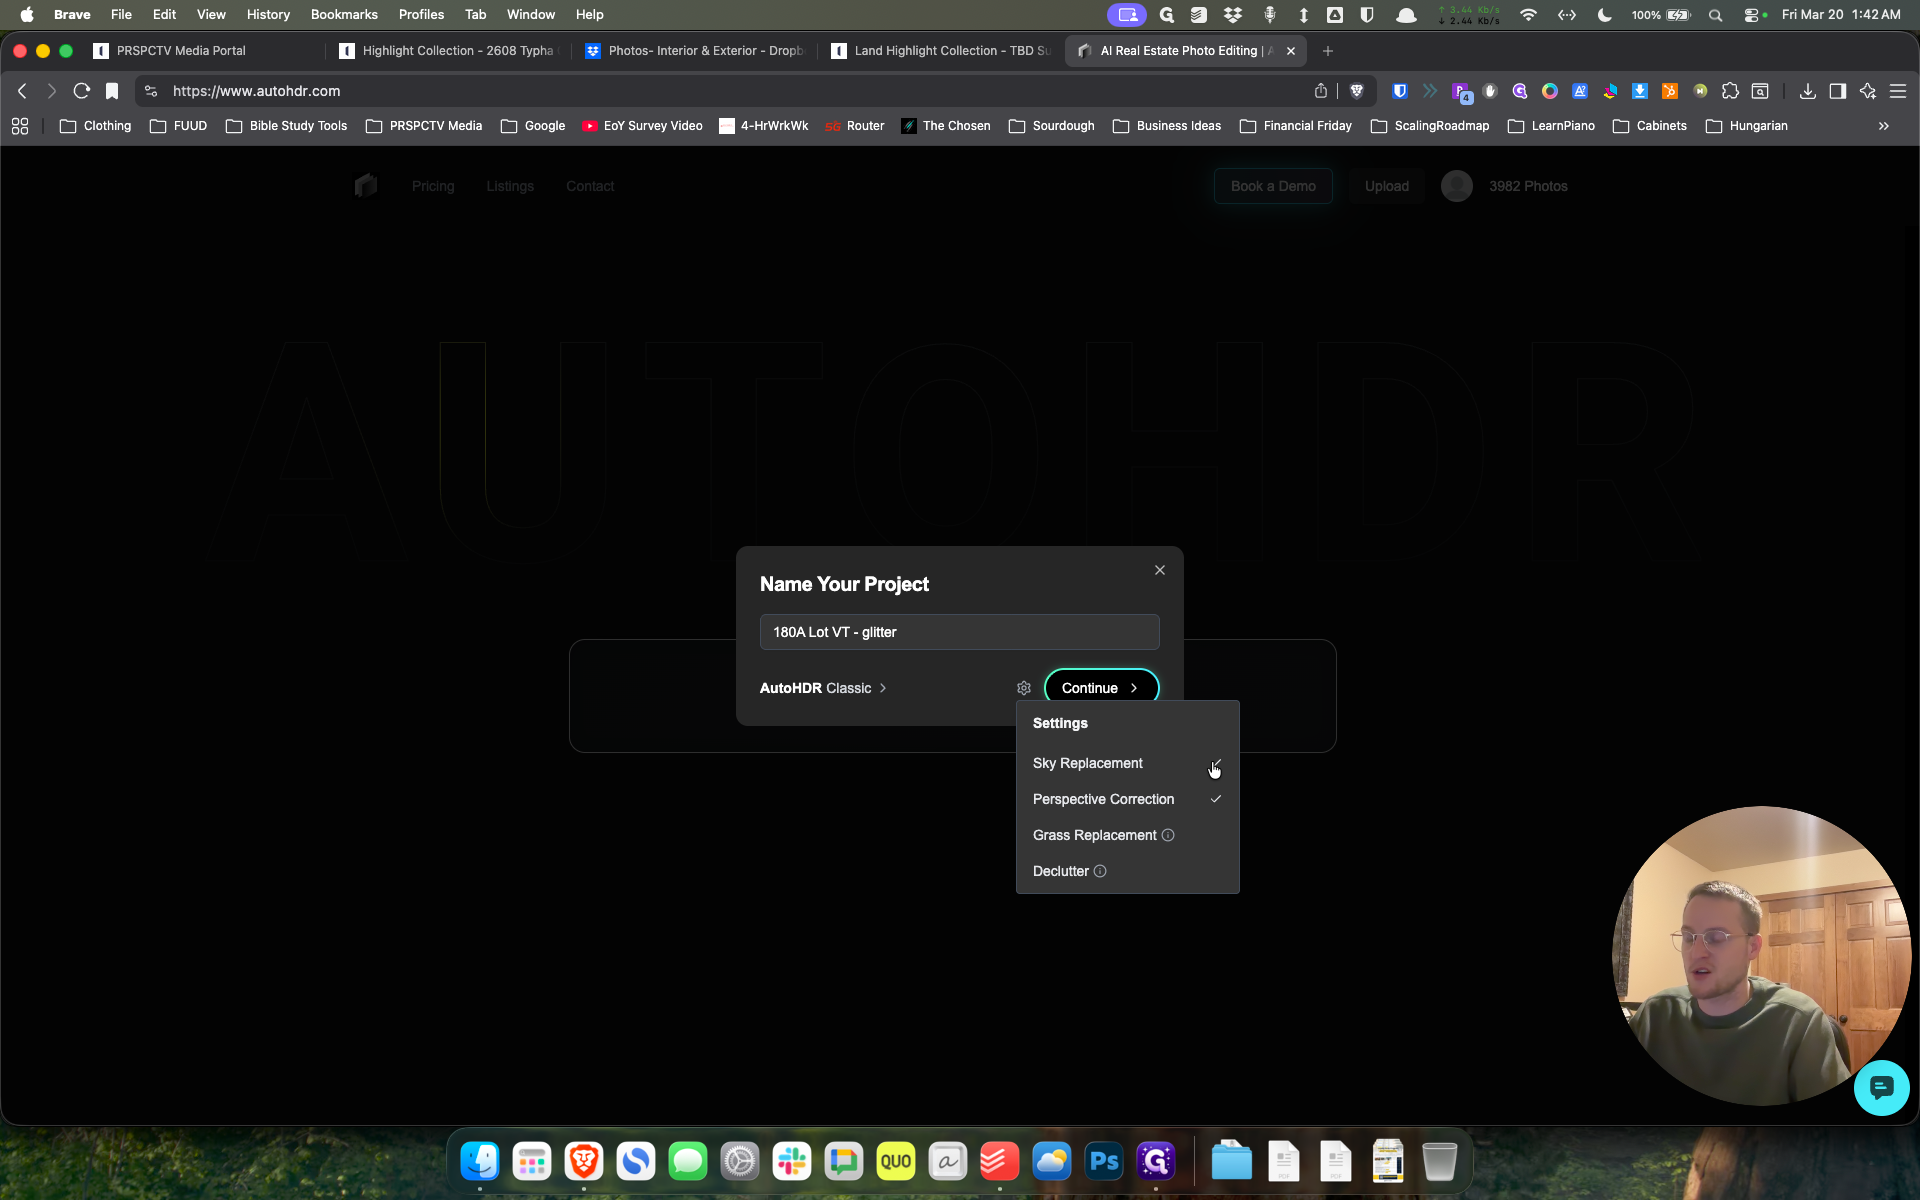
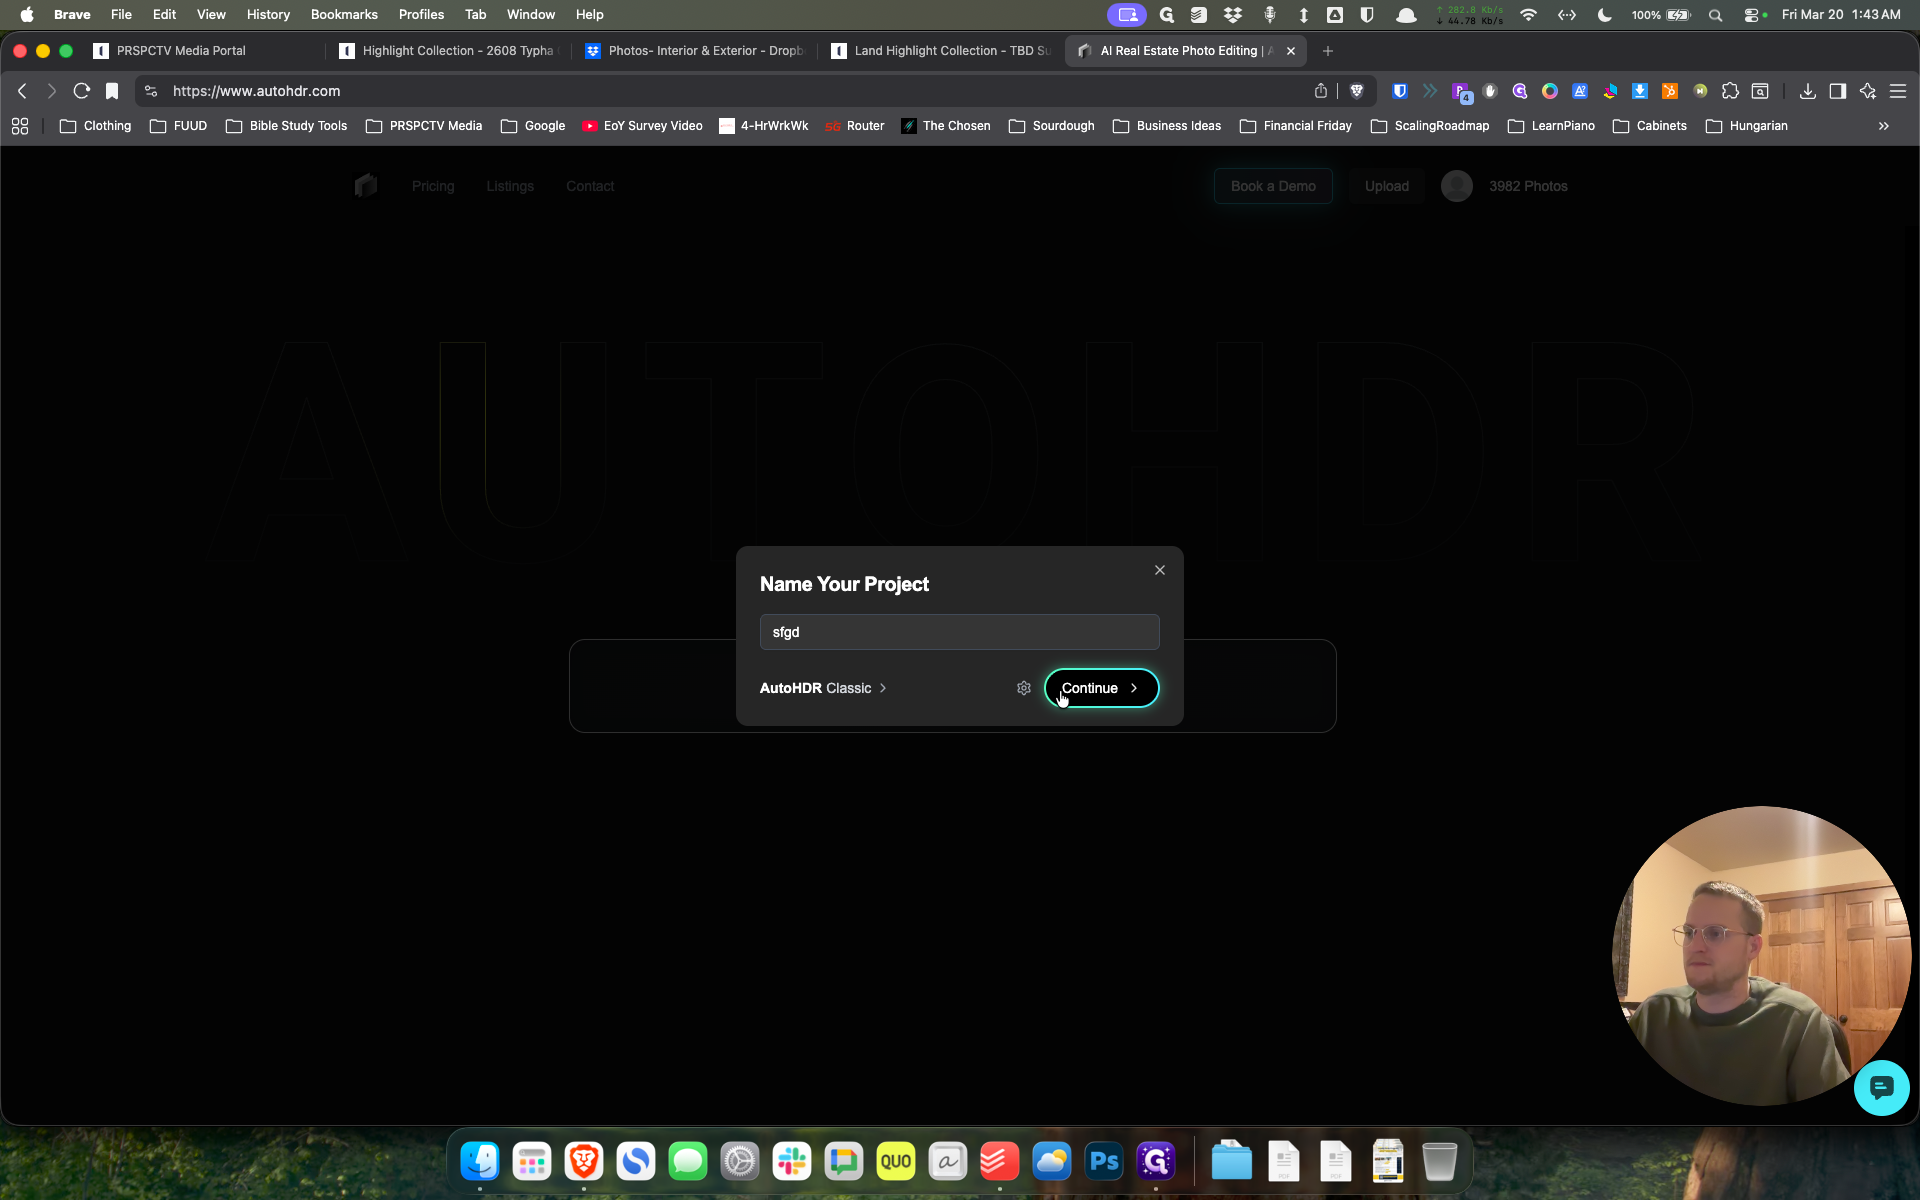
Then we will give it a name.

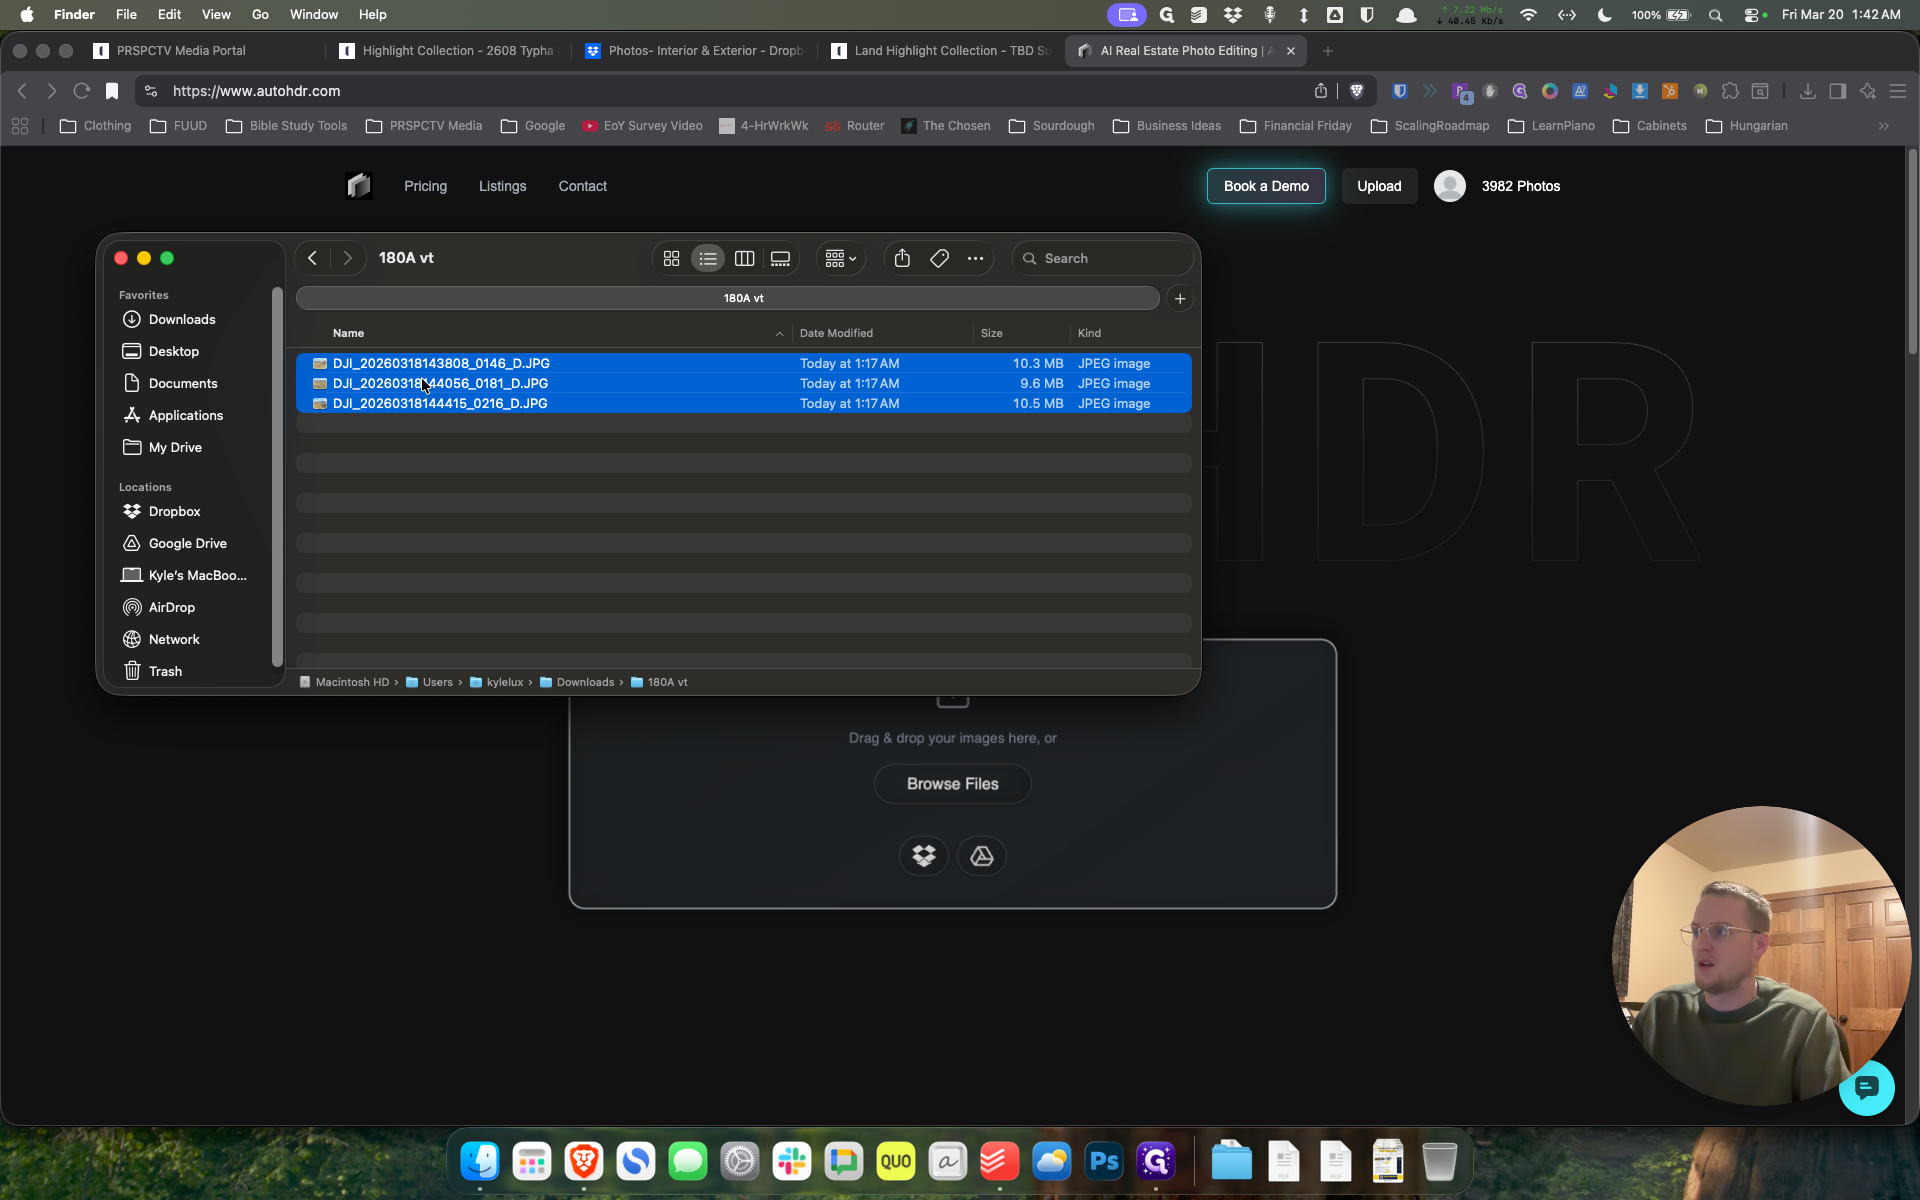
I will call this 180A Lot Virtual Twilight.
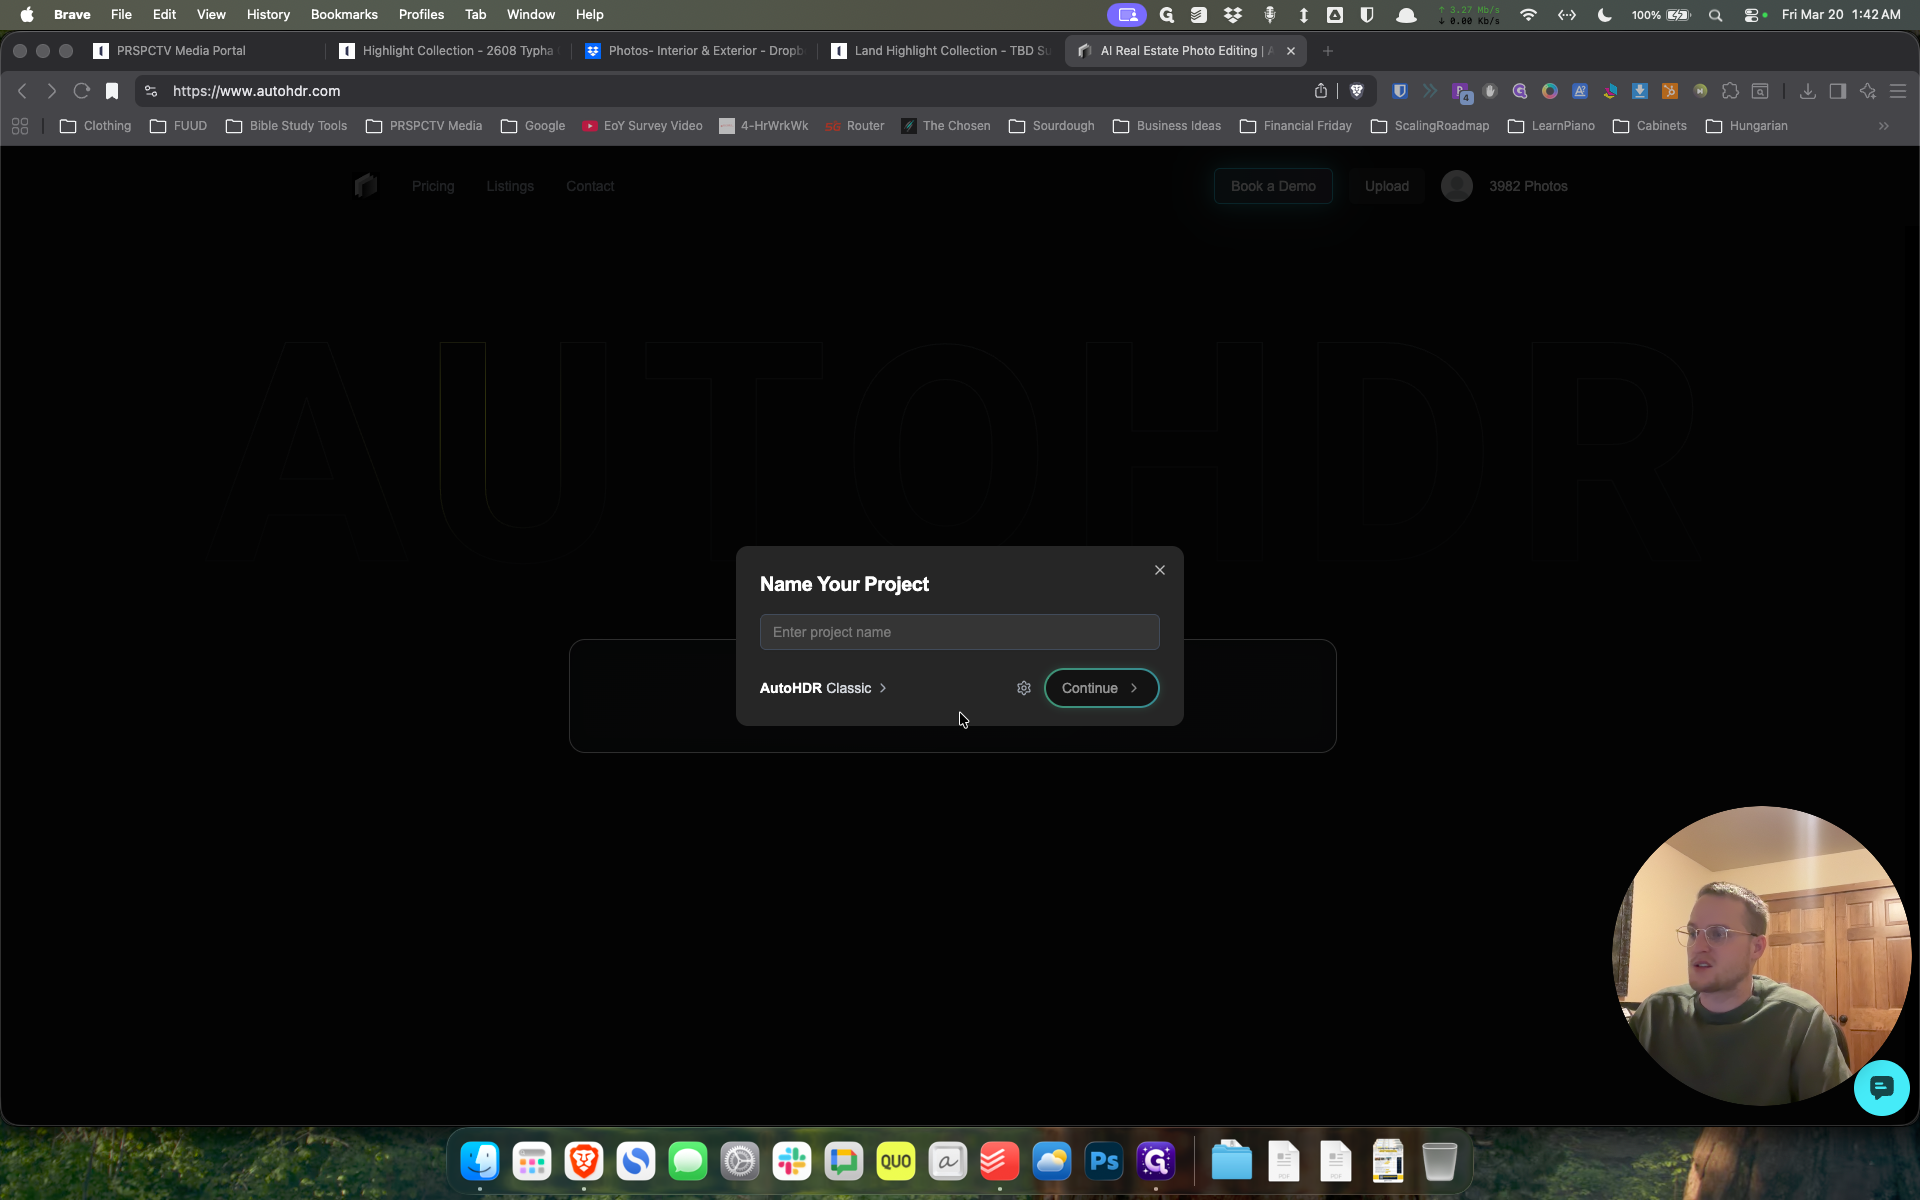
I'll refer to it as VT for short, and I'll call it Dash Glitter since I've already done one of these. We leave Auto HDR on classic. When the photos have already been edited by our editors, I turn off Perspective Correction and Sky Replacement, then hit continue.


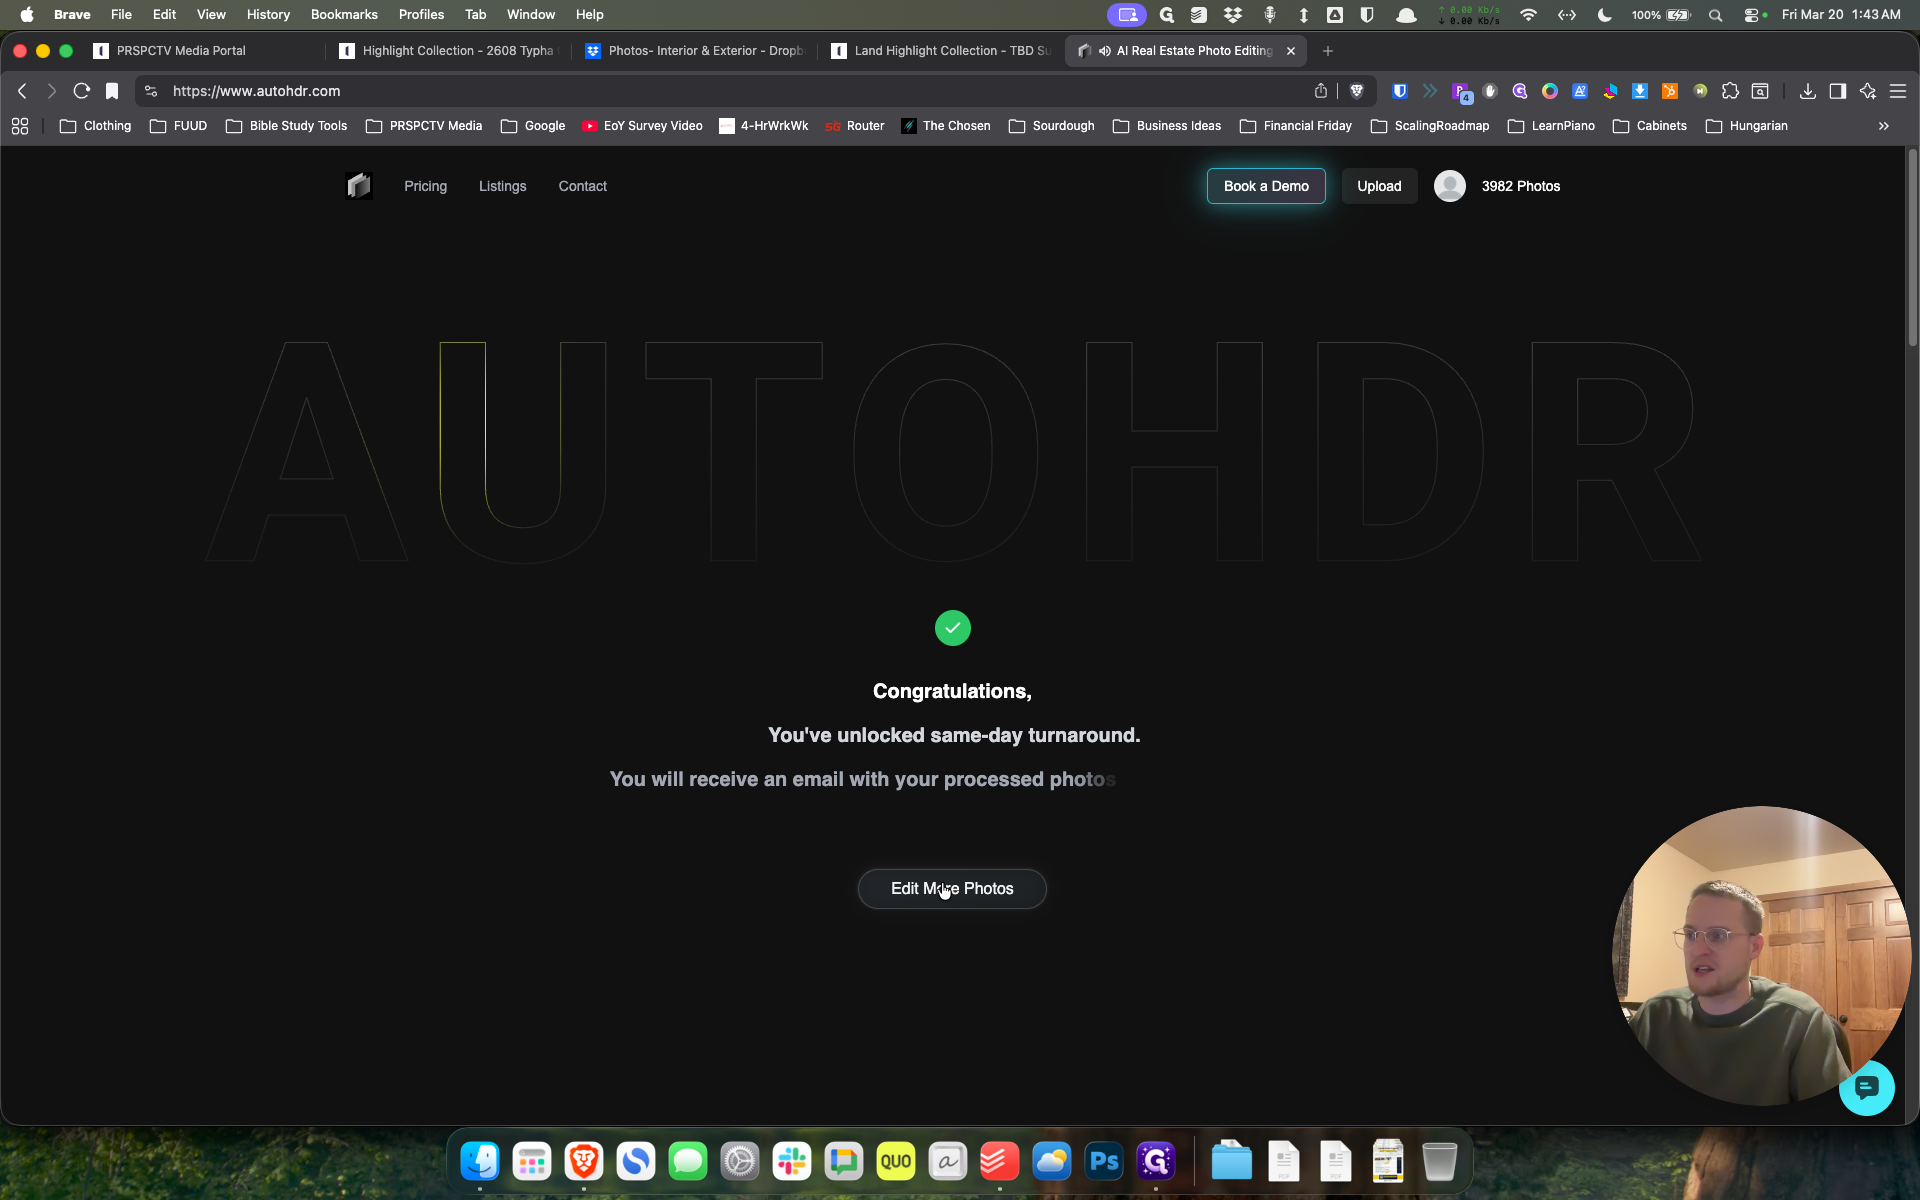
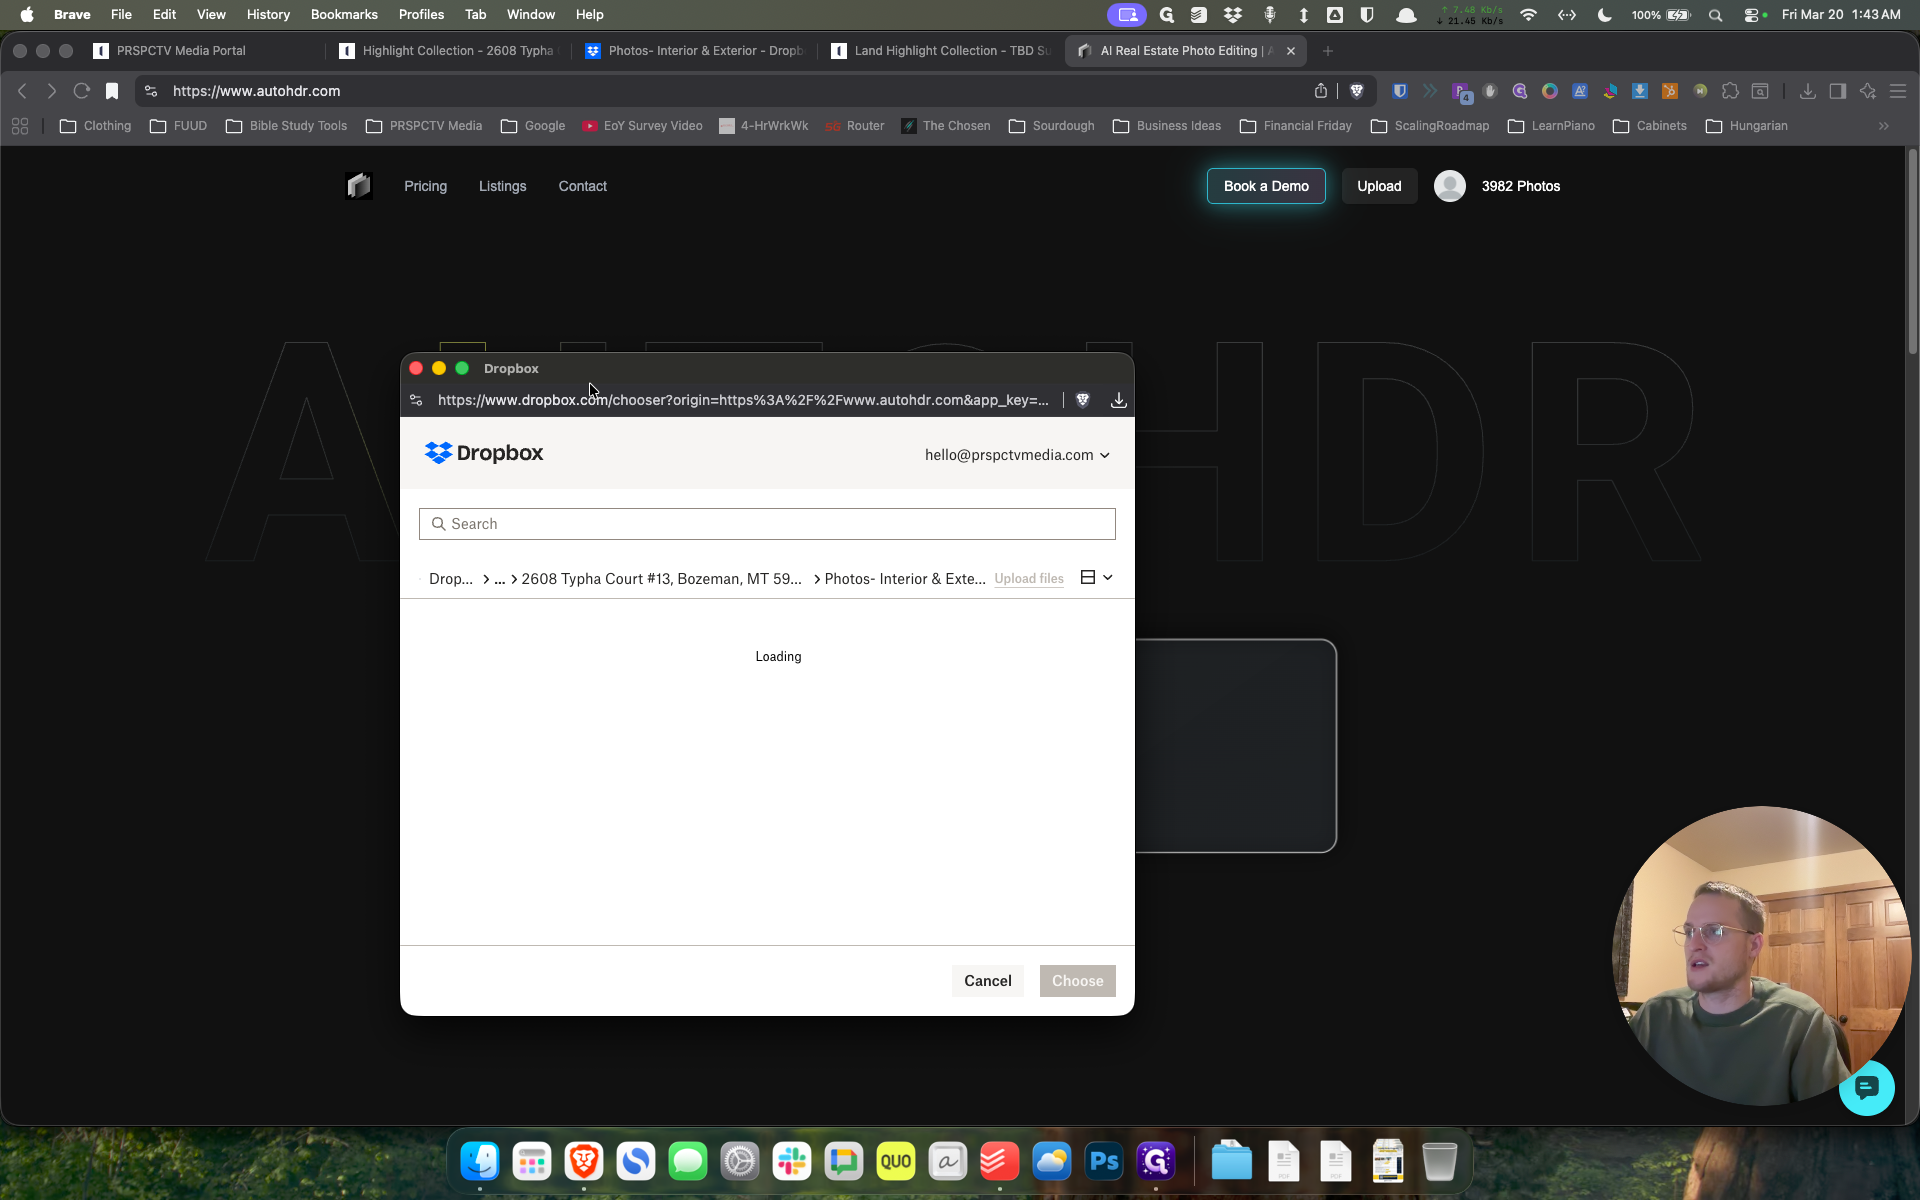
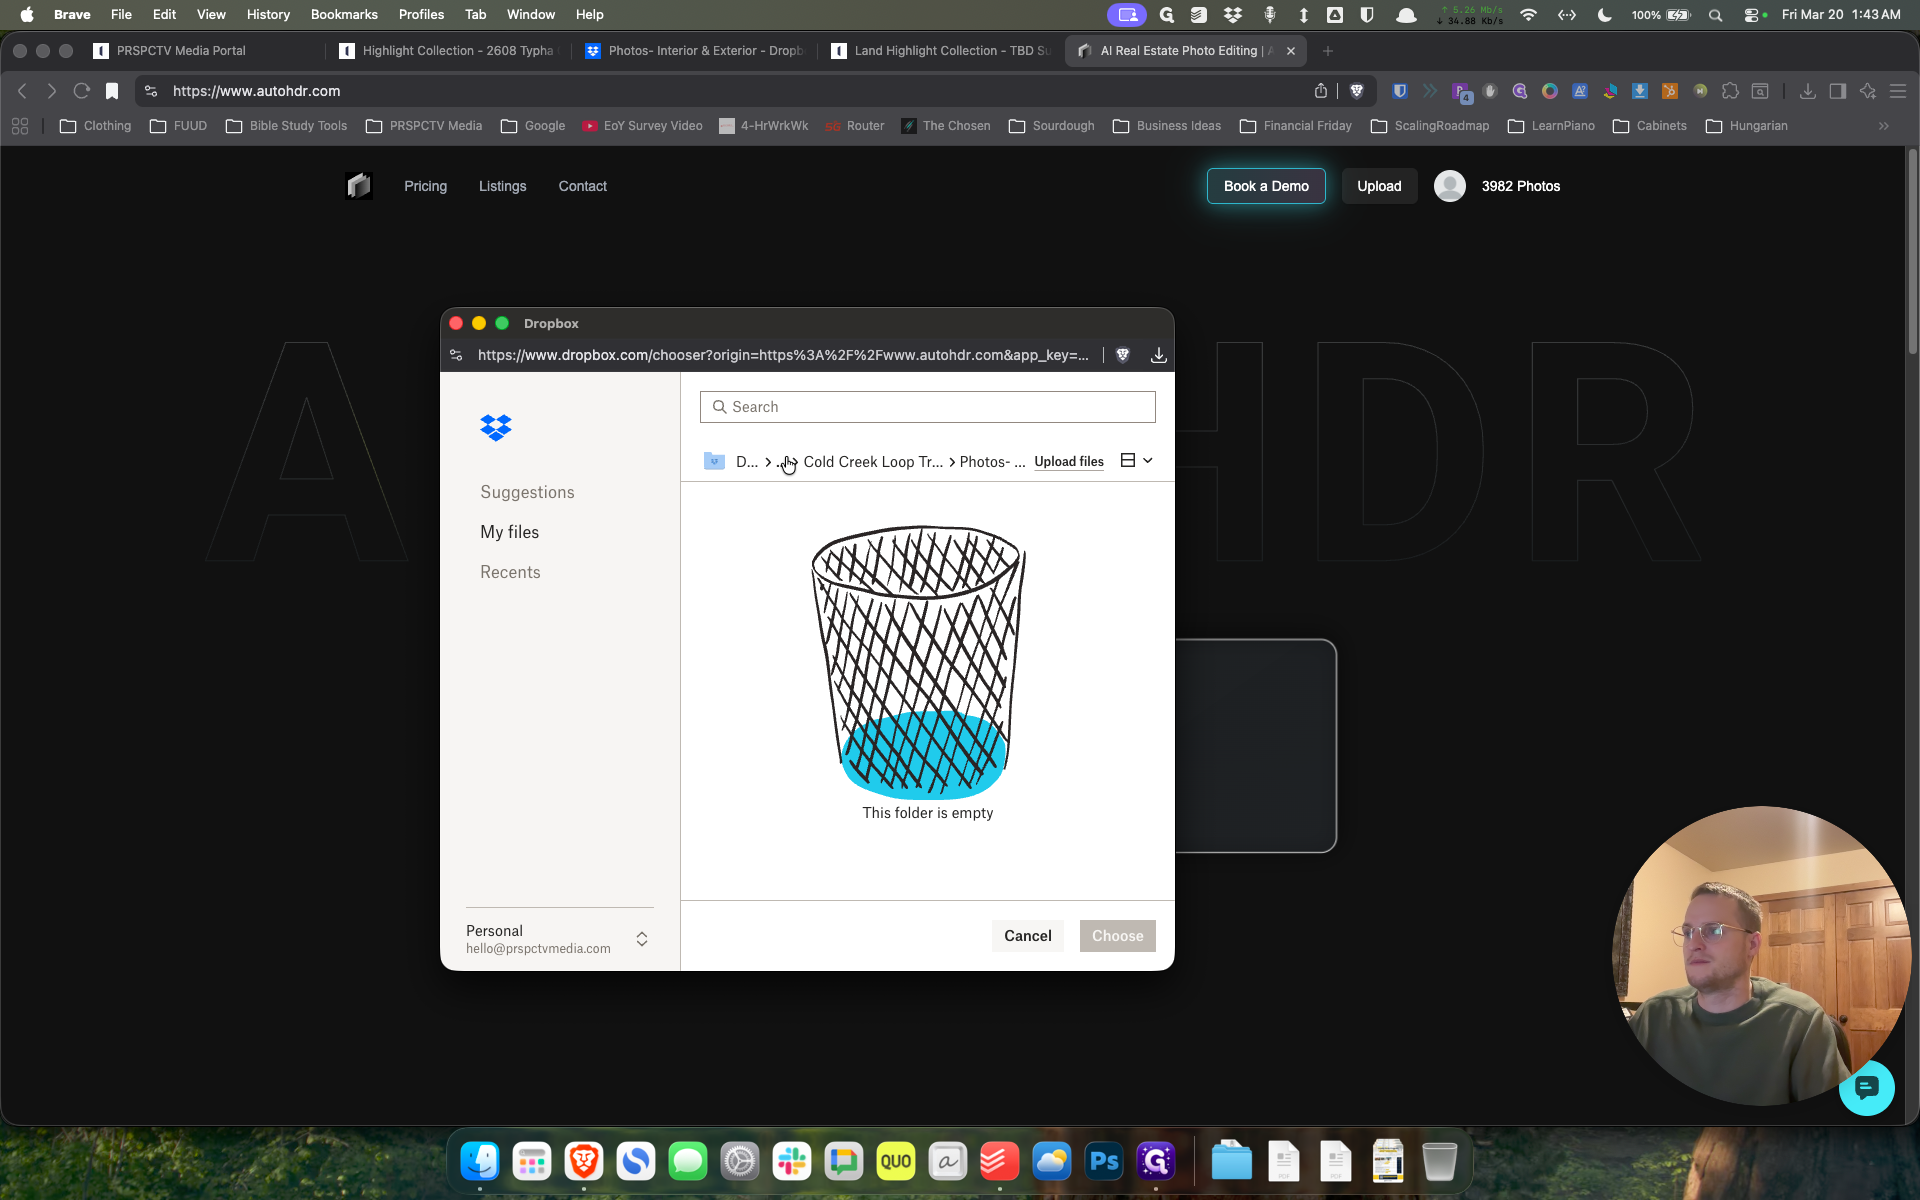
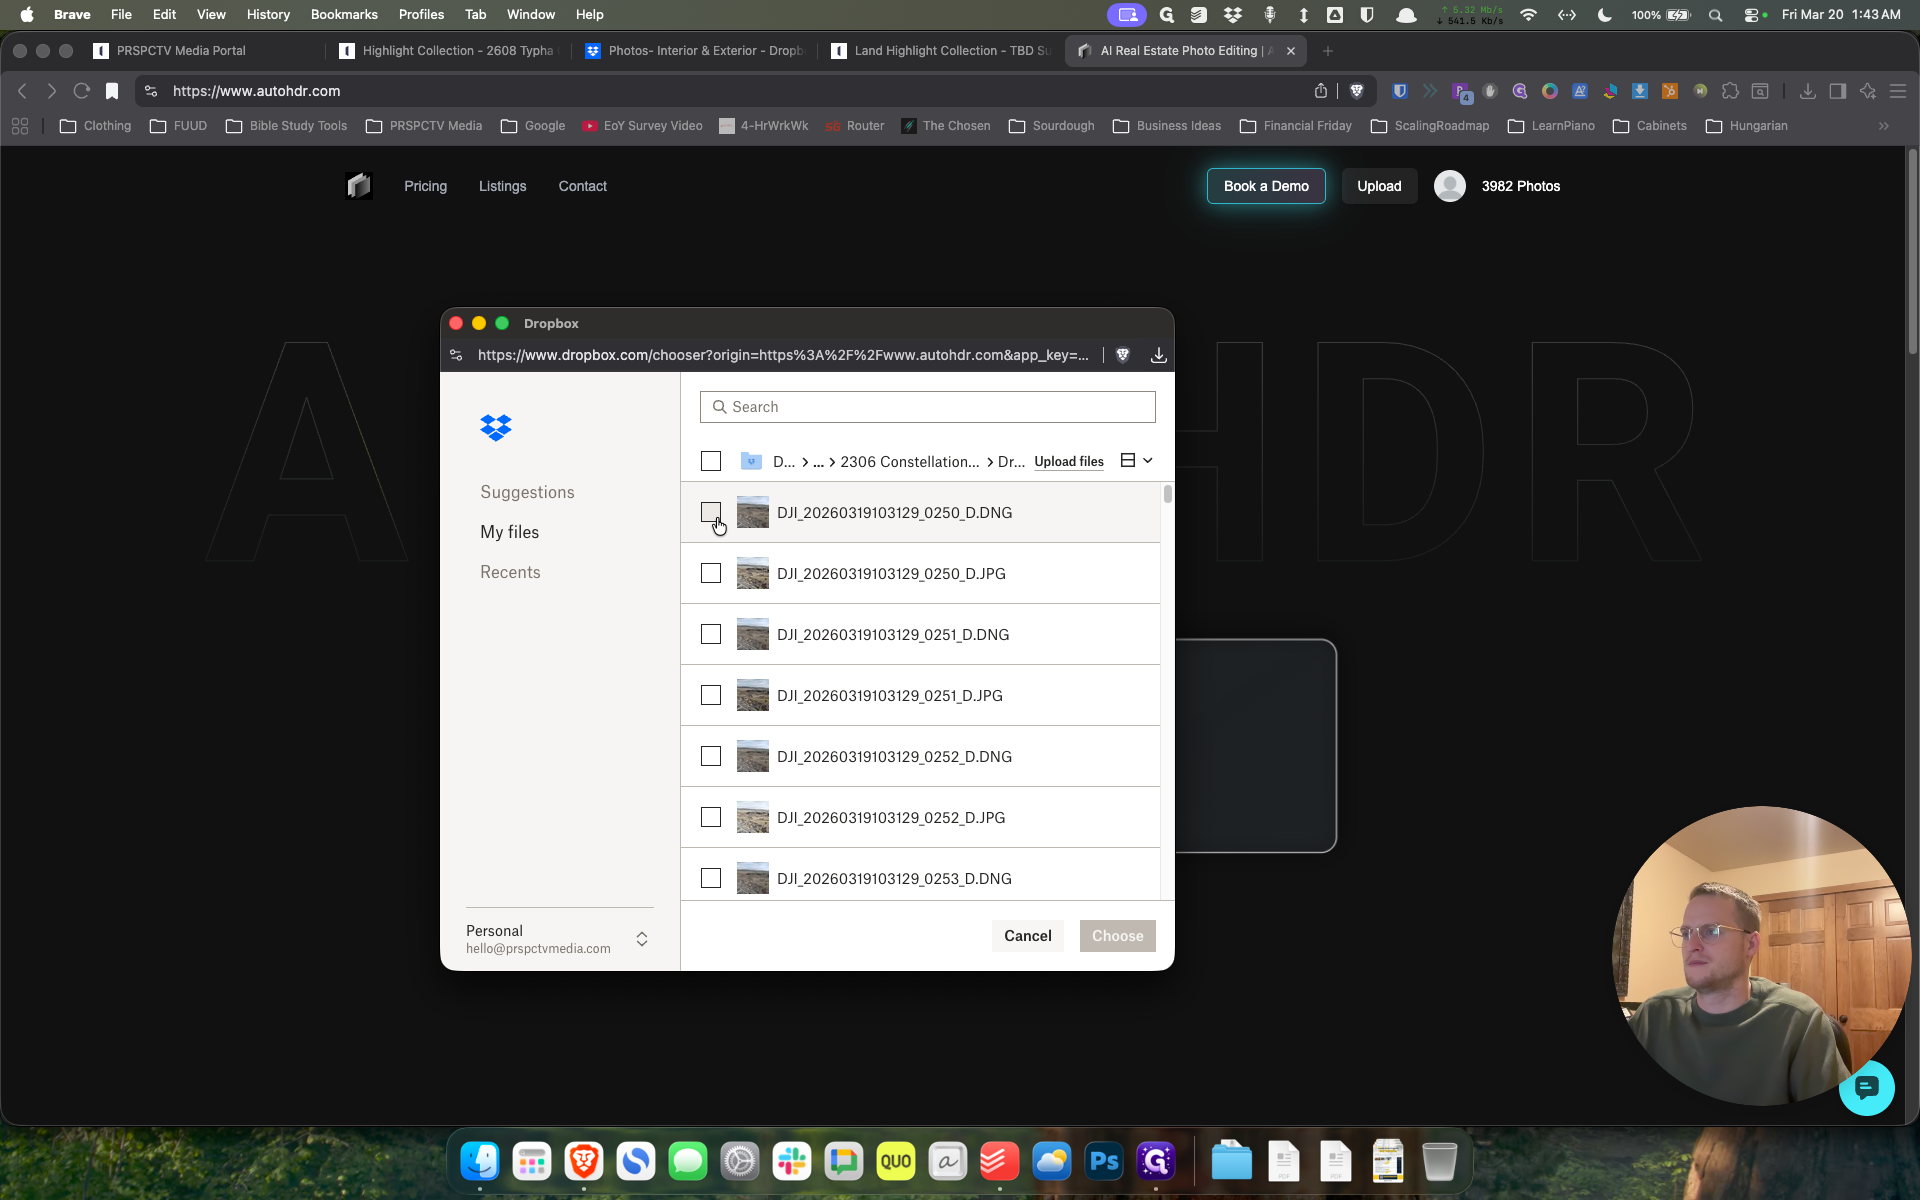
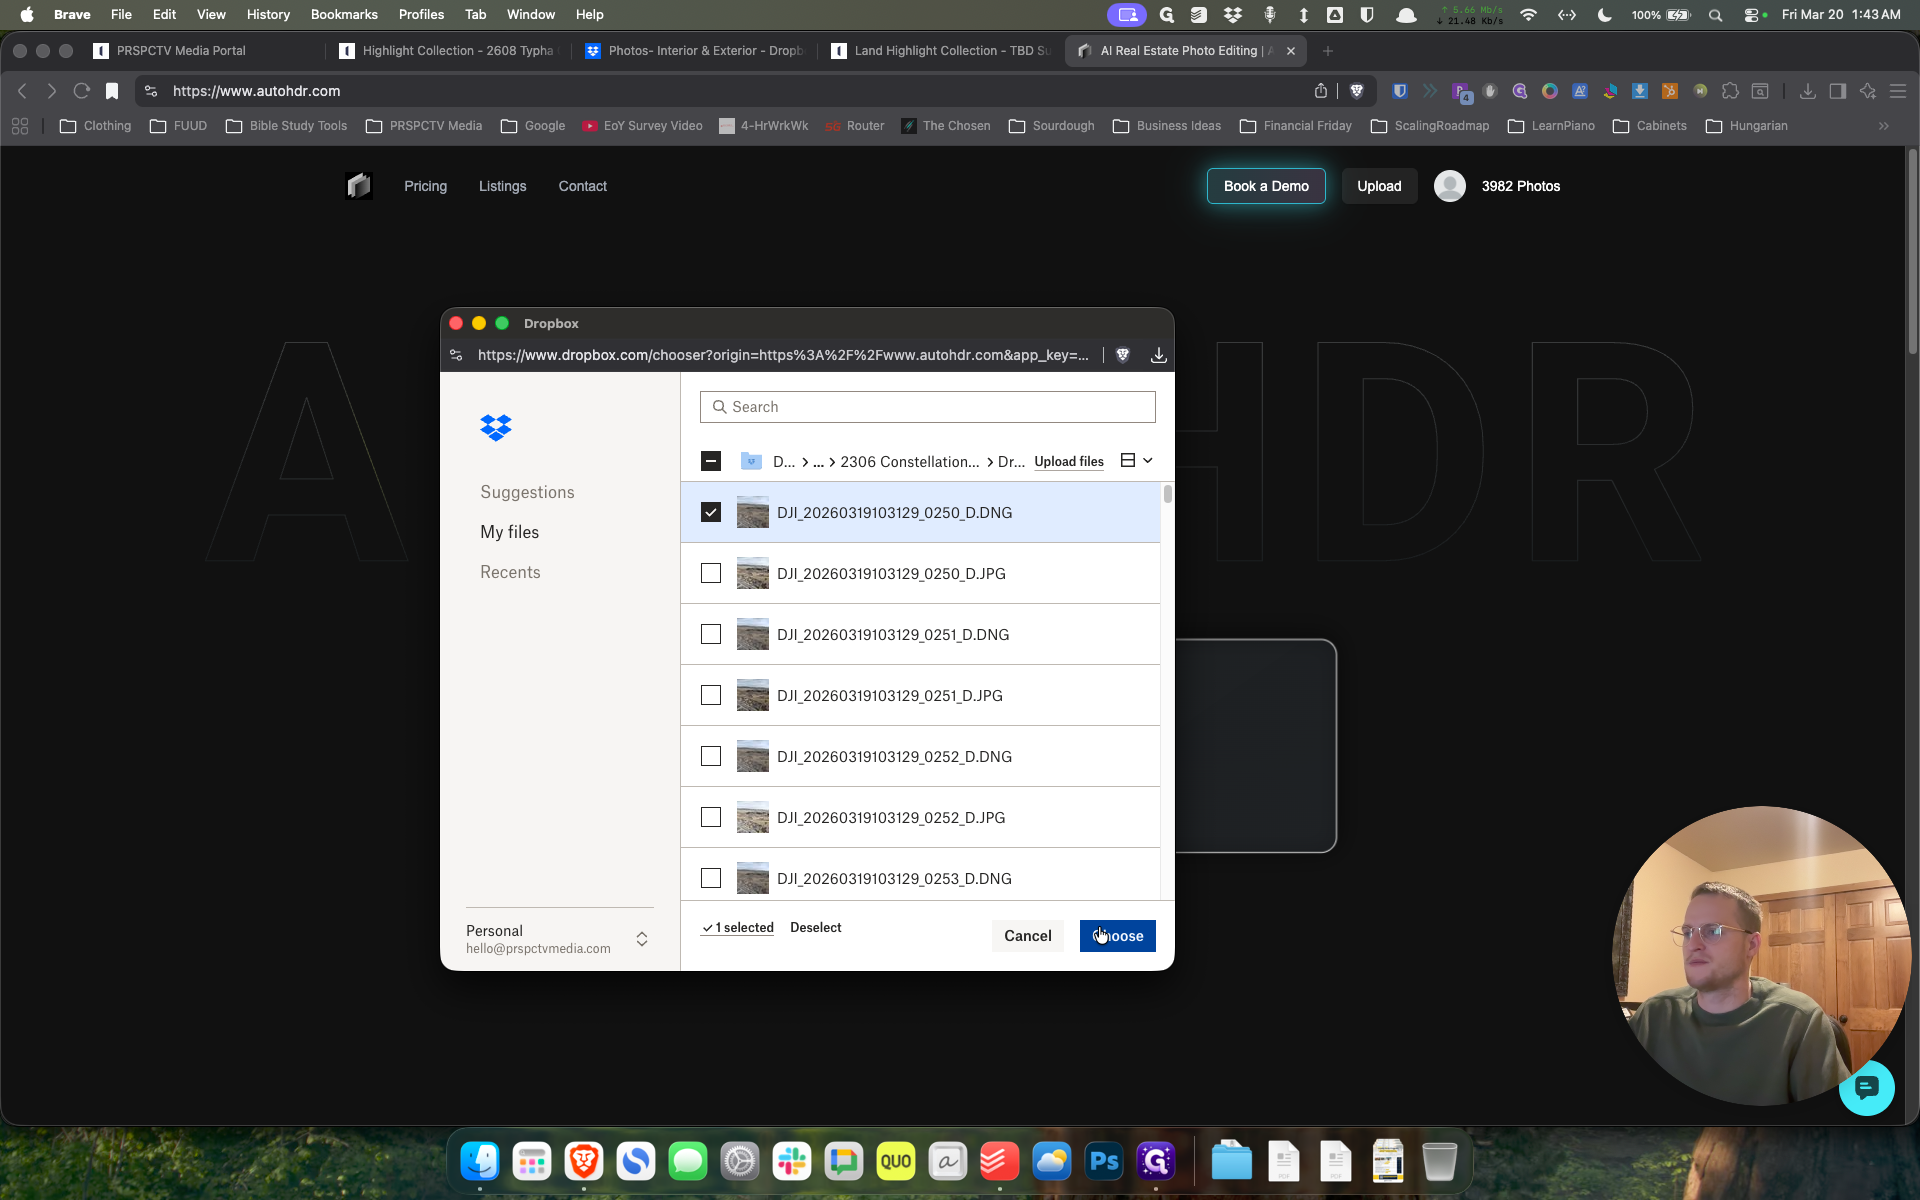
It will upload. It will take some time, depending on where the files are saved. The other option to edit photos is to go to "Browse Files." You can select them from your desktop or wherever you have them saved. I always save all my files in Dropbox.

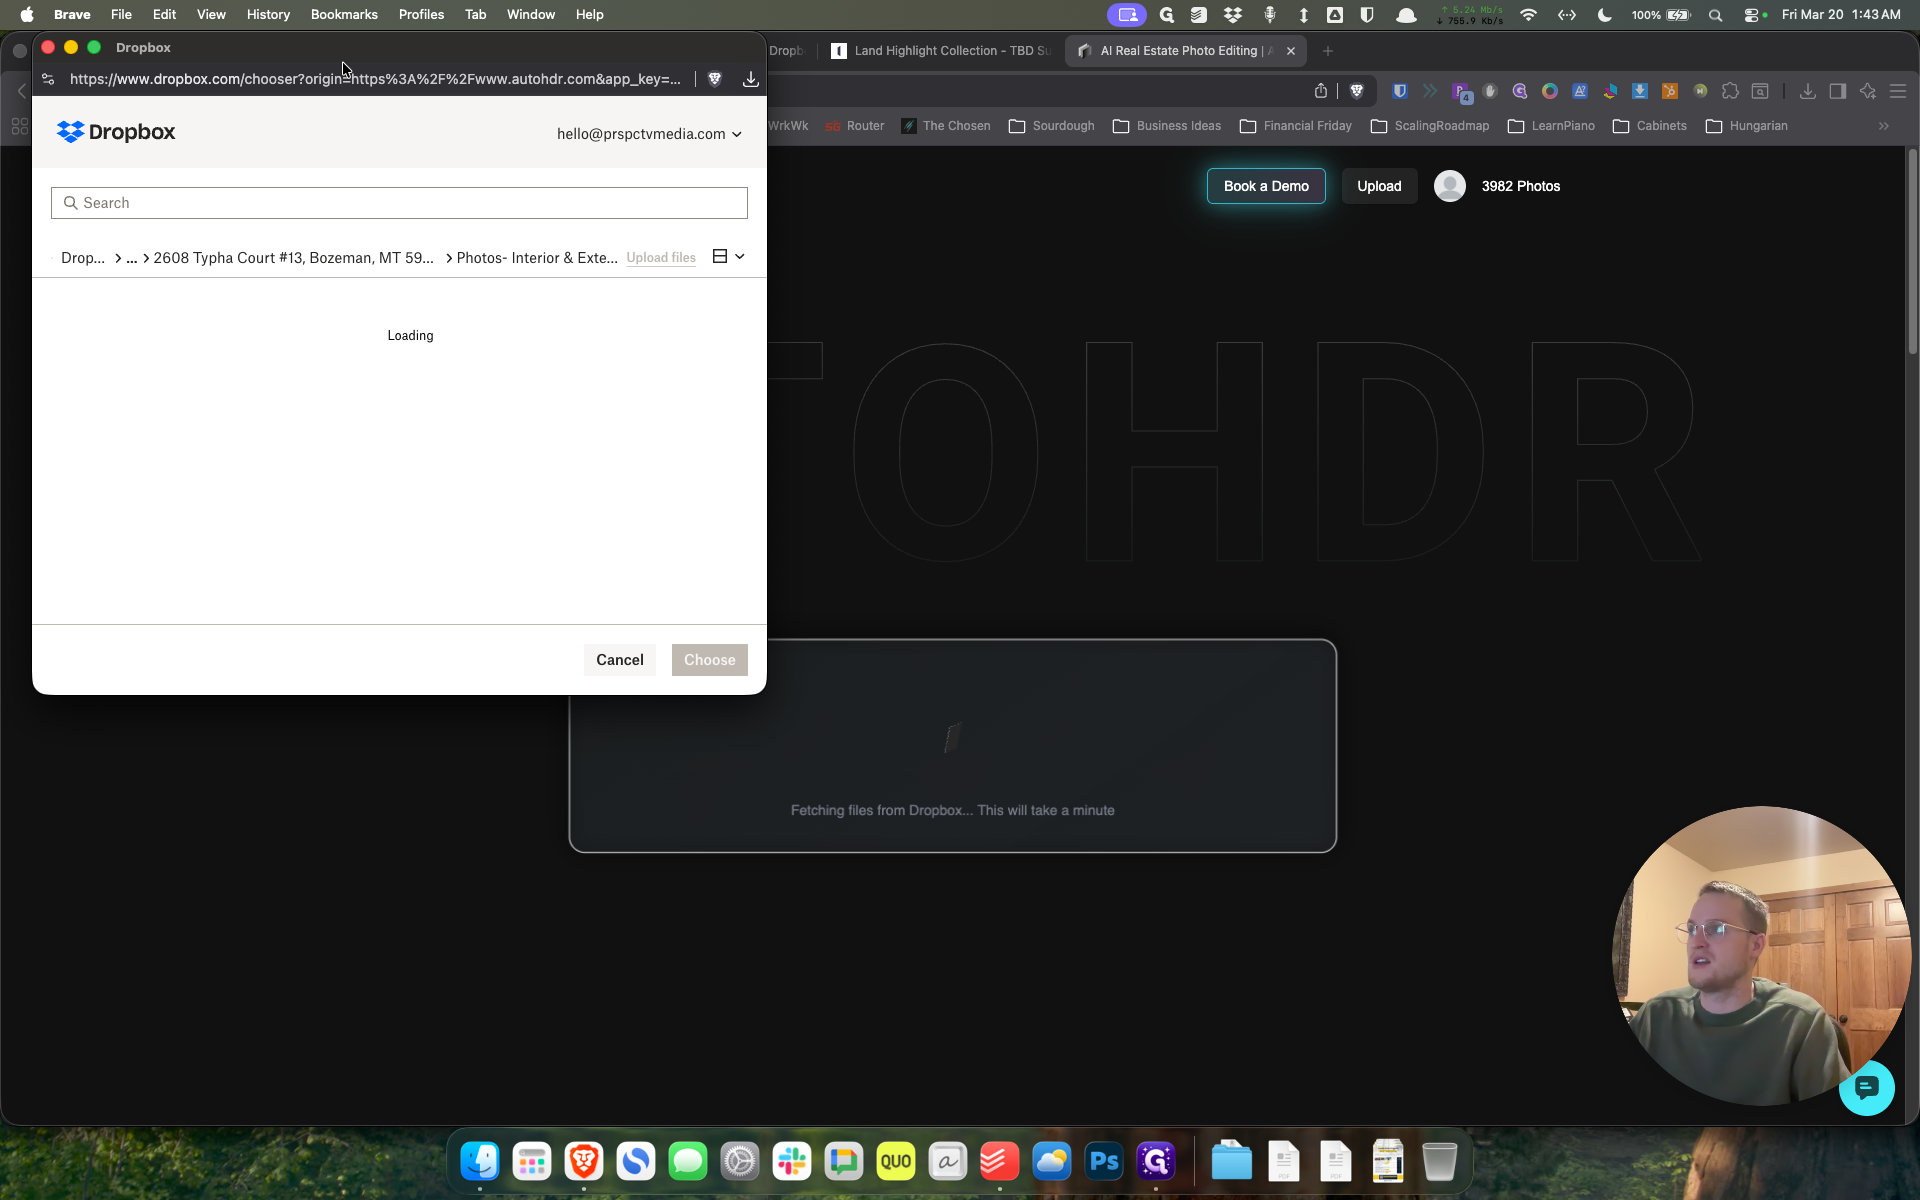
Then it links to Dropbox.

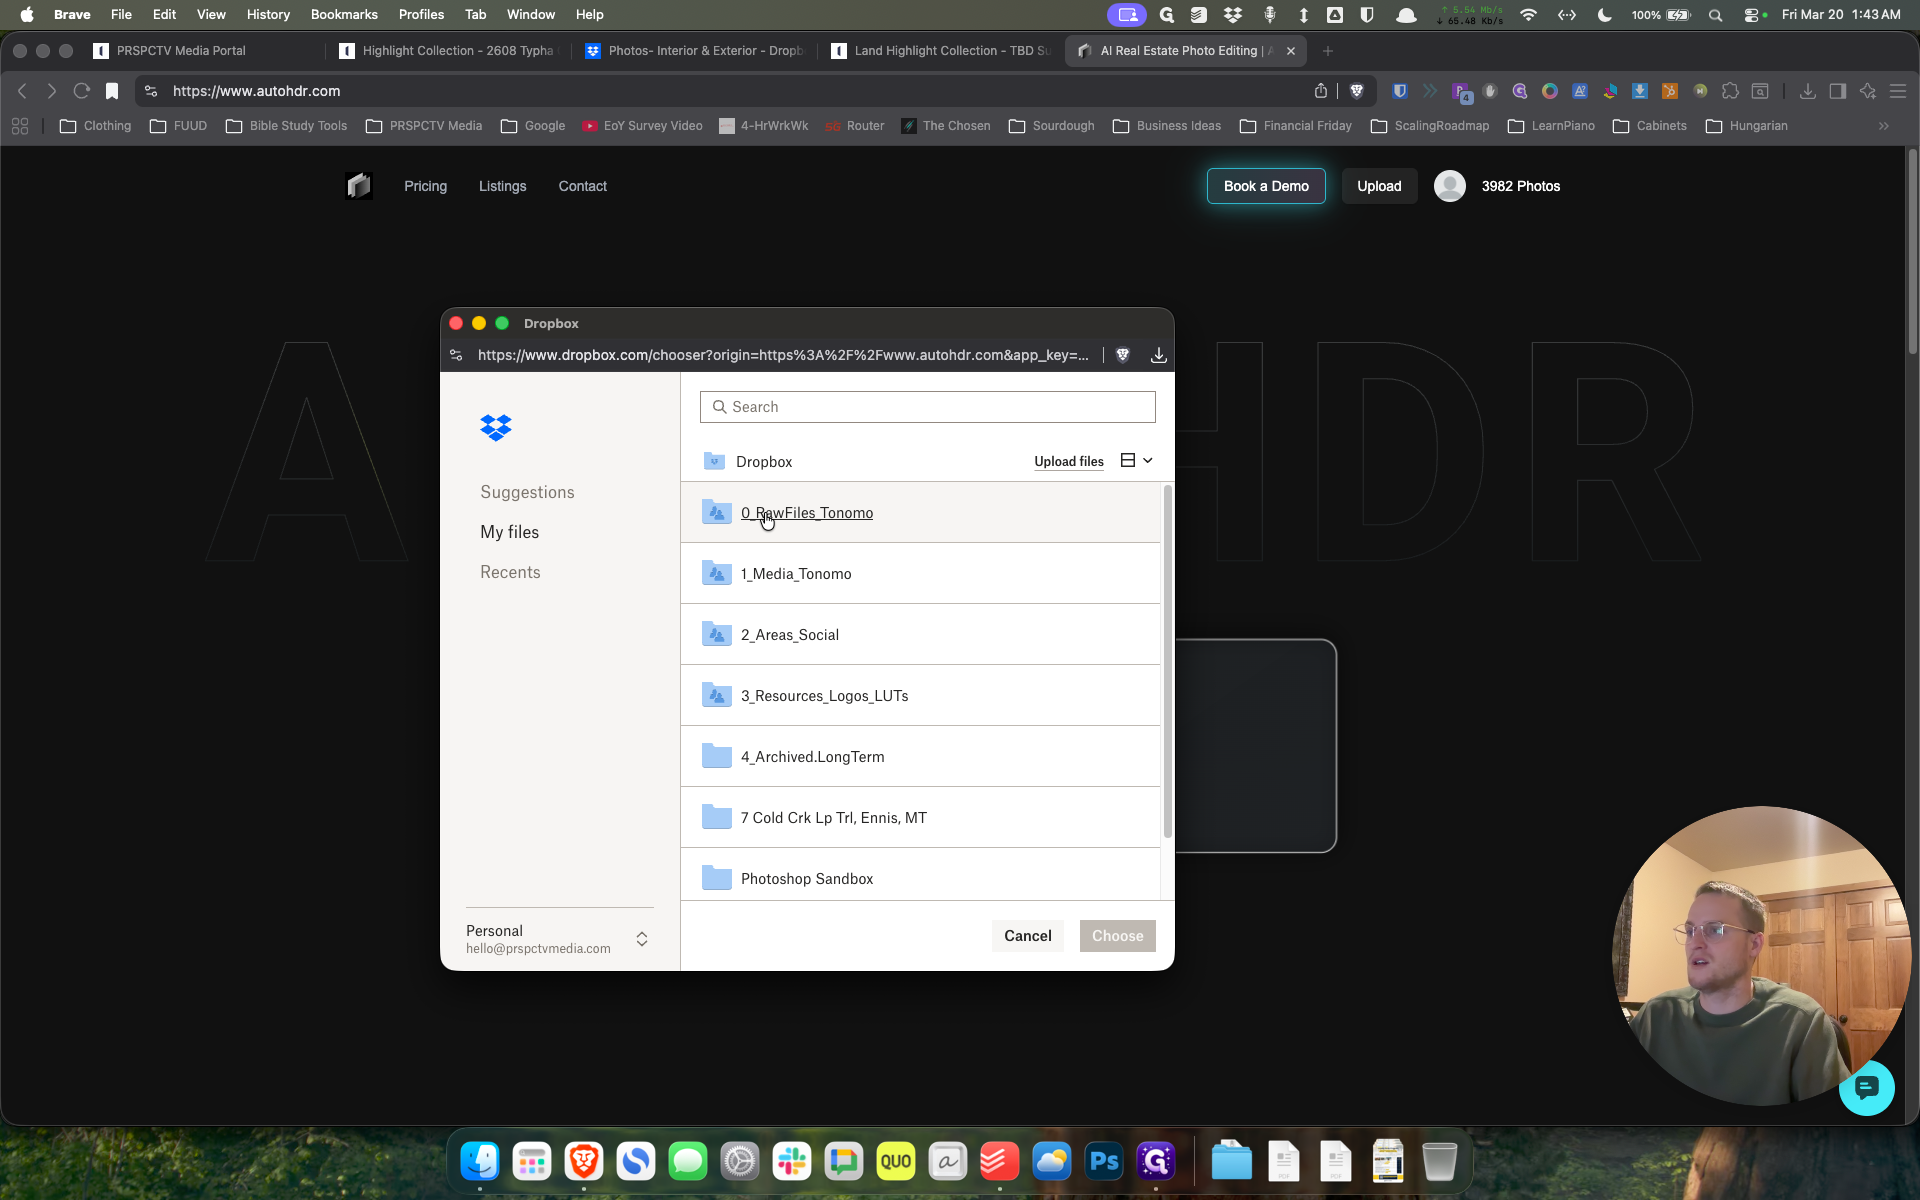
You can go Zero Raw.

Let's go, Kyle.

Let's go to one of these shoots.


For example, choose, and sometimes it will take some time.
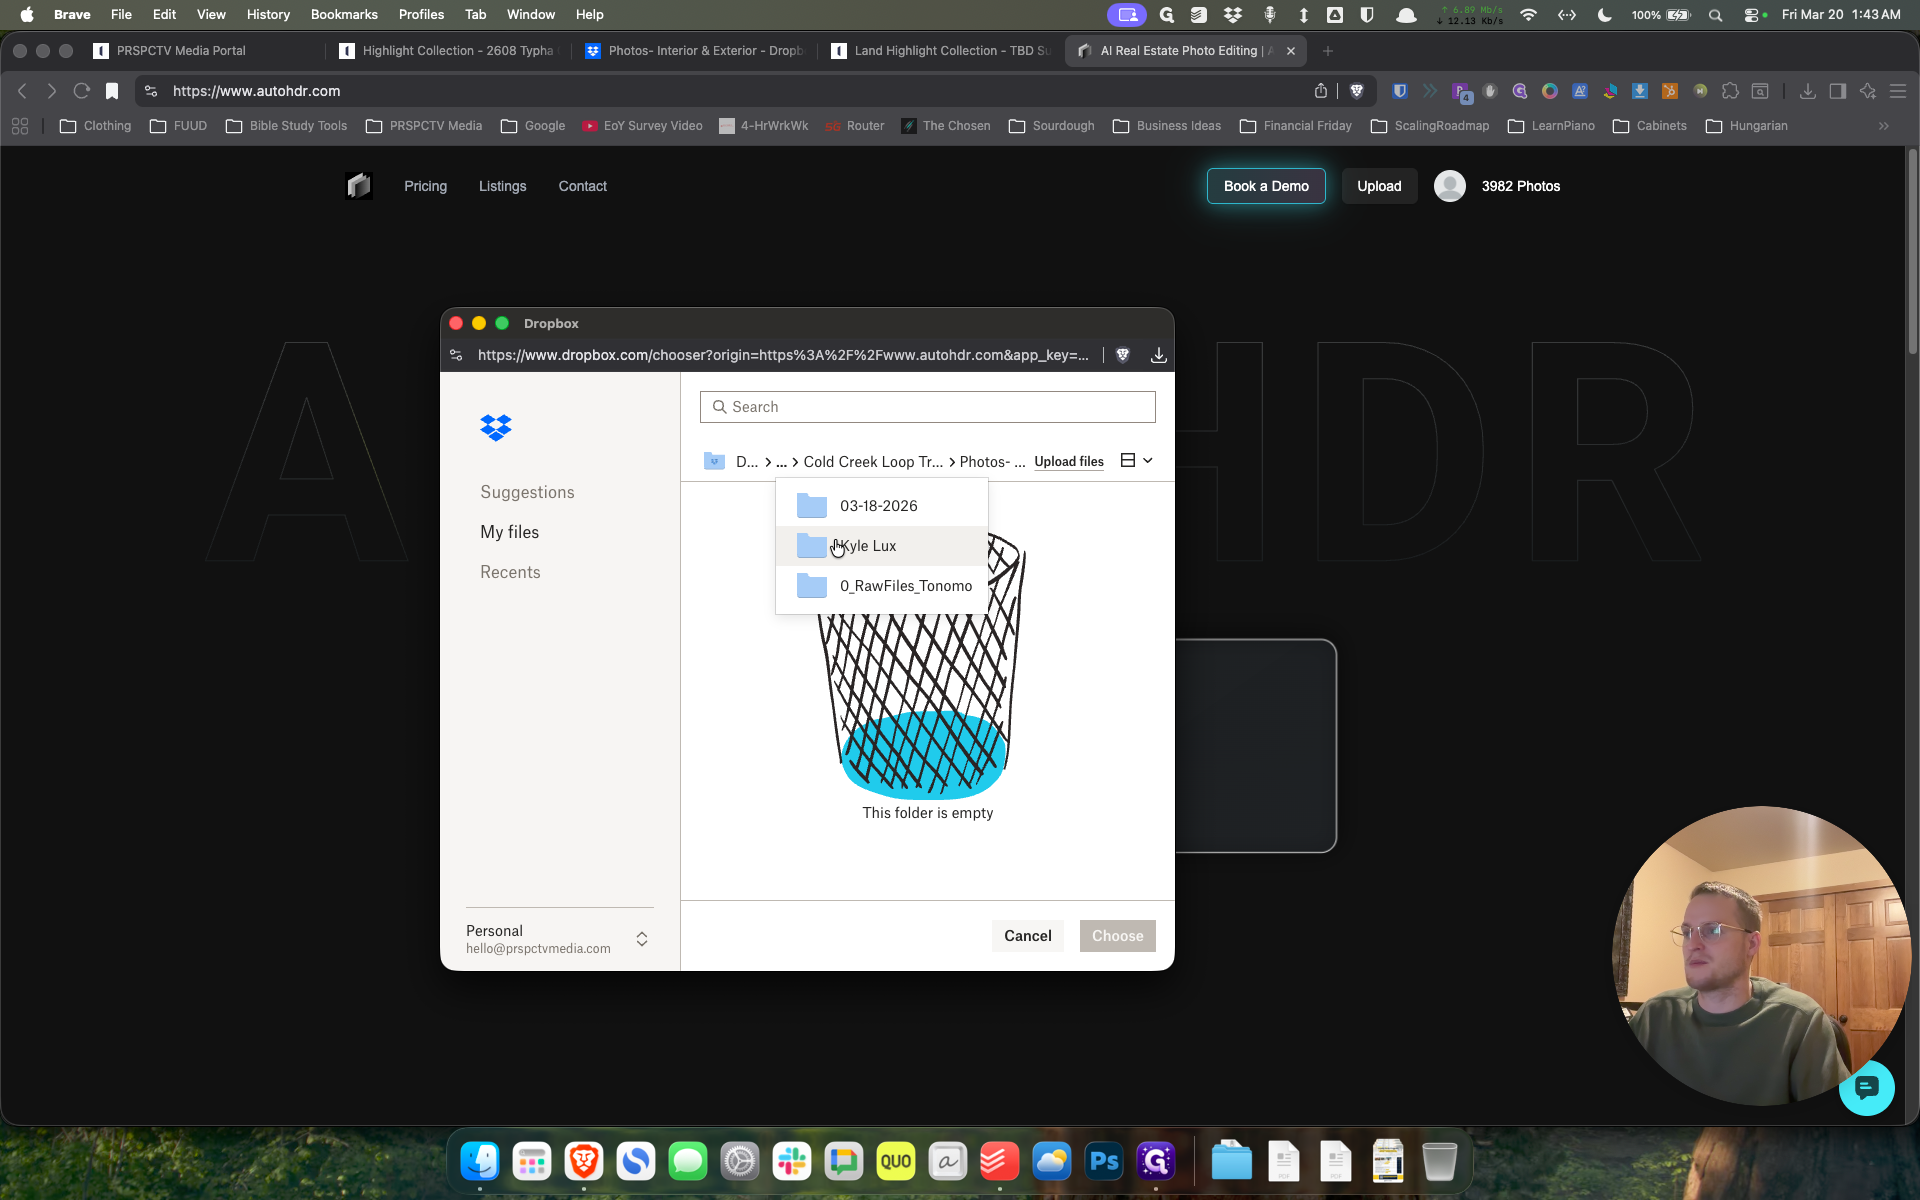


I'm doing a random one.
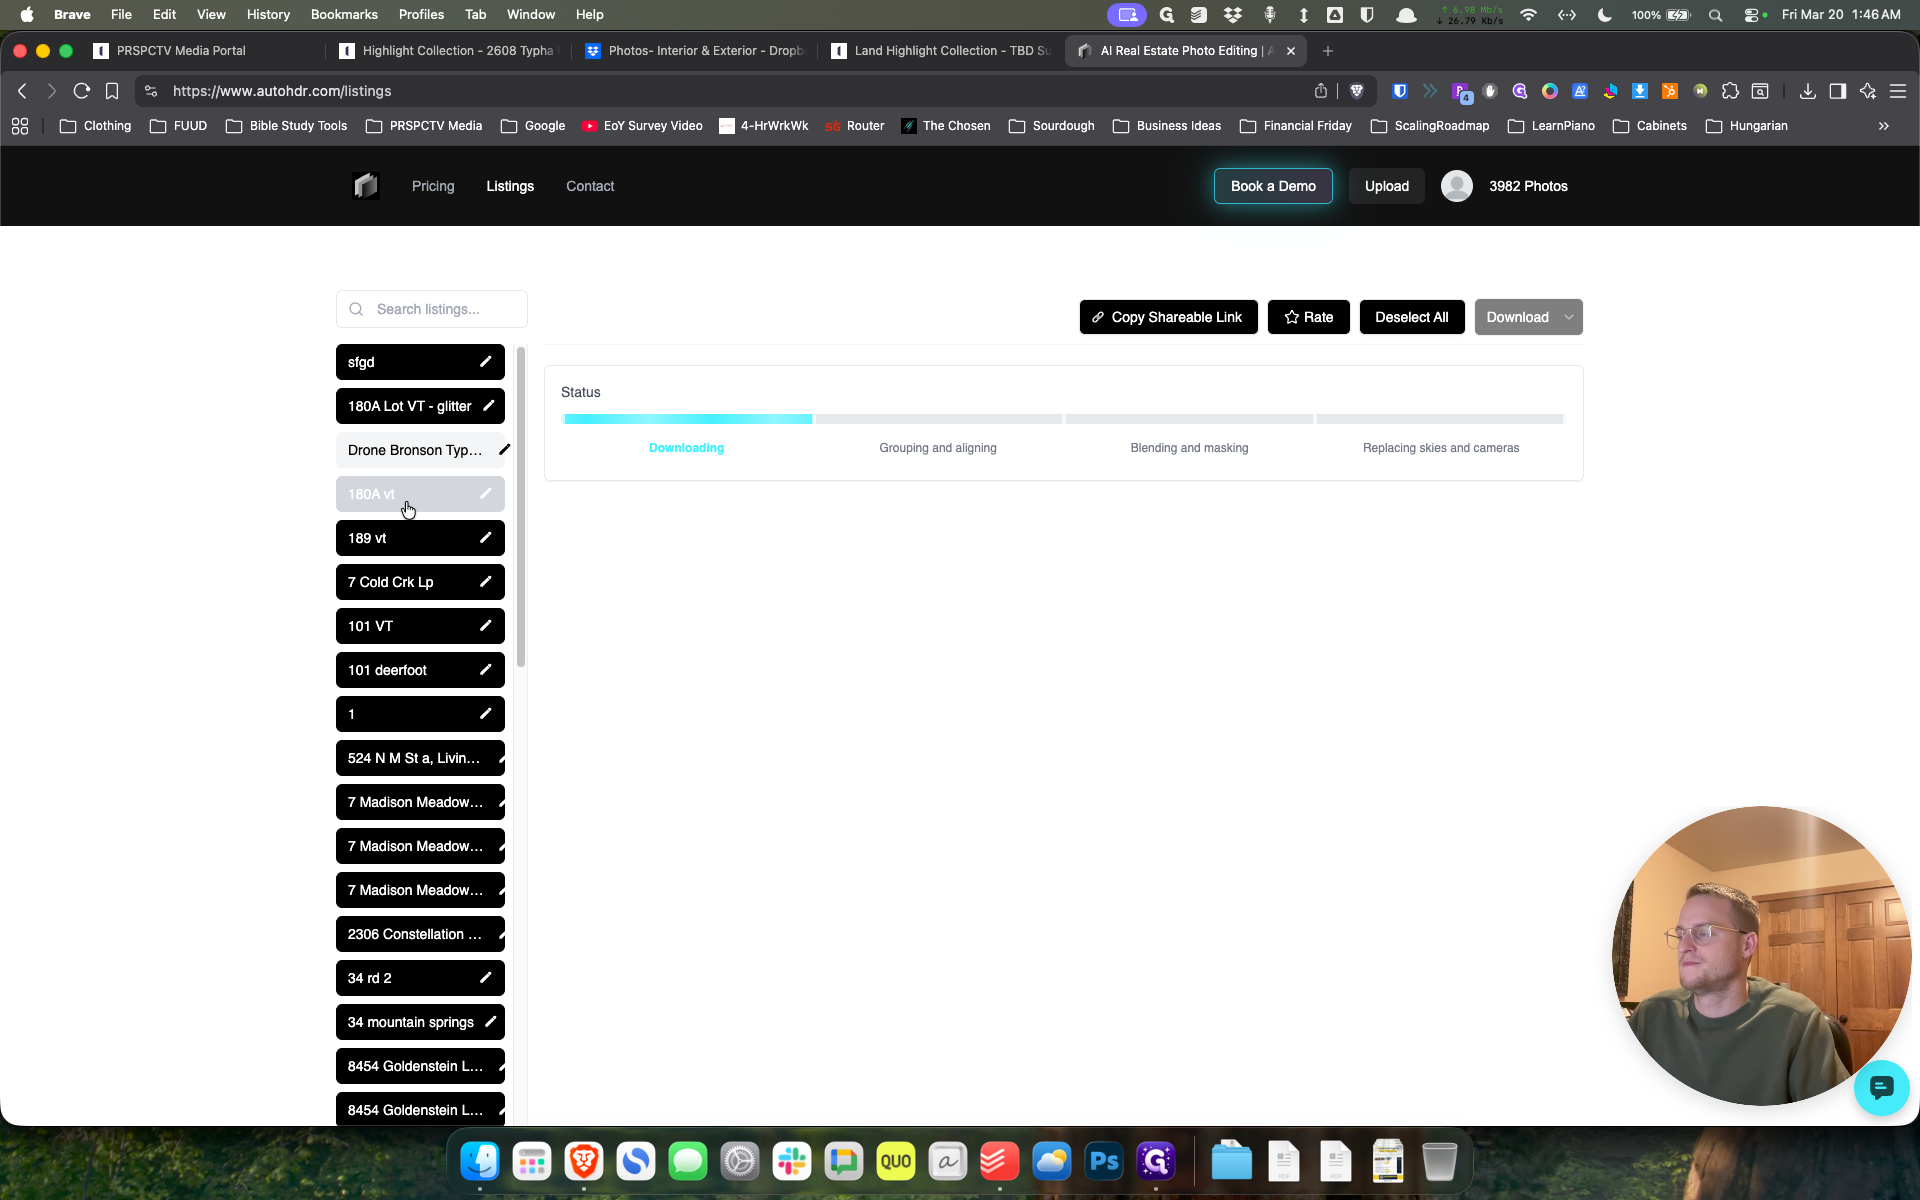
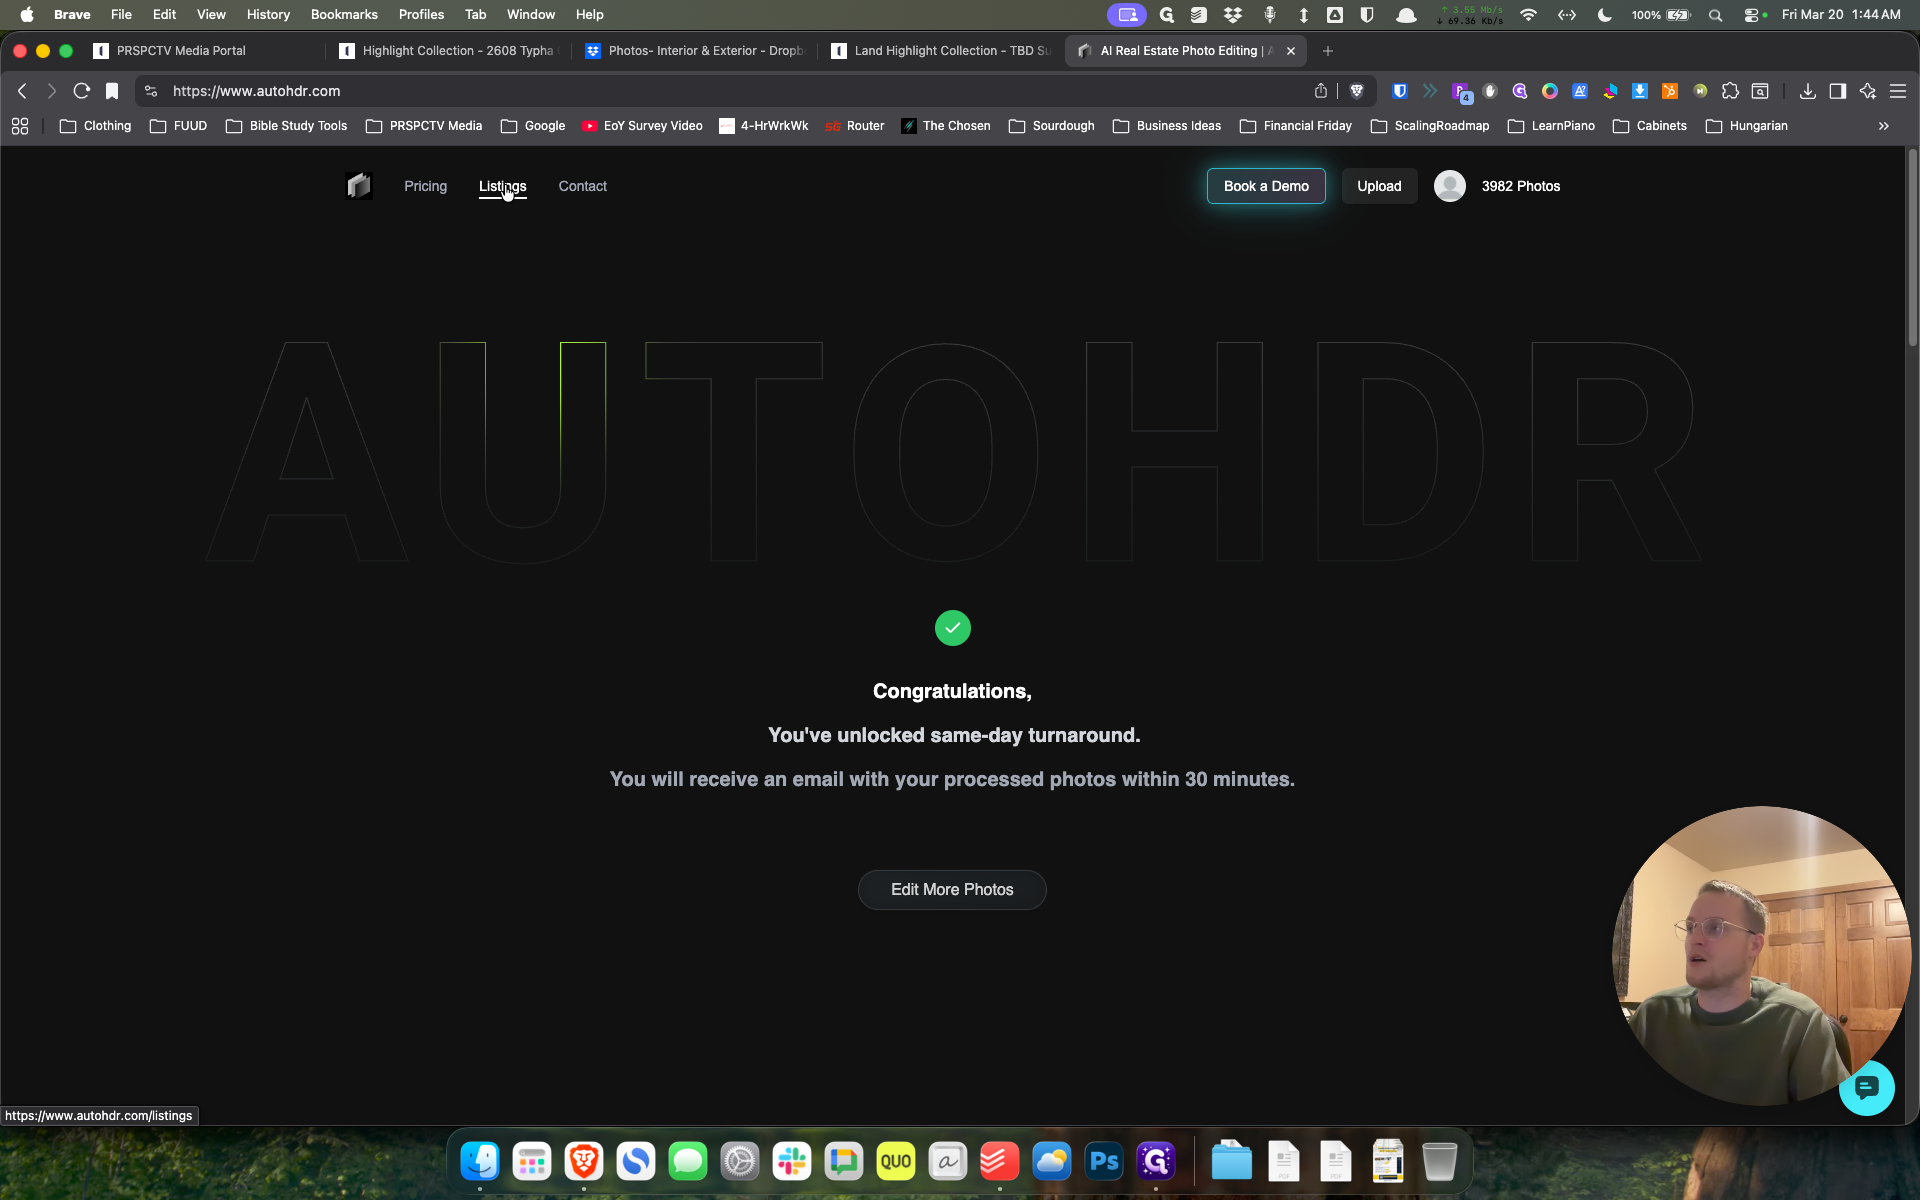
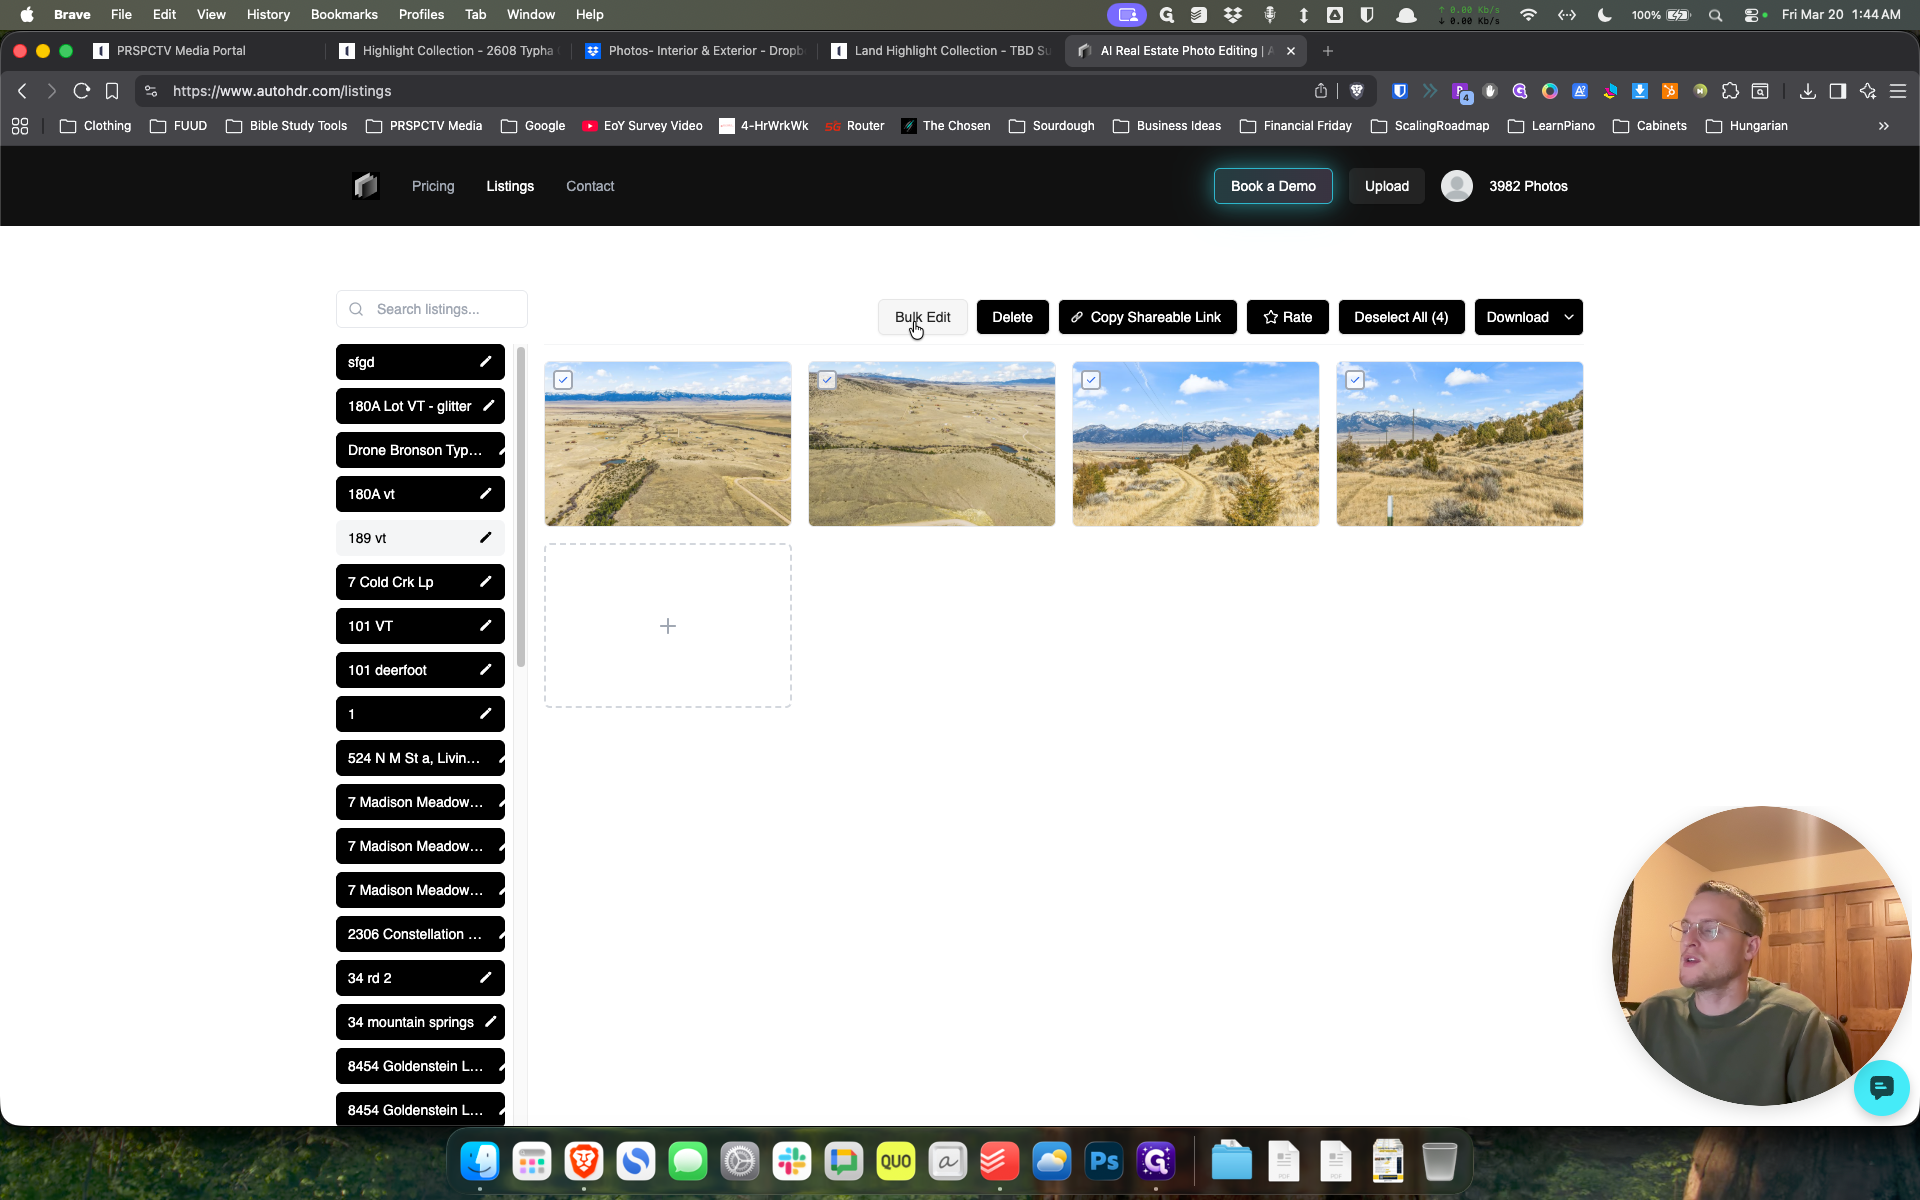
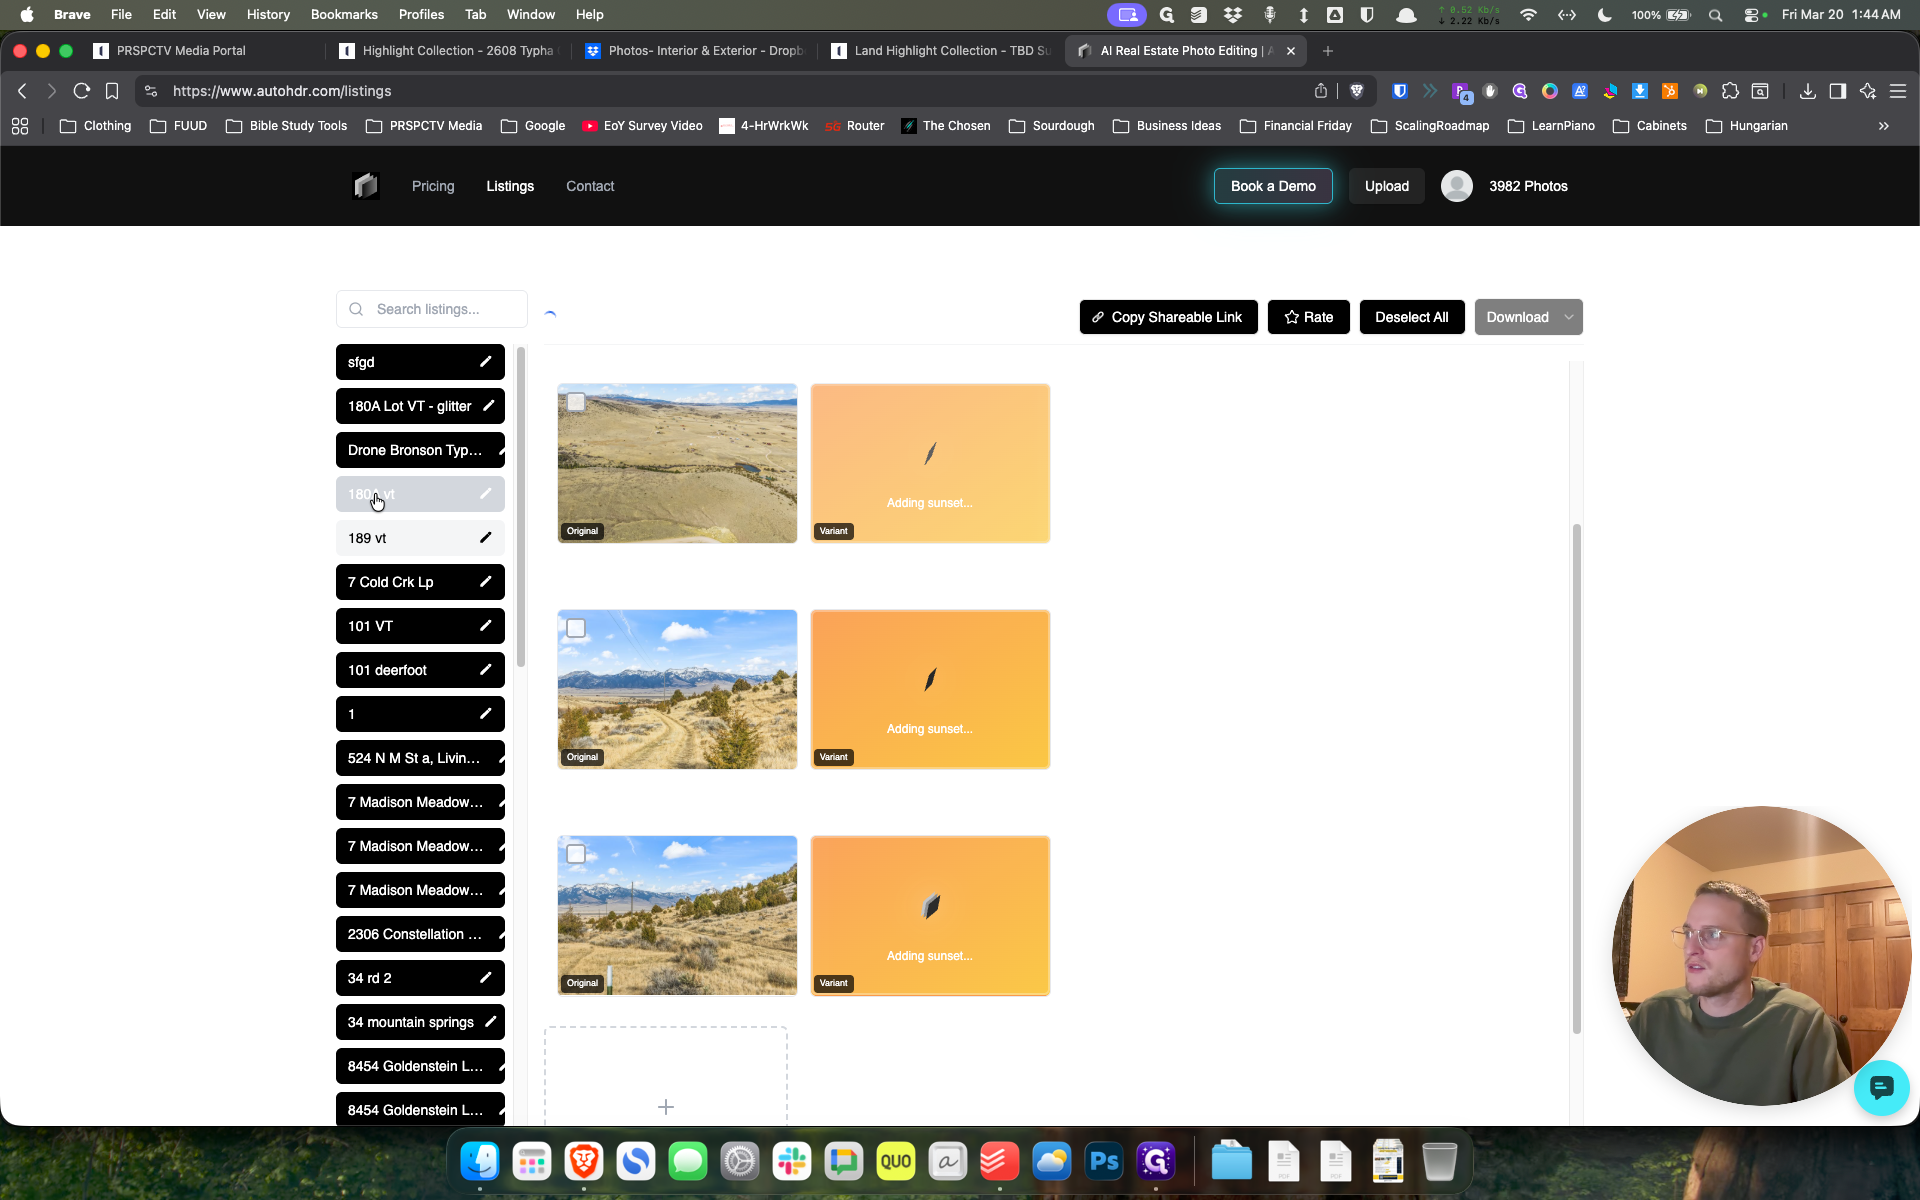
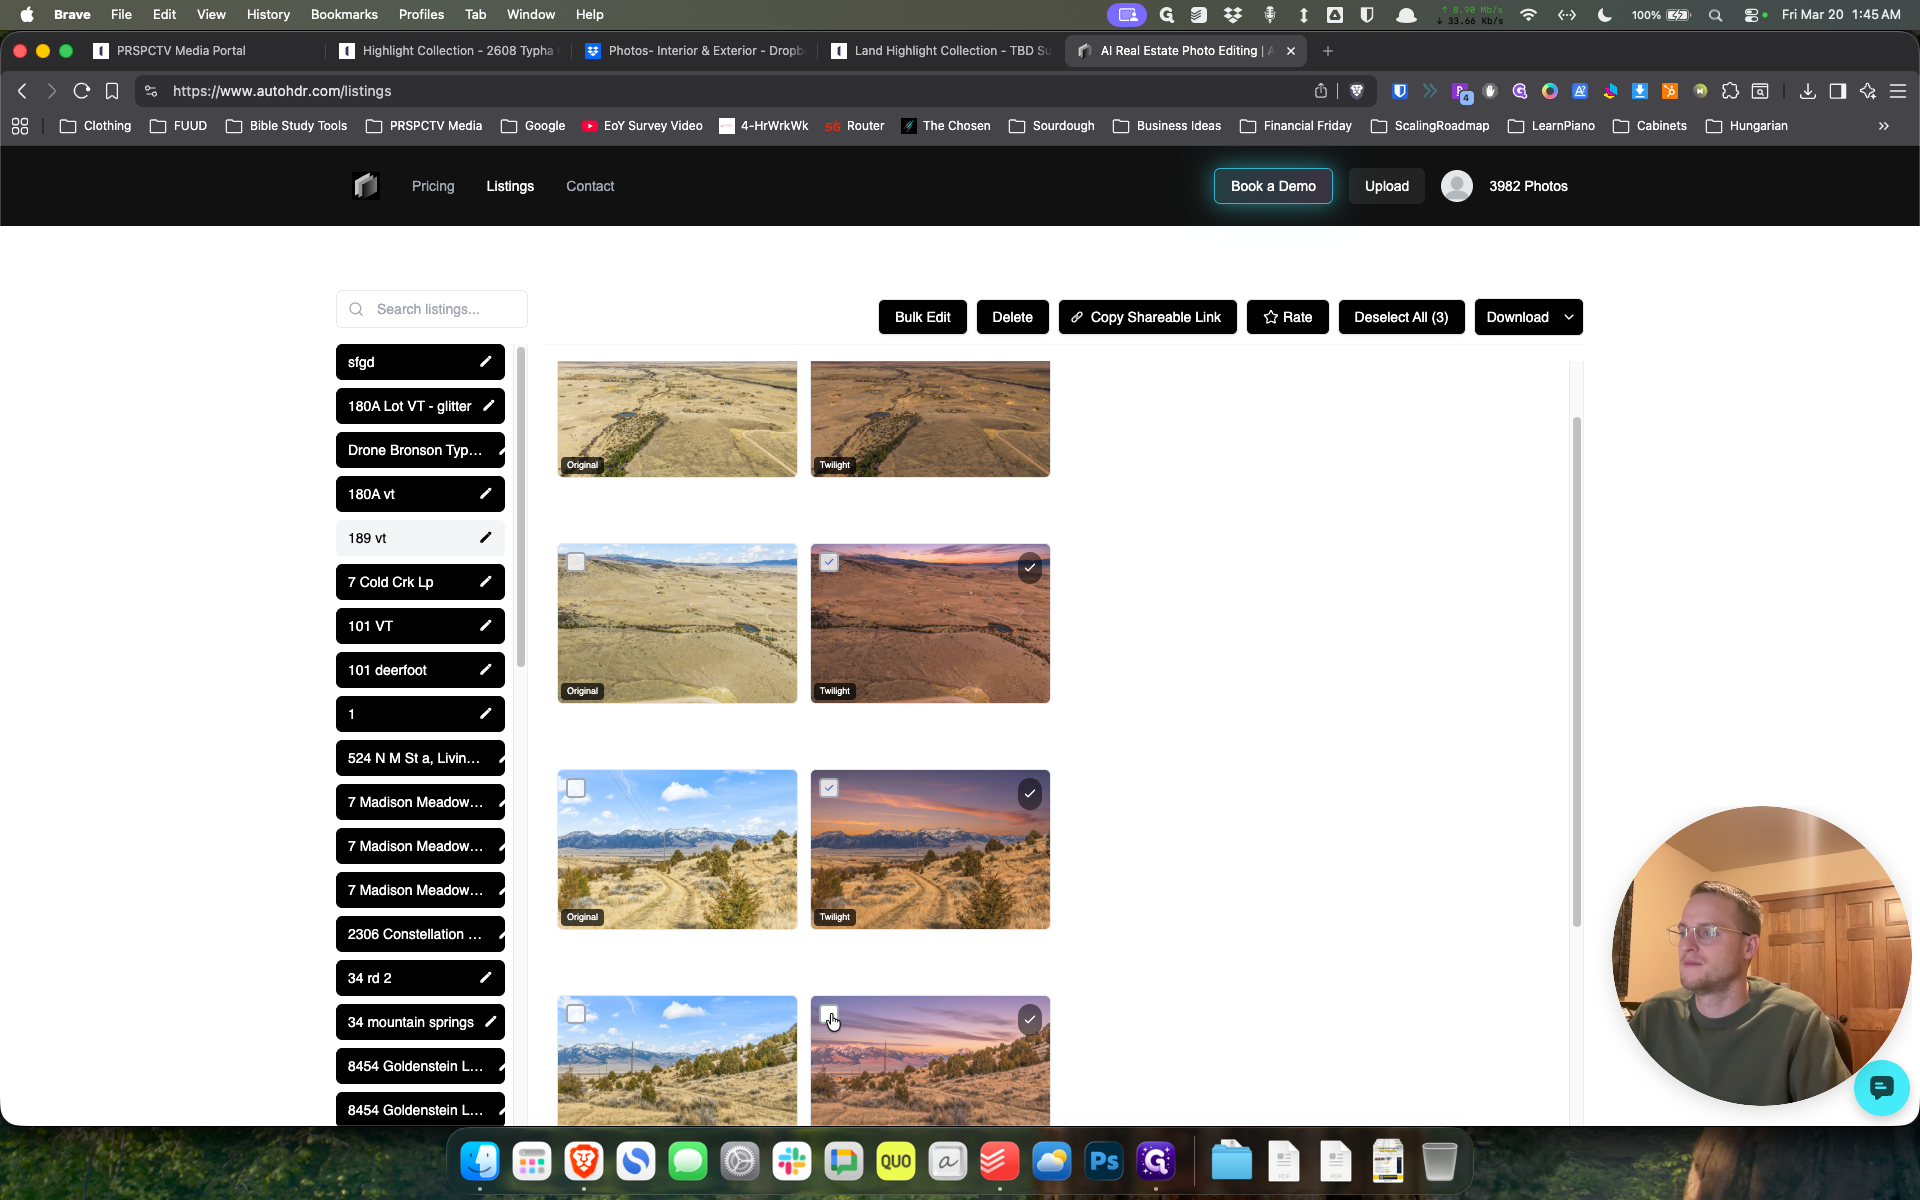
You should only turn off Perspective Correction and Sky Replacement if the photo has already been edited. However, if it has not been edited, leave those on. Now, whenever the photos are ready—and some already are—we're going to select Listings.
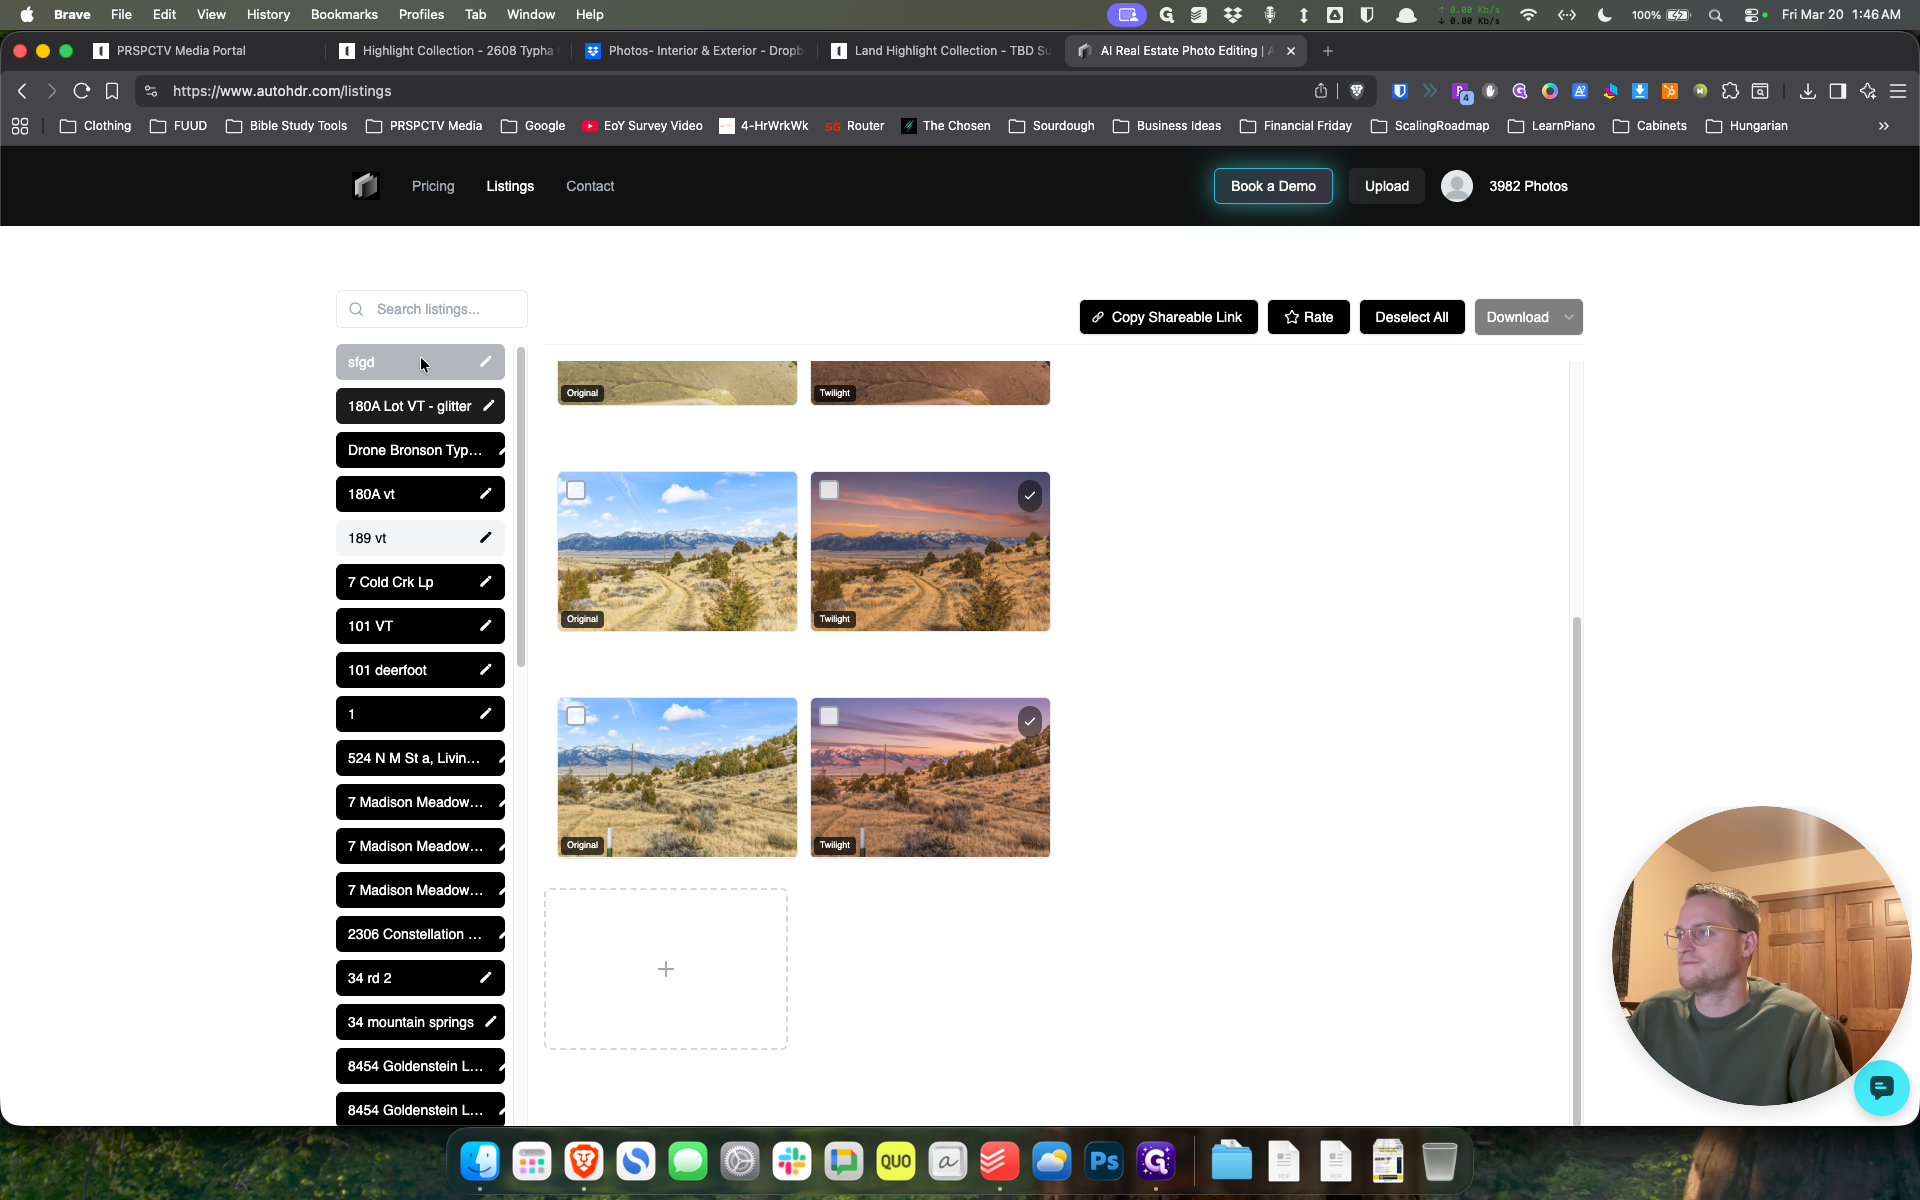
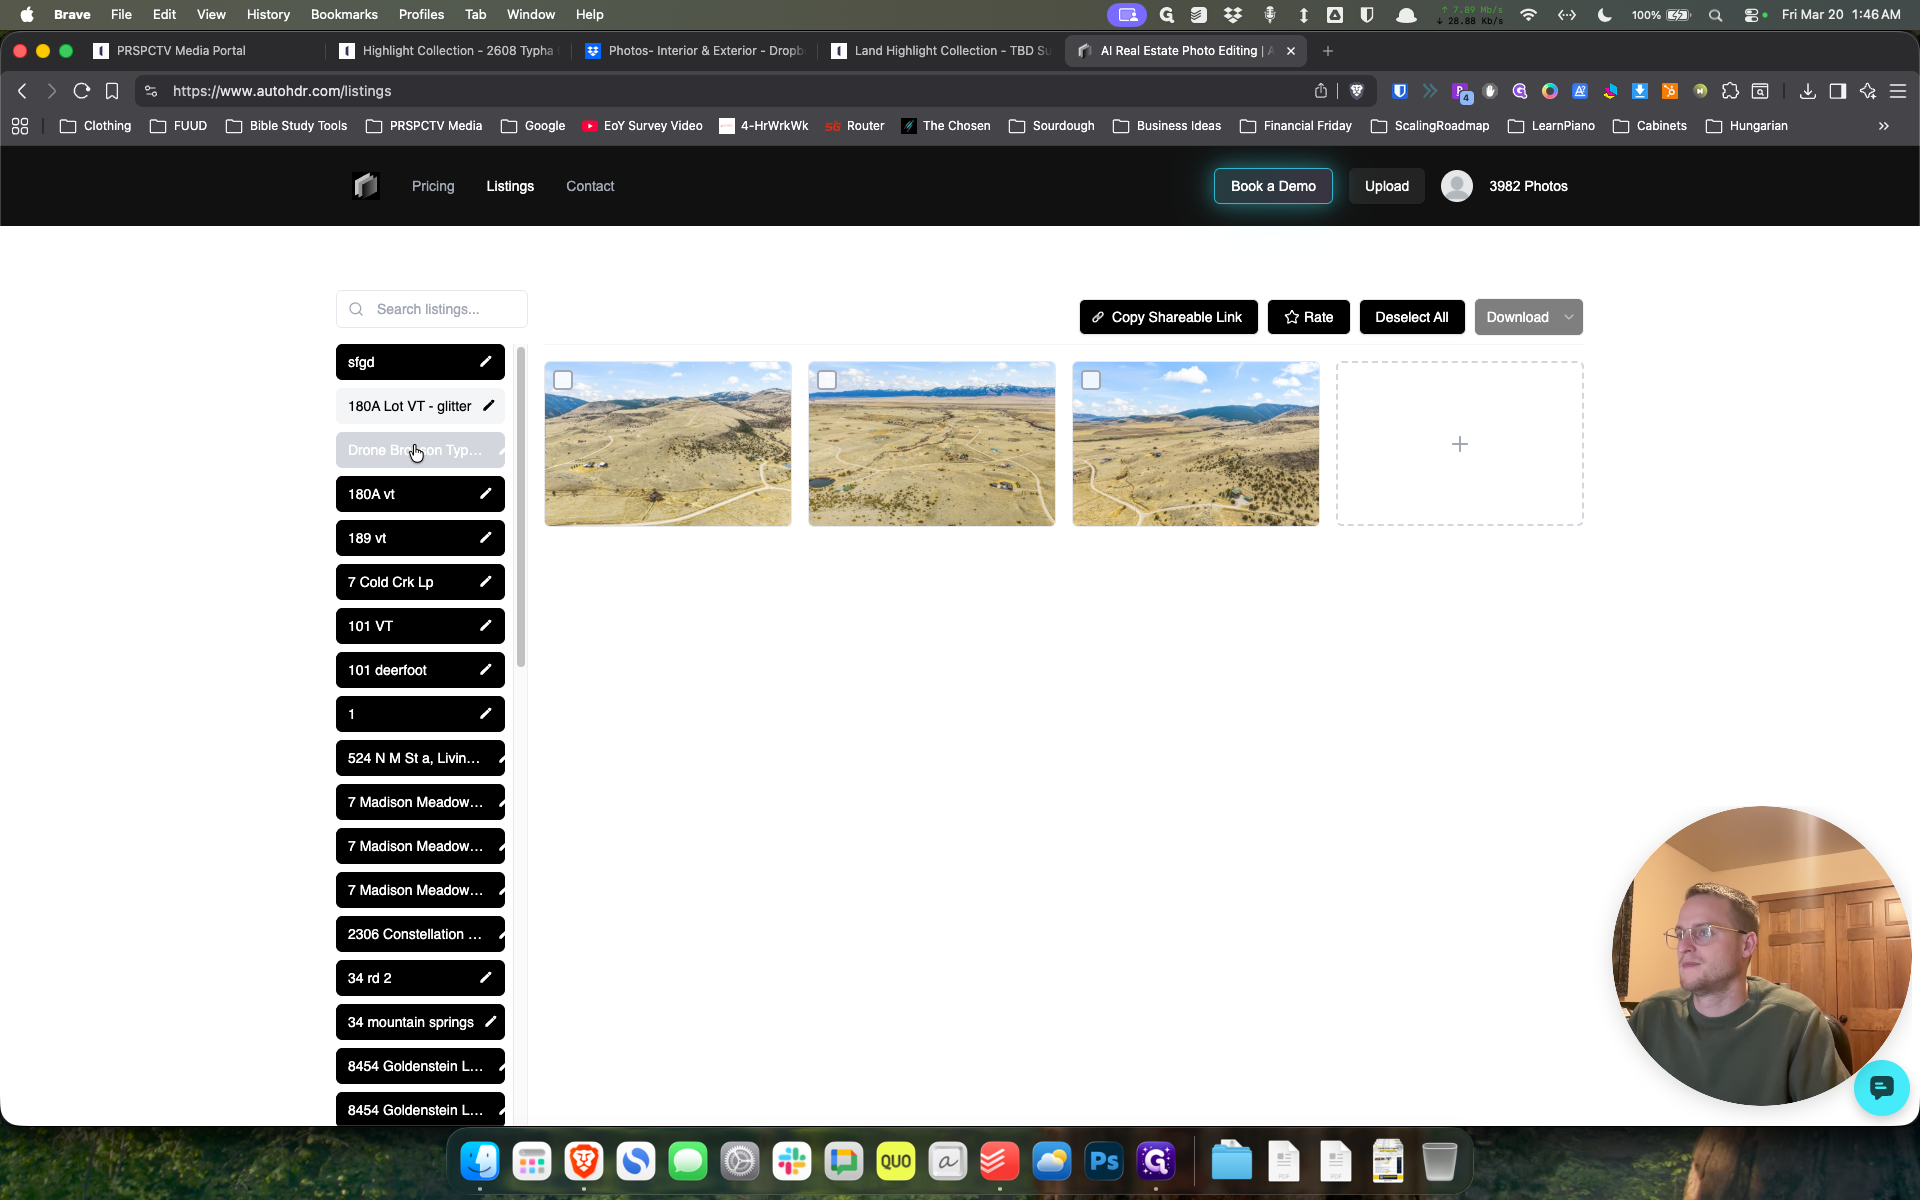
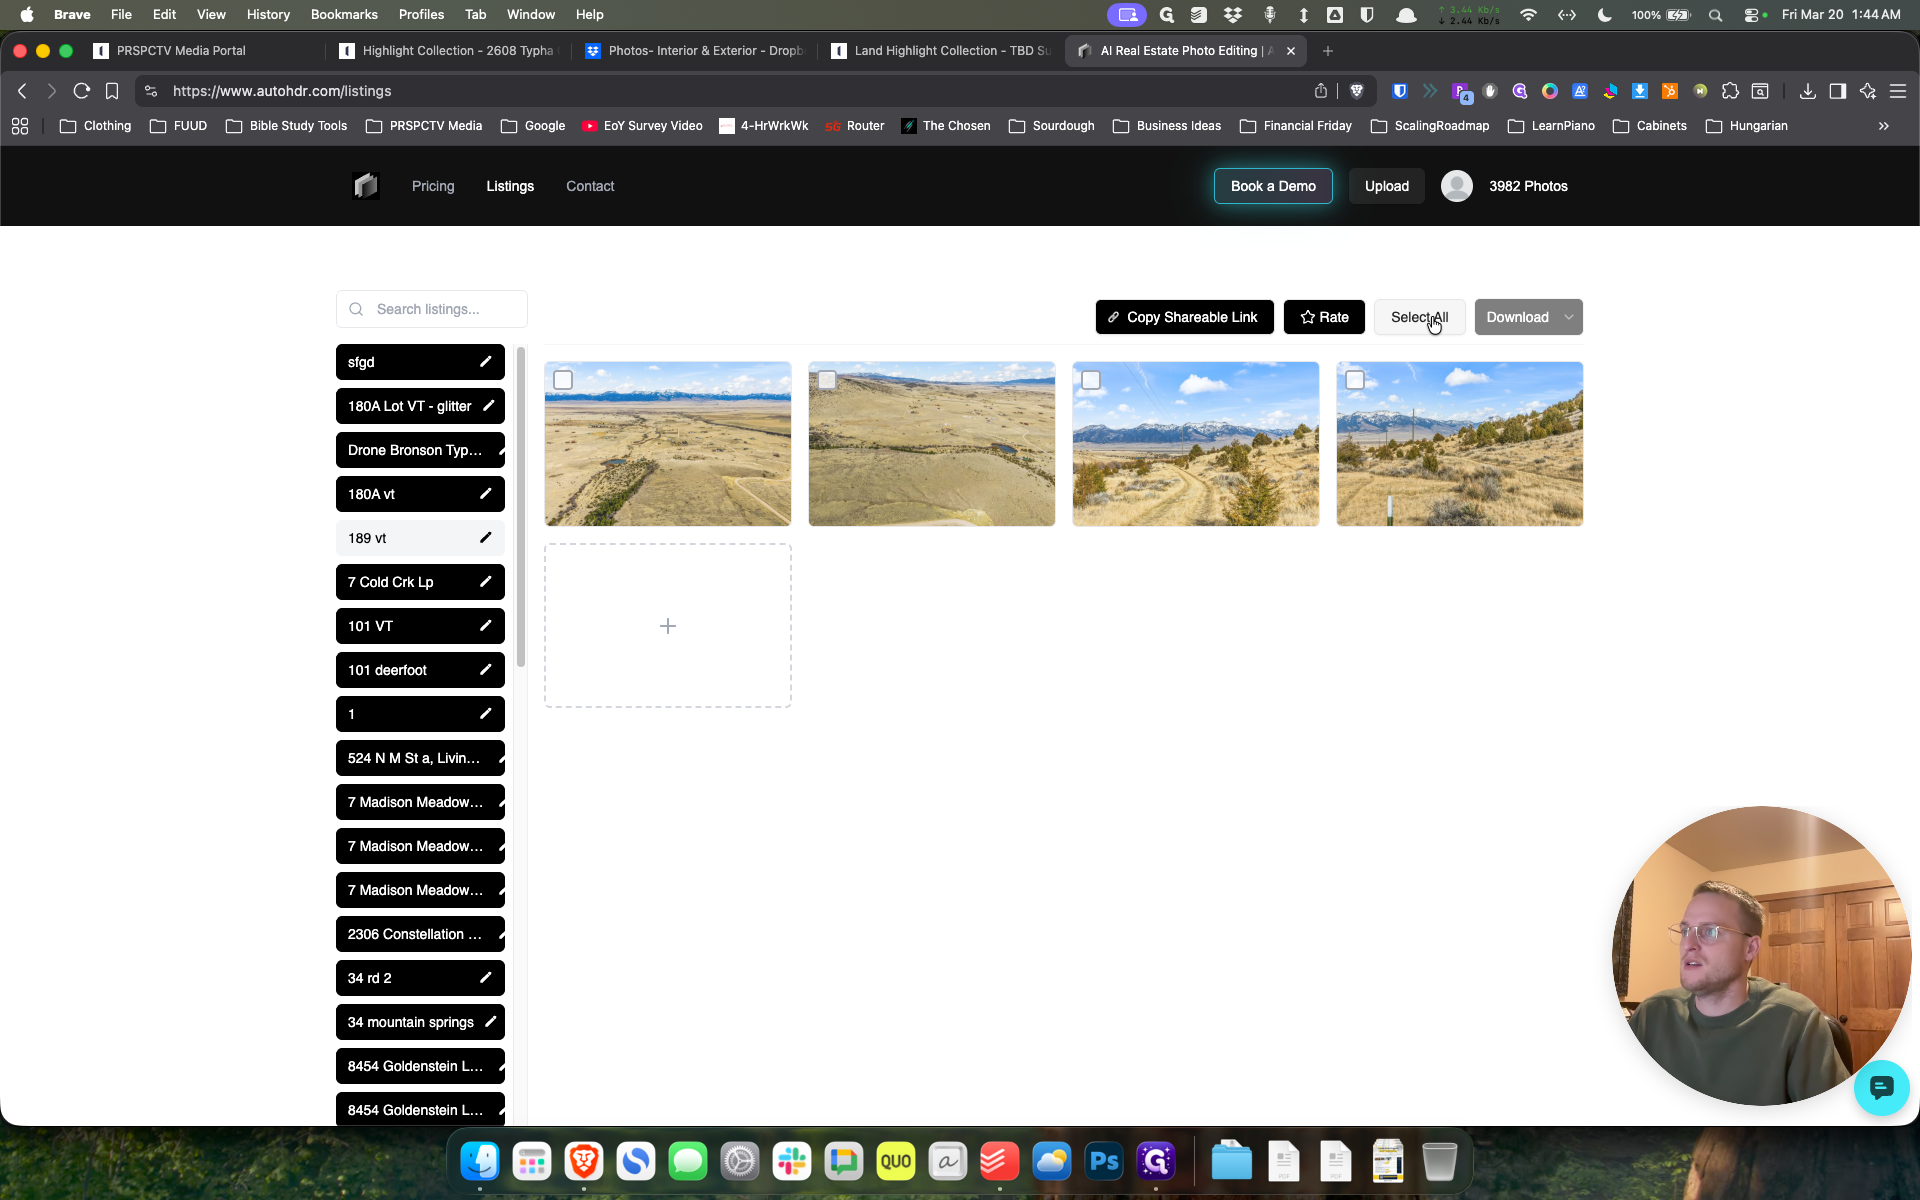
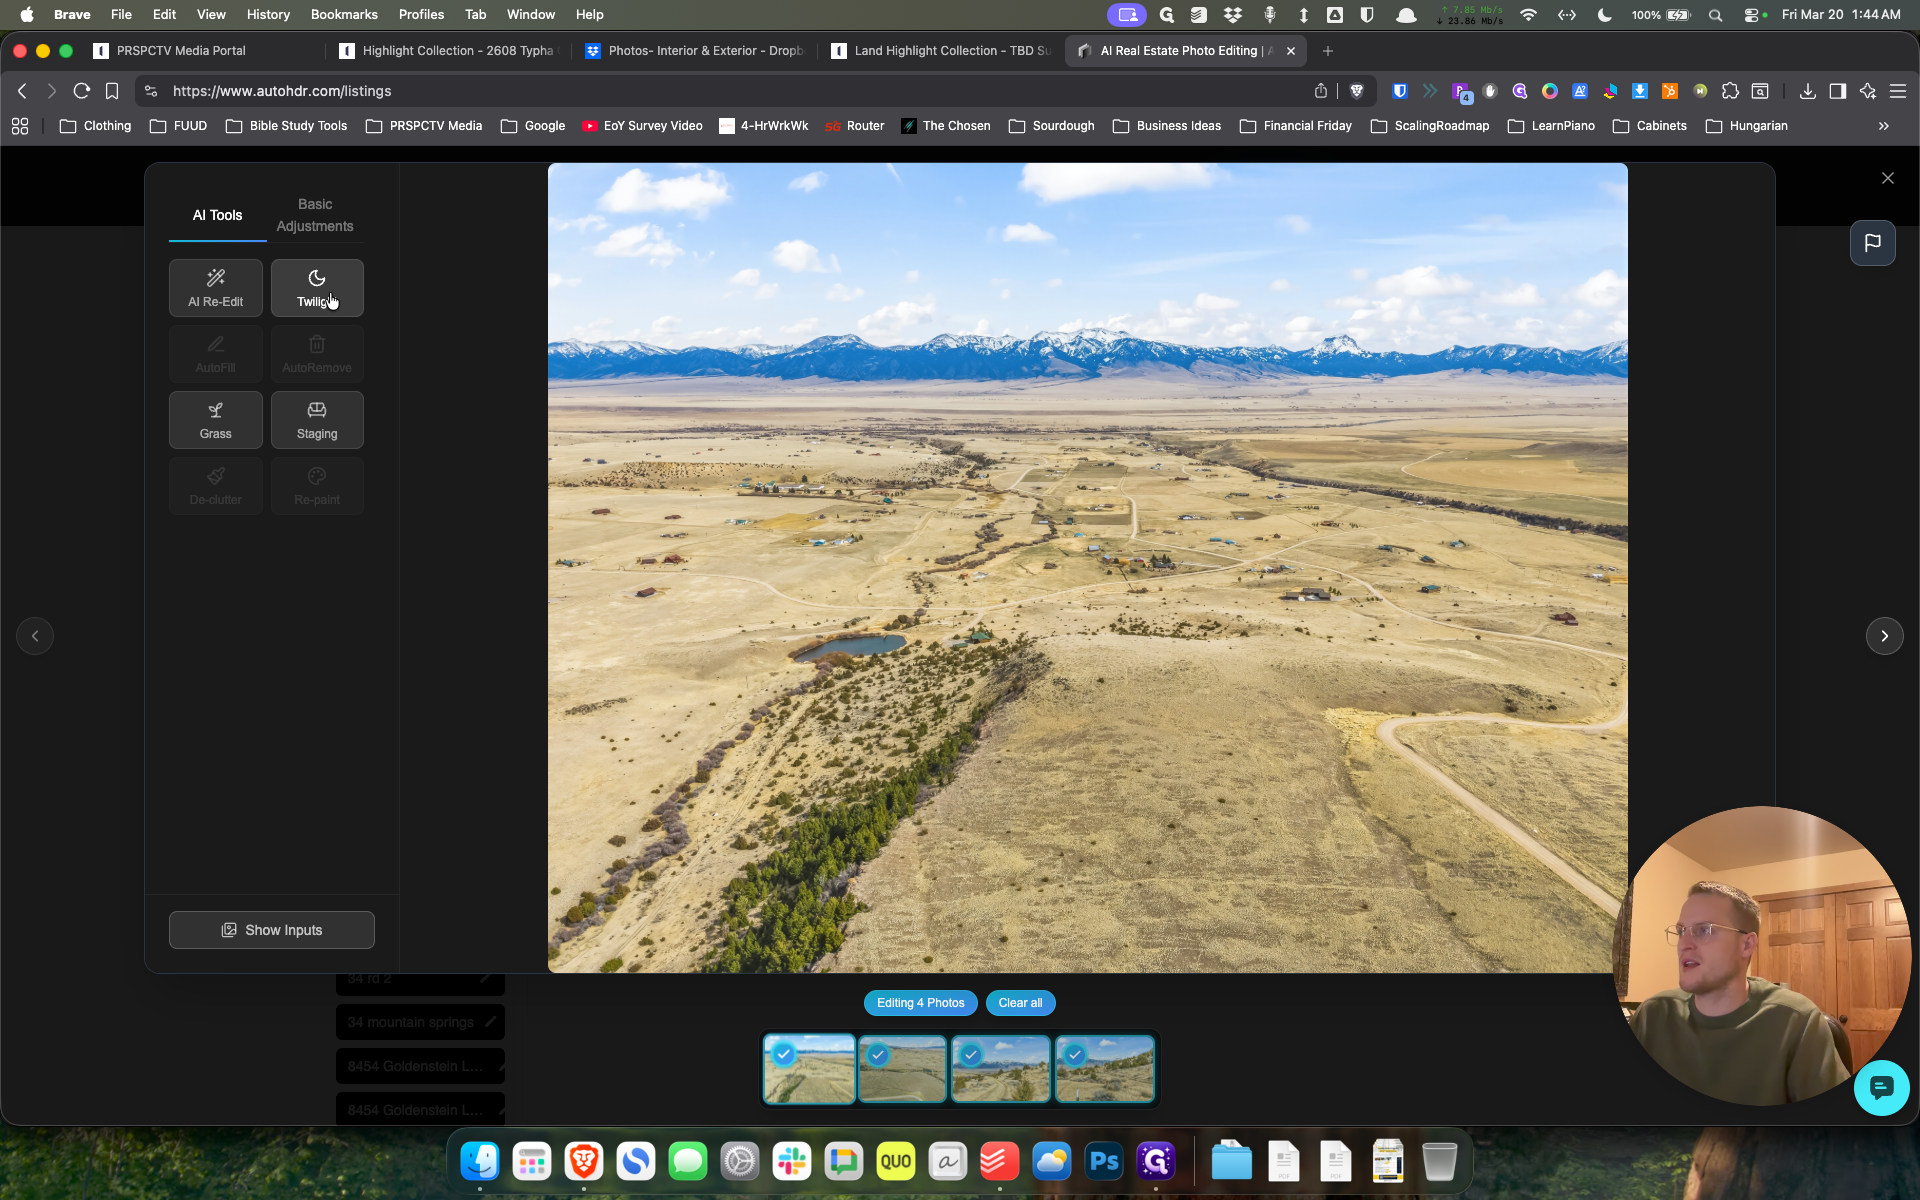
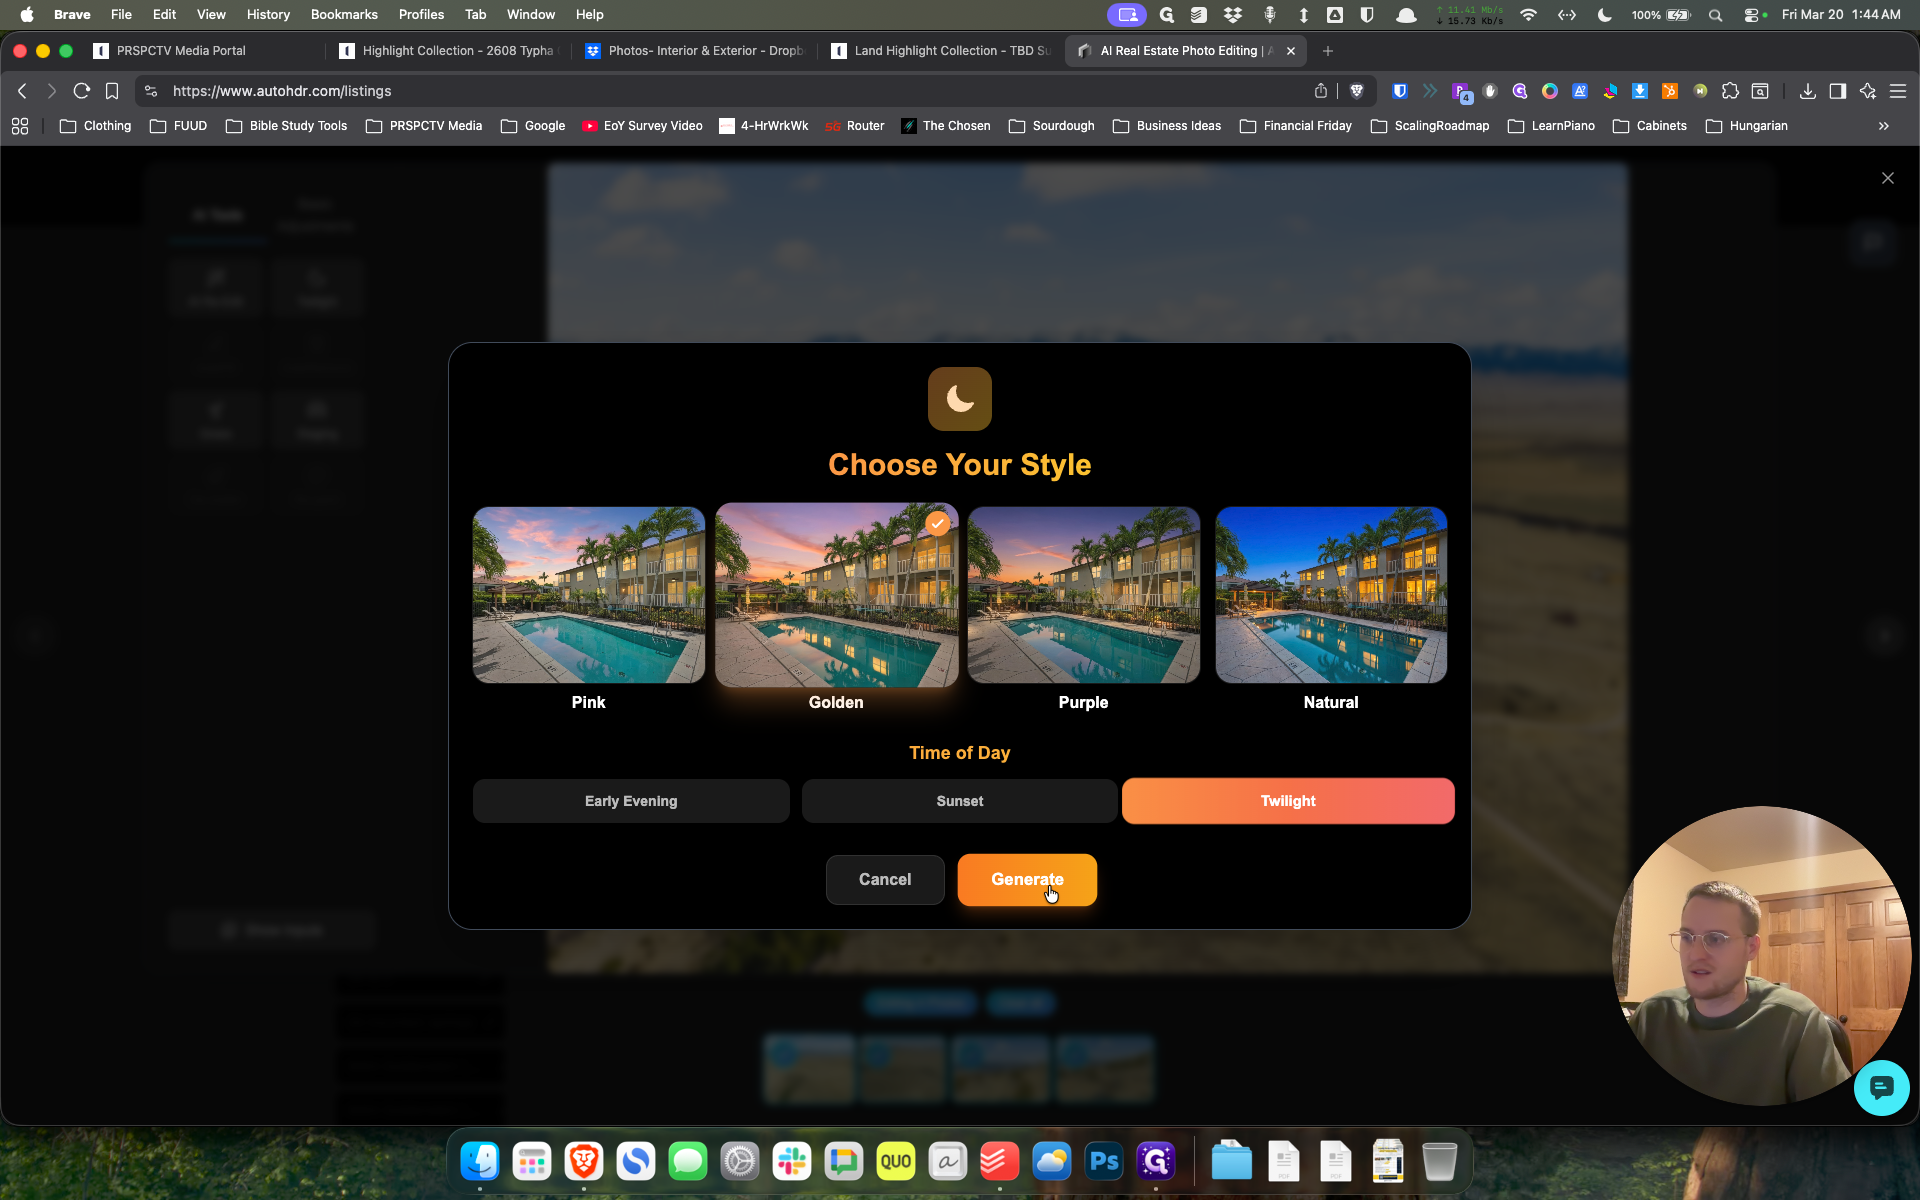
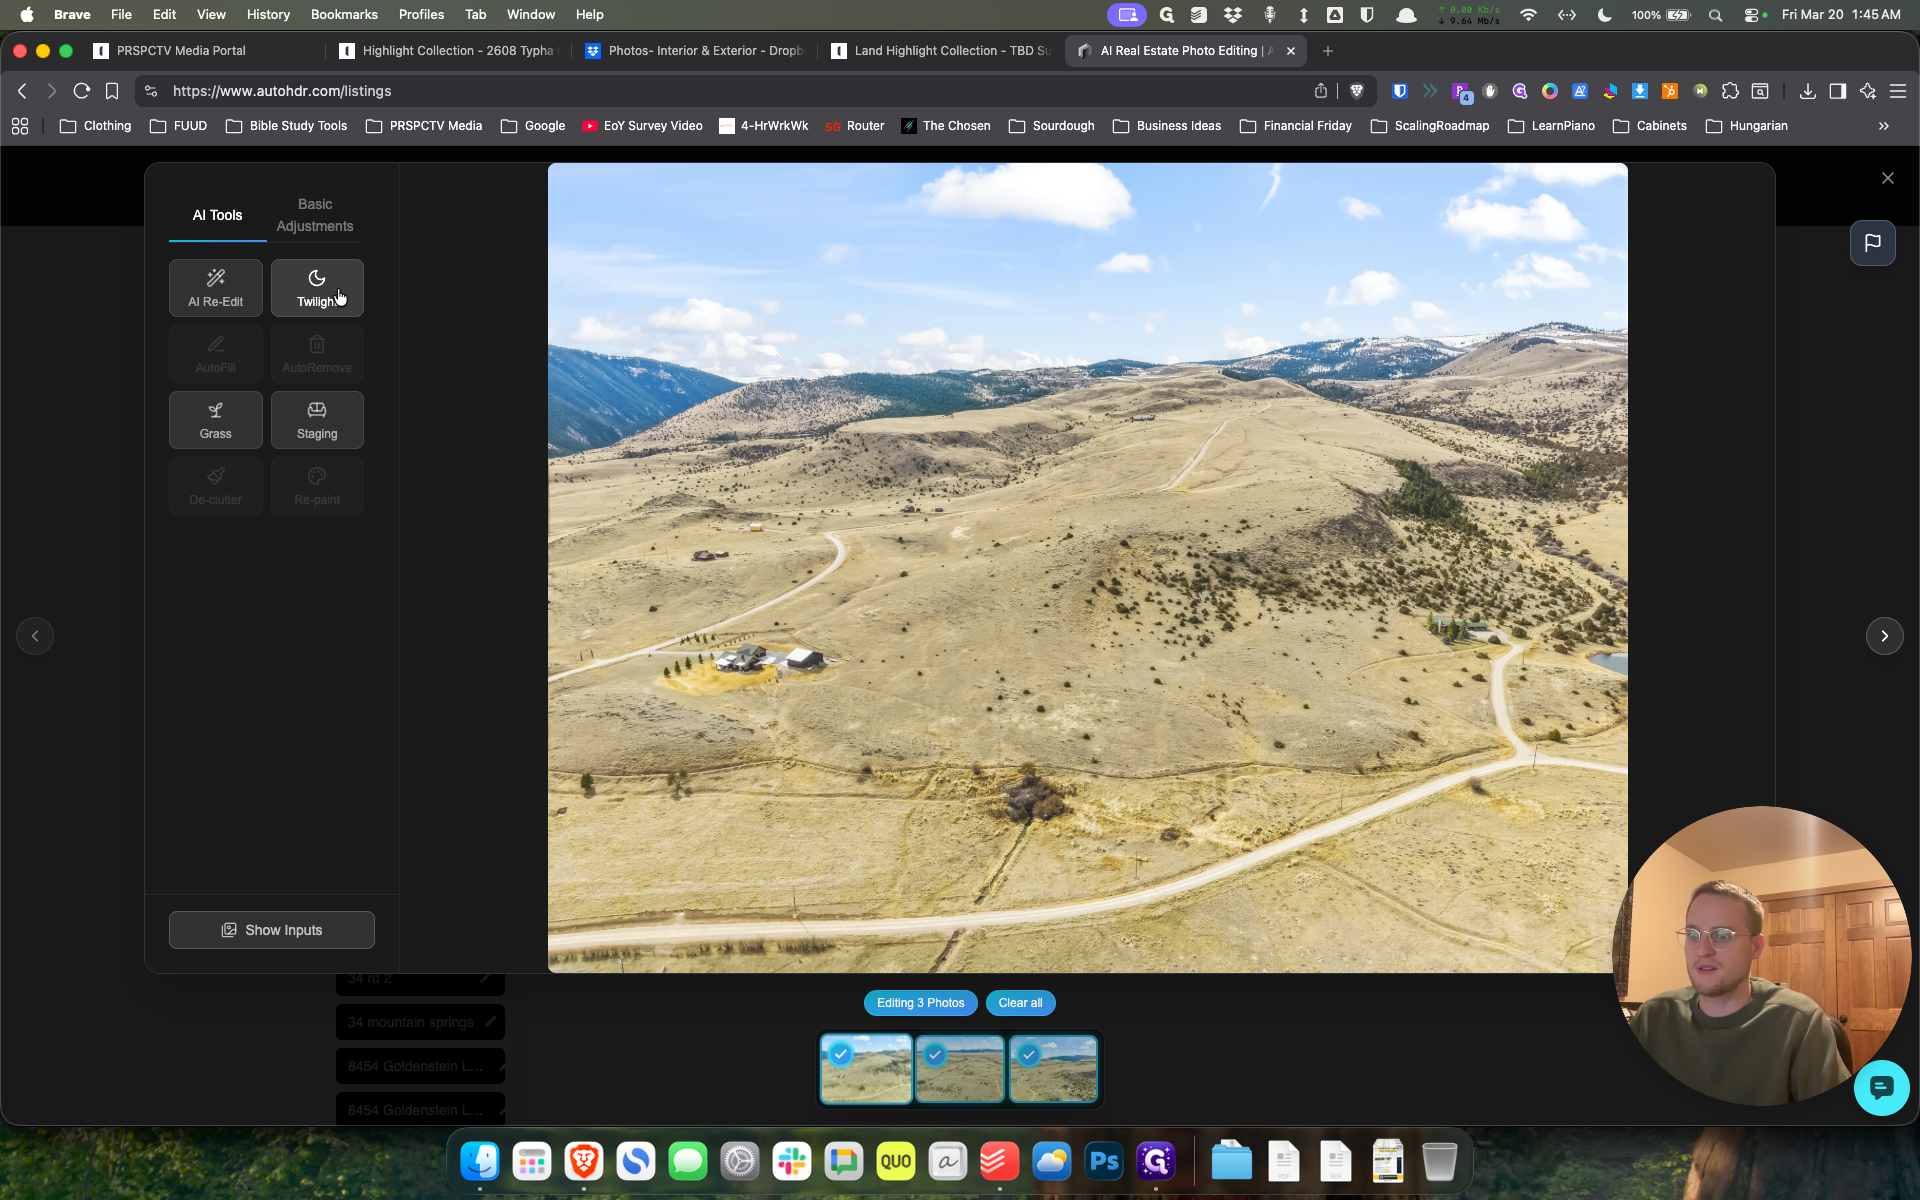
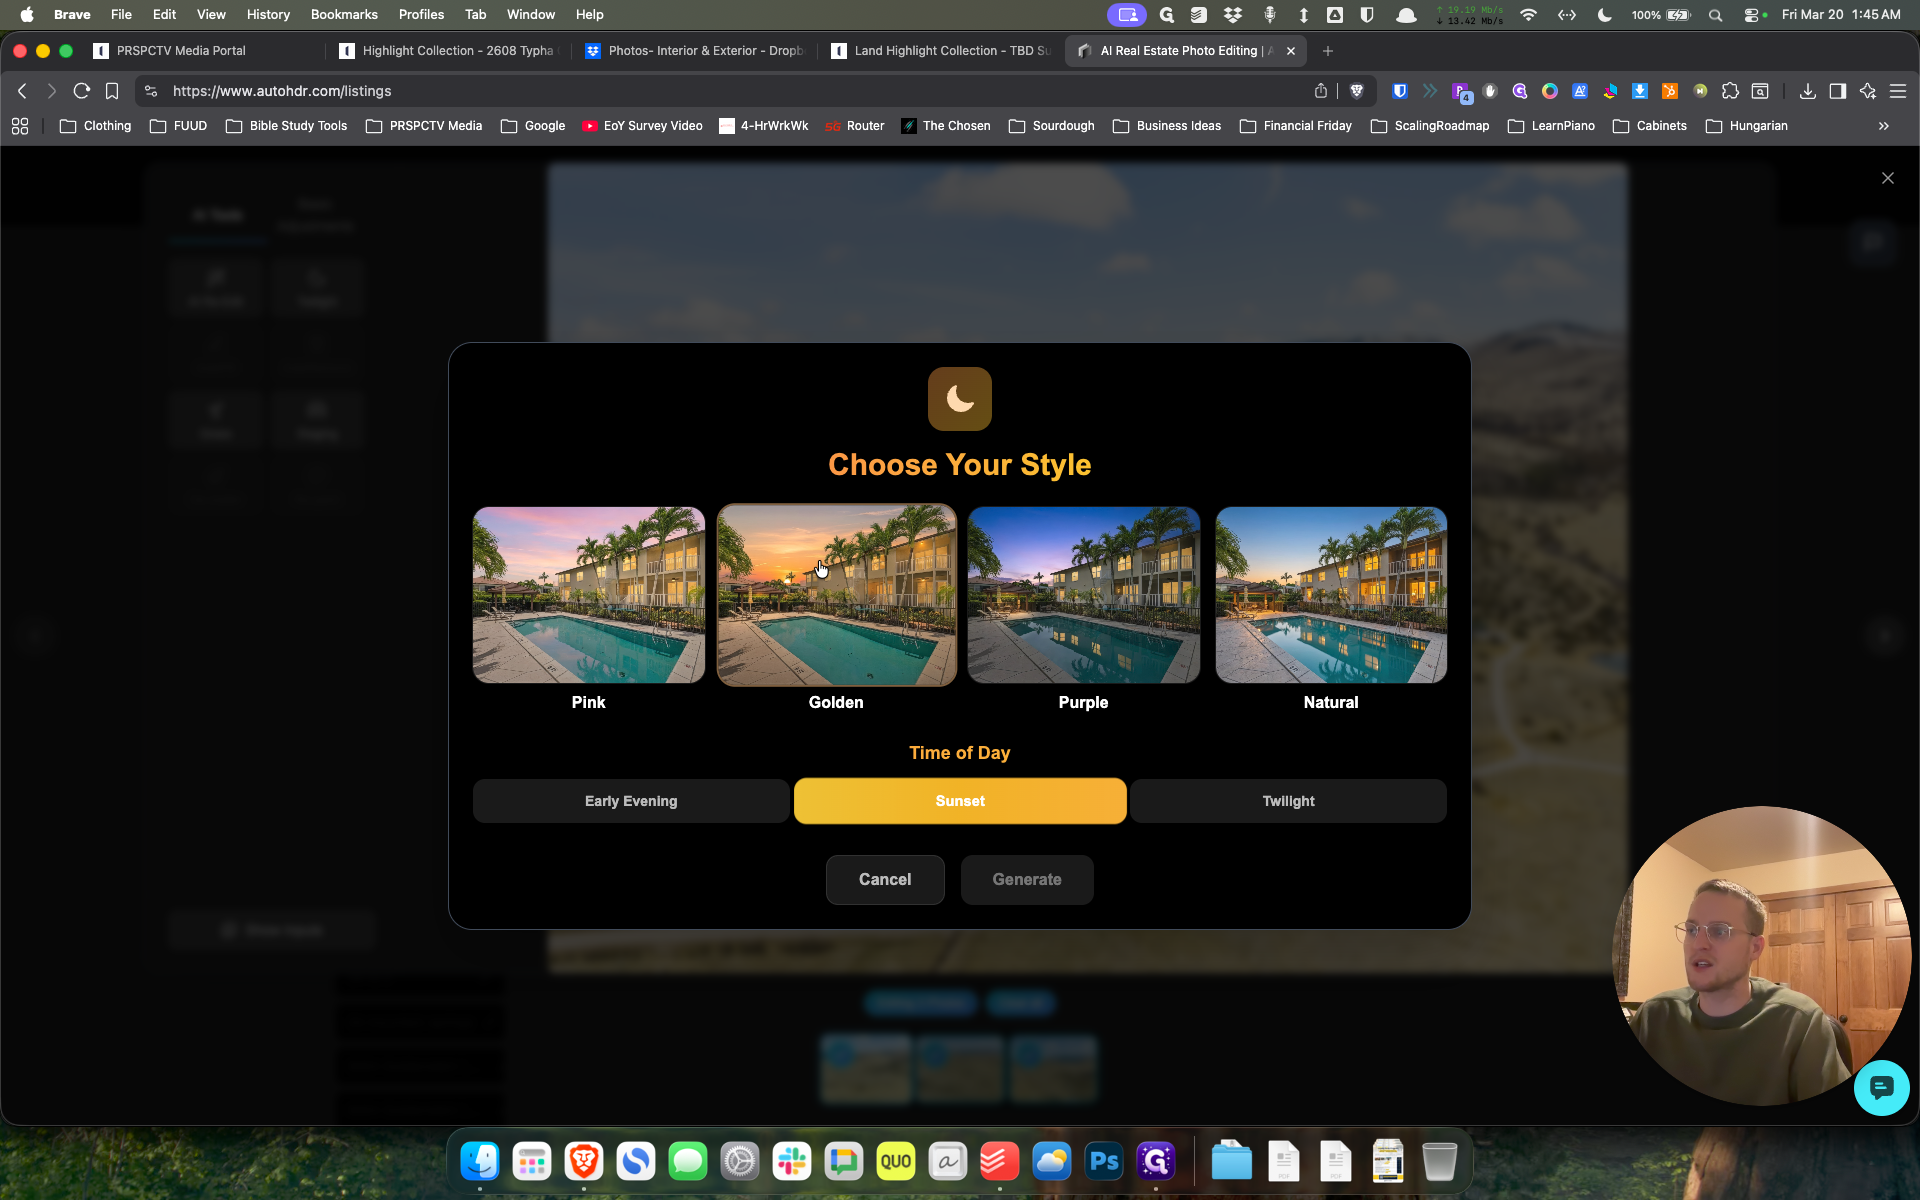
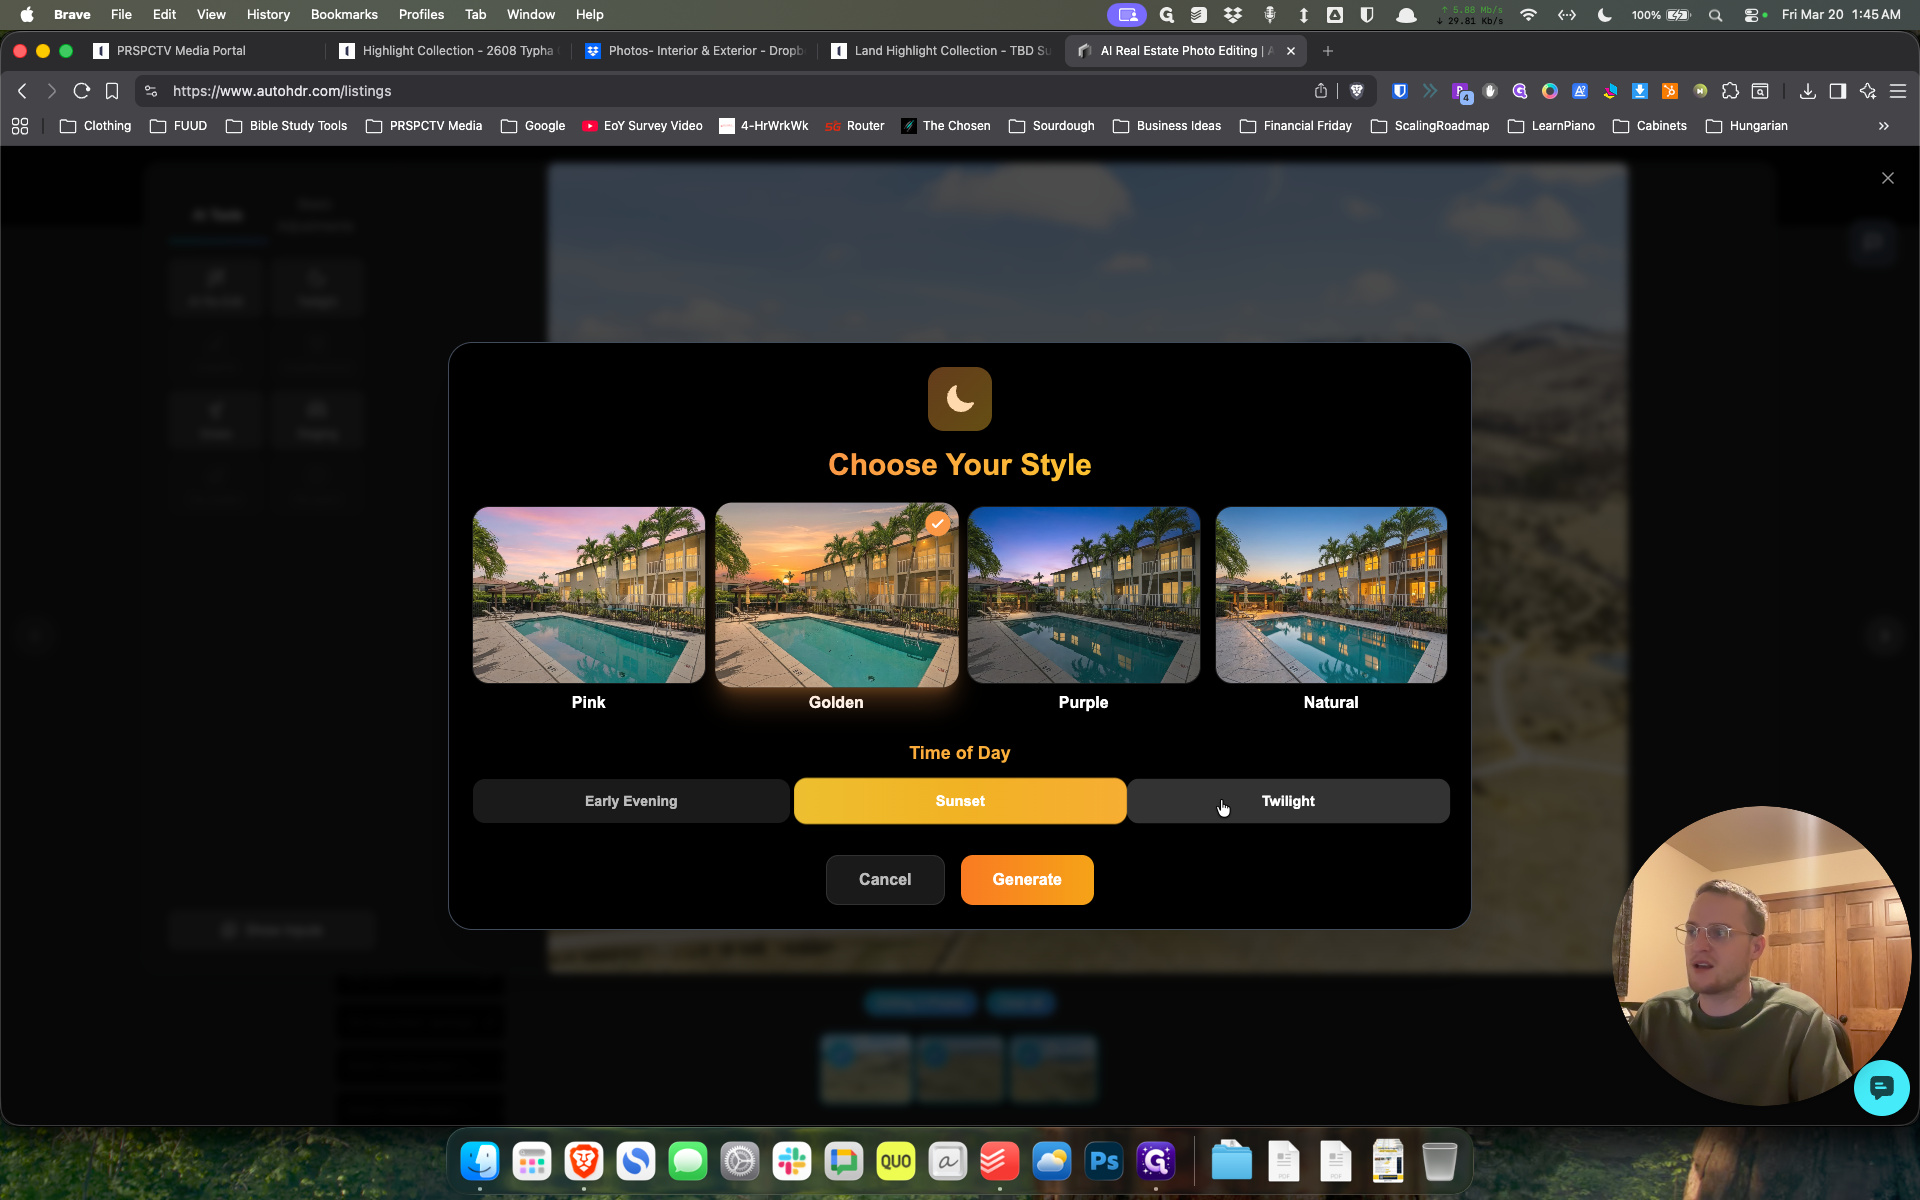
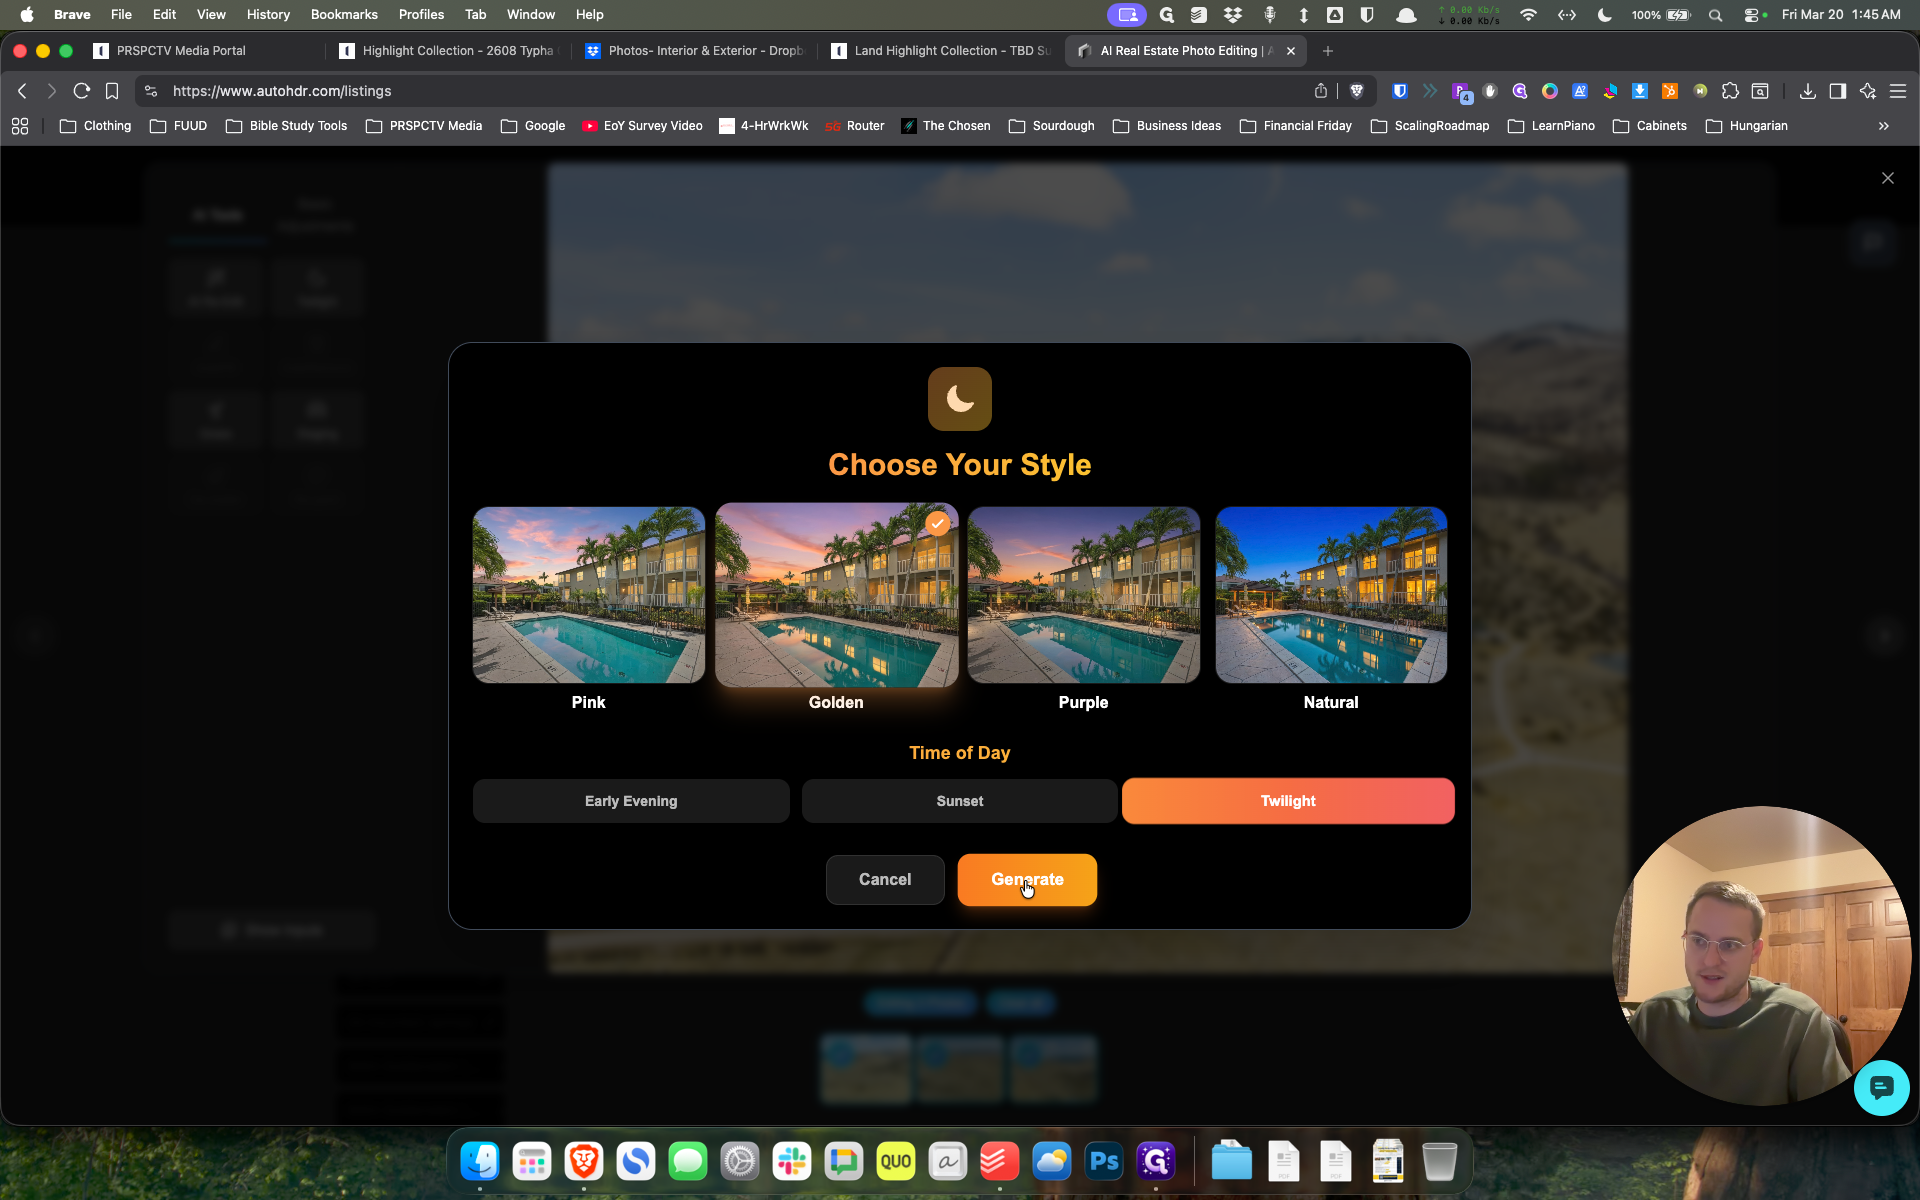
I uploaded these earlier today. Now, we'll go to 189 VT. I will select all, choose bulk edit, then select Twilight, Golden, and Twilight again.
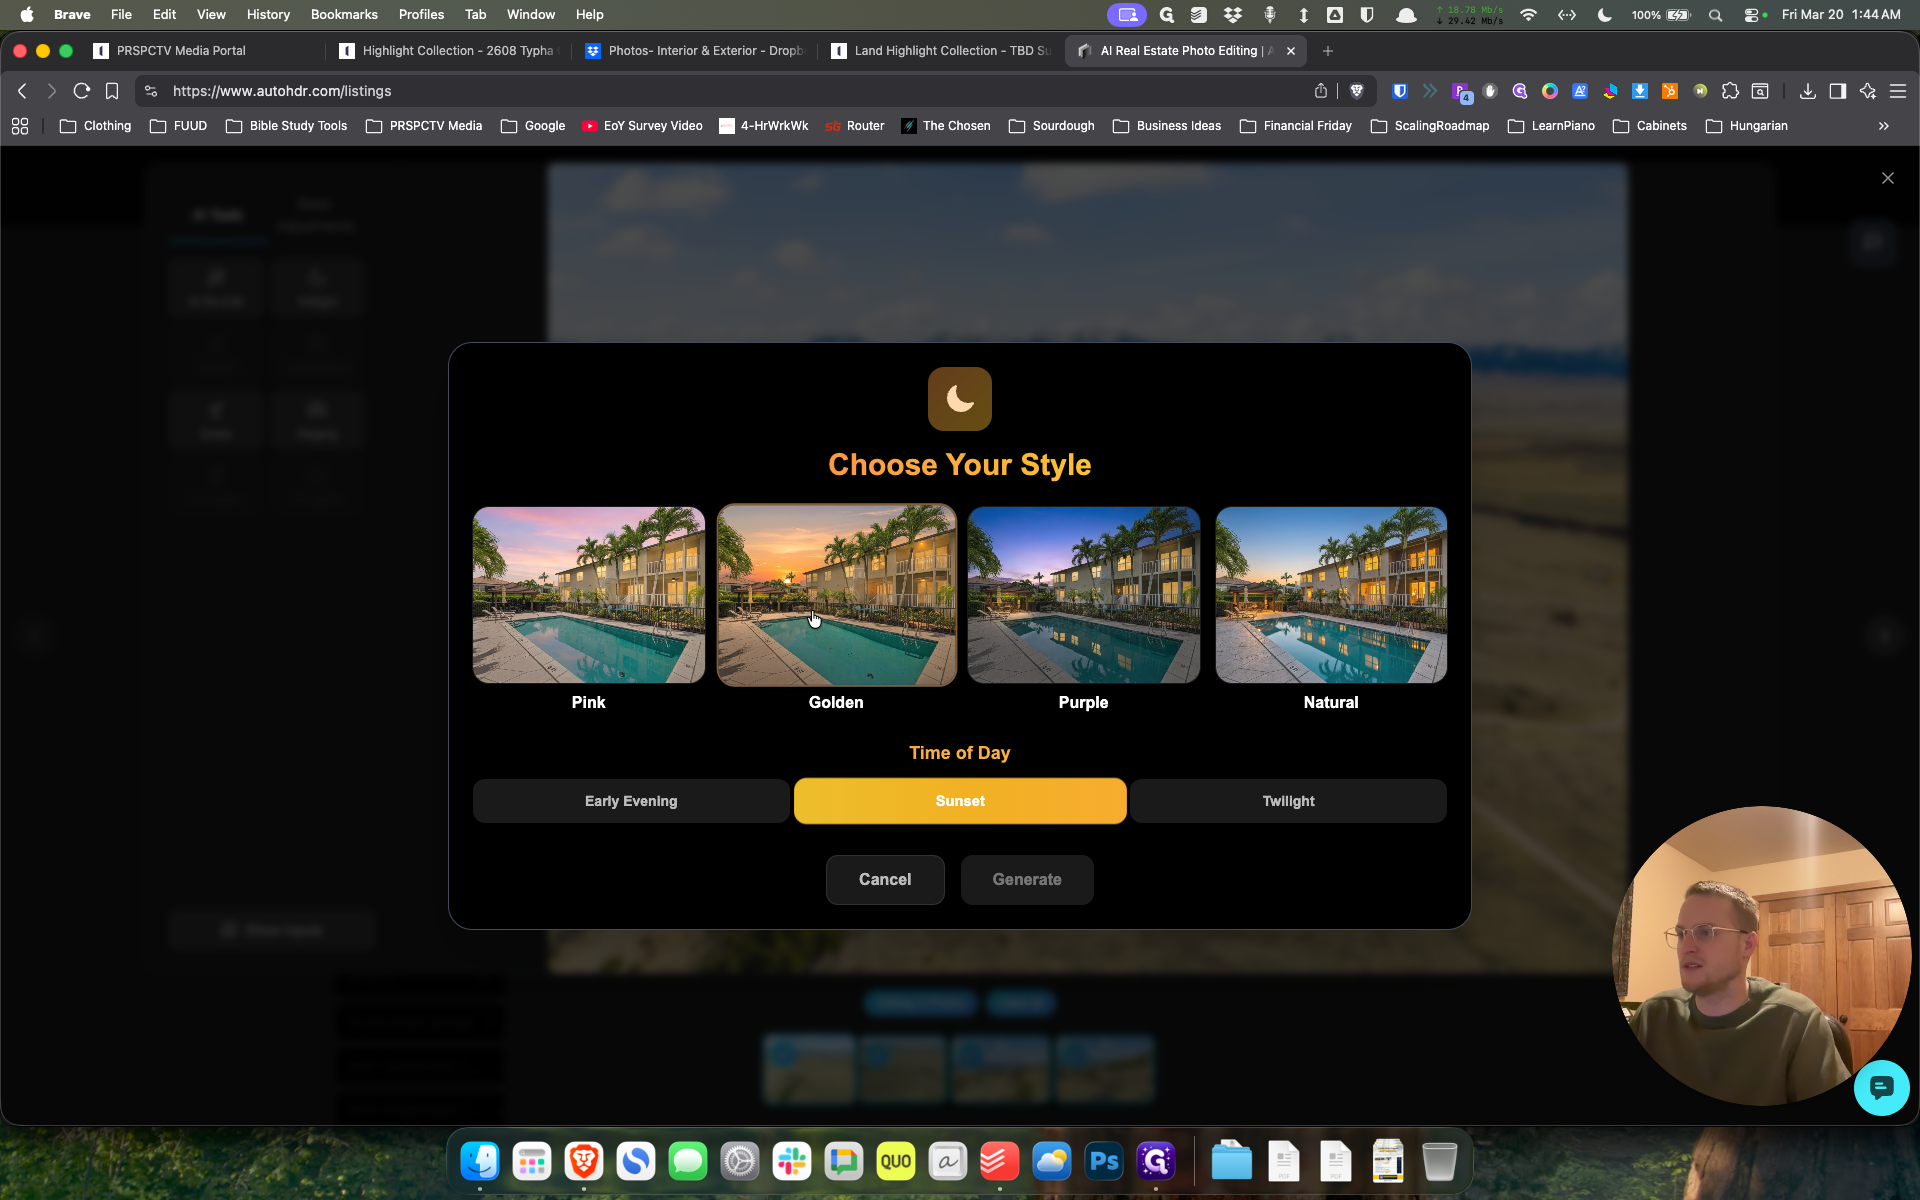
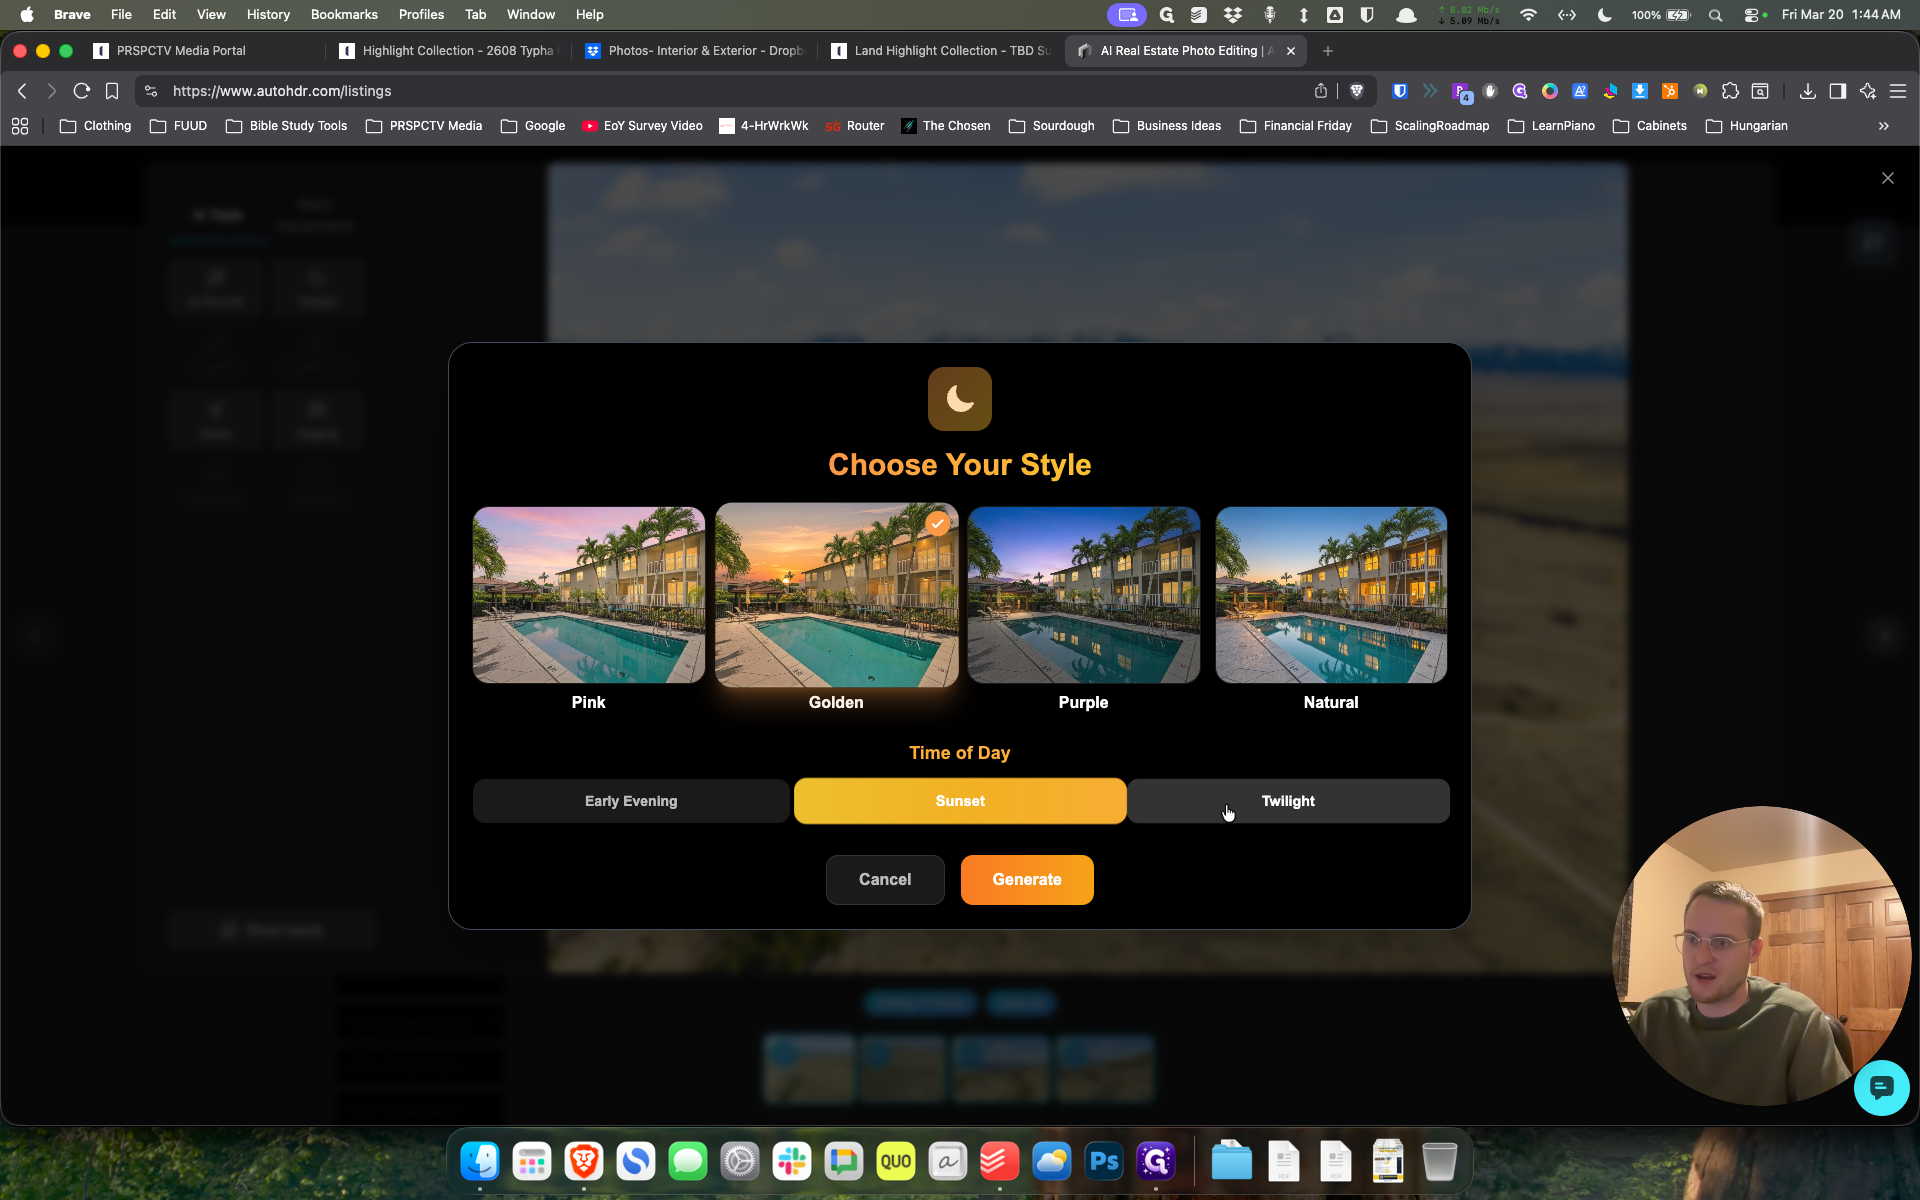
And then generate. That's fine.
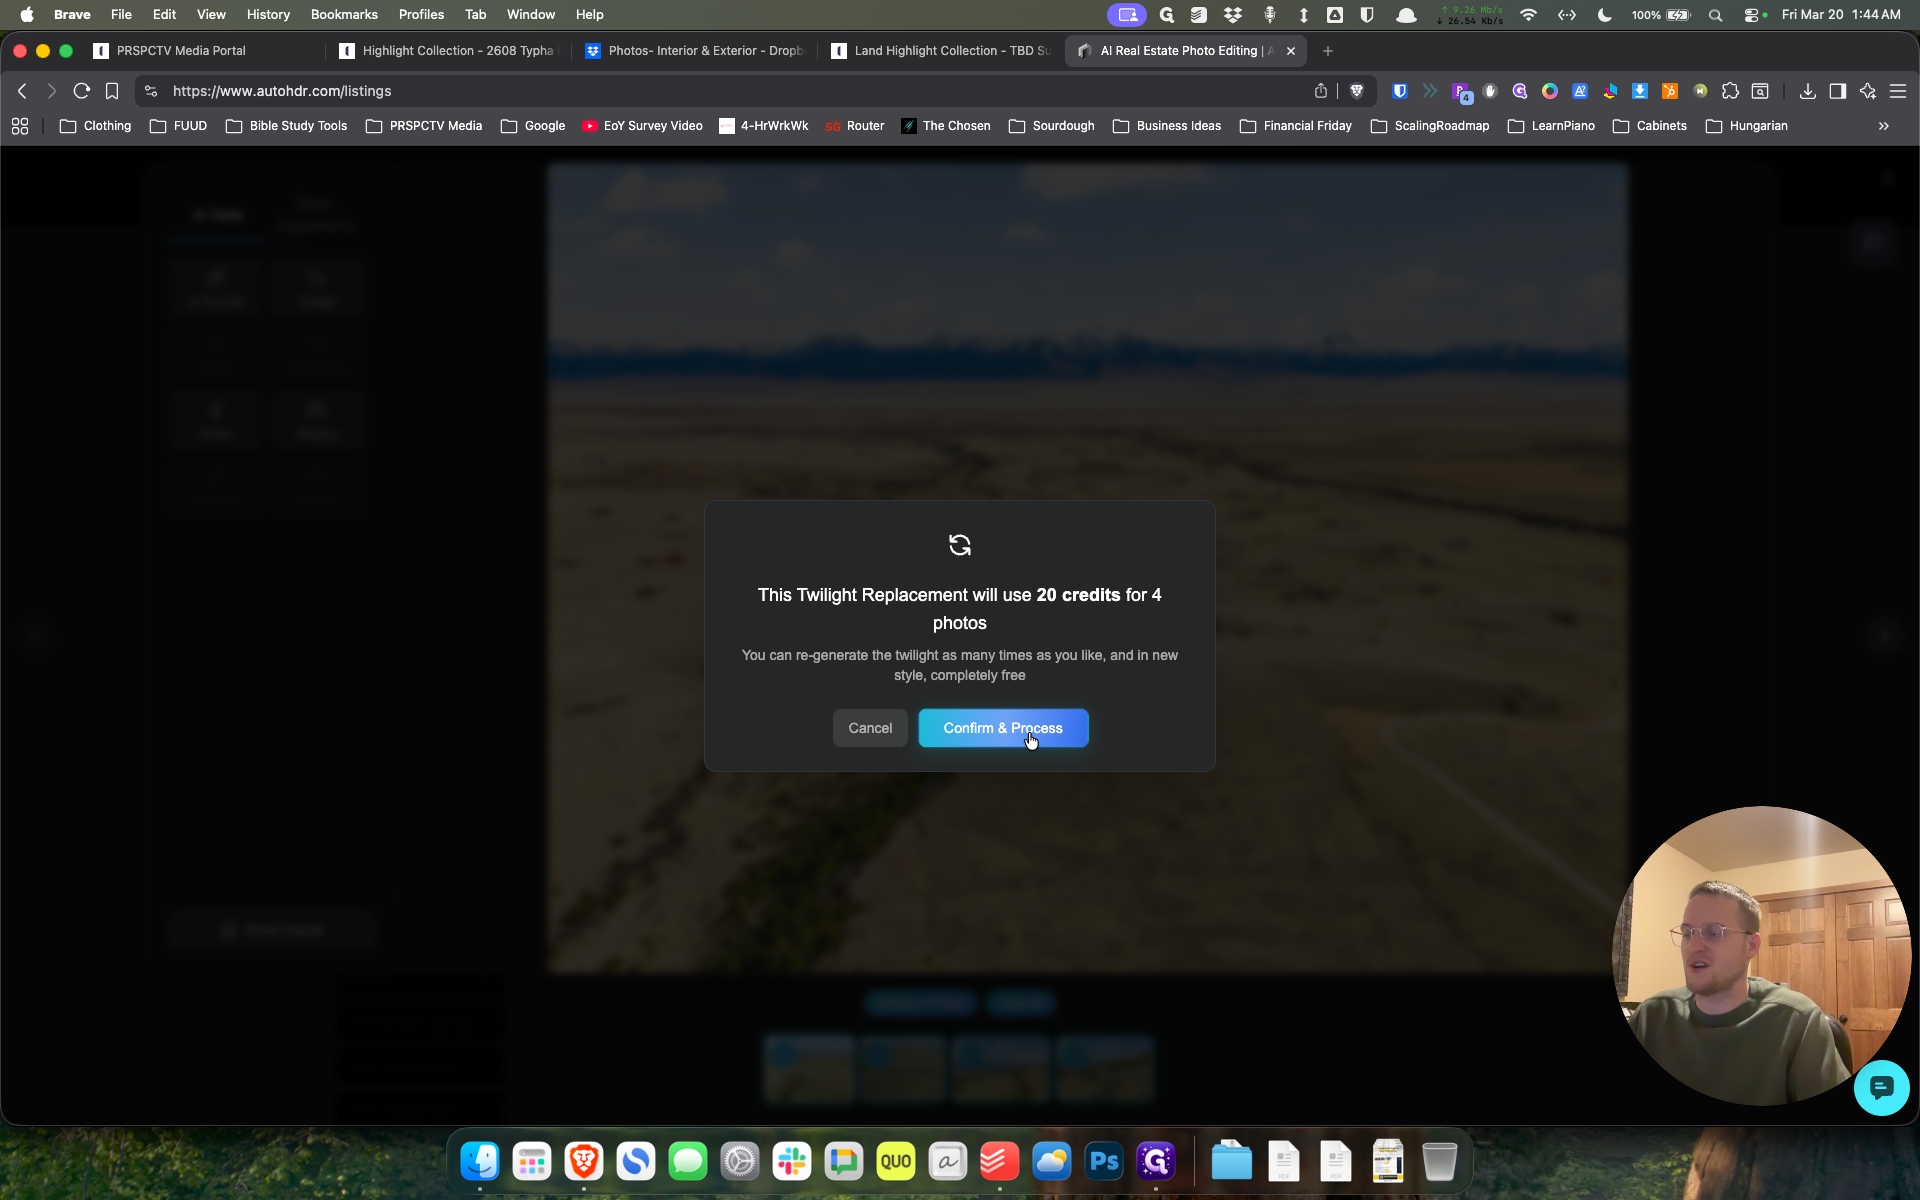
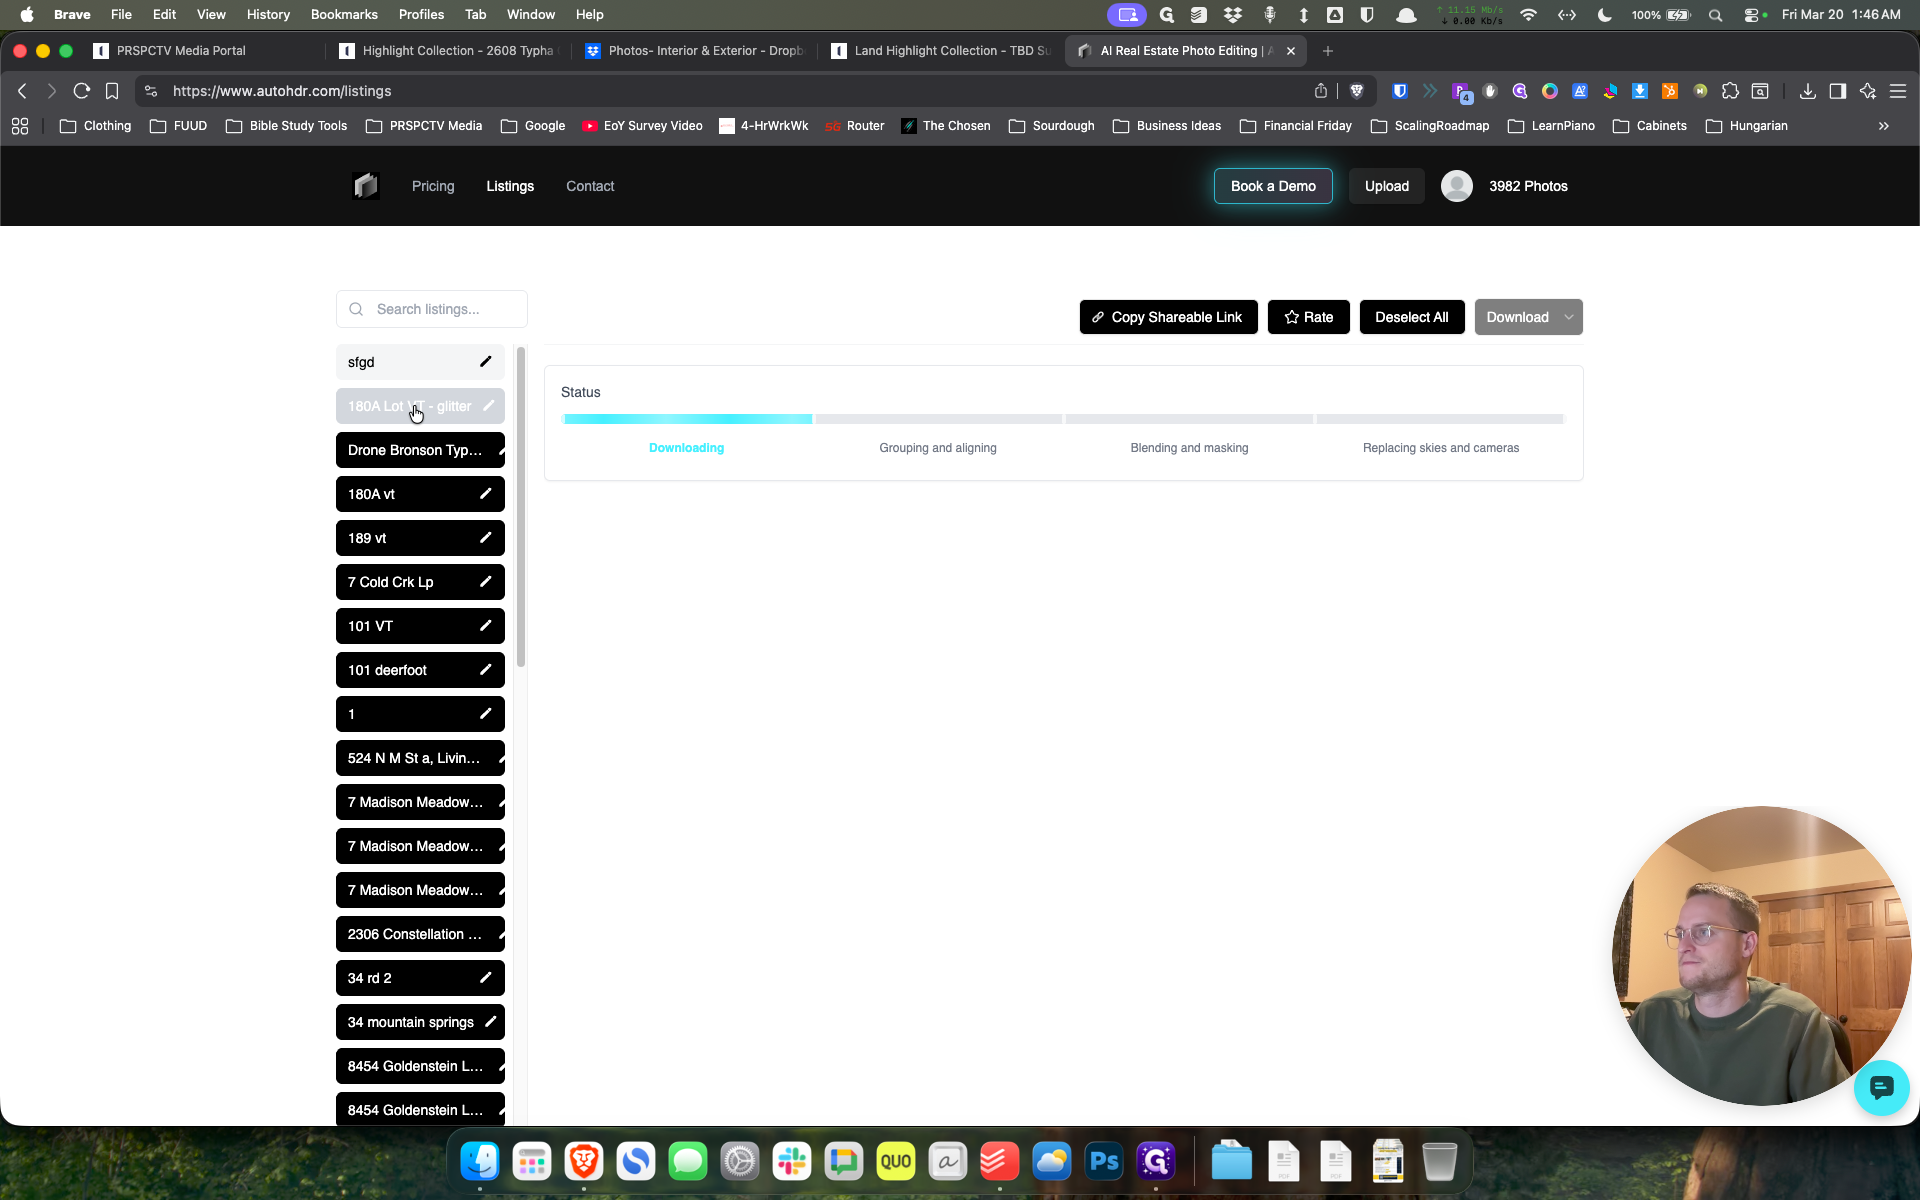
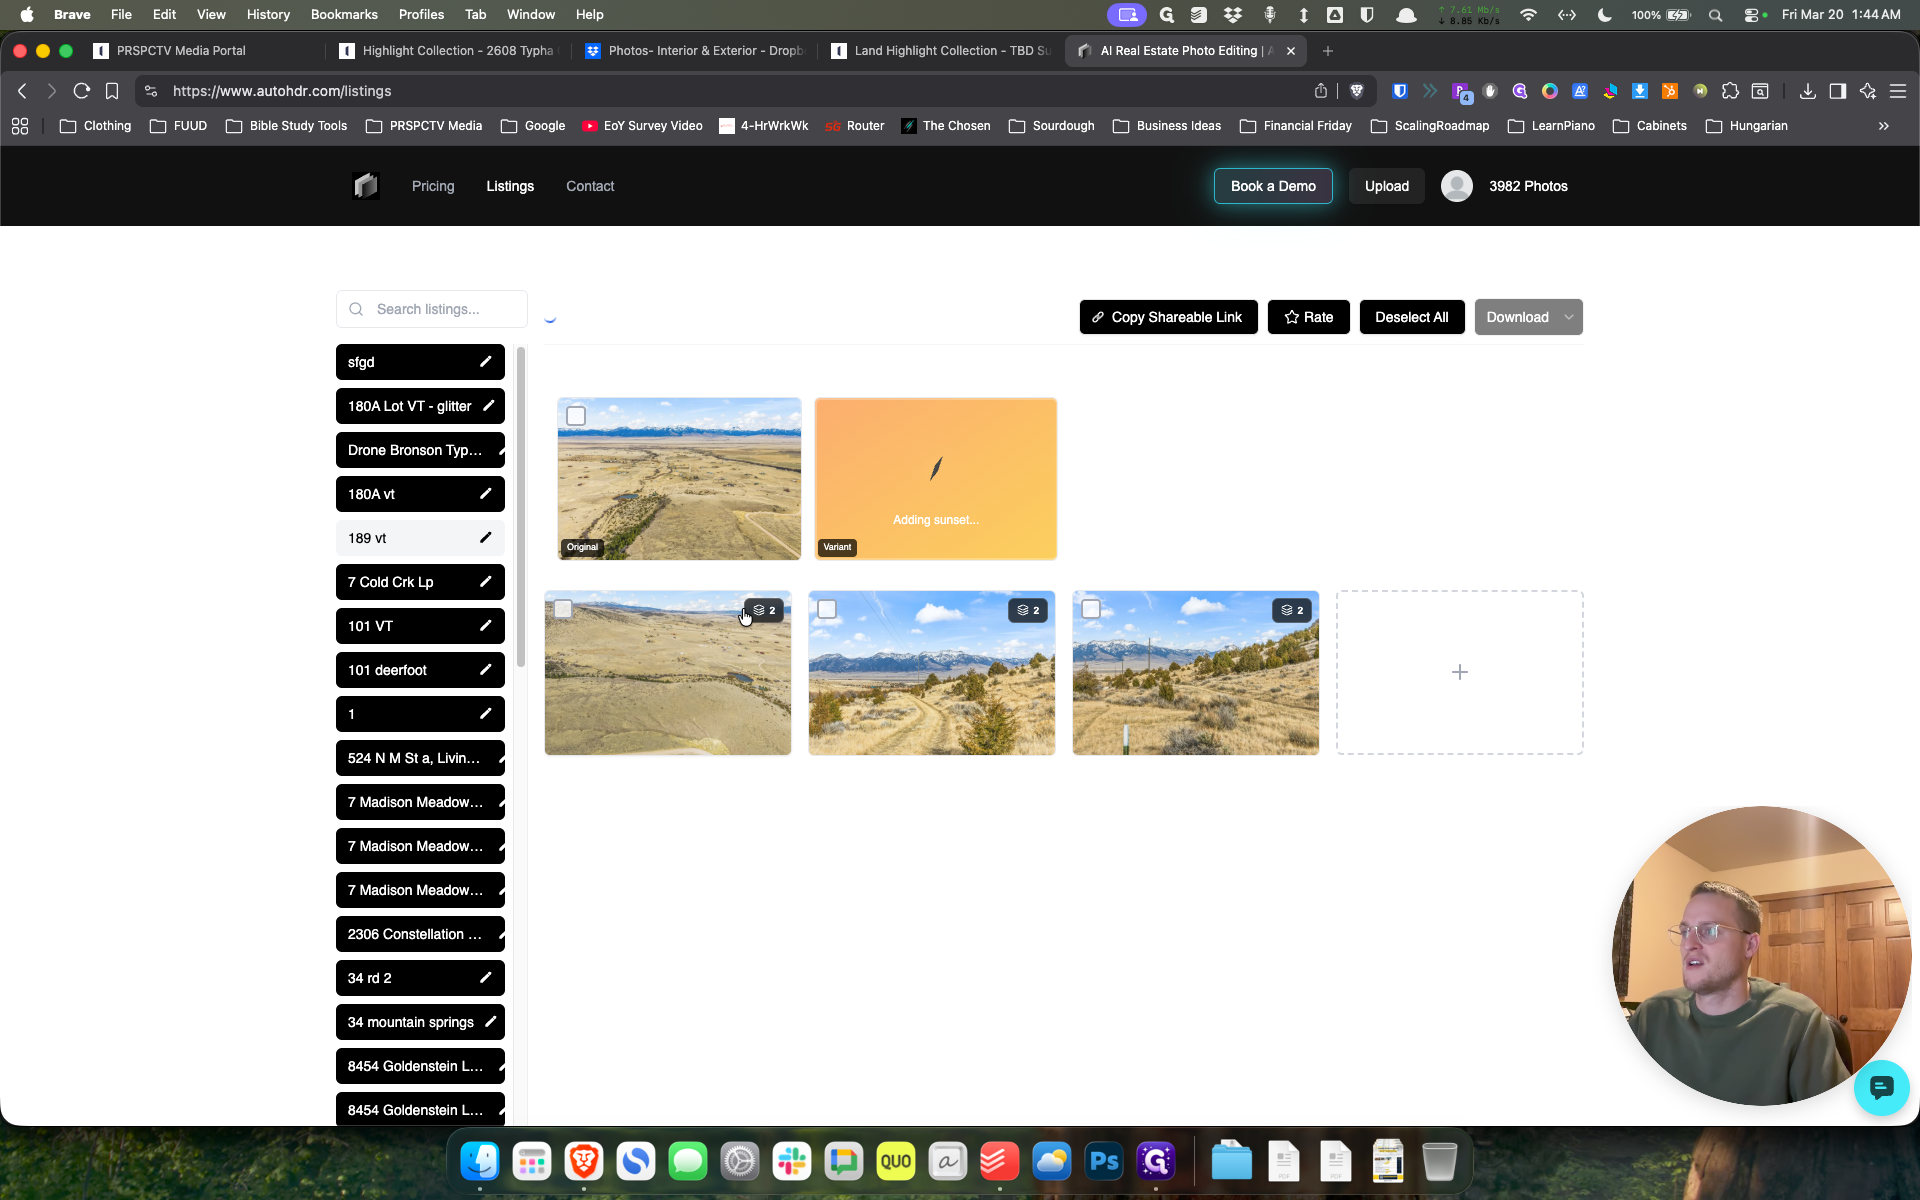
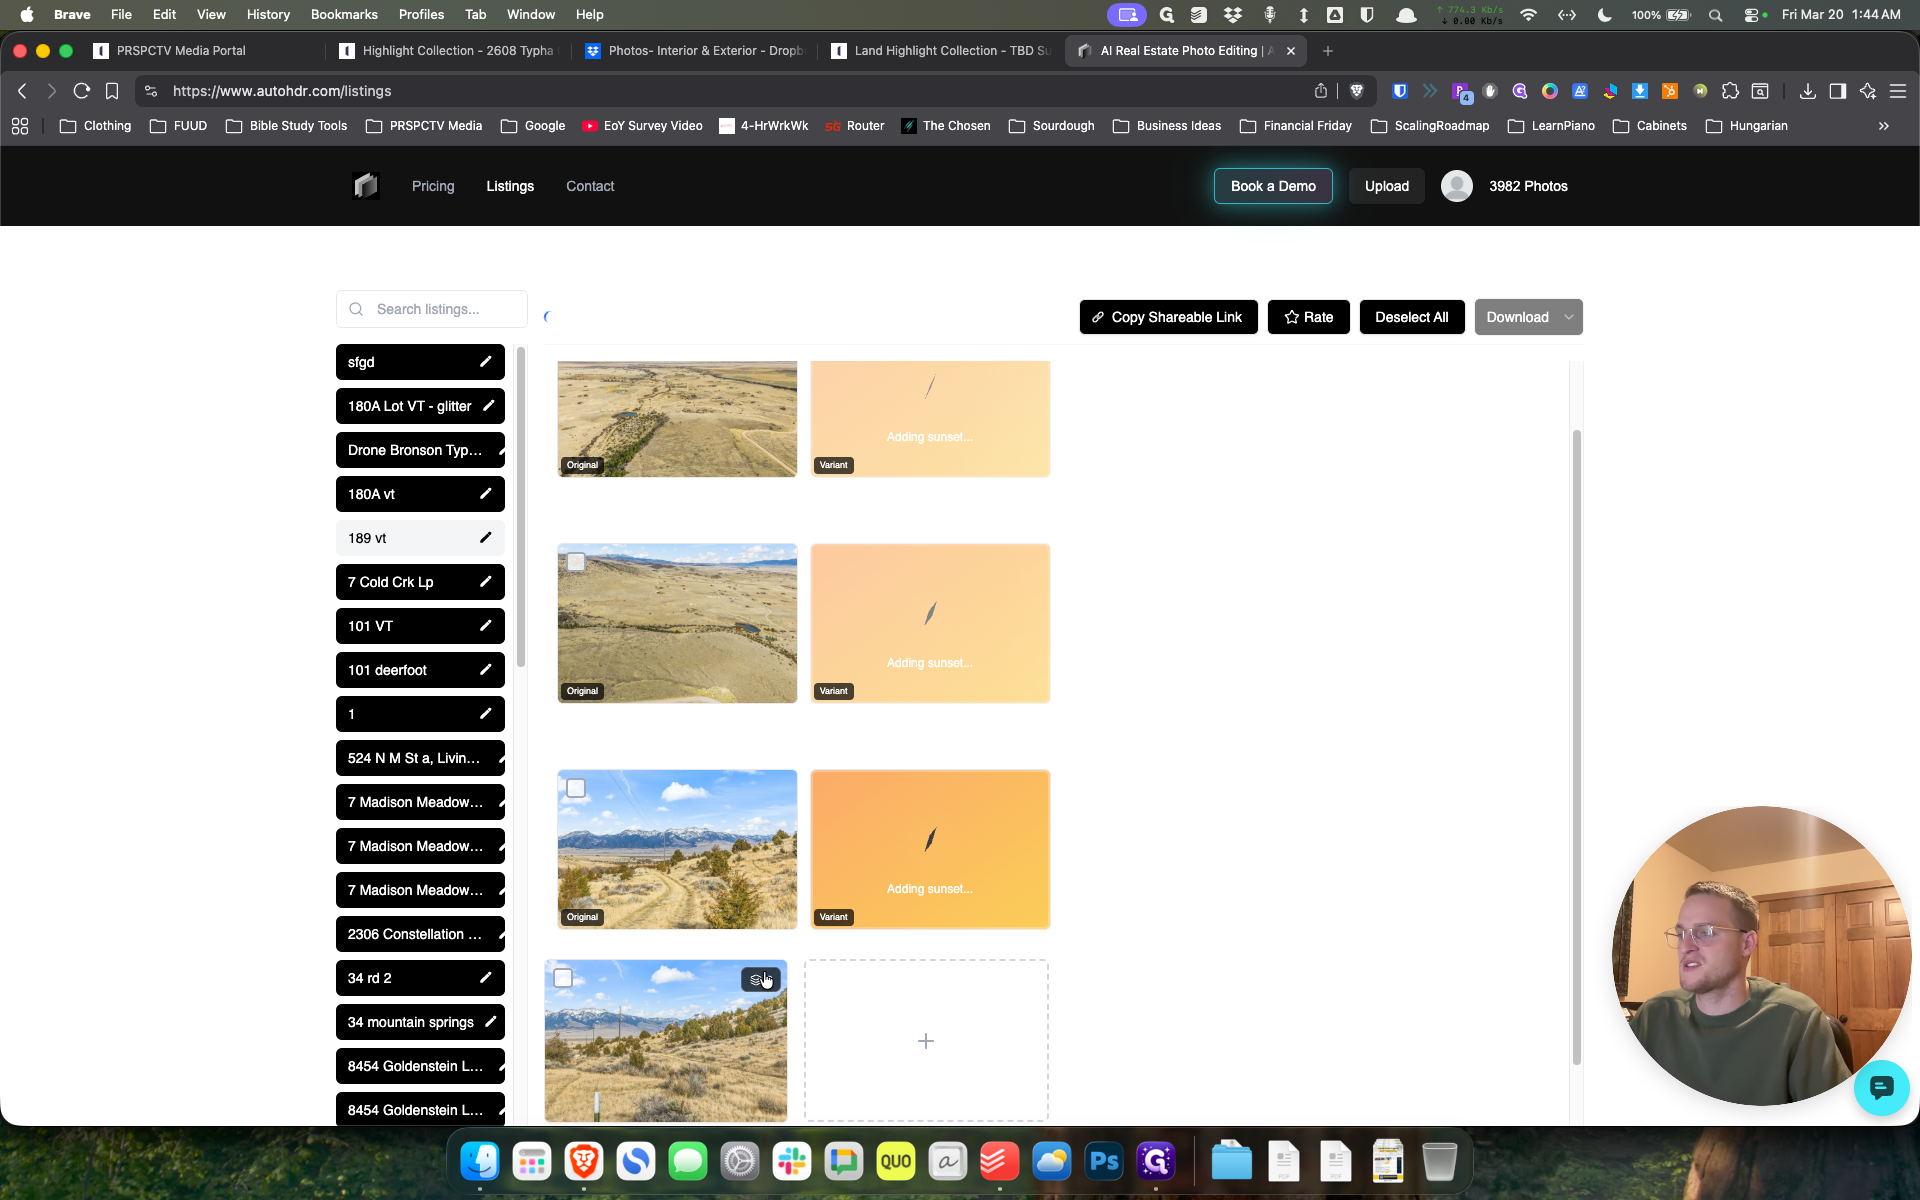
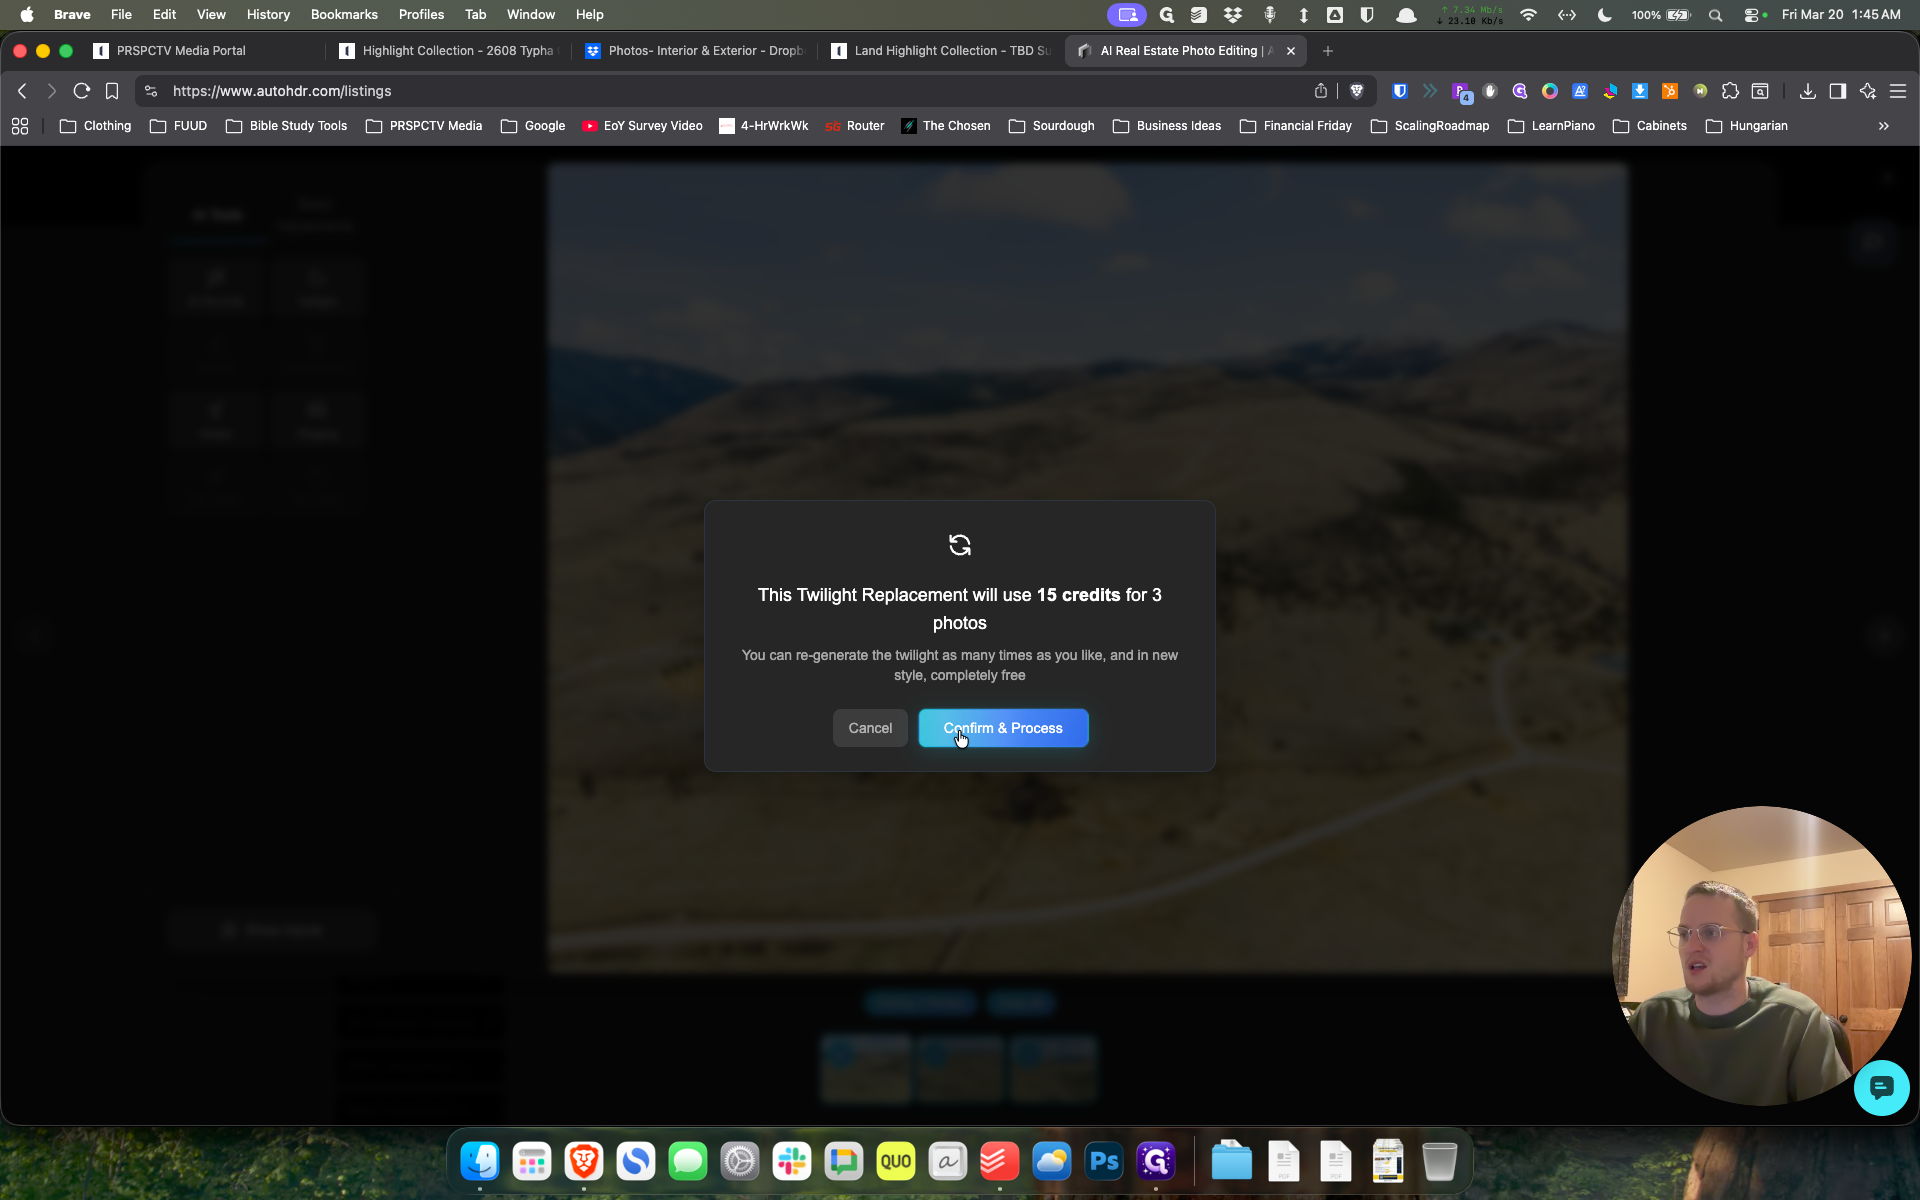
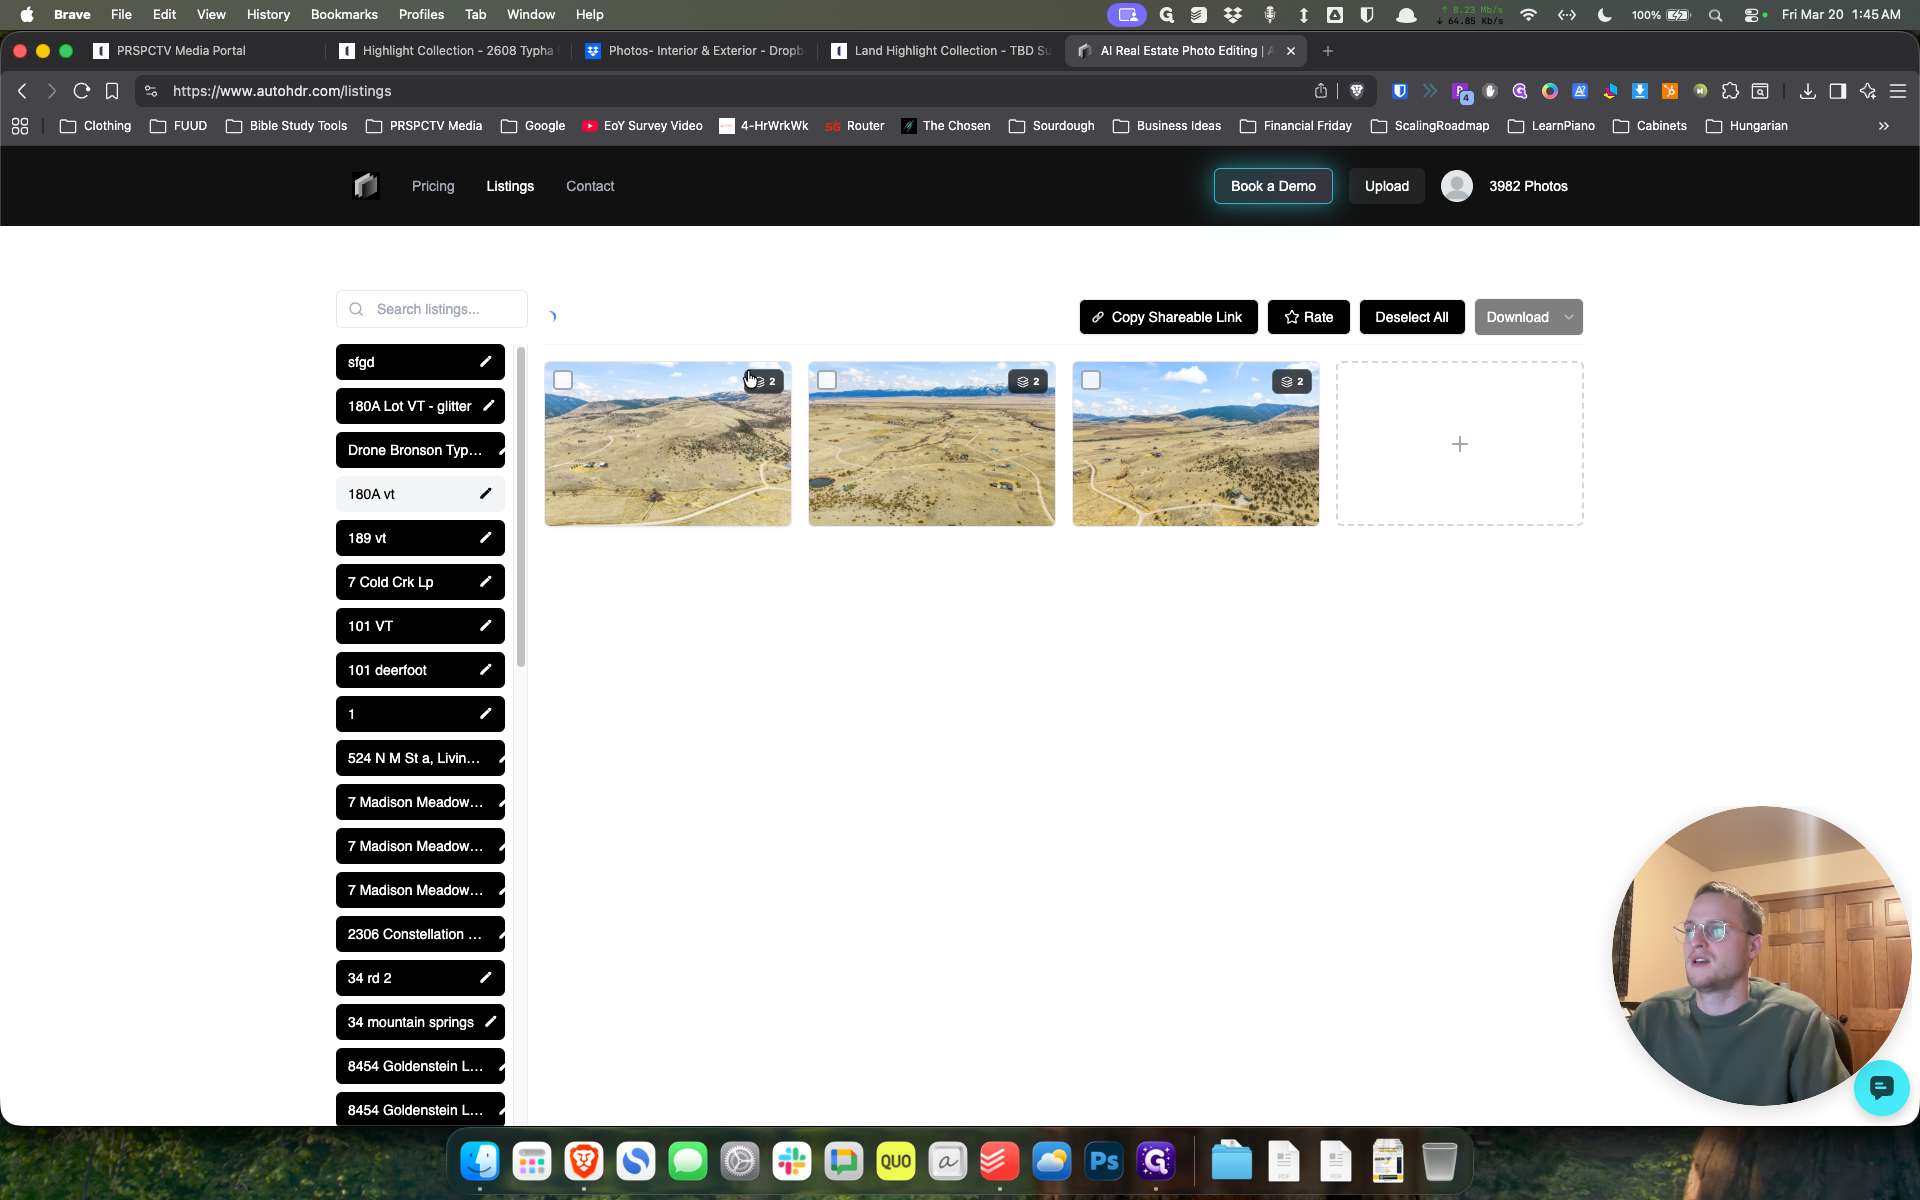
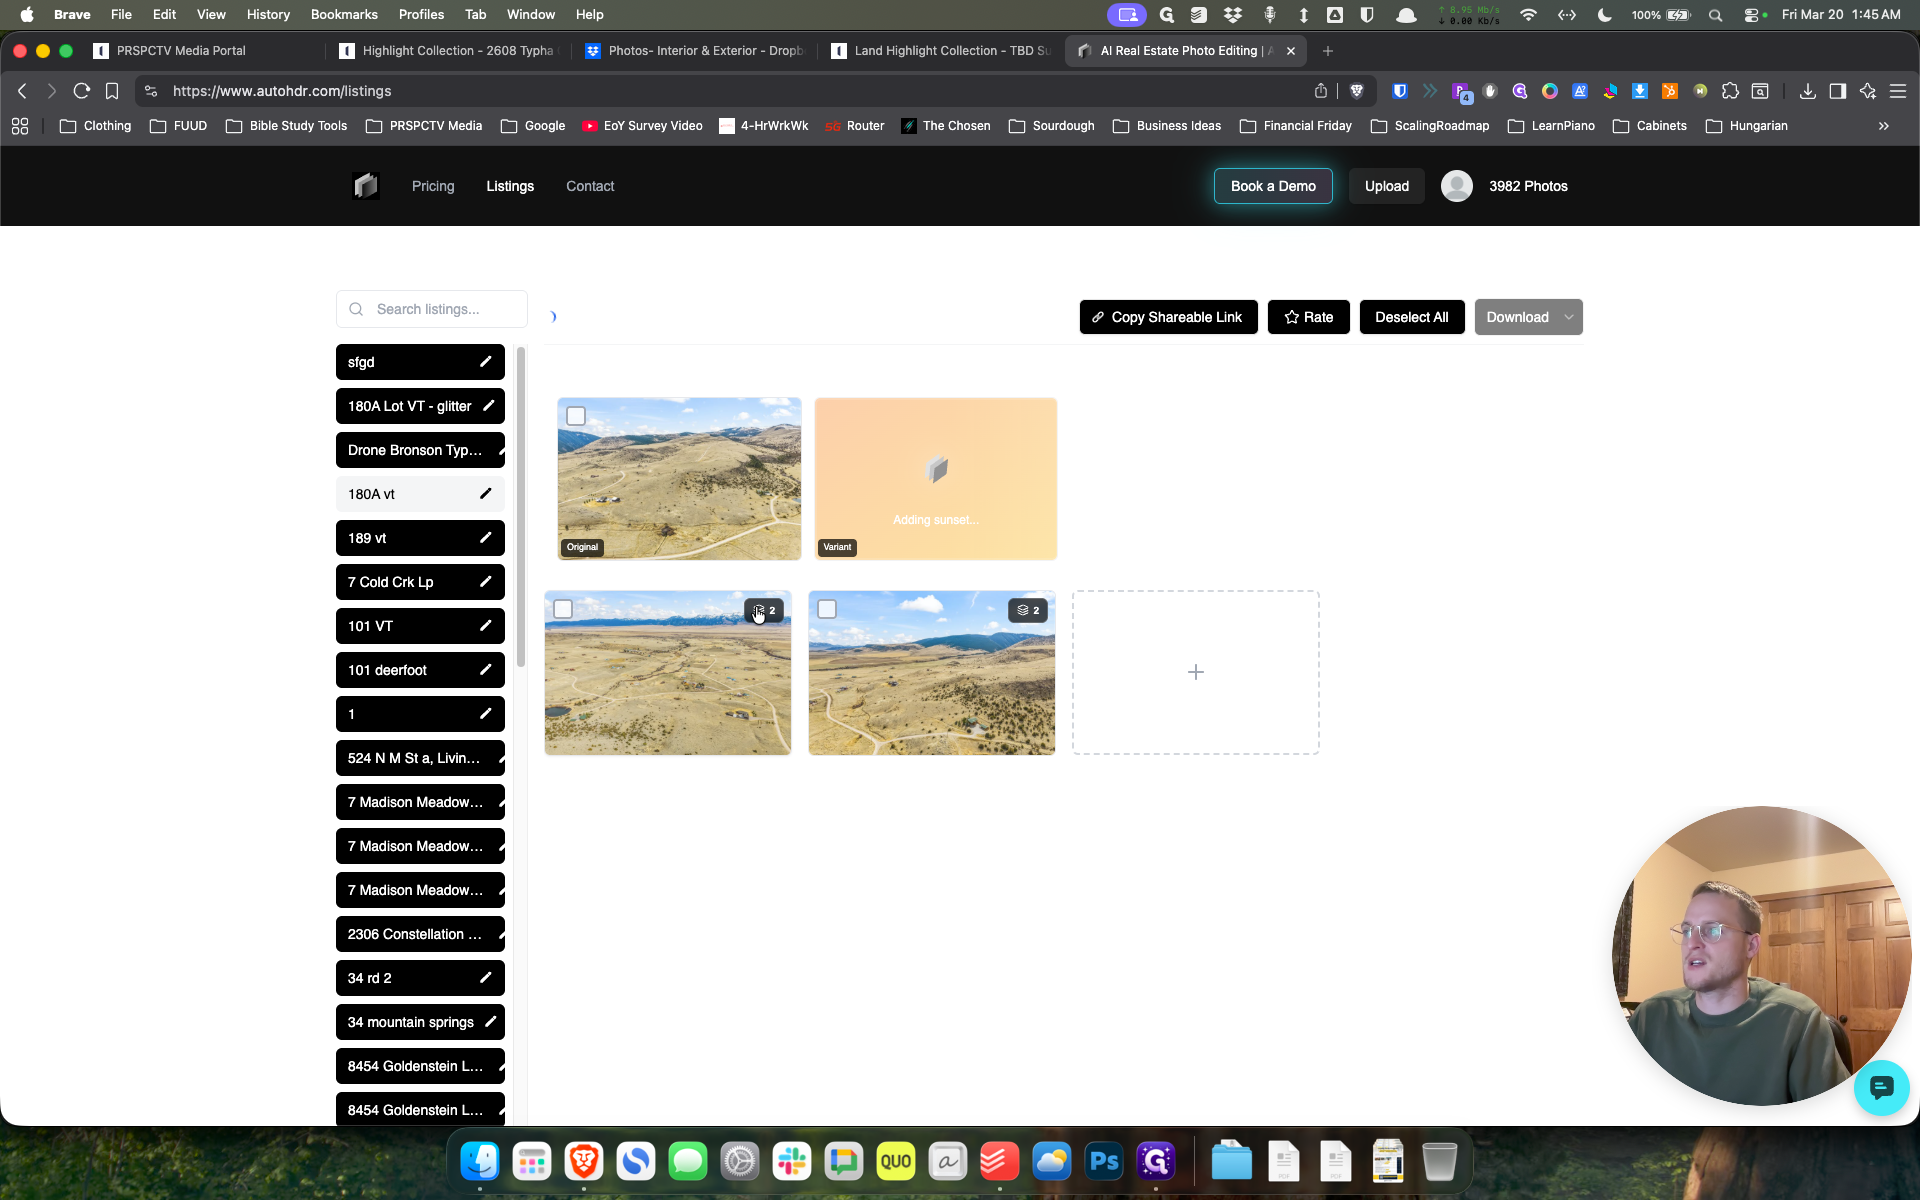
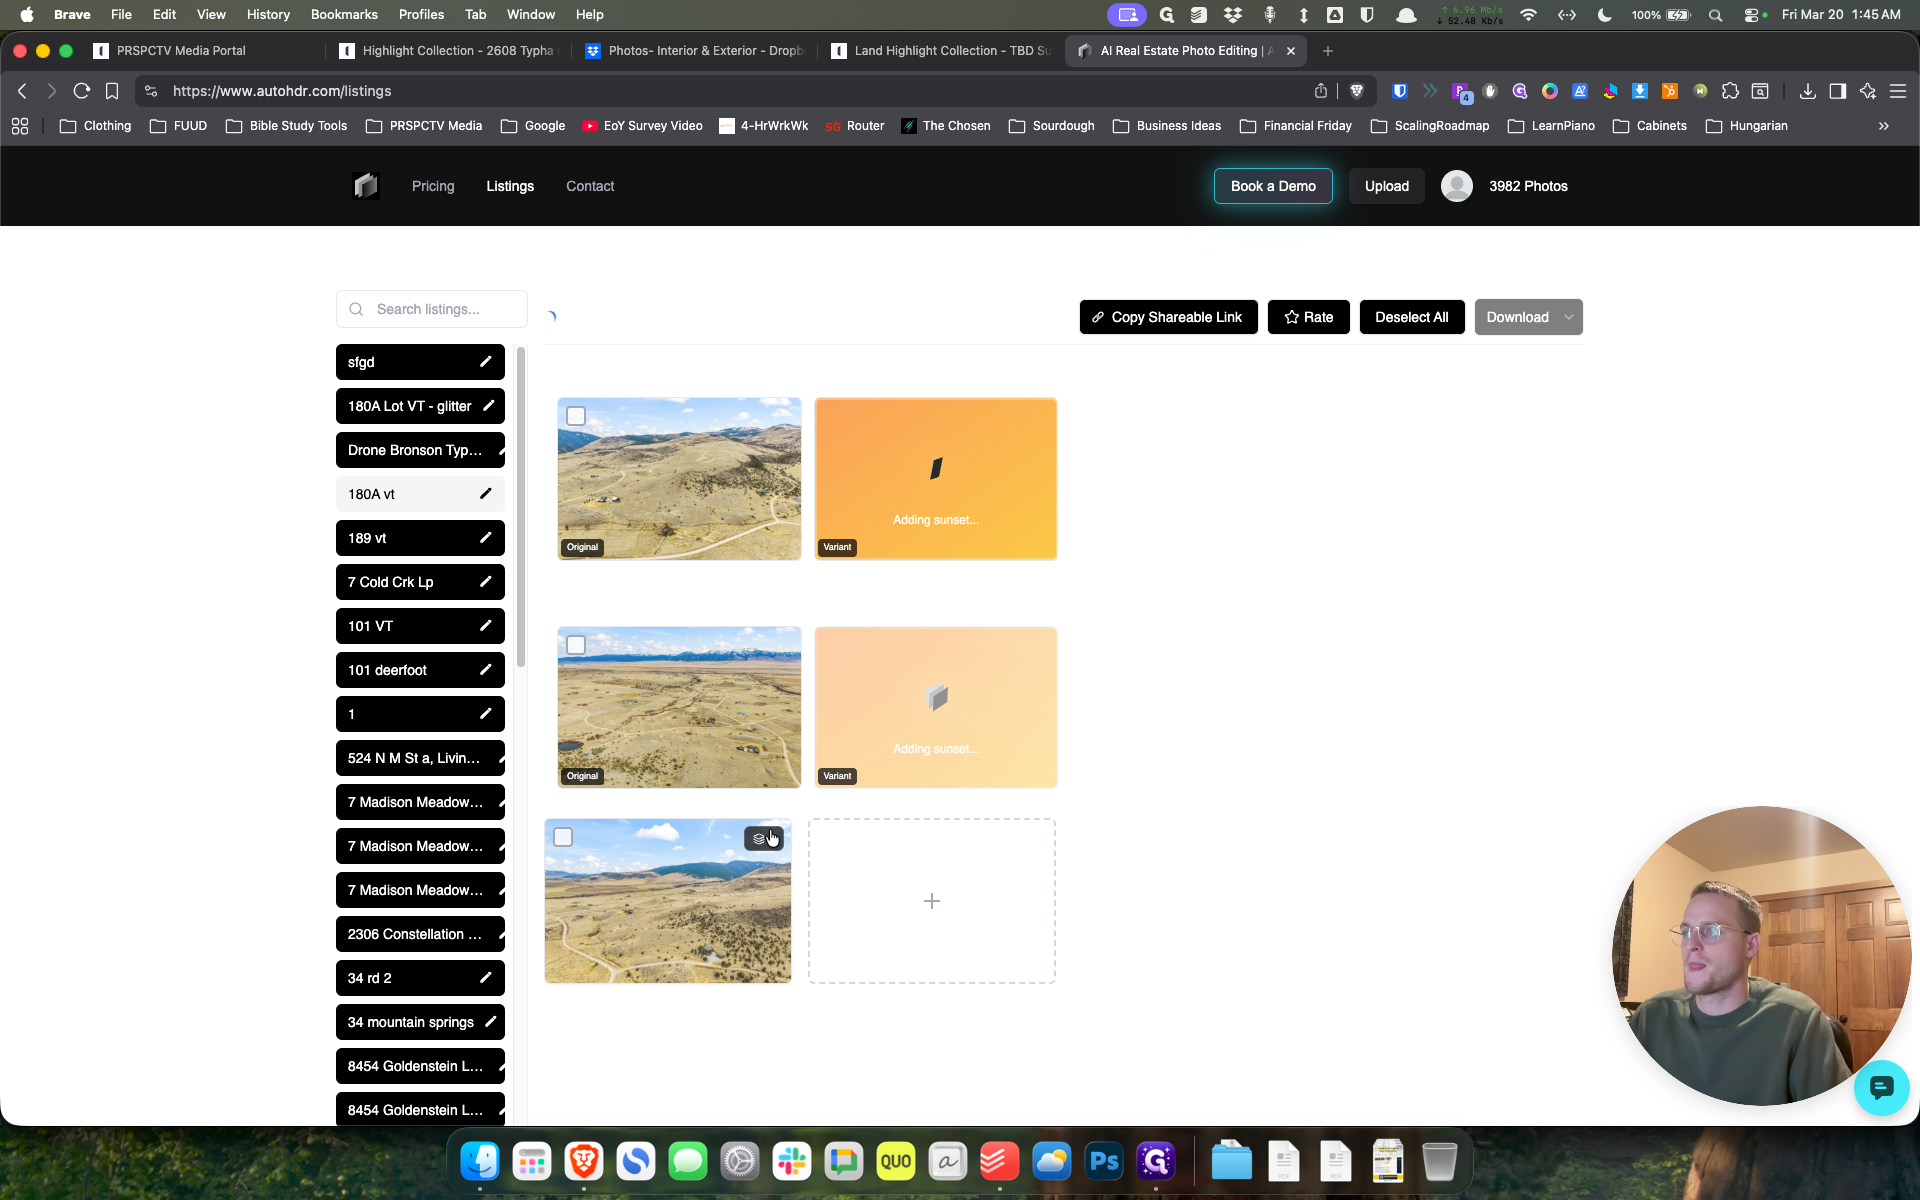
Confirm and process. Then, click on the stacked image here. When it's ready, it will display the variant with the Virtual Twilight.


Again, that process.
Click on it, select all, choose bulk edit, then click the Virtual Twilight button. Next, select Golden Twilight and generate.

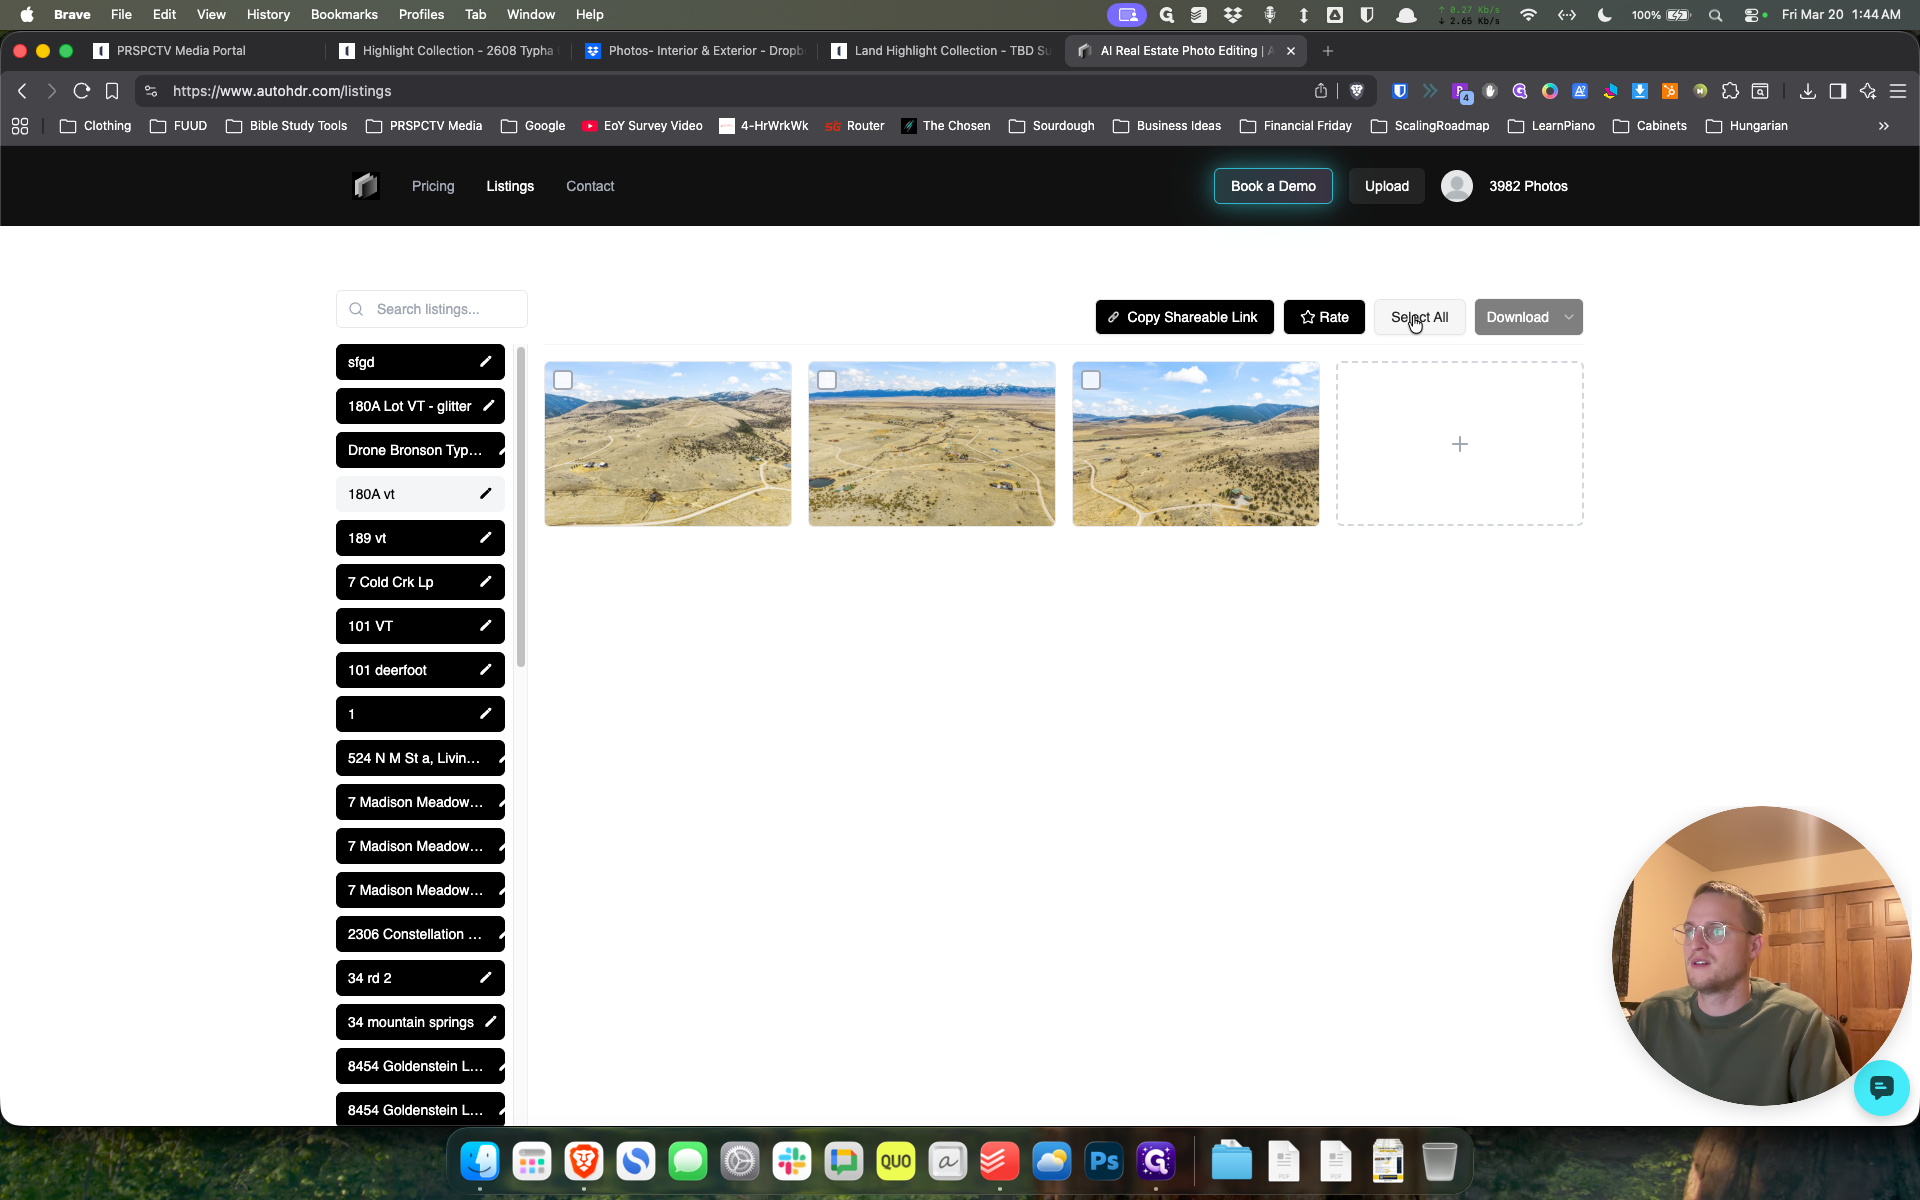

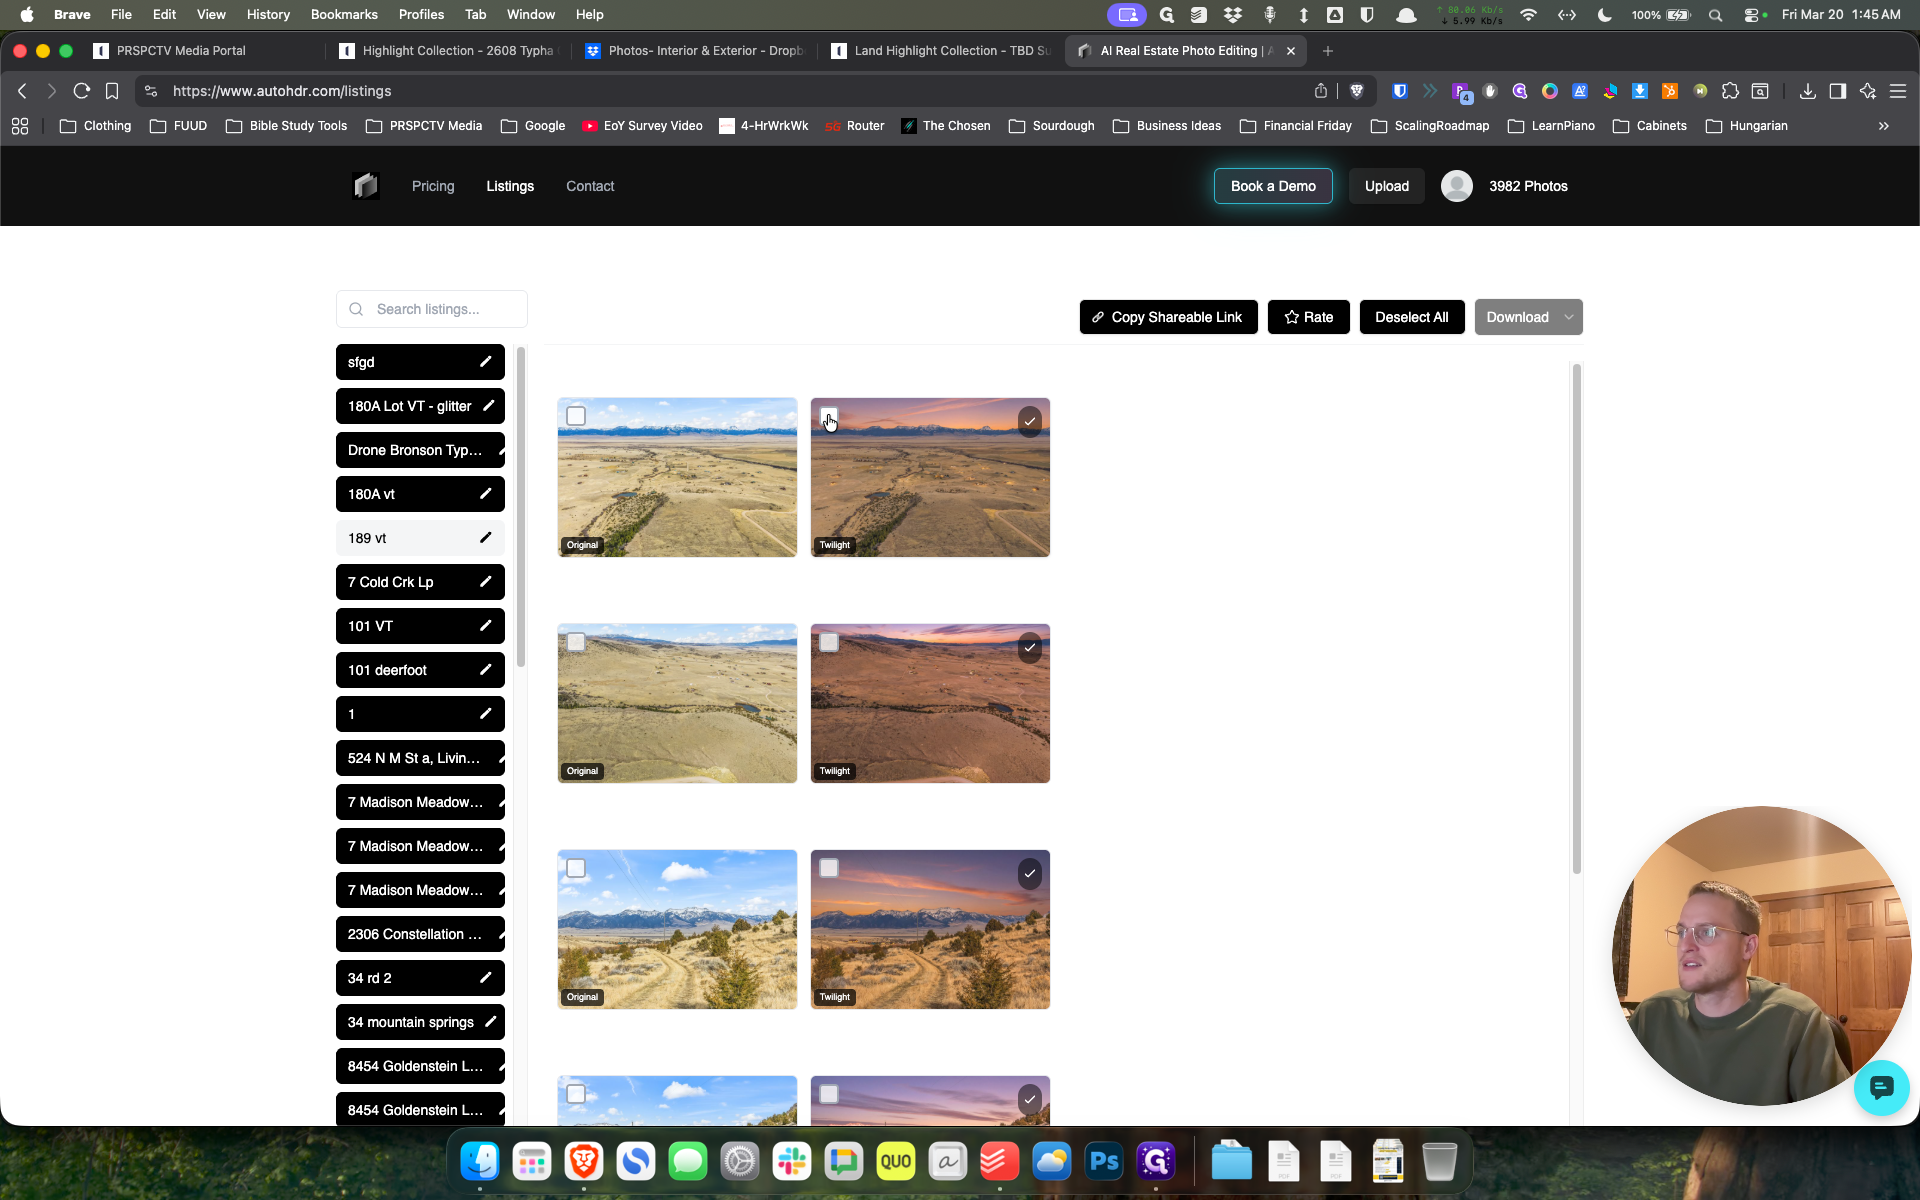
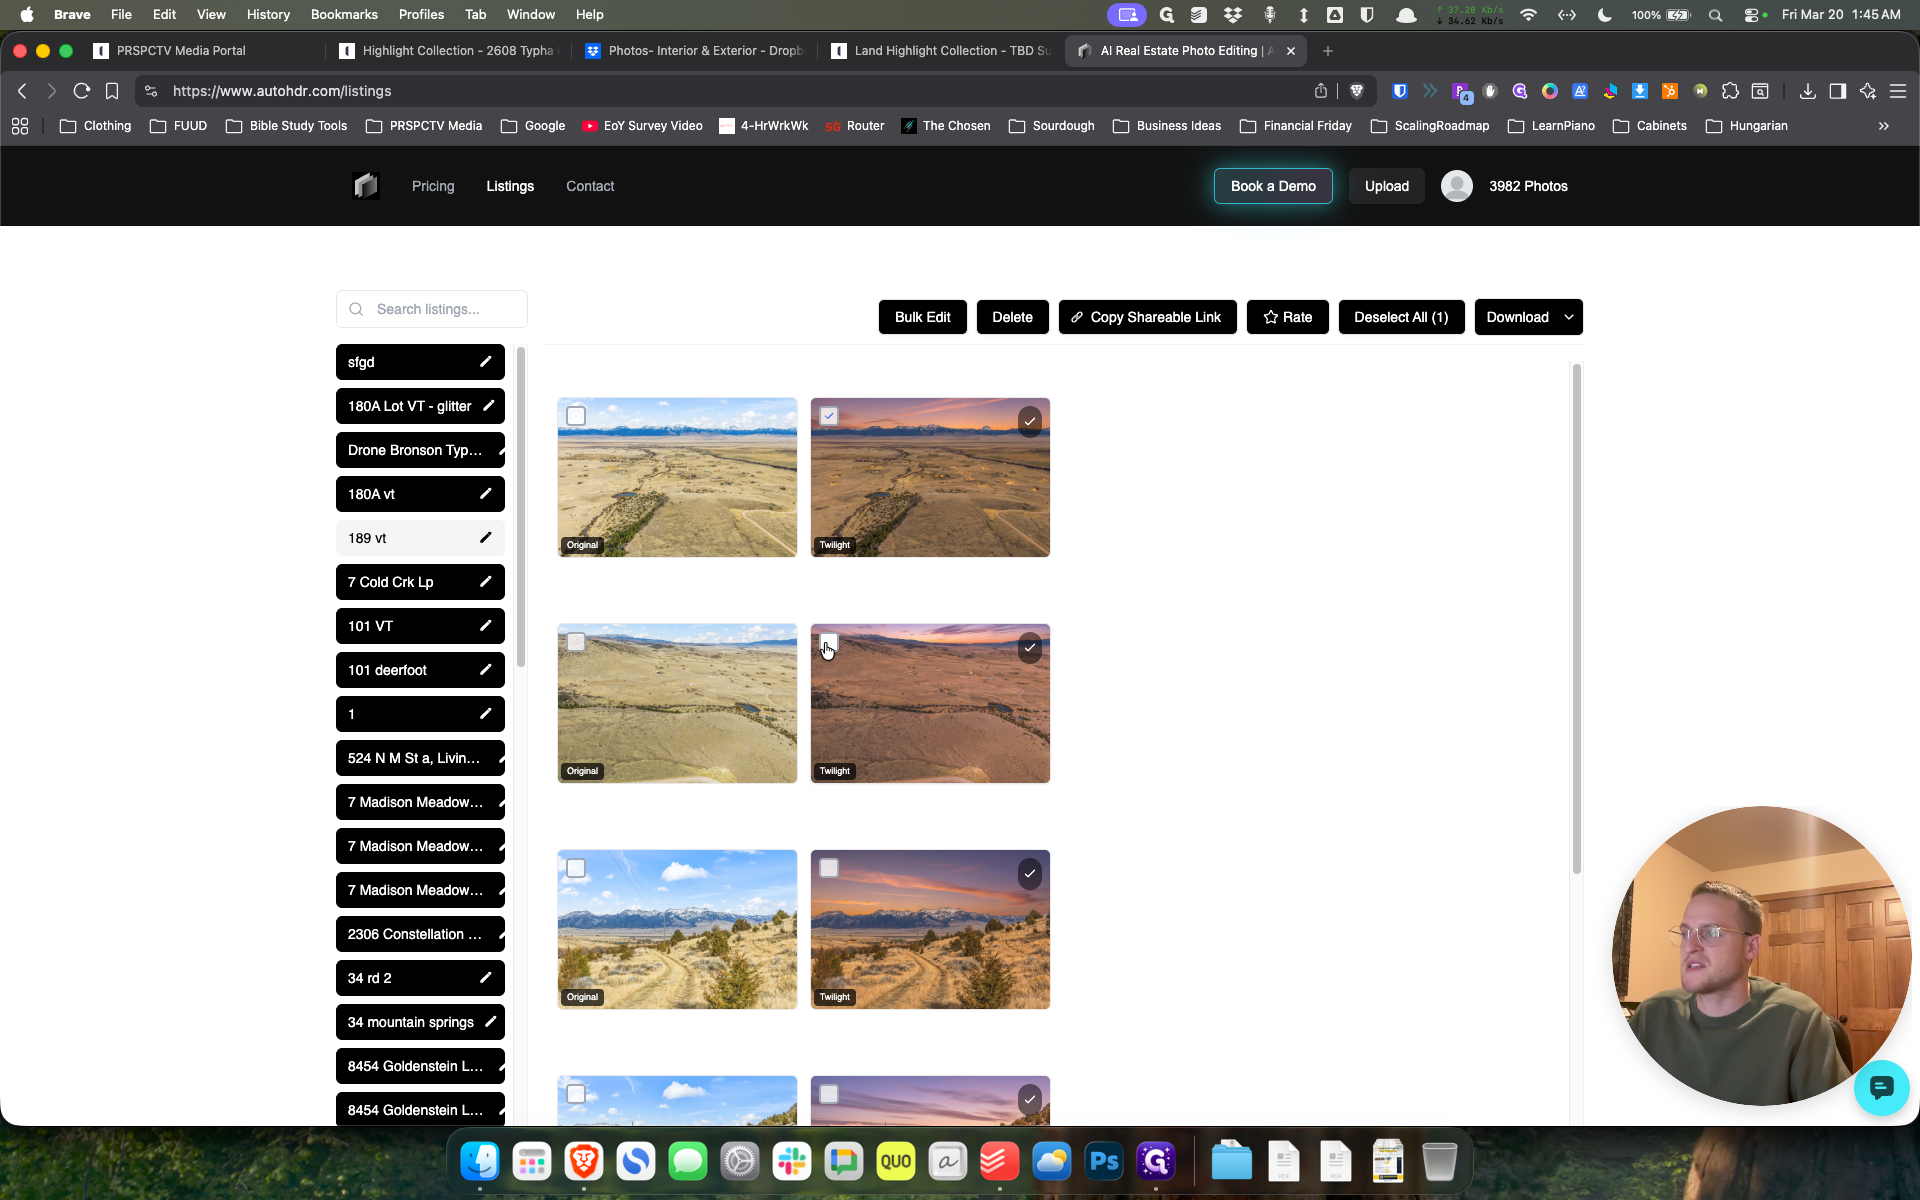
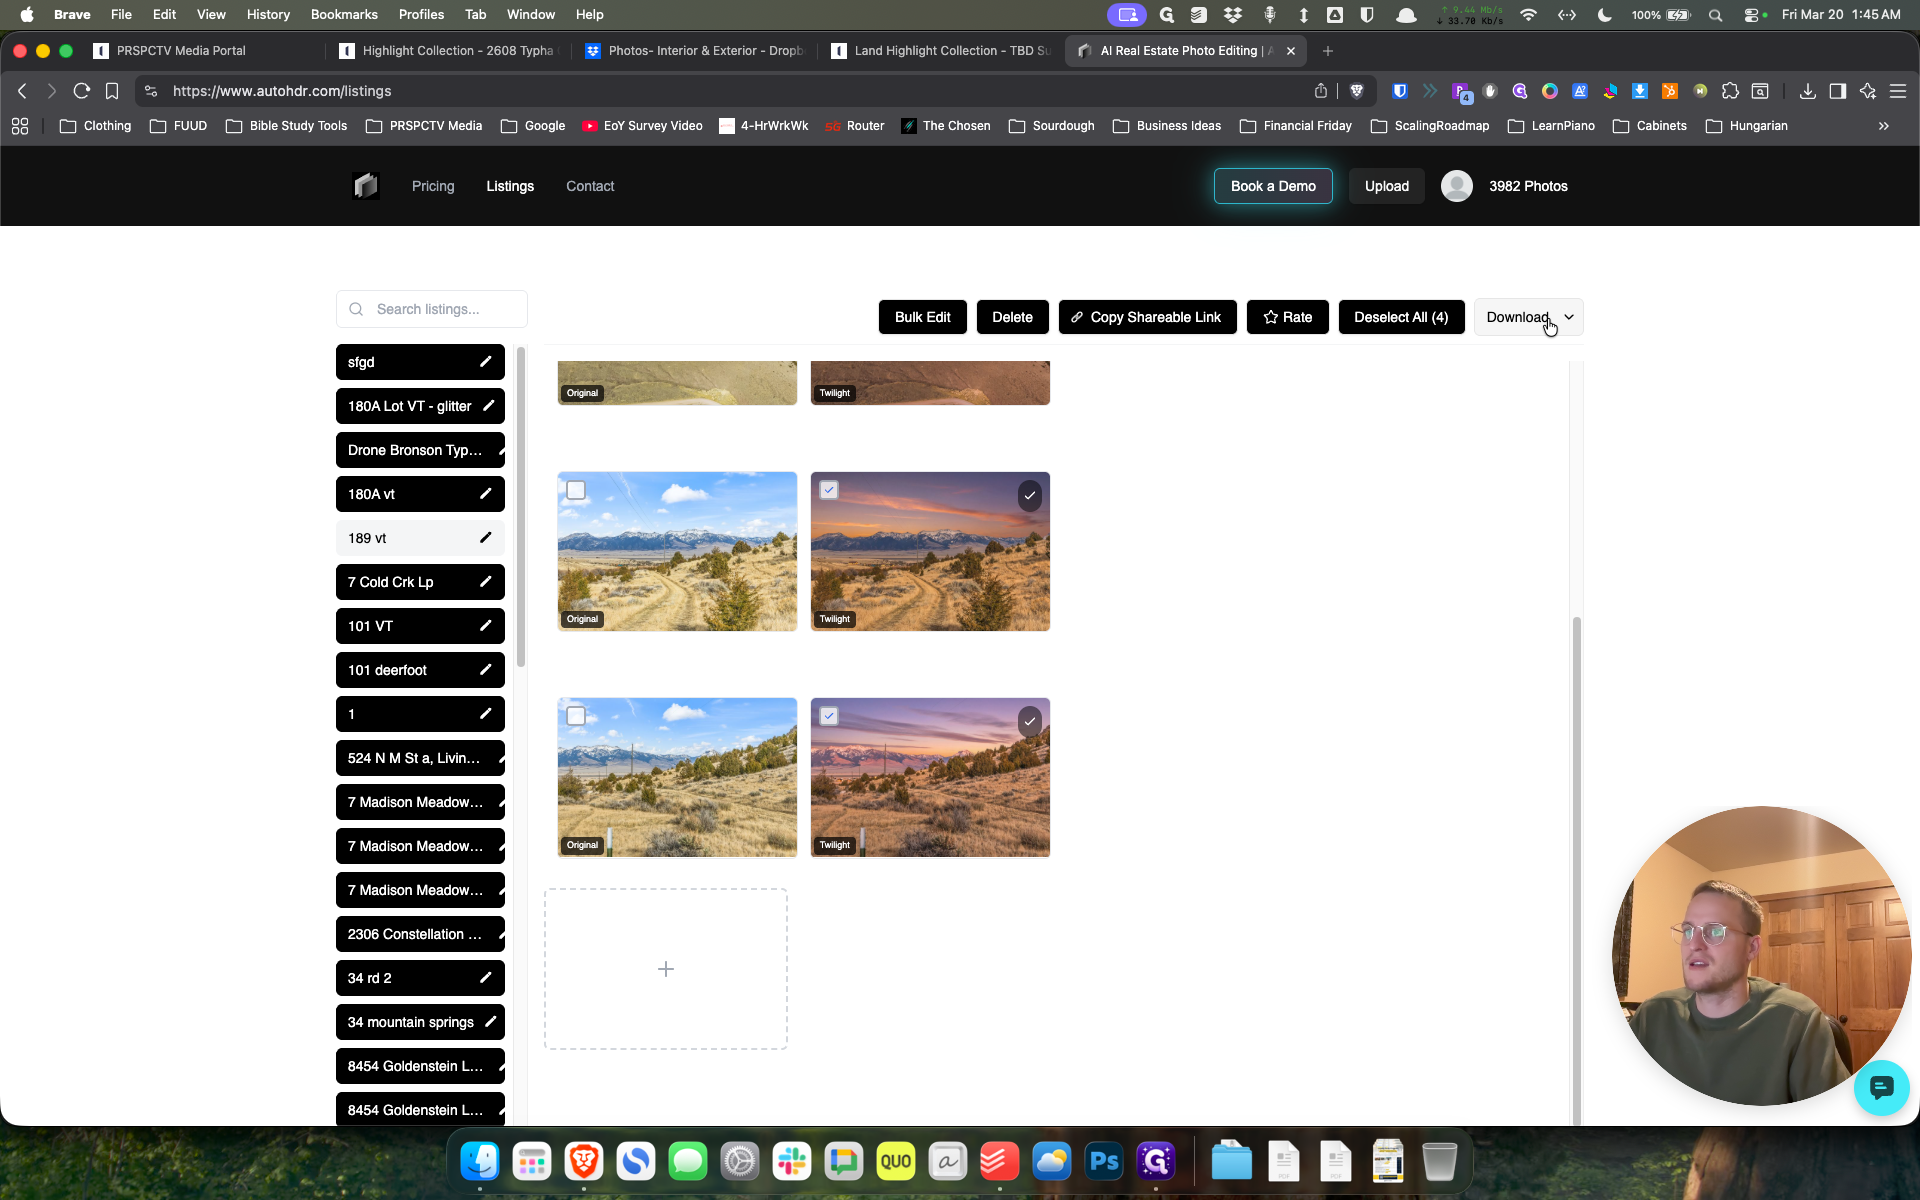
Confirm the process, open these, and when ready, we can review or download.
Generally looks good.

It may take some time. You can see that in just 30 seconds, it has already completed the replacement, which is very fast. Comparing them is good. It's getting a little darker. Often, it's about removing shadows.
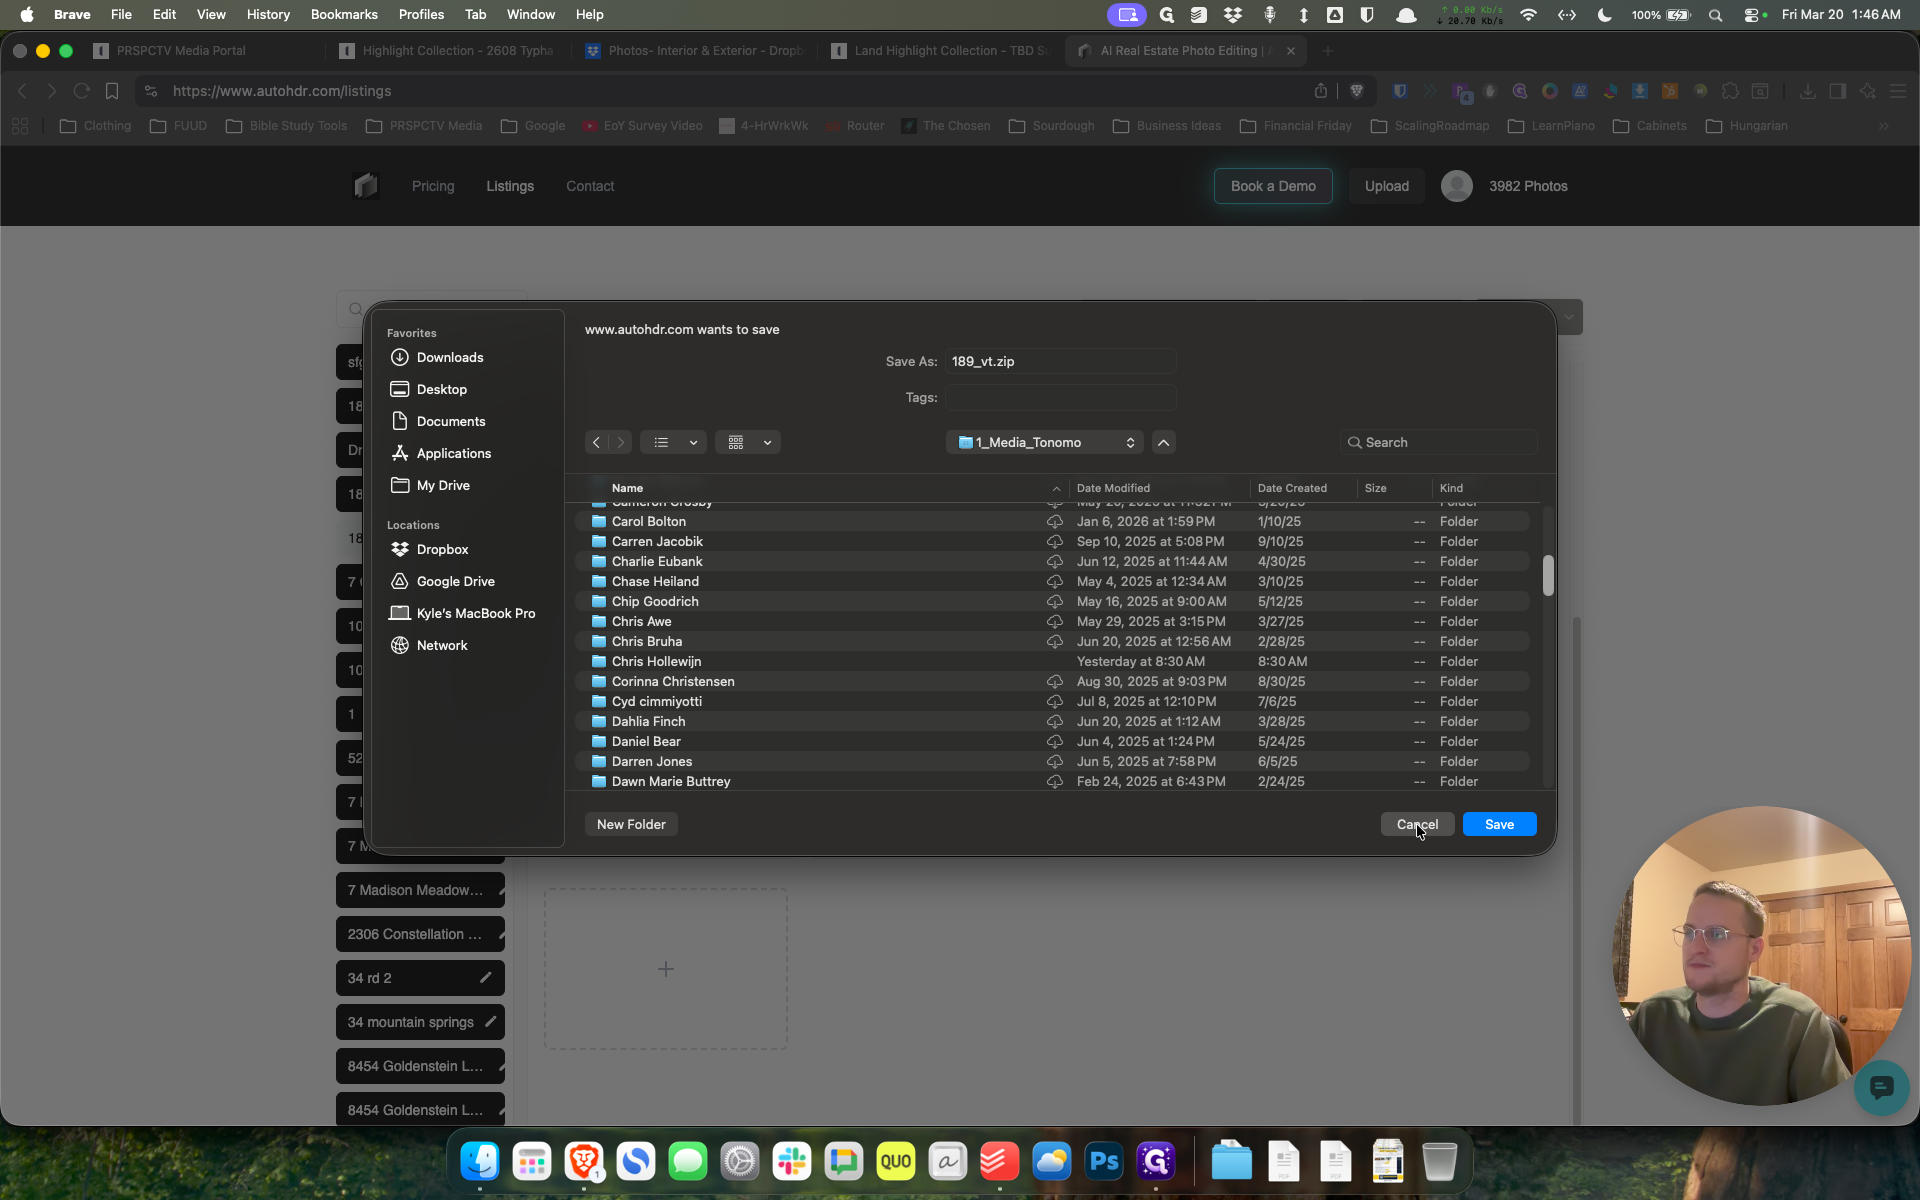
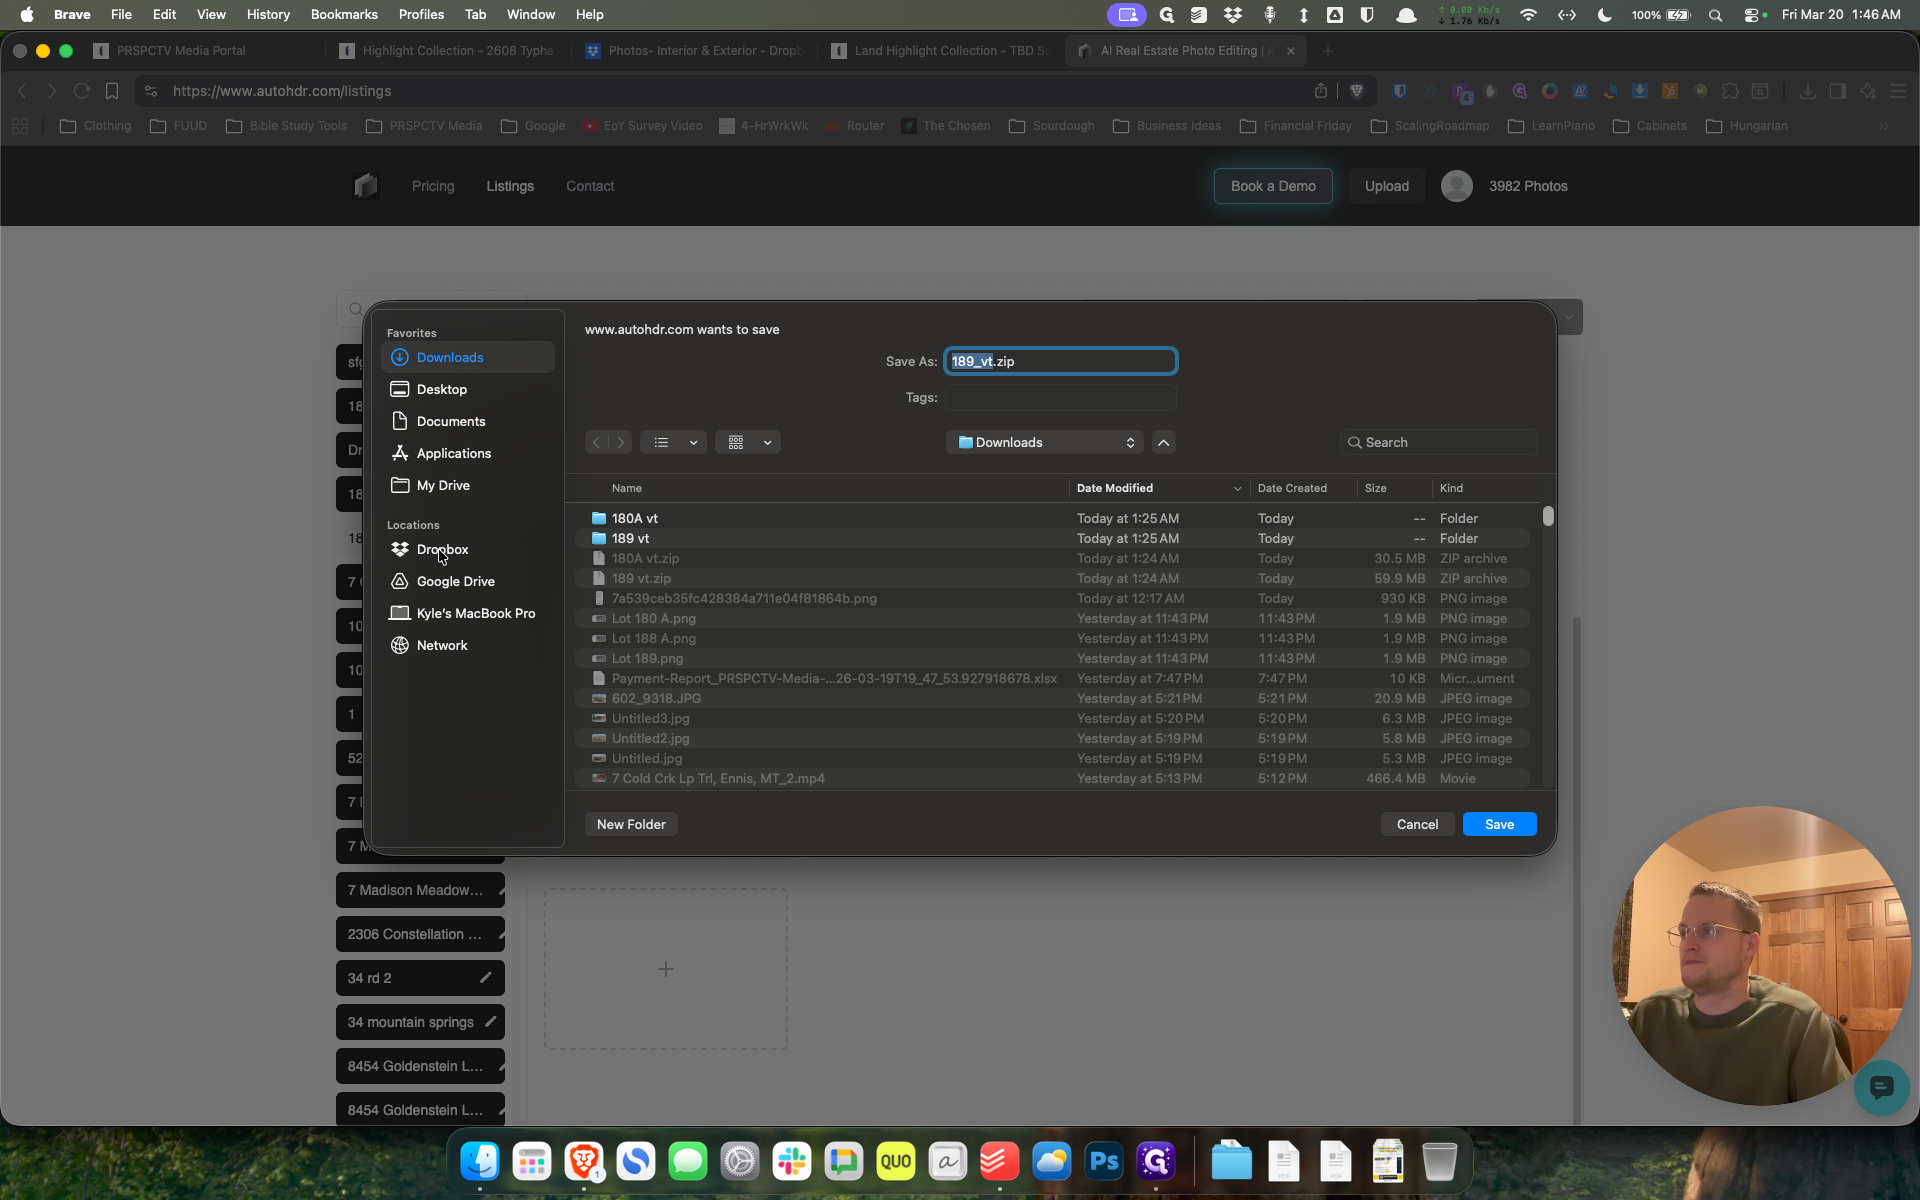
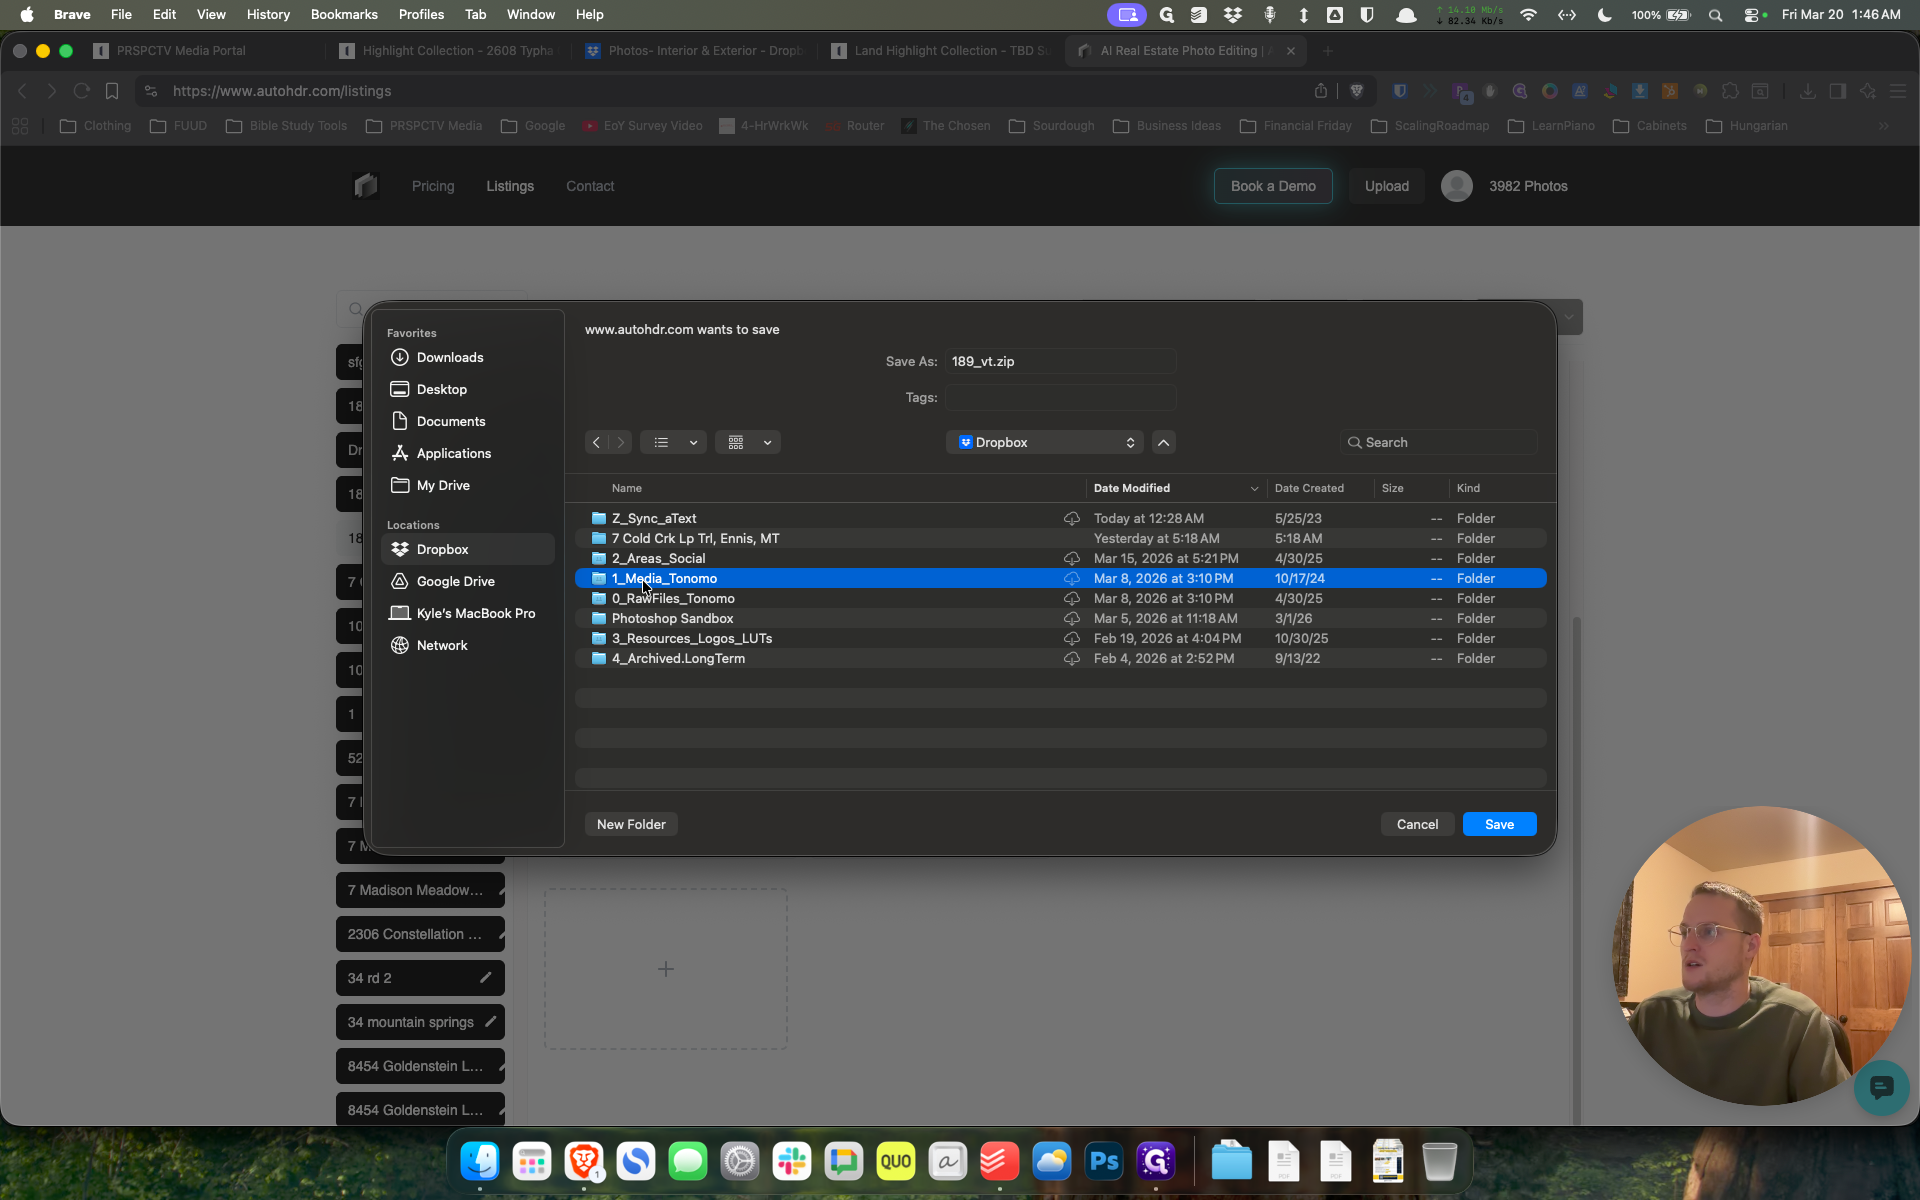
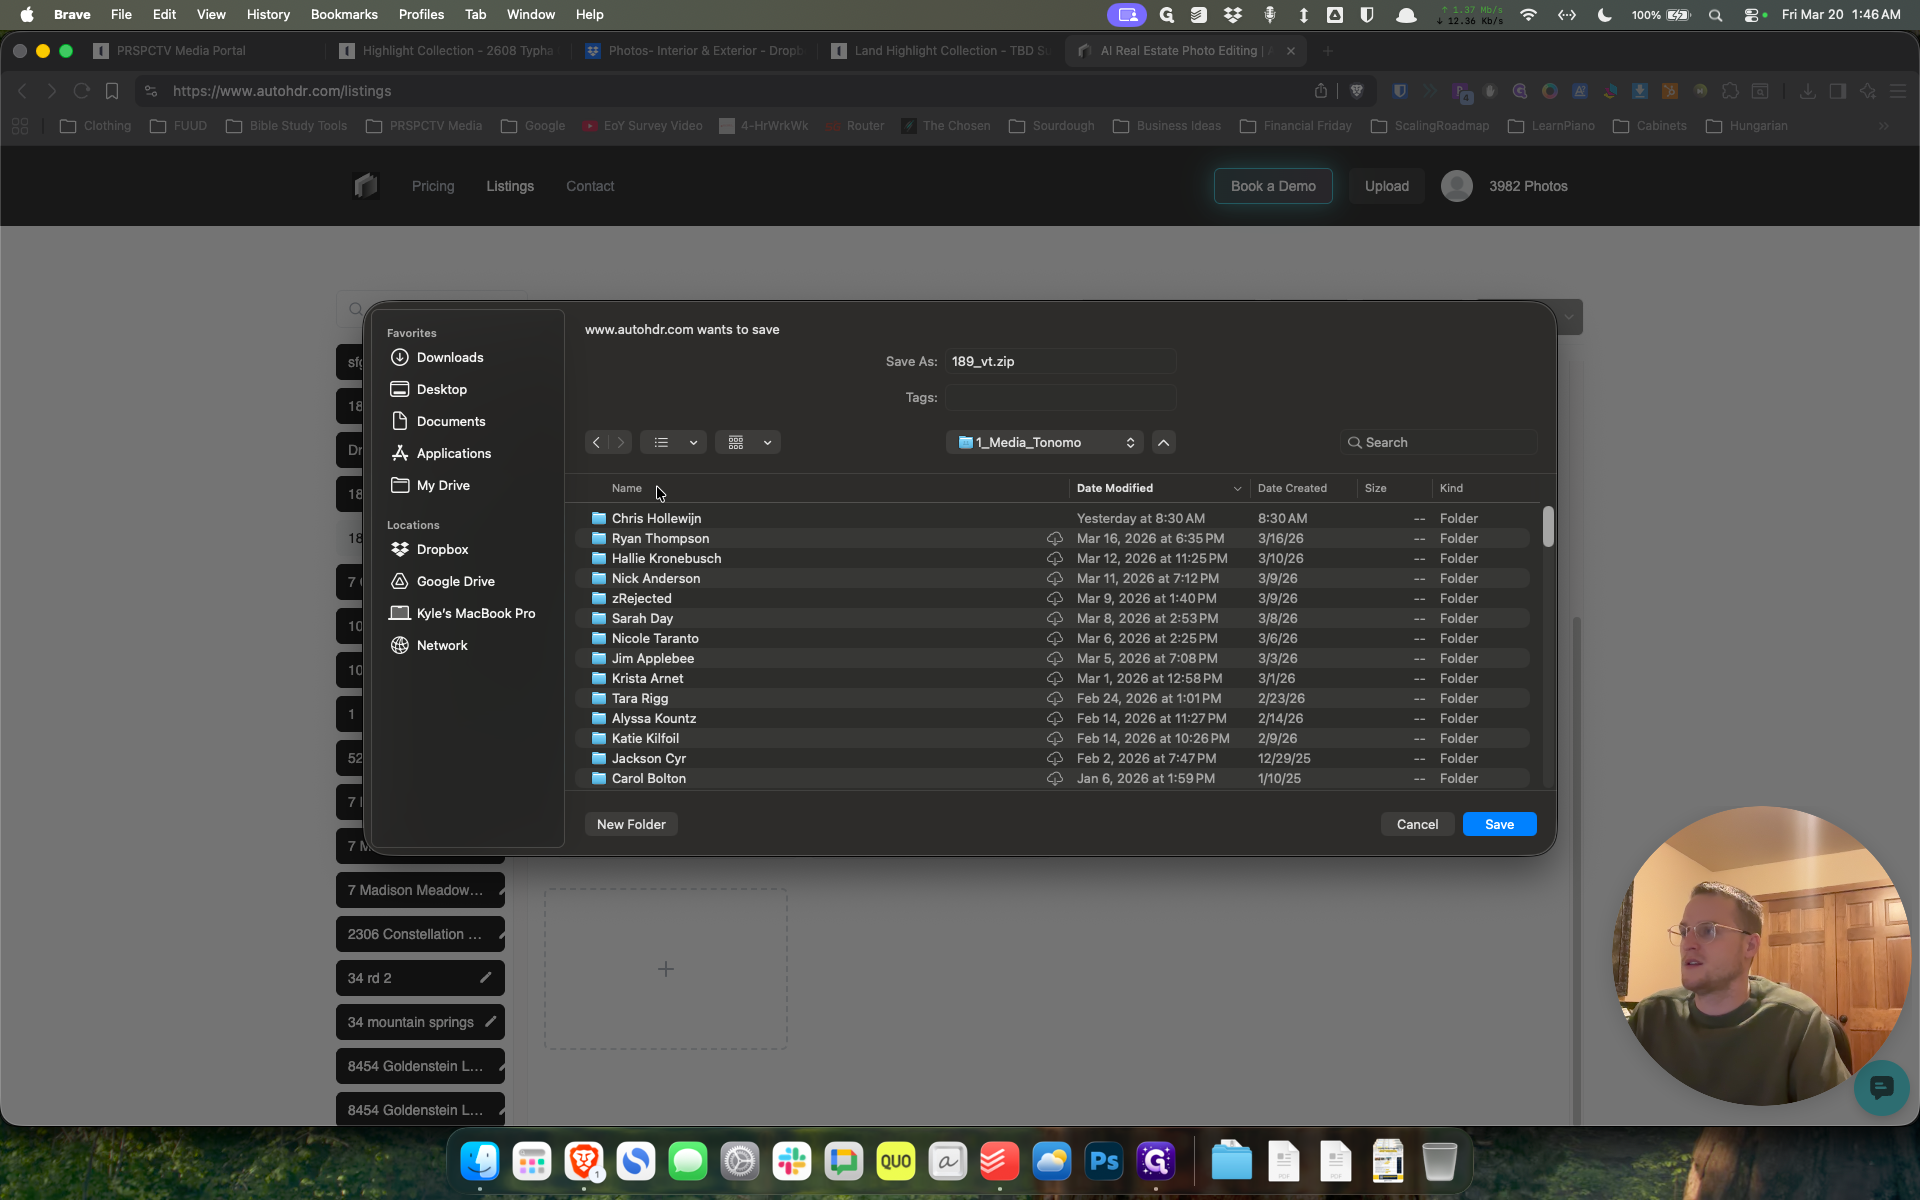
It doesn't always do that, and it hasn't been doing it very well. This is pretty good. I'm pretty happy with these. Select the specific photos you want, click download, and save them to the appropriate folder in Dropbox.

It's straightforward. Let's go with one for Jenny, and we'll save it that way.
I will hit cancel, but that's the process.