
How to Upload QuickBooks Backup to Dropbox at Month-End
Step-by-step instructions for creating and uploading a QuickBooks backup file to Dropbox at the end of the month. Learn the easiest way to save your financial snapshot and ensure your data is safely stored.
In this guide, we'll learn how to create a backup of your QuickBooks file and upload it to Dropbox at the end of the month. This process helps keep a record of your financial data at a specific point in time. We'll also see how to use the correct folder so the backup syncs automatically to Dropbox.
Let's get started
Okay. On Tuesday the 30th, the last day of the month, we need to upload QuickBooks to Dropbox. All you need to do is create a backup file. There is a specific folder on the computer. If you save a file there, it automatically uploads to Dropbox. It's actually very easy.
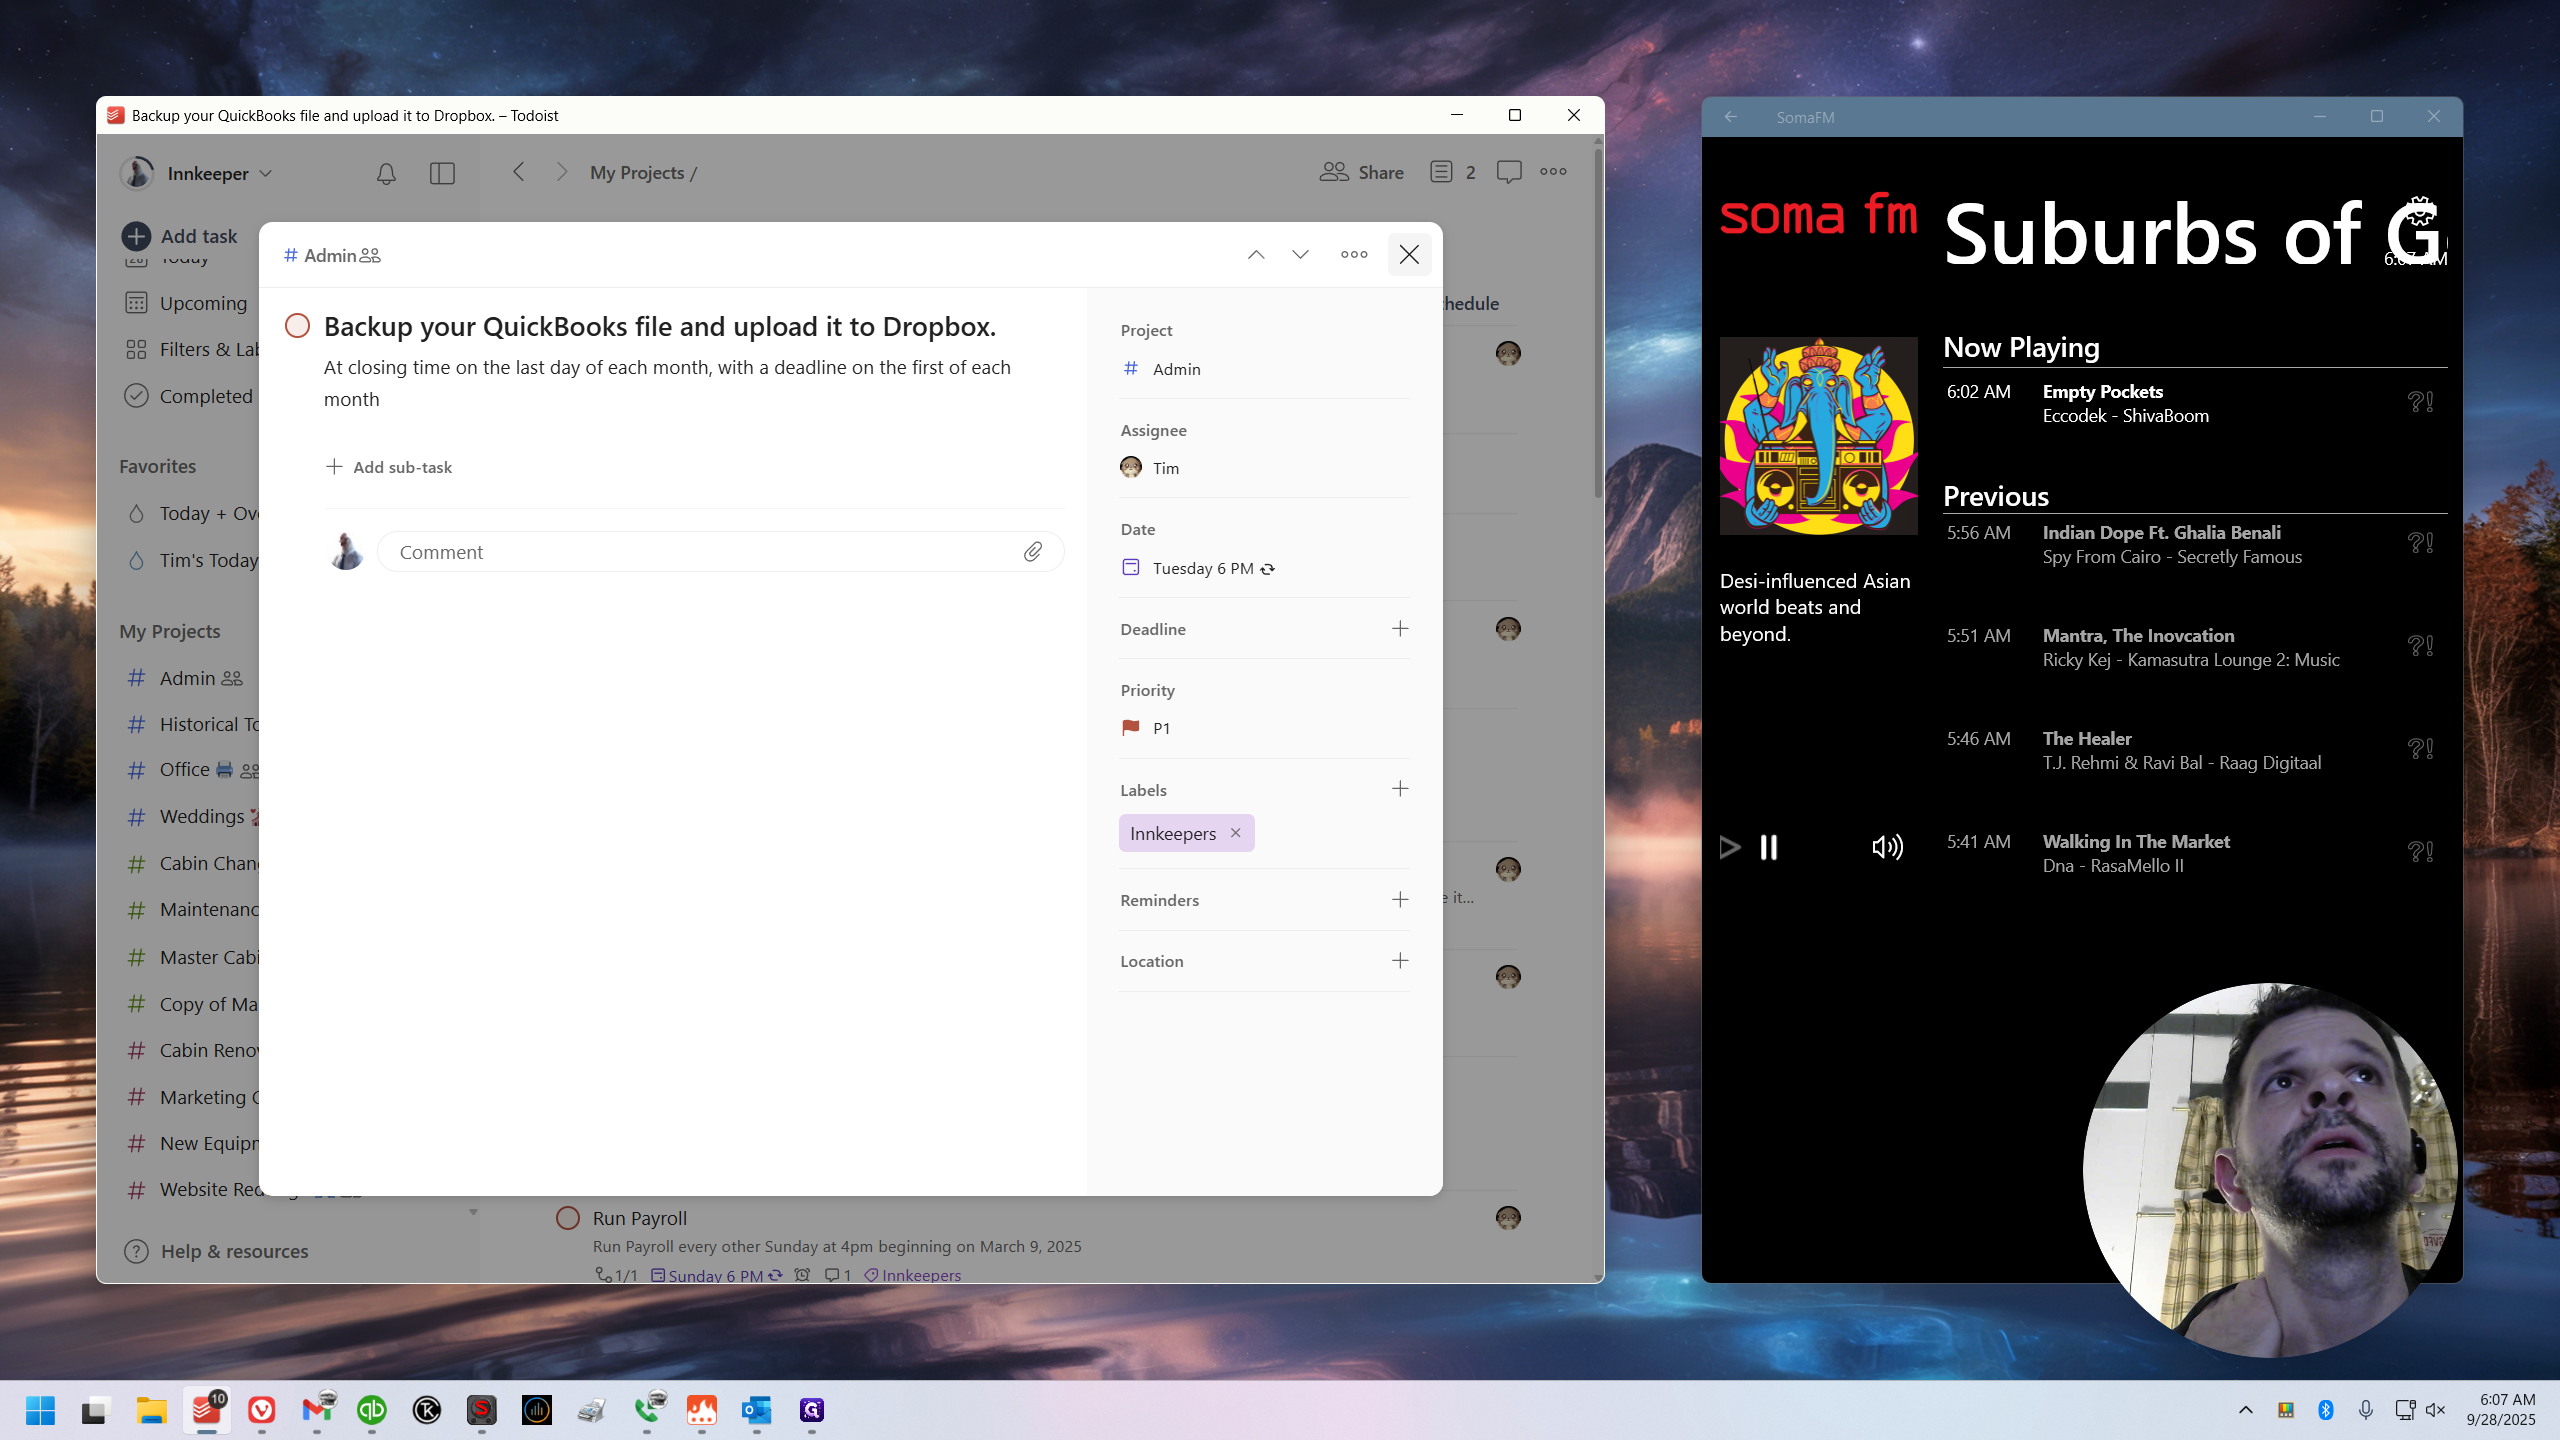
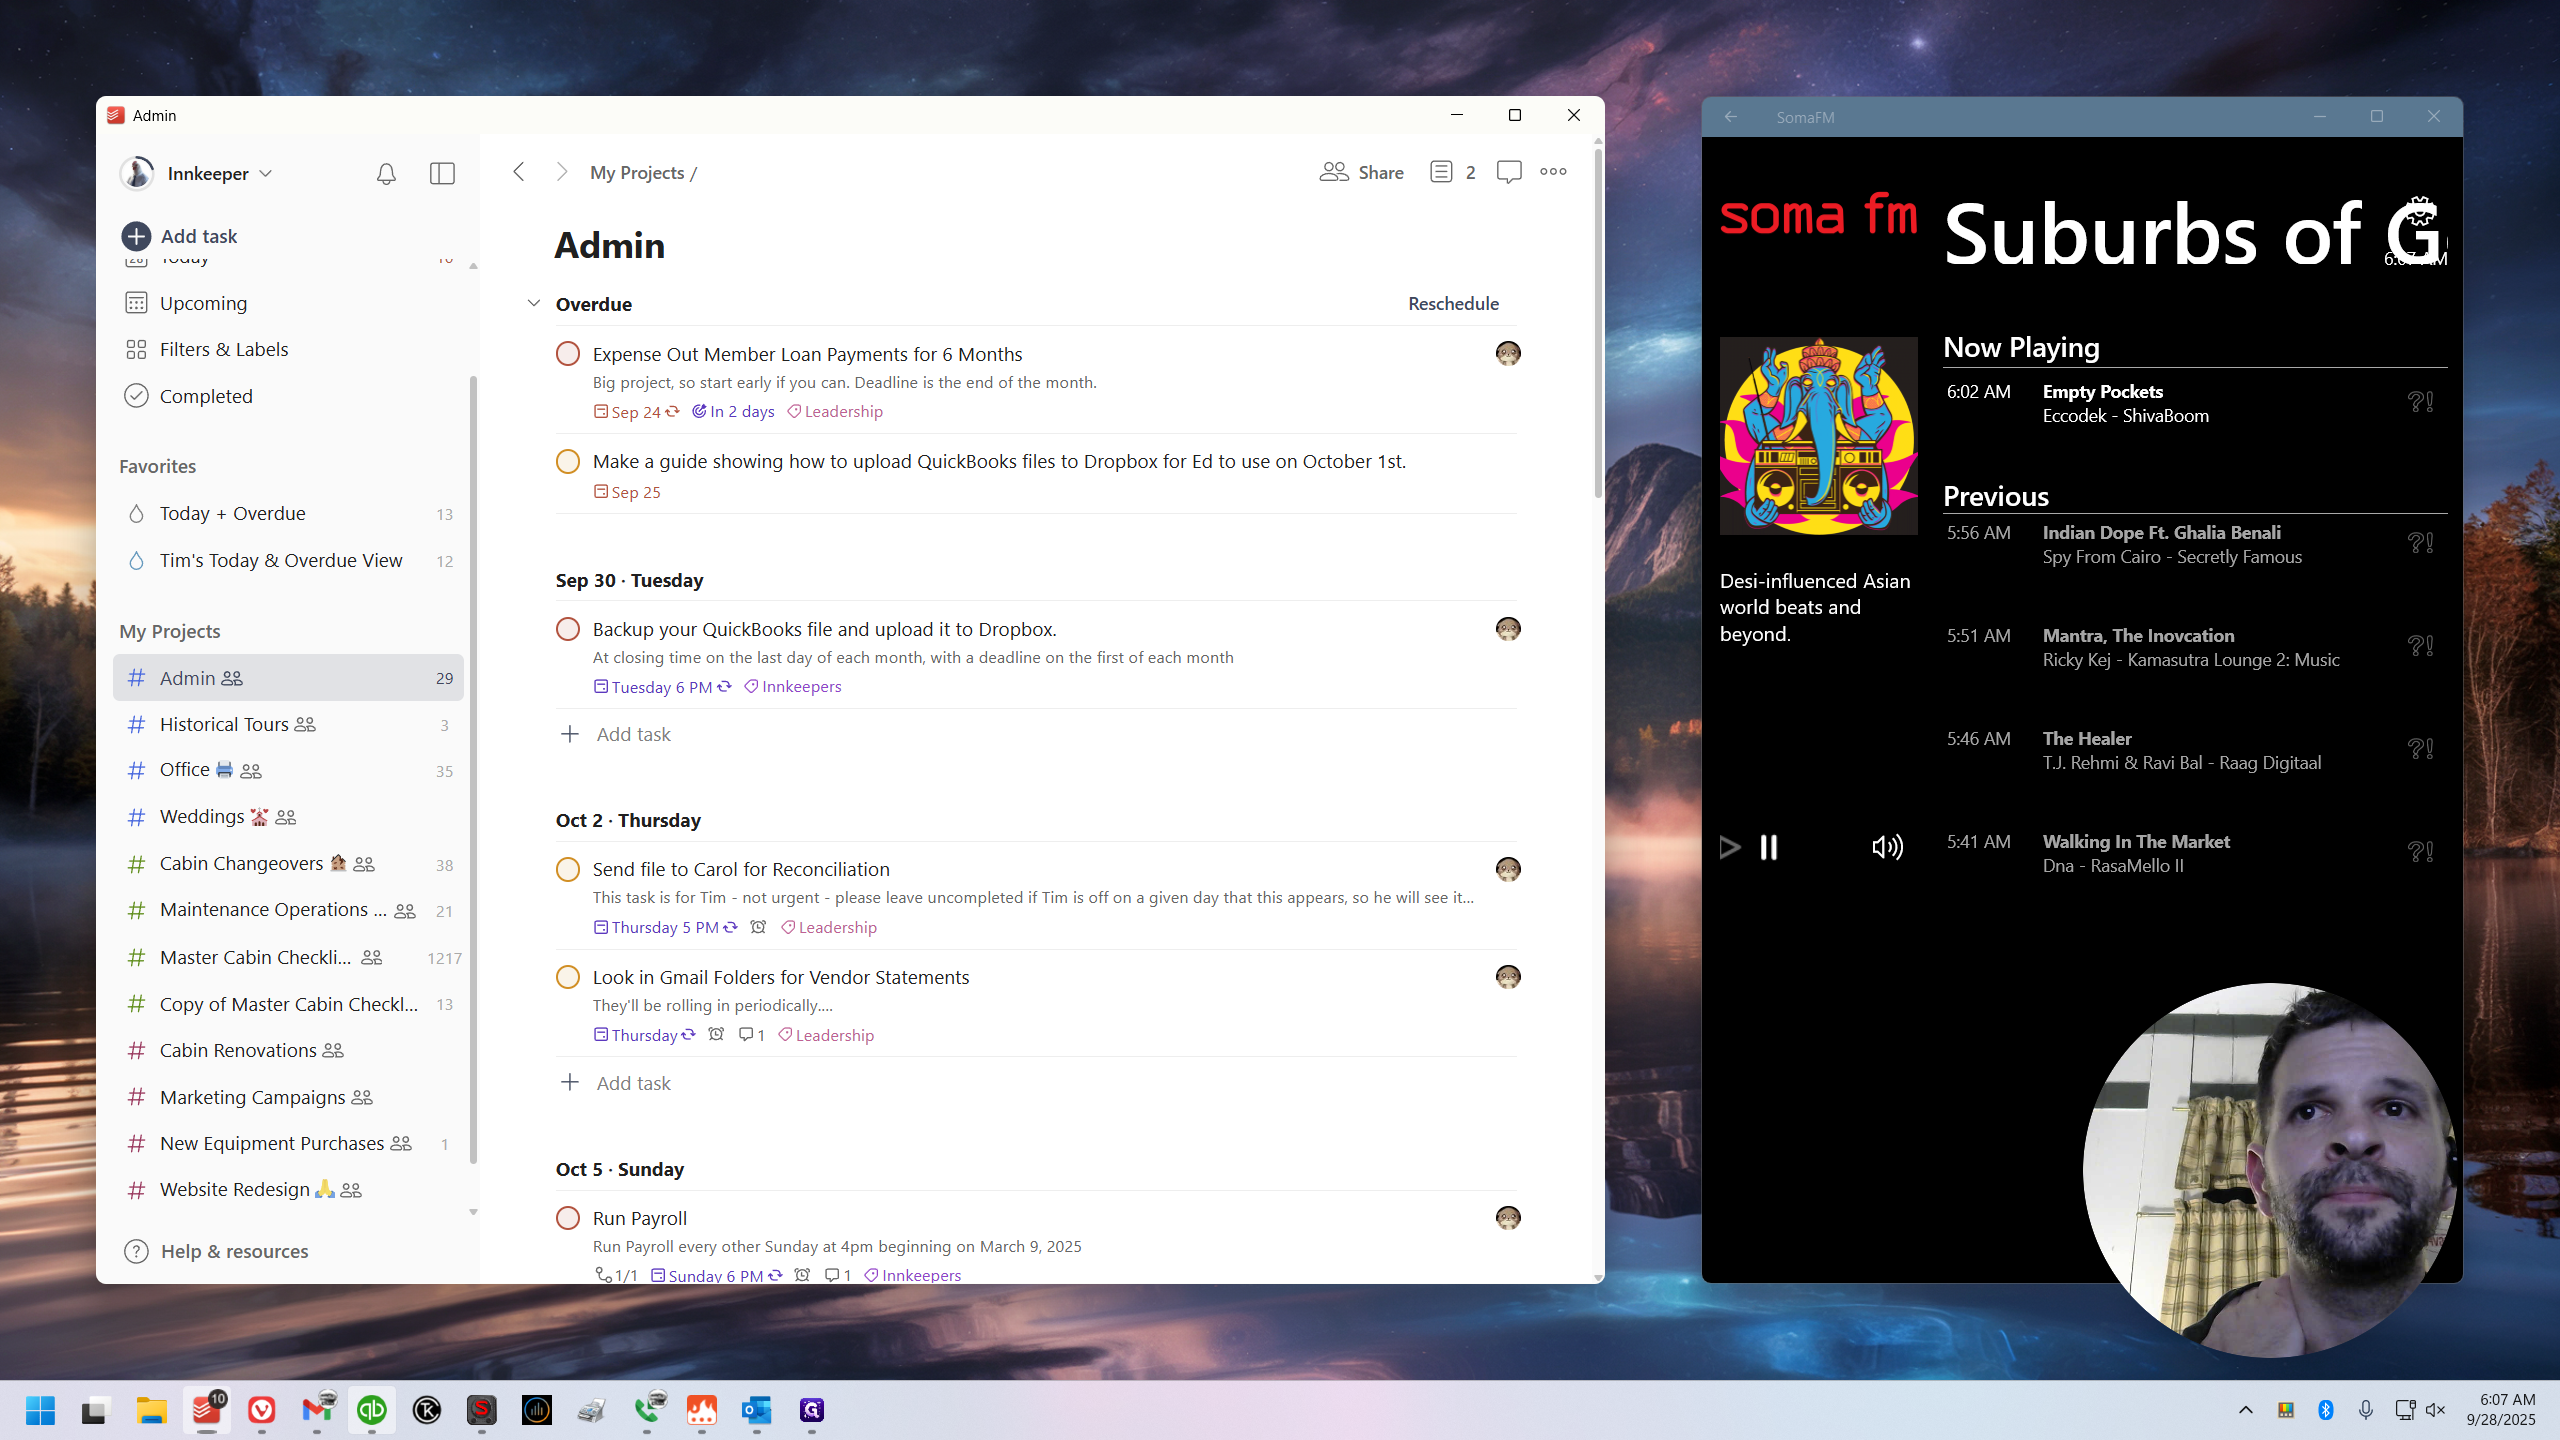
Here is the task in Todoist. It's under the Admin project, but it will appear in the Today view, so you should see it. Even if you don't, I mentioned it in the notes. This needs to be done that night or the following morning. The goal is to capture a snapshot of the financials at the turn of the month. Here’s how to do it.
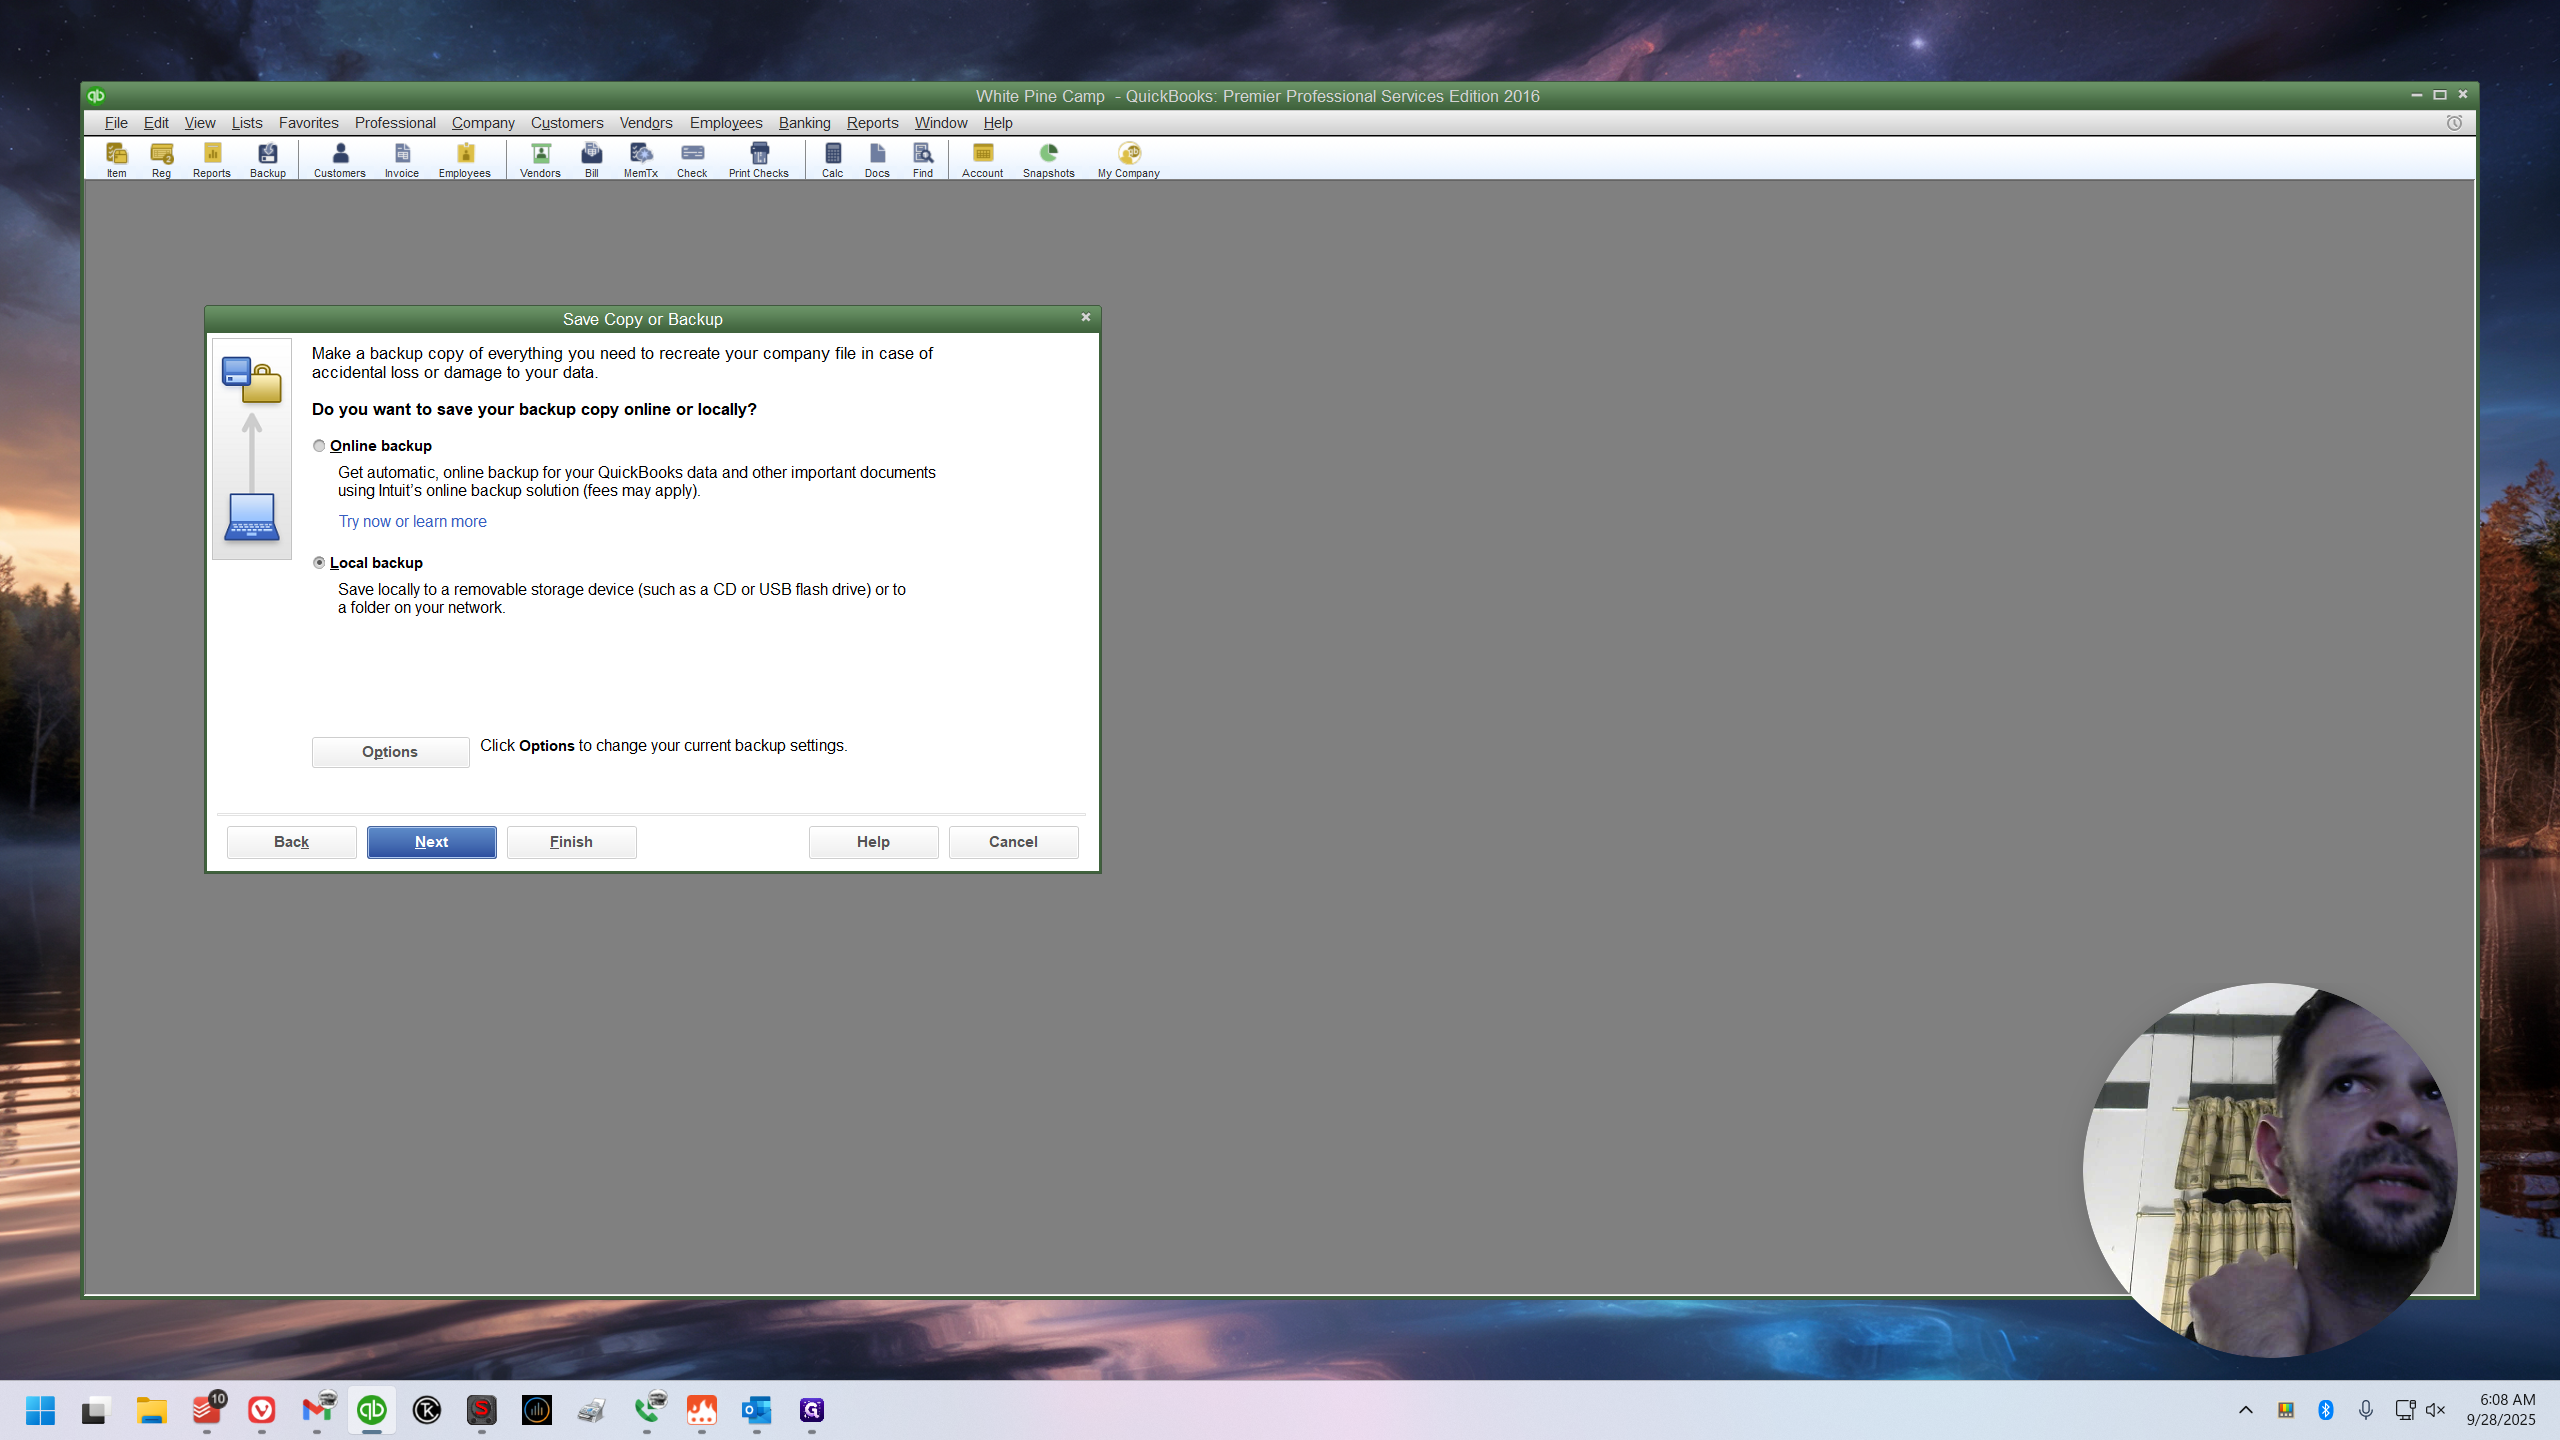
In QuickBooks, I like to close any windows I have open. I don't know—it's voodoo. Probably doesn't matter. Click Backup.
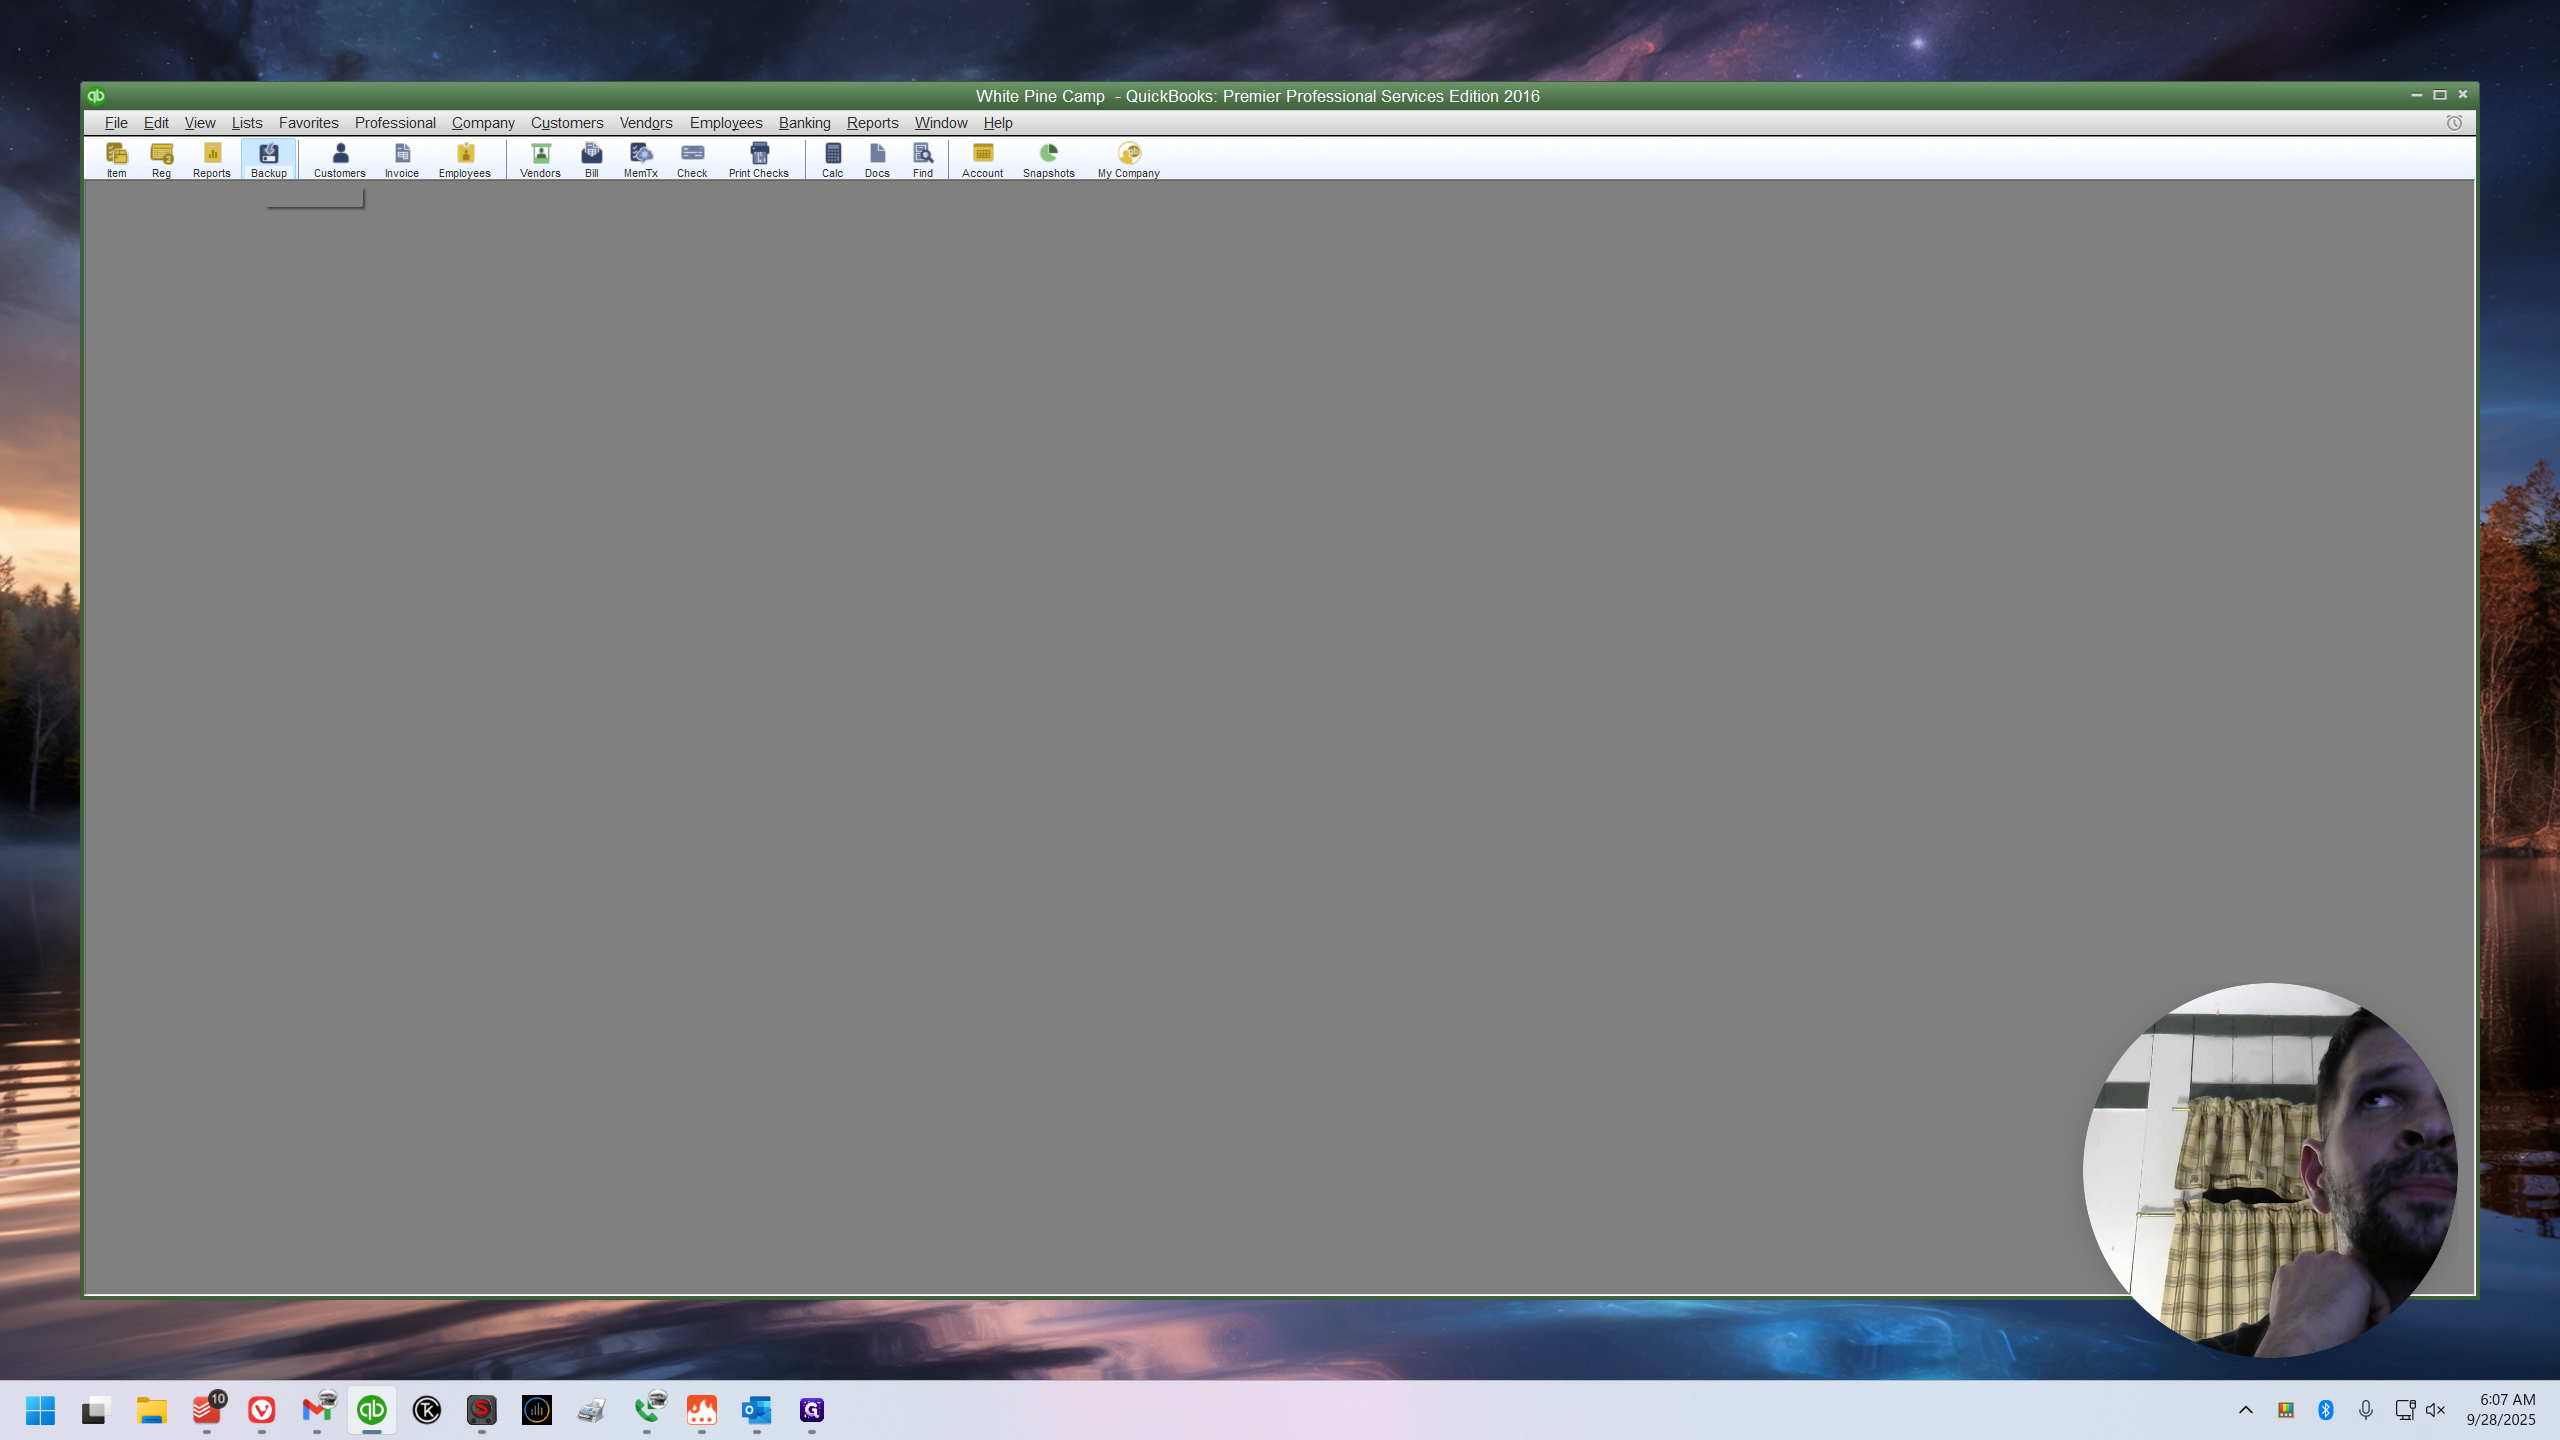
That's right at the top. It's fine. Click Next. The defaults will work well for most situations.
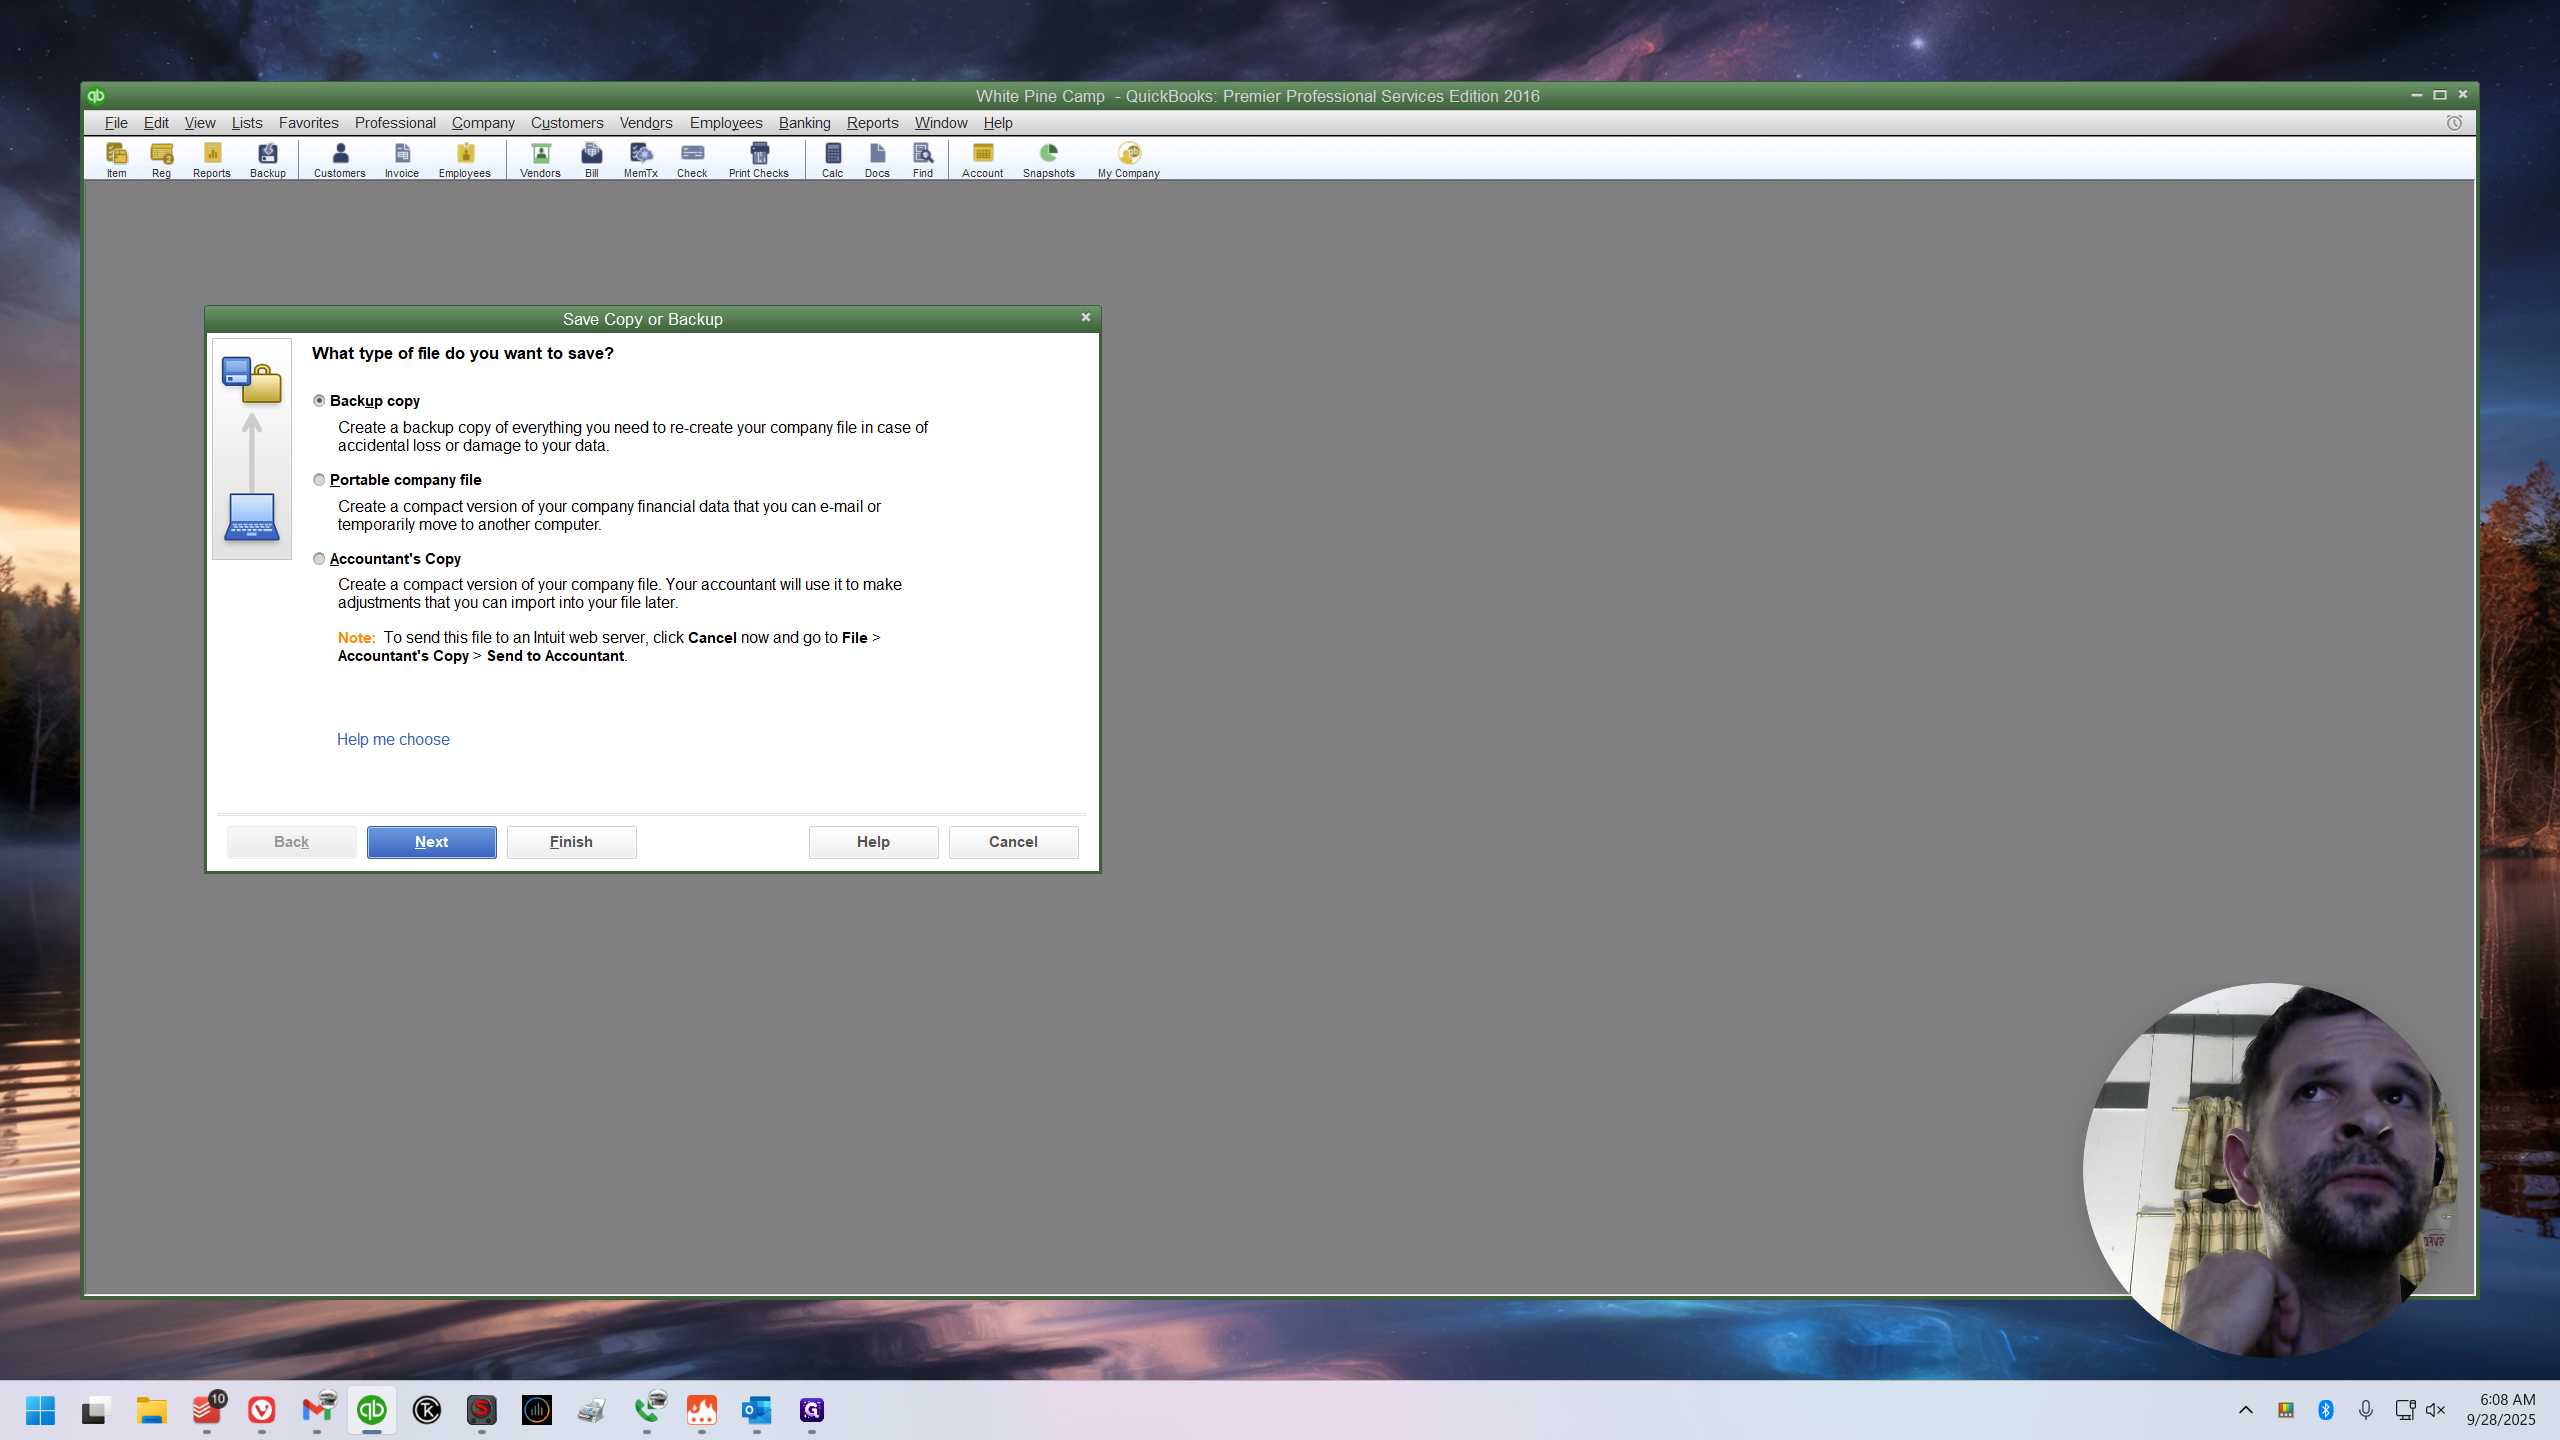
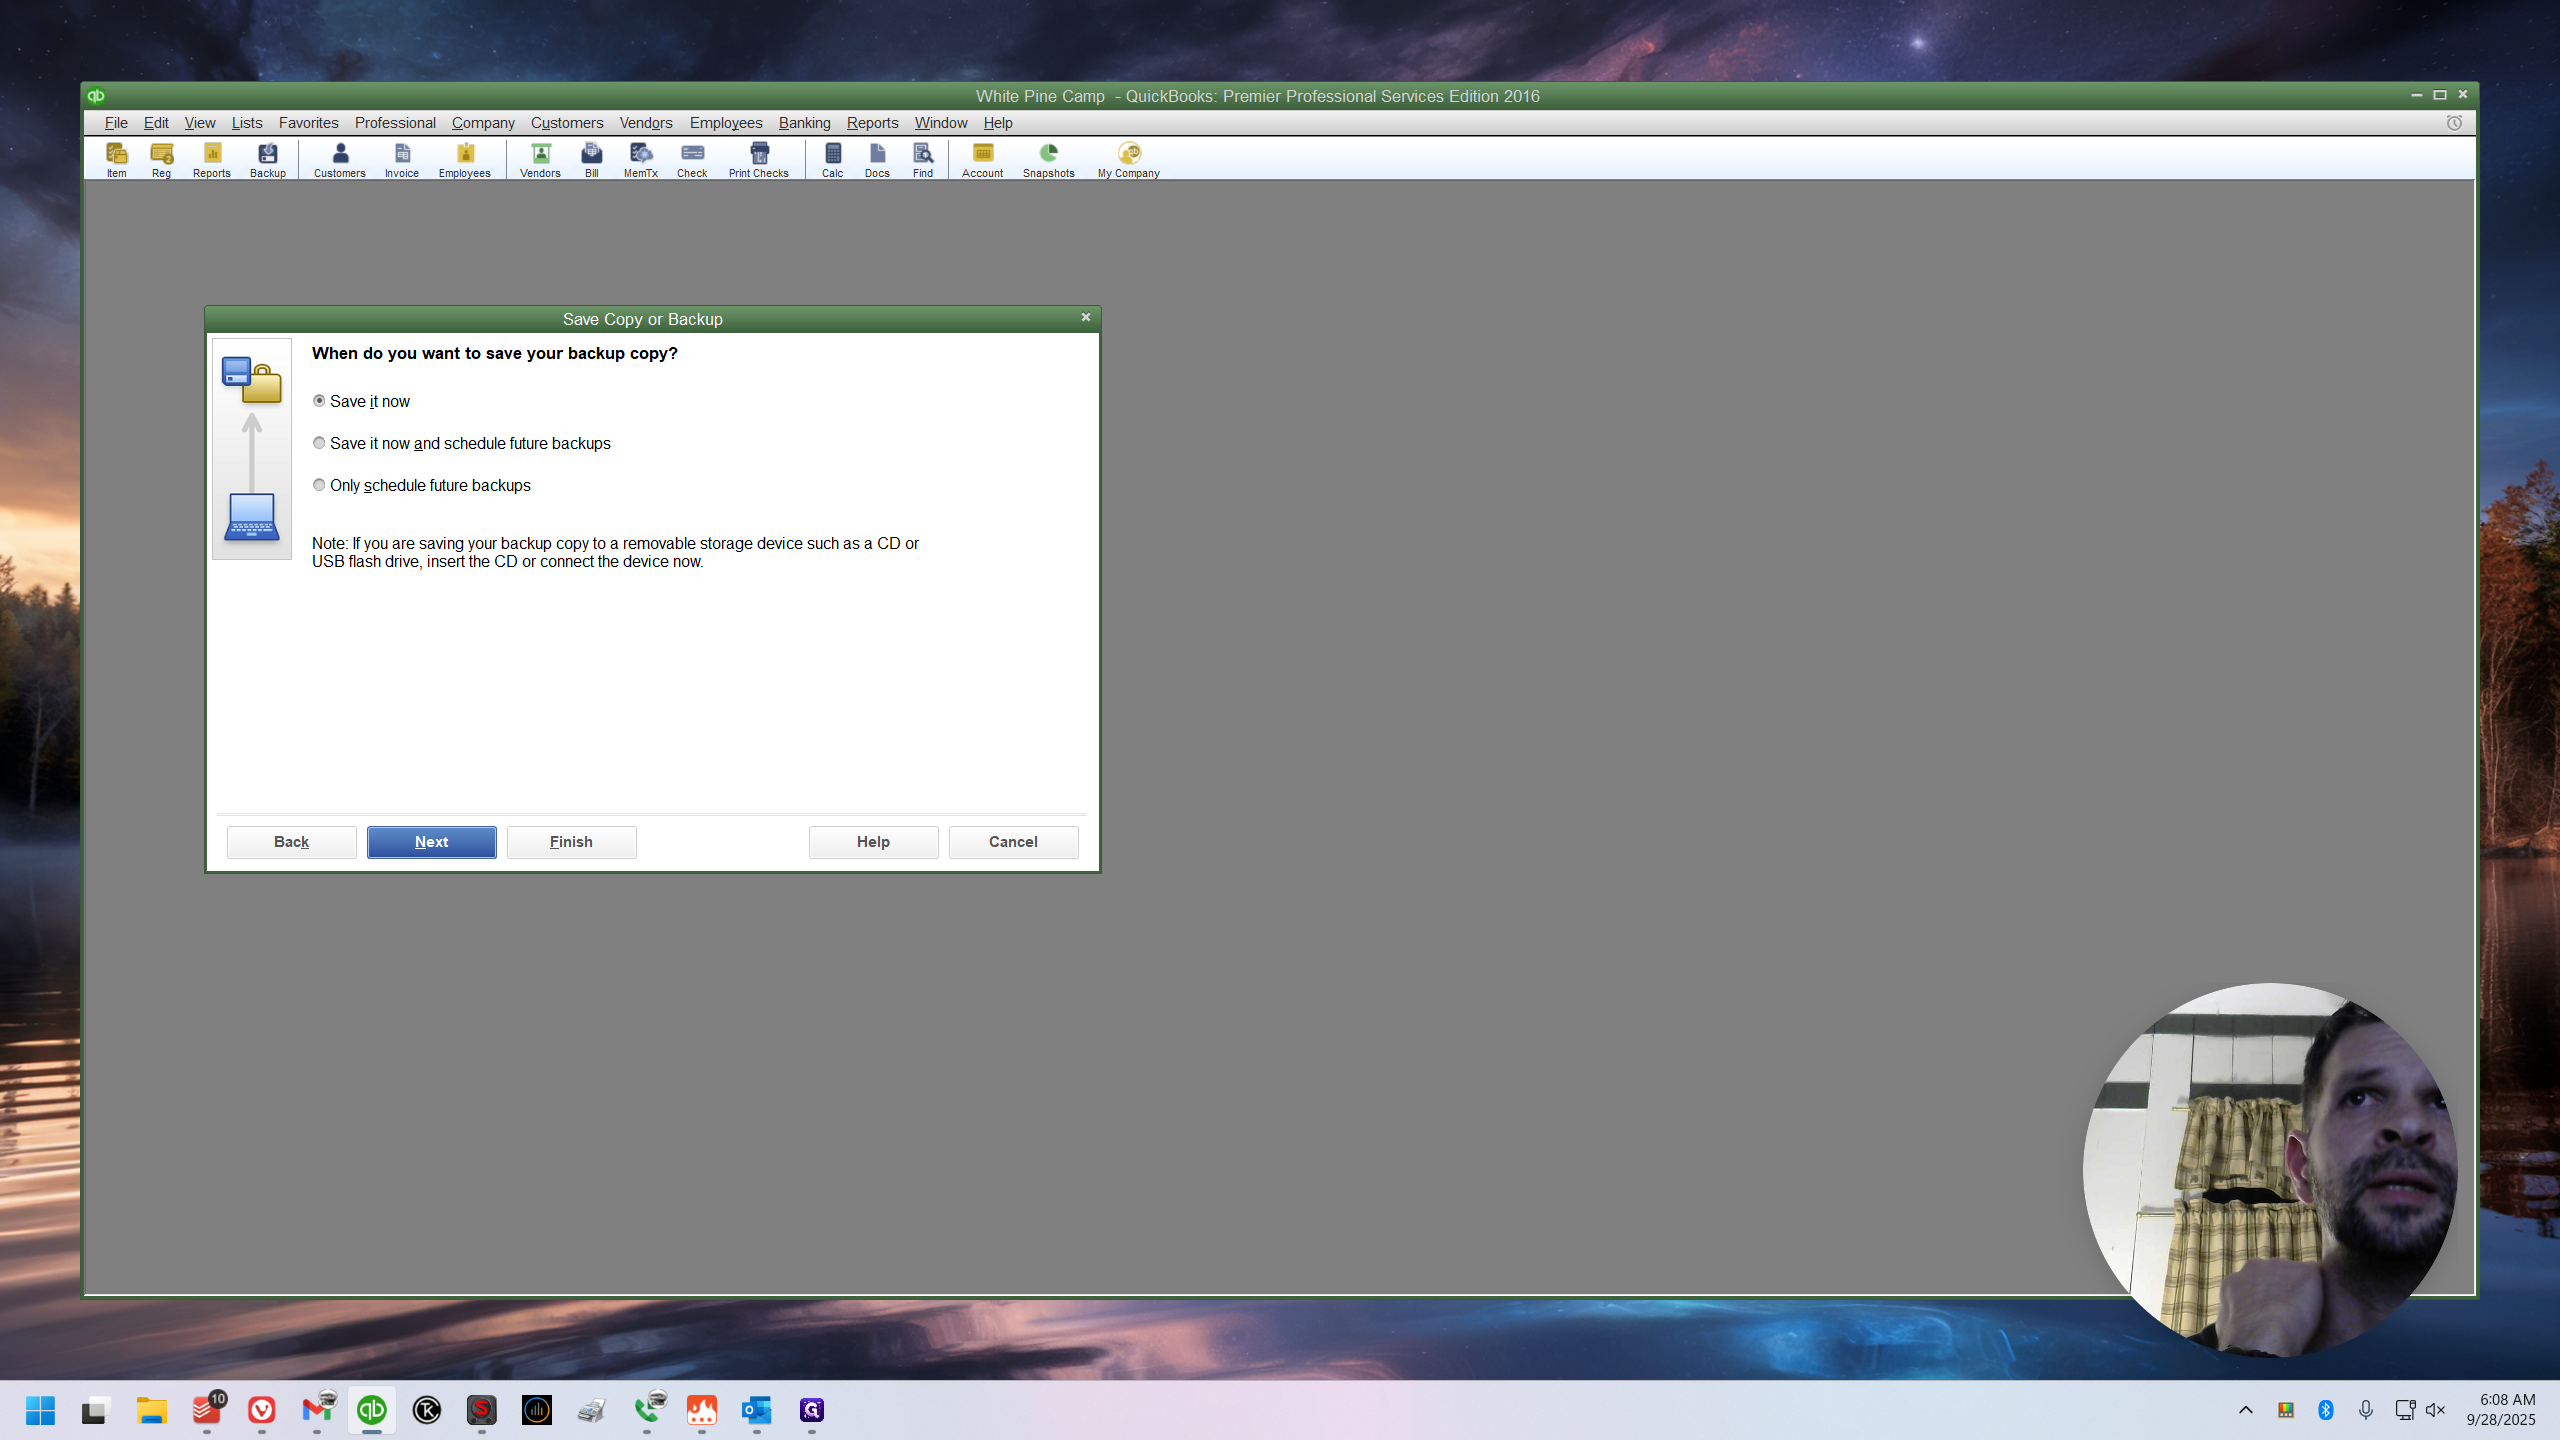
Click Next again.
Click Next again.
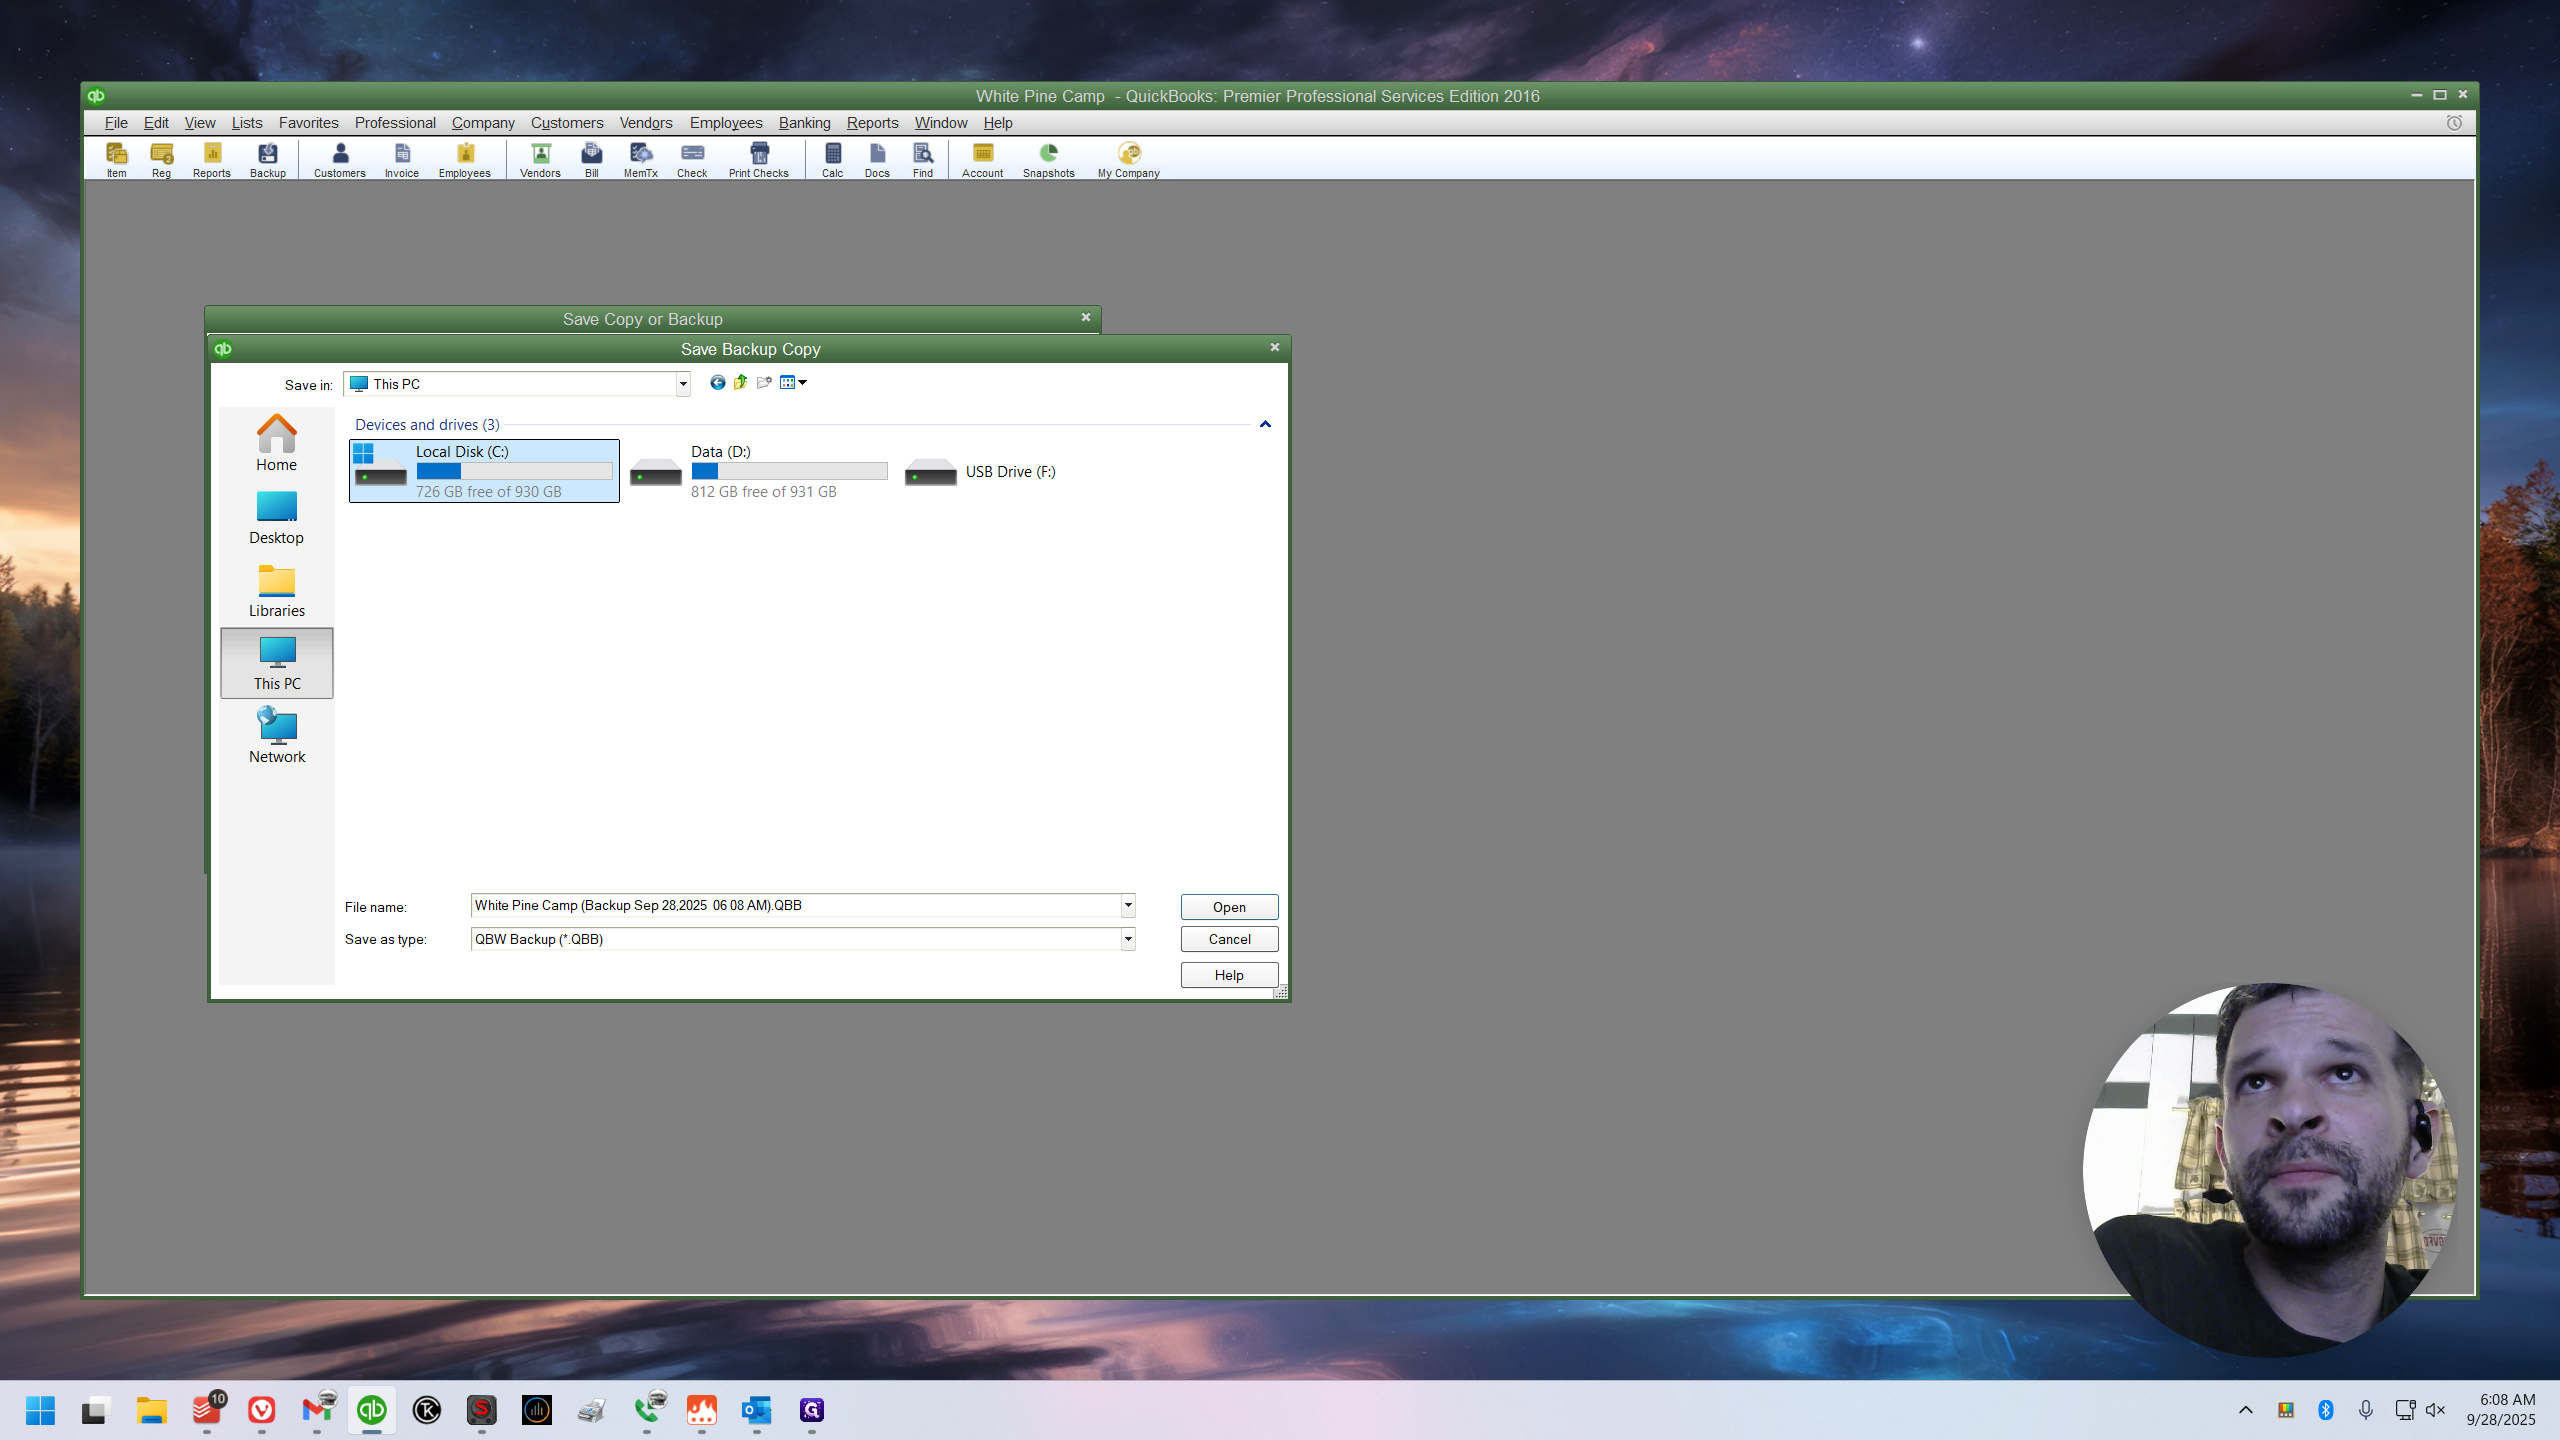
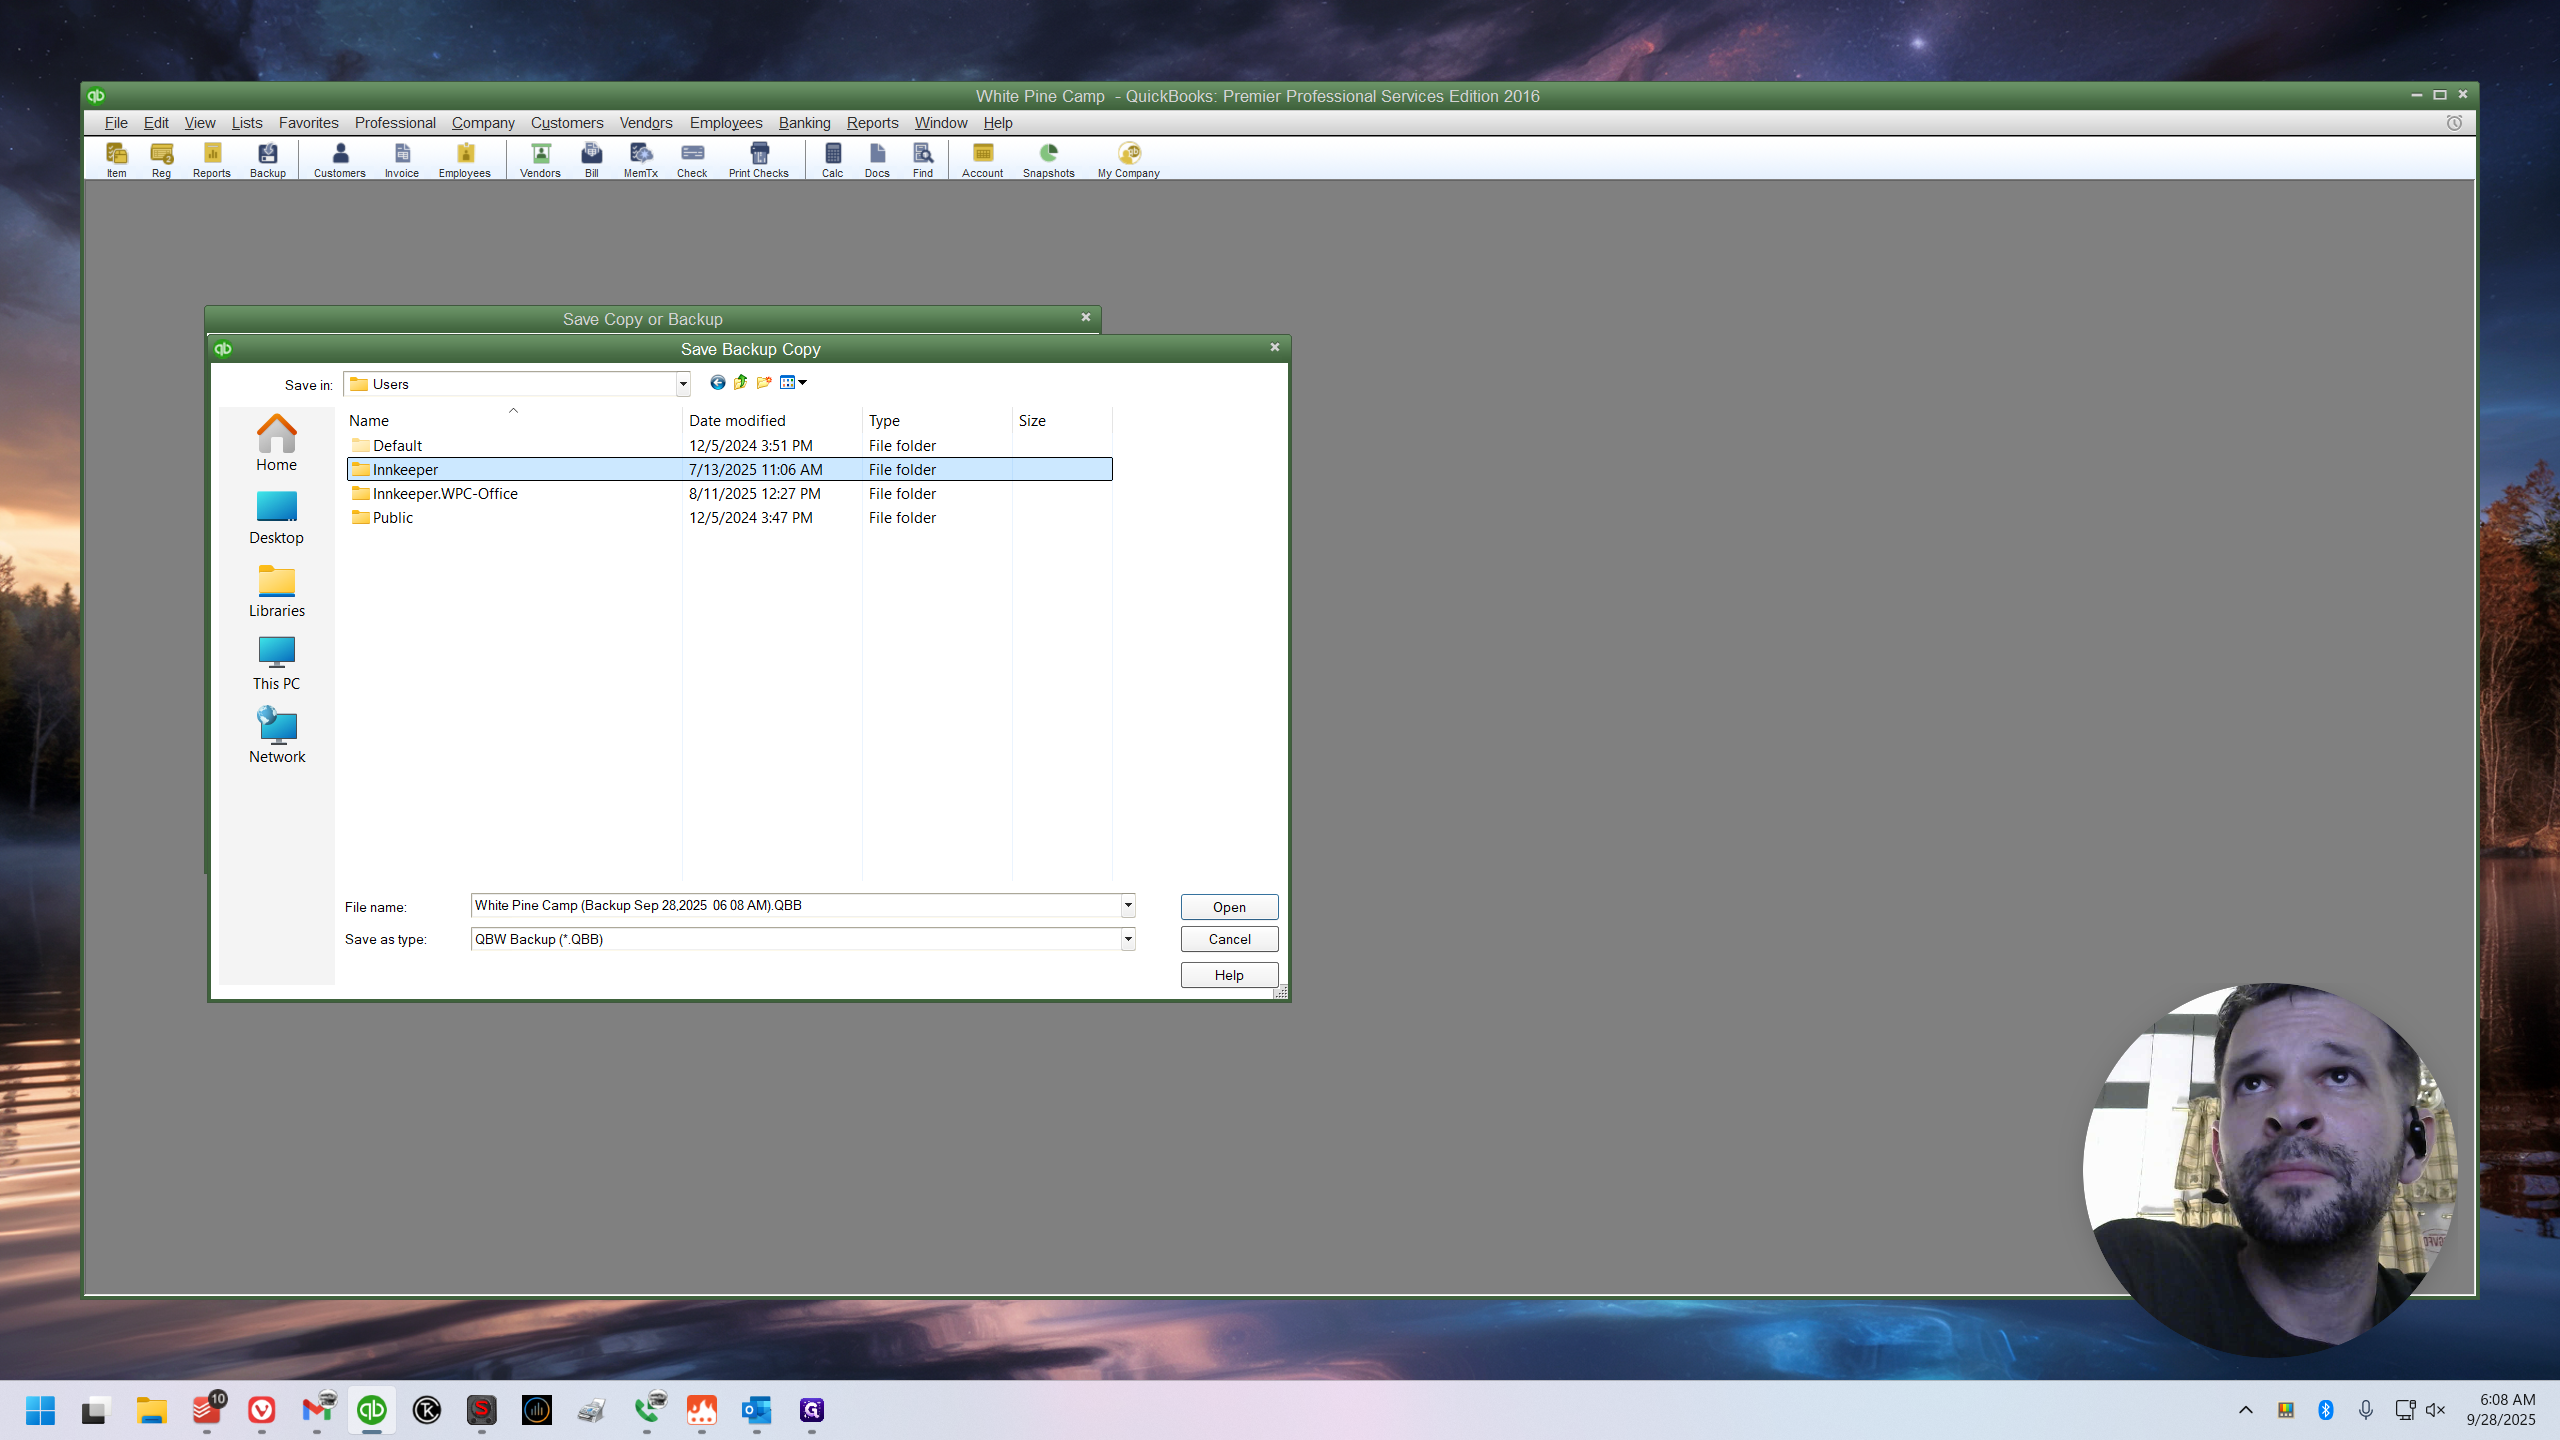
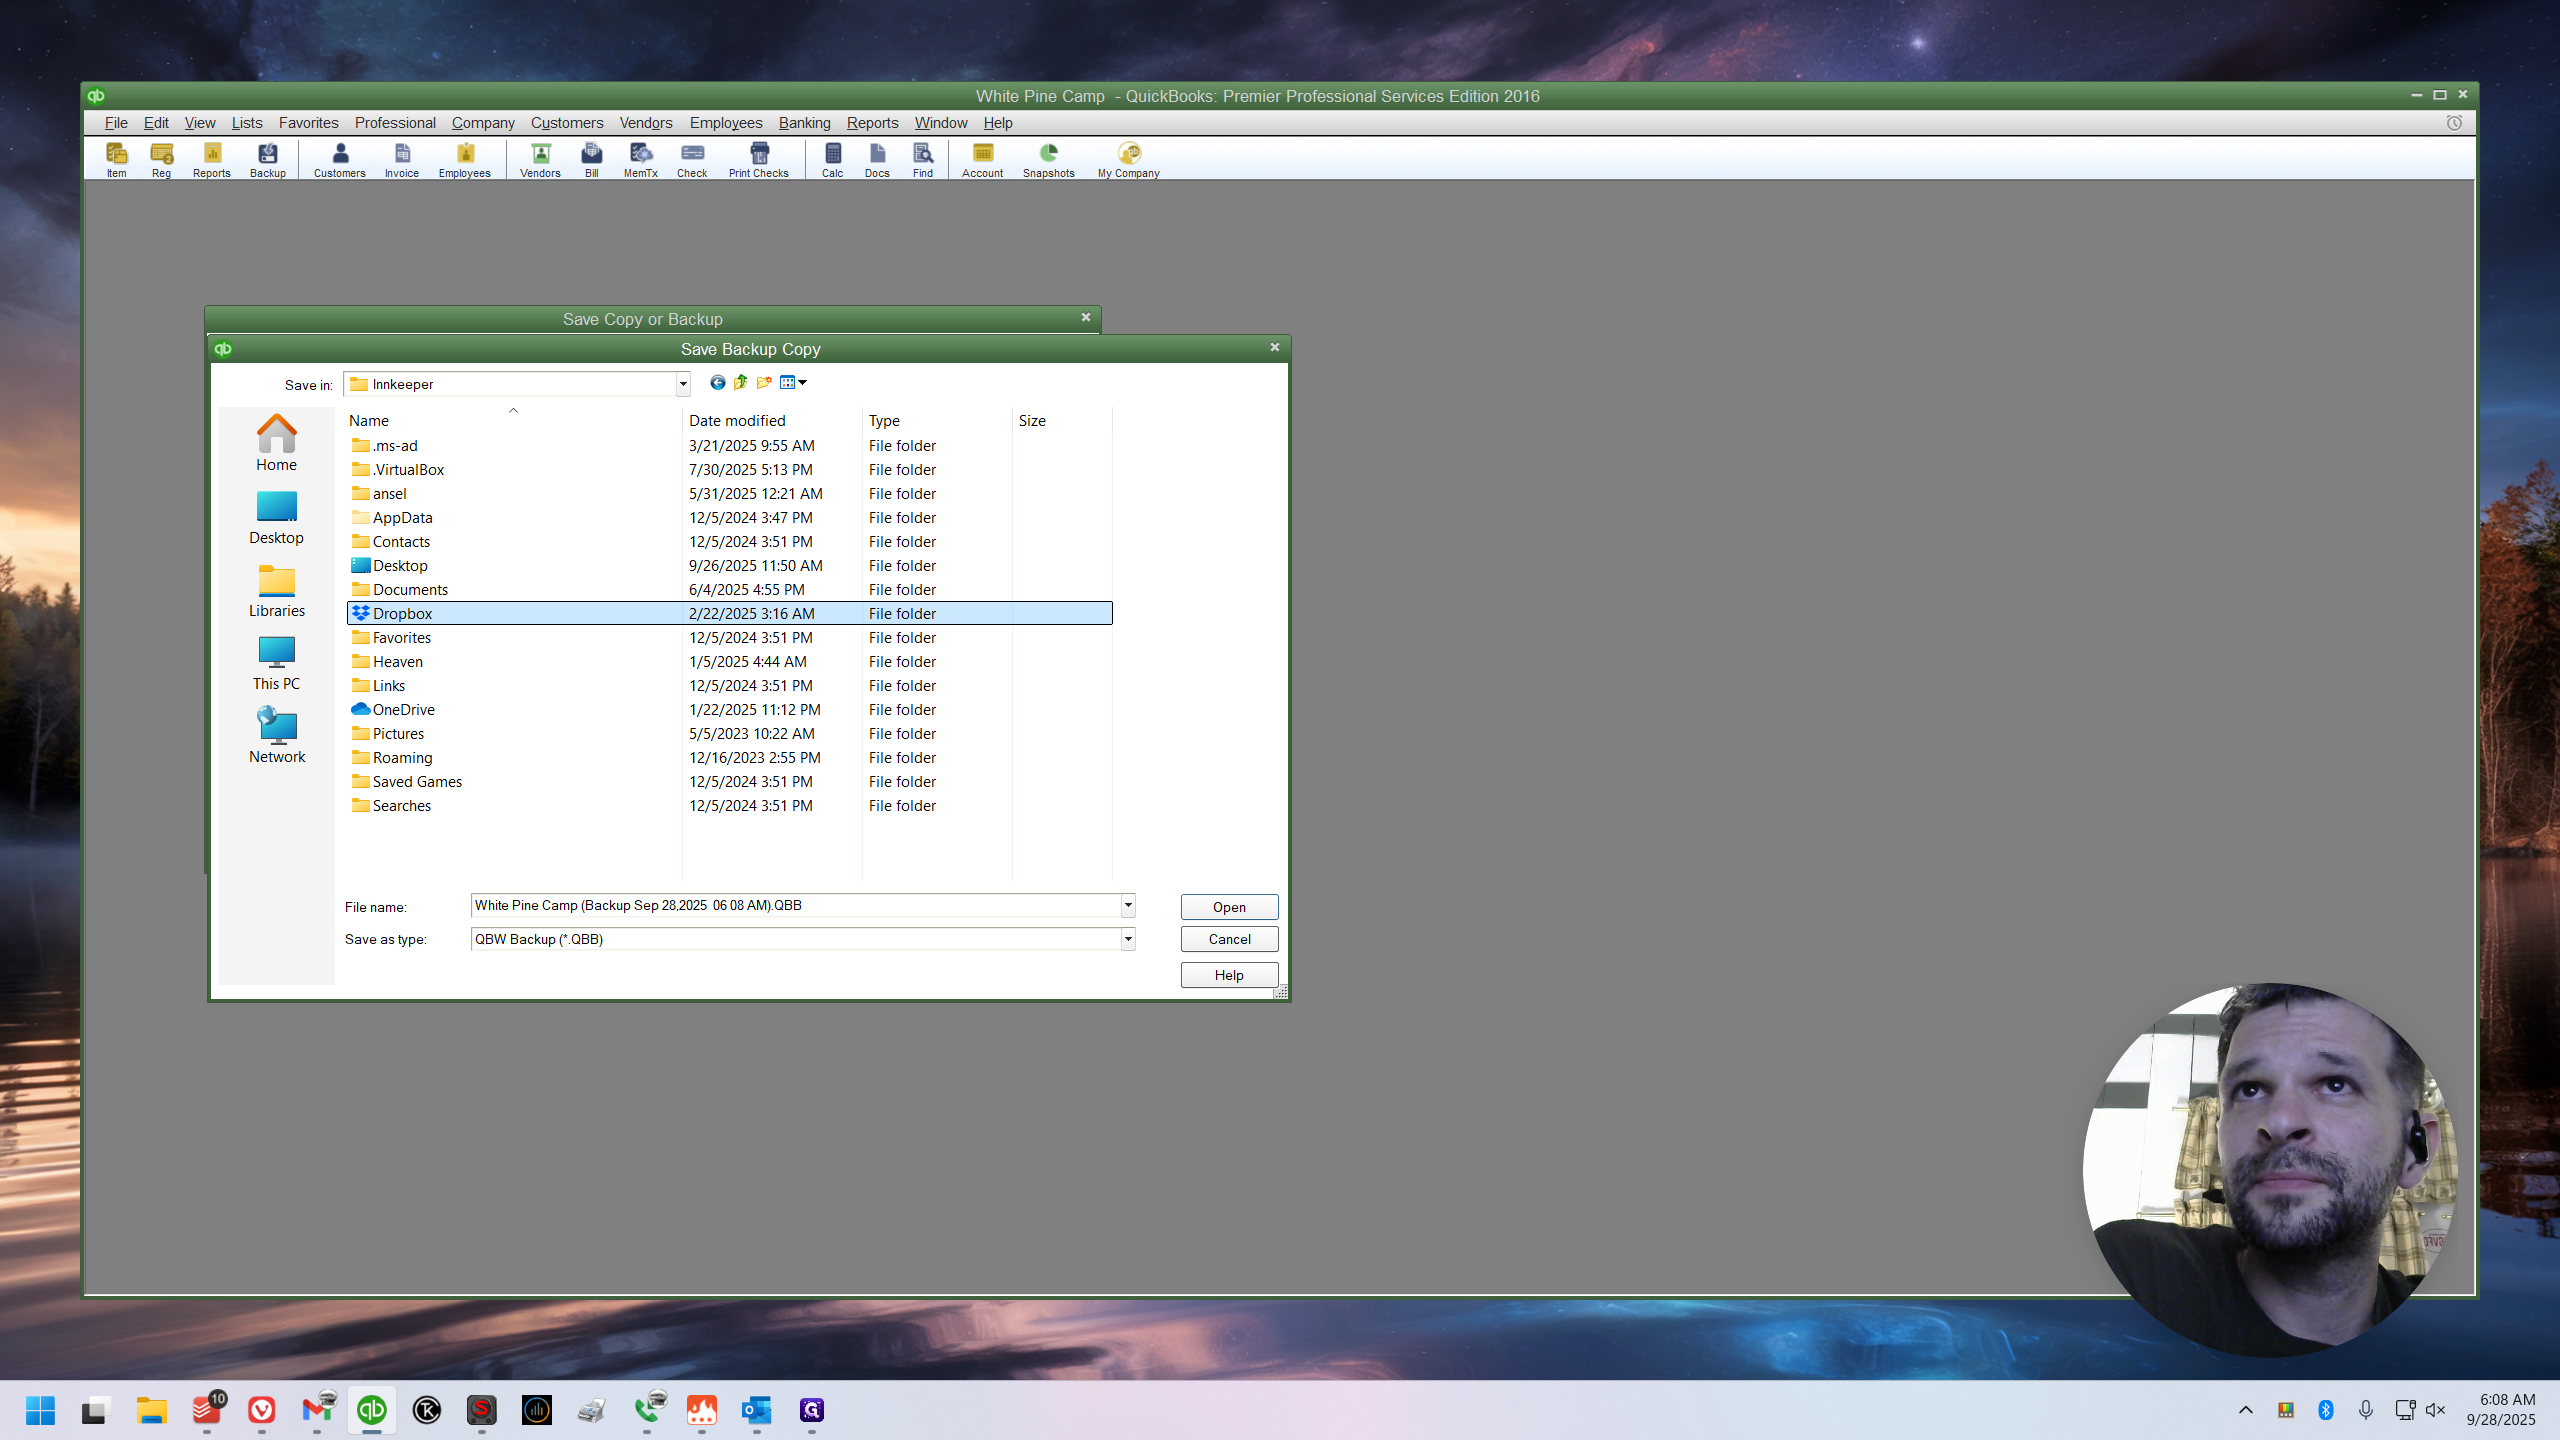
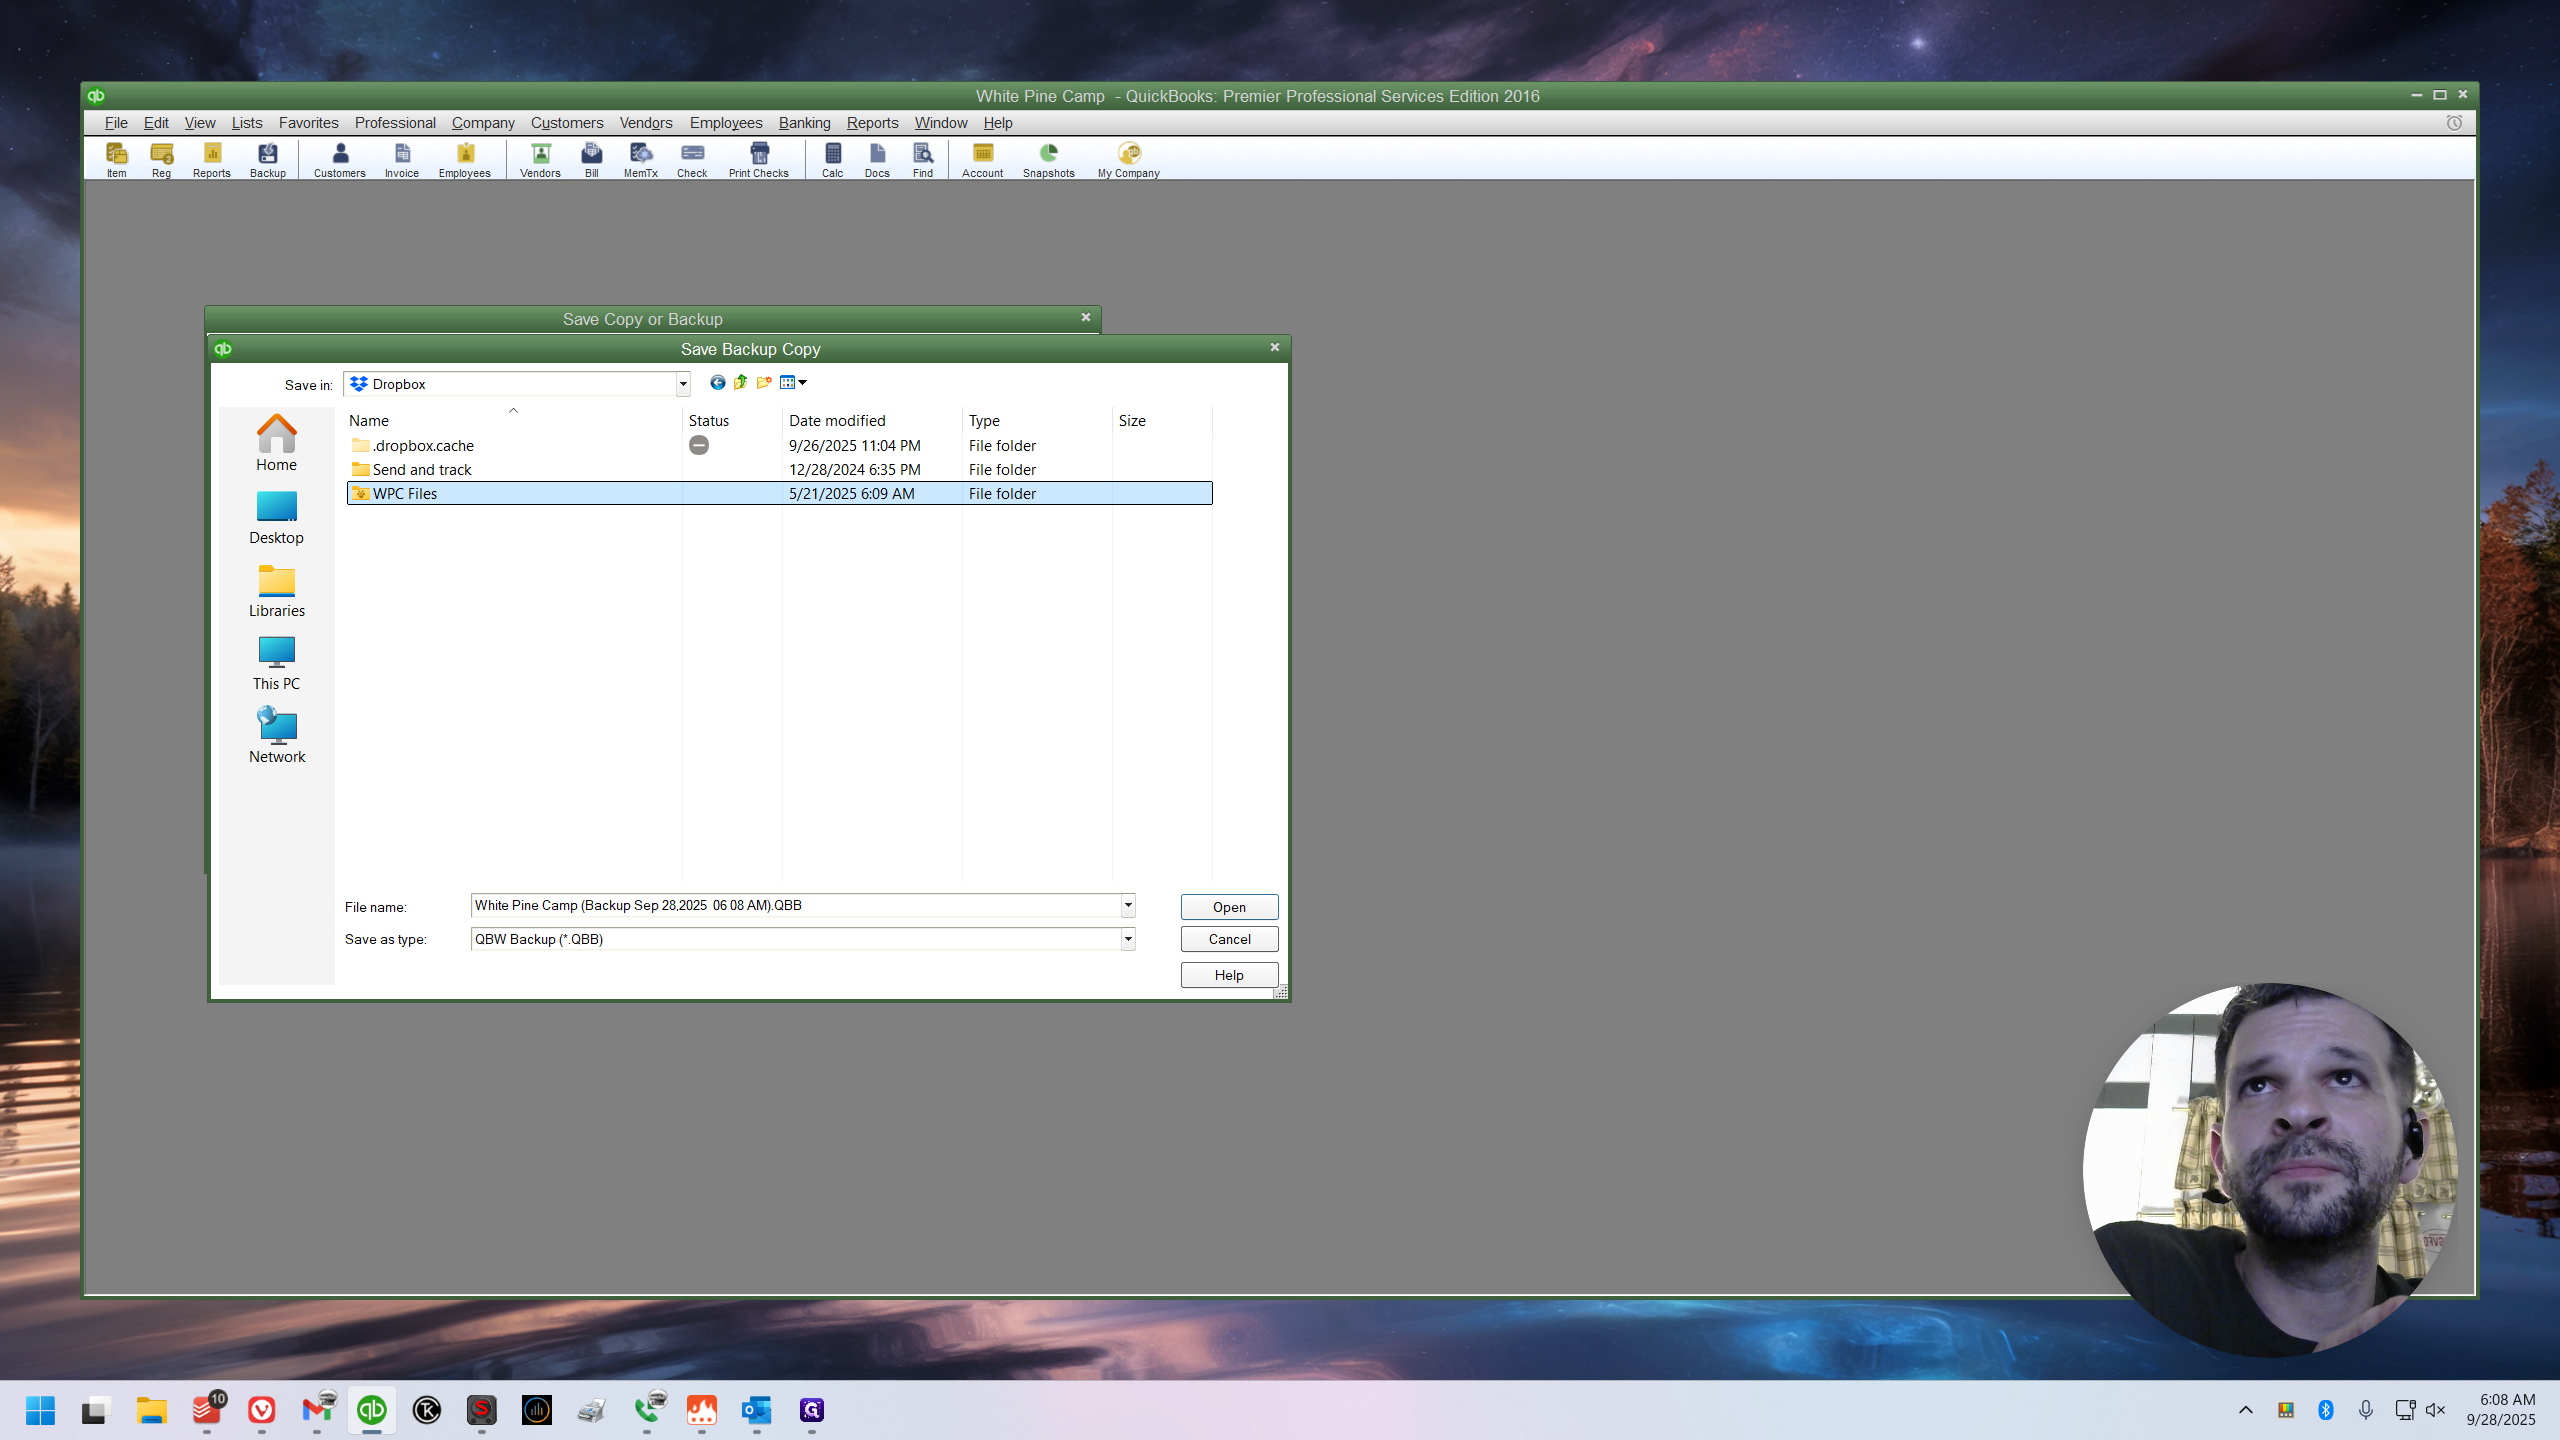
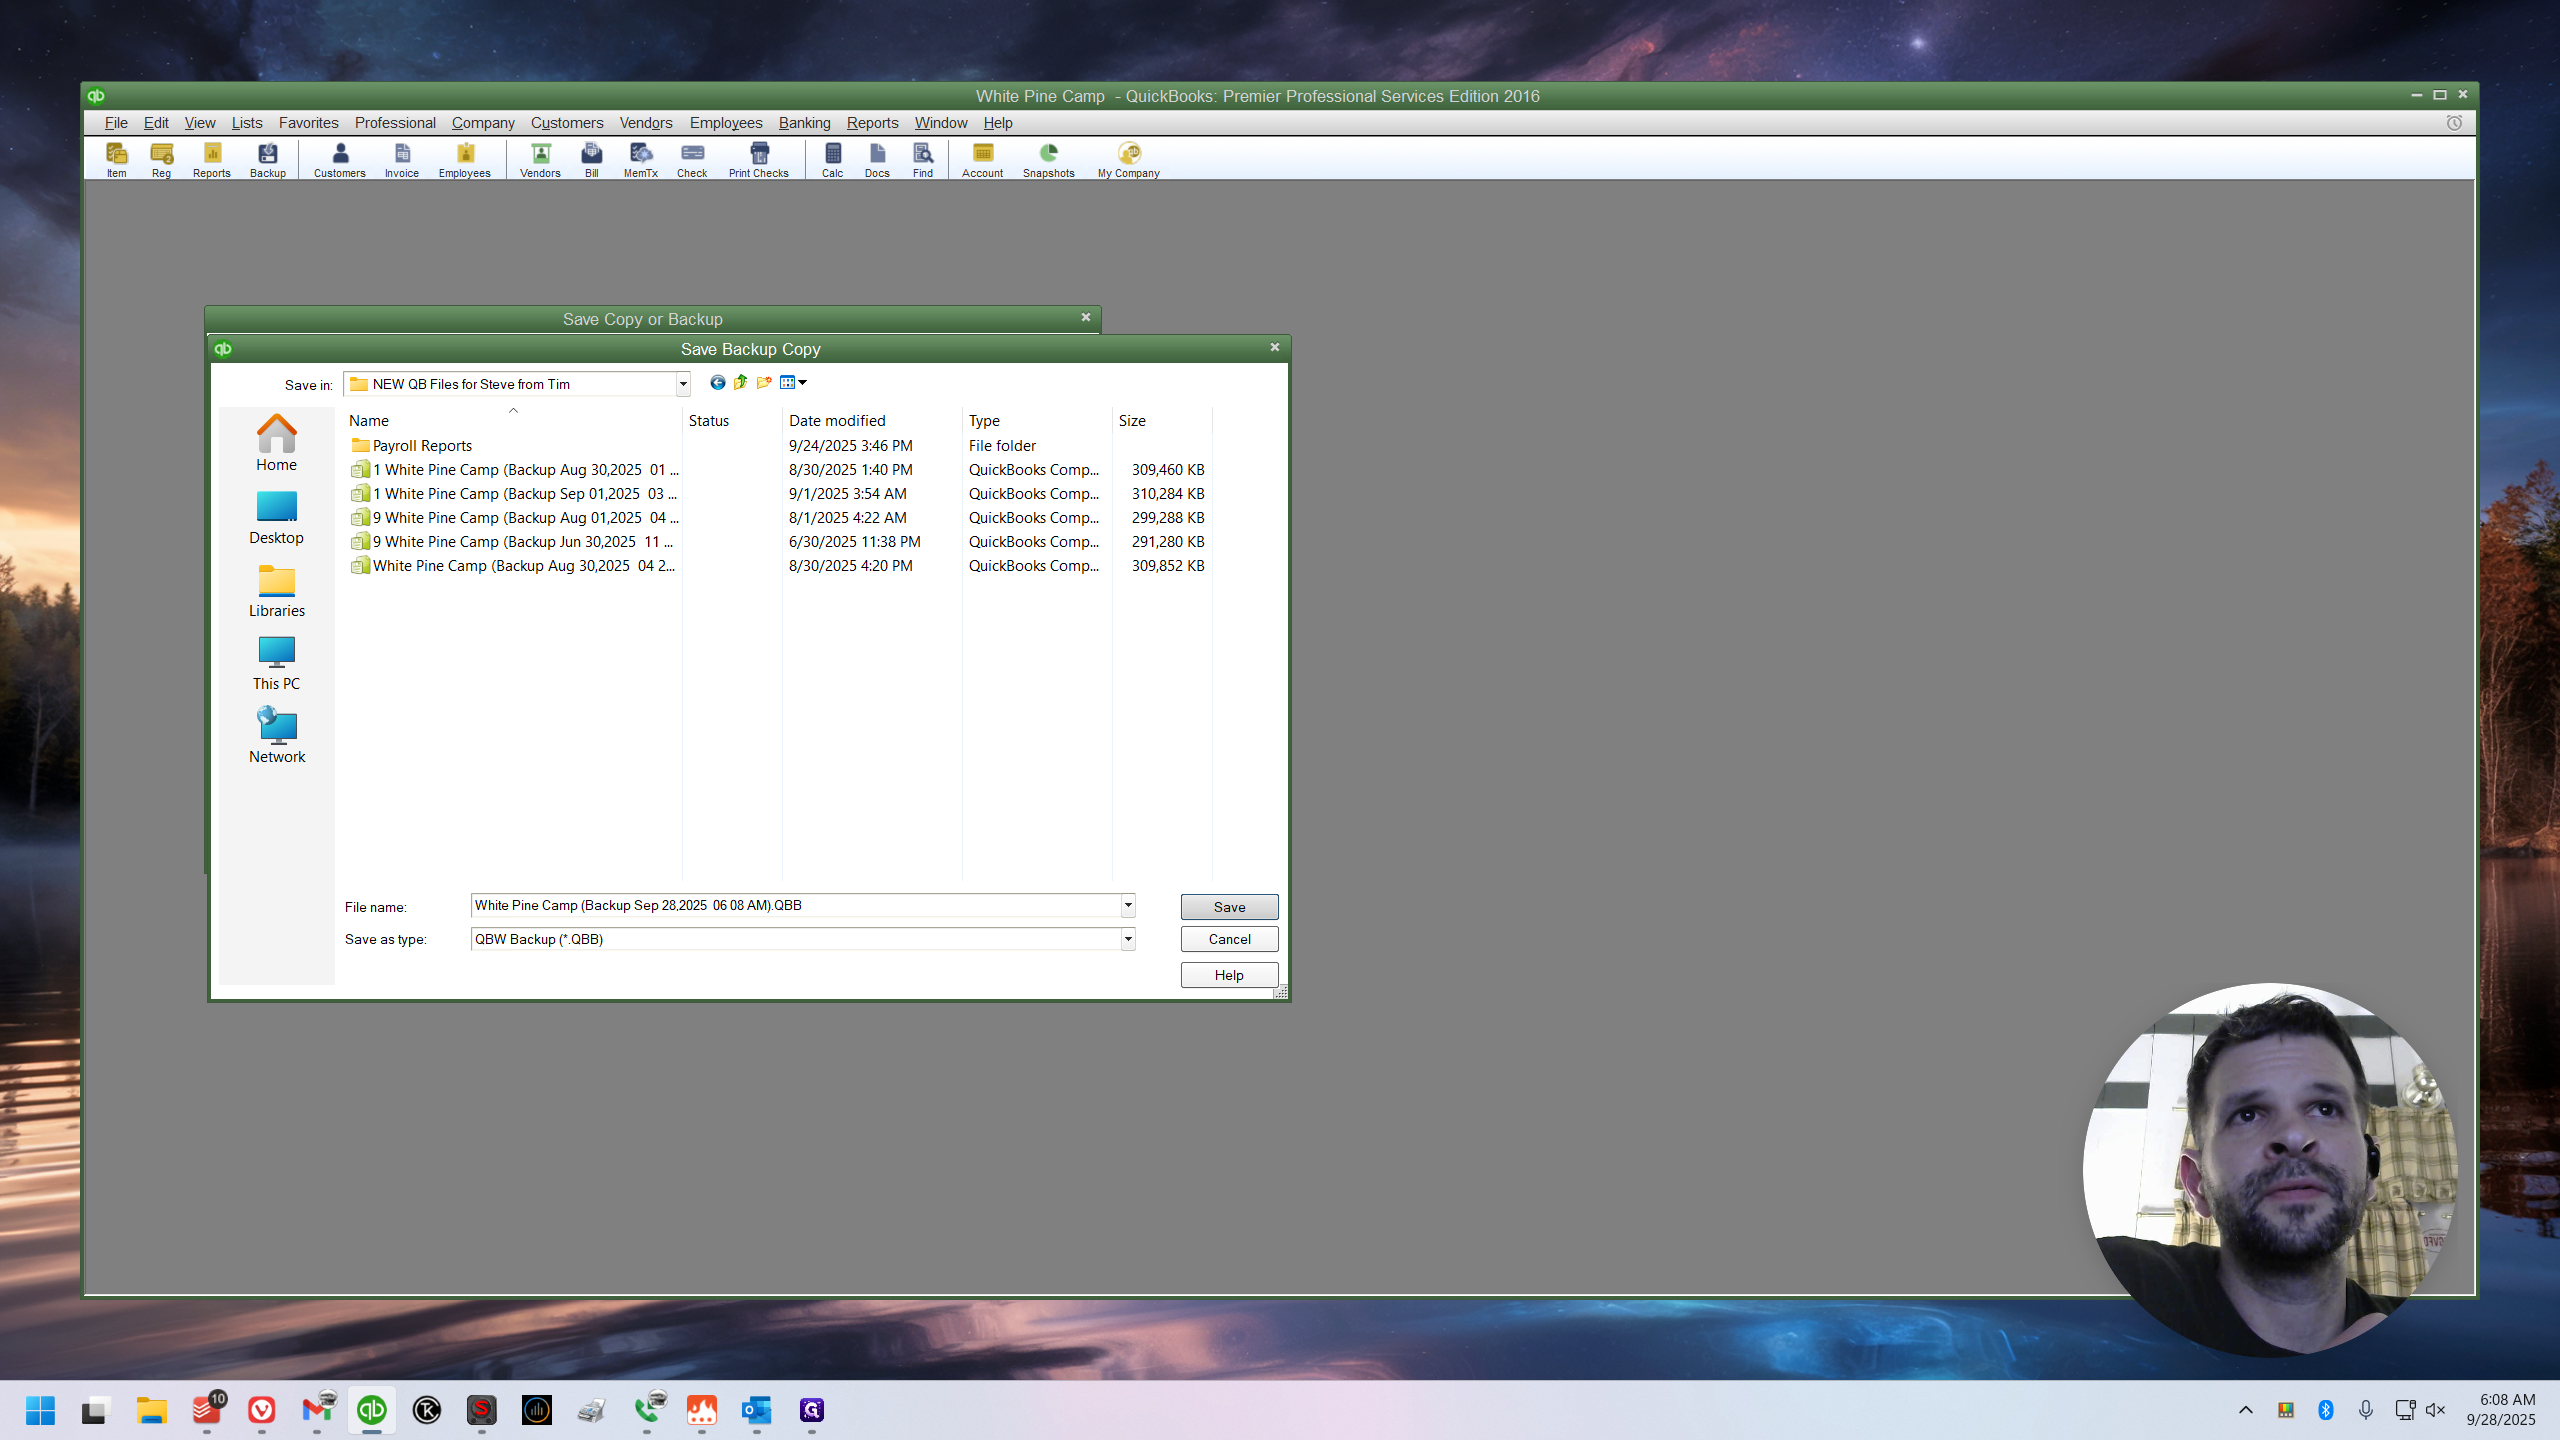
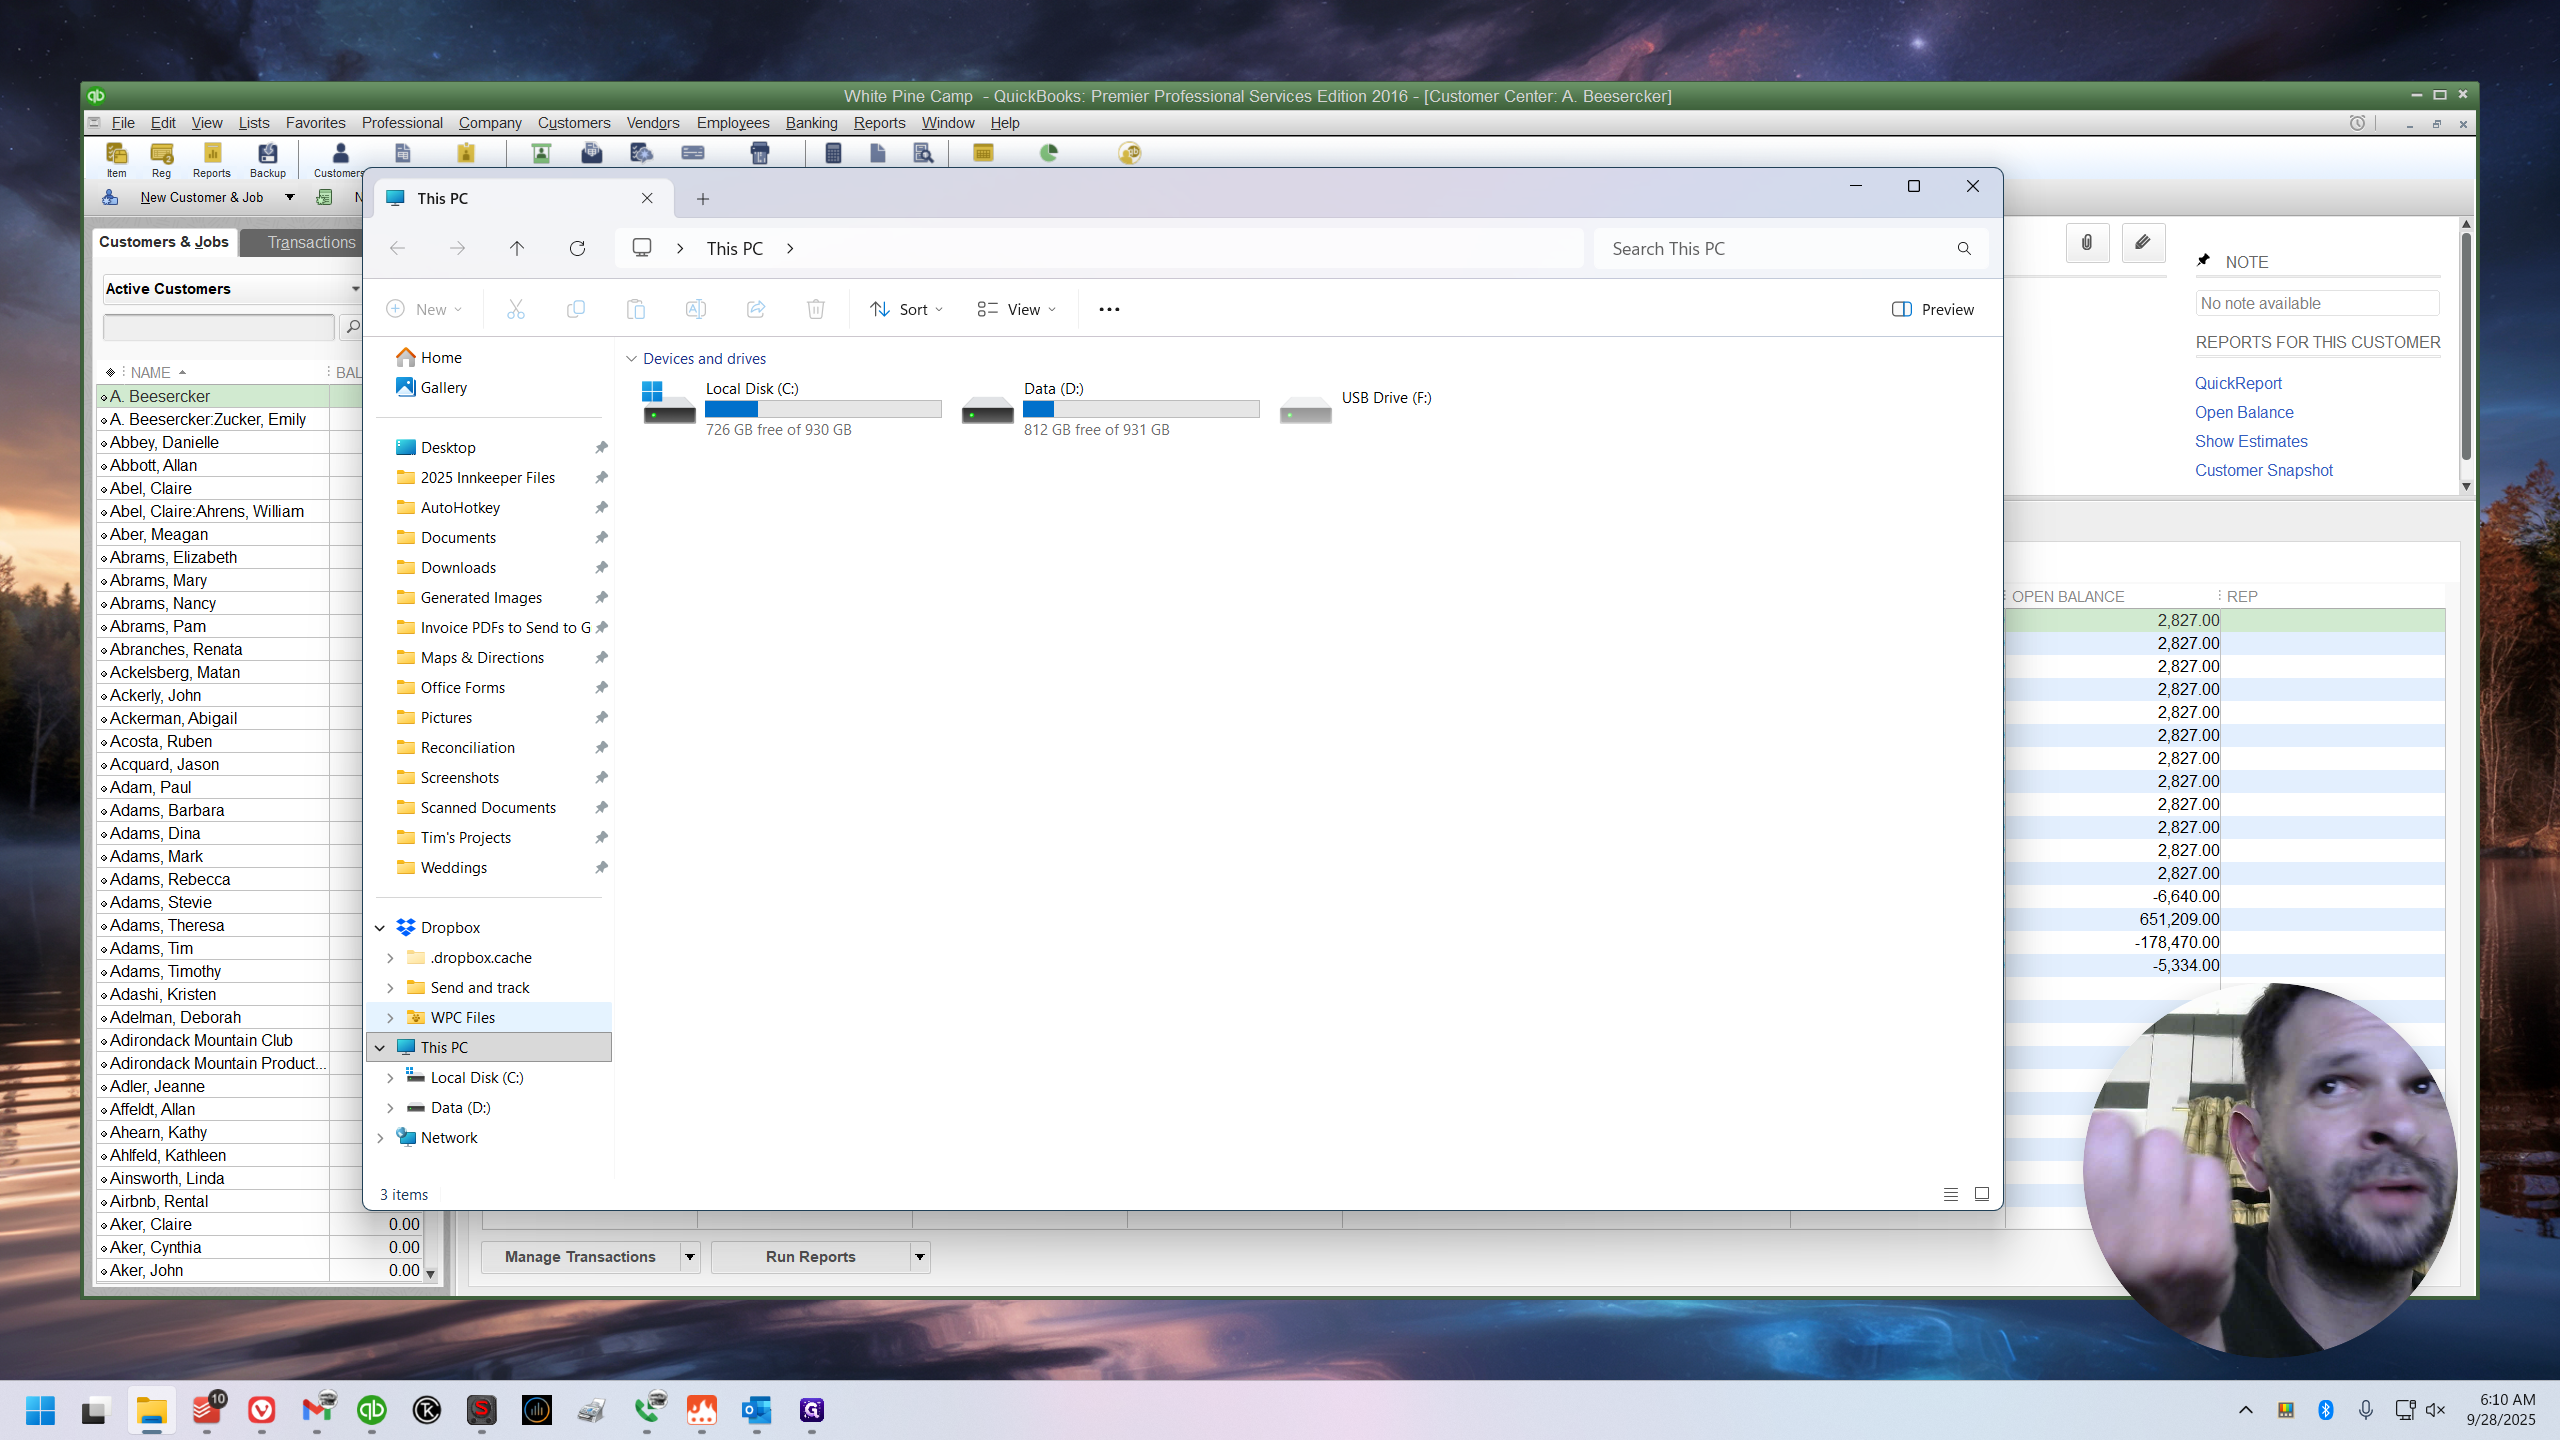
Here is where you need to find Dropbox. Go to This PC on the left. Open the C drive, then Users. Select Innkeeper, then Dropbox. Go to WPC Files, then New QB files for Steve from Tim.
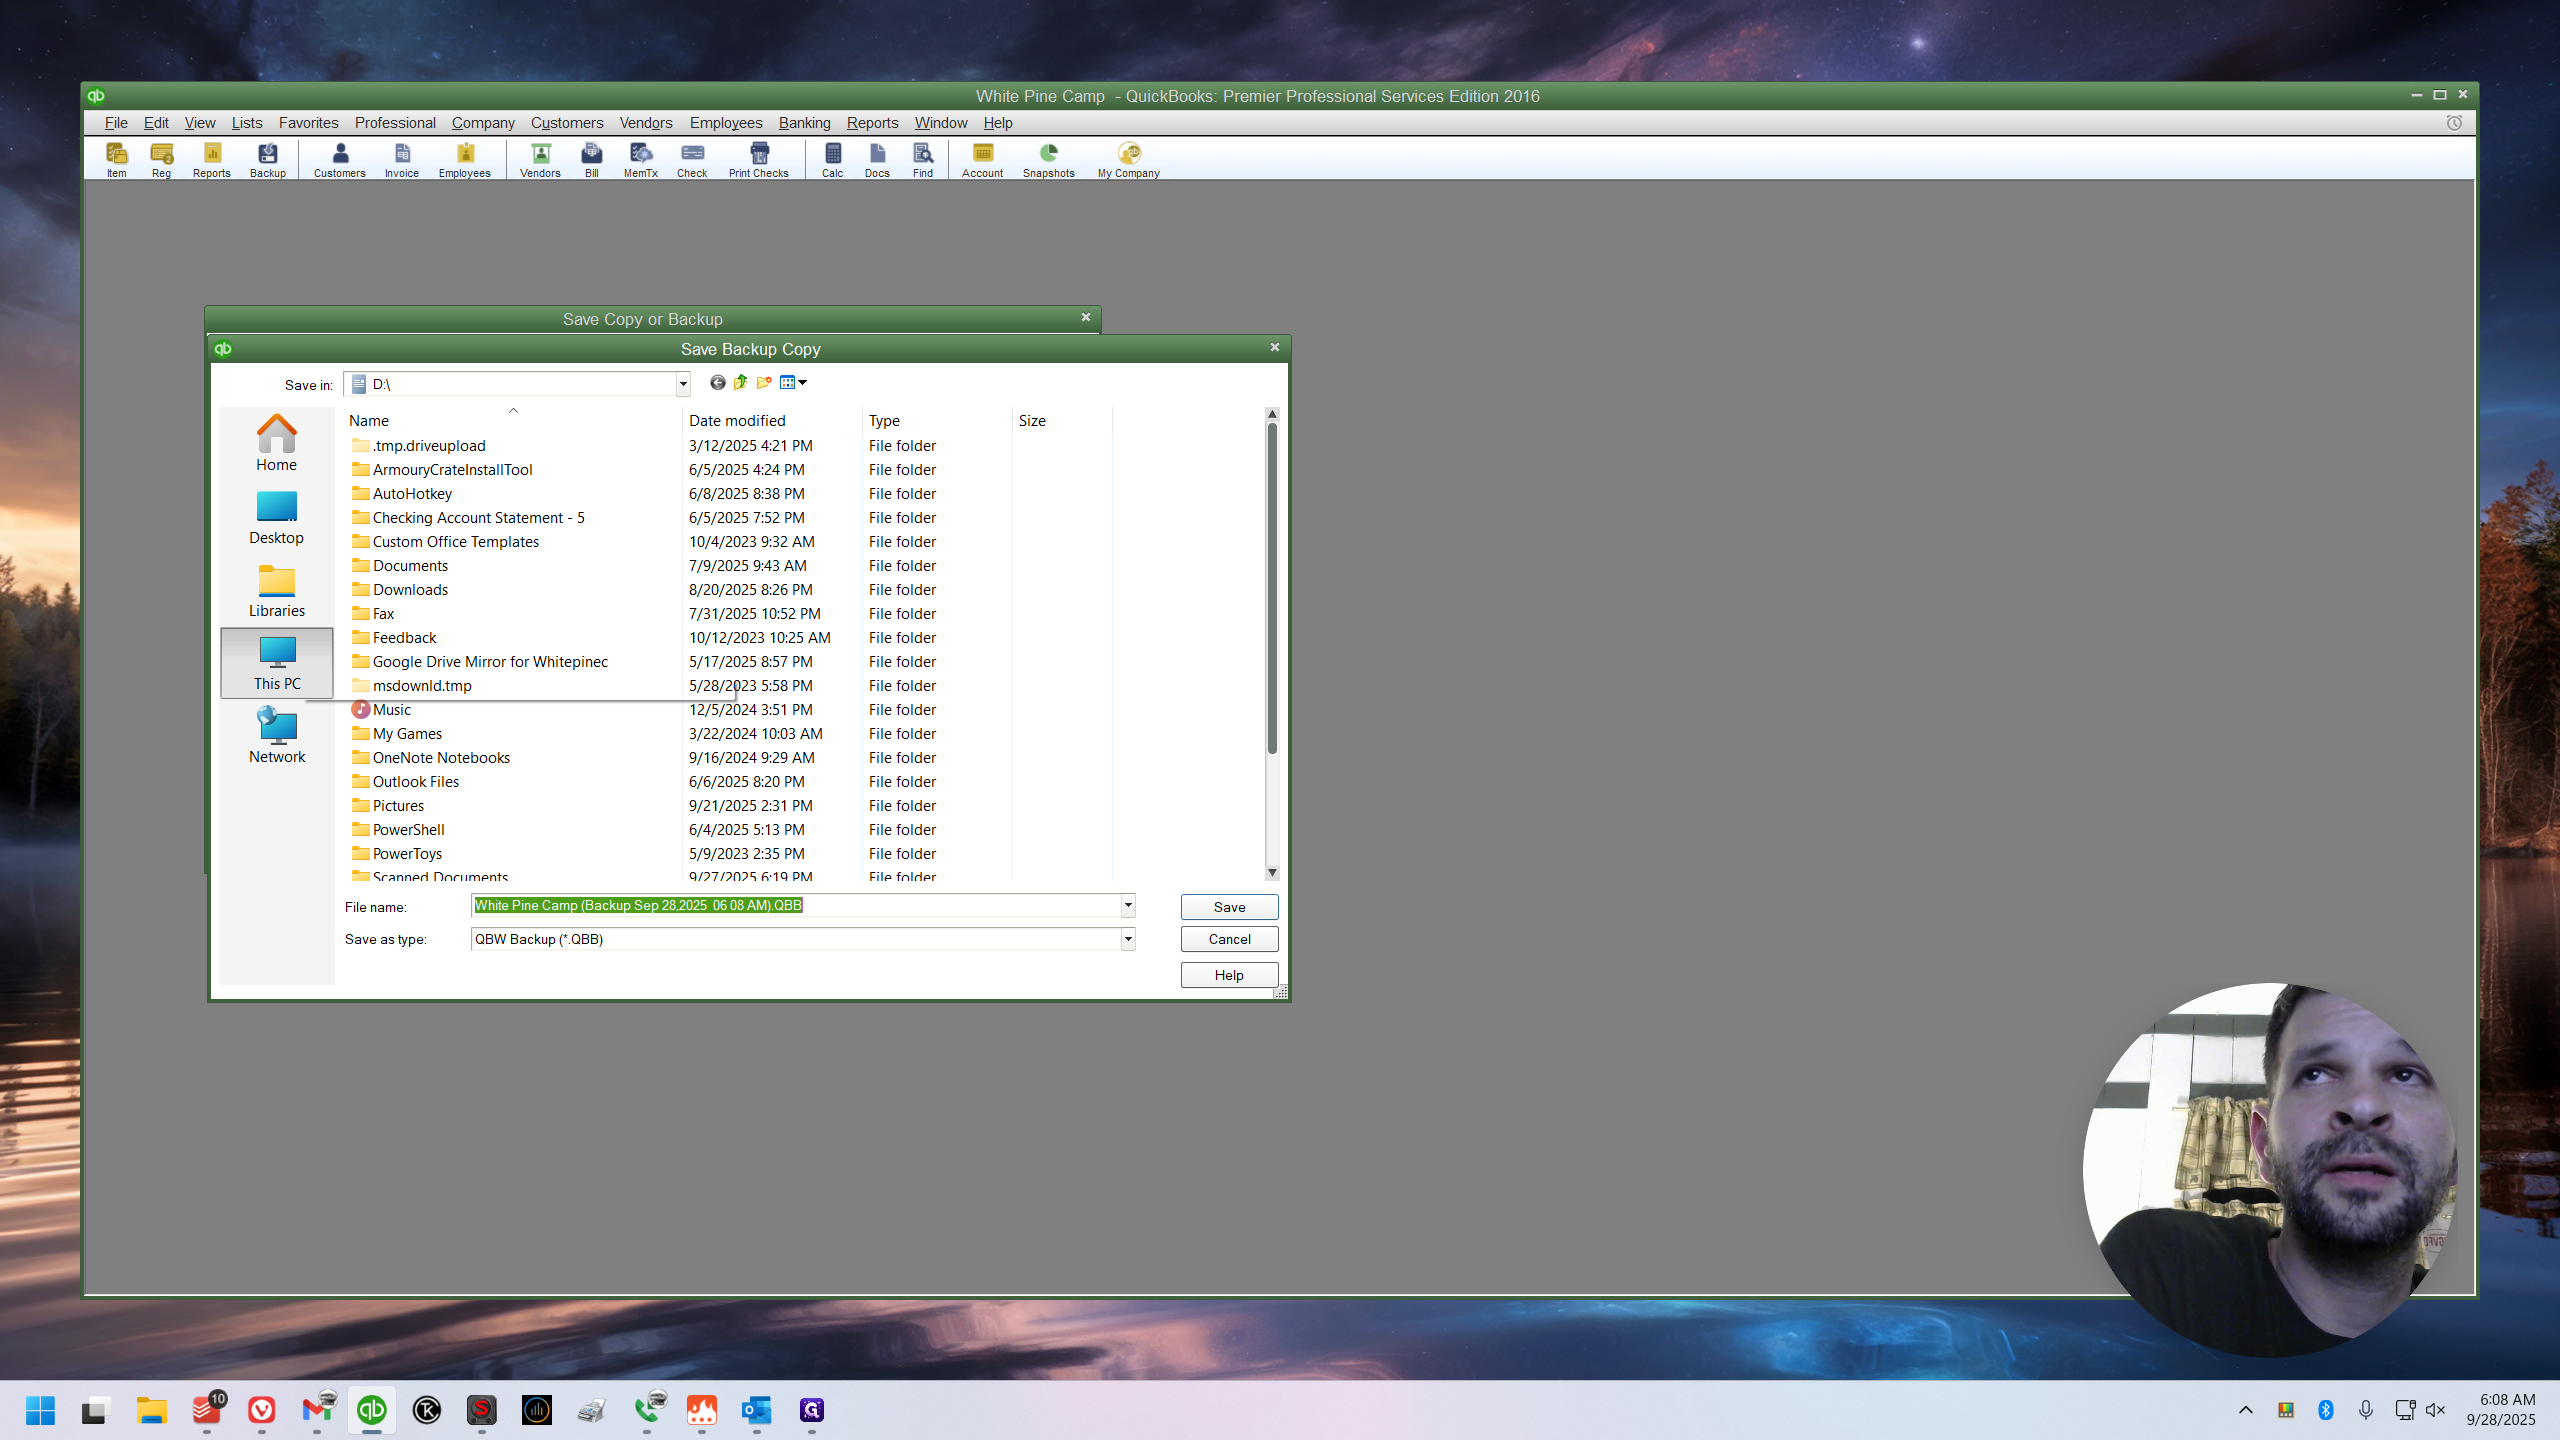

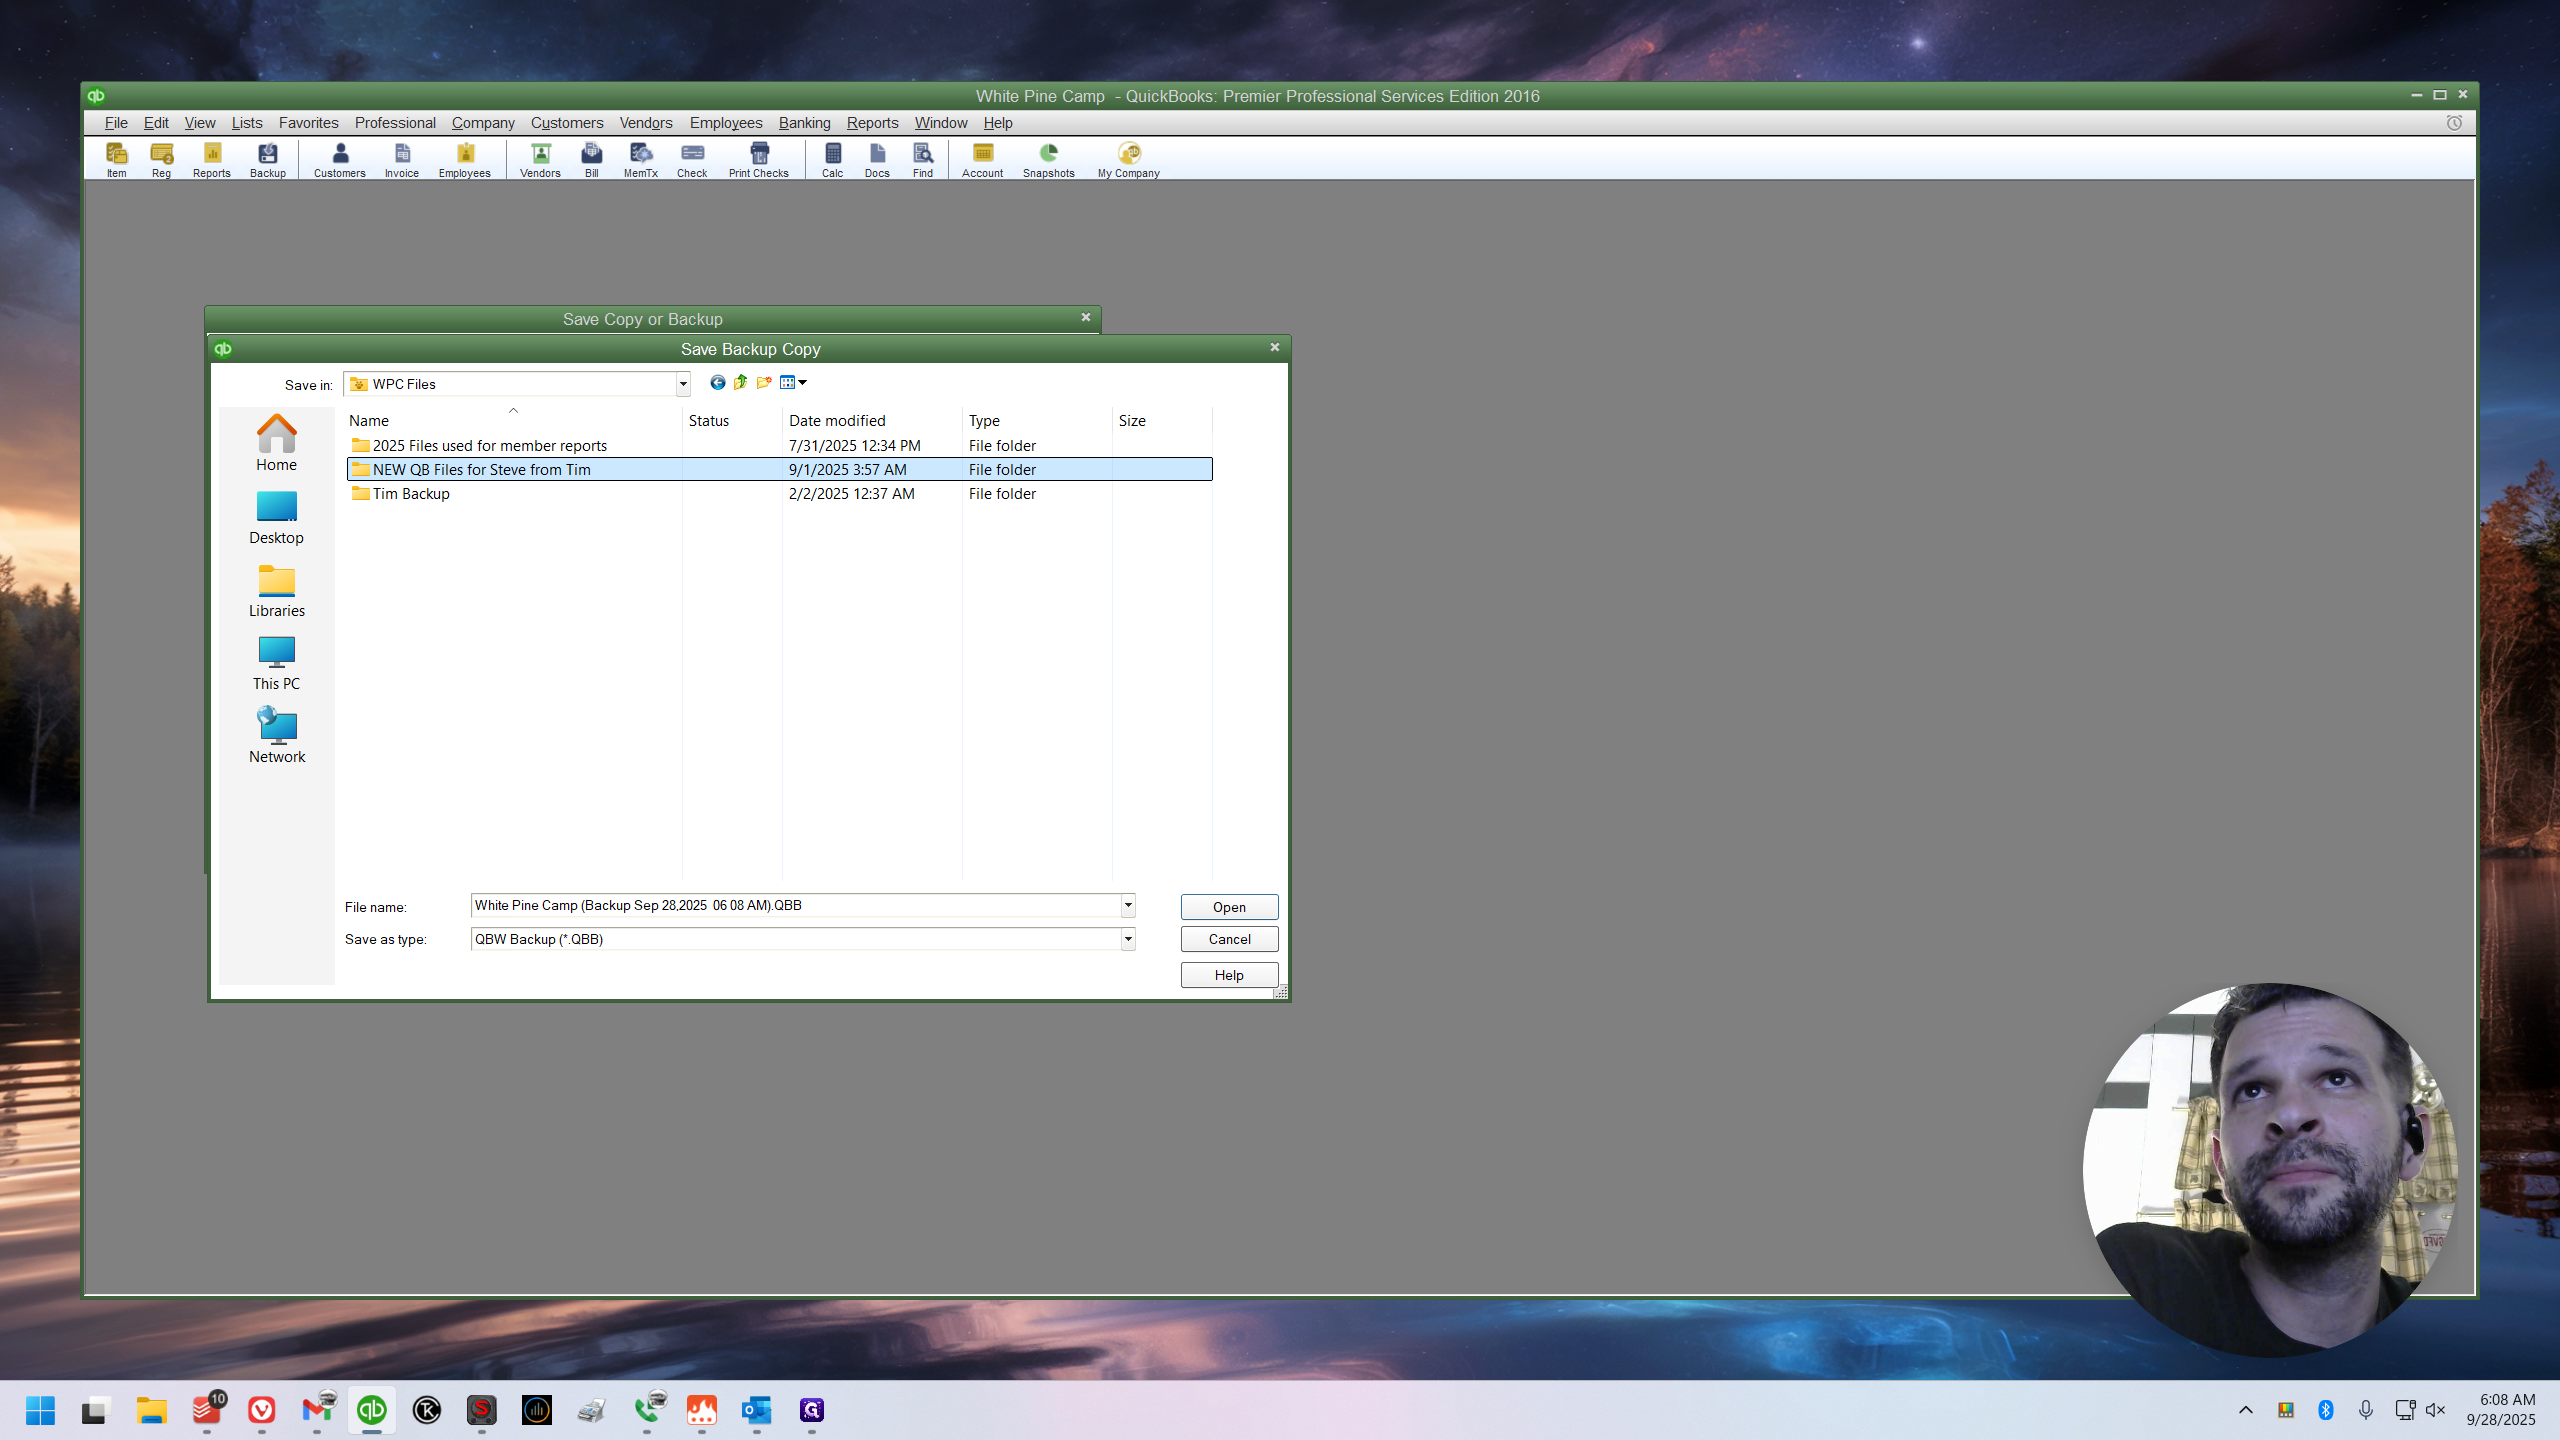
Here, you can click Save.
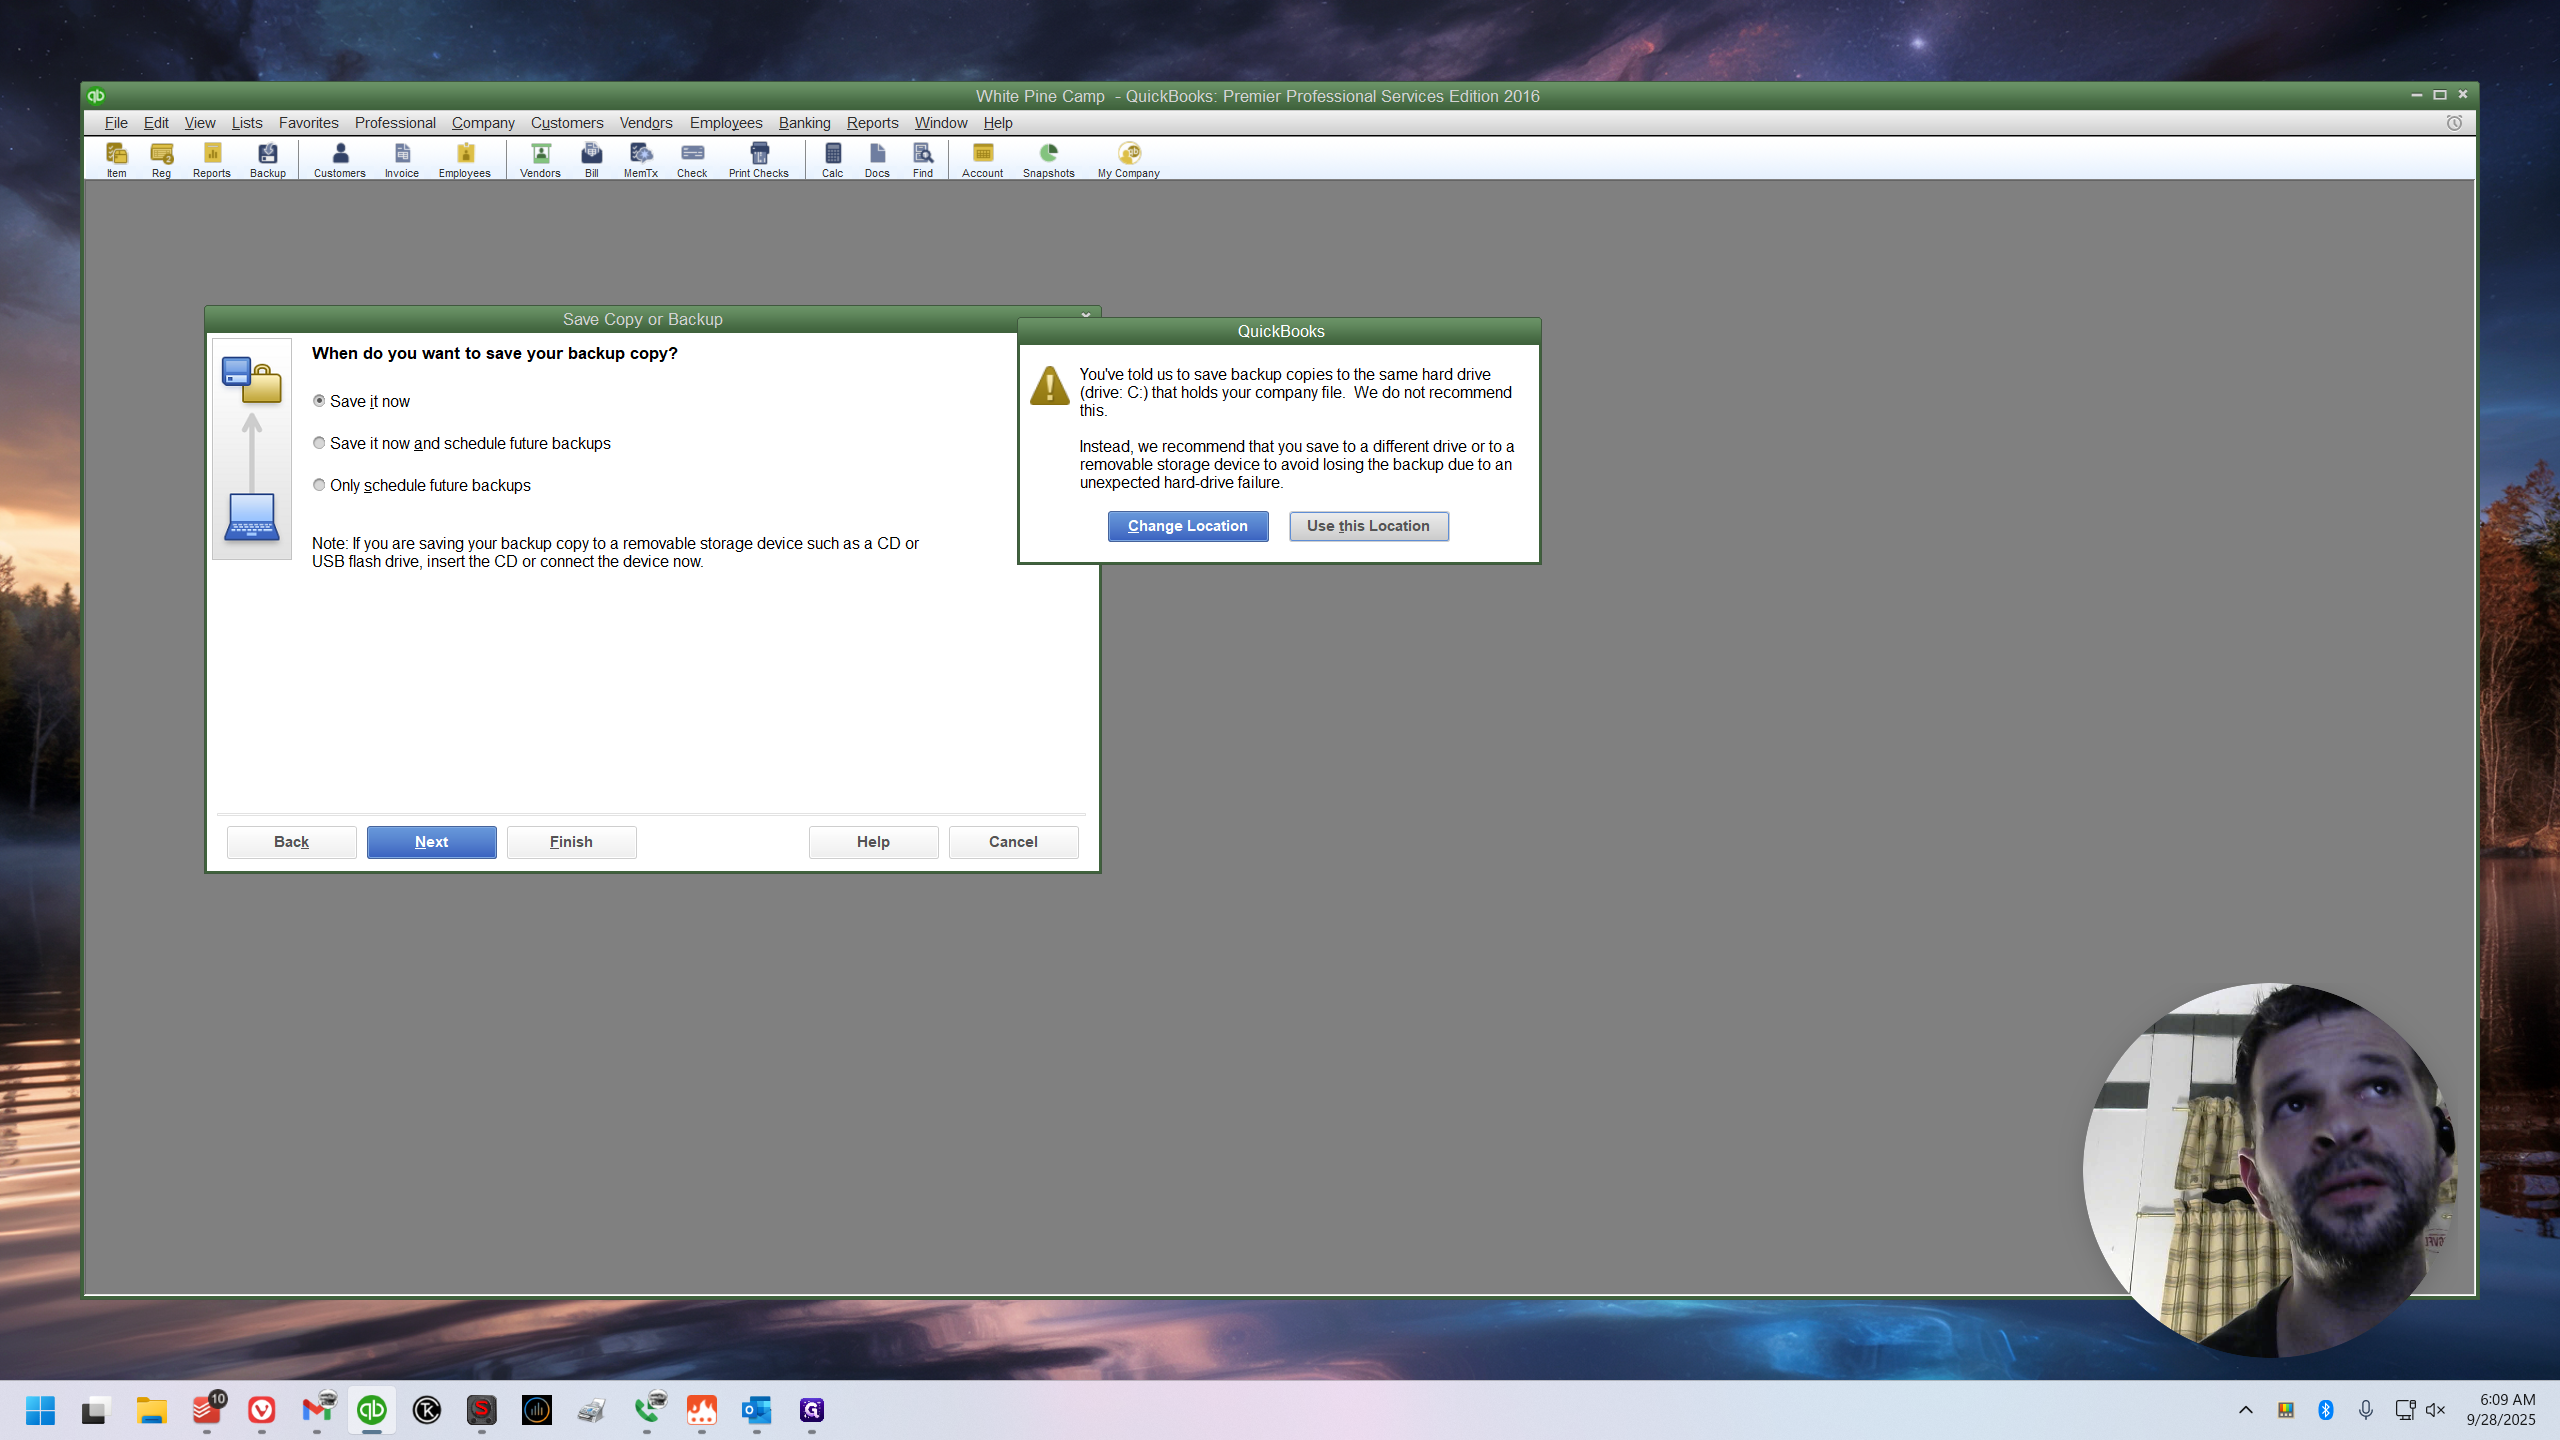
Now, it will warn you that this is the same drive that contains the company file. They do not recommend that. However, this is not an issue because it syncs to Dropbox. Do not change the location; use the current location.
It will only take a minute.
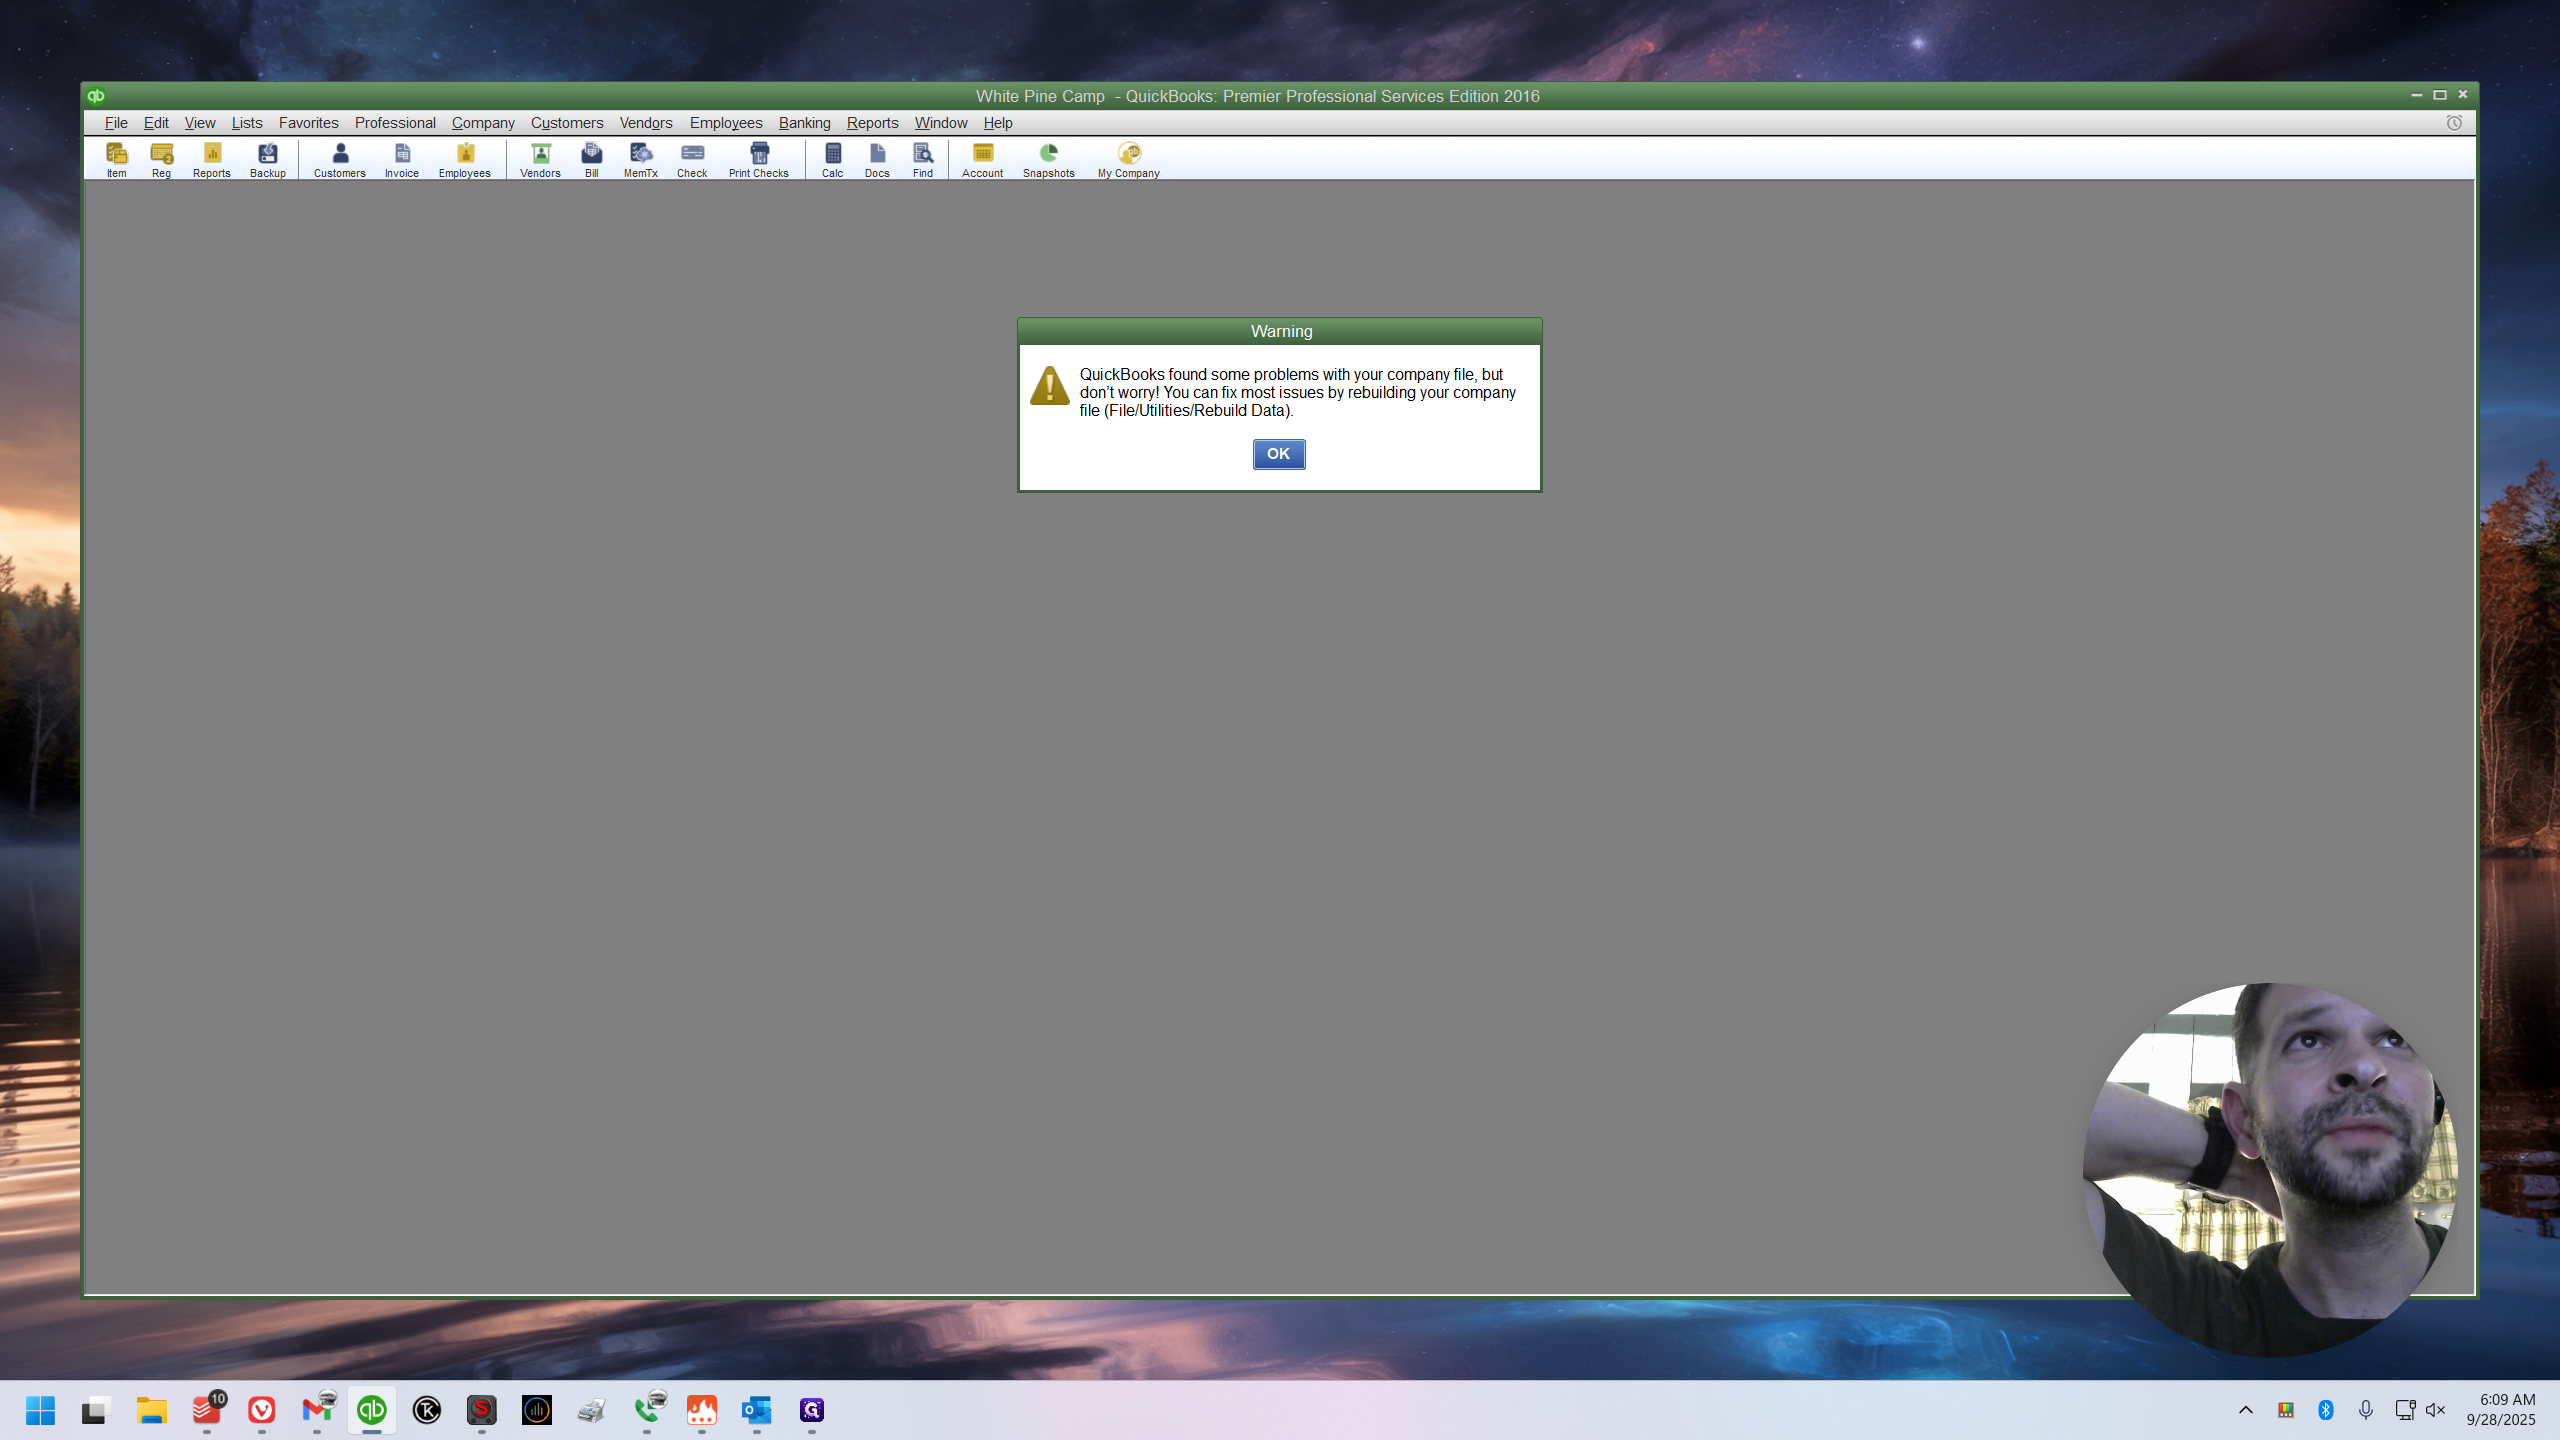
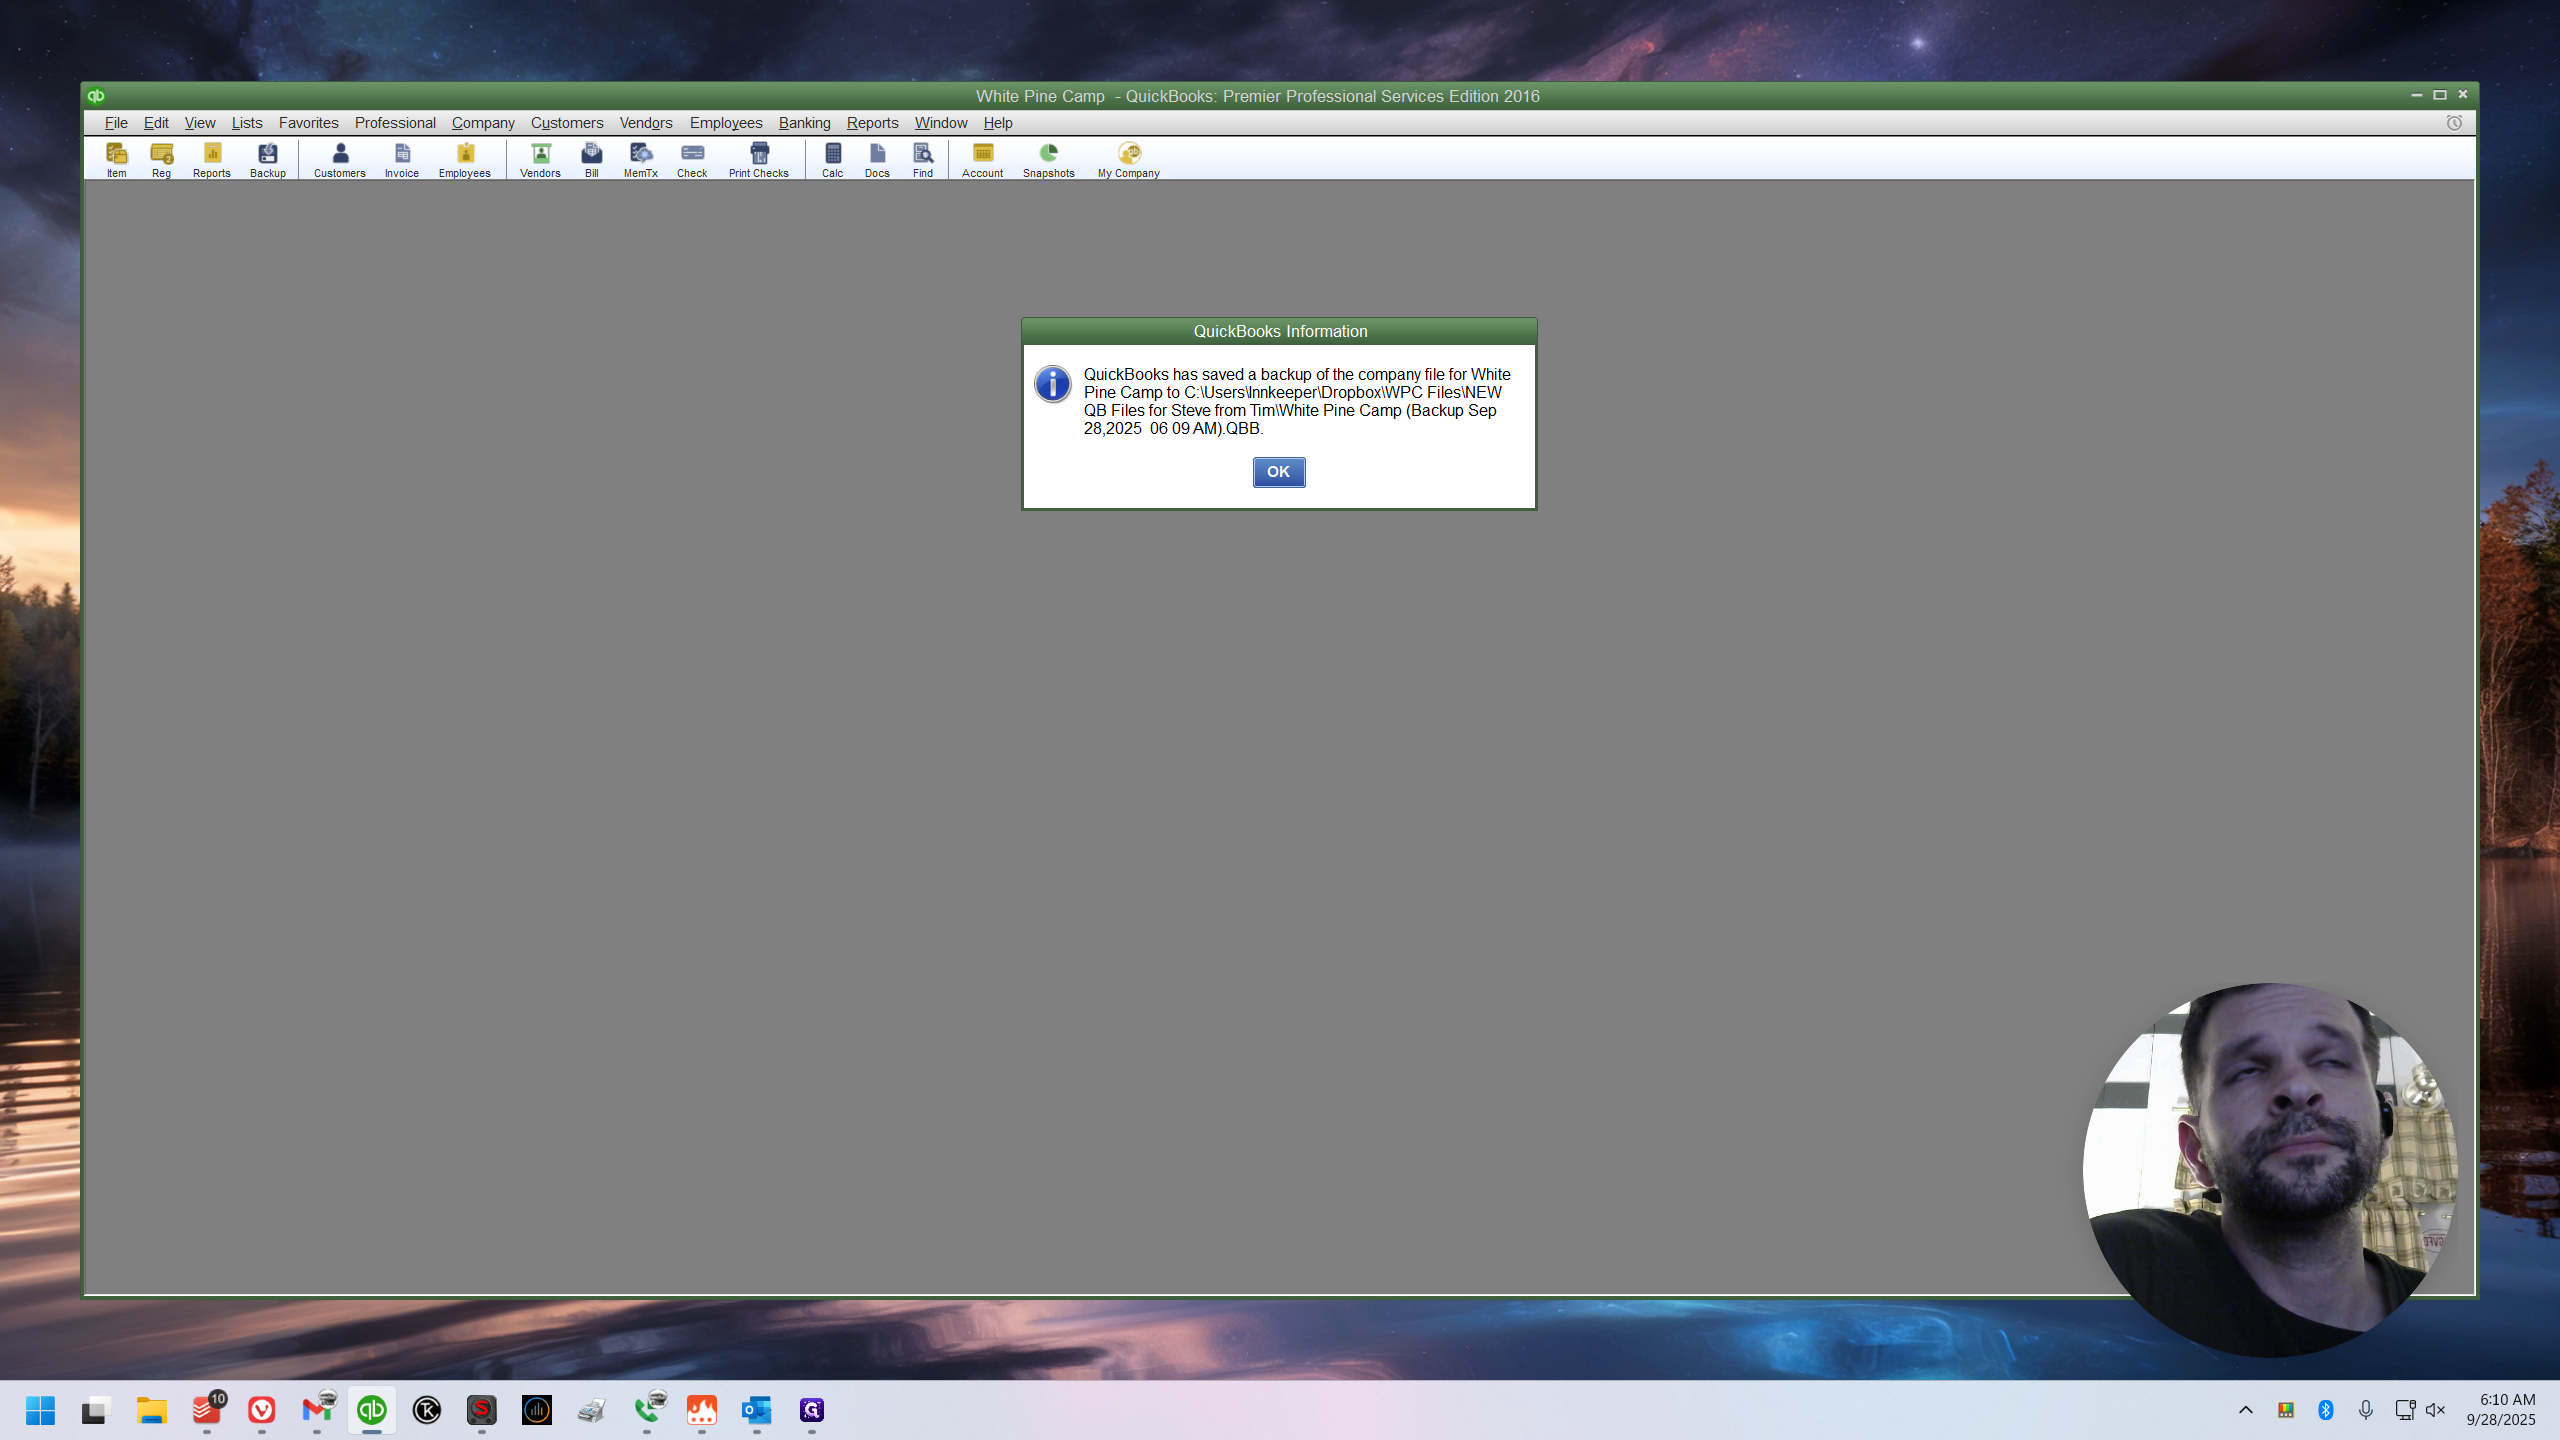
This always goes through a verification process, but it sometimes has simple errors. They're not actually a problem. There are often many of them. QuickBooks sometimes thinks a credit card is stored for someone when it isn't.
Just ignore it. Click through these prompts.
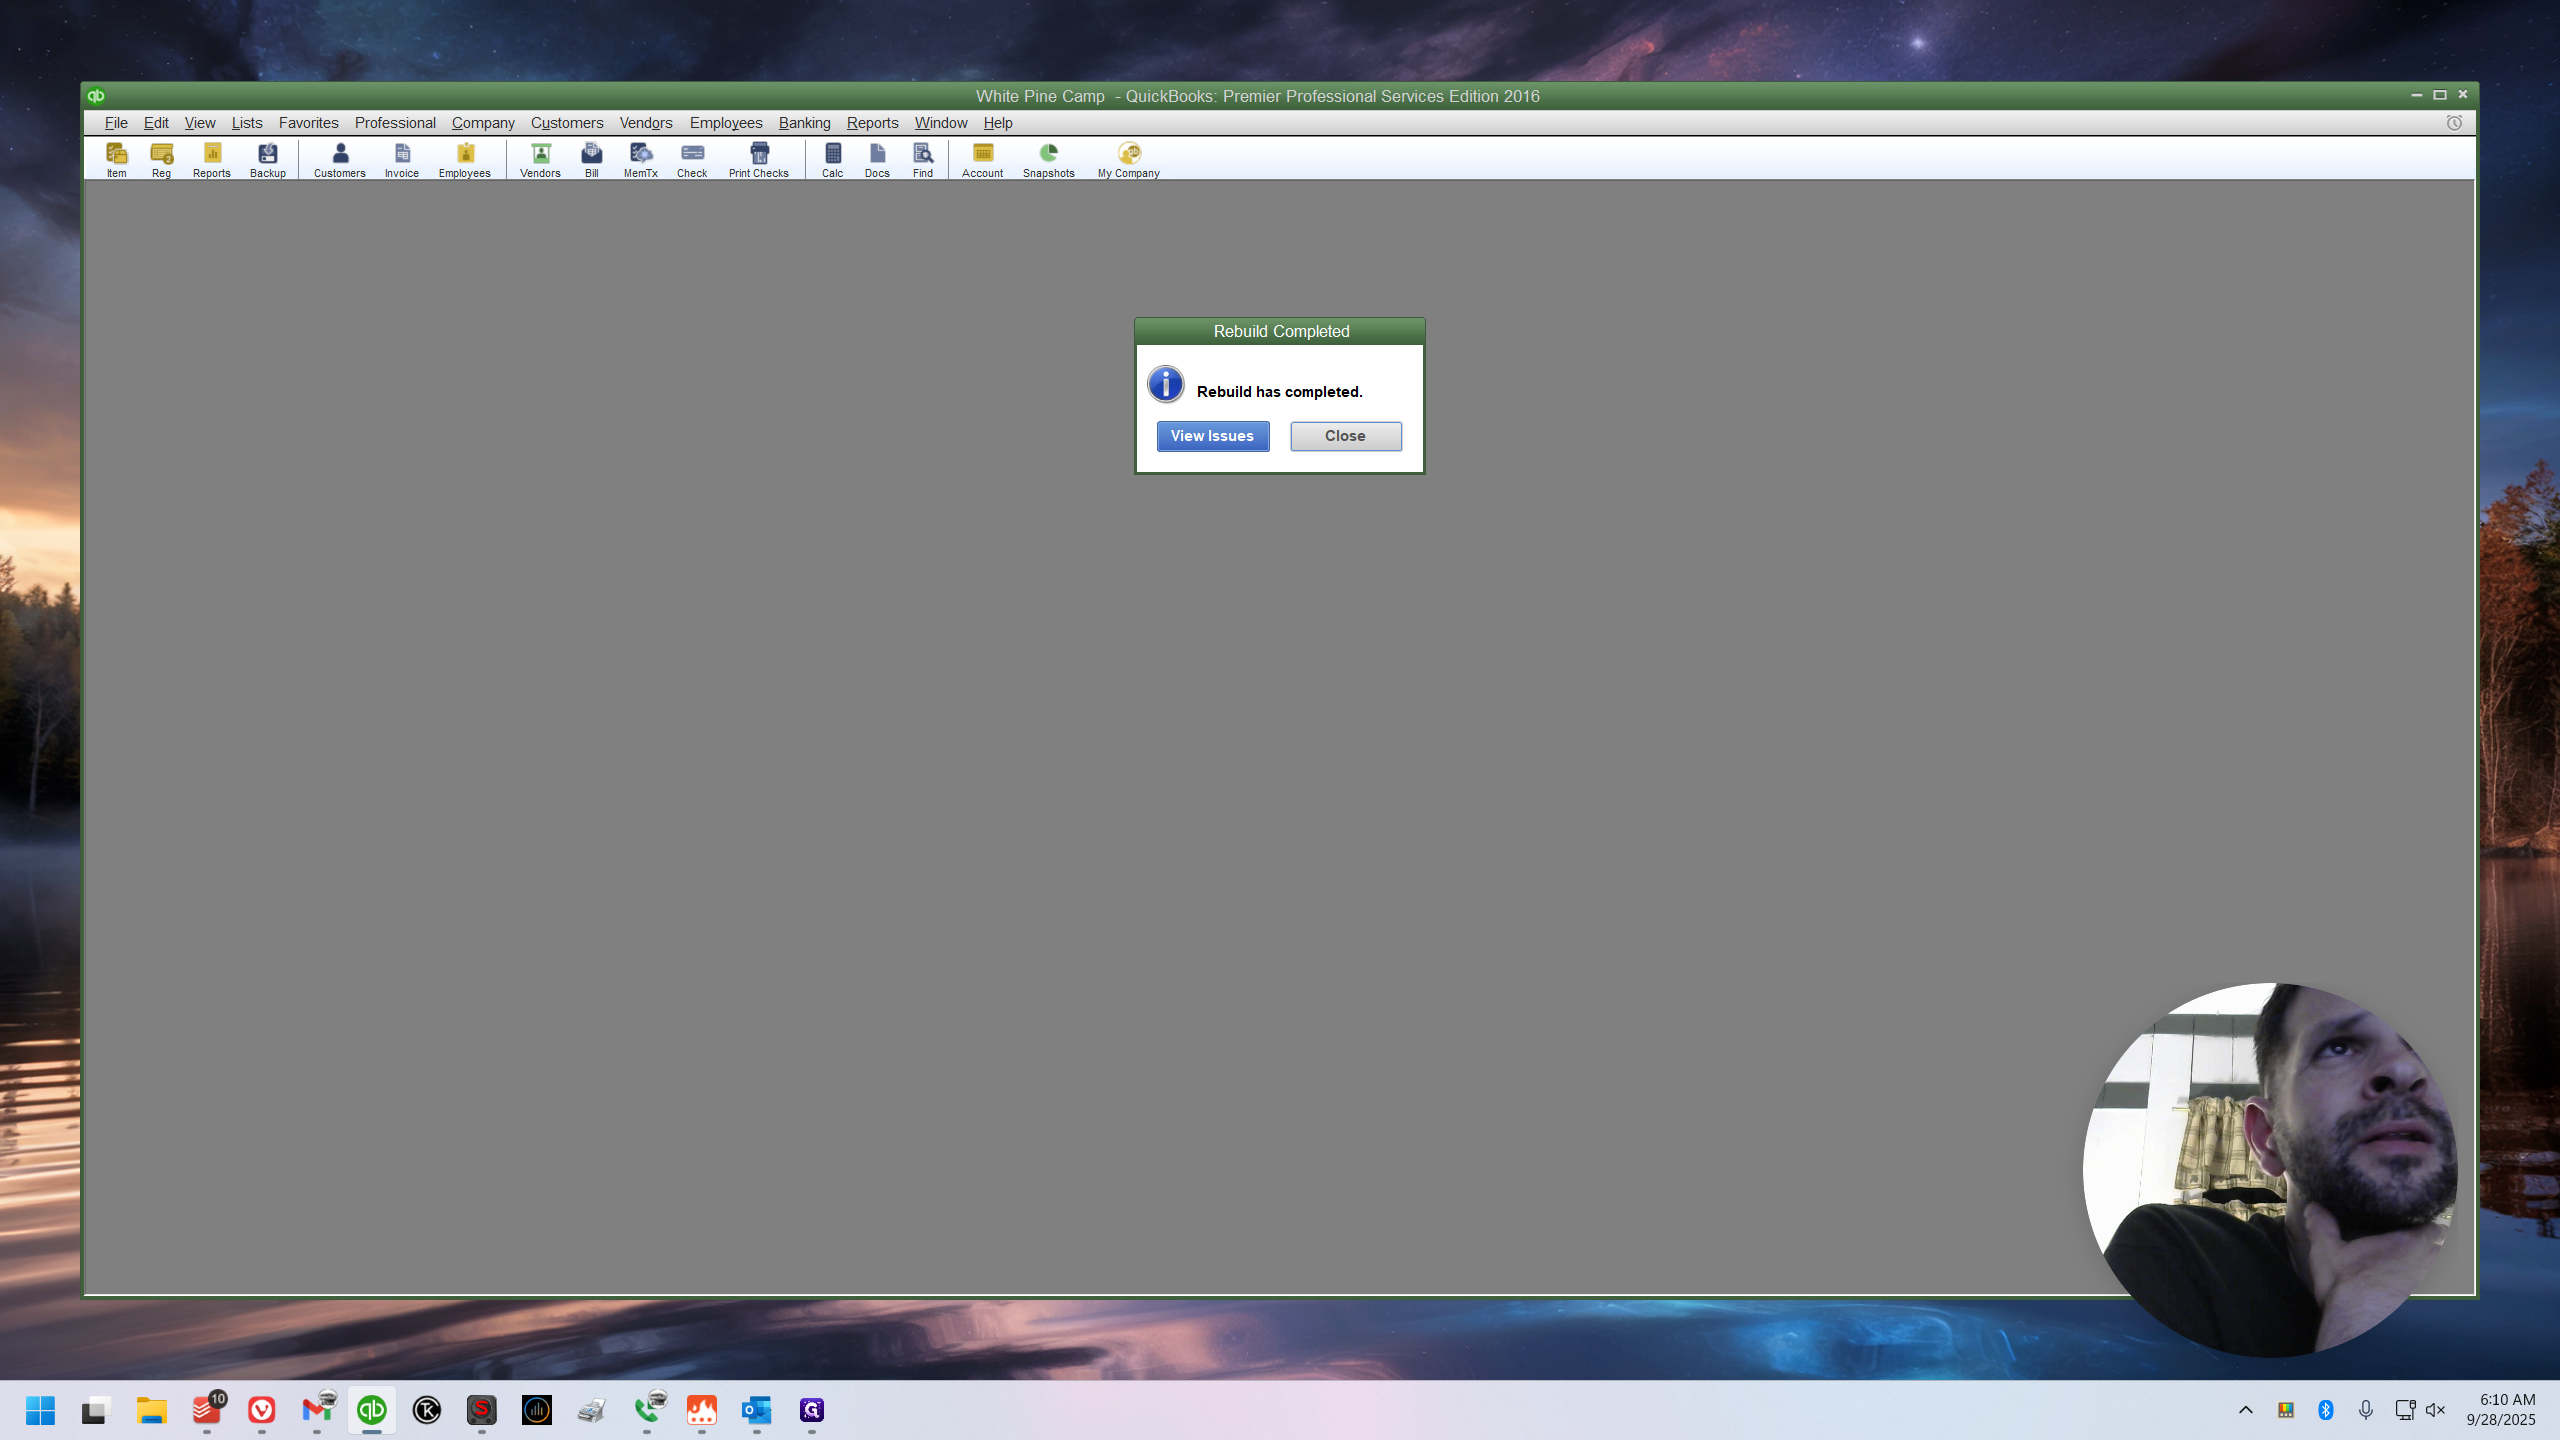
Run rebuild.
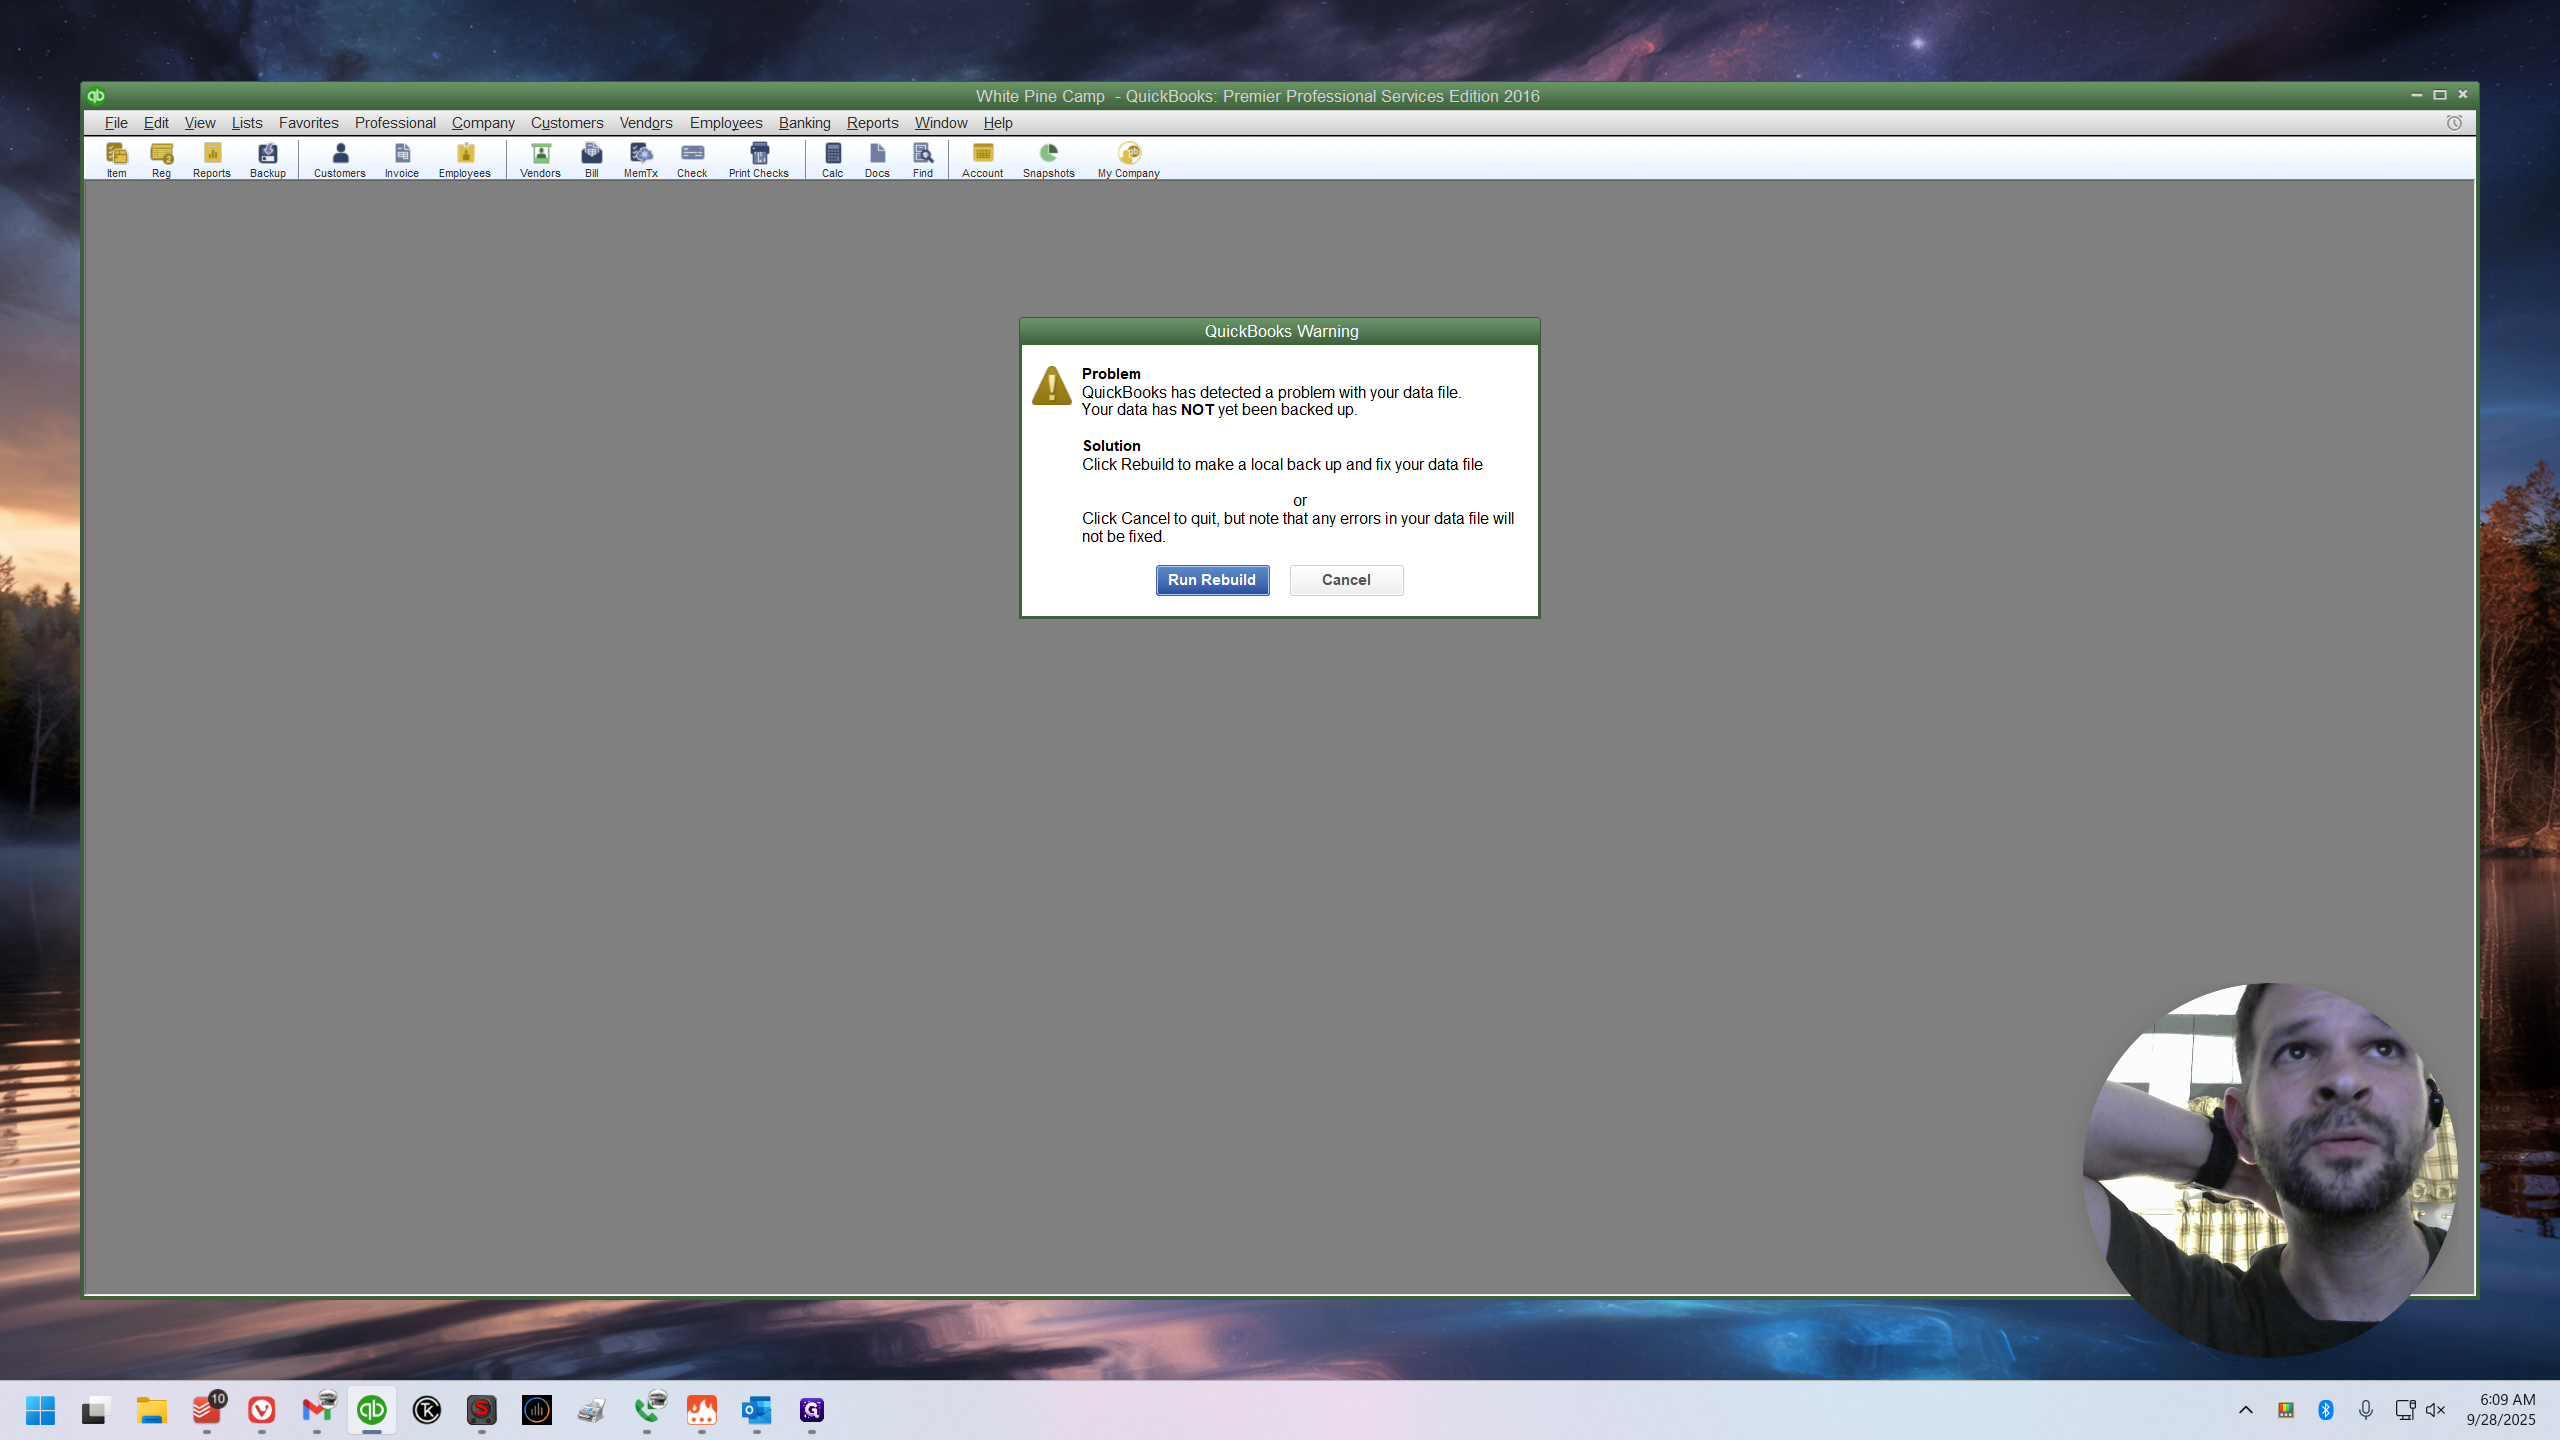
Click OK whenever necessary.
Close it, and you're good.
Finding the File (to verify completion)
Let me show you quickly.
It's easier to find in File Explorer than when saving the file out of QB, because on the left side panel, Dropbox is available as a shortcut.
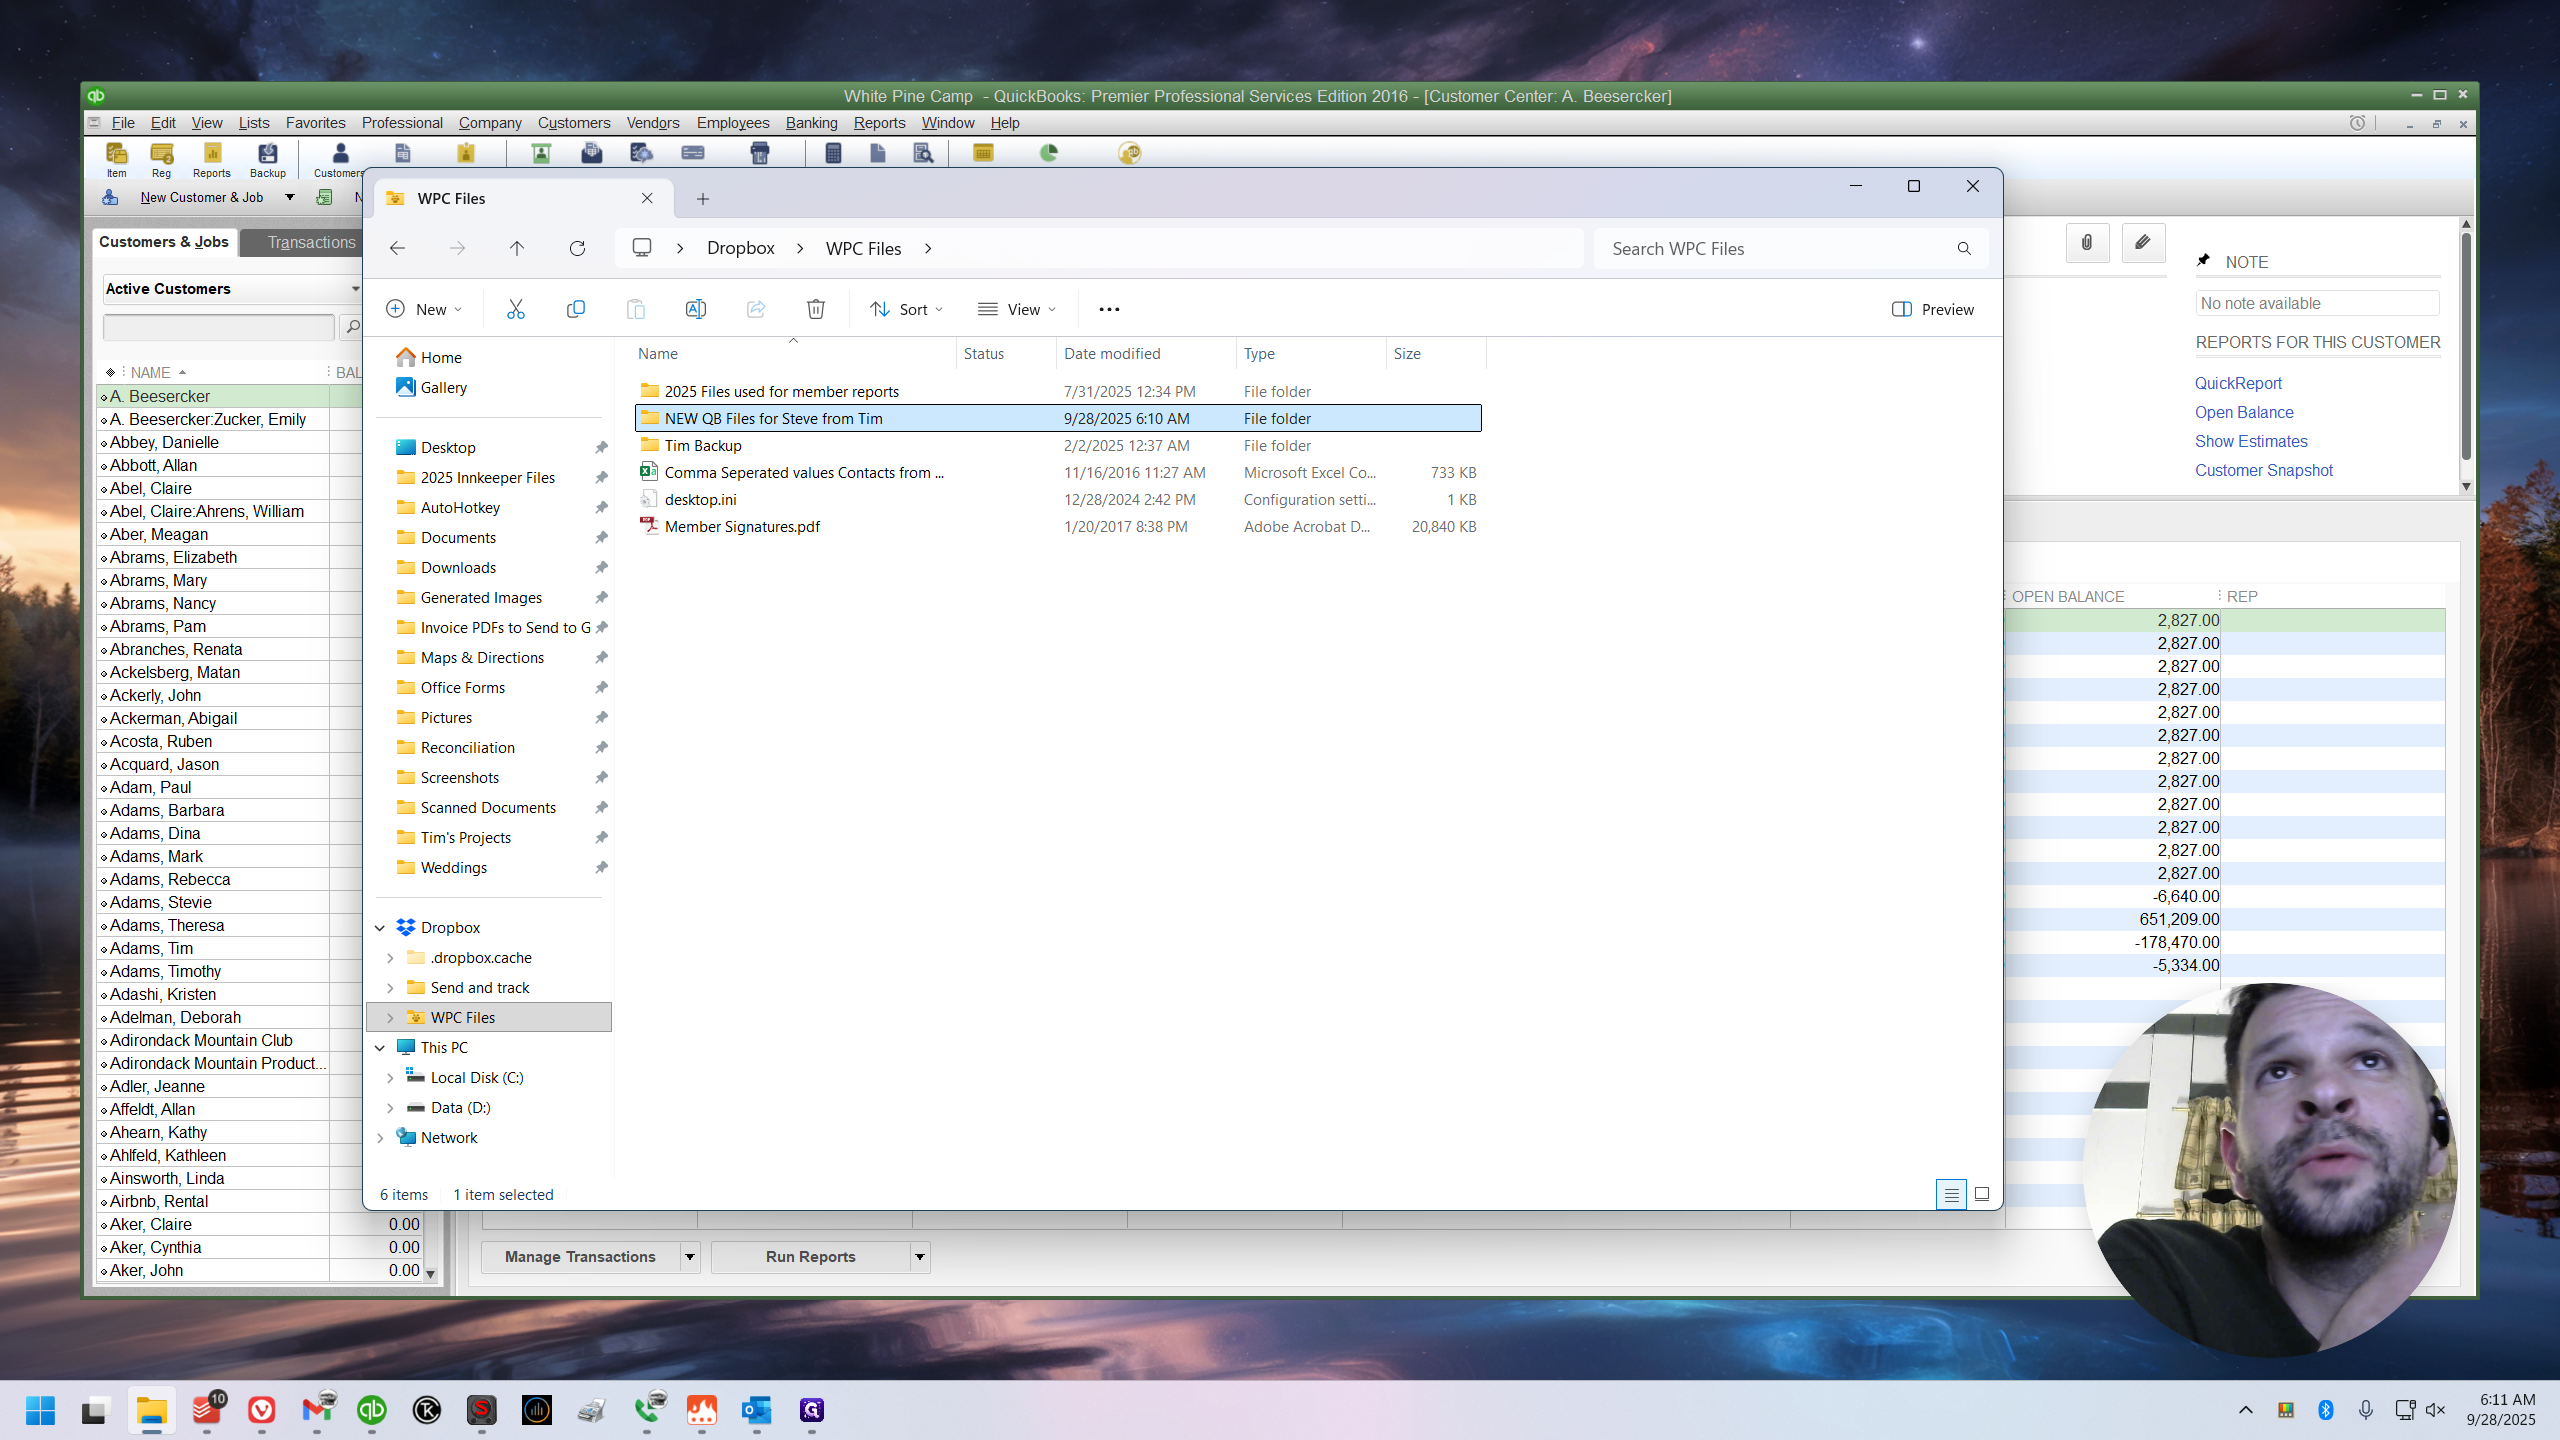
Here is the file we created. Do you see that small symbol there?
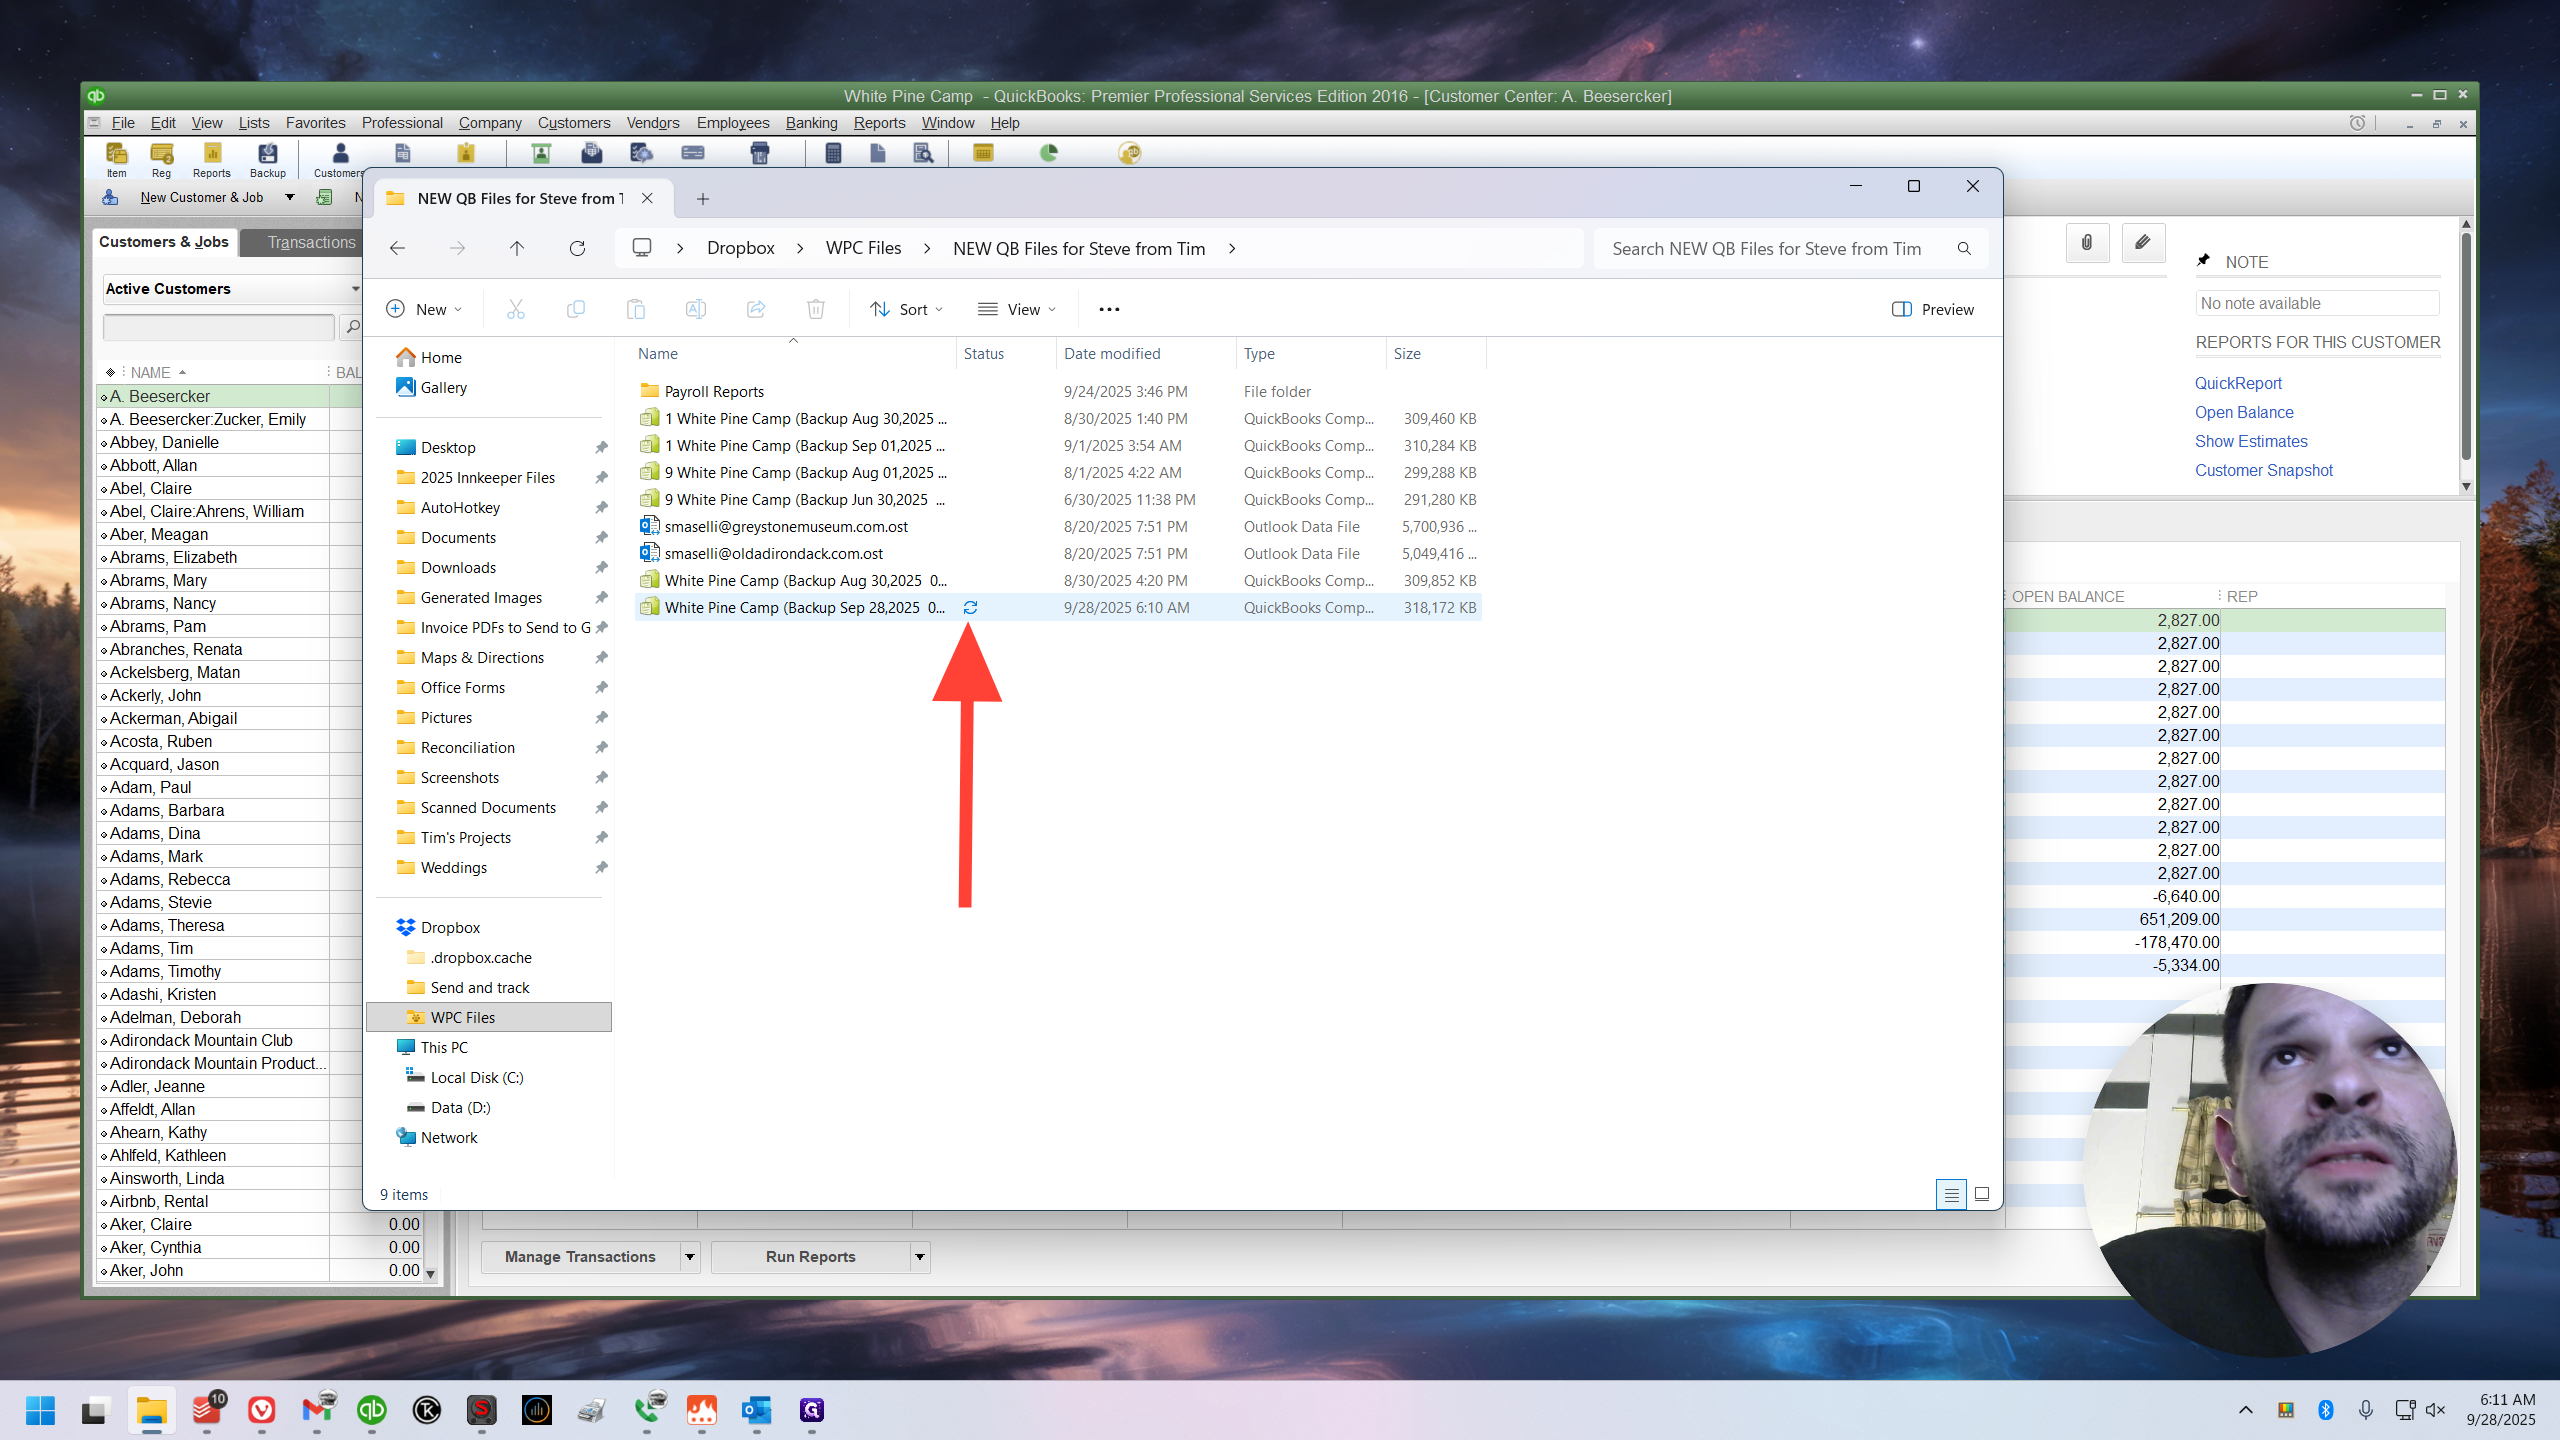
That means it is currently uploading to Dropbox. Job well done!