How to Use a Webpage Template with Elementor: Step-by-Step Guide
Learn how to use a webpage template in Elementor, including adding a new page, selecting and inserting a course catalog template, and customizing the page title for your course or sales page.
In this guide, we'll learn how to use a webpage template in Elementor to create a course catalog page. We'll cover how to add a new page, insert the correct template, and update the page title to match your course. This process helps you quickly set up and organize course pages for your website.
Let's get started
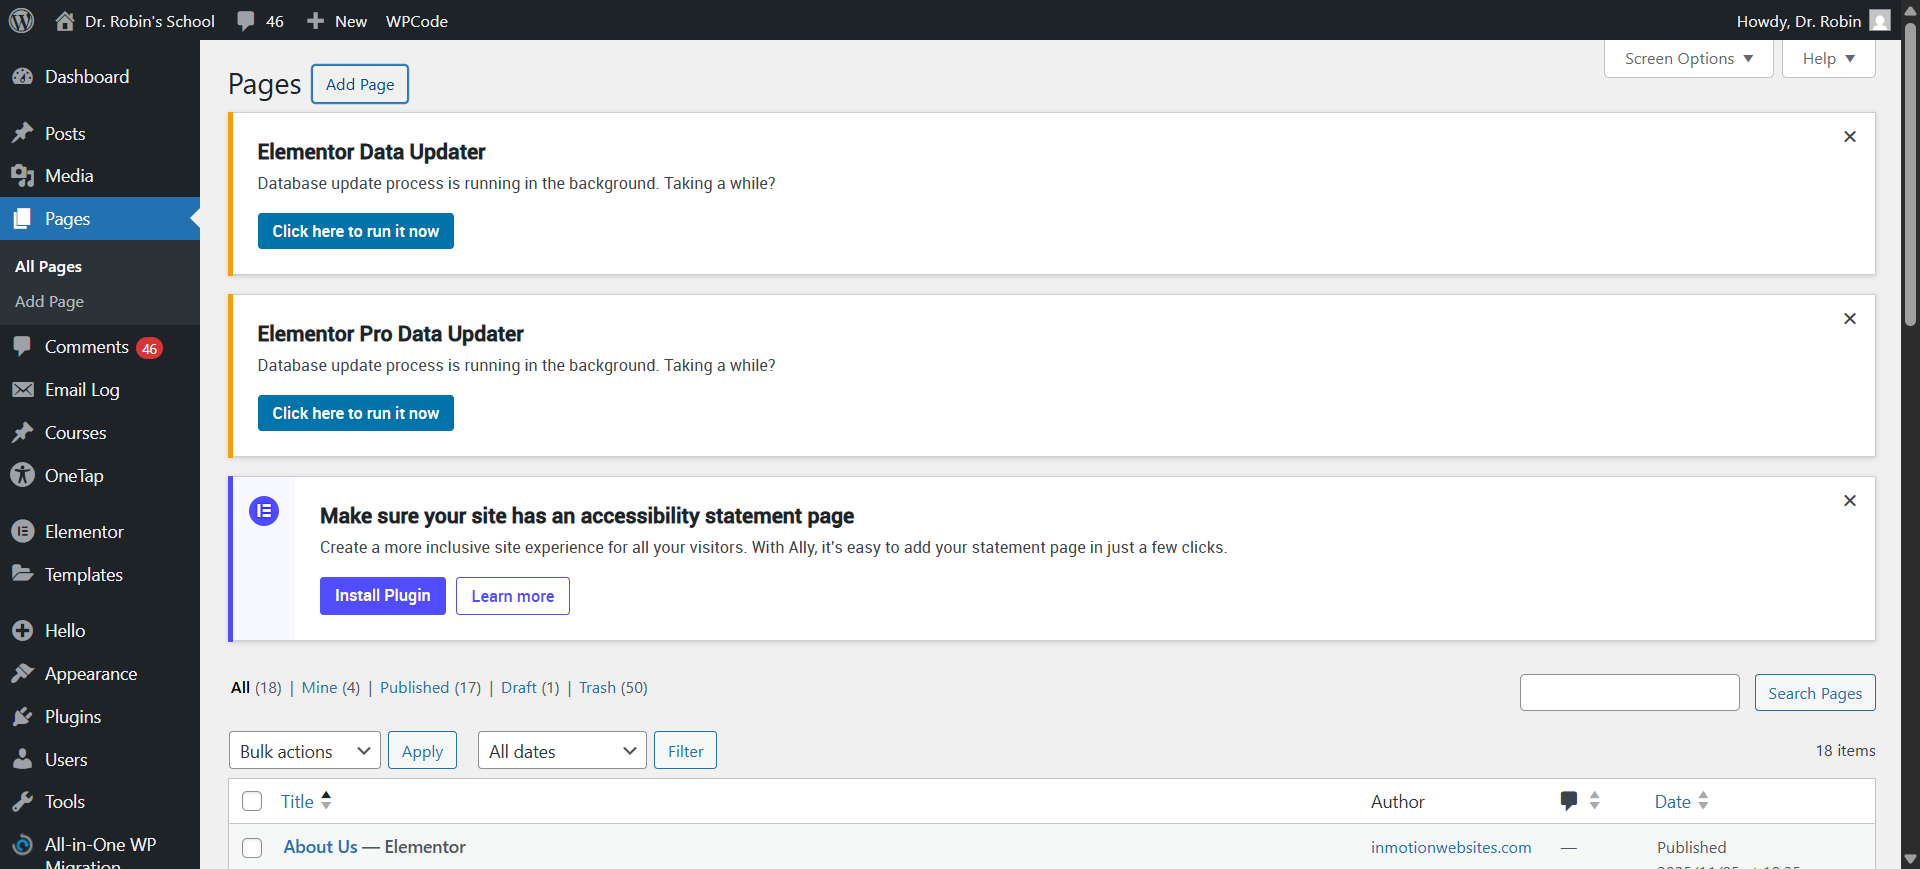
Here's how to use a webpage template. Click "Add Page."
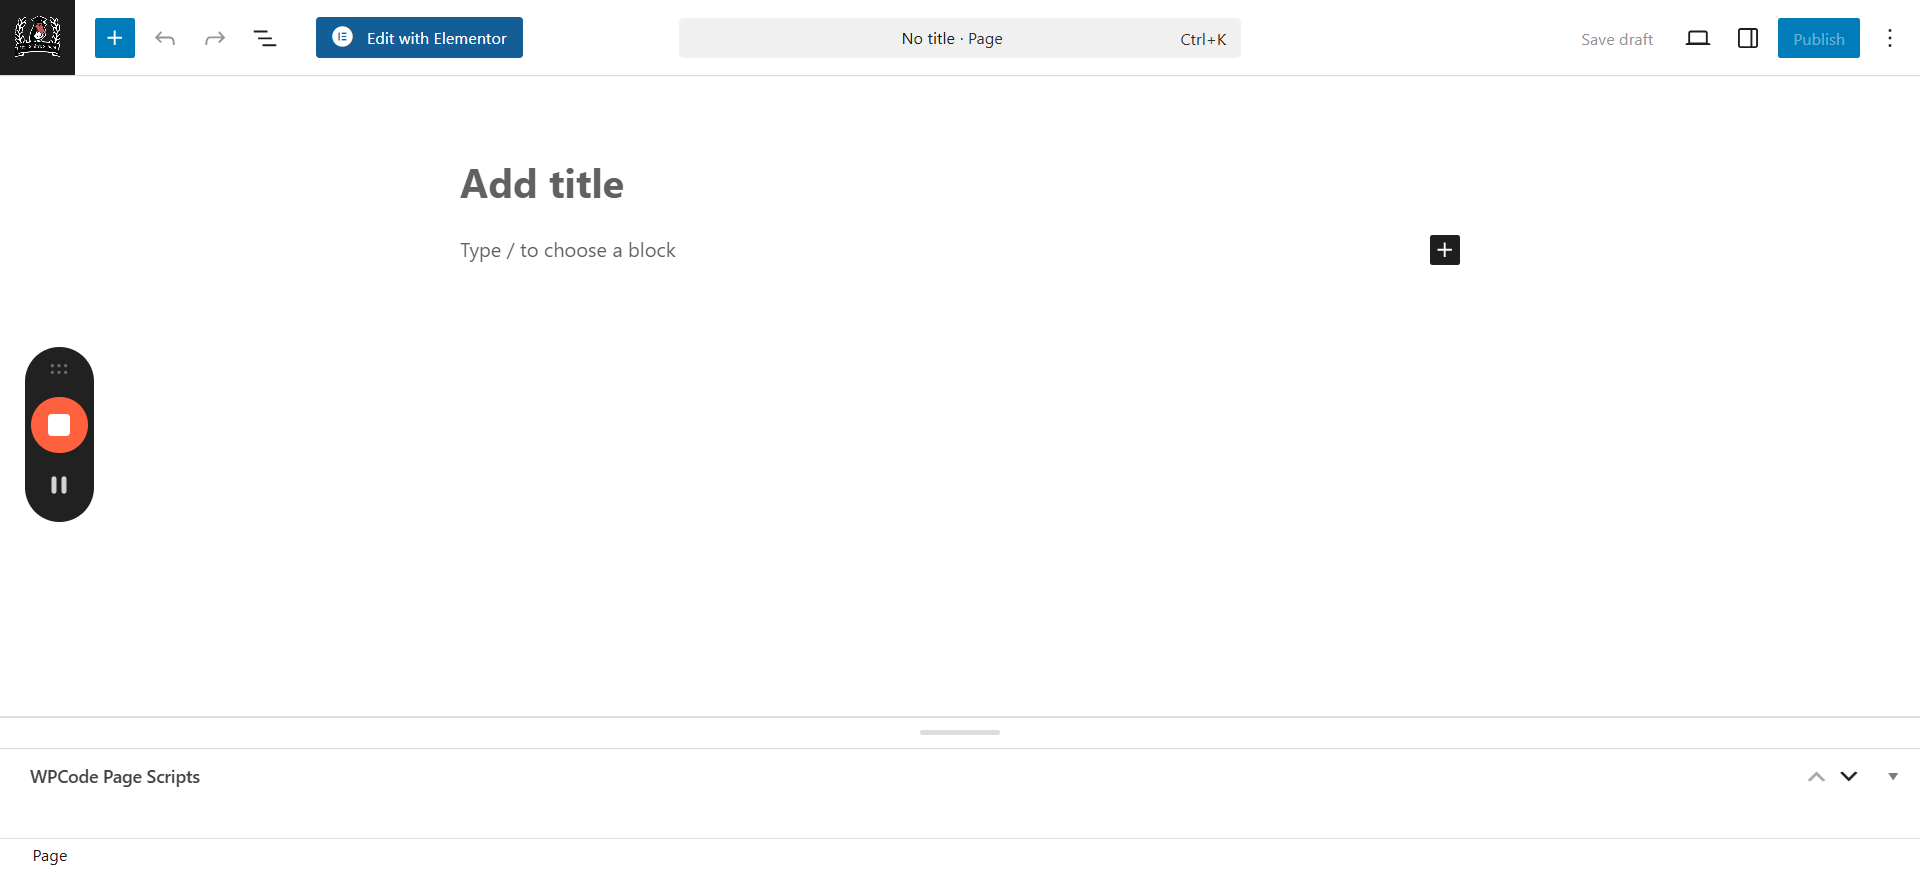
A new page will appear. Click "Edit with Elementor".
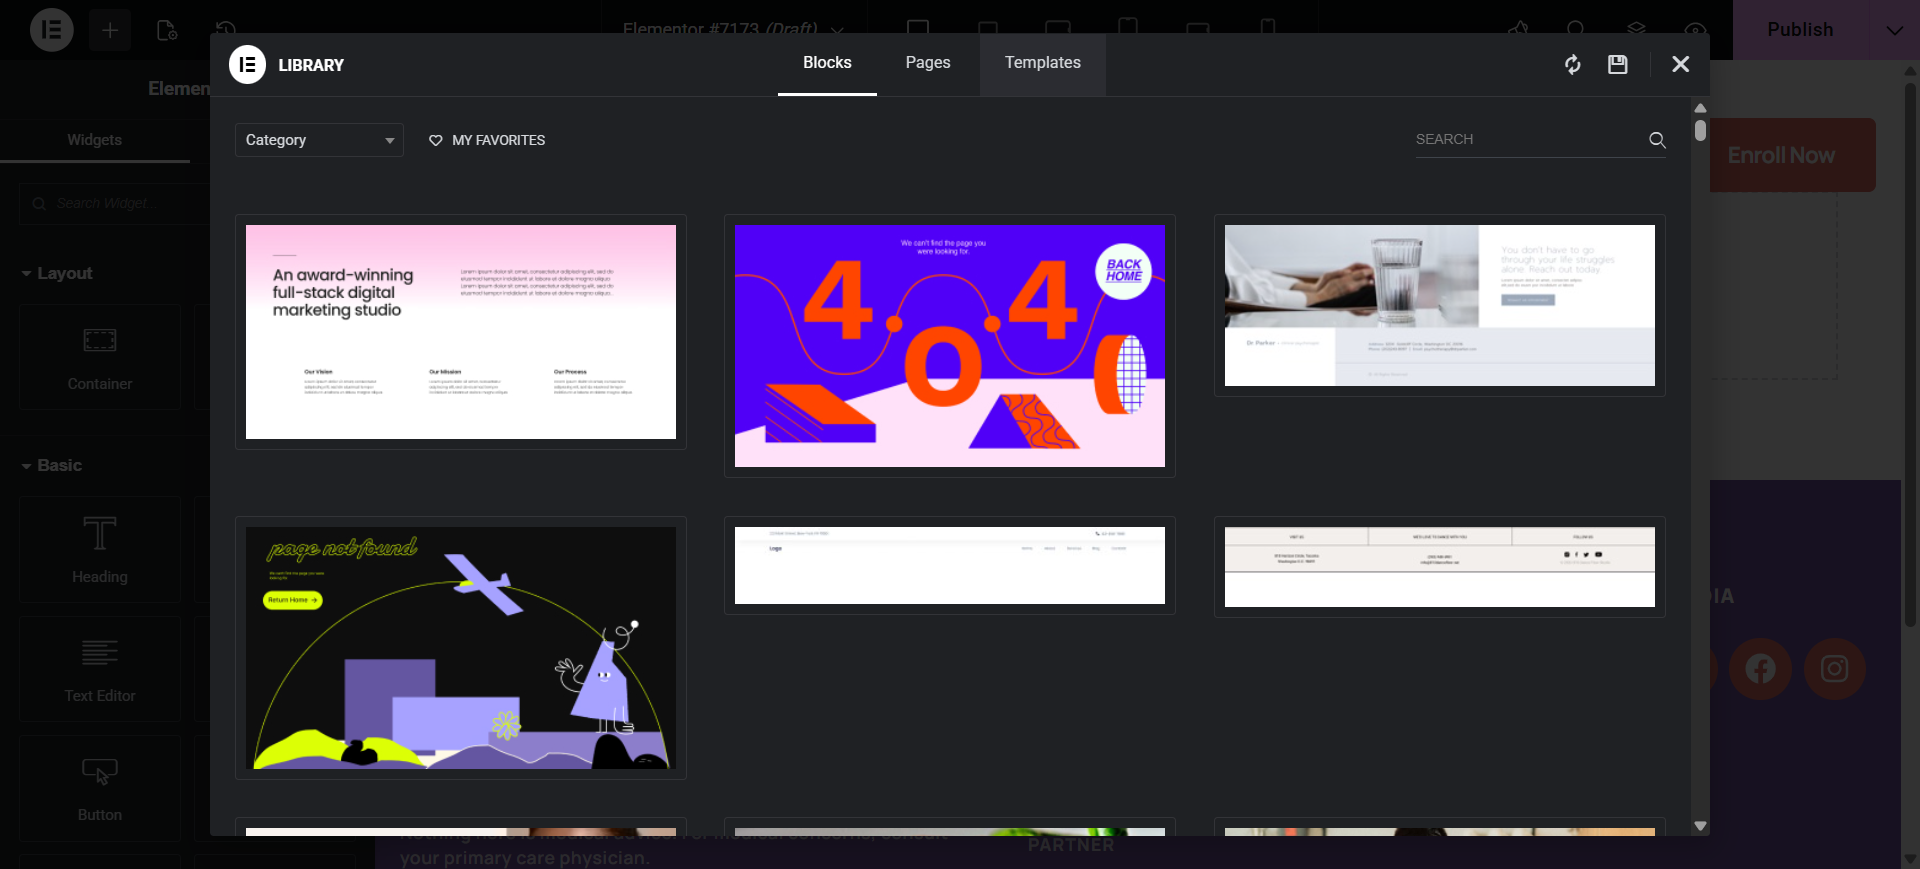
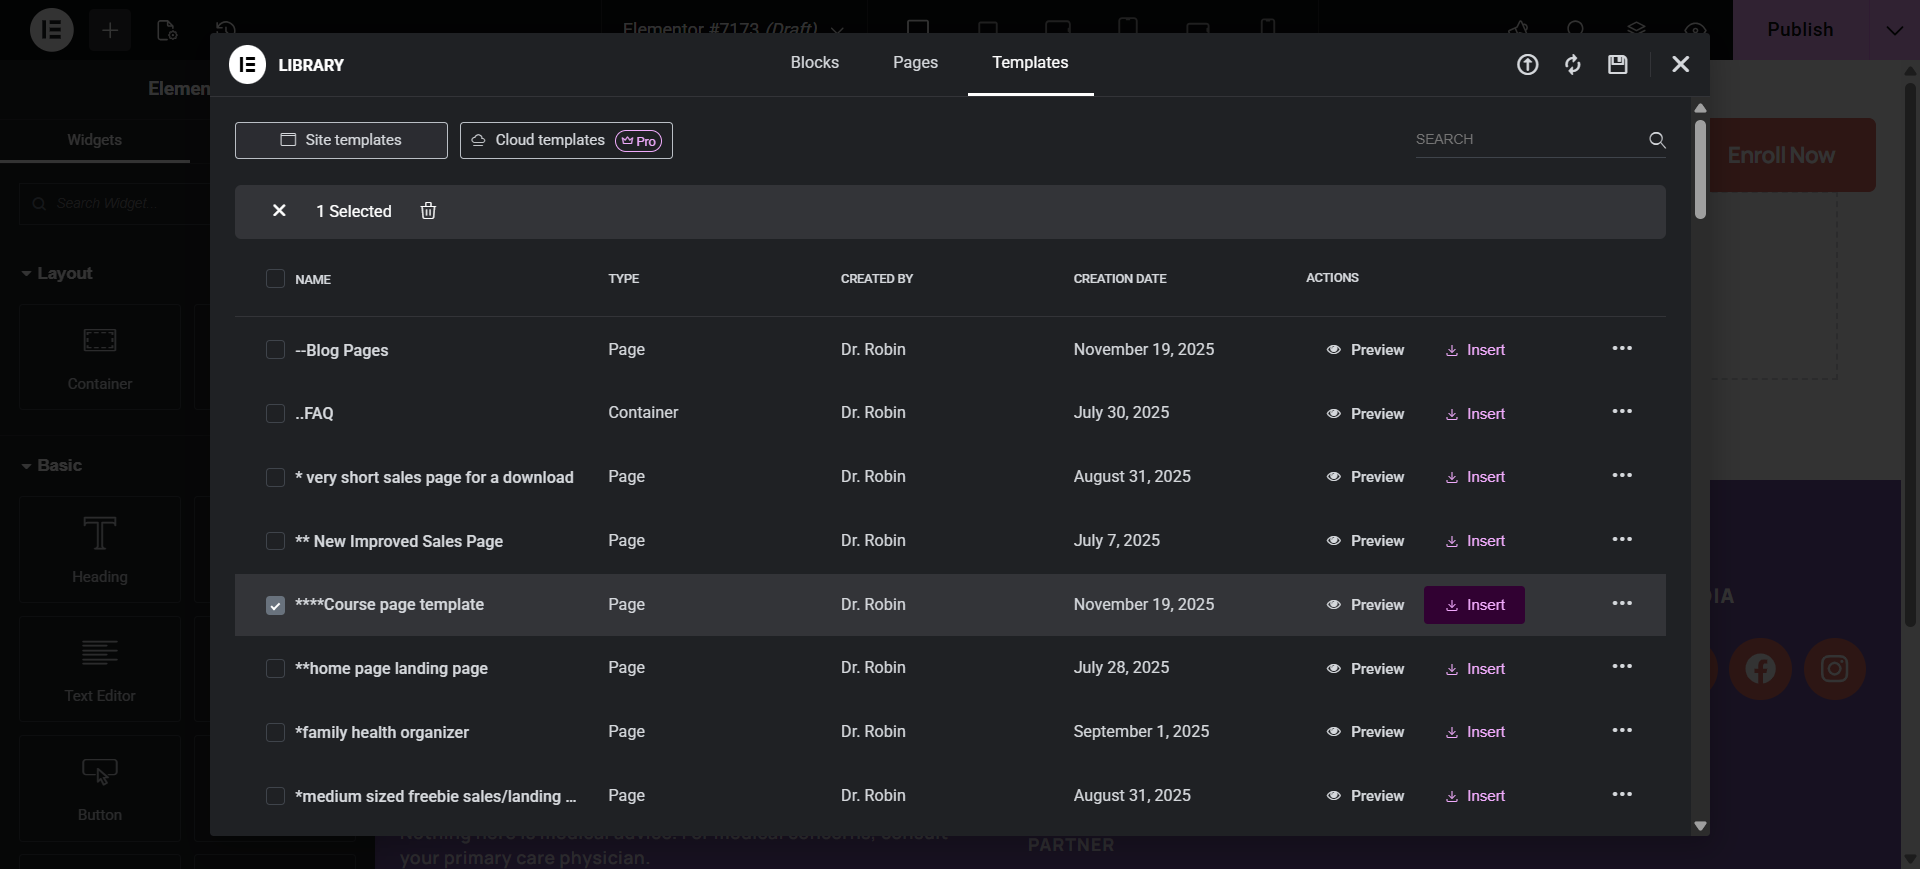
Open Elementor and select the course catalog template. In the center, you can see a plus sign, a folder, and a sparkle icon. You want the folder. Now you can see it offers you blocks, pages, or templates. Click "Templates," find the course page template, and click "Insert" on the right.
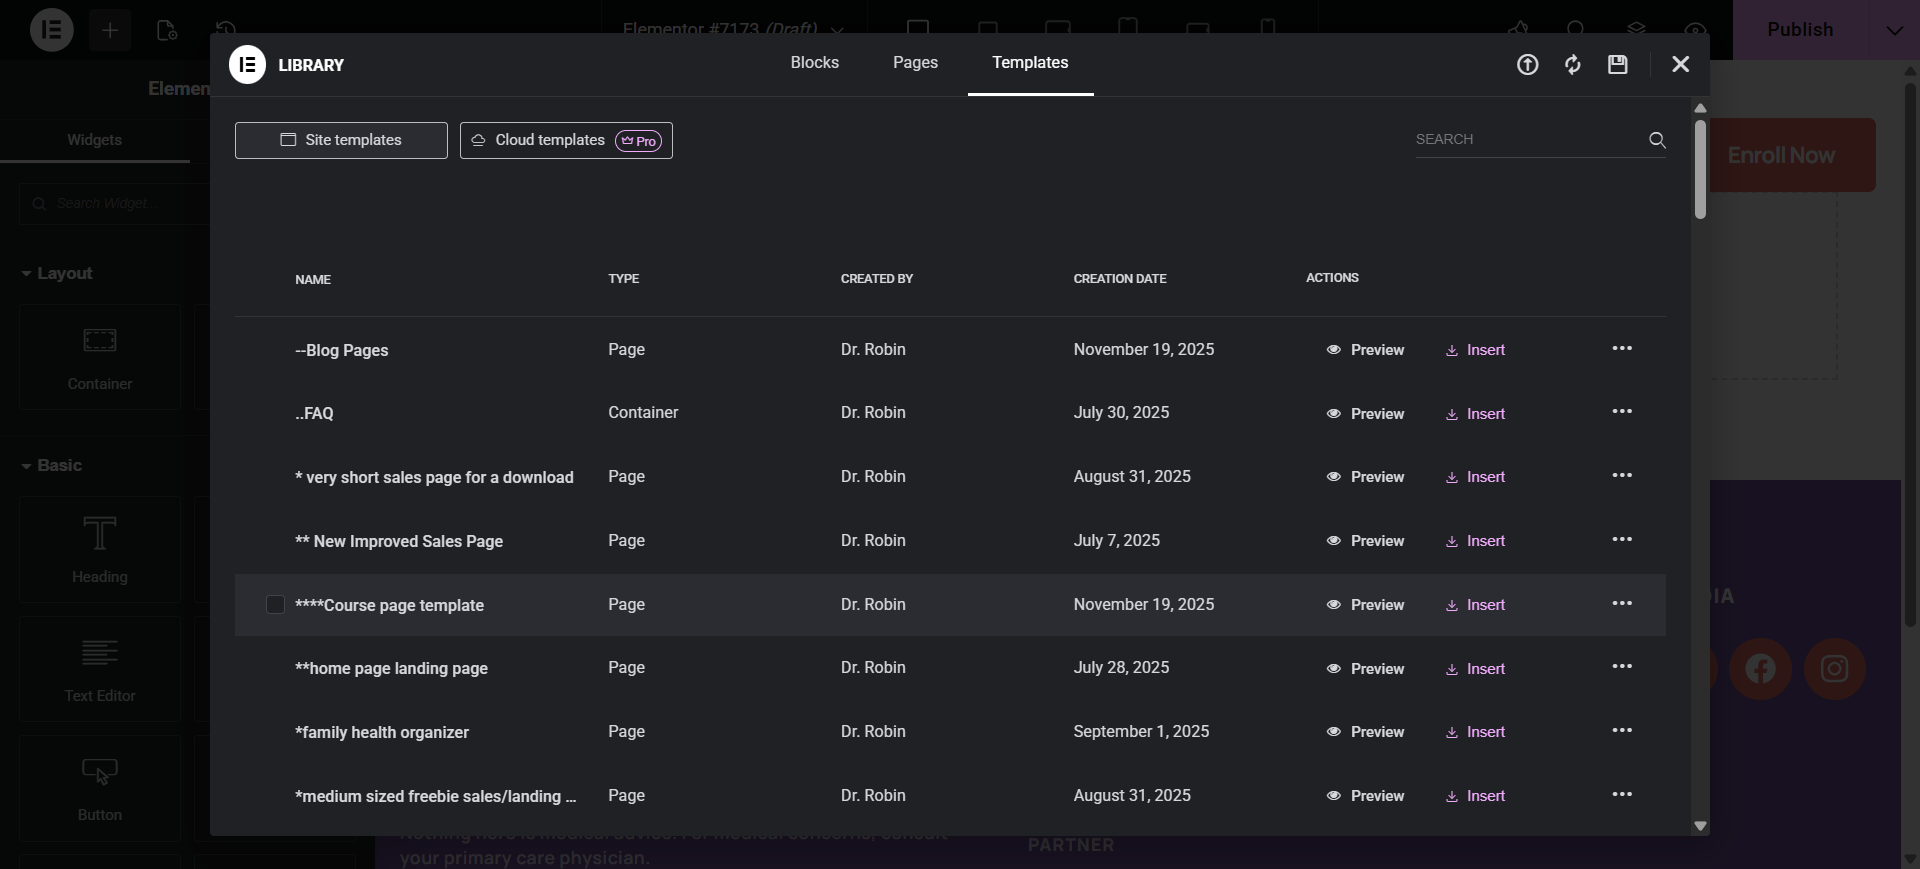
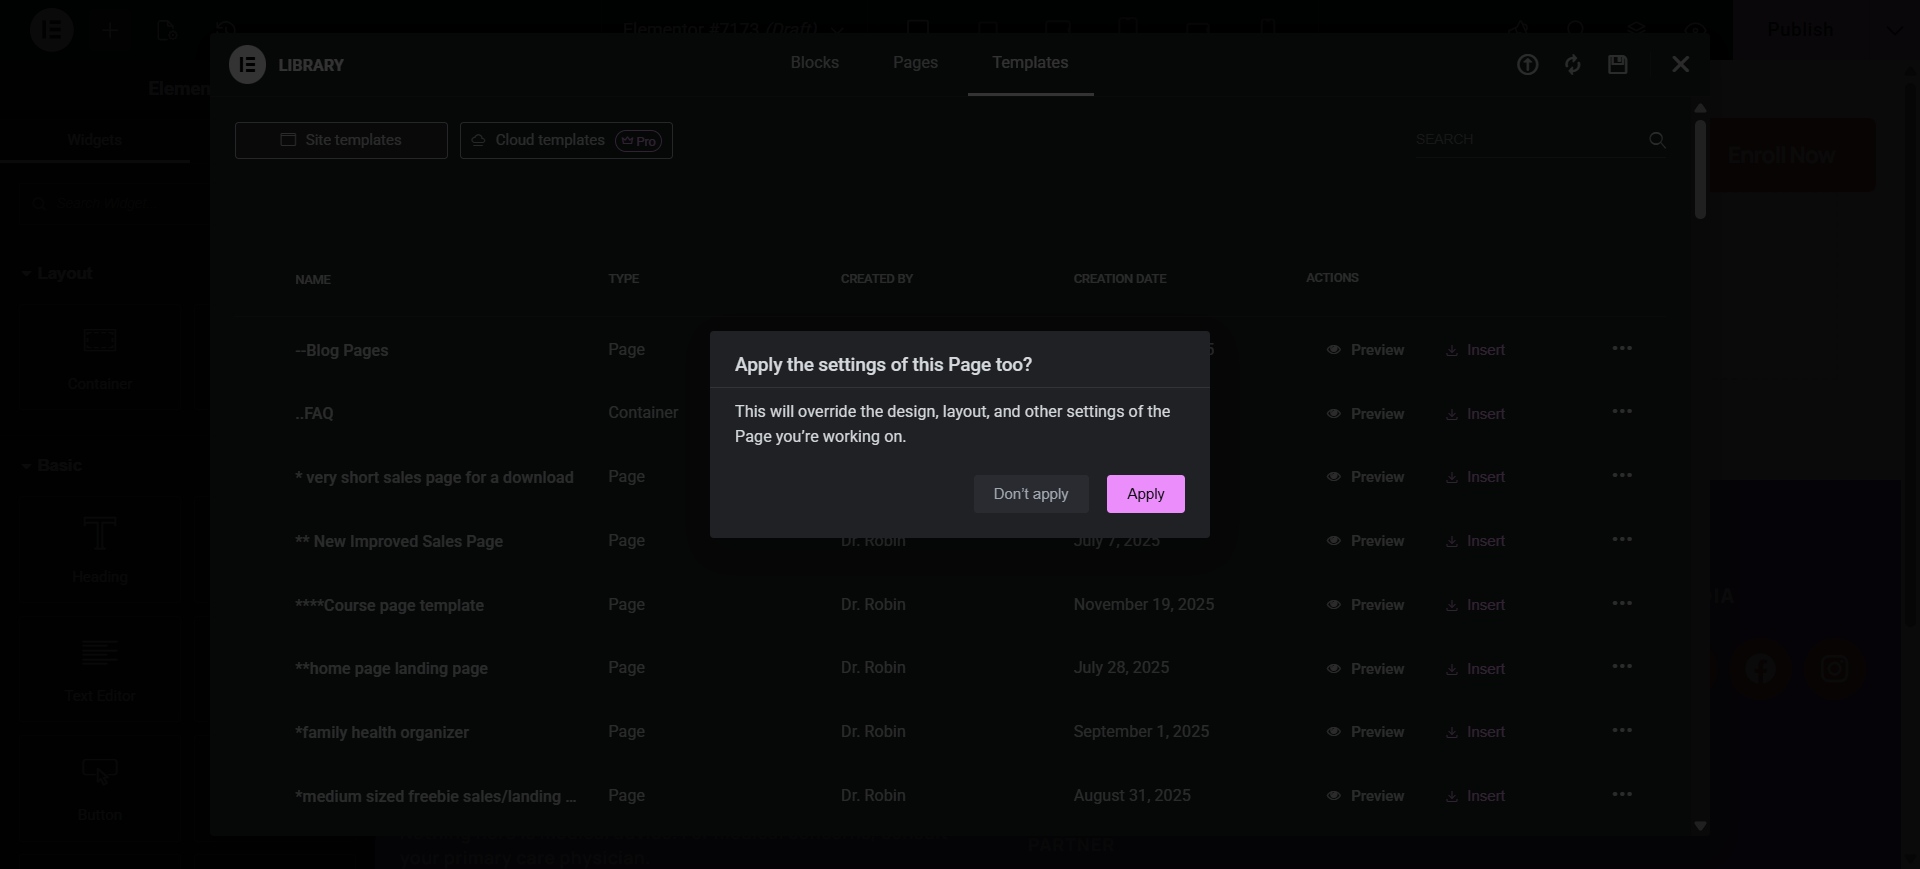
It will override everything else. Click Apply, and then it's done.
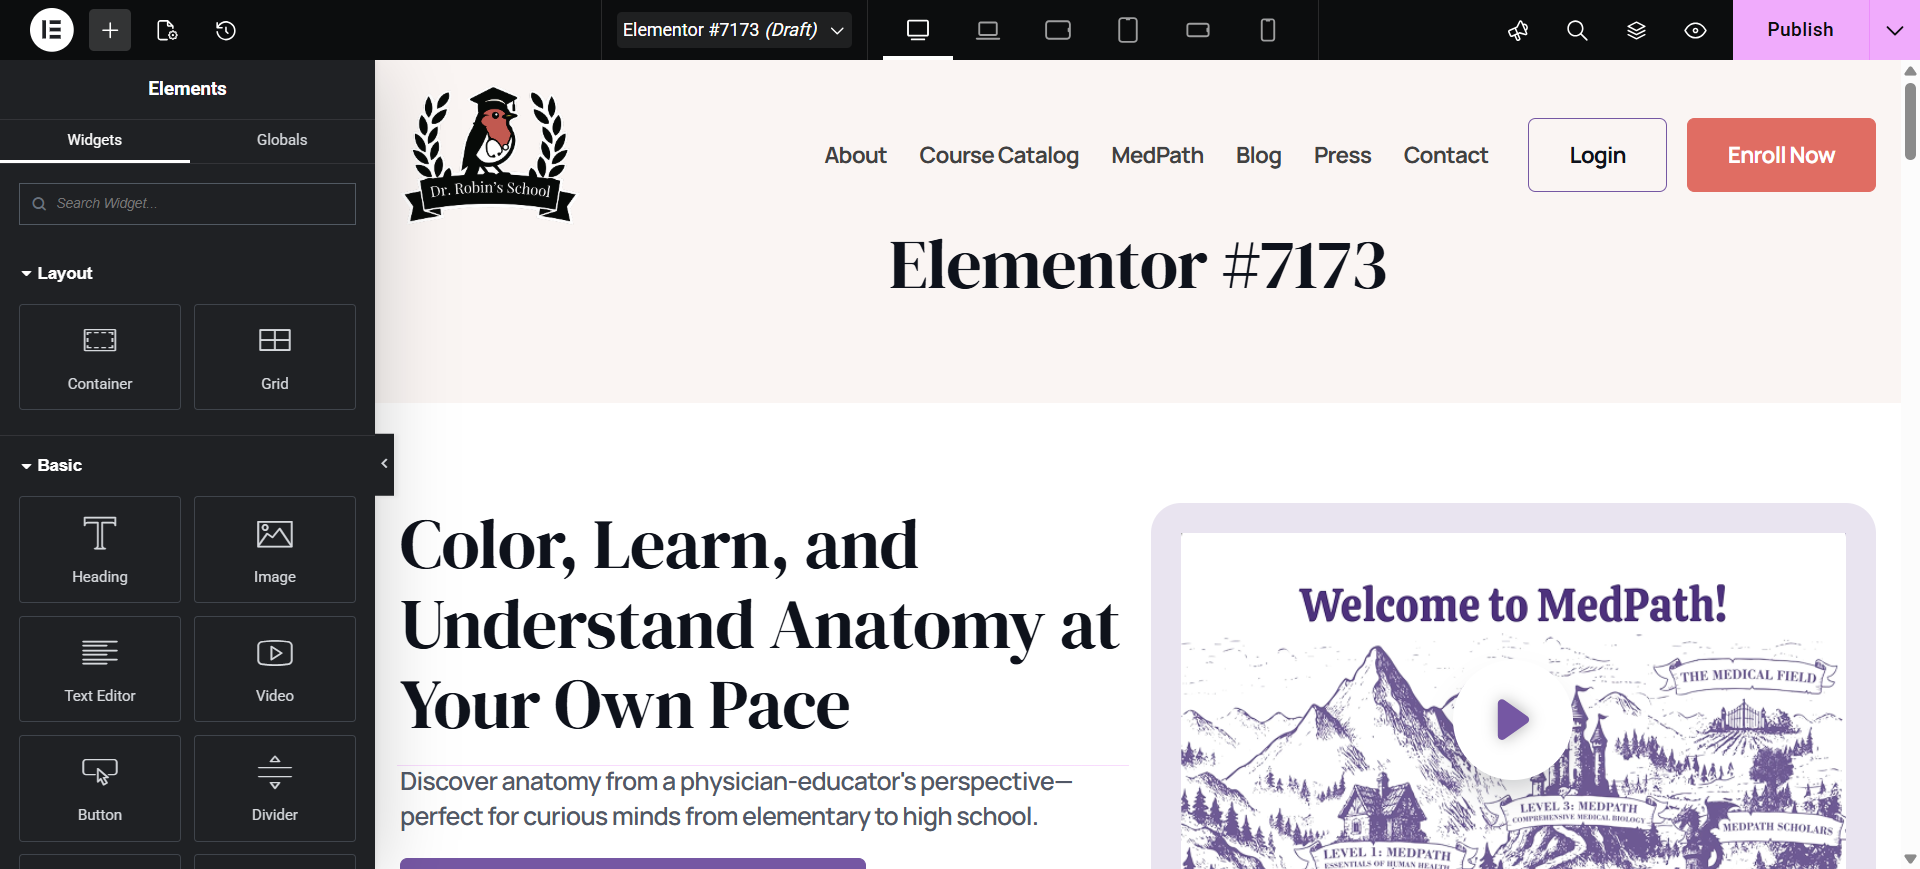
Maybe not whoosh. It doesn't move quickly. Here is a copy of the page. First, I always change the name. At the top, it says "Elementor number 7173 draft," which isn't a helpful name.

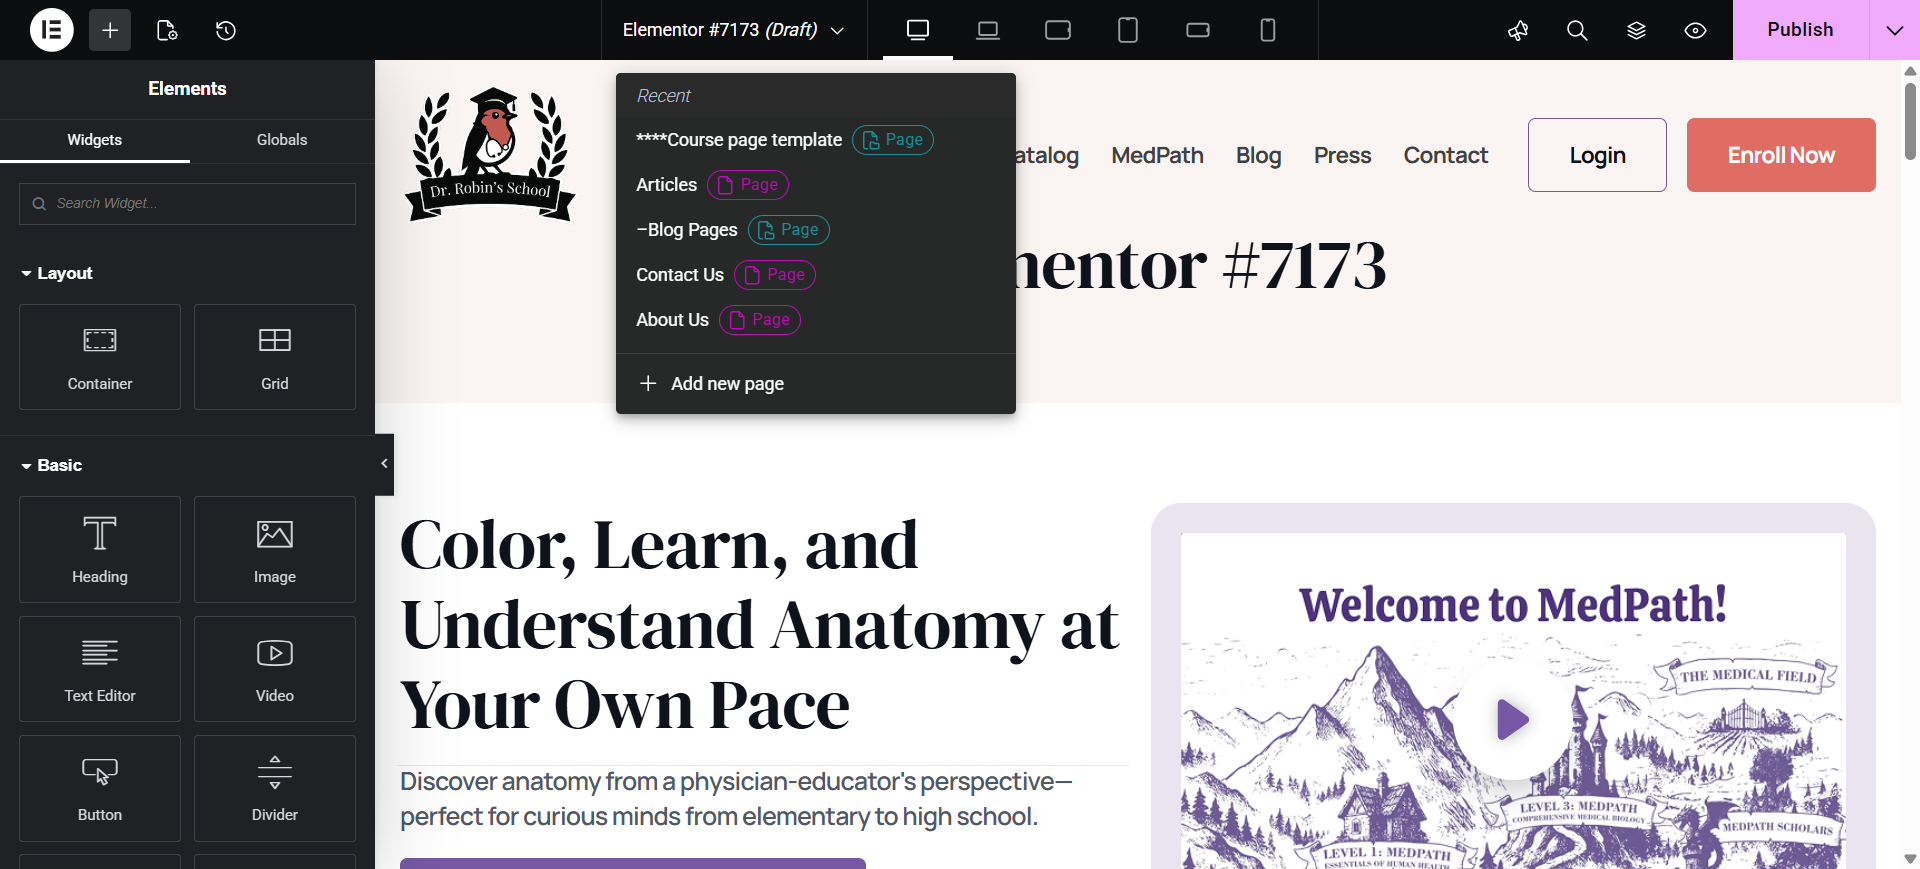
Instead, I prefer to change it by going to the page settings.


Hang on. Now, you'll see me look for the page settings. I haven't done this in about a month, so I can't remember anything.
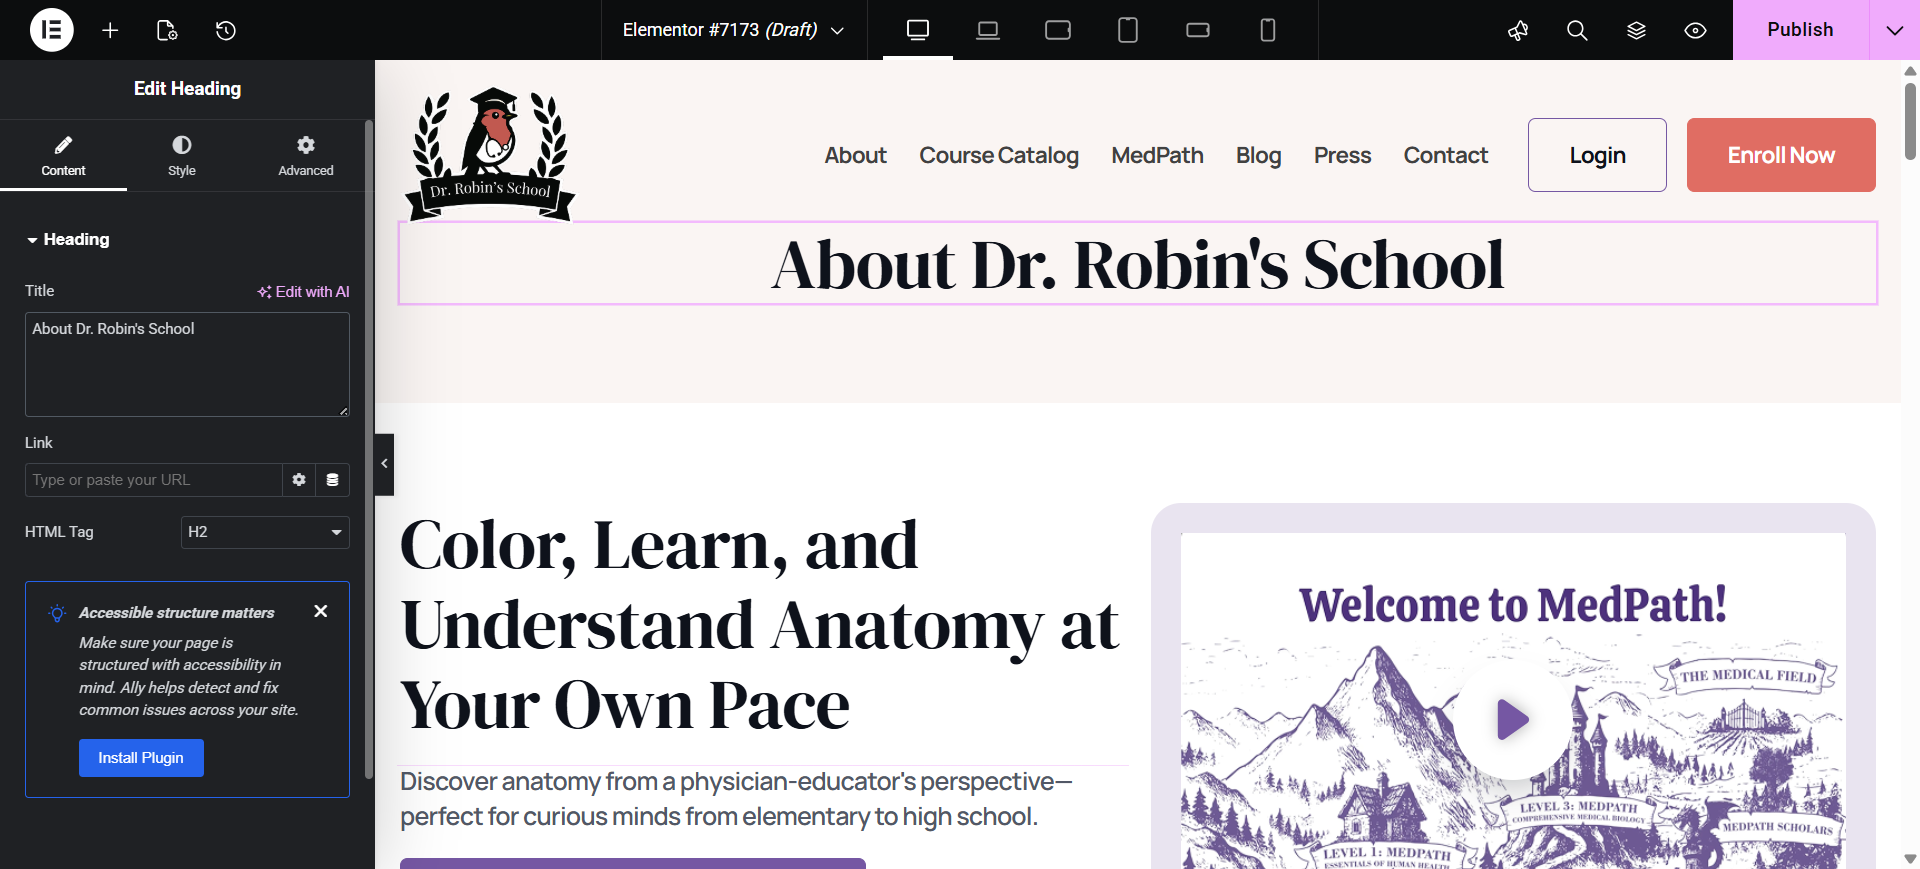
I'll cut this part out. Here, right there. Click in the box and enter the page title.
Oops, my glitter controls are in the way. Hang on. We want it to be right here, whatever the course is we're adding, such as Med Path Essentials.


No. I don't know what it is or what the next level is. Level 2, level 1, no level... Yes, level 1, since we currently have only level 0. I don't think we even have level 0.
This is also a sales page. We'll stop here.
