How to Use Buildertrend and RaveBuild for Project Scheduling and Document Management
Learn how to efficiently use Buildertrend and RaveBuild for managing project schedules, delivery dates, site measures, and document handling for construction projects. Step-by-step SOP for tracking jobs, accessing plans, and staying updated on changes.
In this guide, we'll learn how to use Buildertrend and RaveBuild to view and manage project schedules, delivery dates, and site measure dates for existing customers. We will also cover how to access important documents and plans for specific villas or lots, and how updates are communicated through these platforms.
These steps will help you track project progress and ensure you have the latest information for each job.
Let's get started
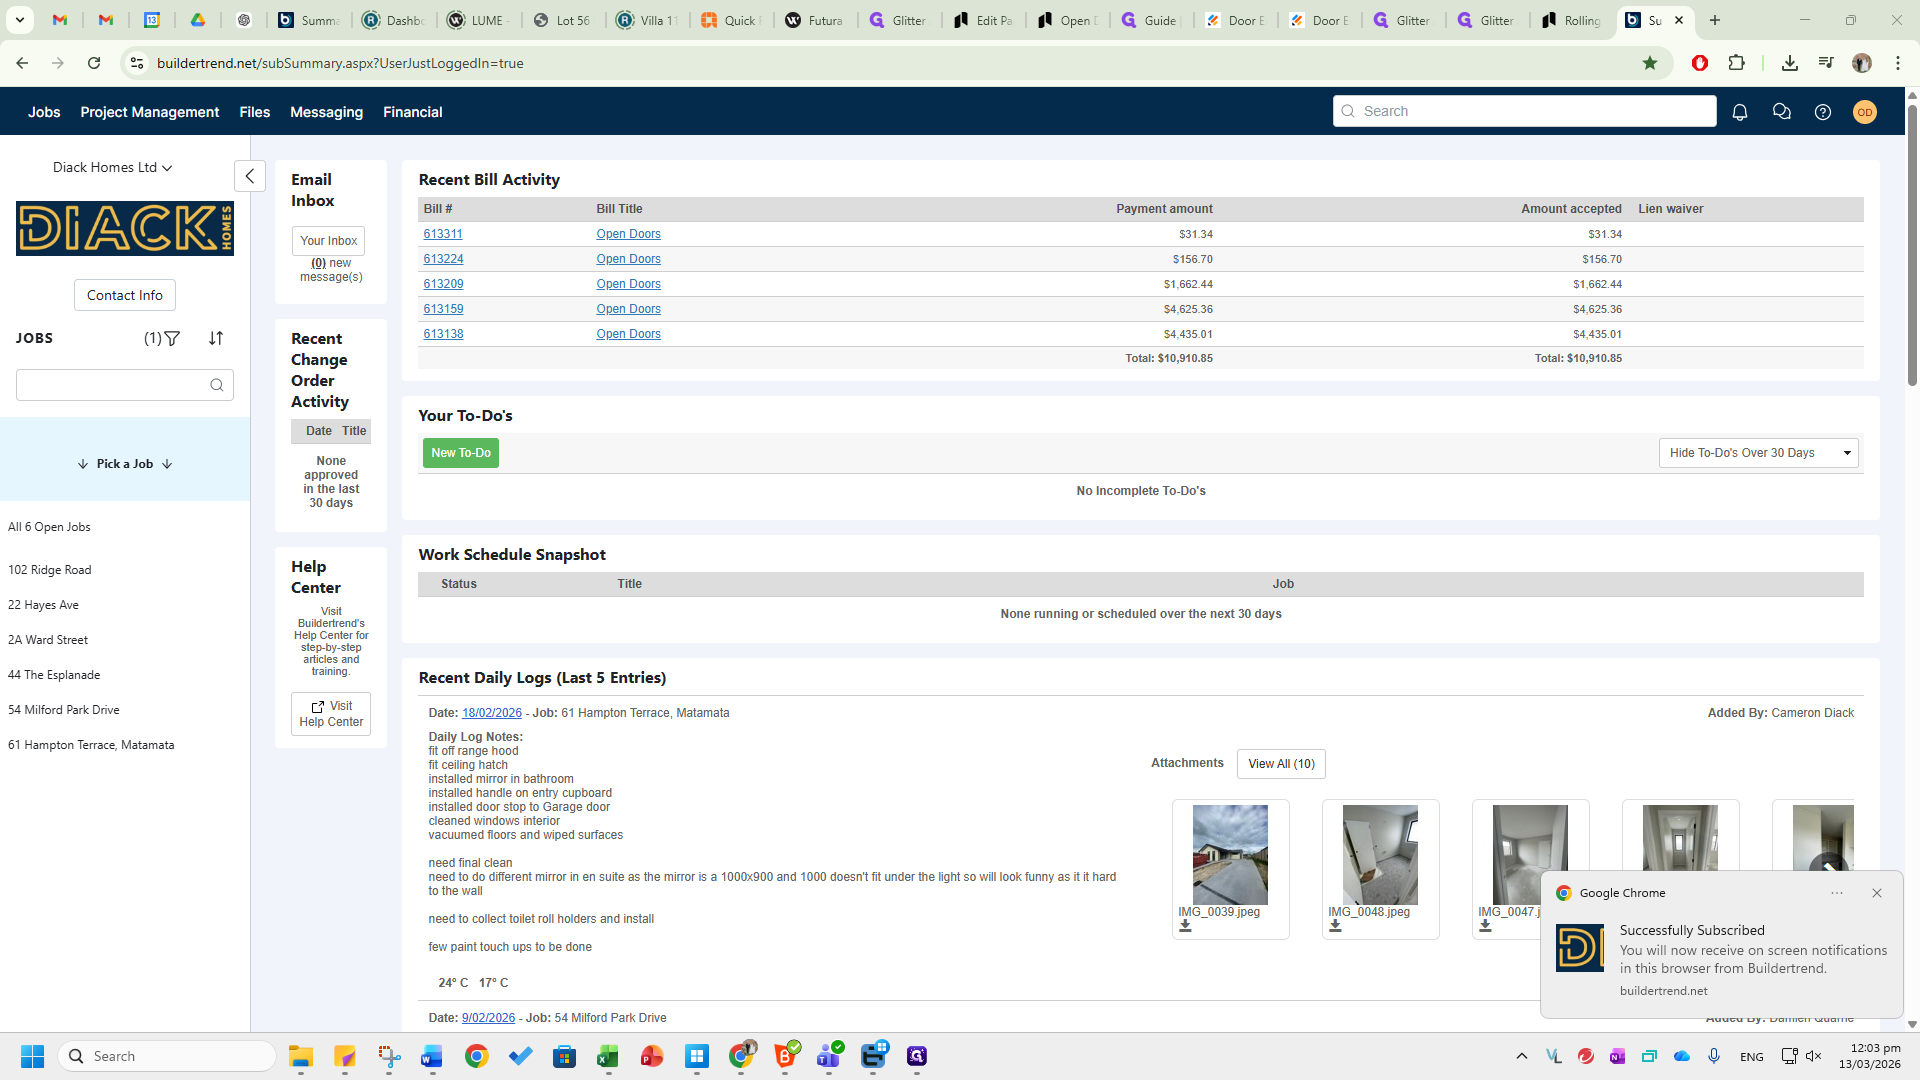
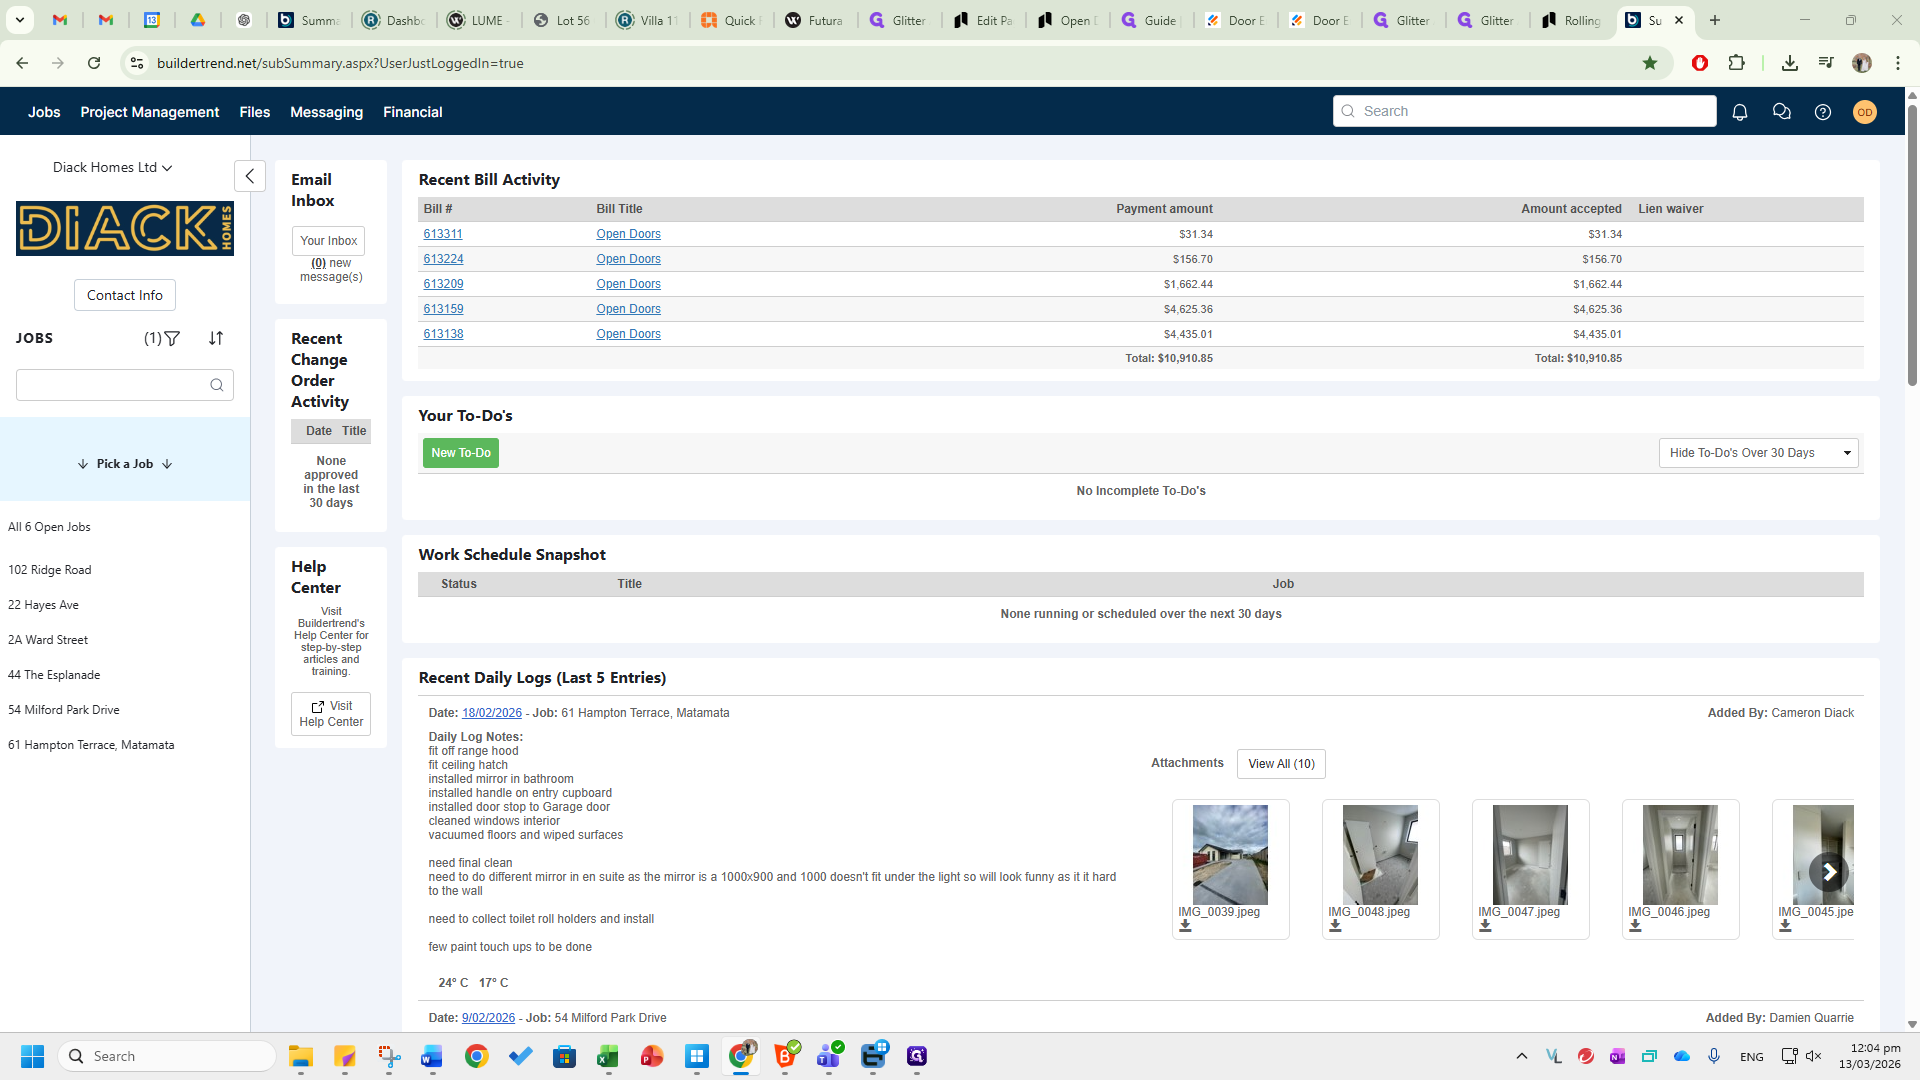
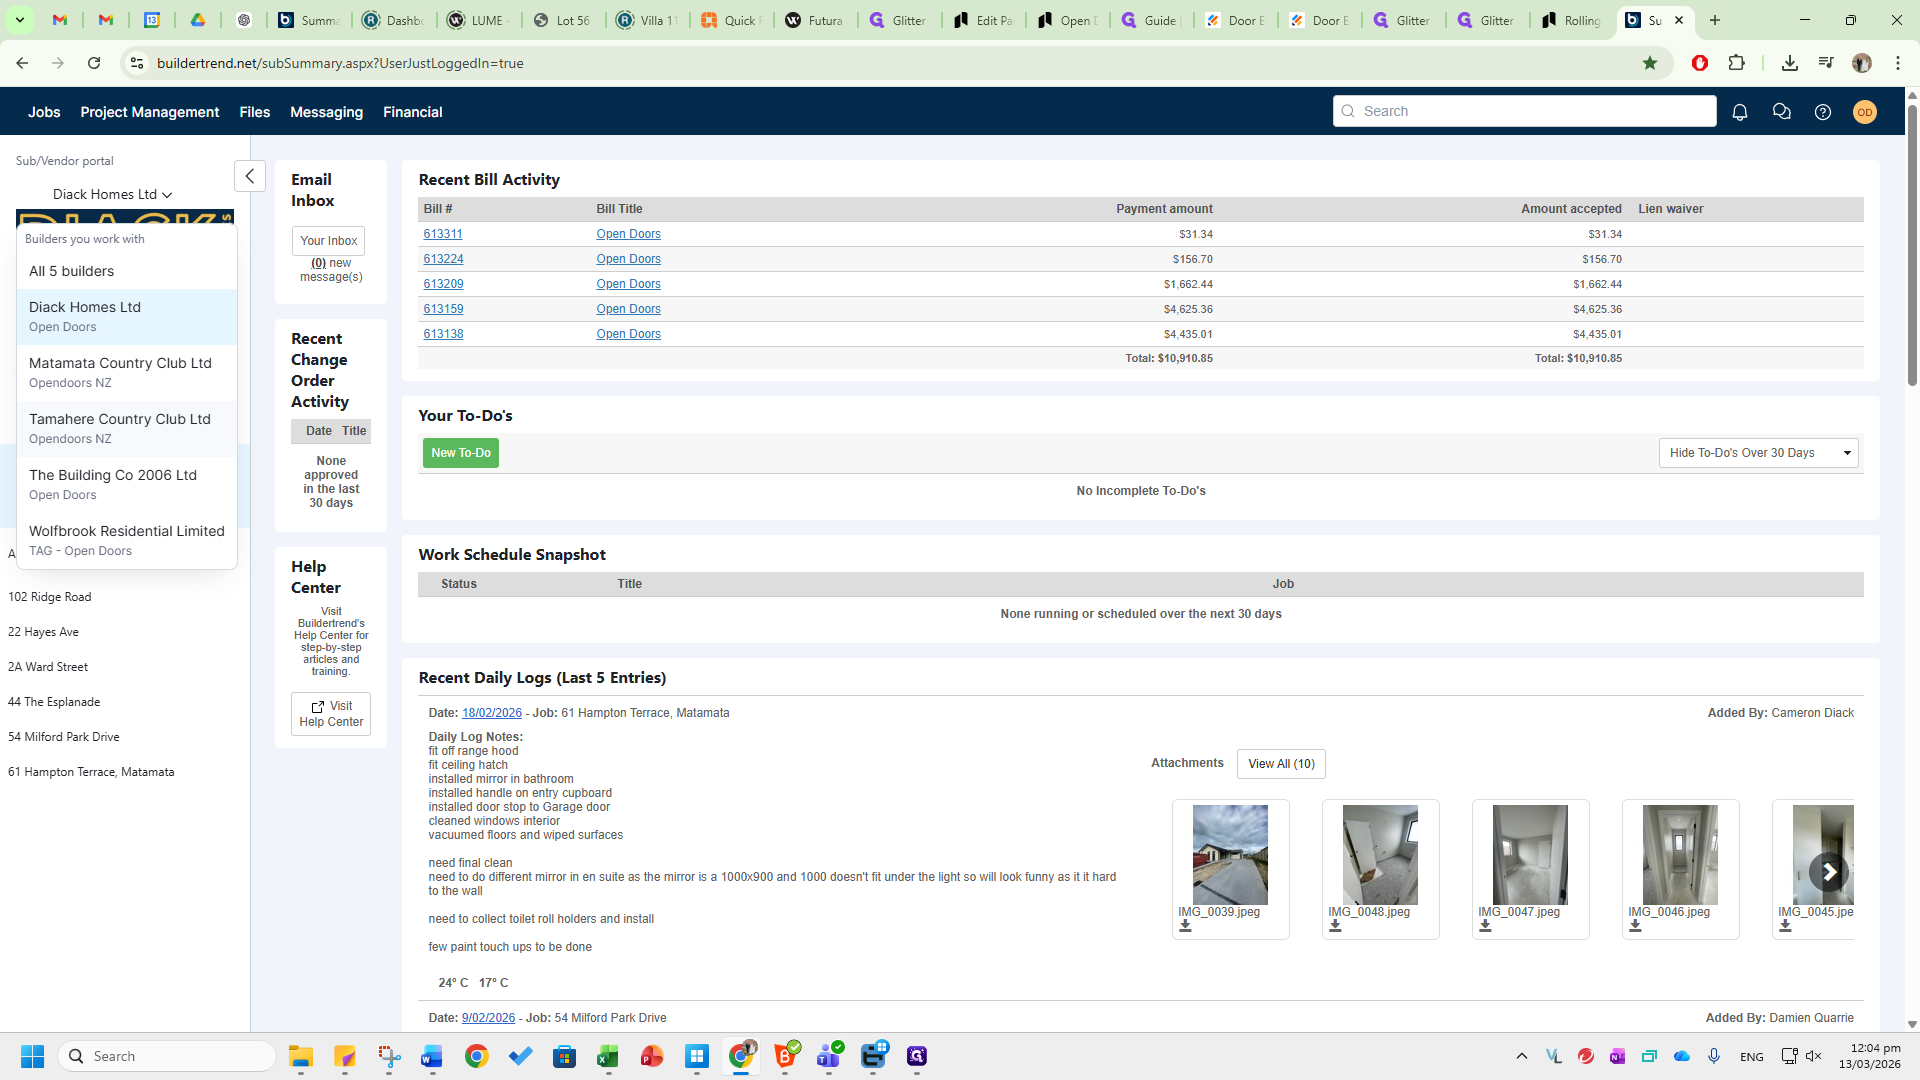
This SOP explains how to use Buildertrend and RaveBuild. Buildertrend and RaveBuild are scheduling tools used to view current delivery dates and site measure dates for existing customers. Buildertrend is used to submit tender requests and view existing and new jobs from our customers who use the platform. First, go to this tab and select the customer you want to view.
Click on Tamahari Country Club.
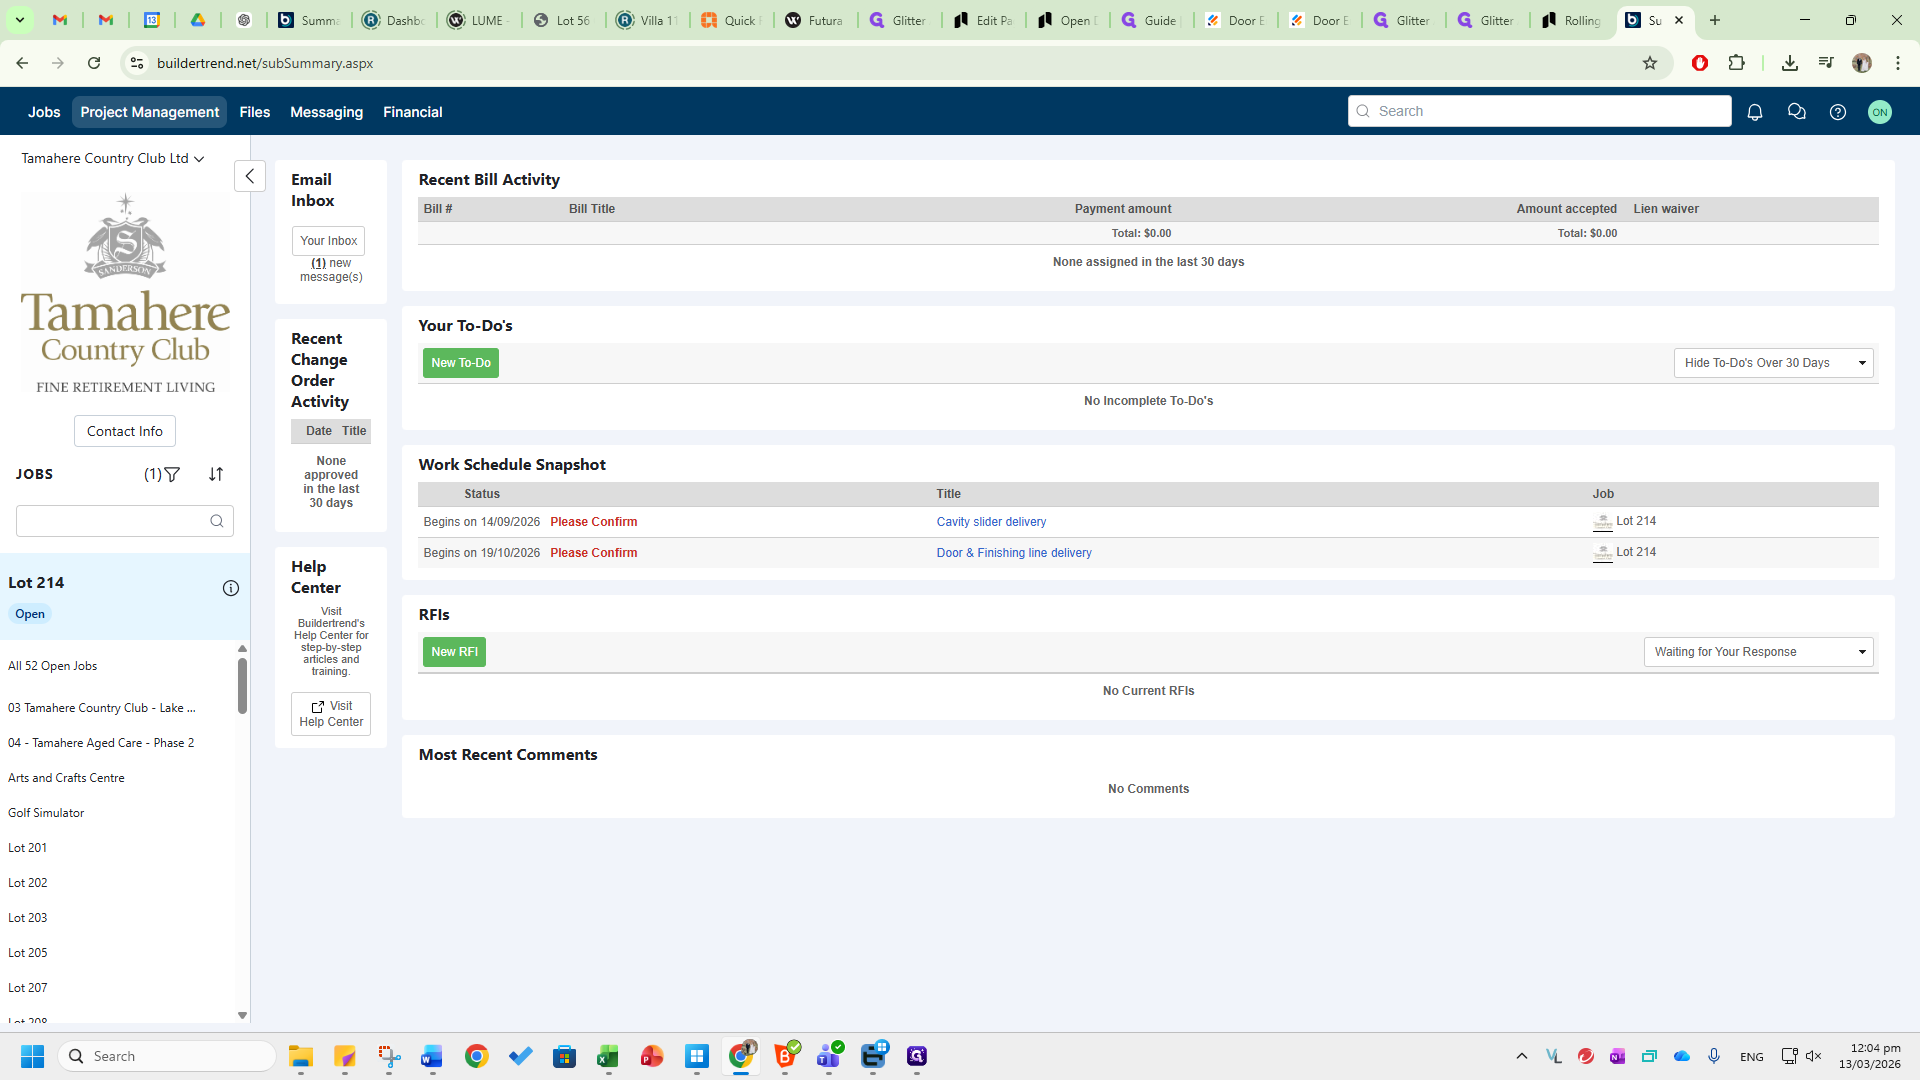
Here, you will see a list of all current lots or villas. Clicking on lot 214 will take you into that specific villa.

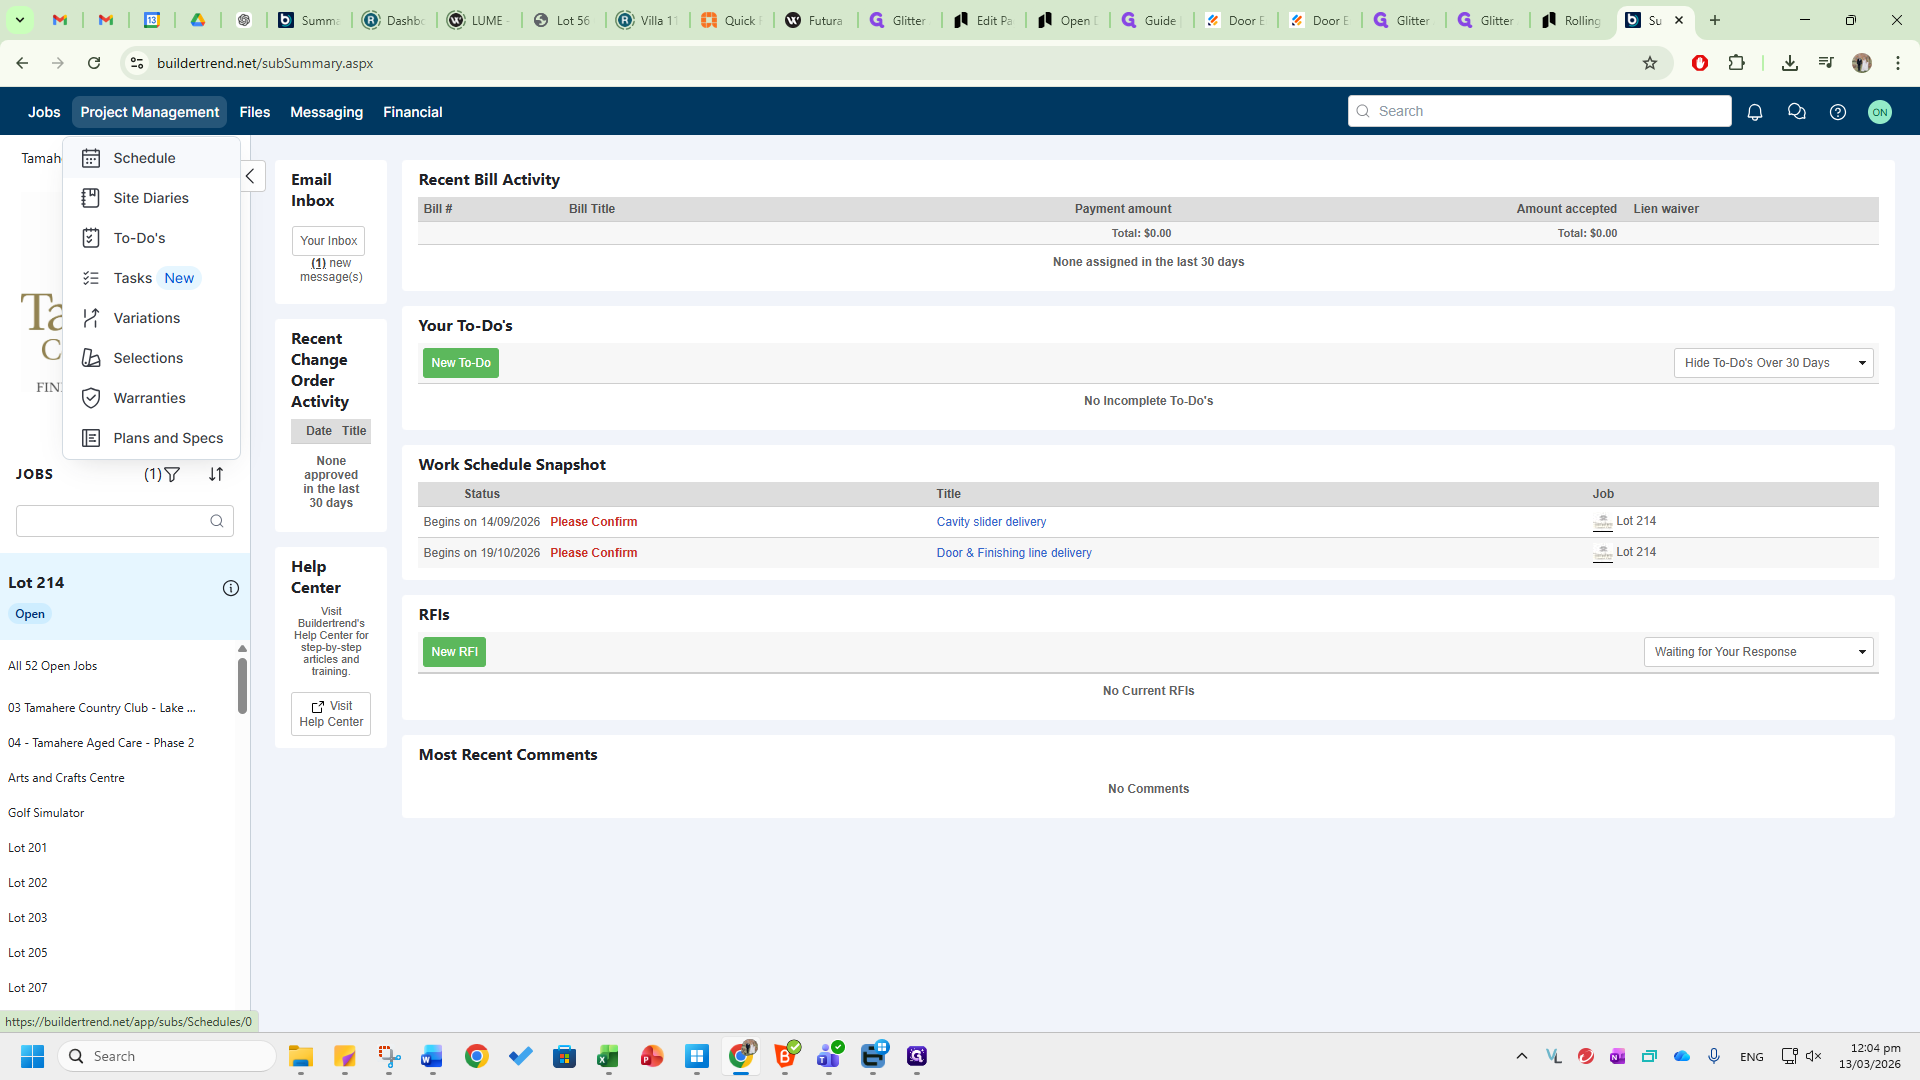
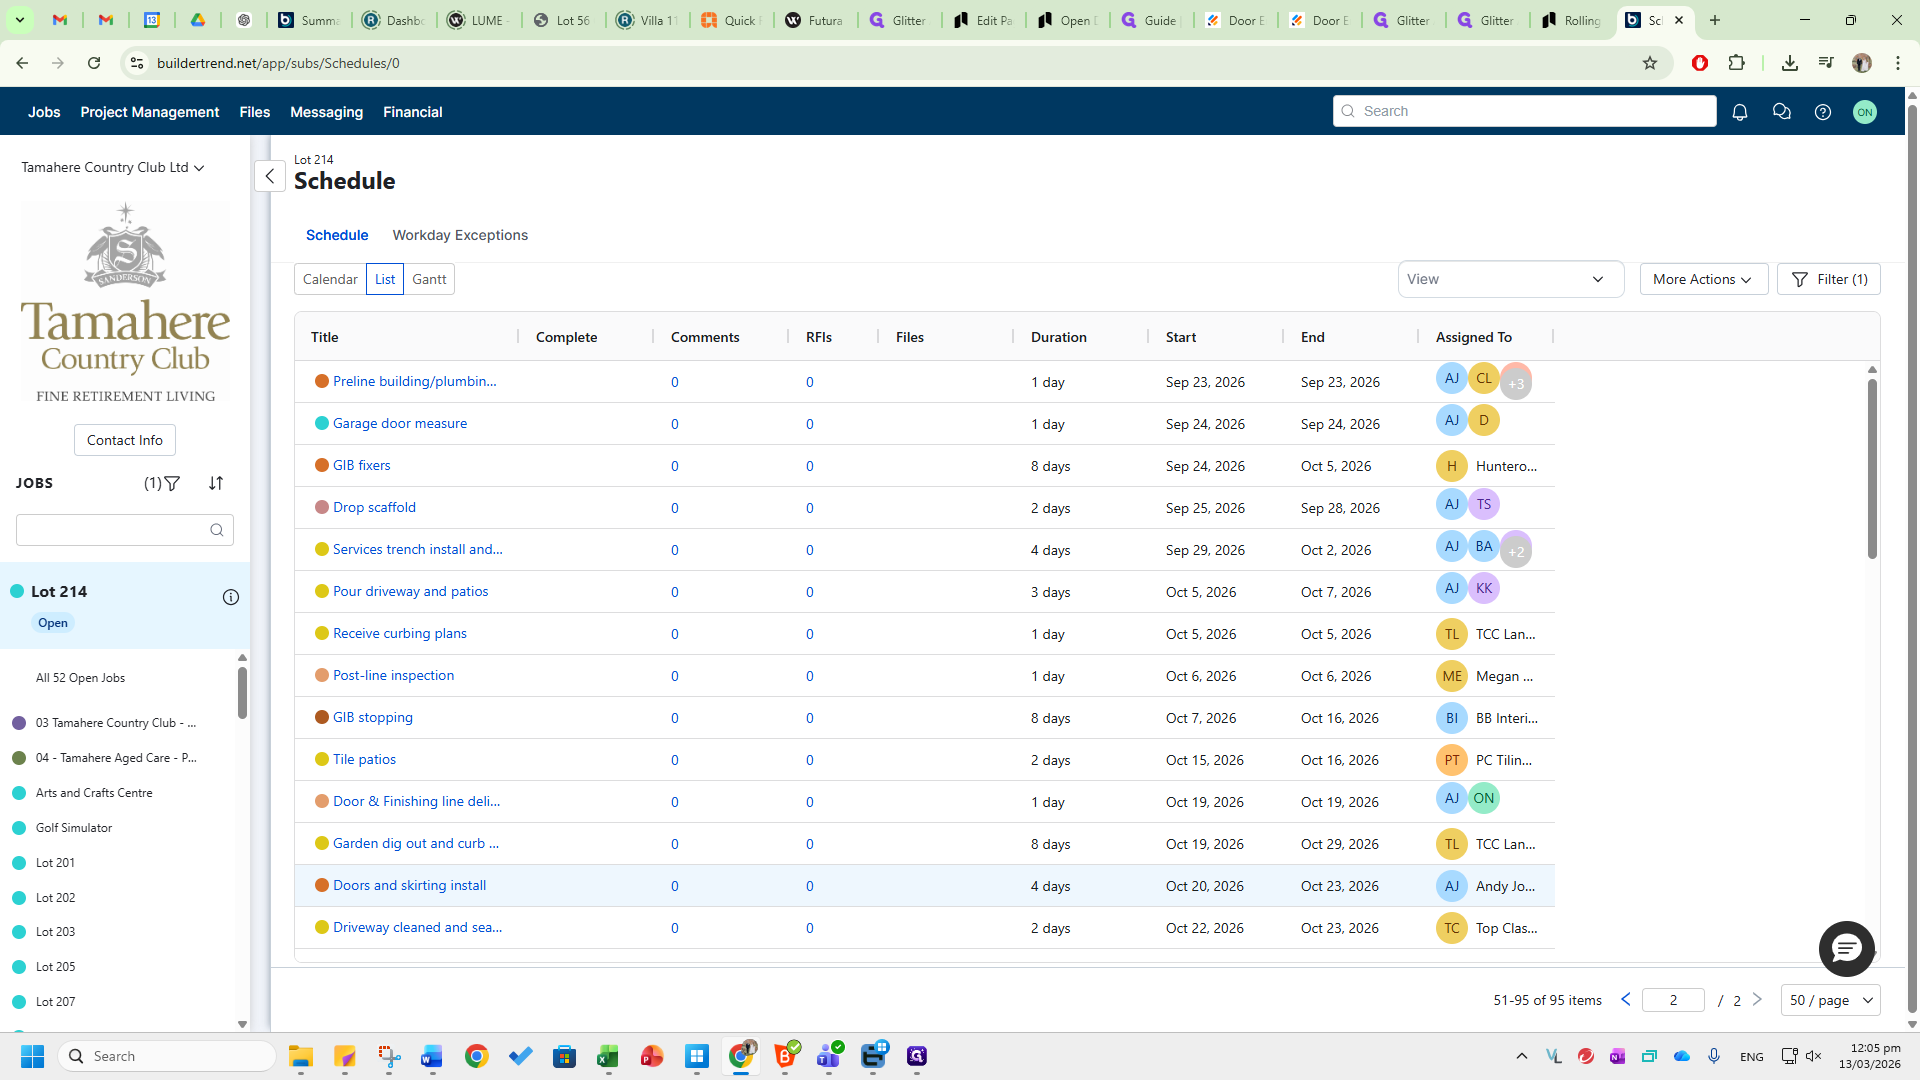
Go to Project Management and select Schedule to open the current schedule.
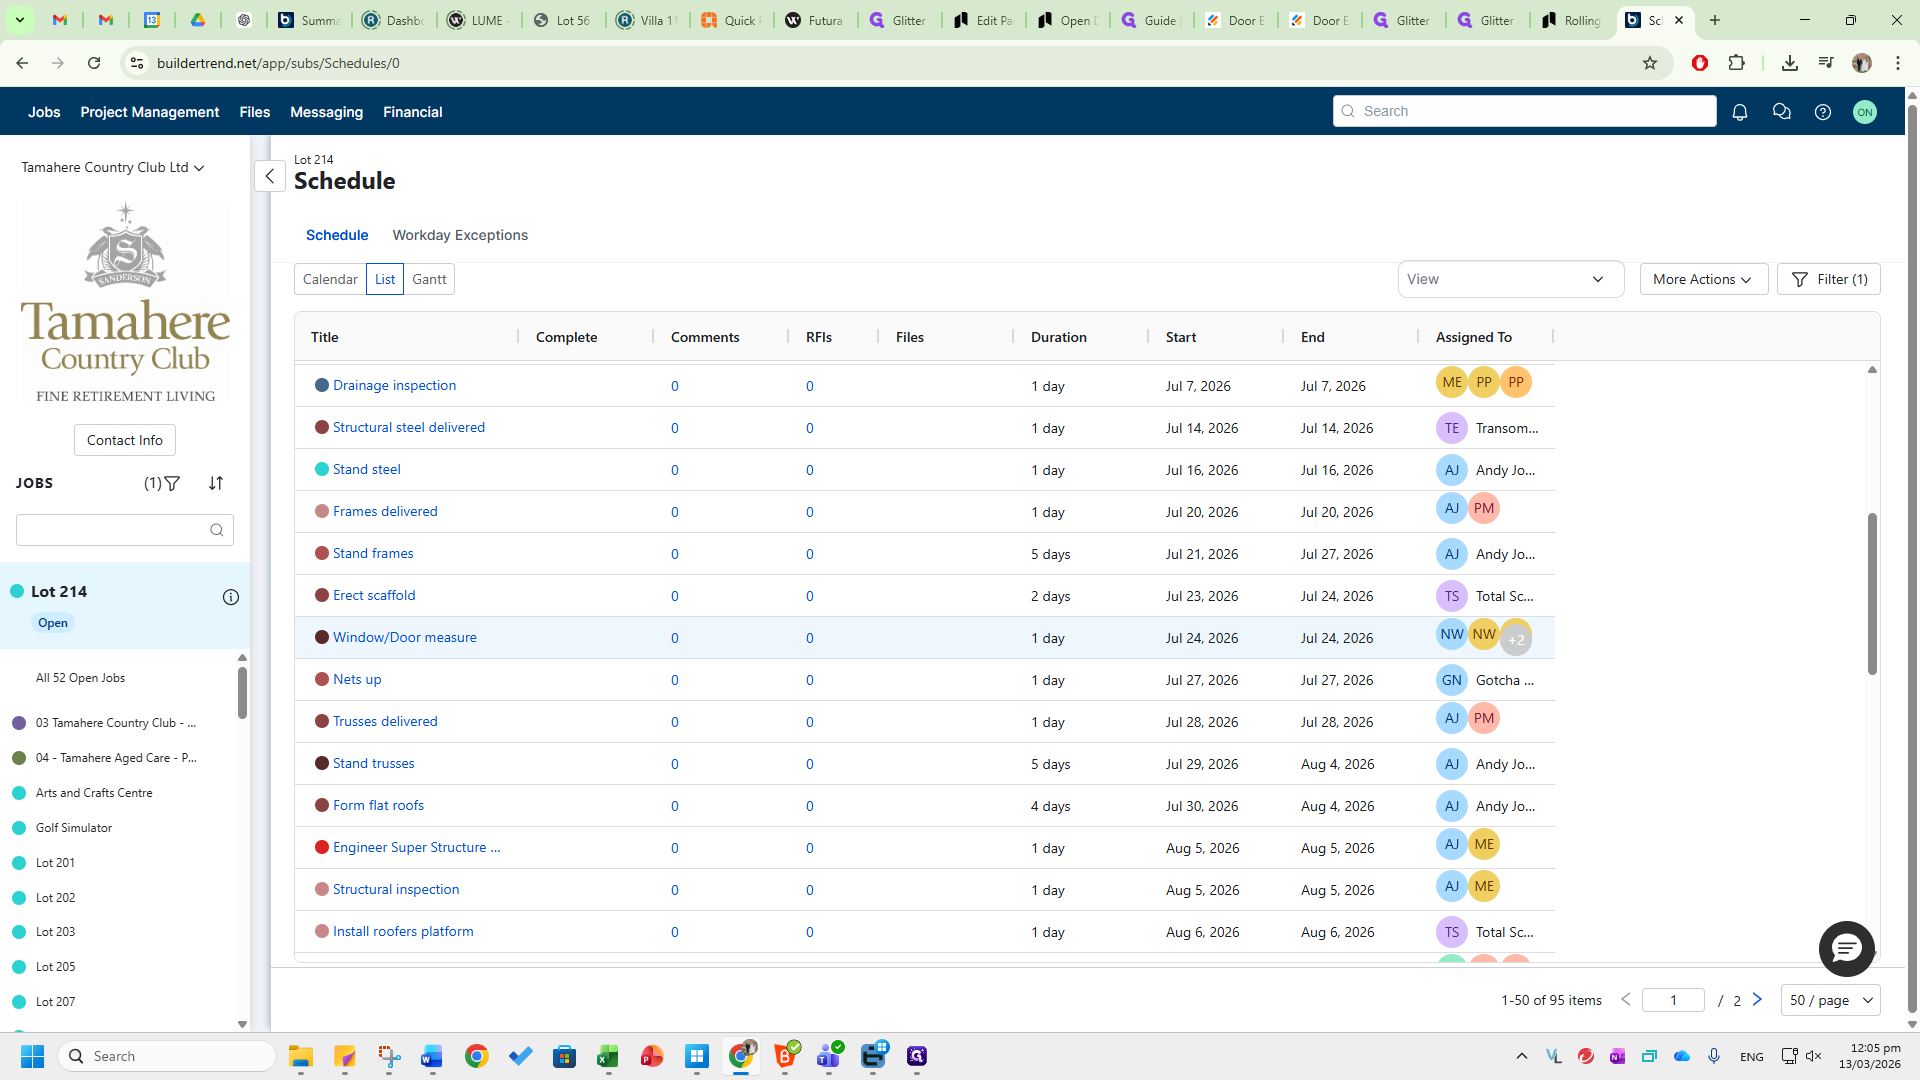
Scroll down. You will see window and door measurements on July 24th, 2026.
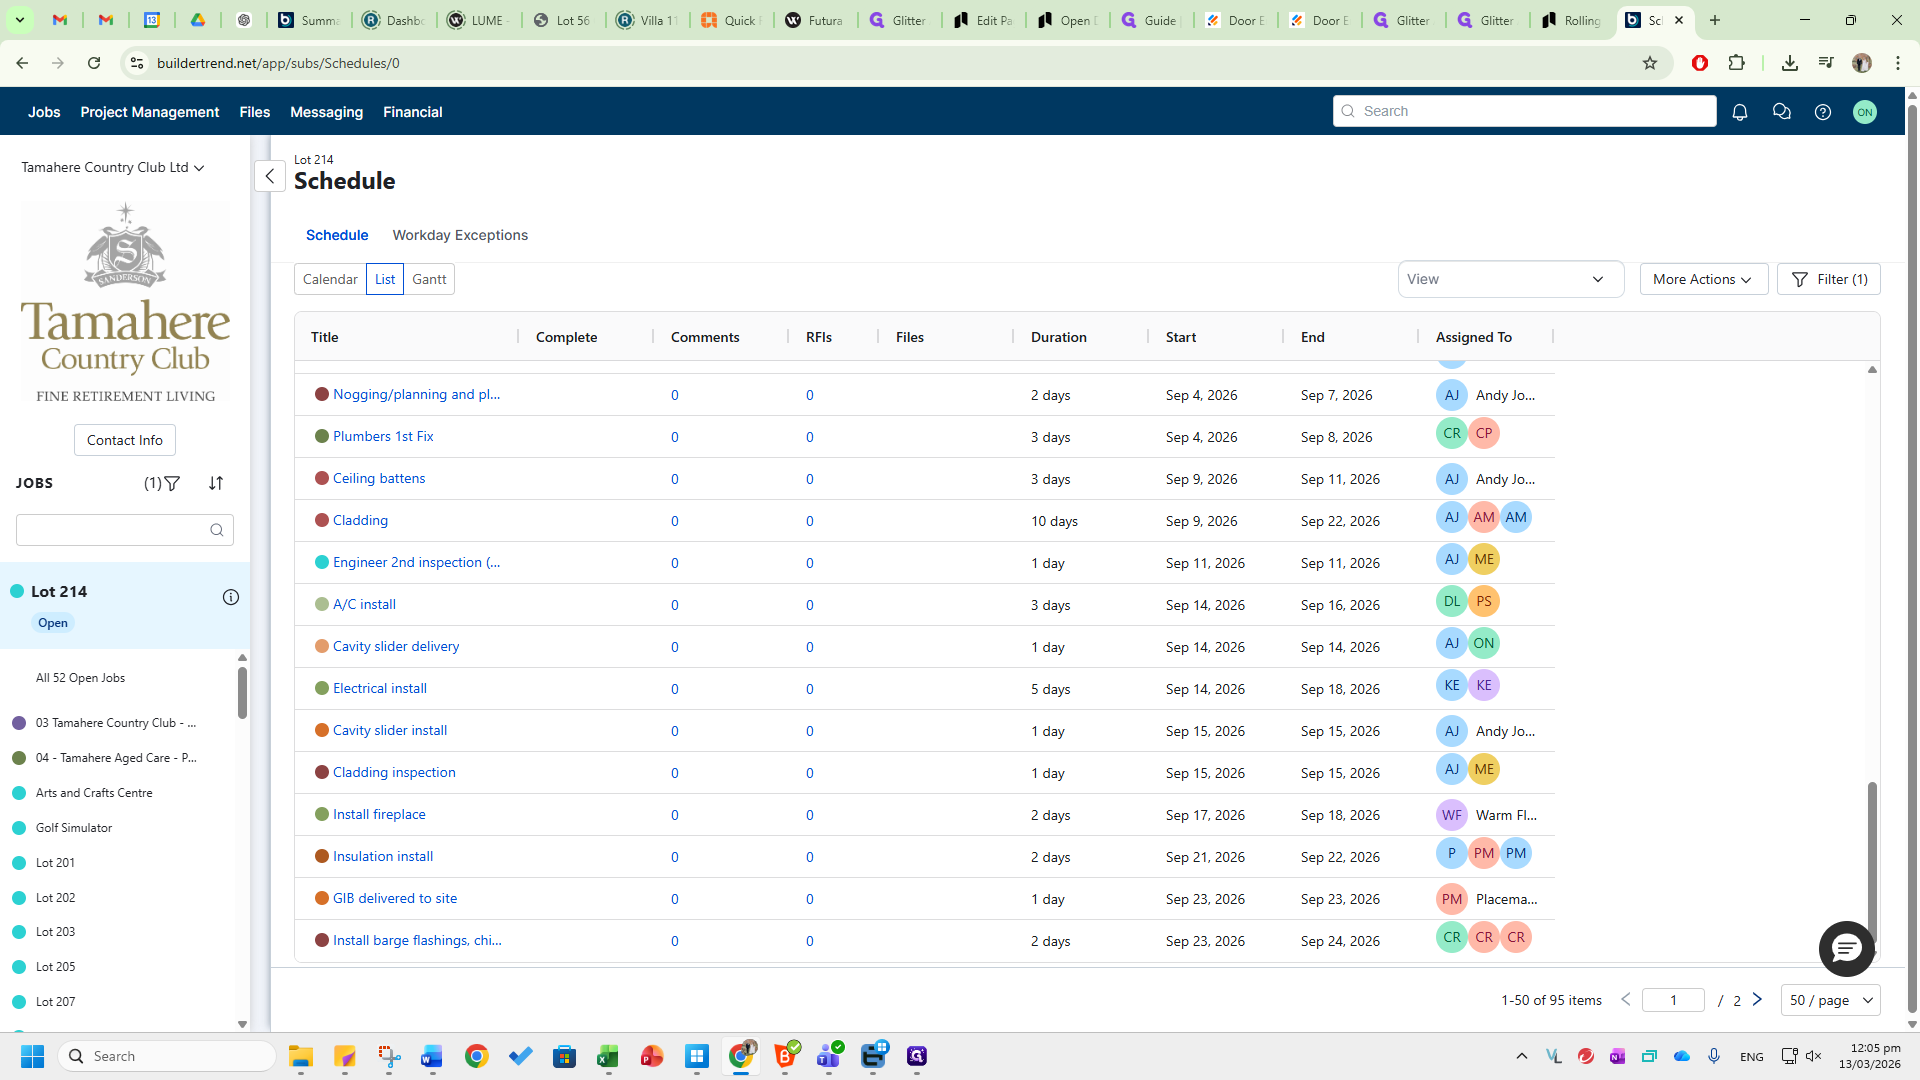
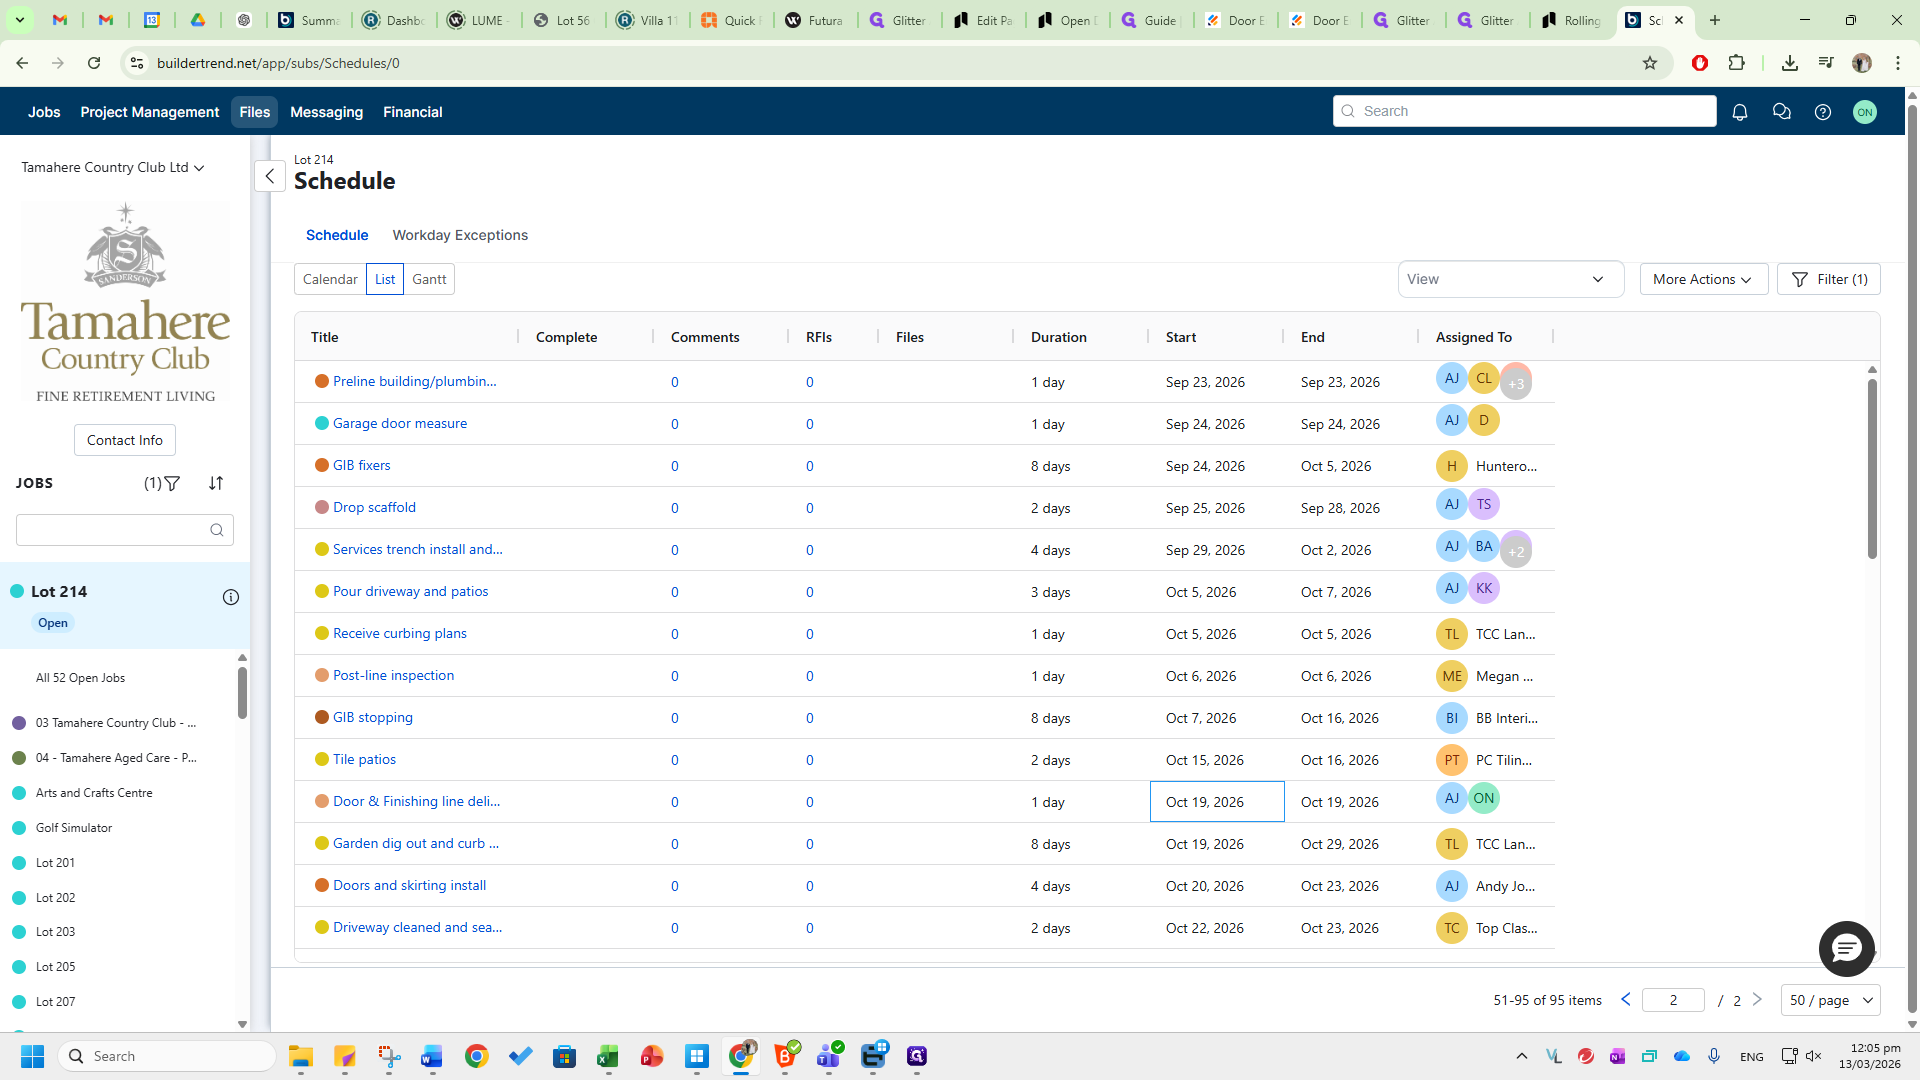
If you scroll further, the cavity slider is scheduled for delivery on September 14th, 2026. Go to the bottom right-hand side and click on Page 2. You will see the door and skirting installation scheduled for October 20, 2026, and the delivery set for October 19.

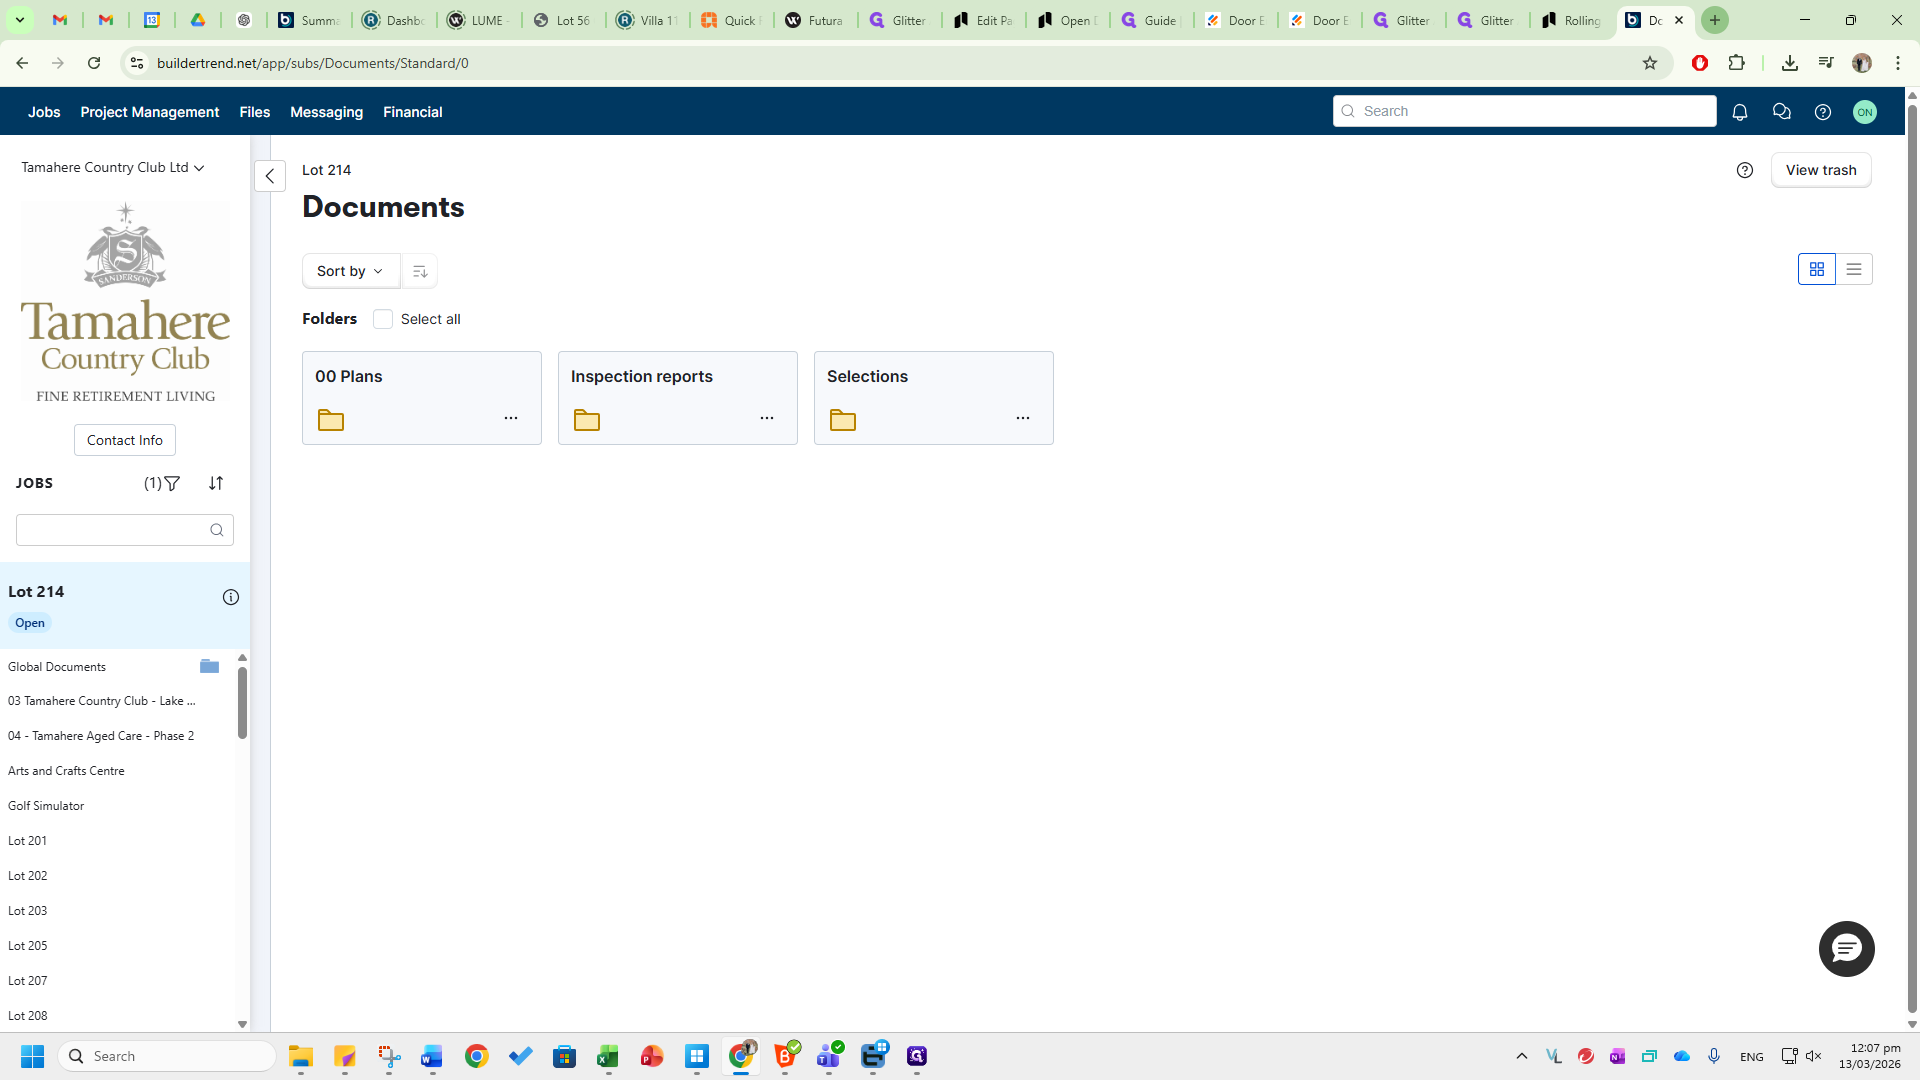
These are the dates we will use in Jim, the platform. They serve as references for site measures, internal door deliveries, and cavity slider delivery. Go to the Files tab and click on Documents.
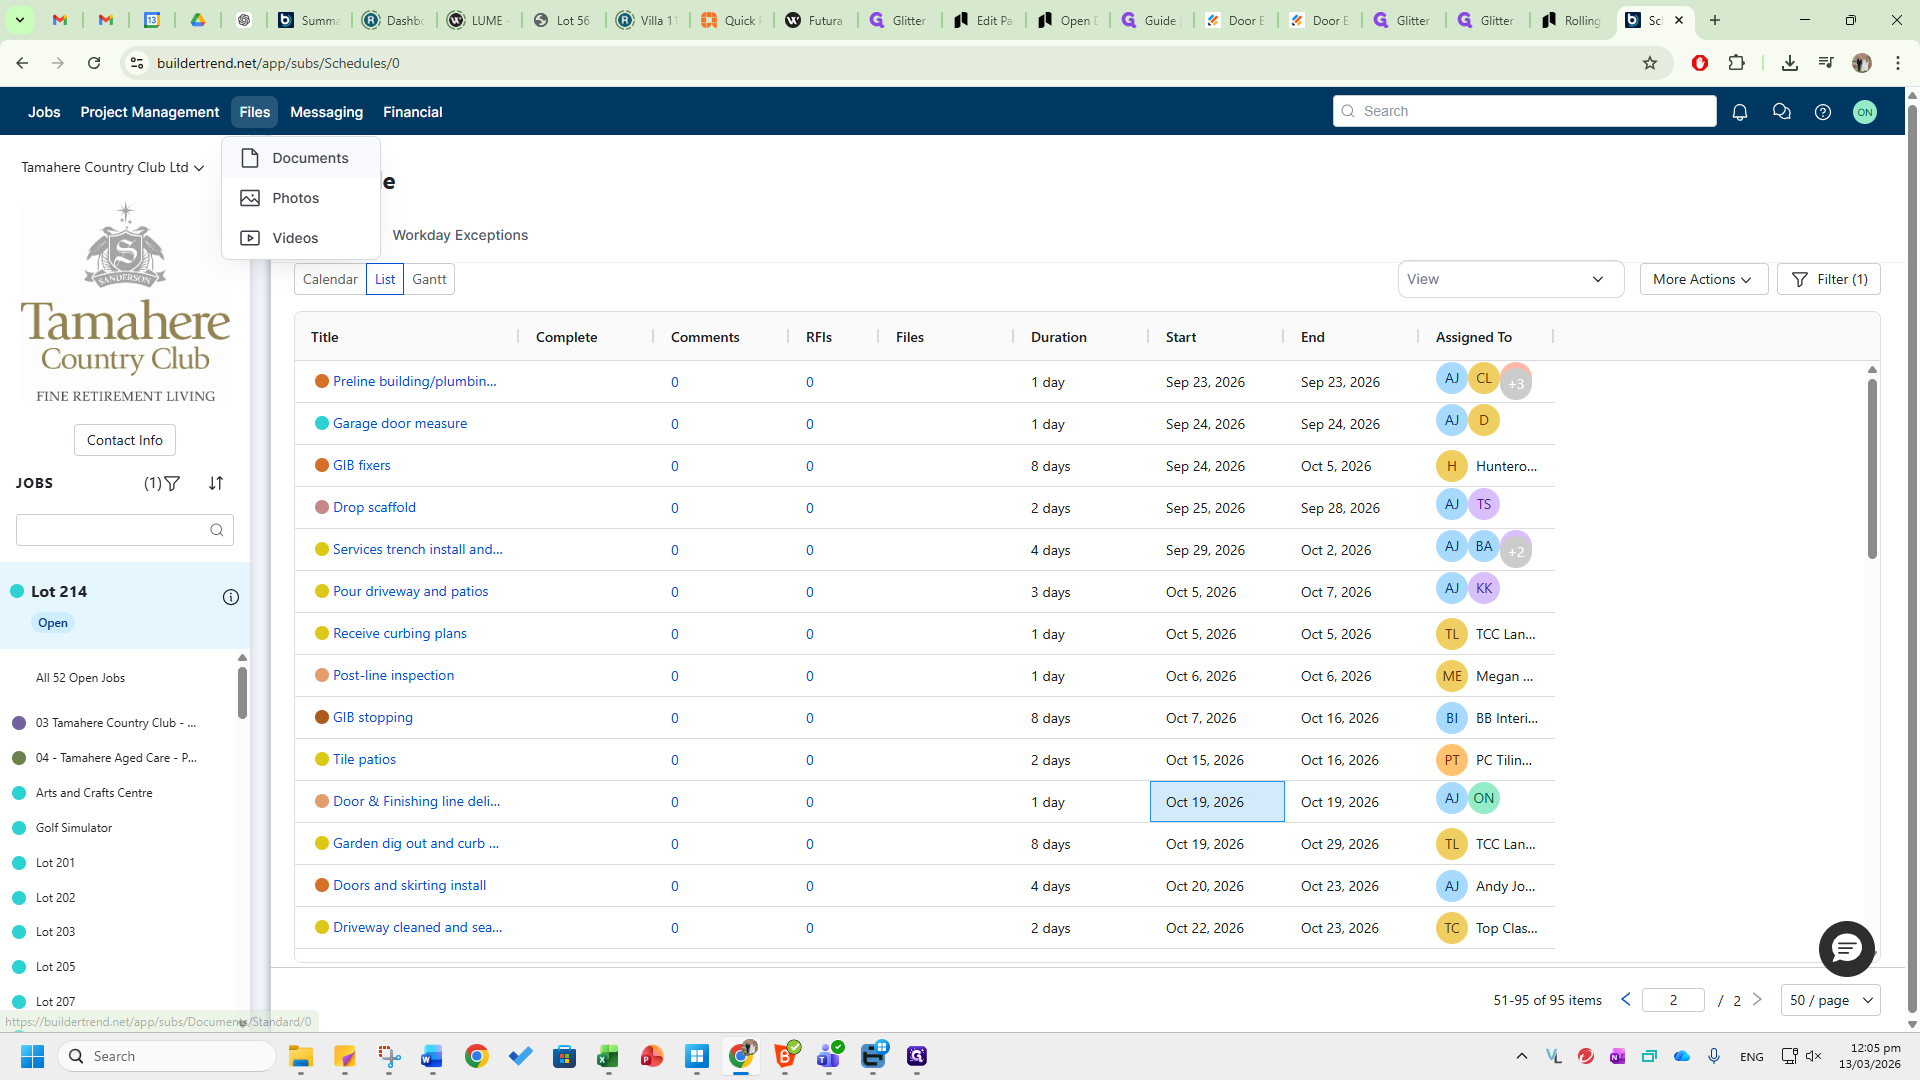
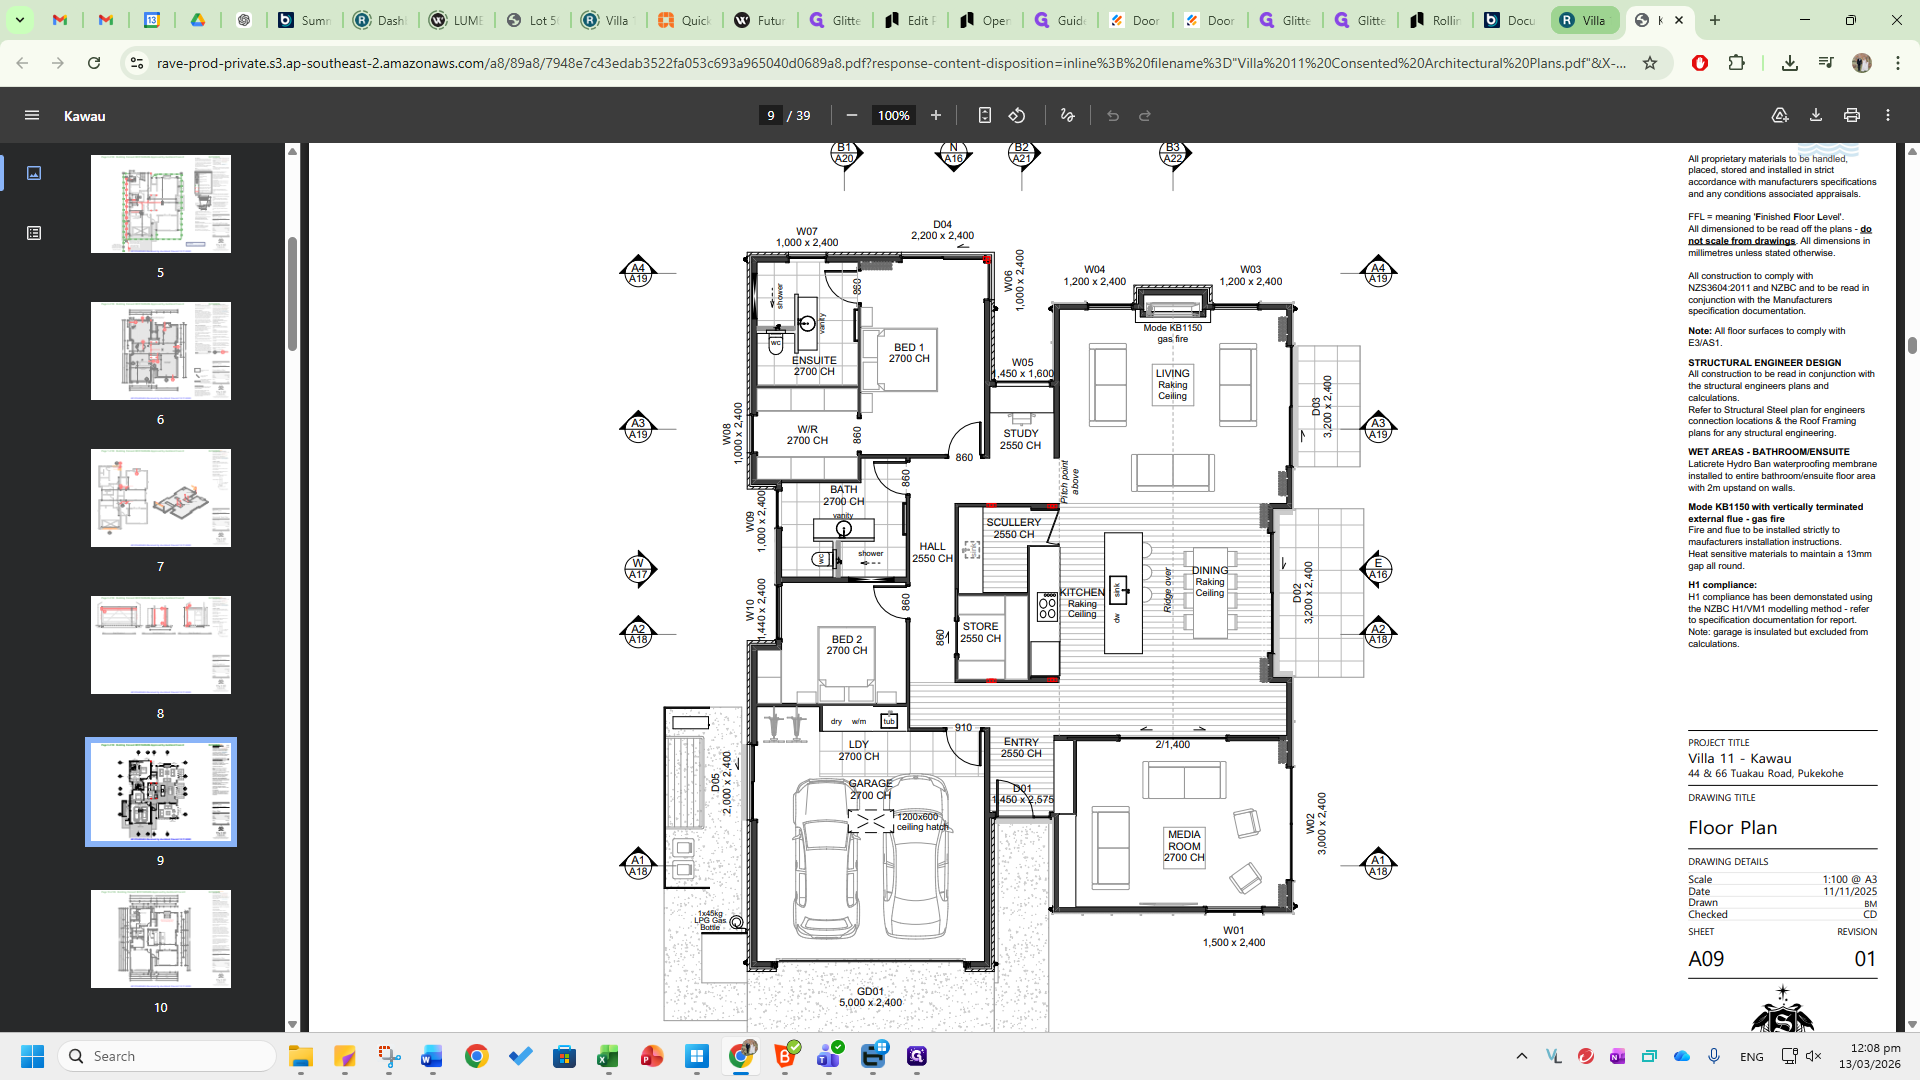
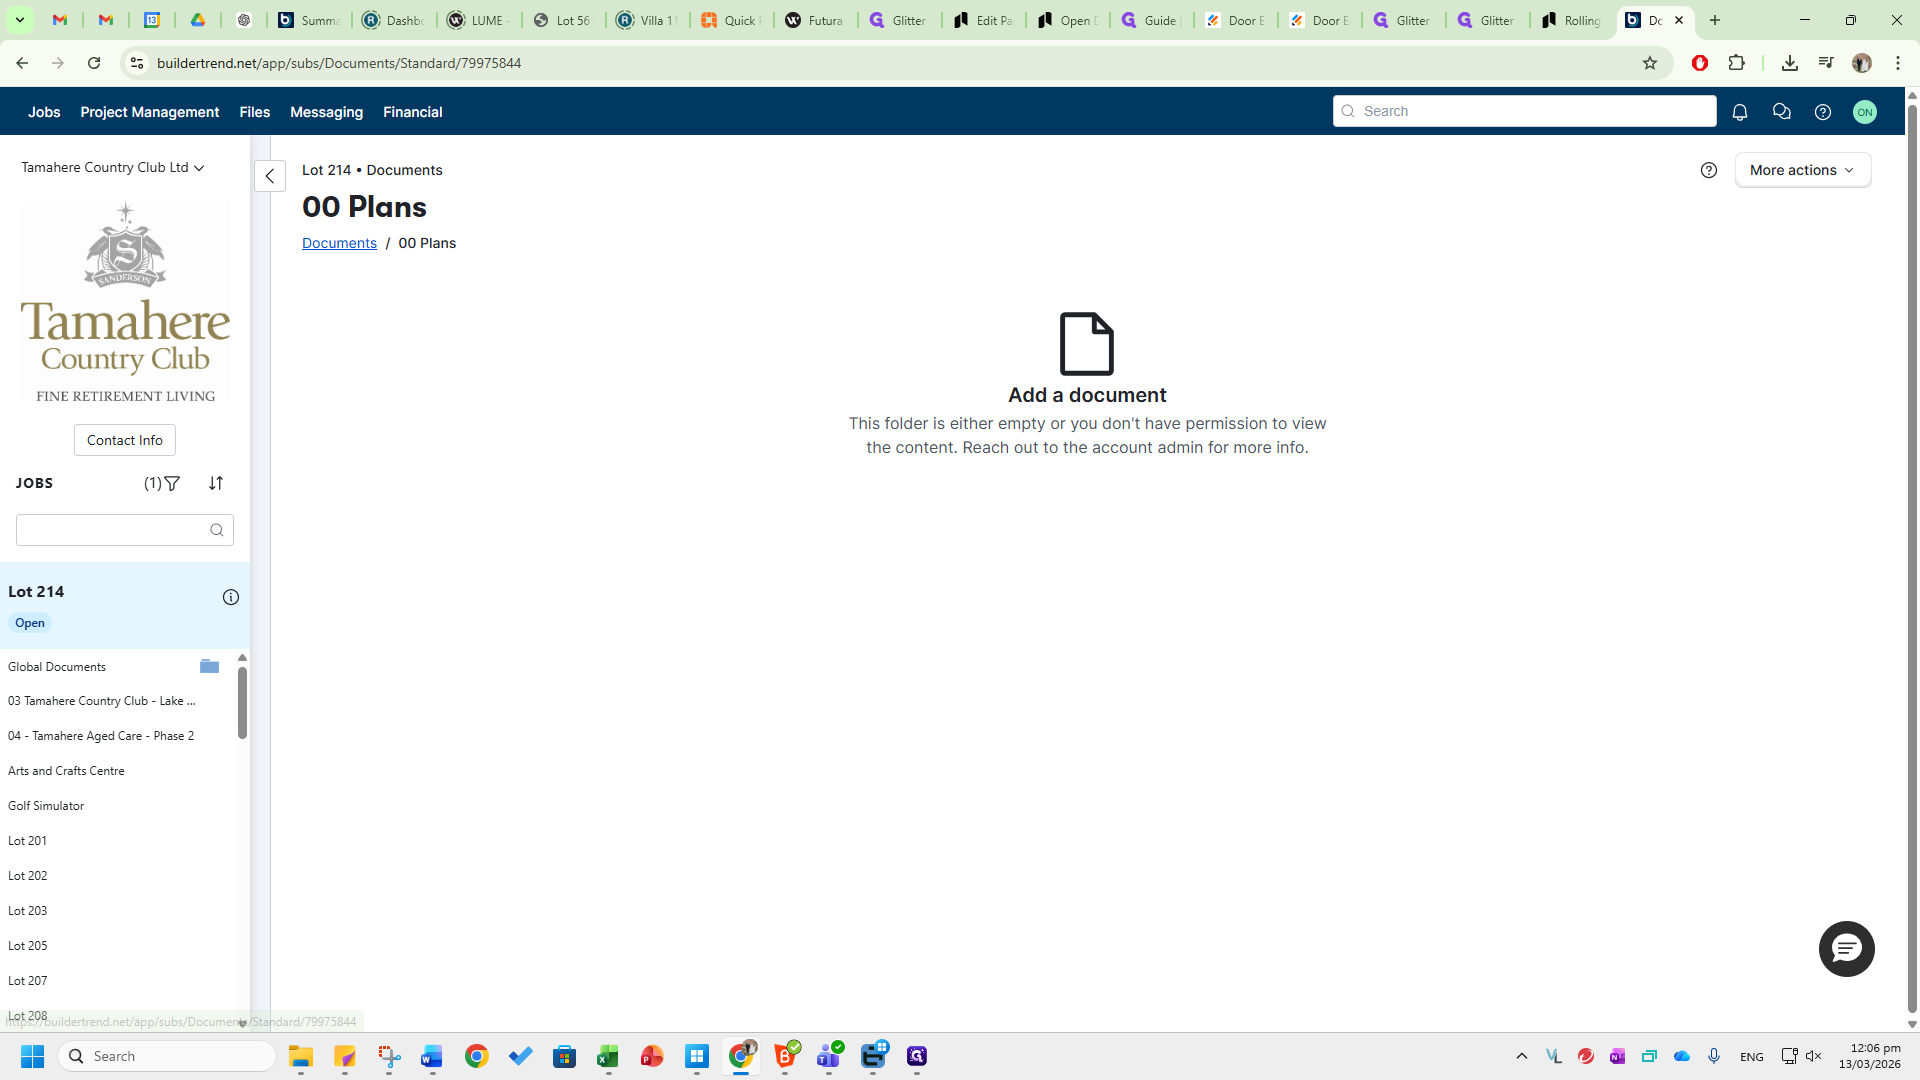
Here, you will see all existing and upcoming documents available for this specific villa. Click on Plans to view the architectural plans. If they have not been consented yet, they will not be uploaded yet. Once you click on this, you will see the plans available for Villa 214.
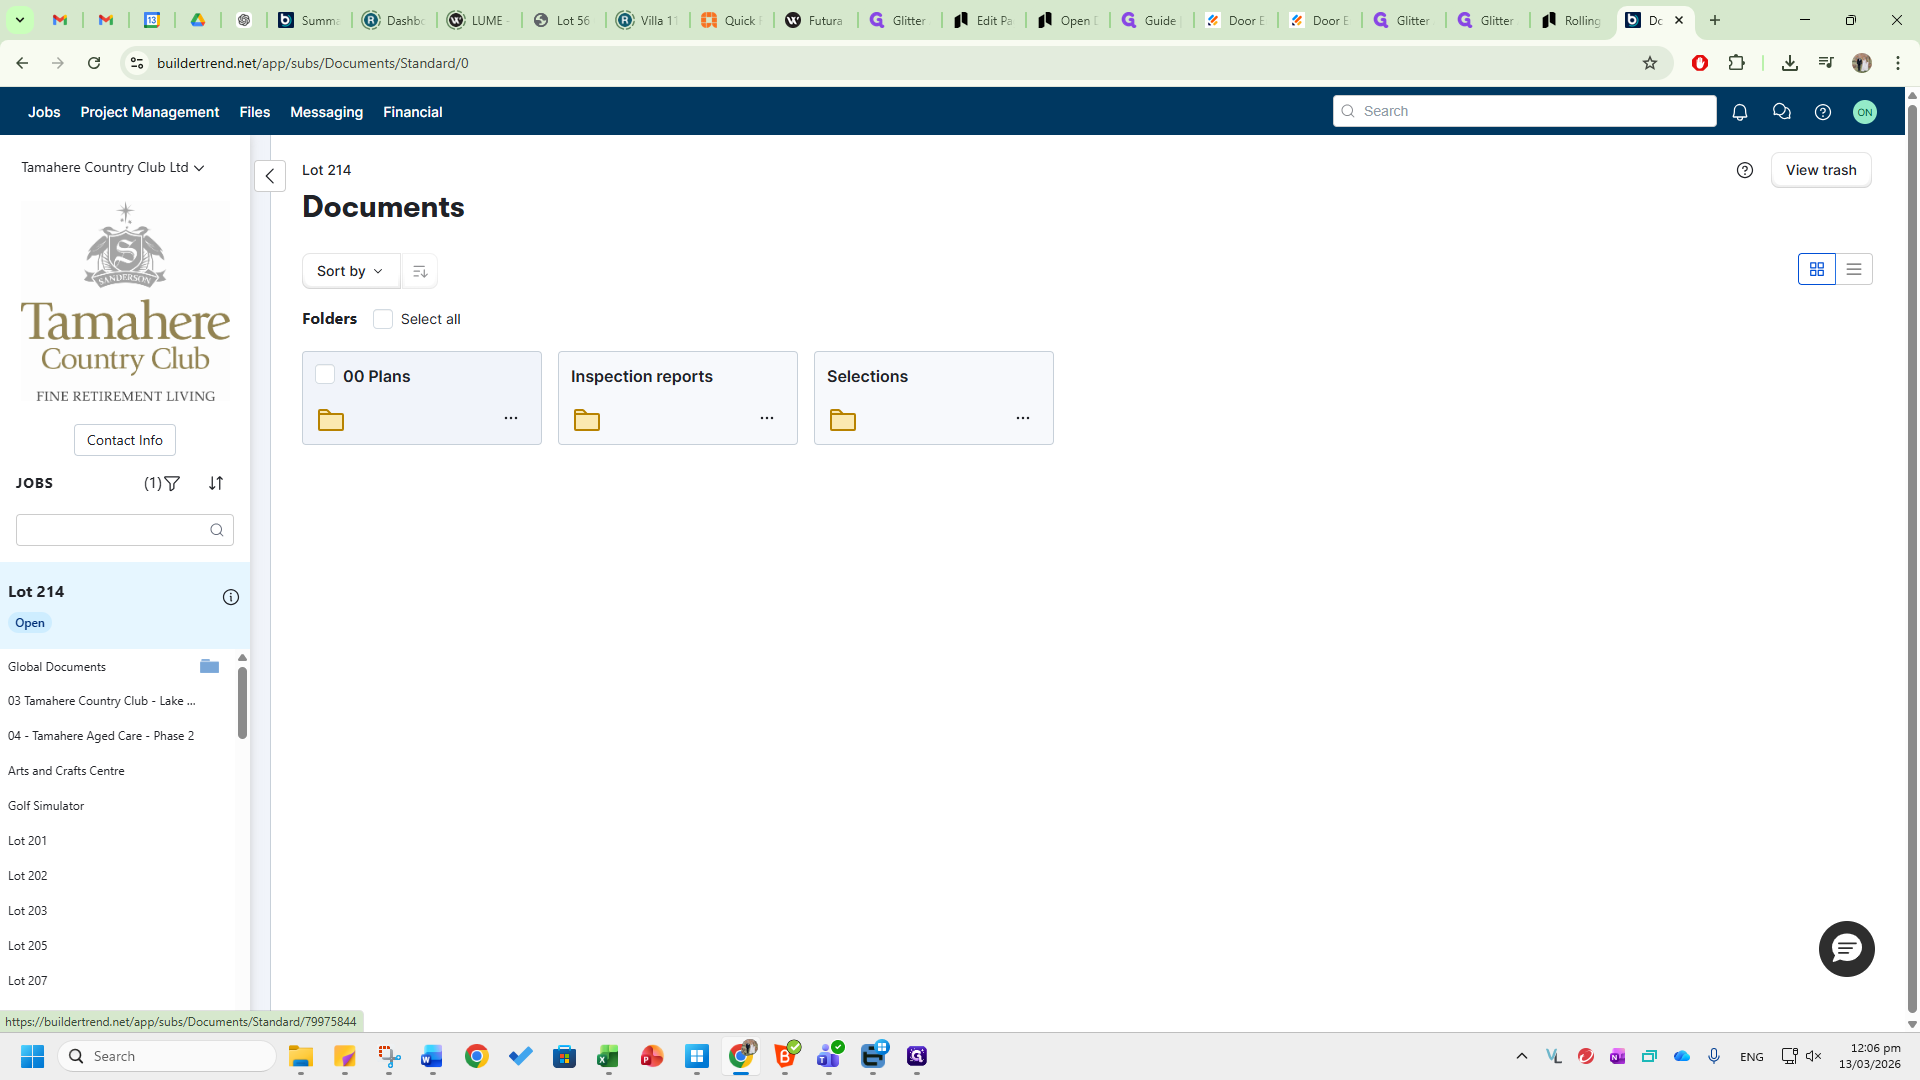
The plans have not been approved yet, so the documents are not included.
The client selections and the plan to support those selections, shown as a colored flooring plan, will be in the Selections tab. Please note that the selections and the plan to support these selections are always sent by the TCC representative to sales@opendoors.co.nz. Updates to the schedule for specific villas are automatically sent to our email addresses in Jim. You don't need to constantly monitor Buildertrend. You will be notified if there are any delivery date changes. Go to the RaveBuild dashboard.
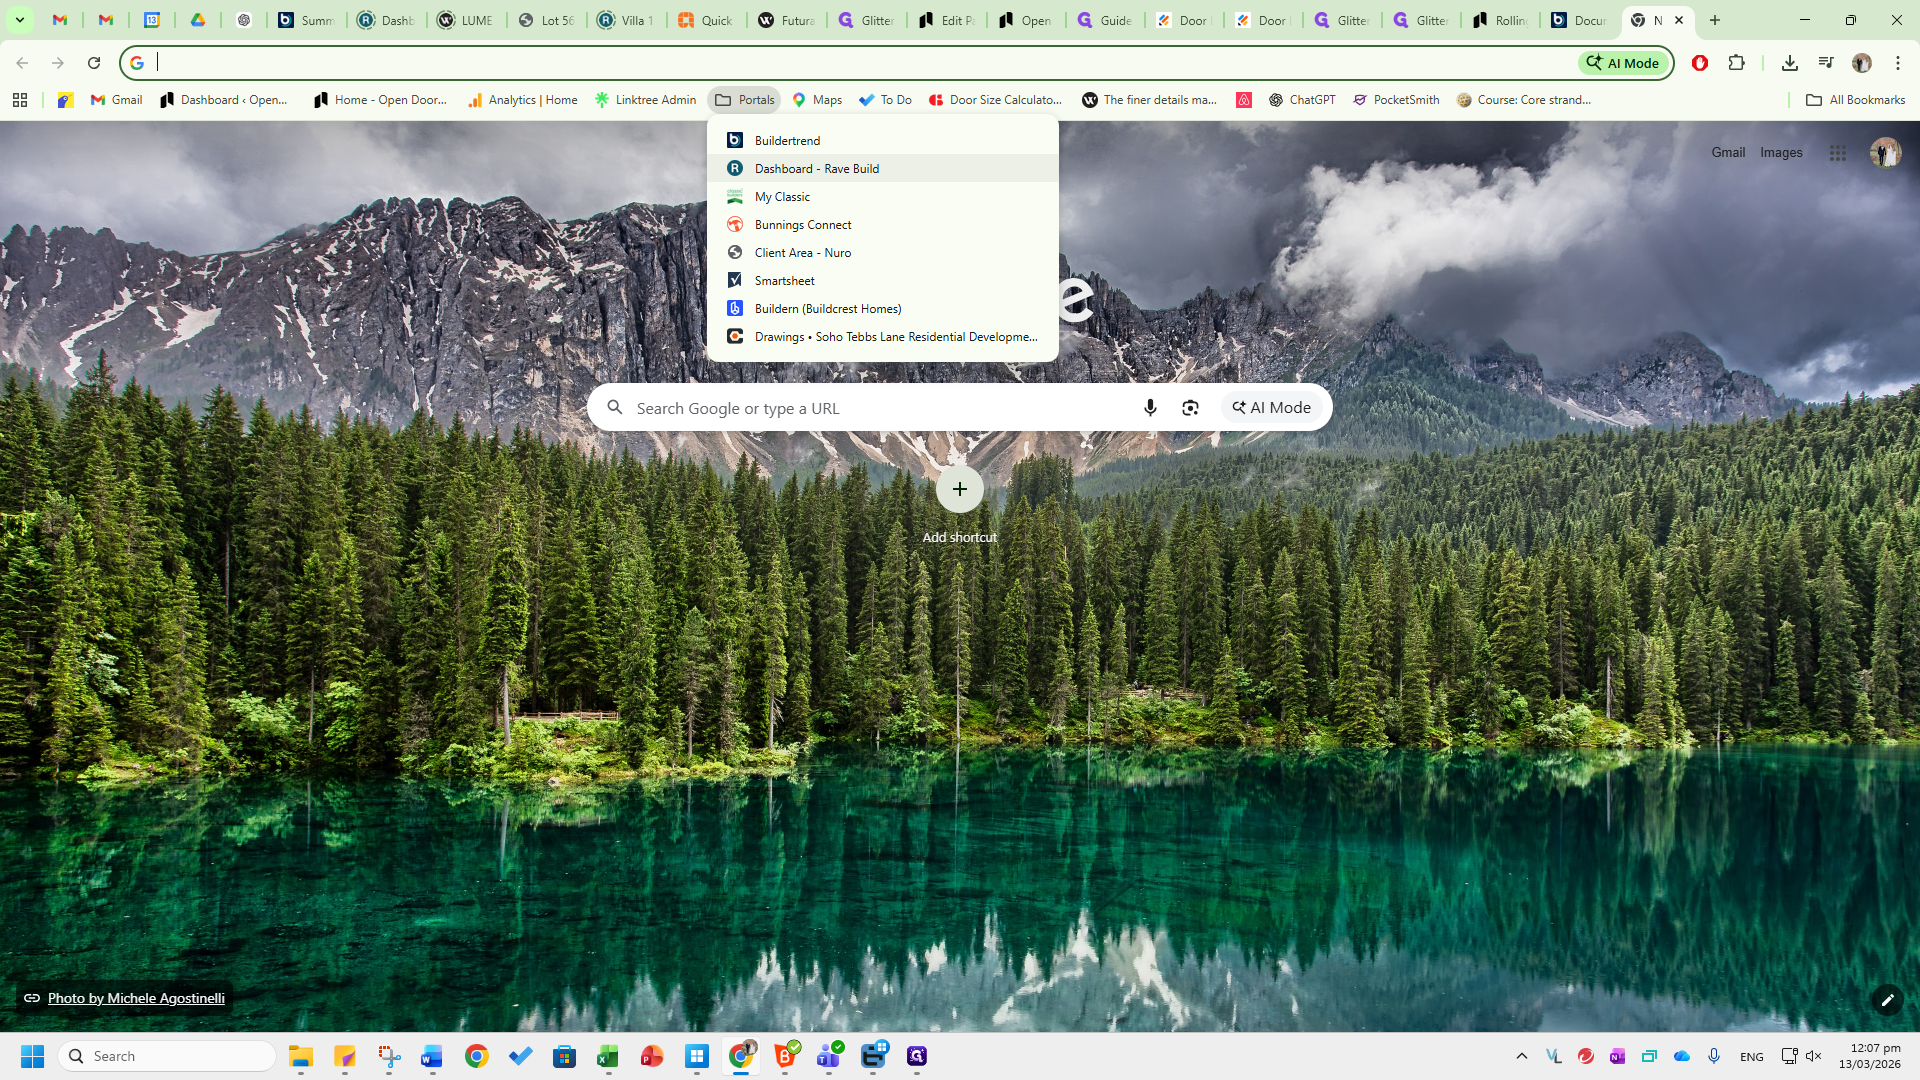
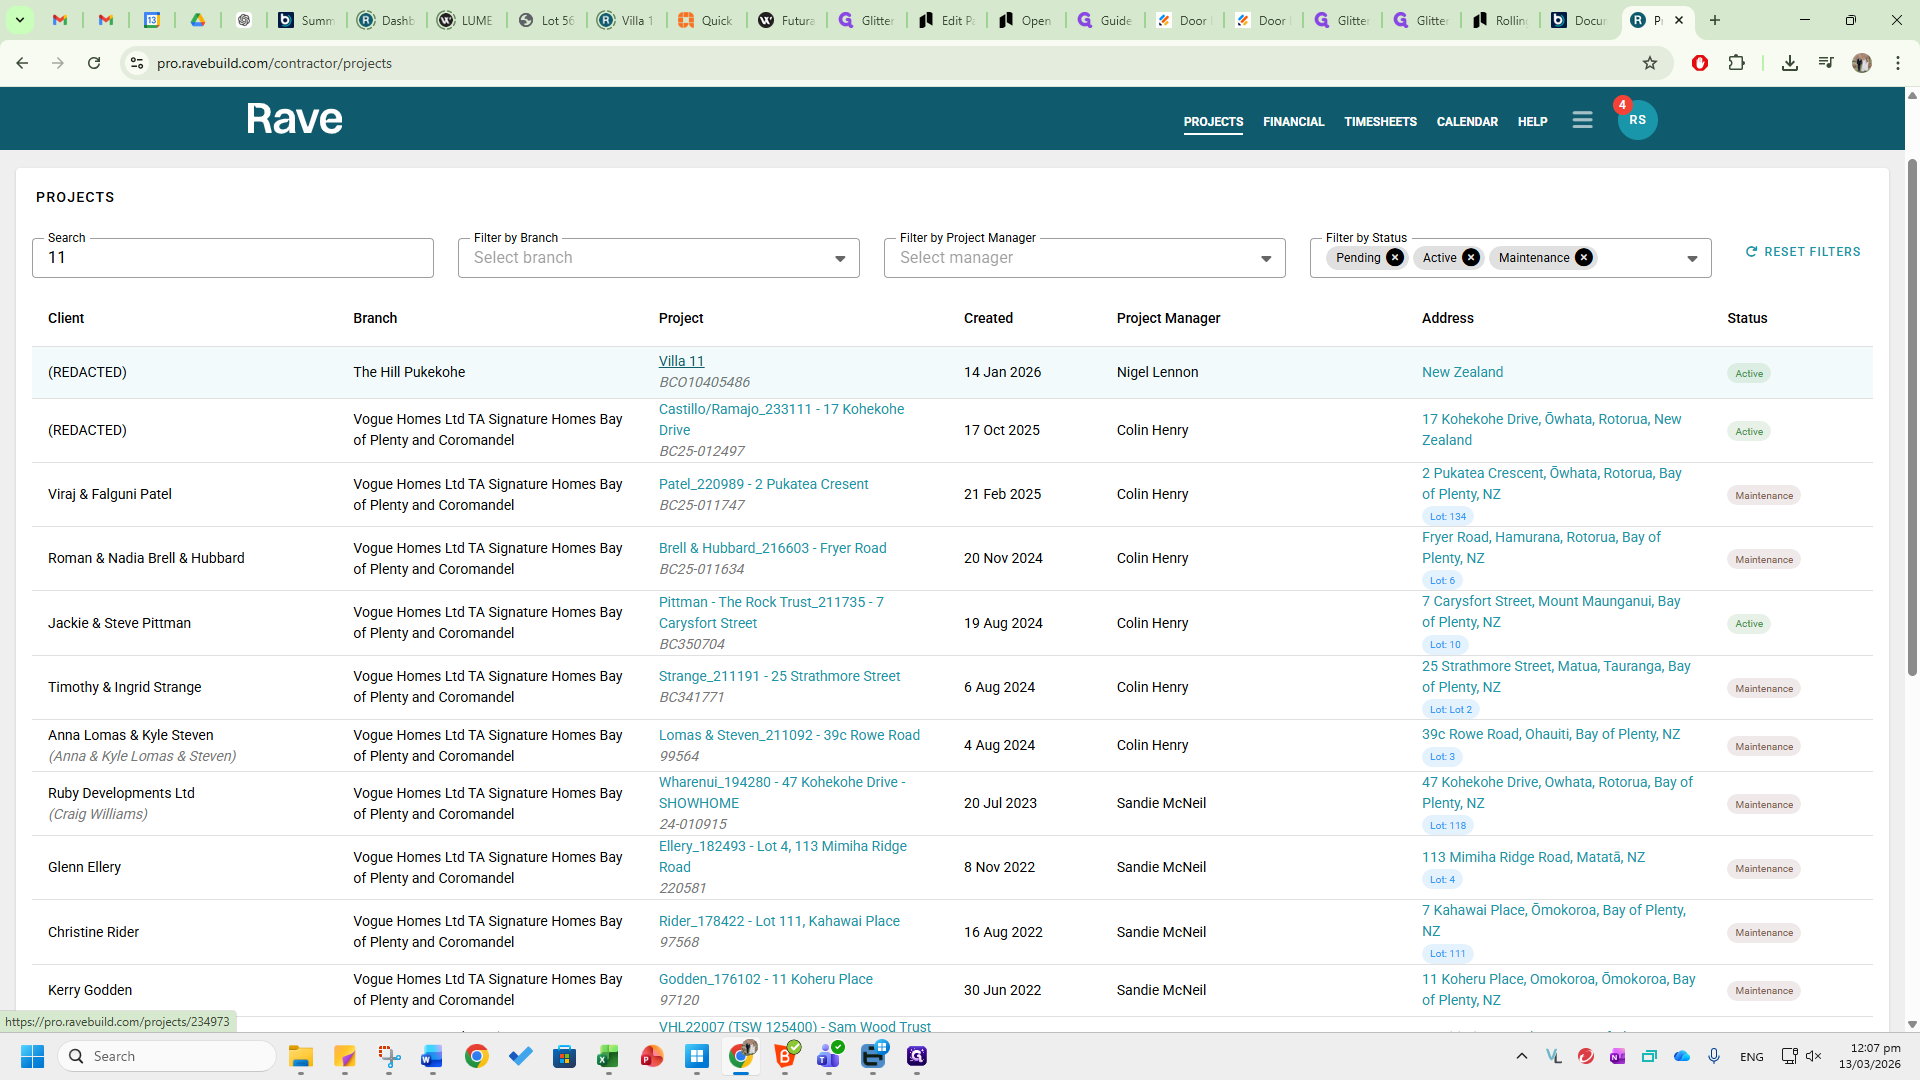
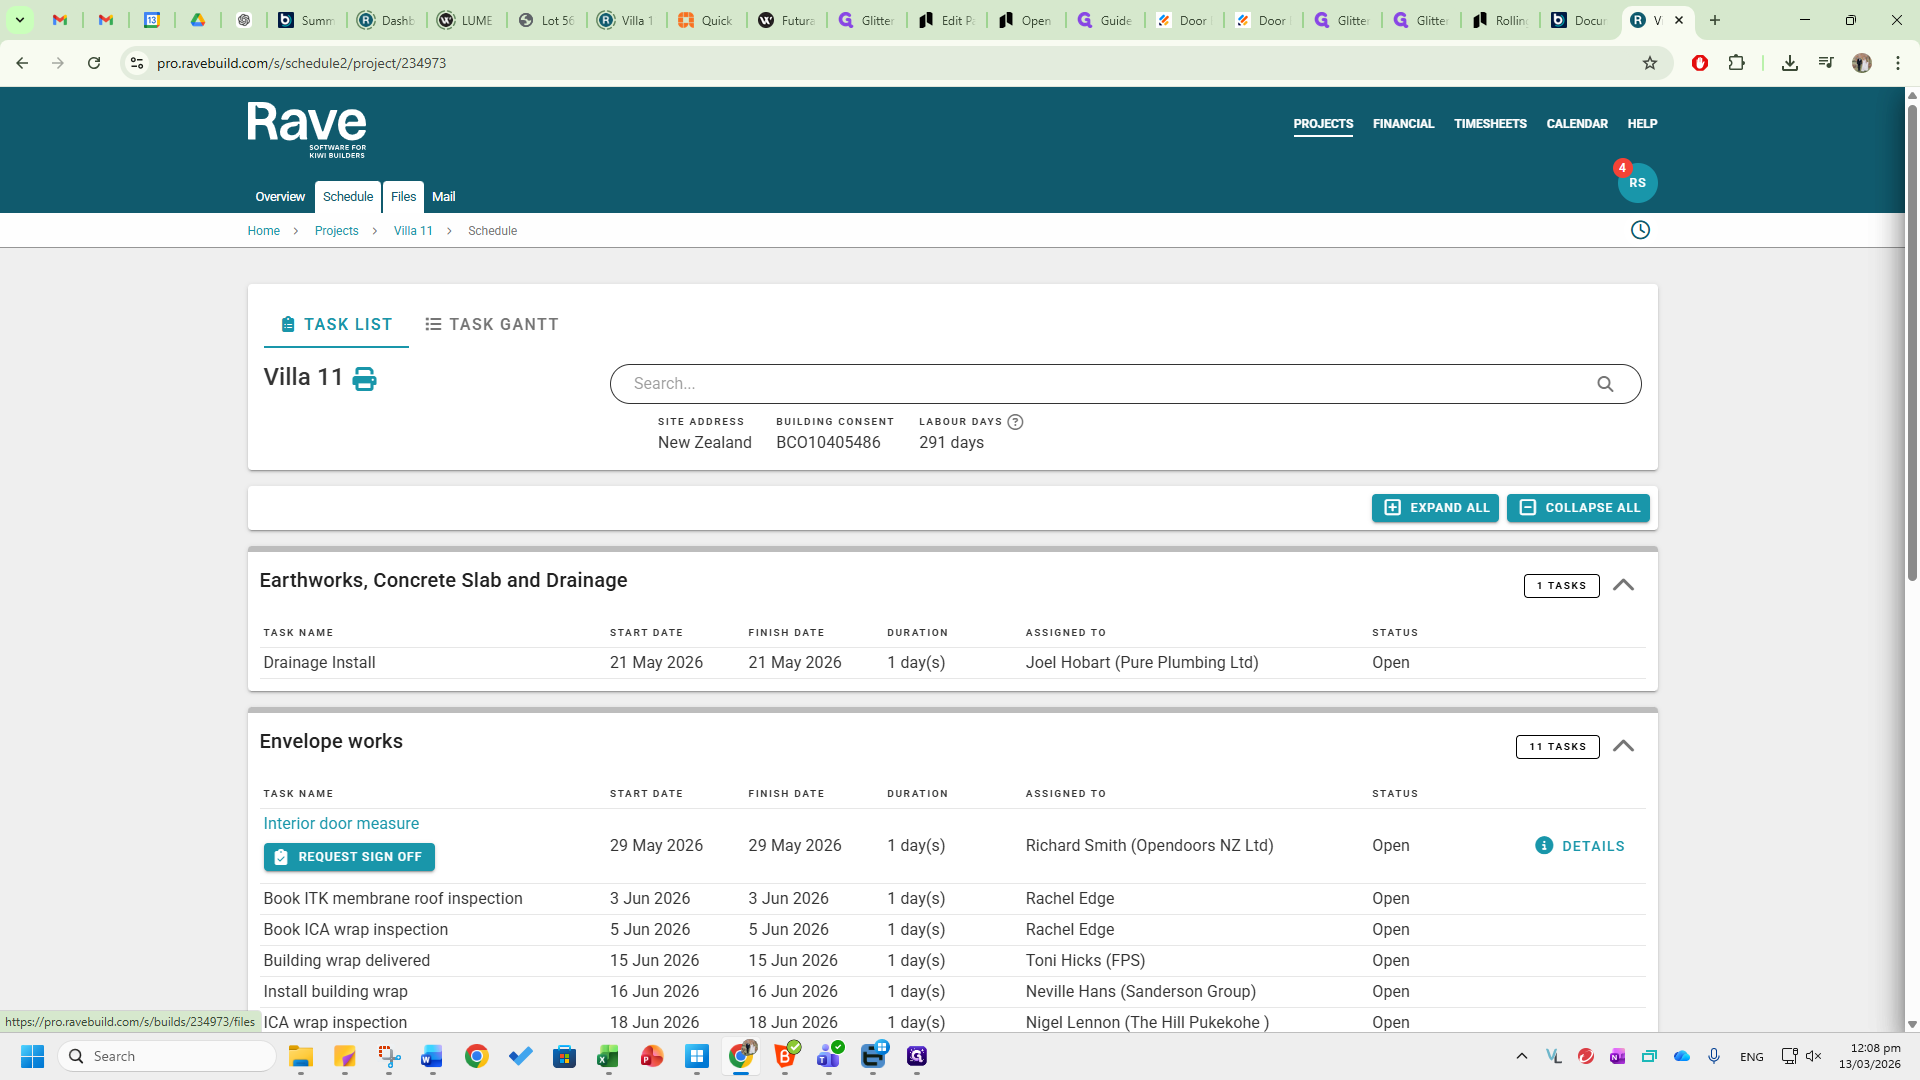
This setup is very similar to Buildertrend. Go to Projects.
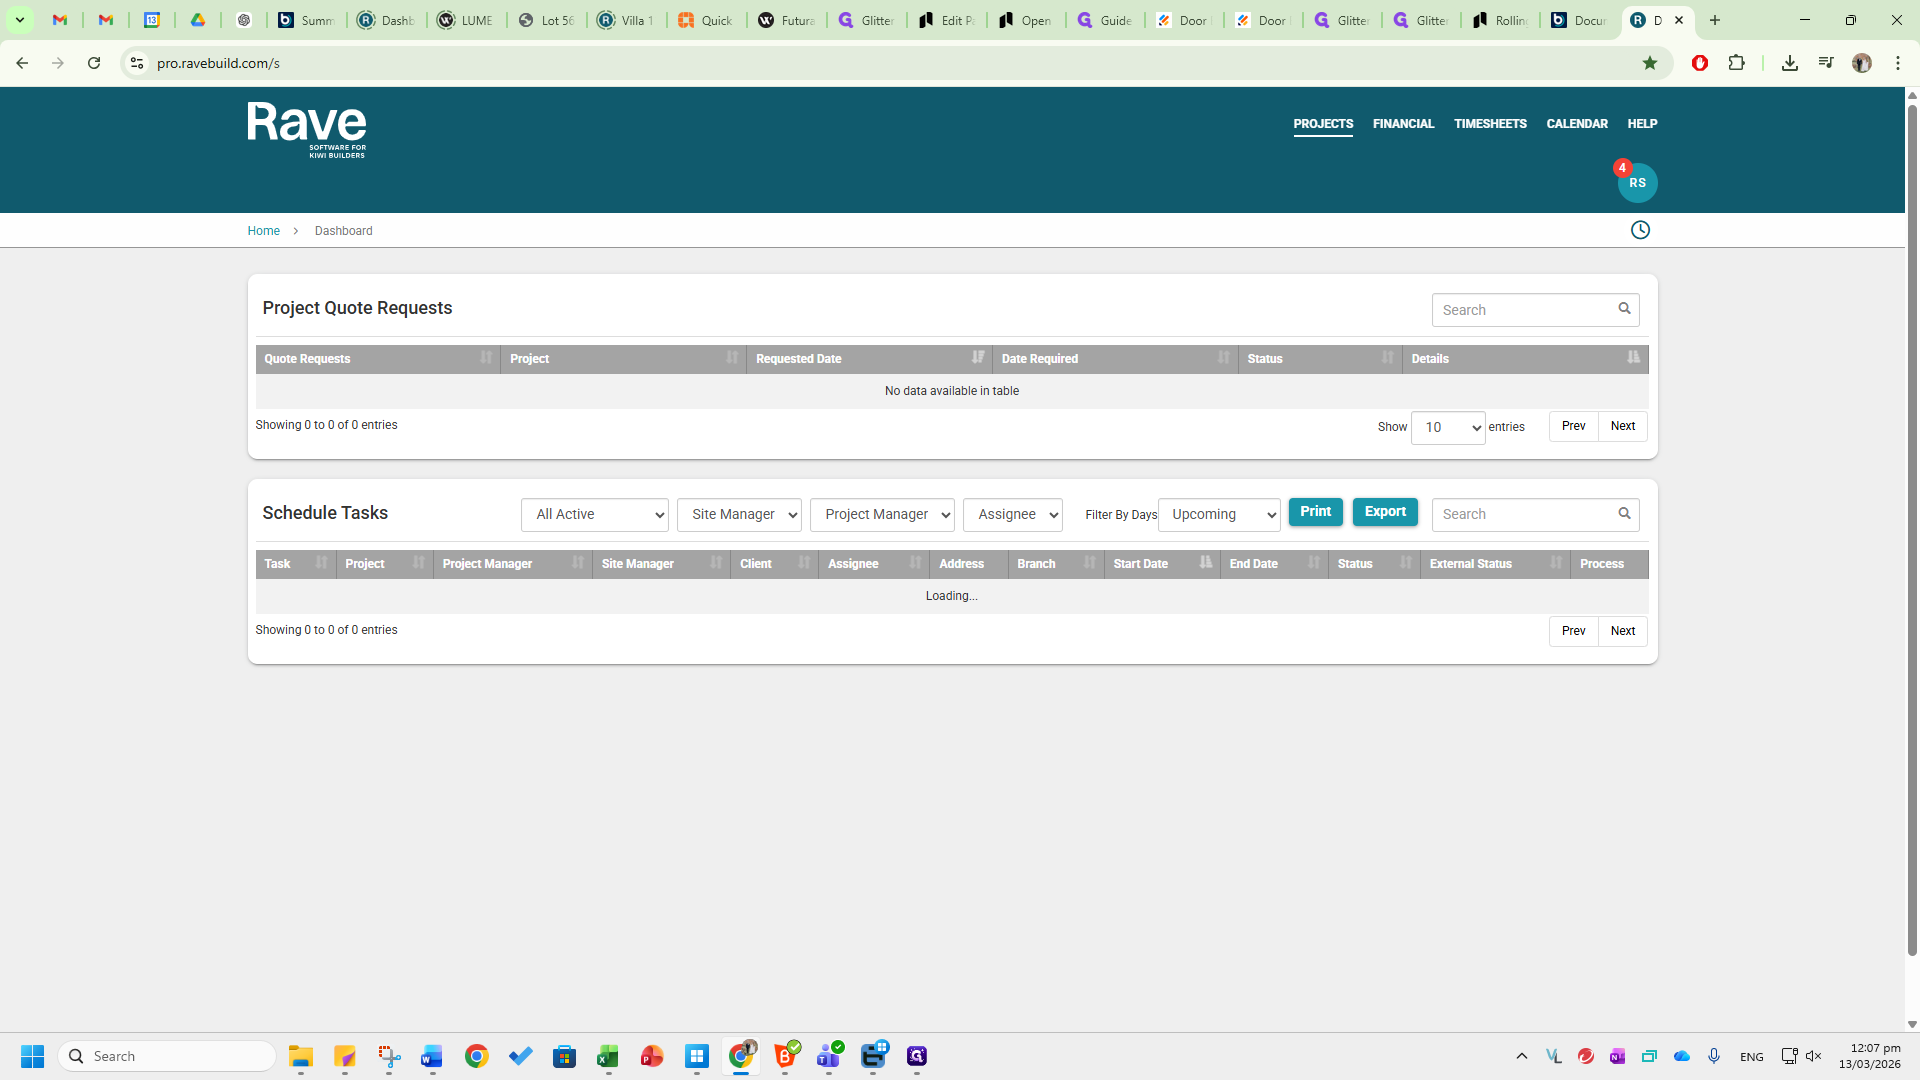
You will see all existing projects in Rave.
The schedule shows all door measurement, cavity slider delivery, and interior door delivery dates, which are also communicated to us.
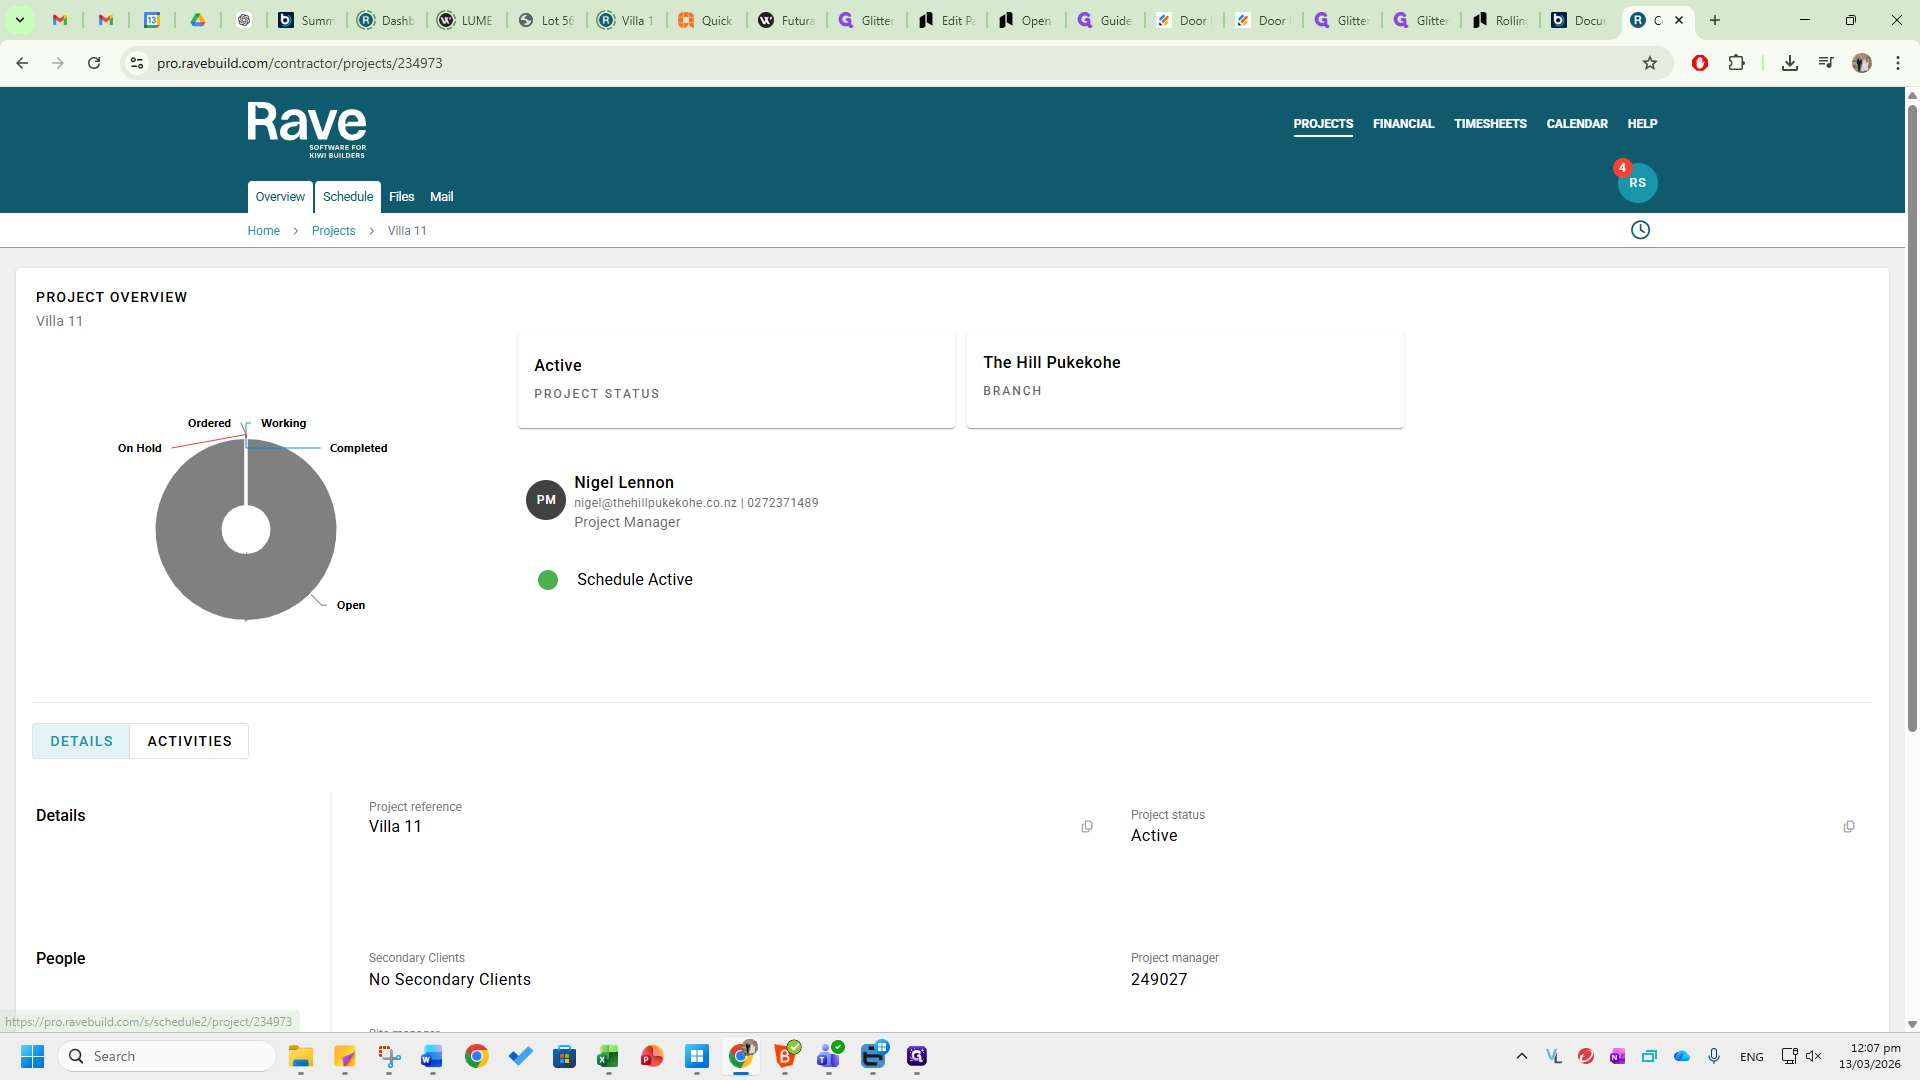
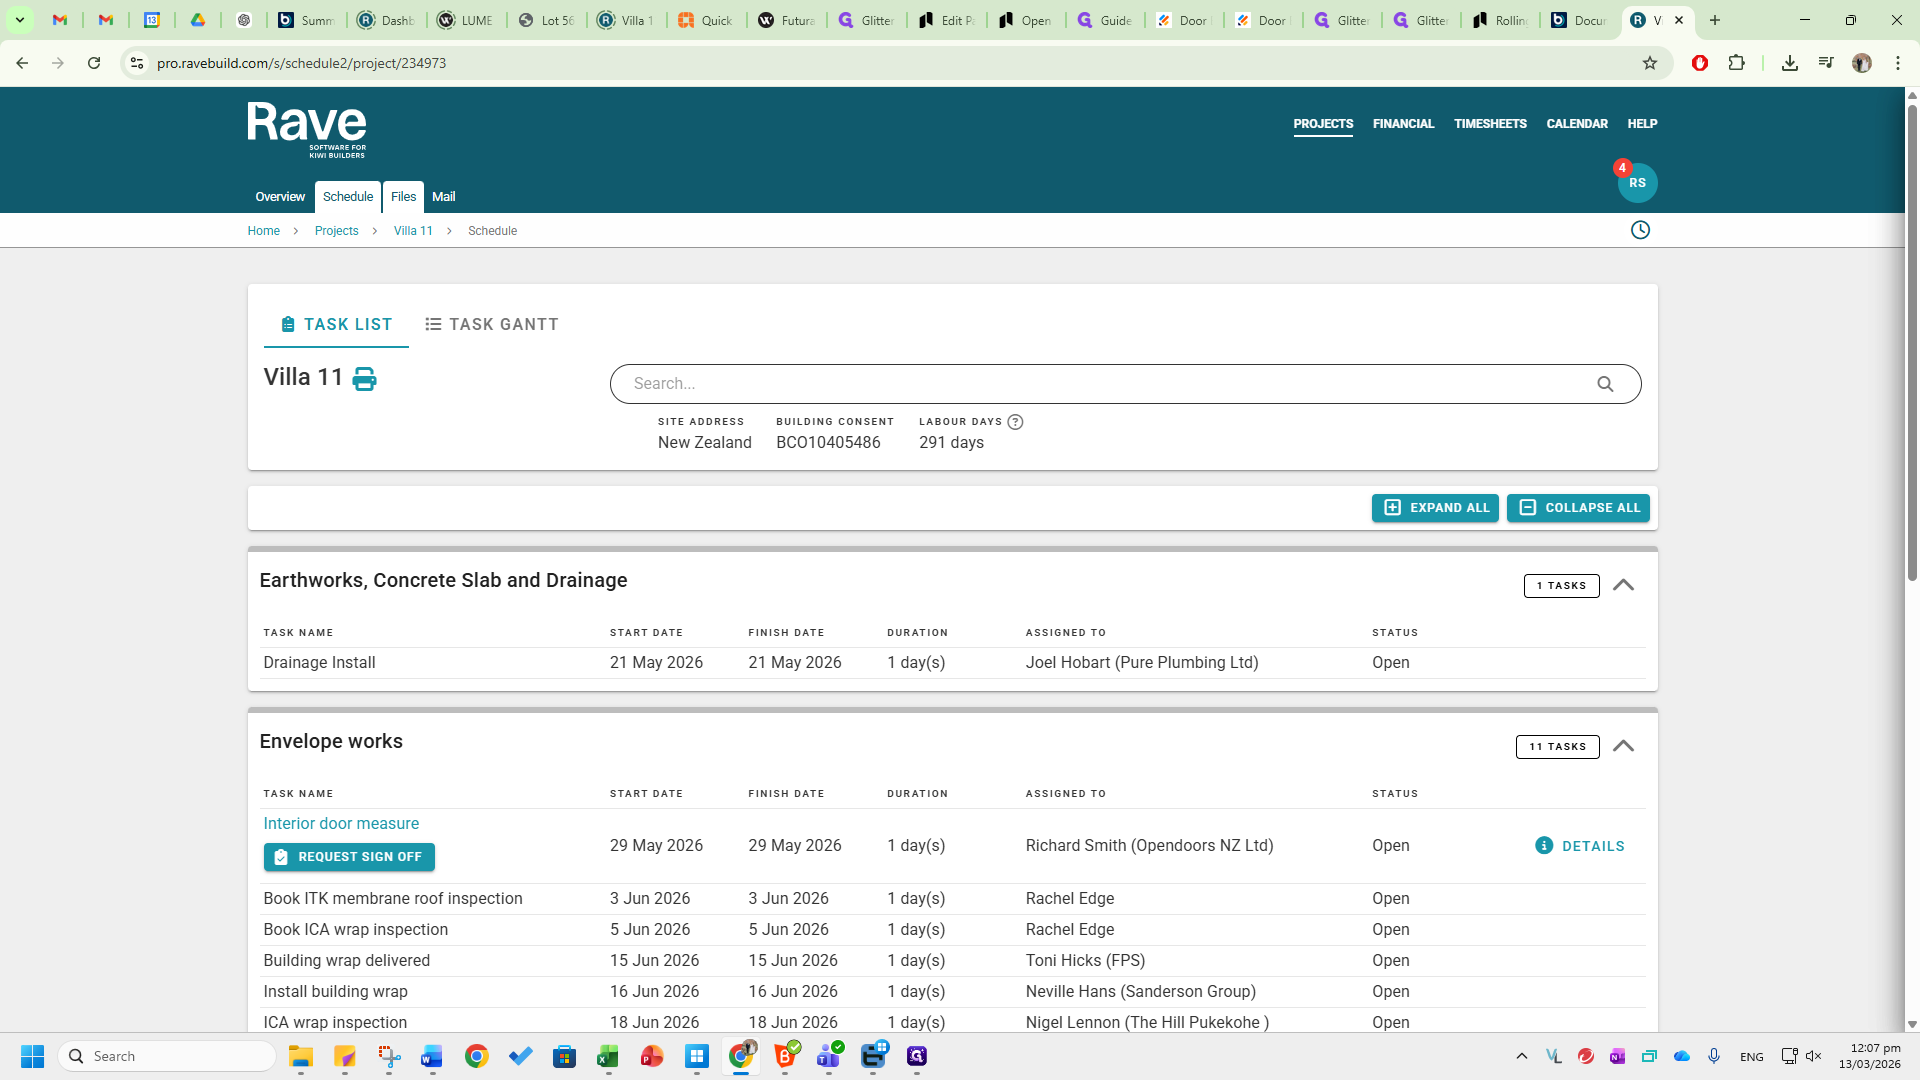
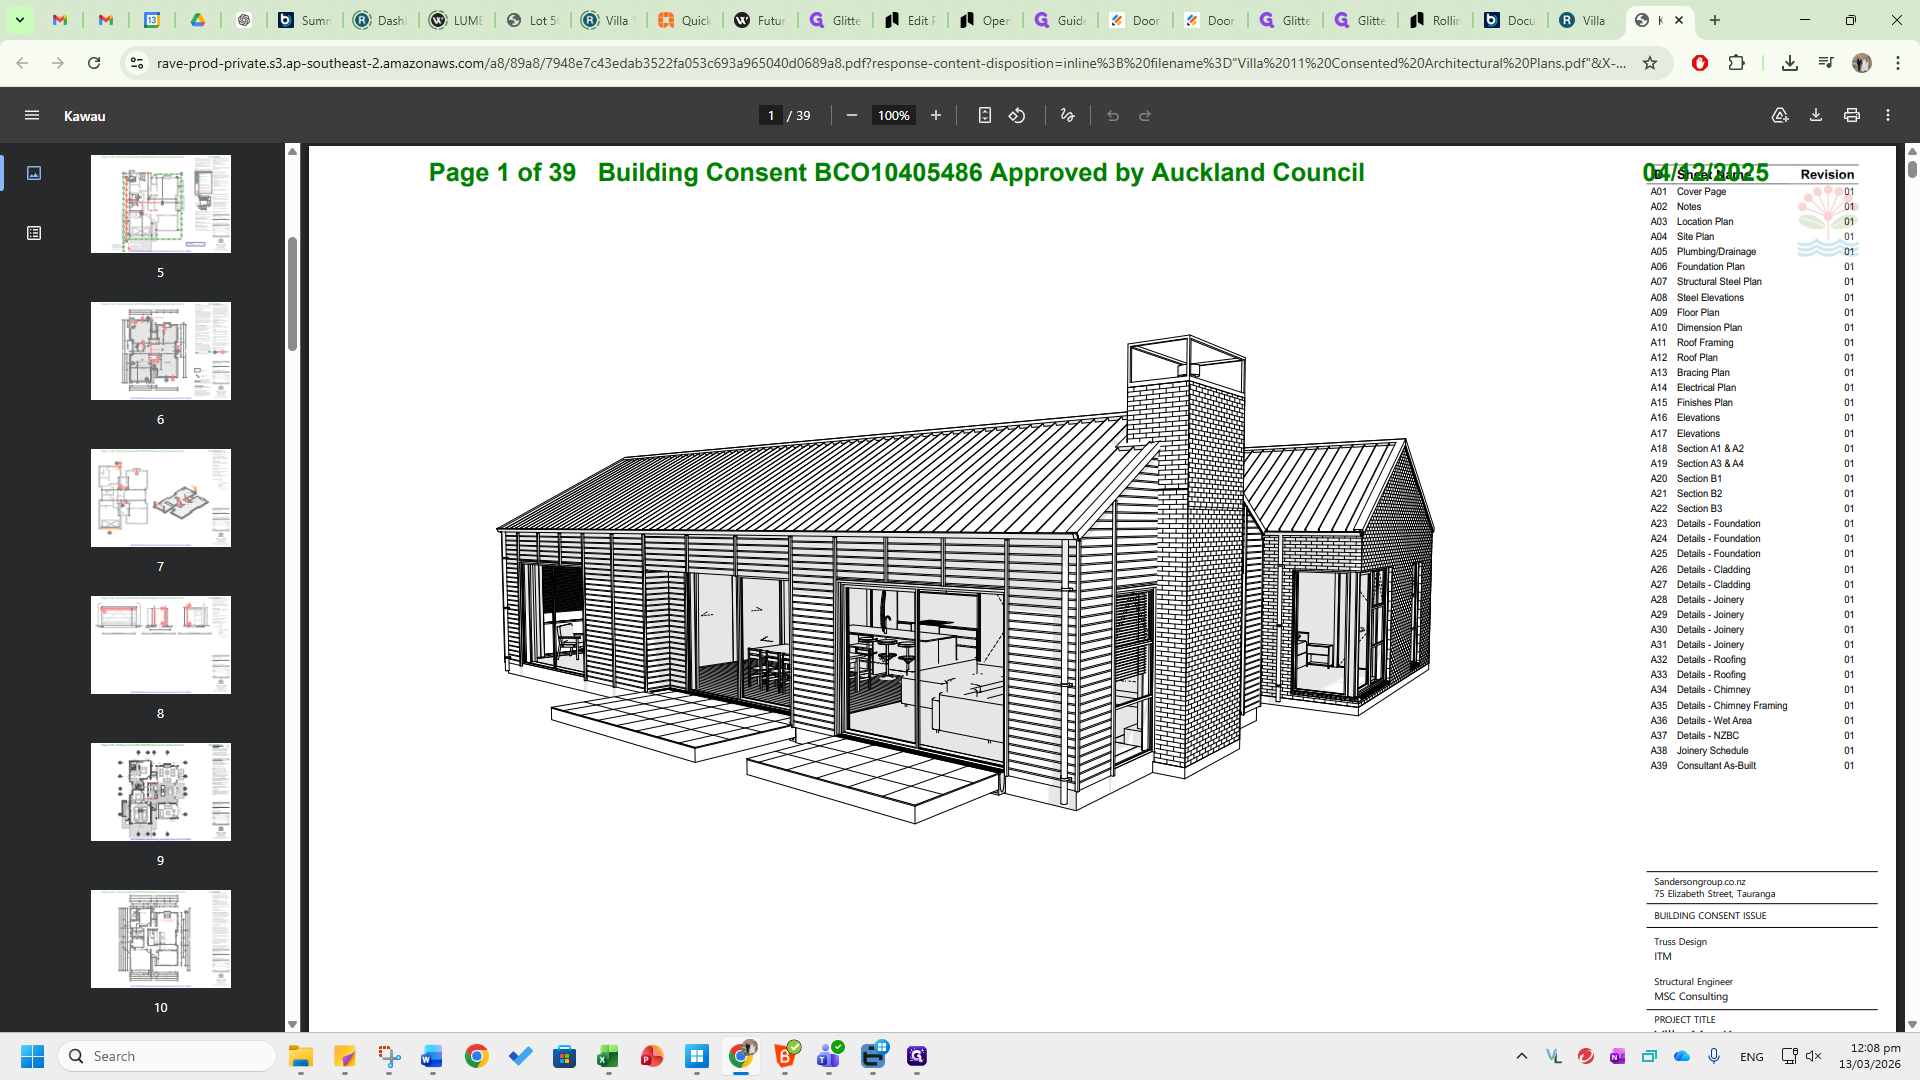
In the Files tab, you will see the approved architectural plans. You can click on them to download.
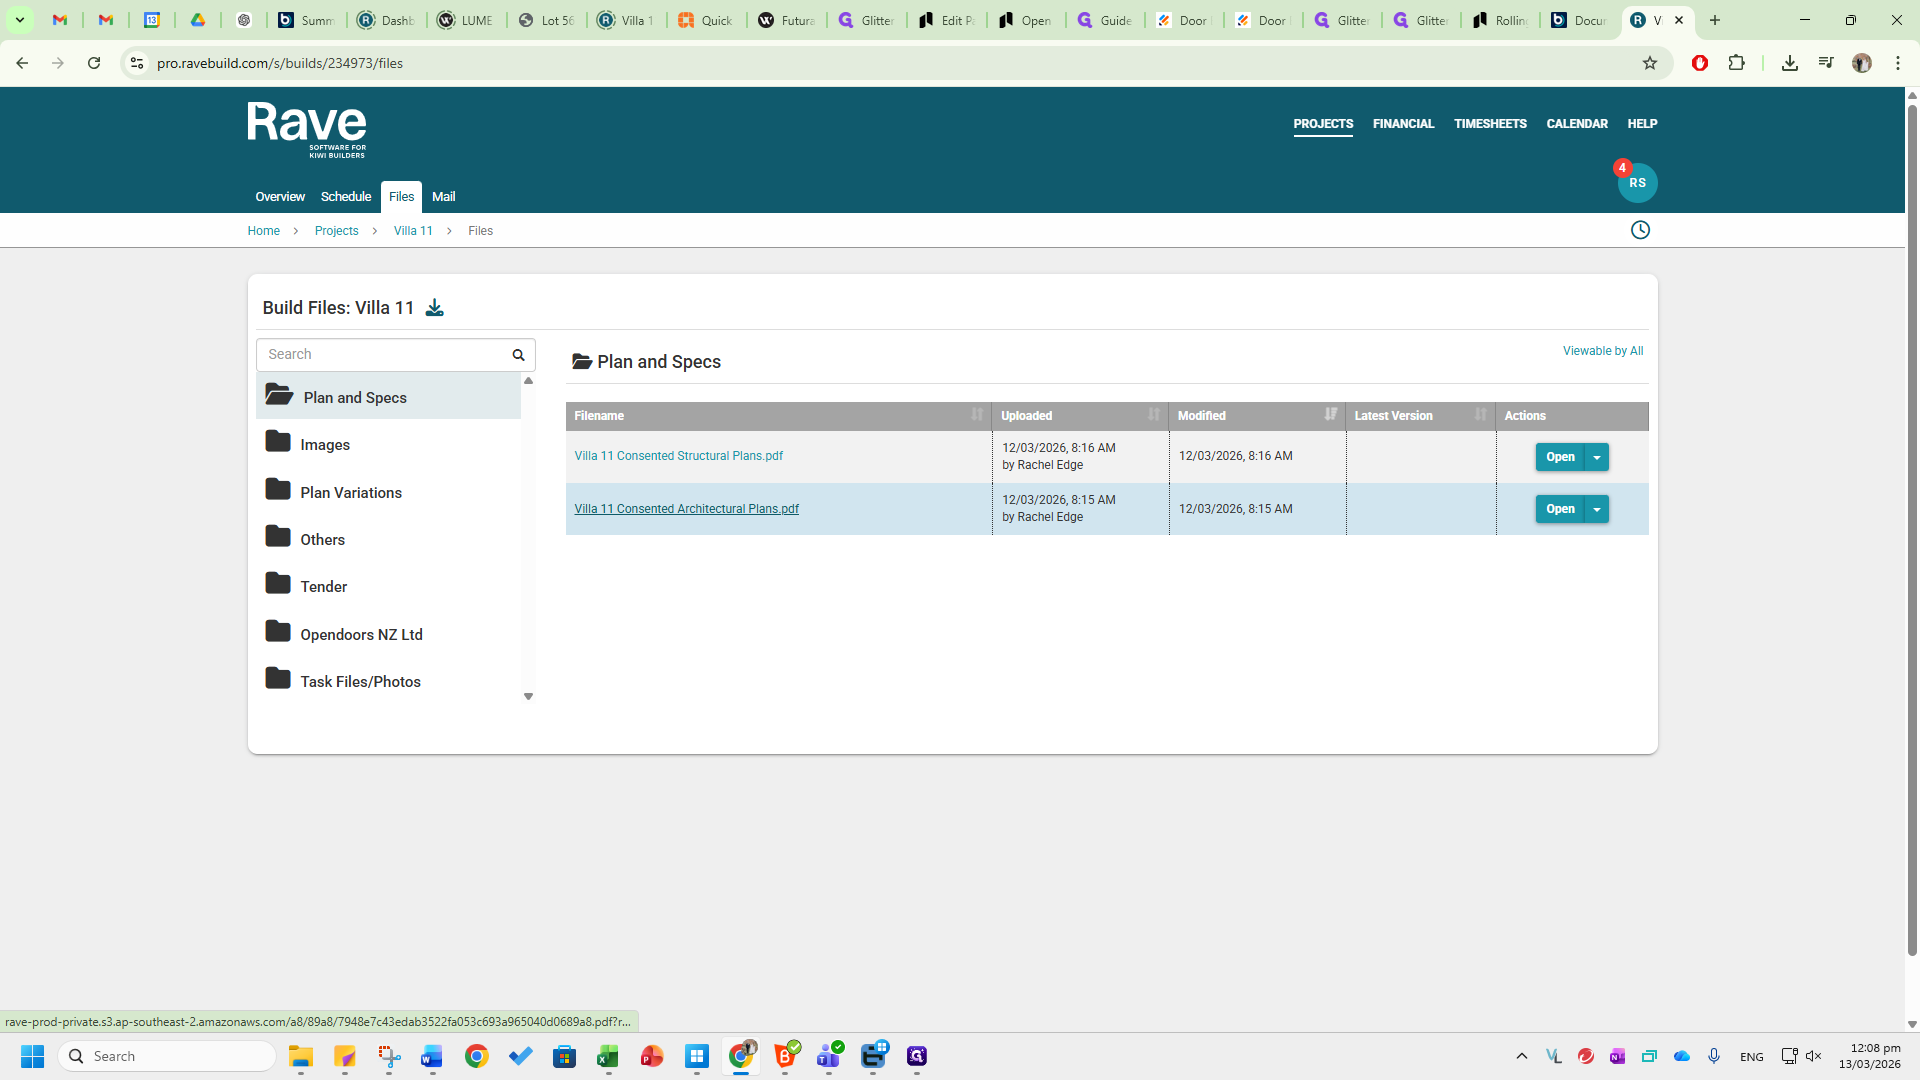
Go to the correct page and follow the process.
The selections are also sent to our email.