
How to Use Cliq: A Guide for Miss Julie's School of Beauty
Learn how to use Cliq, the communication platform for Miss Julie's School of Beauty. Discover features like check-in, status updates, meetings, chats, channels, notifications, and reminders to keep your organization connected and organized. Most importantly - how to keep our channels clean and organized so folks in our organization don't feel overwhelmed by texts, emails, and notifications!
In this guide, we'll learn how to use Clik, the communication platform for Miss Julie's School of Beauty. The goal is to help you manage messages, meetings, and notifications in one place, reducing the need to check your phone or email. We will cover how to update your status, join chats and channels, manage notifications, and organize files and notes.
Let's get started
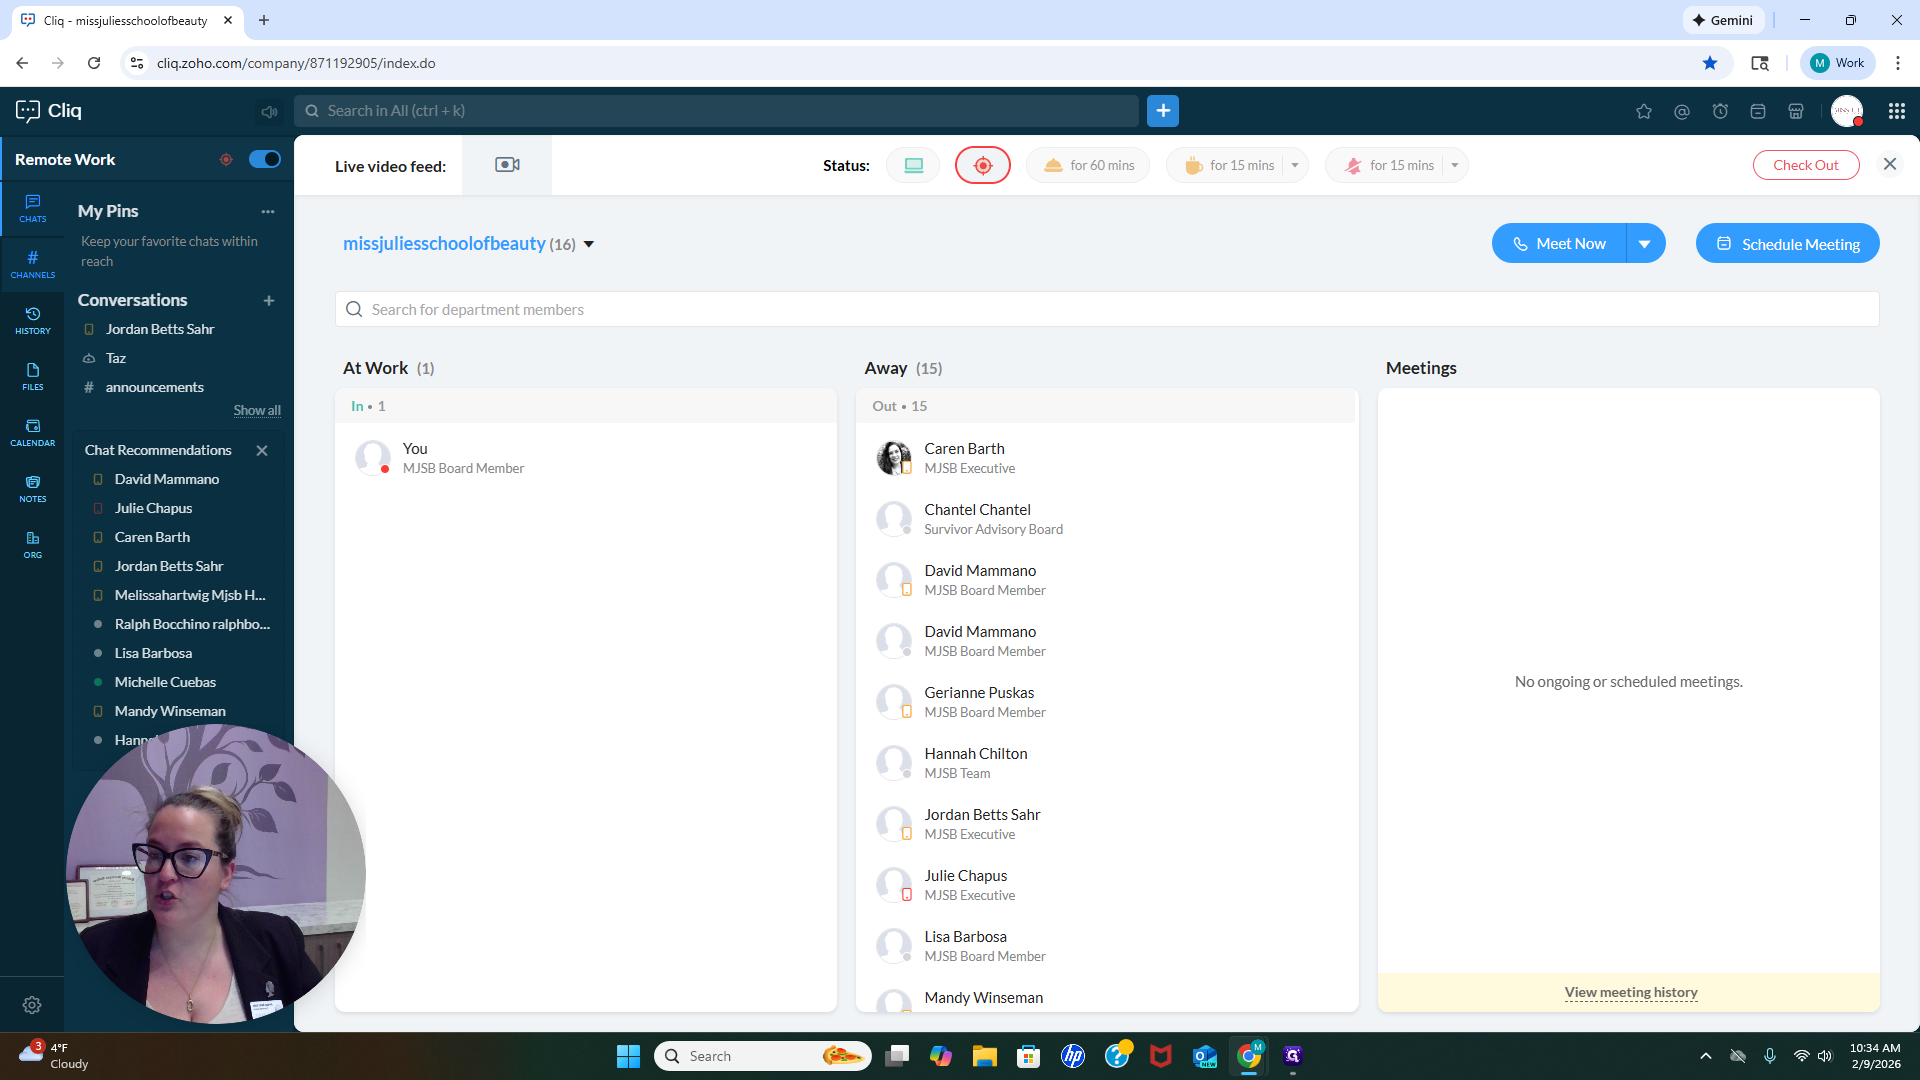
Hello, everyone. I will show you how to use Clik, our communication platform for Miss Julie's School of Beauty. One reason we use this platform is to reduce the noise from our cellphones and email, which can be overwhelming. After logging in and accepting your Clik invitation, there are a few things you should check right away. First, you may want to check in to let people know you are available.

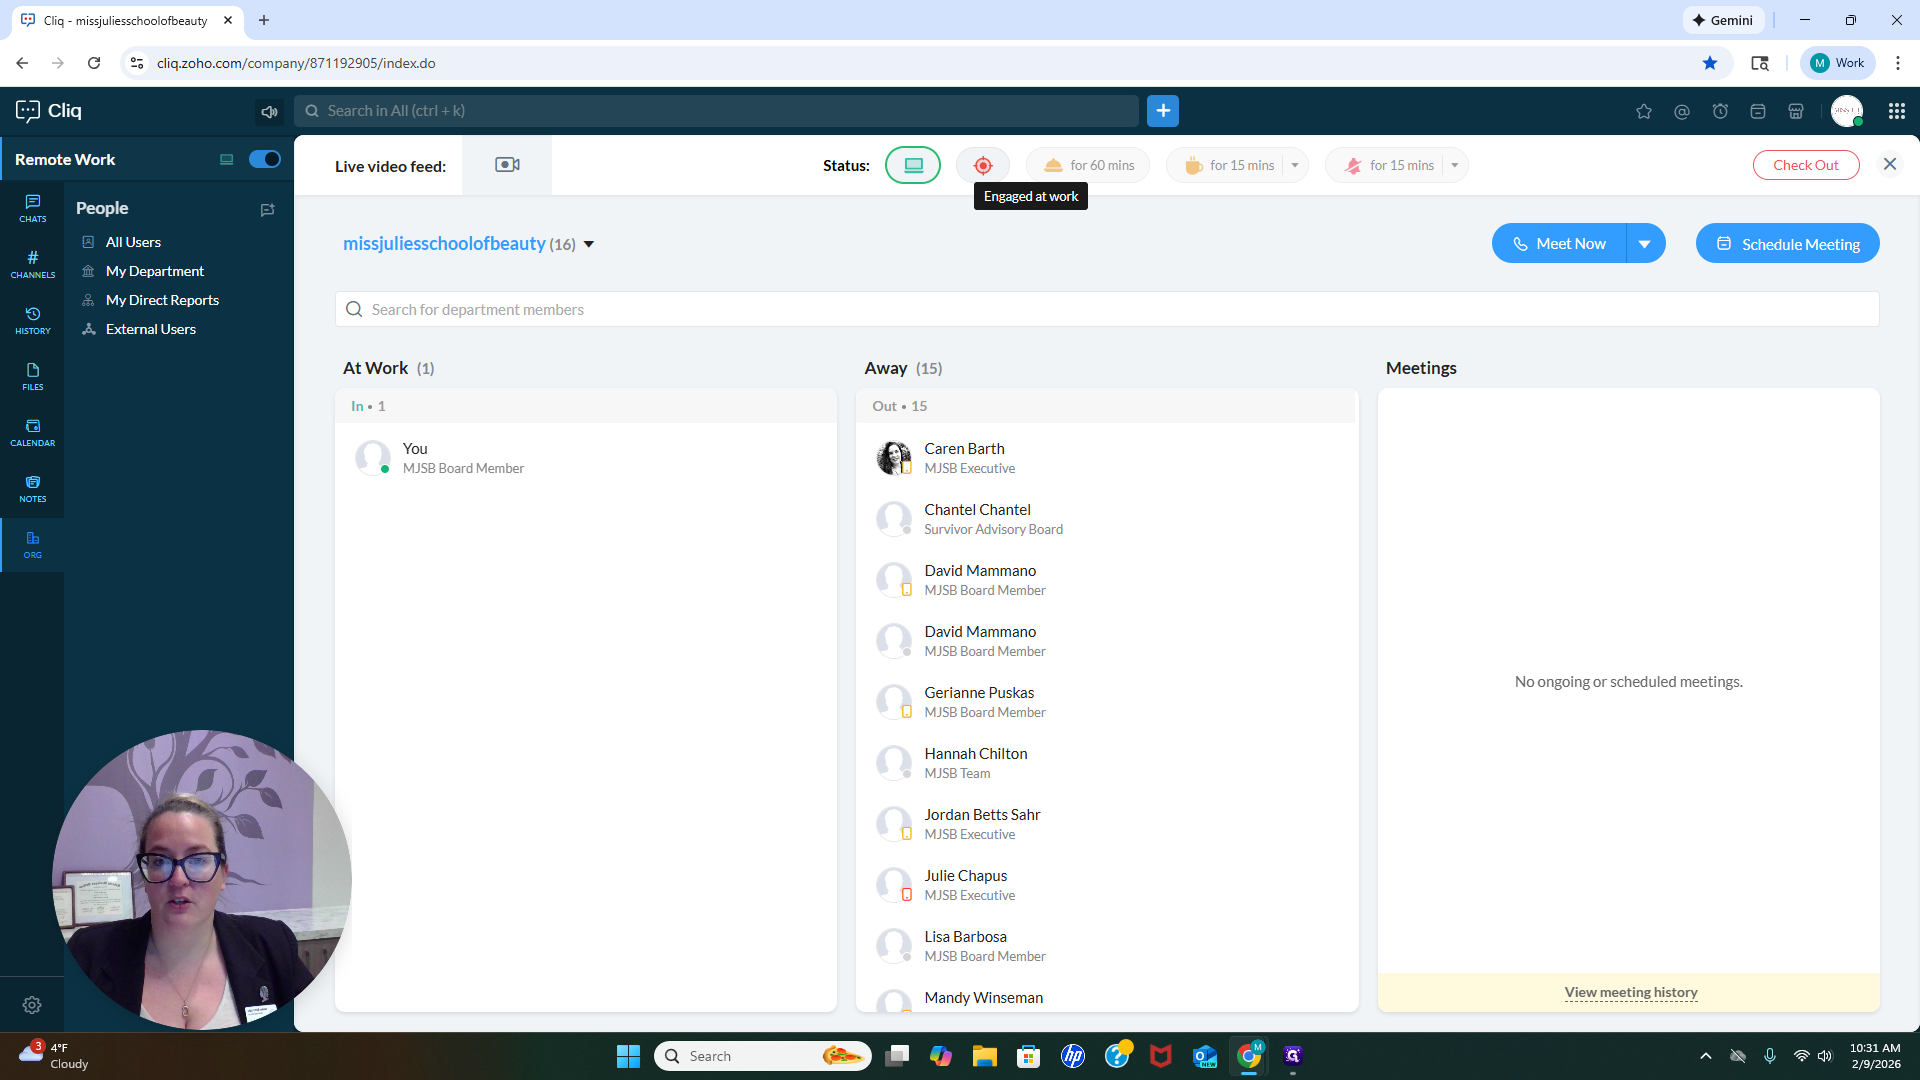
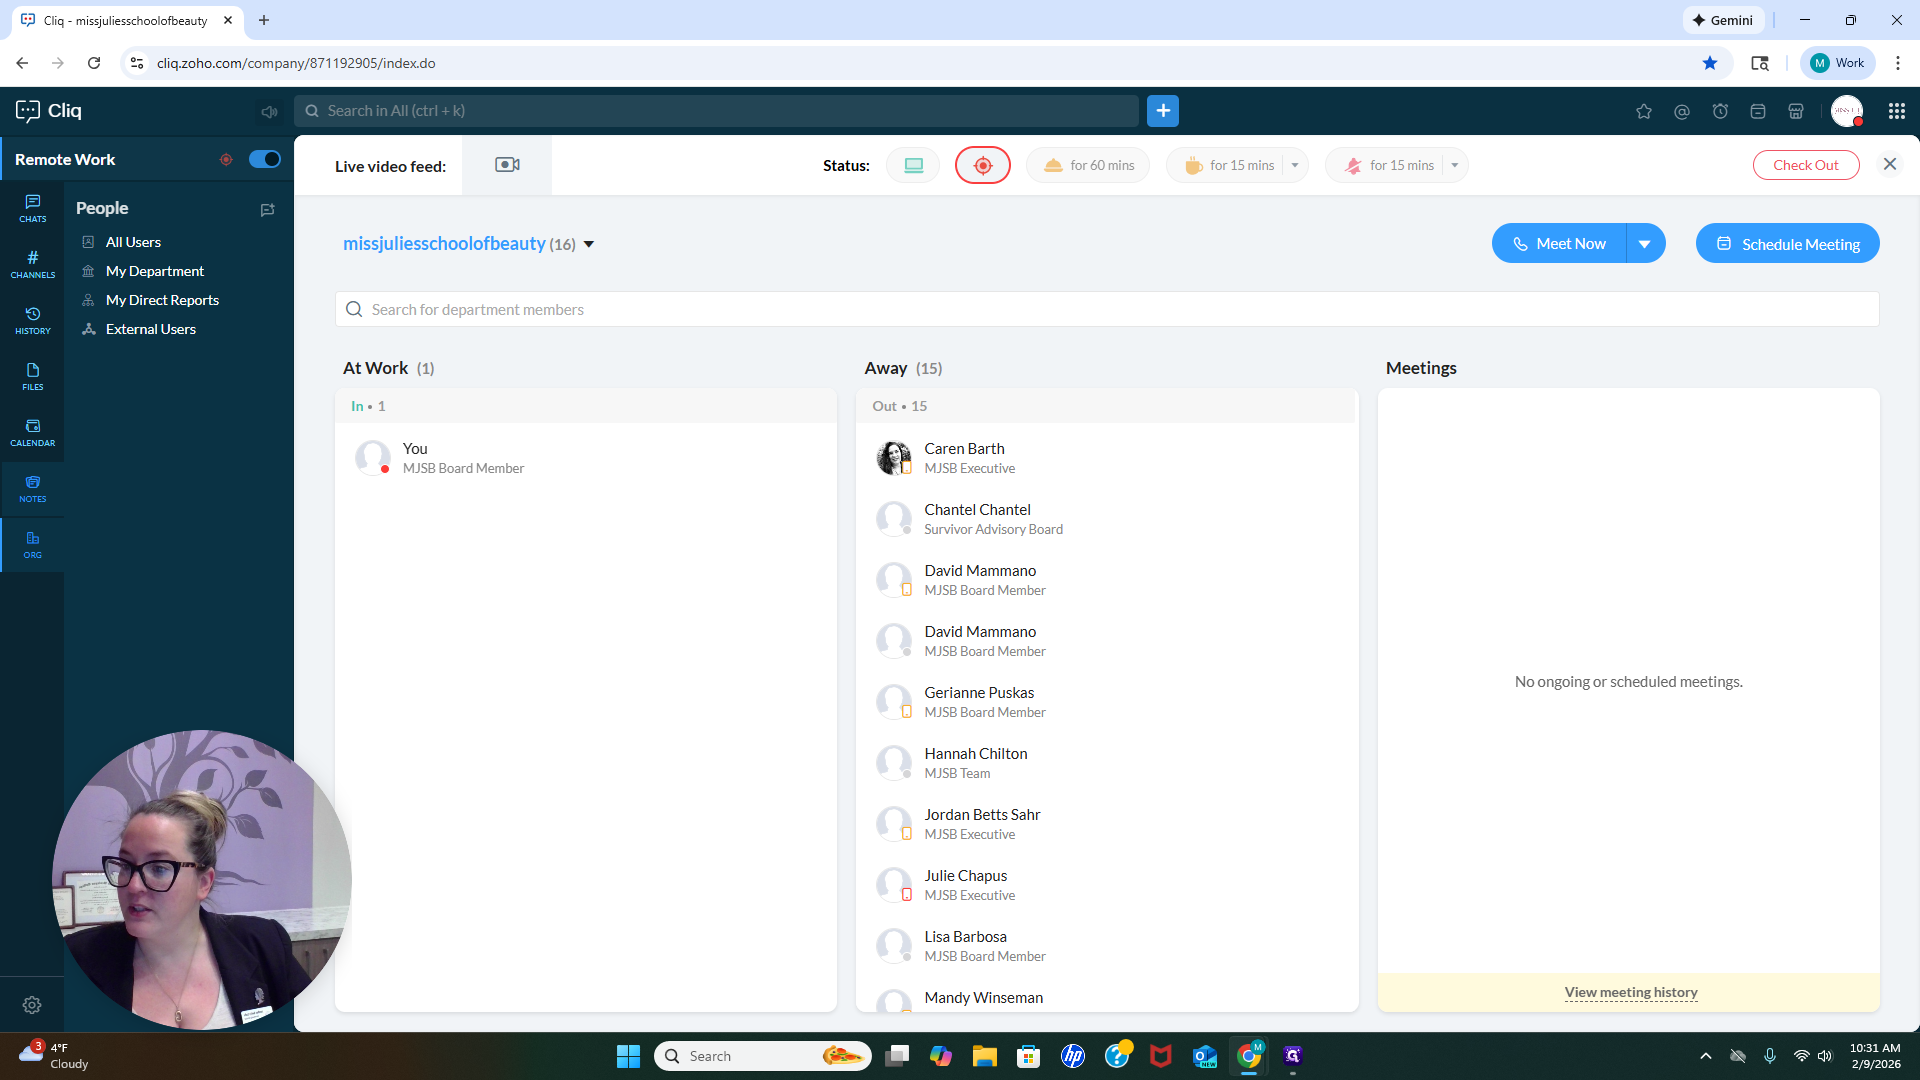
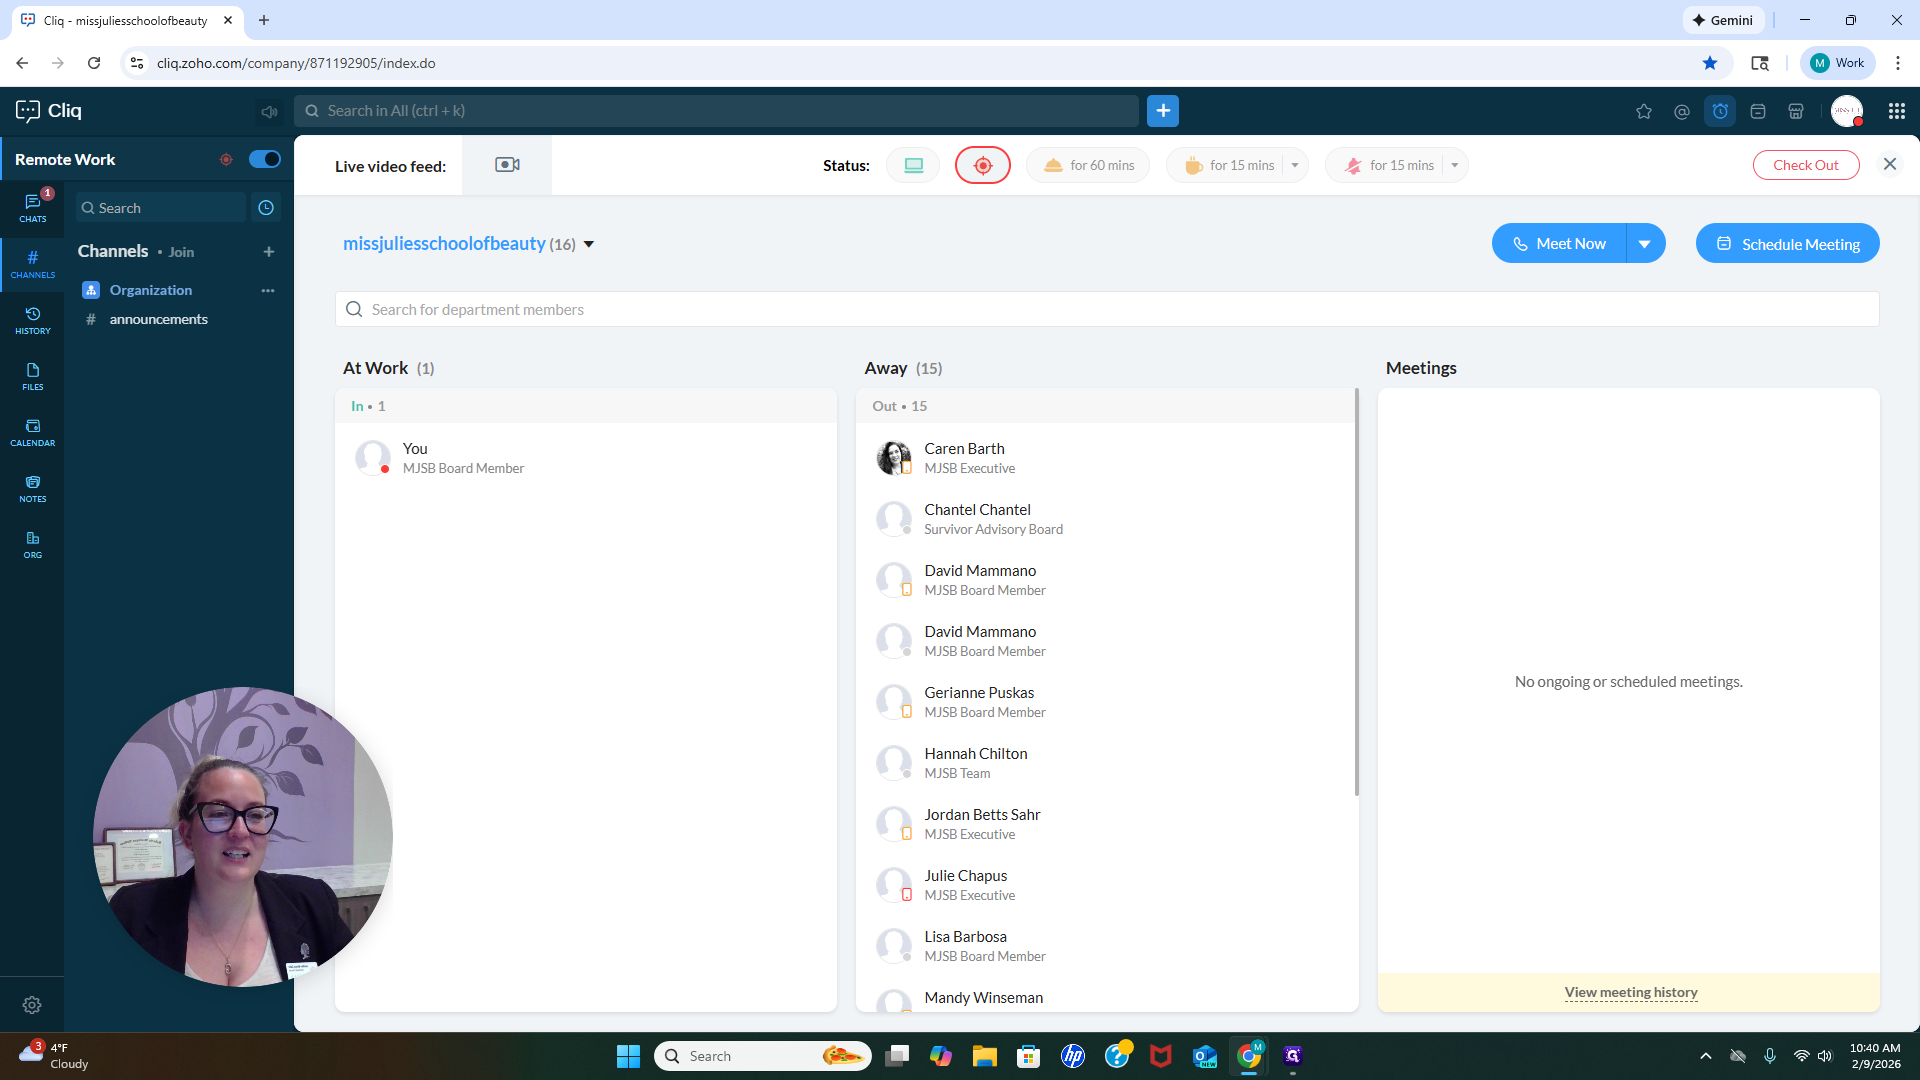
If you click Check In, your name will move from Away to At Work. This lets people know you are available to collaborate. At the top under Status, you'll see options like Available for Collaboration and Engaged at Work. There is a Meal Break for 60 minutes and a Coffee Break for 15 minutes. You can adjust these times if you need a longer break. There's also a Do Not Disturb option for 15 minutes.
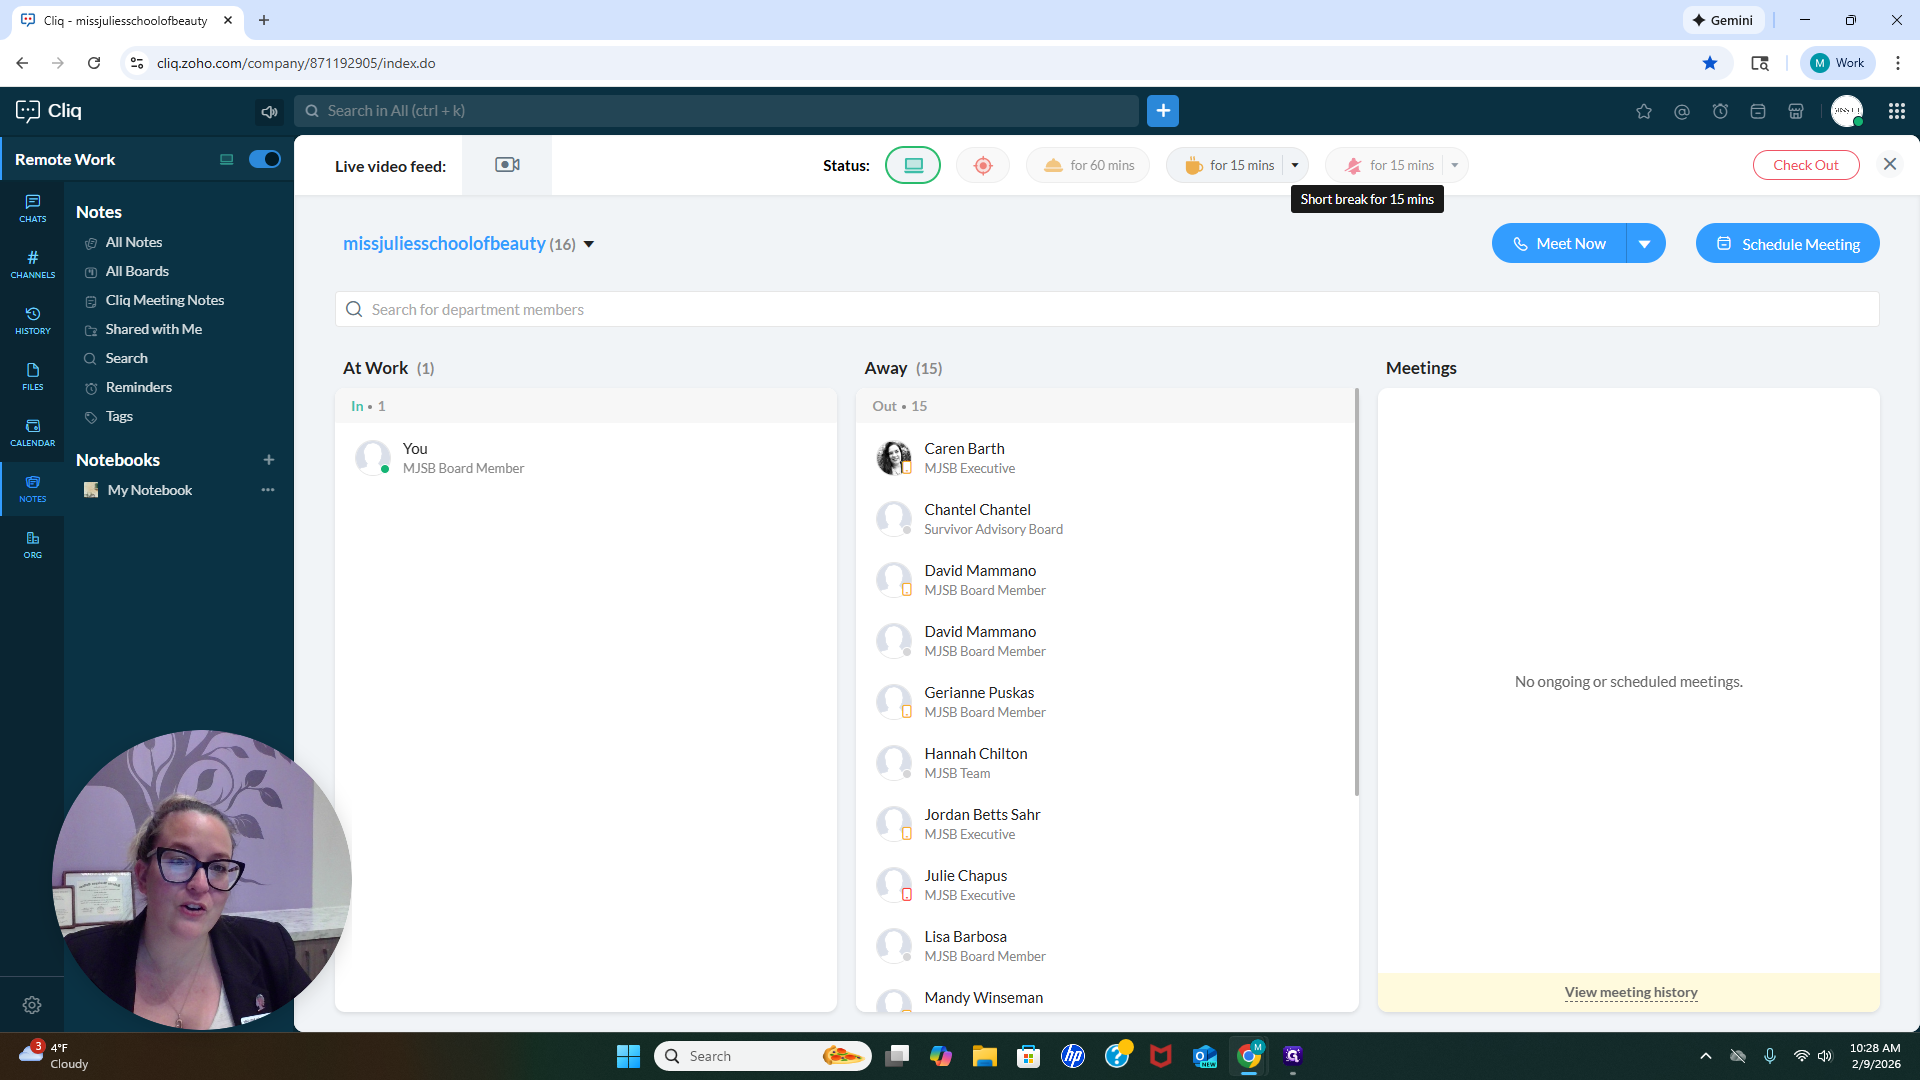
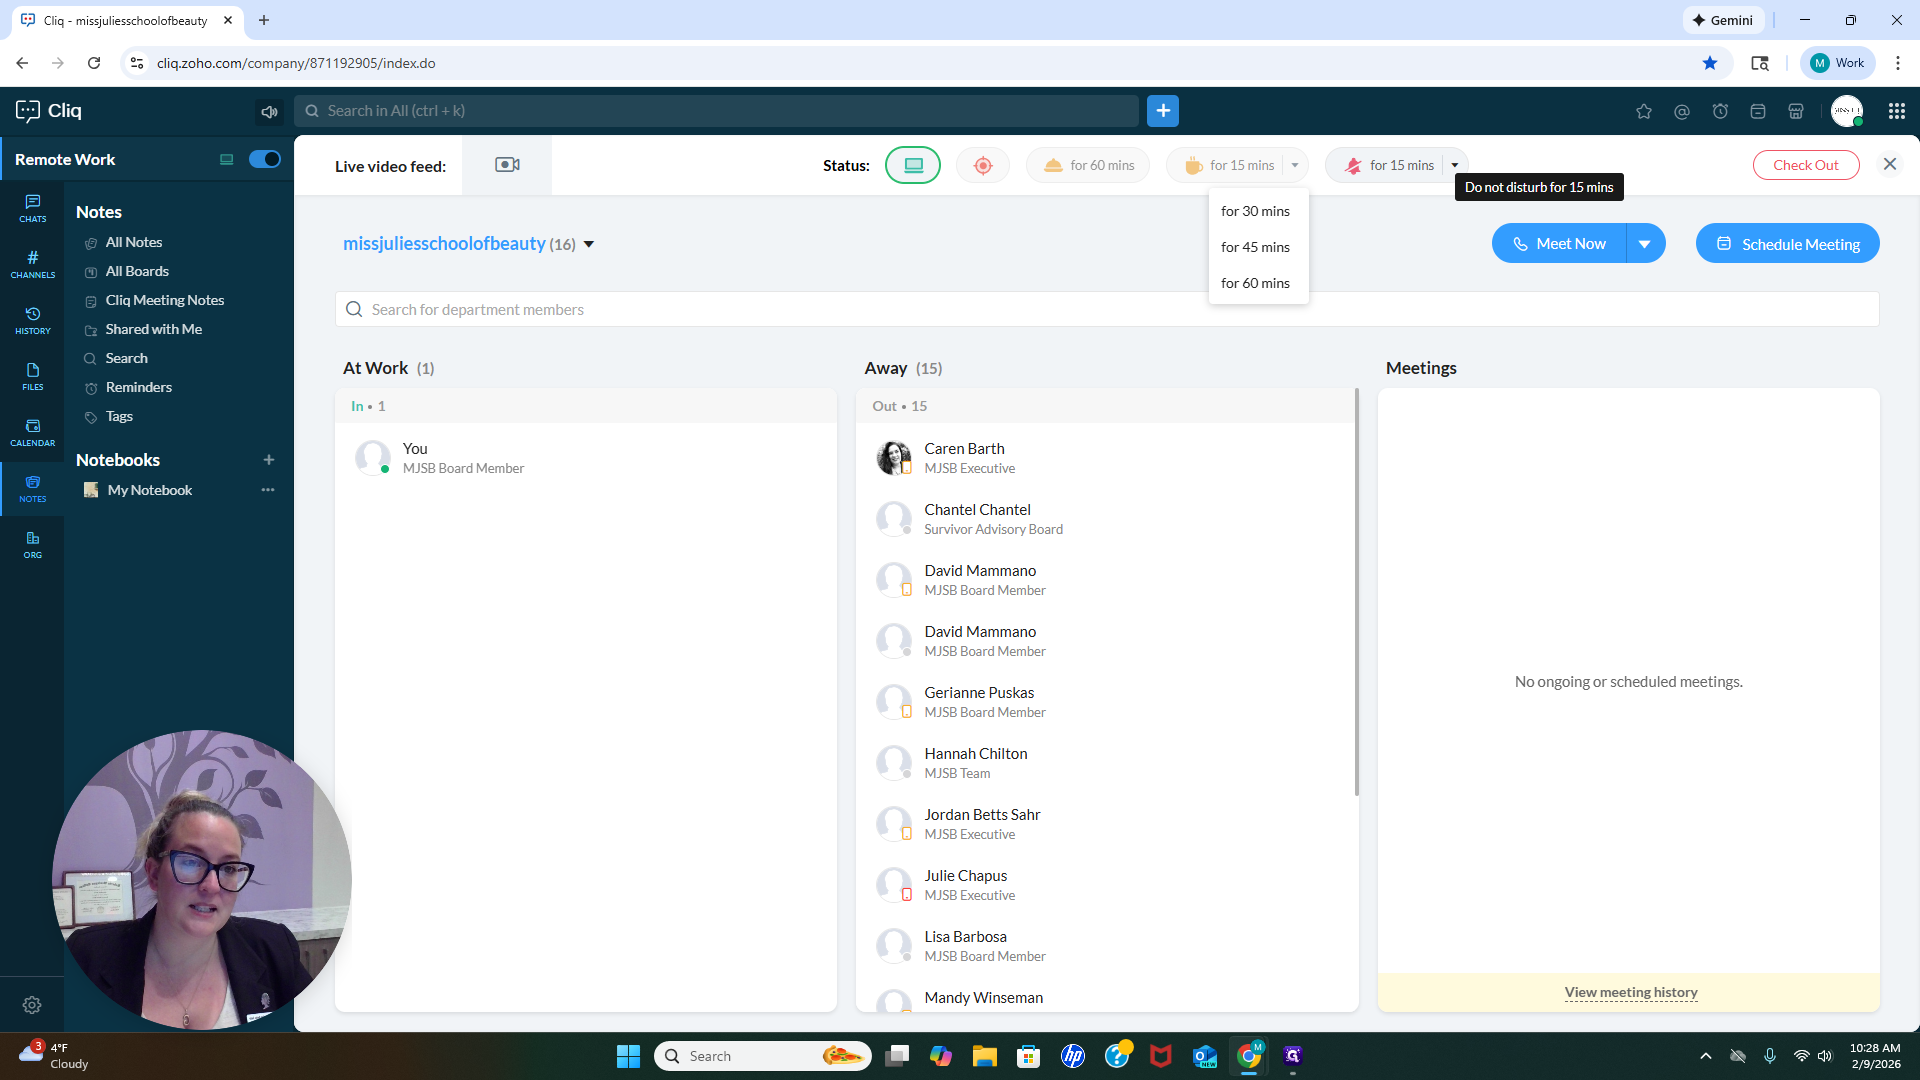
You can also choose different times for that. On the main screen, you'll see the Meet Now and Schedule Meeting buttons.

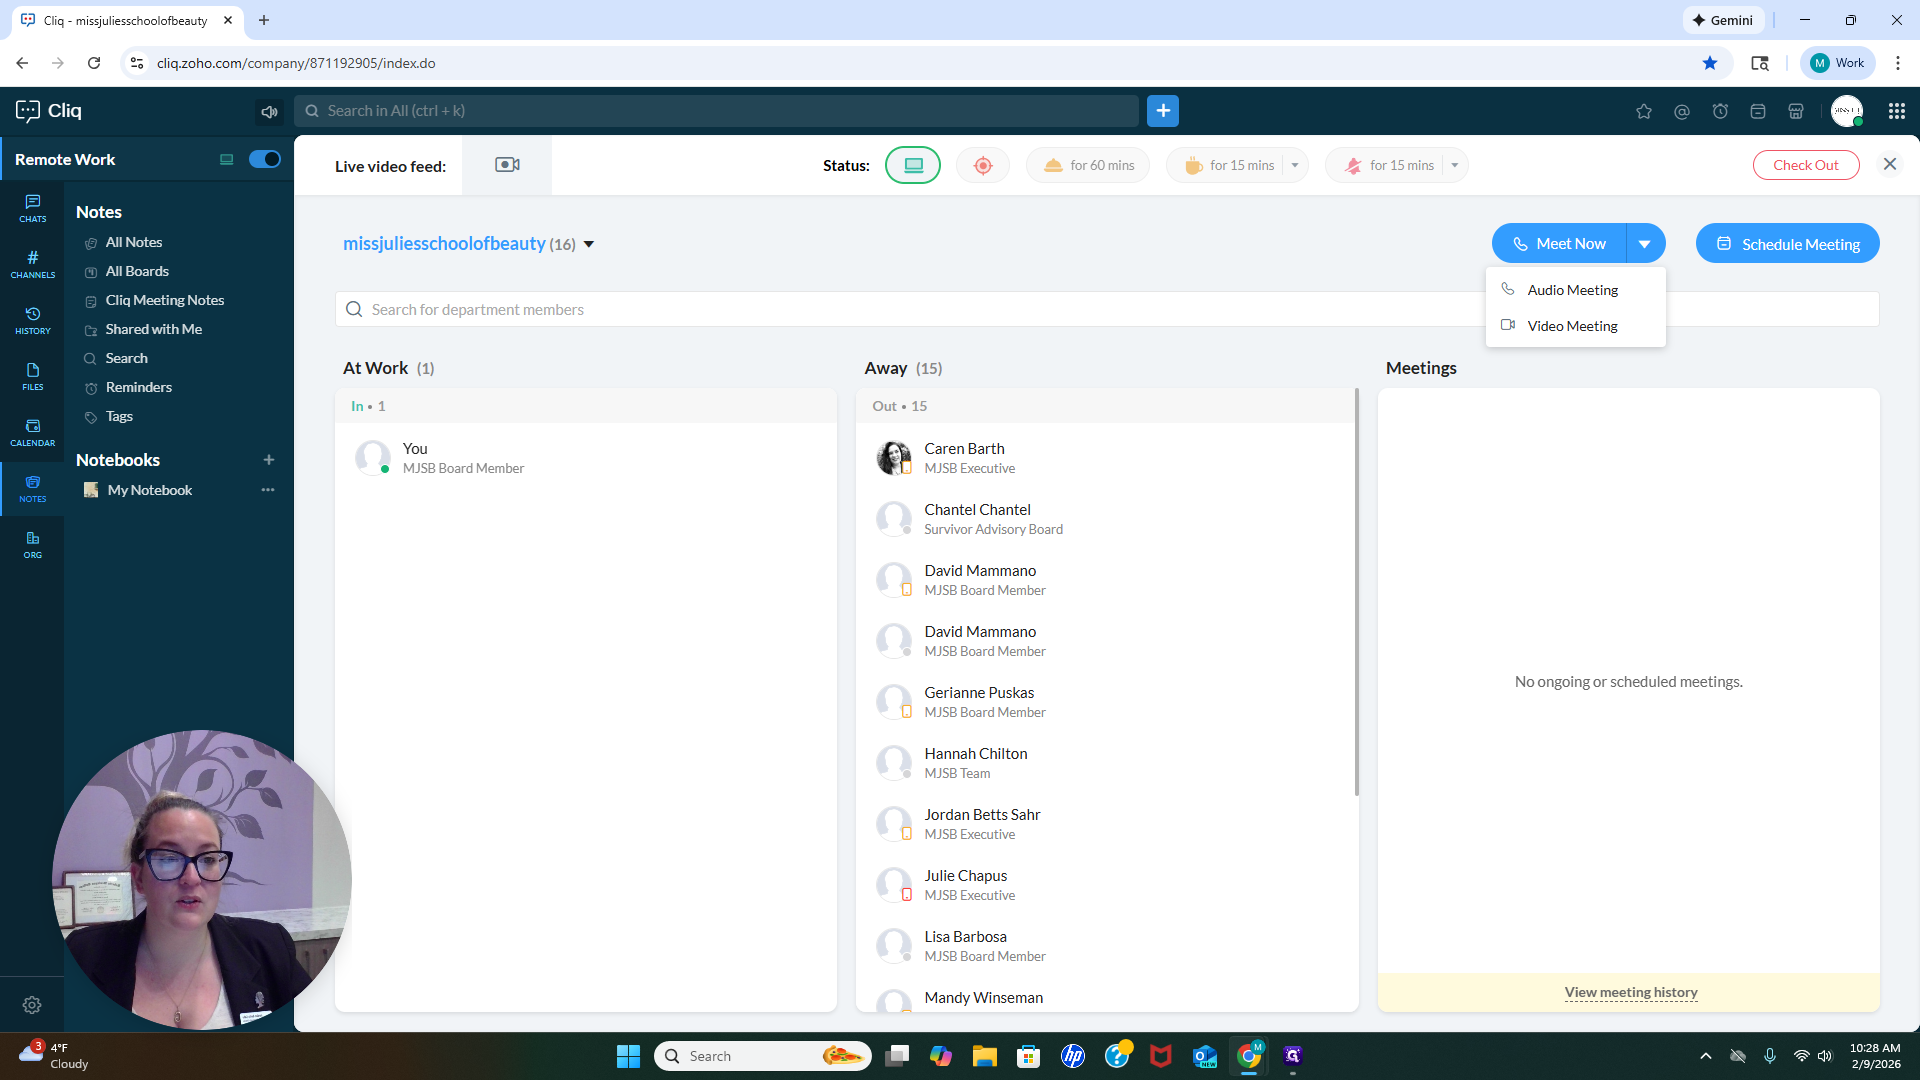
Under Meet Now, there is both a phone and a video option.

You can call or video chat with someone directly in this app if that's easier for you. If someone appears and says it's me, indicating I'm available, you'll see me in the "At Work" section with a green circle. If you see that, it means I'm available for collaboration. You can start an audio or video meeting and call me immediately. You can also schedule something for the future if you prefer.
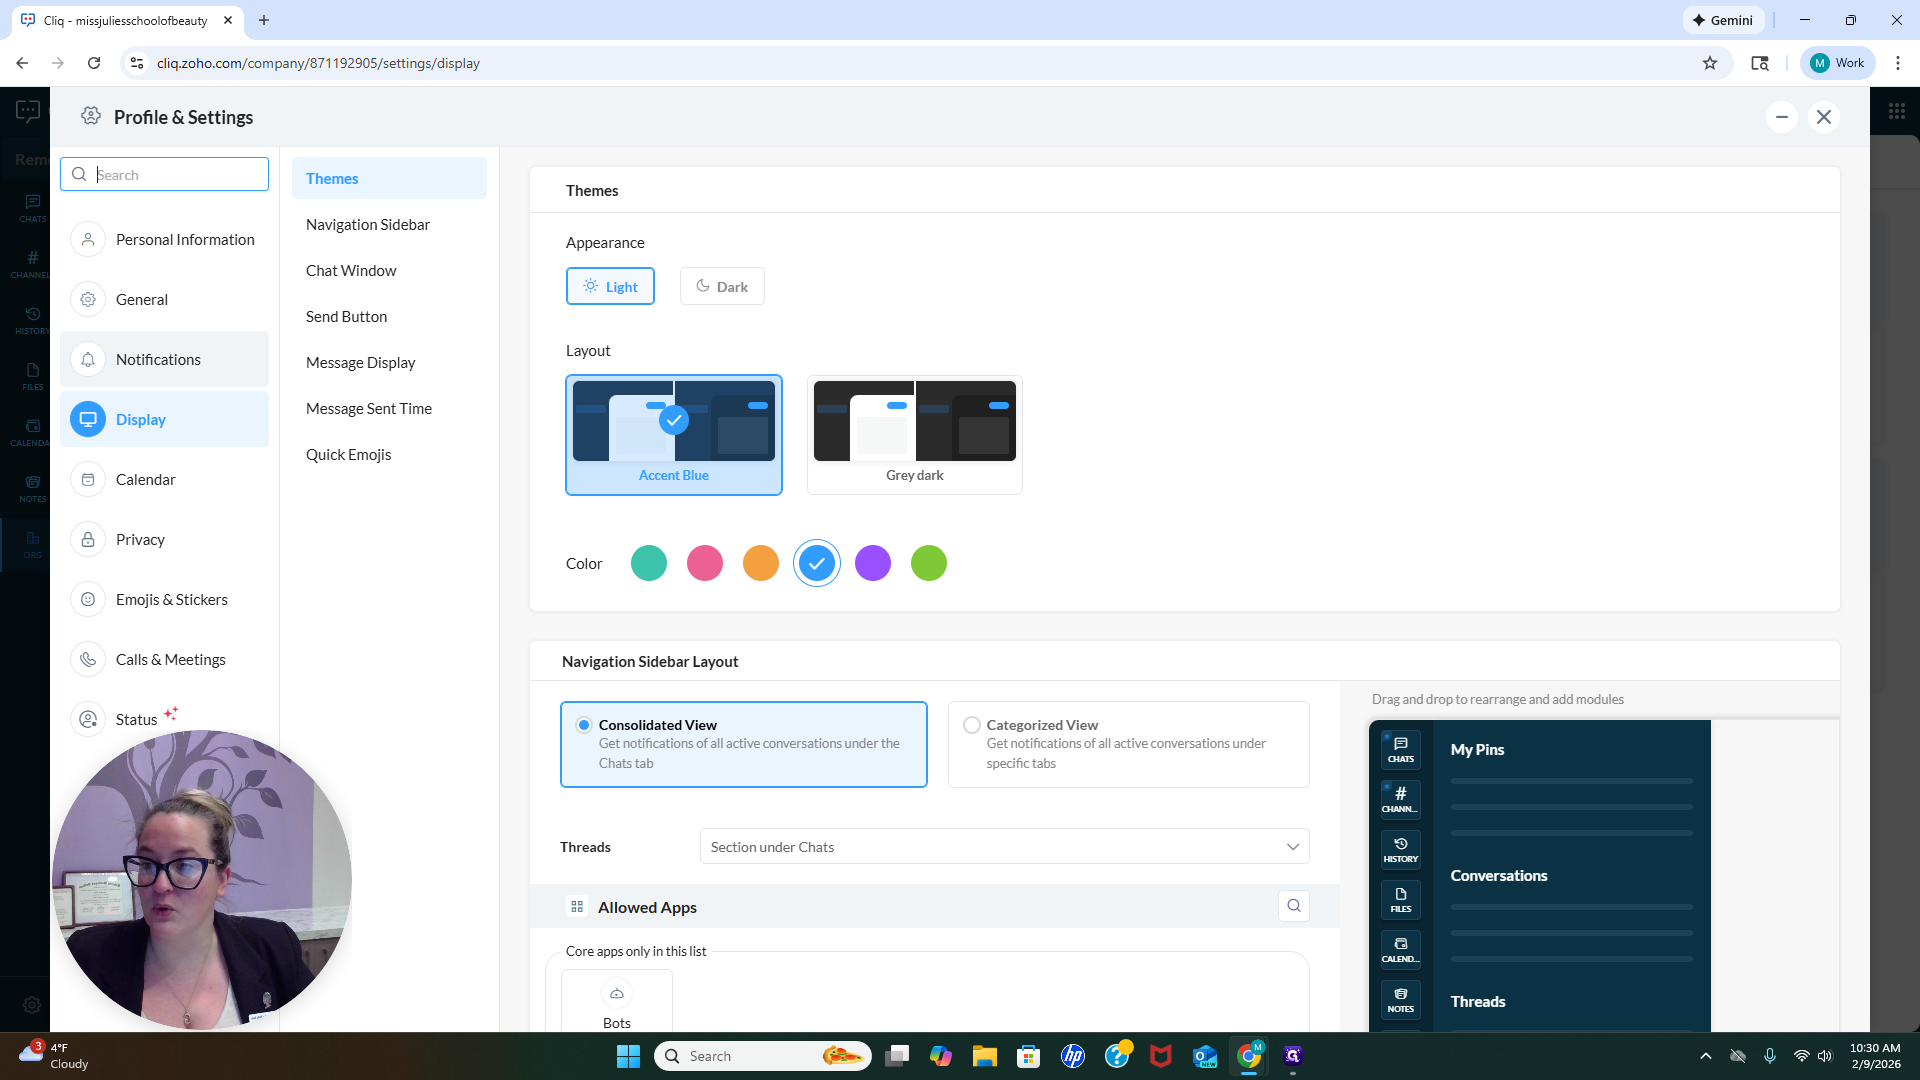
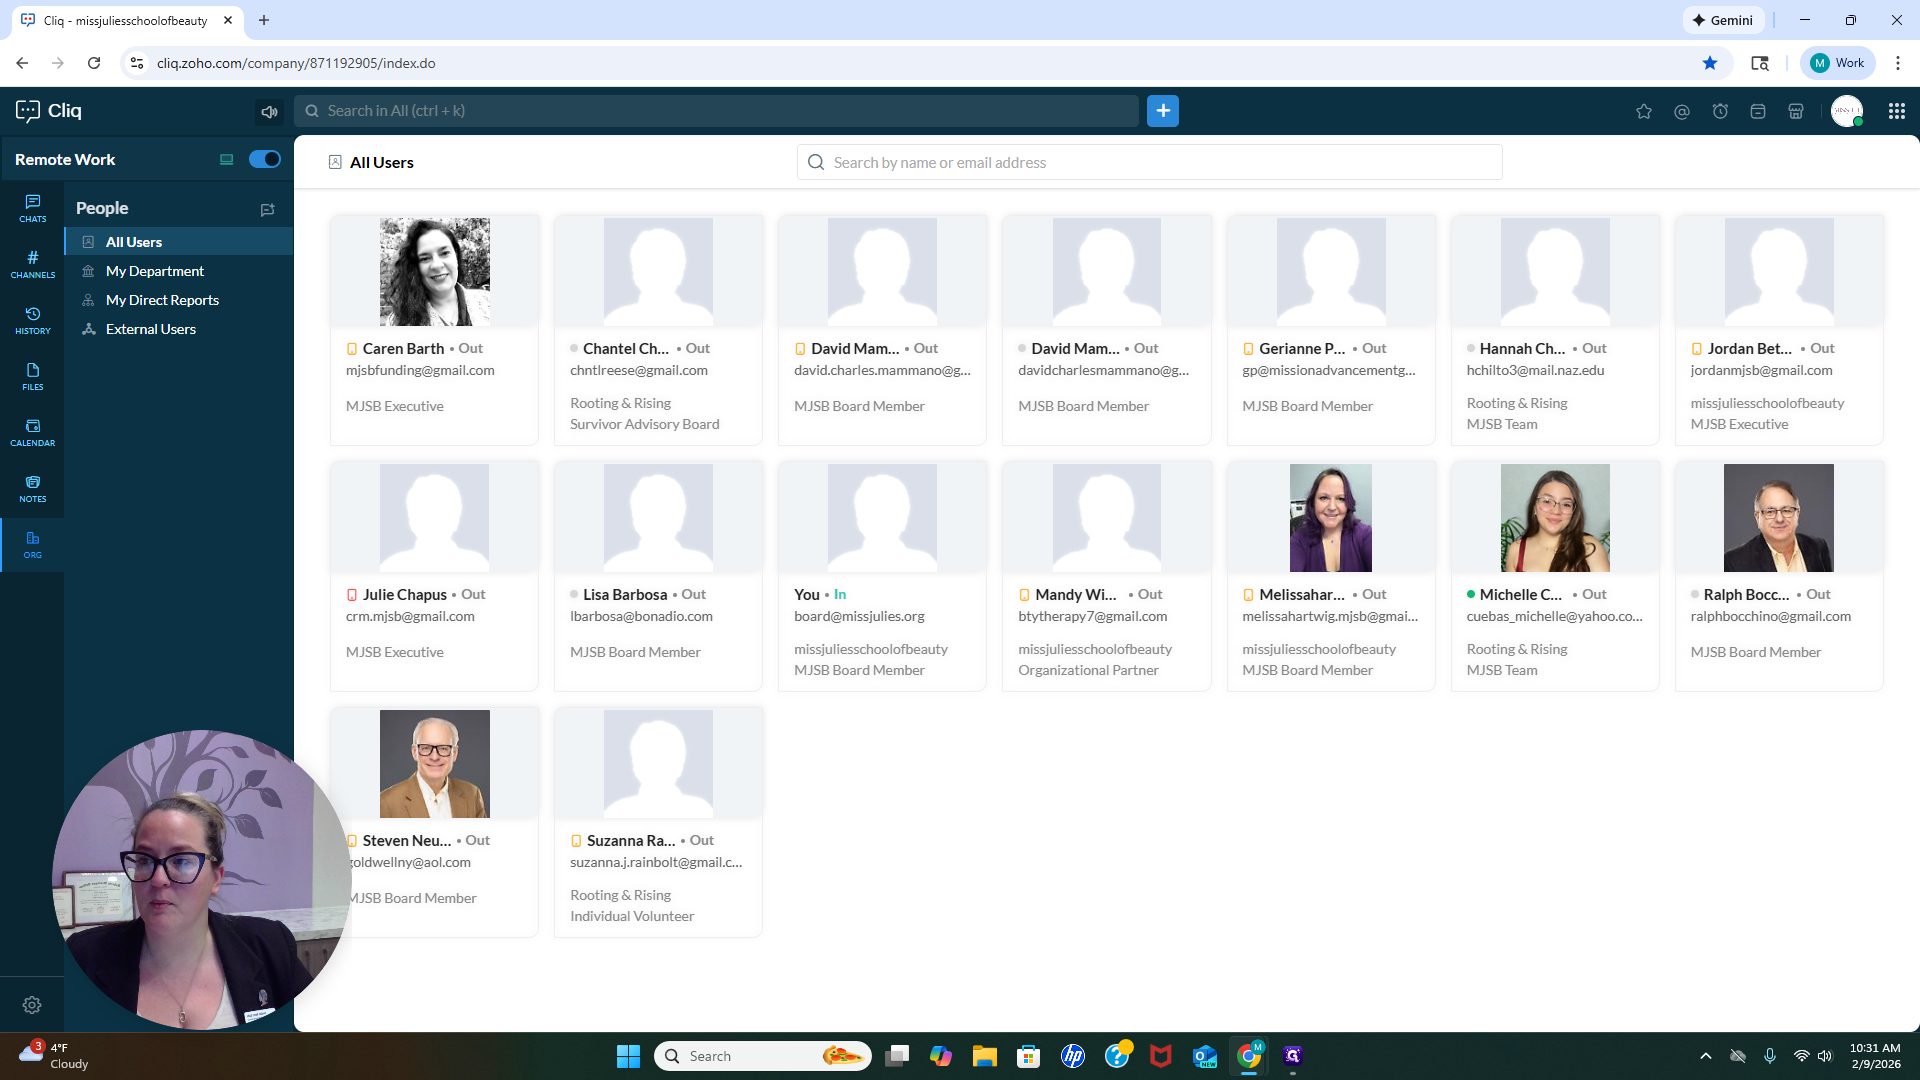
We have the option to make video calls outside of this app. If you want to use this to keep all your correspondence in one place, that's completely fine with us. On the edge, you'll see Chat, Channels, History, Files, Calendar, Notes, and Organization. I'm going to click Org.

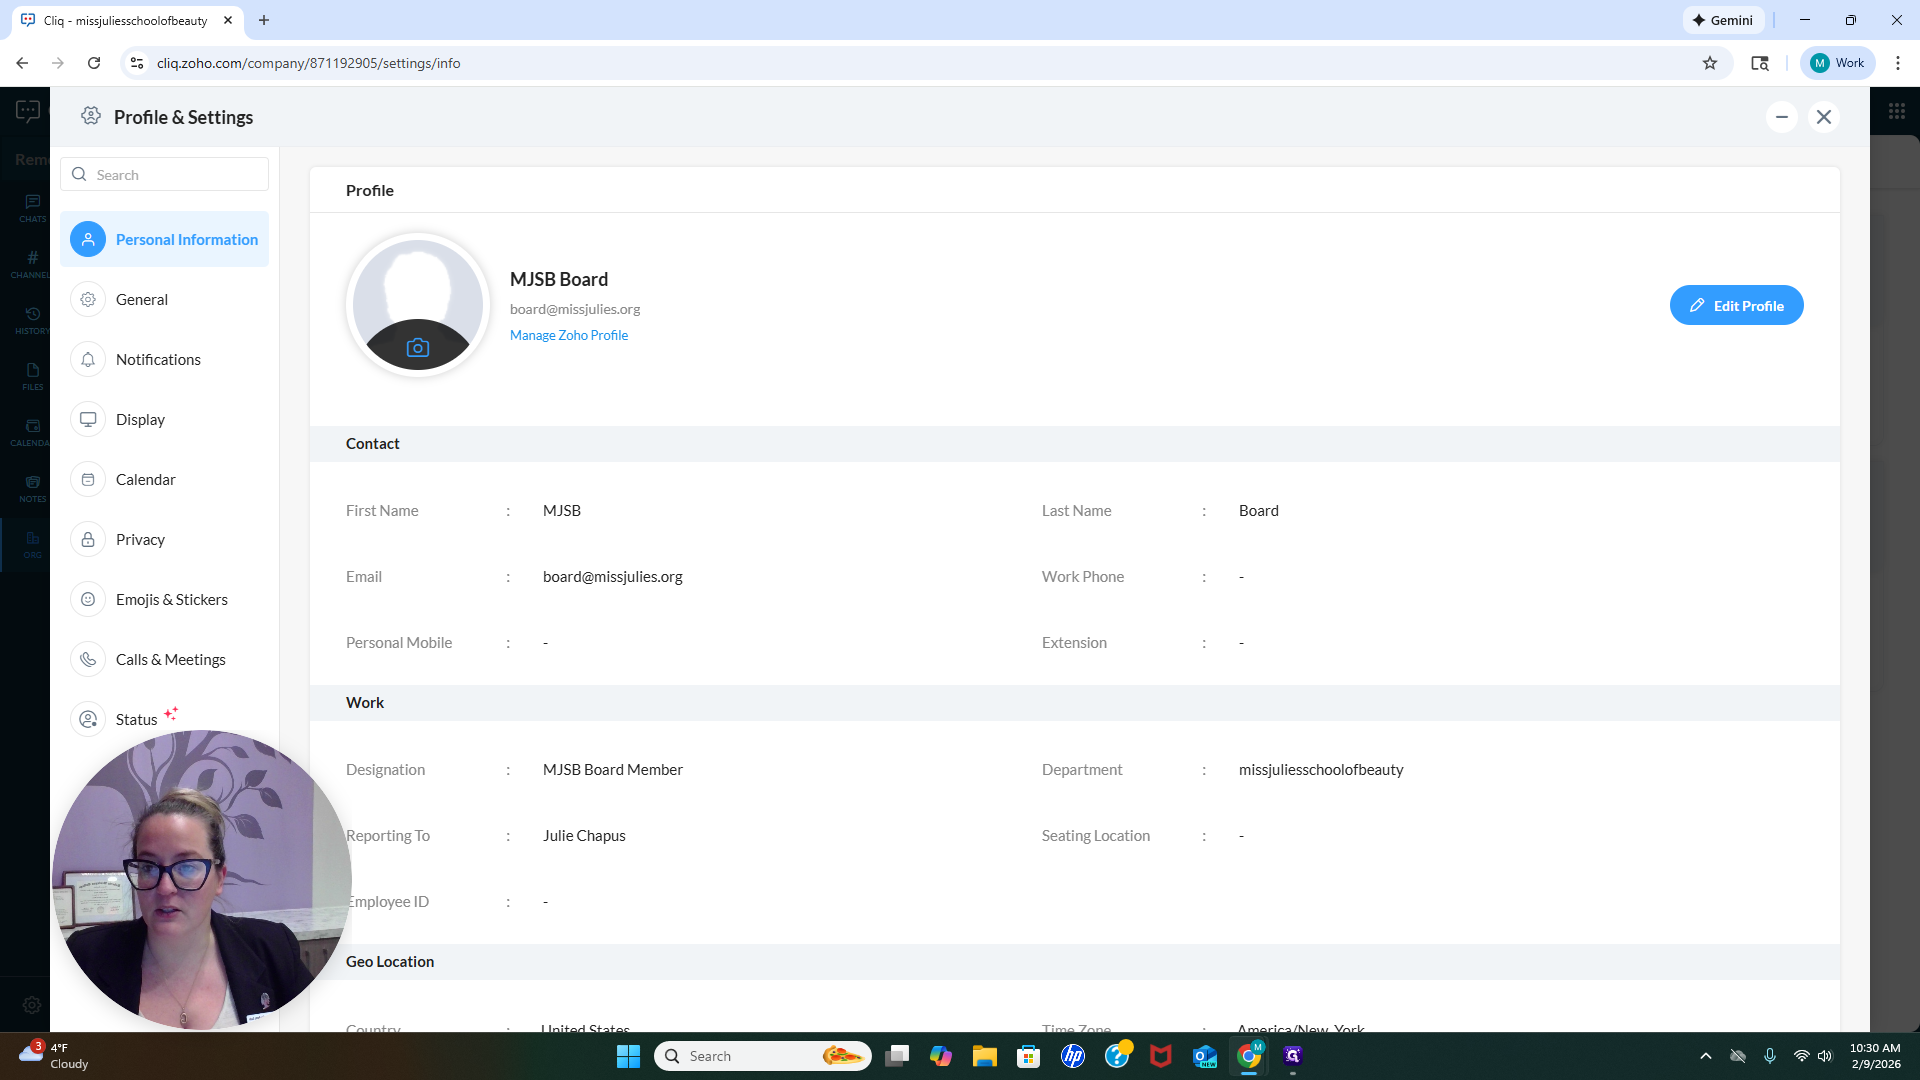
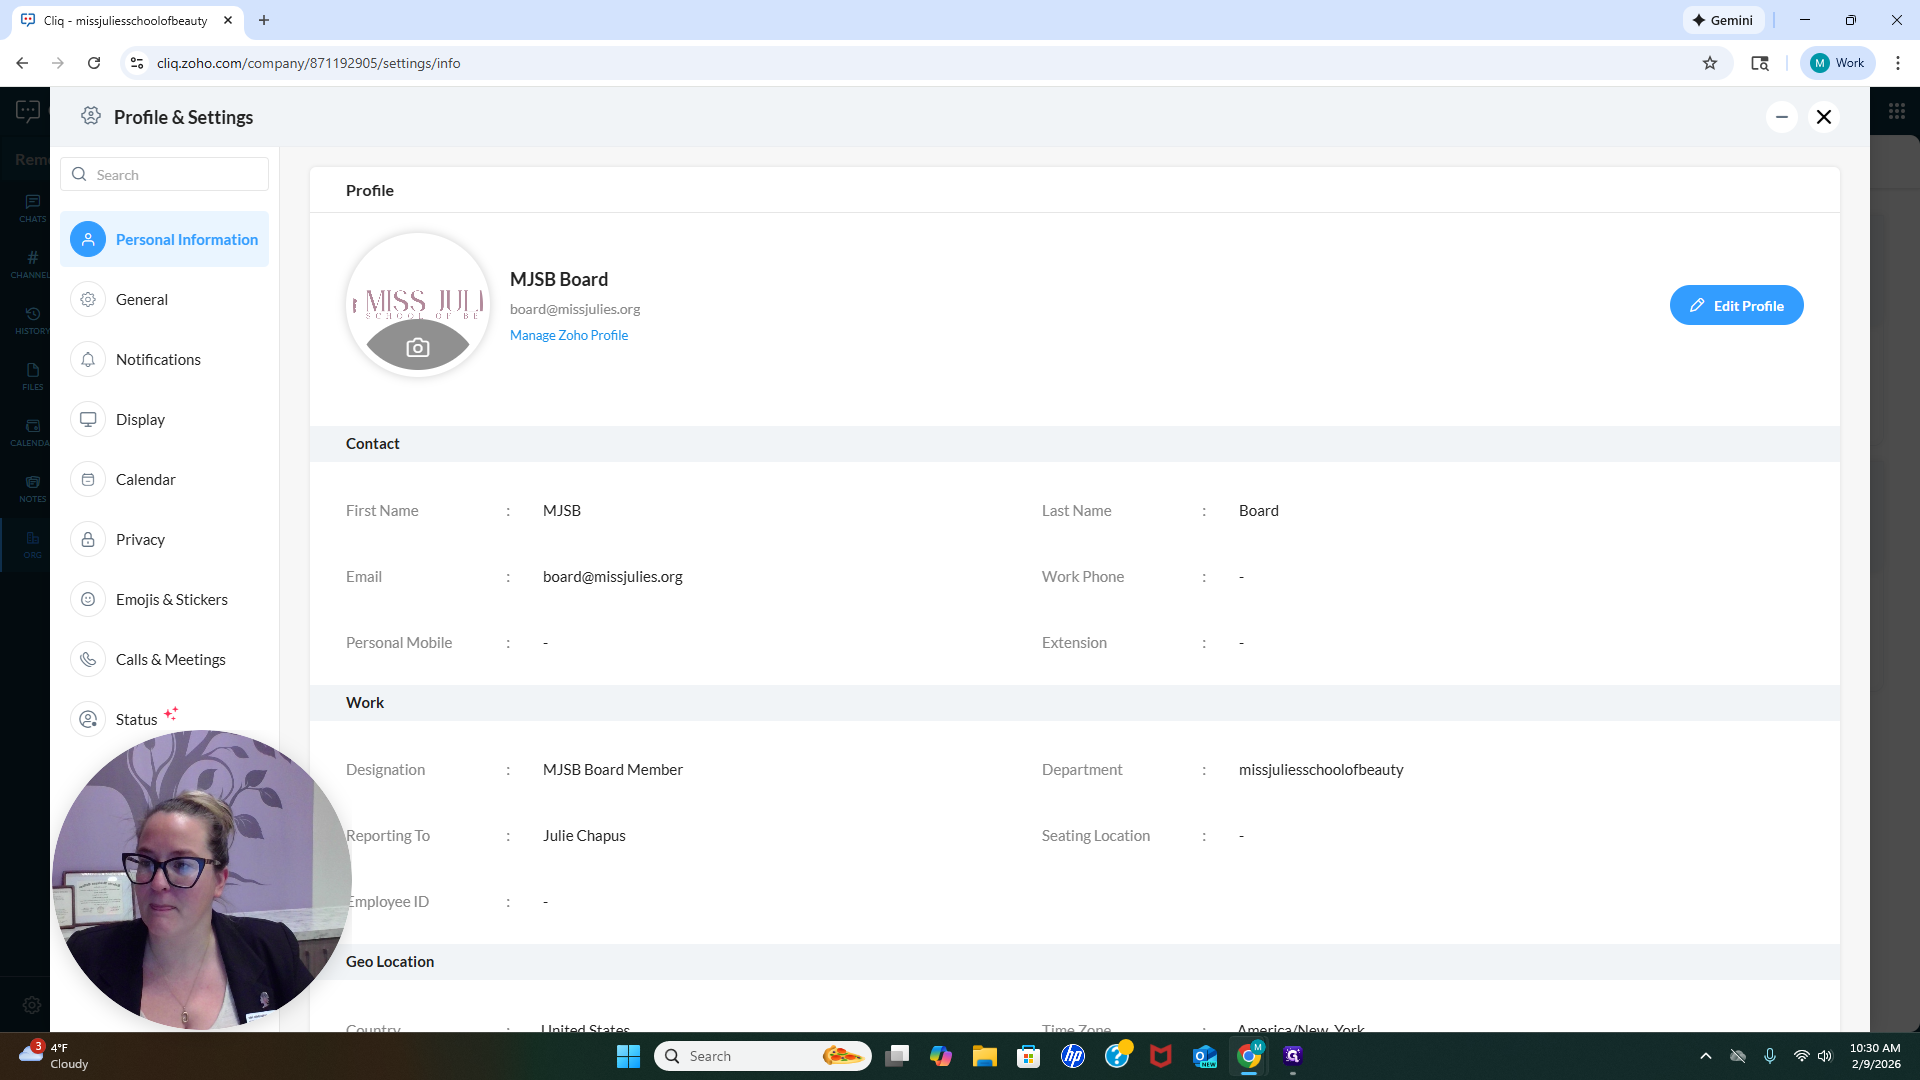
Here, you can see our entire organization at this point. Those are the people involved. They are in this chat group and fully engaged. Once everyone updates their information, you will see pictures of each person here. Click on "My Profile" at the top. In "Profile & Settings," you can change all your personal information.

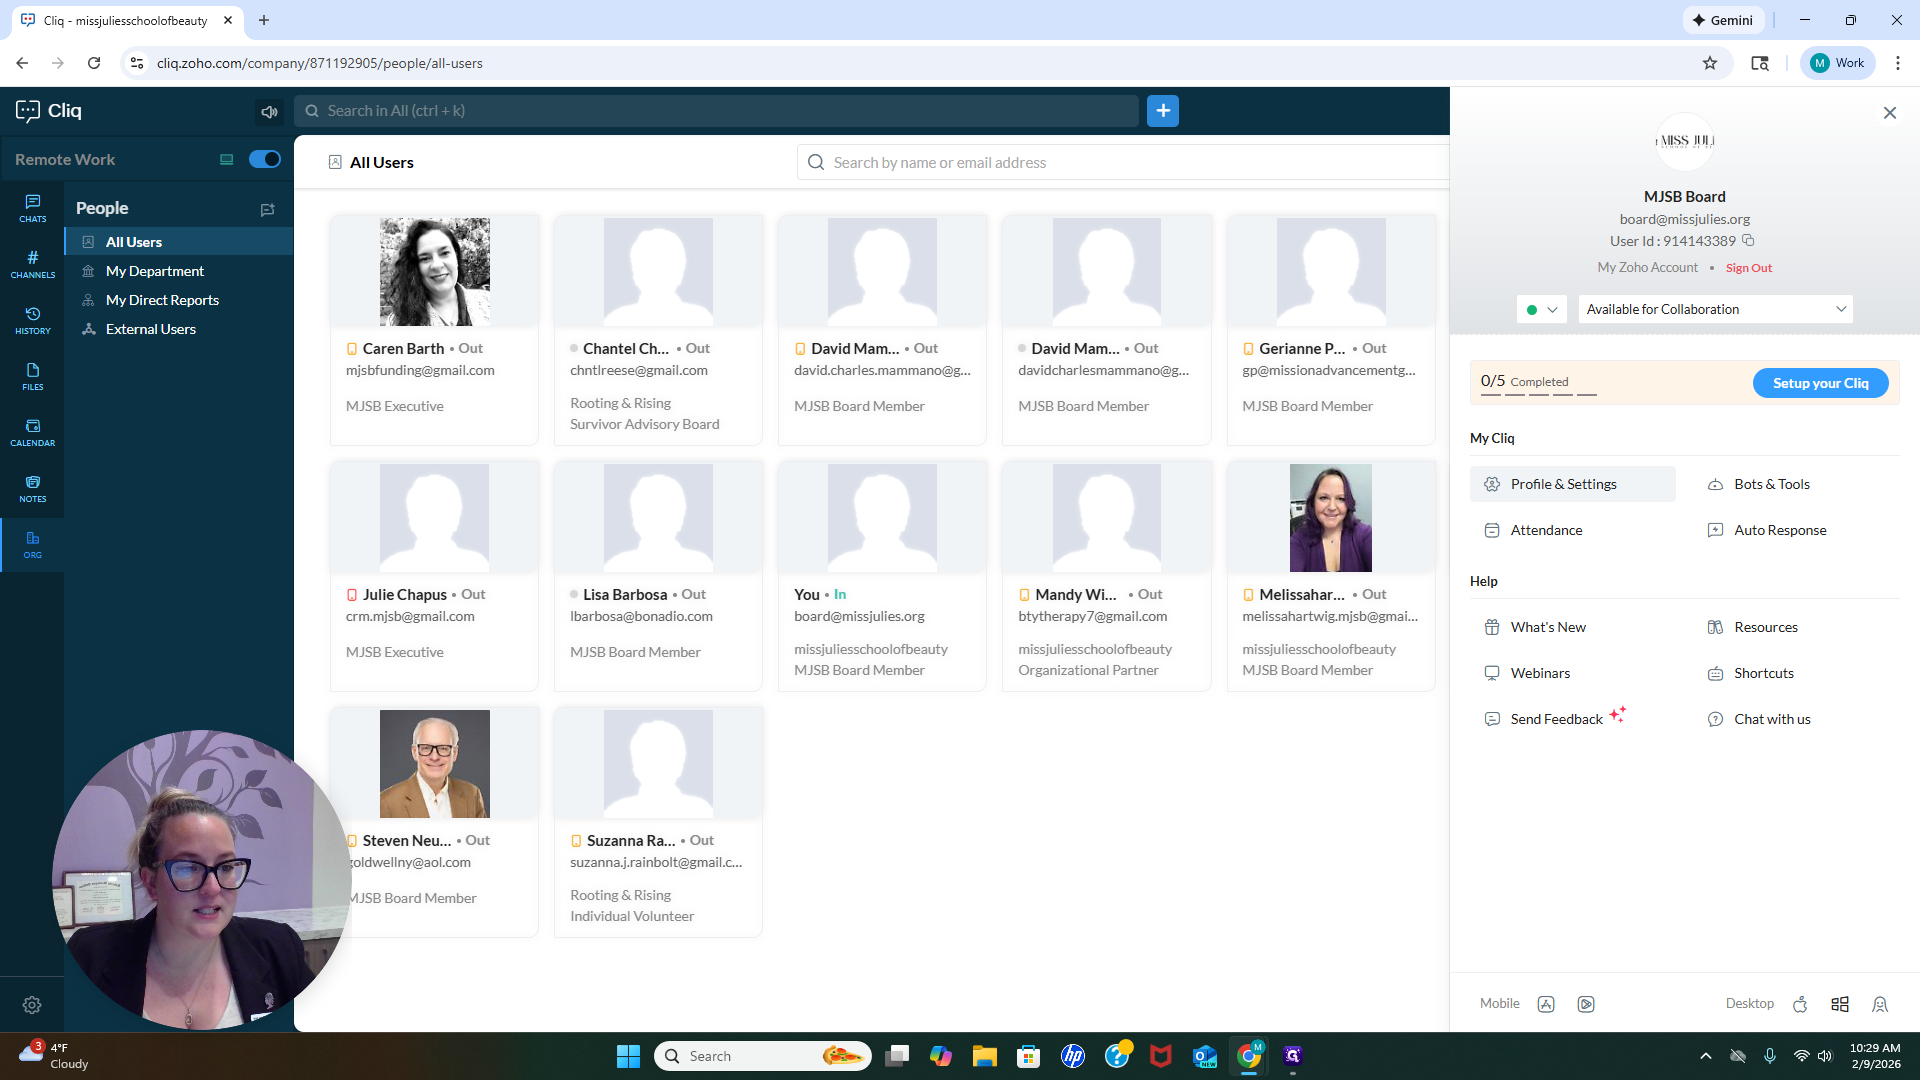
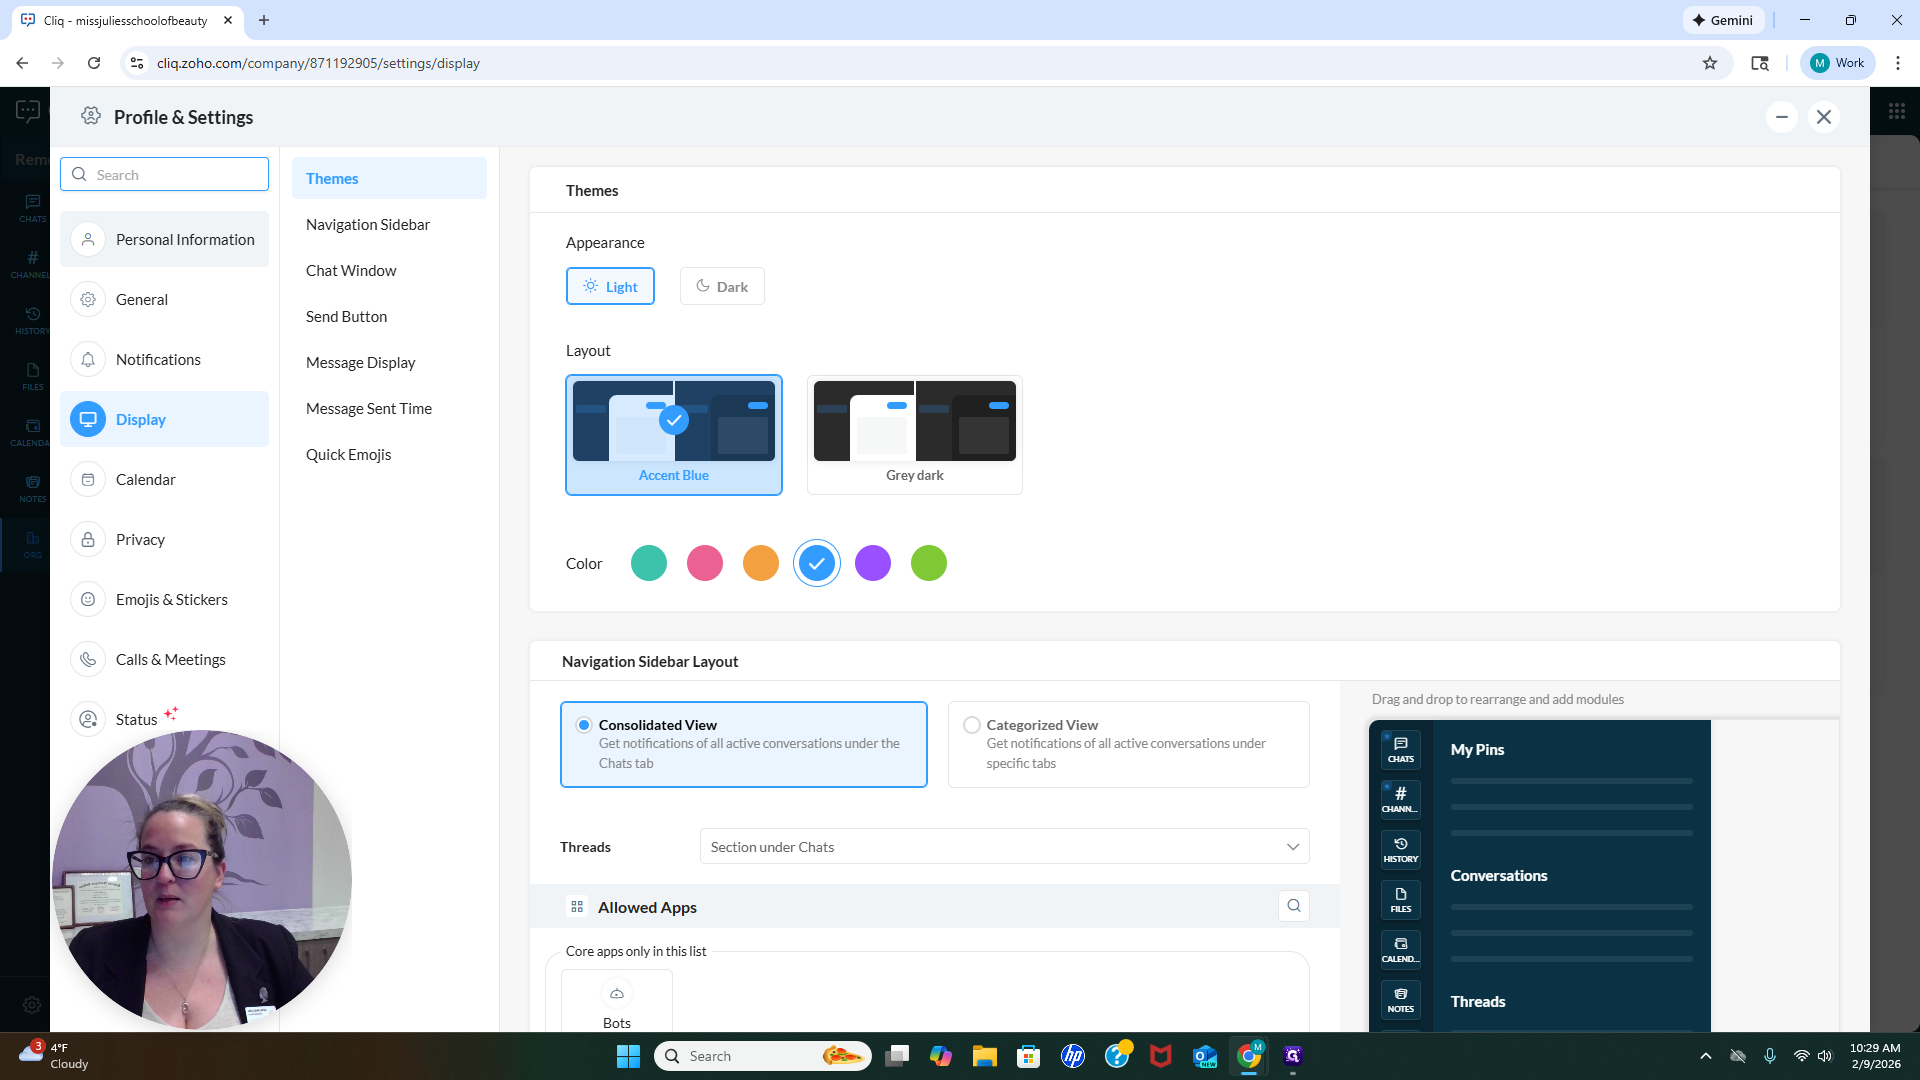
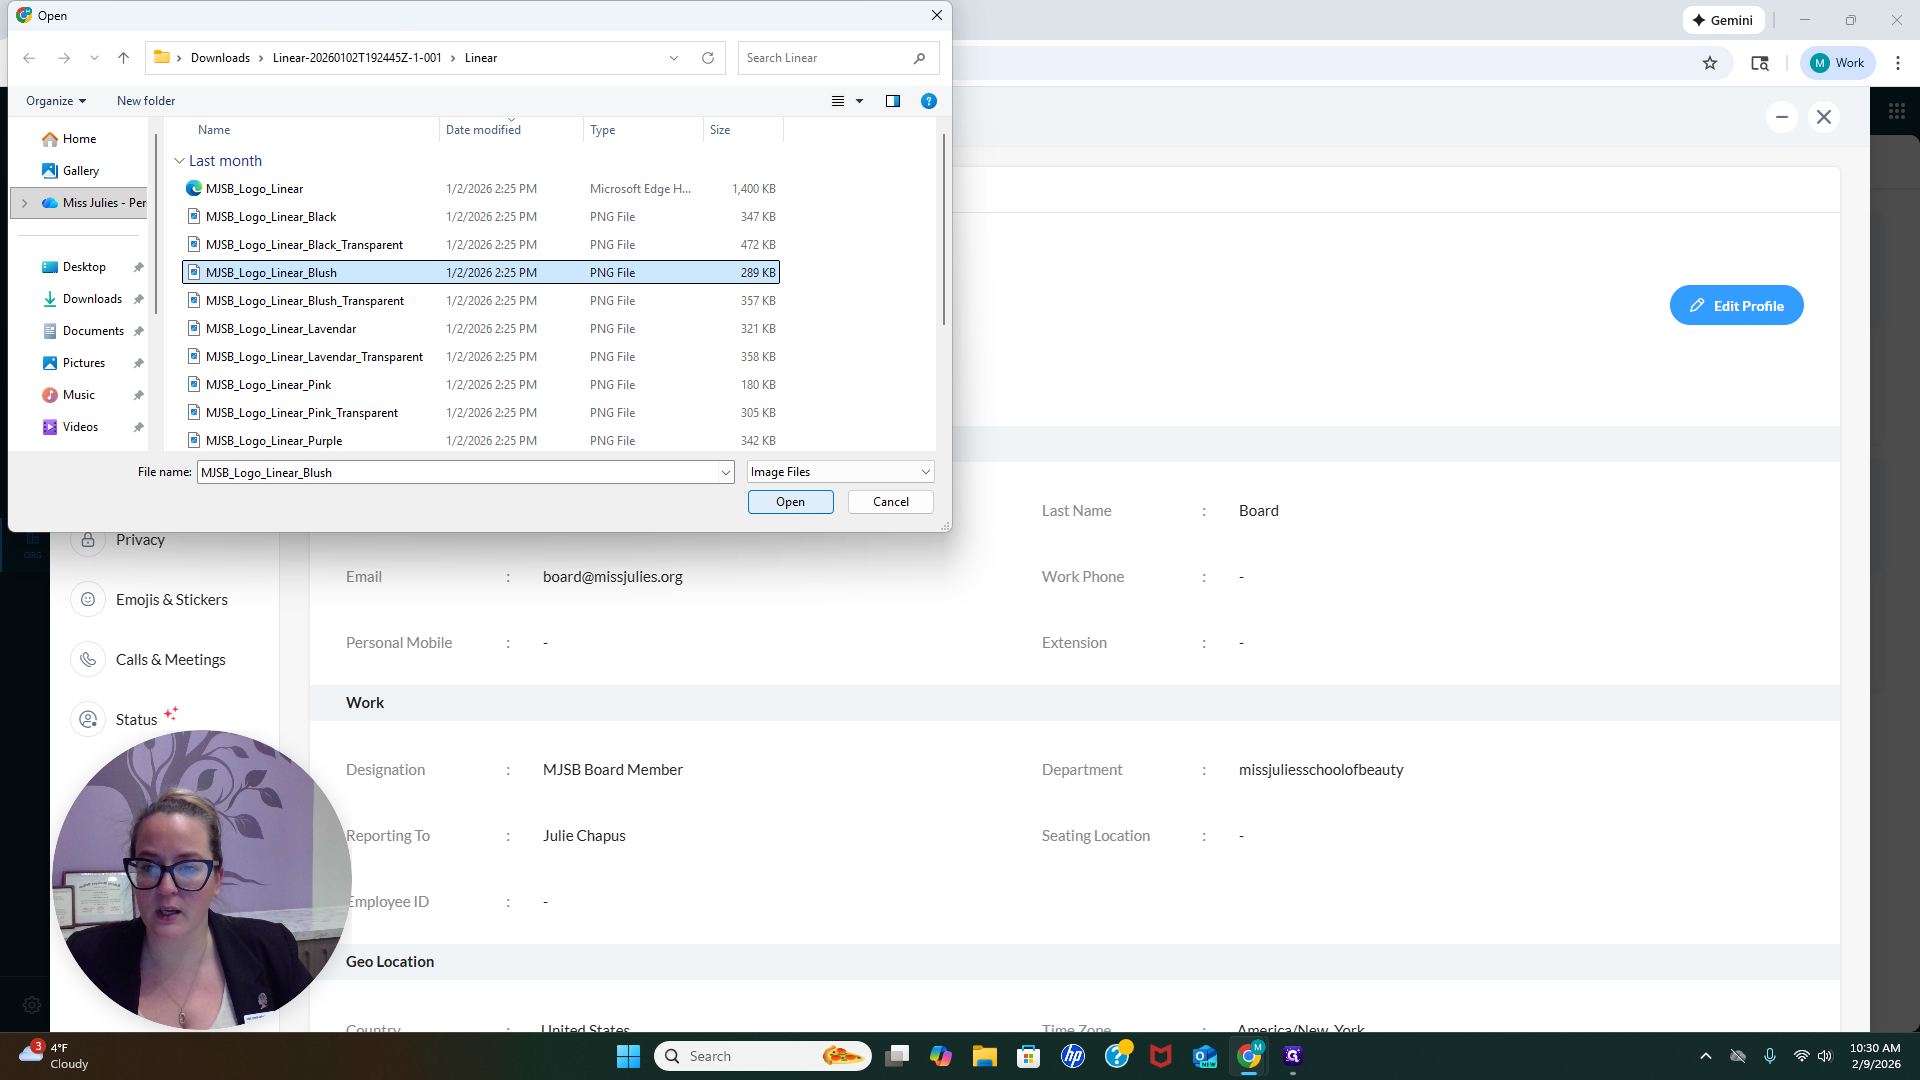
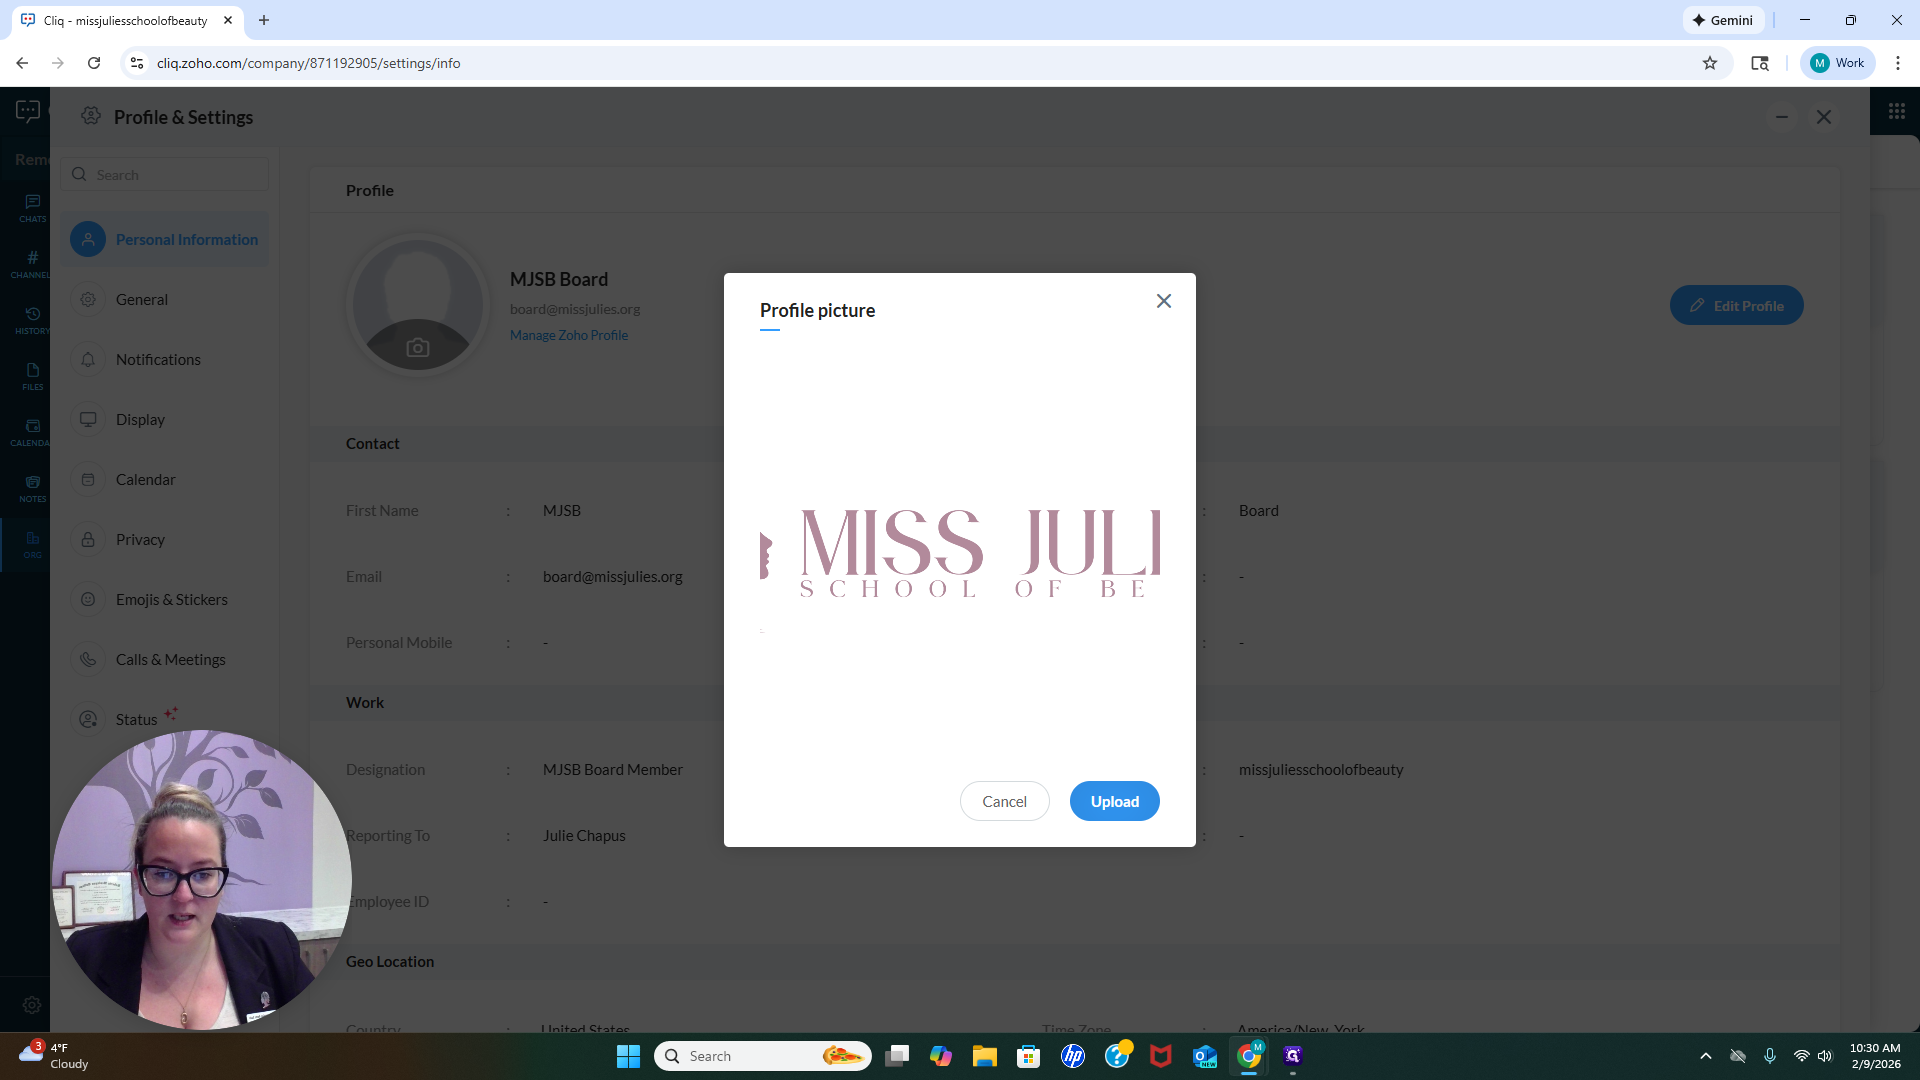
You can update your personal mobile number, work phone number, or any other information as needed. To update your image, click the camera icon and upload your photo from your computer.
For us, I just need access to our...

Let's quickly add a logo.

That's my profile picture.
Add a photo of yourself, such as a headshot or bio picture, that reflects your personality.
Another important point to note here is your notifications.


When you log in, you will receive notifications for everything by default. You may not need all of them, so feel free to select or deselect the items you want to receive notifications for.

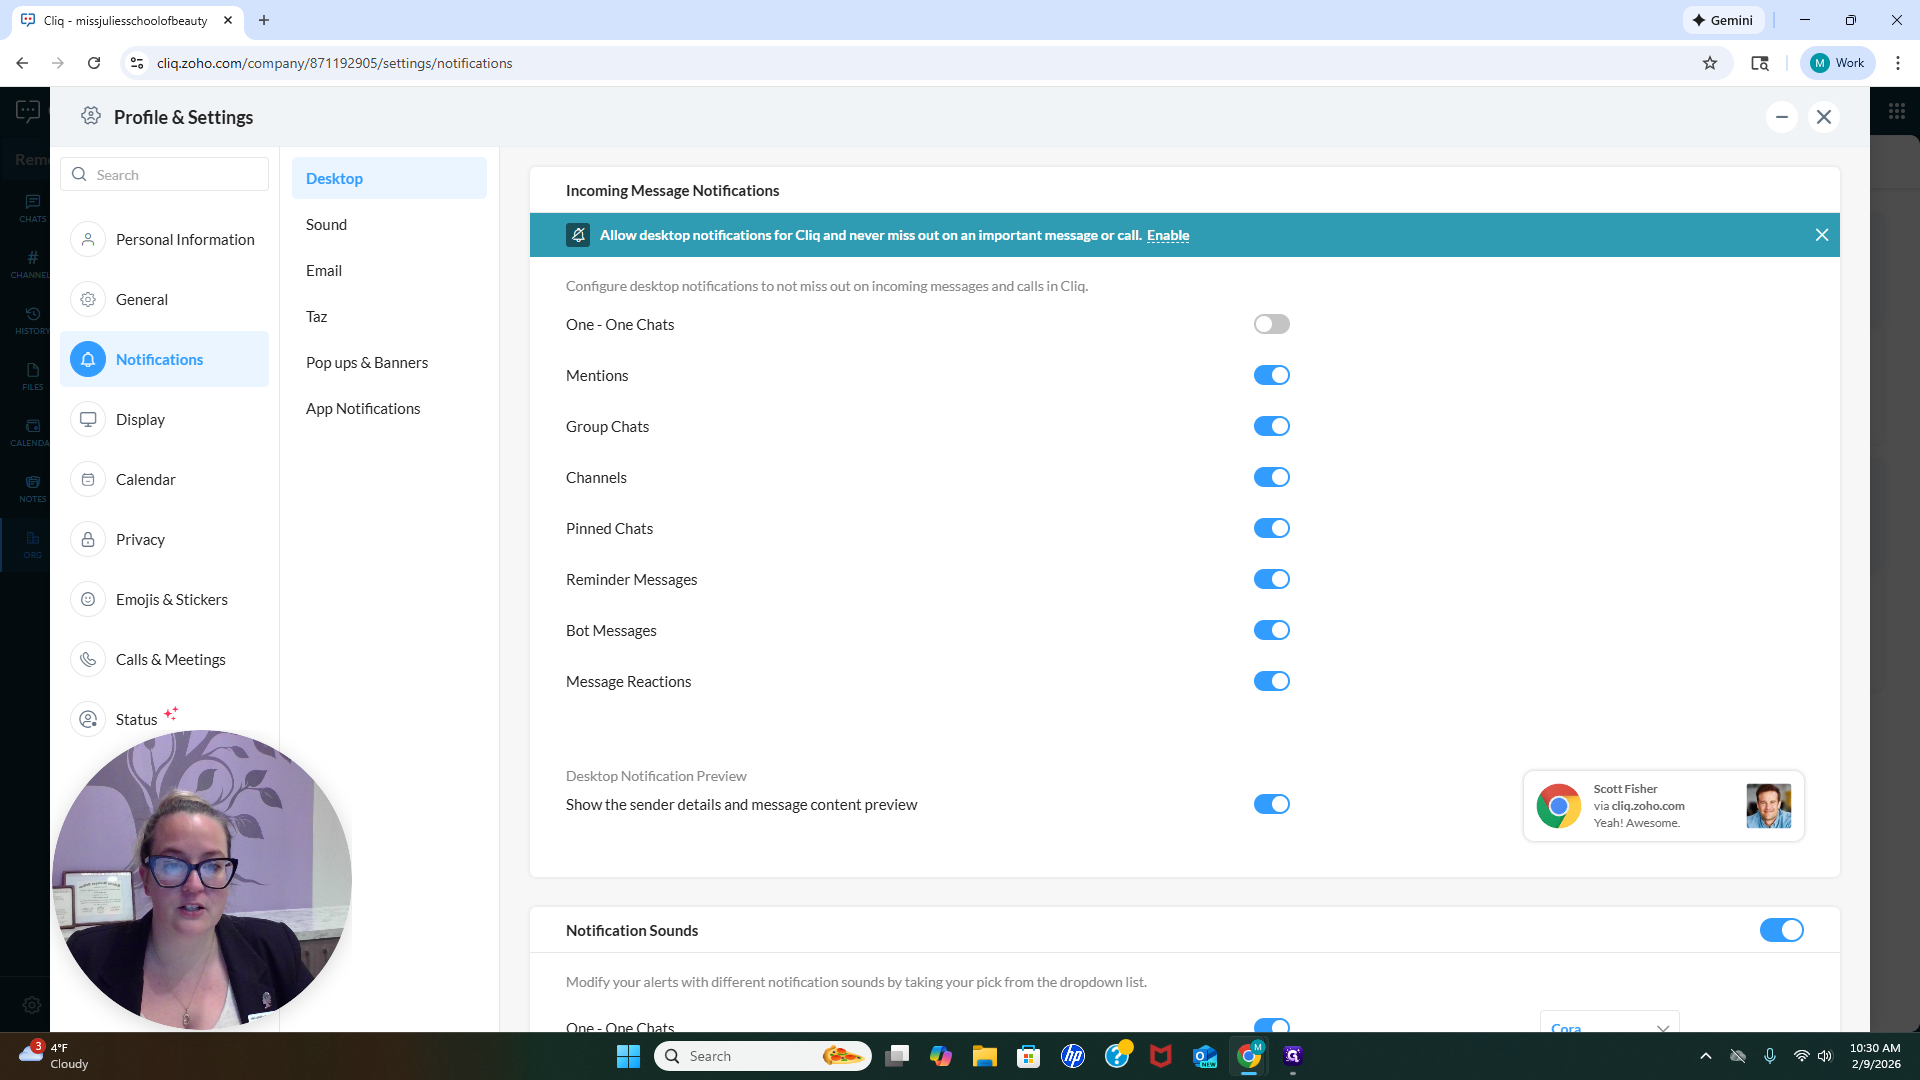
You can receive email notifications when you are mentioned or when someone sends you a chat. When you log in for remote work, you can use your cellphone or desktop. If you select that you are engaged with work, you will not receive notifications.
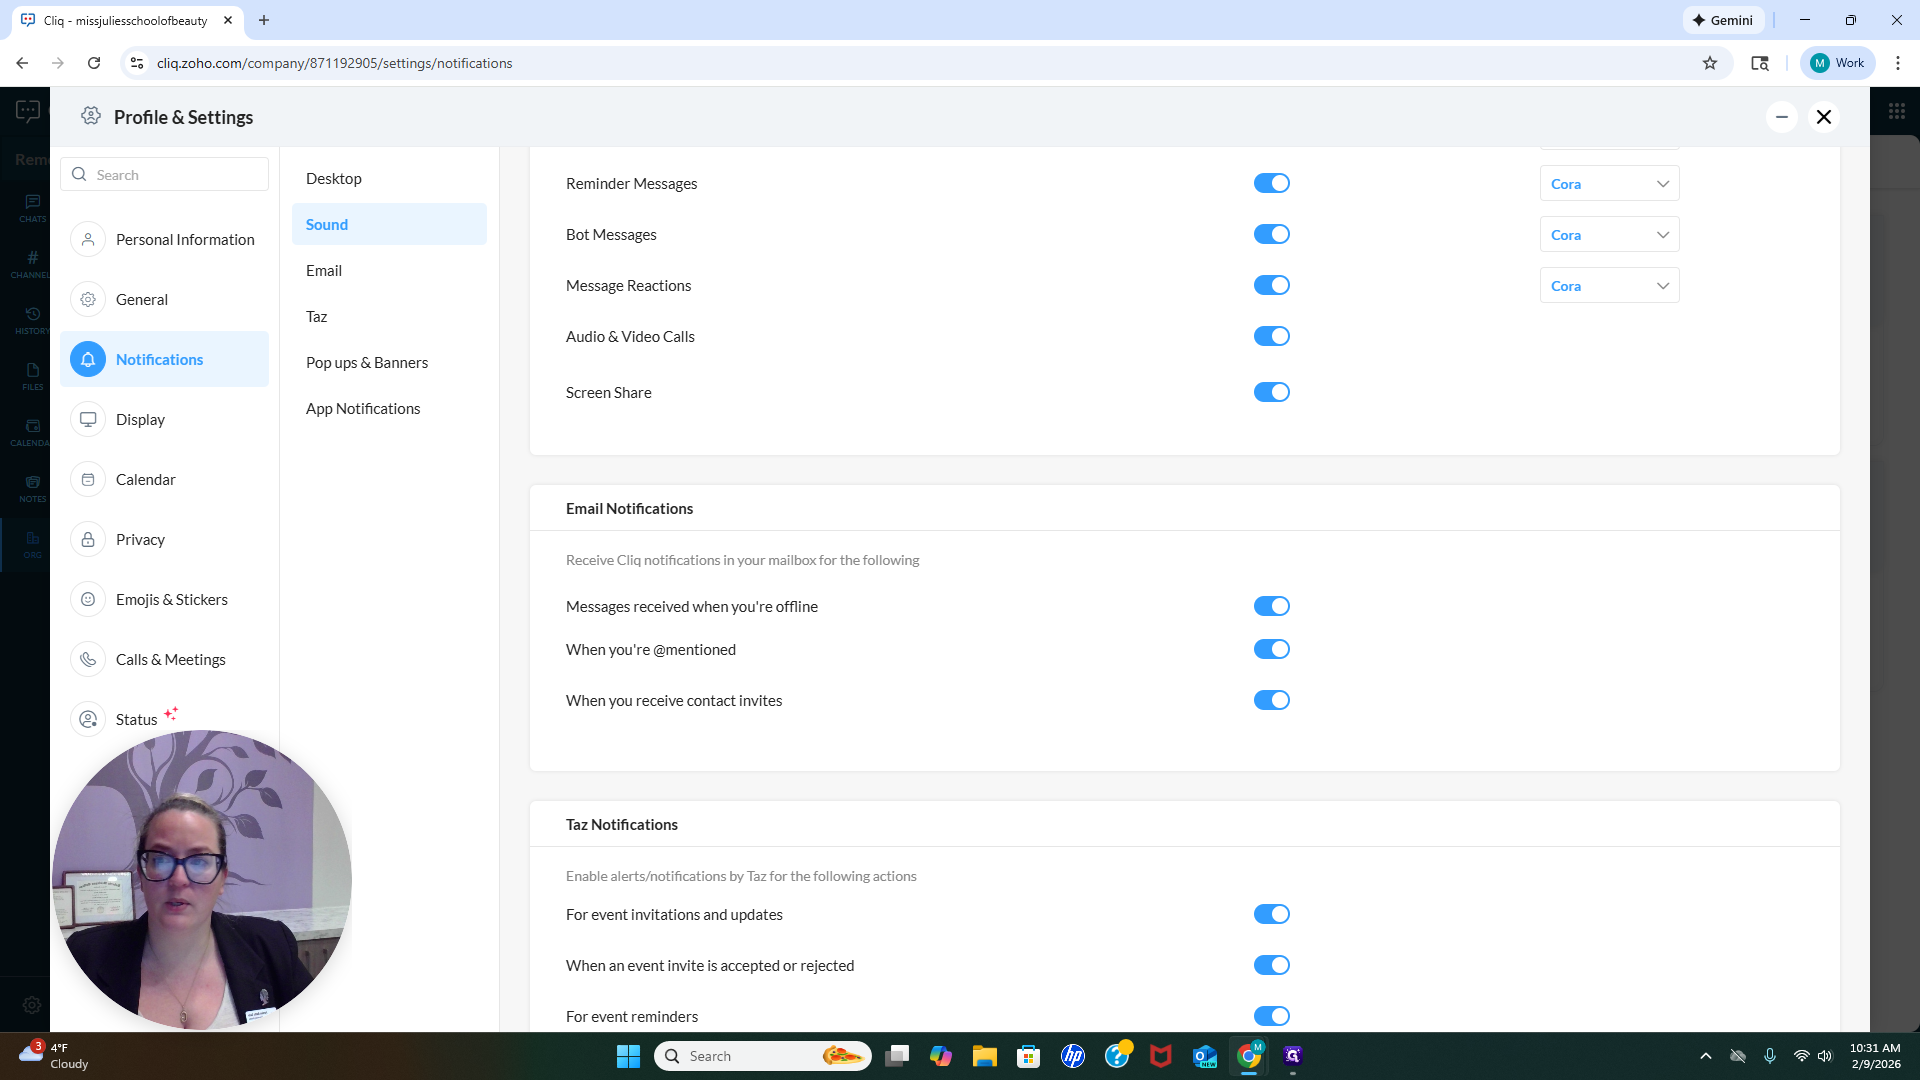
You can choose to not receive notifications for 24 hours after you log out. I usually do this at the end of the day on my phone, so I won't be notified until the next day. I will click Do Not Disturb, and I will not receive notifications in this app until the next day. This is important to note. Set boundaries to avoid receiving too much correspondence at once. I know it can feel overwhelming. Another feature you'll notice here is Notebooks. You can create a new notebook for your notes.
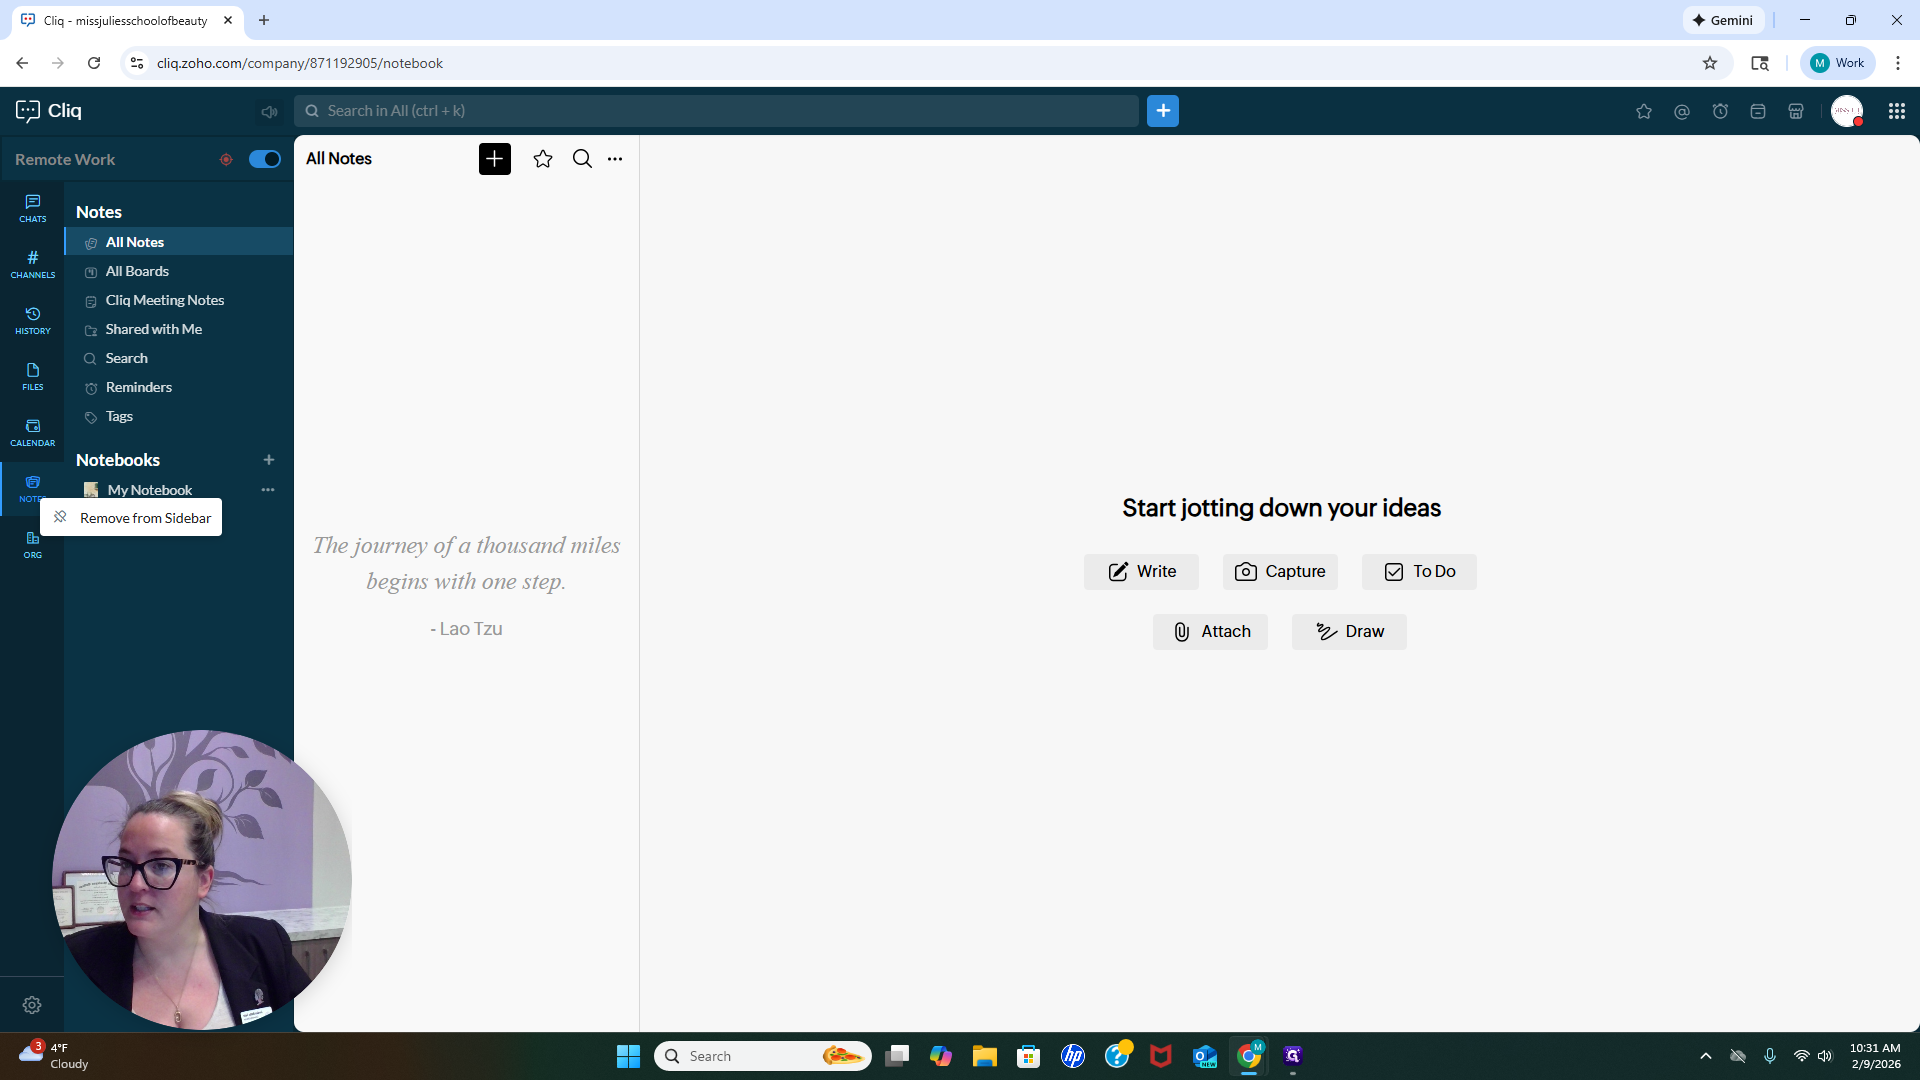
You can attach files or draw. There are various options available for you here.
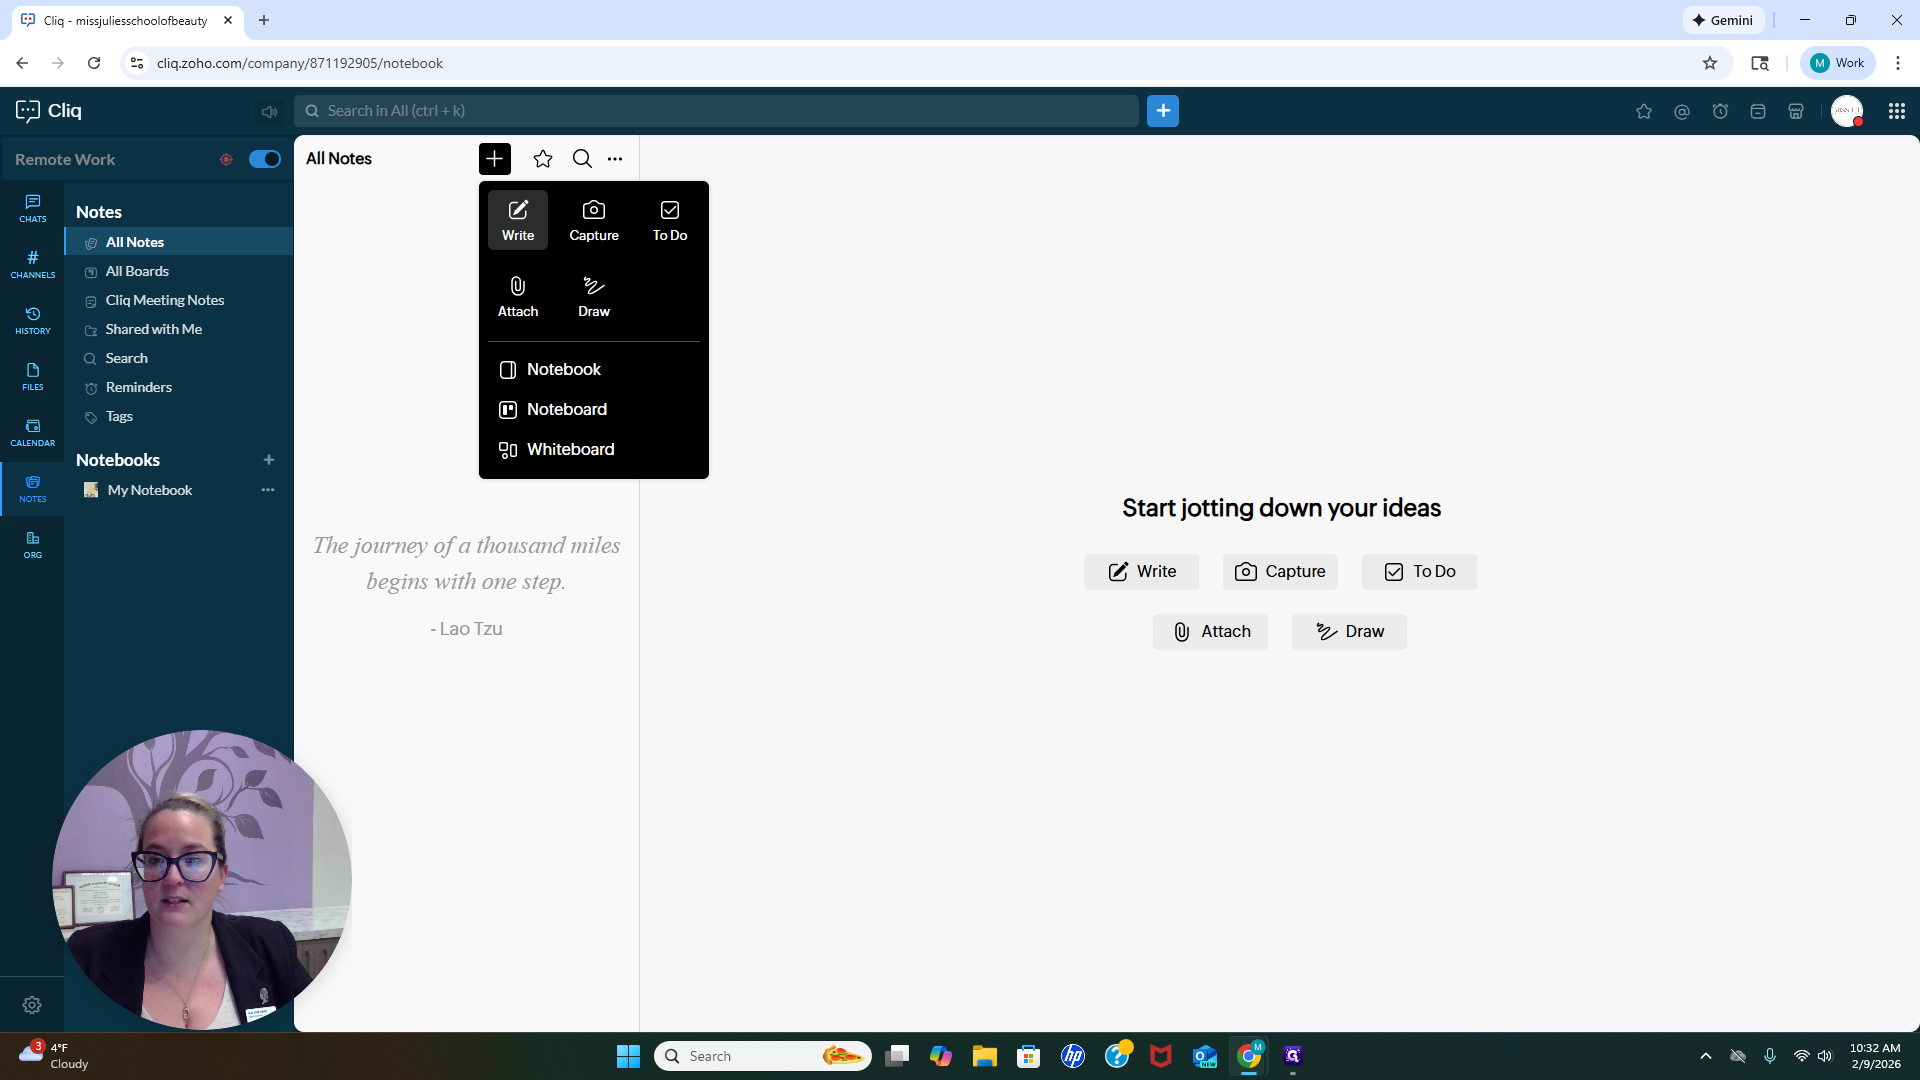
If you want to keep notes or store information, you can do that on this platform.


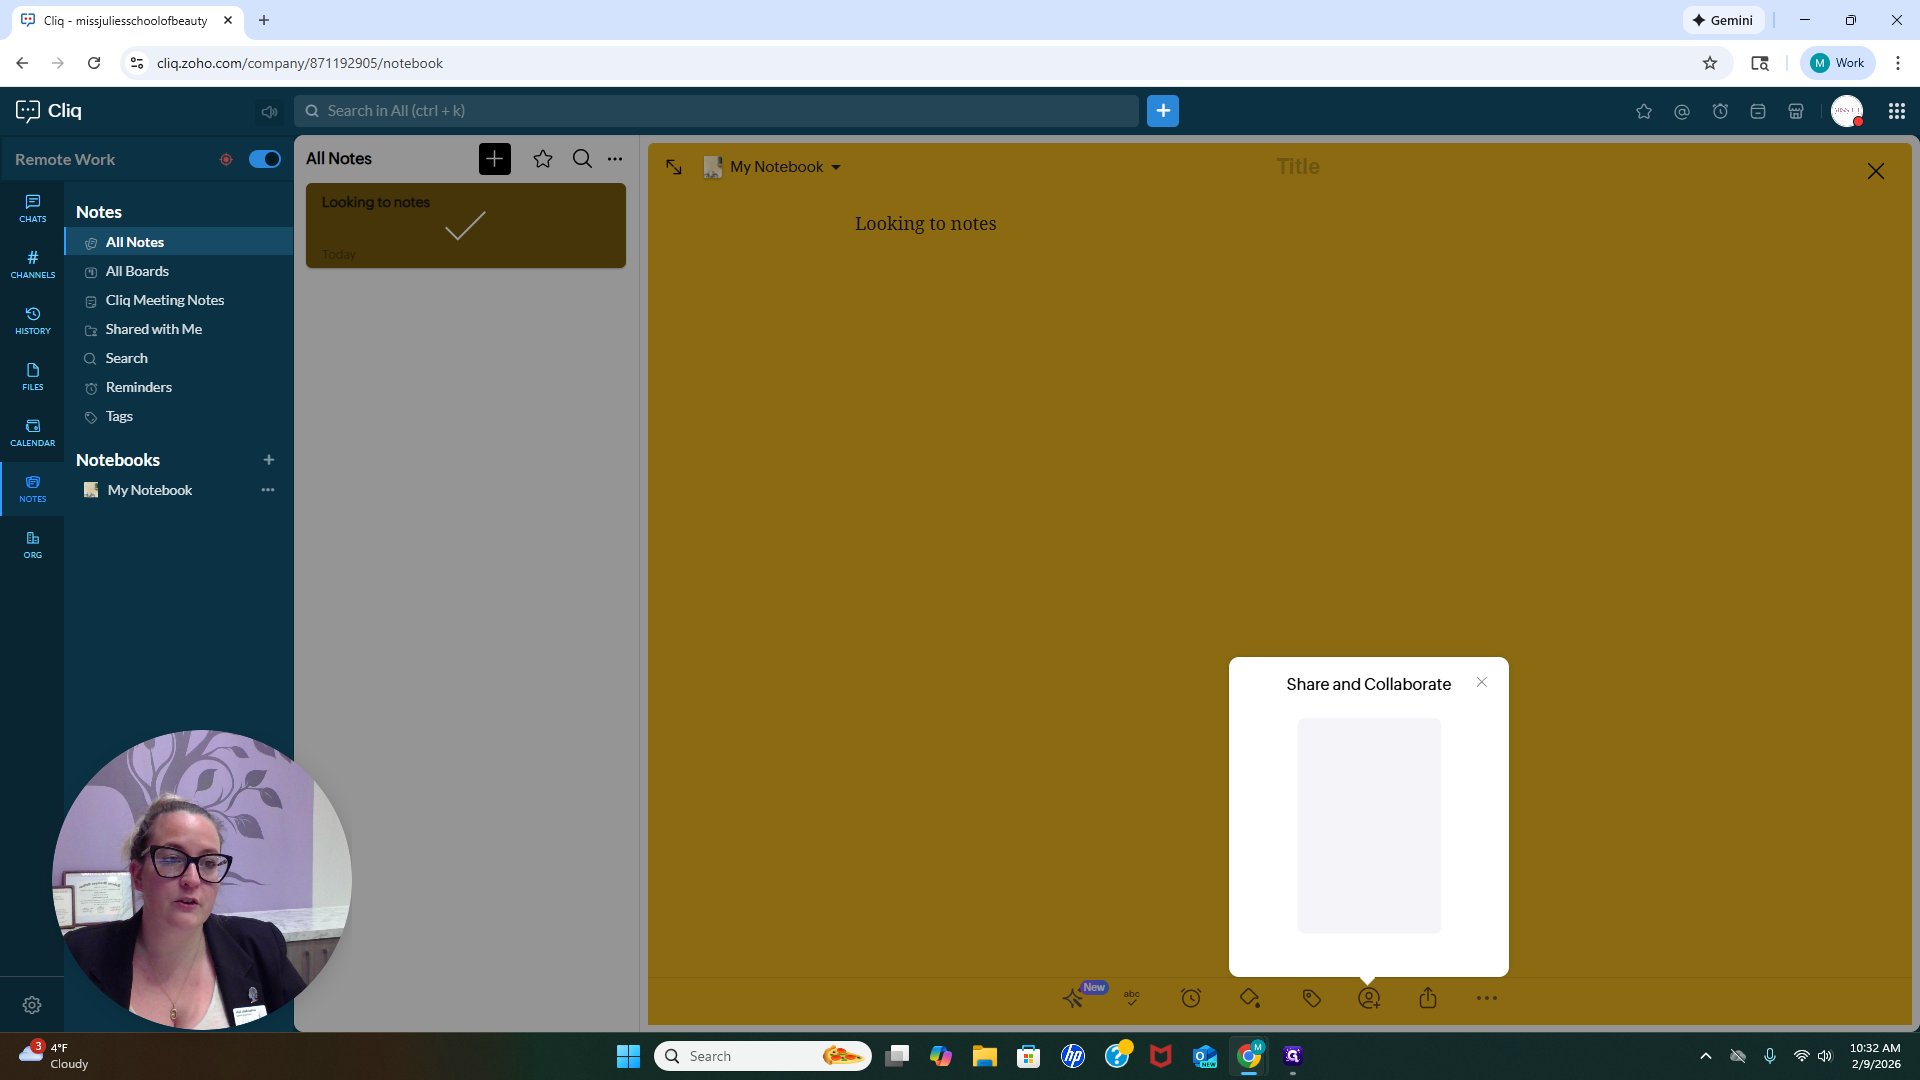
You can also share your notes with others.
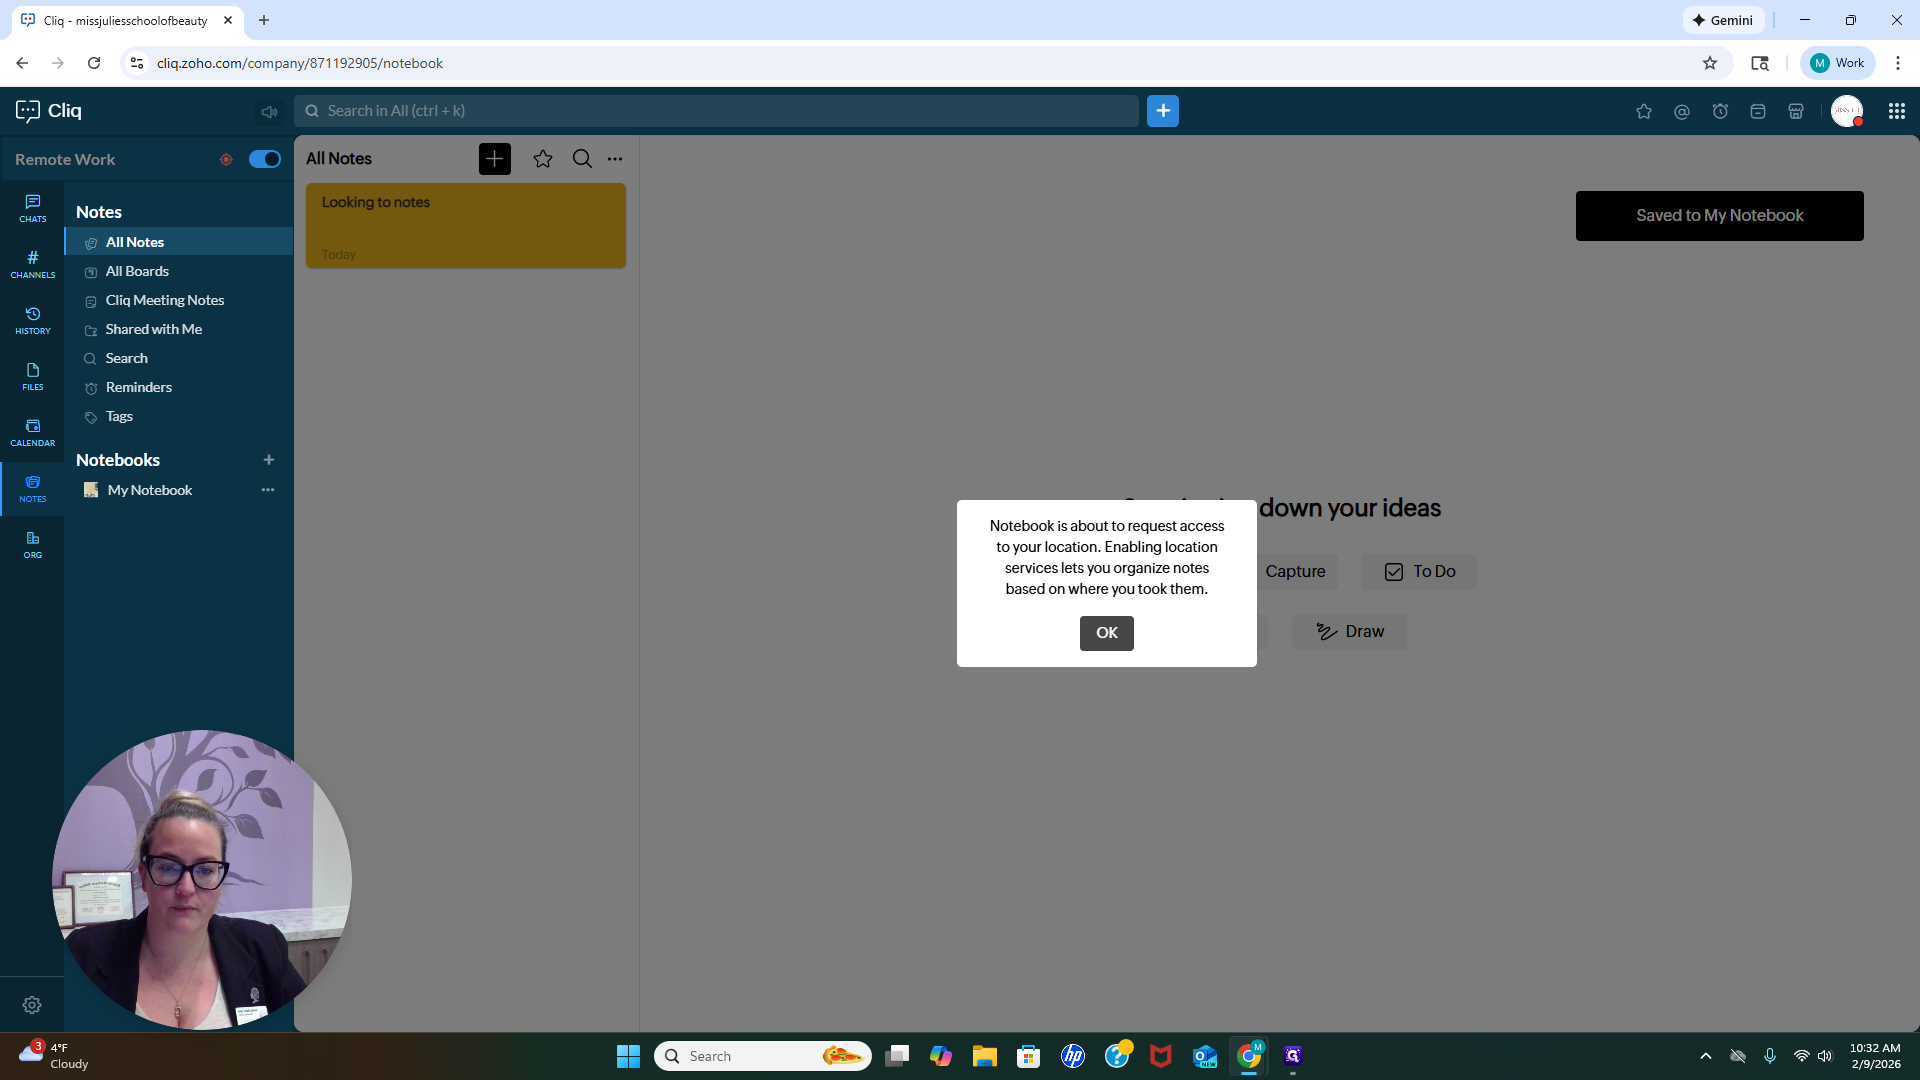
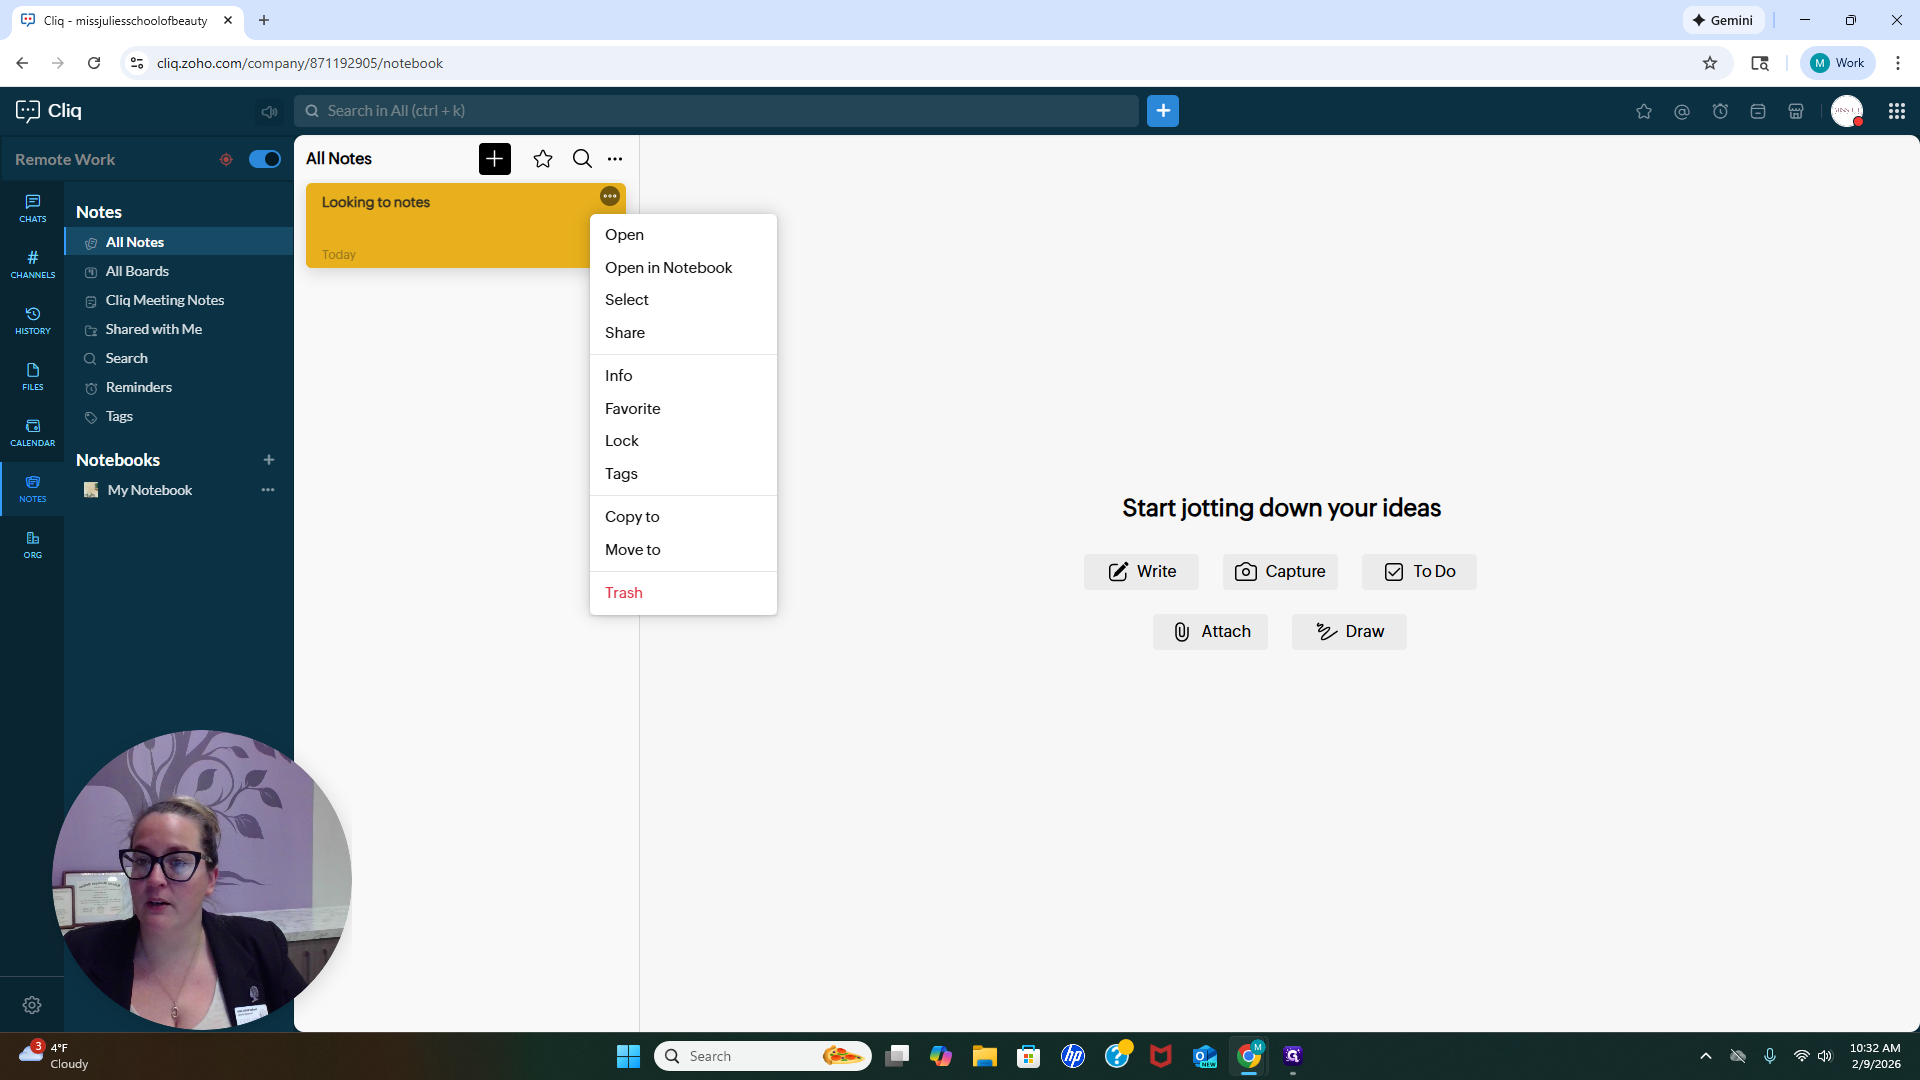
We do not have access to co-create notes here. This section is for you to keep your own notes if you wish.
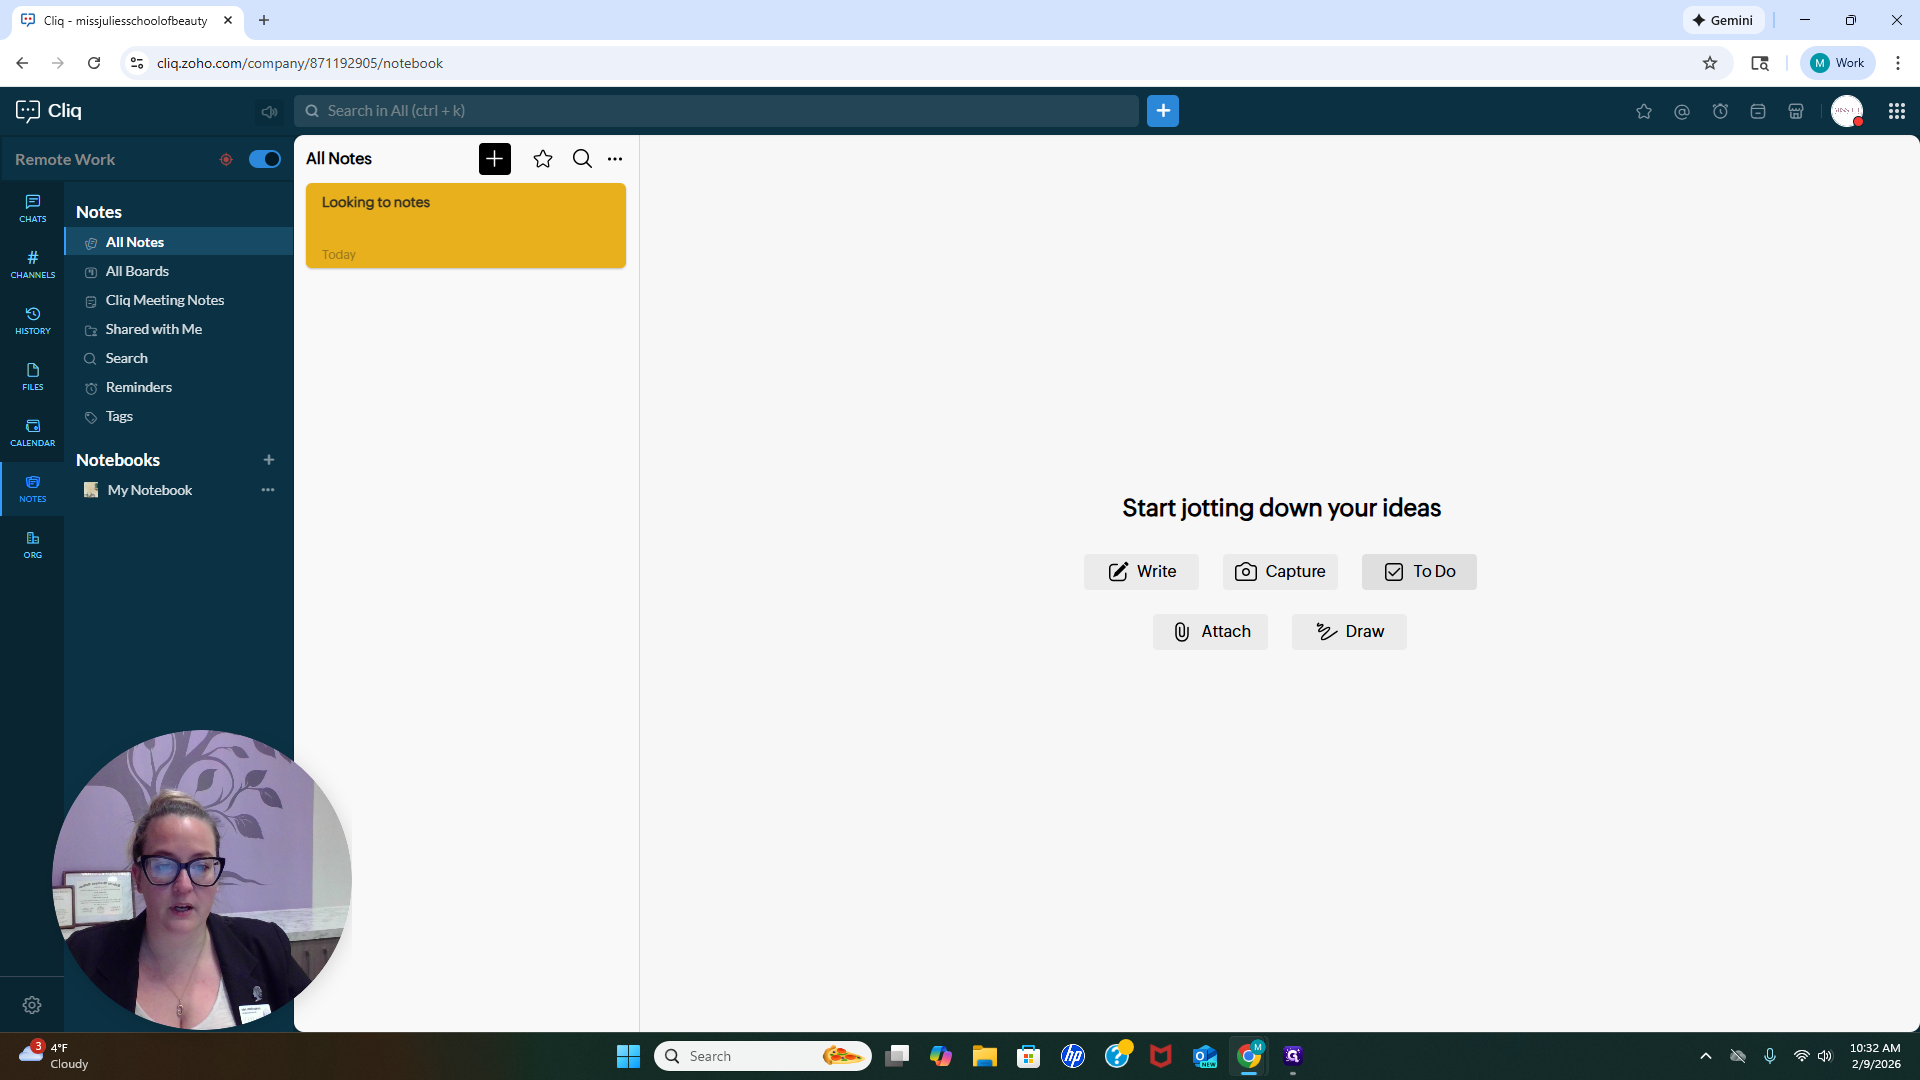
You can also create to-do lists, which is very helpful for some people.
You will also see any notes shared by the entire organization here. You will see "Shared With Me."
There is nothing shared with you right now. If something is shared, it will appear here. You are welcome to upload your calendar and create it here if you wish.

It is not necessary. It is whatever works best for you.
In Files, you can view all images, videos, audio, and other files shared across our organization.
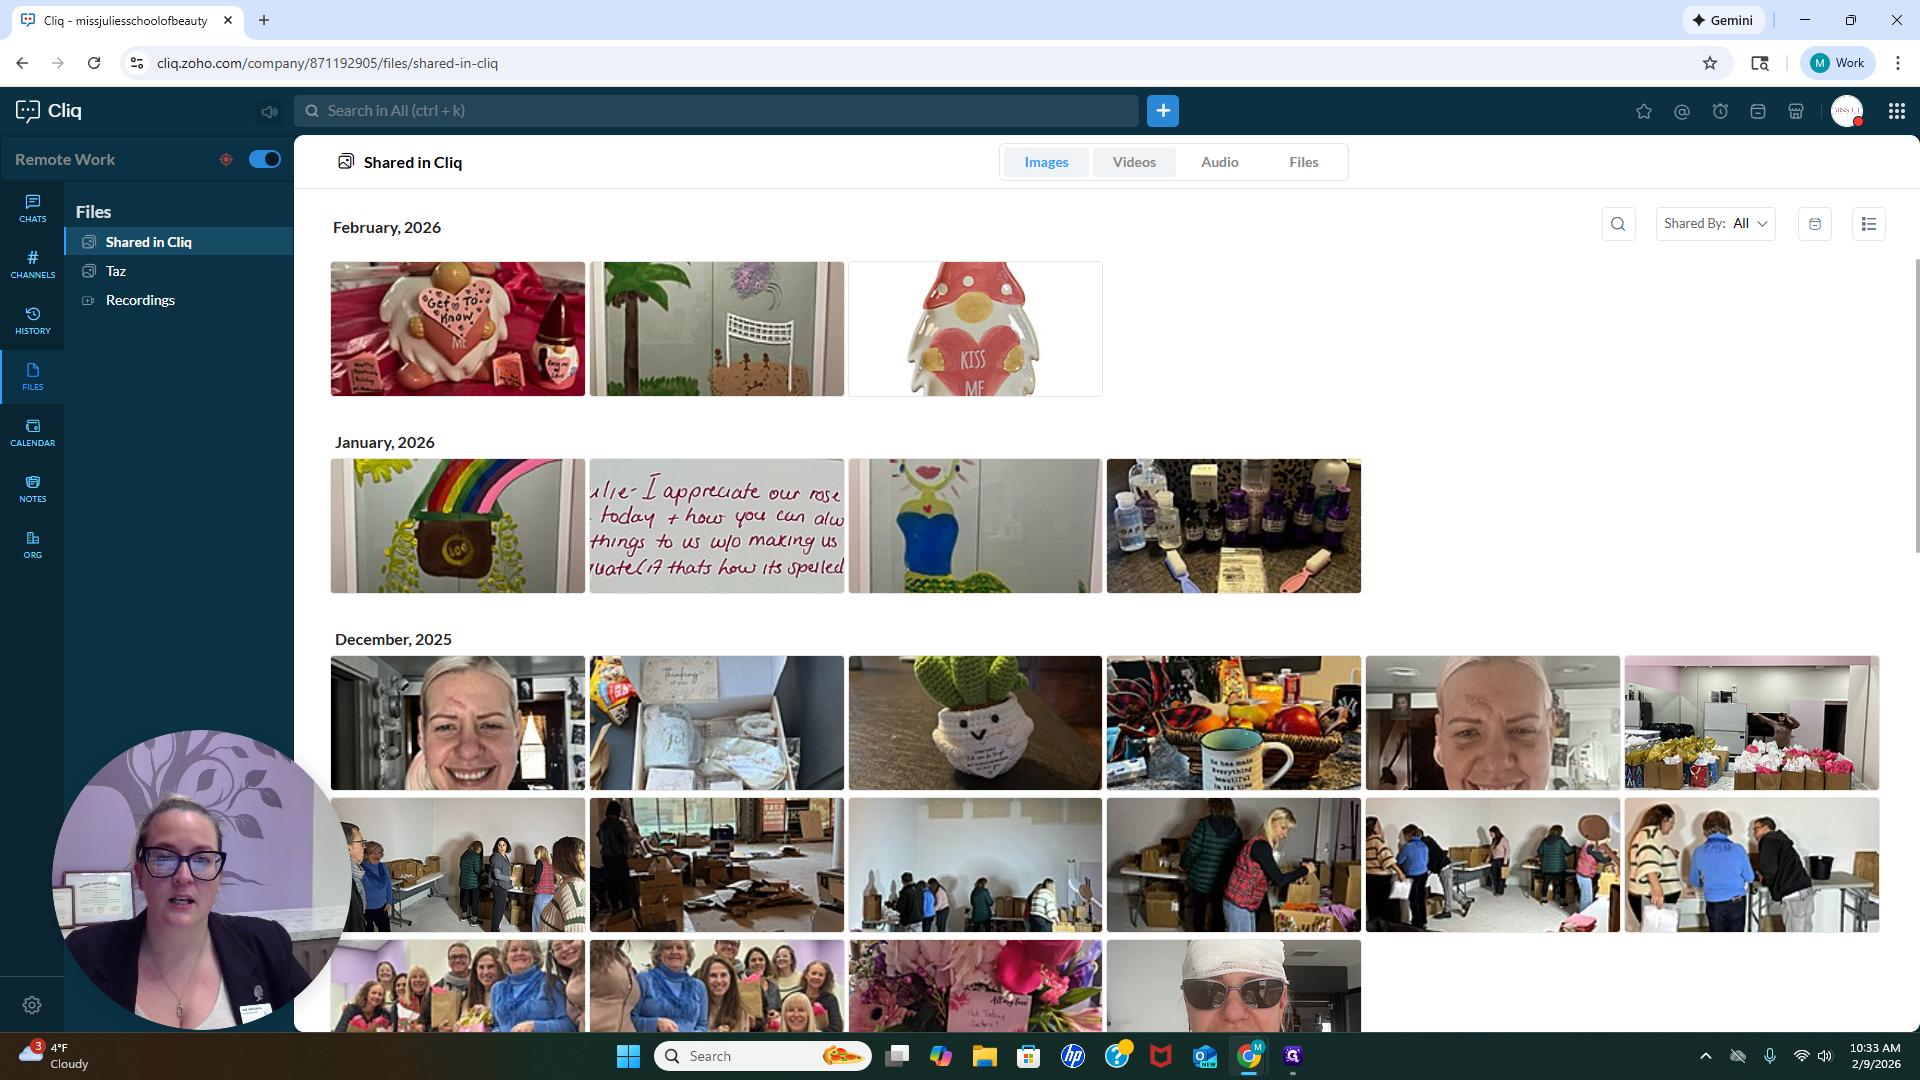
You can click on any shared files to access them here. Easy to locate. There are two different sections here. You have a chat section and a channel section.

There are two different reasons for those. A chat is when you want to have a conversation with someone.

If you want to ask a question or share a thought, select the chat and start a conversation with someone.


We'll select myself and say, "Hello there."

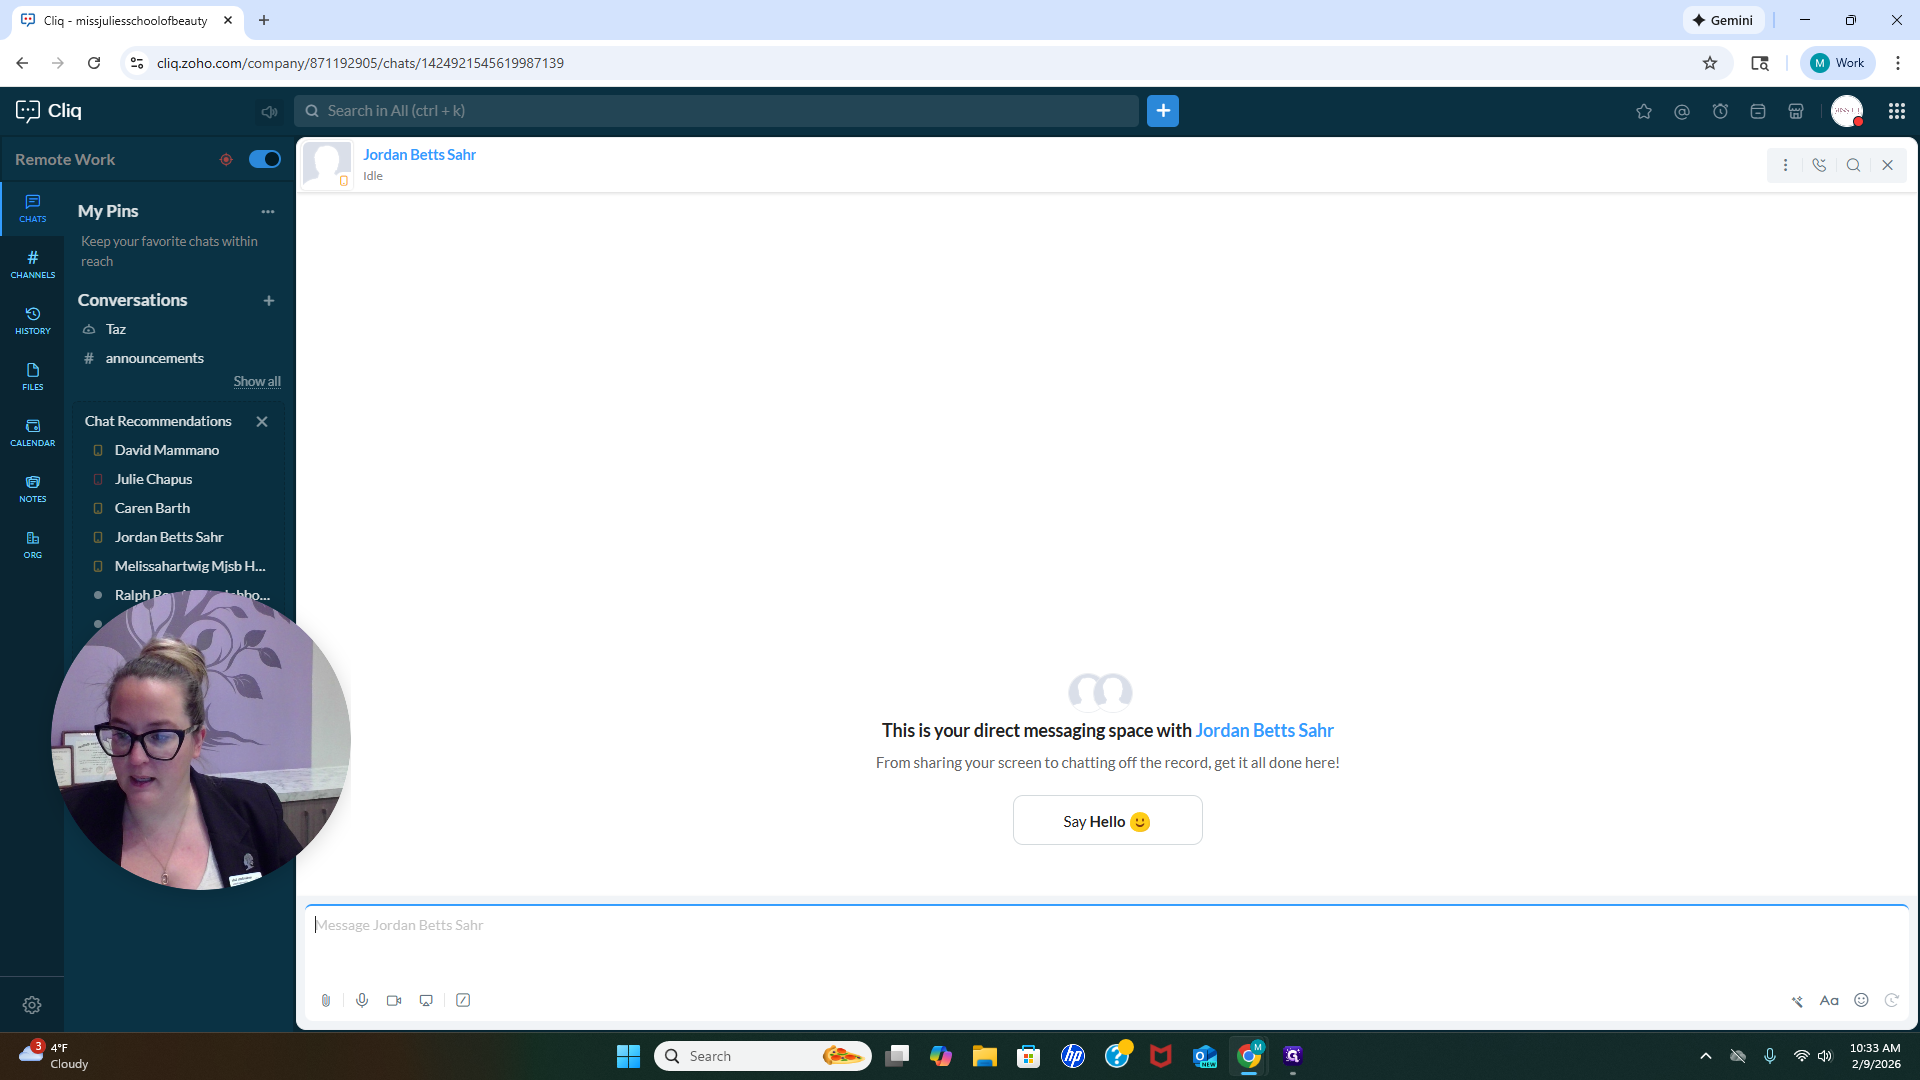
I have a question about the community program. Okay, cool.
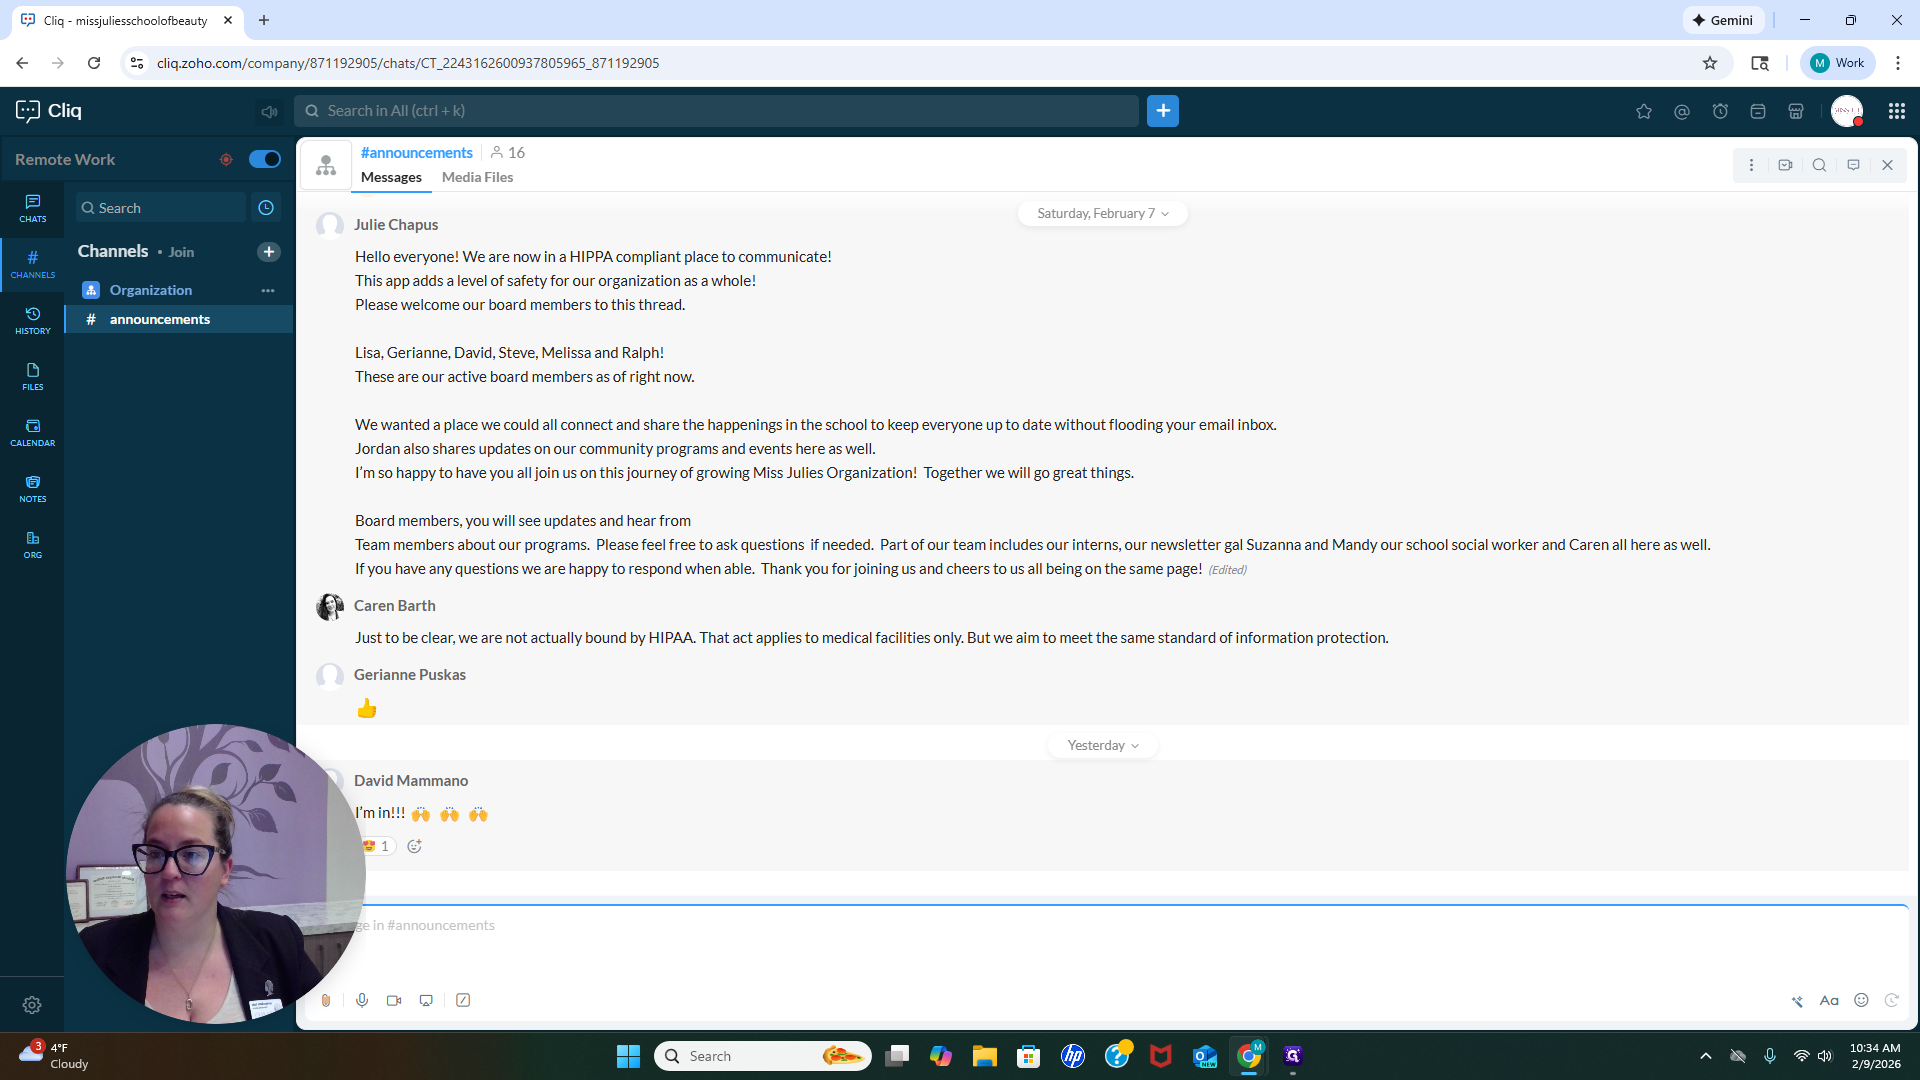
I just received a notification on my phone indicating a Cliq message. I can now log in and see that the message was sent from me. If I have Do Not Disturb enabled, I will not receive notifications until my work hours begin. That is something to note. The difference between chats and channels is that chats are for direct, private conversations, while channels are for group discussions or announcements.


You have all been added to the announcements channel.

If you have a project you're working on and want a channel to store all related information,
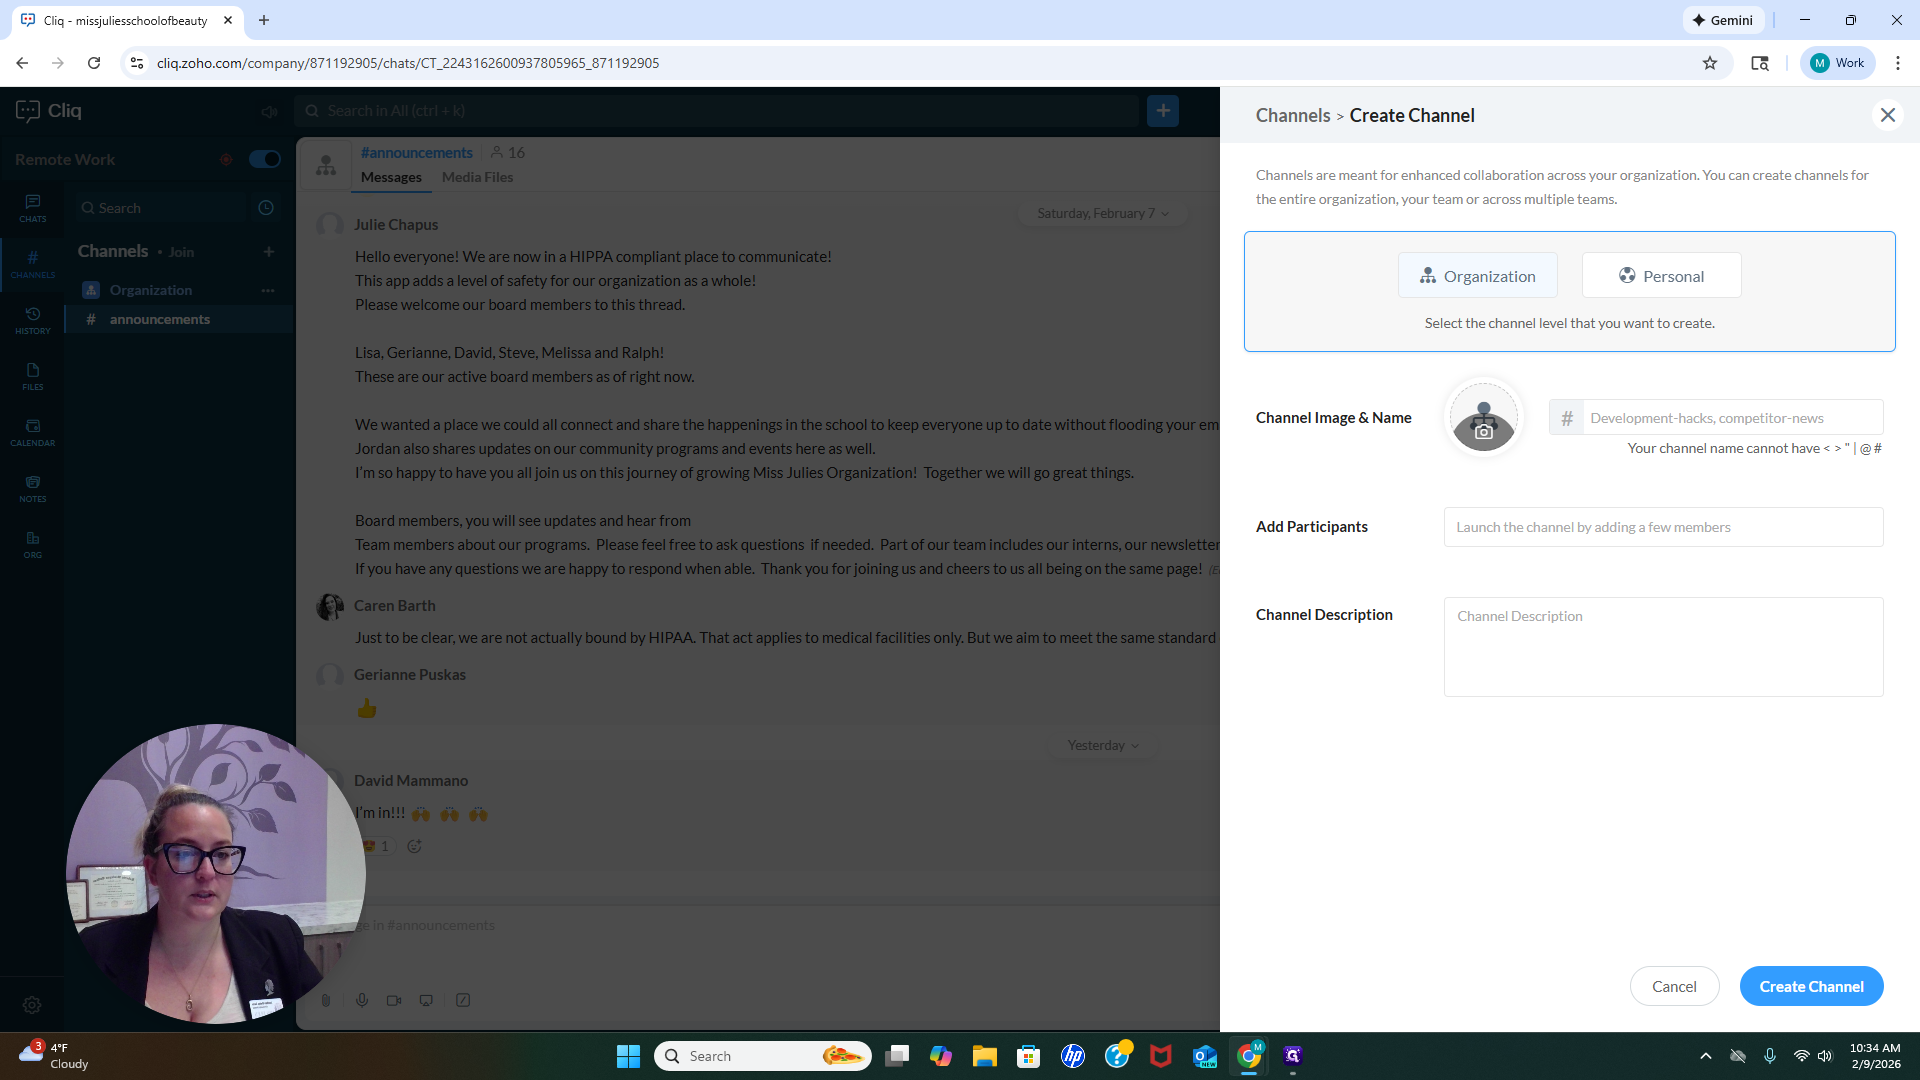

Let's see. Building a social outreach committee. Okay. We want to decide if it should be open to everyone or closed, meaning only certain people can be added.

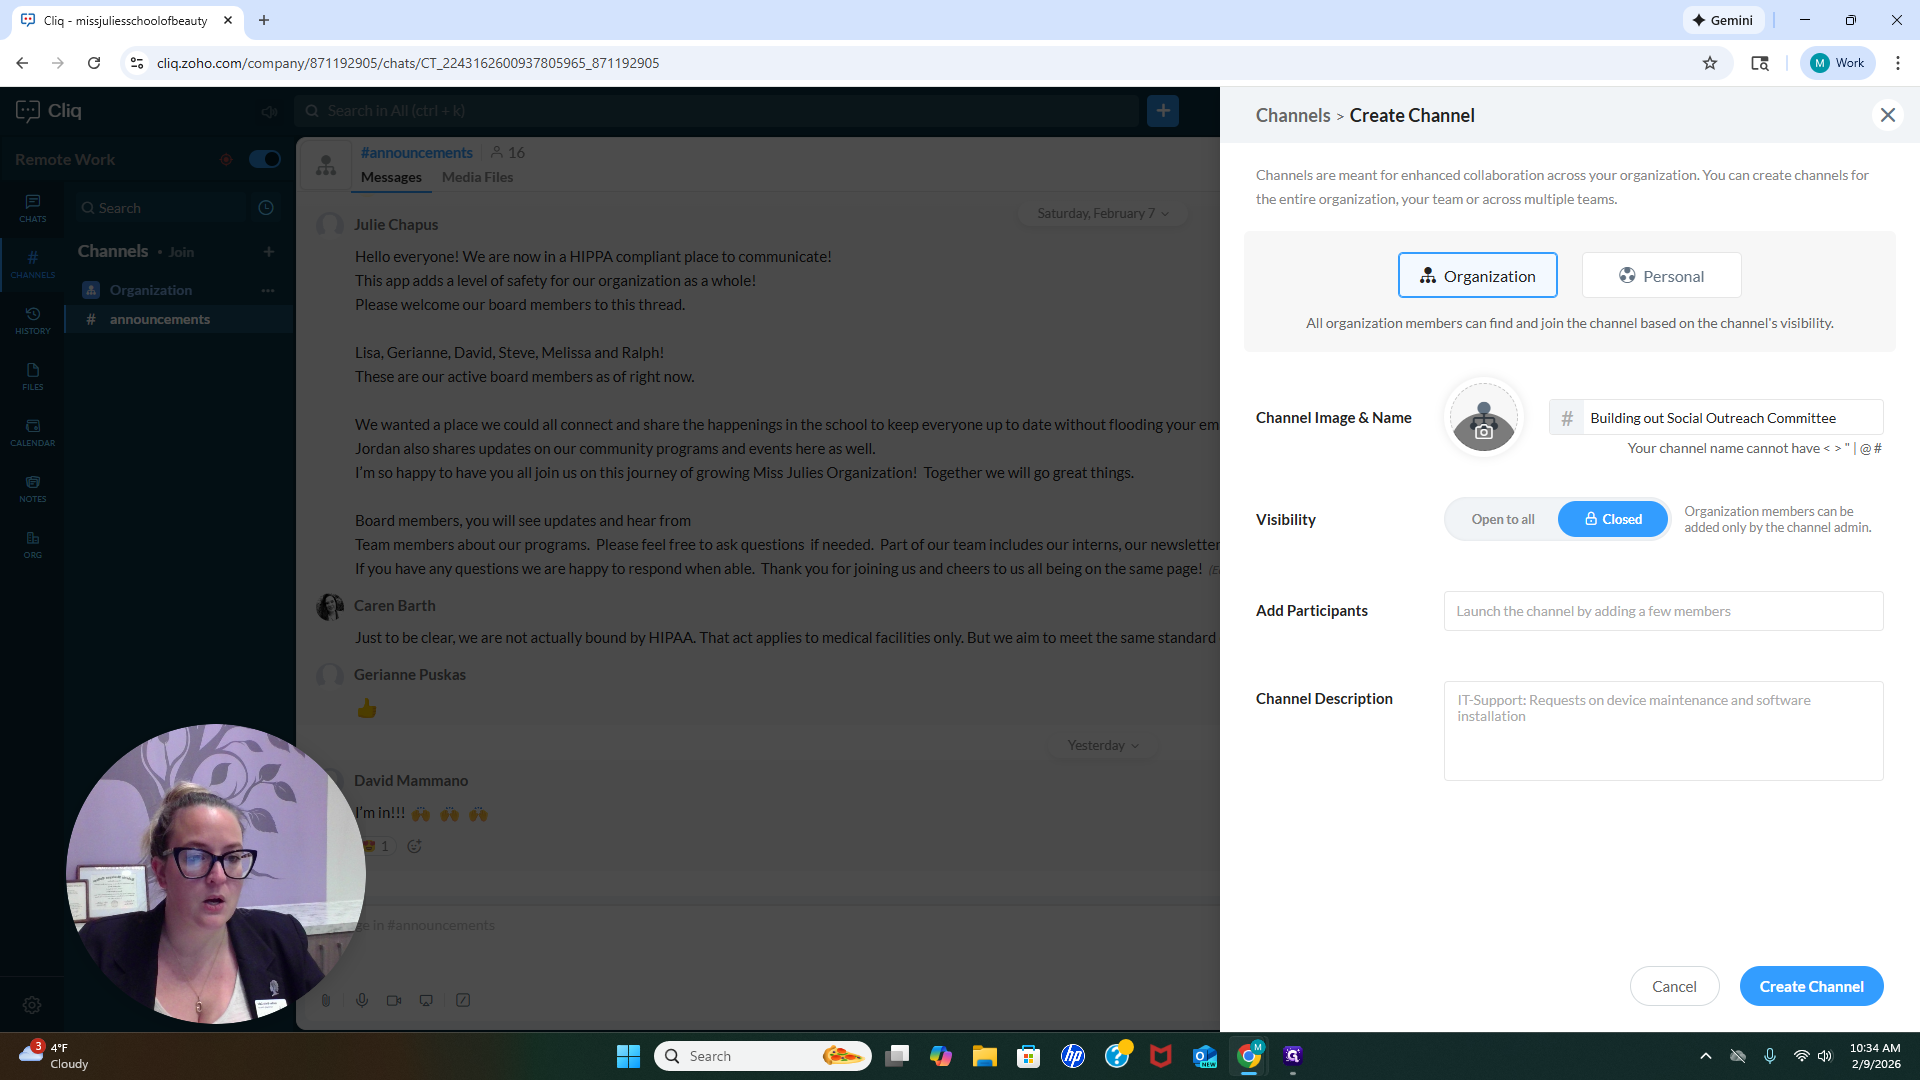
"Open to all" means that everyone in the organization can find it when they search for it.

Add the participant to the channel, then write a description explaining what the channel is for.
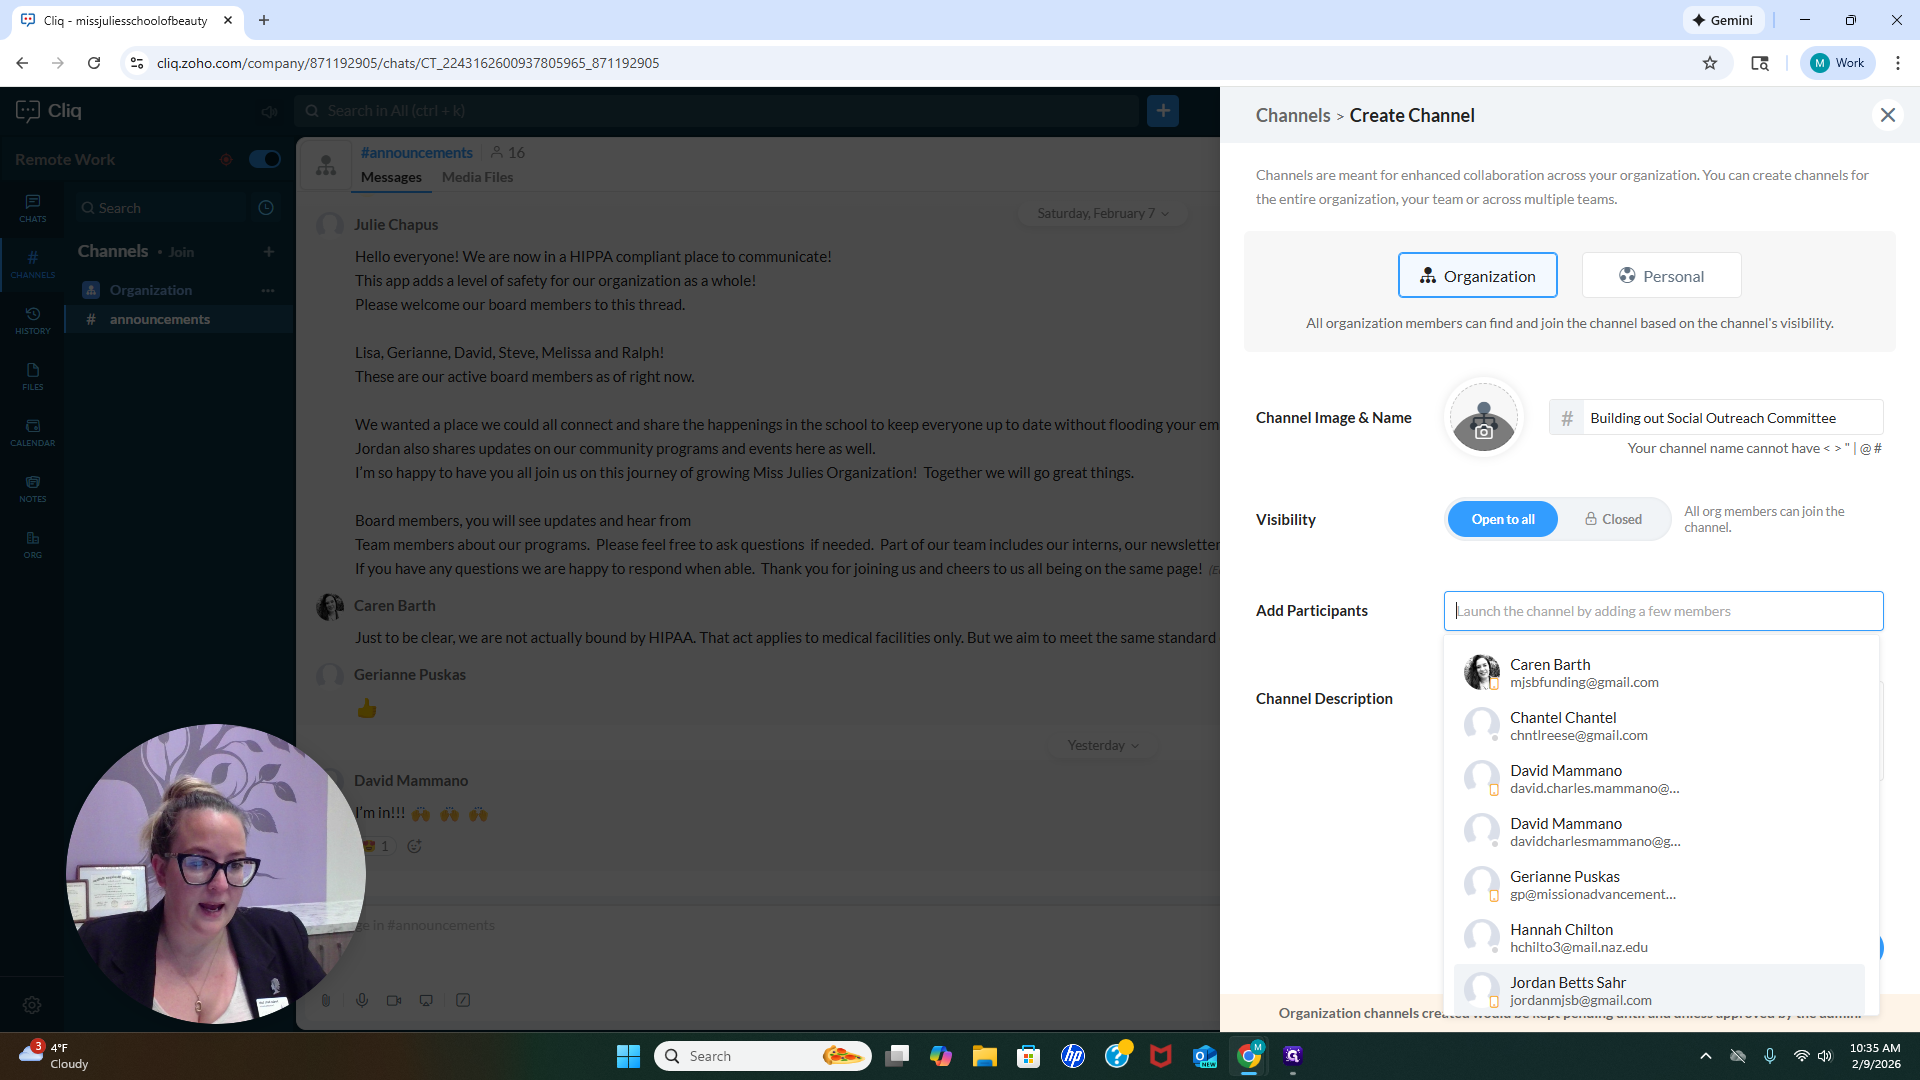

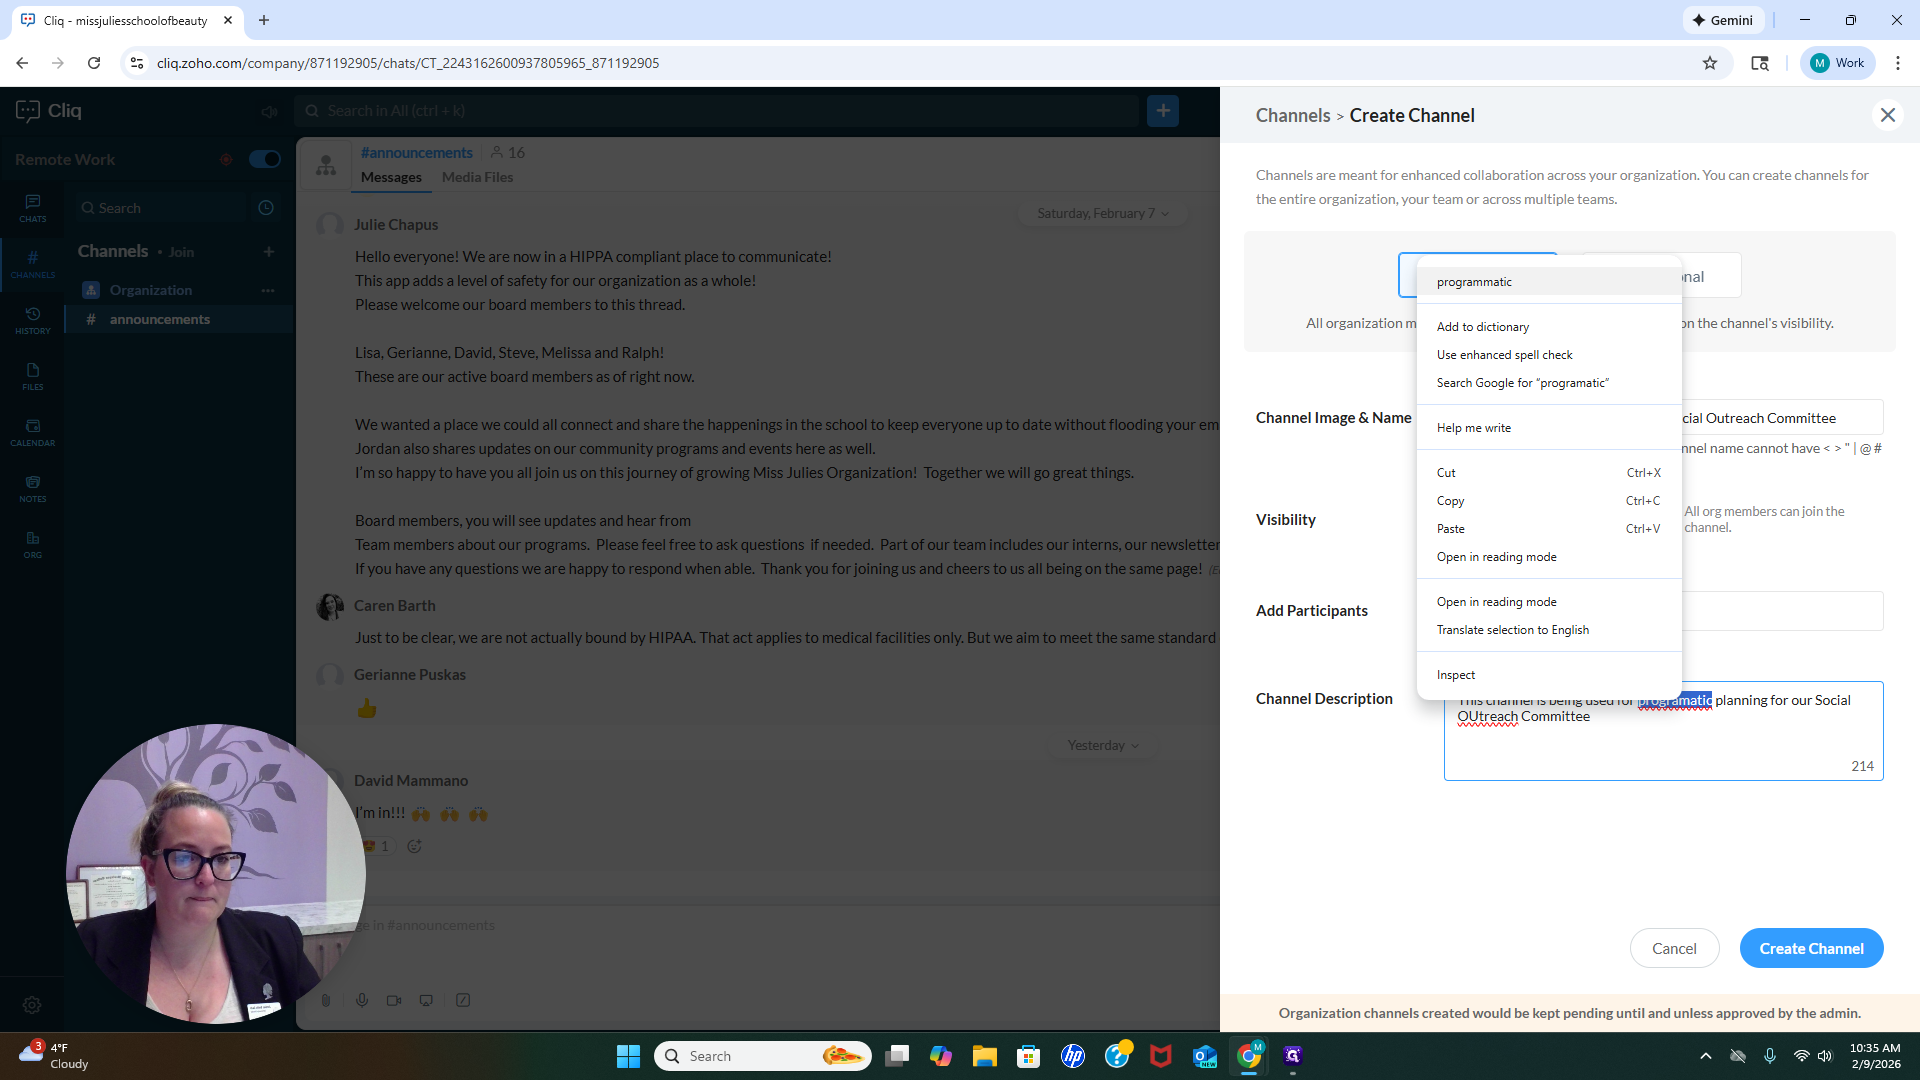
This is for clarity, so everyone knows exactly where the information should be stored and what it is. Please be as descriptive as possible when creating a channel. This ensures clarity and reduces overlap between different types of content. For the channel description, if we were creating one for a social outreach committee, we might say, "This channel is used for programmatic..." Planning for our social outreach committee, and we are... Whatever it is.


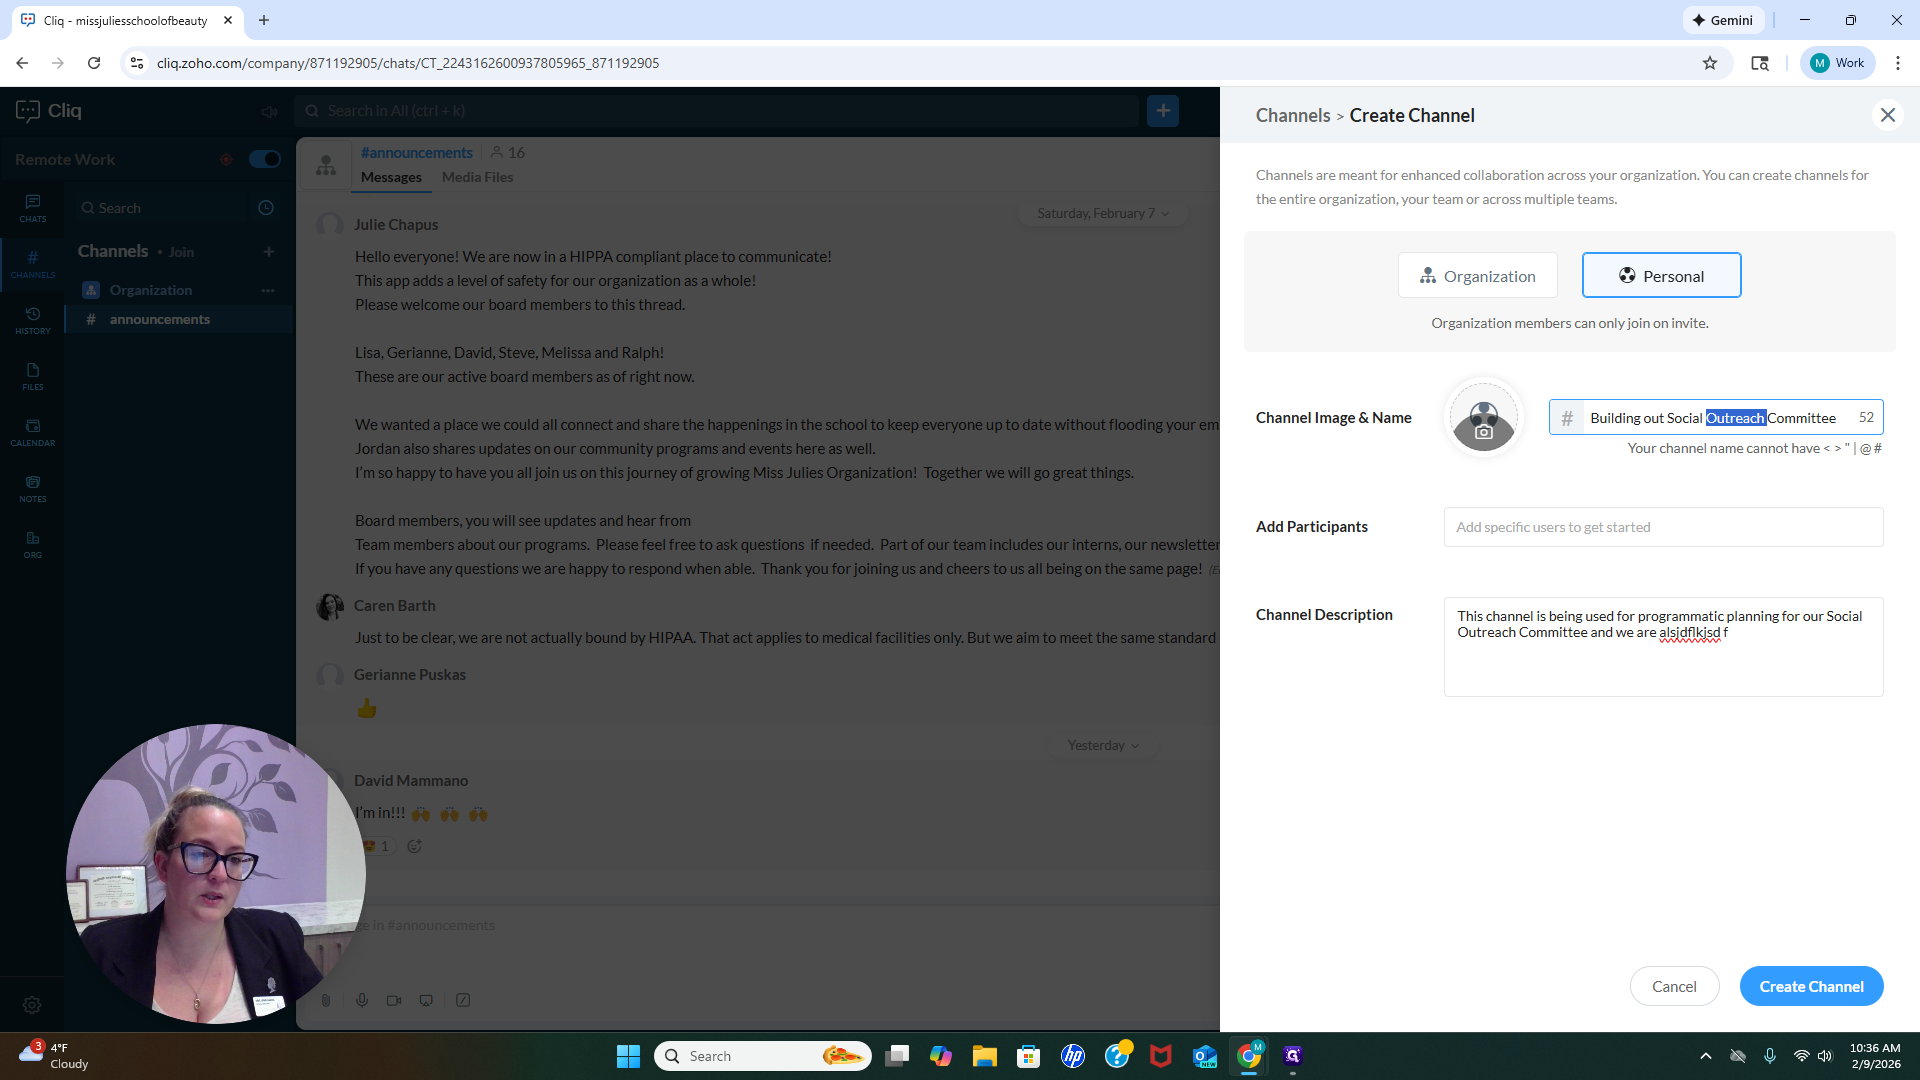
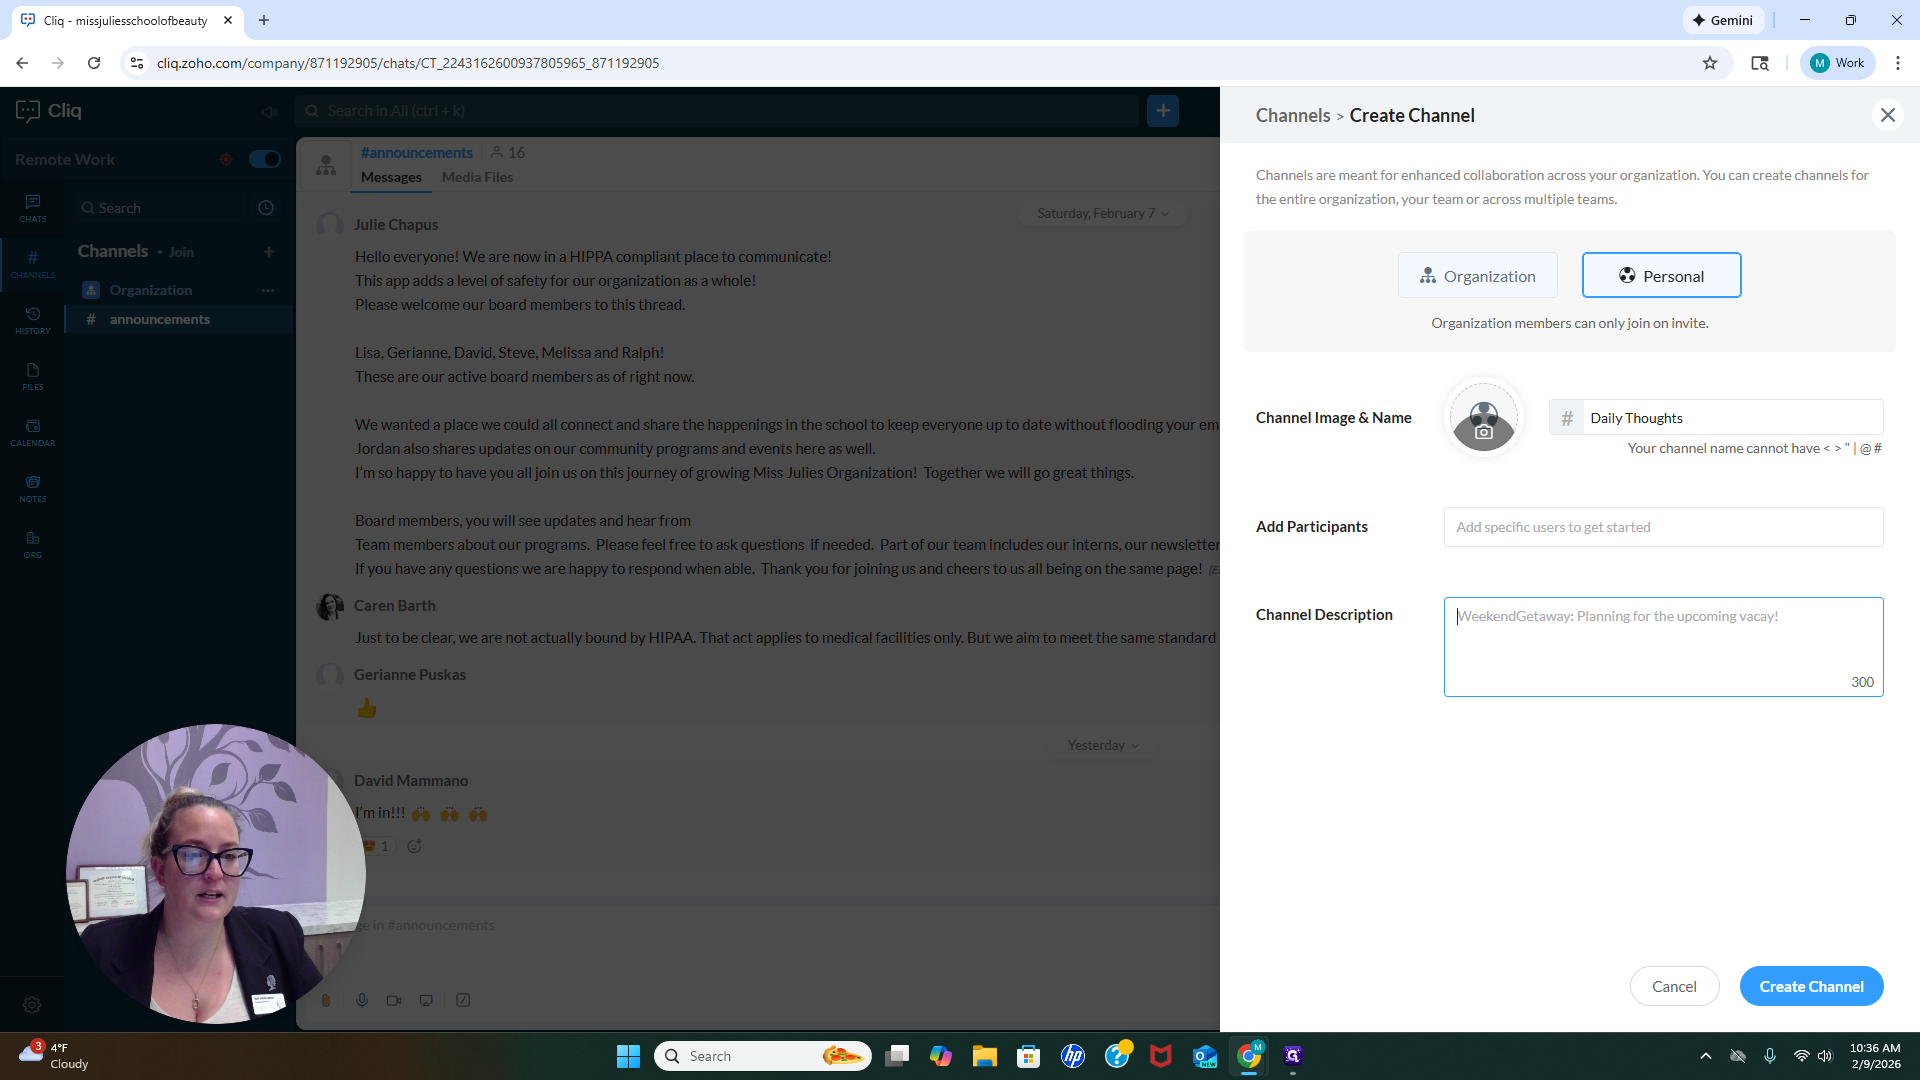
Okay? Do whatever you need to do. Another thing to note when creating a channel is the presence of a personal button, which allows you to create a personal channel.

I have a channel called My Daily Thoughts, where I share random thoughts that come to mind. If I don't have a sticky note pad nearby, I just open my app and add it to my daily list.
I use sticky notes to quickly jot down any ideas that come to me during the day. Another way to describe the channel is as a space where I share all my ideas throughout the day so I don't forget them.

Then you would create a channel. If you invited anyone, they would be notified and added to the channel.
Now, let's go to our announcements channel.

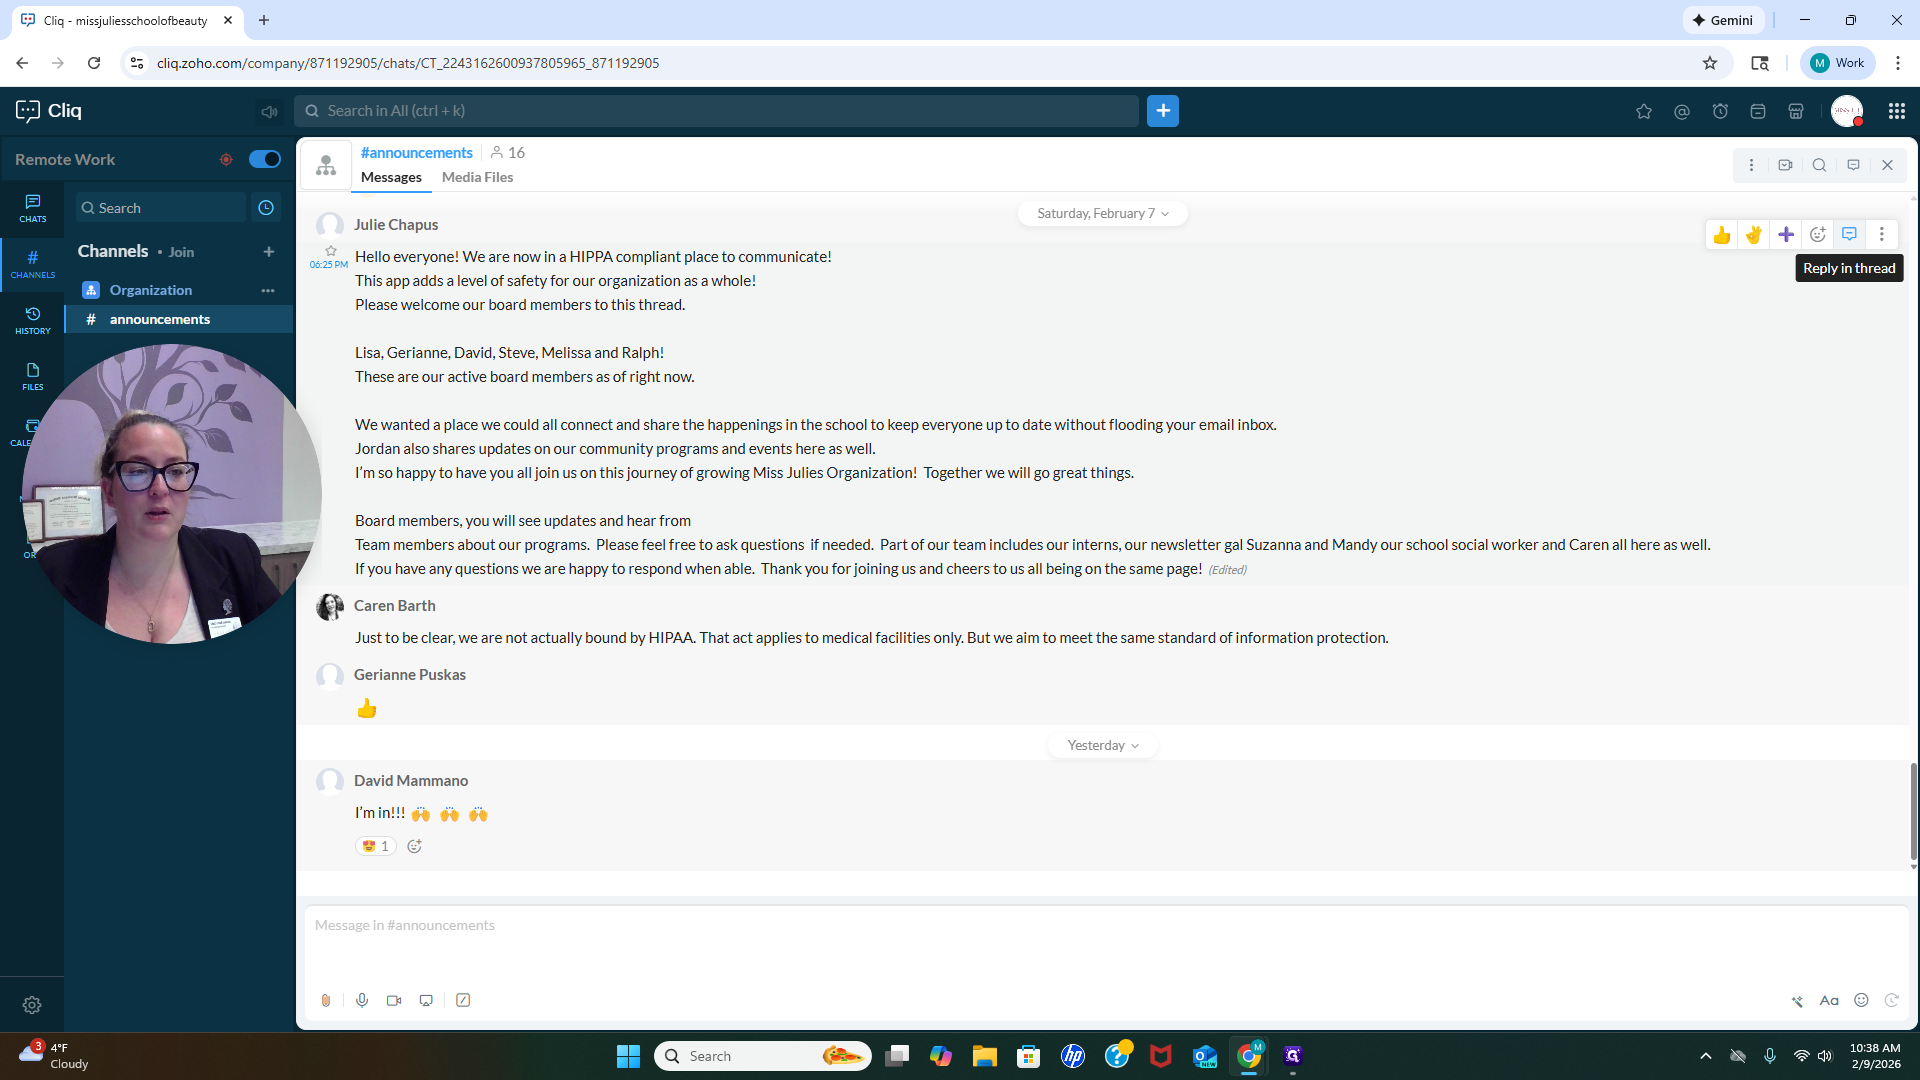
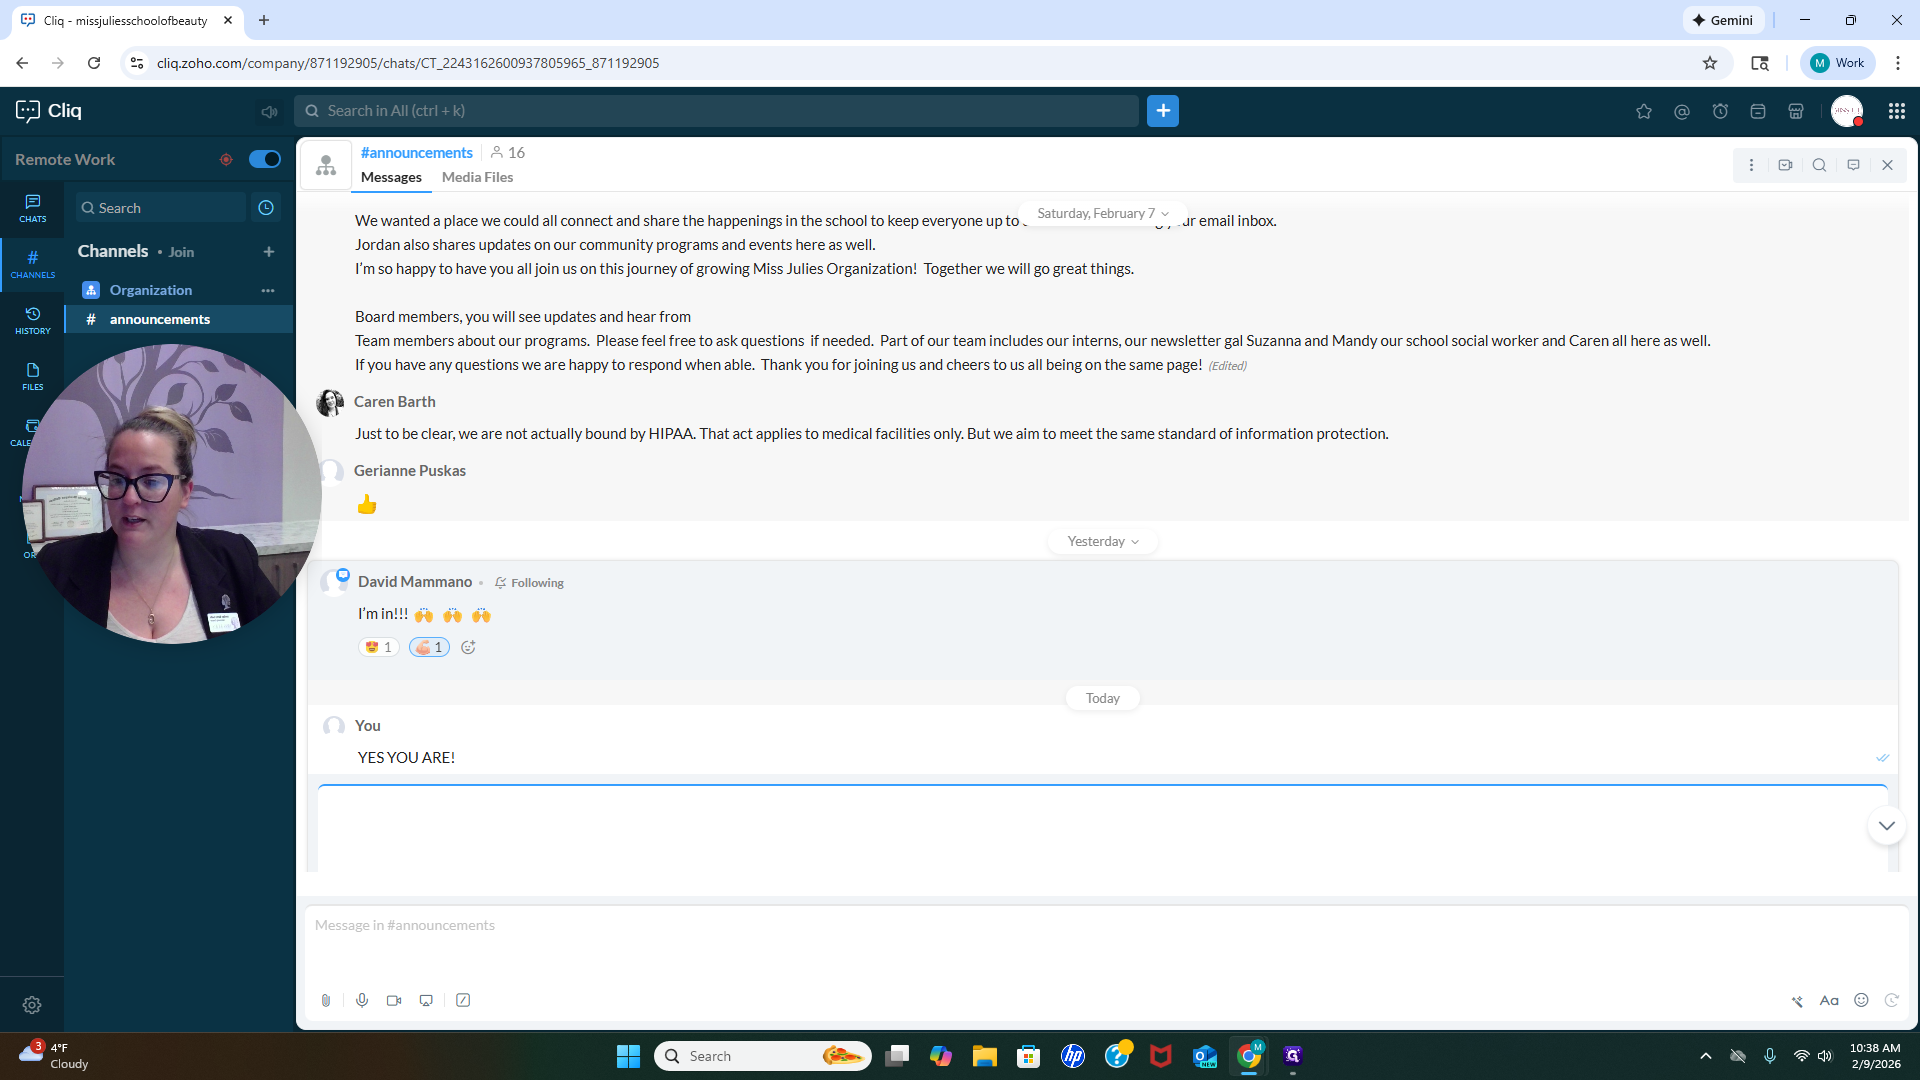
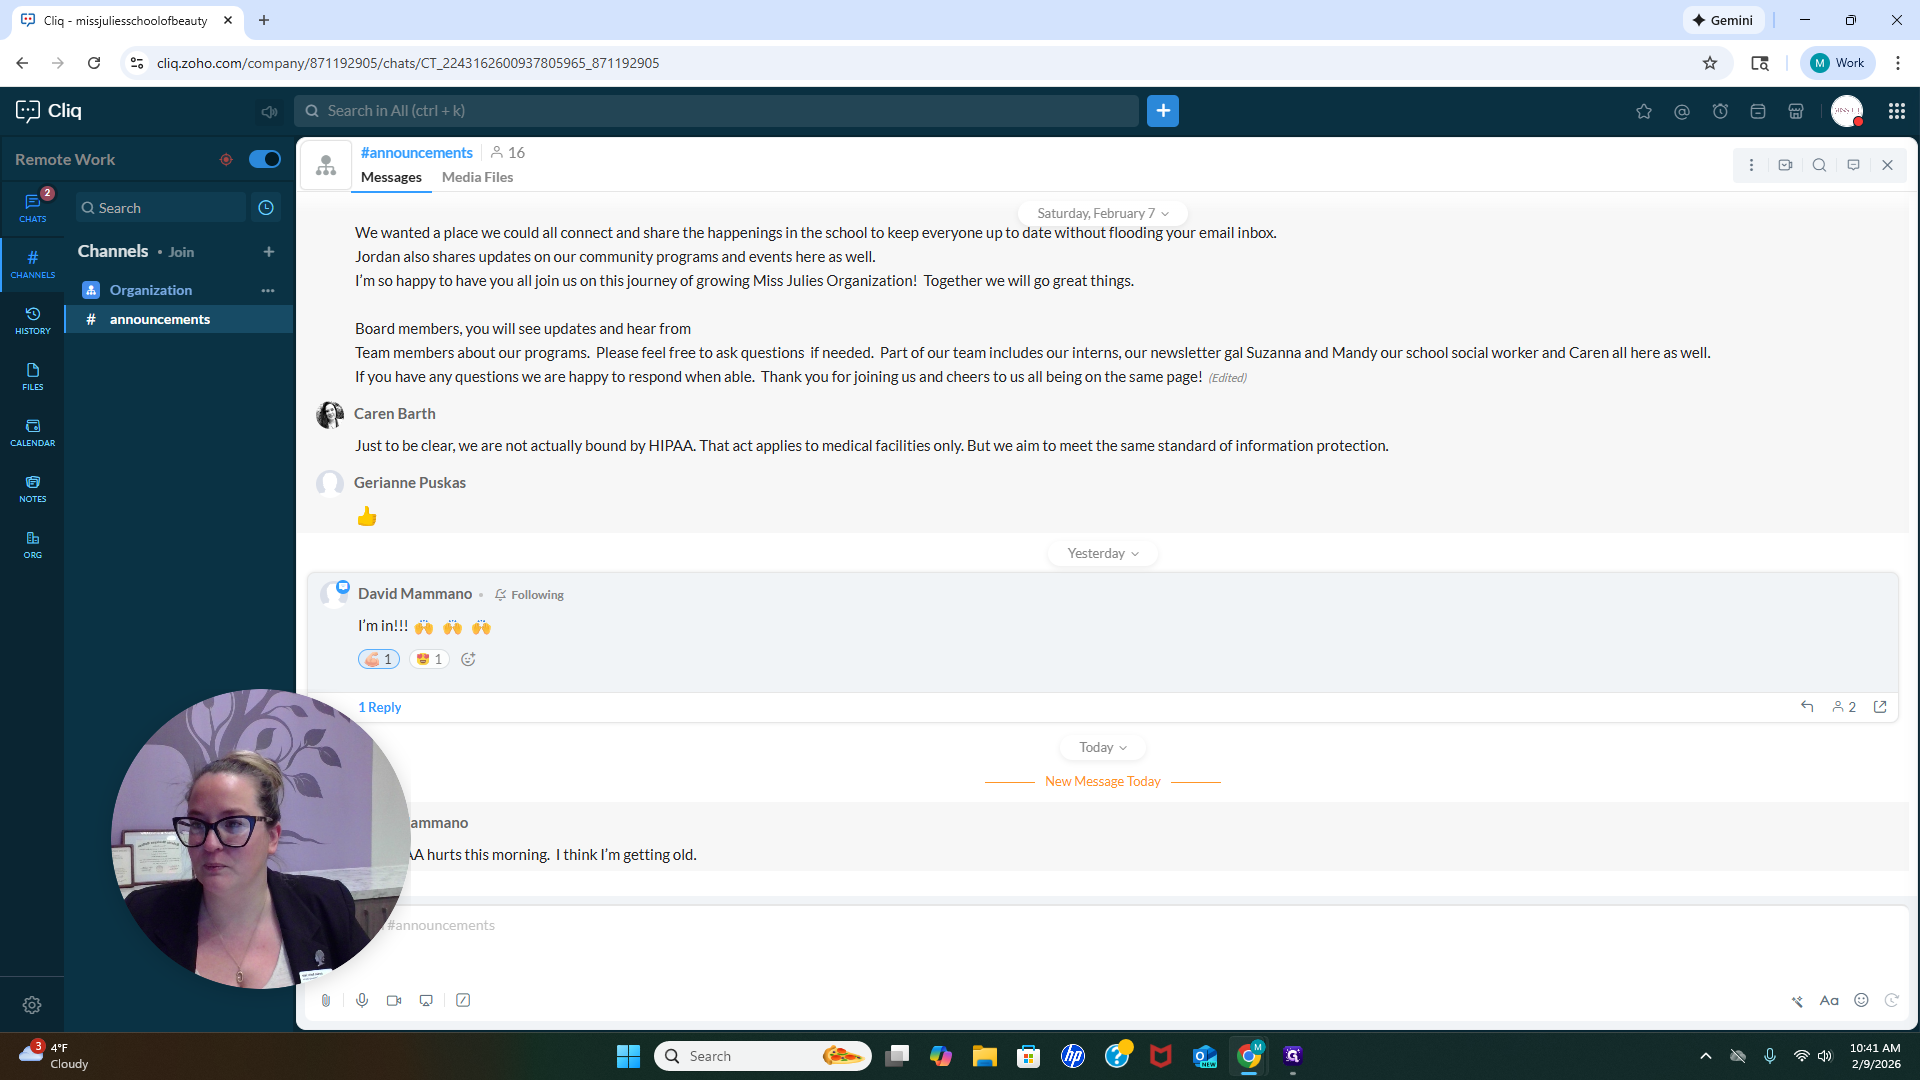
We have several things to address, and it's important that we work together to keep everything clean and organized. This helps prevent things from becoming overwhelming. For example, Julie shared a great message about using this space to communicate as an entire organization. Now, one option is to observe what happens next. Then, we would be able to... We can respond in this section, under Messages and Announcements.

This will flood the chat with extra information, making it harder for people to find the actual announcements. If you want to respond to an announcement, you'll see that Julie Chapis wrote it. To respond, use the options at the top: thumbs up, super, or heavy check mark.

You can add different emojis if you want.

If you have a signature emoji, feel free to use it to let others know you’re here and that you’ve seen the message.
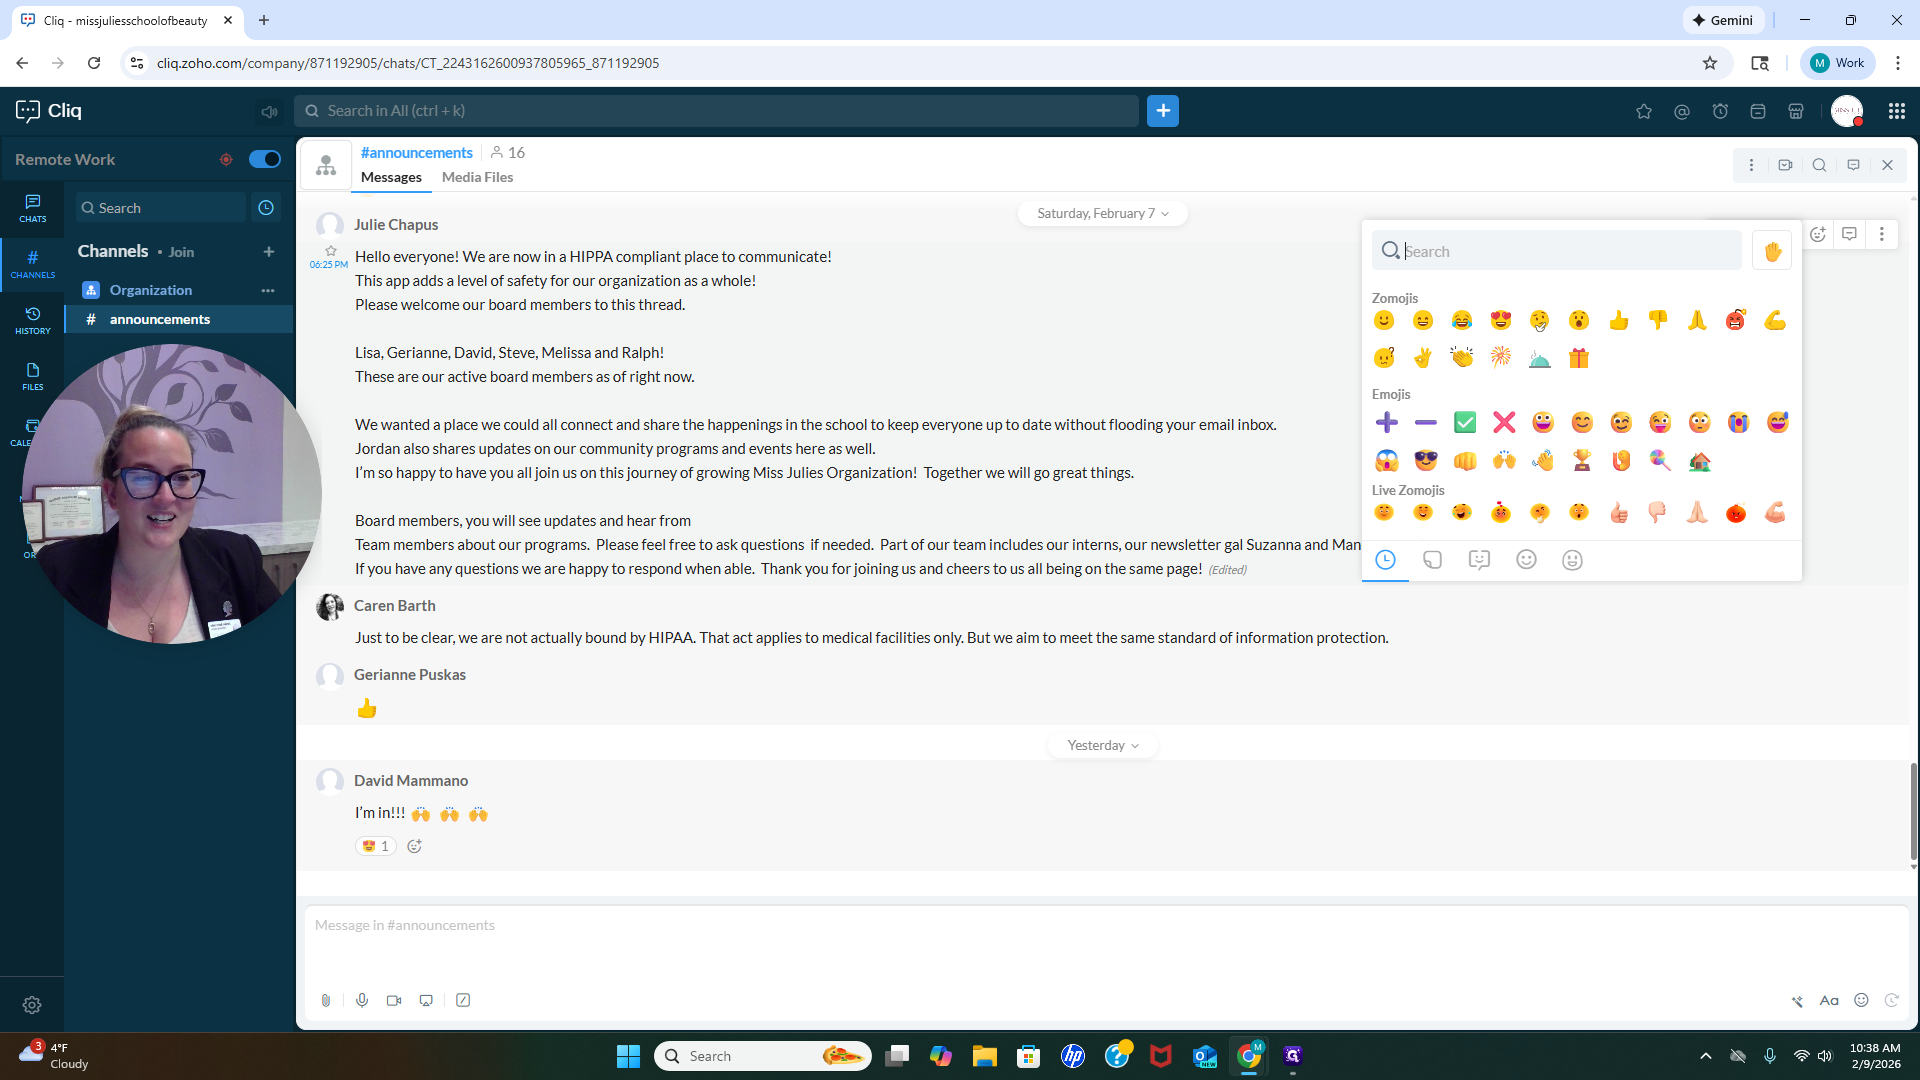
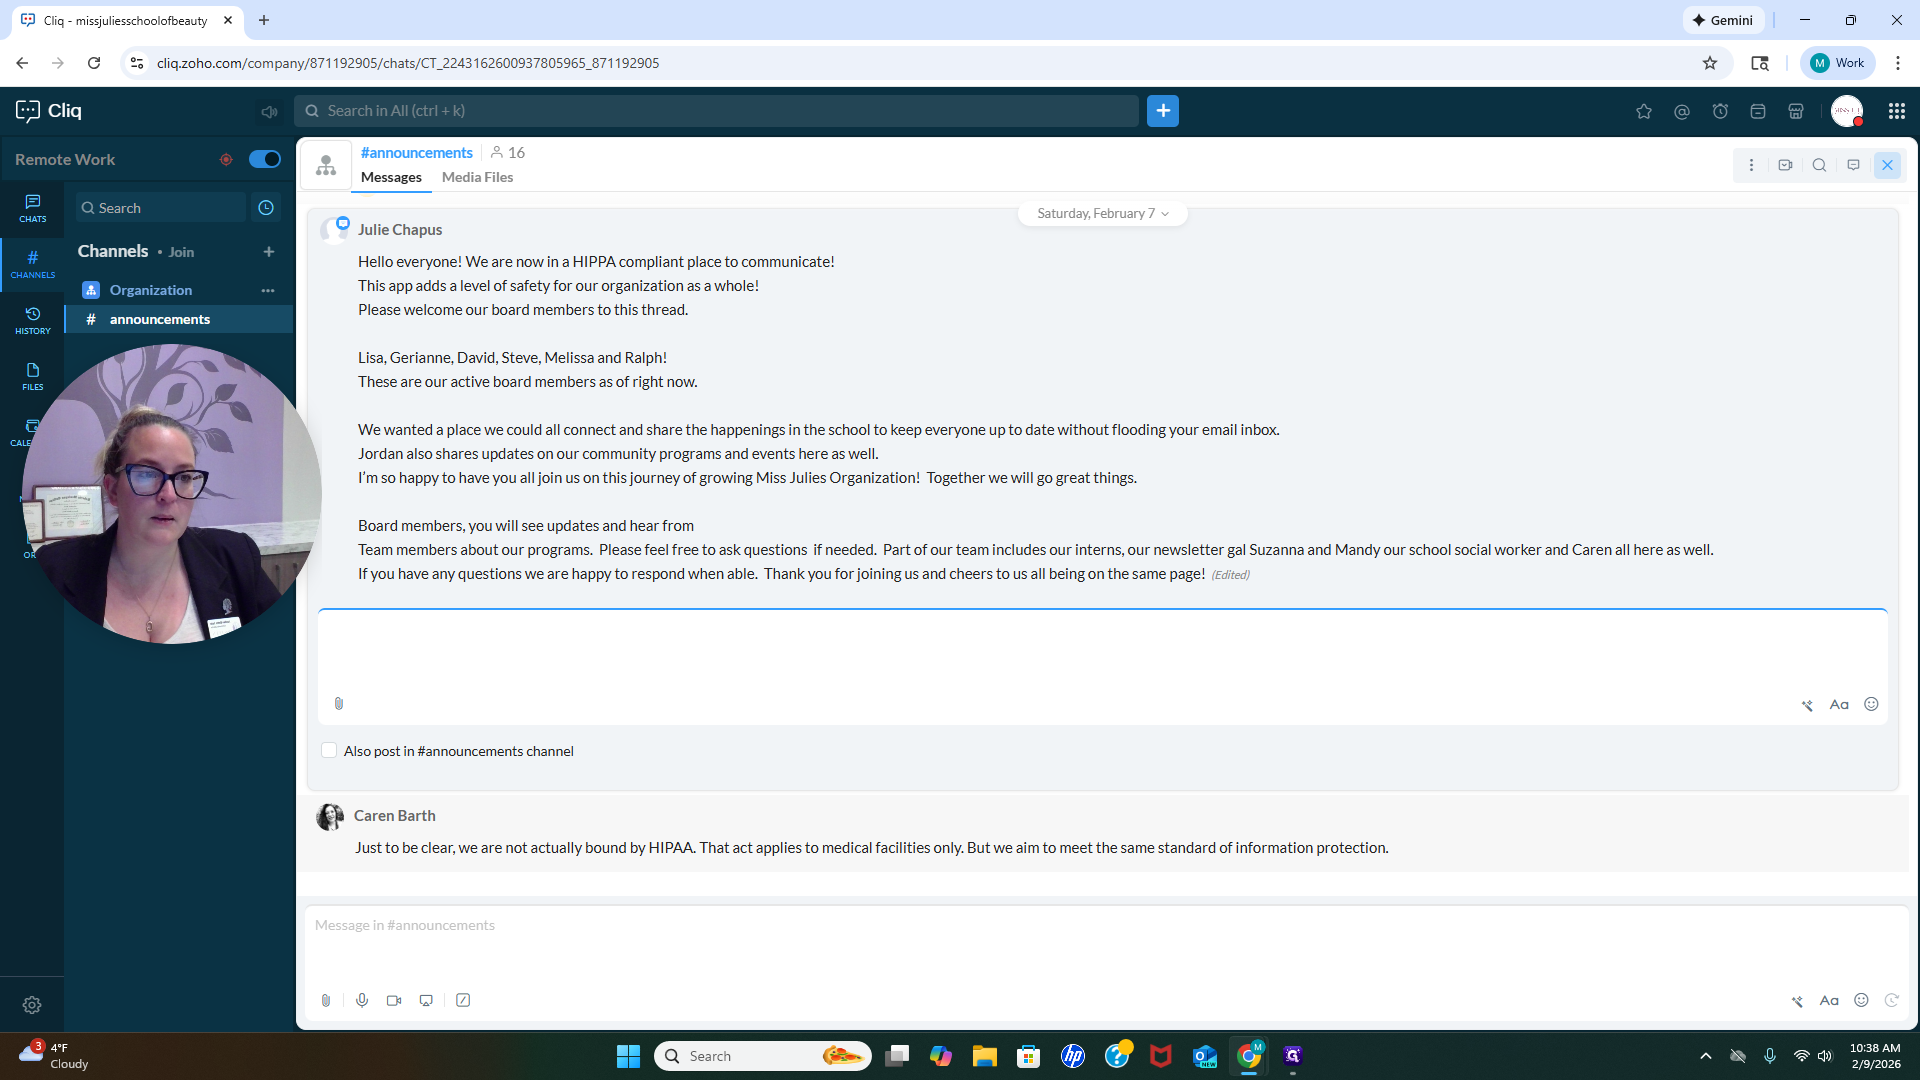
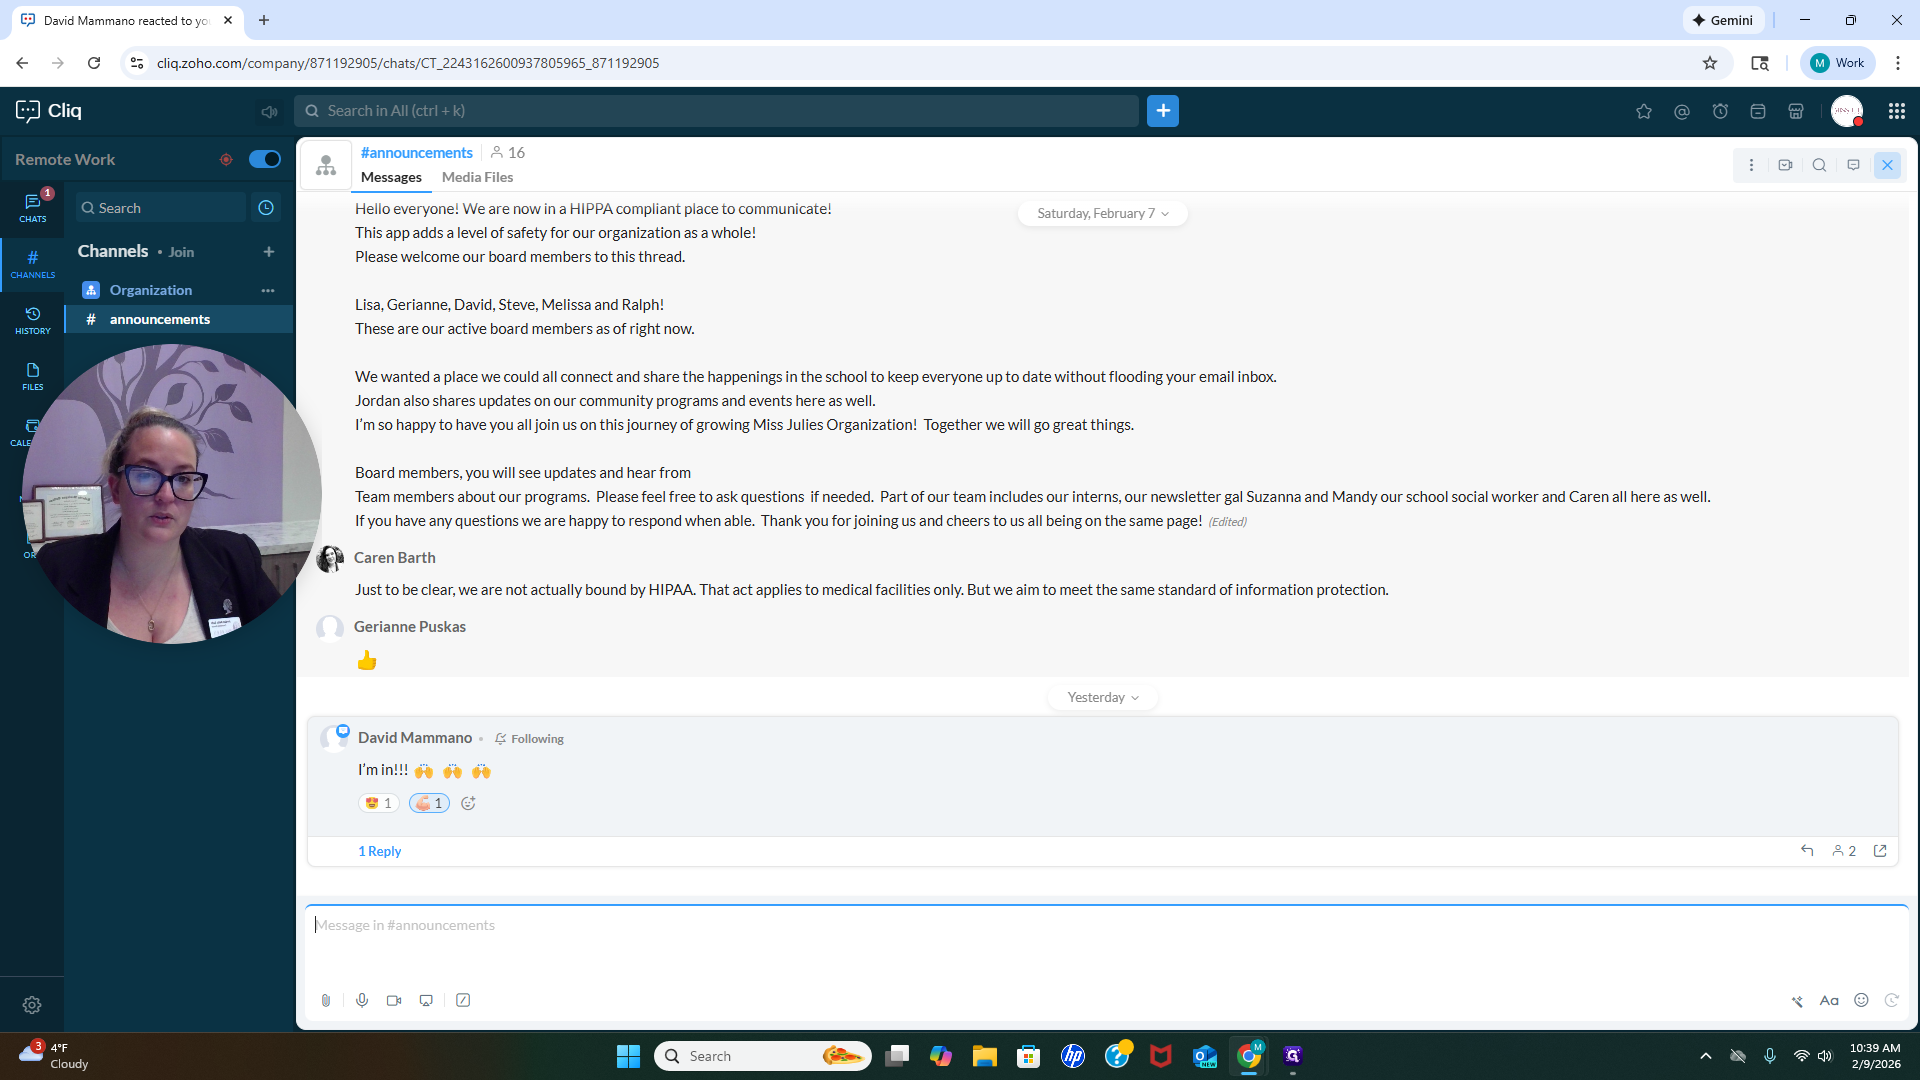
To respond to this specific announcement, click "Reply in thread."
This is where you respond, making it easy for people to find the latest announcements. Let me step out of this for a moment.

Okay. Let's respond to David Mamano. "I'm in." Oh, I'm excited that you've joined. We will go ahead and put a super strong bicep on there.


If I want to respond, I can reply in the thread and say, "Yes, you are." This keeps everything organized in one place, instead of getting confusing with too many announcements. As we continue, any new announcements will be easier to see within the same thread.
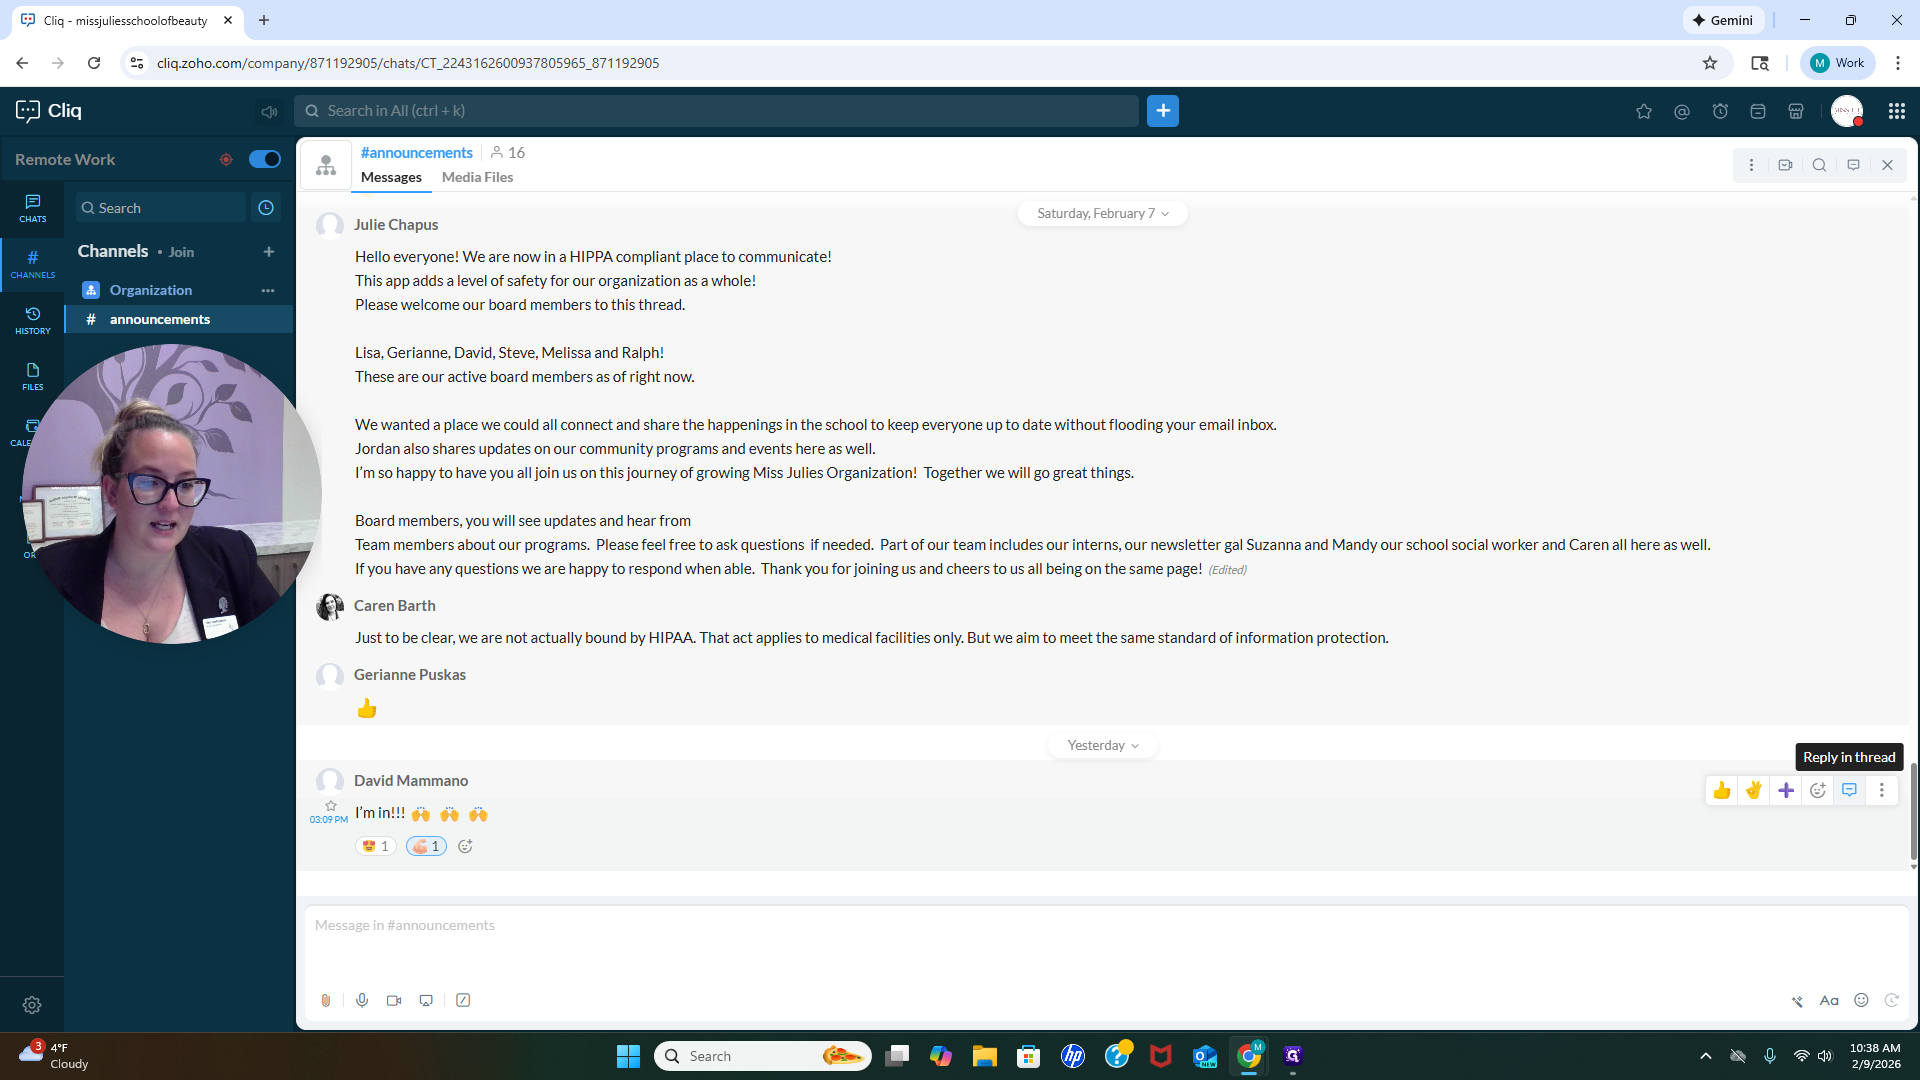
You’ll notice that in his announcement about joining the organization, there is one reply. If you want to respond to his announcement that he's in, you would do the same thing. Click and respond within the announcement. This helps keep everything organized. One last thing to note about this program: there are many features you can explore and try out, but these are the main points.
Another useful feature is that if we're discussing the committee we're building and need to look something up to proceed, but you're busy and can't check it right now, you don't have to stop what you're doing. The biggest challenge for us is remembering everything we need to do. Our minds are often overwhelmed with tasks. One of the best ways to reduce some of this chaos is to set a reminder. If we click on Reminder, we can set a reminder for ourselves.
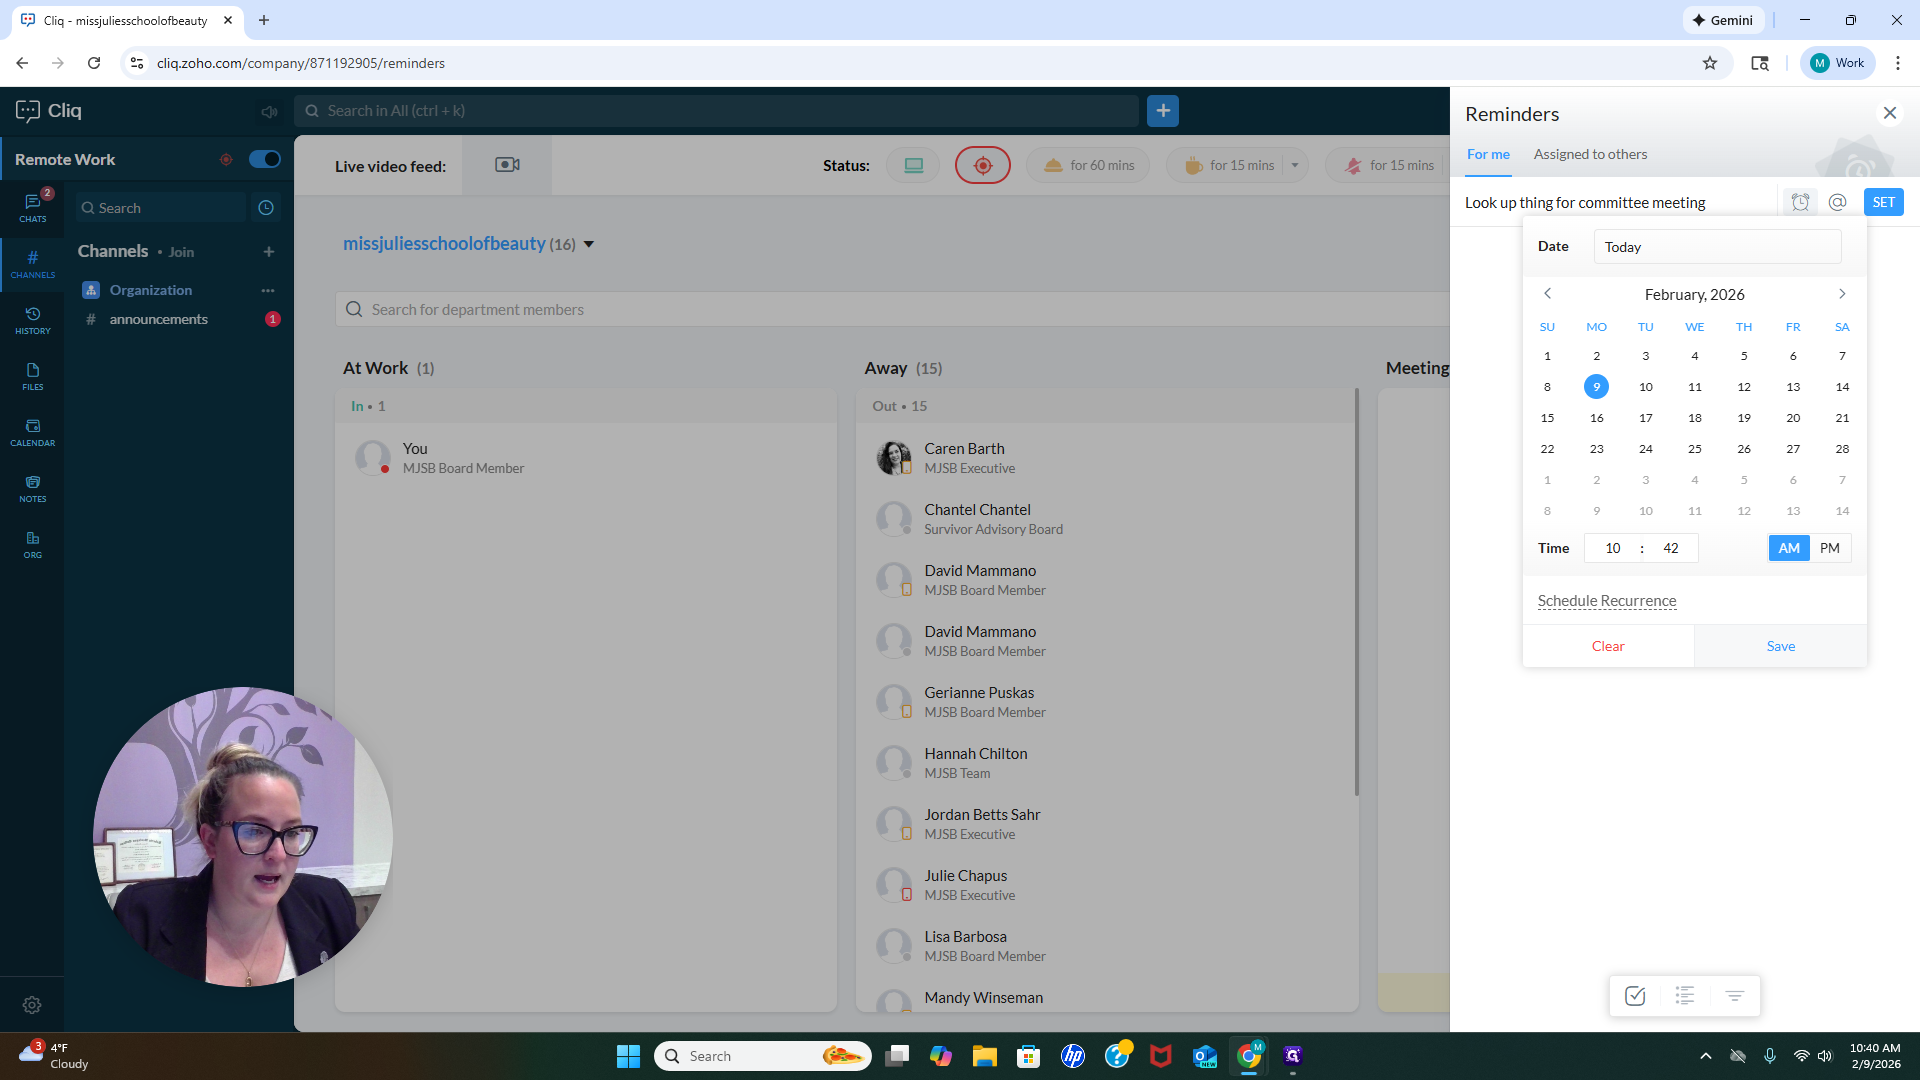
So, "look up information for the committee meeting." I would know more specifically what it is if we were actually communicating about it. For now, I will select the day and time for this to come through. Let's have it come through at 10:42 A.M.

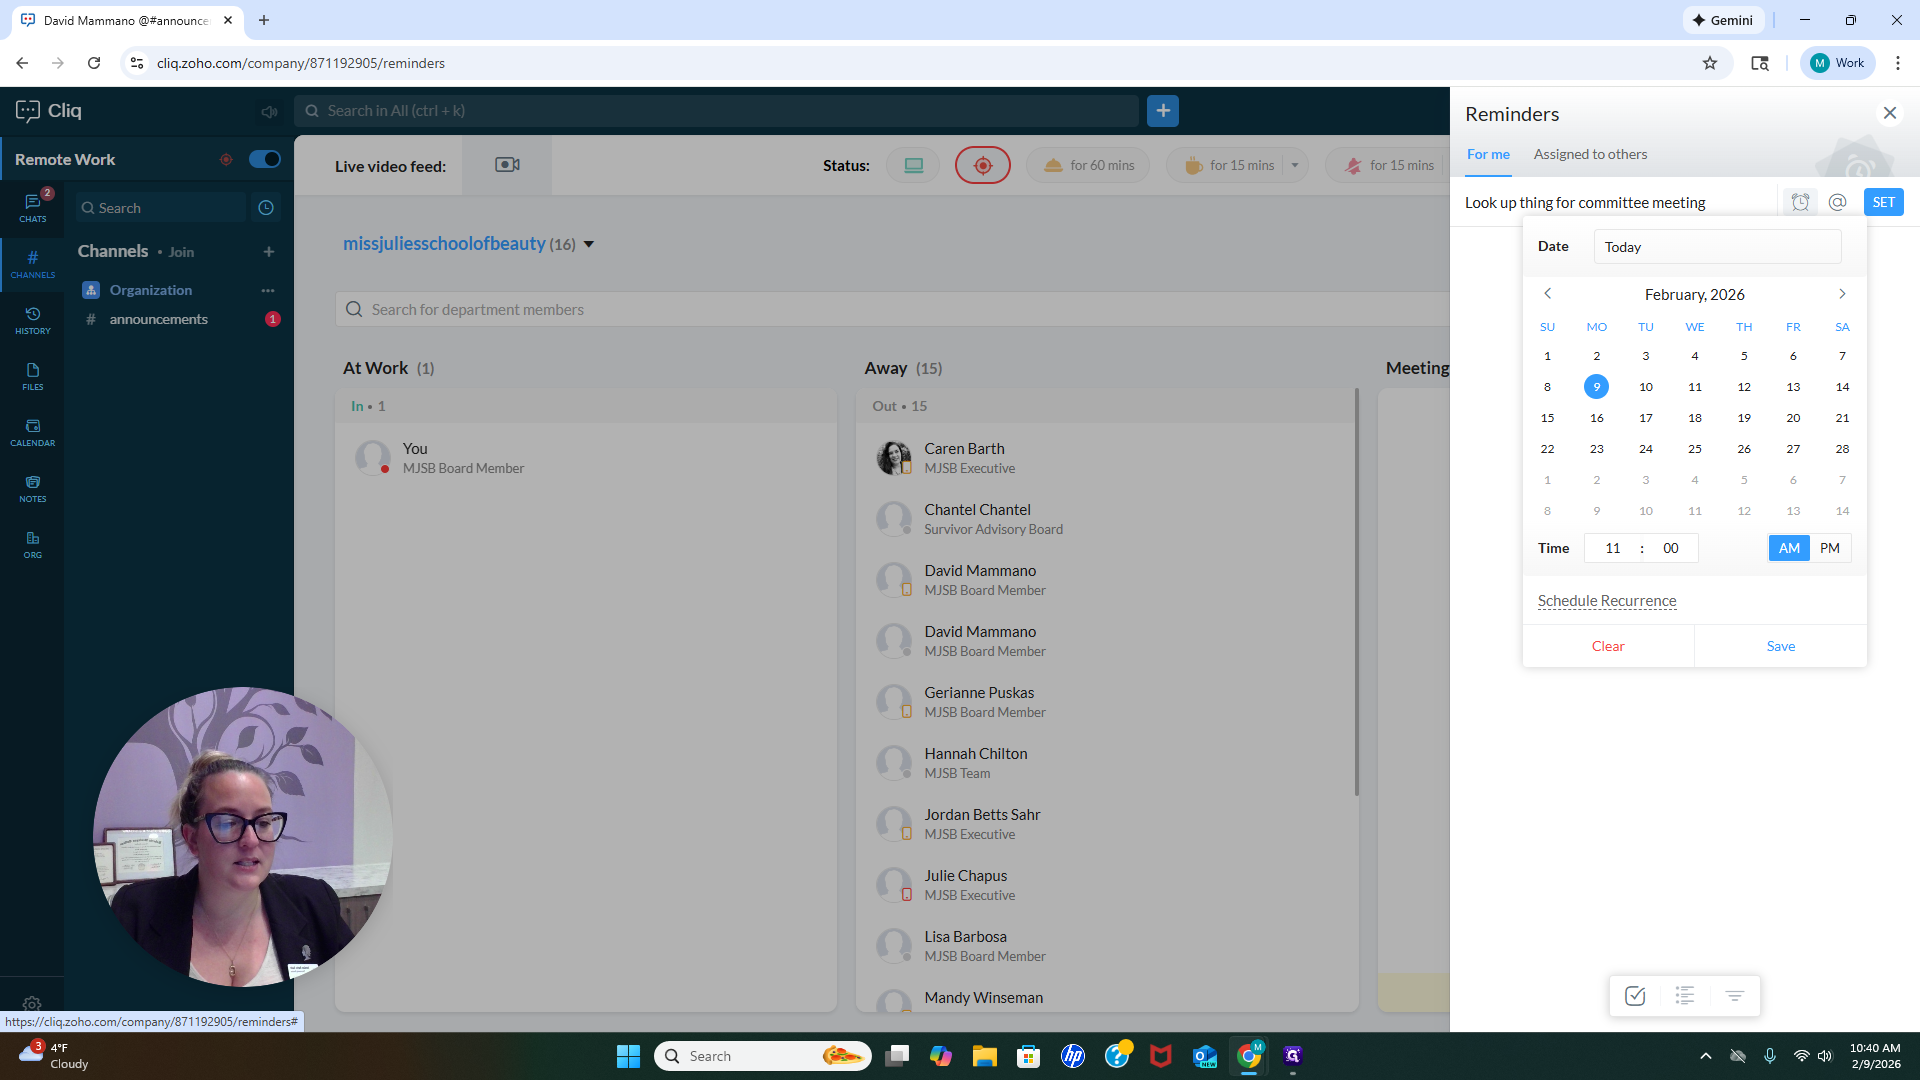
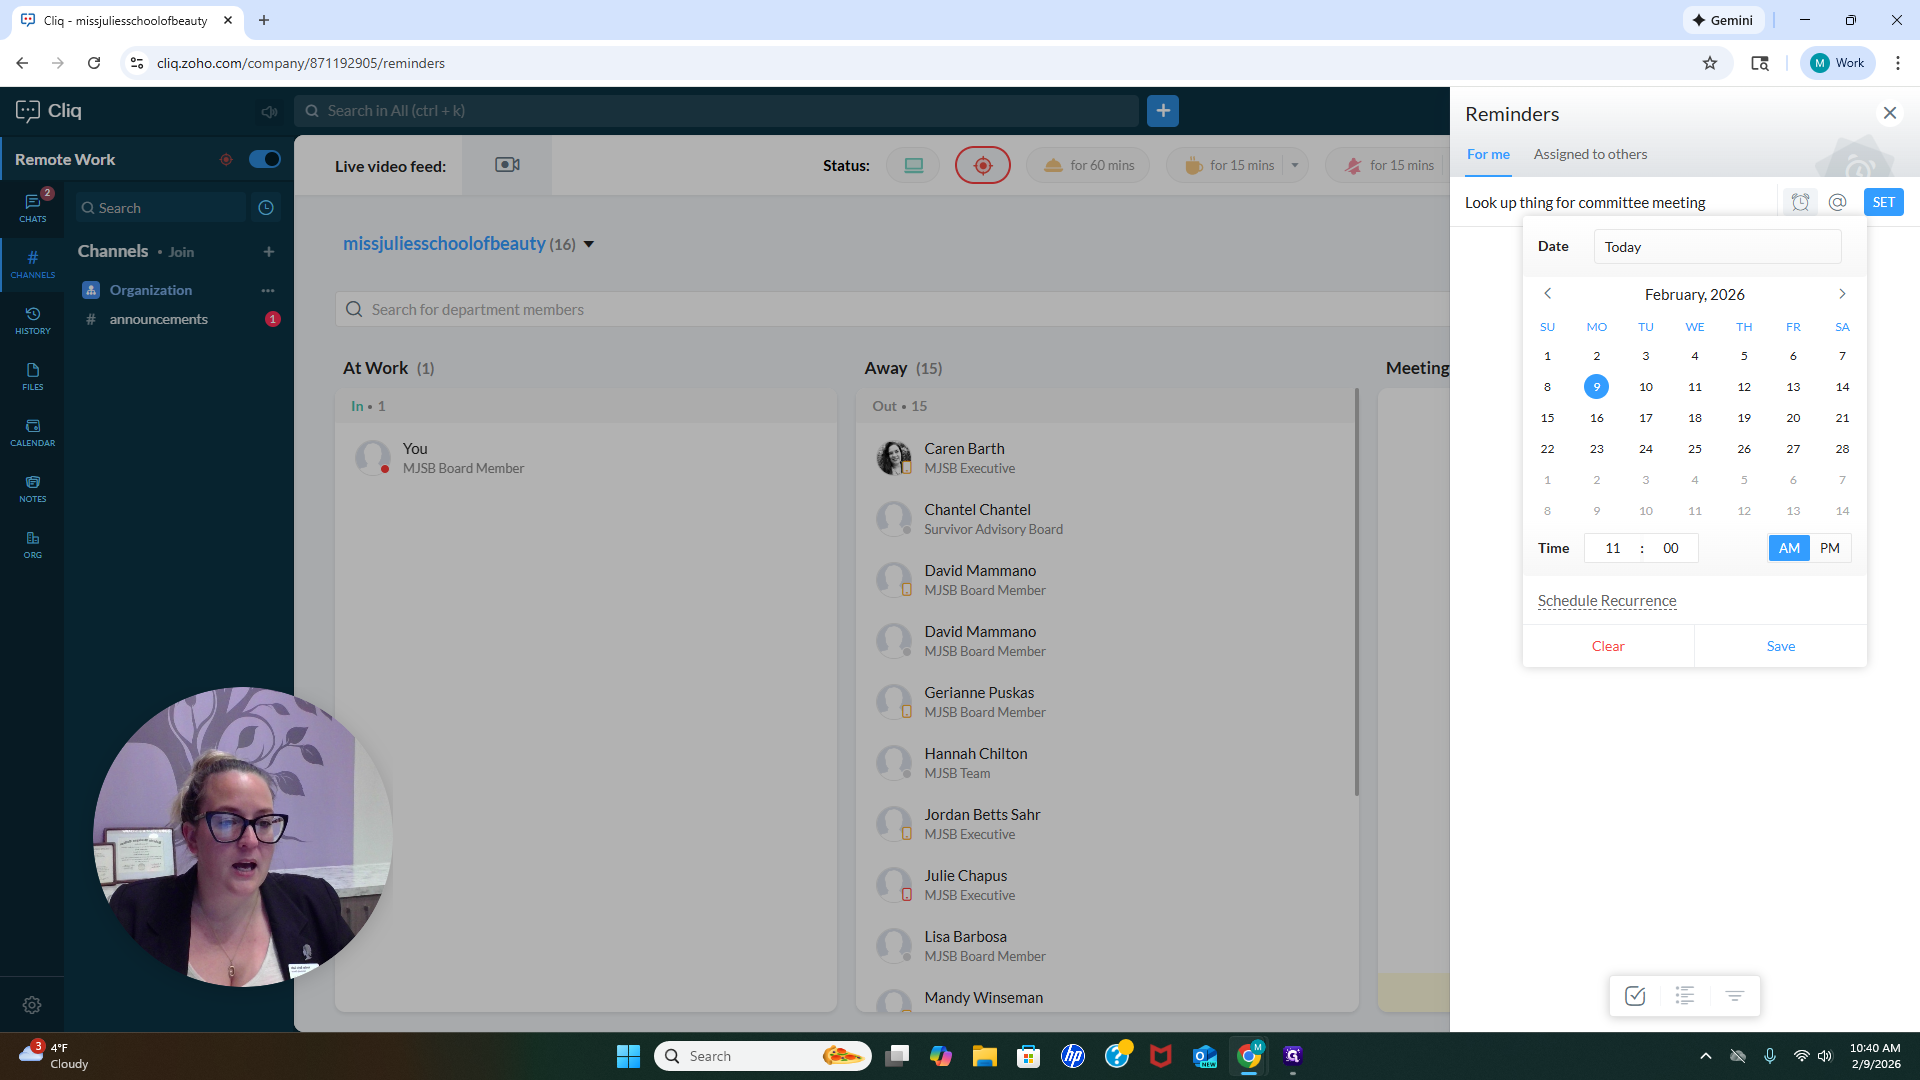

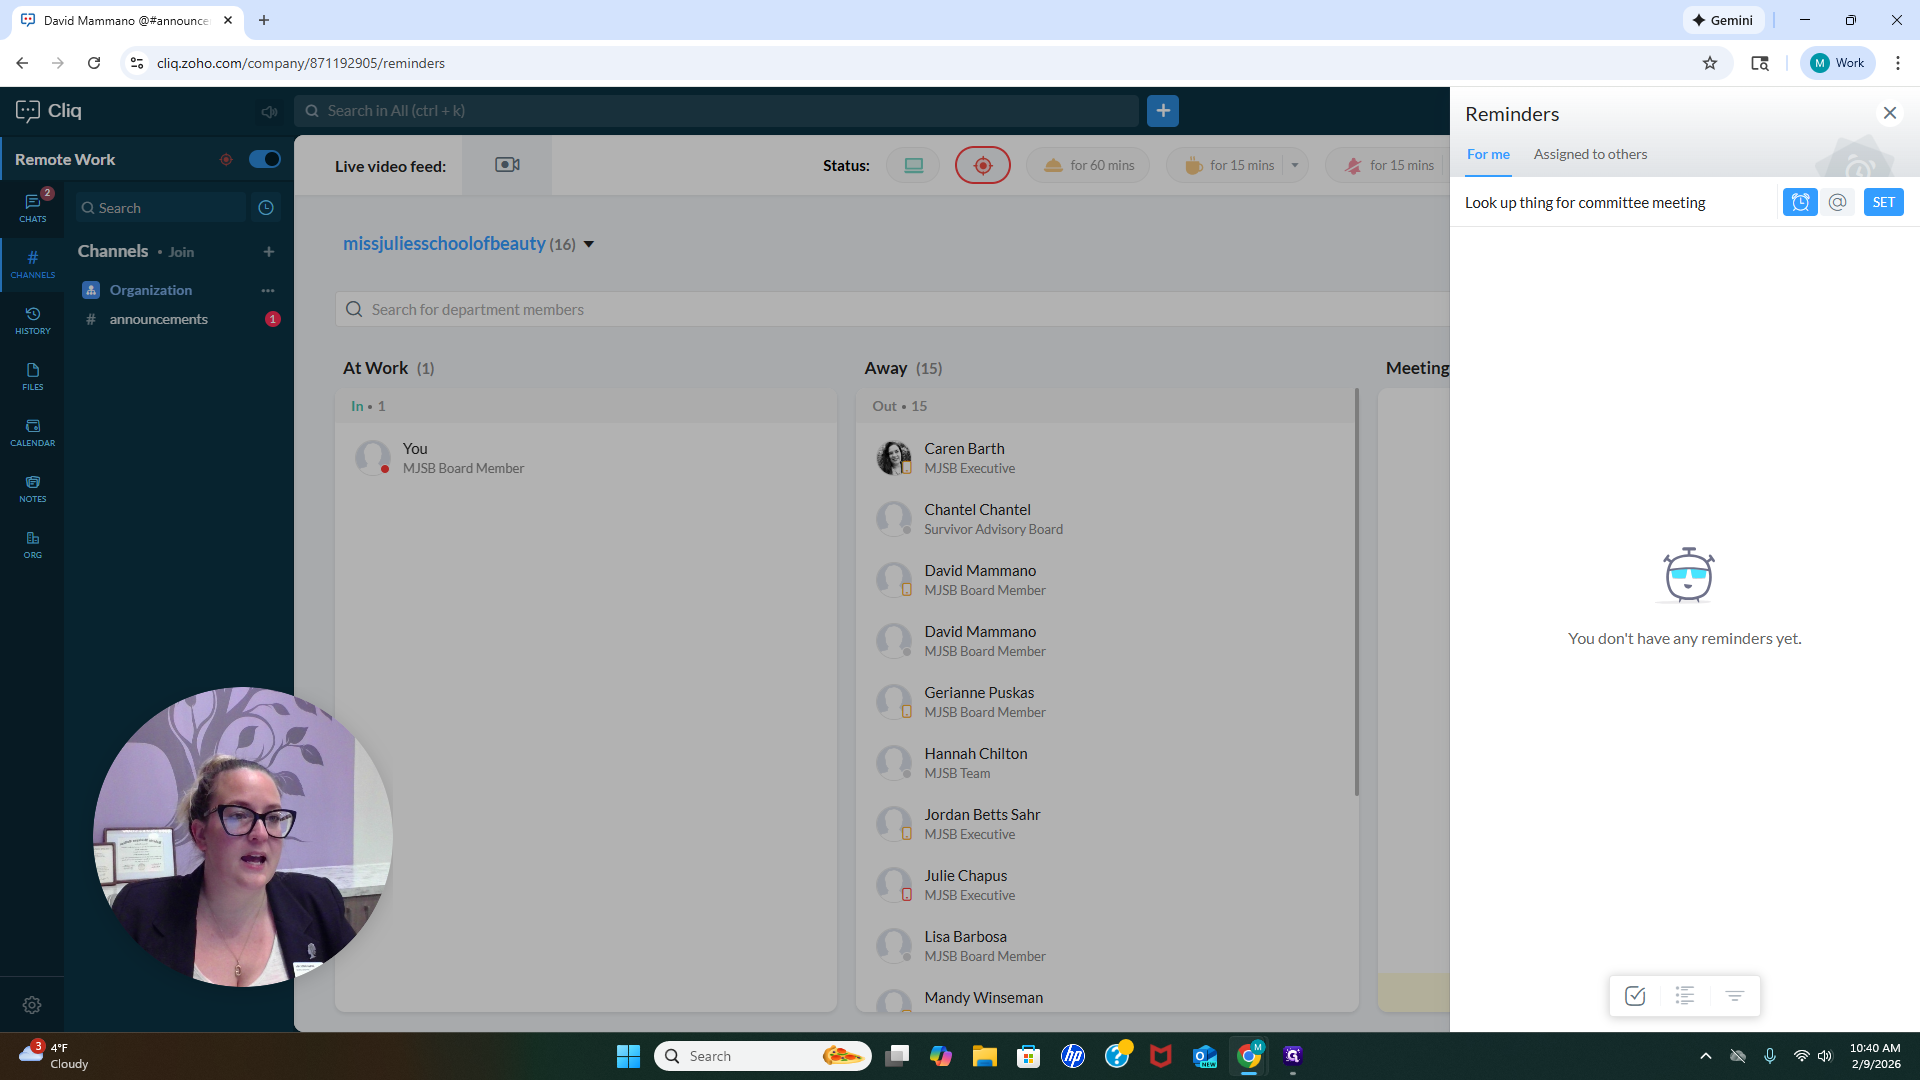
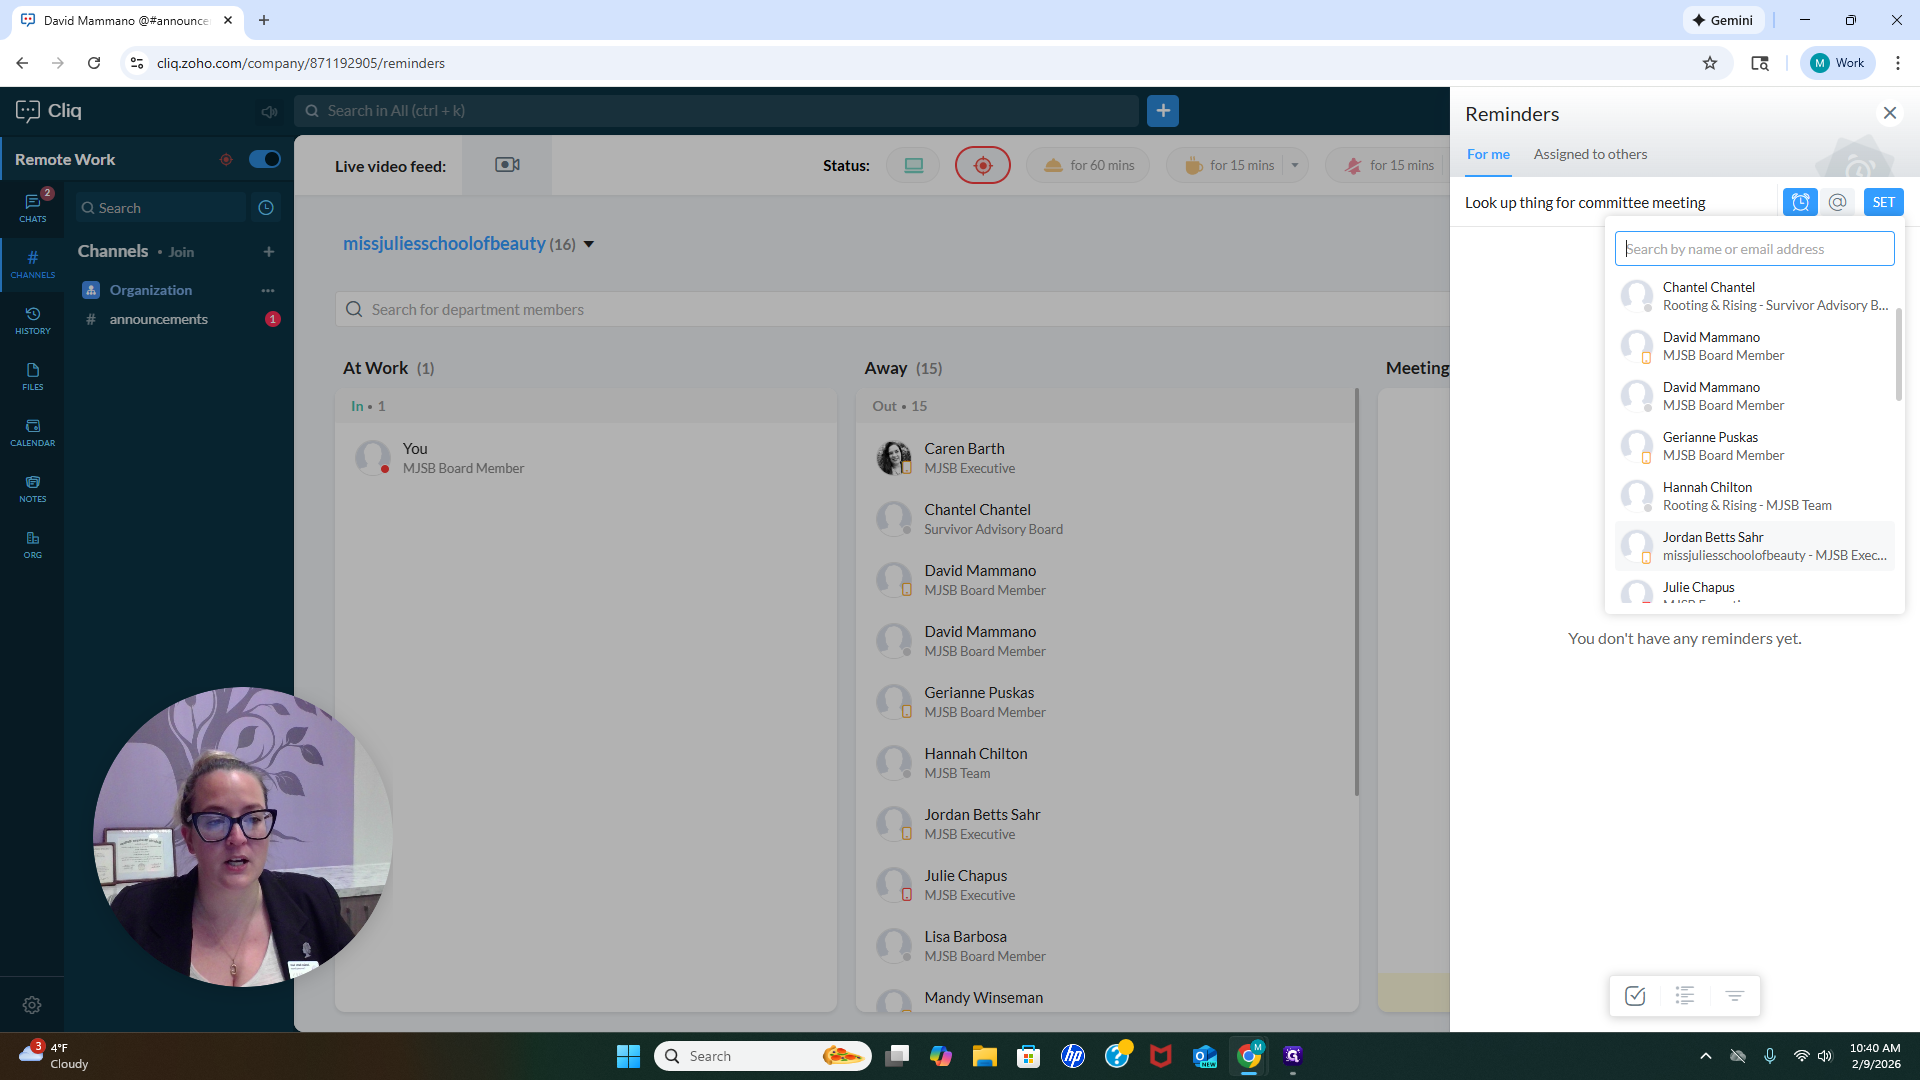
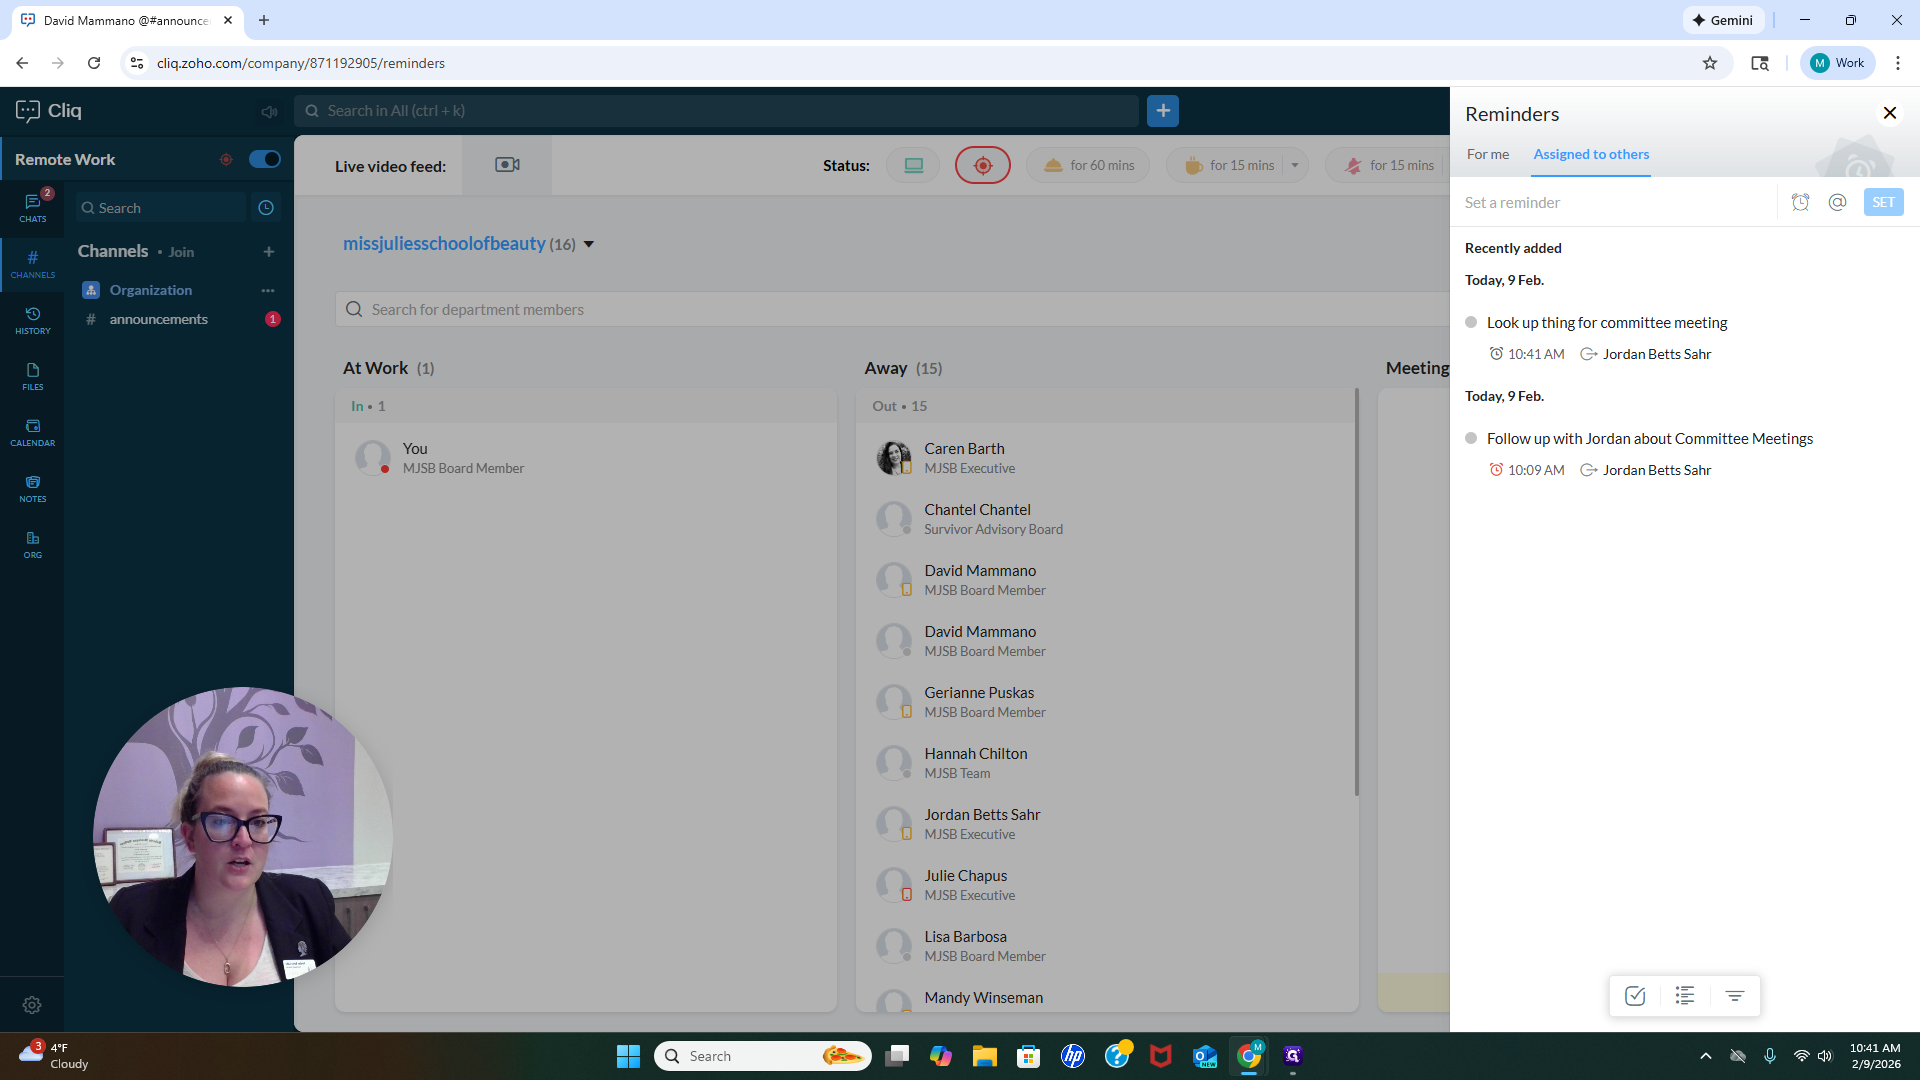
We'll save that. If you need to send me a reminder, just click my name and...


Let's go ahead and set it to 41.


We might be able to catch this.

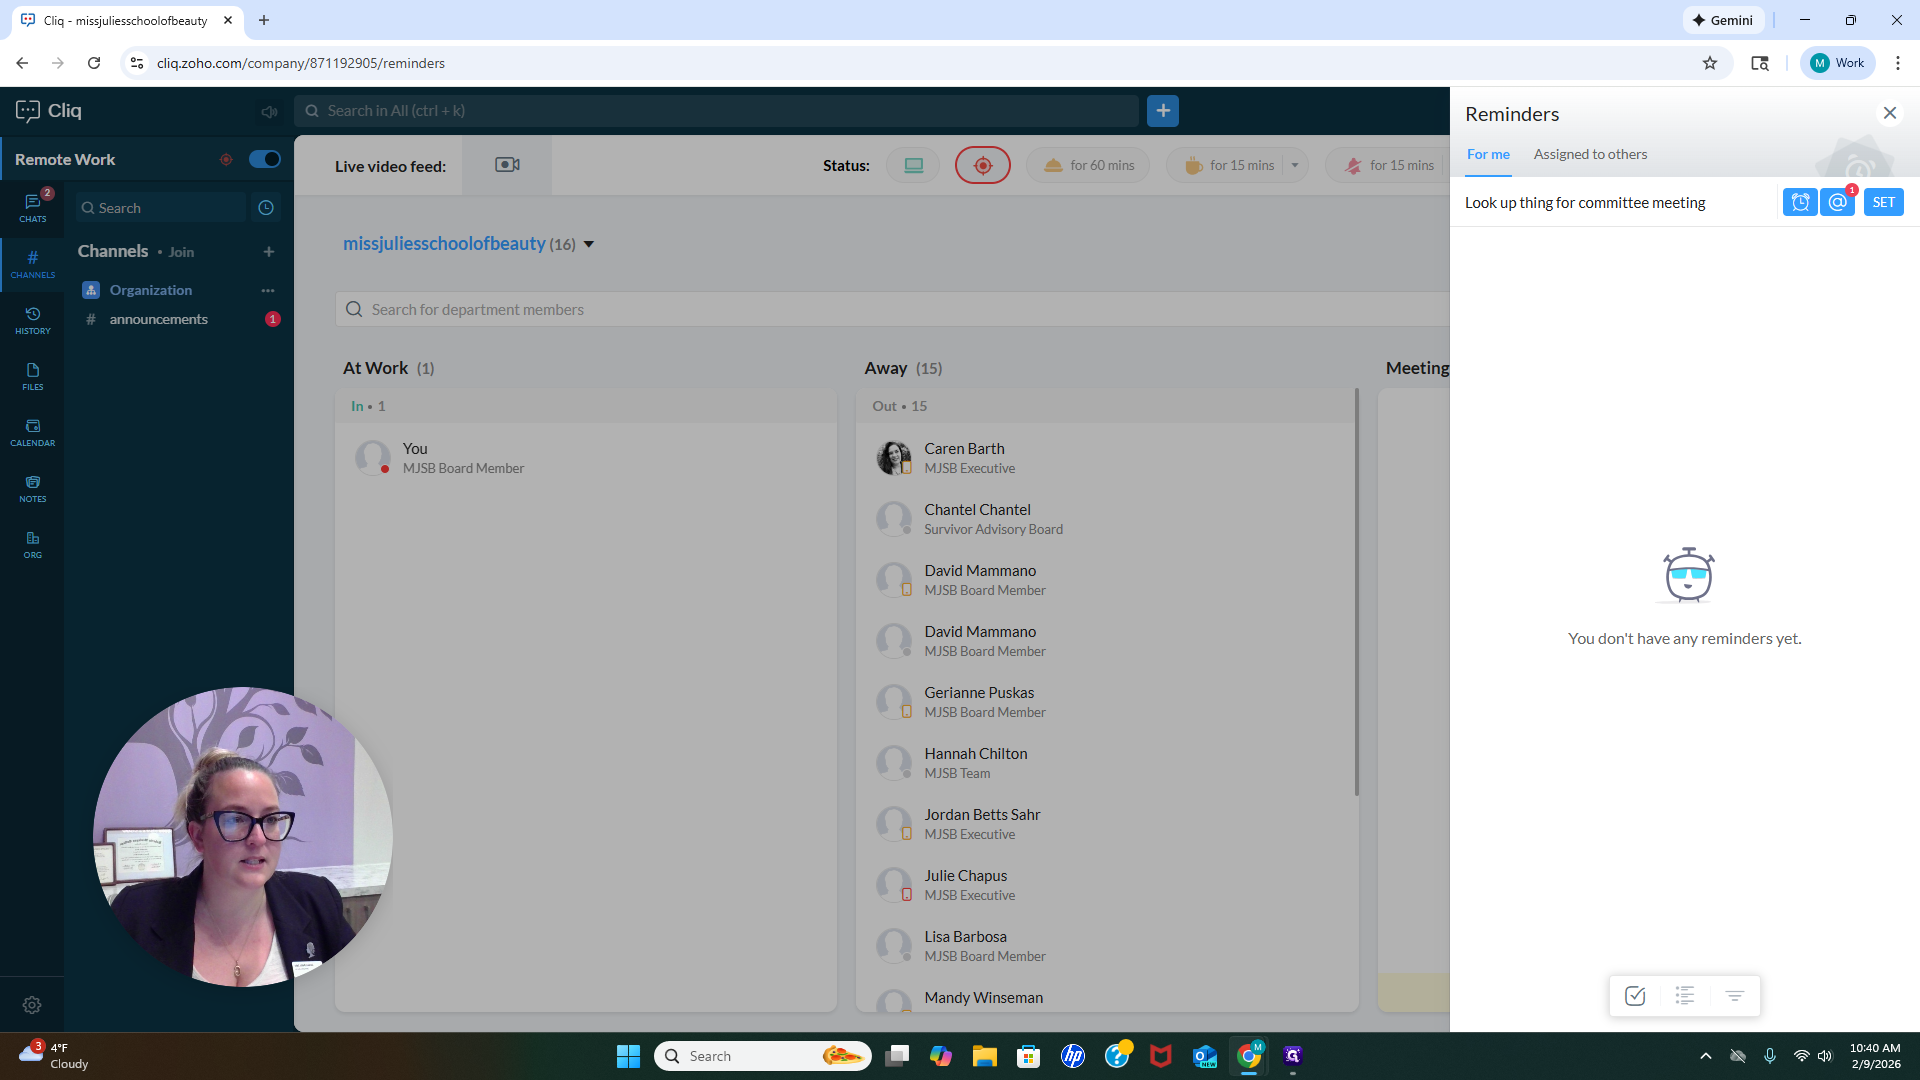
So Set. I just received a notification from Taz on my phone. It reminds me to look up the information for the committee. It’s very helpful for our organization to have any information we need.

You'll see we have an announcement number here. Let's take a look. My HIPAA hurts this morning. "I think I'm getting old." That is from David Mamano. Thank you, David, for adding that while we are filming. It is a perfect example of what happens when someone sends a message within the organization.
You'll see a notification indicating there's a missed message or one you haven't viewed yet. I click that, and I'm good to go.

In my chats, I have a notification from Taz. Taz is reminding me to look up something for the committee.

All right. That’s it. Thank you very much.