
How to Use Dead Reckoning for Estimating Camera Latitude and Longitude in Navigation
Learn step-by-step how to use dead reckoning techniques to estimate a camera's latitude and longitude for navigation, using Google Maps and visual clues from your environment. This guide features a real-world example at Hensel Phelps Rady Children's in San Diego.
In this guide, we'll learn how to use dead reckoning to estimate the latitude and longitude of a camera at a construction site. We'll use visual clues from a photosphere and compare them with Google Maps to pinpoint the camera's location. This process helps ensure that the recorded position is accurate for future reference.
Let's get started
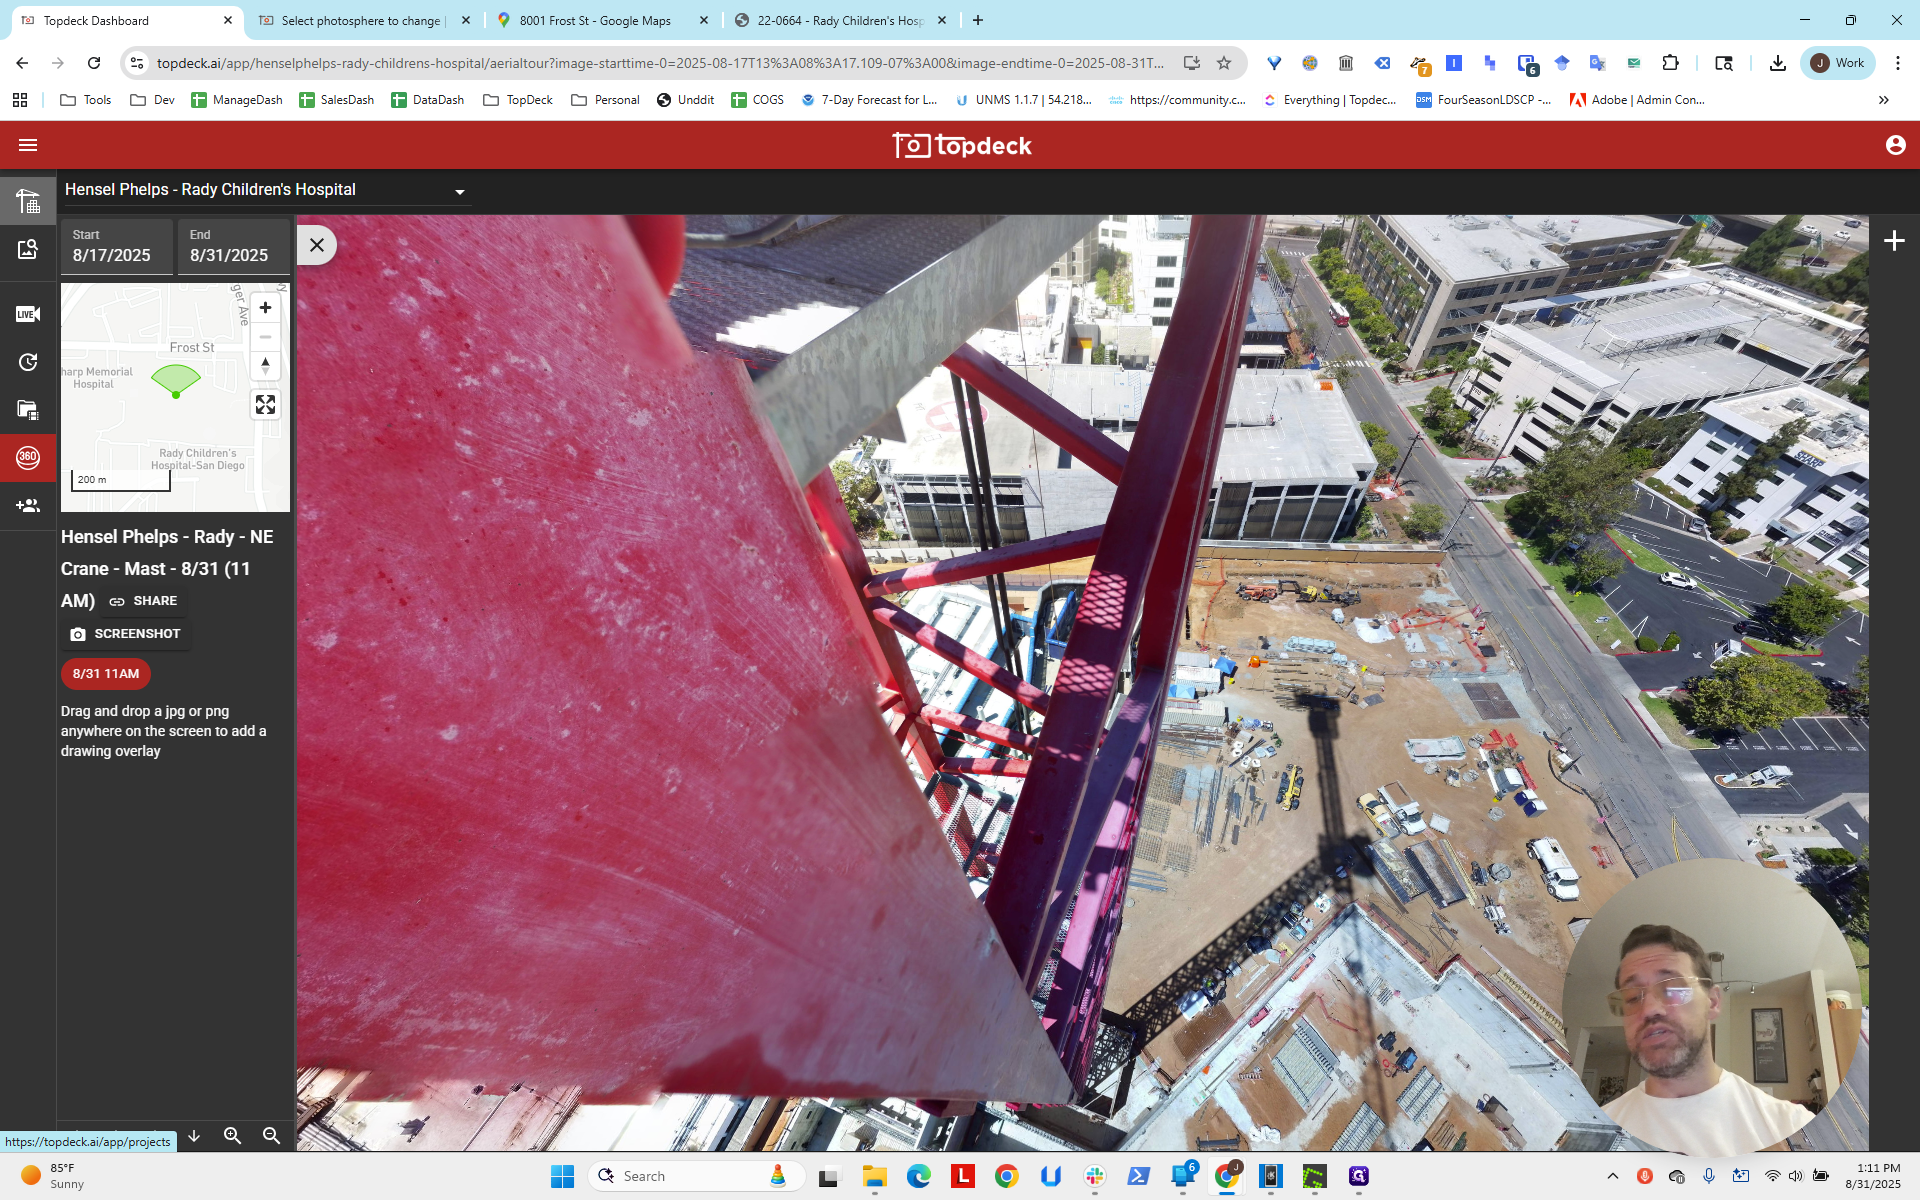
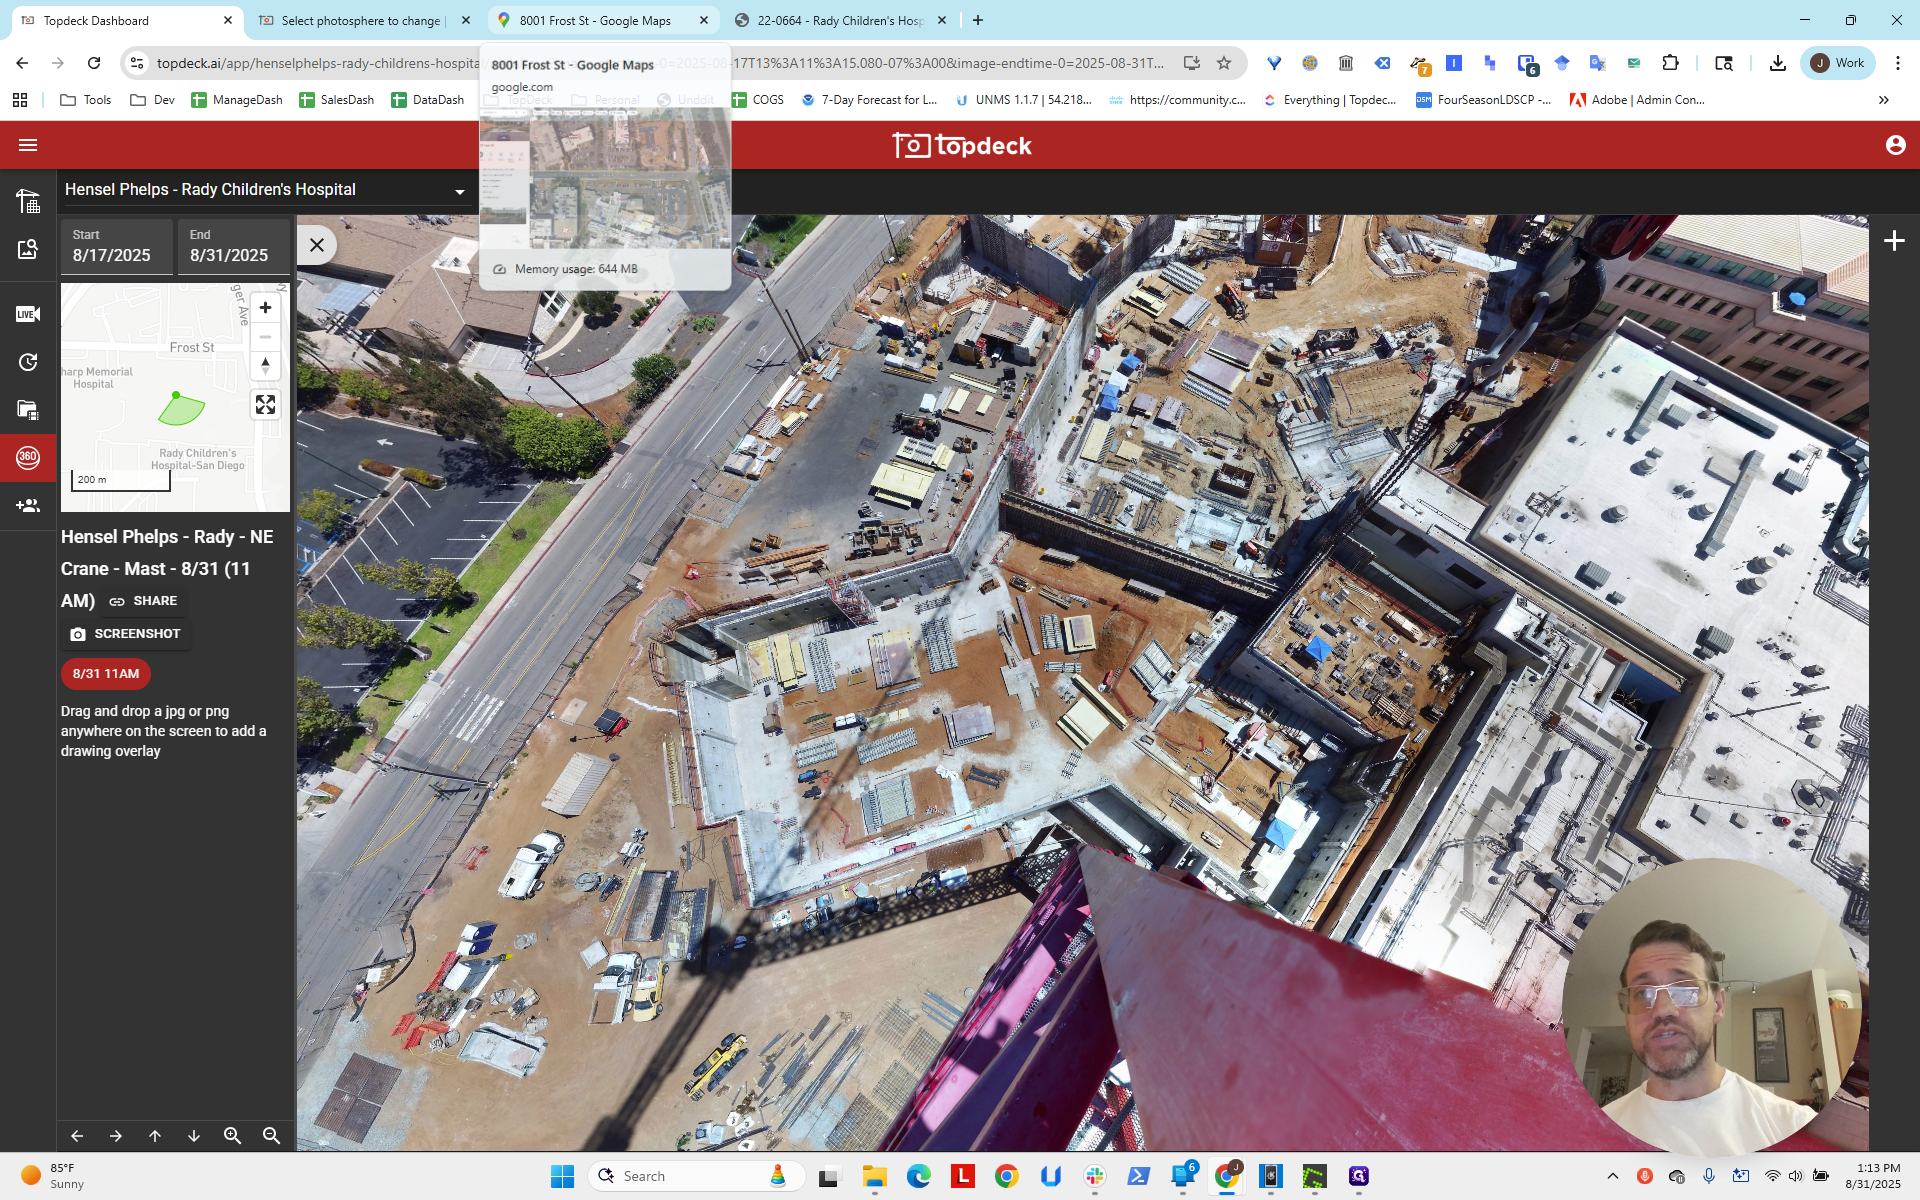
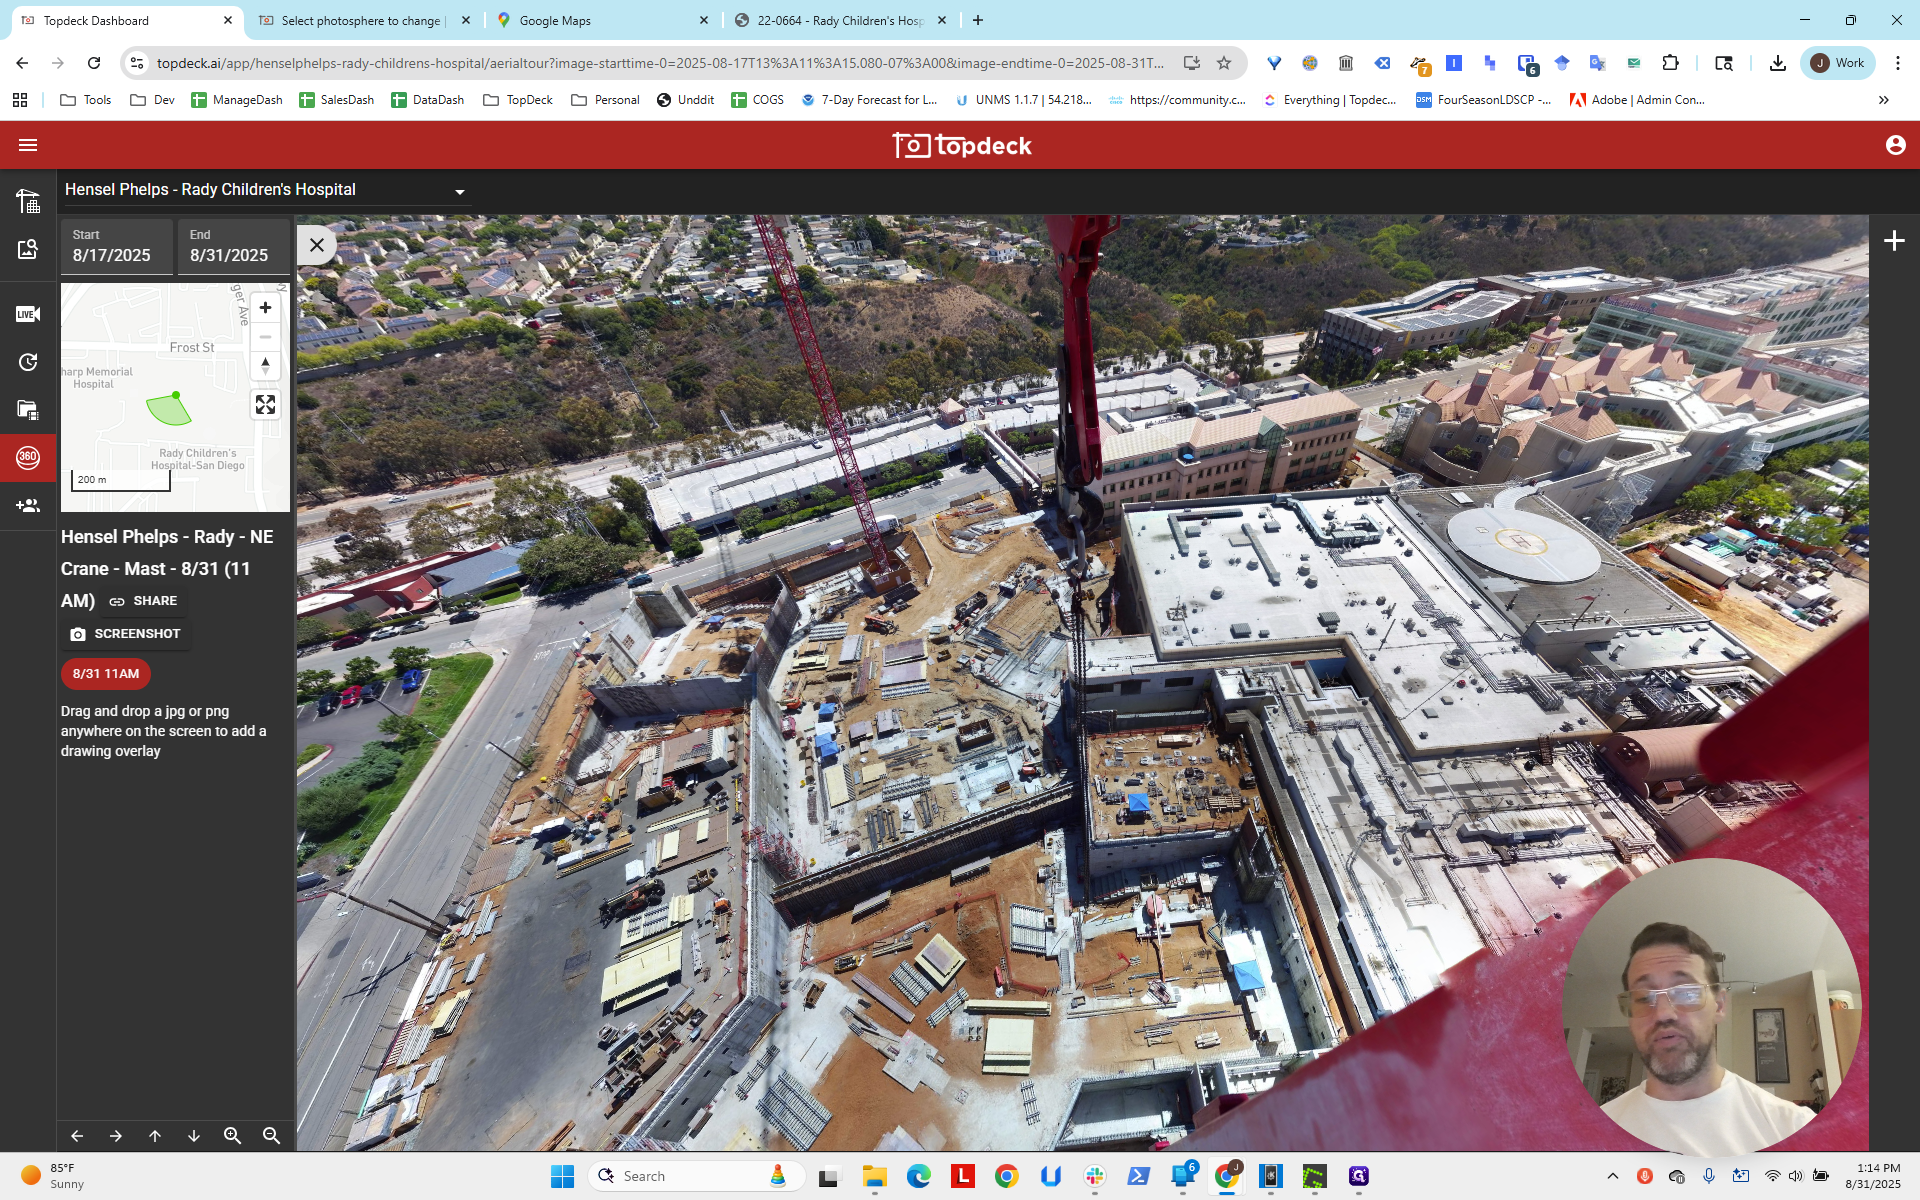
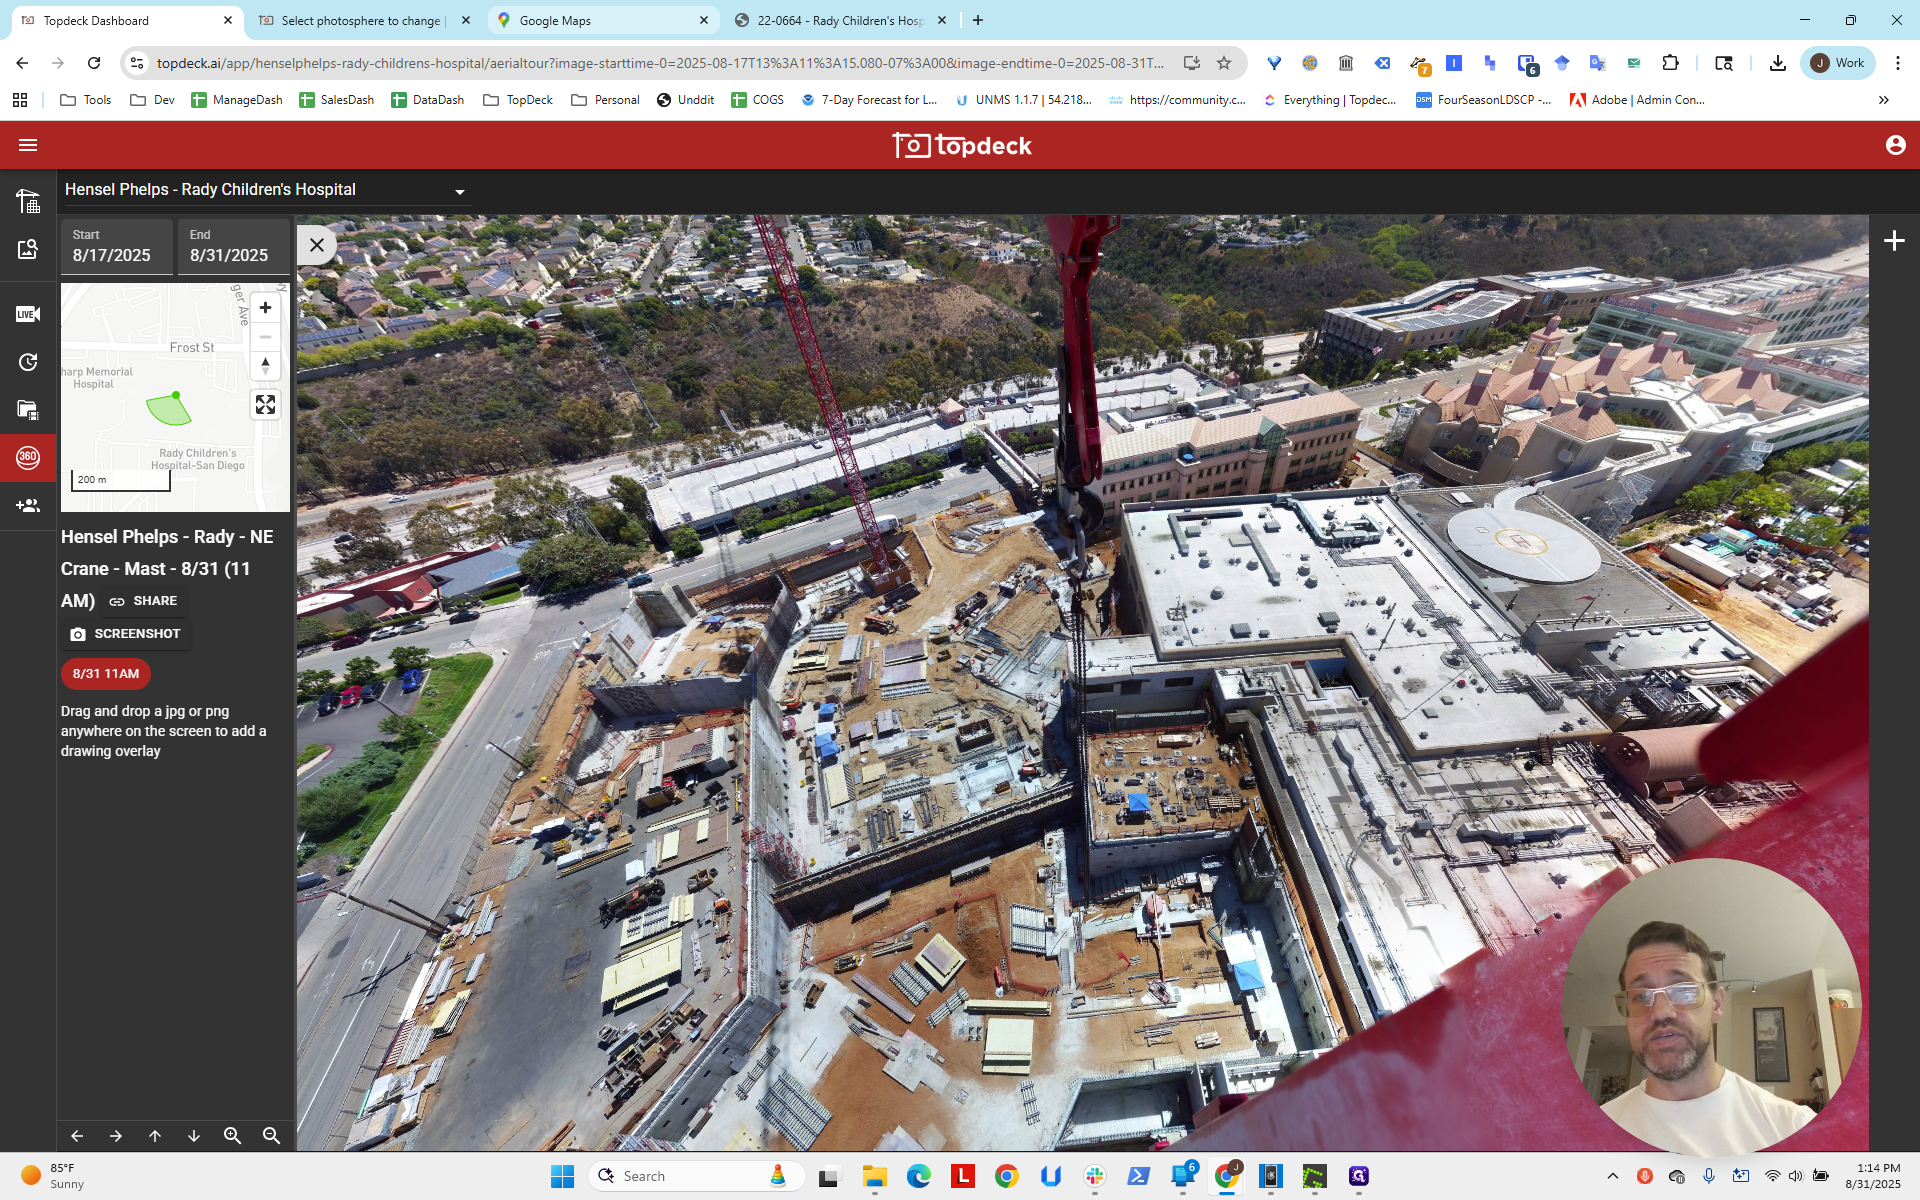
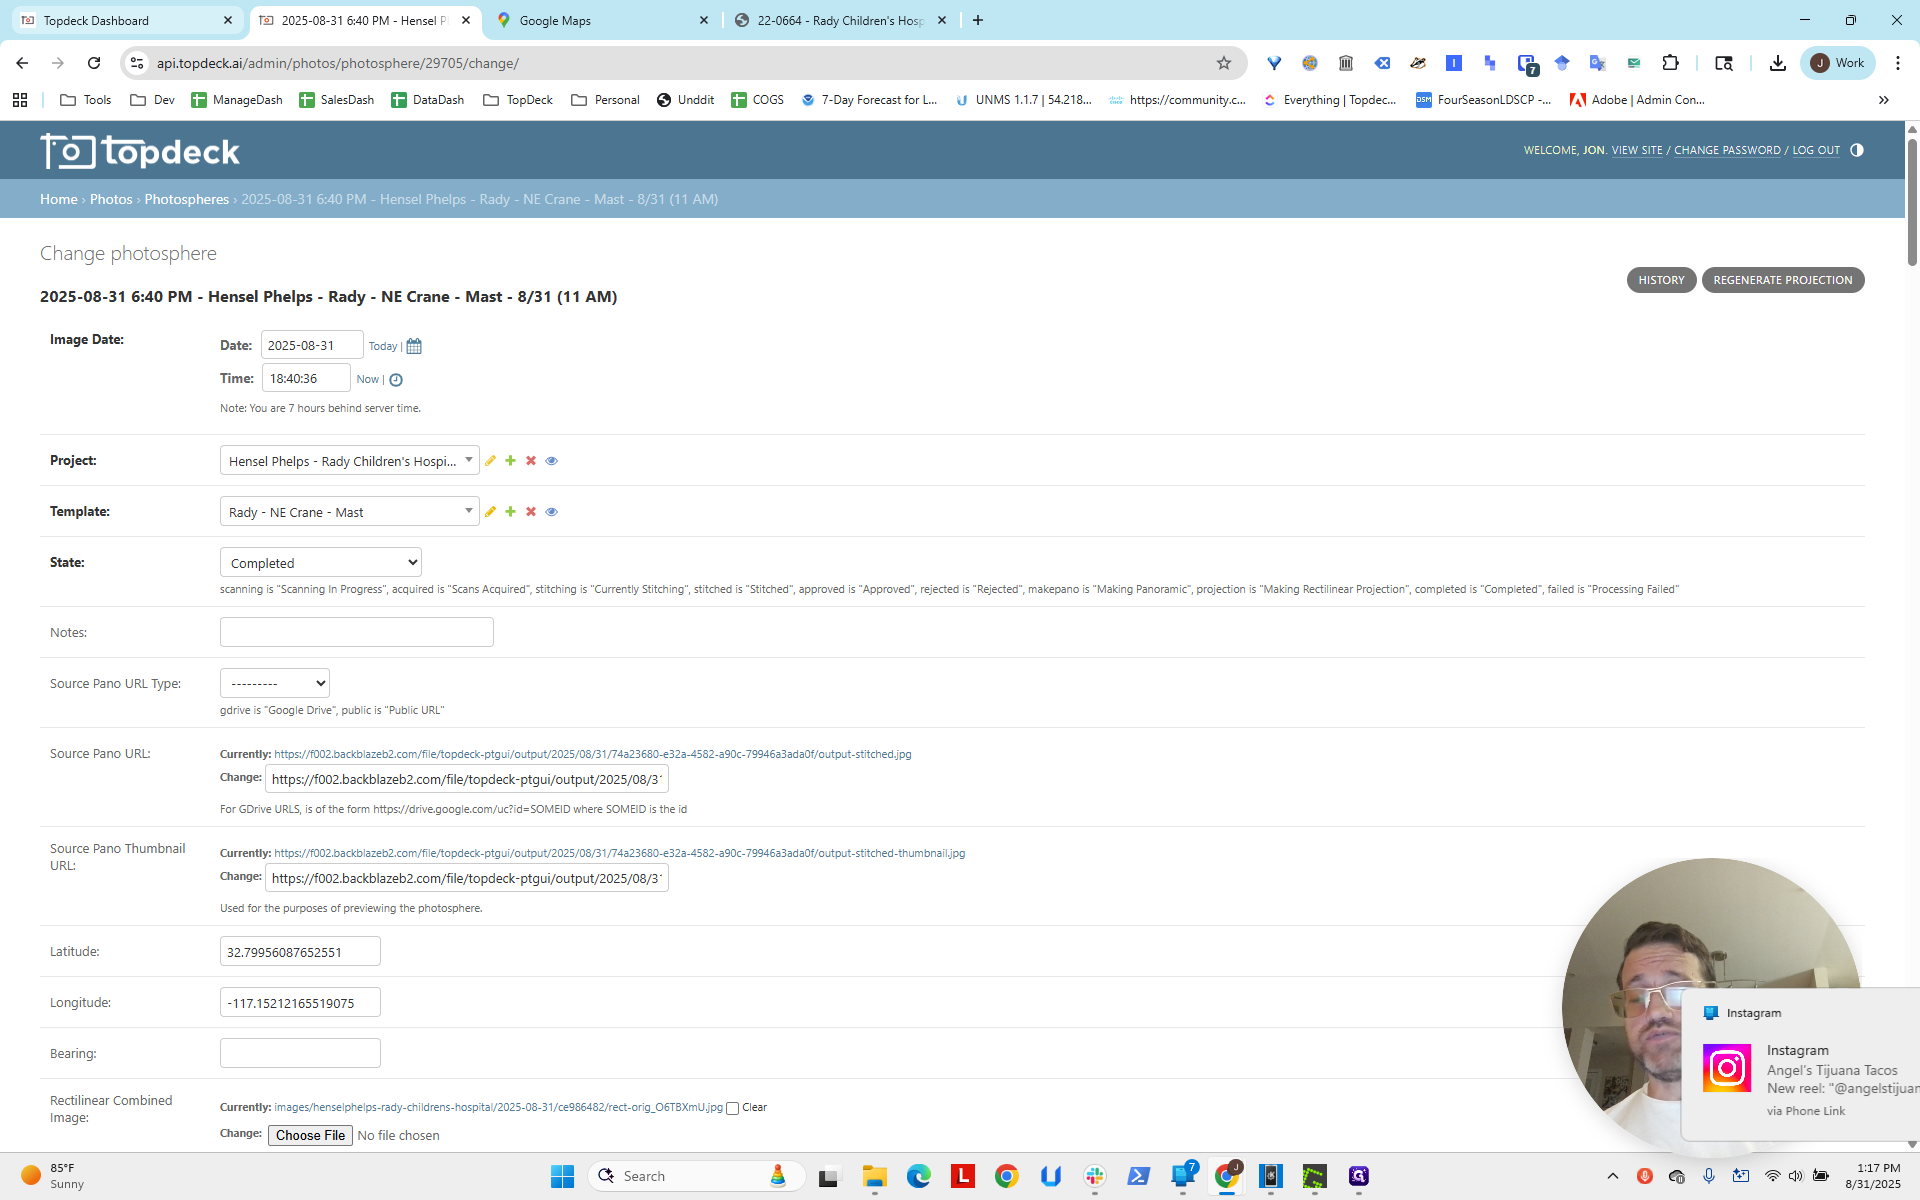
Hello, everyone. This is an instructional video on using a technique called dead reckoning in navigation to estimate the camera's longitude and latitude. I should say latitude and longitude. Latitude is almost always listed first. We are here at Hensel Phelps Rady Children's.
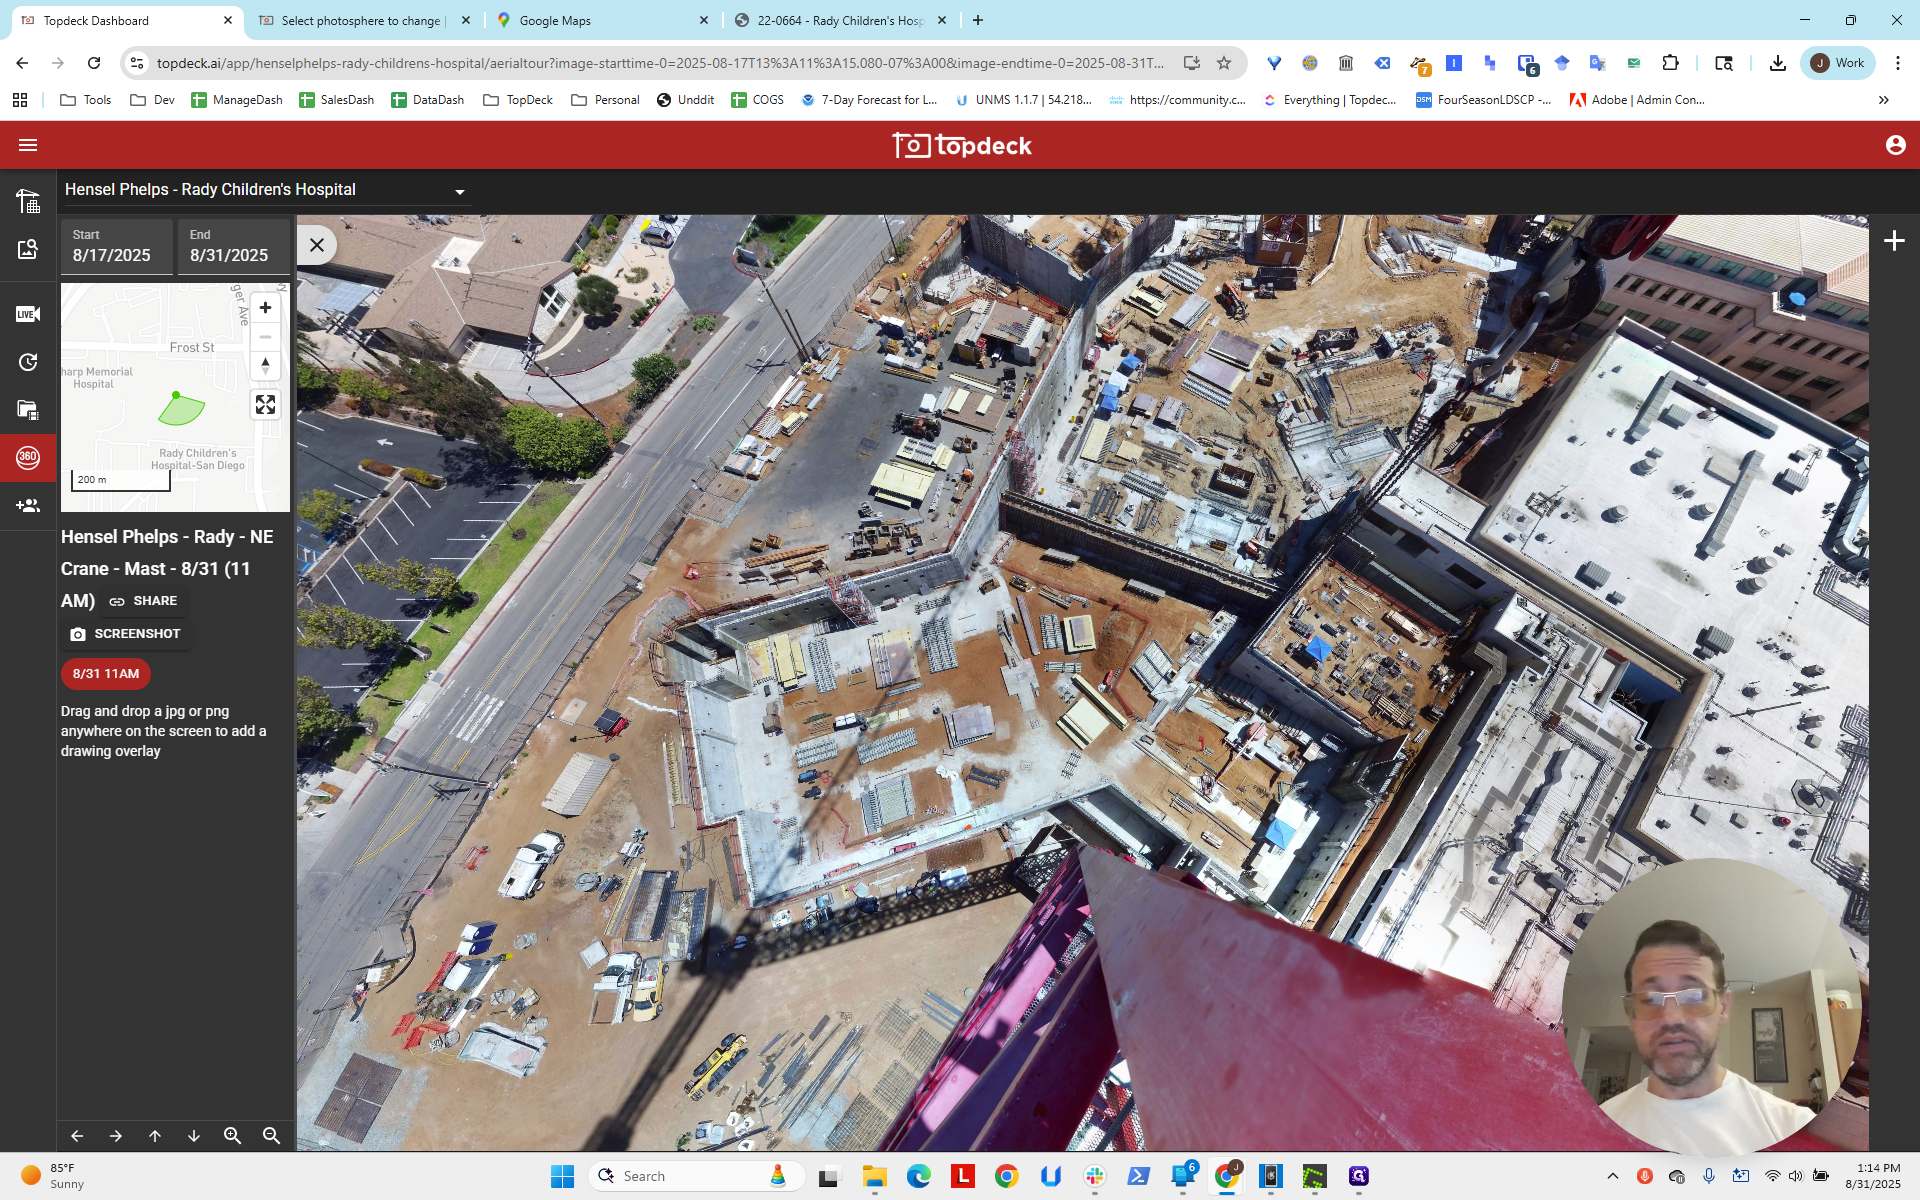
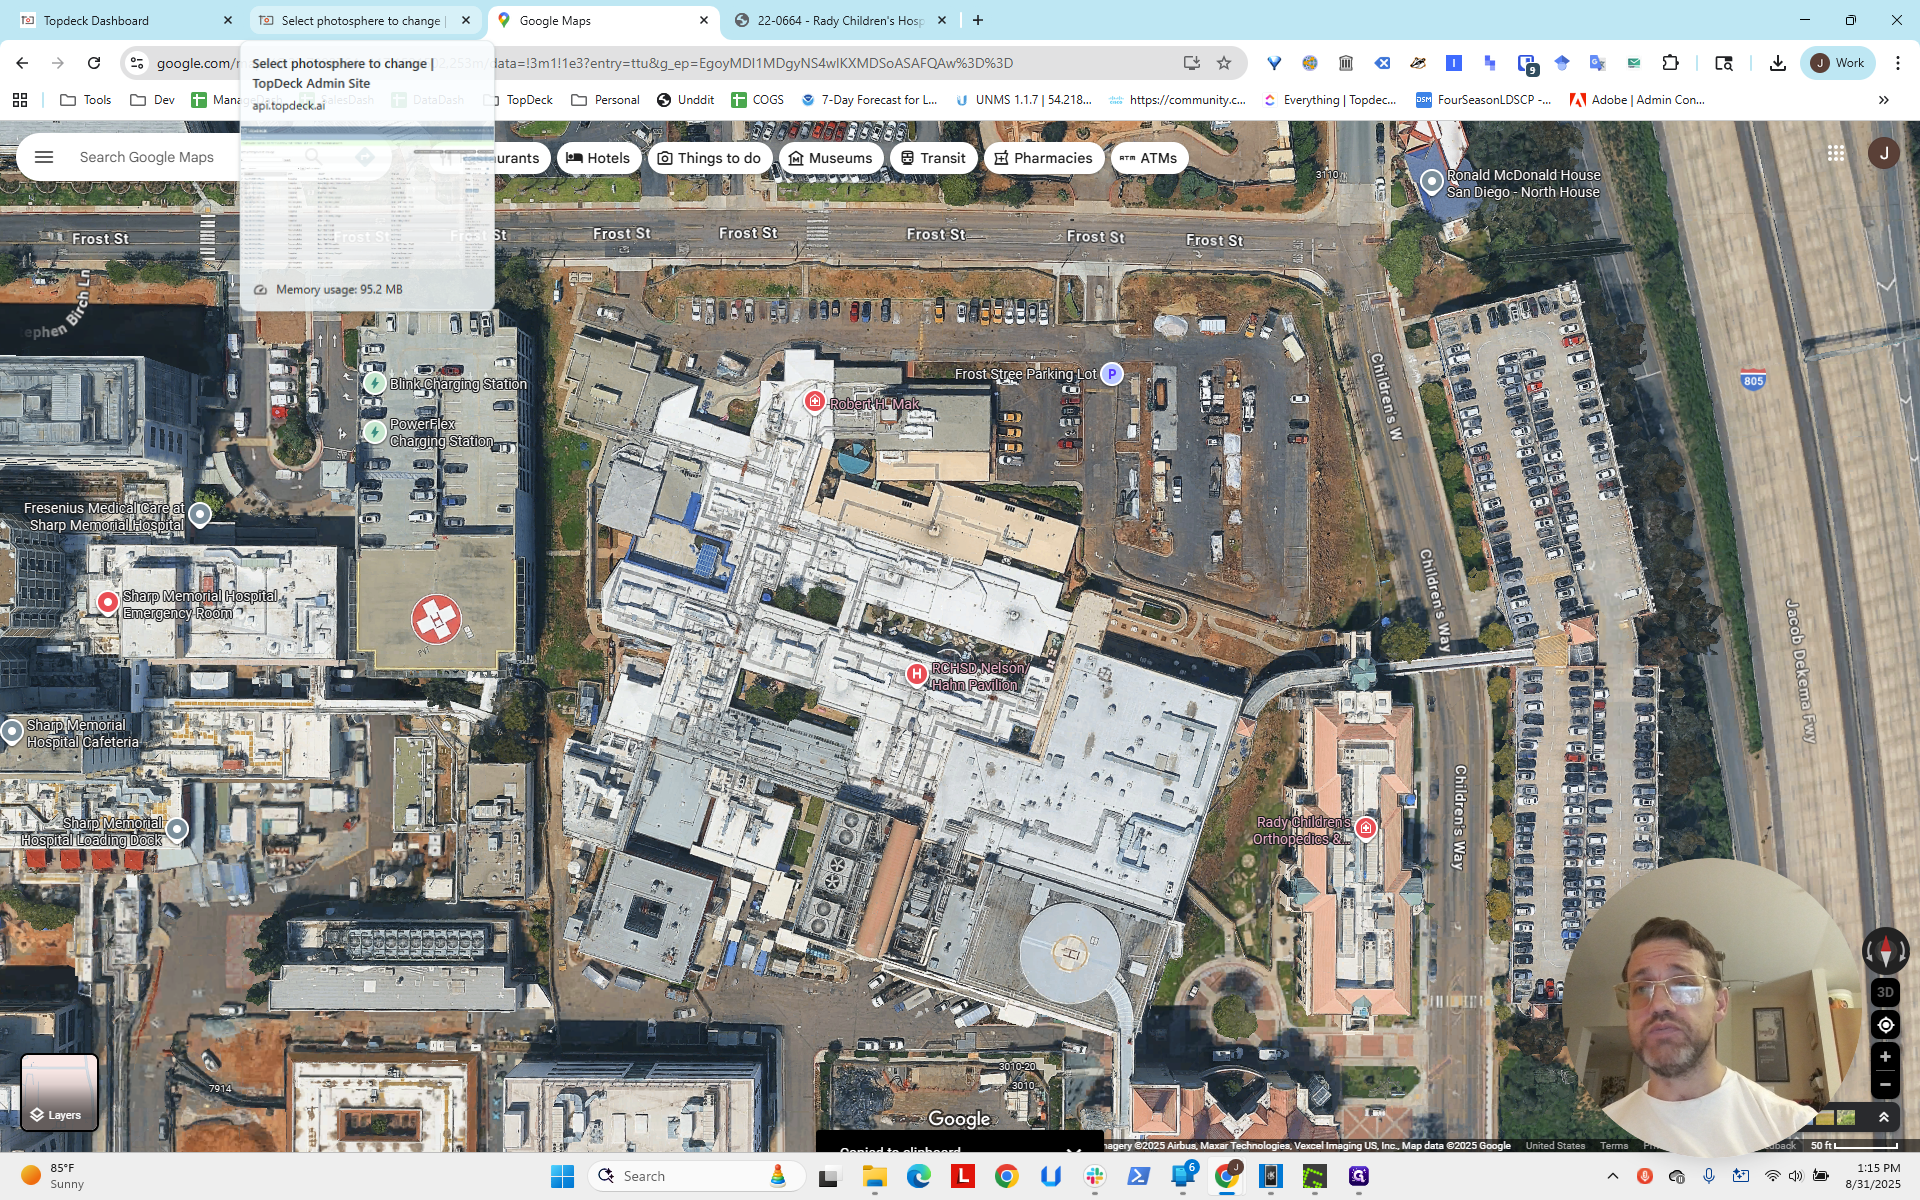
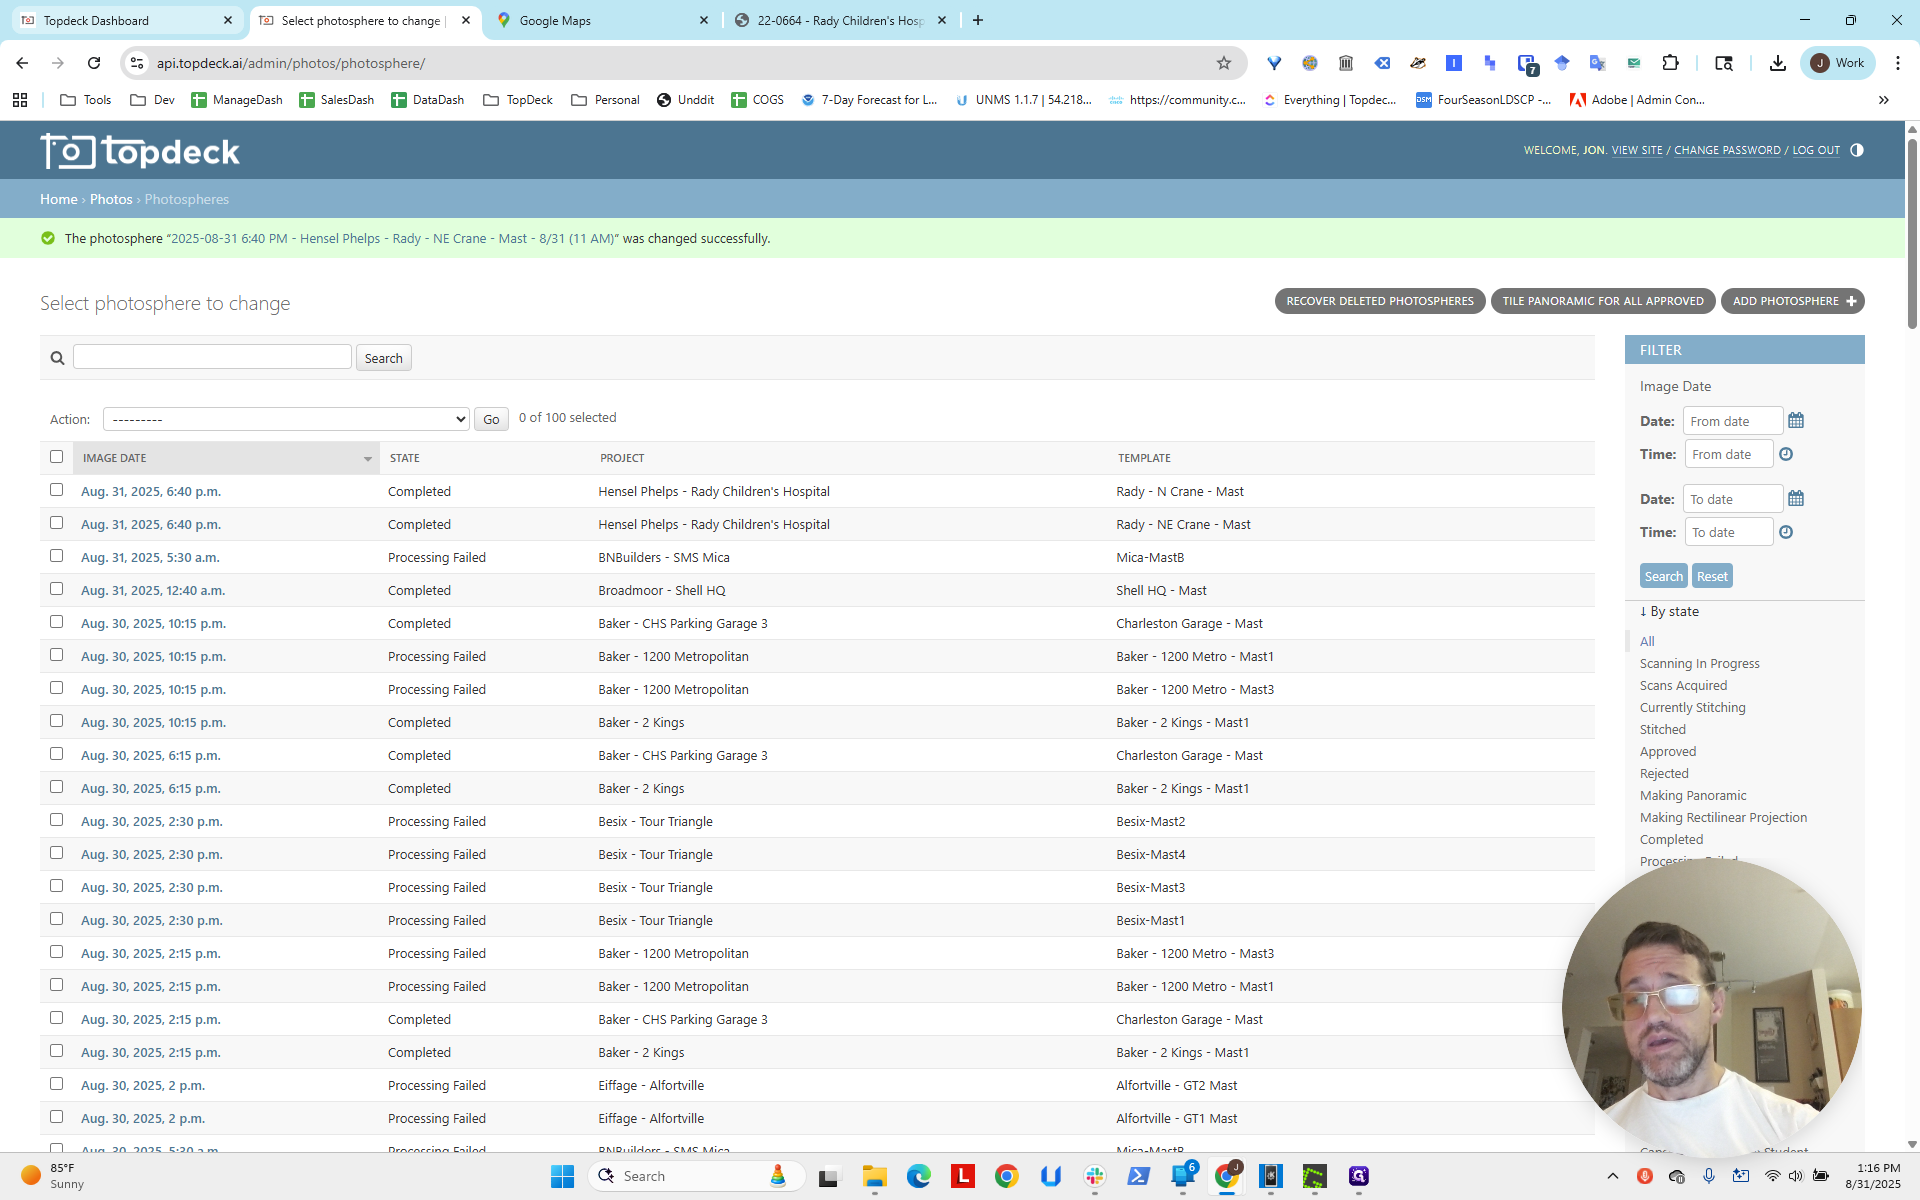
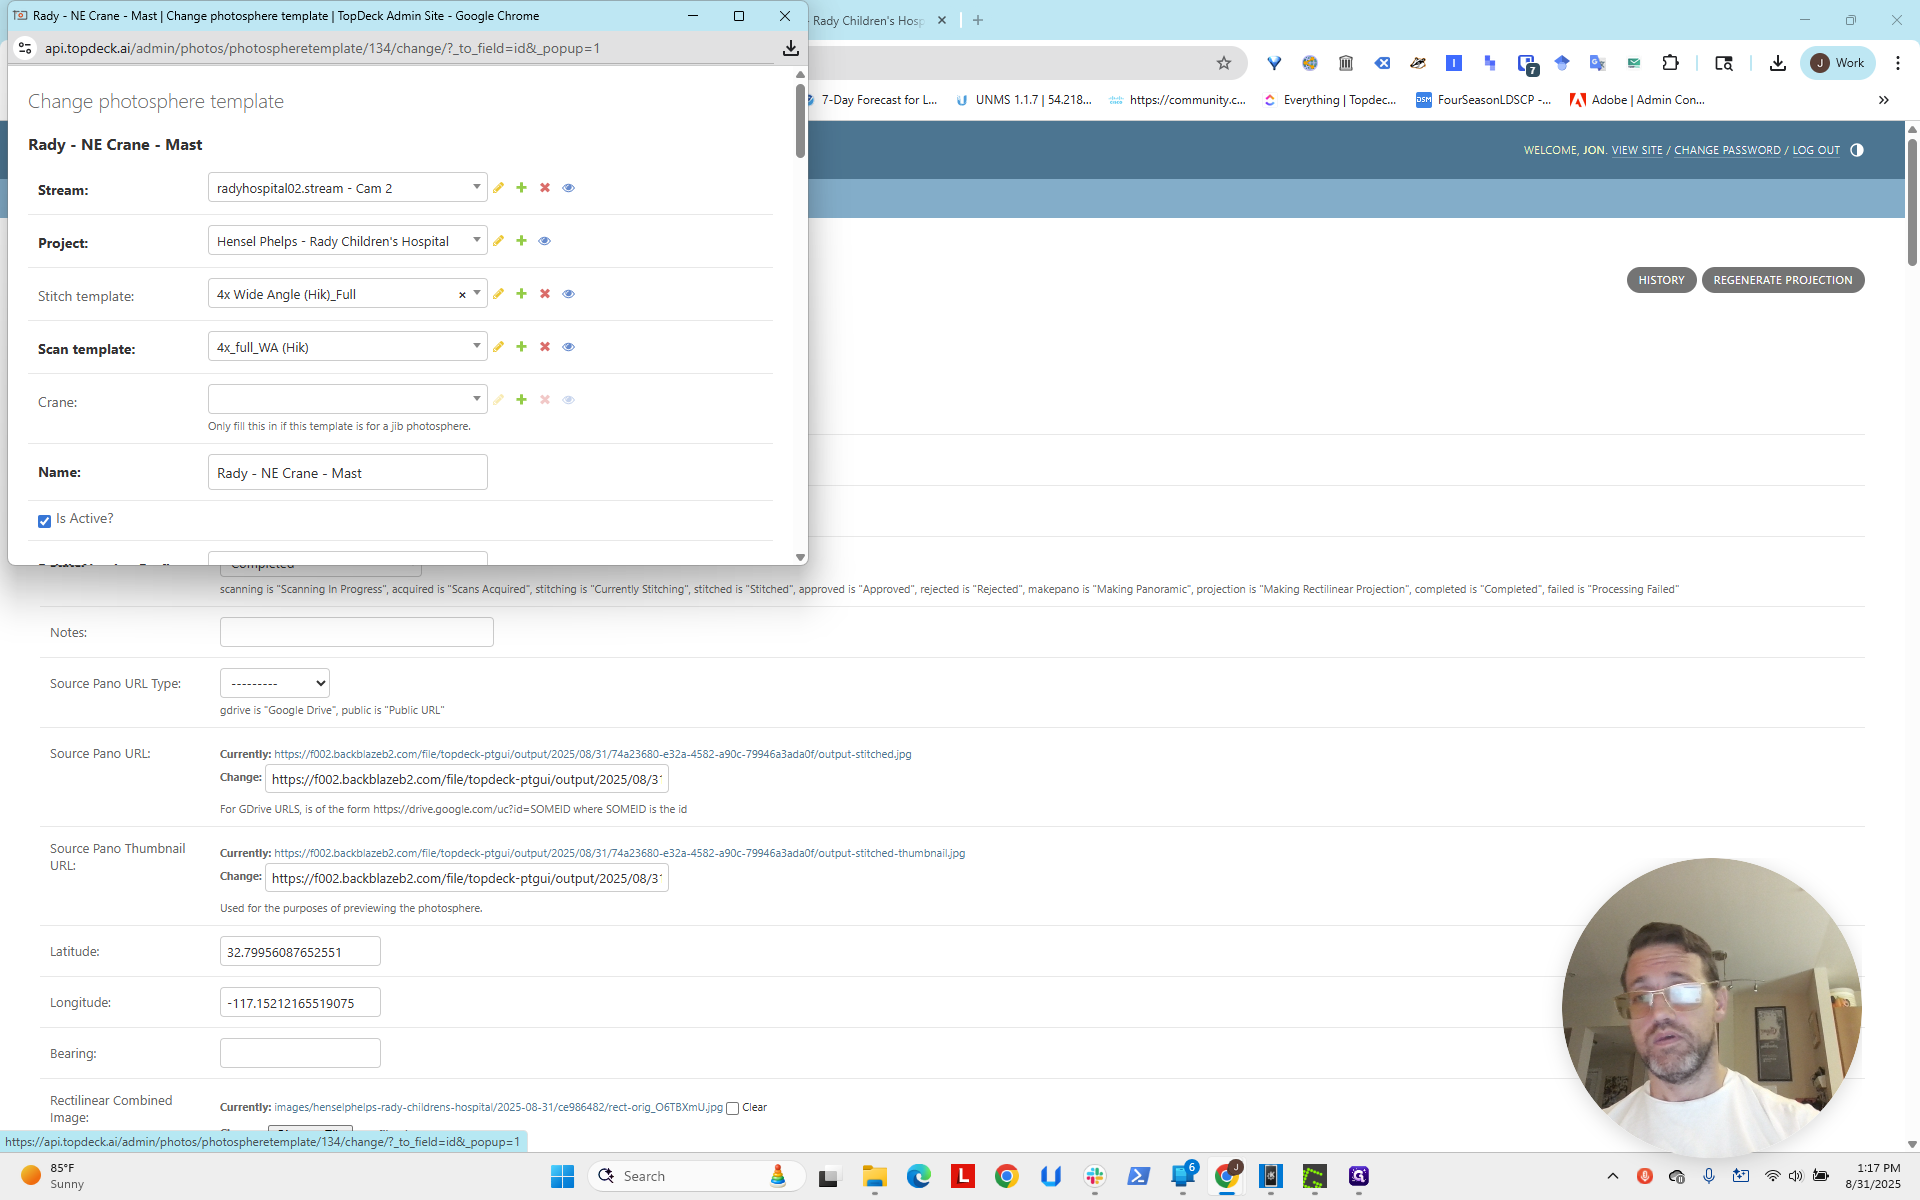
We are on the Northeast Crane Mast, which is the name of this photosphere.
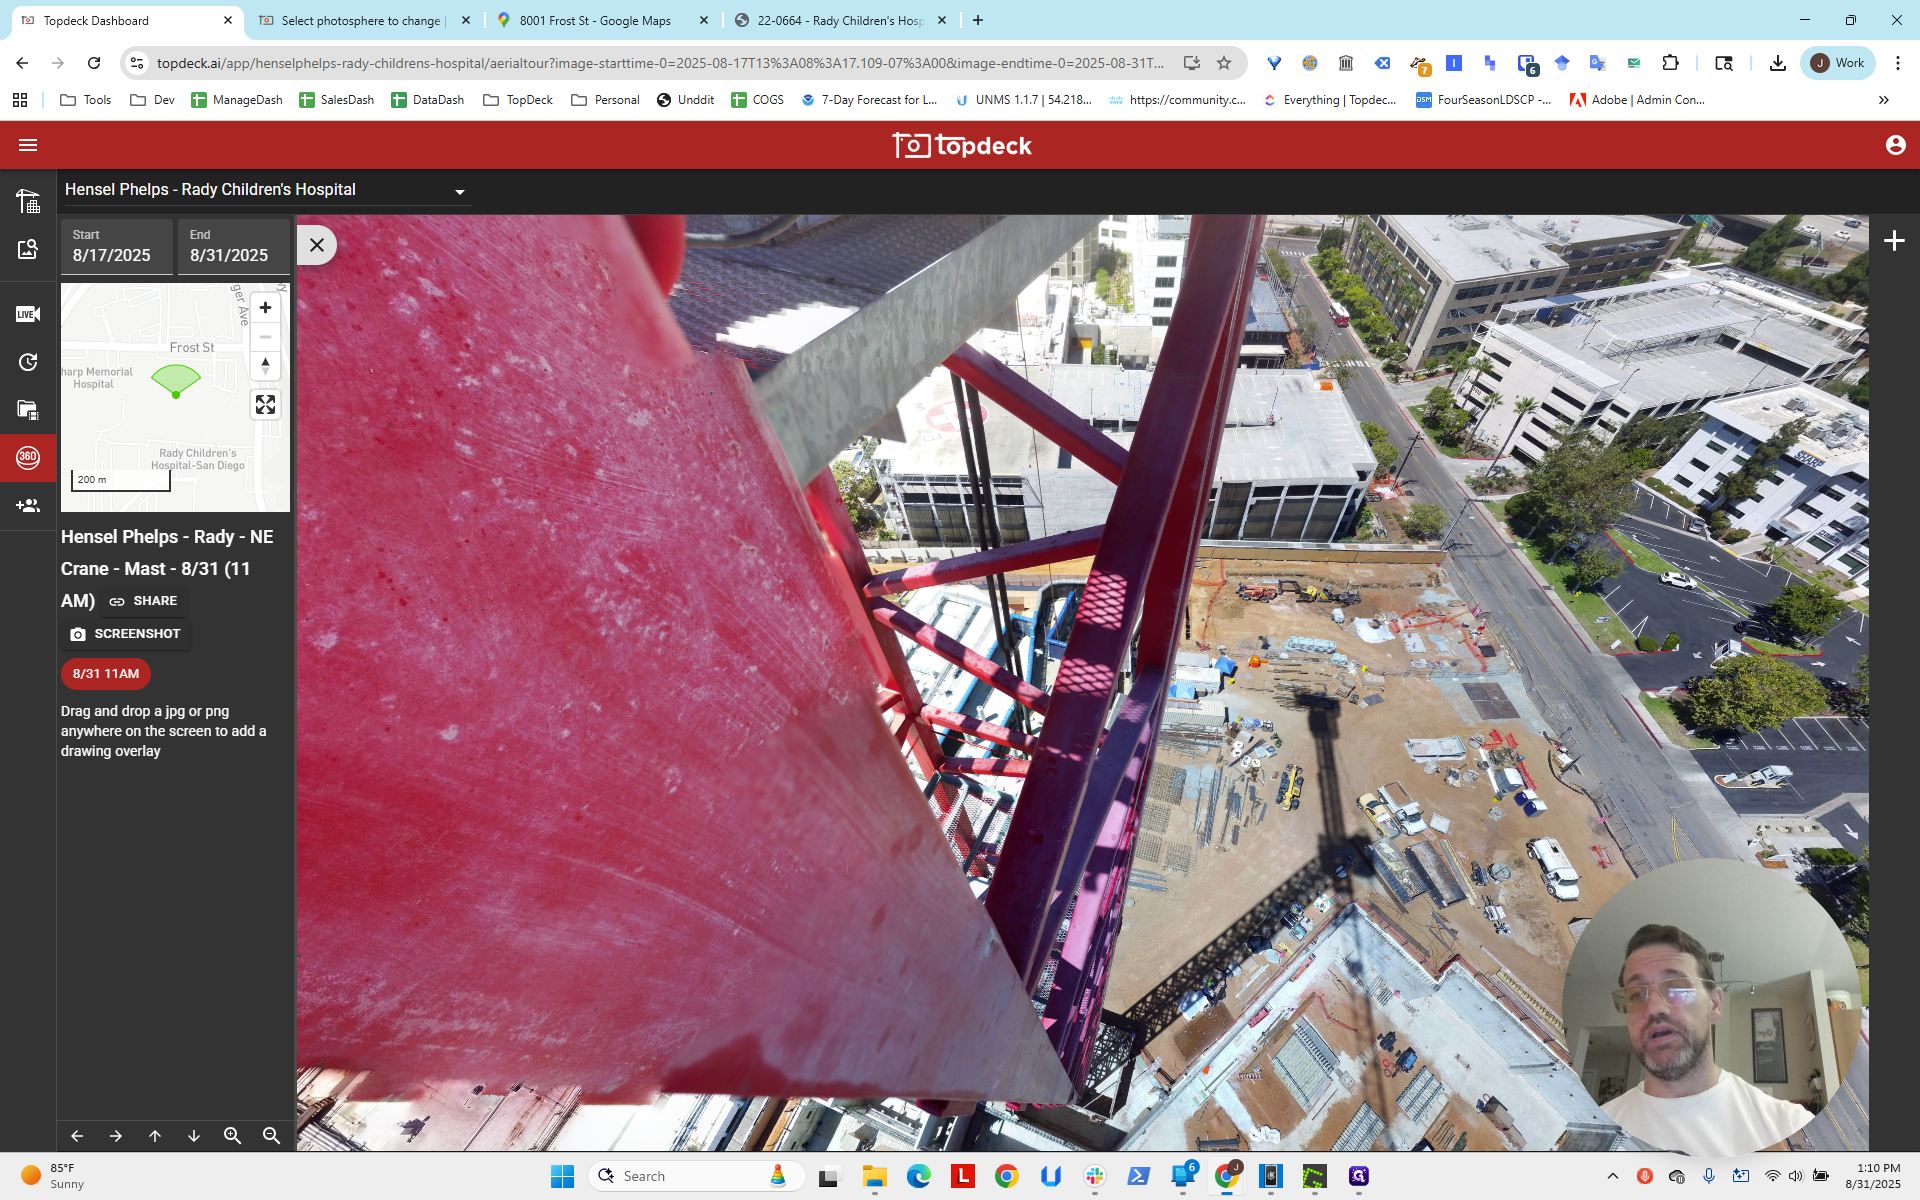
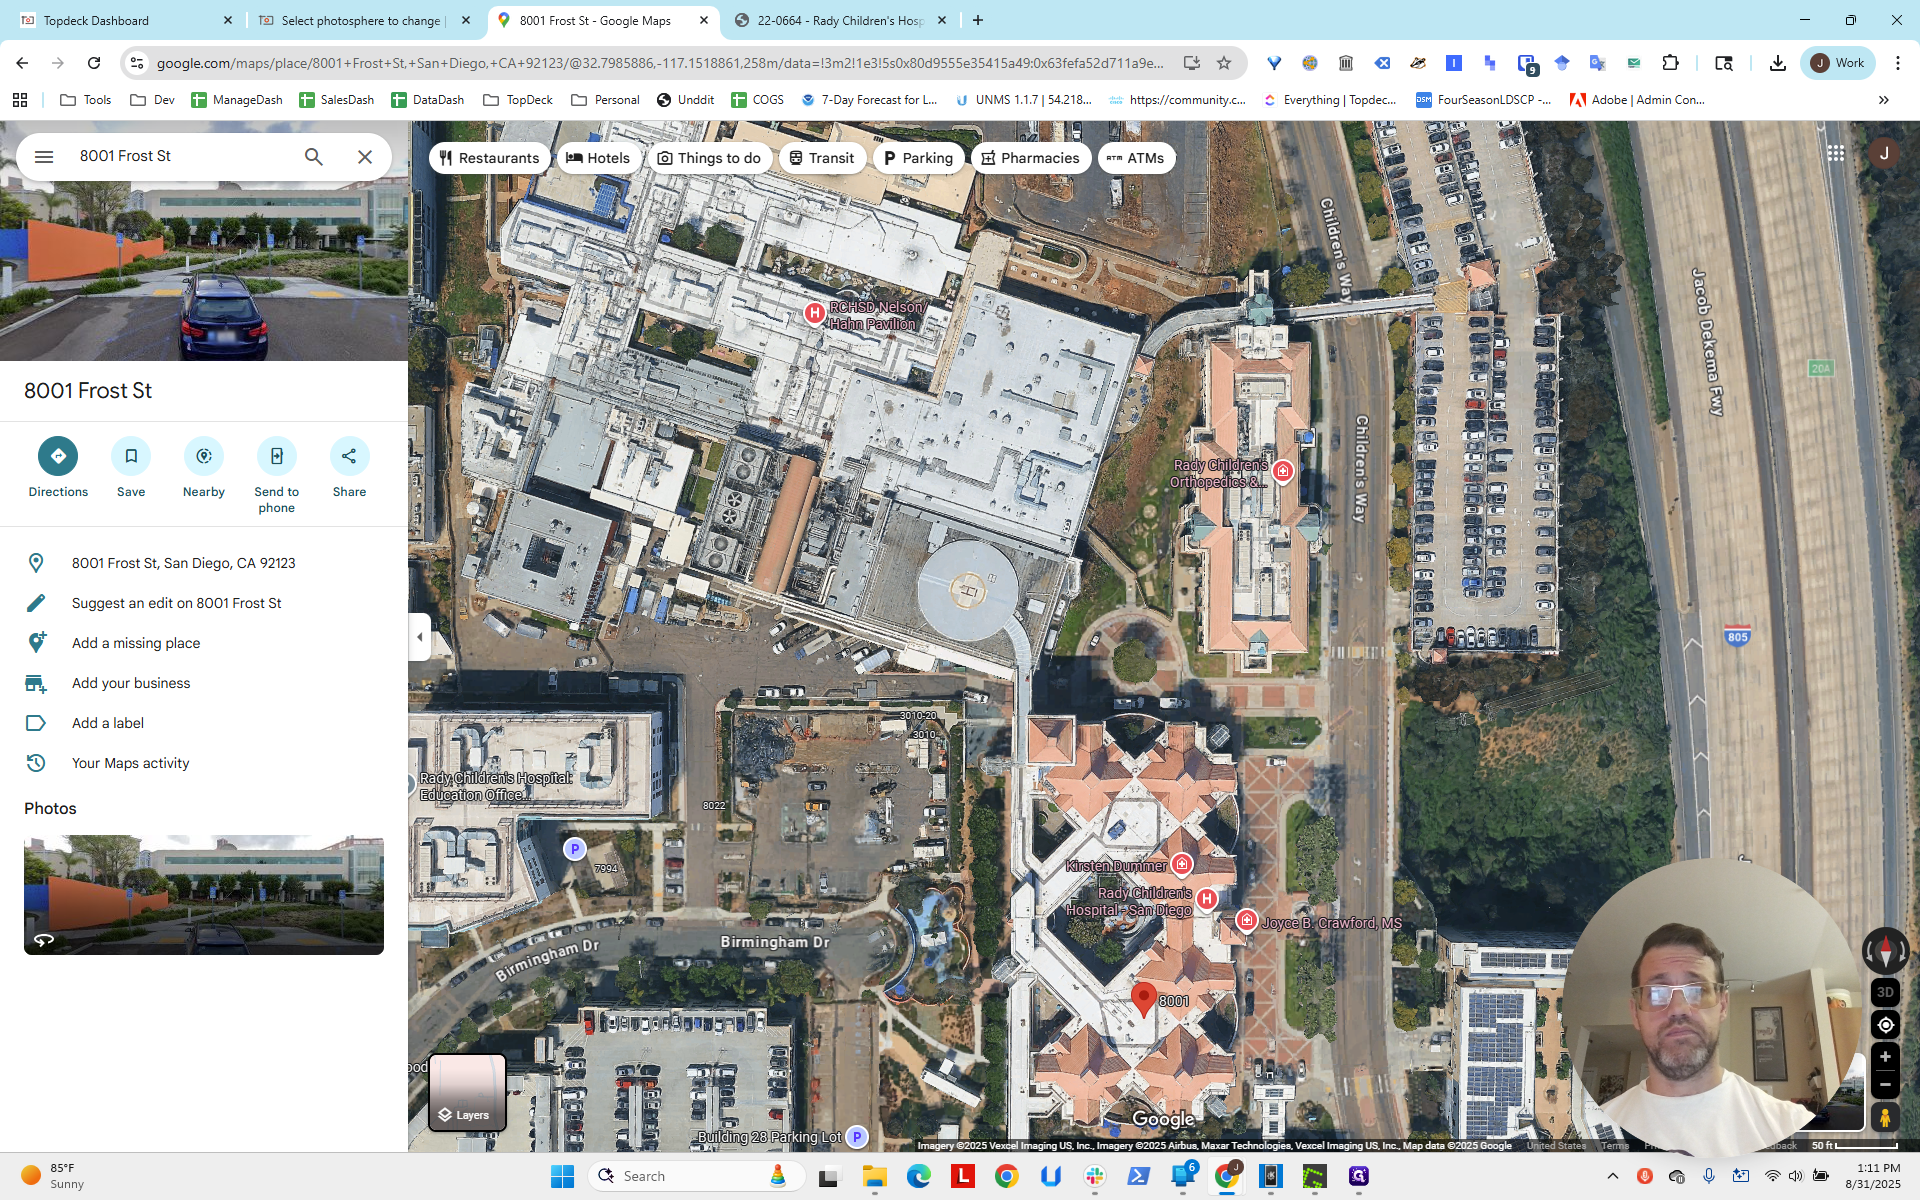
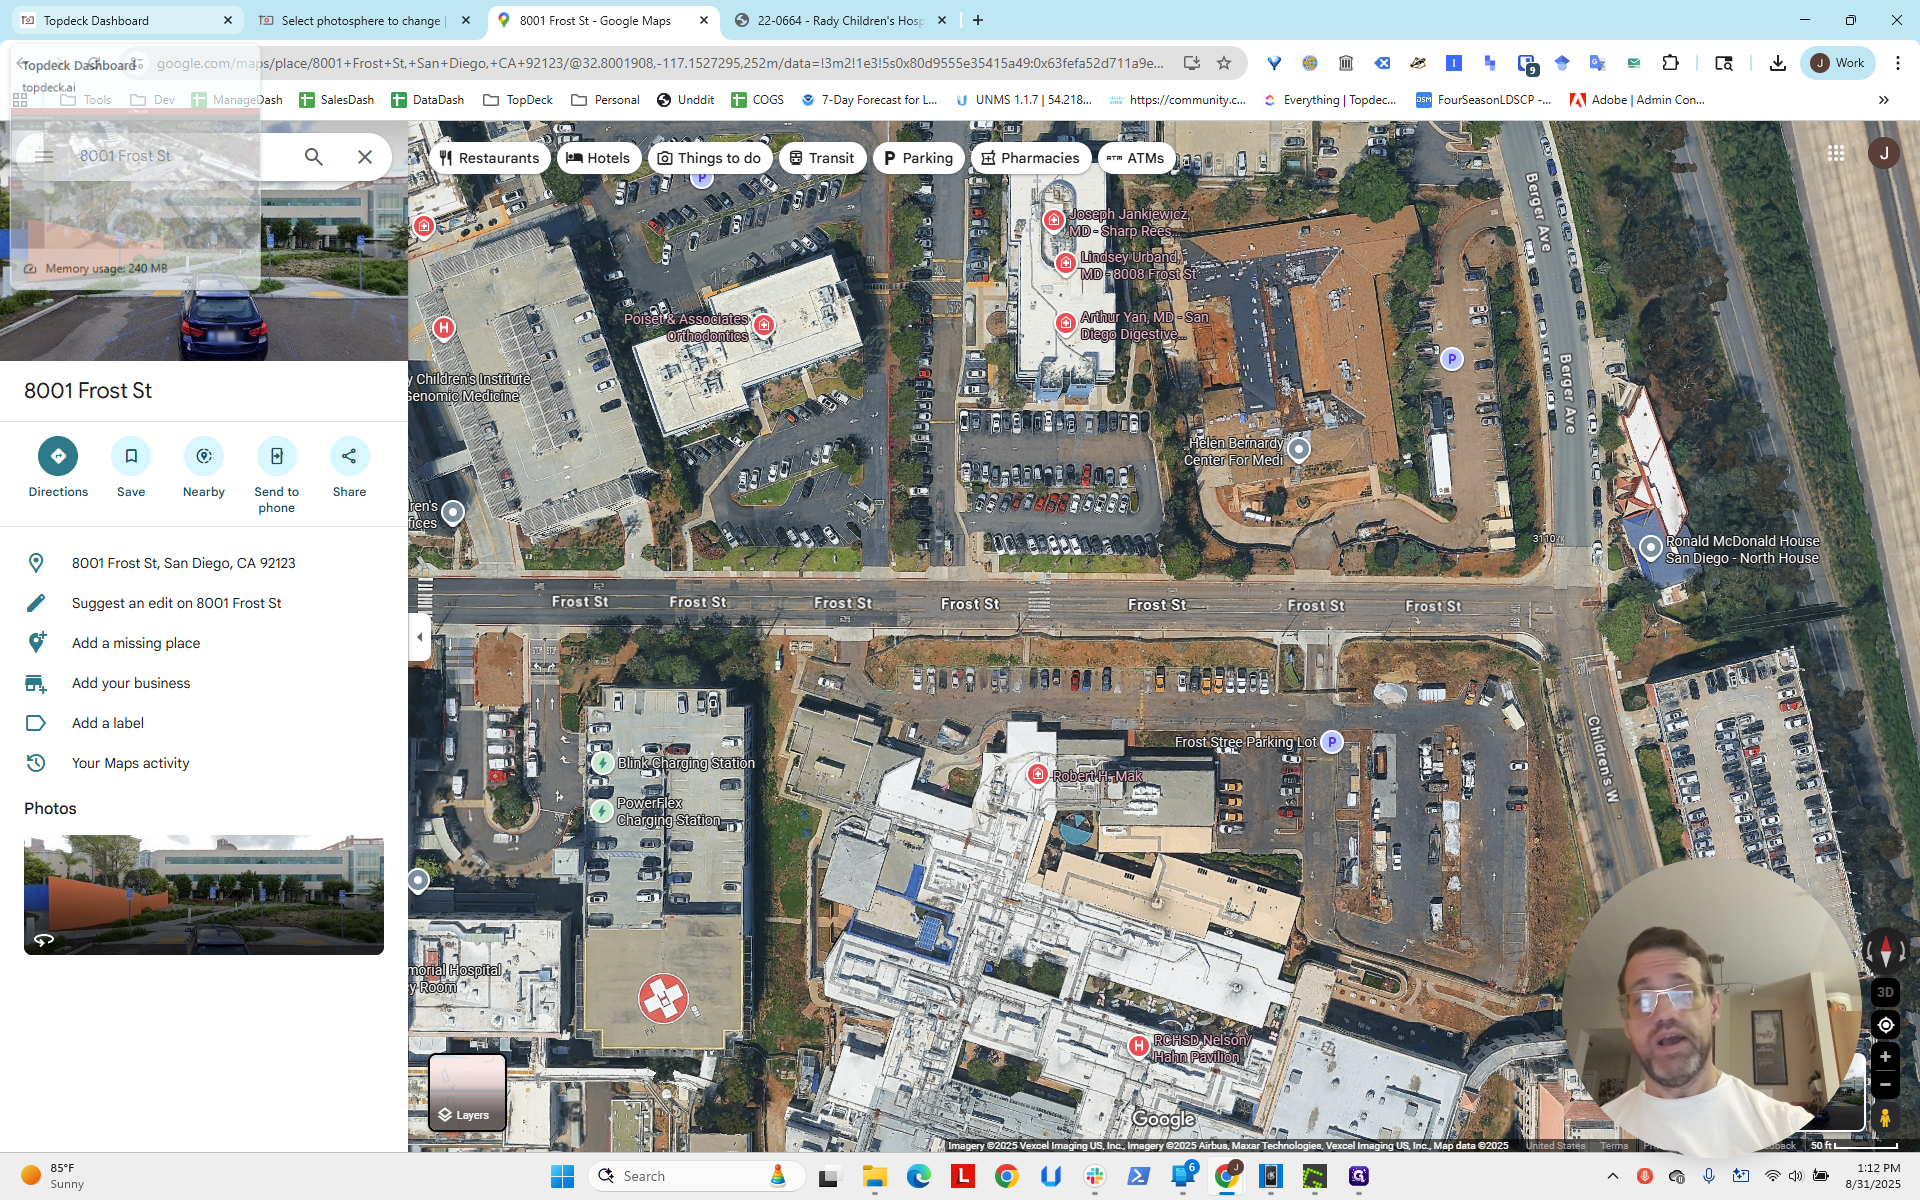
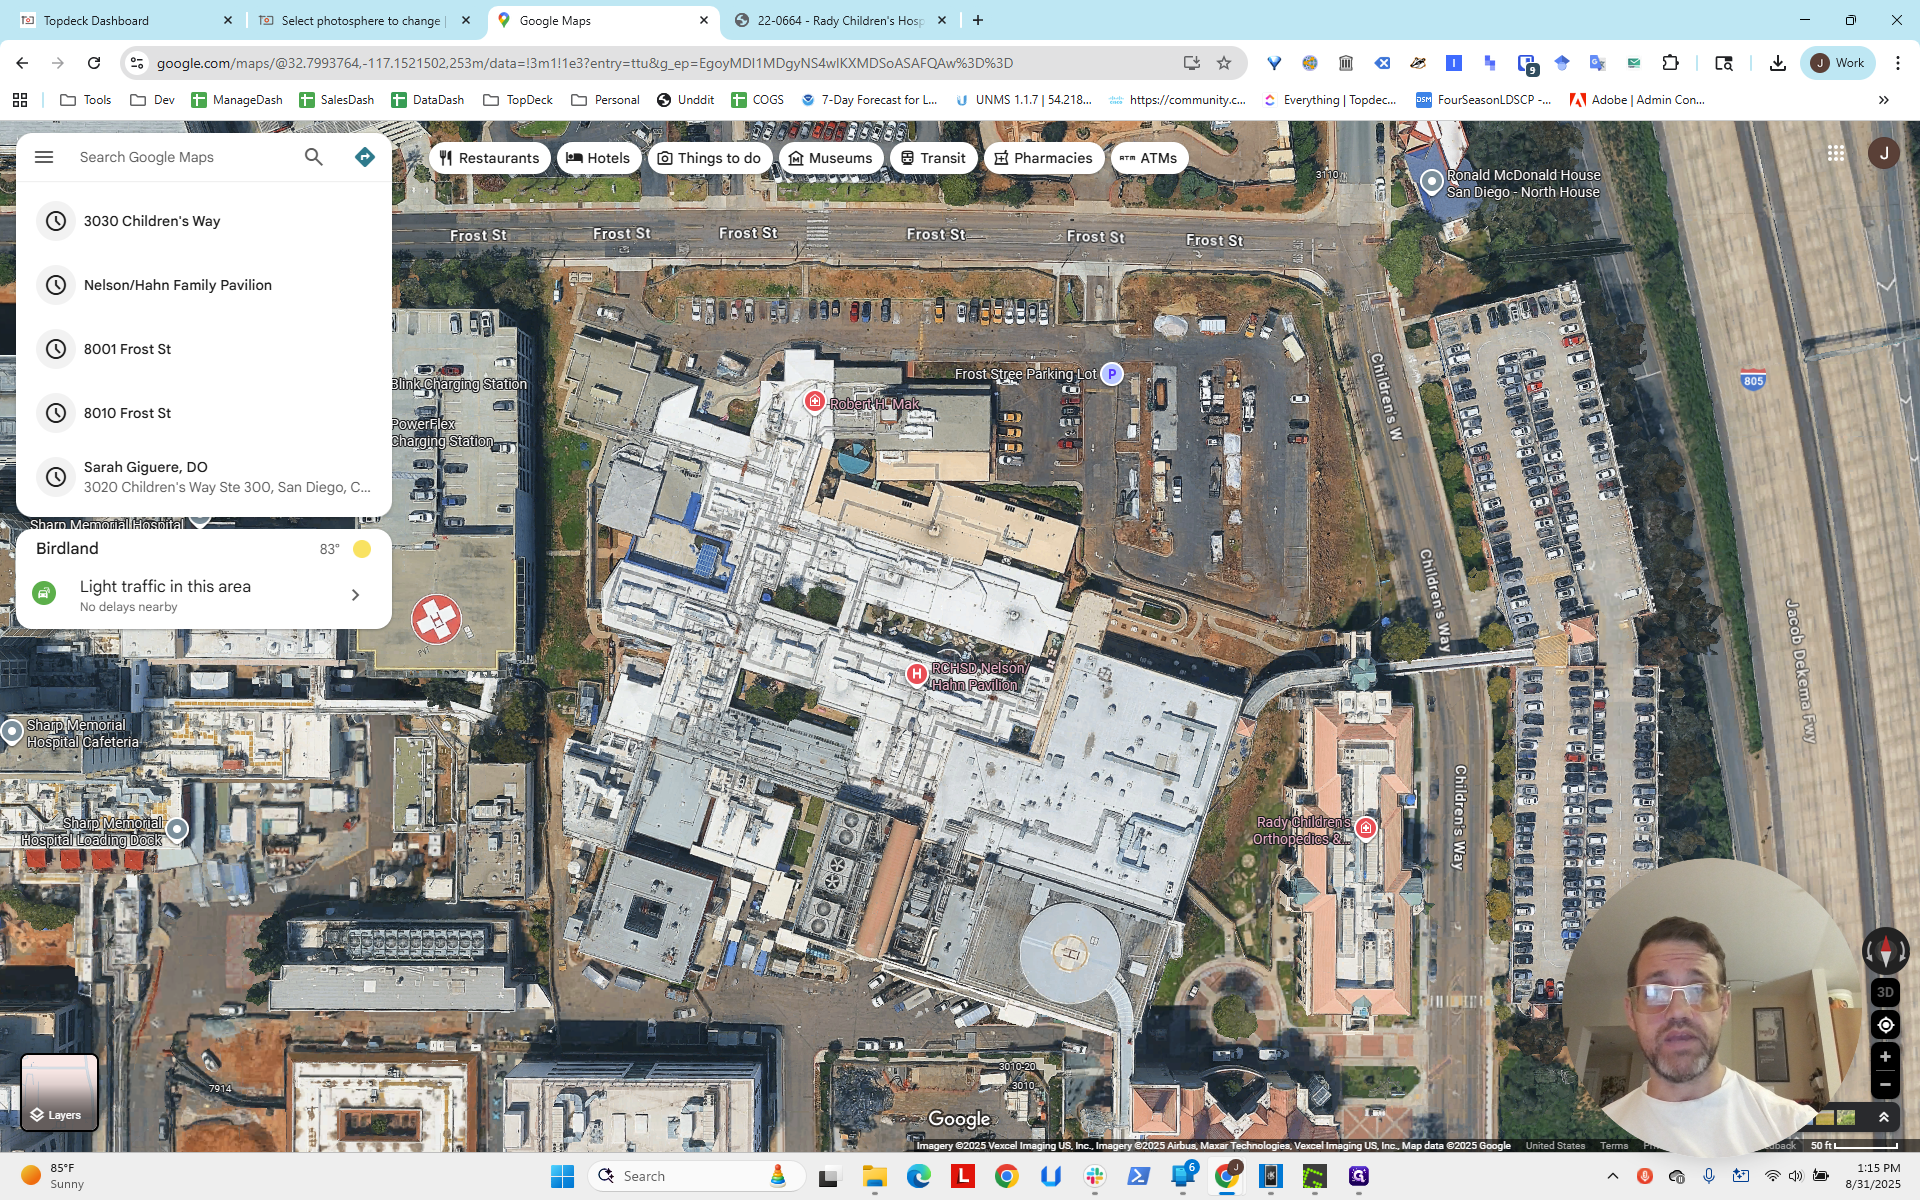
We have the viewing port open. The bearing is clearly off. We will make another video to address that. Right now, we are only looking for the longitude and latitude. First, get the address of the project, which is on this page.
It's 8001 Frost Street, San Diego. I'm going back into the photosphere so we have it.


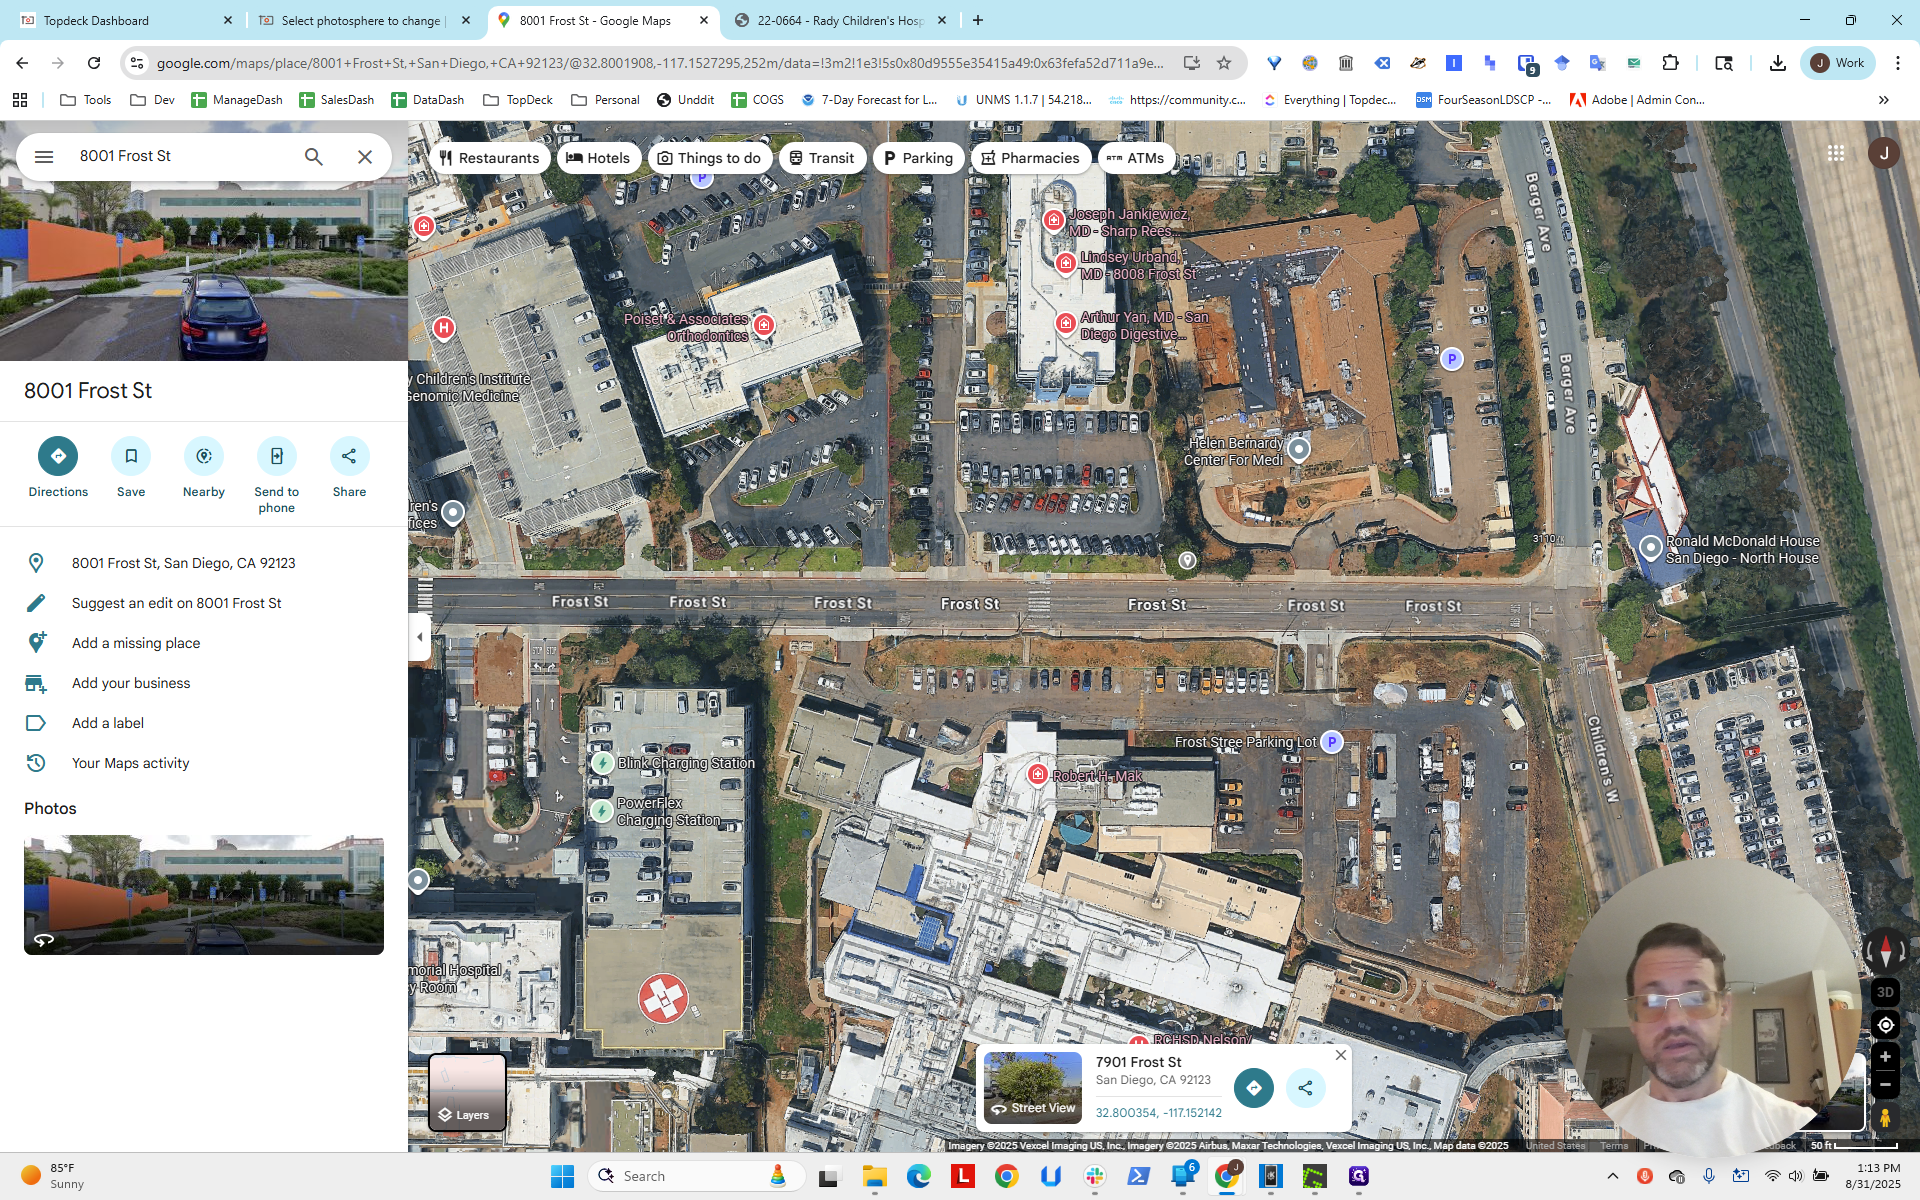
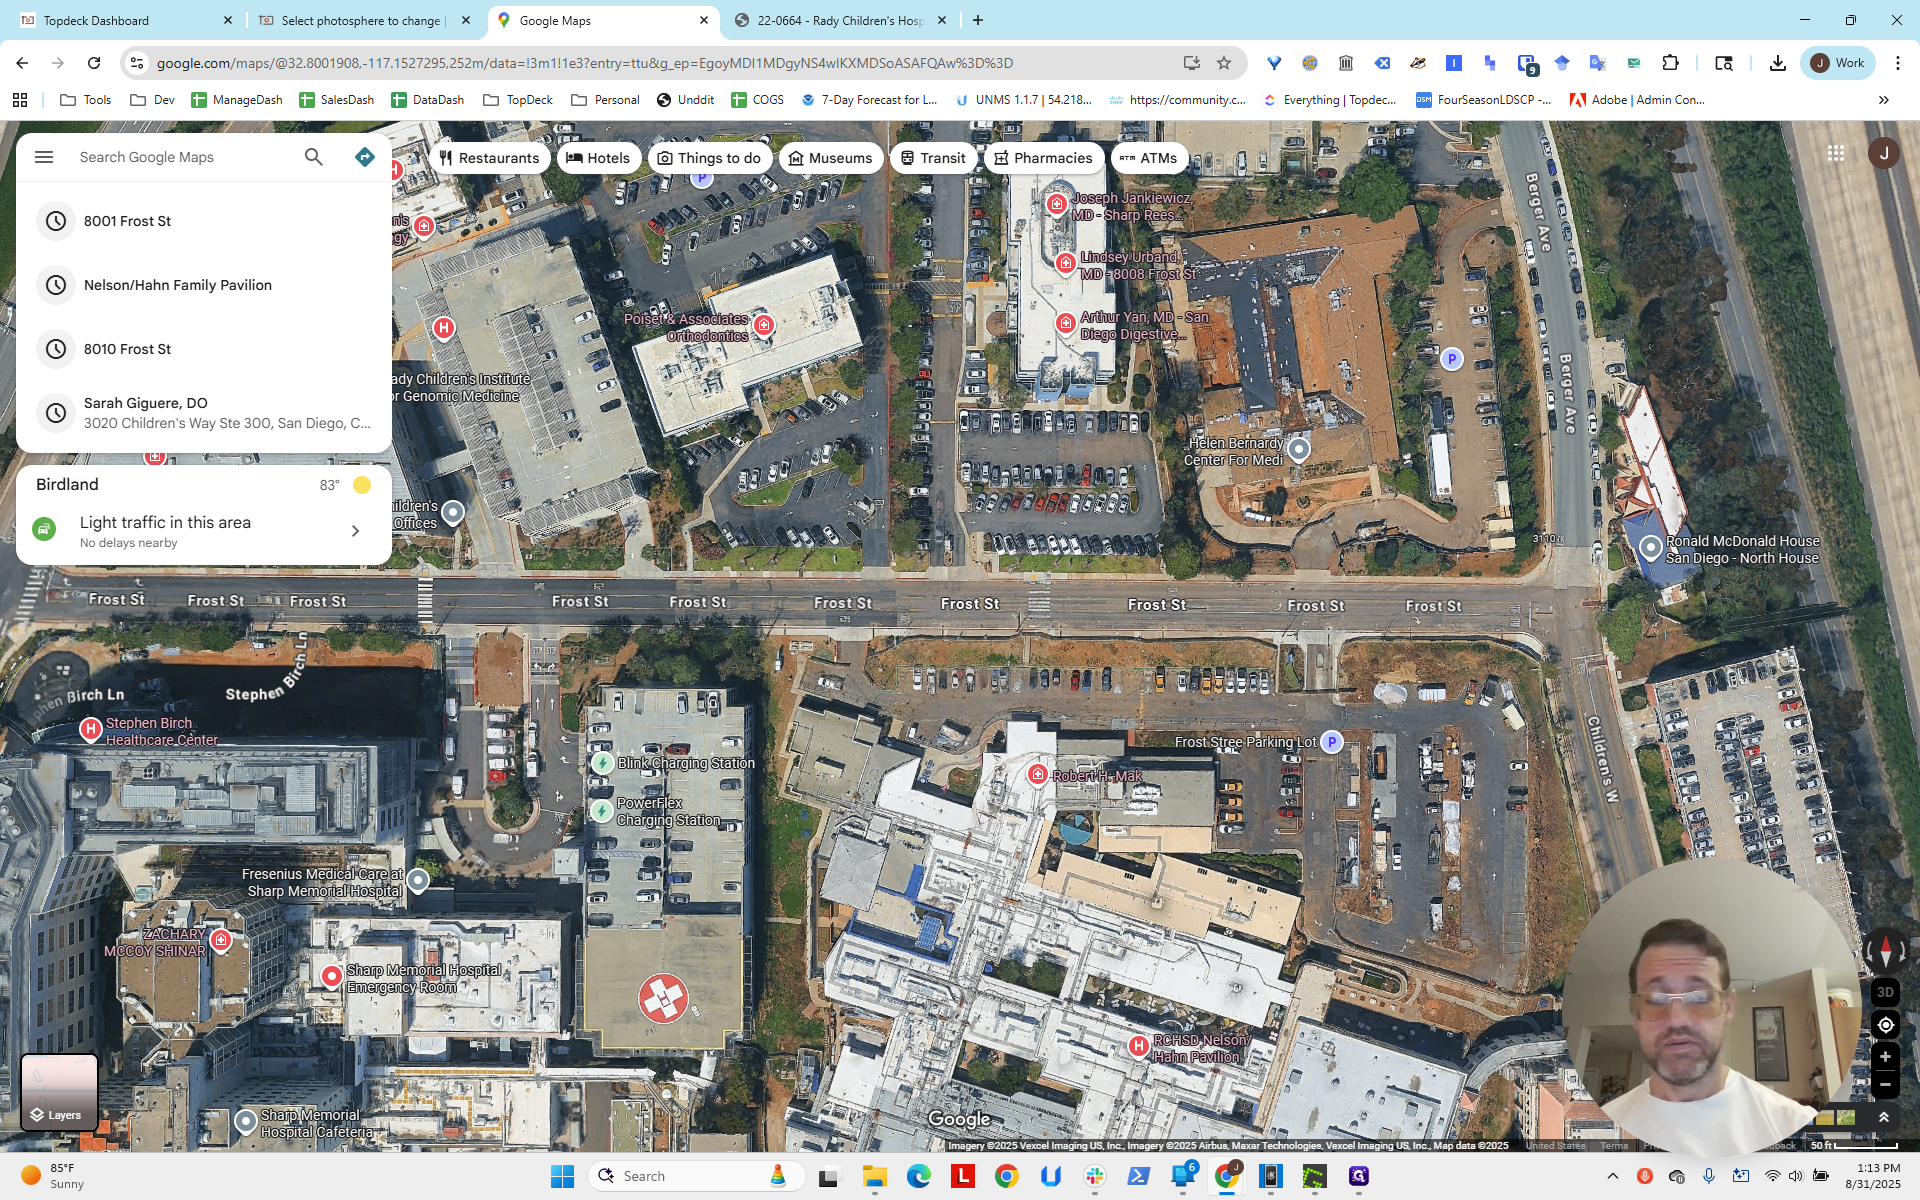
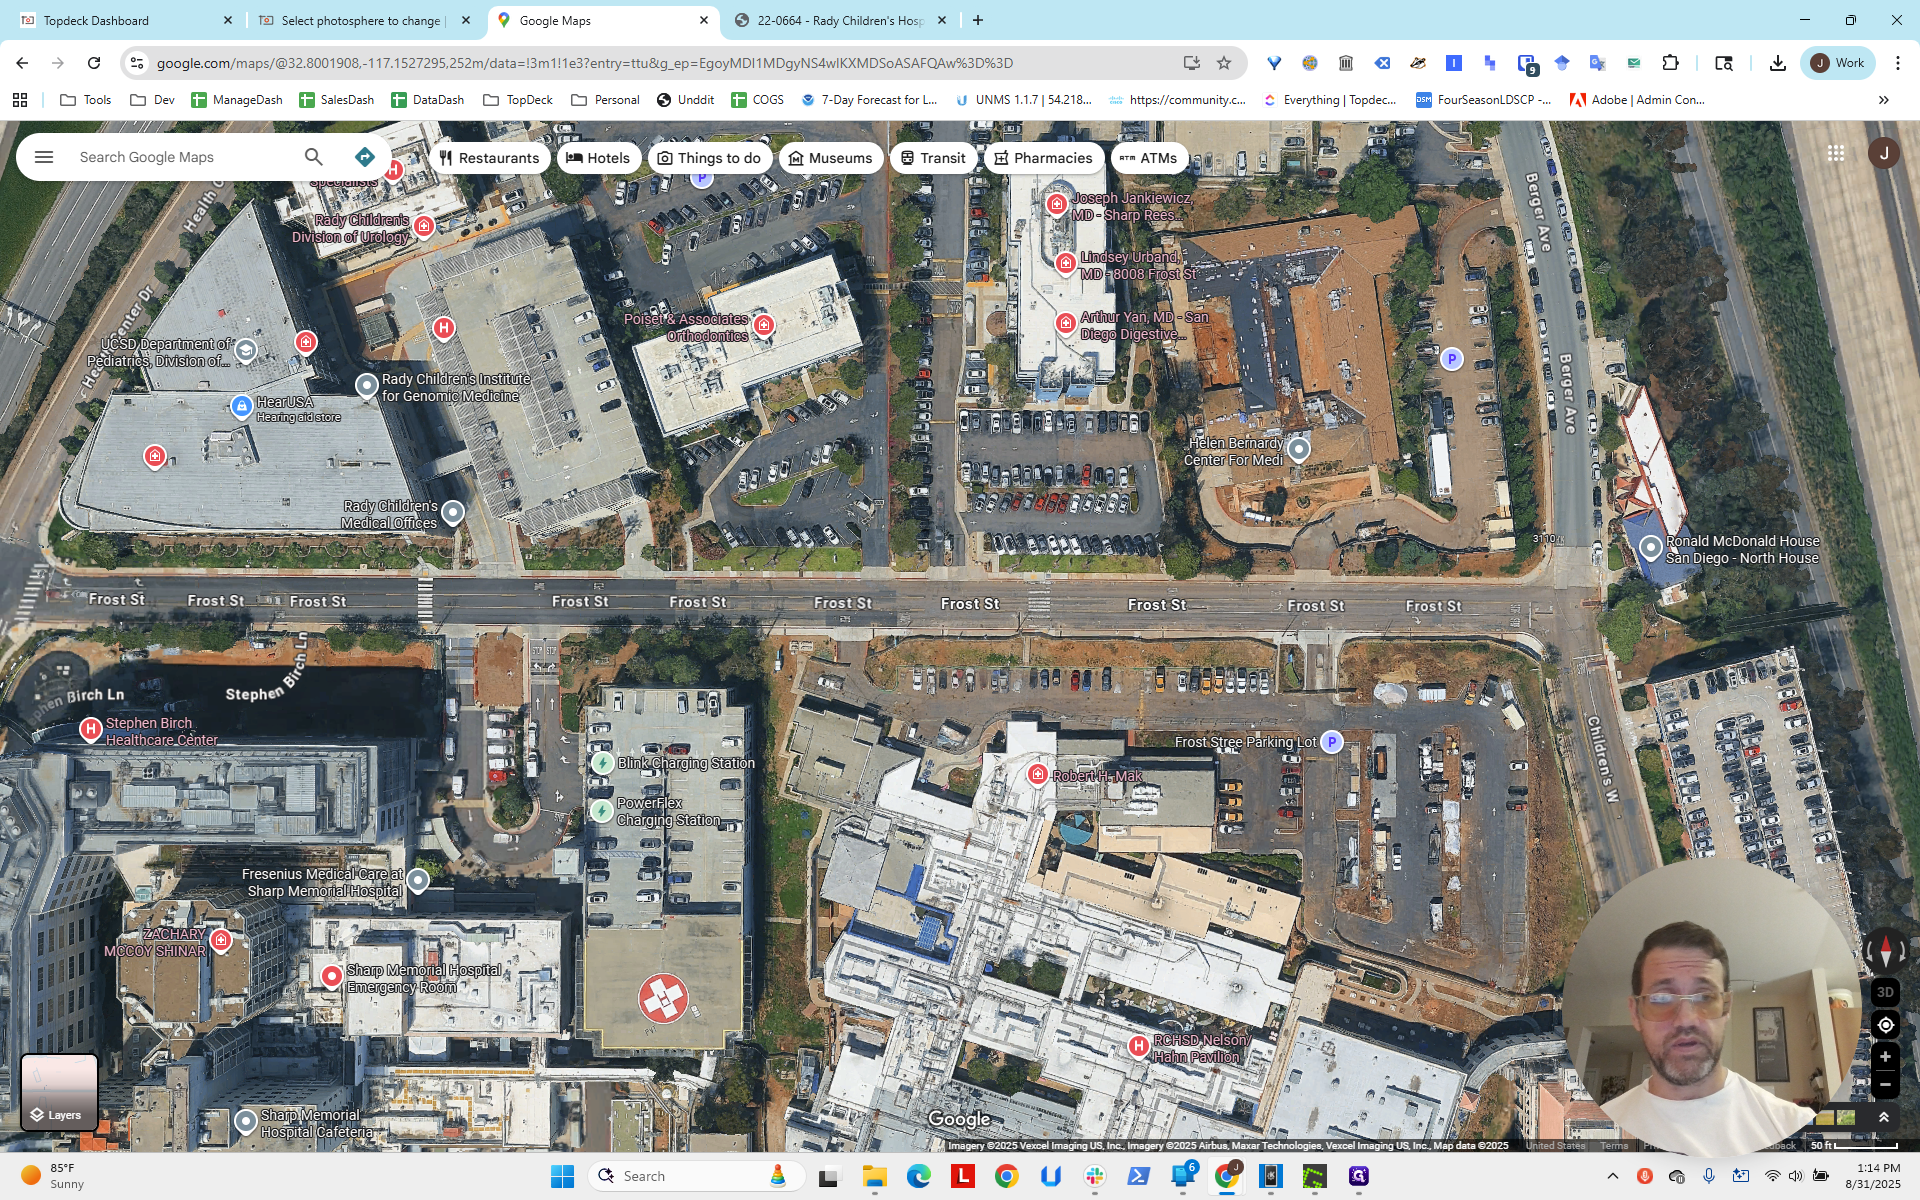
We're going to open Google Maps.

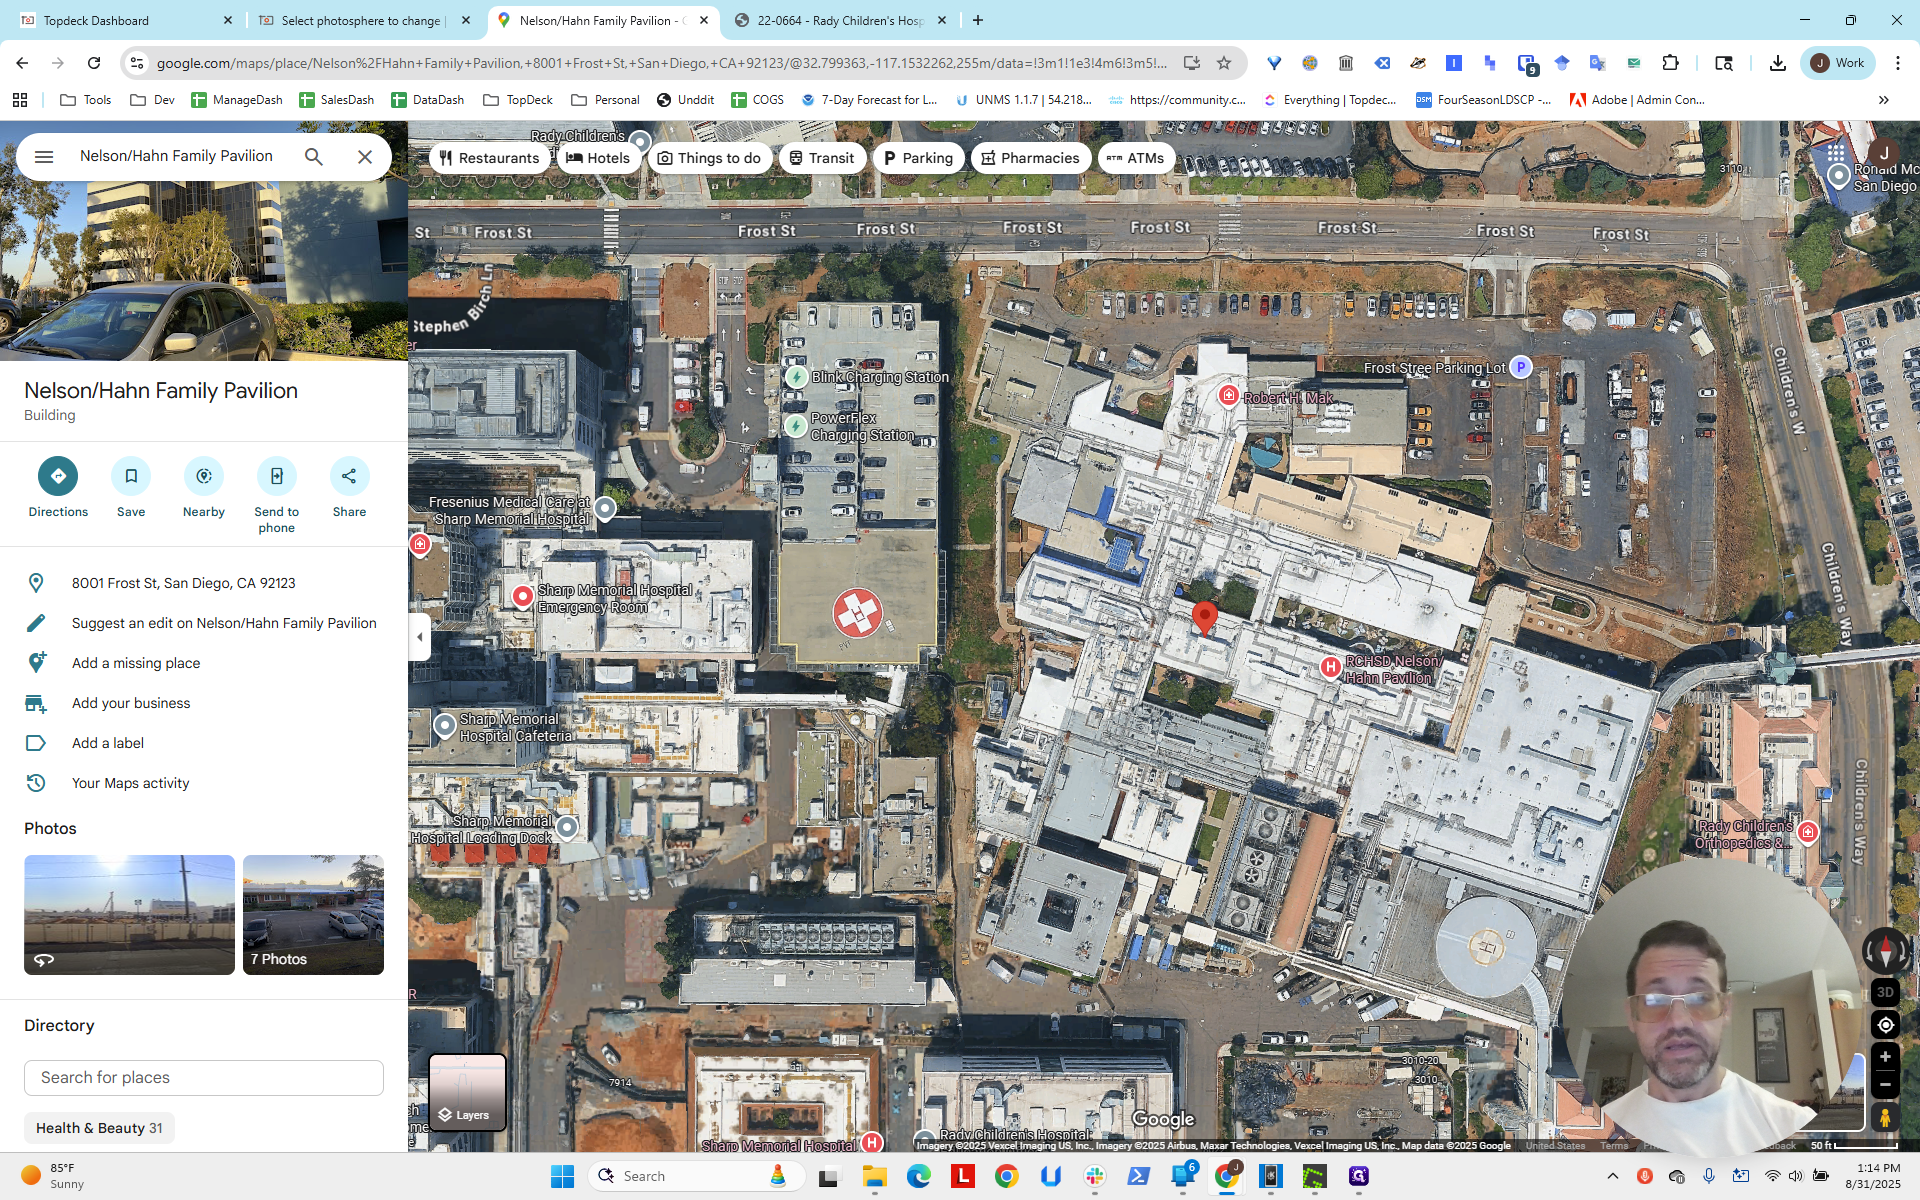
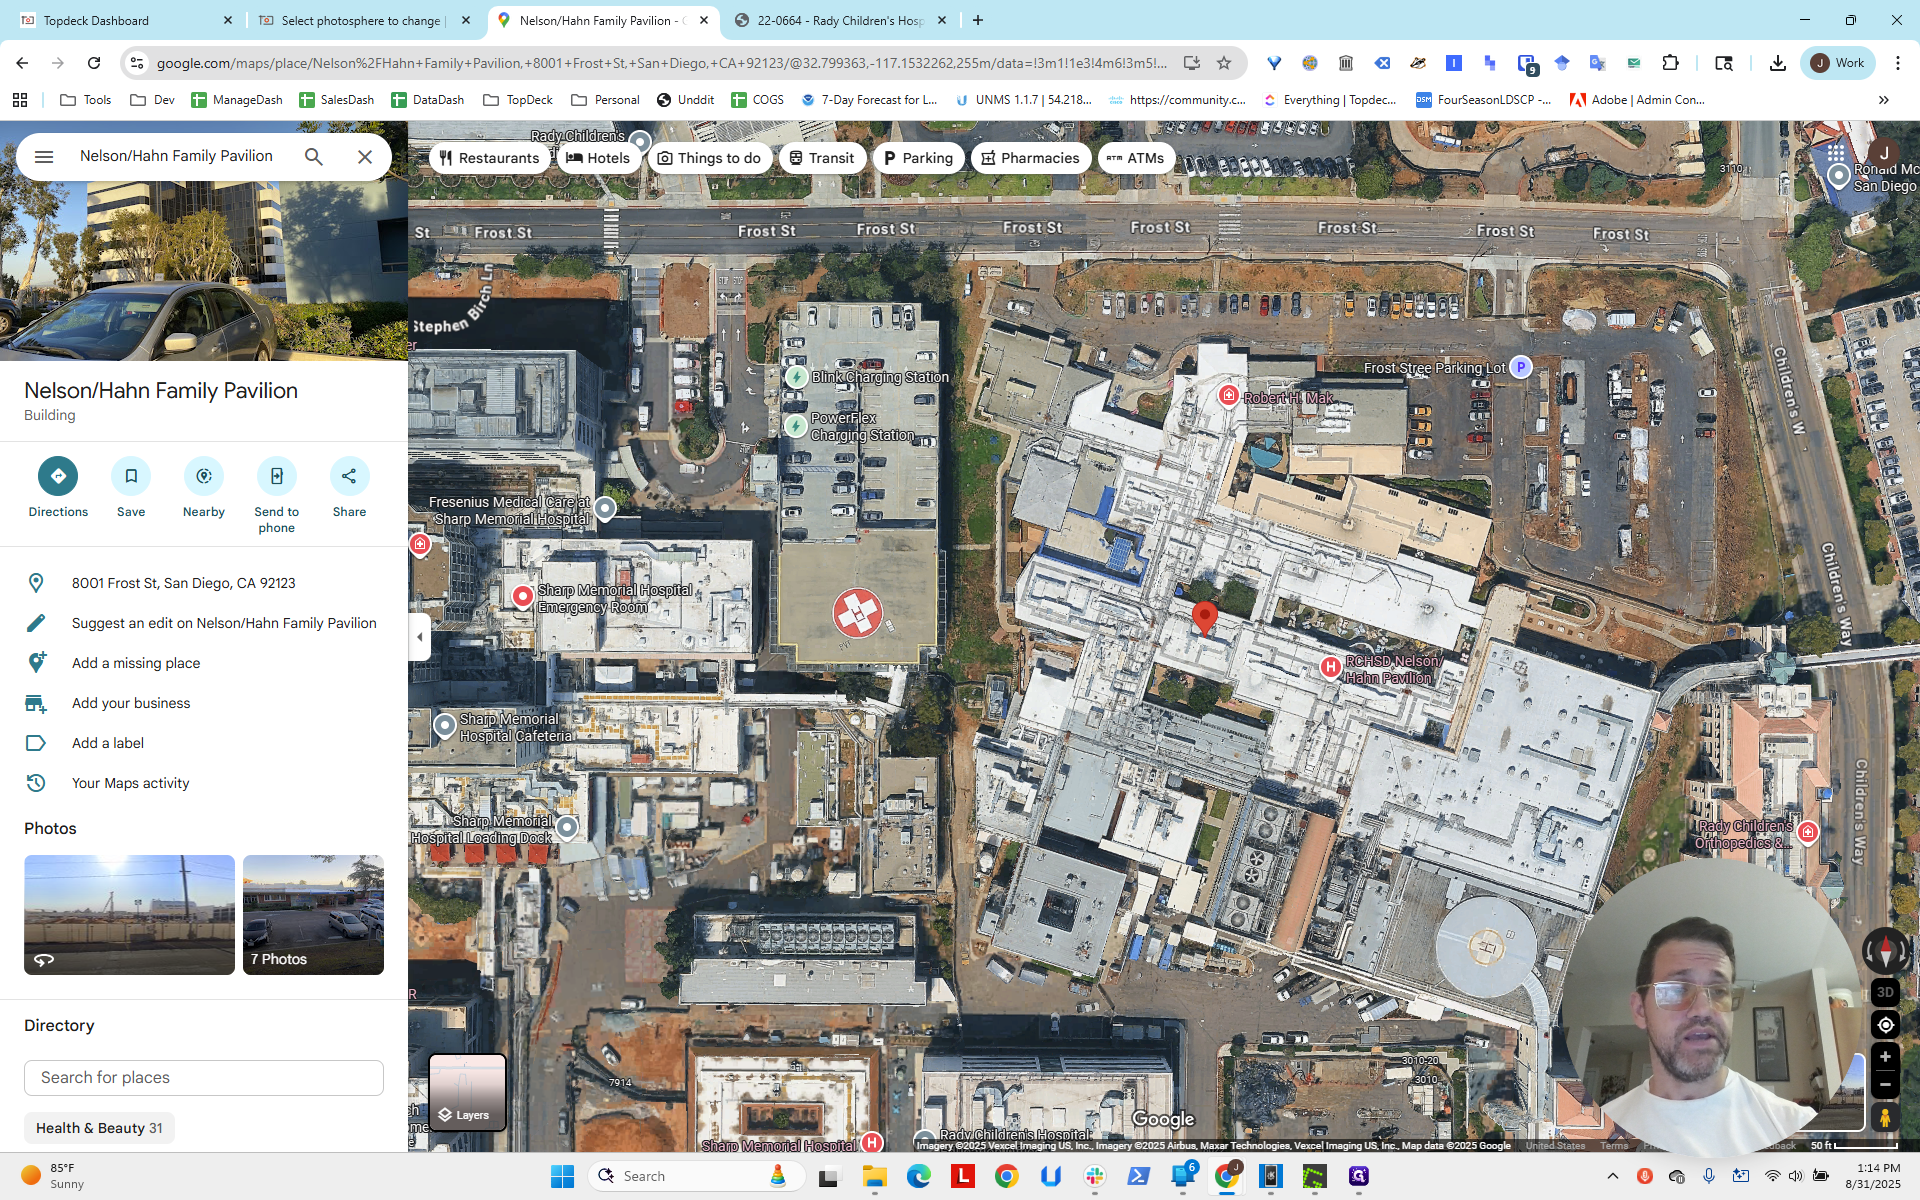
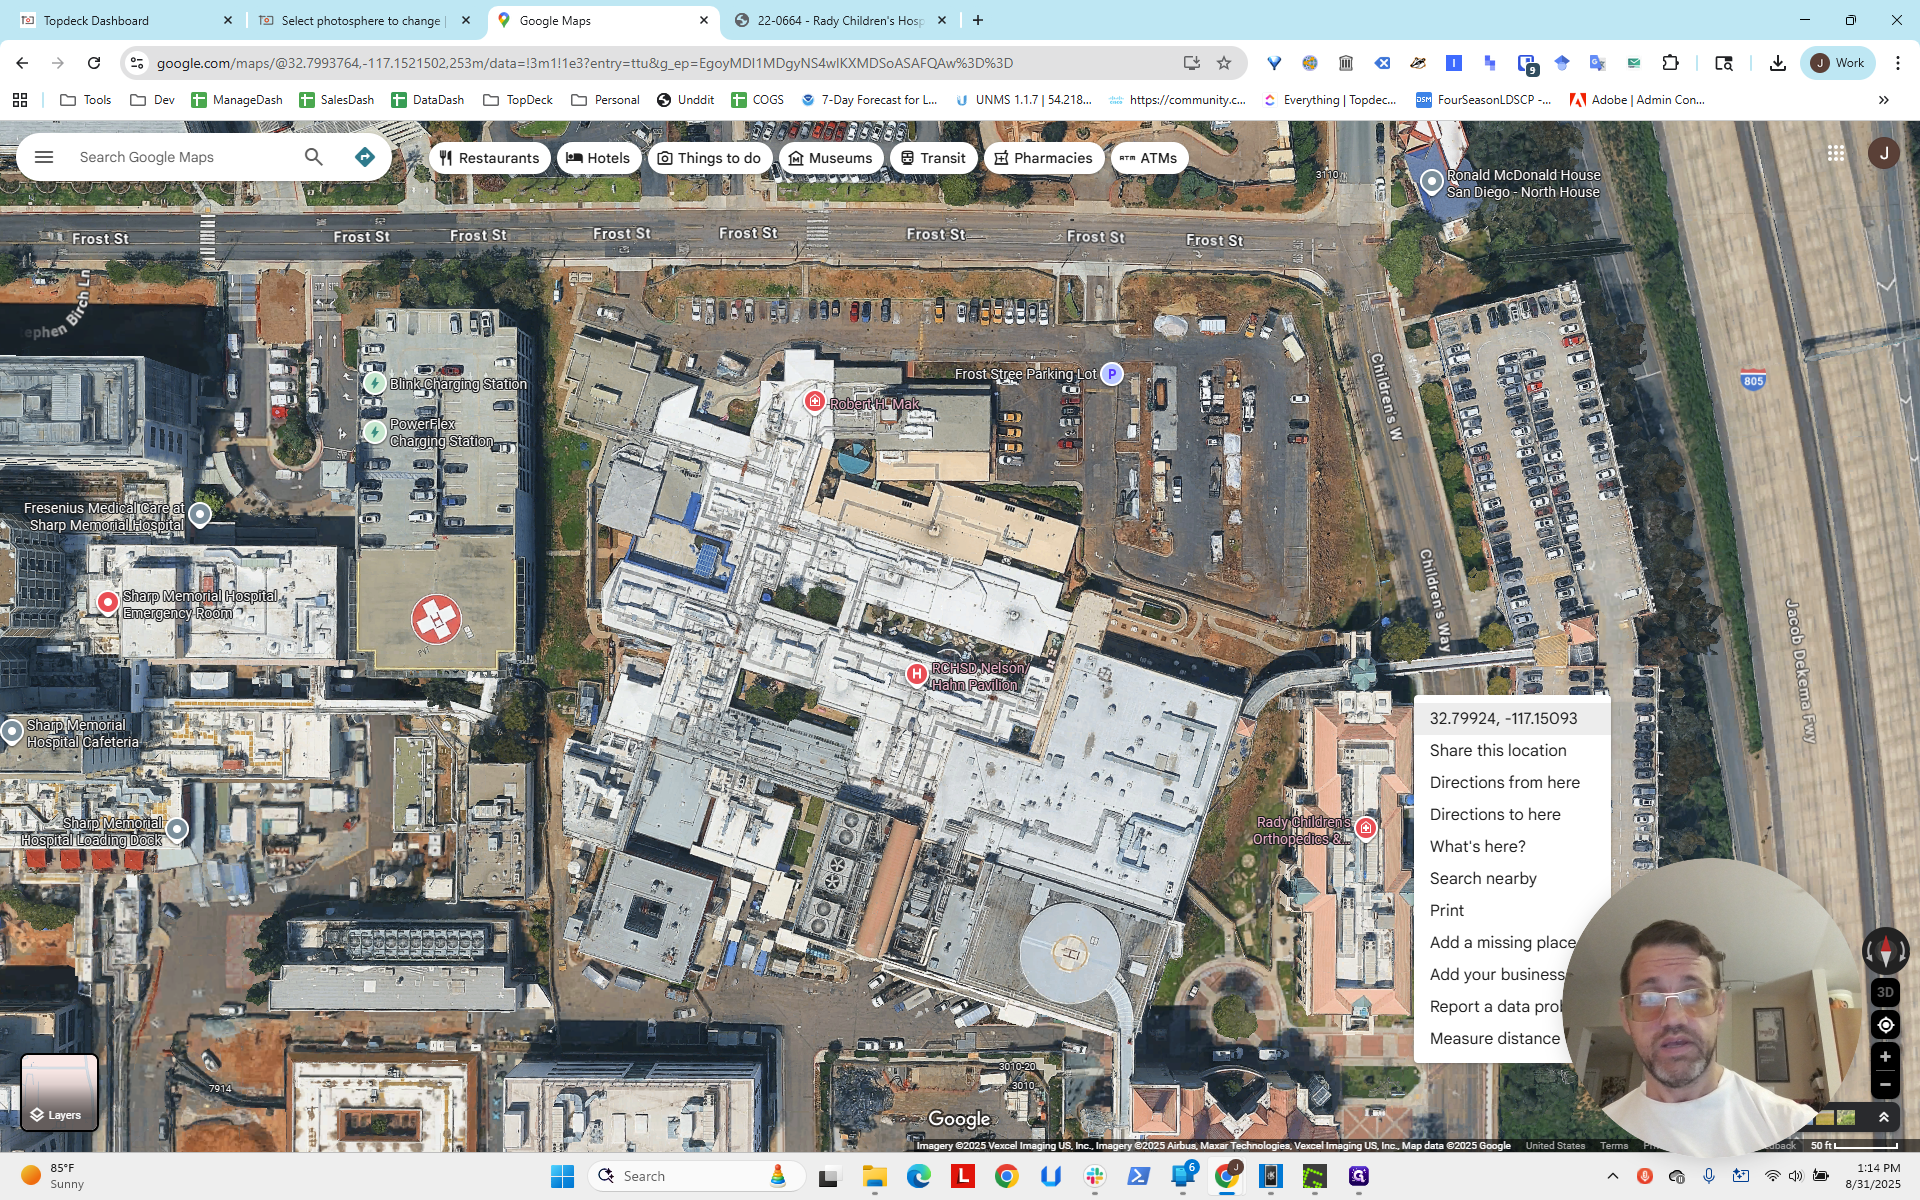
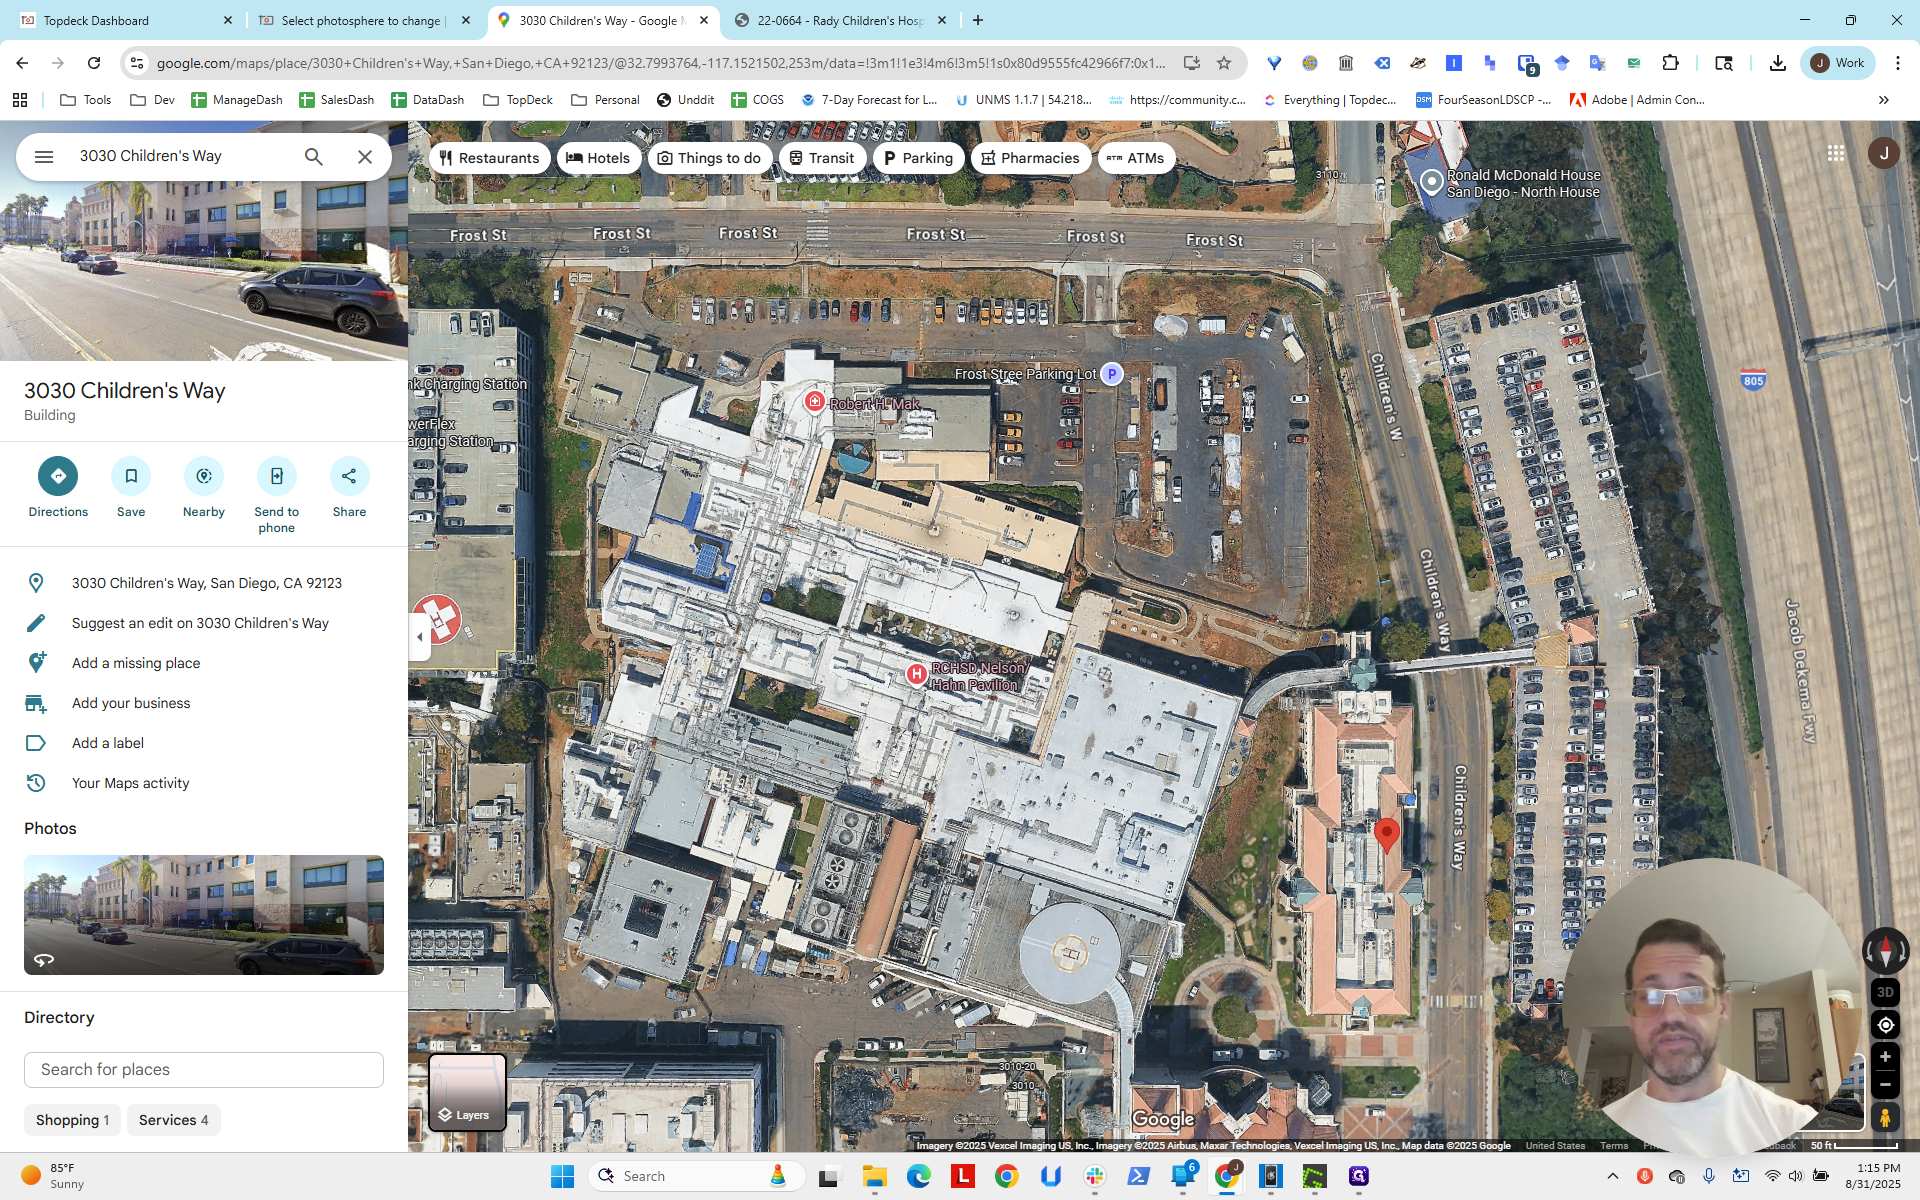
I have already entered the address. We're here in San Diego. We will zoom in on the work site and observe the surrounding area.
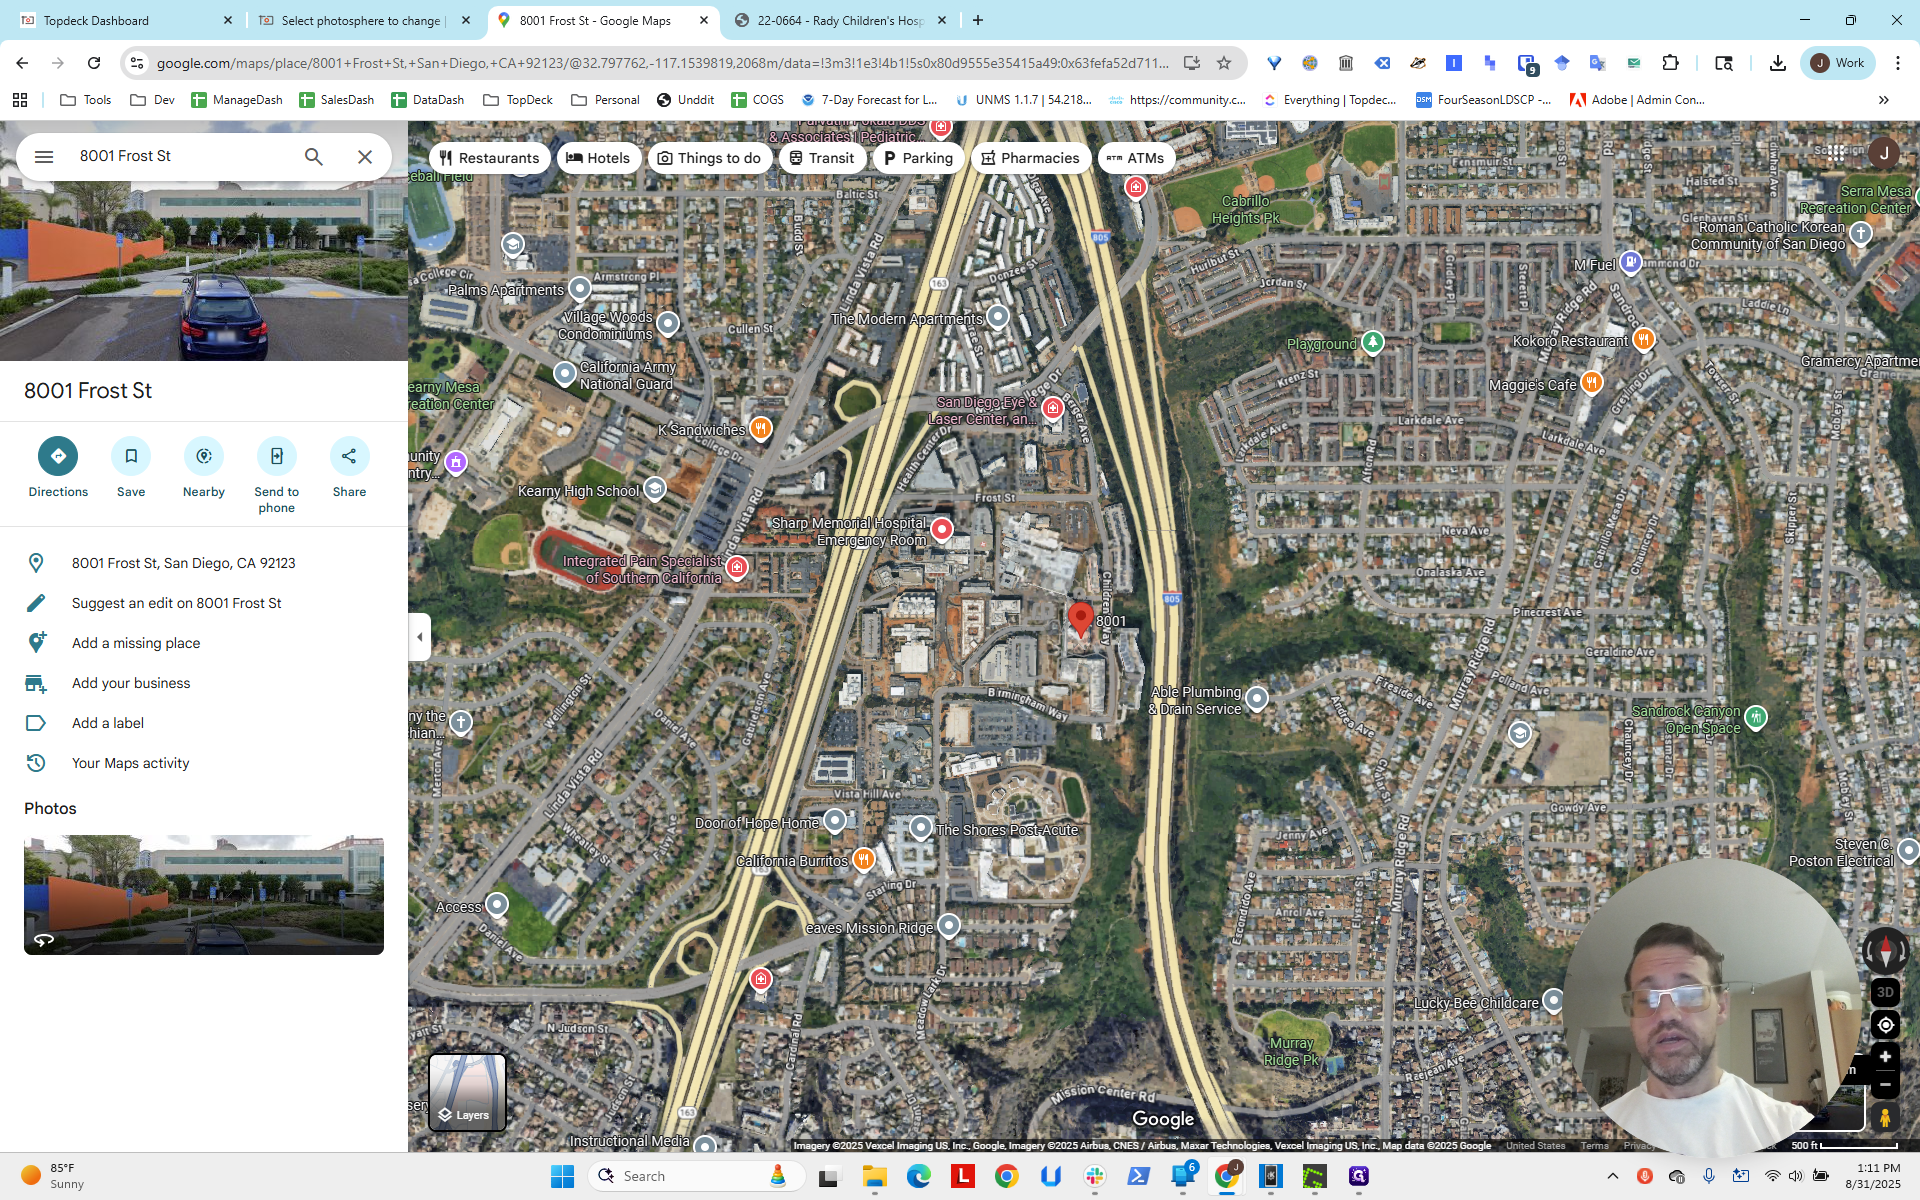


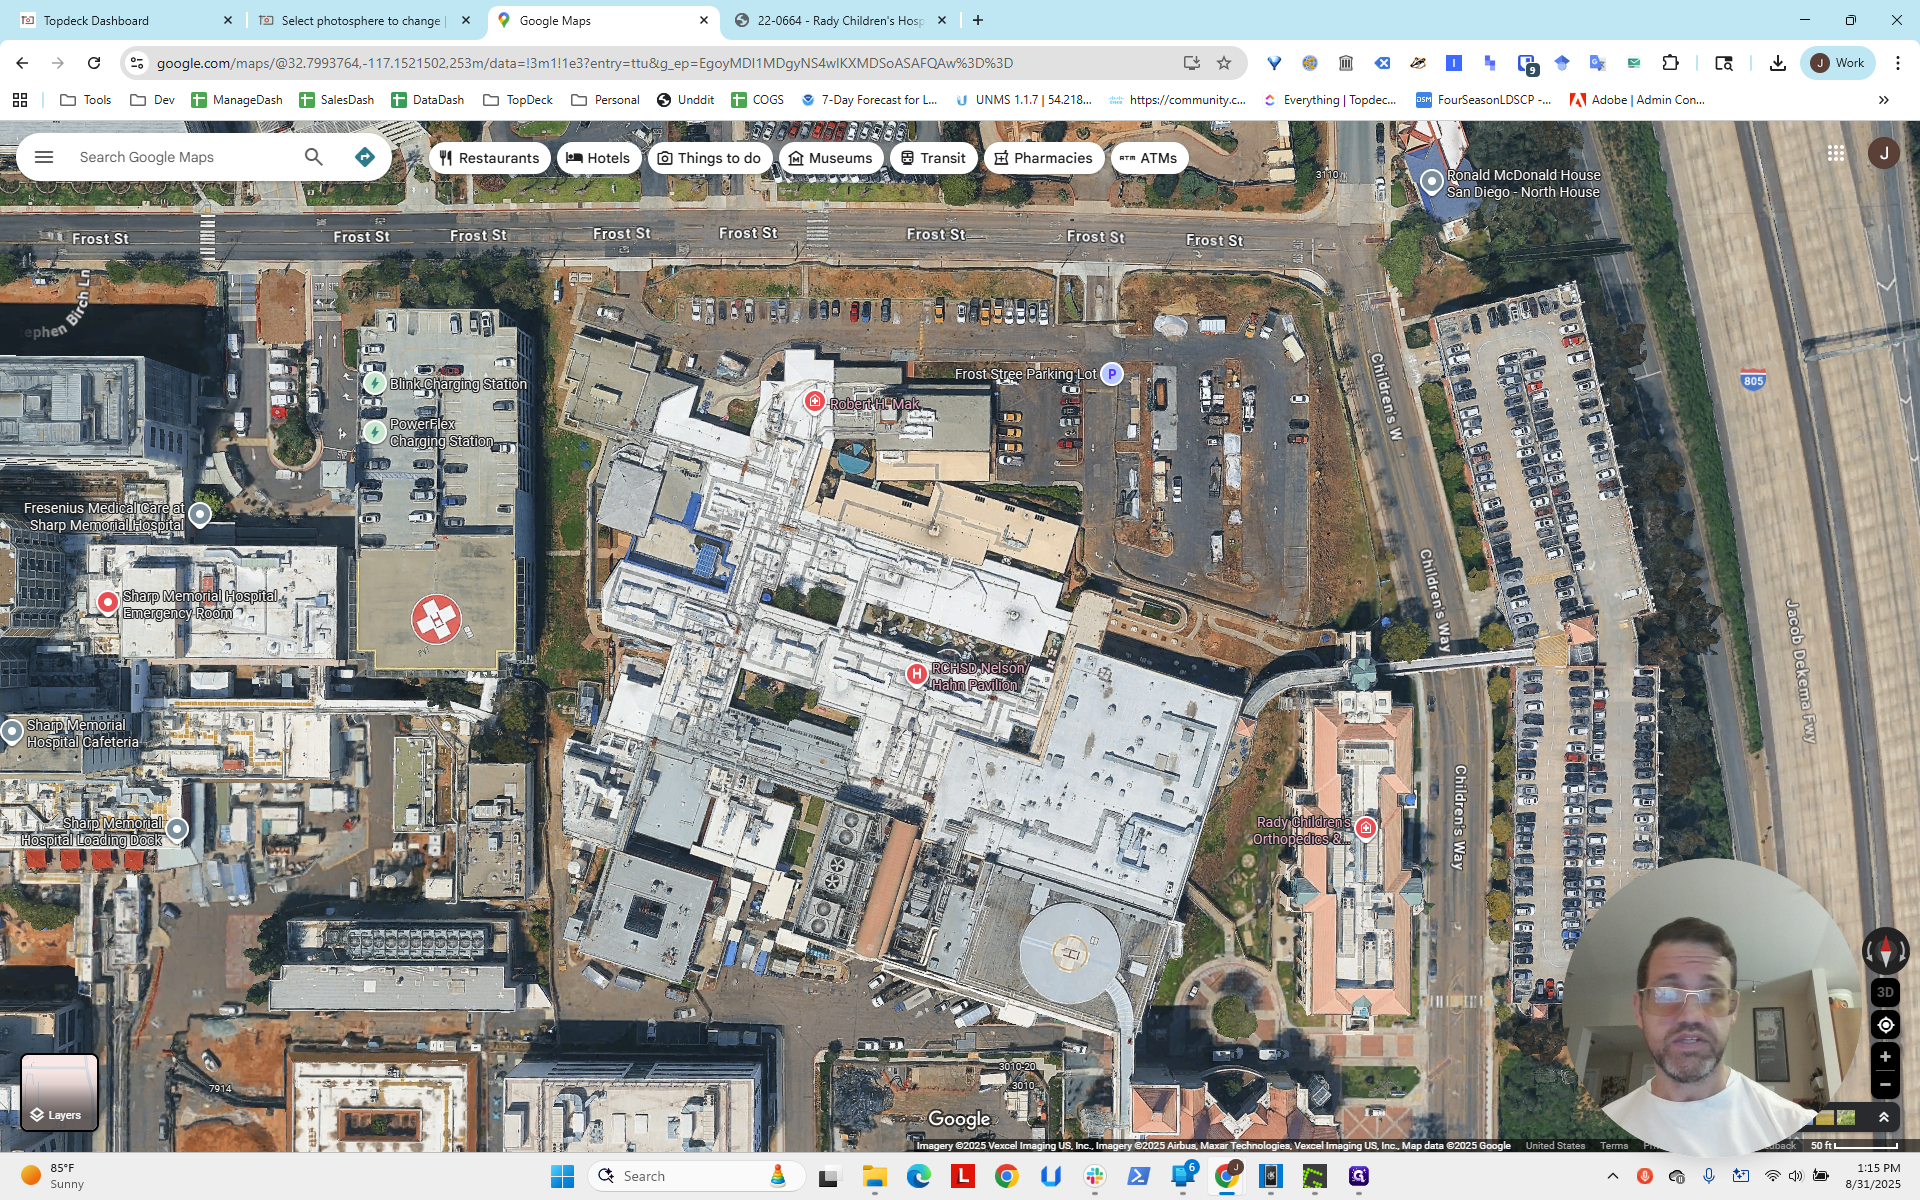
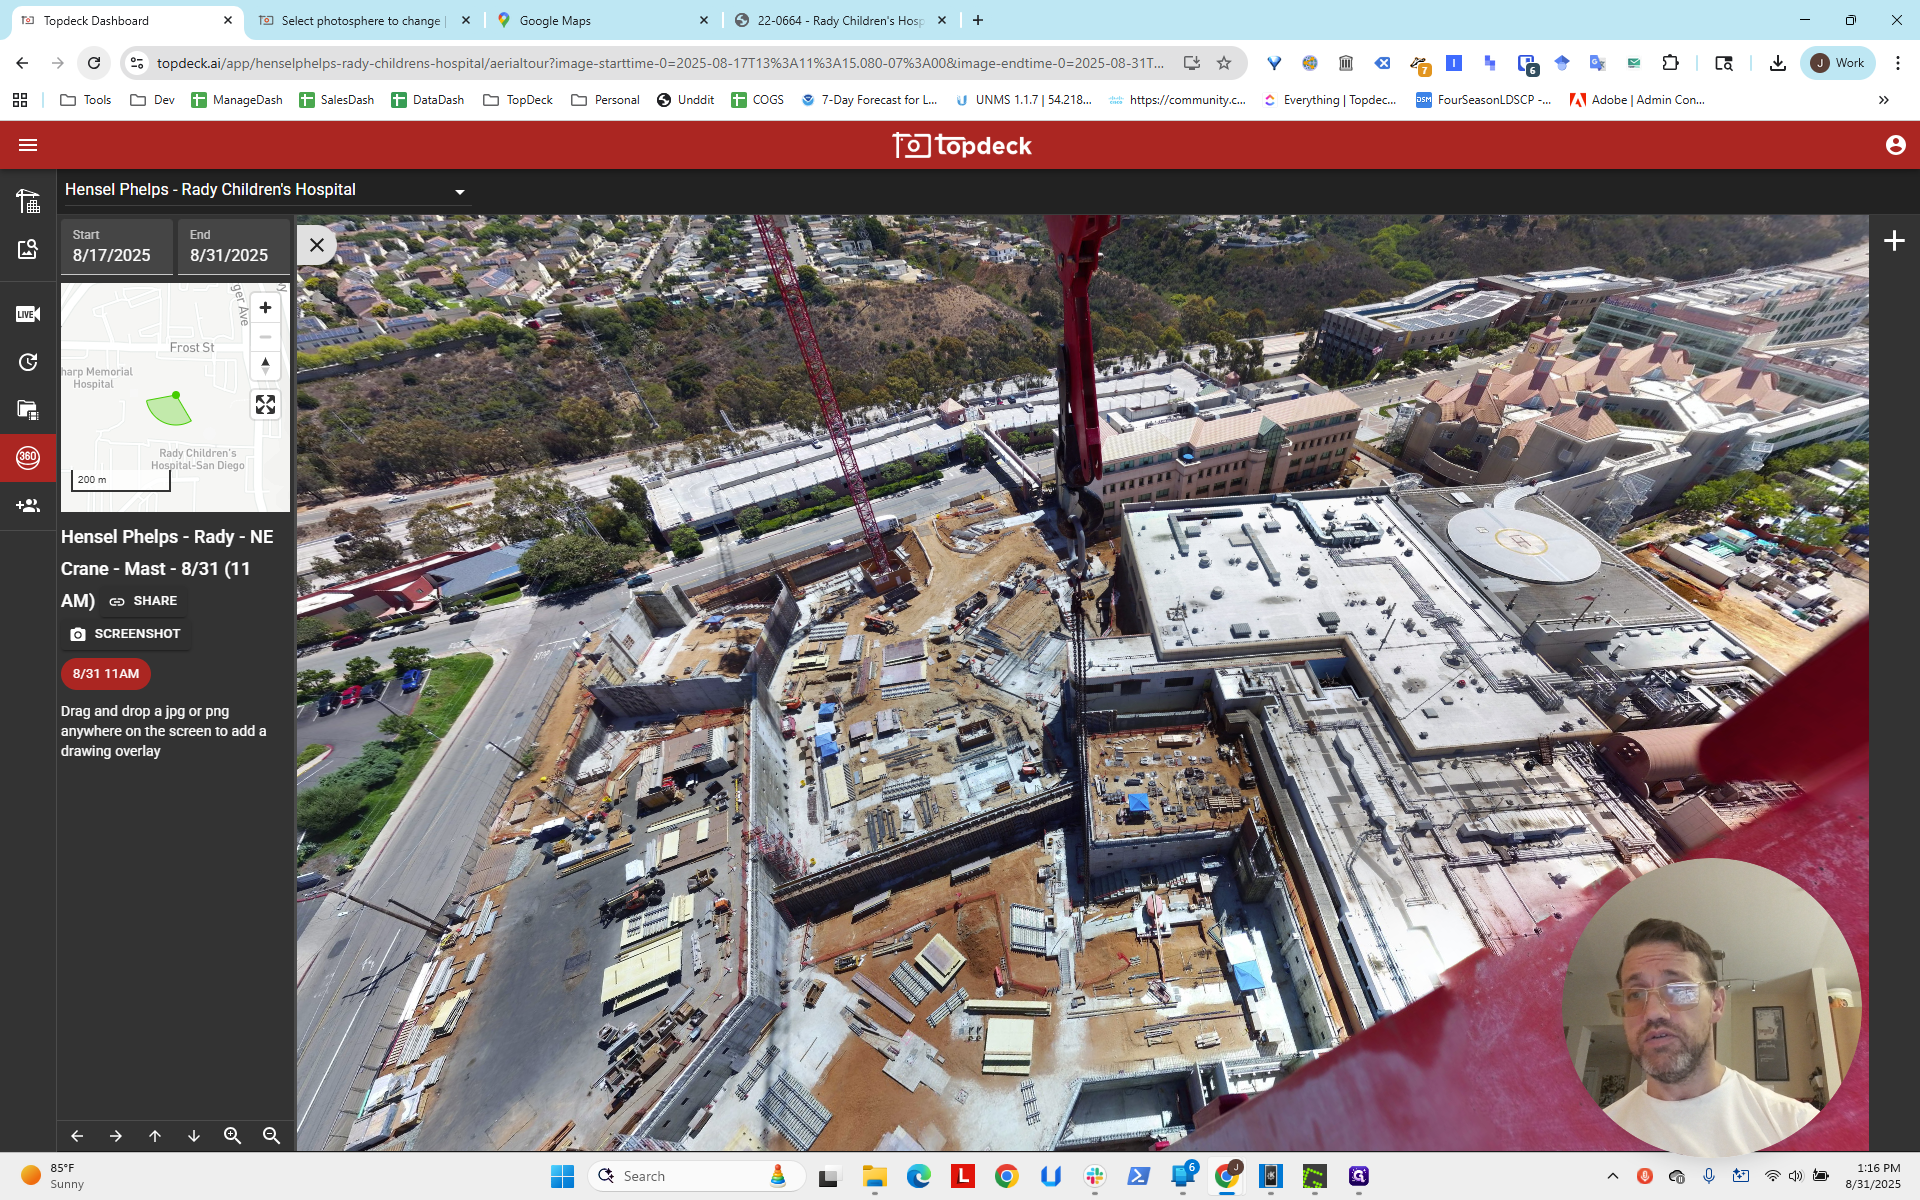
The work site is this area. It will look different from Google Maps satellite view, but the surrounding area will generally remain the same. We can use clues in the scene and the photosphere to determine the camera's location by examining straight lines in the view. These lines indicate where they intersect with the camera. If we have two lines—one north-south and one east-west—that gives us enough information to estimate the camera's location.


First, let's return to the photosphere. There are a few tricks to keep in mind.


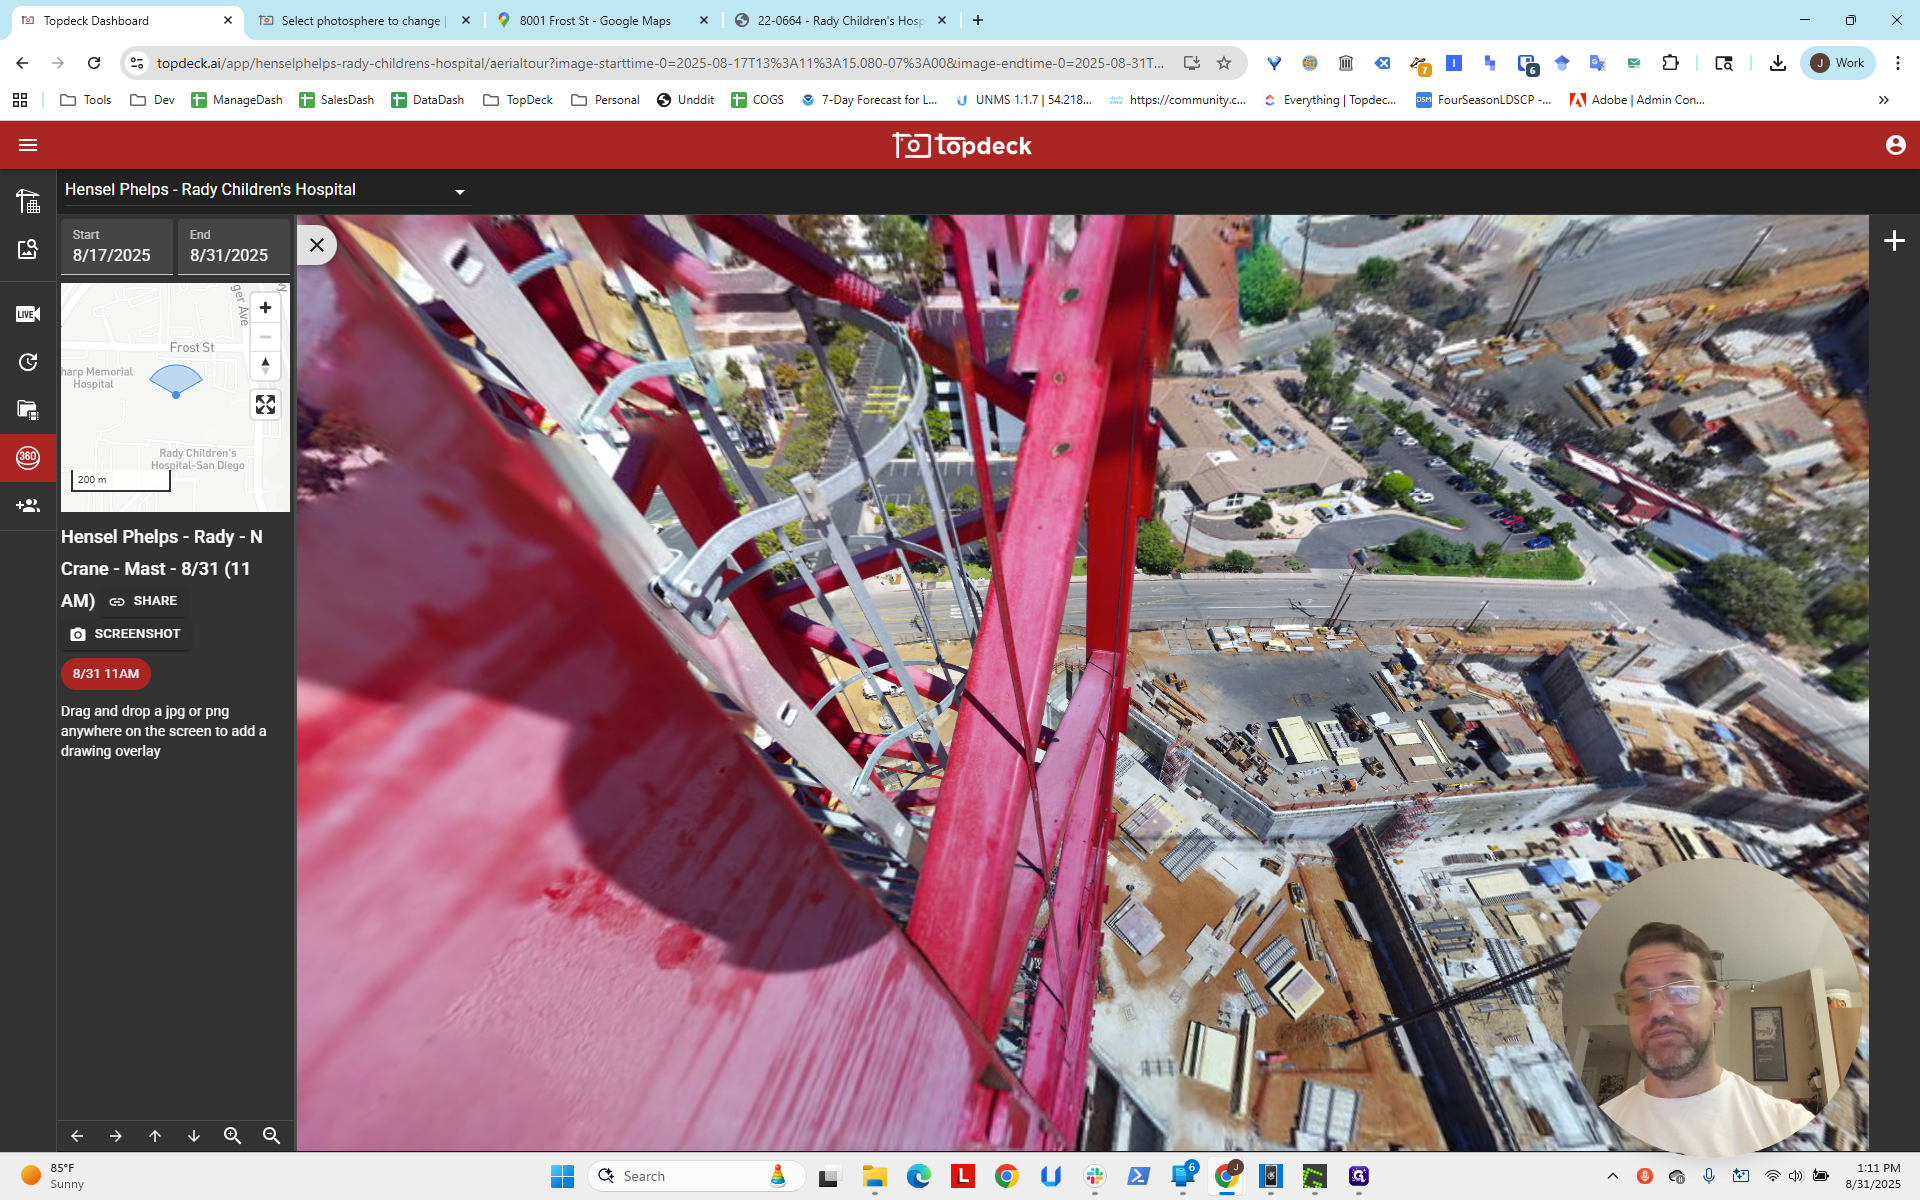
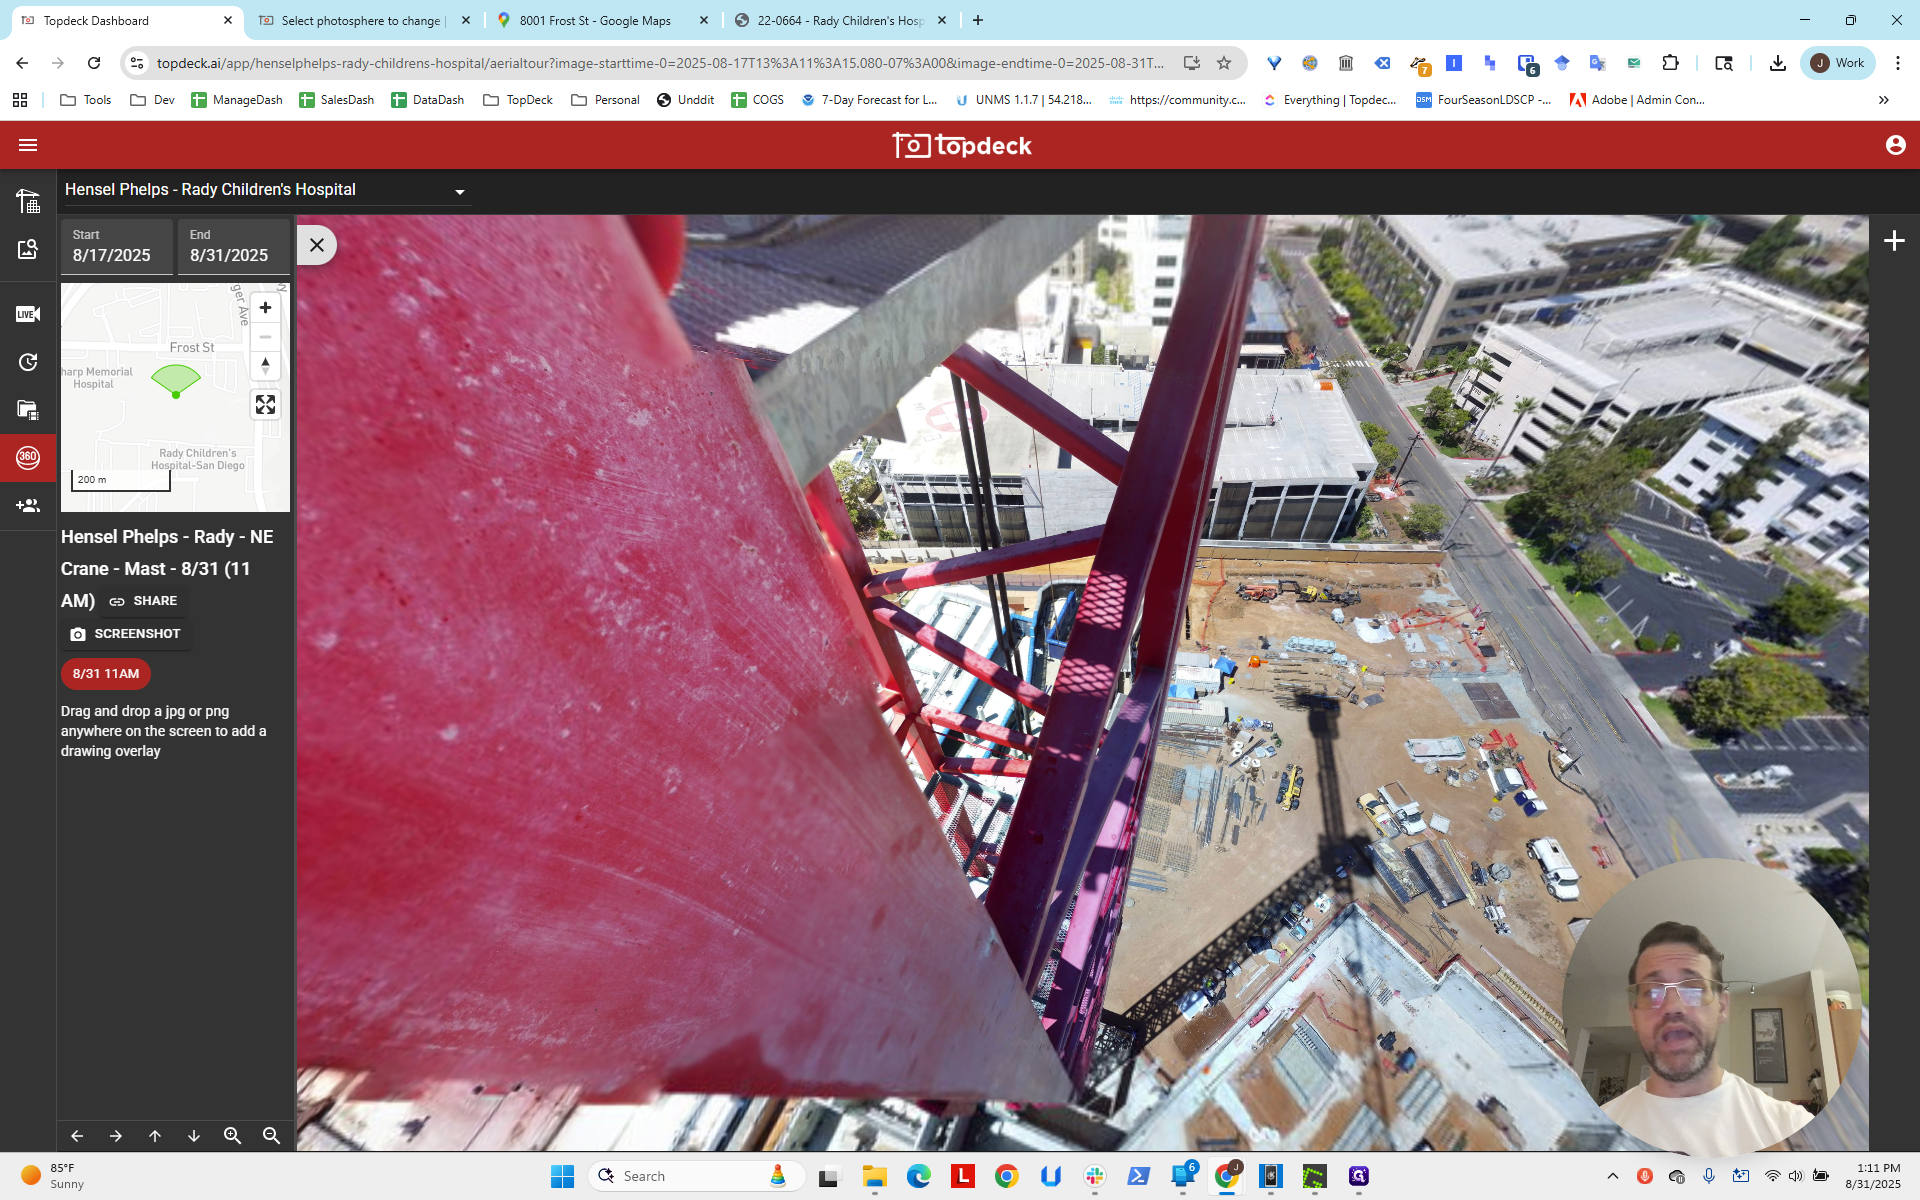
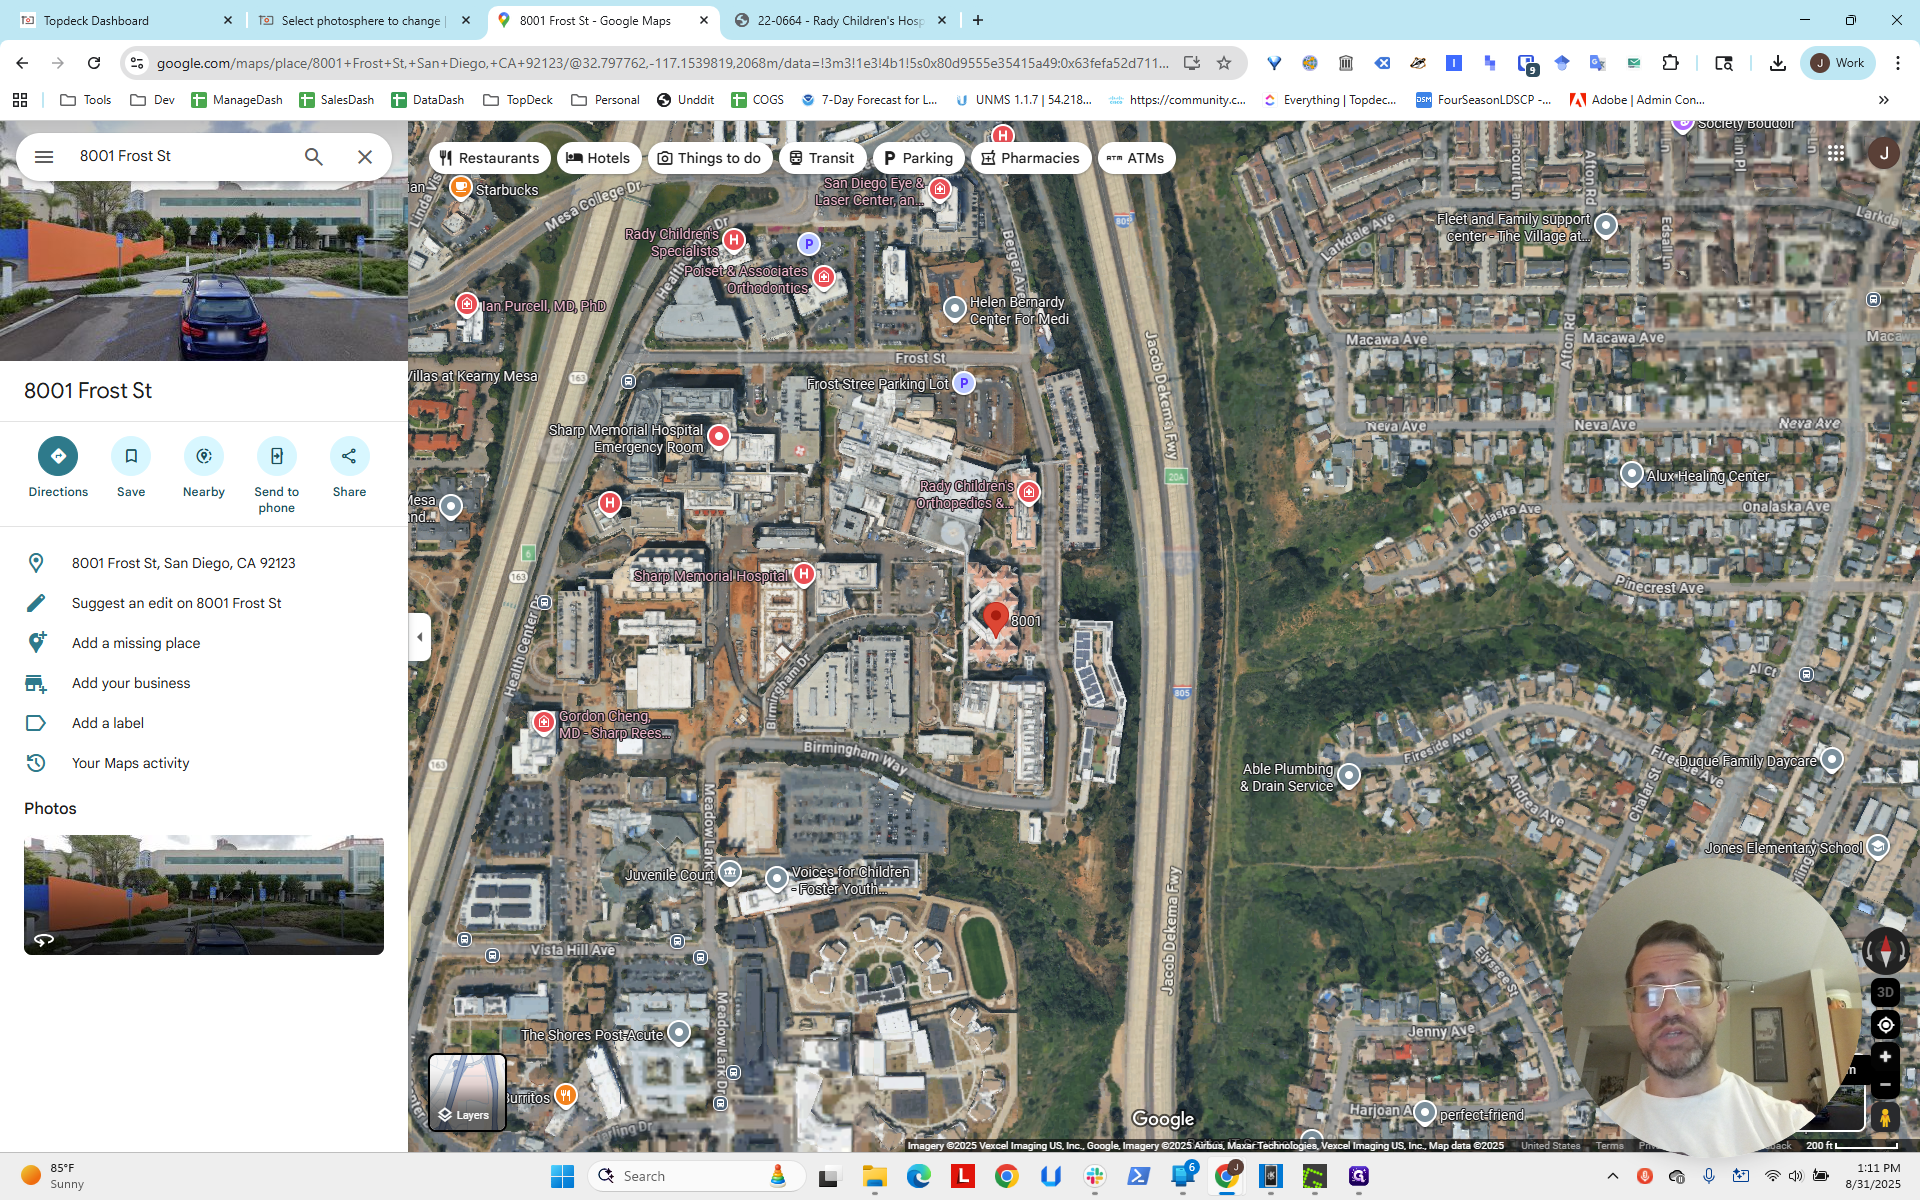
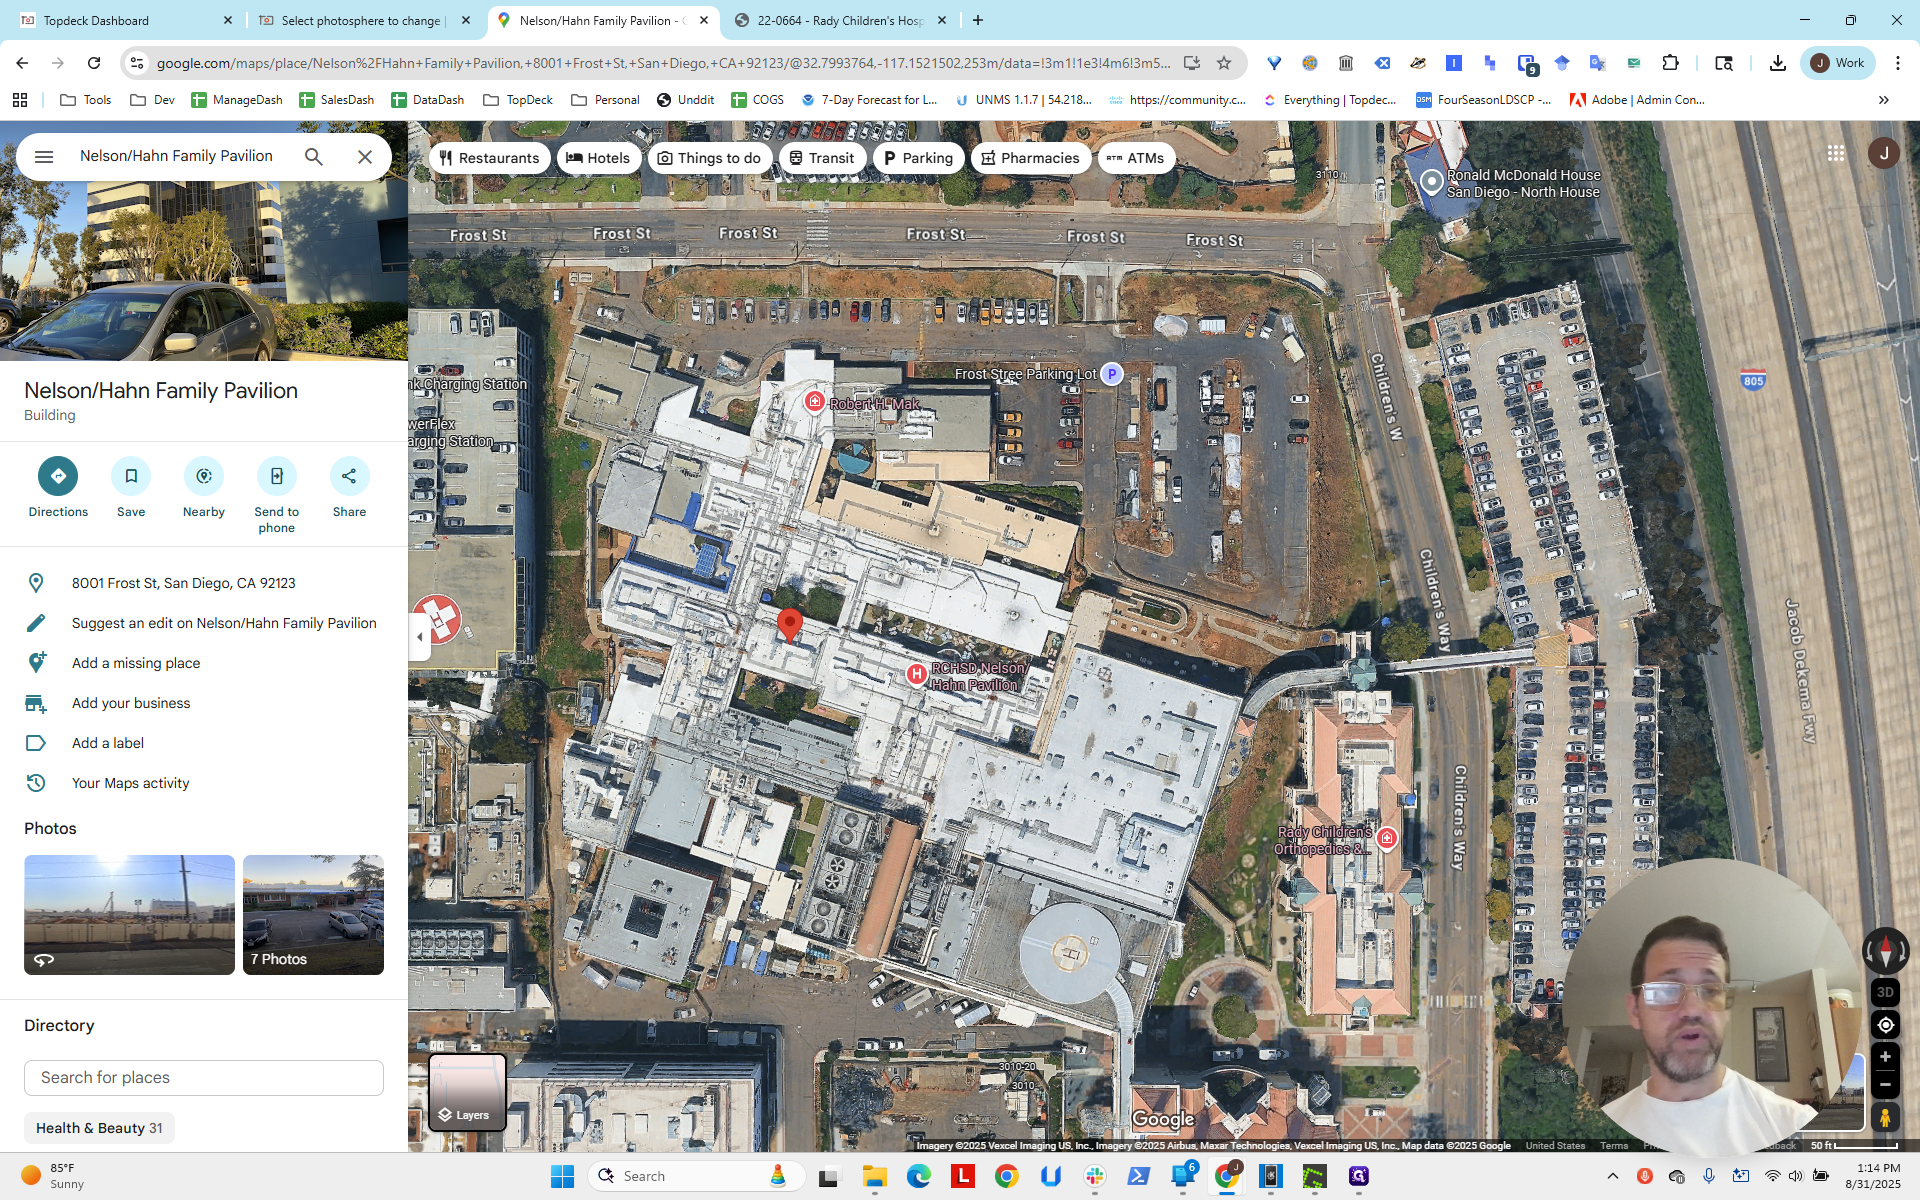
Looking at items in the scene is helpful. We see the building and the parking lot, which appear here.
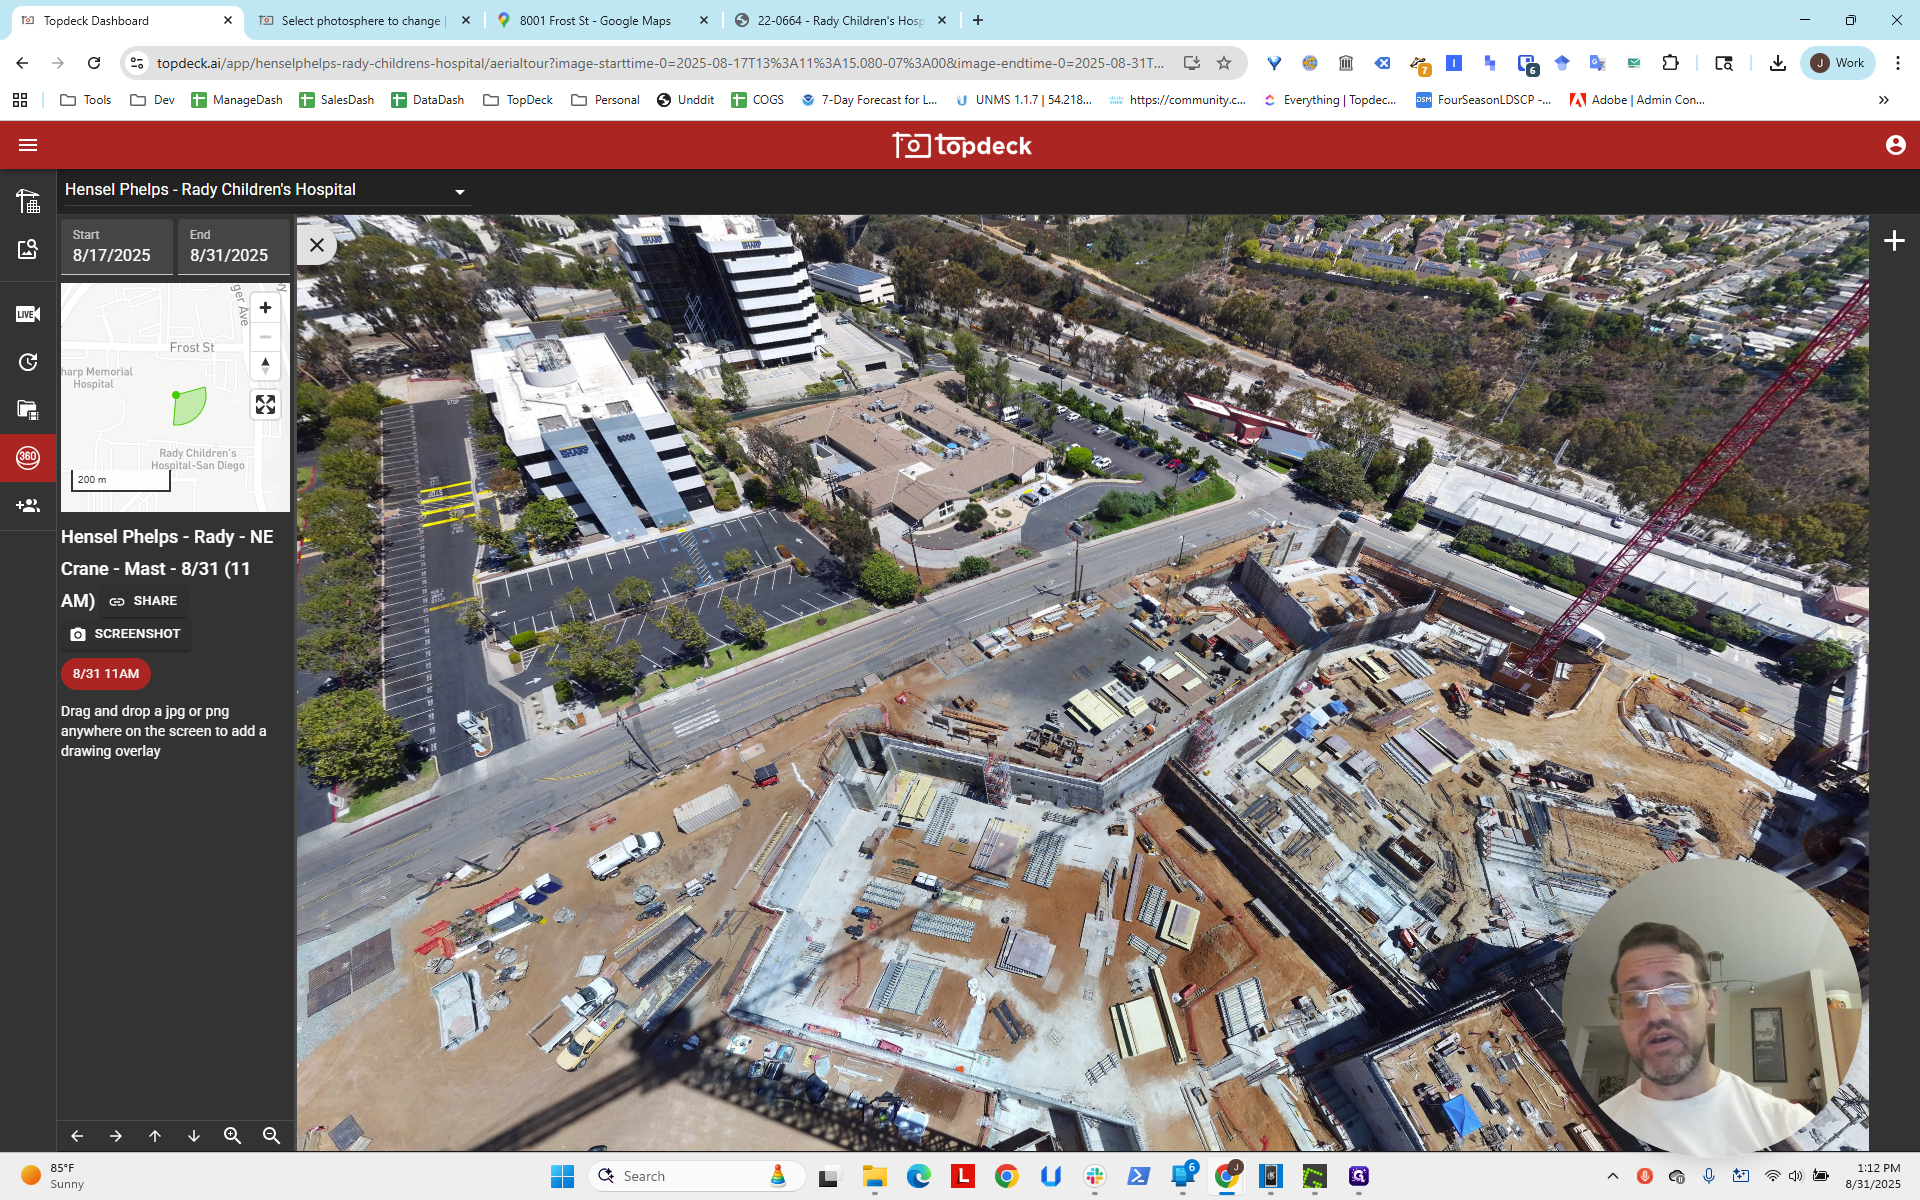
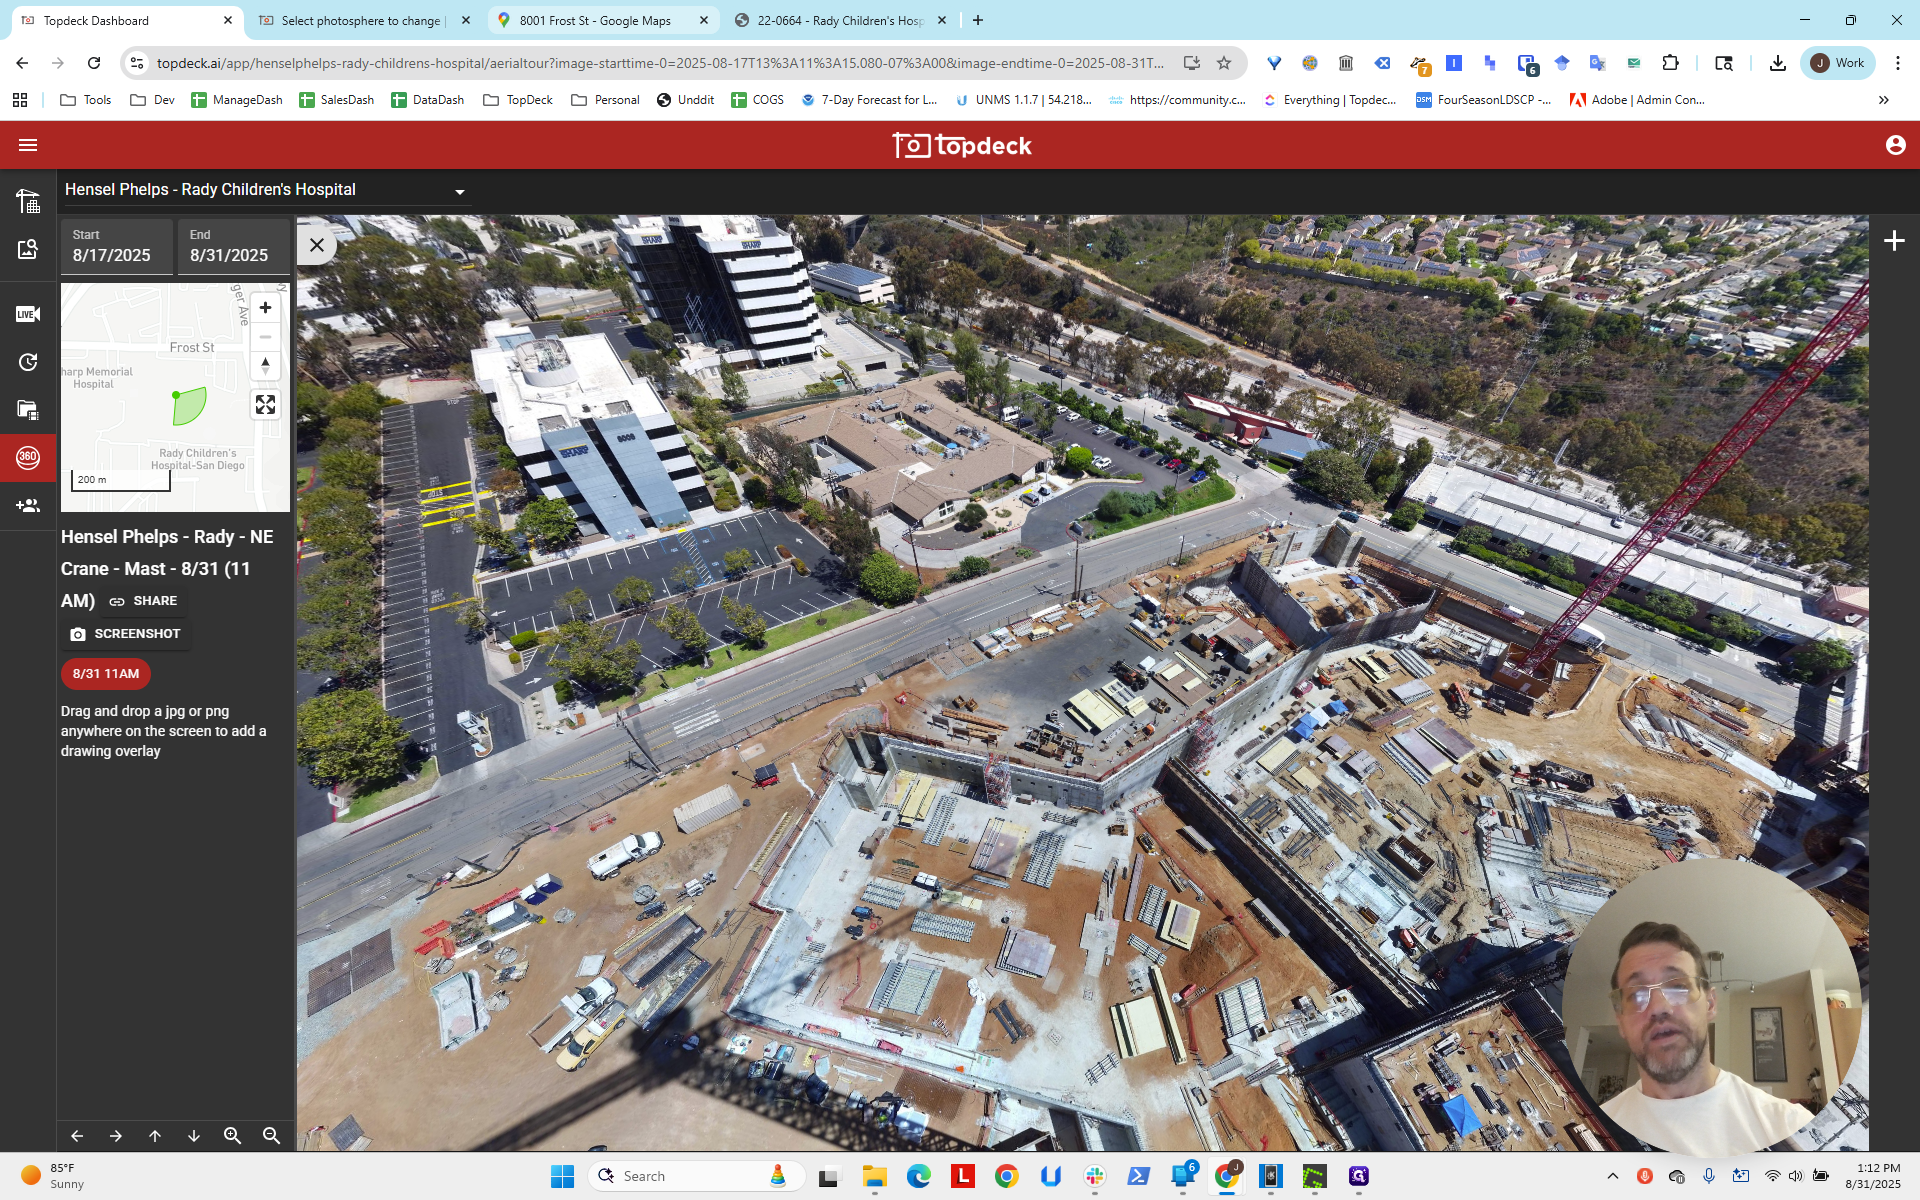

There is the parking lot, and next to it is the medical building. It appears it was not fully constructed when the satellite image was taken.
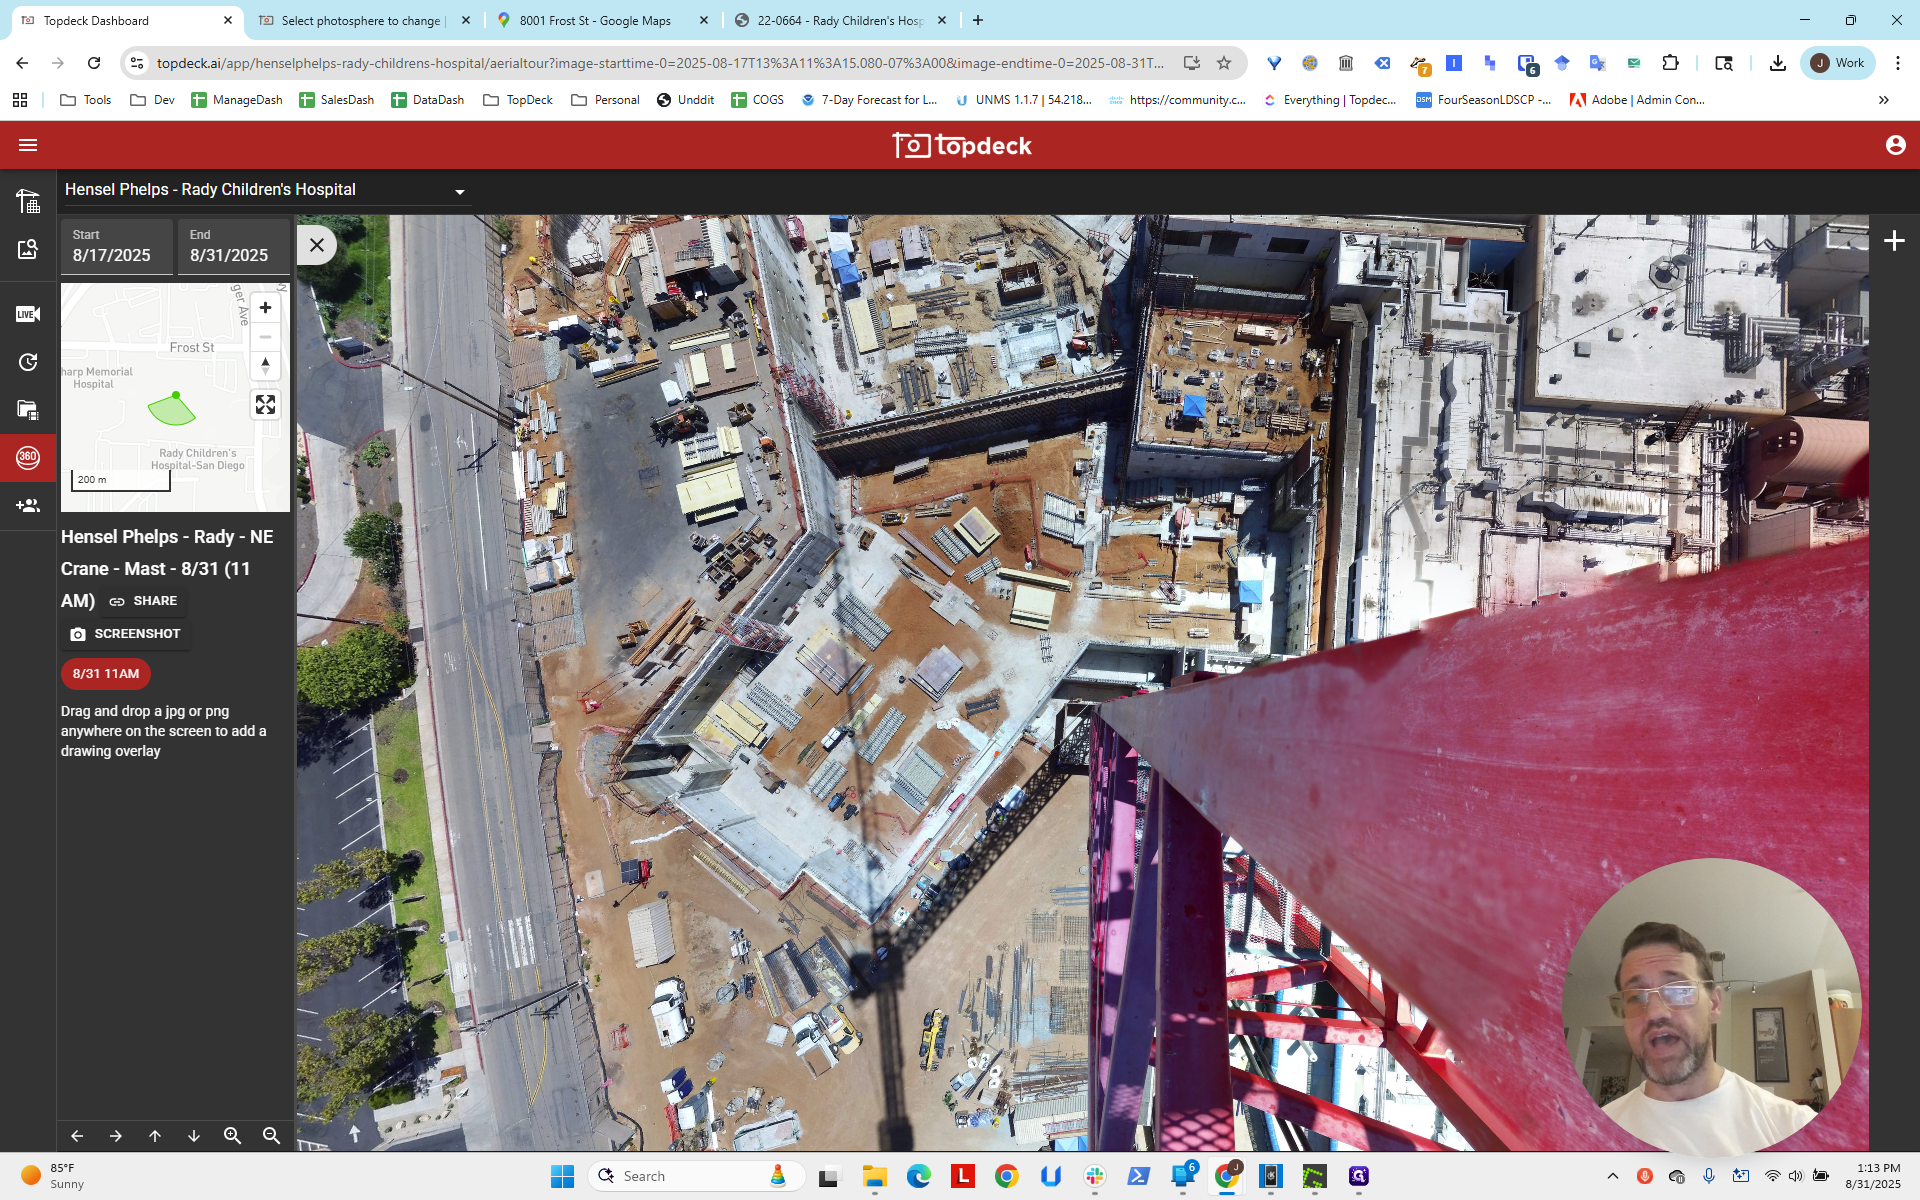
We can look at the base of the crane to see a straight line going into the ground.

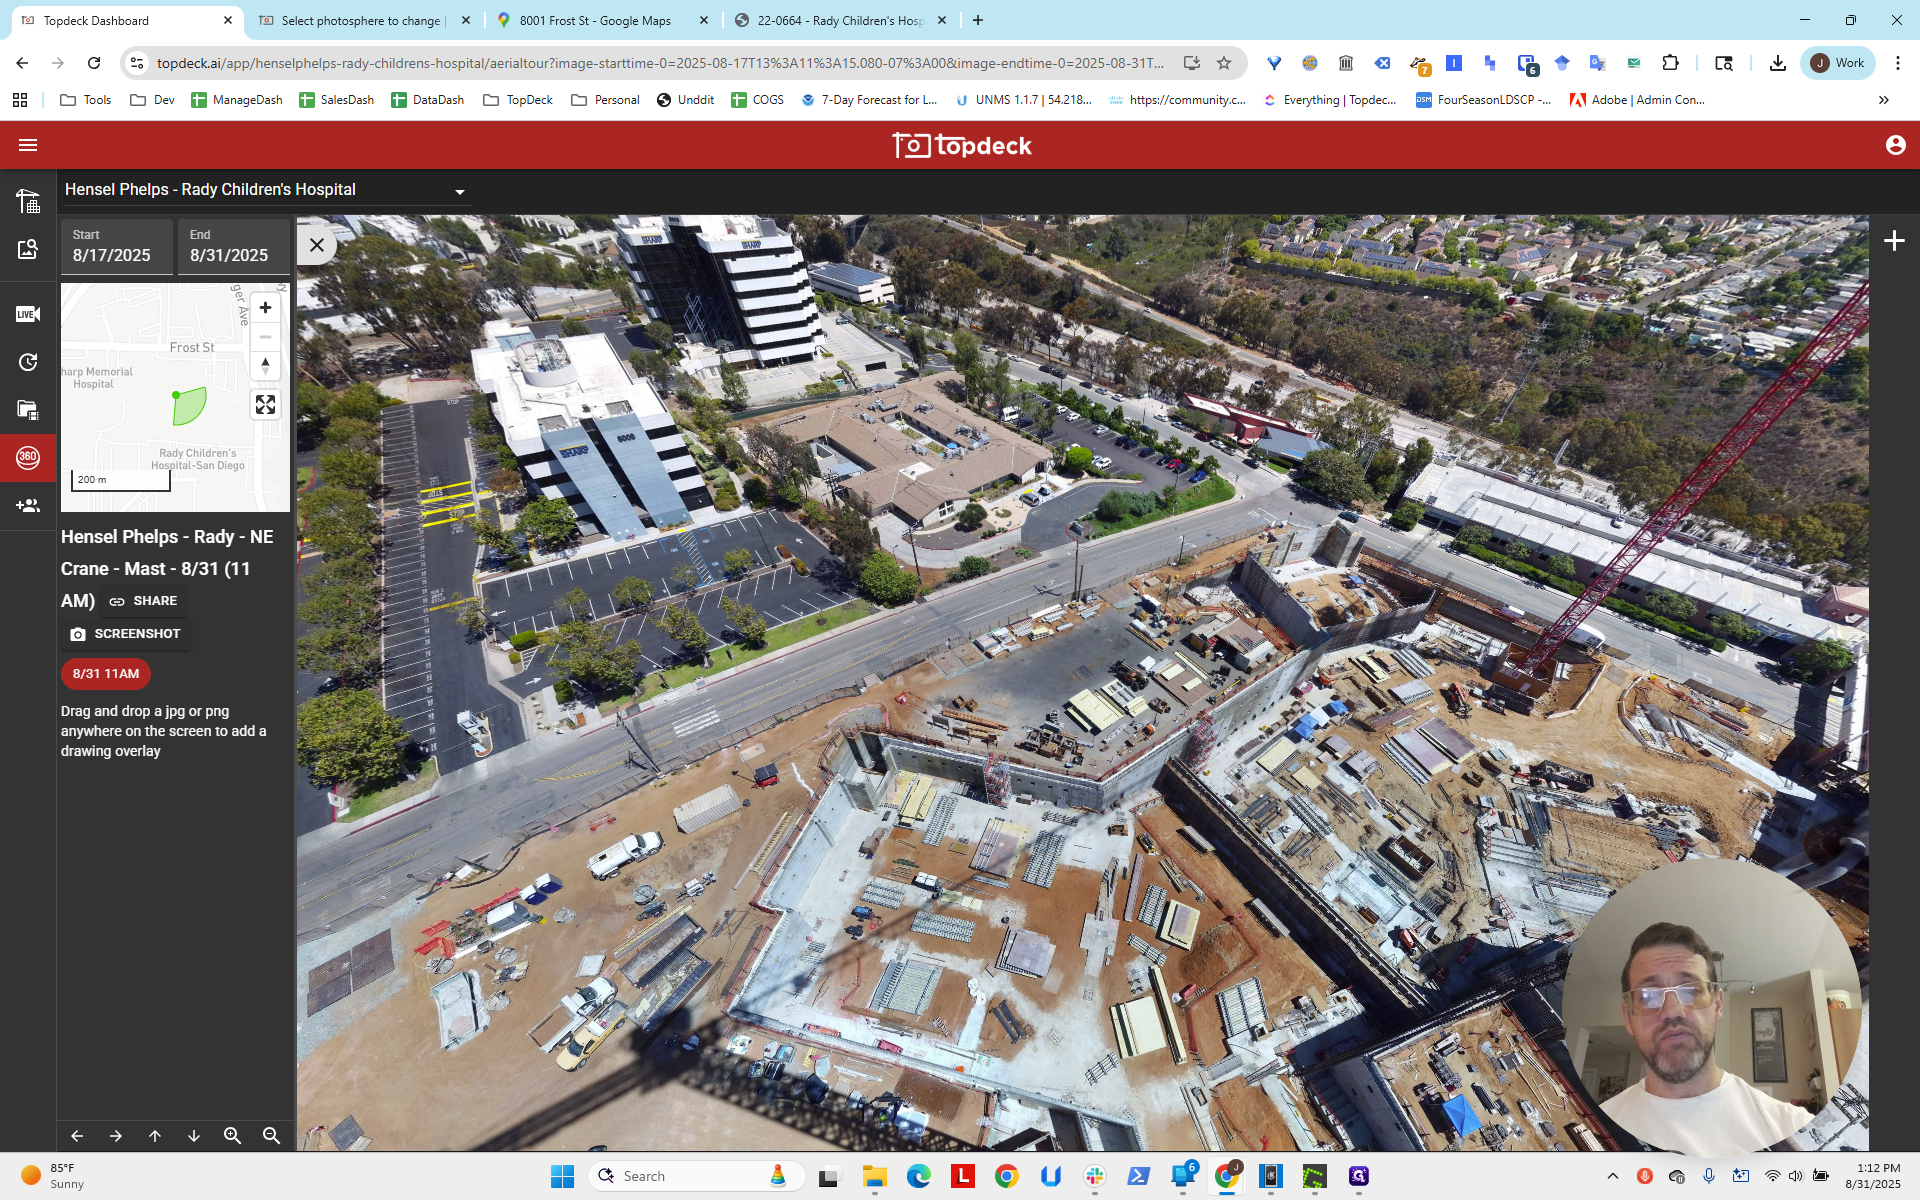
You can see a small box in the center with a line.
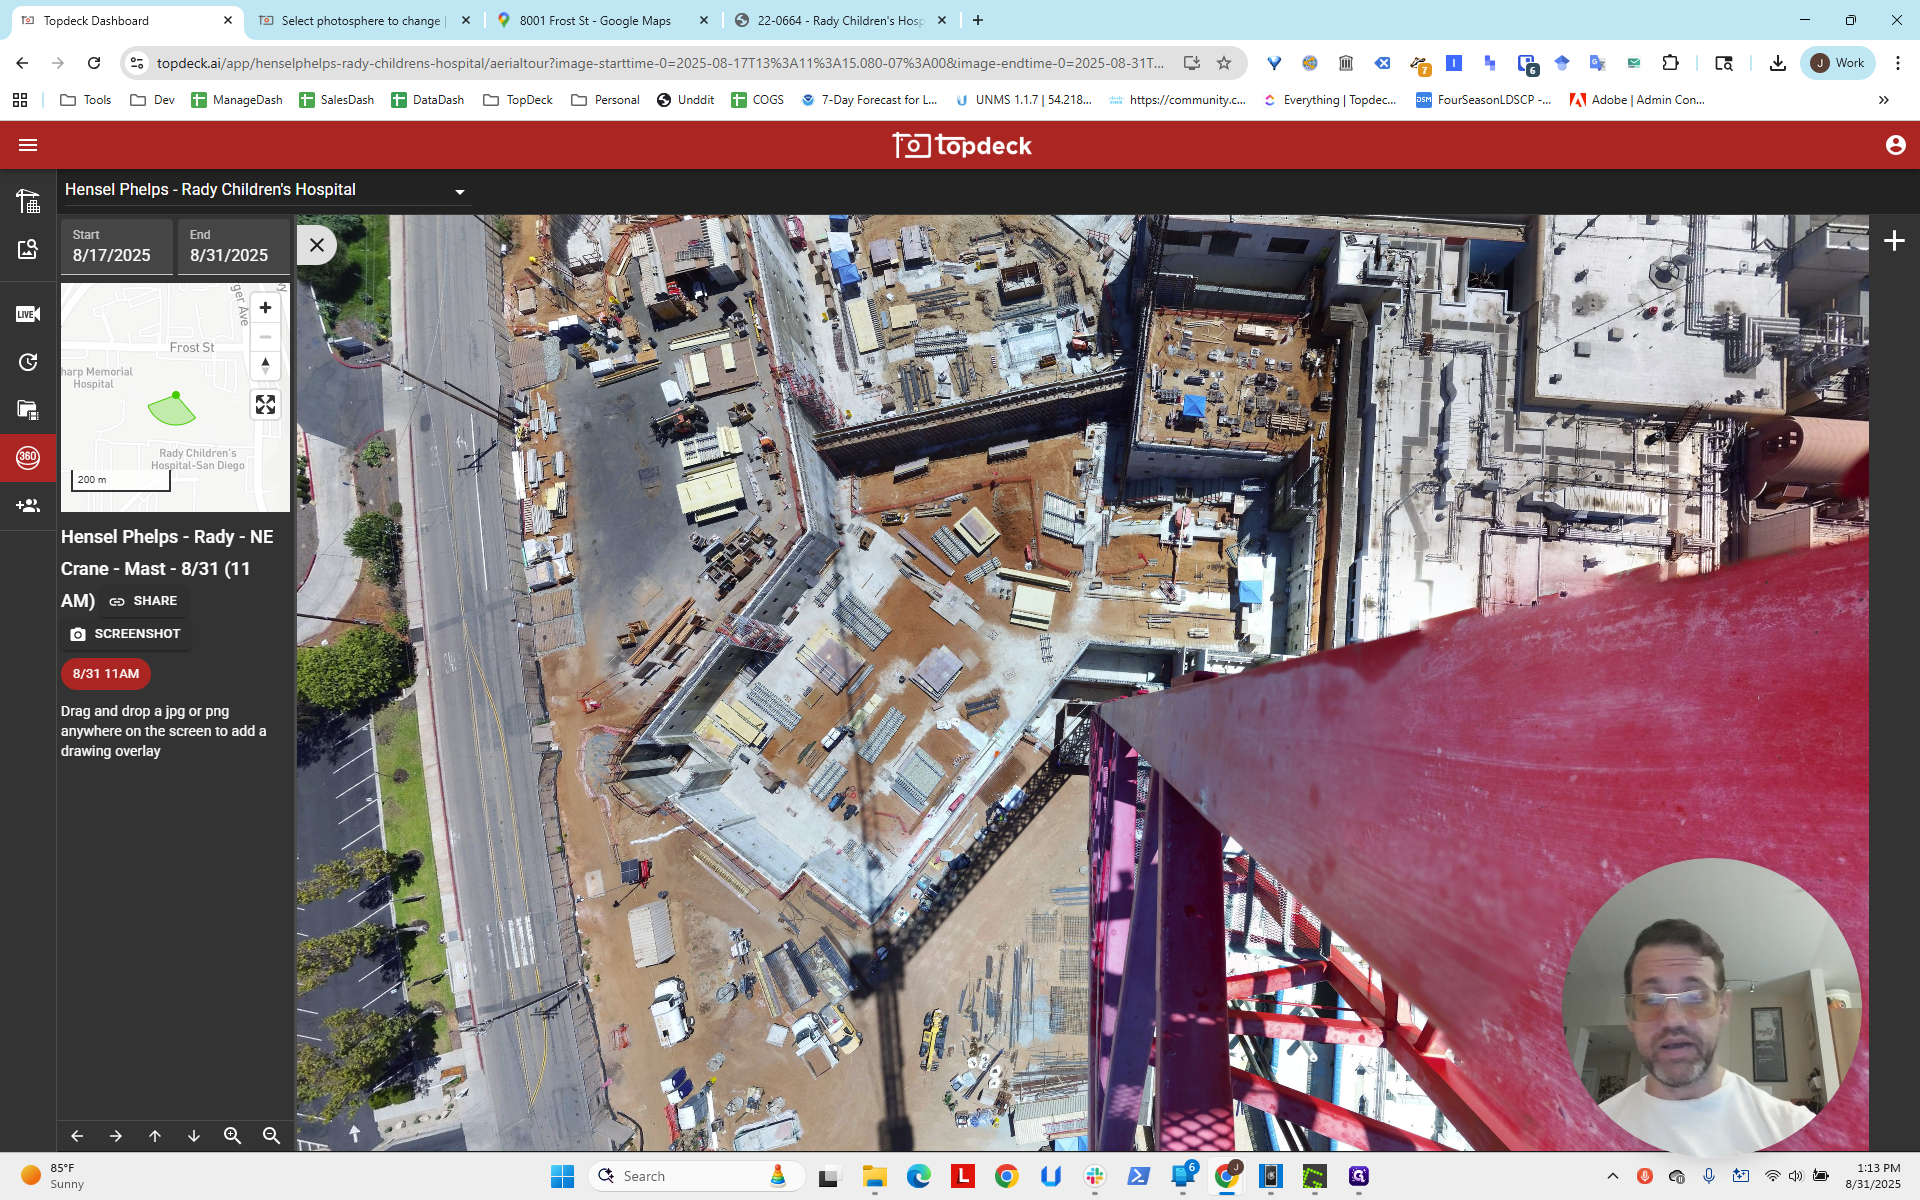
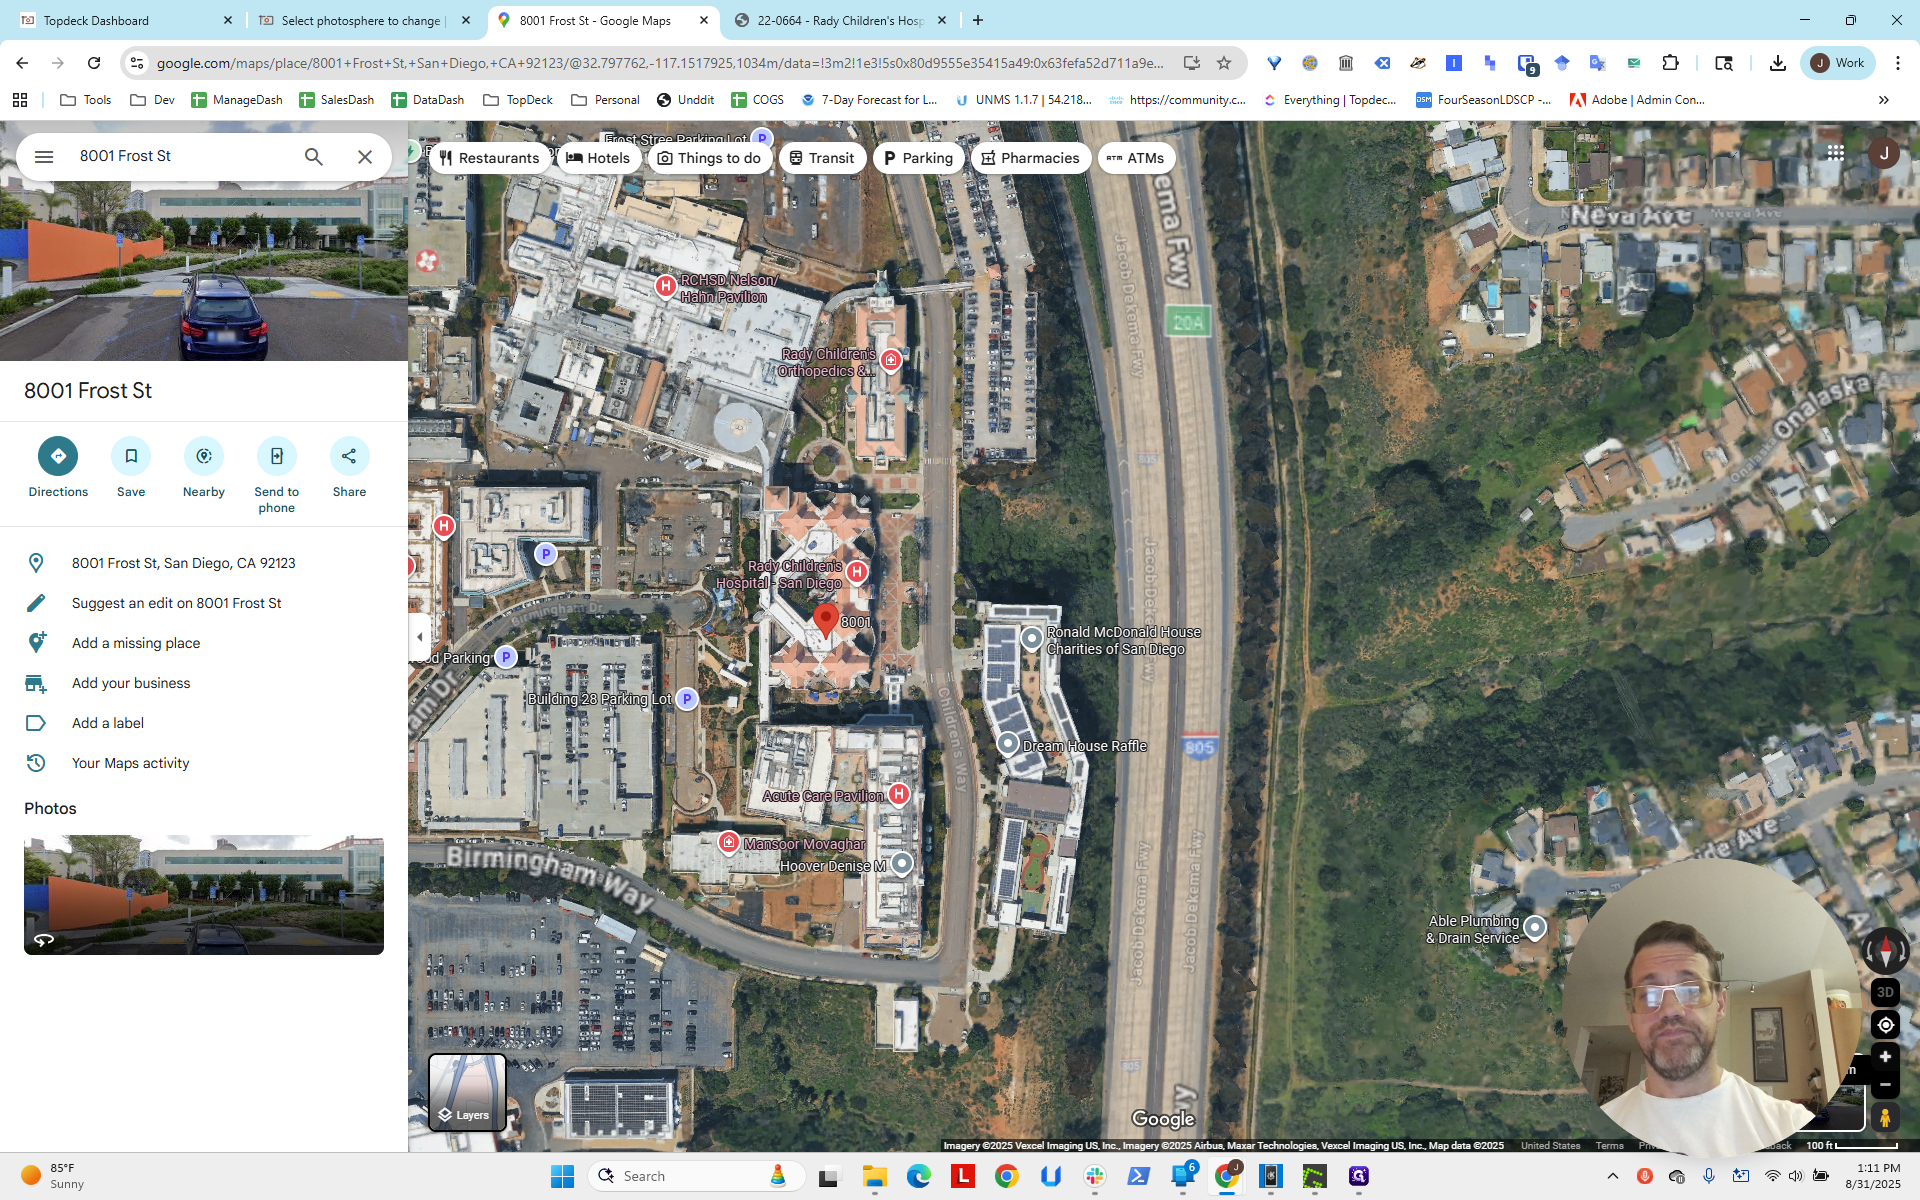
If we follow the line visually, we see it intersects the bush next to the driveway.


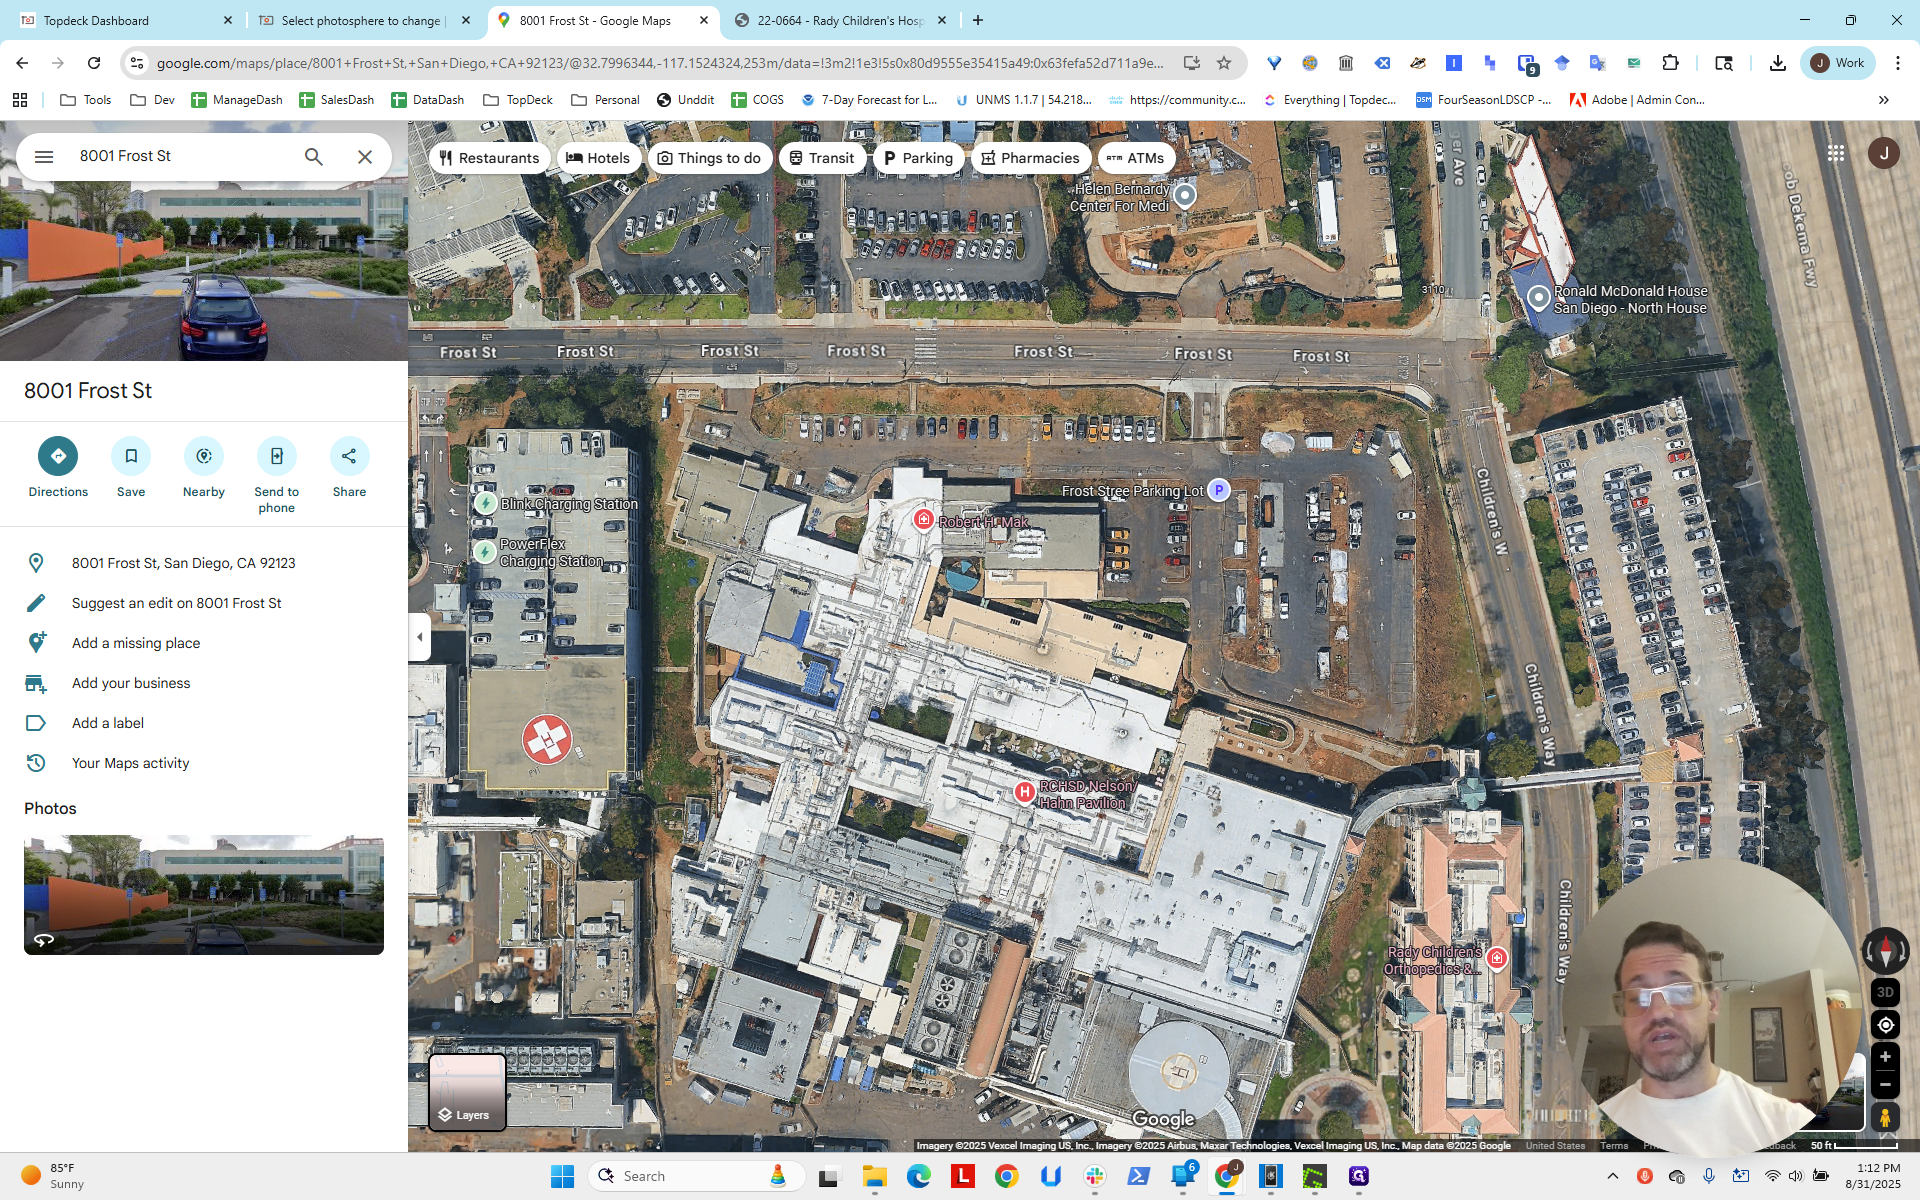
What does that tell us? If we return to 8001 Frost Street, we can see the bush and the driveway.

We think there is a line going straight, possibly around here, on the scene.
Let me try clicking there to see if it appears.

Nope. Sometimes you need to be clever with Google Maps.
"" That's our first line here. Now we need to find another line.

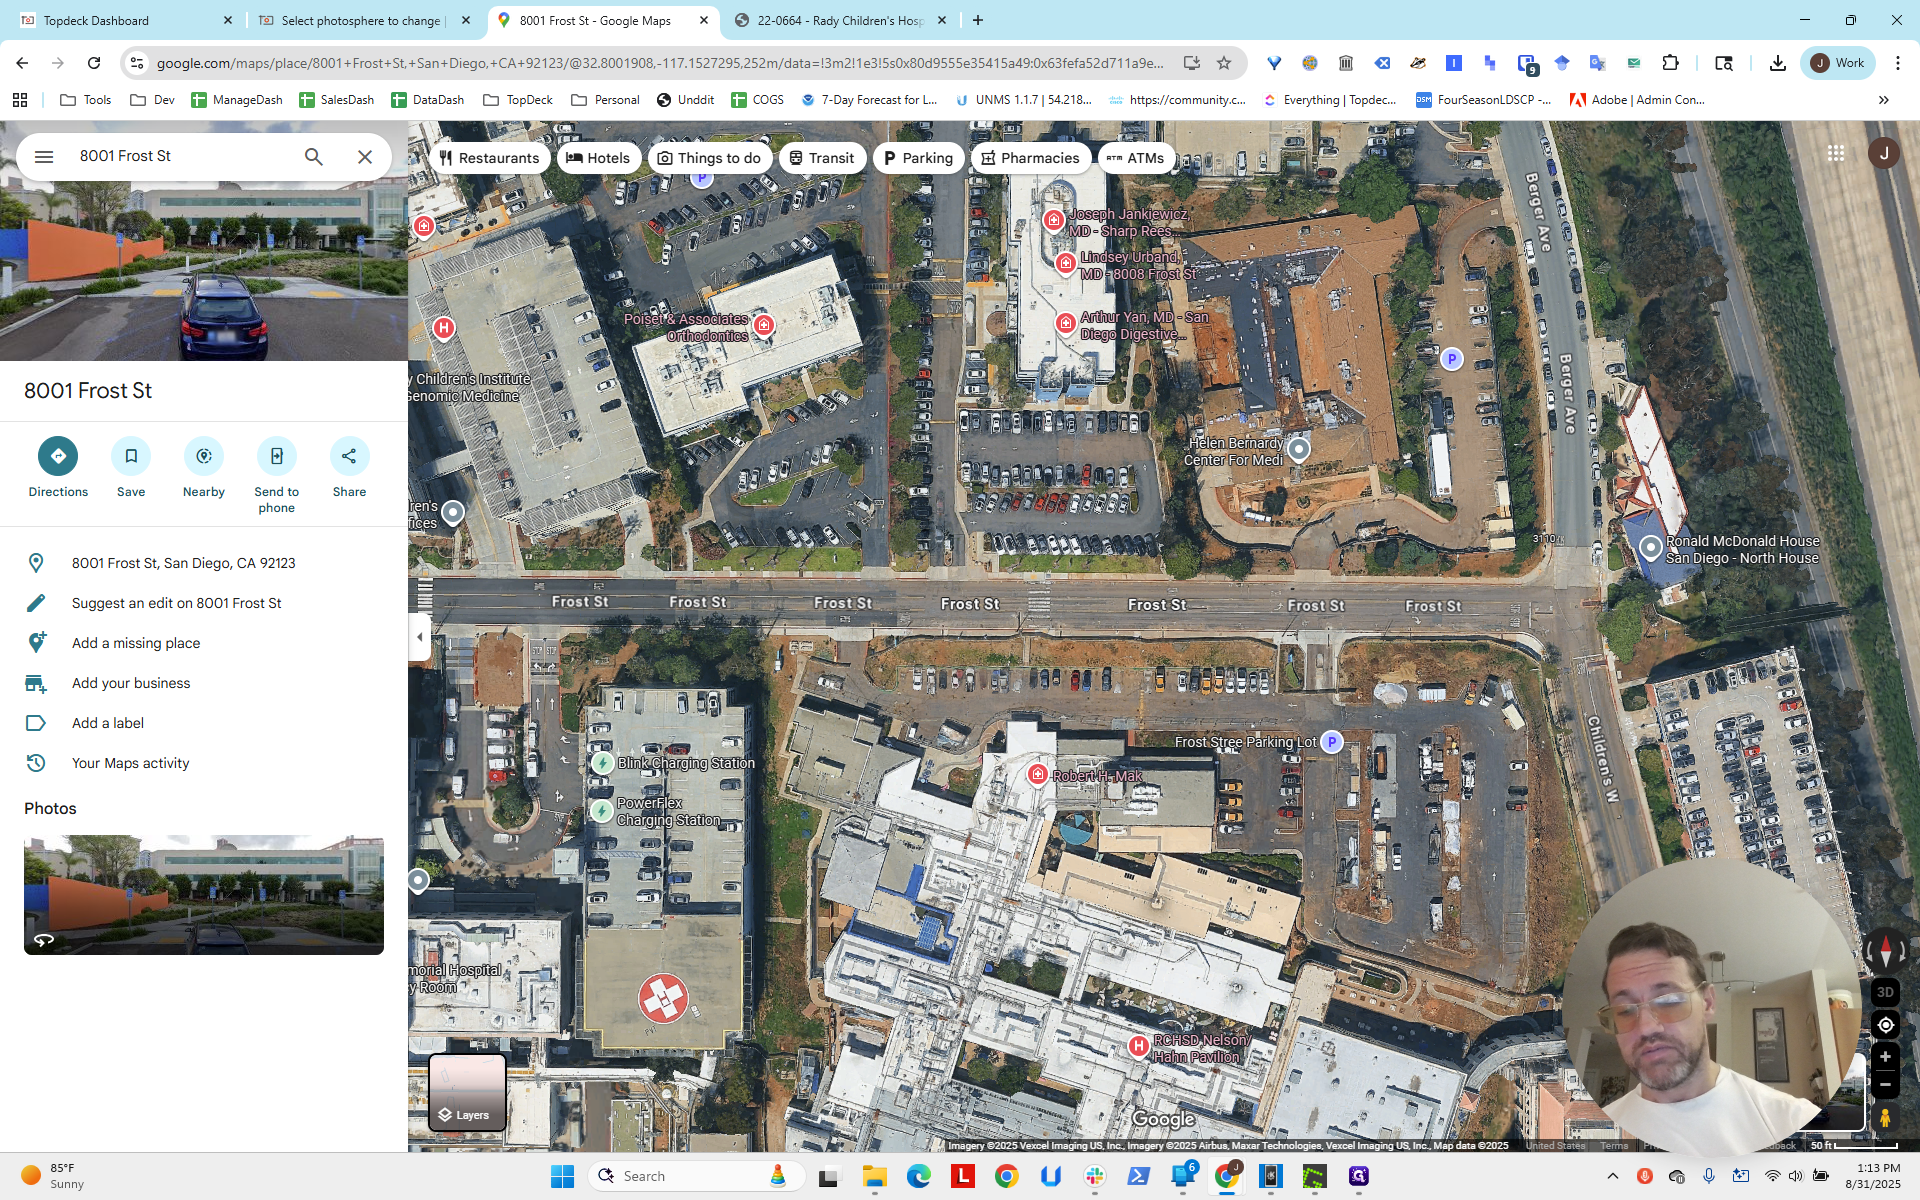
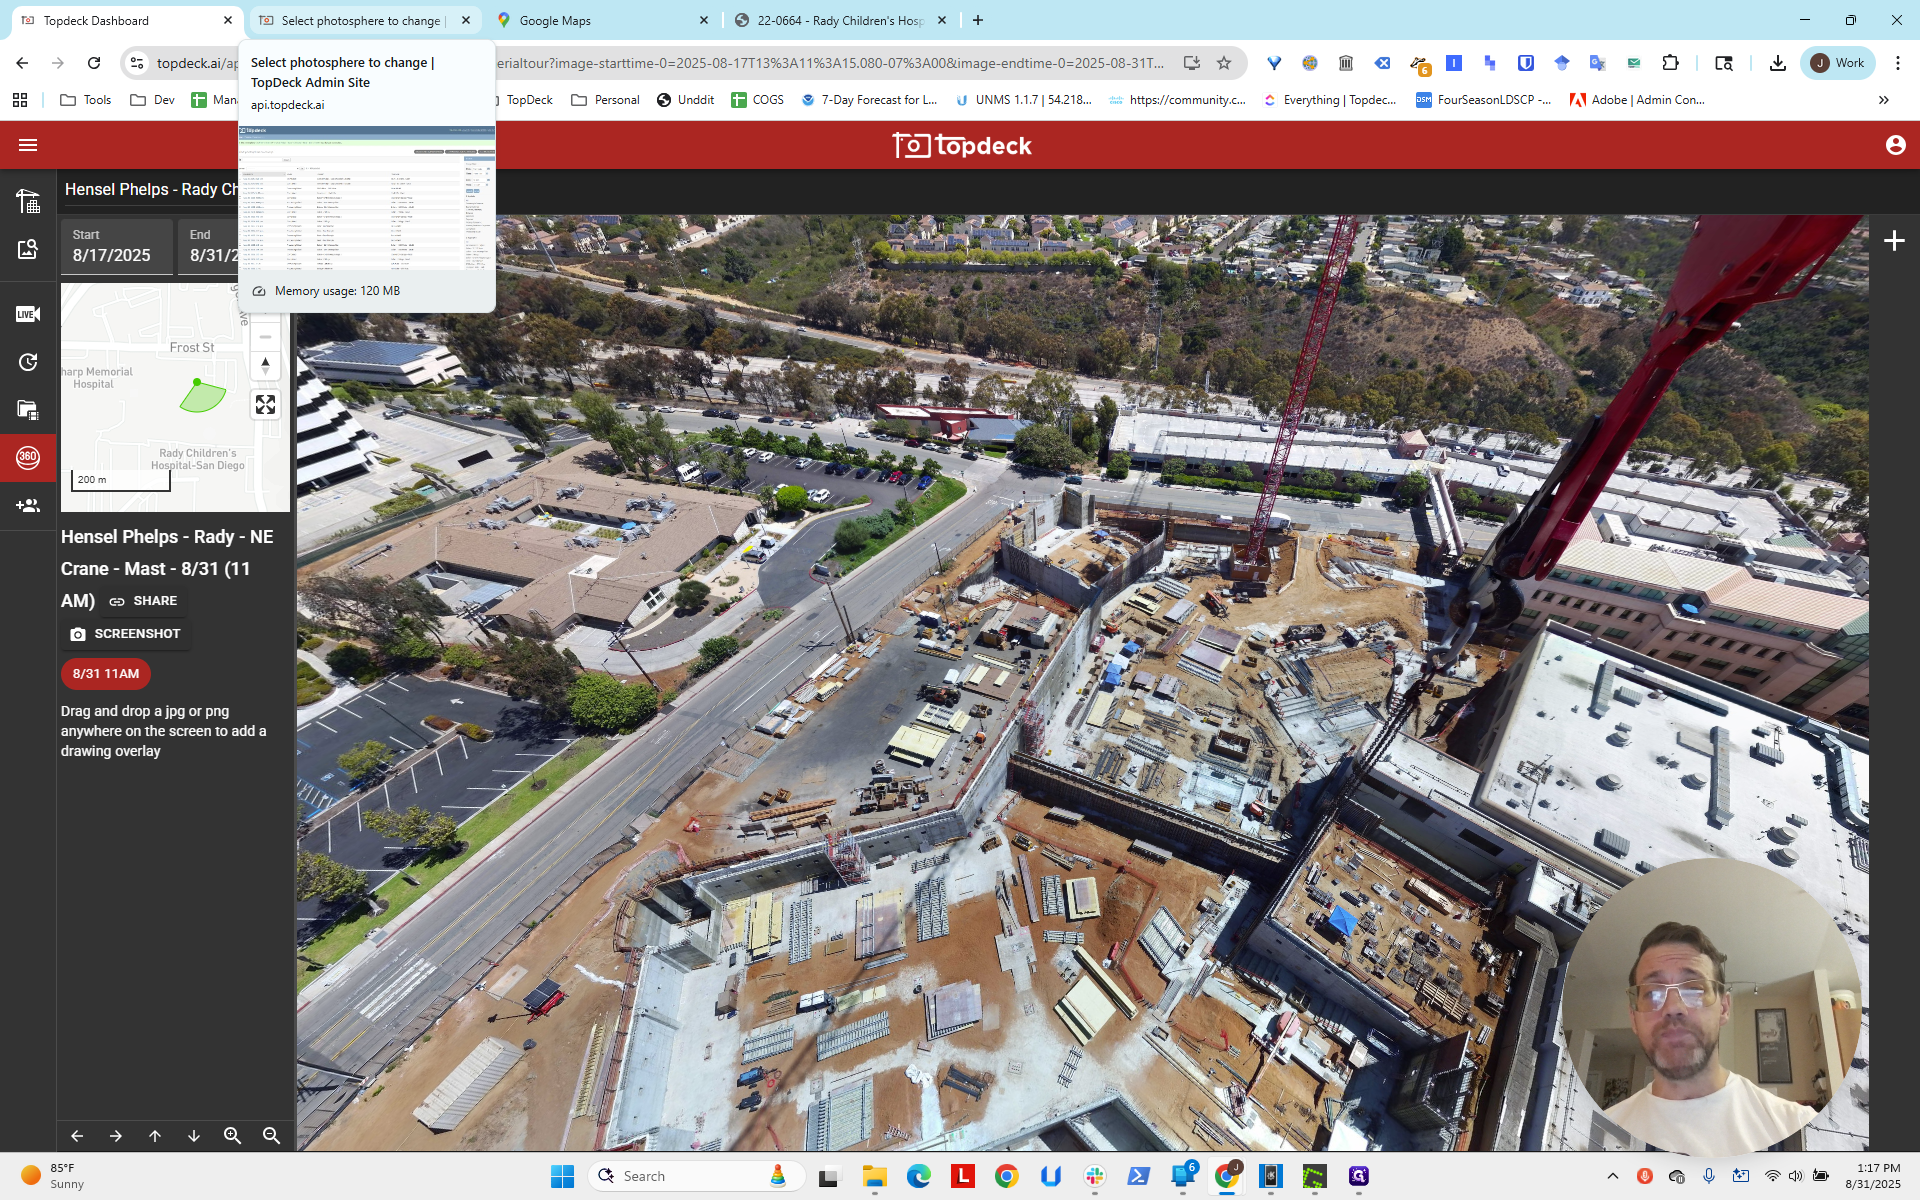
Looking at the scene, we see another line running straight along this edge, perpendicular to the base of the crane.

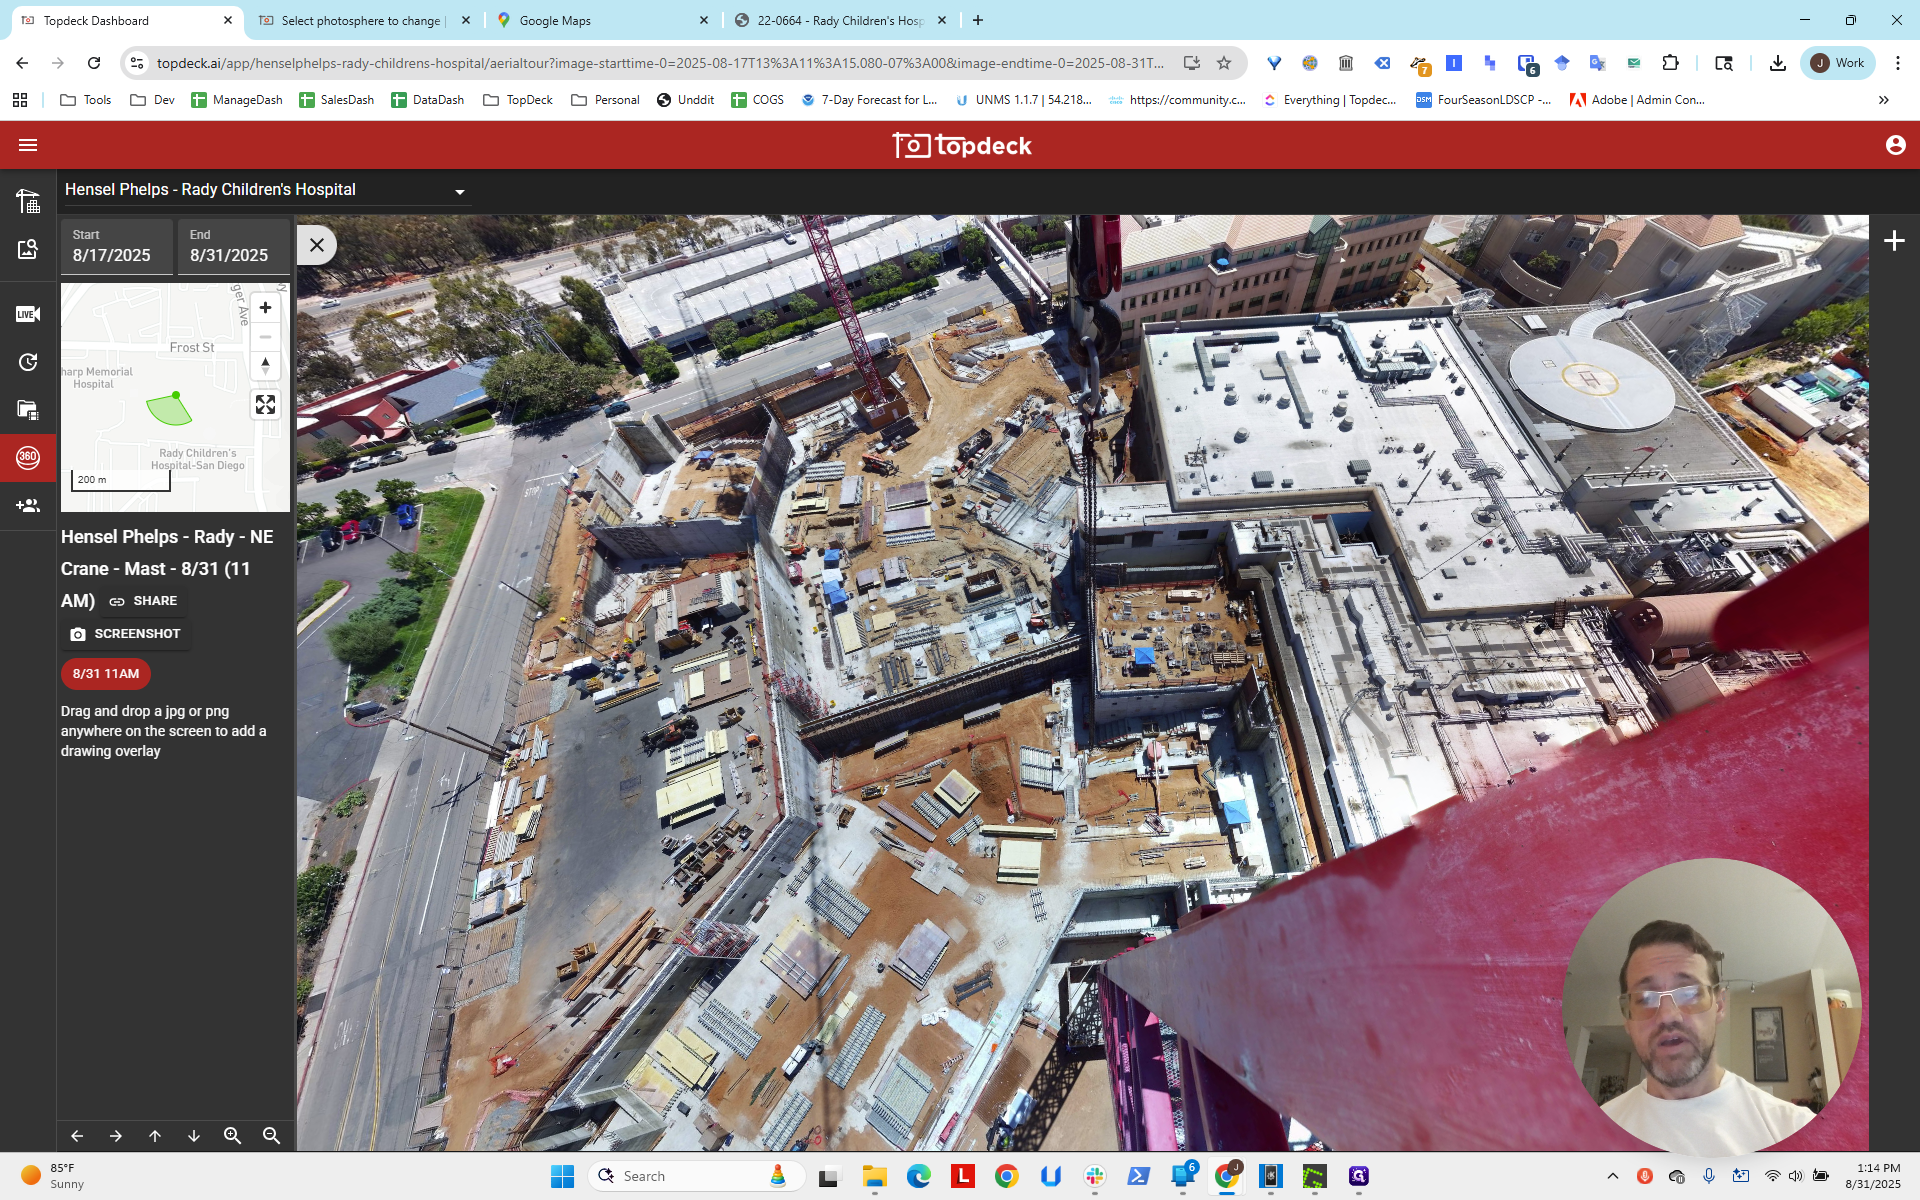


We will follow that line.

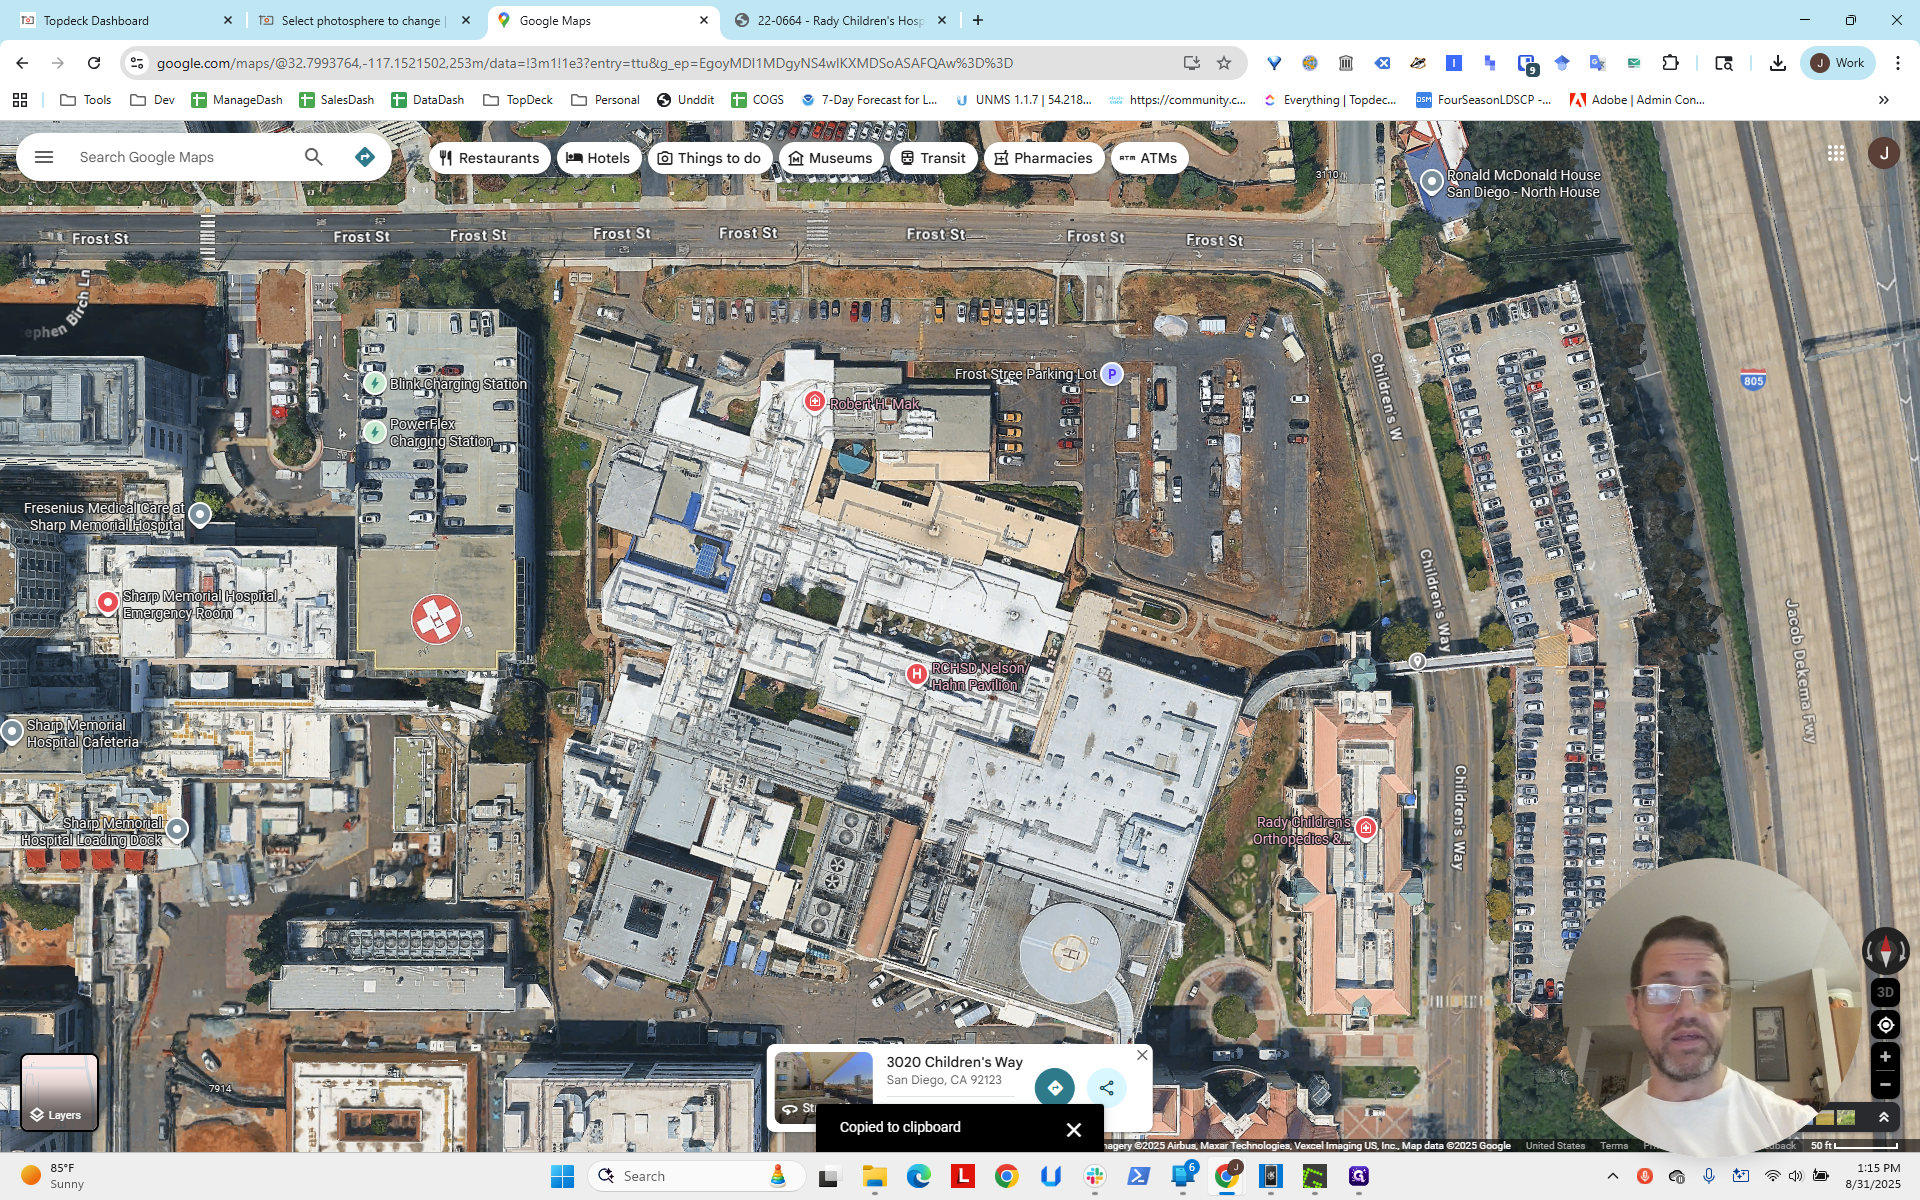
You can see the line extends outward, intersects the edge of this building, and then meets the end of the pink building near the bridge area.
That is essentially a line running across here.

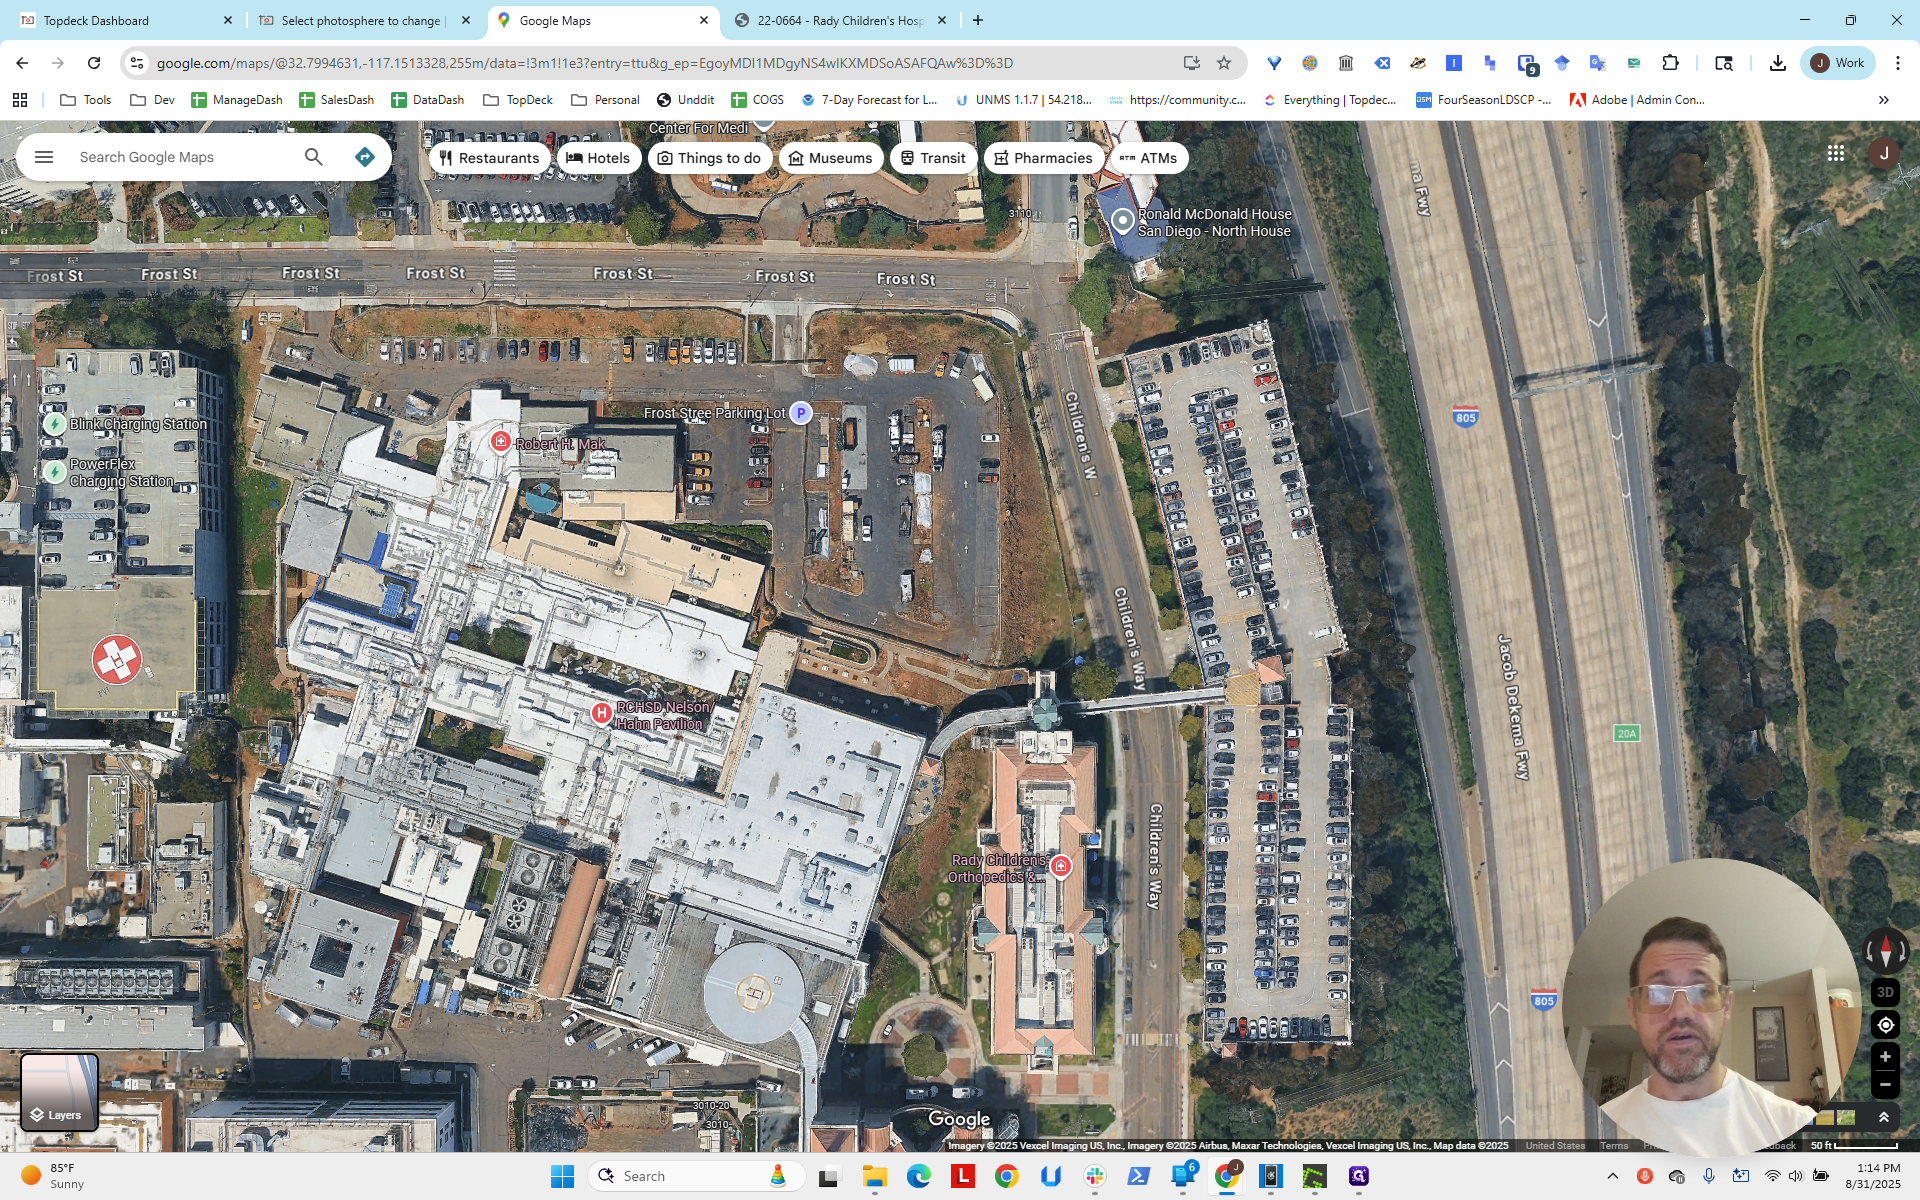
Oops. It intersects near this bridge, right here.
I'm going to right-click to see if I can get the point.
No, it only copied it.
Okay. Around there, something like that.
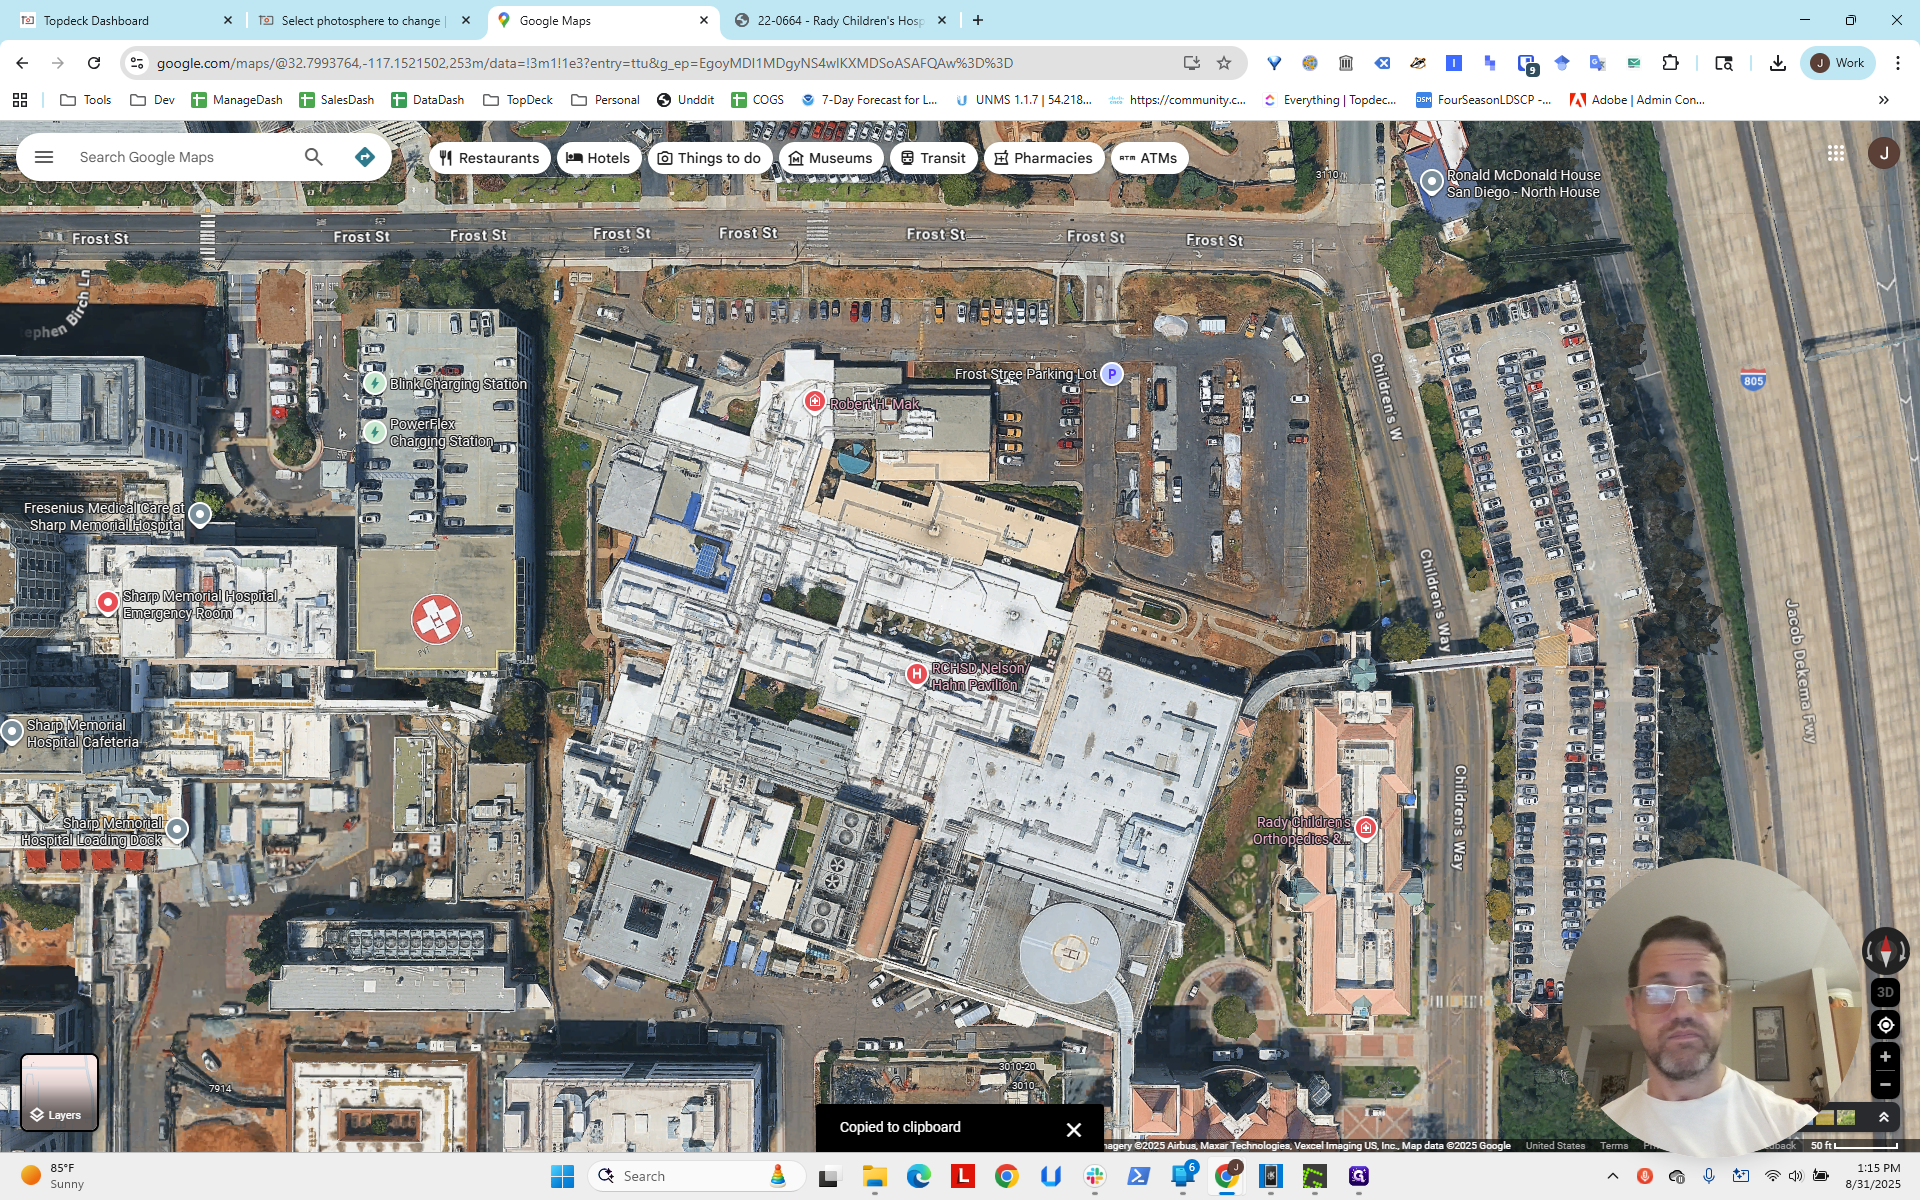
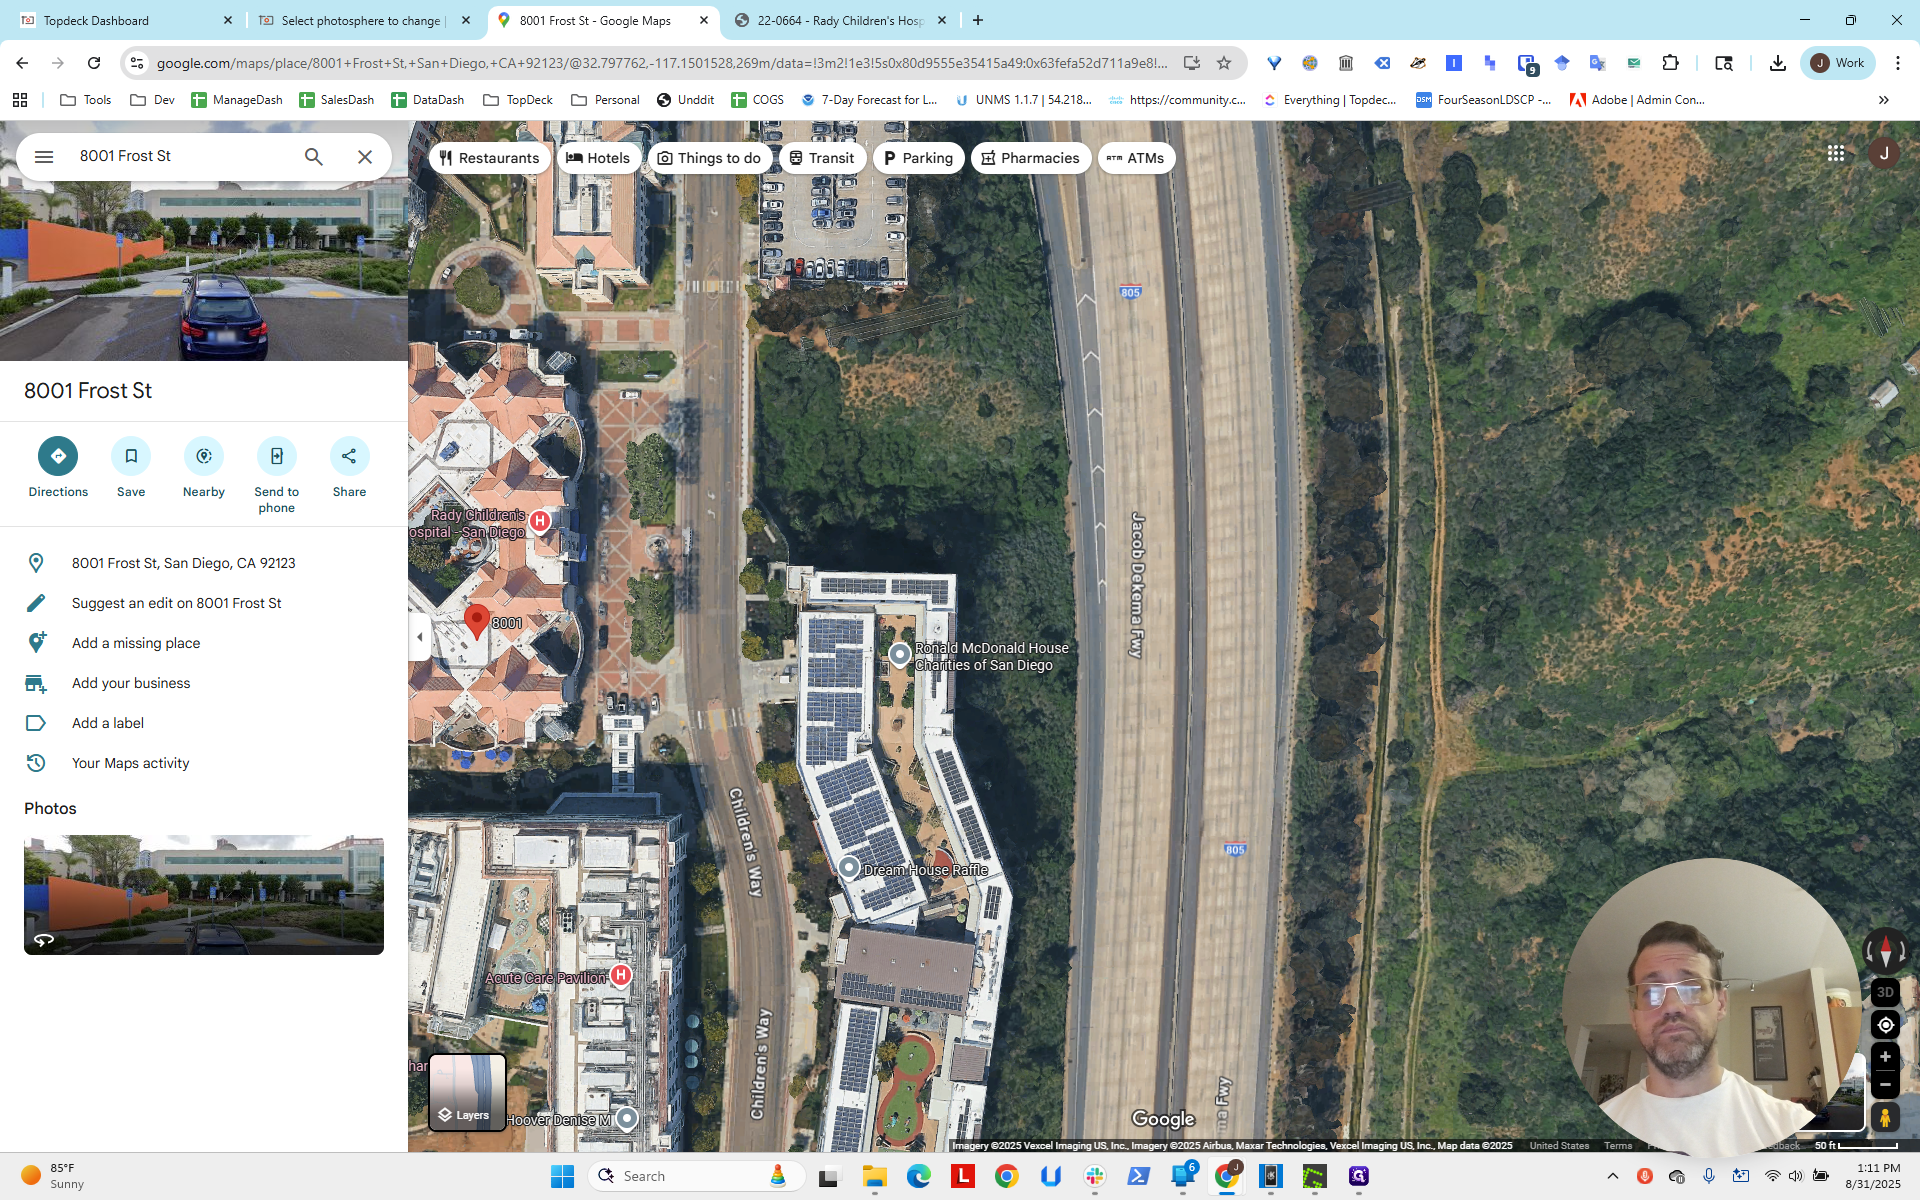
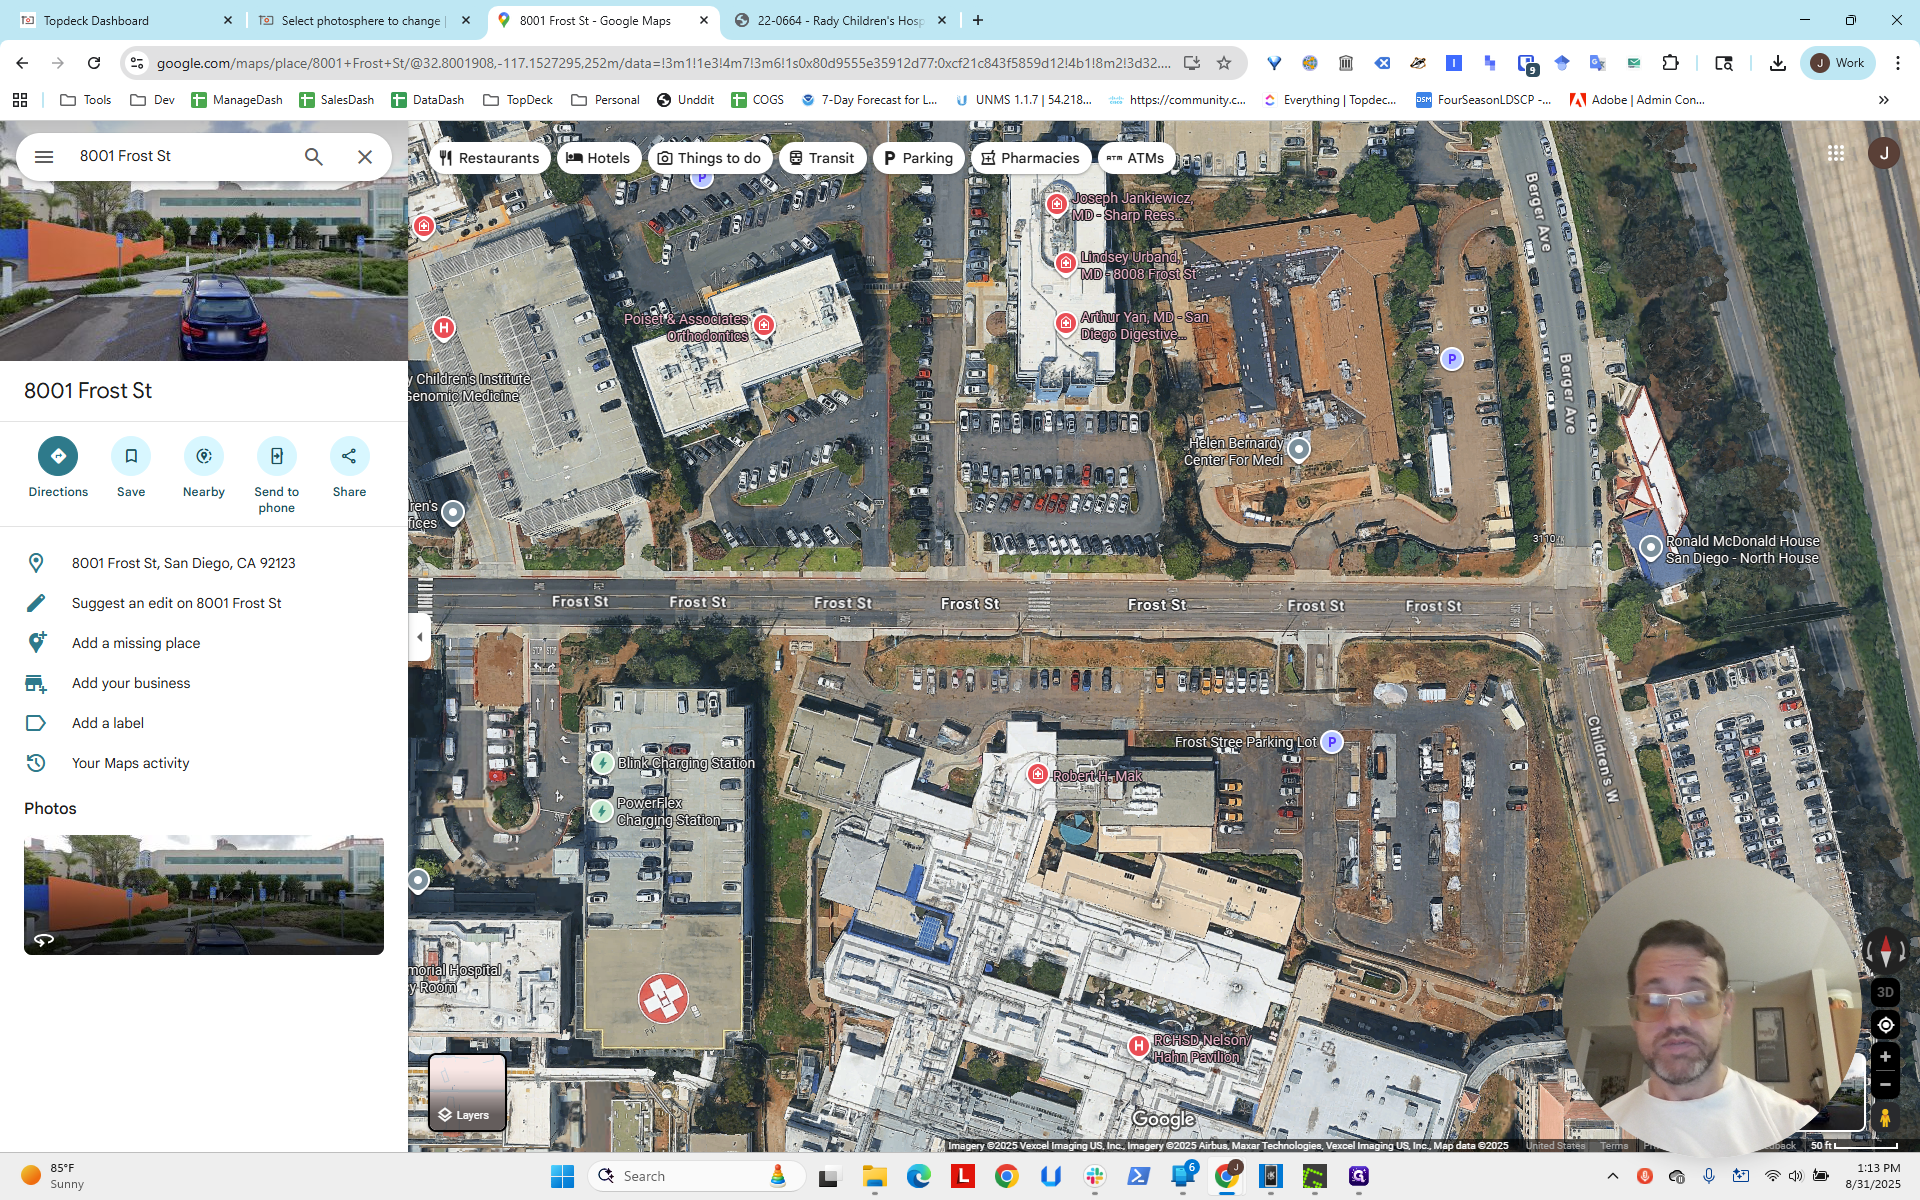
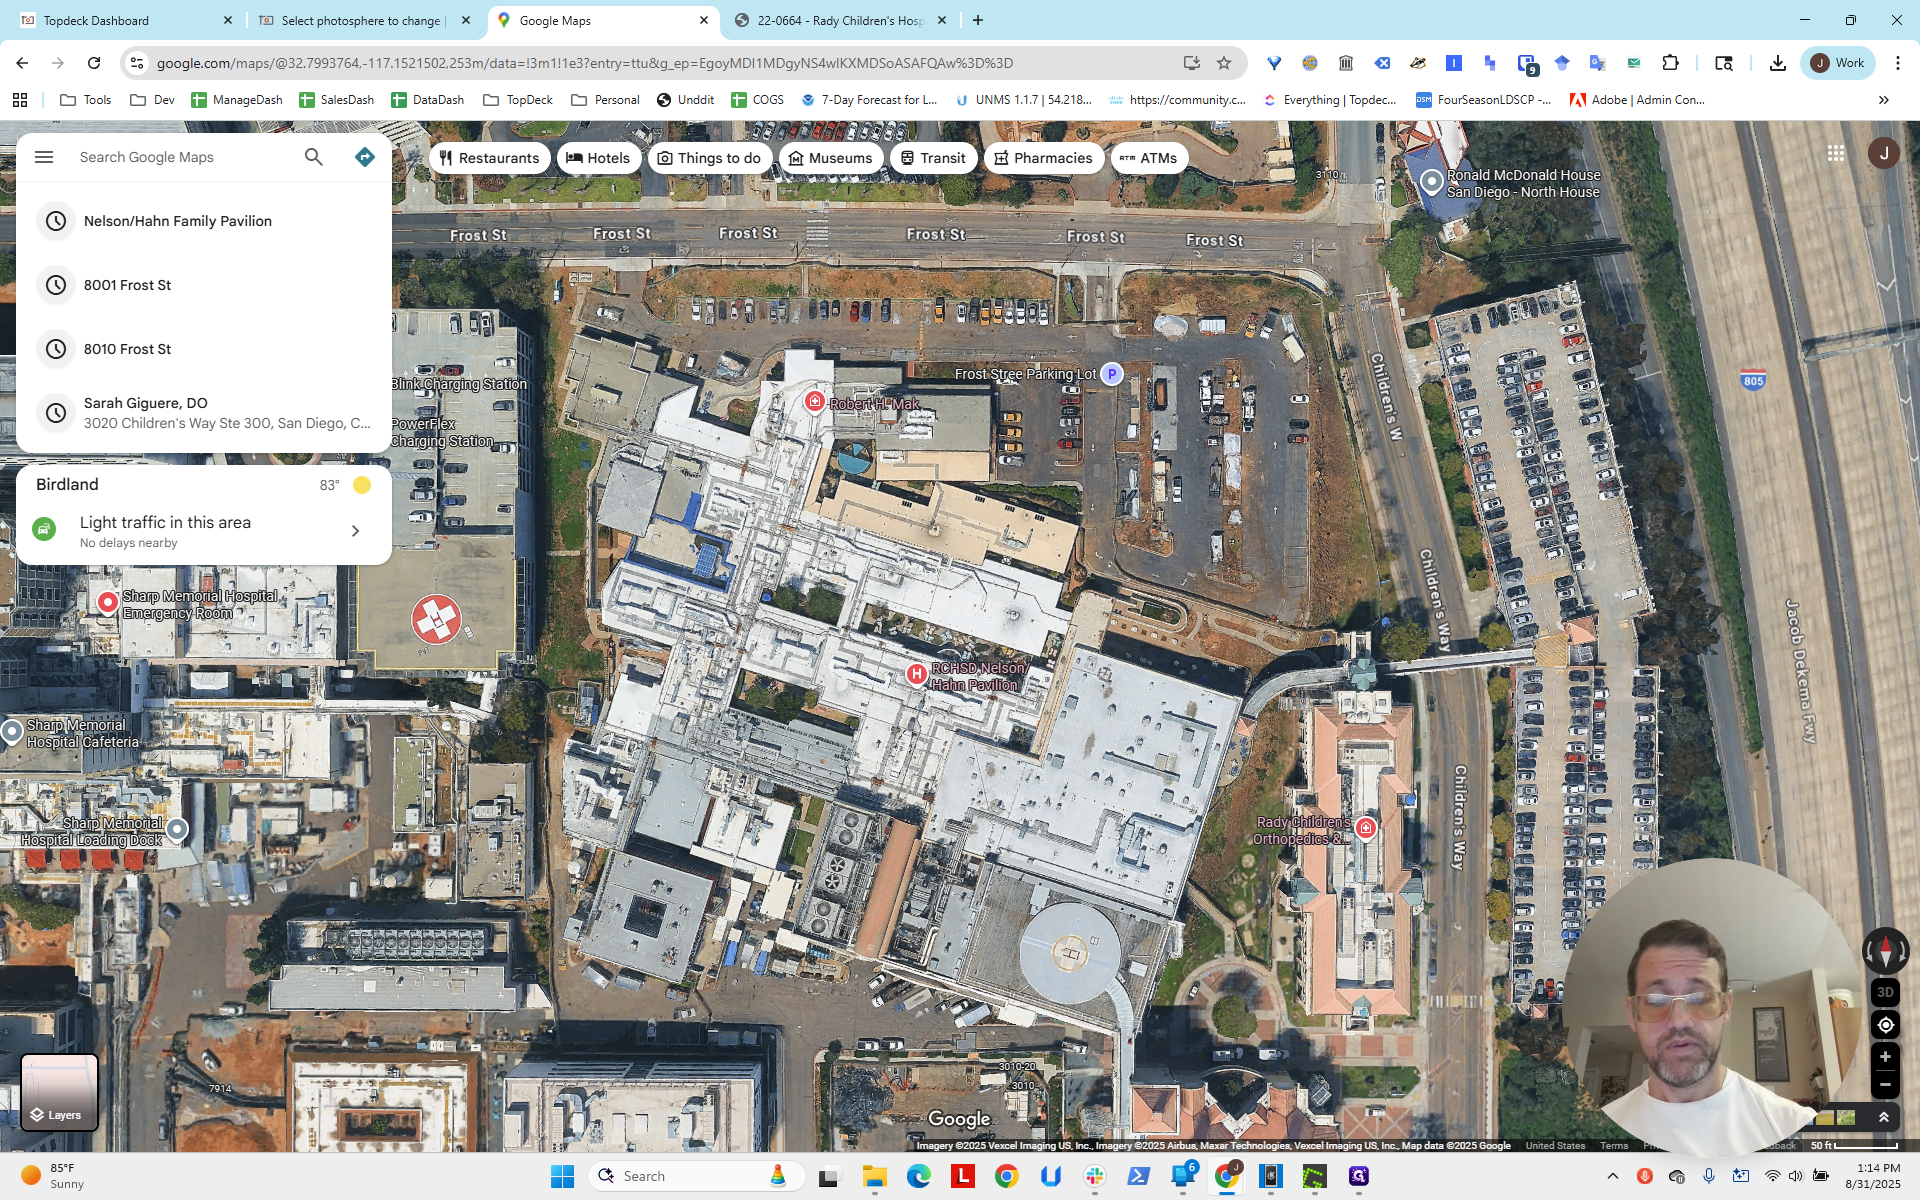
Between the two, we look at this bush up here and the line rolling. We estimate the intersection, which appears to be about here.

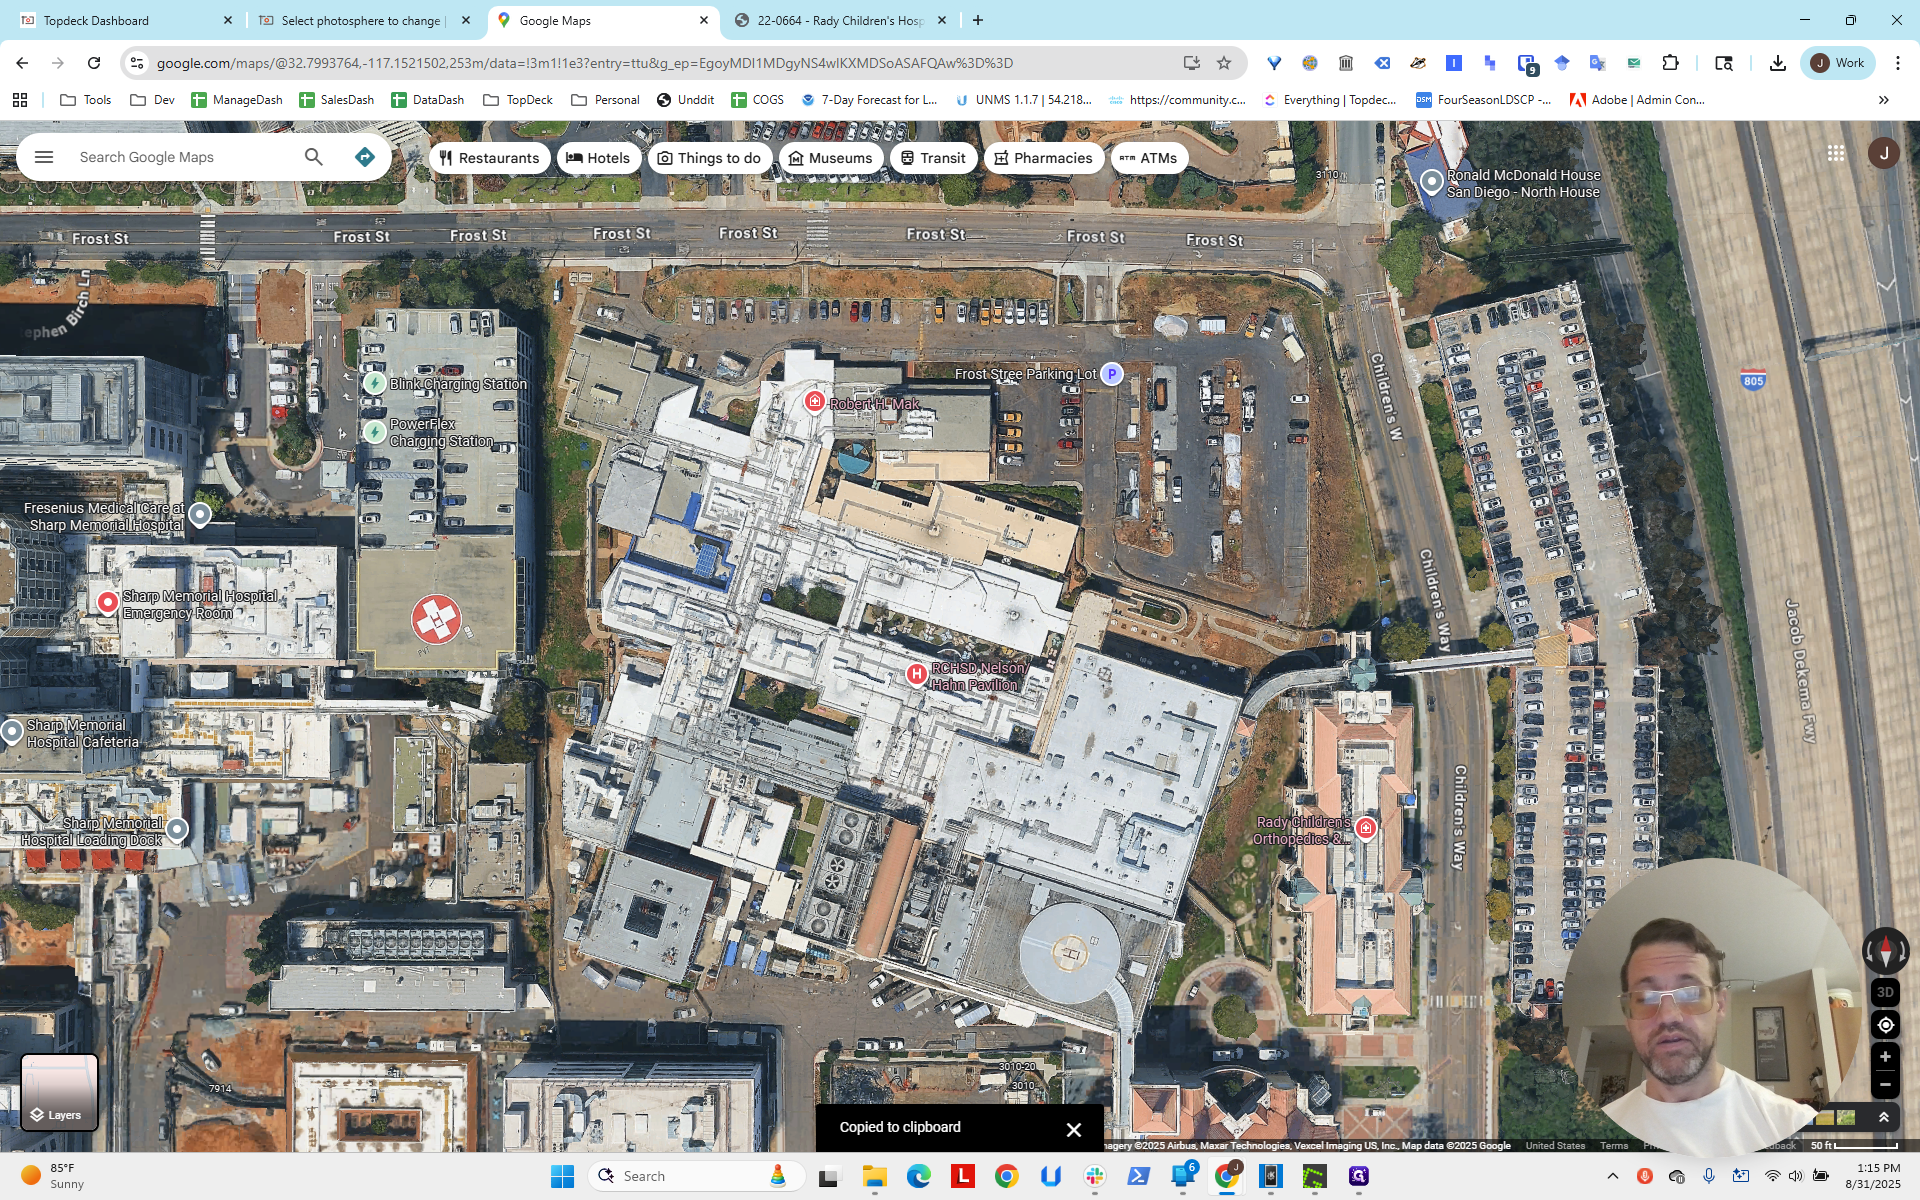
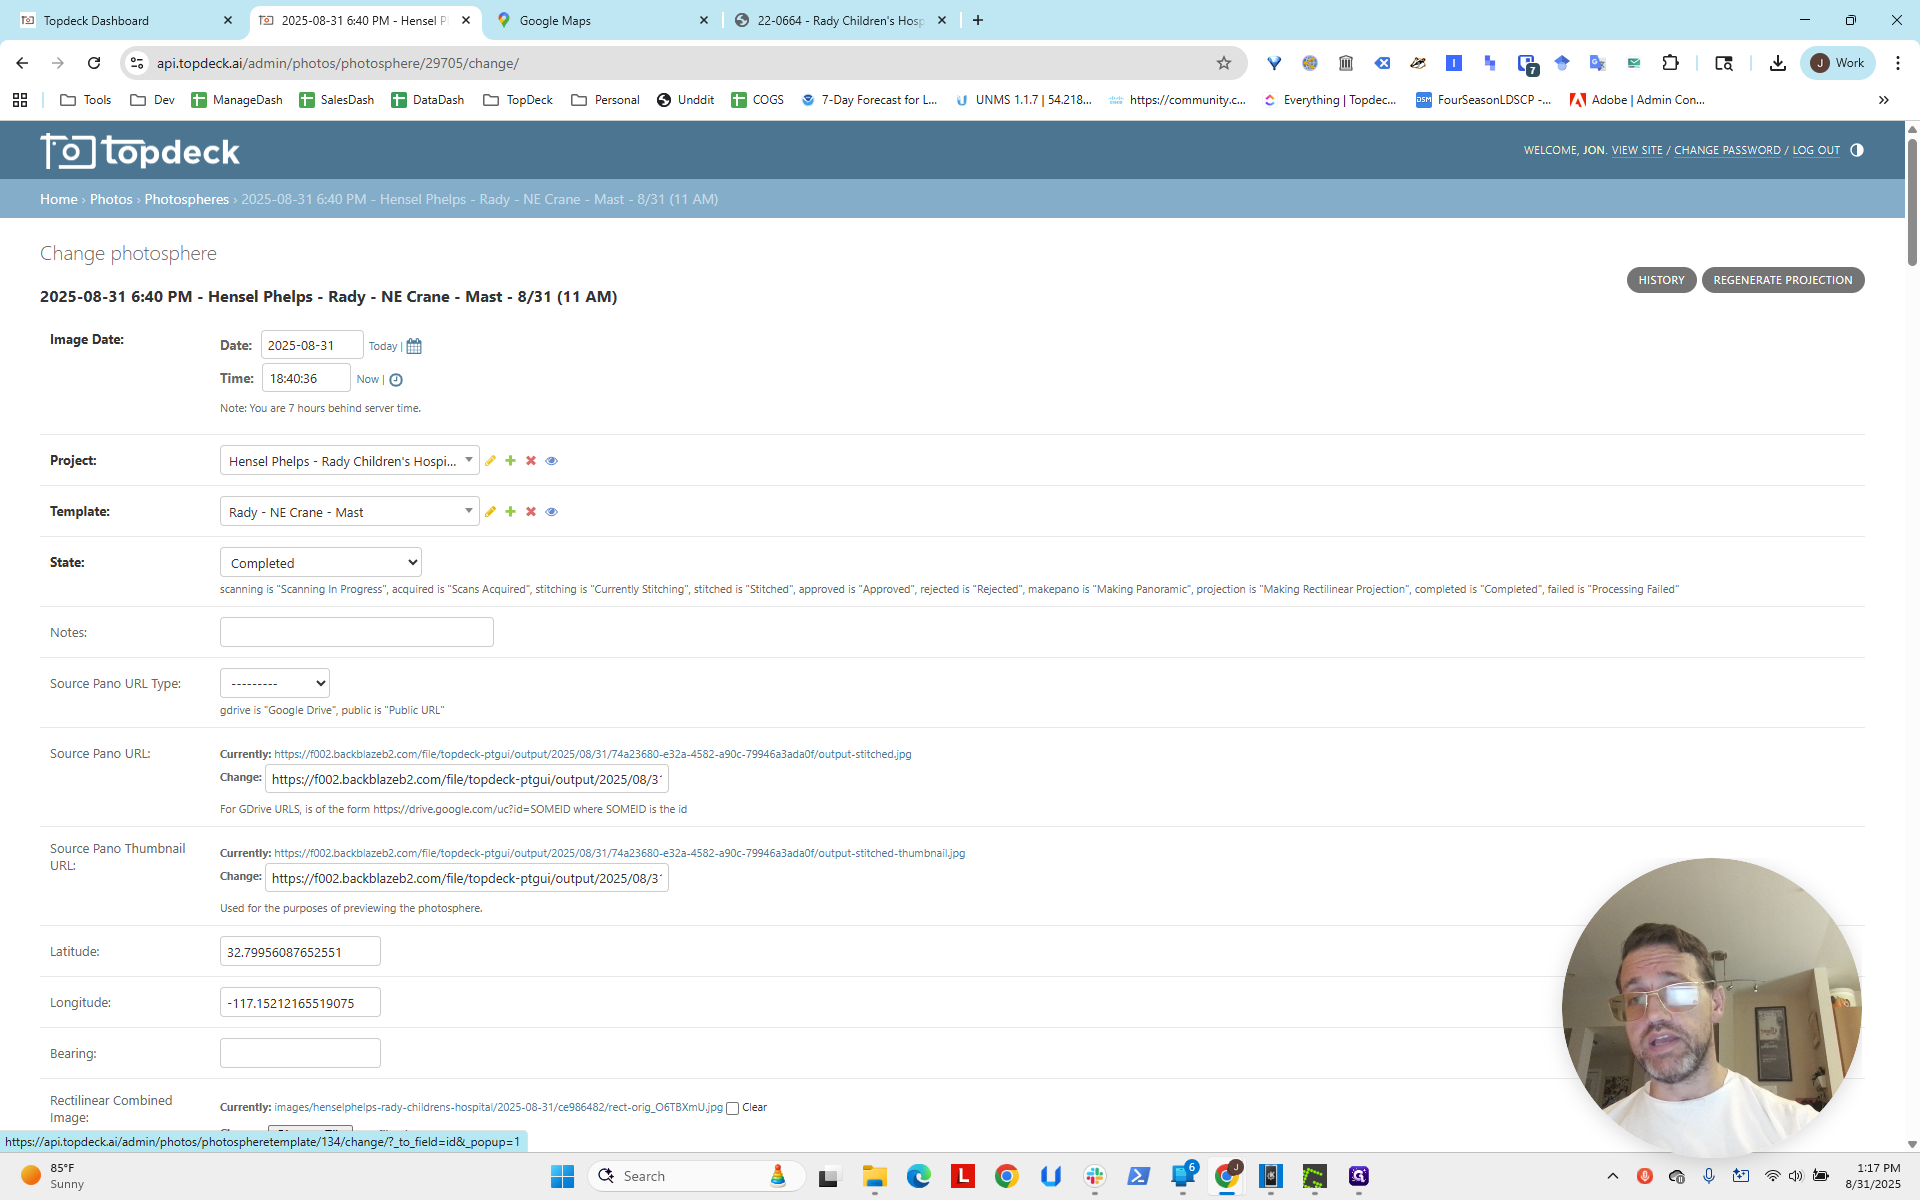
Right-click to get the latitude and longitude. Next, we go to the photosphere.
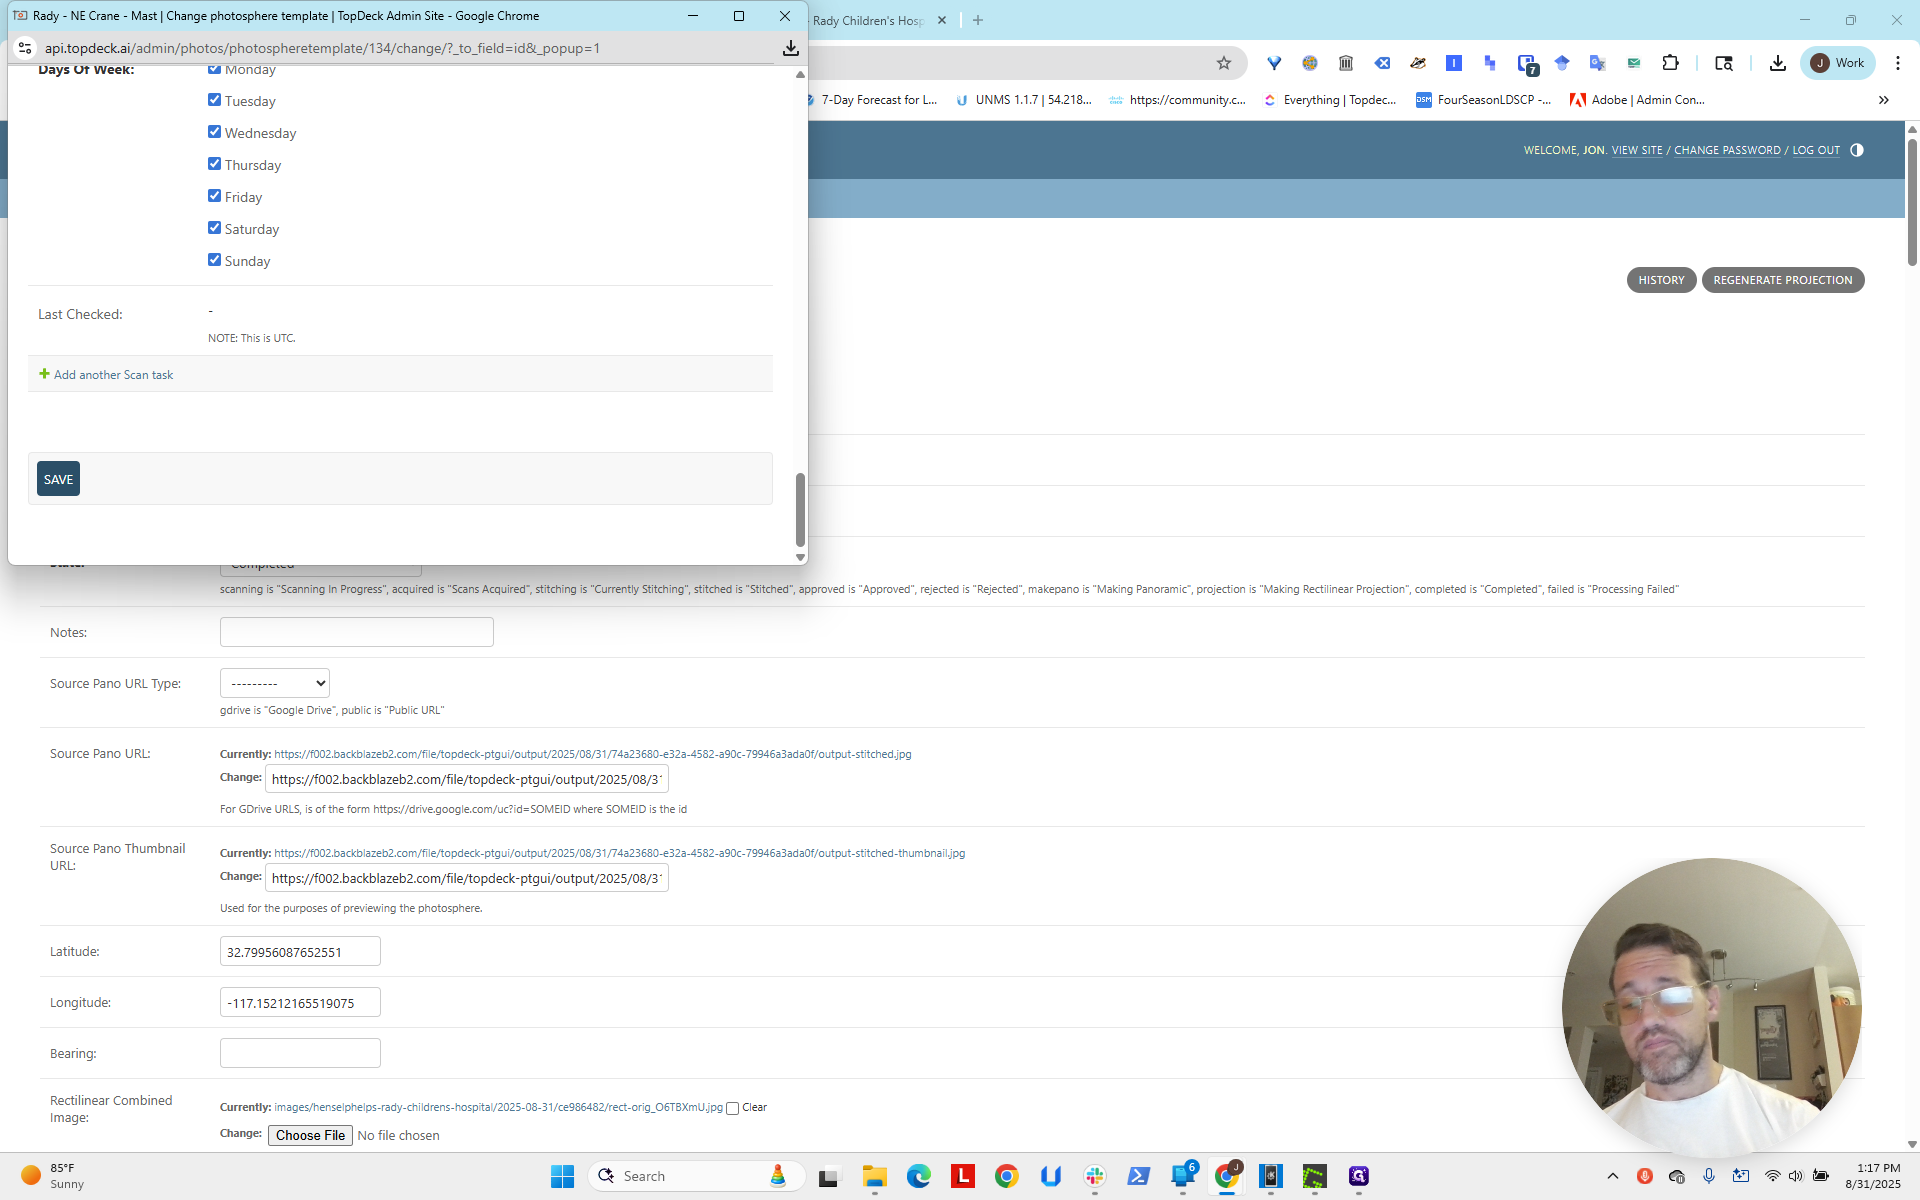
Here is the one on Northeast Crane Mast. We entered these values for the latitude.

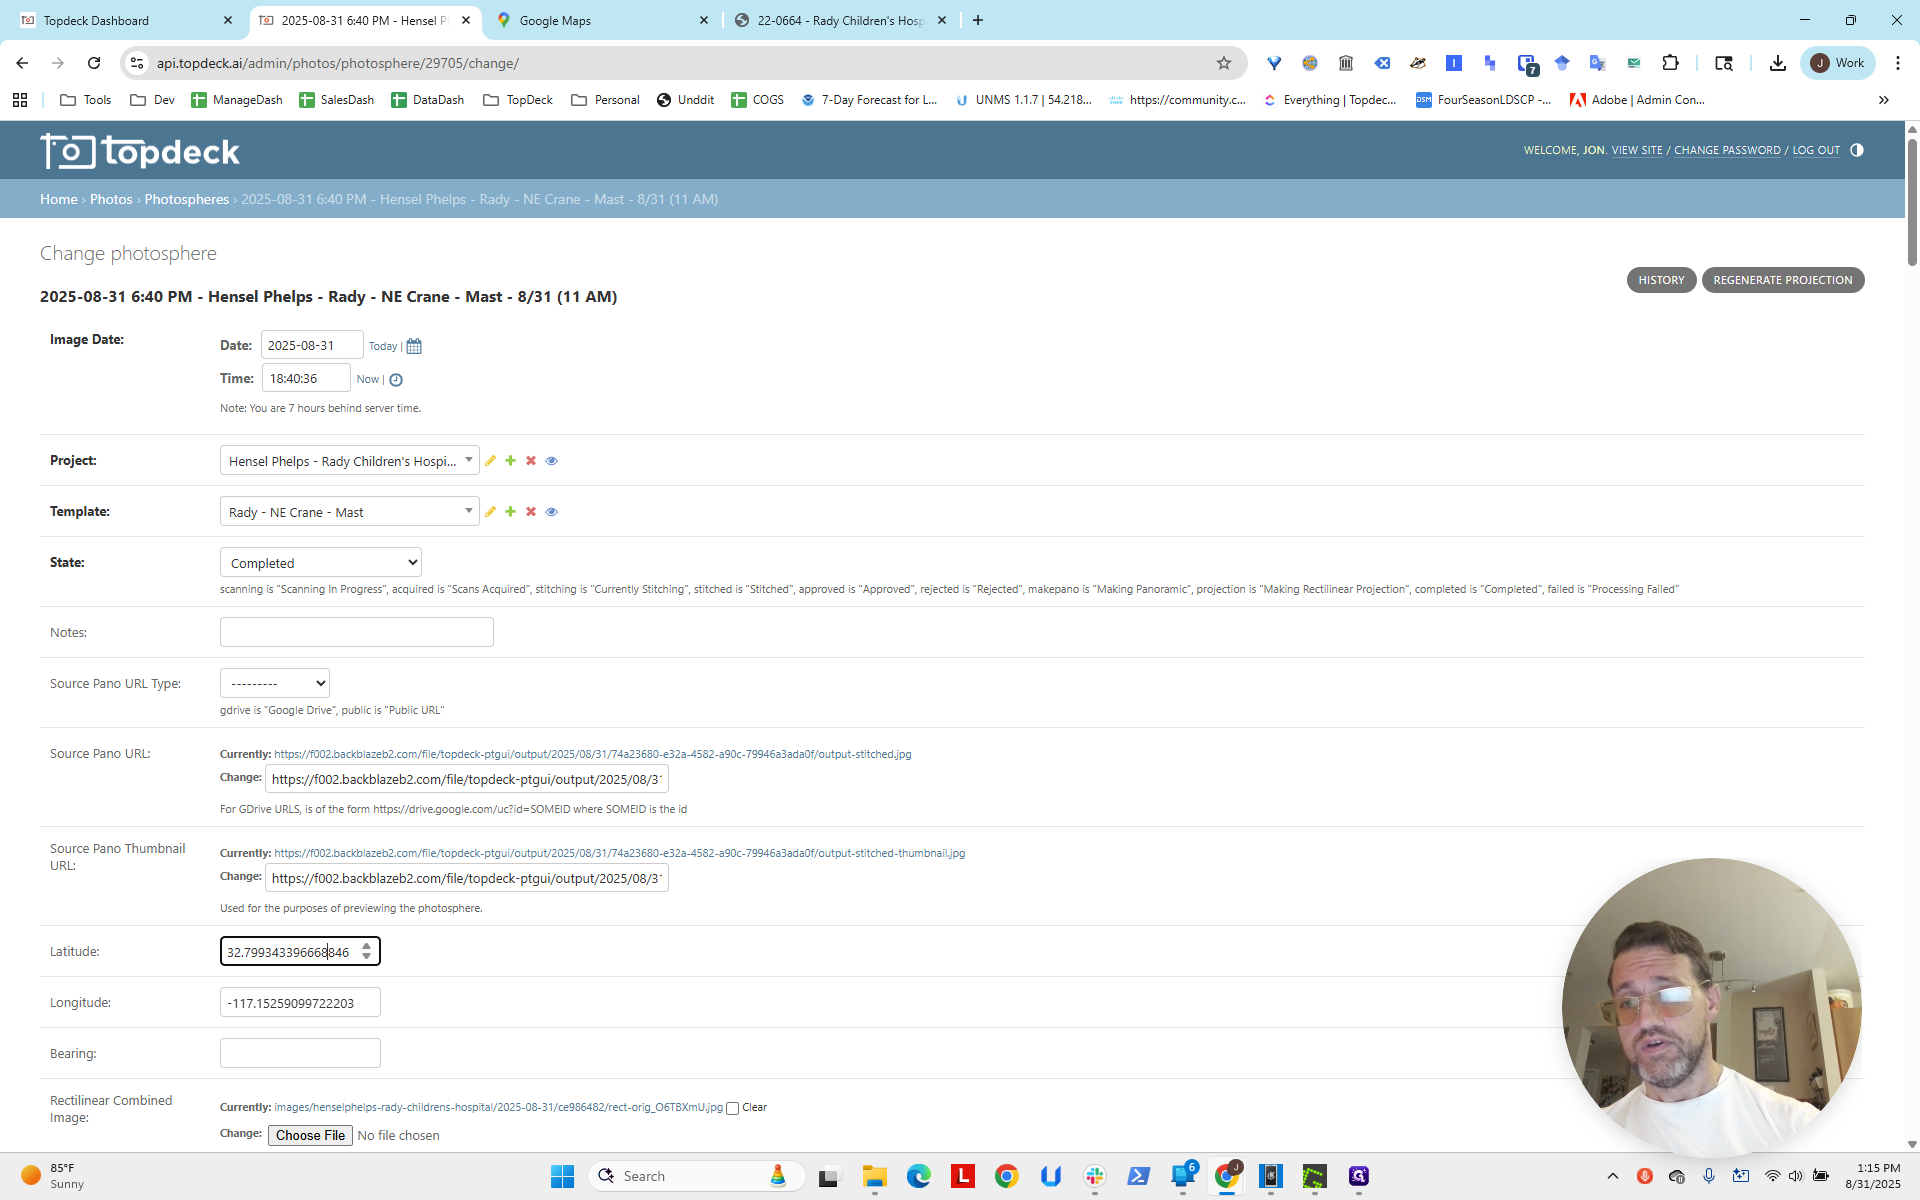
Copying and pasting will give you both items.
Just delete what you need, or the section that corresponds to latitude.
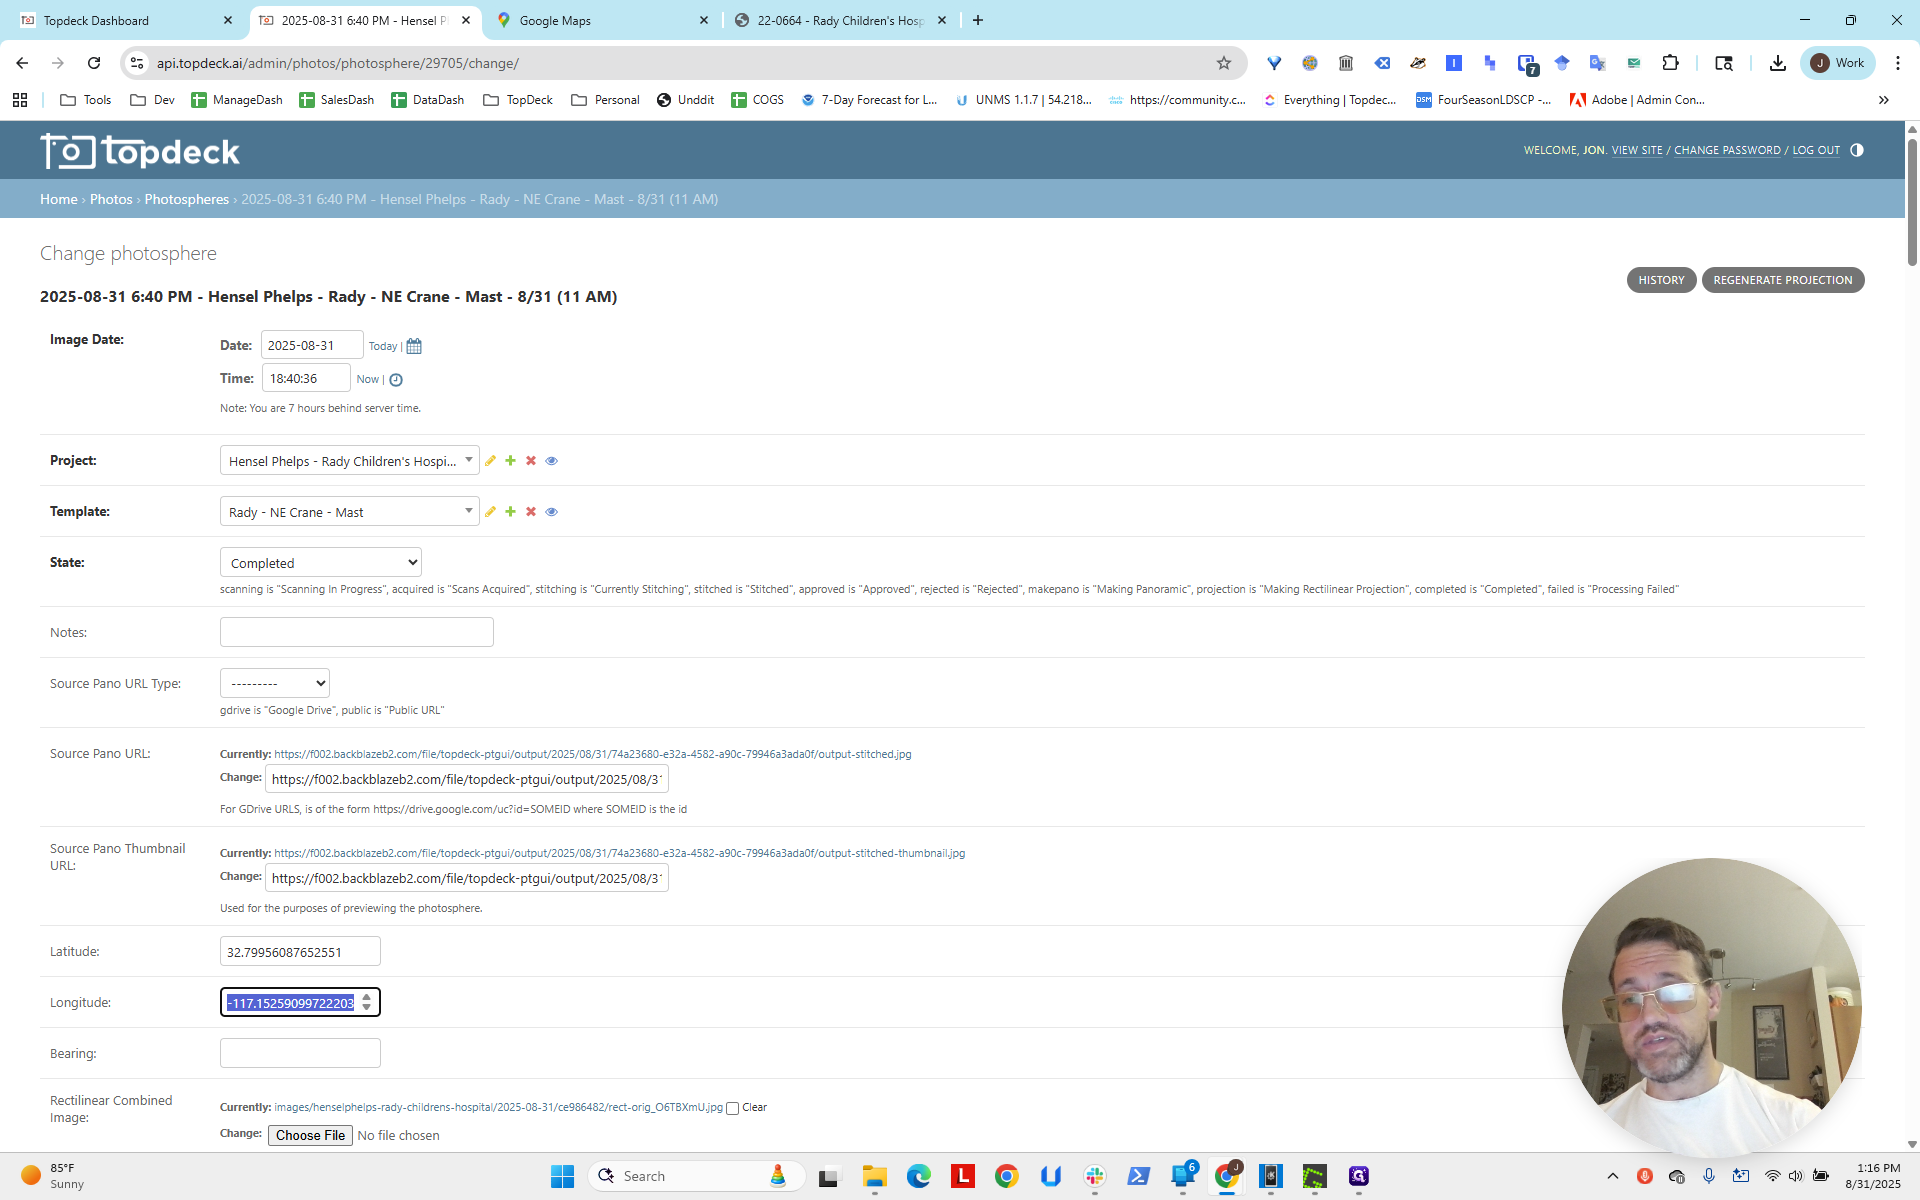
Longitude in the western hemisphere is represented as a negative value. Here, for some reason, the dots are missing. Add the dot at -117, then click save.
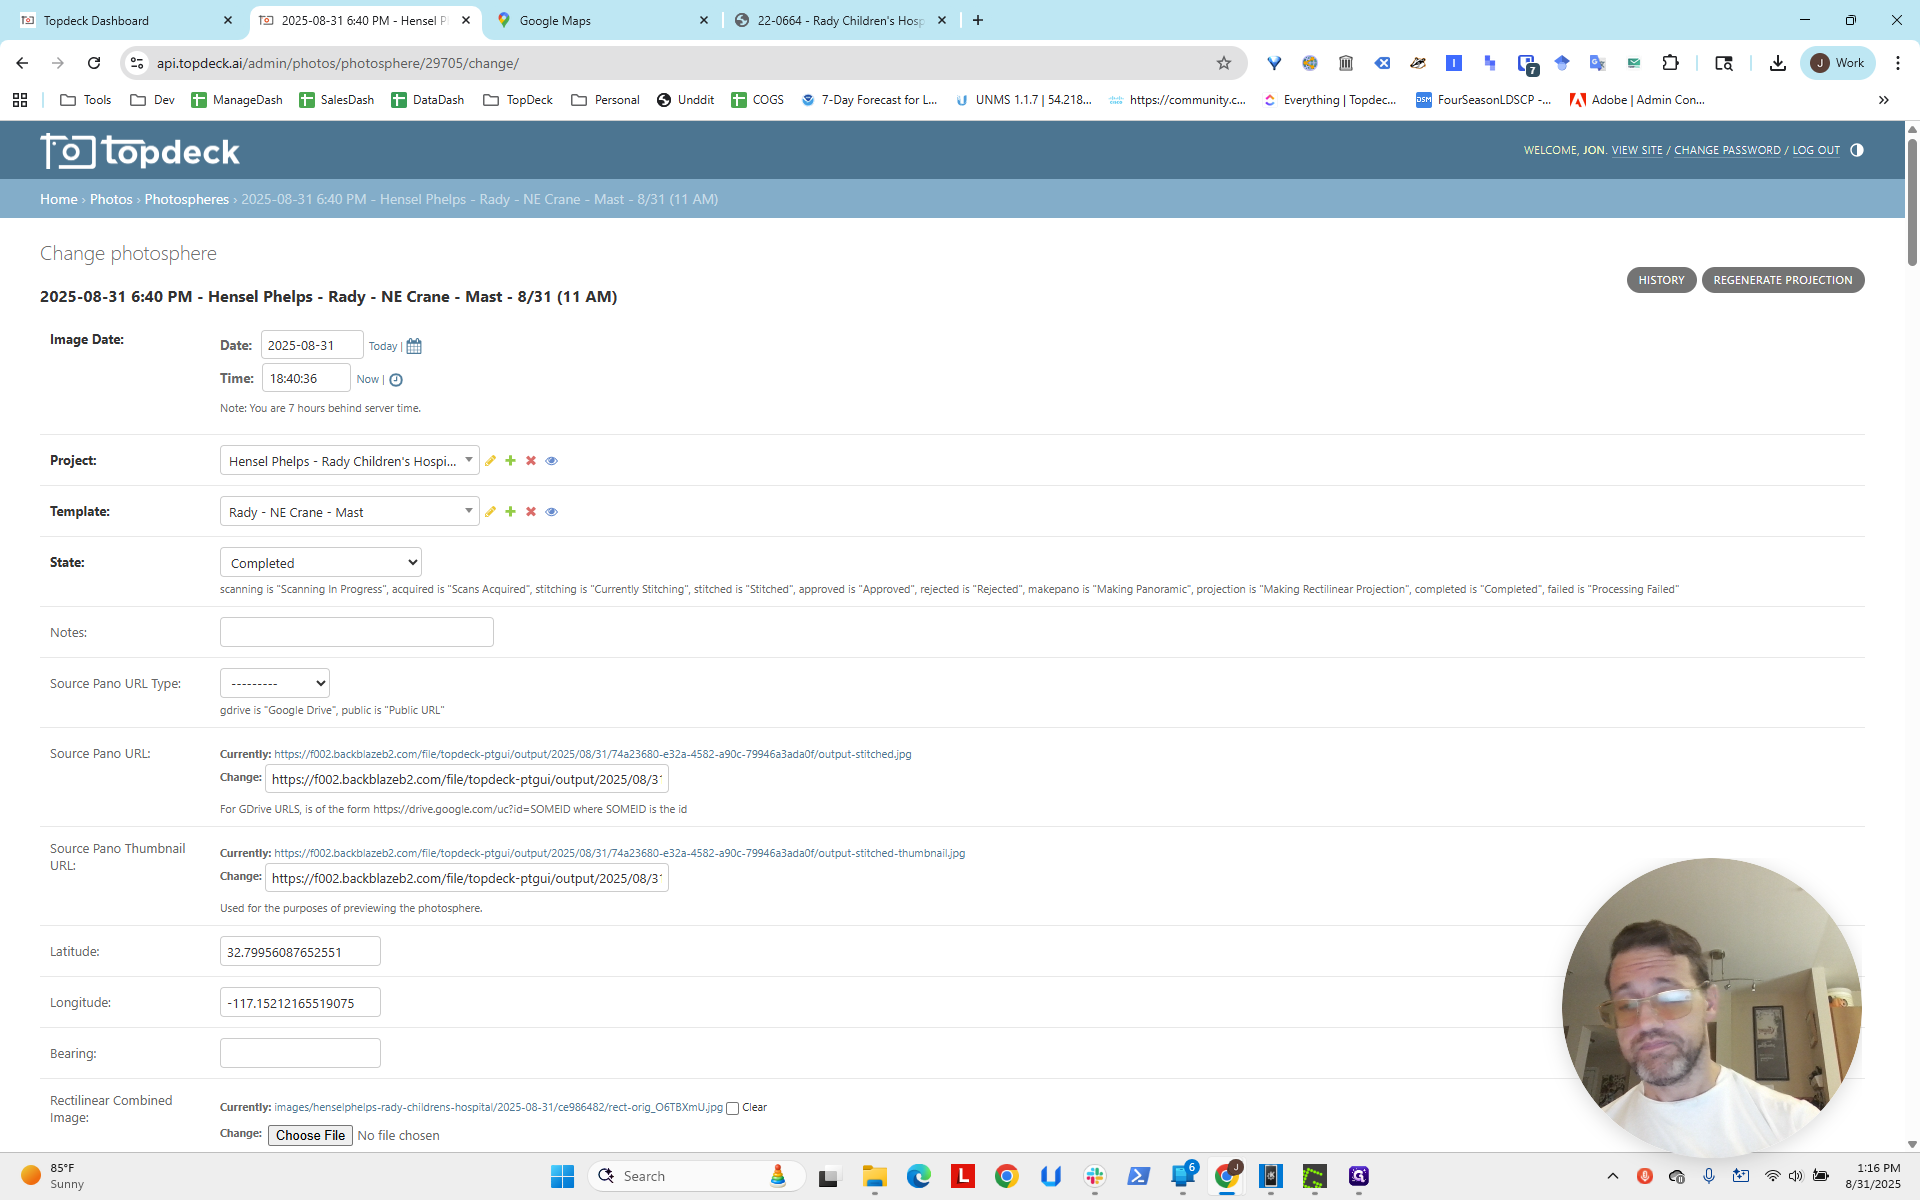
Remember, this is the photosphere, not the template, because now we can reload the photosphere. You can see that we now have an area that has moved on the map to that location.

We will make another video to correct and add the next camera, and also to fix the angle that is off.

This is the bearing. You can see that it should be rotated more, almost towards three o'clock on a clock, if you imagine 12:00 as north. This is the method you can use to get the longitude and latitude. Now, we want to update this on the actual template, not just in the photosphere.

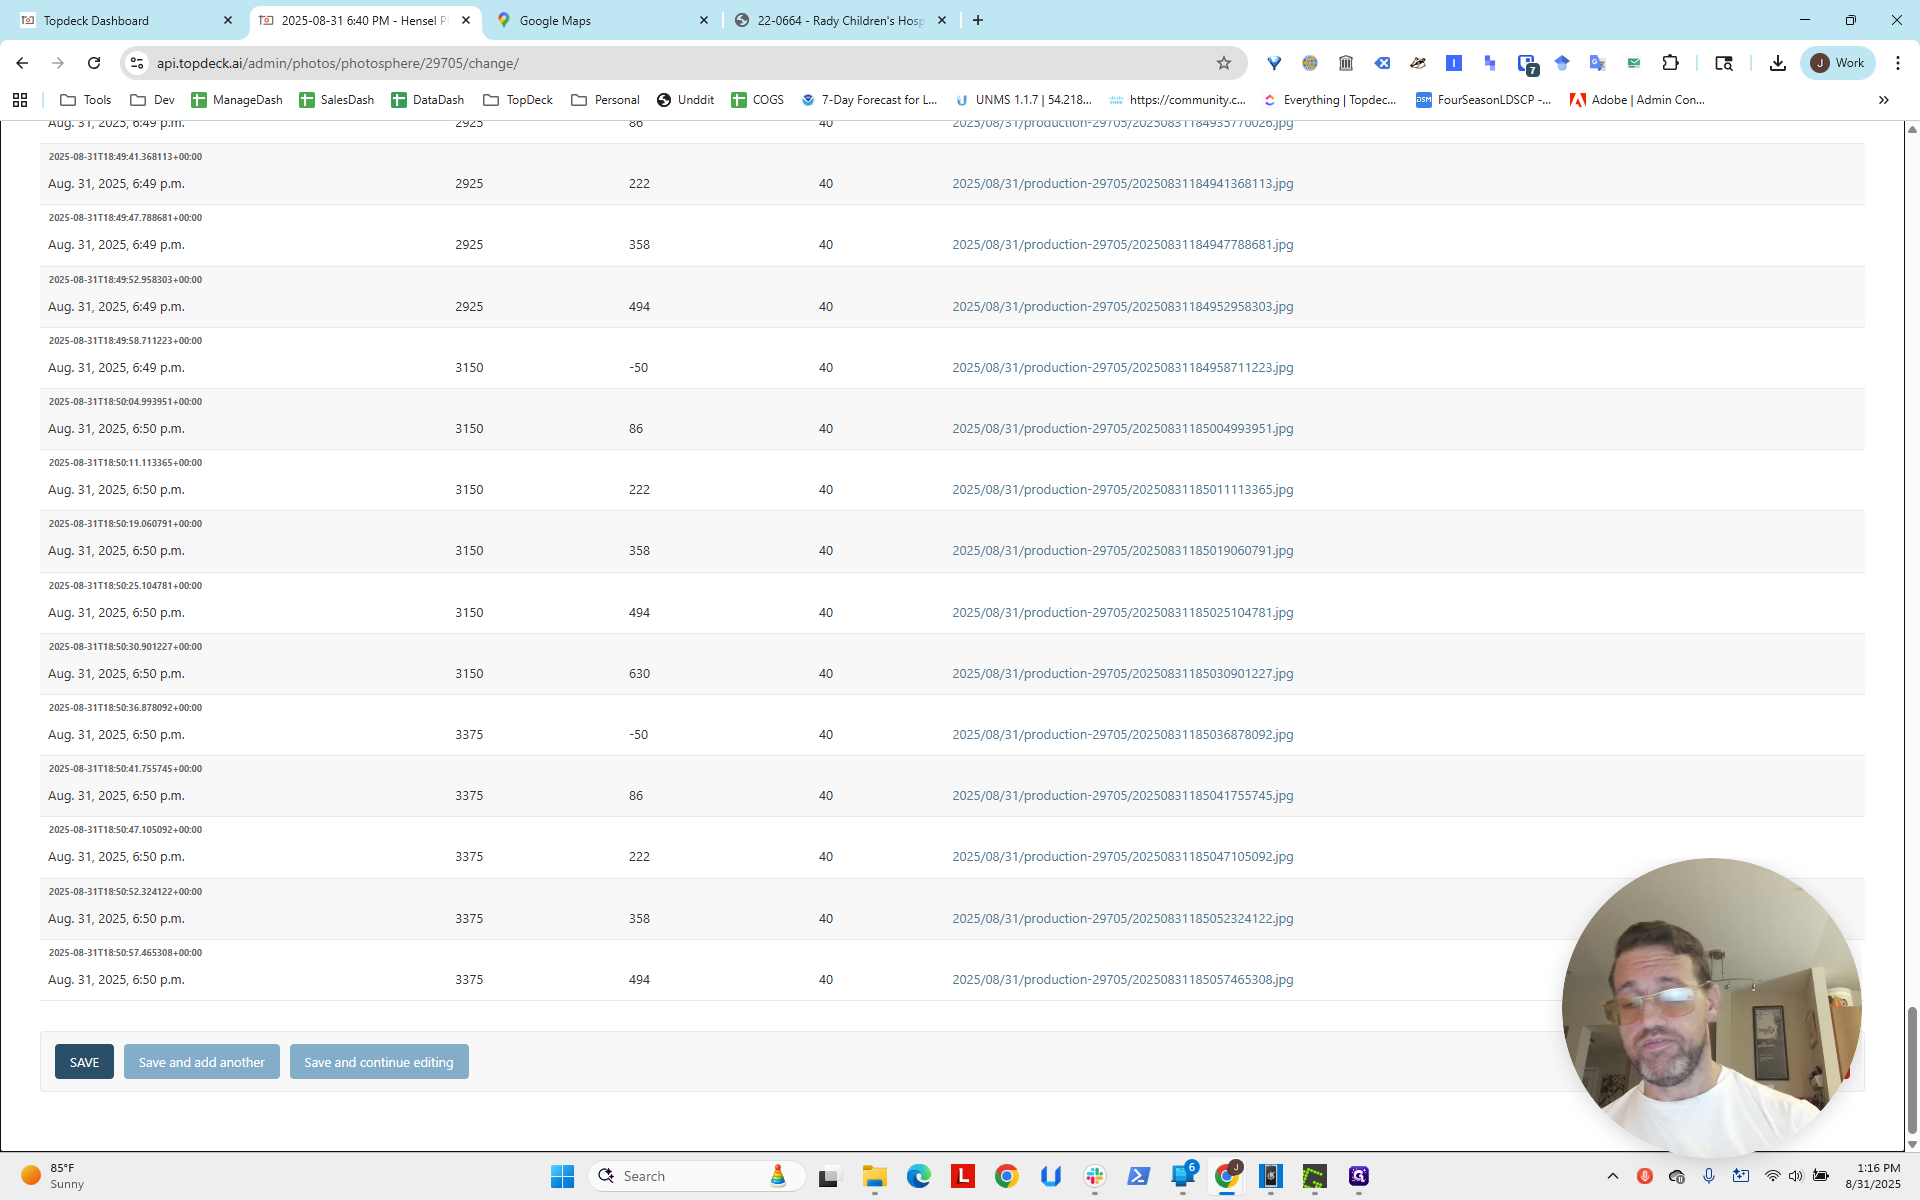
We do this by viewing the template, clicking "Change," then scrolling down and adjusting the latitude and longitude.
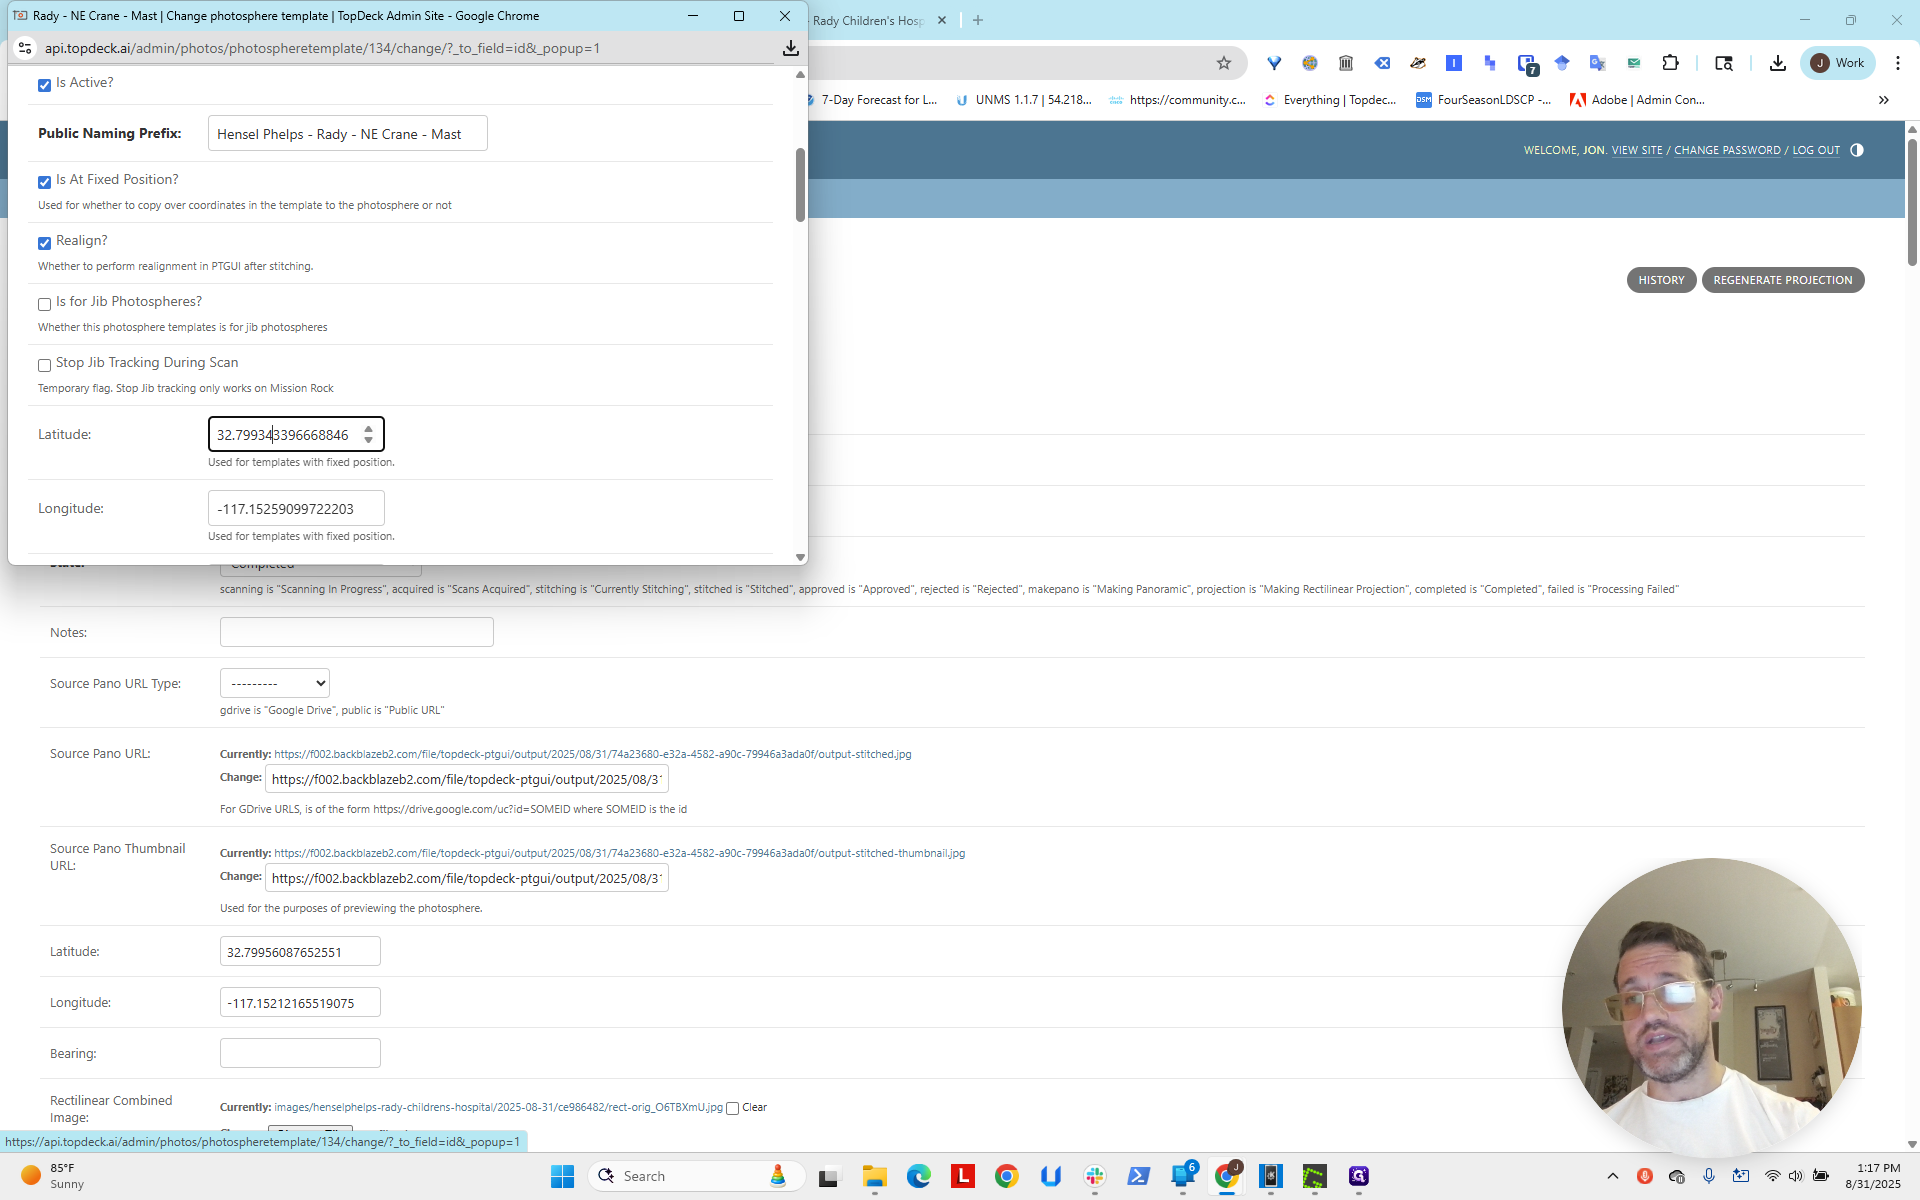
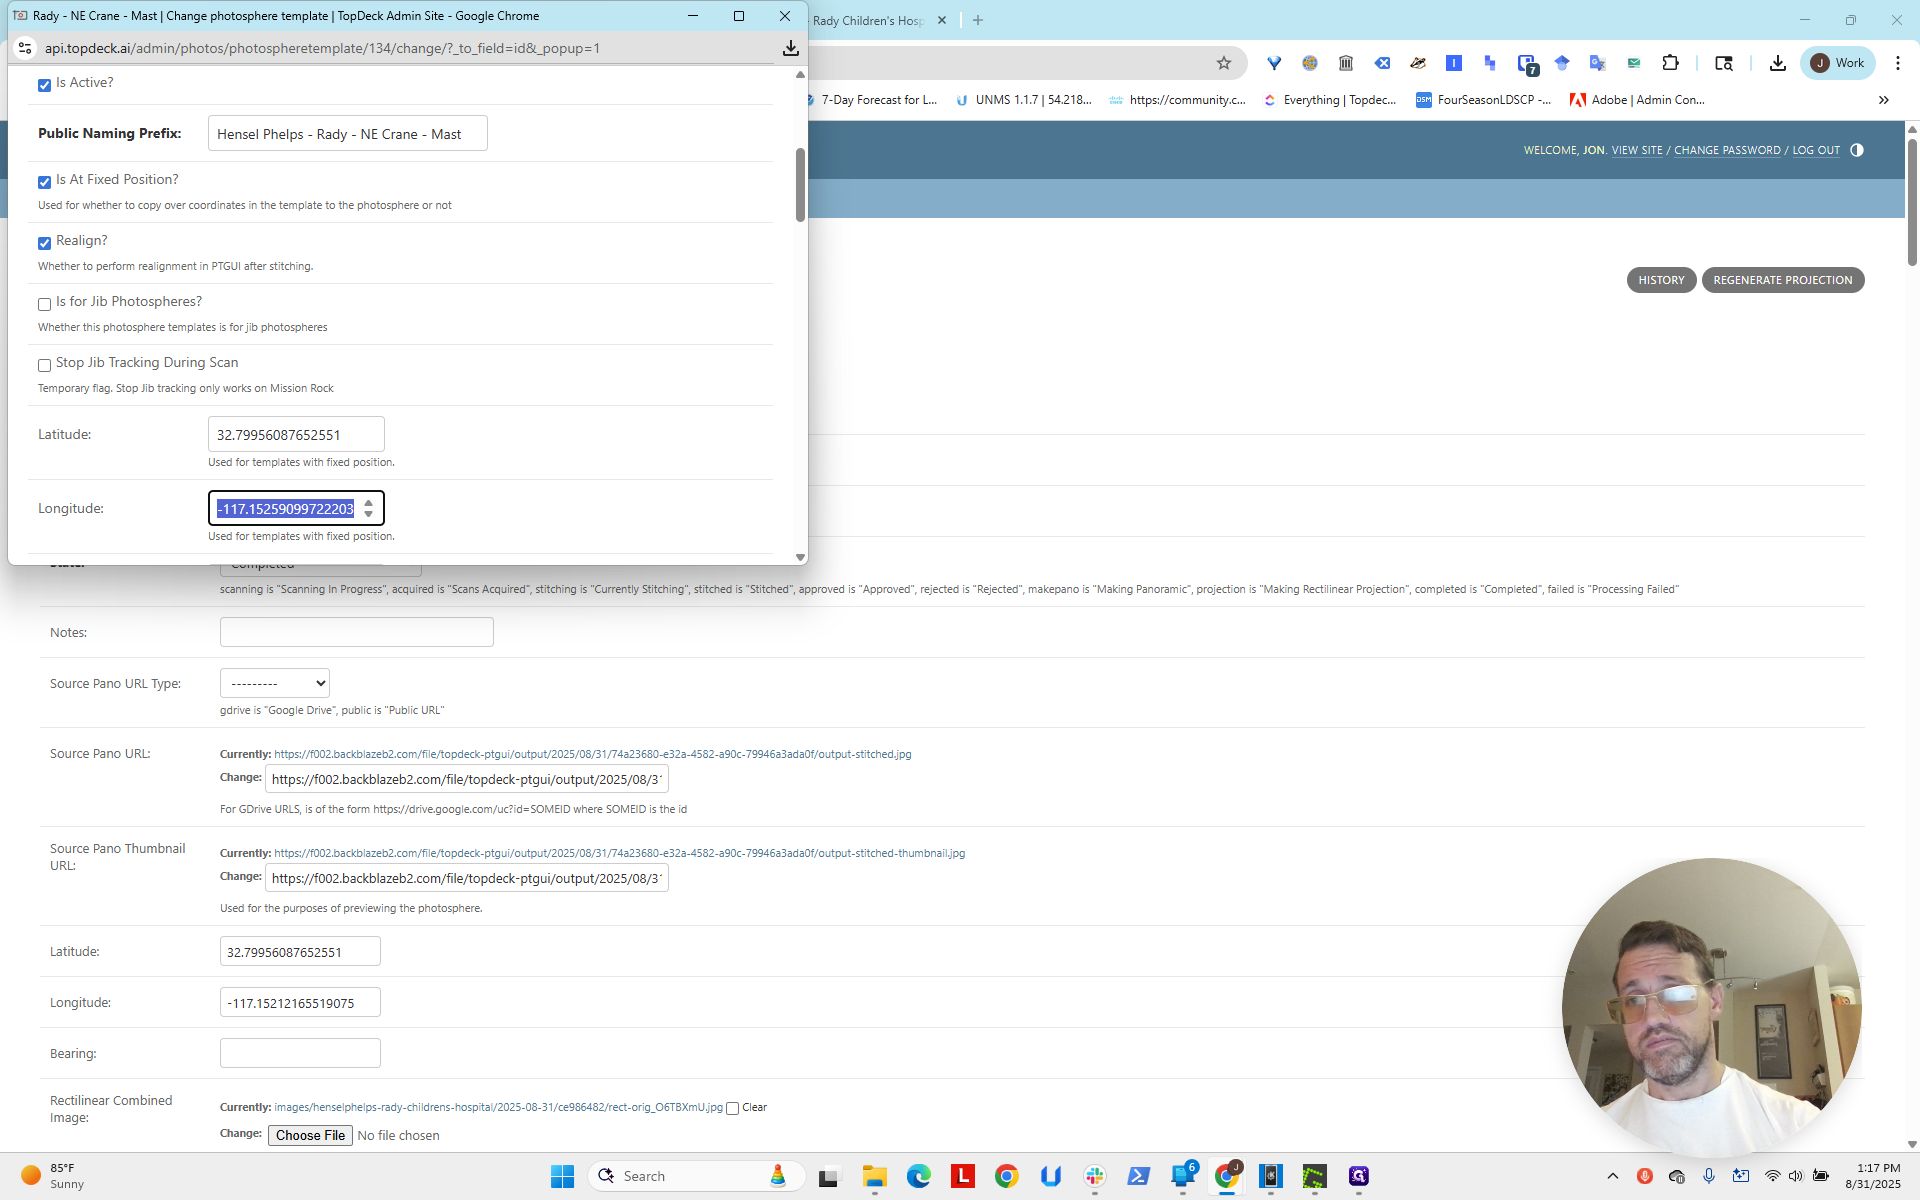
Scroll down to the bottom and click Save.
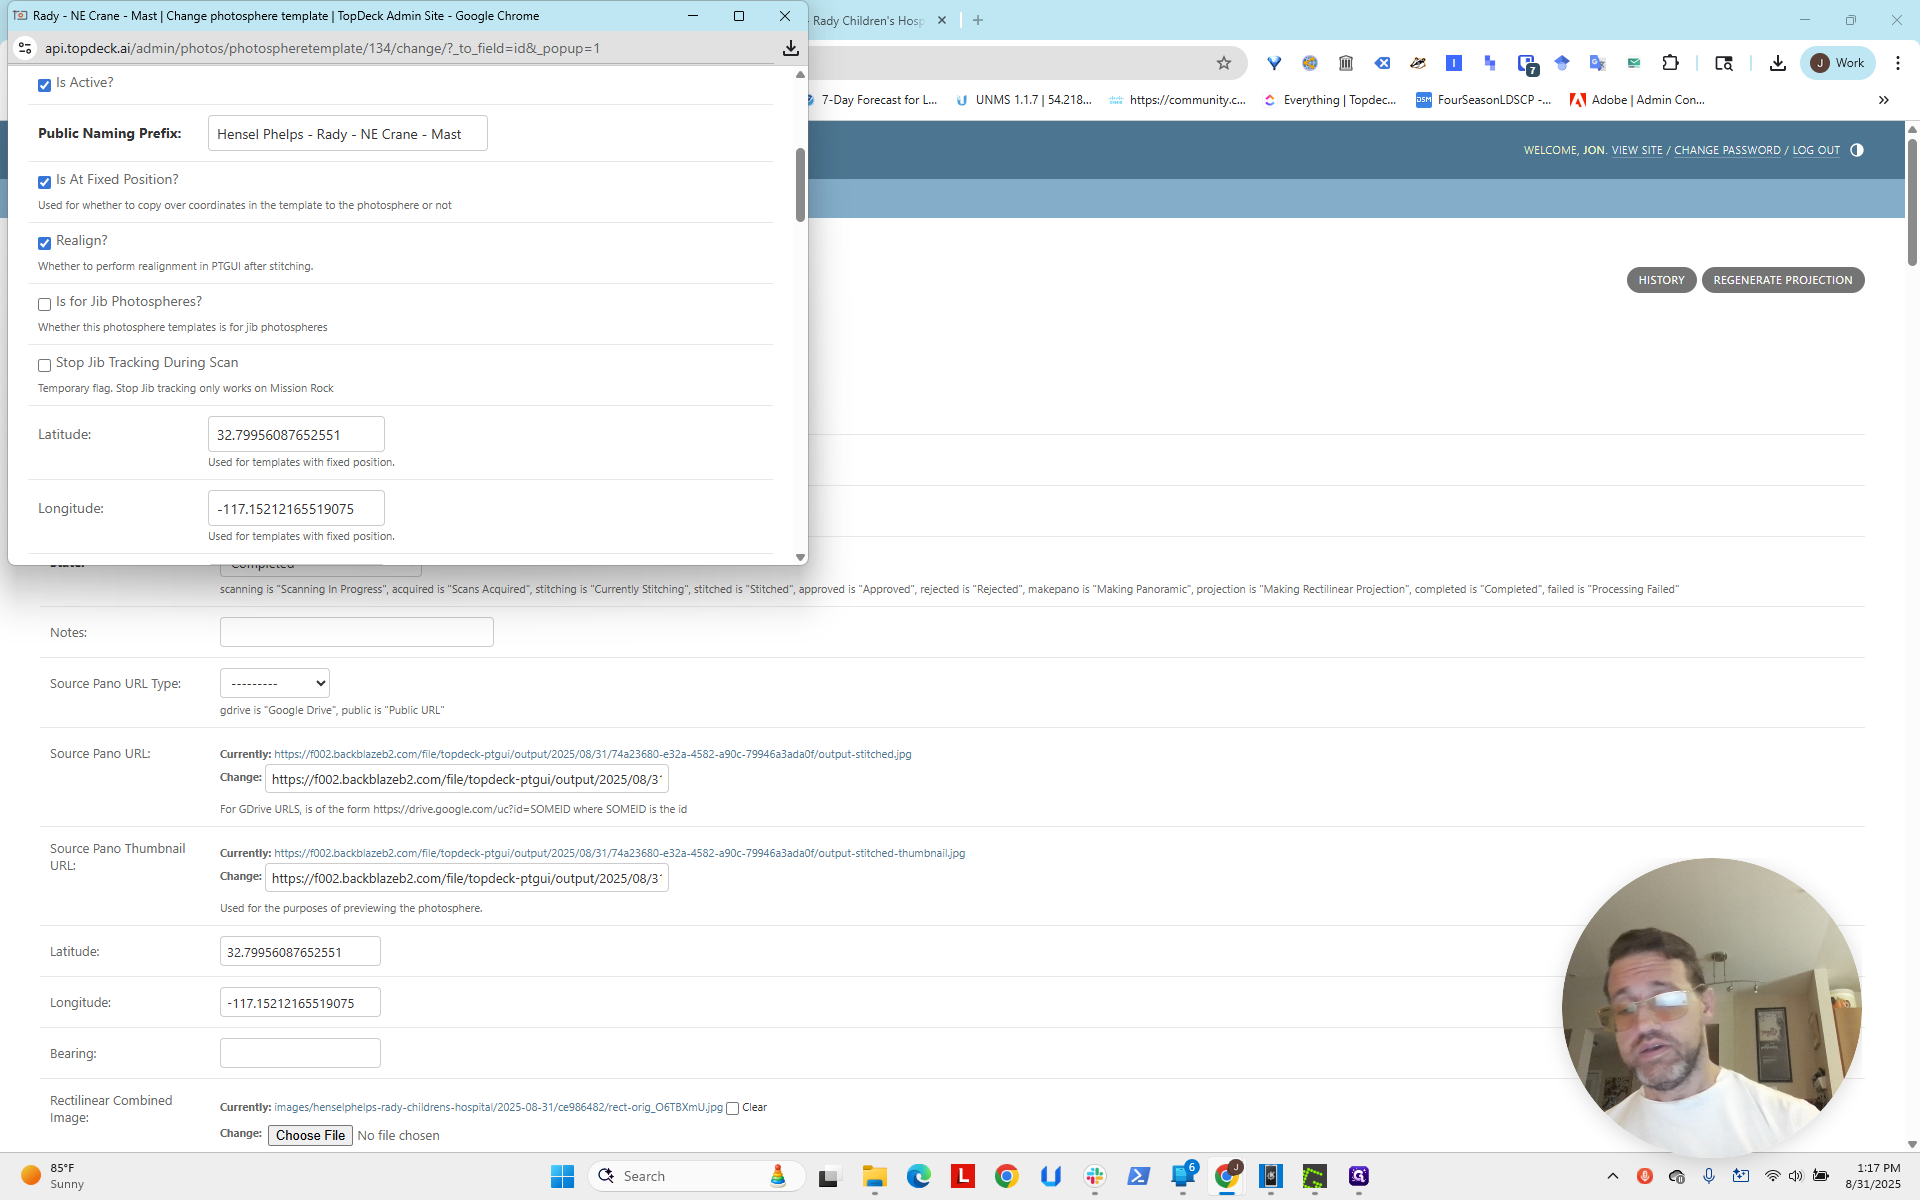
That's it.
All future photospheres will now have that automatically added.
Next, add the other one in the correct location. Then, fix the heading and bearing for each. Update the map so it is centered, includes both, and is zoomed in for the best view. Okay? Alright.