
How to Use HubSpot Meet and Schedule: A Step-by-Step Guide
Learn how to use HubSpot Meet and Schedule to connect your Outlook calendar, prevent double-booking, and streamline meeting bookings. This guide covers setup, calendar syncing, and tips for maximizing your HubSpot CRM efficiency.
In this guide, we'll learn how to use HubSpot Meet and Schedule to connect your calendar, manage your availability, and make it easier for others to book meetings with you. We'll cover how to link your Outlook calendar, adjust your settings, and ensure your meetings are logged in HubSpot. This process helps reduce scheduling conflicts and keeps your CRM organized.
Let's get started
Okay. Welcome to this quick walkthrough. I will show you how to use HubSpot Meet and Schedule, connect your calendar, and ensure you have Hello Calendar access. The Meet and Schedule feature is one of the easiest ways to let customers and leads book time with you without the back-and-forth emails. It automatically checks your Outlook calendar, prevents double-booking, and logs every meeting directly into HubSpot.
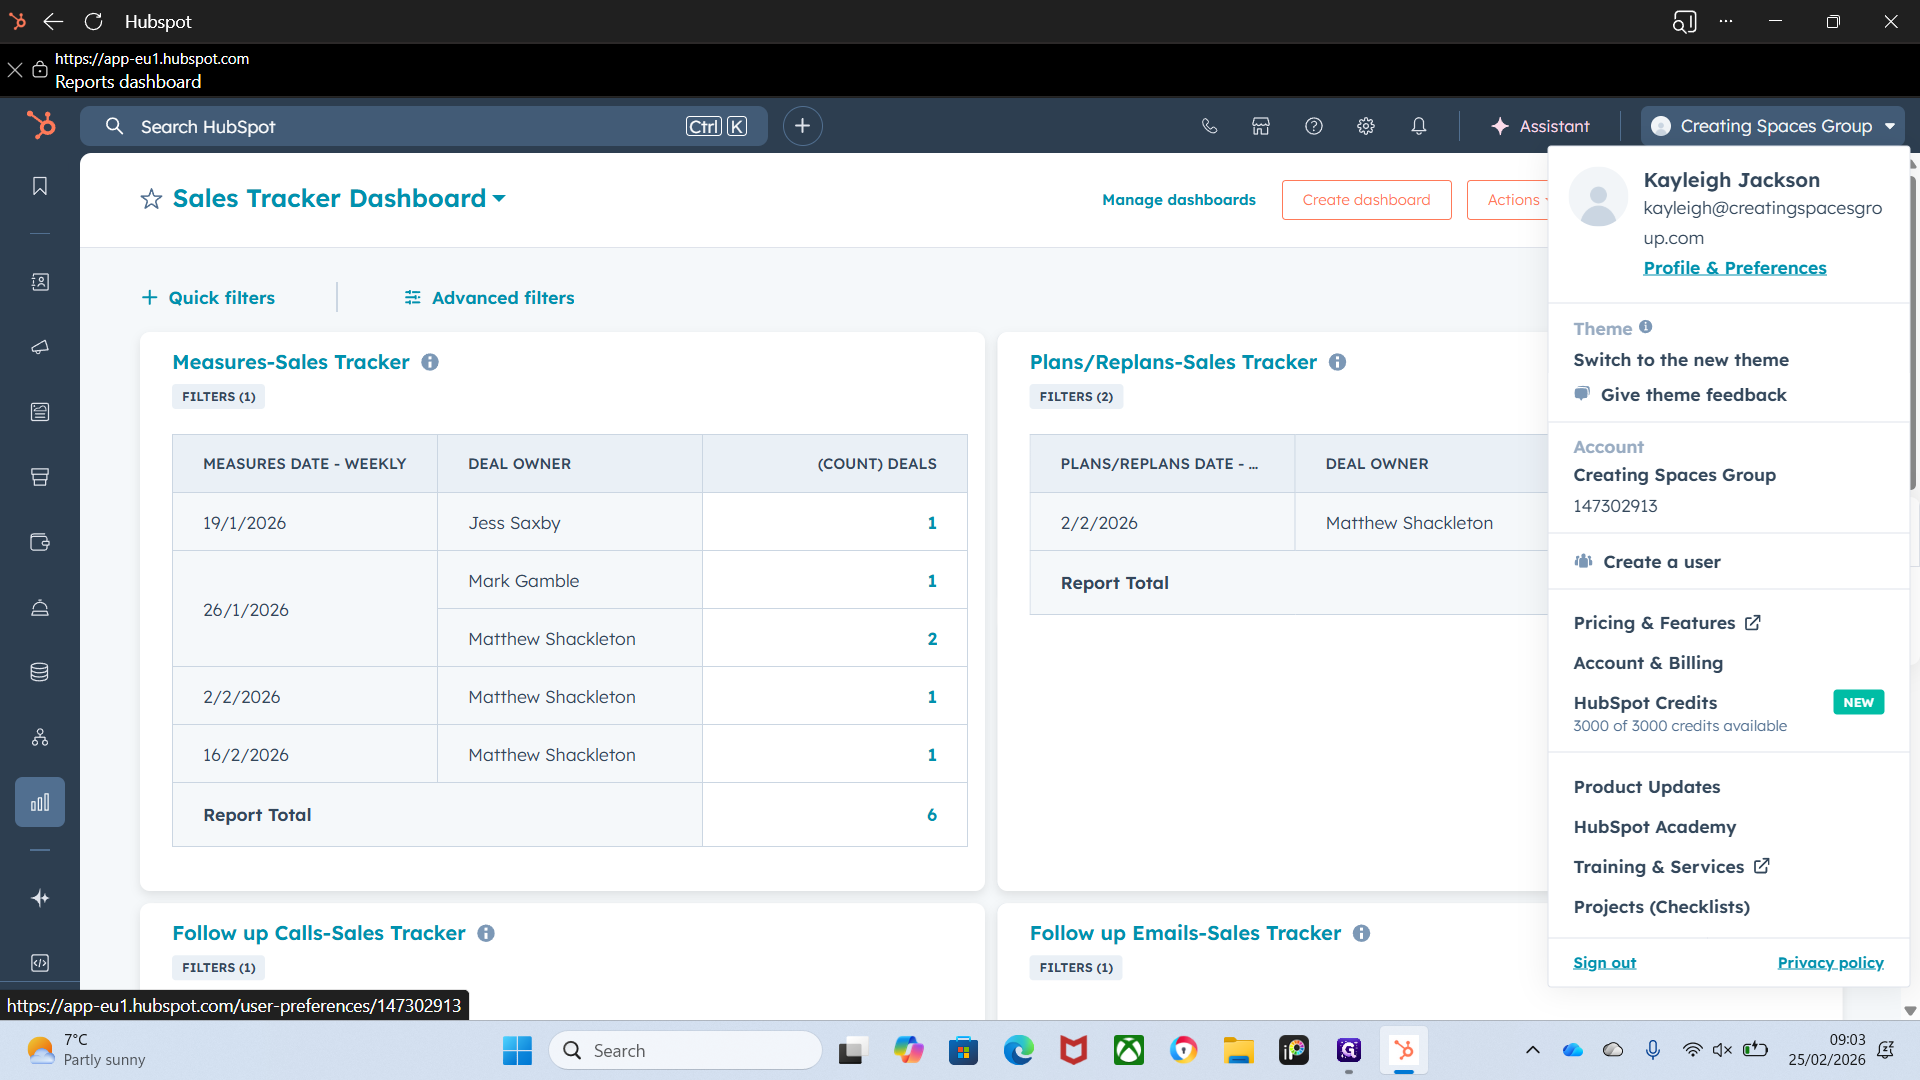
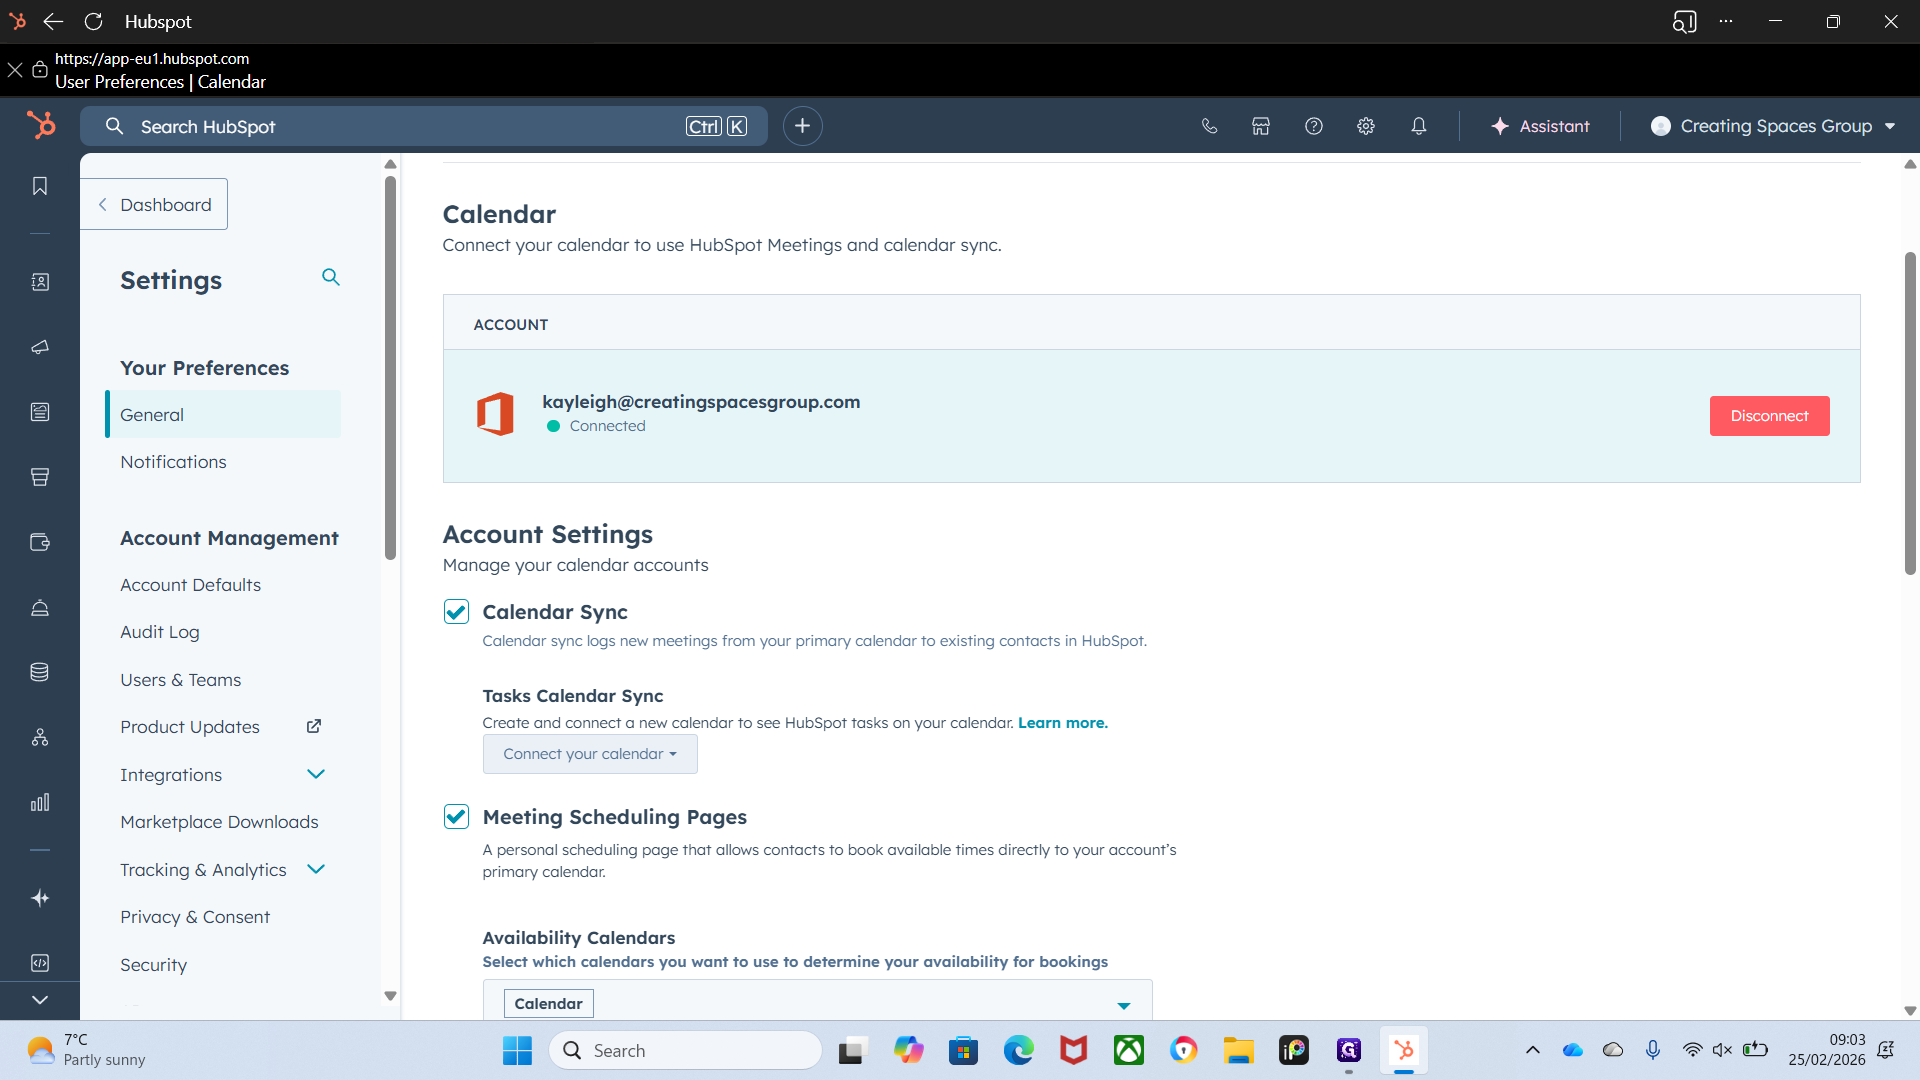
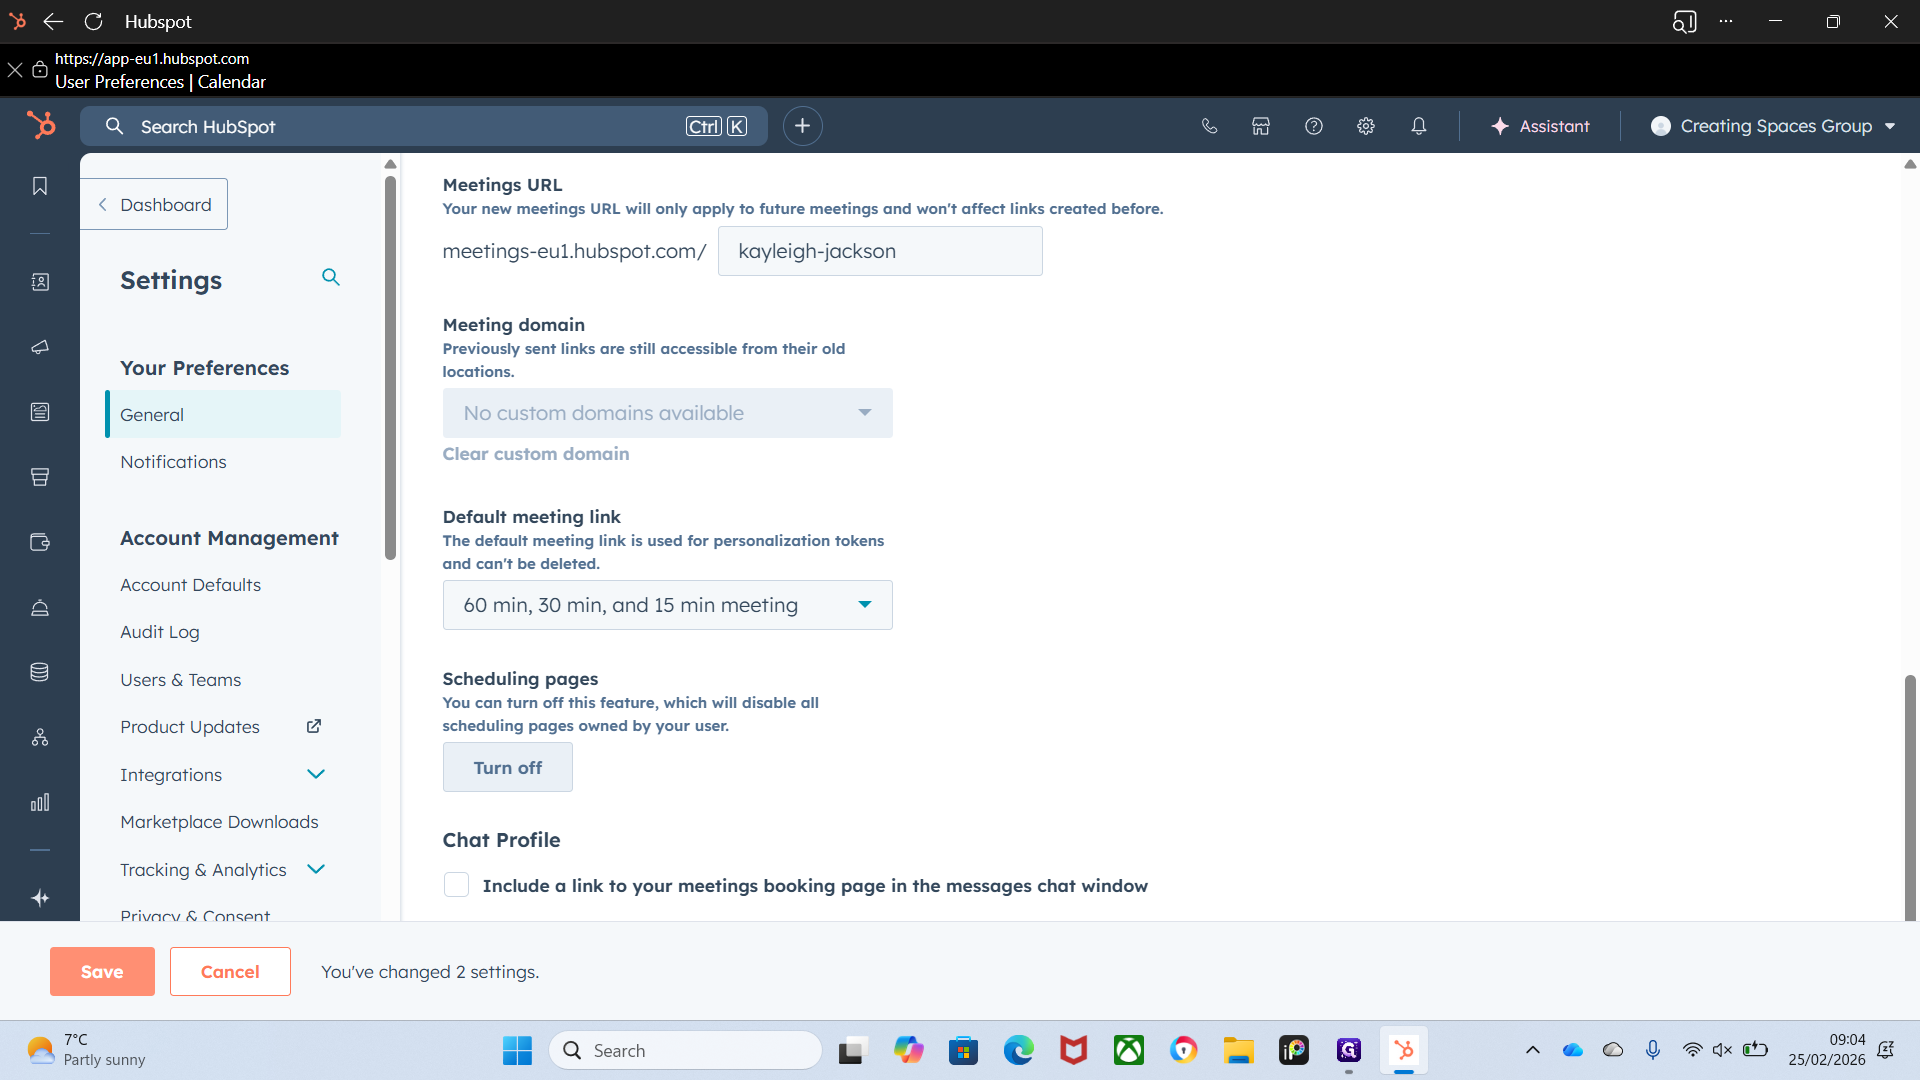
It saves time, keeps the CRM clean, and makes it easy for people to book a call or meeting with you. First, go to the upper right corner and select Creating Spaces Group, Profile & Preferences.
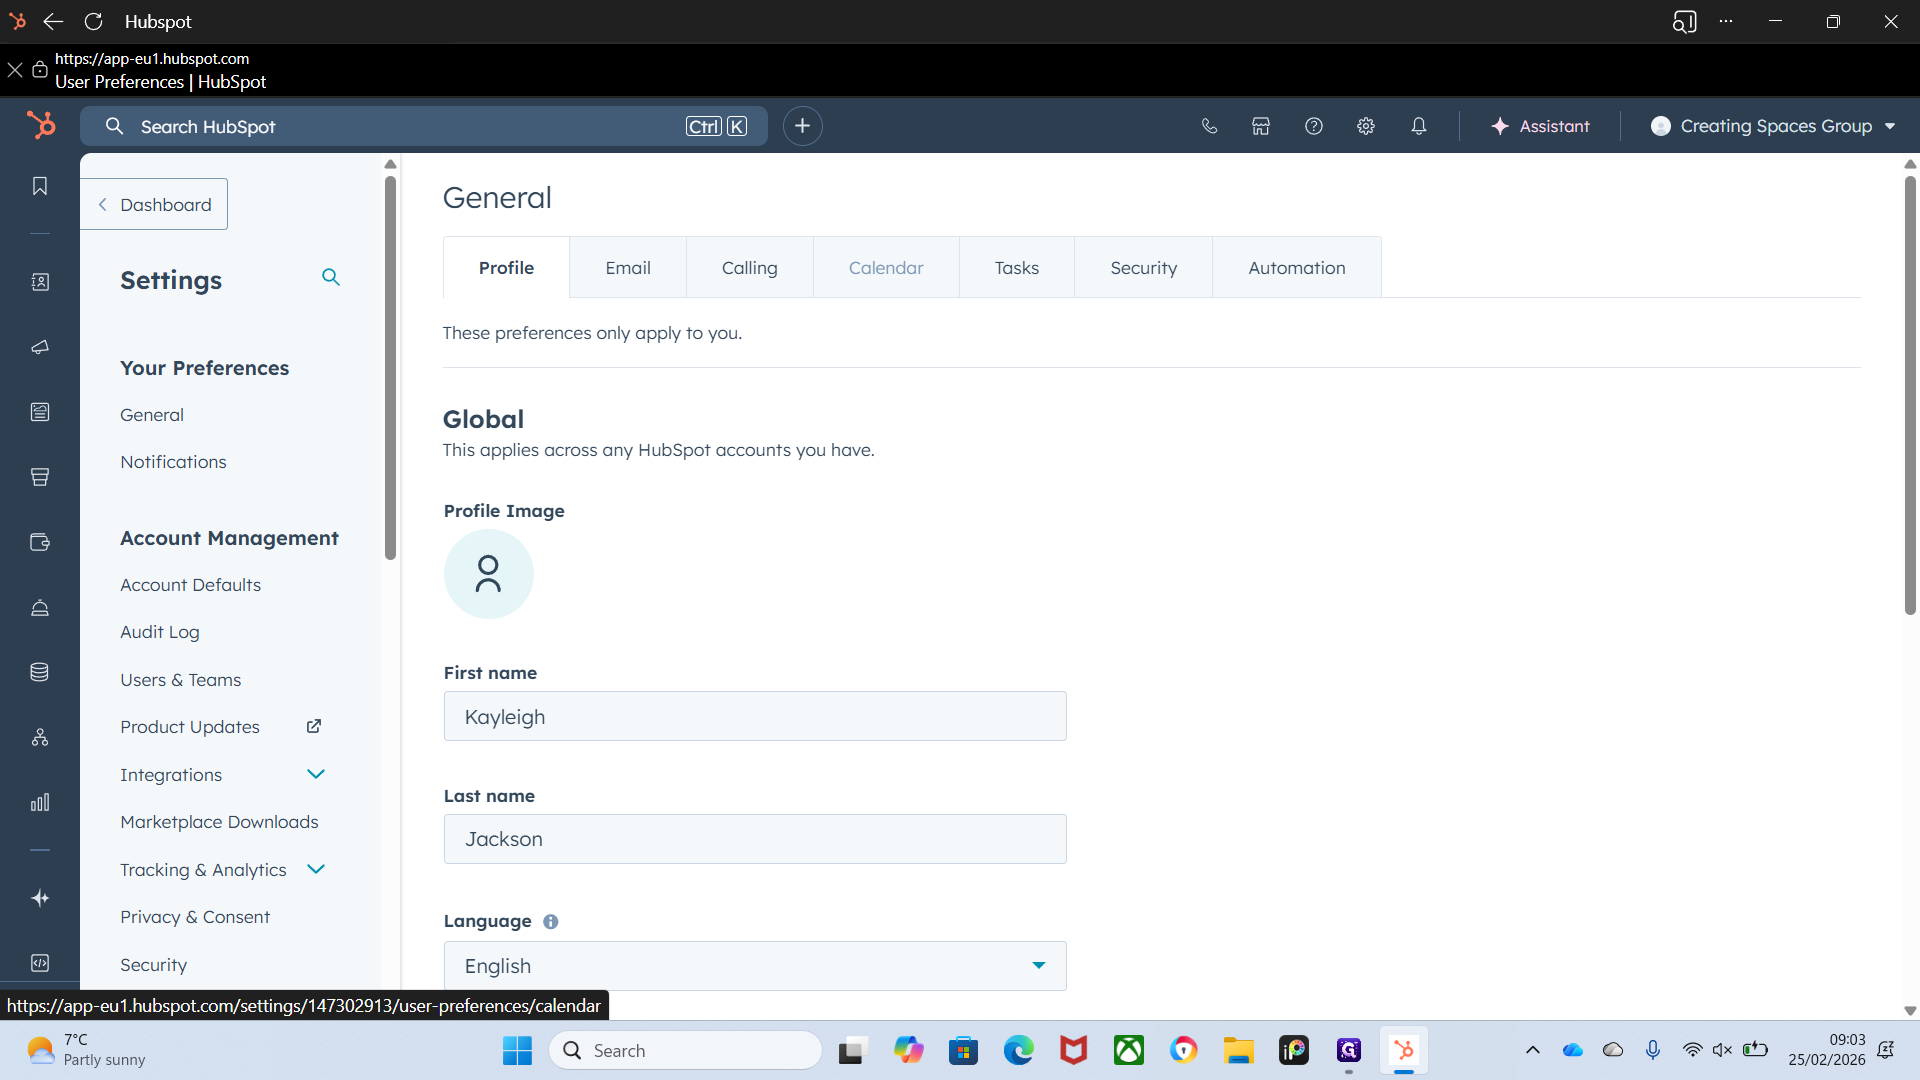
We will open Calendar.
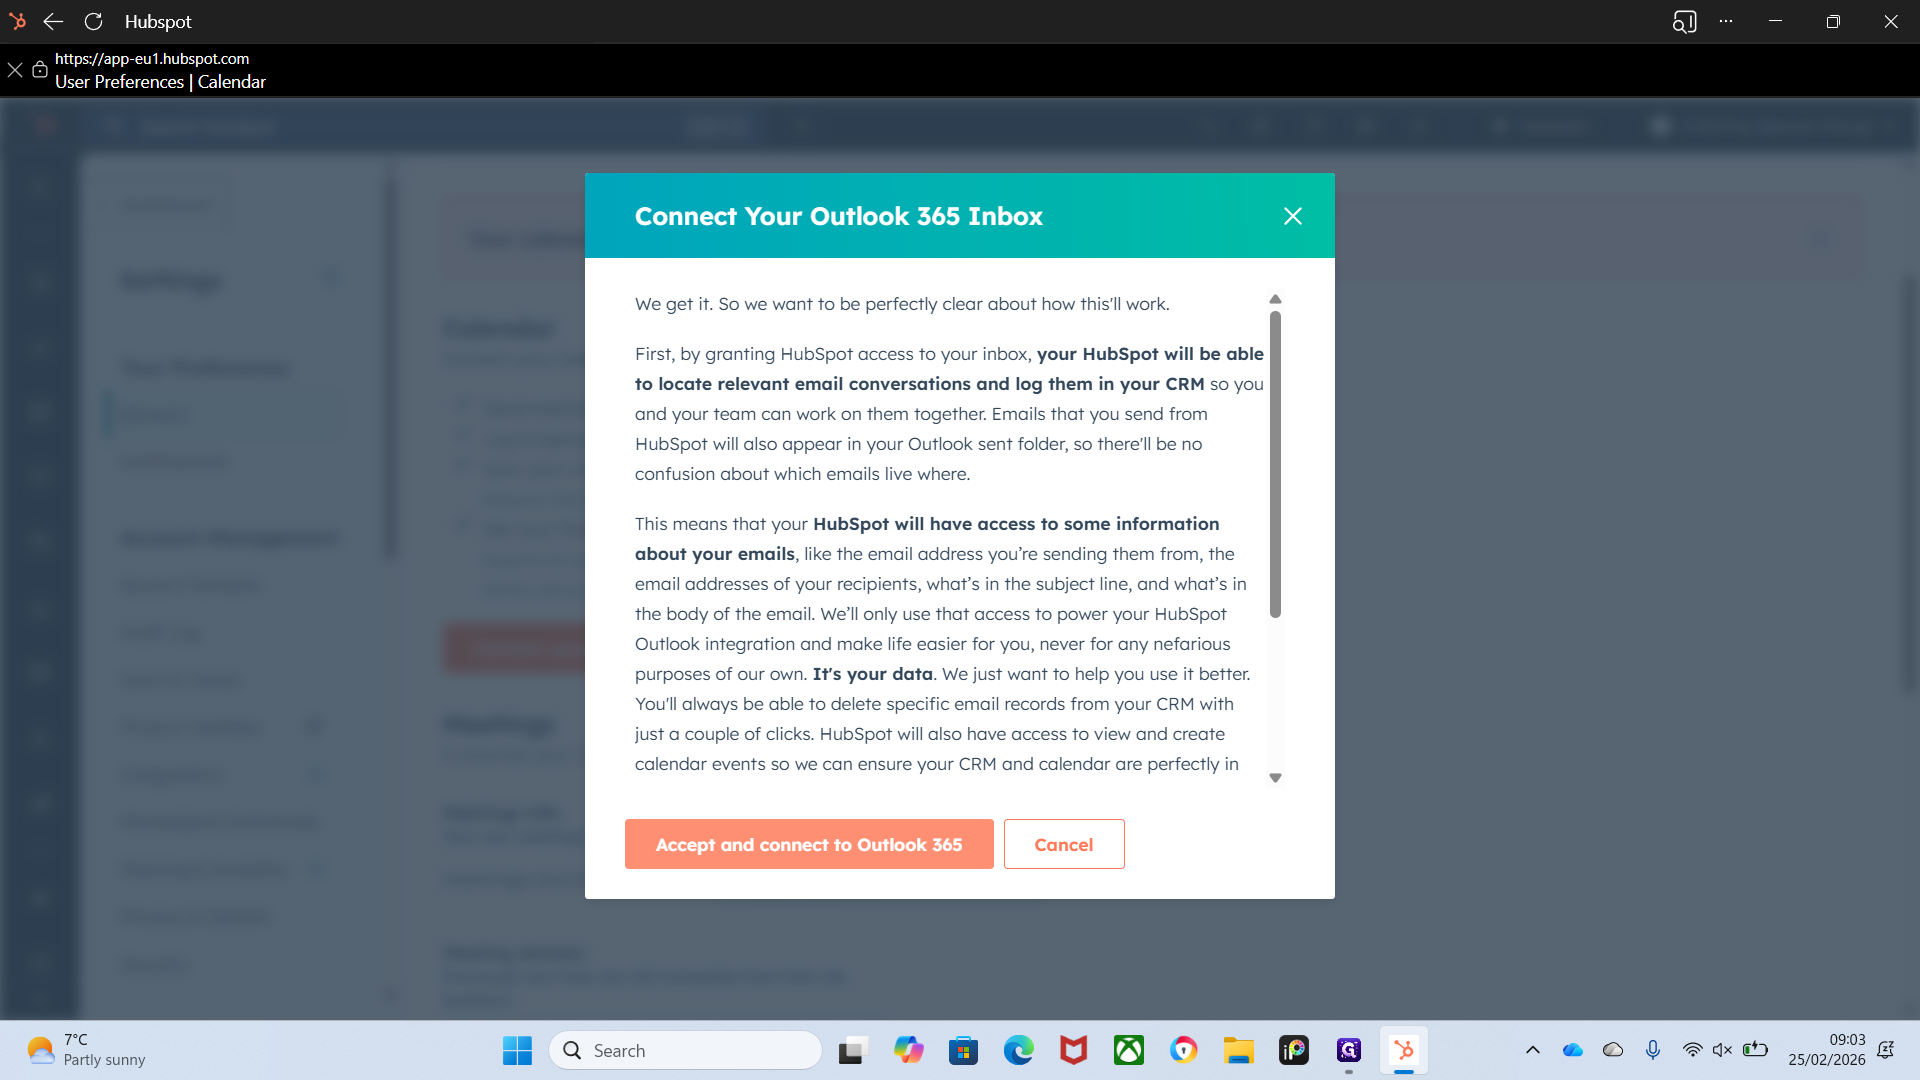
By now, you should all have your inboxes connected. If you don't, please let me know and I will do it for you. Your inbox must be connected to link your calendar. I'll show you from the start.
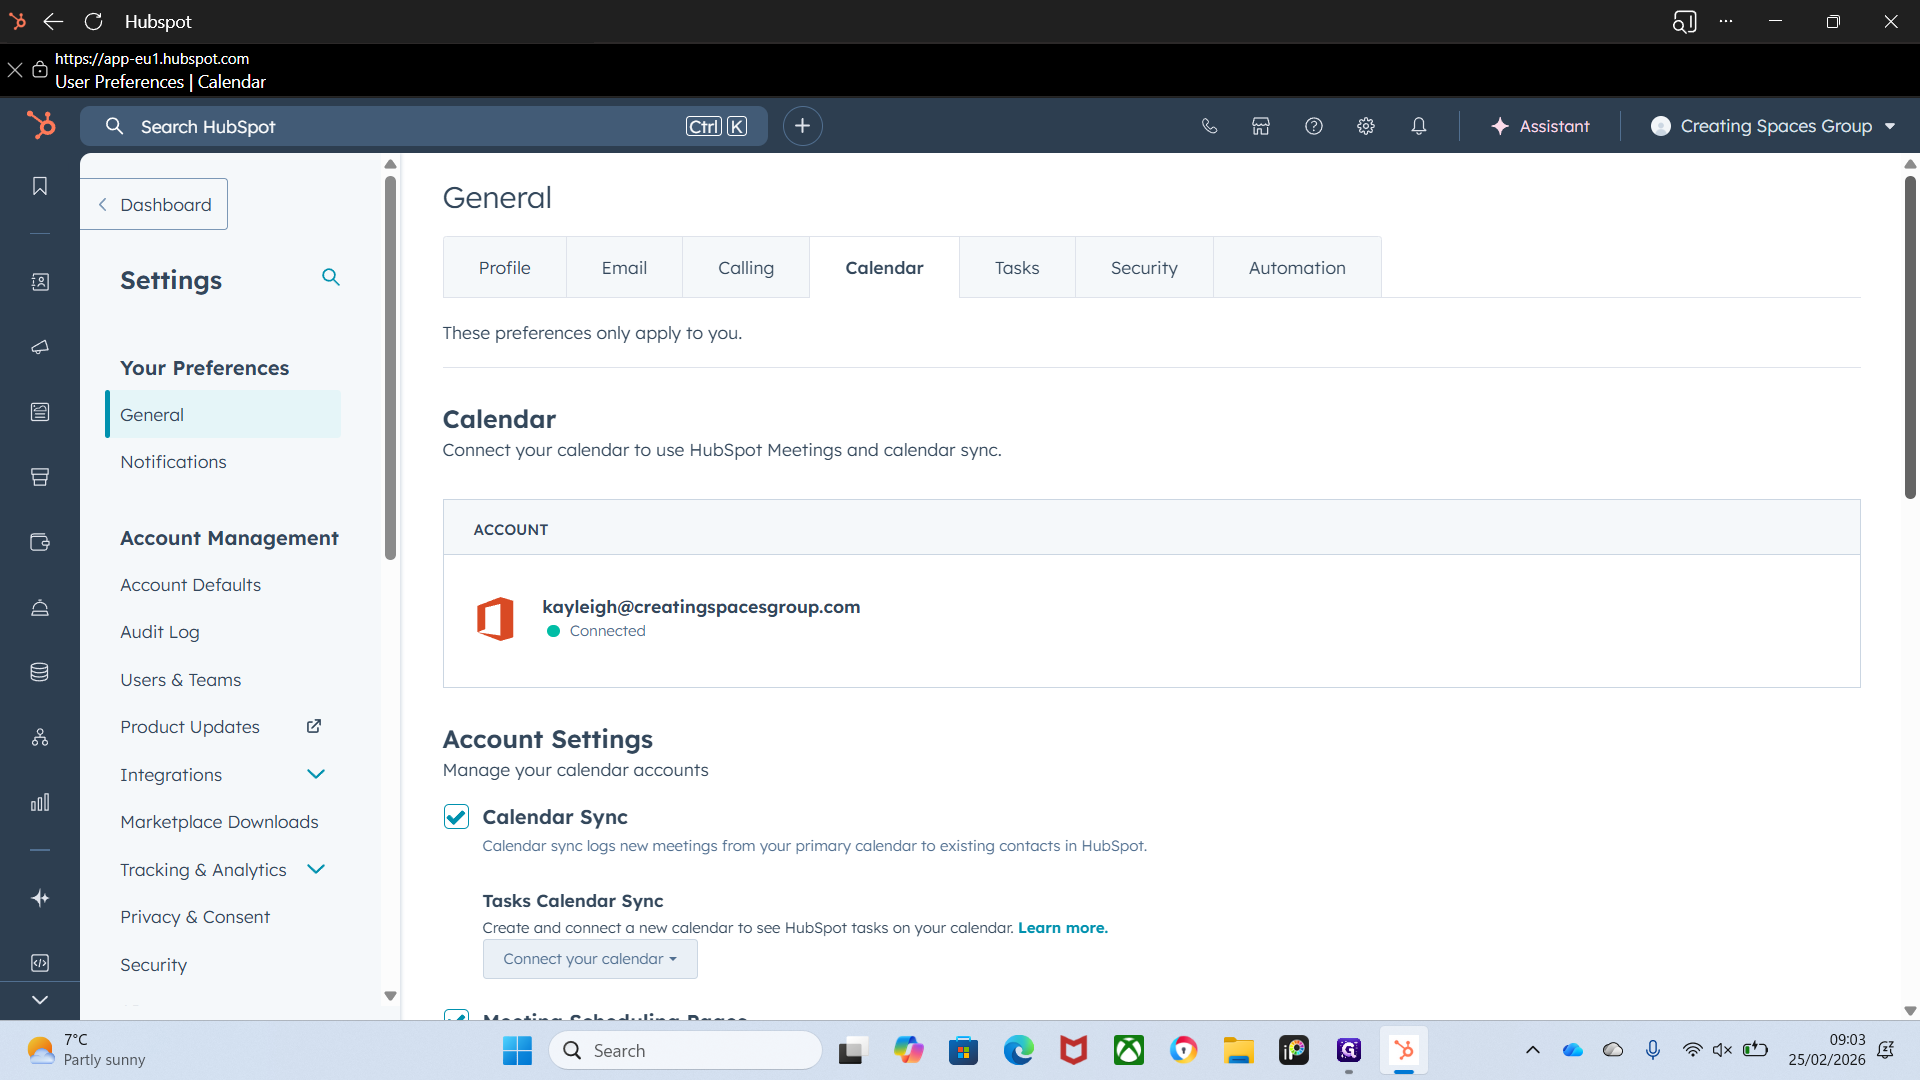
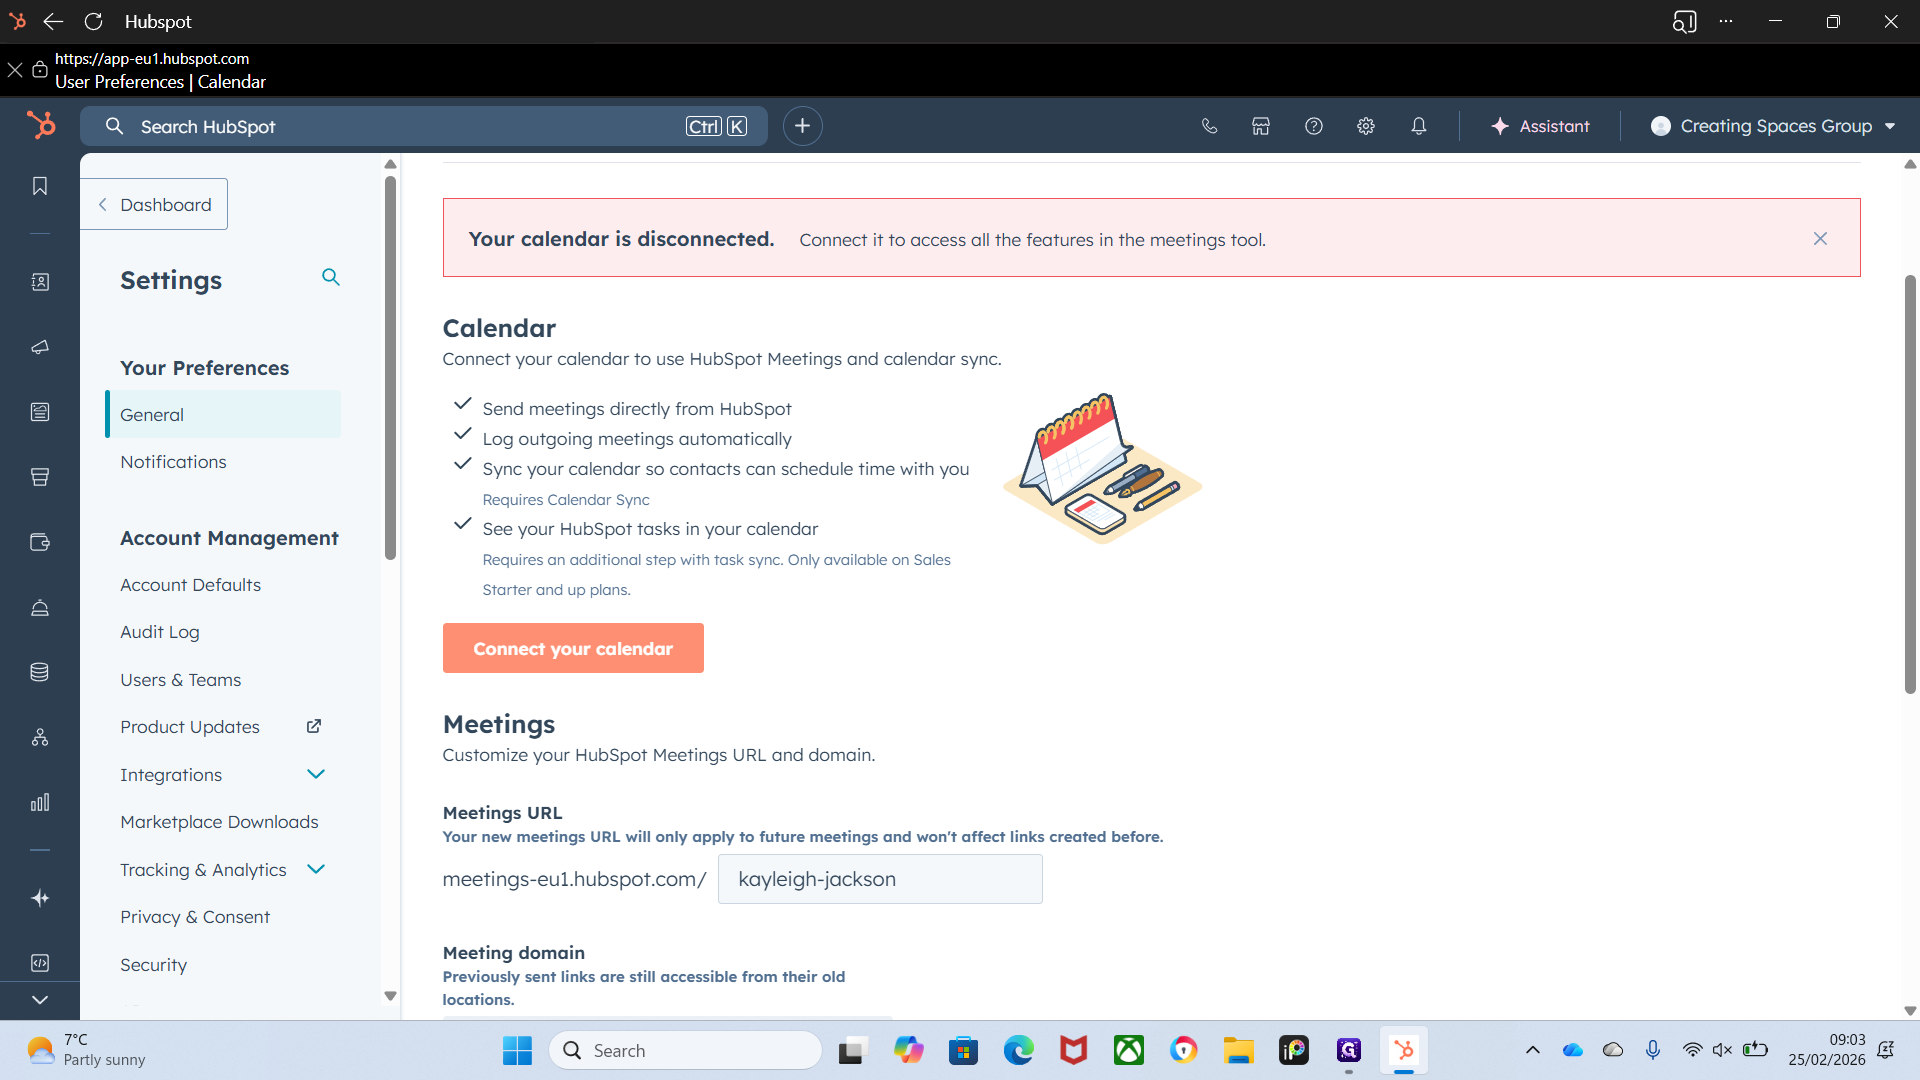
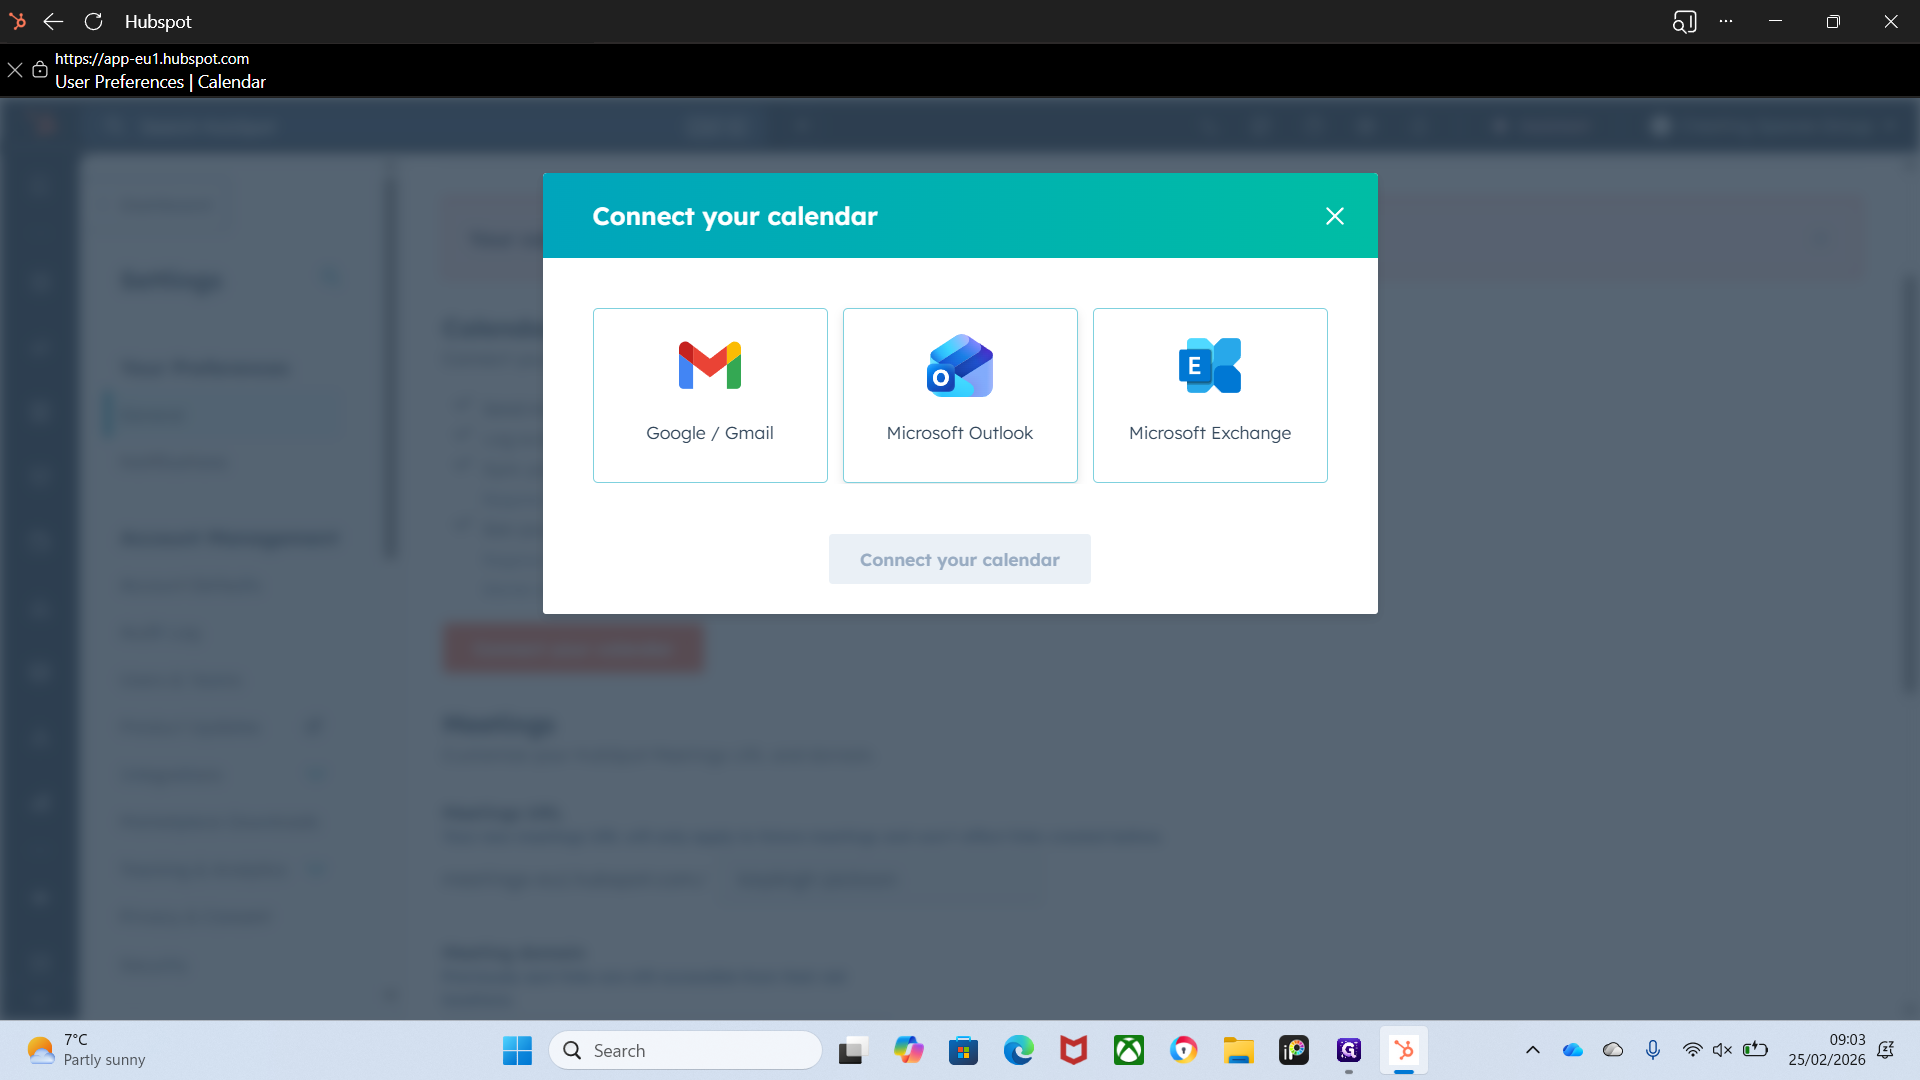
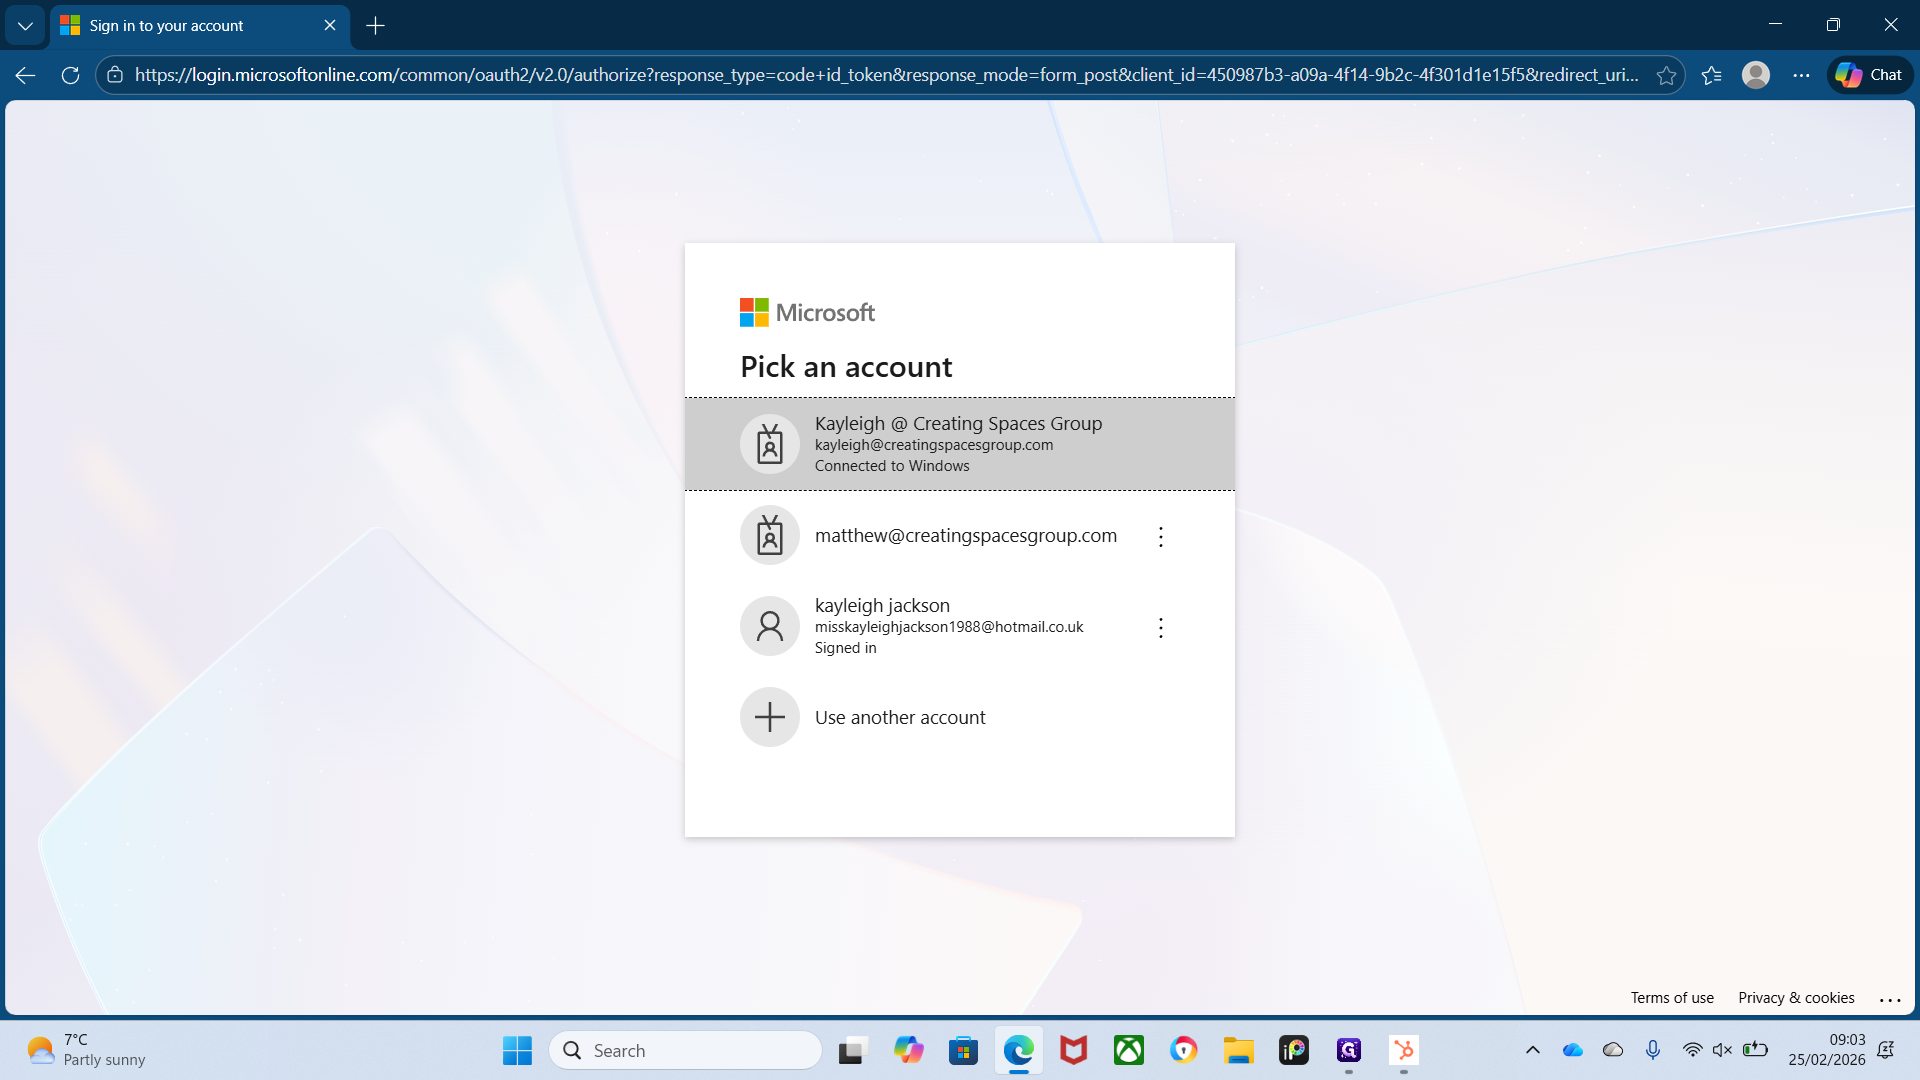
Click Connect with Calendars, select Microsoft Outlook, then click Accept and Sign In.

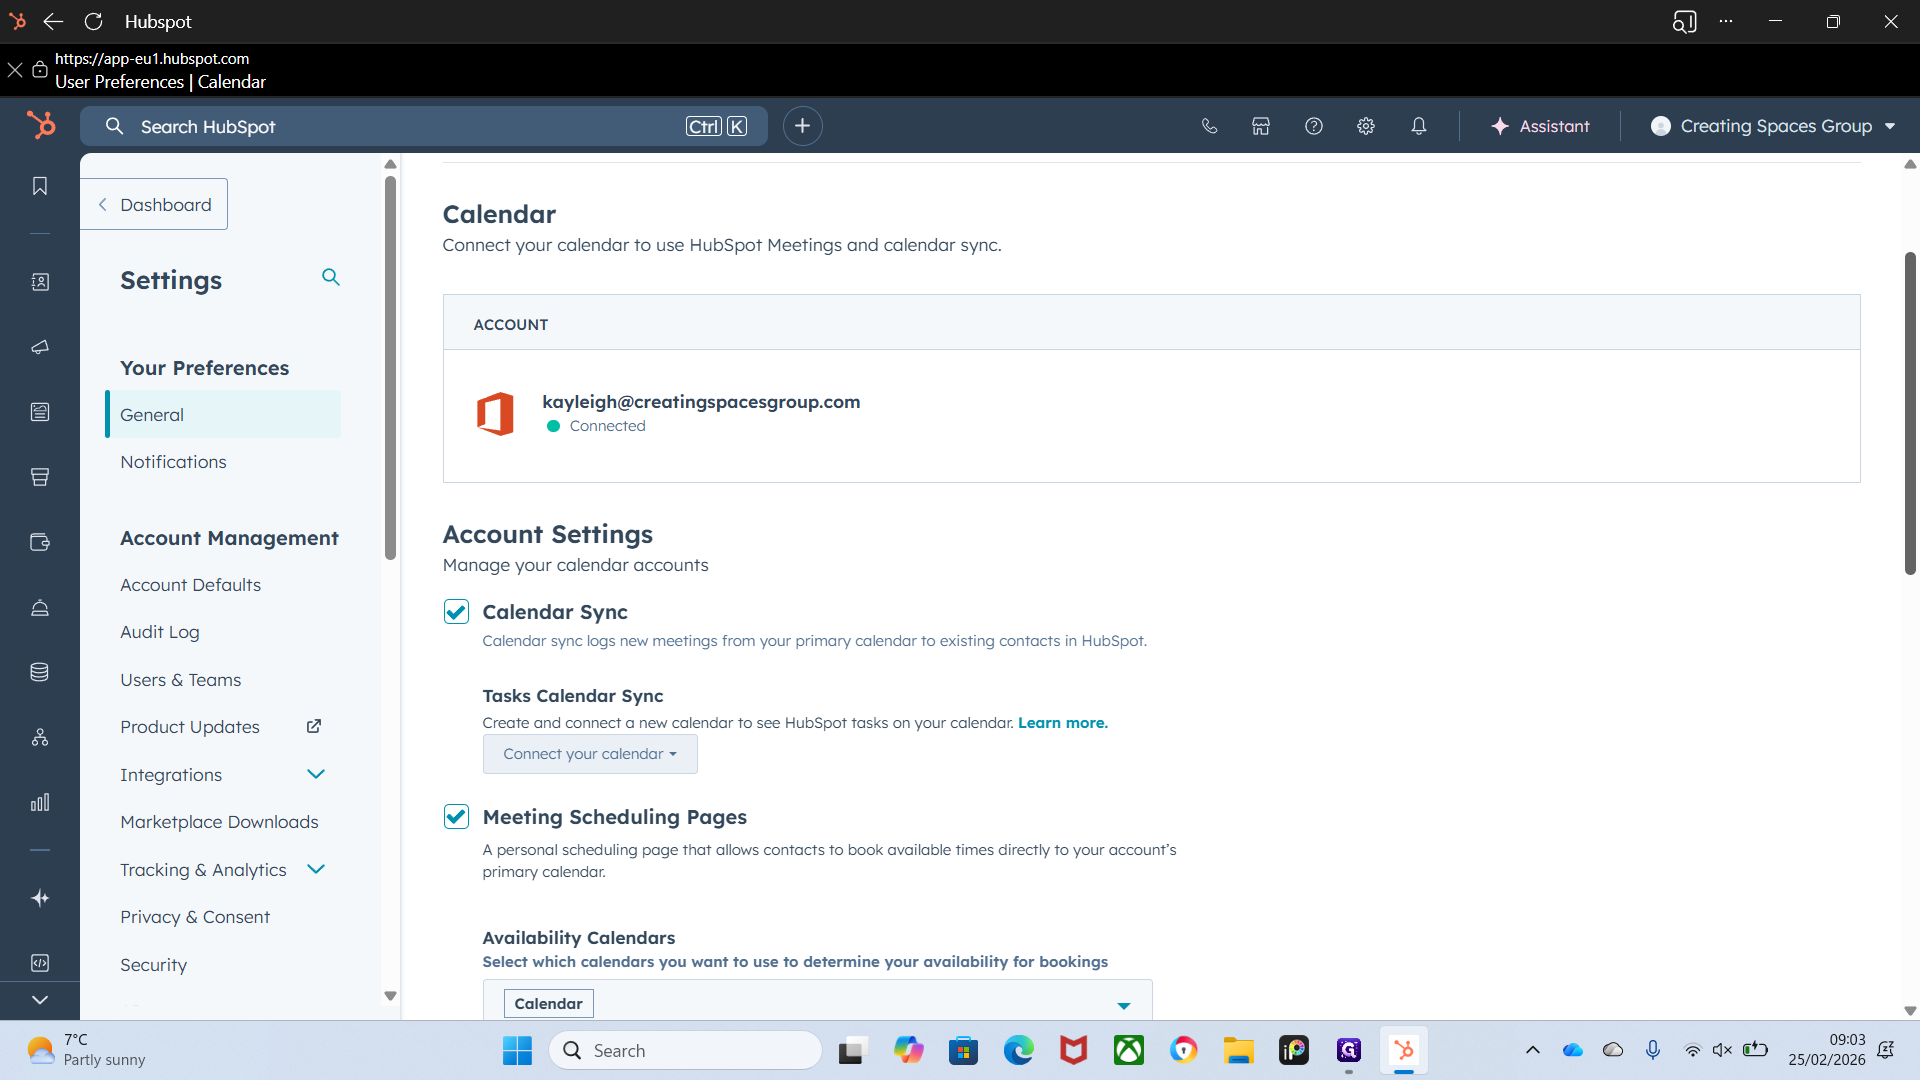
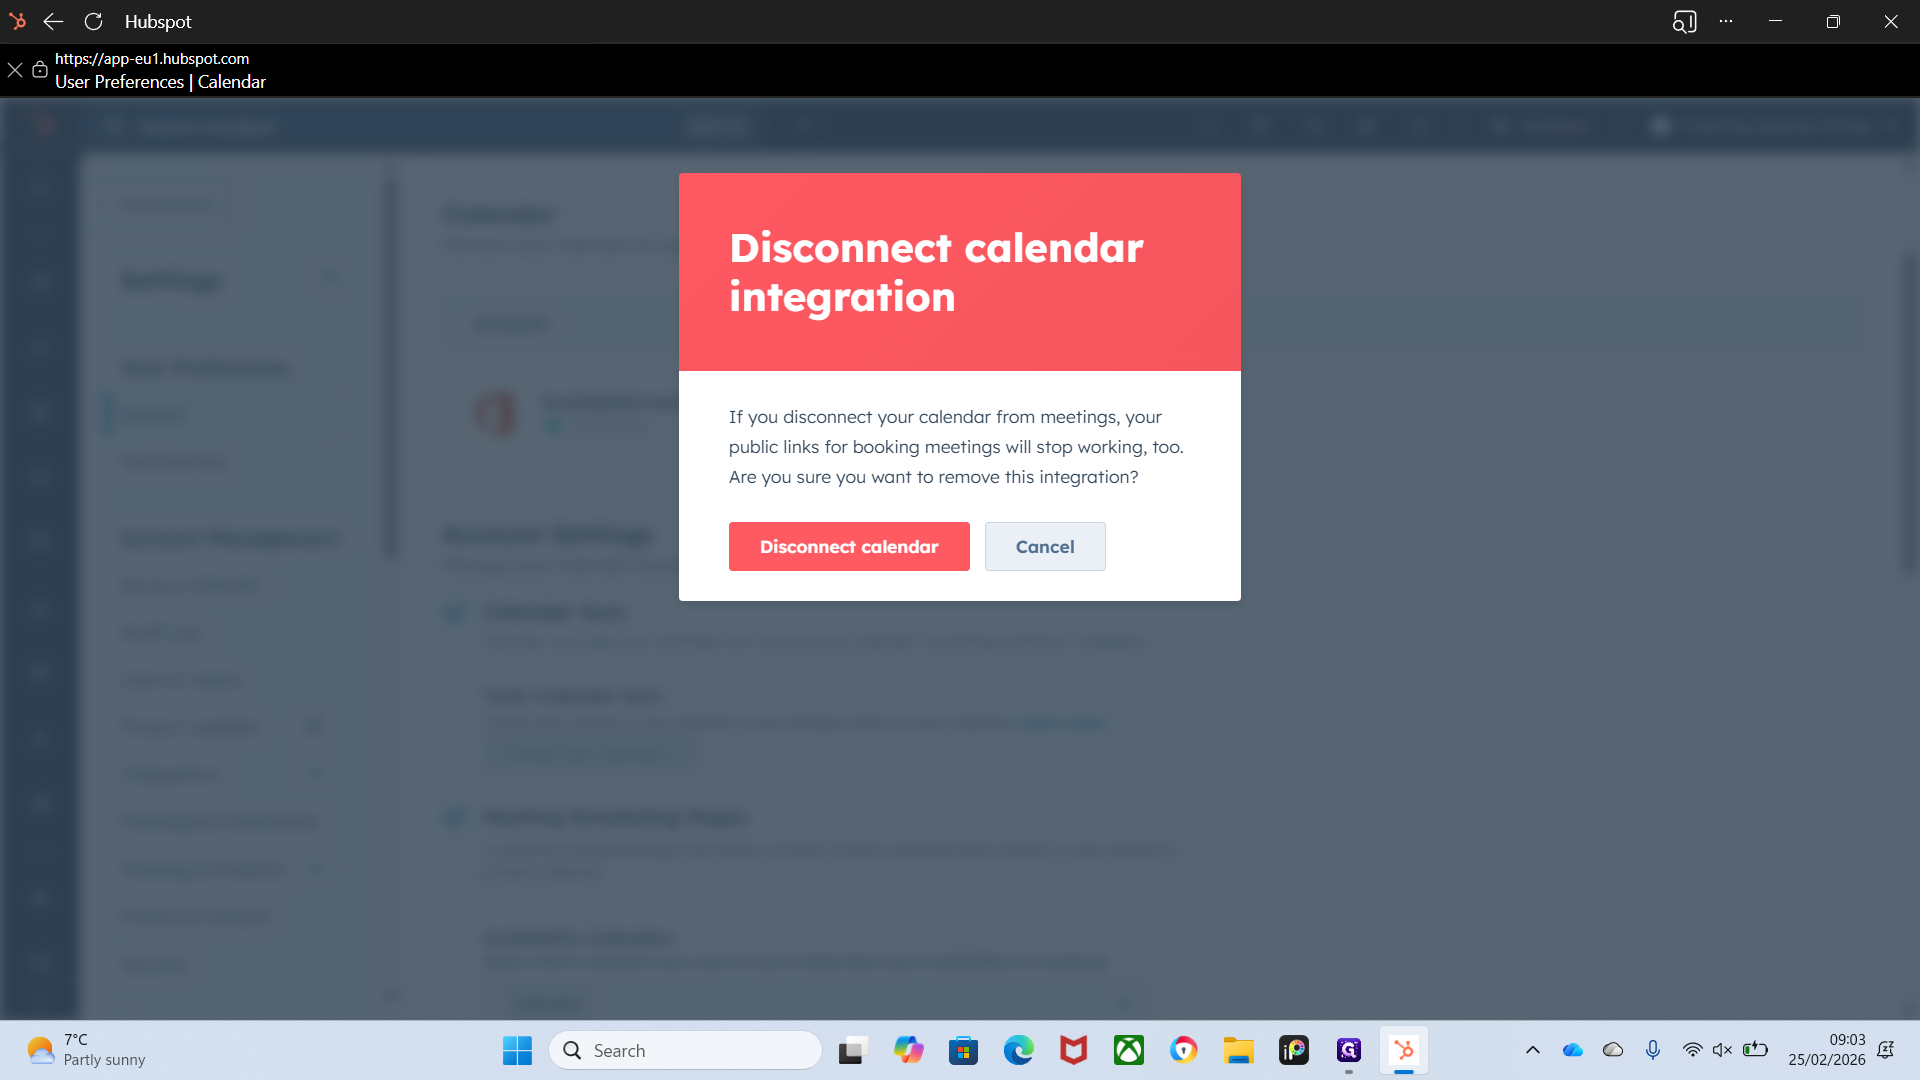
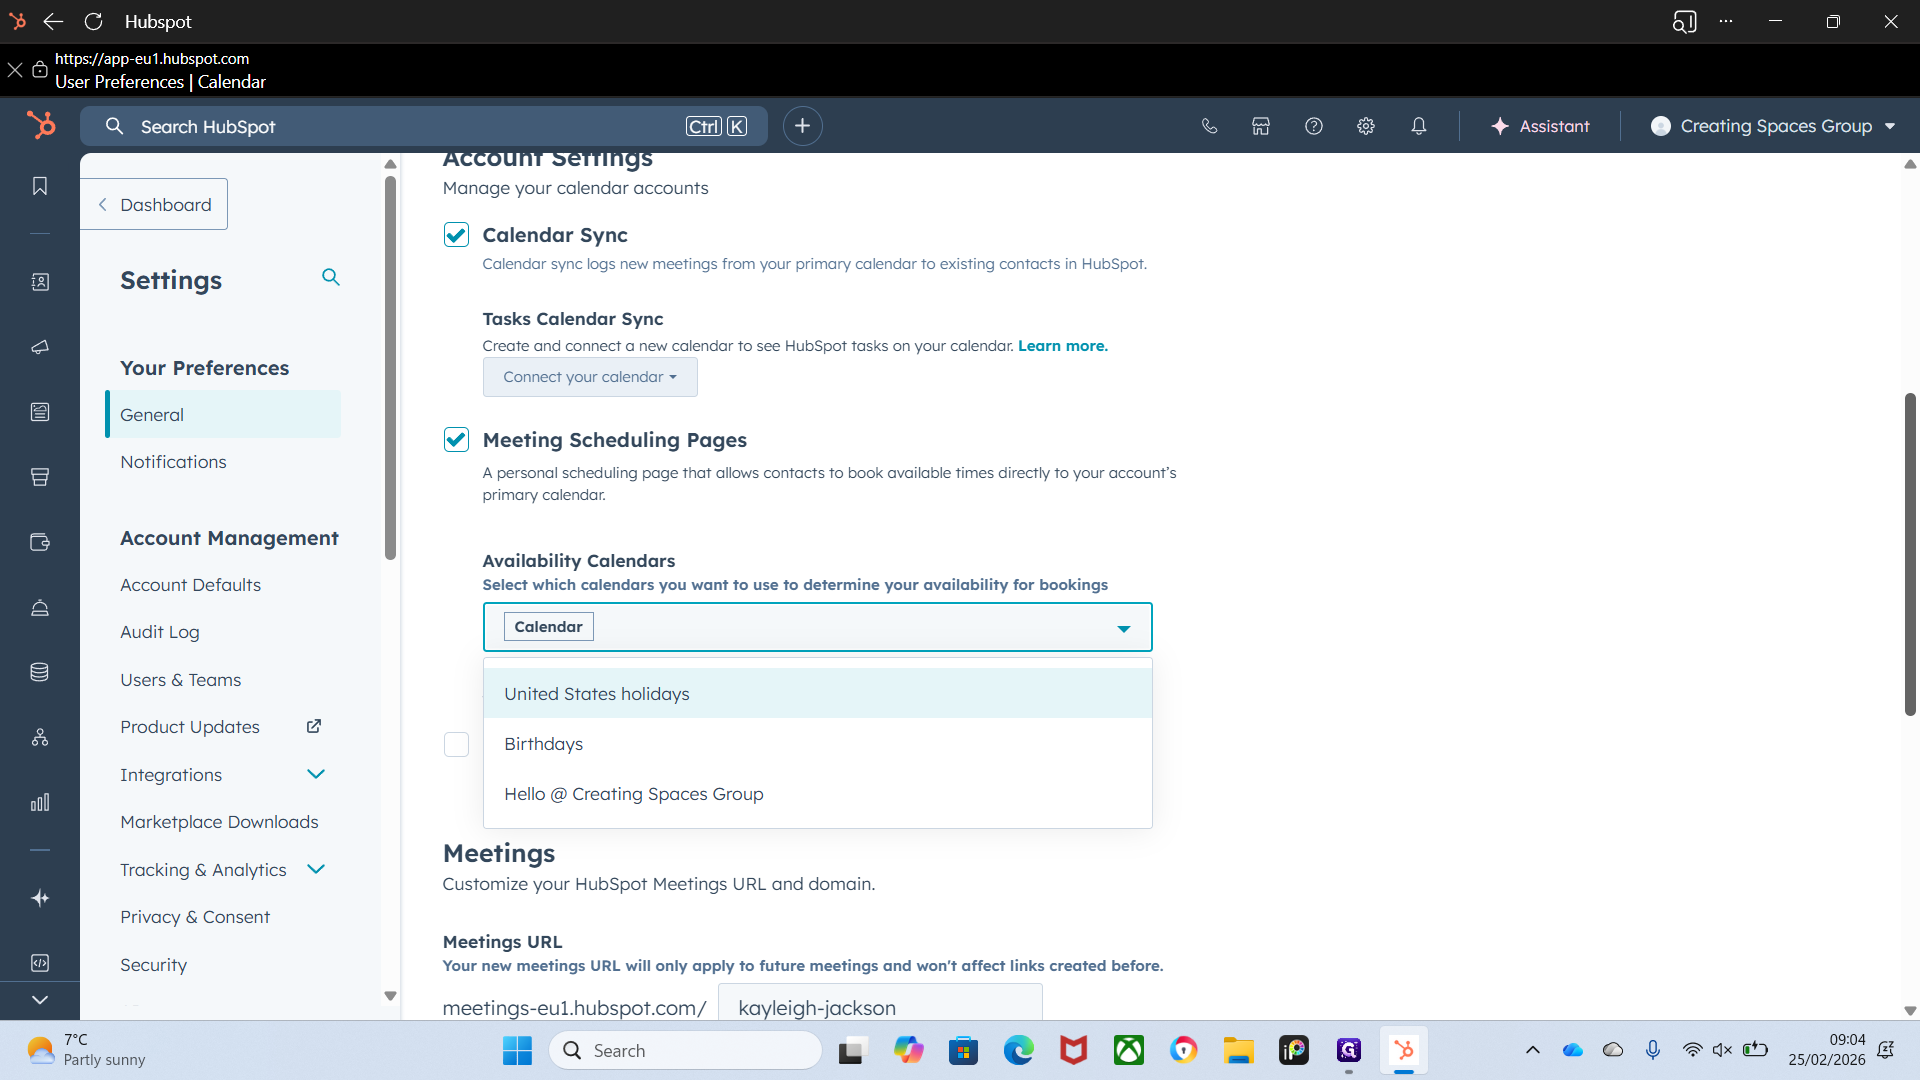
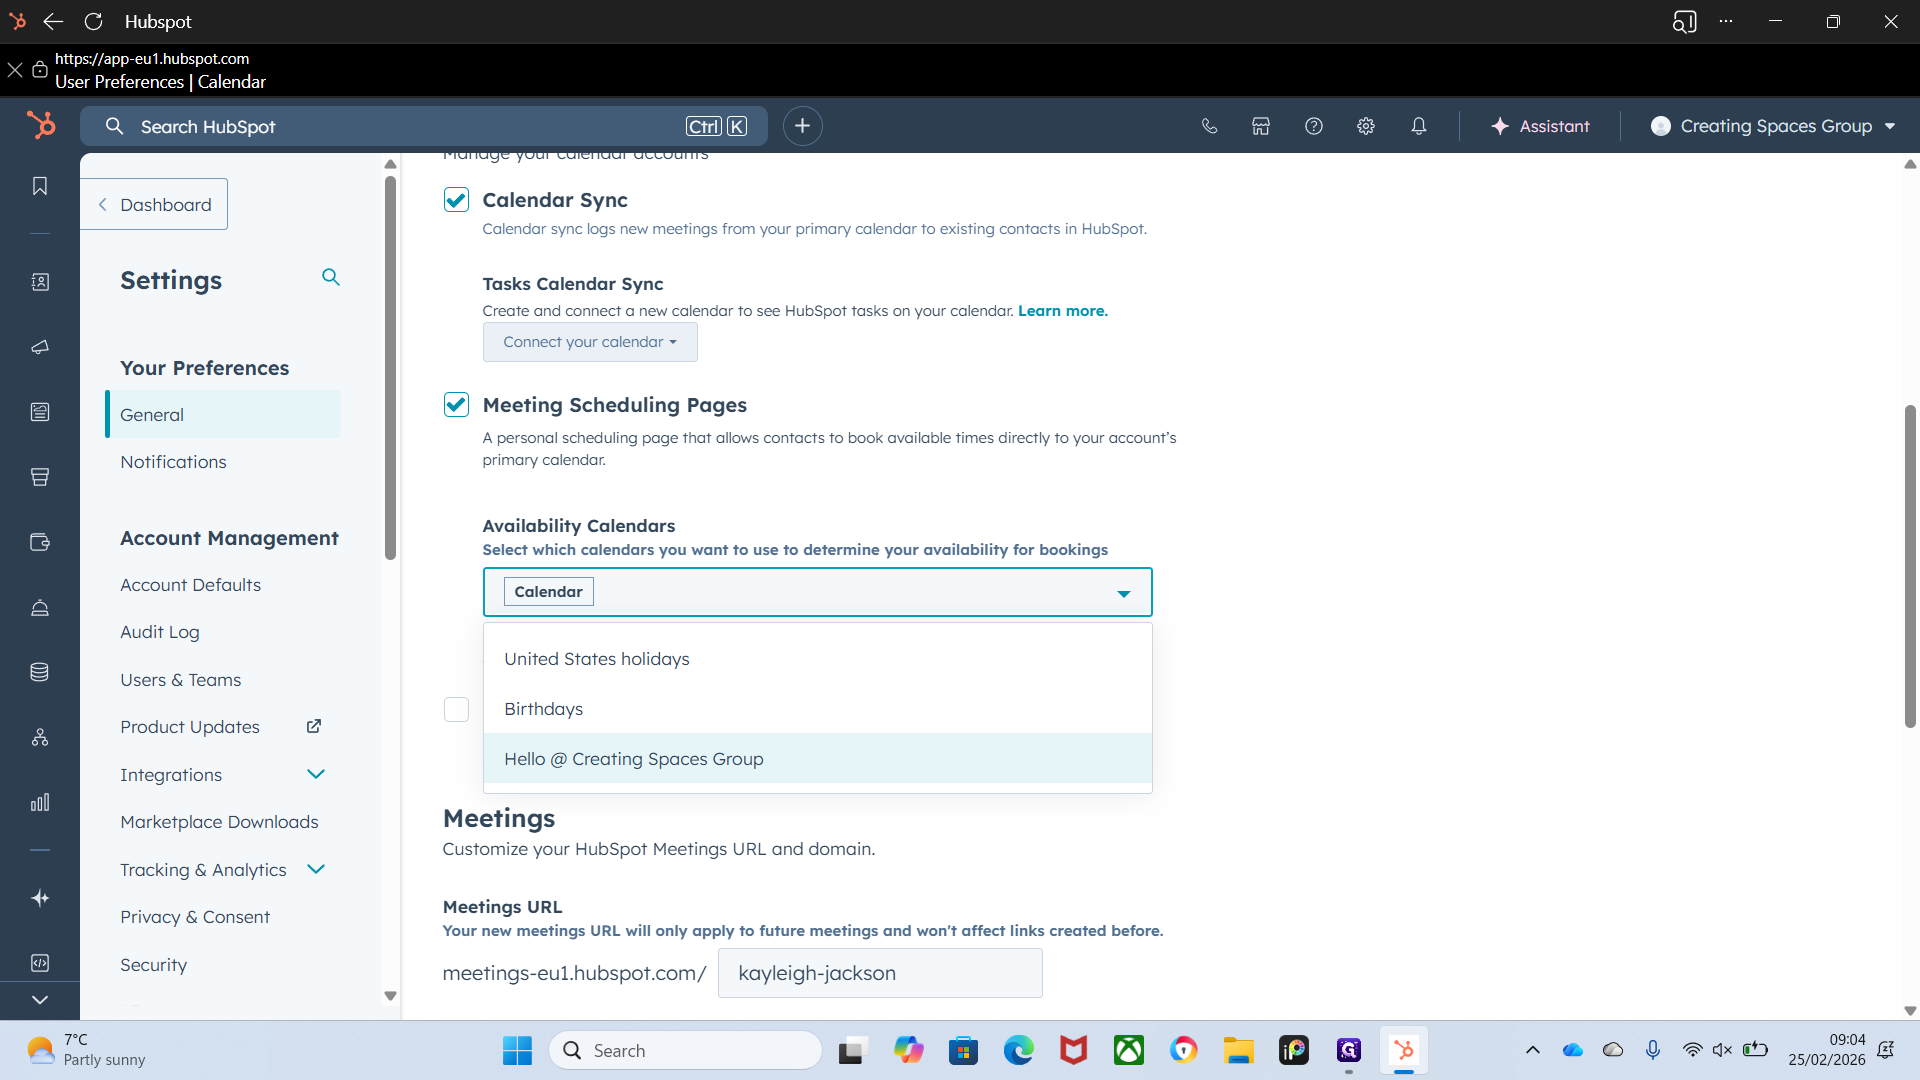
This is the available calendar. This is where it will display. If you are already connected and you type here but do not see "Hello," disconnect your calendar and reconnect it. This should resolve the issue.

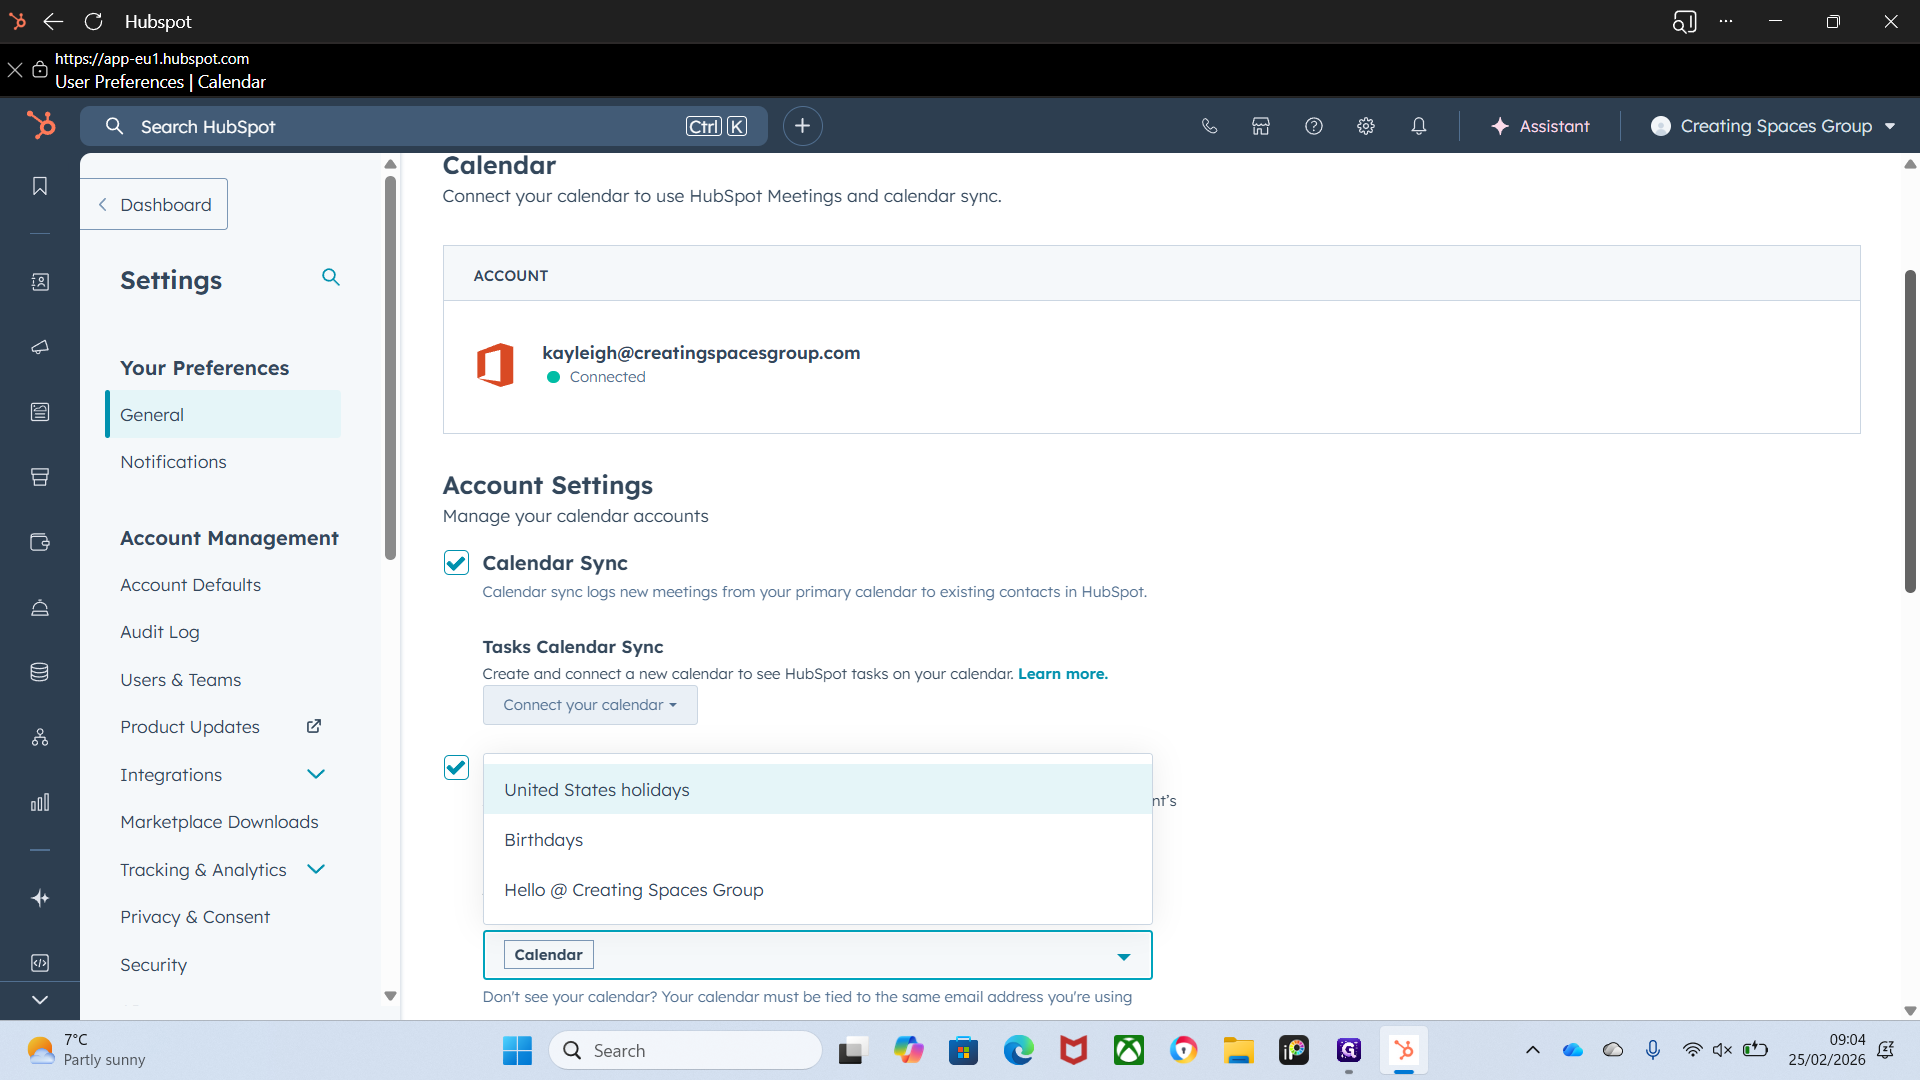
There were some additional permissions I needed to add for everyone to view the shared calendar.
Okay.
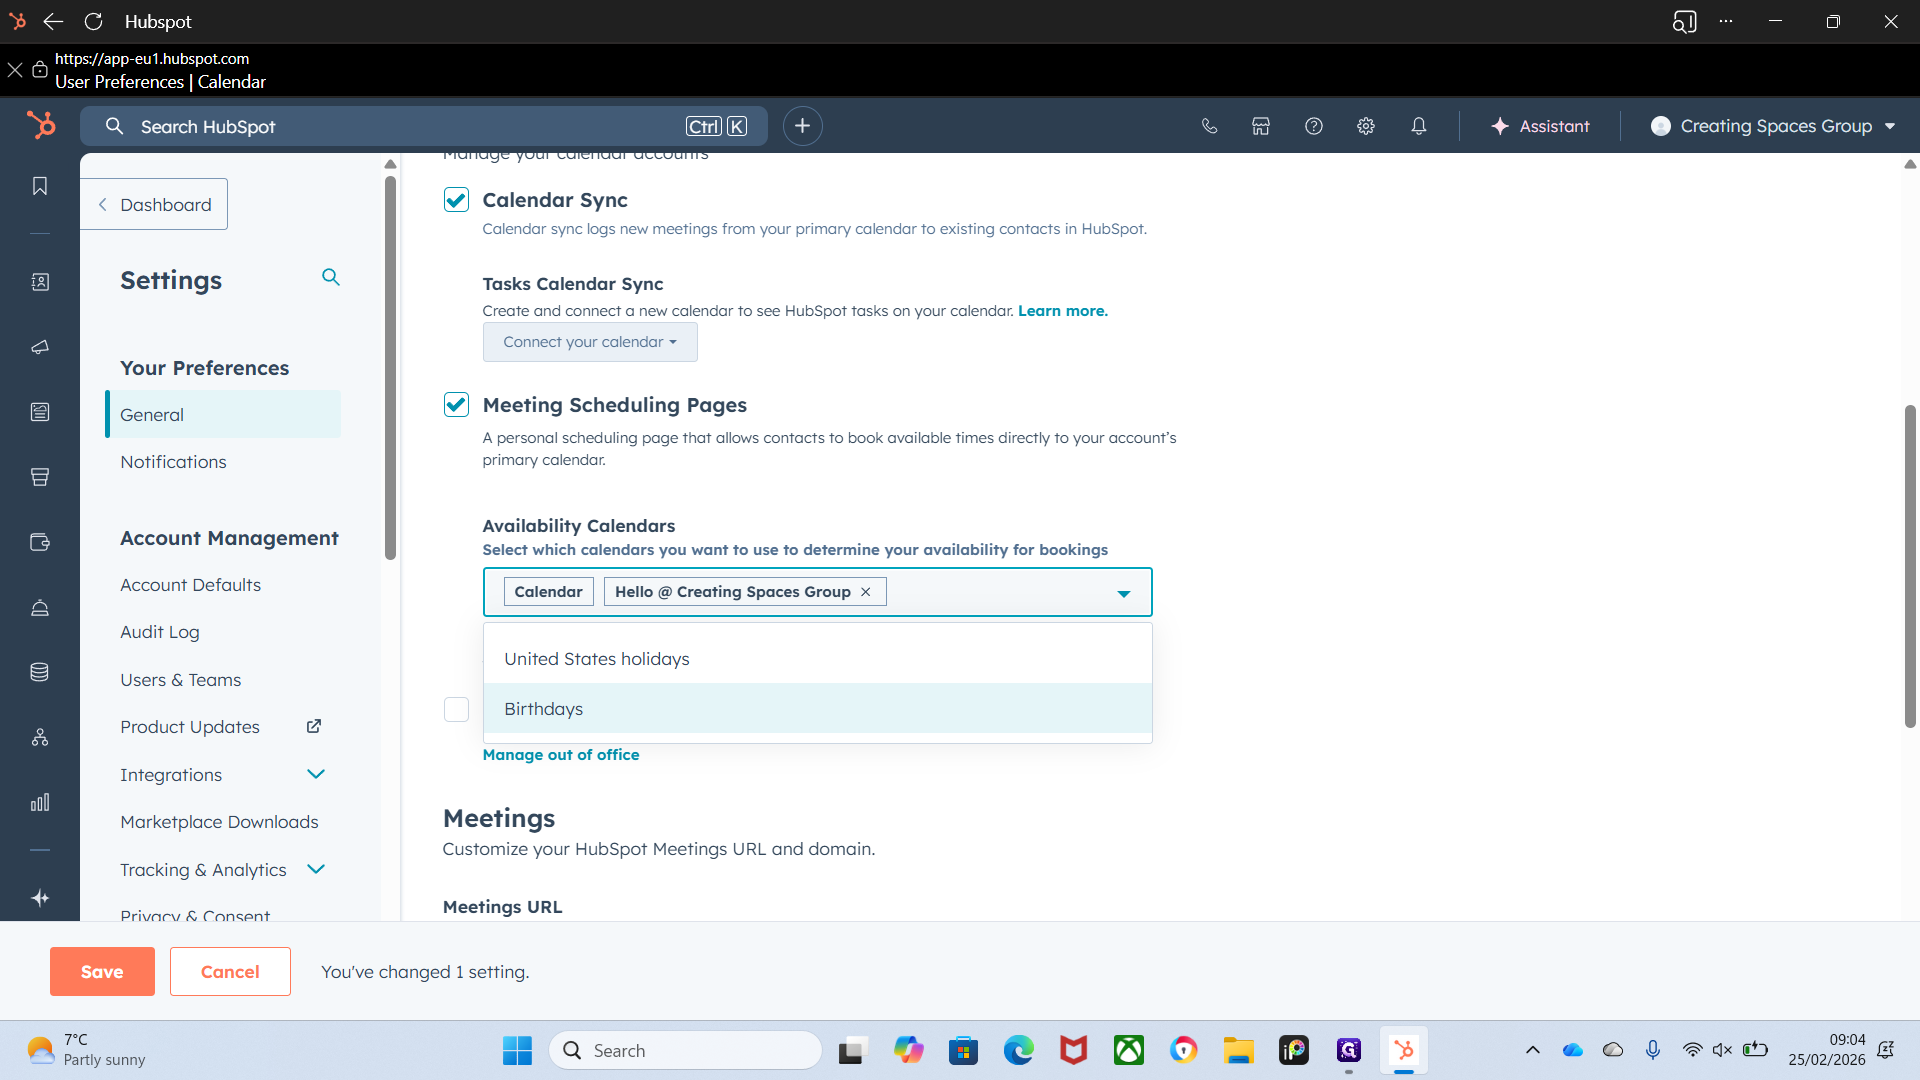
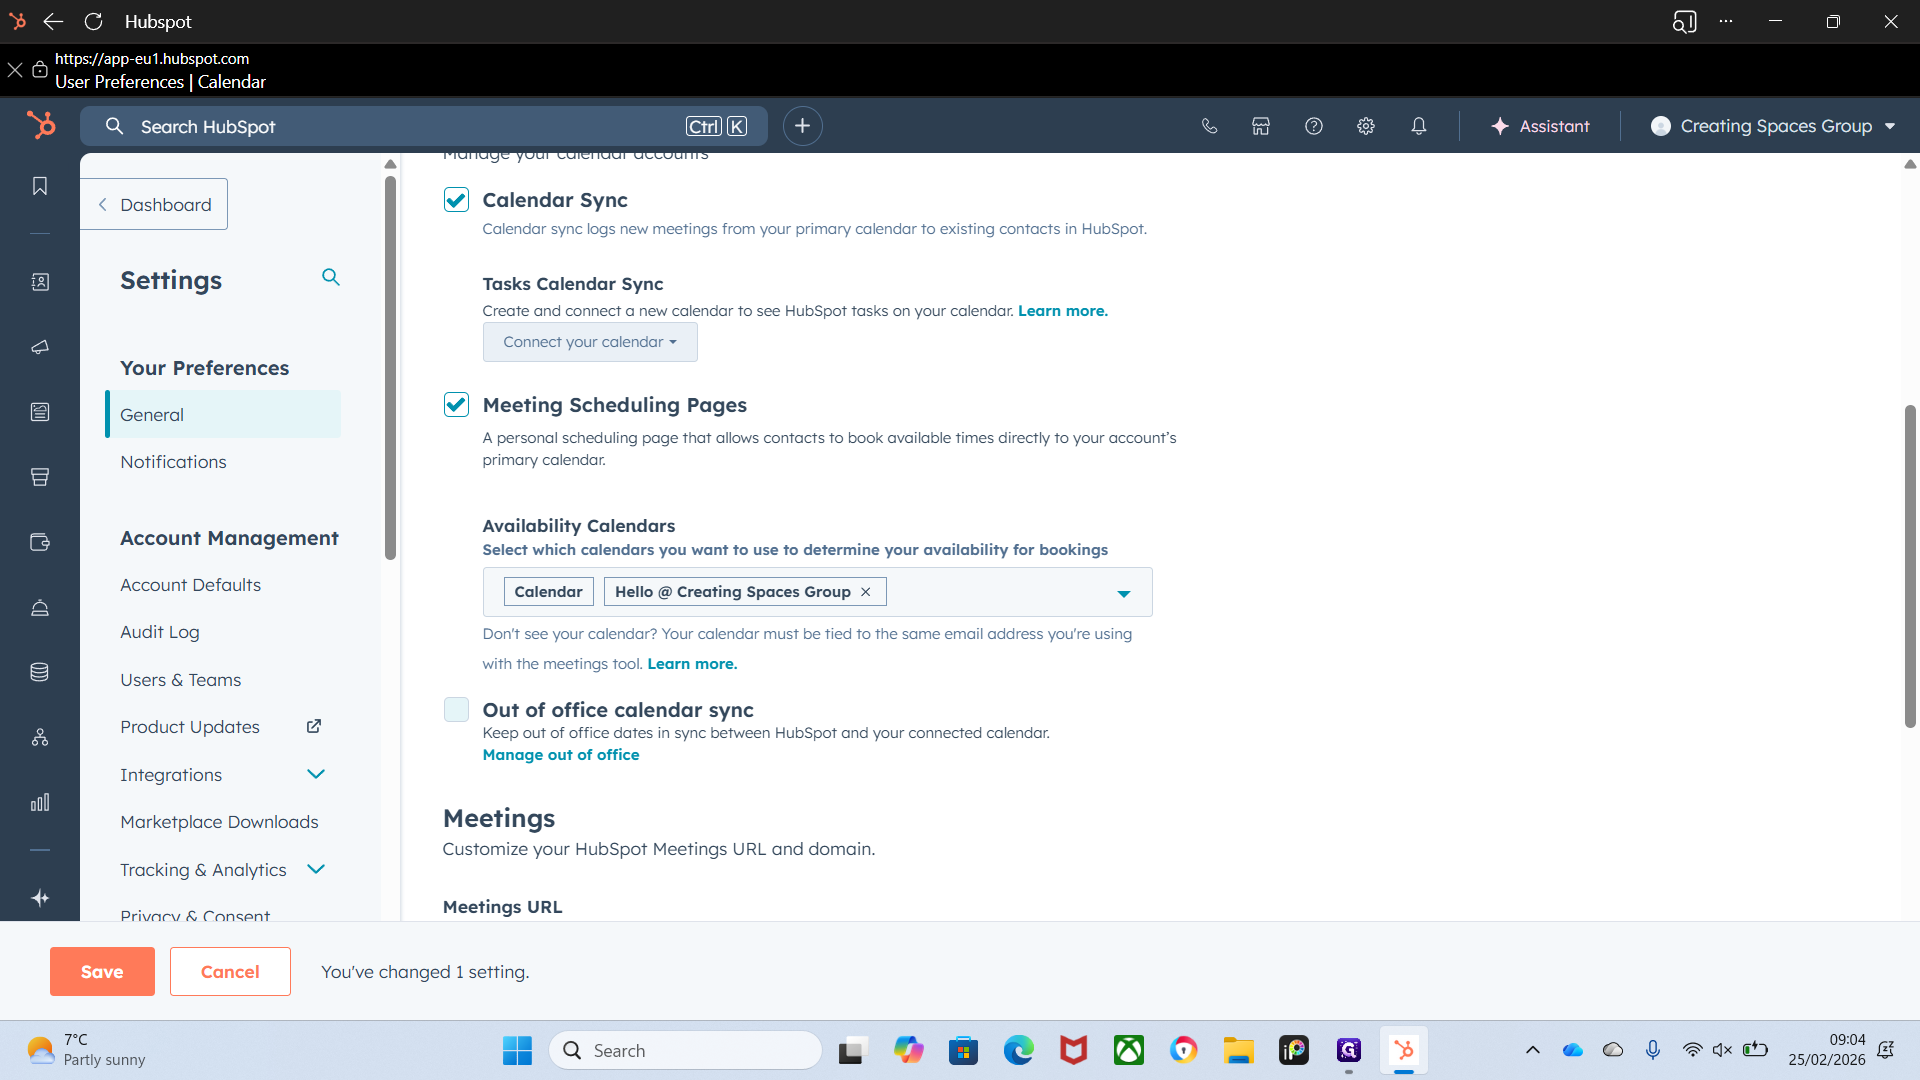
Out-of-office calendar sync is a good option to select.
This is your new meetings link, which is automatically created for you.

Okay.
We'll save that.
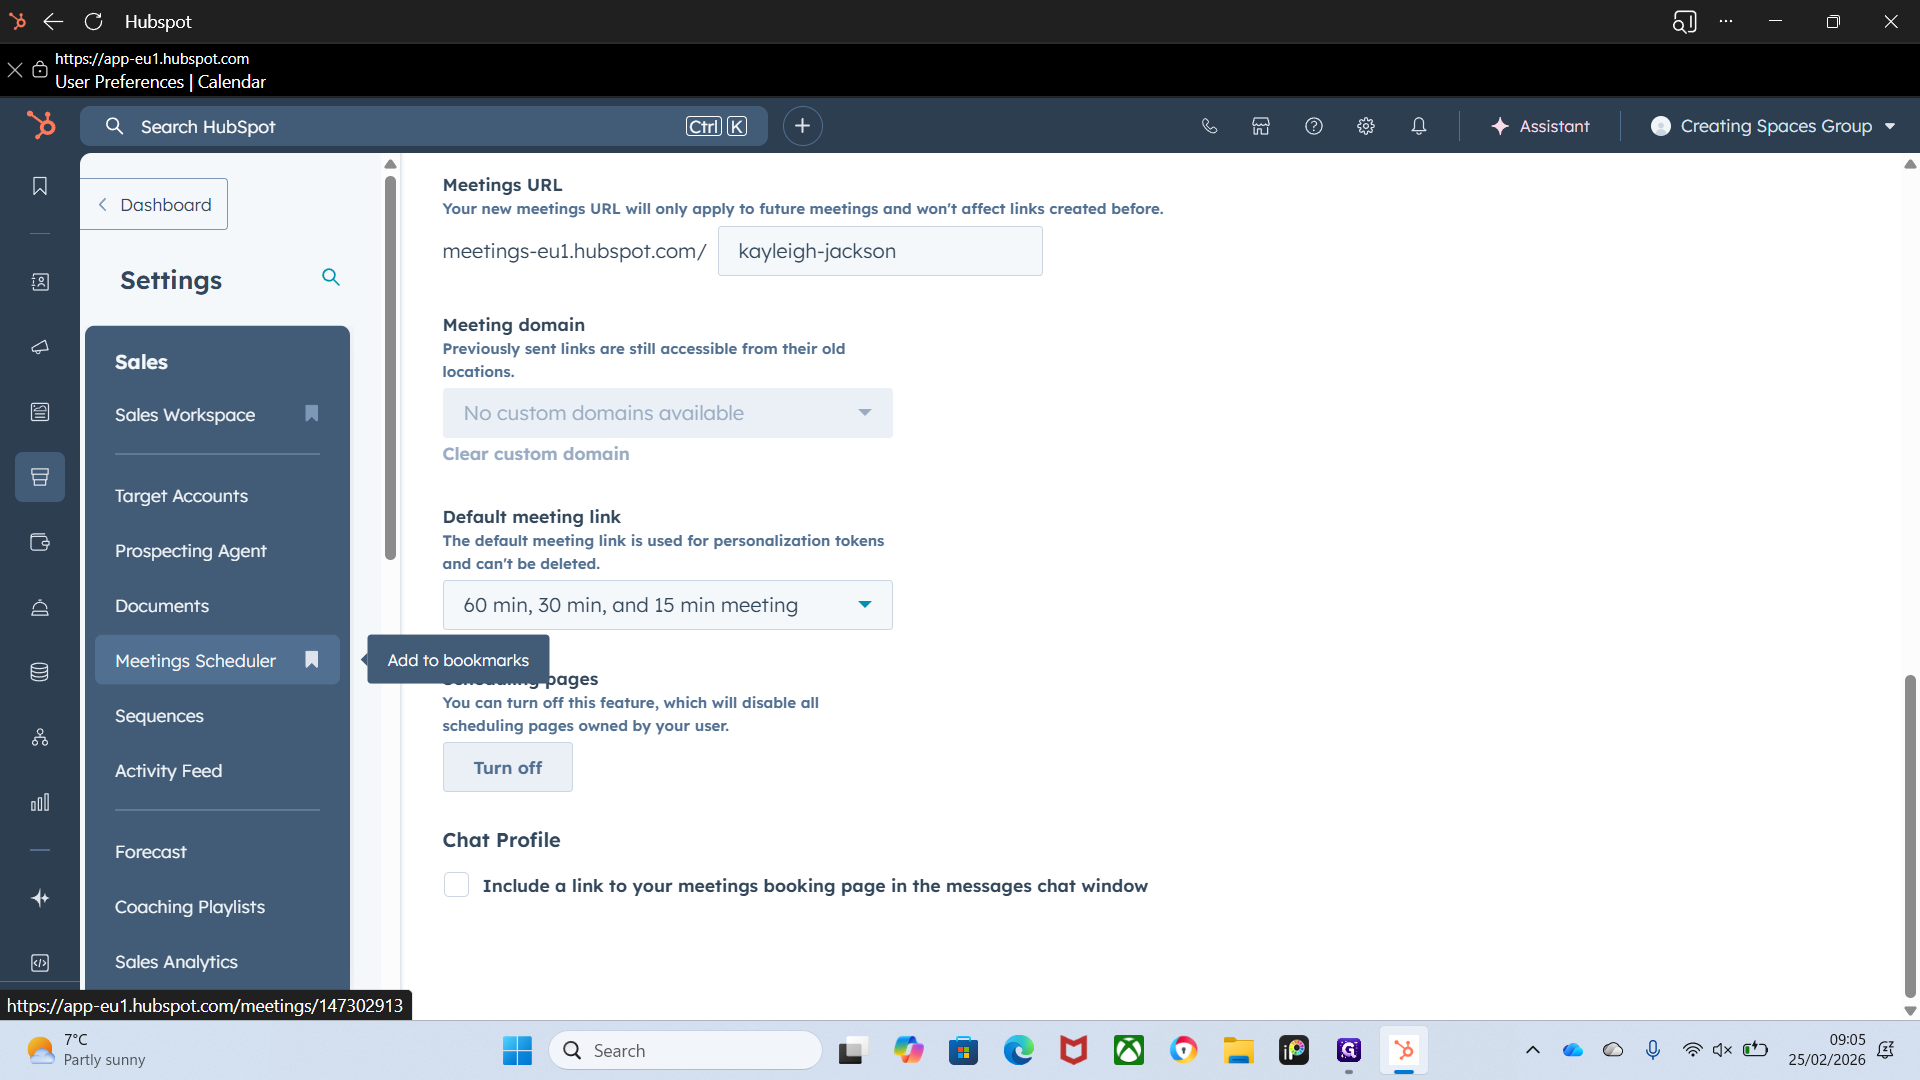
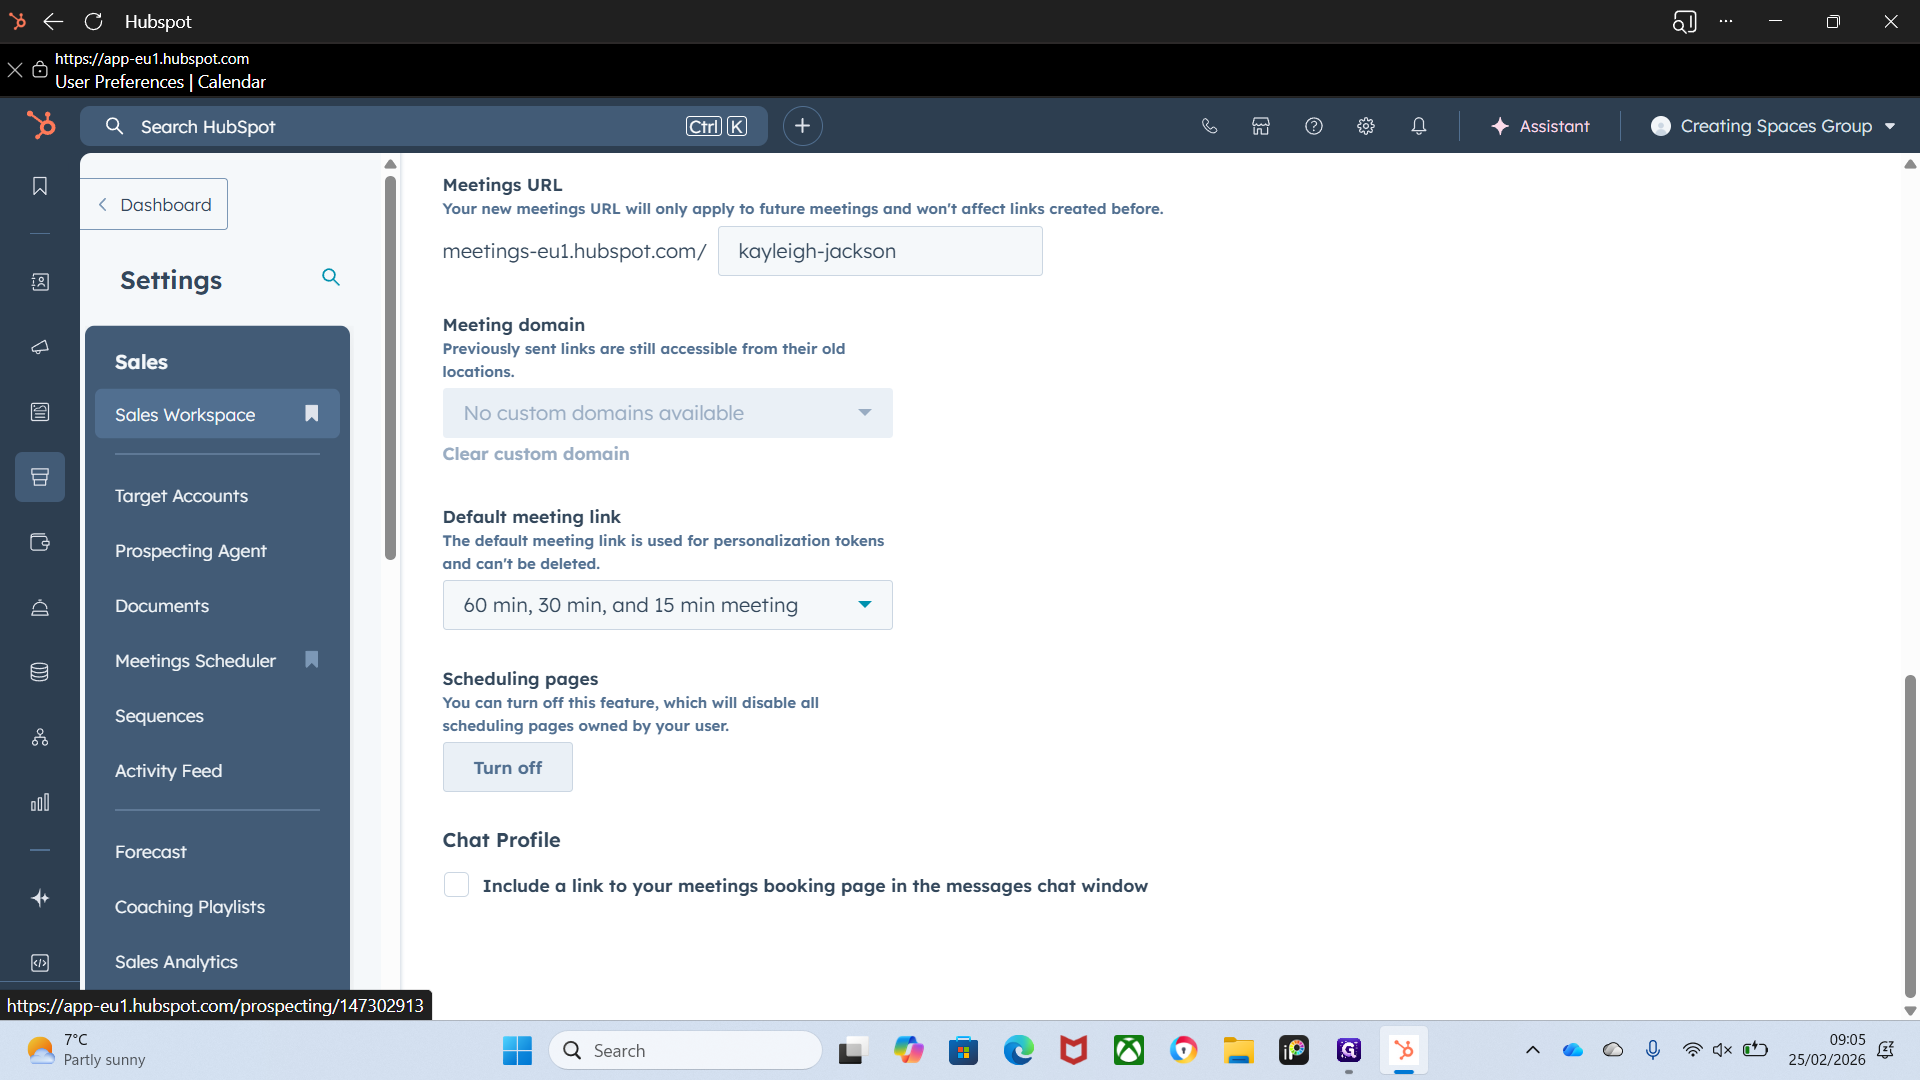
To view your calendars, go to Sales Workspace. Yay. I did that. I did it, everyone. I did it.
I did it. To bookmark it at the top, click the bookmark icon. No. If you want to bookmark Meet and Schedule, follow the same steps.
""
In your Sales Workspace, you can view all available information.
You have your companies, which link to everything—your deals, leads, tasks, and schedule.

As you can see, it shows the Hello Calendar for availability.
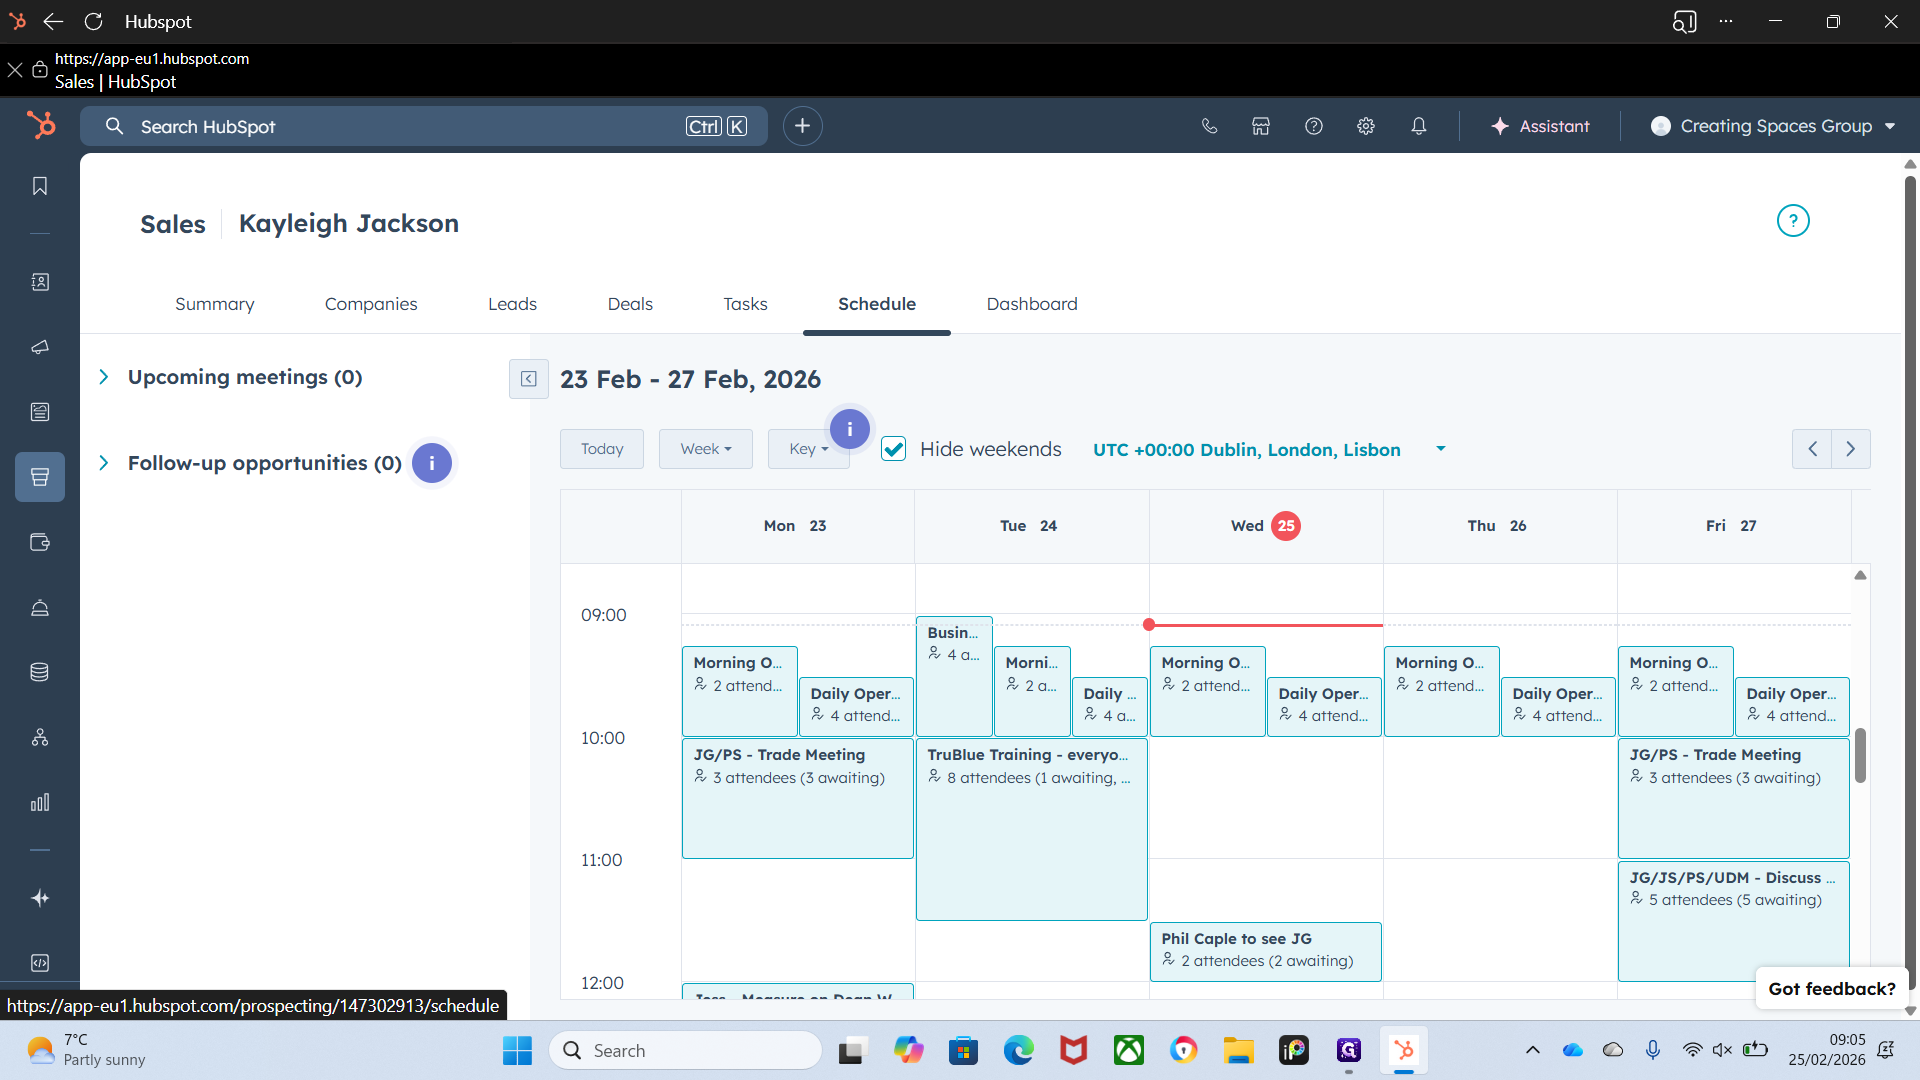
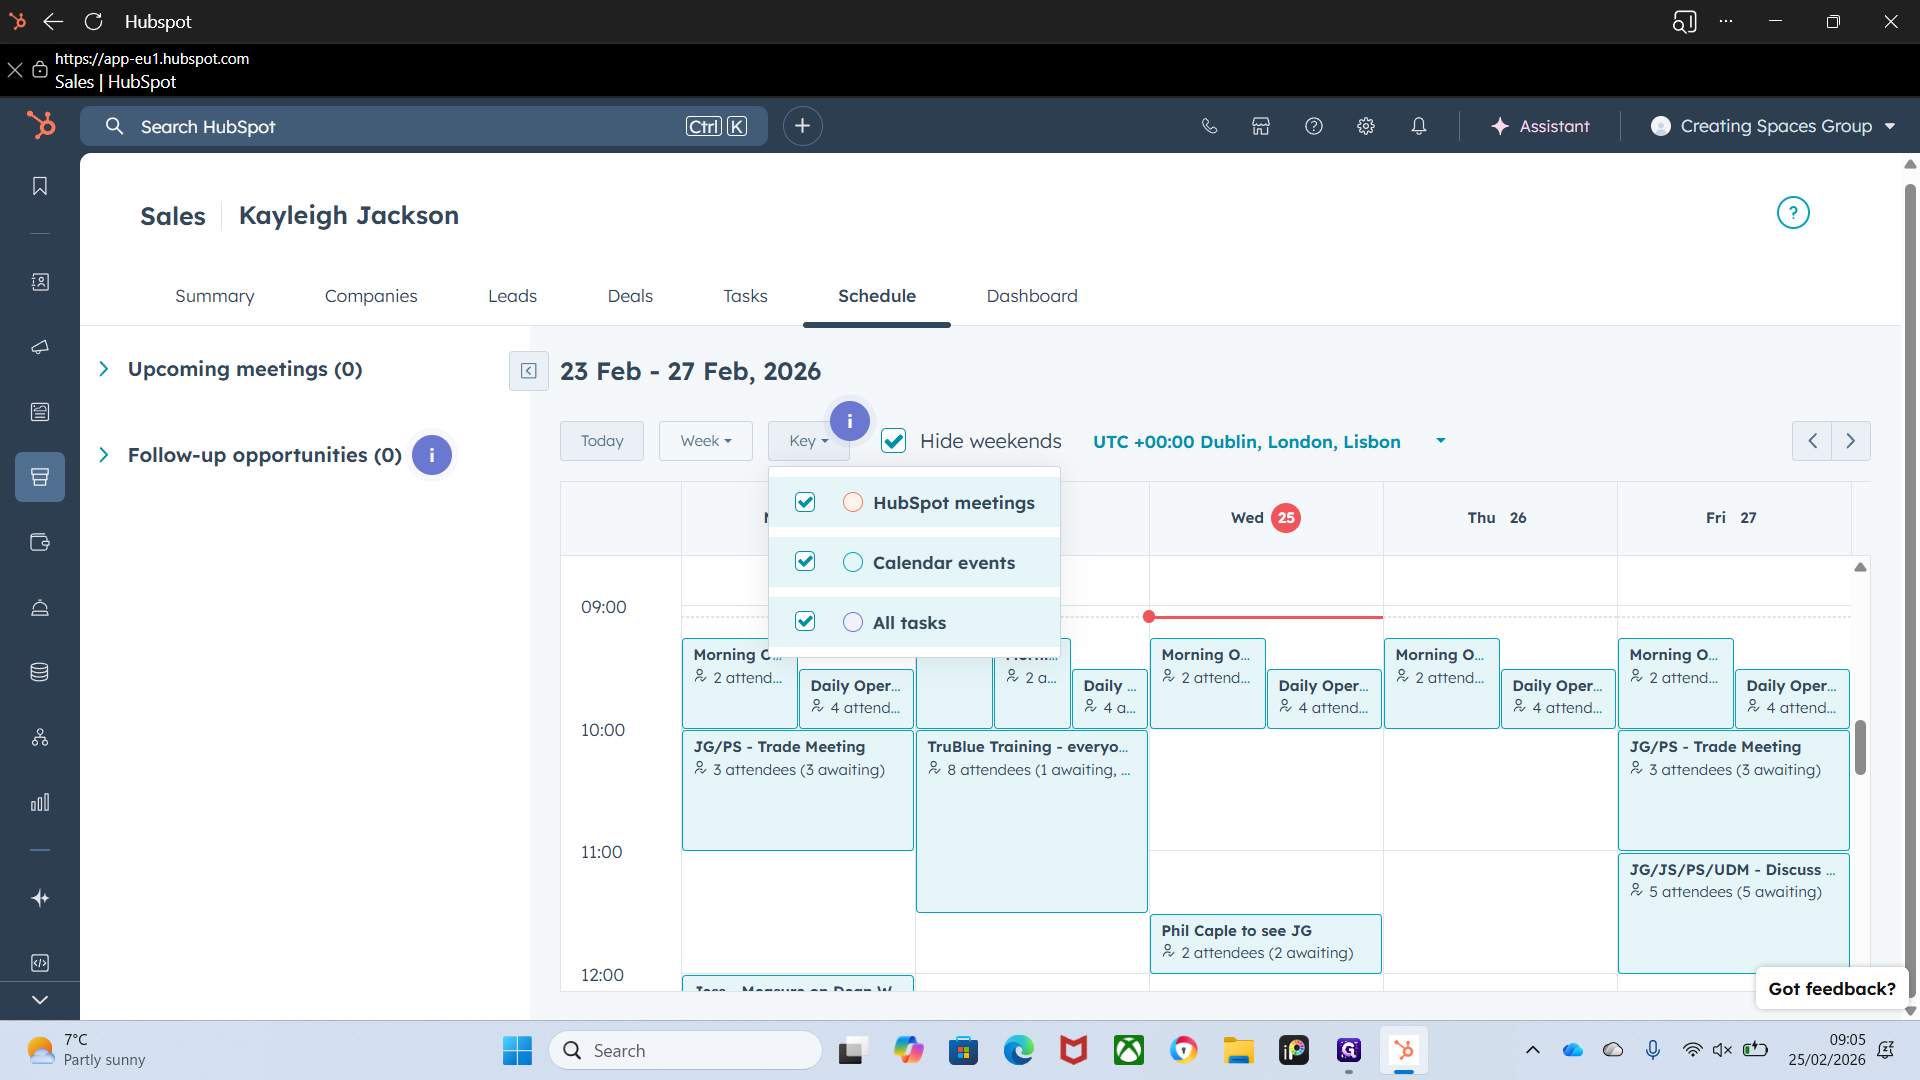
You can adjust these settings to filter what you want to see and what you don't.
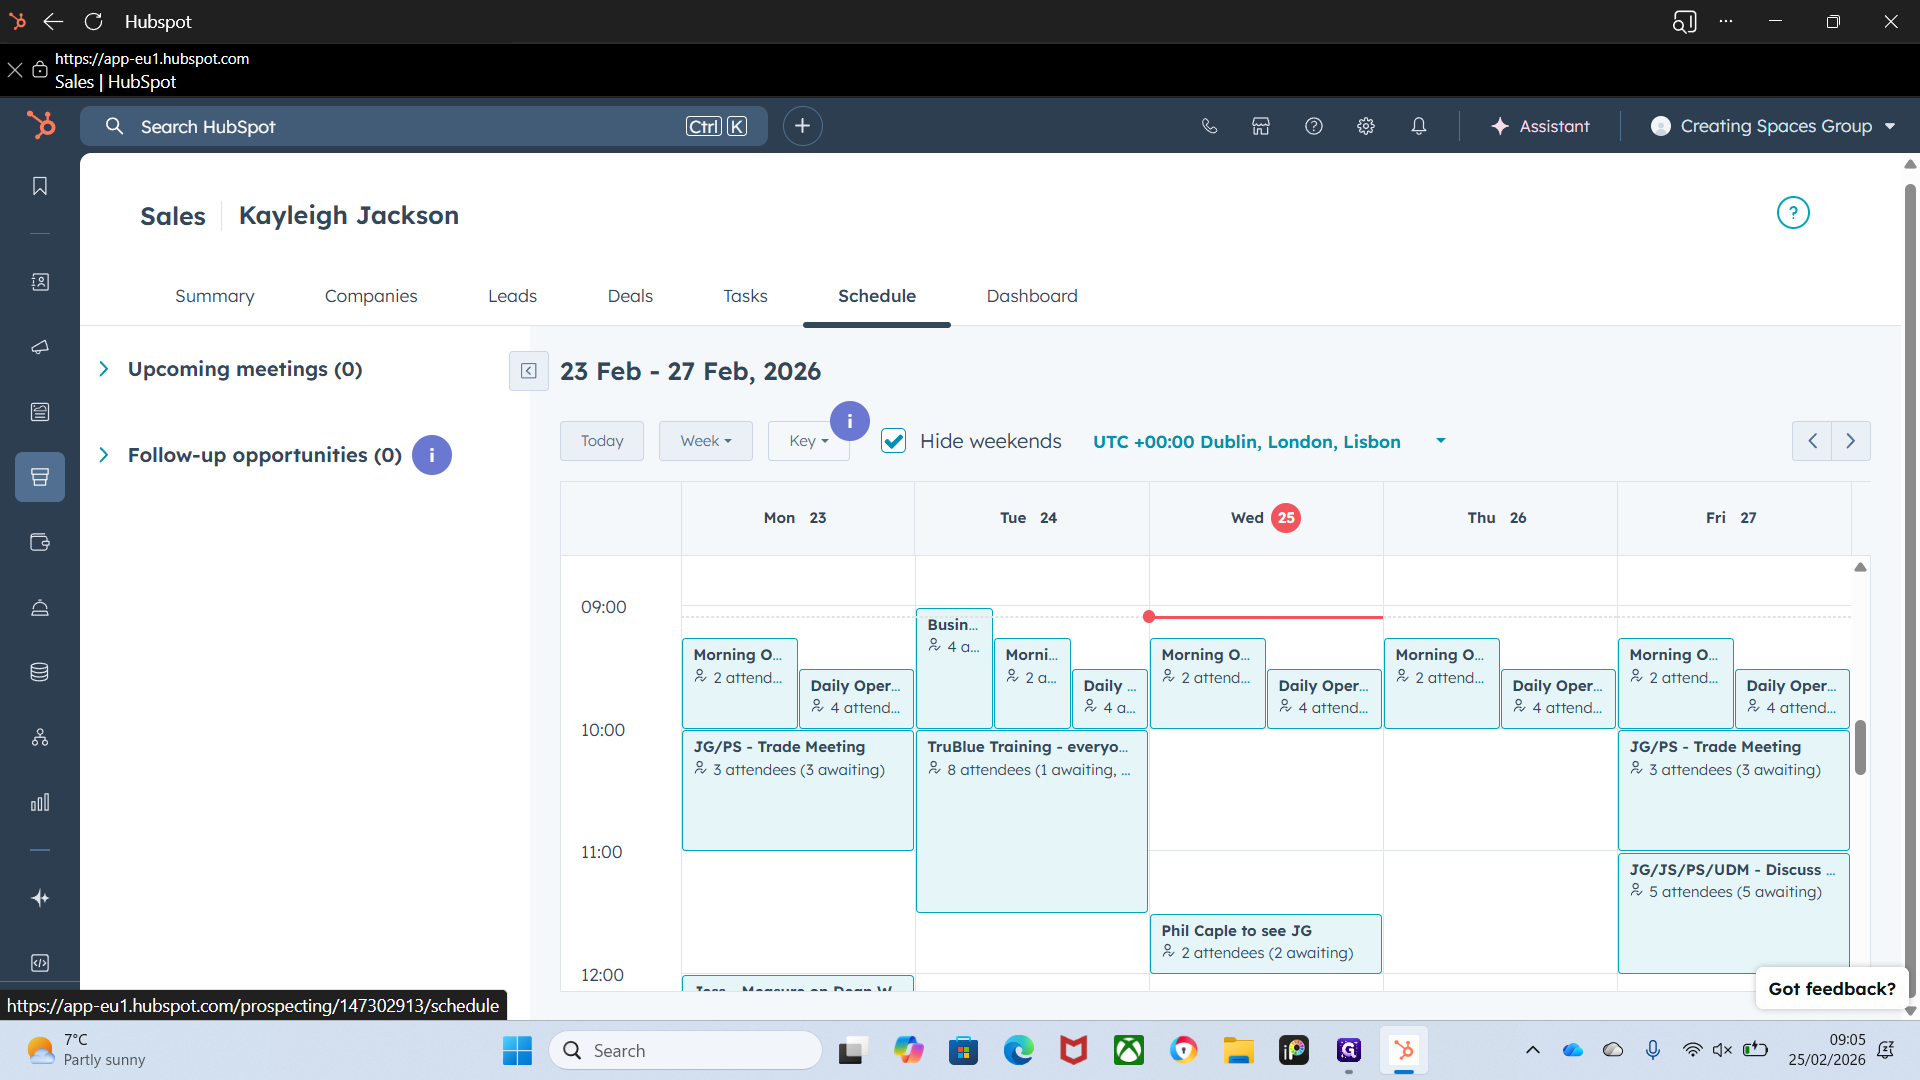
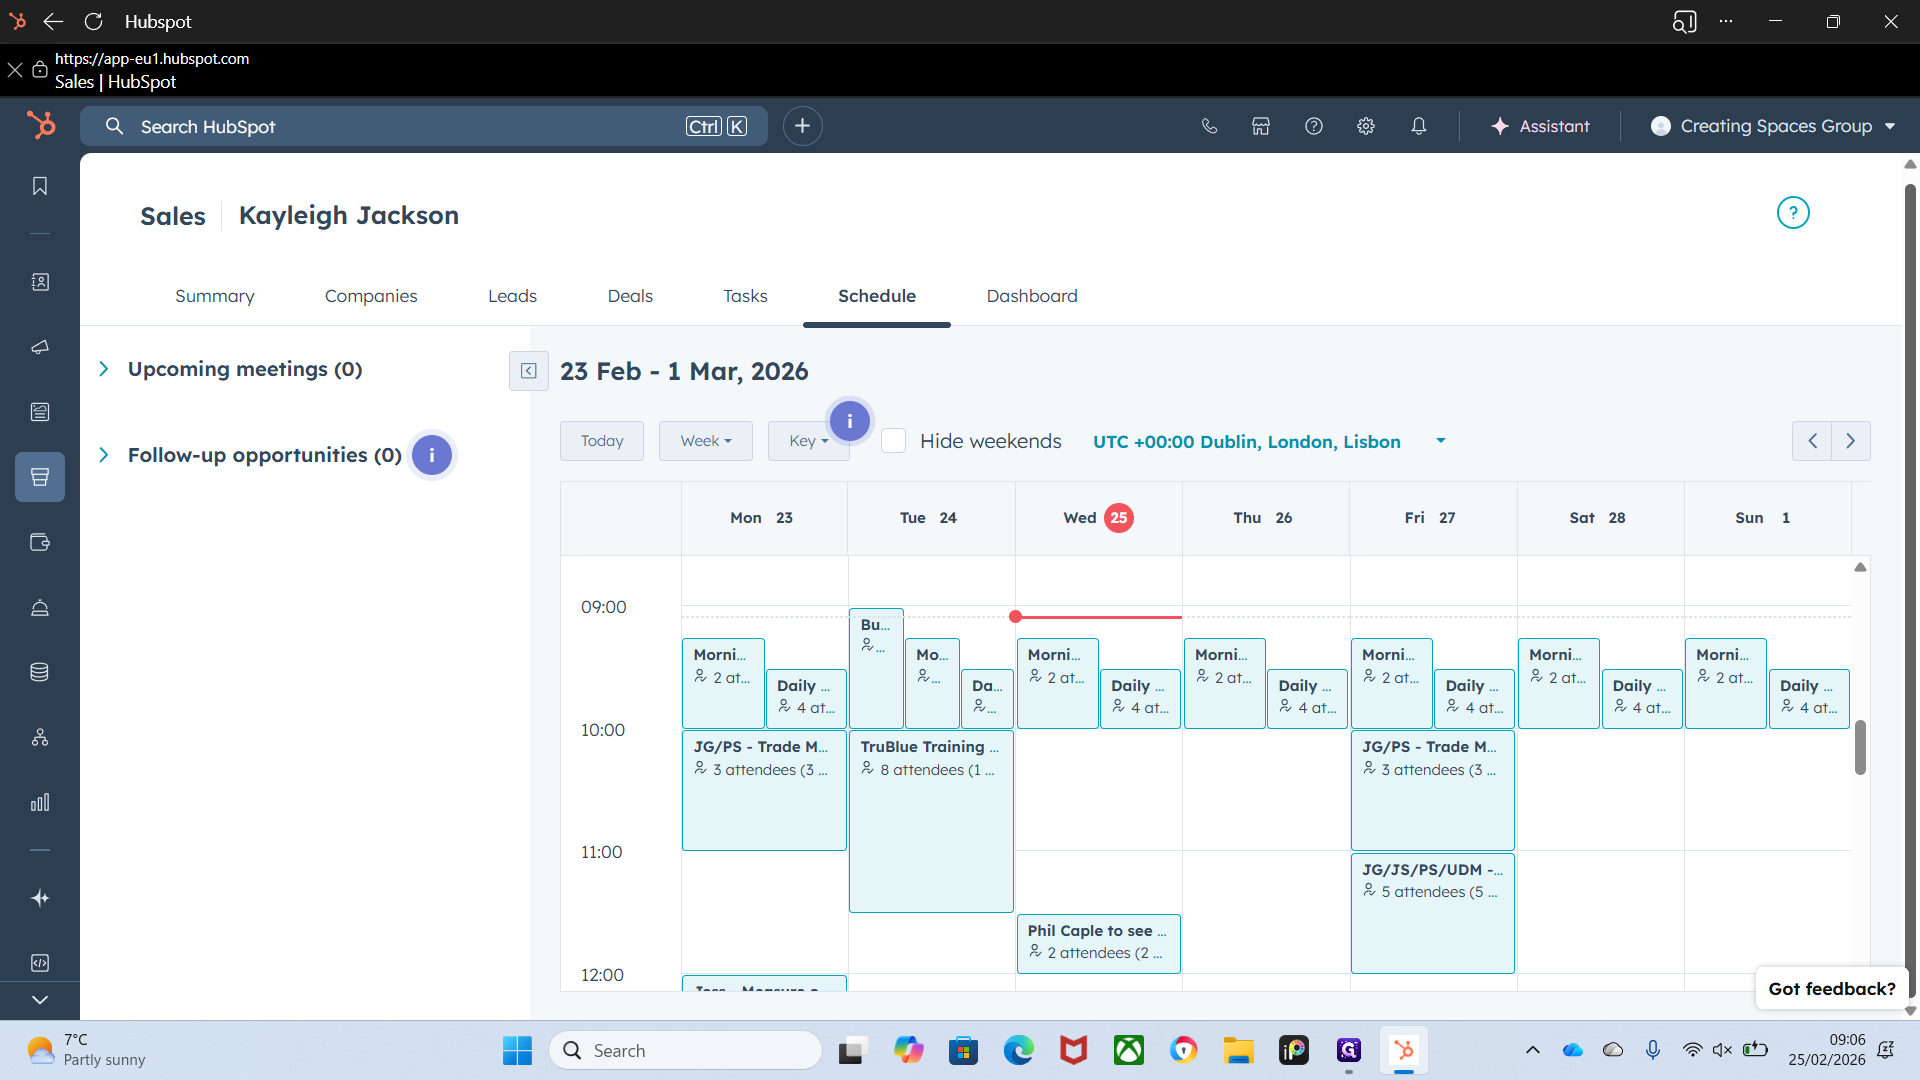
Same with weekday or month. Untick to show weekends, since we work on weekends.

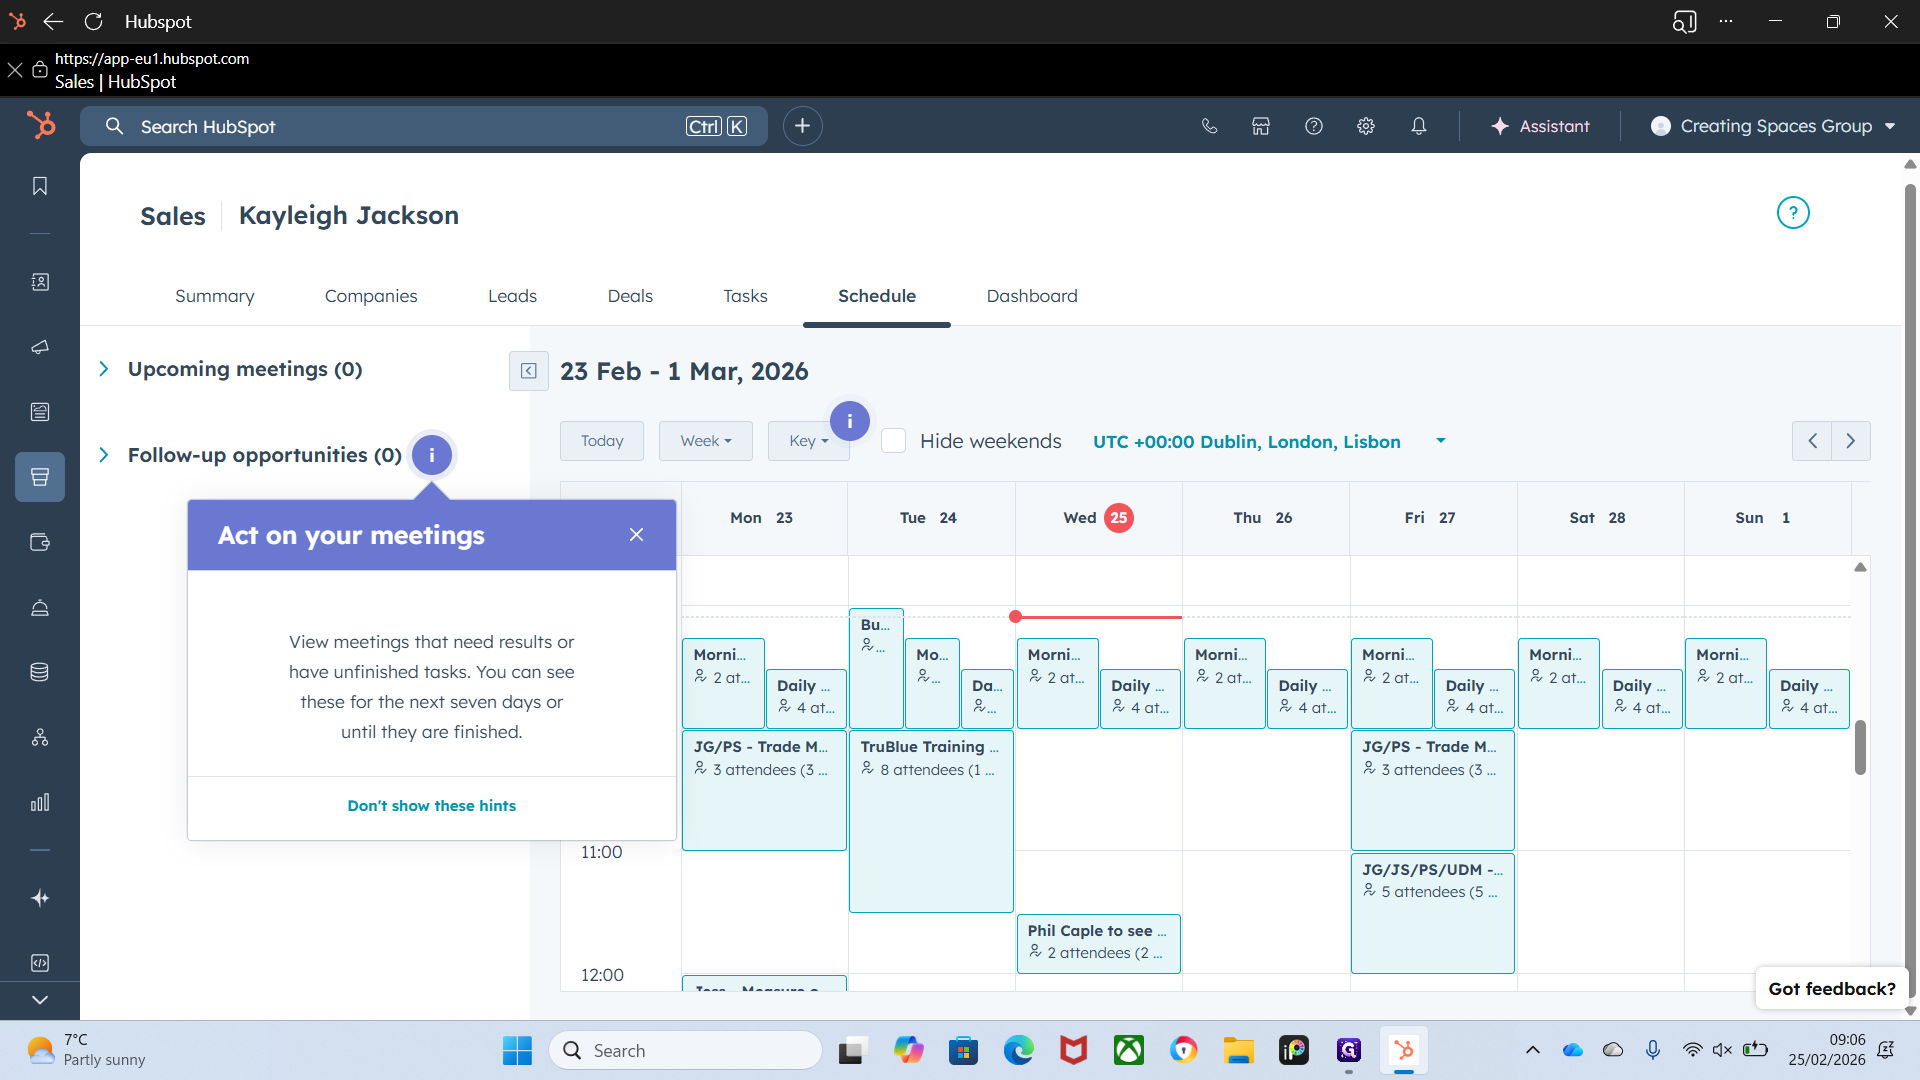
Follow-up opportunities explain how to view meetings that need results or have unfinished tasks. This helps if you have forgotten something, such as a meeting outcome.

Okay. That's the overlay of the calendar.