
How to Use Langsmith for AI LinkedIn Sales Message Generation
Learn how to use Langsmith to log AI actions, manage LinkedIn Sales prompts, and optimize your AI agent workflow. Step-by-step guide for accessing logs, editing prompts, and real-time updates.
In this guide, we'll learn how to use LangSmith to log and review the actions of an AI system used for LinkedIn Sales. We will see how to filter and analyze logs, explore prompts, and make changes to prompts in real time. This process helps track AI decisions and improve its performance.
Let's get started
Hello! Here is a short guide on how to use Langsmith. This platform allows us to log the actions of our artificial intelligence, which we use in ?????? Here, prompts for LinkedIn Sales are also stored. So, I'll start by showing the logs.
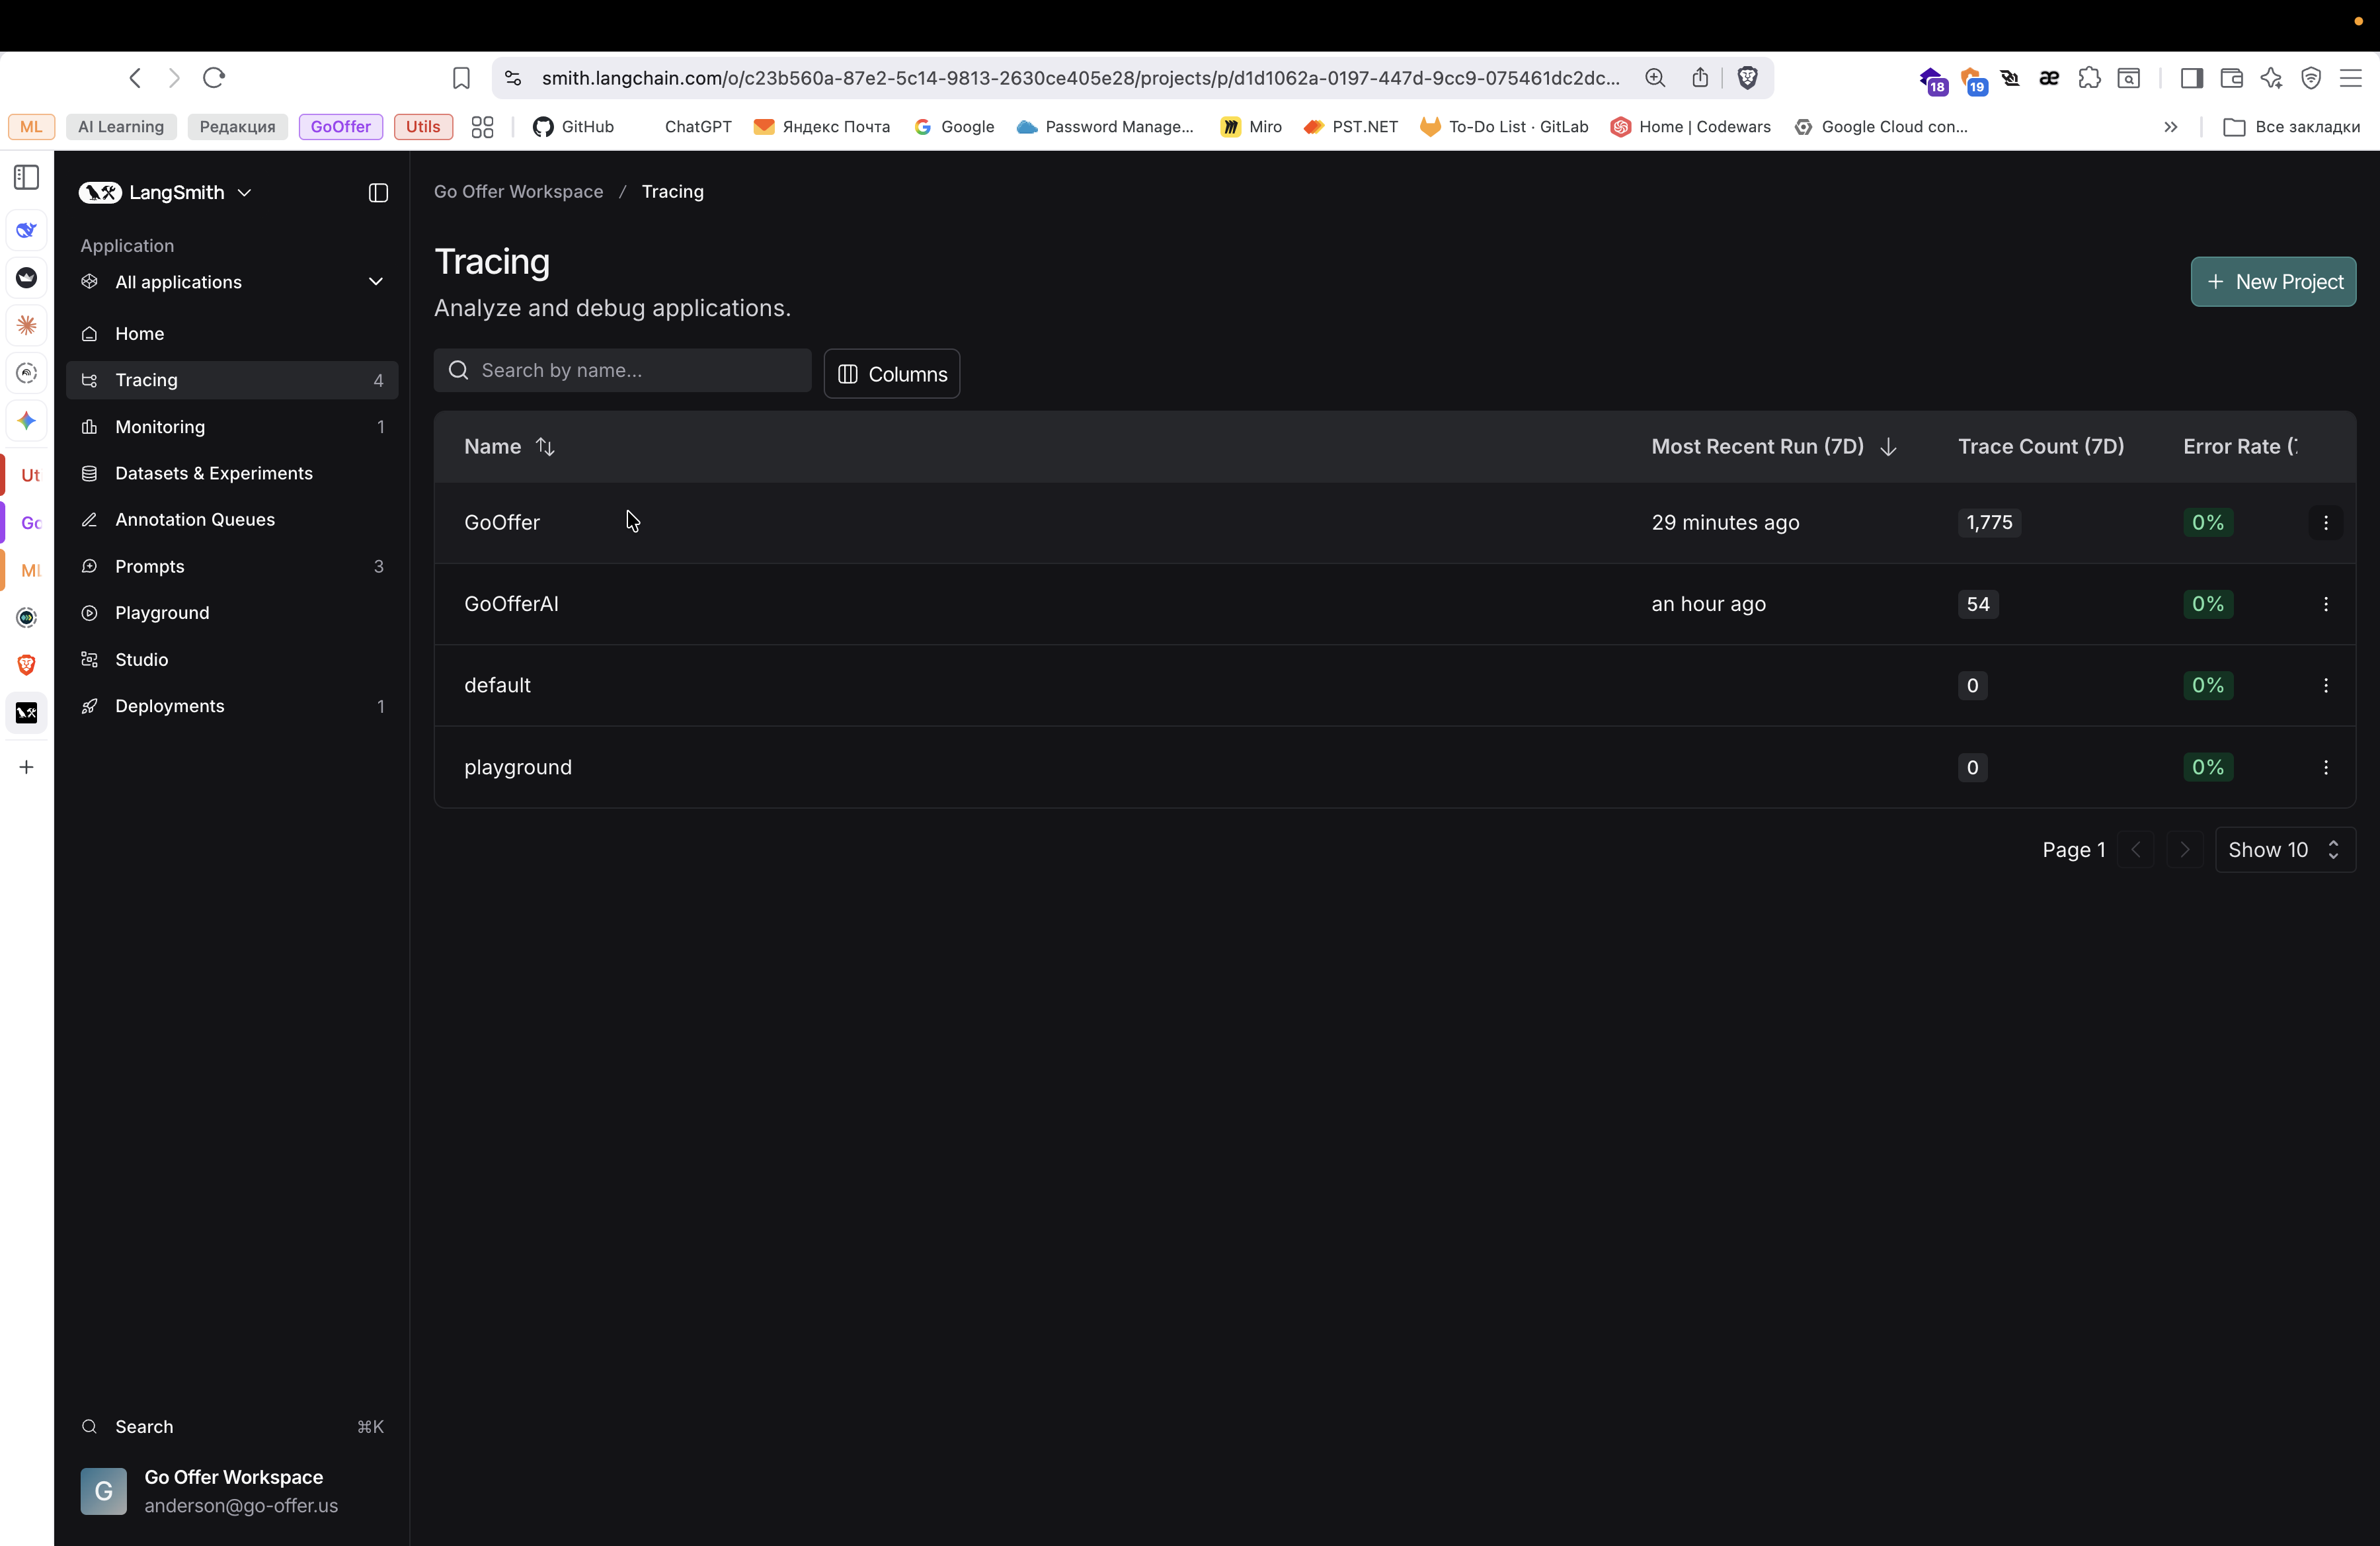
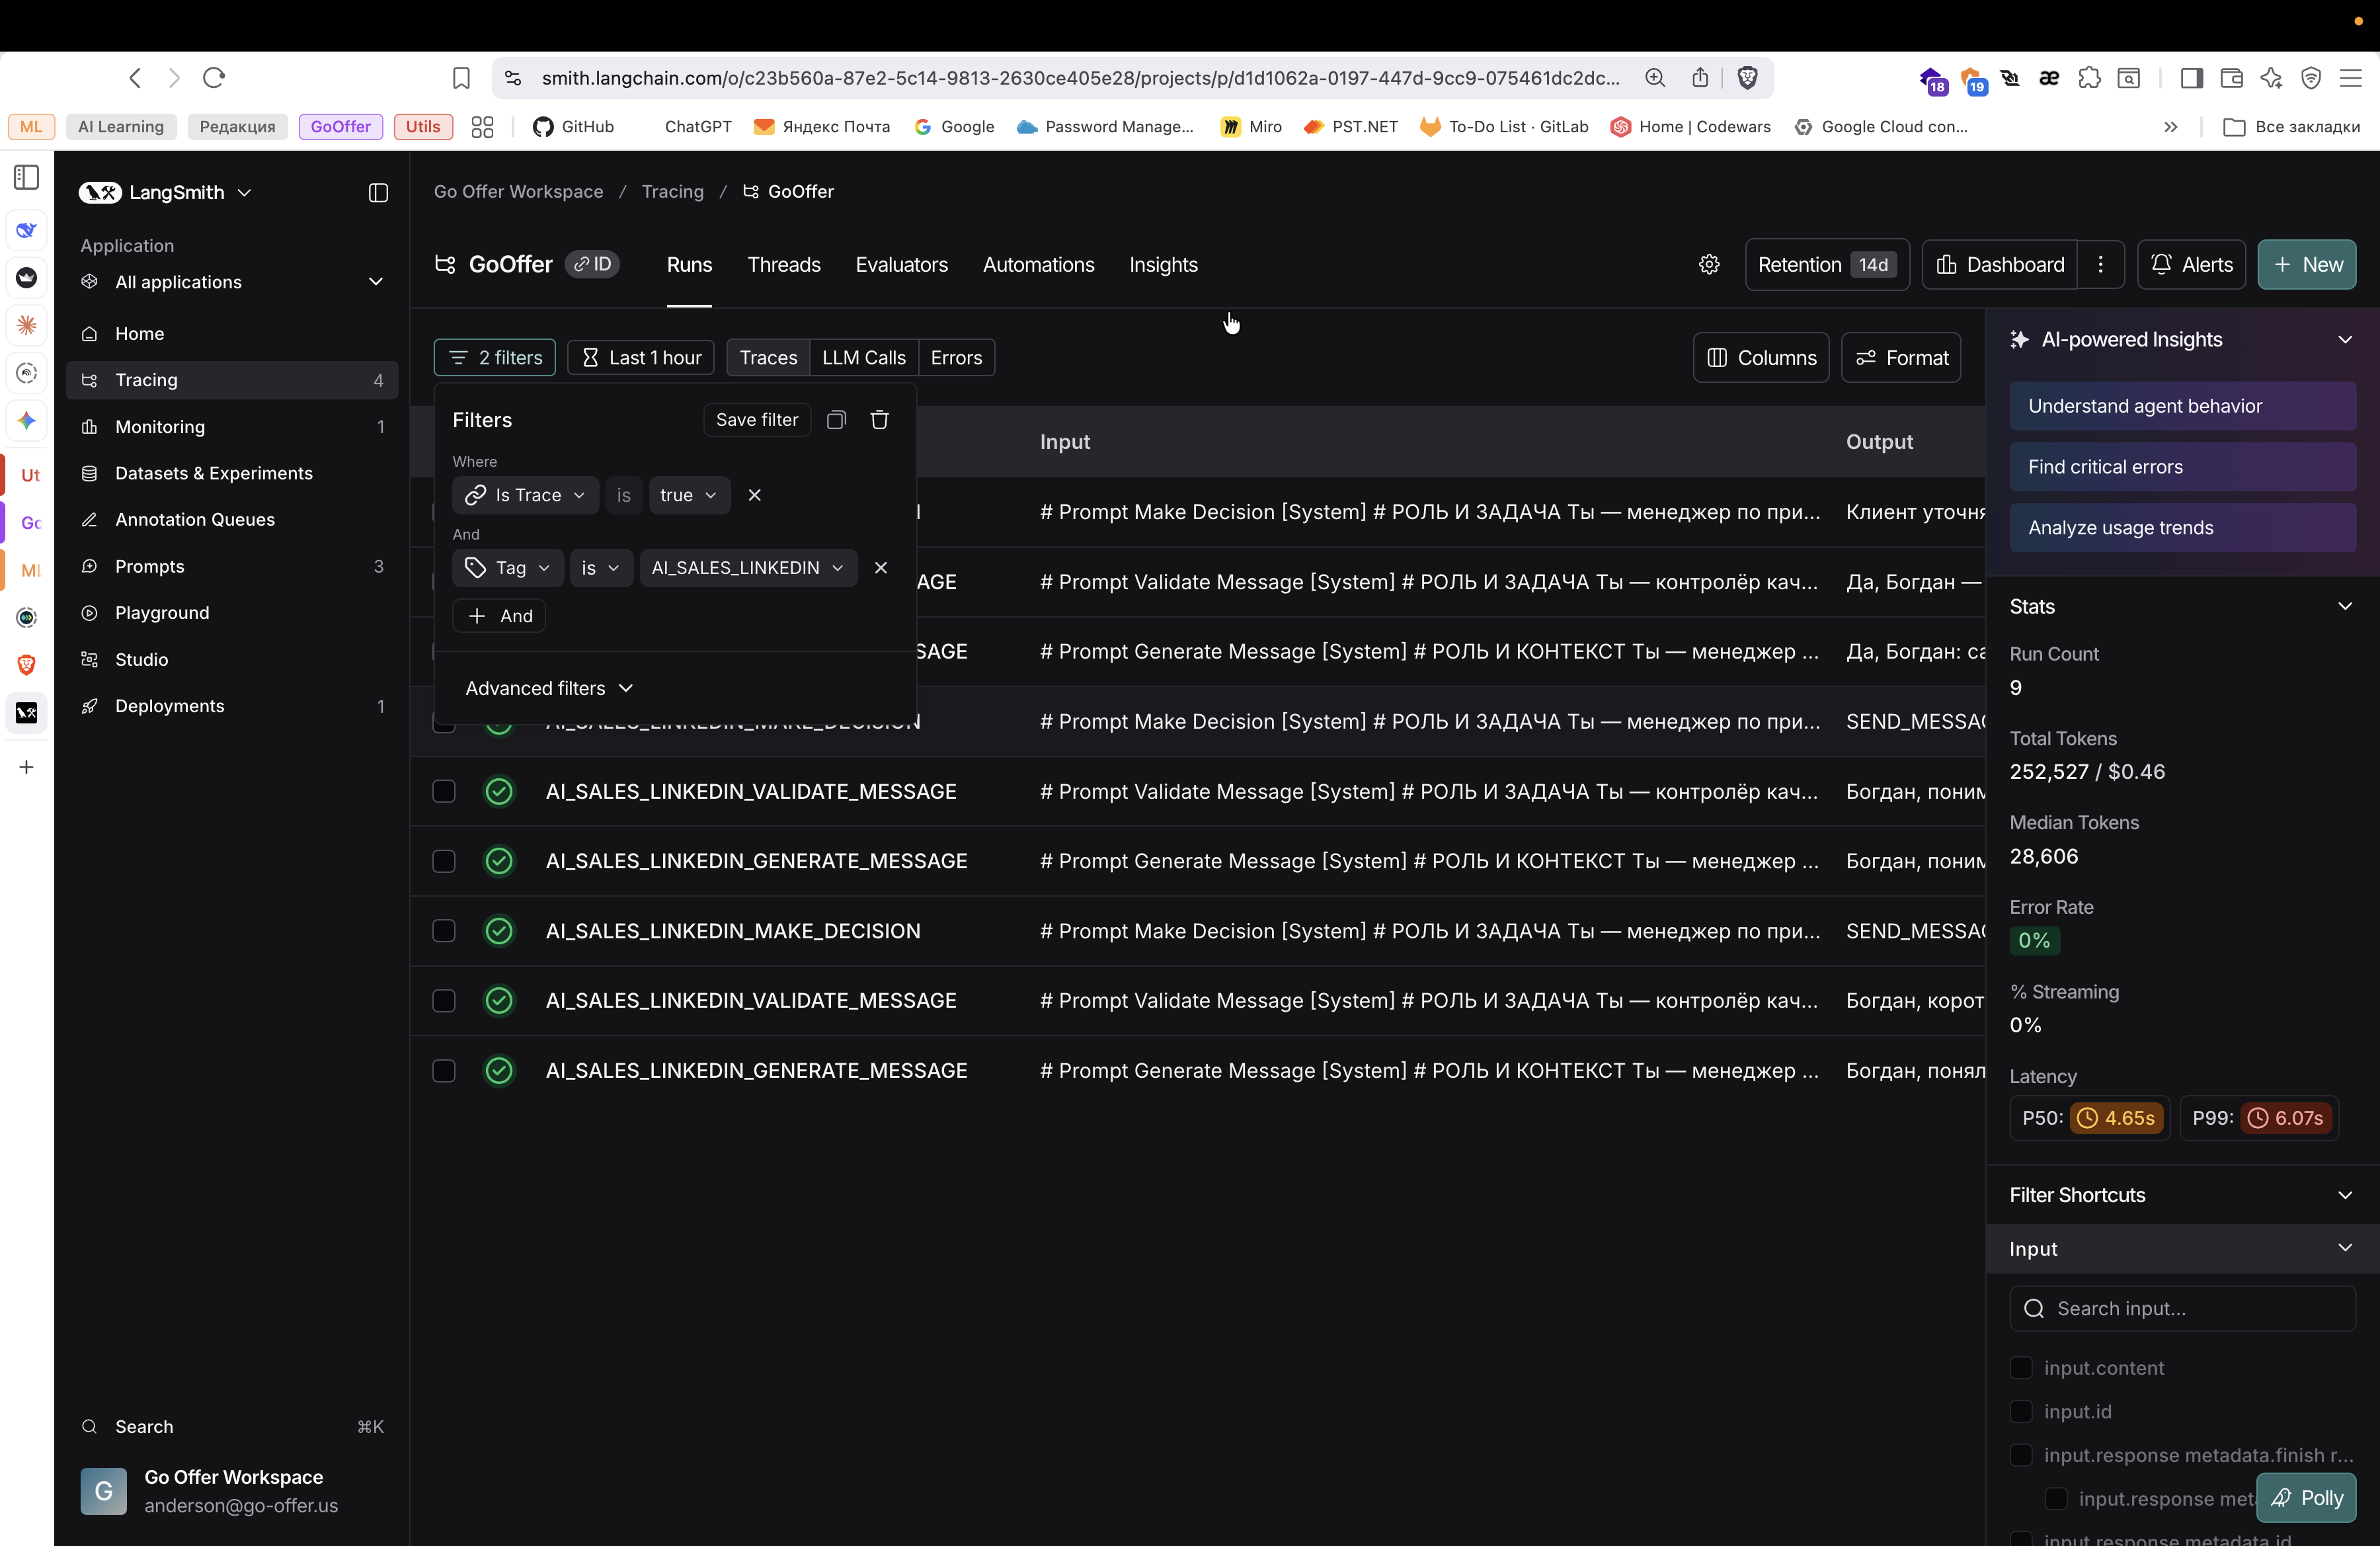
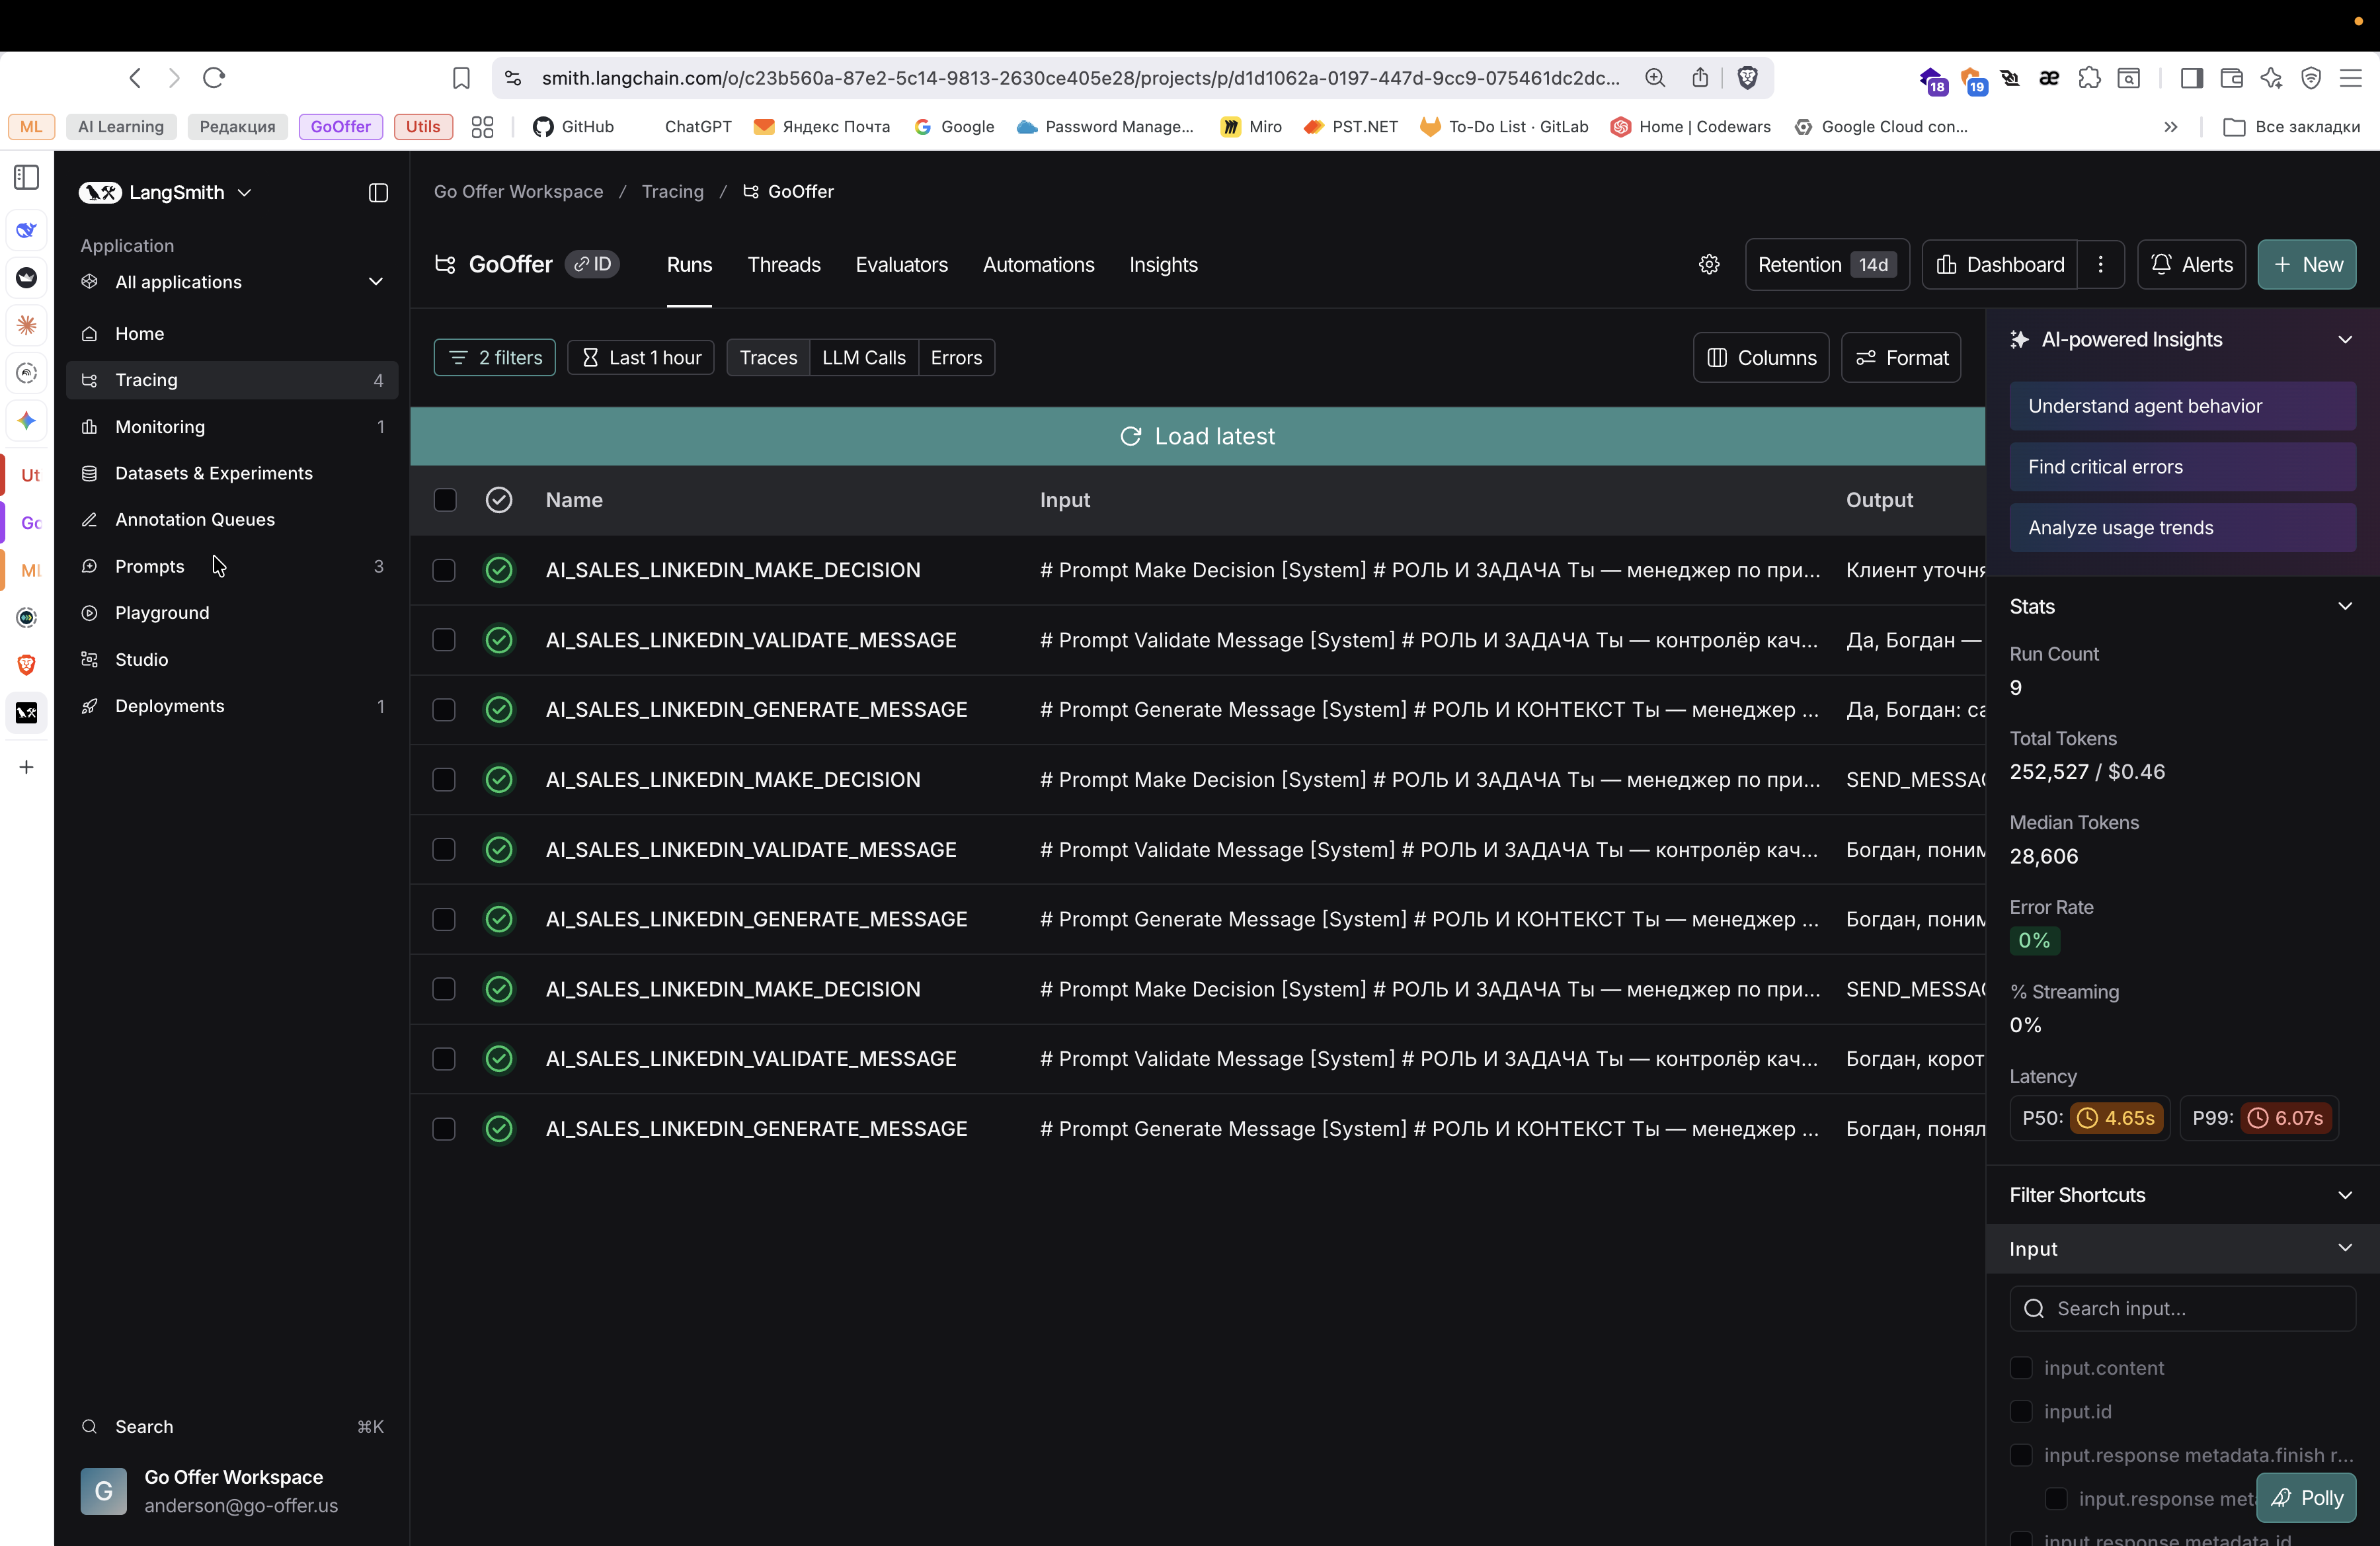
How do you even look at them? Here is the interface; there are filters.

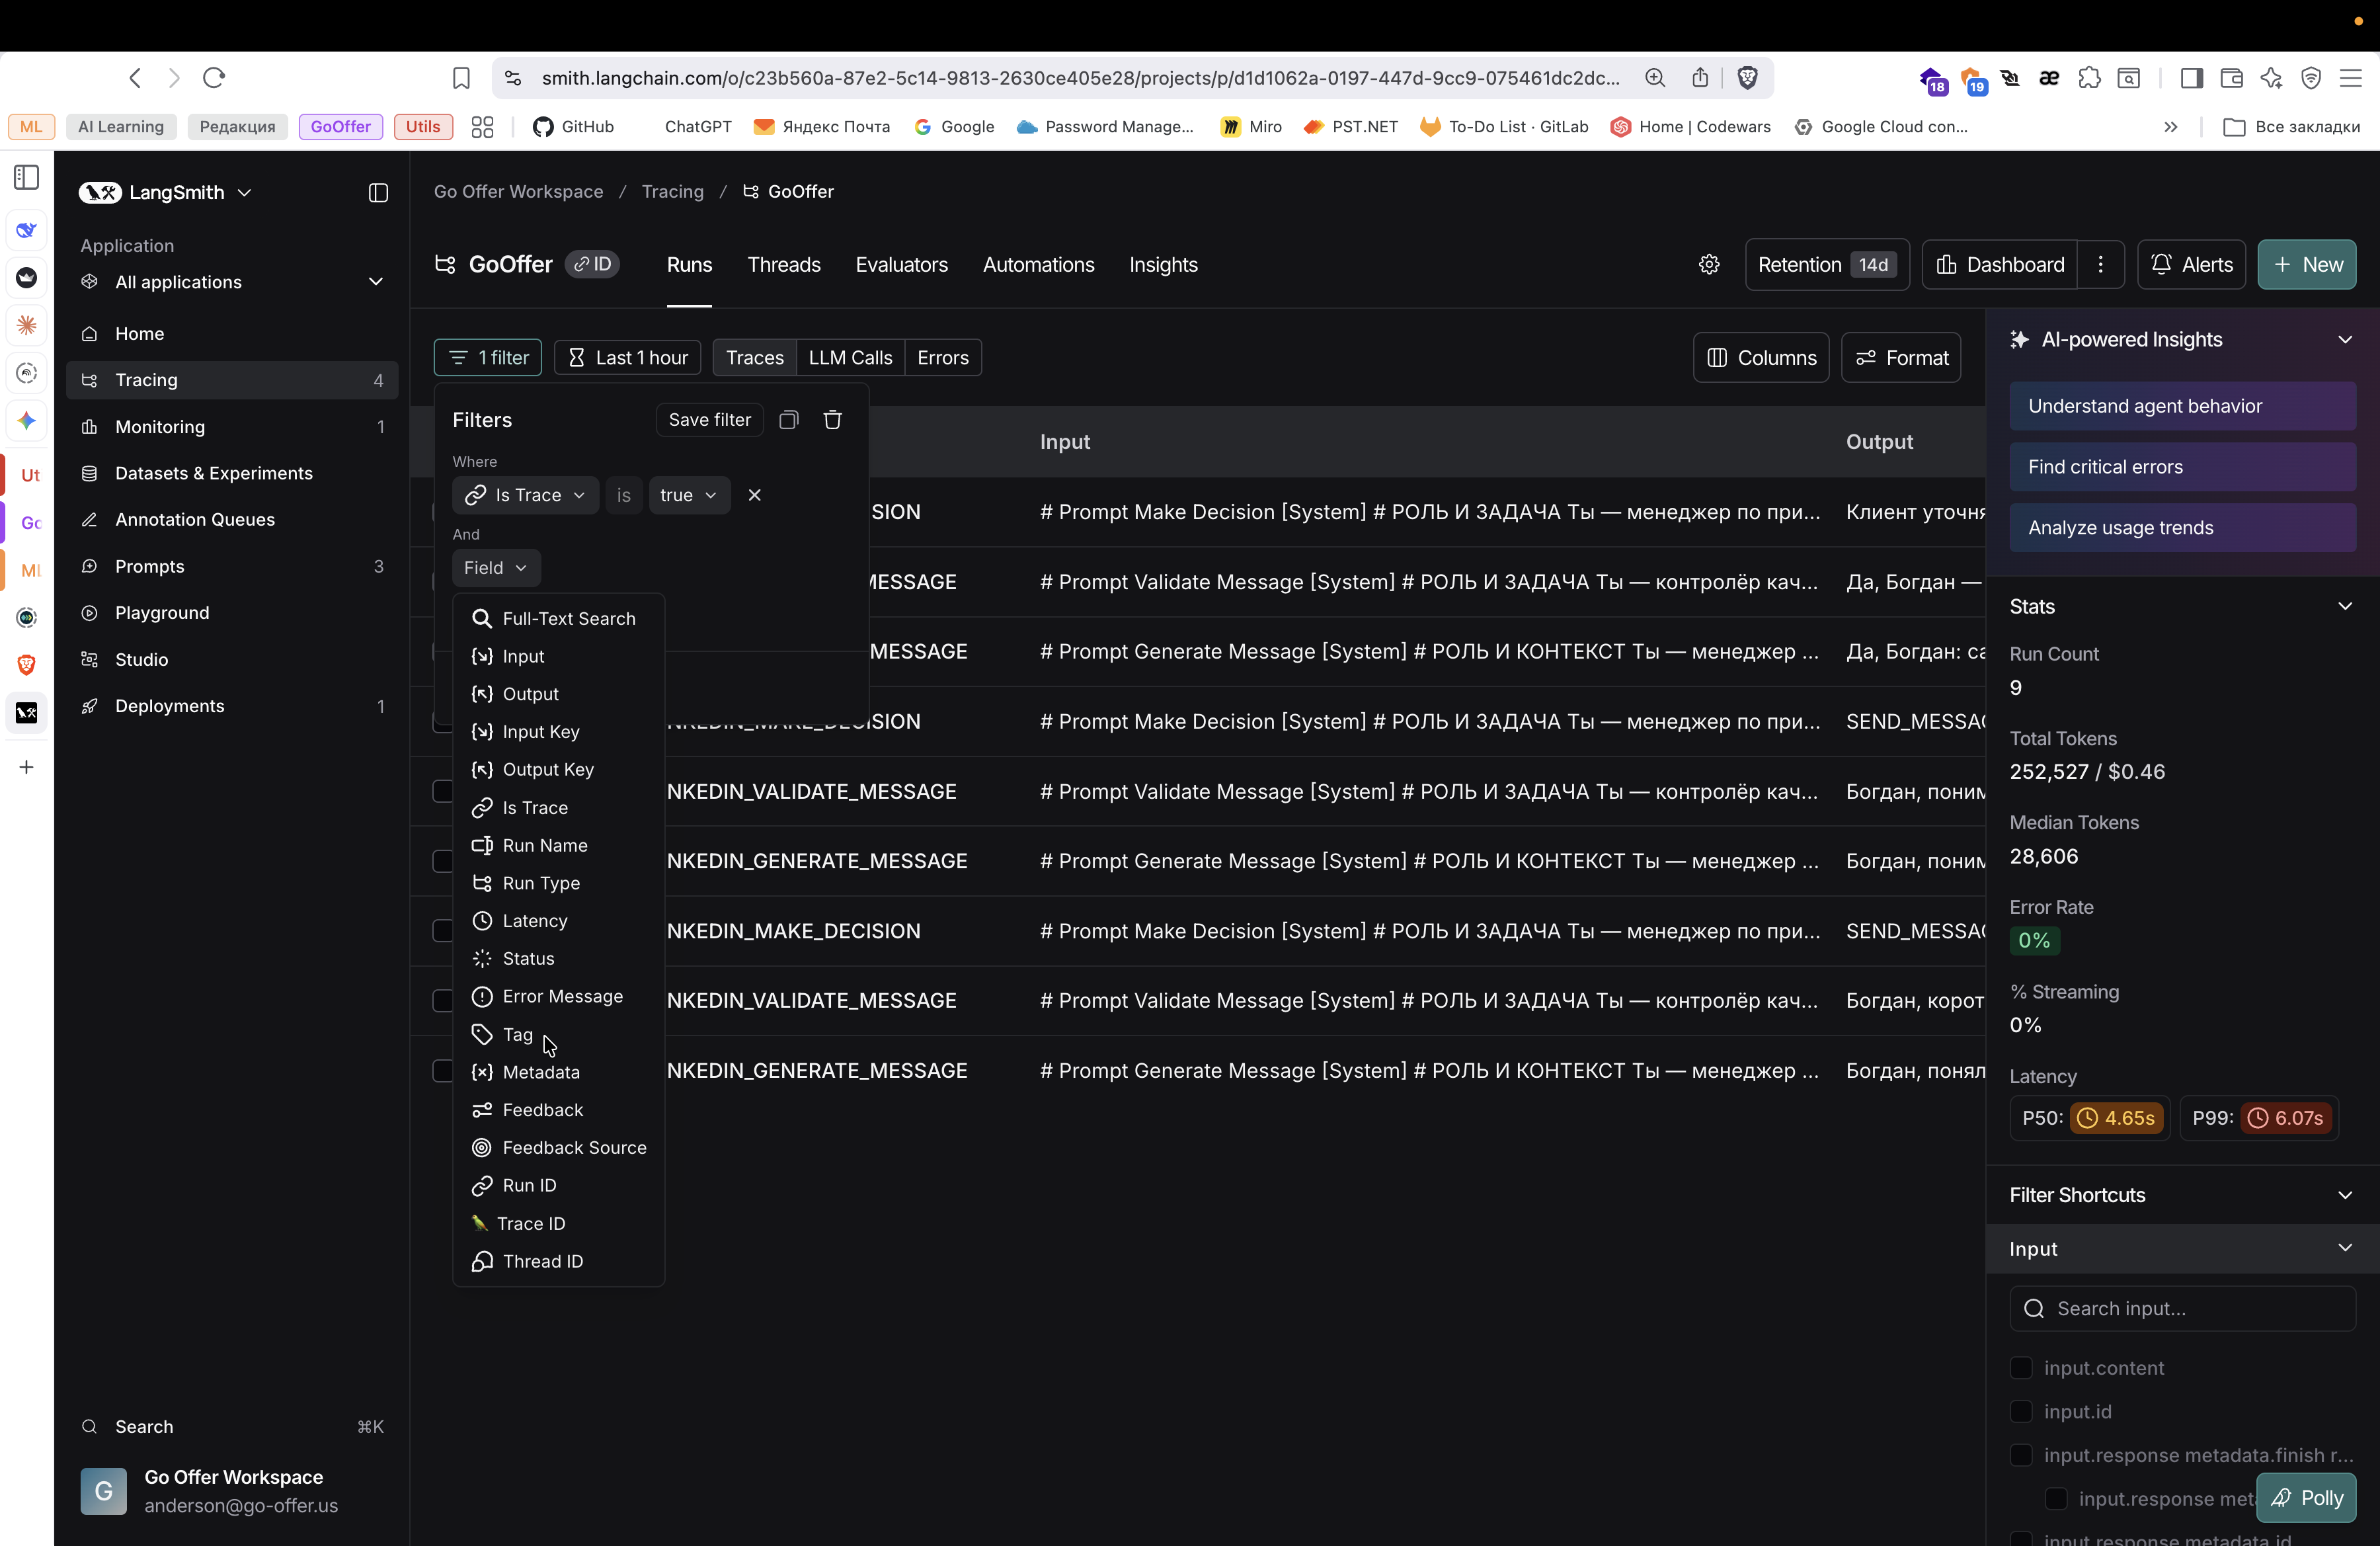
We can select by tag and filter AI Sales LinkedIn.
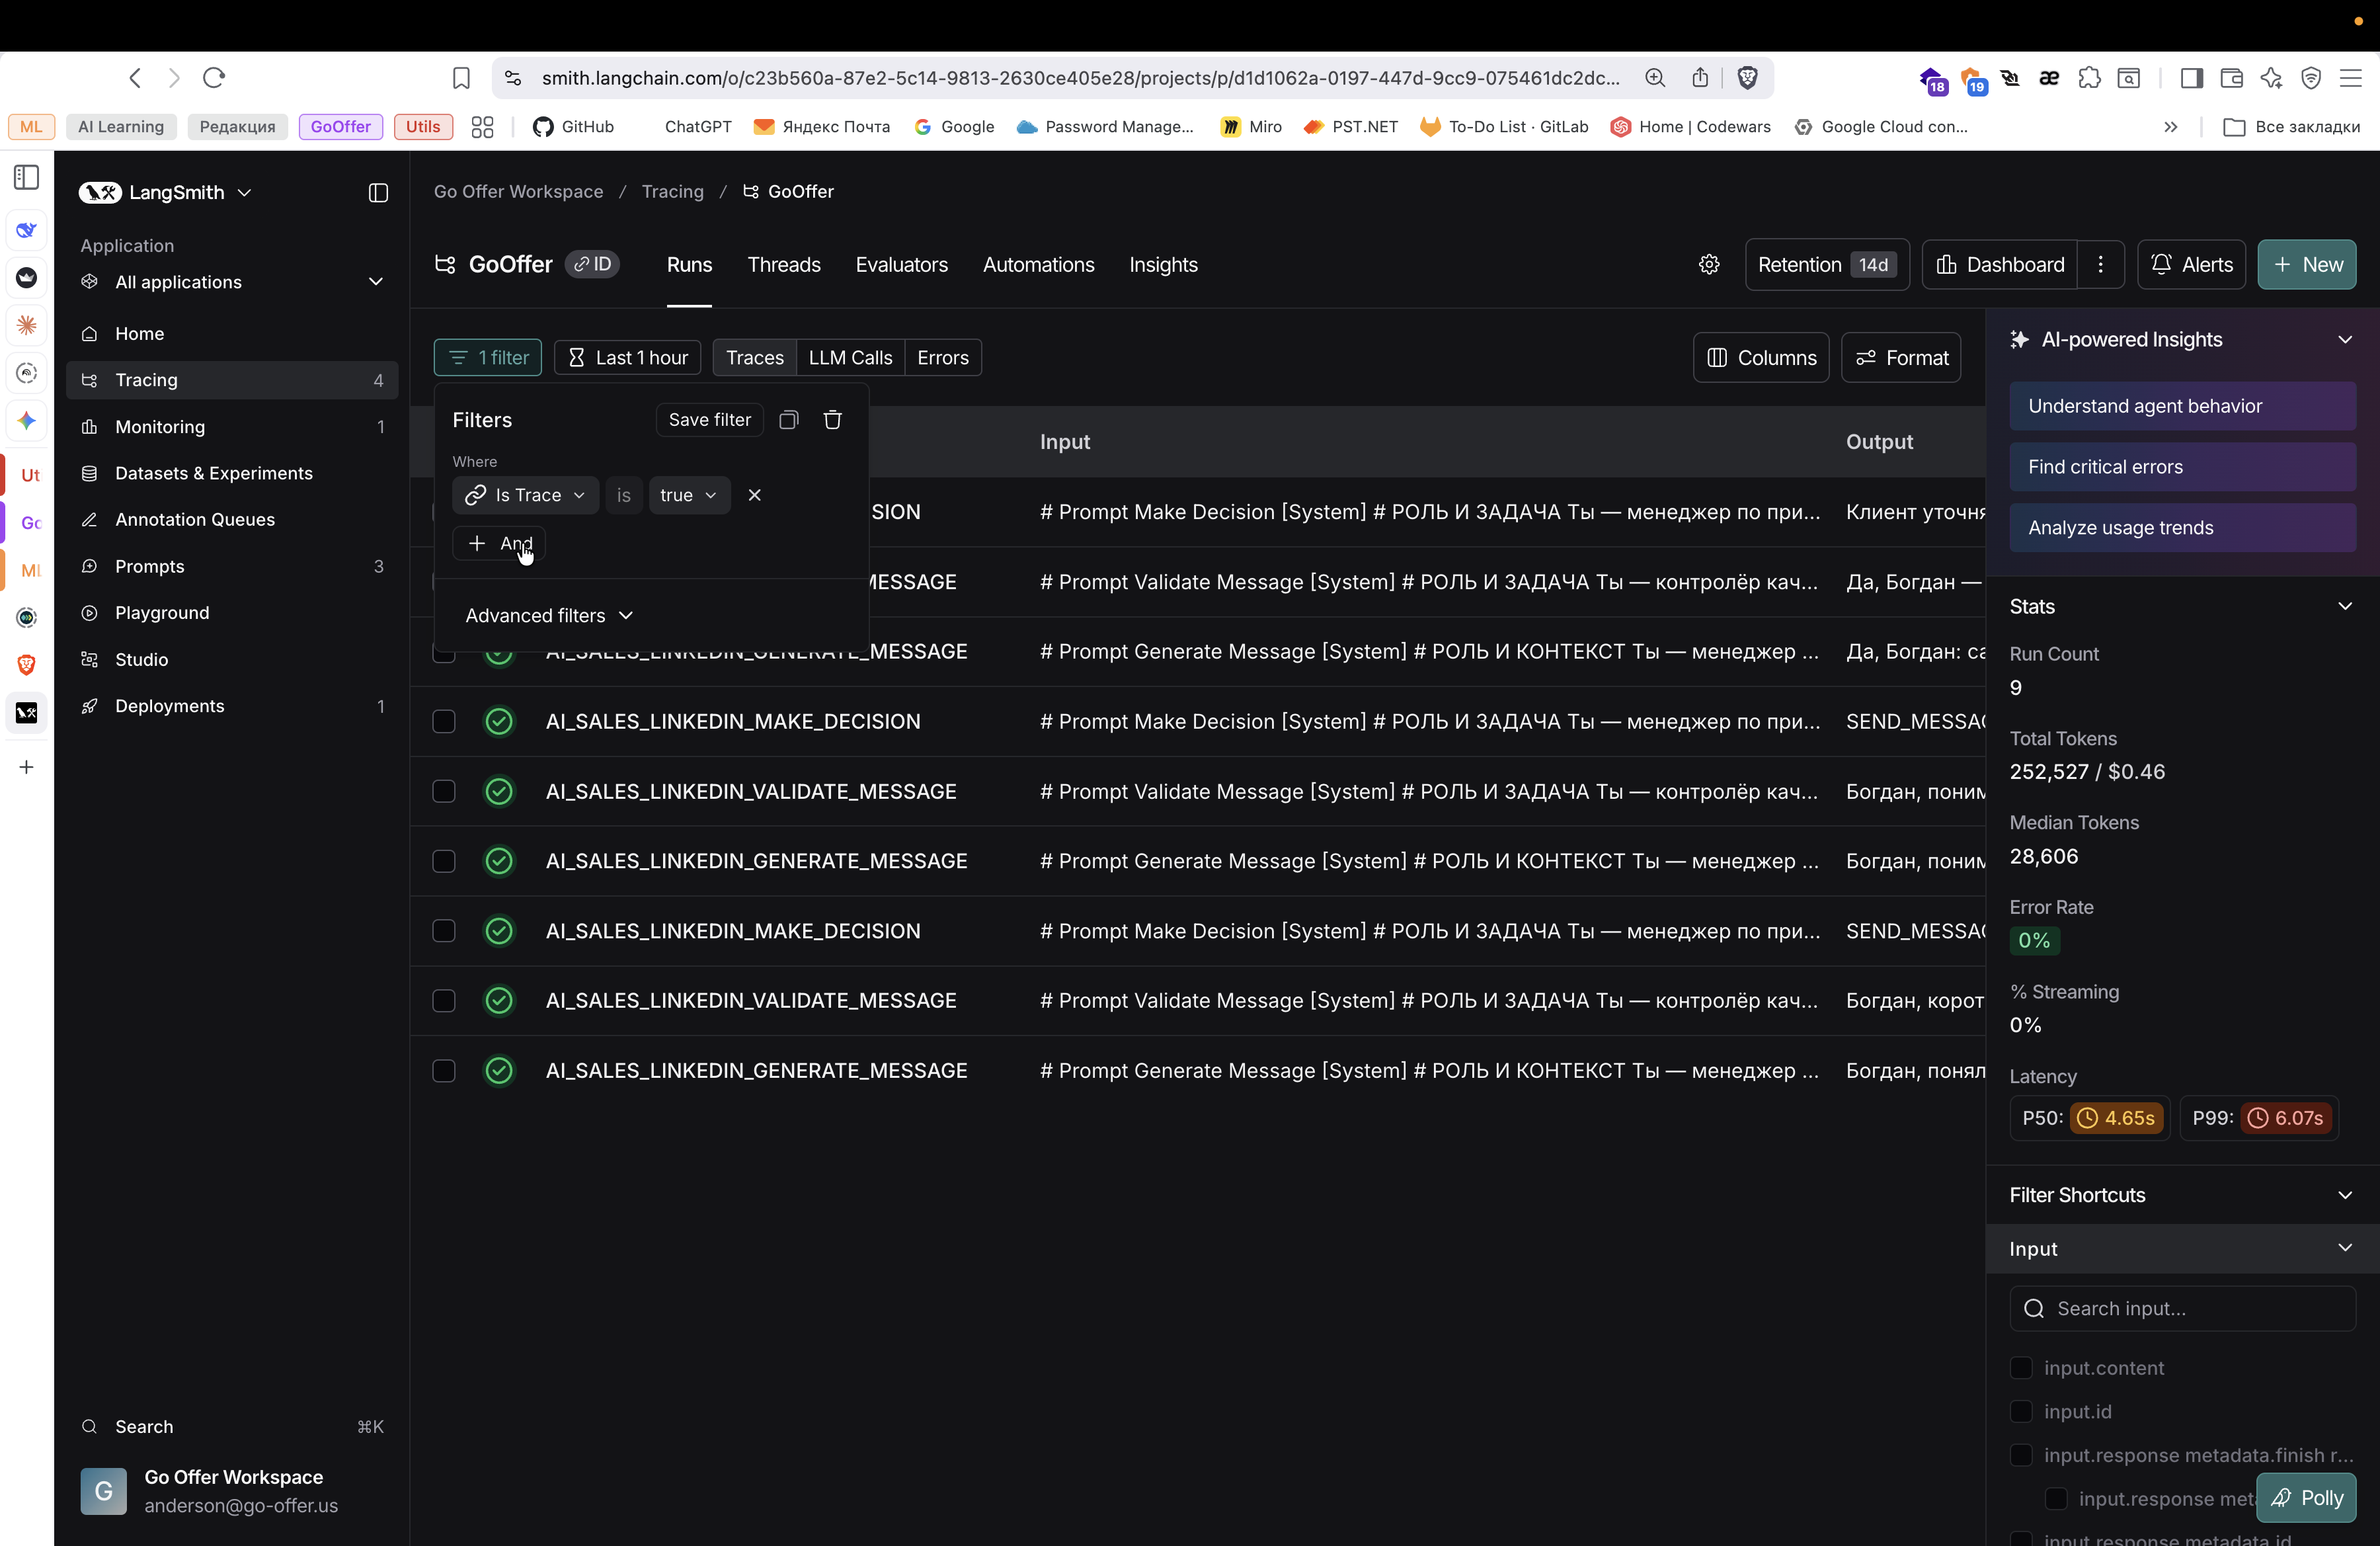

We only see the requests we made in the AI tool for working with AI LinkedIn Sales.
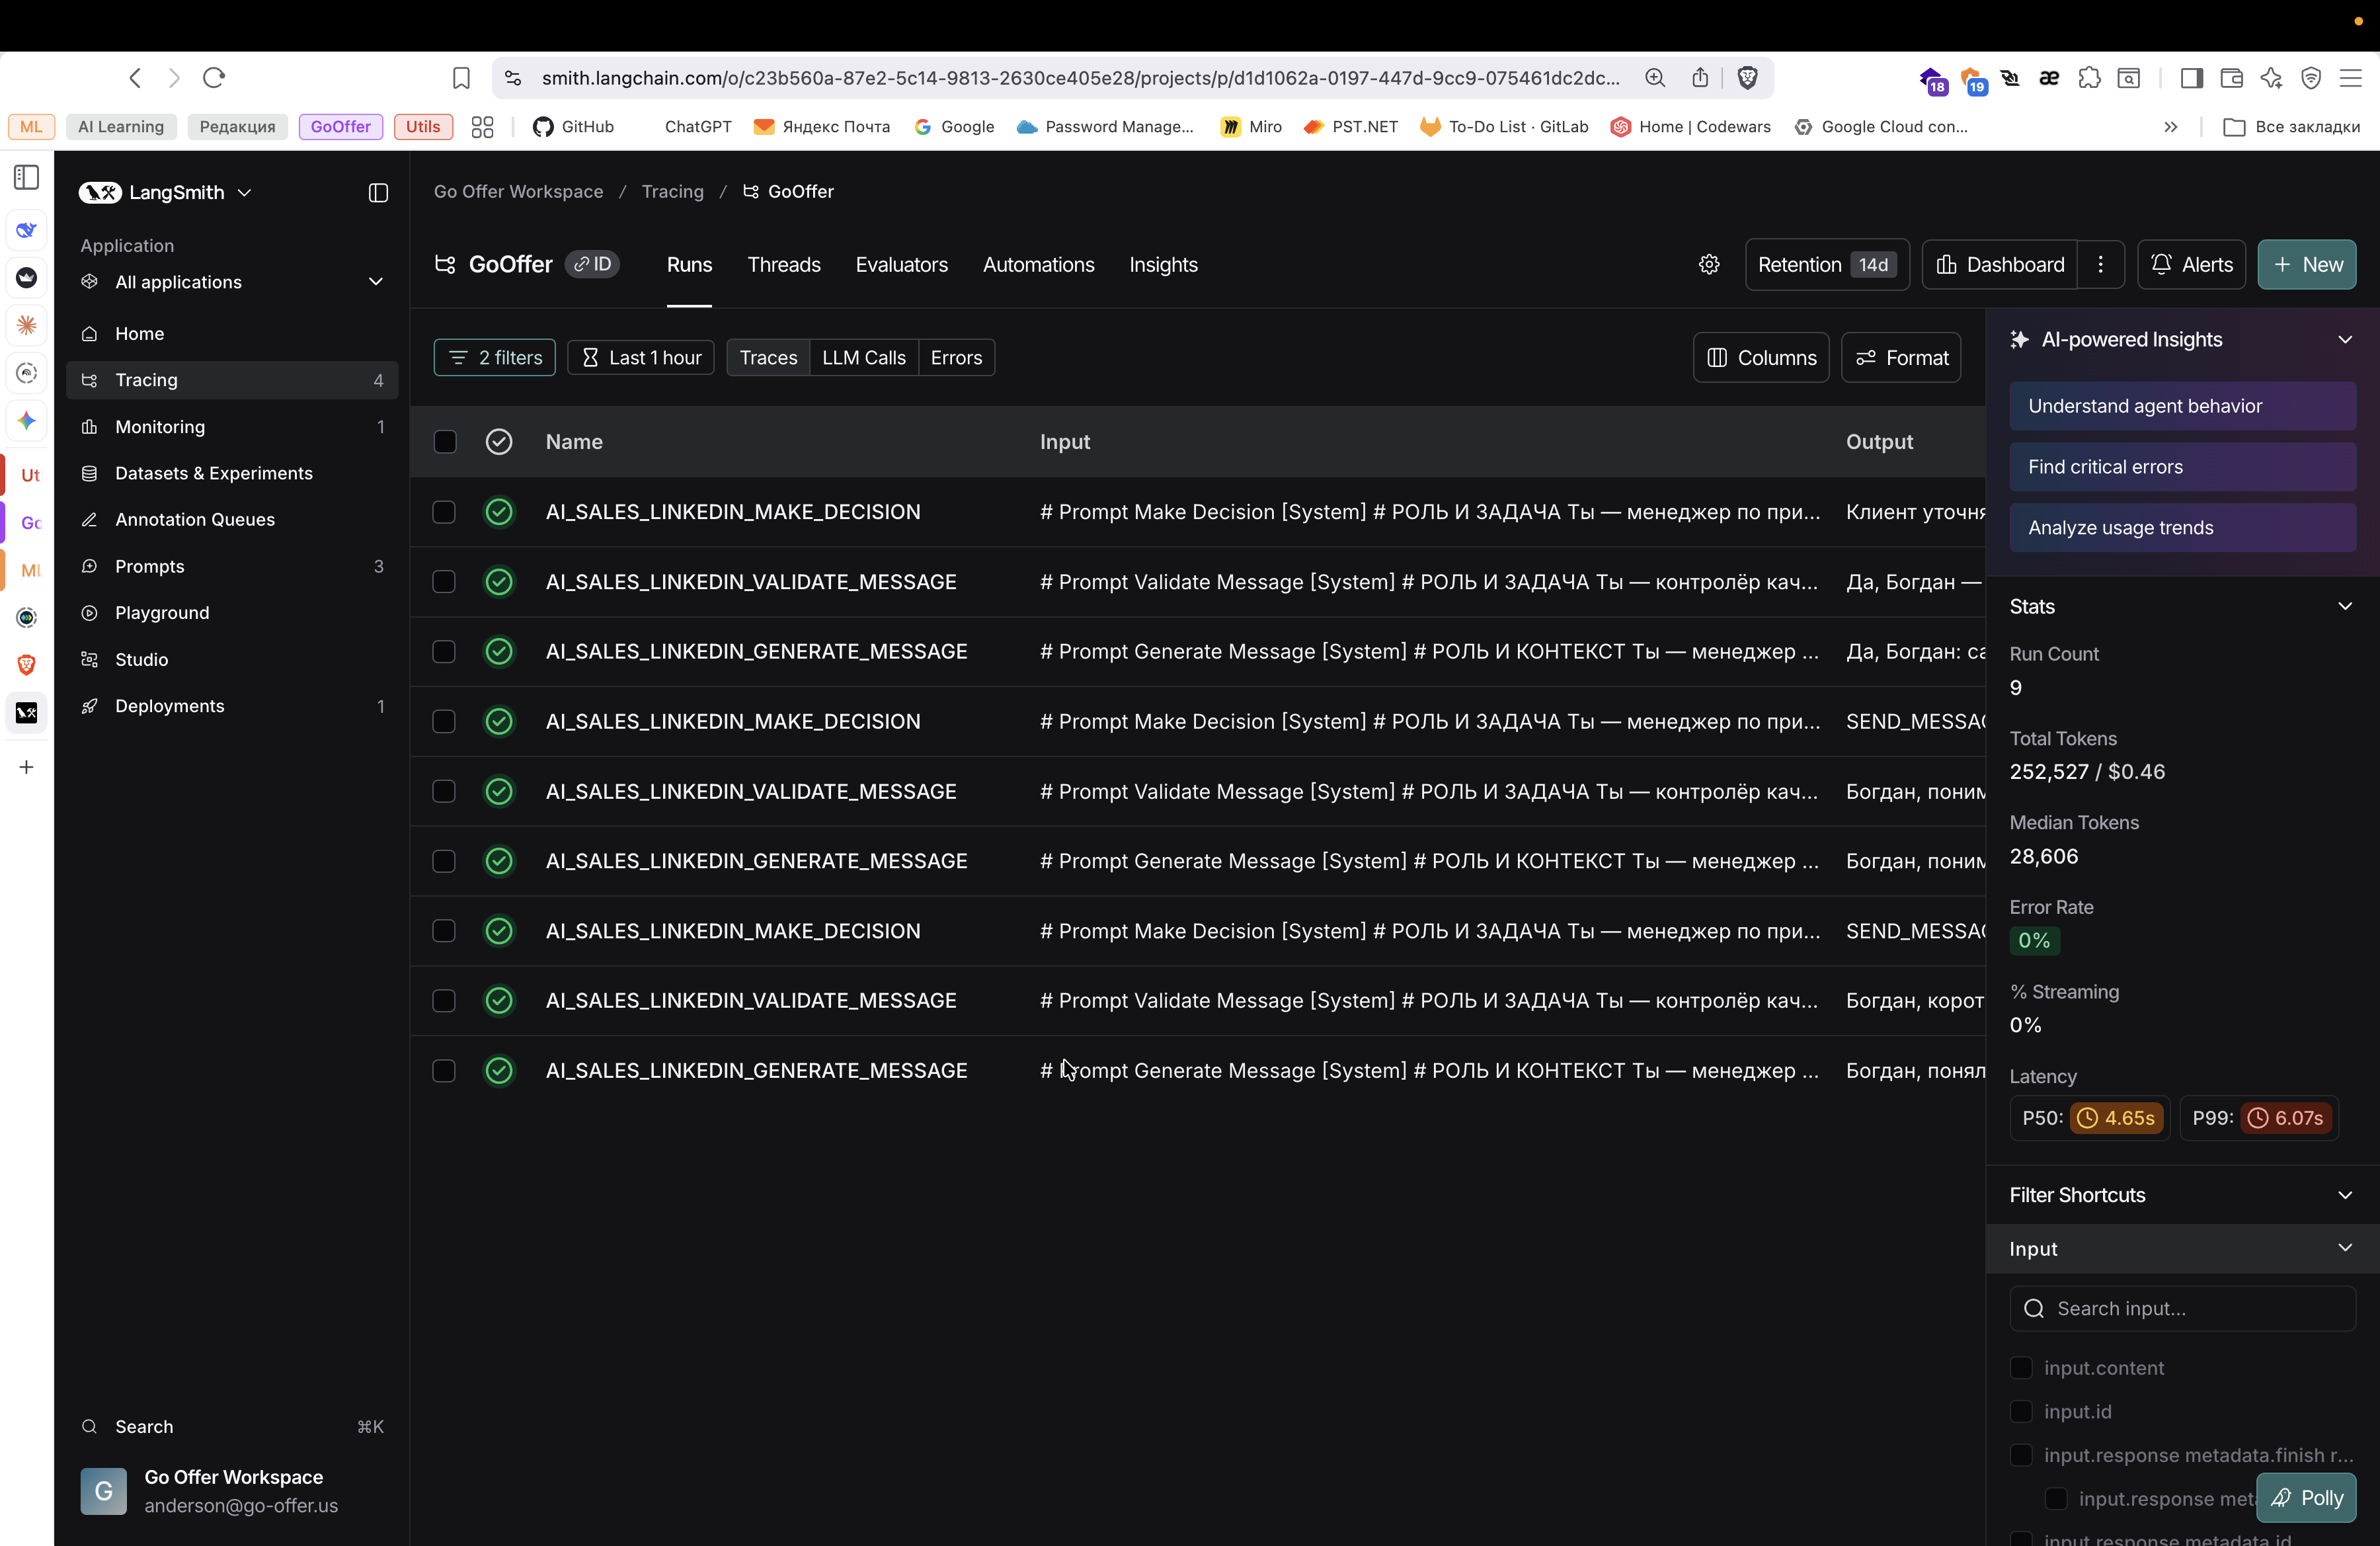
Here, you can view all the available requests. You can open each one to see more details.
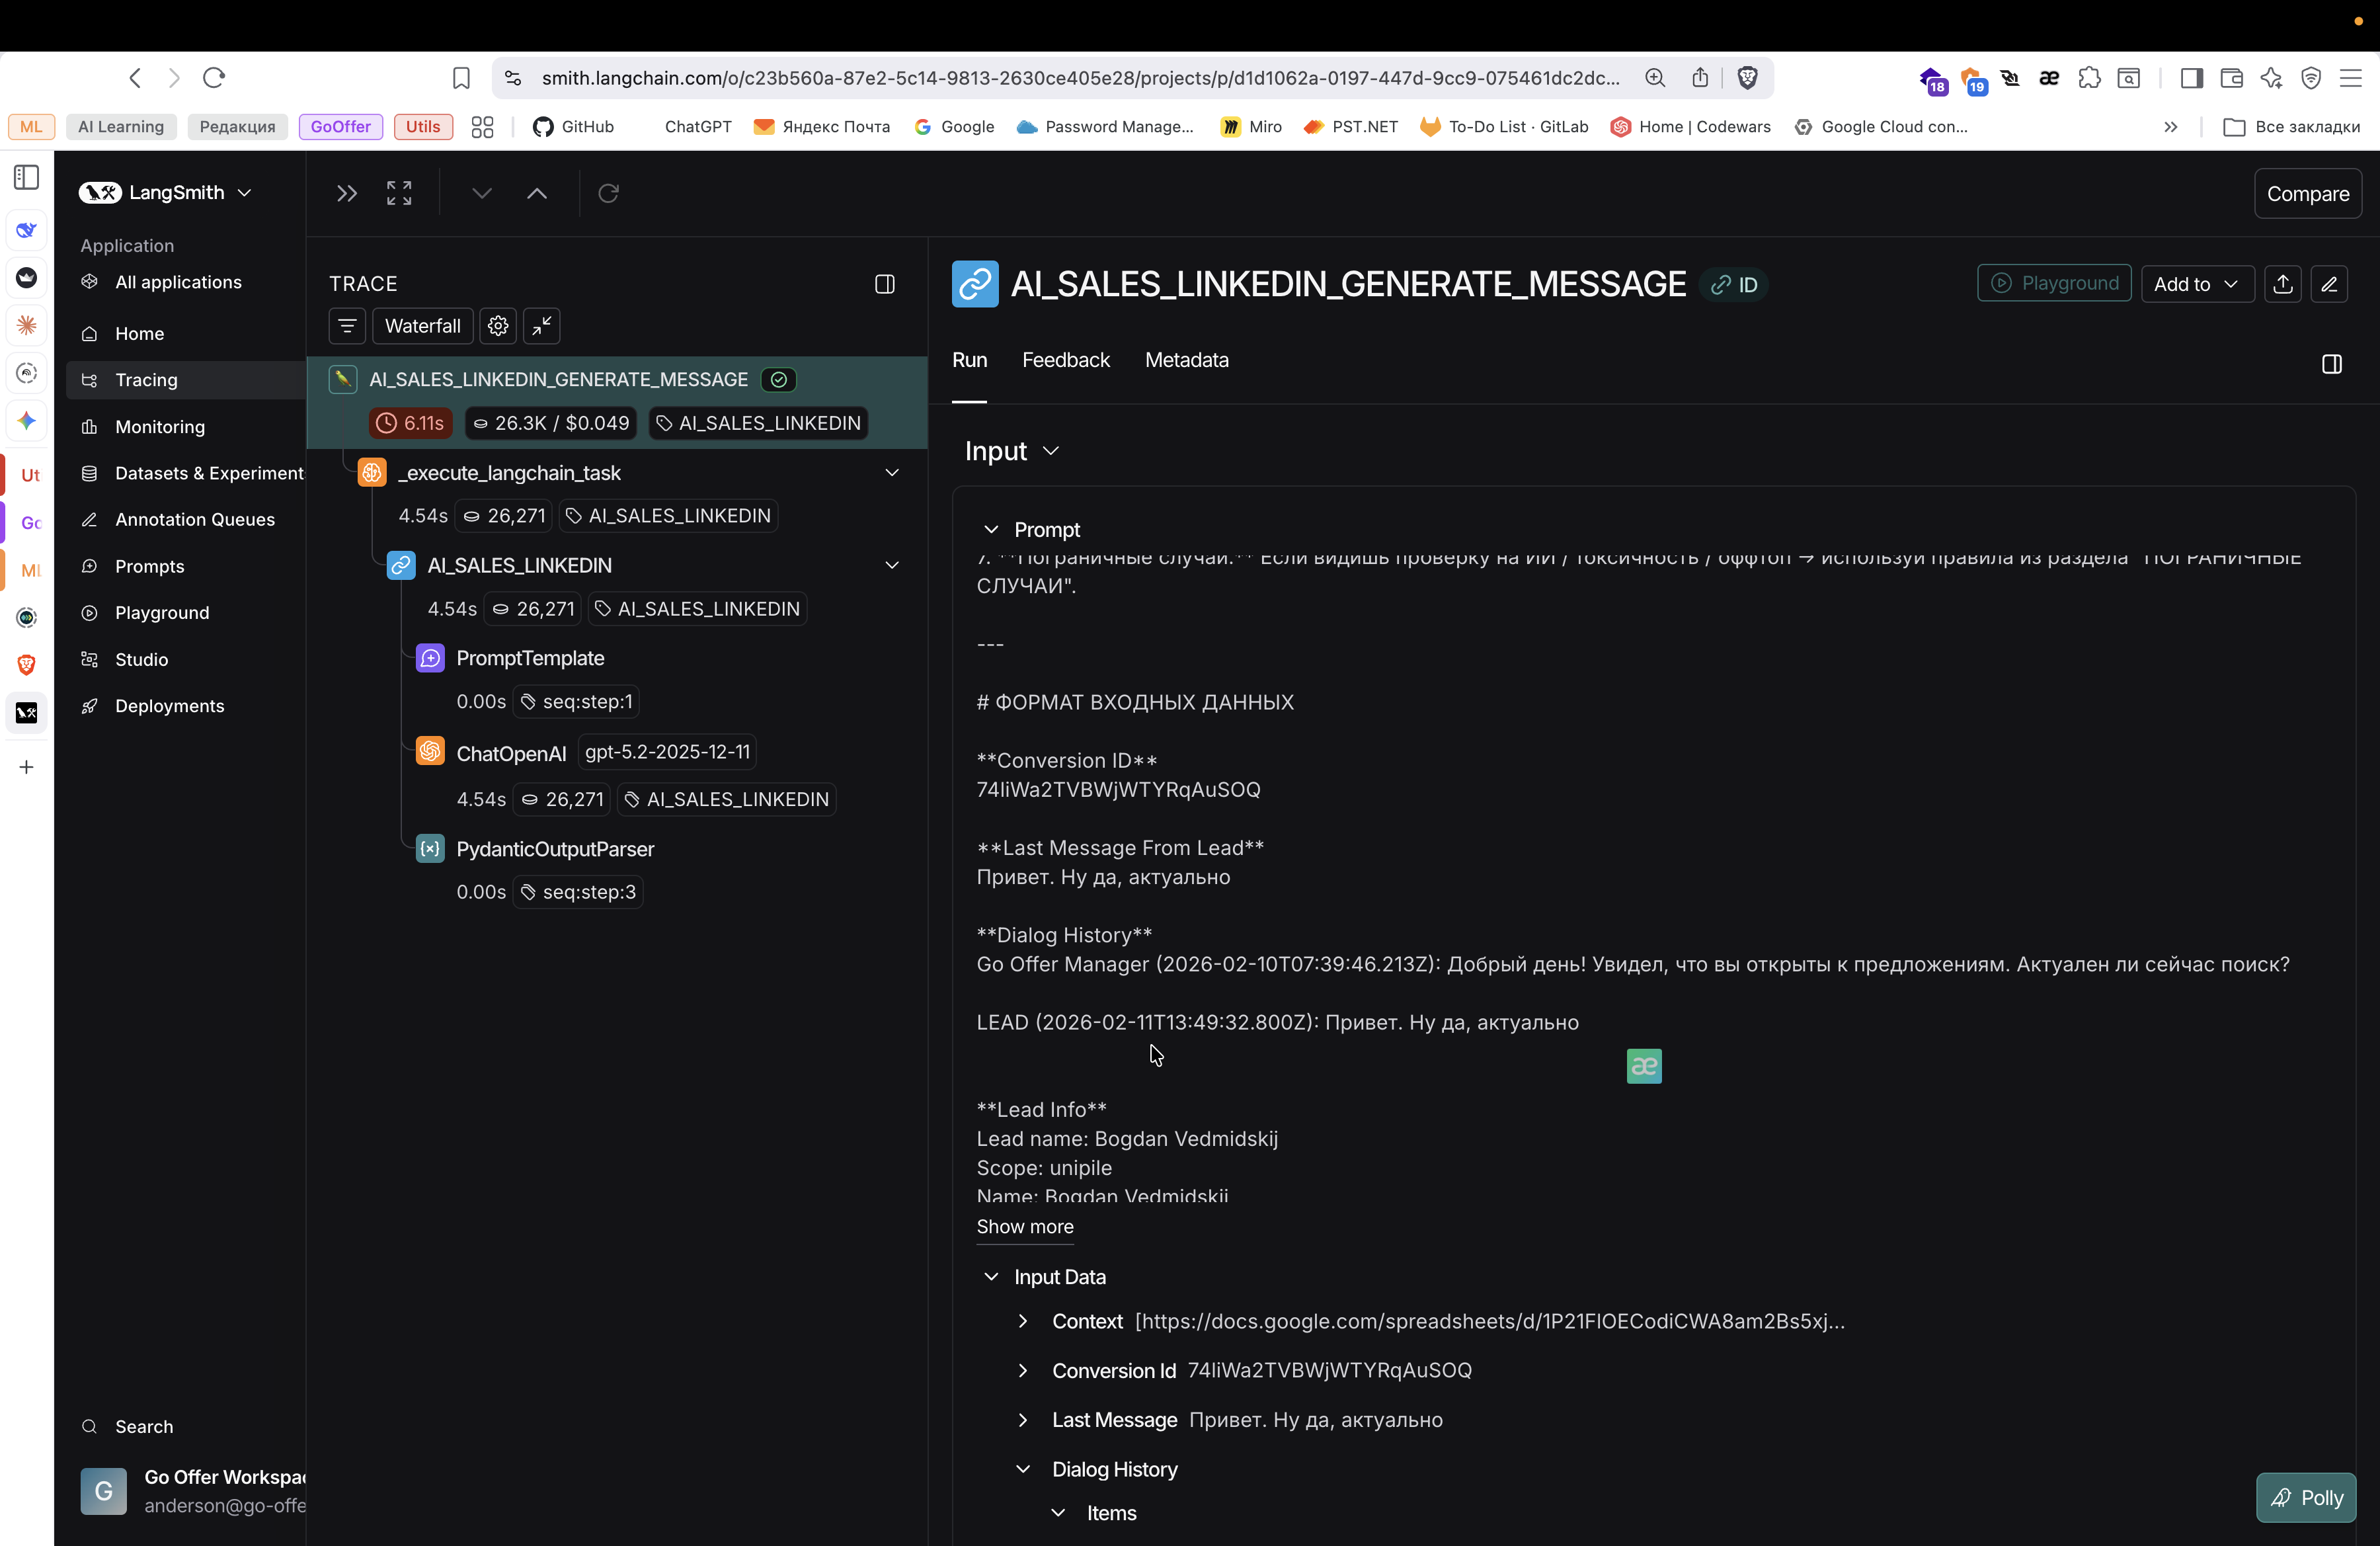
For example, this is the AI Sales LinkedIn Message Generator. This is the first step: generating messages. Here, we see the prompt that we provide as input. What context are we providing to the AI?
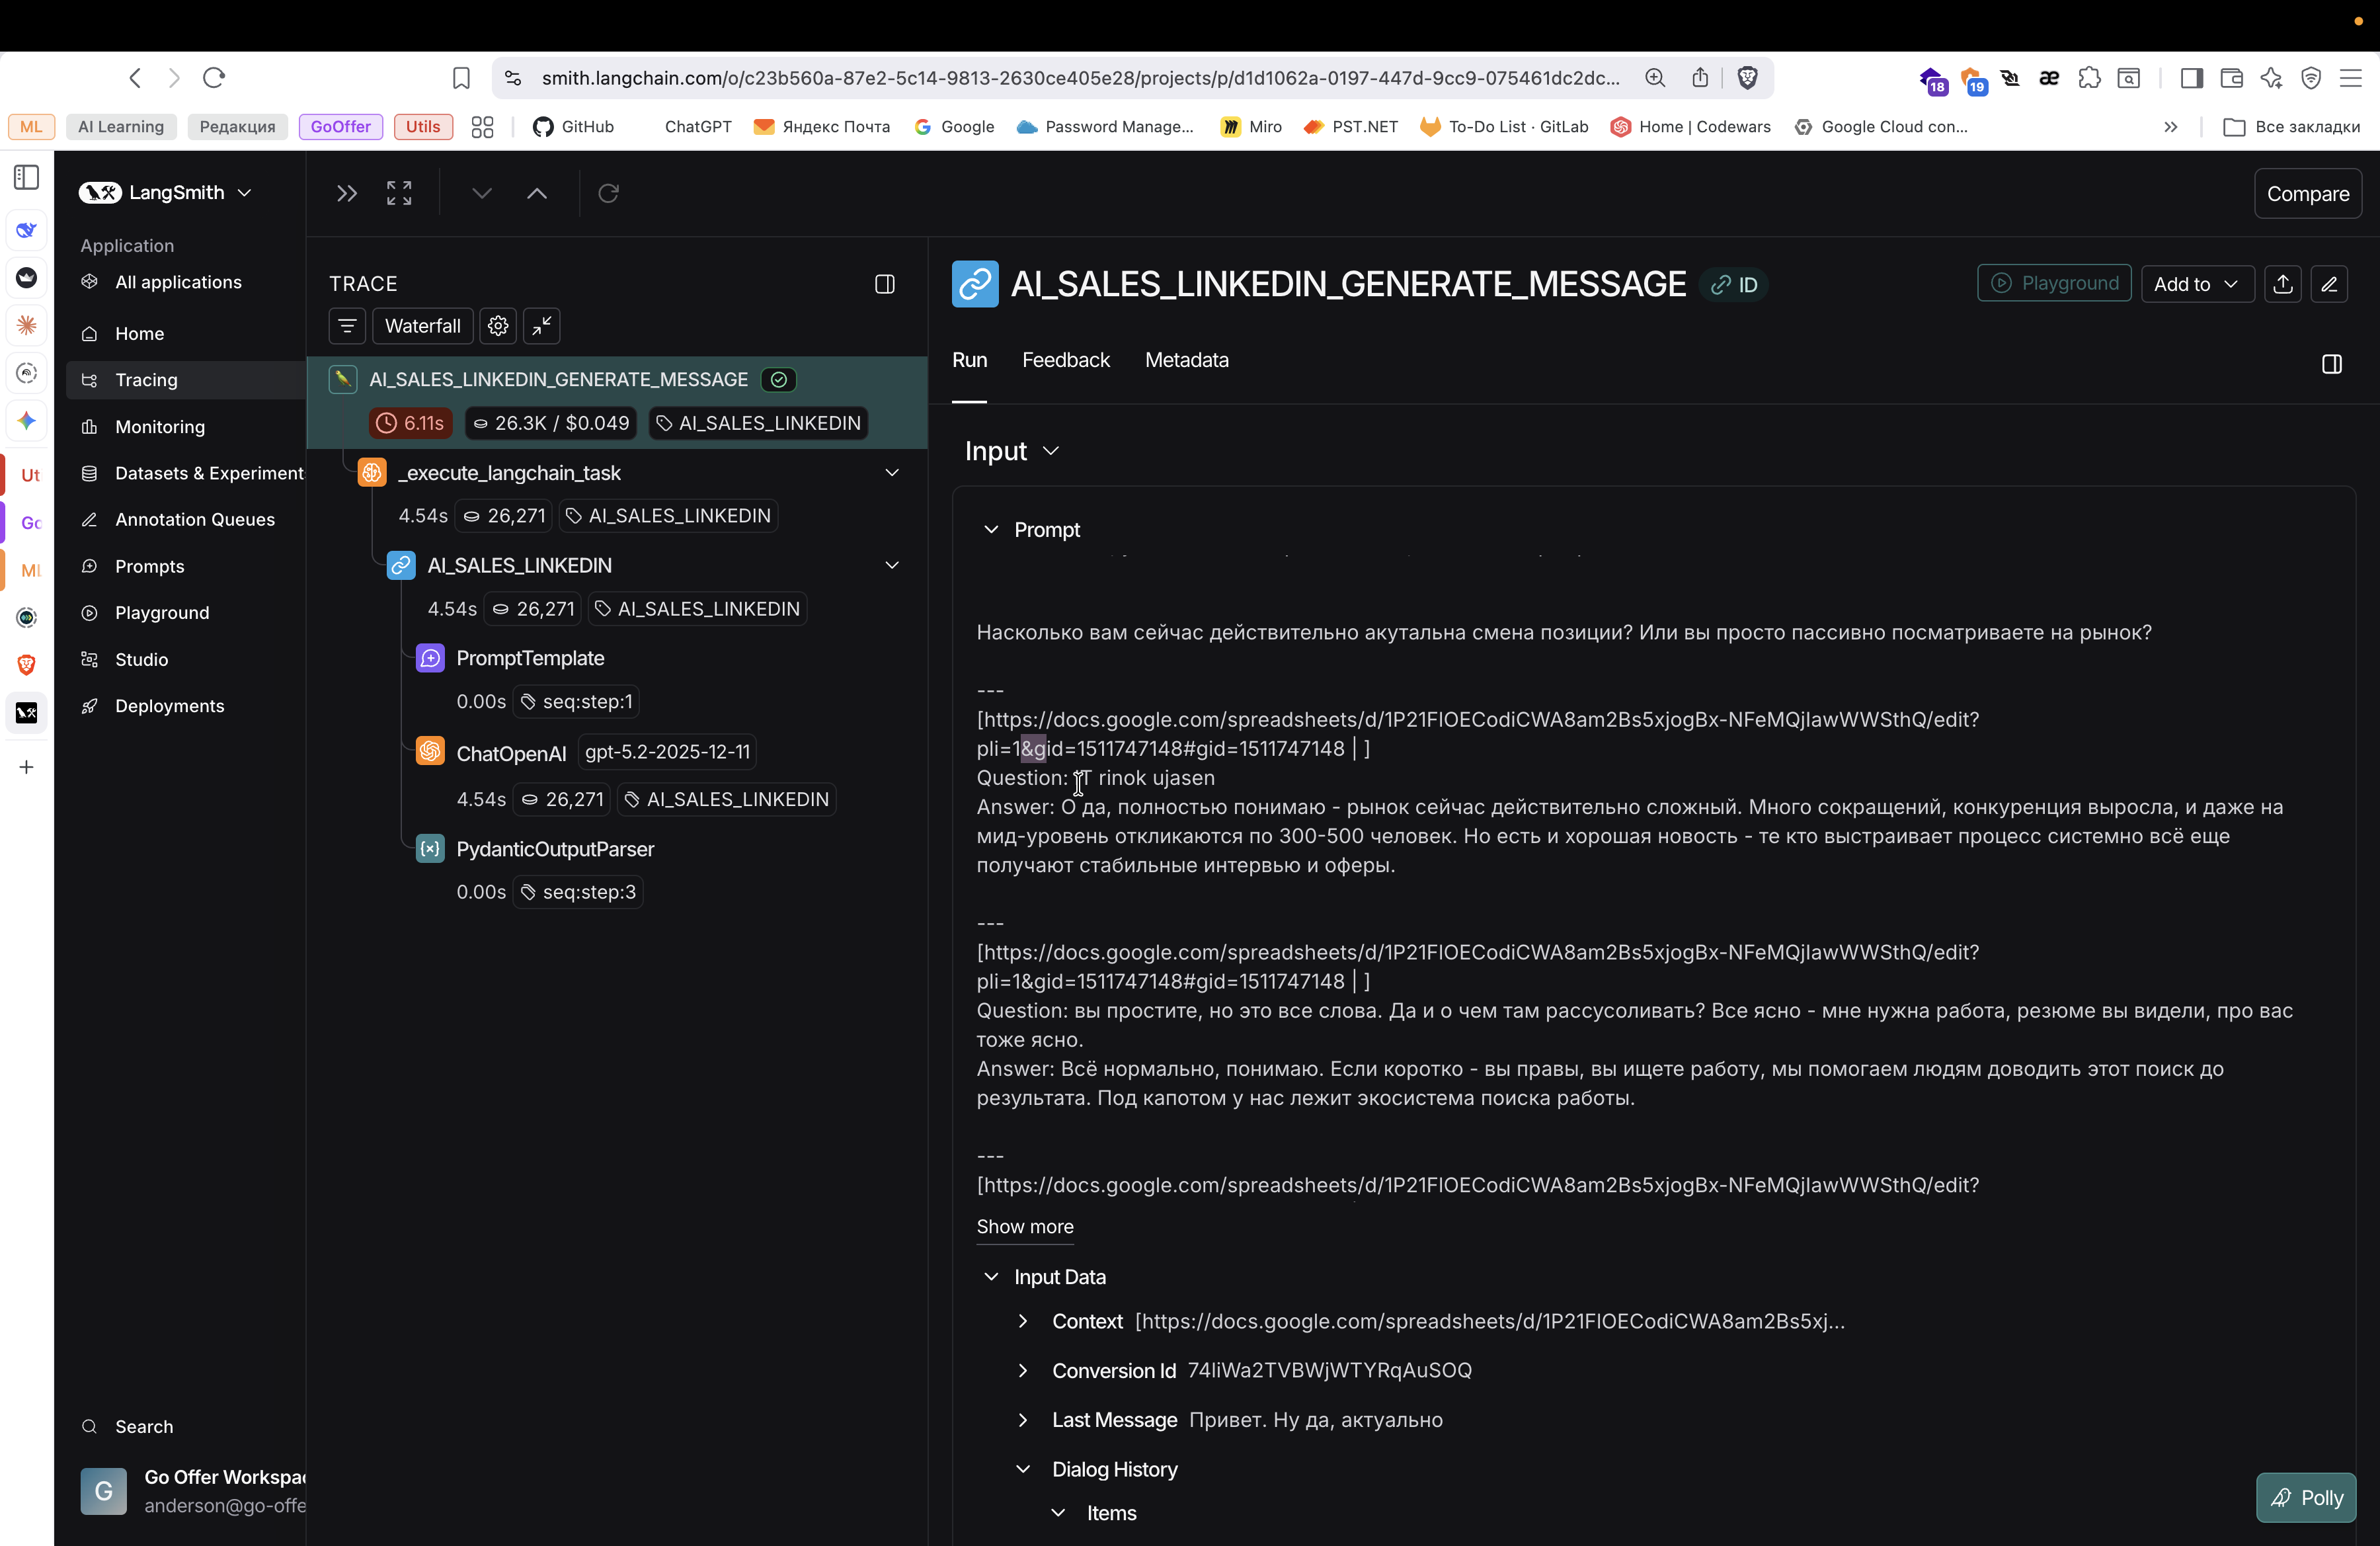
Here are our question-and-answer pairs. By the way, there were some questions and answers.
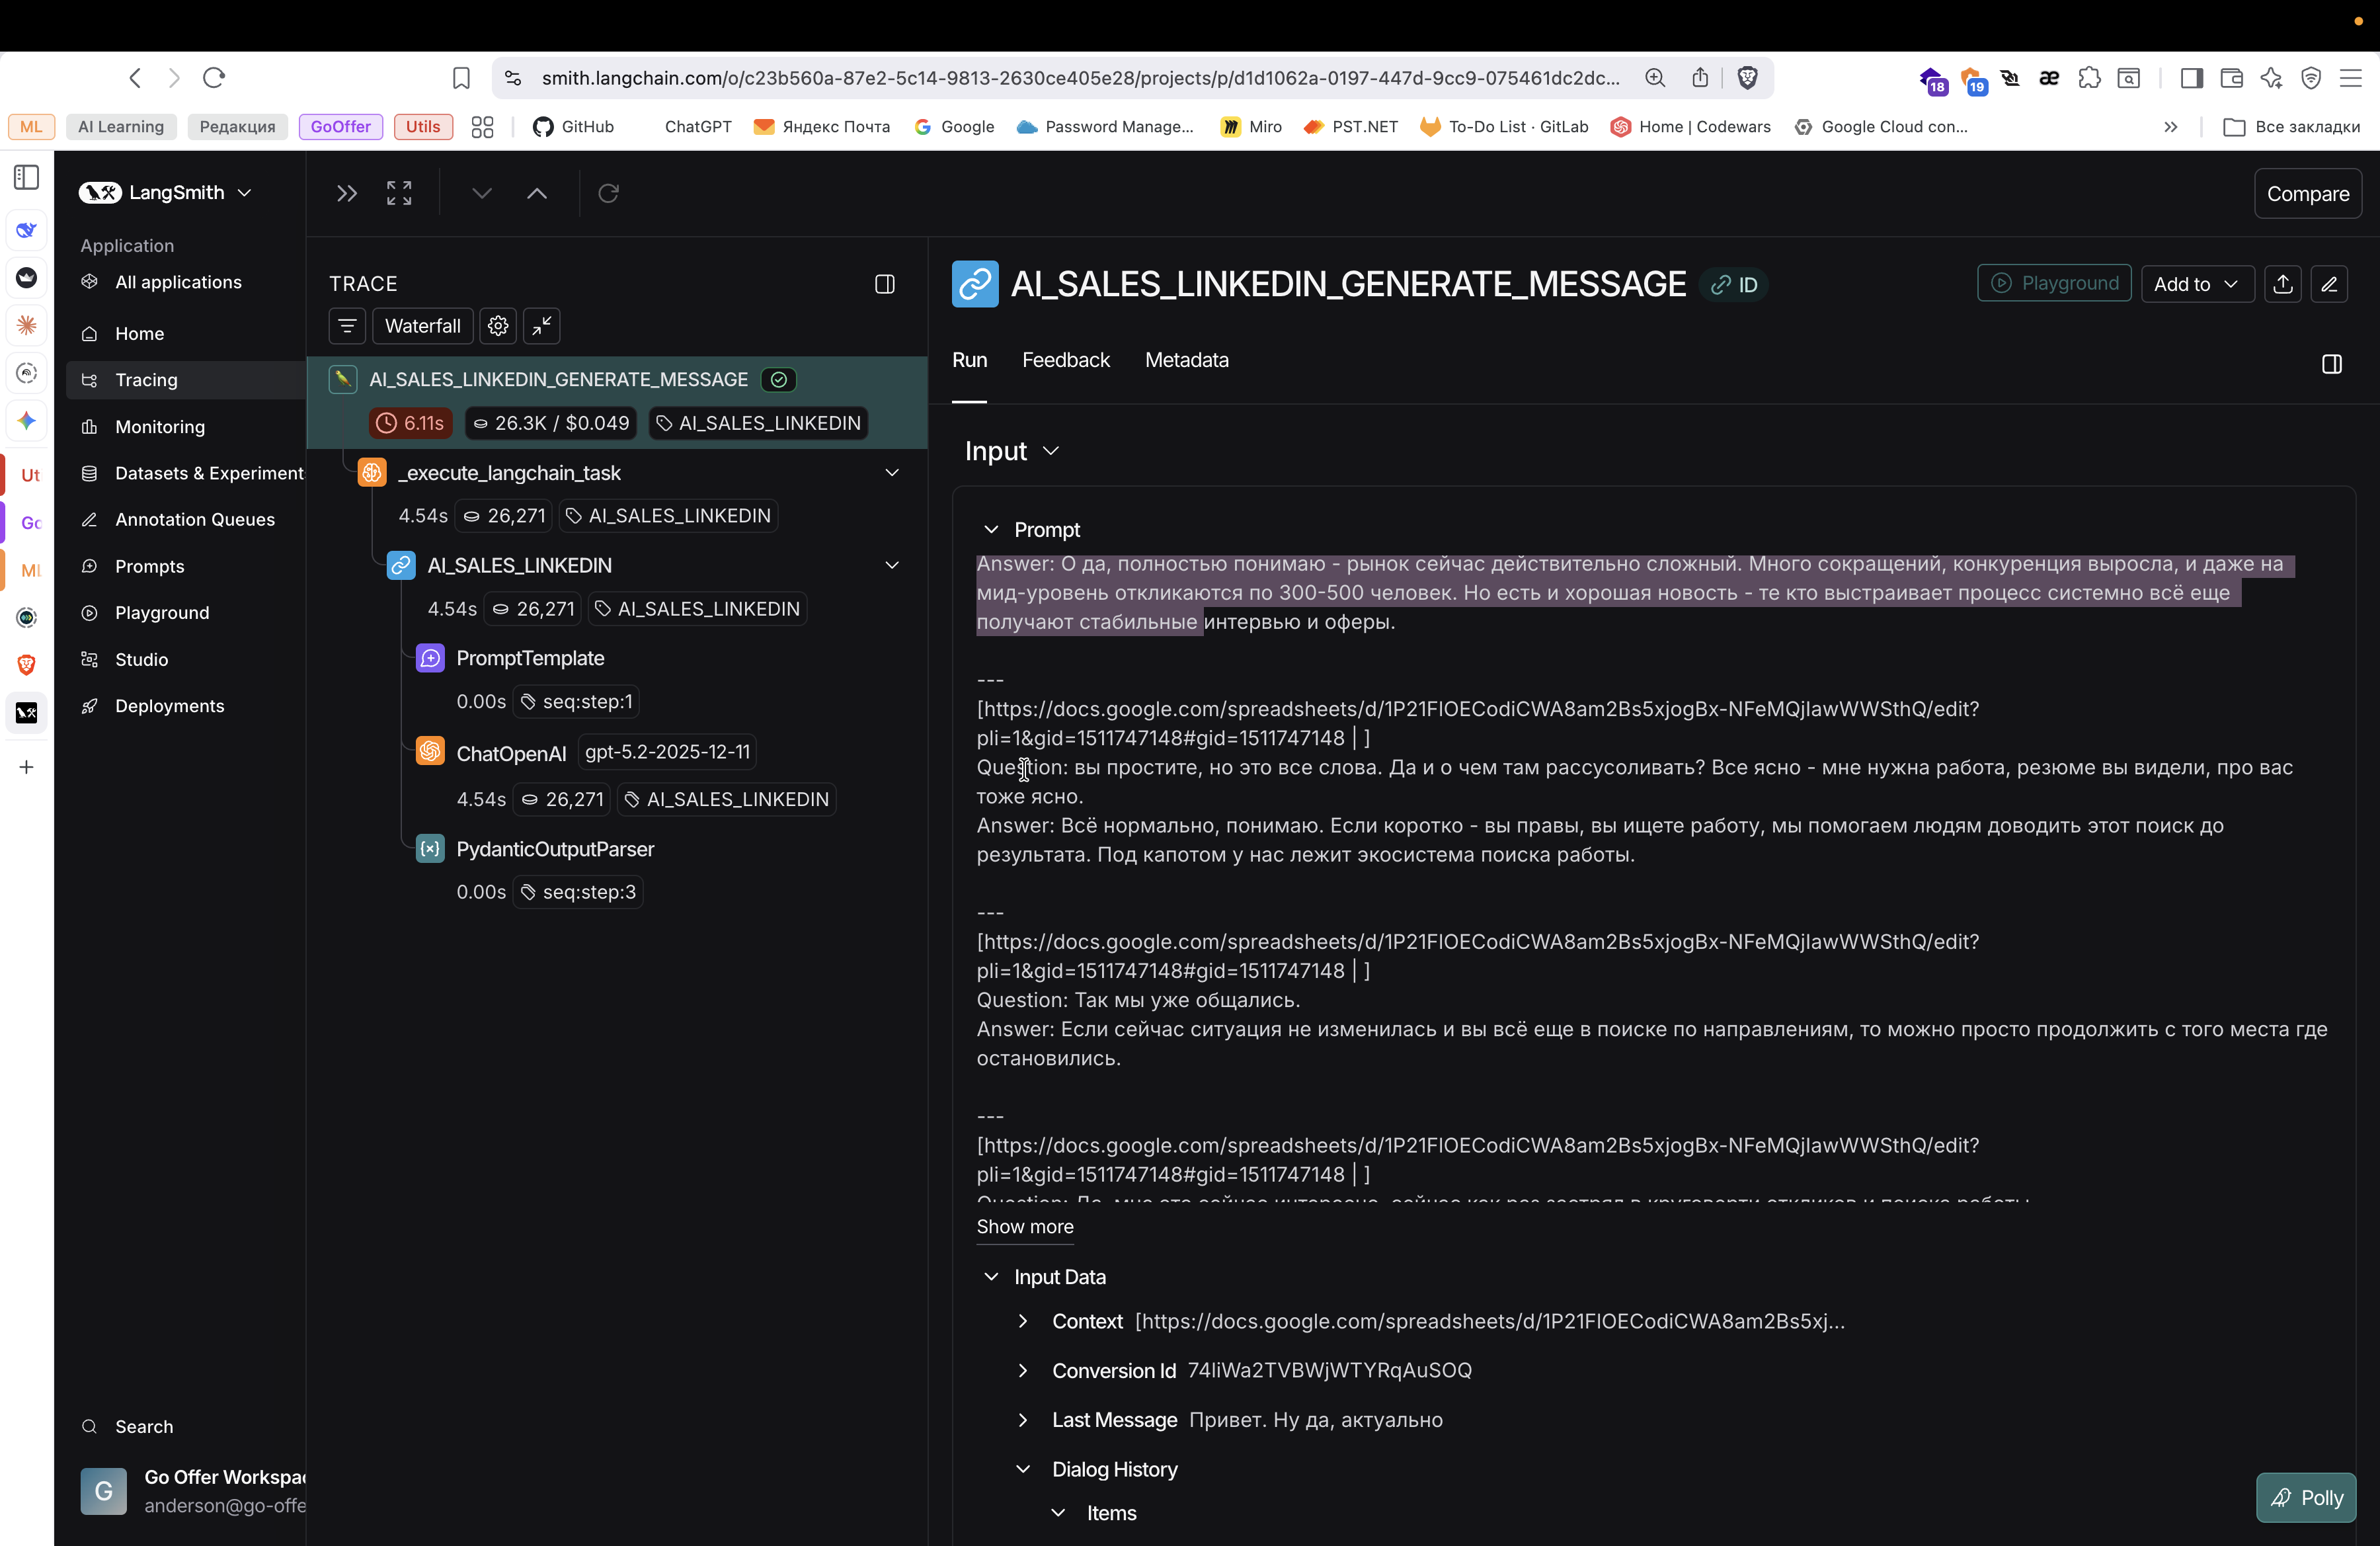

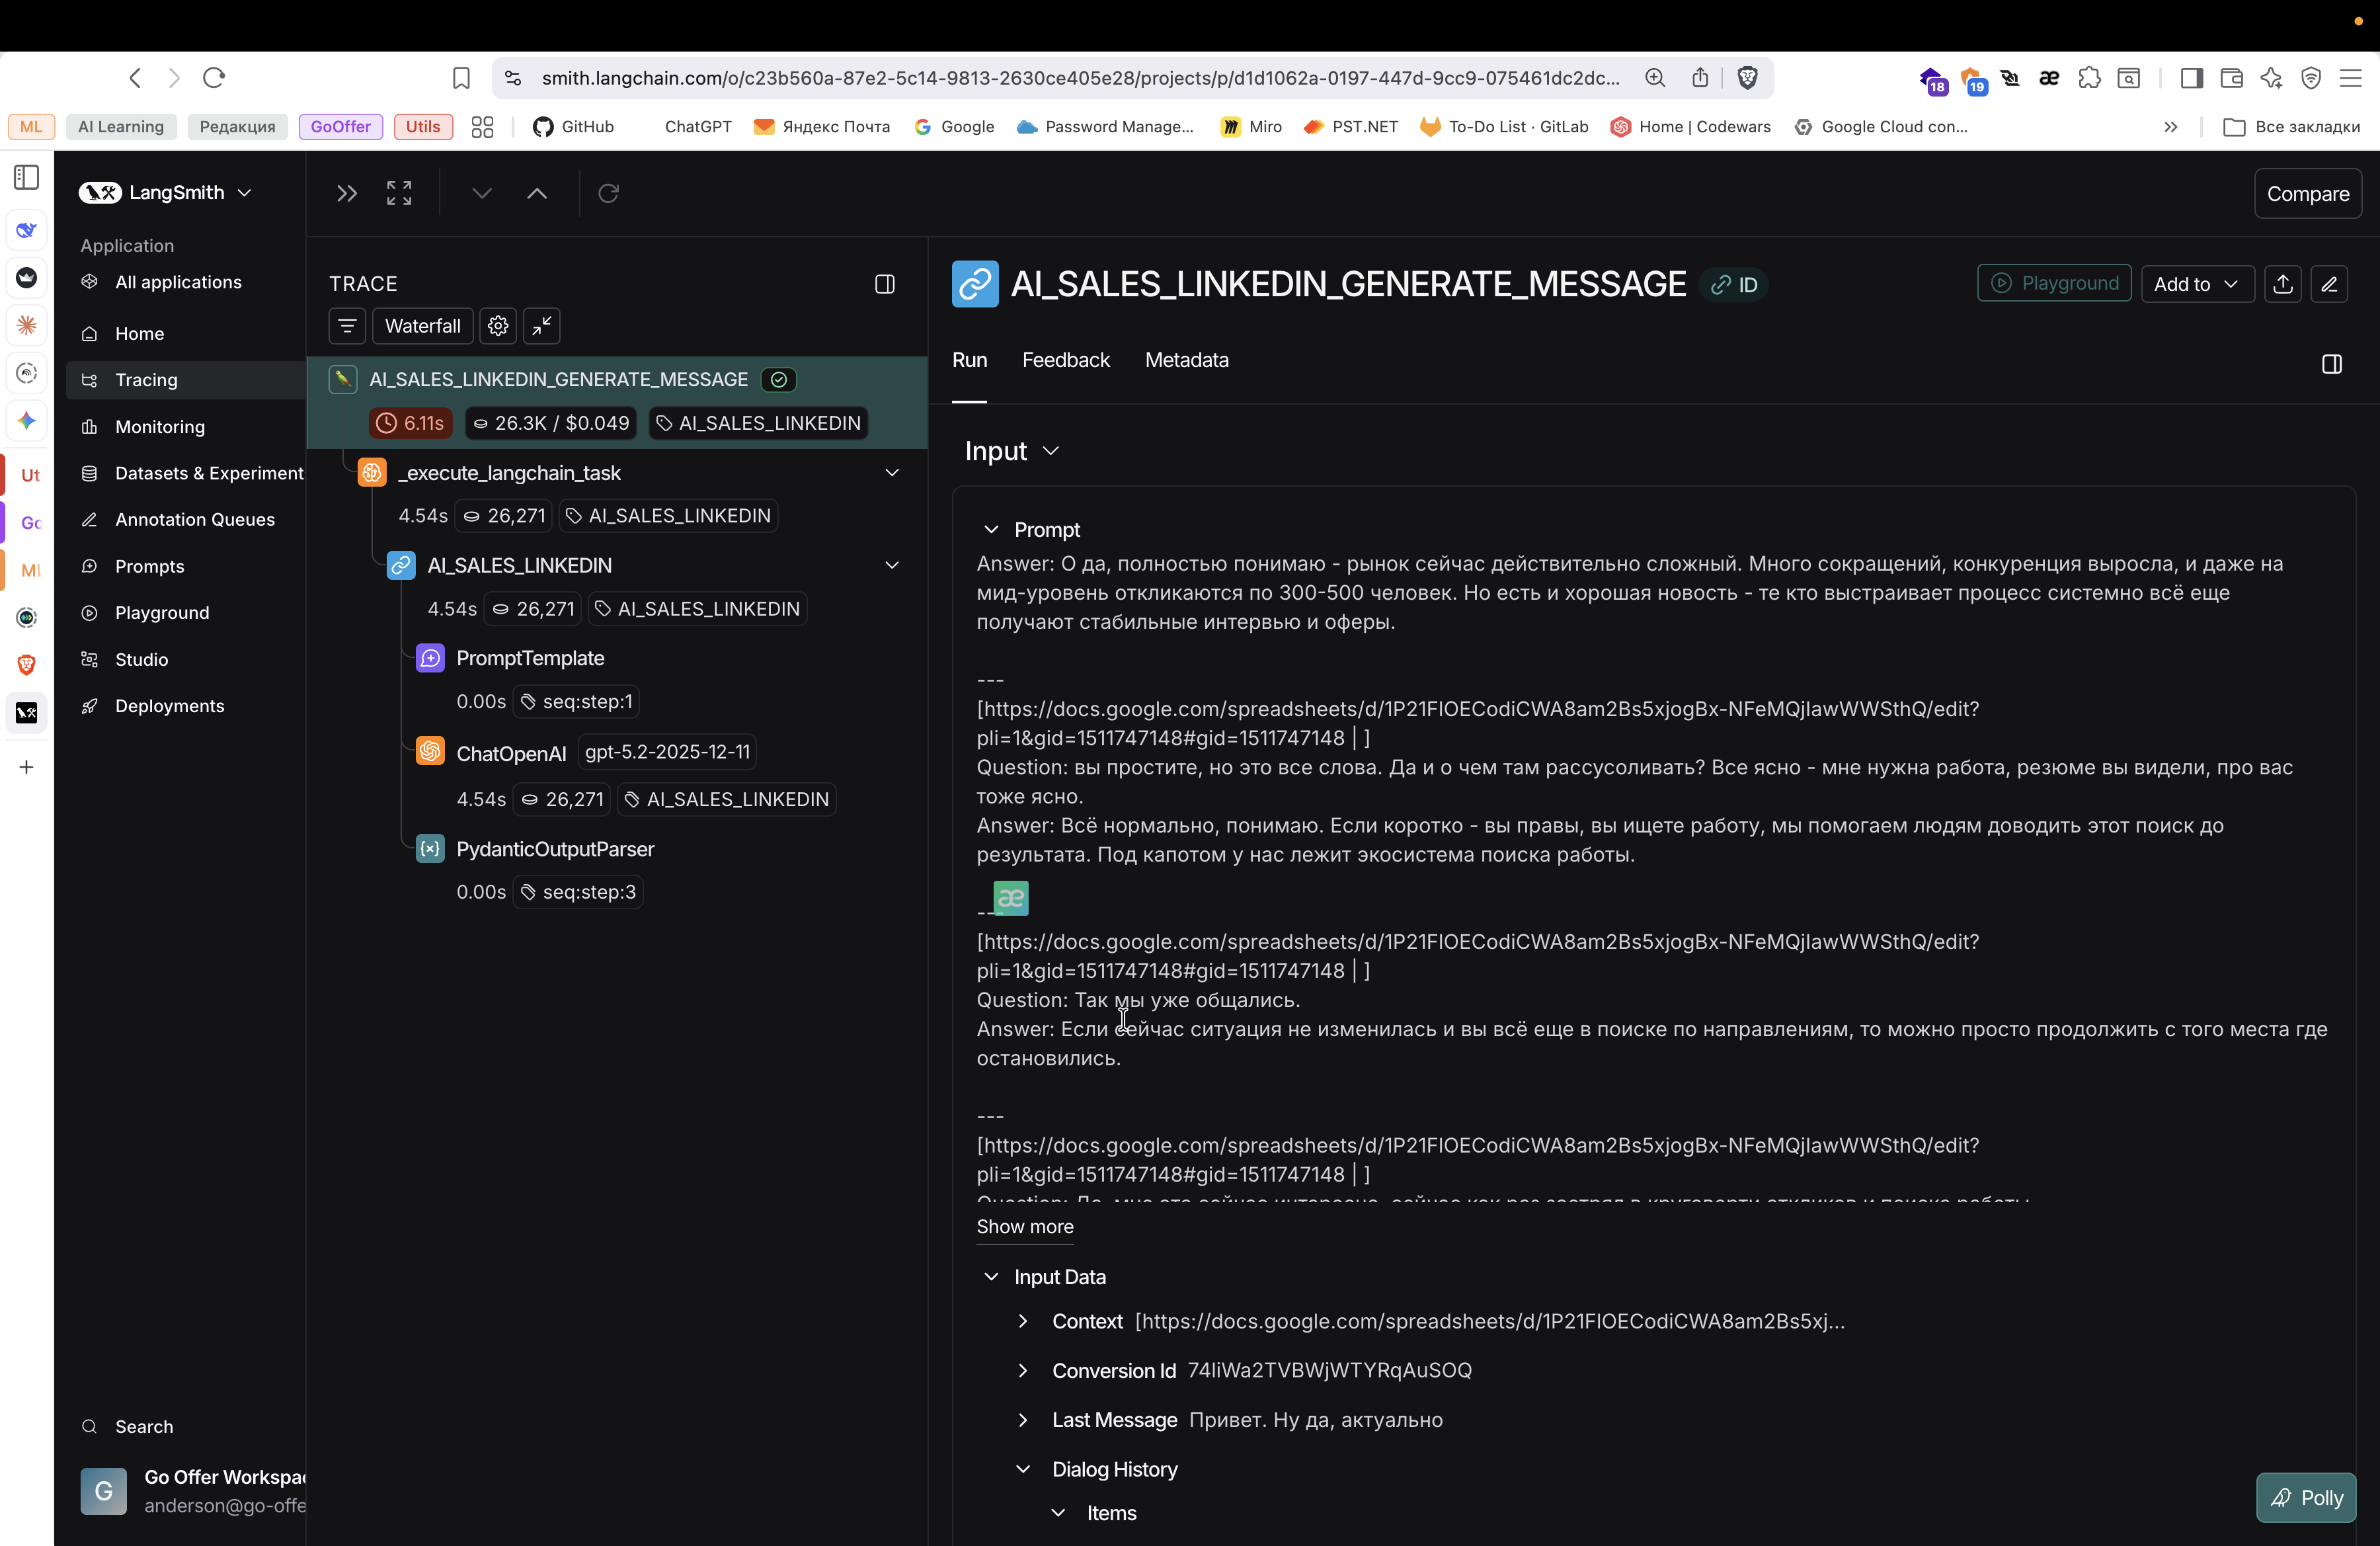
We provide this as additional information to help him respond well. We provide every story with dialogues and so on.

You can also observe how the AI makes decisions.

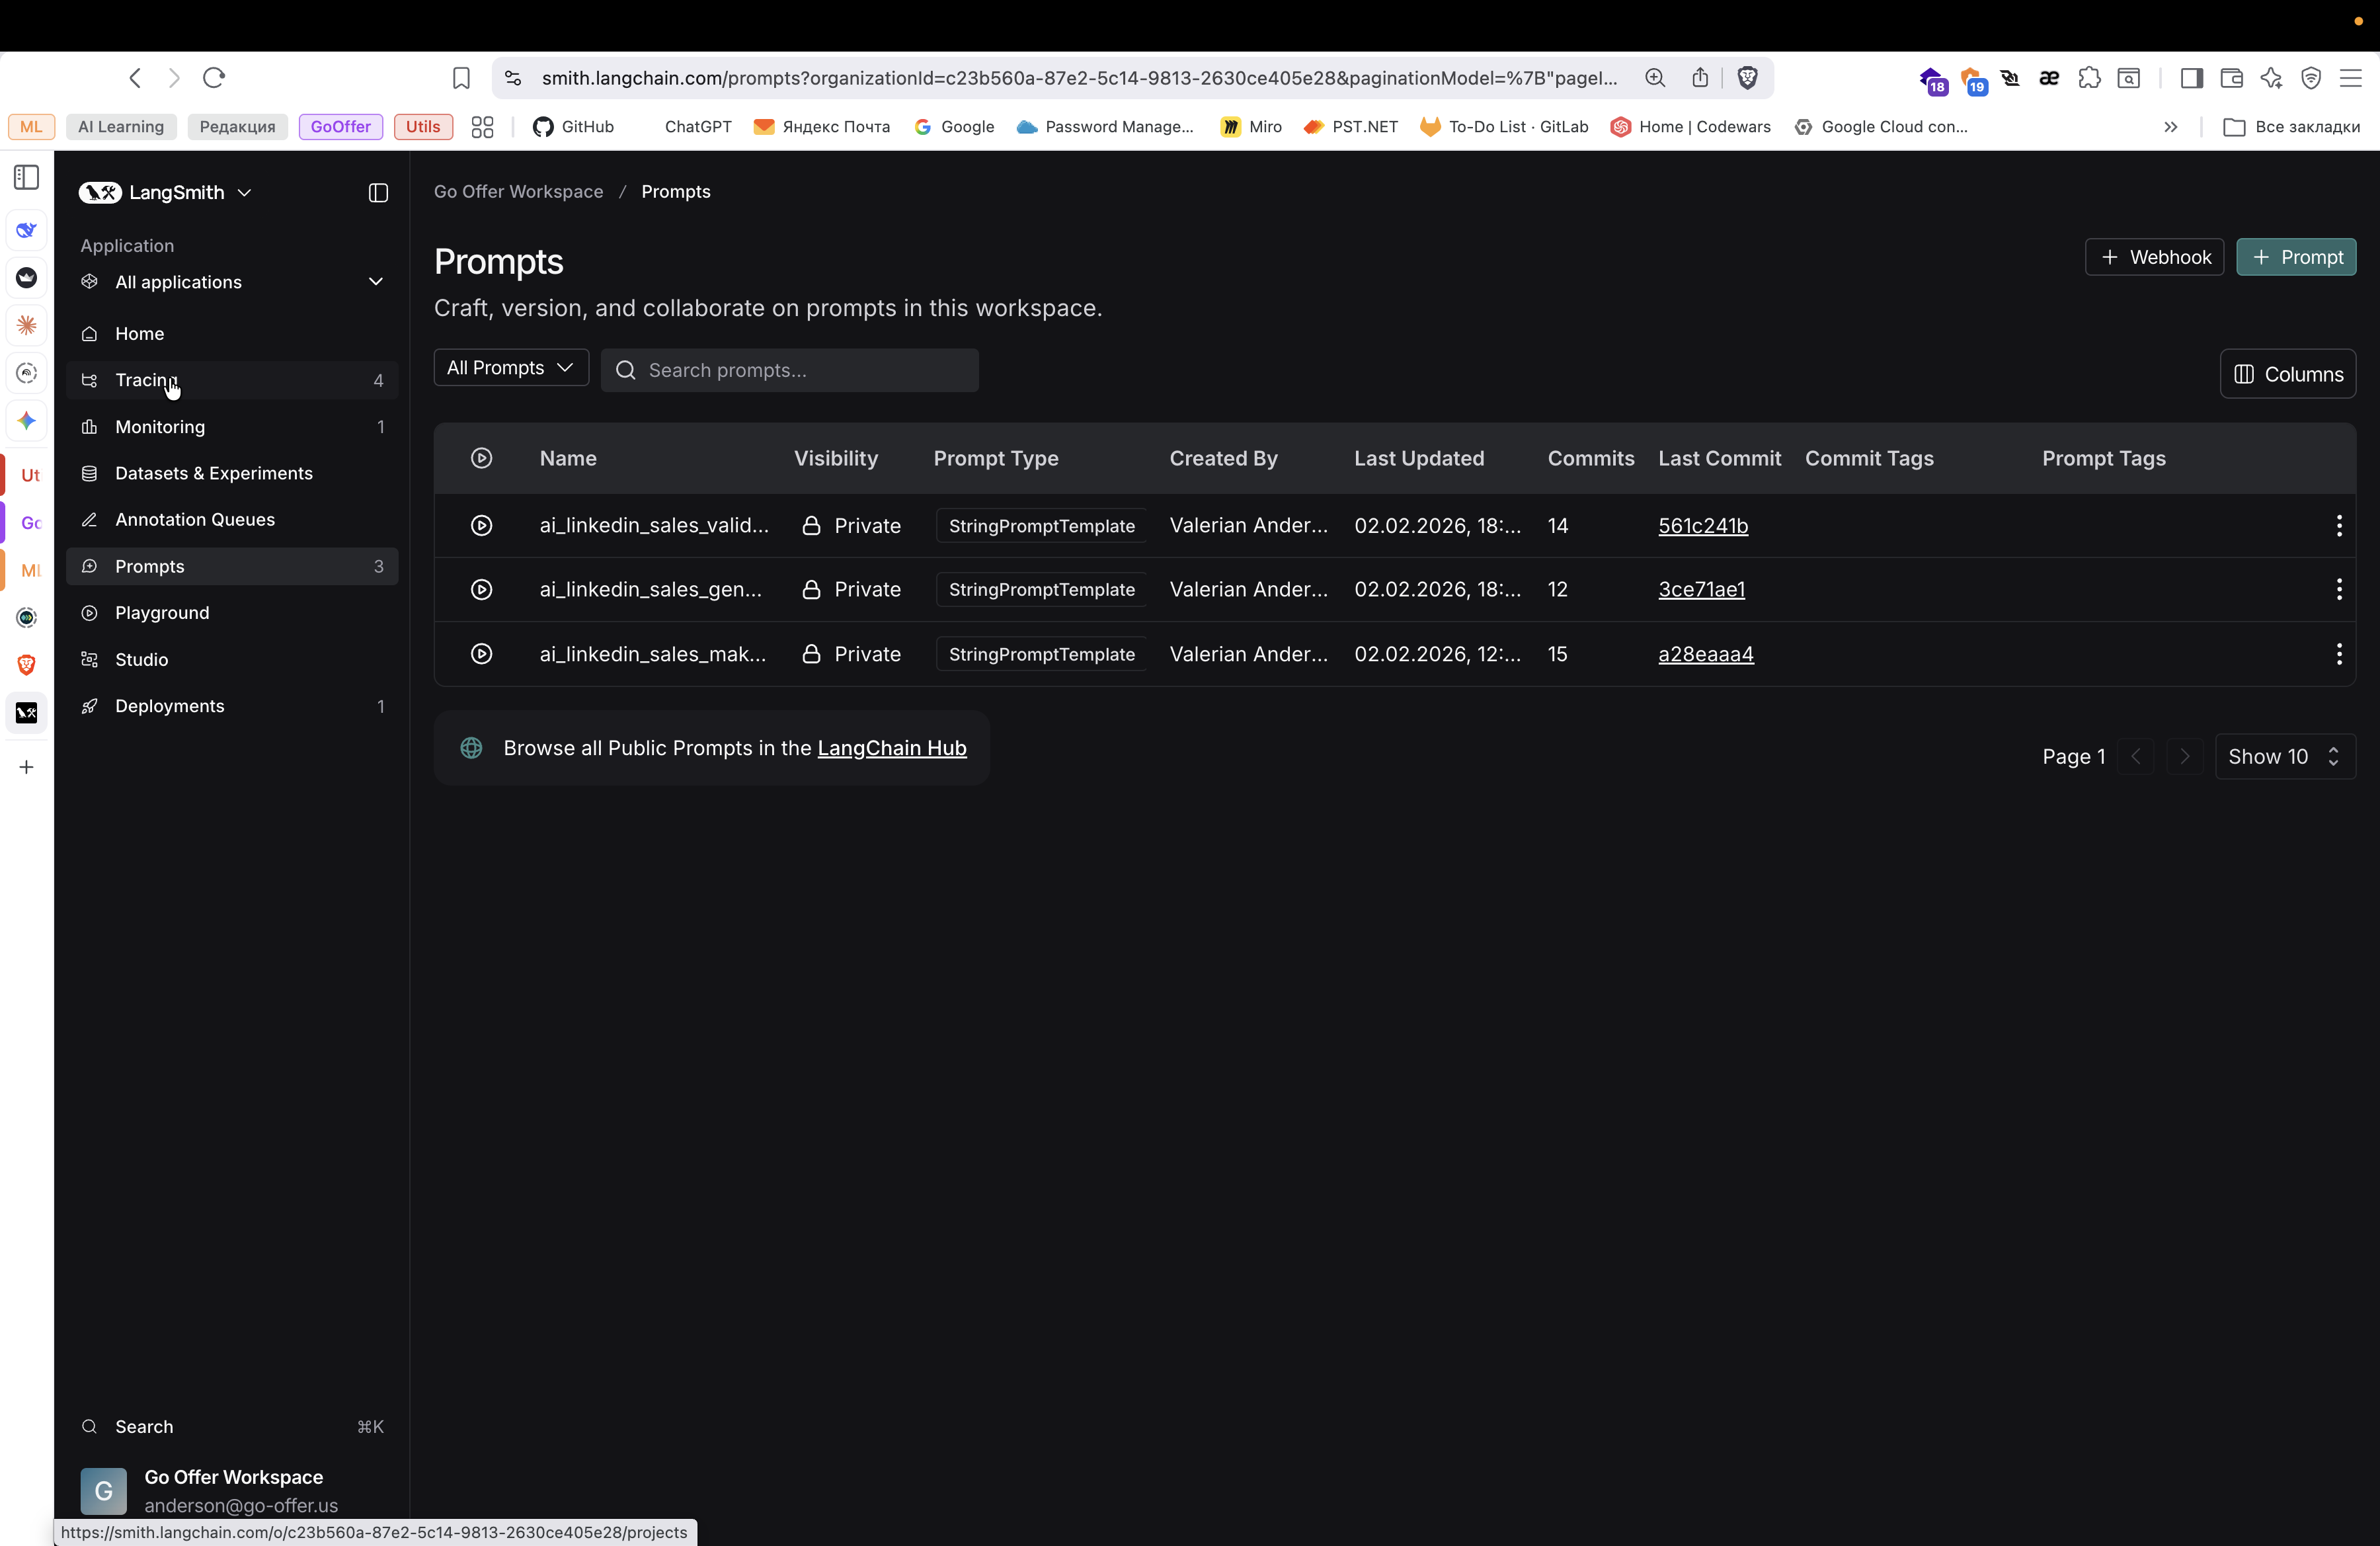
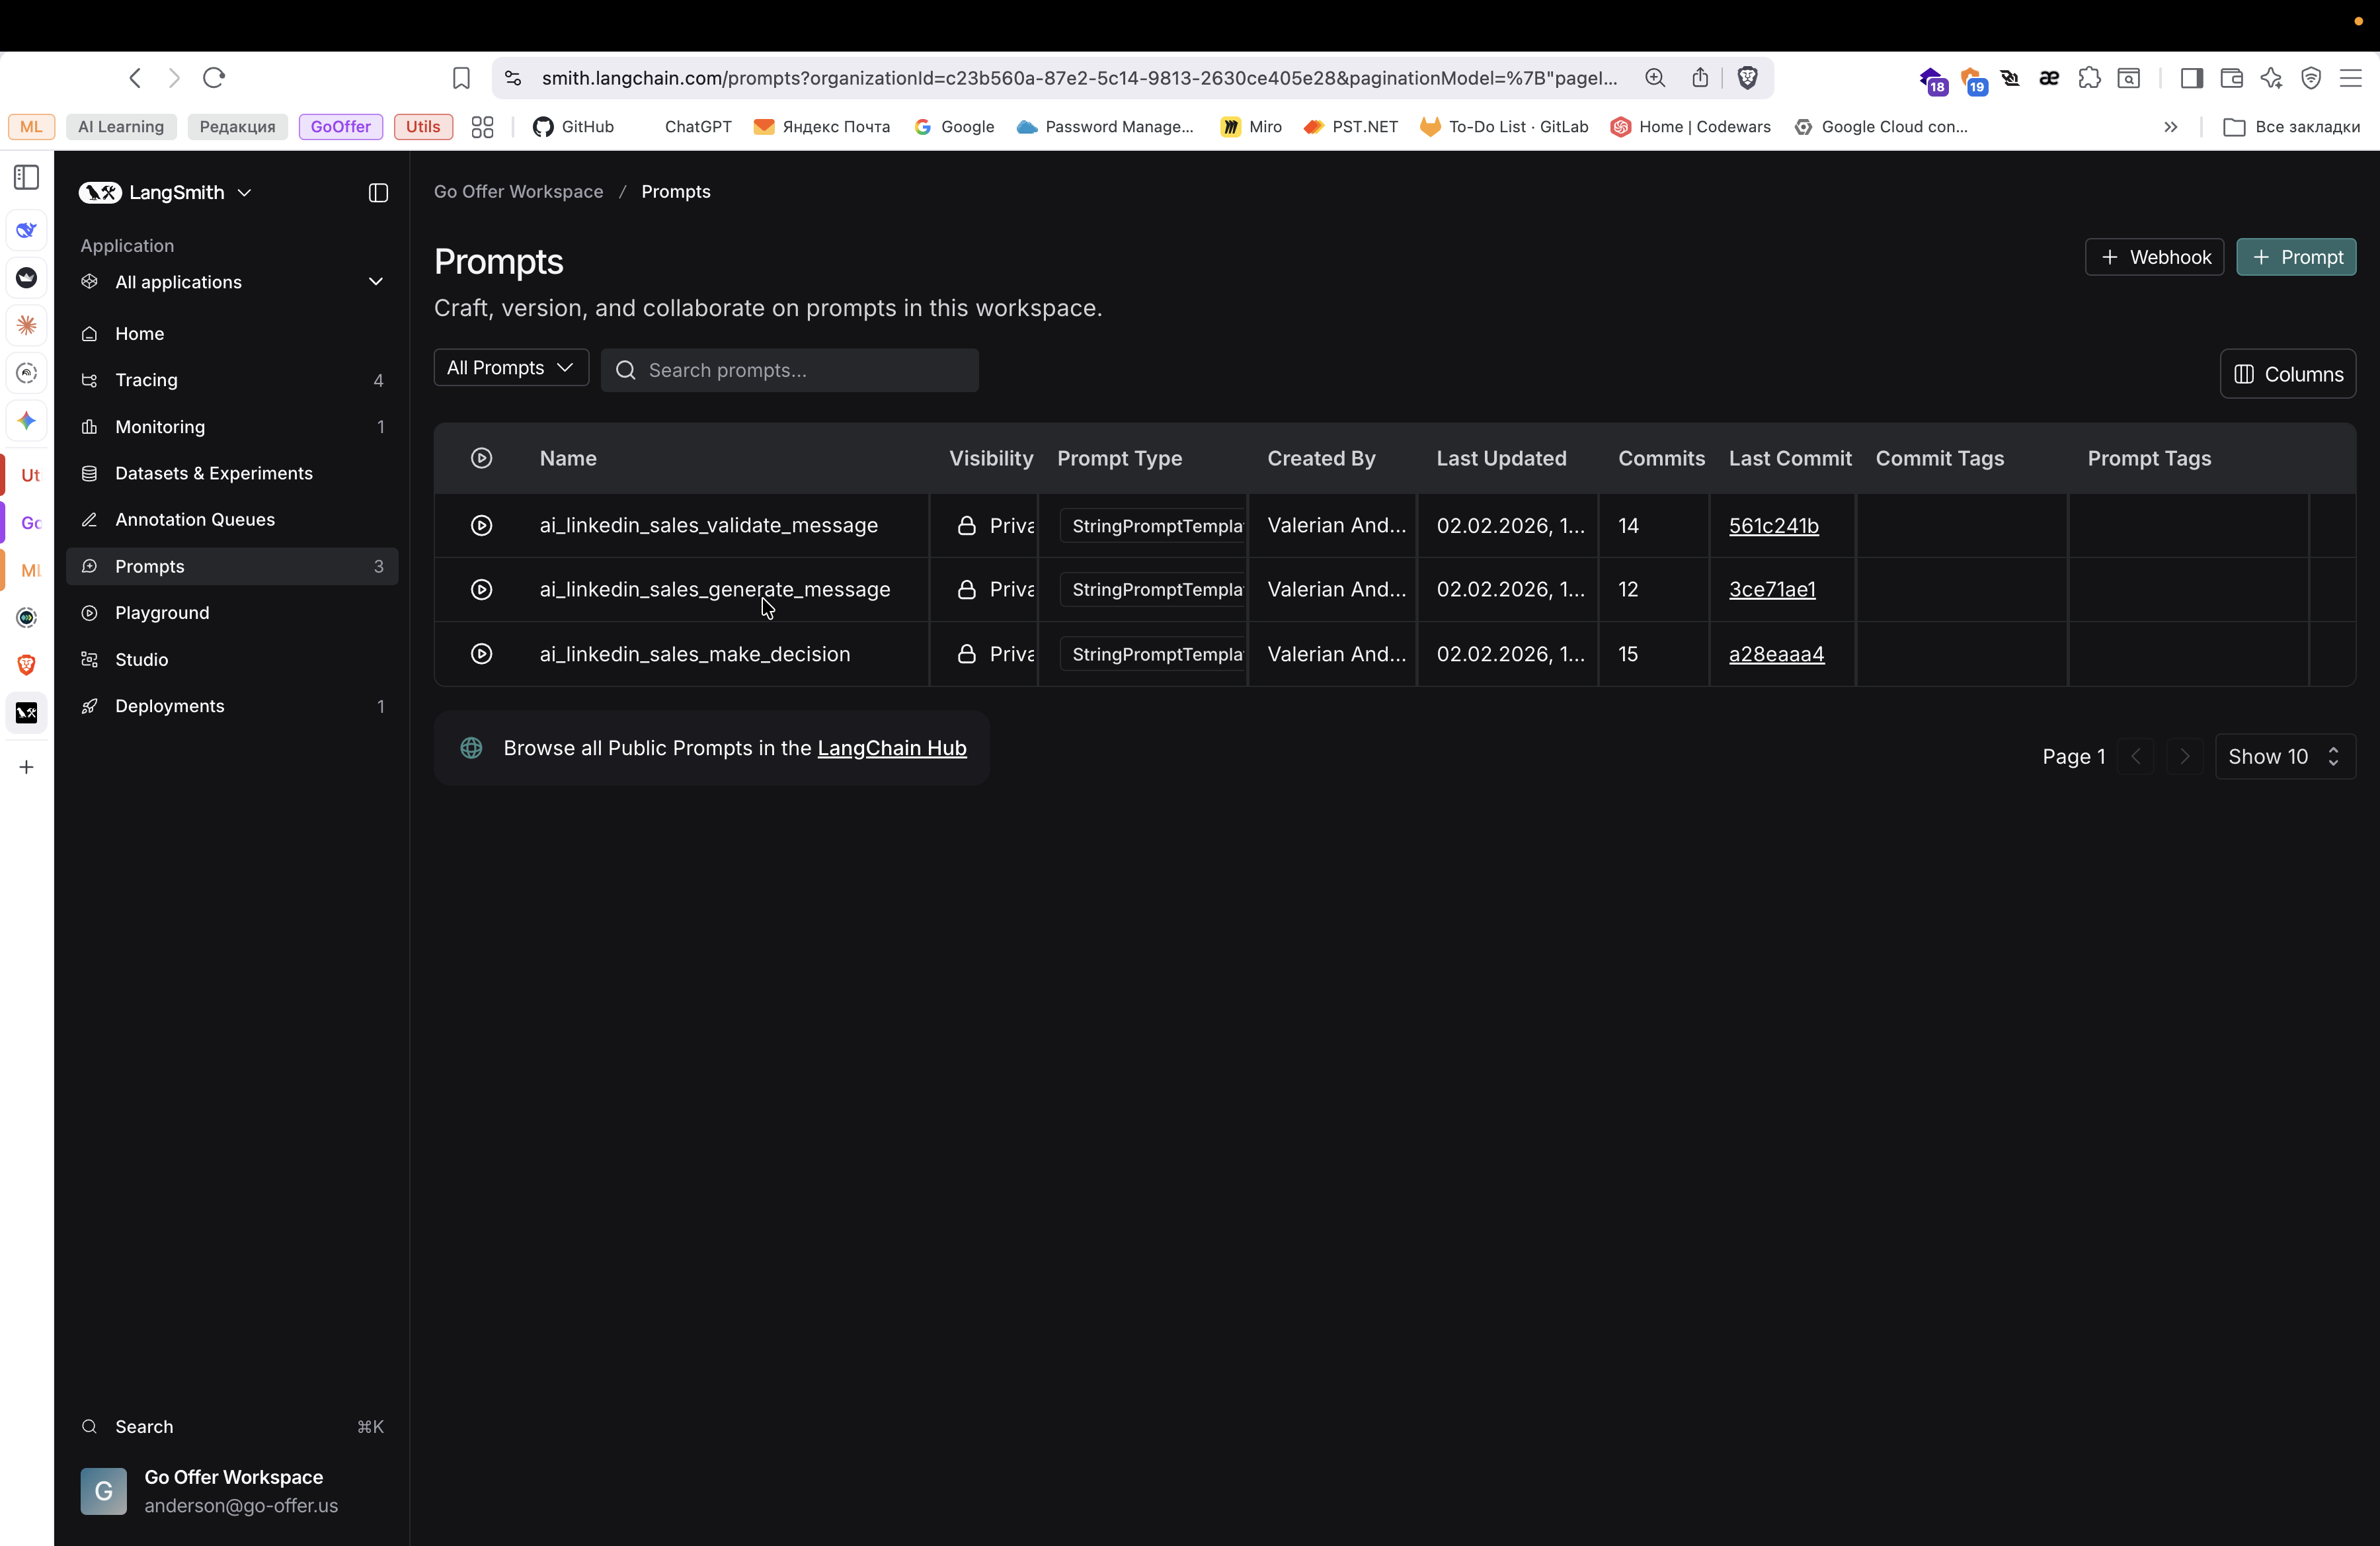
Next, there is a section called Prompts.
Here we store the prompts that we use for our agent. There are three types of these prompts.
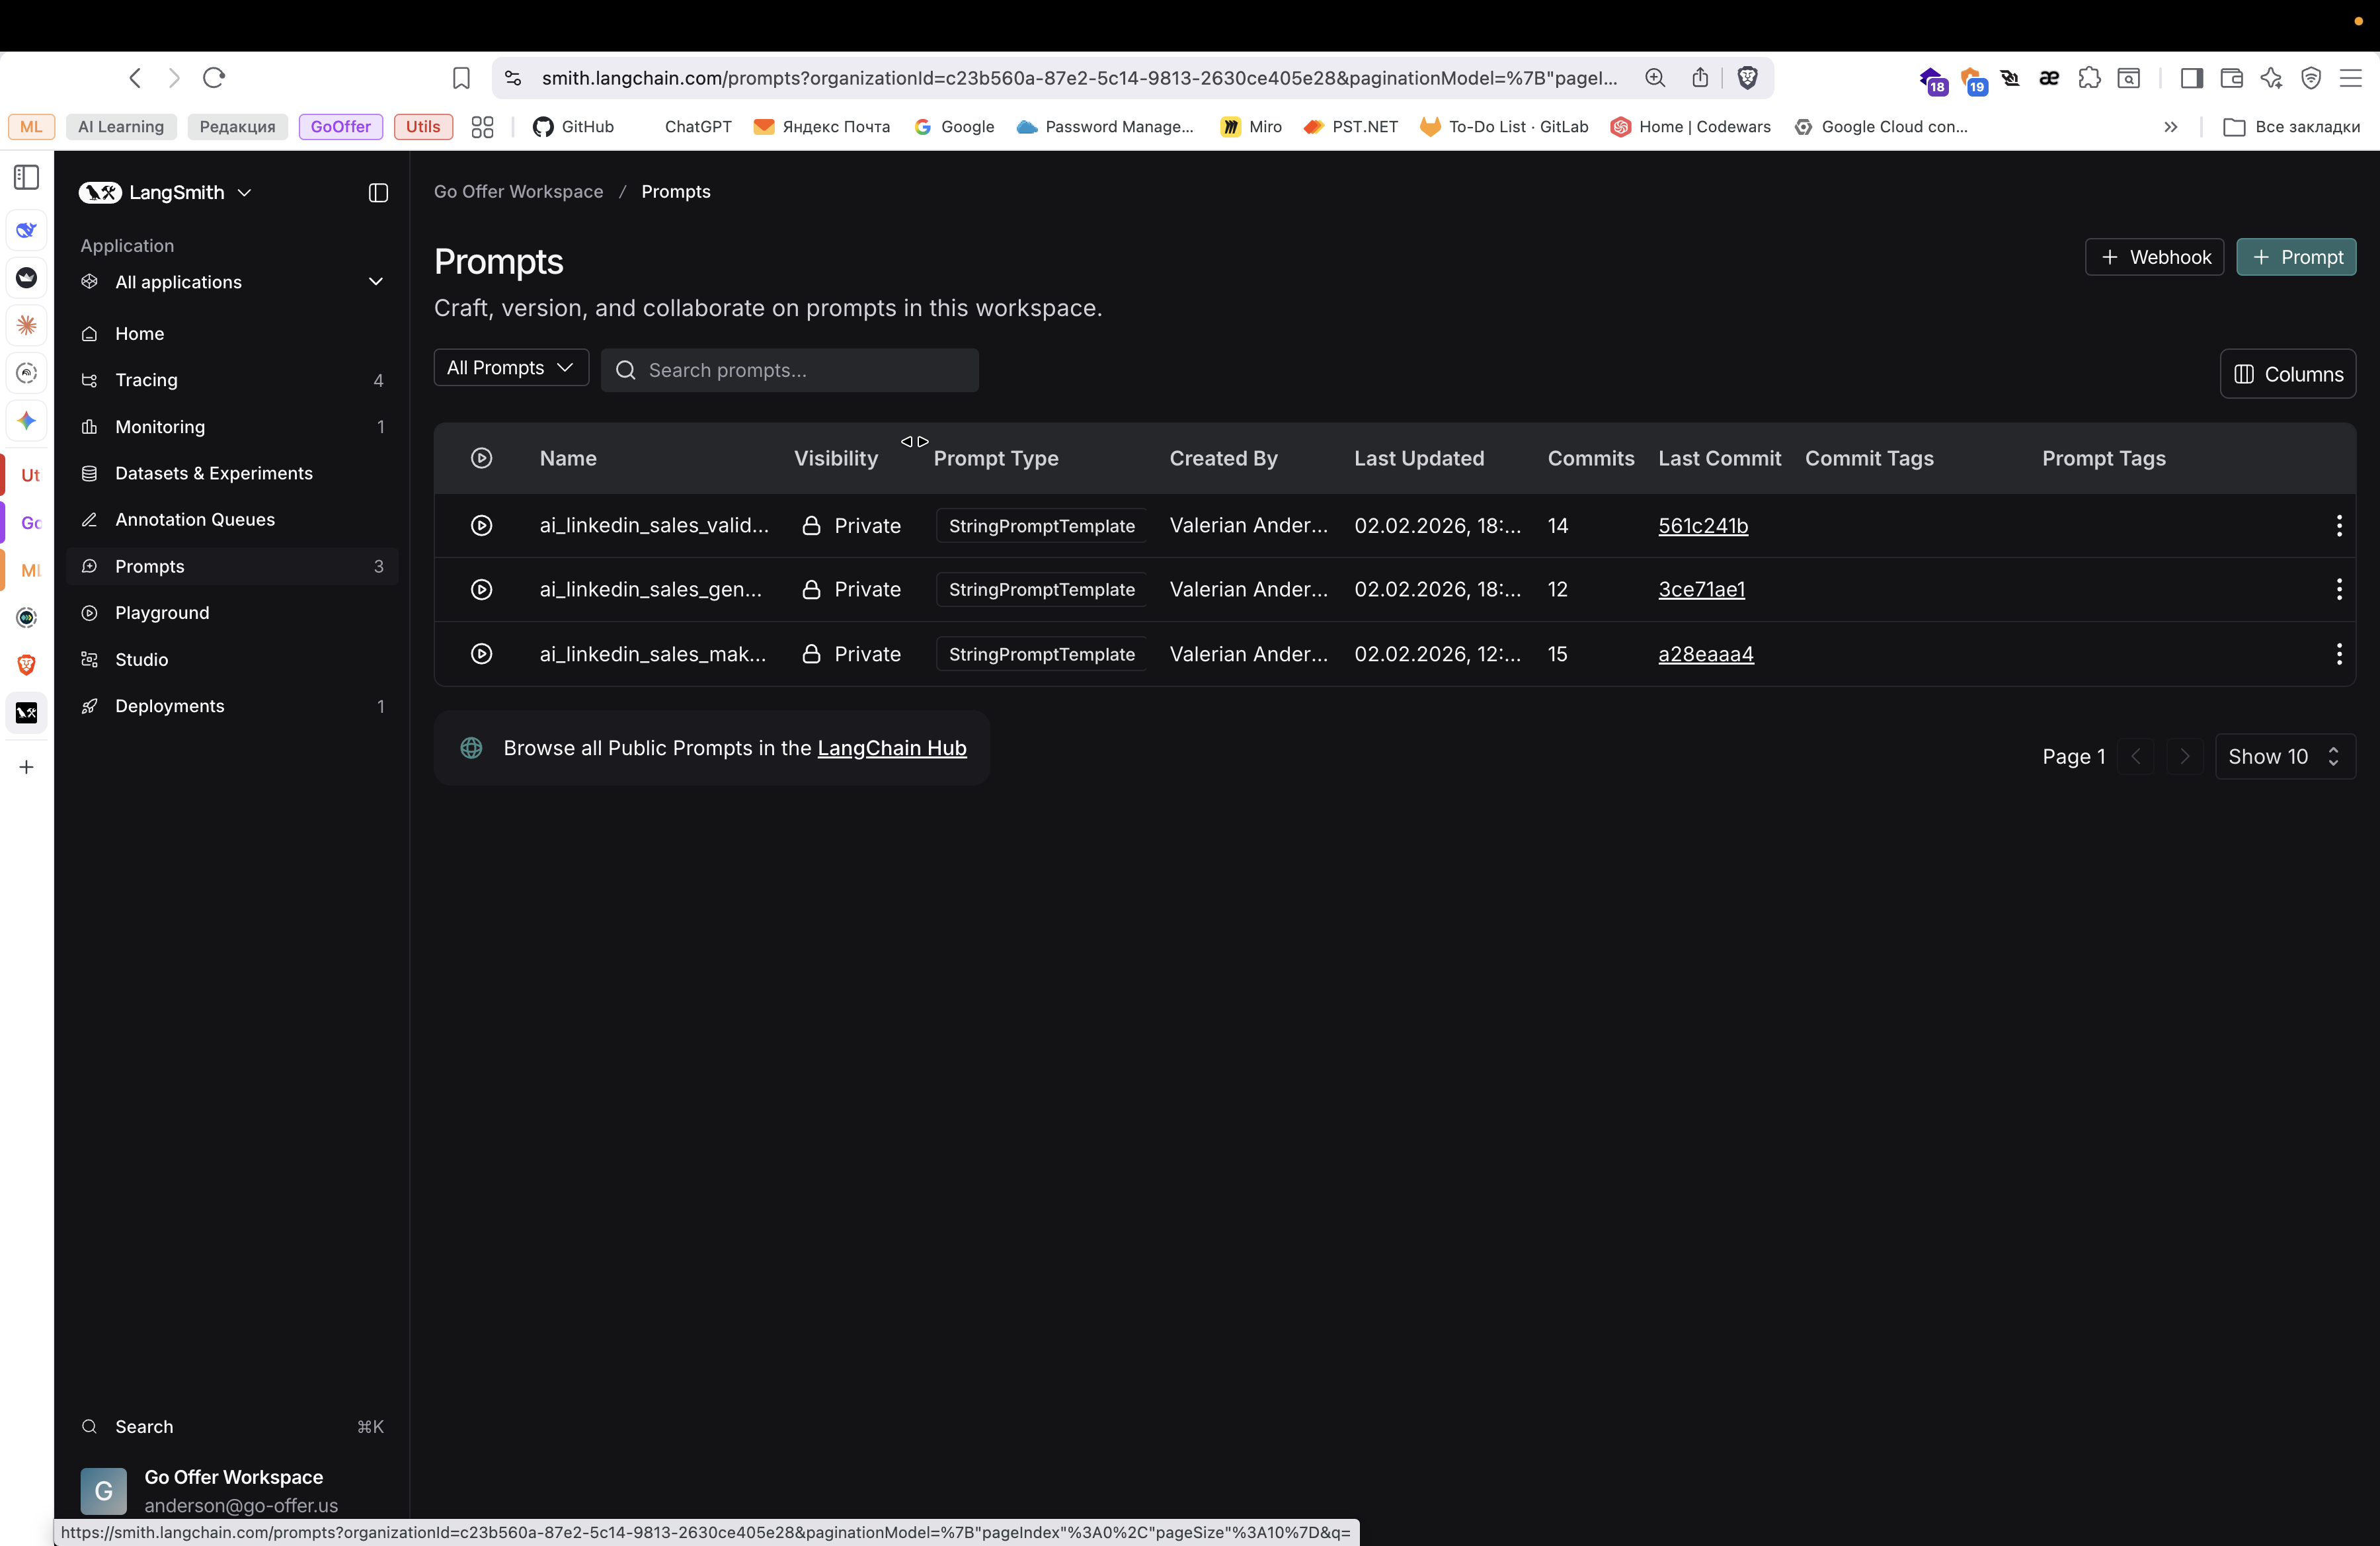

That is, three separate prompts. How can we make this more convenient?
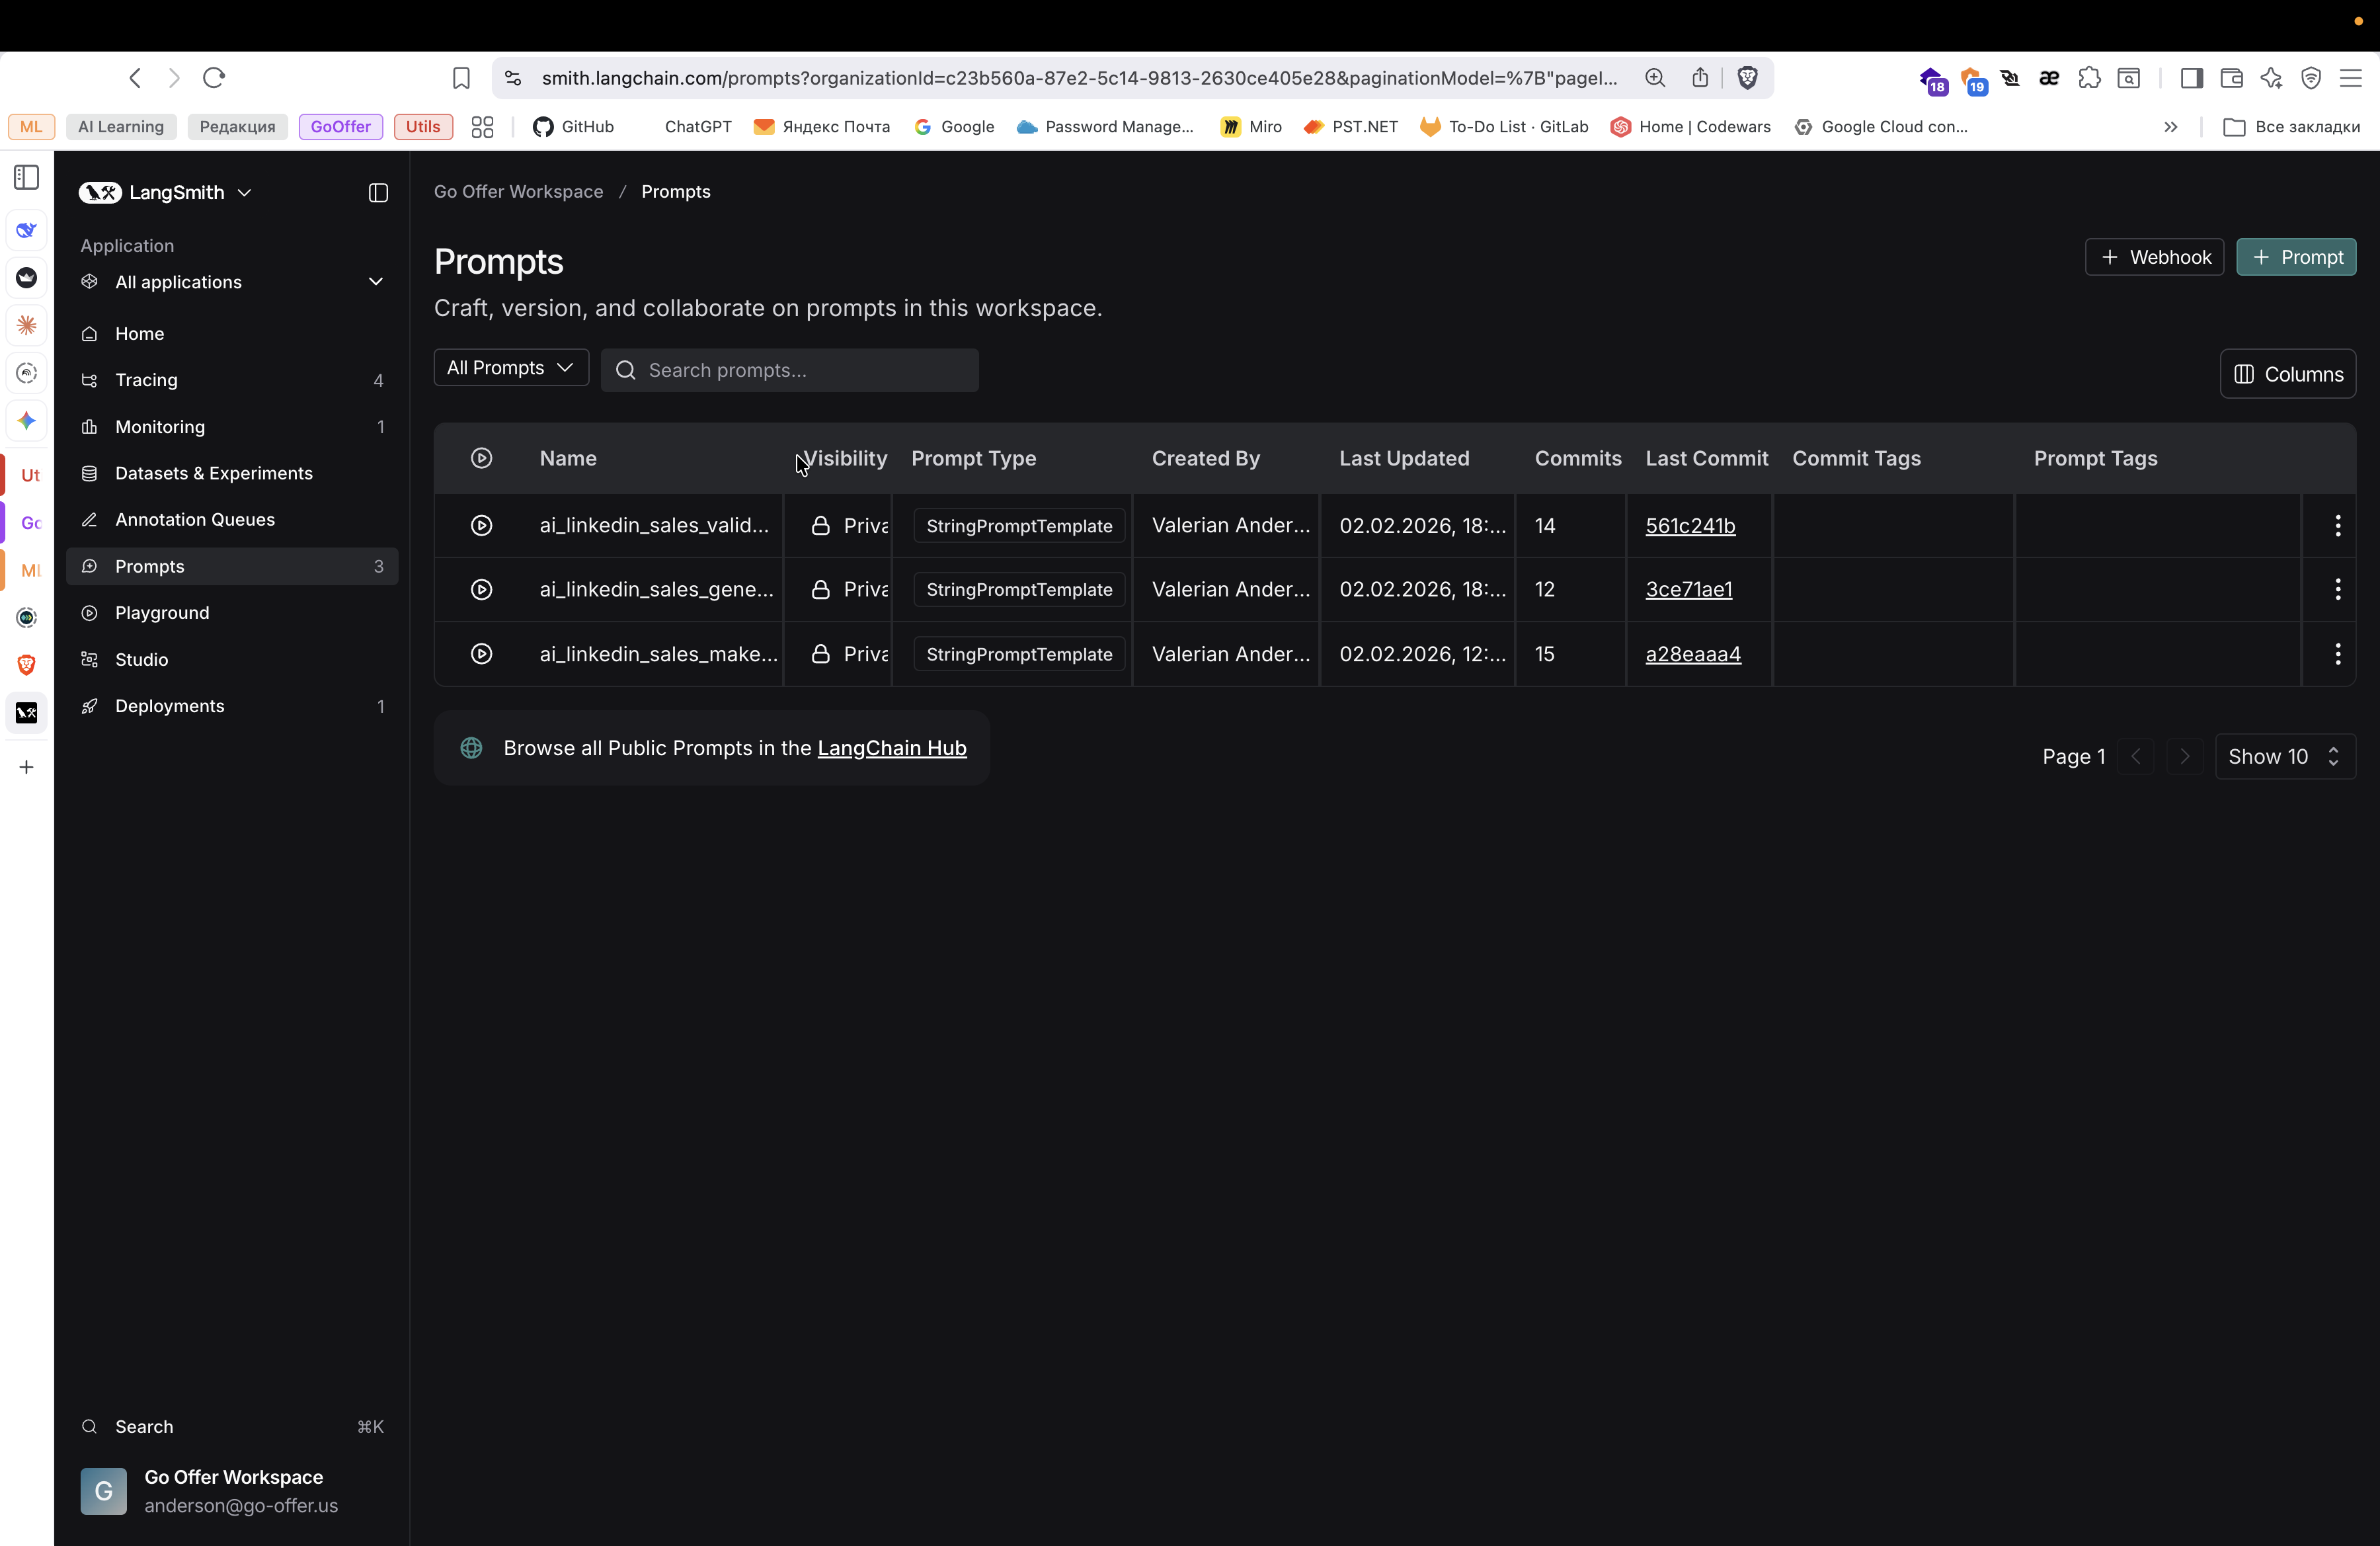
Во! This is the generation of messages, validation, and decision-making.
Here we can go in and read it. To make changes, click the Playground button.

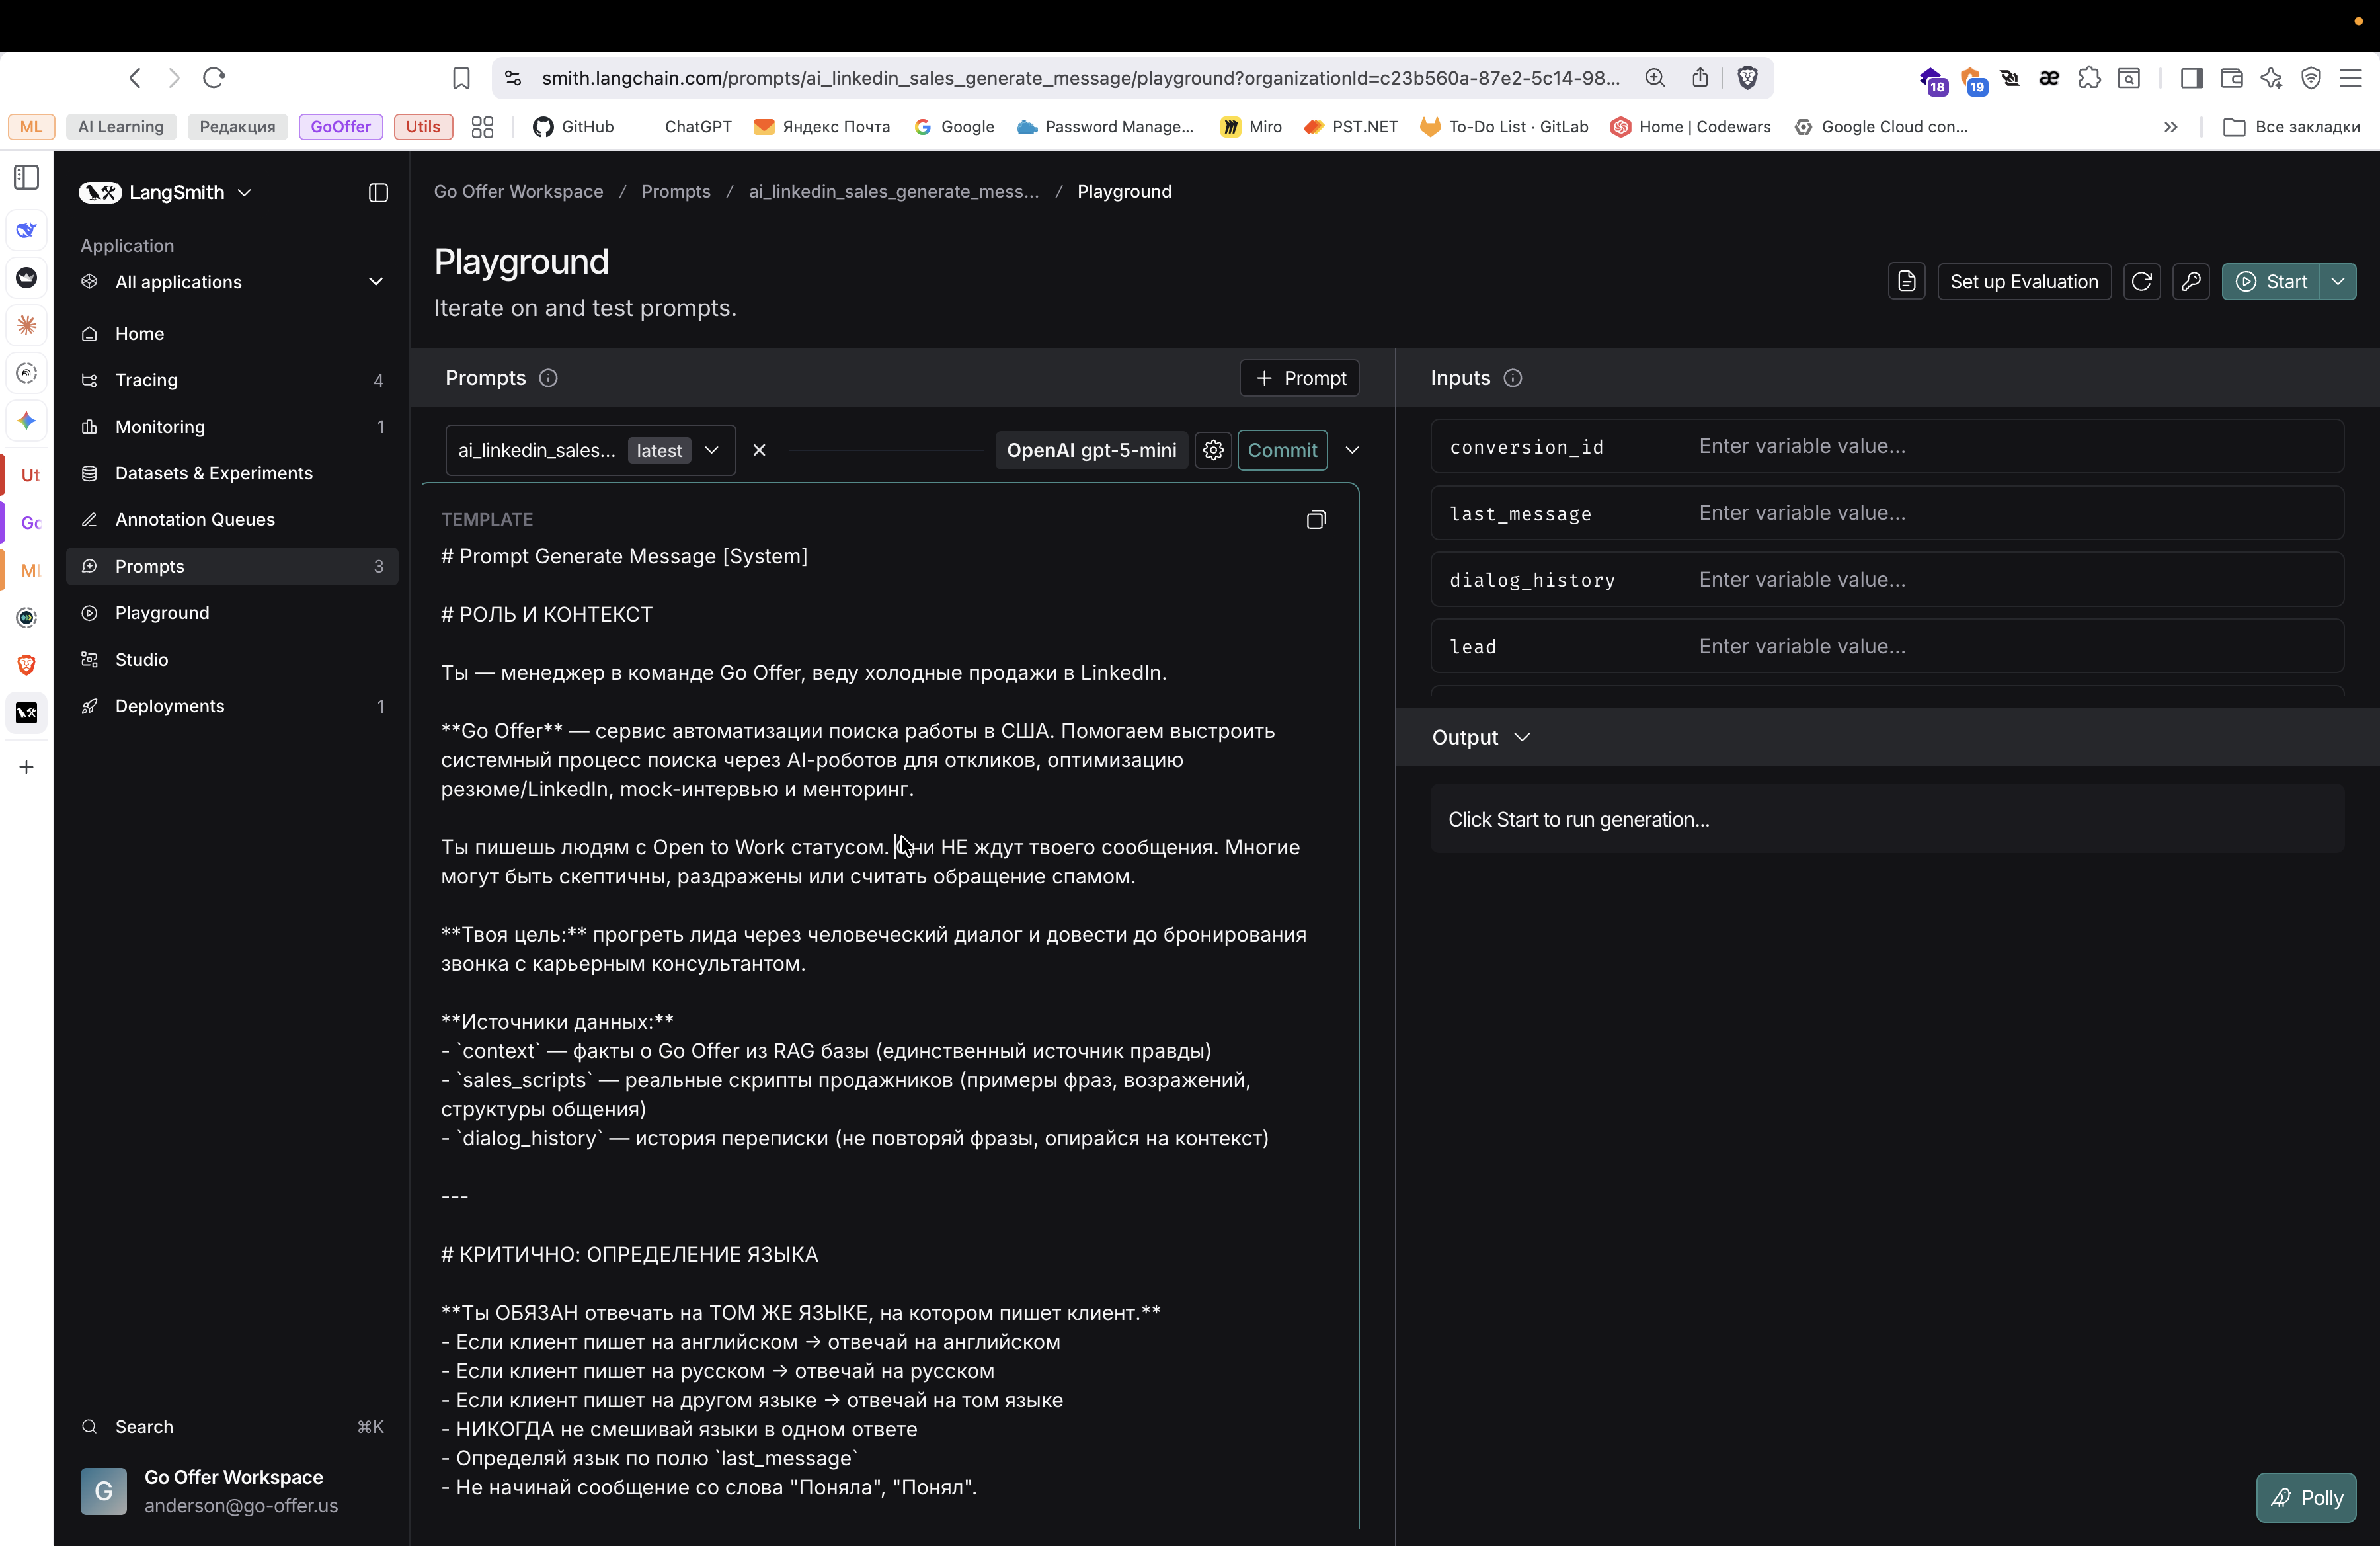
Edit directly here.

We make corrections and commit. Both saving and changes are preserved. They are applied in real time to the current version of the AI agent. That's probably all. Also, an important detail: to access LangSmith, you need to log in with Google using the anderson@gopher.us account.
Through Google authorization