How to Use Moving Heads: Basic Functions and Controls Explained
Learn the essential functions and controls of moving heads (MKs and MBKs) in lighting setups. Discover how to adjust color wash, intensity, focus, and movement for creative lighting effects.
In this guide, we'll learn how to control moving head lights, focusing on basic functions like positioning, color wash, and beam focus. We will cover how to use keyboard shortcuts to move the lights and adjust their focus for different effects. This will help you manage lighting for various needs, such as highlighting areas or creating layered color effects.
Let's get started
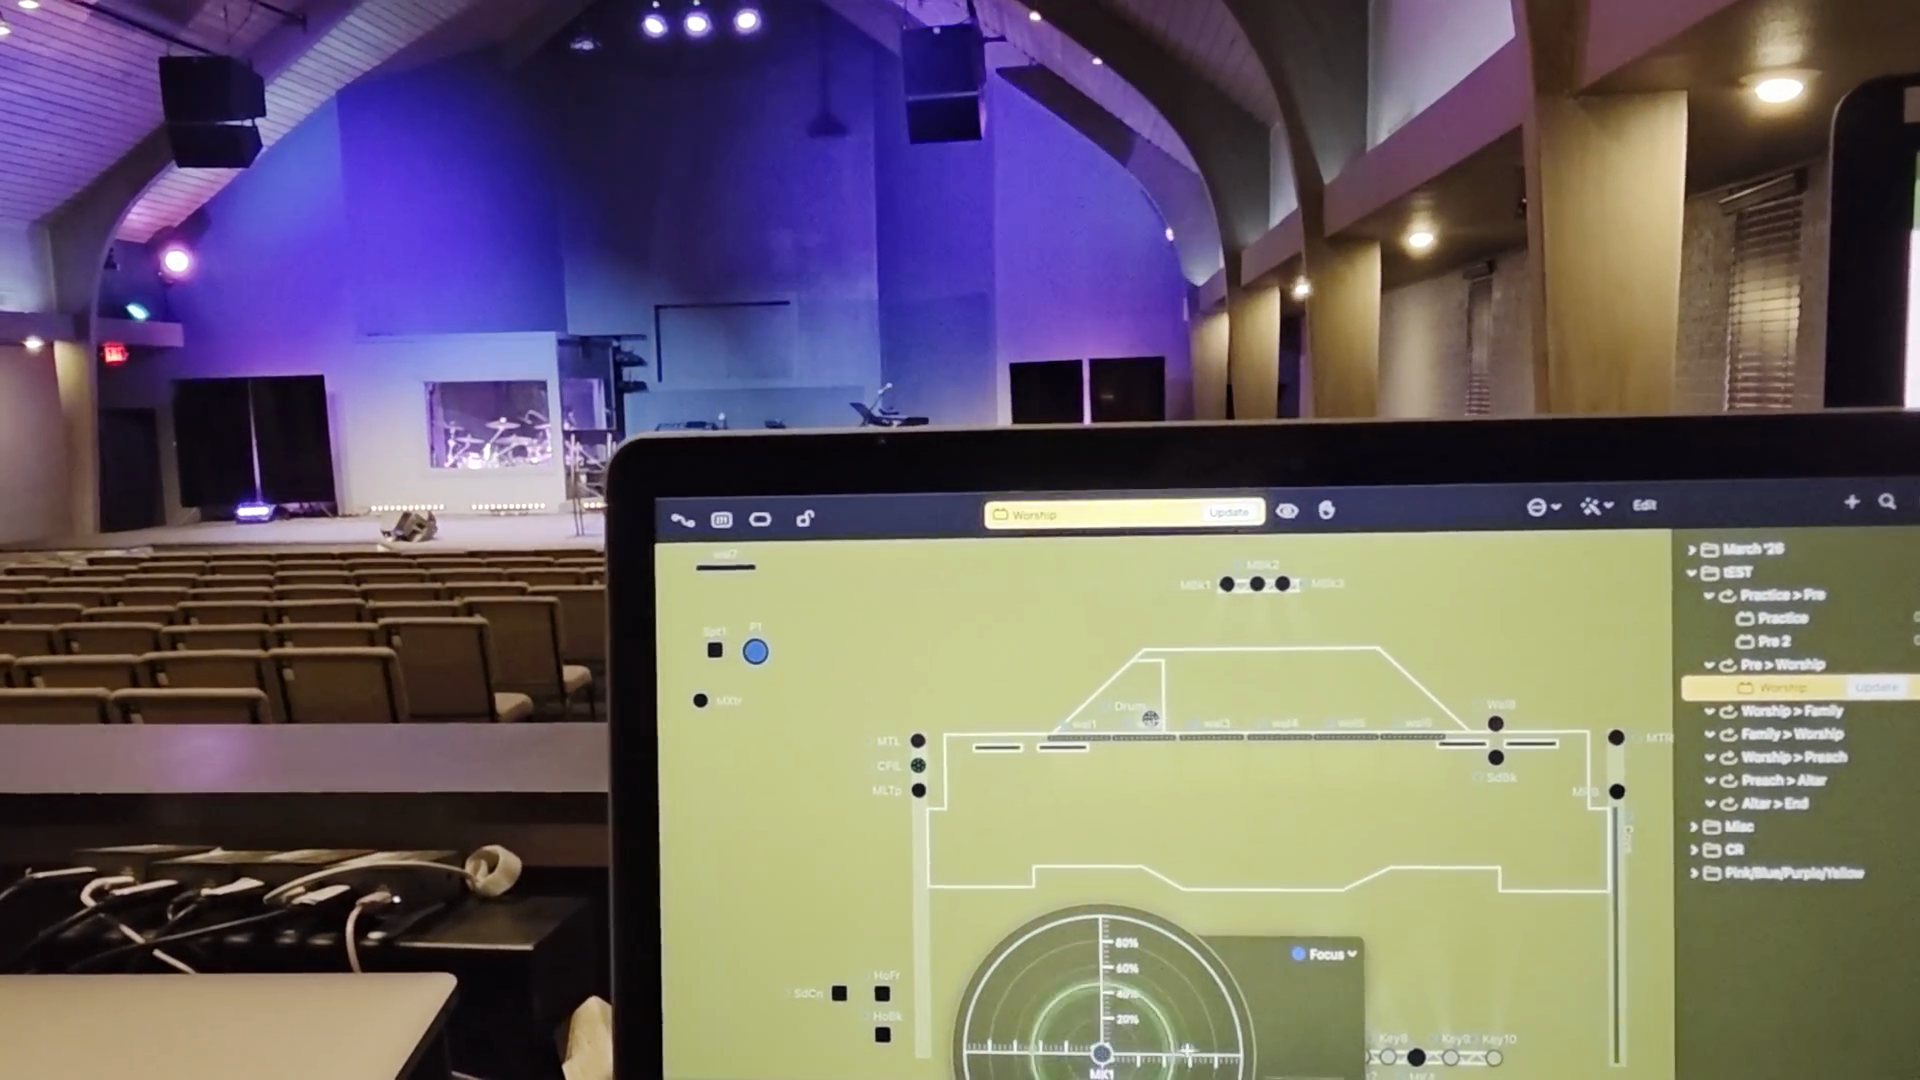
Okay. Now, our moving heads—all these MKs and MBKs (they're black and have an arrow on them)—have a slightly different function from the others because they can move wherever we need them to.
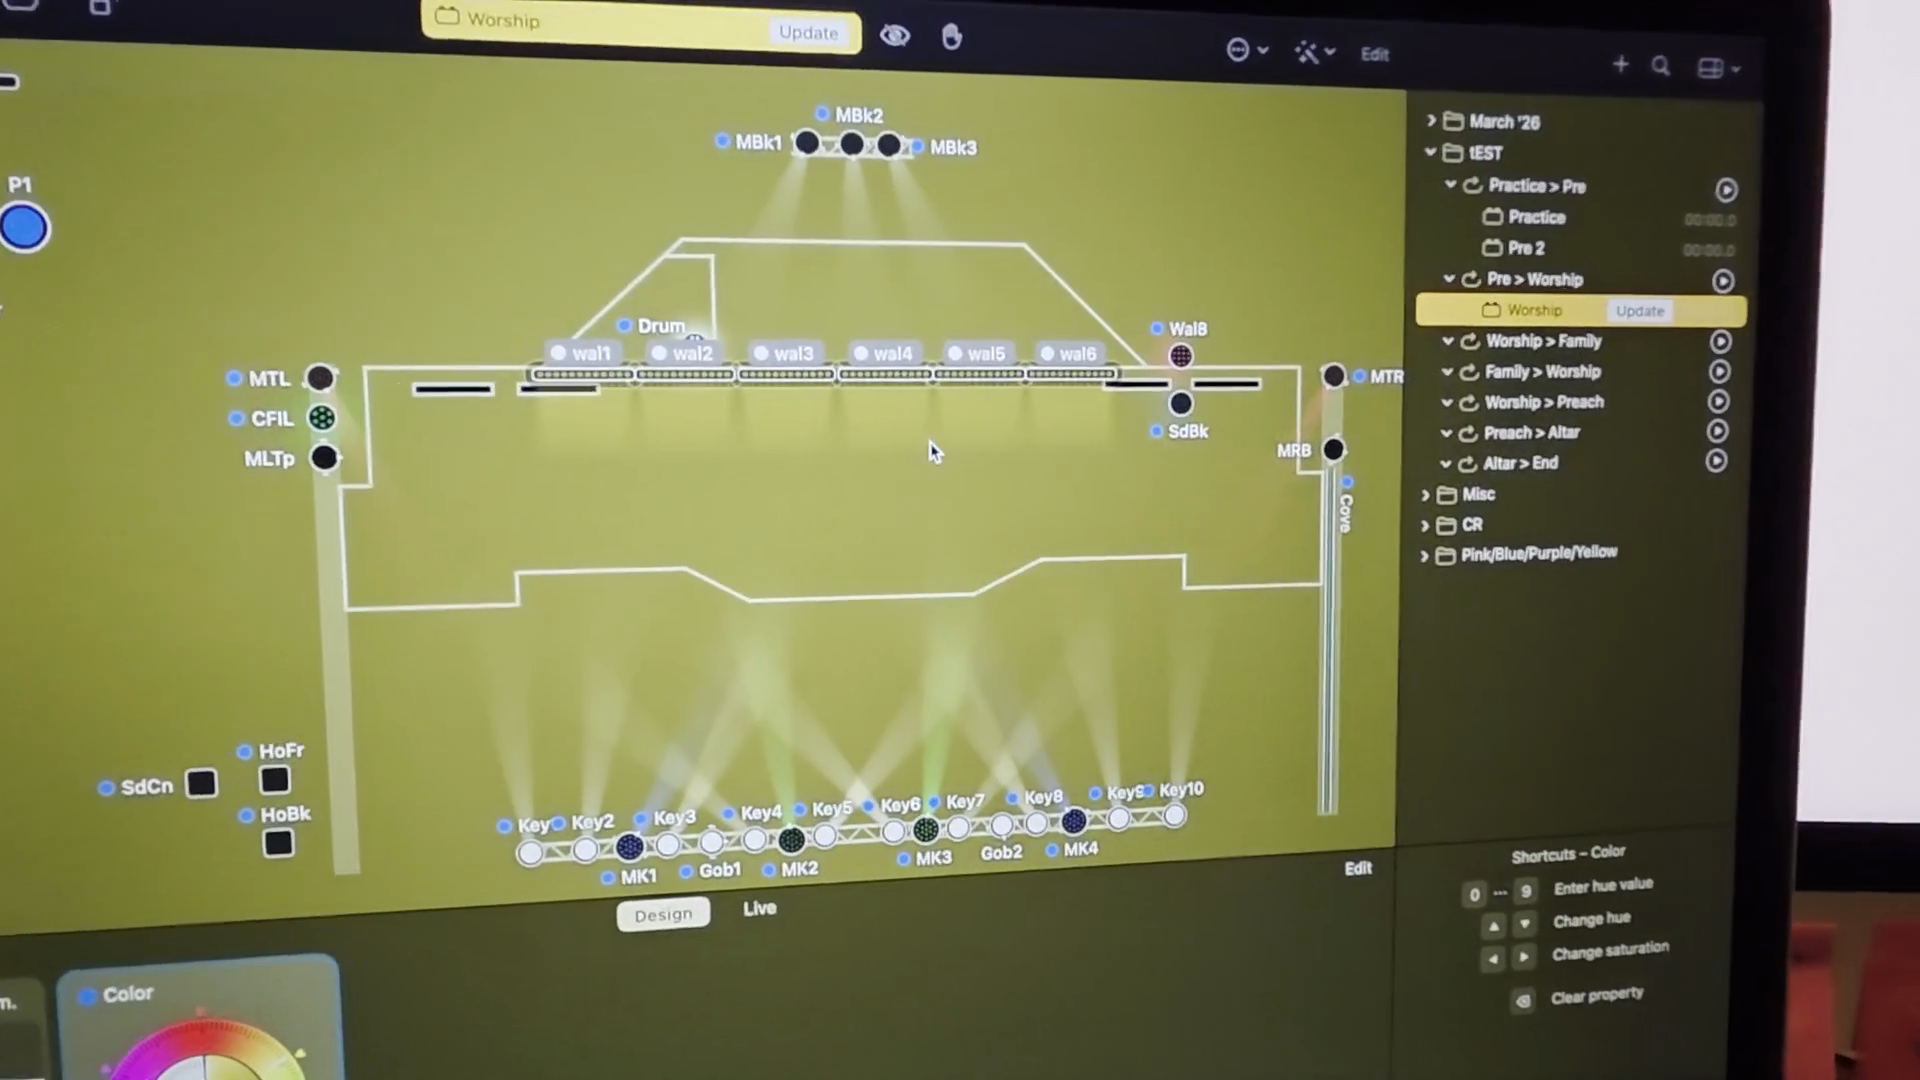
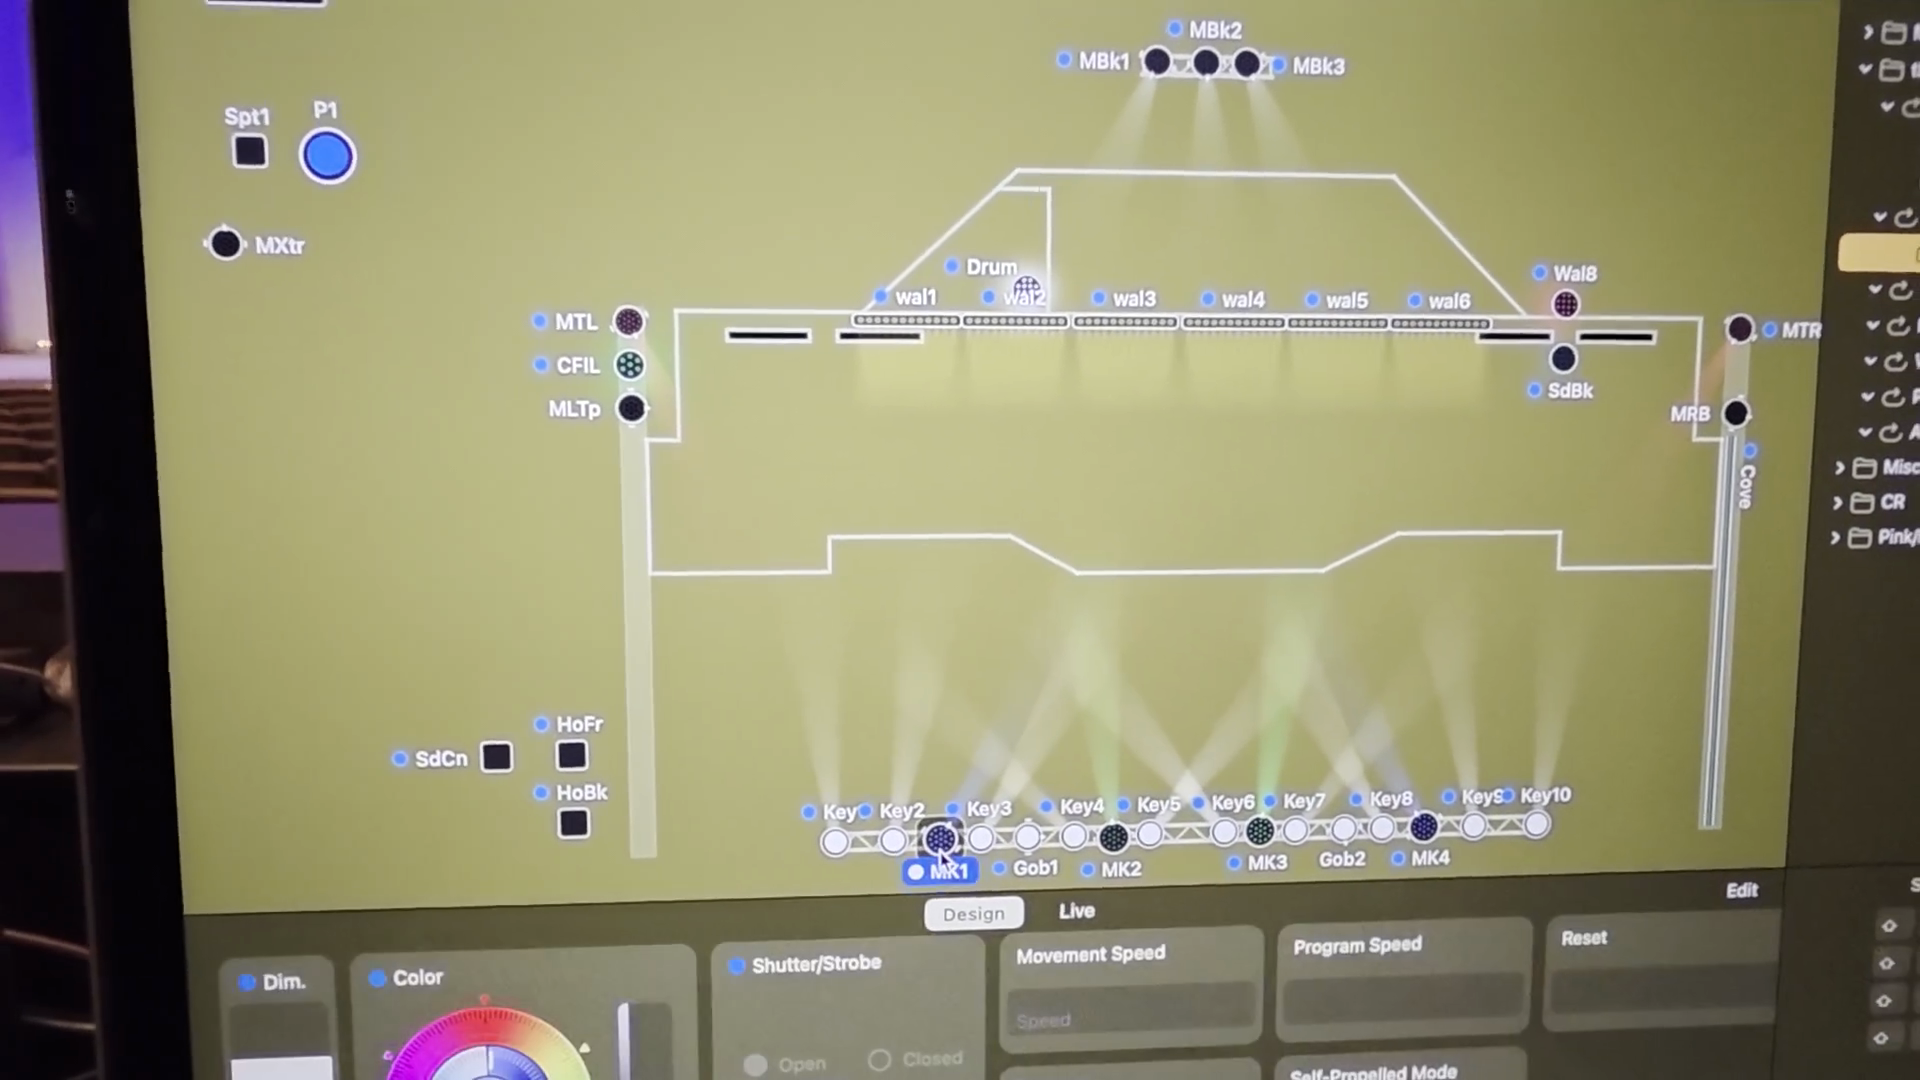
Here, you will see several different things. We don't use movement and program speed as much.
We mainly use them as a fixed color wash. We can control where the color wash goes and how intense it is, or focus it as a beam.
You'll see this appear. You can click this and move it.
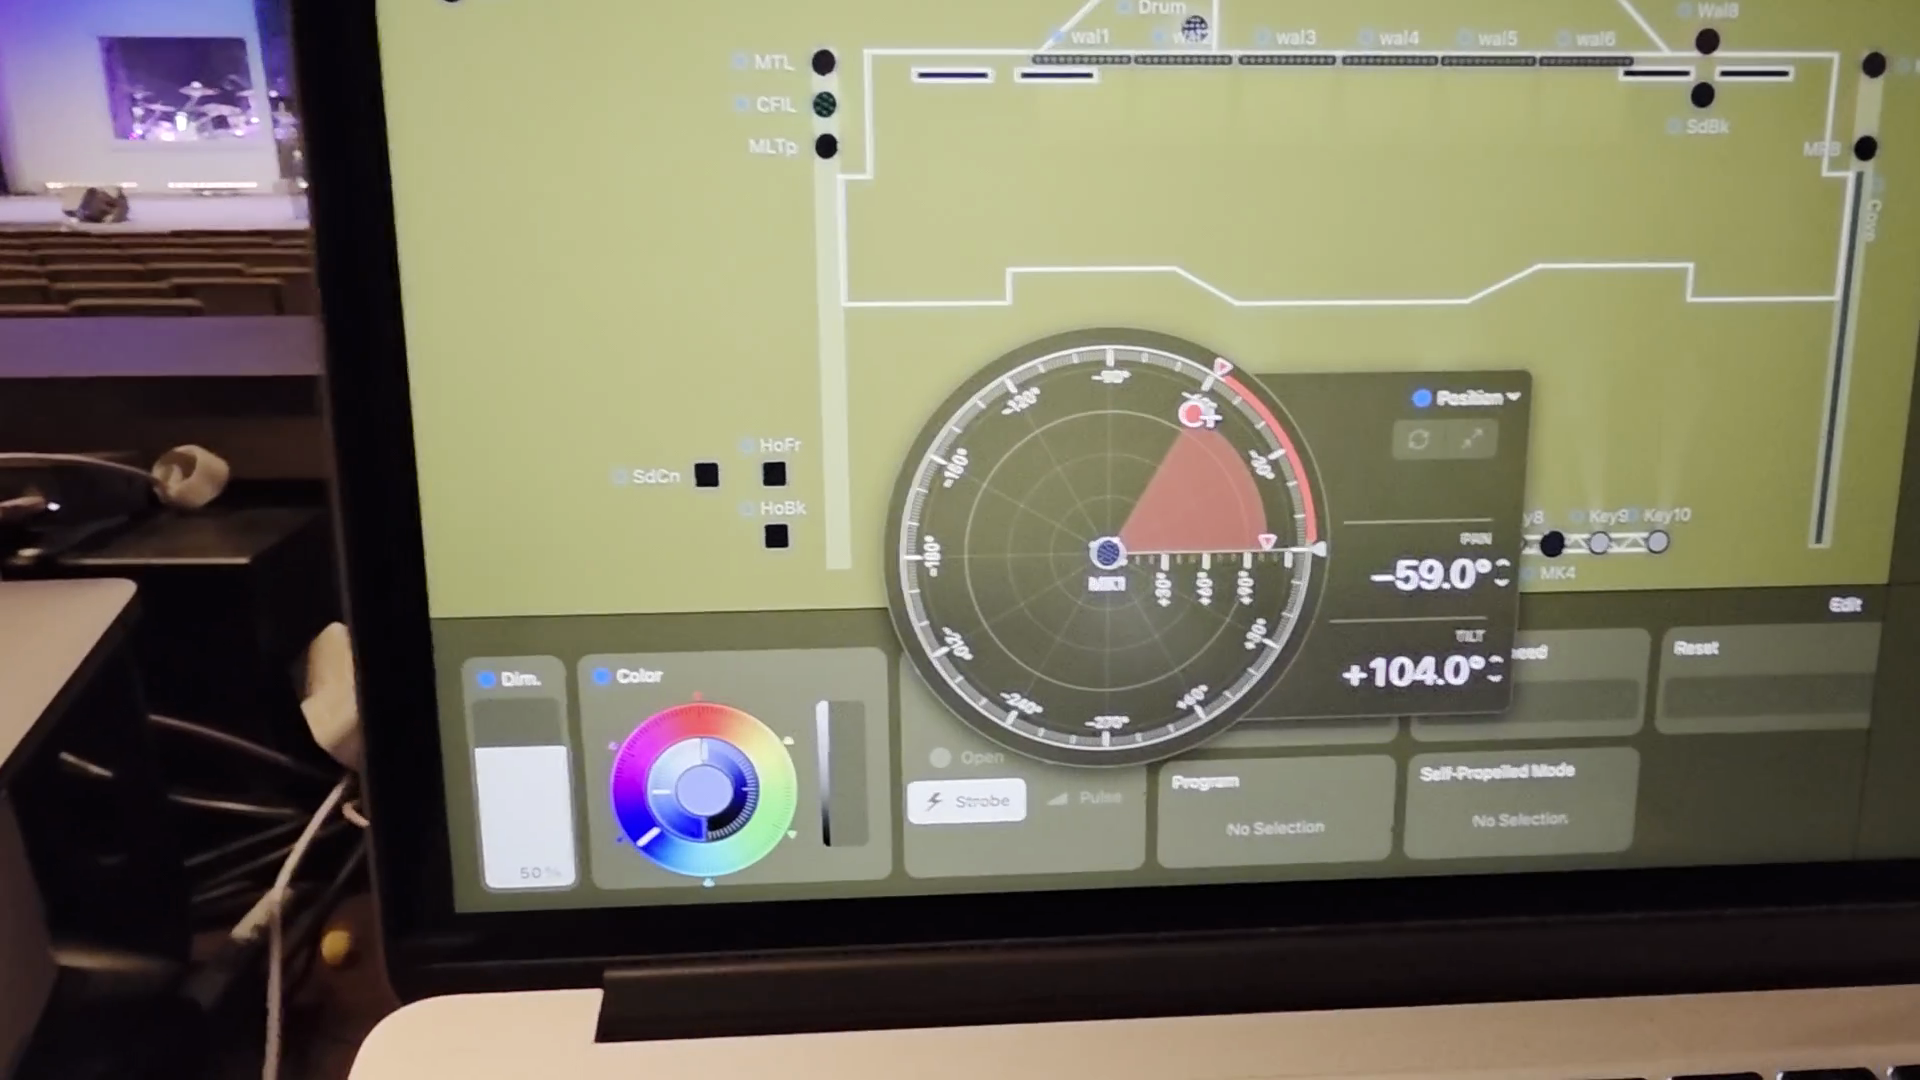
I don't like moving it with the widget as much, so I move it with the arrow keys.
If I go left, it goes left. If I go right, it goes right. If it becomes misaligned, you will notice how it moves after fiddling with the arrows to see if the light moves opposite of whichever arrow you're hitting.
You can see the percentages to help you focus. This basically means that you're dictating how wide the beam is.
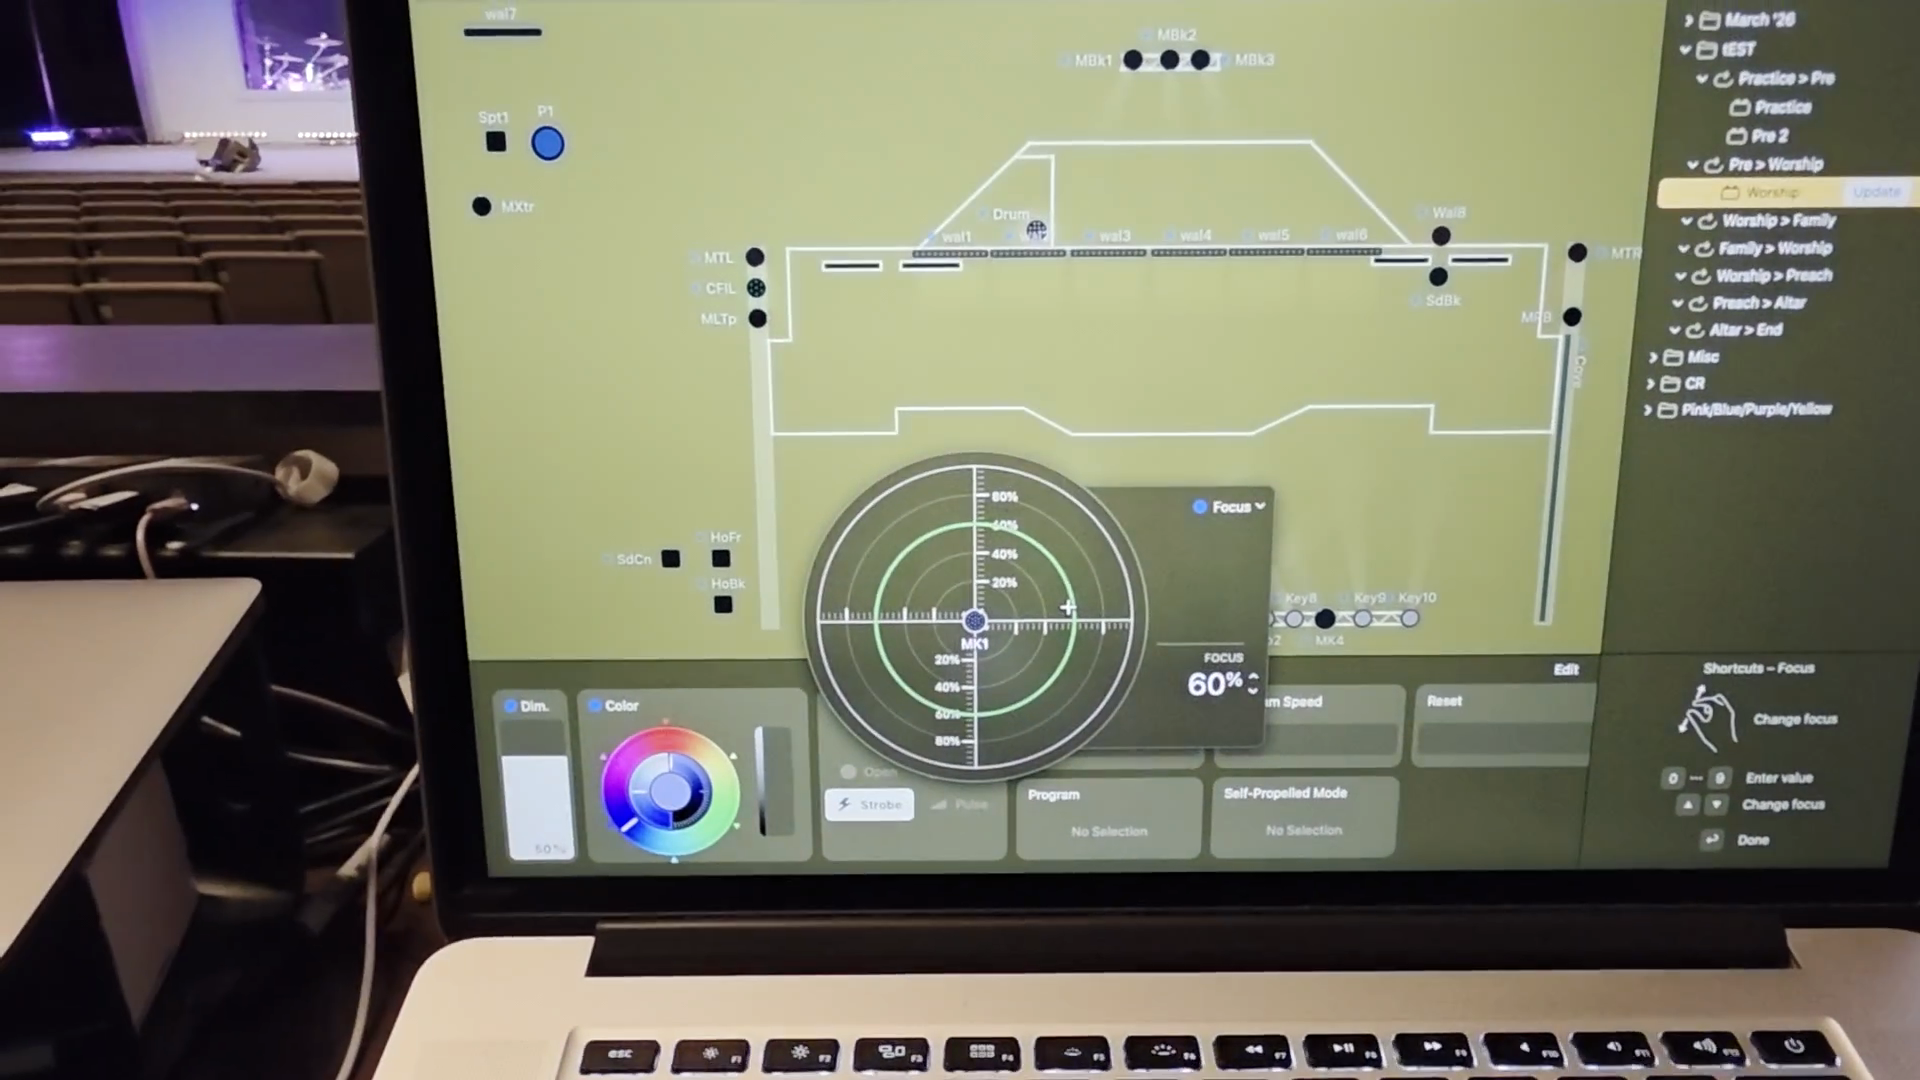
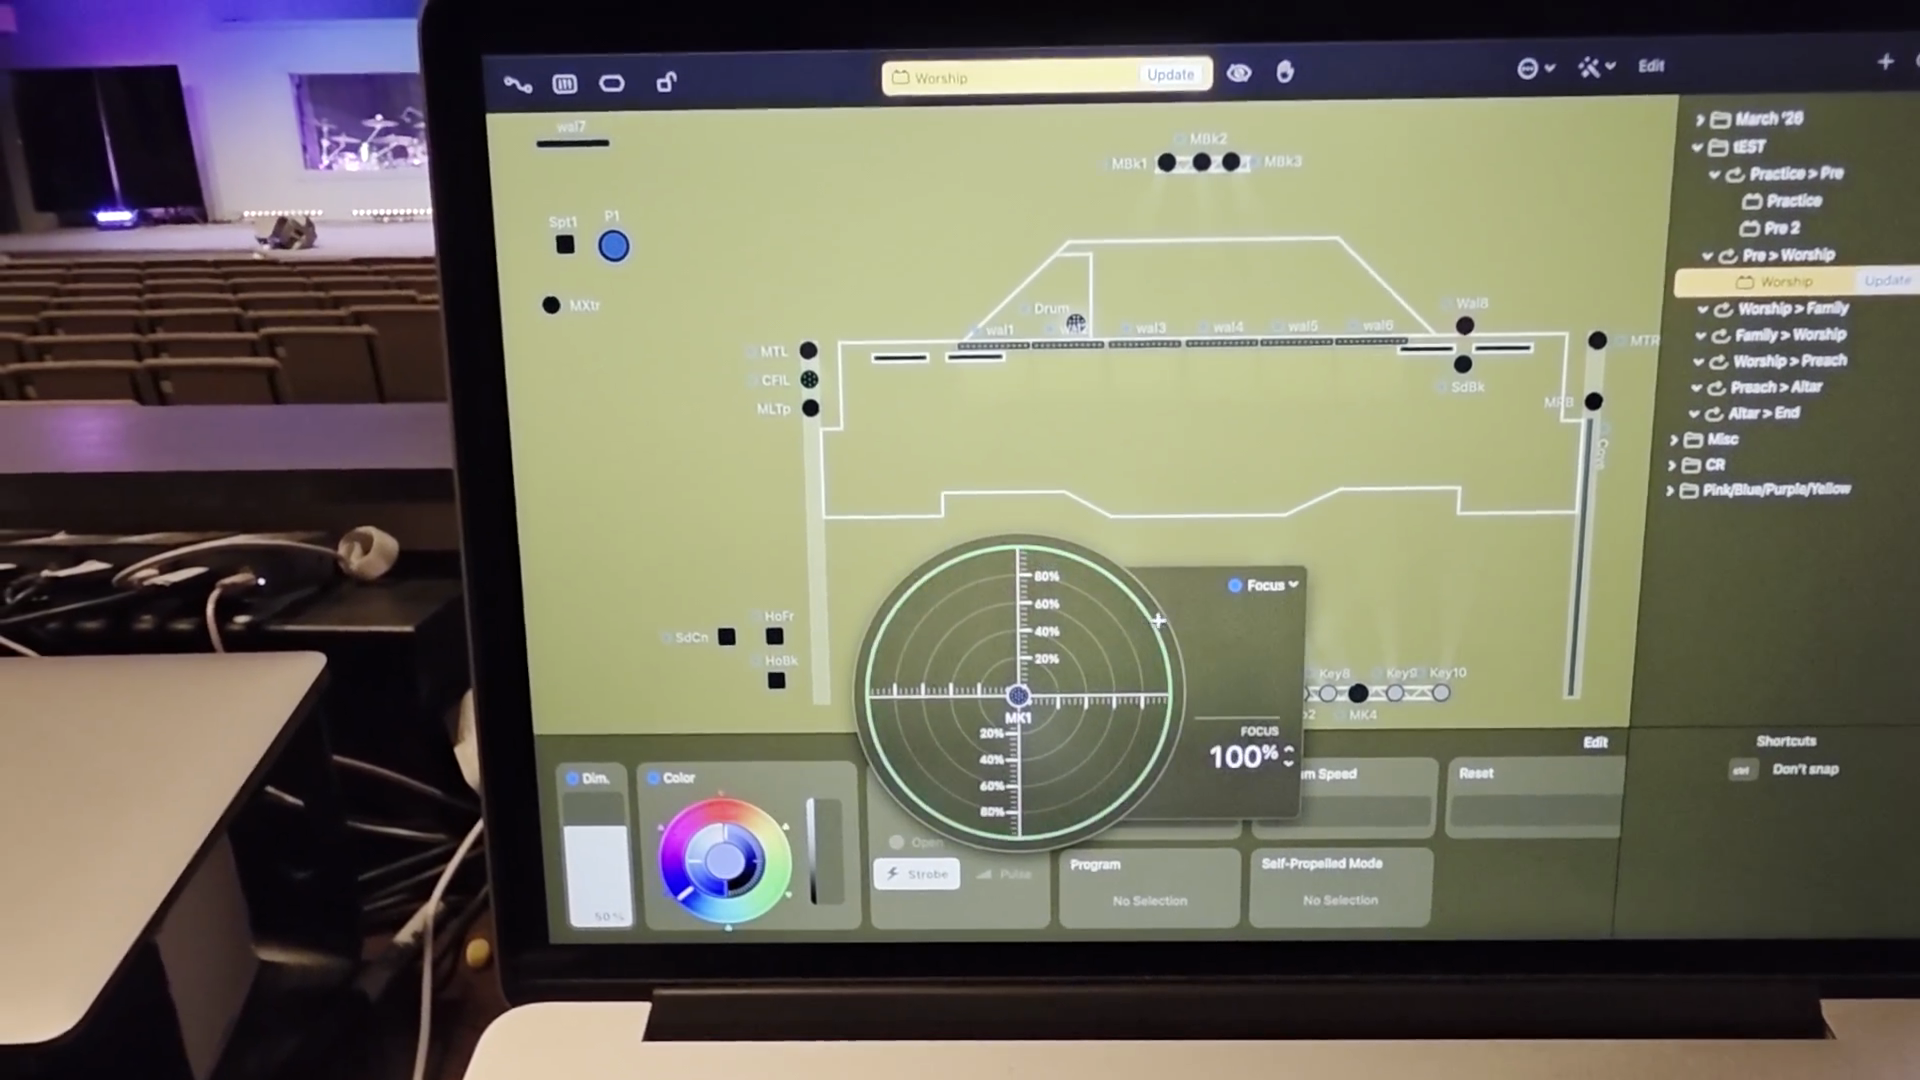
The wider it is, the higher the percentage of how focused it is. If it gets reversed for any reason, you'll be able to tell, right? If I move it in, you can see both.
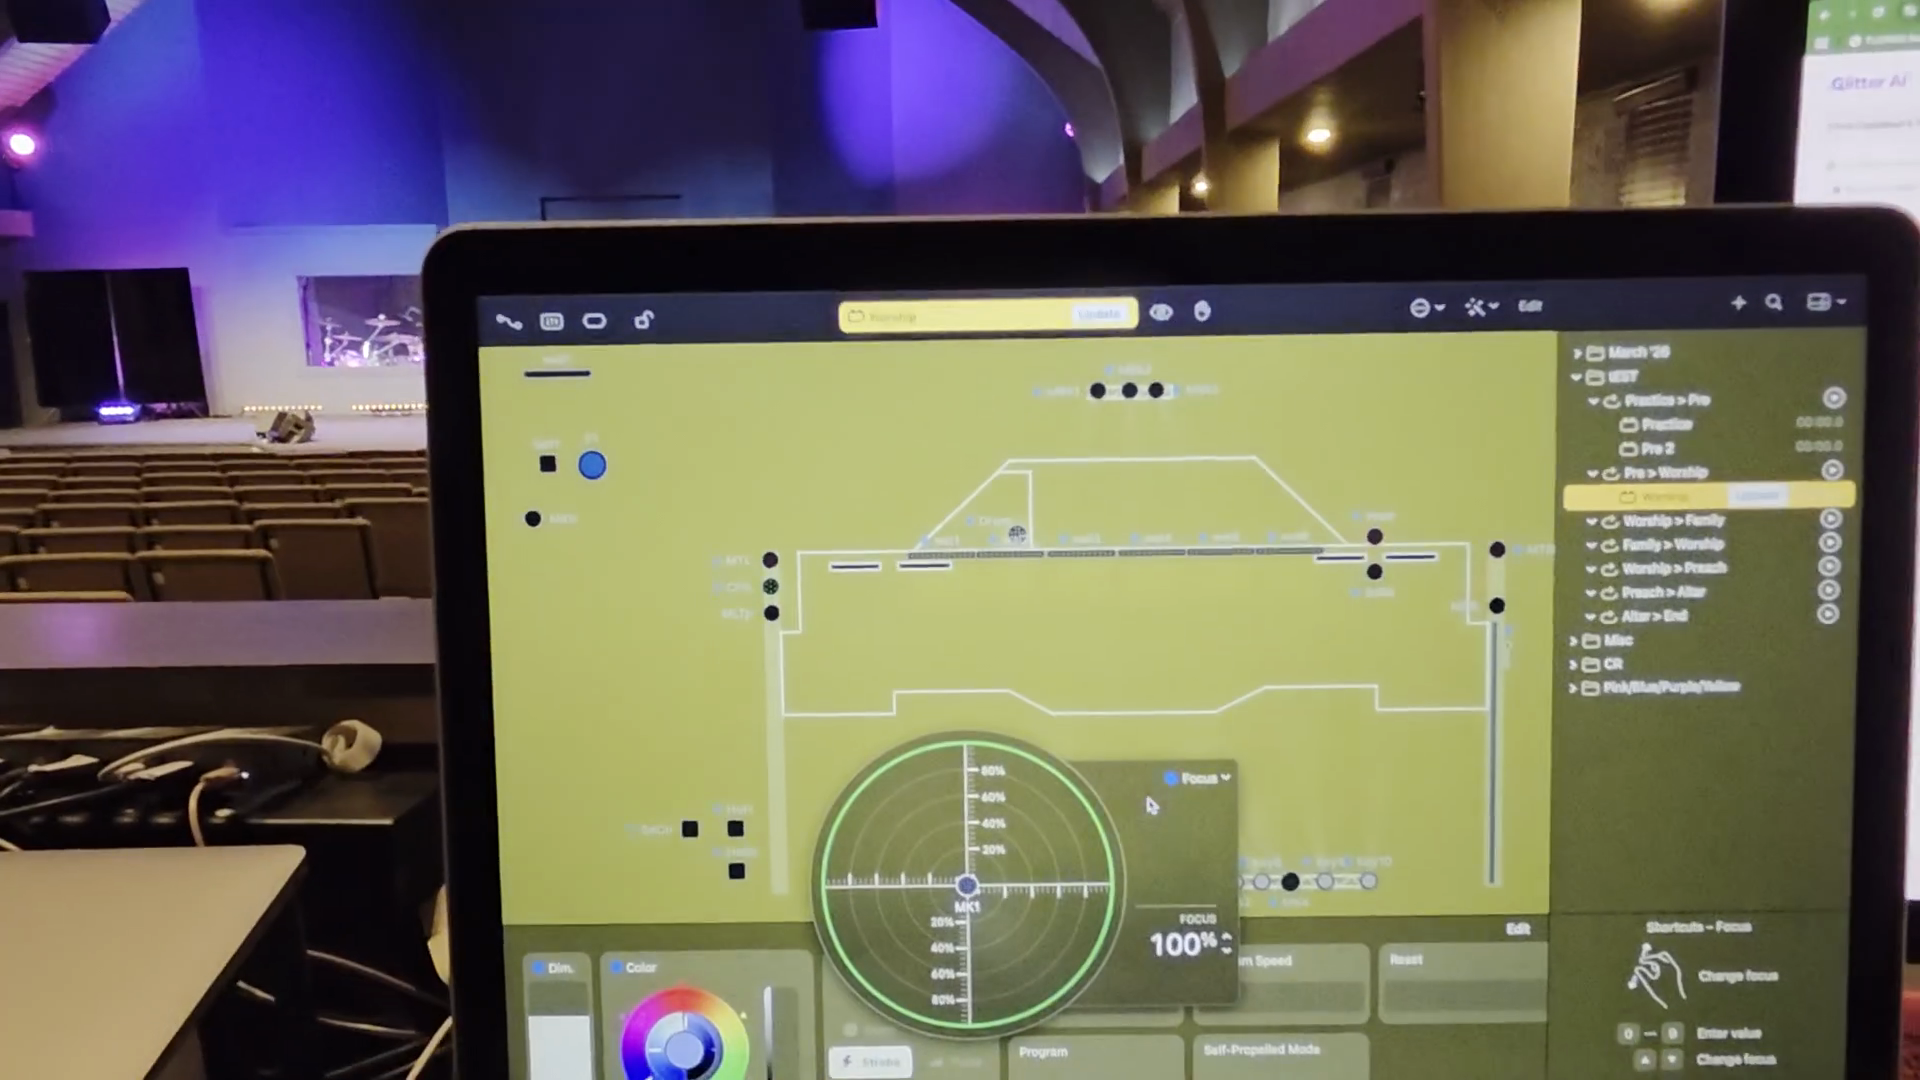
As a general rule, avoid letting it cover the screen if you have graphics. Once you practice, it becomes easy to maneuver.