
Tethered Netlife Shooting + SETUP.
Learn how to set up and use Netlife software for managing tethered photography sessions, including creating spool folders, connecting your camera, organizing subjects, and capturing various photo types.
In this guide, we'll learn how to use Netlife software to manage and organize your photography shoots. We will cover how to set up your spool folder, connect your camera for tethered shooting, and ensure your jobs and subjects are properly listed. You will also see how to capture different types of photos for each subject and handle group shots when needed.
Let's get started
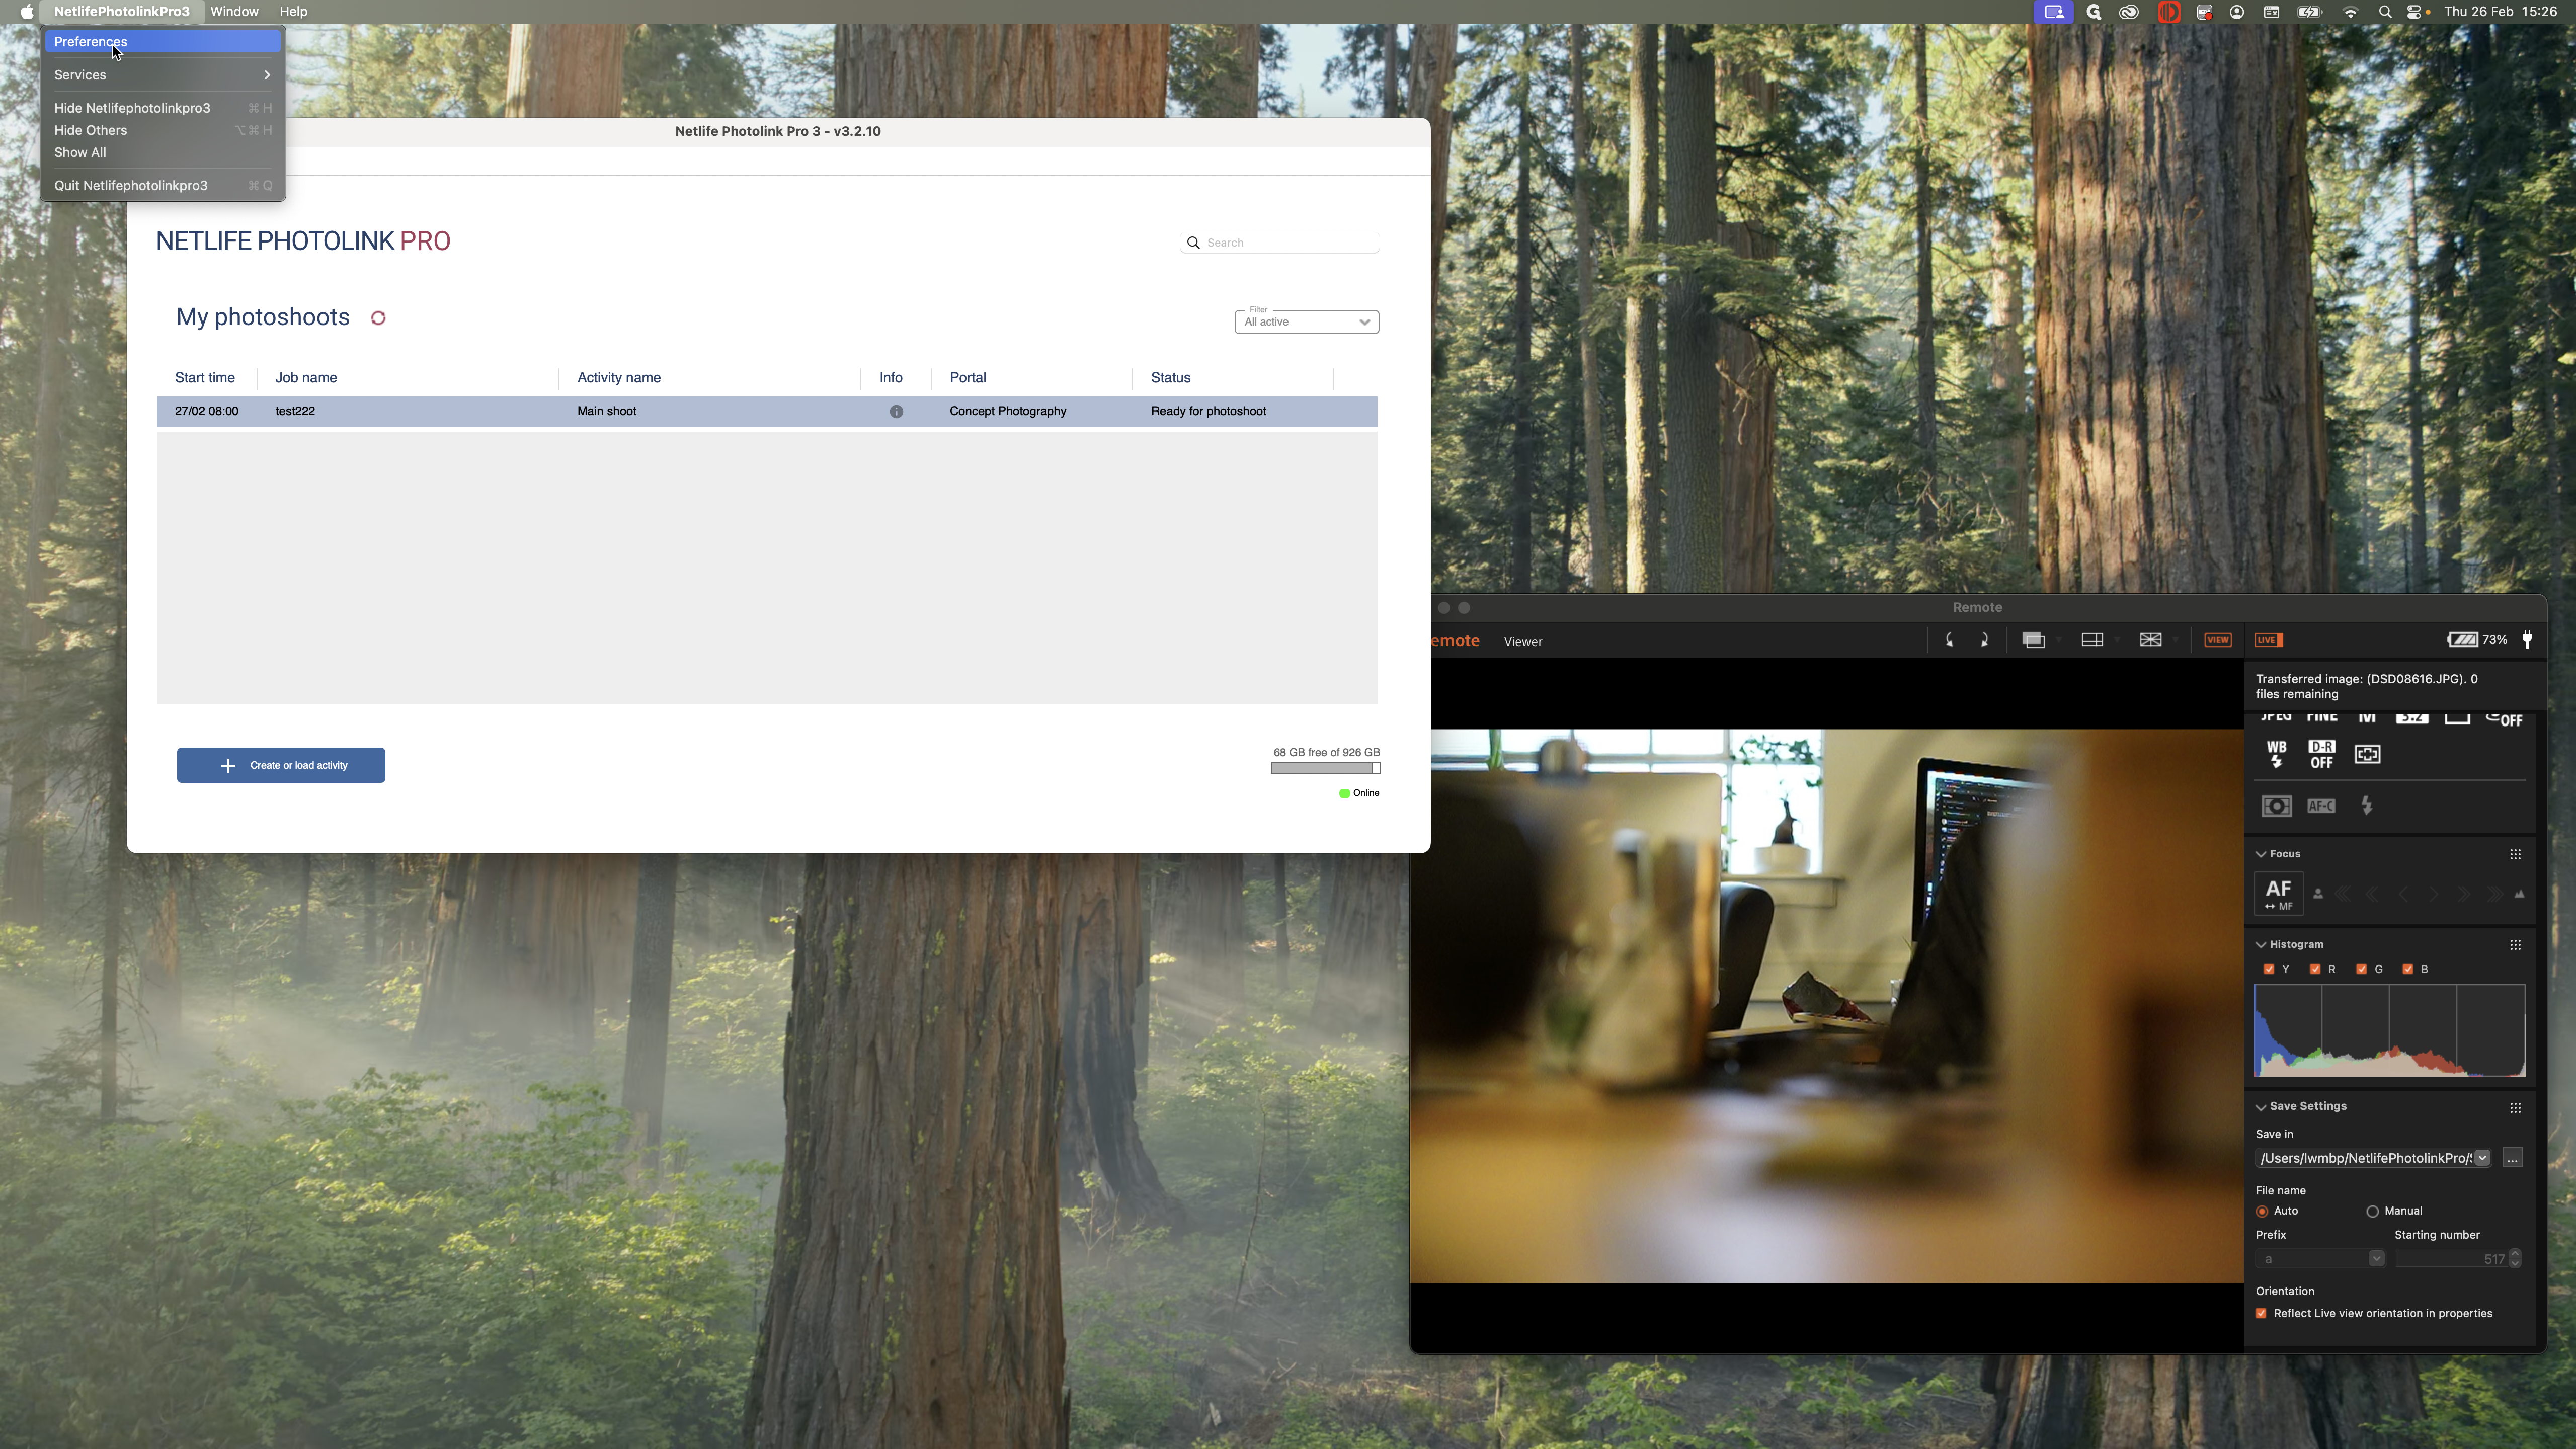
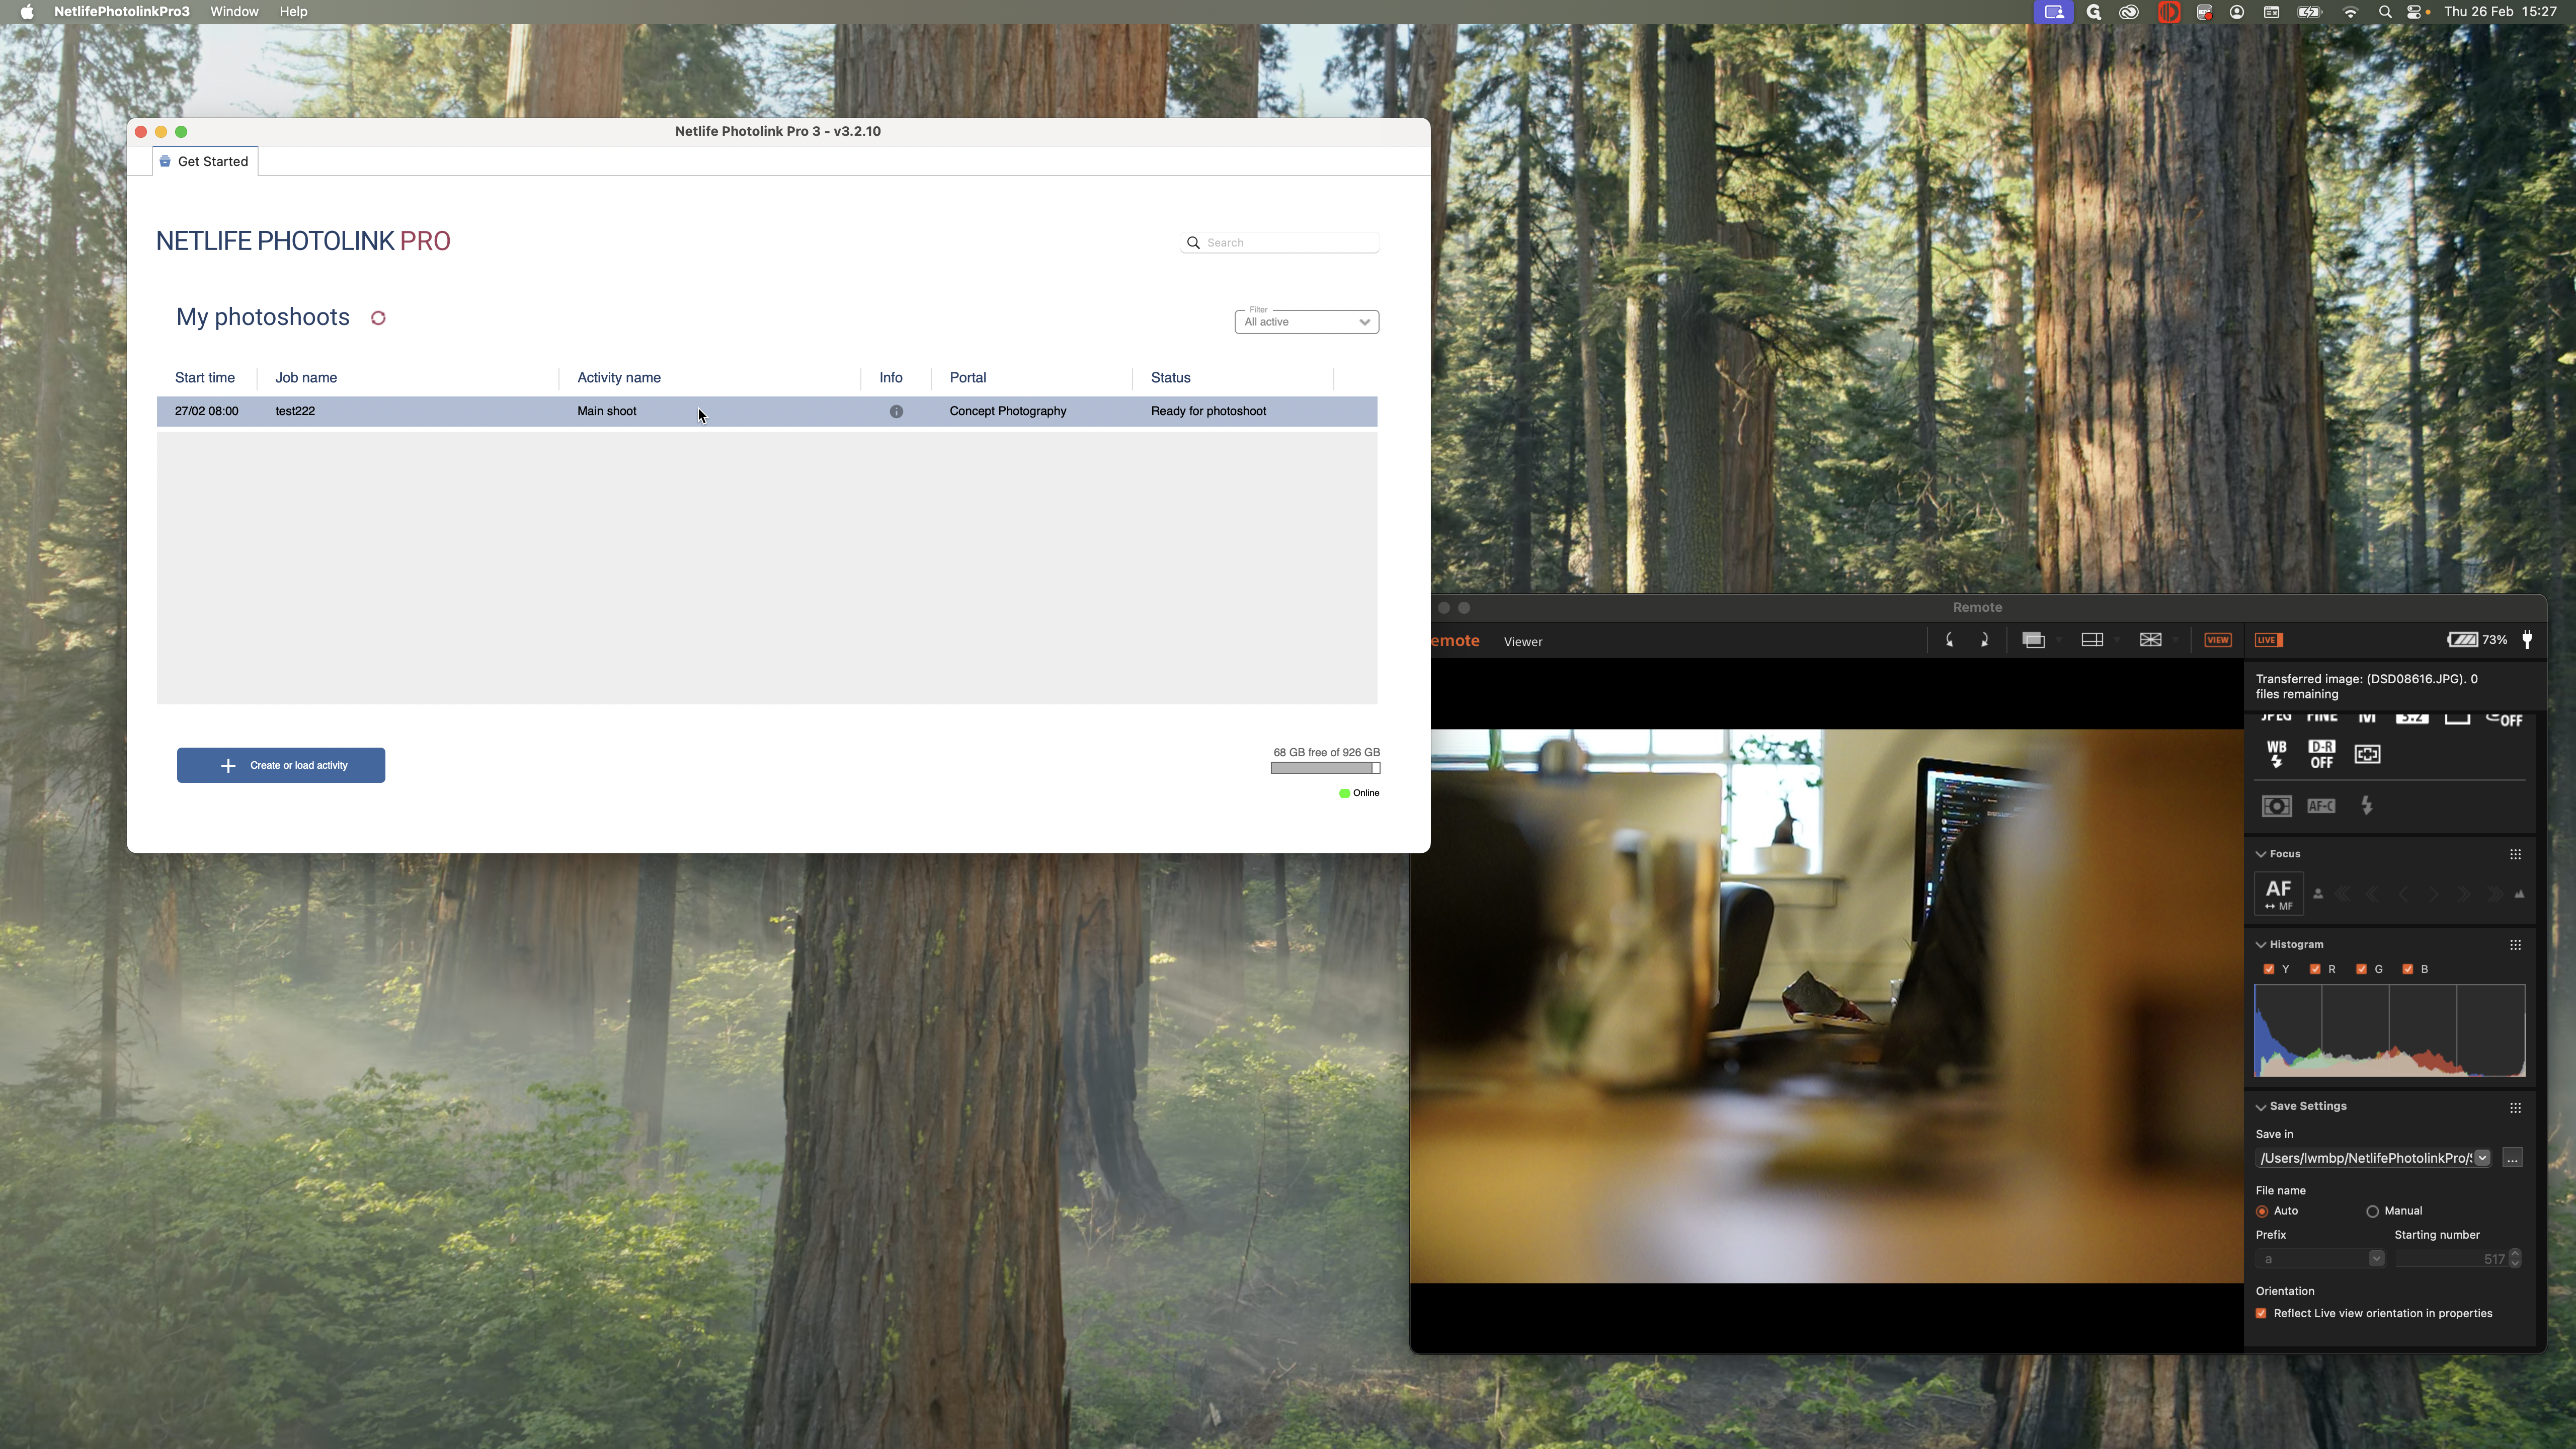
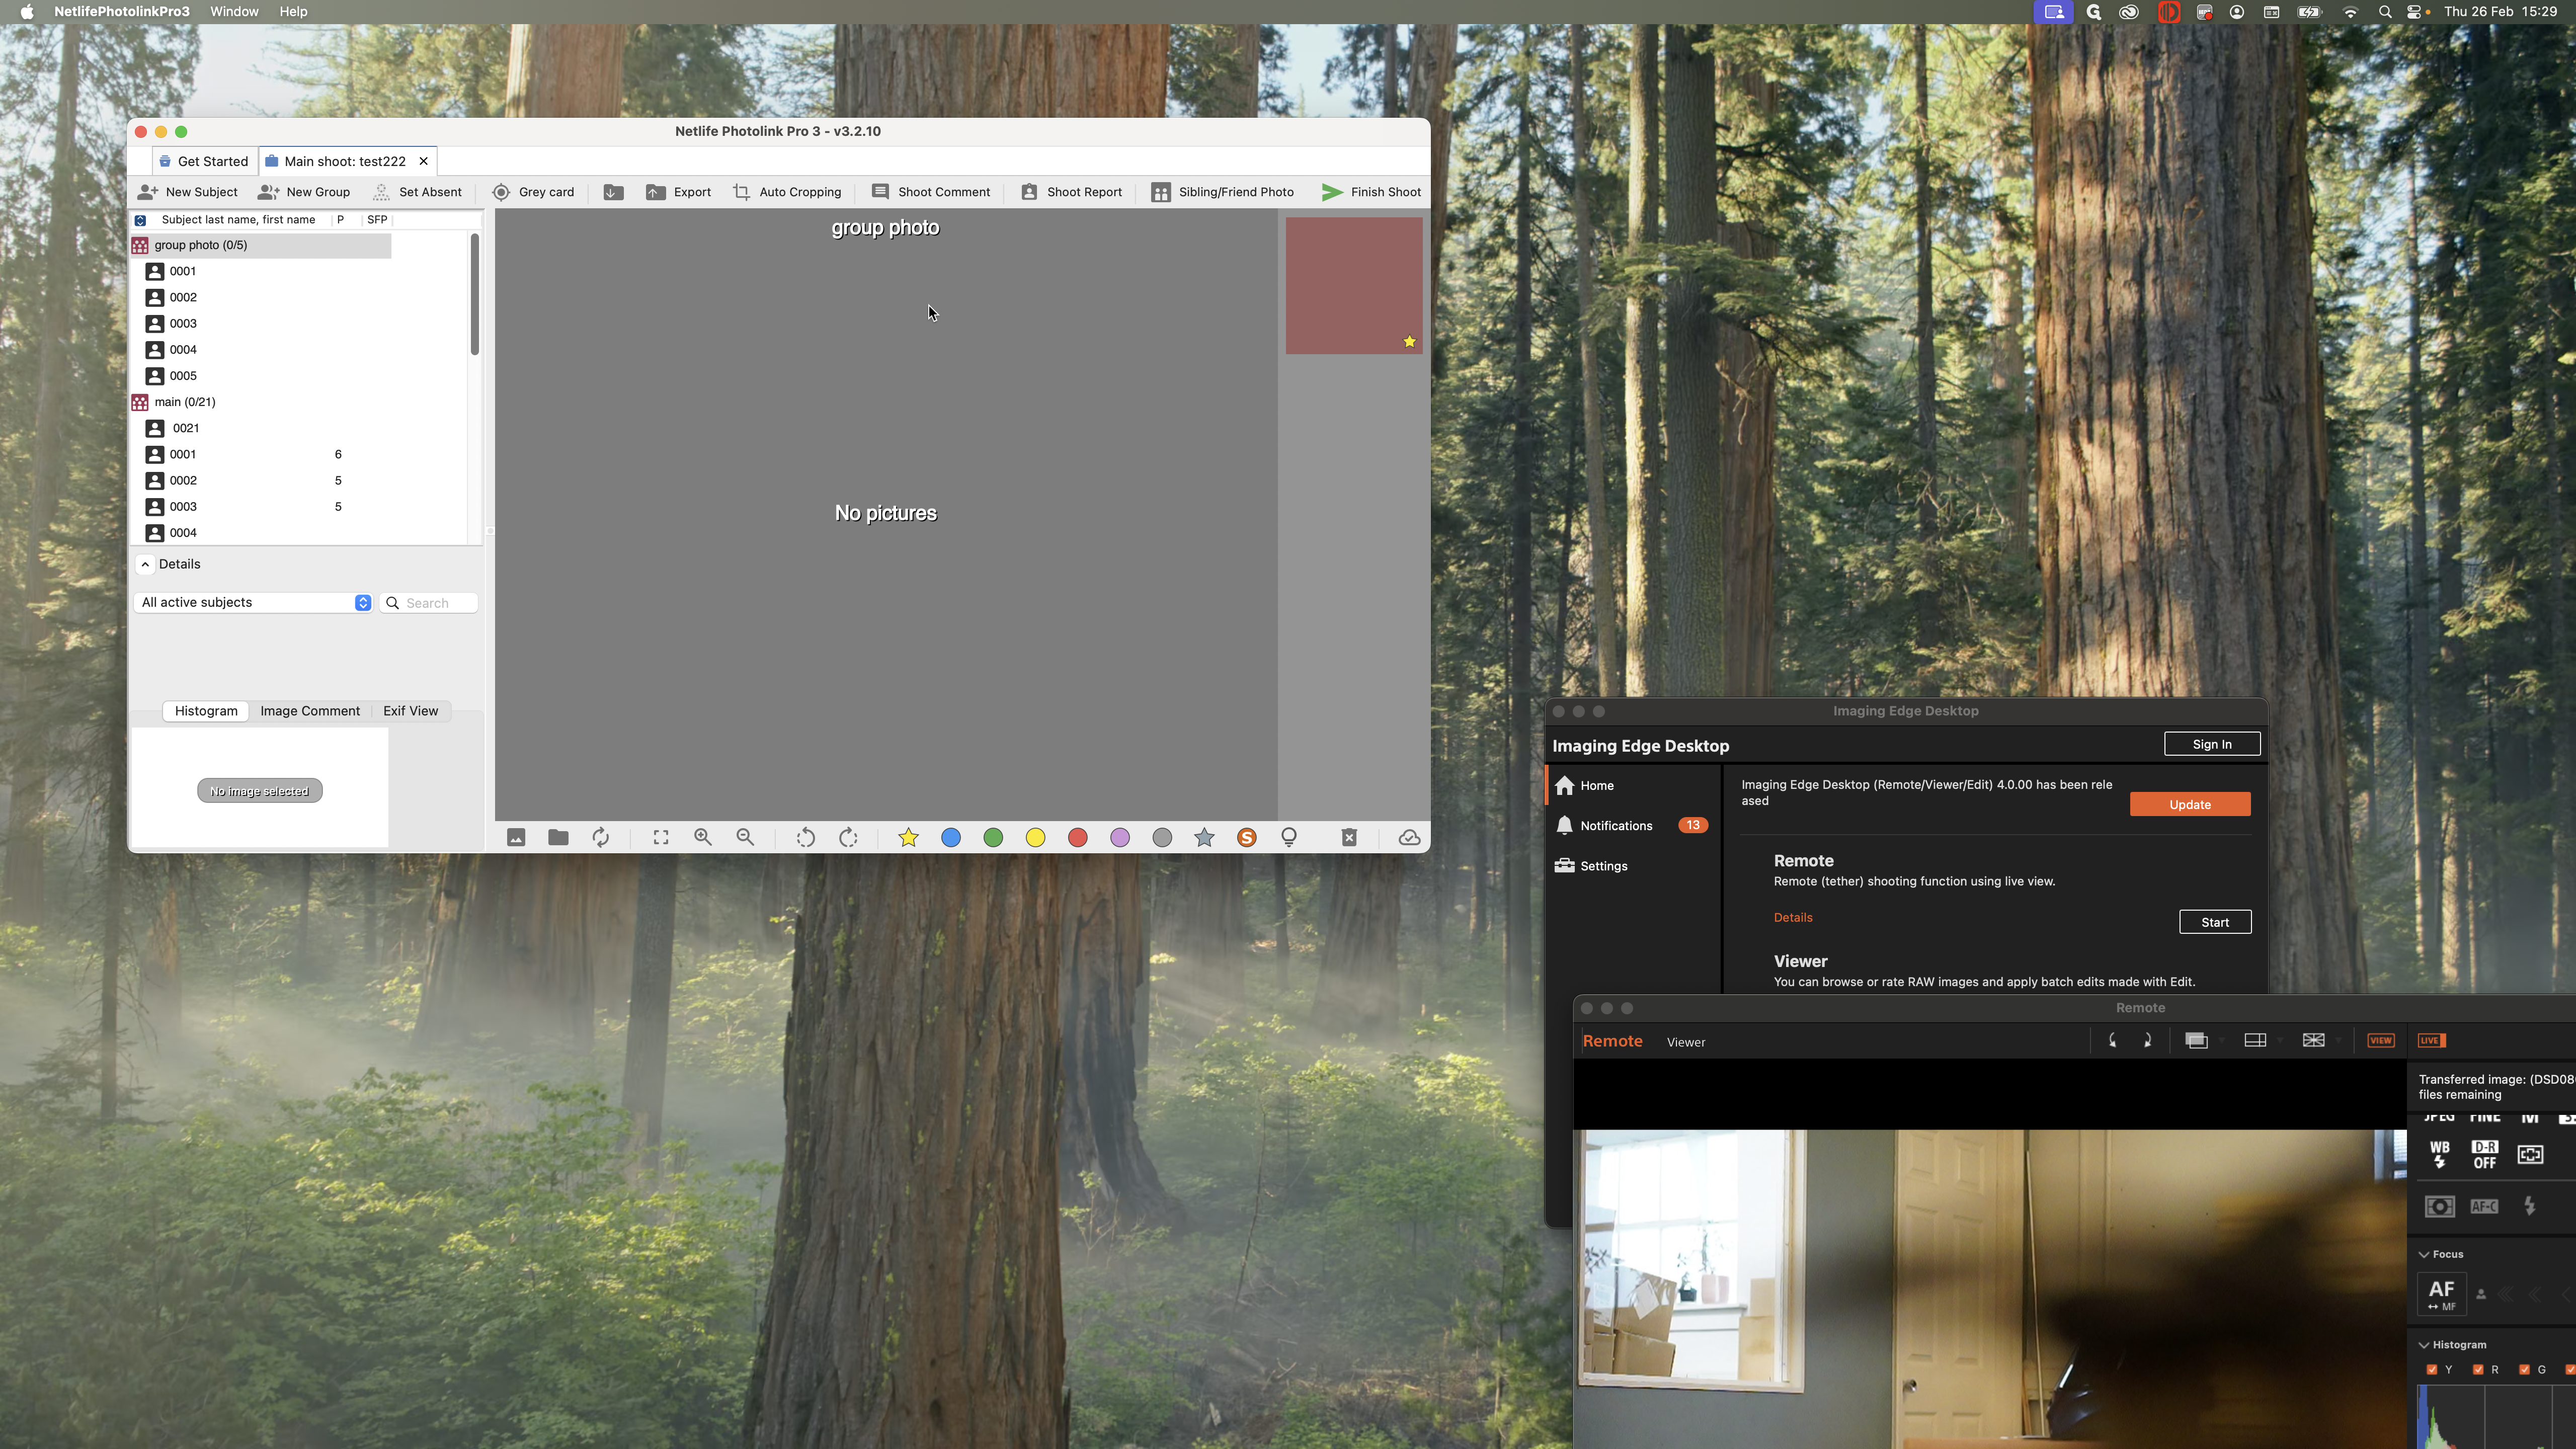
I have my Netlife software running, and I can see my available jobs. My jobs appear because my preferences are set up and connected here.

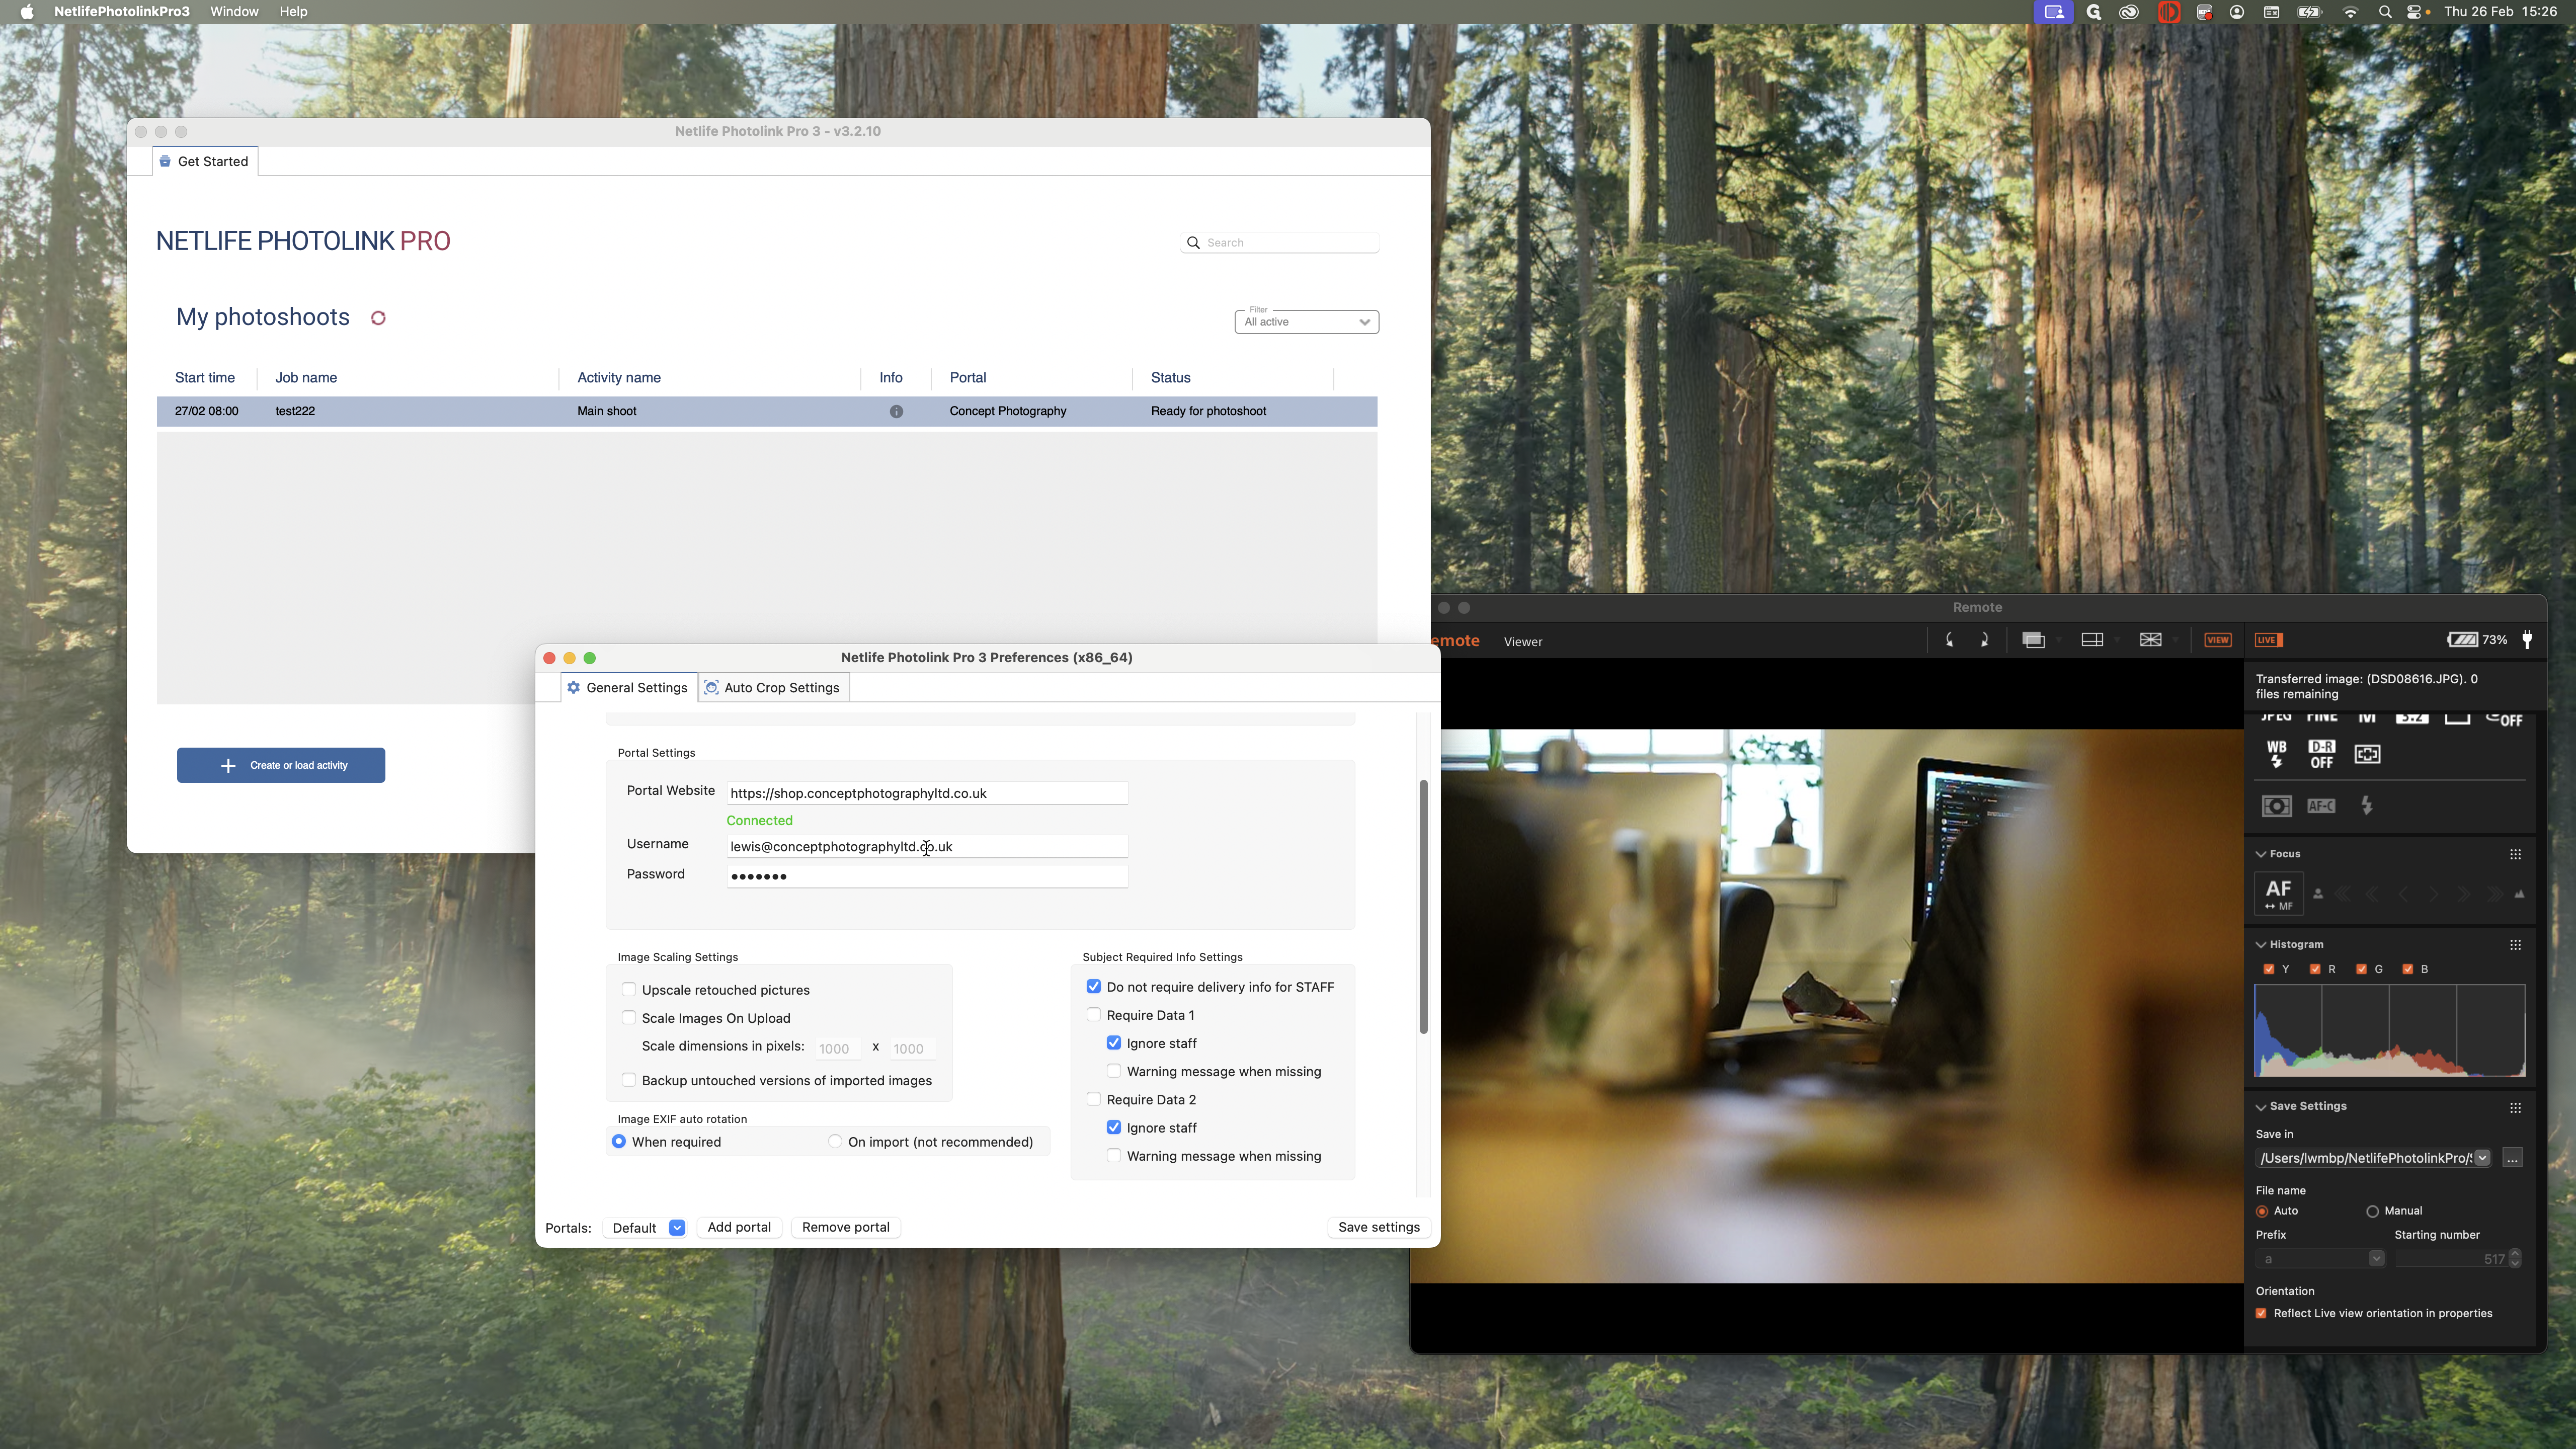
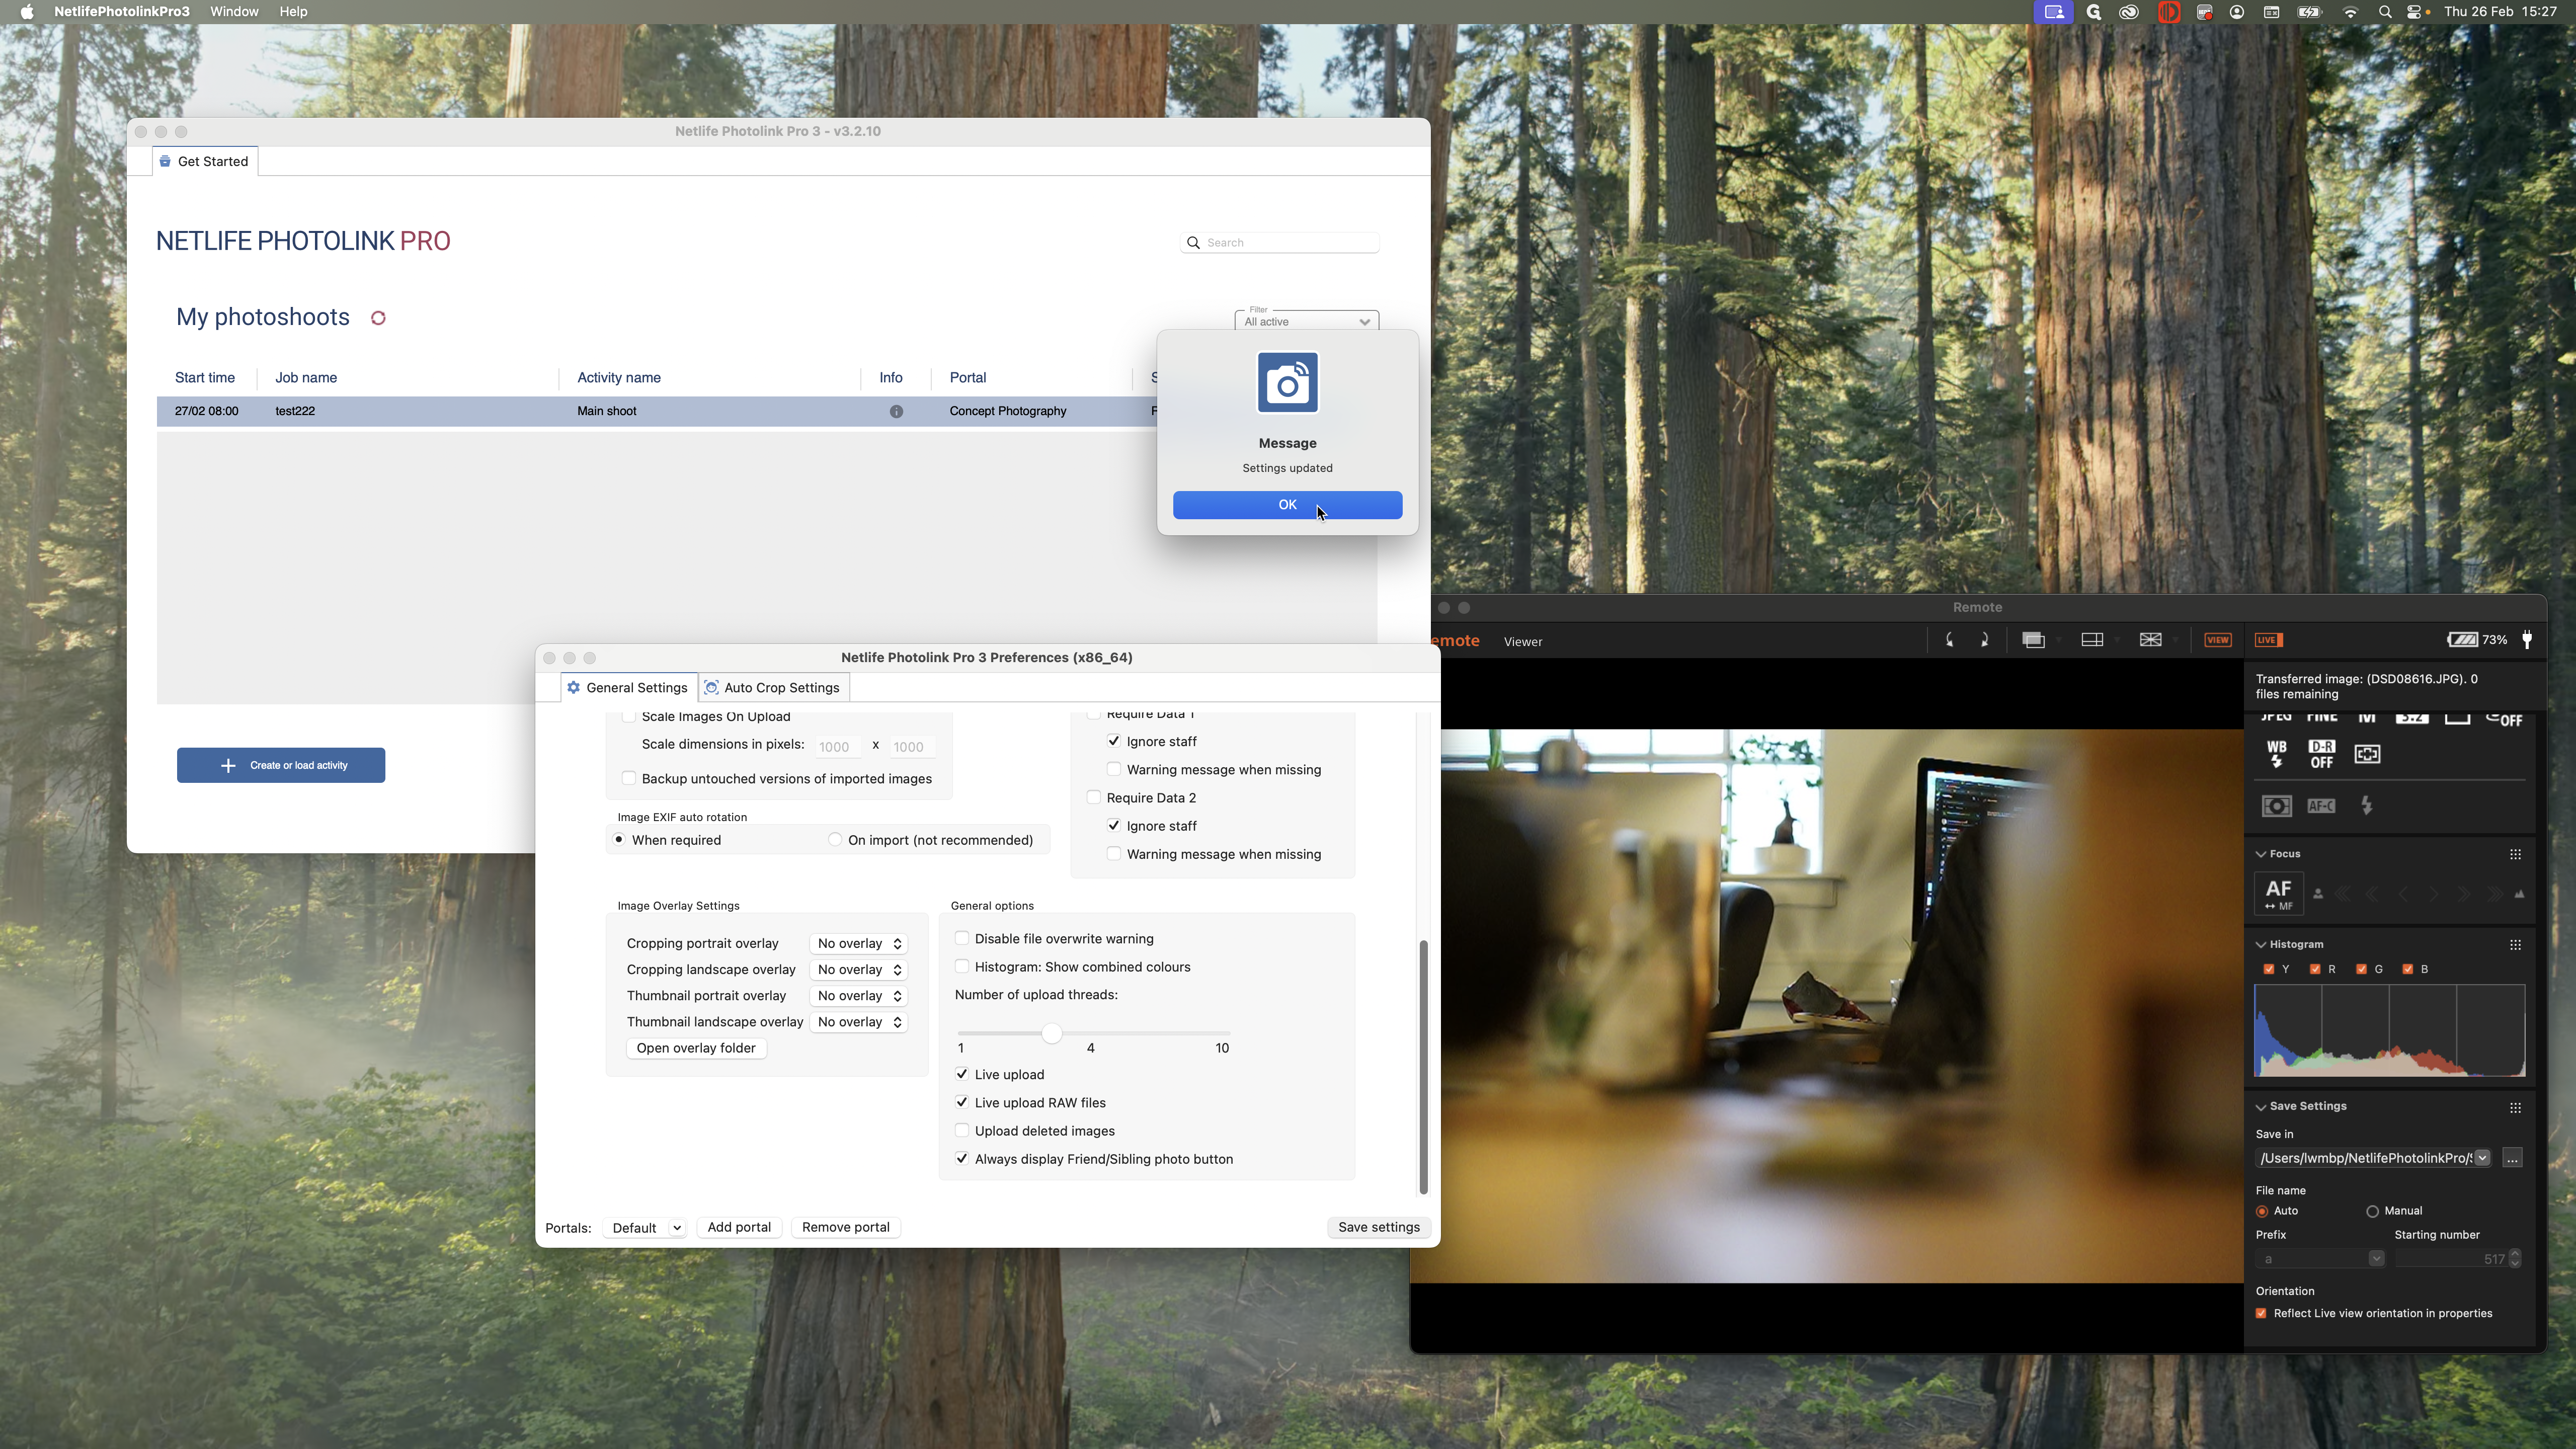
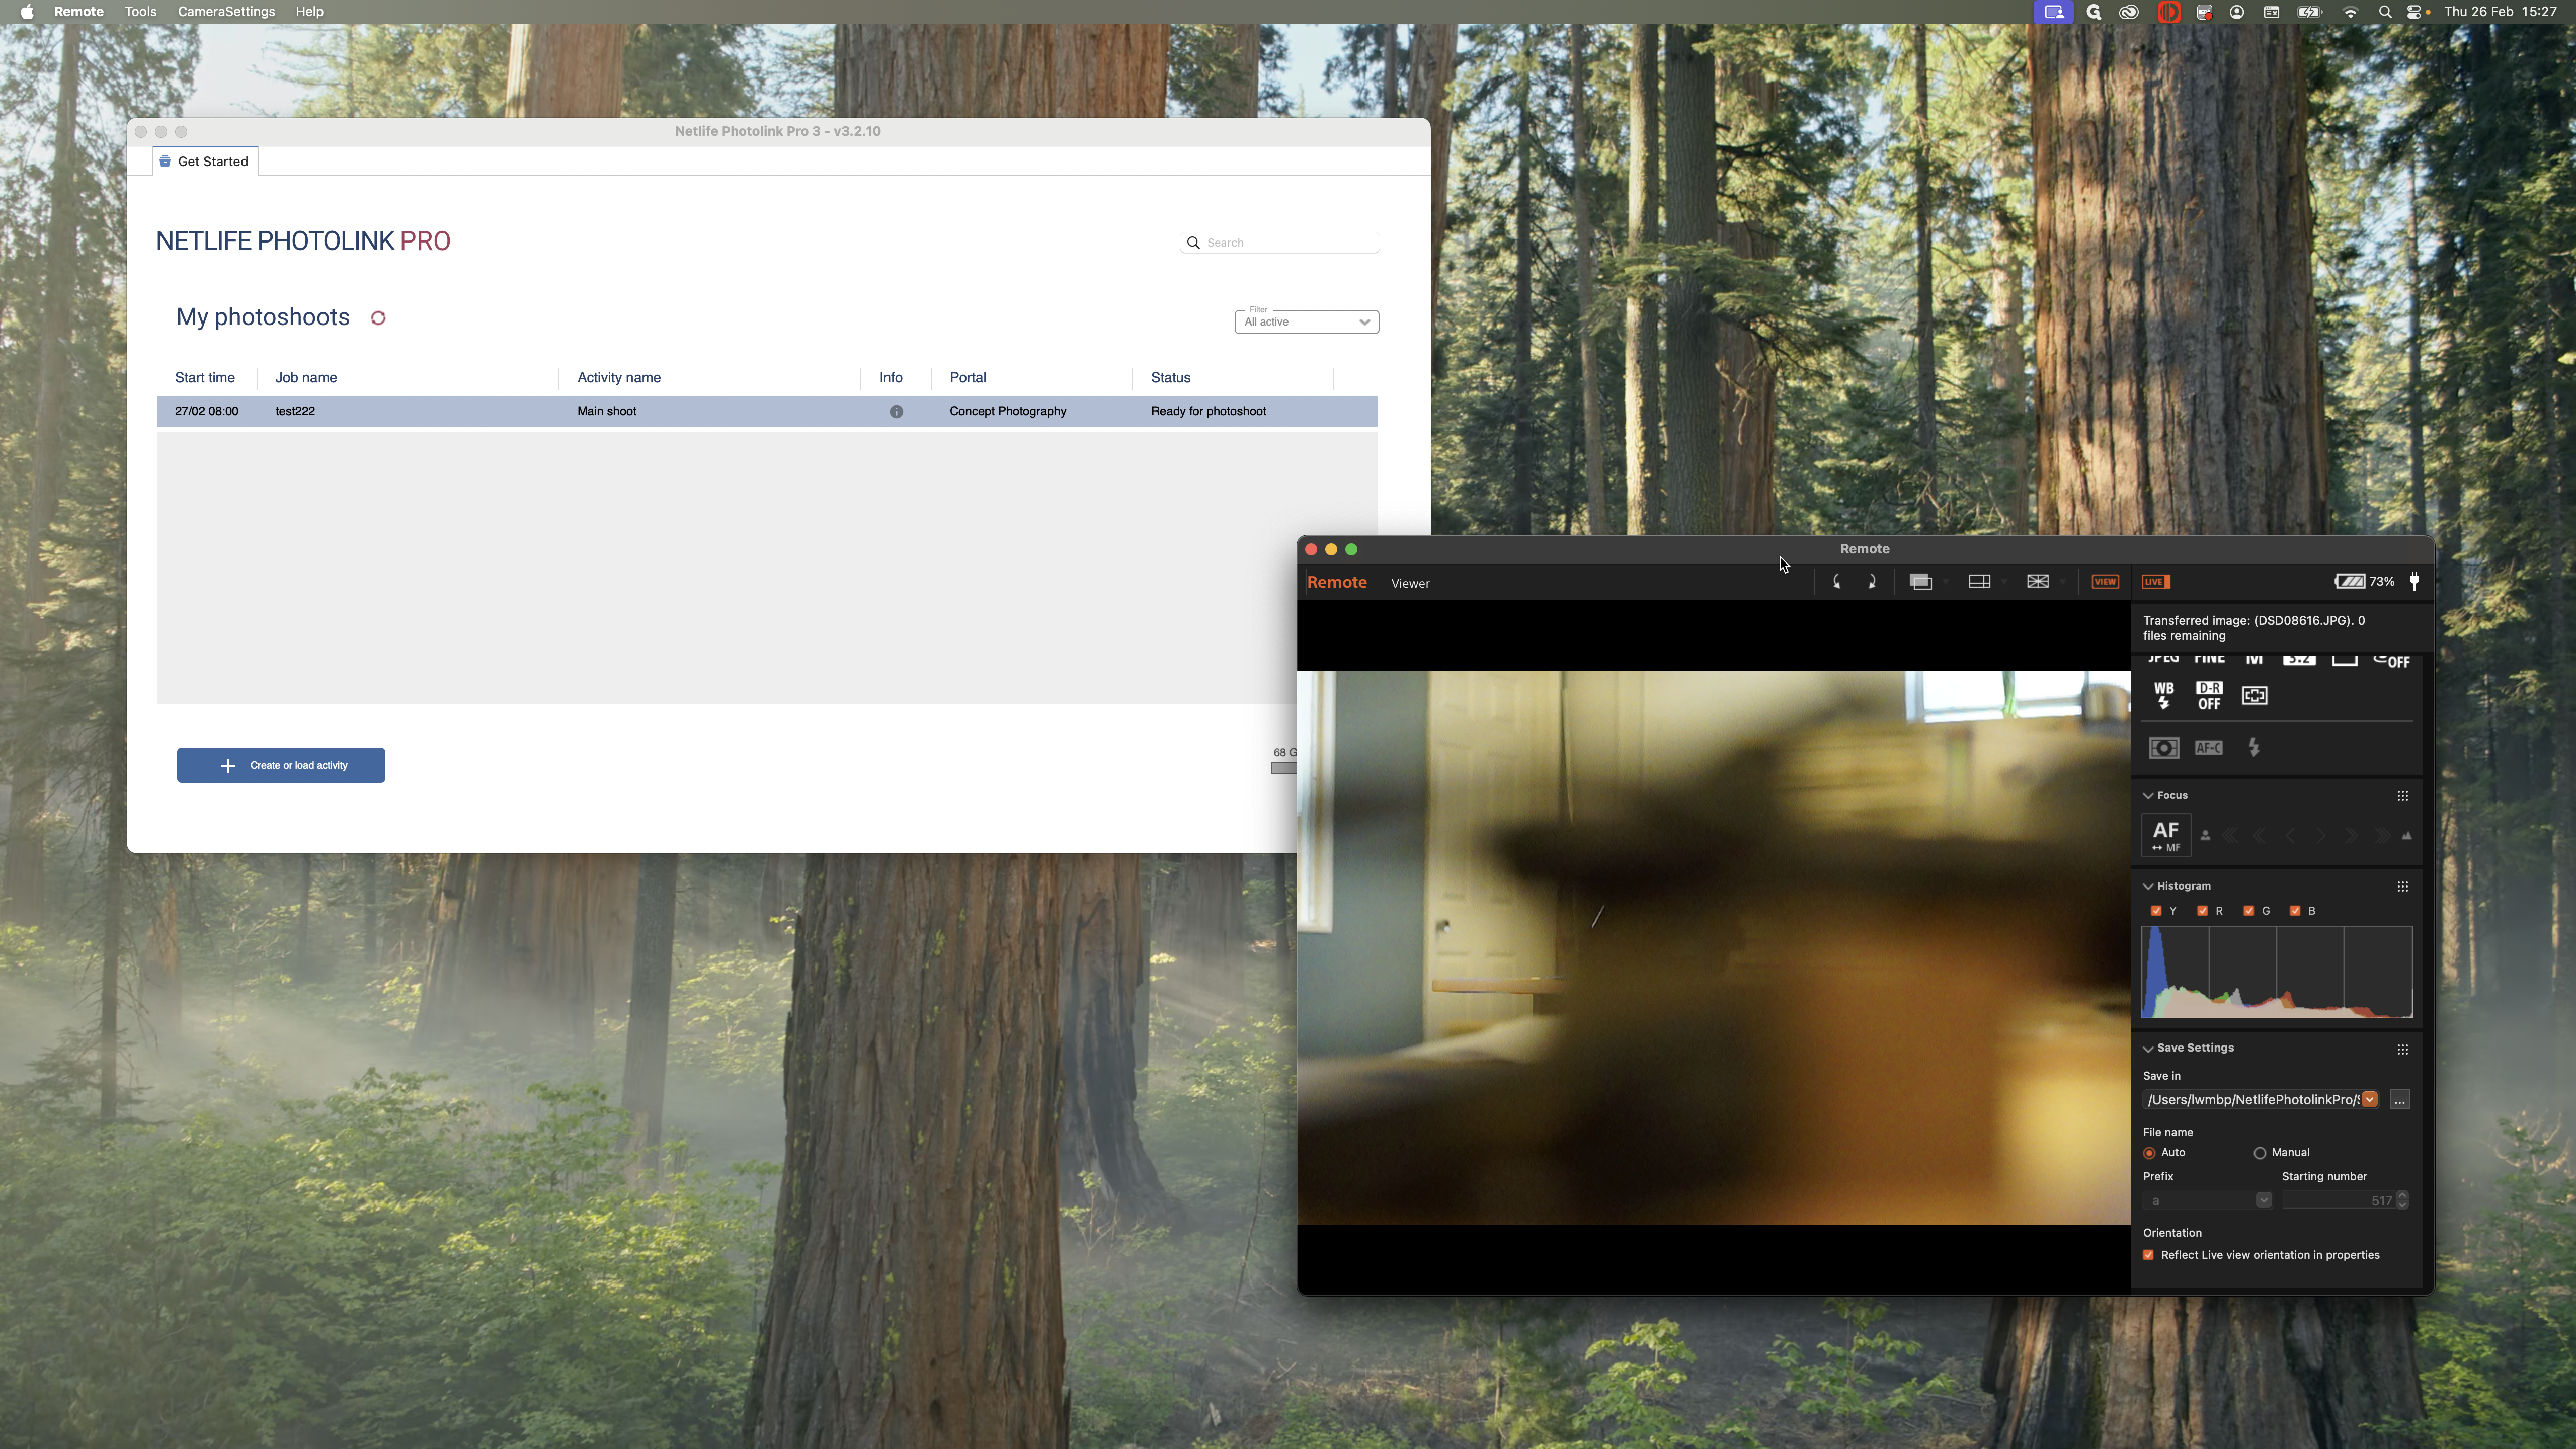
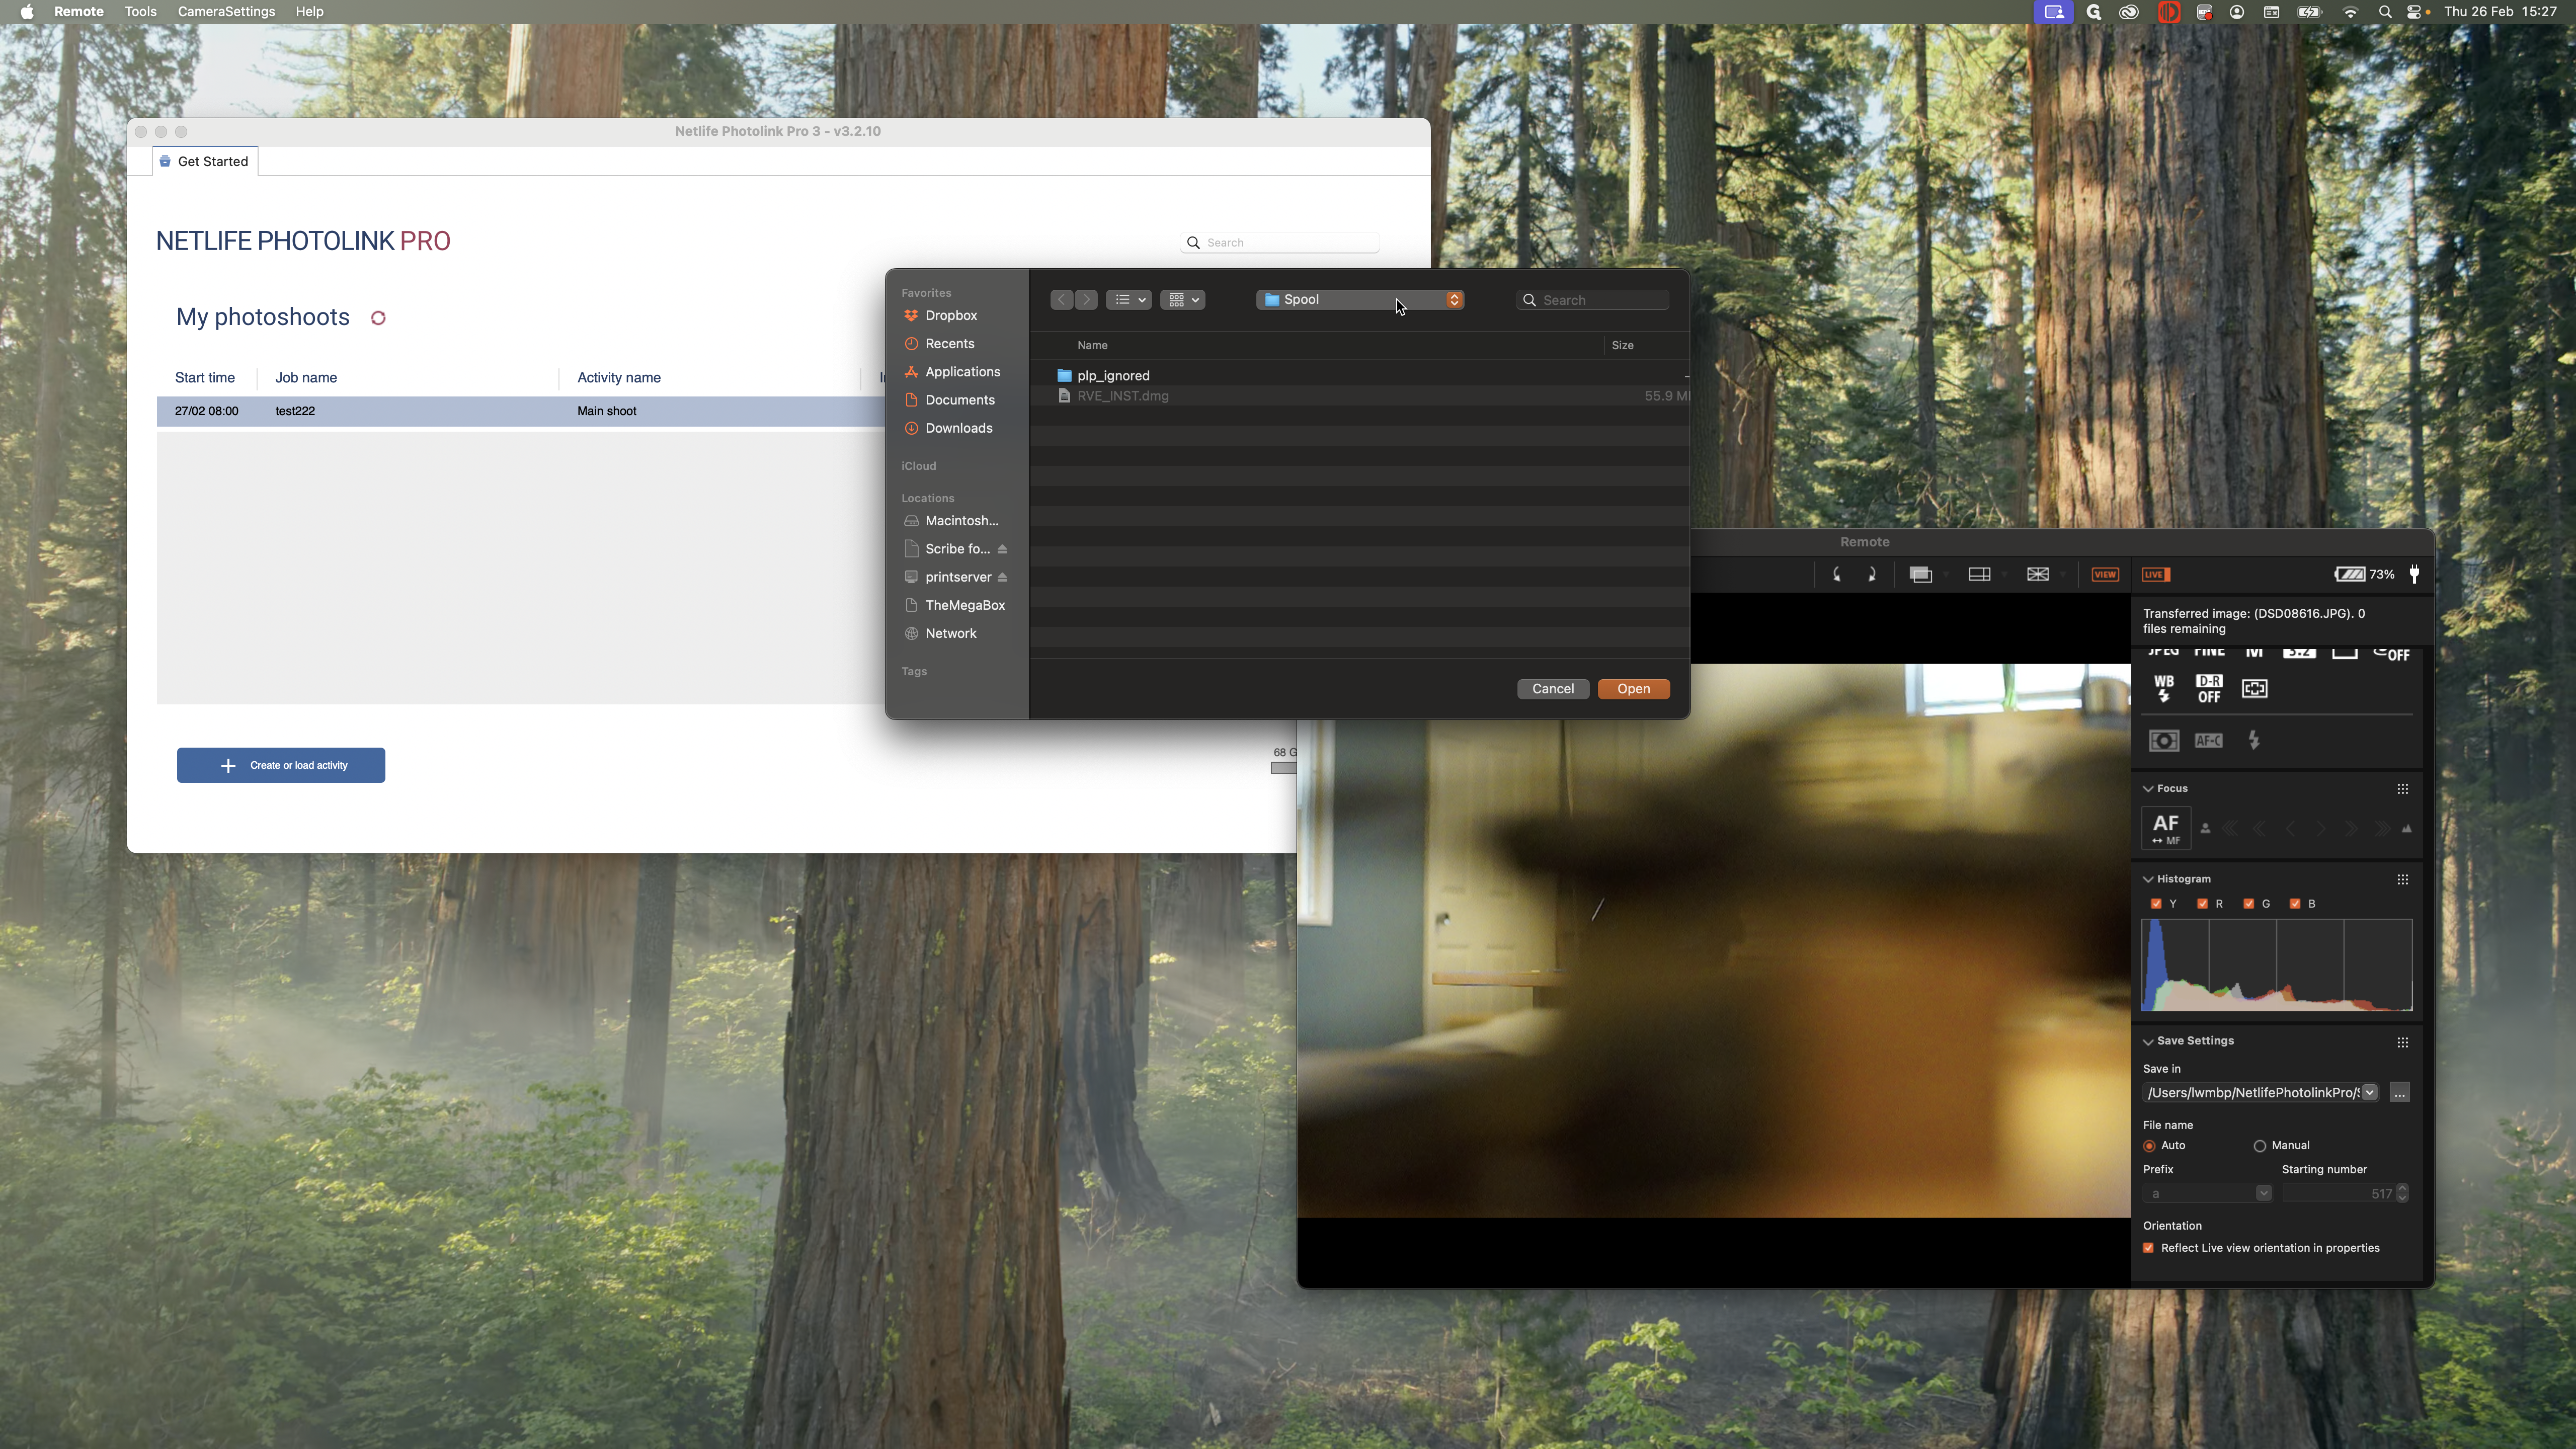
When you first open Netlife, you need to create a spool folder. This is where all the photos you take while tethering from your camera will be saved.
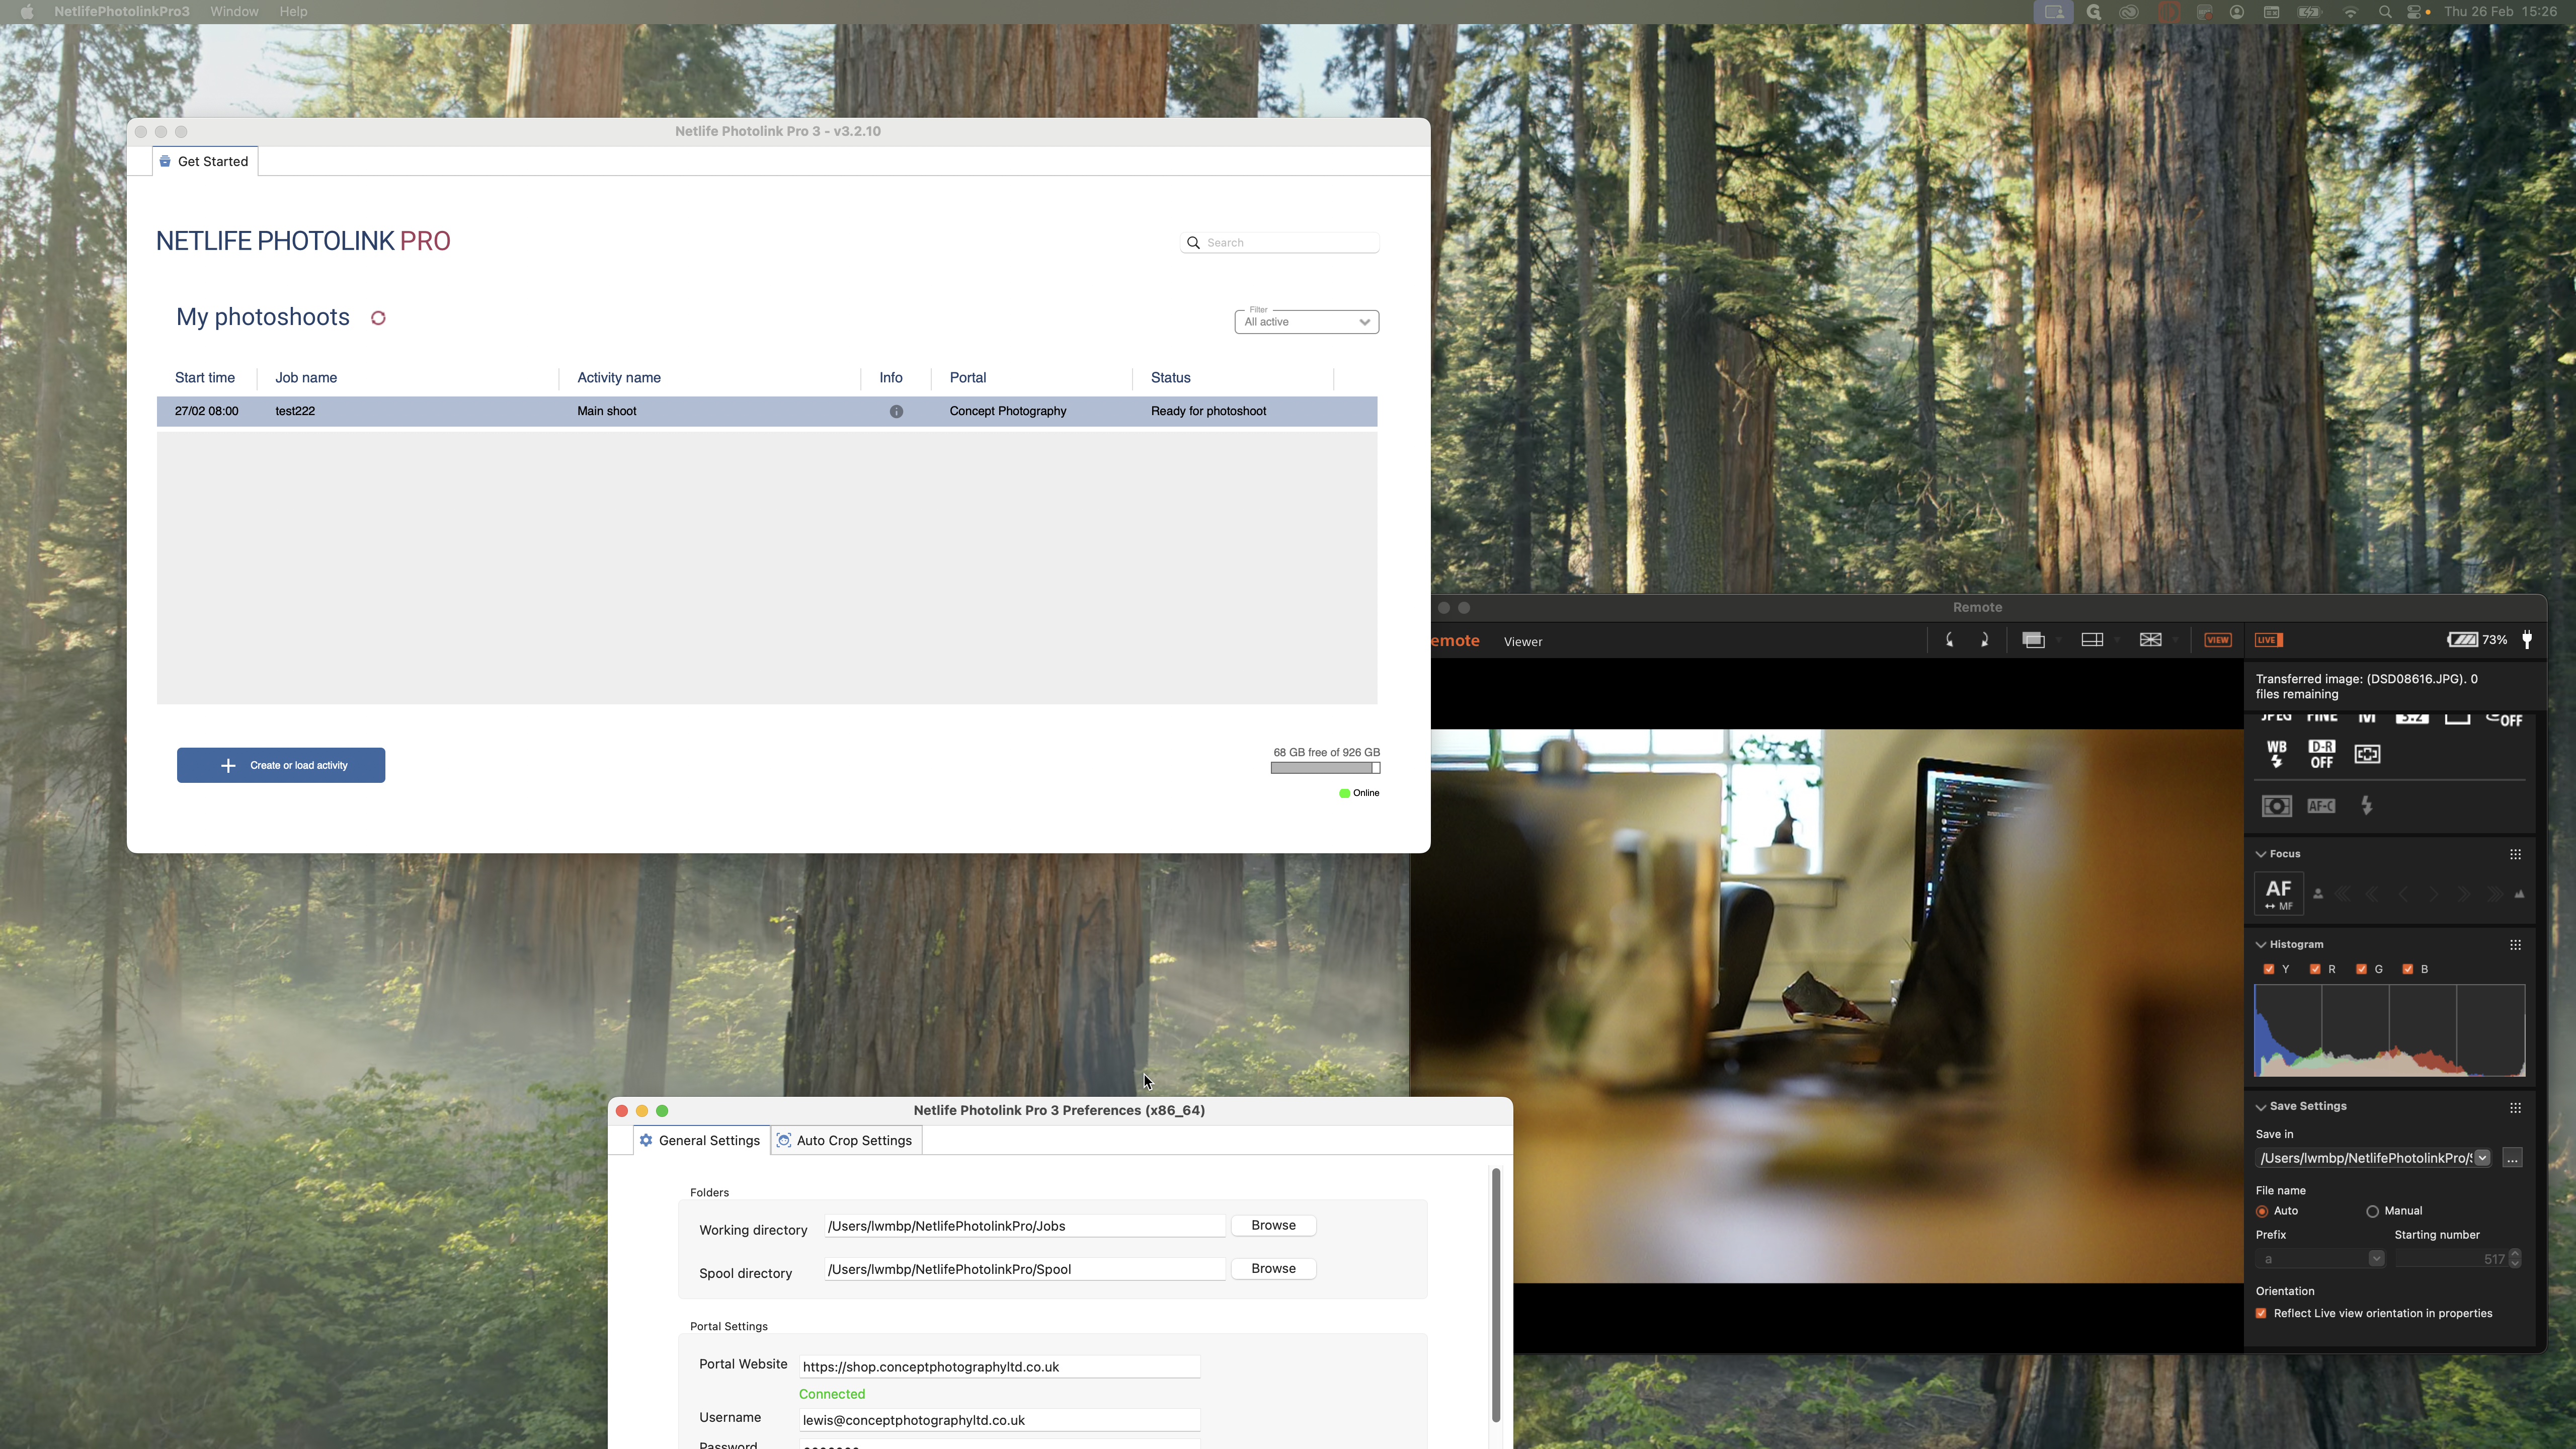
Also, make sure it is connected to our portal.
If everything looks correct, save your settings. Your jobs will then appear here.

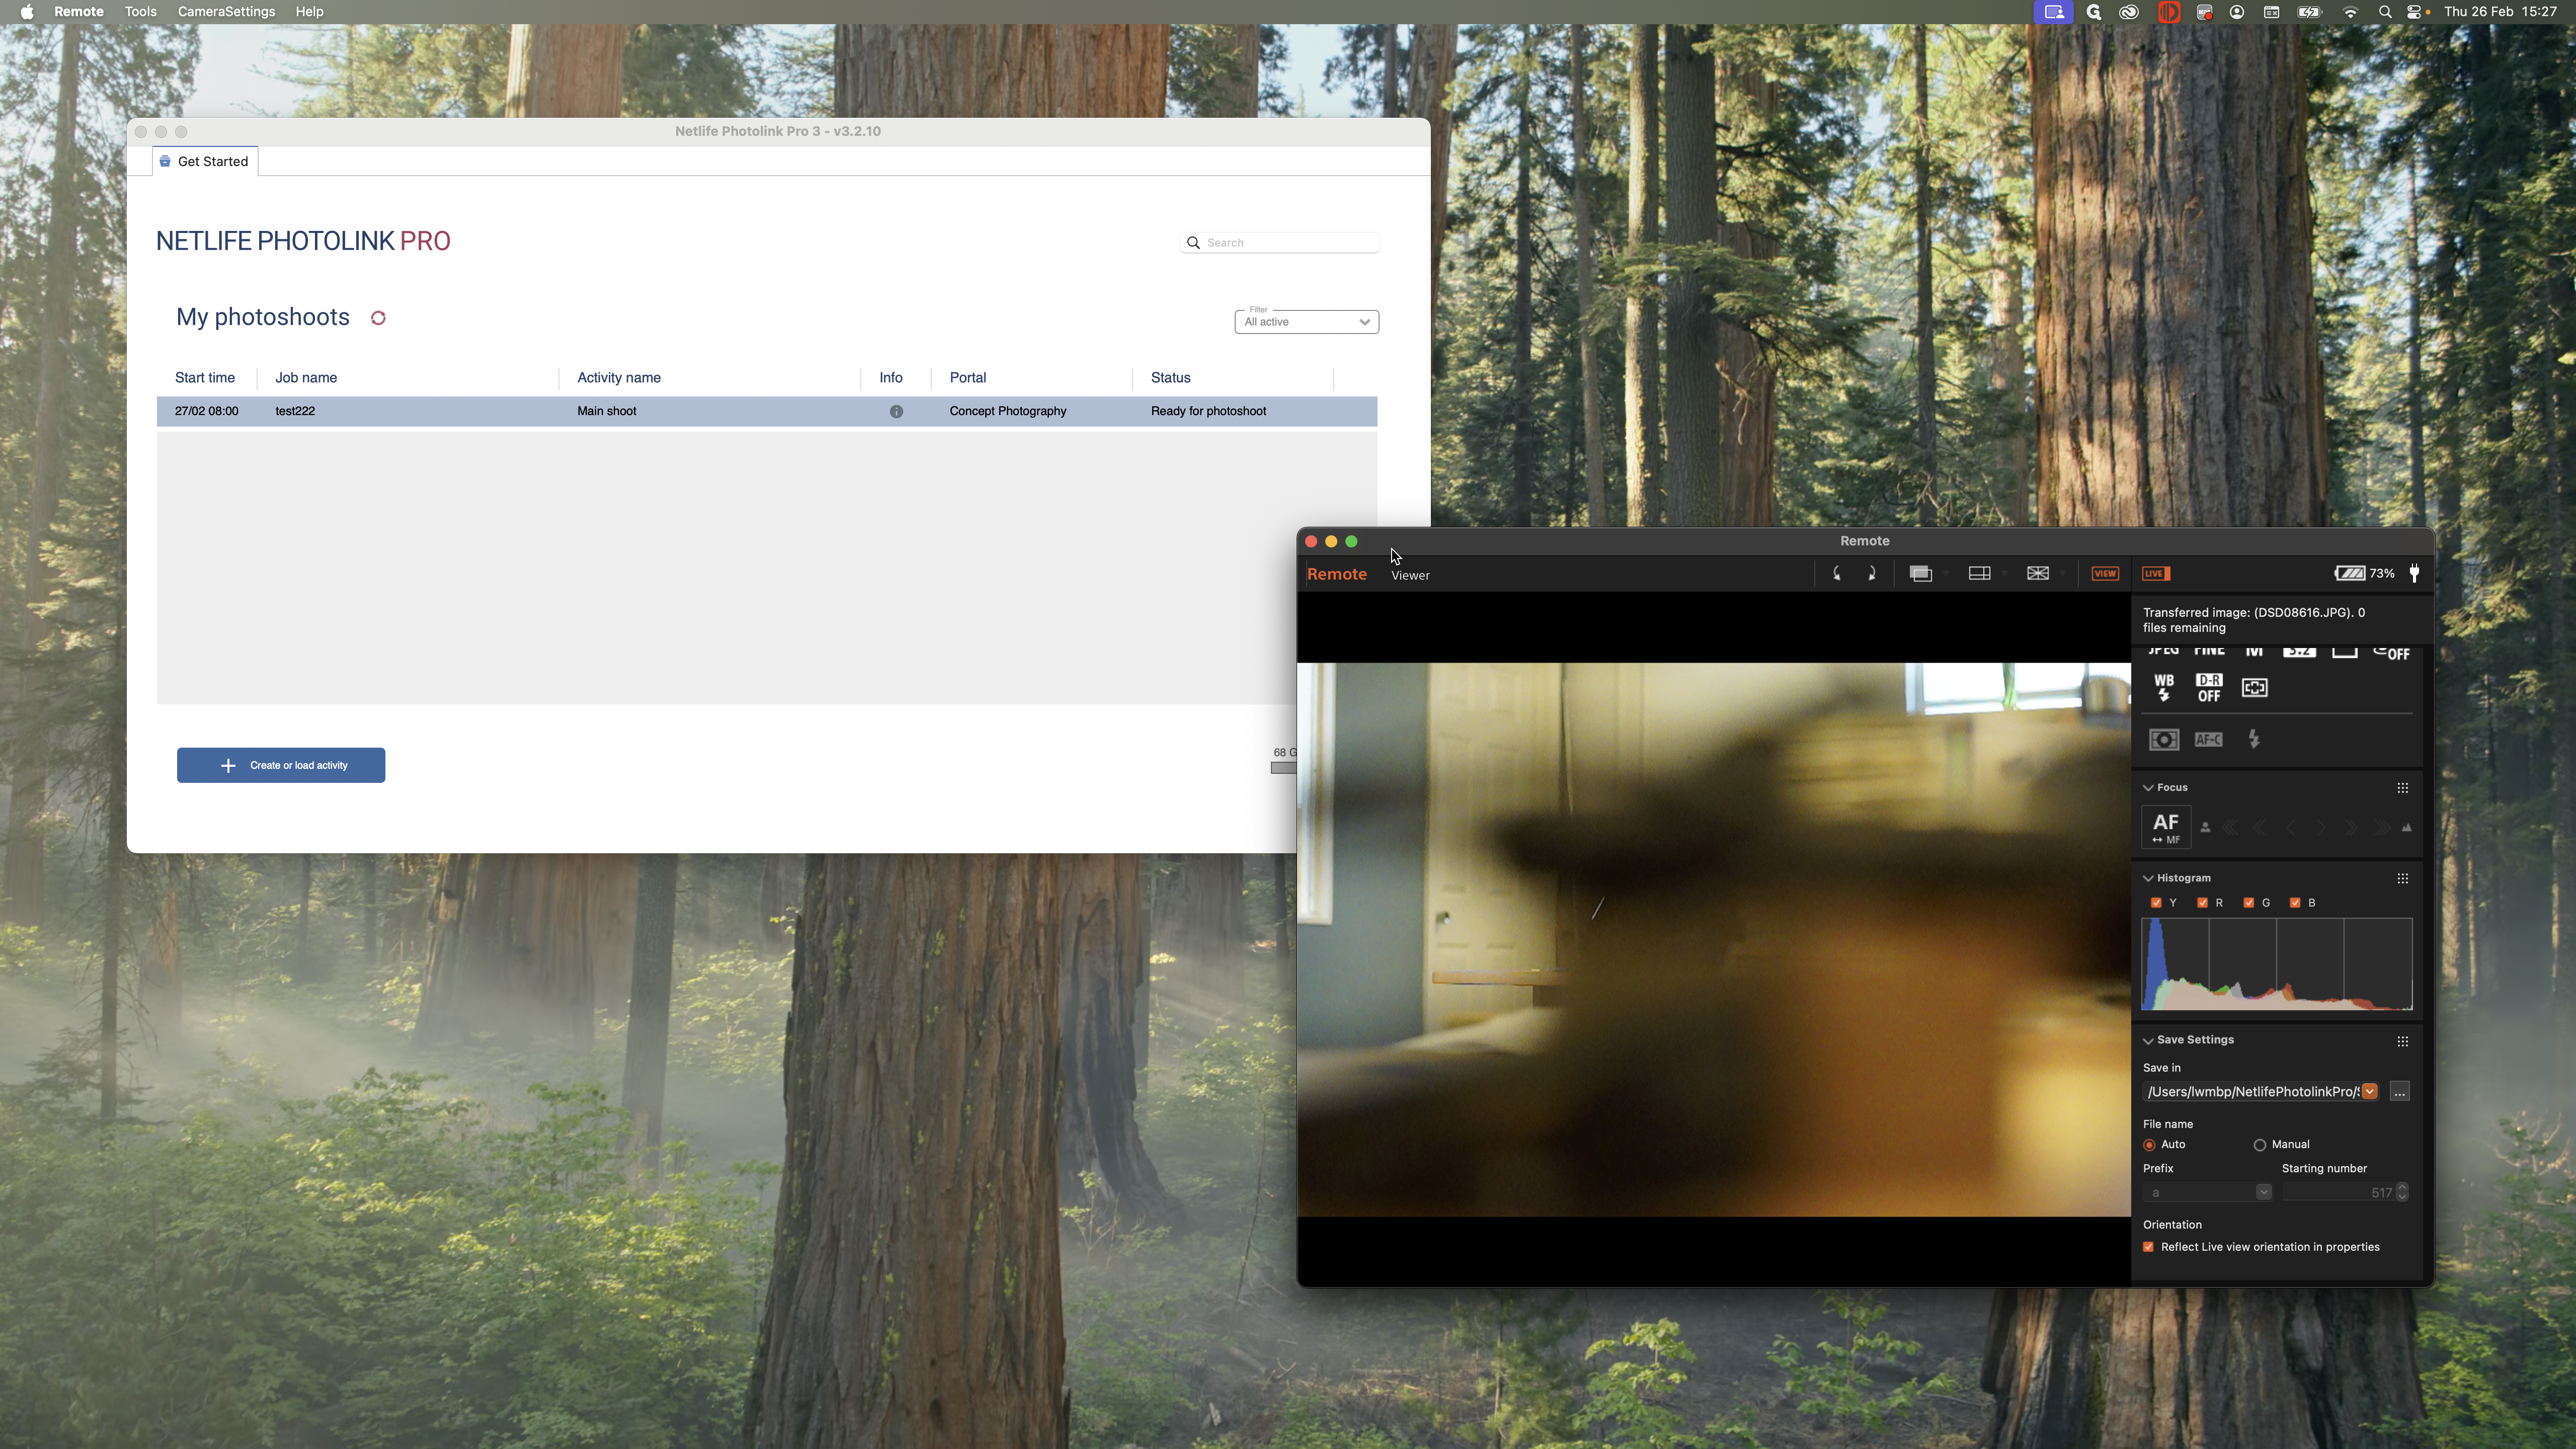
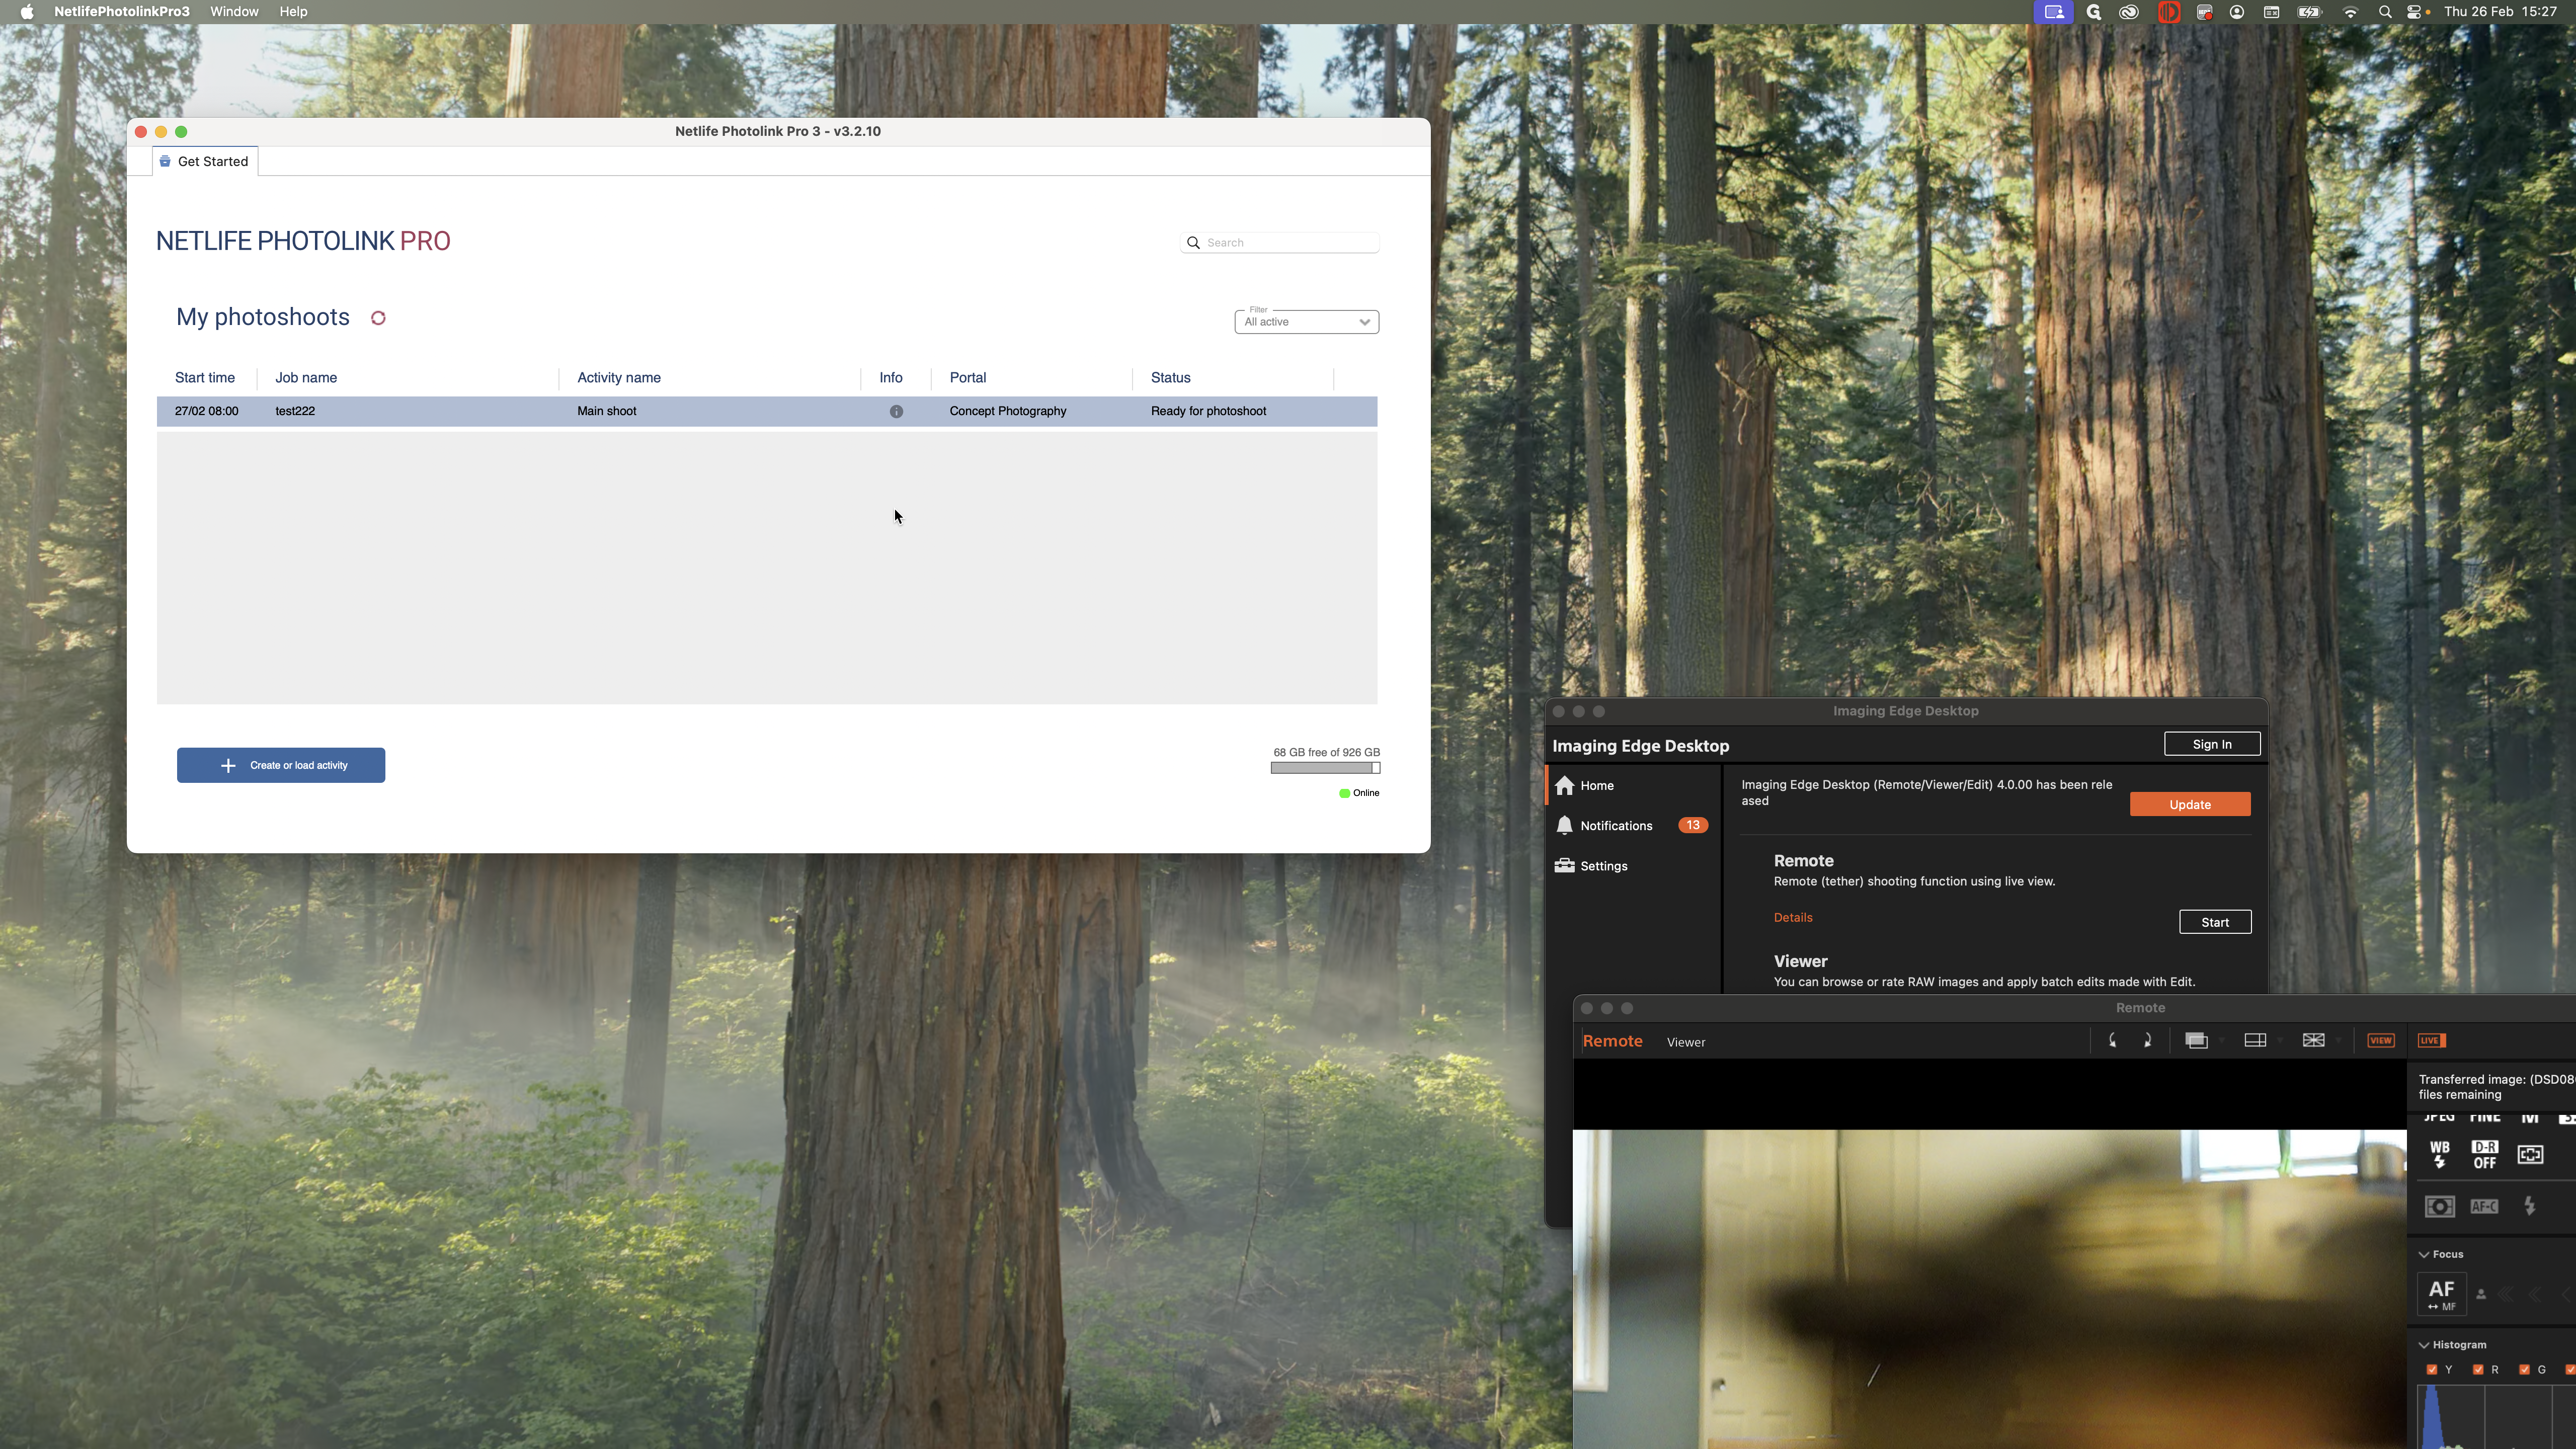
I'm just making sure I have my remote capturing software ready.
I am using a Sony camera. When I connect it to my computer, all photos are saved in my spool folder, which I created in my account.


I will make sure that is running properly, then click to open a job.

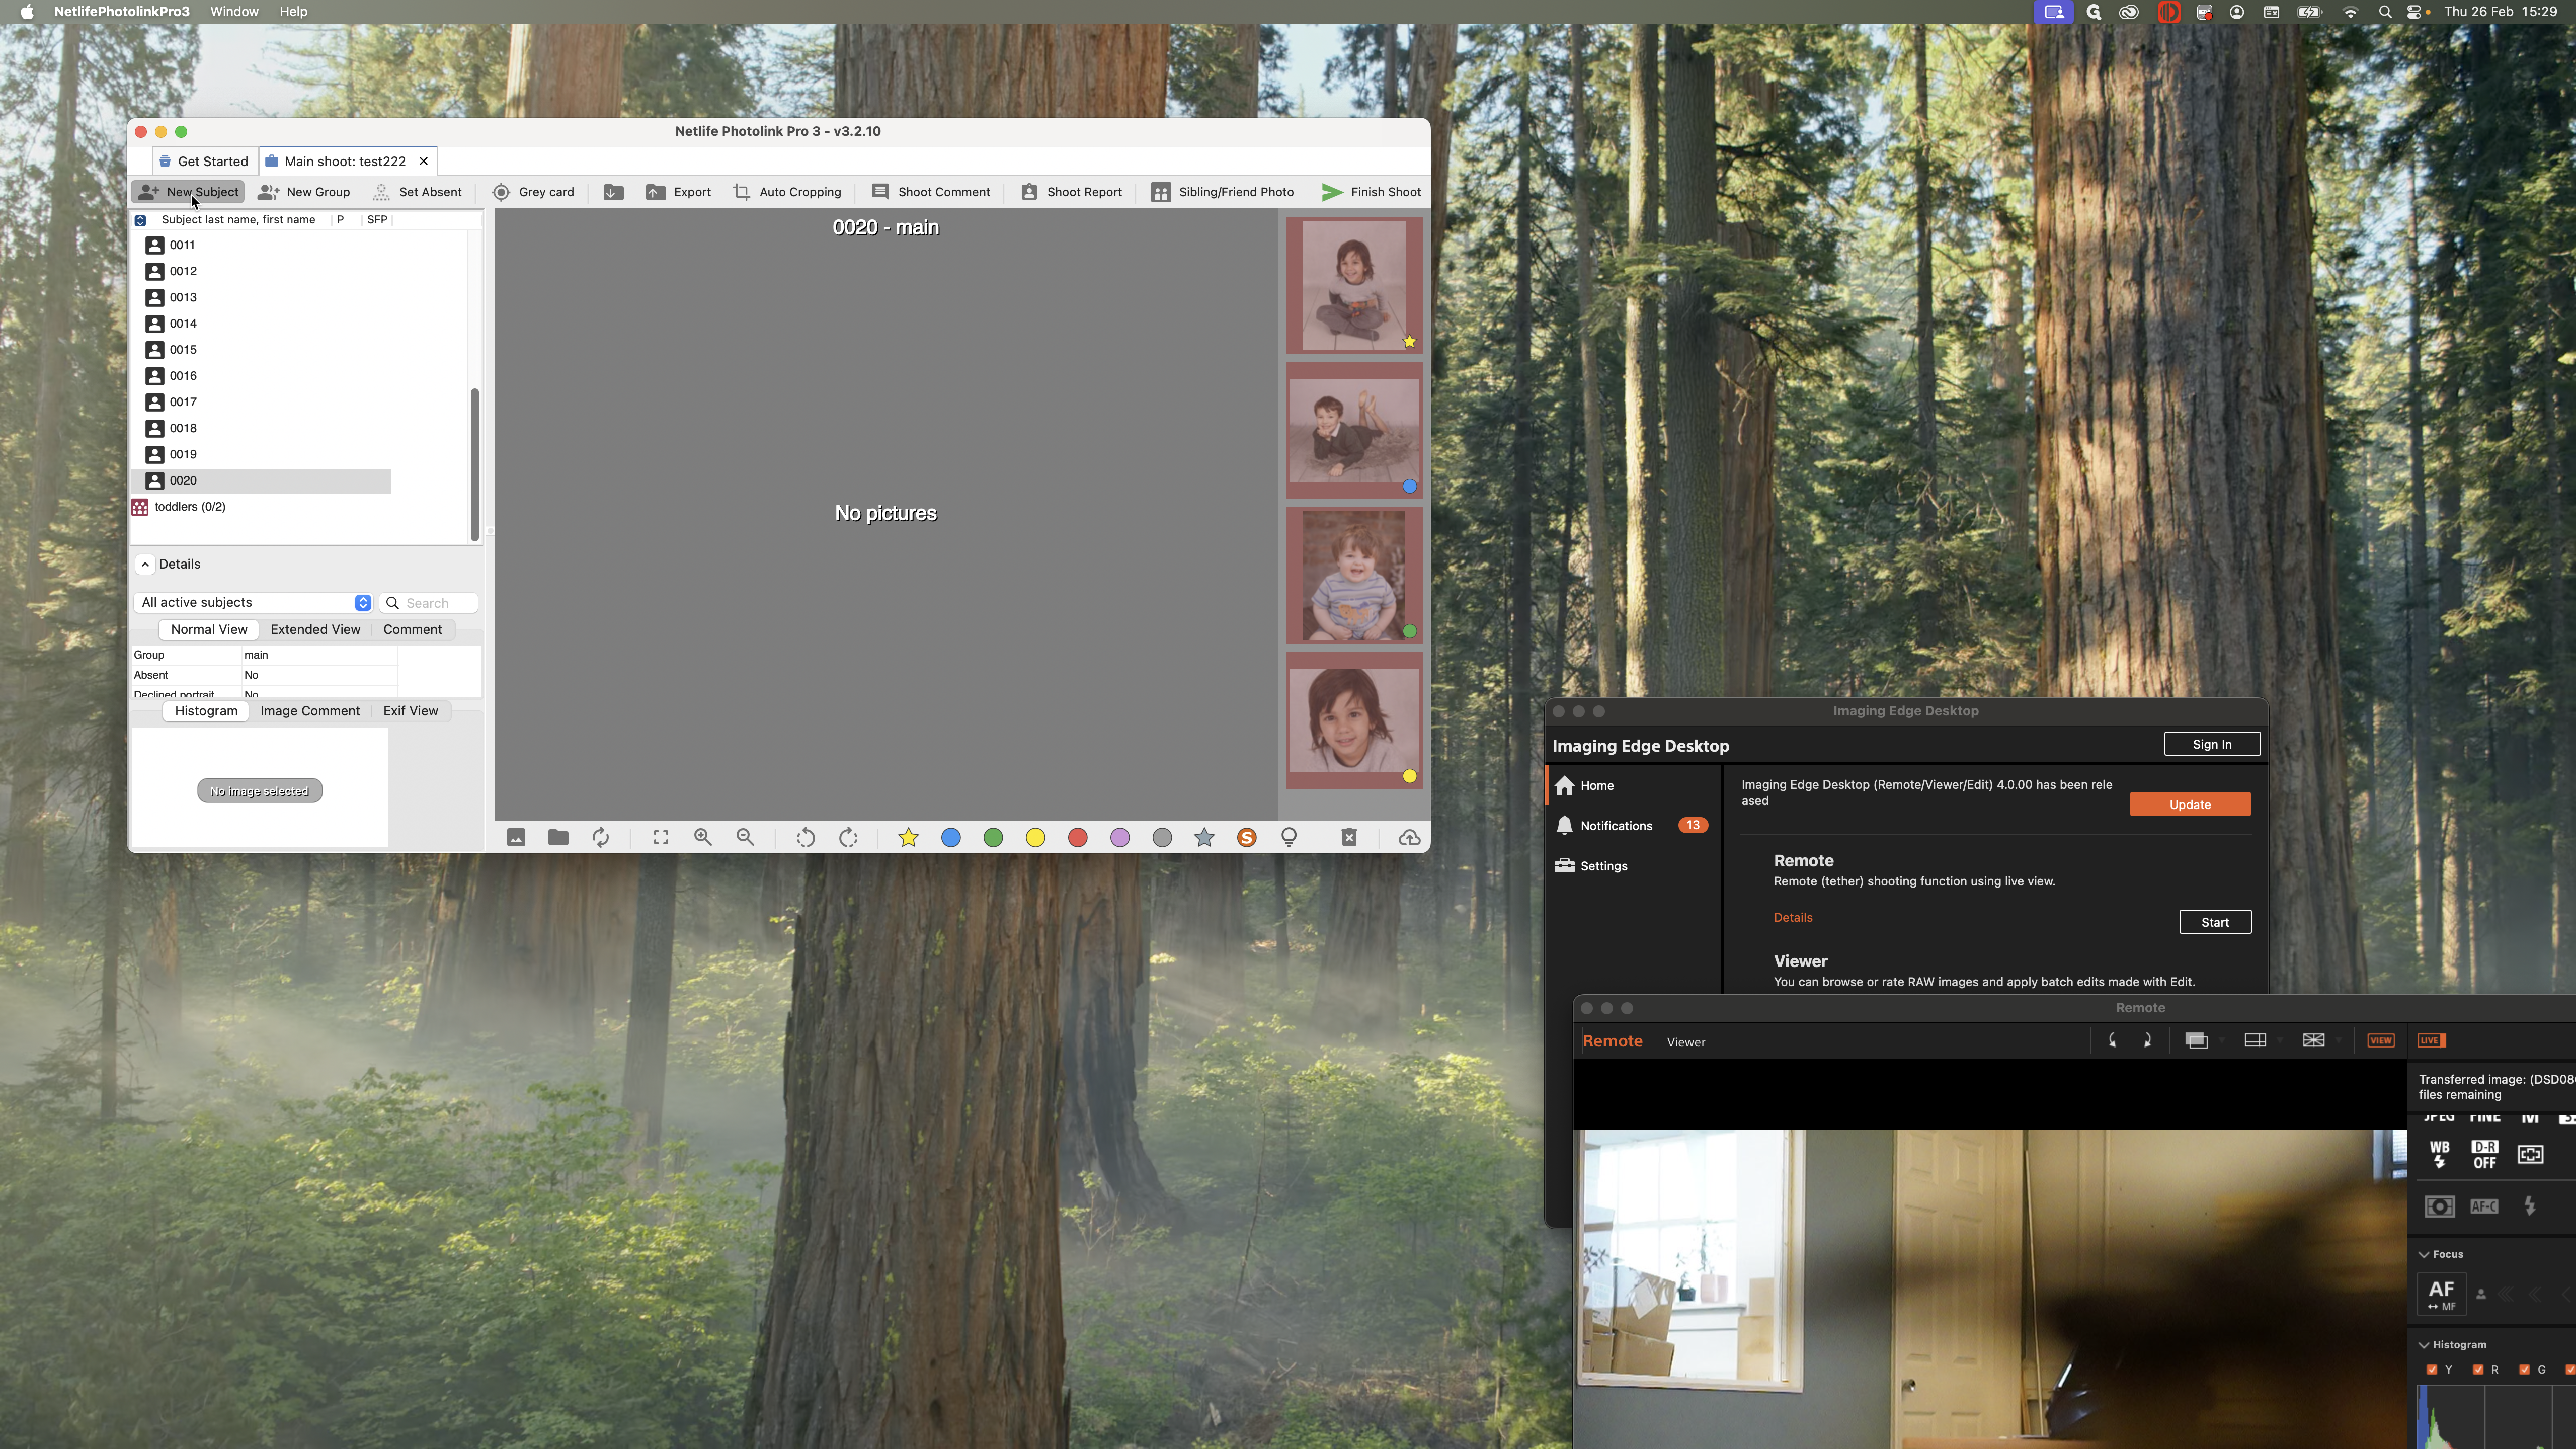
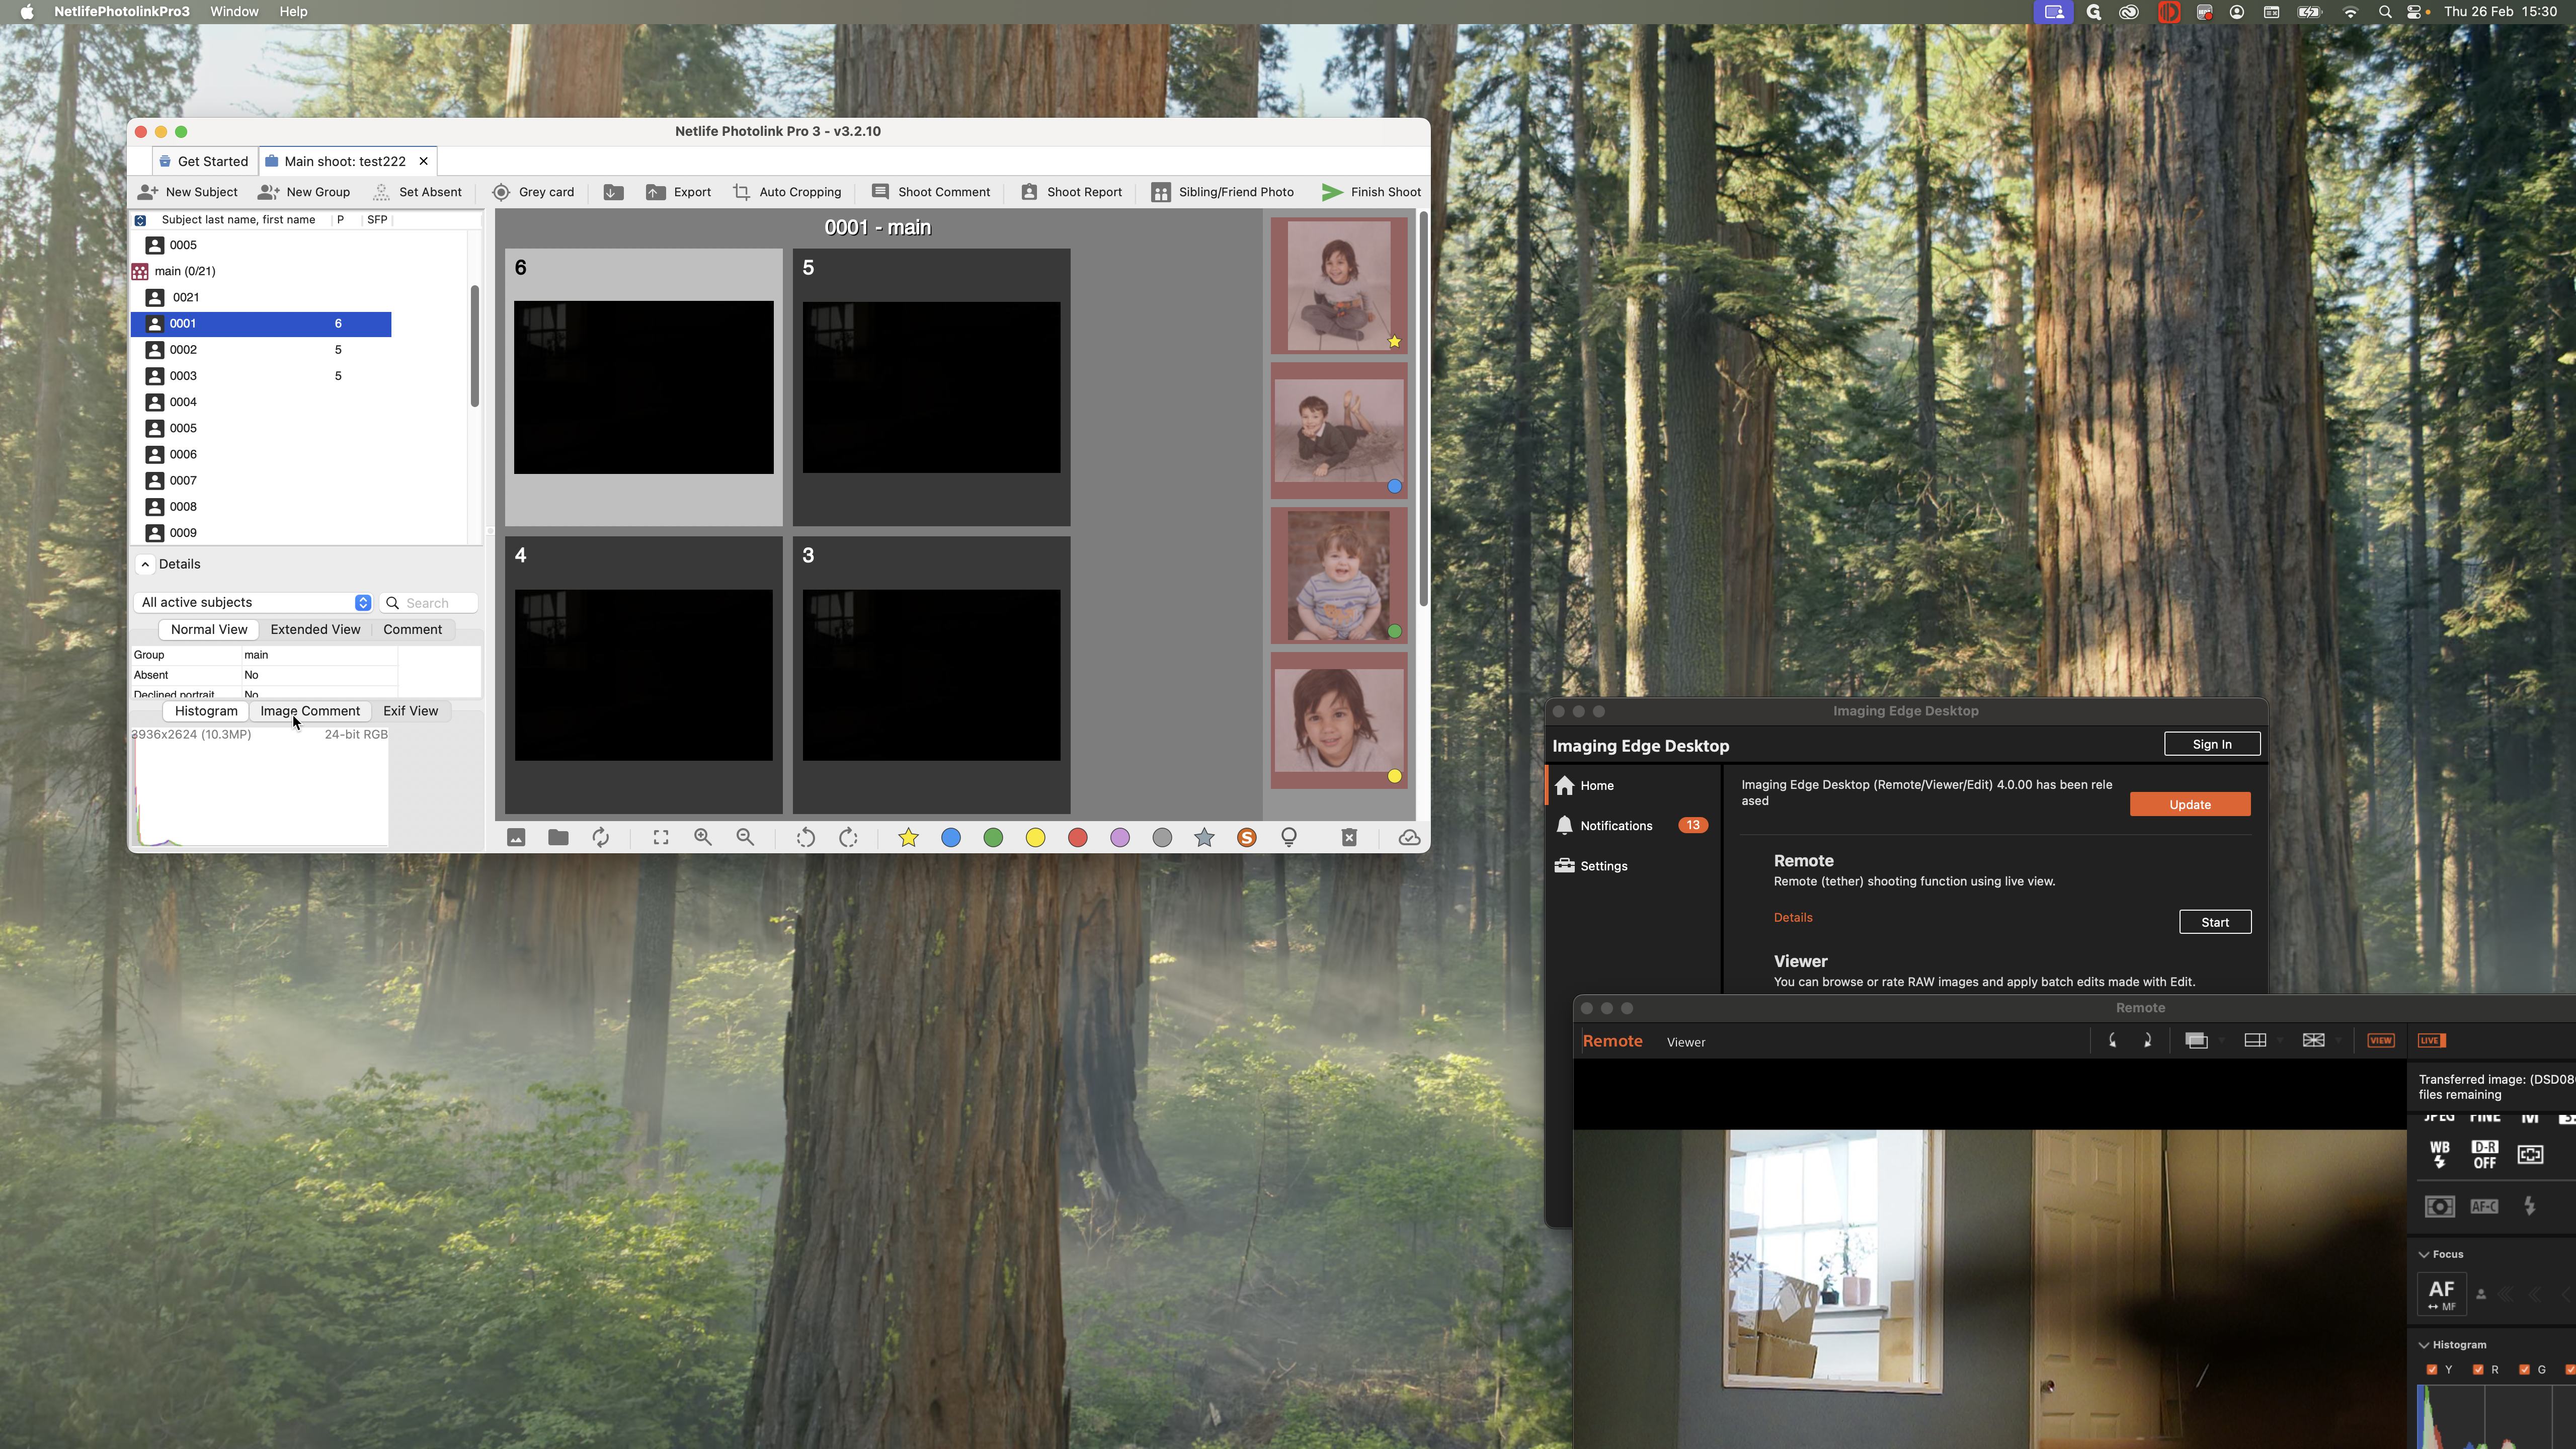
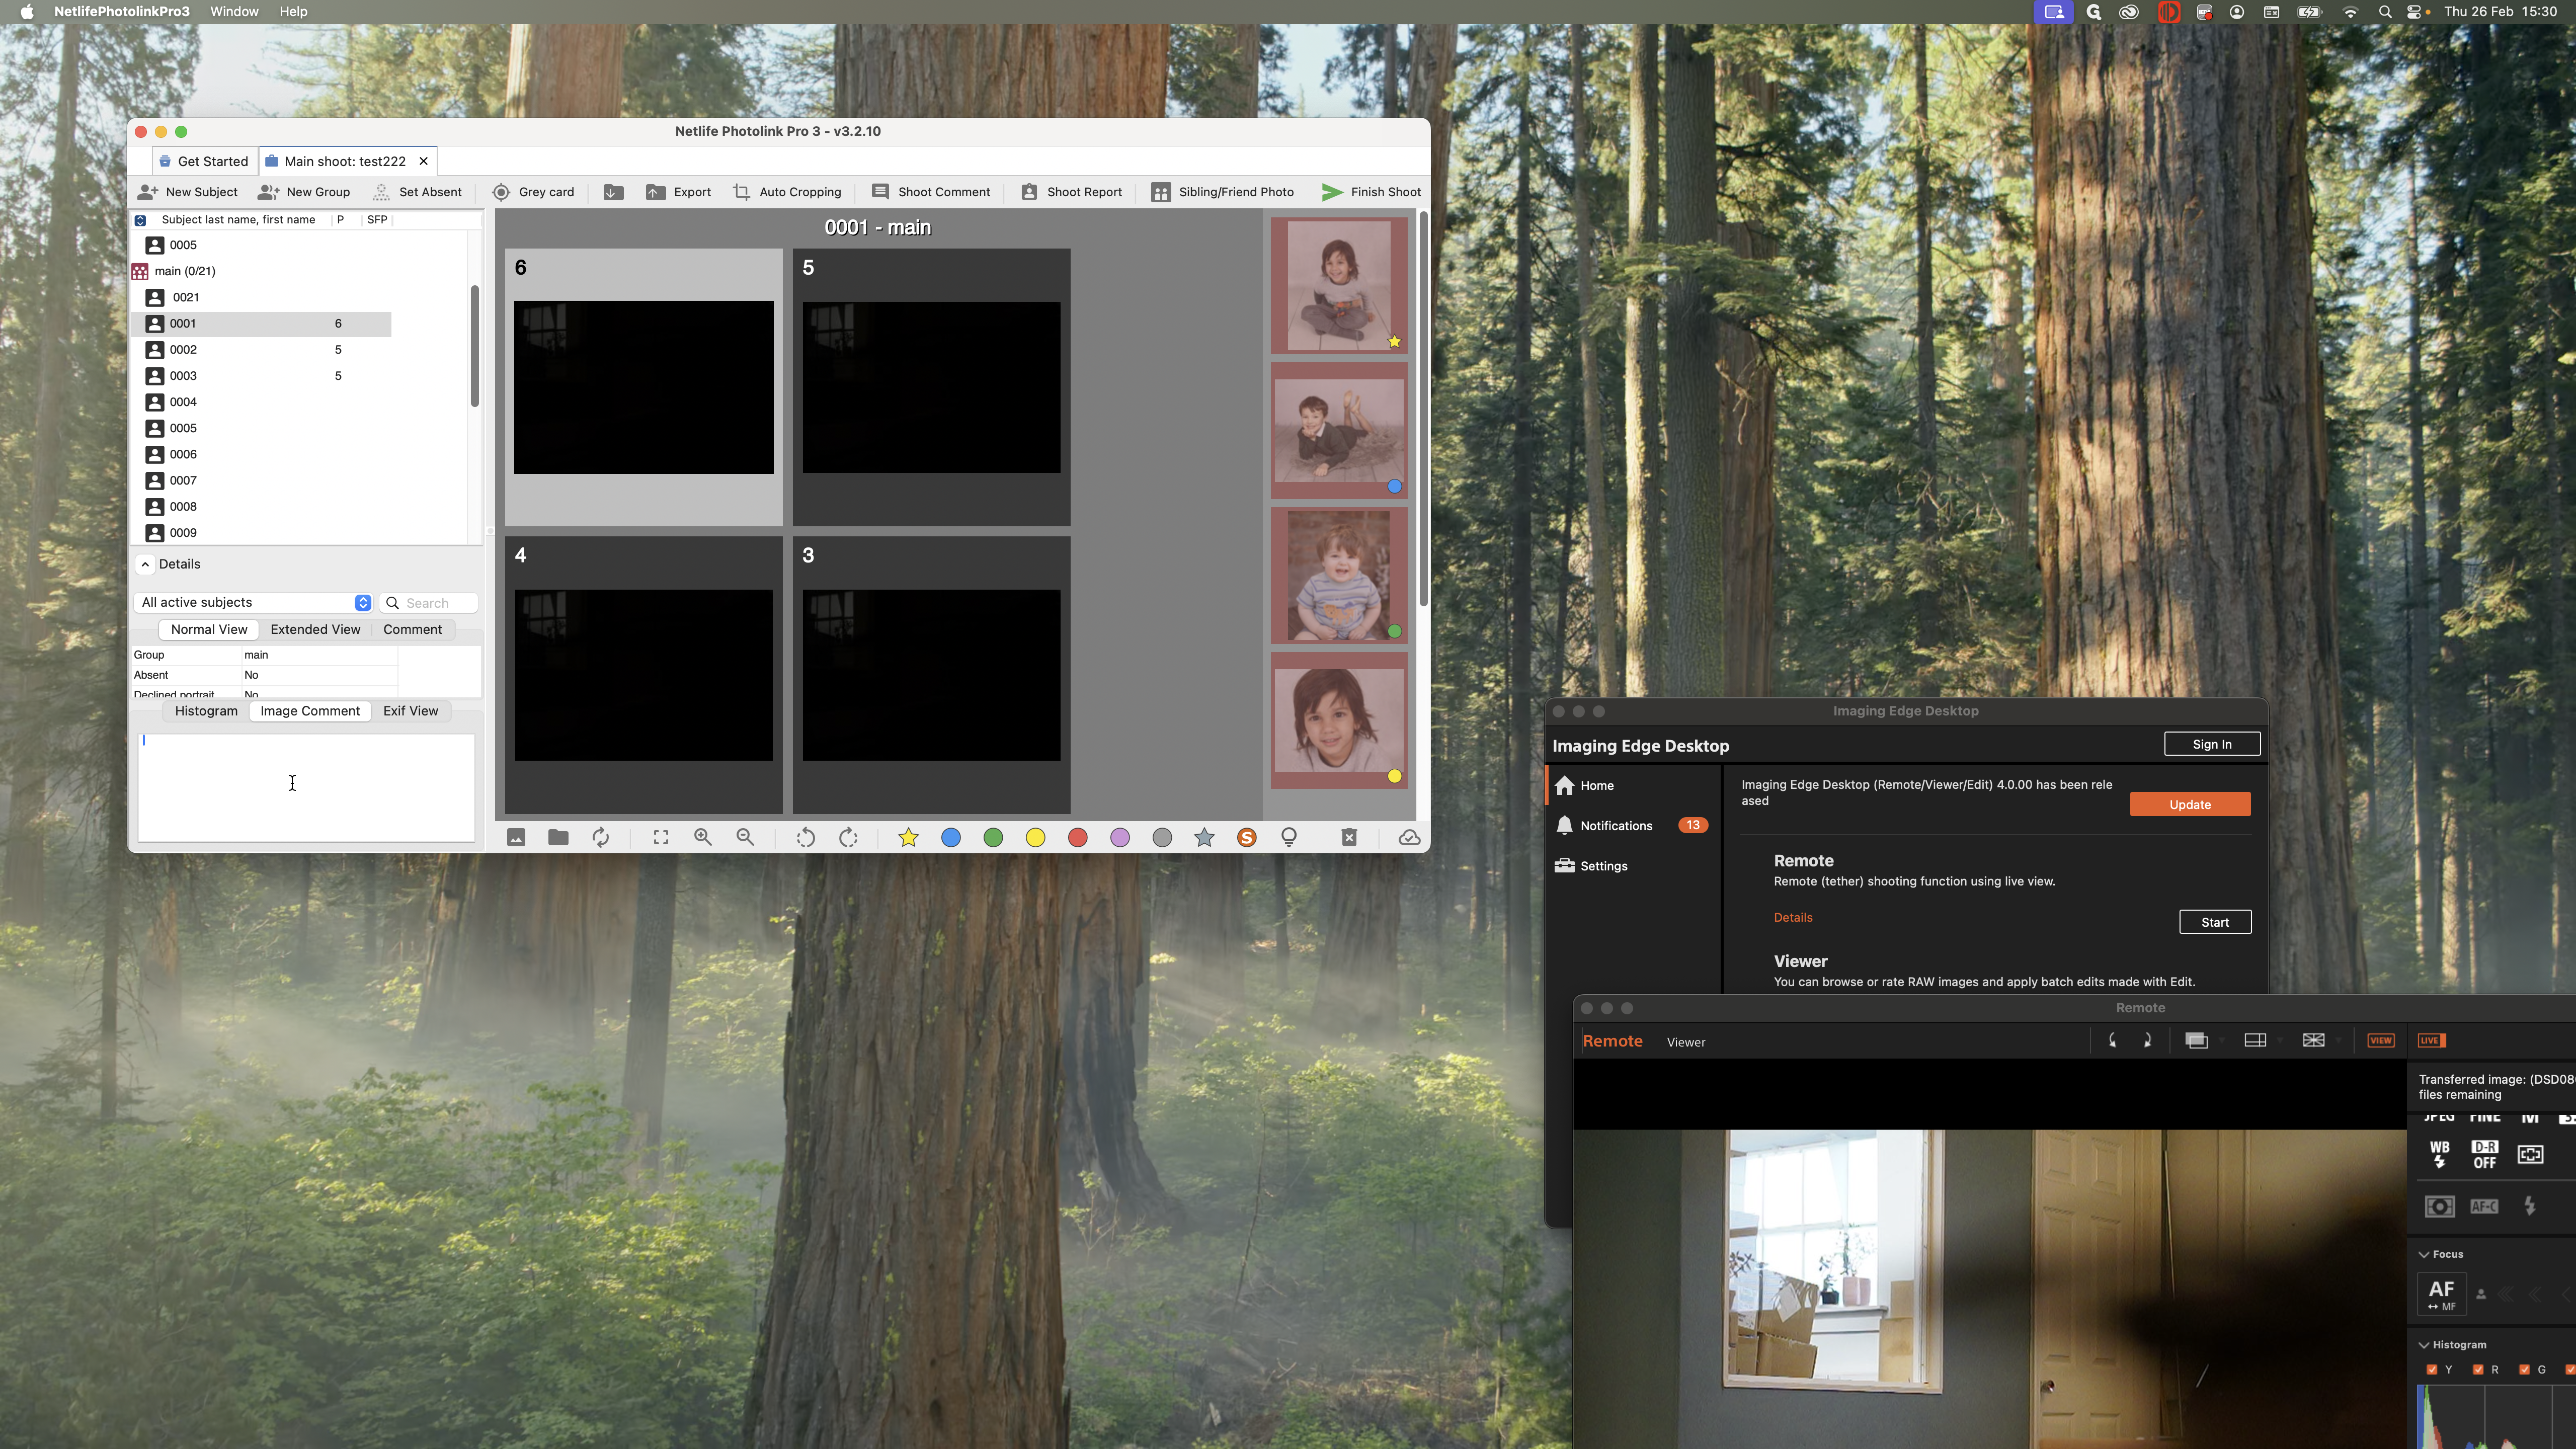
When you open your job in Netlife, you will see a screen similar to this. On the right-hand side, you can see the four different images we are looking for. That includes a full-length shot, a head and shoulders shot, a close-up, and a fourth shot, which could be a Christmas photo, a graduation photo, or a lying-down pose for variety. On the left-hand side, all your subjects for the shoot will be listed.
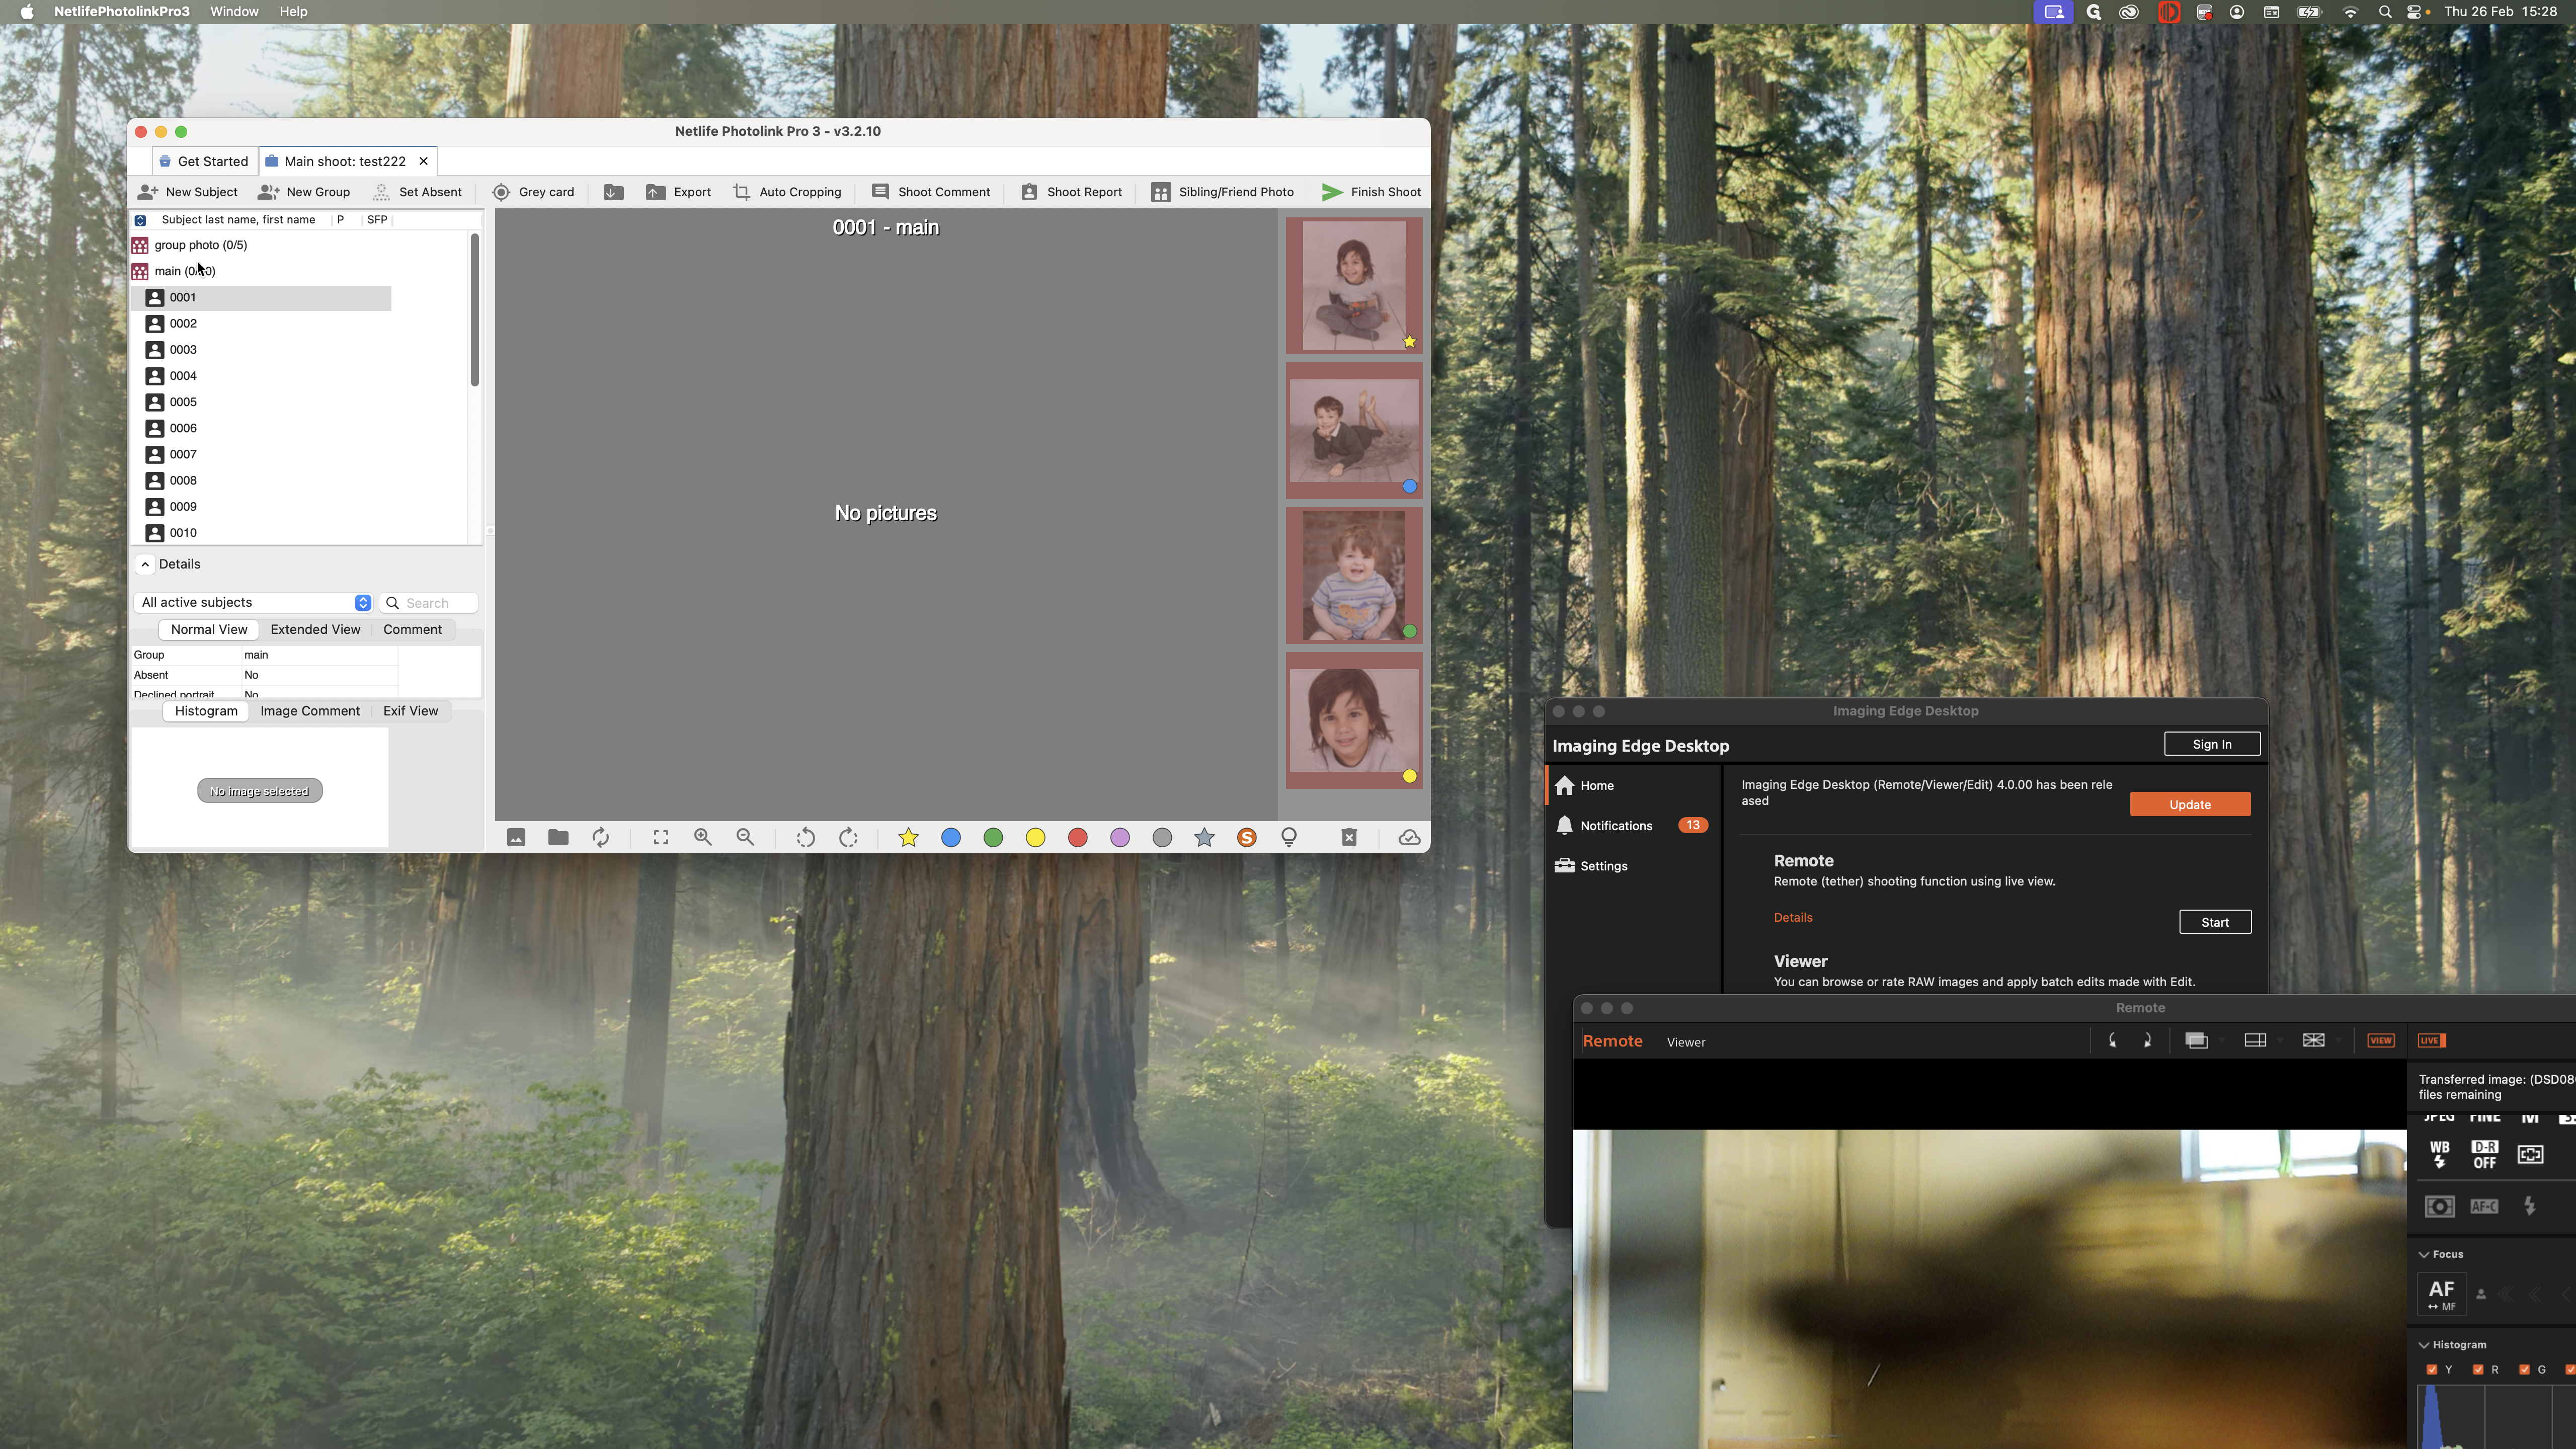
If group photos are expected, there may be an additional group that should be listed above. Ideally, photos of children should be assigned to each individual user.
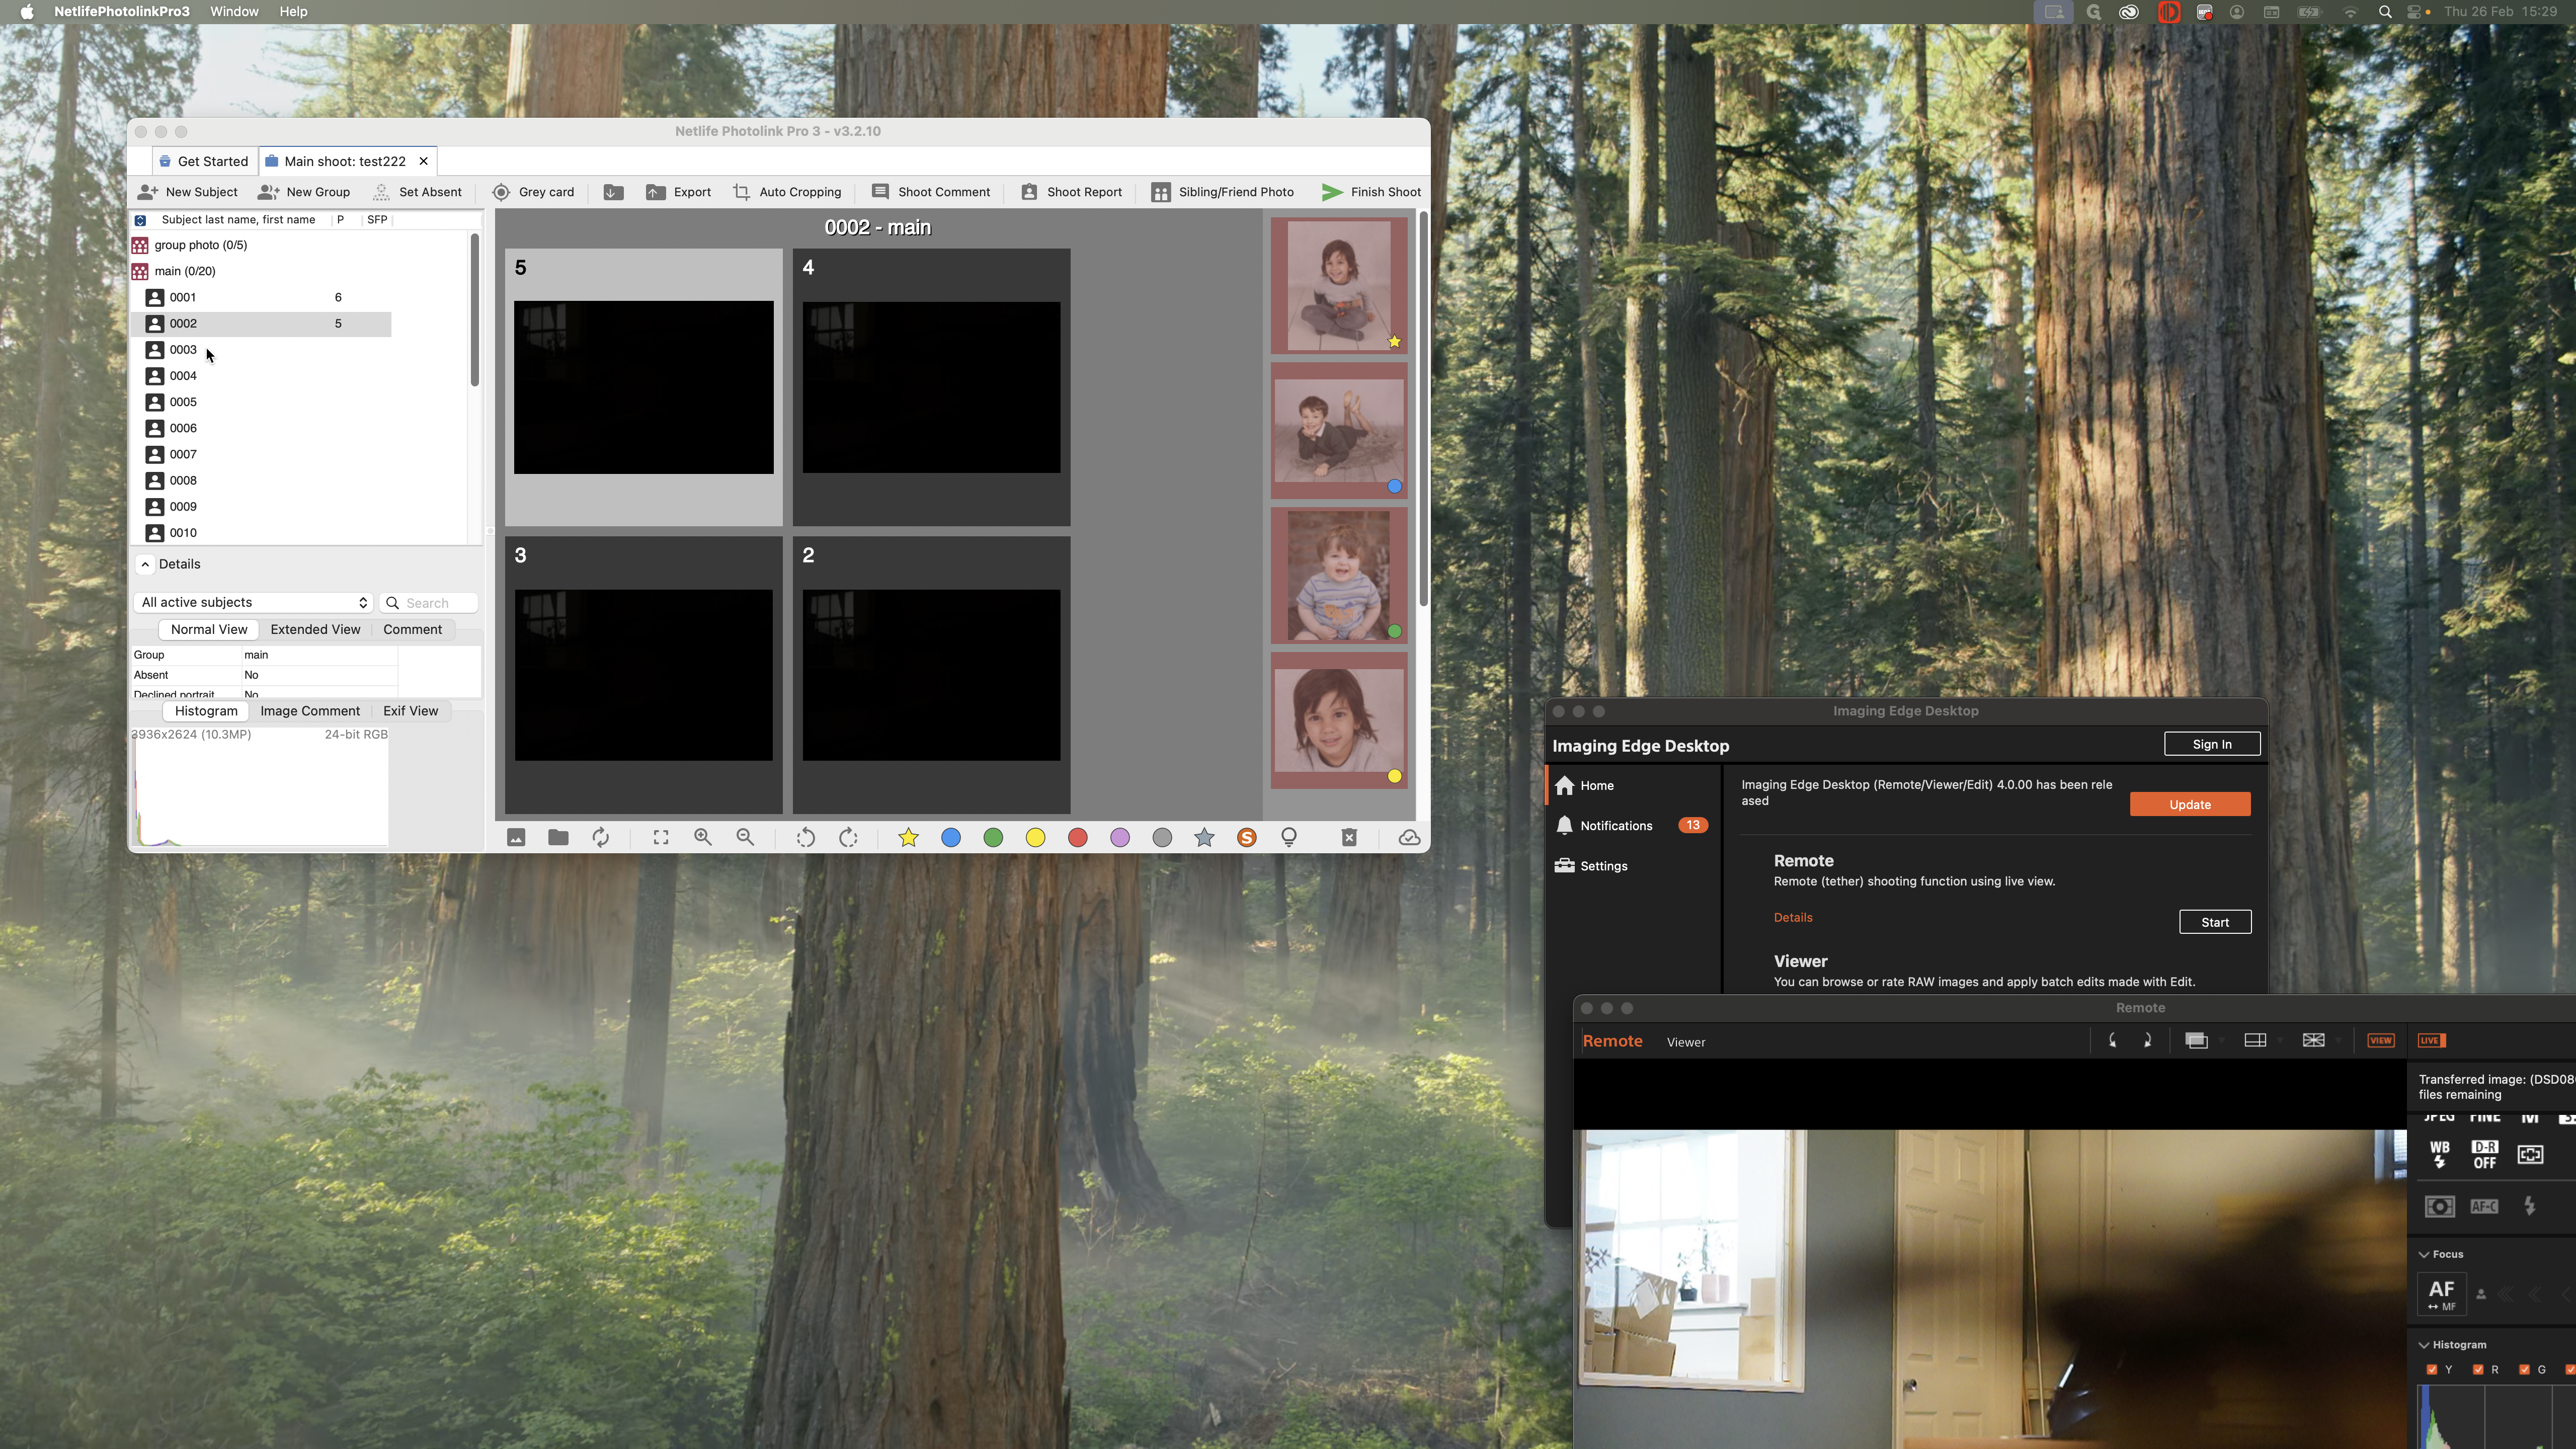
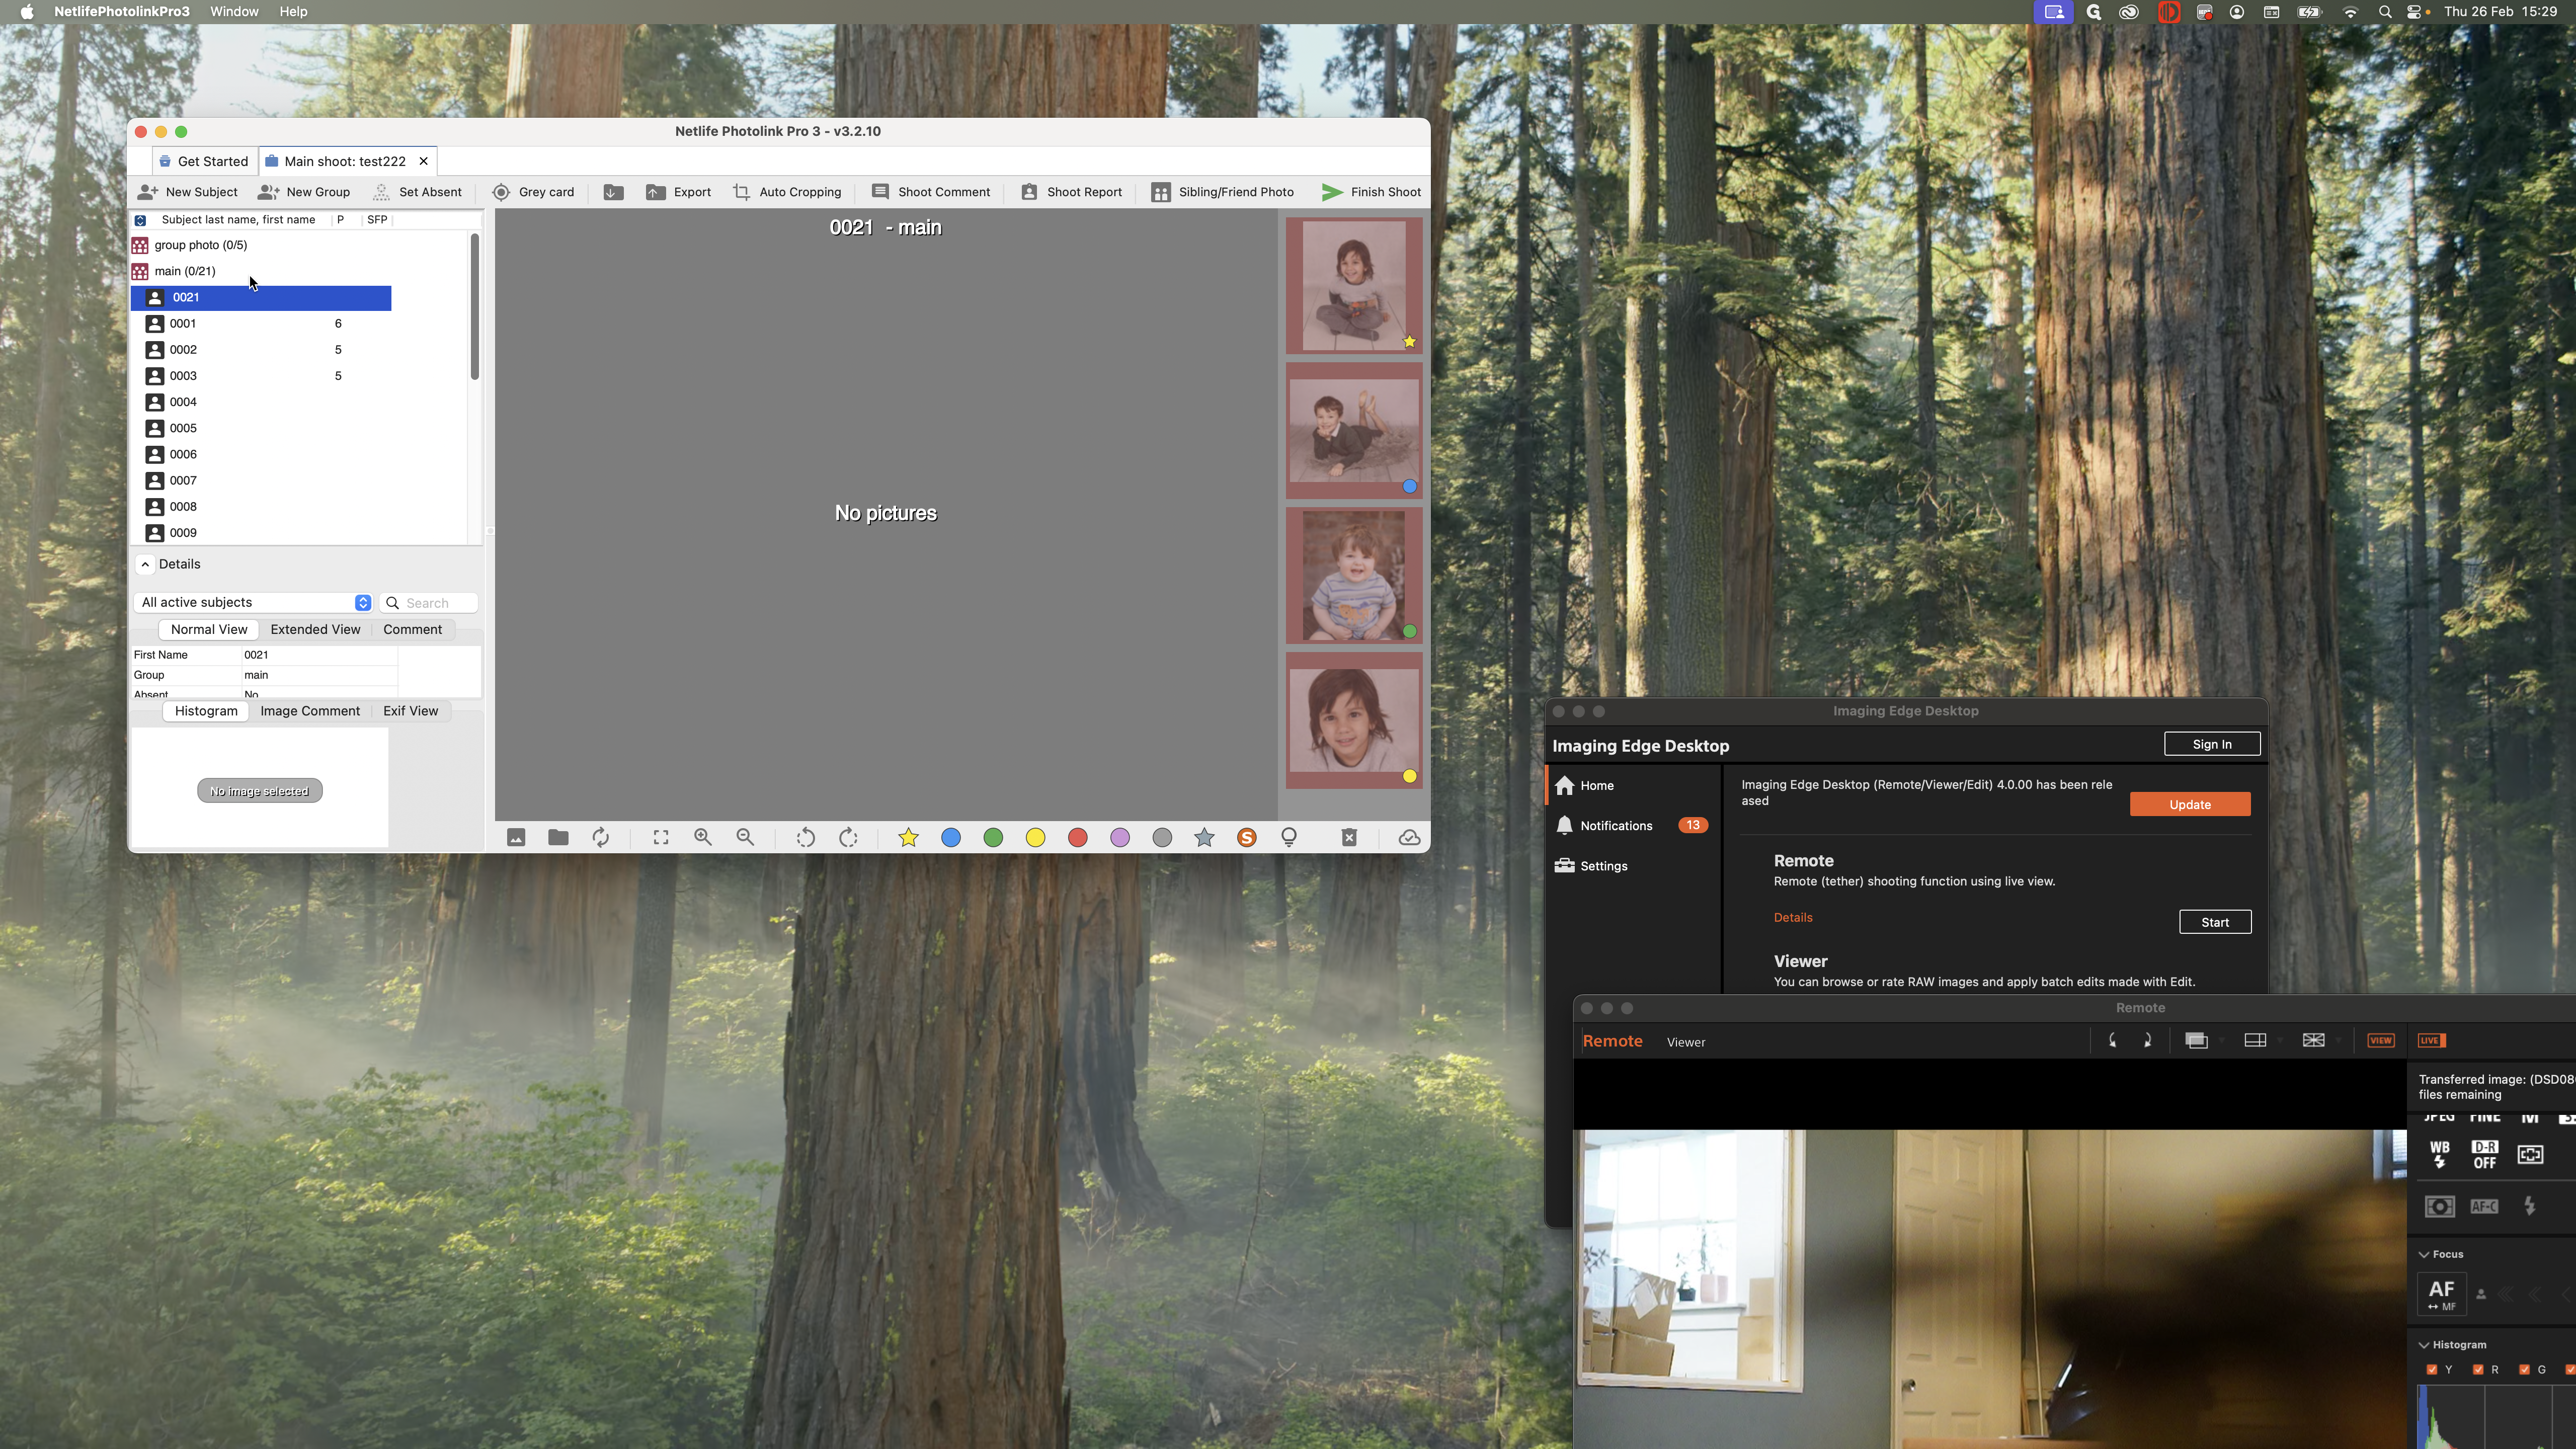
For example, I am going to photograph my first child. My camera is connected. When I take a photo, it should go directly to my child member number one. After taking the photos, move on to the next child. Click on child number two and take their photos.
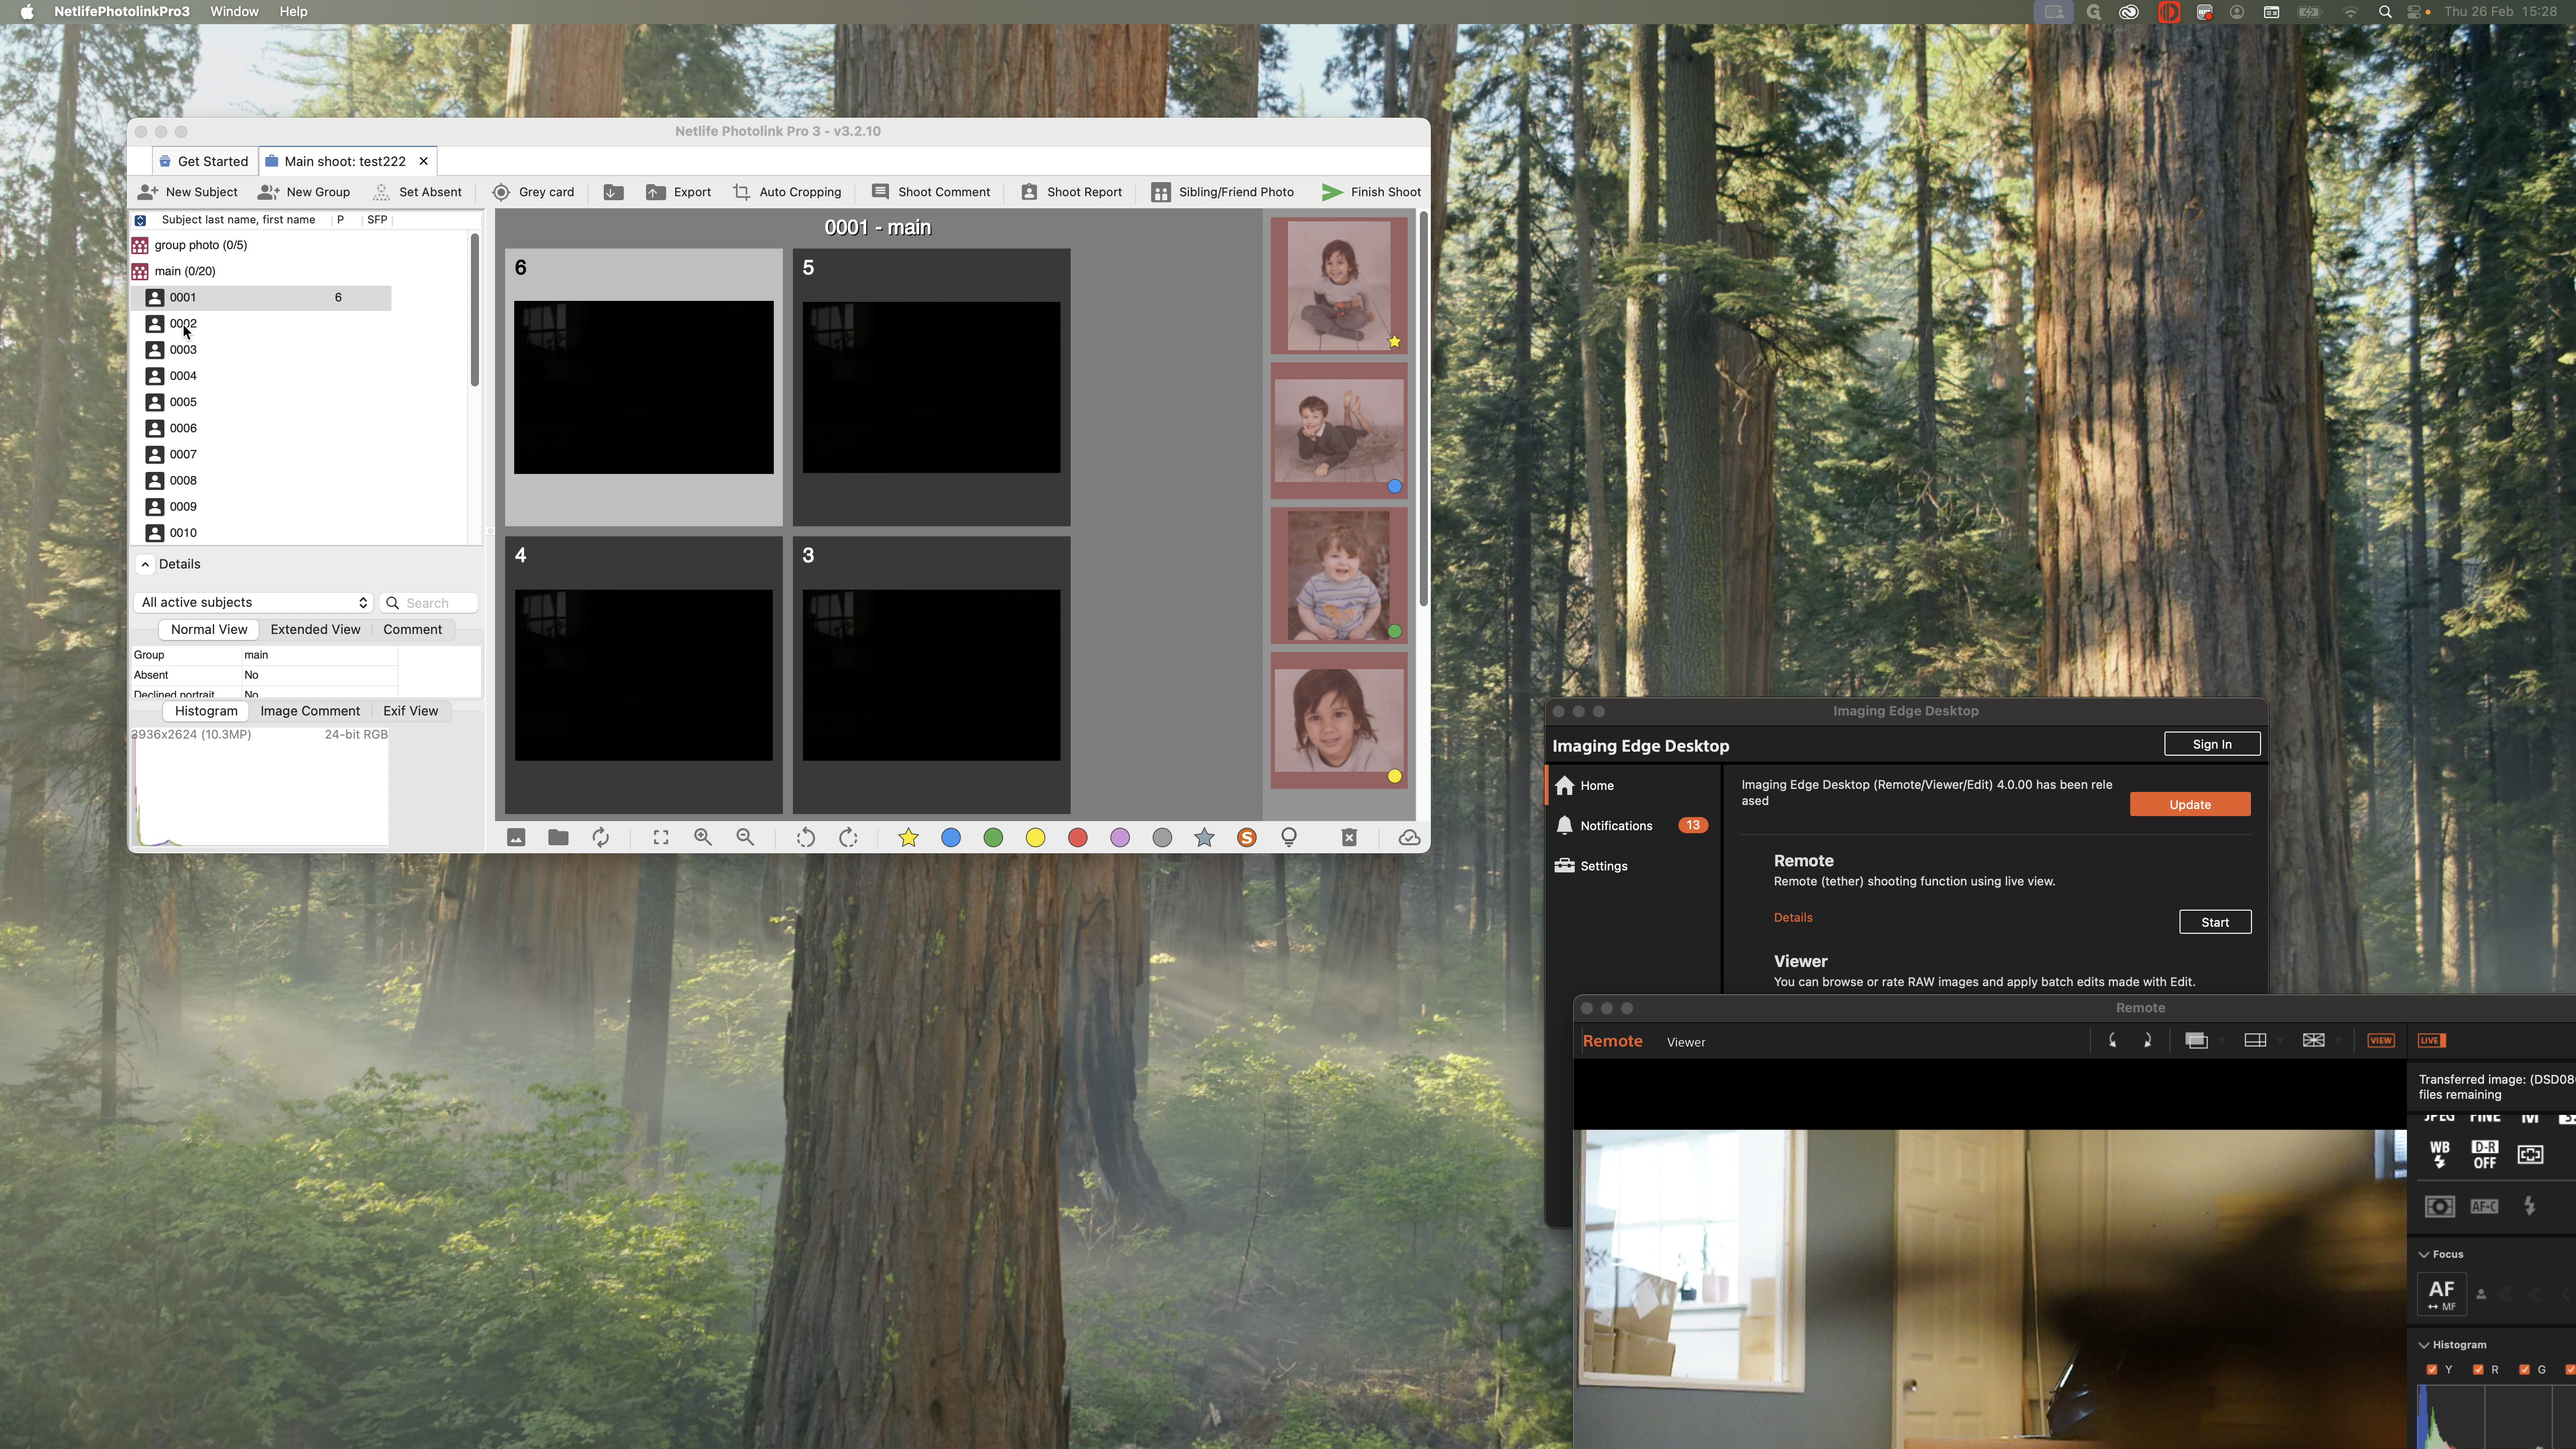
Do this for each child in the shoot until you have completed the entire session. Work your way through everyone.

To add subjects, press the New Subject button at the top. For the first name, continue from your previous number.
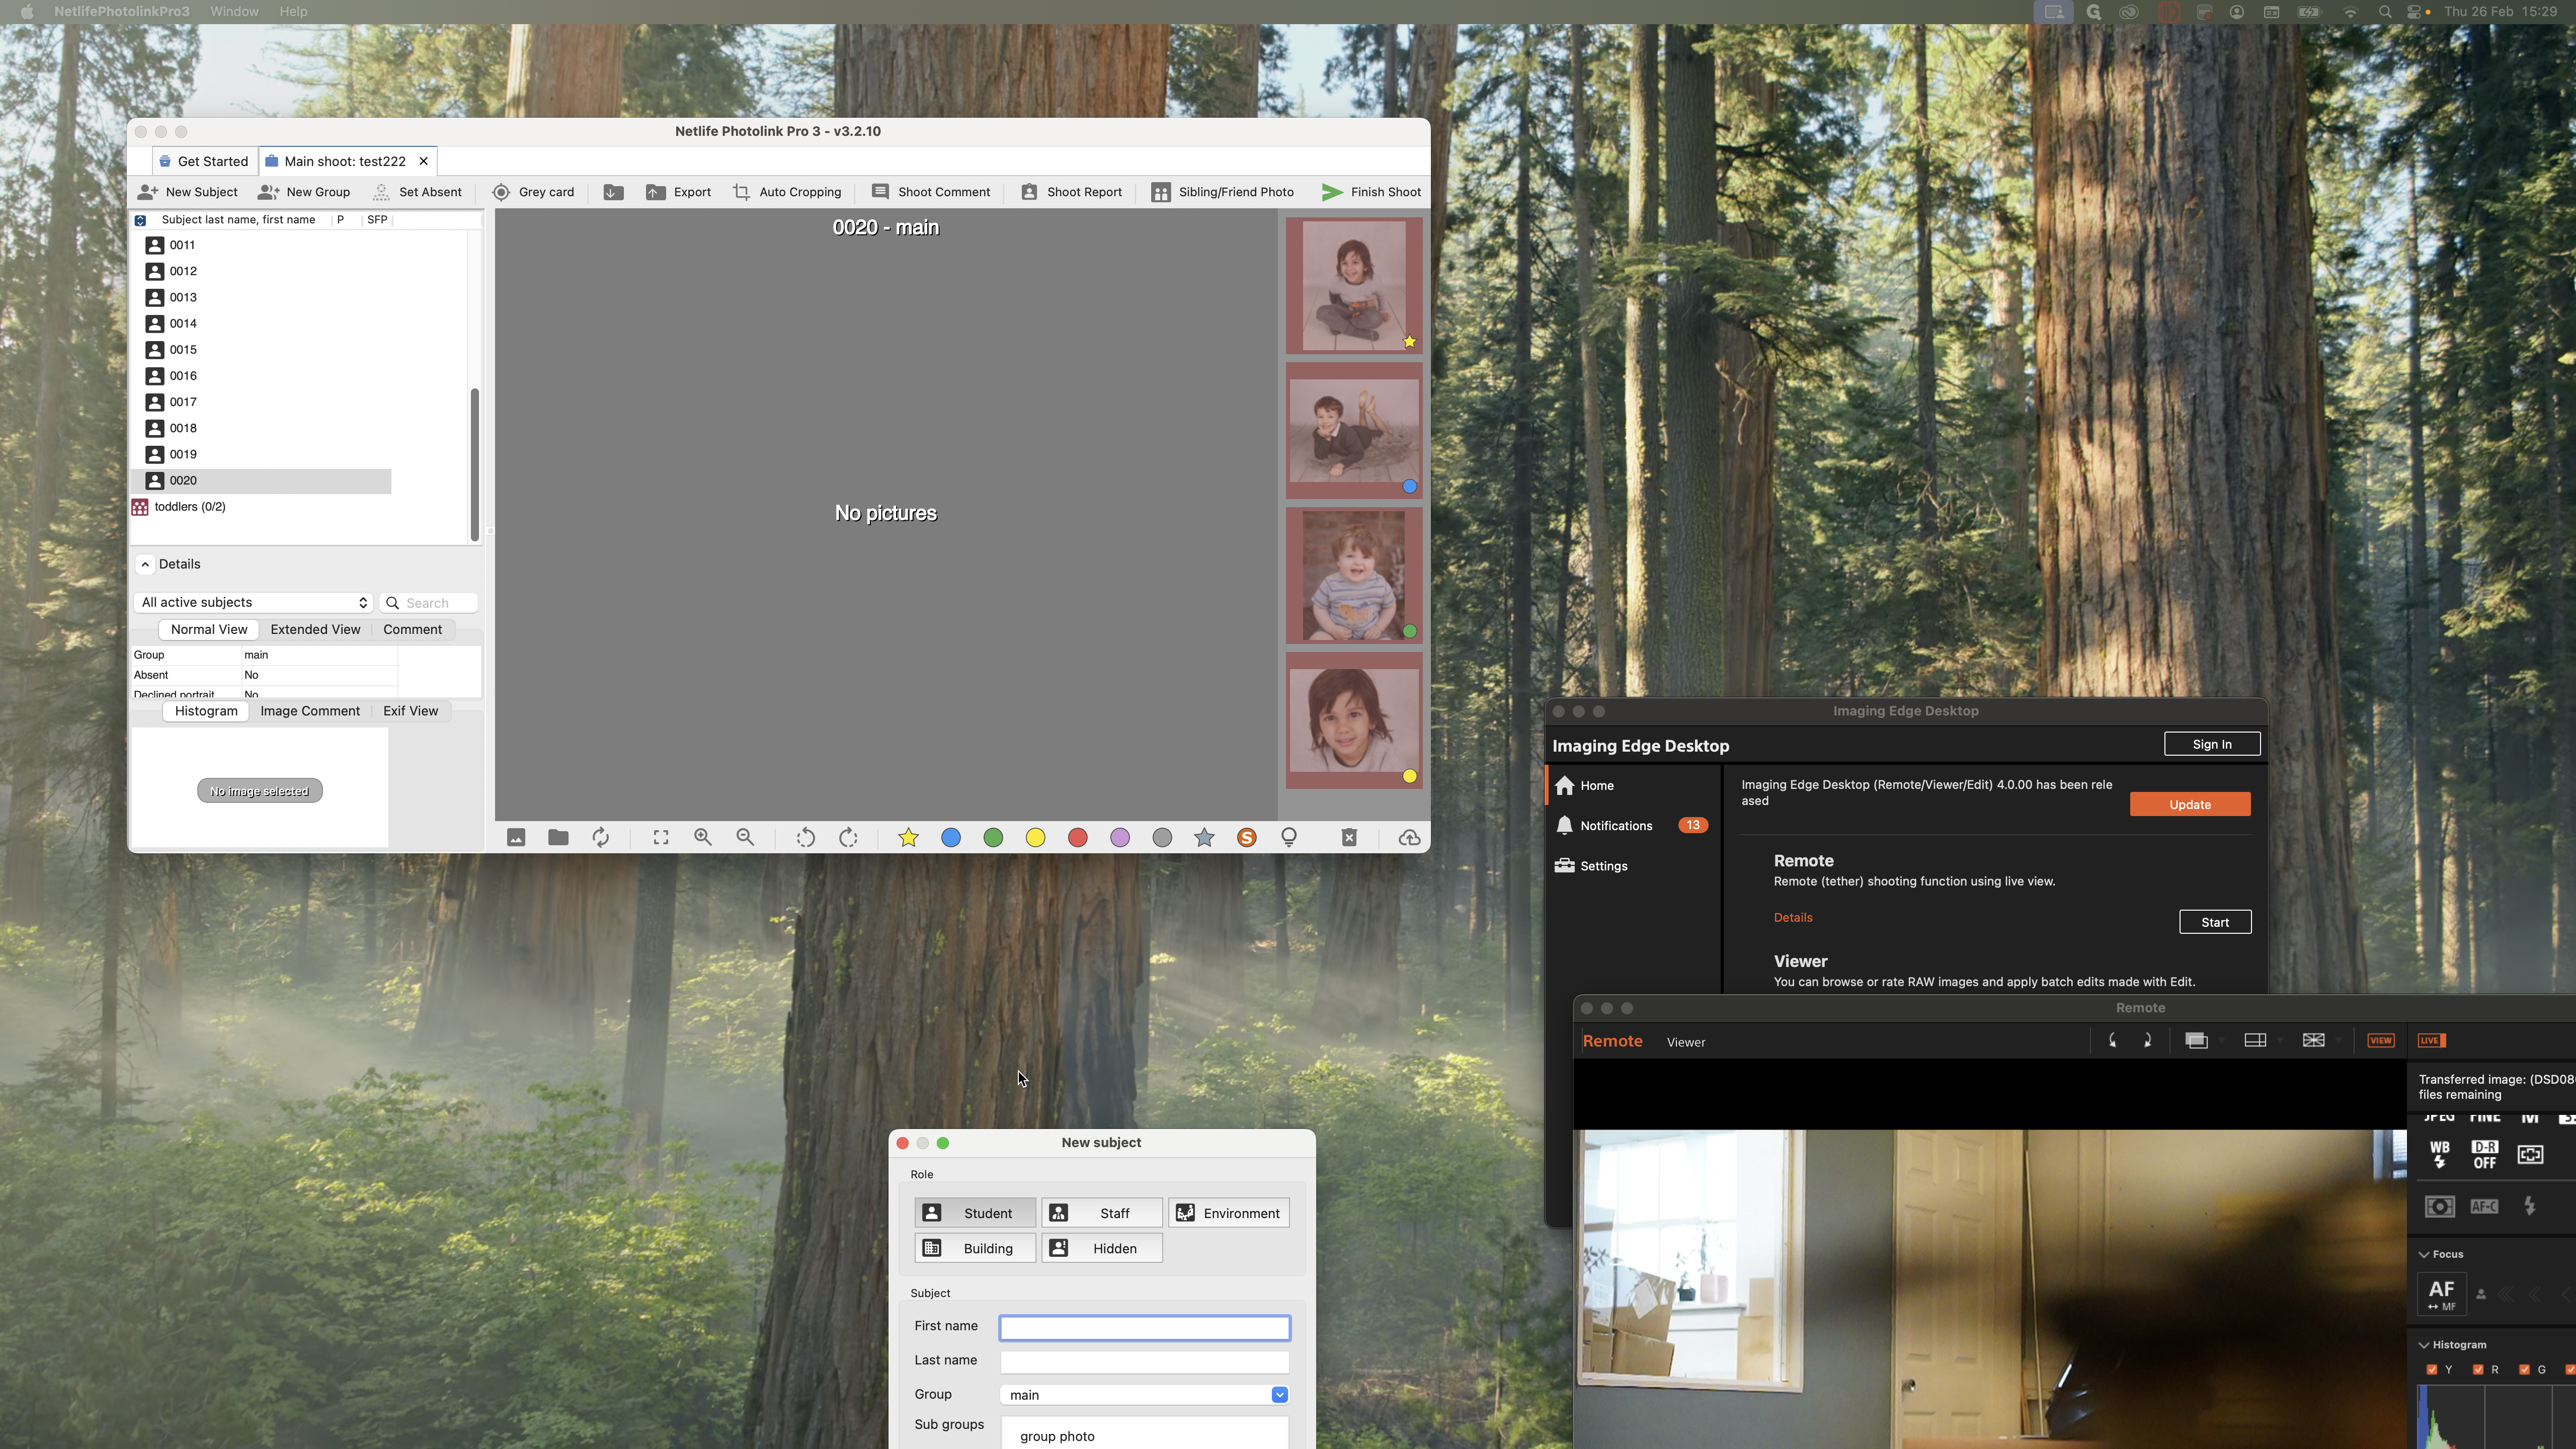
This is 21.
We will ensure each shoot has enough subjects so you won't need to do this.

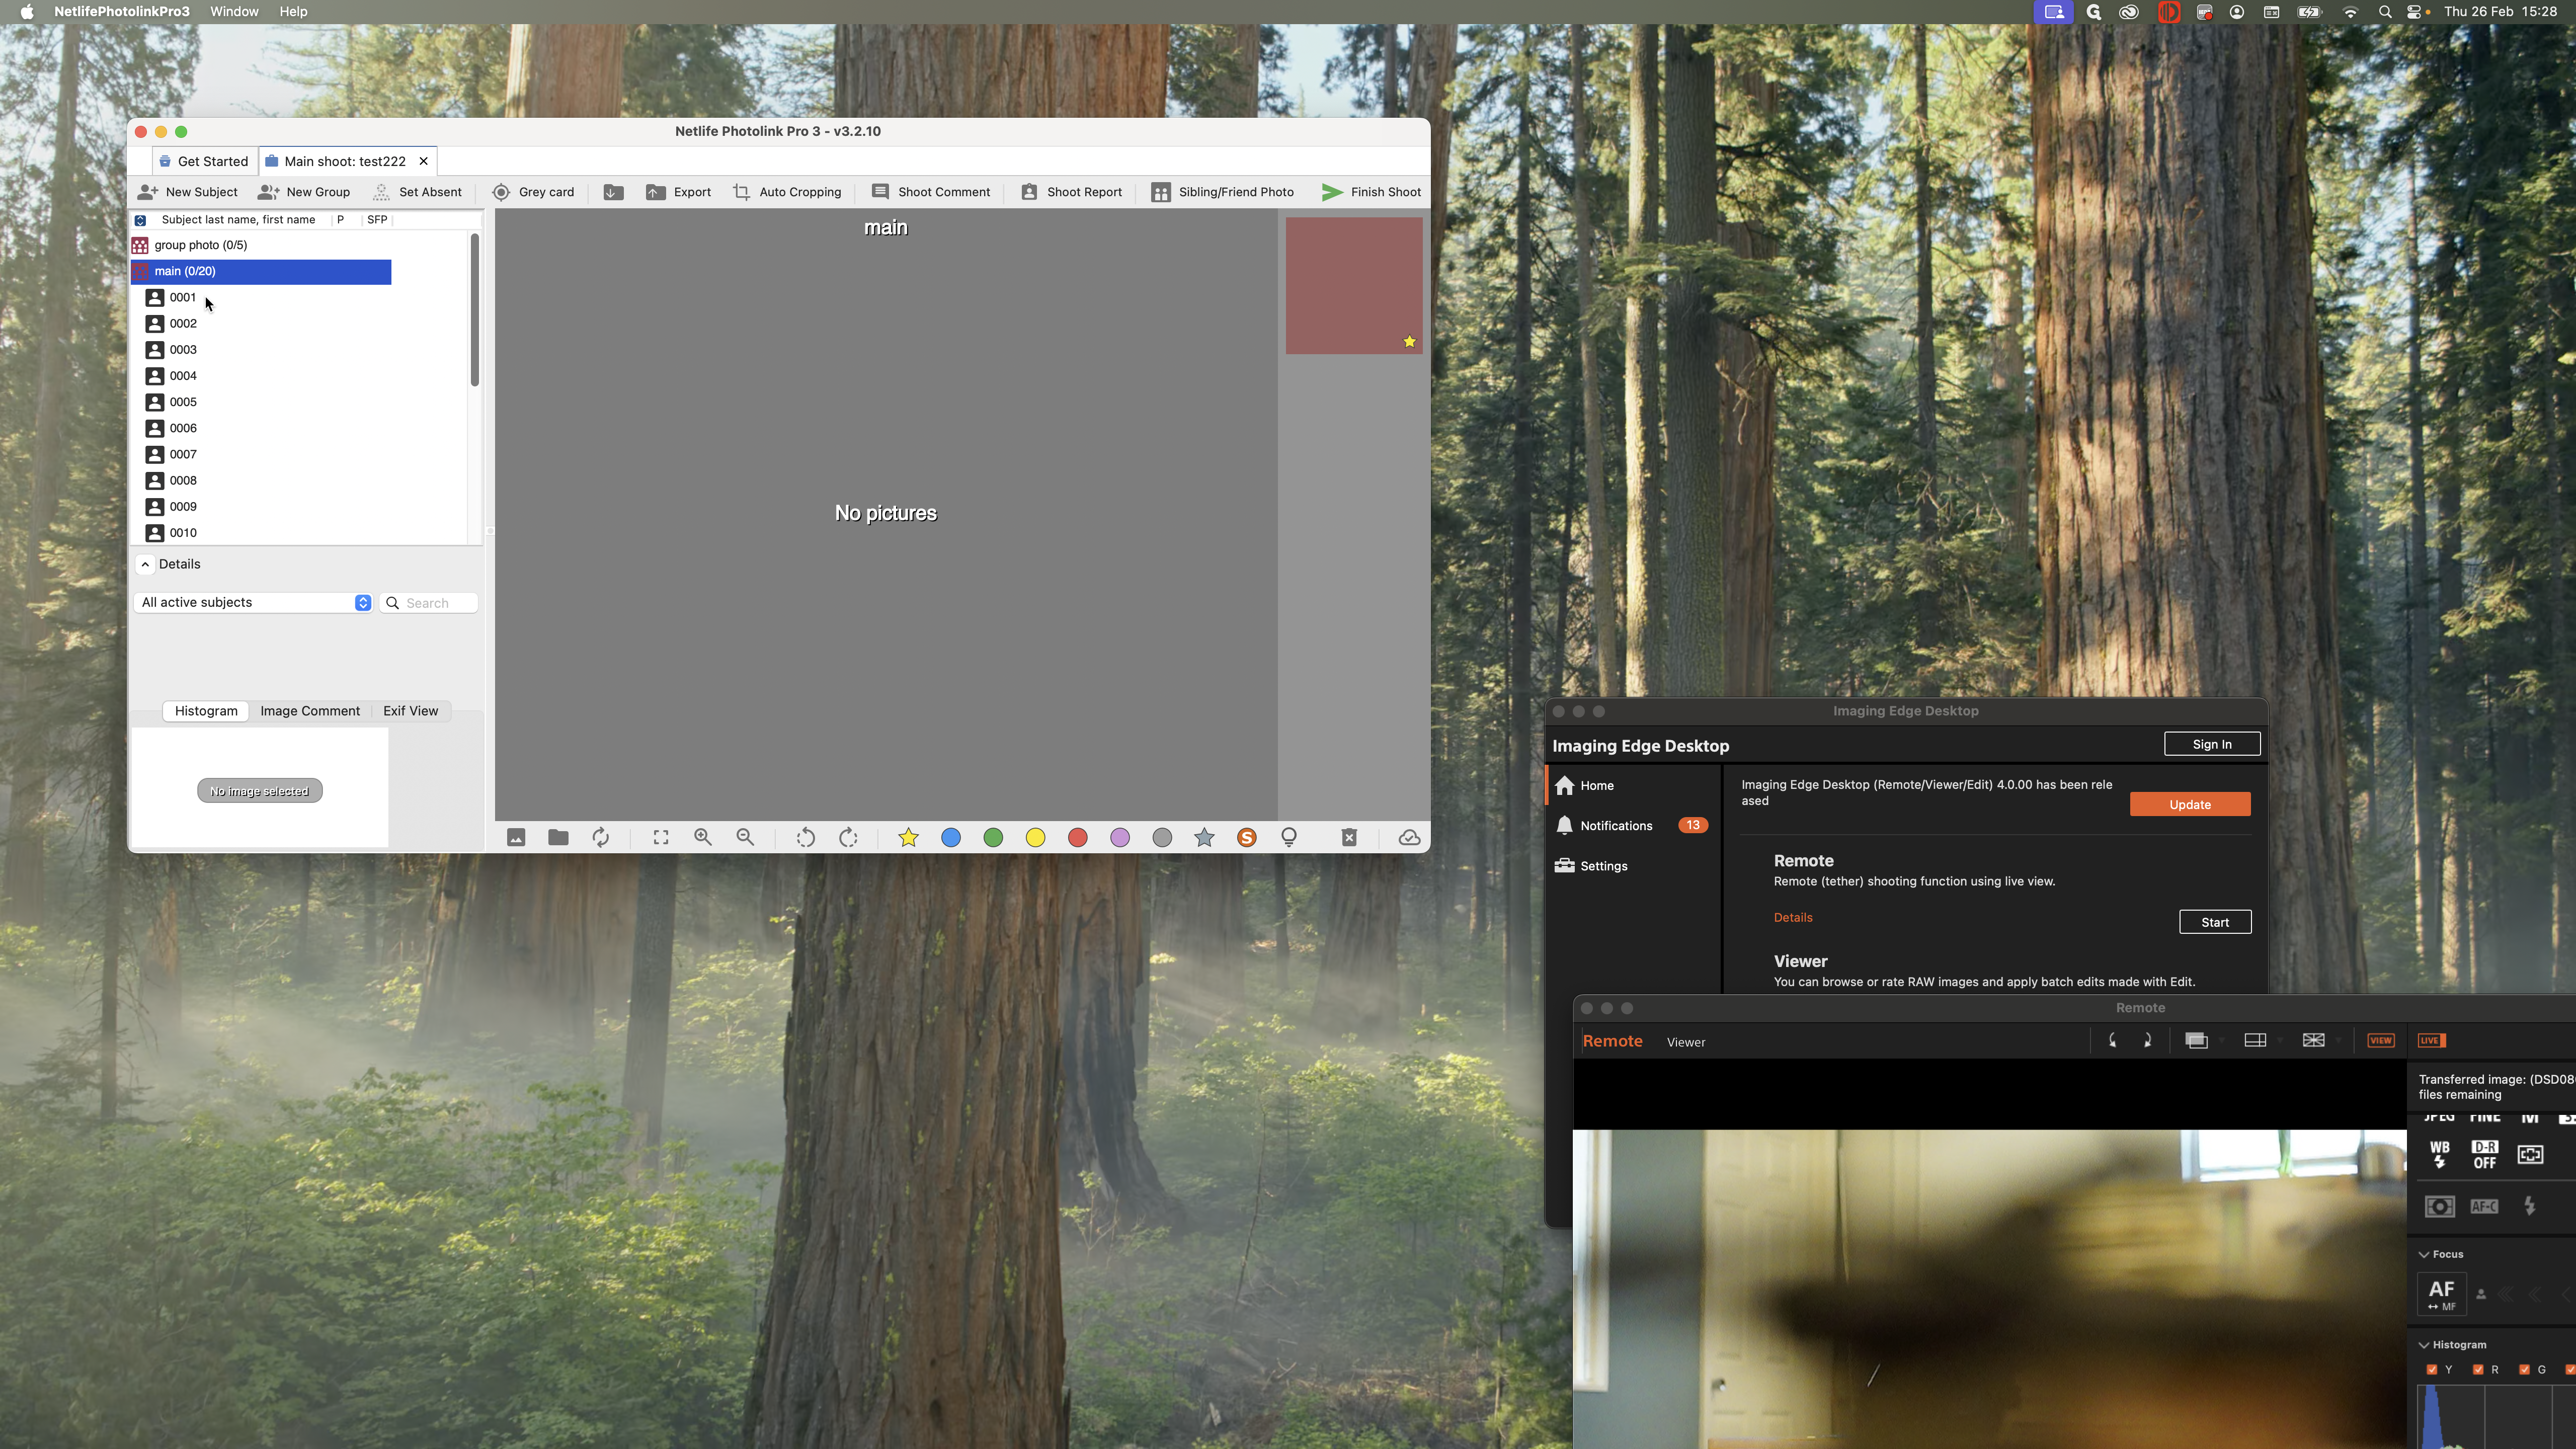
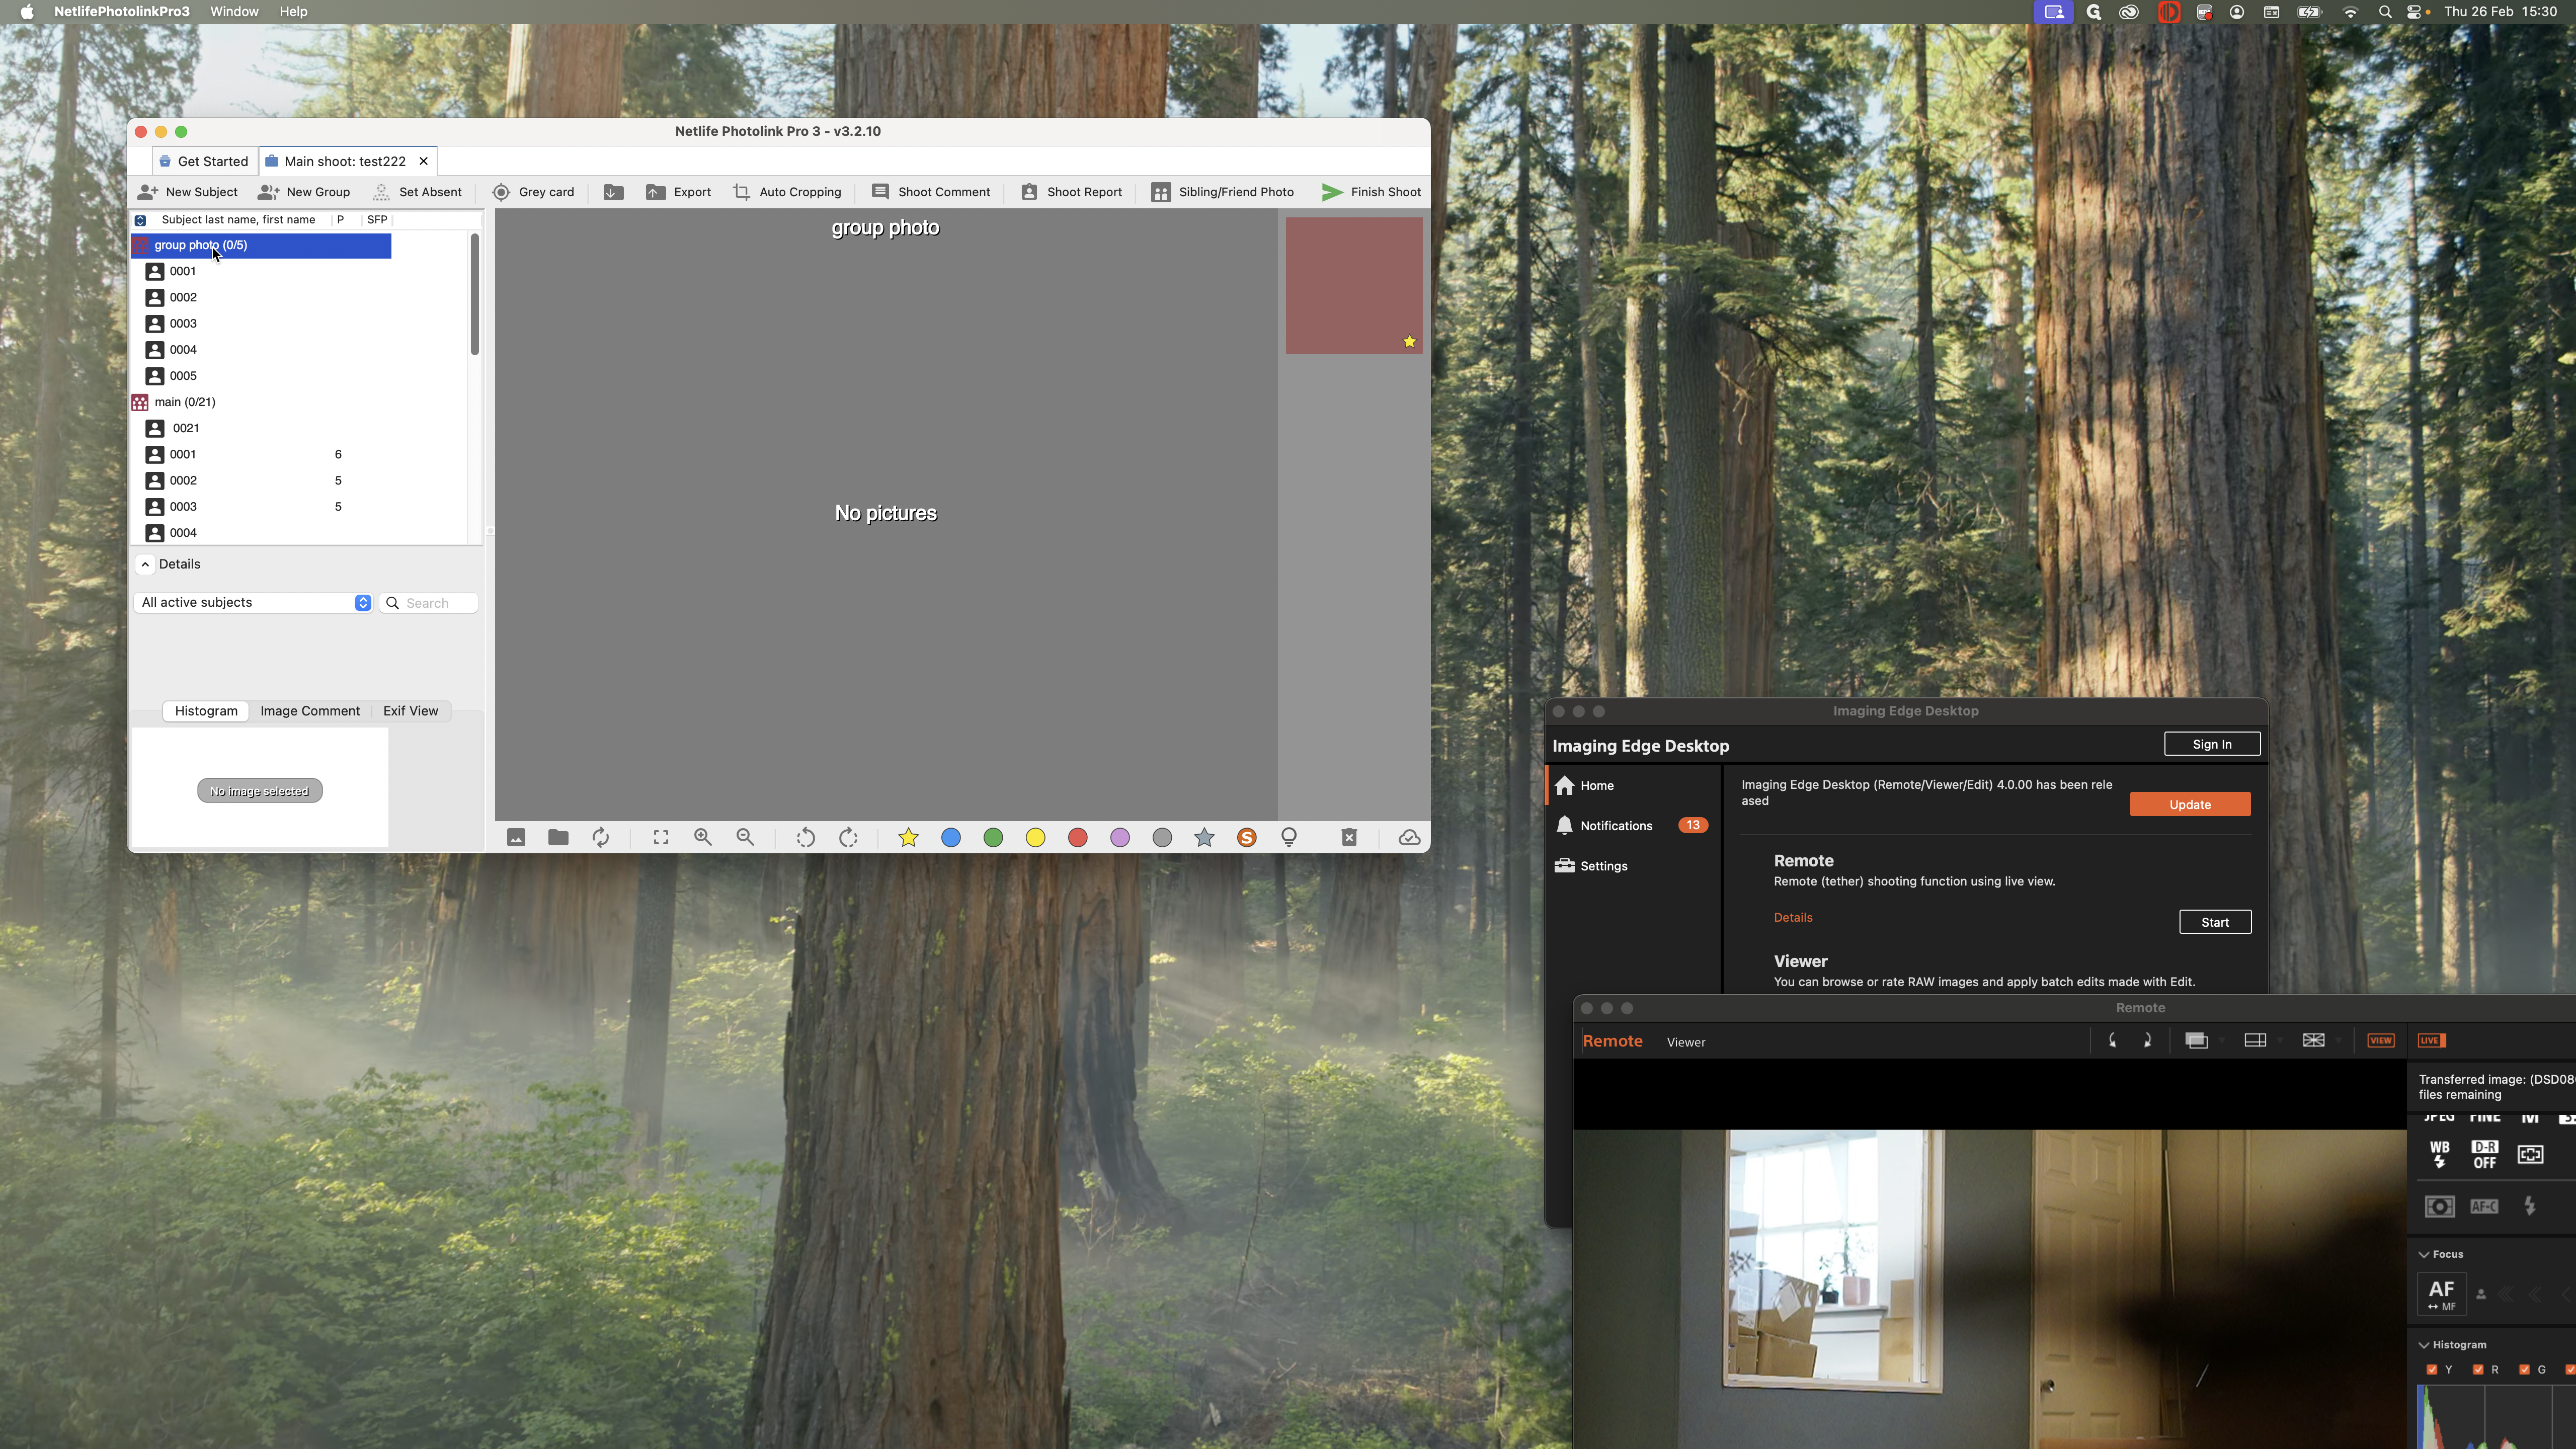
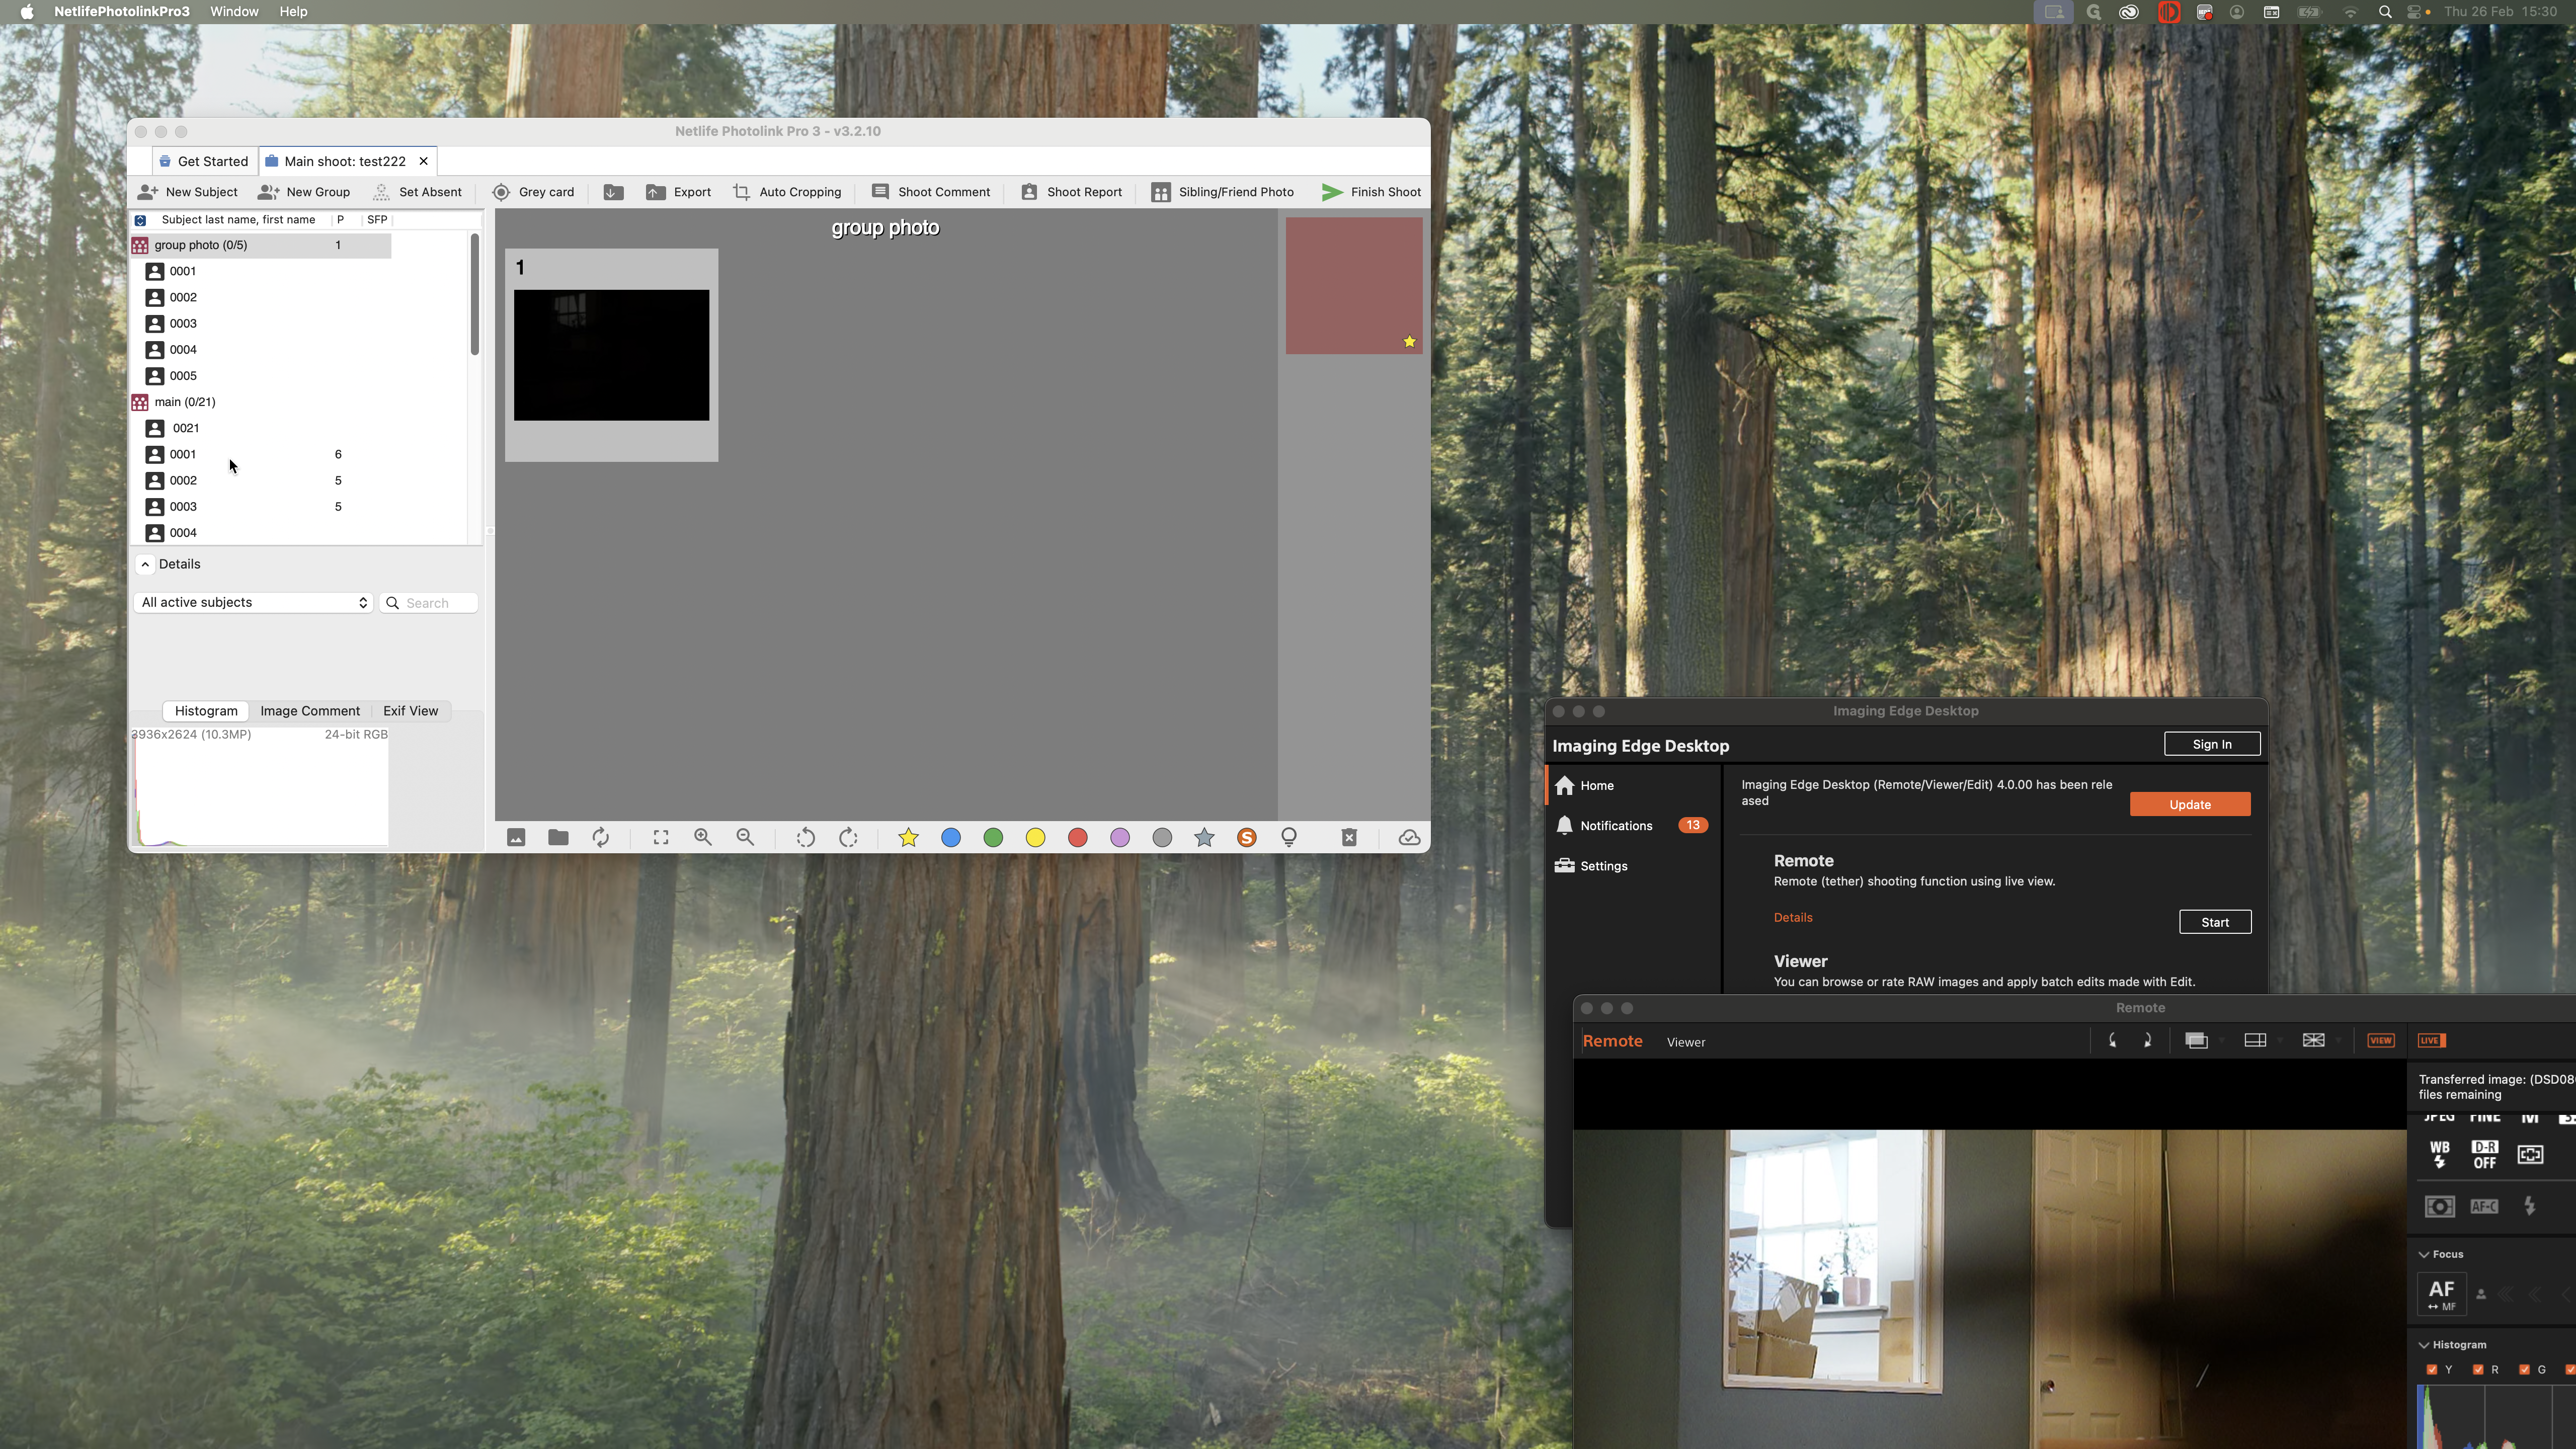
If you're shooting in the summertime, group photos are also quite popular. If this happens, you will see another group called "Group Photo." Take the group photos in this section.

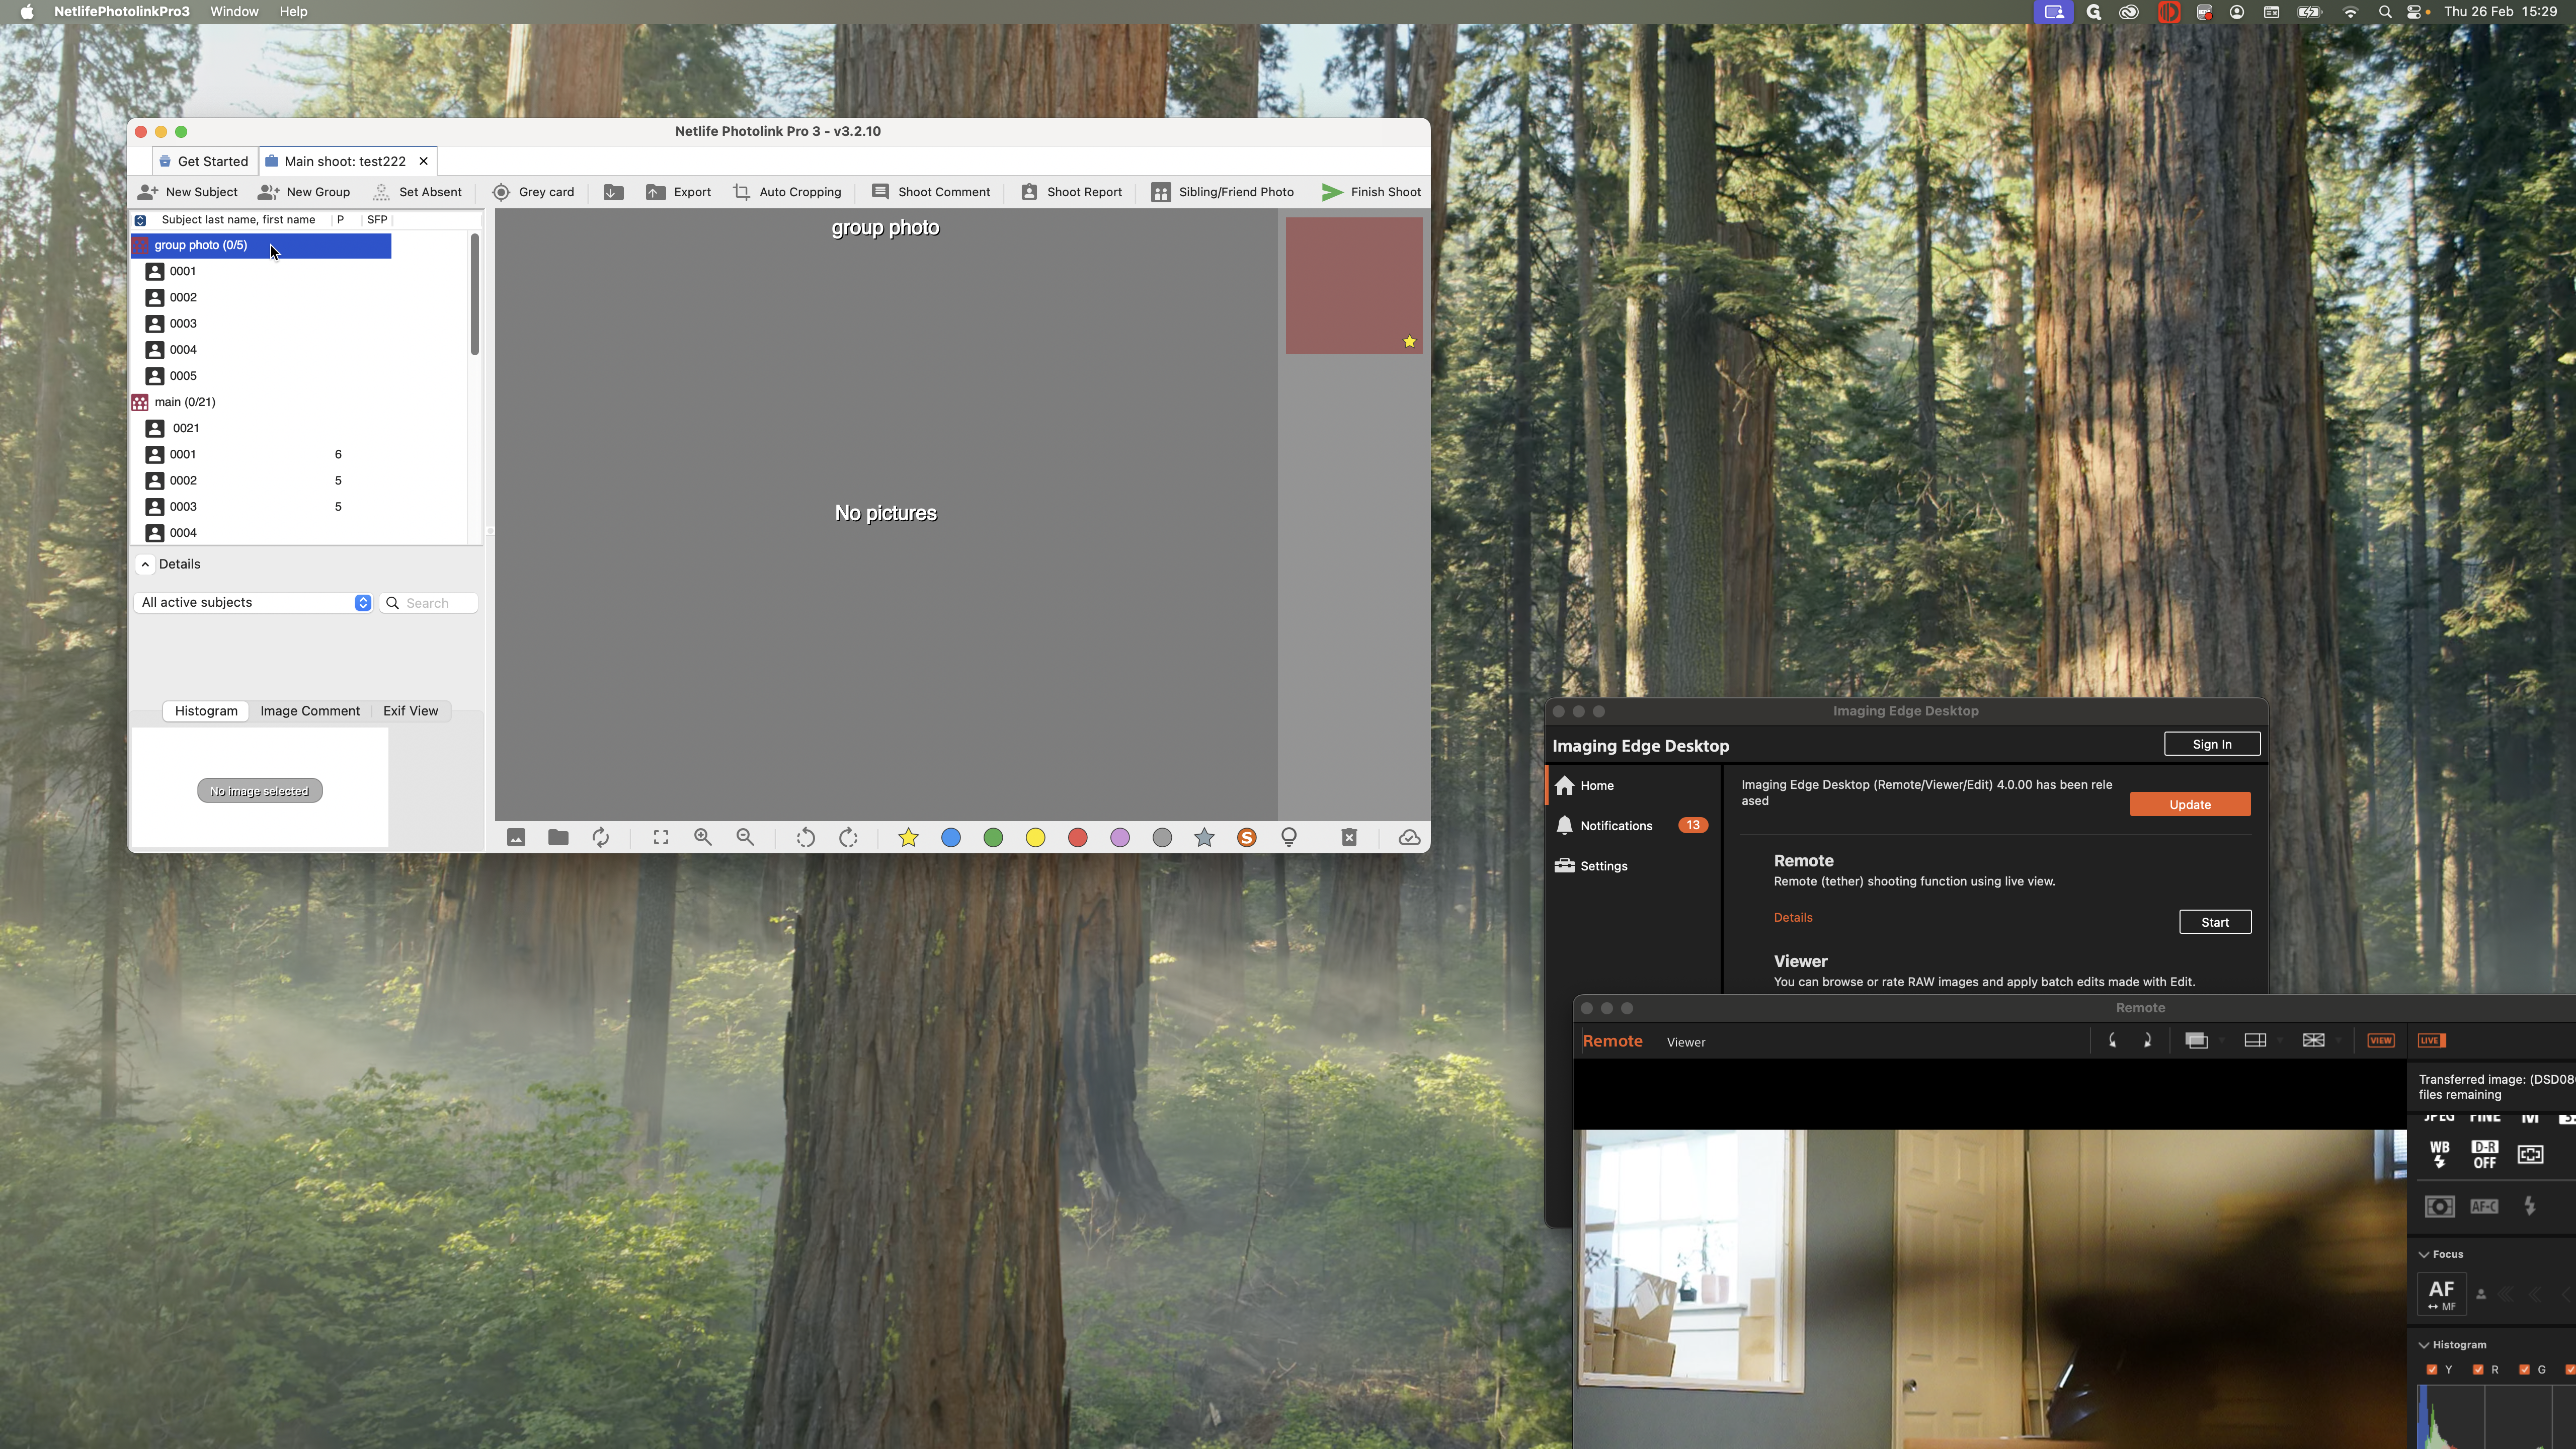
Not on the actual subject, but on the main group, like this.
This covers the main part of shooting here.
You can also add image comments.

Oops, I didn't mean that.

You can add image comments or shoot comments.
That covers the main part of using Netlife to shoot. Next, I will show you some extra features and explain what you are expected to do.