Netlife Without Tethering: Step-by-Step
Learn how to efficiently use Netlife for organizing and uploading photos without tethering. Perfect for outdoor shoots or situations where tethering isn't possible. Step-by-step instructions for sorting, tagging, and uploading images.
In this guide, we'll learn how to use Netlife to organize and upload your photos after a shoot when you are not tethering your camera to a computer. This process is useful if you are shooting in a location where tethering is not possible, such as outdoors or when you cannot use your laptop.
We will cover how to transfer images from your SD card, sort them by subject, tag favorites, and prepare your shoot for upload.
Let's get started
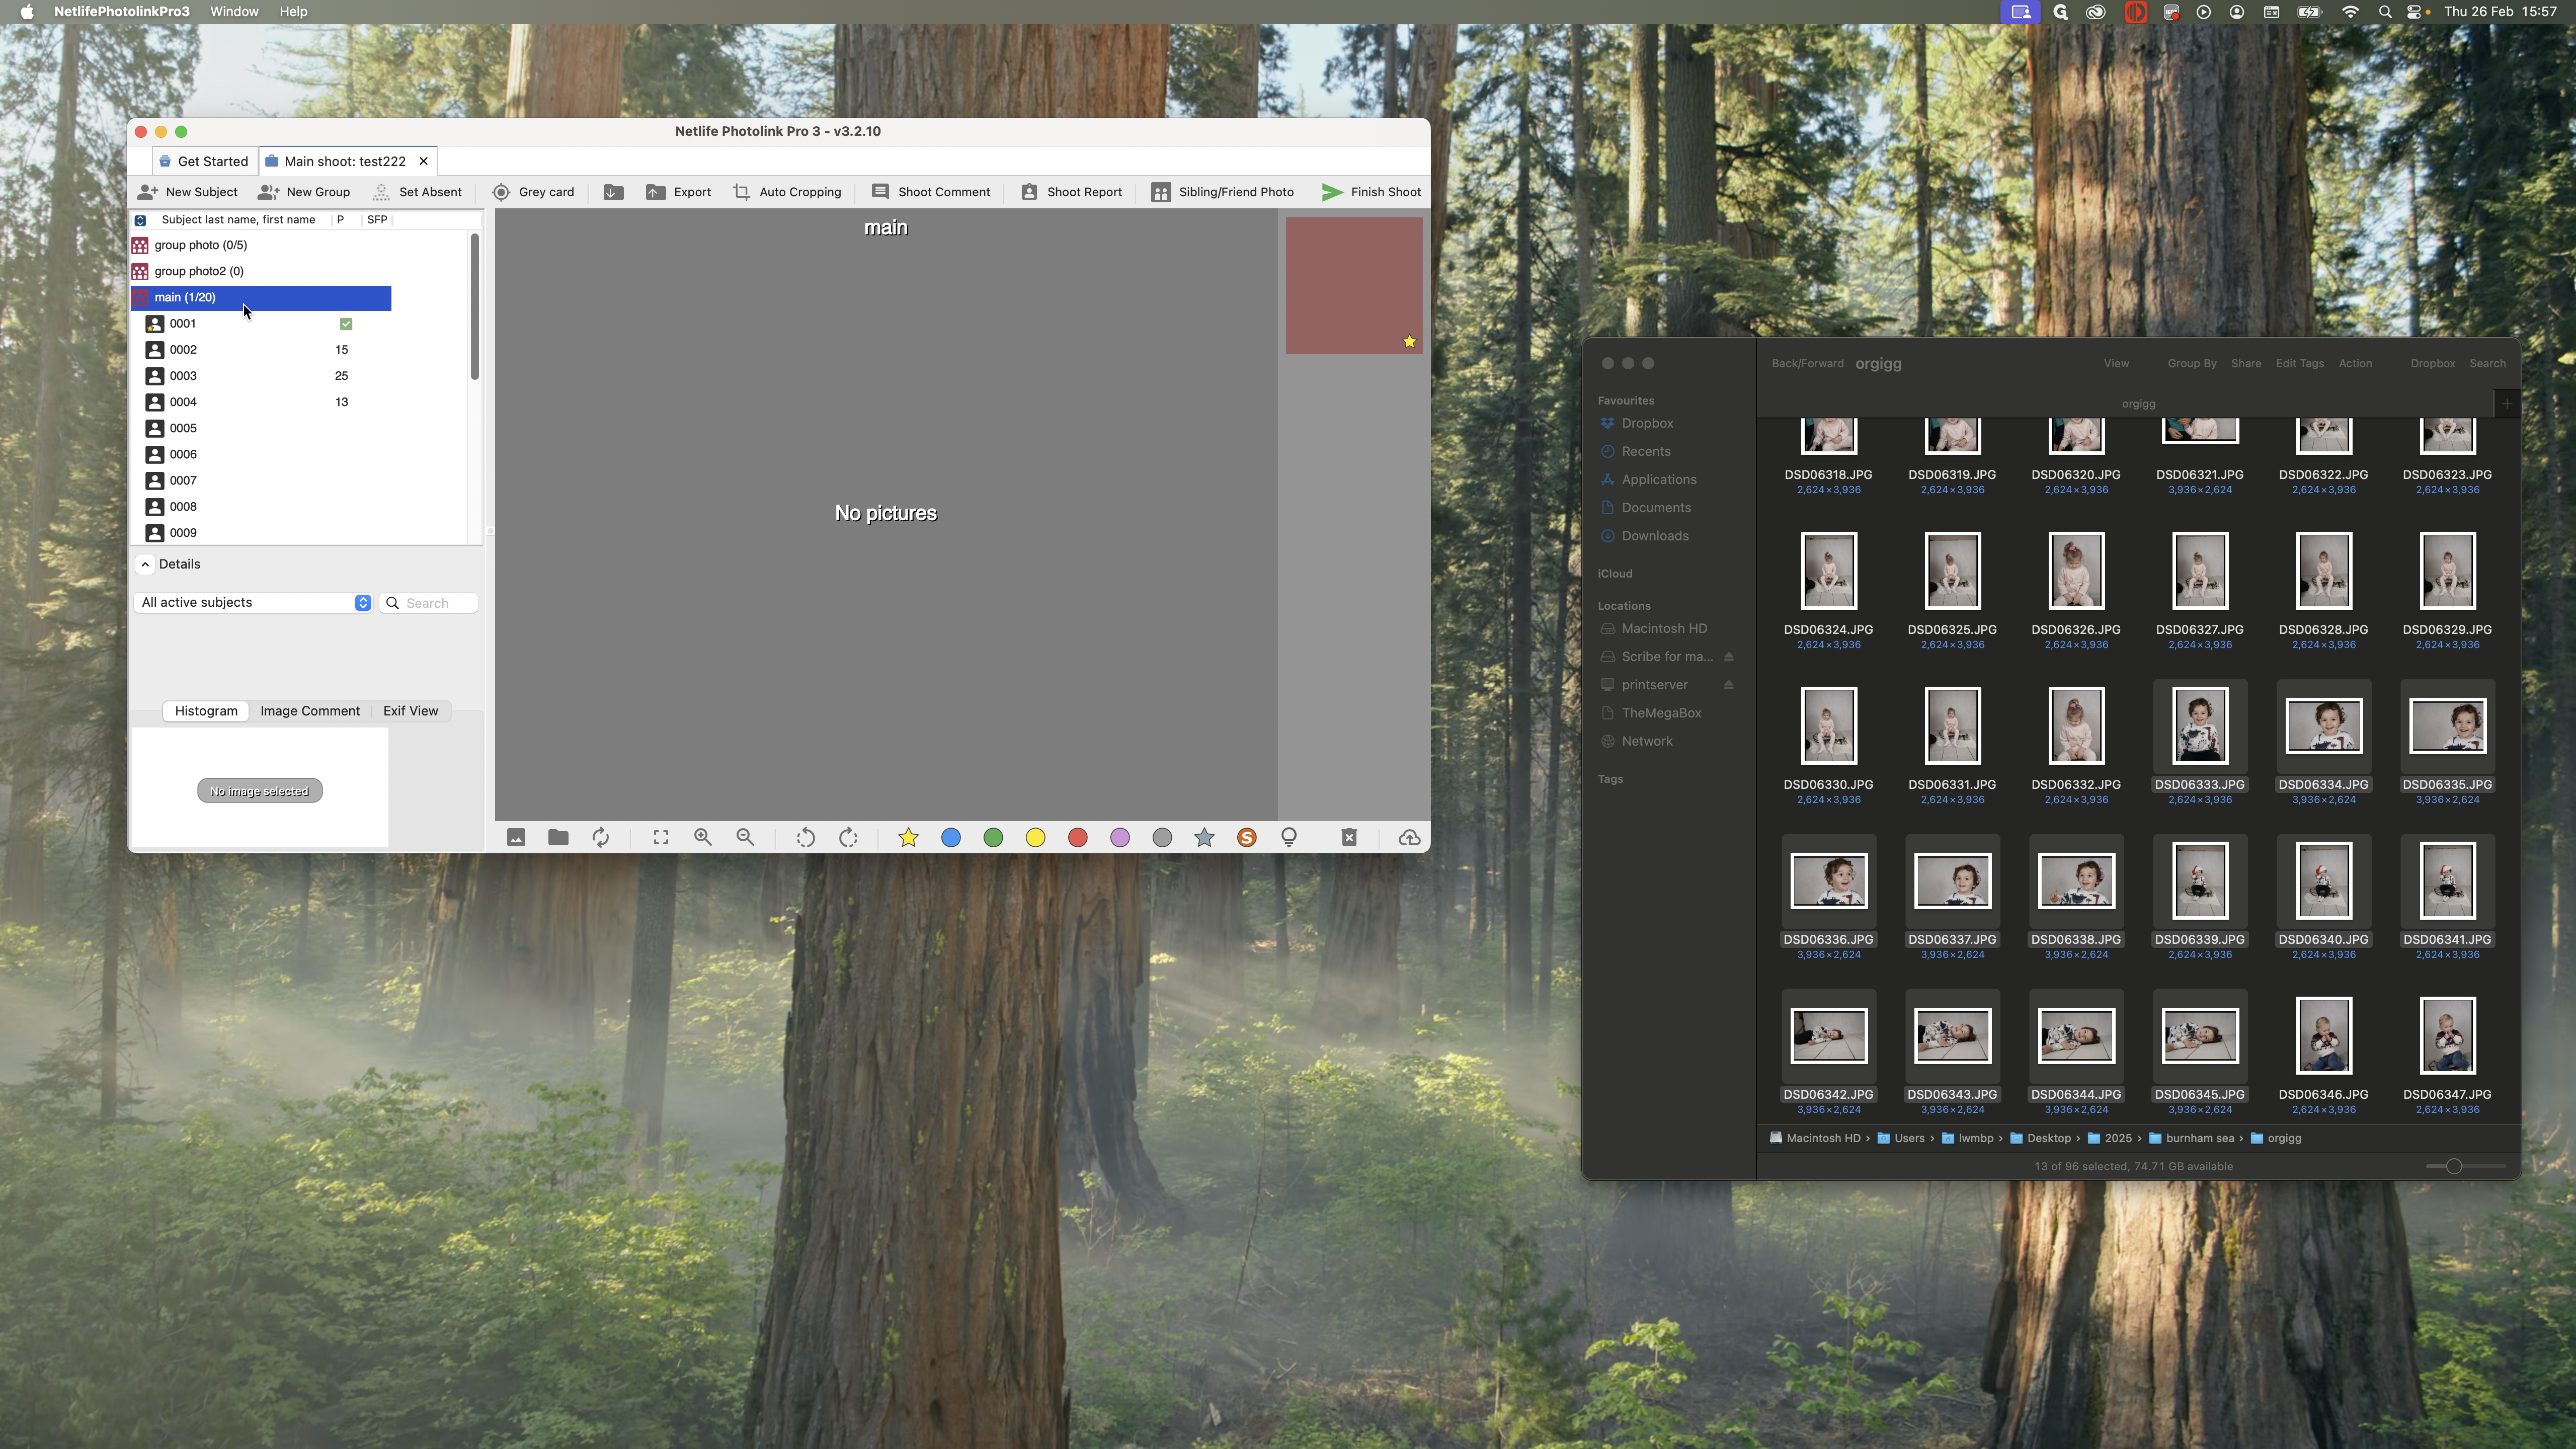
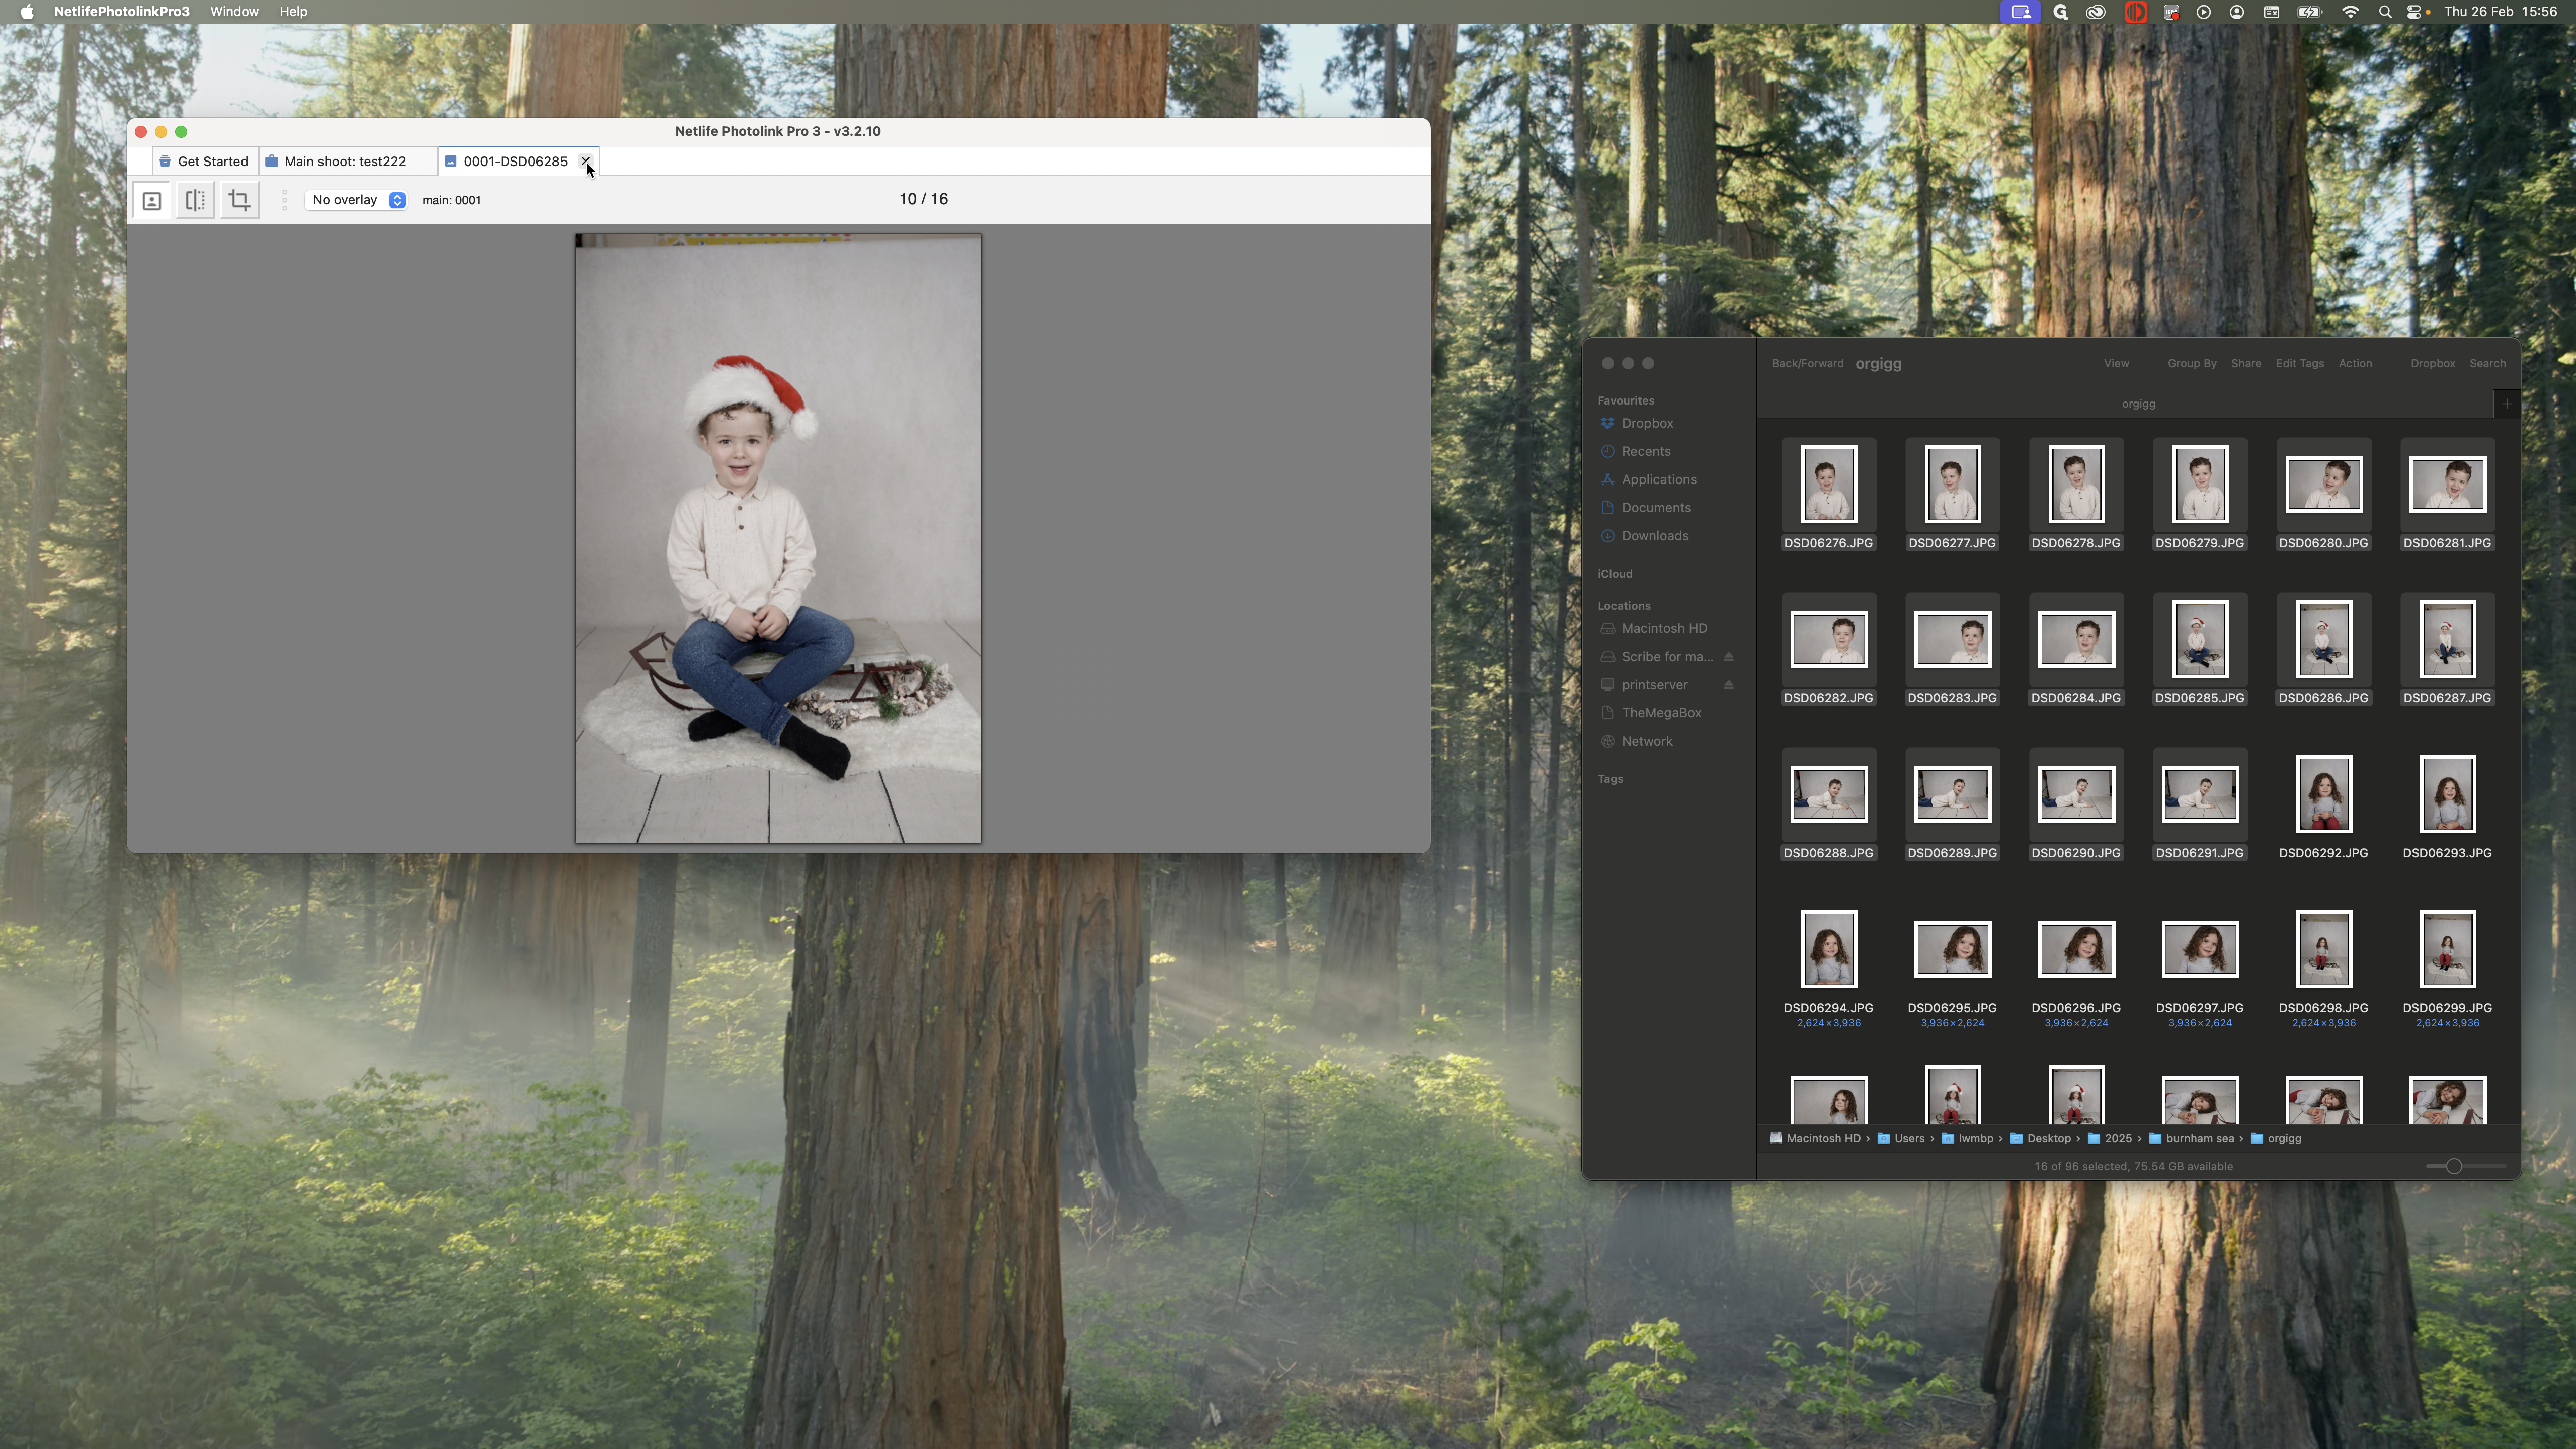
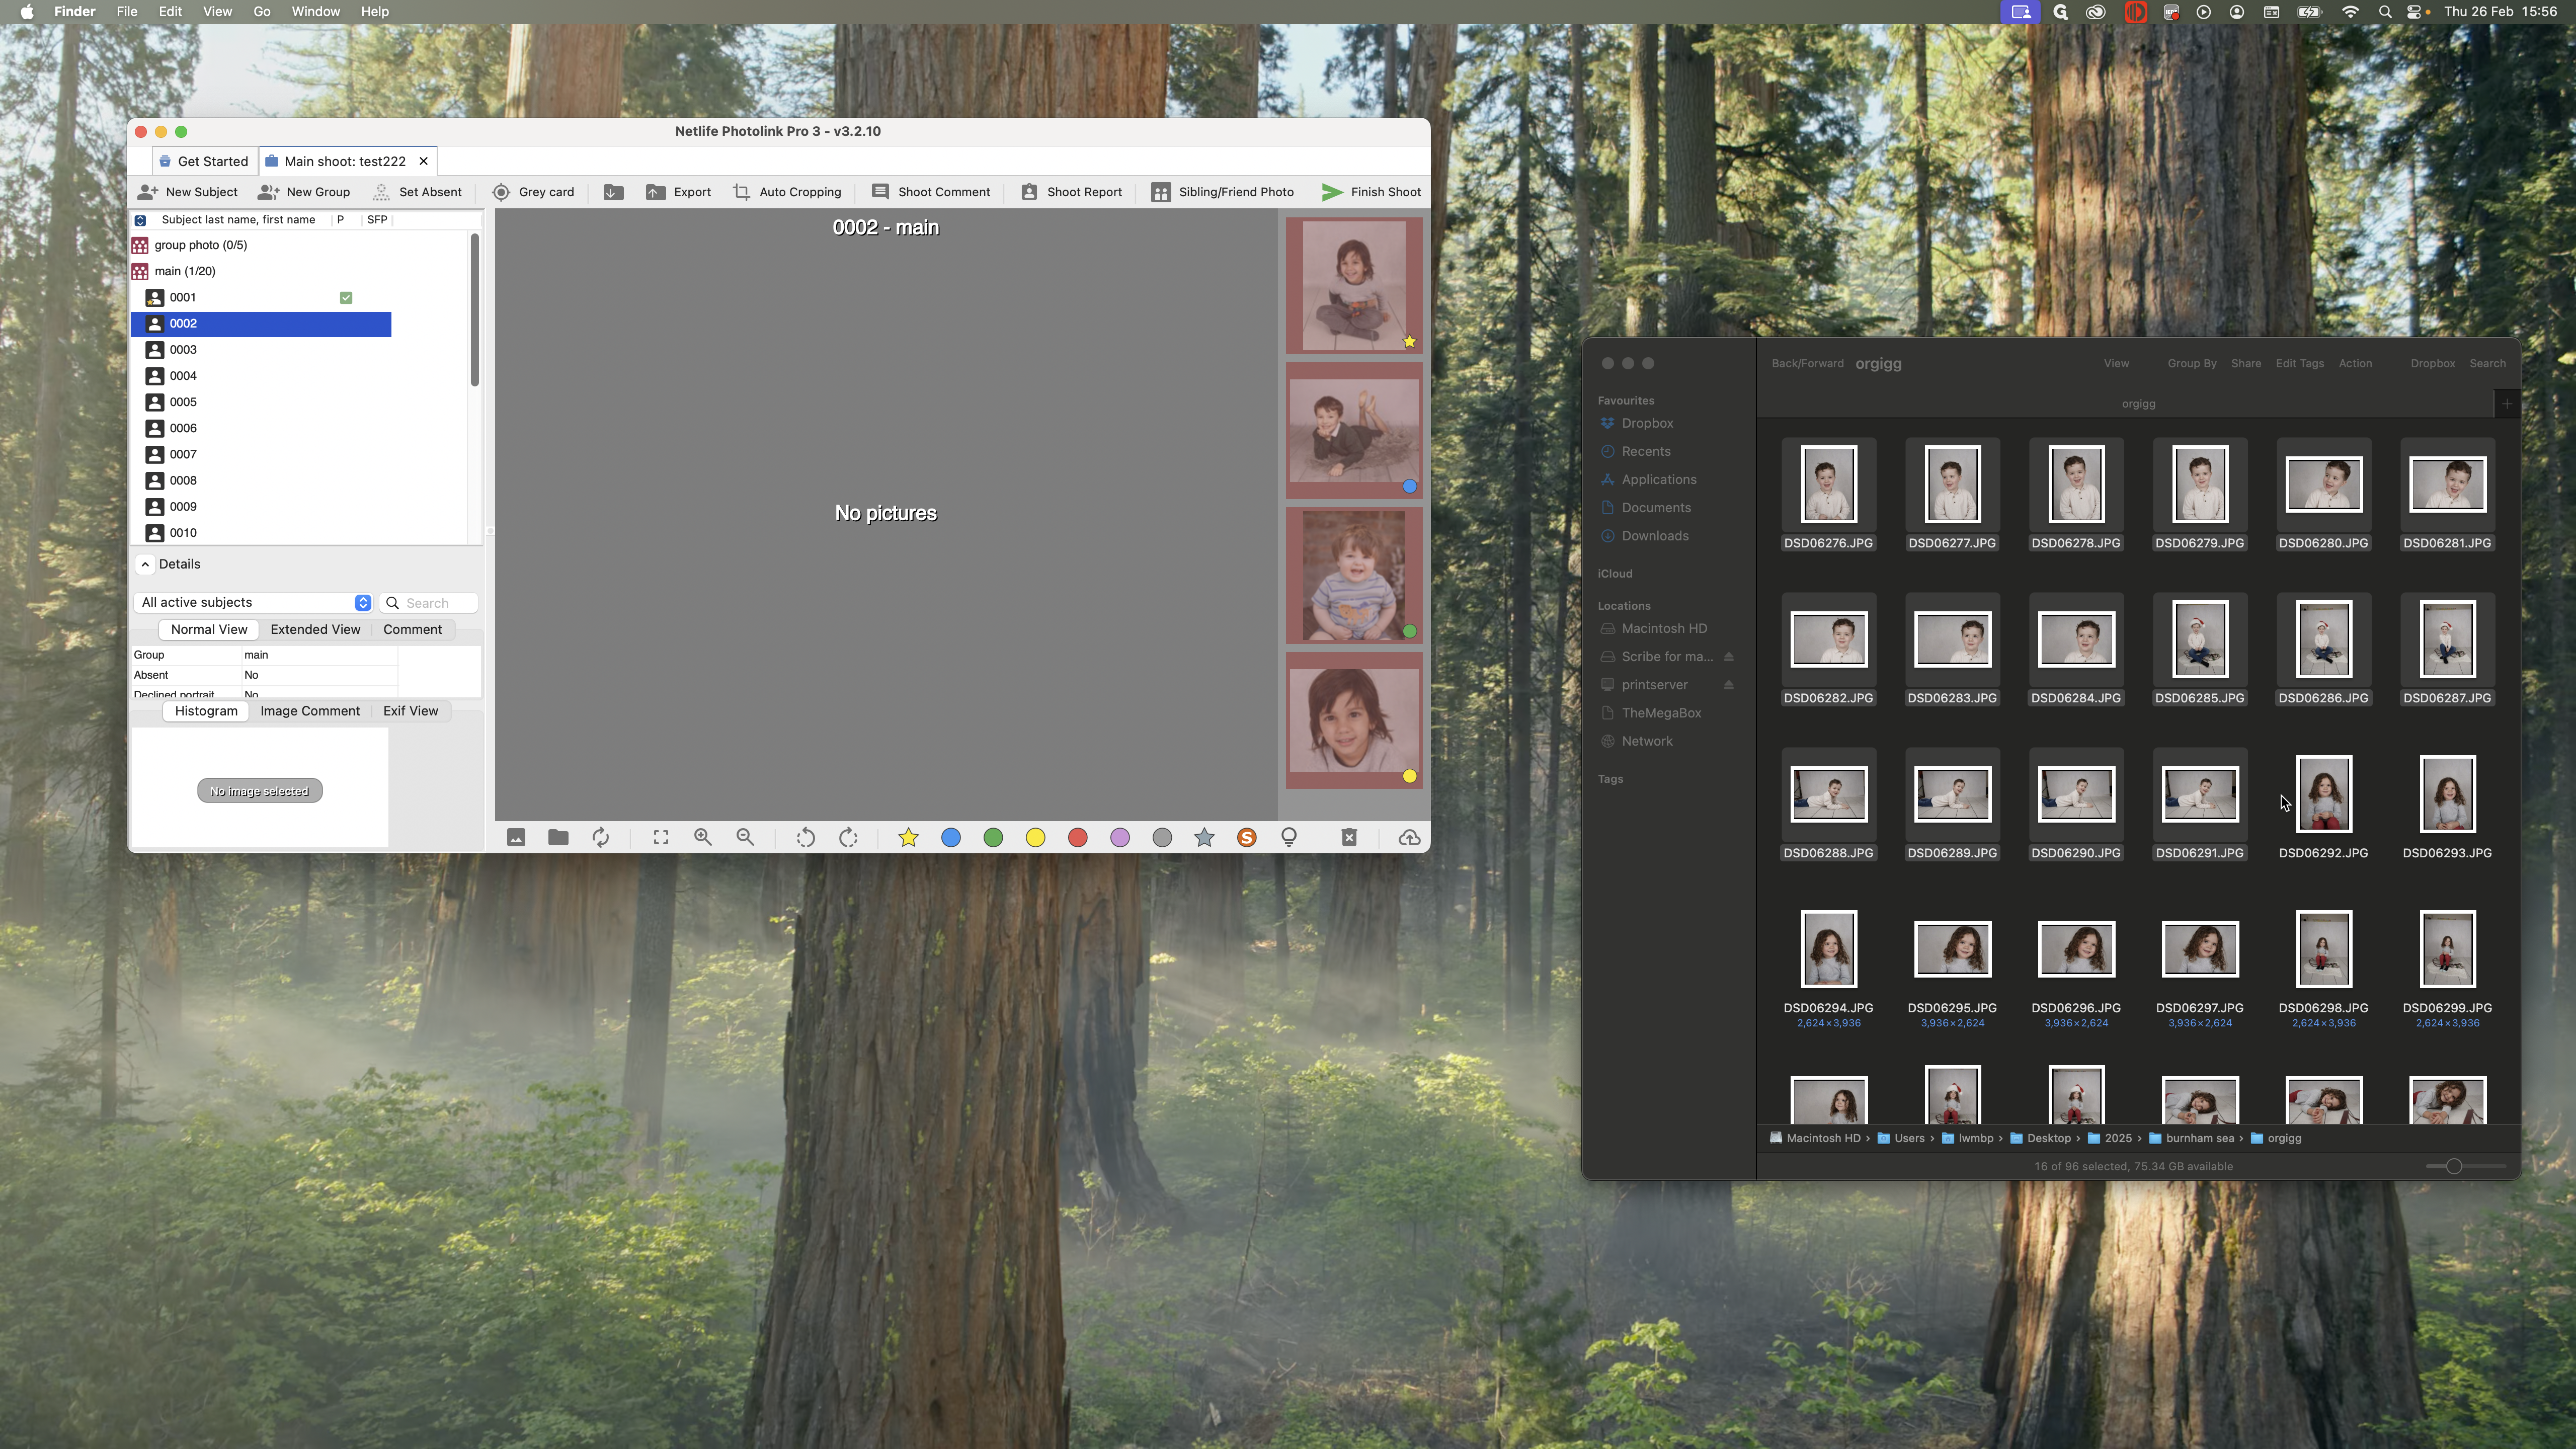
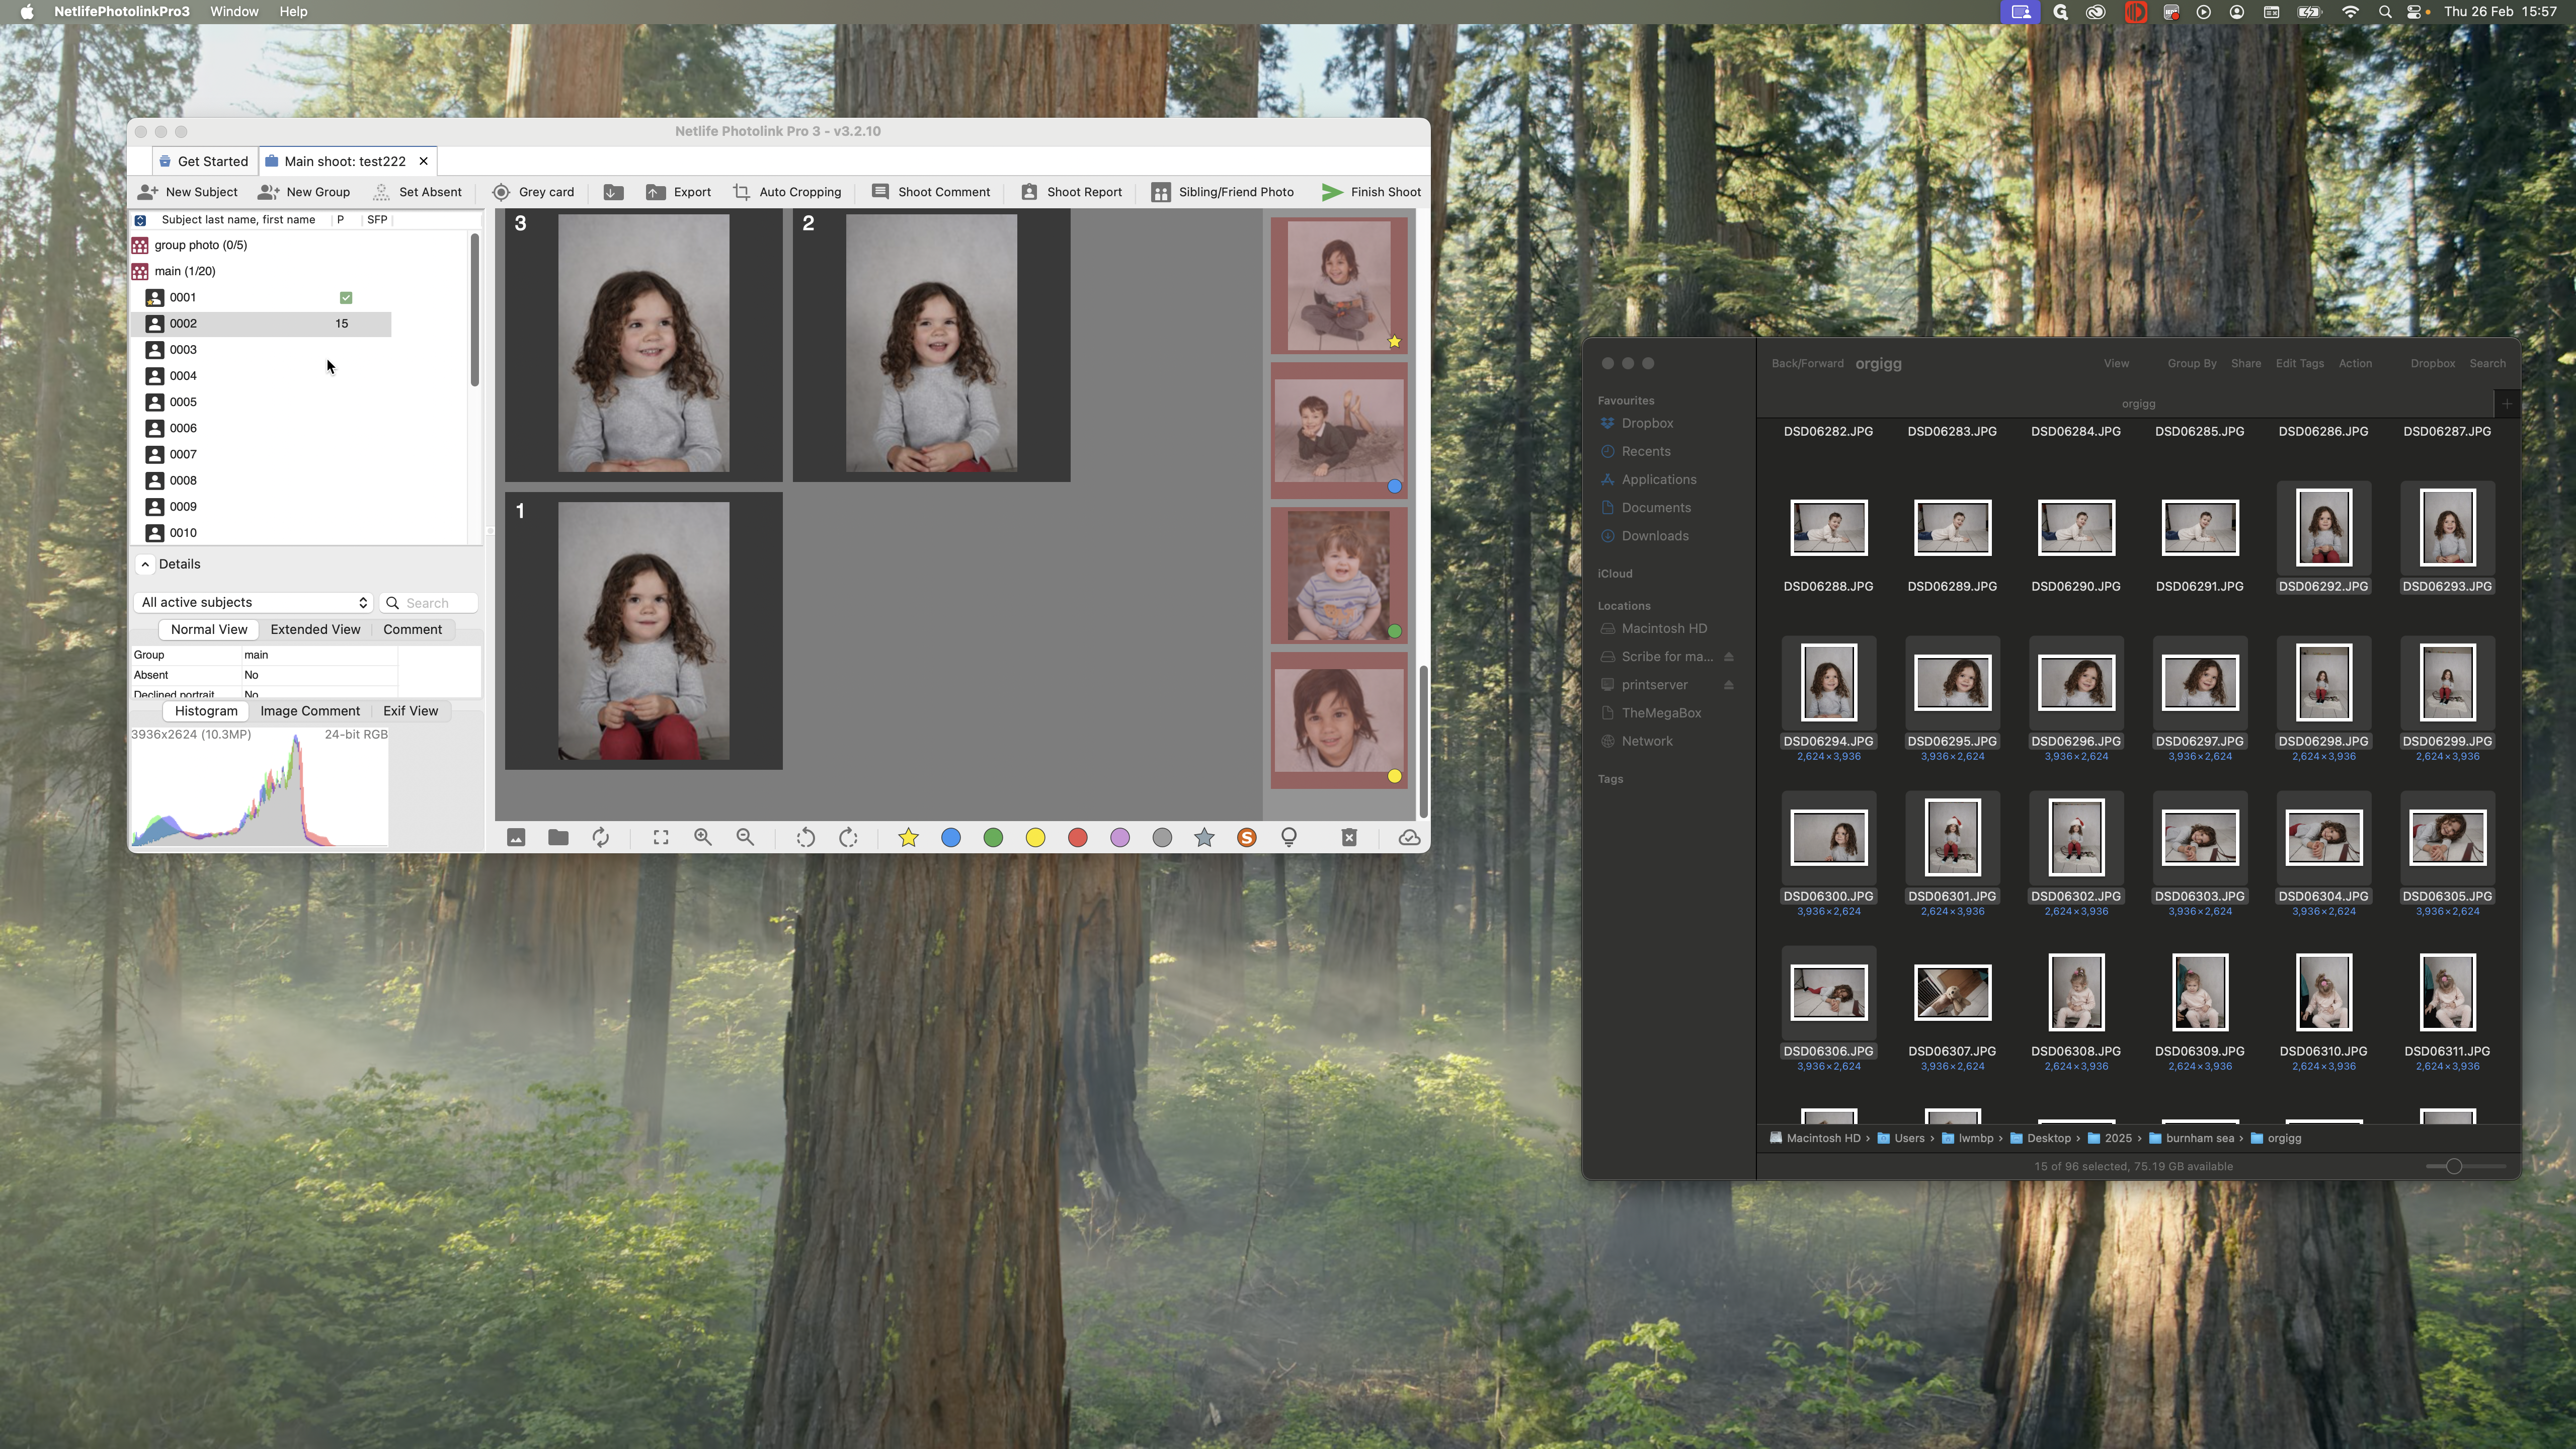
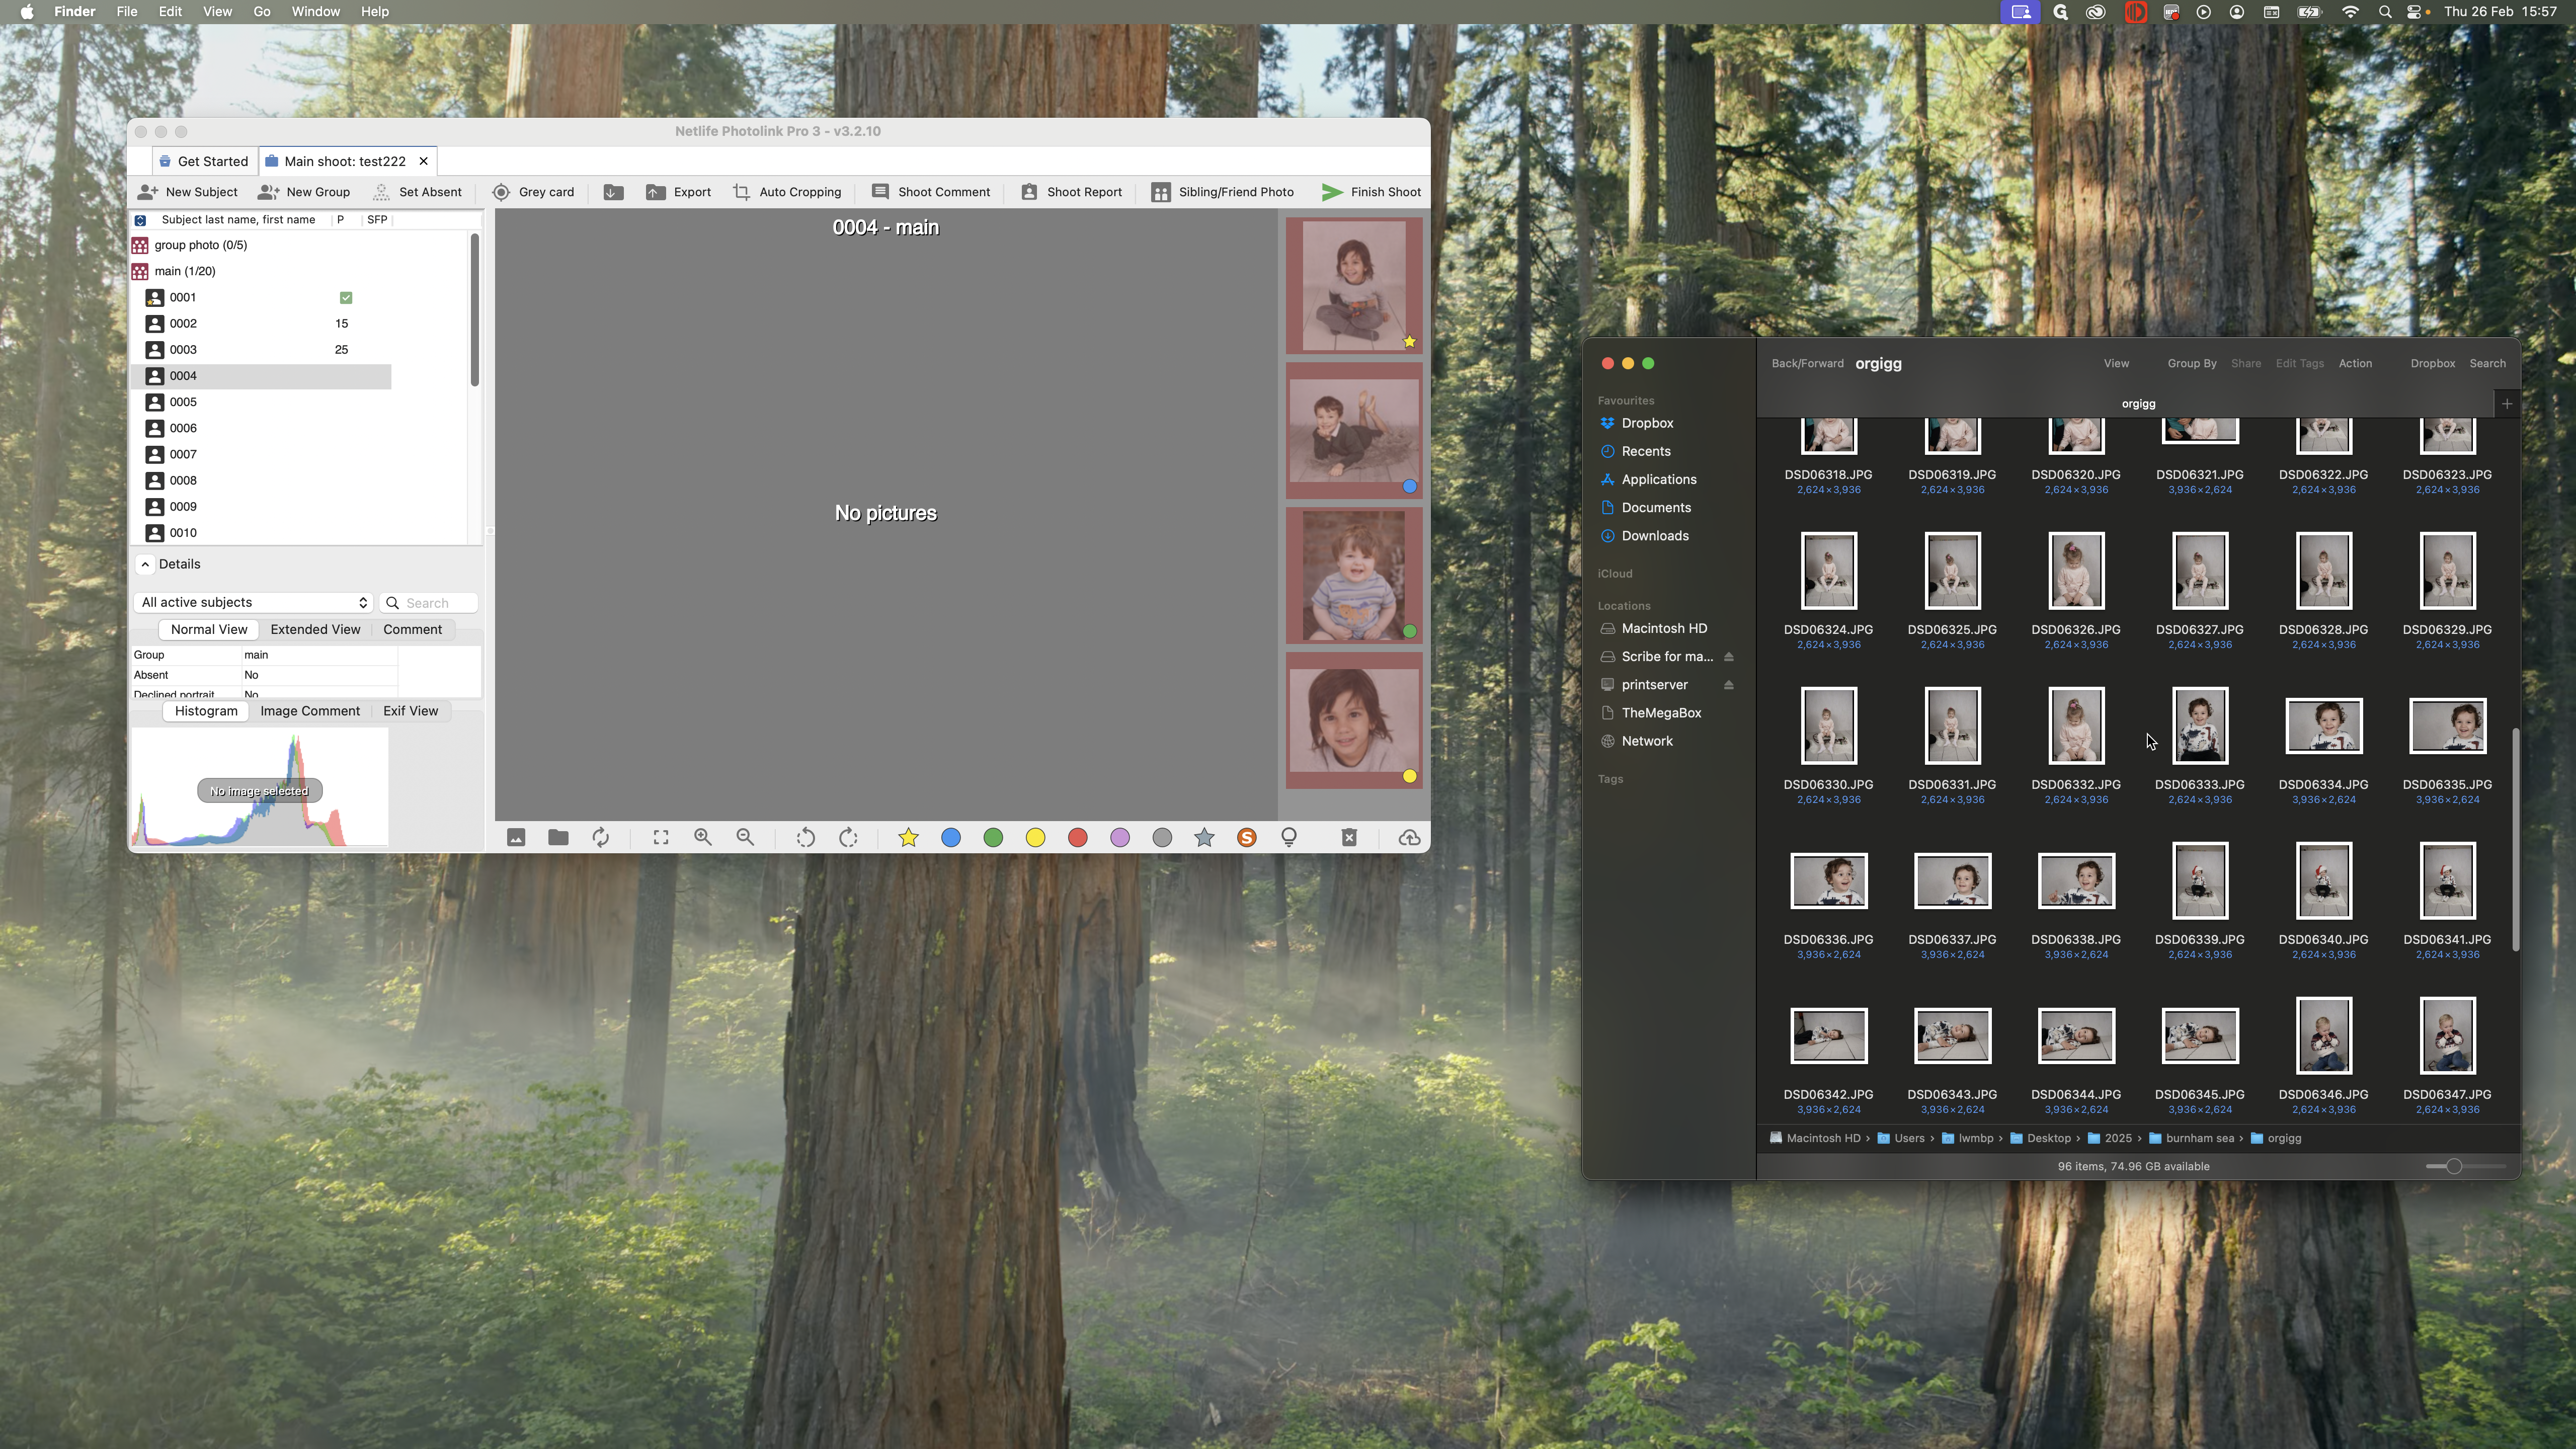
This guide explains how to use Netlife without tethering. This might happen if you can't use your laptop and tether during a shoot, or if the shoot is outdoors. Shoot as usual, making sure all your pictures are saved to your SD card. After the shoot, plug your SD card into your computer. Locate the folder containing all your images from the shoot. It would look like this.
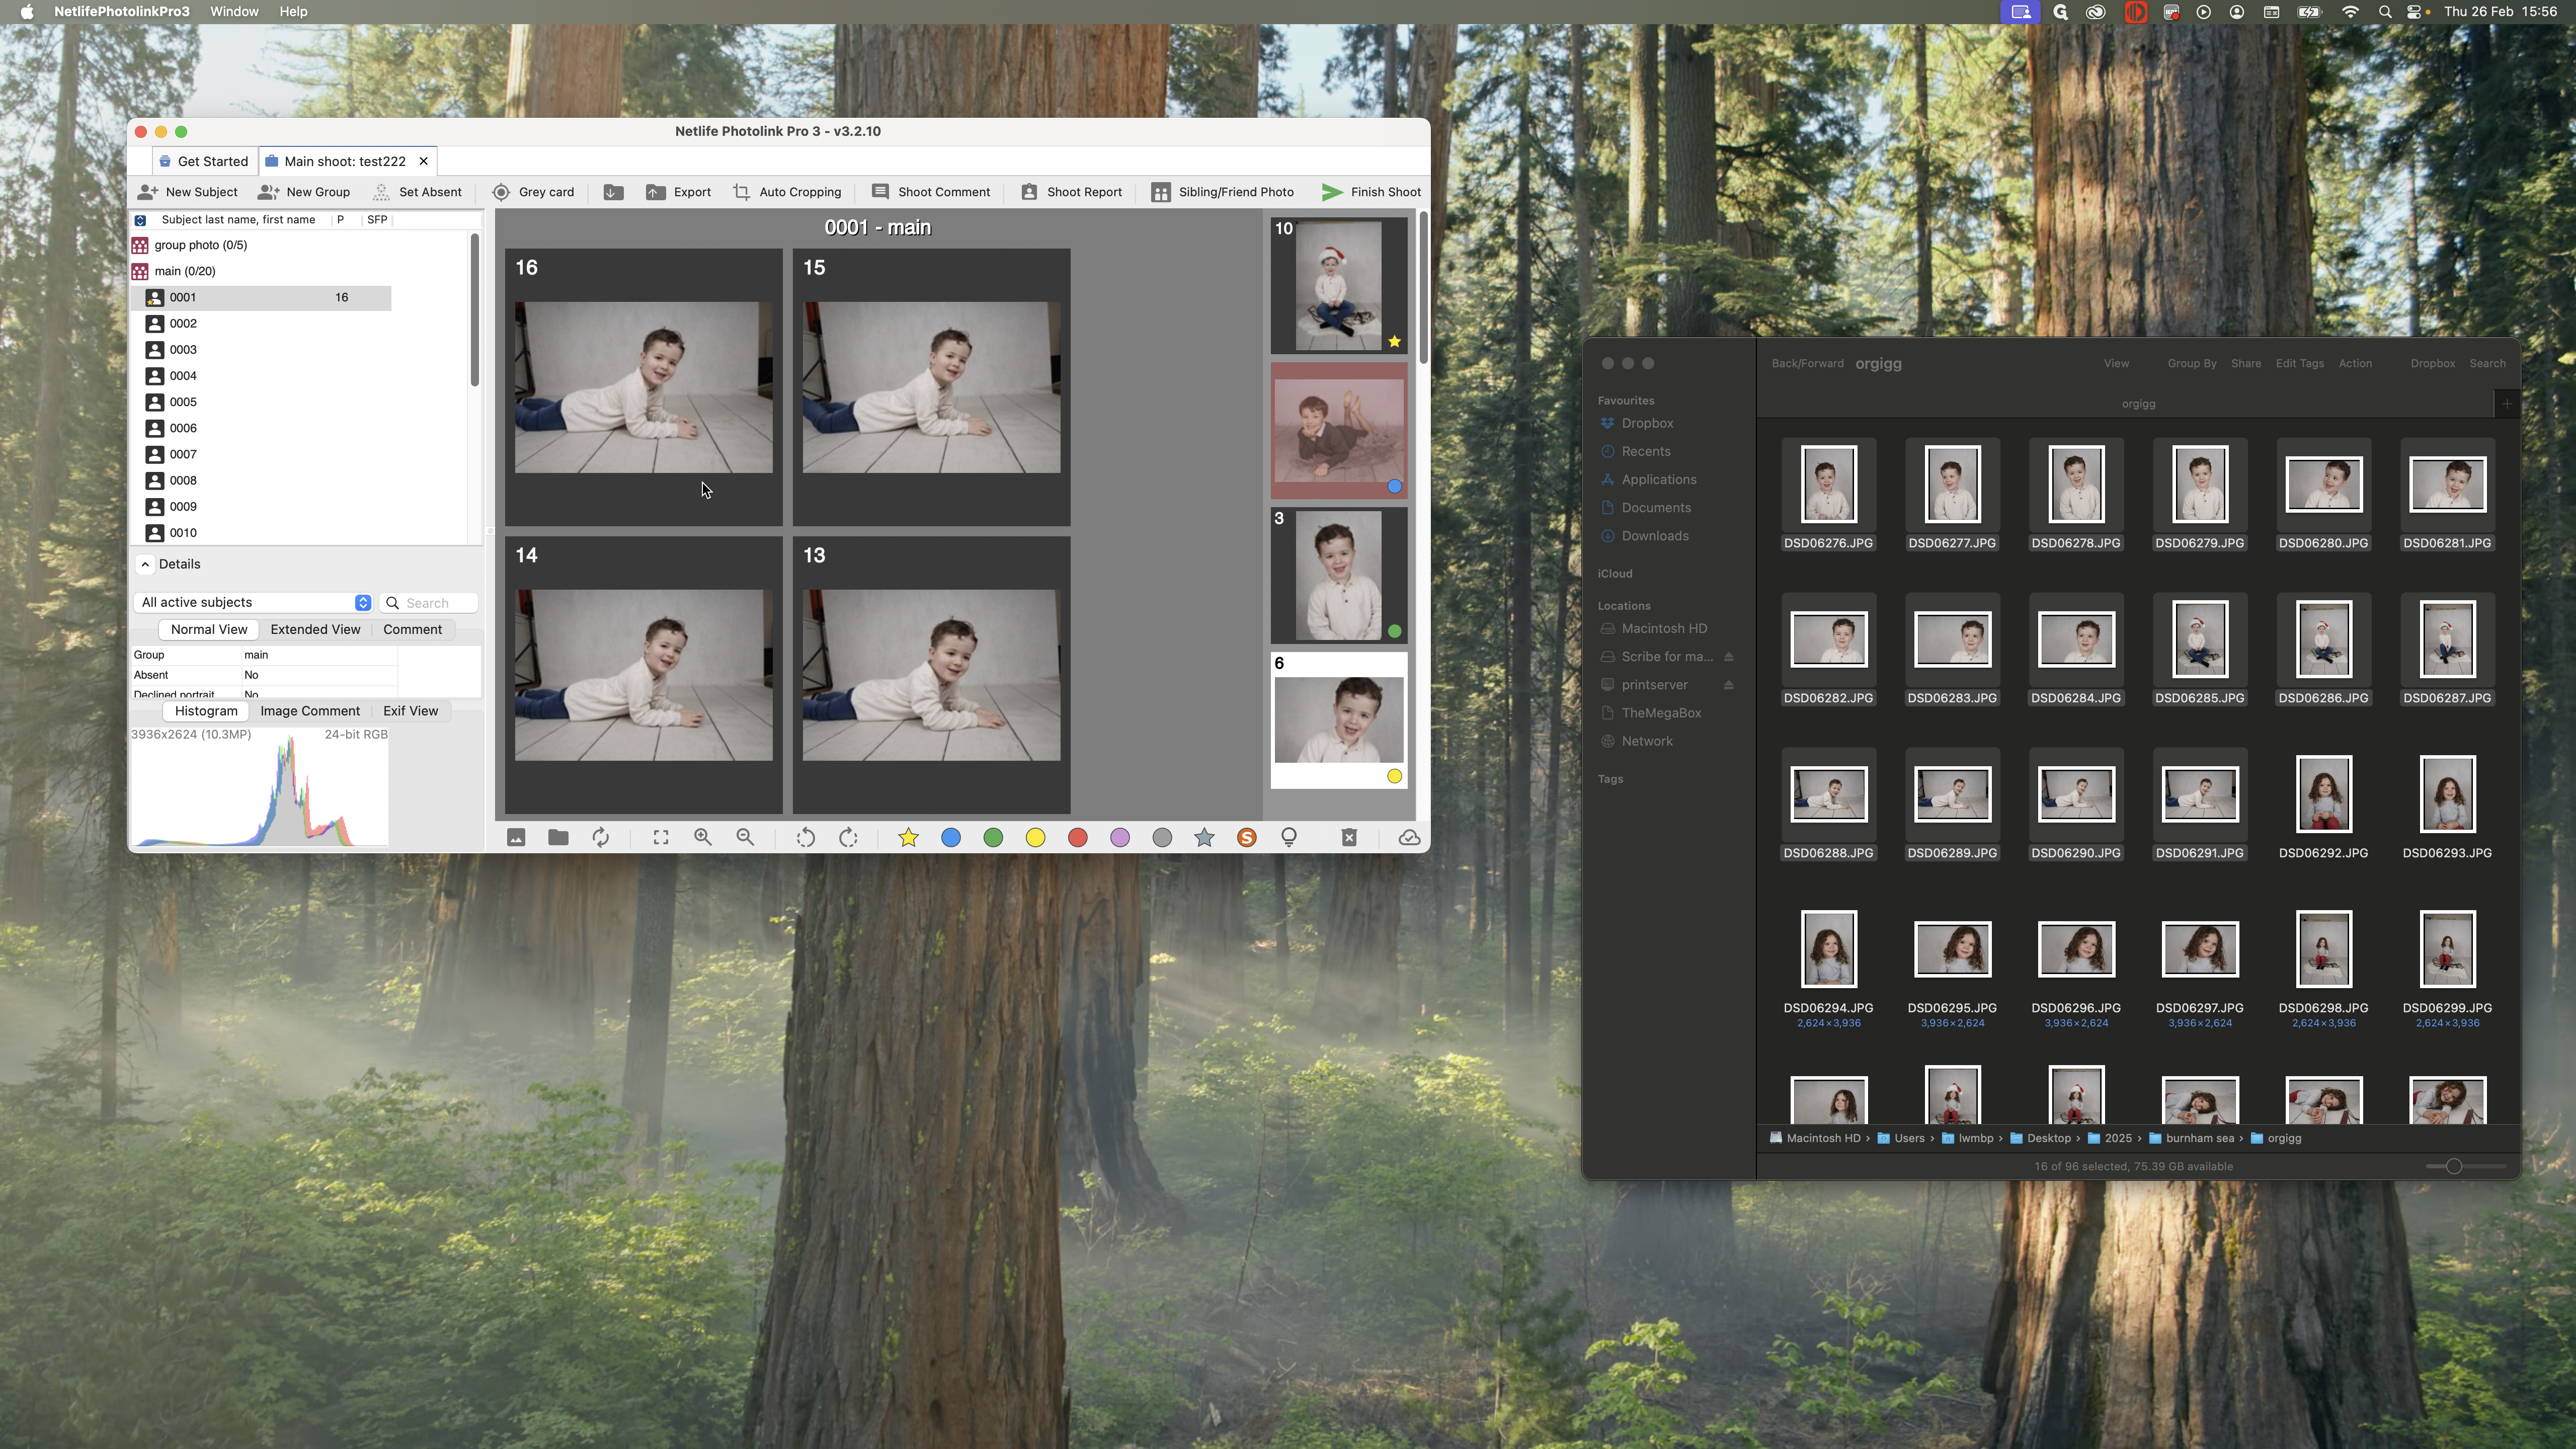
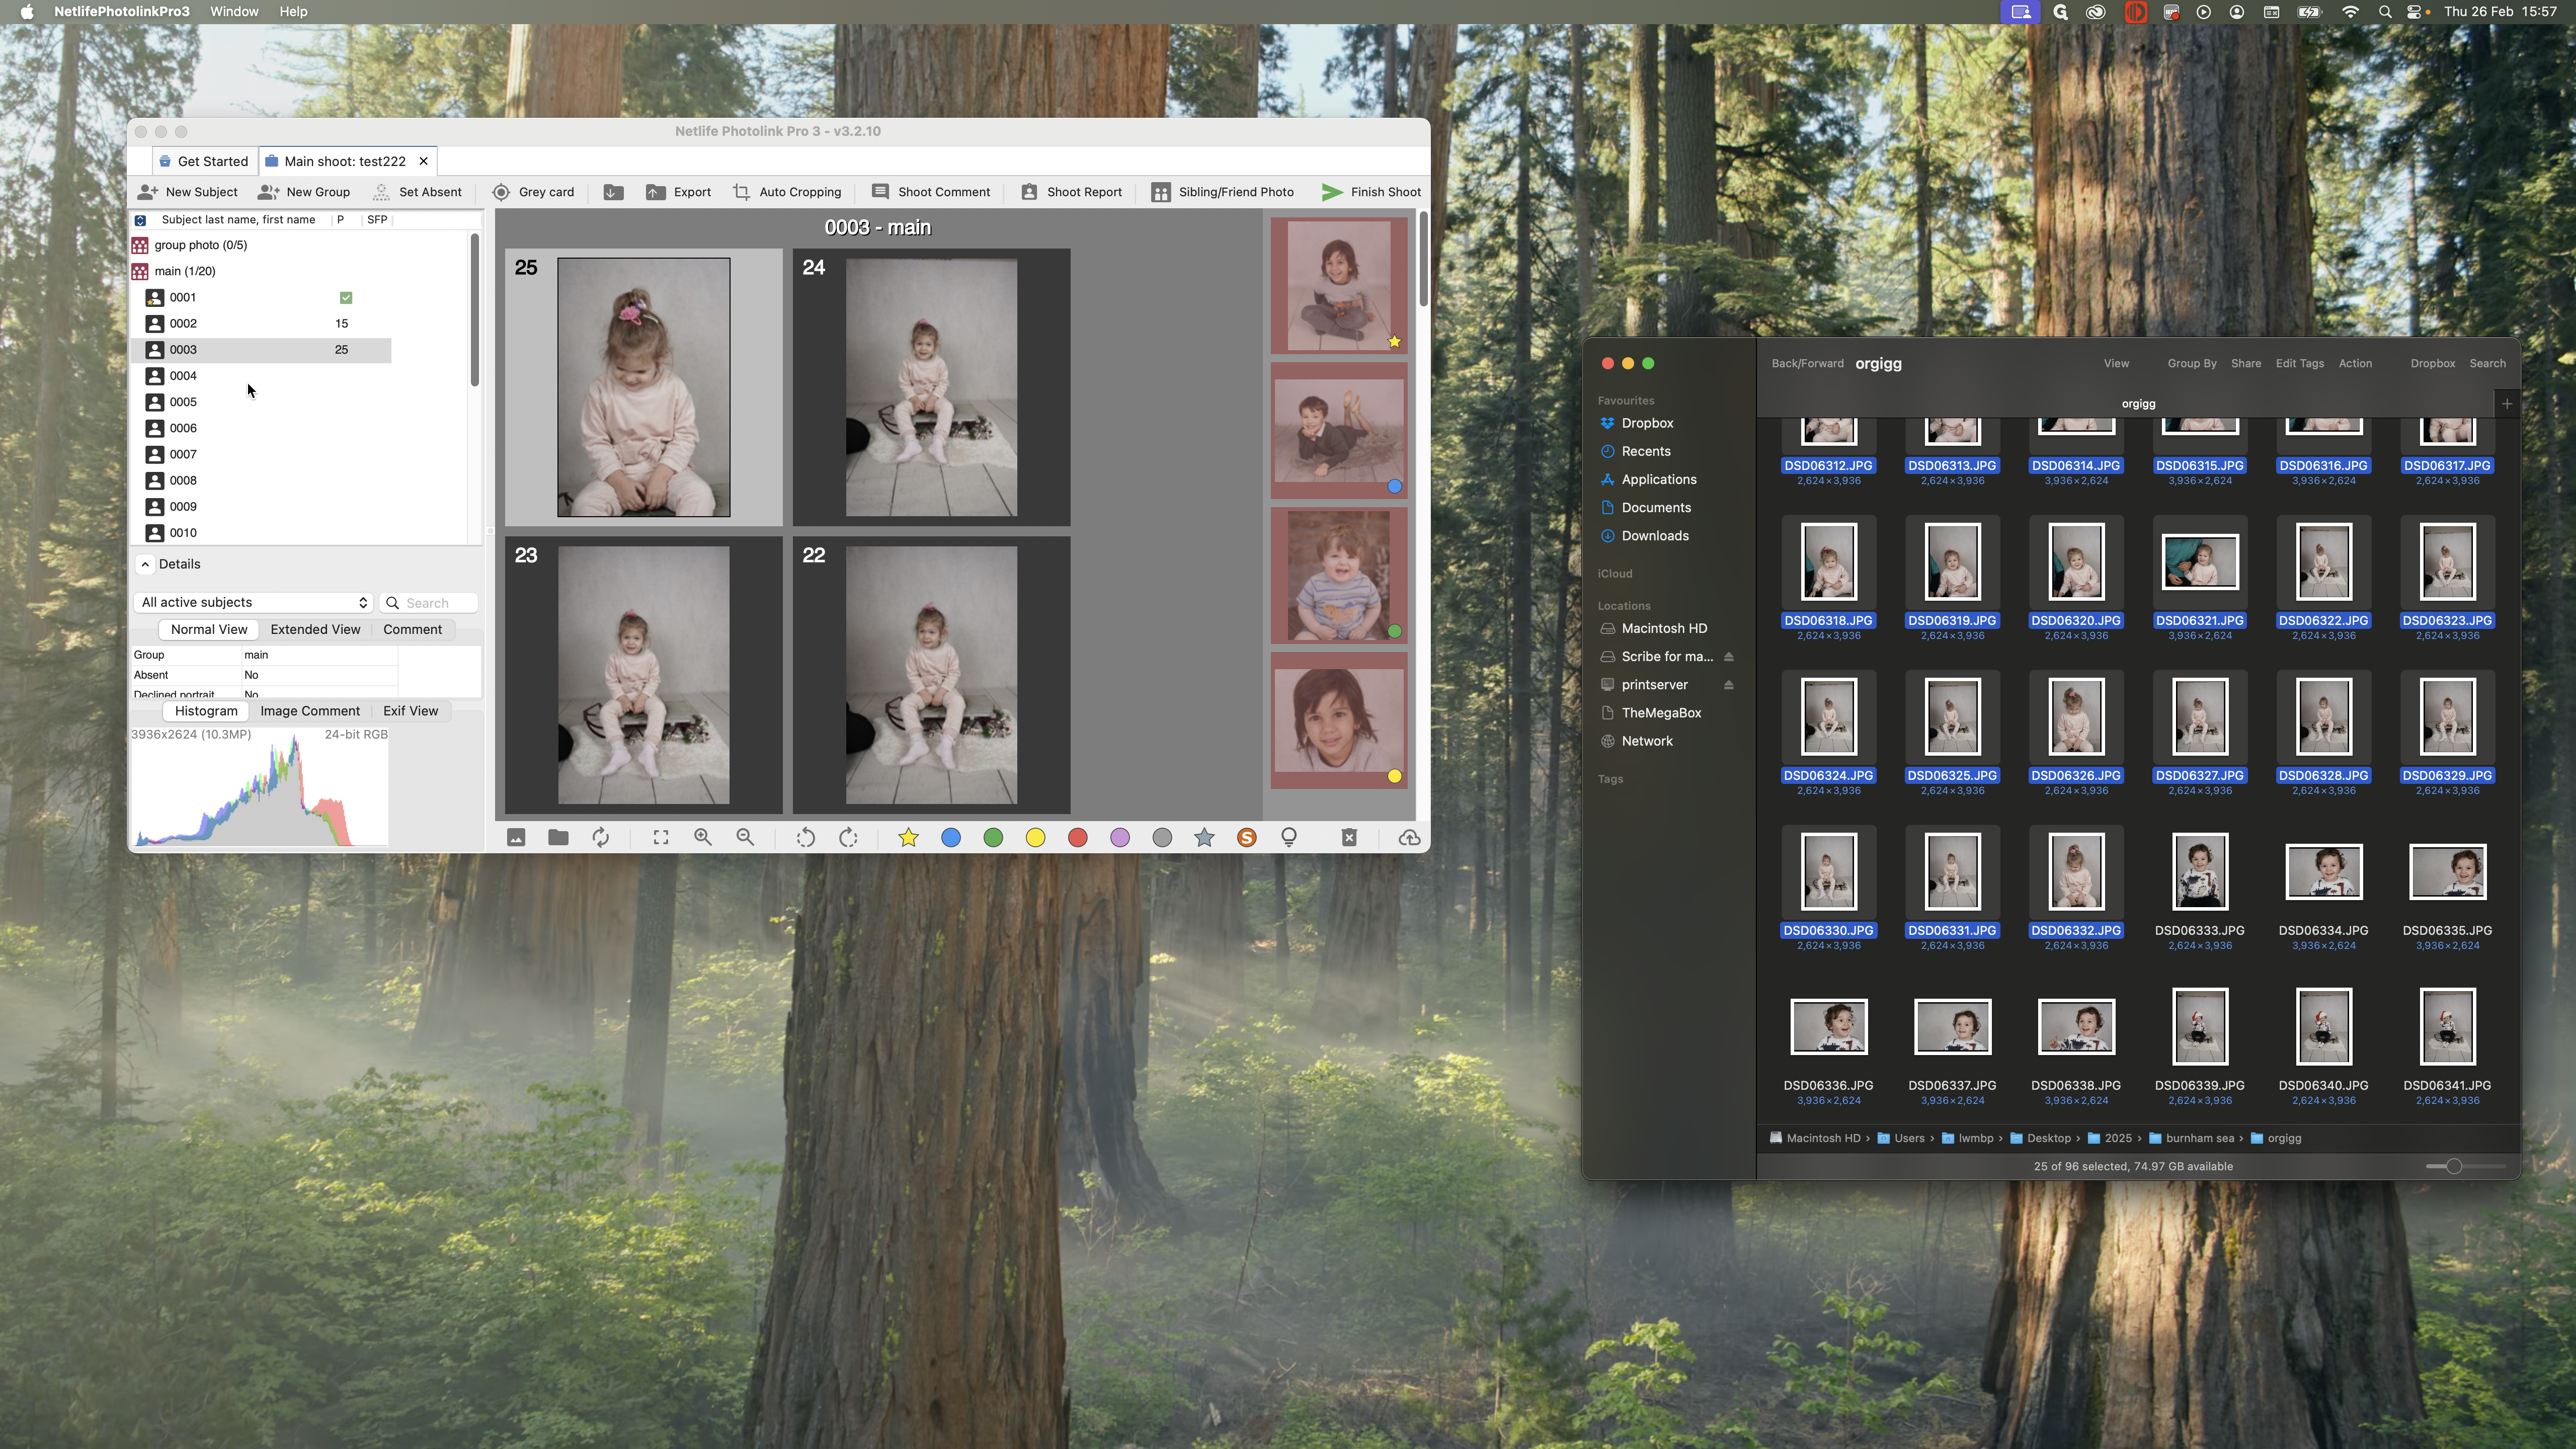
We will drag each child's images onto their corresponding subject number.


On the left-hand side, I have my shoot job open. I will click, drag, and drop these into here.

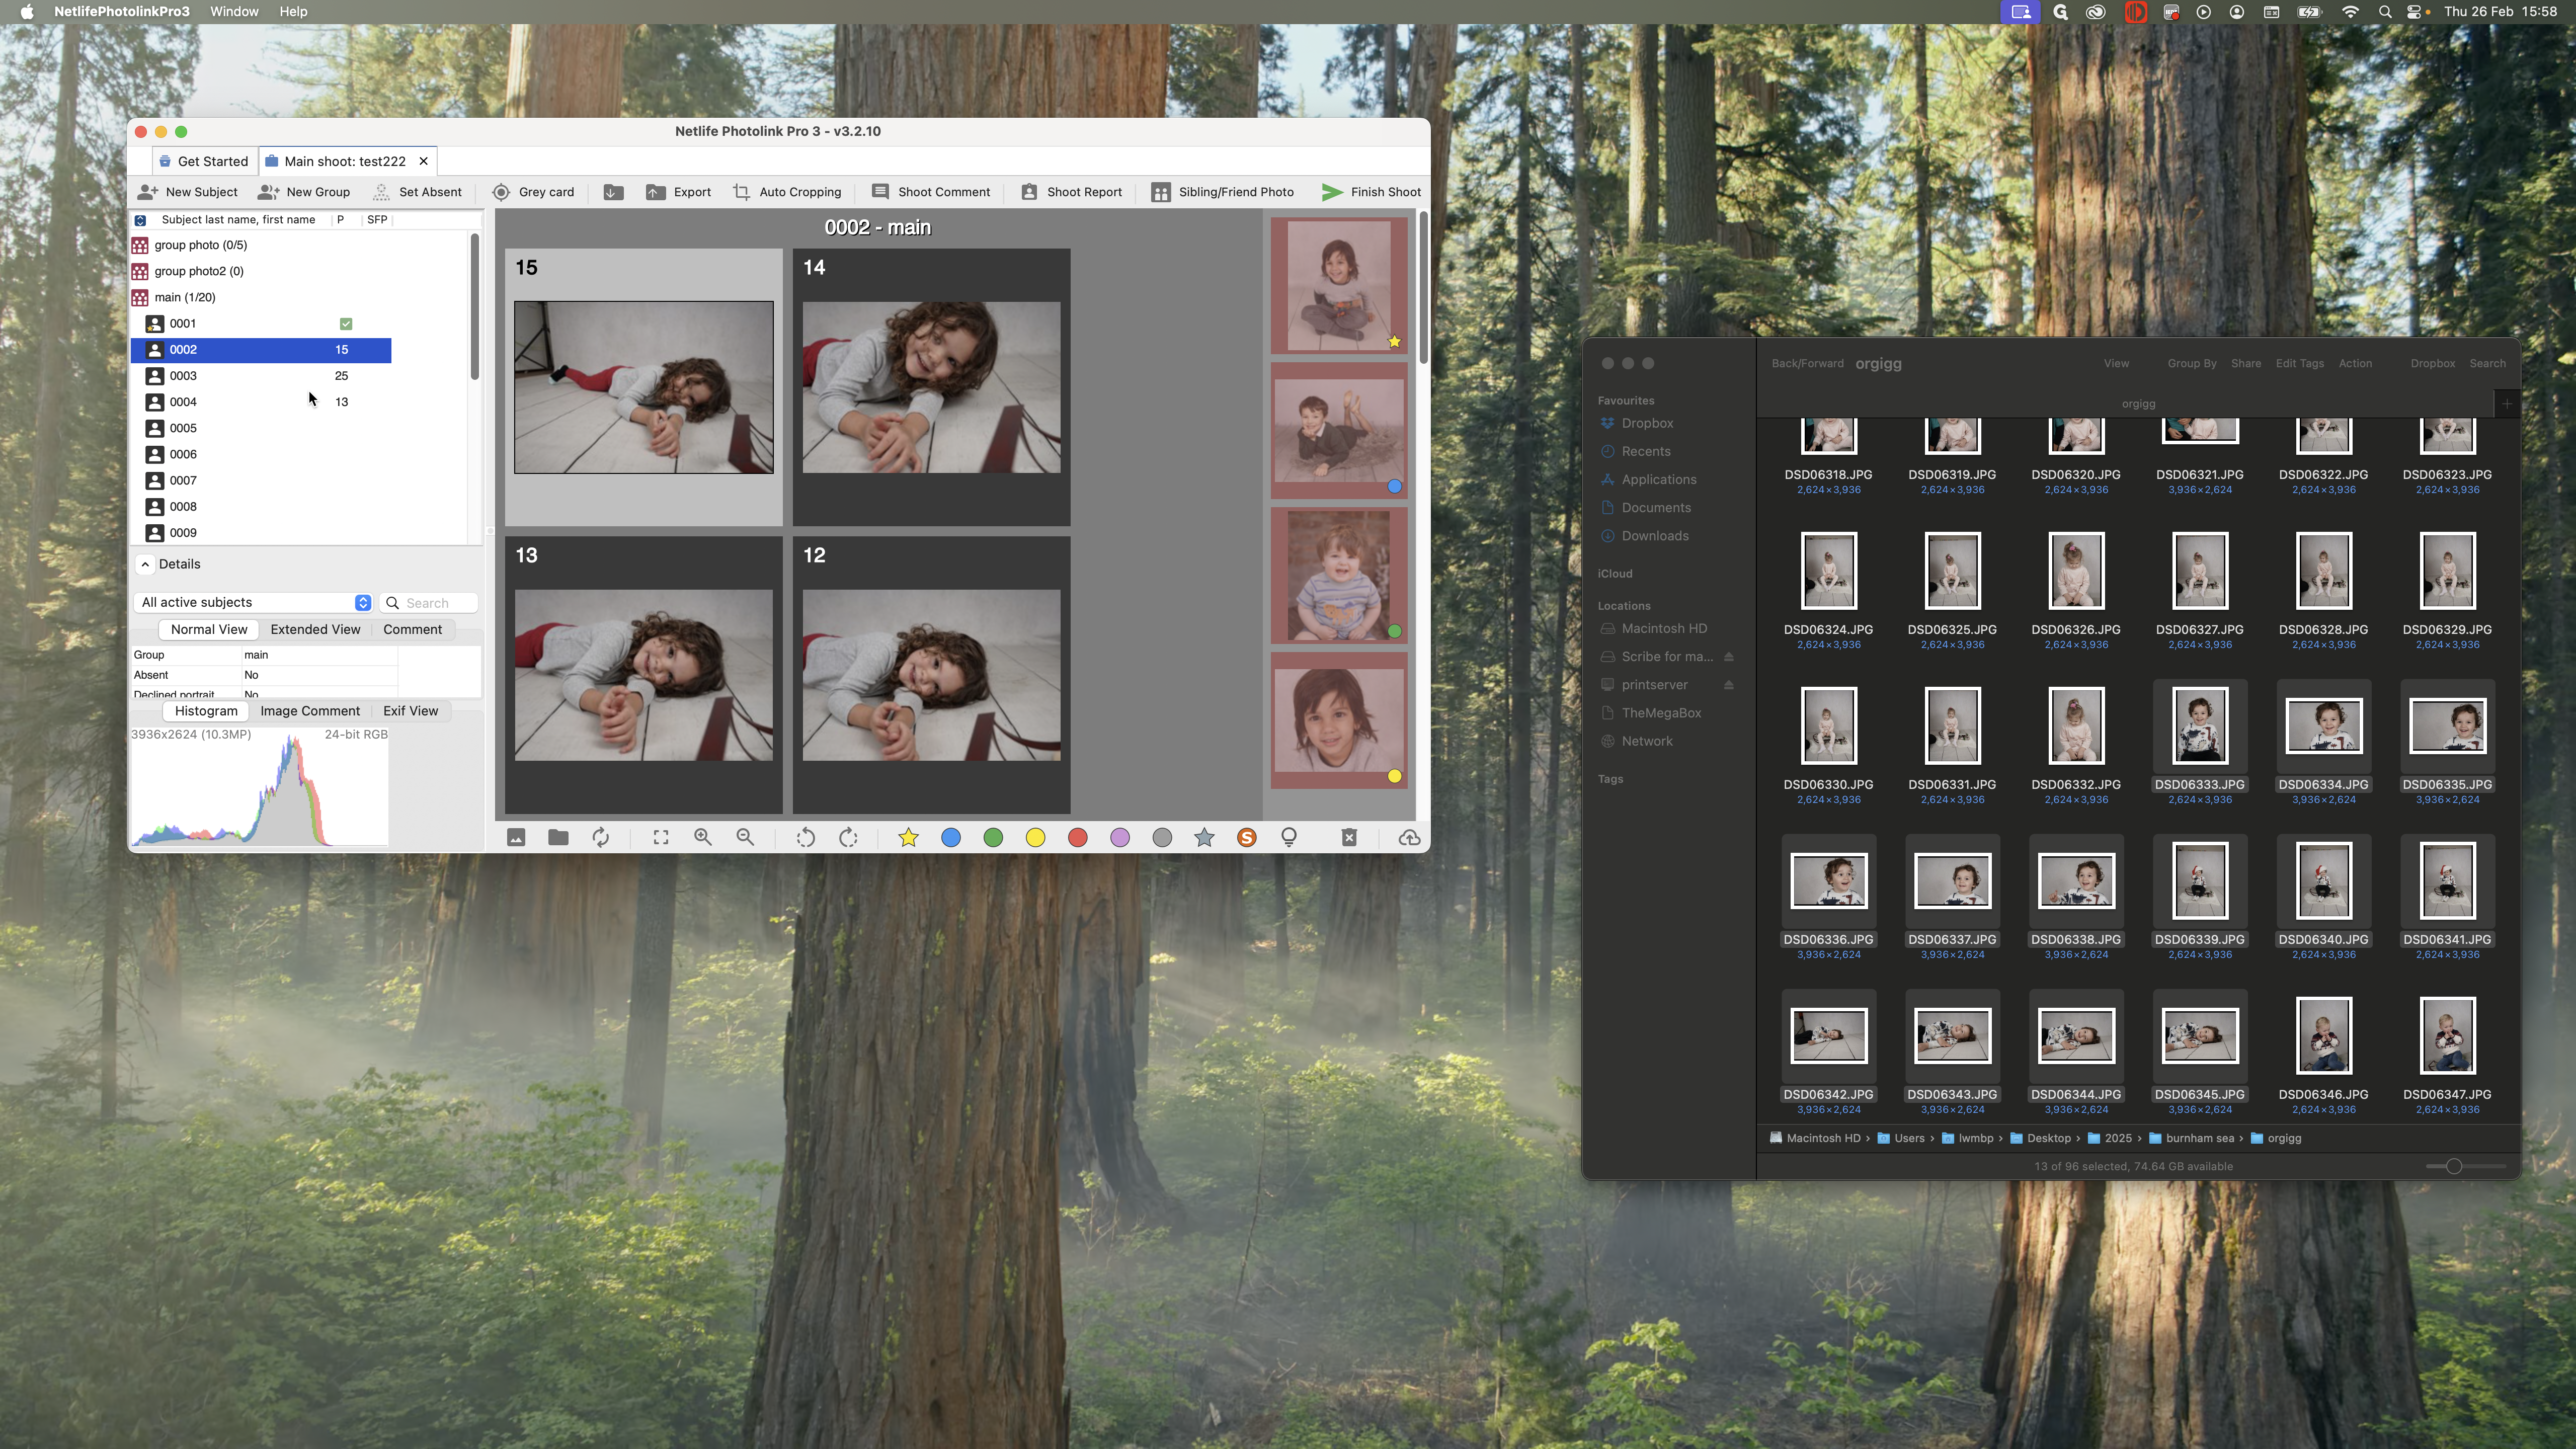
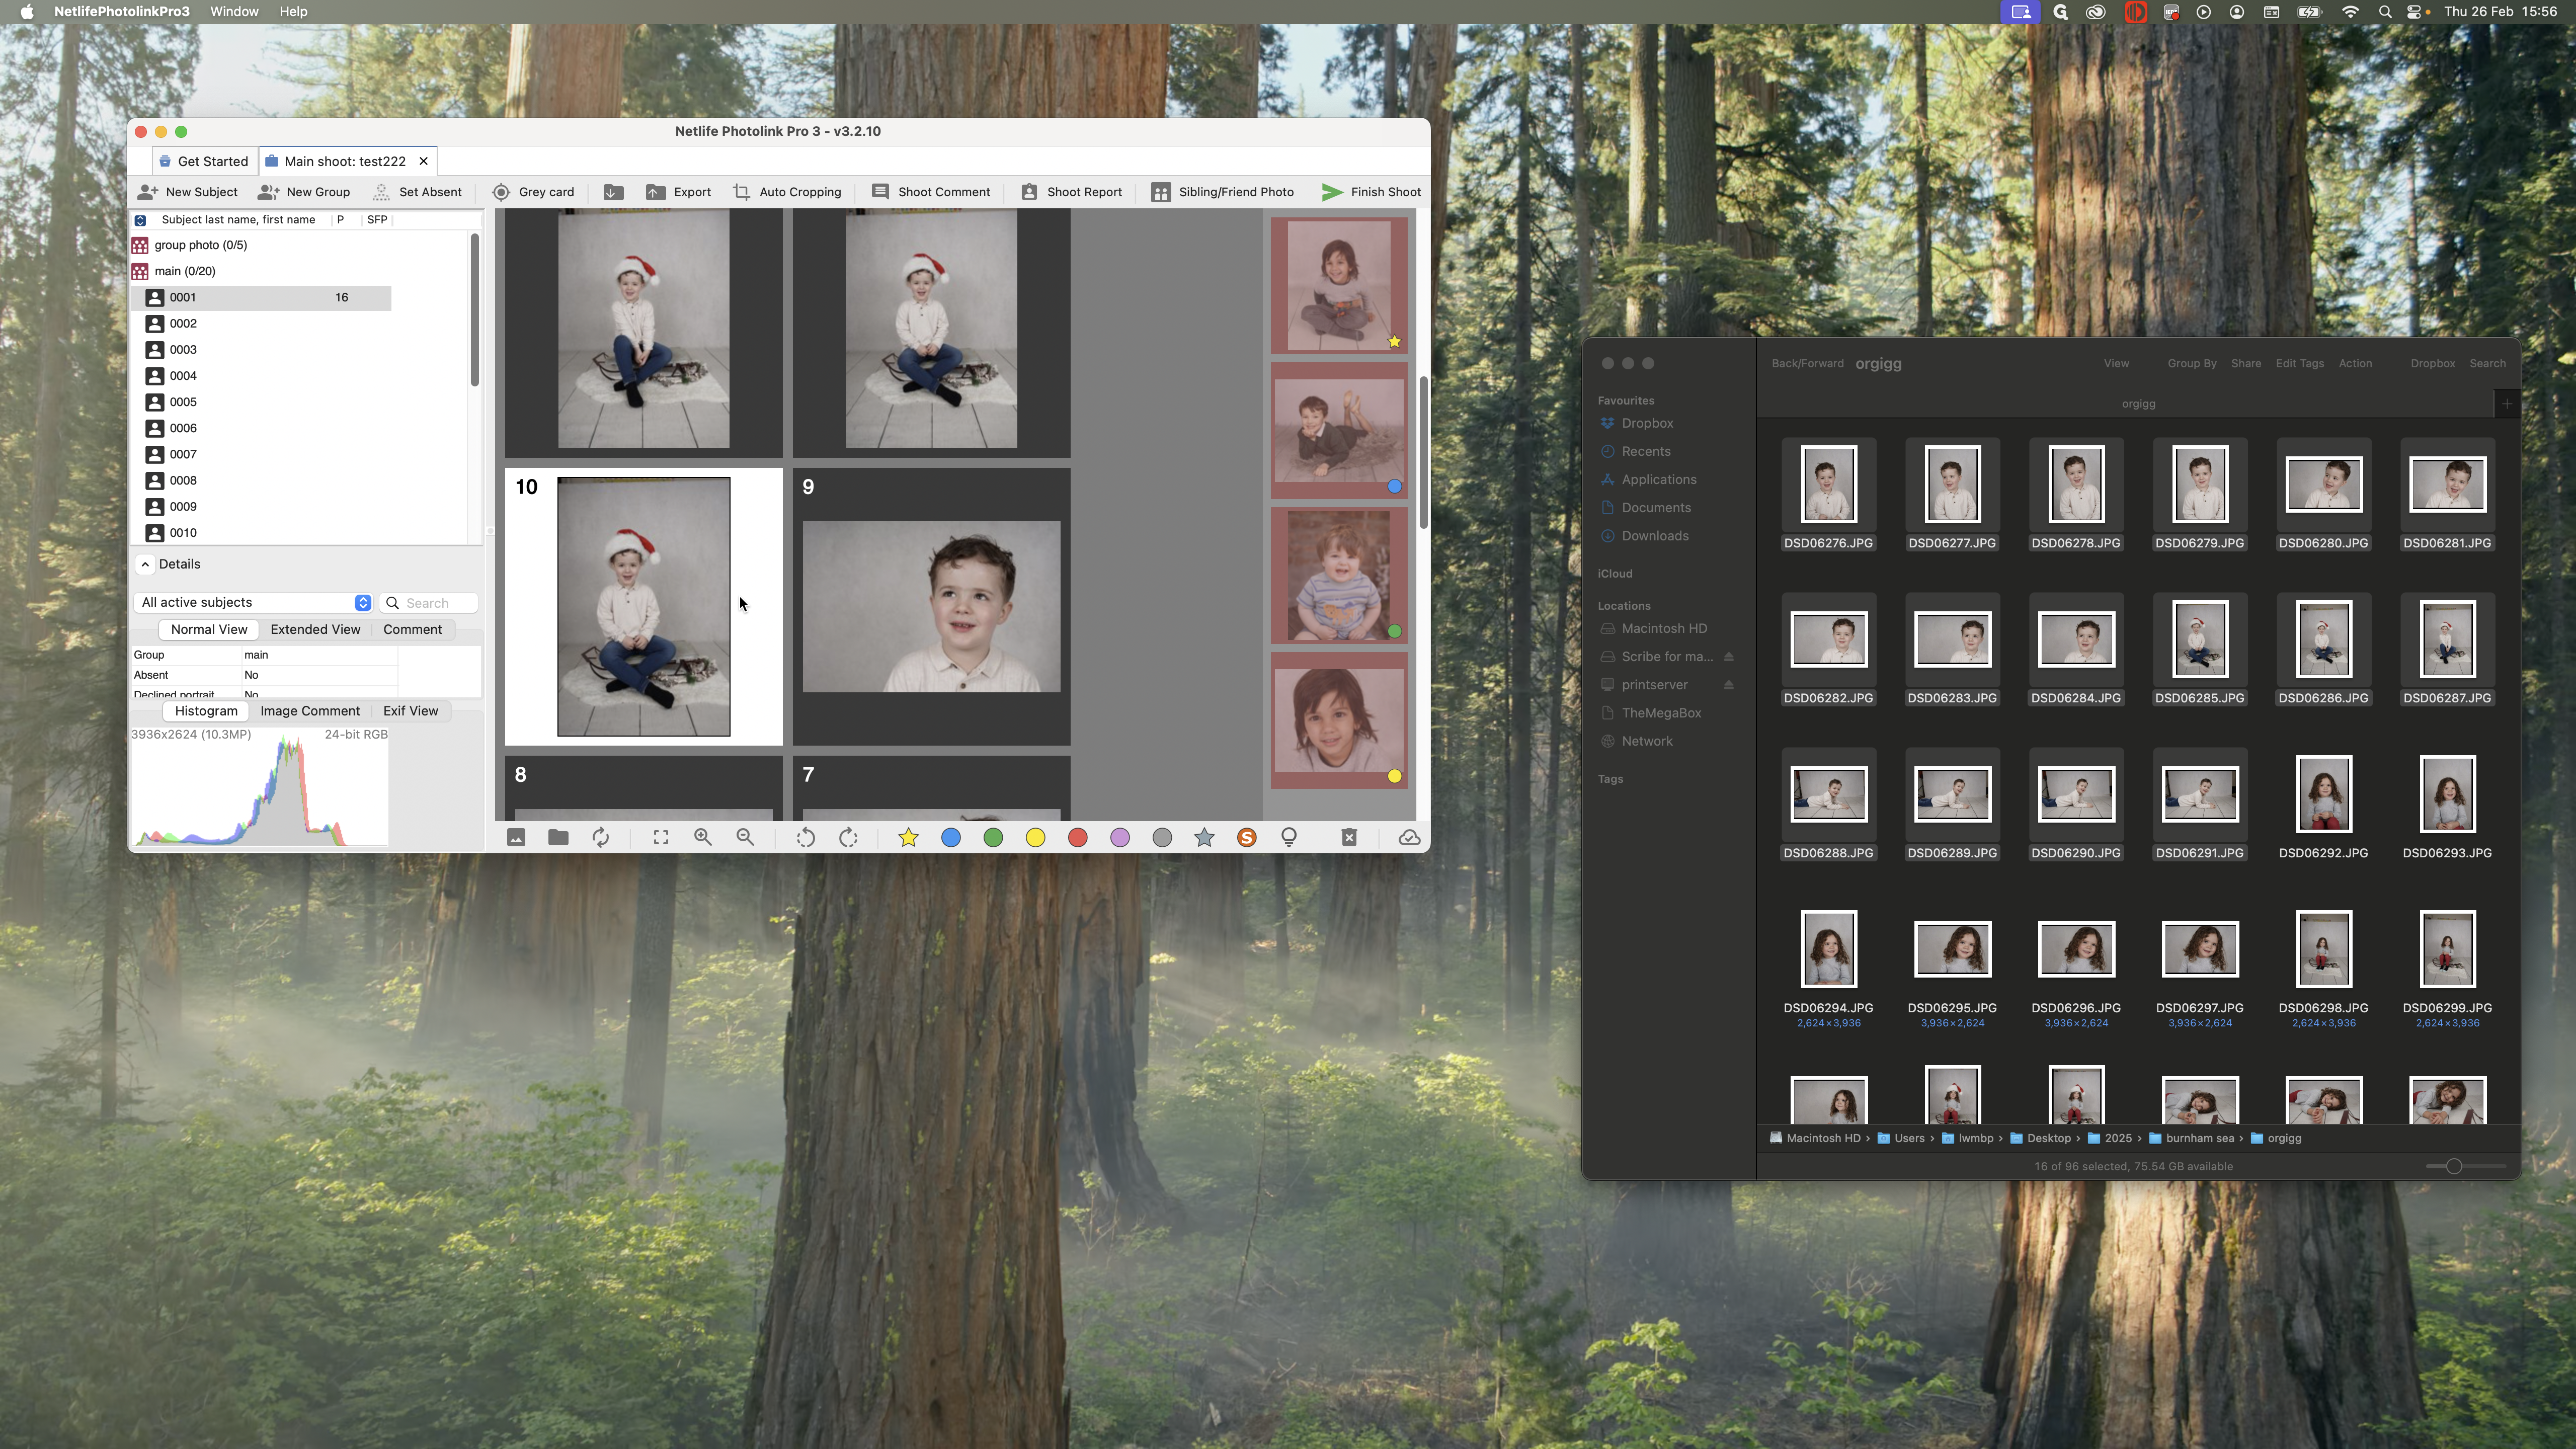
Now you can see that all the pictures of the child have been moved into that folder. You can do this in two ways.
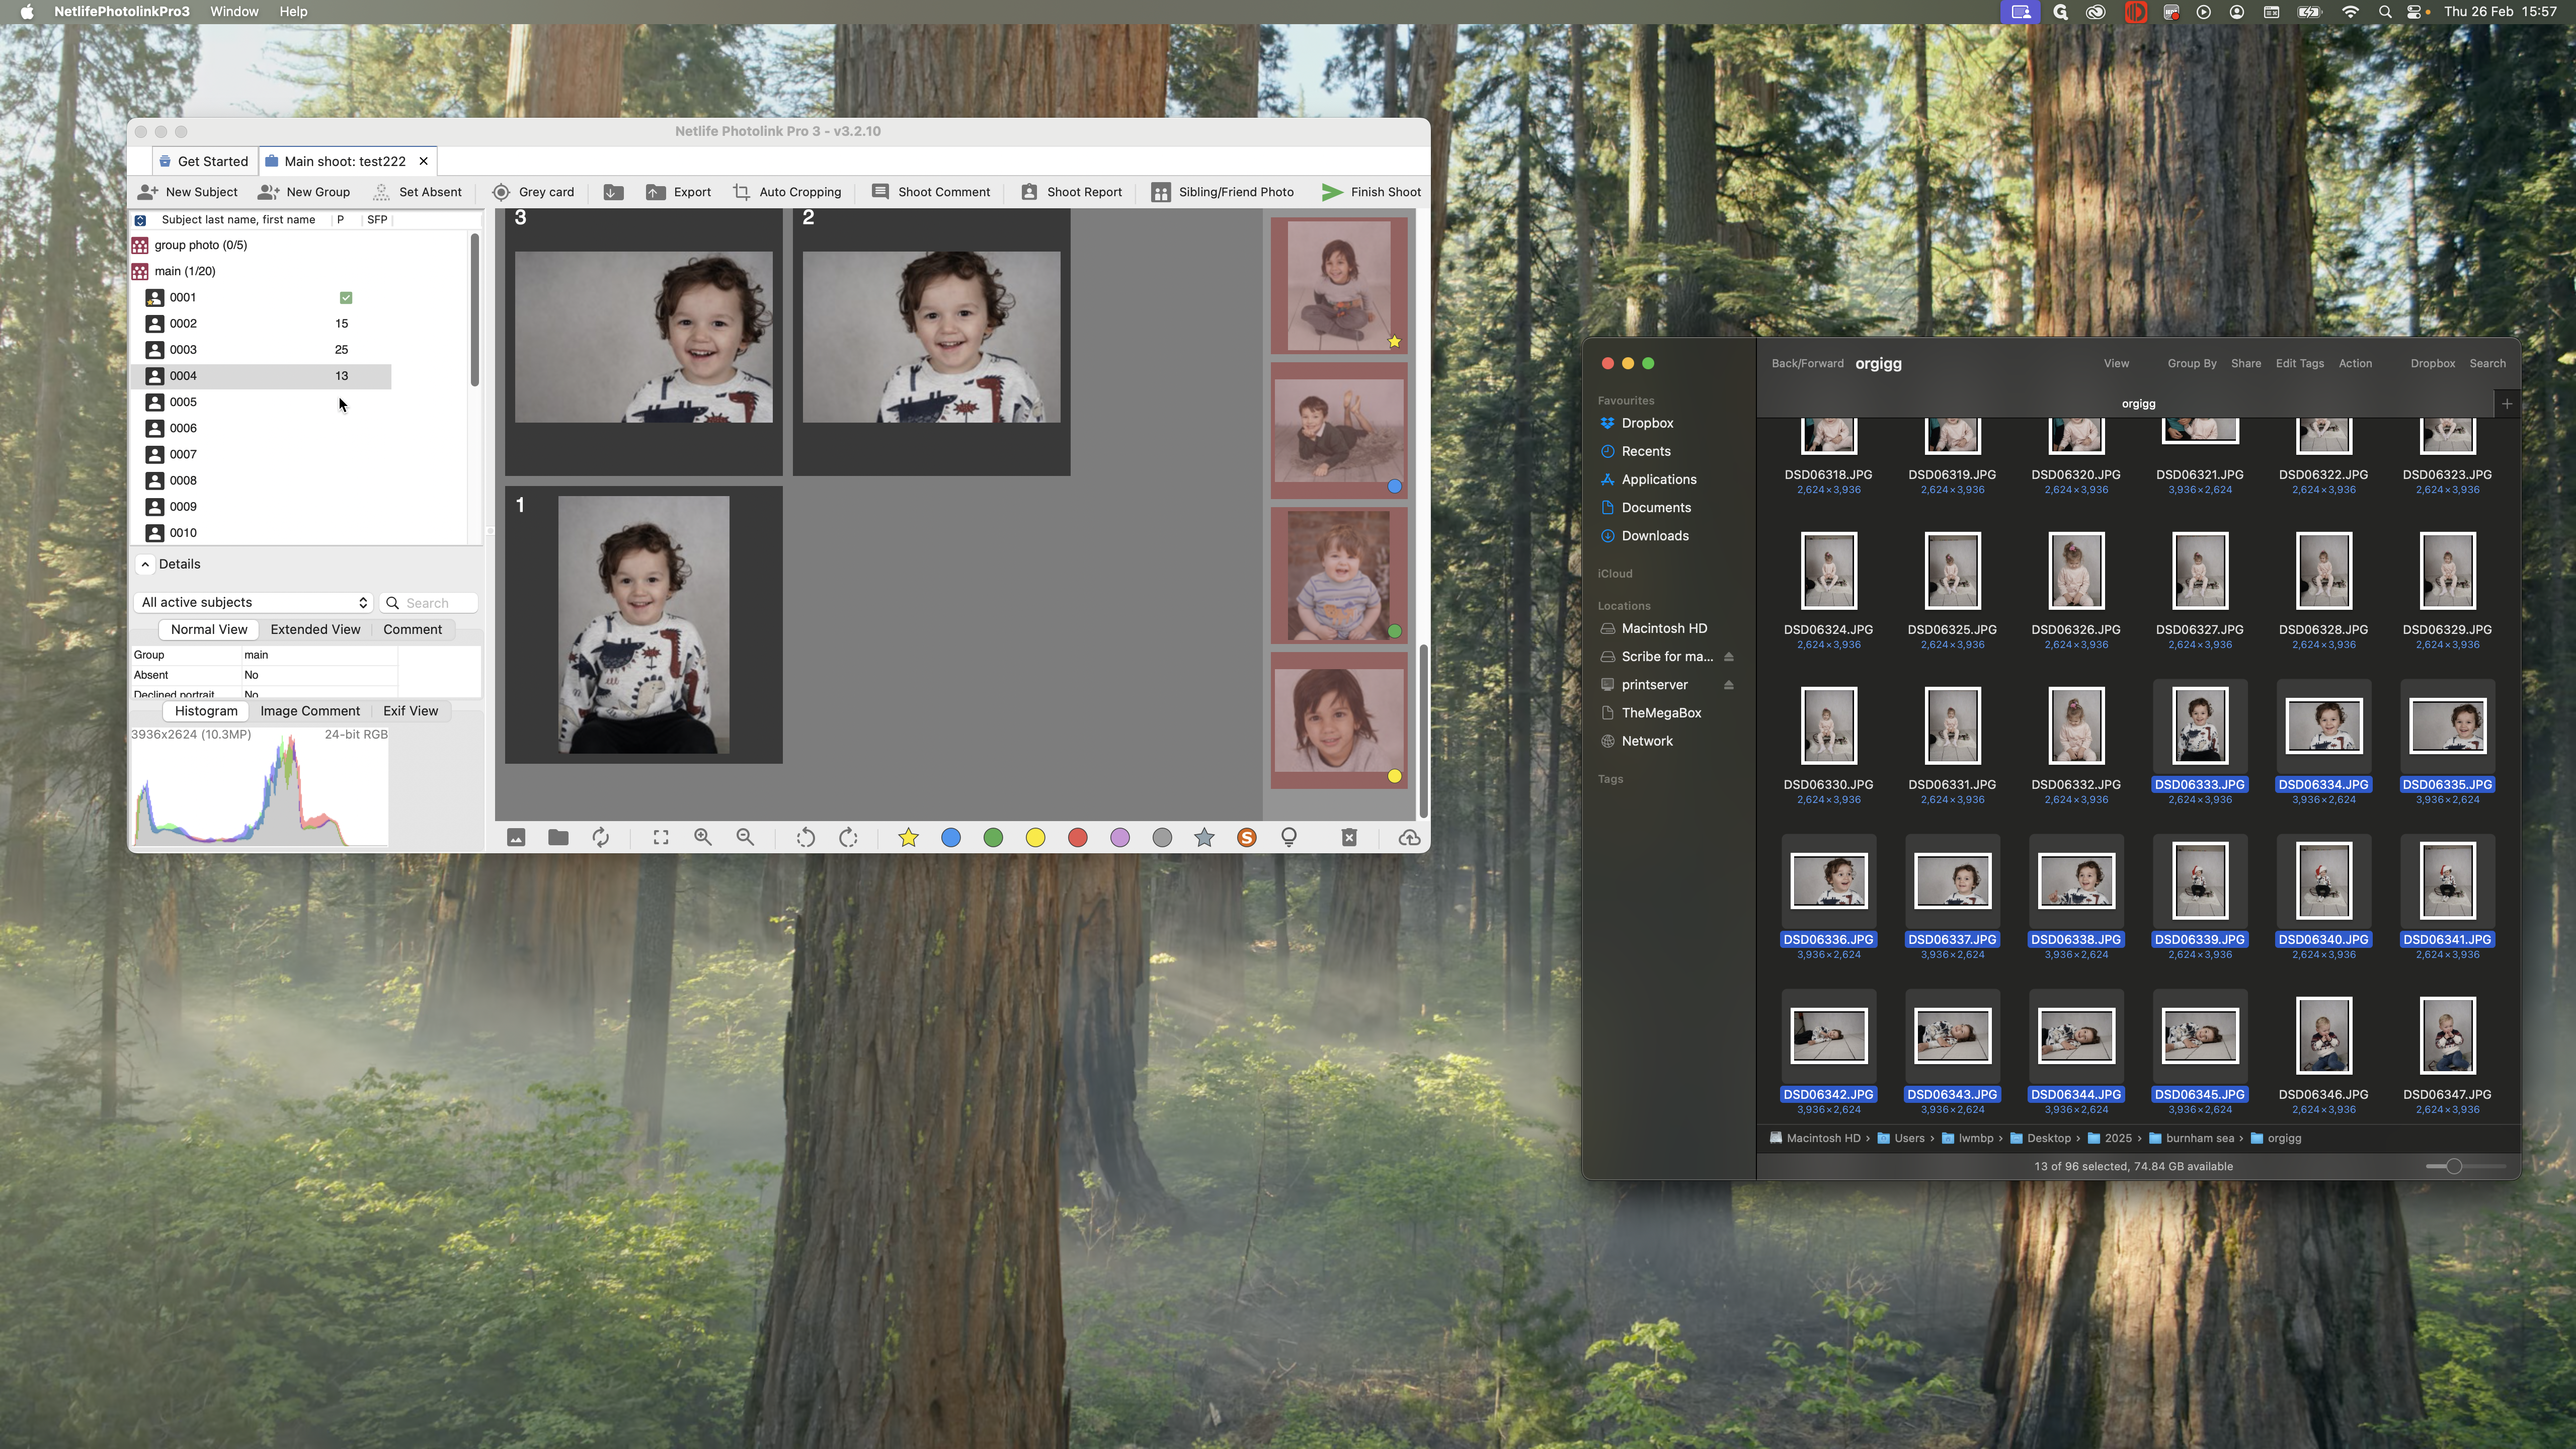
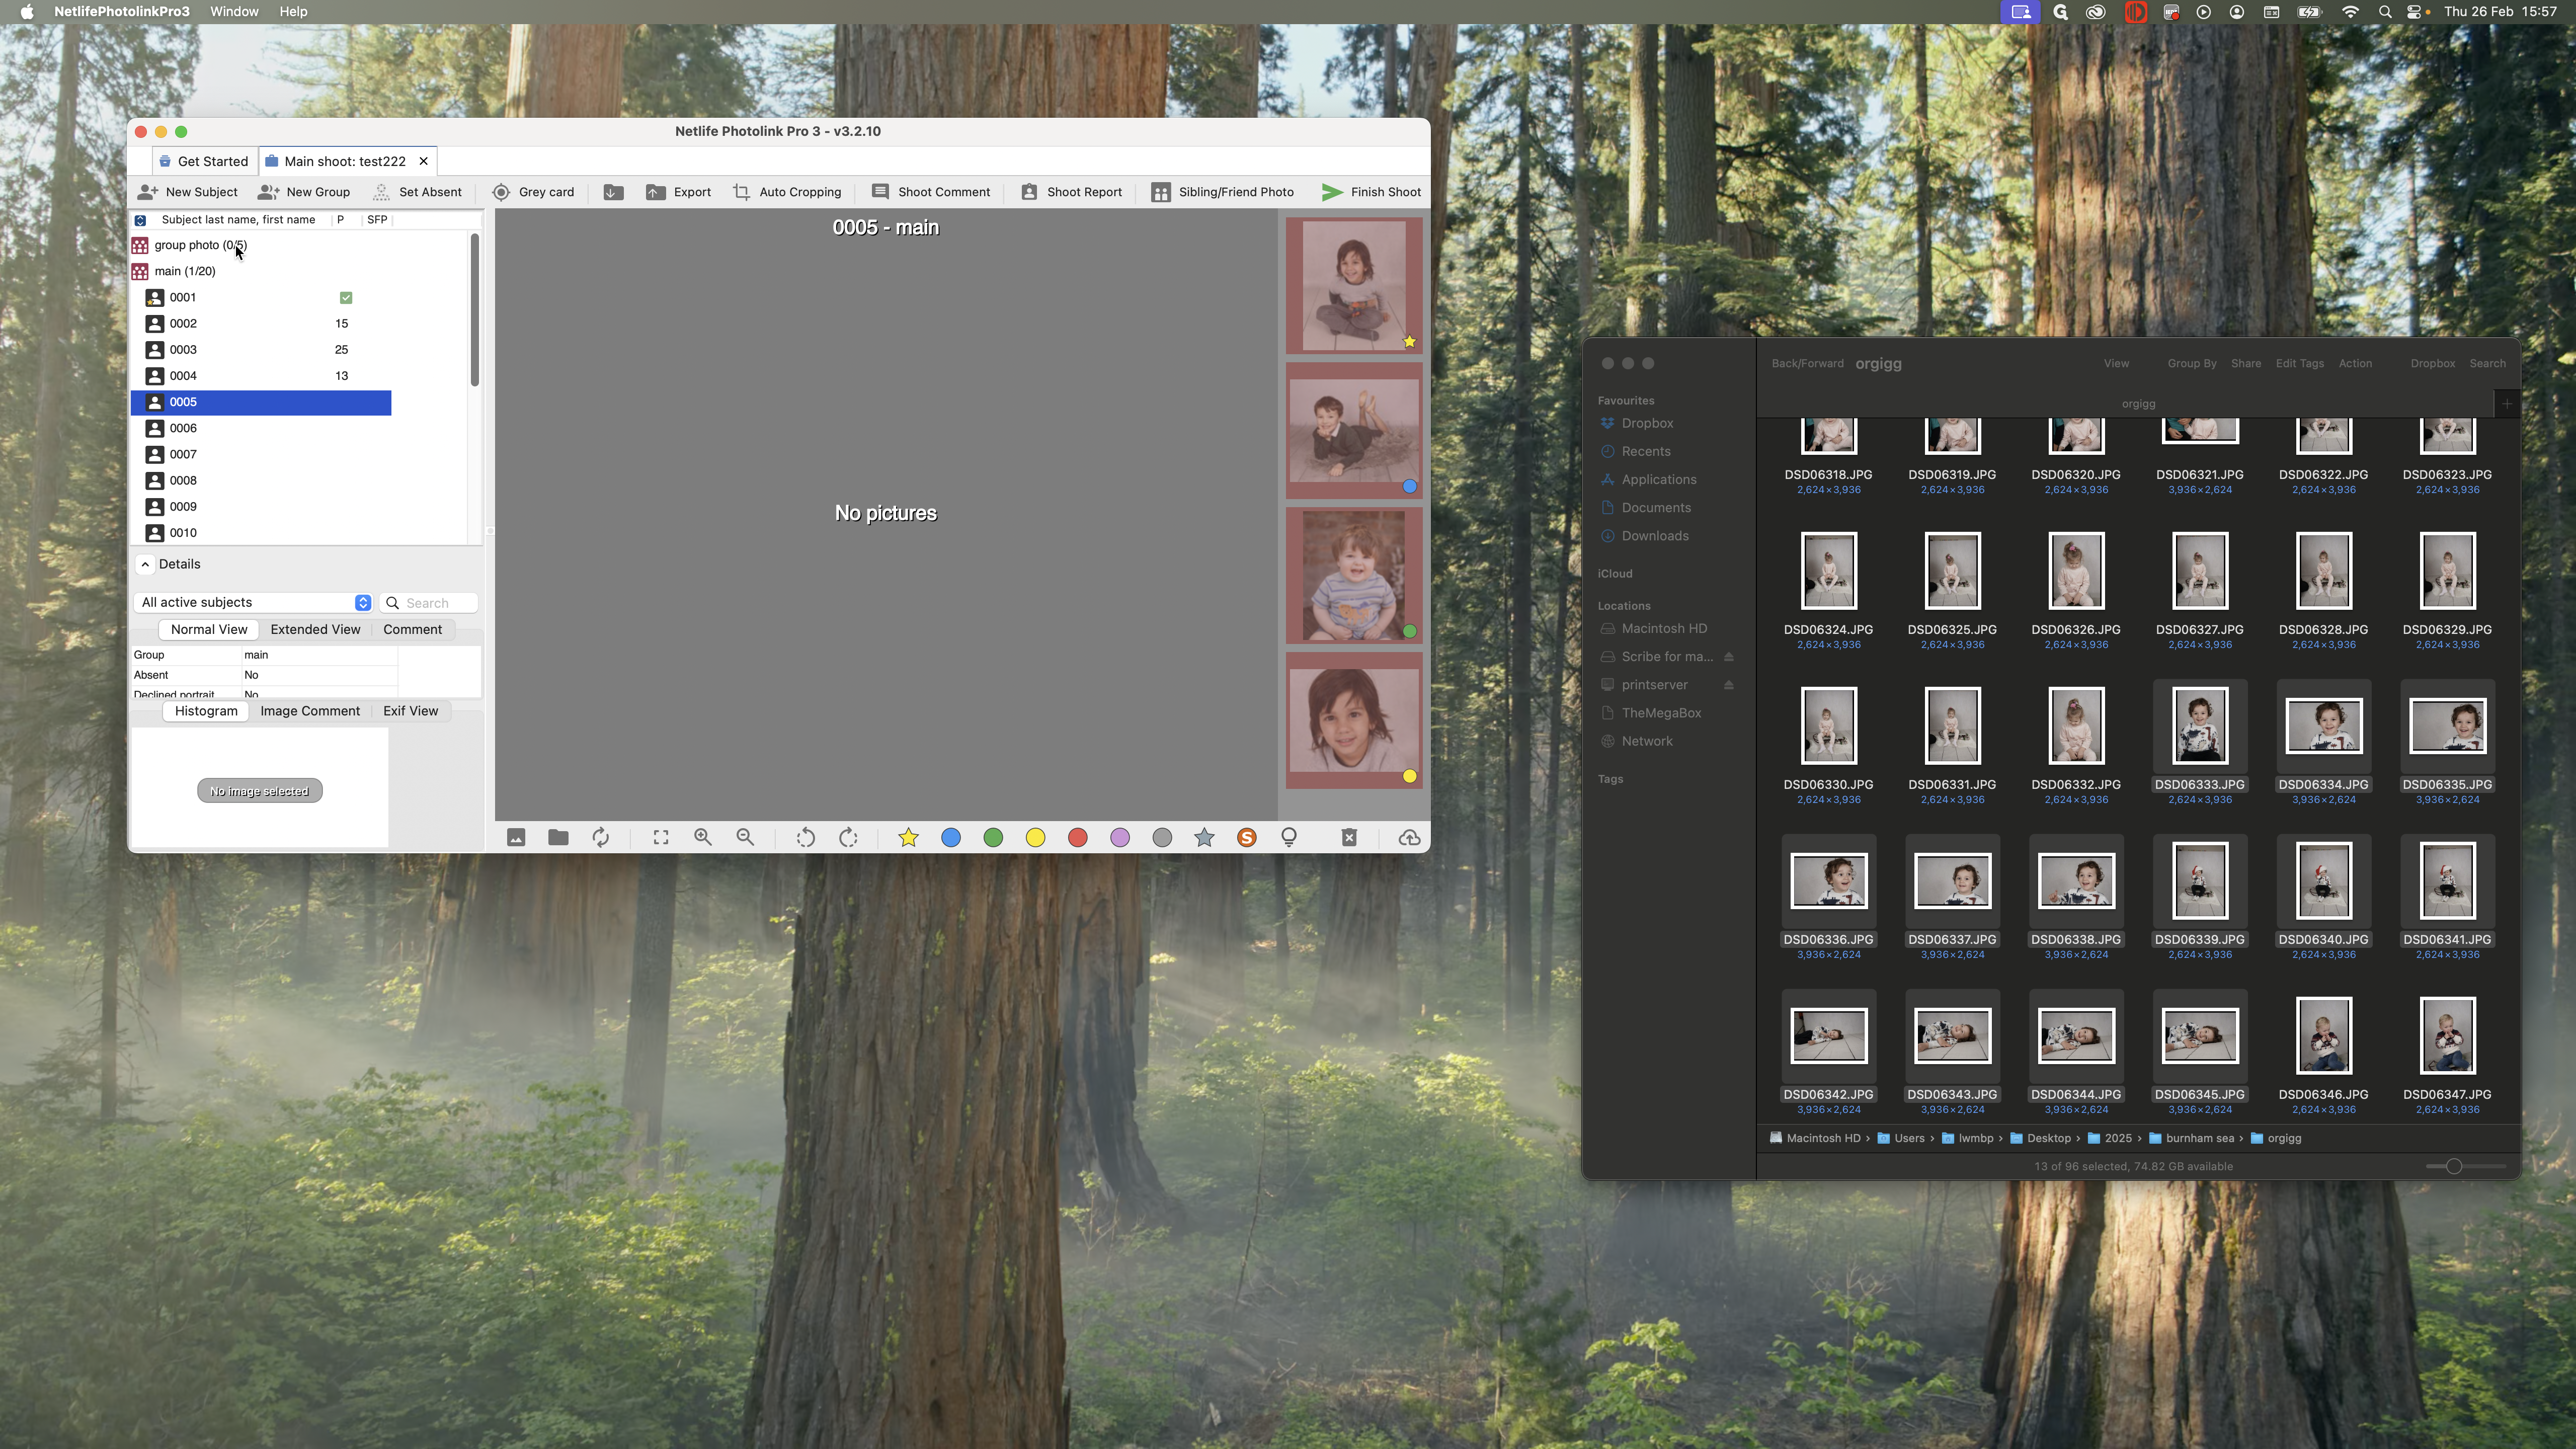
You can mark the pictures as you view them. I might choose this one, for example, making sure he is smiling. Or maybe this one is better. I will mark it as my favorite and then review the others.


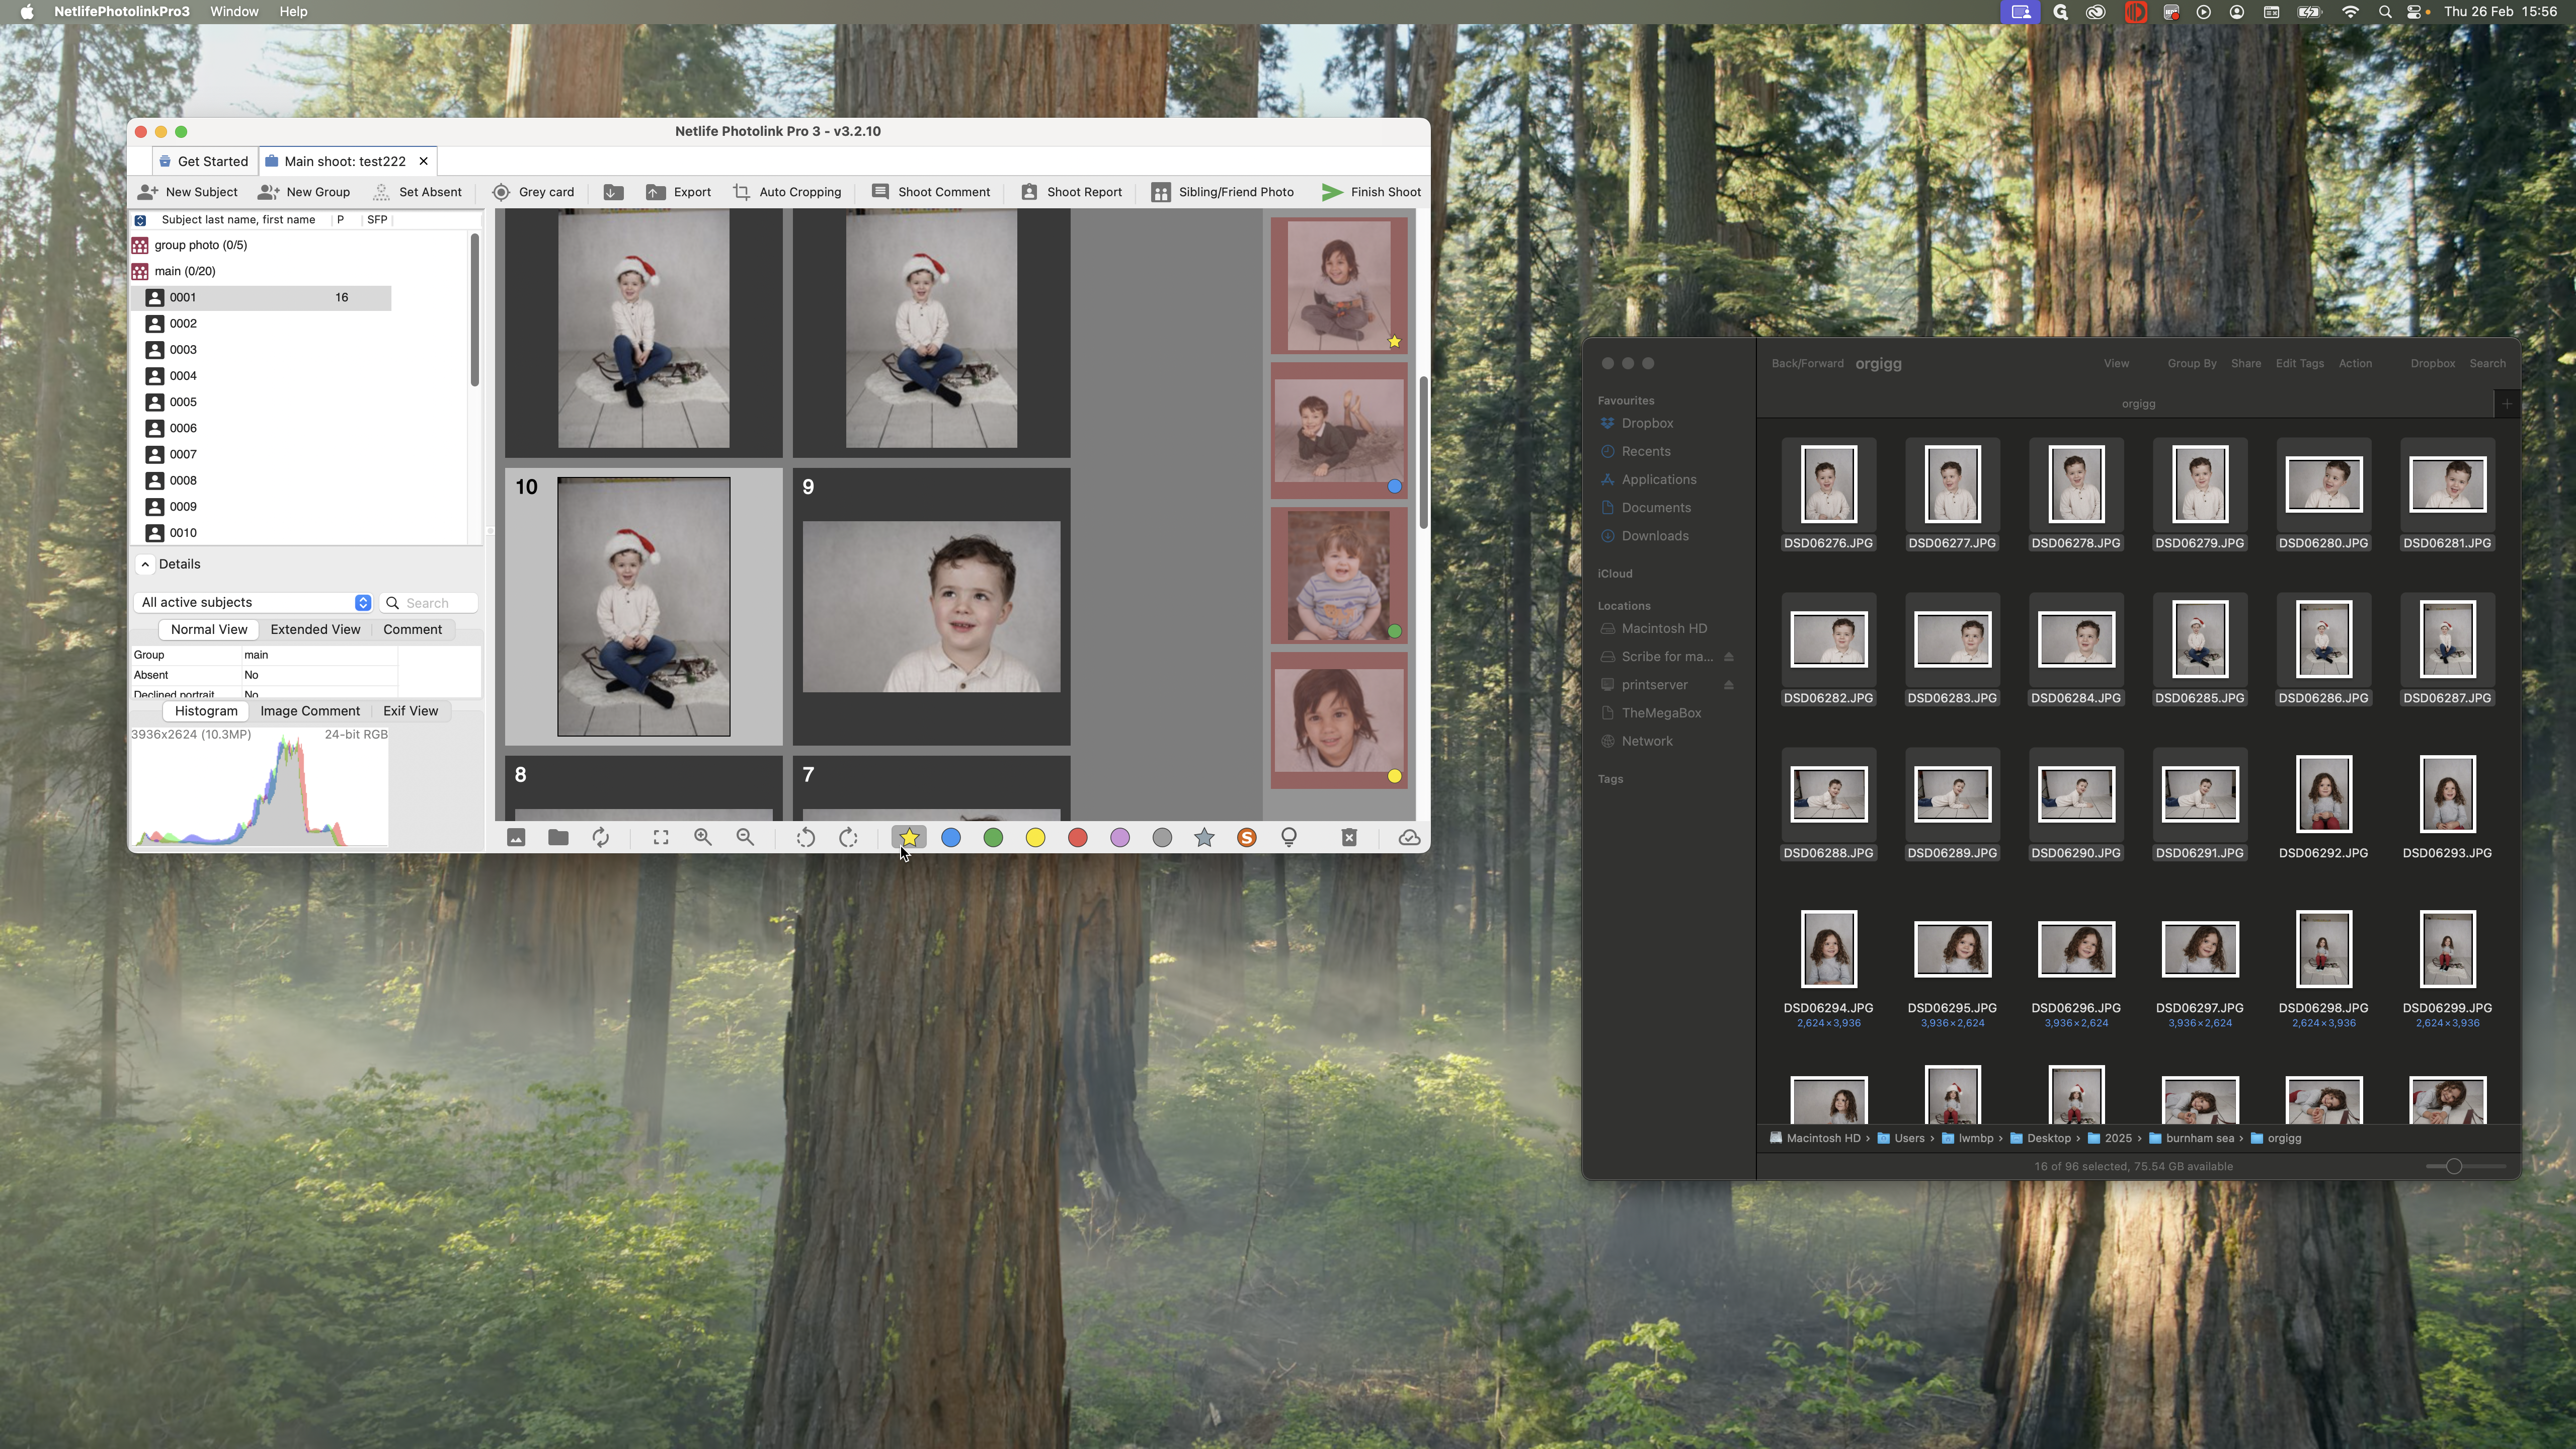

If this is my head and shoulders, I will mark it green.

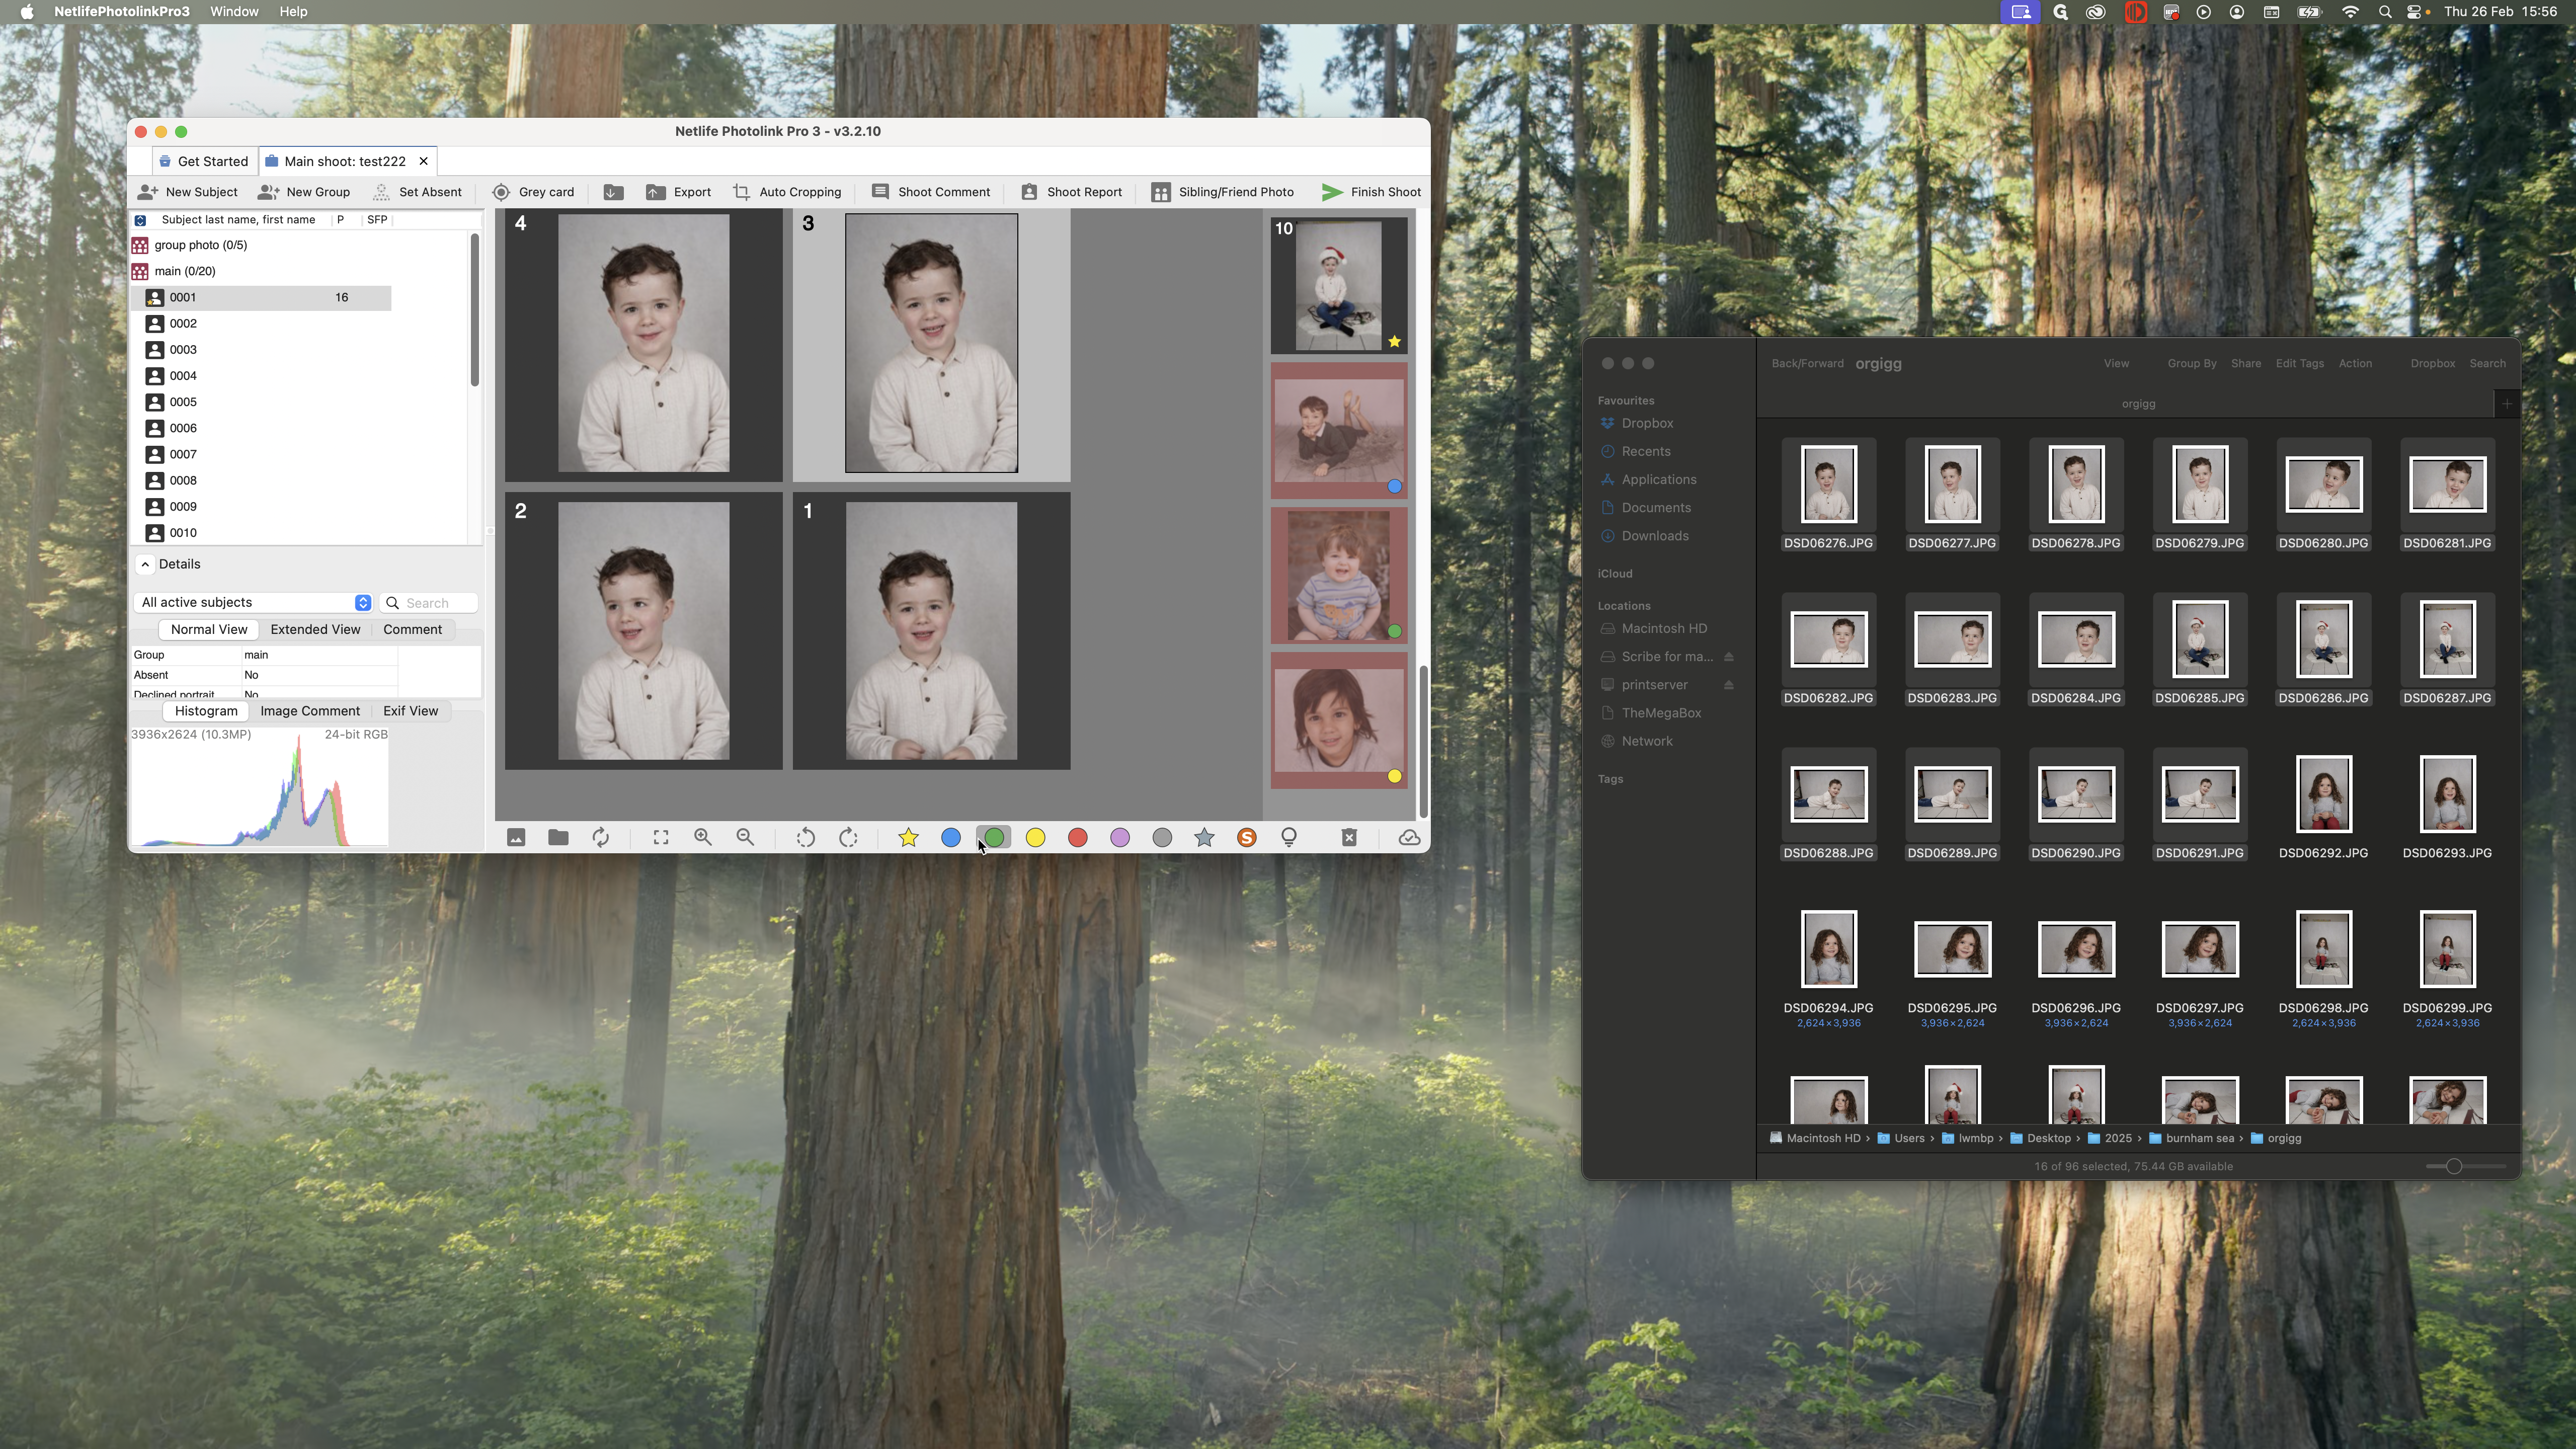
If I have my closeup, I can use this one here, which is my yellow.
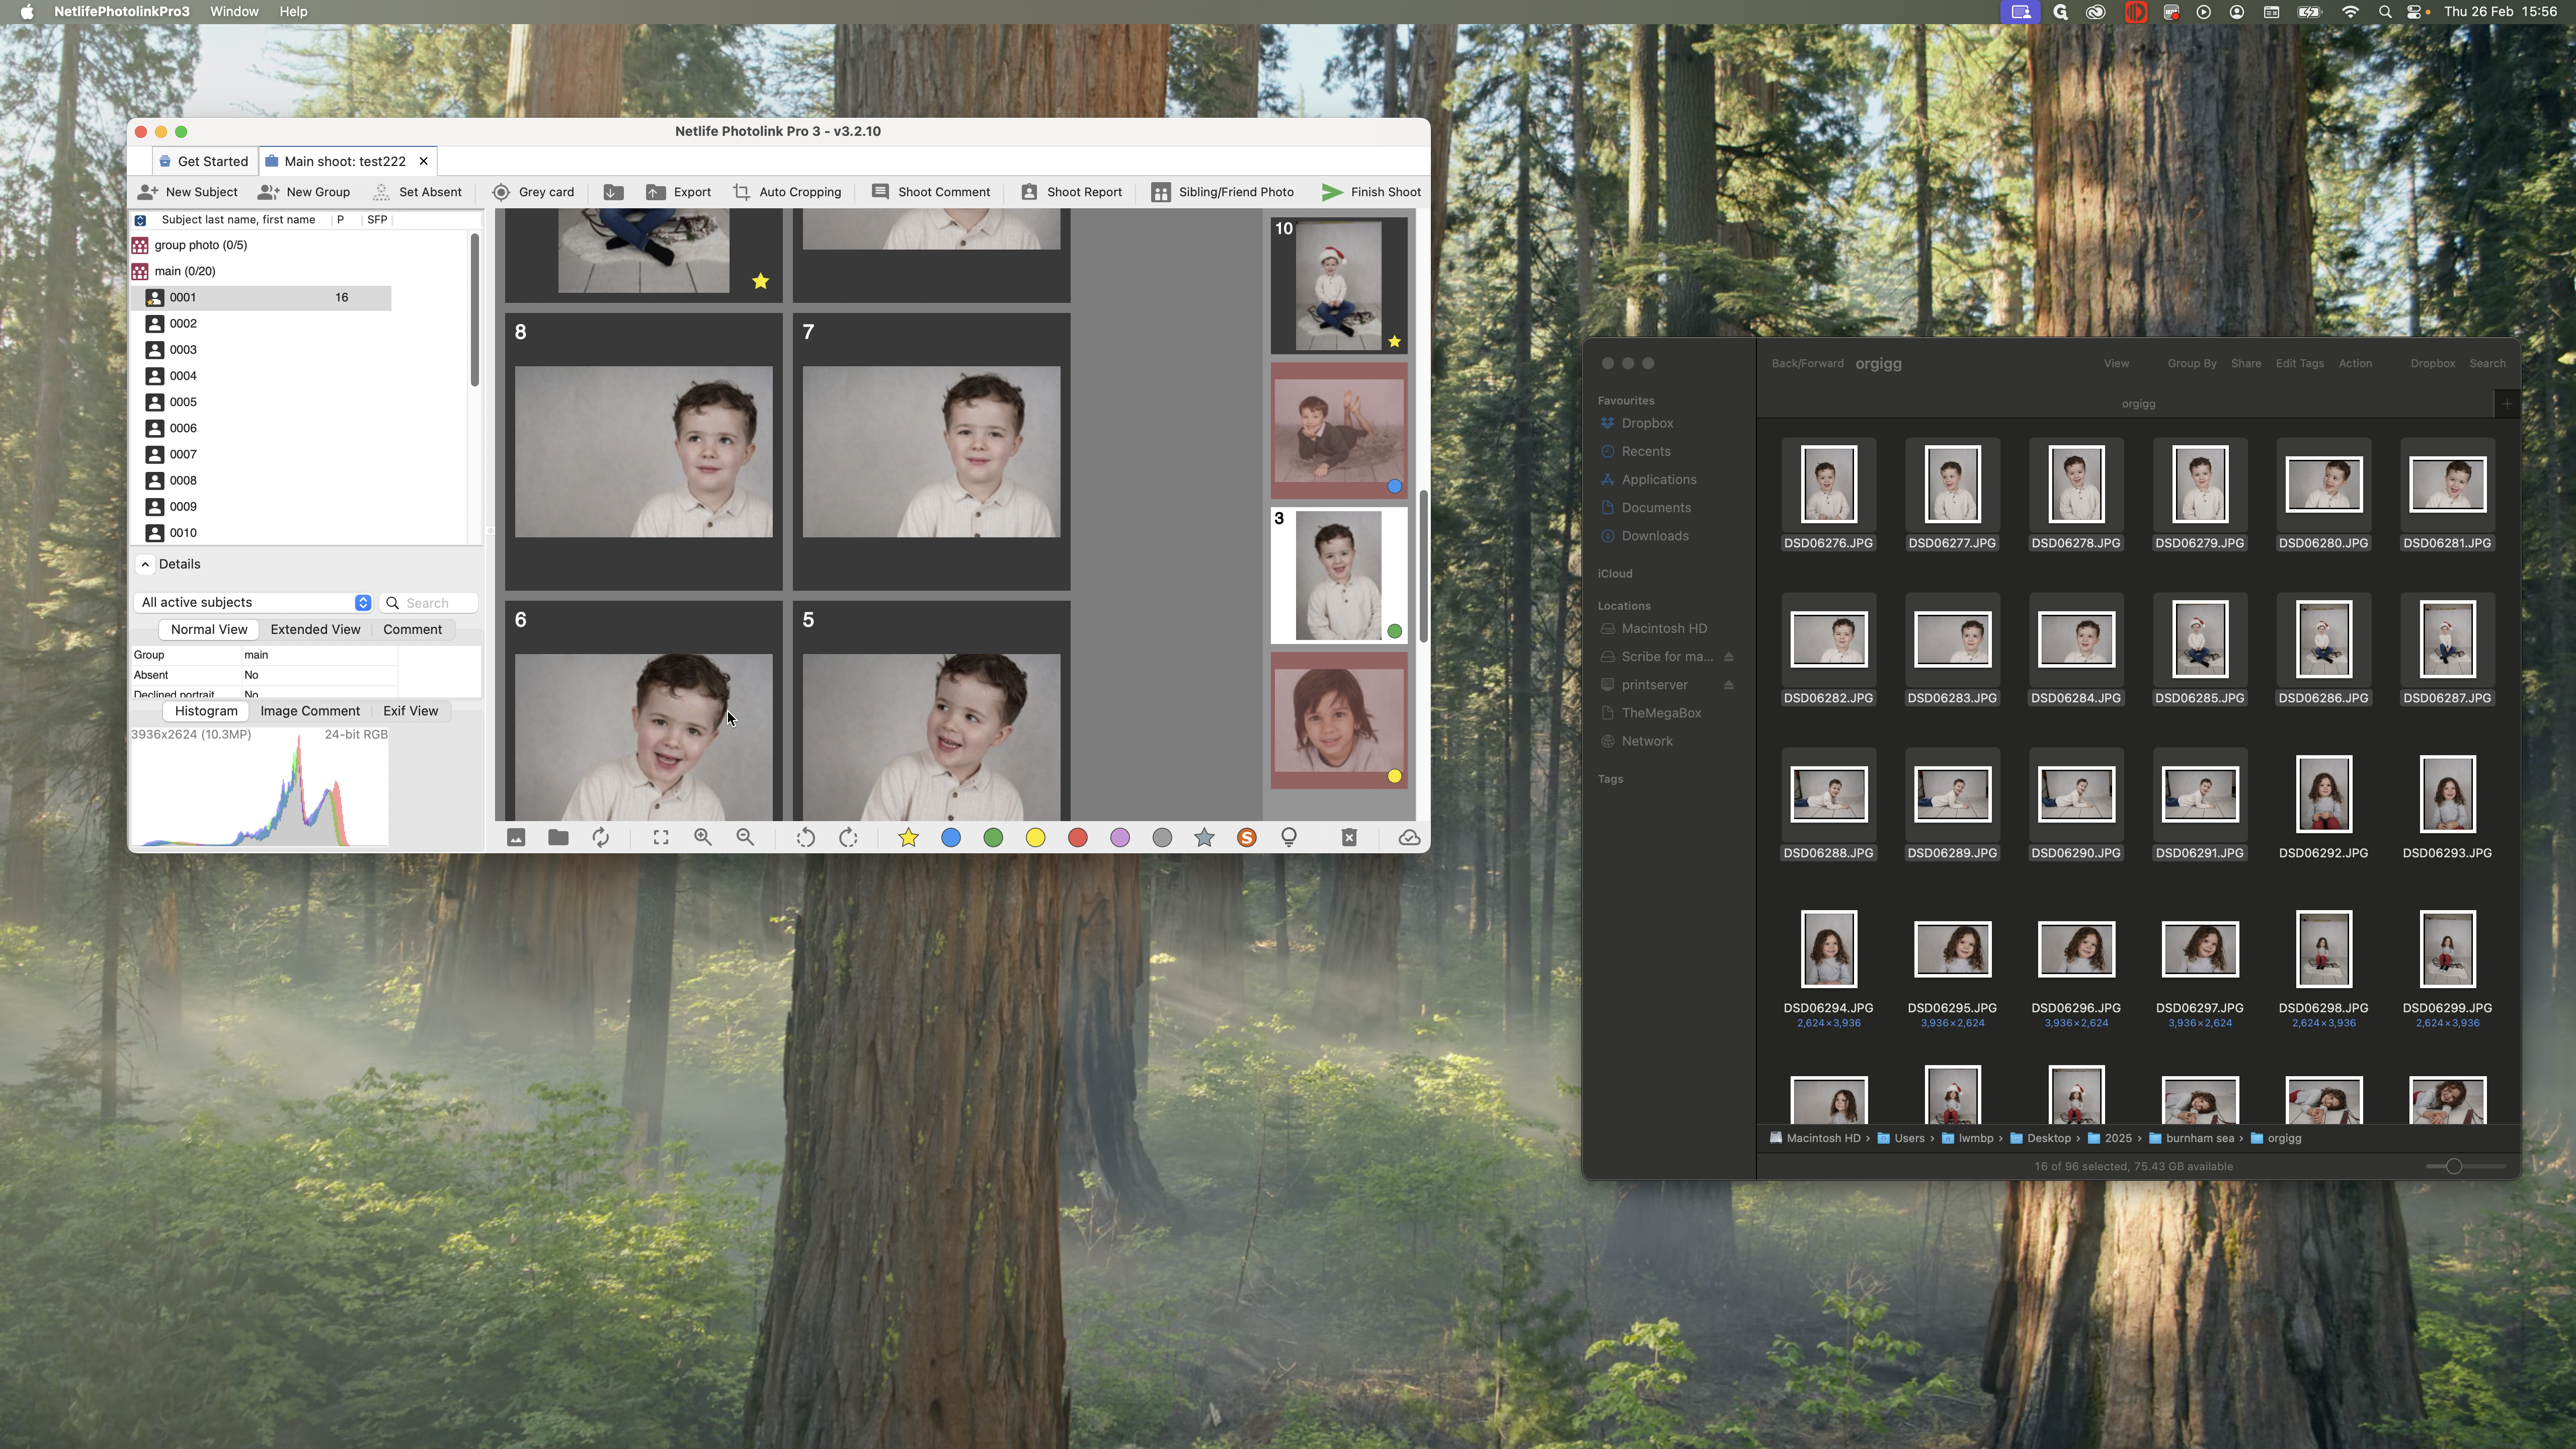
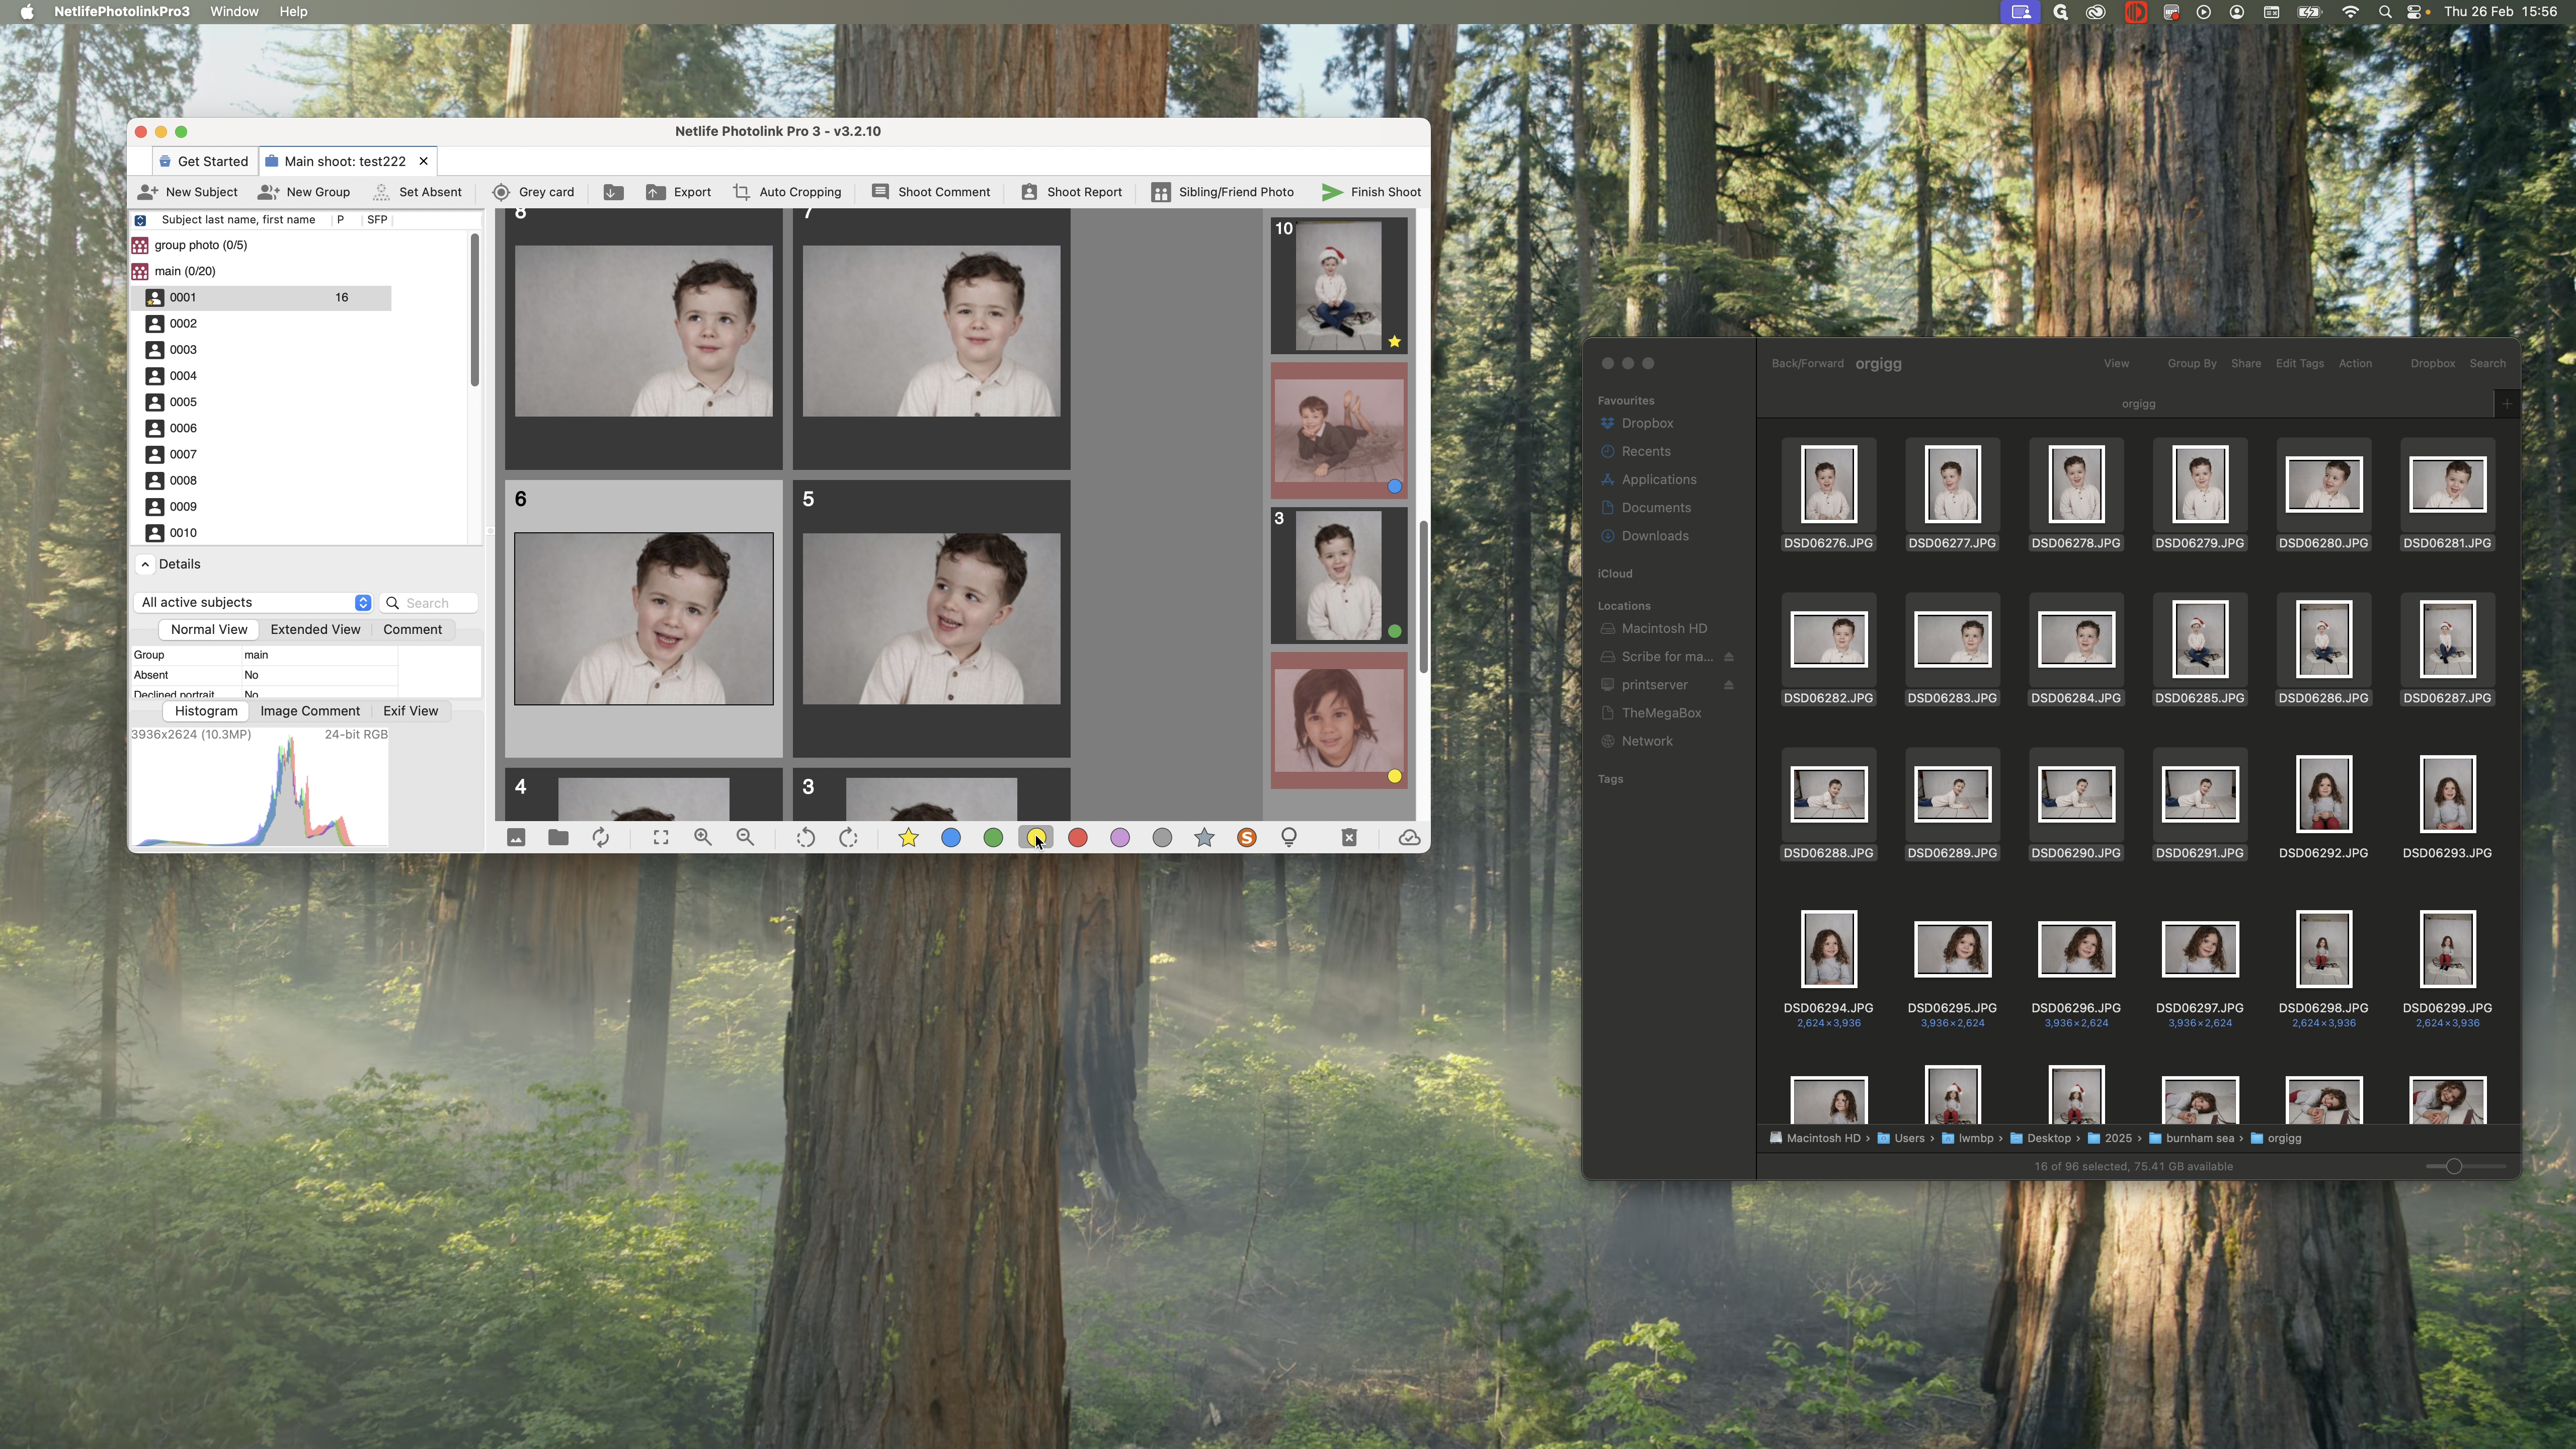
My fourth one, the lying down one, is blue.

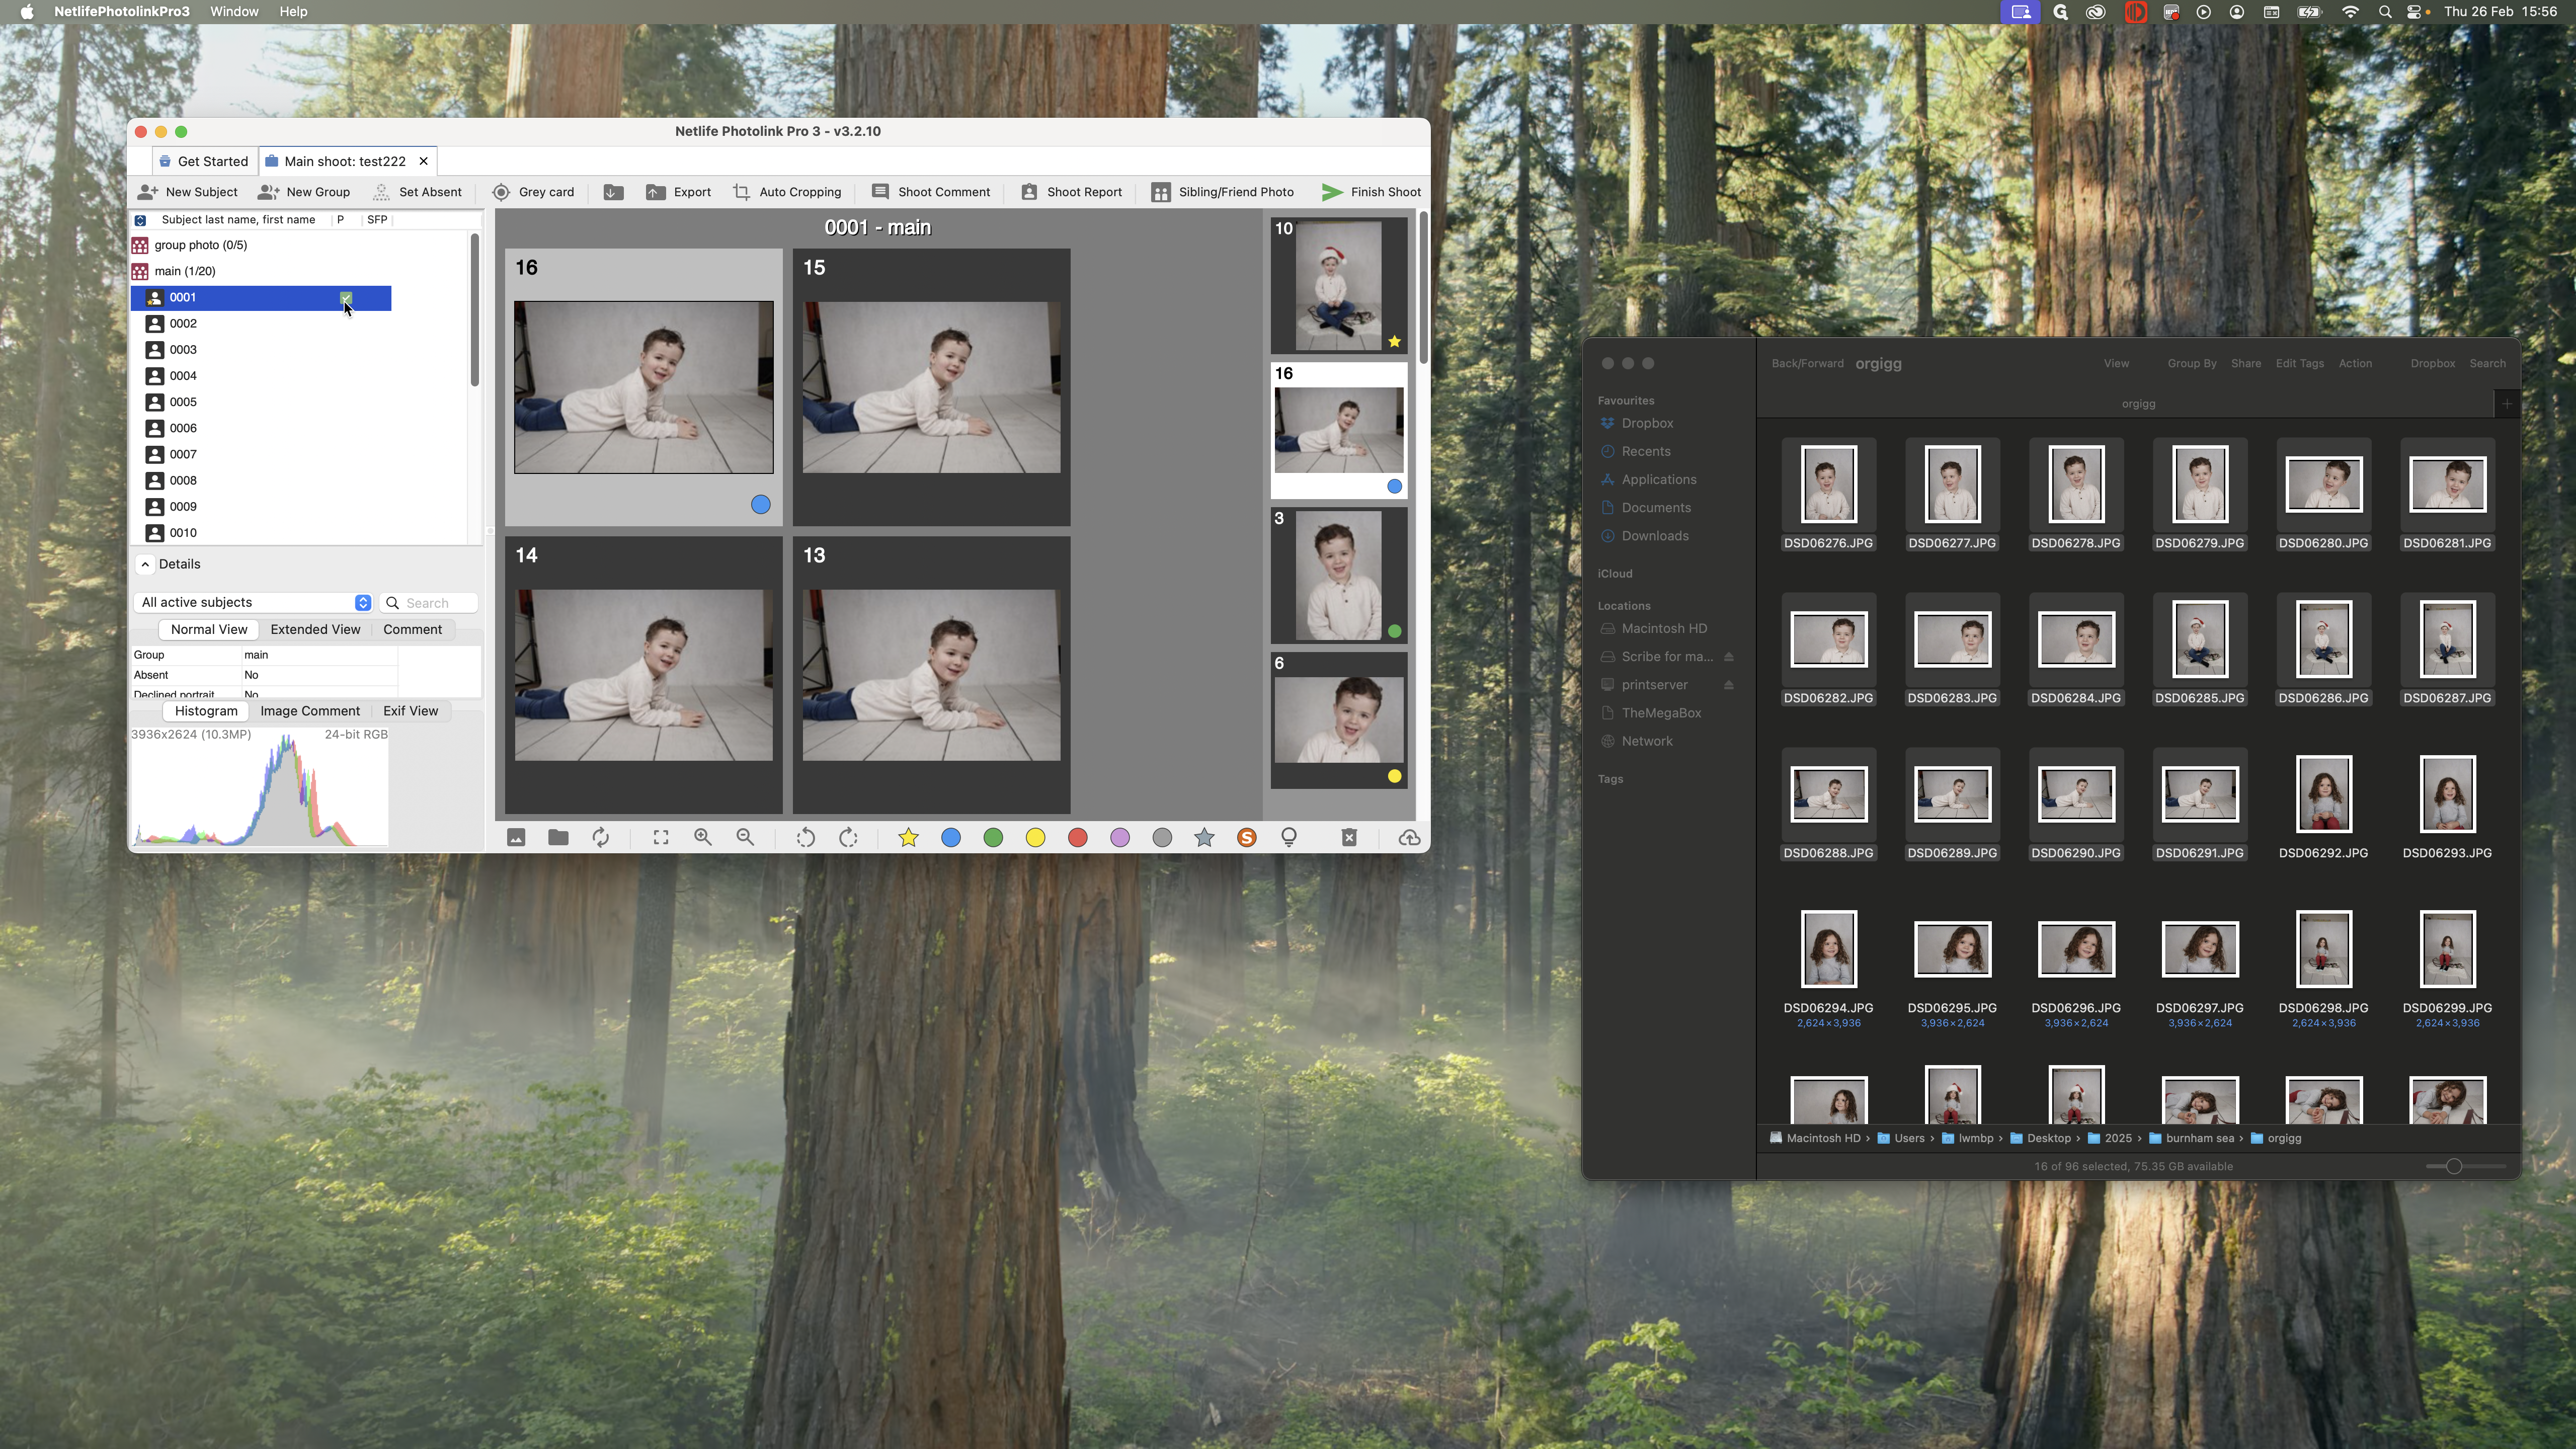
Once I've done that, you can see it has turned into a green tick here.
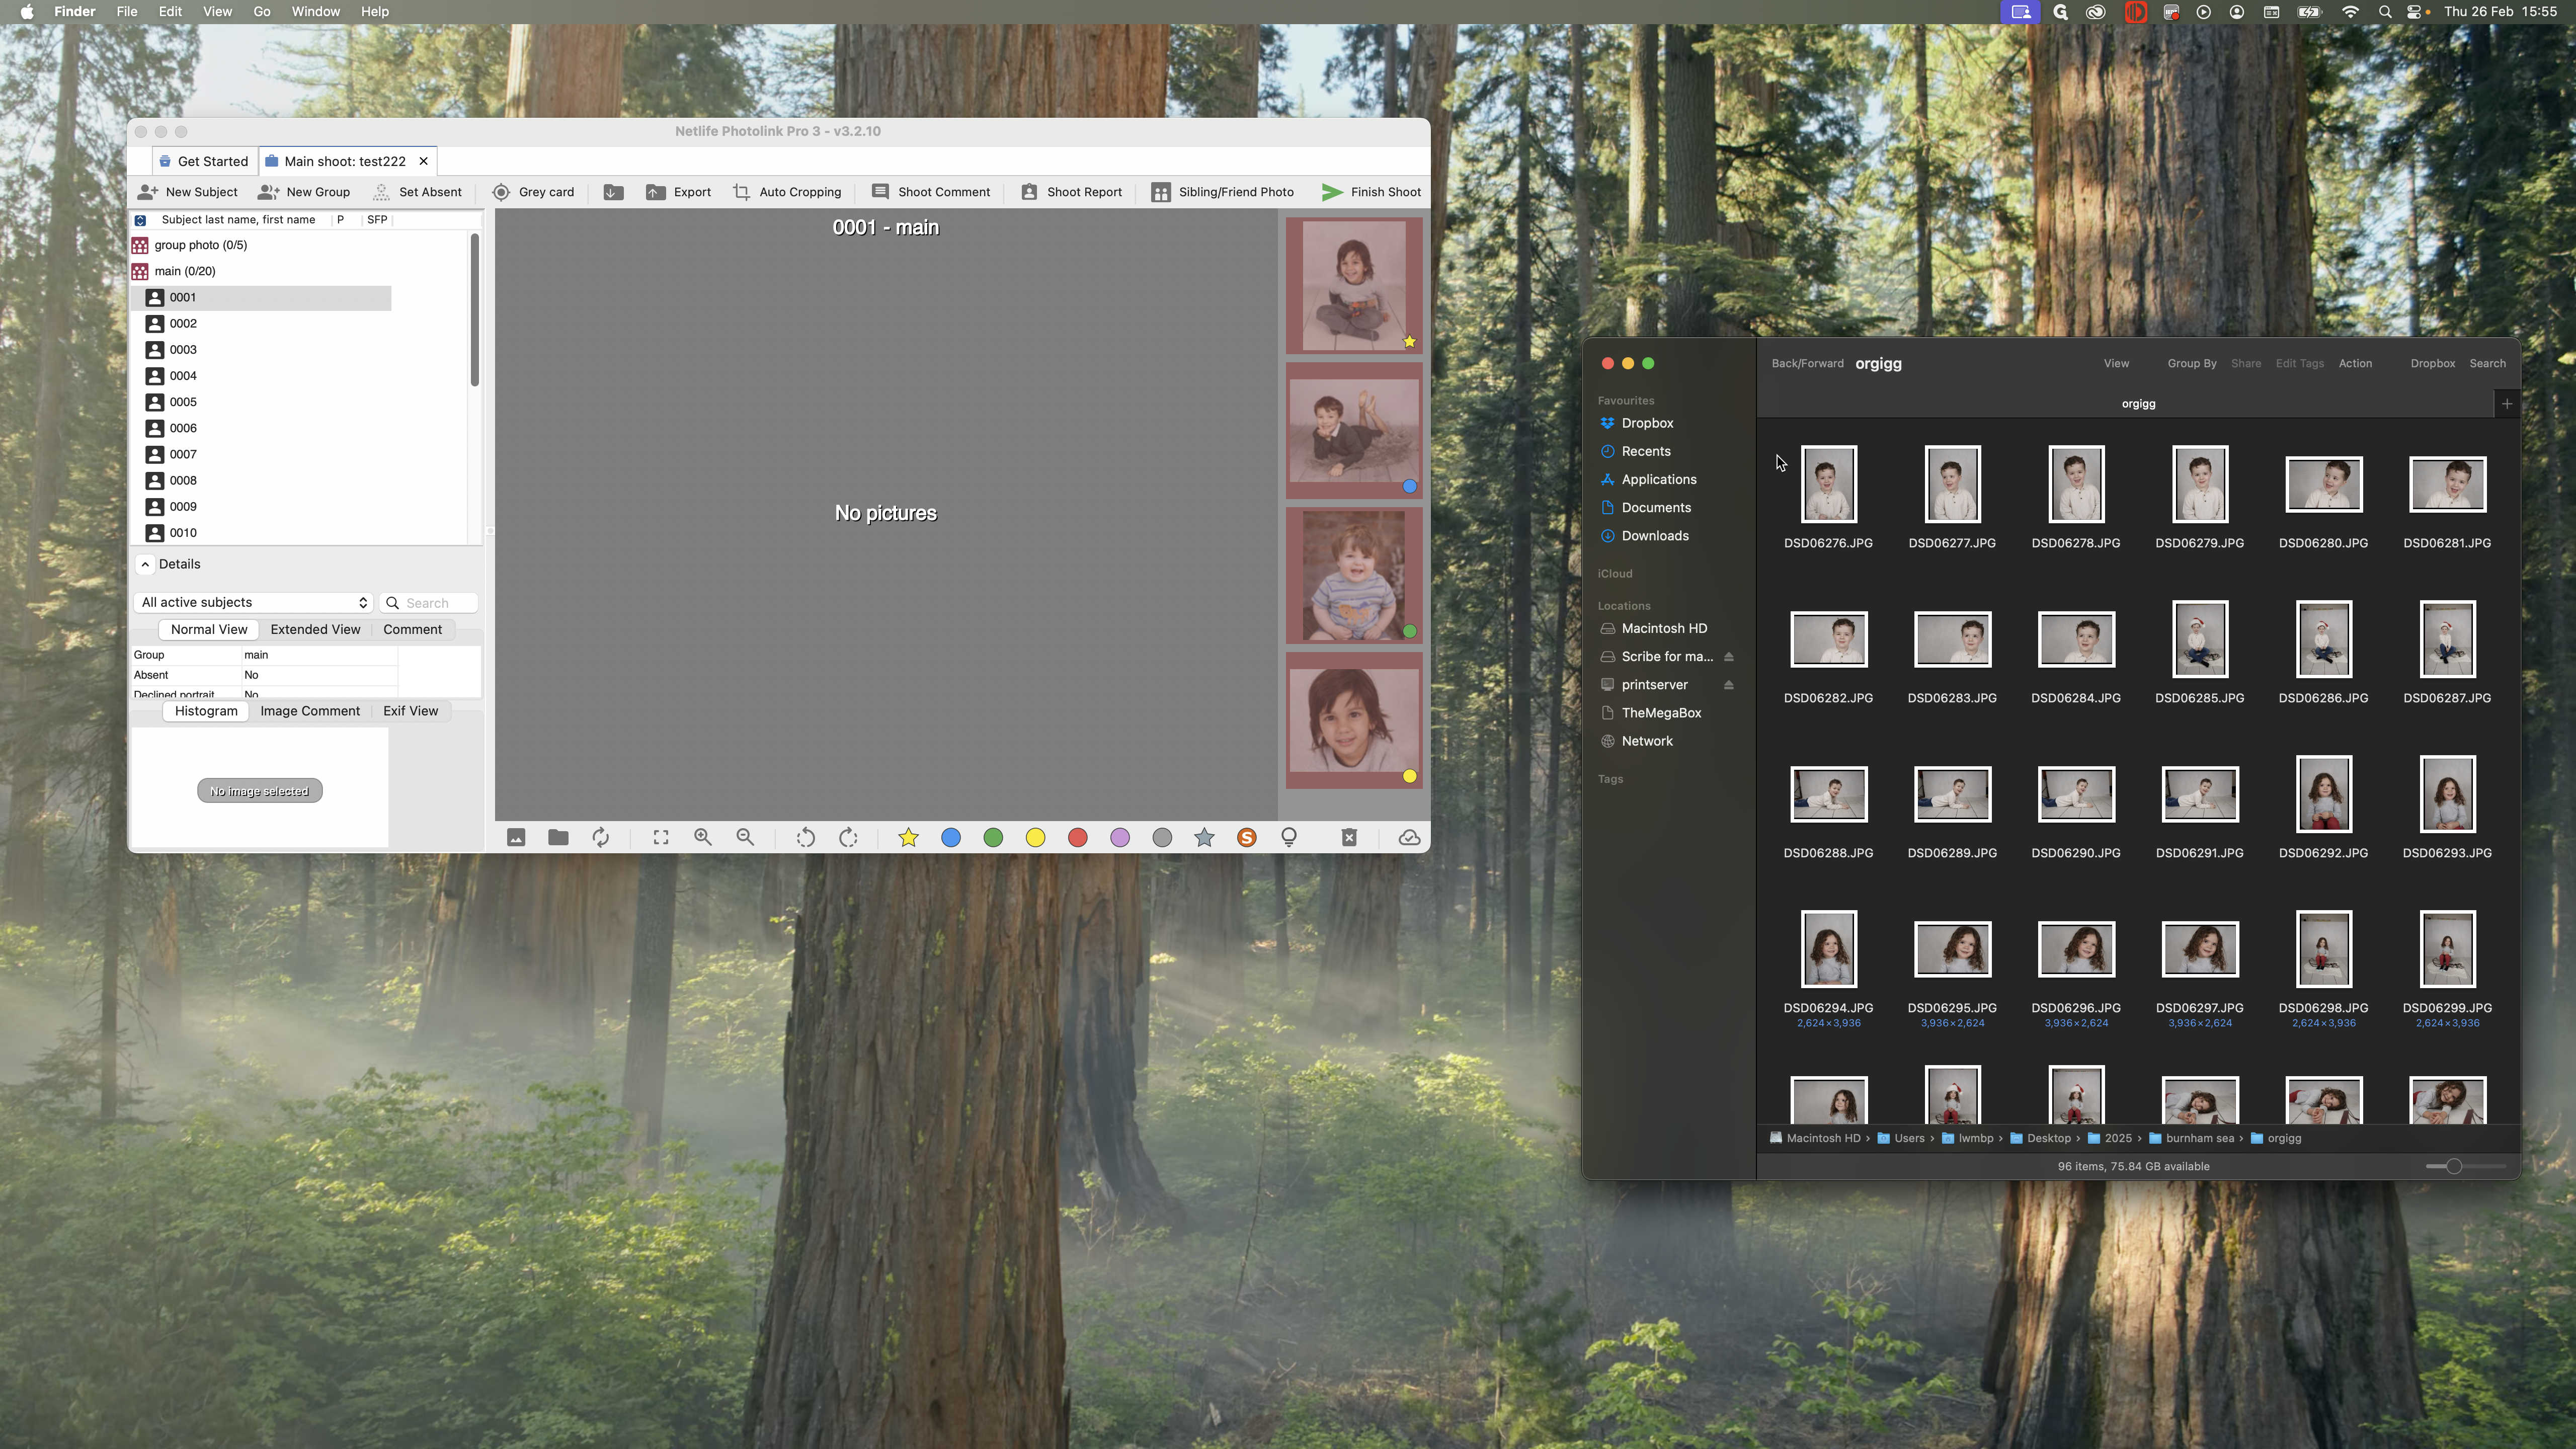
Simply repeat this process for each of the other children.

You can choose to tag images in Netlife as you add them or wait until all images are placed on their subjects and tag them at the end.
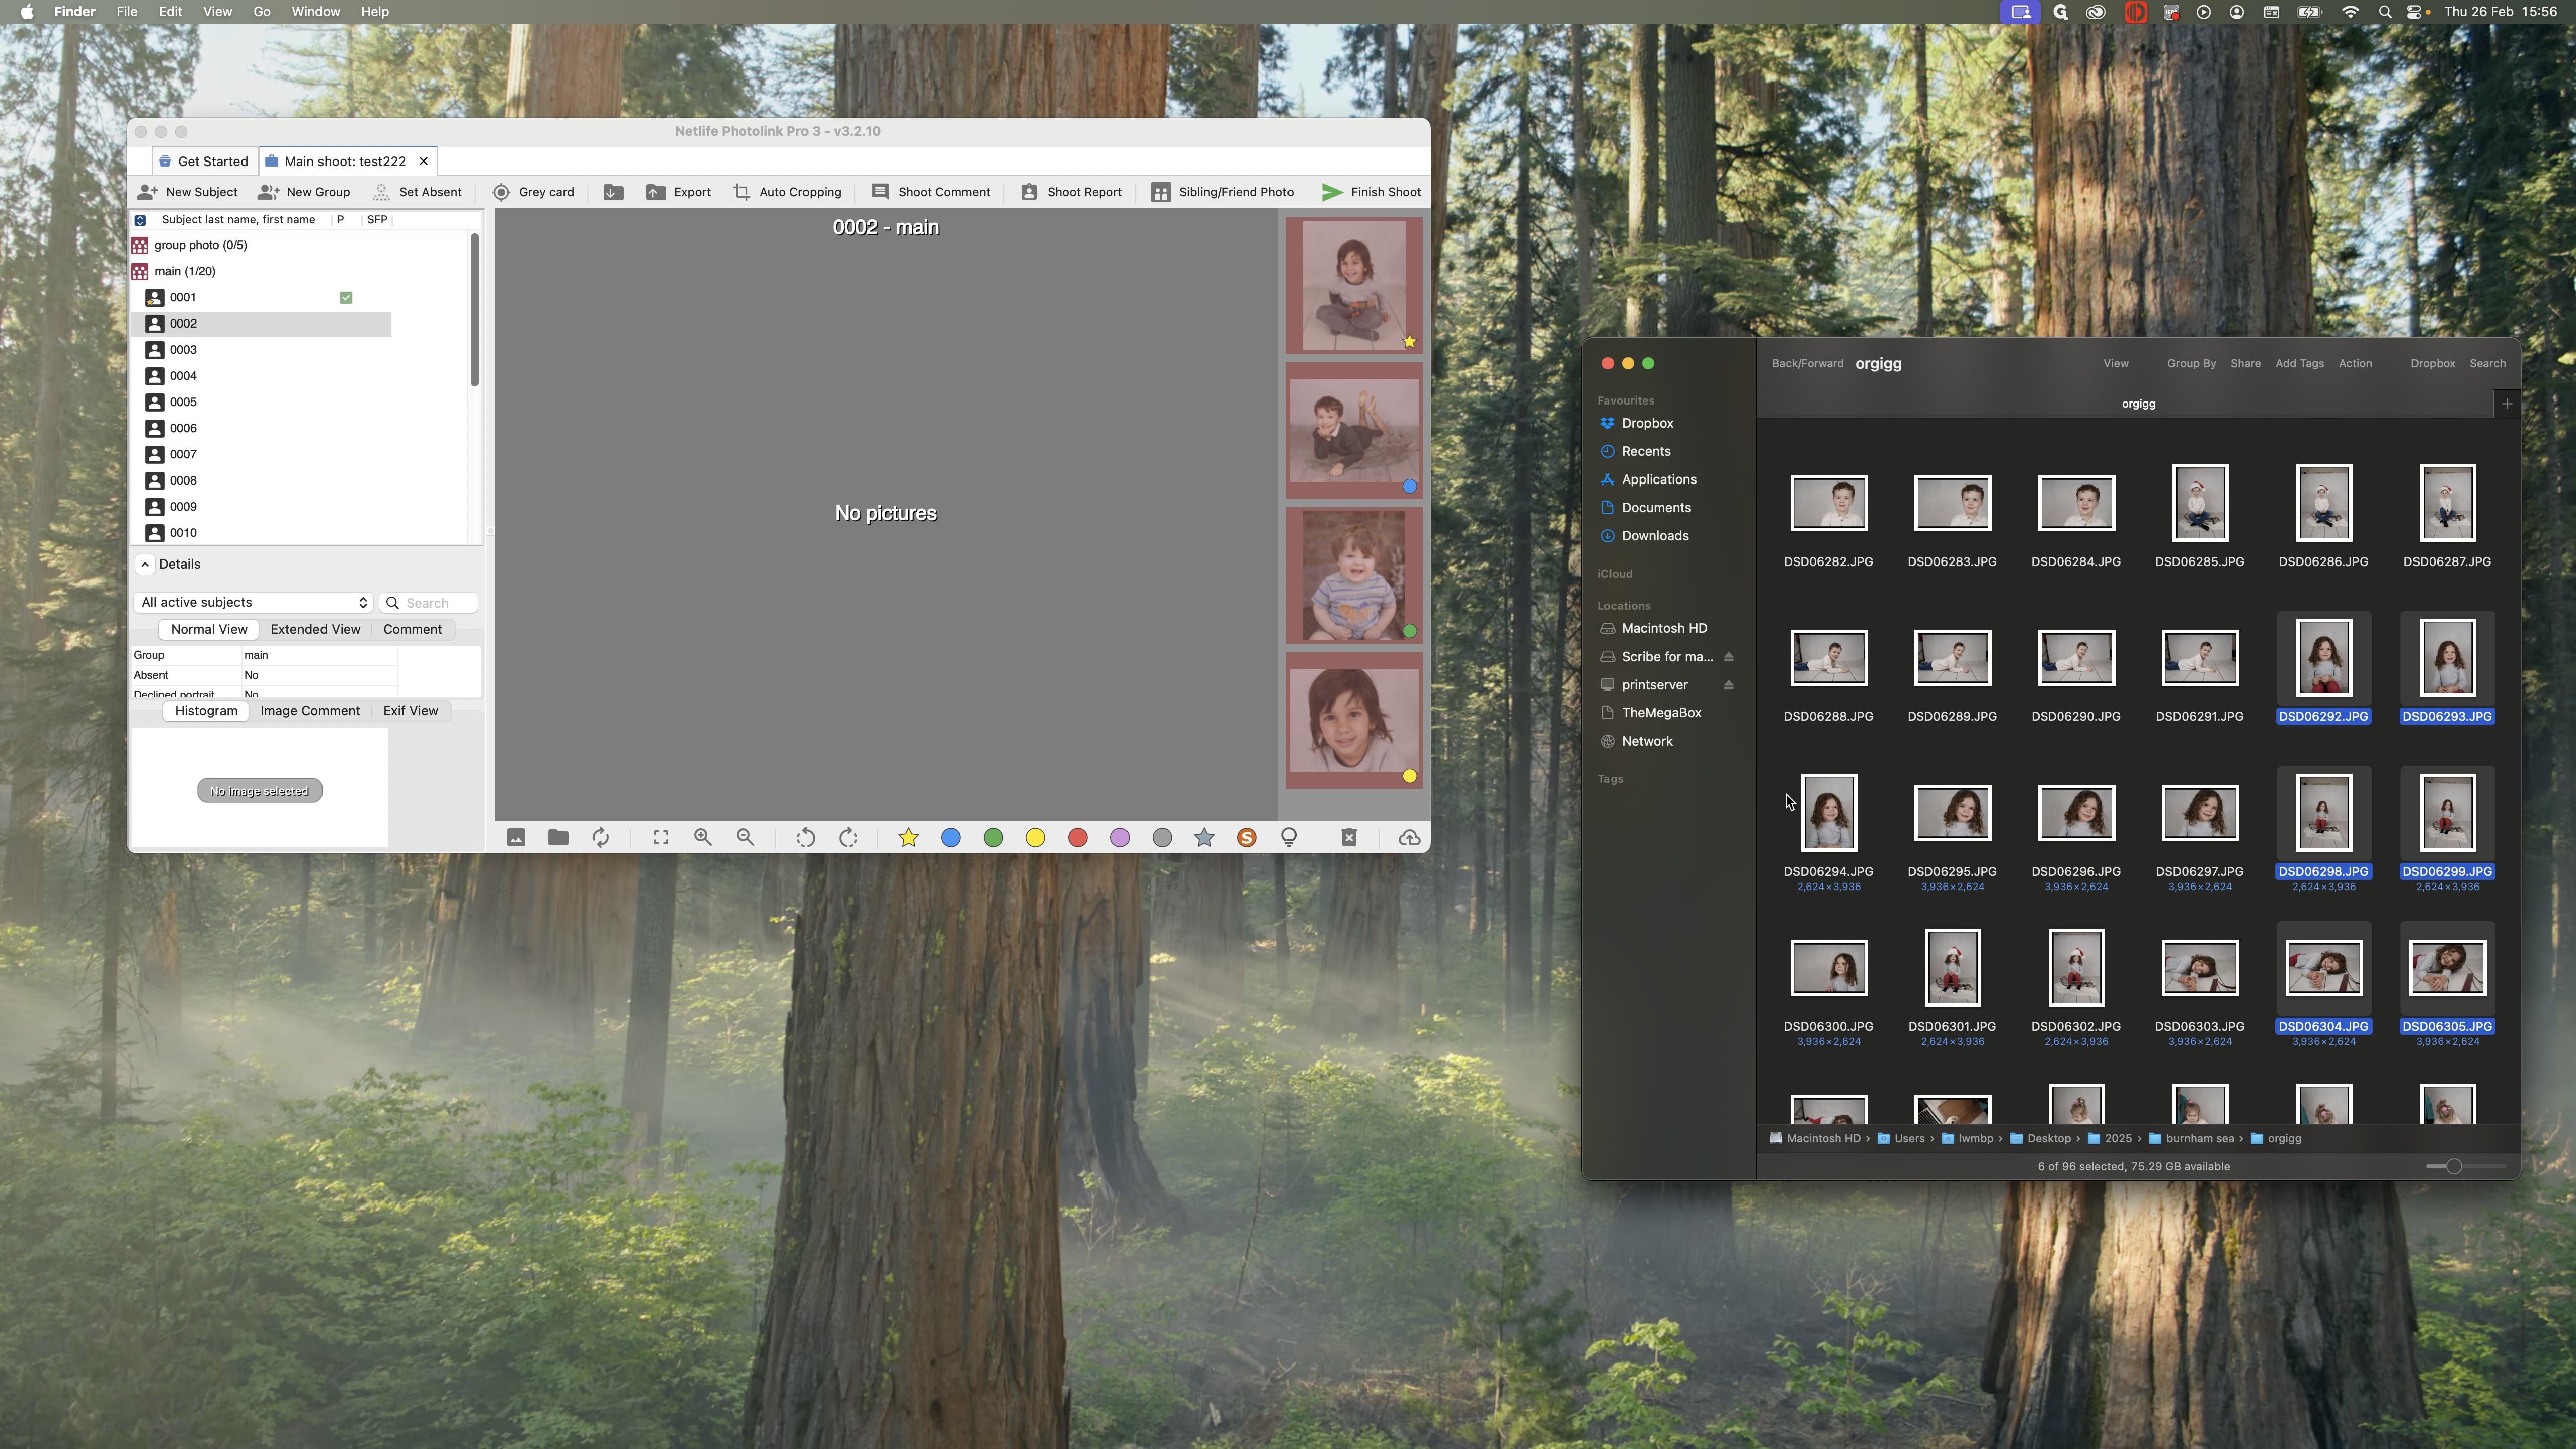
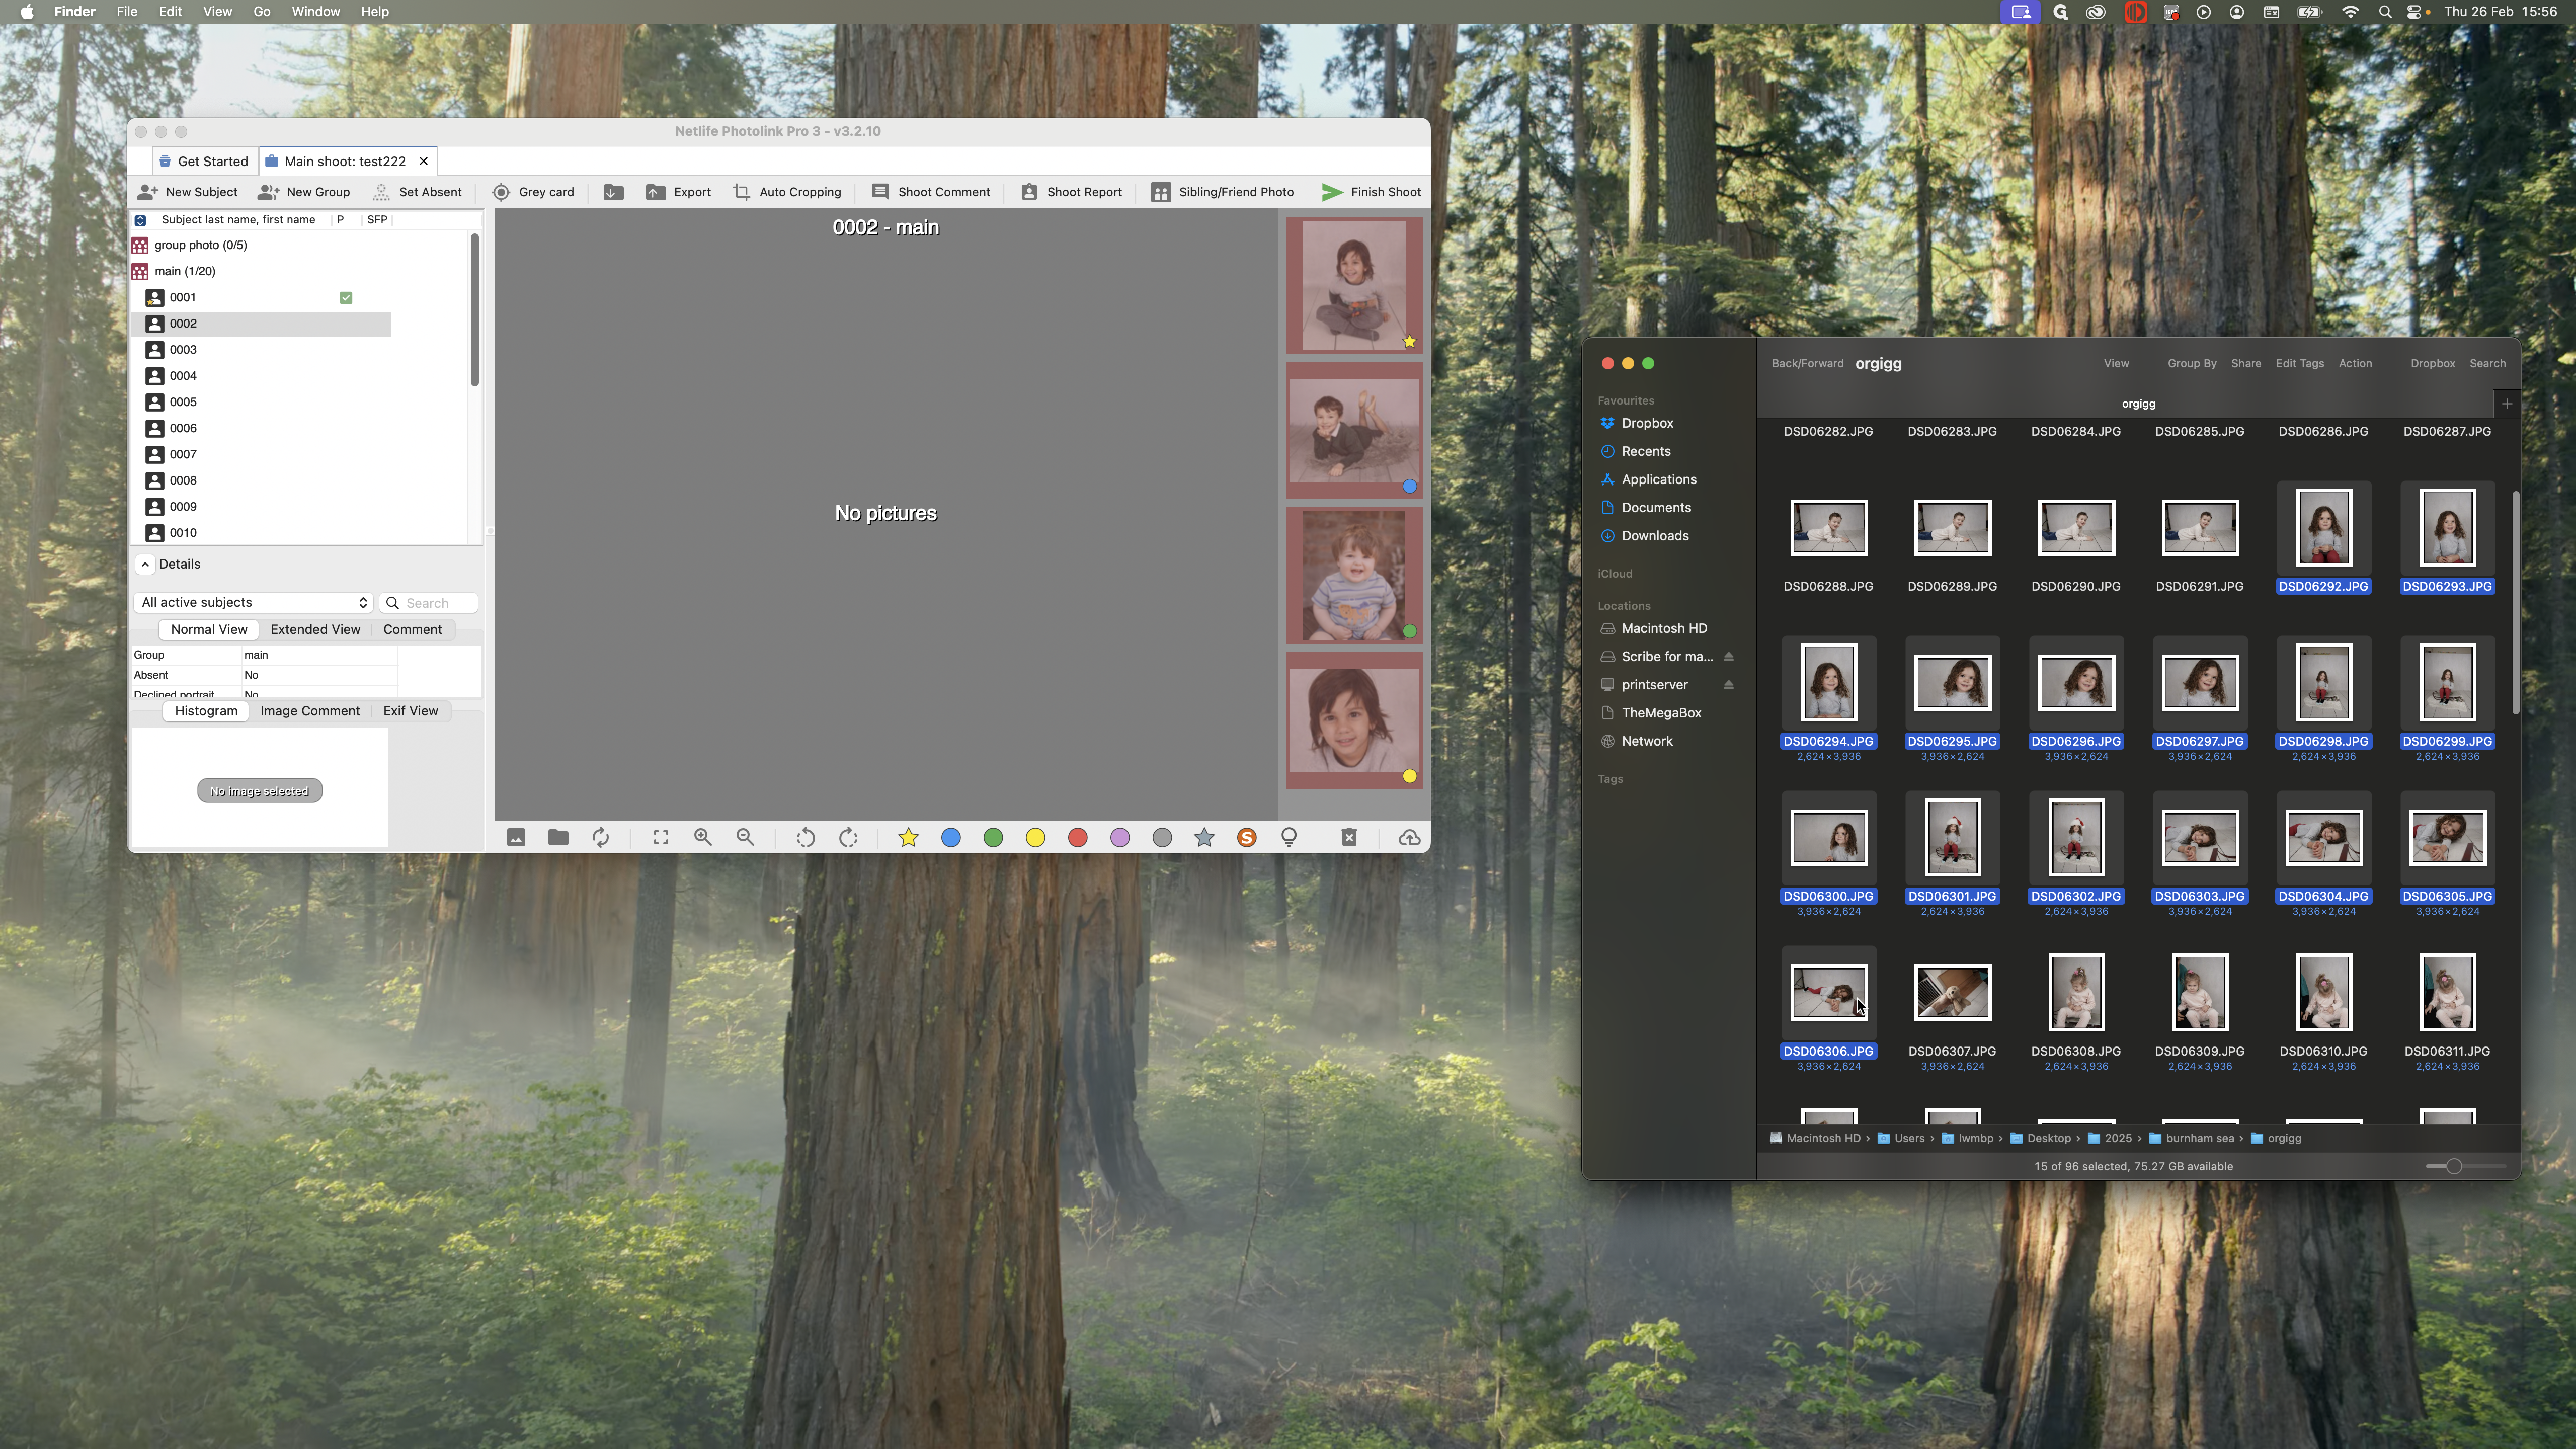
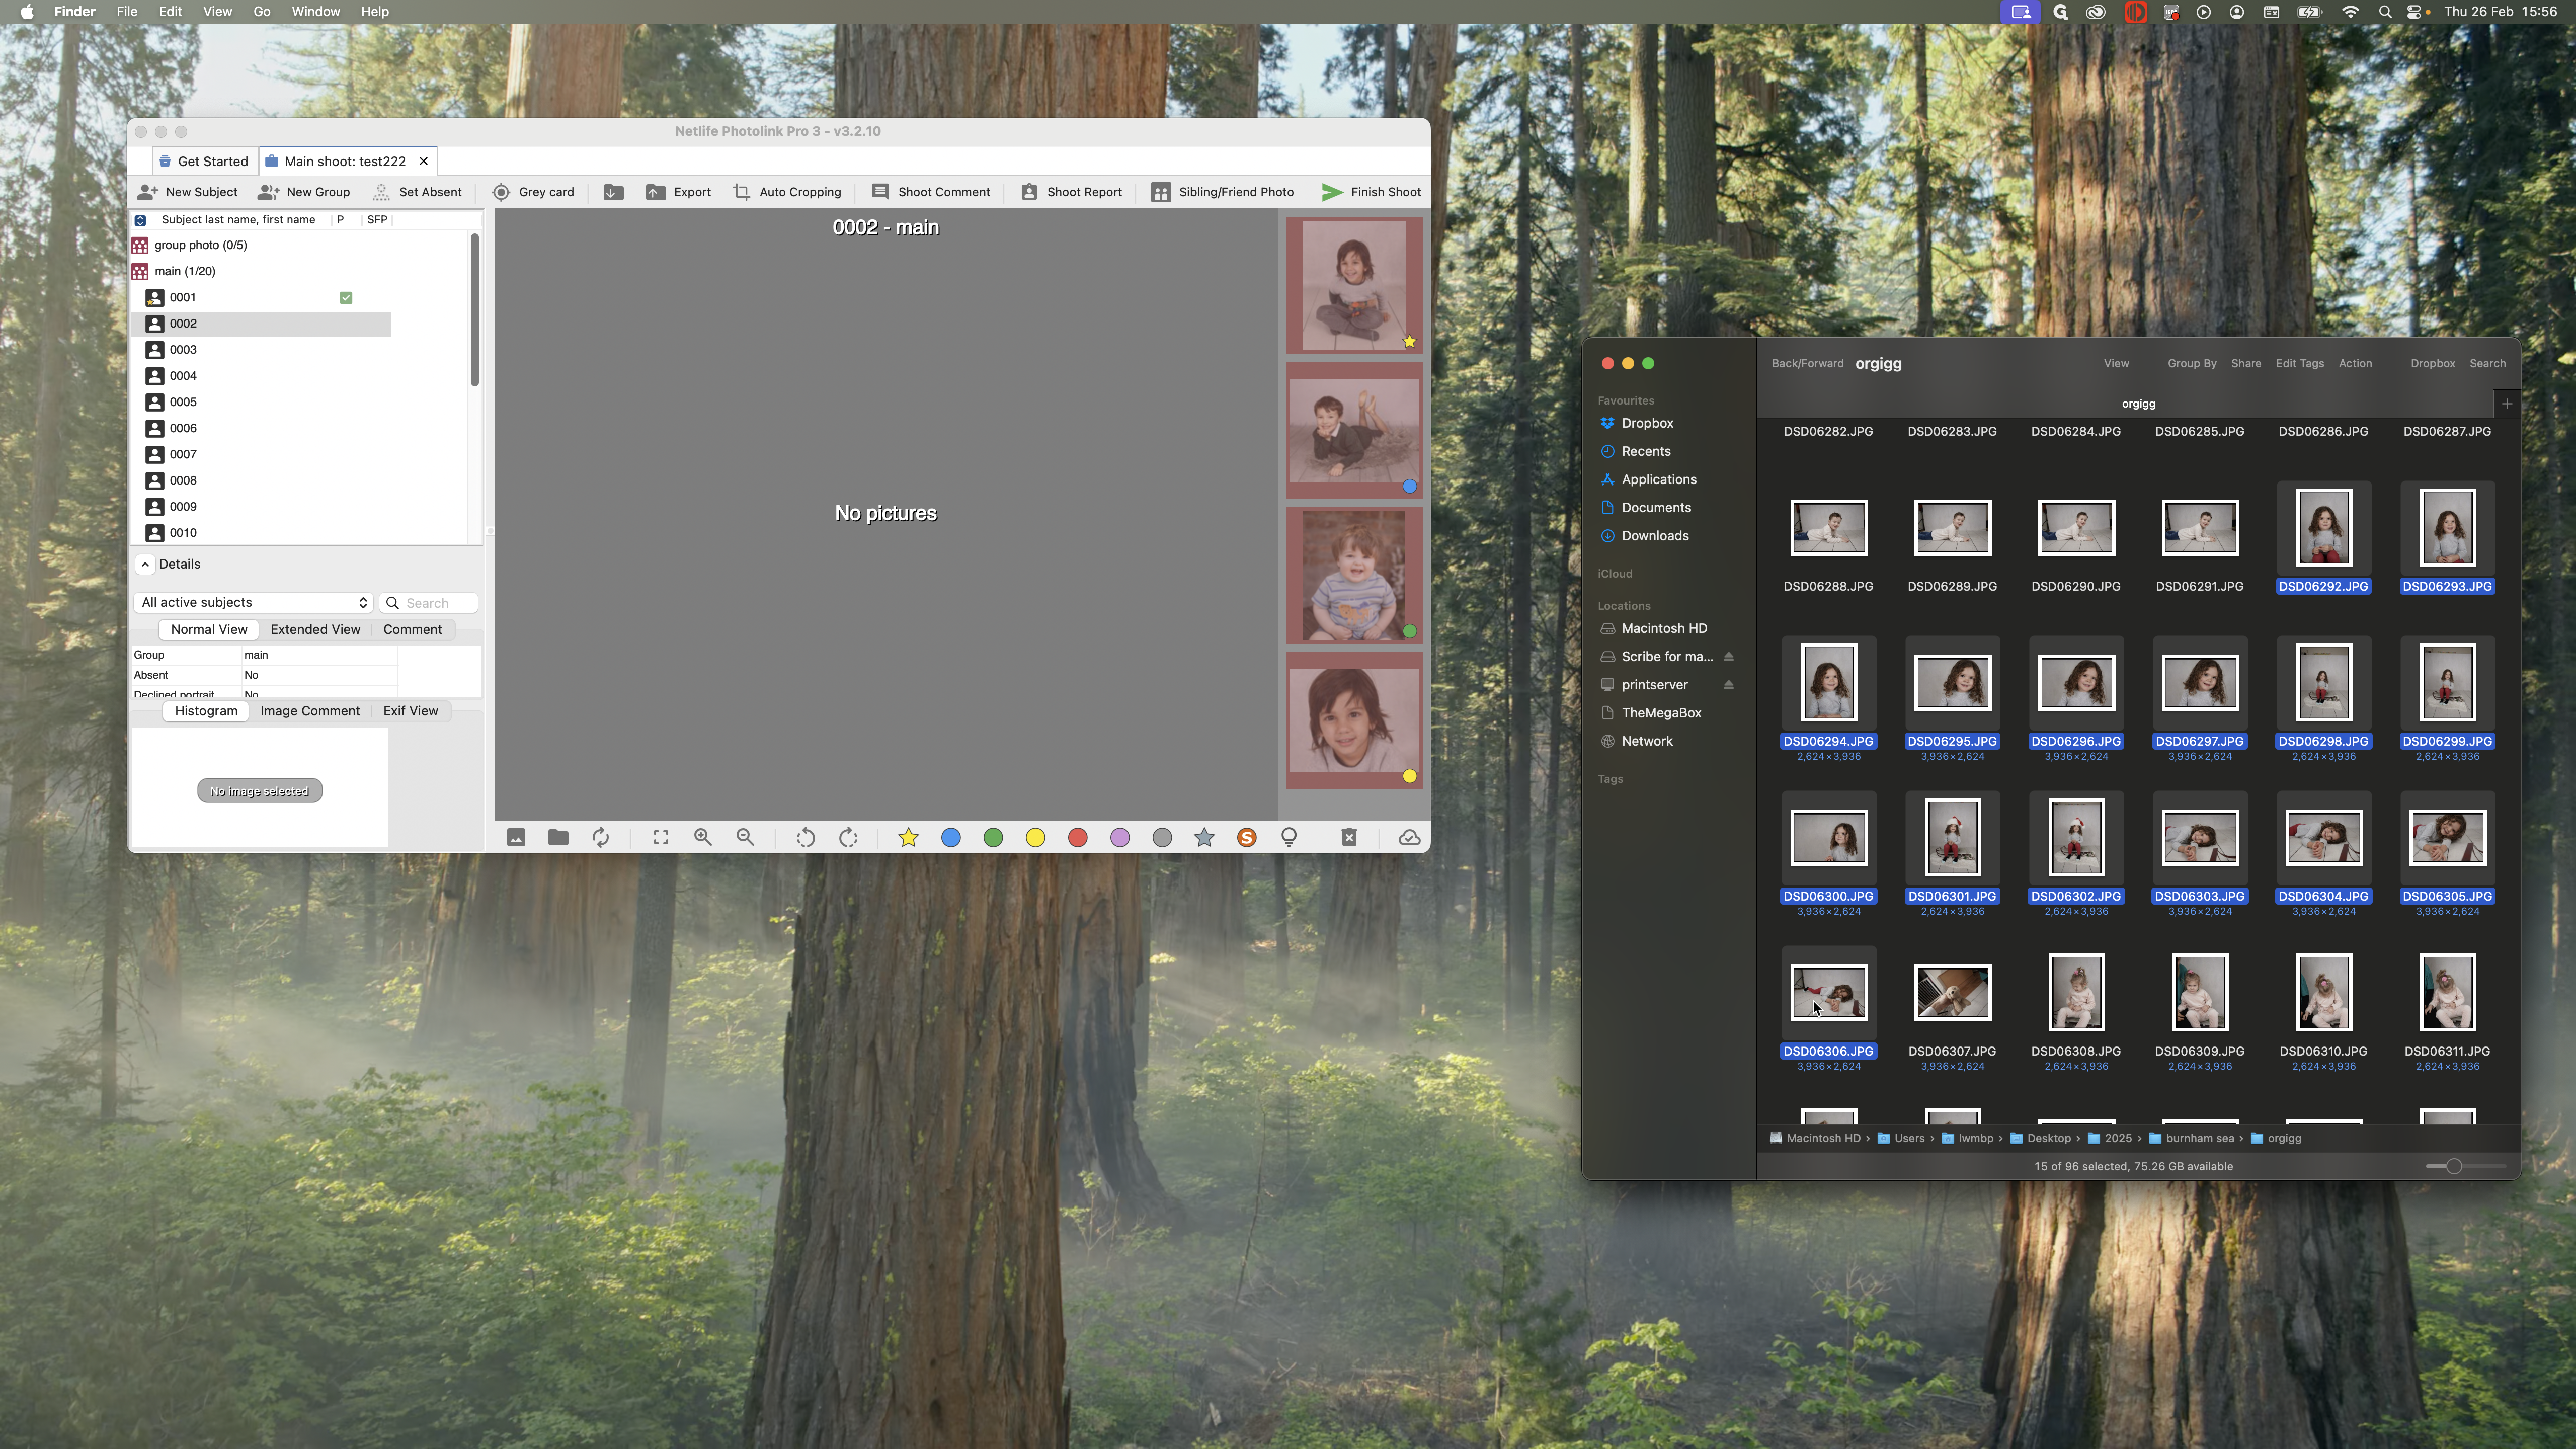
I'm going to drag these here. It’s important to drag all the images of that child. If a parent requests more images, or if the selected ones are out of focus or blurry, we can access the other untagged images. Drag all the images here and continue working through them.

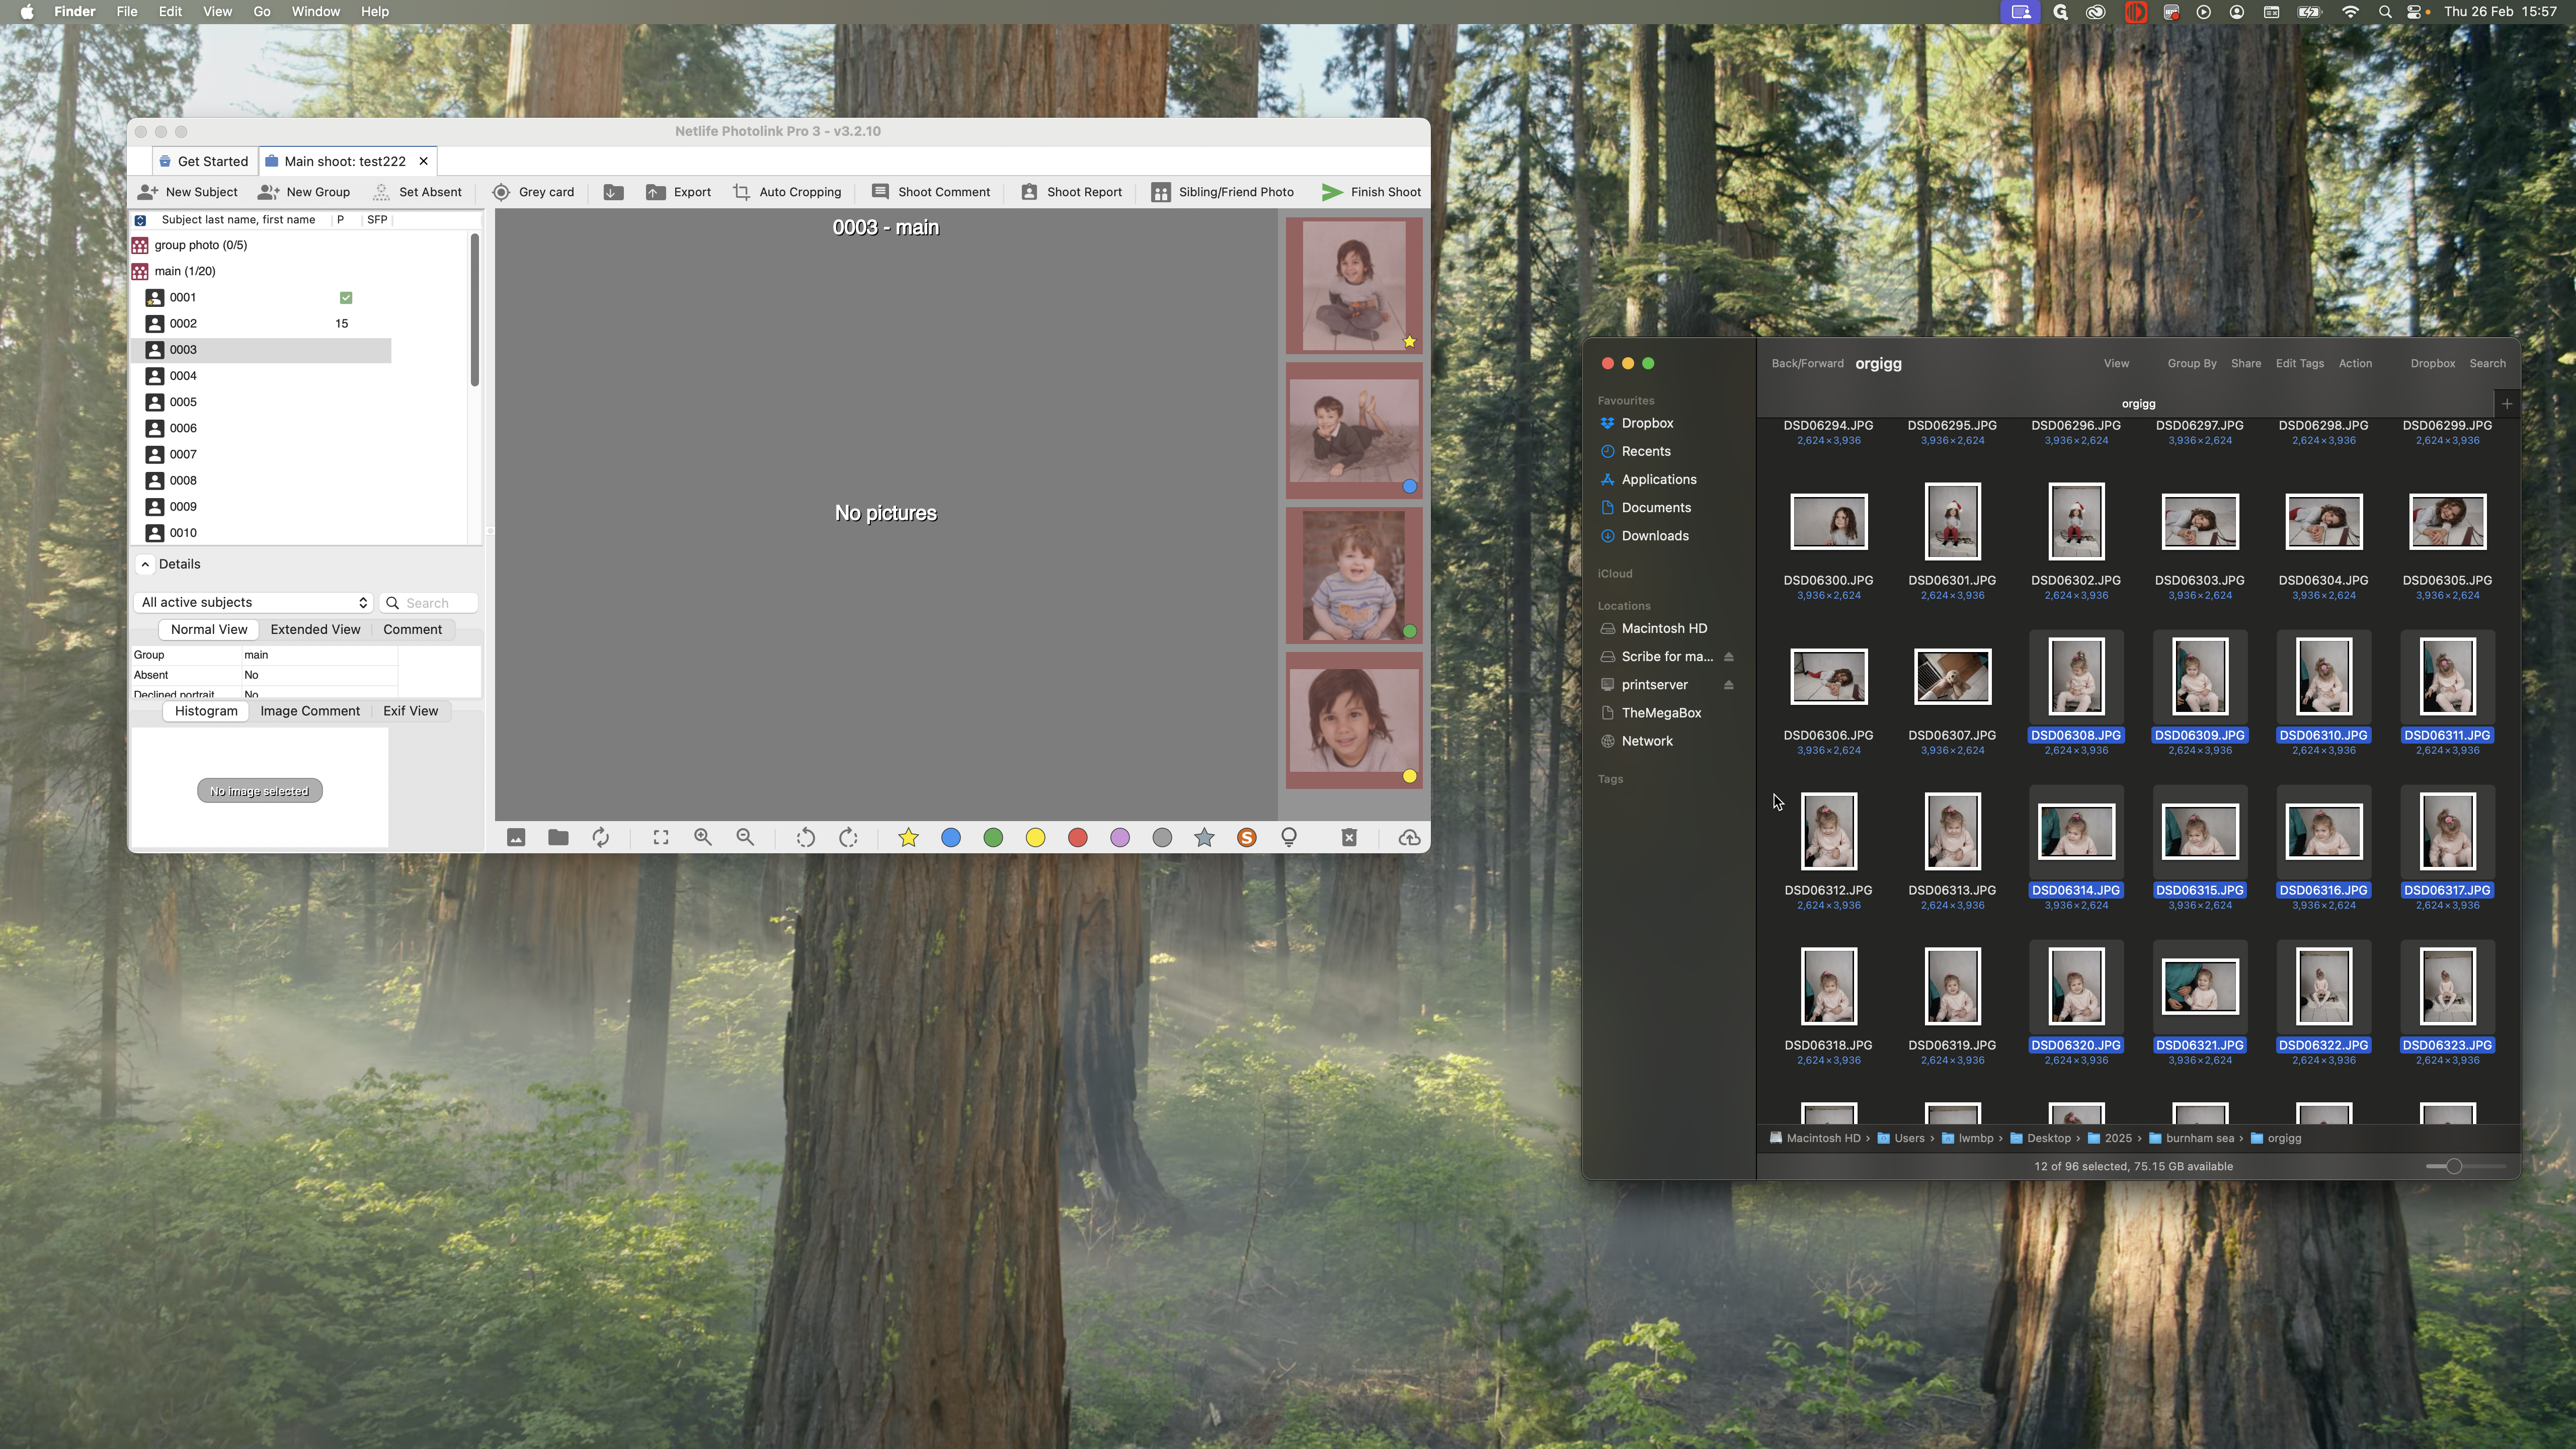
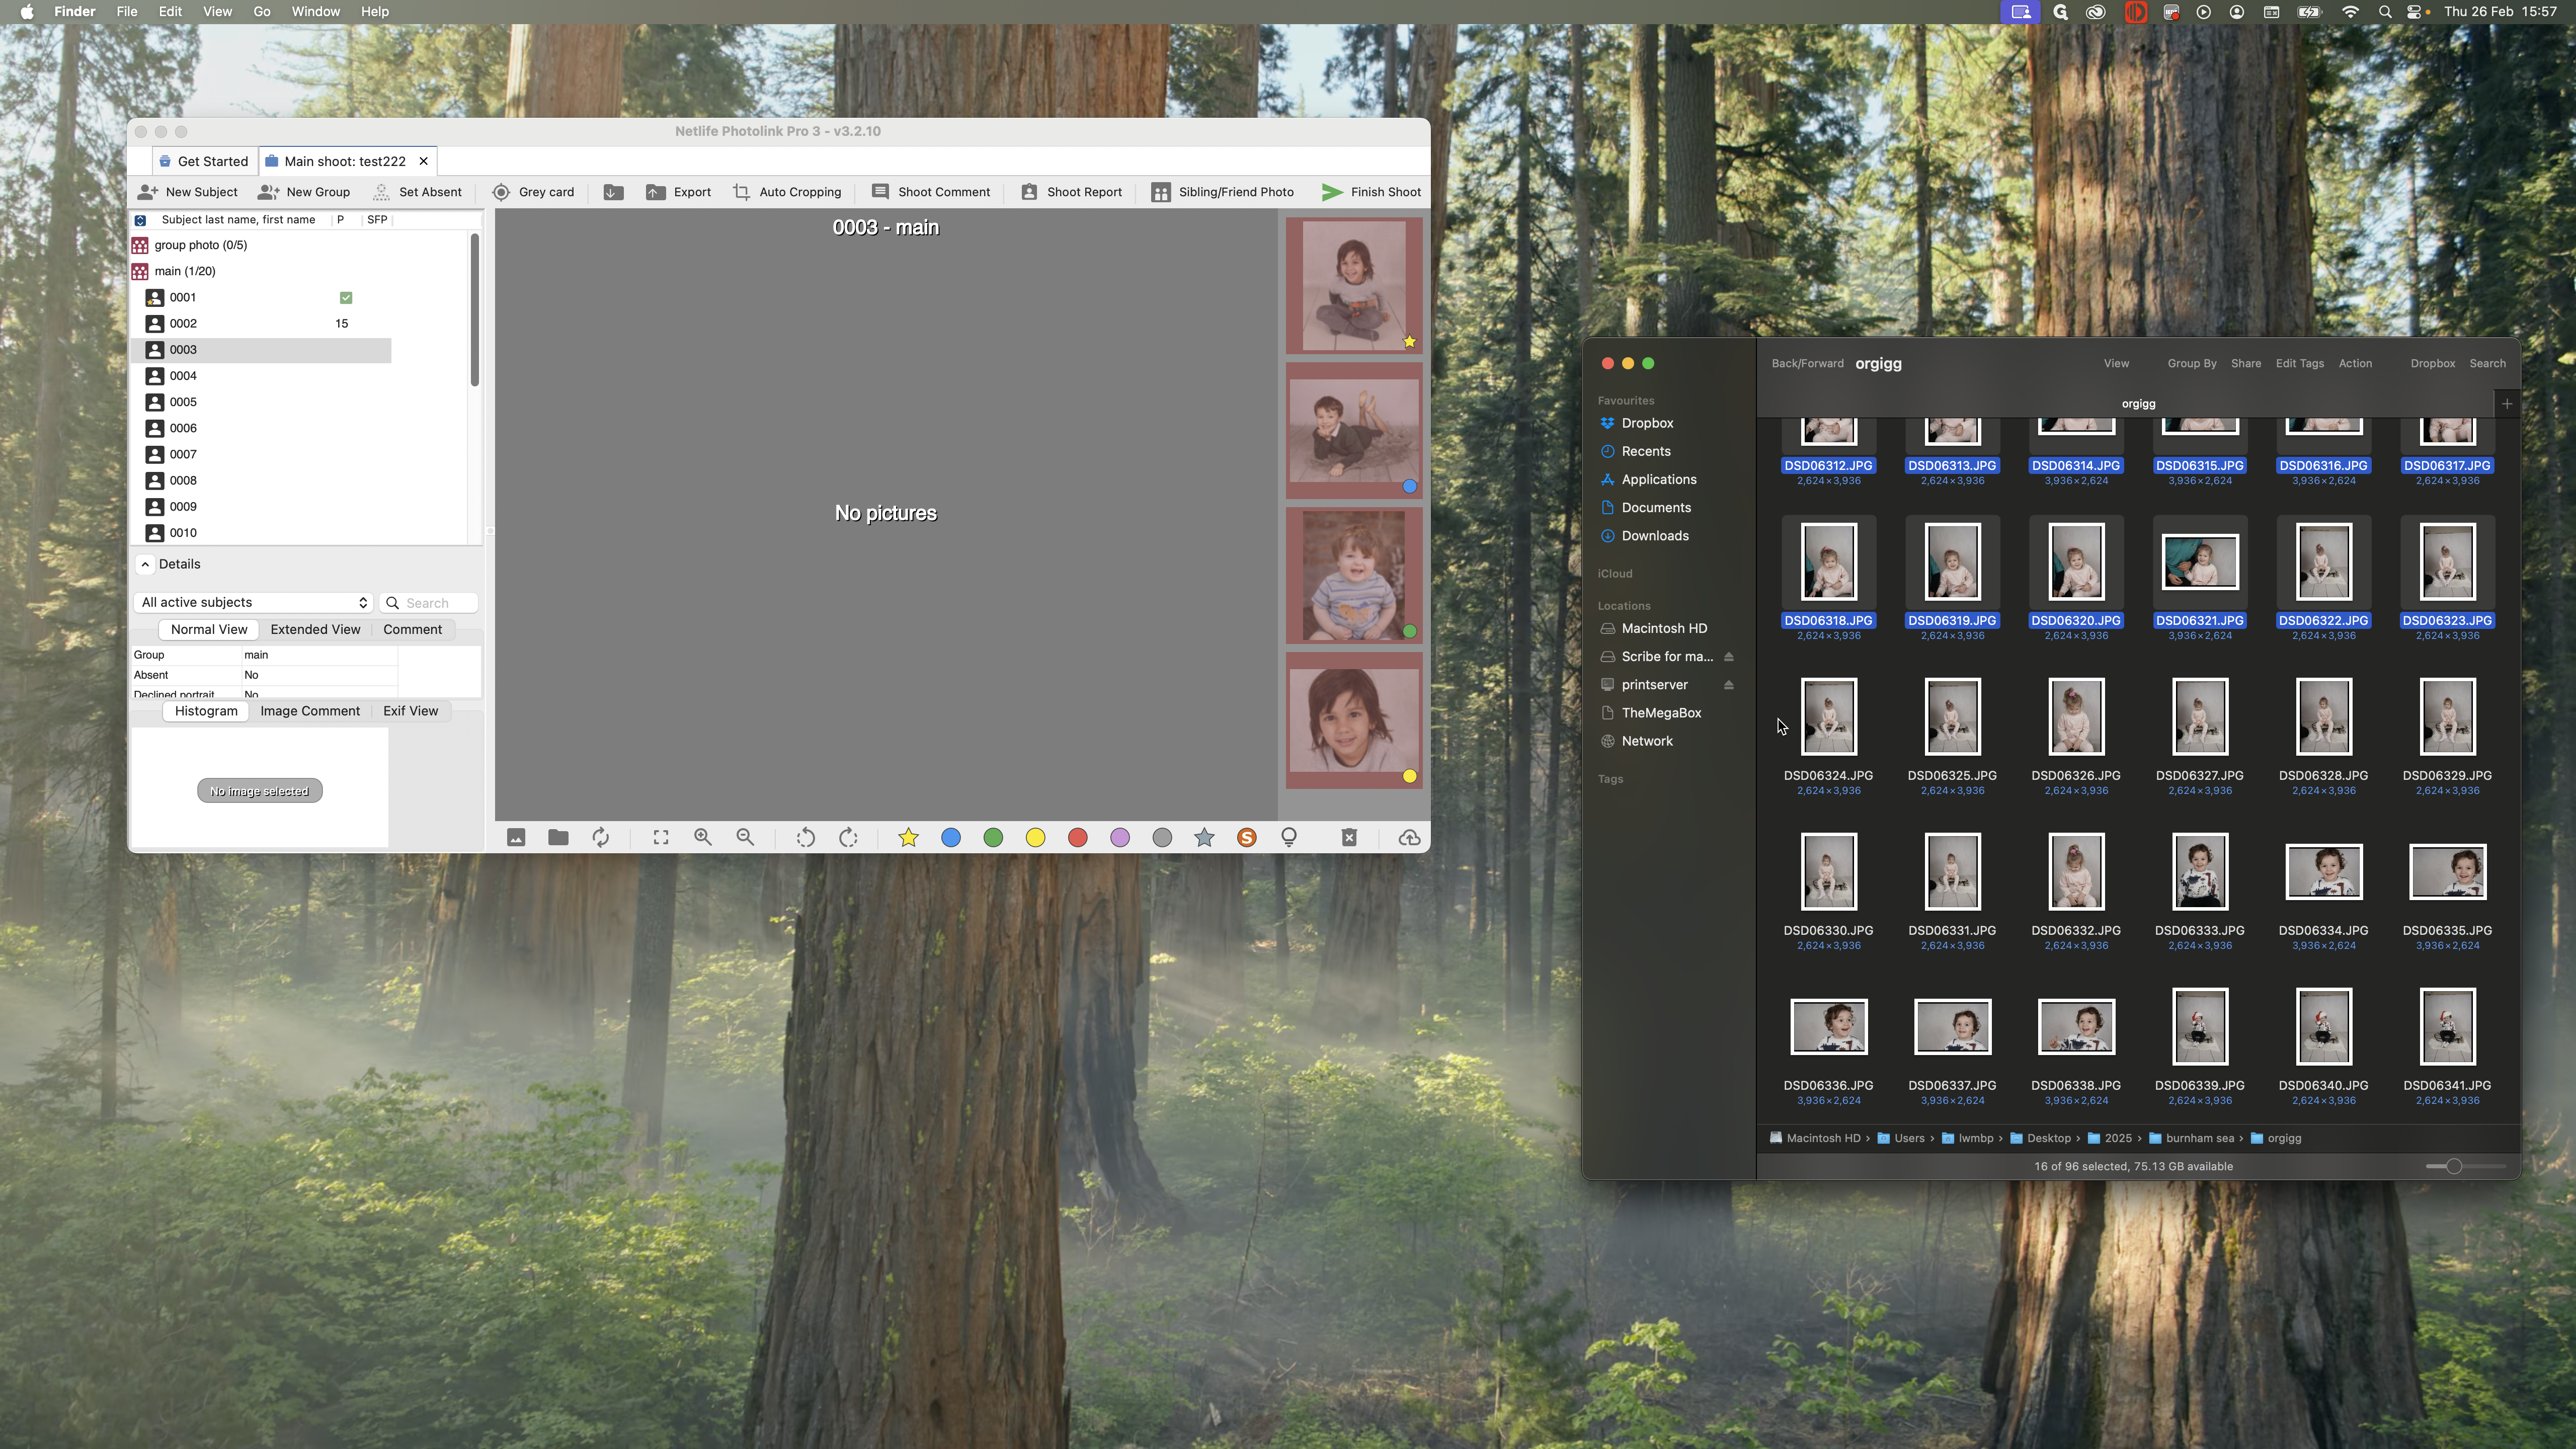


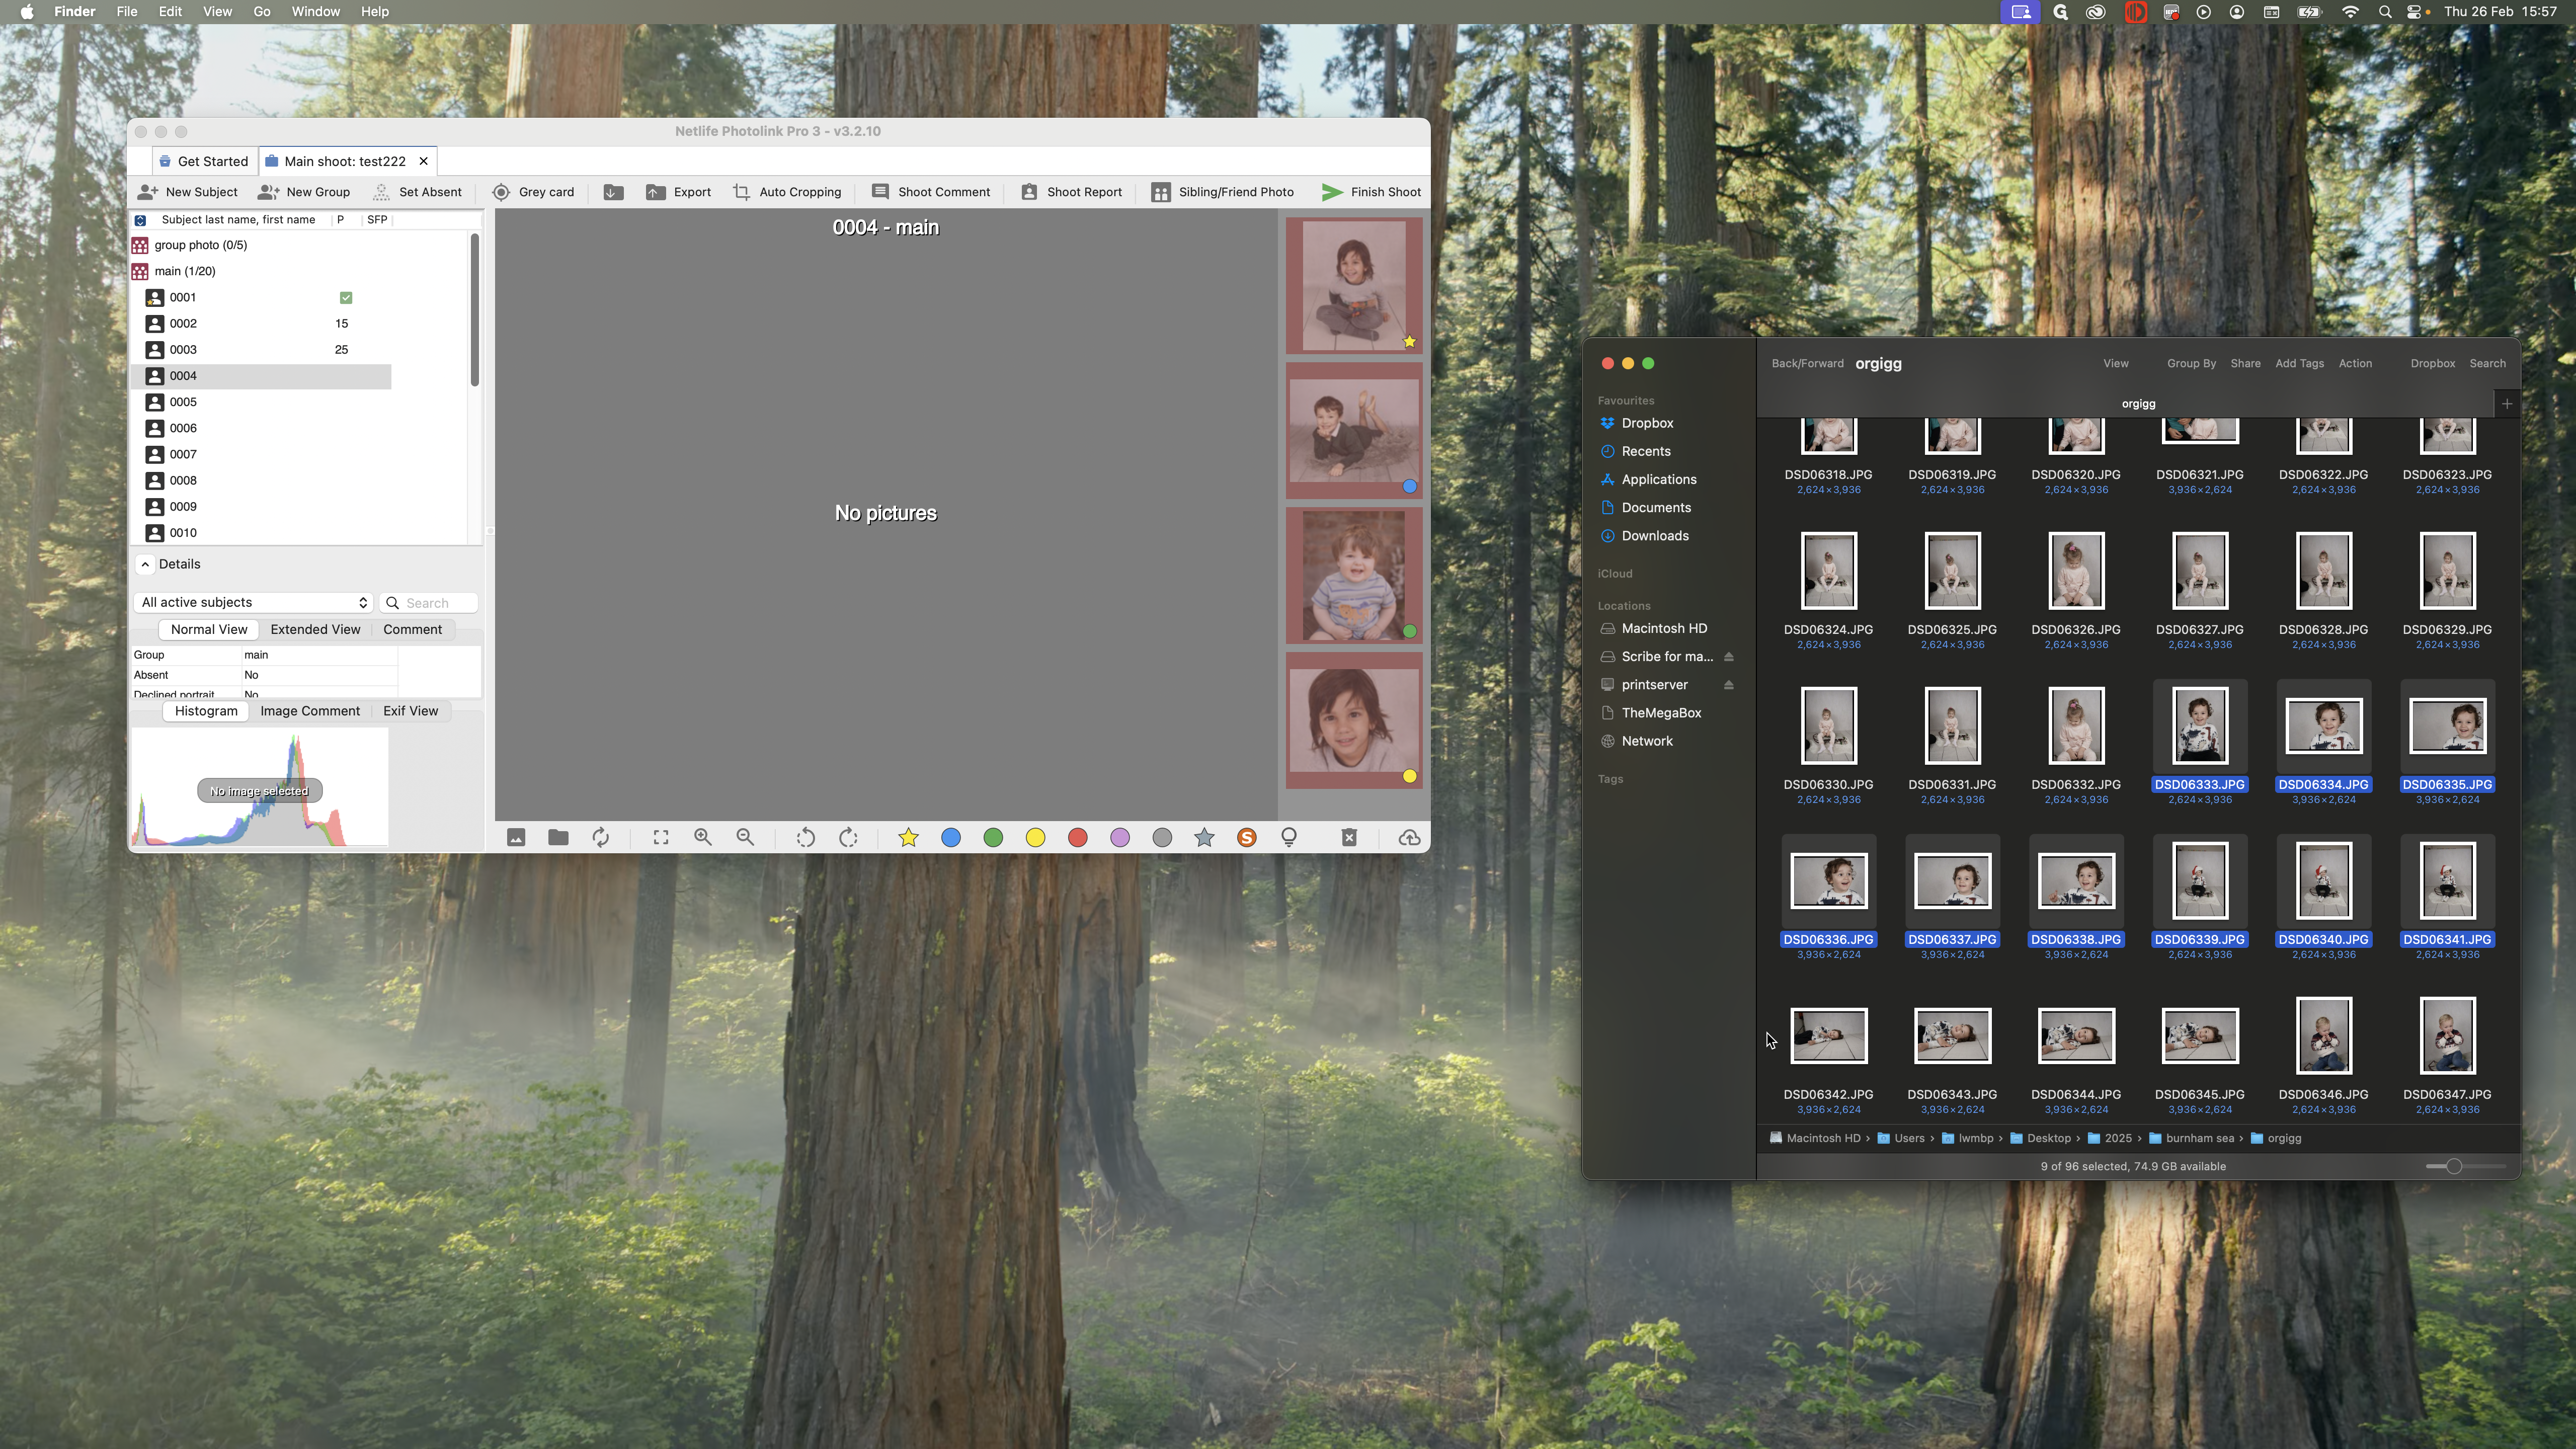

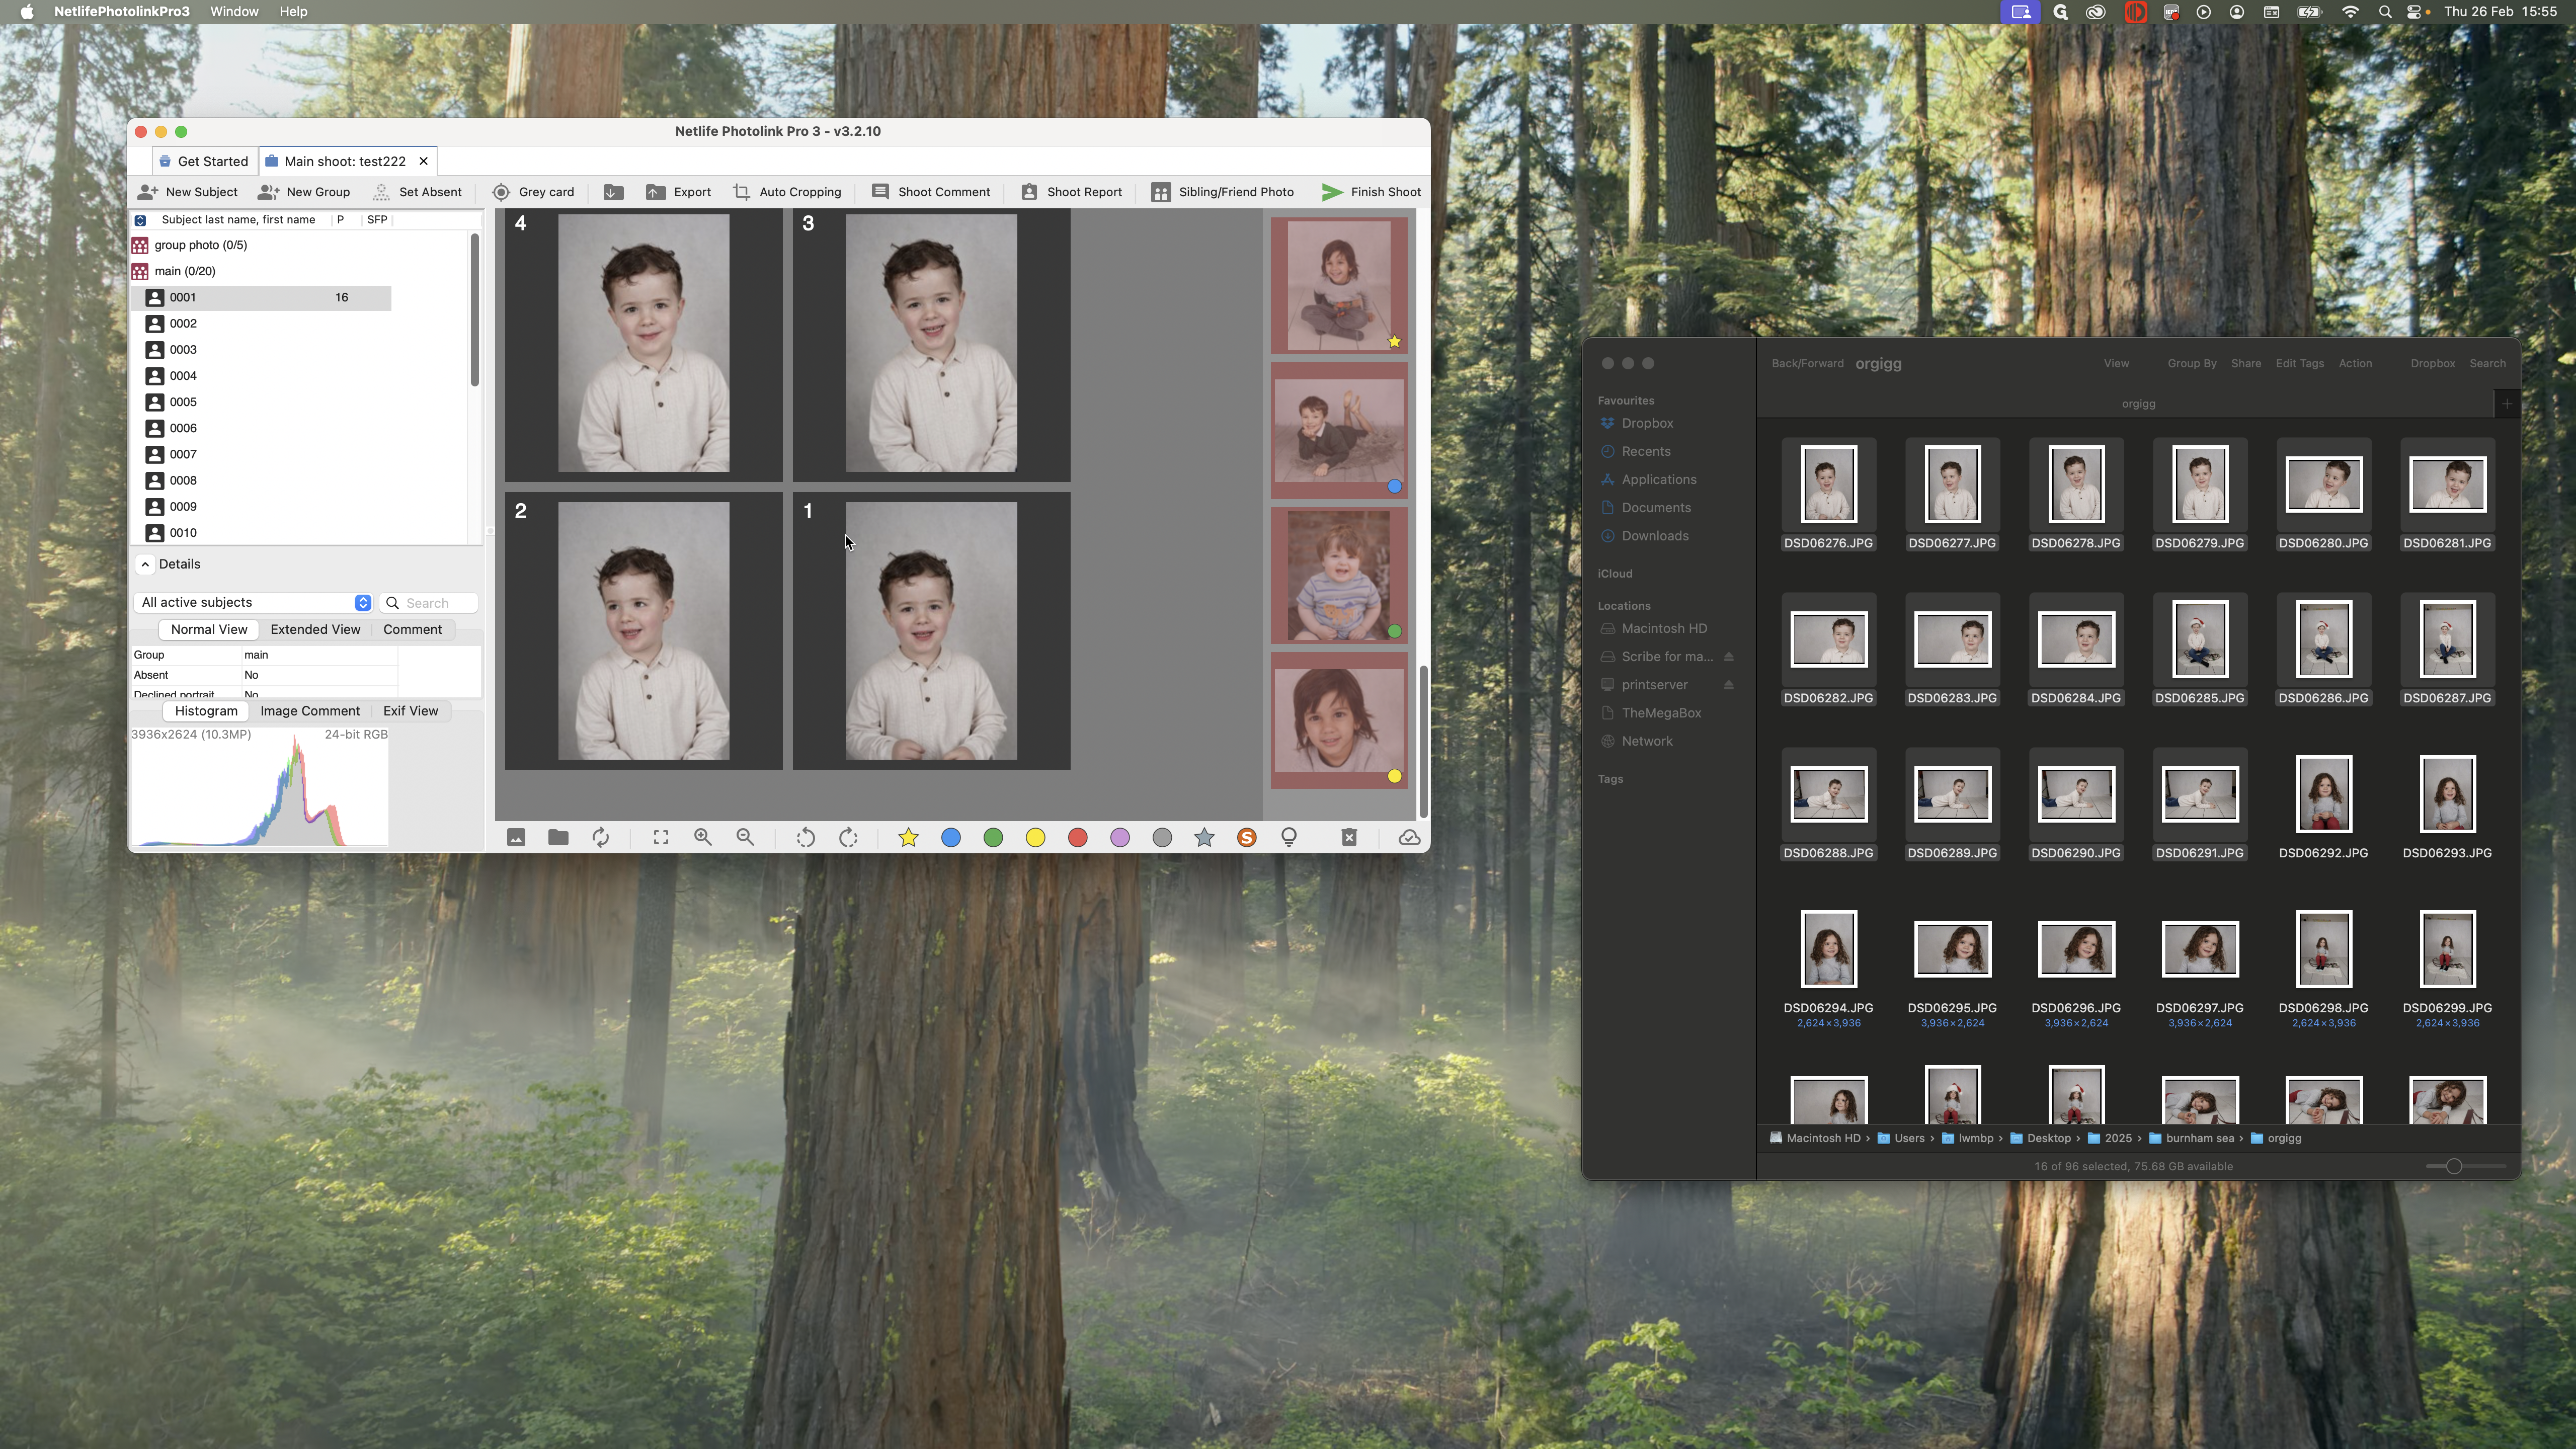
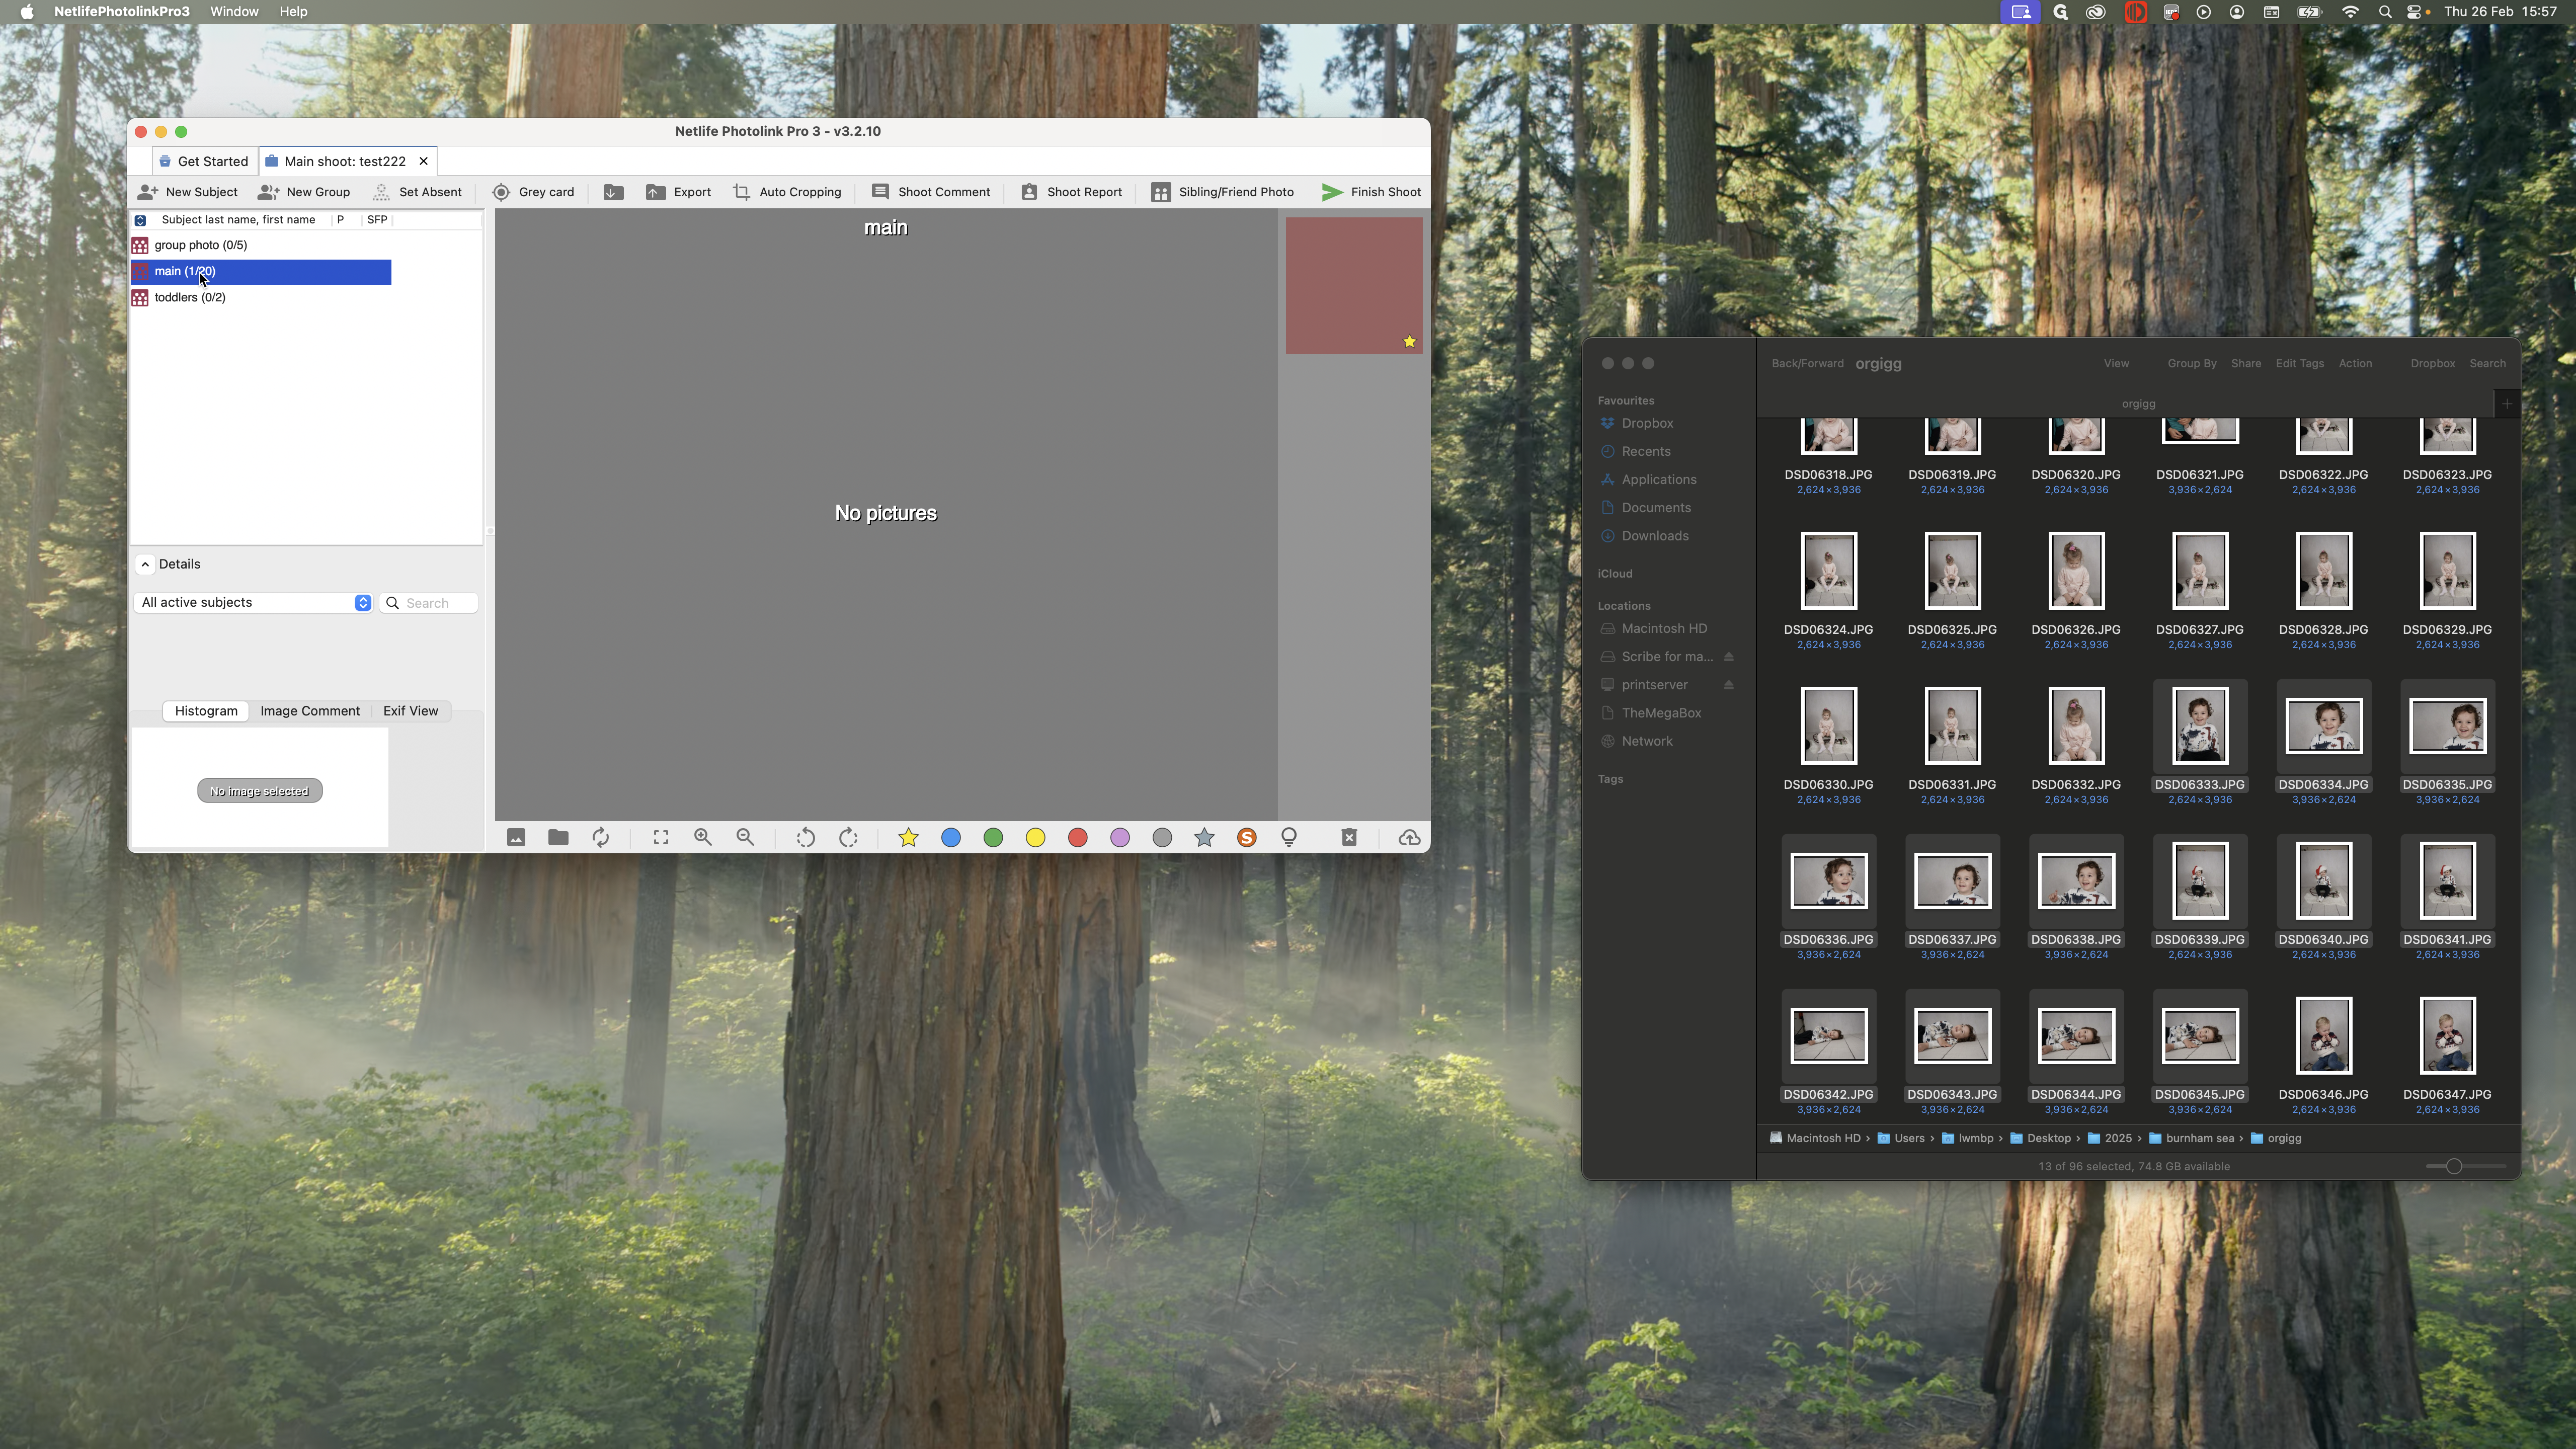
Do this for all the pictures. If you have a group photo, place it in a separate group photo folder.
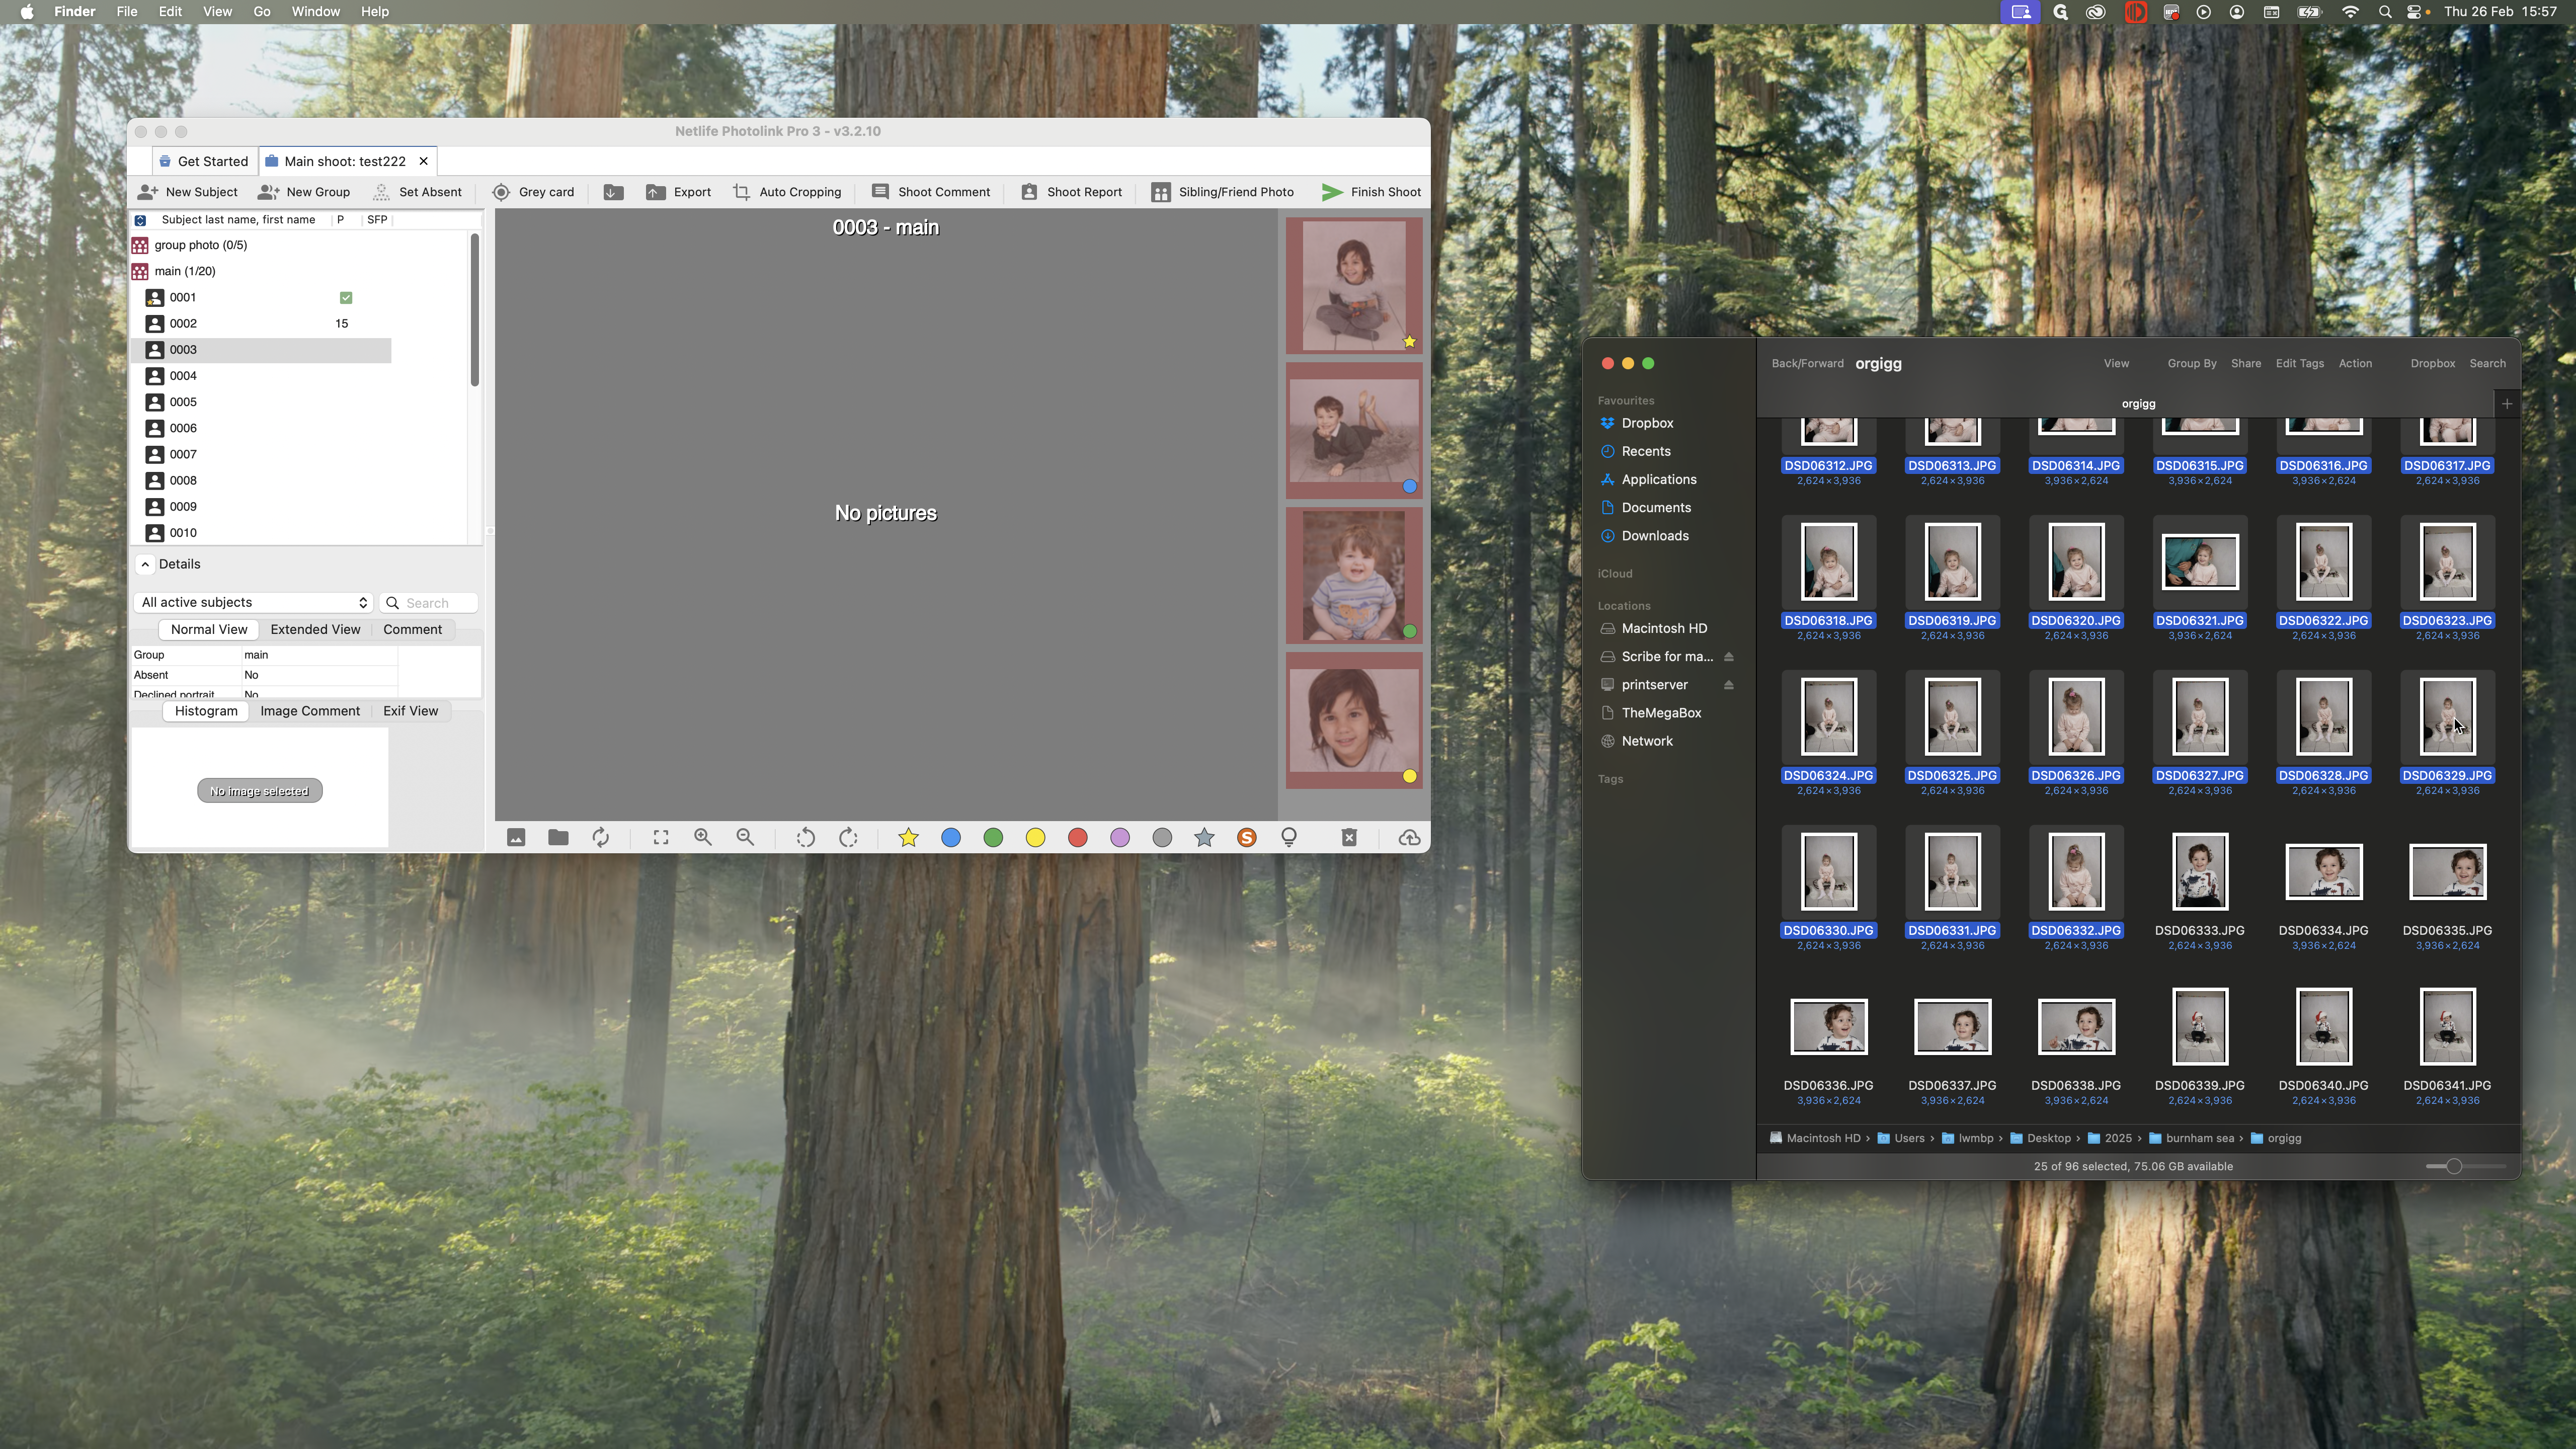
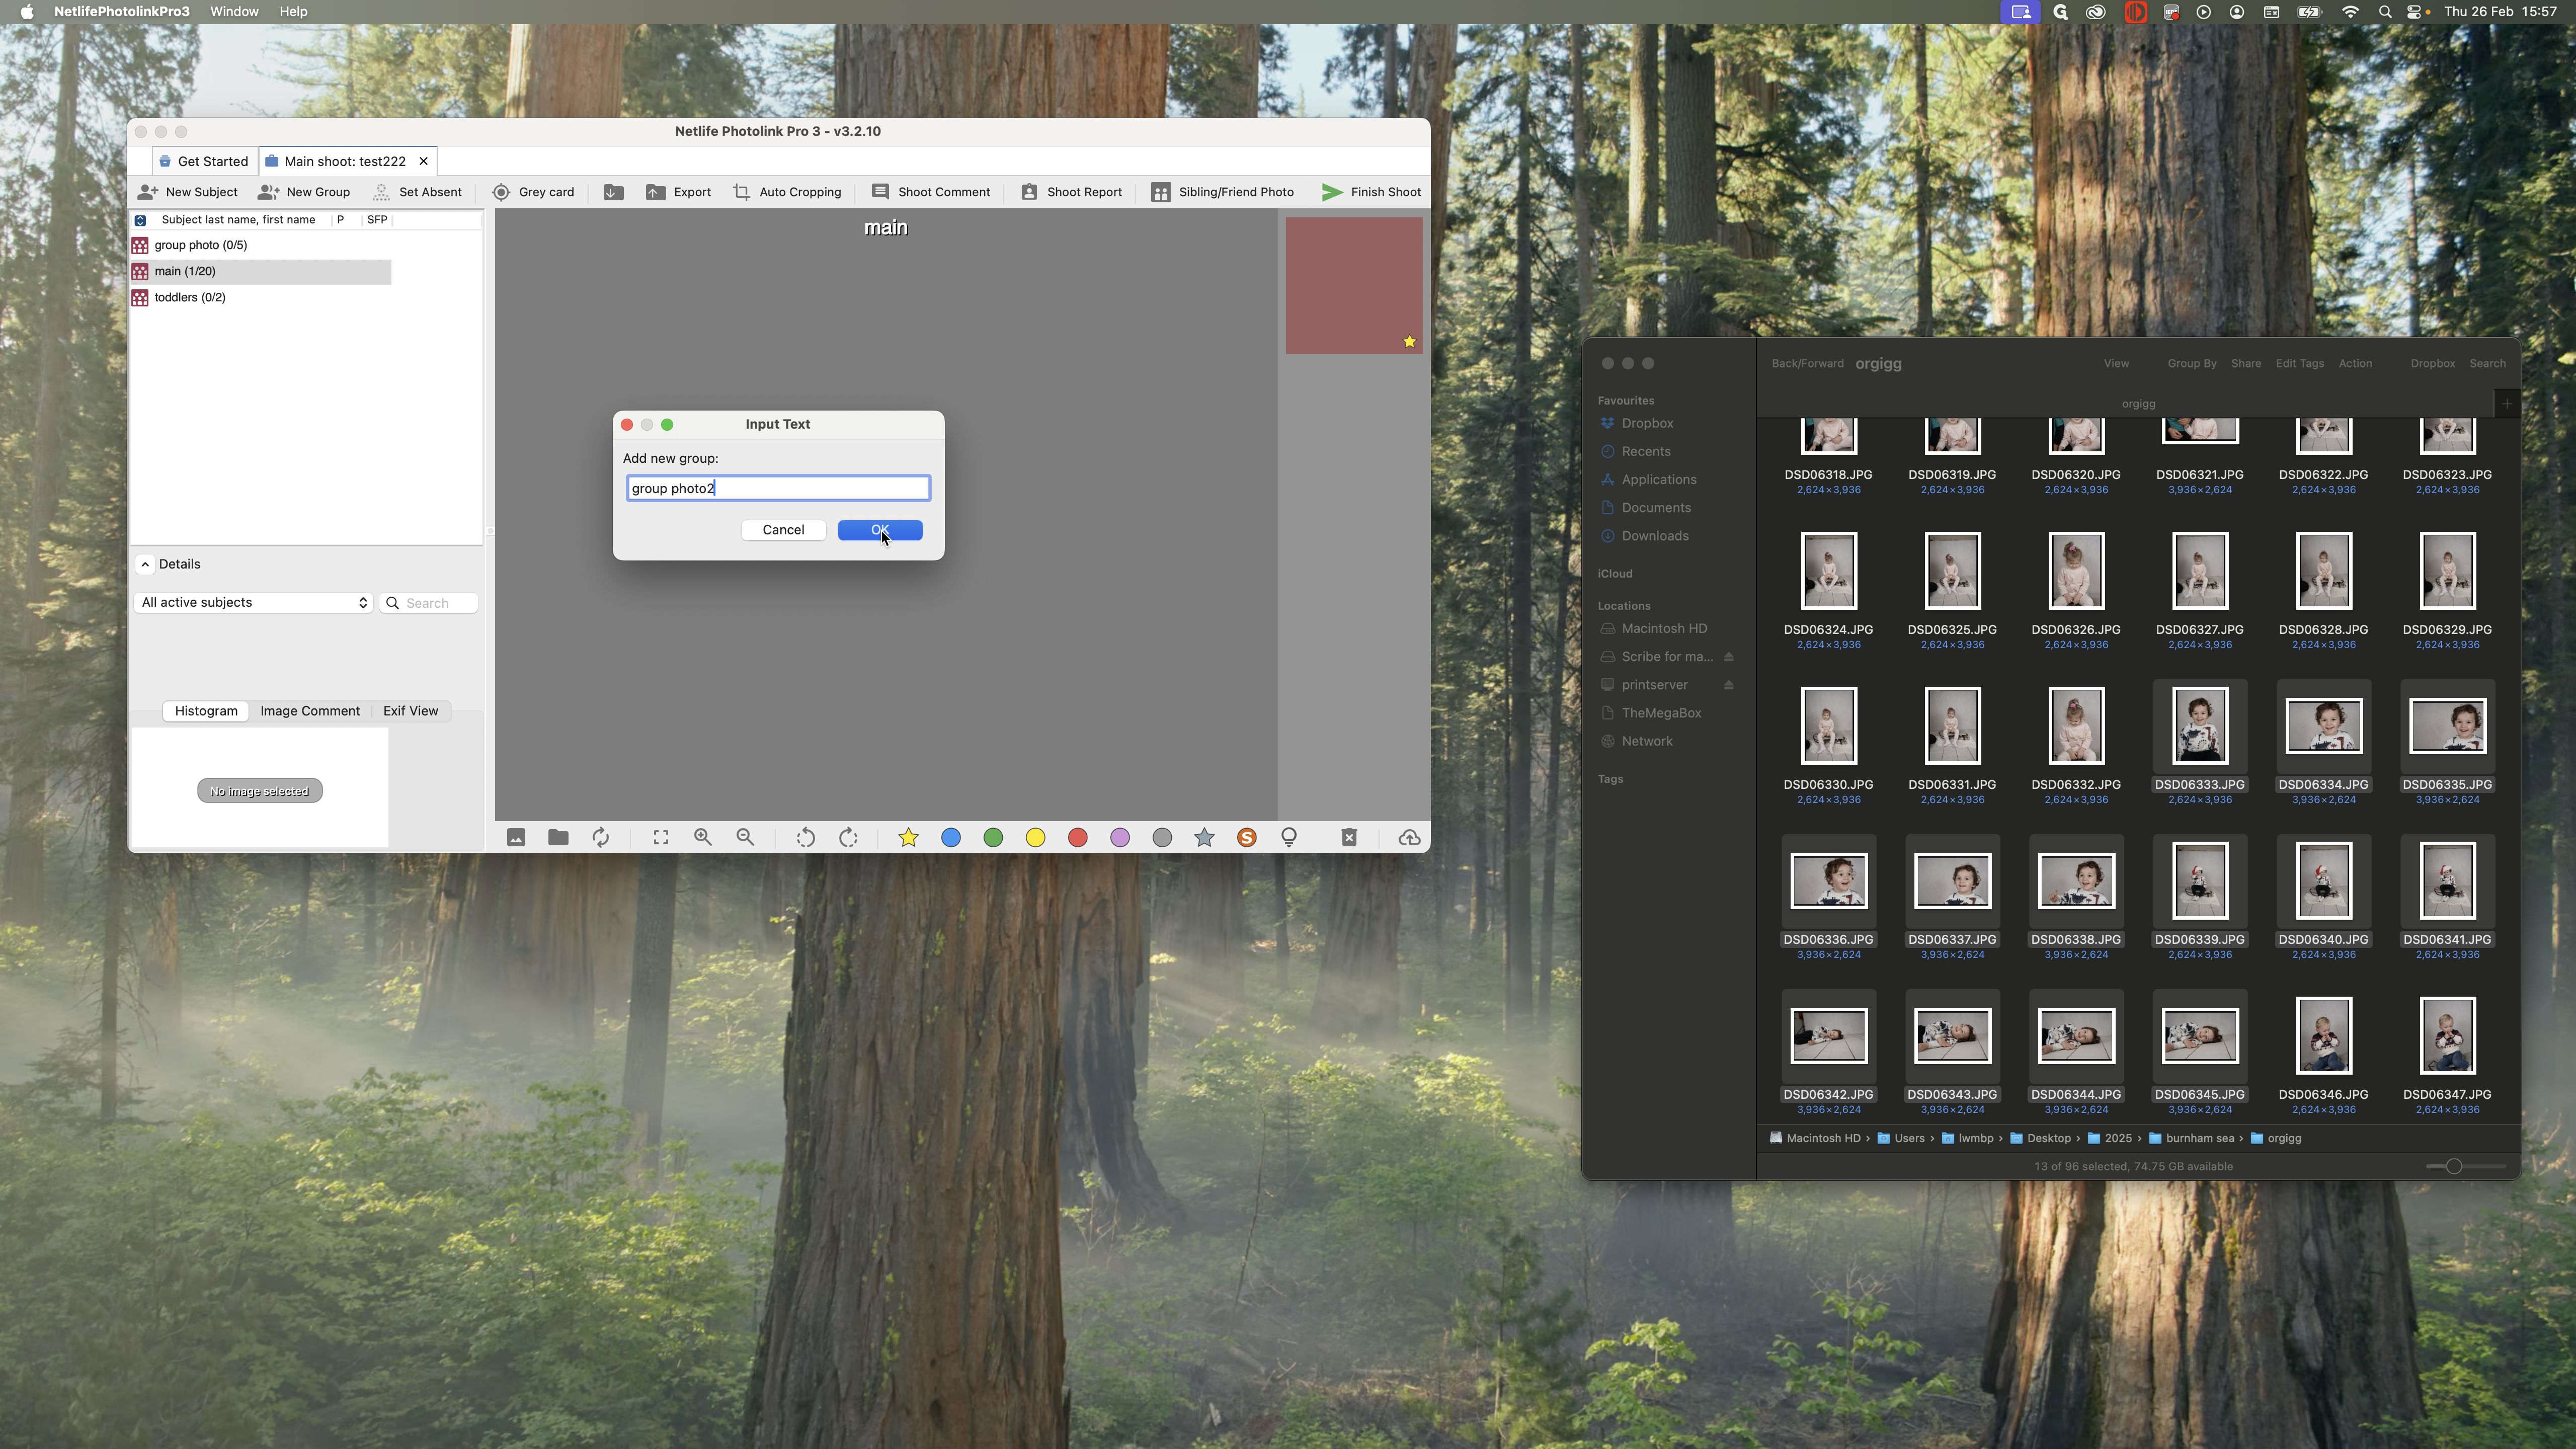
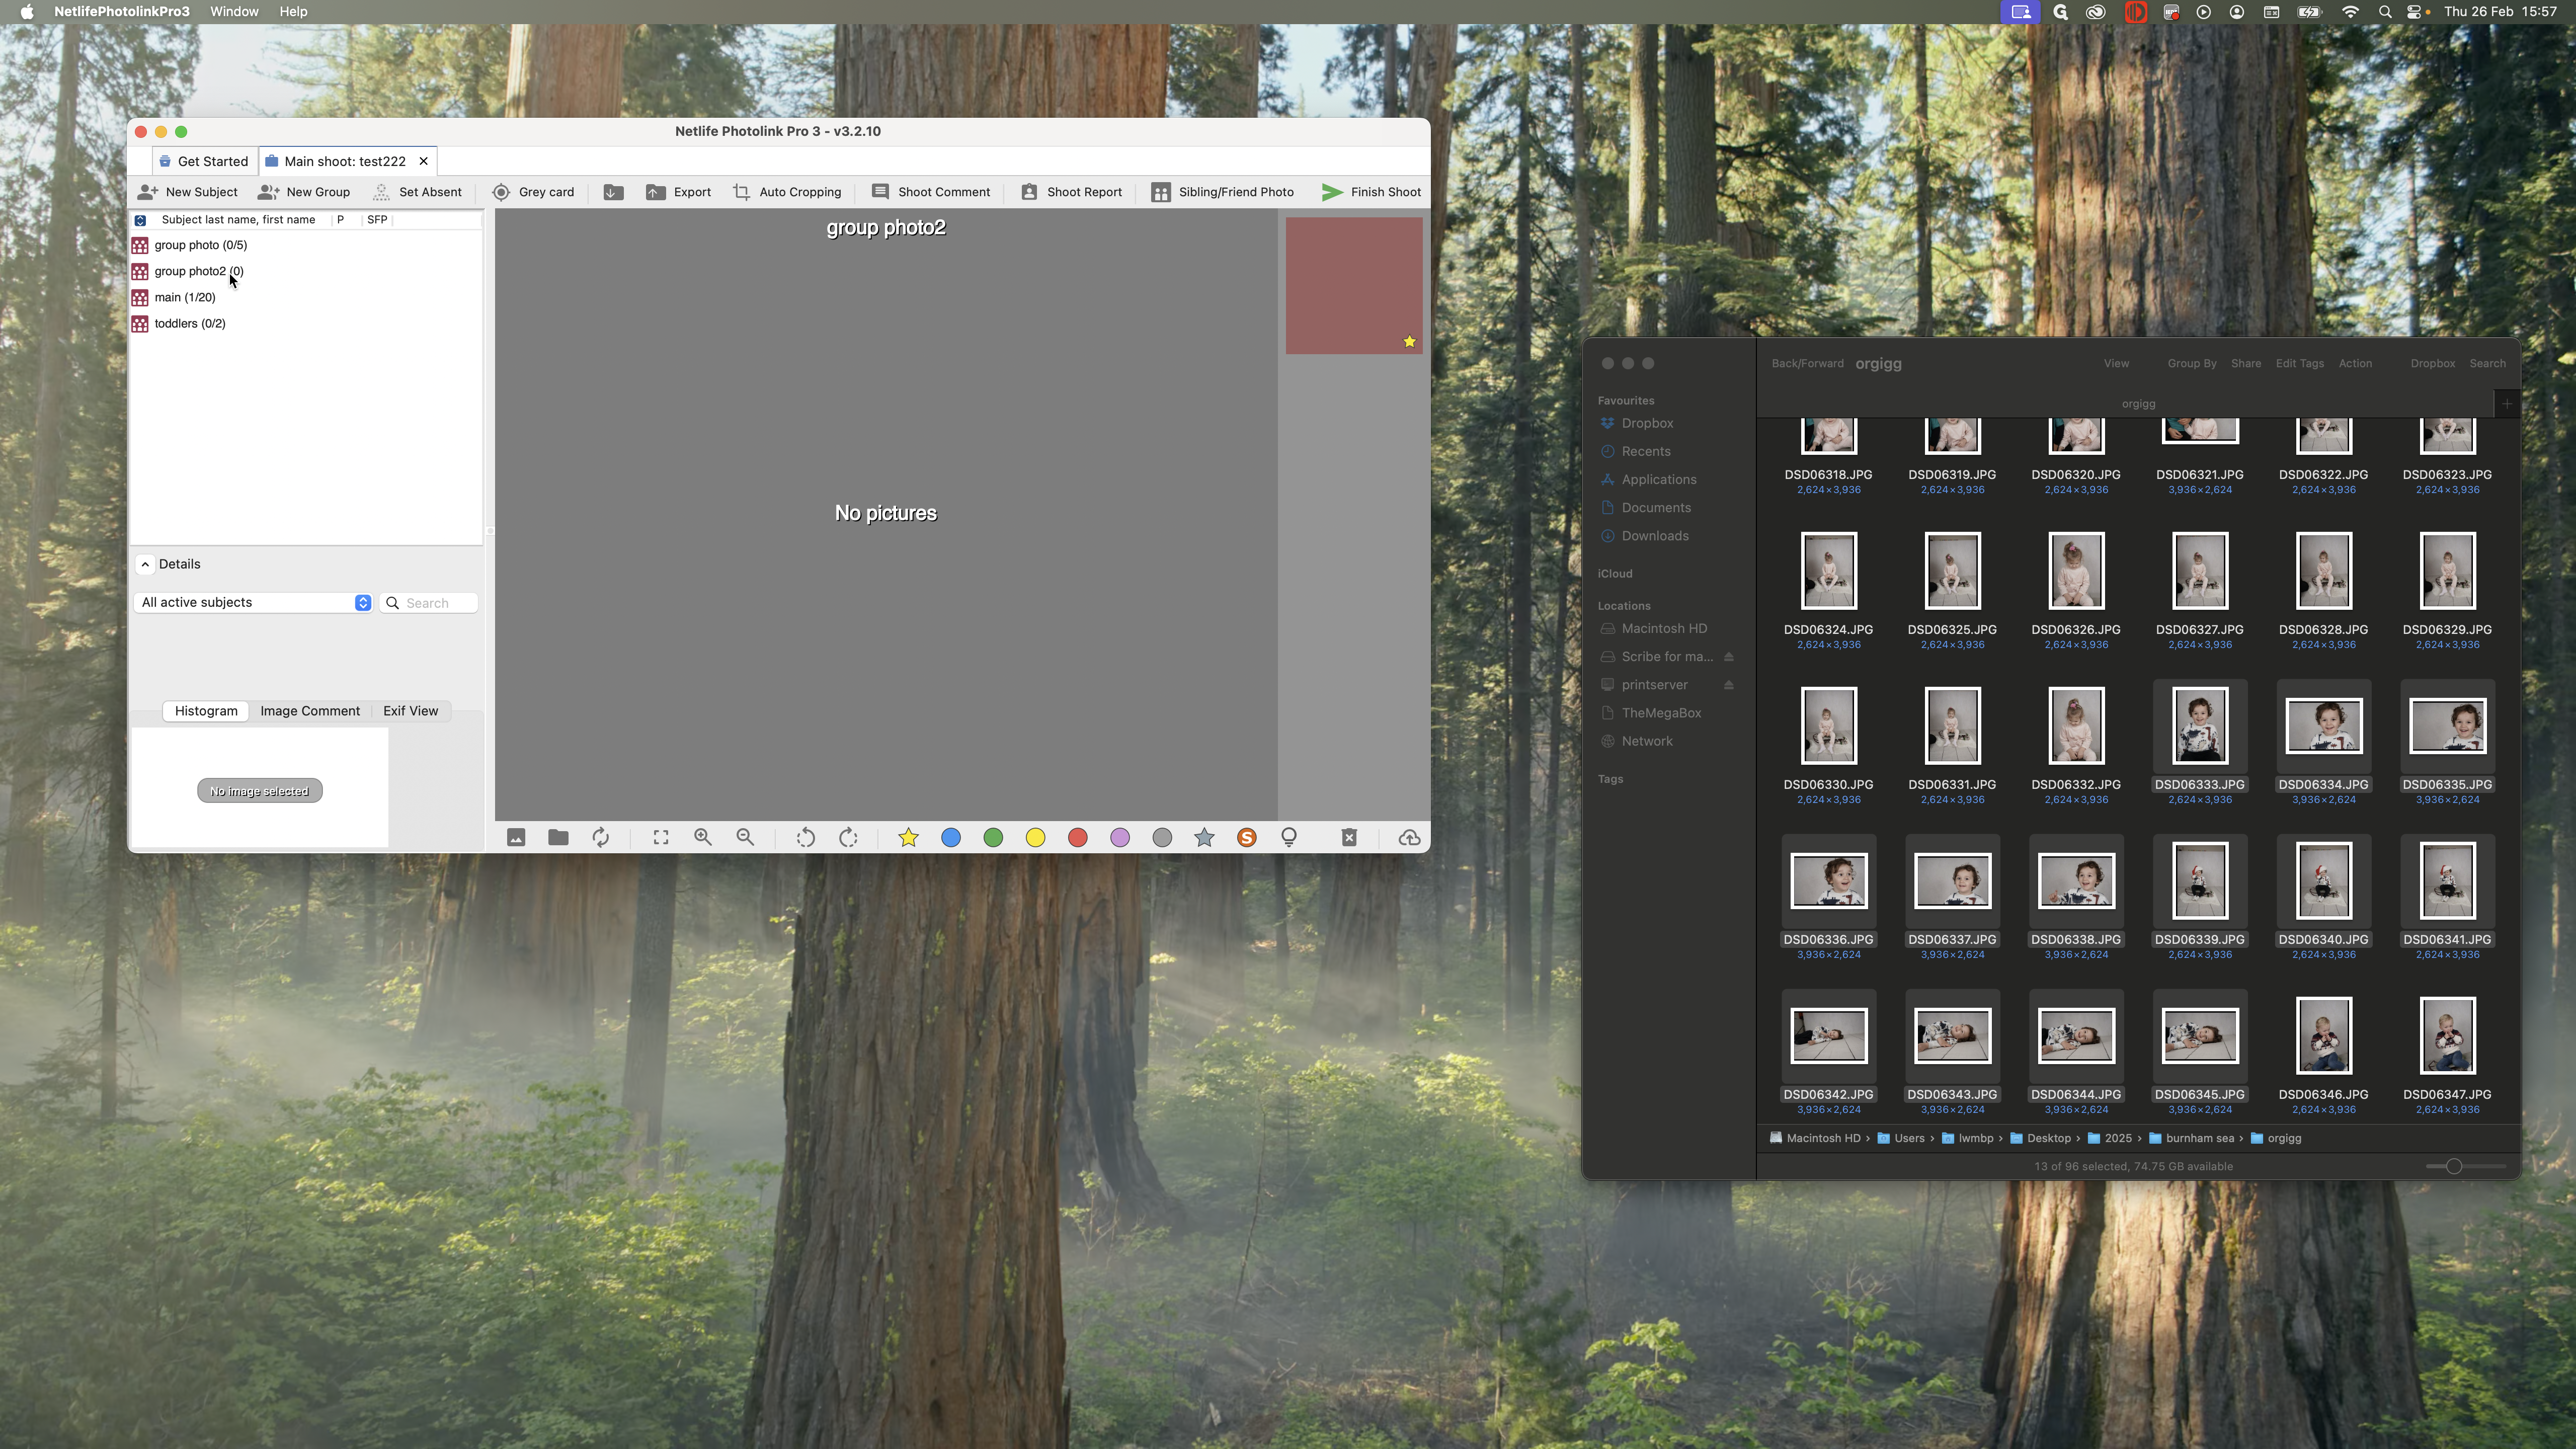
If you only have a main group, you can create a new group at the top and name it "Group Photo." This will create the group for you.

After you have dragged in all the images and tagged everyone, press Finish Shoot. This will upload the shoot to our servers for proofing.