
How to Use Riverside: A Step-by-Step Walkthrough
Learn how to use Riverside for recording, editing, and enhancing your video and audio projects. This guide covers project management, downloading files, using AI tools, creating thumbnails, and applying branding for professional results.
In this guide, we'll learn how to use Riverside to manage and edit your recorded projects. We will look at how to access your recordings, download files like transcripts, and use Riverside's AI tools to create thumbnails, generate episodes, and edit clips for sharing.
We'll also see how to apply branding, add captions, and improve audio quality using built-in features.
Let's get started
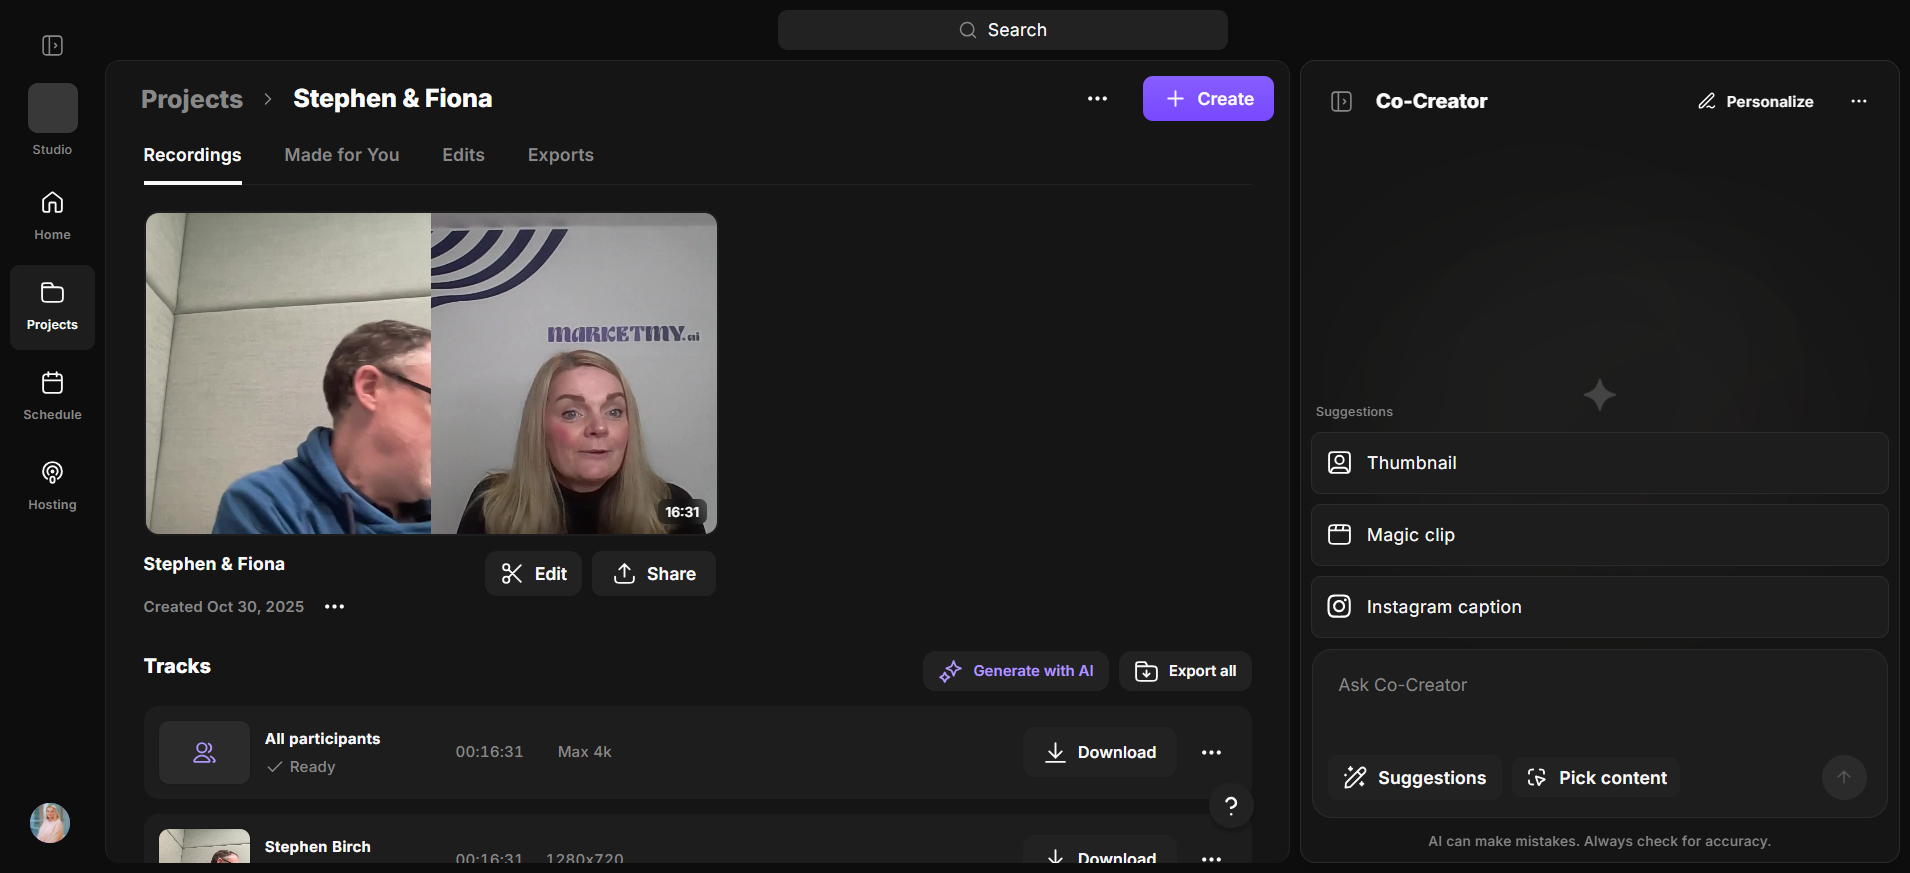
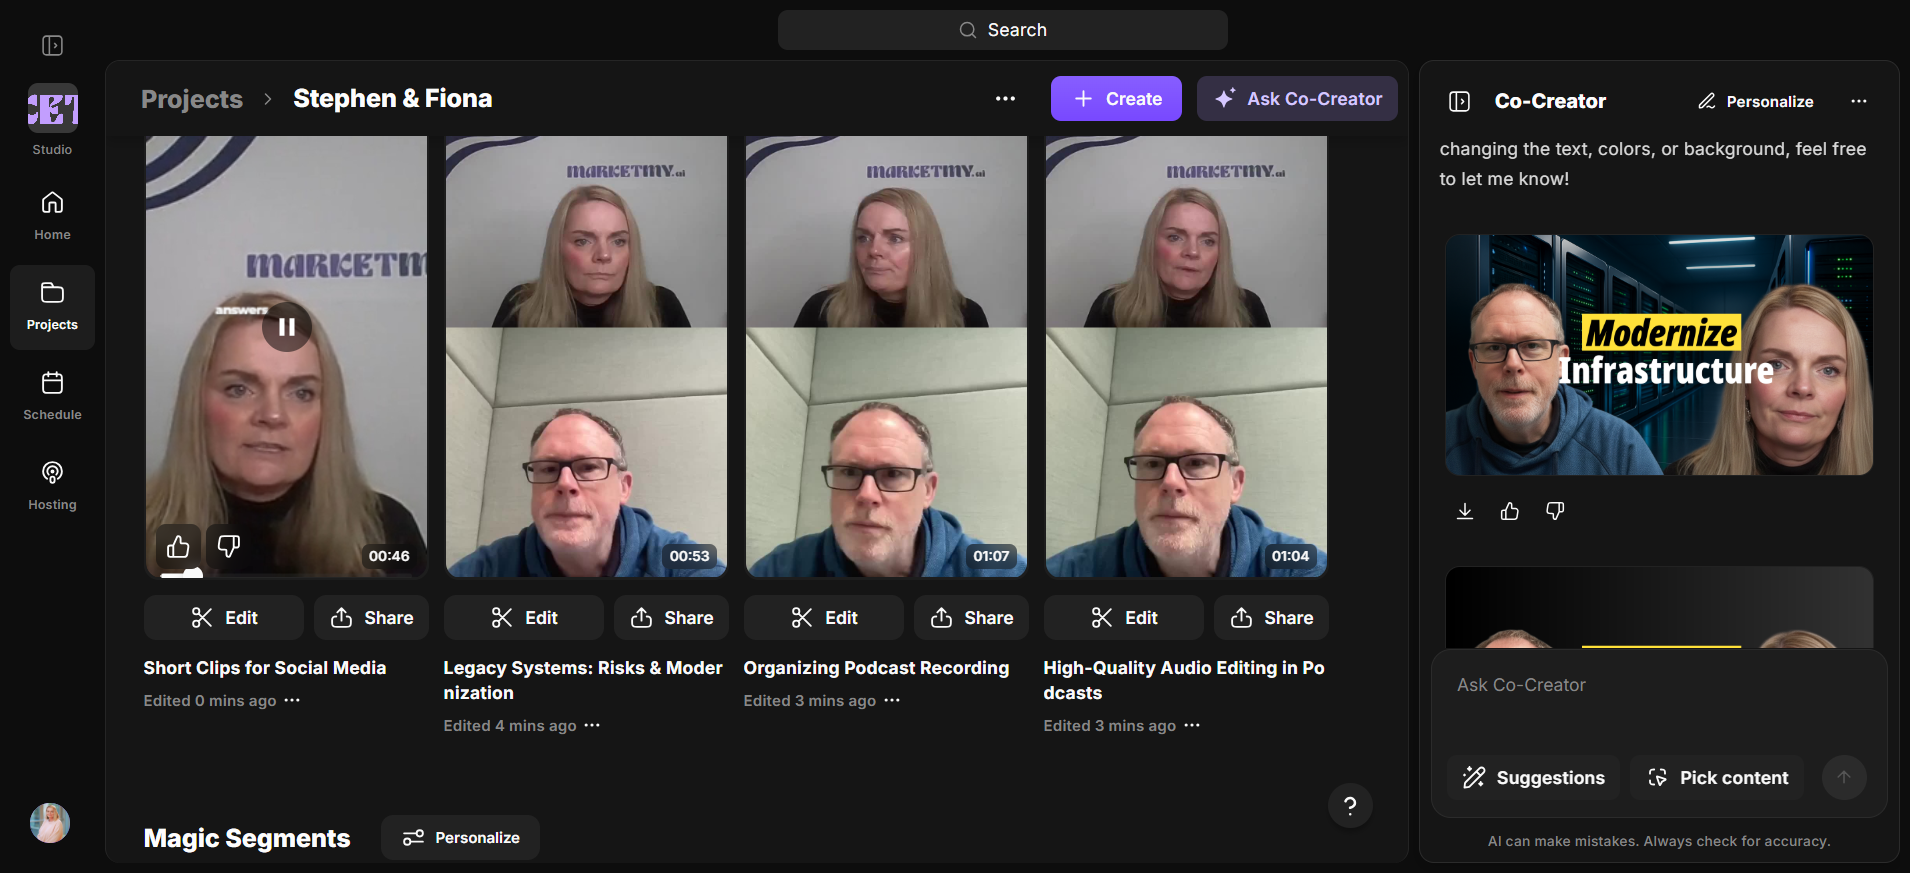
Okay. I will show you how to use Riverside. We are on the home screen. Let's look at the projects we have.
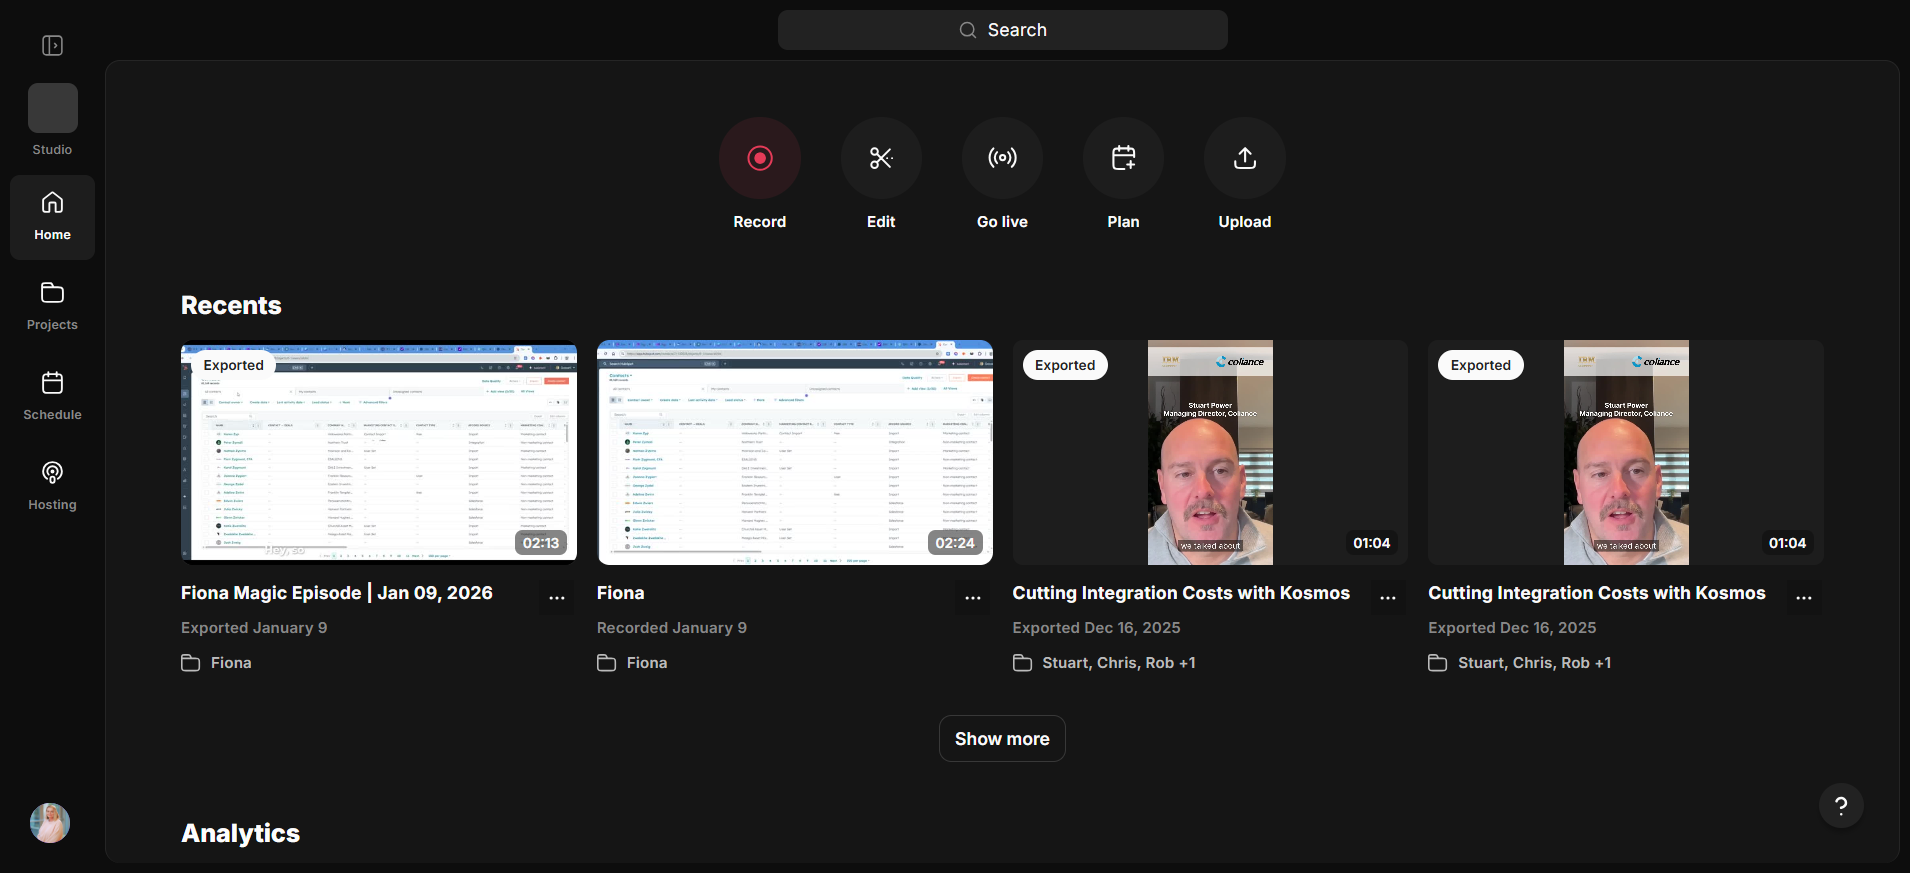

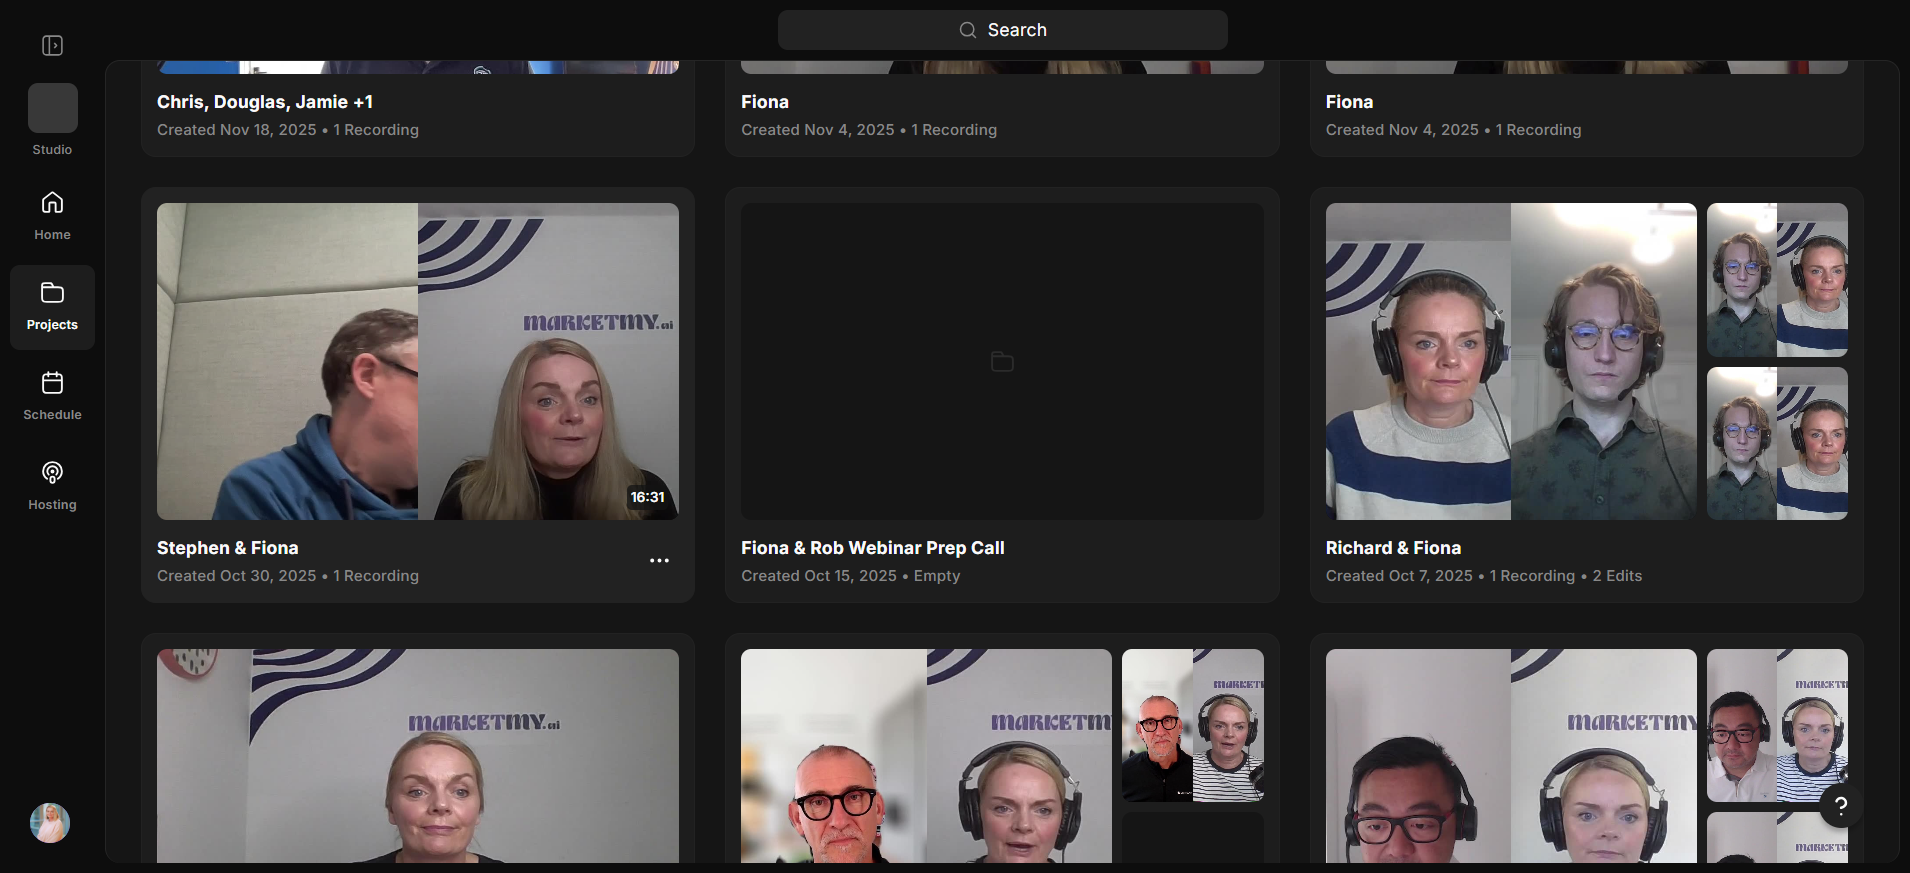
What do we have here? We have a screen walkthrough with me and an interview with Matt and Maria. We have an interview with Stuart, Chris, and Rob, which I did not participate in. We have footage of me speaking to the camera, as well as footage of me talking to Steven. If I review the recording with Steven, it was only a preparation call.
I'll show you where the files are. It's just taking a minute. You end up with some recording files, which are the raw files here.
You have both me and Steven here, and I can download the grid.
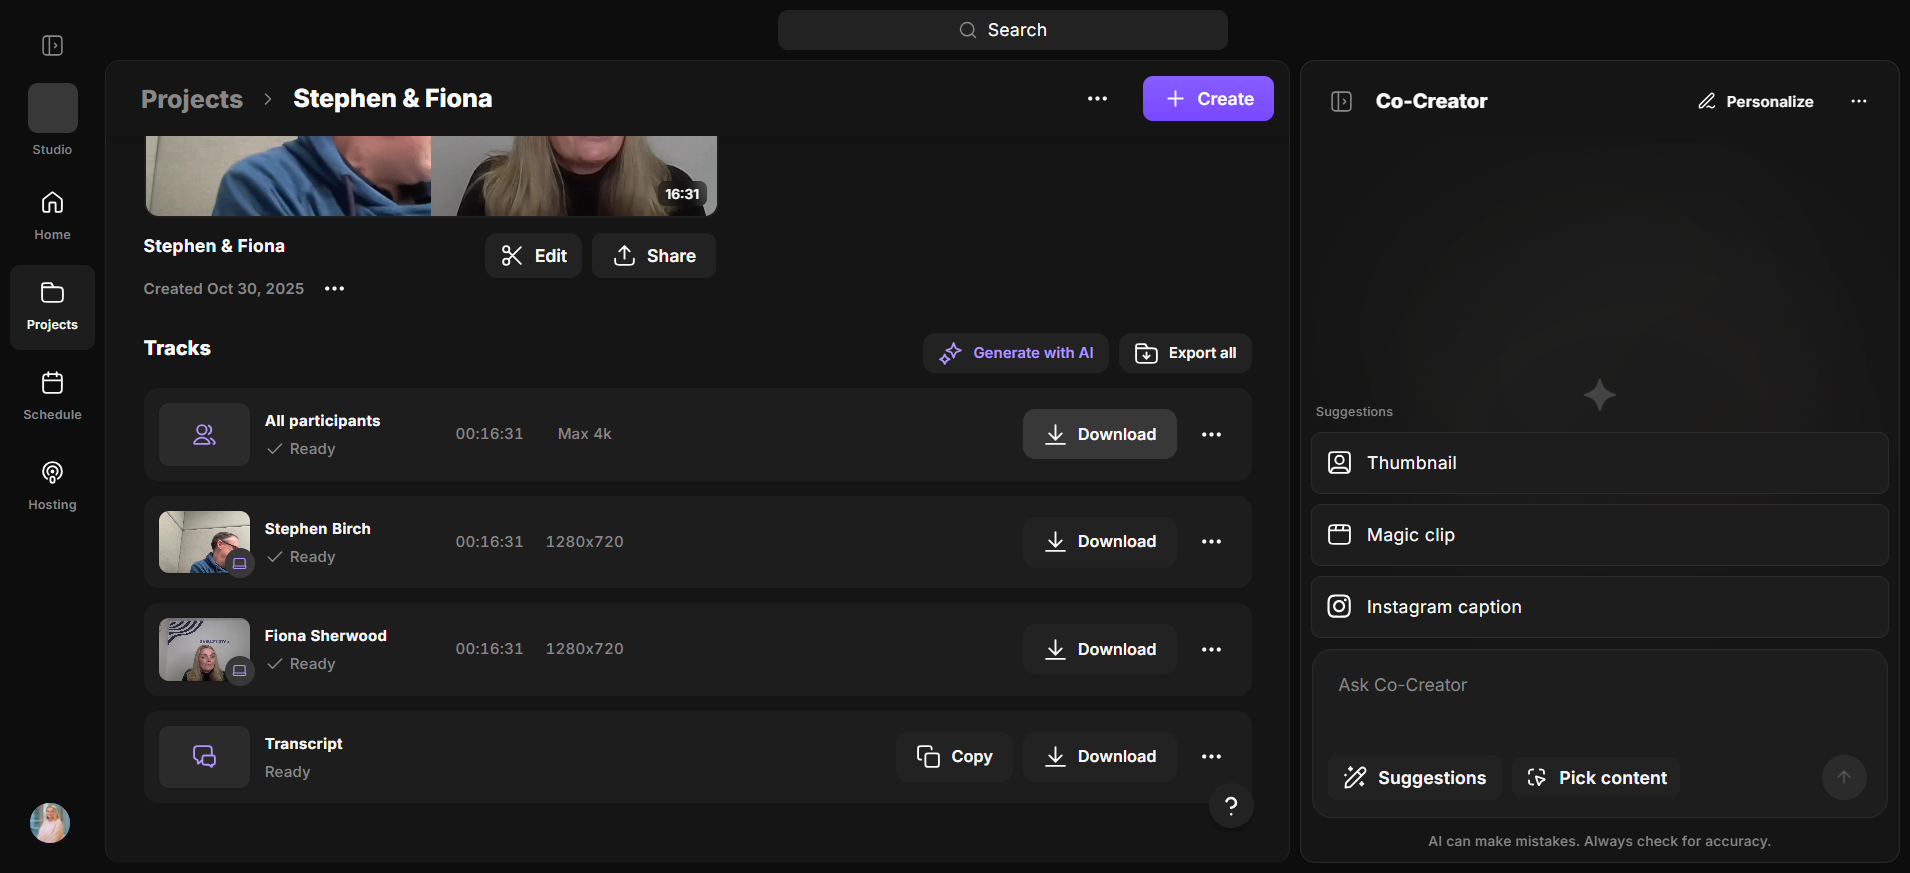
I can download only the audio, or I can download a lower-resolution version to the cloud.
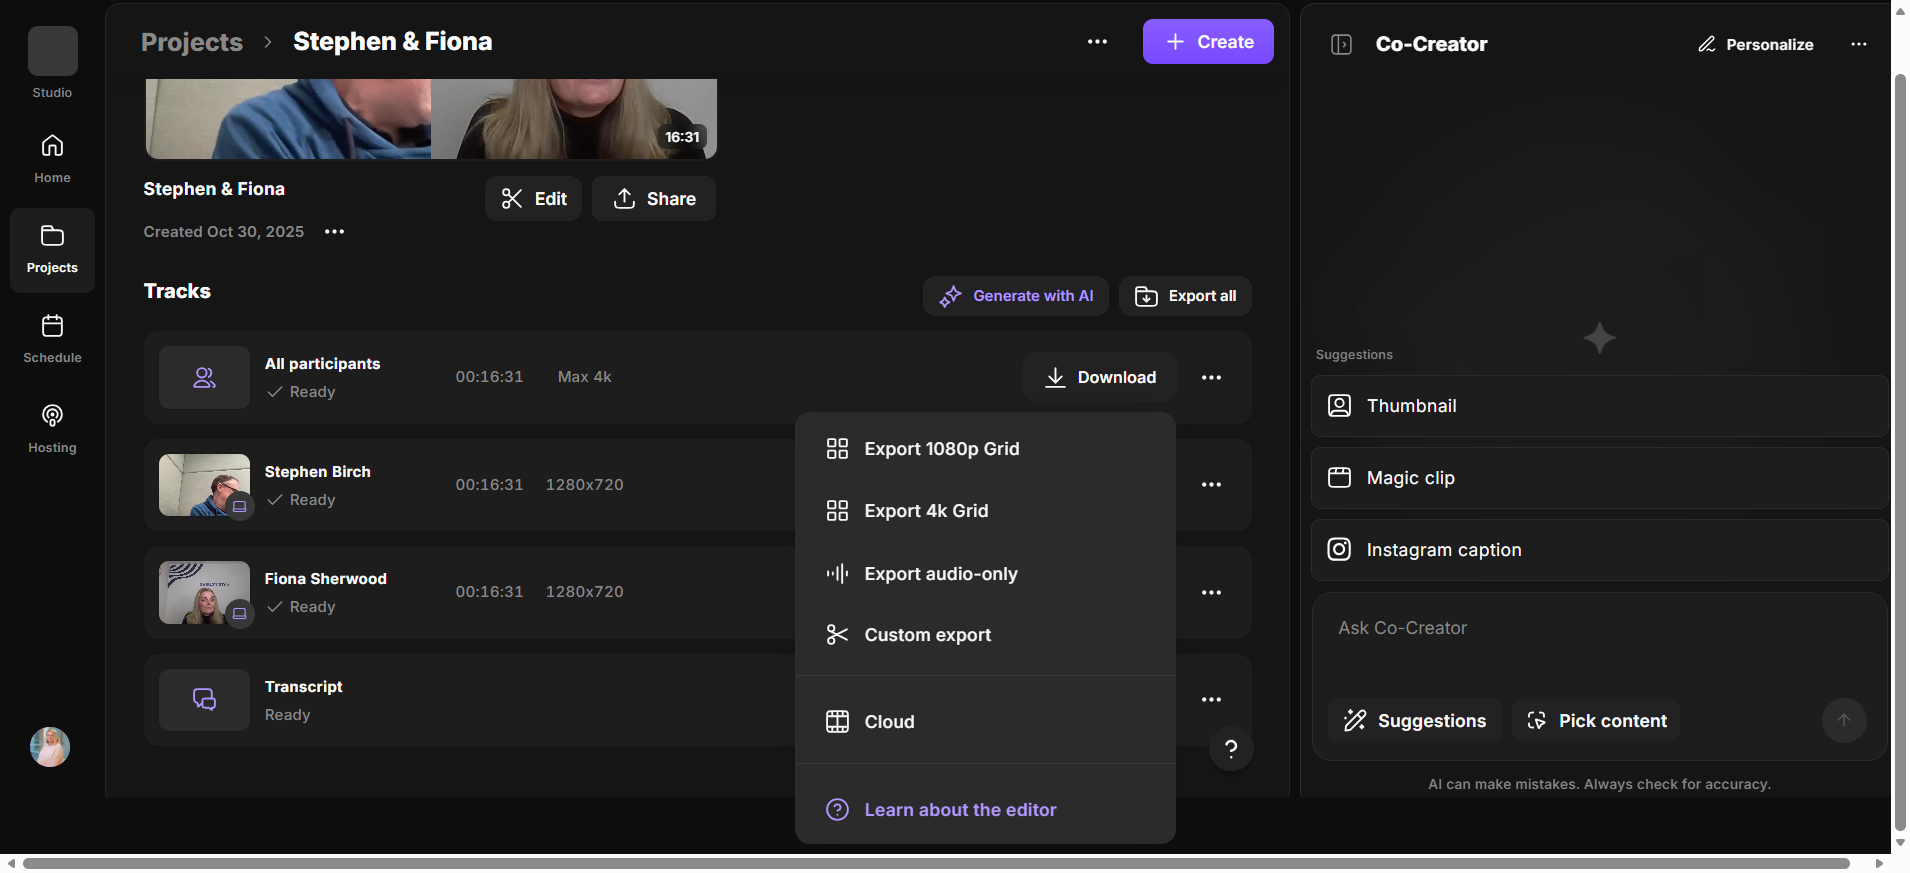
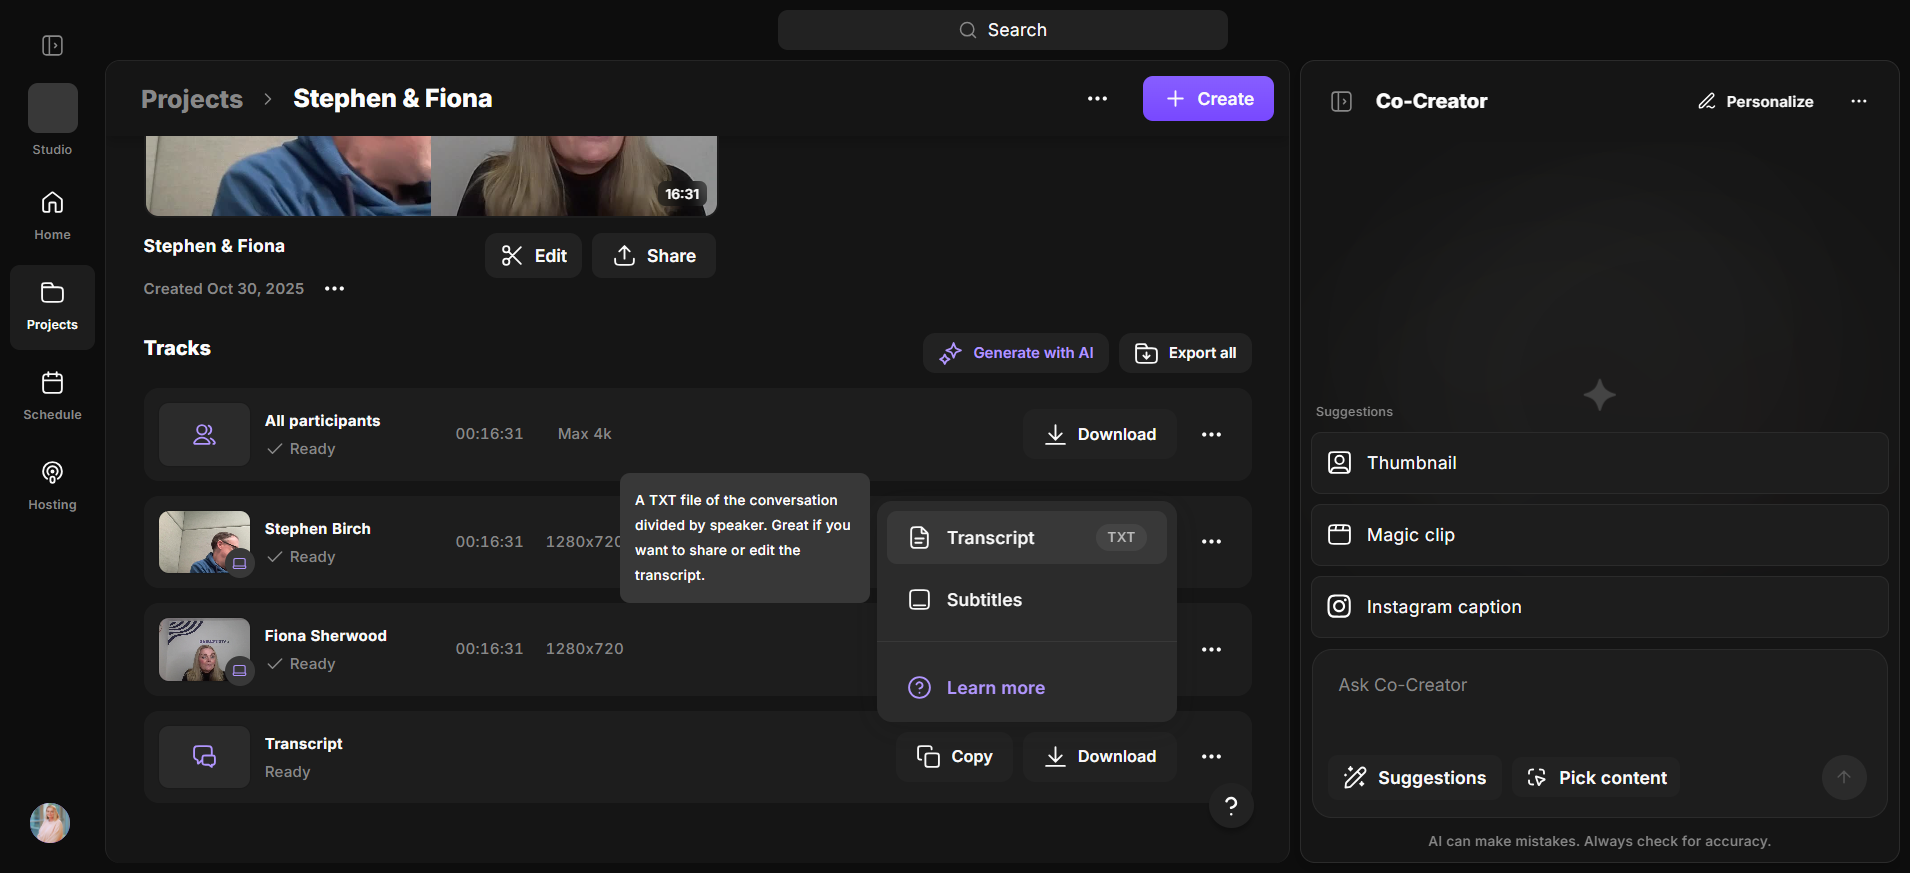
I have the Steven-only version, the me-only version, and the transcript. I'm going to download the file.

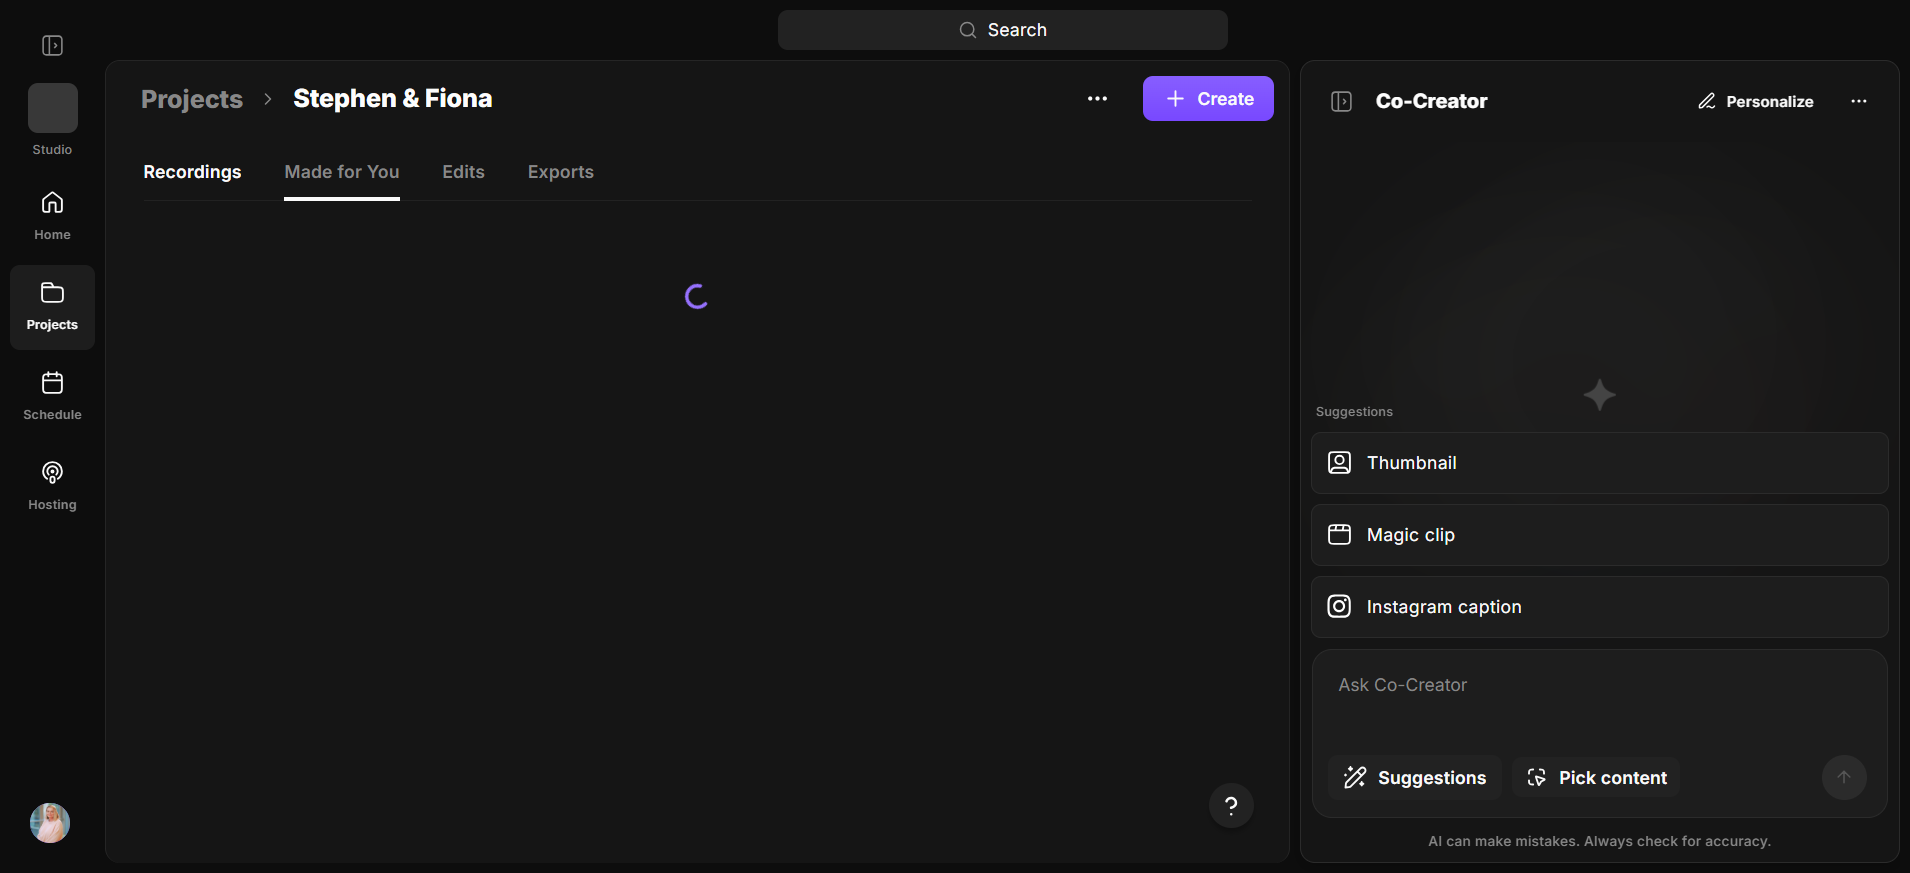
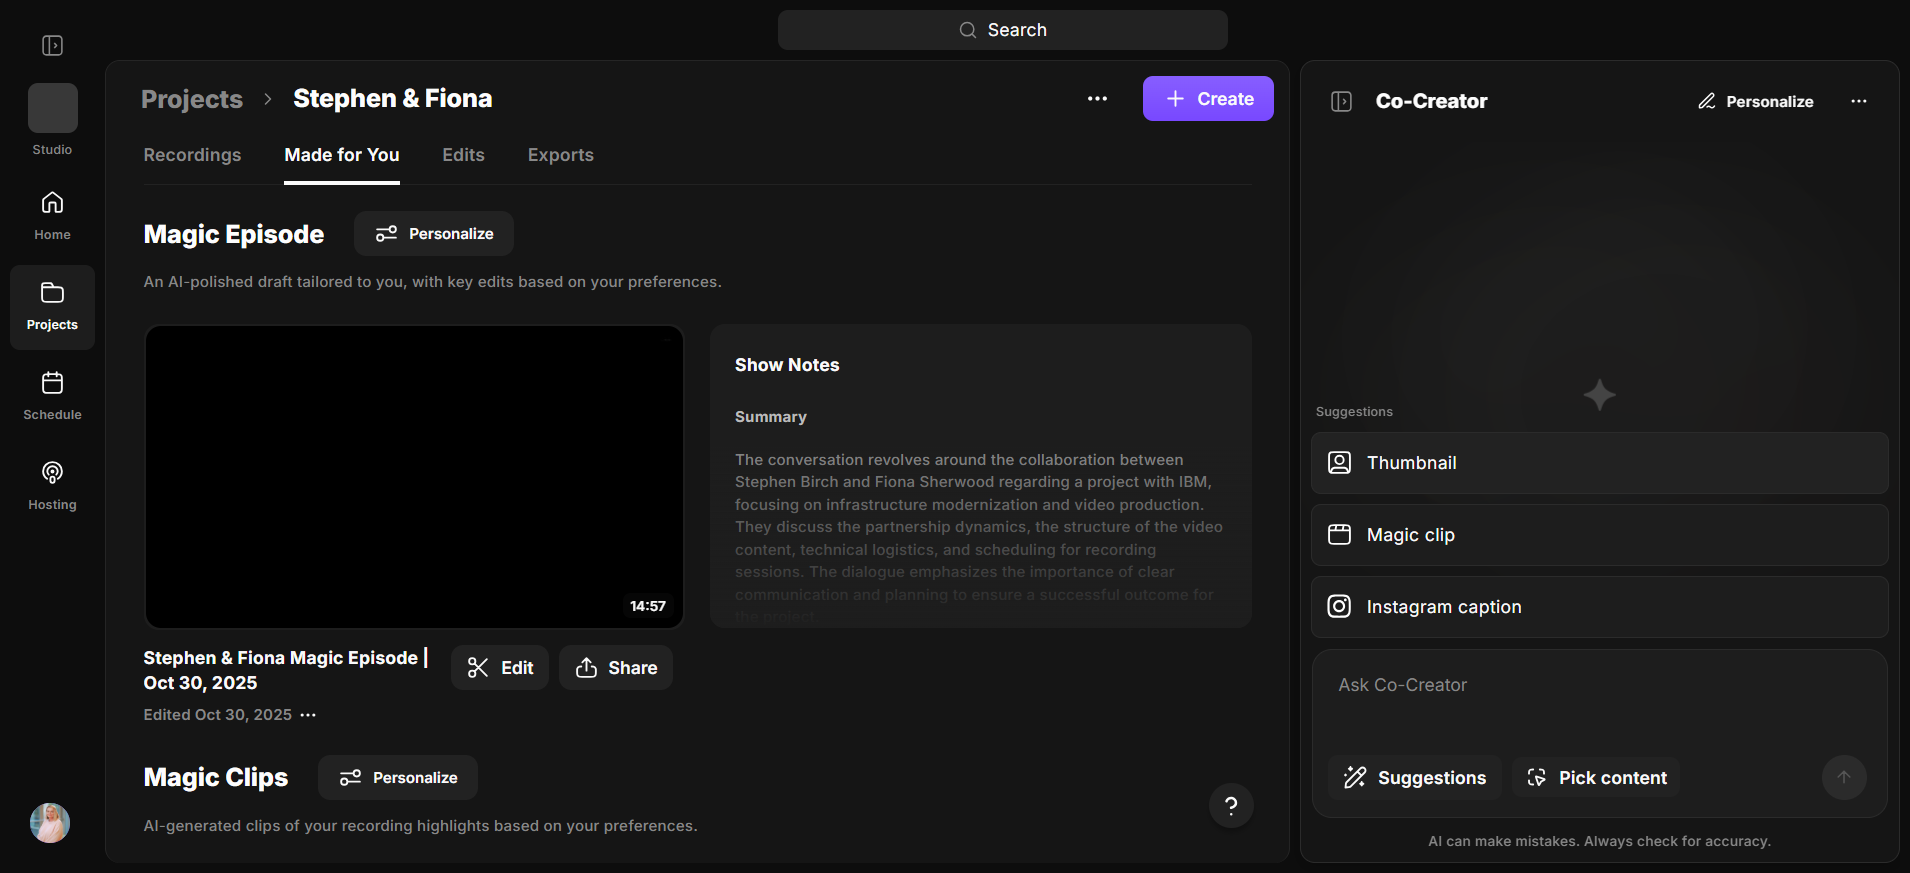
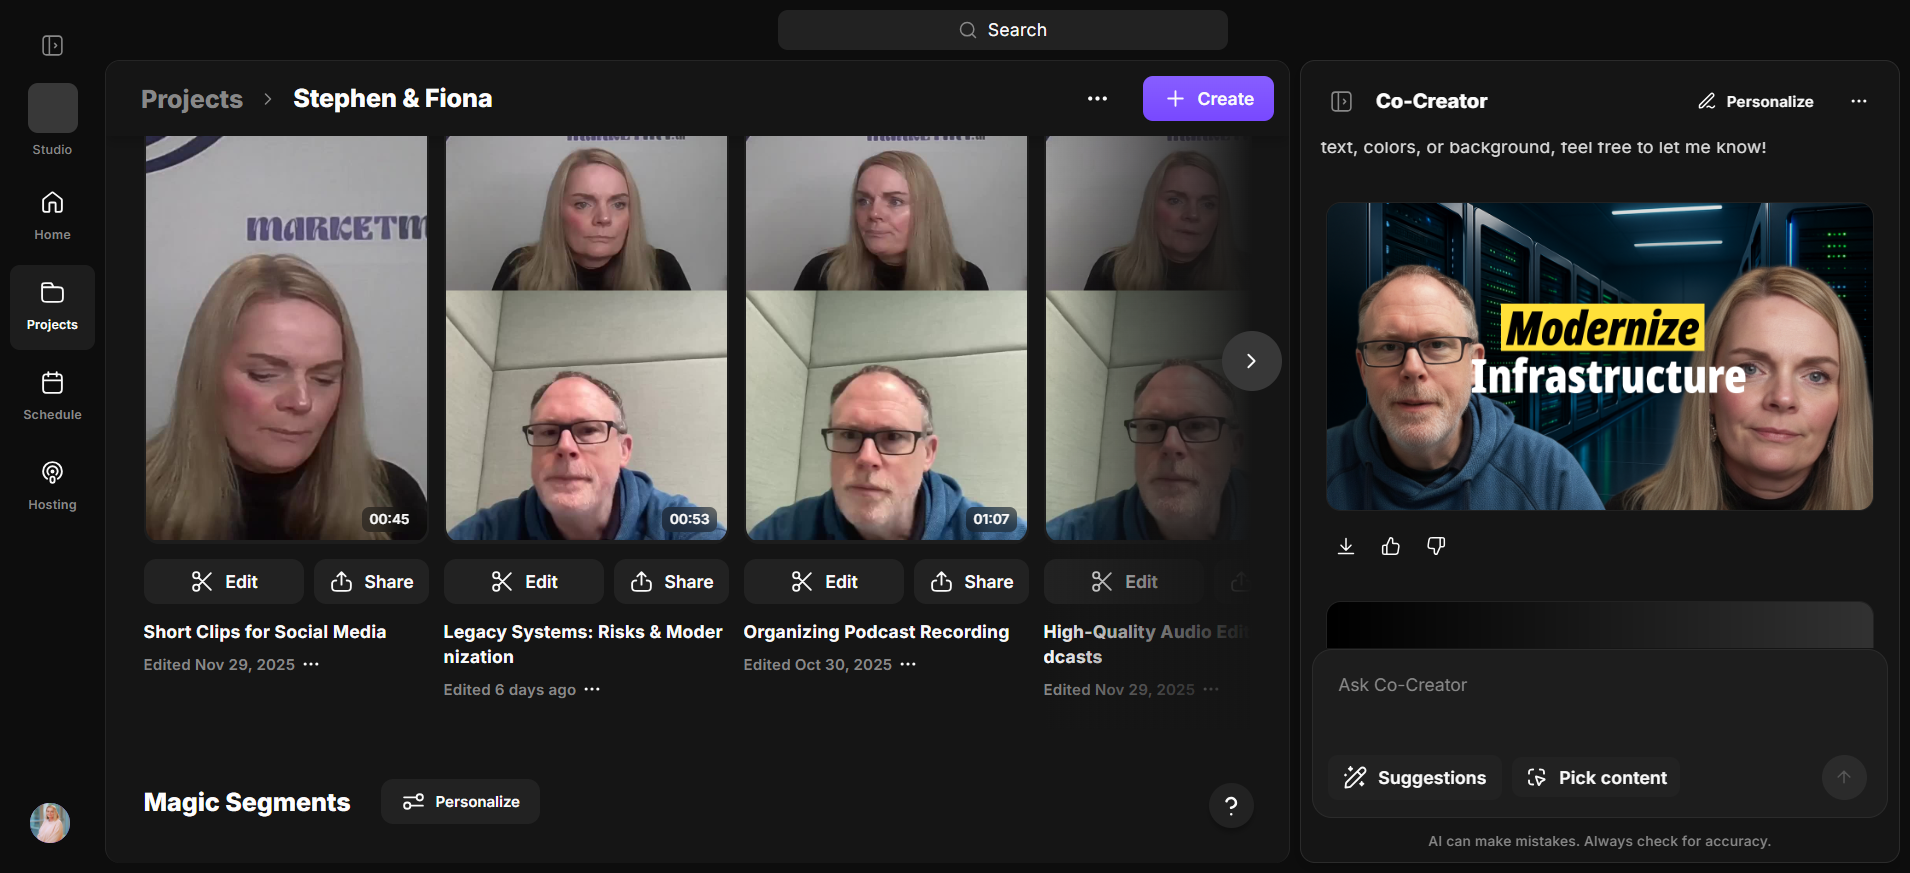
Made For You refers to the AI-generated edits provided to you. I could create a thumbnail. I just click on that, and it will create a thumbnail for me.
I'm just thinking. It gives you a YouTube-style thumbnail. That's pretty cool. It only takes a minute. There we go.
It has created an AI-generated background image based on our discussion, enhanced both Steven and me, and added a title. You could easily use that right away. You can download it here. What else can you get? You can get a magic episode, which is a full episode with all the main changes included.
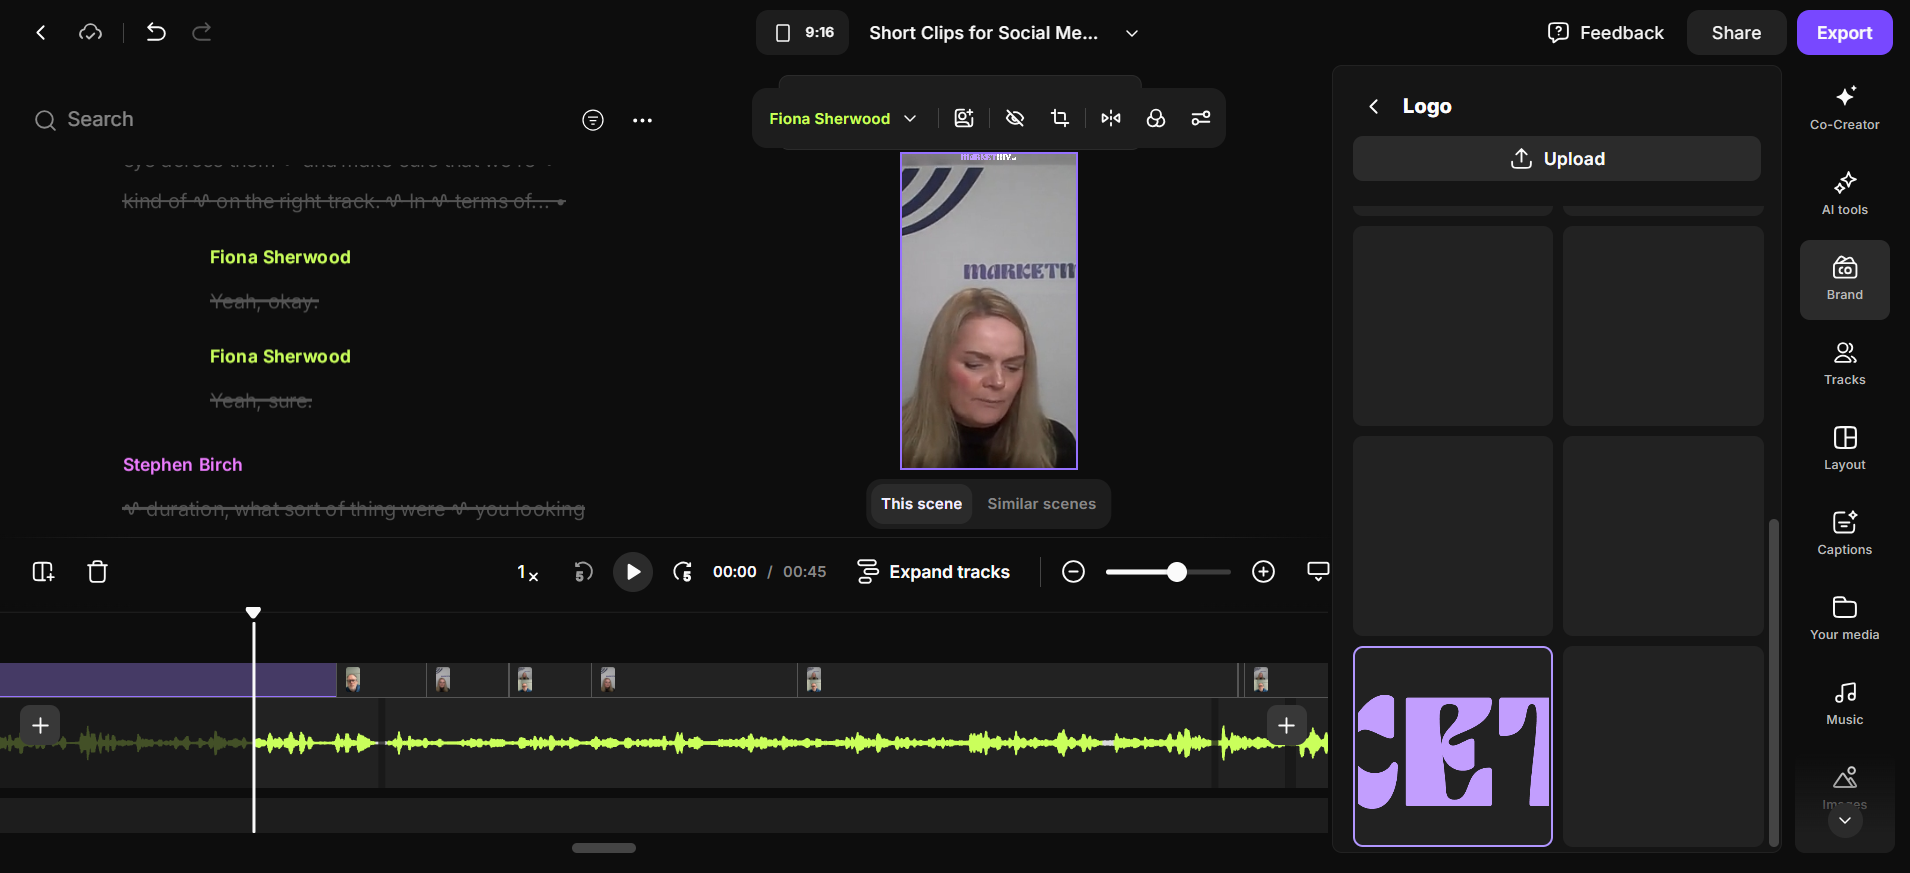
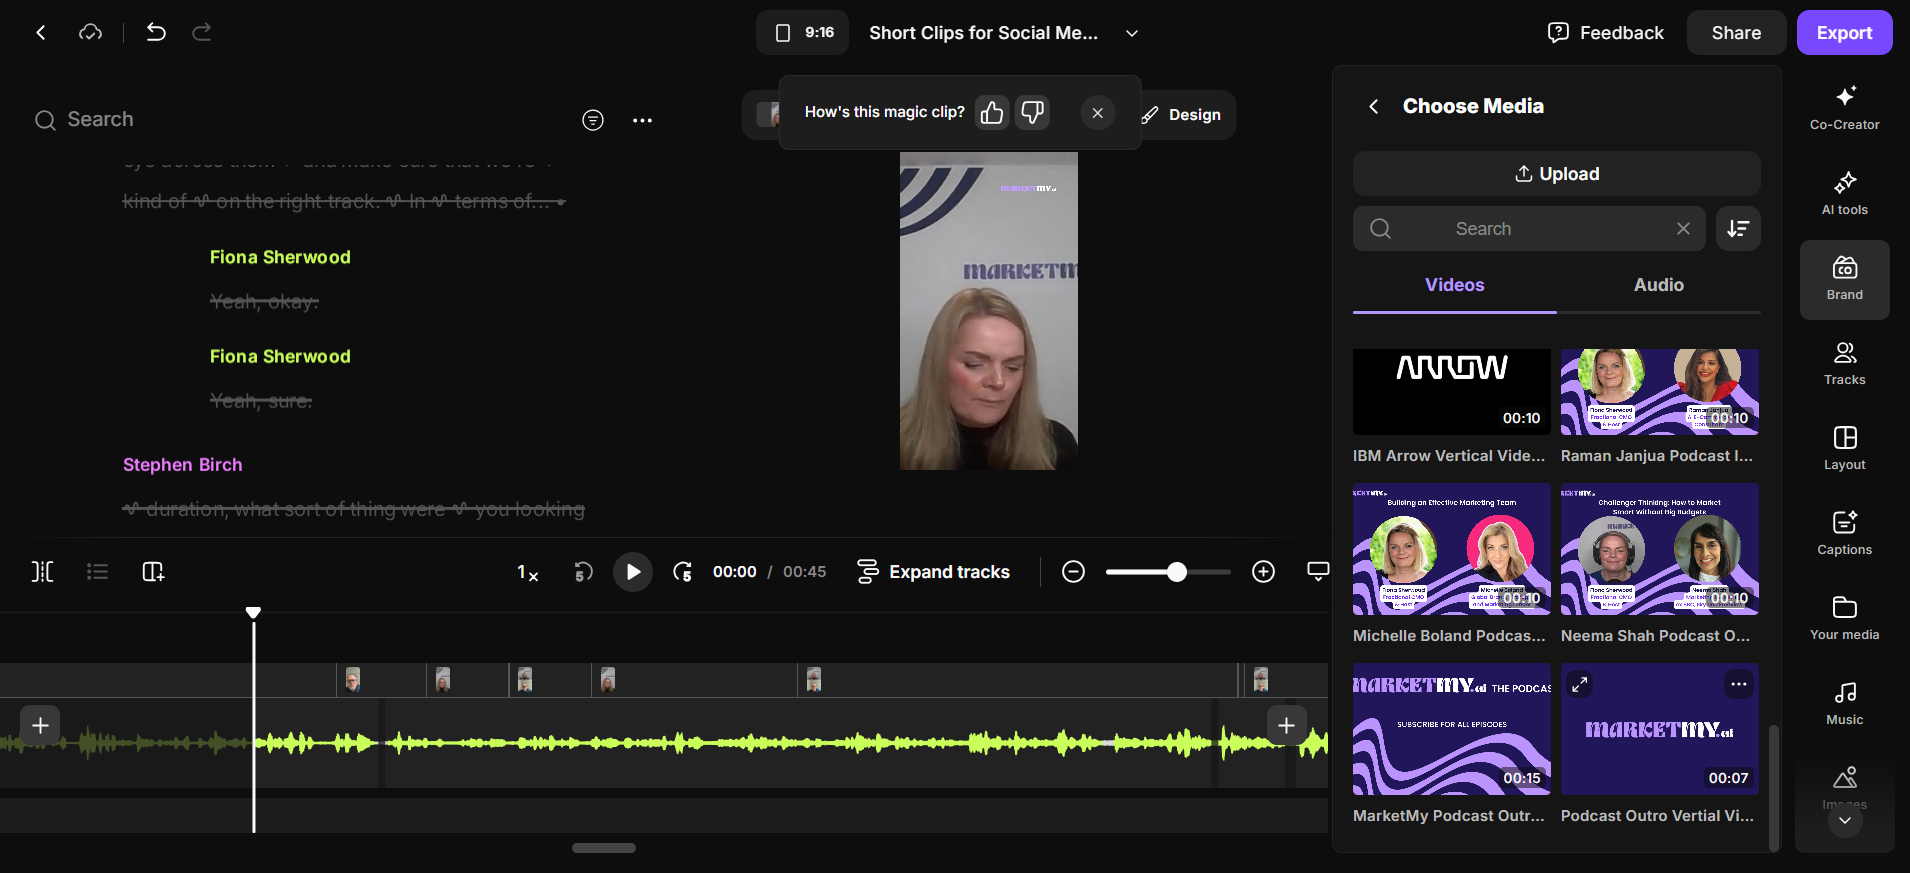
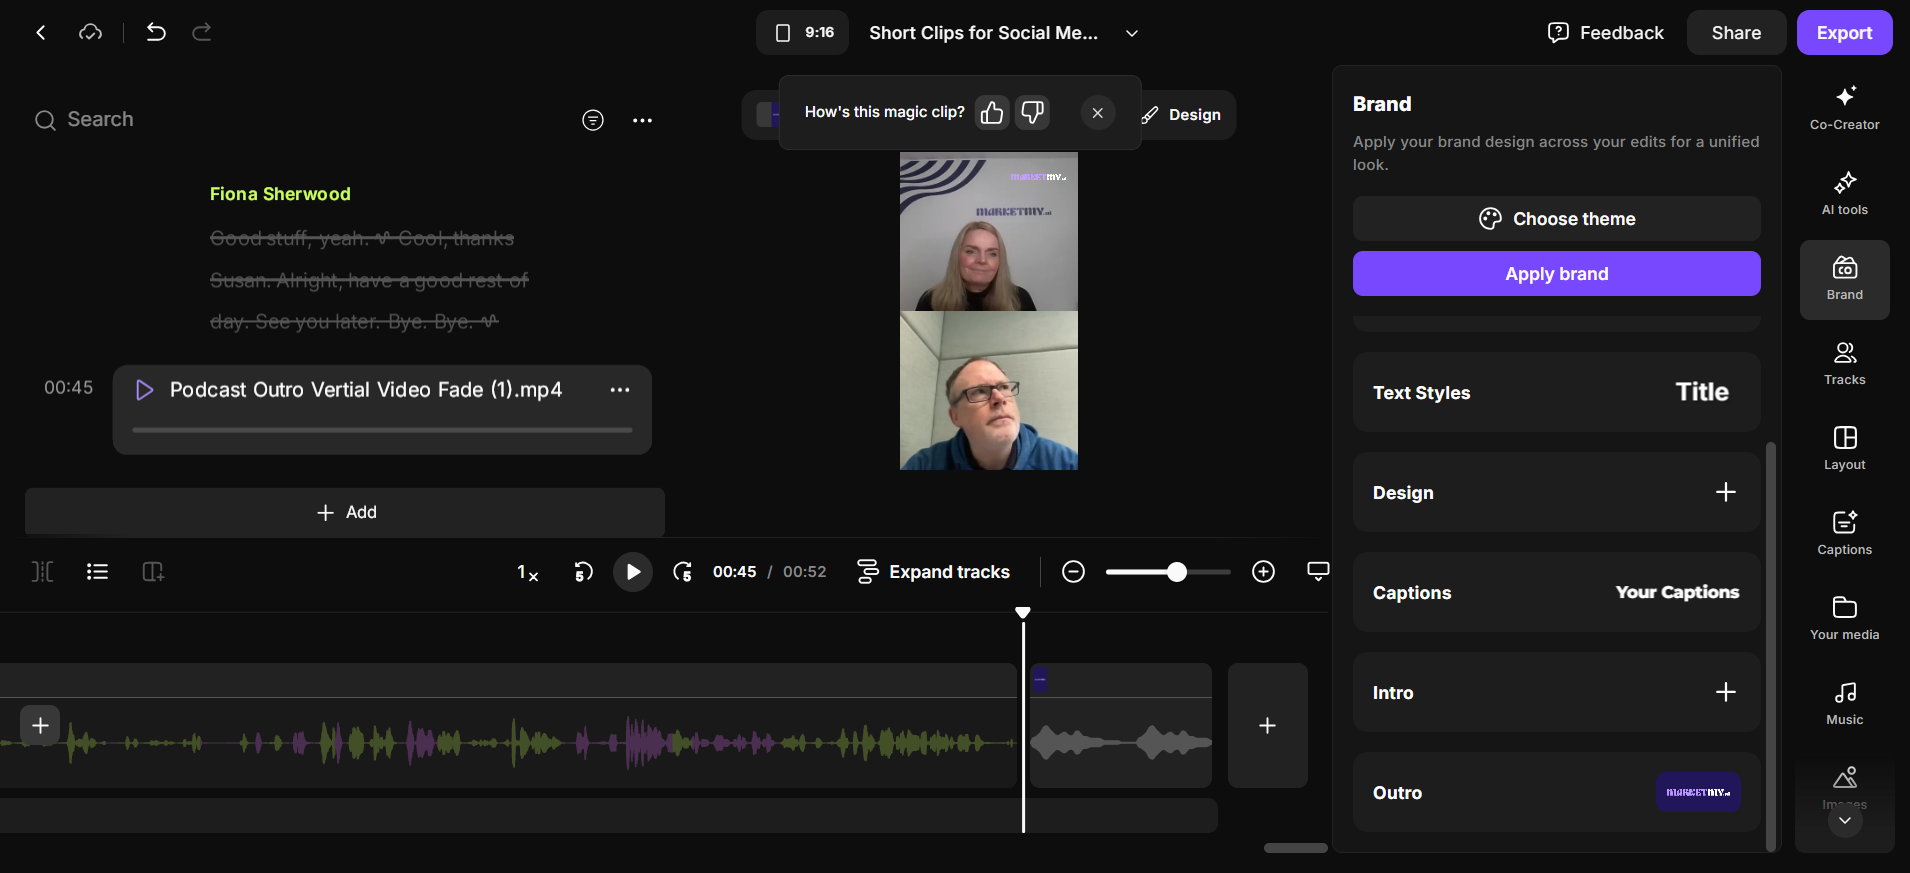
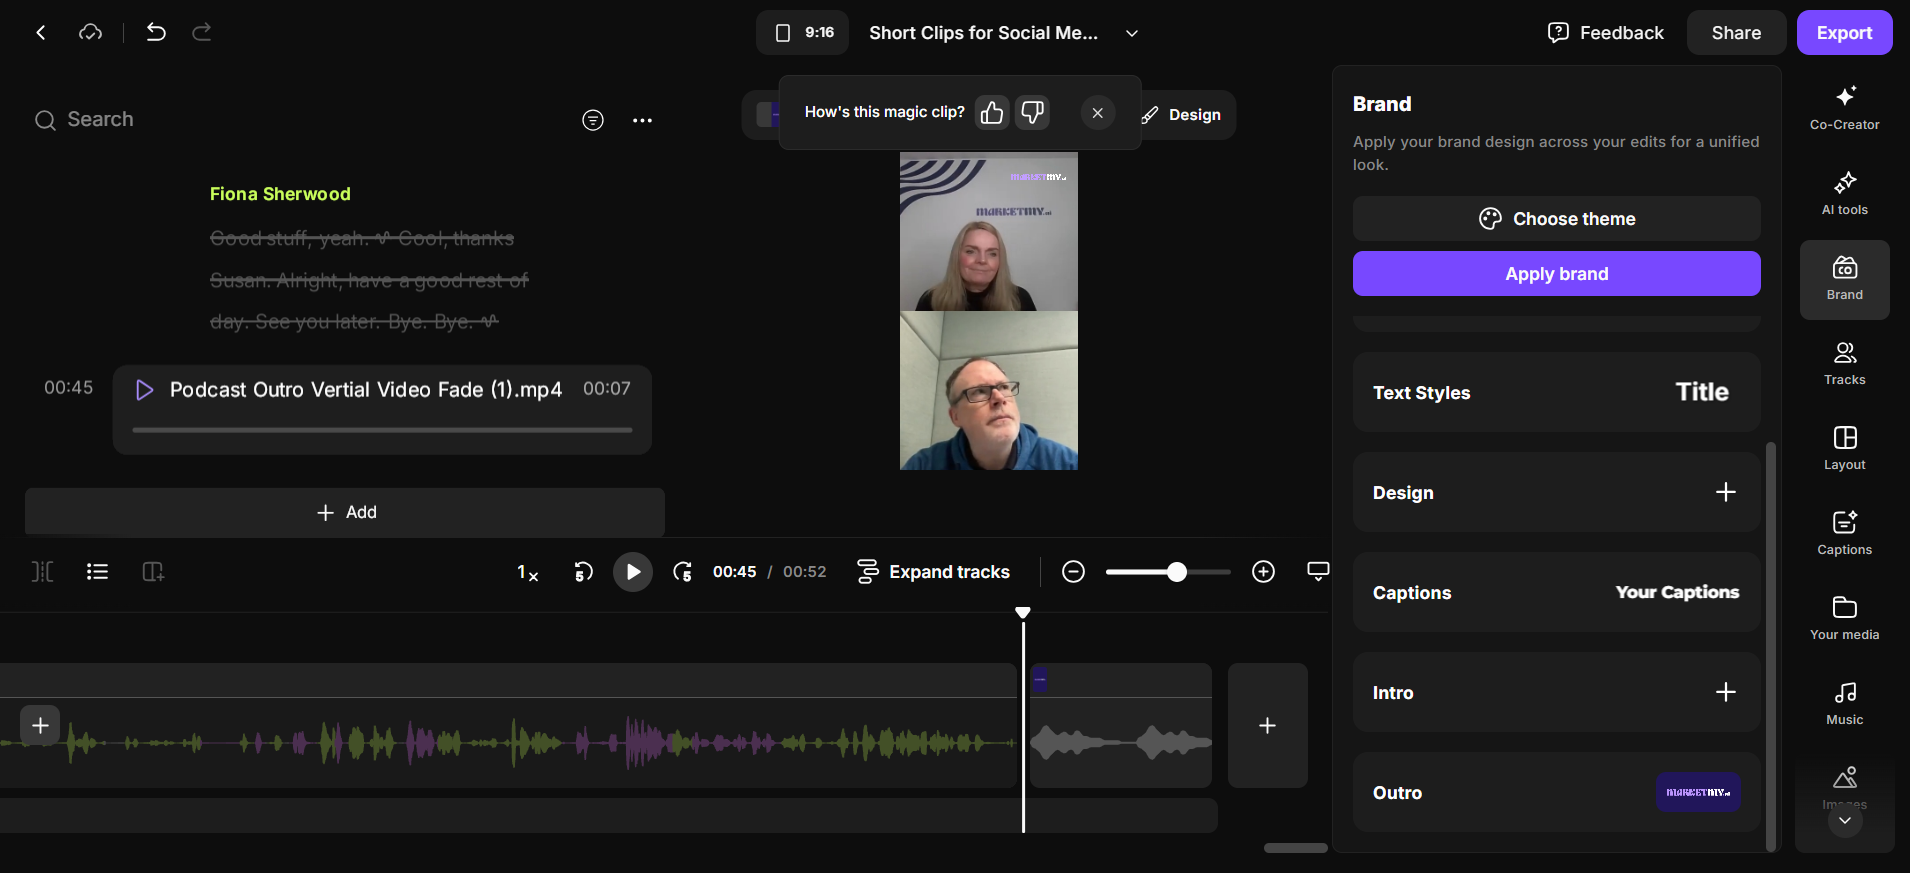
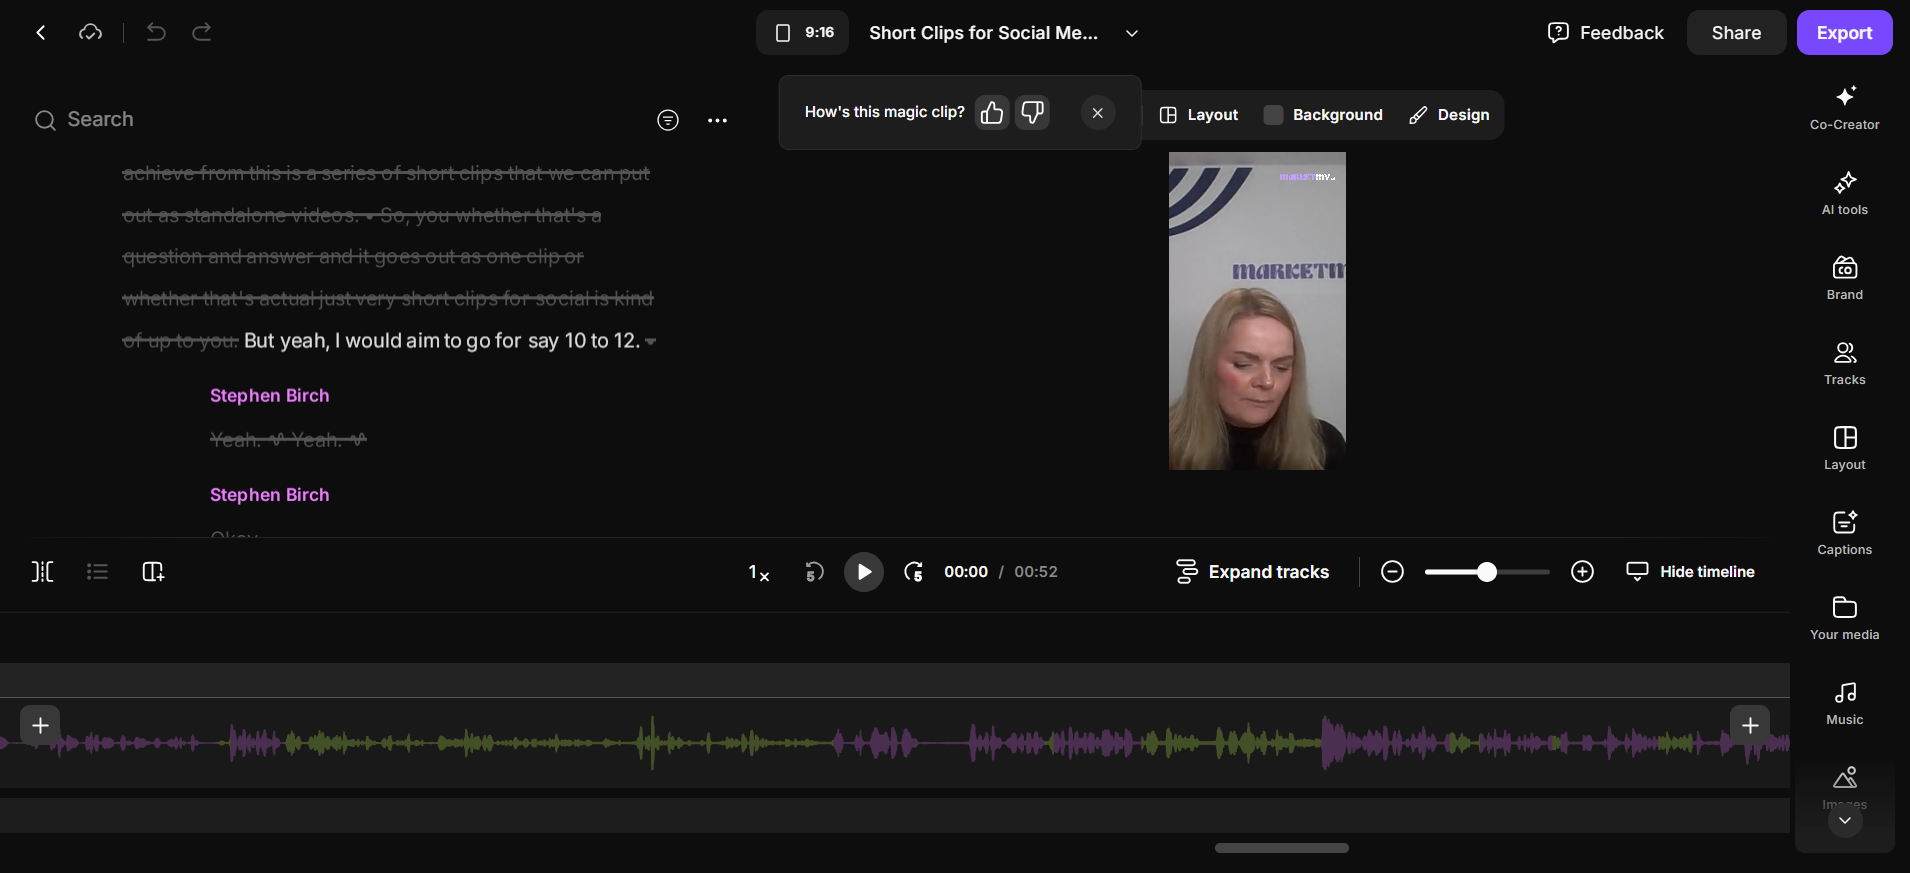
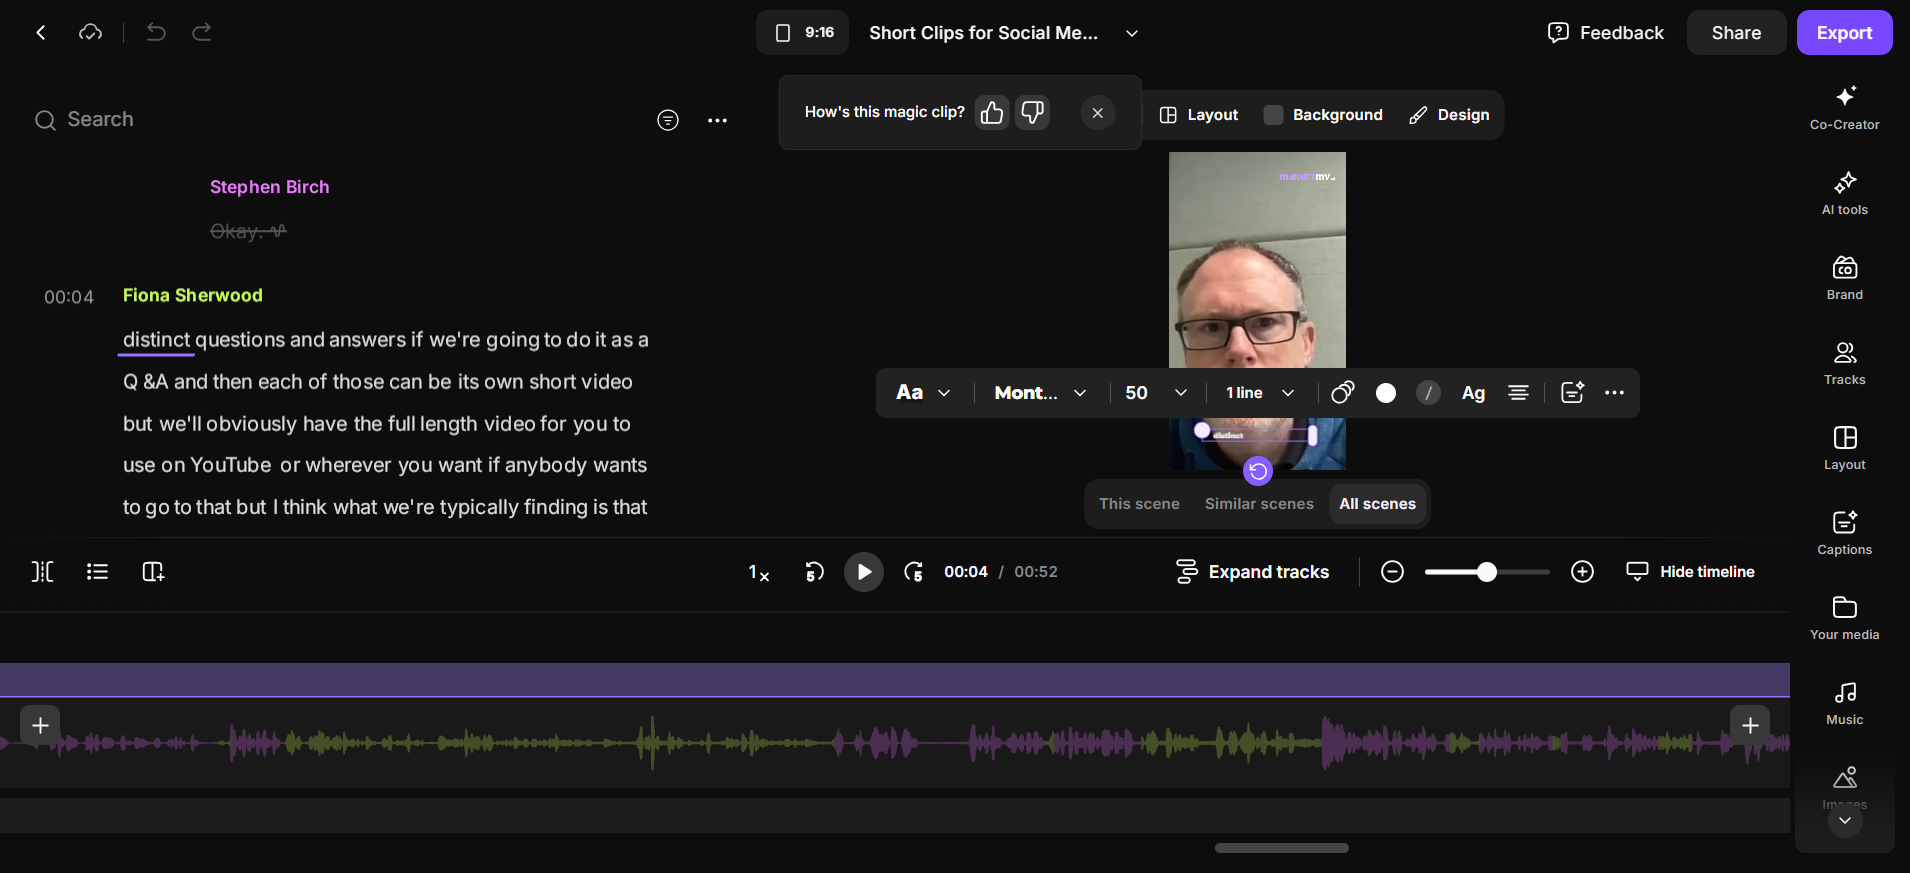
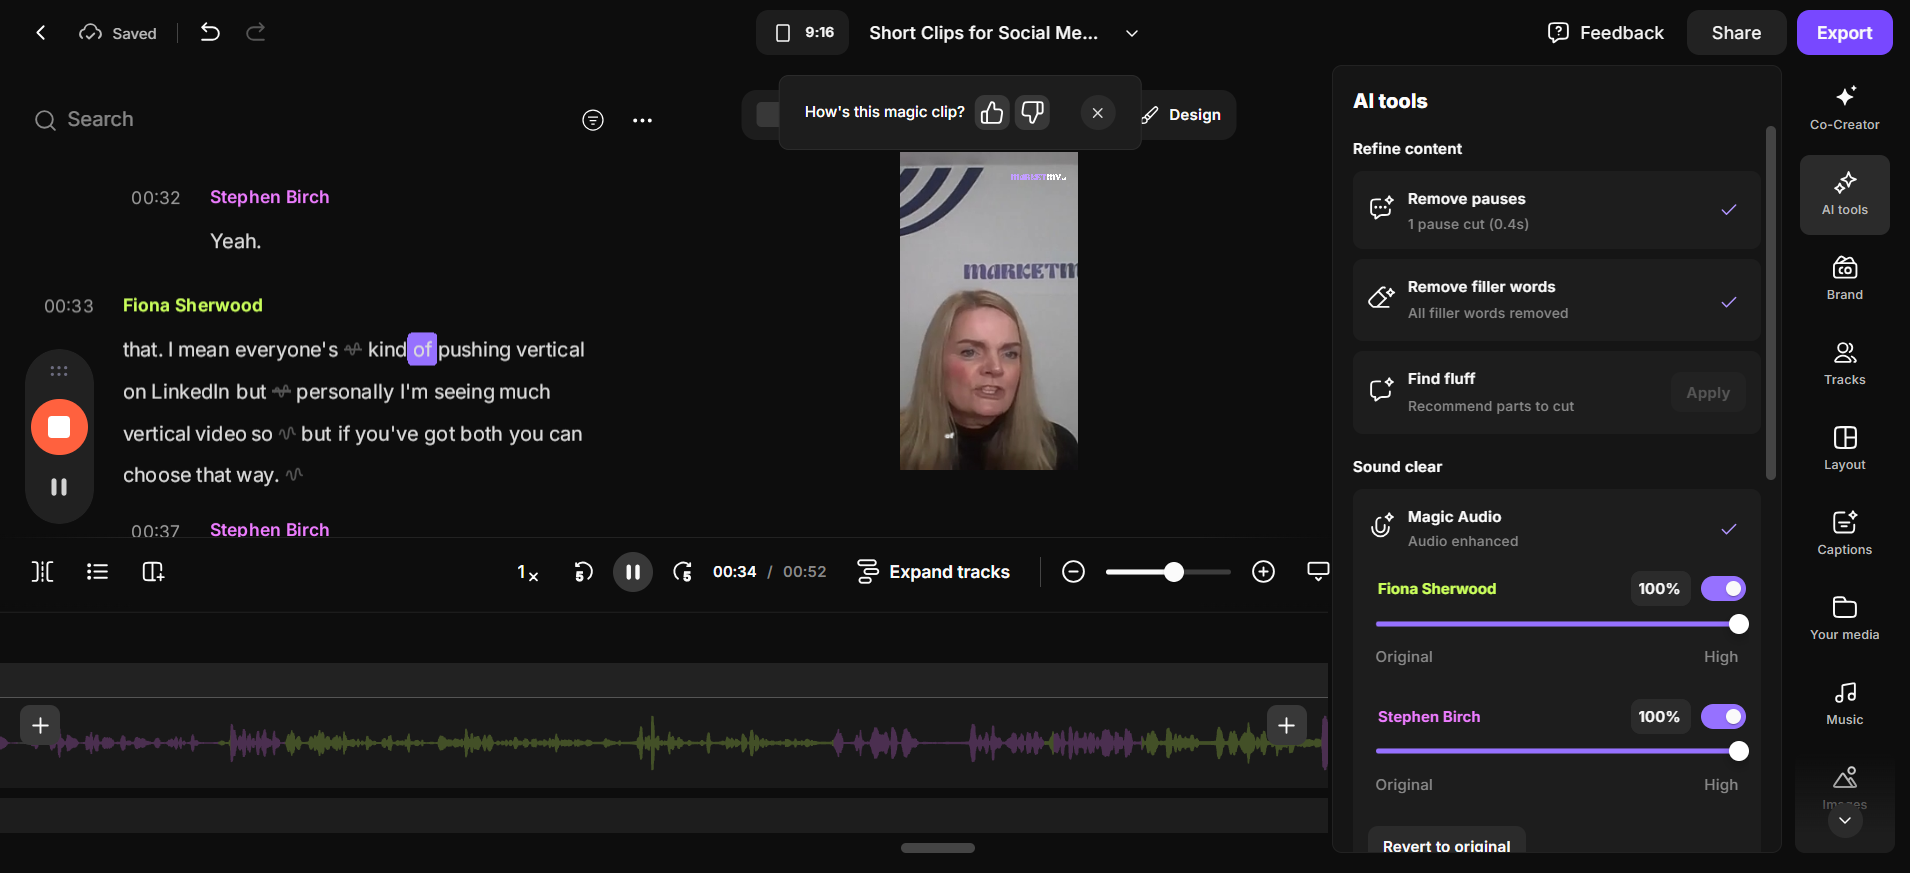
That means removing the "ums" and "uhs," shortening the pauses, and adding studio sound. You also have some short clips. It has selected some clips that it considers most interesting for social media.
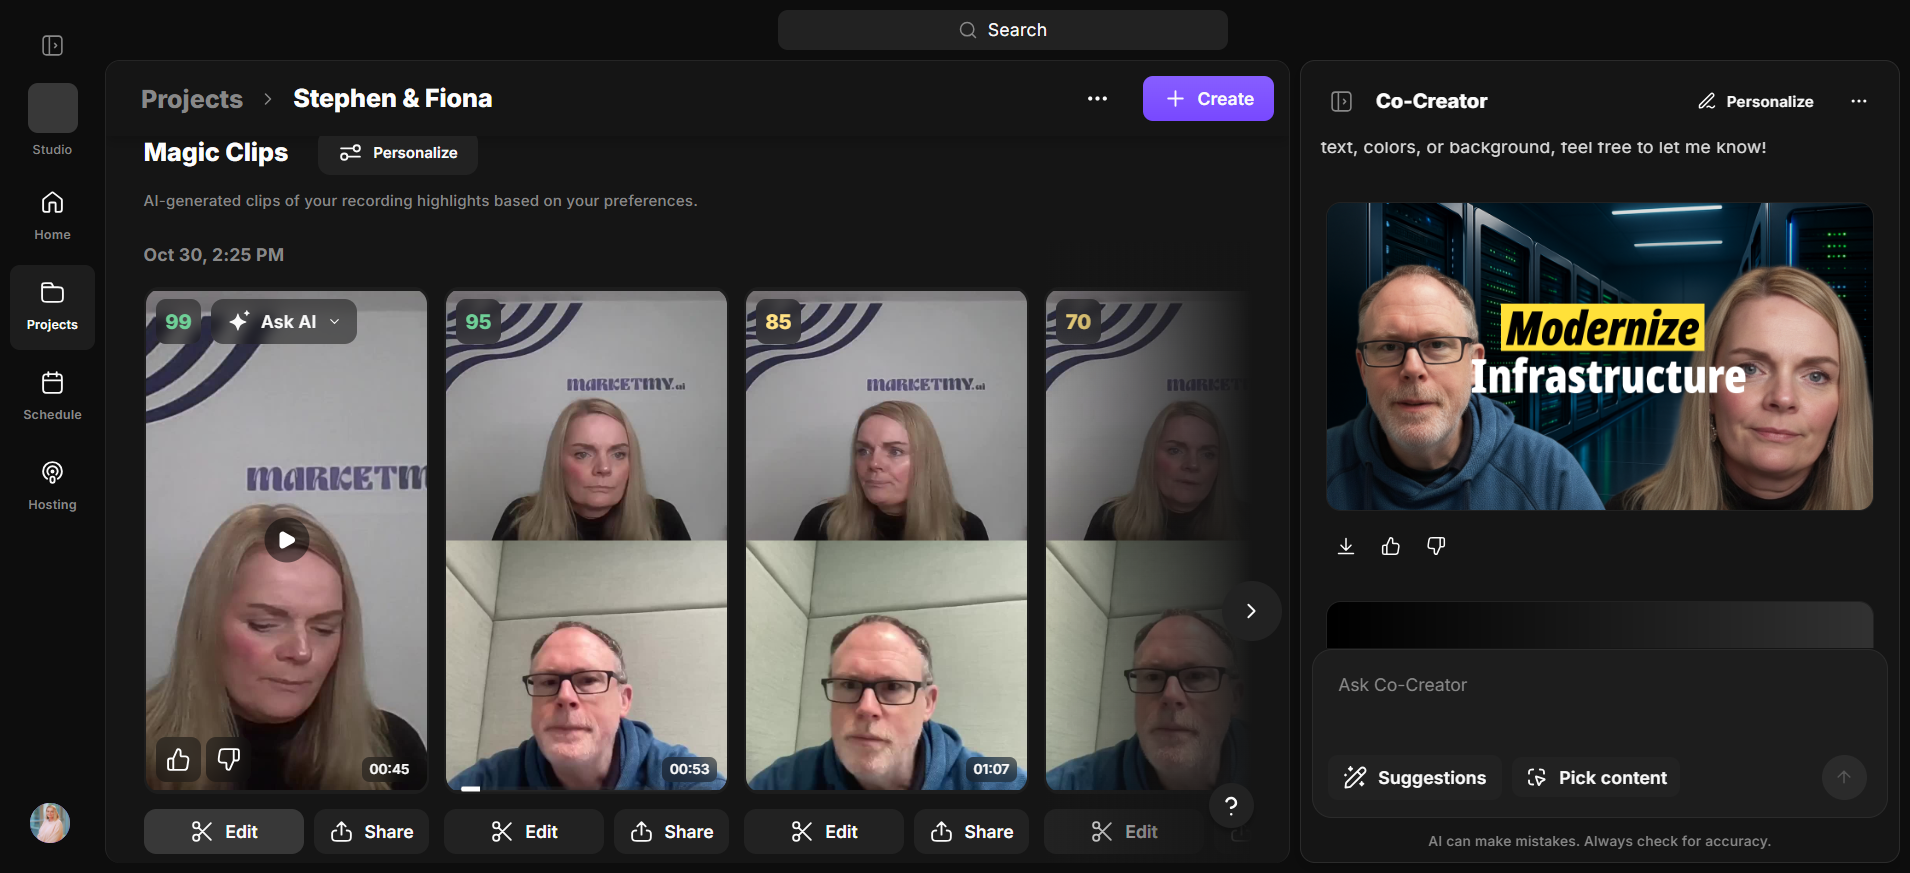
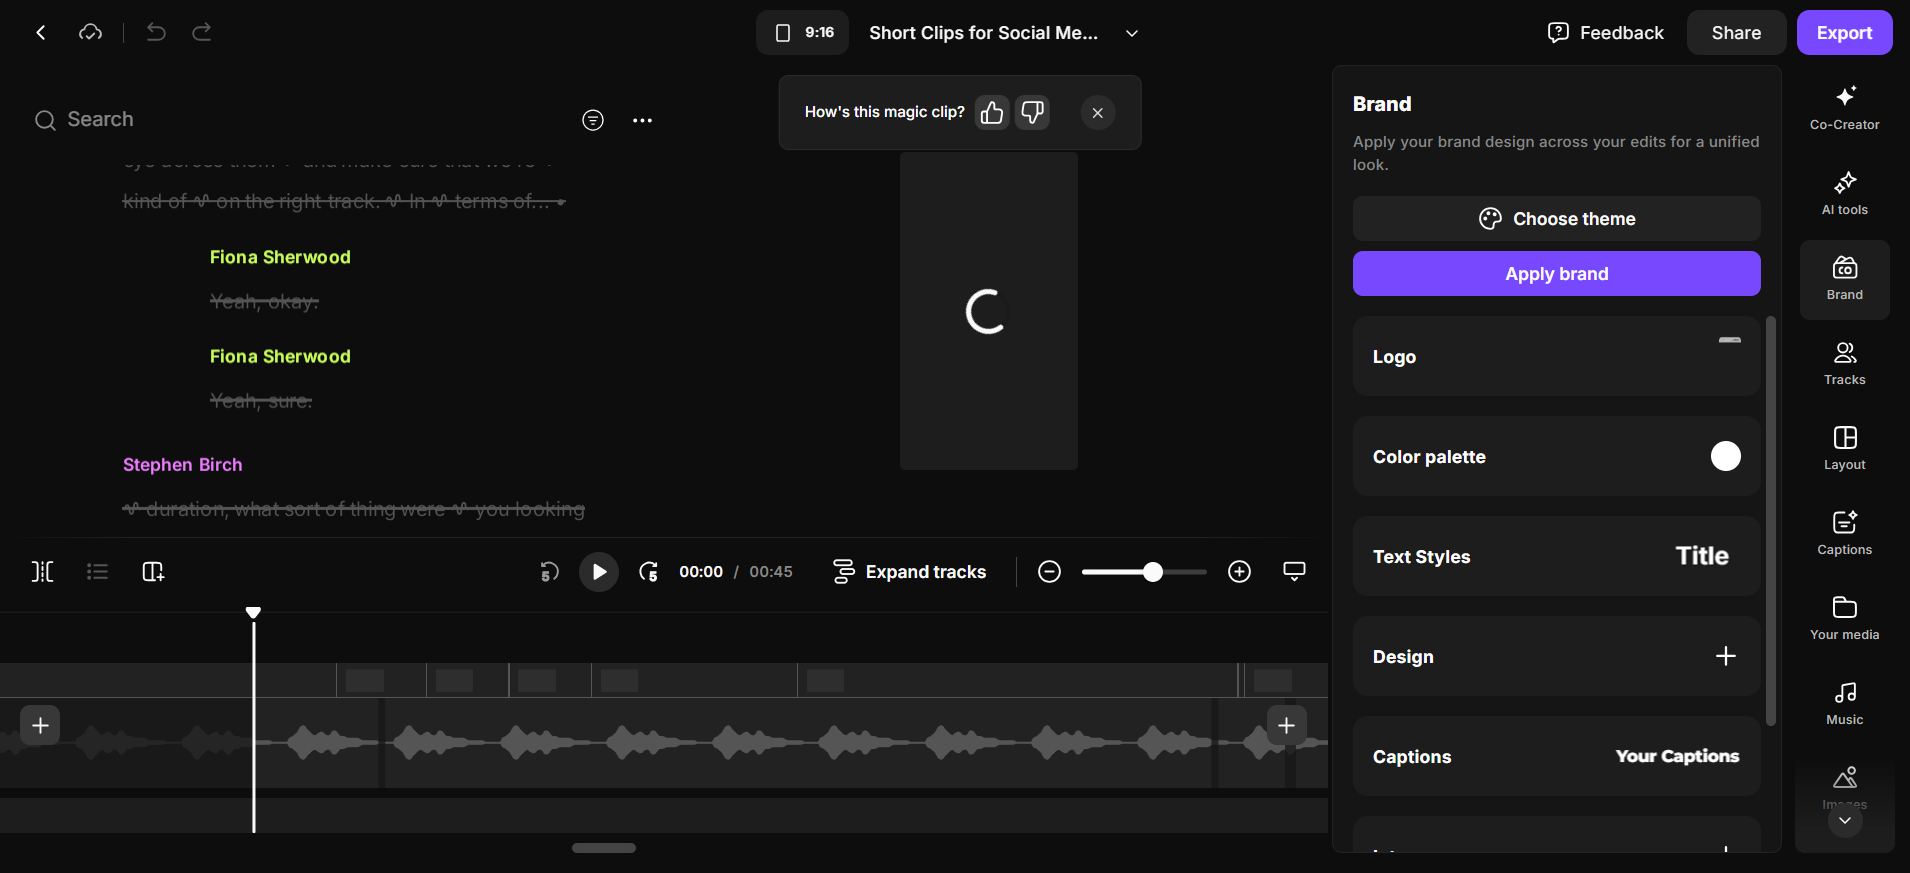
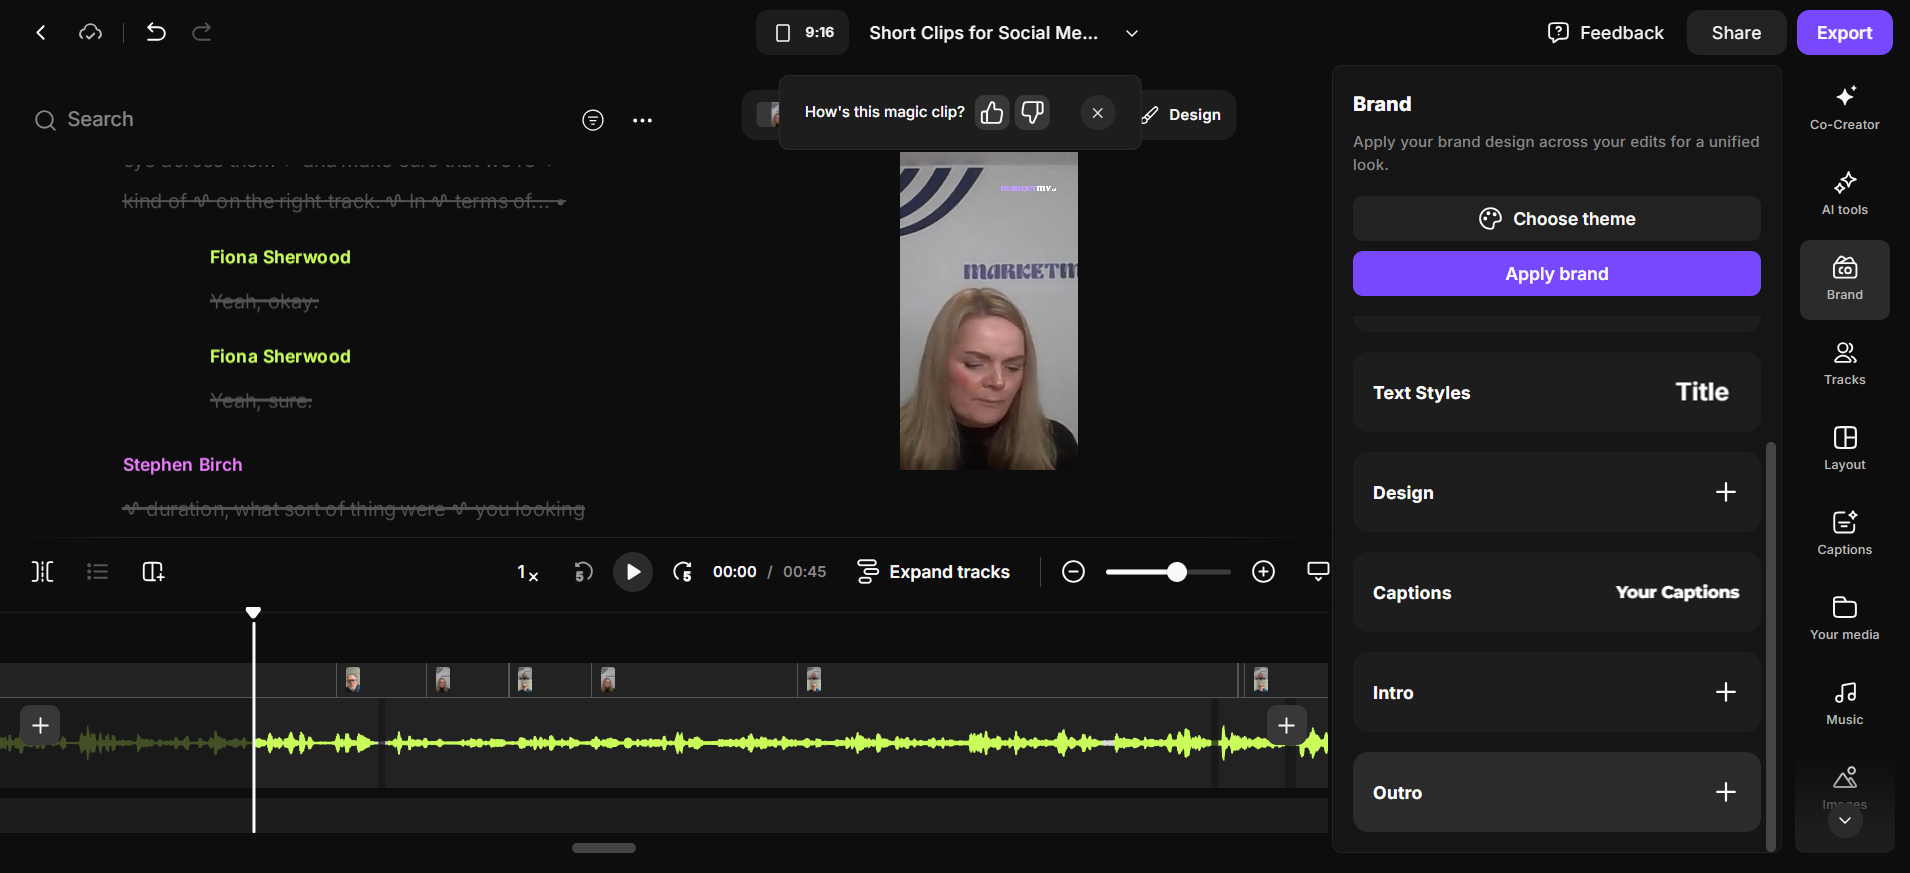
You can use those as they are. You can apply the brand to them. If I click on one, it gives them a score.

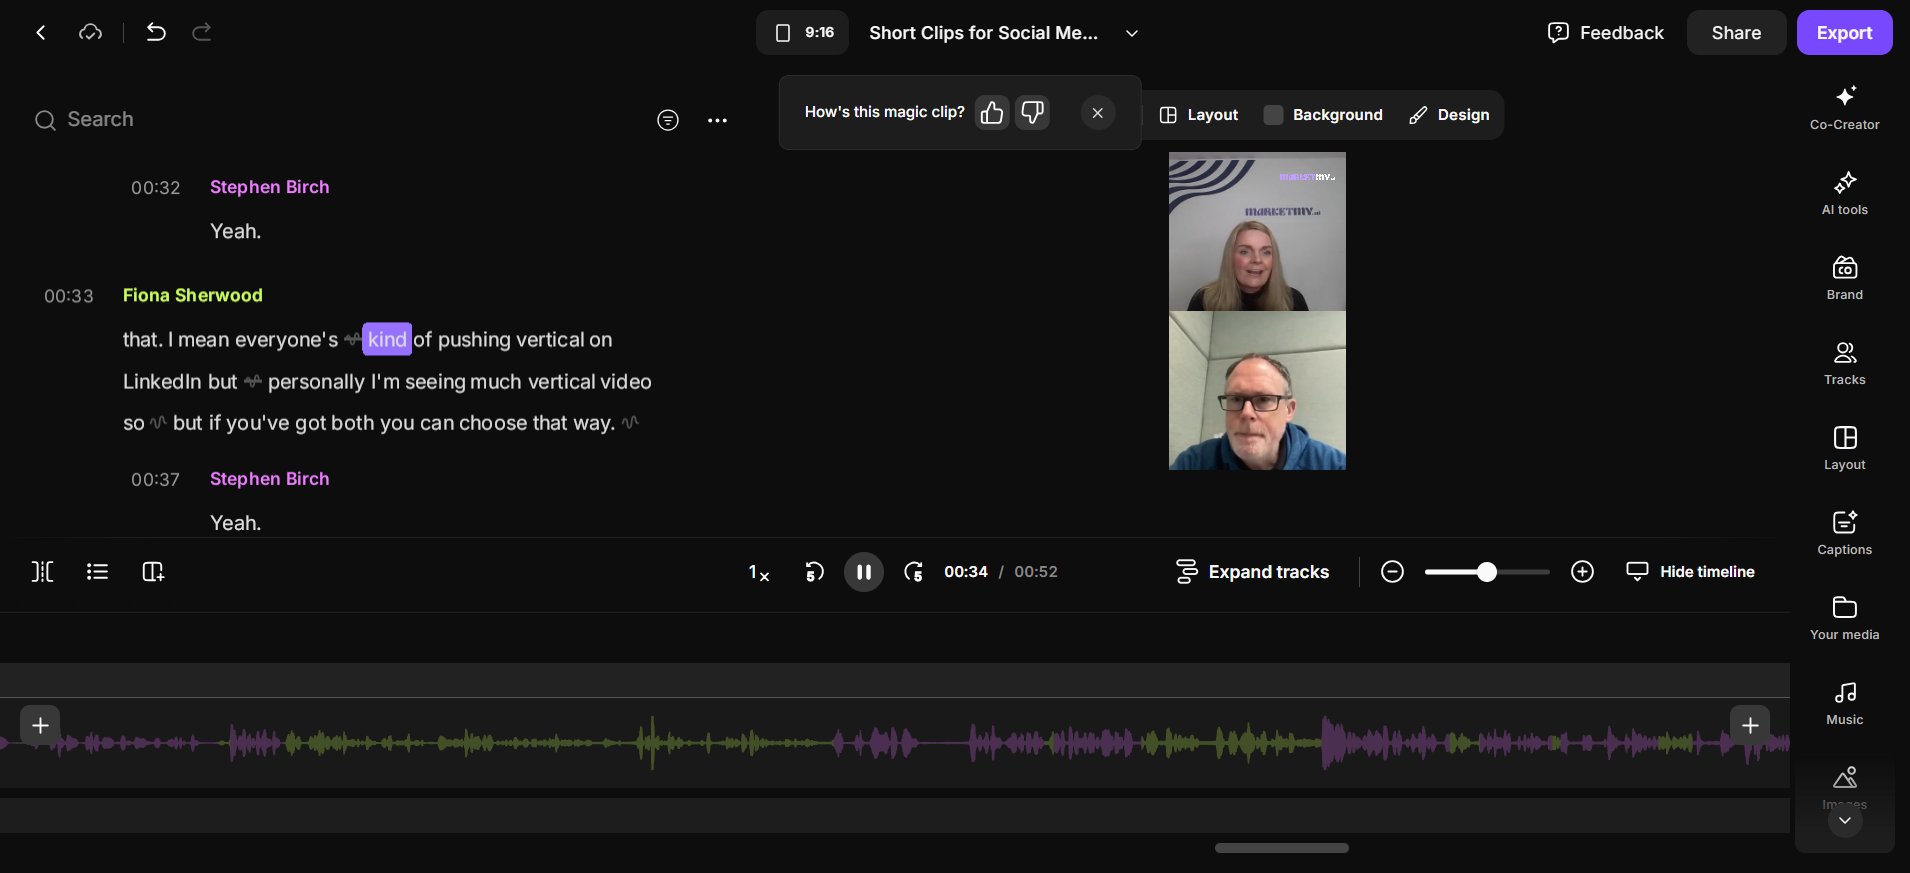
It’s done using a split screen, but it also has a kind of auto animation.
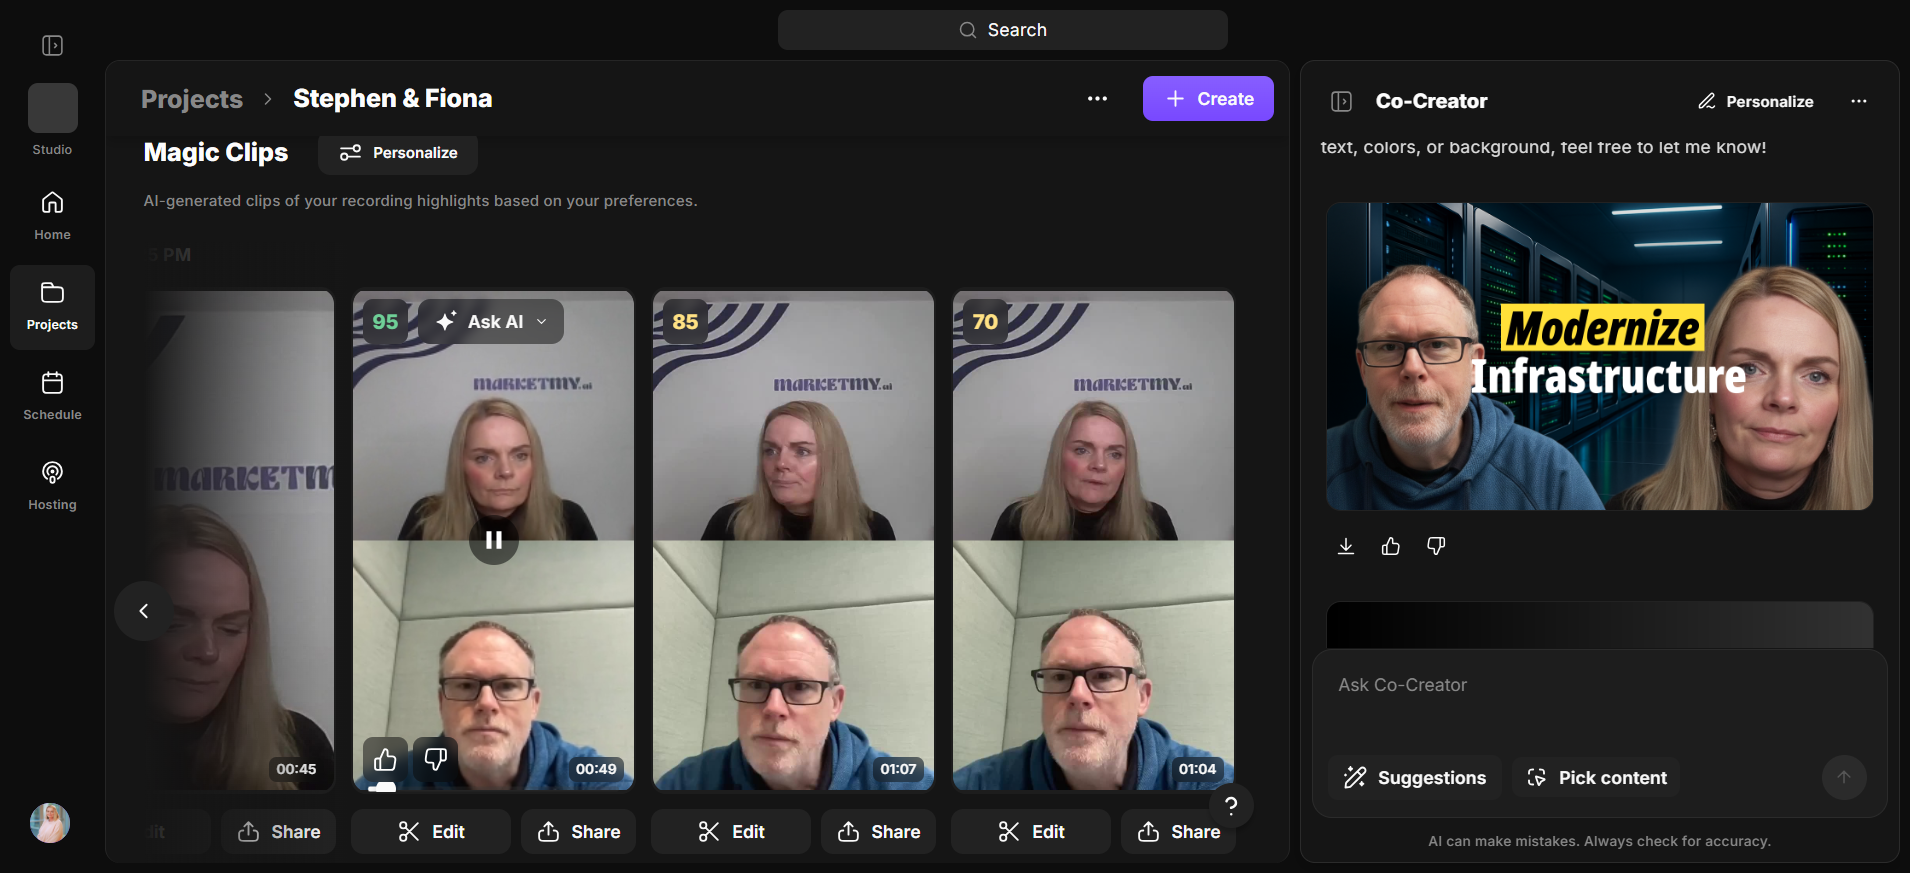
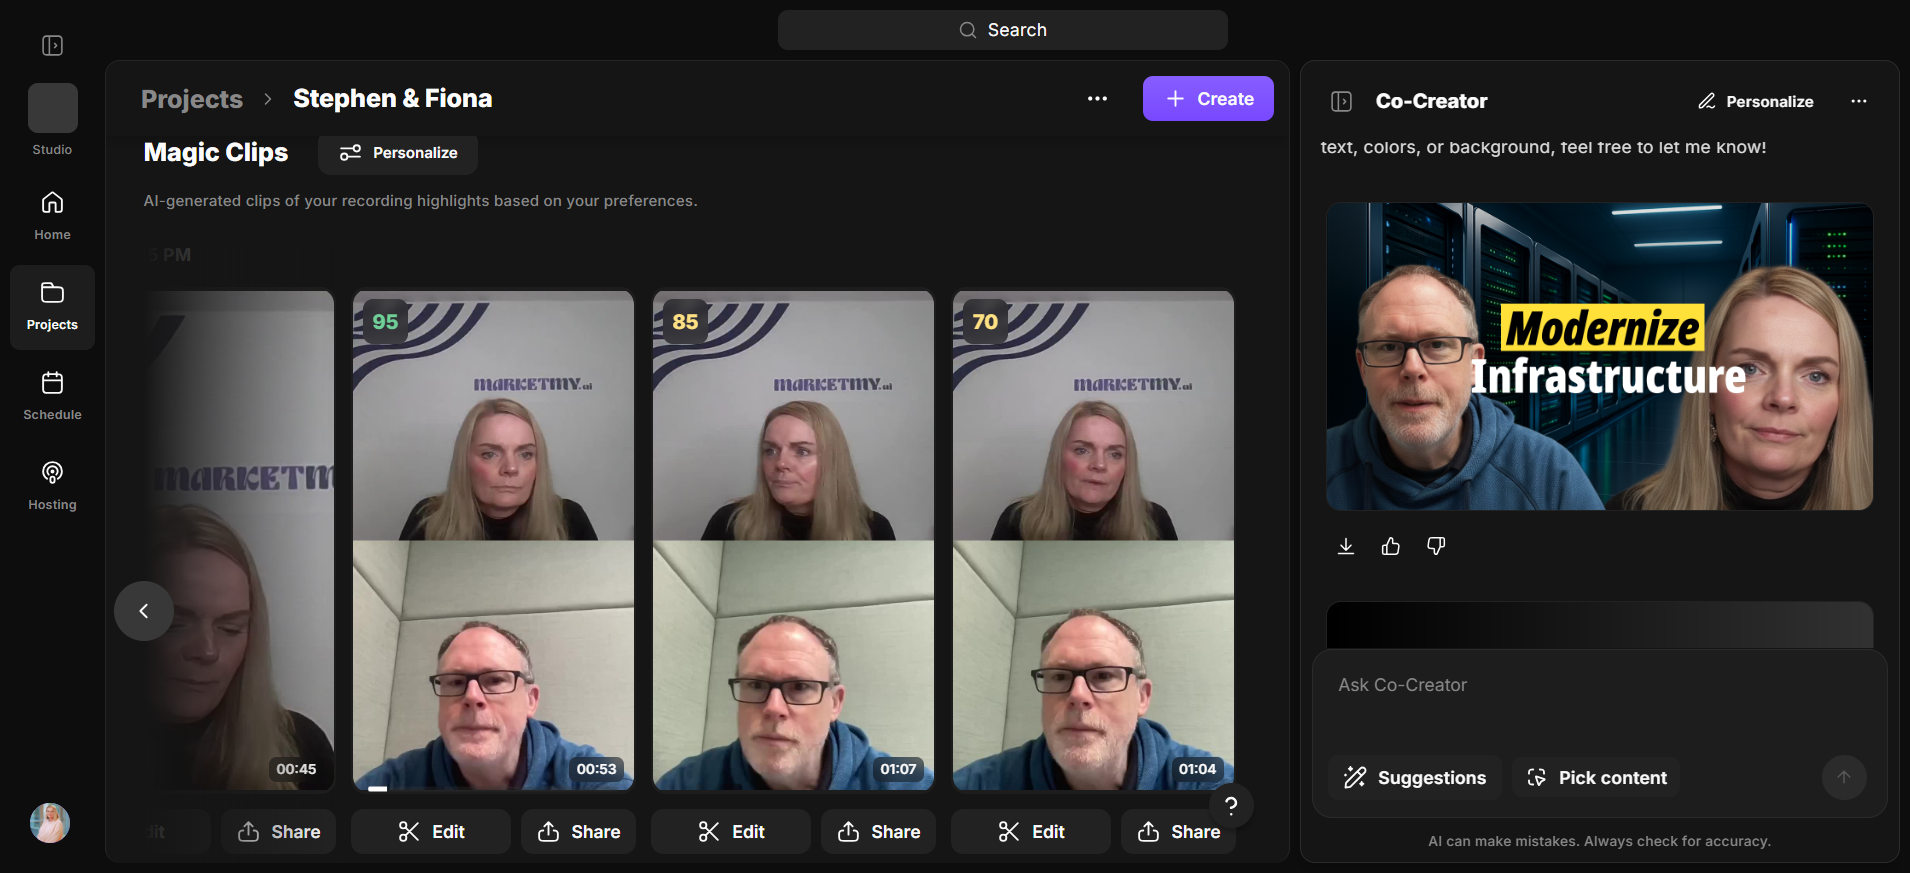
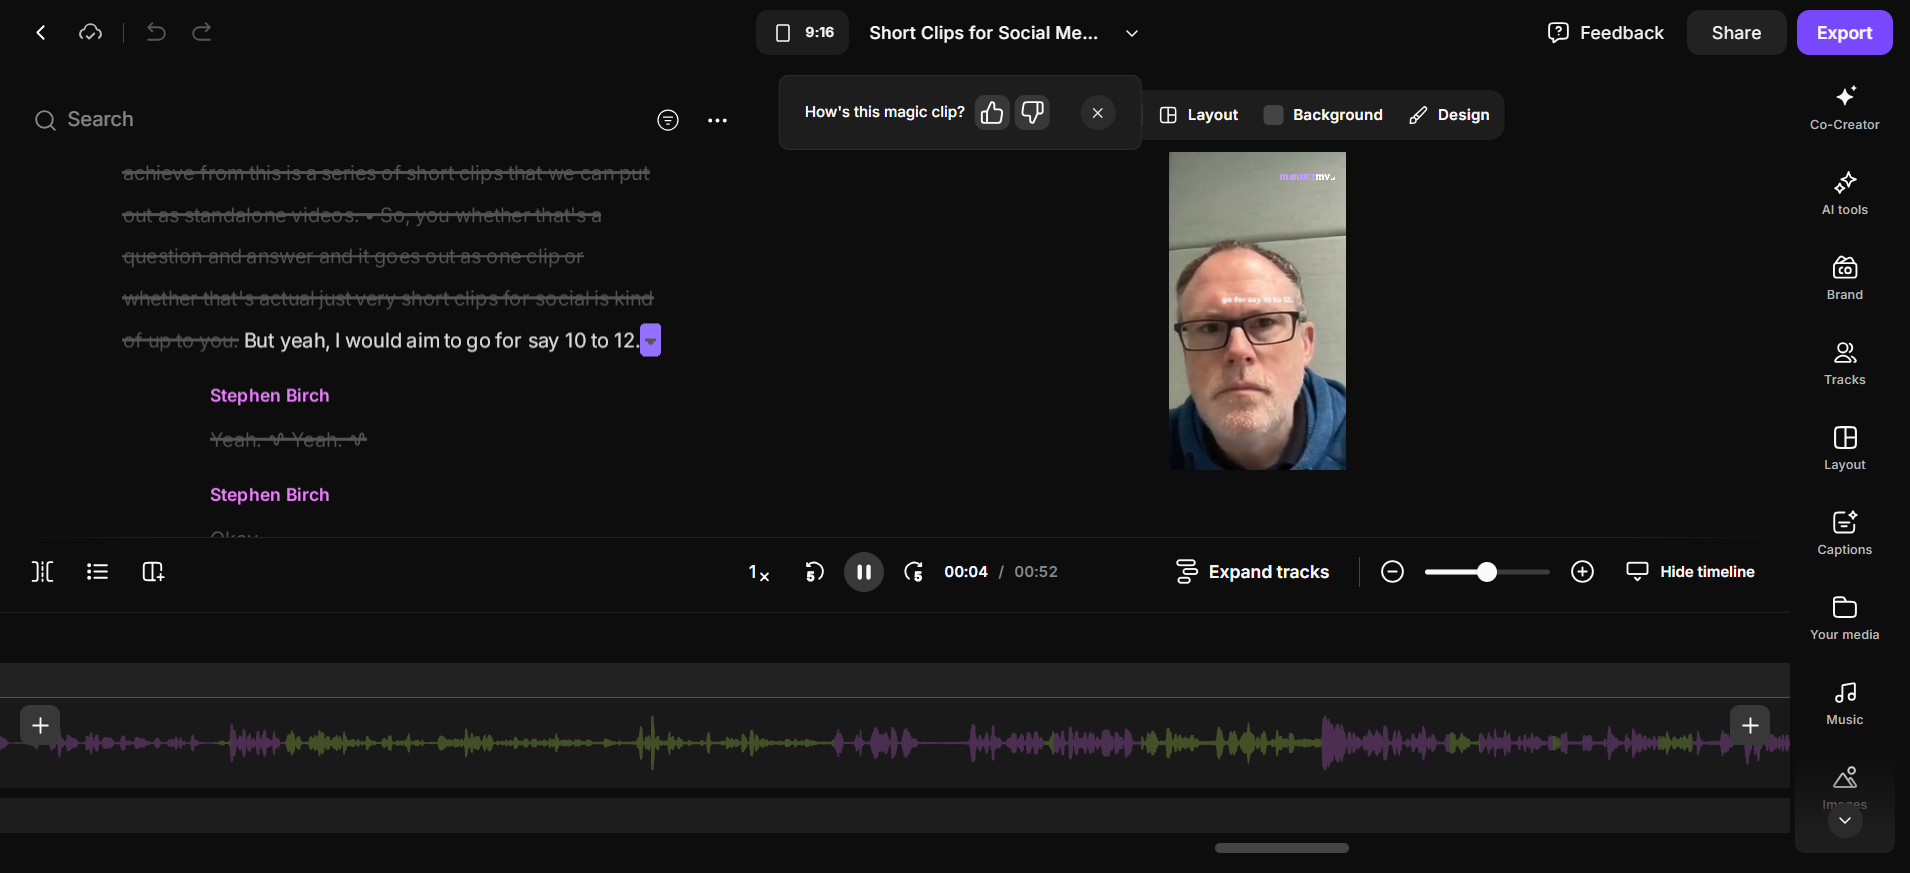
This one received a 99 out of 99, which is the highest possible score. If I edit that, I can now apply the brand to it.
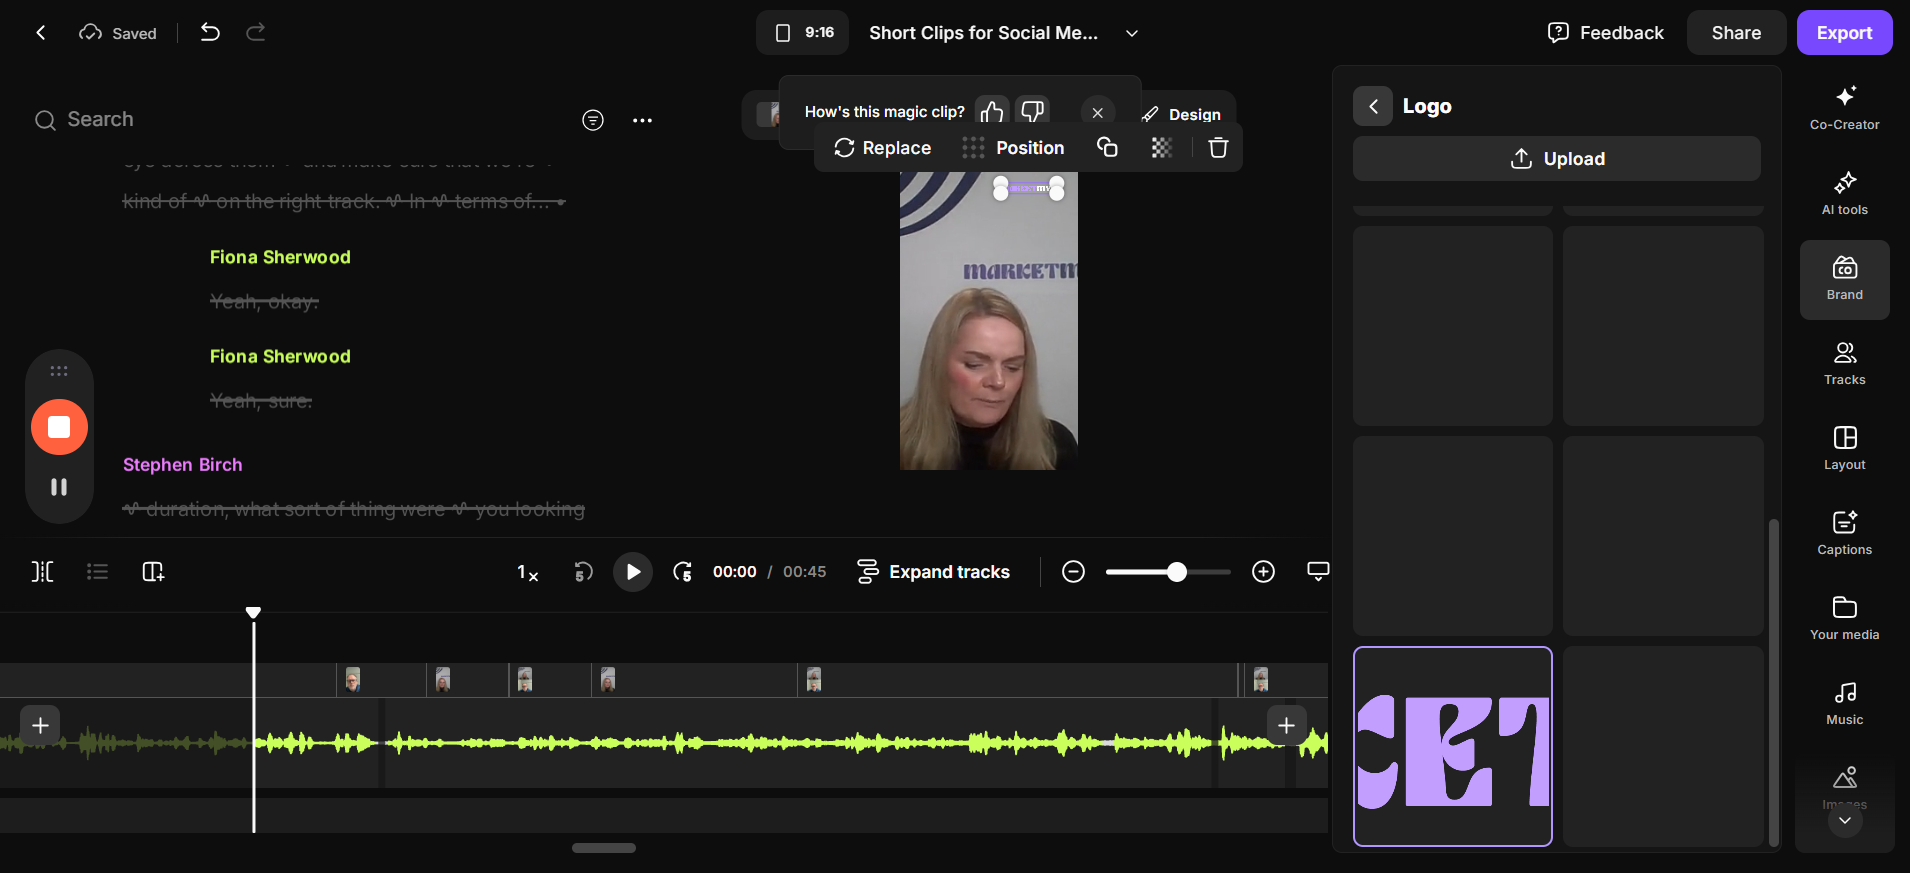
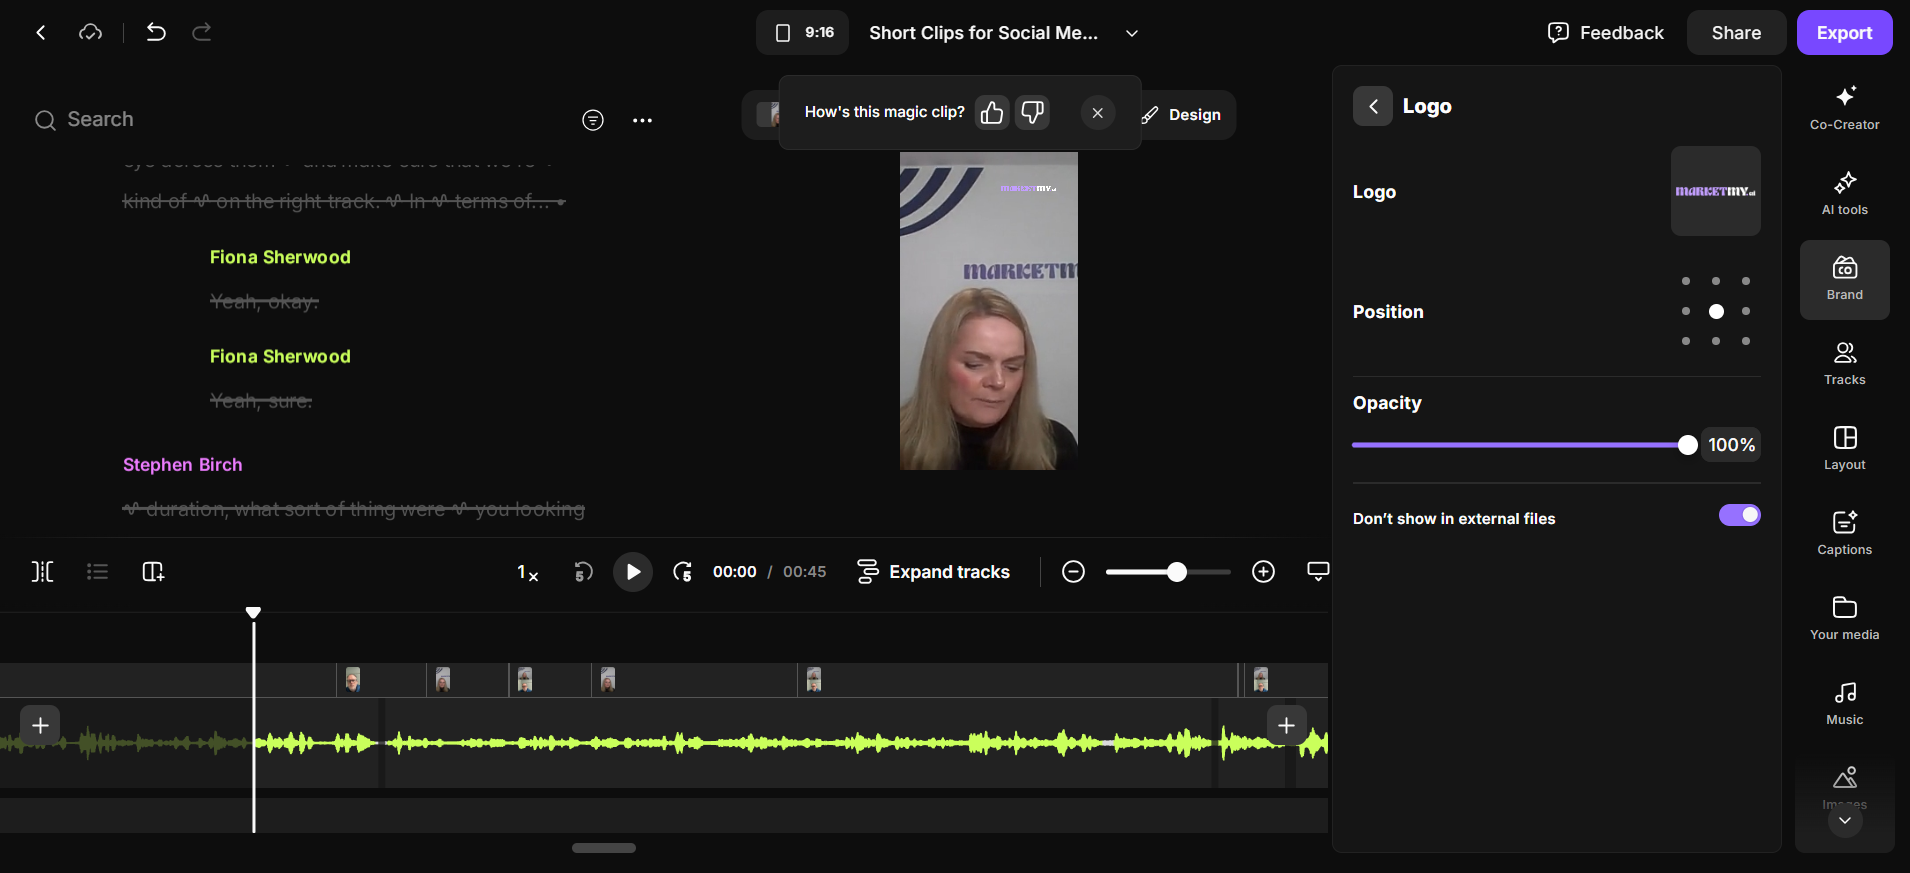
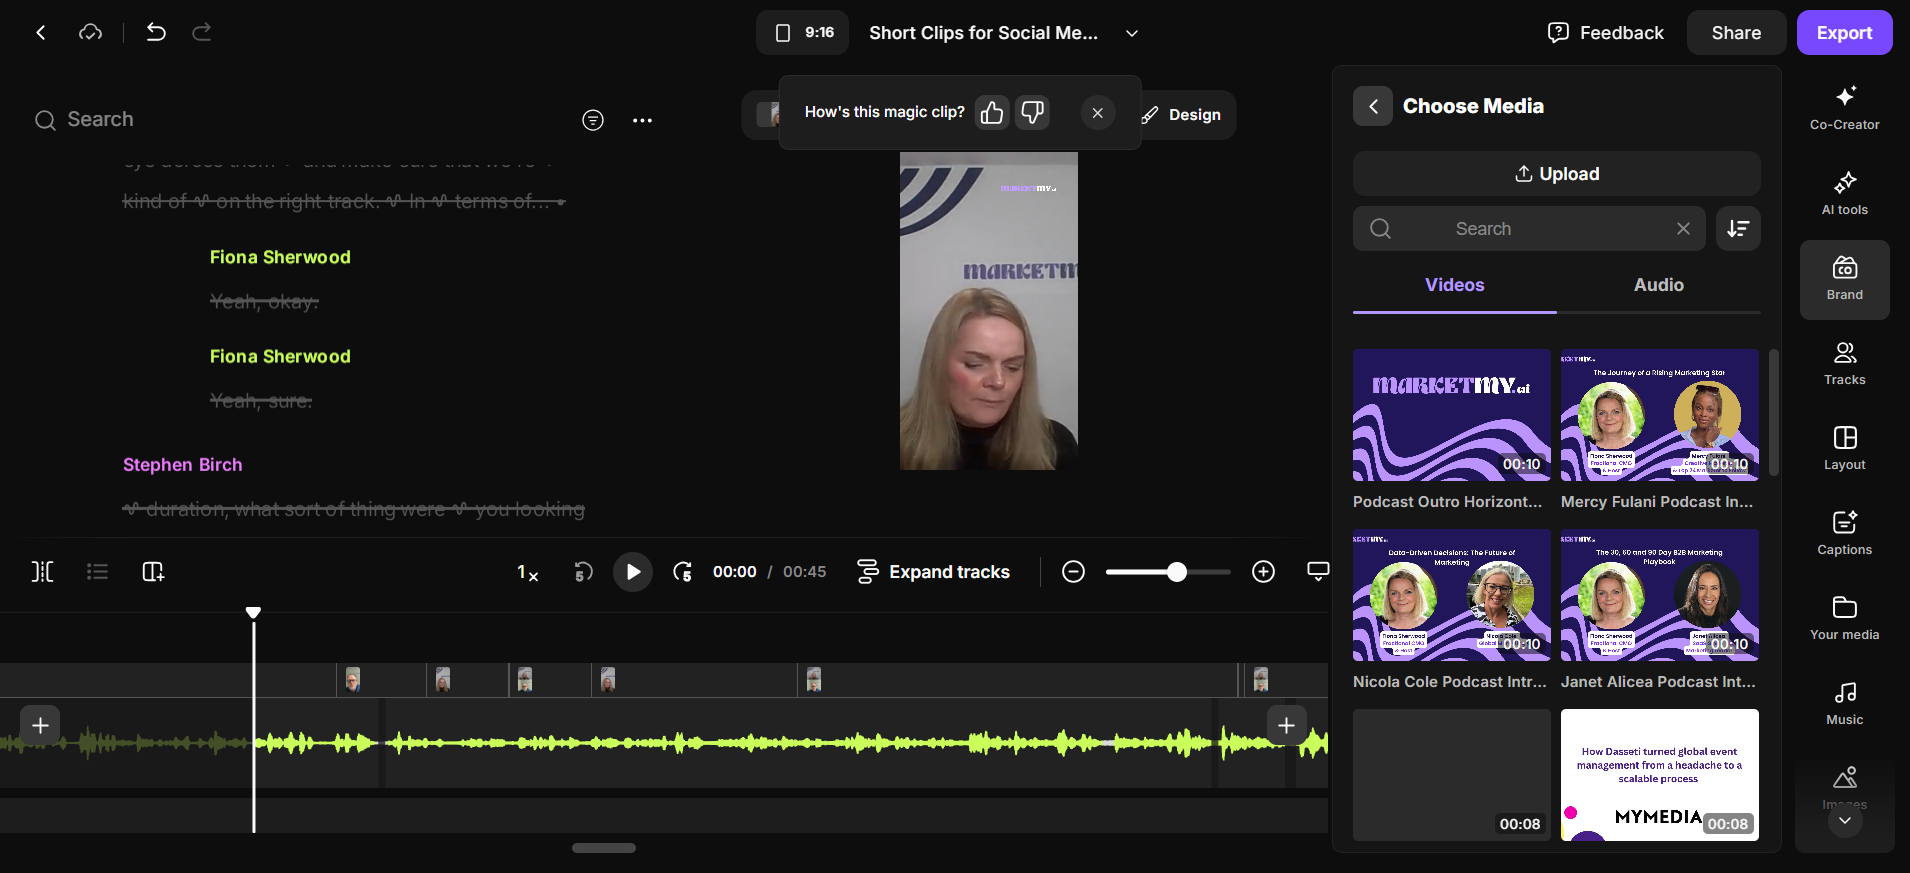
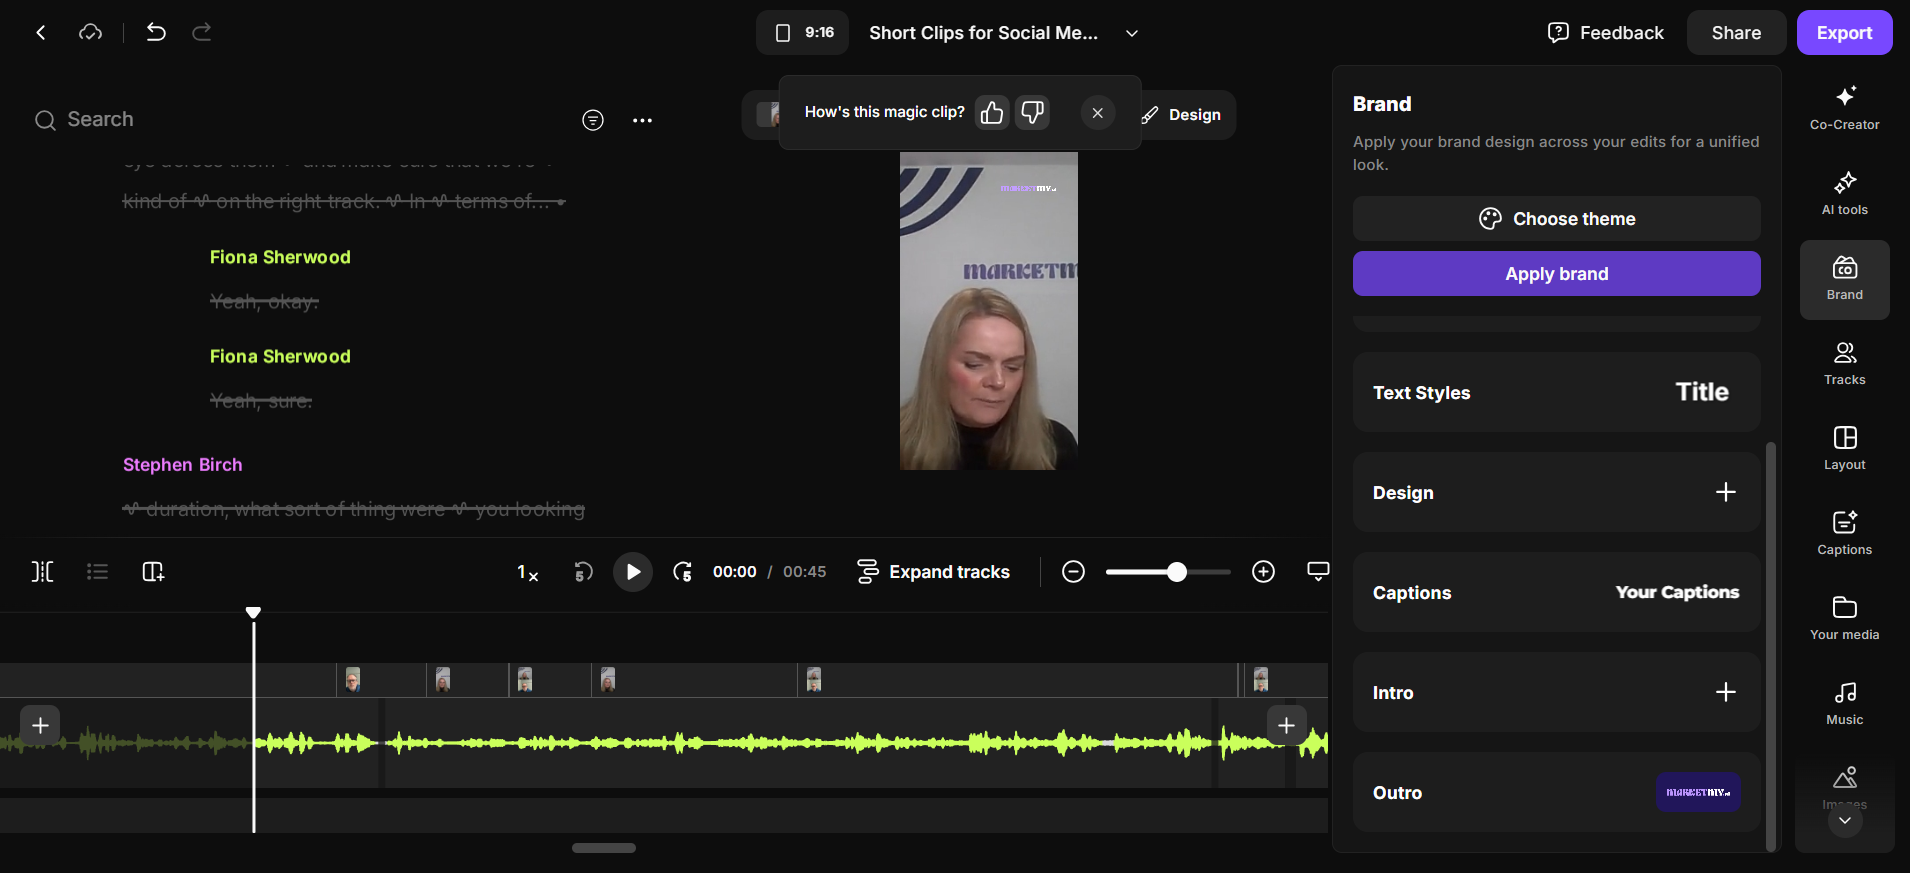
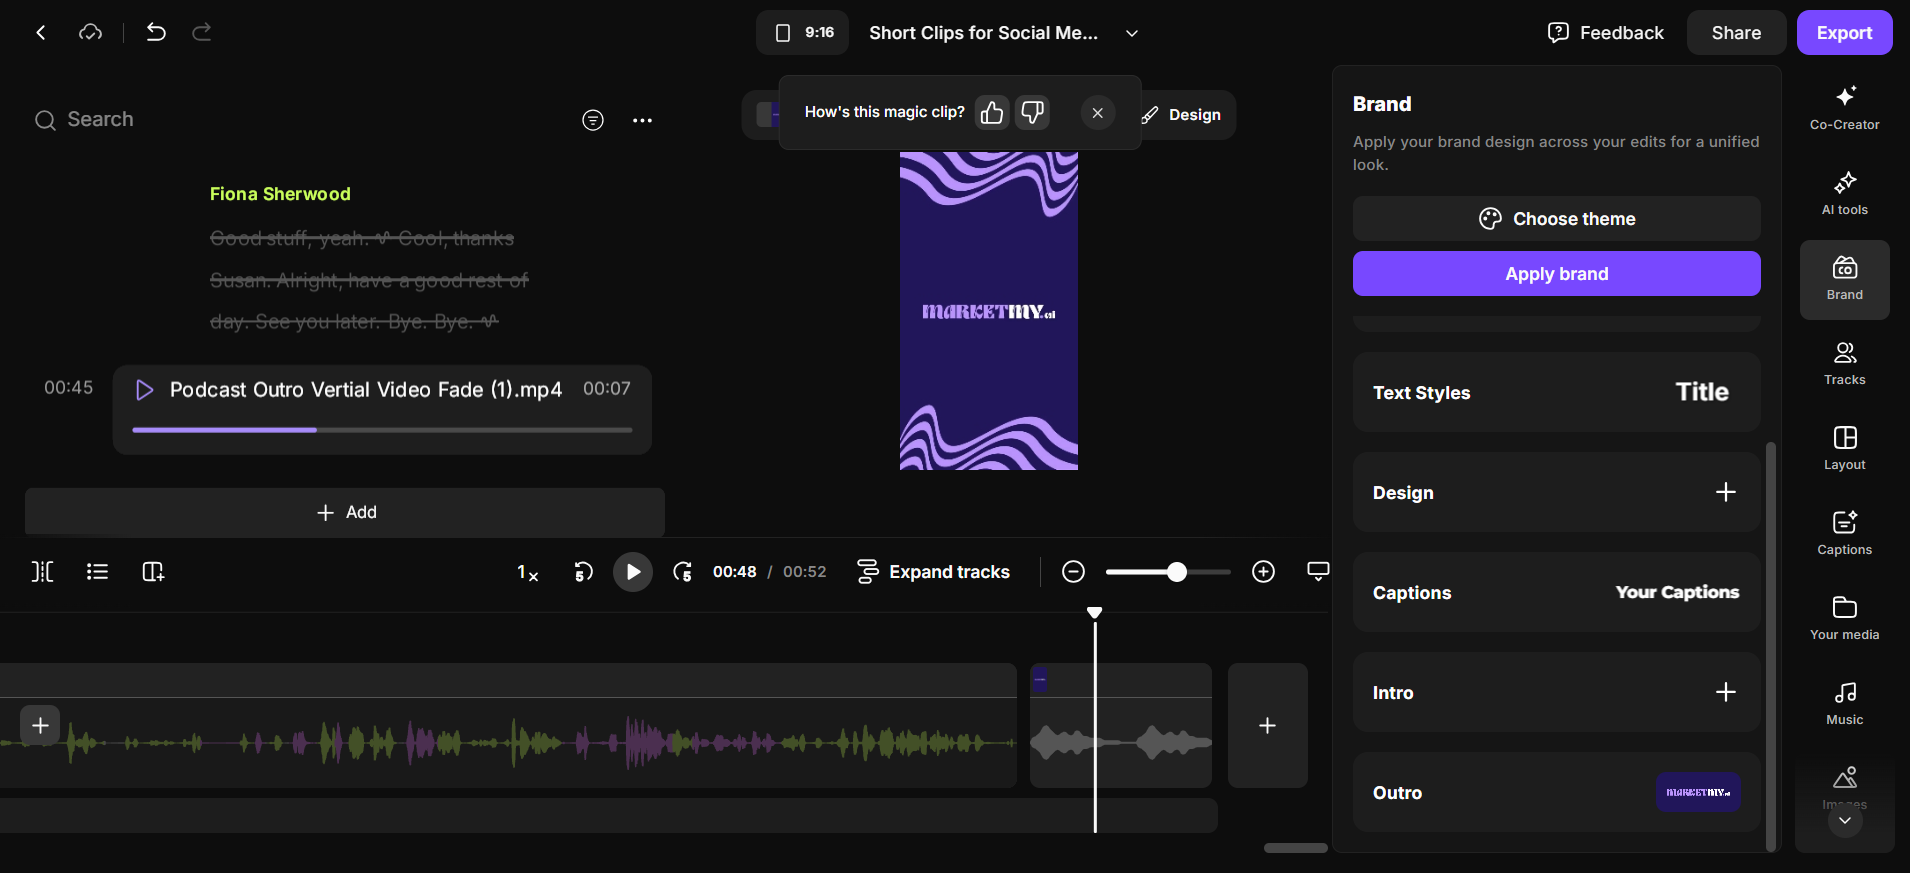
I have many different brands set up here. If I select the logo, I have many options available.
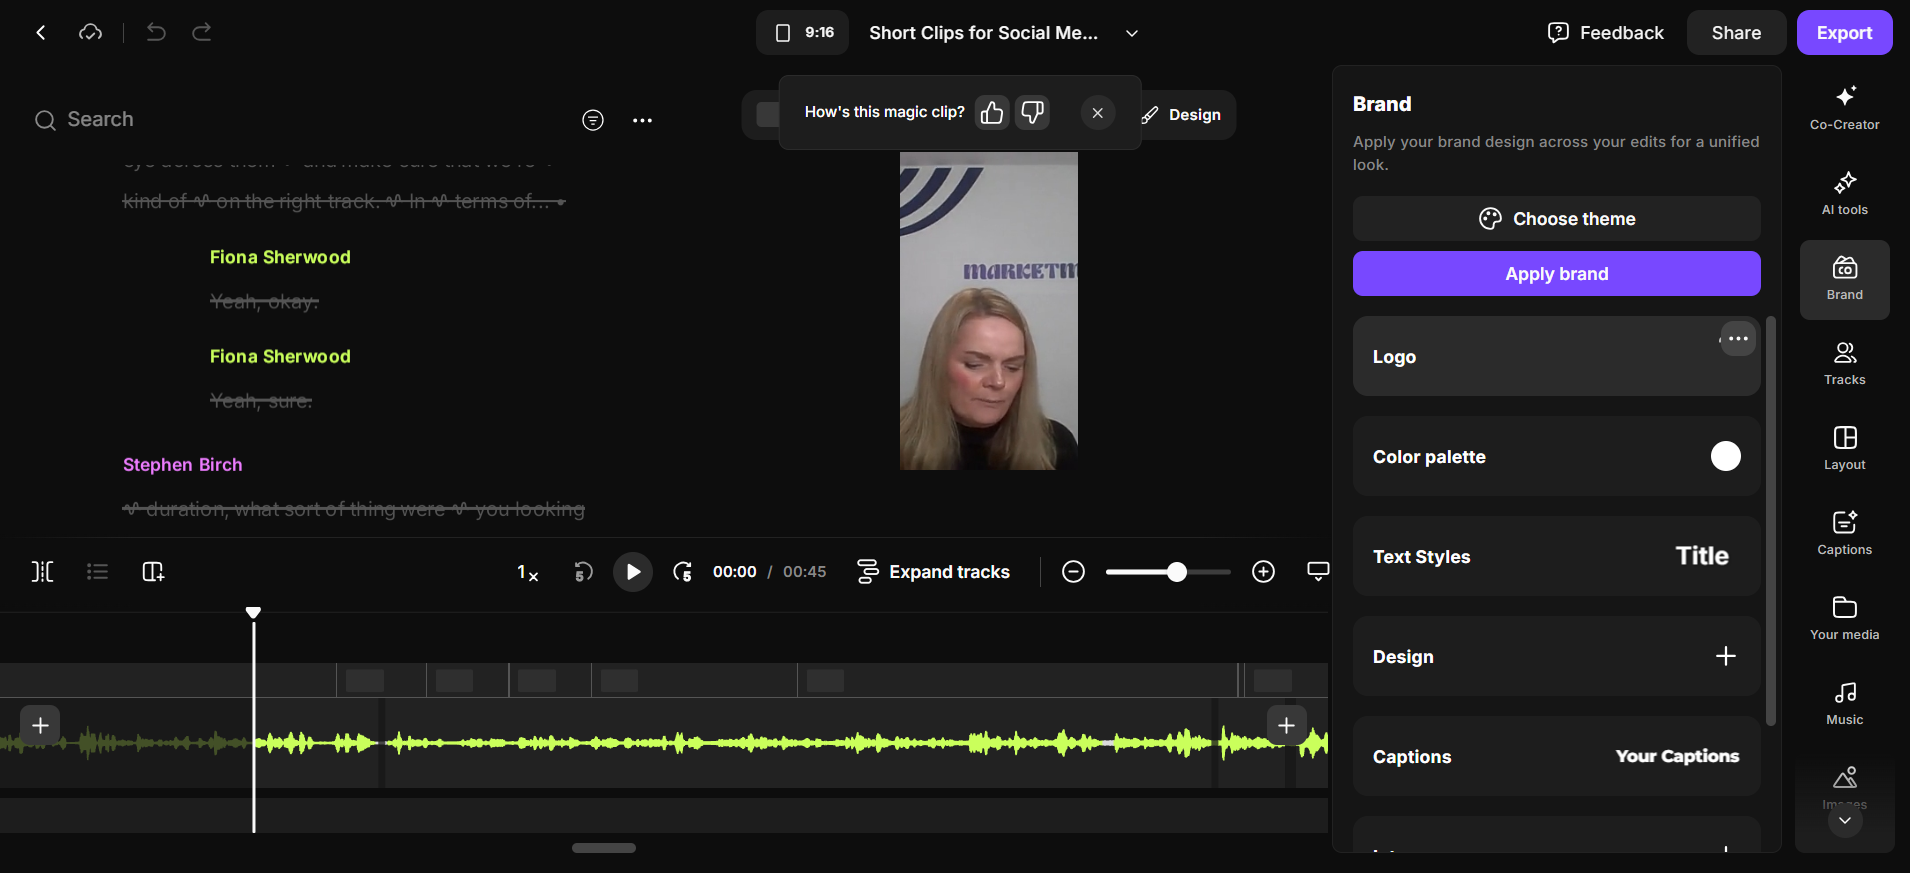

My brand.
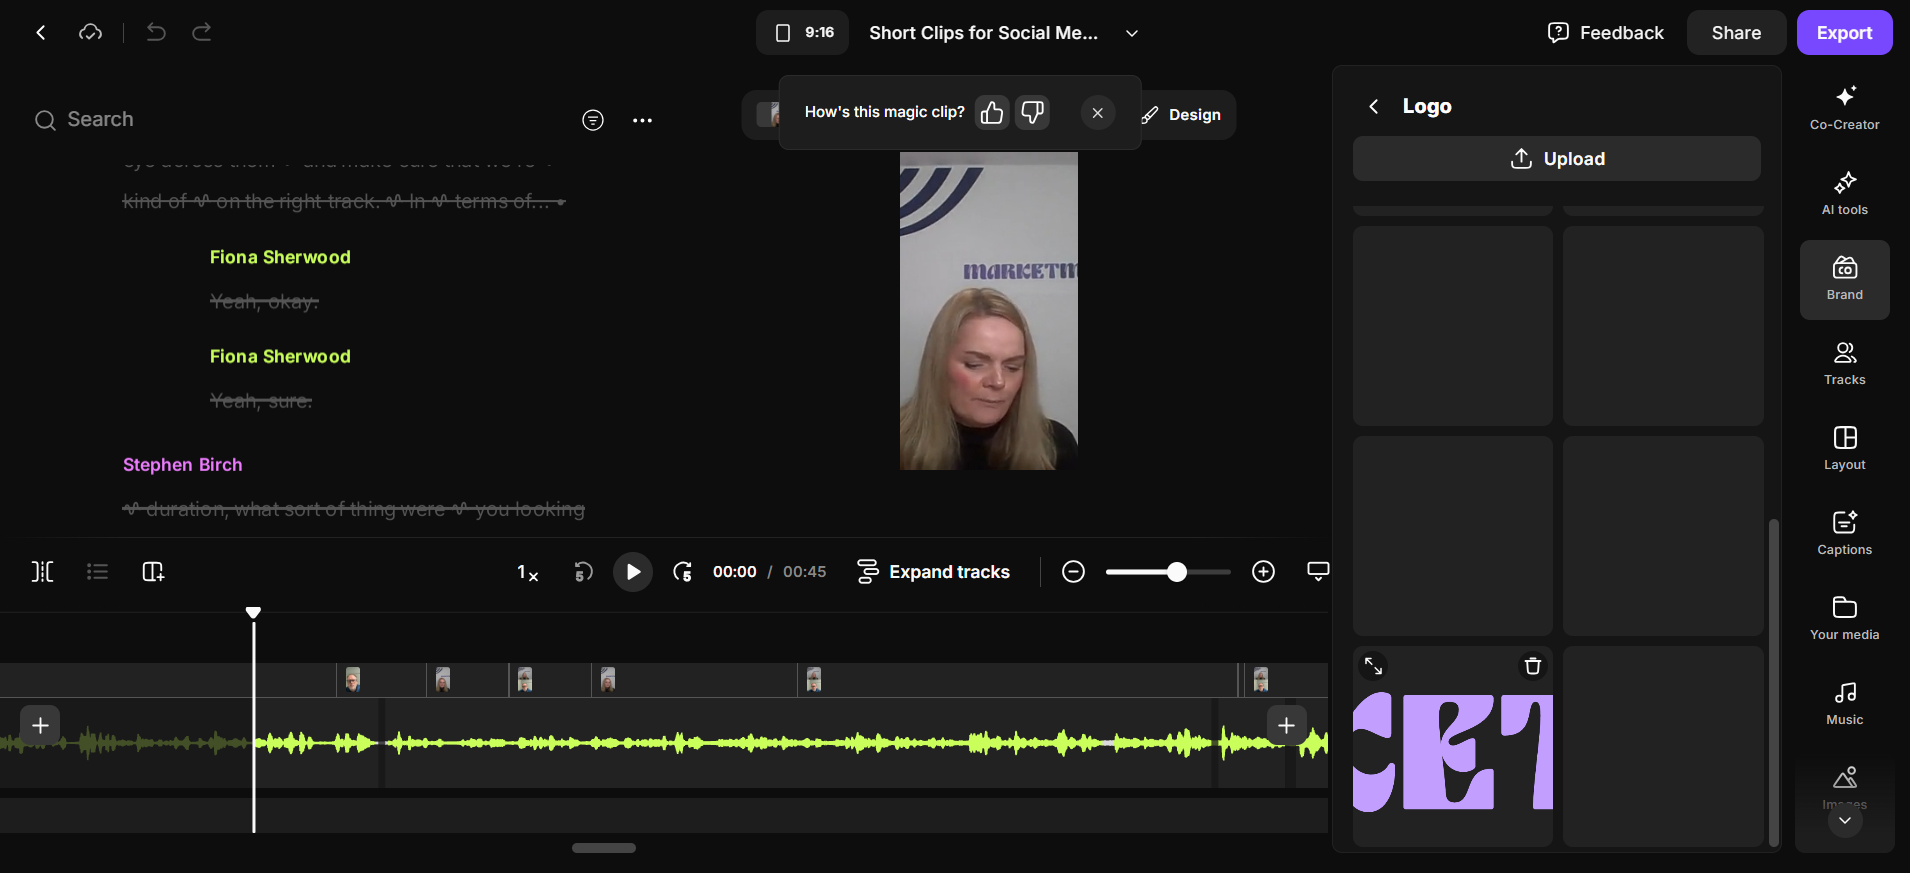
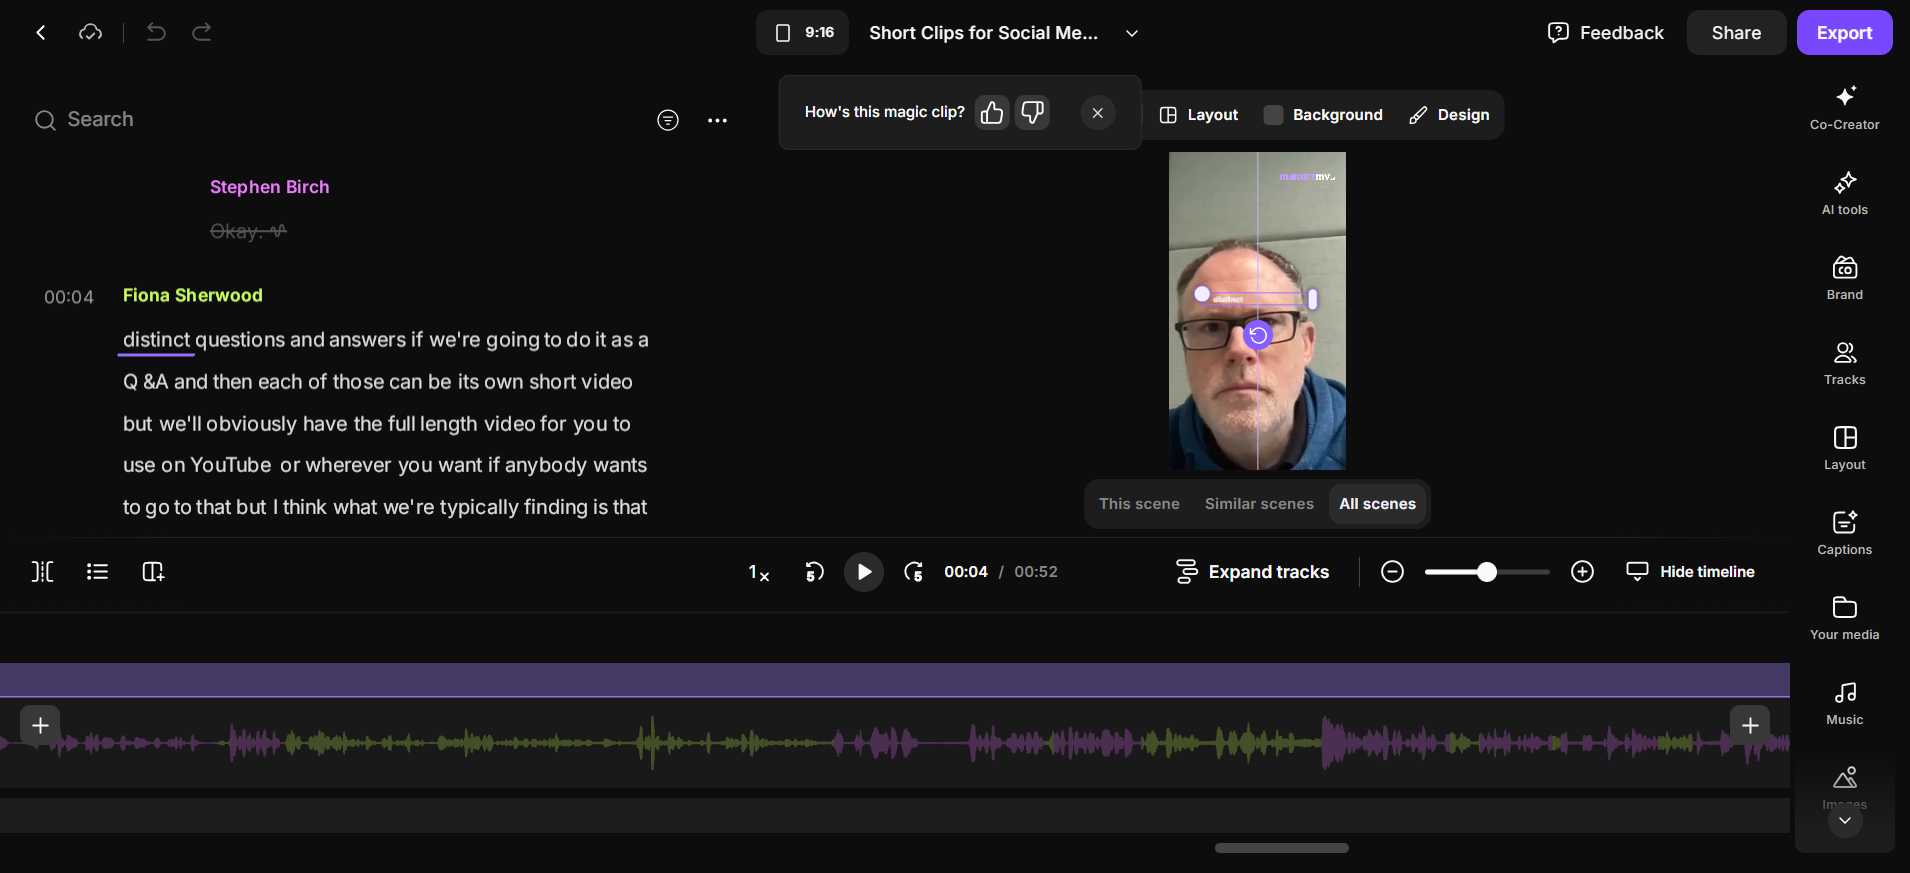
It places it in the middle, which is a bit odd, so I'll move it to the top.
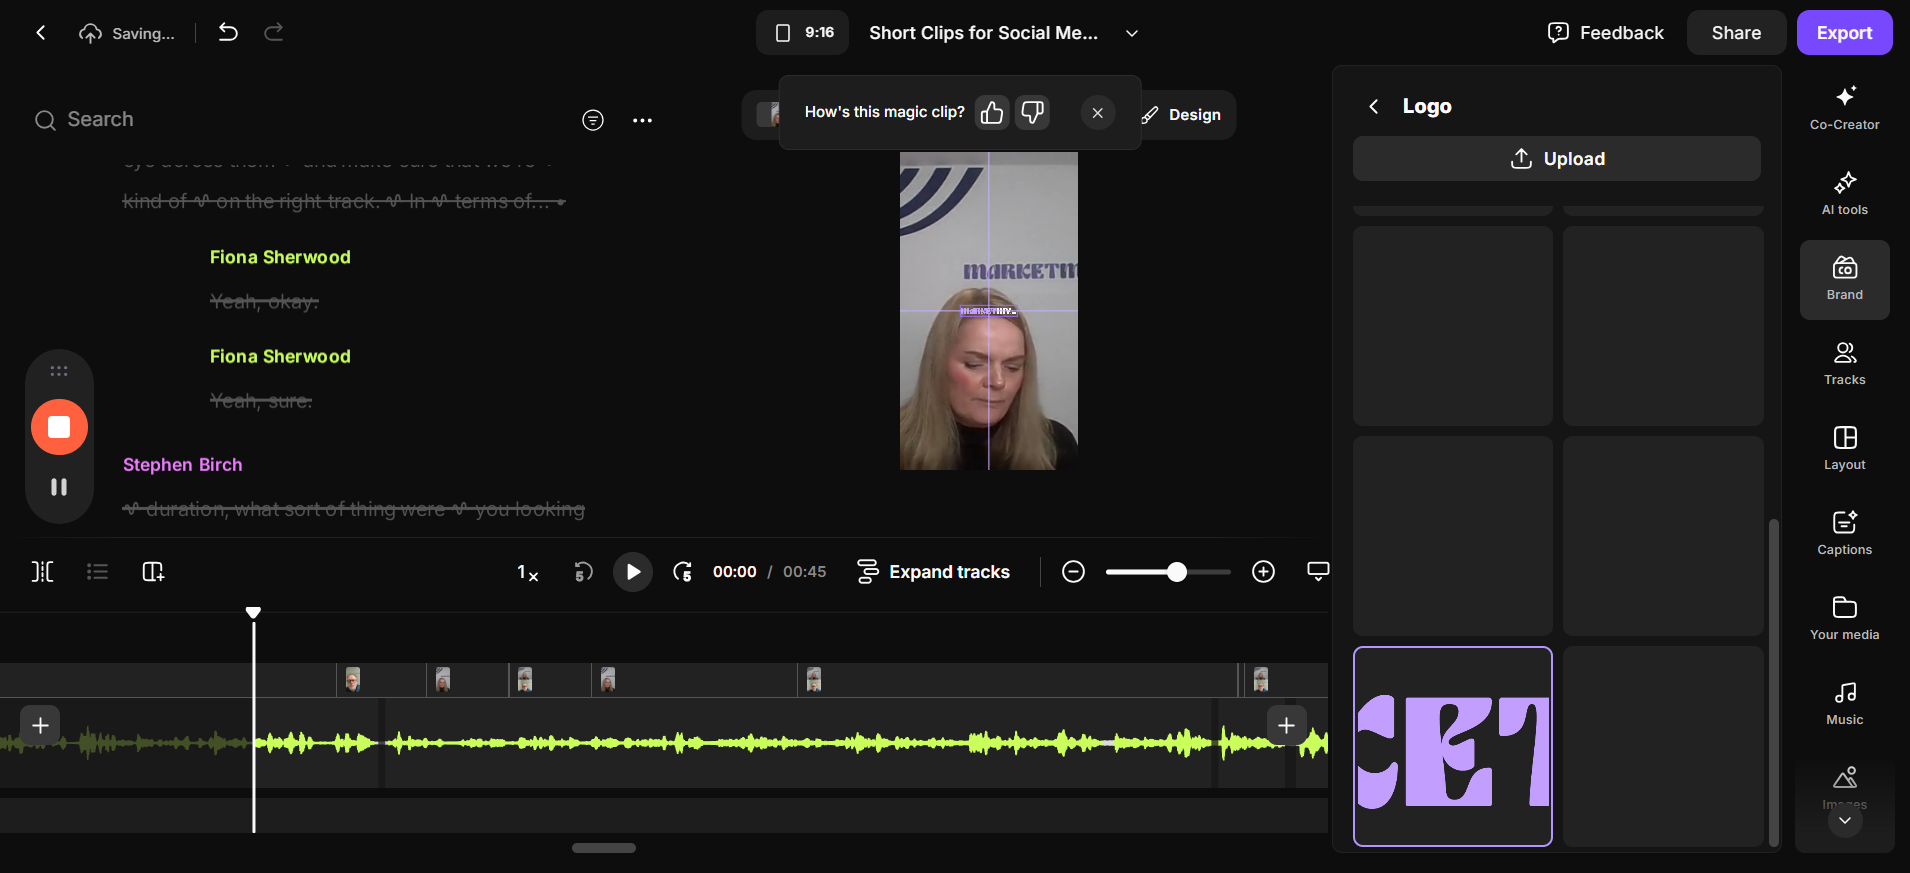


Okay. I'll put that over there. And then, we will give it...
What else is included in the brand?
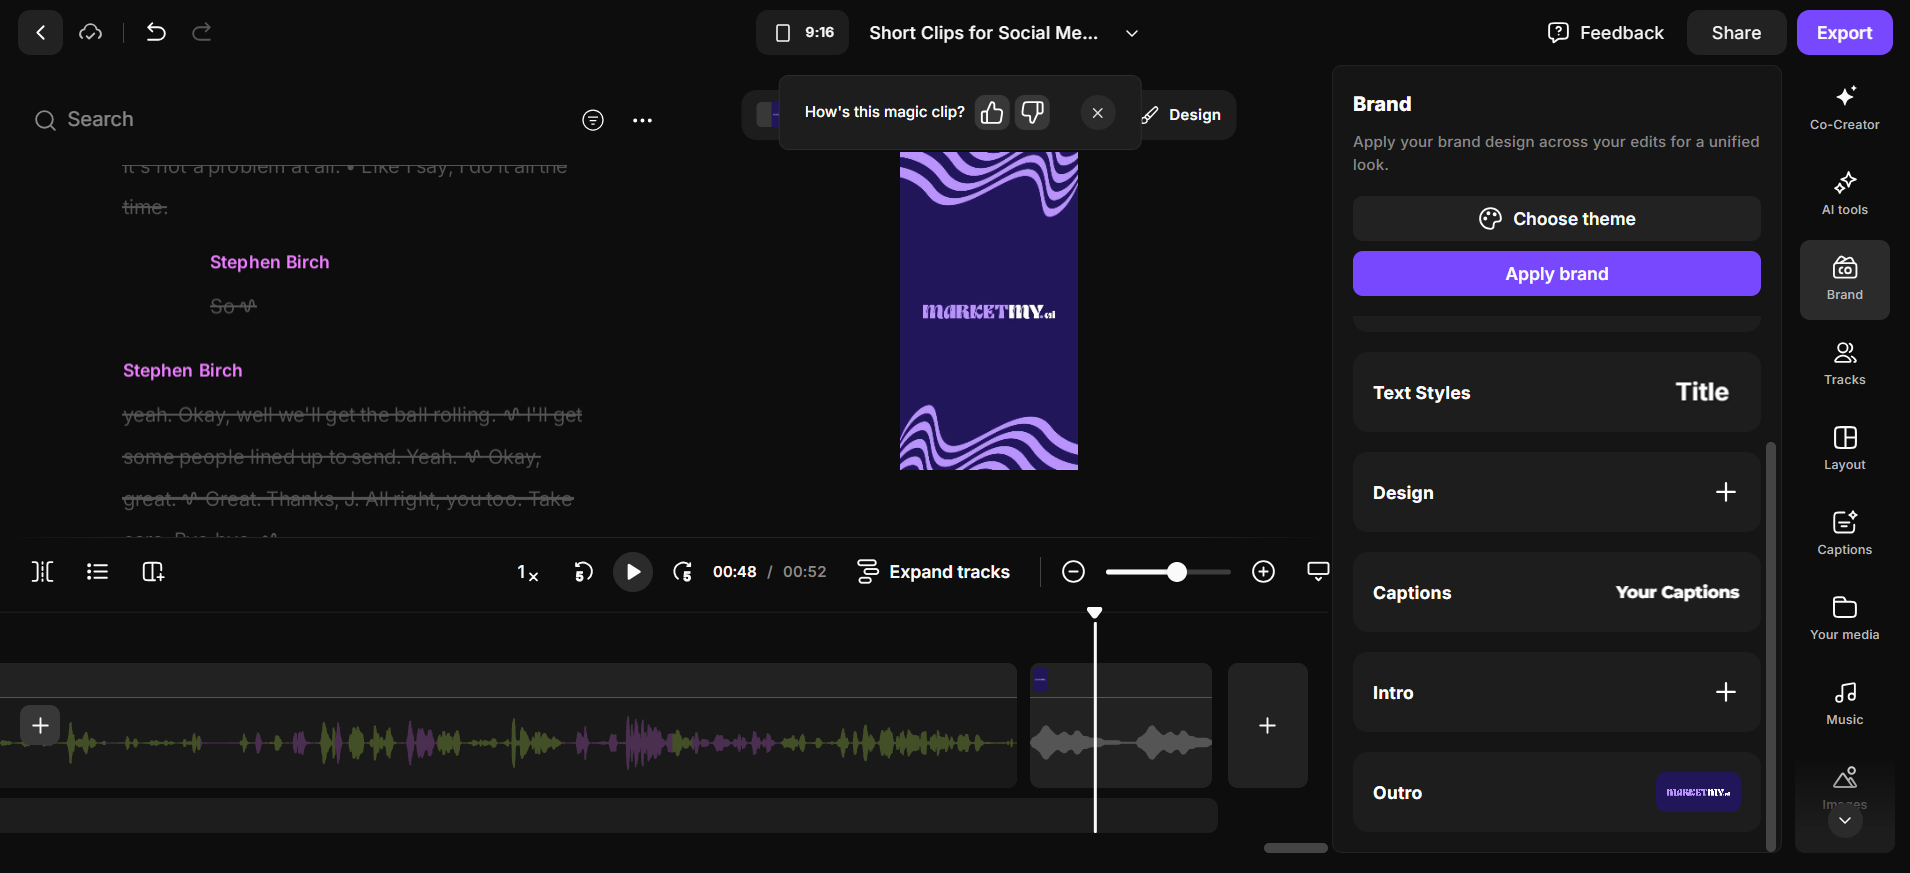
We have captions.
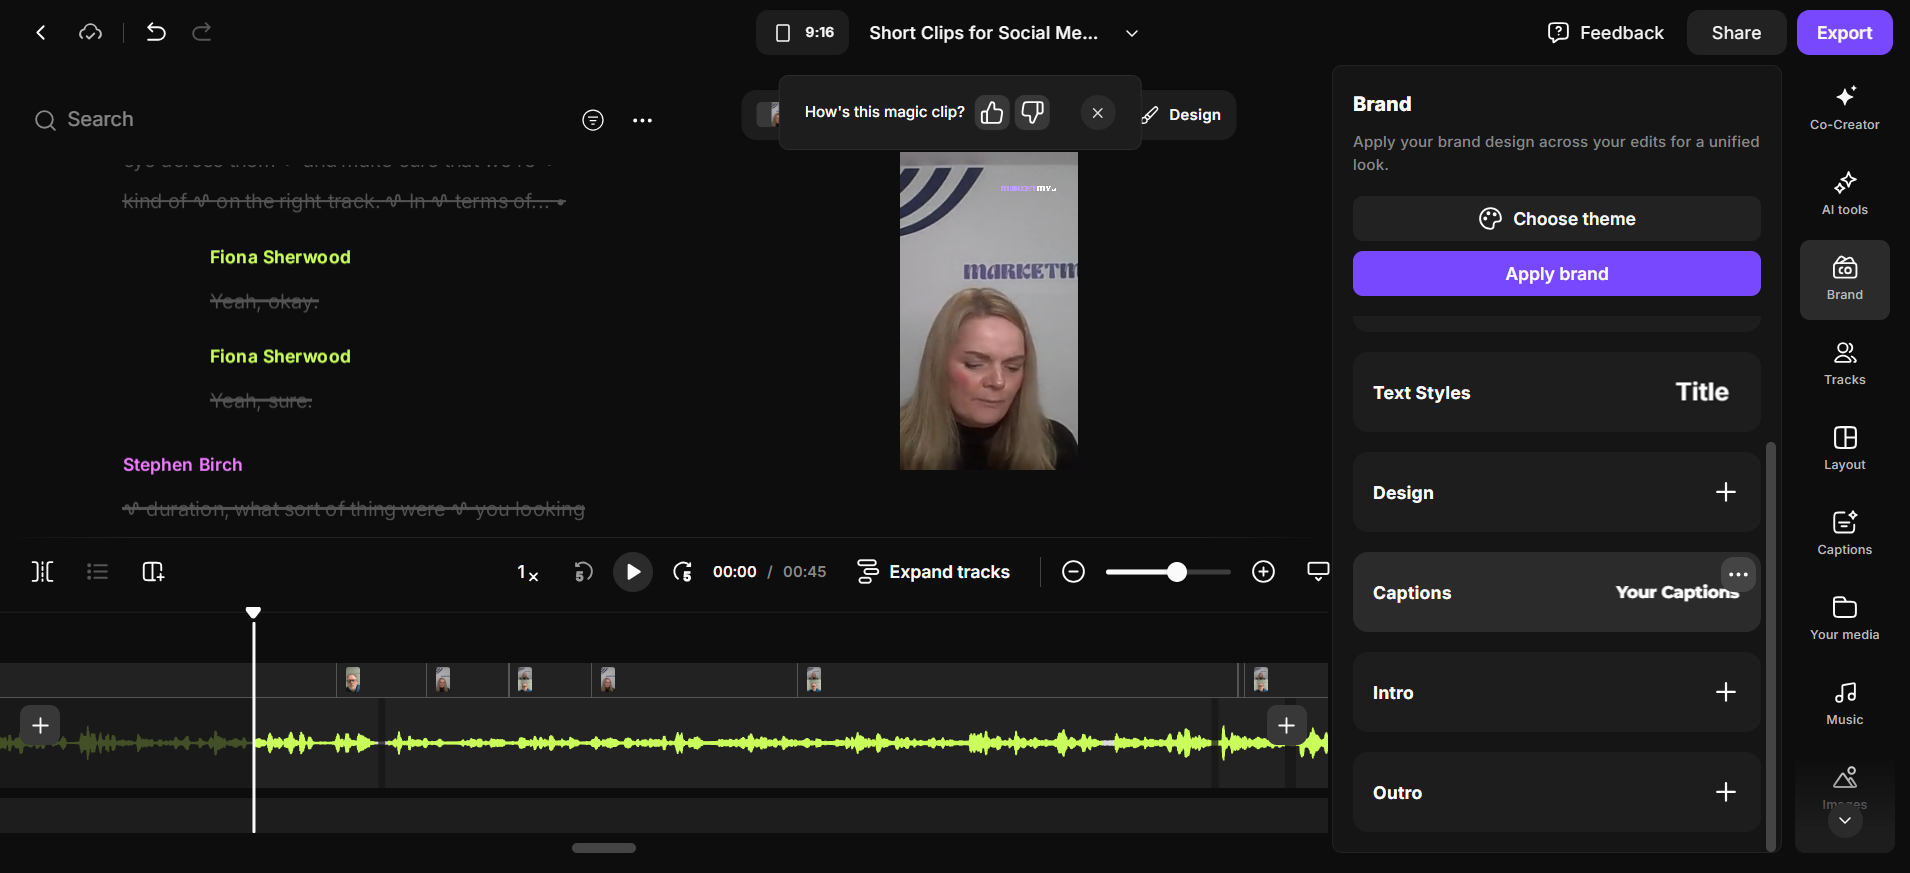
Turn on captions.
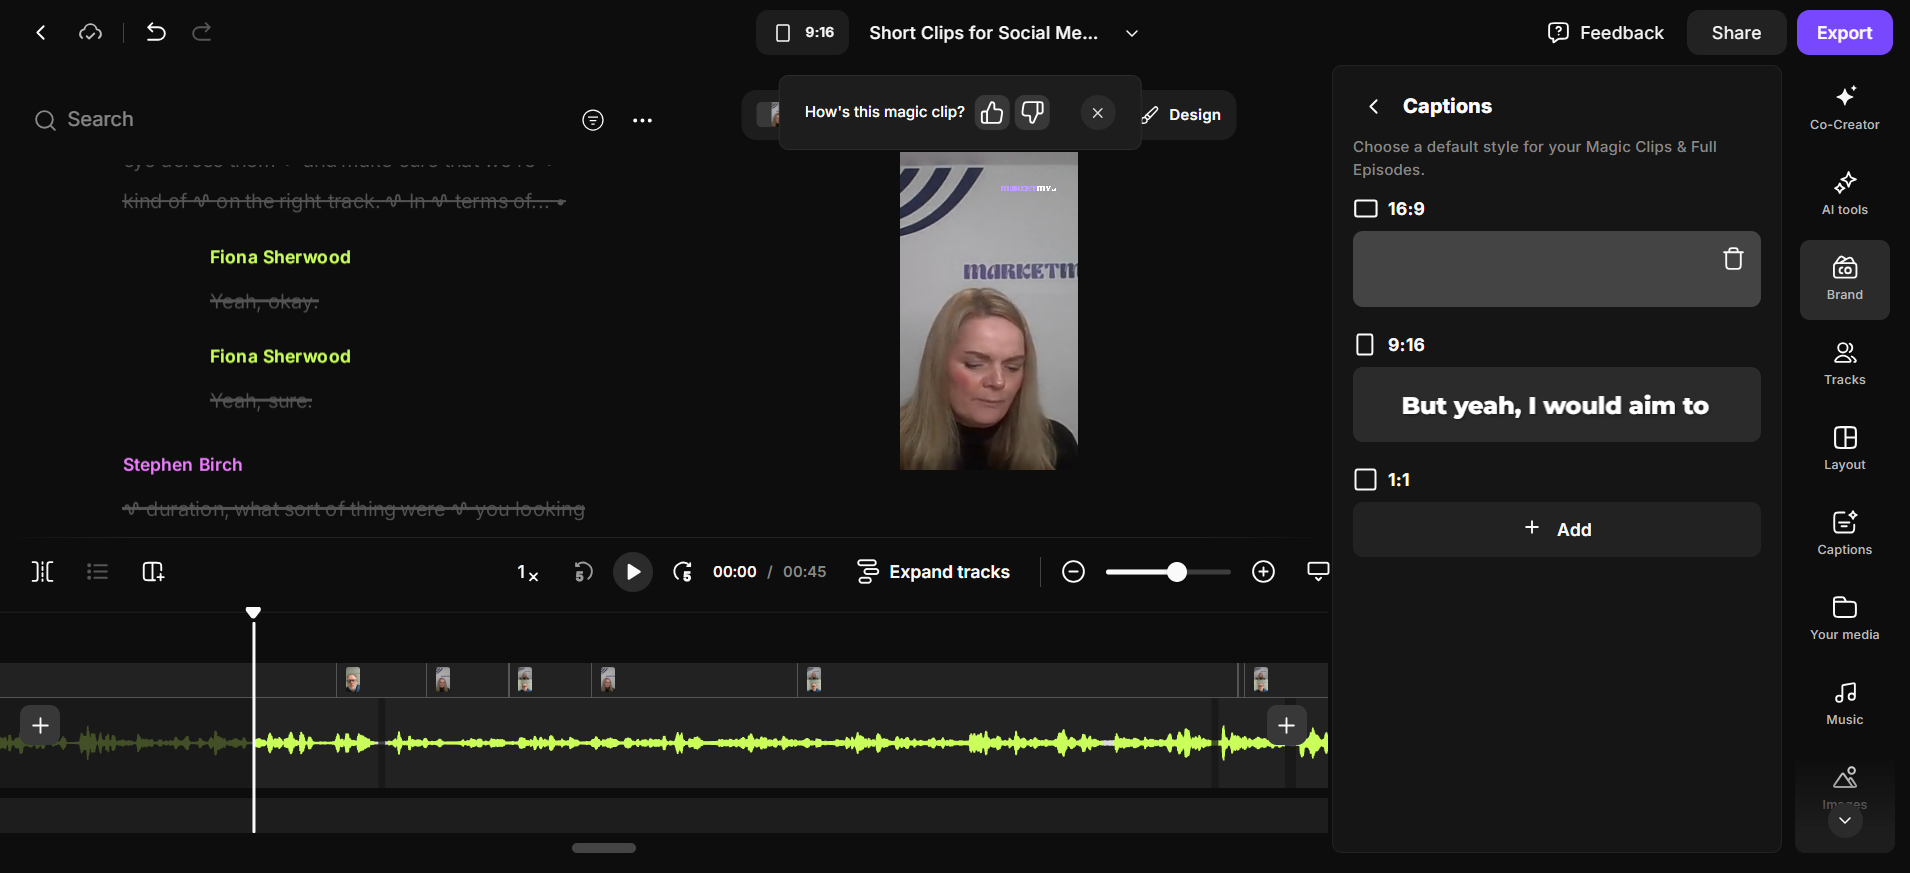
I'll choose purple because it's my brand.
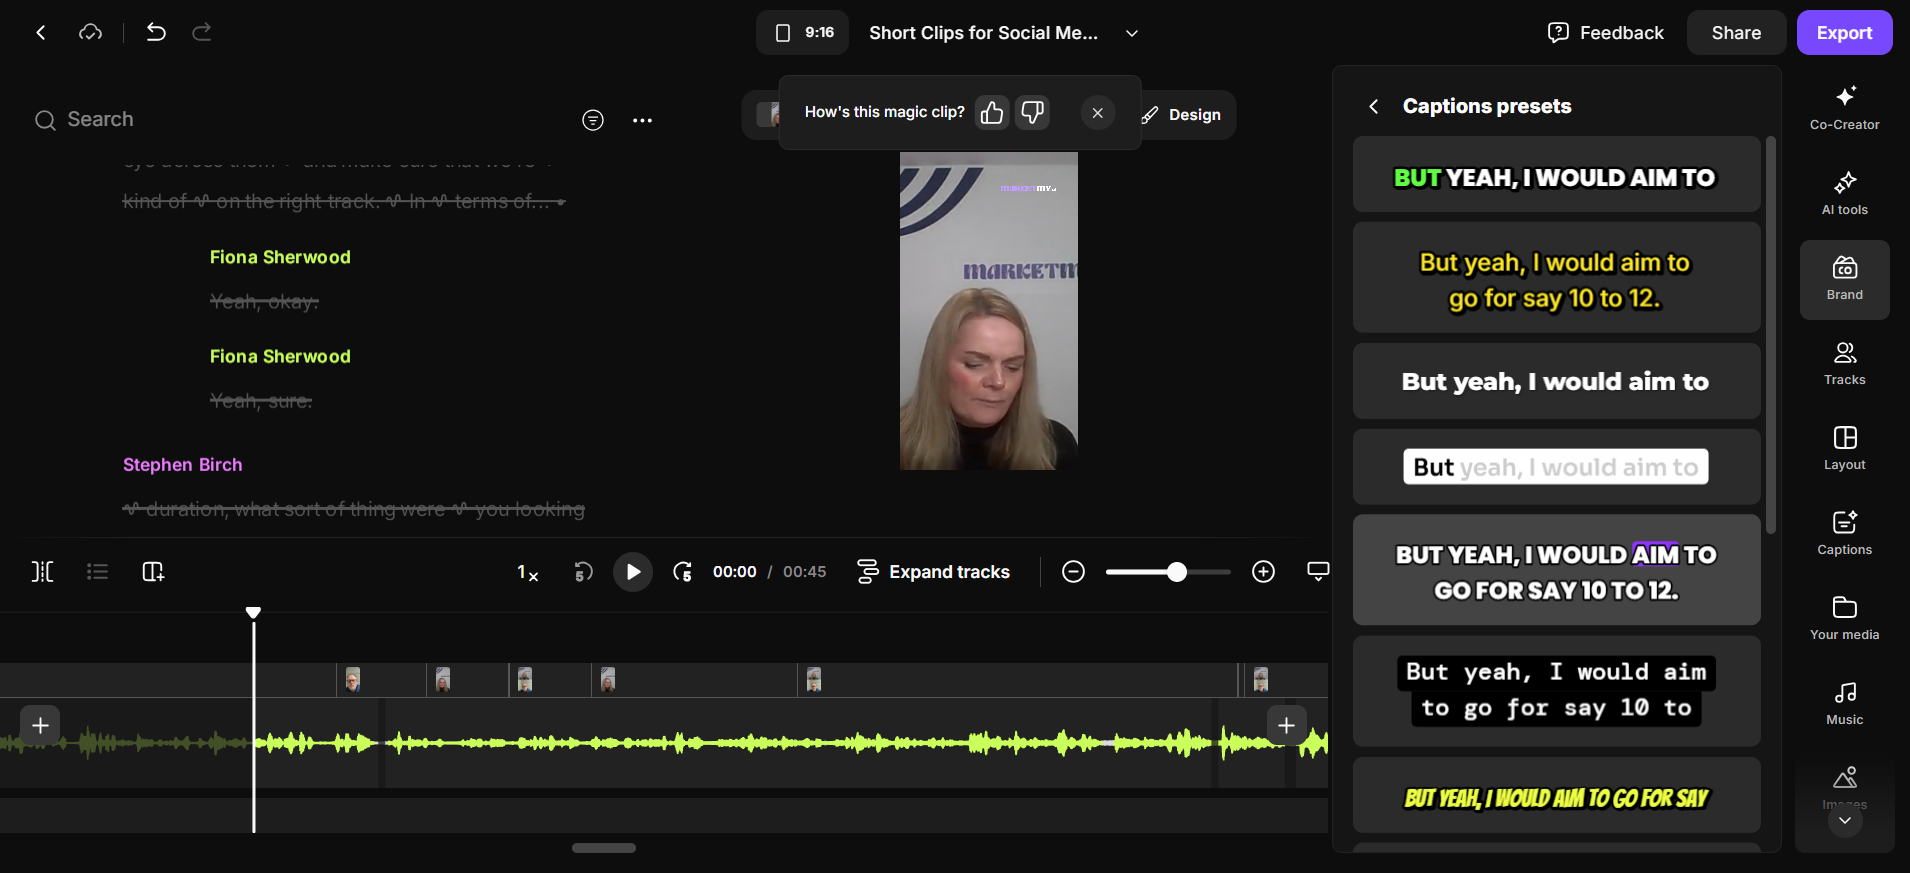

That always finishes it off nicely.

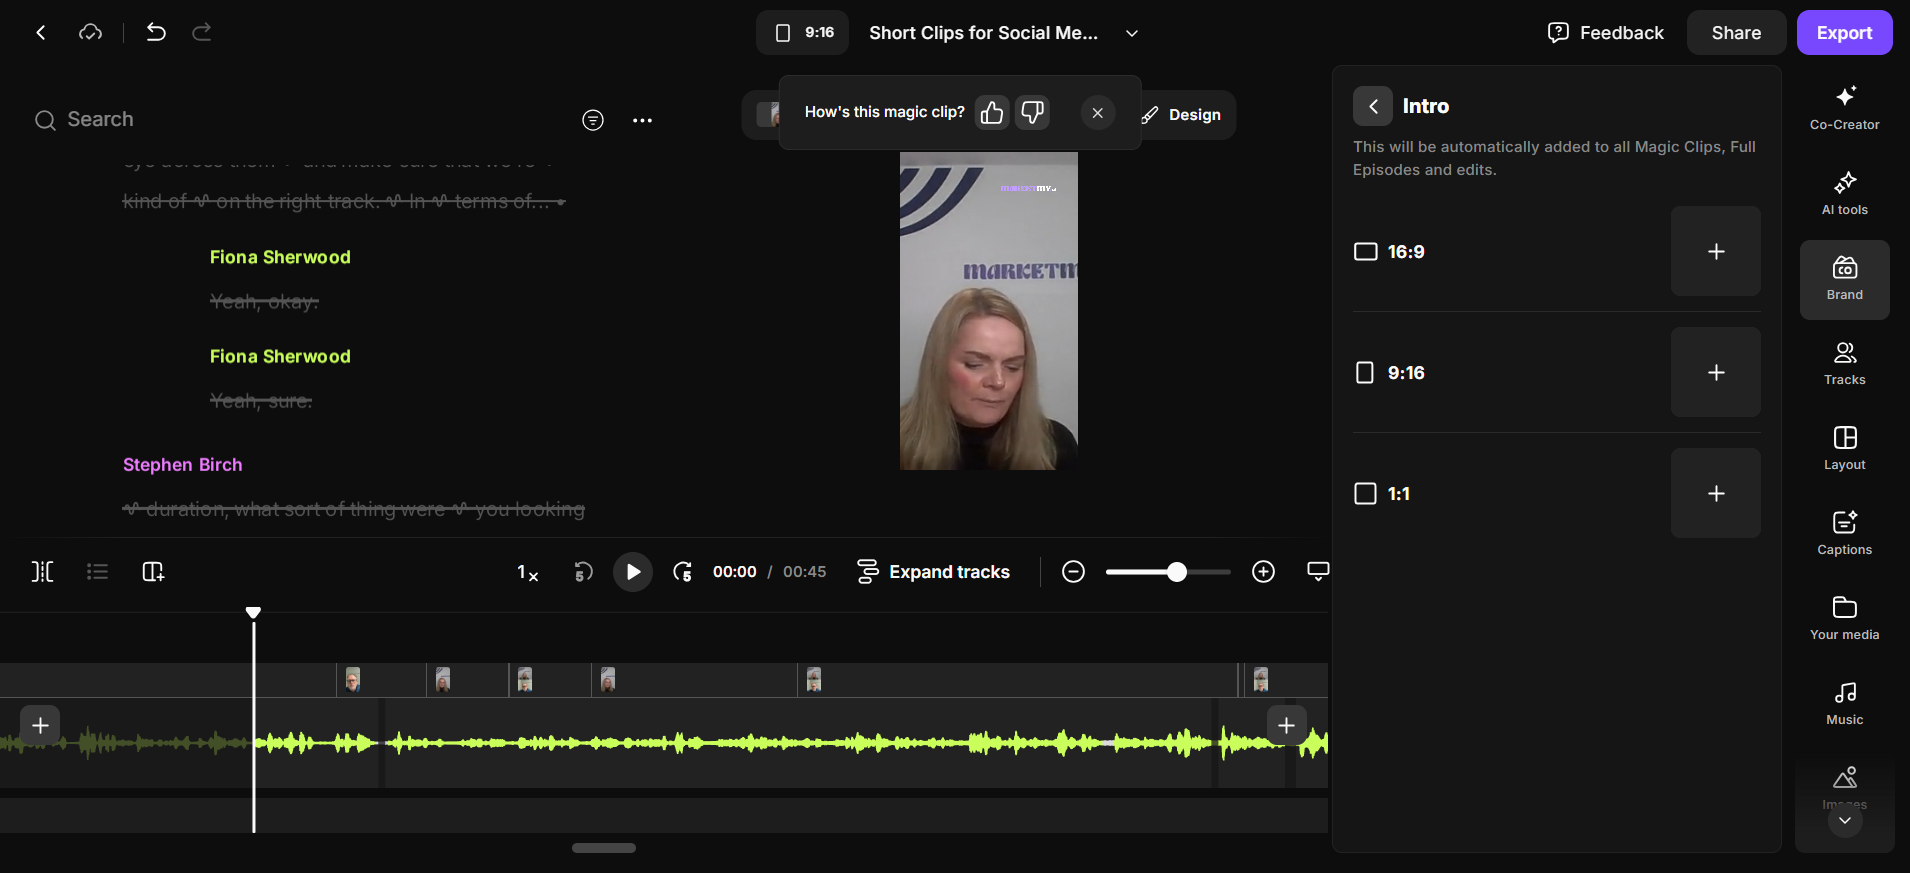
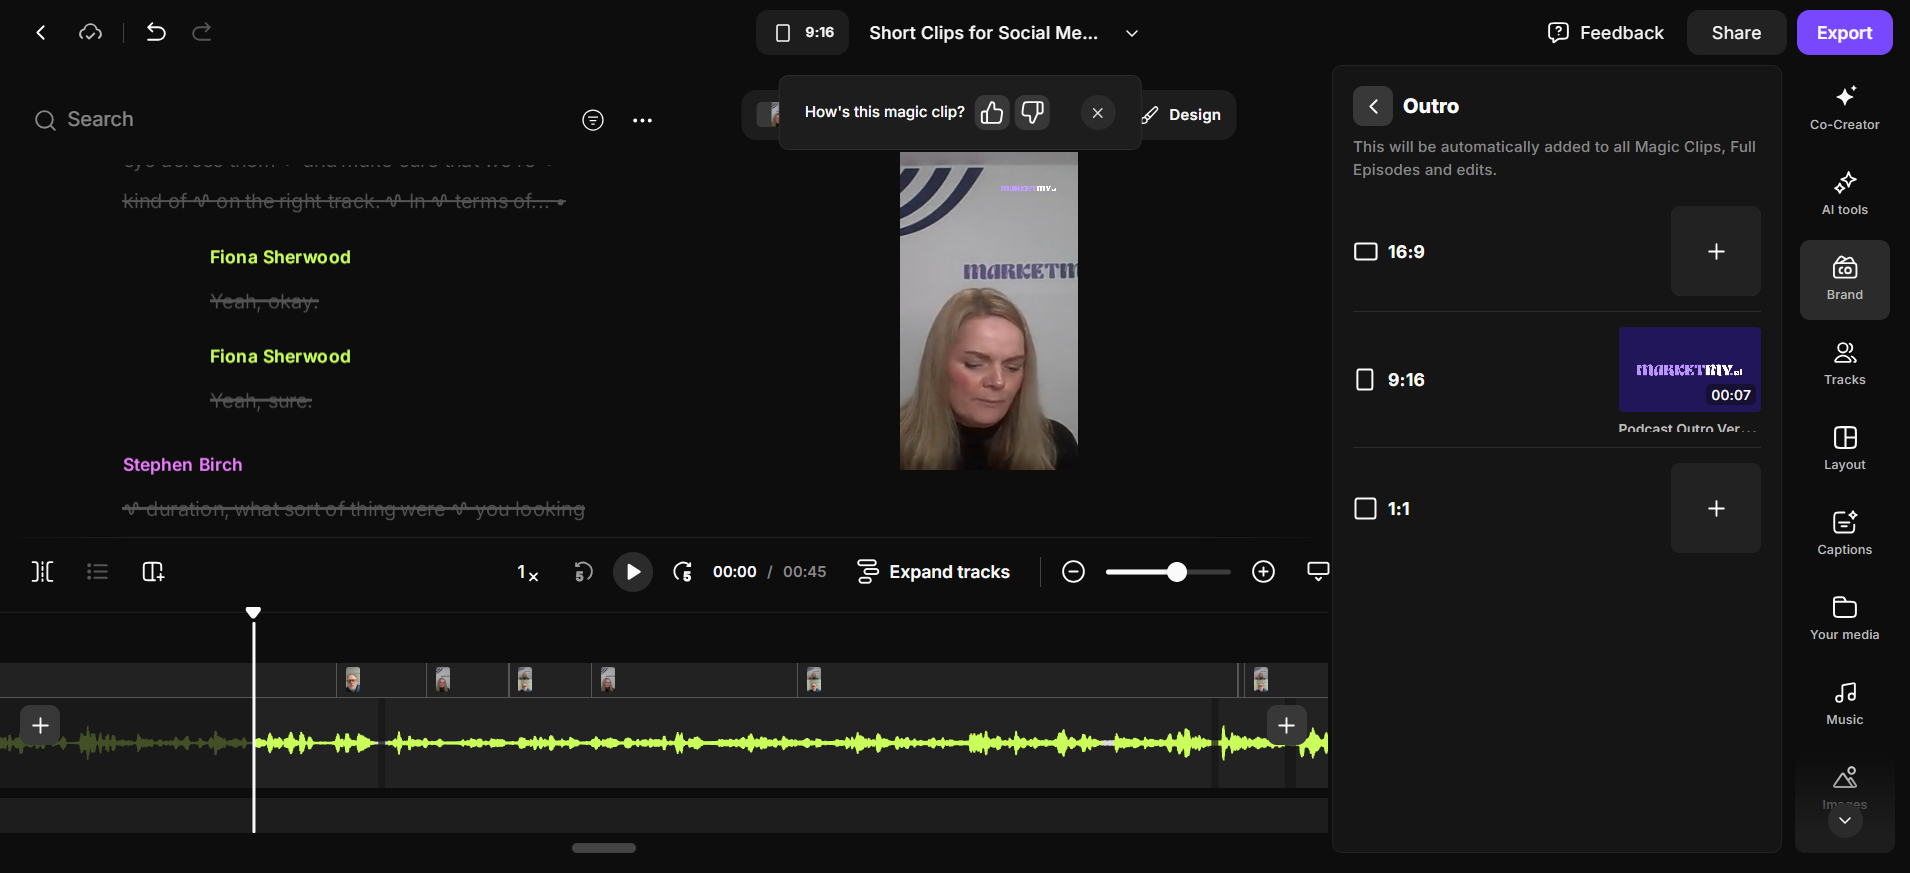
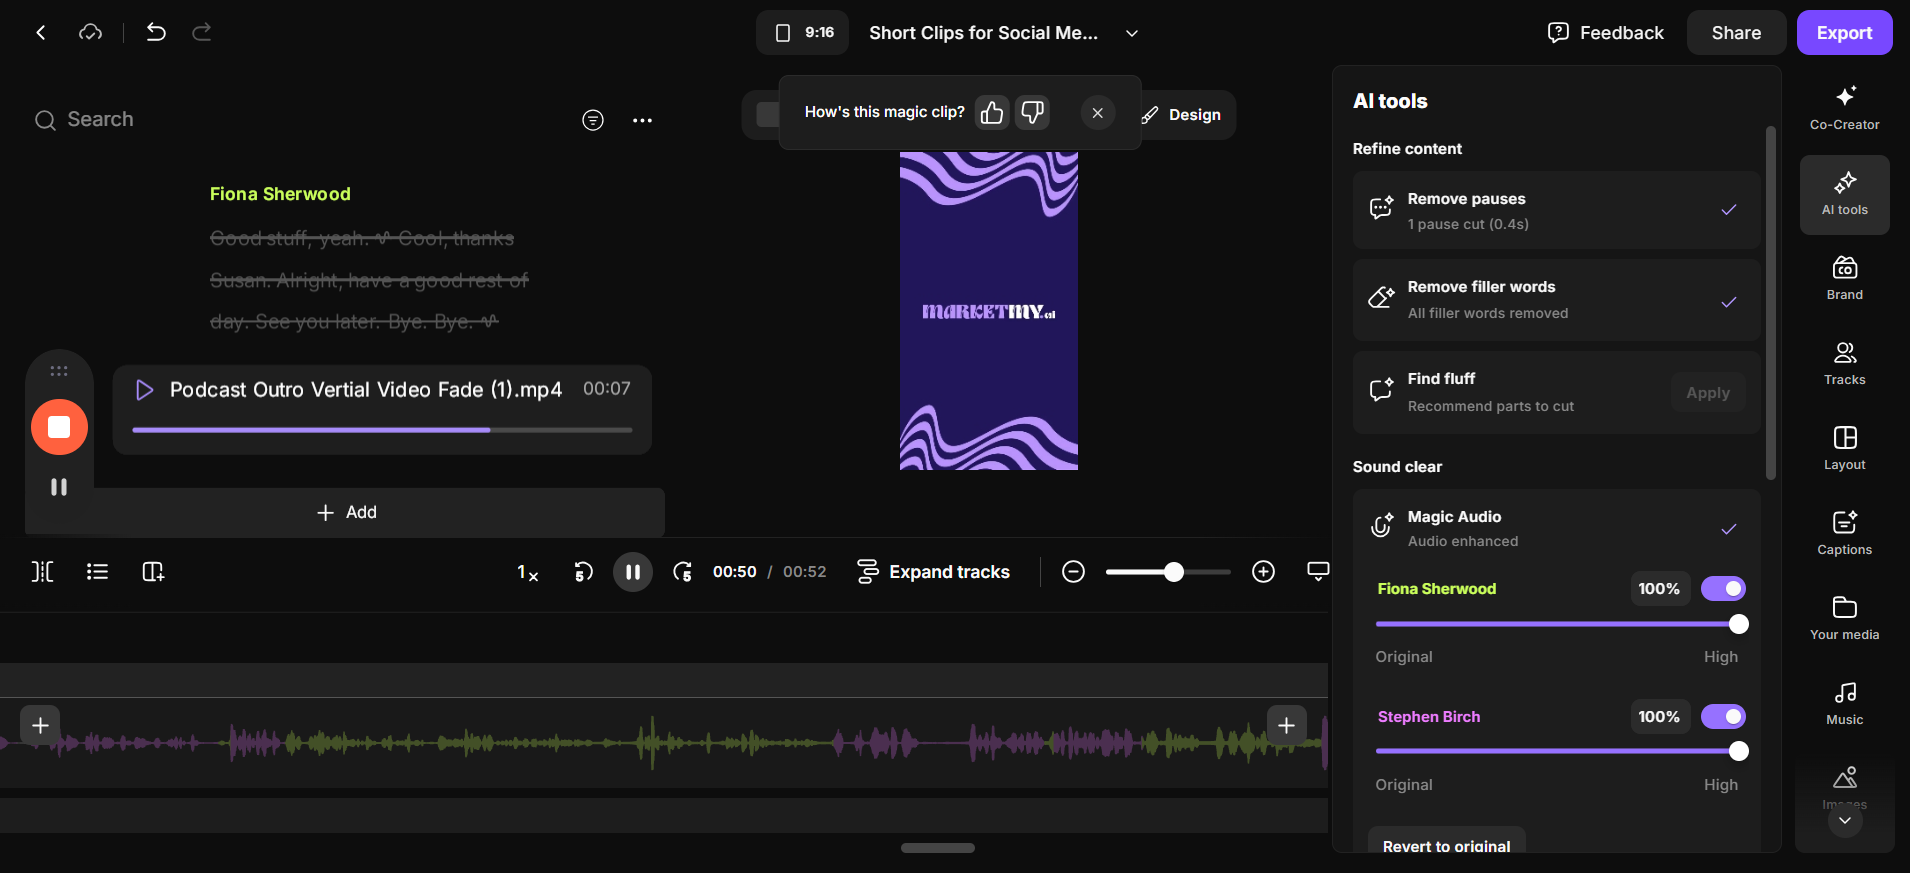
Vertical outro. There we go.
I think that's it.
Okay, so... We’ll say “apply.”
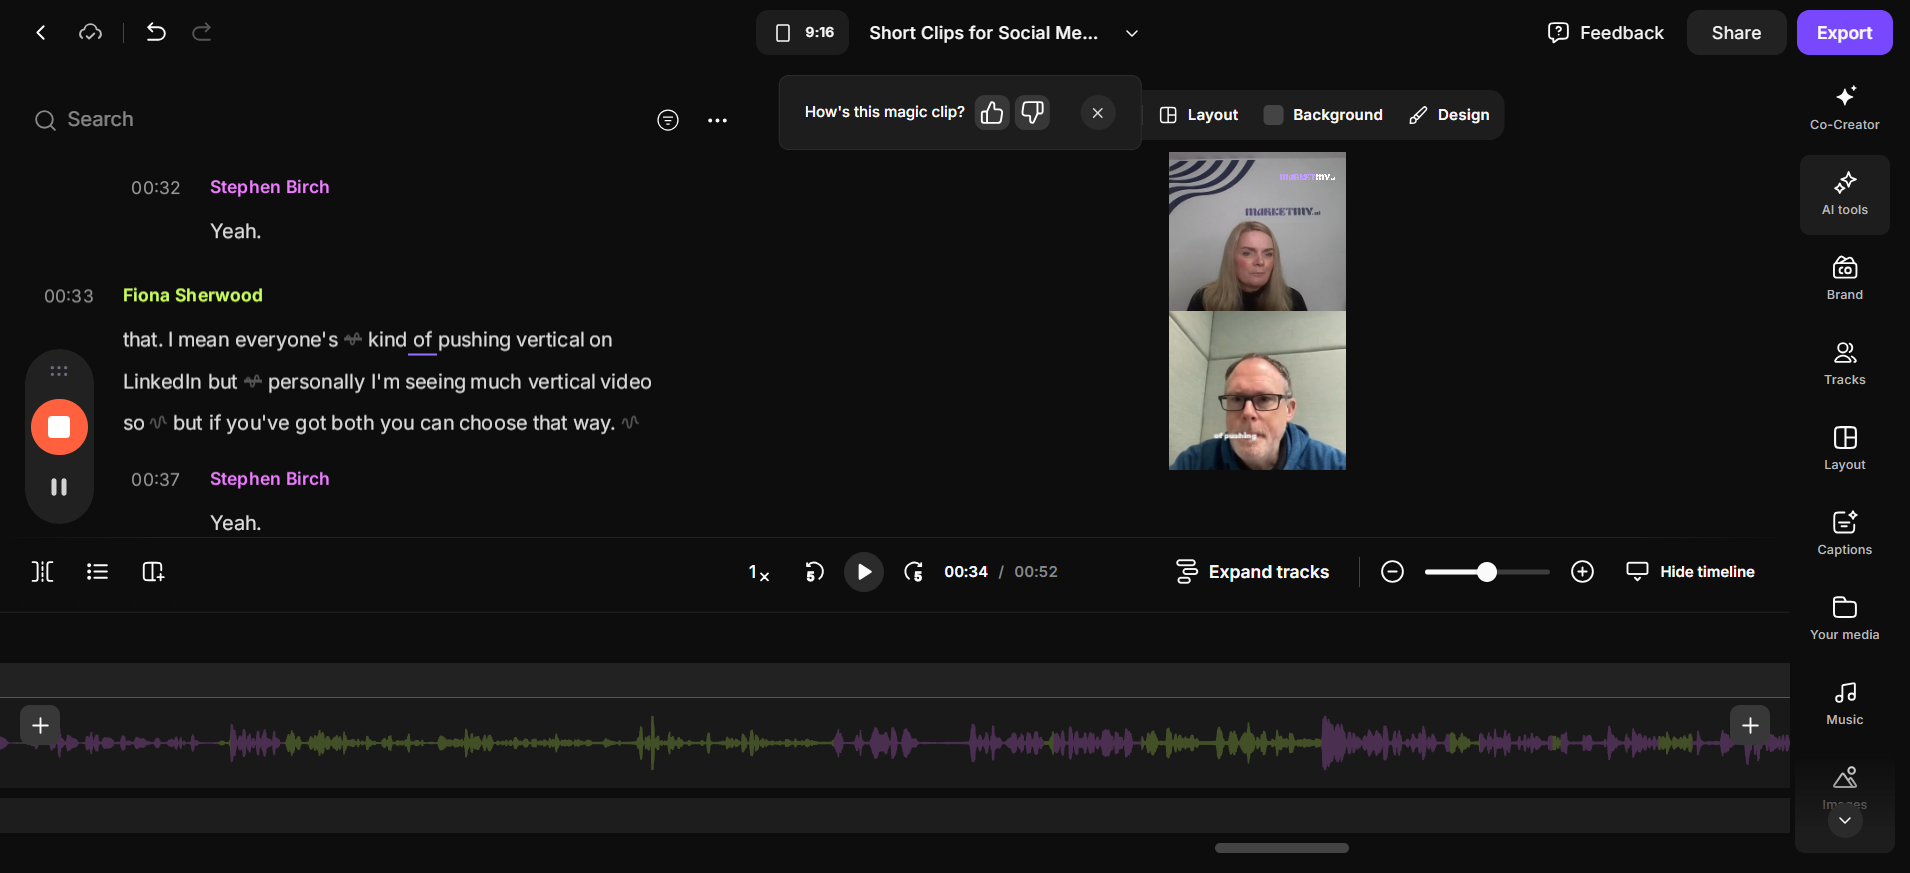
There. Okay. Let's play it.
Yep. Play it from the beginning.
Let's go back and review that clip.
Let's play that. I don't know why it doesn't have the logo. That's a bit annoying.
Oh, it has the logo on. That's strange. Let's see.
I would probably place the captions down here.
Let's play it again.
Did you notice the sound was a bit off there? I’ll go to AI Tools and apply Magic Audio to give it a studio sound.
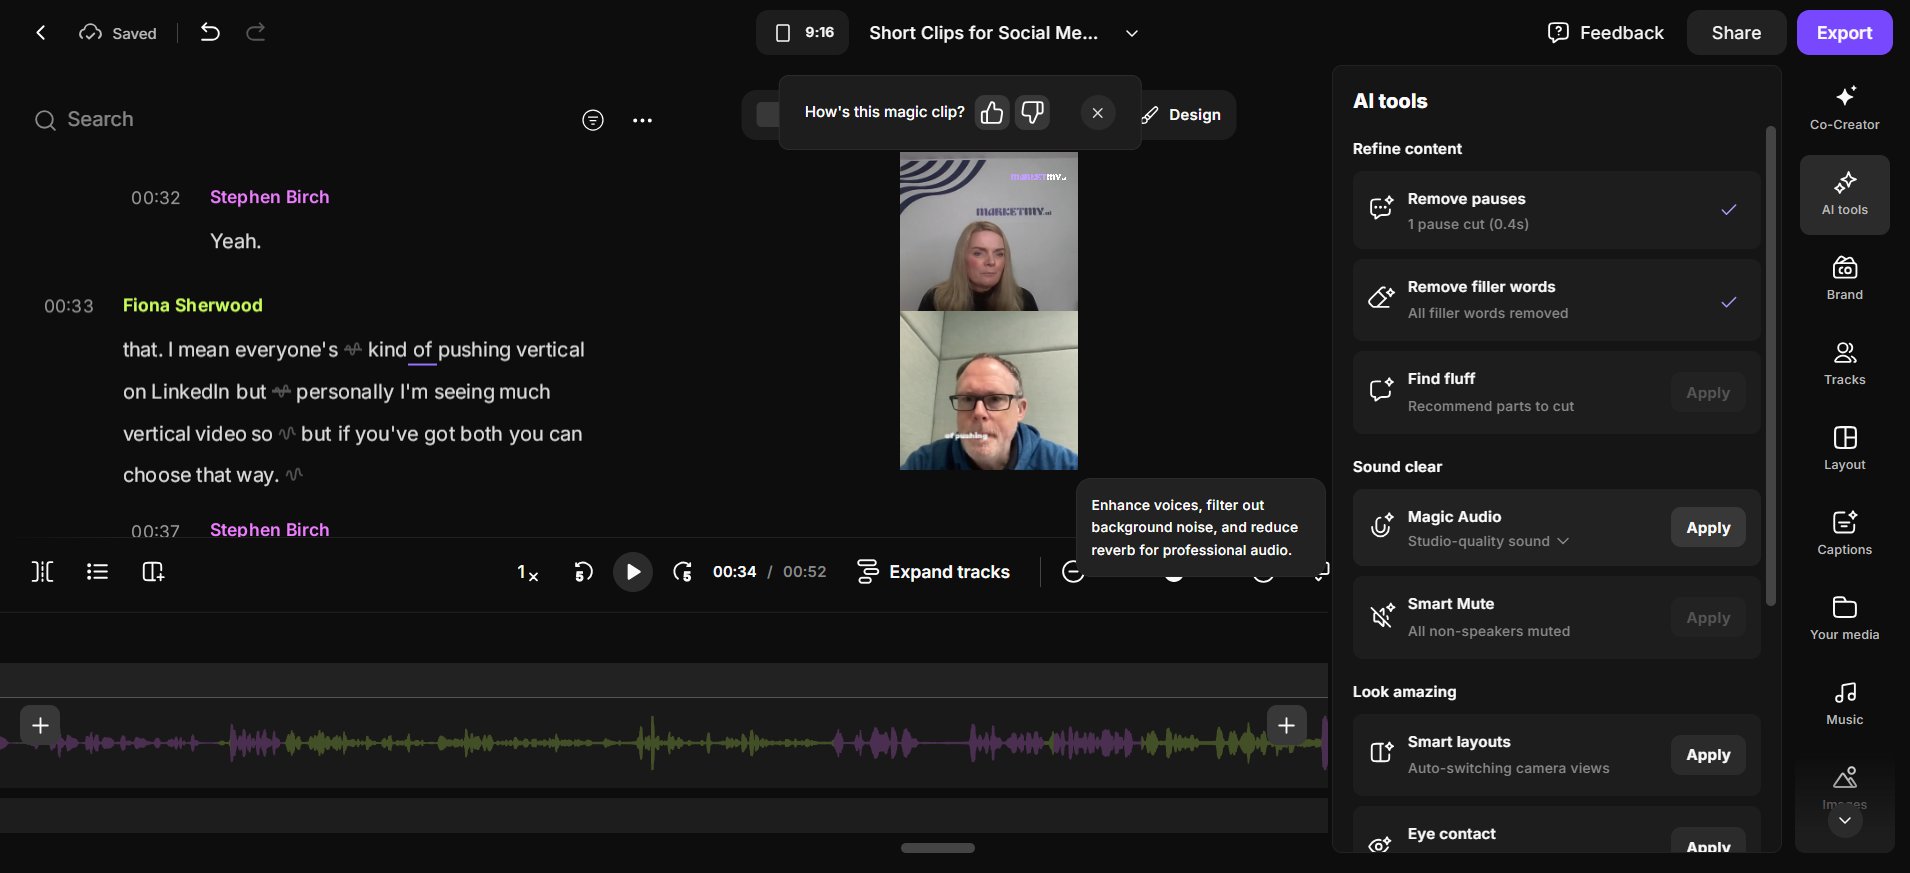
Takes a minute. Okay, just clicking around here while I wait. Come on. It's very slow. Okay, let's listen.
Okay.
Let's stop the recording.