
How to Use Separate Browser Profiles for Submer Communications, Emails, and Calendar
How to set up and manage separate browser profiles in Microsoft Edge for Submer communications, emails, and calendar.
Hello, and welcome to a tutorial on how to use a separate browser for Submer communications, emails, and calendar. Today, we will show you how to create two profiles in the Edge browser. If your default browser is Edge, please continue with the instructions below. If you use a different browser as your primary browser, such as Chrome, we ask that you still follow these instructions using Edge. This will result in you using Edge for Submer and Chrome for Nuclei.
Regardless of your primary browser, we will have two separate profiles. One is for Nuclei work, and the other is for Submer-specific tasks. First, go to the top right and click on your profile picture in Edge.
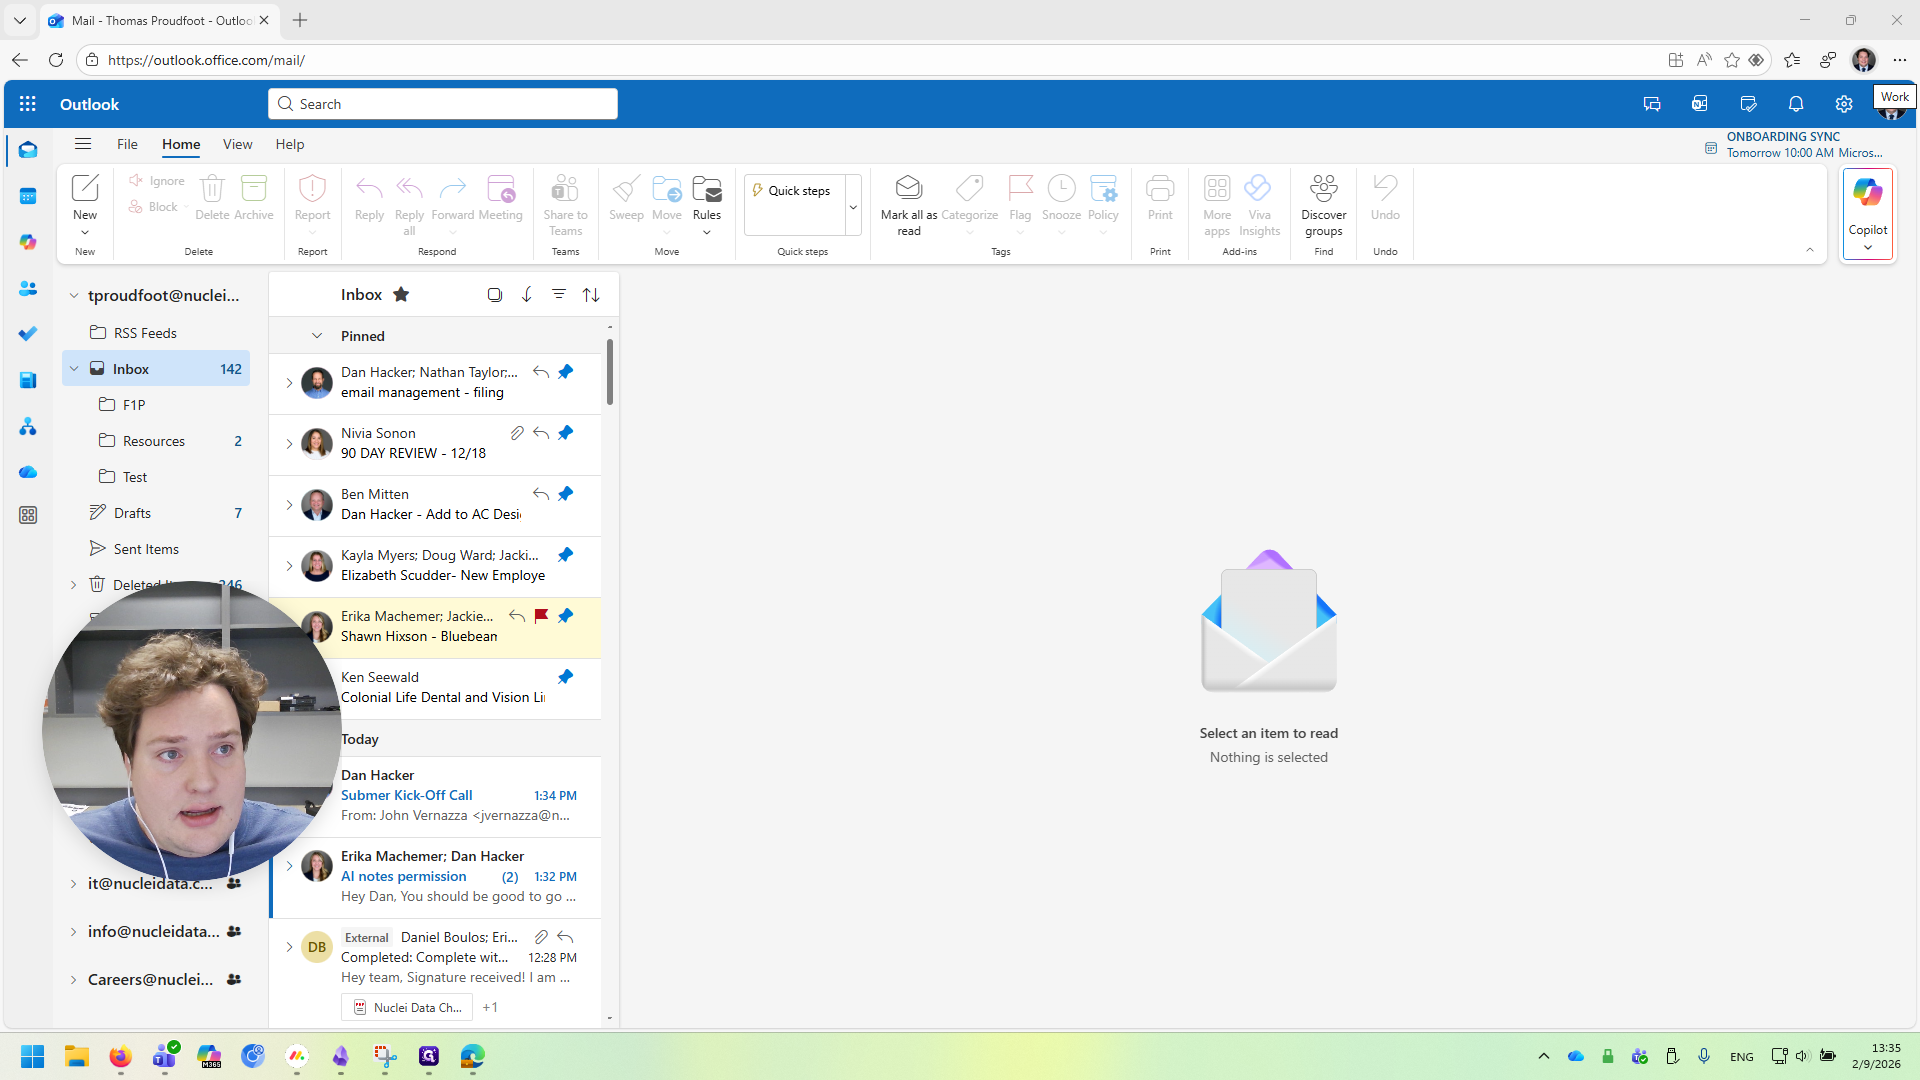
Click on Set Up New Profile below.

Select Work or School.
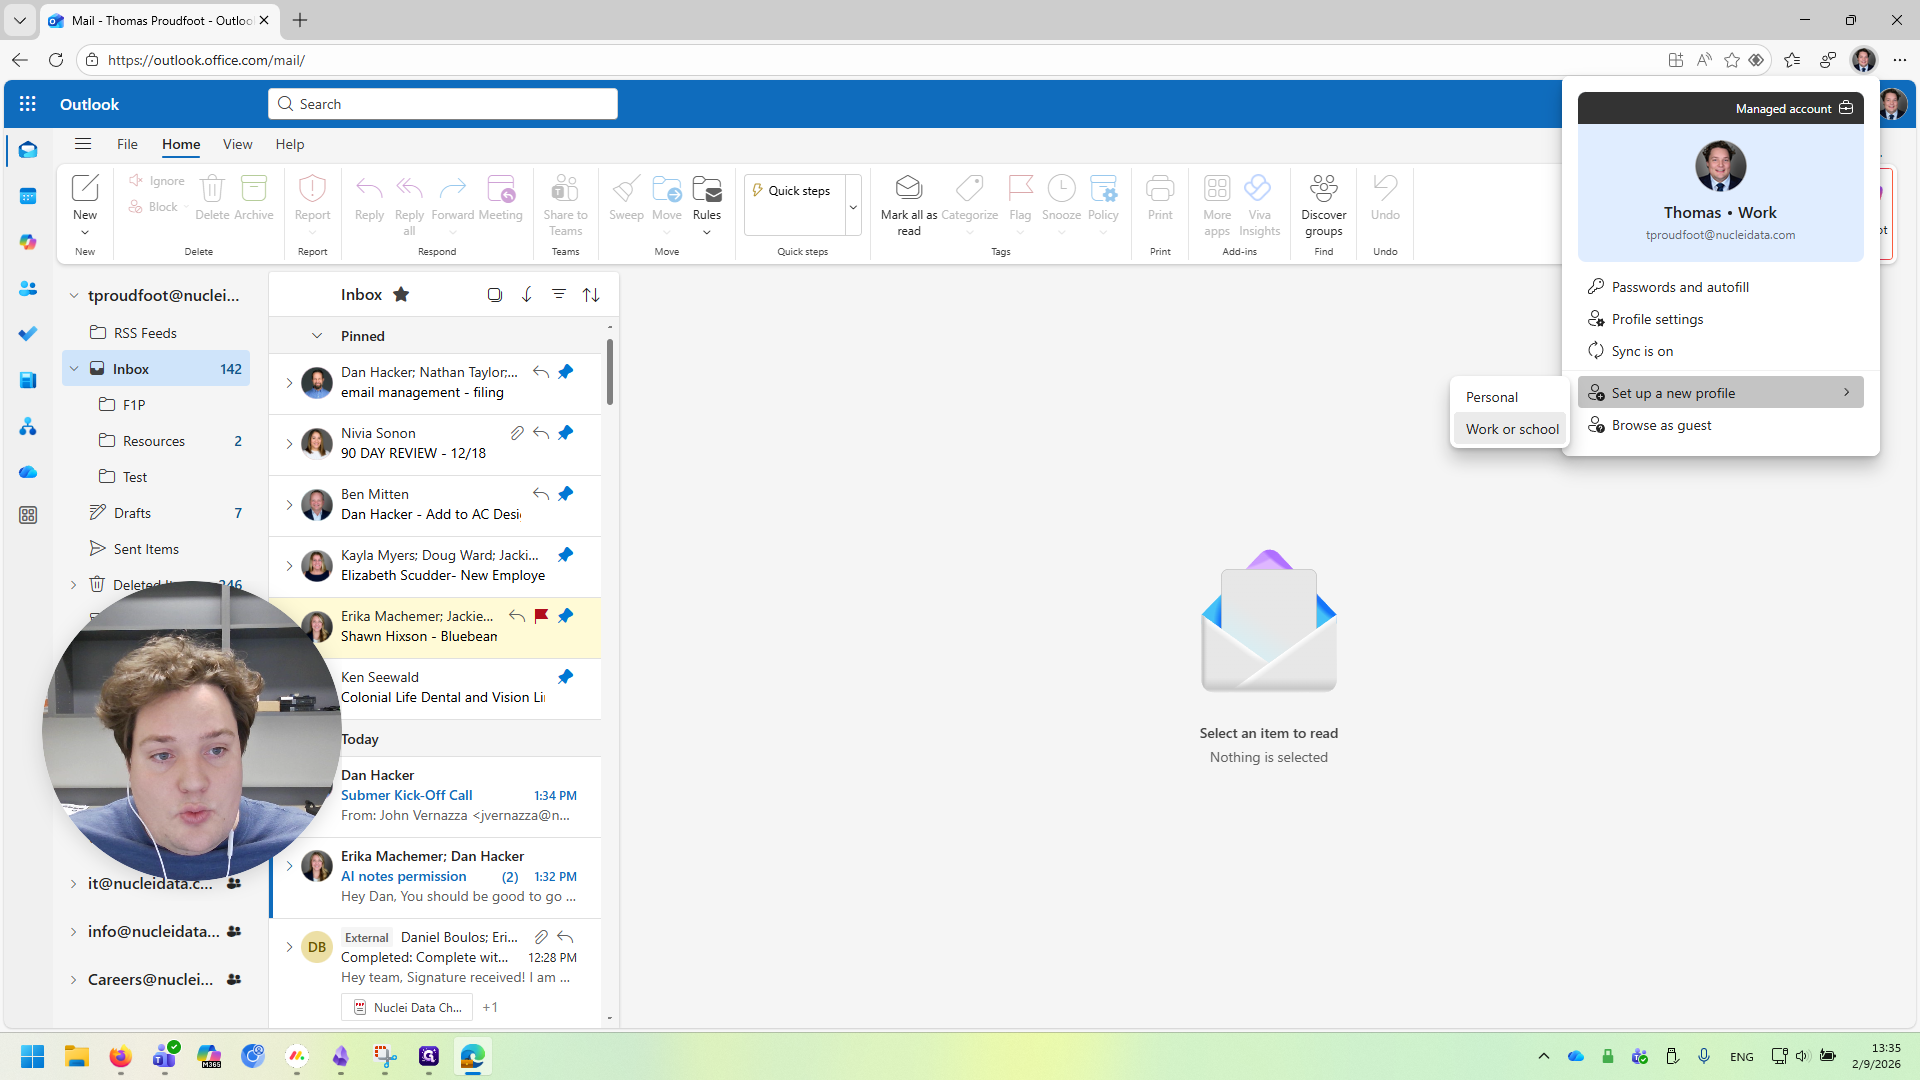
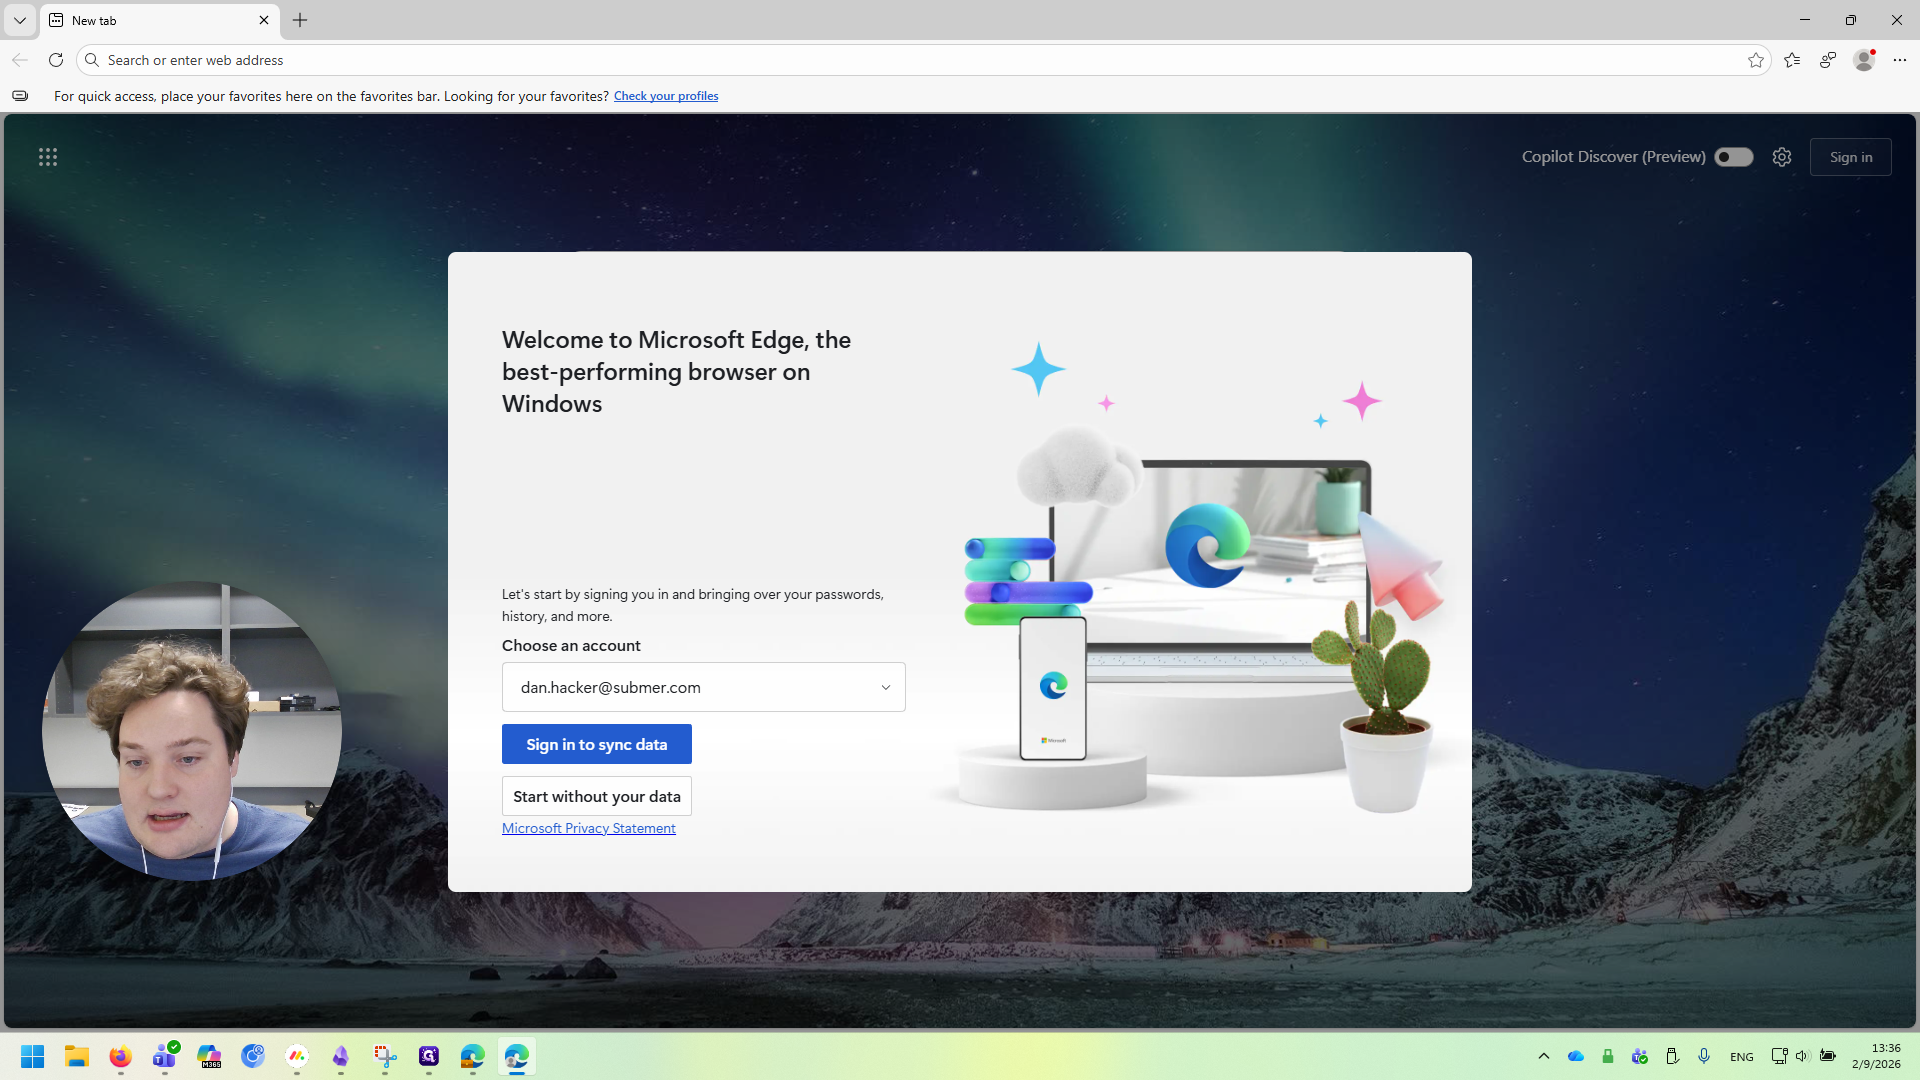
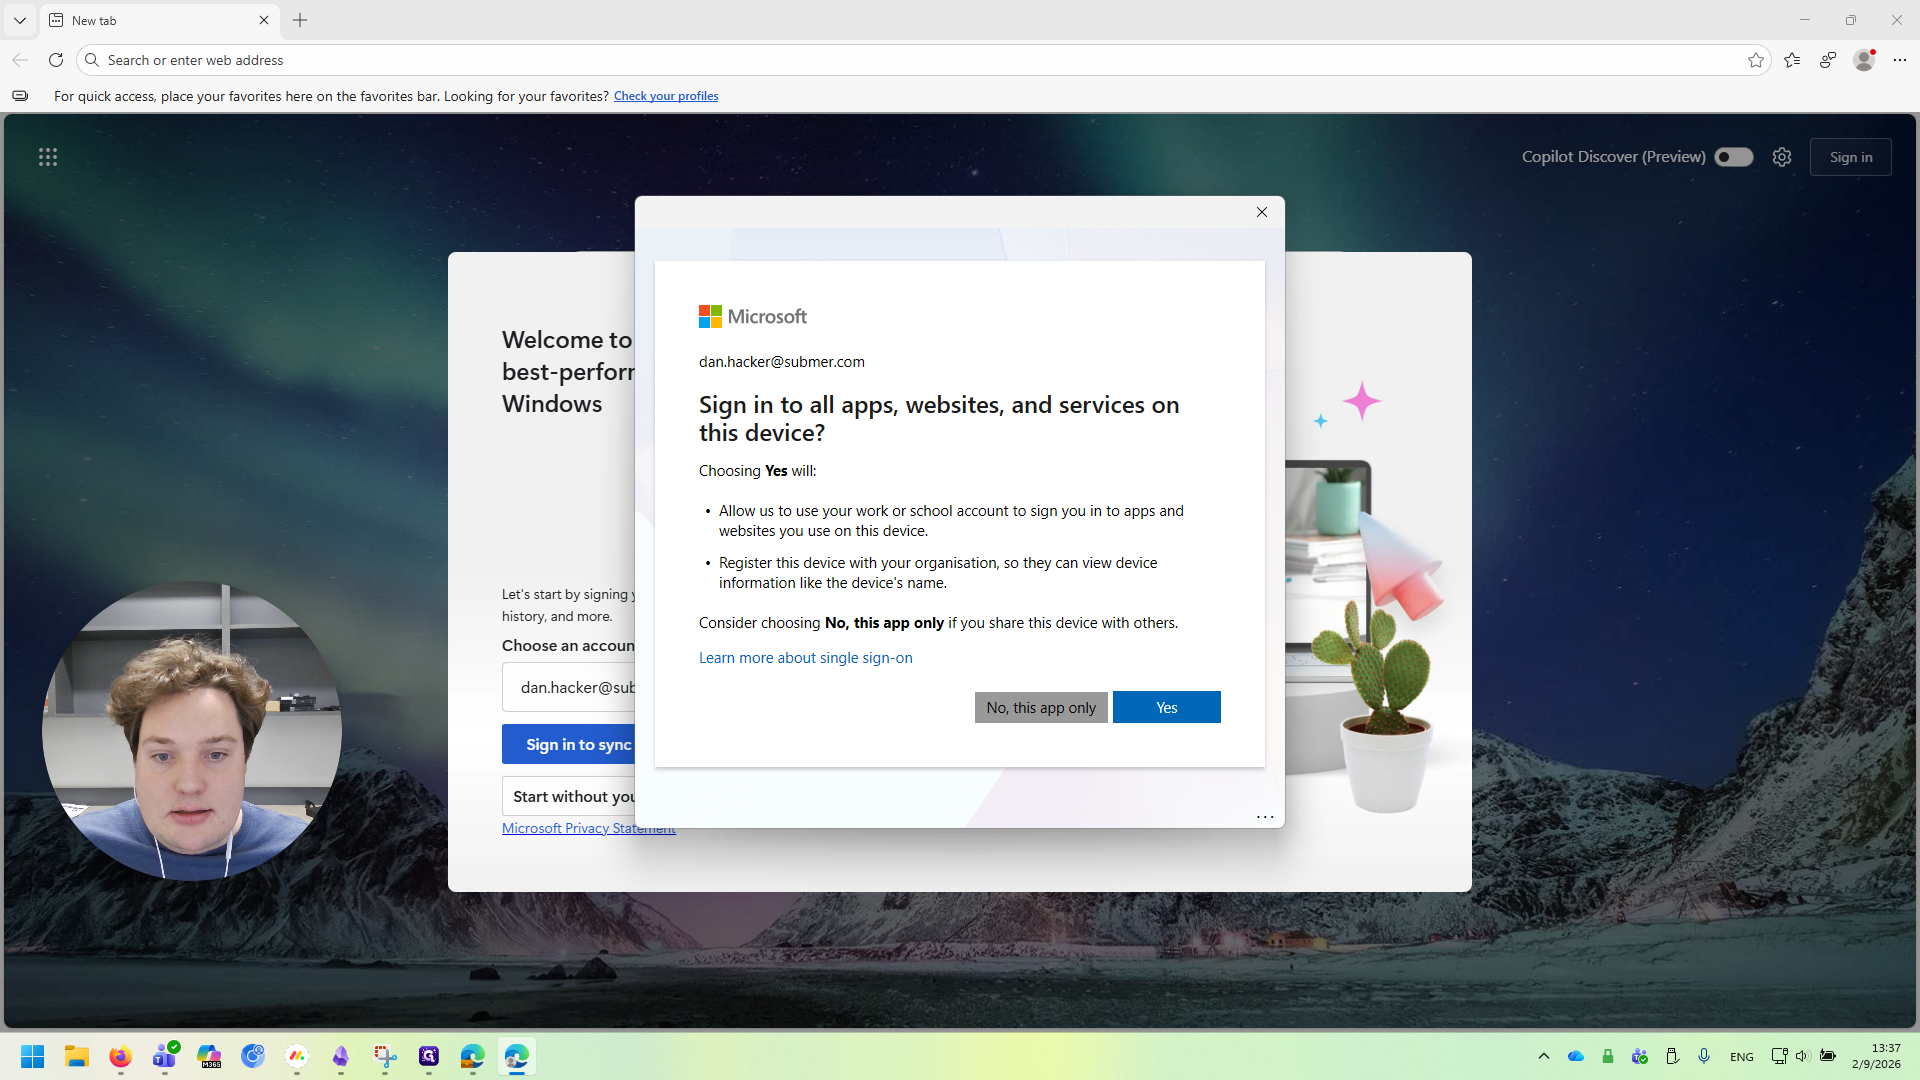
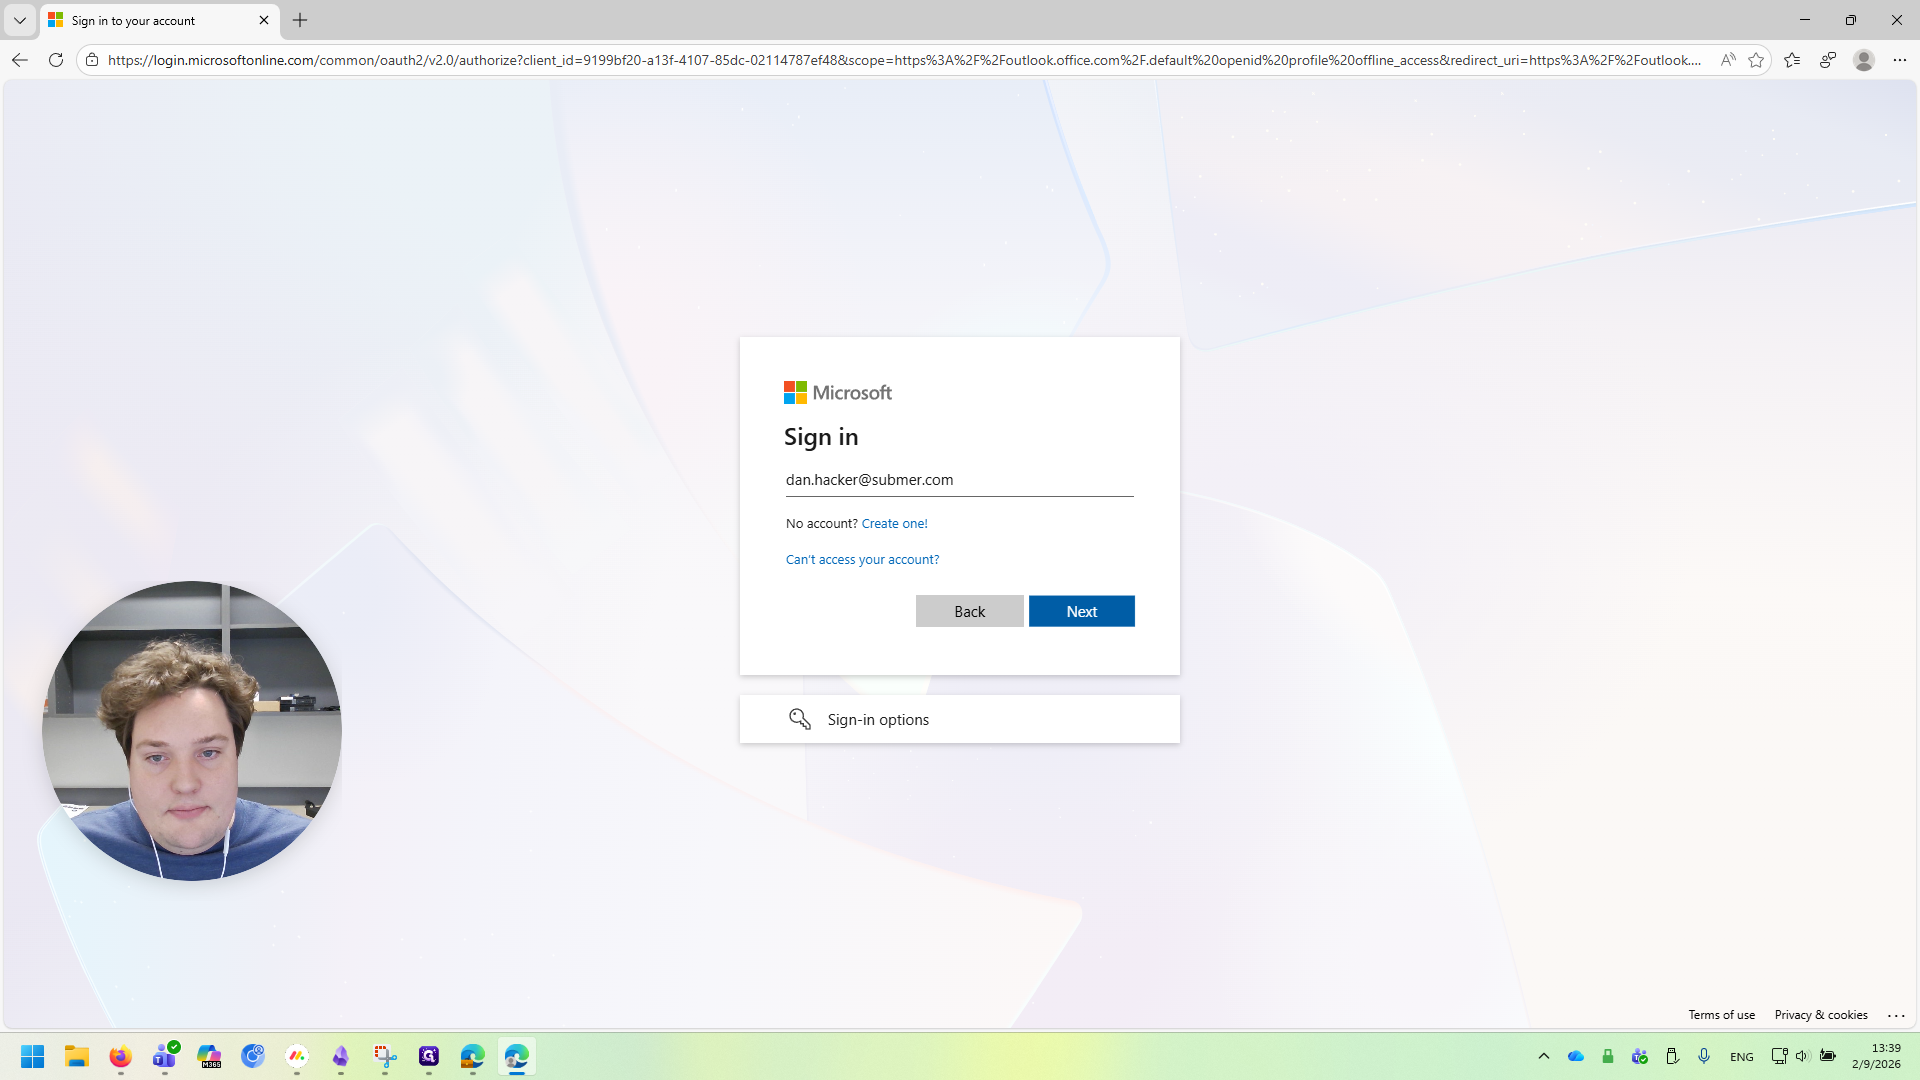
This will open a new profile in Edge. This will be our Submer profile. Go to "Choose an Account" and click "Add New Account."
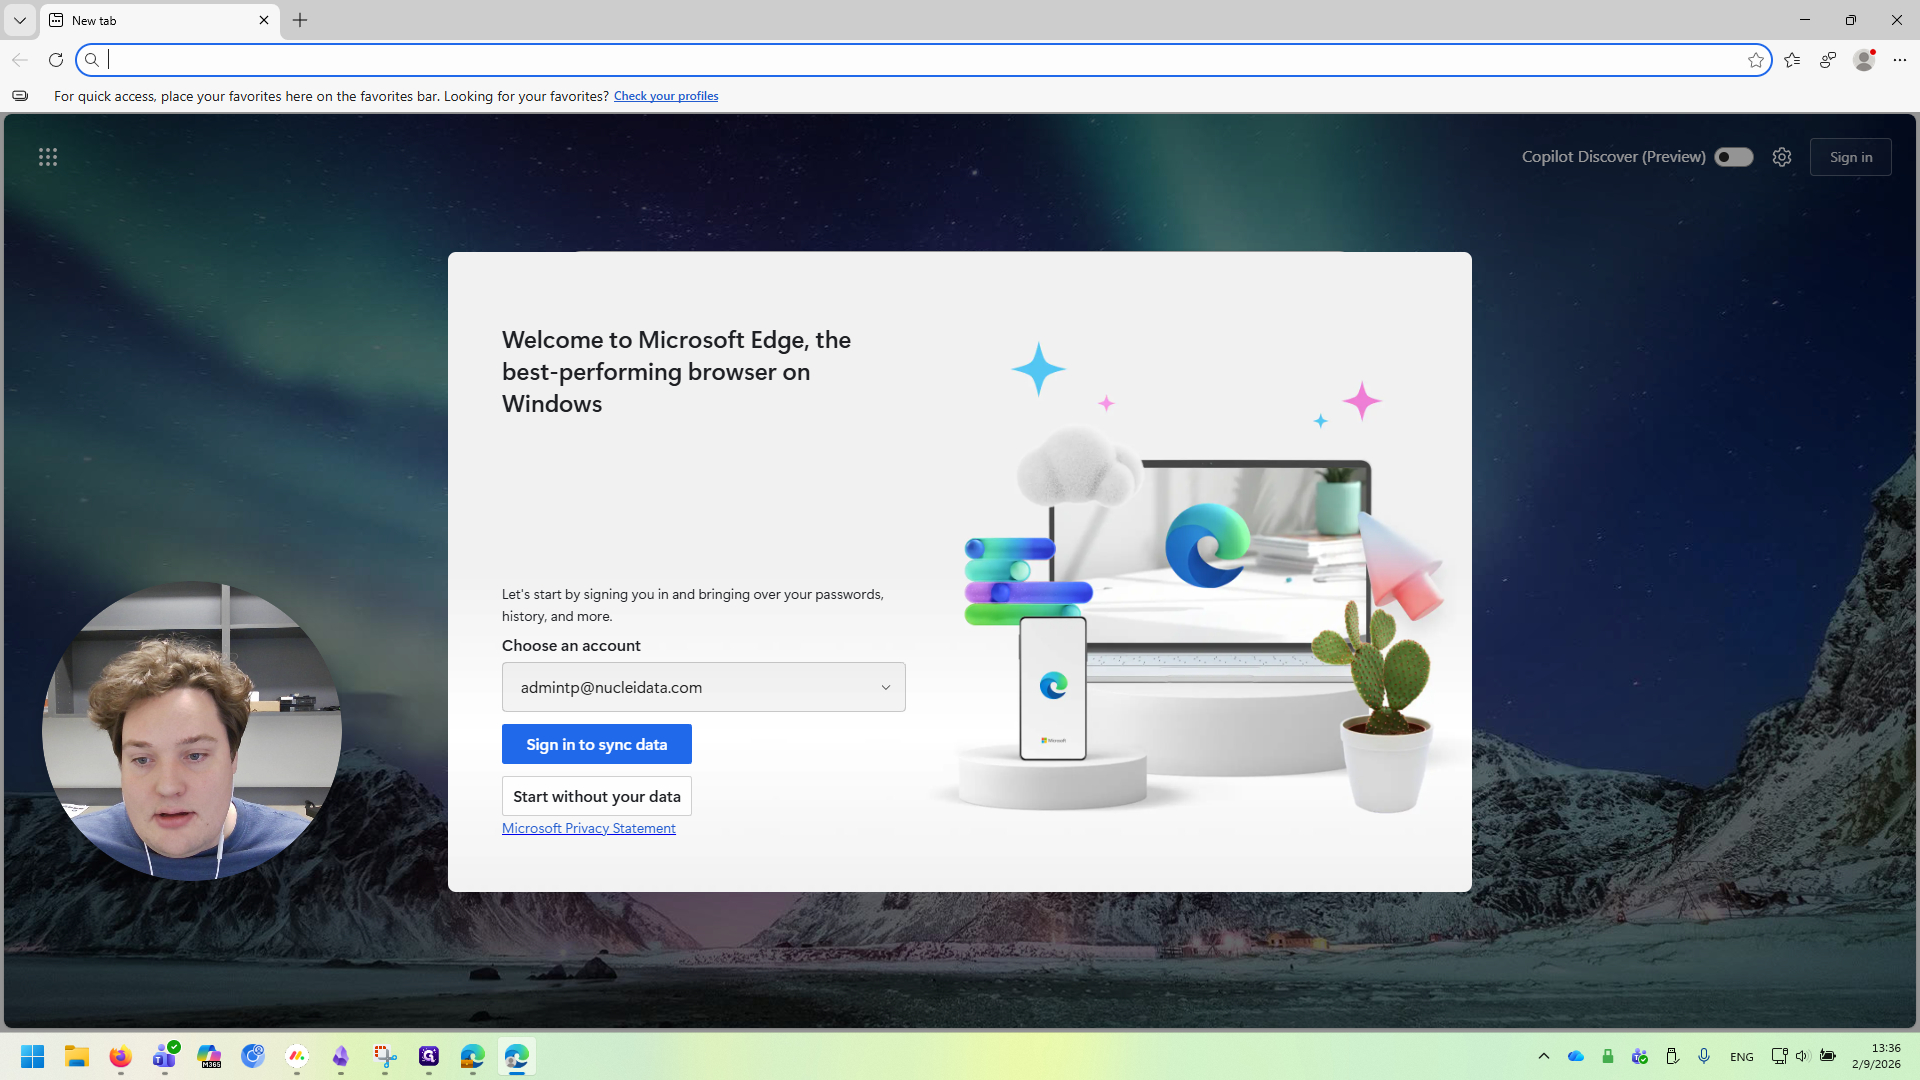
Type in your Submer email address and click "Sign In to Sync Data."
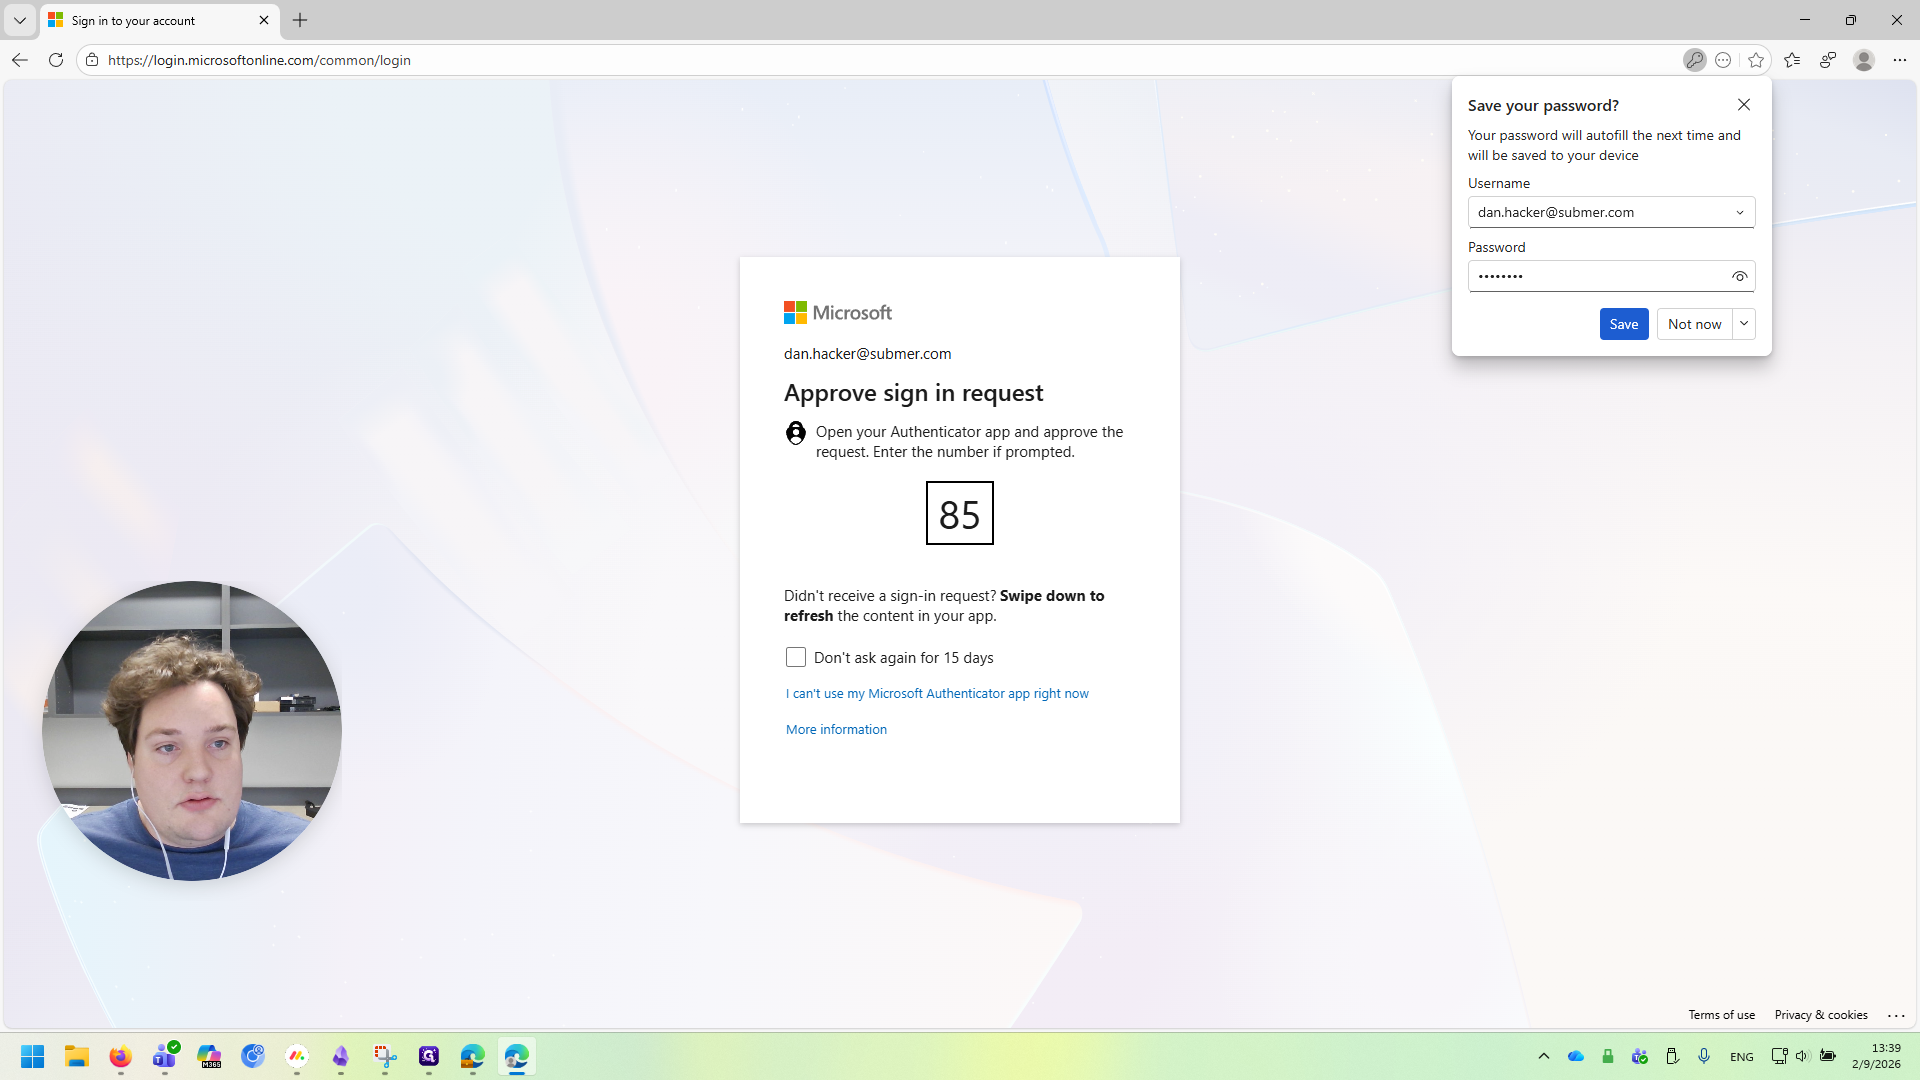
When prompted, log in using the password provided by Submer. Next, you will be prompted to set up two-factor authentication using the authenticator app.
My authenticator app is already set up, but you just need to follow the on-screen prompts, as you did when setting it up for Nuclei. Once it's set up, you can log in.
When you reach this screen, pay attention. Select "No, this app only" because we don't want the Submer login to apply to Word documents, PowerPoints, or other files on this computer. Everything related to Submer remains within this browser, and only in this browser.
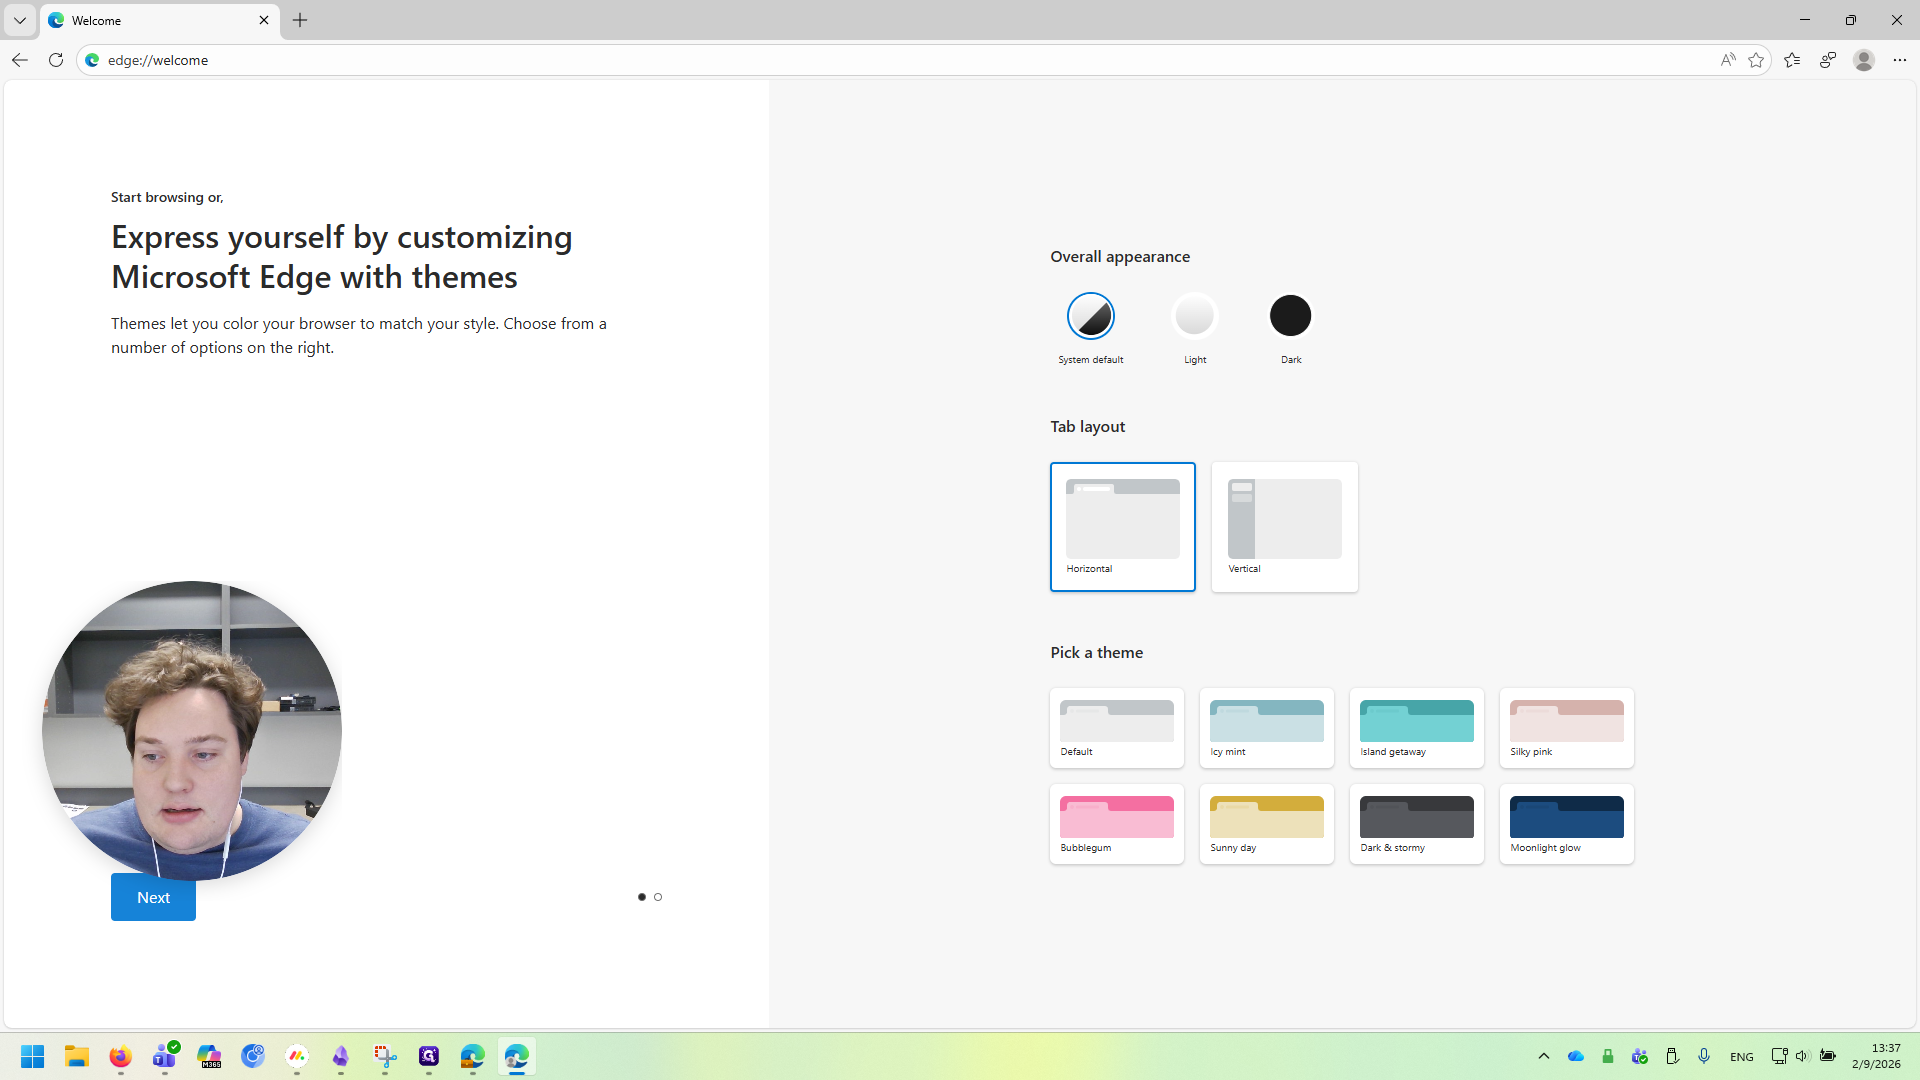
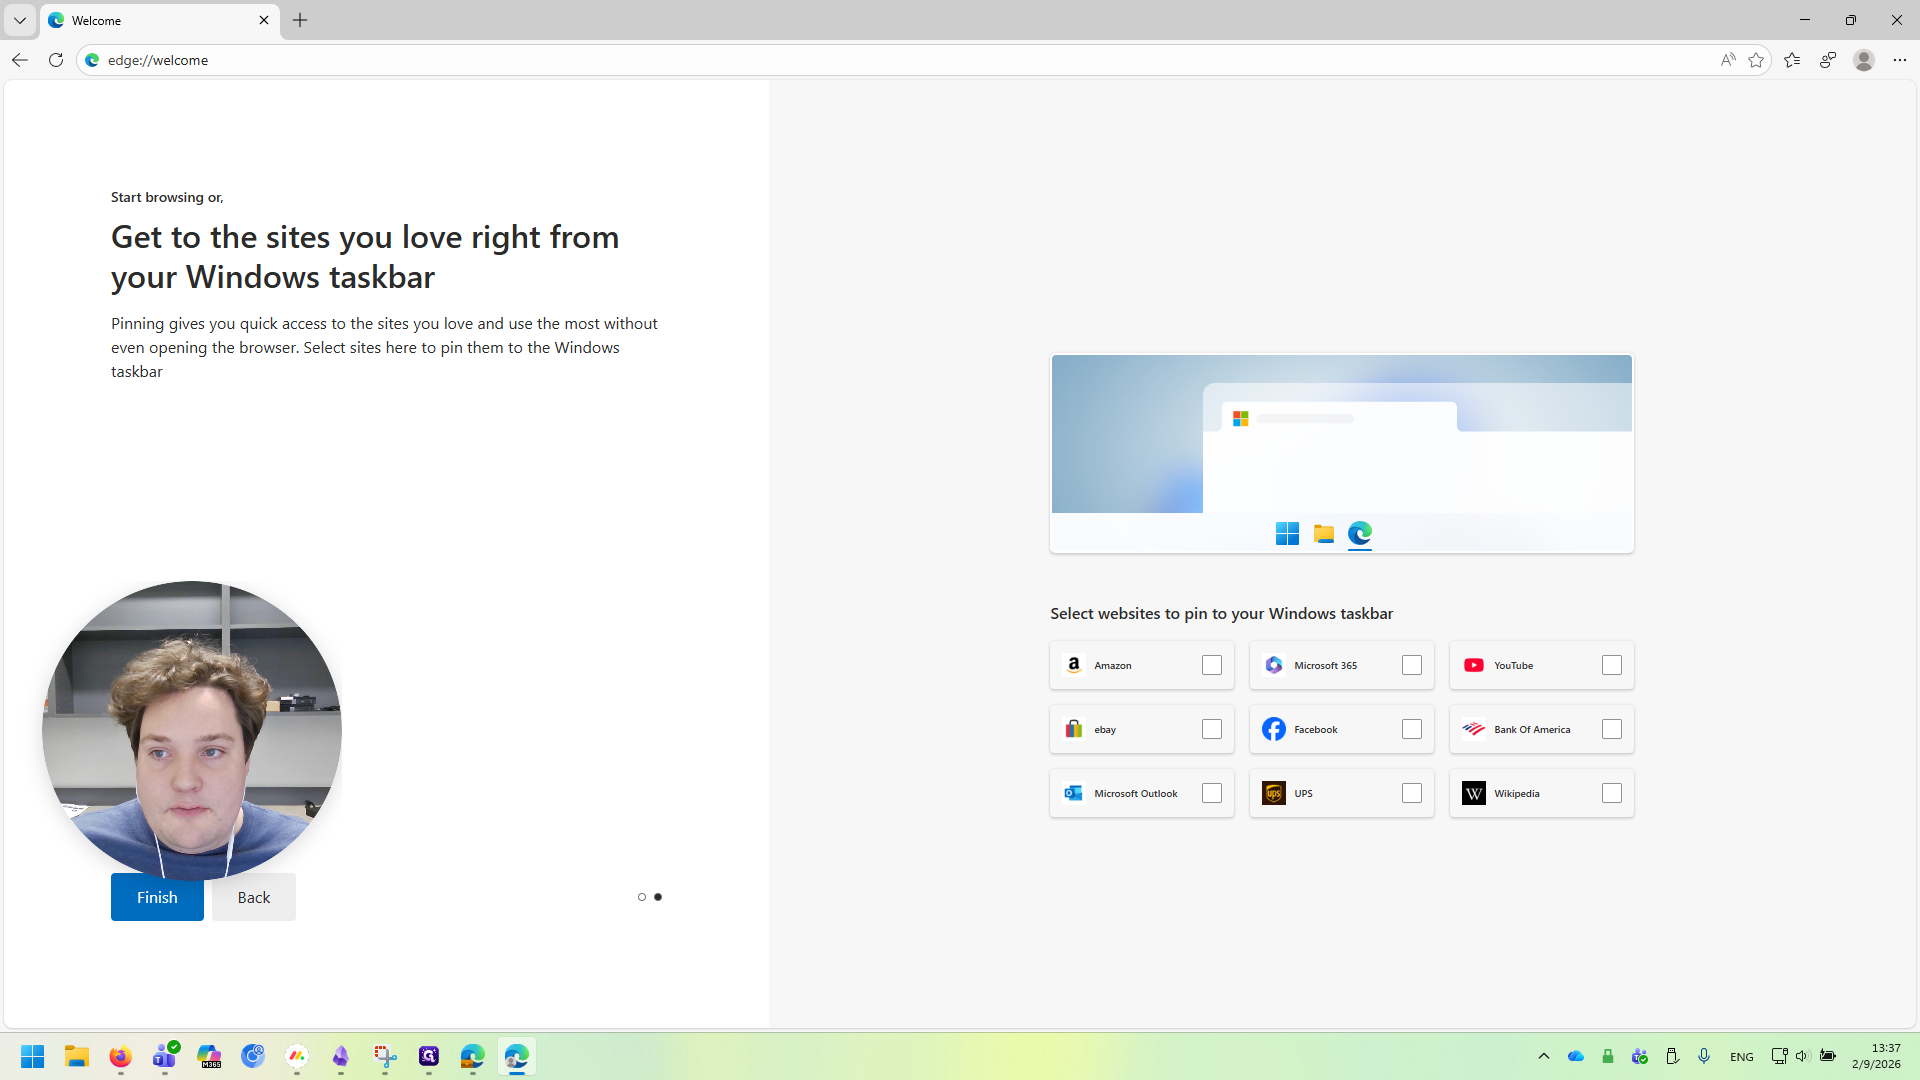
We are now logged in. We're going to click a few more buttons here. We will select Confirm and Continue, then click Next, and finally Finish.

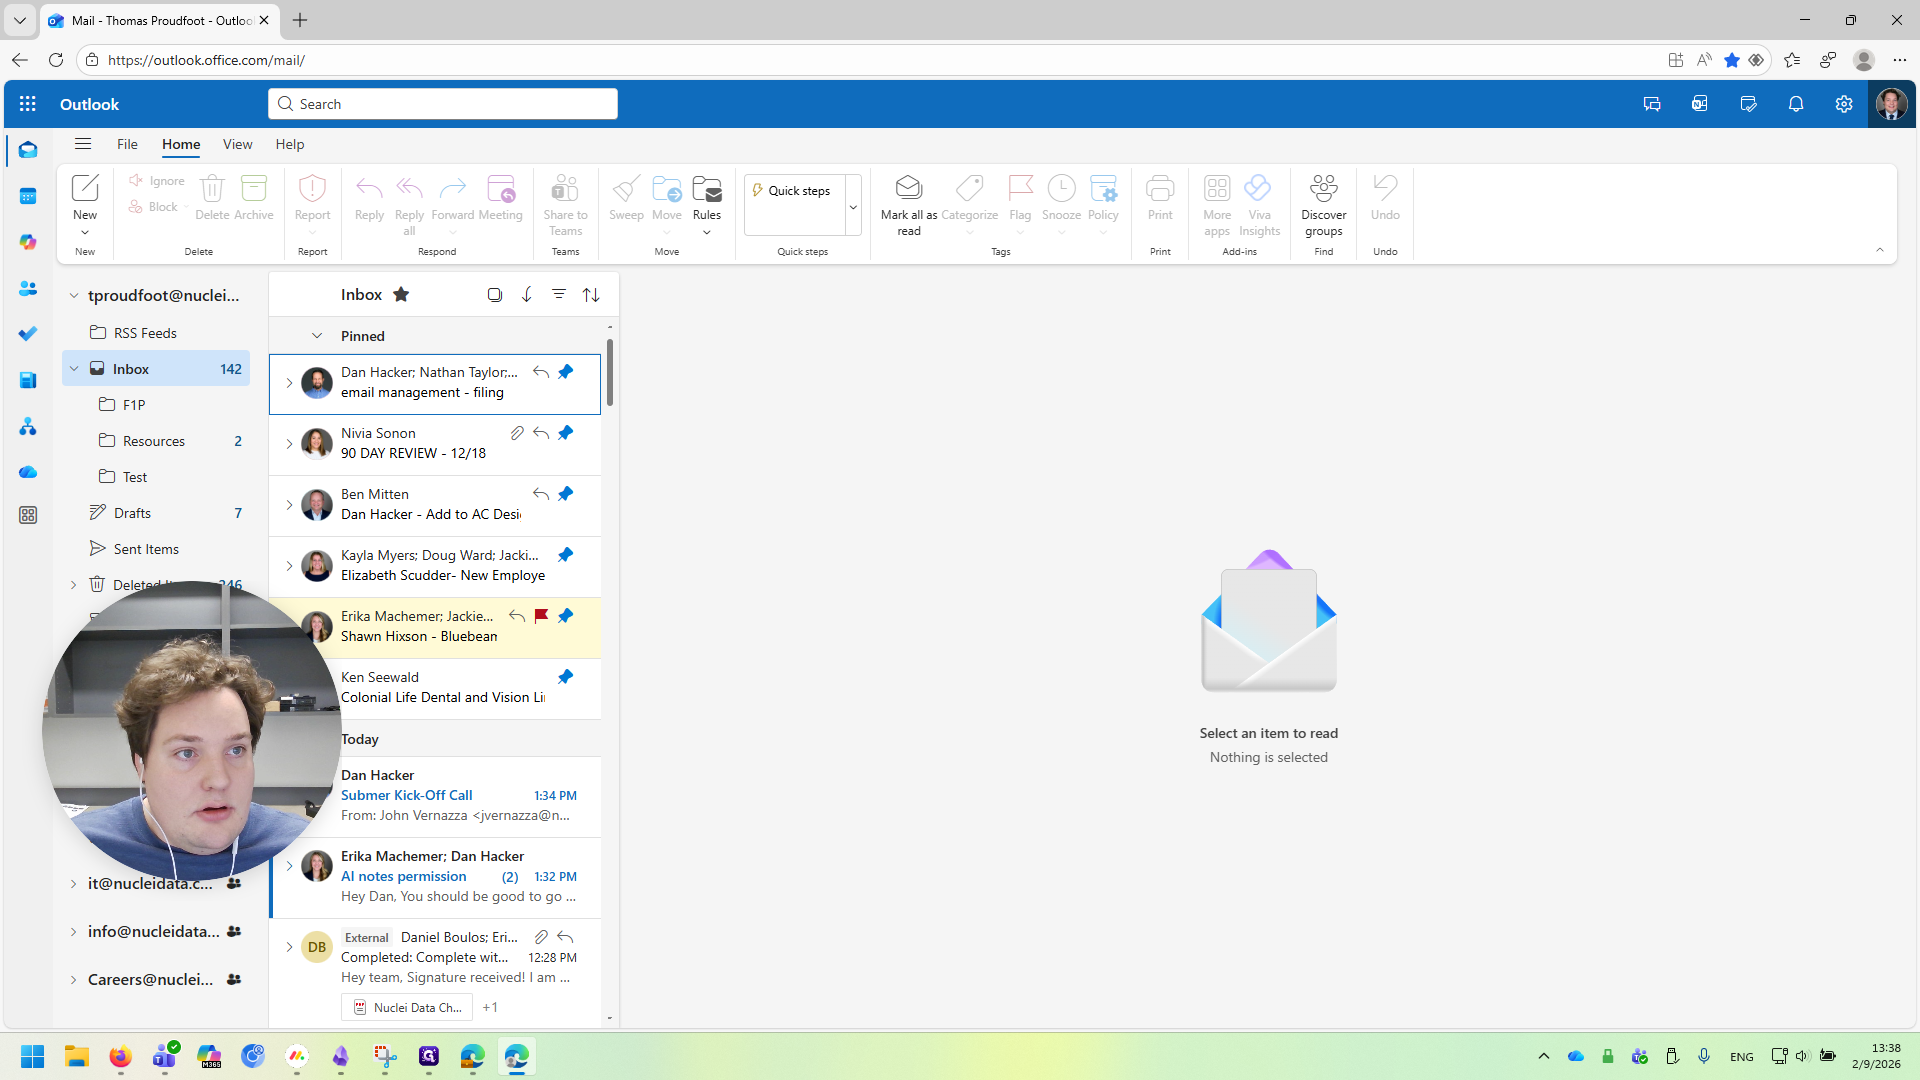
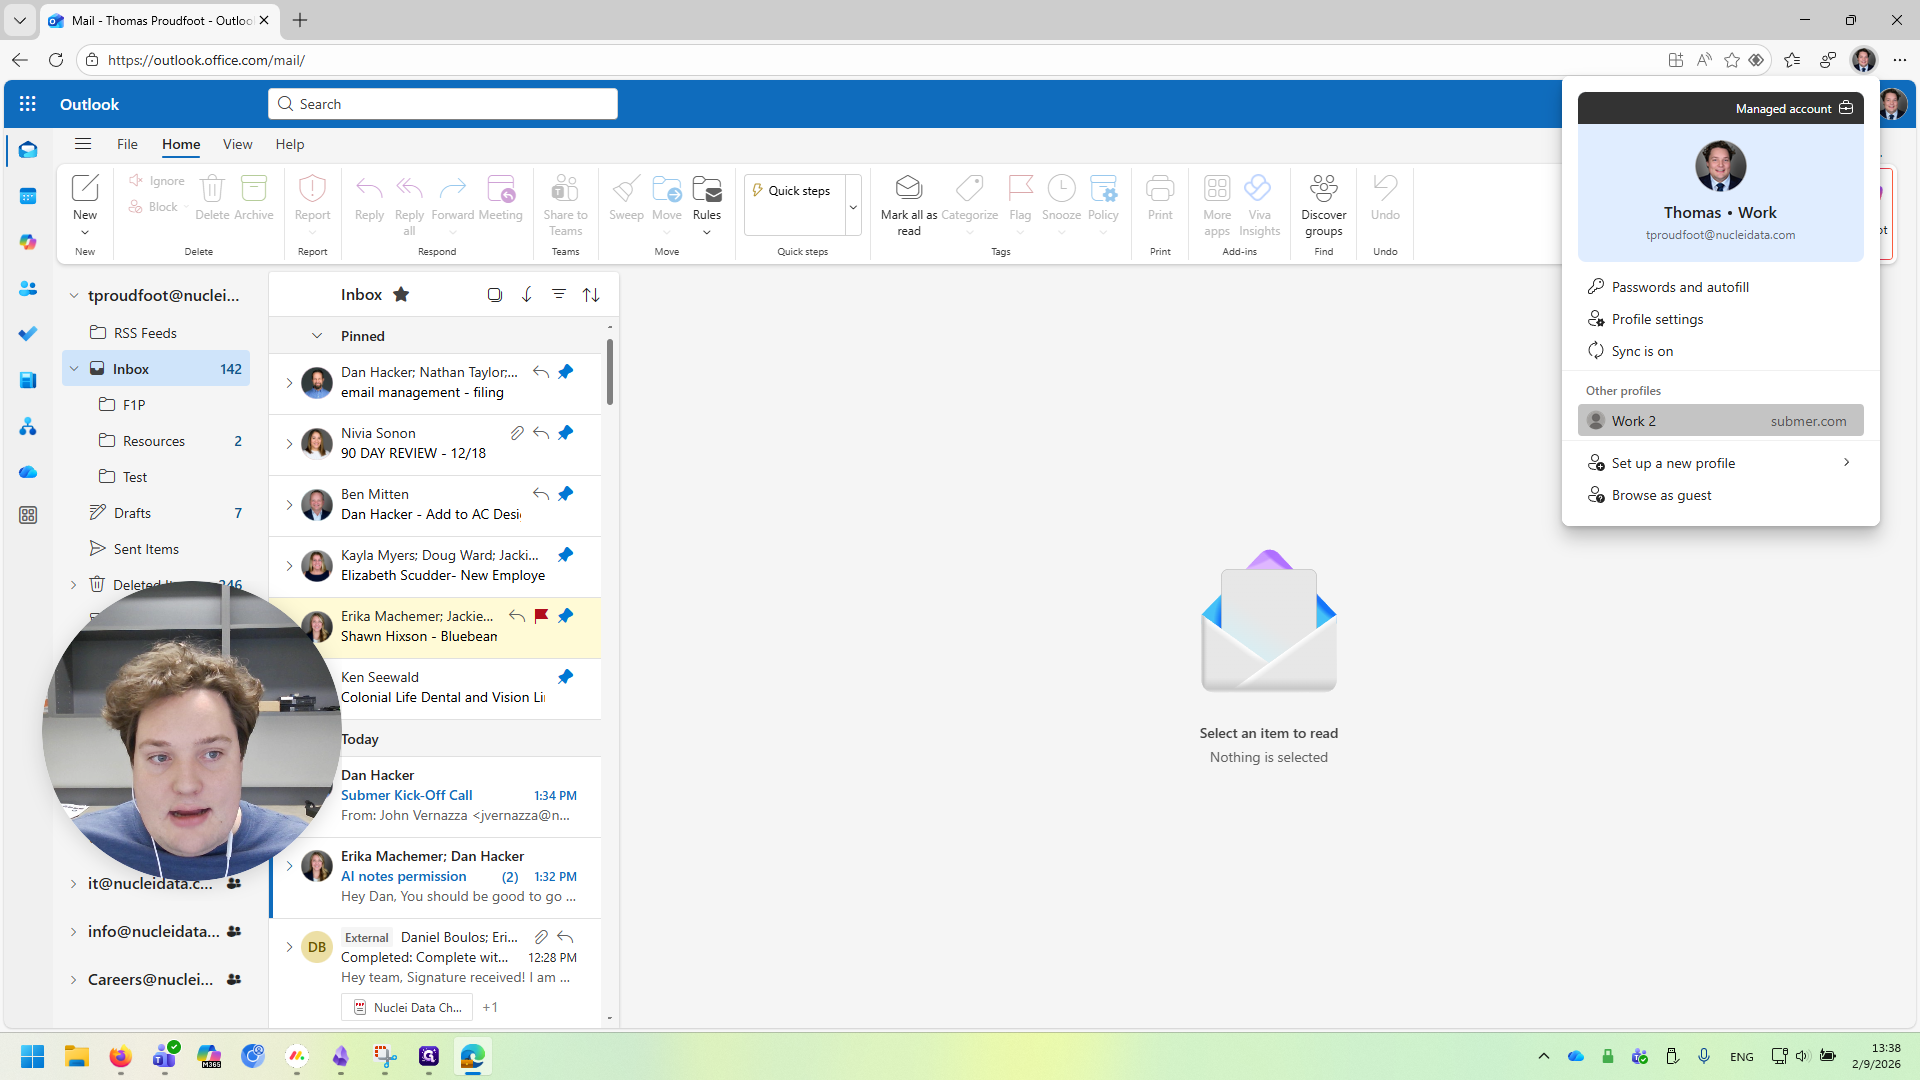
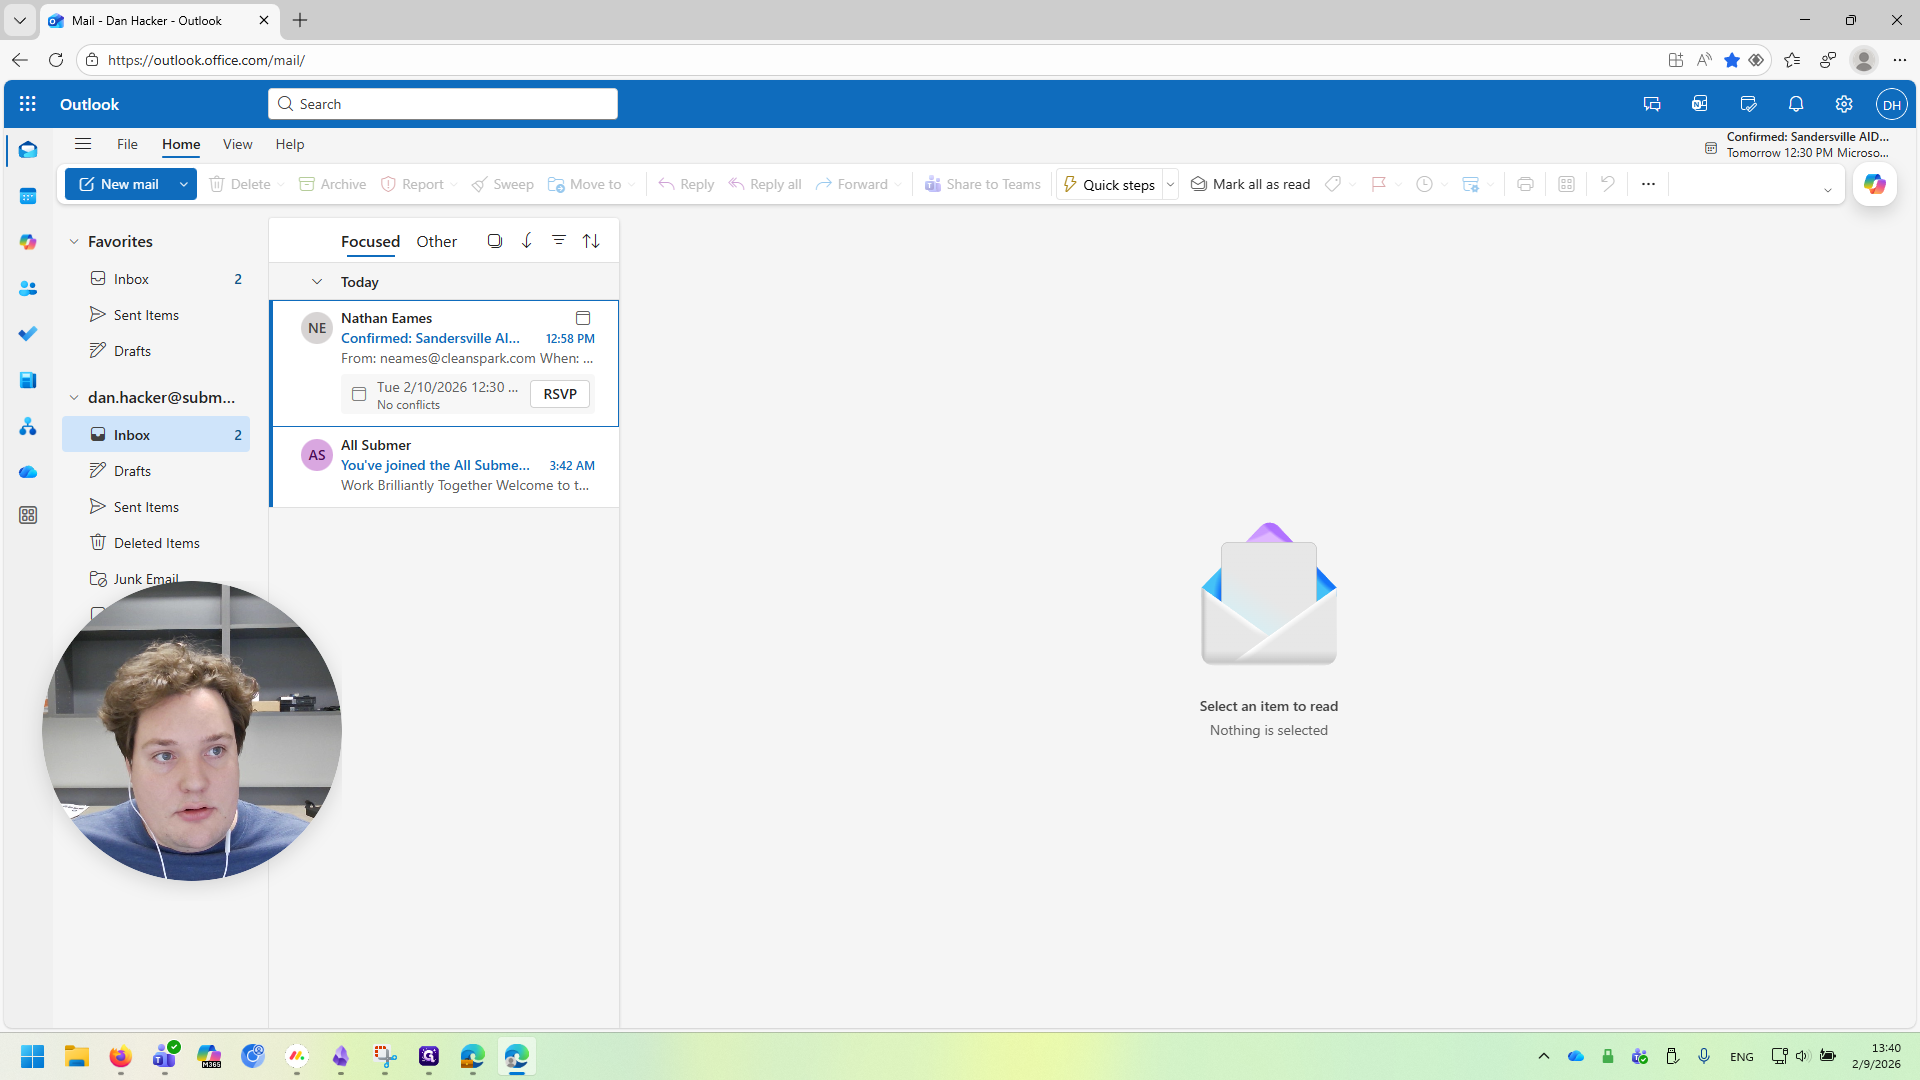
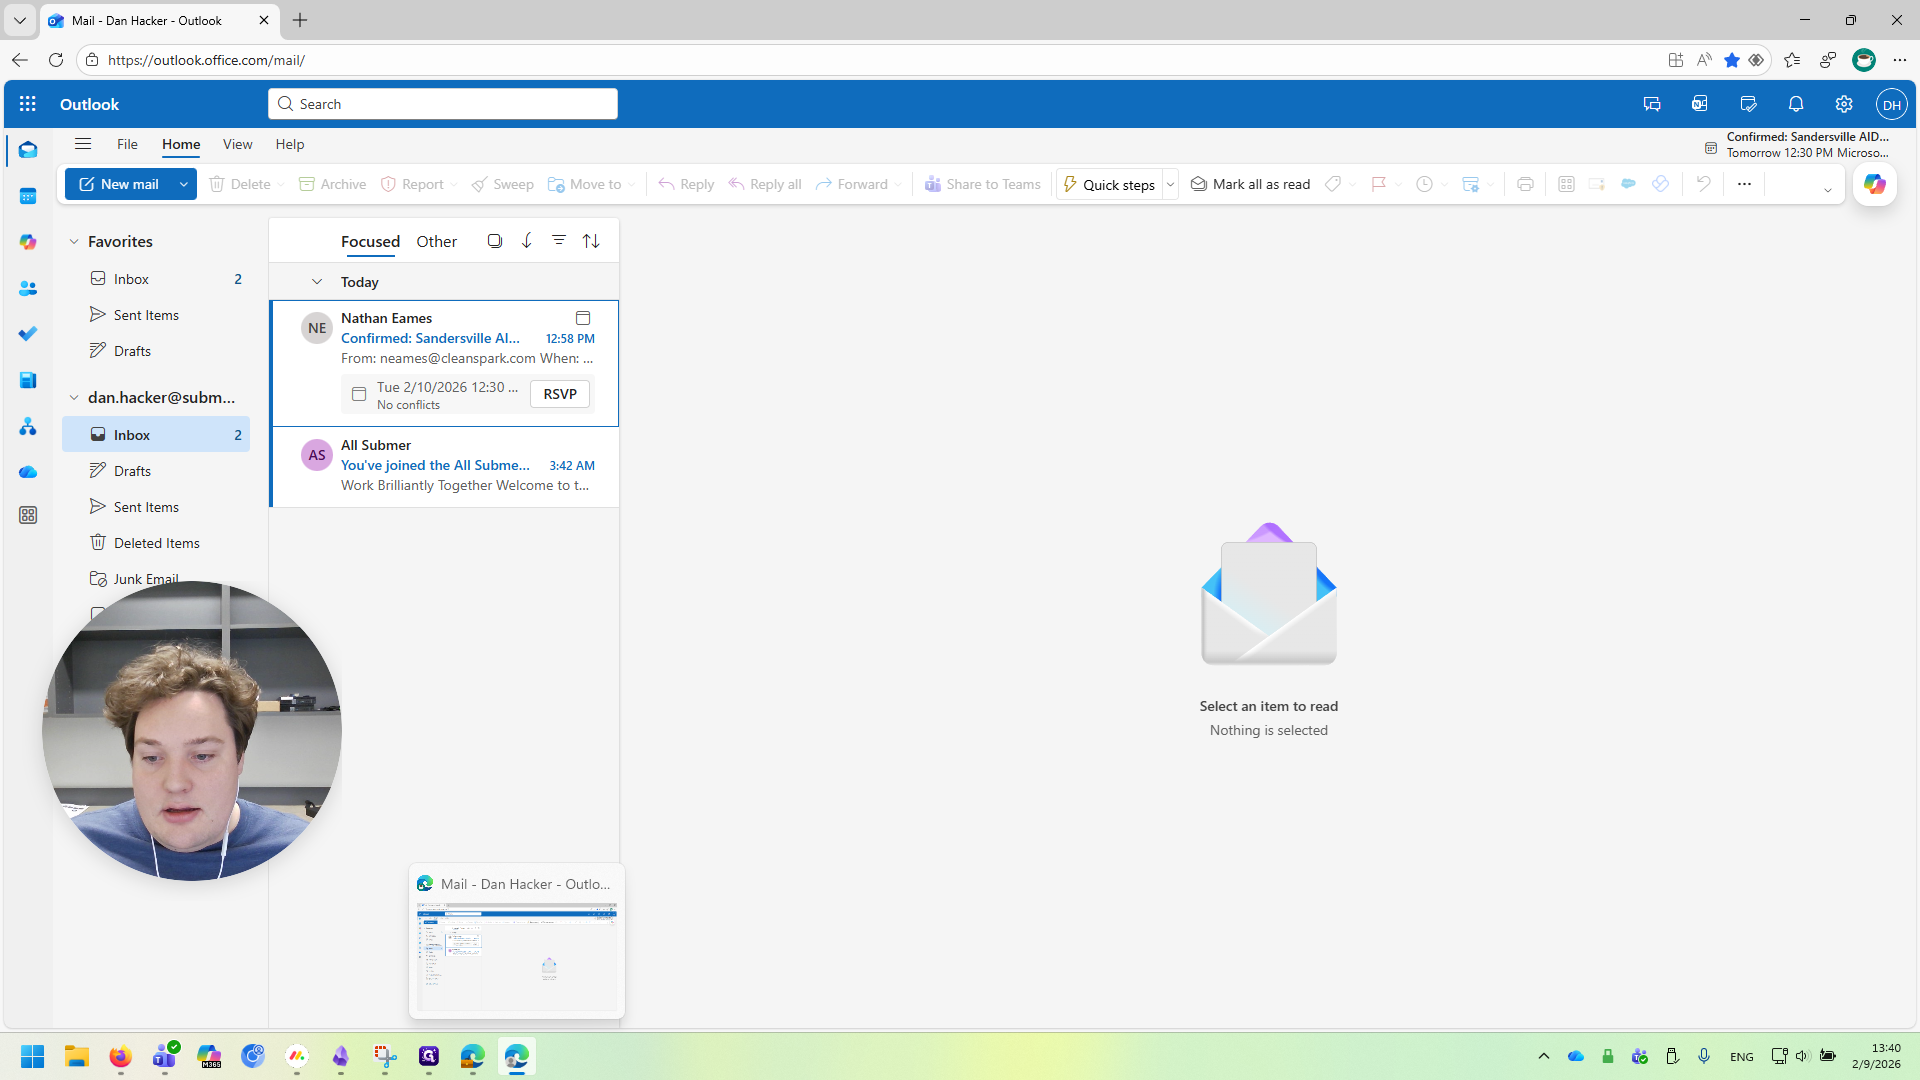
Now we're finished with the setup and can move on to the next steps. First, go to outlook.office.com/mail to access your Outlook email.

When you log in, you will automatically be directed to your Nuclei email. The next step is to log out and replace the saved account with our Submer account.
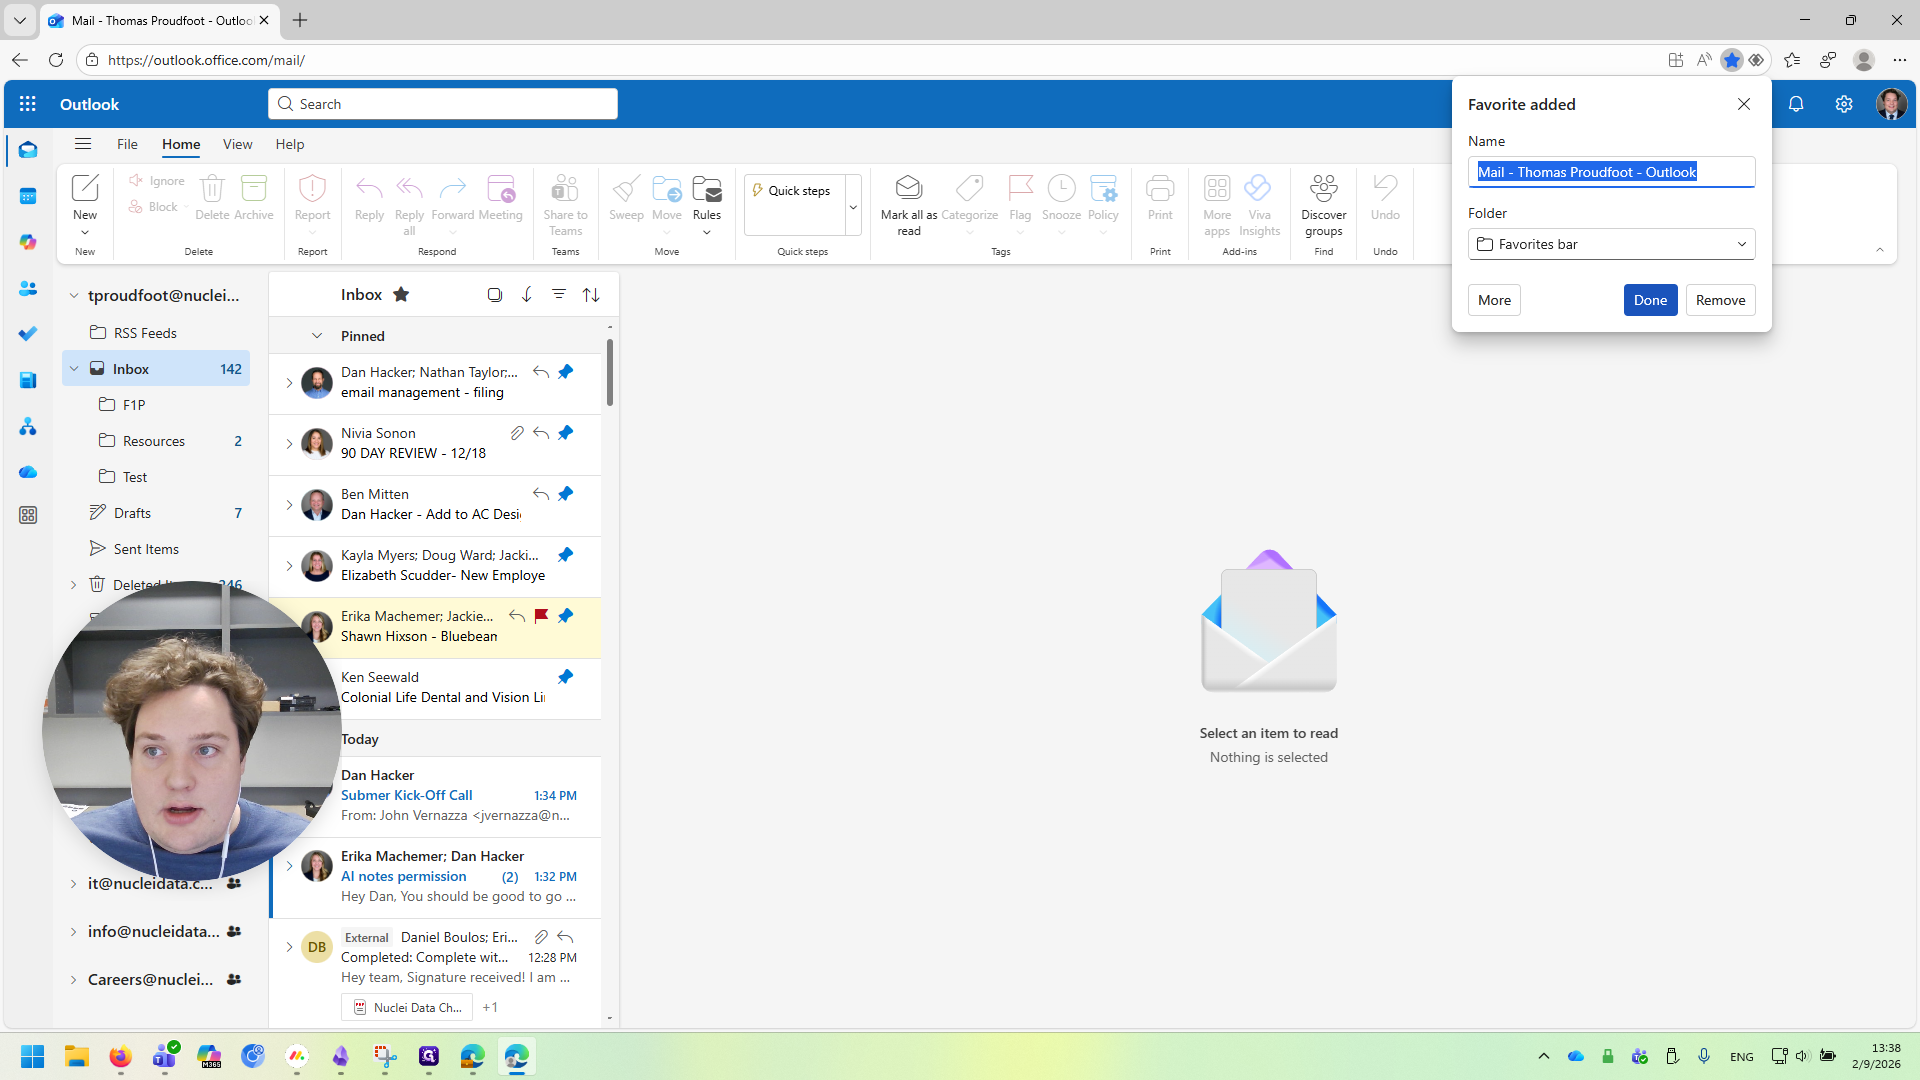
While we're at outlook.office.com/mail, I'll add a bookmark so I can find it later.

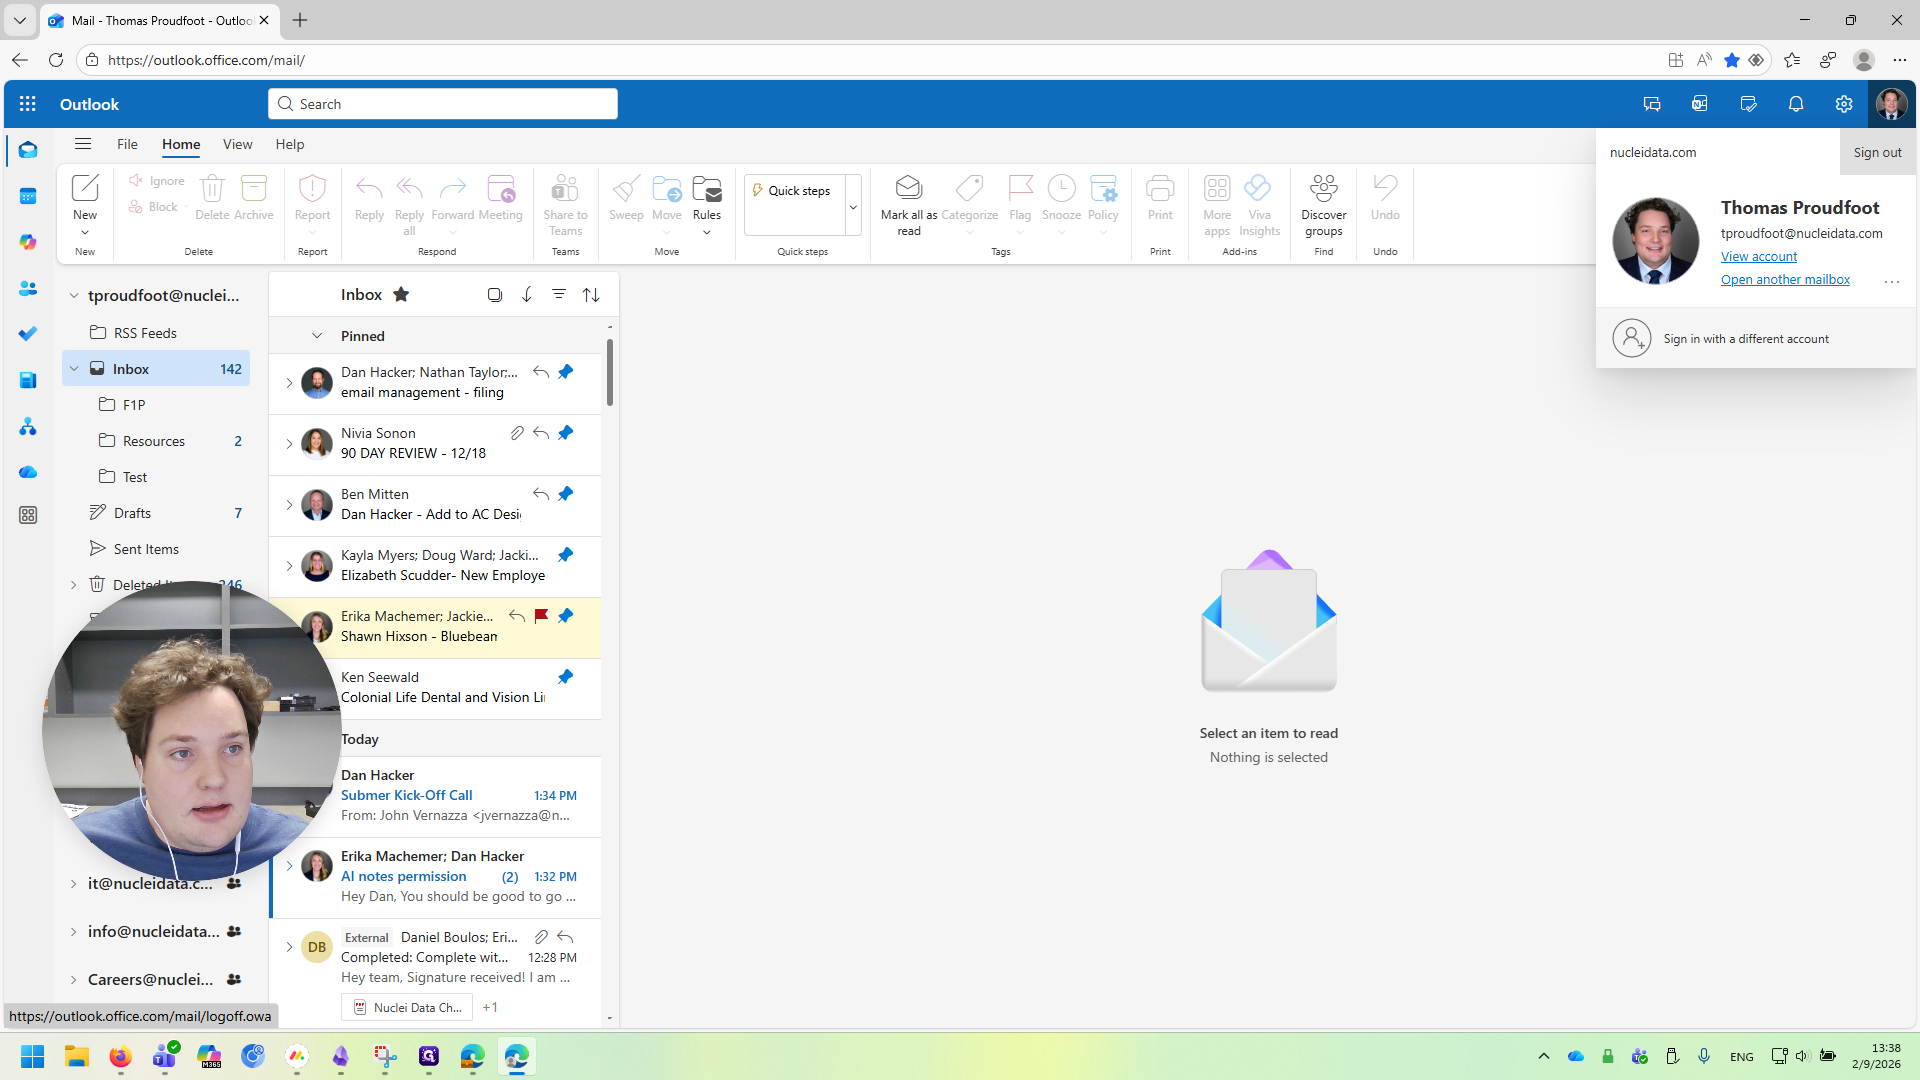
Next, we will go in and sign out.
Click the profile picture, then select "Sign Out".
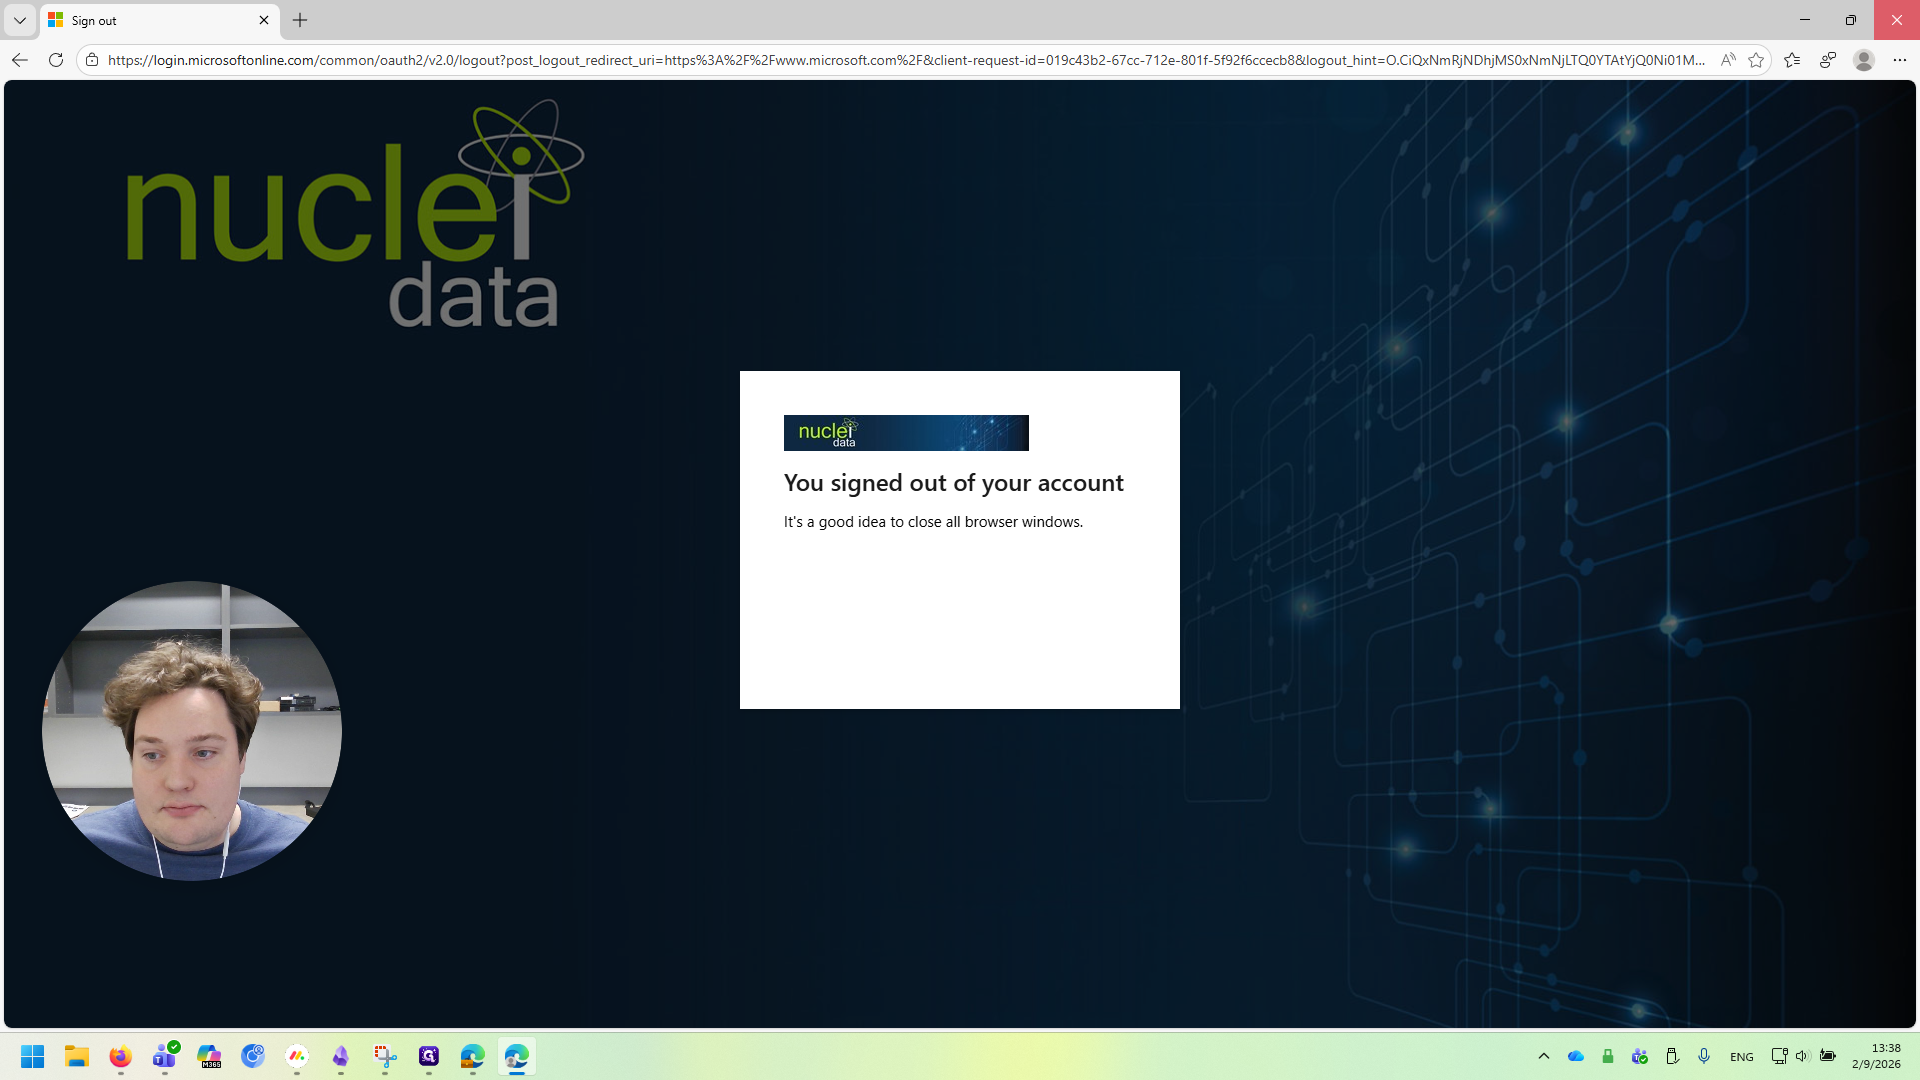
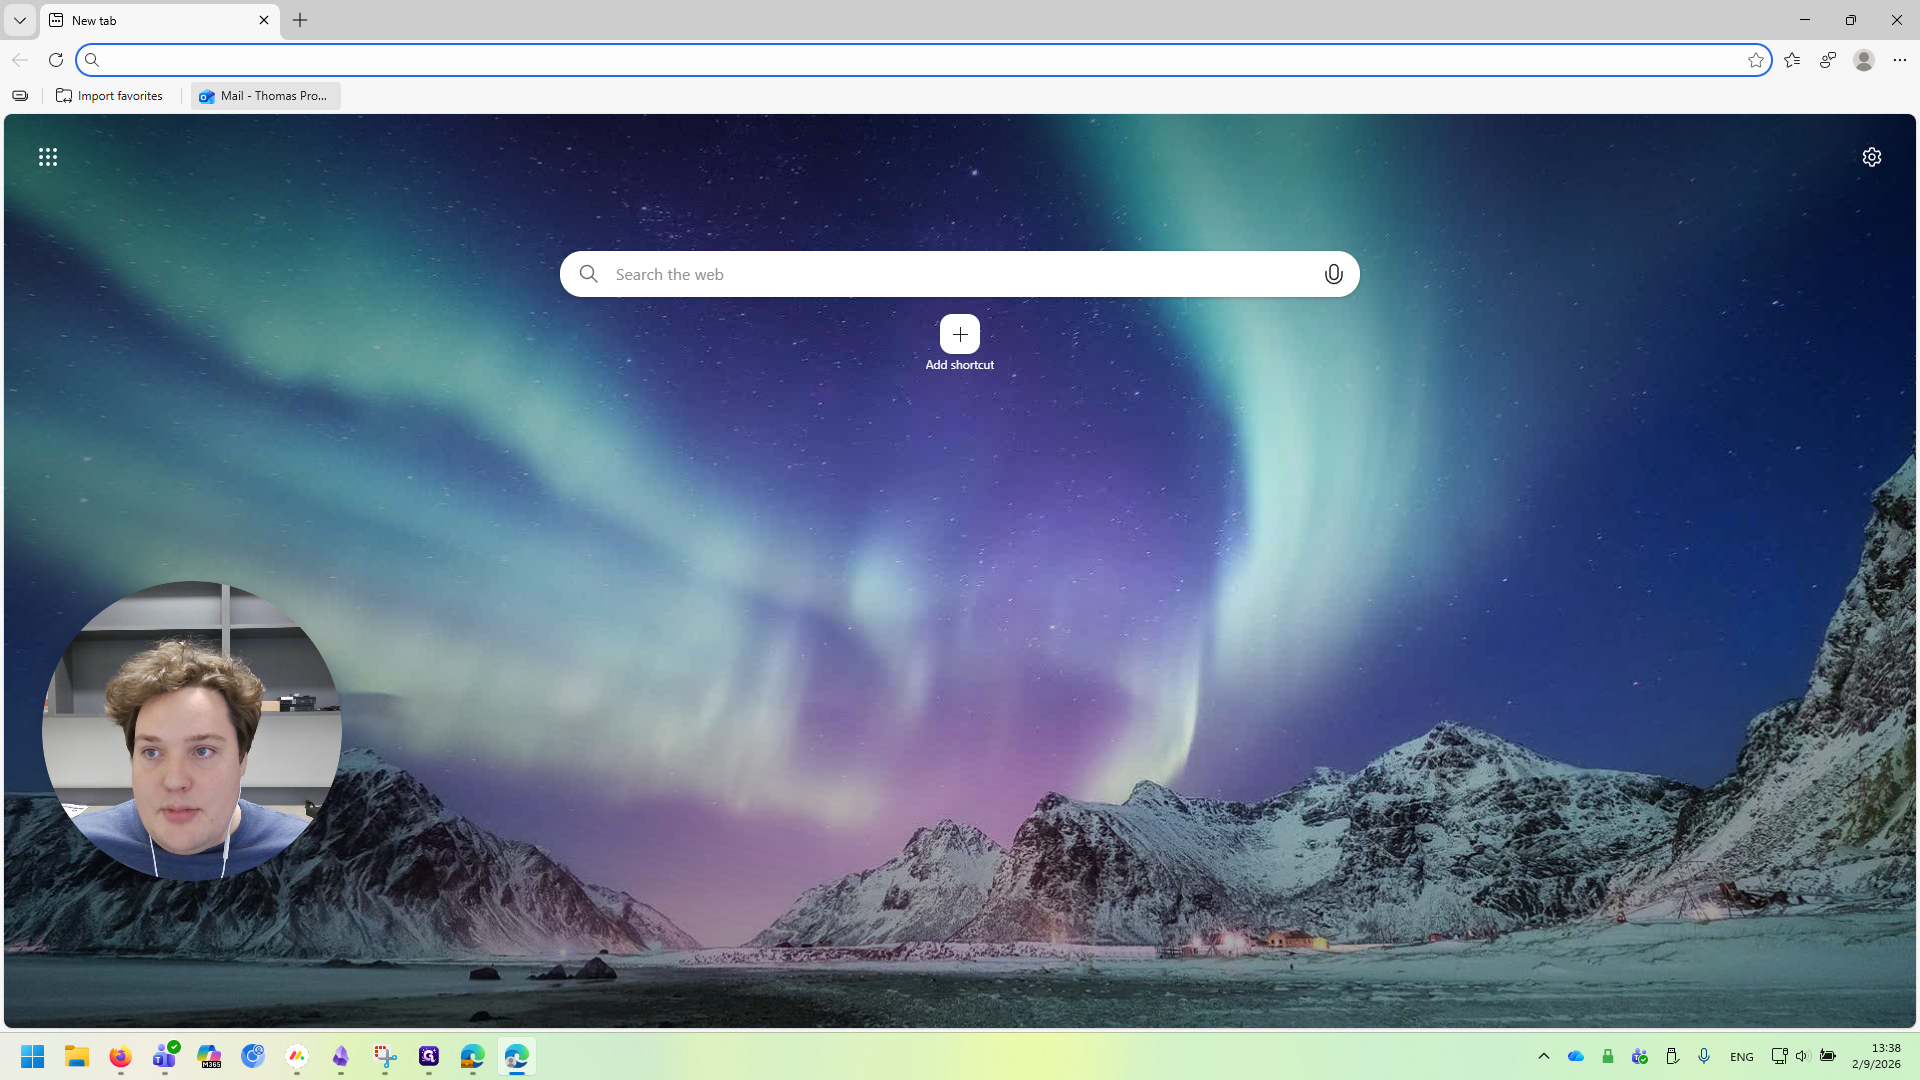
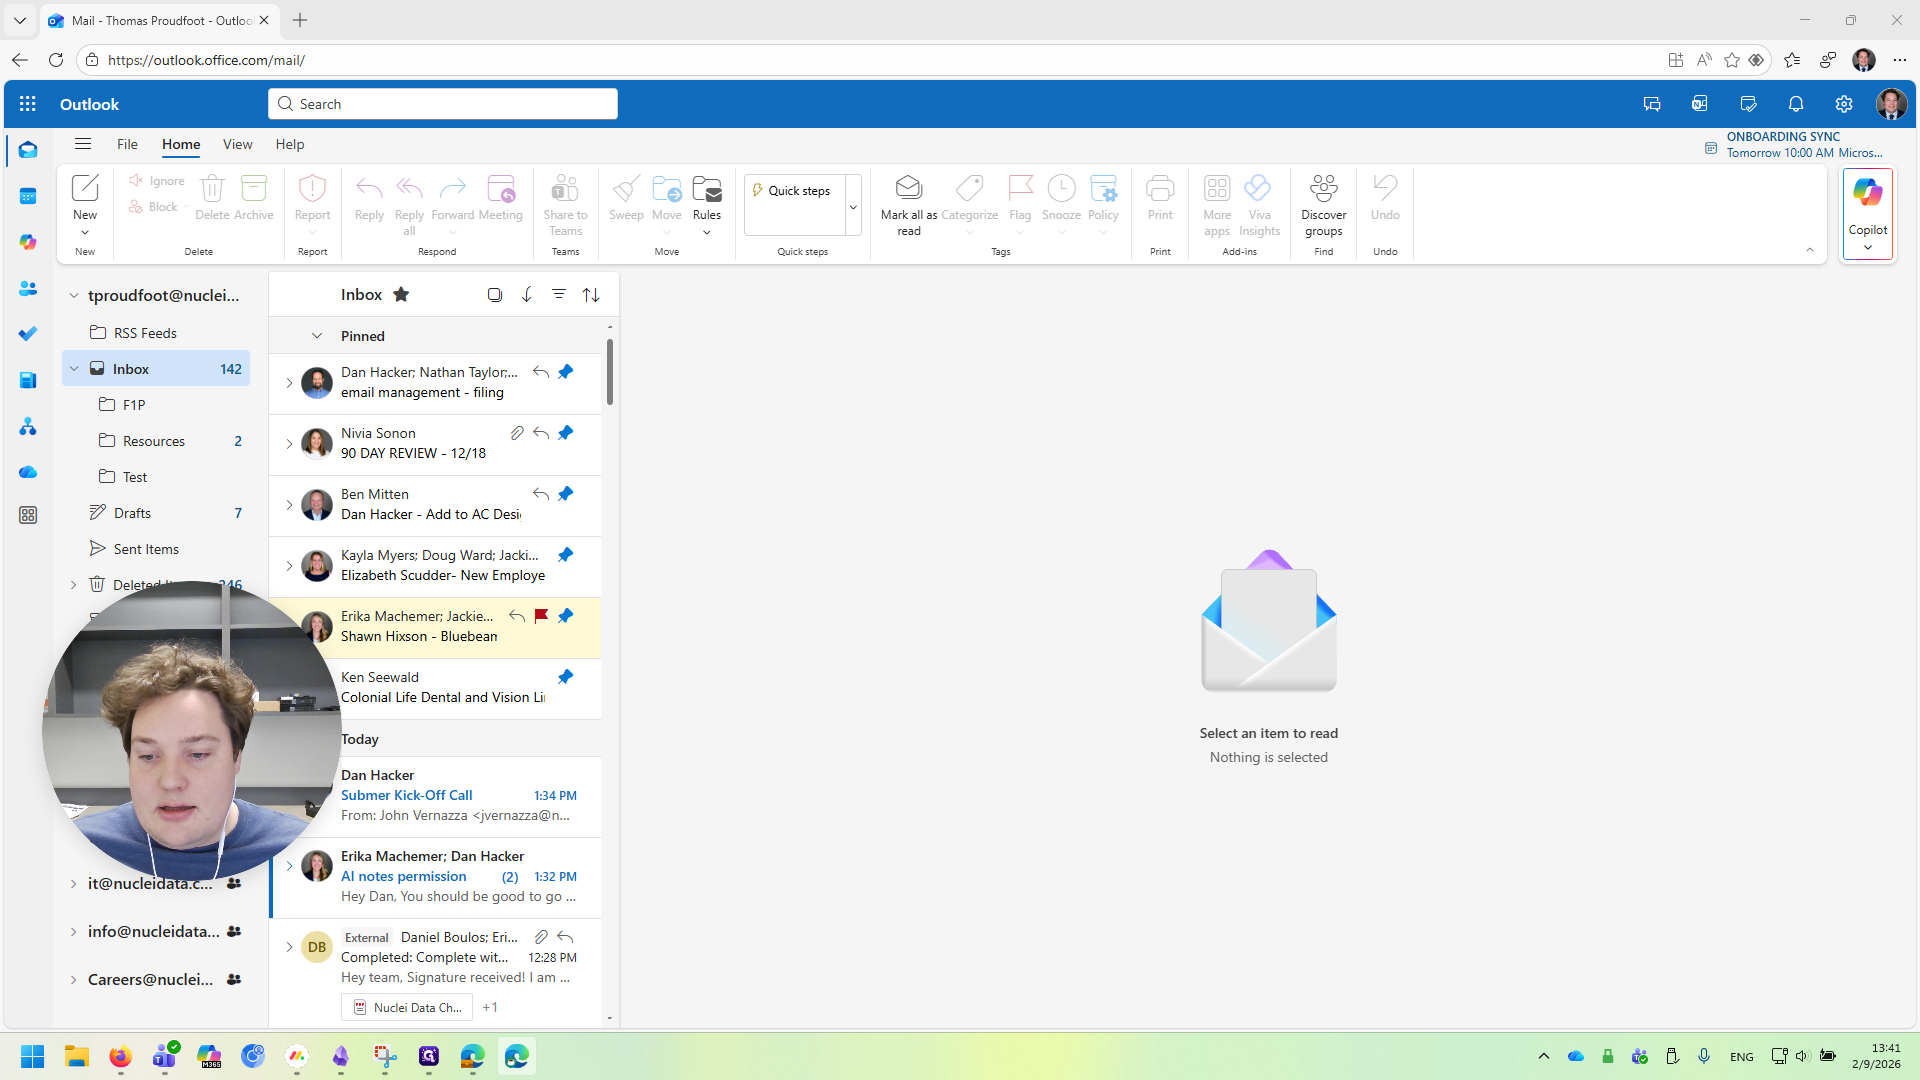
Wait 5-10 seconds. Once you see the screen change to "You signed out of your account", go ahead and close the window. We're now back at our original Nuclei Data Edge profile (the prior window we had open).
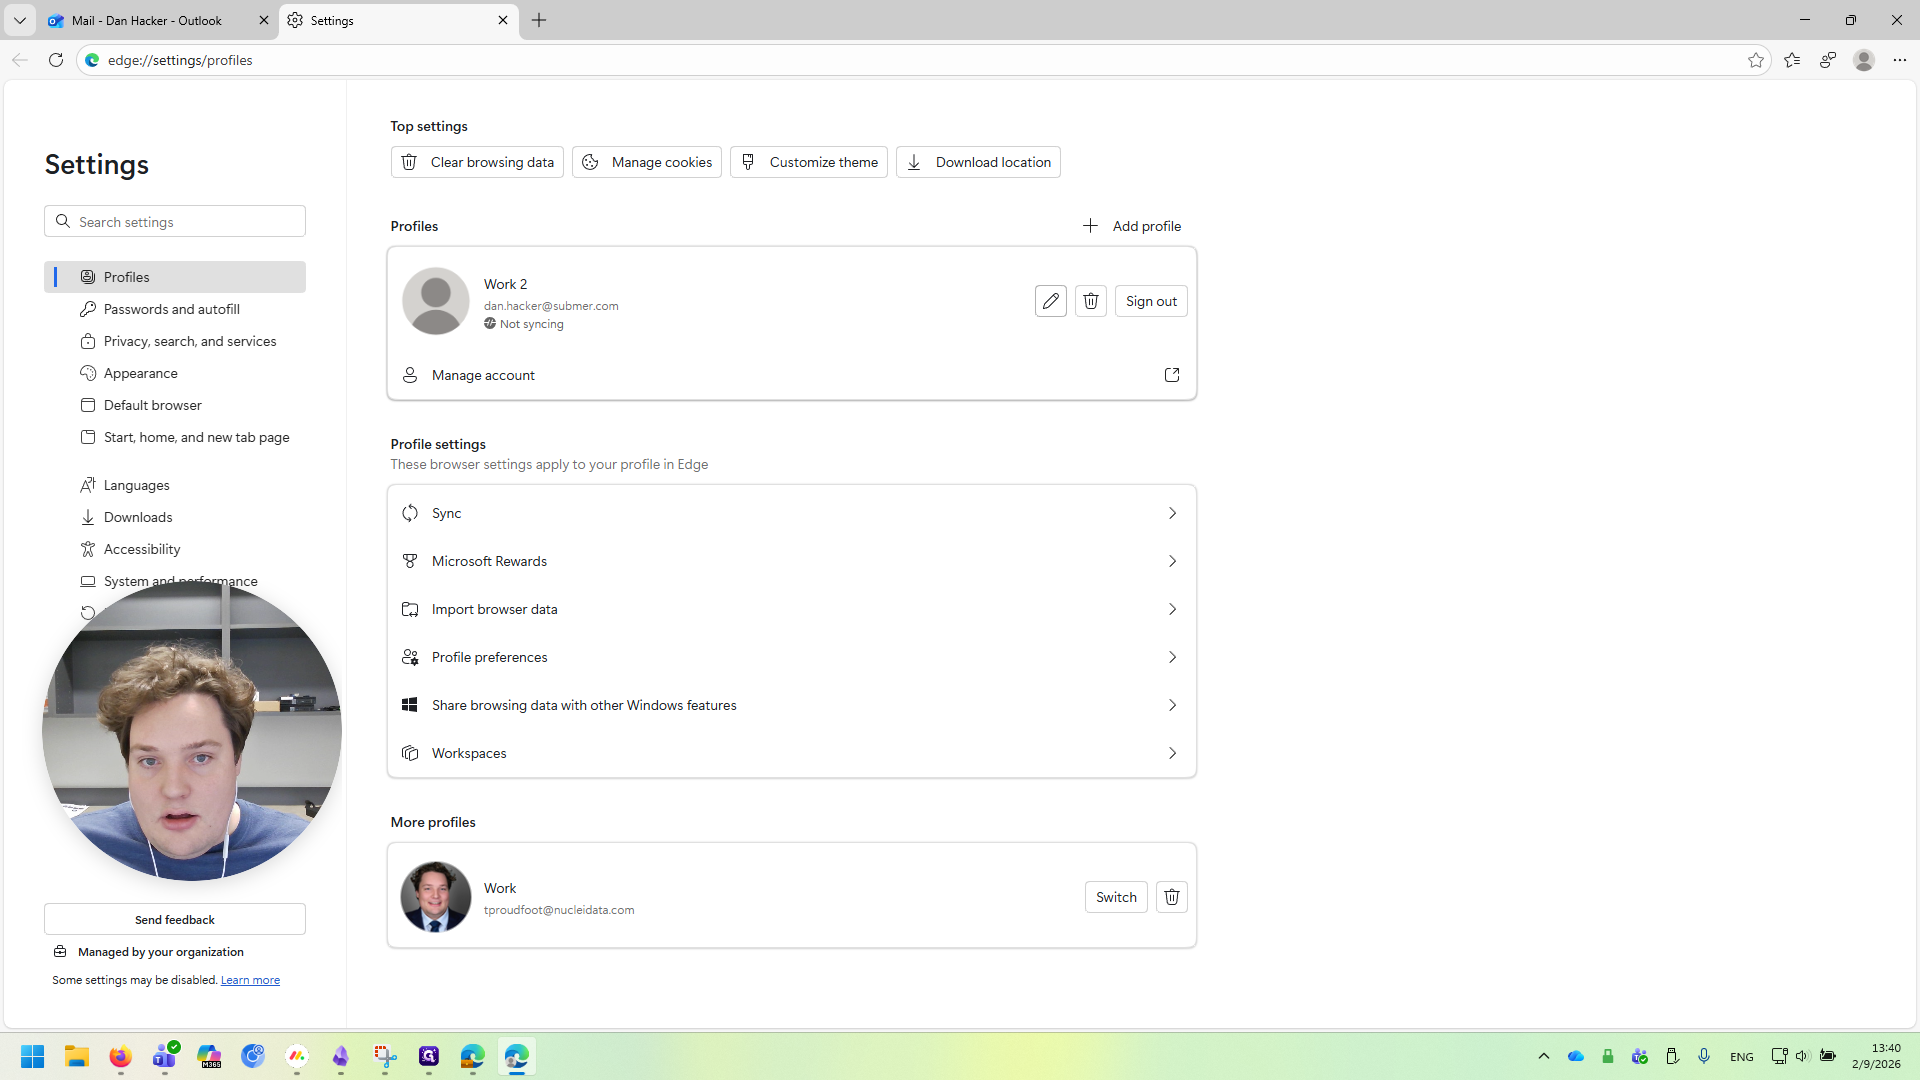
Go back to the profile picture. Below it, you'll see a second profile—mine is called Work 2—with submer.com listed on it.
I'll click on that to reopen the Submer profile window.
You'll also notice that in the taskbar, there are two separate windows. These are completely separate from each other. They contain different data, bookmarks, and everything else. Now that you have the Submer profile open again, click on your Outlook bookmark.
This time, it will bring me to this screen. I'm going to click "Use Another Account."
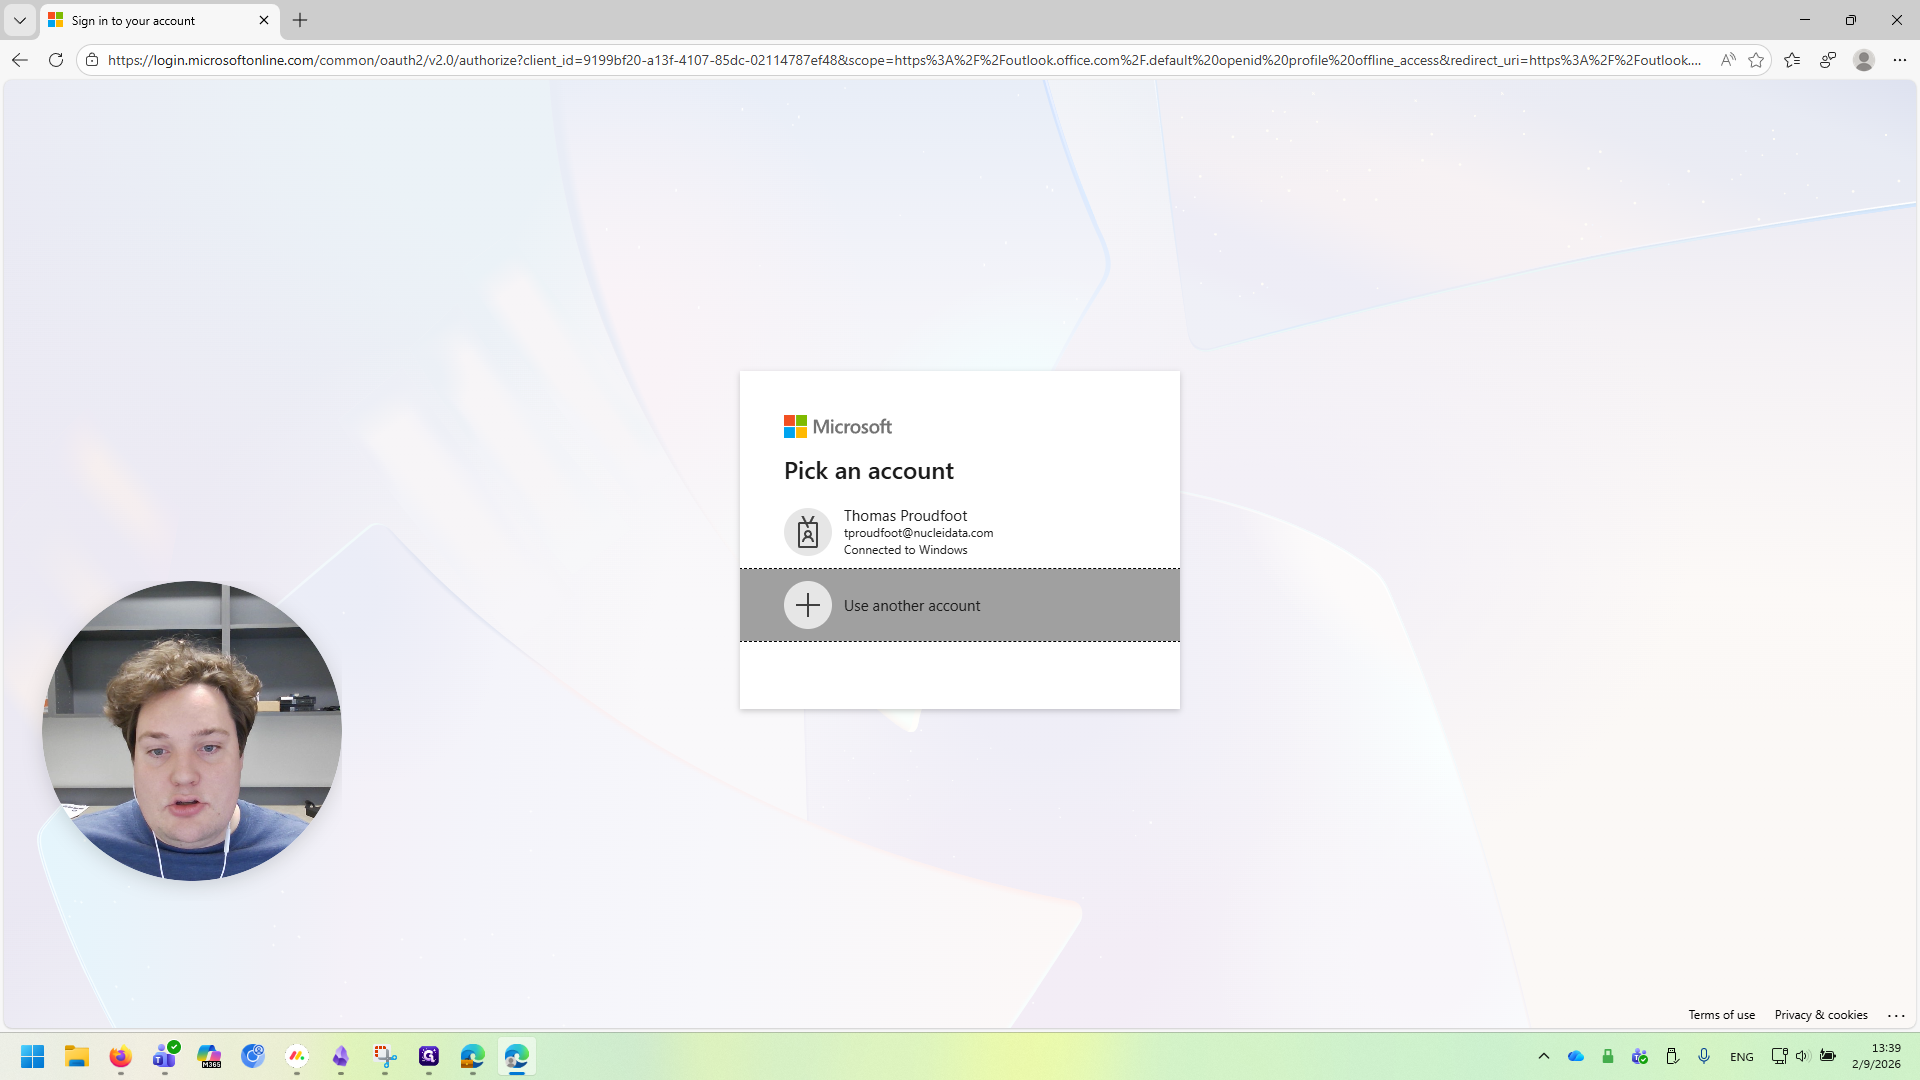
Then, I need to log in again using the account provided by Submer.
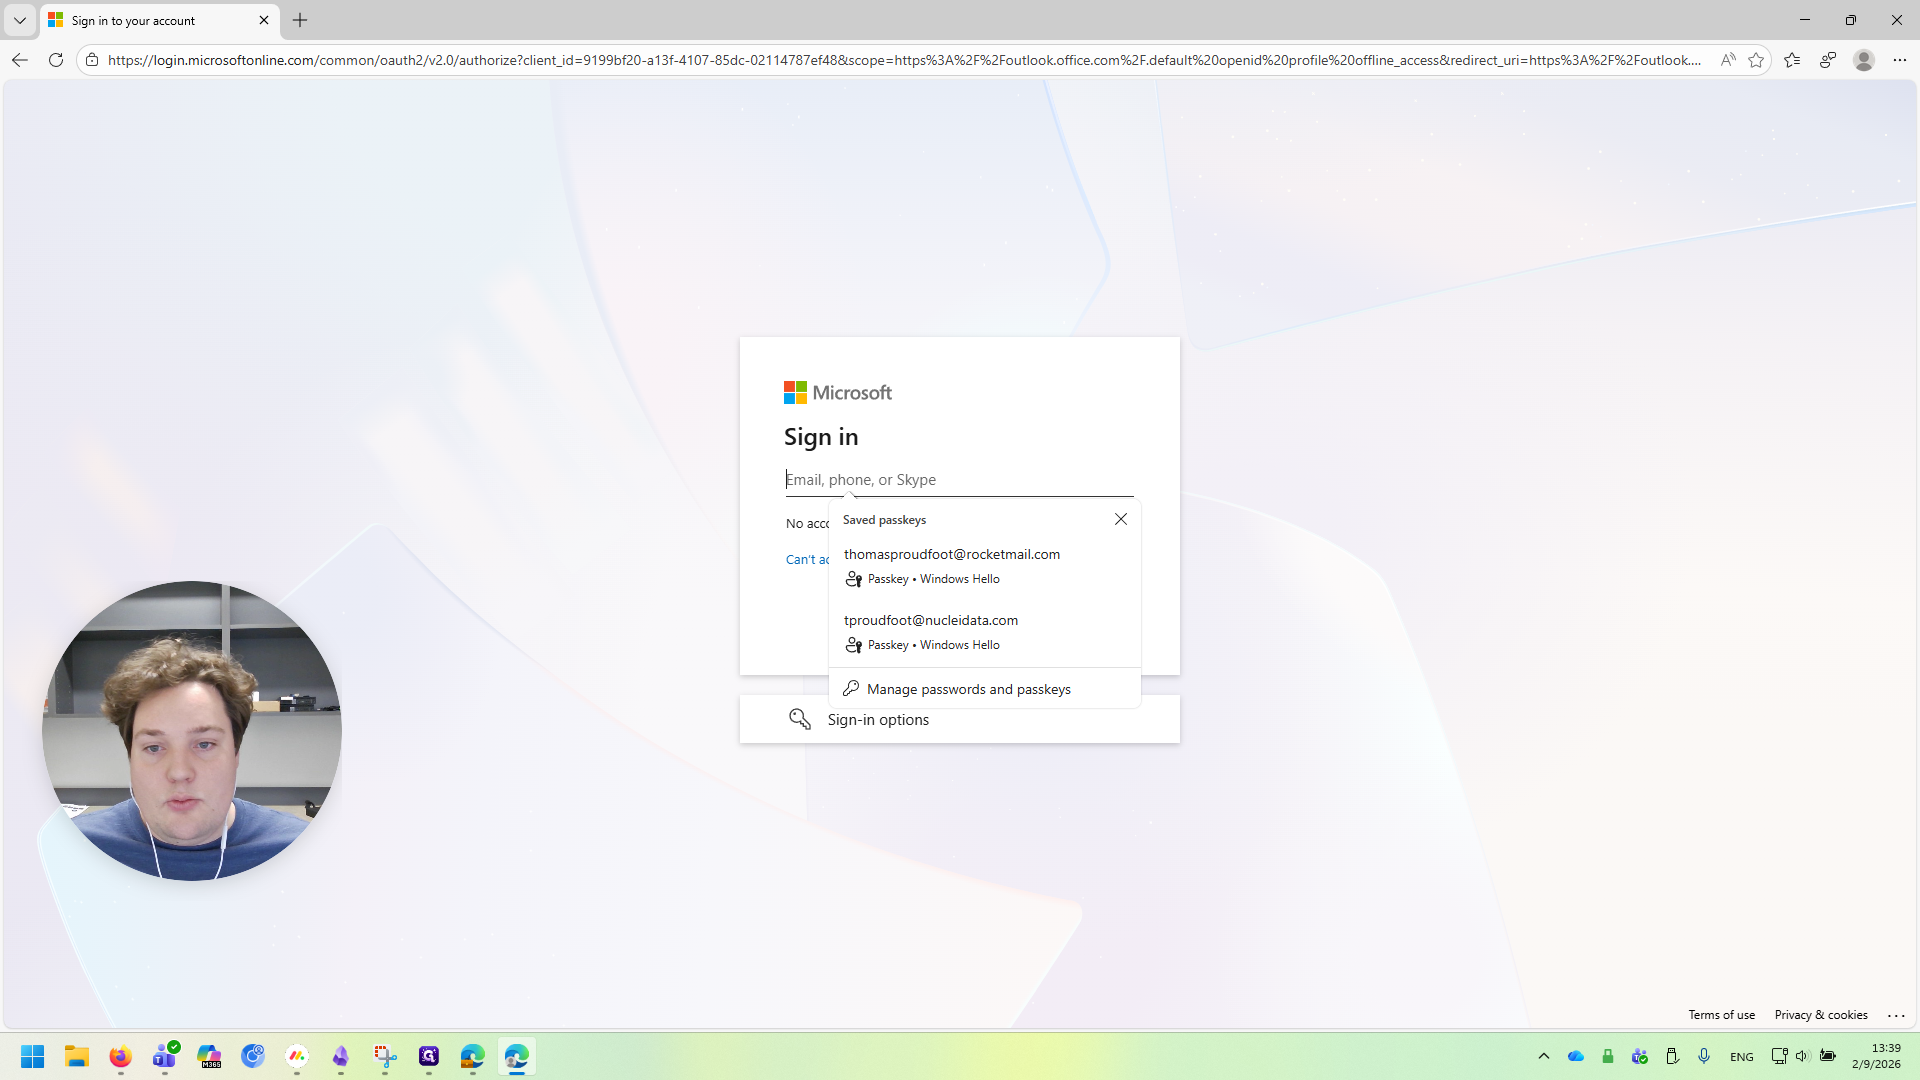
Feel free to save your credentials if prompted. It will only save it to the Submer browser profile.
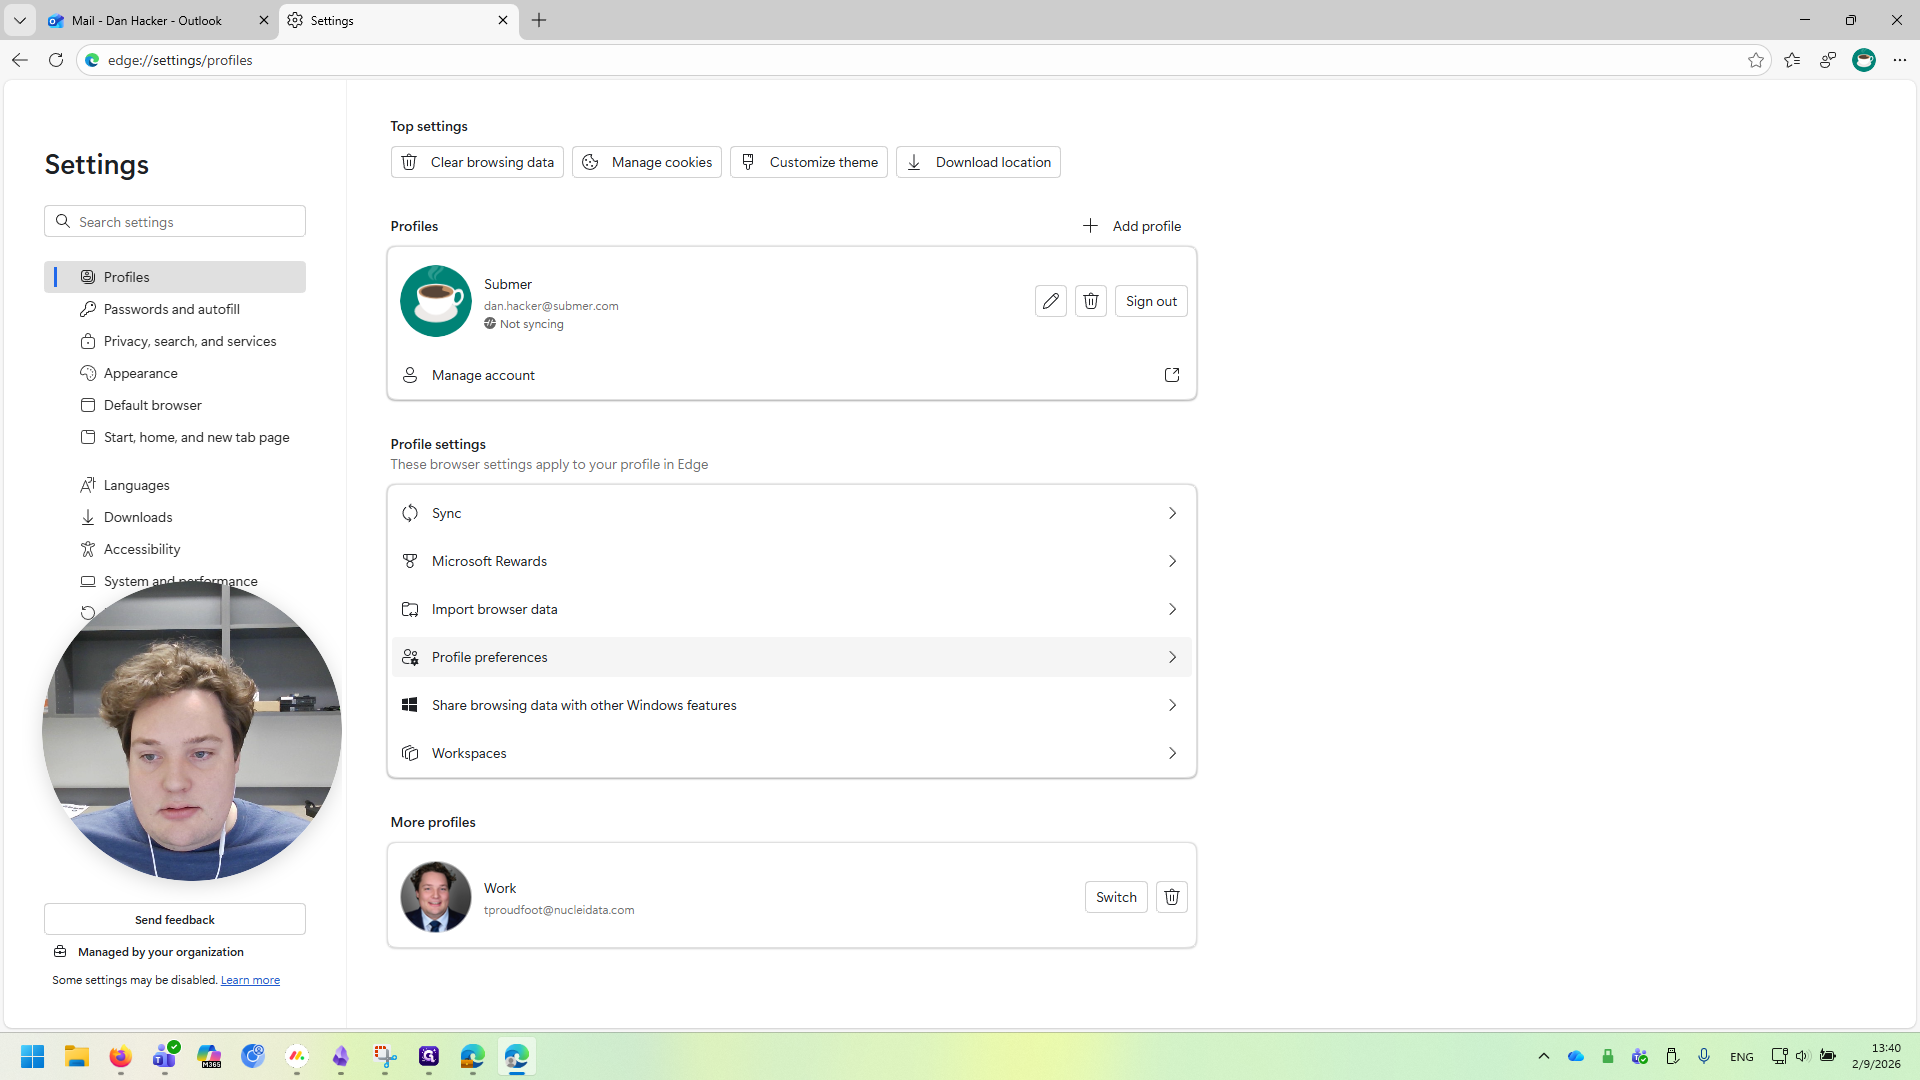
It asks for the authenticator again, so I'll sign in. And there you have it. This is your Submer email. Now that we're logged in, we want all future login attempts to use the Submer email. Go to the top corner, click your profile picture, then select Profile Settings.
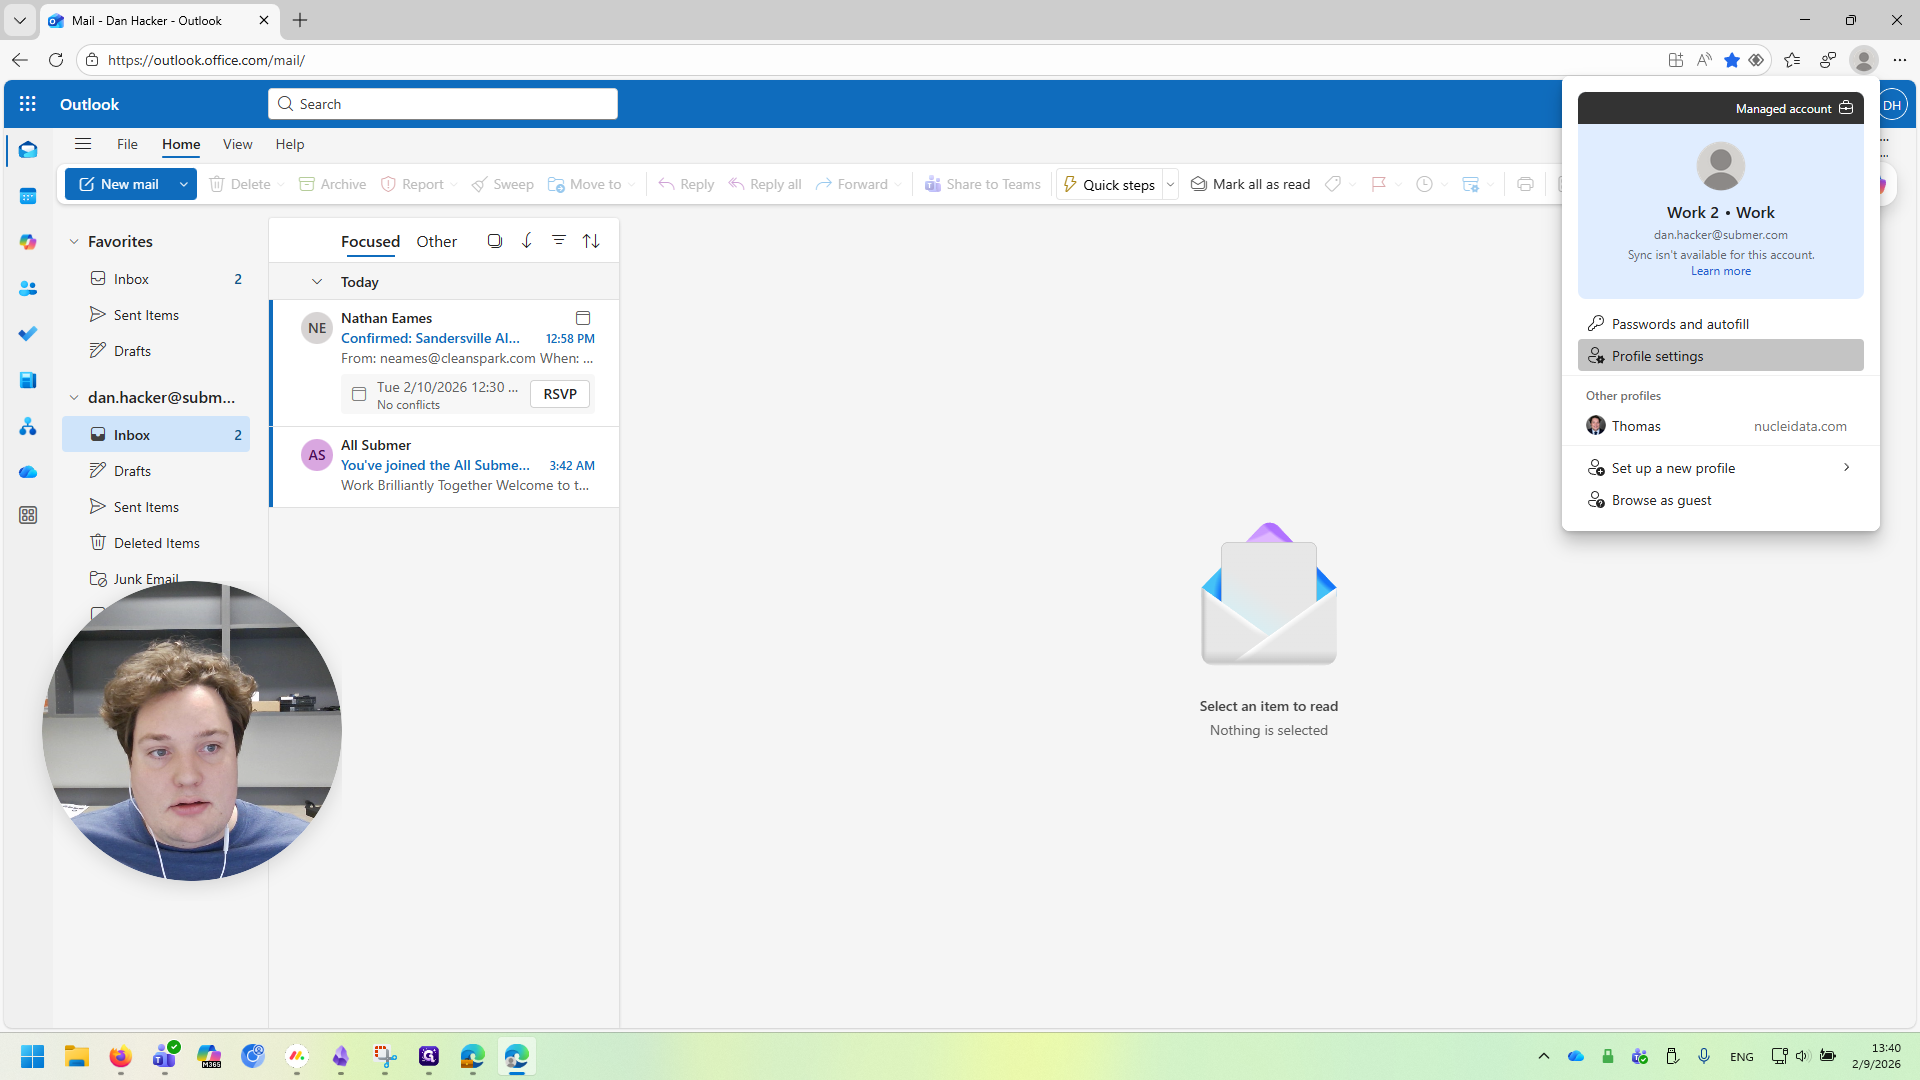
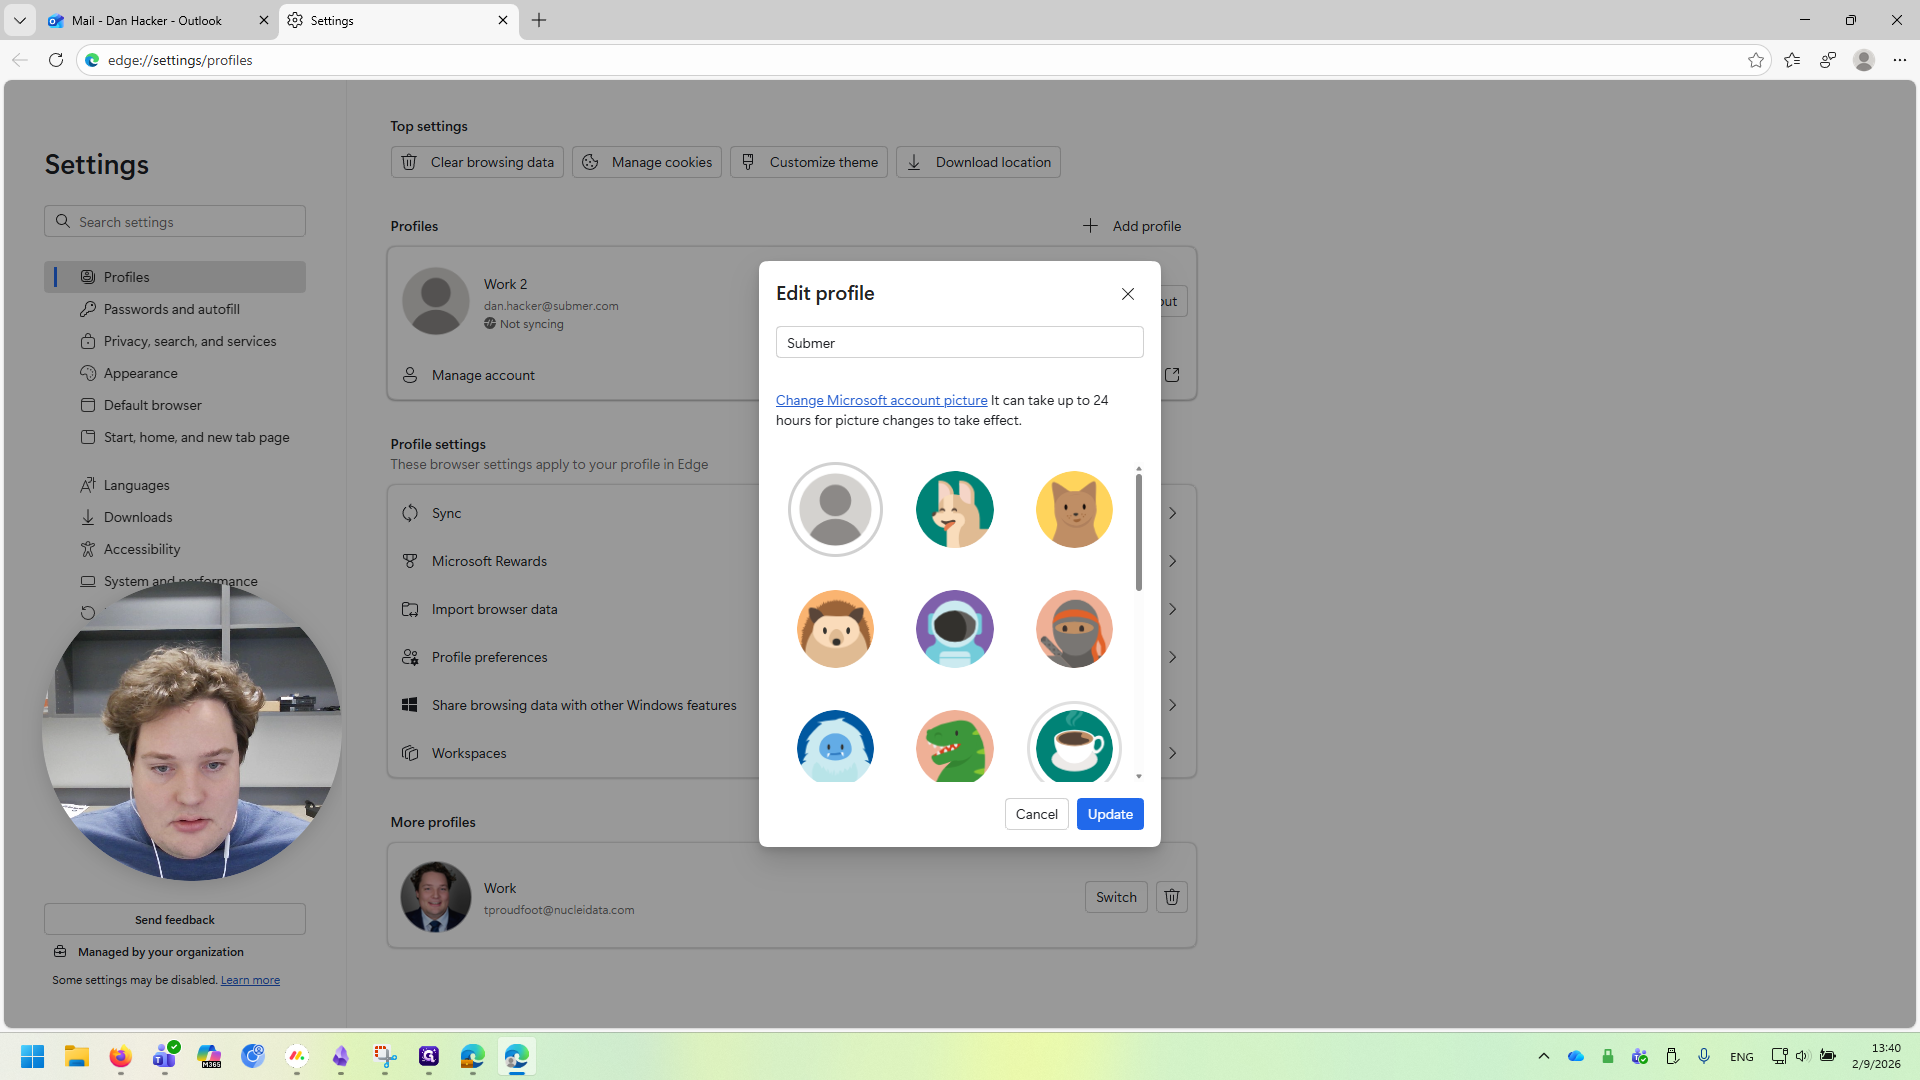
Click the edit button on the profile. Rename it to "Submer" and add a picture to make it easier to recognize.


Next, go to Profile Preferences. Click on "Automatically sign in to sites with your current work or school account."
We want that enabled.
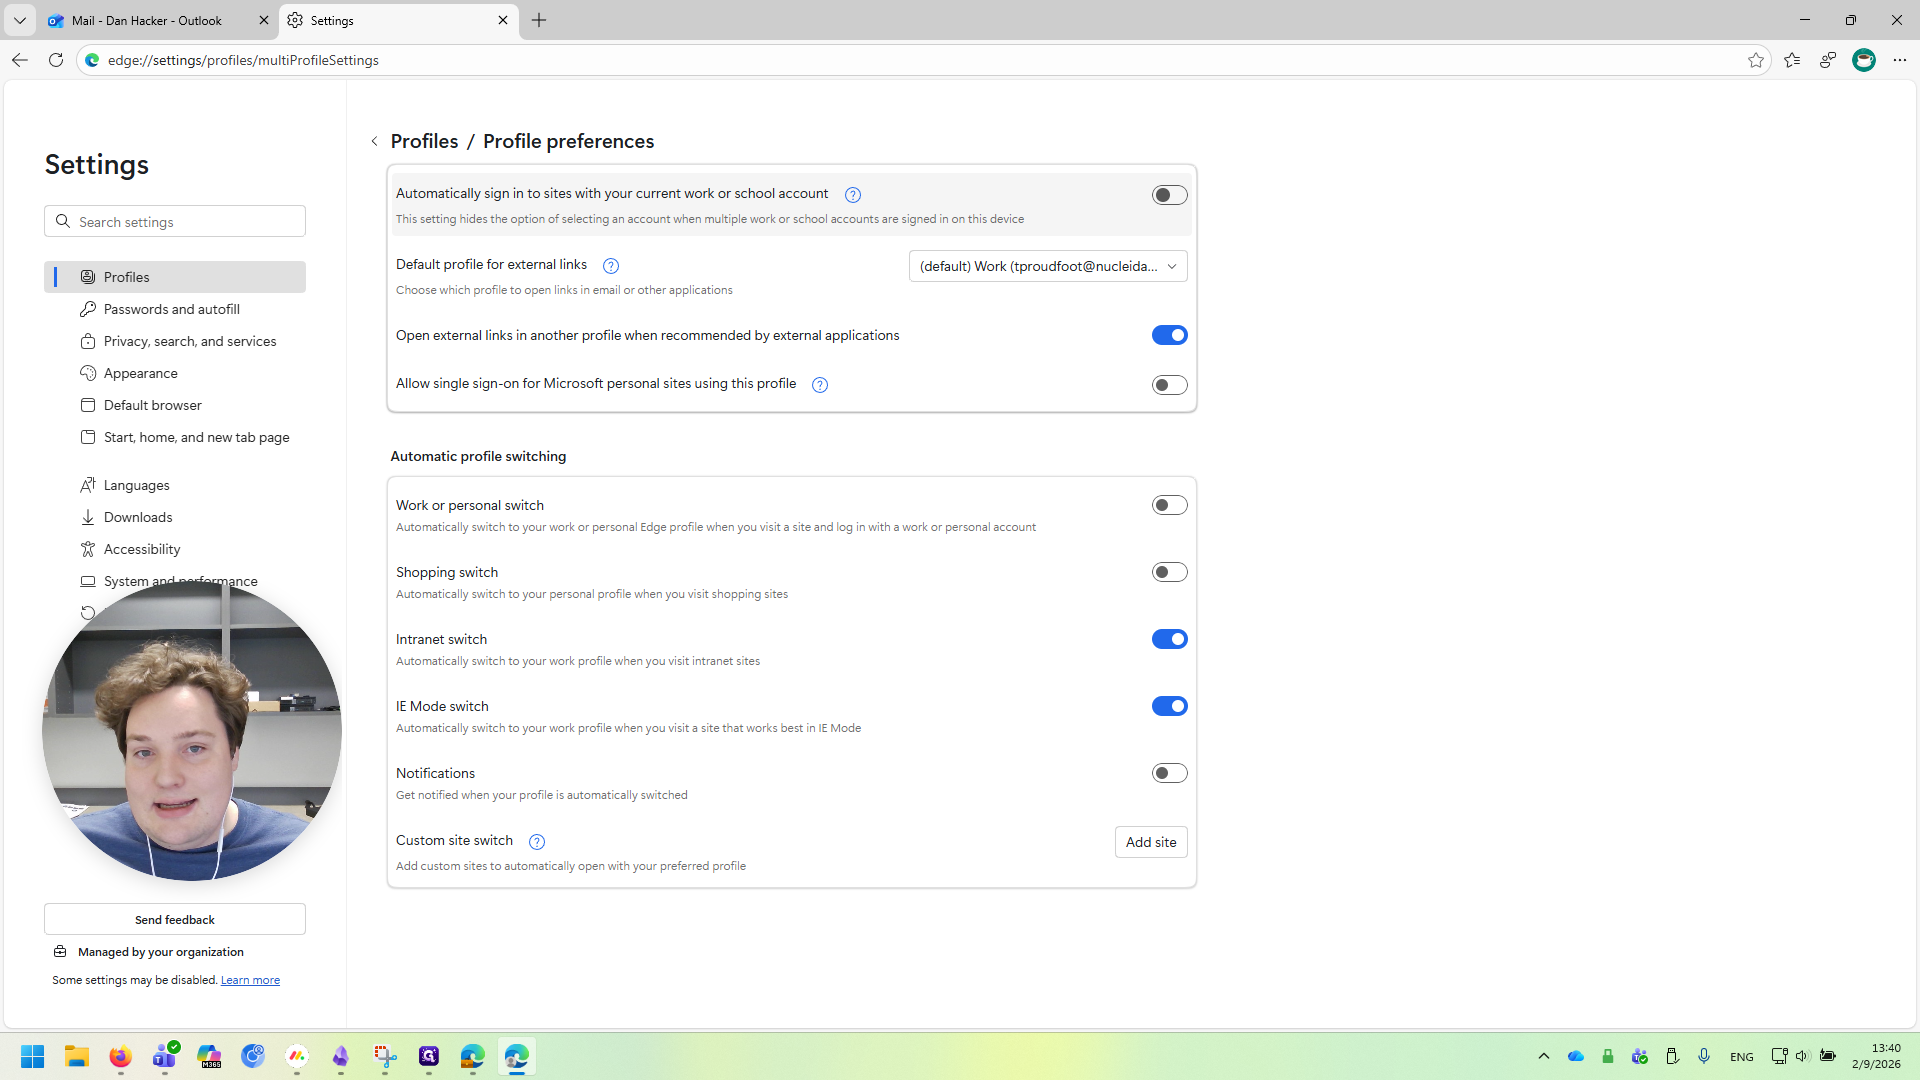
By doing this, we won't need to log in each time. Instead, it will use the default email, which in this case is the Submer email. Once that's selected, we can close this window.

Finally, go to the taskbar, right-click, and select "Pin to Taskbar."

This way, our standard Nucleei email appears on the left. The icon I selected, the coffee cup on the right, represents my Submer email. Now I can close this window, and you'll see it remains on my taskbar.
Whenever I want to work on Submer, I click on this shortcut with the coffee cup, and it opens.
Remember, when you want to work on Submer, click right there. Otherwise, stay on your standard browser. Please reach out with any questions. Thank you.