How to Use the Admin Panel for Client and Appointment Management
Learn how to navigate the Admin Panel to manage clients, appointments, medical records, and more. Discover features like client notes, SMS messaging, and scheduling.
In this guide, we'll learn how to effectively use the Admin Panel to manage client and appointment information. By navigating the Client Management tab, you can access client details, view and add various notes, and manage medical records. You can also handle SMS communications, view pet details, and manage memberships. This guide will help you streamline your workflow and ensure you have all necessary information at your fingertips.
Let's get started
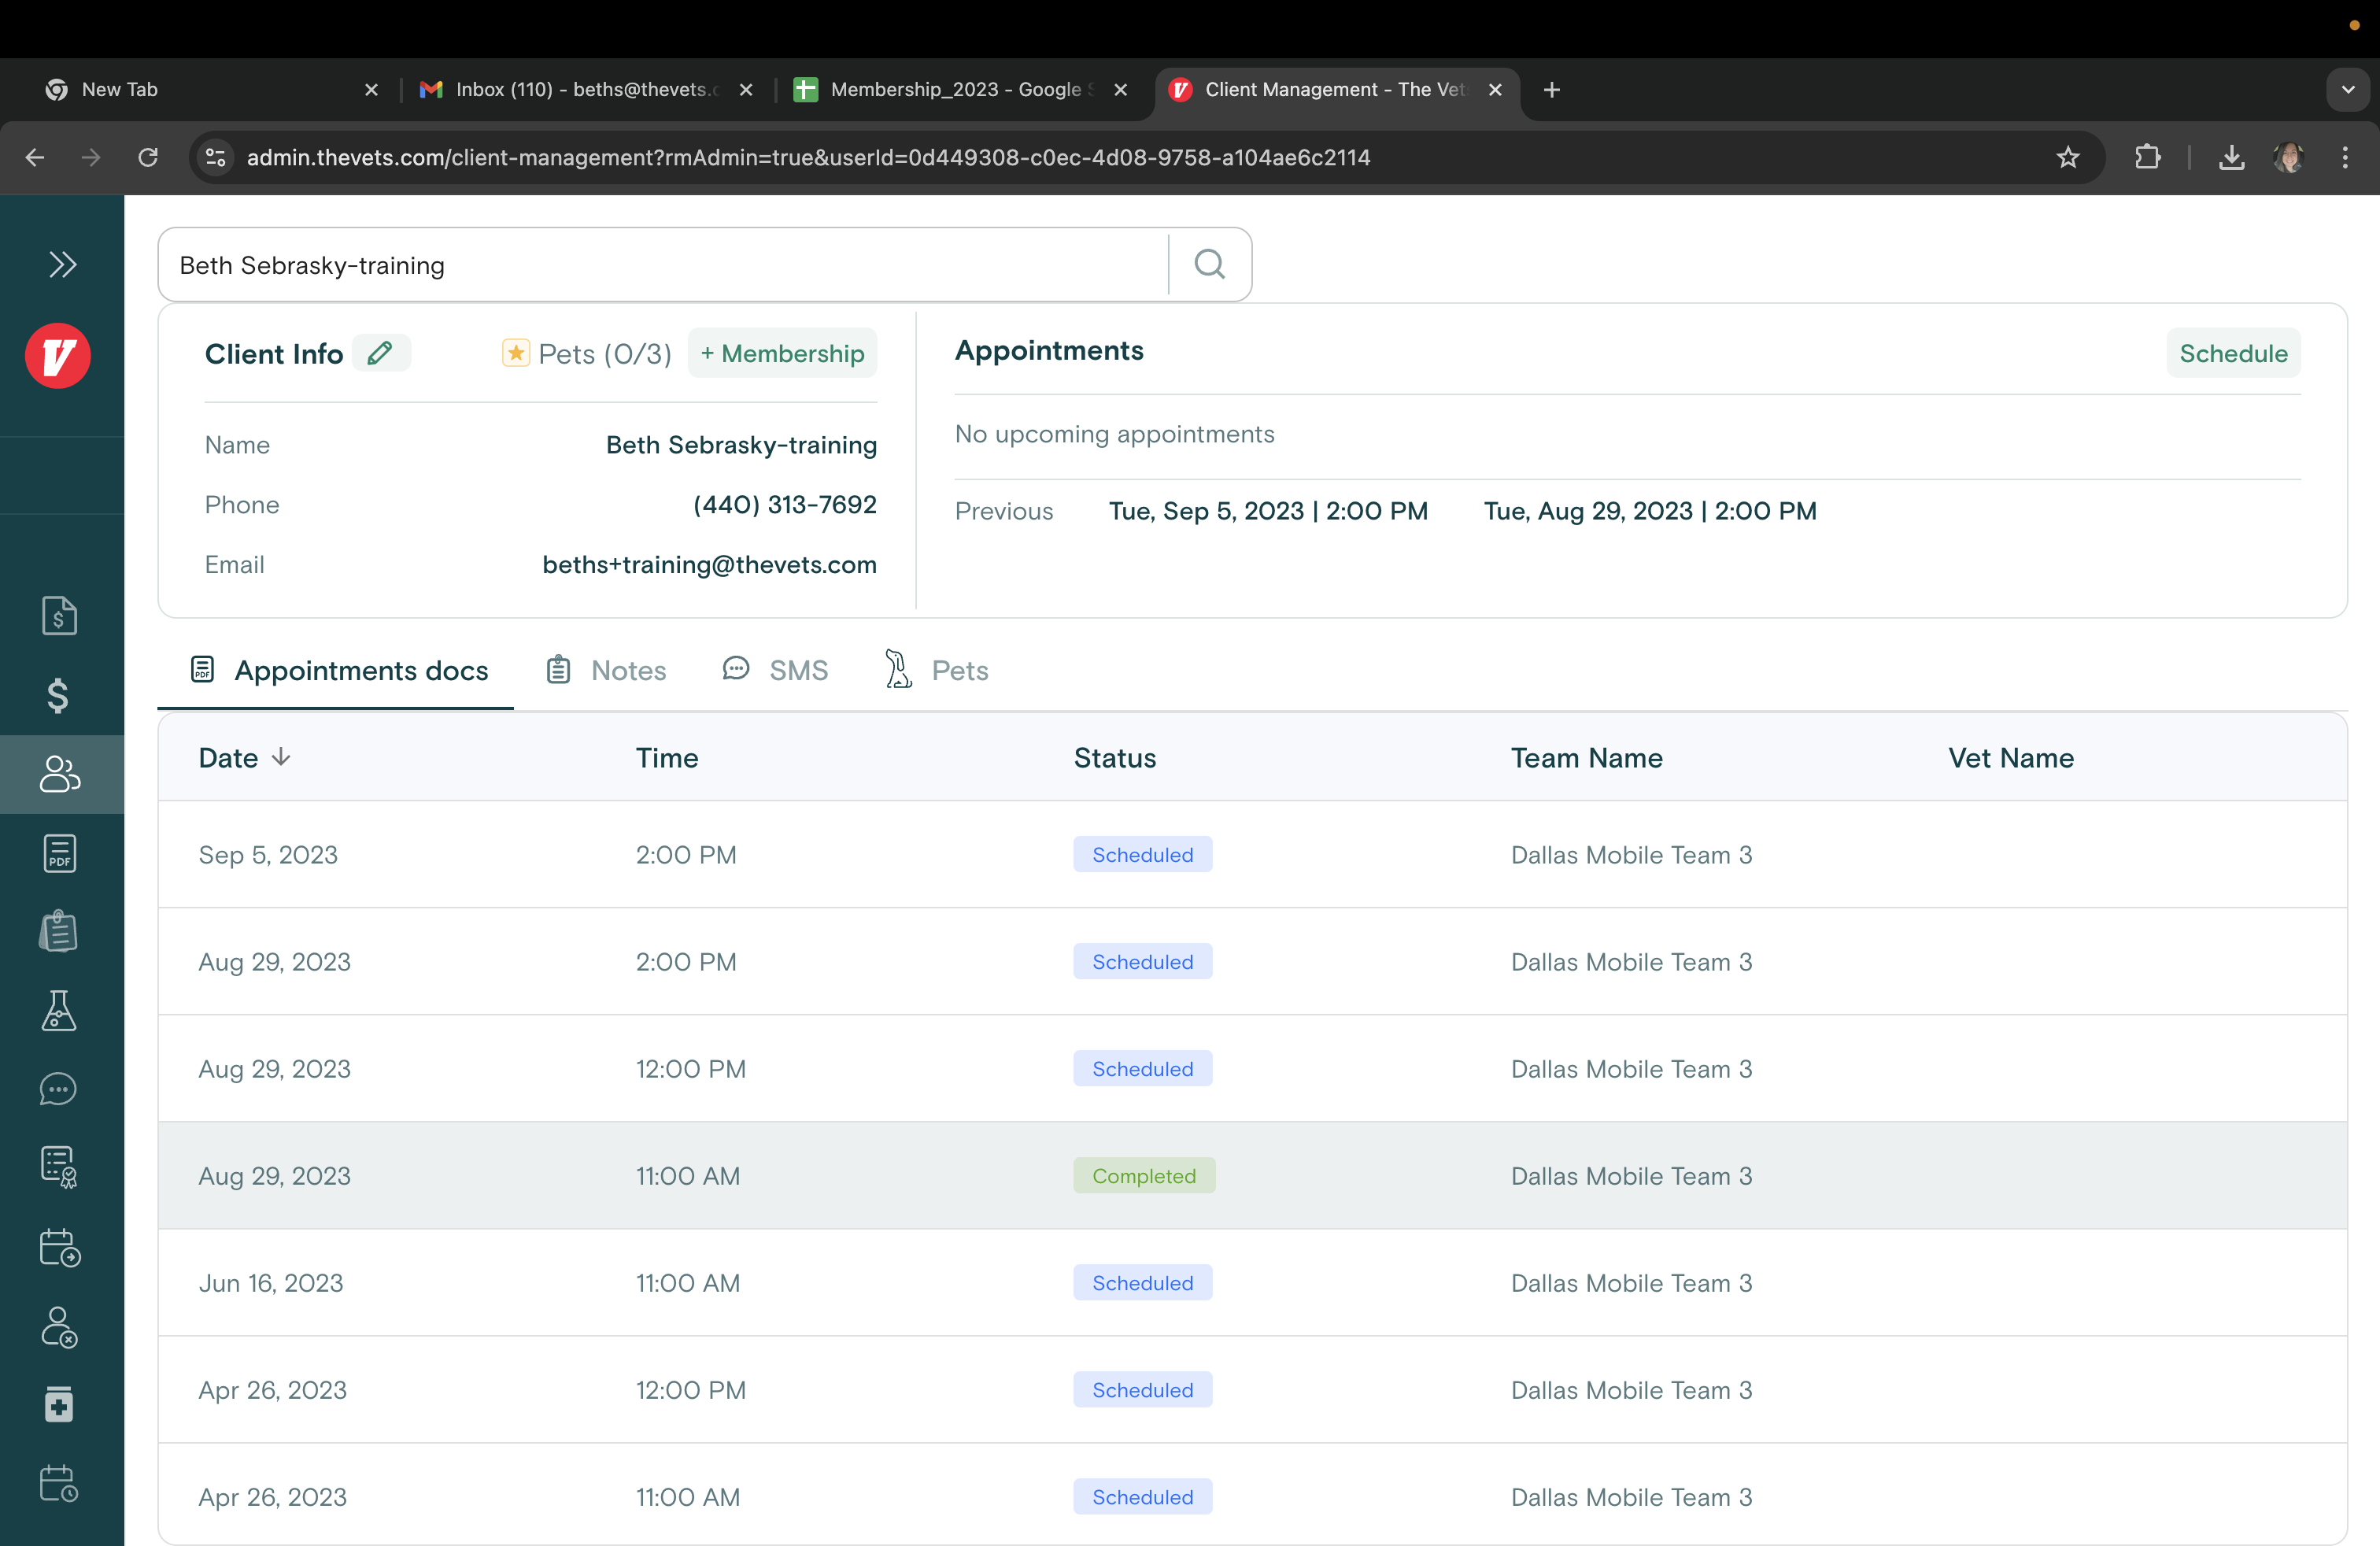
When using the Admin Panel, go to the Client Management tab to find all the information you need for clients and appointments.

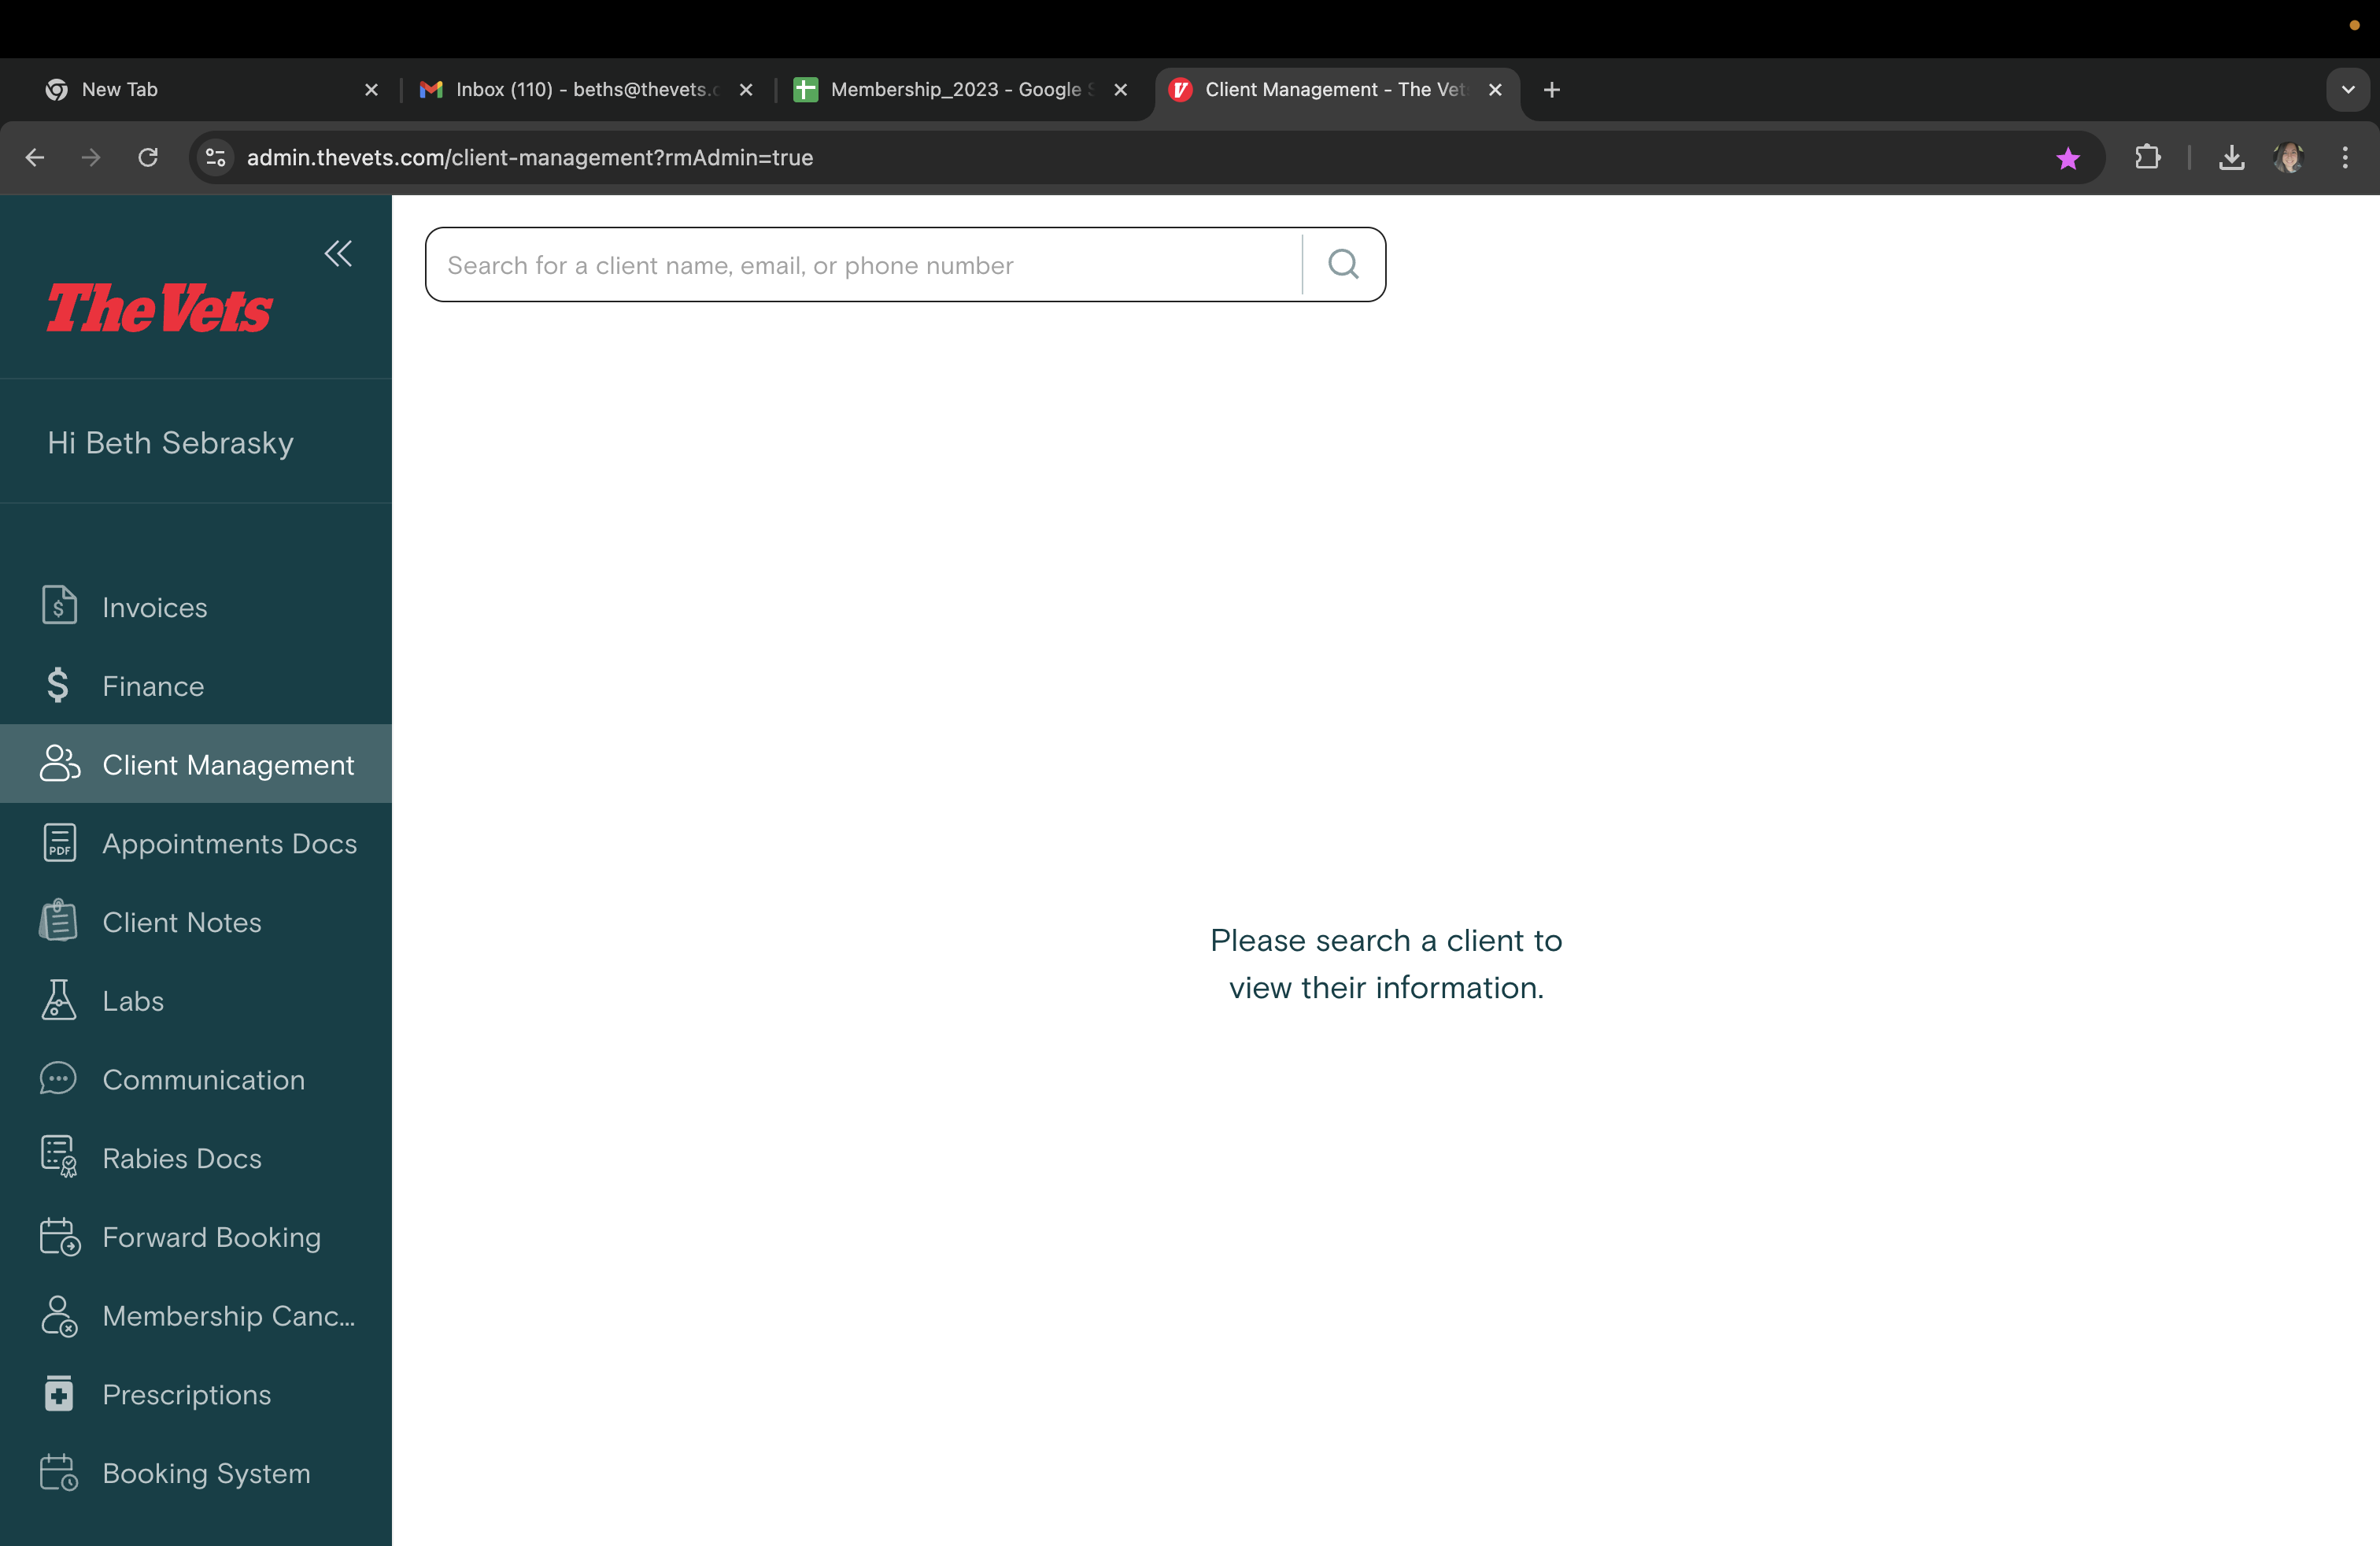
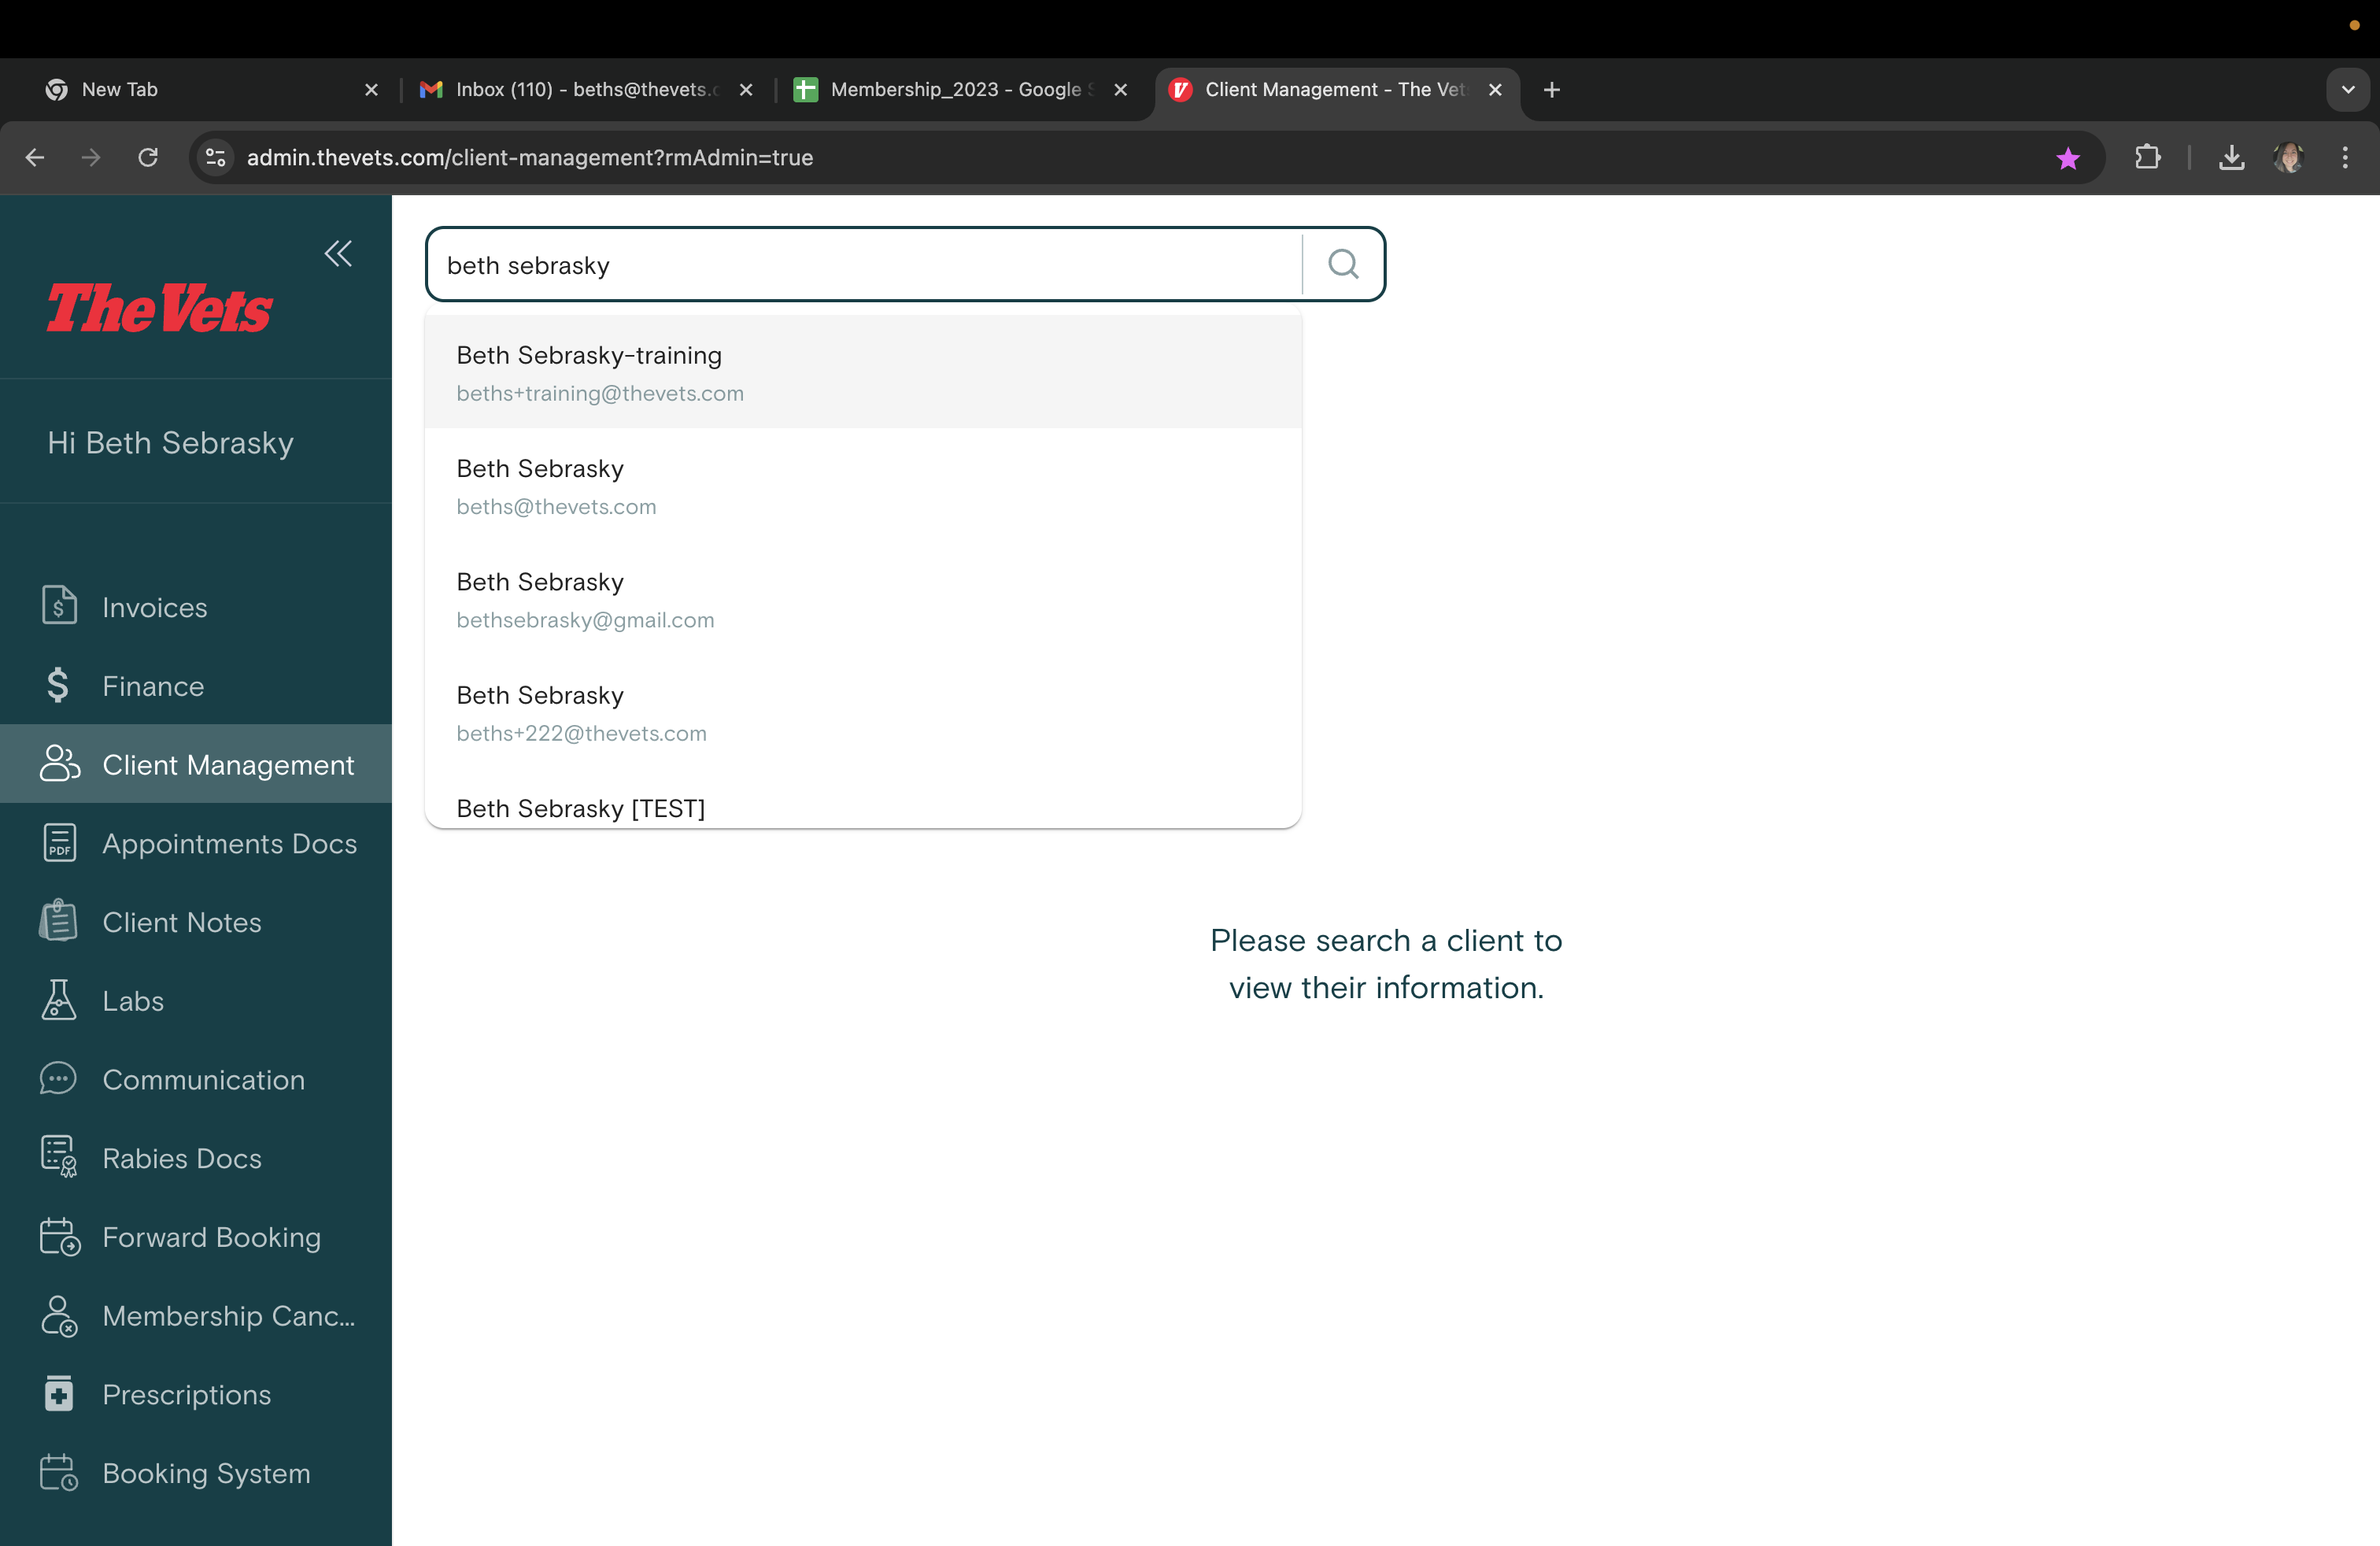
Search clients by name, email, or phone number.
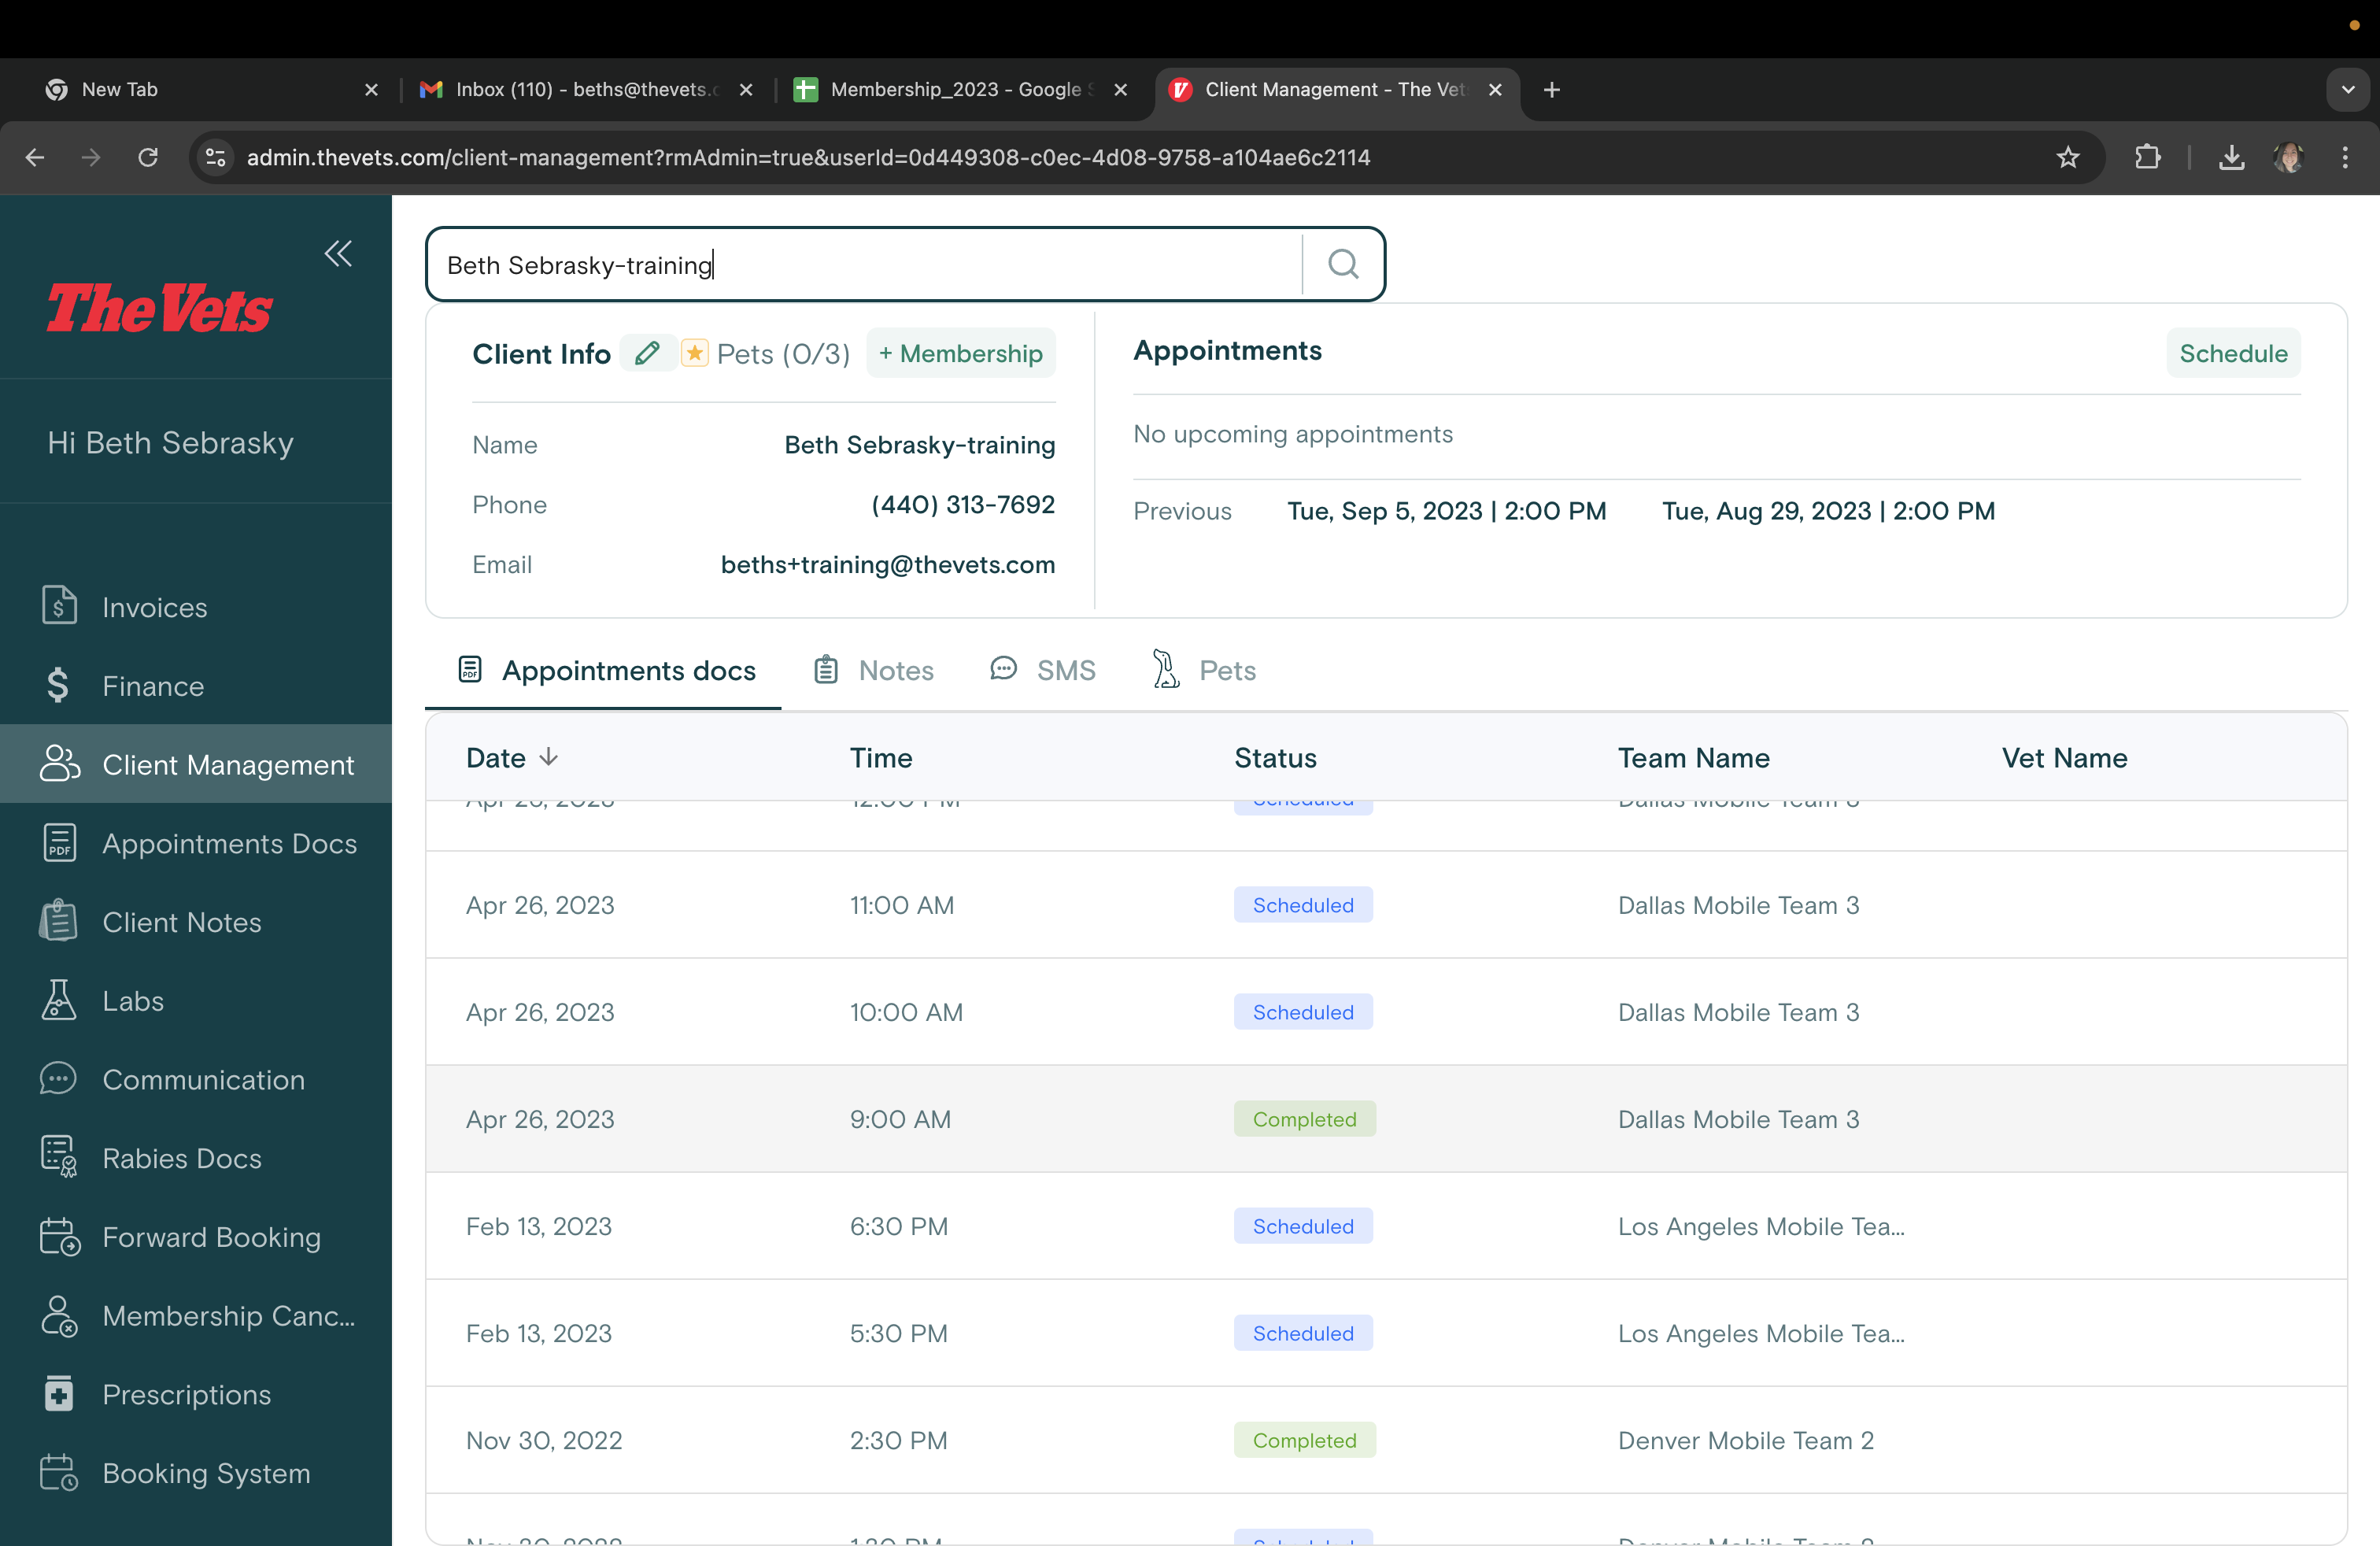
Clicking on an appointment will display any relevant documents, depending on the status of the appointment. The documents you can expect to see are as follows:
Scheduled: No documents
Partially Paid: Receipts
Paid: Invoice and Receipts
Completed: Invoice, Receipts, Session Summary, External Prescriptions, Rabies Certificates, Membership Consent Forms.
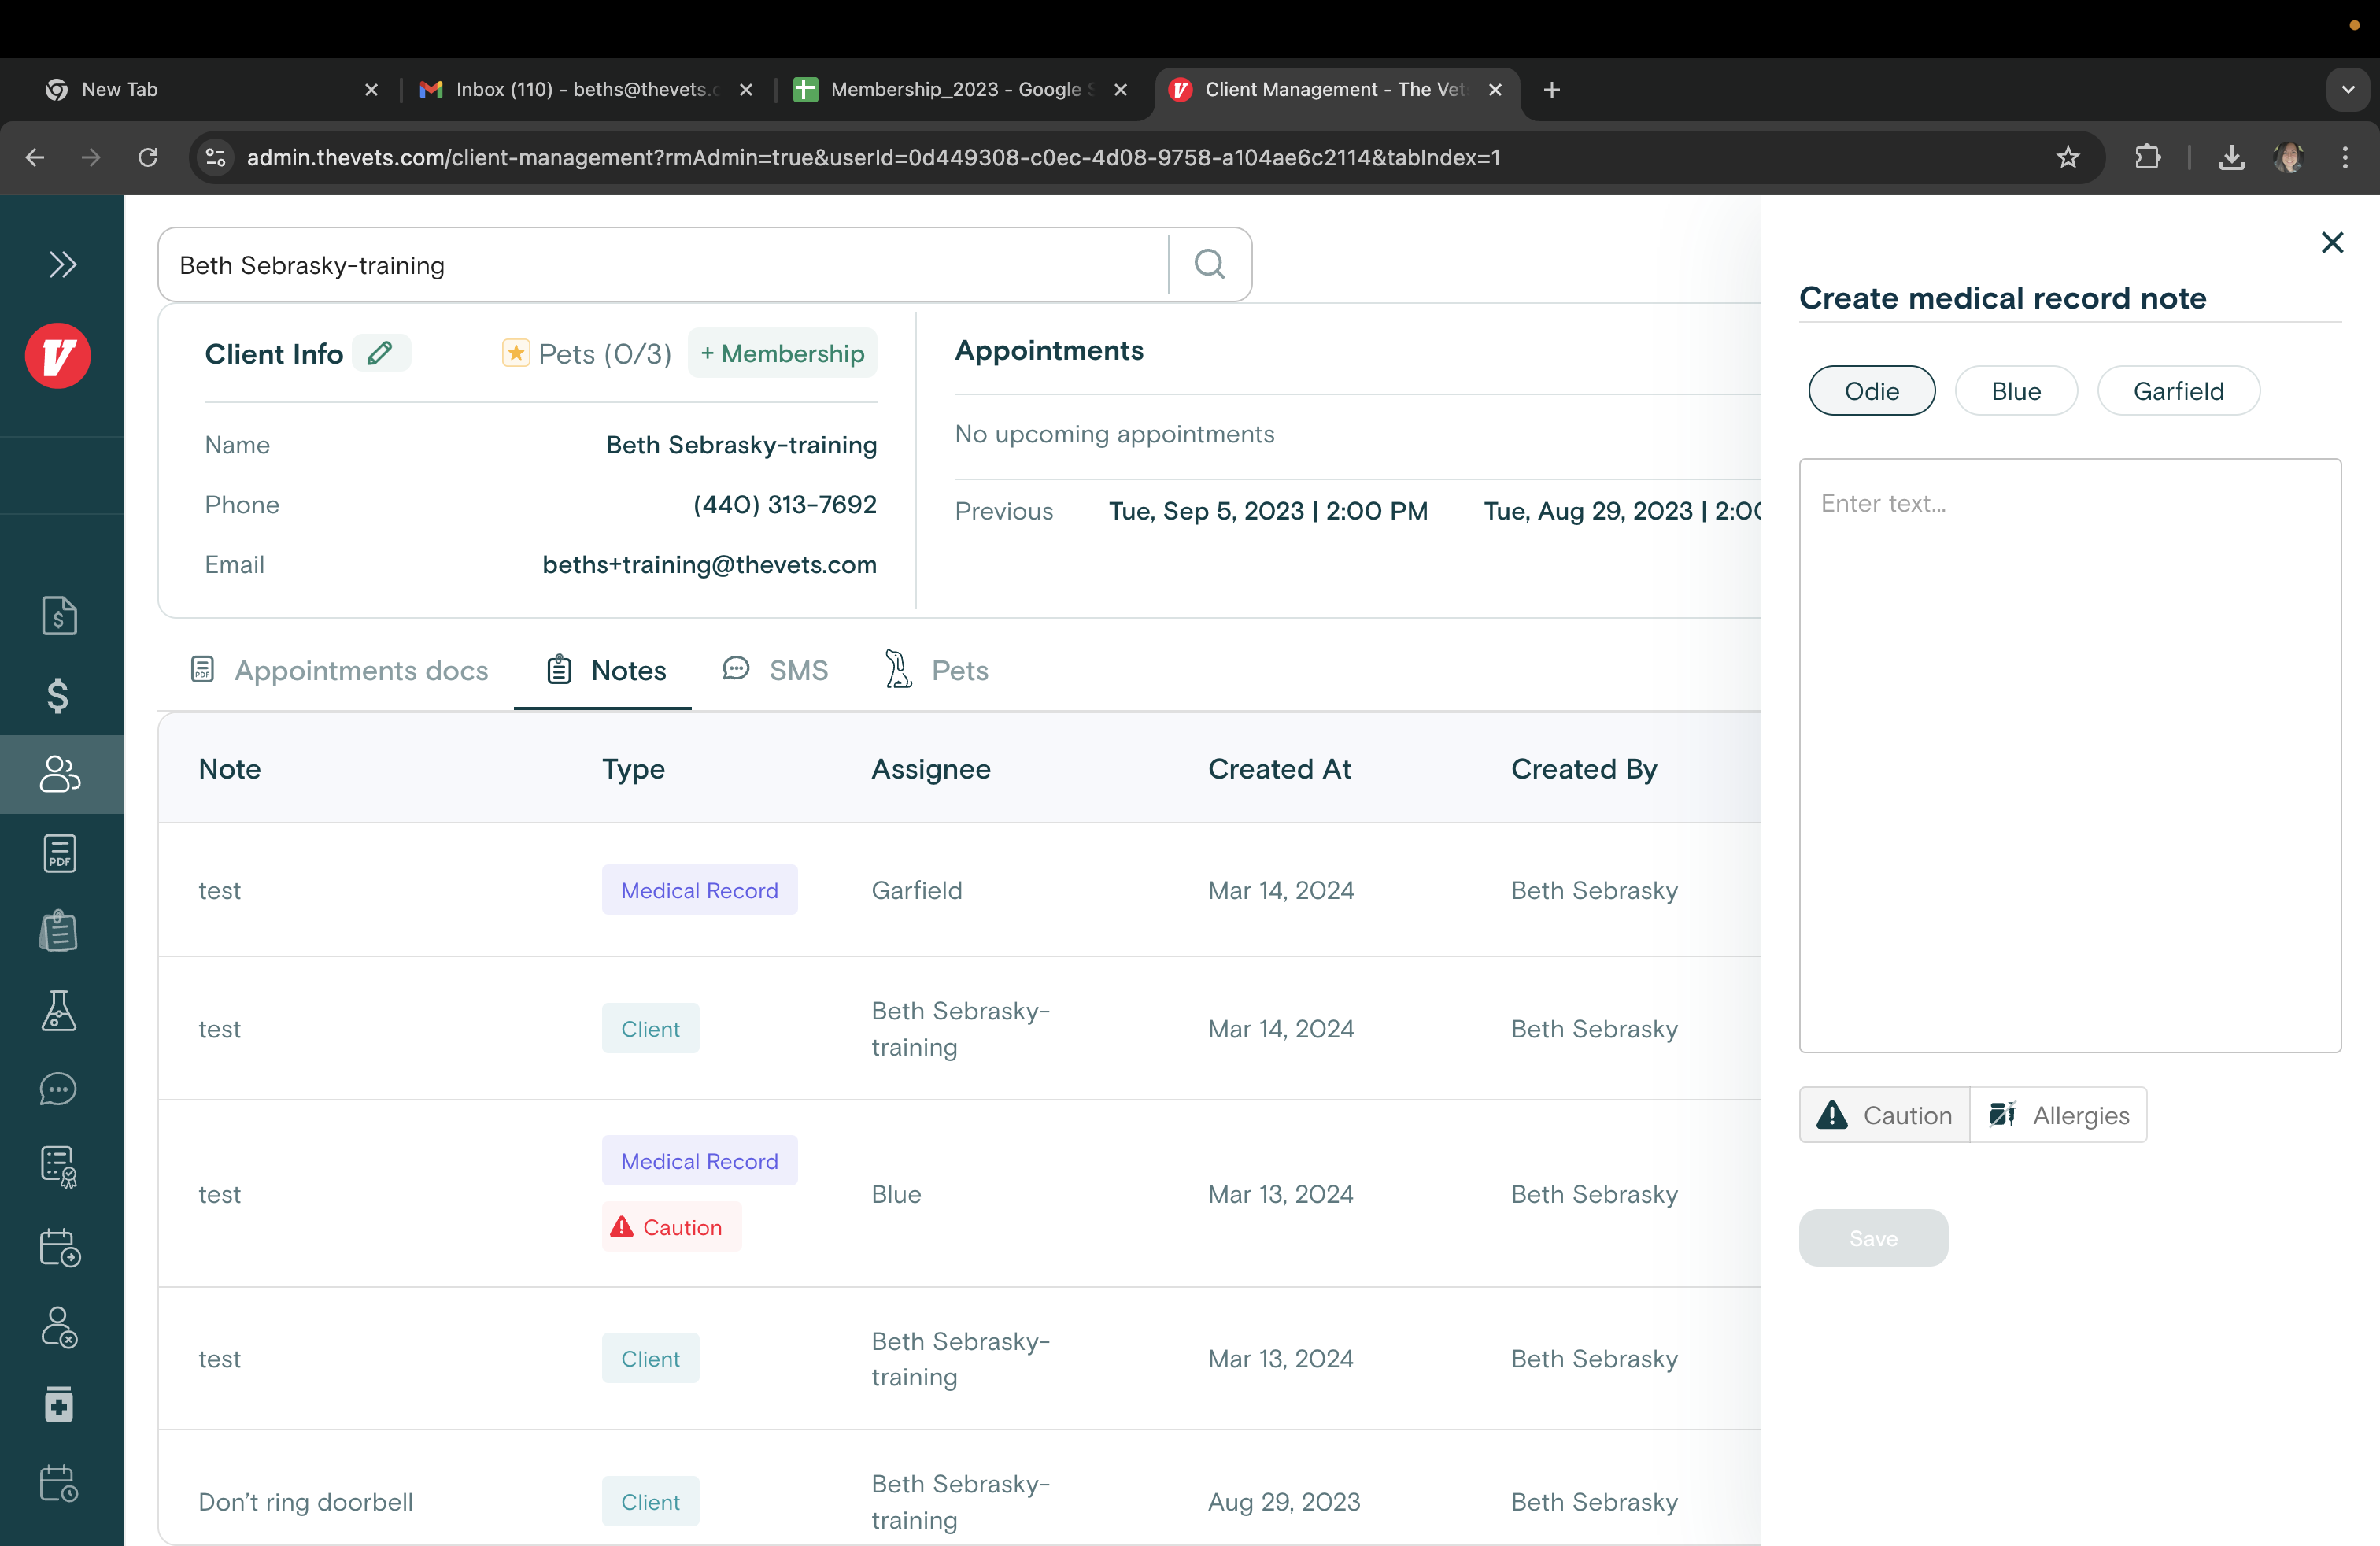
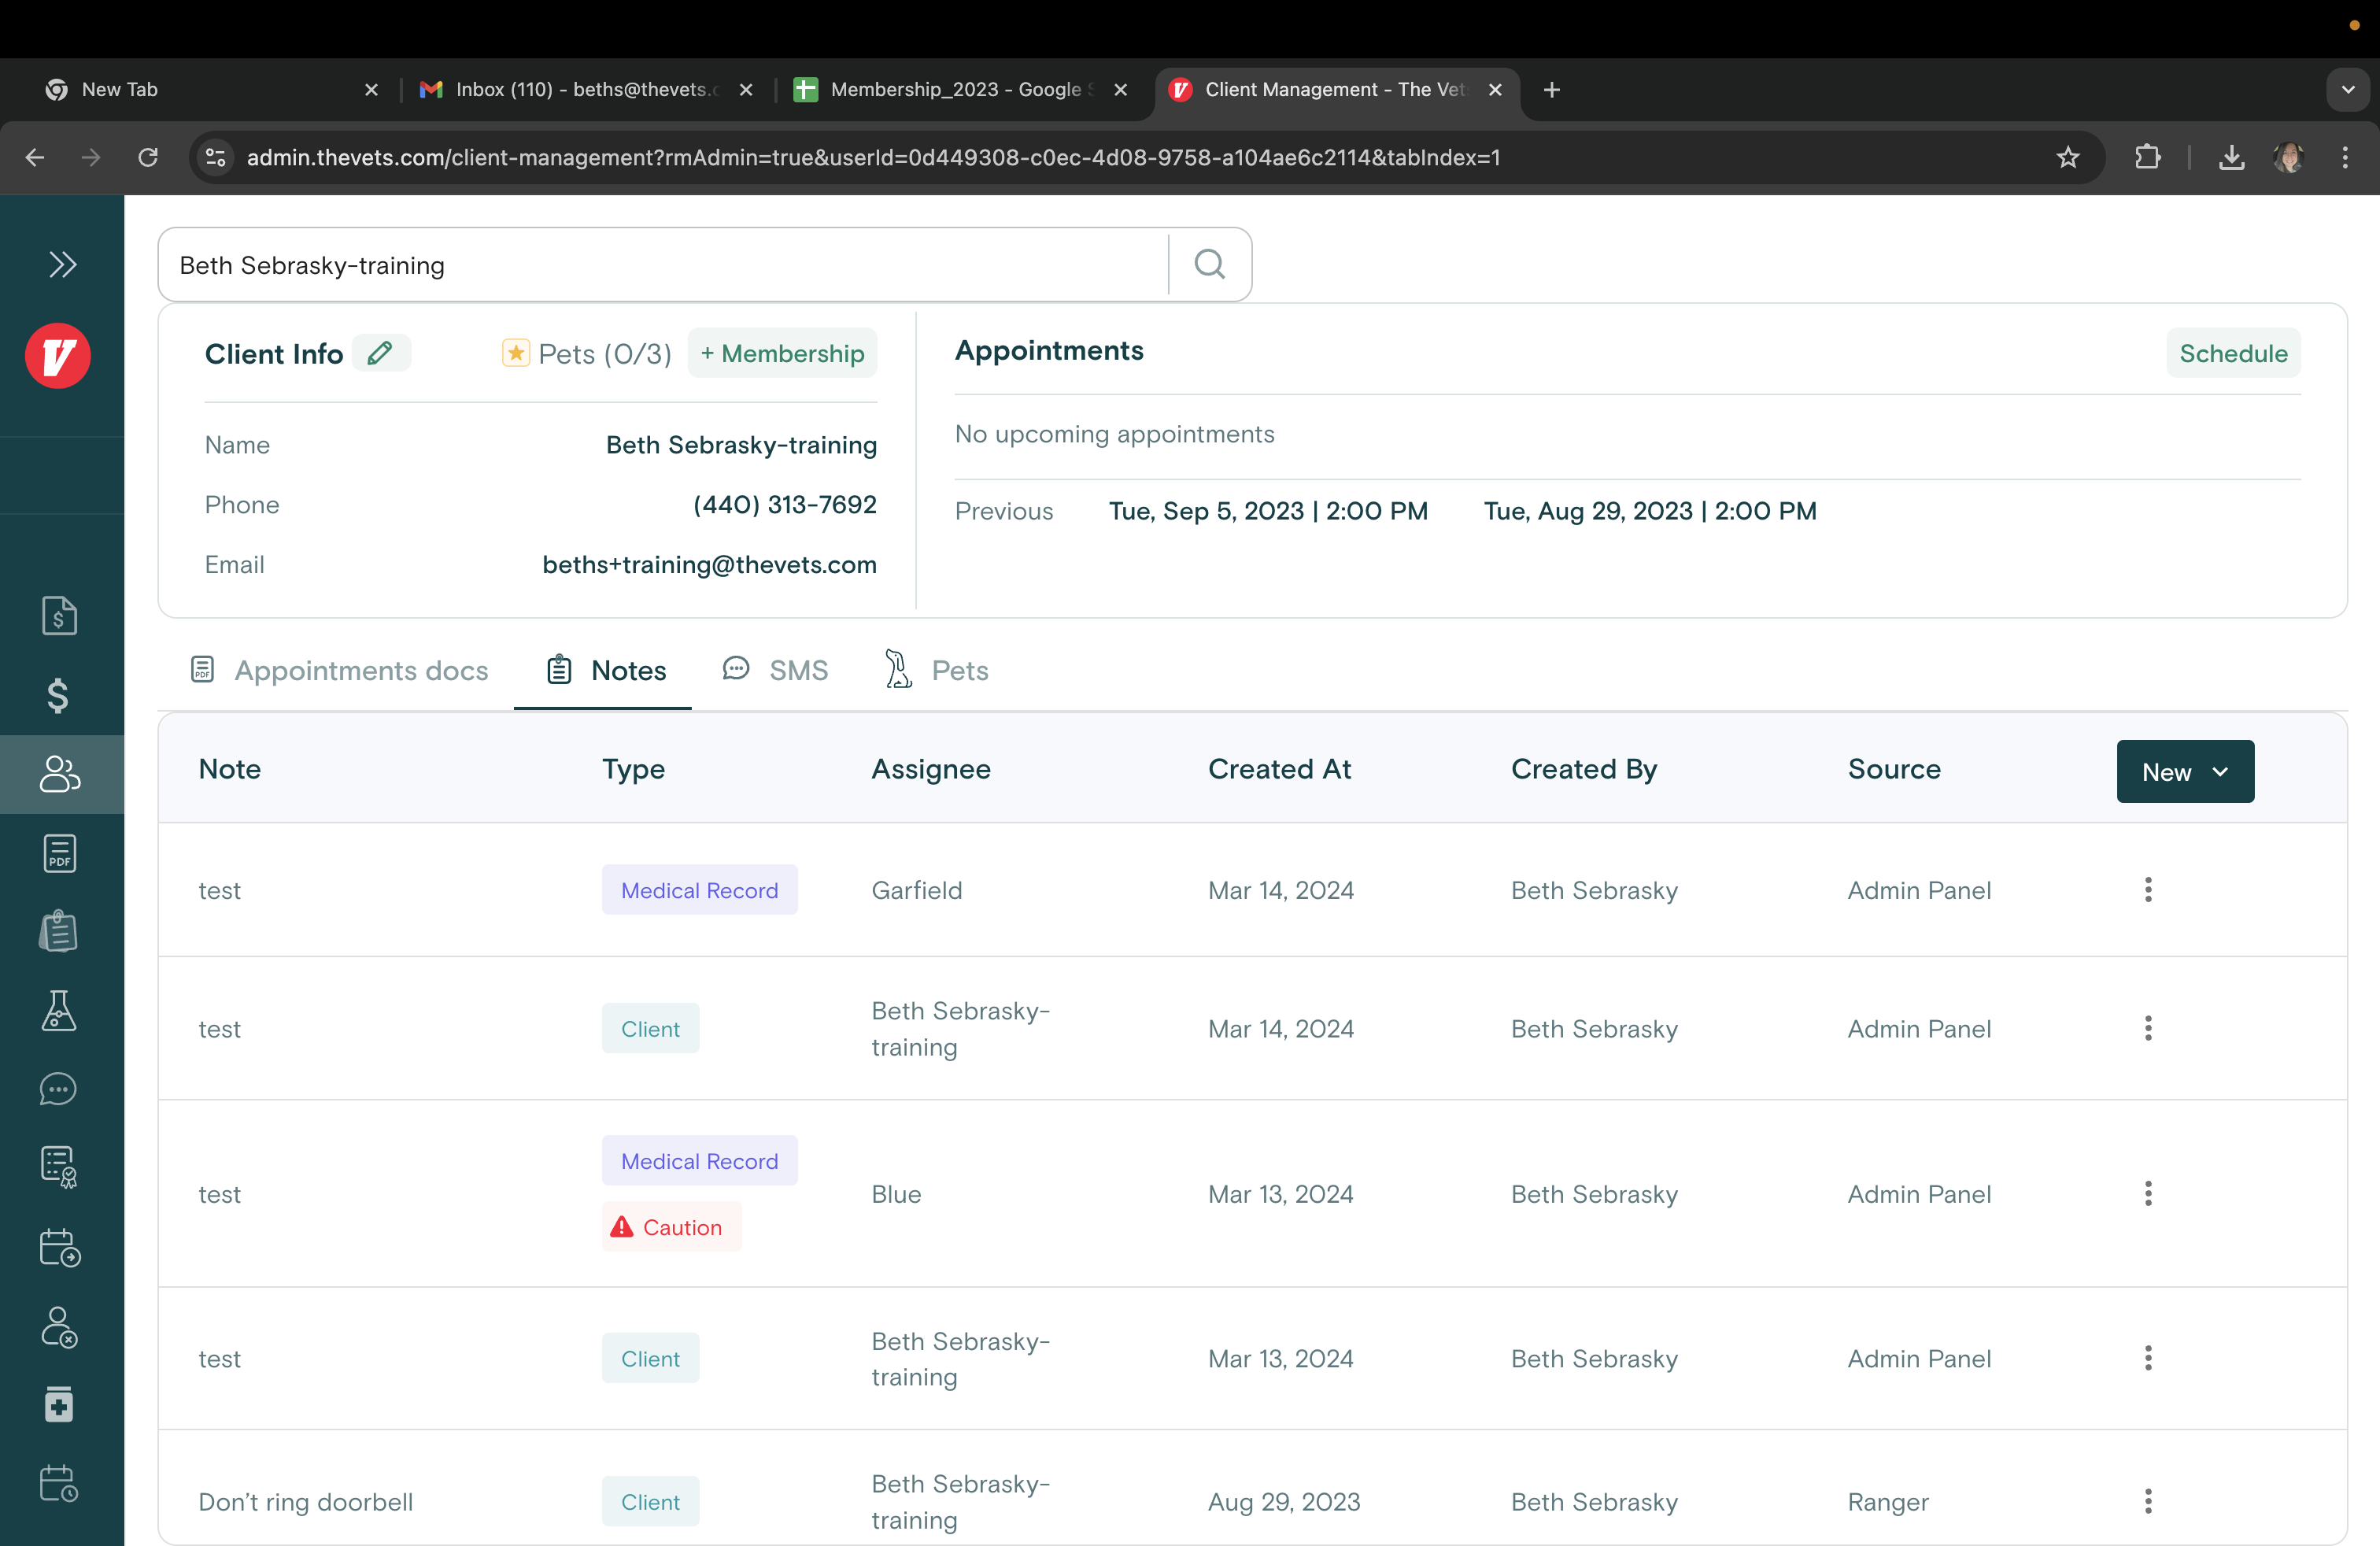
Clicking on the Notes tab will allow you to view and create client and medical record notes.

You can use the new button to create a client note or a medical record note. Client notes will not be visible on the medical record. Medical record notes need to be attached to a pet, and then they will show up on the medical record for that pet.
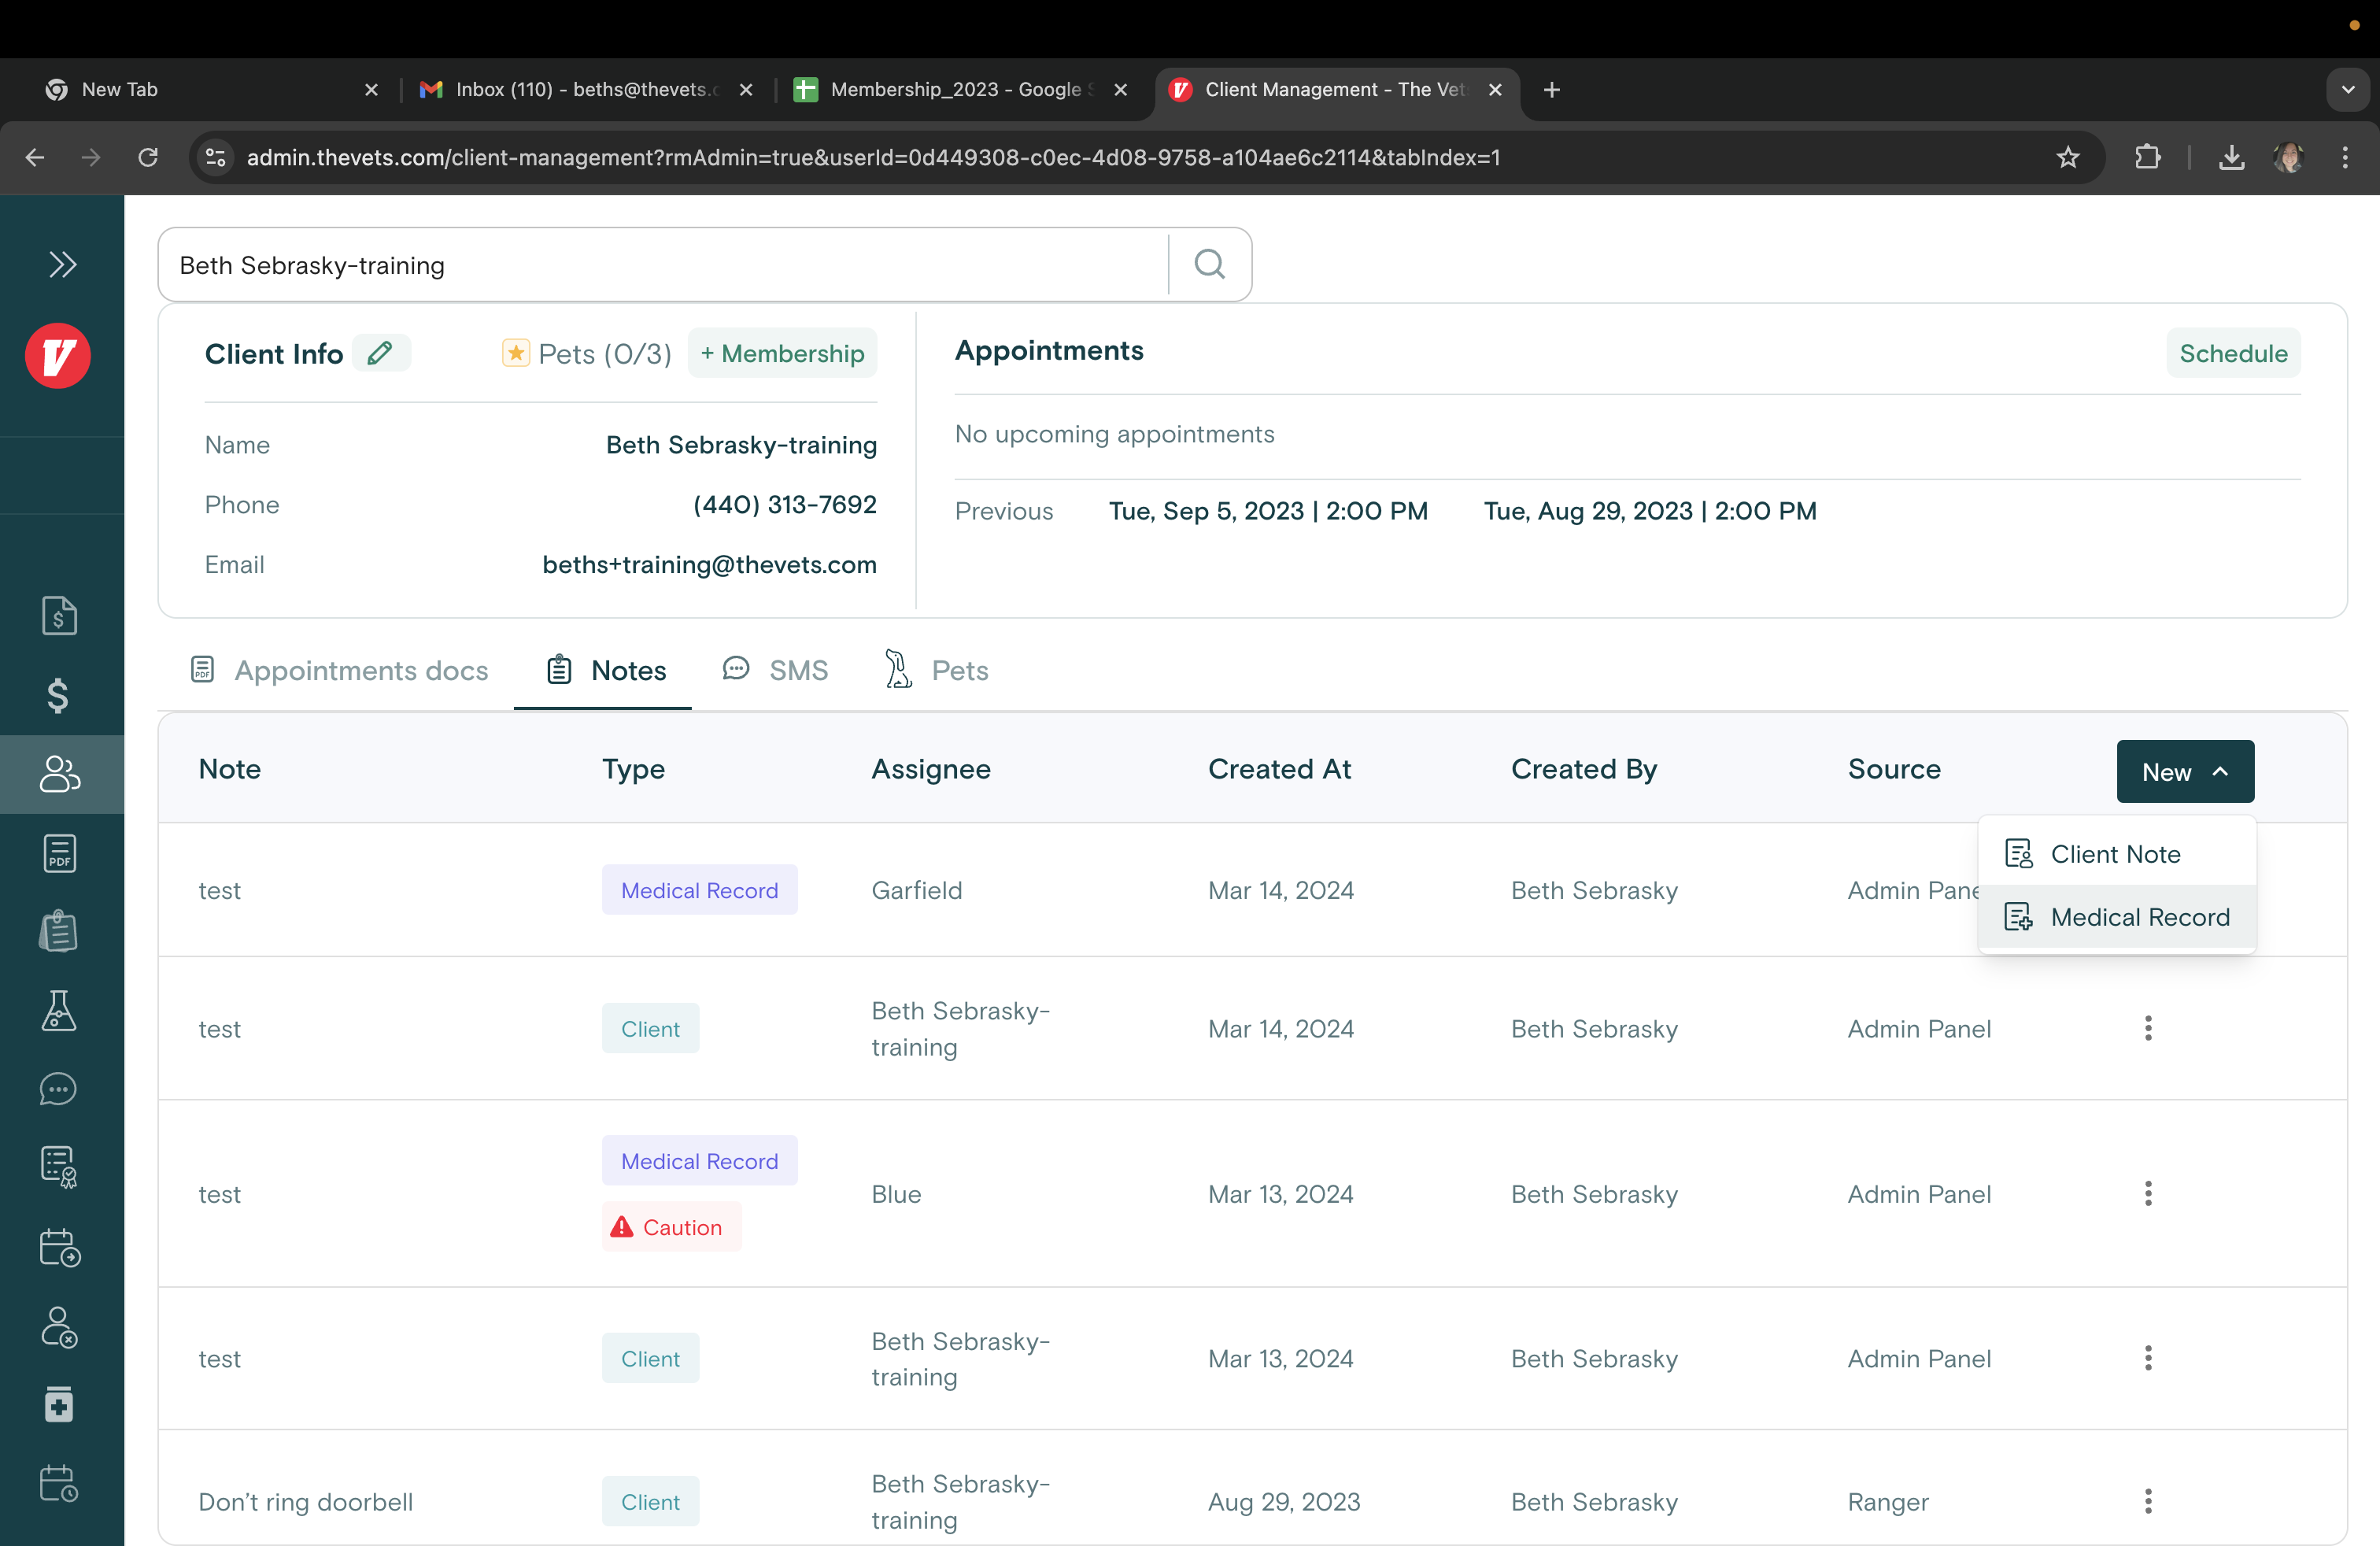
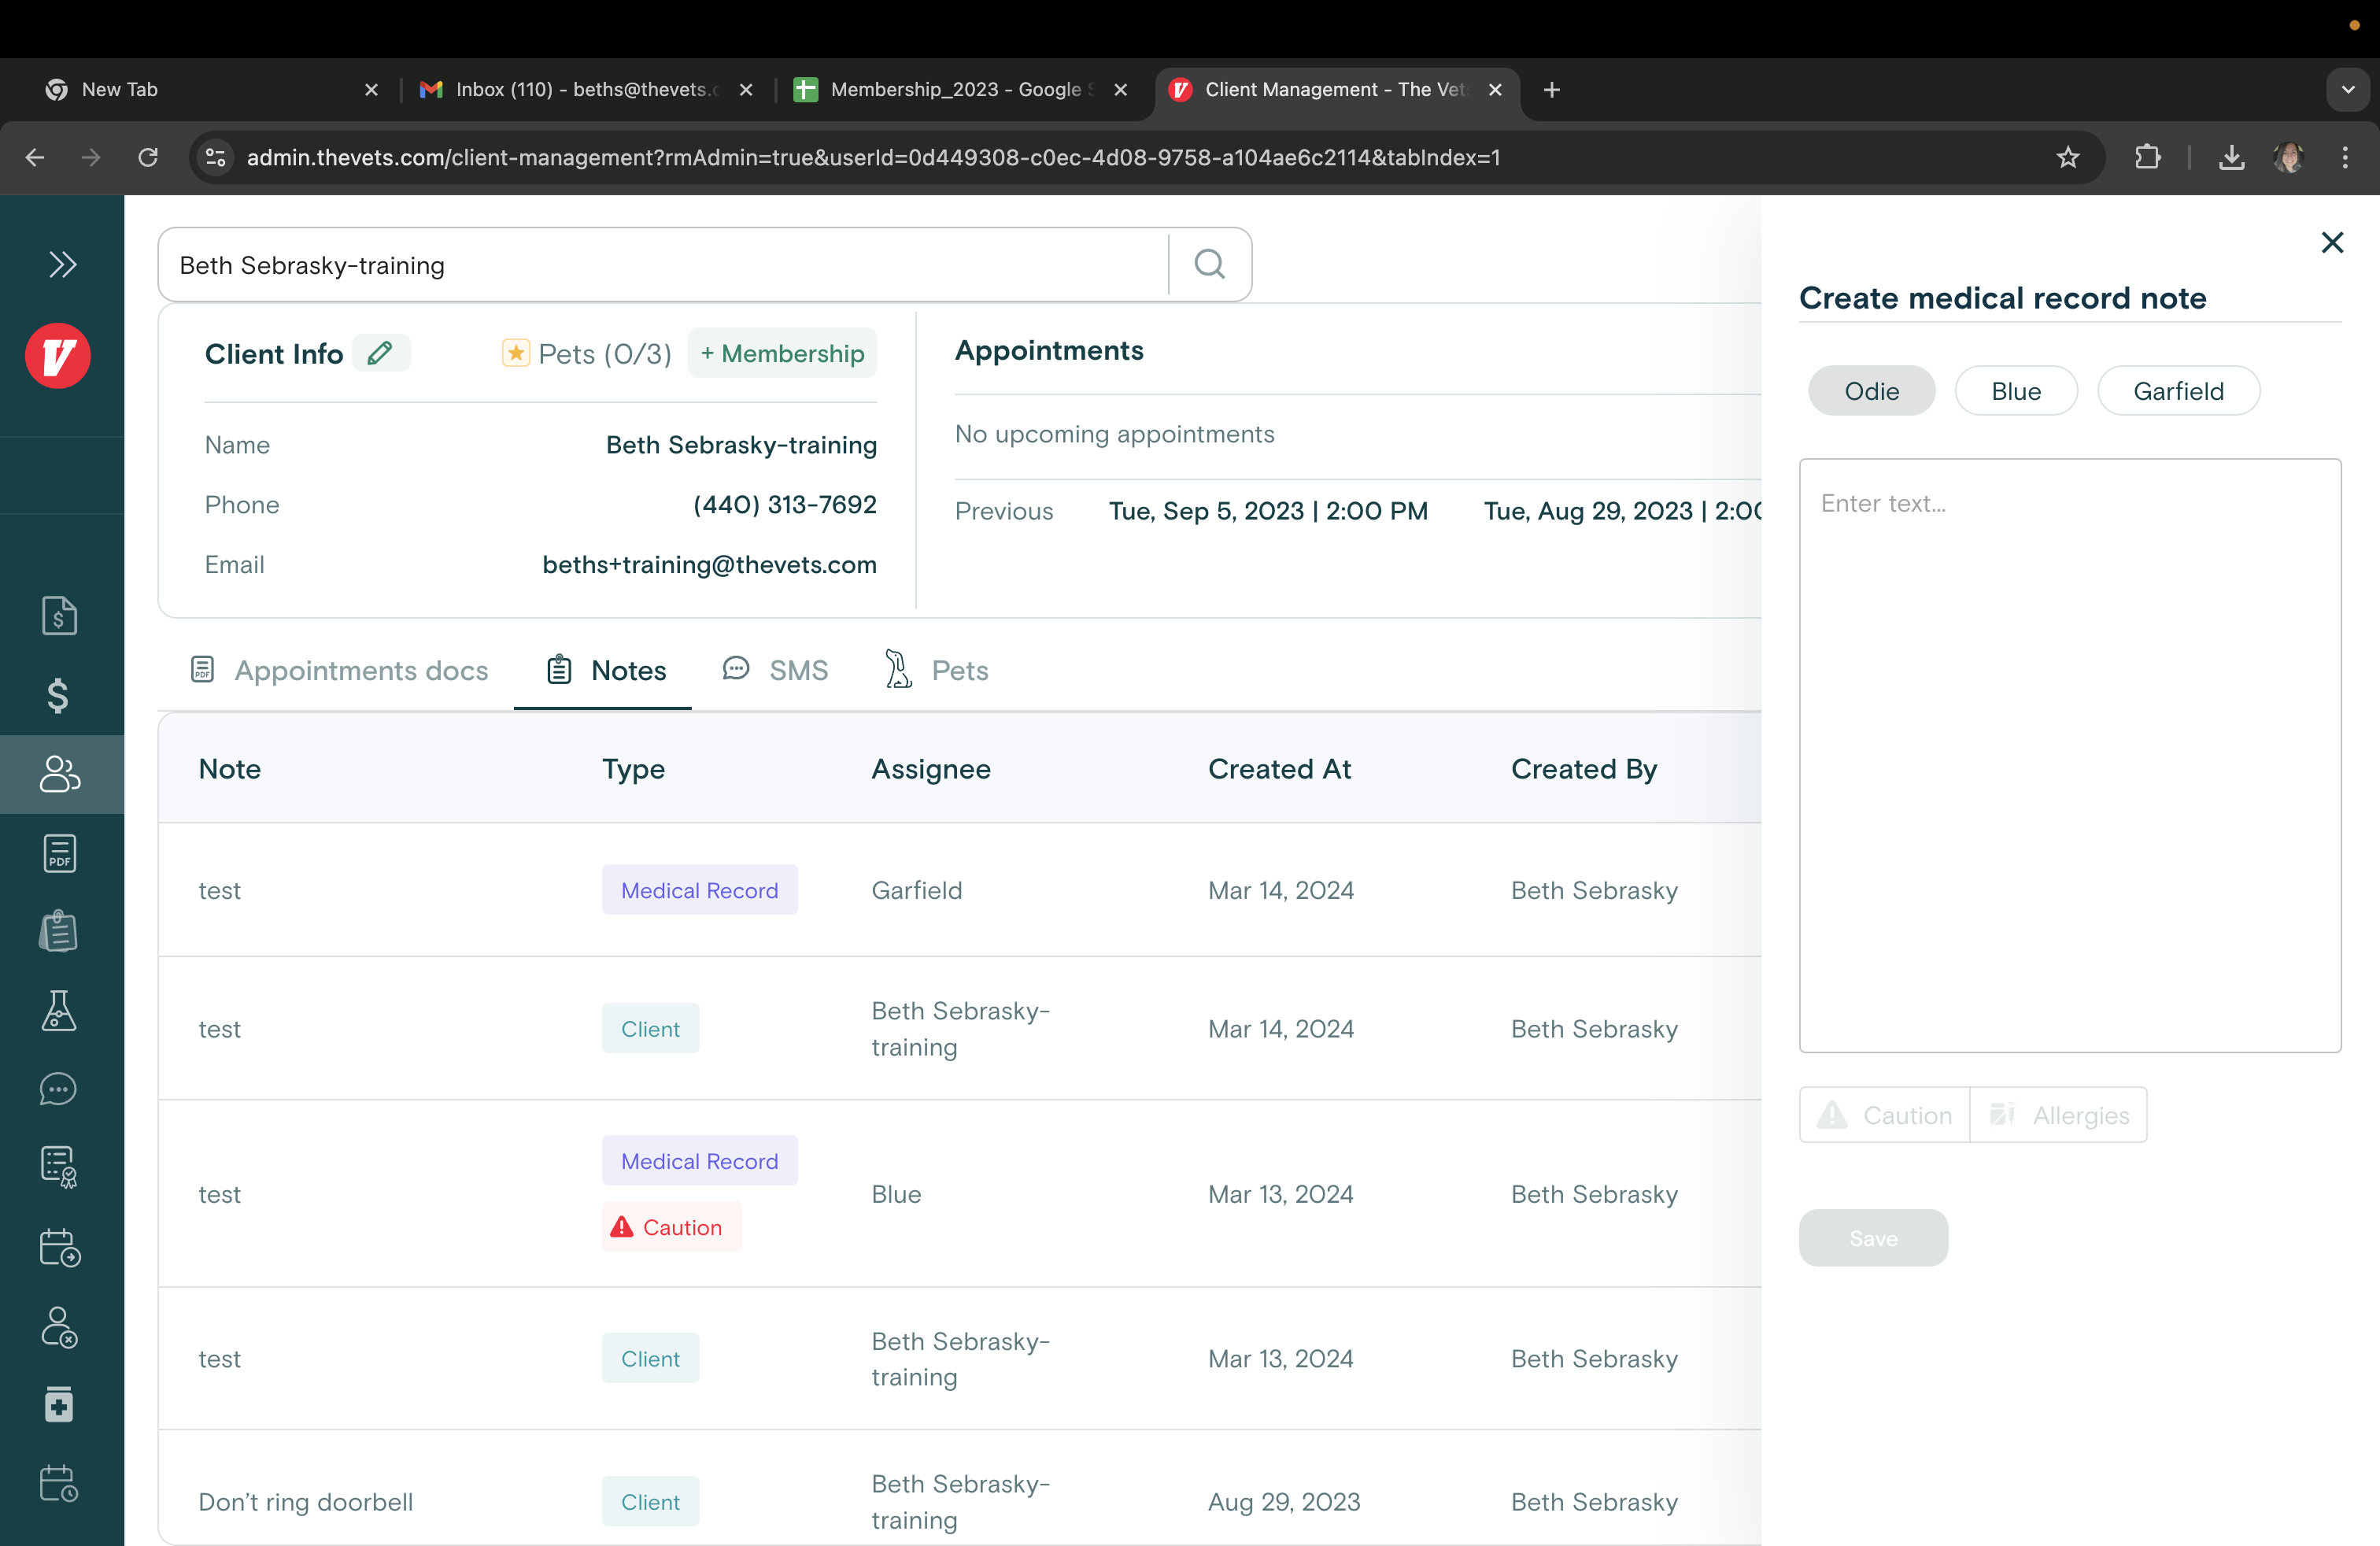
You can also include caution and allergy tags.
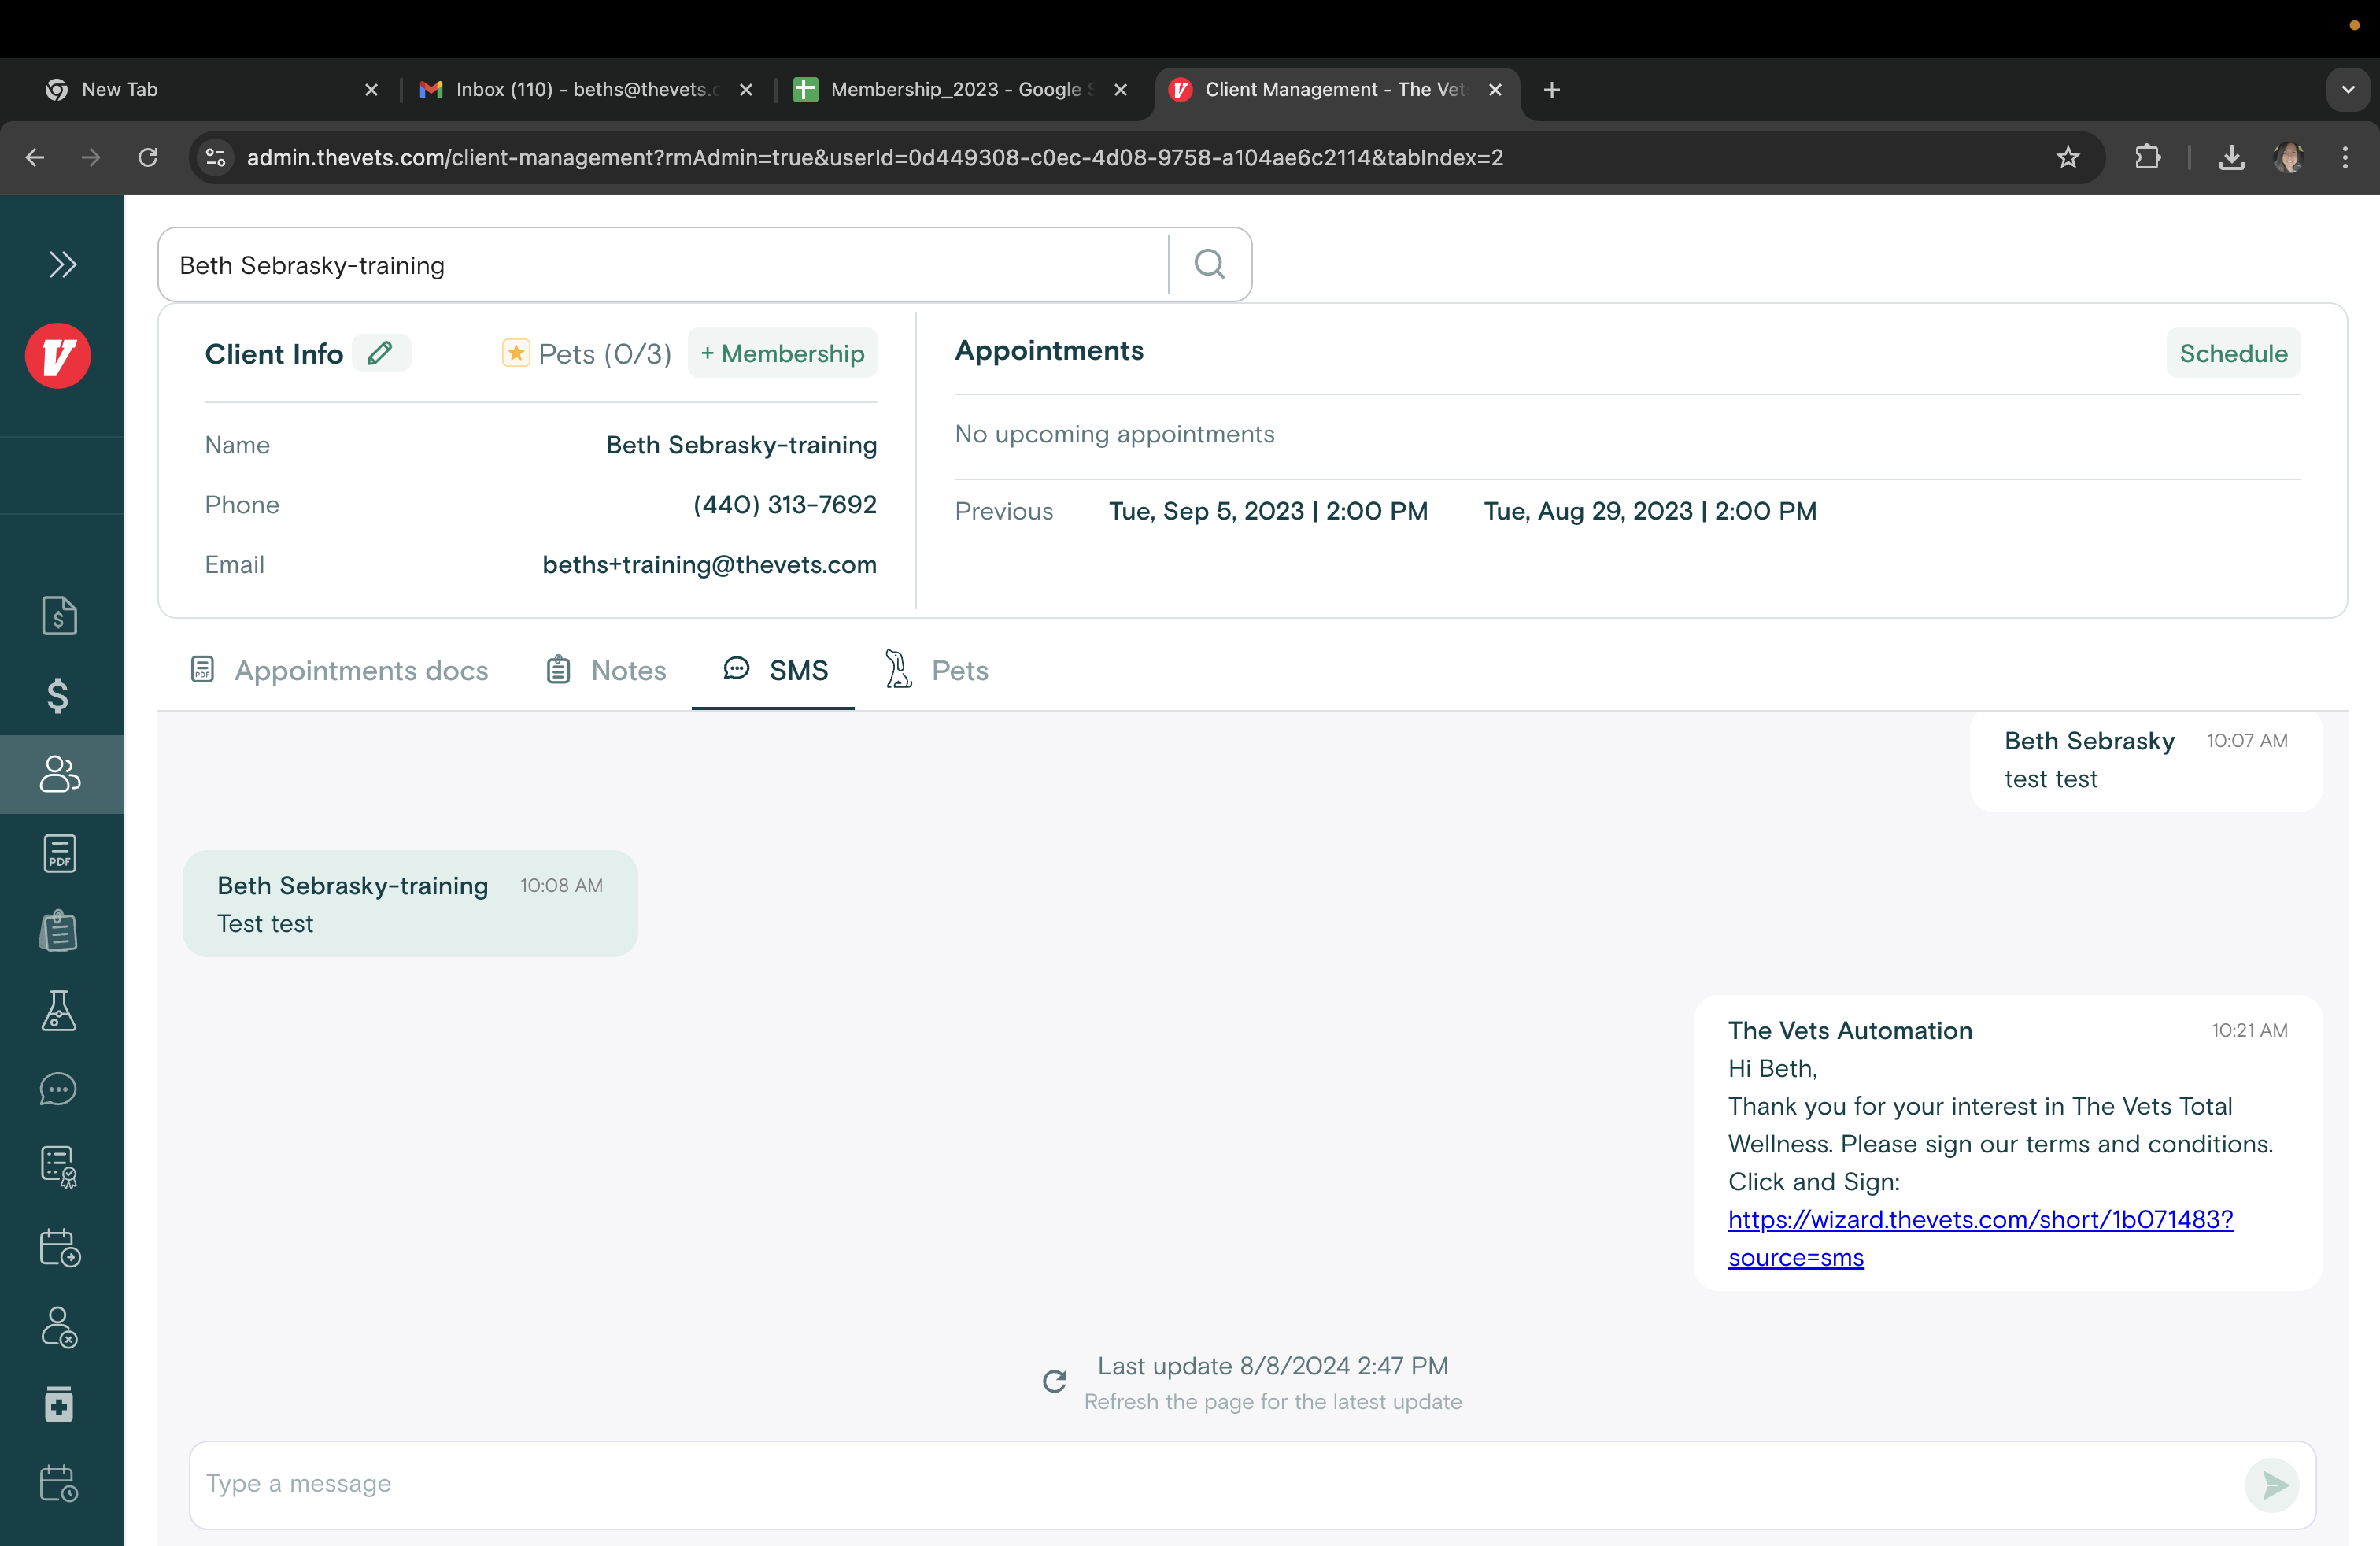
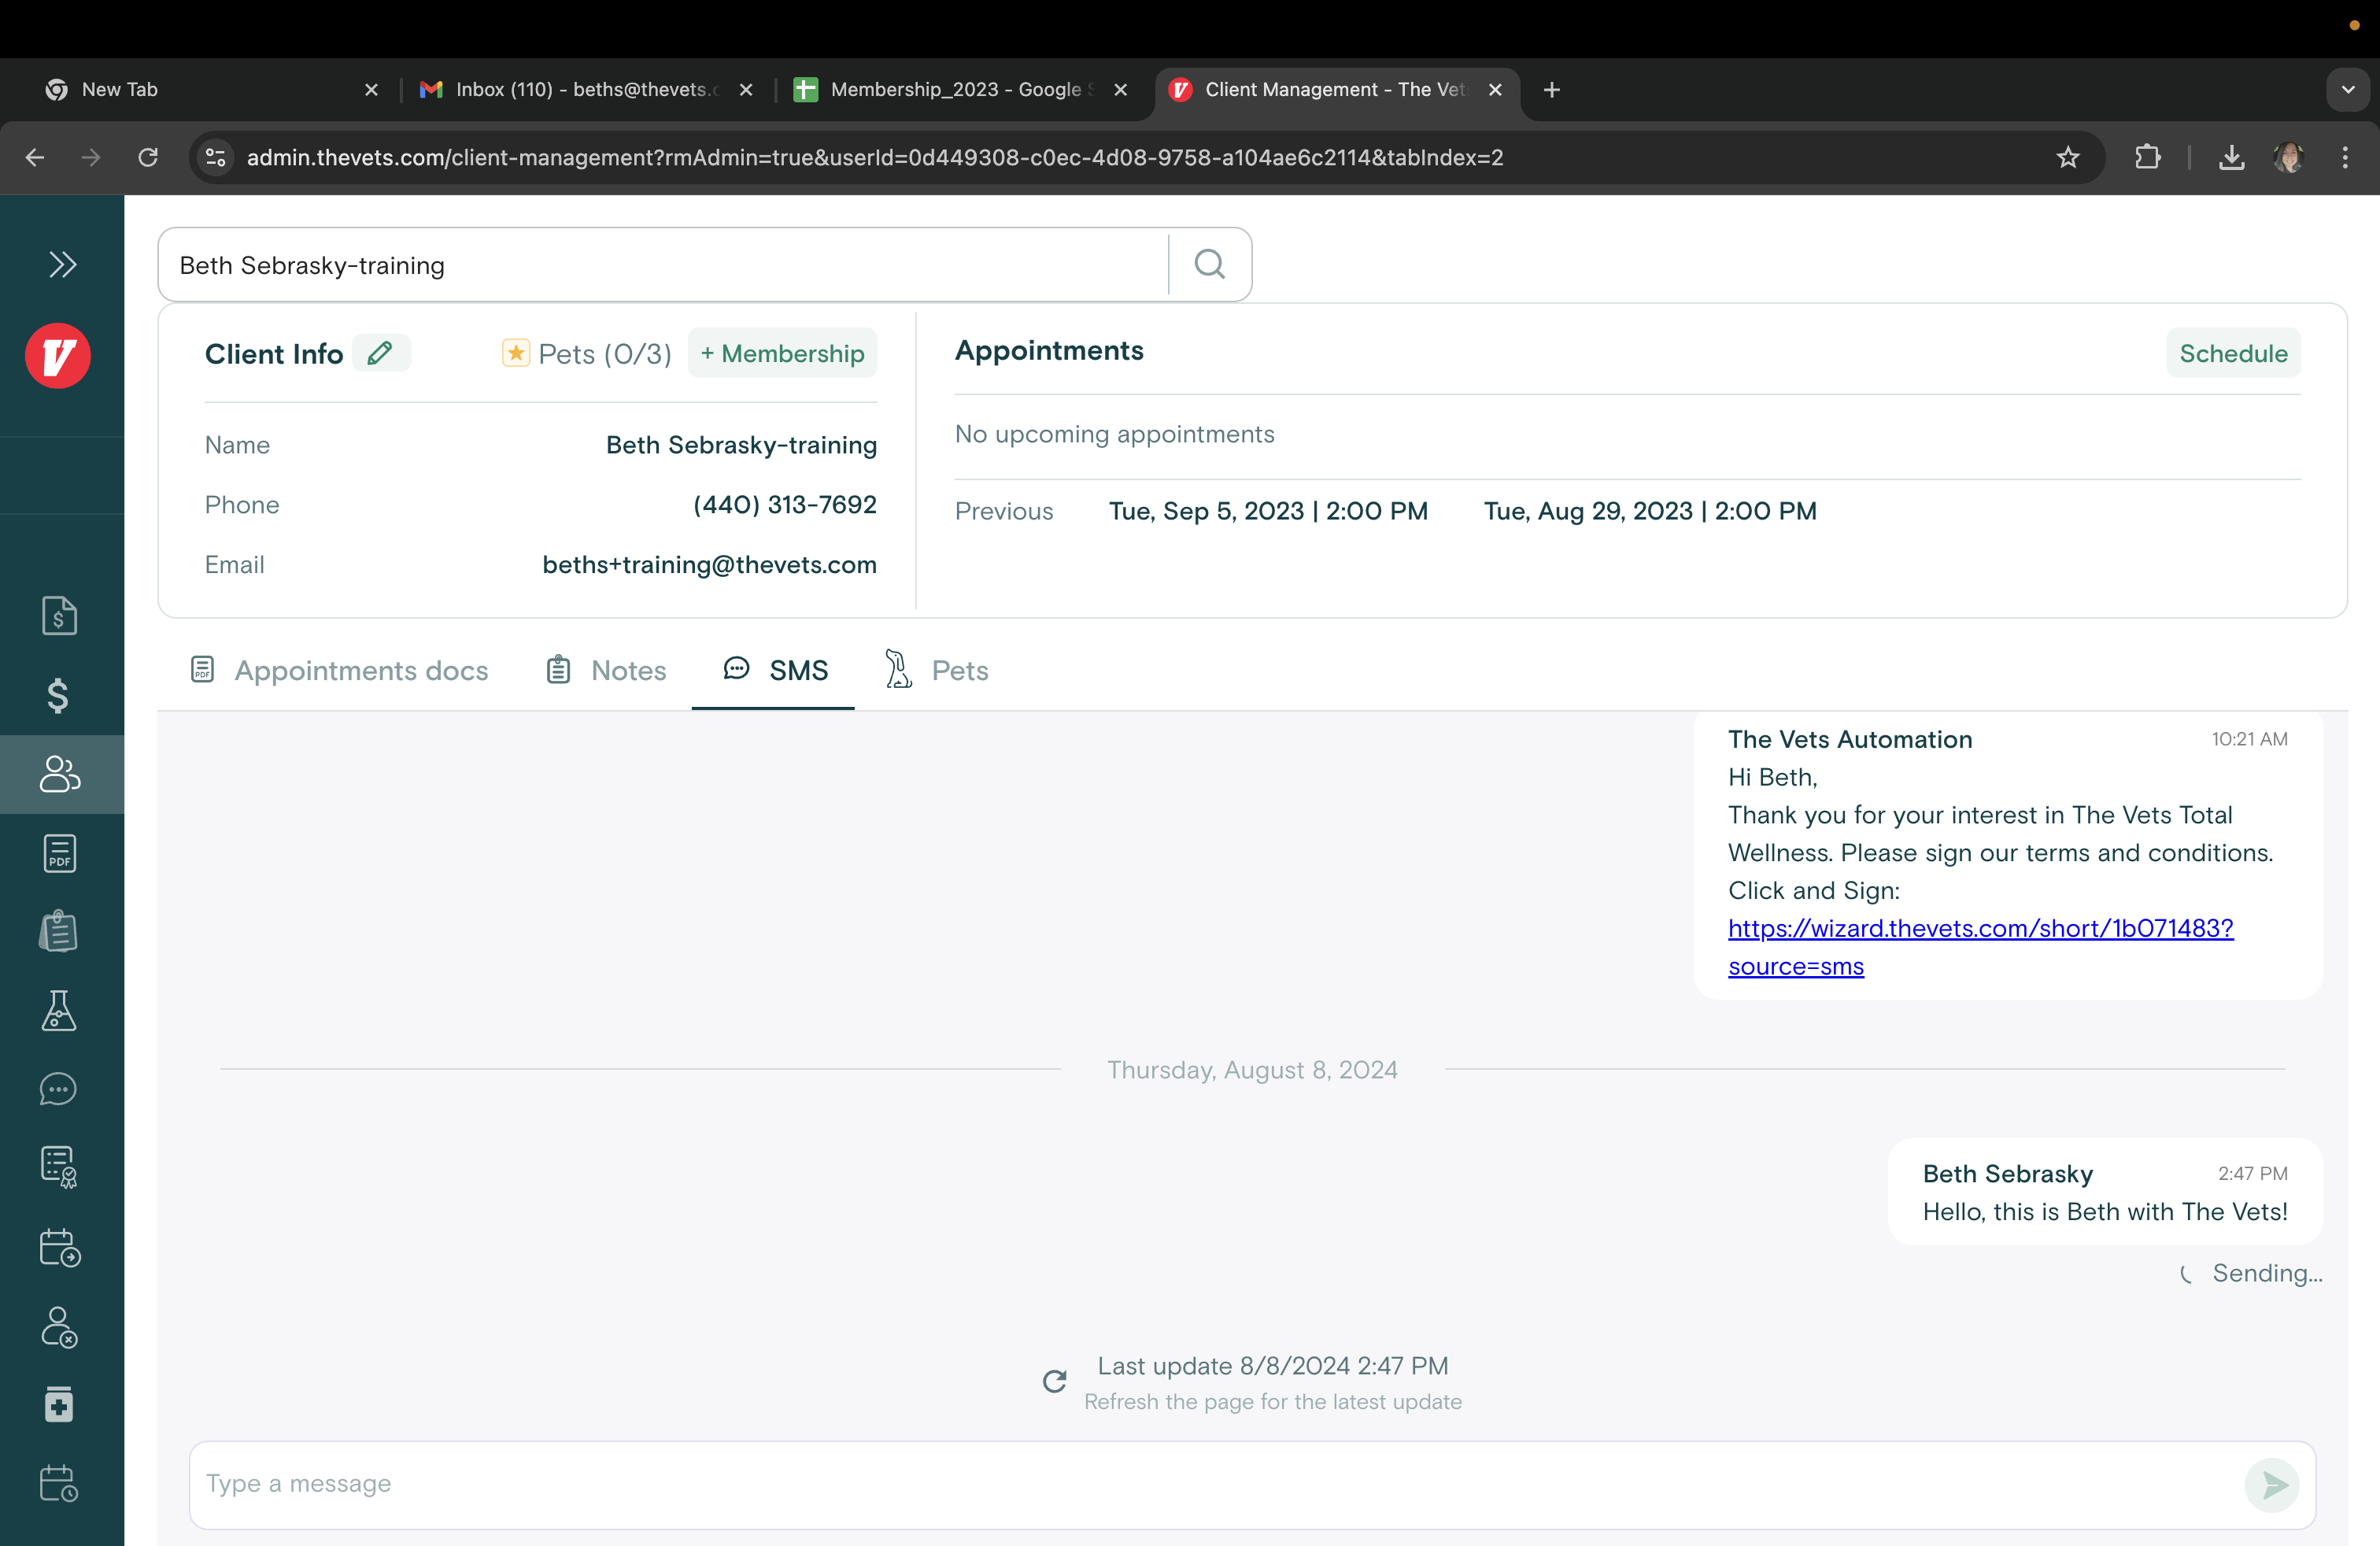
You can view SMS messages by clicking on the SMS tab. You can also send messages to the client by typing here.

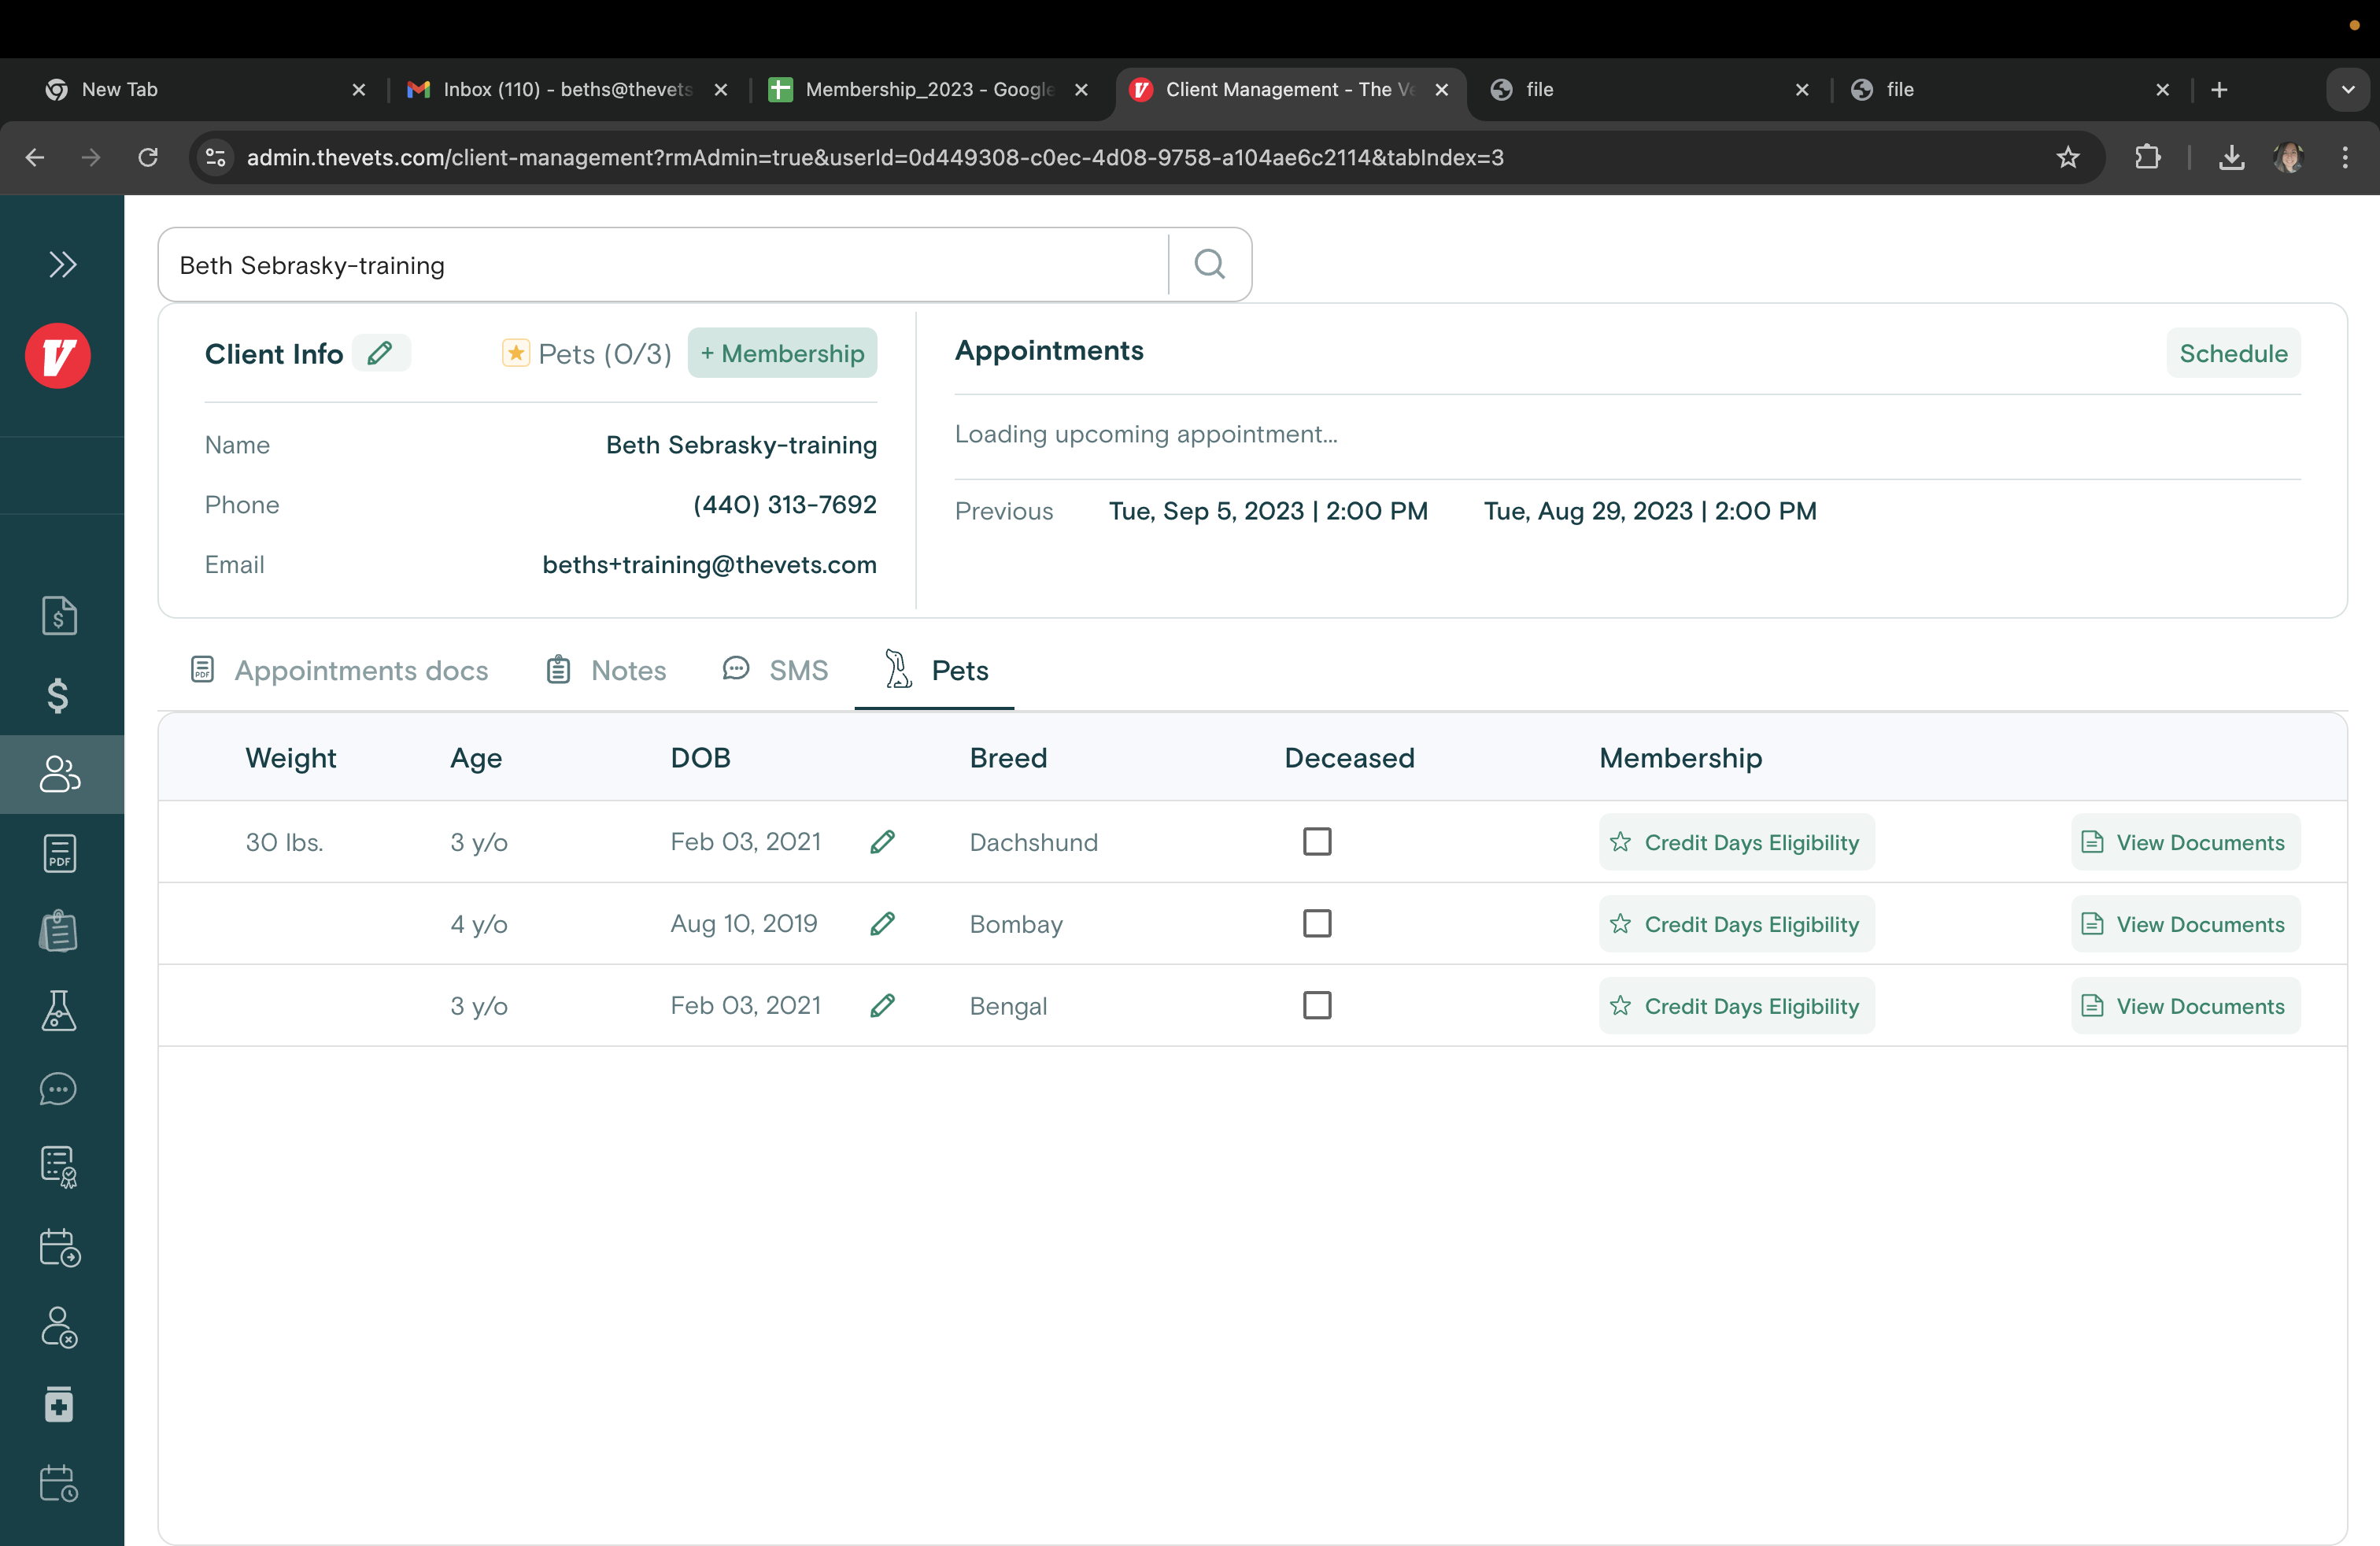
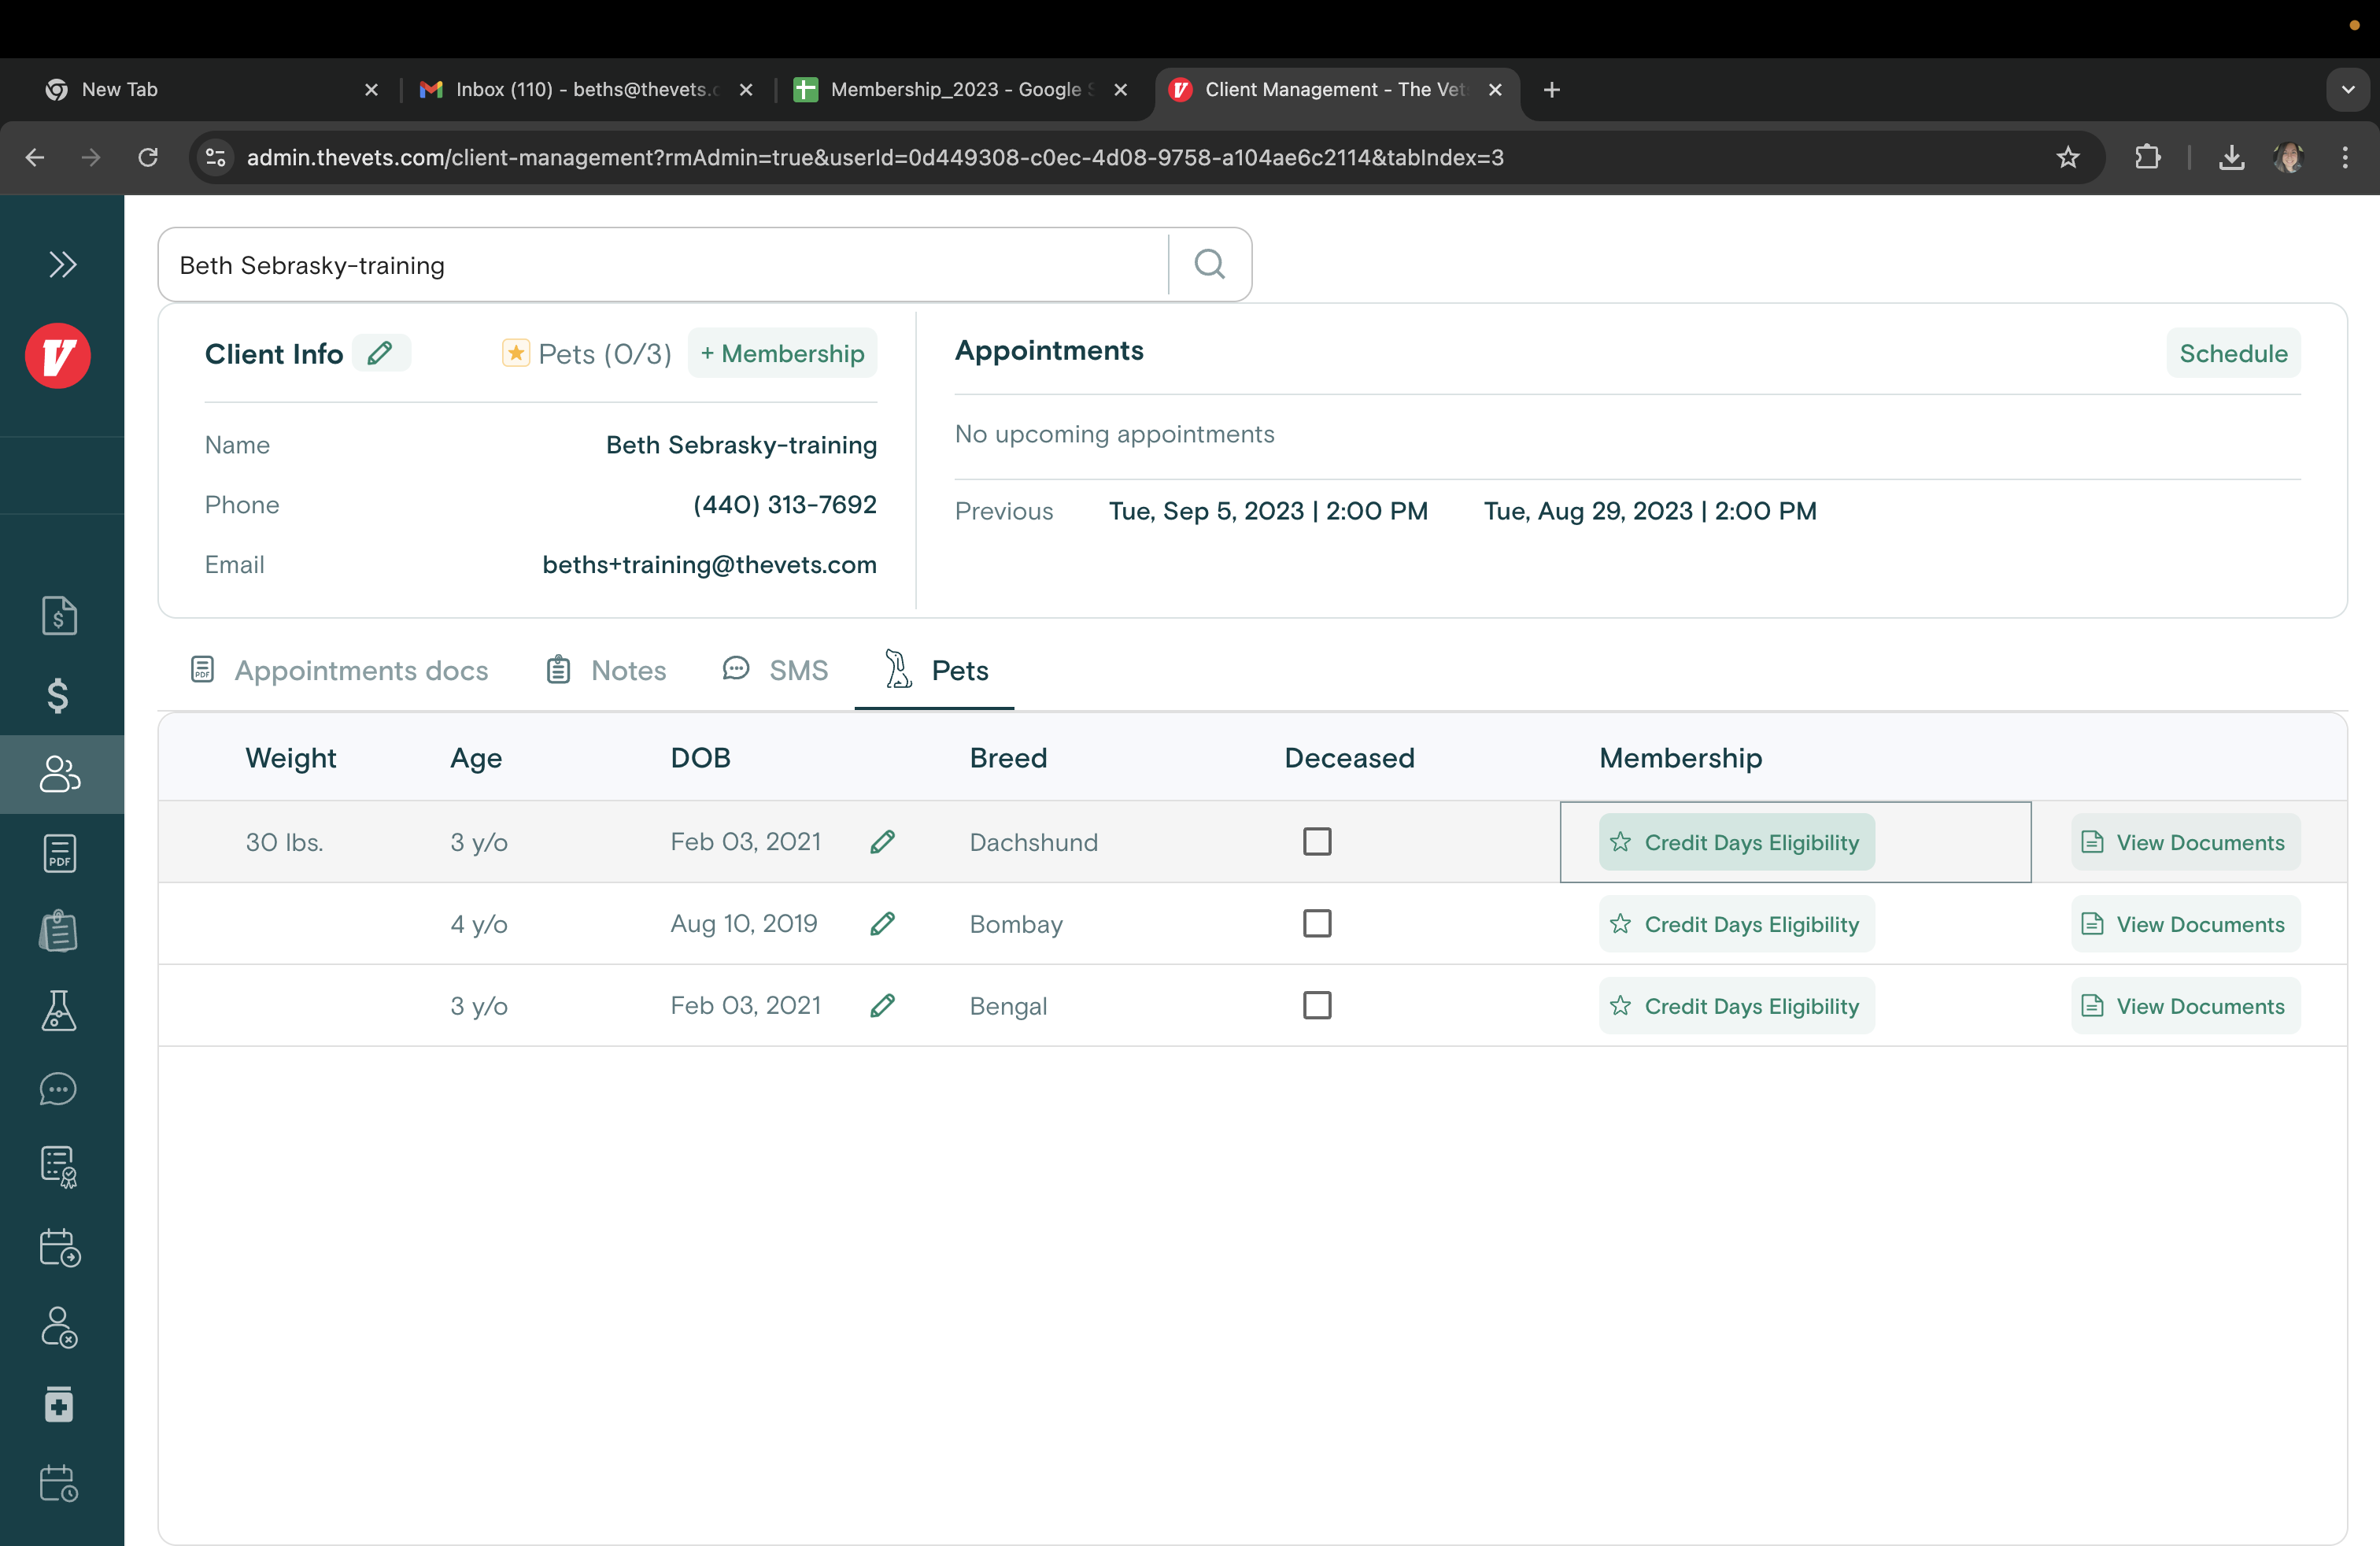
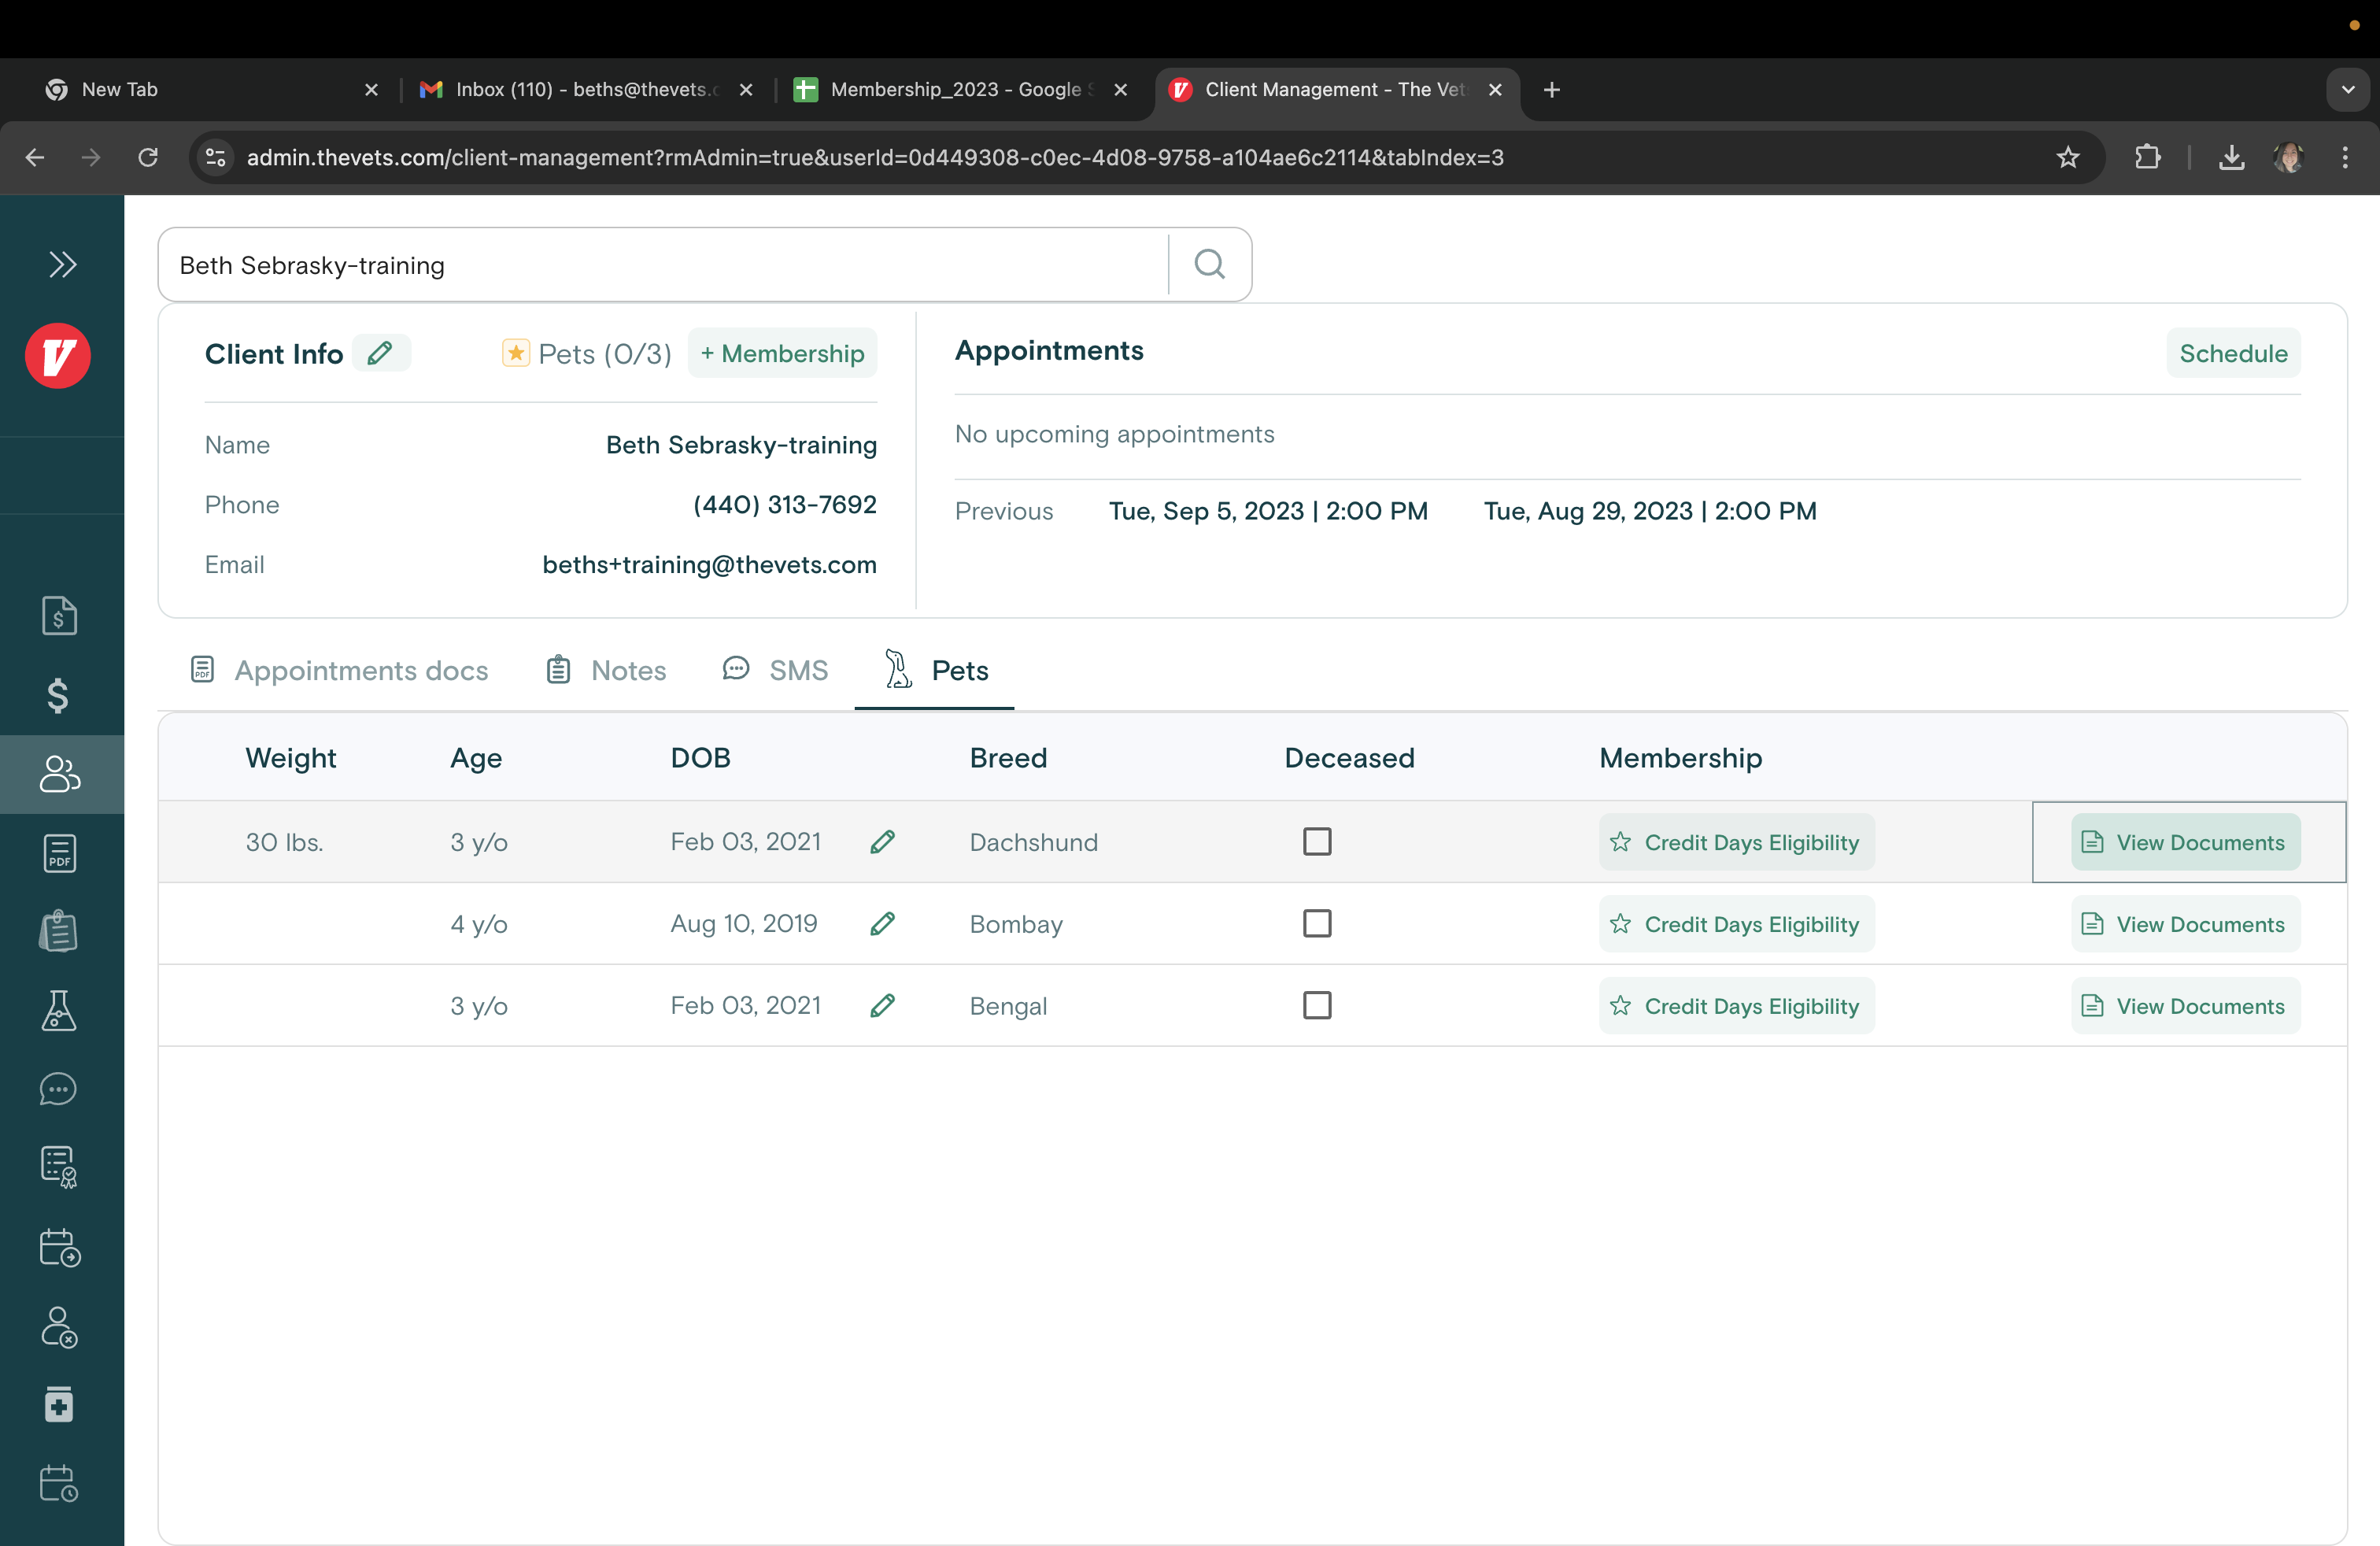
To view pet information, click on the "Pets" tab.
Here, you can see the pet's weight, age, and date of birth. Click the pencil button to edit the date of birth.

You can mark the breed as deceased using this column.

You can view membership details and sign up for a membership through the admin panel.
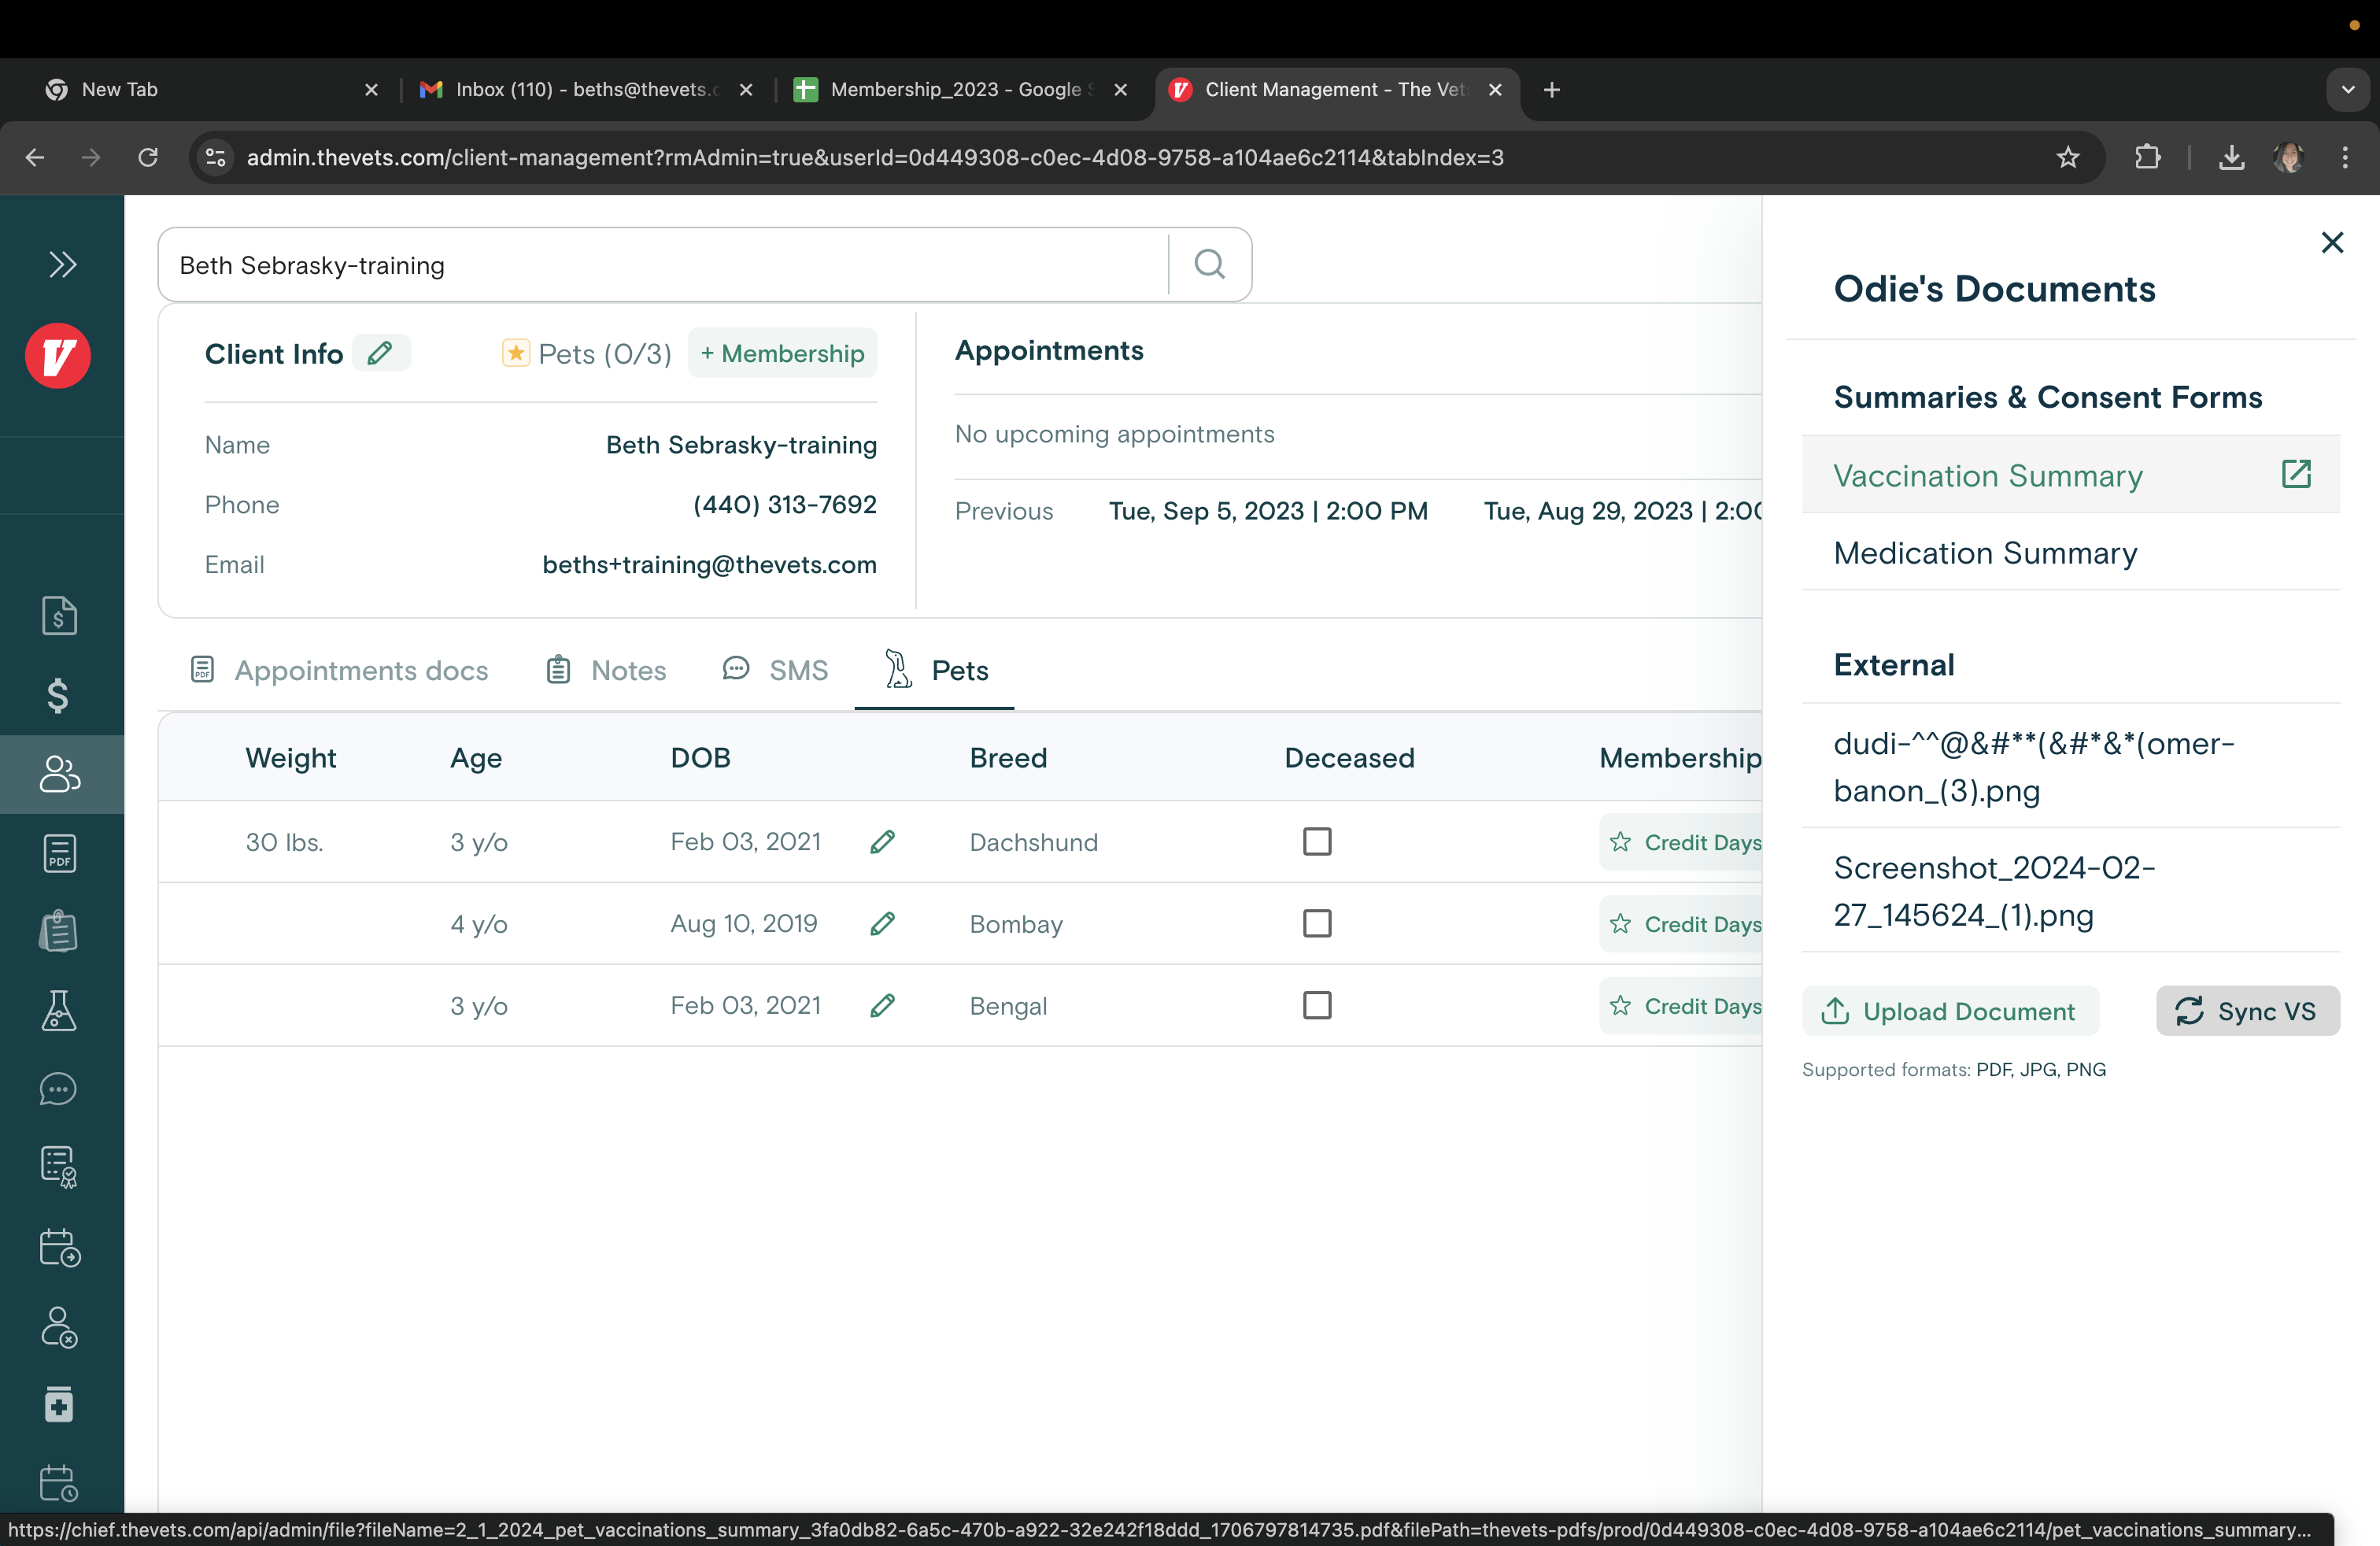
You can view Vaccine and Medication summaries, as well as any 3rd party medical records.
The vaccine summary provides vaccine information.
The medication summary provides medication information.
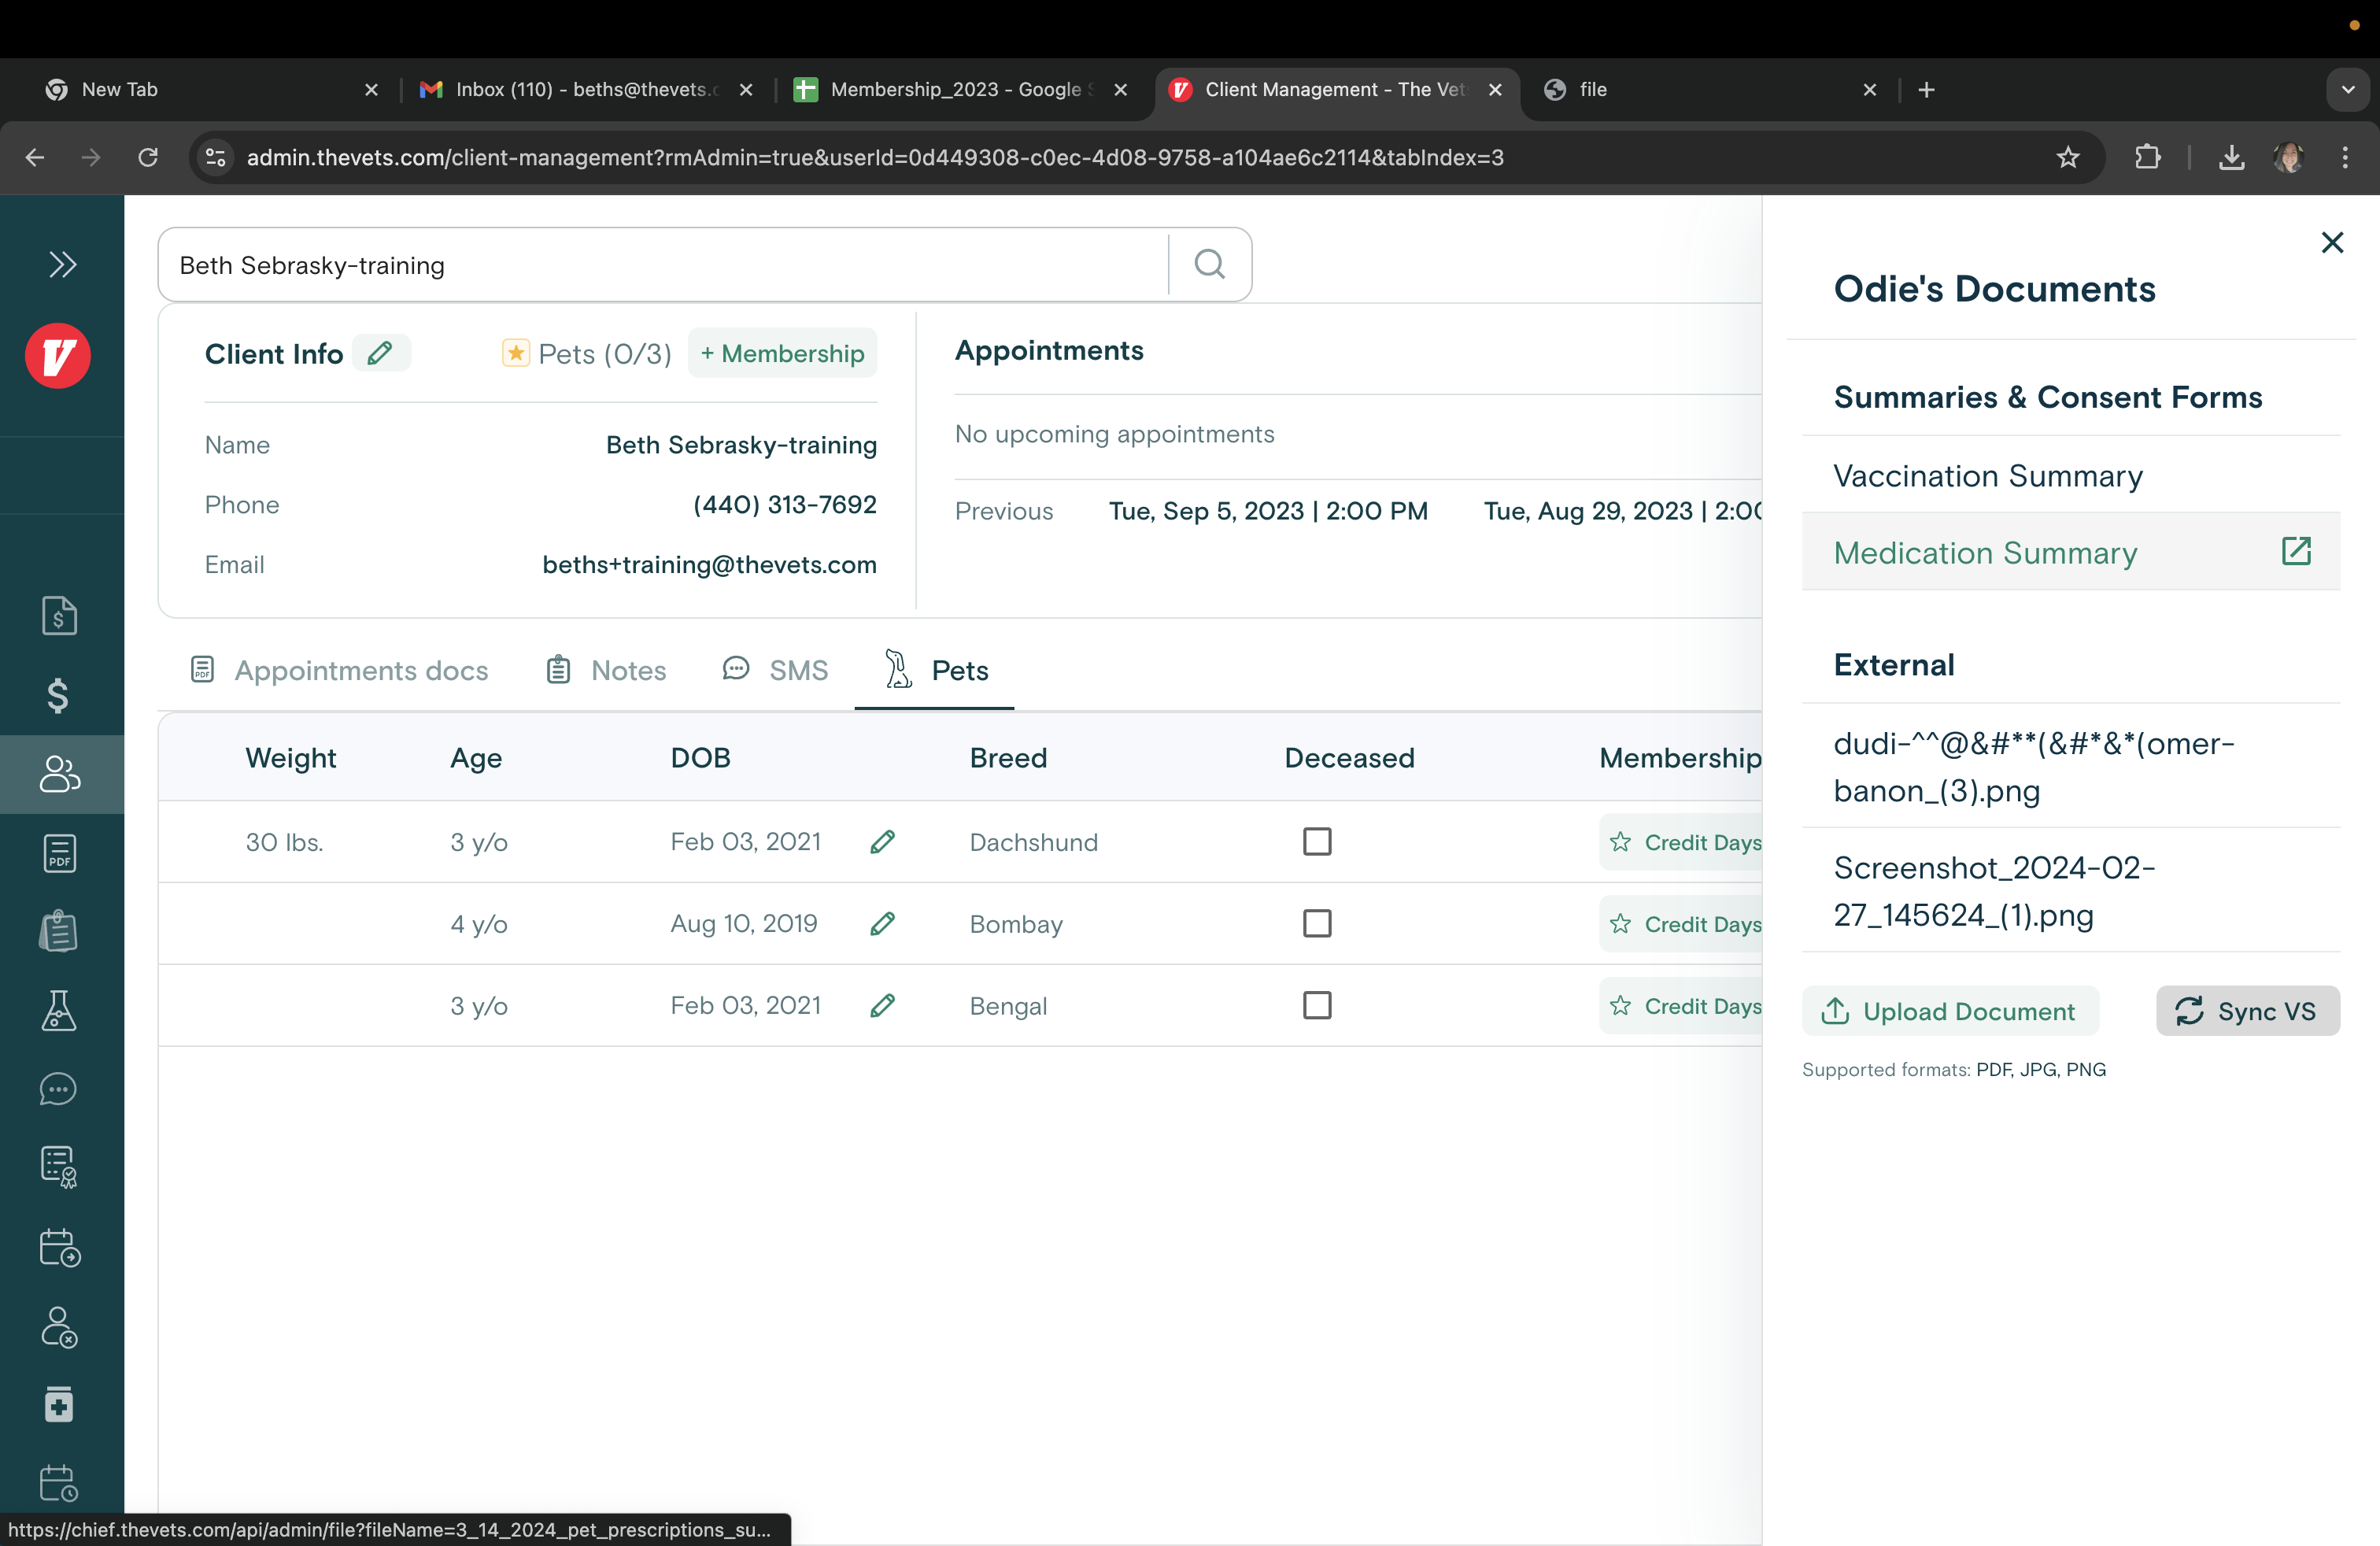
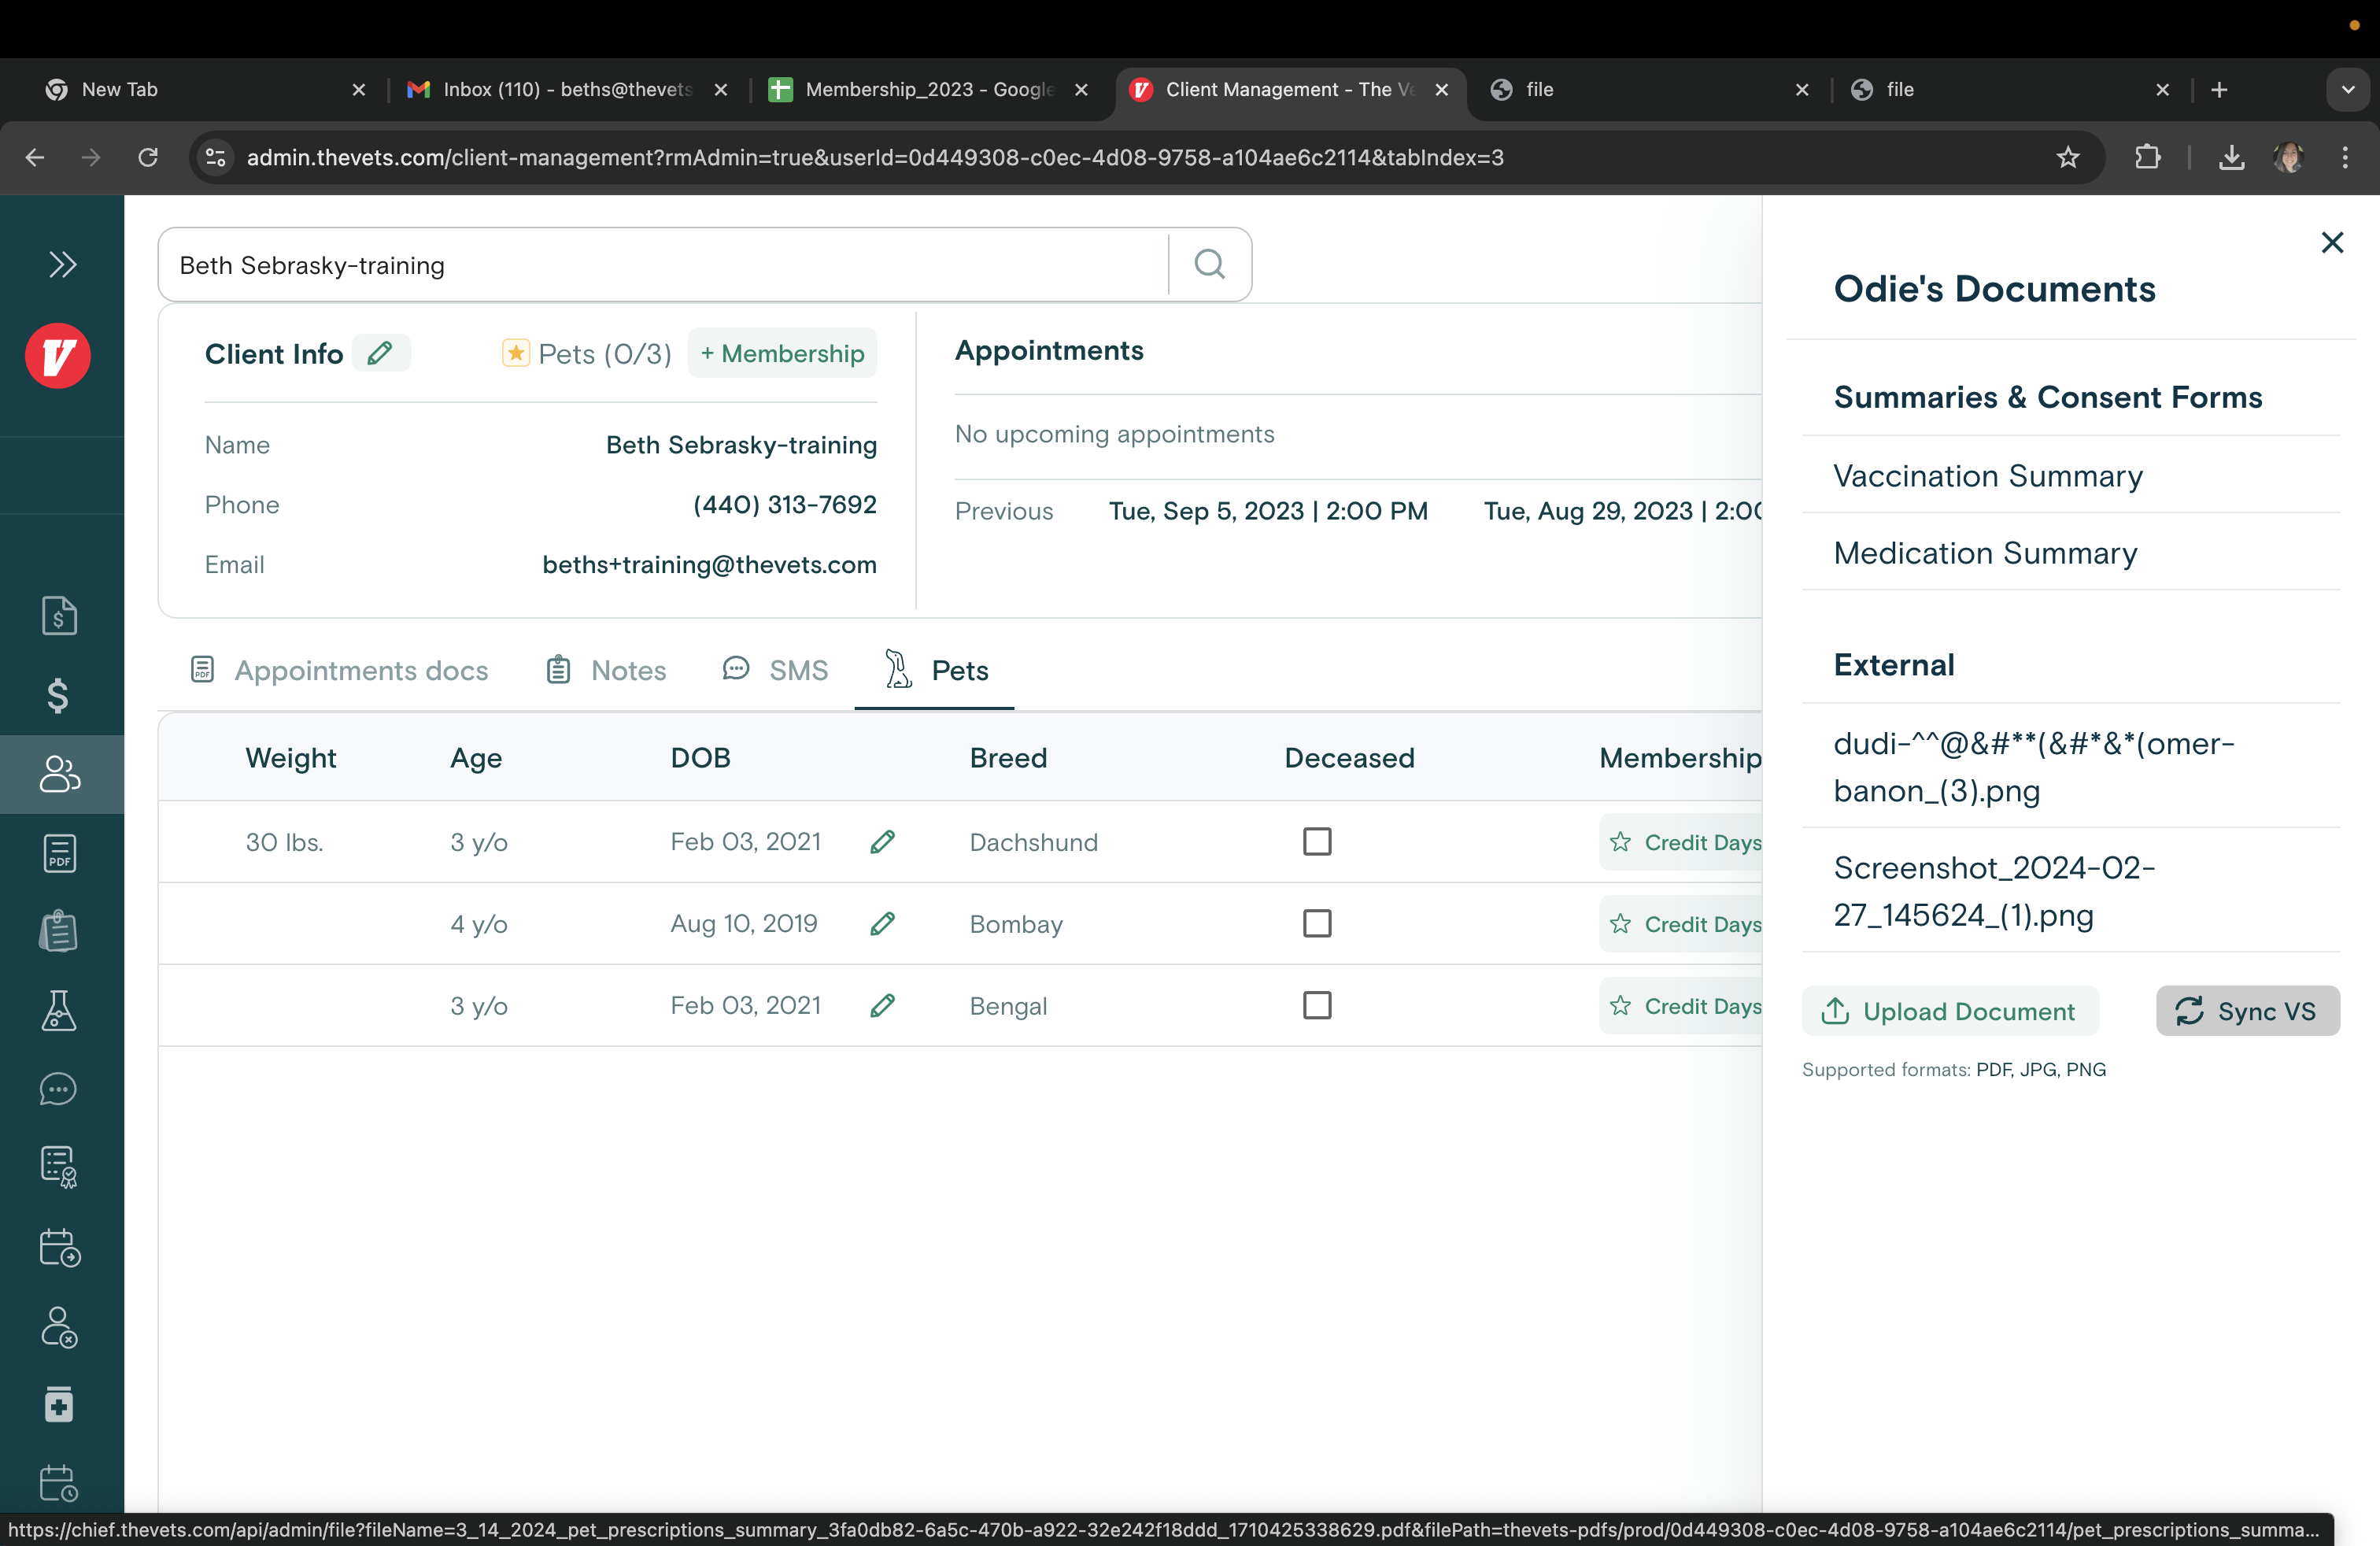
You can upload external documents and sync Vetspire documents.
This will sync external documents uploaded to Vetspire.
You can schedule appointments using the scheduling wizard.

You can sign pets up for memberships.