
How to Use the Backoffice Tool for Capstack Platform Management
Learn how to navigate the Backoffice tool to manage data, invite users, and onboard new organizations on the Capstack platform.
In this guide, we'll learn how to navigate the Backoffice tool to access and manage data from the Capstack platform. This includes viewing organizational and user data, inviting new users, and adding organizations. We'll explore the steps to invite users to existing organizations and address common errors that may arise during the process. Additionally, we'll cover how to onboard new organizations, ensuring they are set up correctly on the platform.
Let's get started
This tutorial explains how to use the Backoffice tool to view all data from the Capstack platform. It also covers how to invite users and new organizations. To start, go to the Backoffice homepage and click on Capstack Backoffice.
Please use the following link: https://capstack.retool.com/
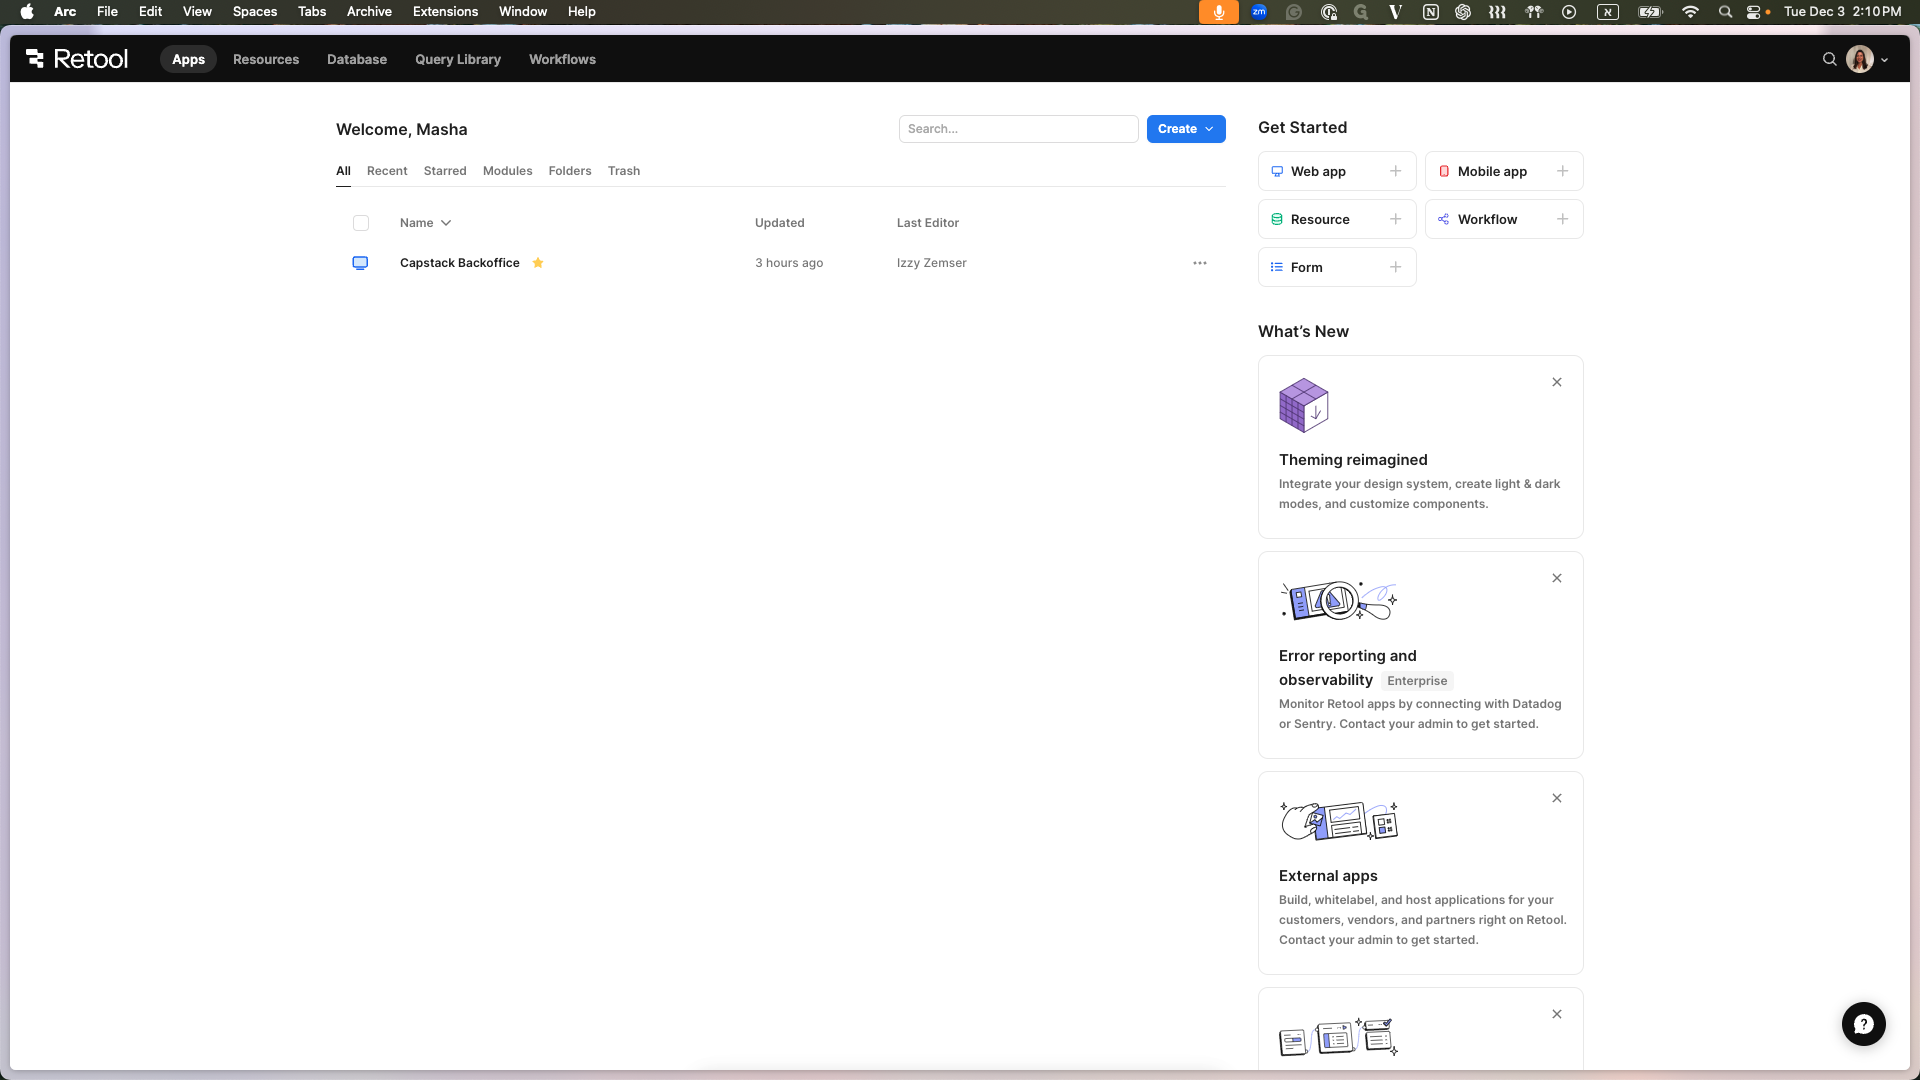
Once inside, make sure under the 'Capstack Backoffice' you'll see '(Live)' - this indicates that you're at the latest version.
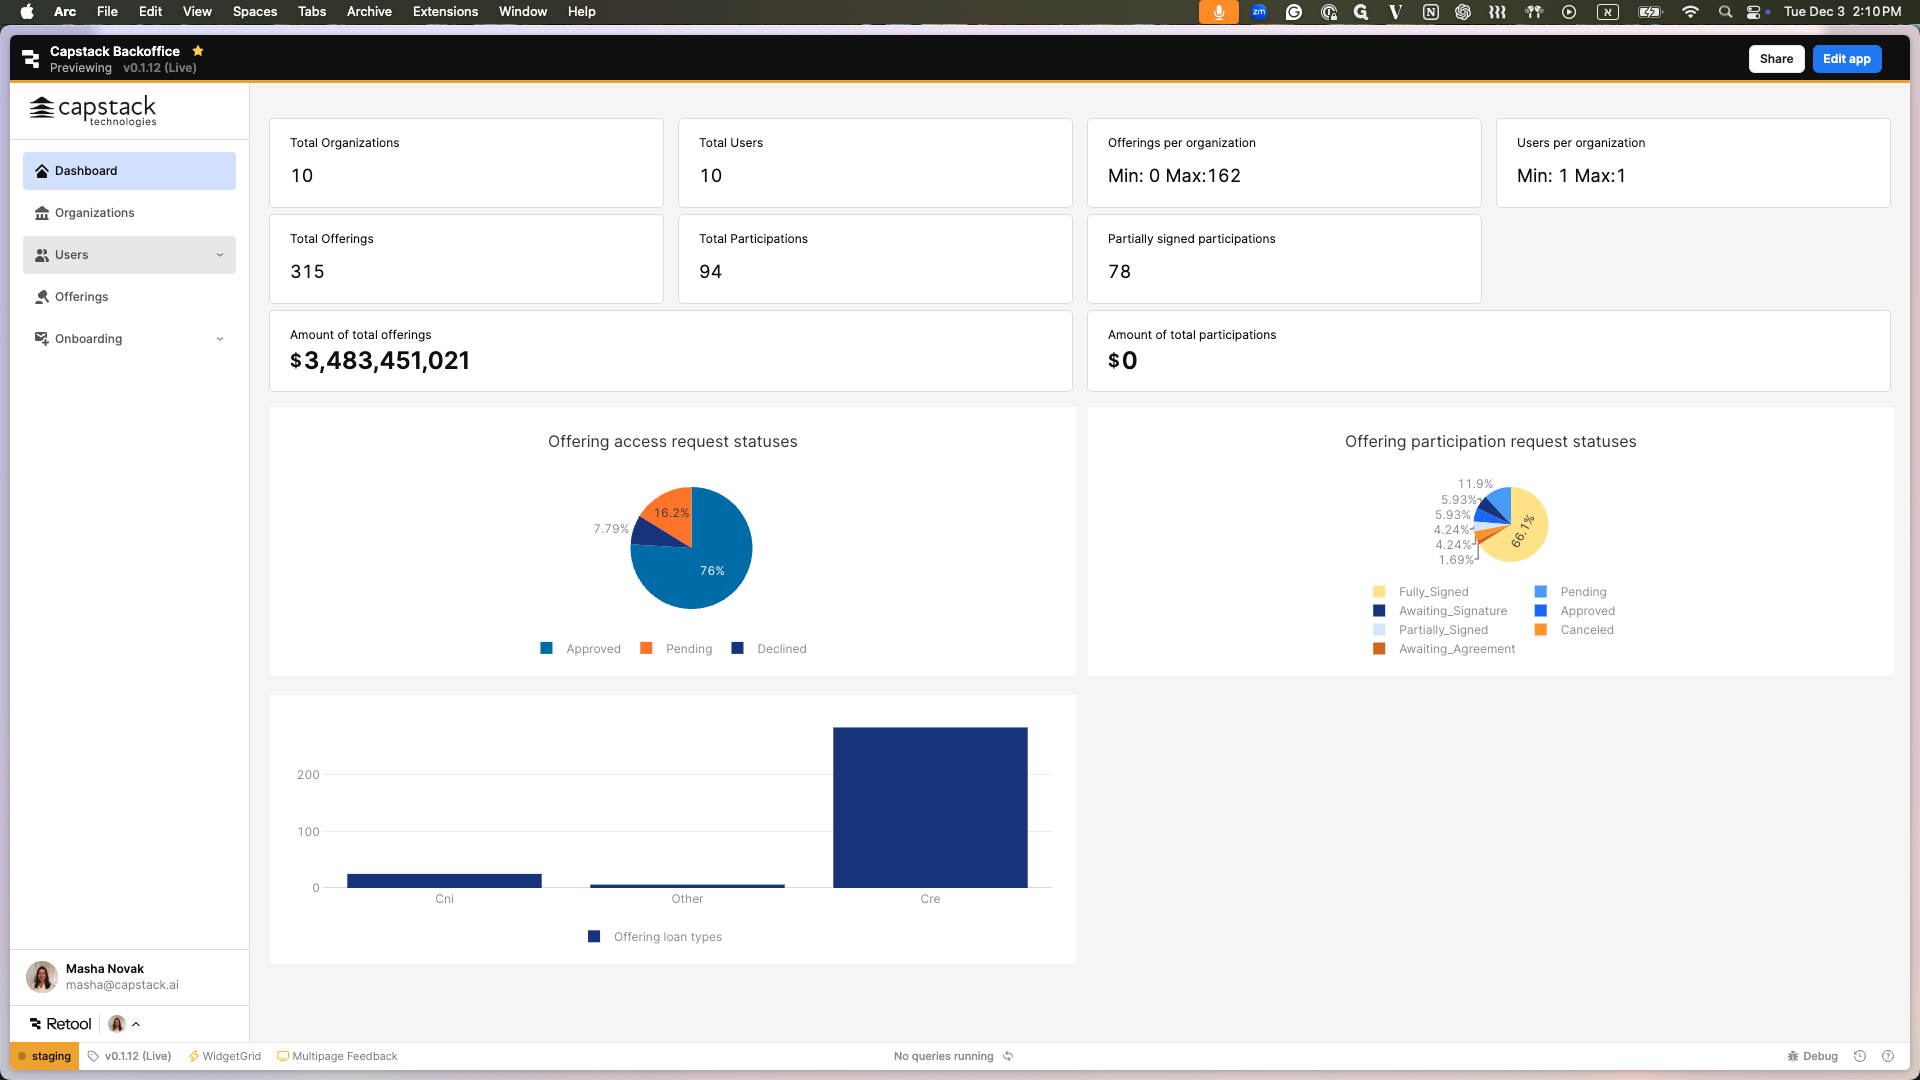
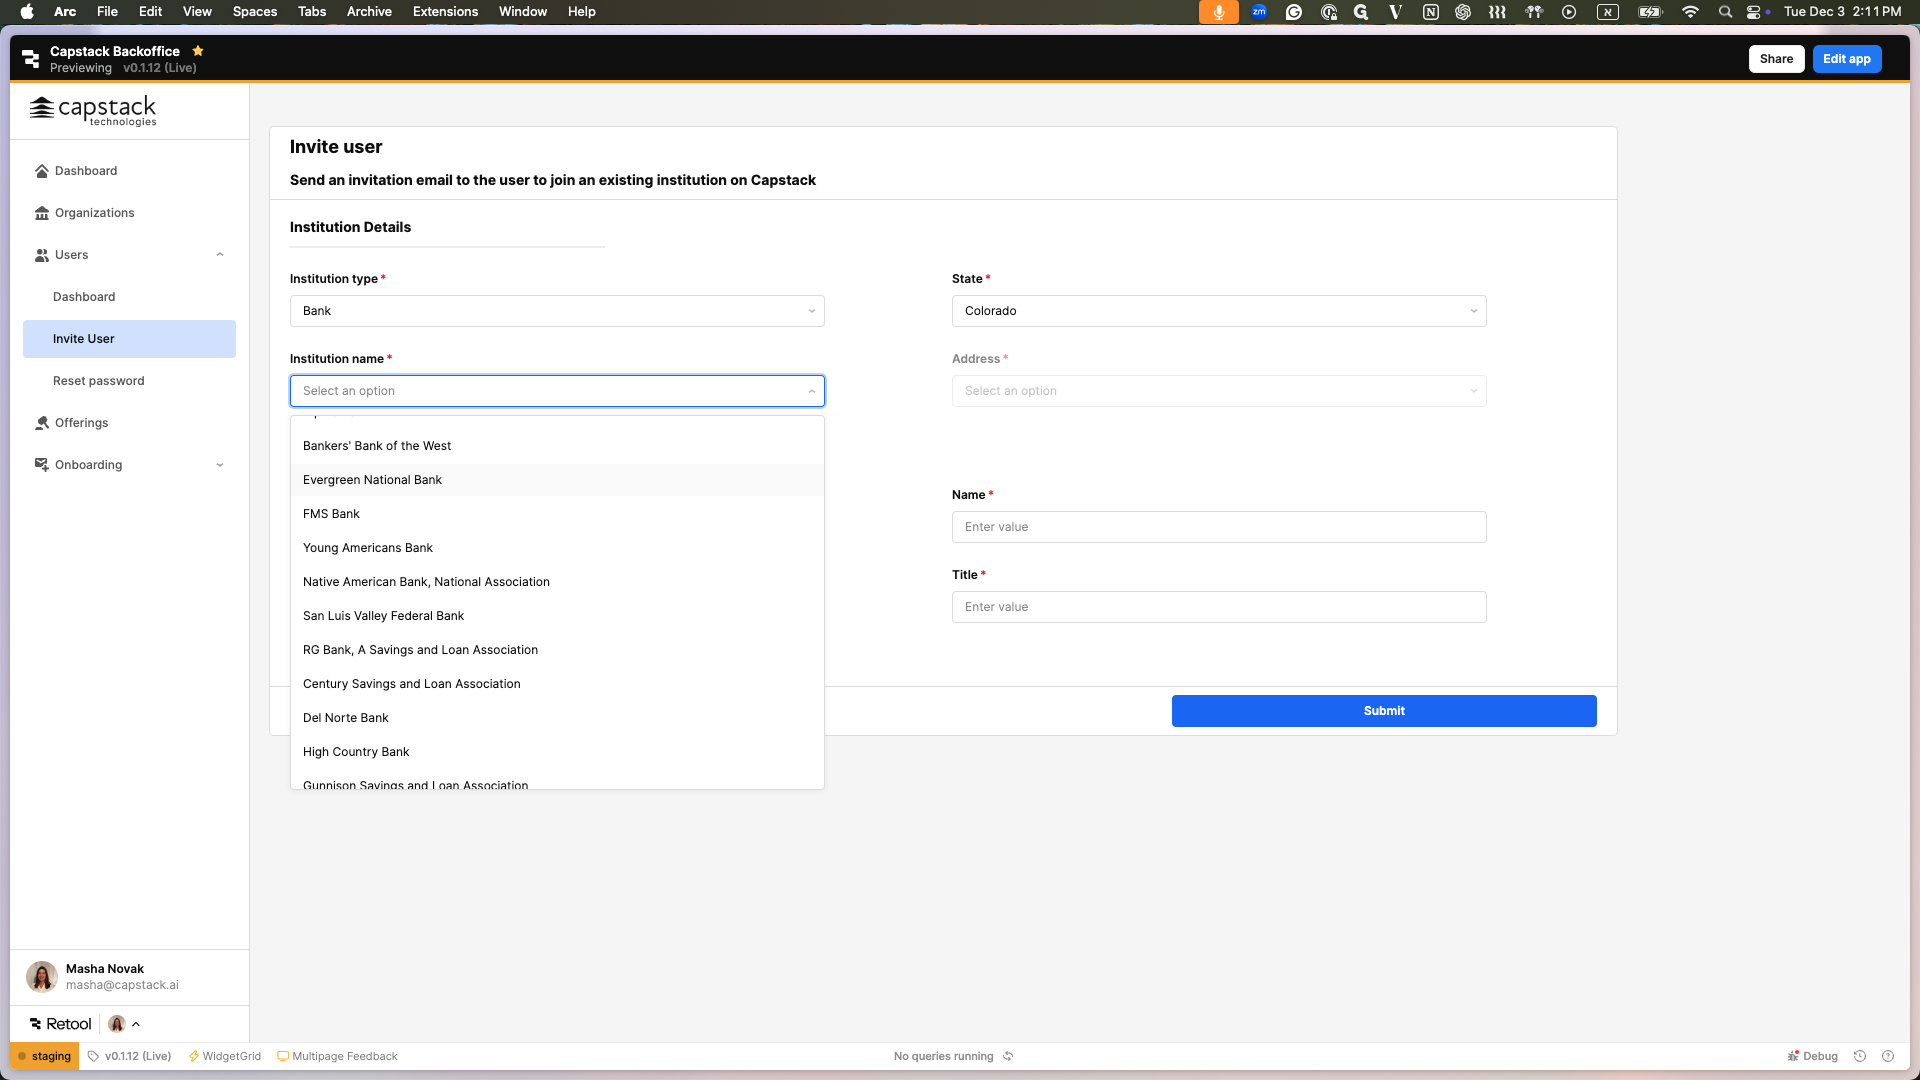
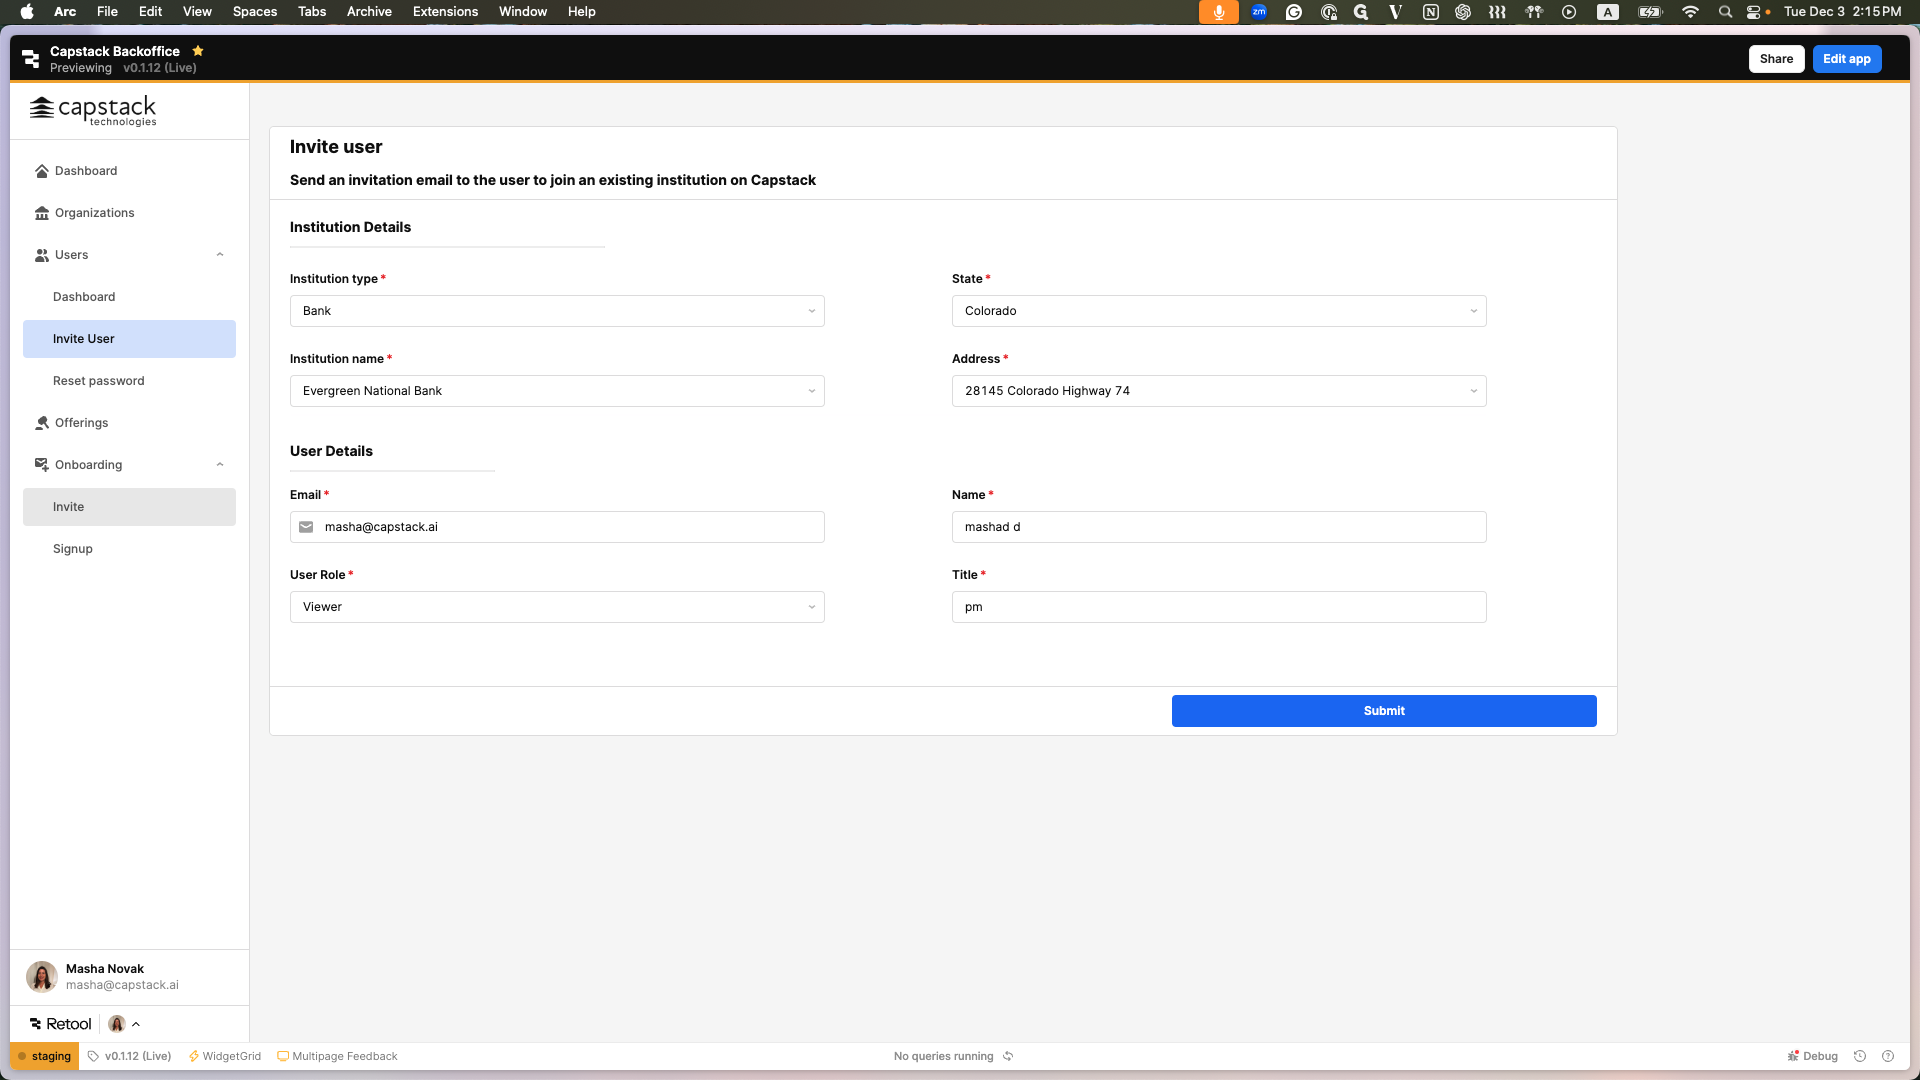
Here you have multiple options. You can view data about the organization and active users on the Capstack production platform. To add a user to an existing organization, go to "Users" and click on "Invite User."

Here, you will fill out the institution type and state. Then, a dropdown will appear with all the institutions available in that state.
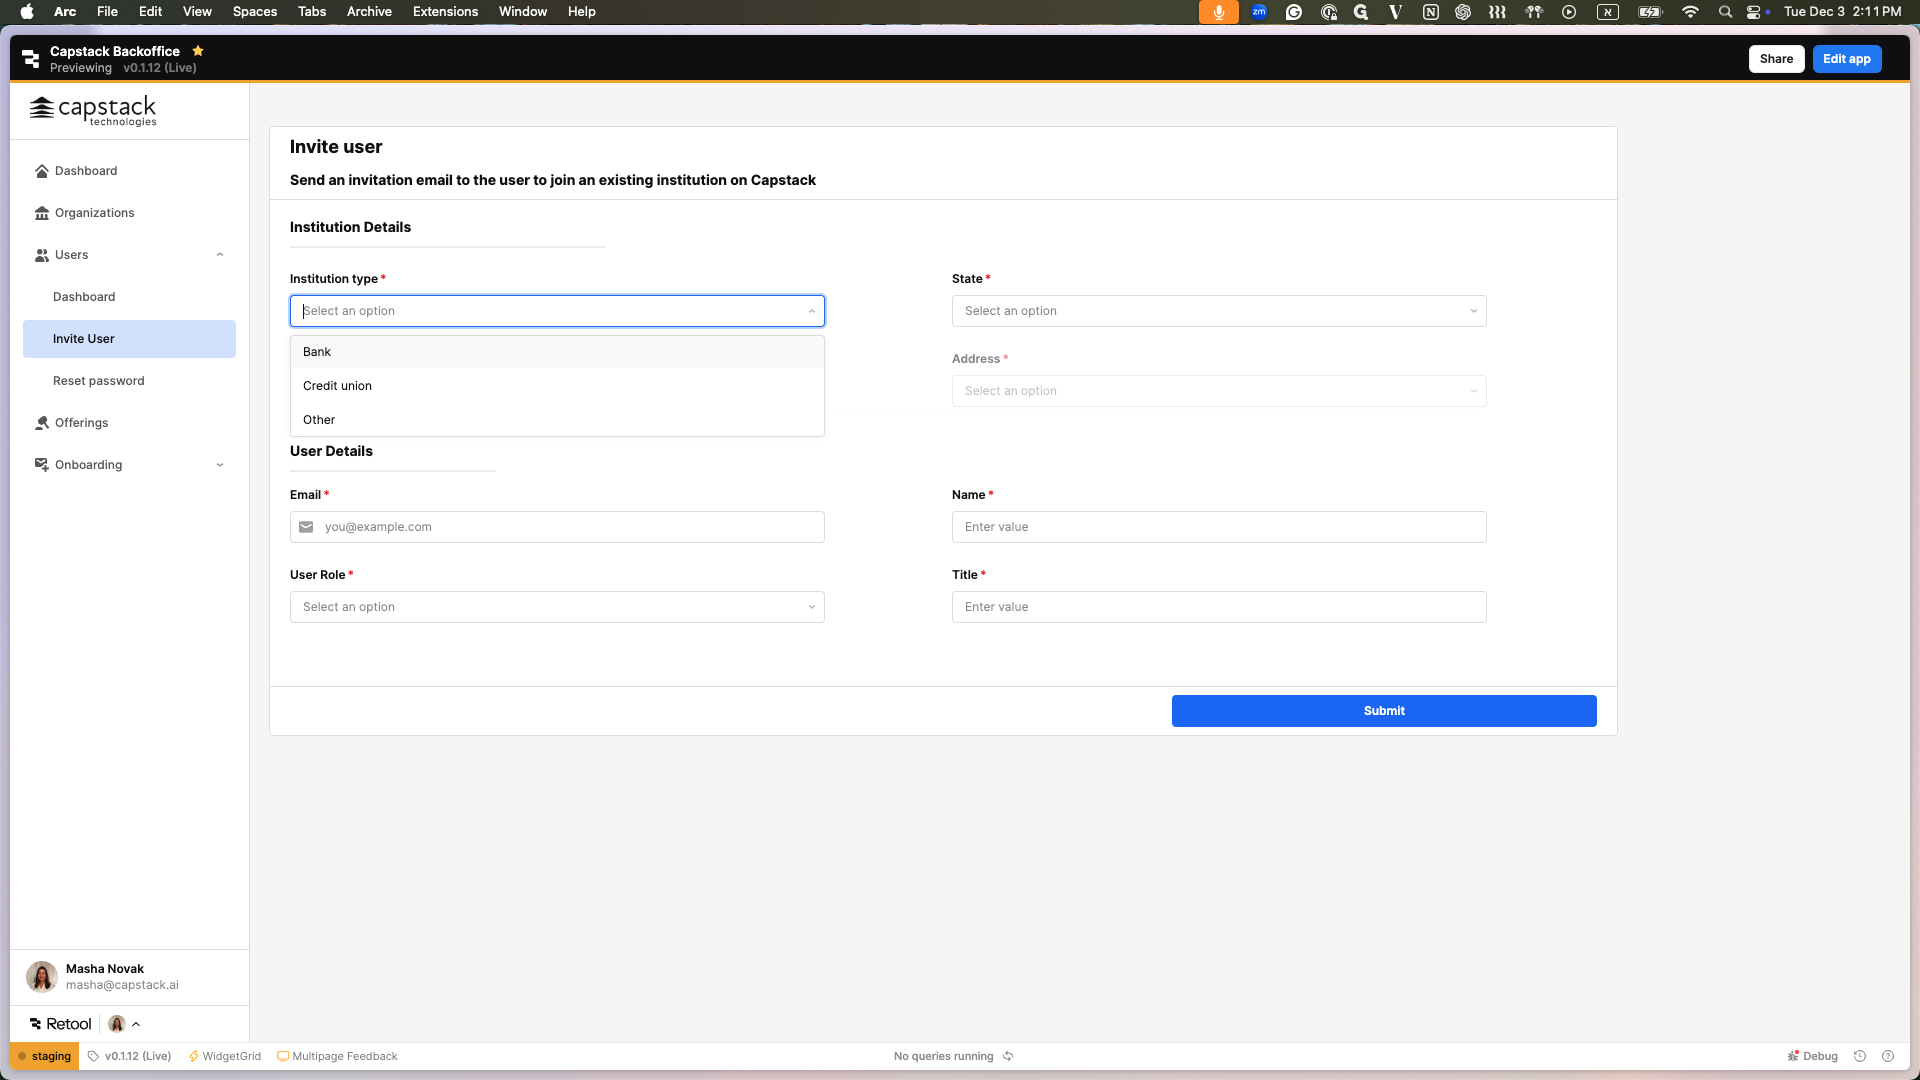
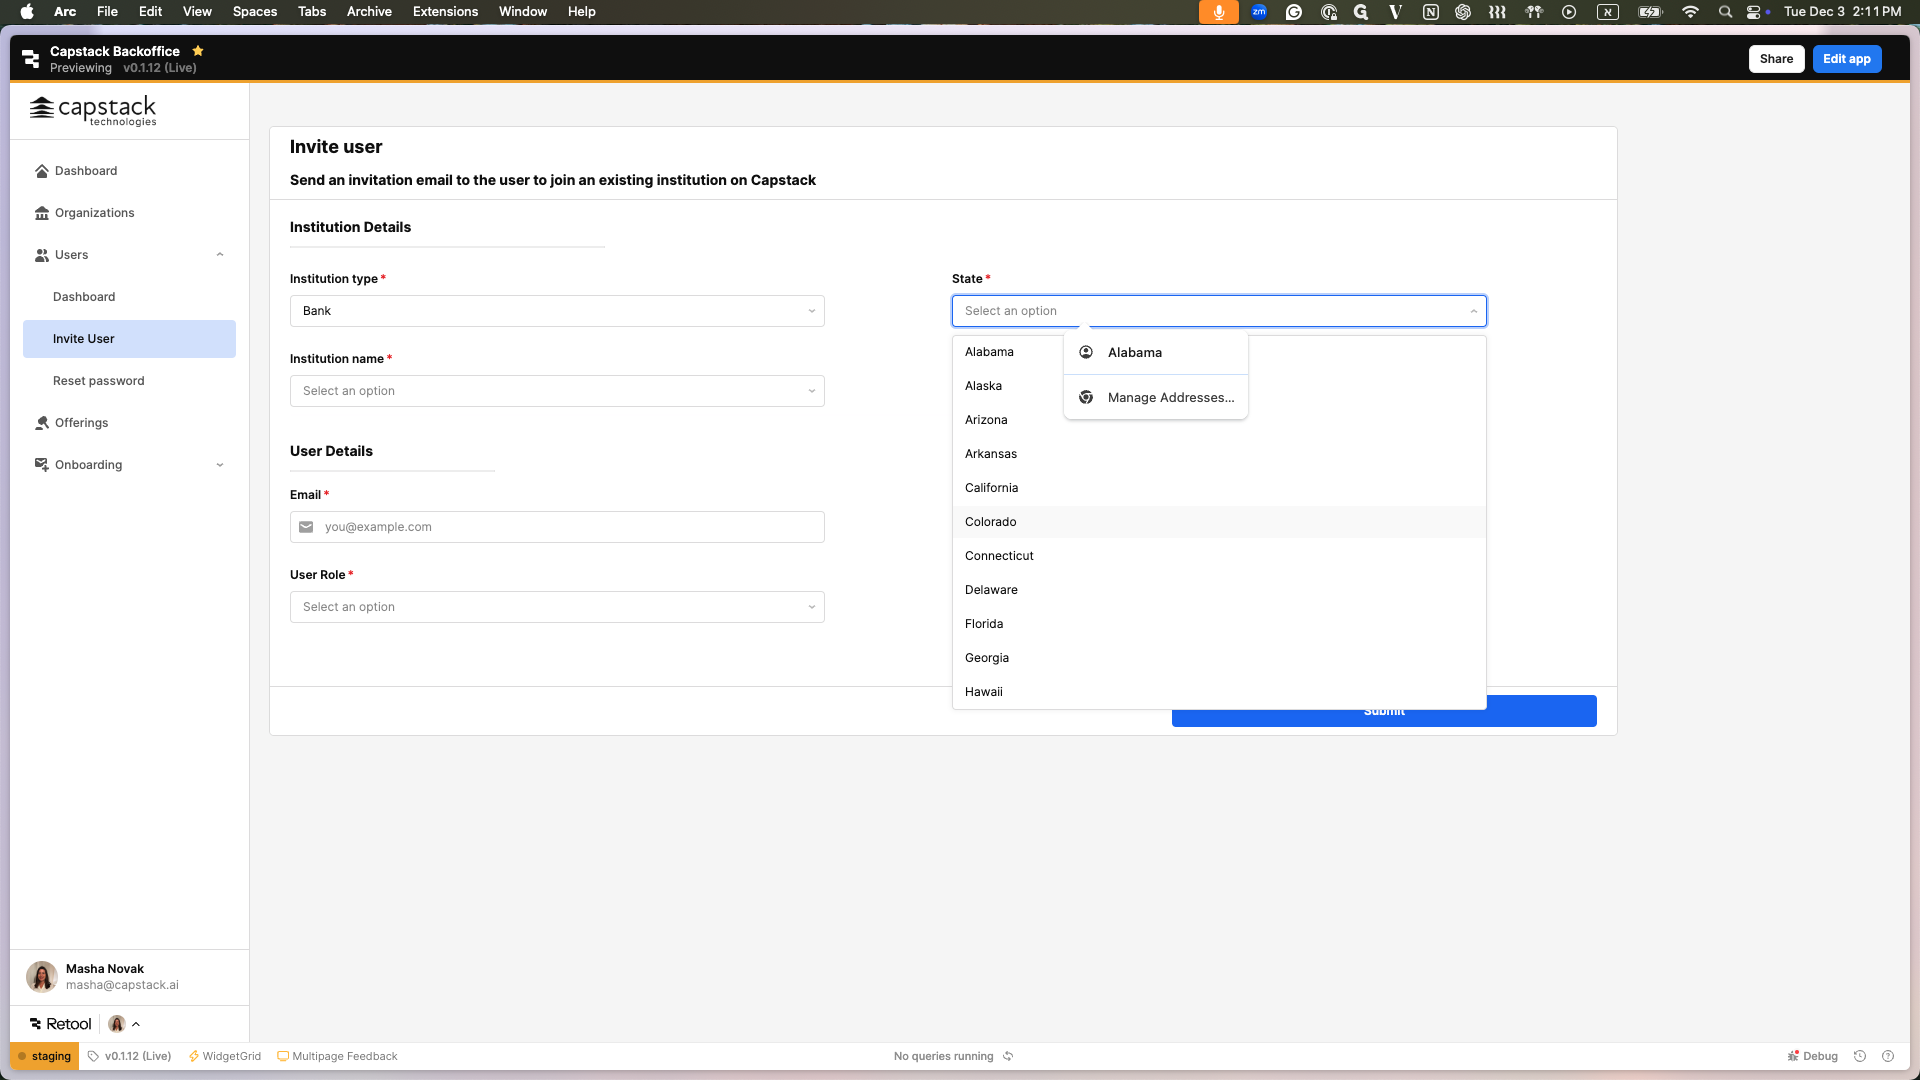
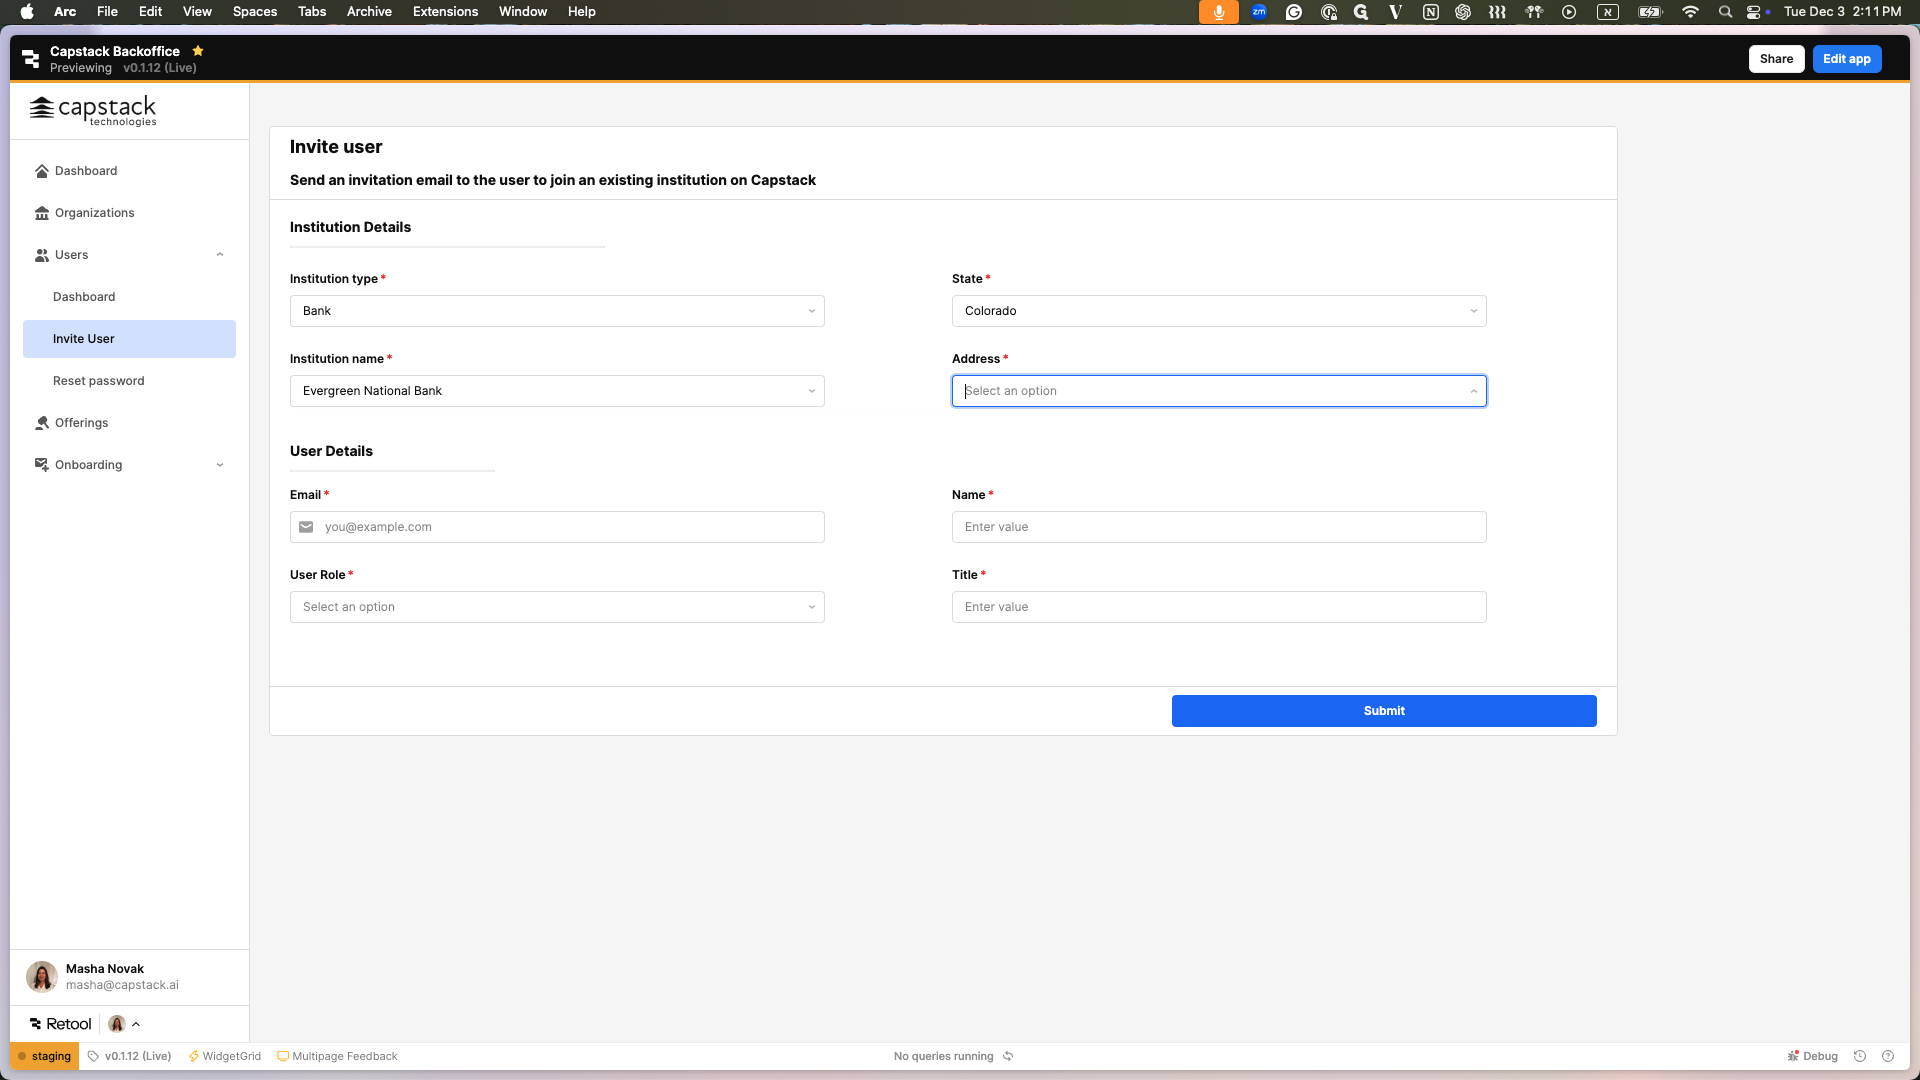
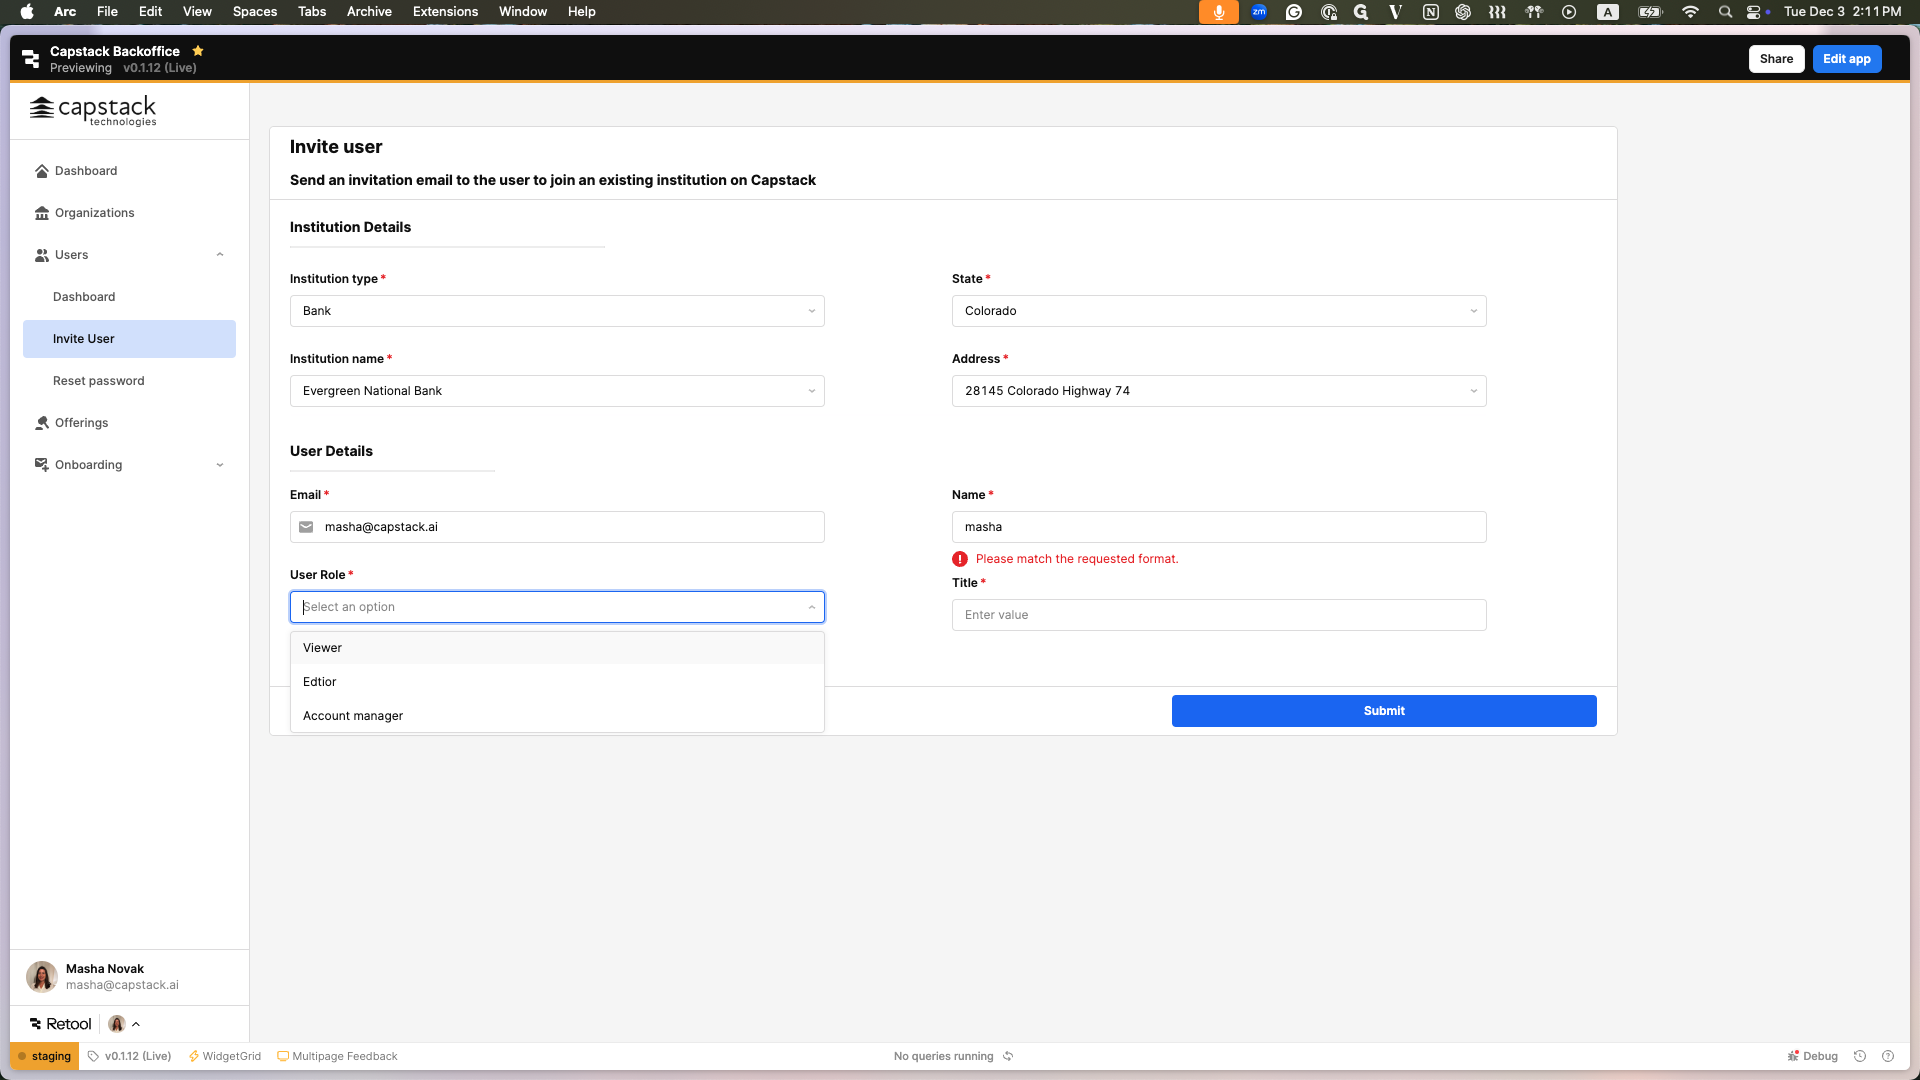
If the institution has multiple branches, choose the one that is relevant to you. Add the new user's email, name, role, and title, then submit.
Here you can choose which role to give to that user.

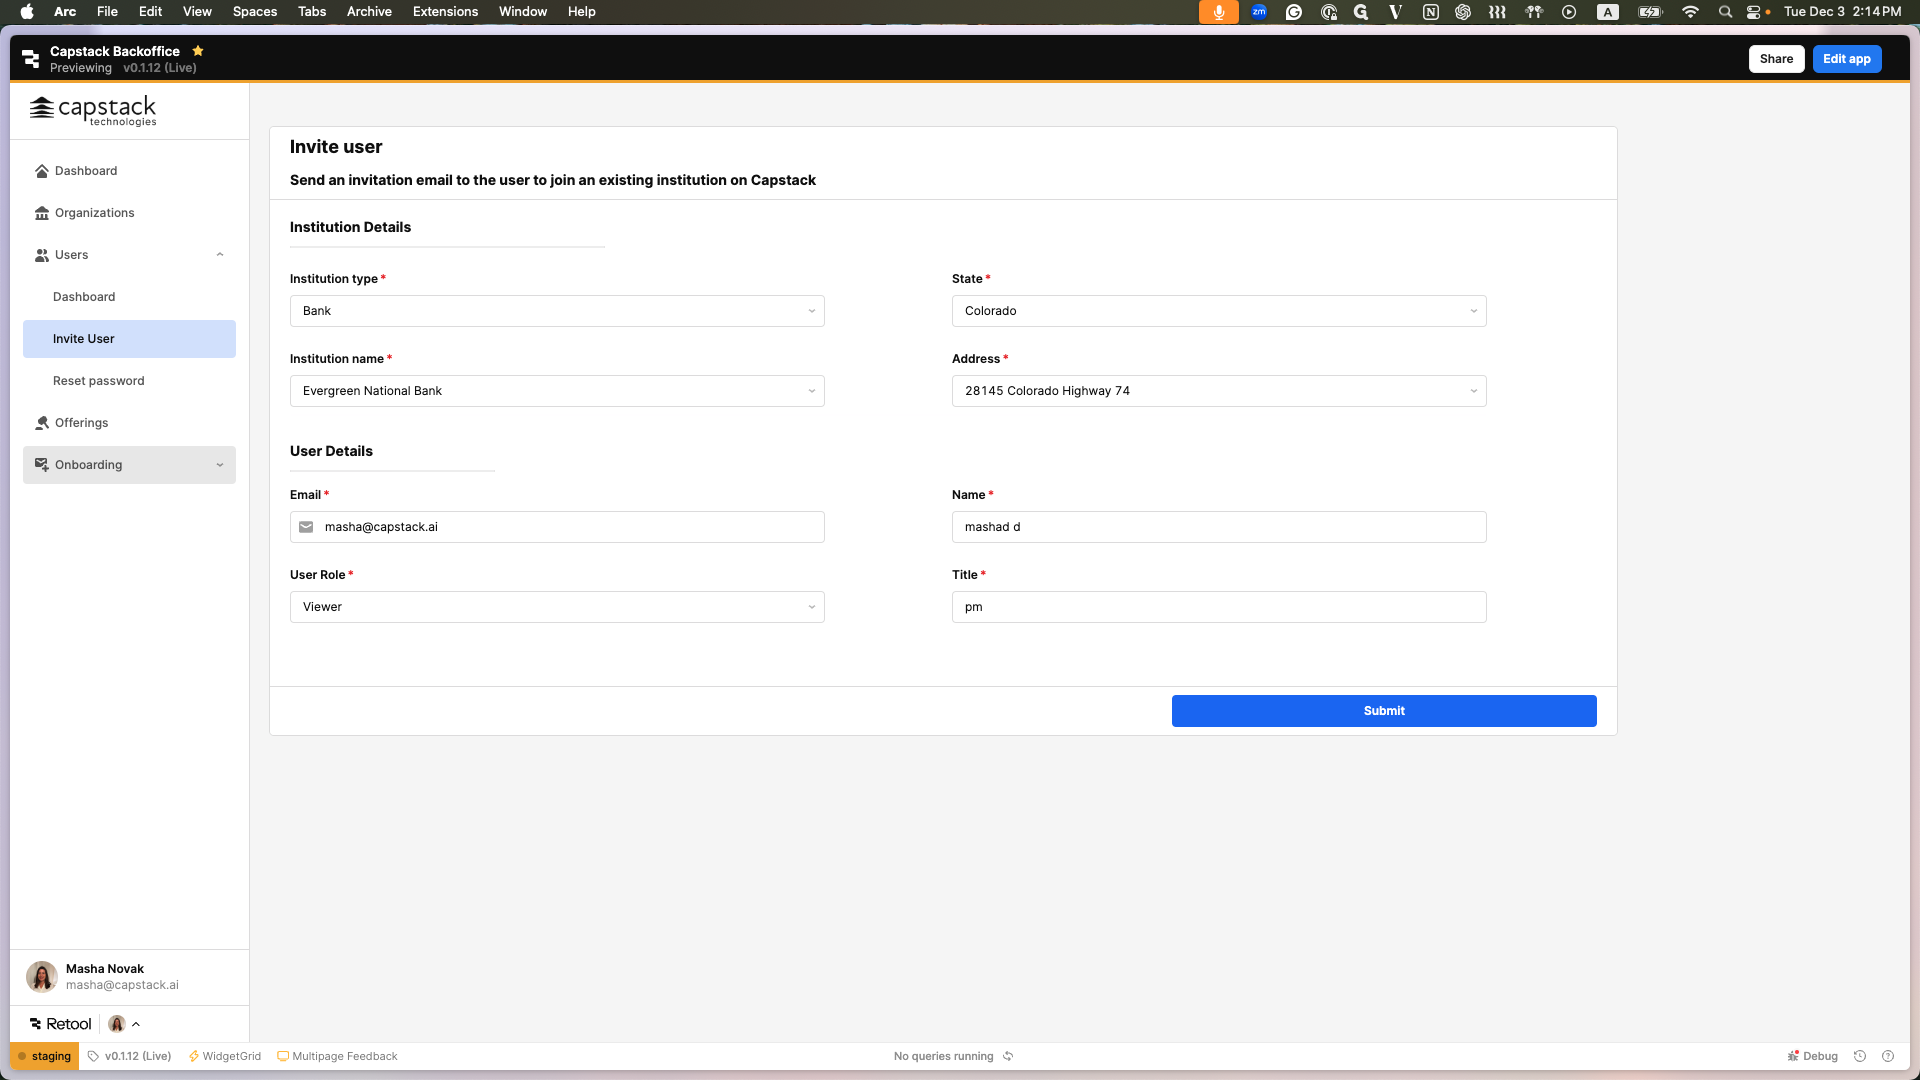
I have received an error indicating that the organization is not found. You need to go to the onboarding process and add the organization before inviting the user to an existing one.
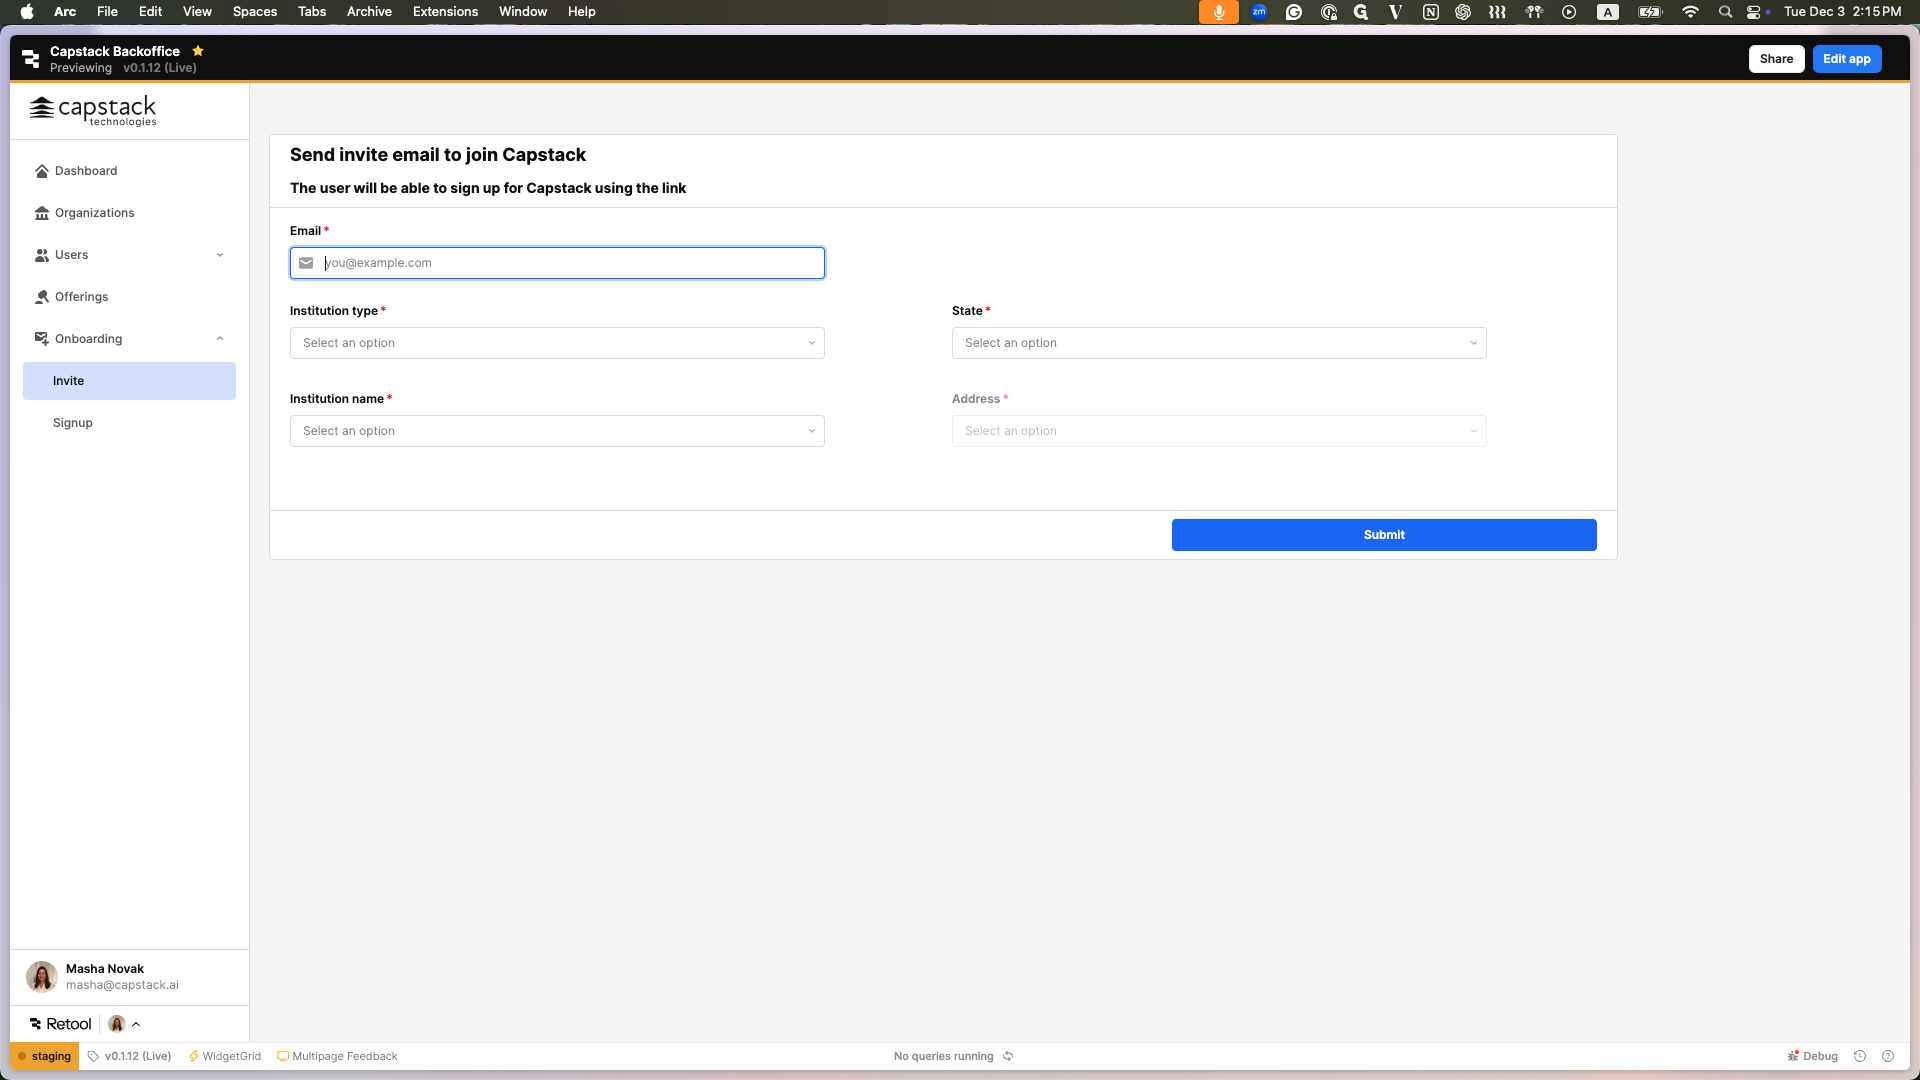
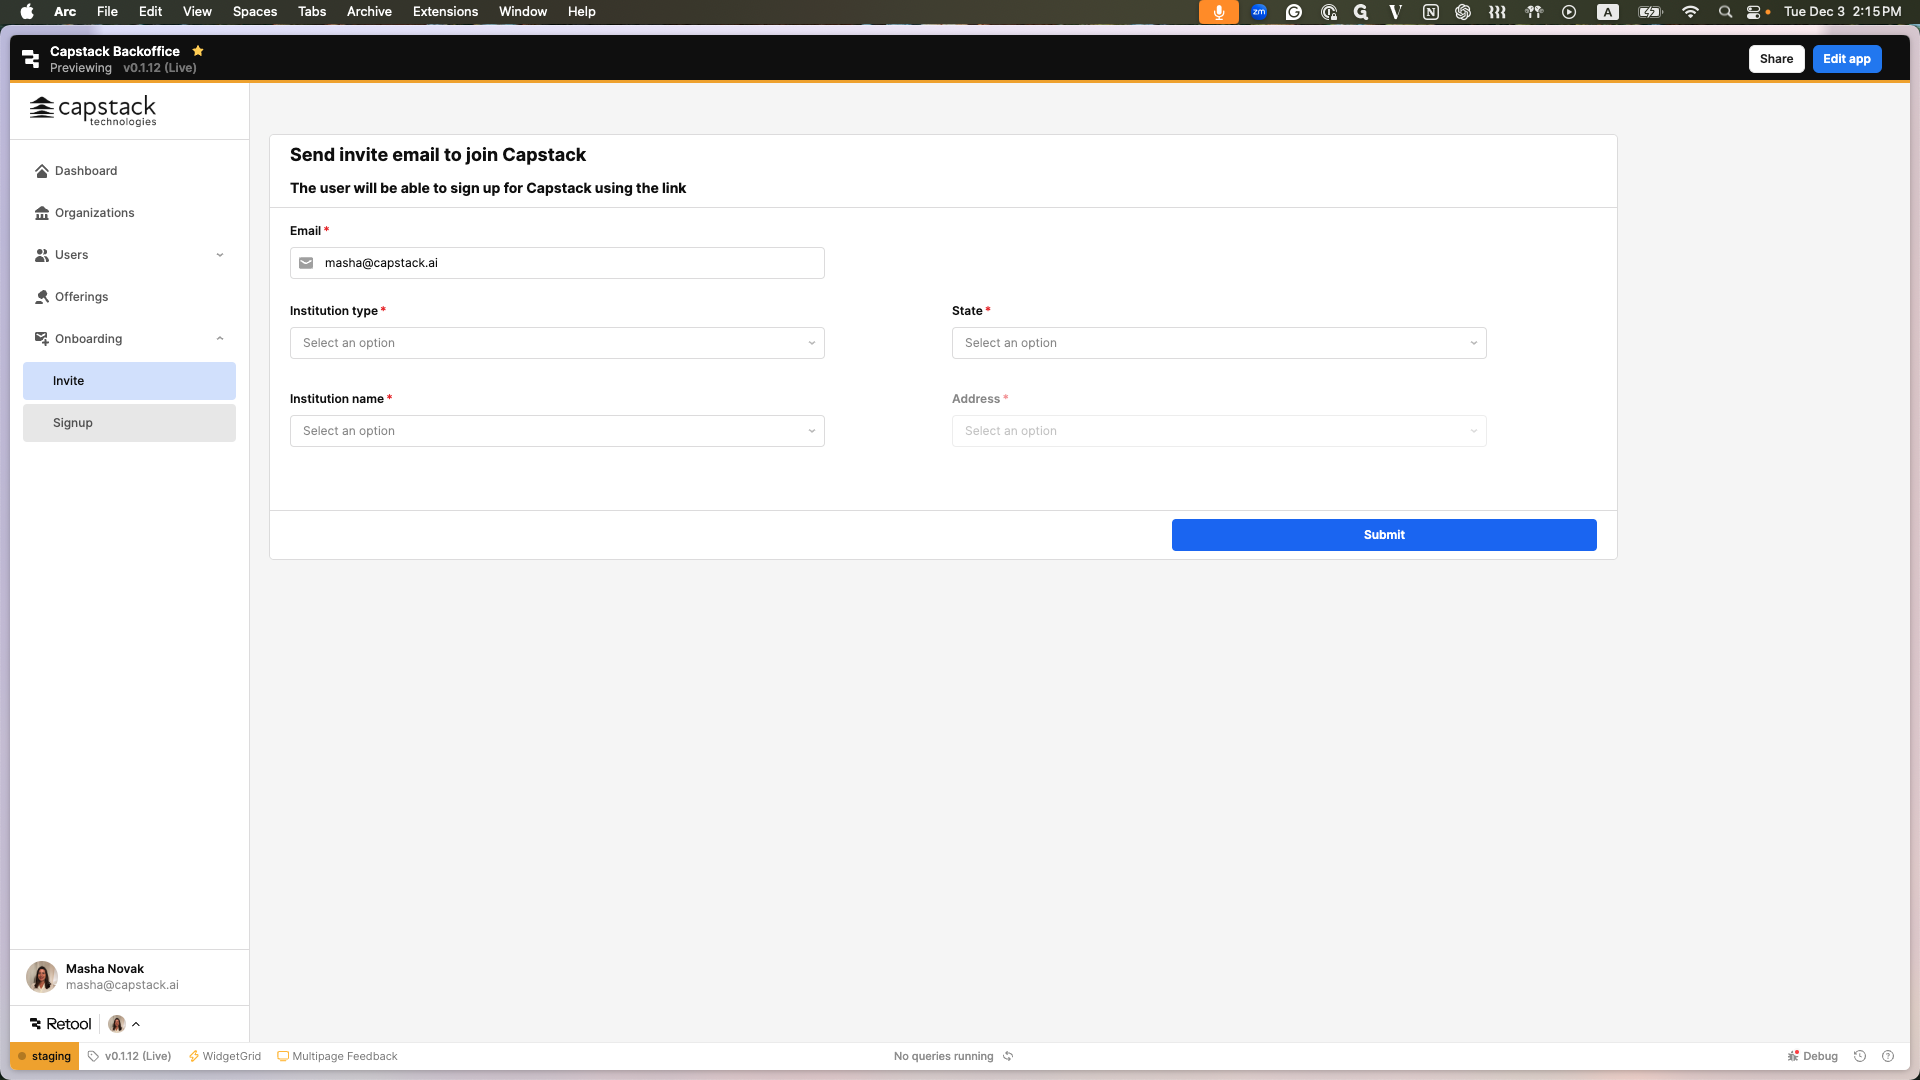
The first step we covered is adding a user to an existing organization. Now, if we go to onboarding, we can choose to invite an organization. This means the user will receive an invite link and must provide all the data about the institution to set it up.
Here, you have two options, the first one is that you can type the email and send the invitation link to the user, in this option the user will have to provide all the data about the institution.
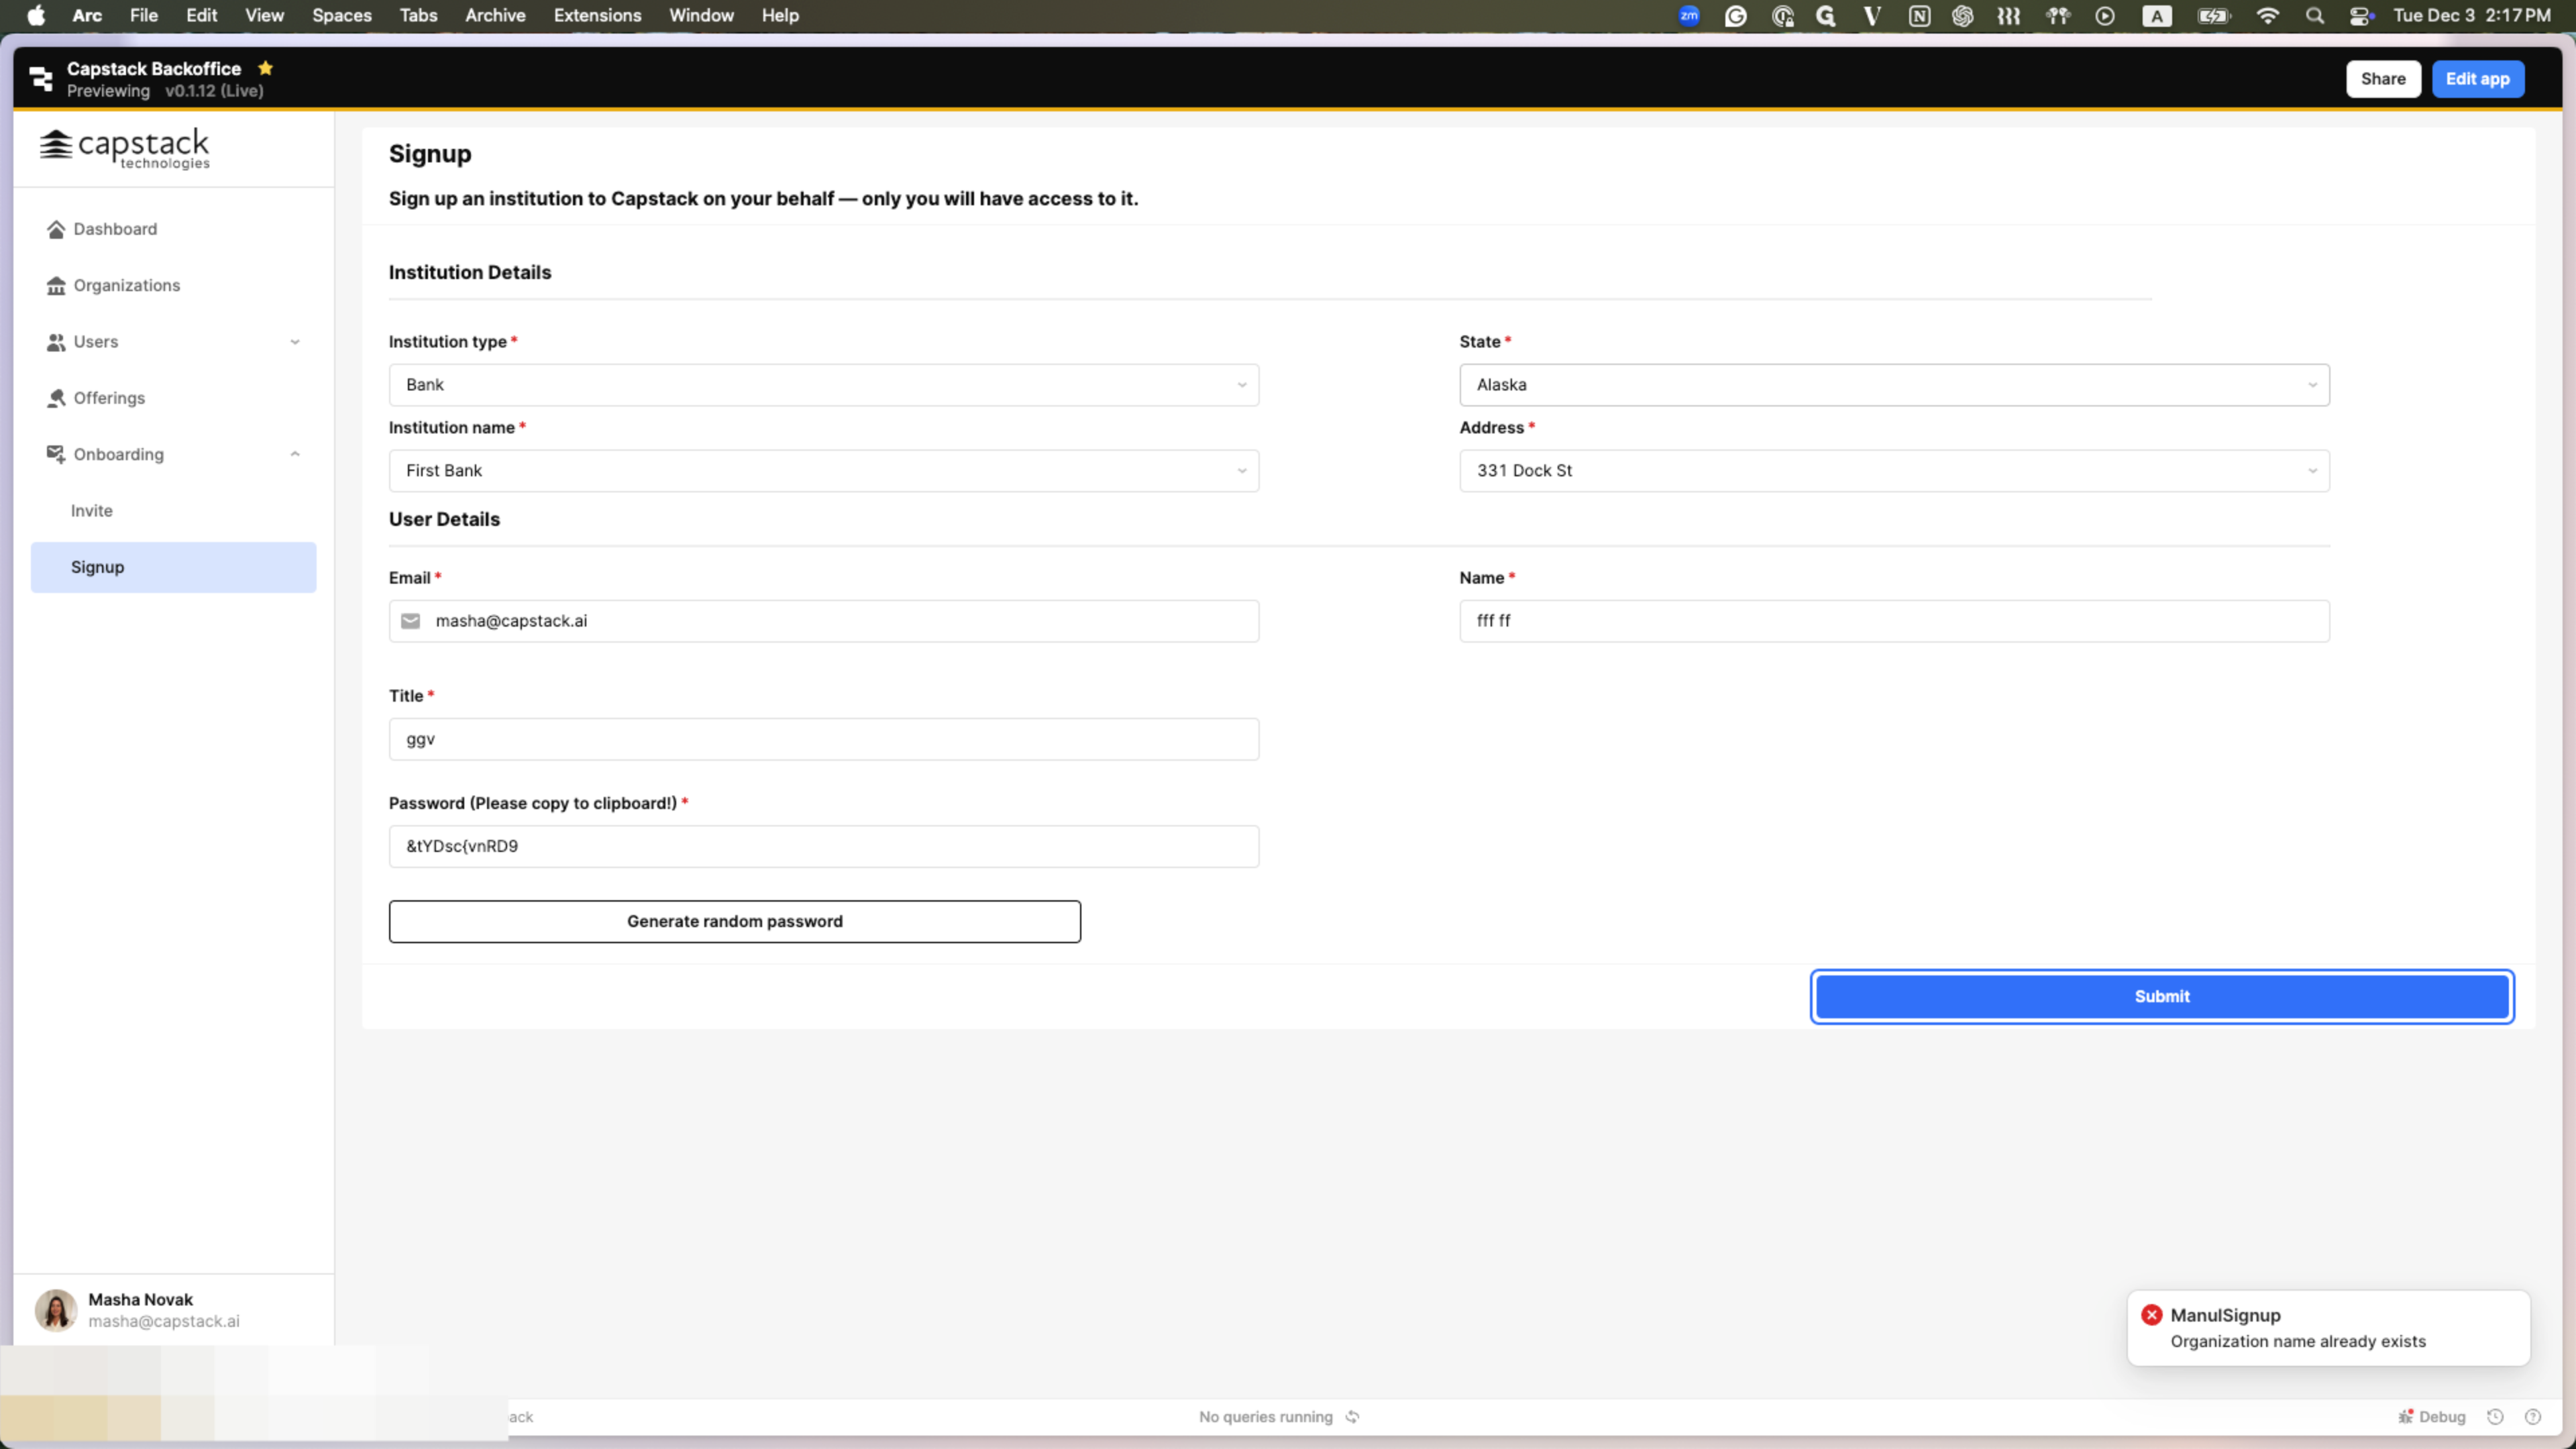
The second option is to sign up on behalf of the organization to generate a password. In this option, you must directly send the link and password to the user so they can log in later.
We've also added additional error messages. For instance, if you try to add a user via this method, it will not work, and so on.
Here you can see an example of an error that the organization already exists and you need to user the User -> Invite user flow inorder to add a user to an existing organization.
Thank you!