
How to Use the Cavity Slider Calculator on the Cavity Sliders Website
Learn how to use the Cavity Slider Calculator on the Cavity Sliders website to determine door sizes, trim heights, trim width requirements, and more for your cavity slider installation. Step-by-step instructions included.
In this guide, we'll learn how to use the cavity slider calculator on the Cavity Sliders website. This tool helps you determine the right door sizes, trim heights, and other requirements for cavity sliders and doors.
You will see how to select the correct configurations and enter your measurements to get the information you need for your project. This process can help you communicate details to customers and ensure your chosen cavity slider fits your space.
Let's get started
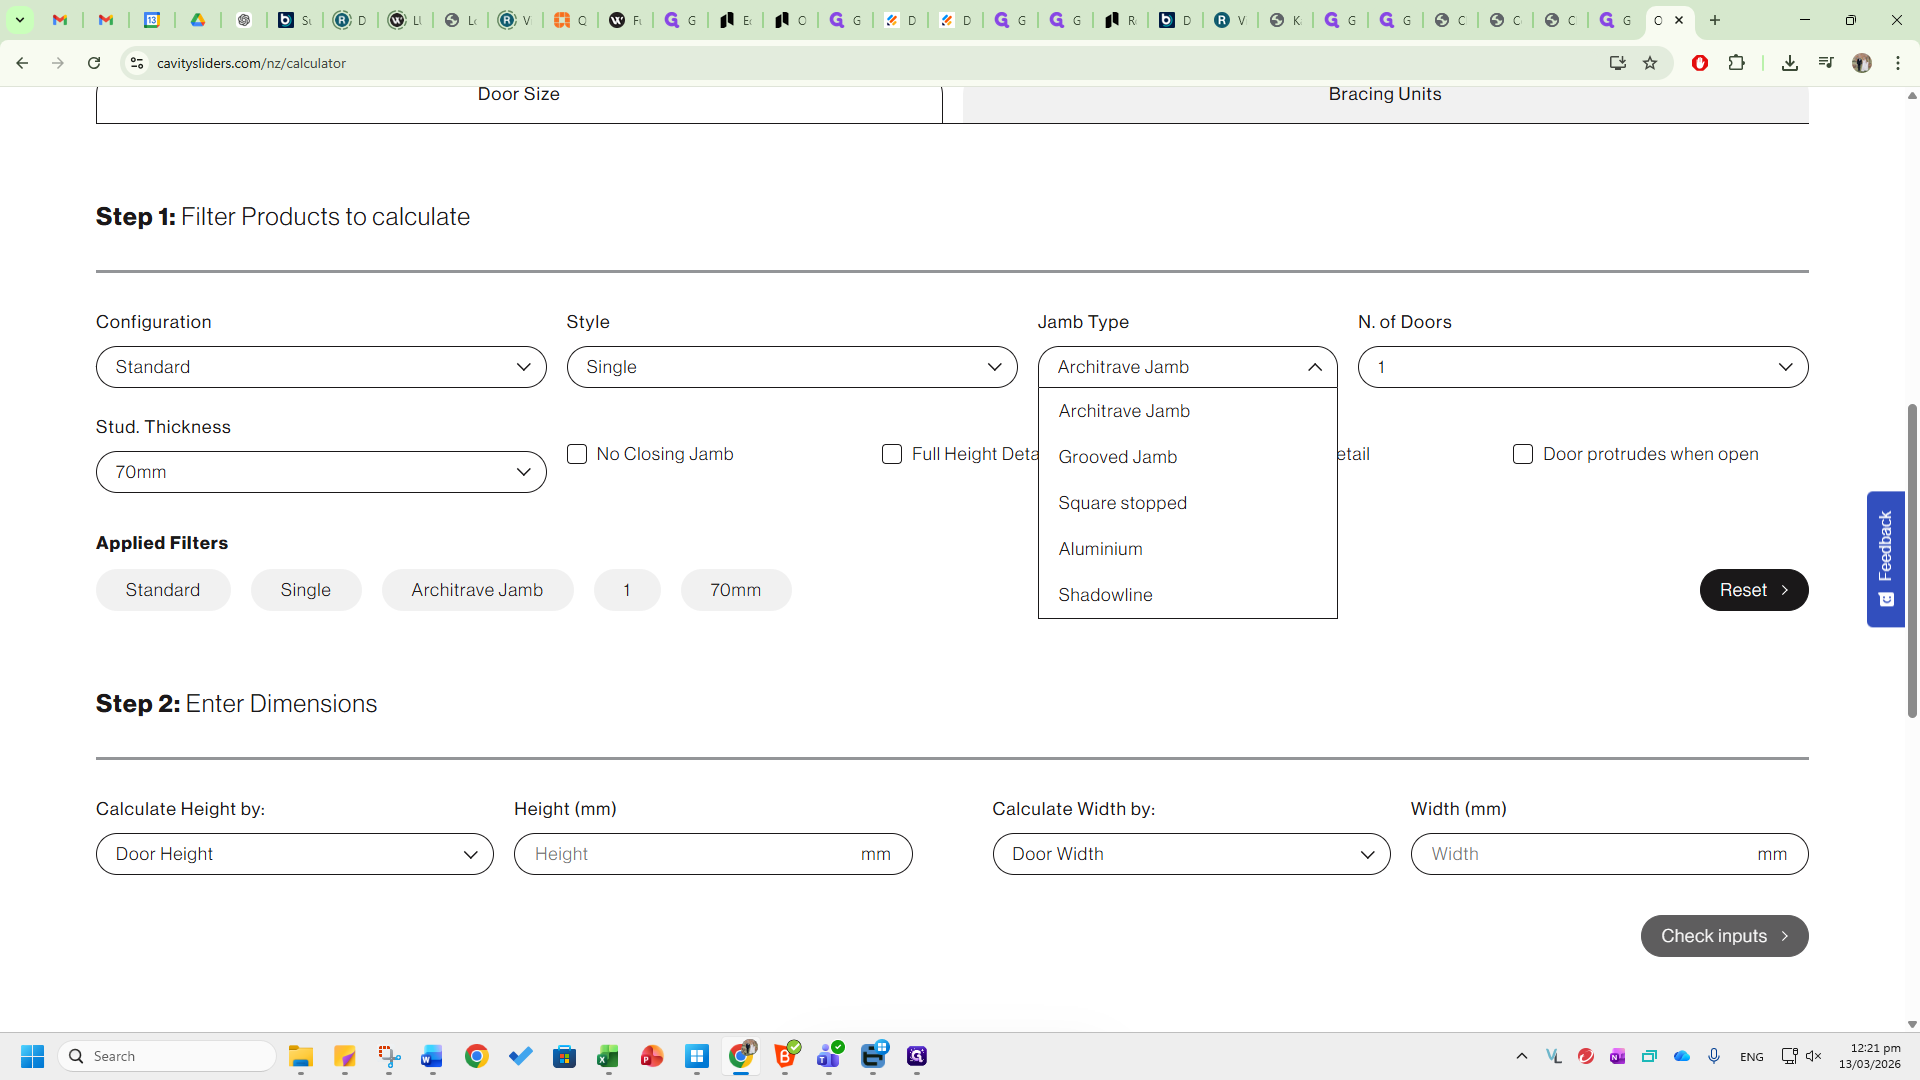
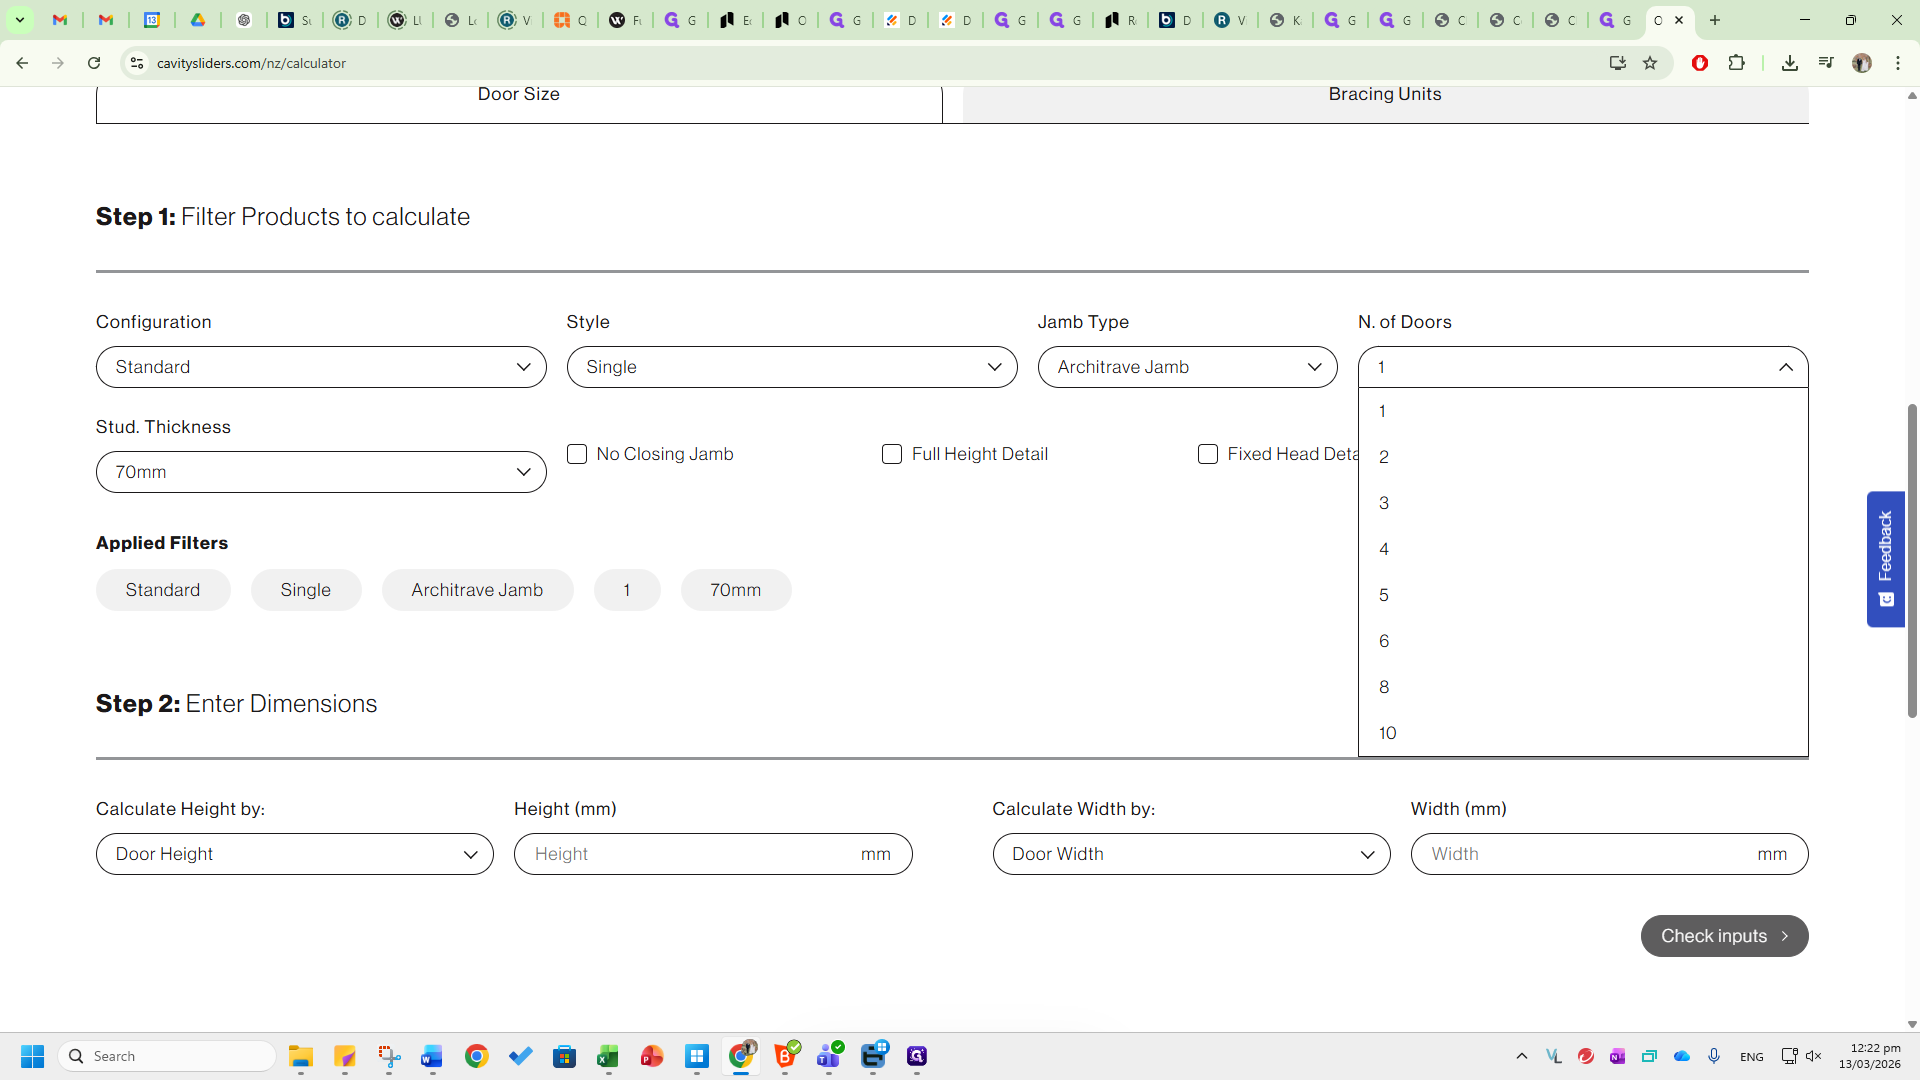
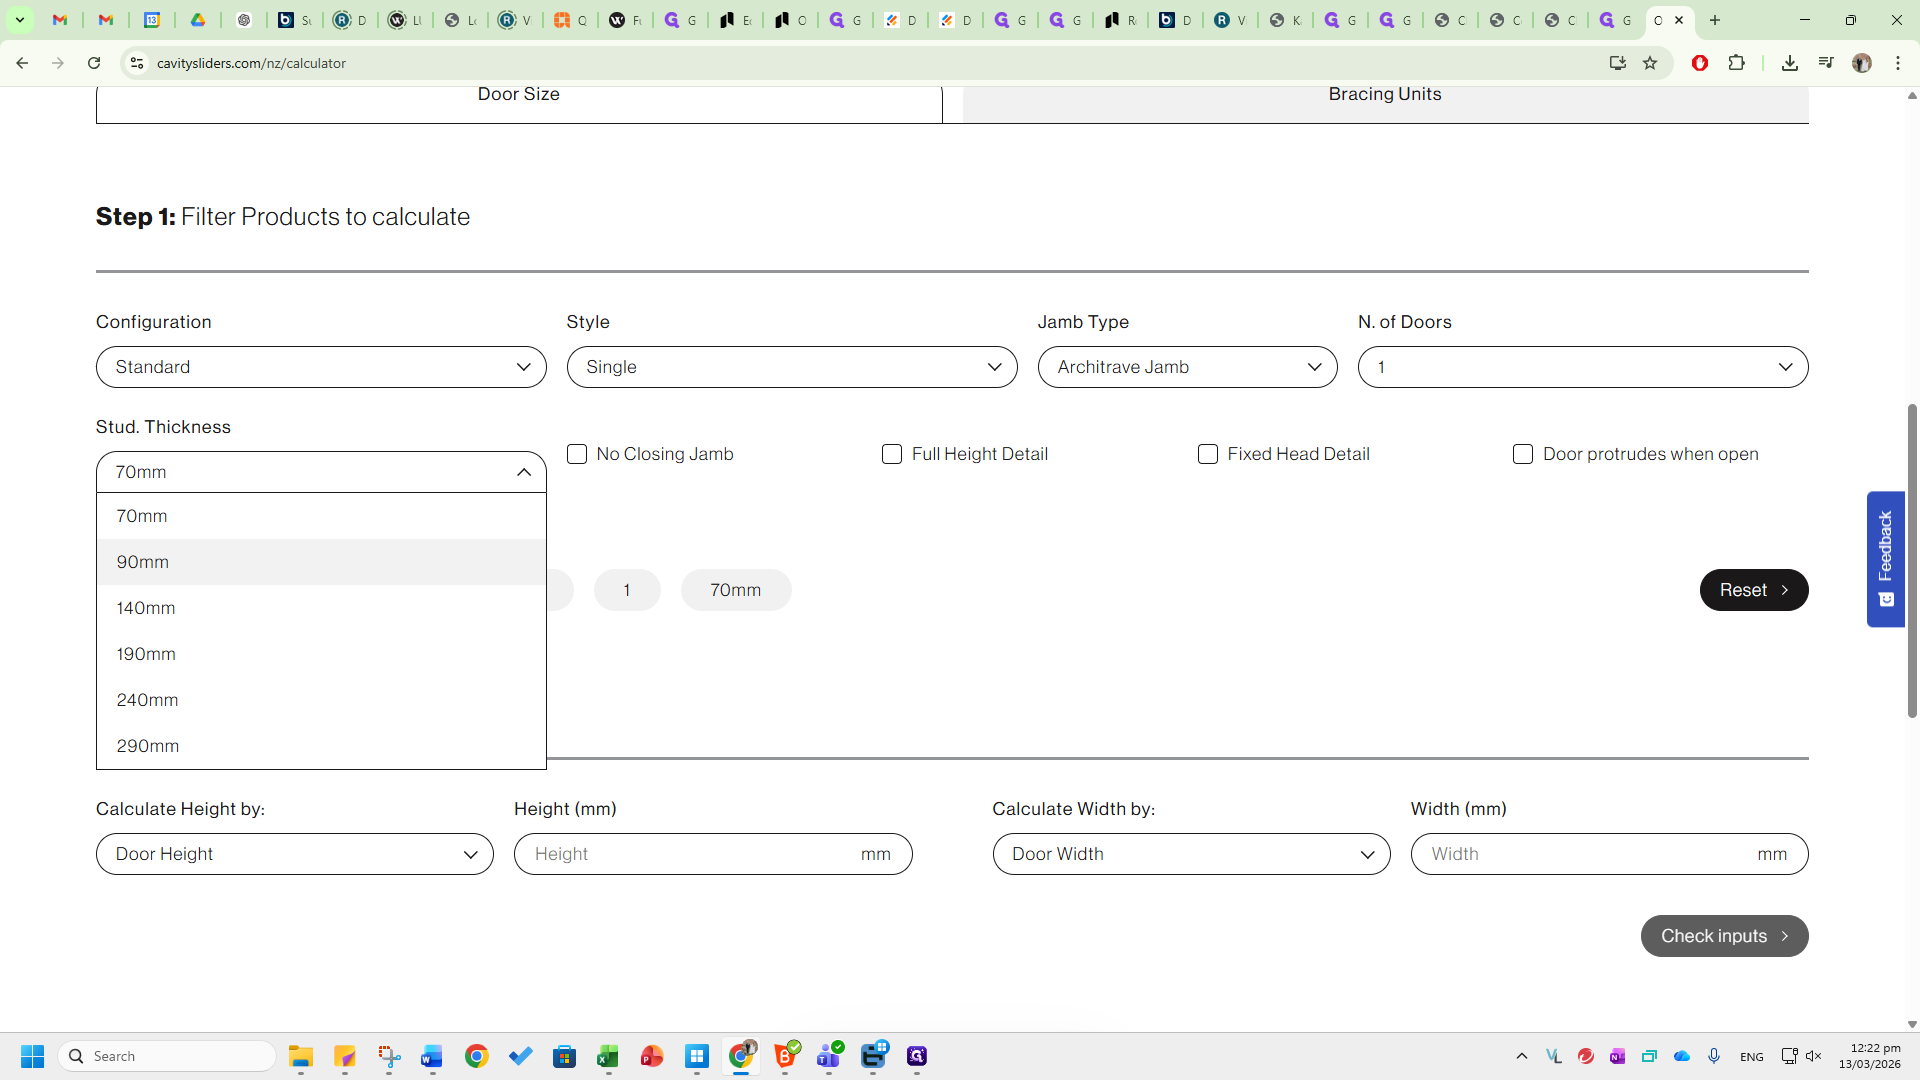
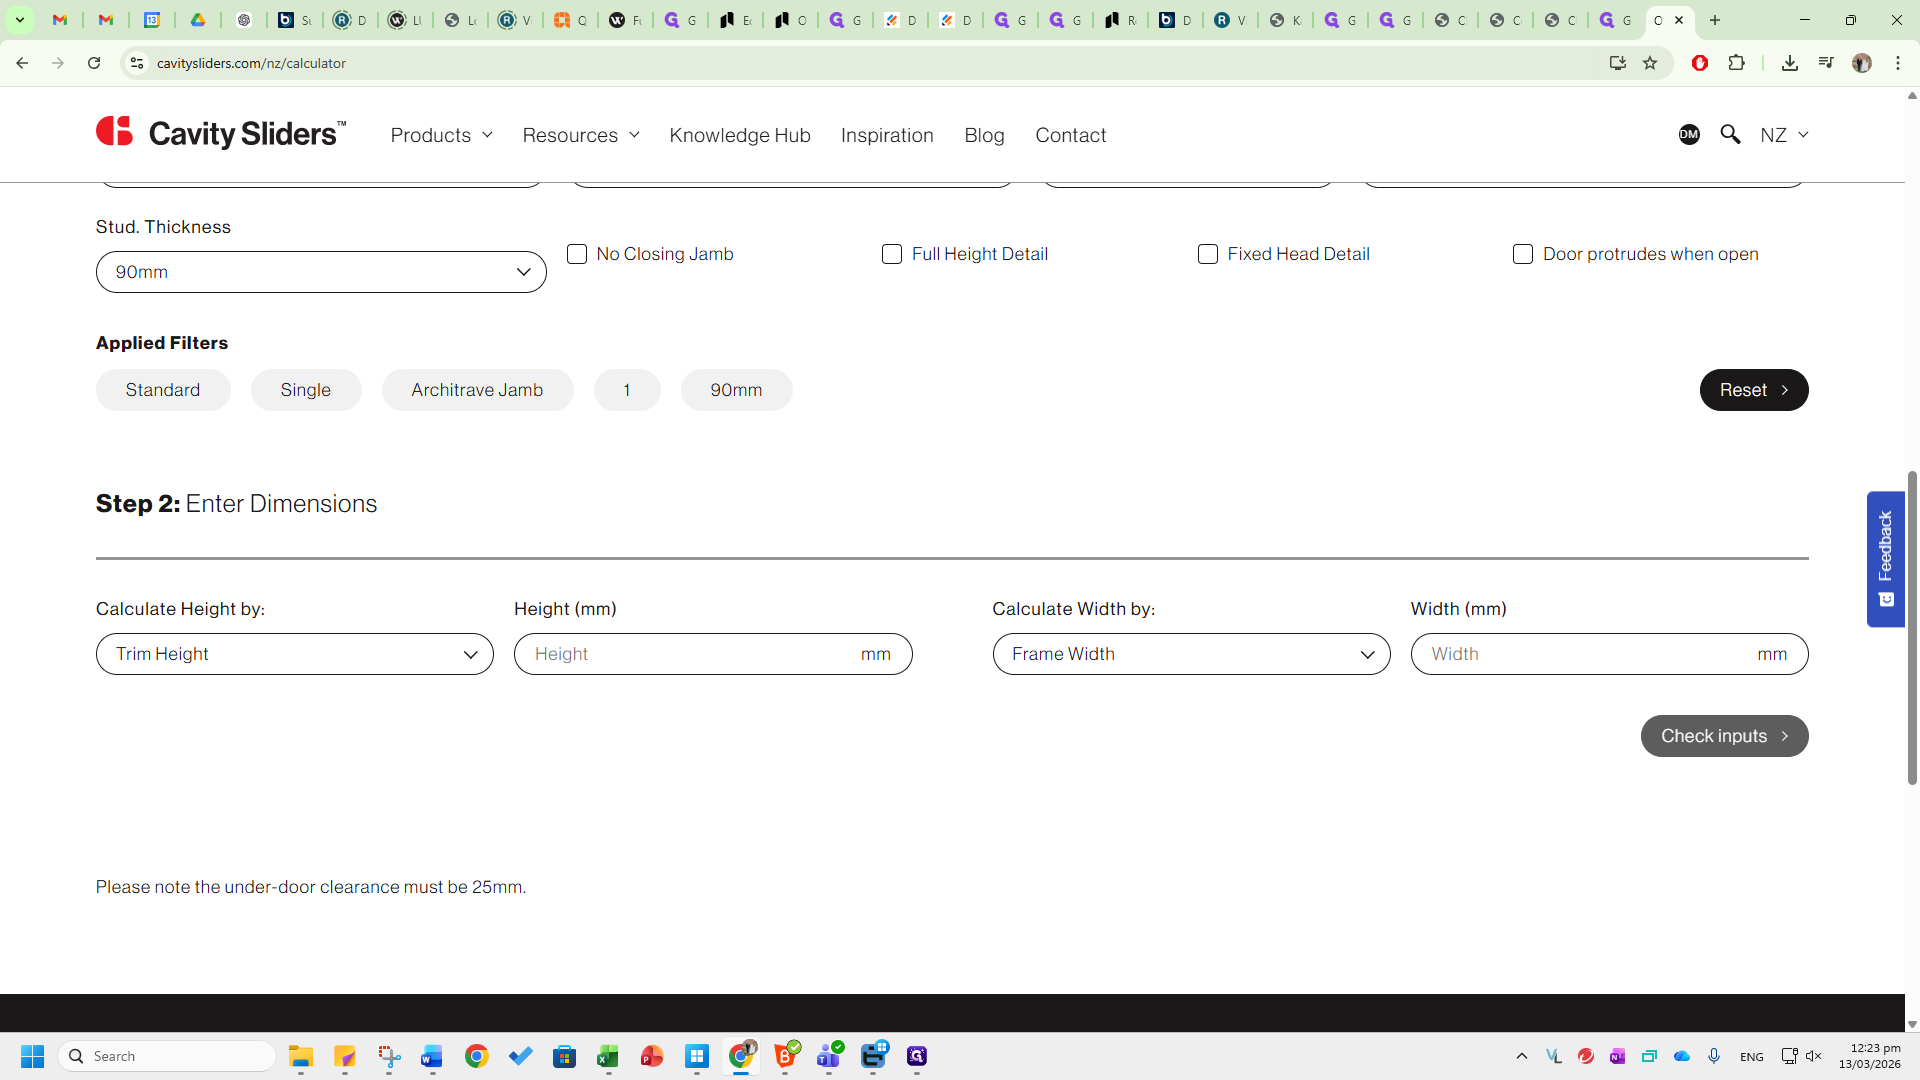
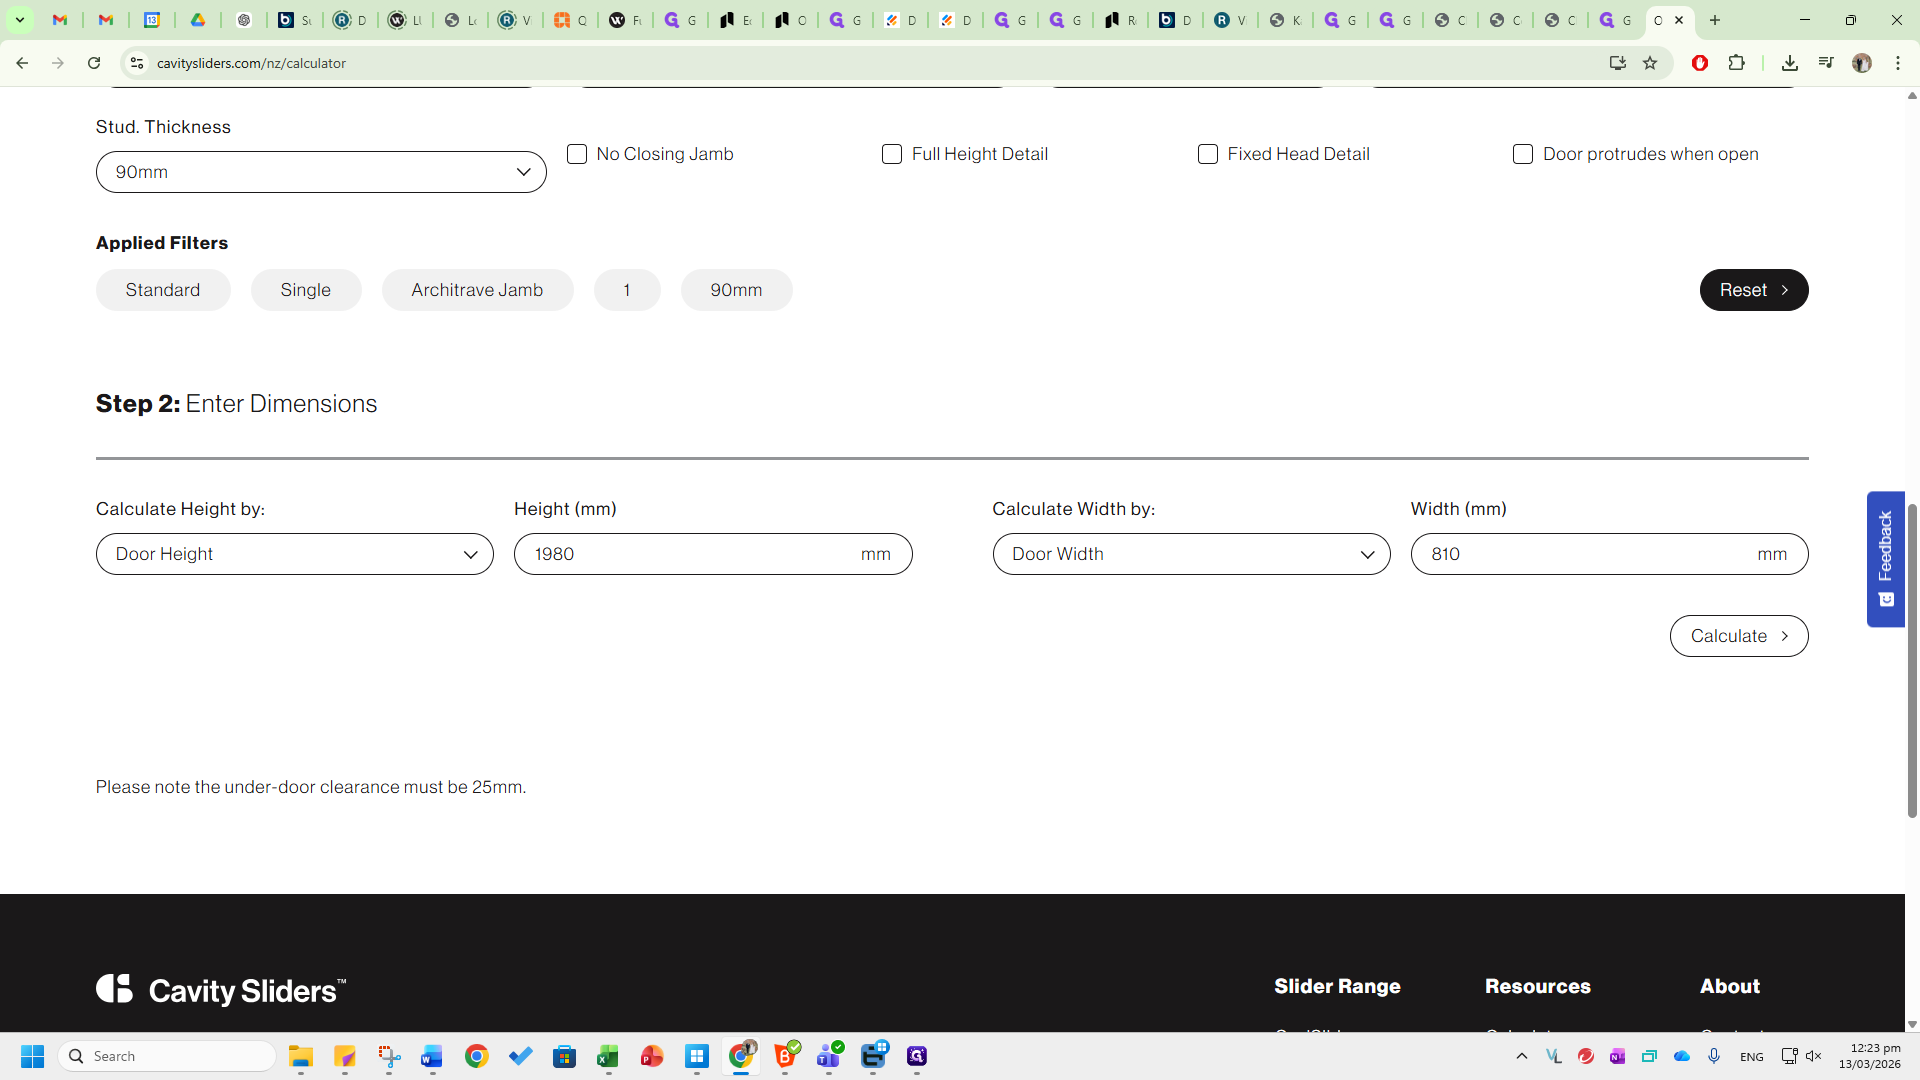
This document provides an overview of how to use the cavity slider calculator on the Cavity Sliders website. This tool helps determine door sizes, trim heights, trim width requirements, and other important details for cavity sliders and doors. To access this page, visit cavitysliders.com/nz/calculator. First, scroll down to see various filters and import options you can use. Click on the configuration you want for your cavity slider. Choose between single or bi-parting (two doors), architrave jamb, grooved jamb, or square stopped jamb. Select the number of doors, the wall thickness, and any other detailed options, such as fixed head or full height detail.
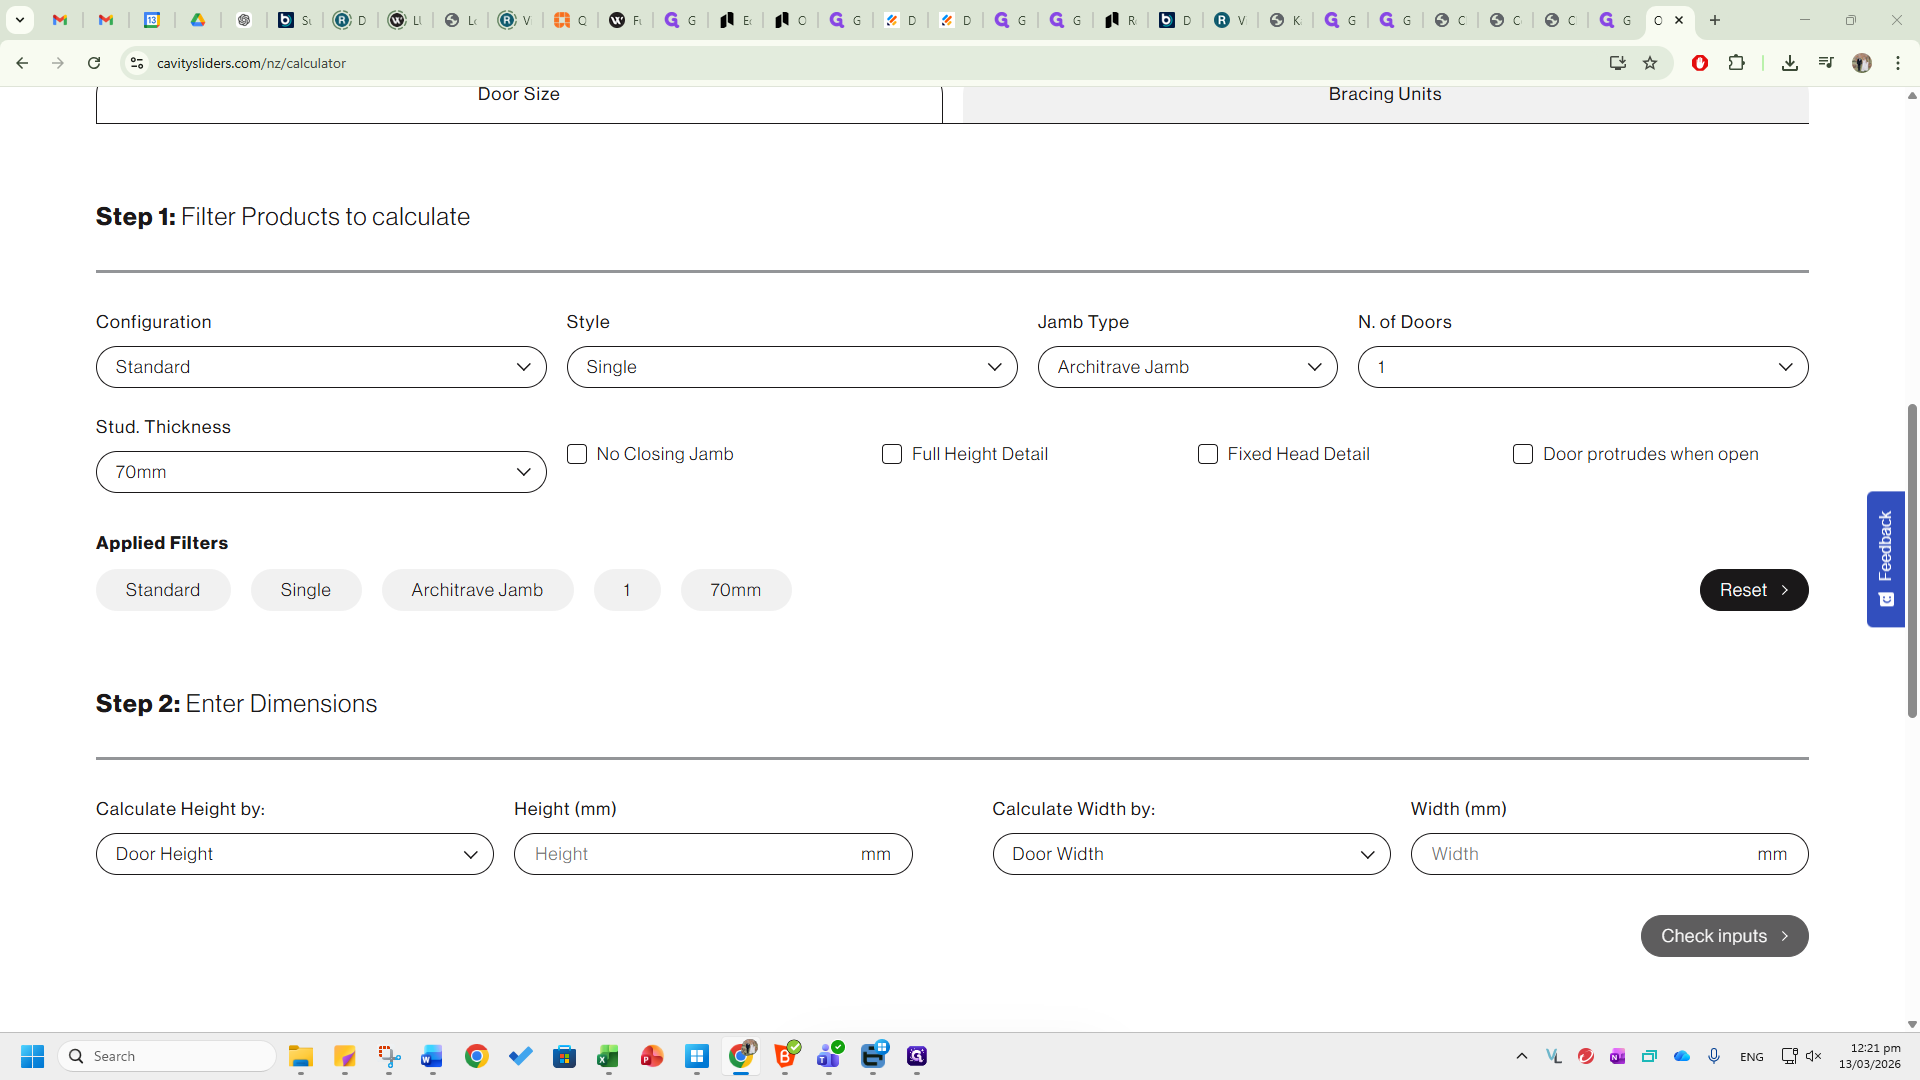


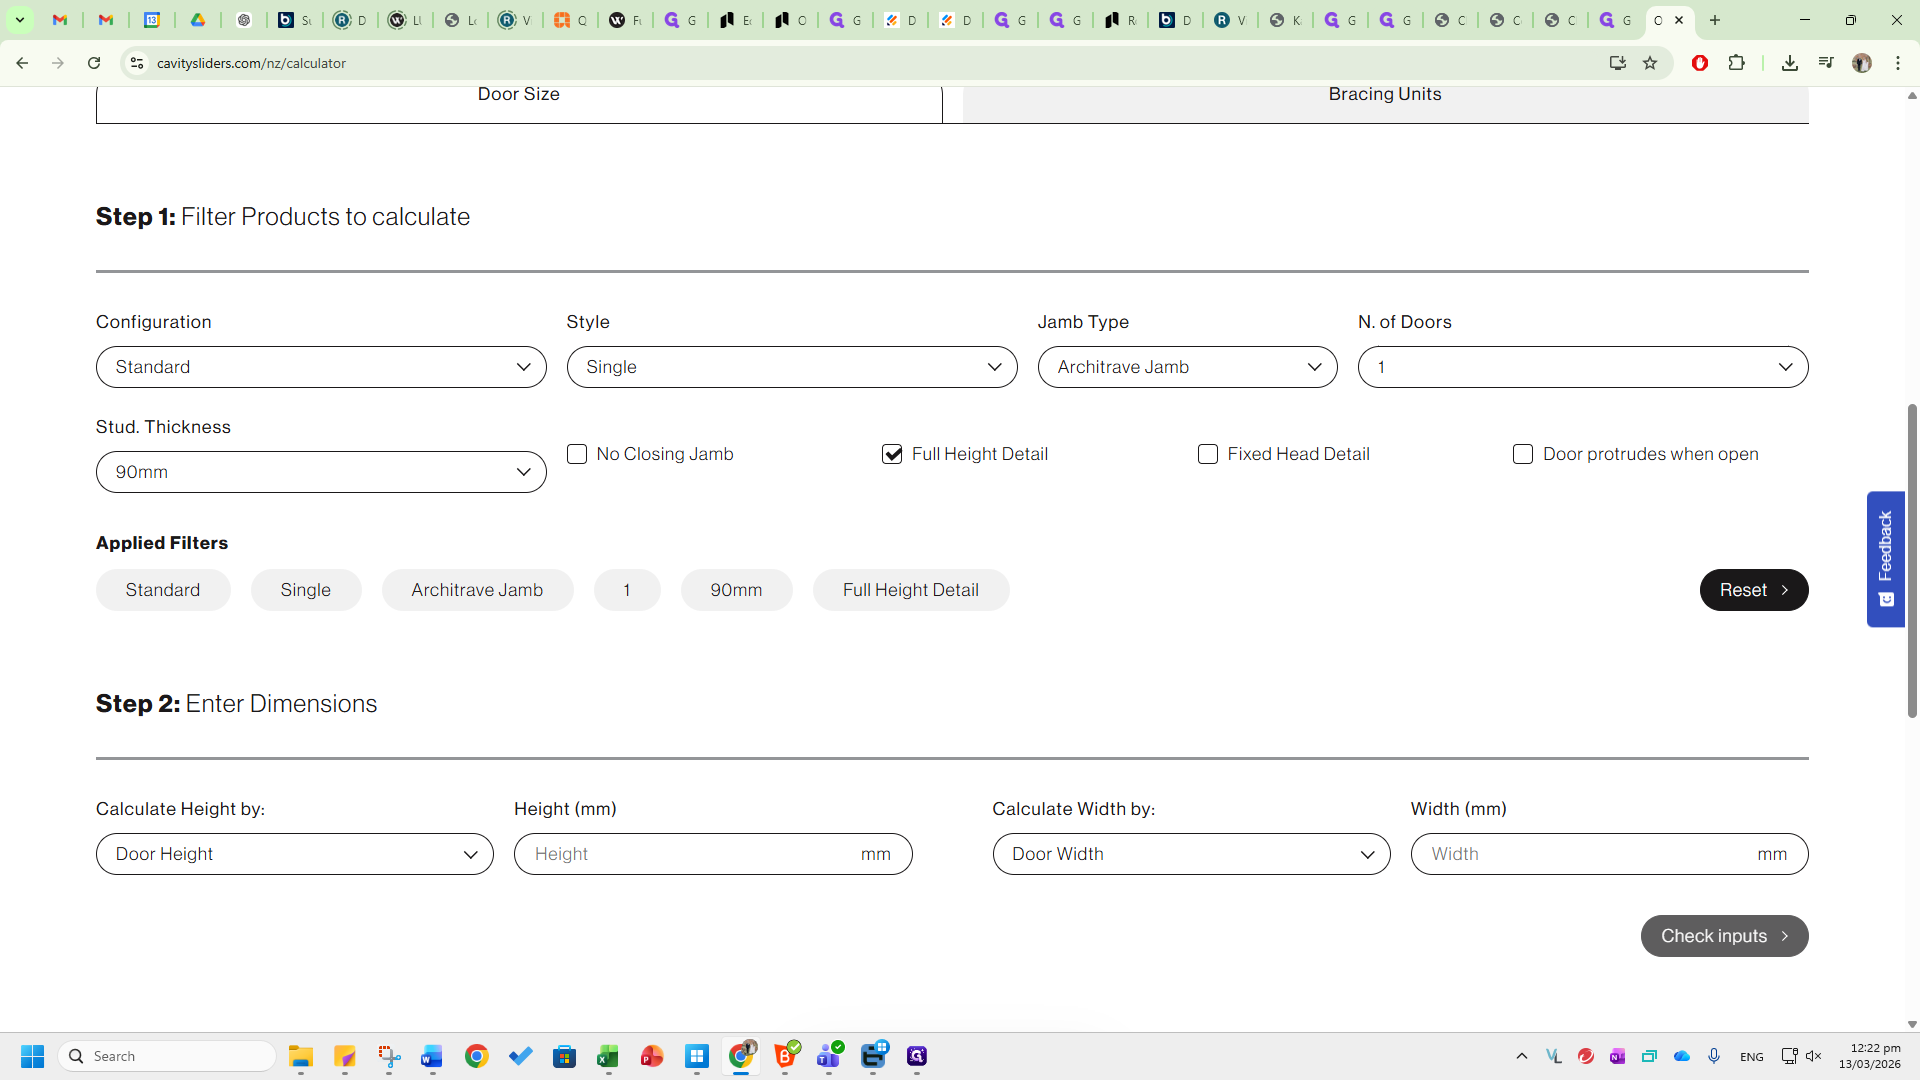
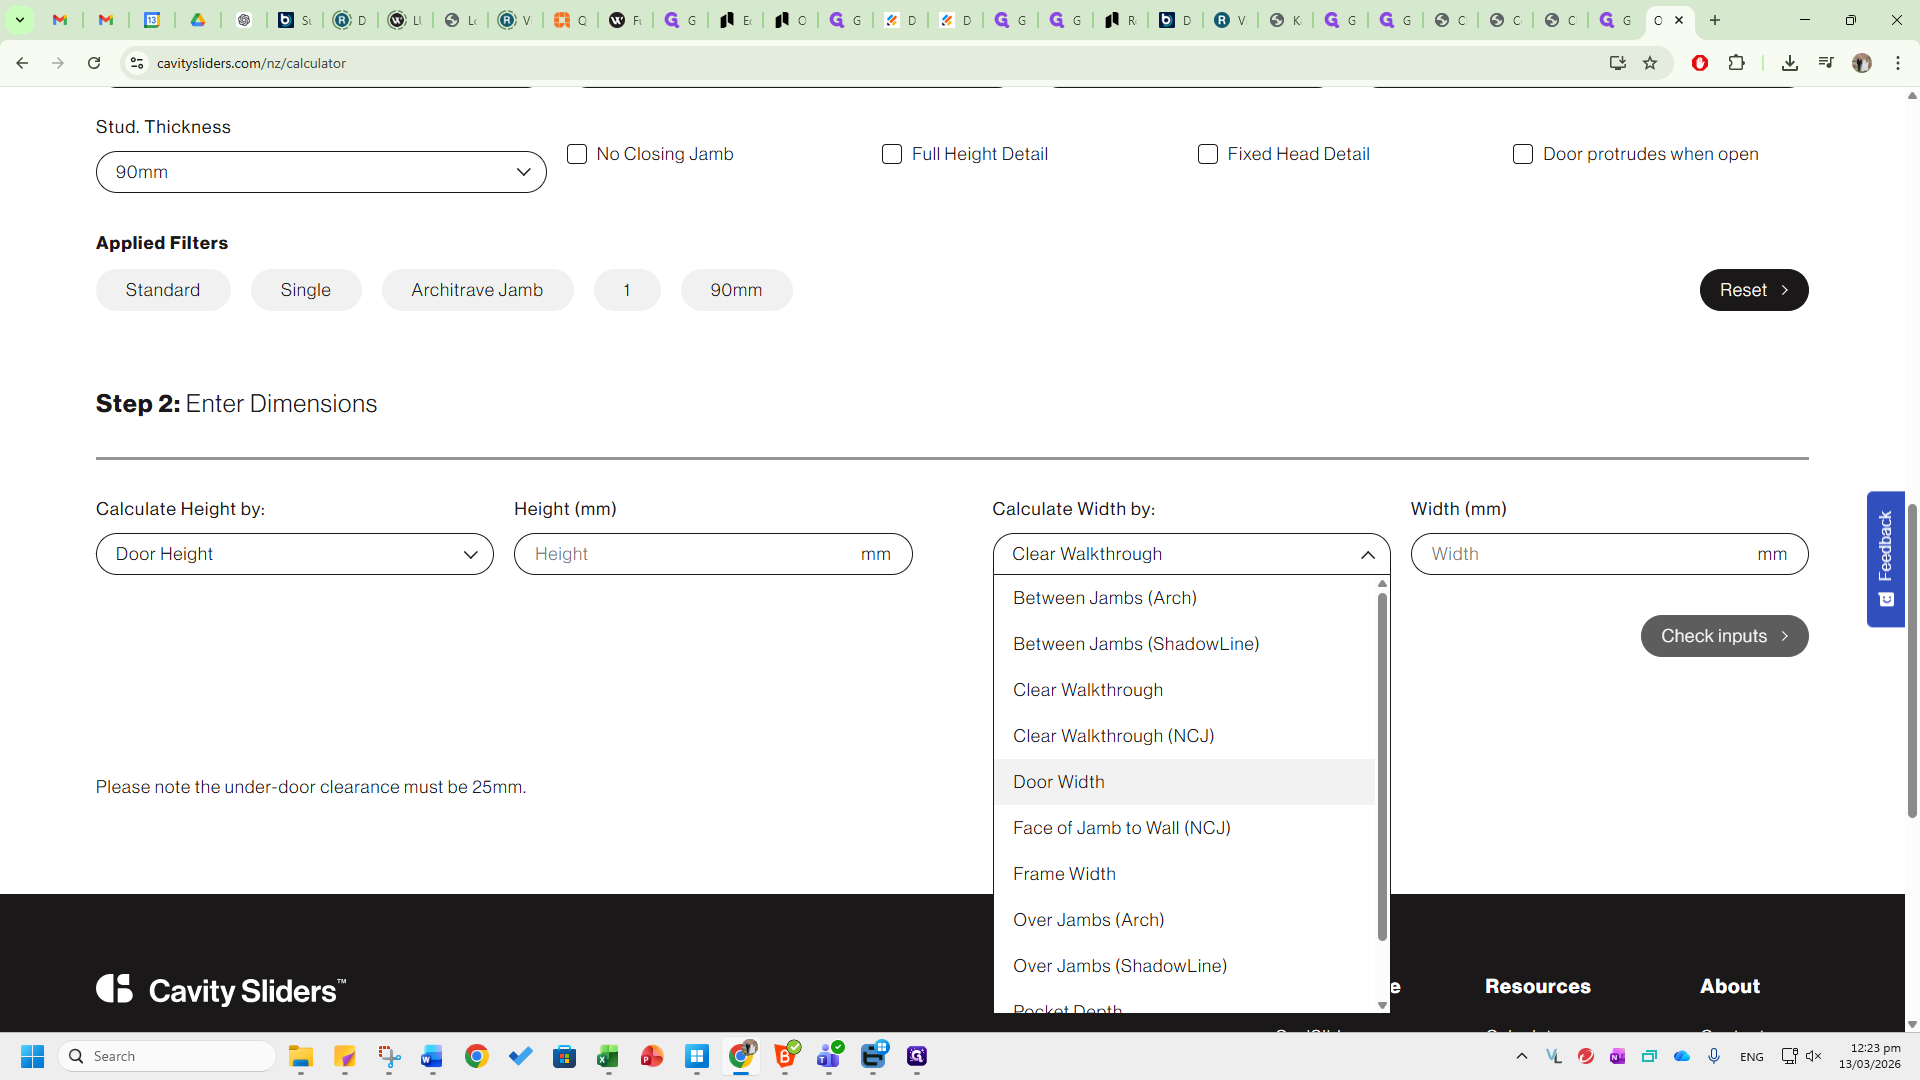
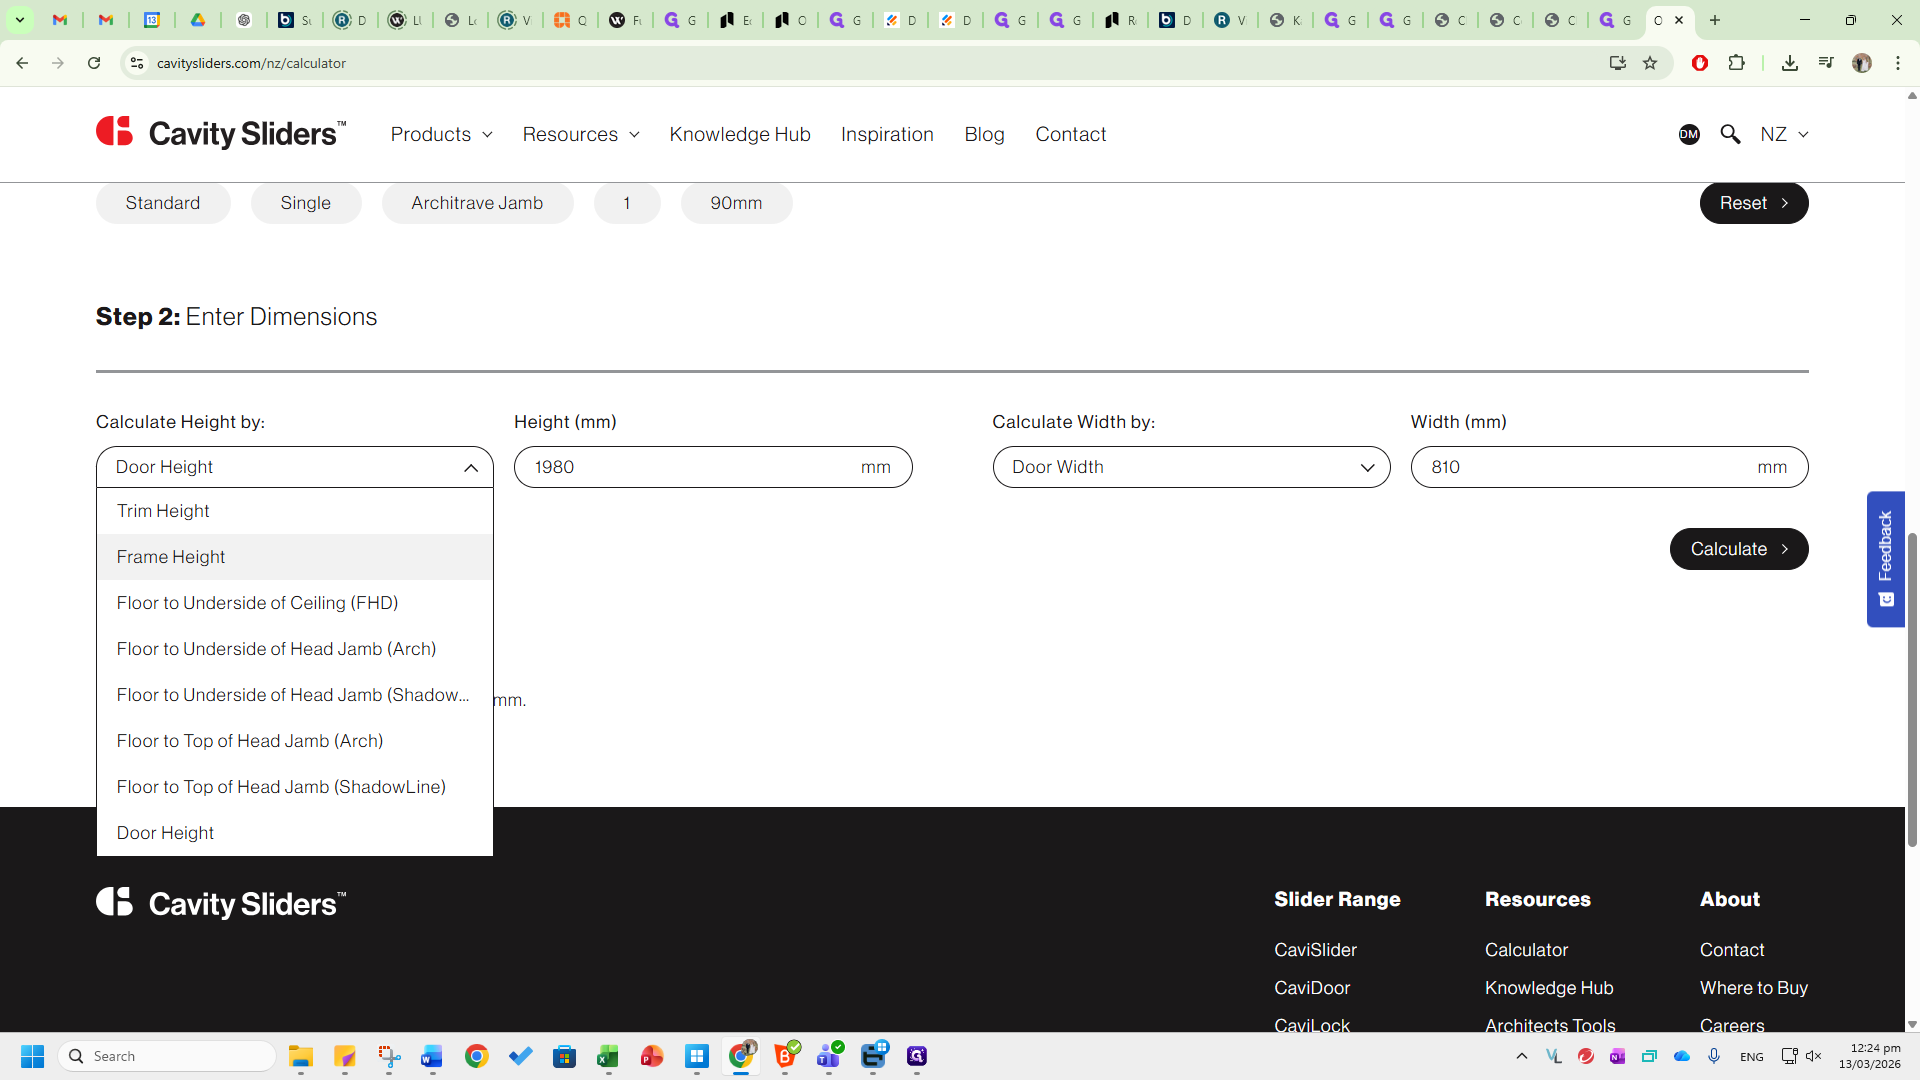
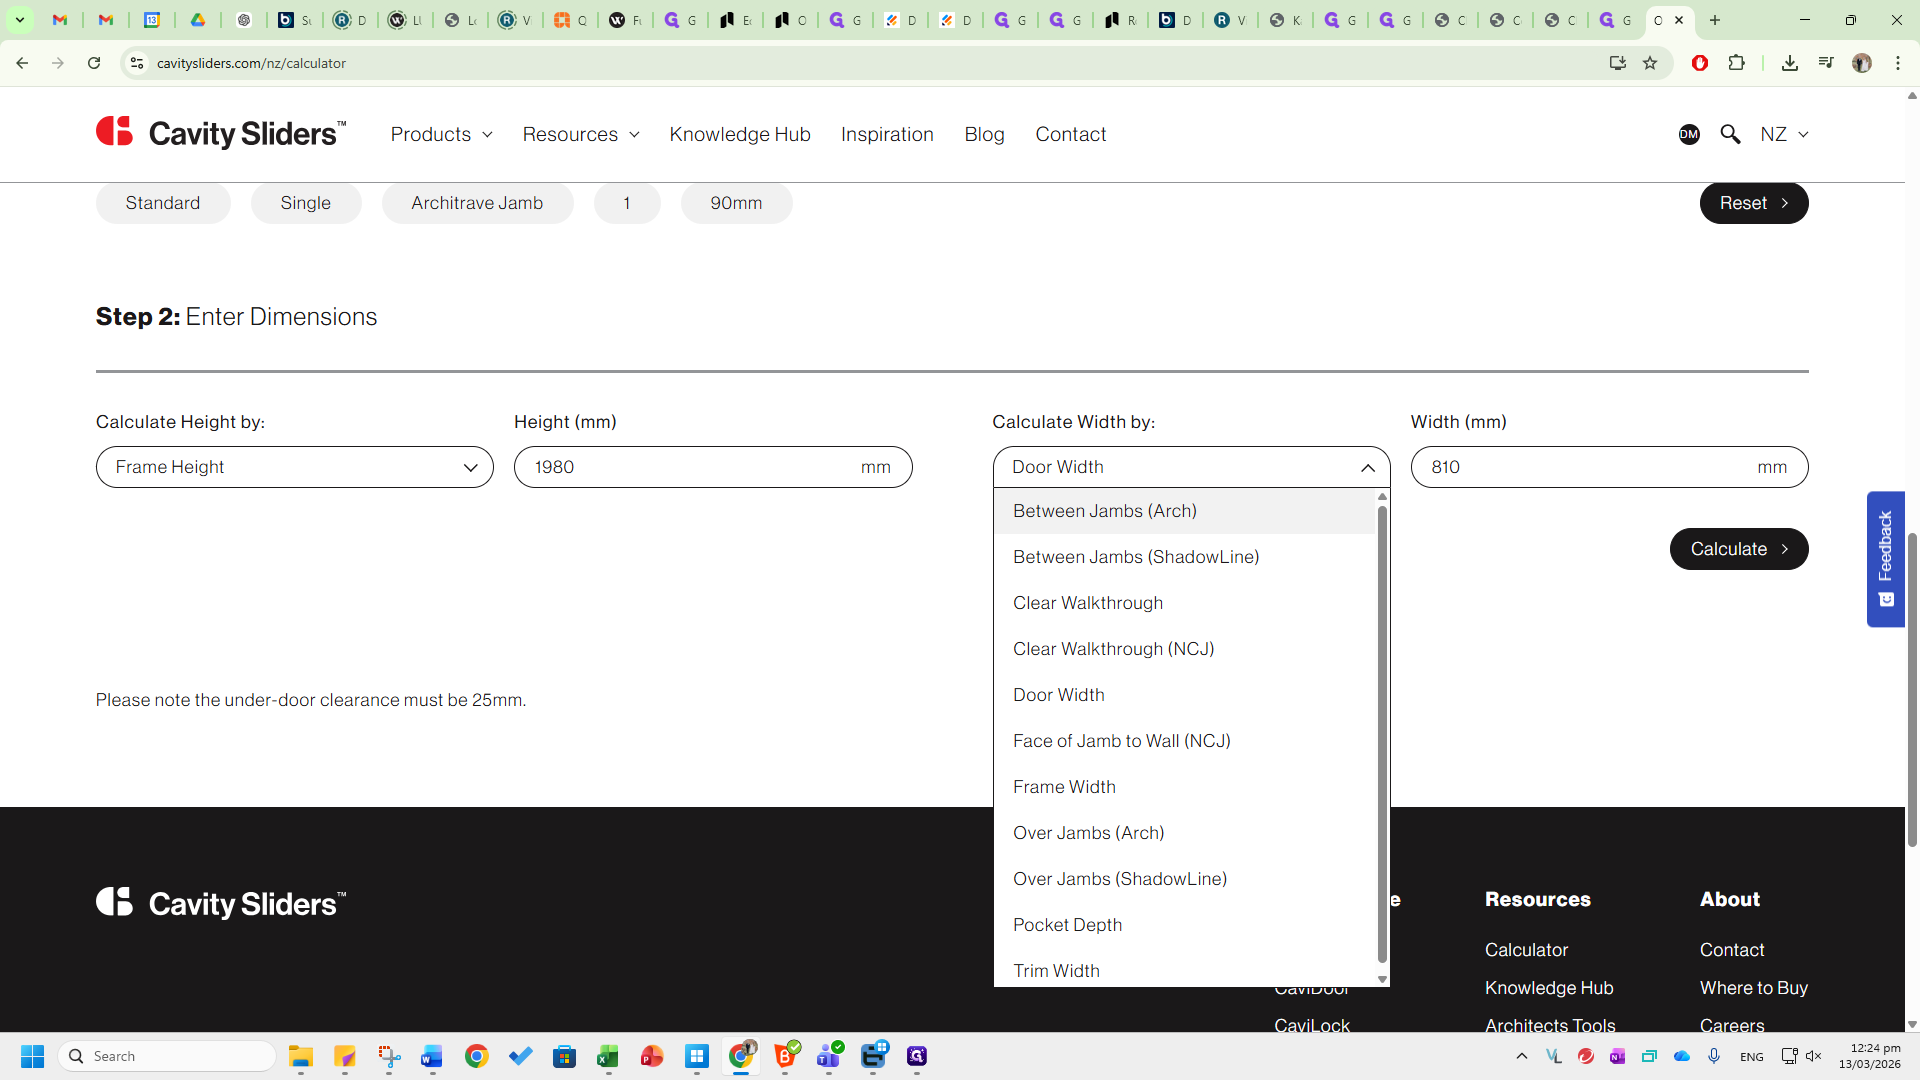
Ensure all configurations are correct before proceeding. Next, match the configurations to your dimensions. These might be standard door heights and widths, or you can enter them into the cavity based on the trim heights or trim widths.

For example, if you visit a site and want to know which cavity fits your trim dimensions, select Trim Height and Trim Width.
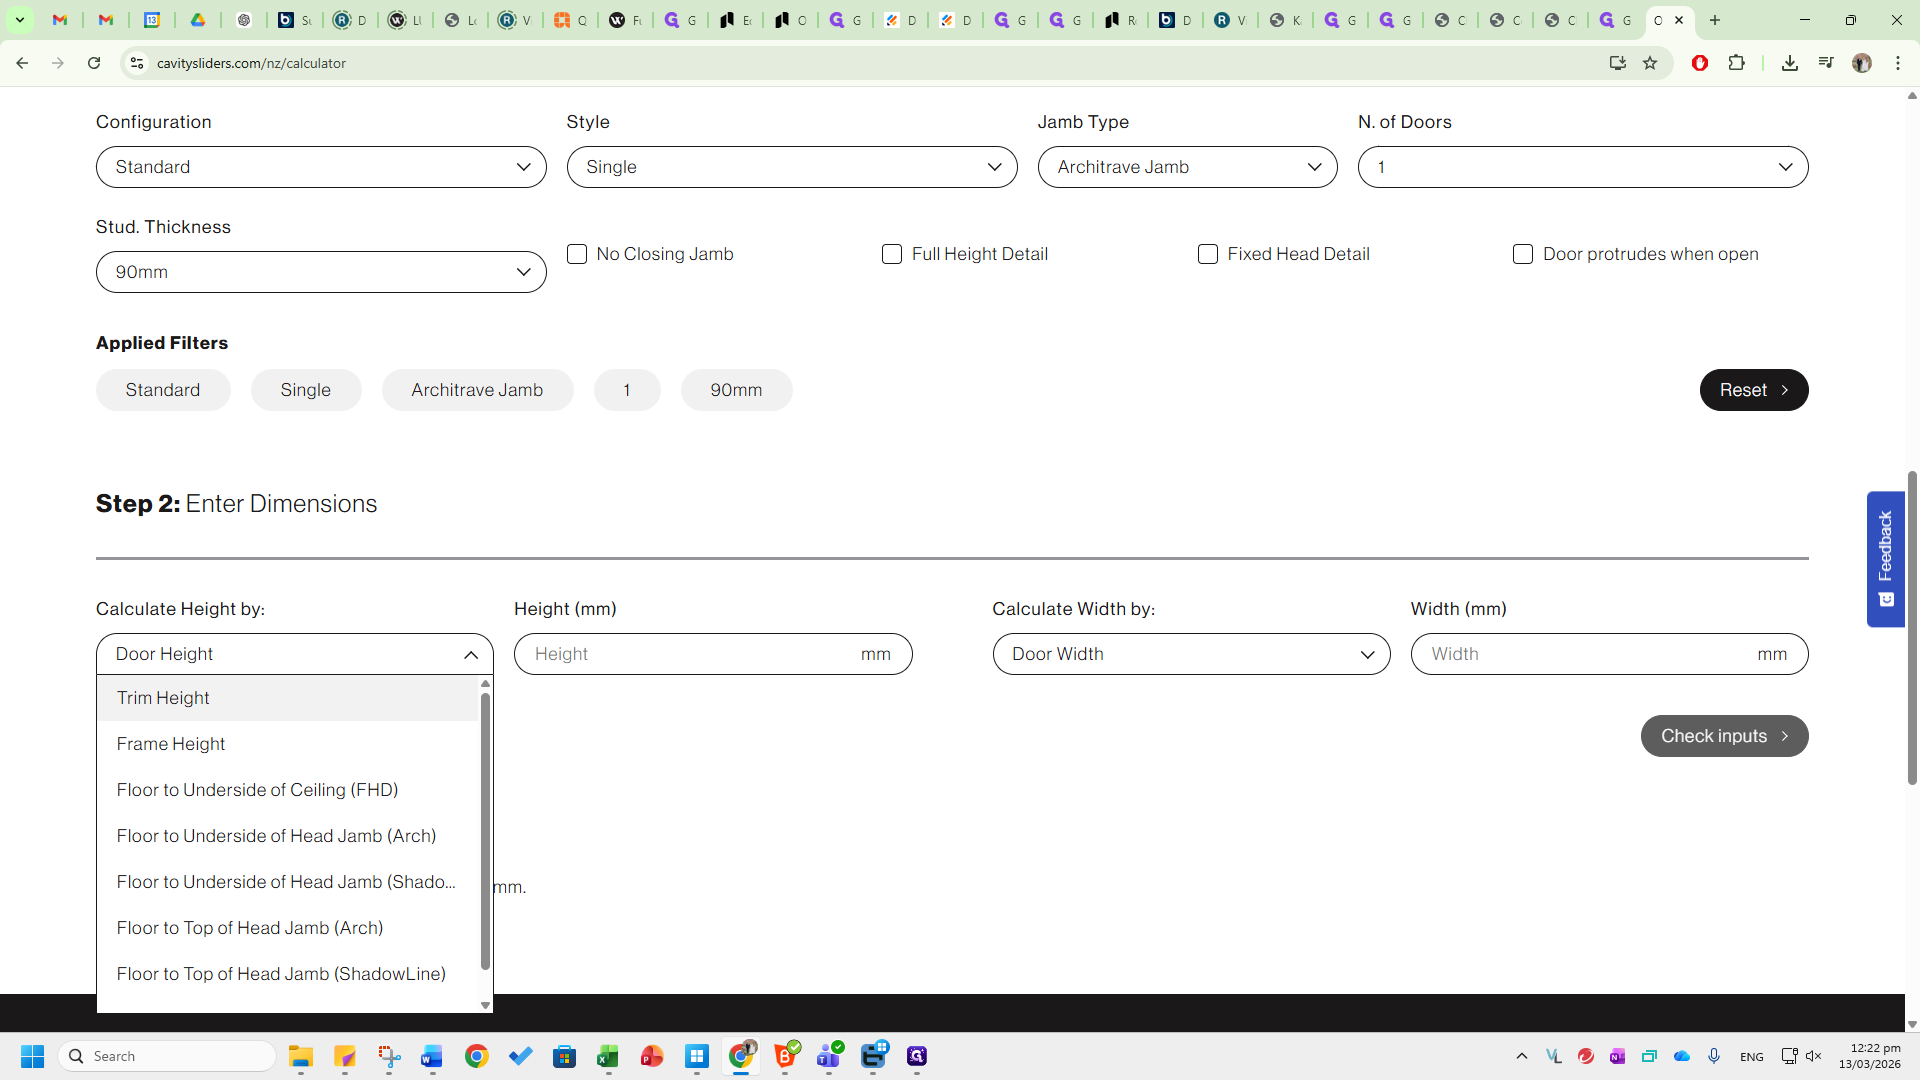
You can use any combination based on the information you have.
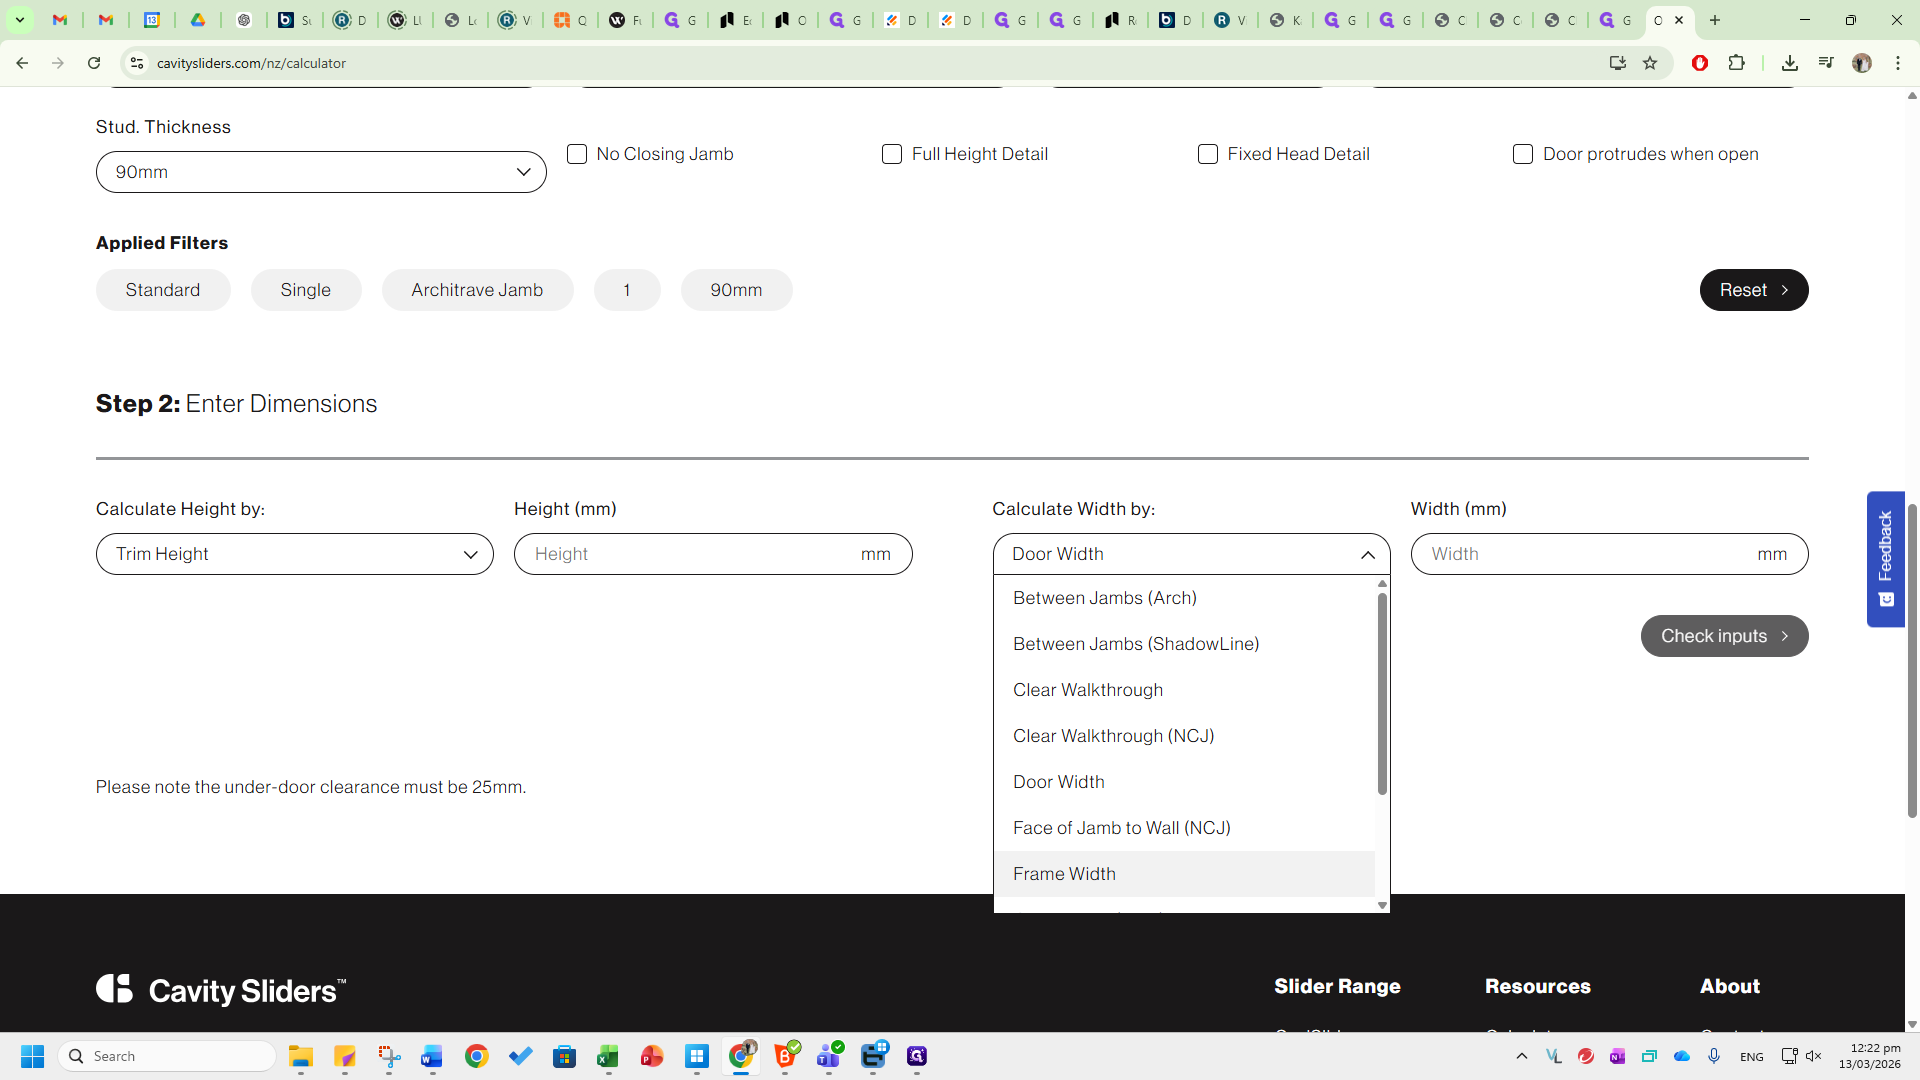
You can adjust the trim height and door width.
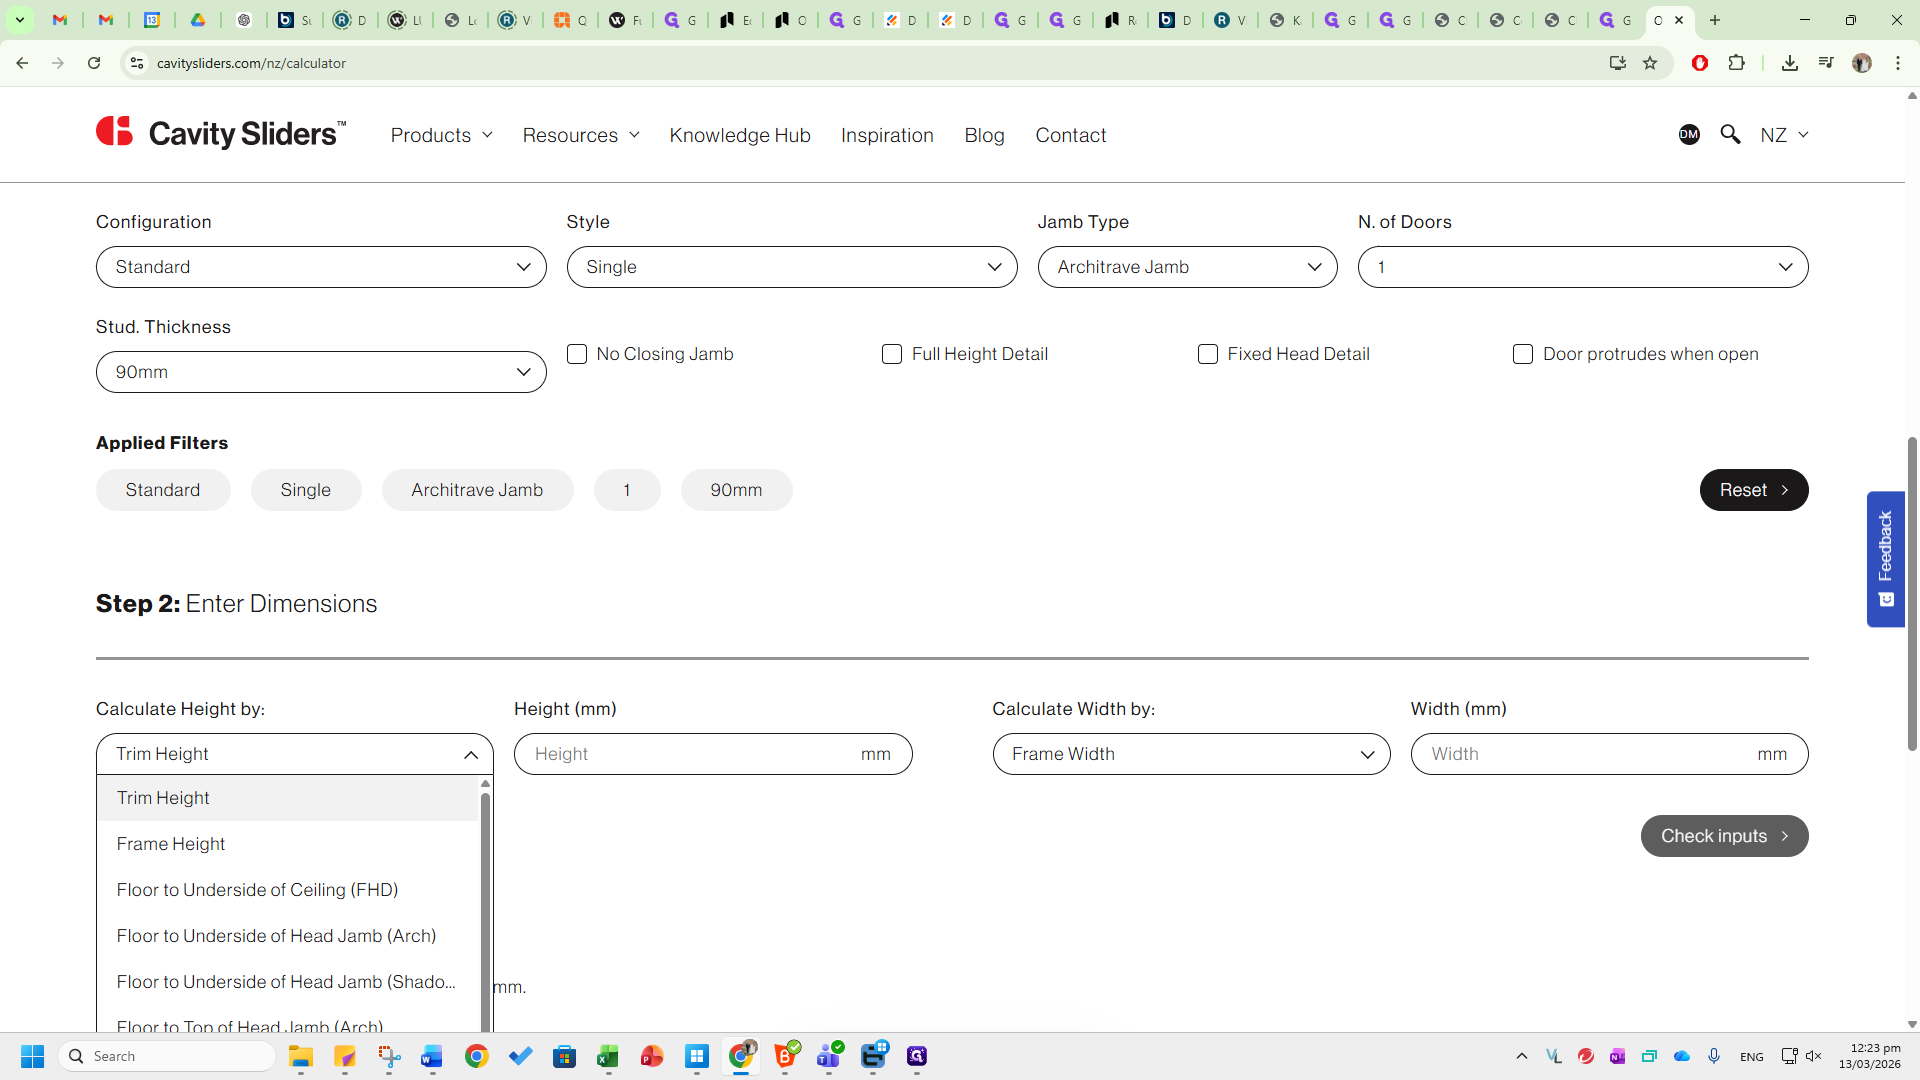
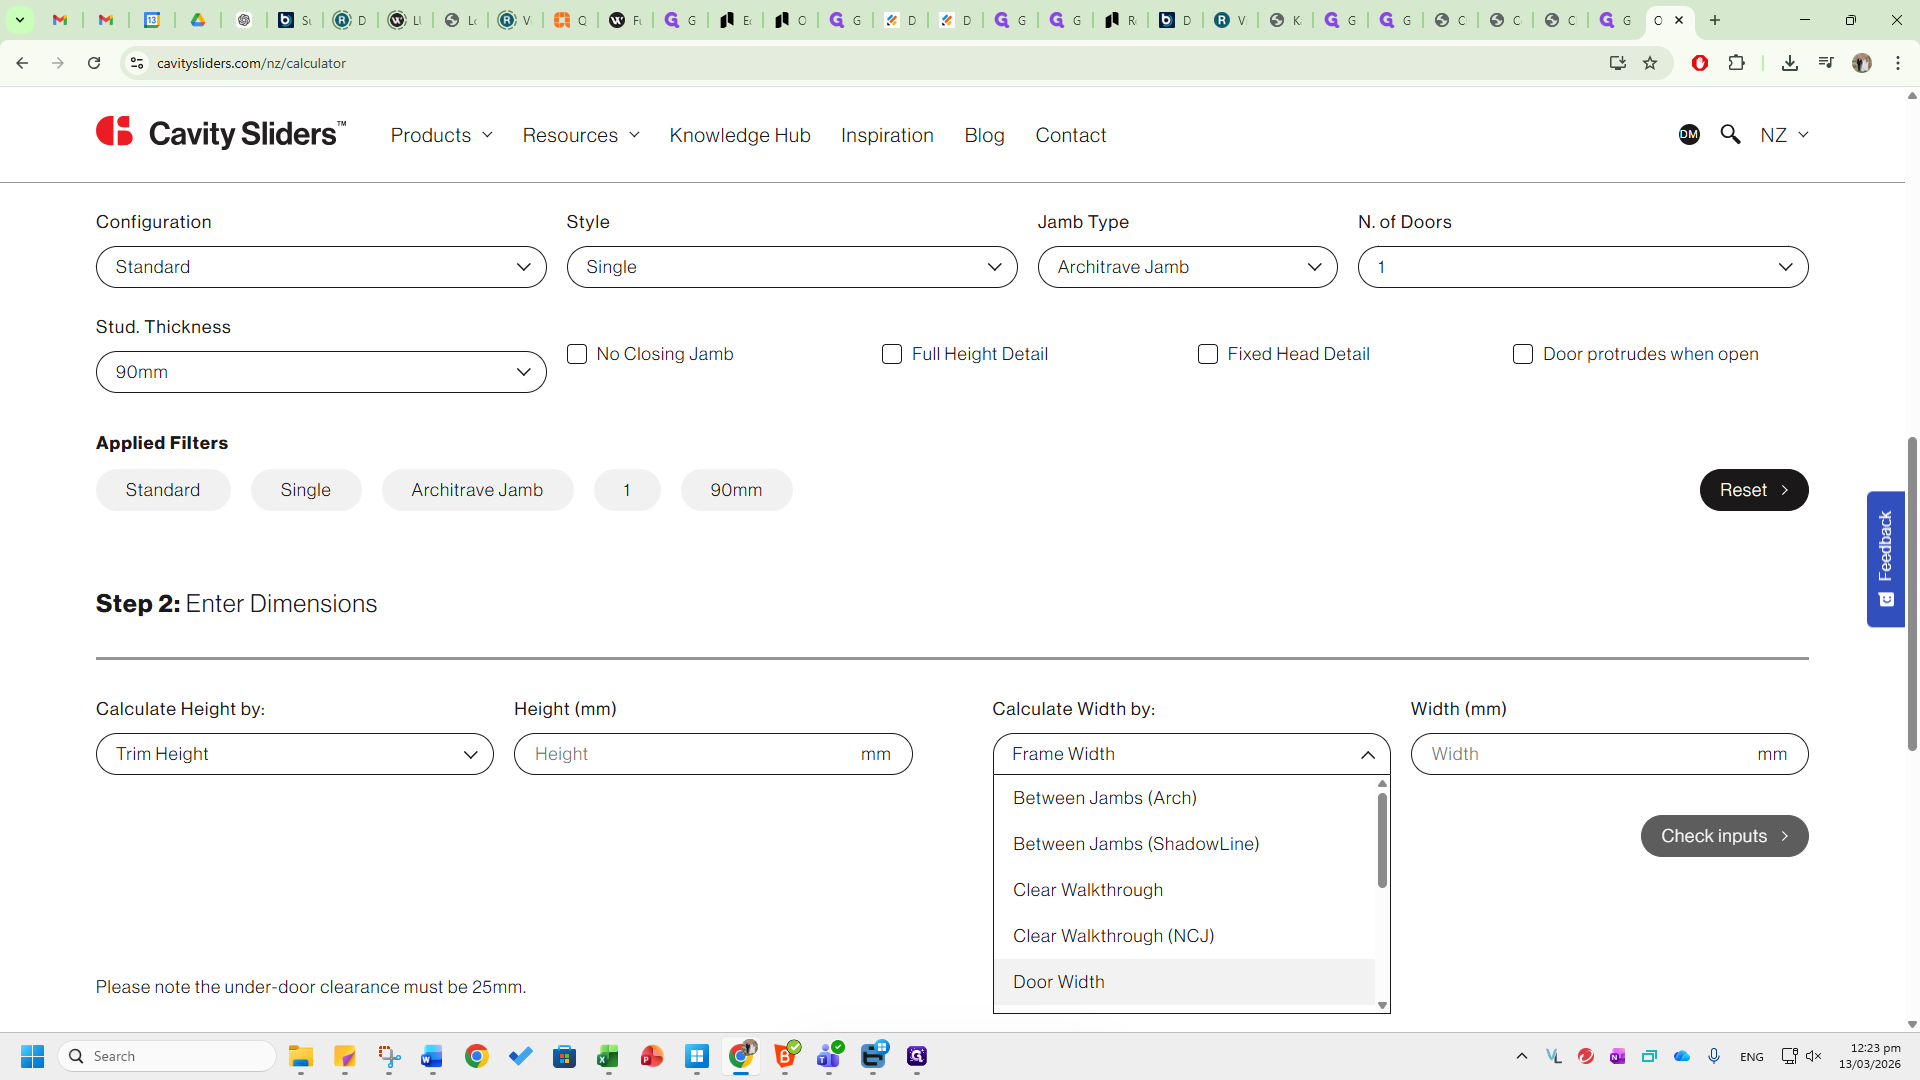

You can measure door height and check walkthrough clearance, for example.
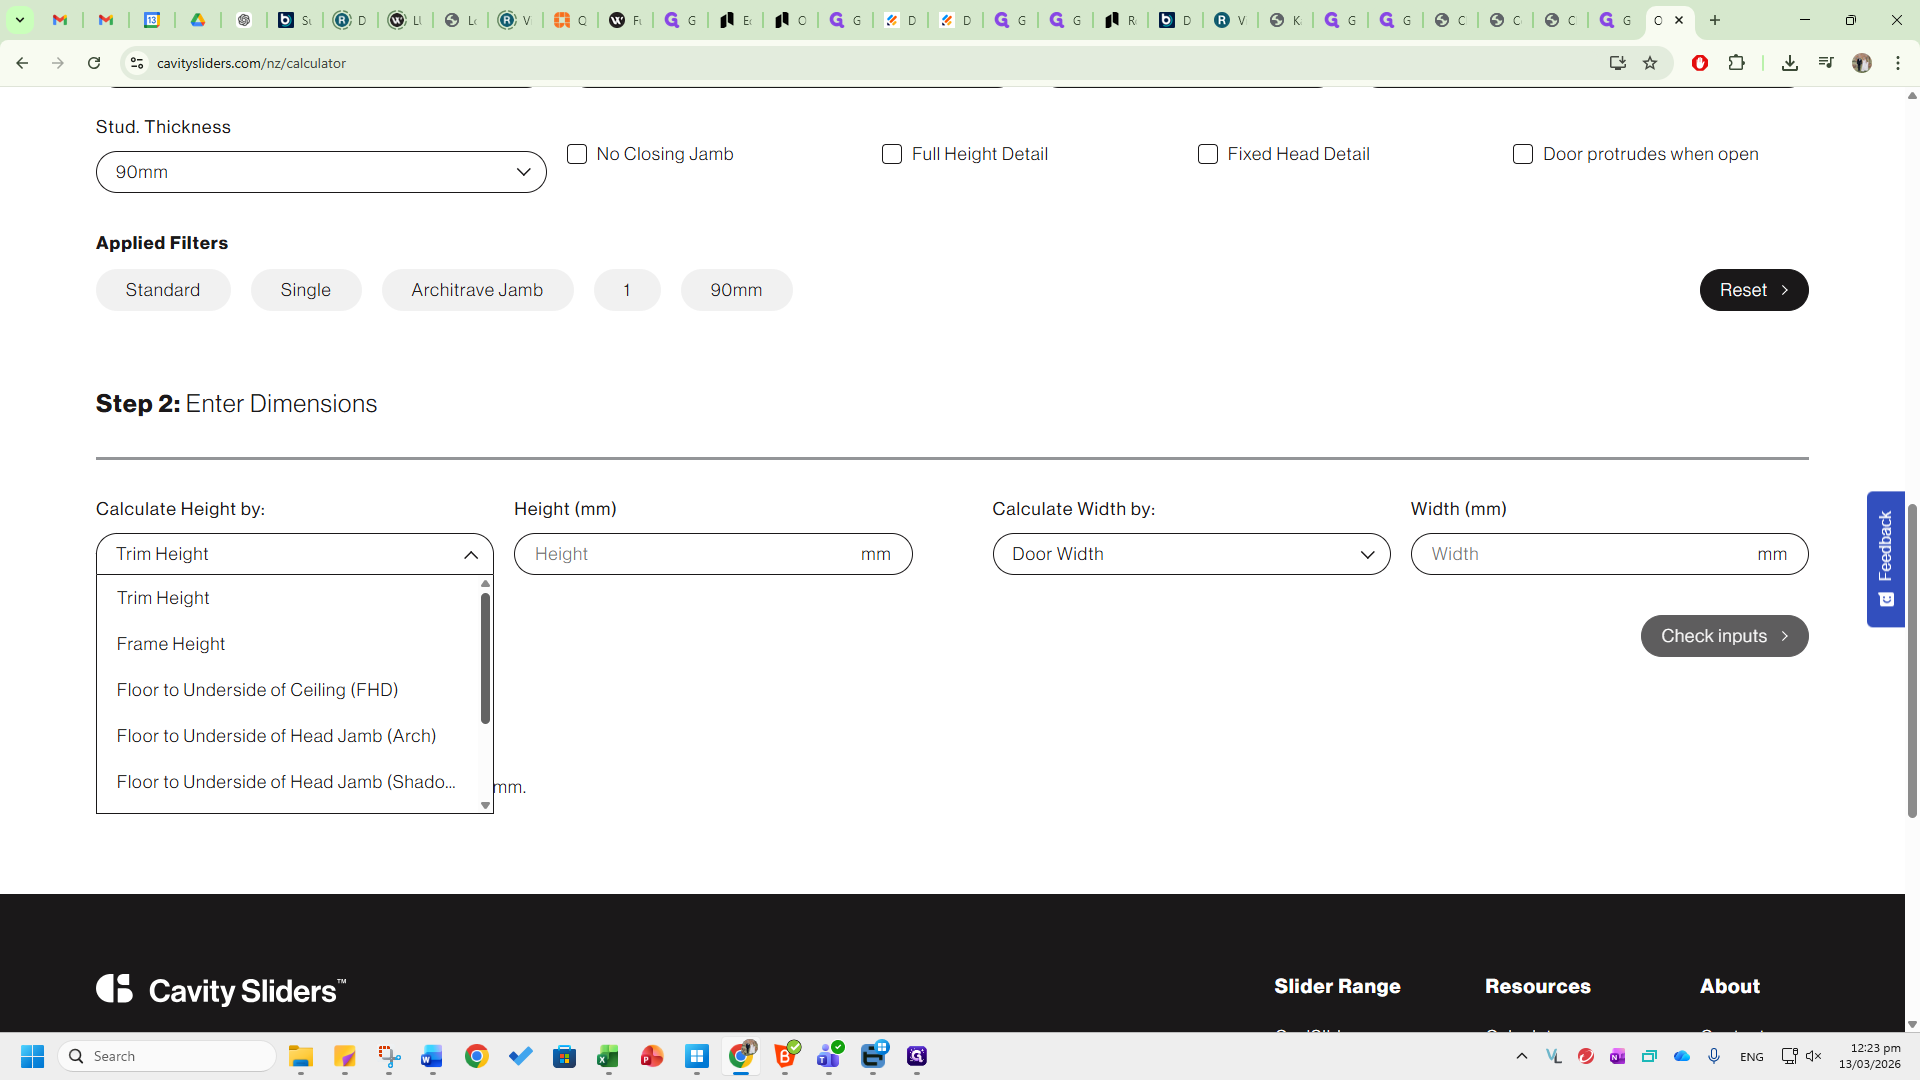
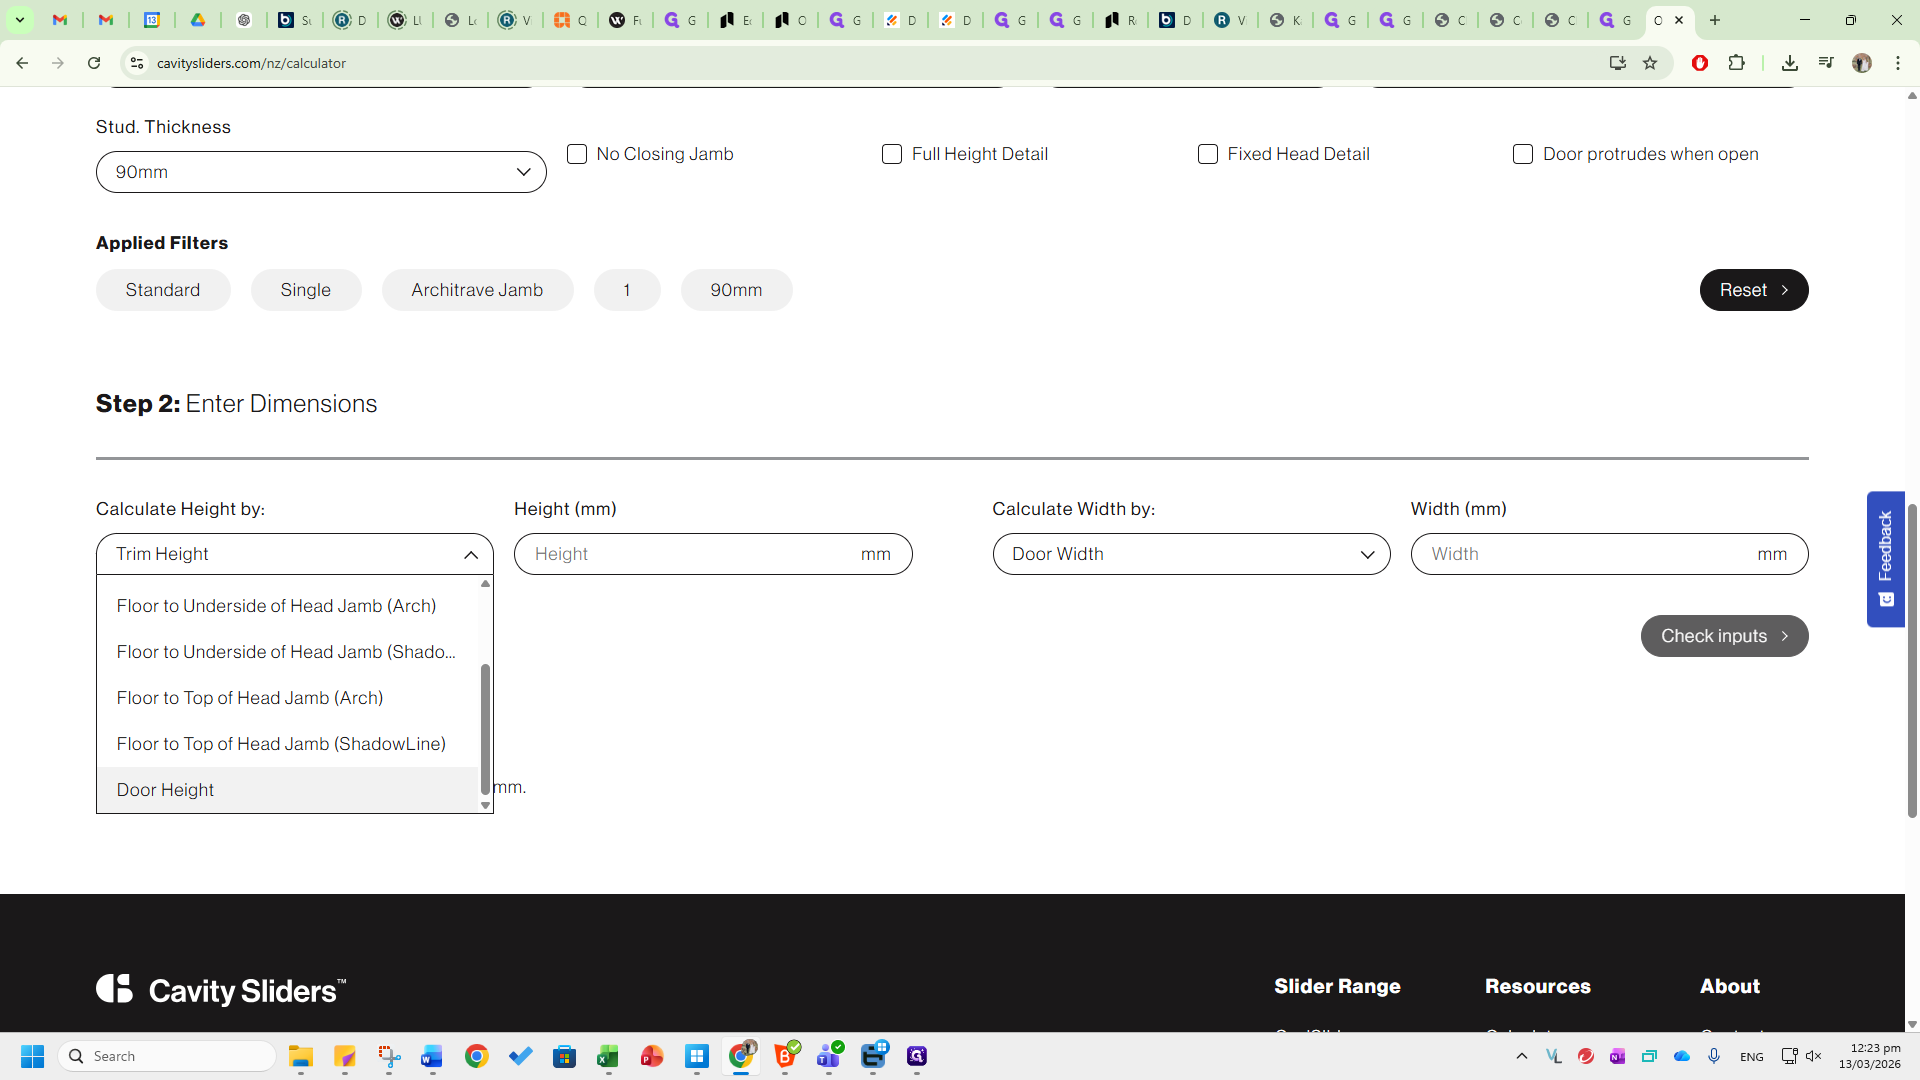


Let's focus on door height and door width.

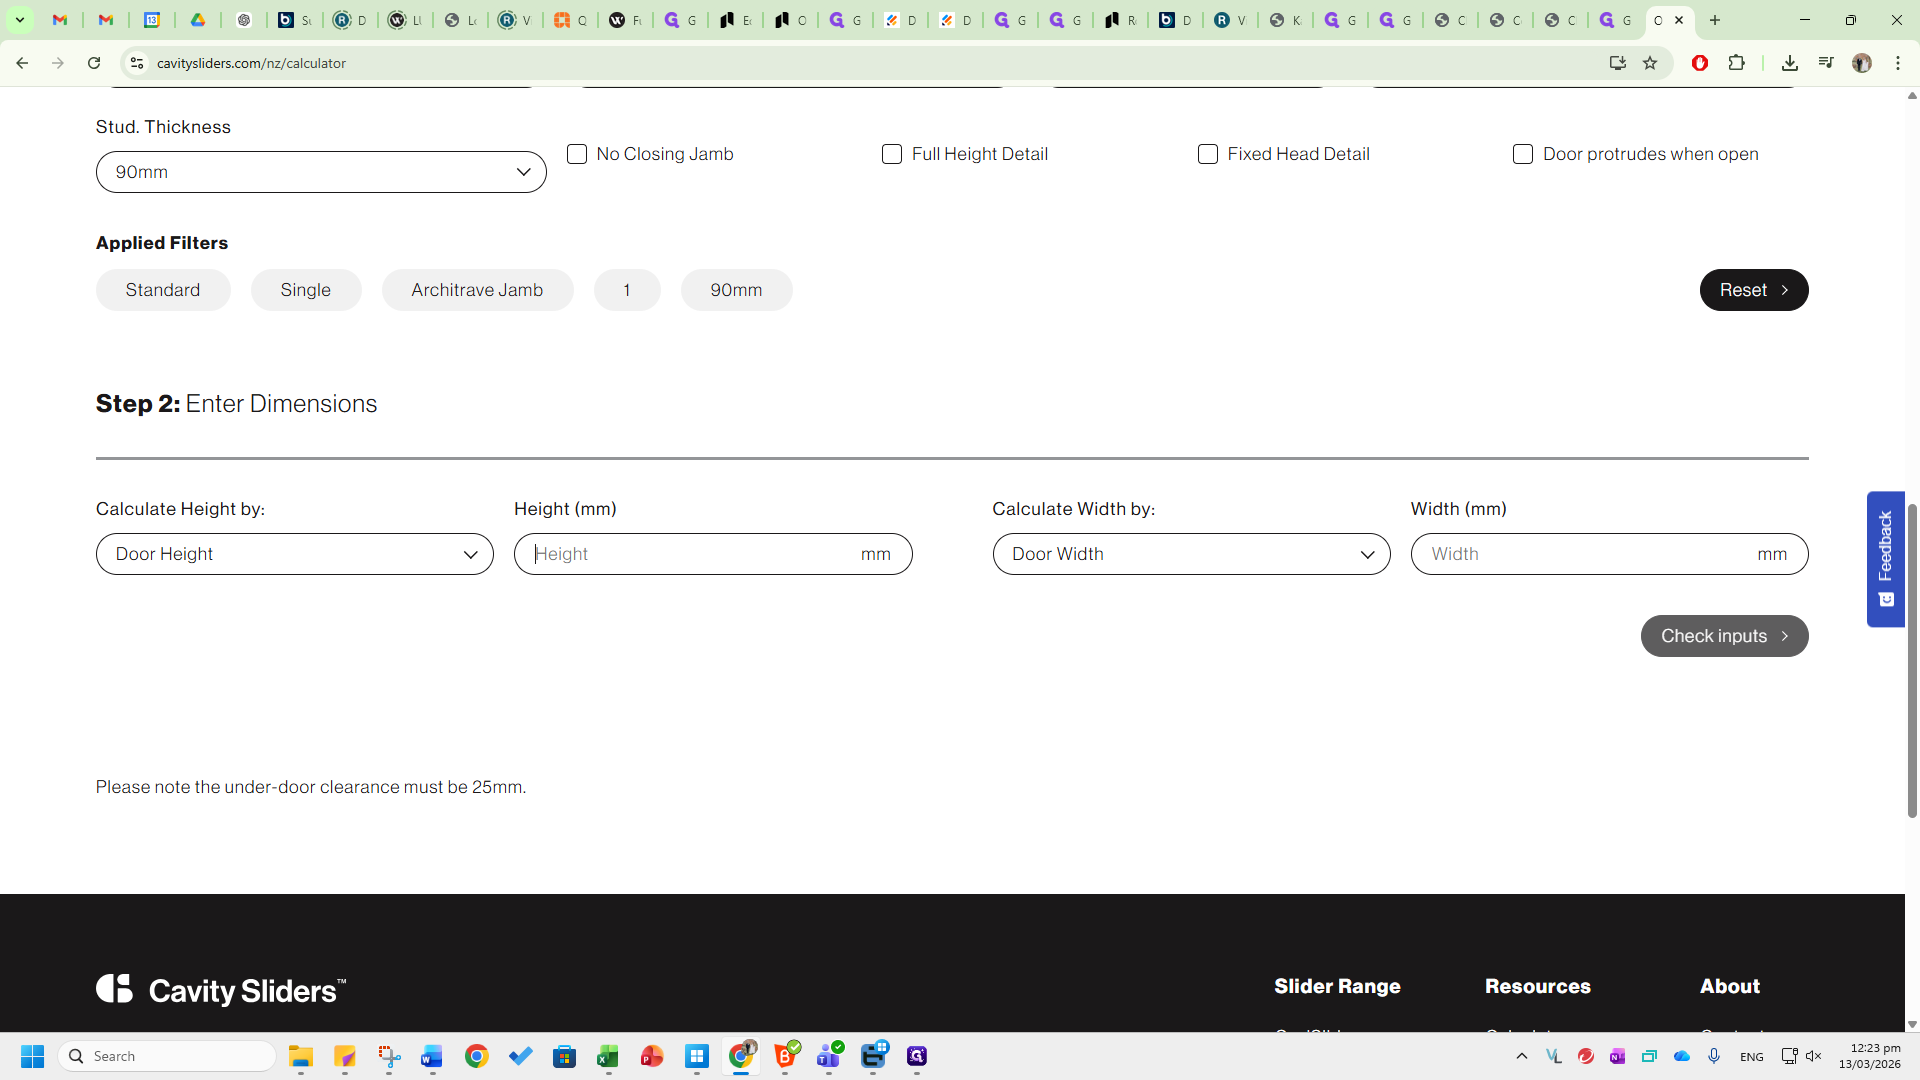
A standard cavity is 1980 millimeters tall and 810 millimeters wide.

Then, click Calculate.
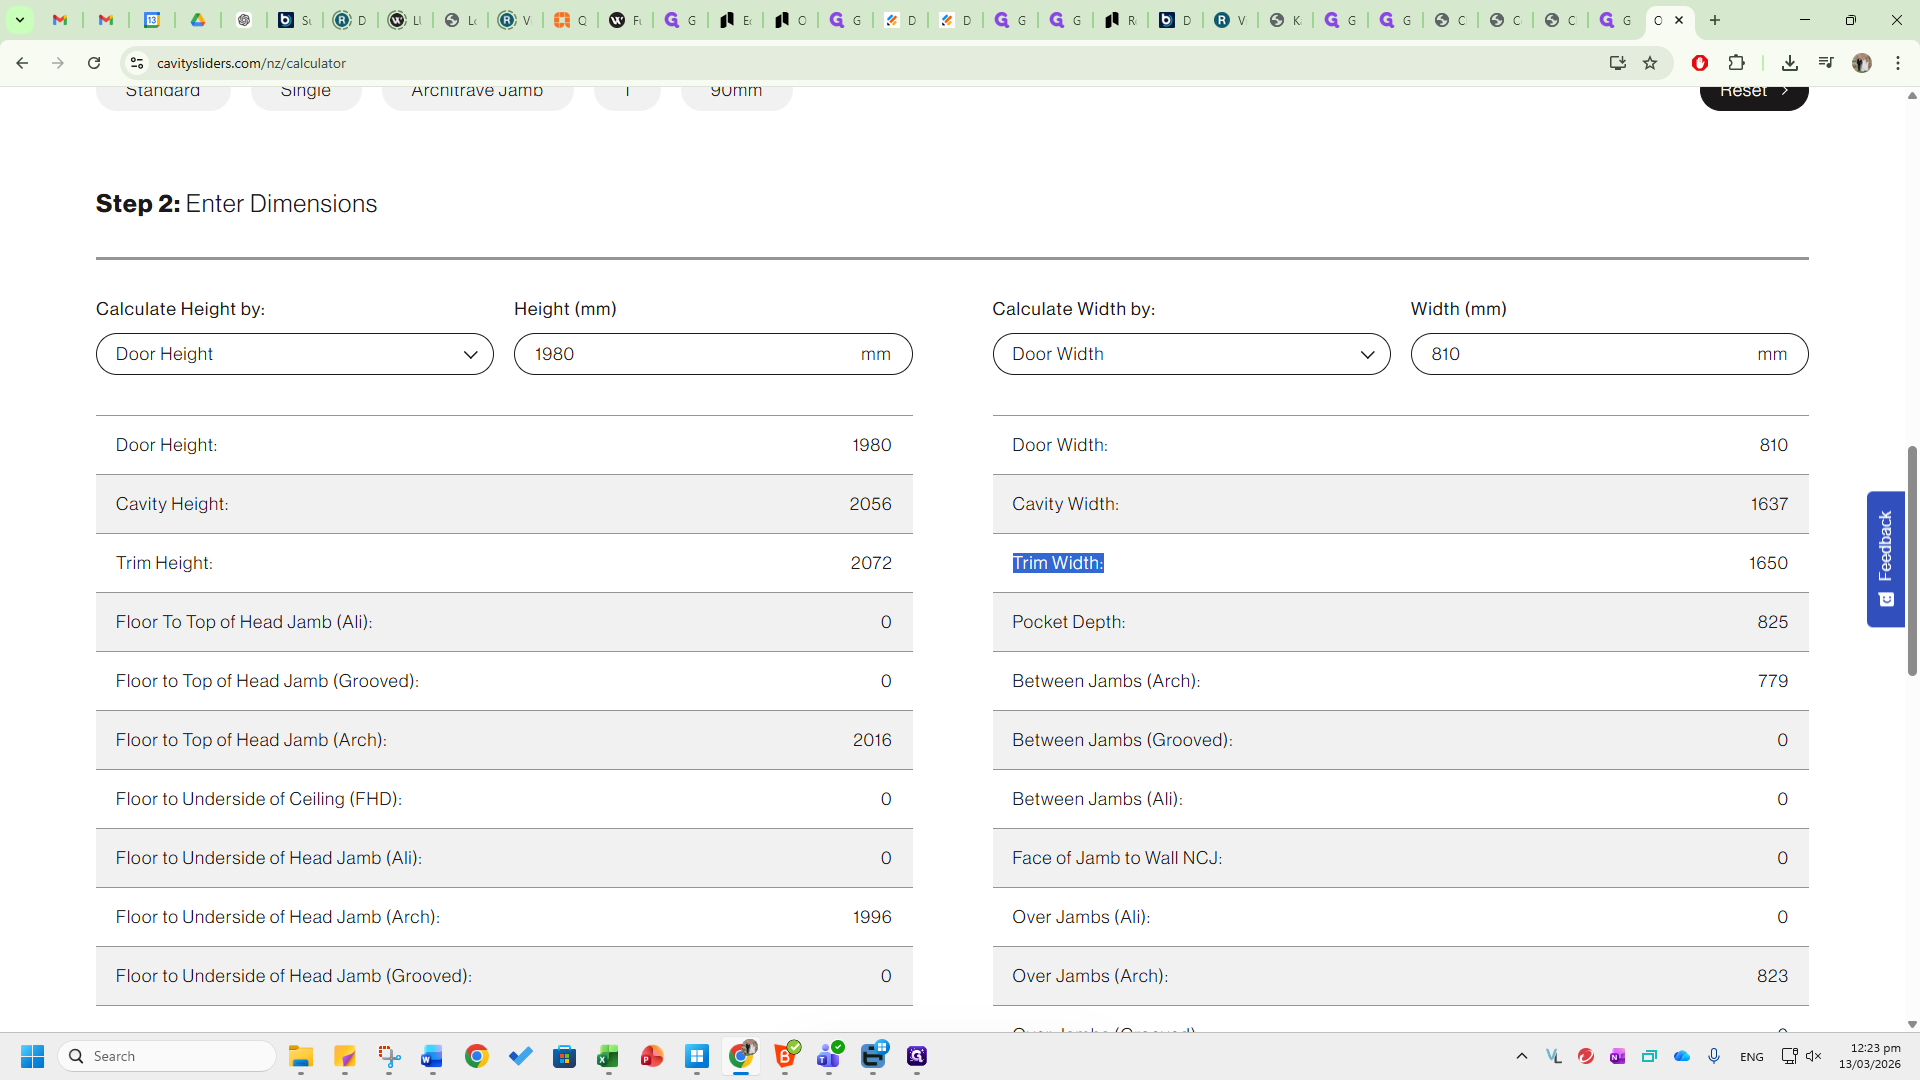
After that, all the required information about the cavity will appear below. For example, this shows the trim height requirement and the trim width requirement, which can be communicated to a customer or entered into GIM.

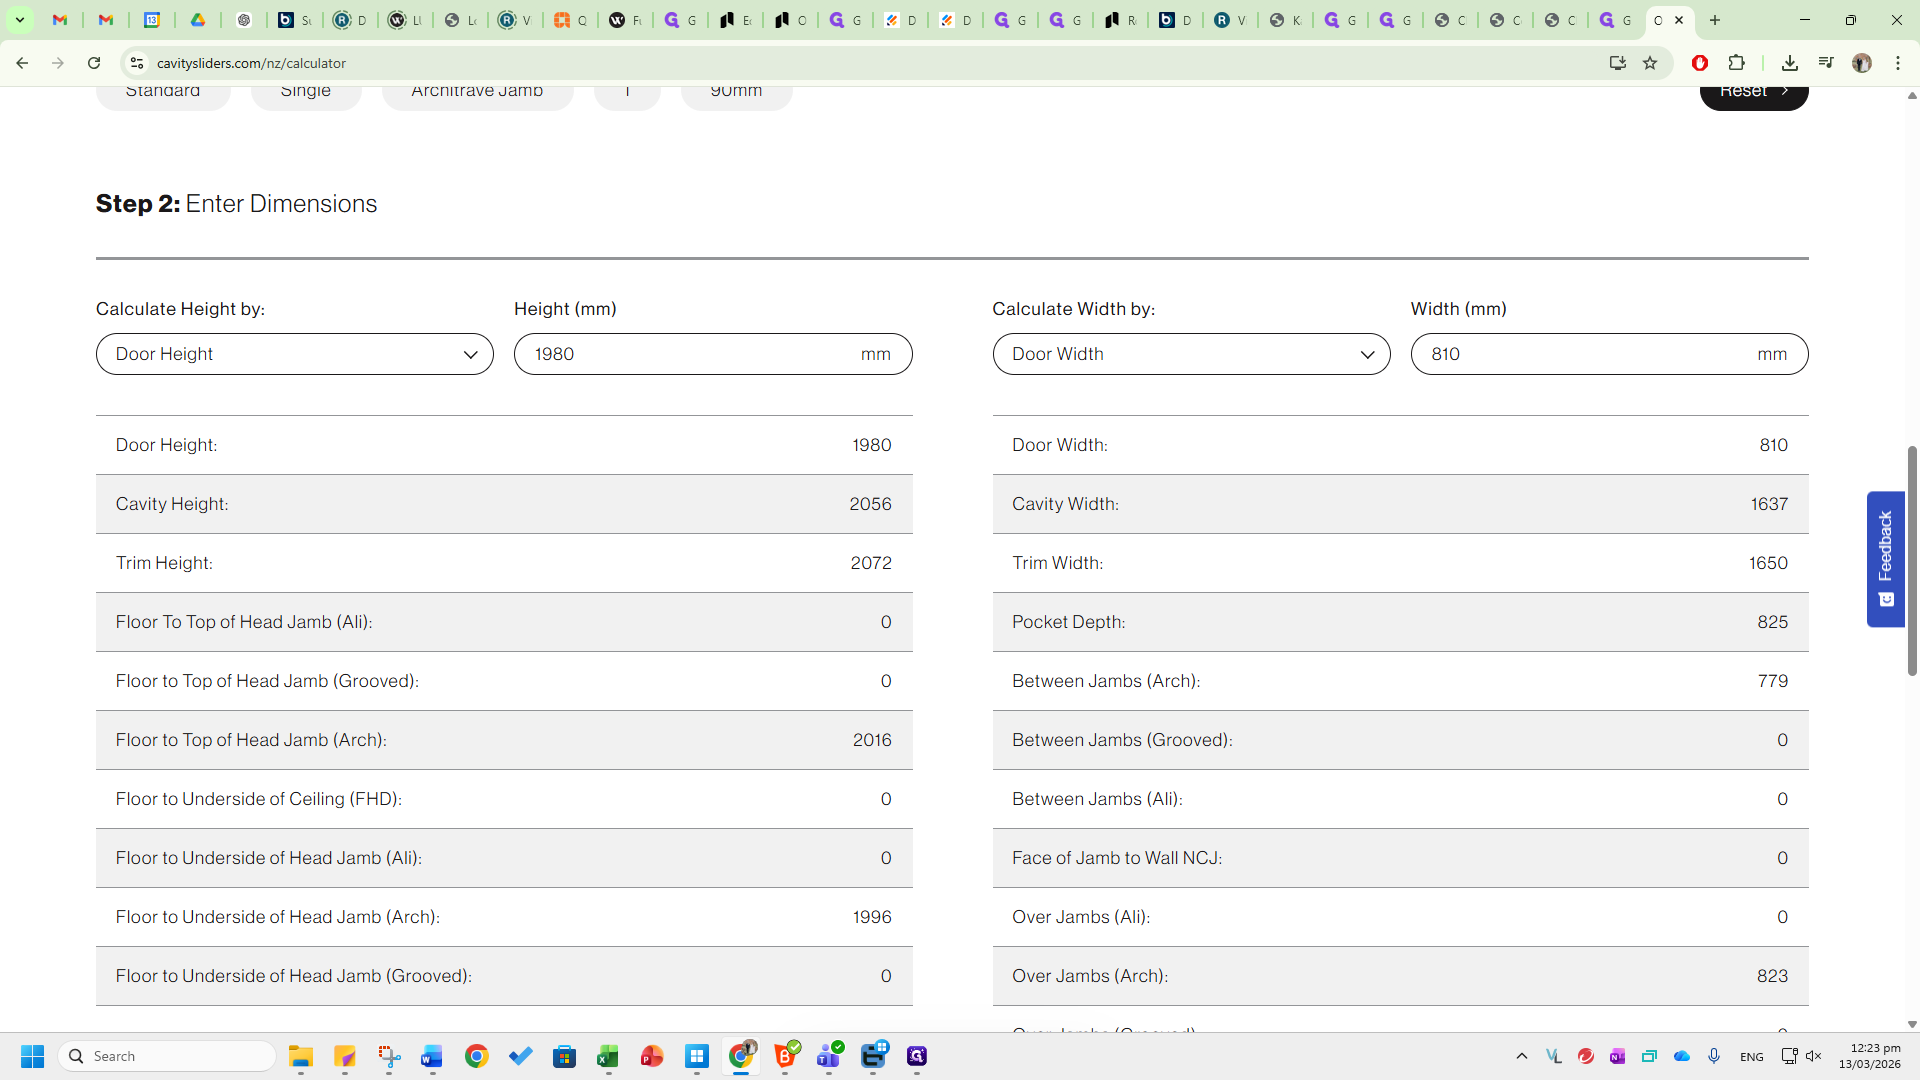

The cavity height and width are also shown. This allows you to check if the cavity will fit into the trim, even if the trim dimensions on site are slightly different. This information is helpful for communicating with customers, providing attributes in GIM, and determining the best door and cavity dimensions needed for your on-site opening. To enter different dimensions or change the inputs, scroll down, click Reset Calculator, and start again.
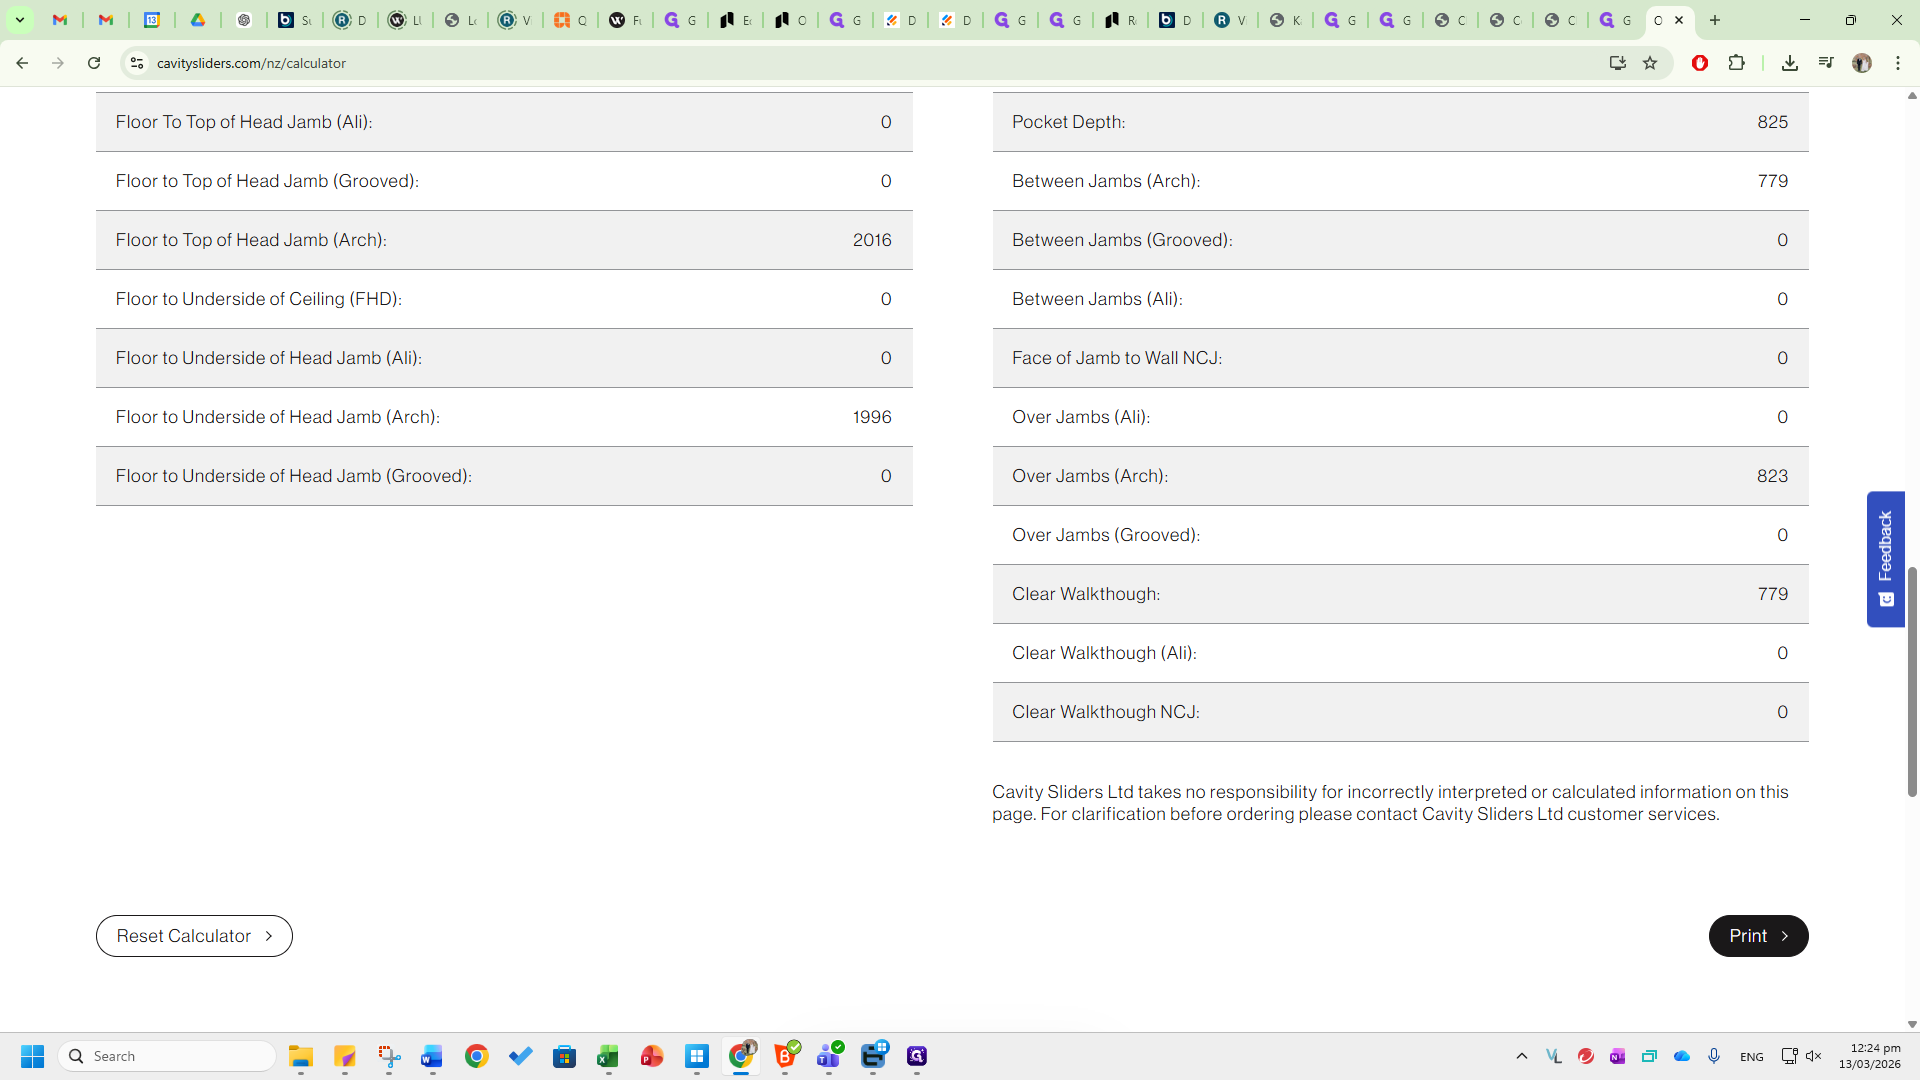
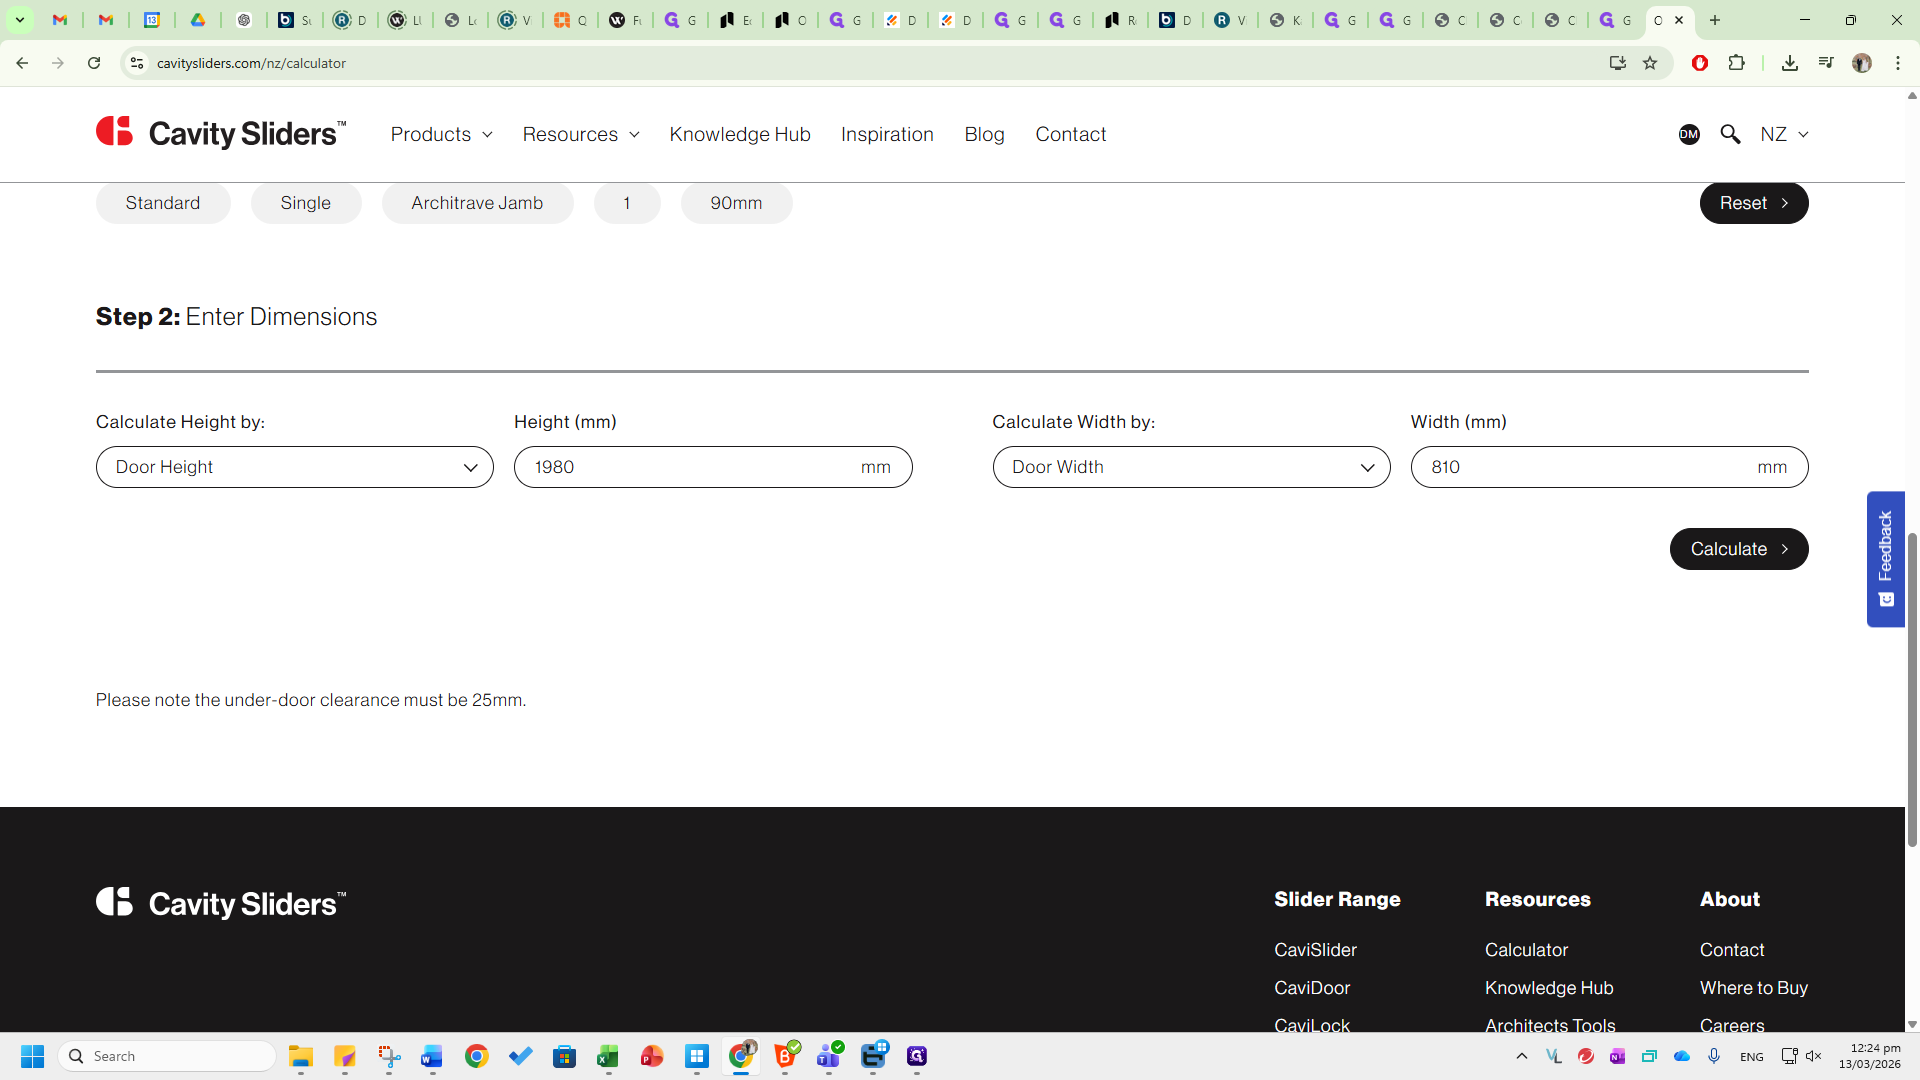
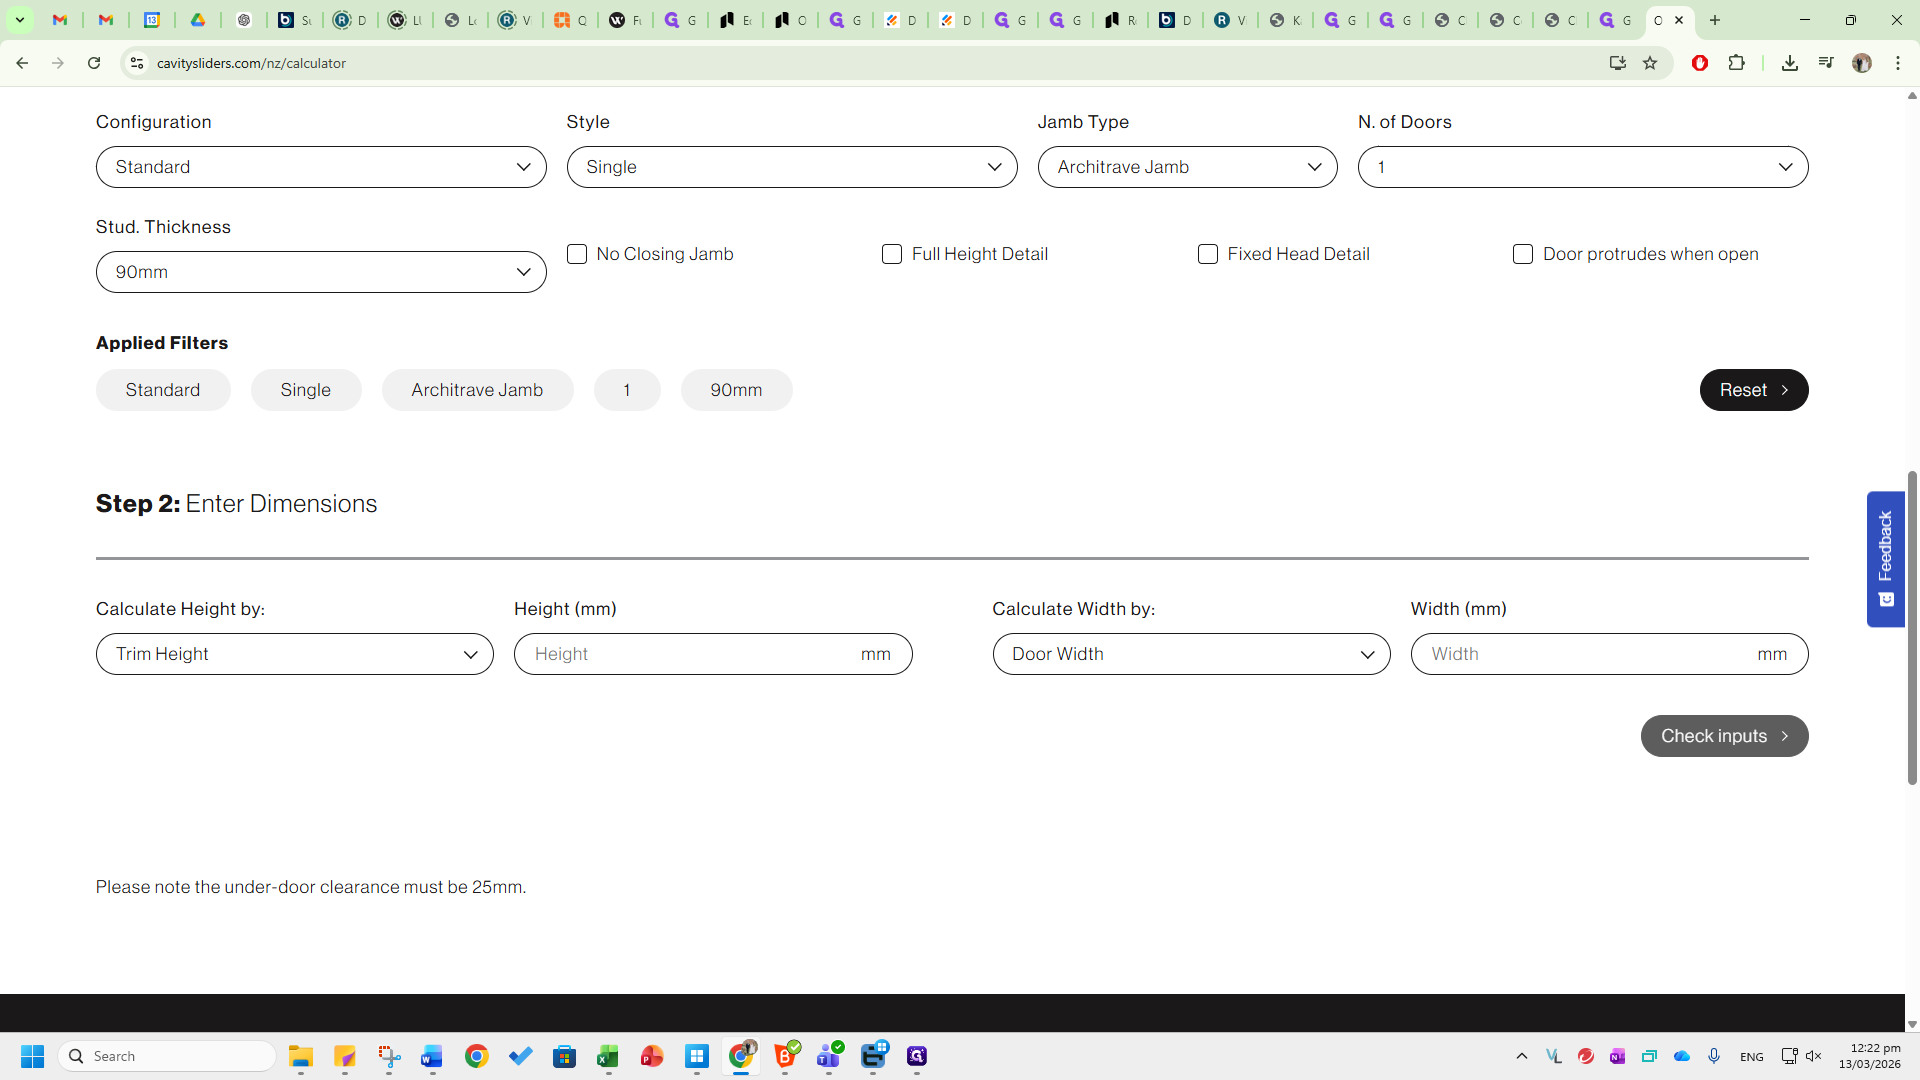
Please note that this calculator is based on a floor clearance of 25 millimeters.
If you are dealing with non-standard floor clearances, such as 35, you will need to do the calculations yourself.