
How to Use the Classic Hub: Step-by-Step SOP Guide
Learn how to use the Classic Hub for managing documentation, jobs, purchase orders, and schedules across multiple regions. This SOP covers login steps, daily updates, job filtering, document management, and more for Classic Builders.
In this guide, we'll learn how to use the Classic Hub to manage documentation, jobs, purchase orders, and schedules across different regions. We will cover how to access the hub, locate job details, update information in GM, and find key documents needed for each build. This guide will also explain how automated updates are sent and what actions are required based on those updates.
Let's get started
This SOP explains how to use the Classic Hub.
First, go to myclassic.co.nz using the detailed login information shown in the logins document.
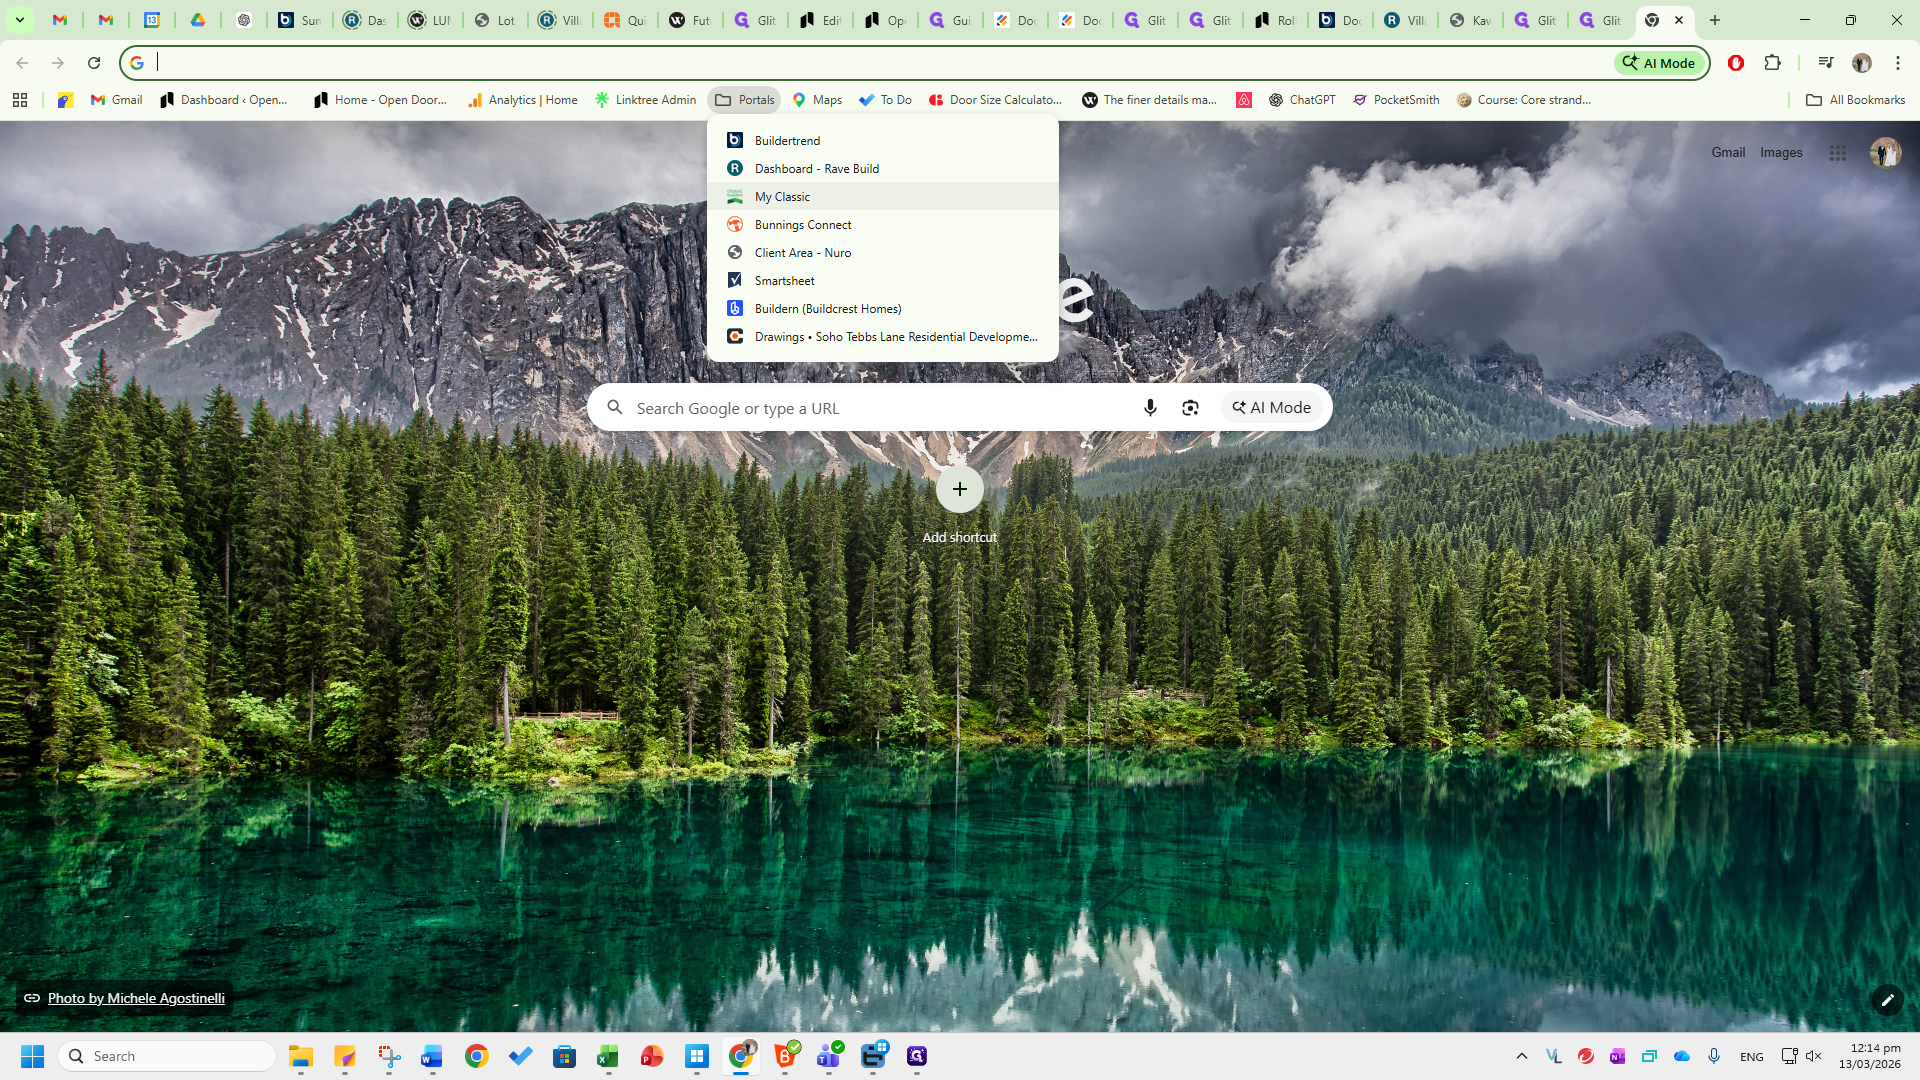
The hub is the central location for all documentation, classic jobs, purchase orders, and schedules for every region we manage: Waikato, Eastern Bay of Plenty, Tauranga, Western Bay of Plenty, Wellington, East Waikato, Manawatu, Classic Connect, and others. Each day, an automated email is sent from the Classic Hub to sales@opendoors.co.nz. This occurs at 8:00 AM during daylight saving time and at 7:00 AM when daylight saving ends. This will be a list of all the different updates that occur. Next, go to the hub to make the necessary changes.
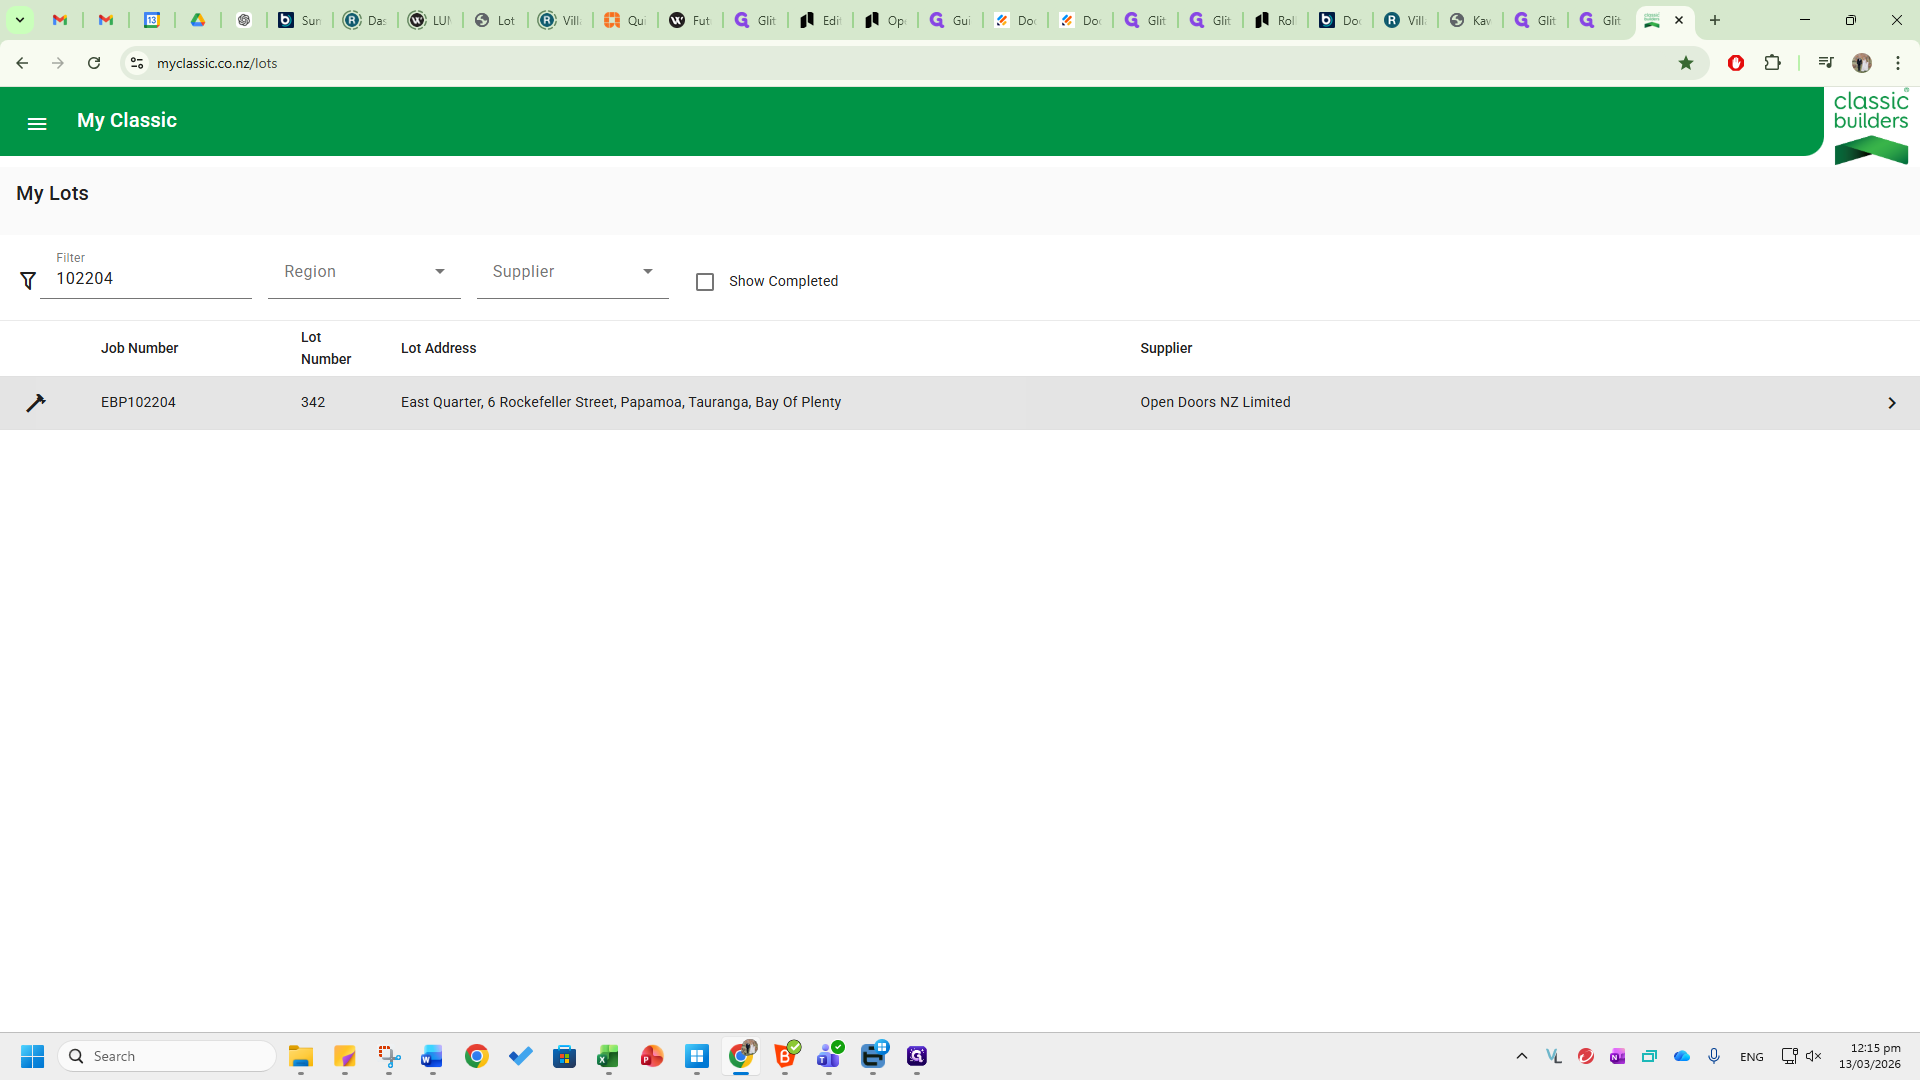
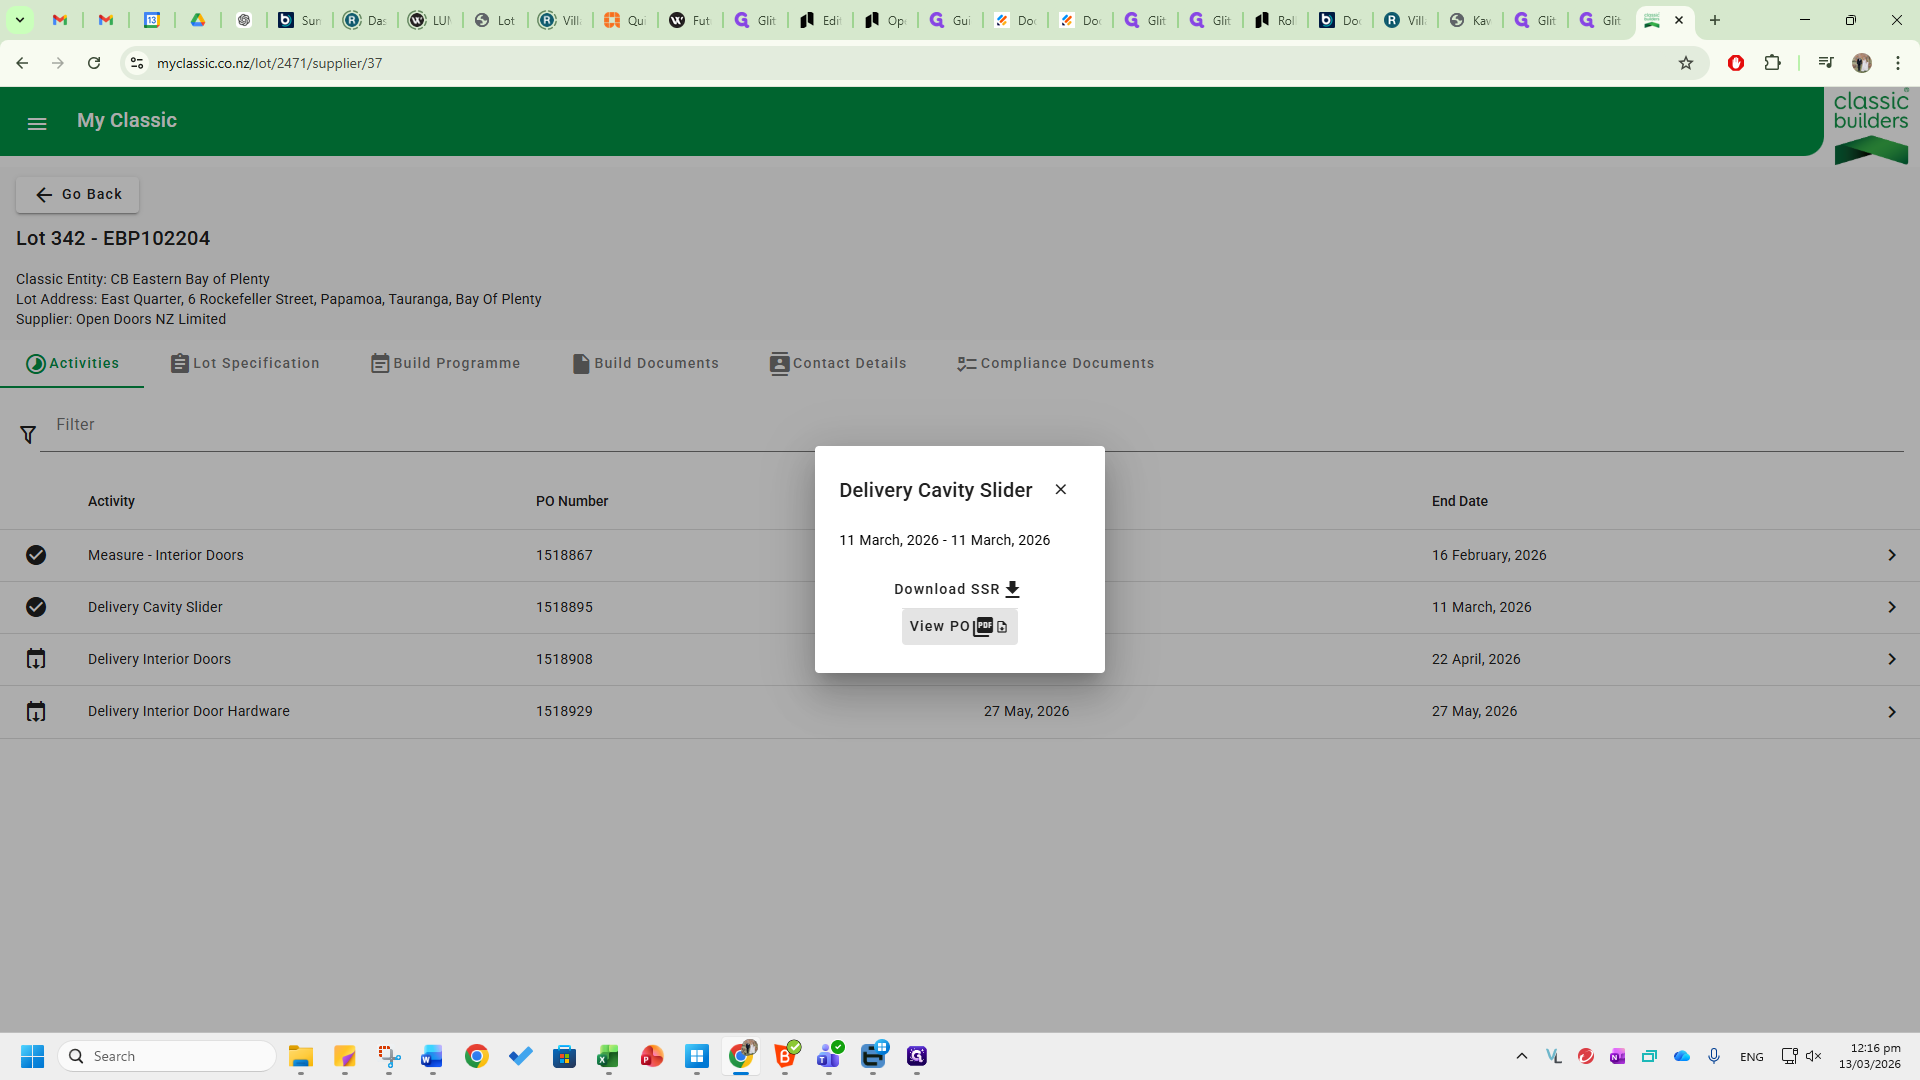
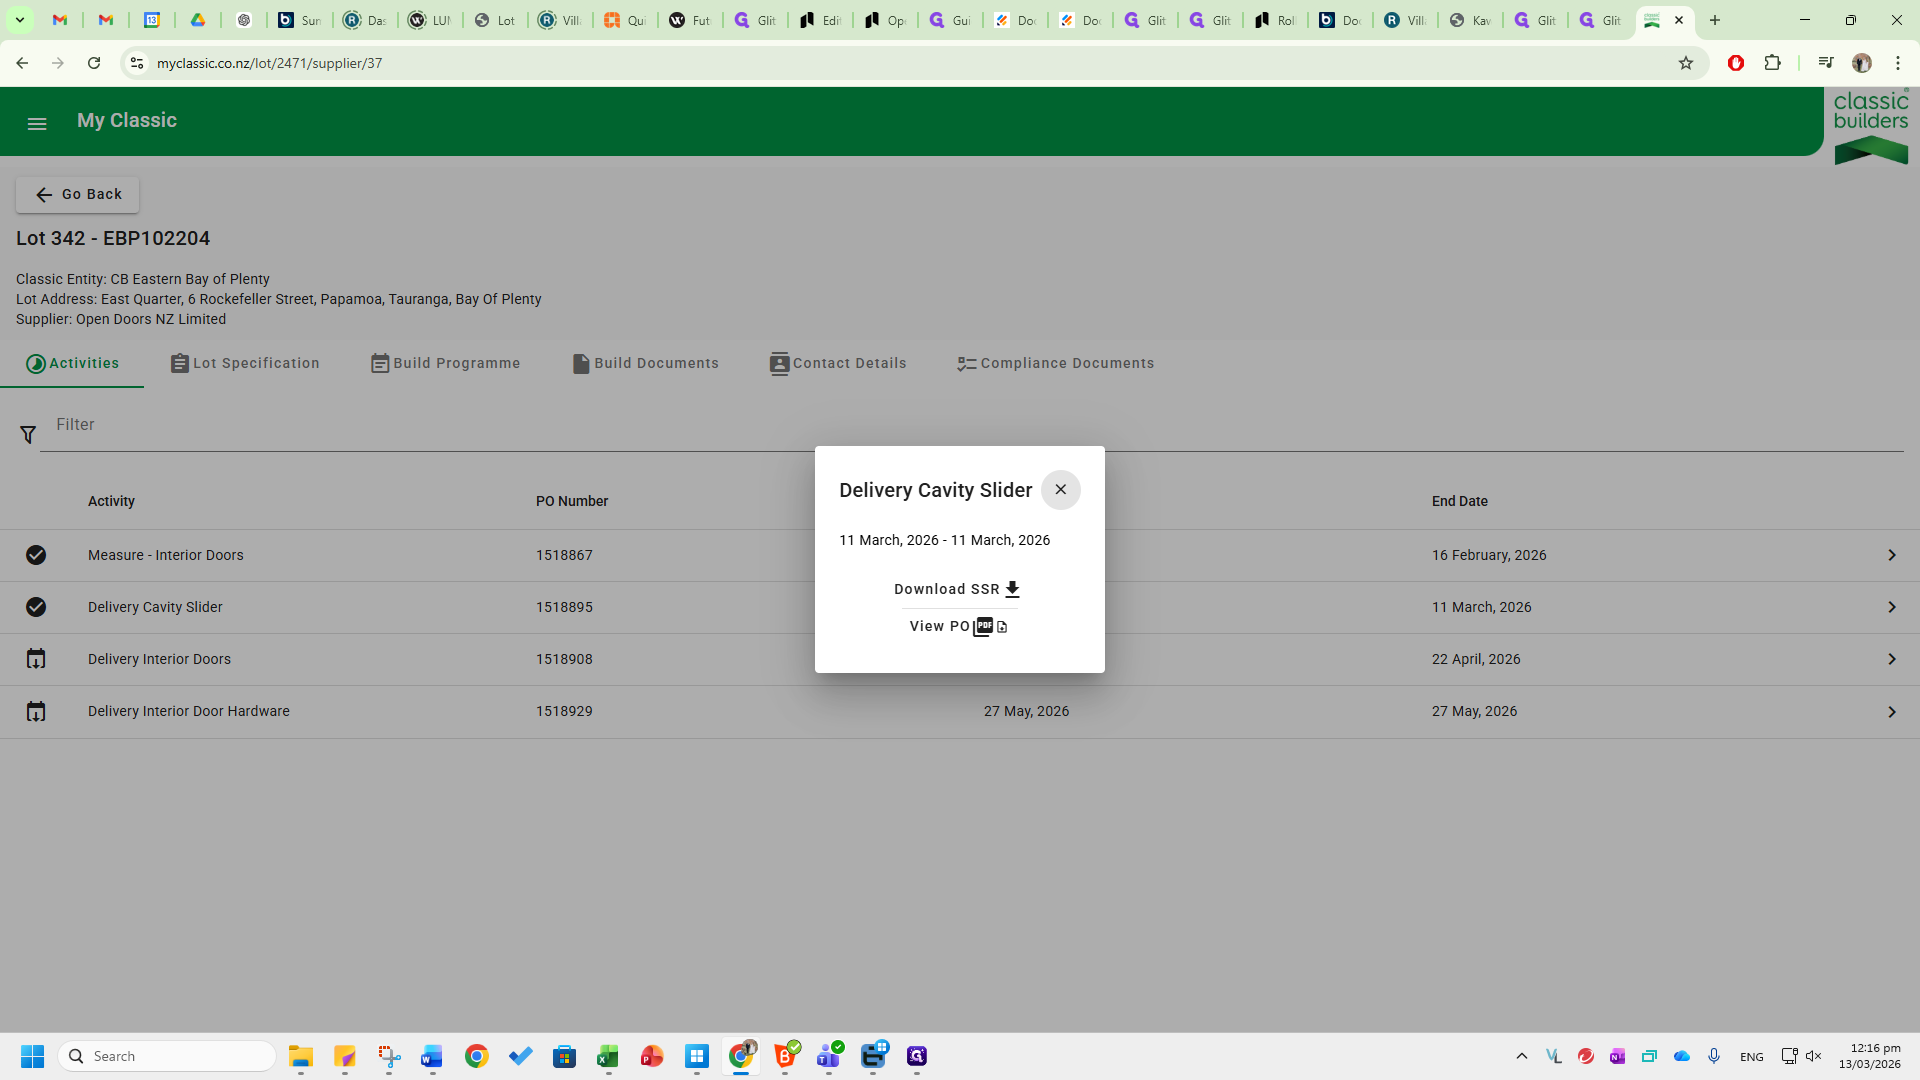
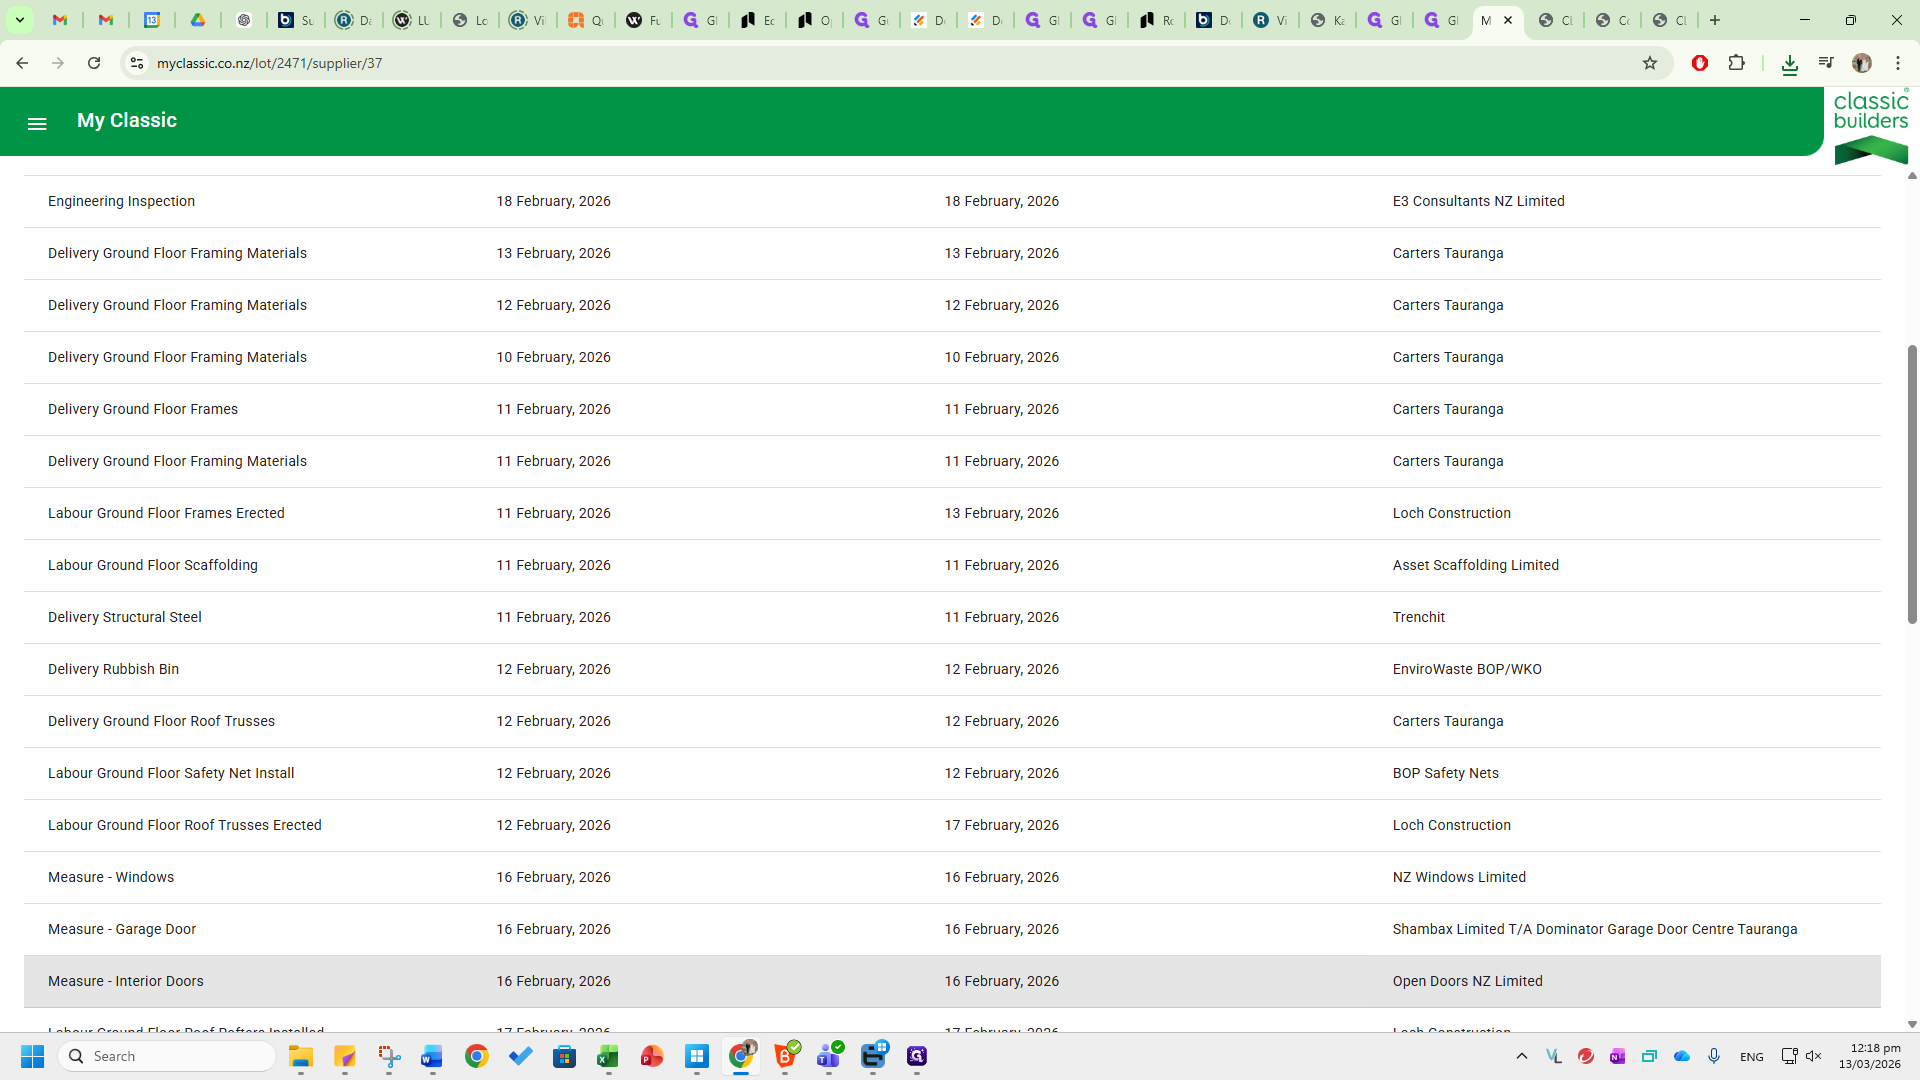
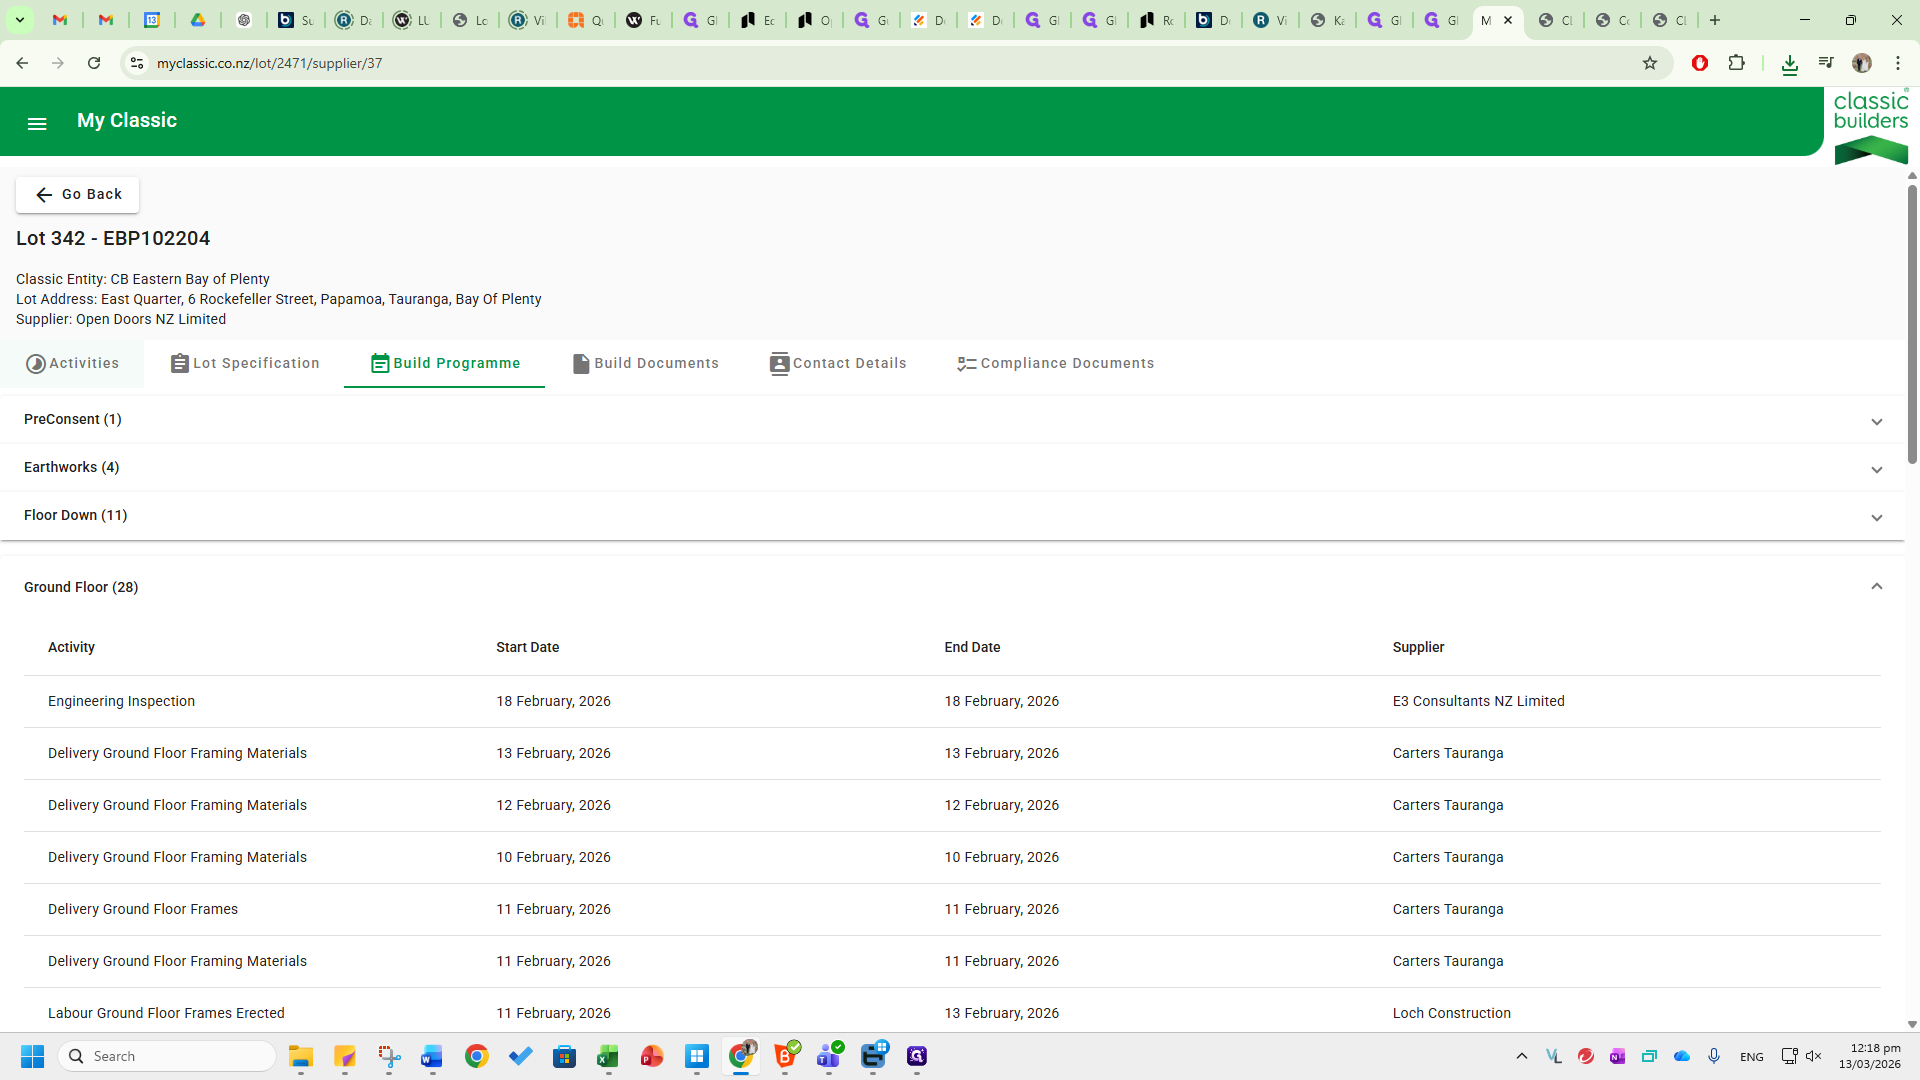
For example, this one here is EBP1022/04. I can use the filter list here, type in the number, and then click on the associated job that appears.

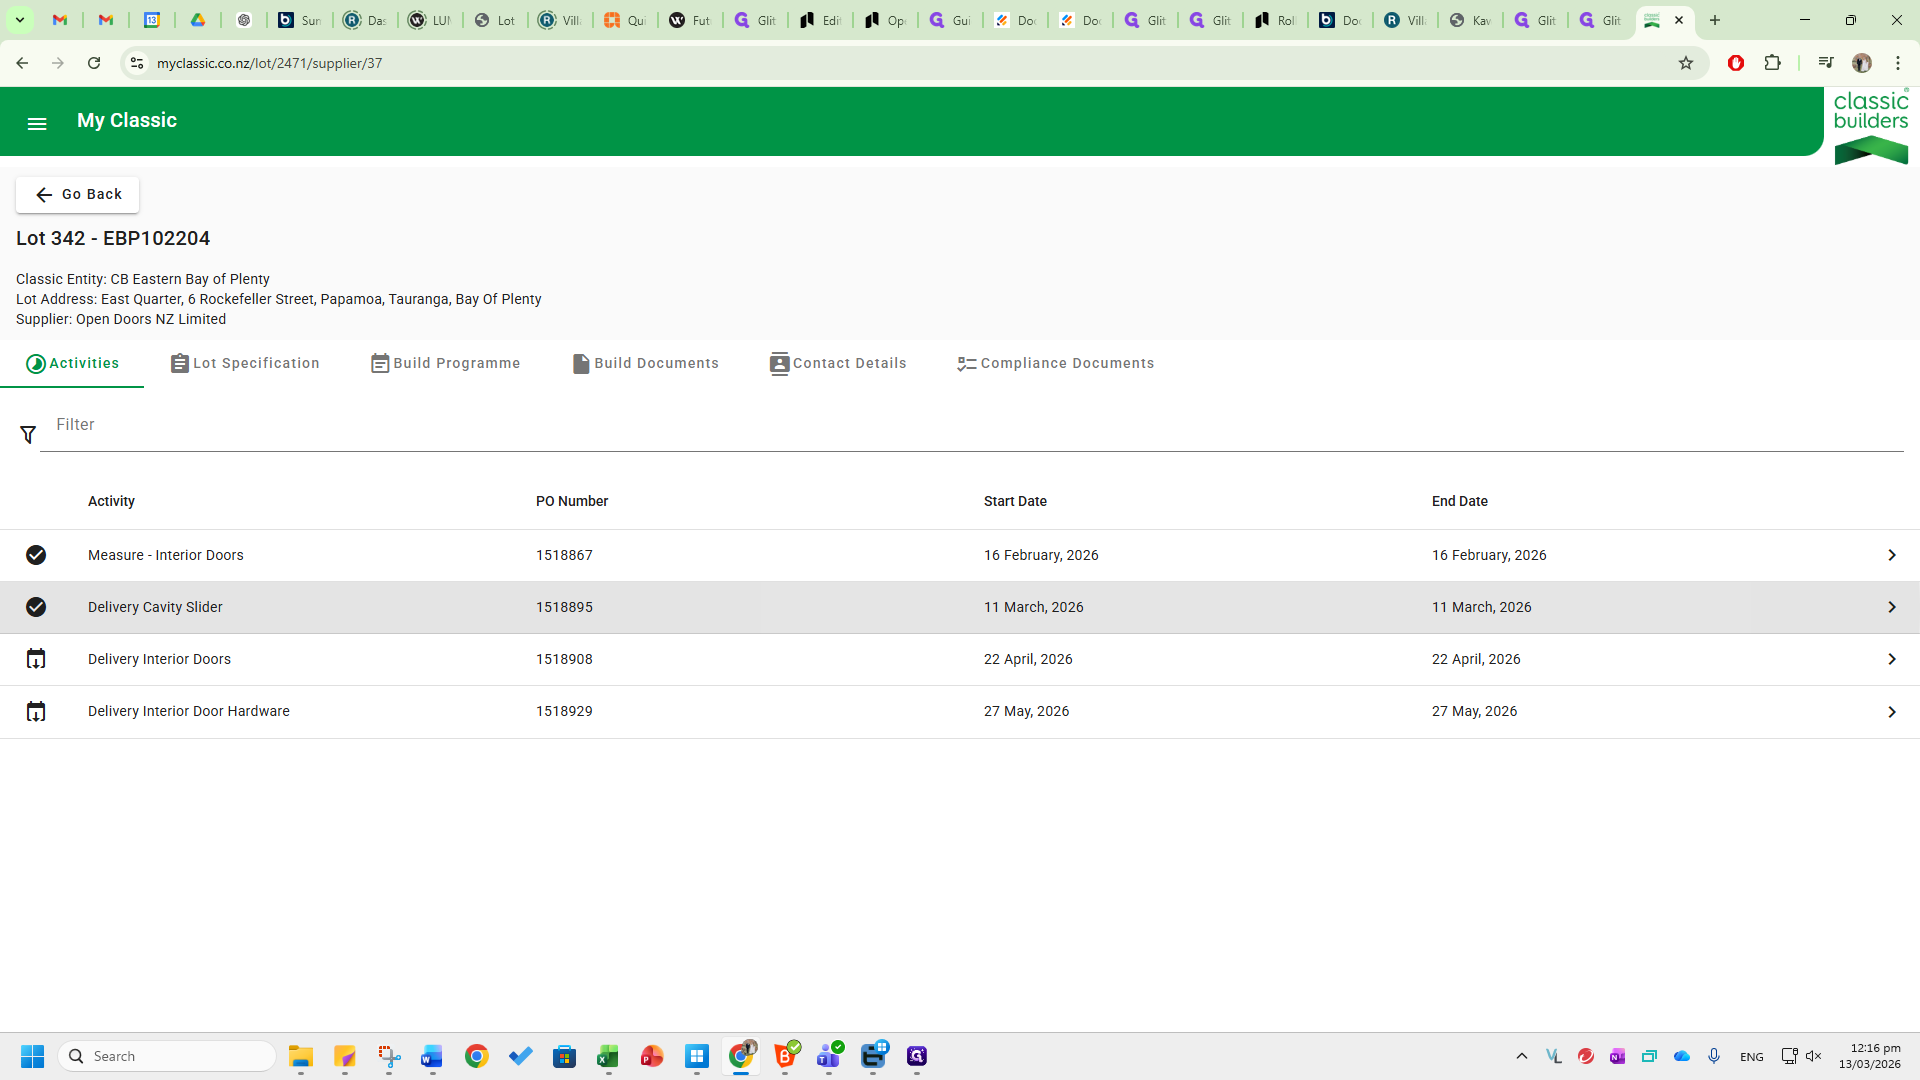
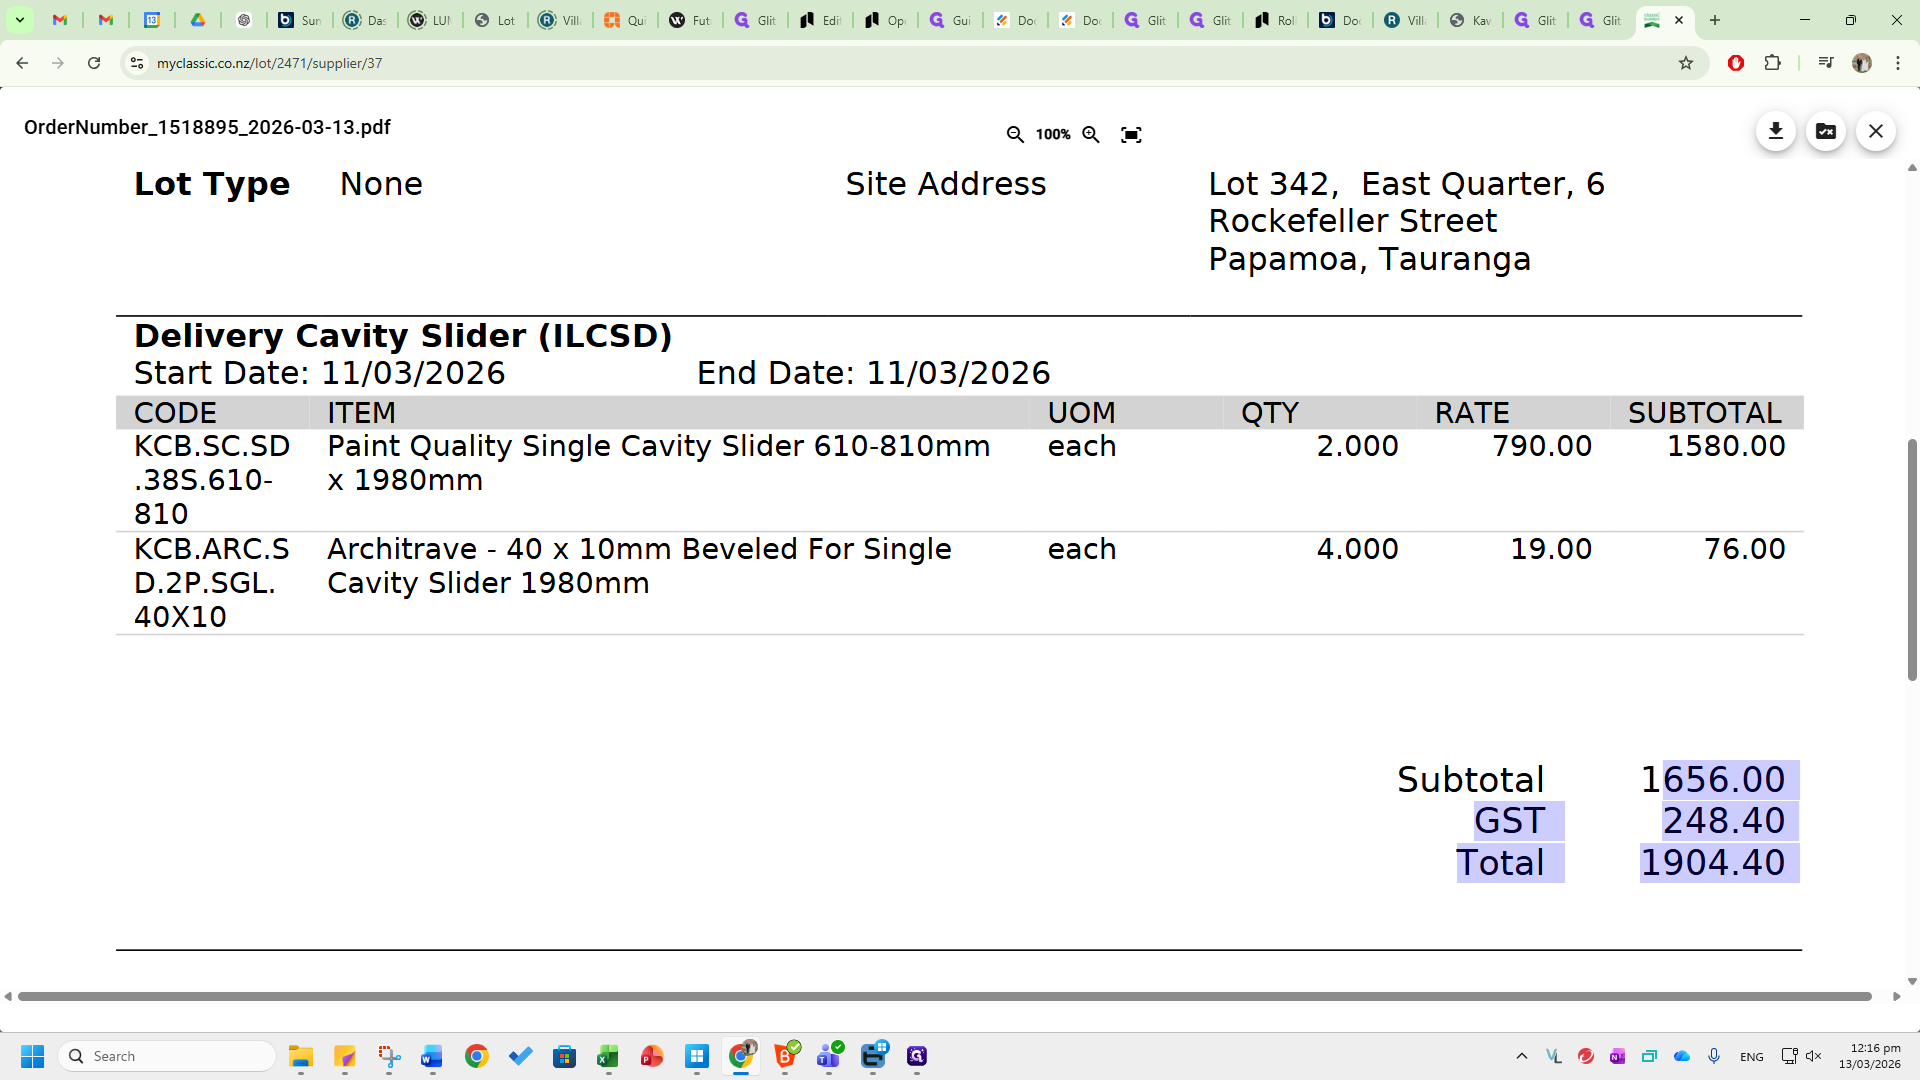
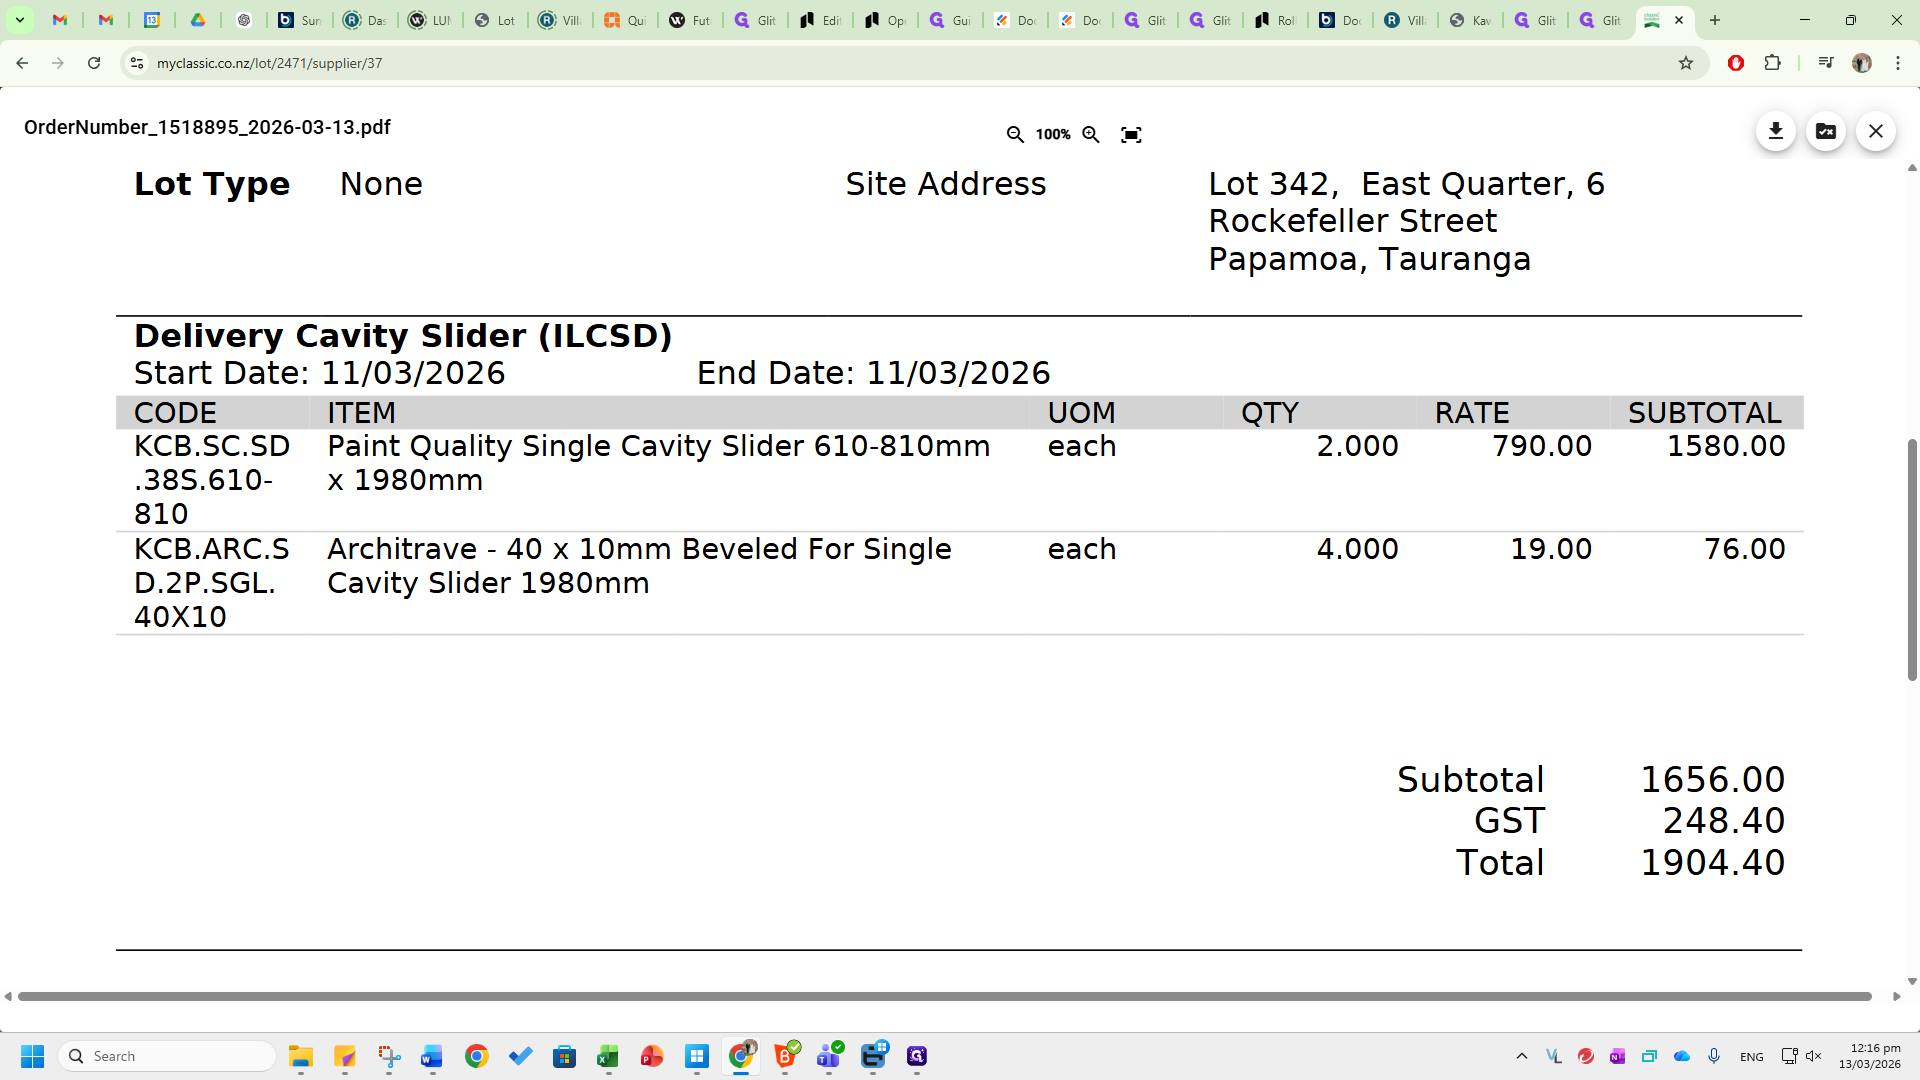
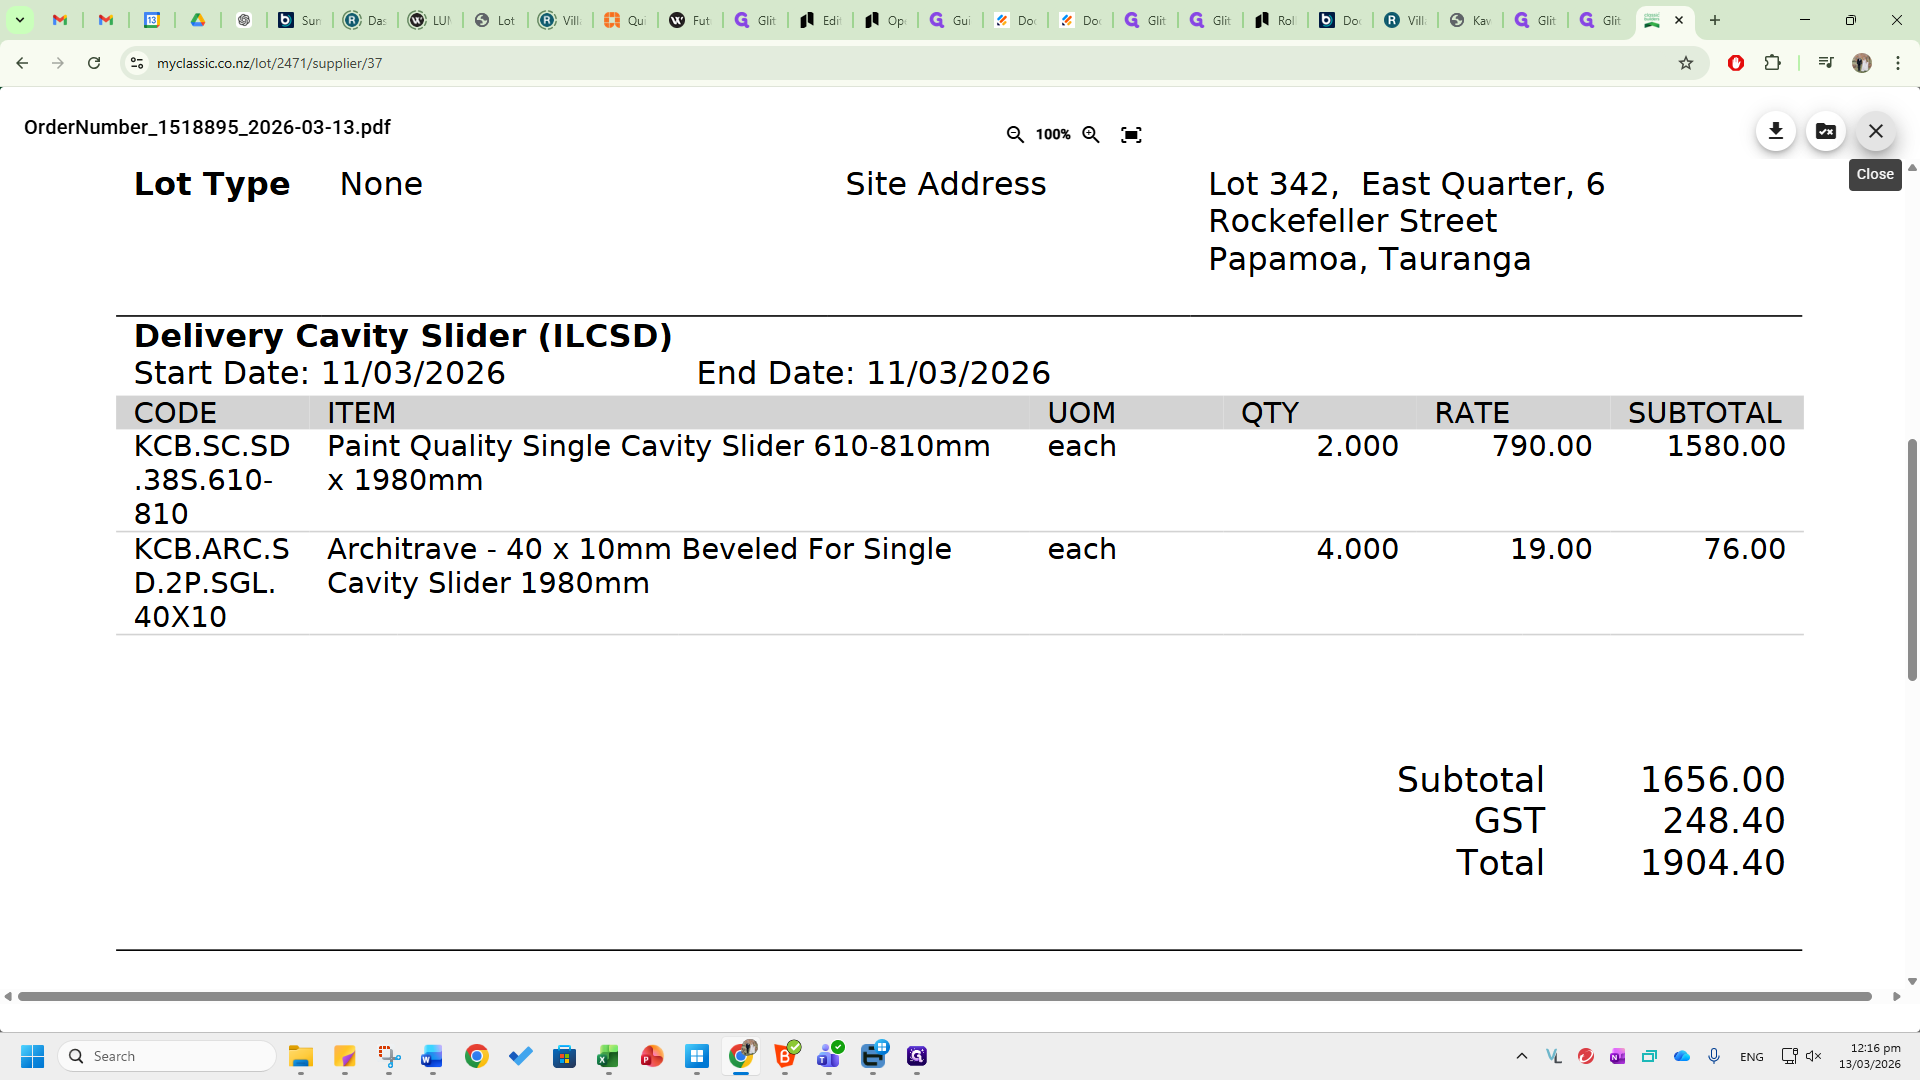
You will see a measure, delivery cavity slider, delivery internal doors, and delivery interior door hardware. These are the dates we need to enter into the invoice description in GM to stay on schedule. The measure does not have a purchase order value. However, when there are cavity sliders or internal doors on the jobs, there will be specific values and line items on the PO. These must be matched in GM.
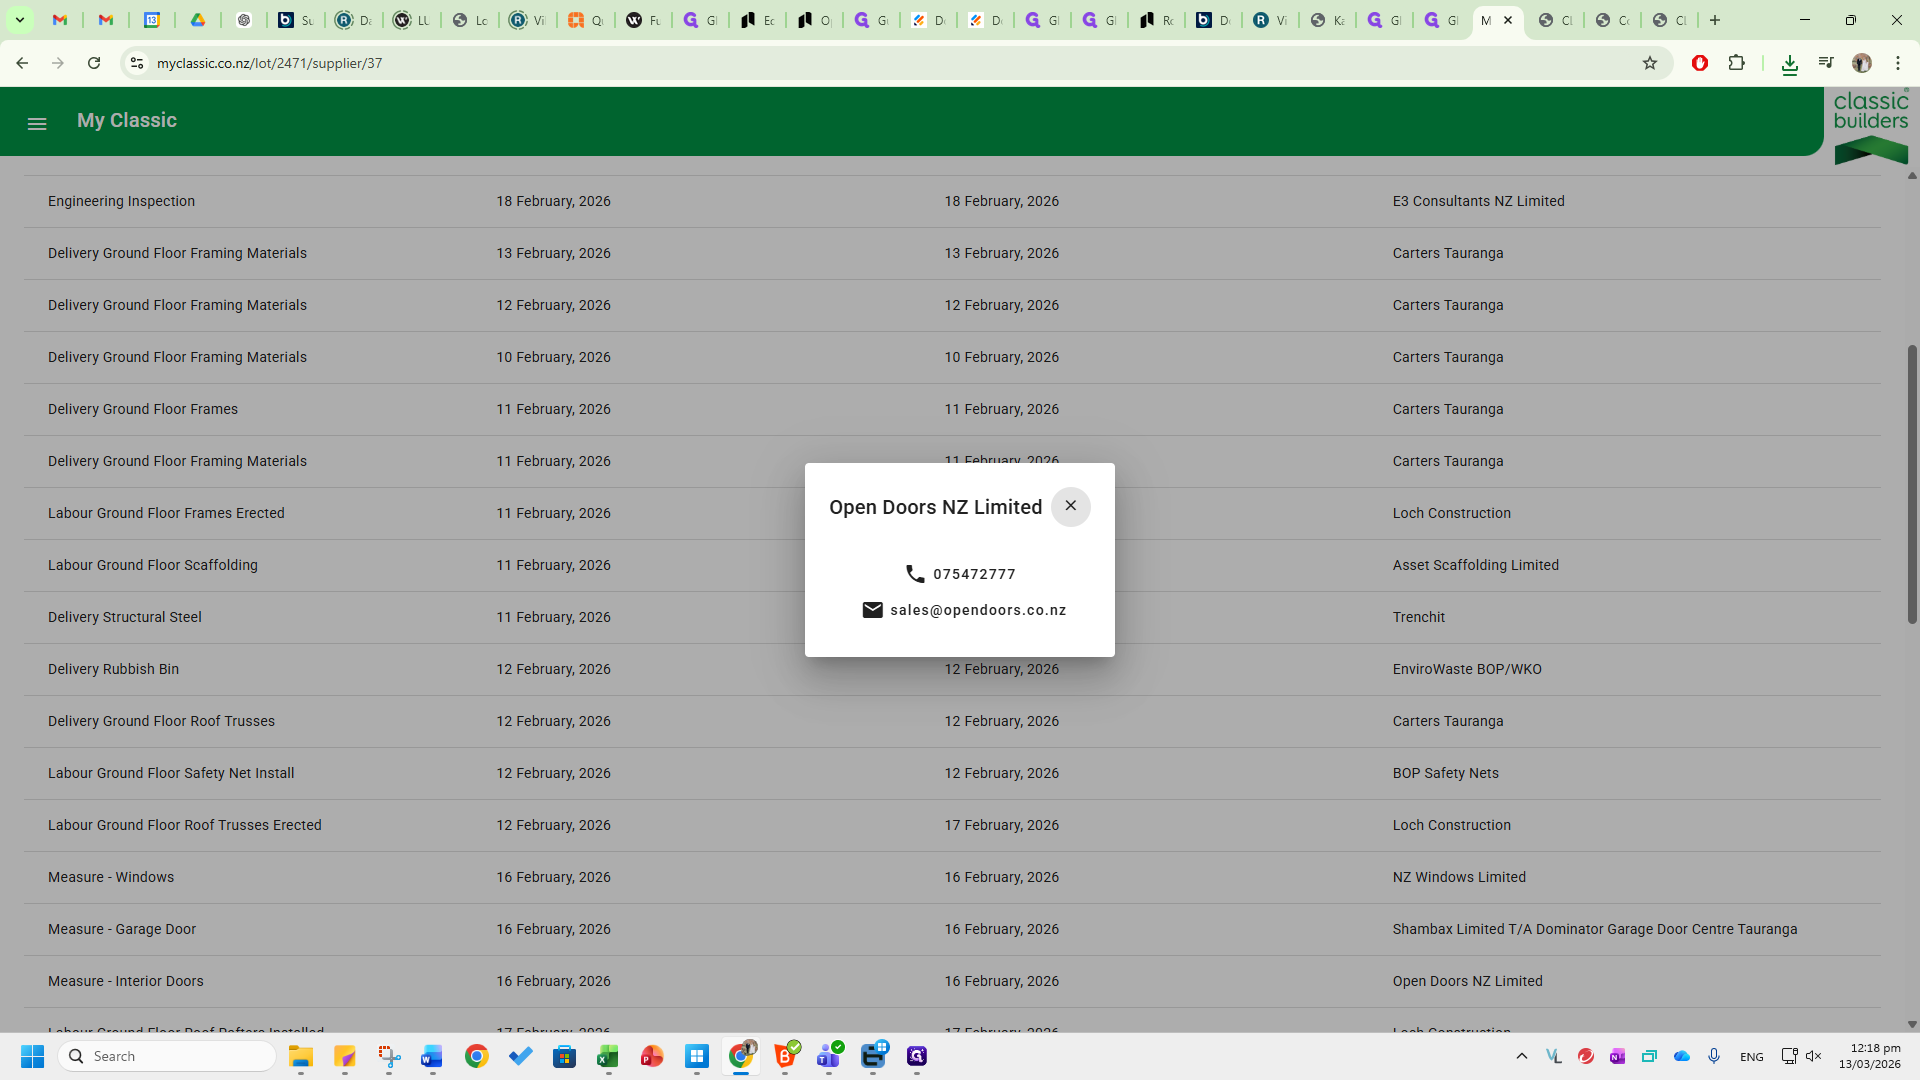
In the Contact Details tab, you will see the framing manager.
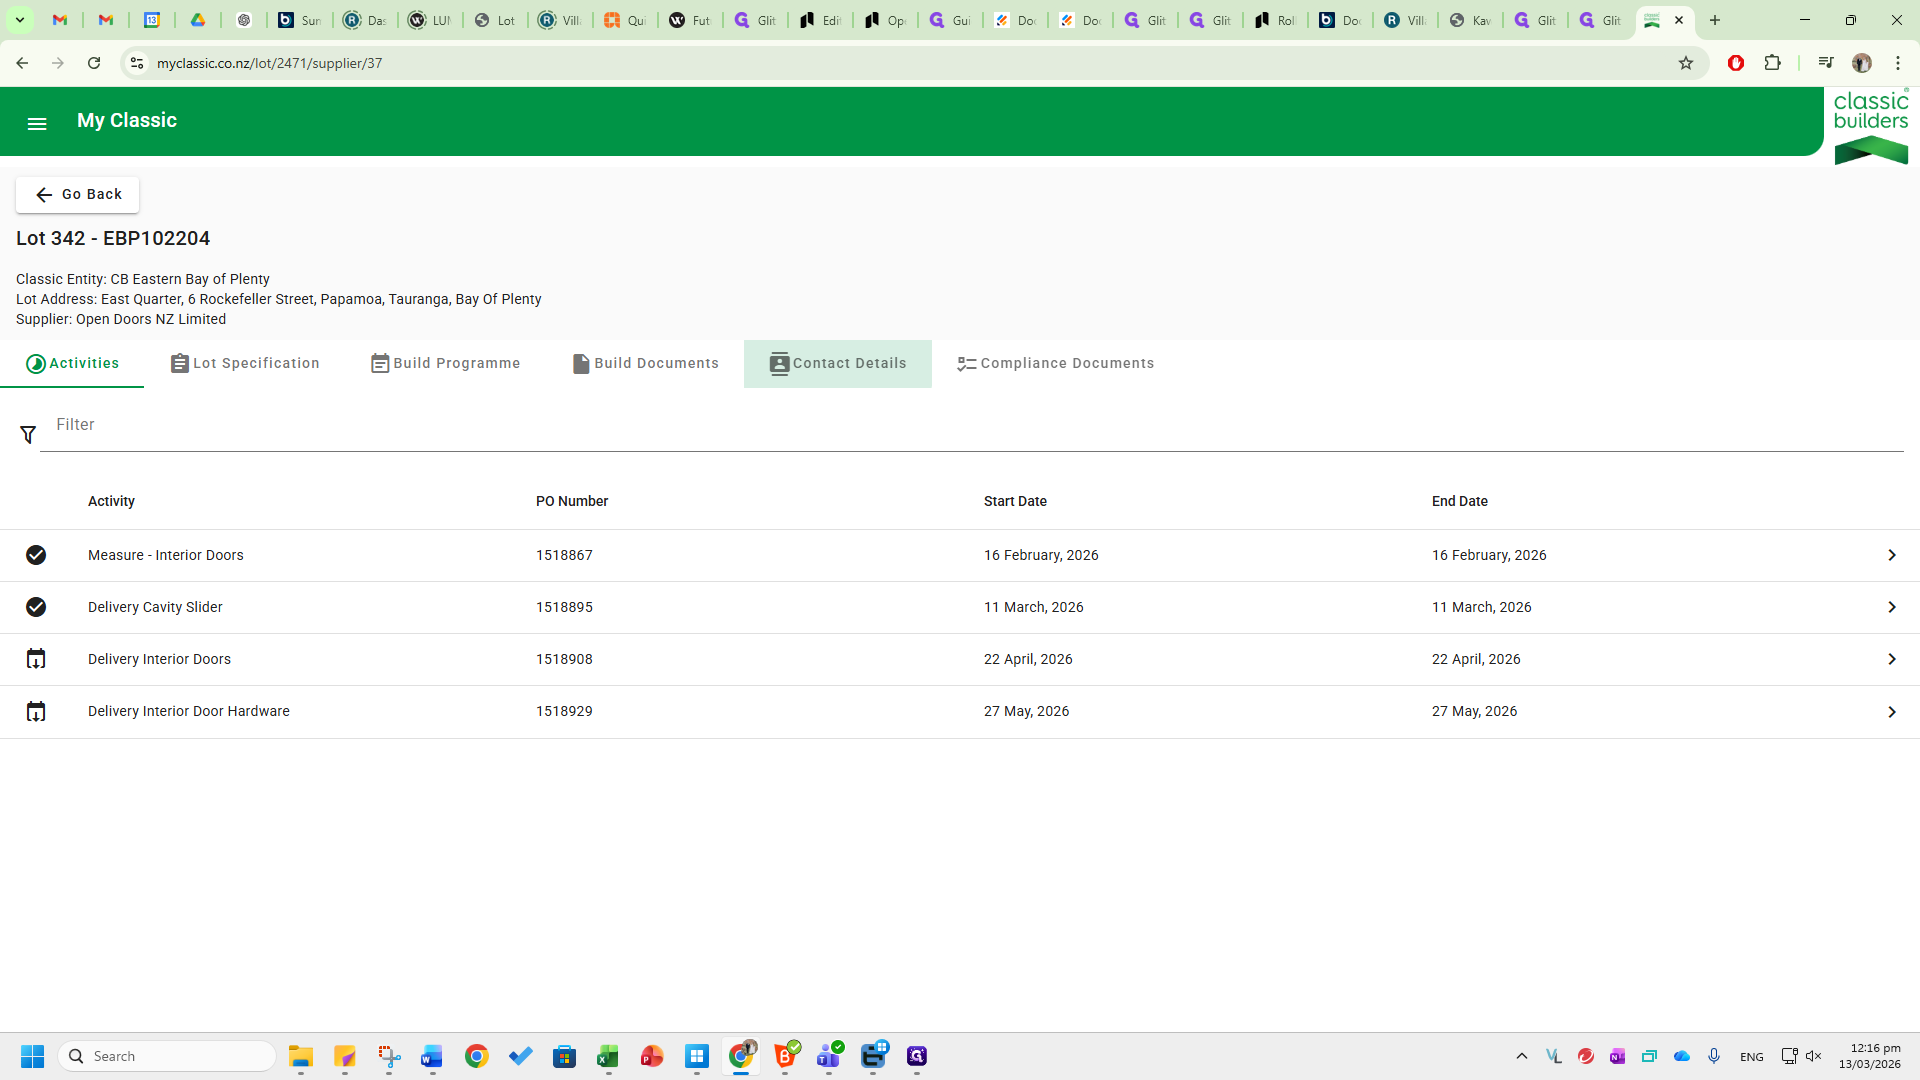
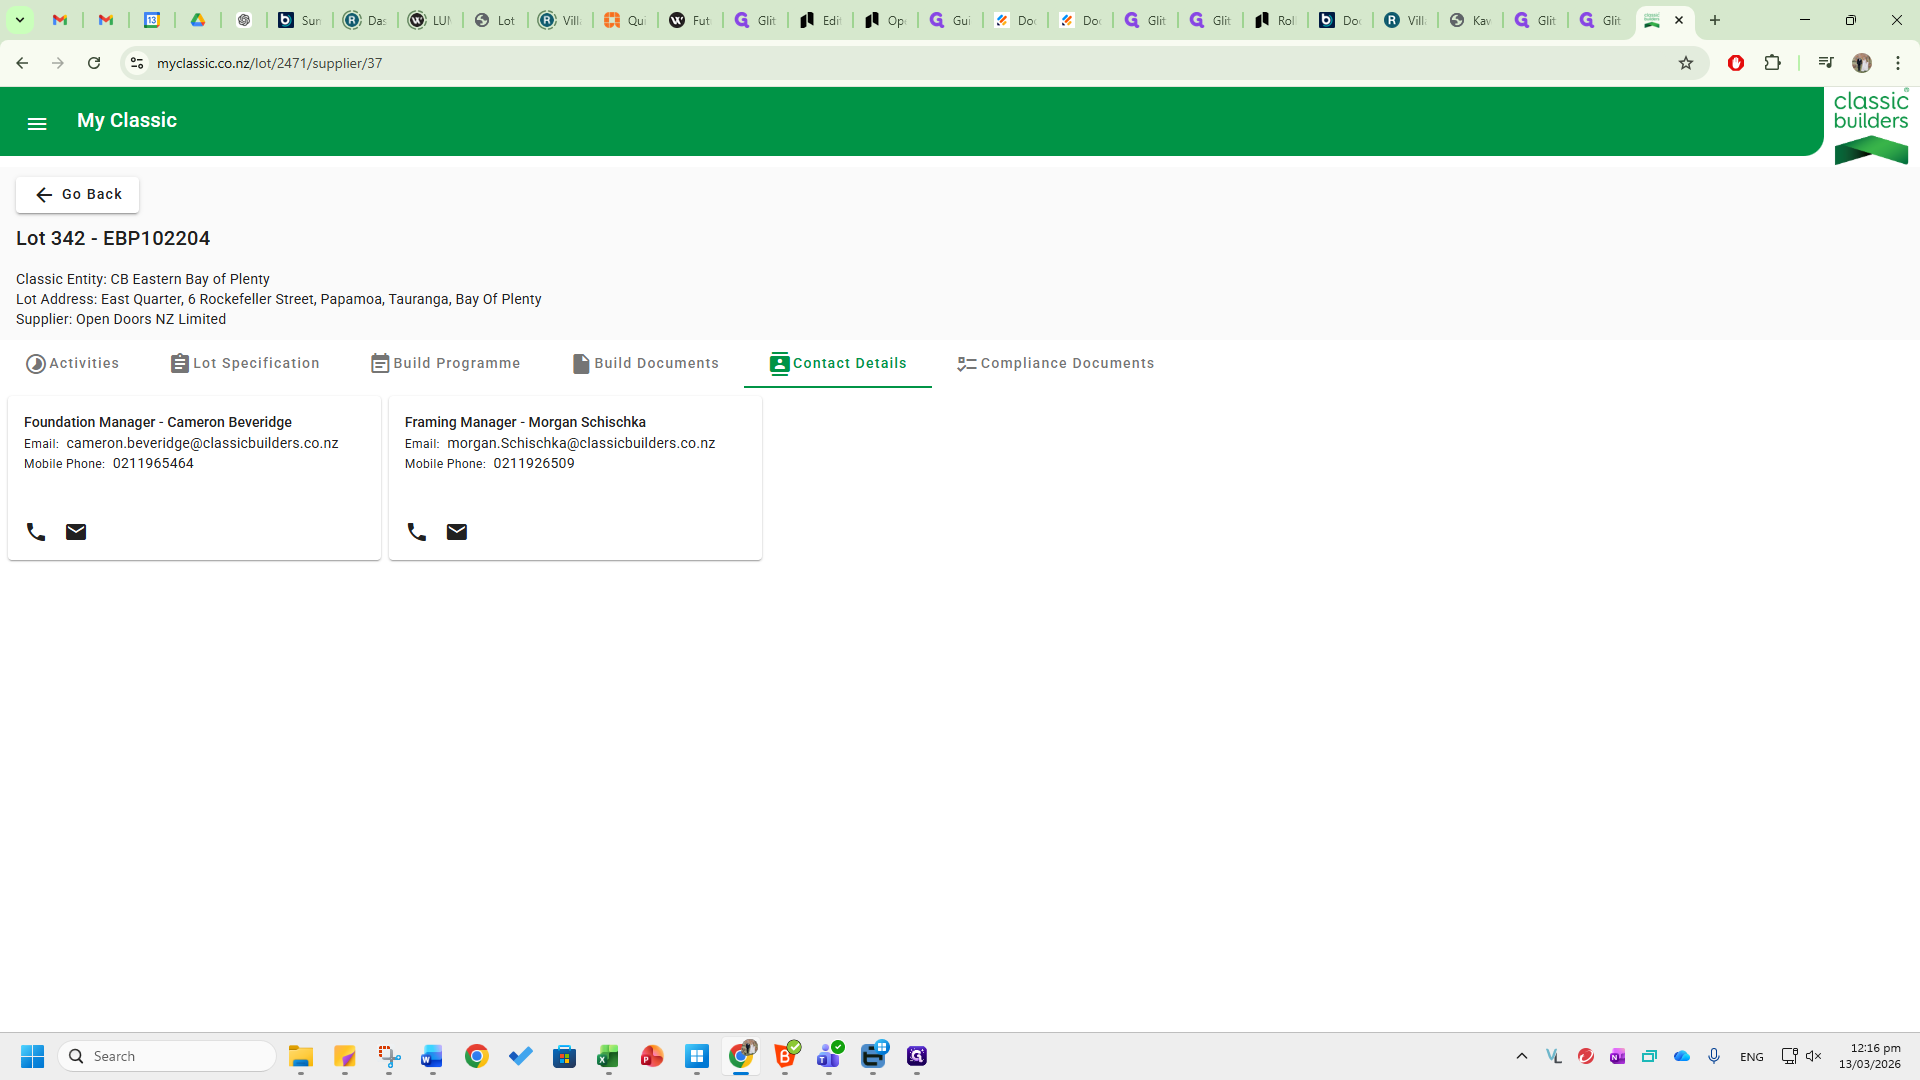
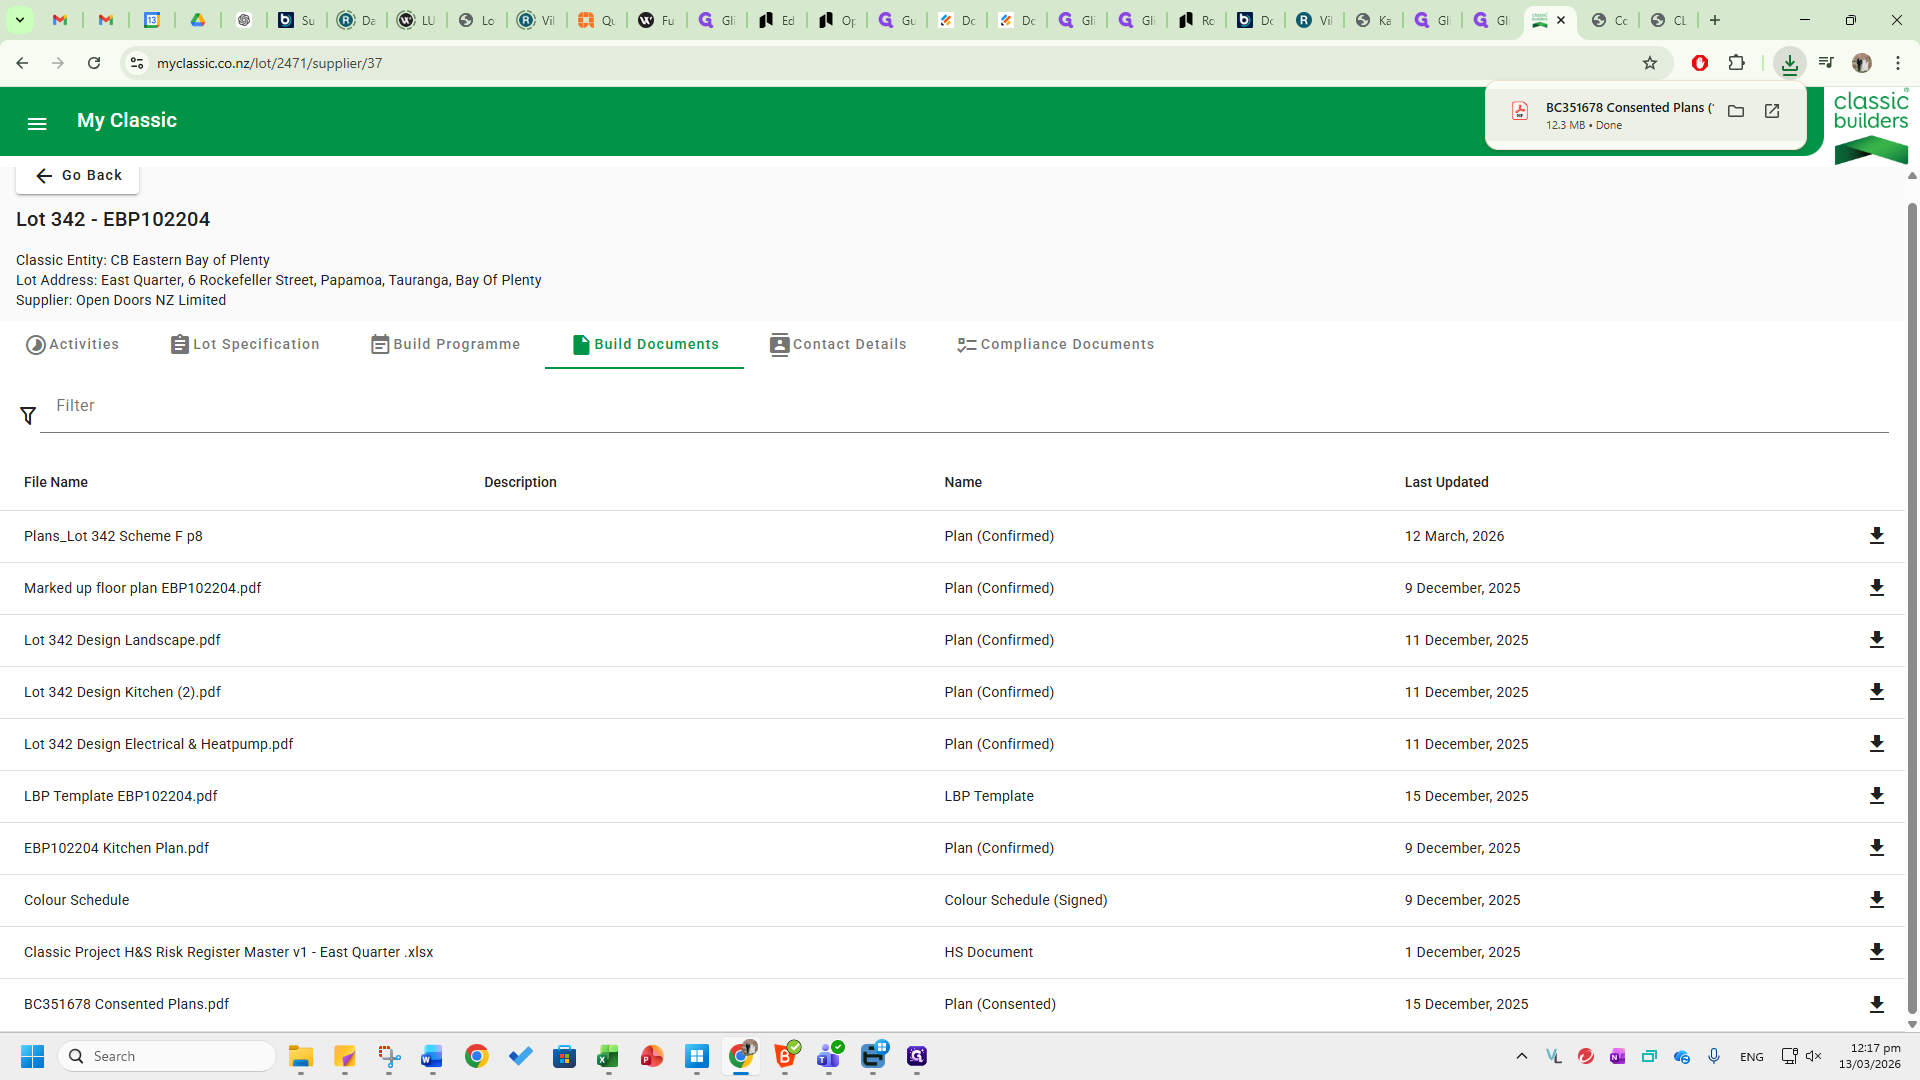
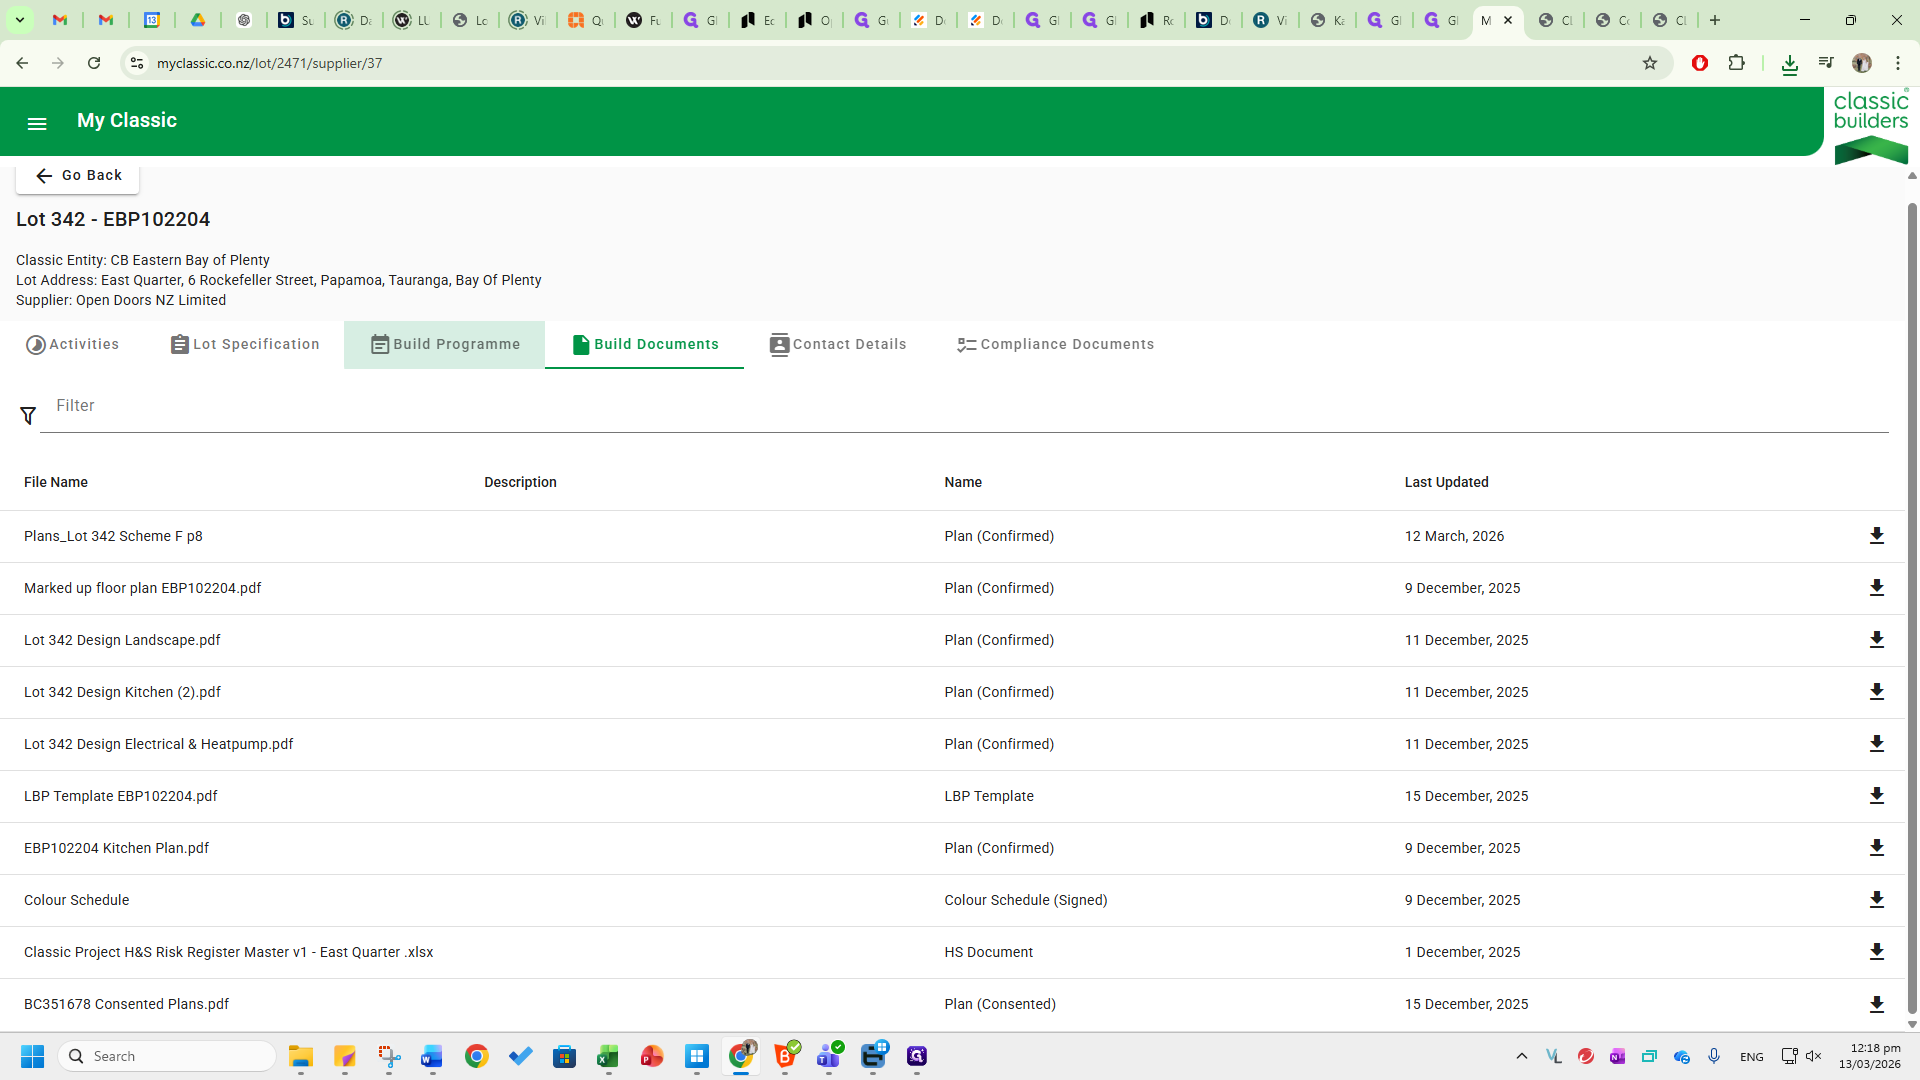
In this case, it's Morgan, who is the main contact for the specific classic build. Each region has different construction managers, and there are multiple construction managers per region. You will need to update this field in GM accordingly. In the Build Documents tab, you will see all the different documents that are uploaded here.
The main ones to note are the marked-up flooring plan, which shows where the different thicknesses are, the flooring heights, and whether there is carpet, vinyl, tile, or laminate.

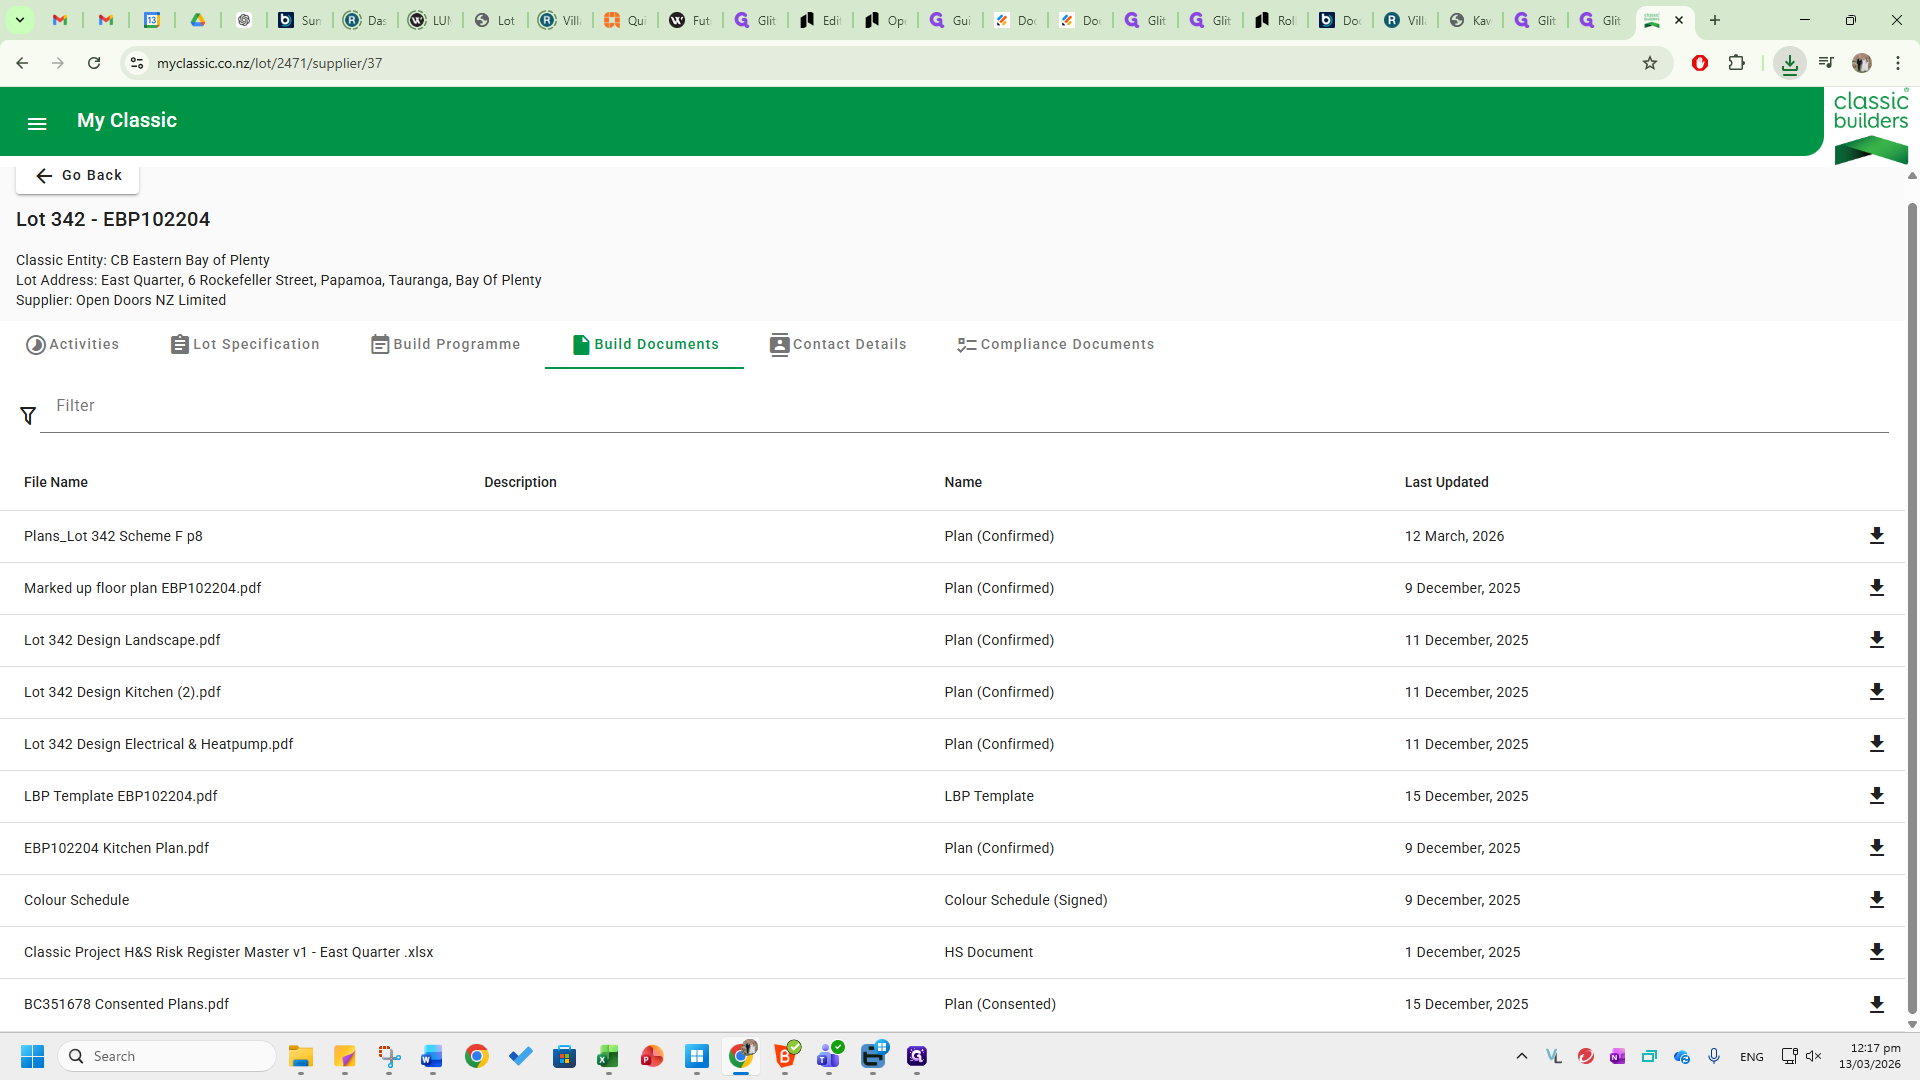

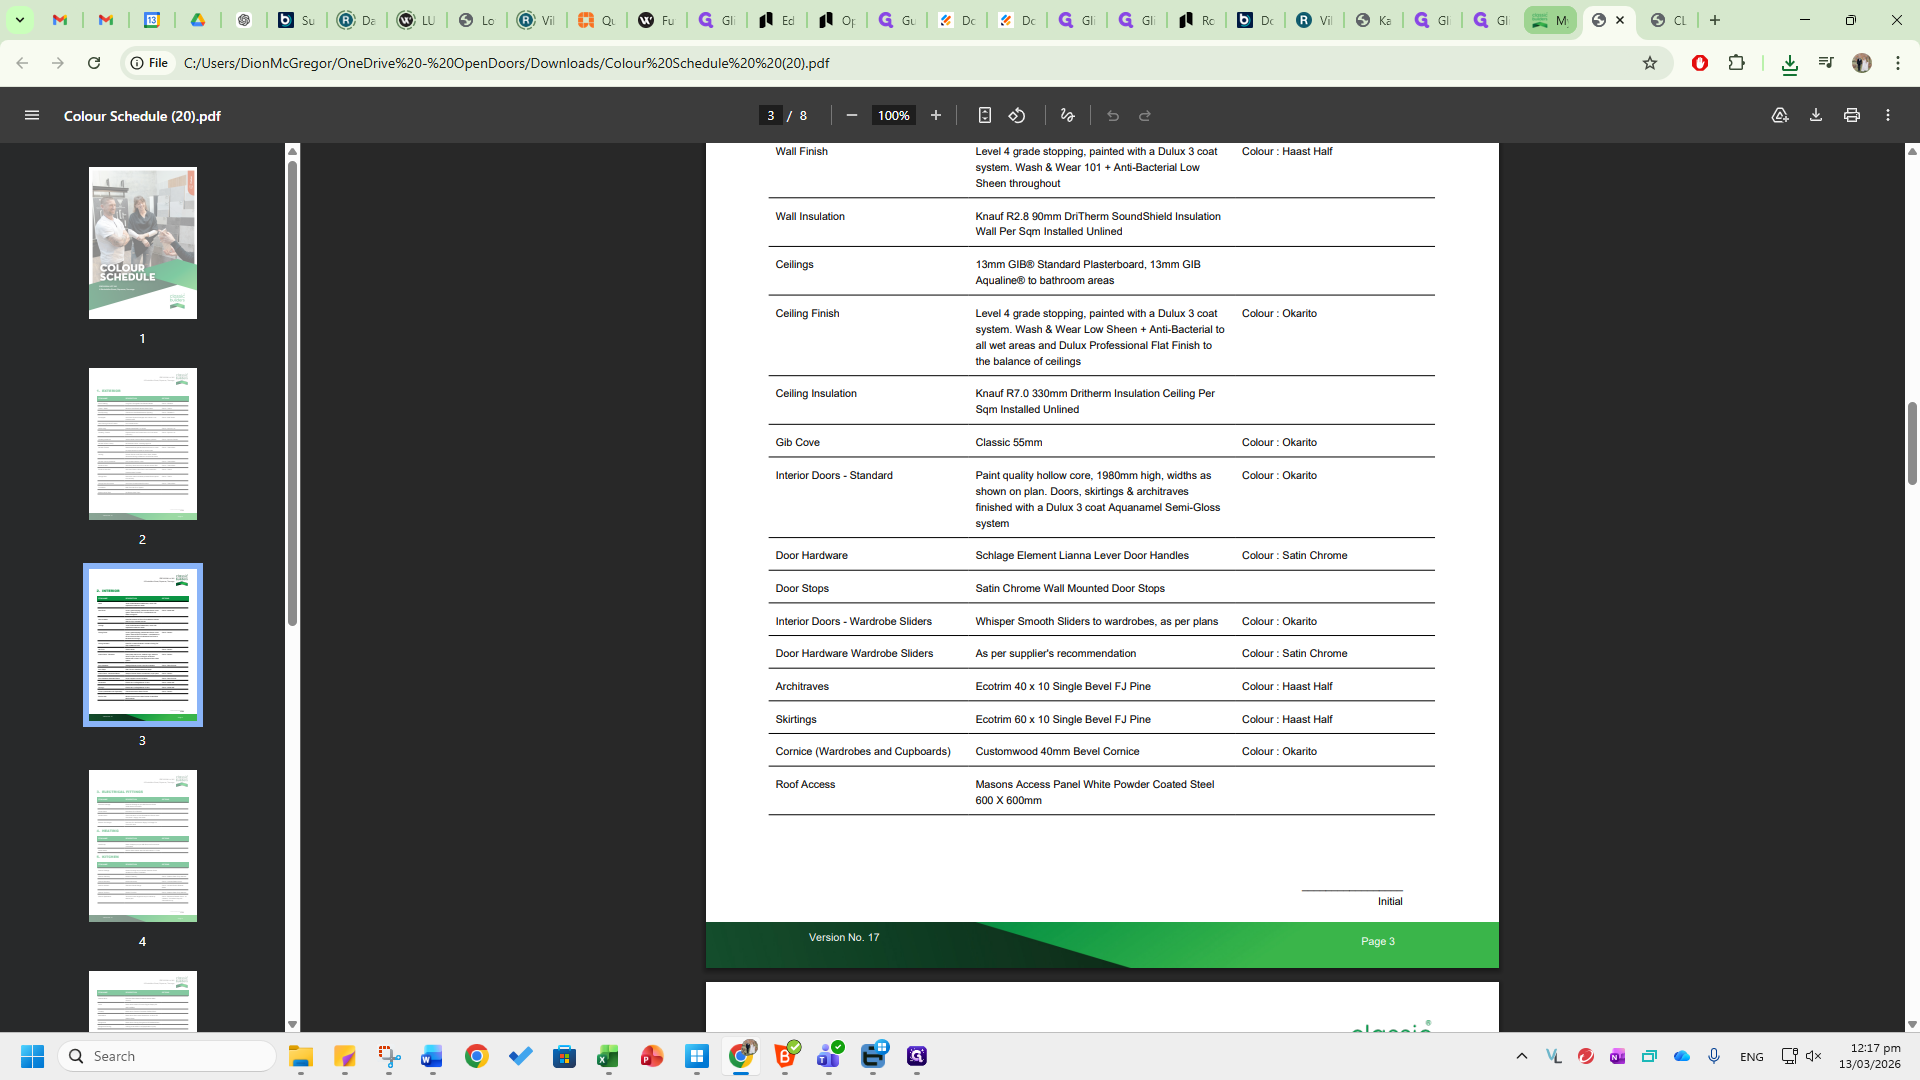
The Colour Schedule shows the specifications for this build.


Go to pages three, four, five, and six.
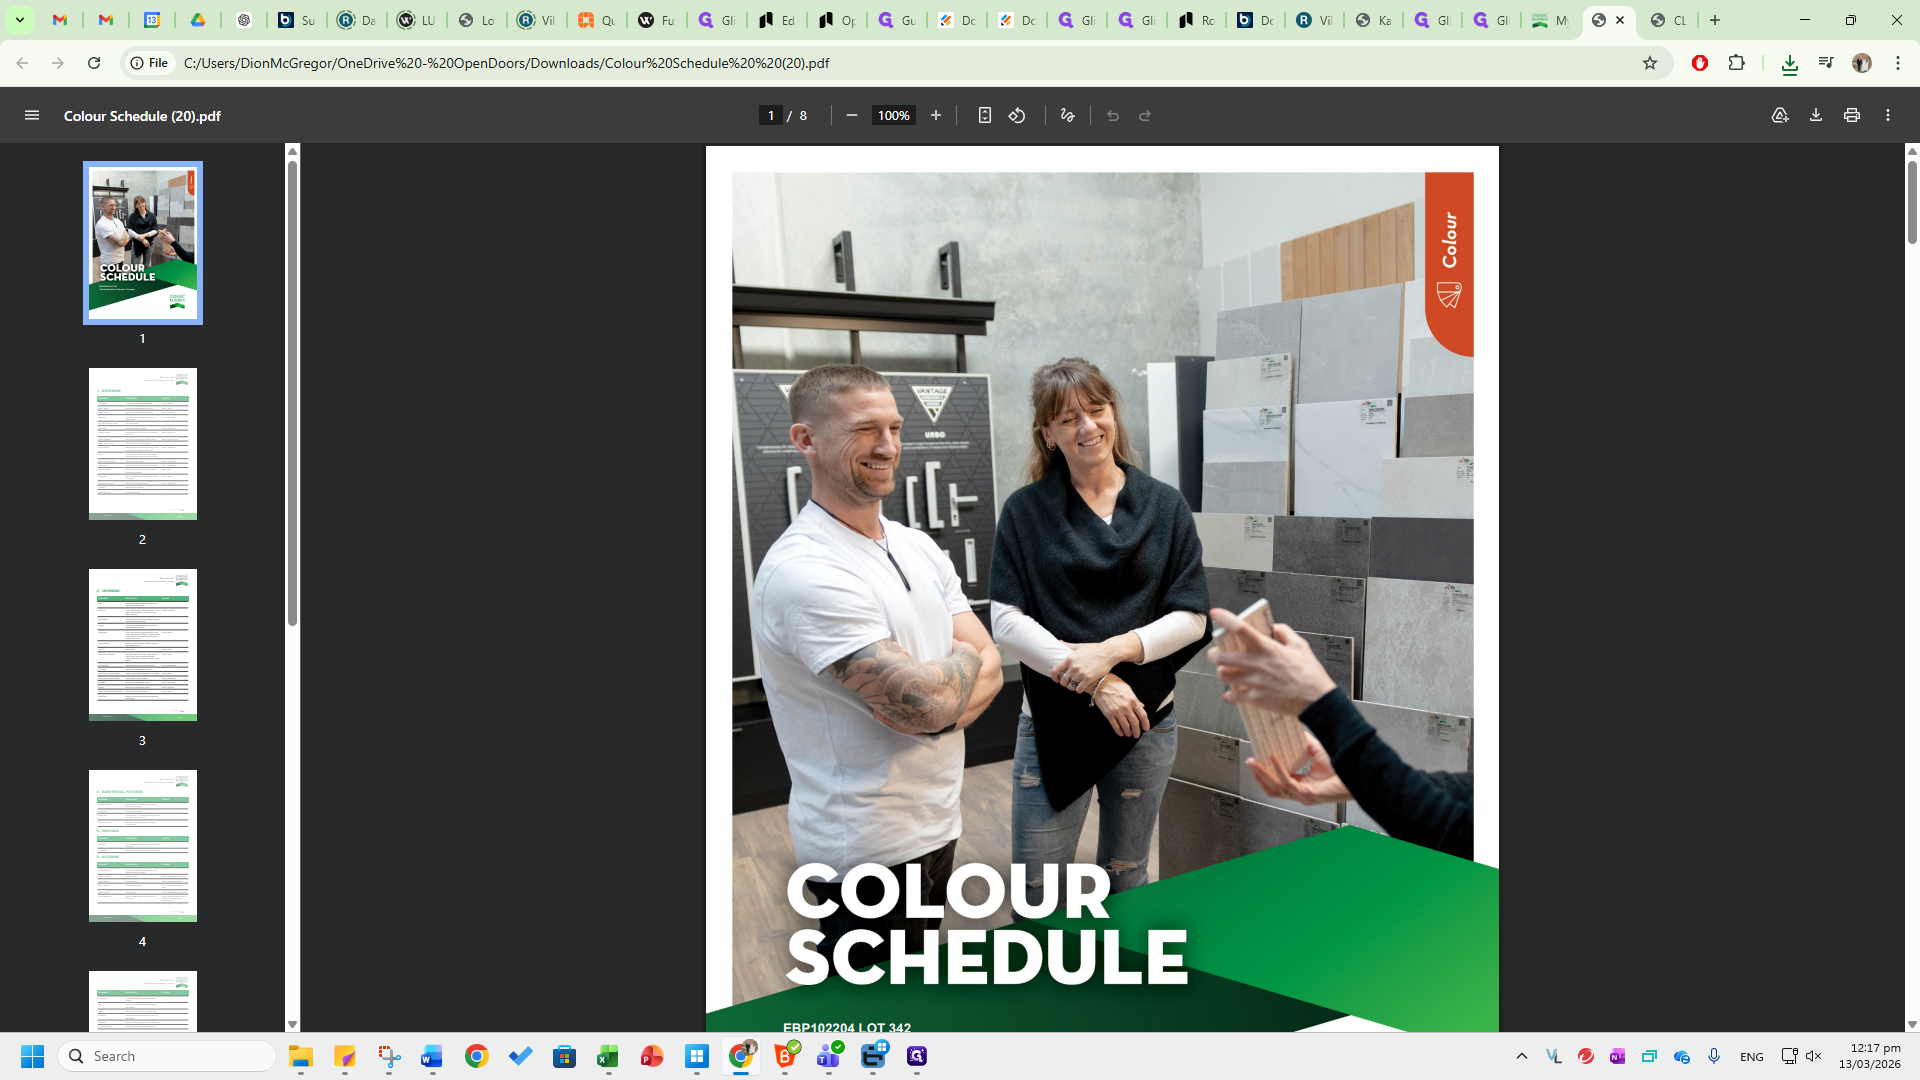
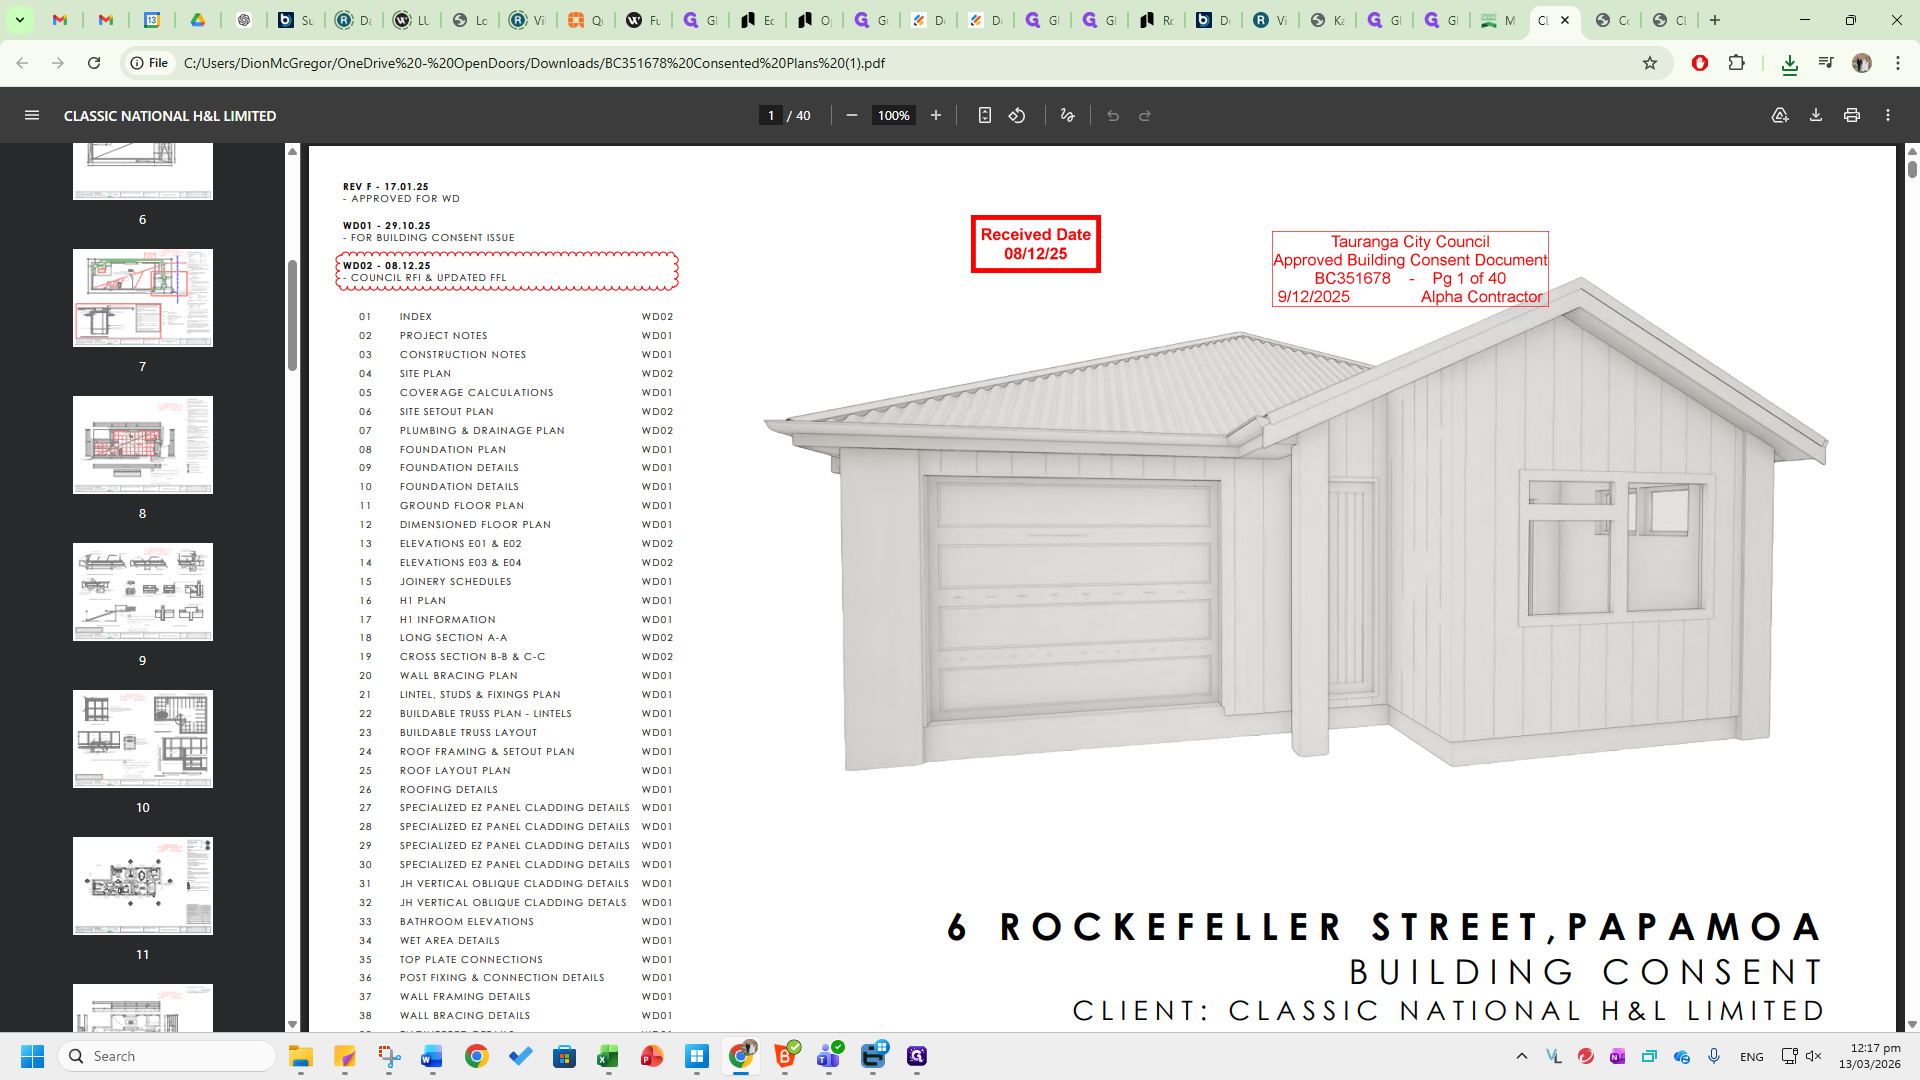
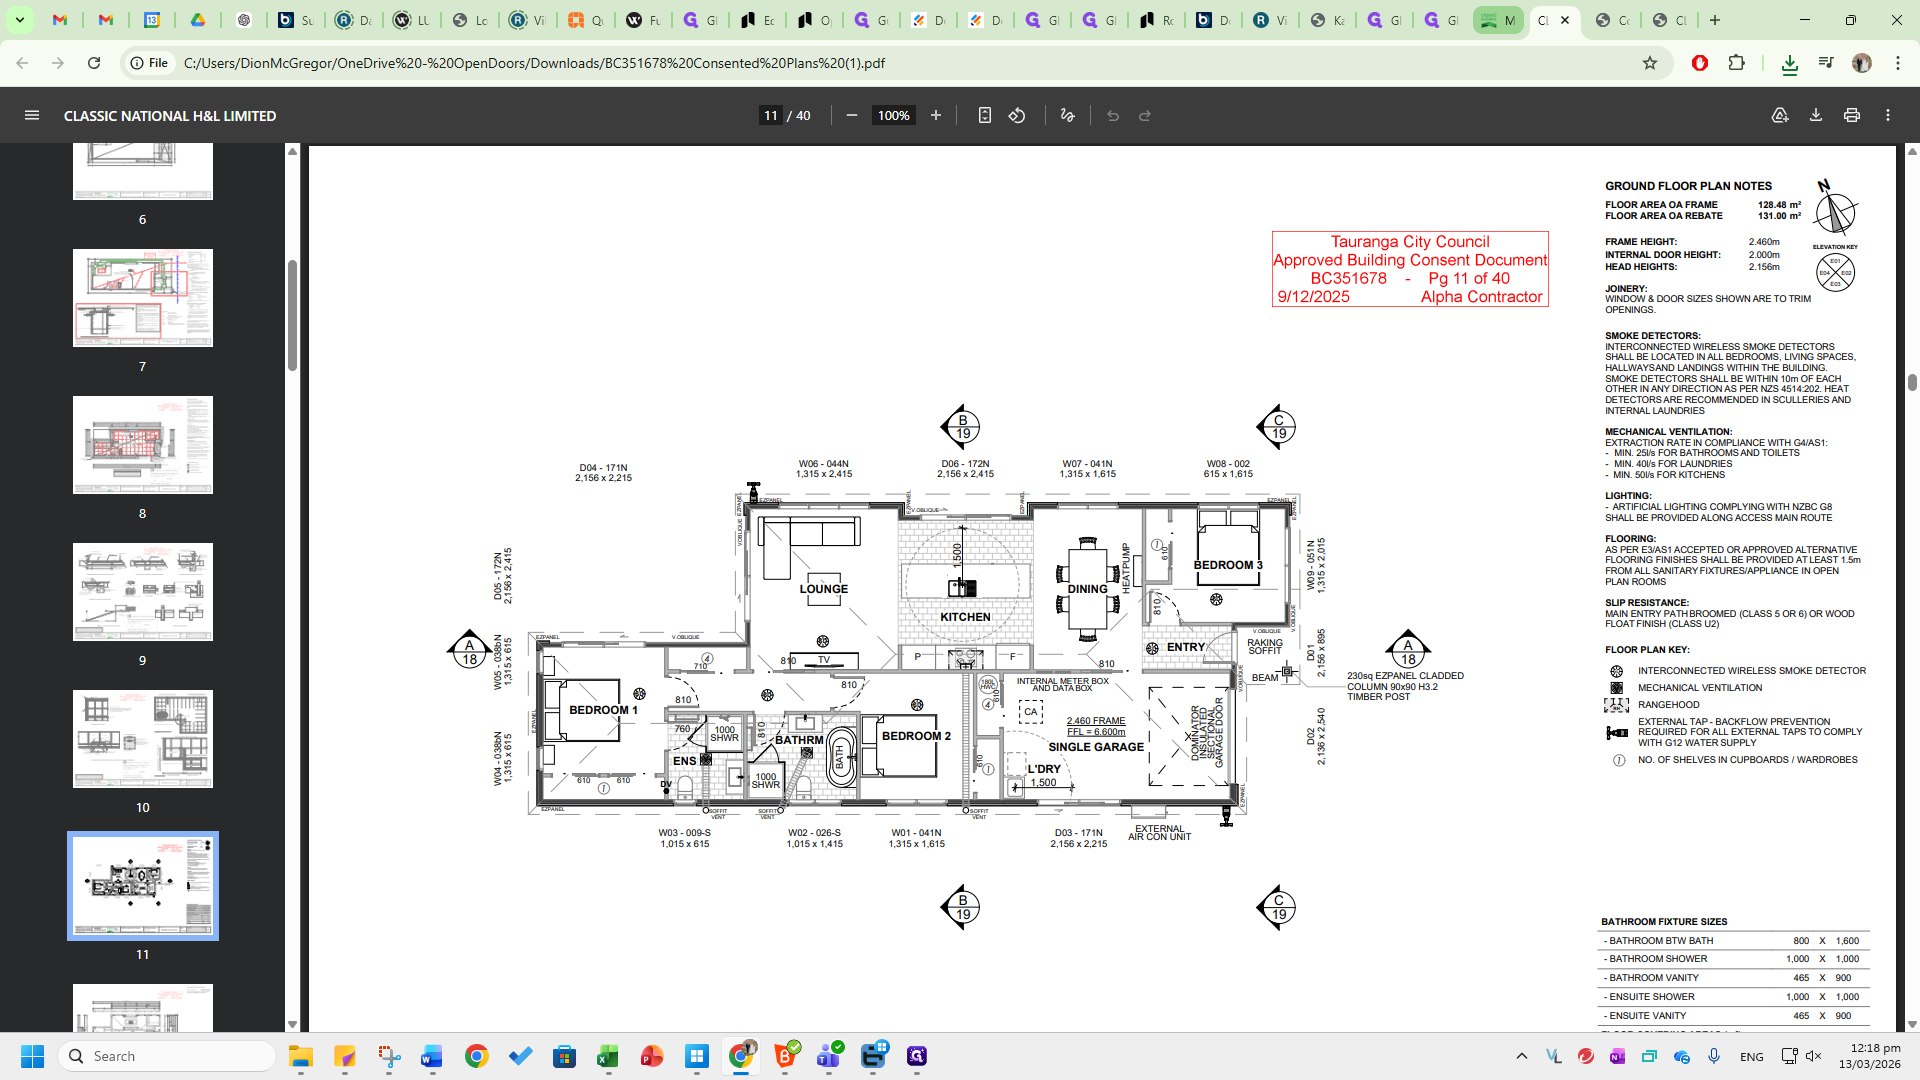
It will show you the hardware, internal doors, architrave, and all other required information. The consented plans are where you download.

Go to the relevant page and download this in A3. This is where you will complete the takeoff.
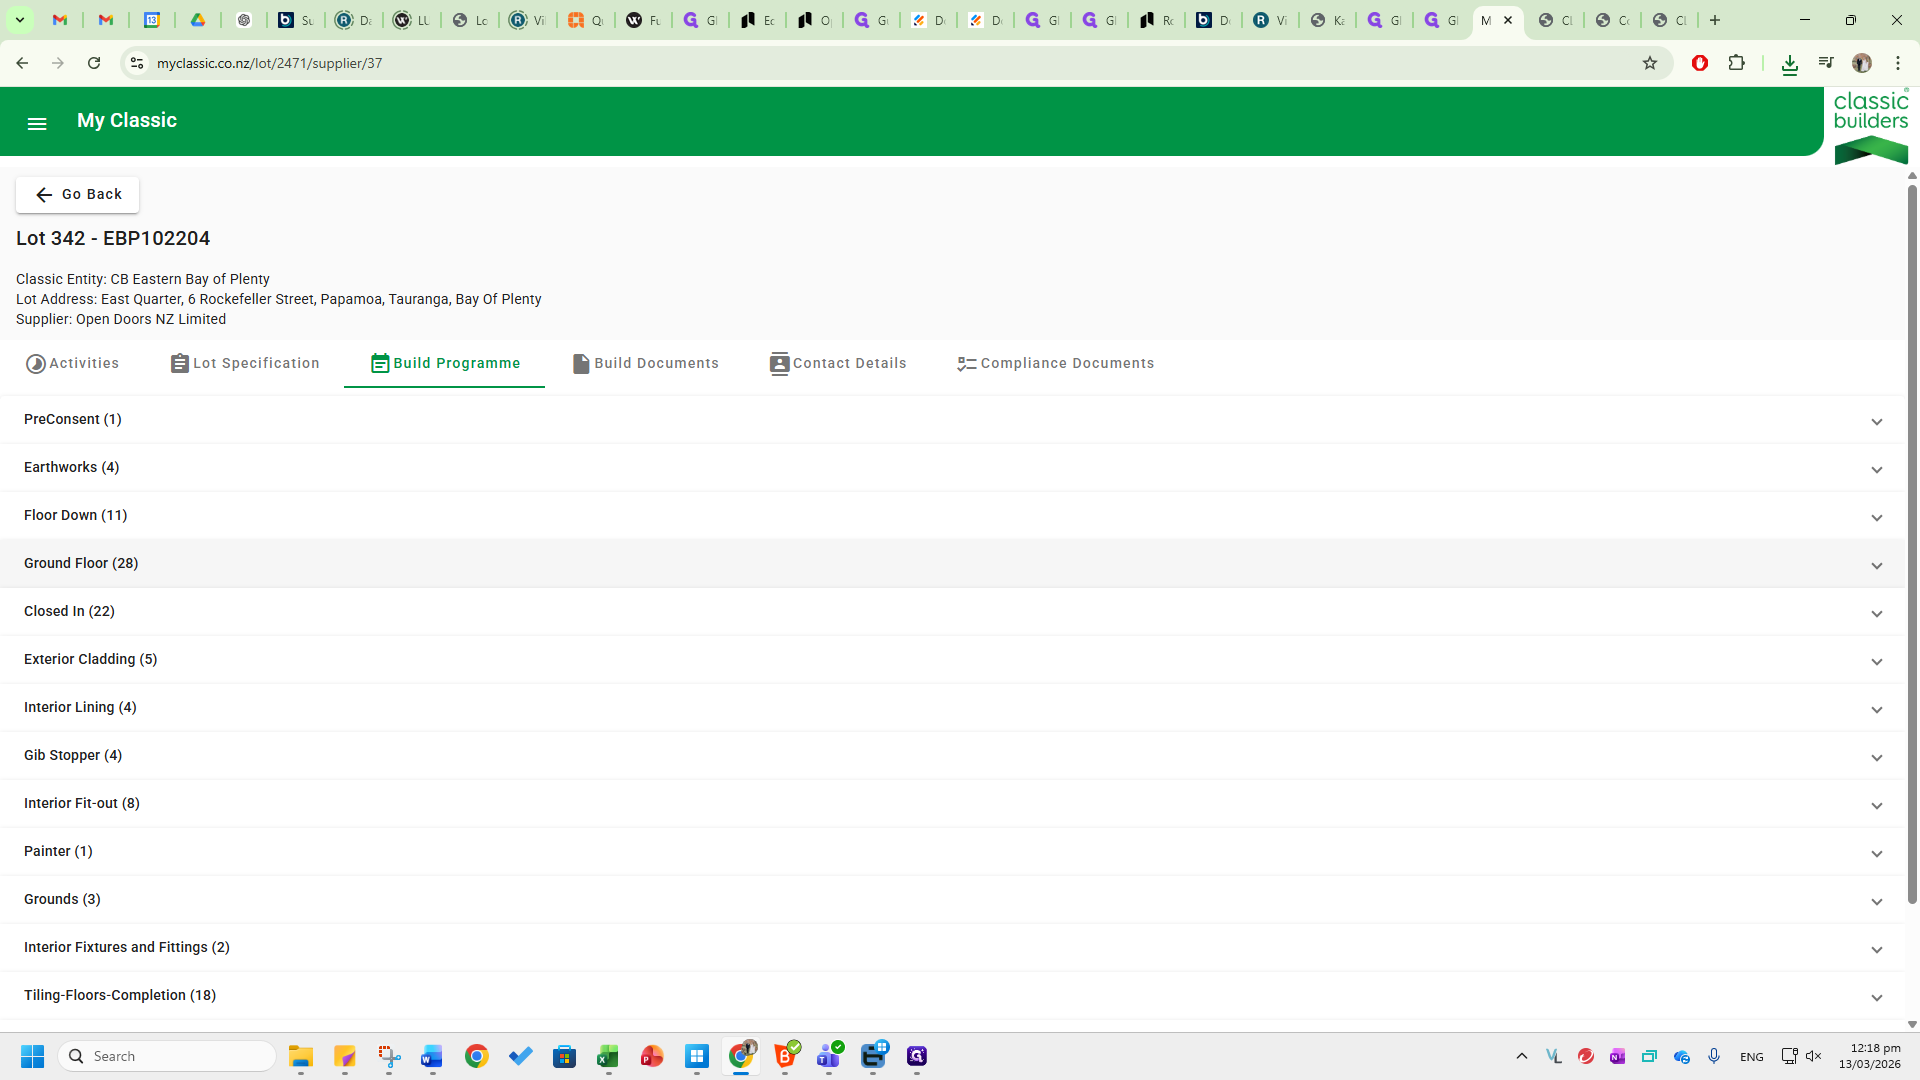
If you go back to the main hub screen, you will see the Build Programme tab.
Here you can view the current progress of the build, including frame delivery and installation dates. This allows you to check if the internal door measurements listed are accurate and plan to inform the site measurer as needed.
Any updates to the purchase orders or schedule will be automatically sent to sales@opendoors.co.nz.
There is no requirement to constantly check the hub. If you request purchase order updates or the estimator requests them, these will also flow through the hub. Please see the Classic Builders Hub SOP for more information.