How to Use the Documentation Module in Sales: Promotion, Price List, and Warranties
Learn how to efficiently use the documentation module in Sales to manage Promotion, Price List, and Warranties files. Discover how to add and share documents for easy team access.
In this guide, we'll learn how to use the documentation module in the Sales section to manage and share files related to promotions, price lists, and warranties. This process allows you to upload documents from your computer so that your team can access important information in one place.
We'll focus on how to add and organize these files for easy access.
Let's get started
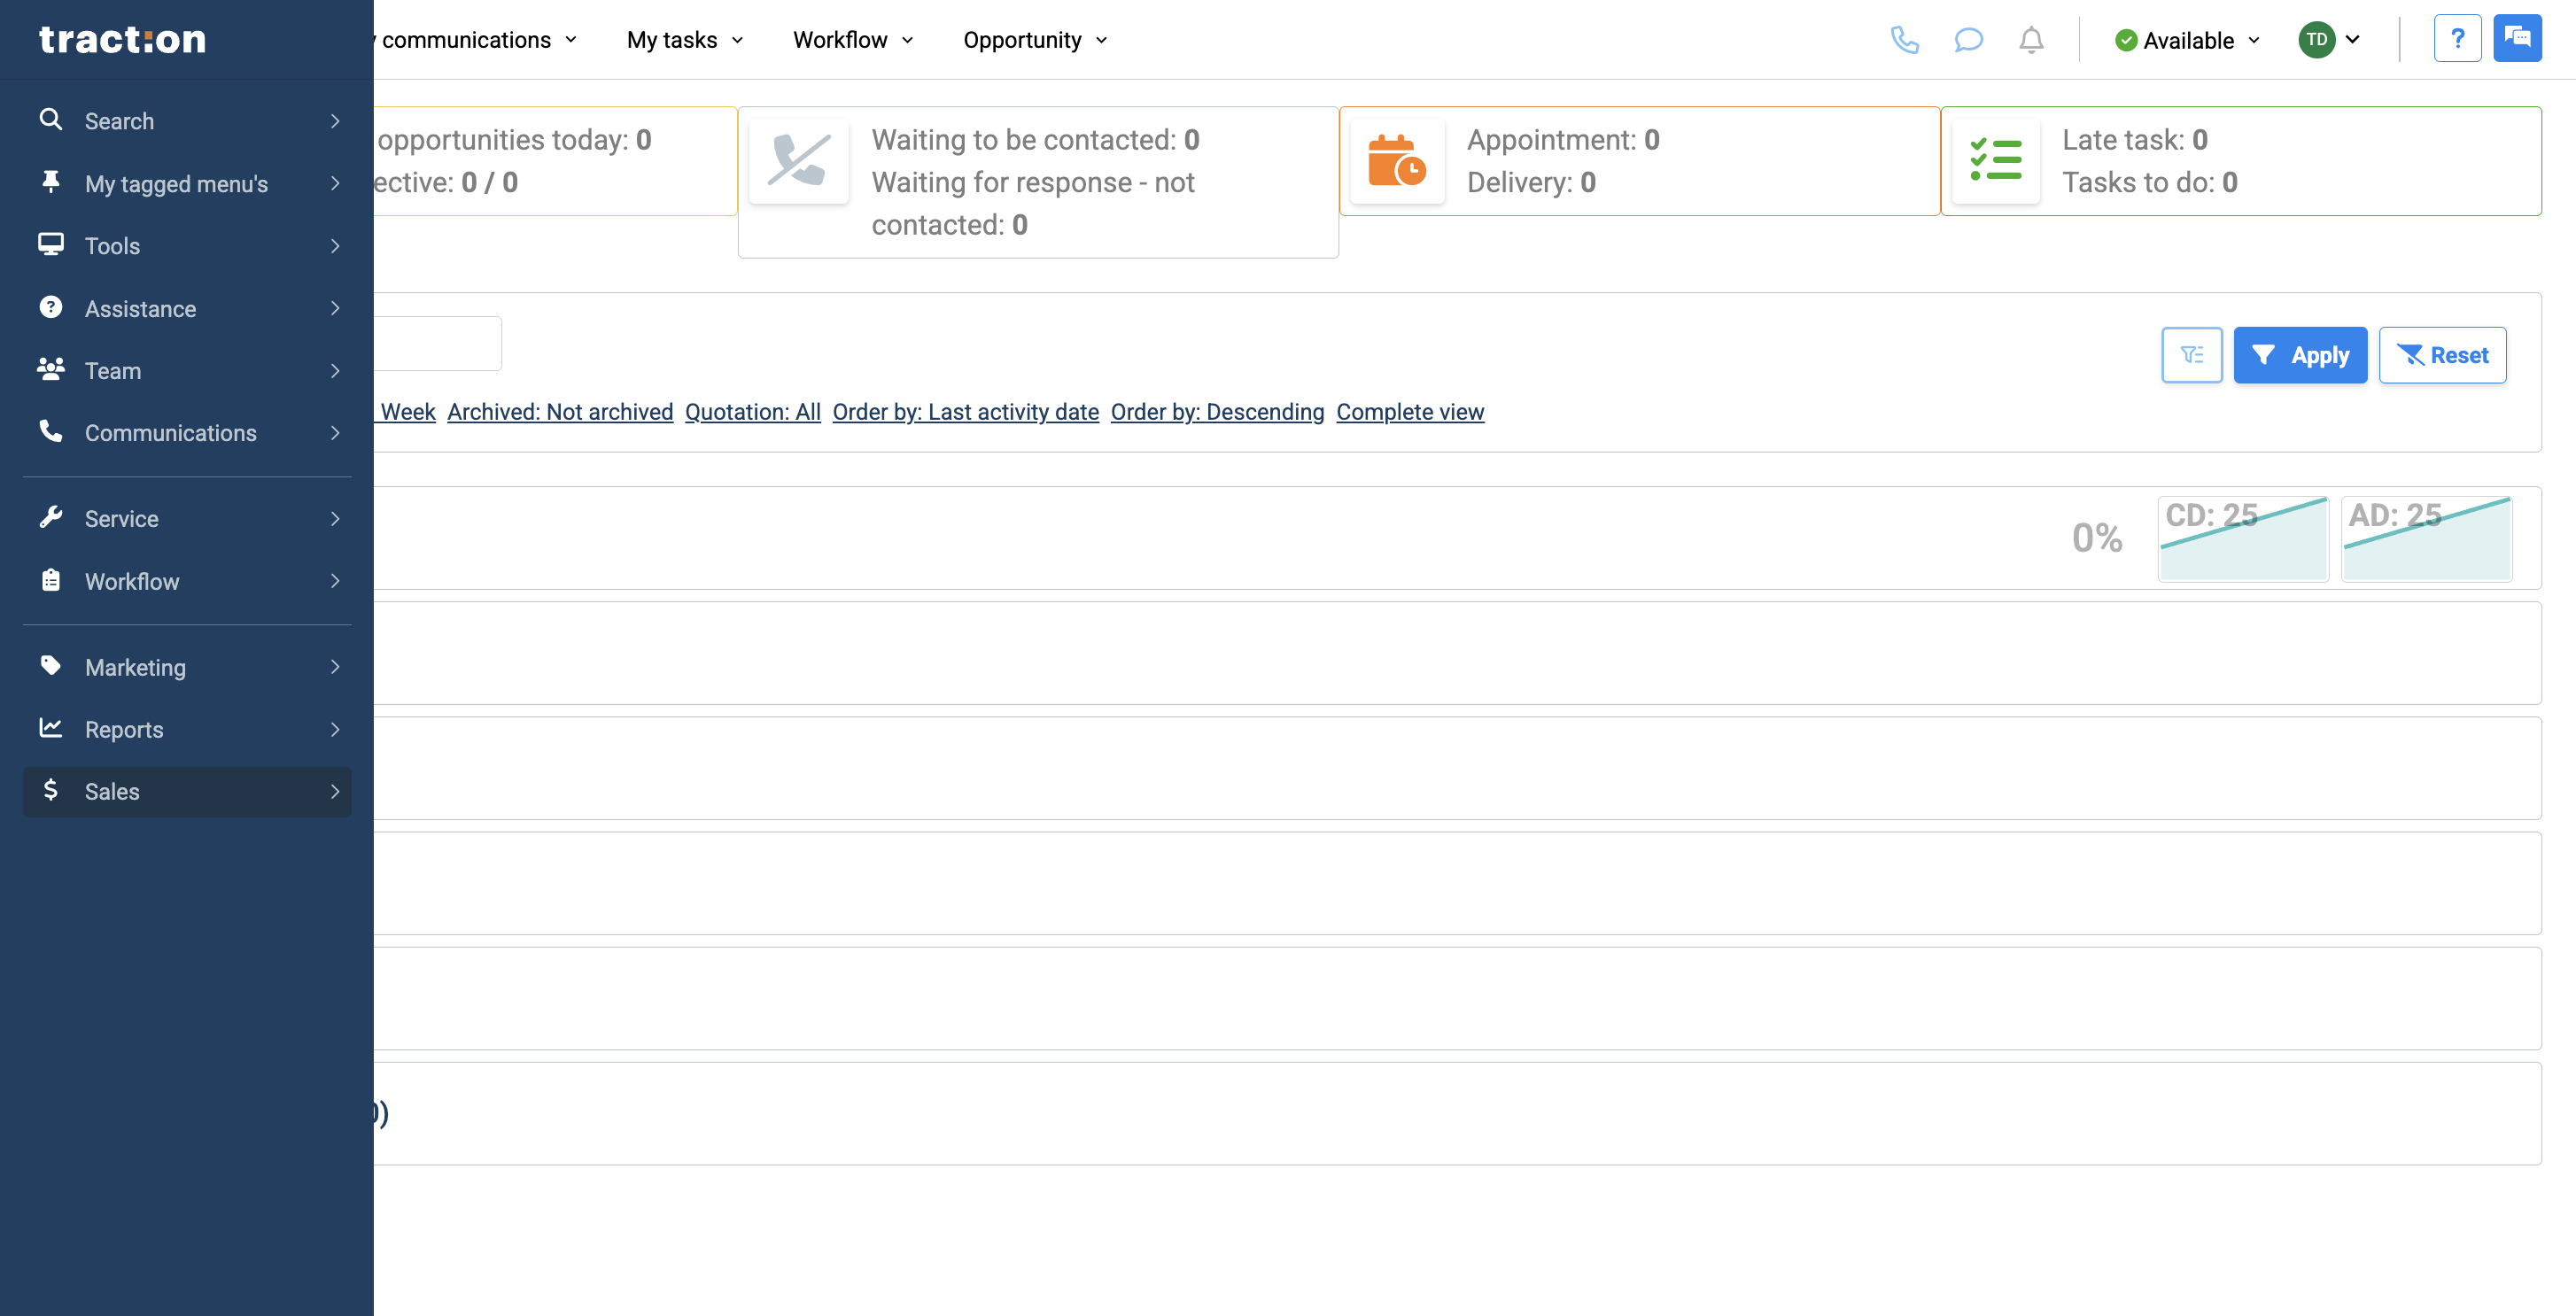
In this article, we will cover the documentation module. Start in Sales.
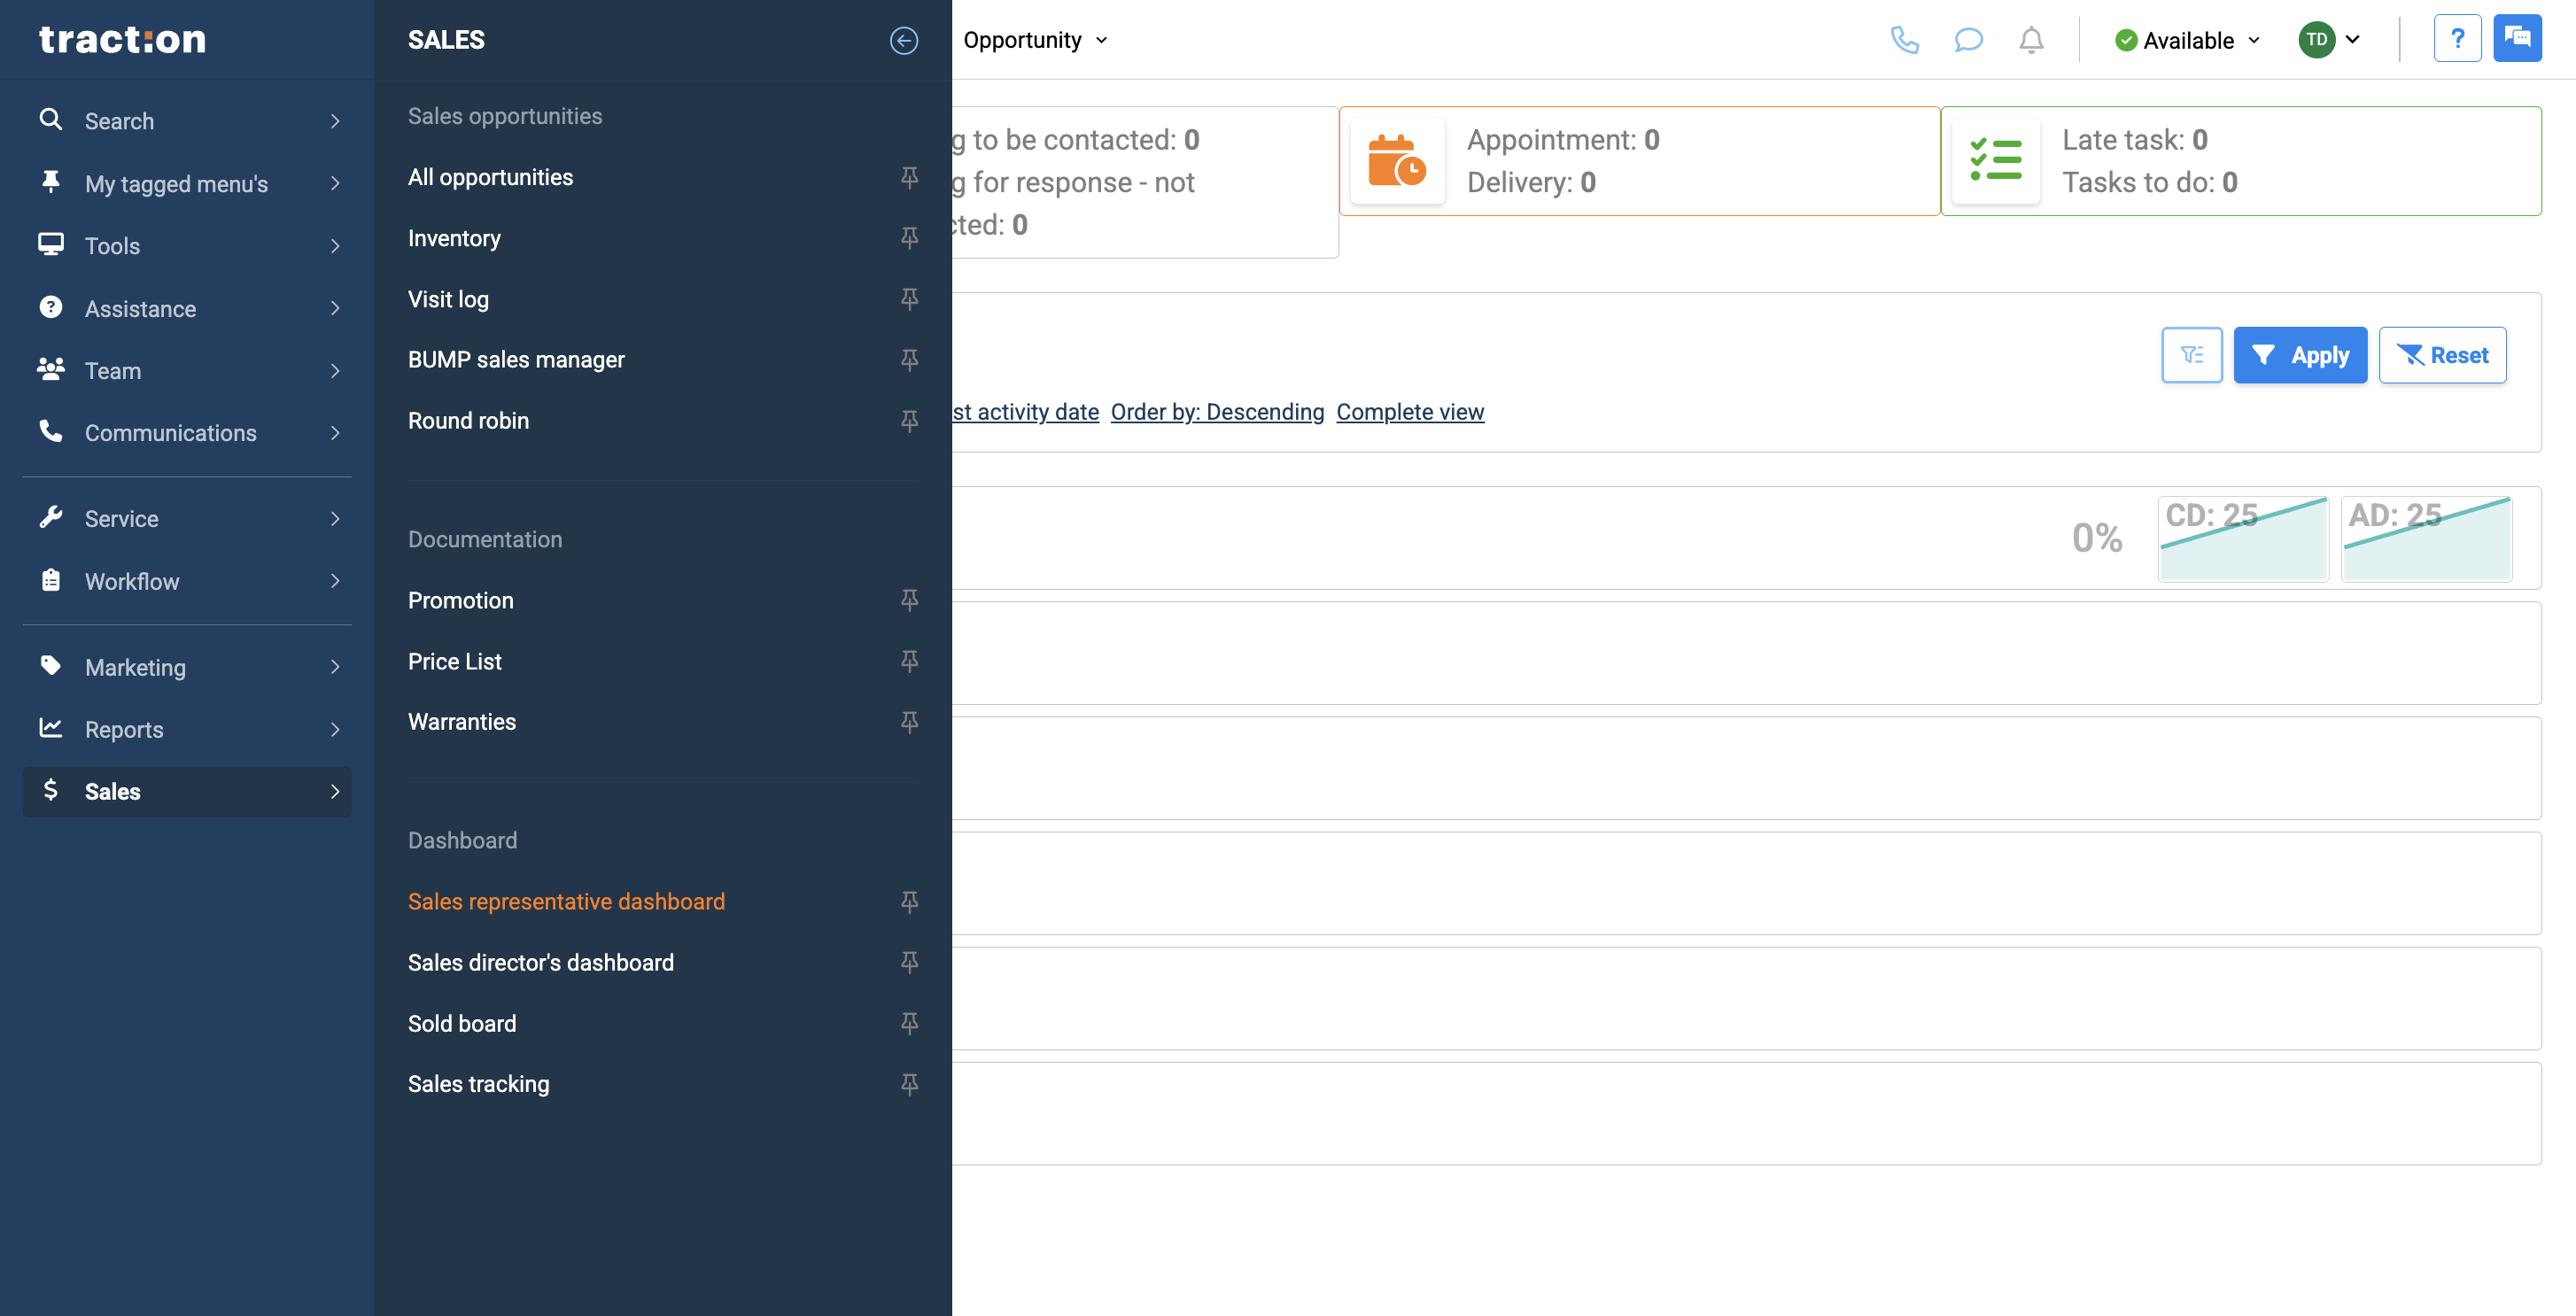

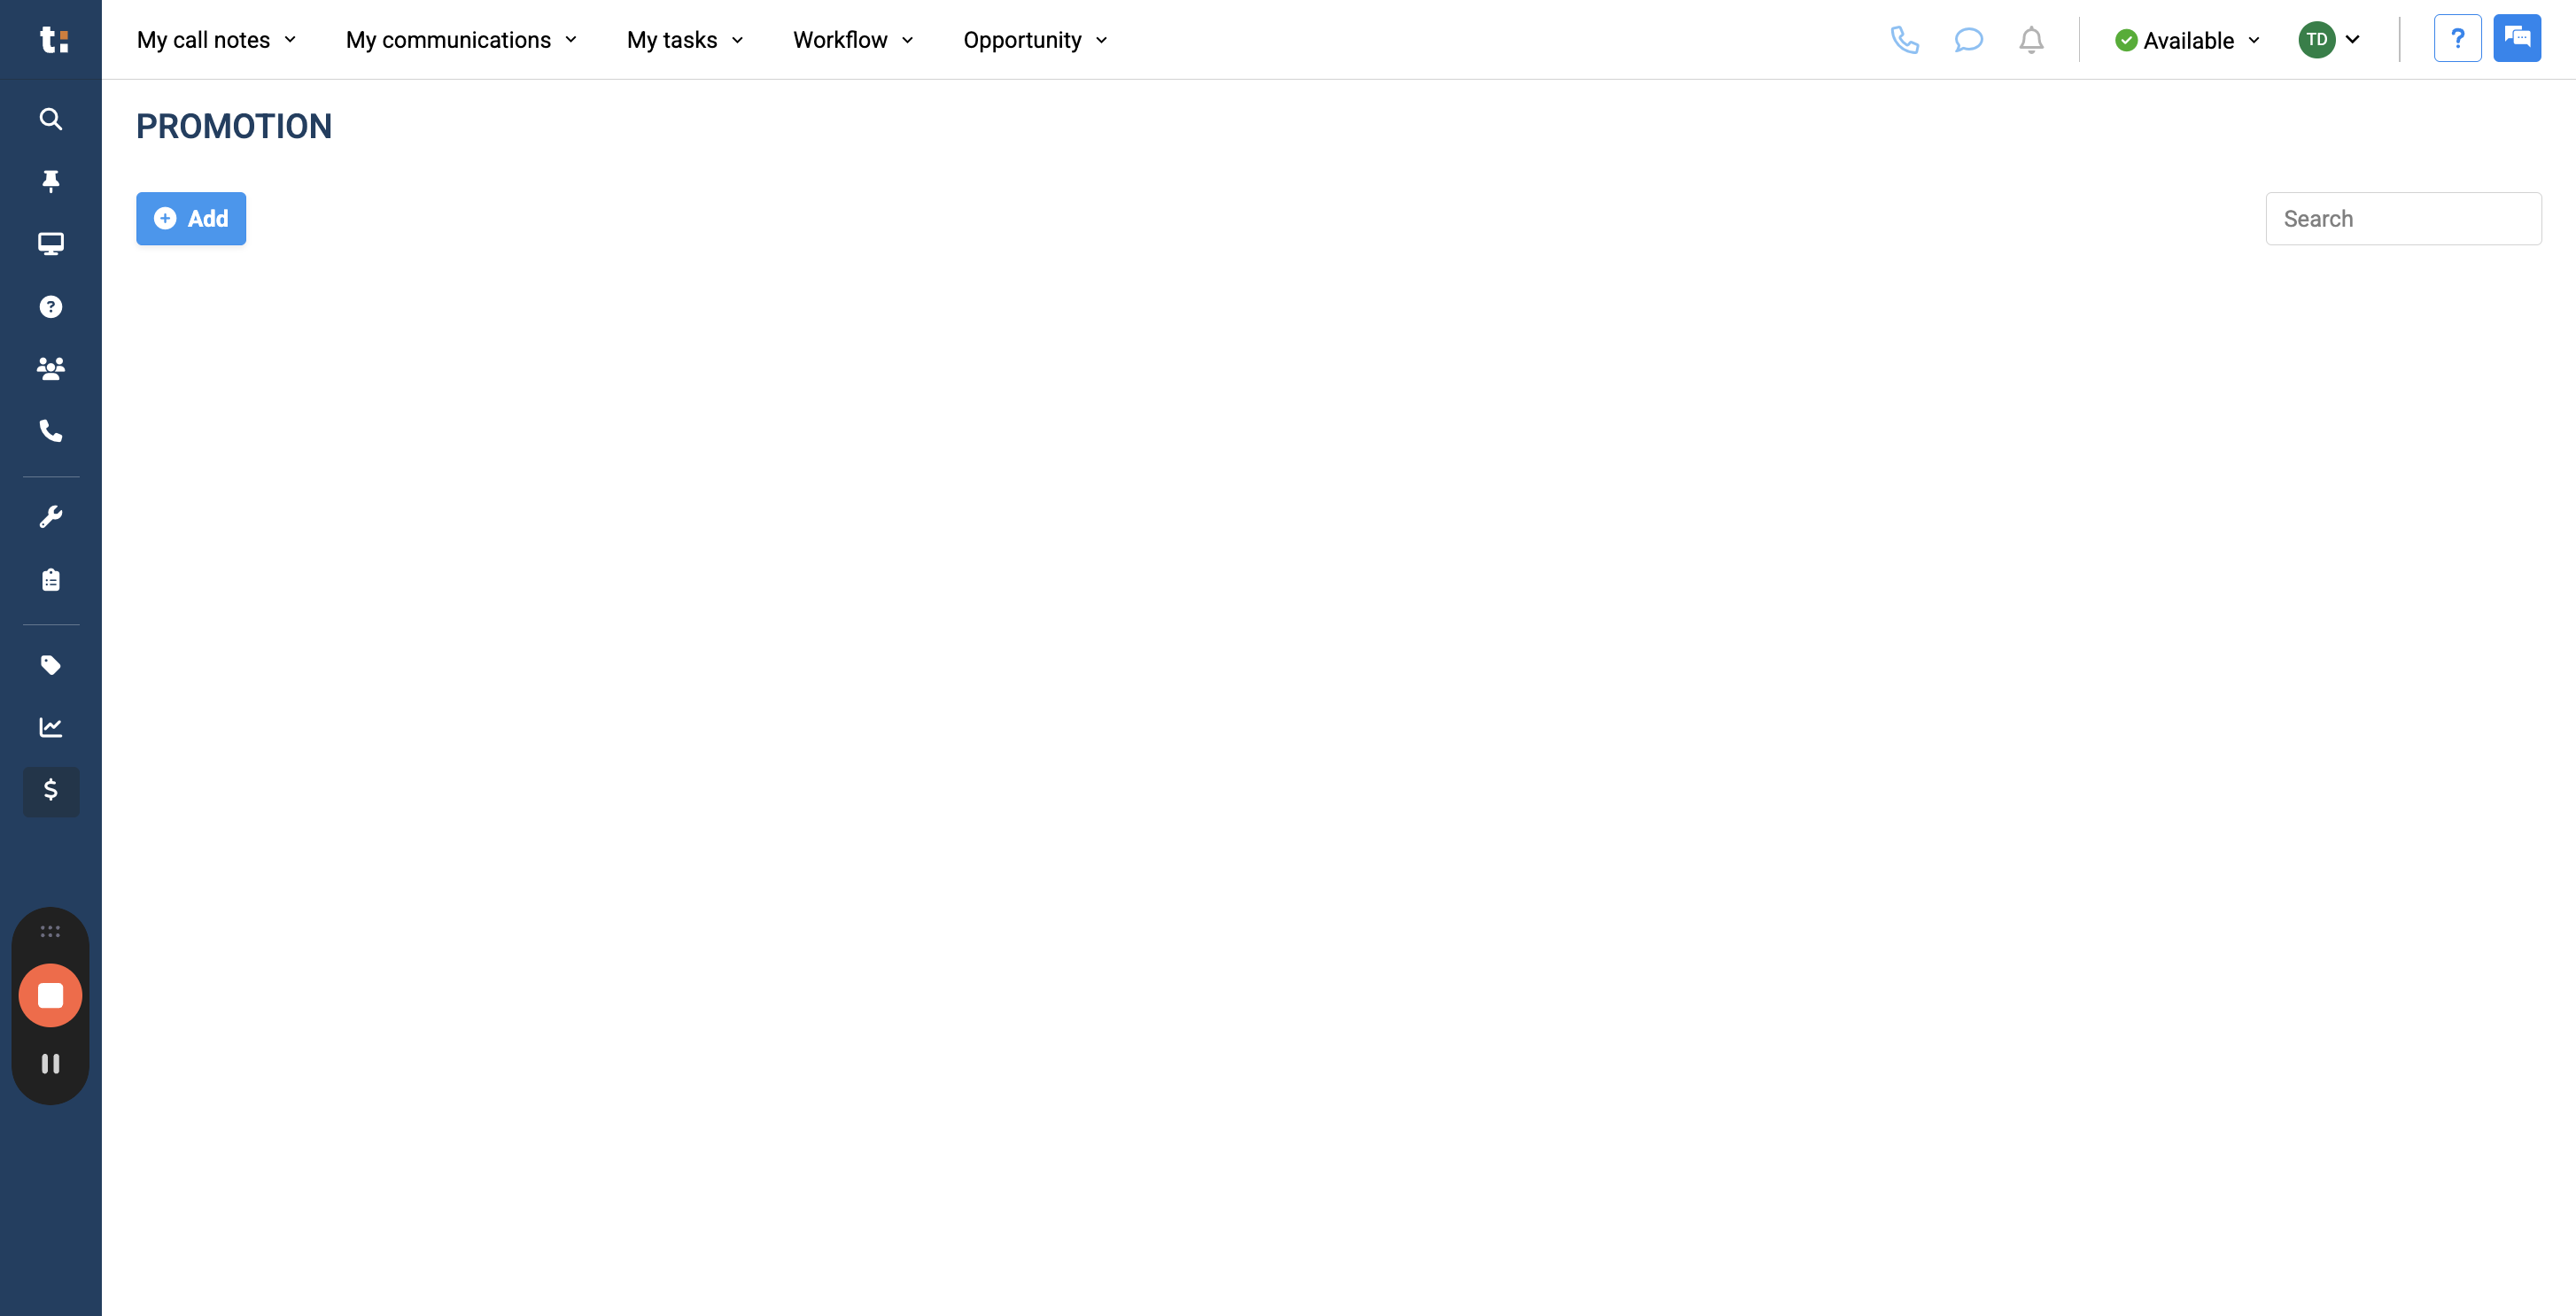
It allows you to select any item from your computer desktop and add any type of promotion you want everyone to access.
The same applies to any price lists and warranties.
This serves as a shared drive, giving everyone access to these three types of files.
If you still have questions after consulting this article, please feel free to contact our support team at: support@tractiondk.zohodesk.com