
BC UK&I - Hypercare BC 14 Kanban (To-do) Board: Step-by-Step Guide
Learn how to effectively use the Hypercare BC 14 kanban board in Teams for reporting and following up bugs and issues.
In this guide, we'll learn how to use the Hypercare BC 14 Kanban board in Microsoft Teams to create and manage tasks, log issues, and ask questions. This process helps track the progress of each task from creation to completion, making it easier to collaborate and resolve problems efficiently.
STEPS IN SHORT (Detailed steps below)
When to create a task
If you have an issue, question, or request.
Where
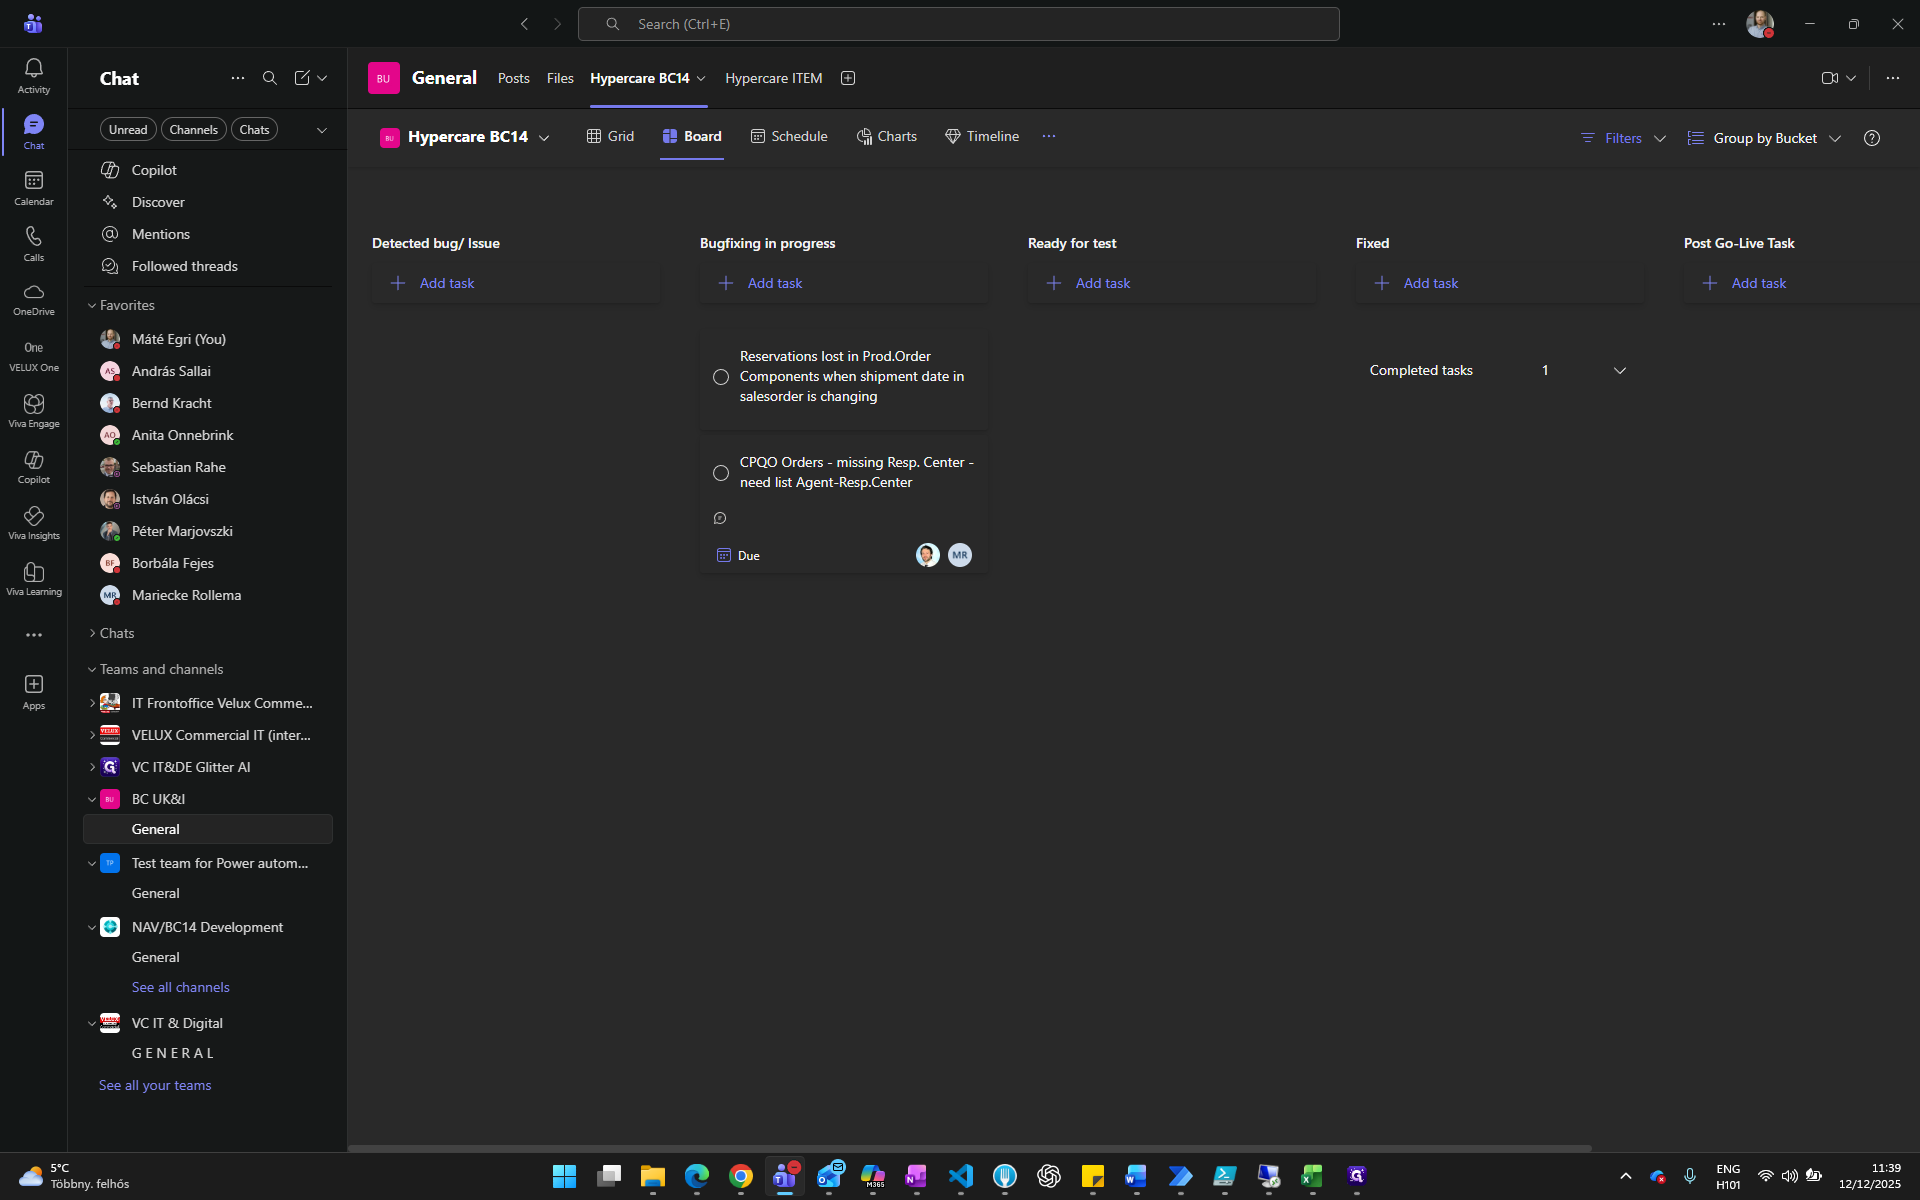
Teams → BC UK&I Channel → Hypercare BC14 Tab.
How
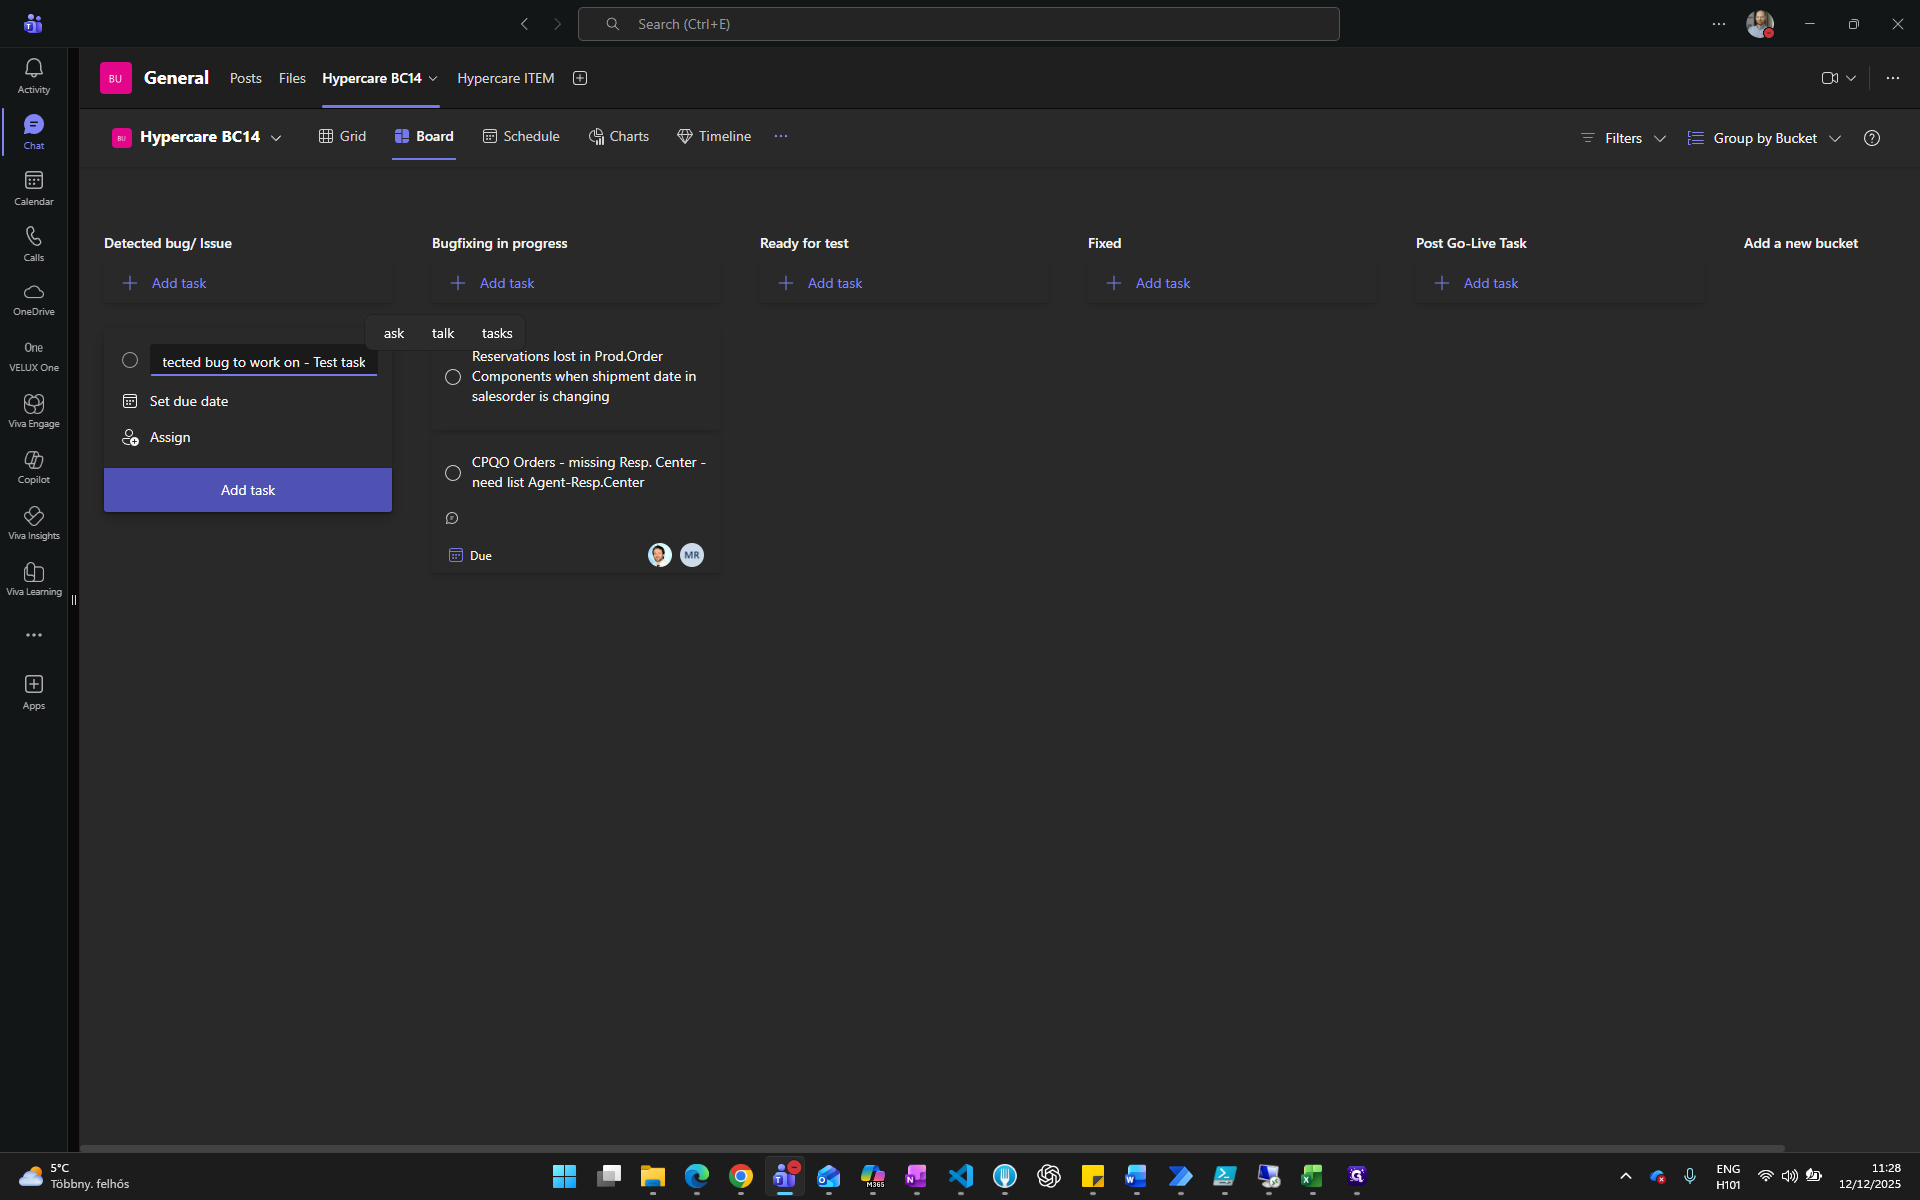
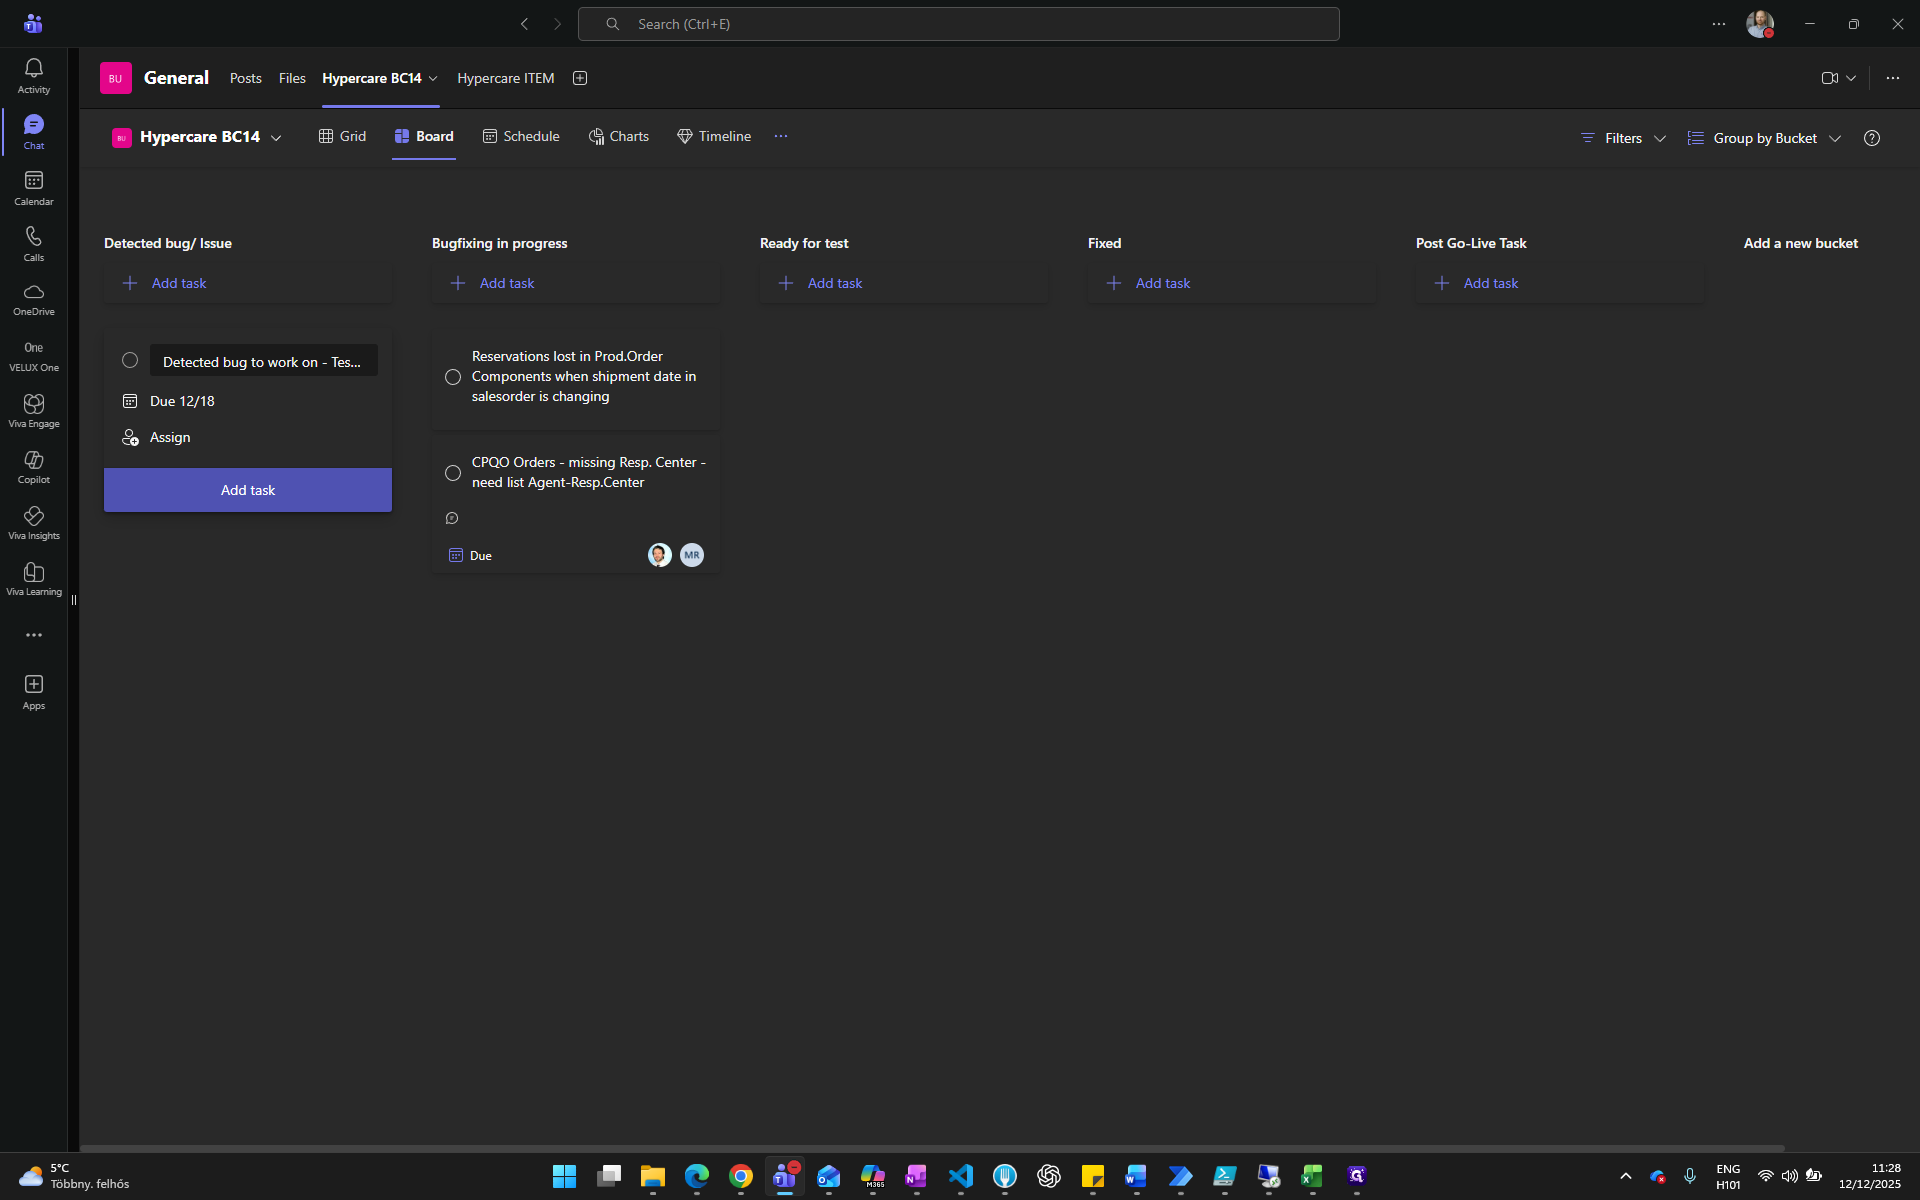
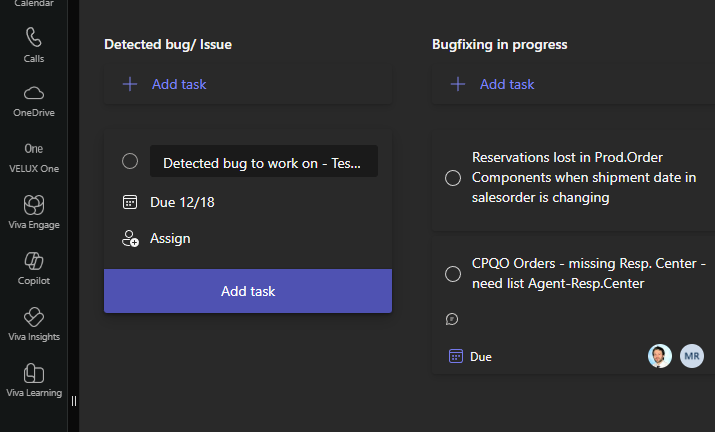
- Click Add Task under “Detected Bug/Issue”.
- Always add a clear title → Extra details in Notes part
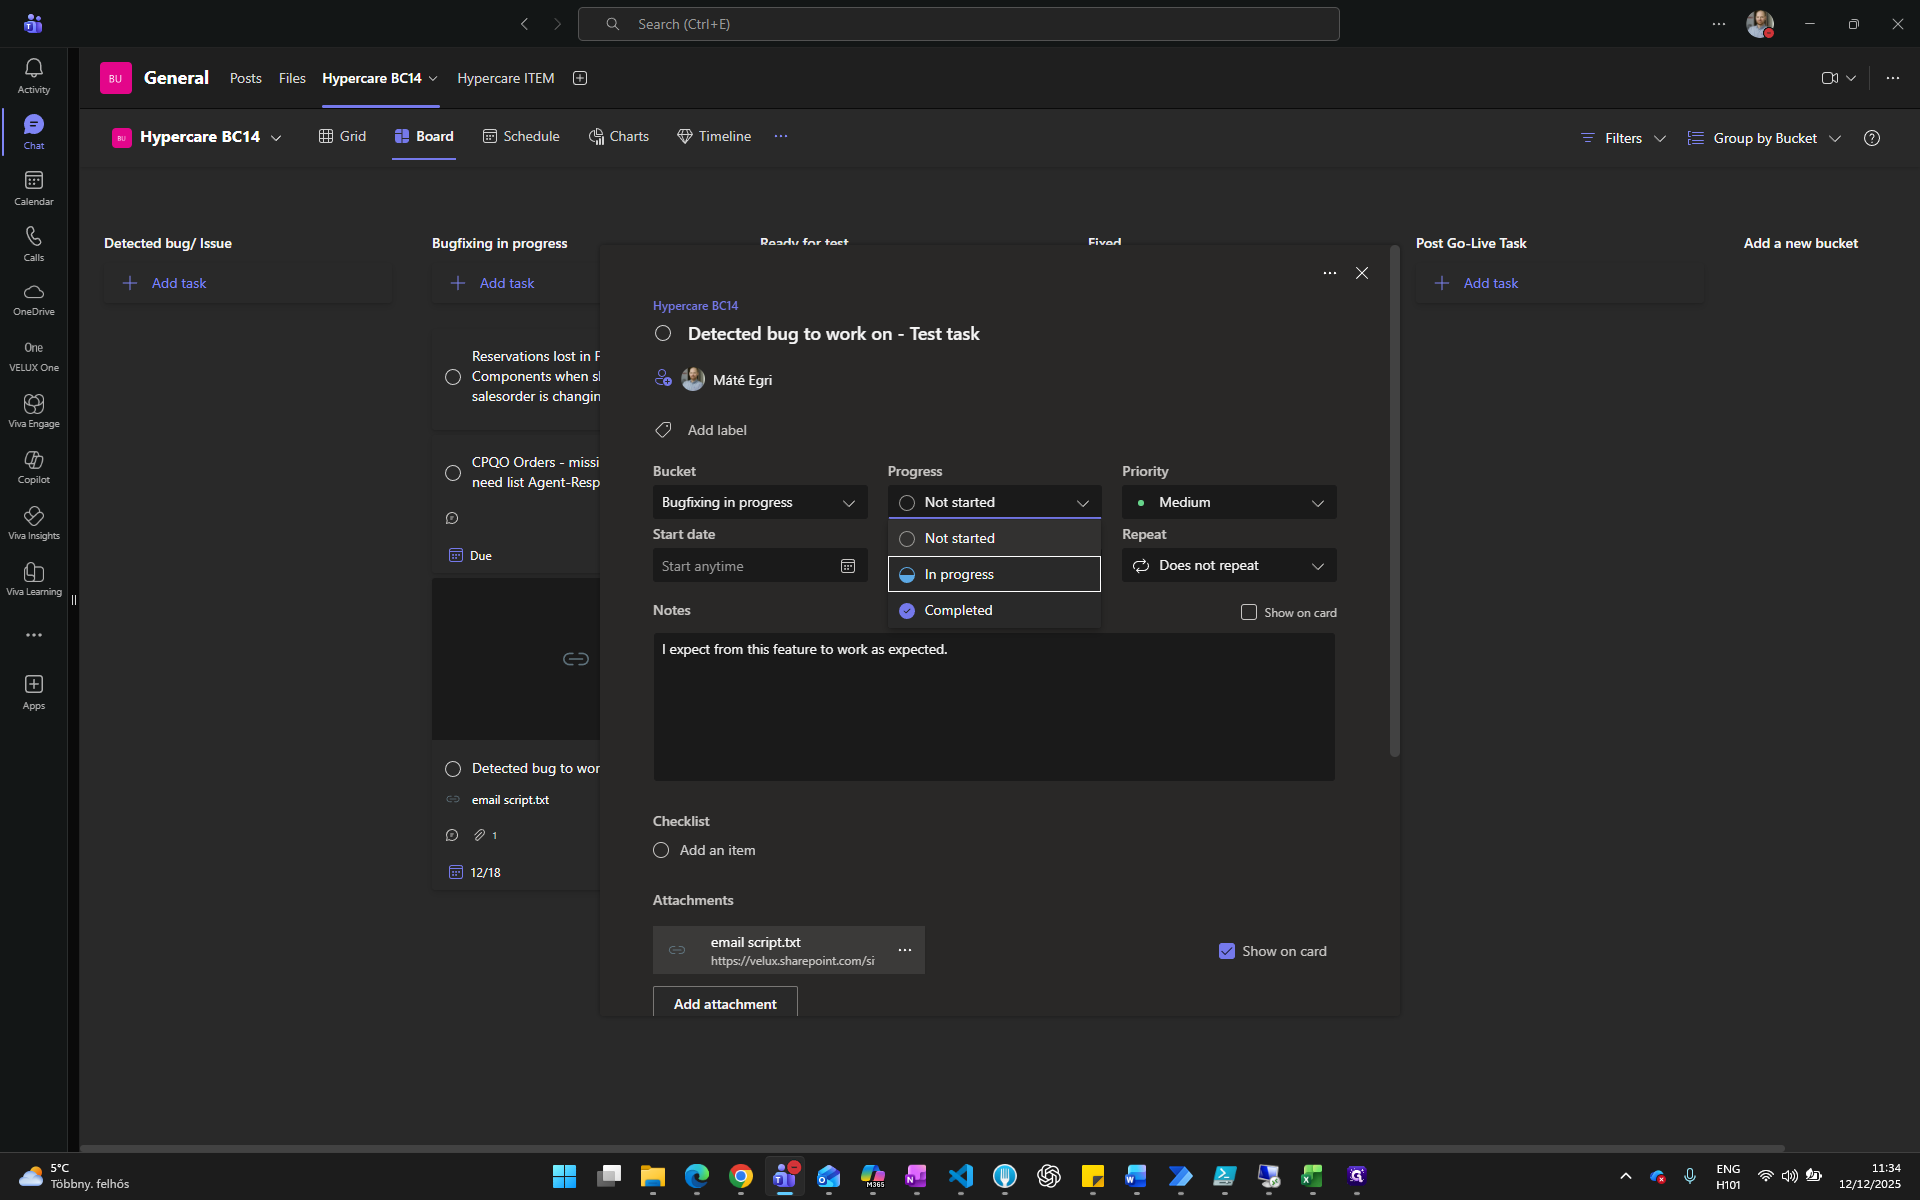
- Assign yourself (you’ll get notifications).
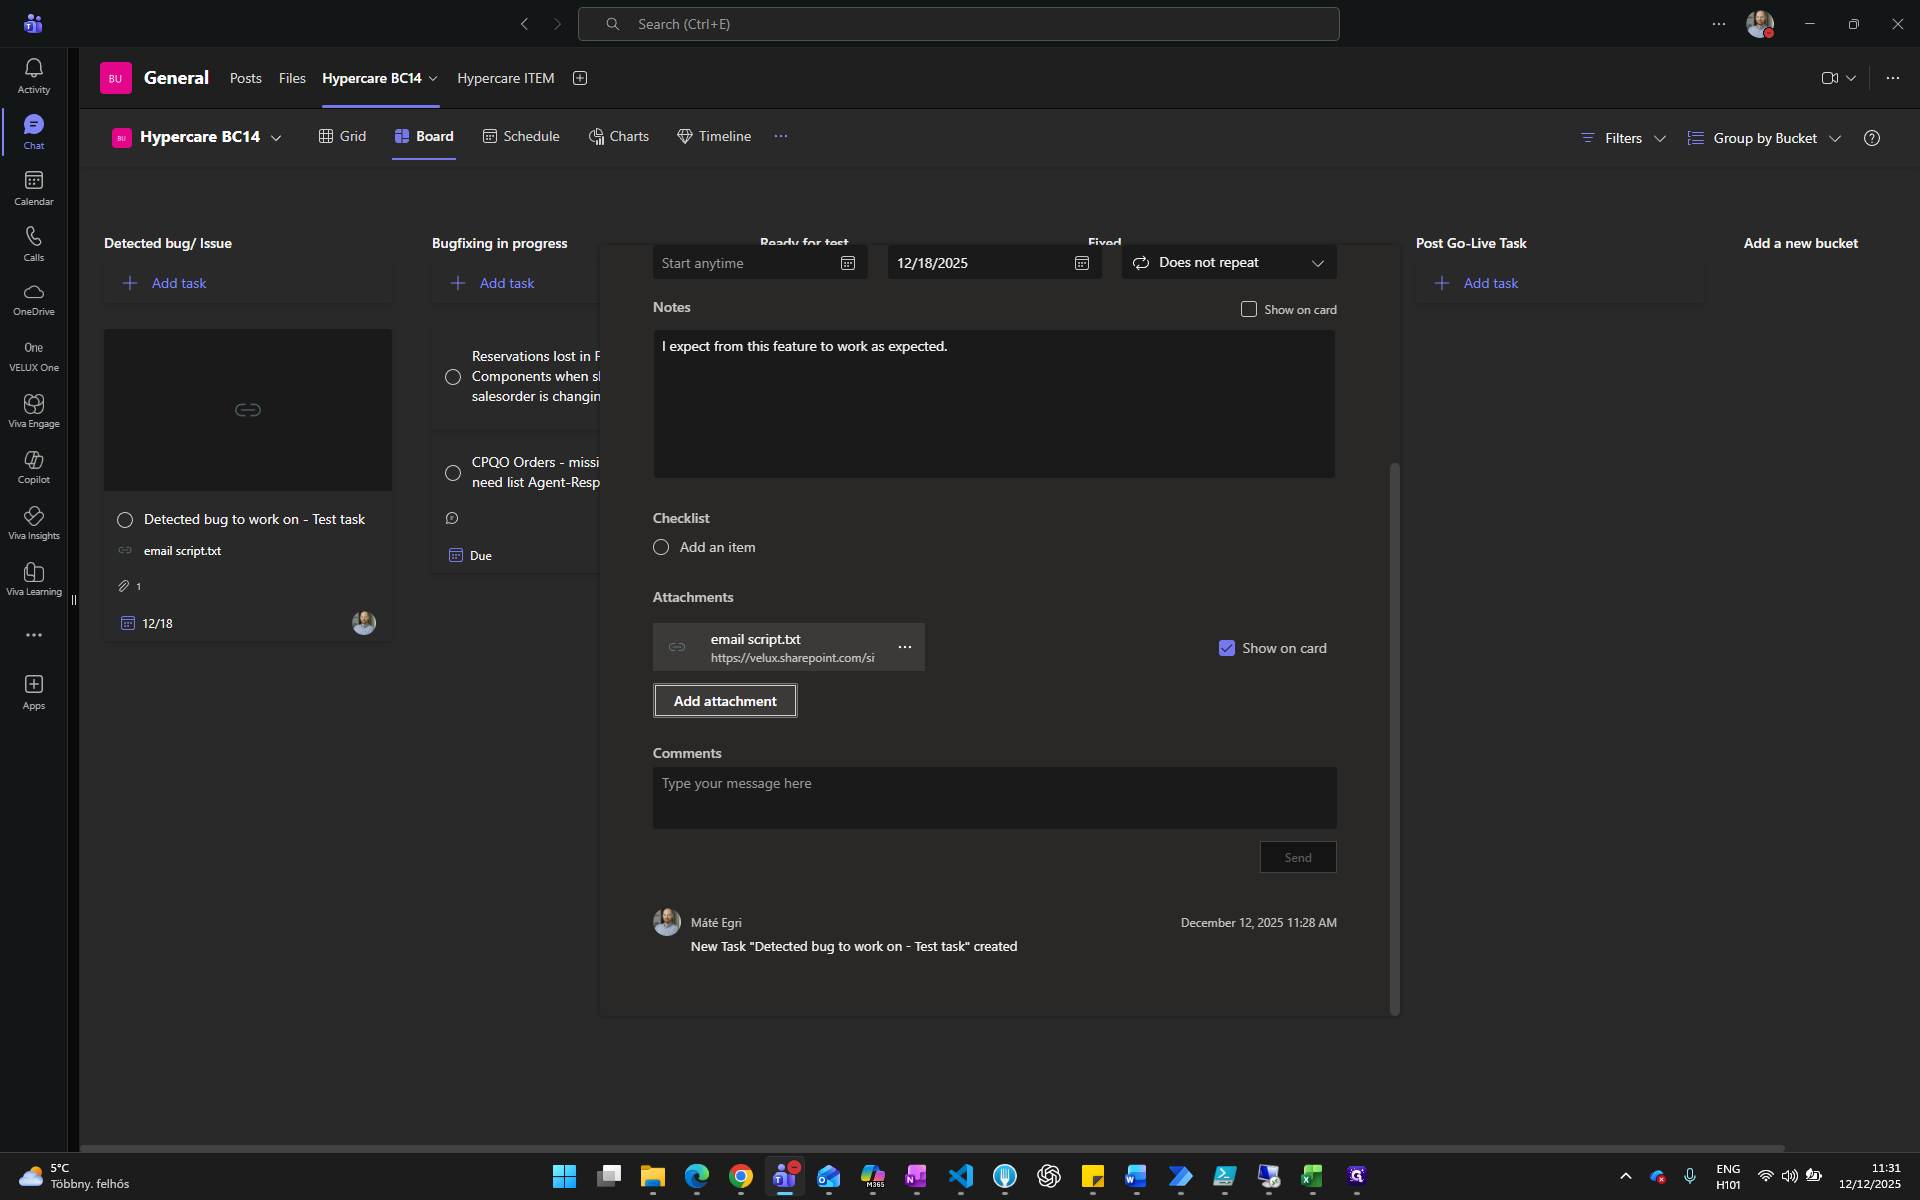
- Add Attachments (screenshots, docs) if needed.
Communication
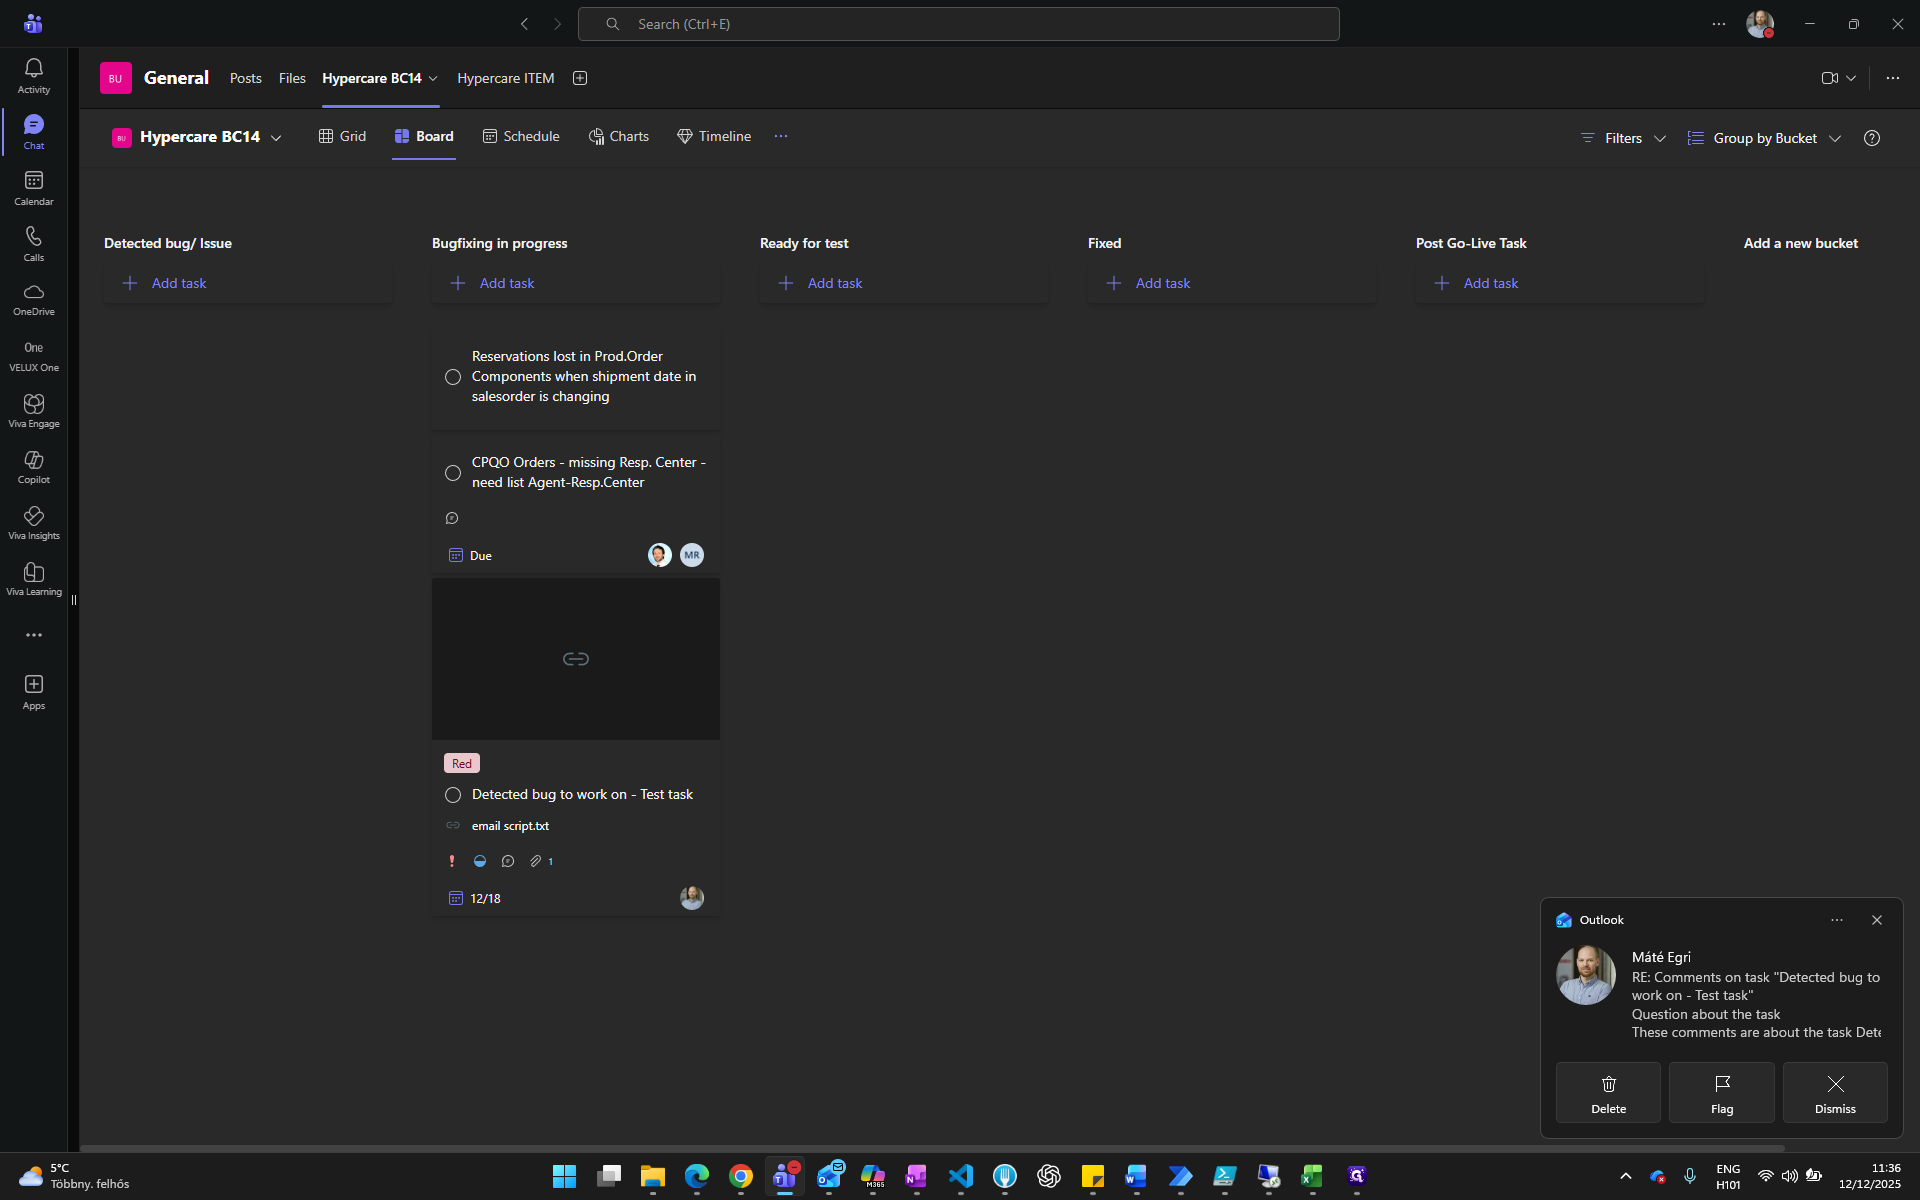
- Use Comments for follow-up.
- You’ll get email notifications for comments.
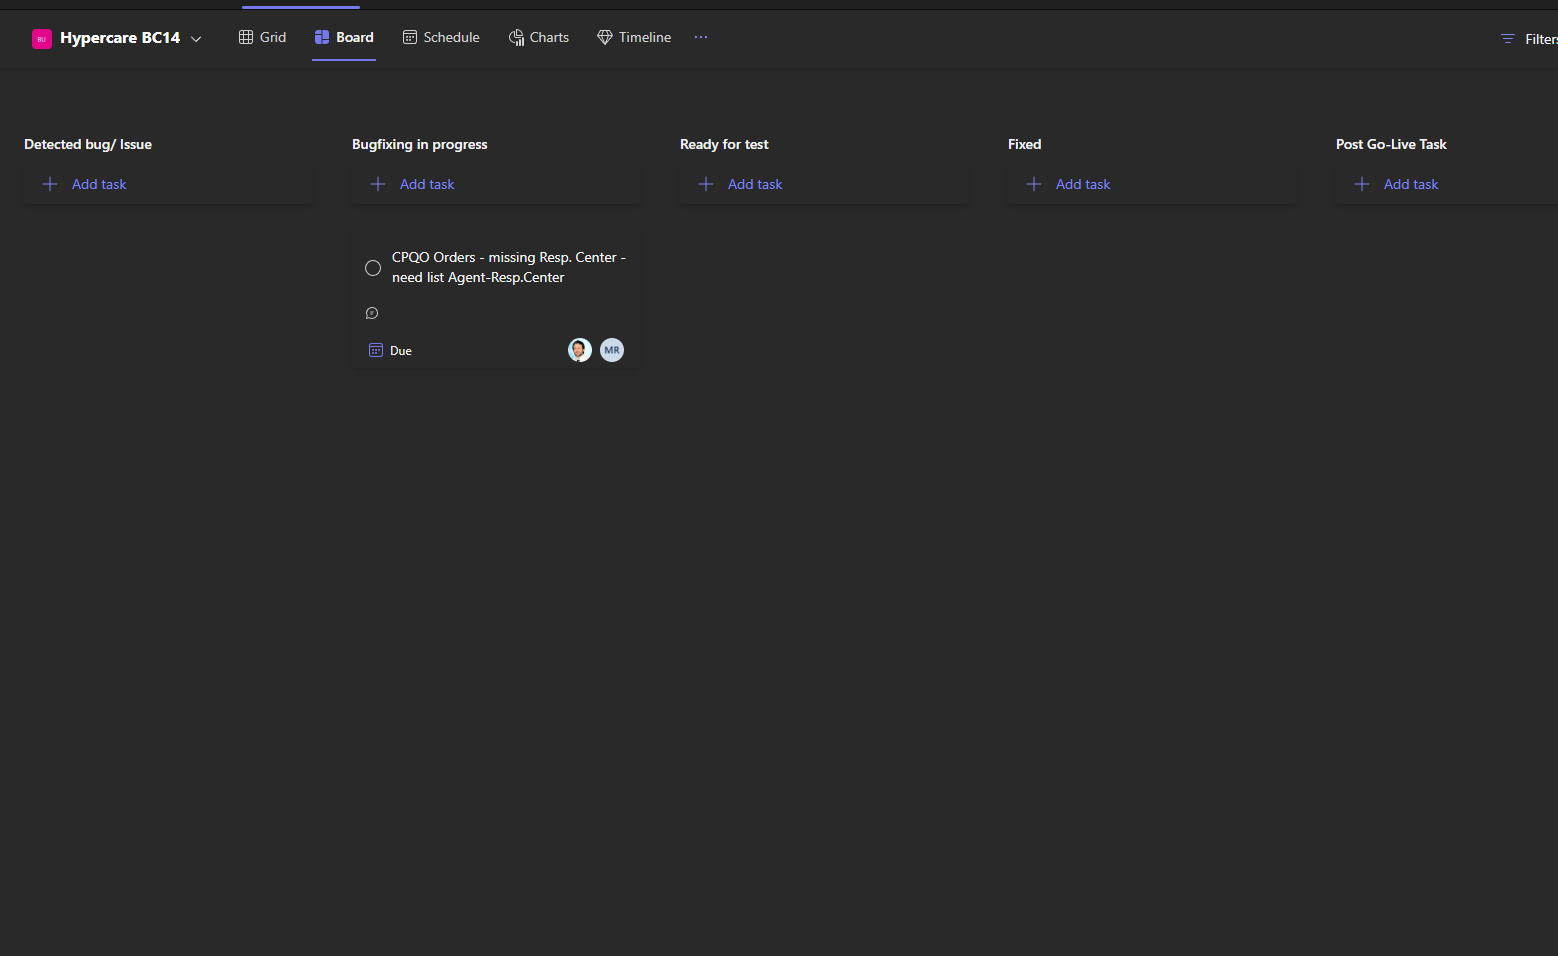
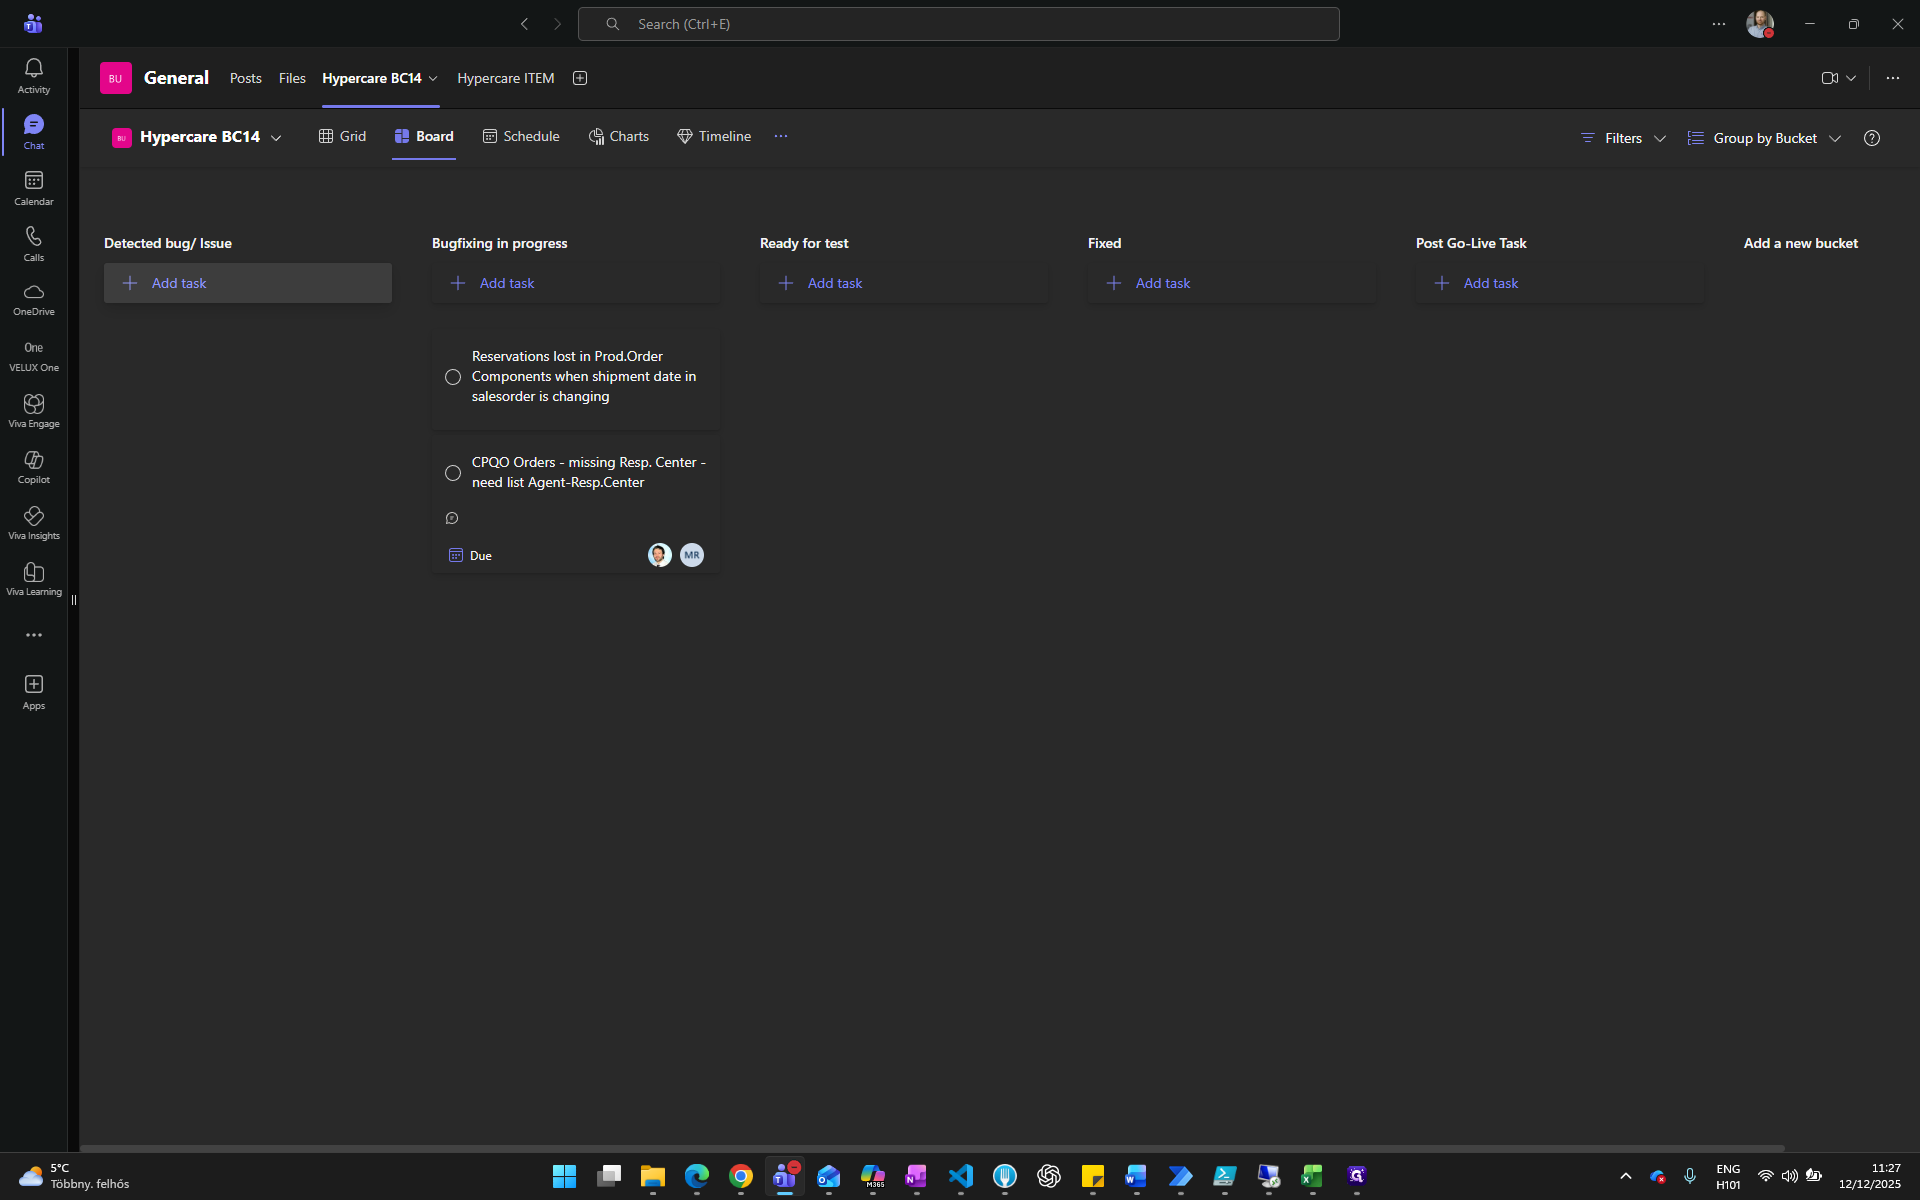
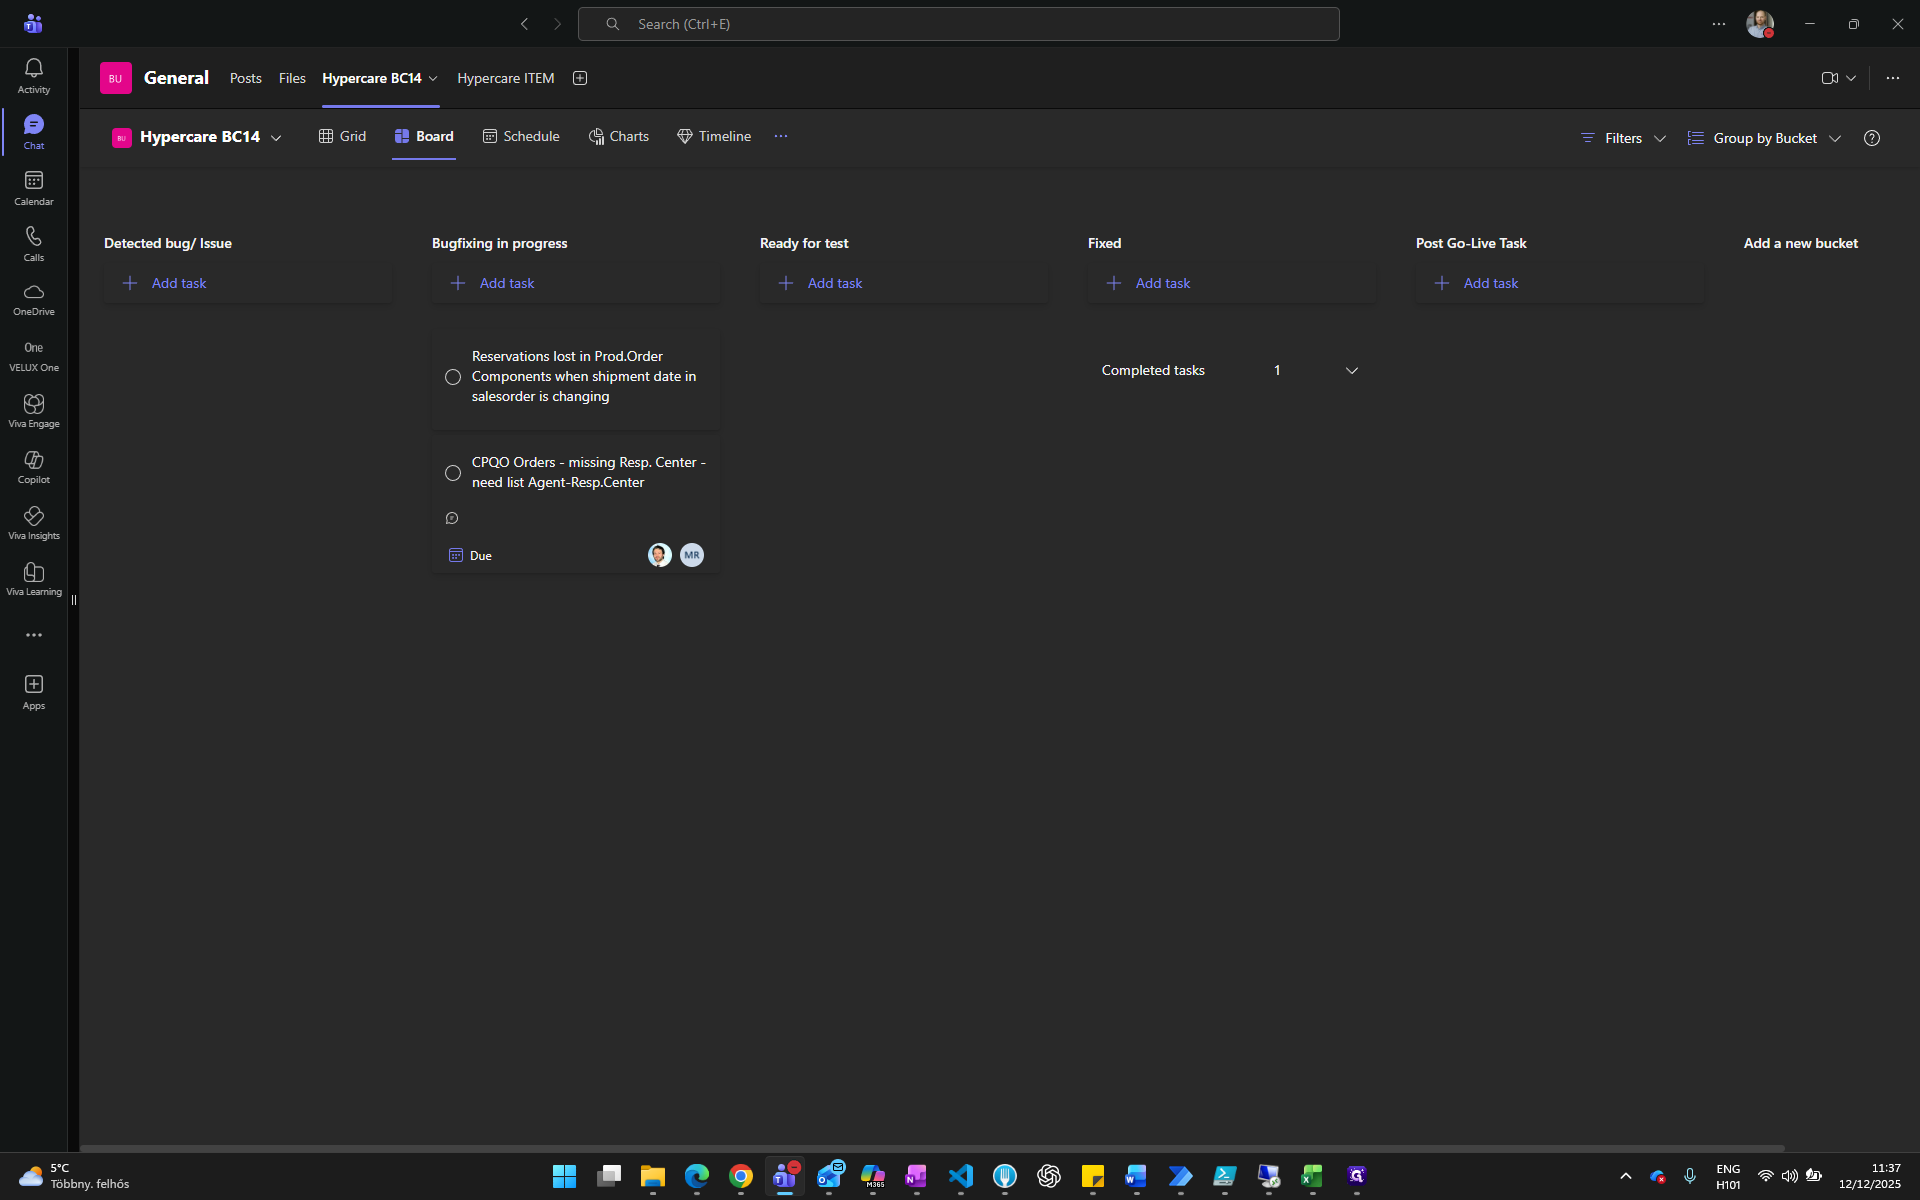
Workflow
- Support team moves tasks through buckets as they progress in work:
- Detected Bug/Issue → Bugfixing in Progress → Ready for Testing → Fixed.
- End users can track progress and respond to comments.
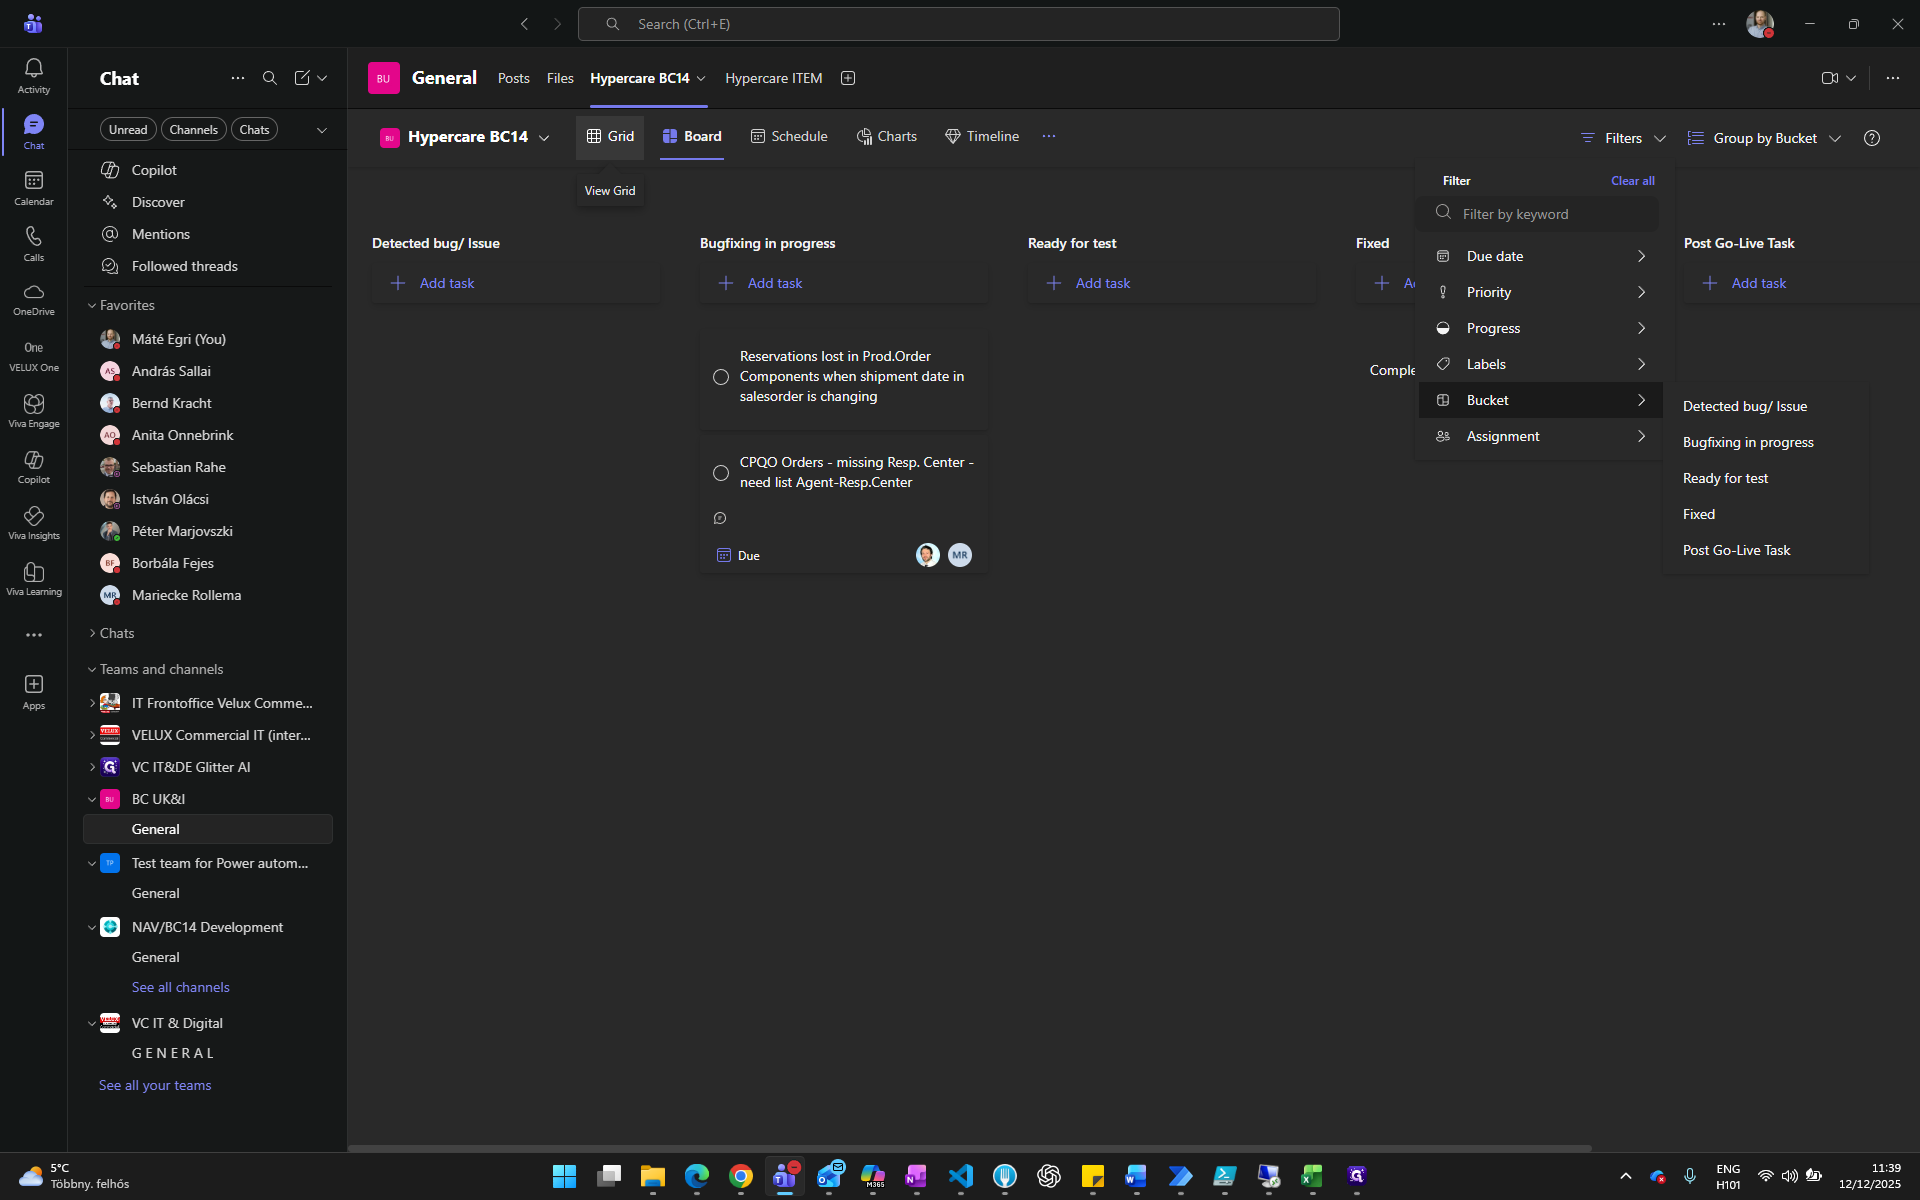
Extra tips
- Use Filters to find tasks.
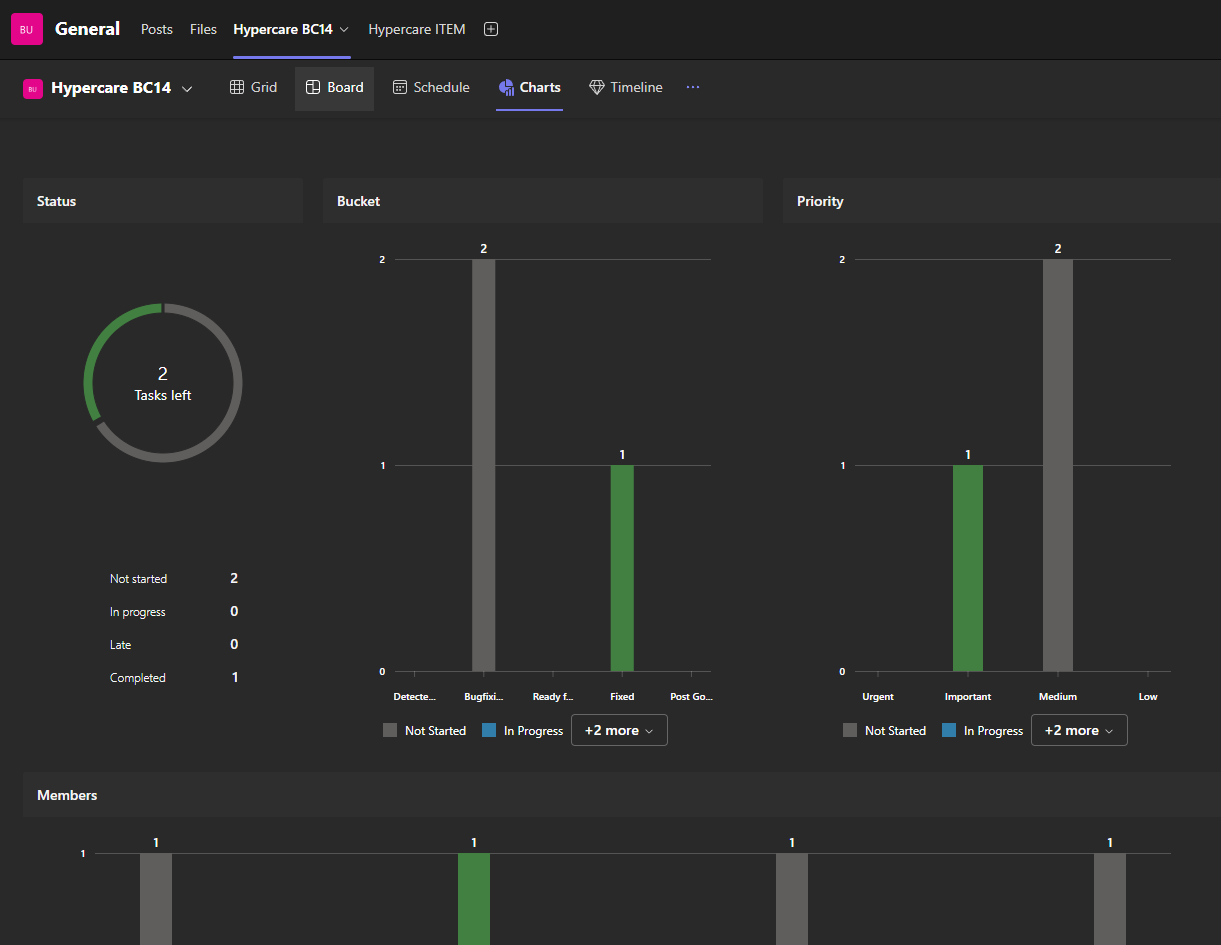
- Try different views: Grid, Schedule, Charts.
STEP BY STEP (The above steps detailed)
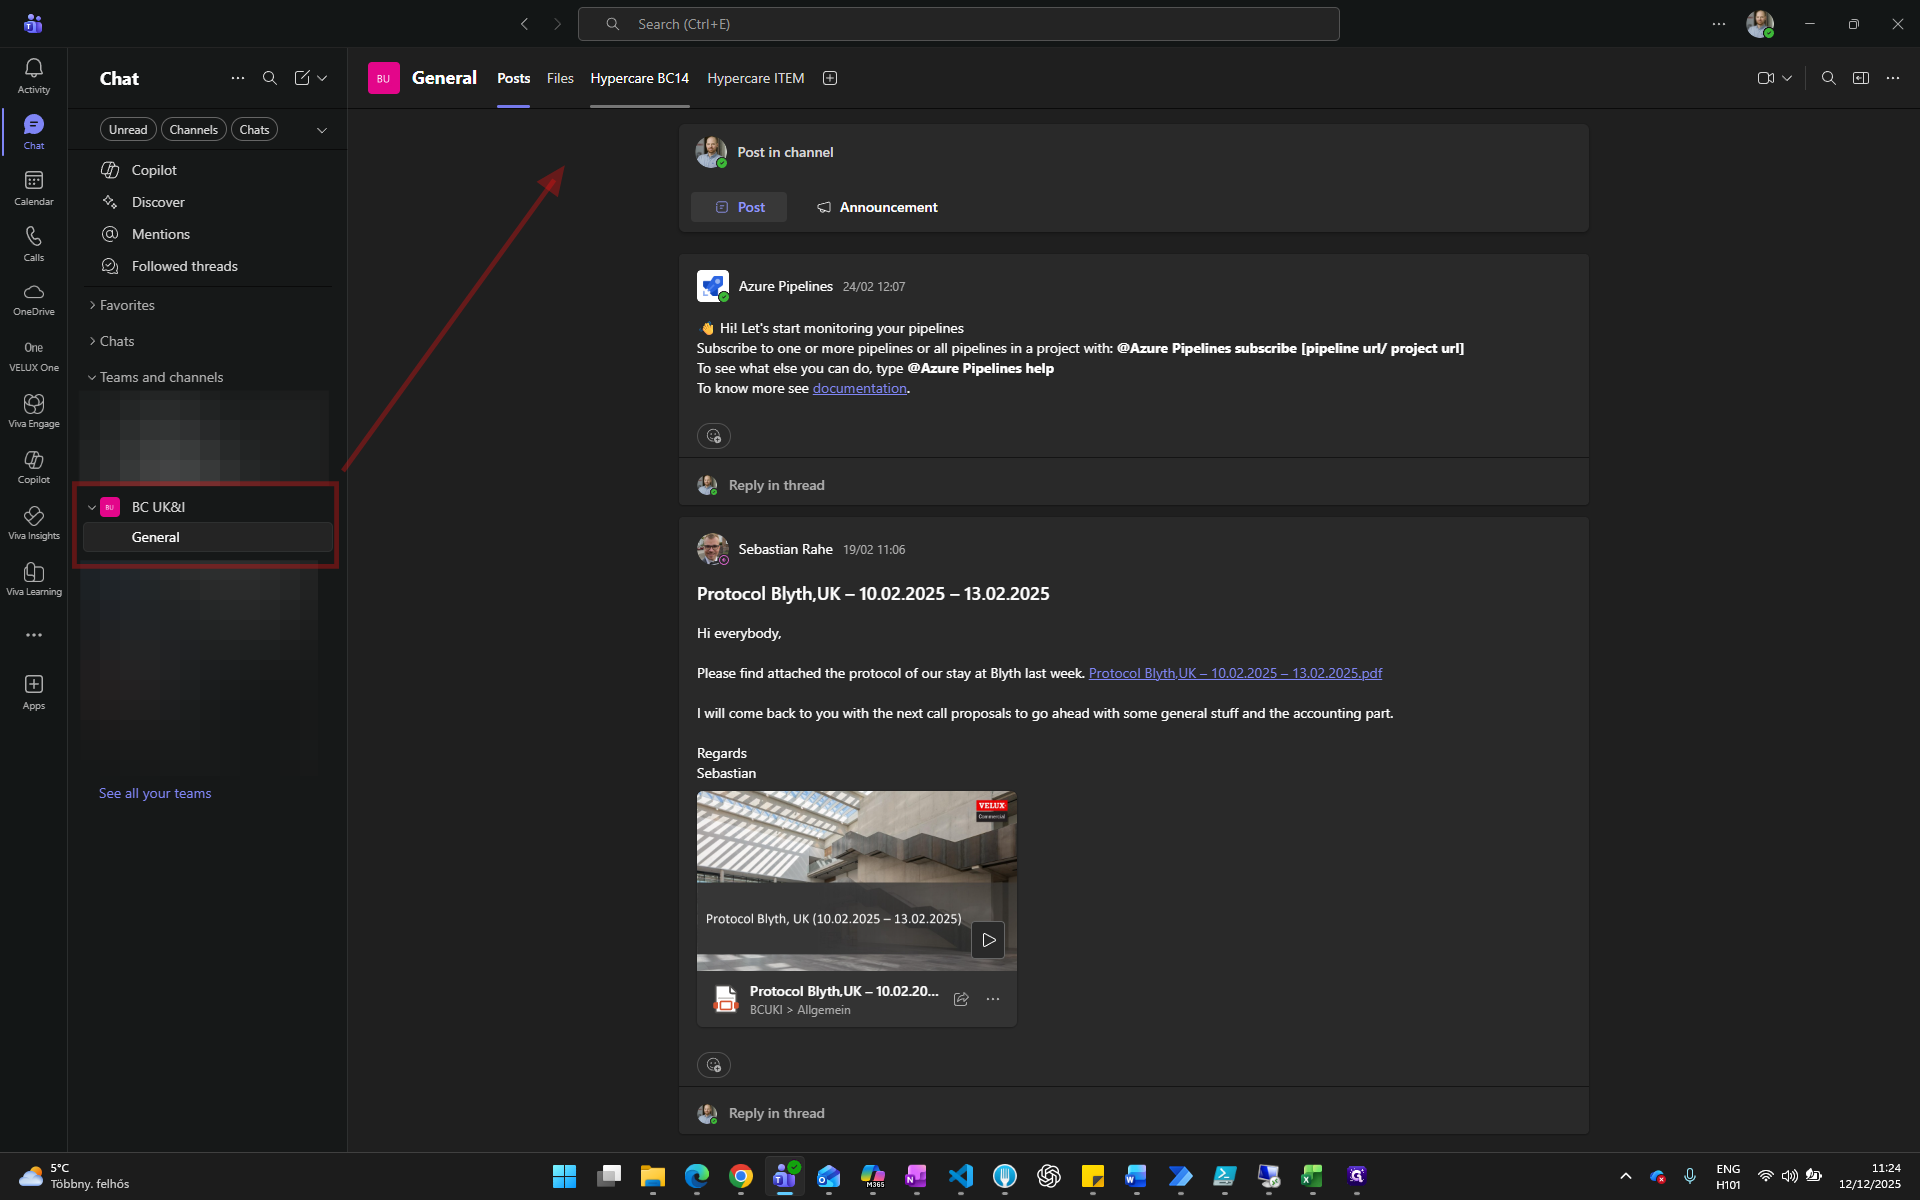
Under "Teams and Channels," select "BC UK&I", then "General." Click on "Hypercare BC14".
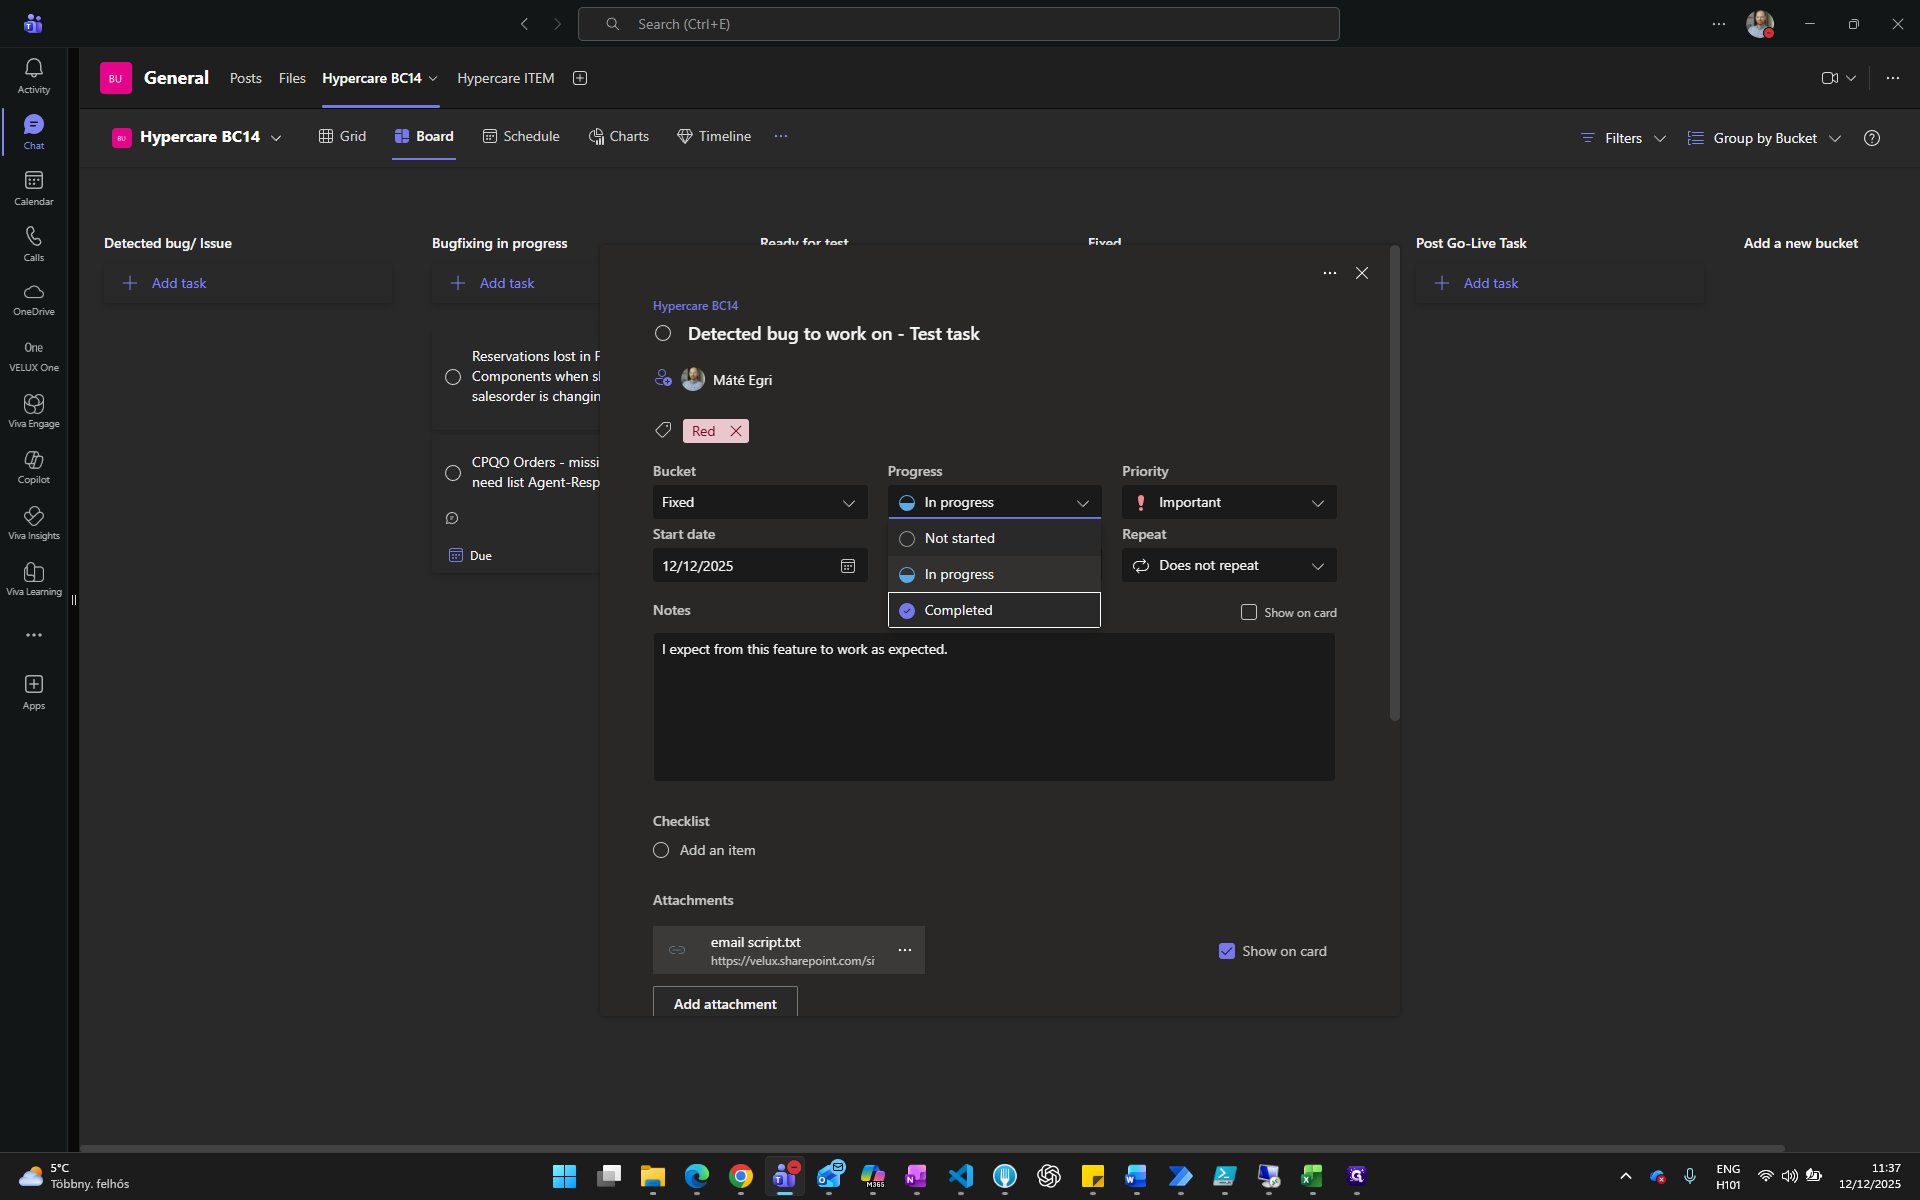
Detected bug/Issue: Add task
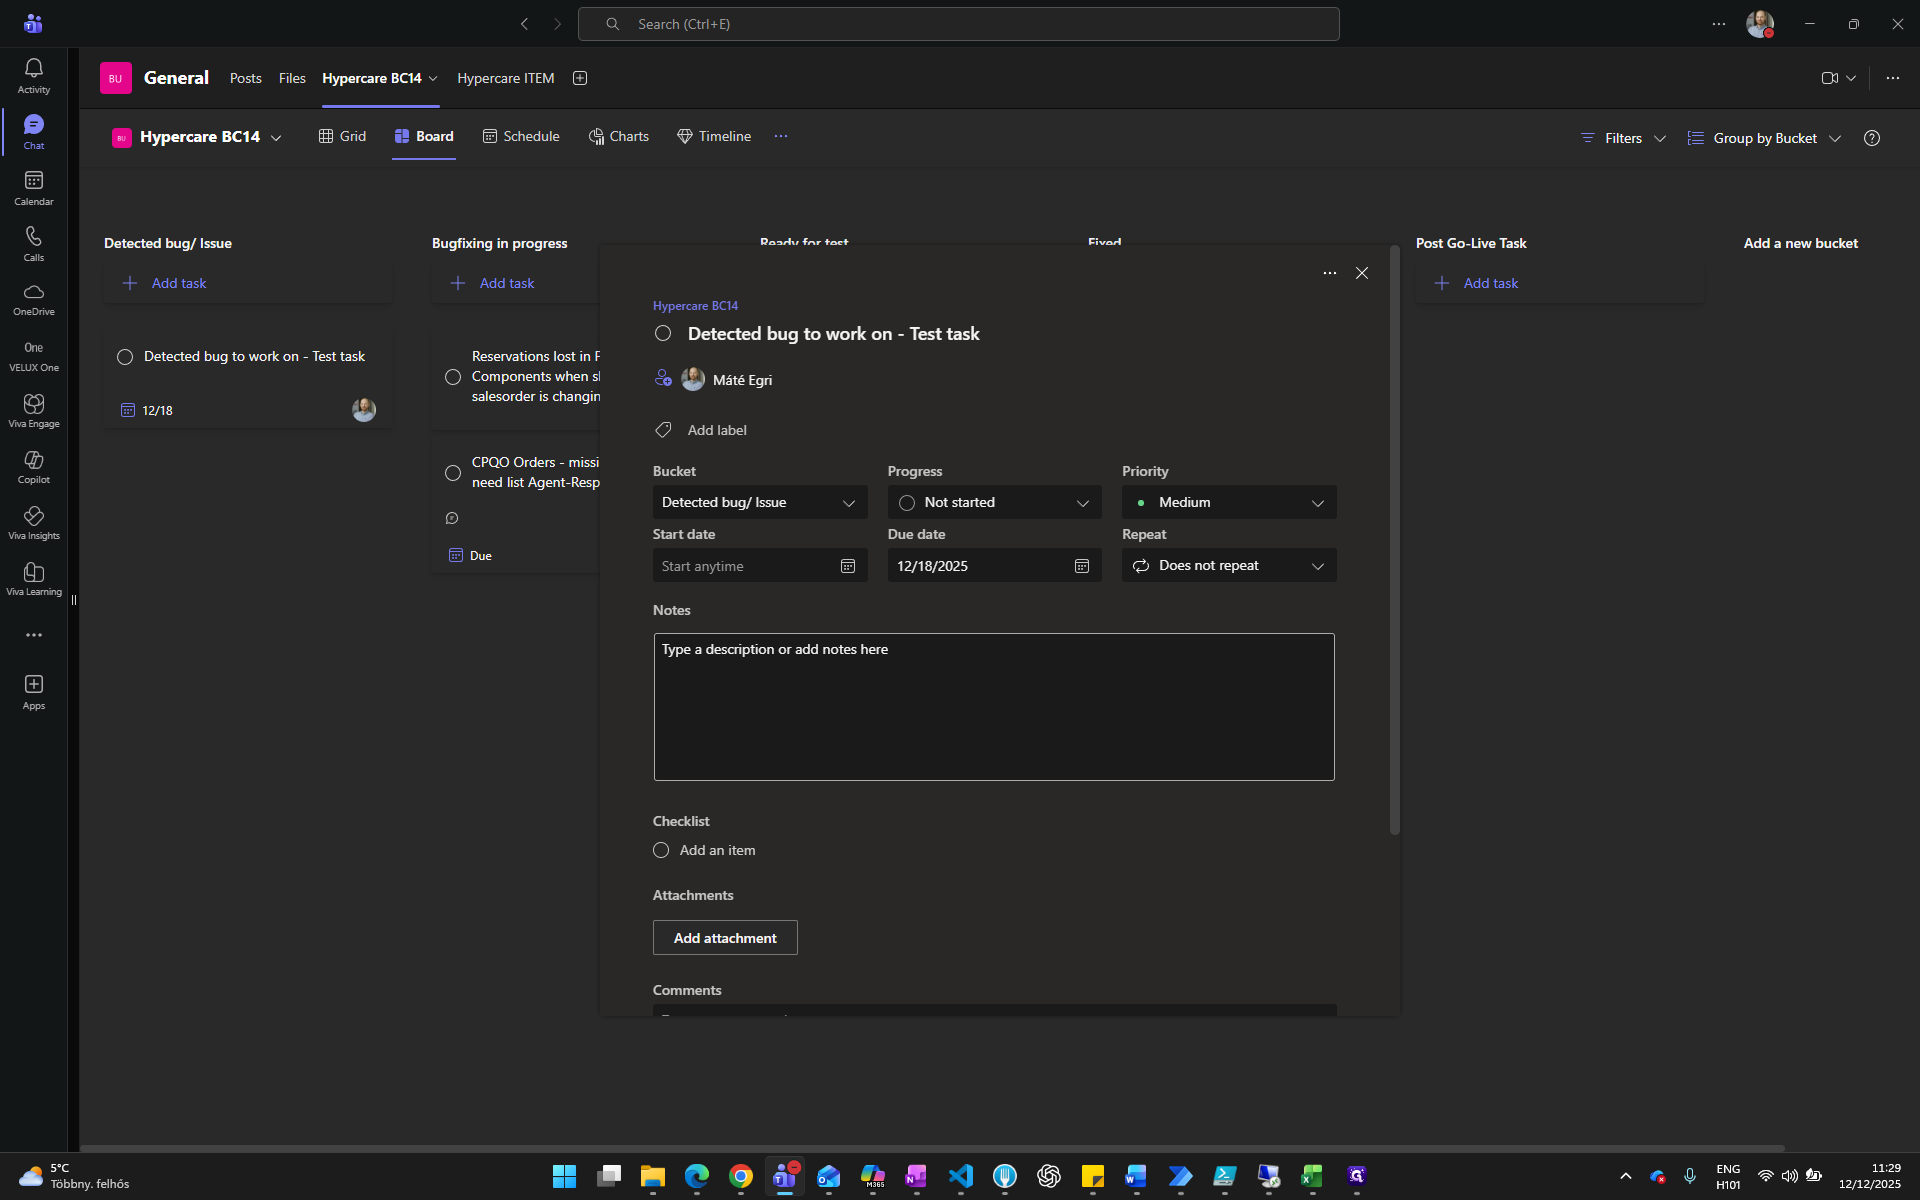
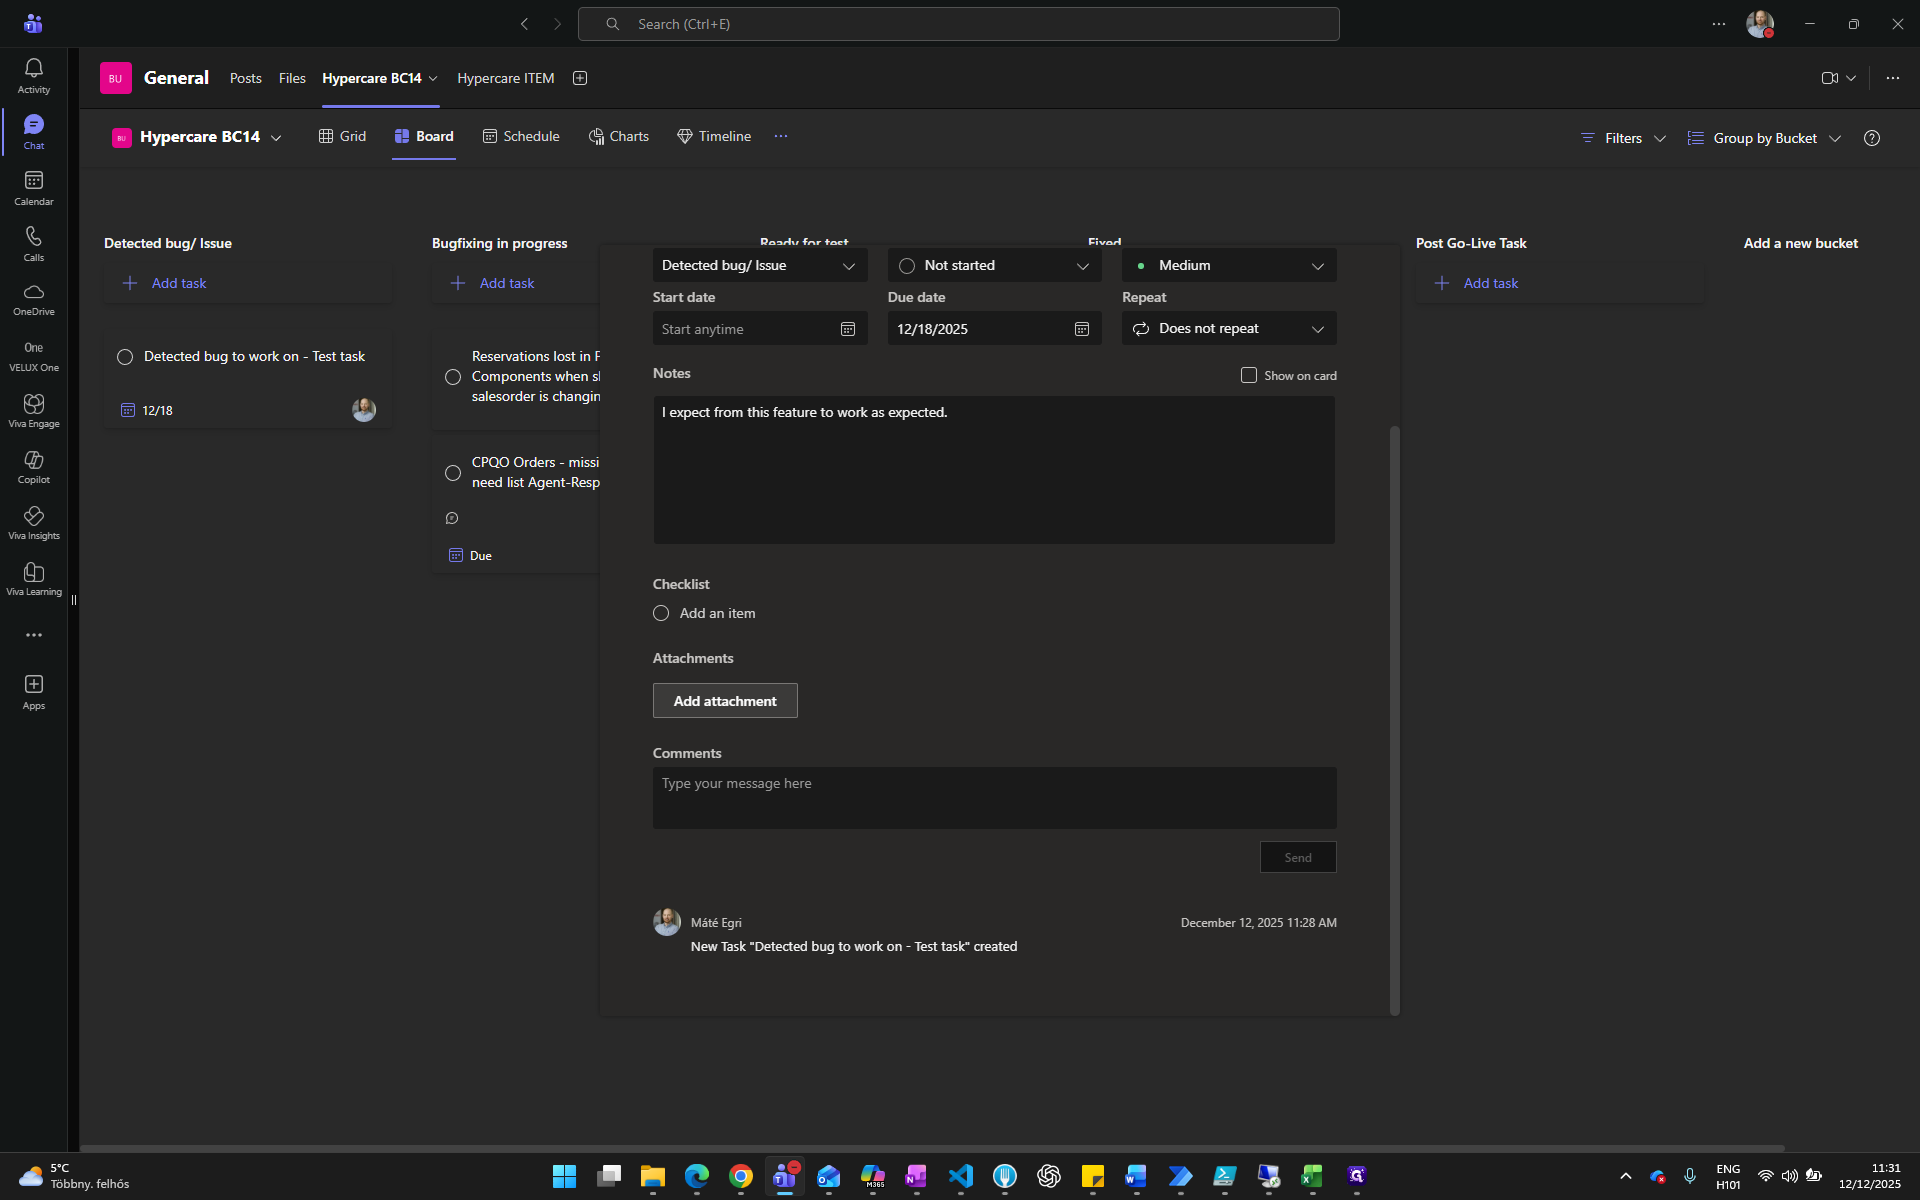
Once we finish, we can close it. The task will then be created.

Summary
Create new task, log issue, ask question
Assign to yourself
Add clear description
Add notes for extra info (optional)
Add attachments (optional)
Add comments for follow-up
Technical persons start to work on it, add themselves as assigned persons, changing the progress status, , add comments or contacts the requestor if extra information is needed.
Testing
Fixed, if all tests are passed