How to Use the Meeting Scheduler: Step-by-Step Guide
Learn how to set up and customize your meeting scheduler, including adjusting meeting types, personalizing event titles, managing availability, and adding reschedule or cancellation links. Optimize your scheduling process with these easy steps.
In this guide, we'll learn how to set up and personalize a meeting scheduler. We'll cover how to adjust meeting types, organizer details, event titles, and contact information to streamline the scheduling process.
We'll also look at how to set meeting locations, include cancellation and reschedule links, and manage your availability to ensure meetings are booked within your working hours.
Let's get started
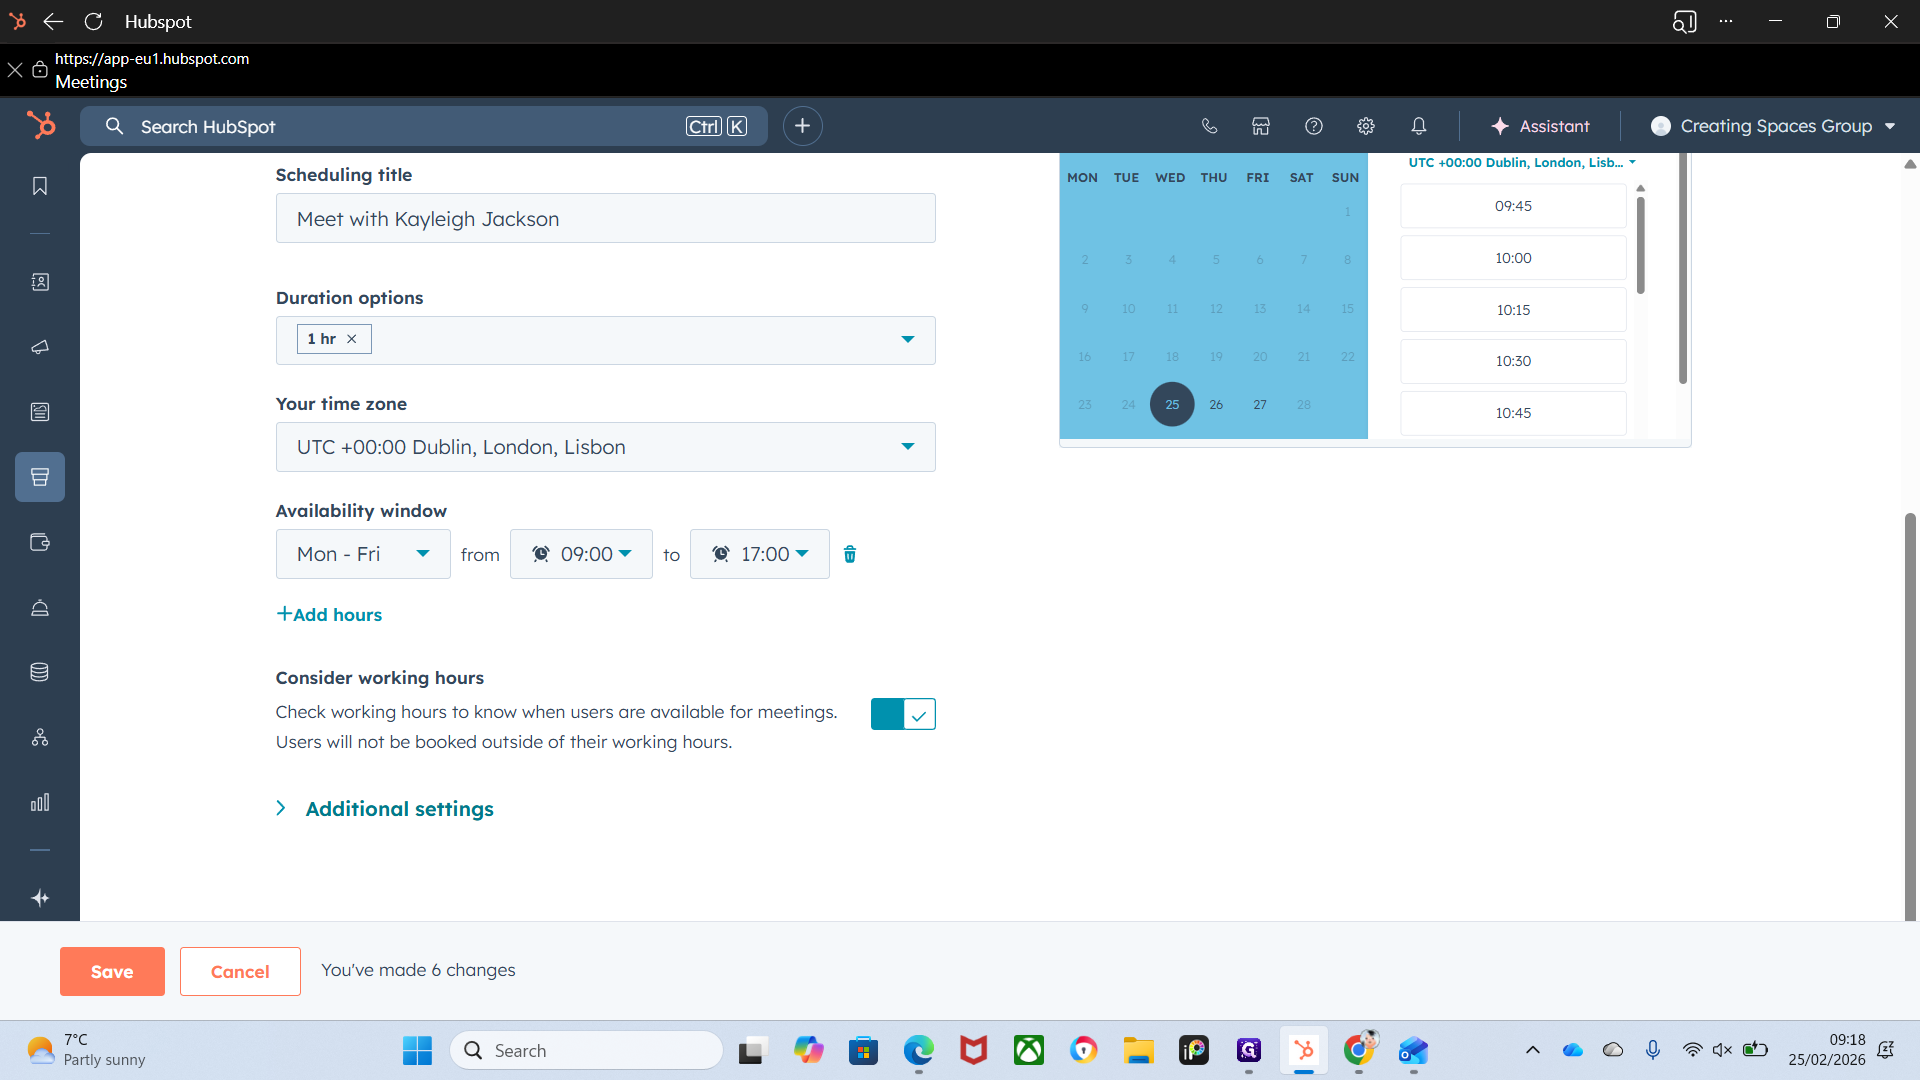
This is the meeting scheduler. If you've already bookmarked it, go to Meeting Scheduler and you'll see this screen.
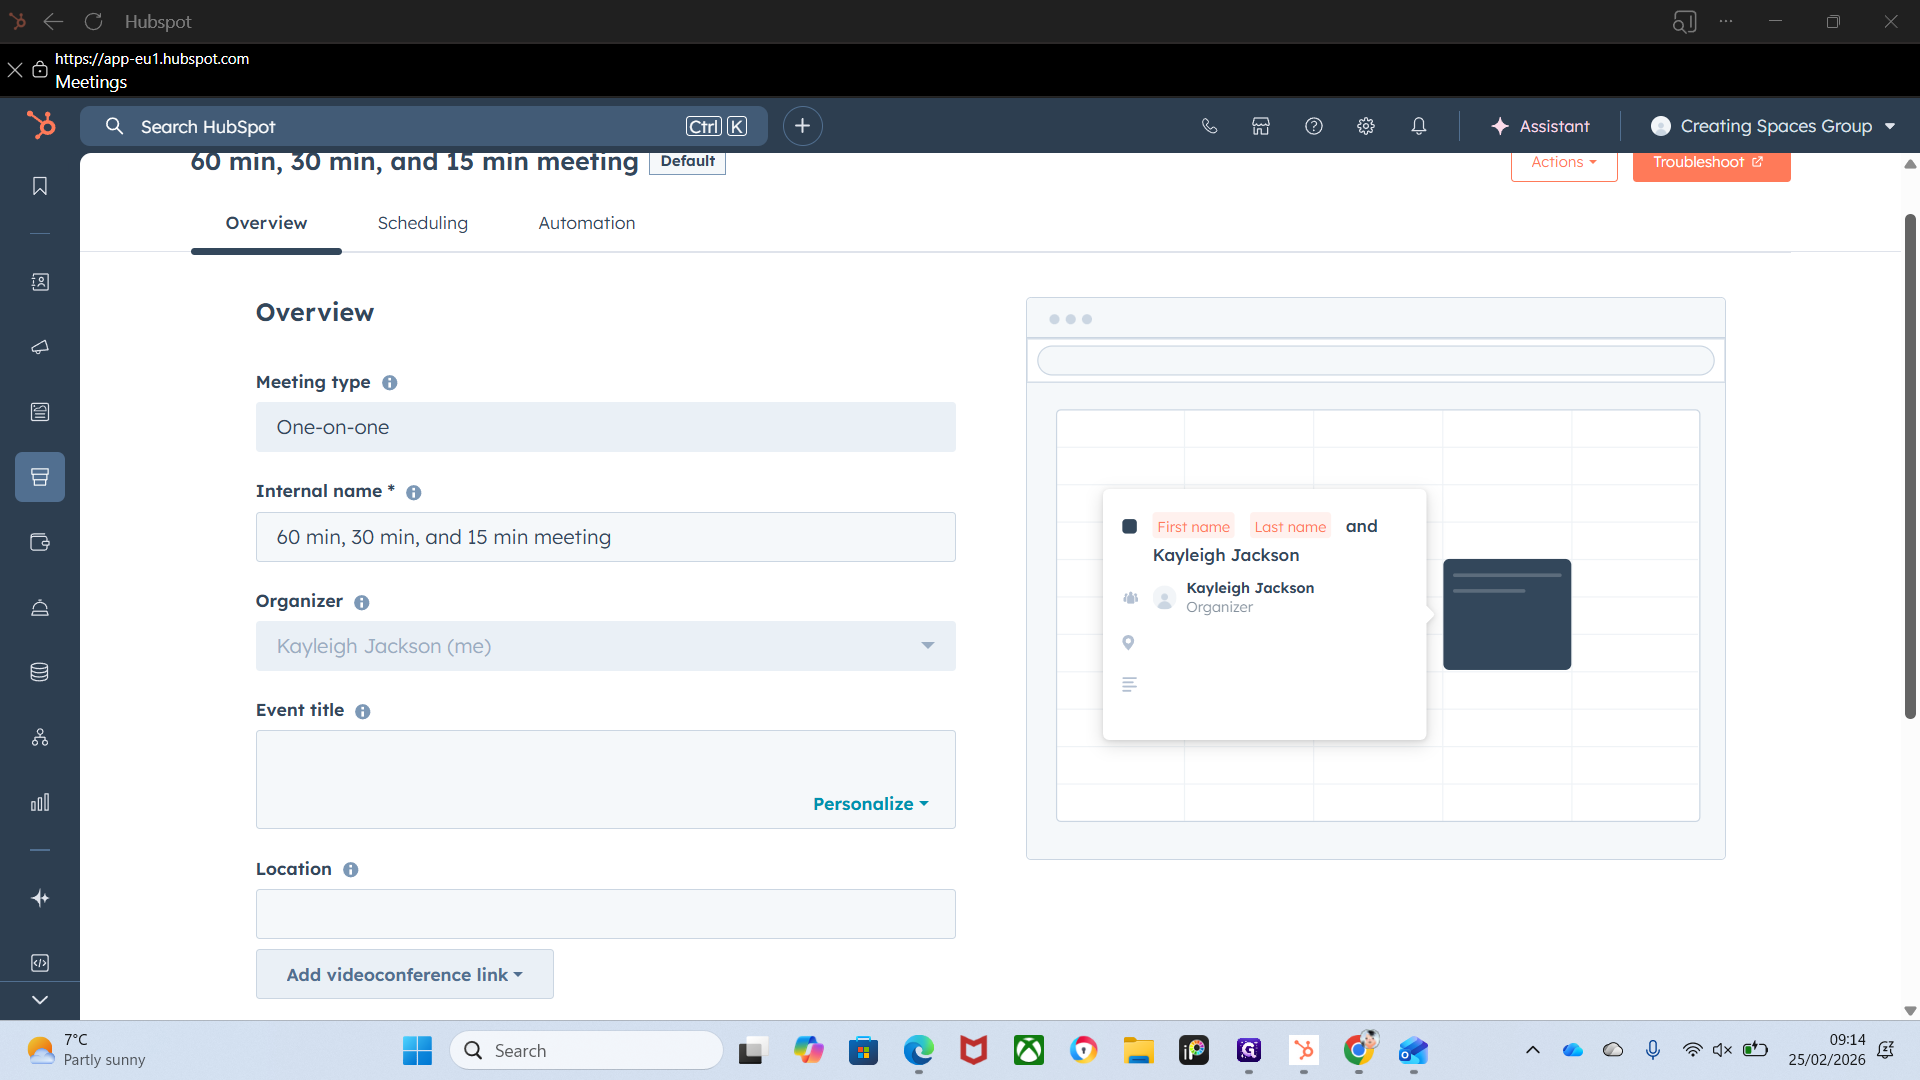
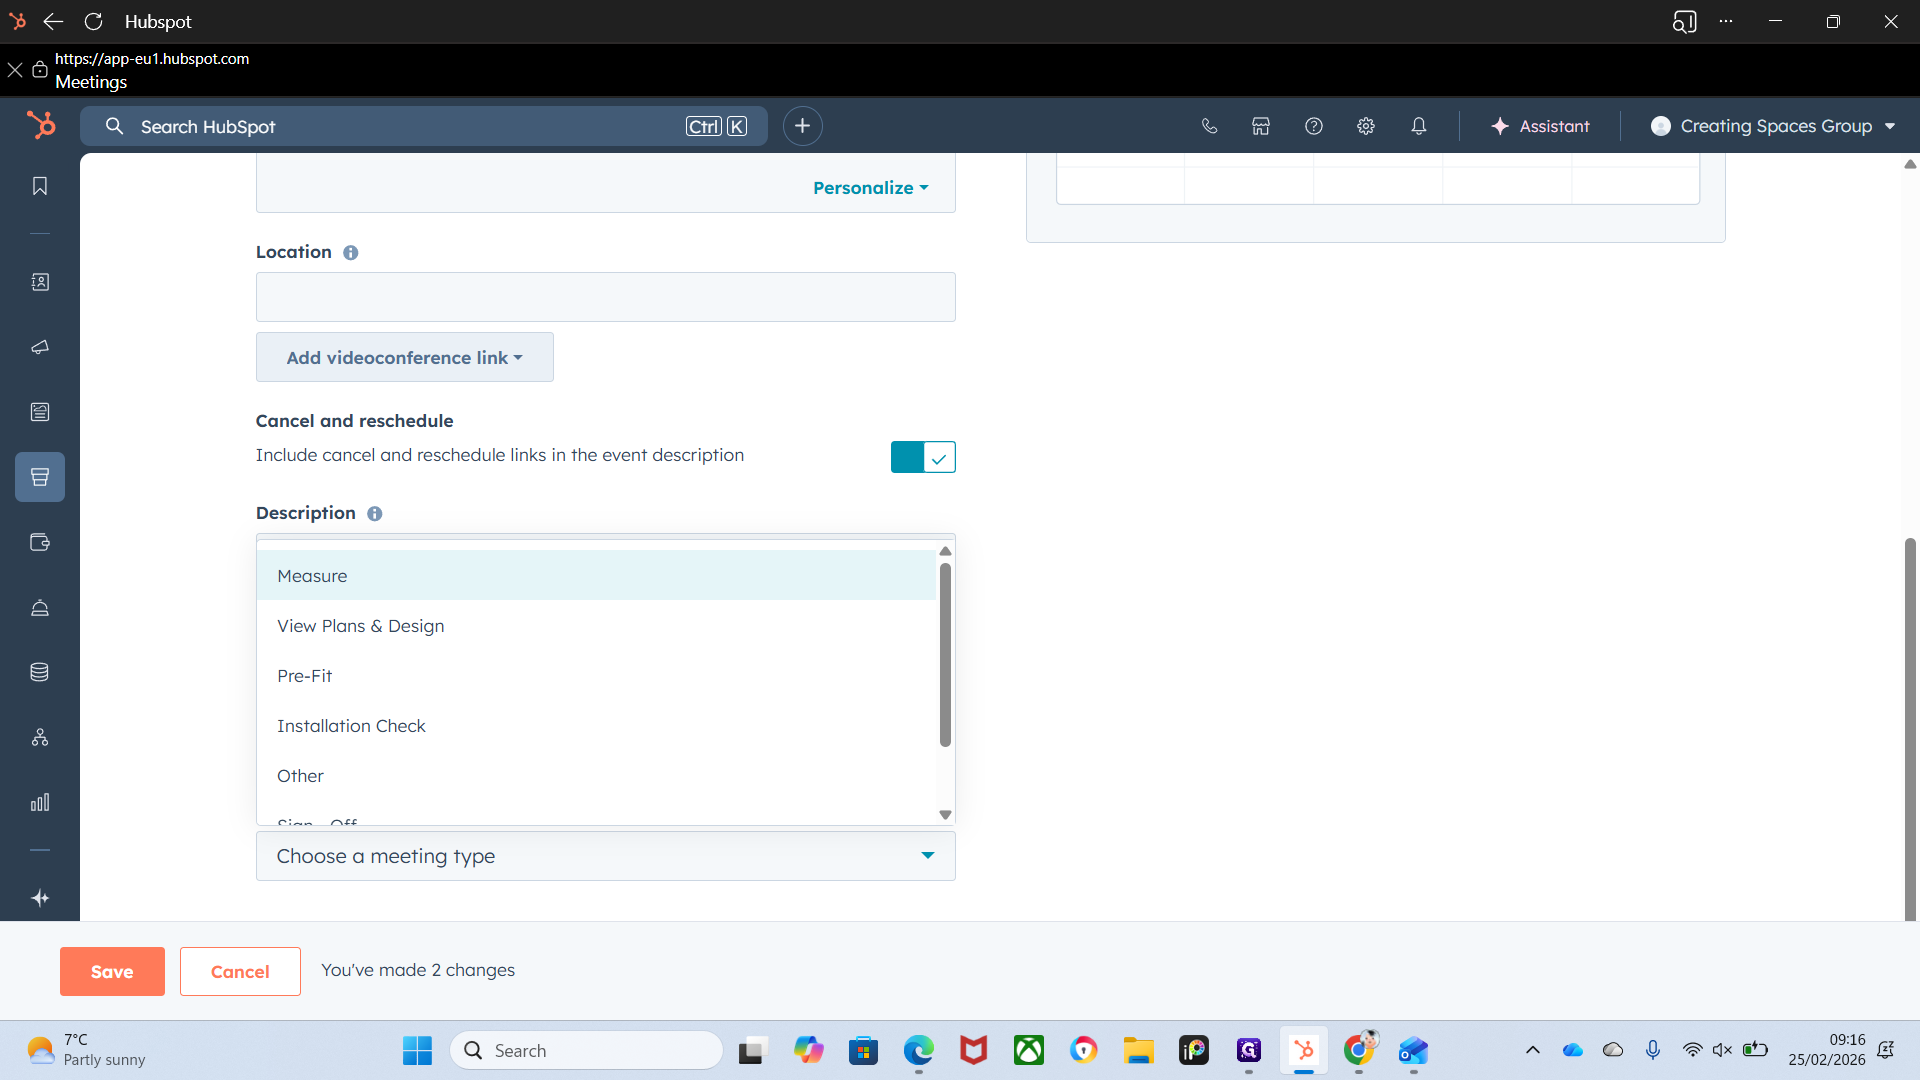
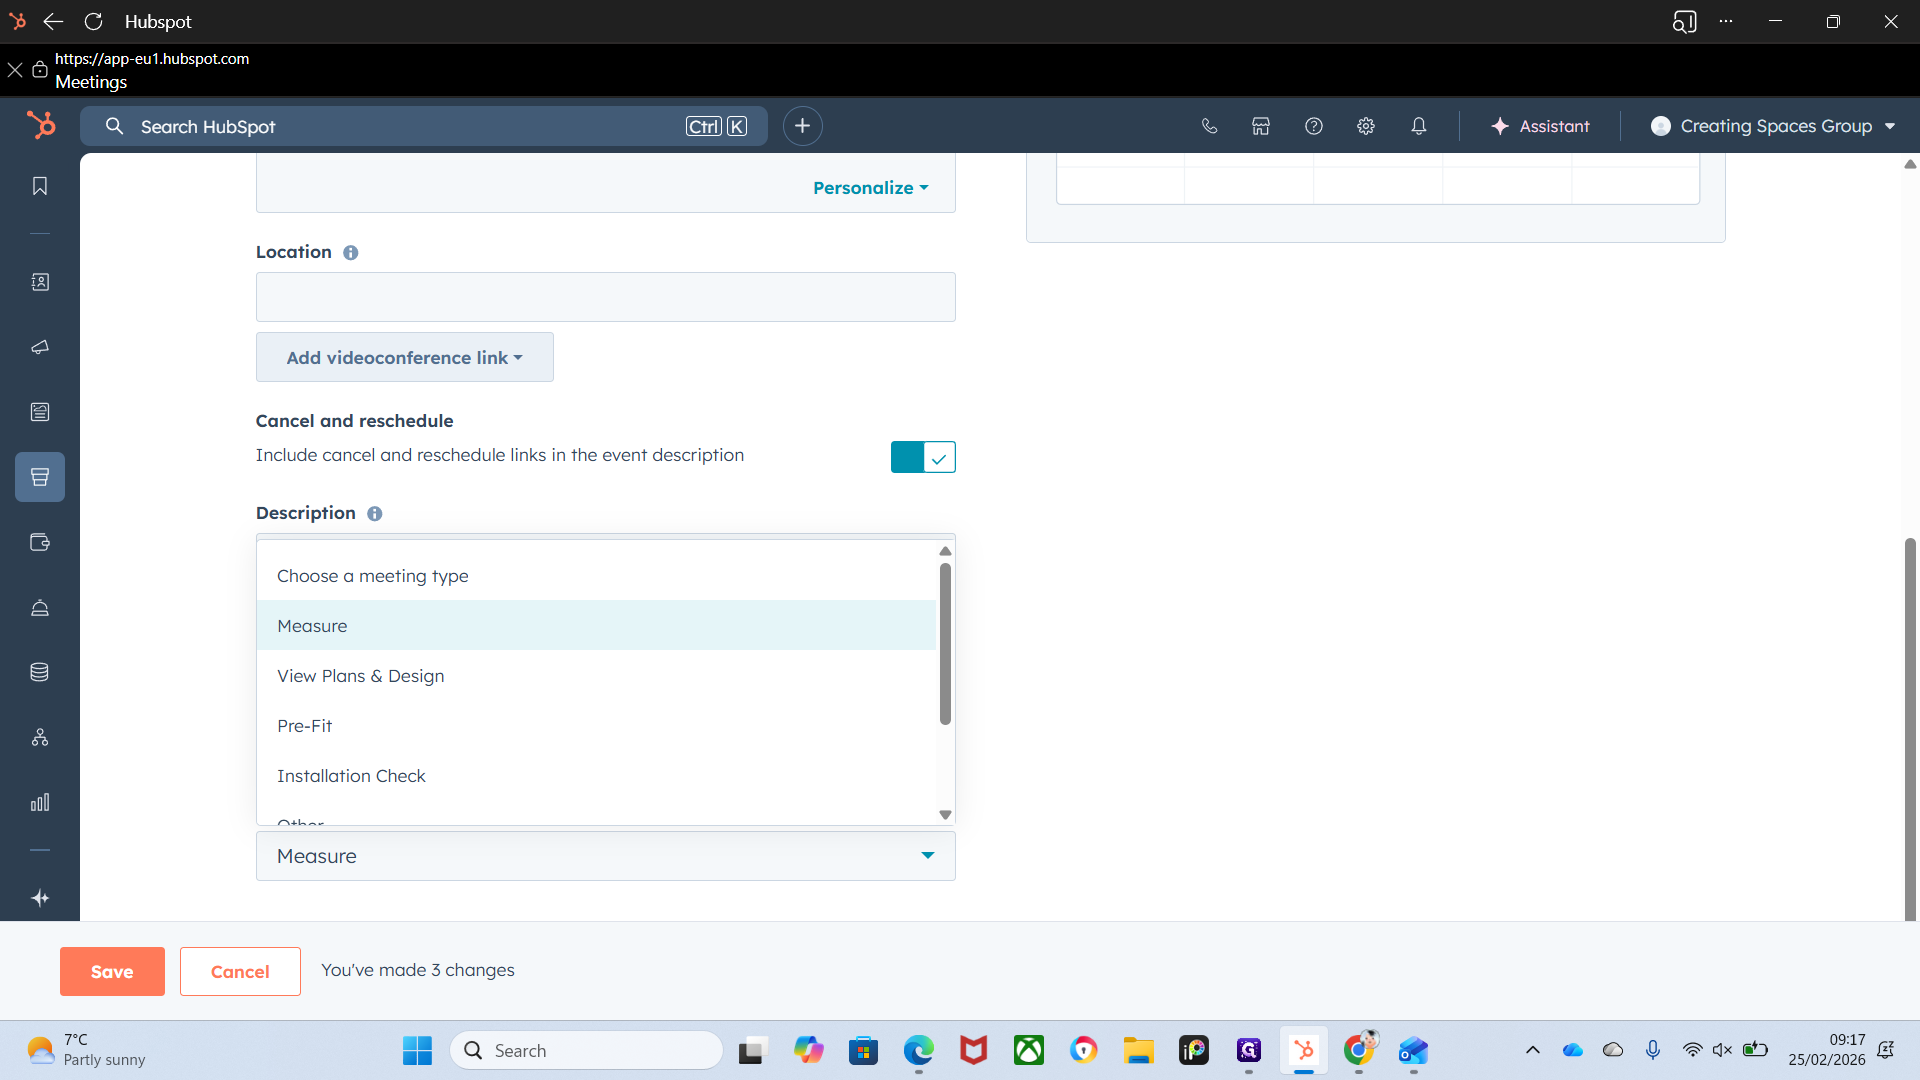
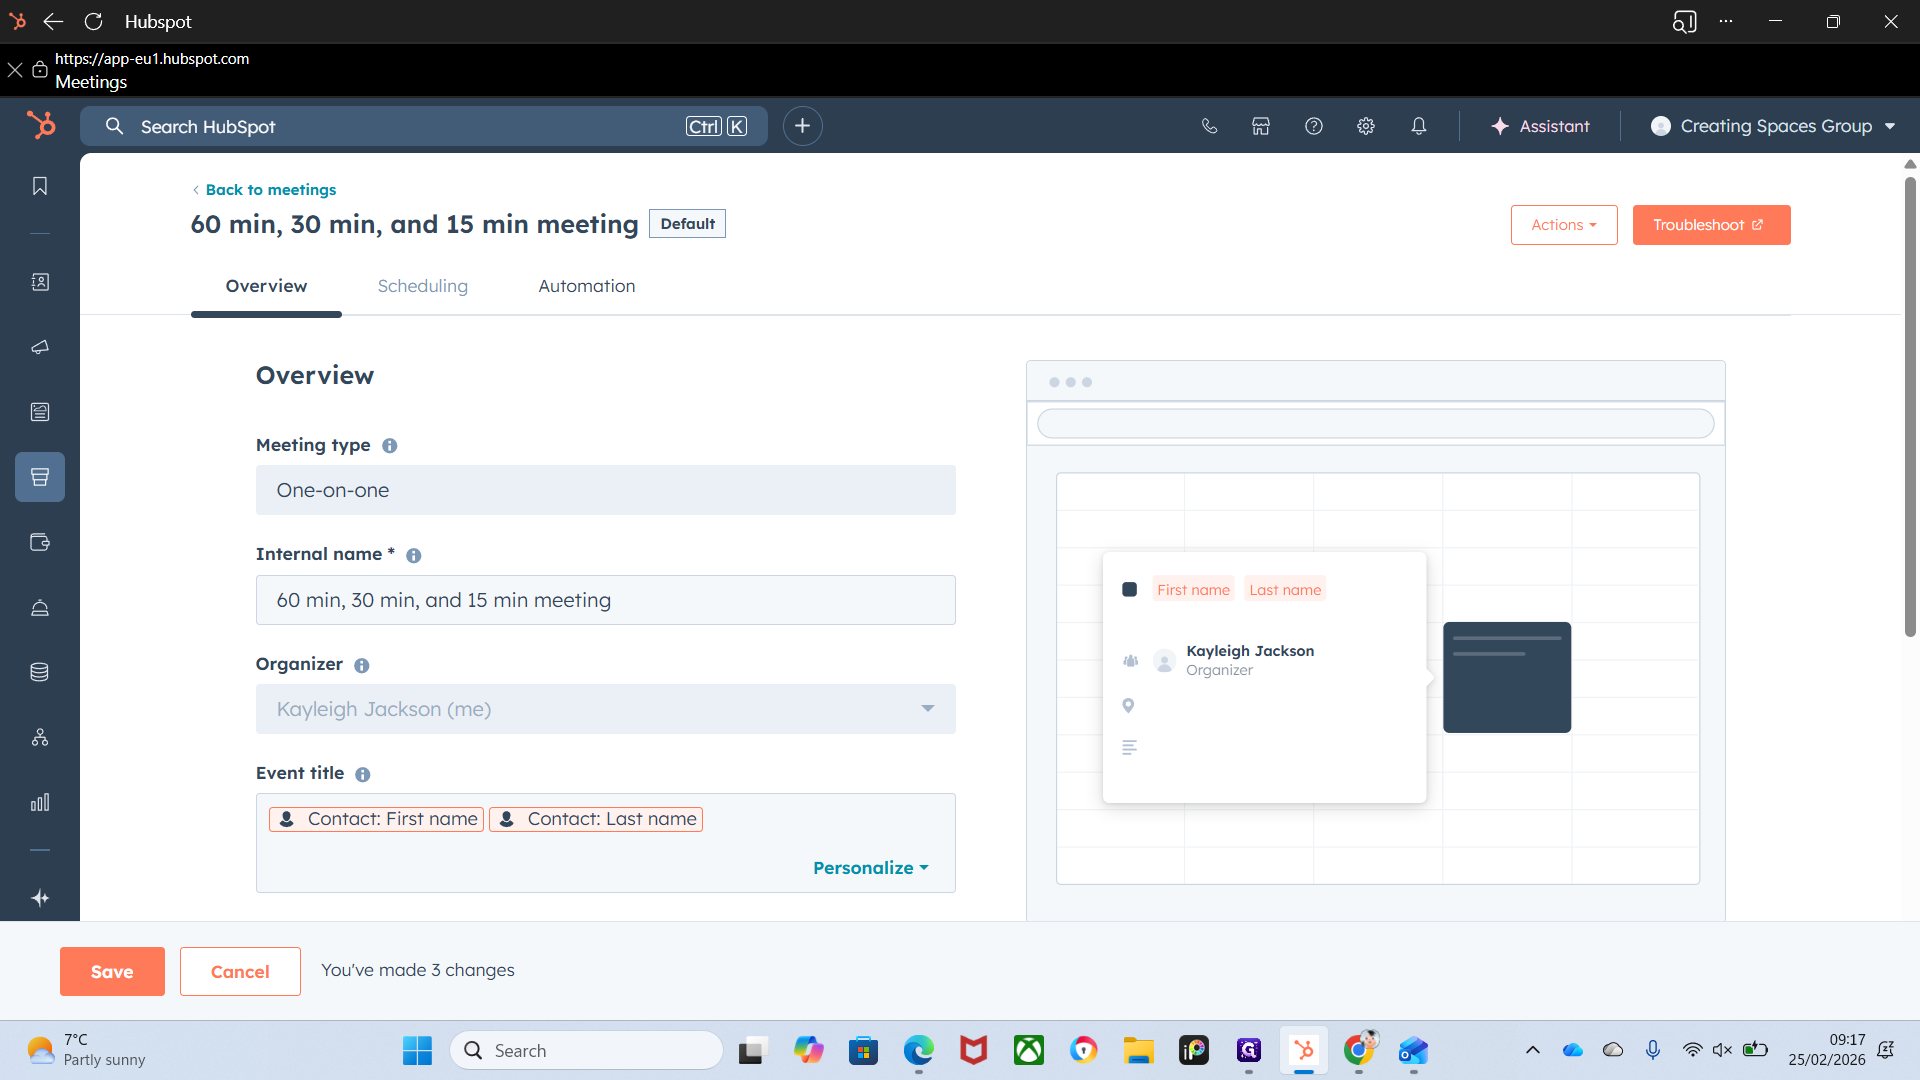
All this is adjustable, depending on what you want to show or hide. The meeting type is by default one-on-one.
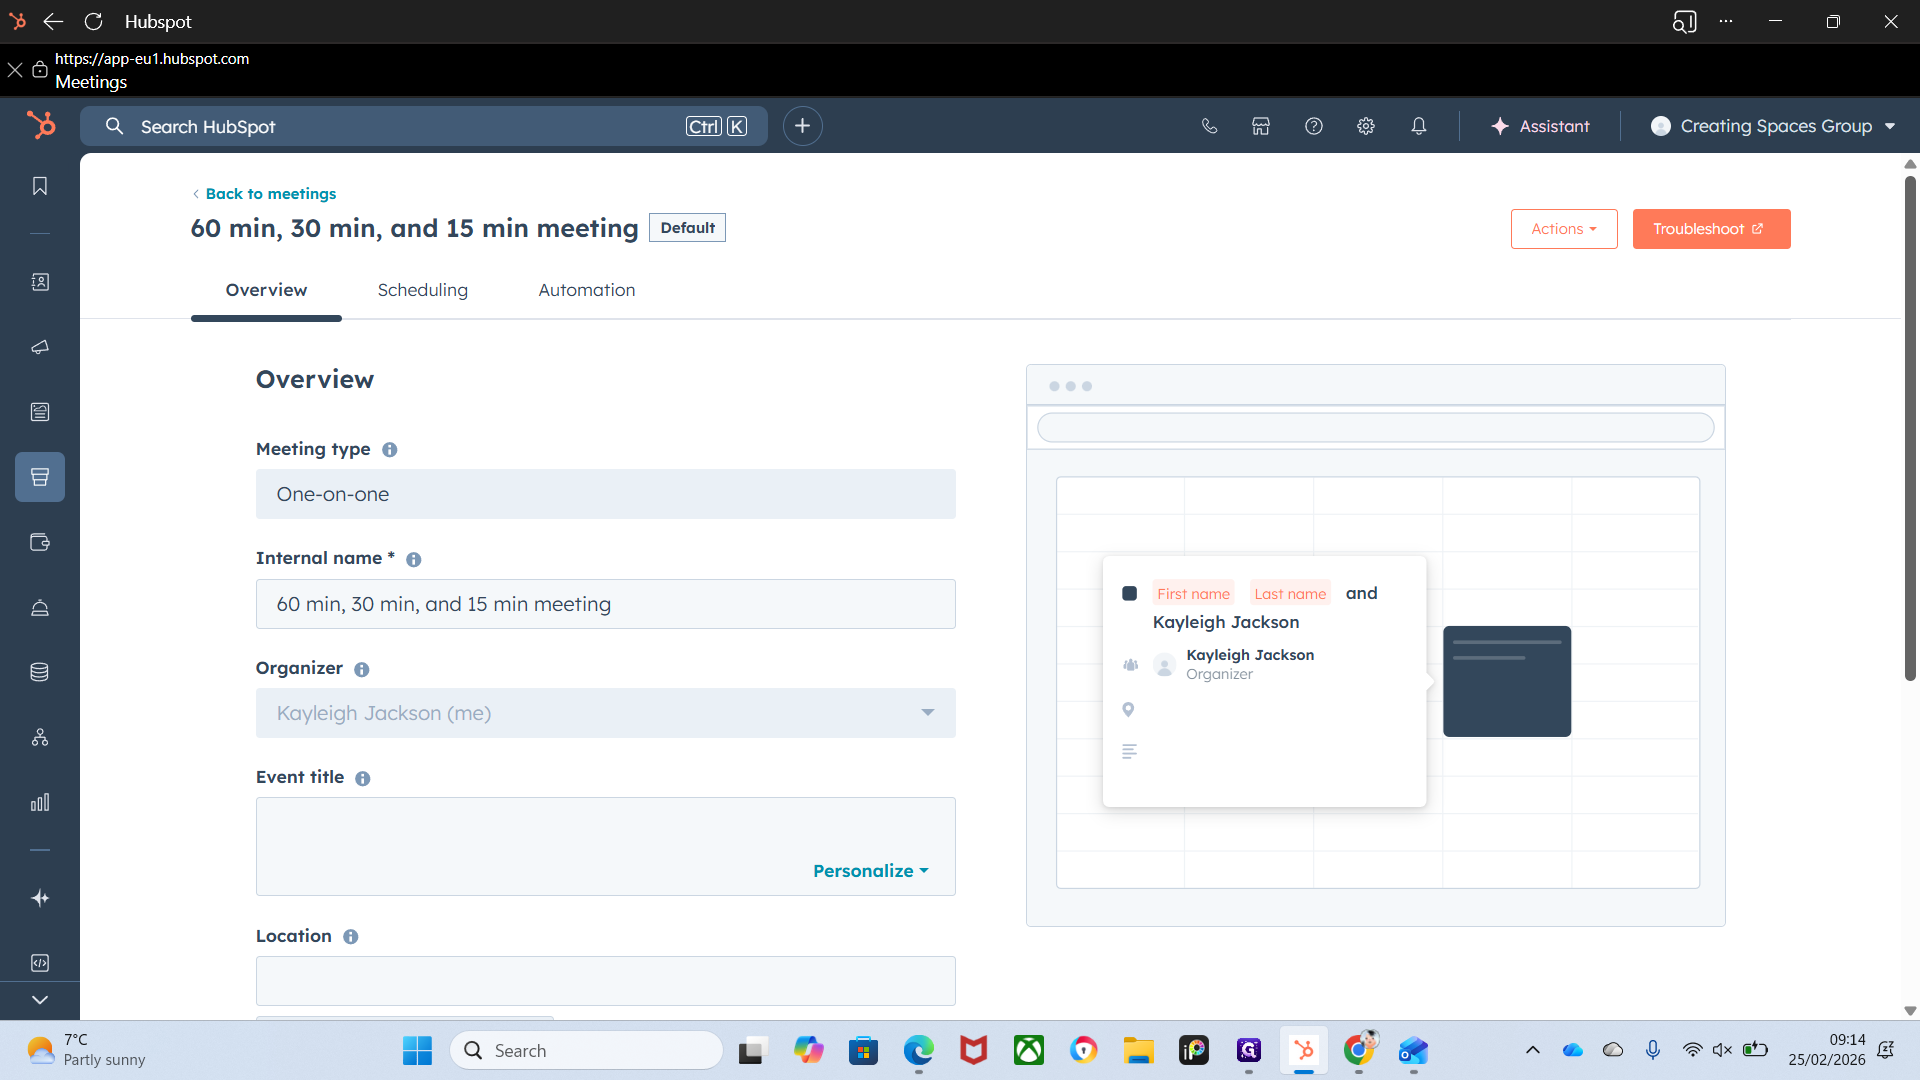
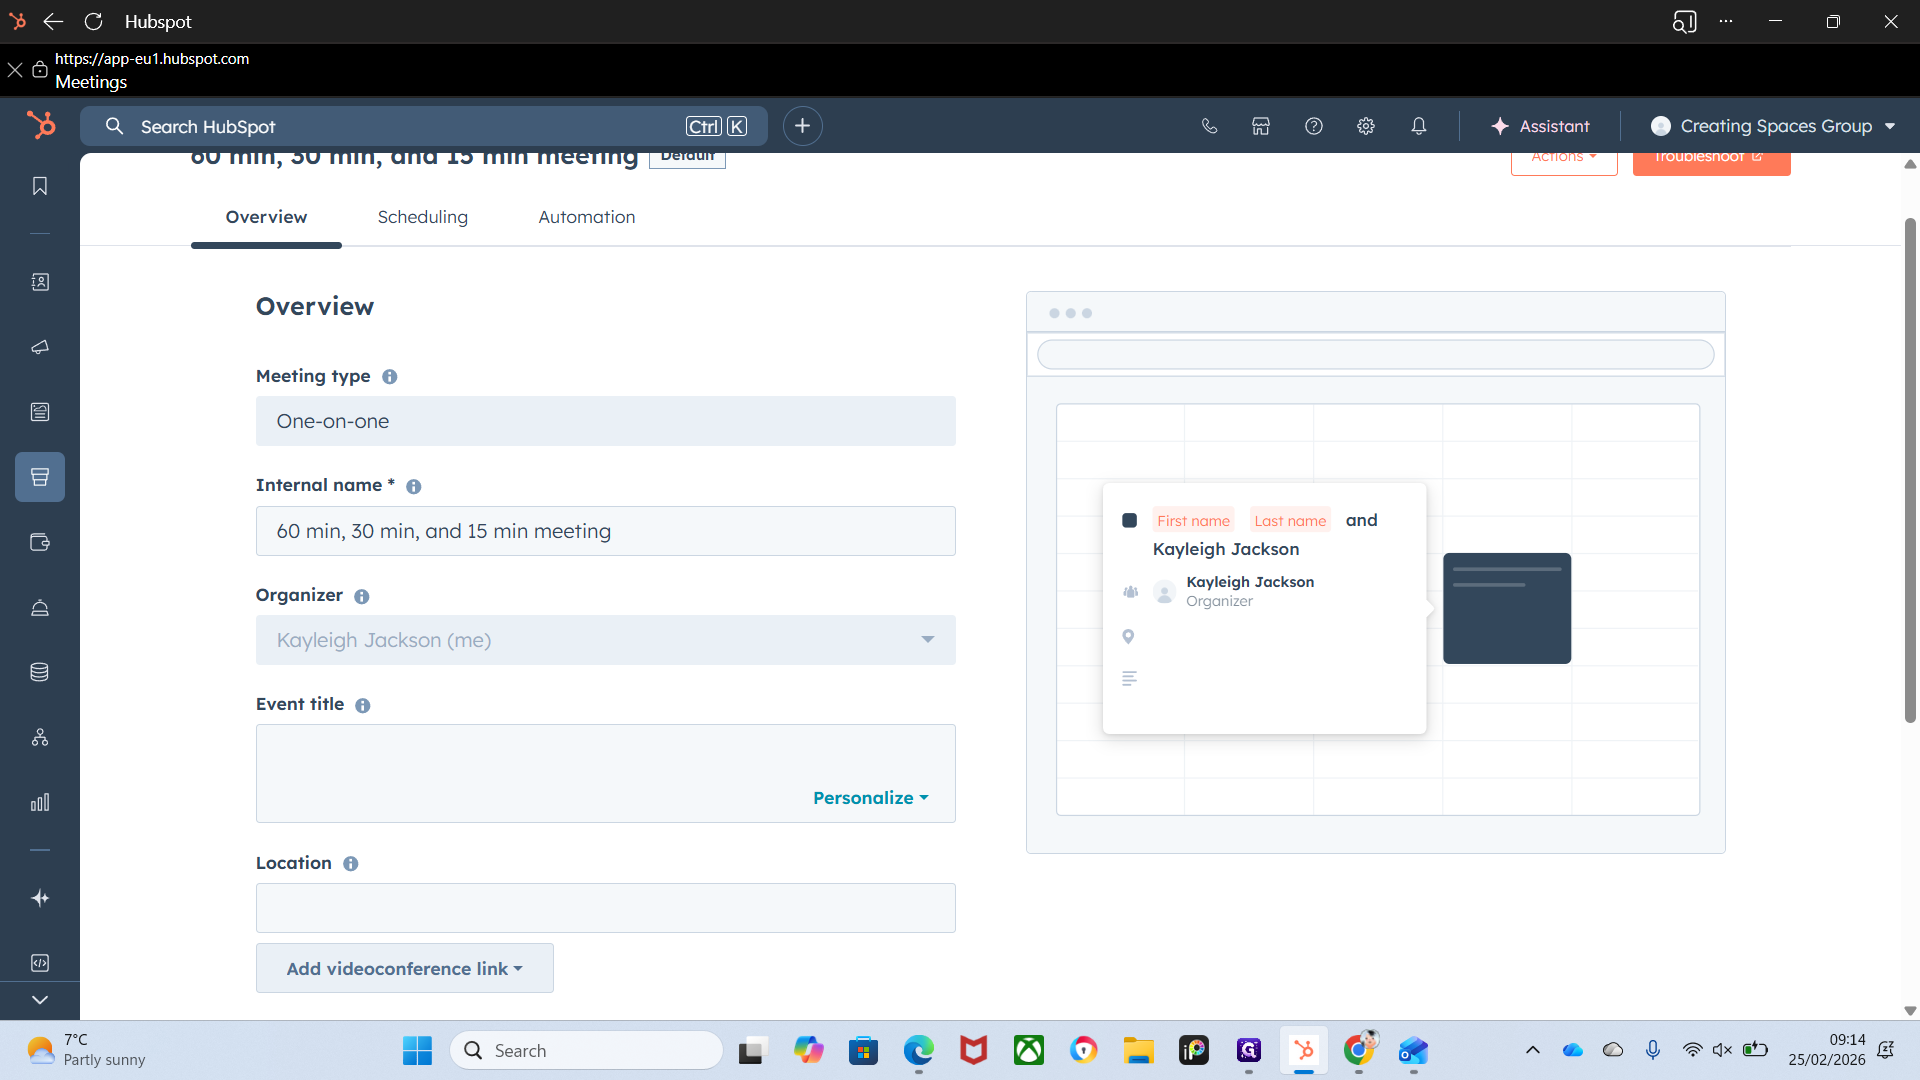

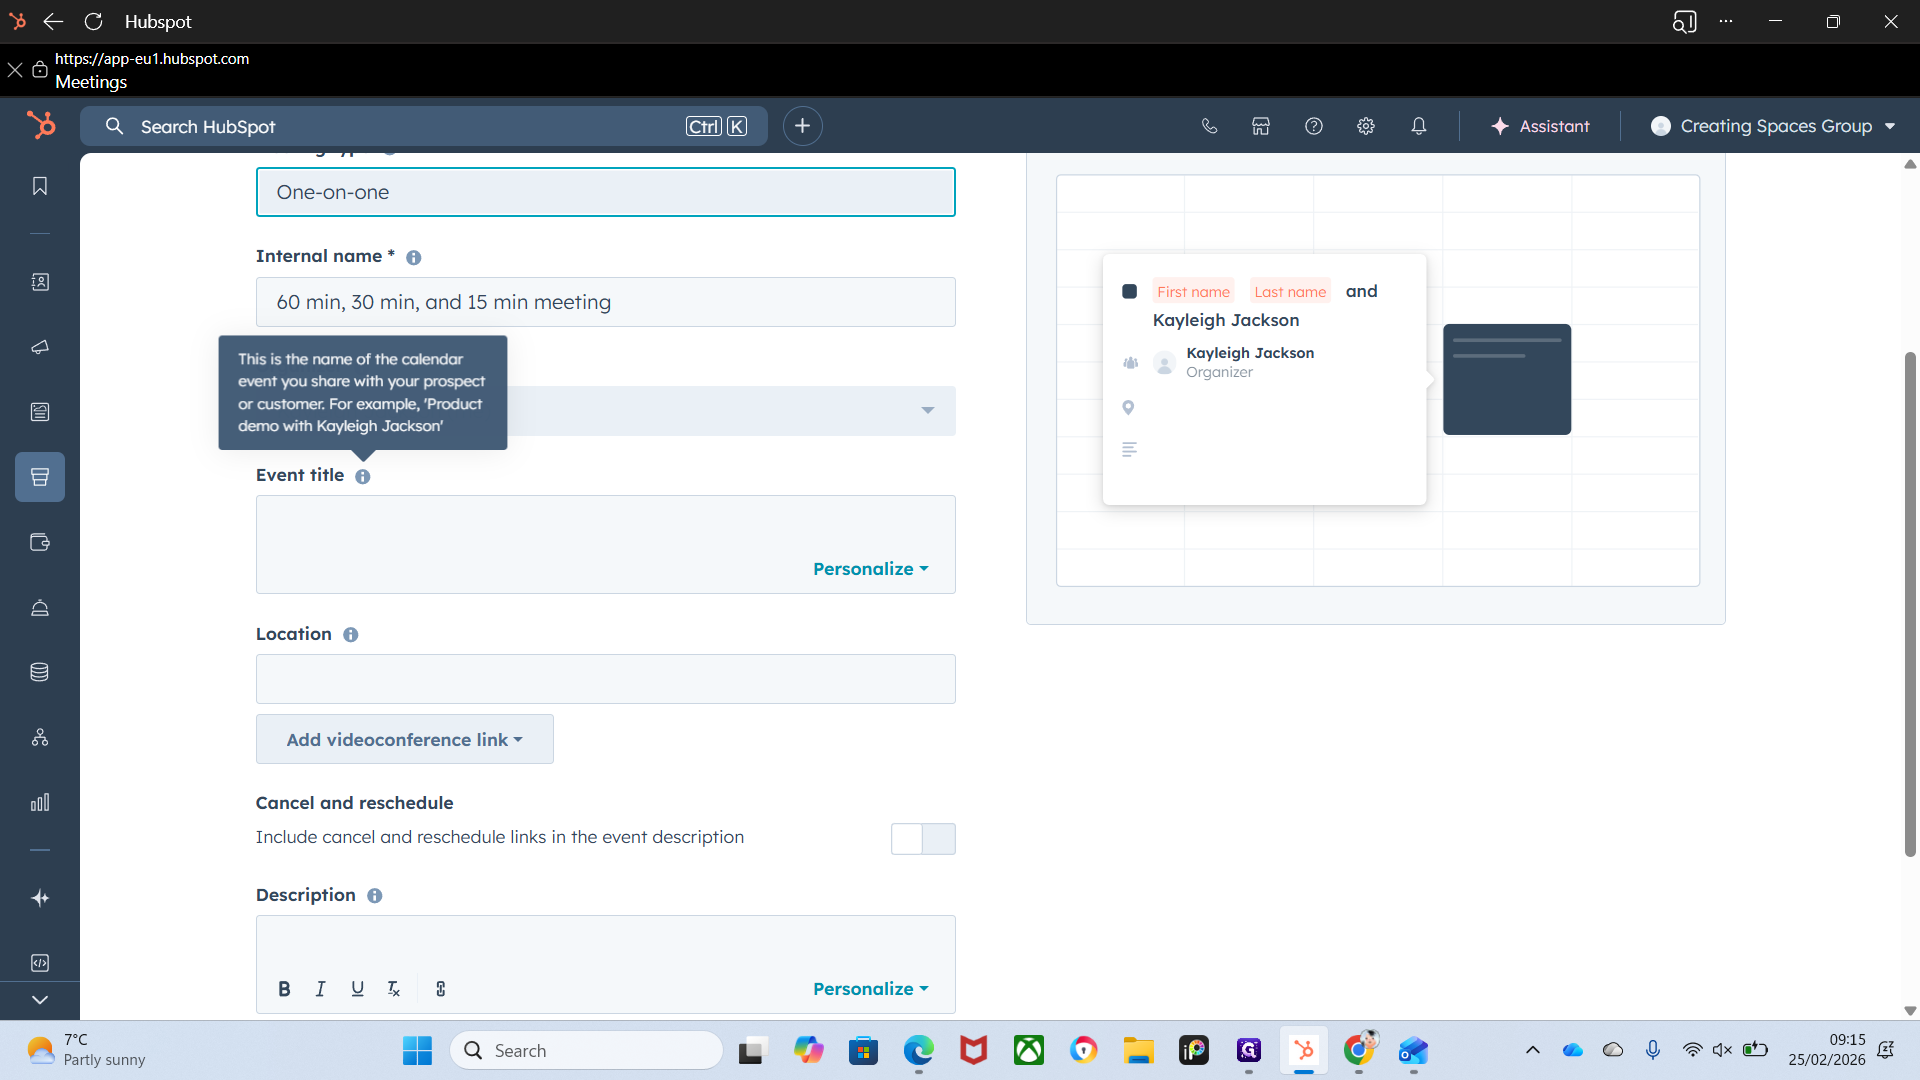
You can also adjust the internal name if you want.
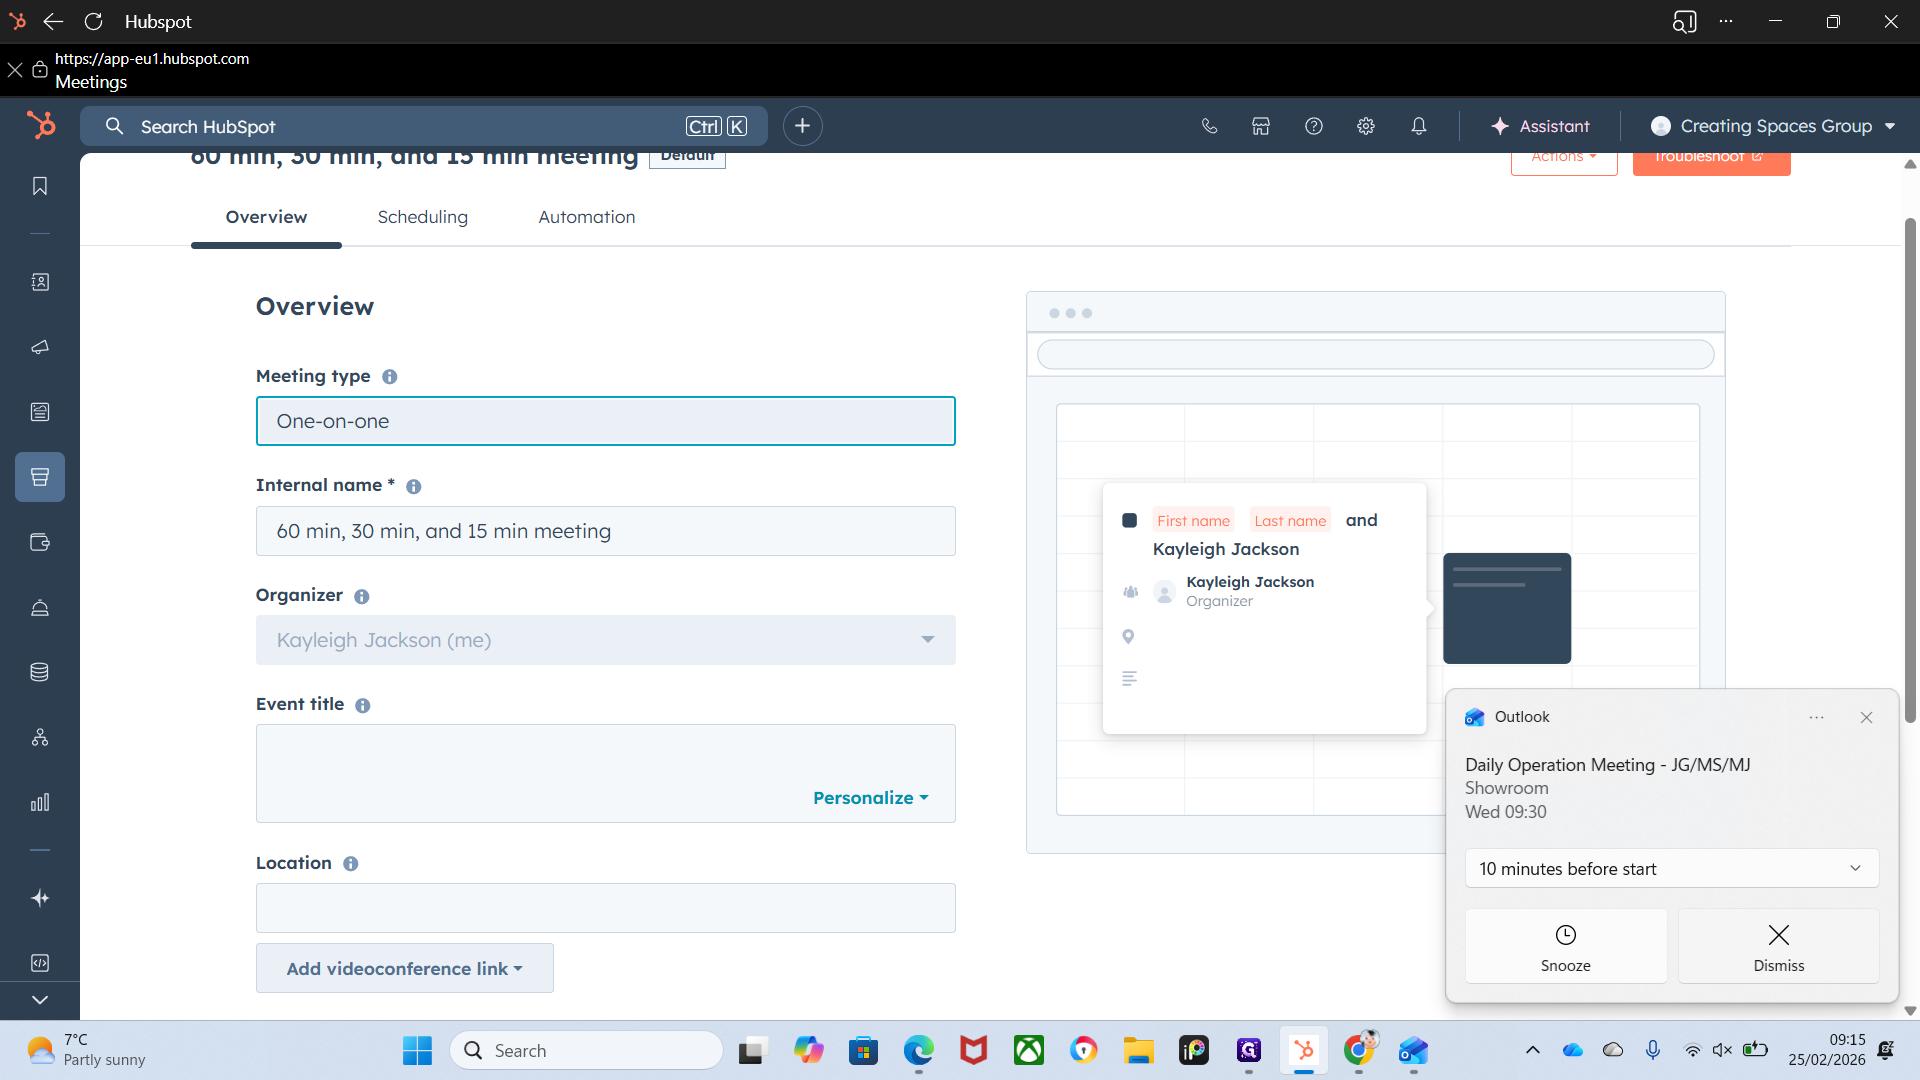
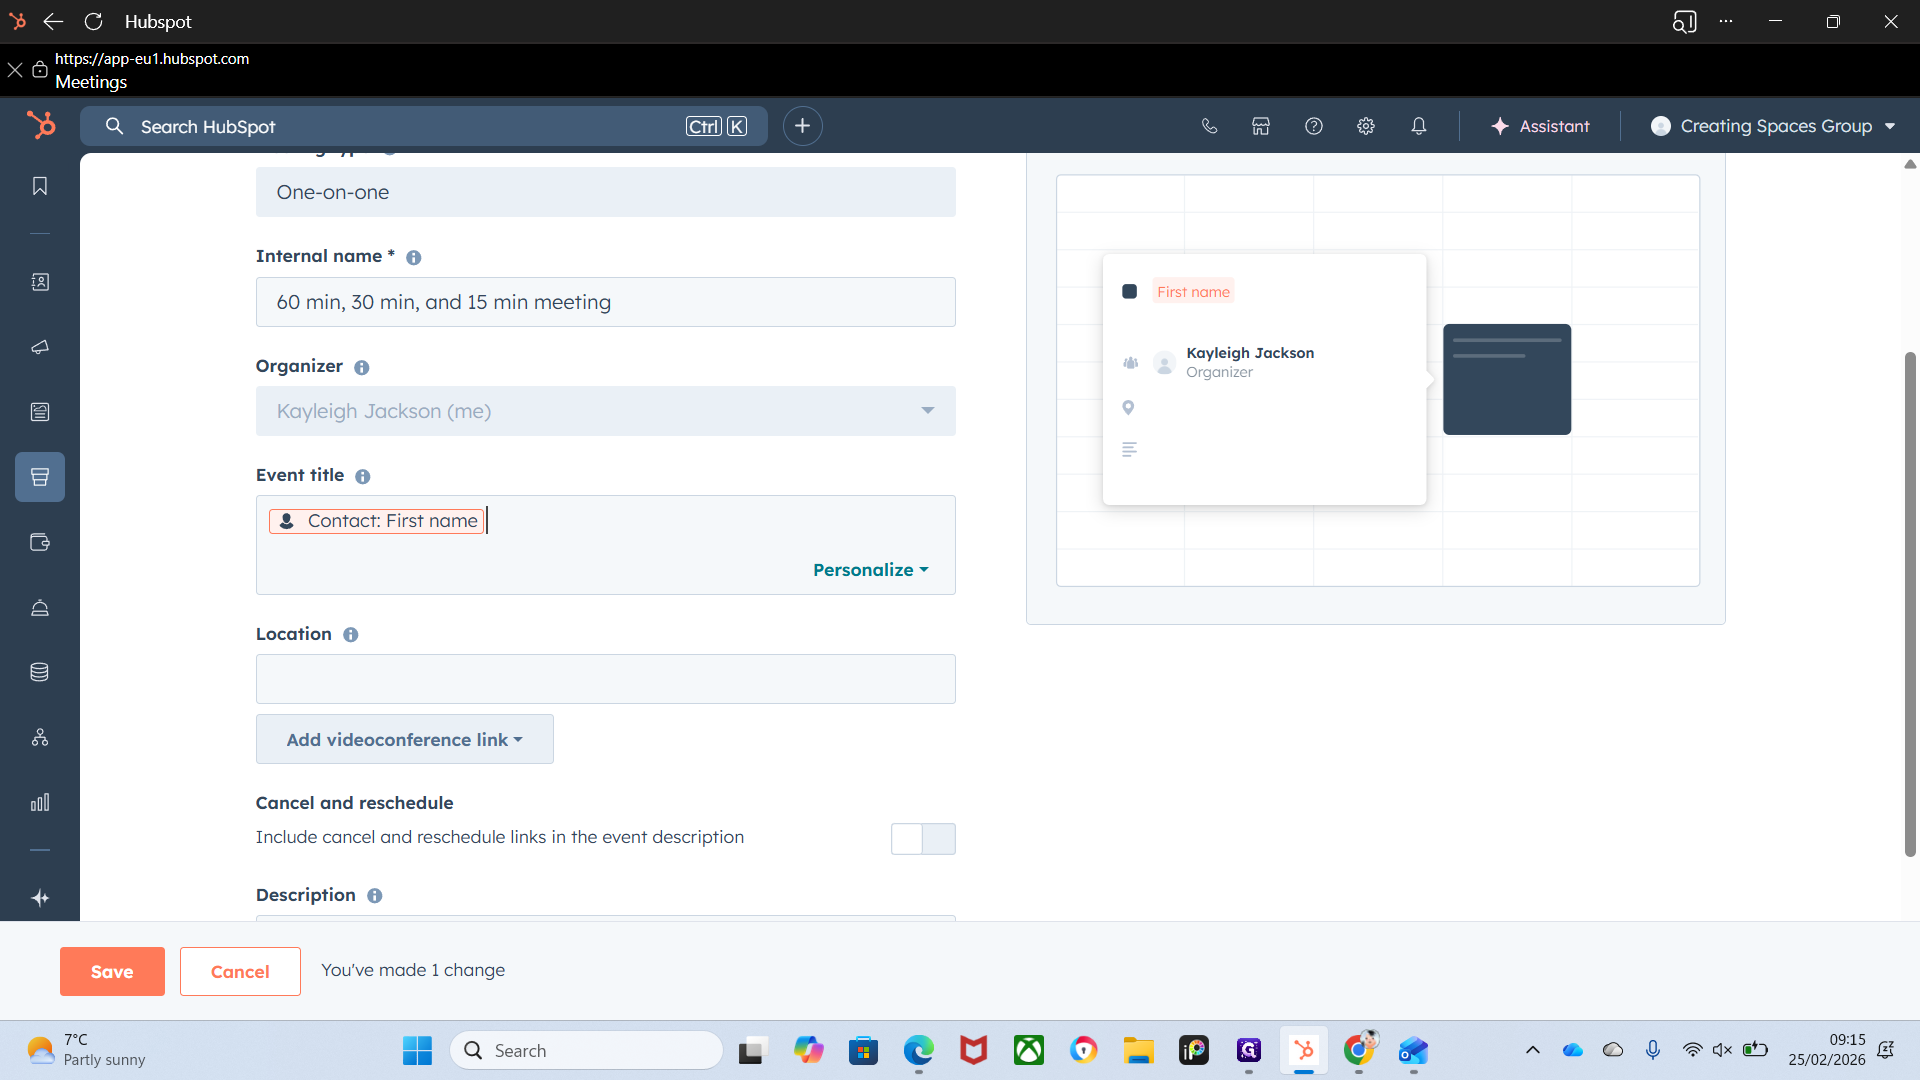
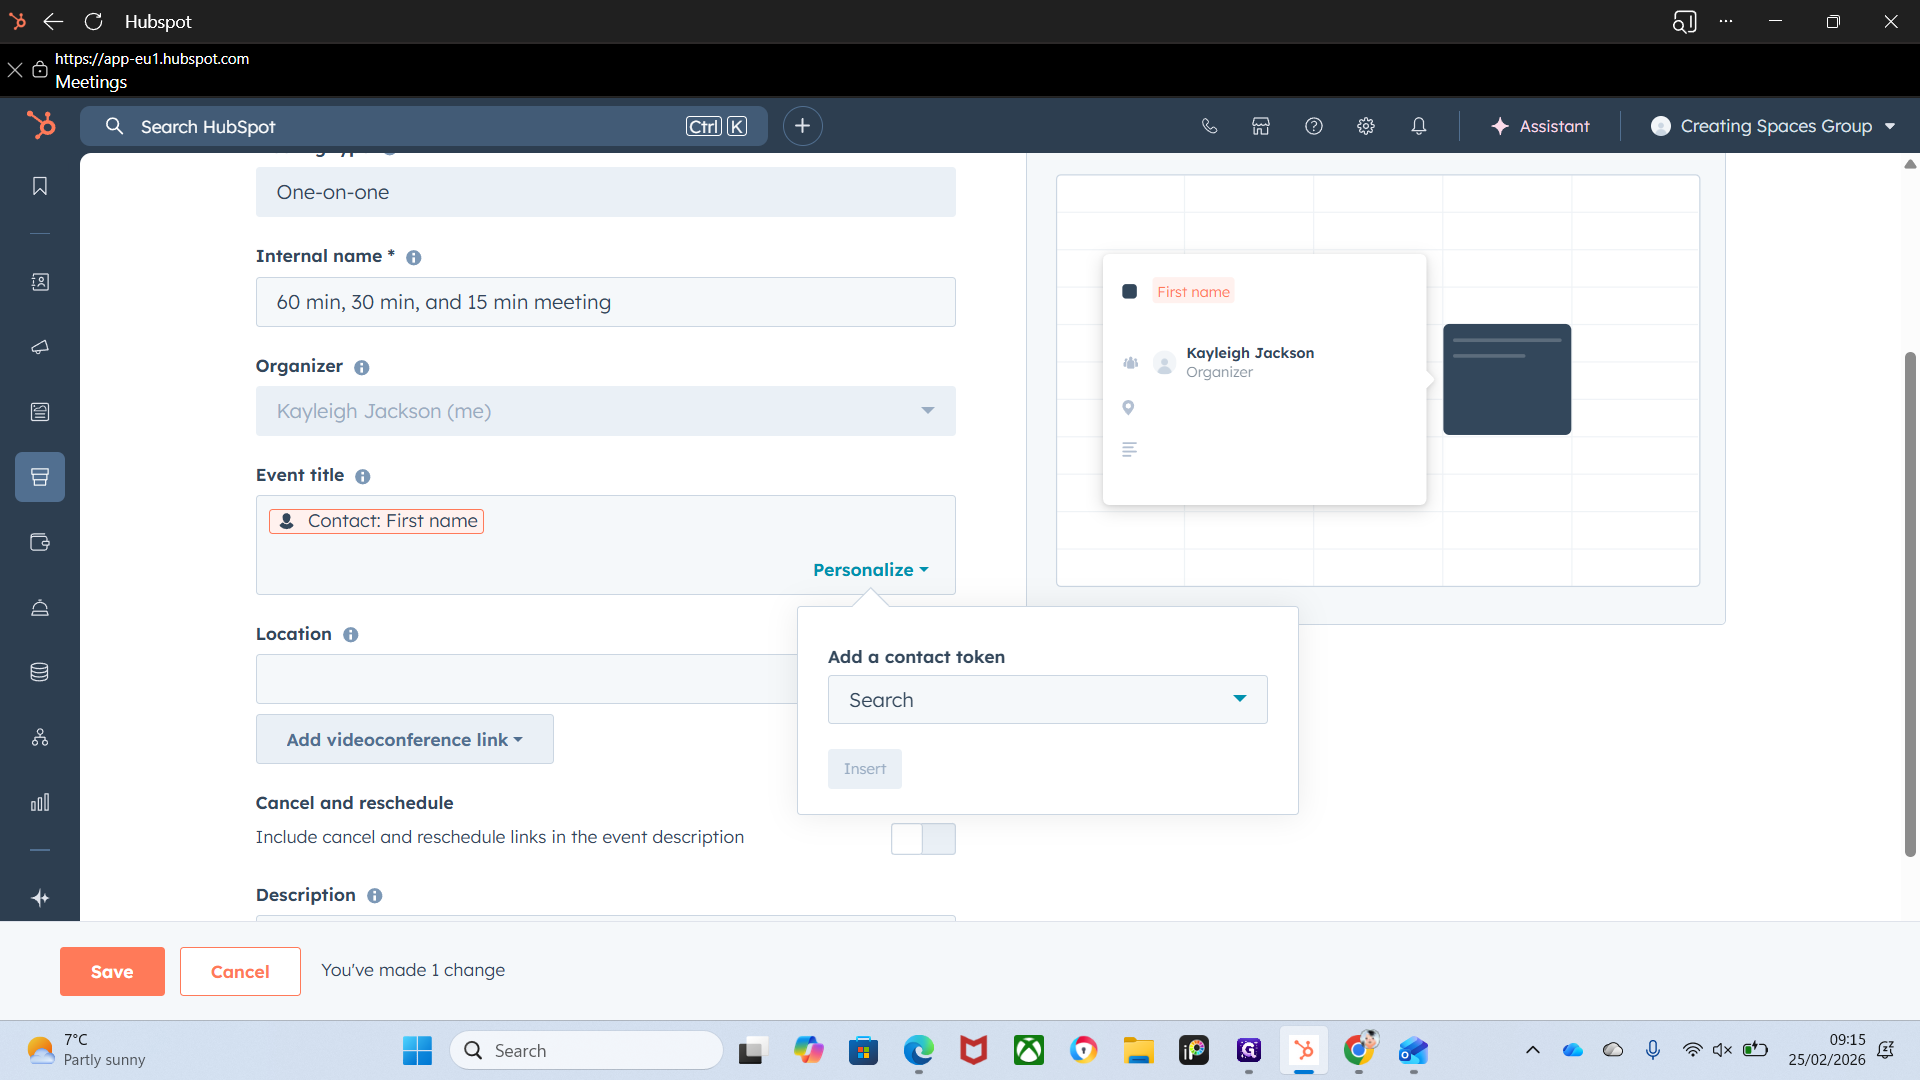
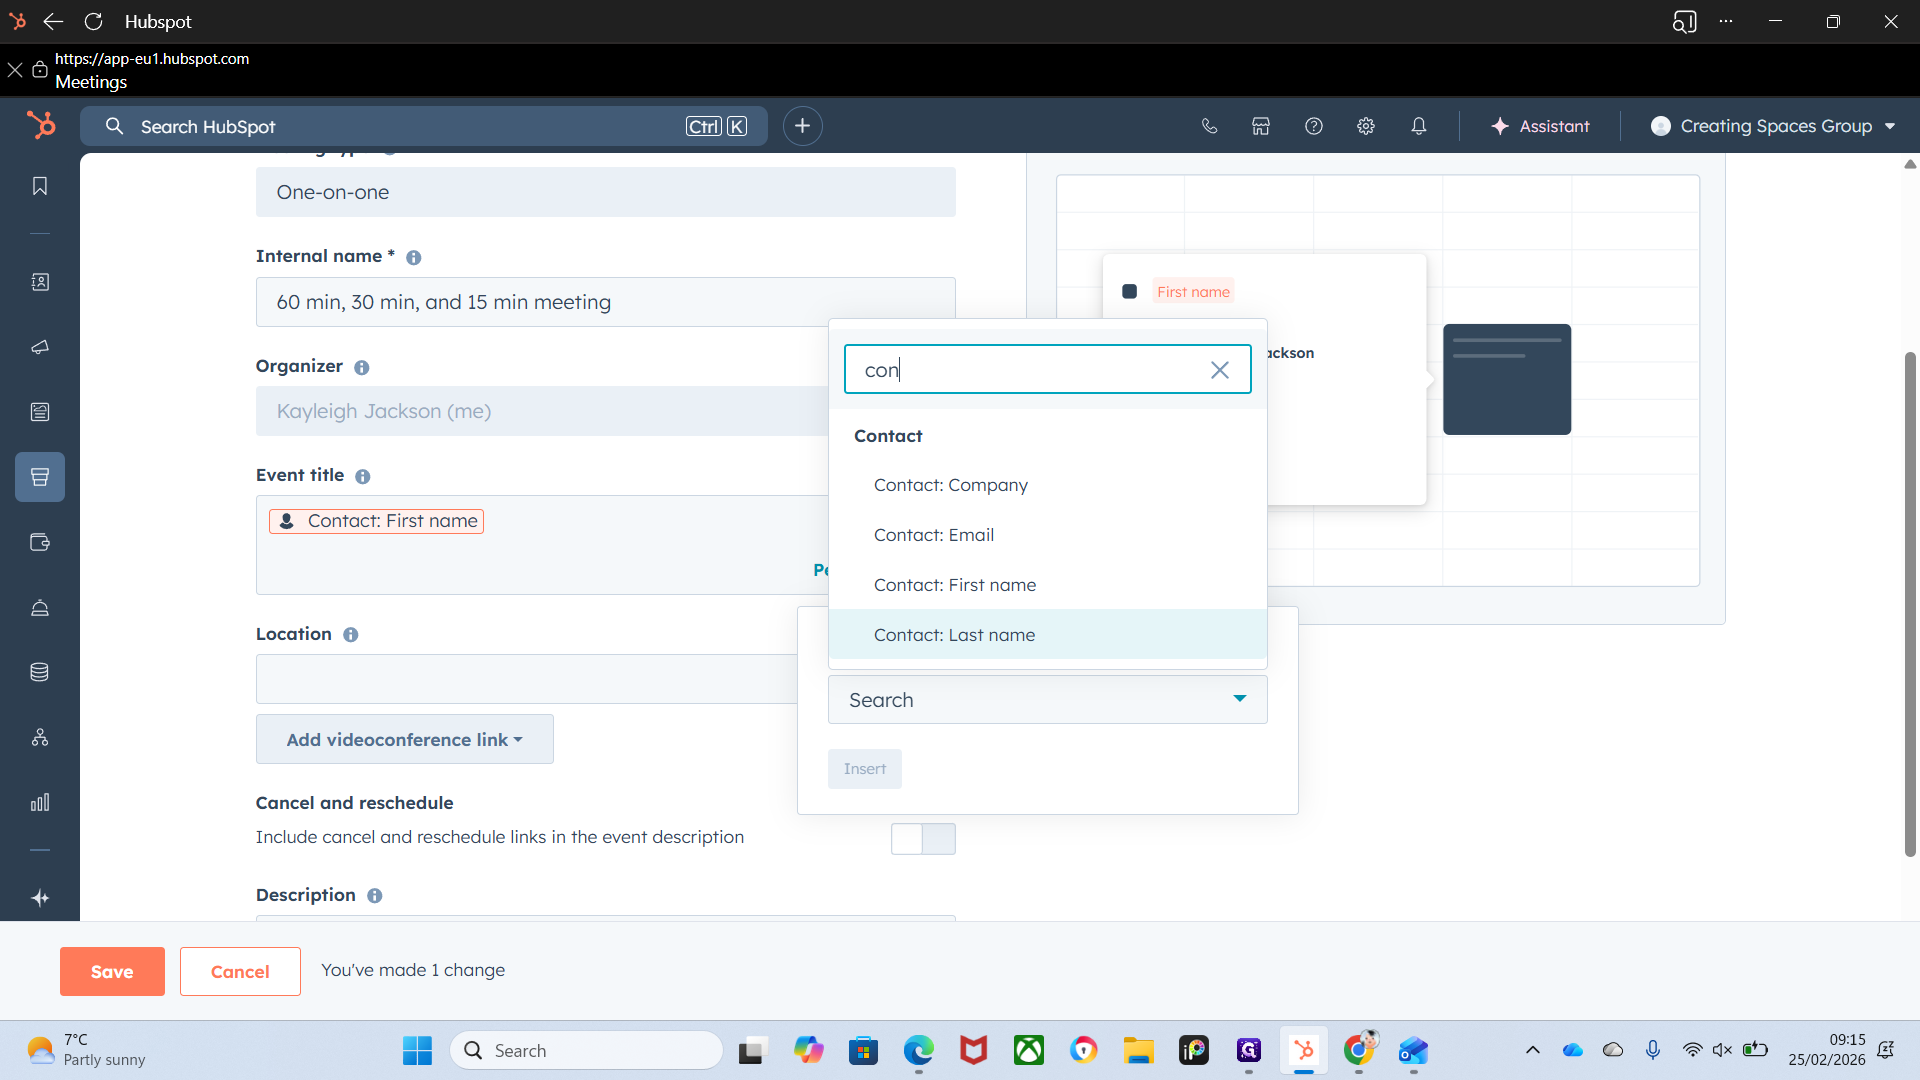
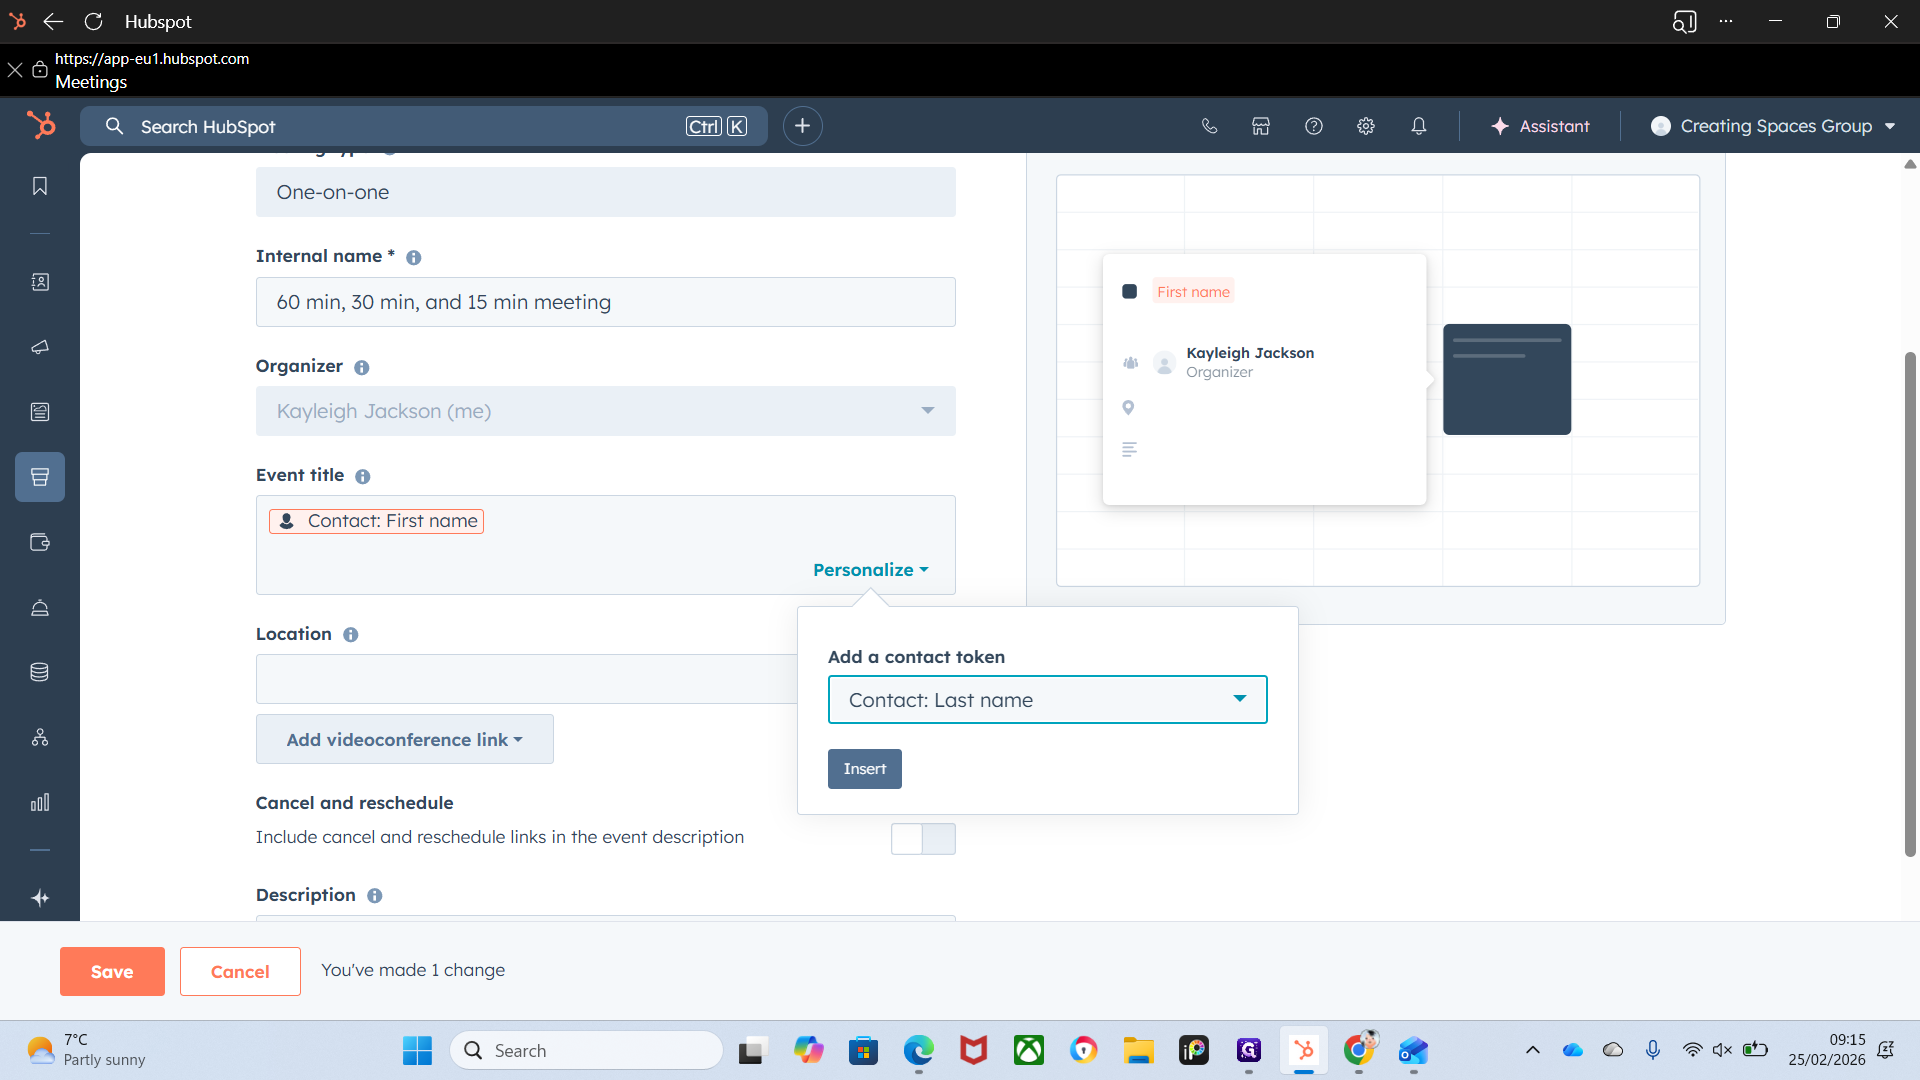
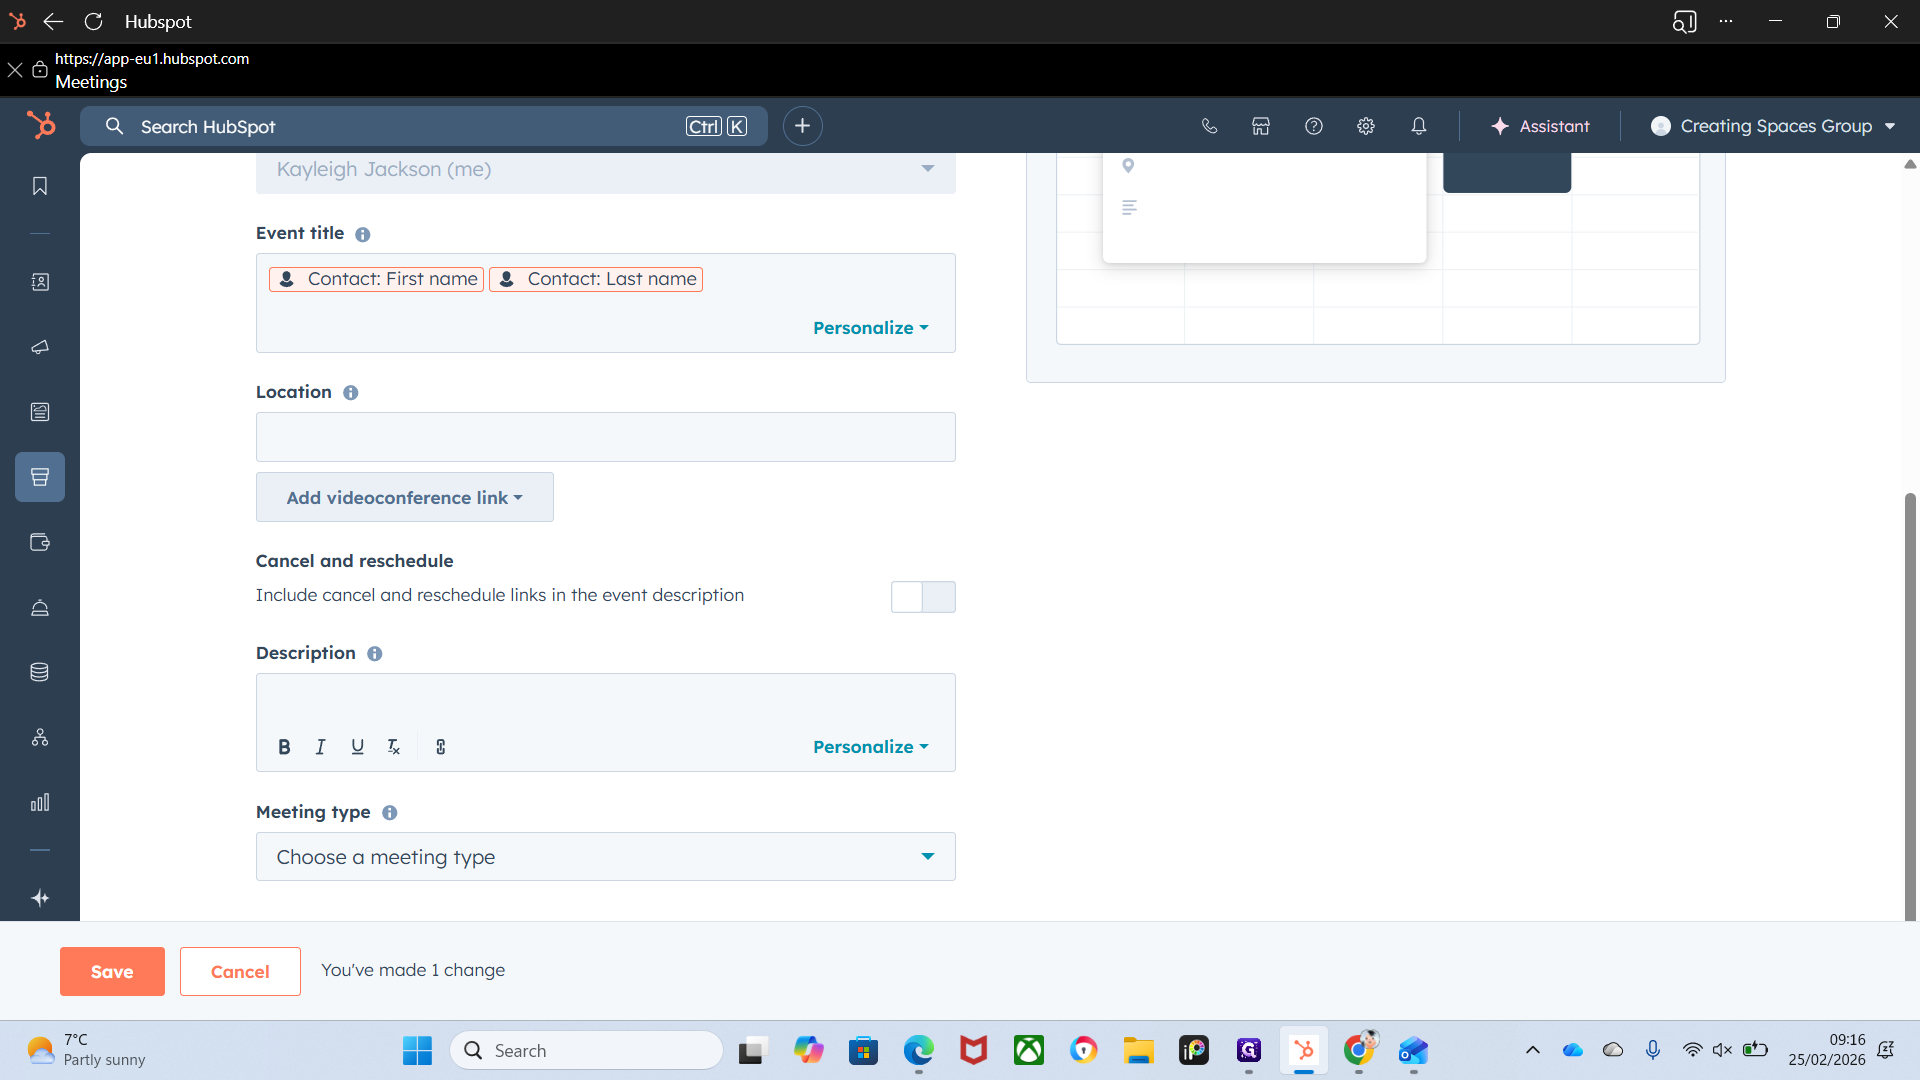
It automatically sets the user as the organizer. In this section, Title Event explains what will appear on the calendar.

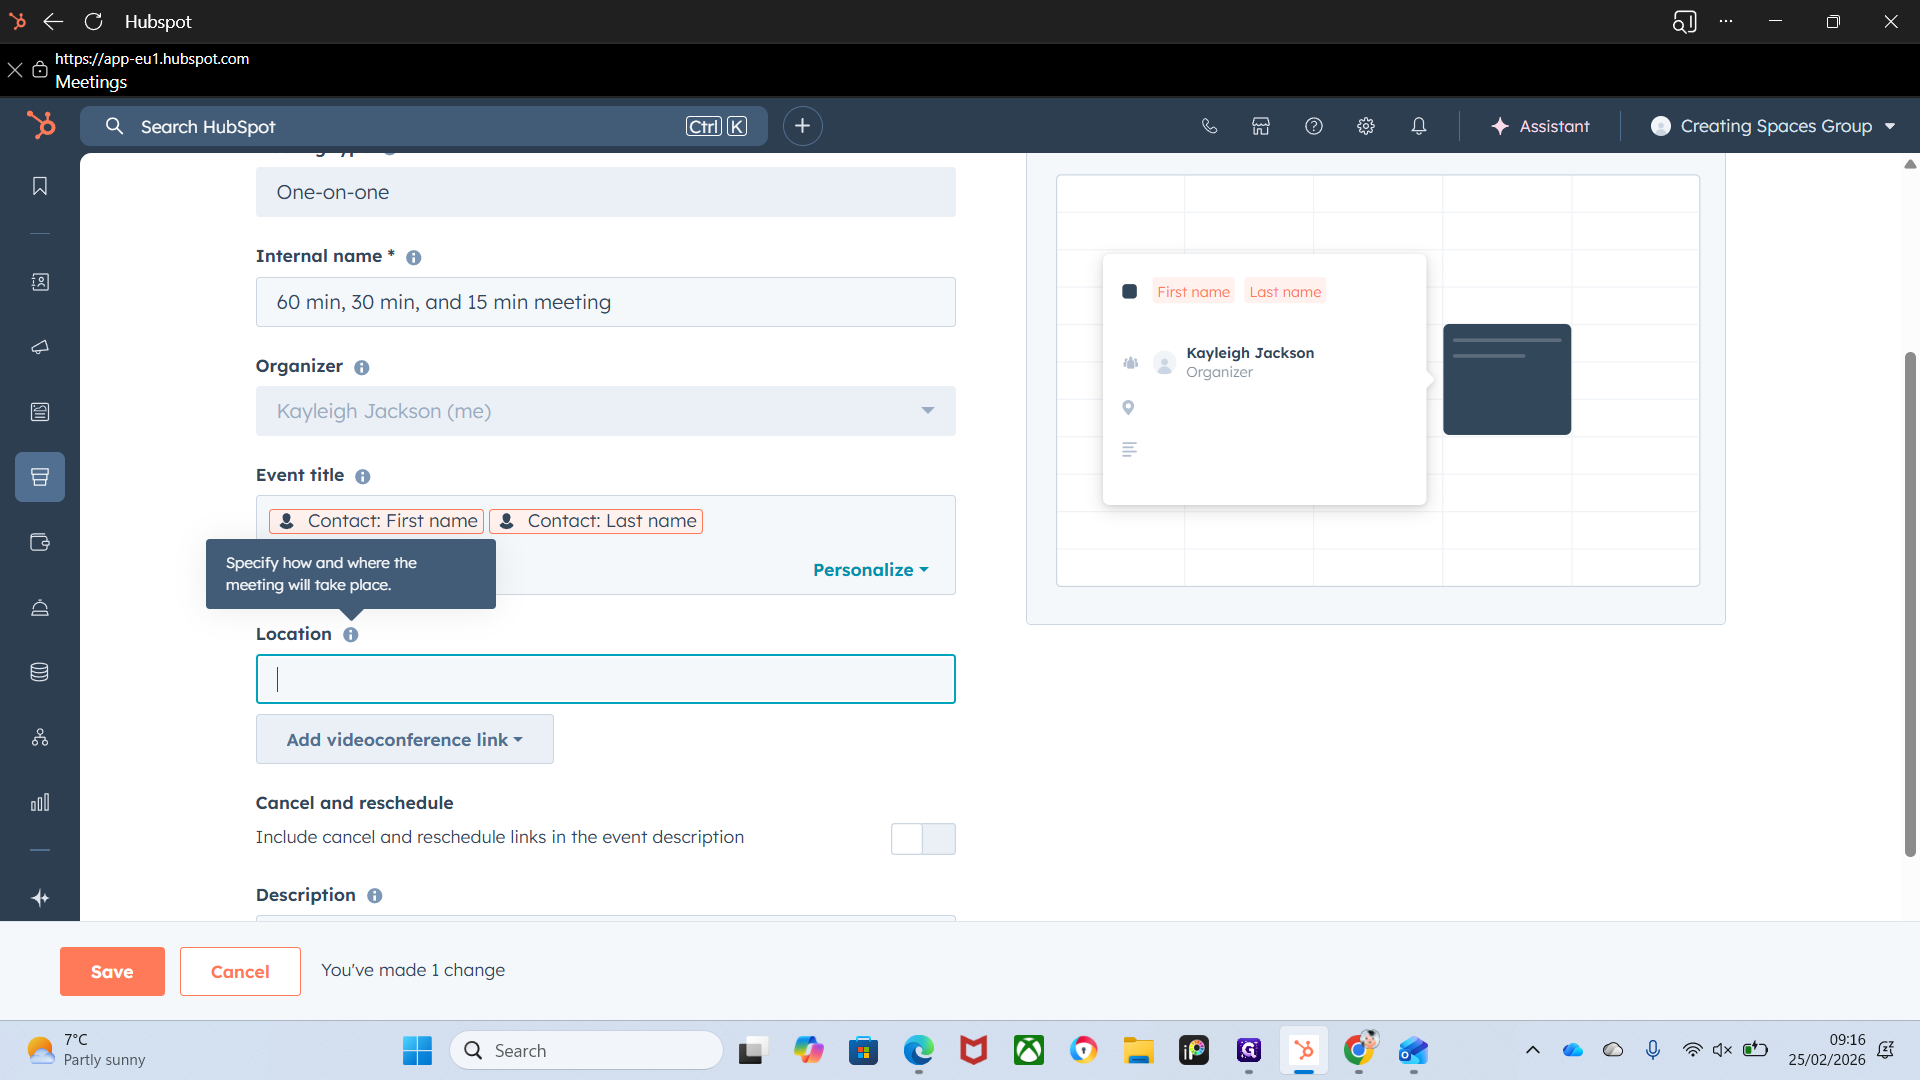
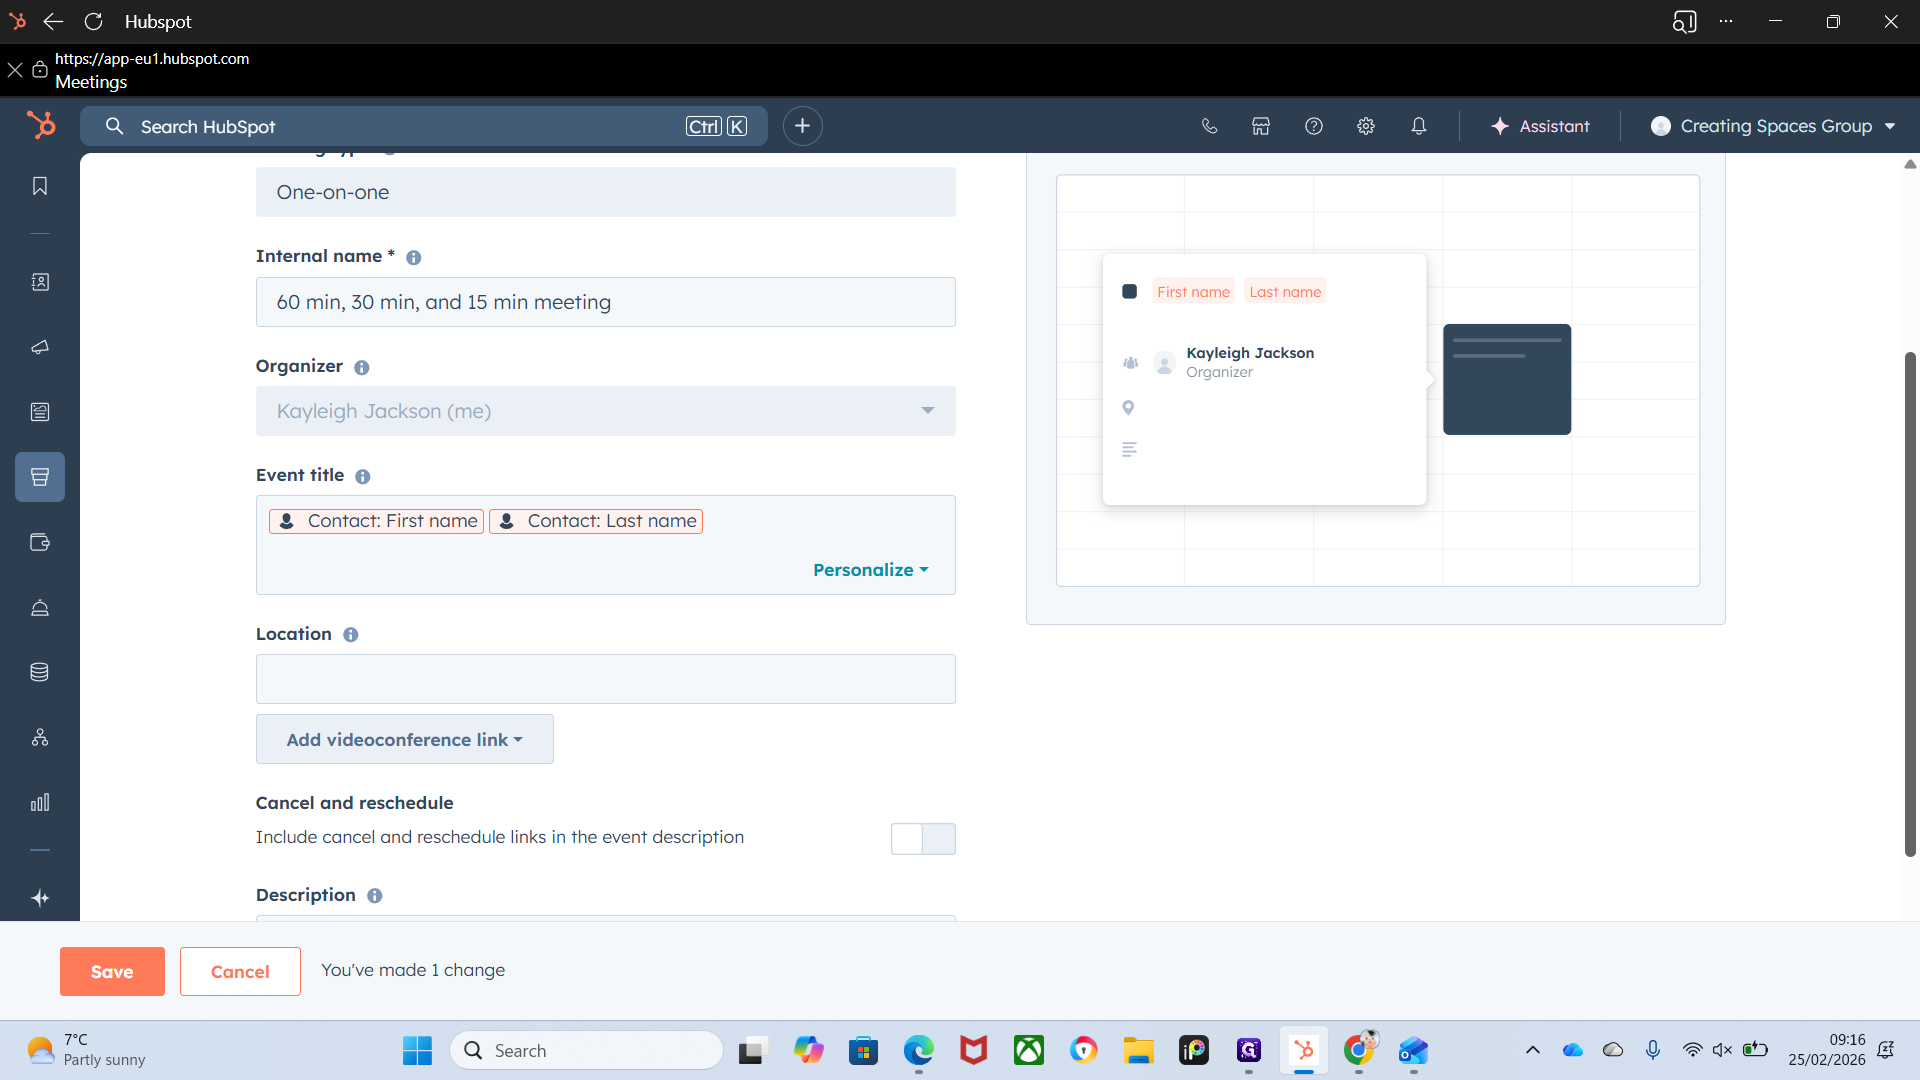
To personalize it, add the contact's first and last name.
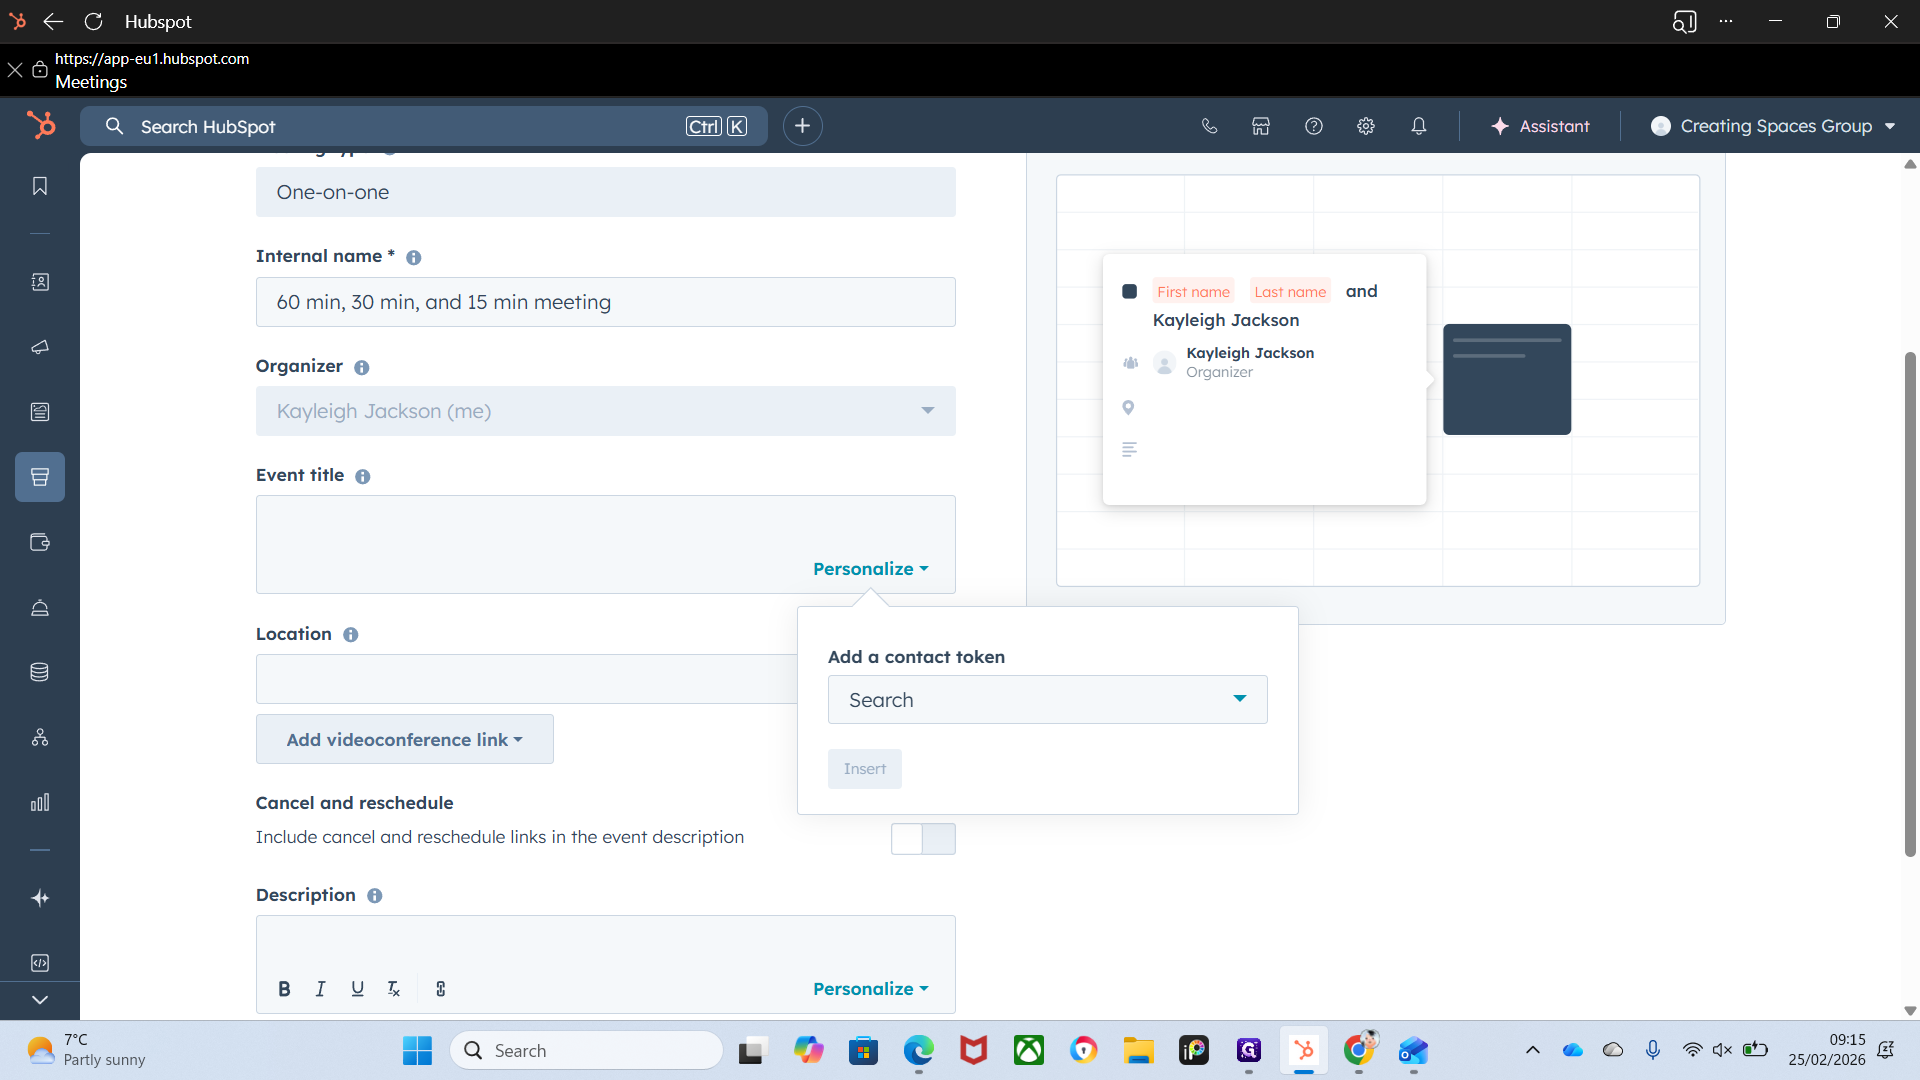
And contact last name.
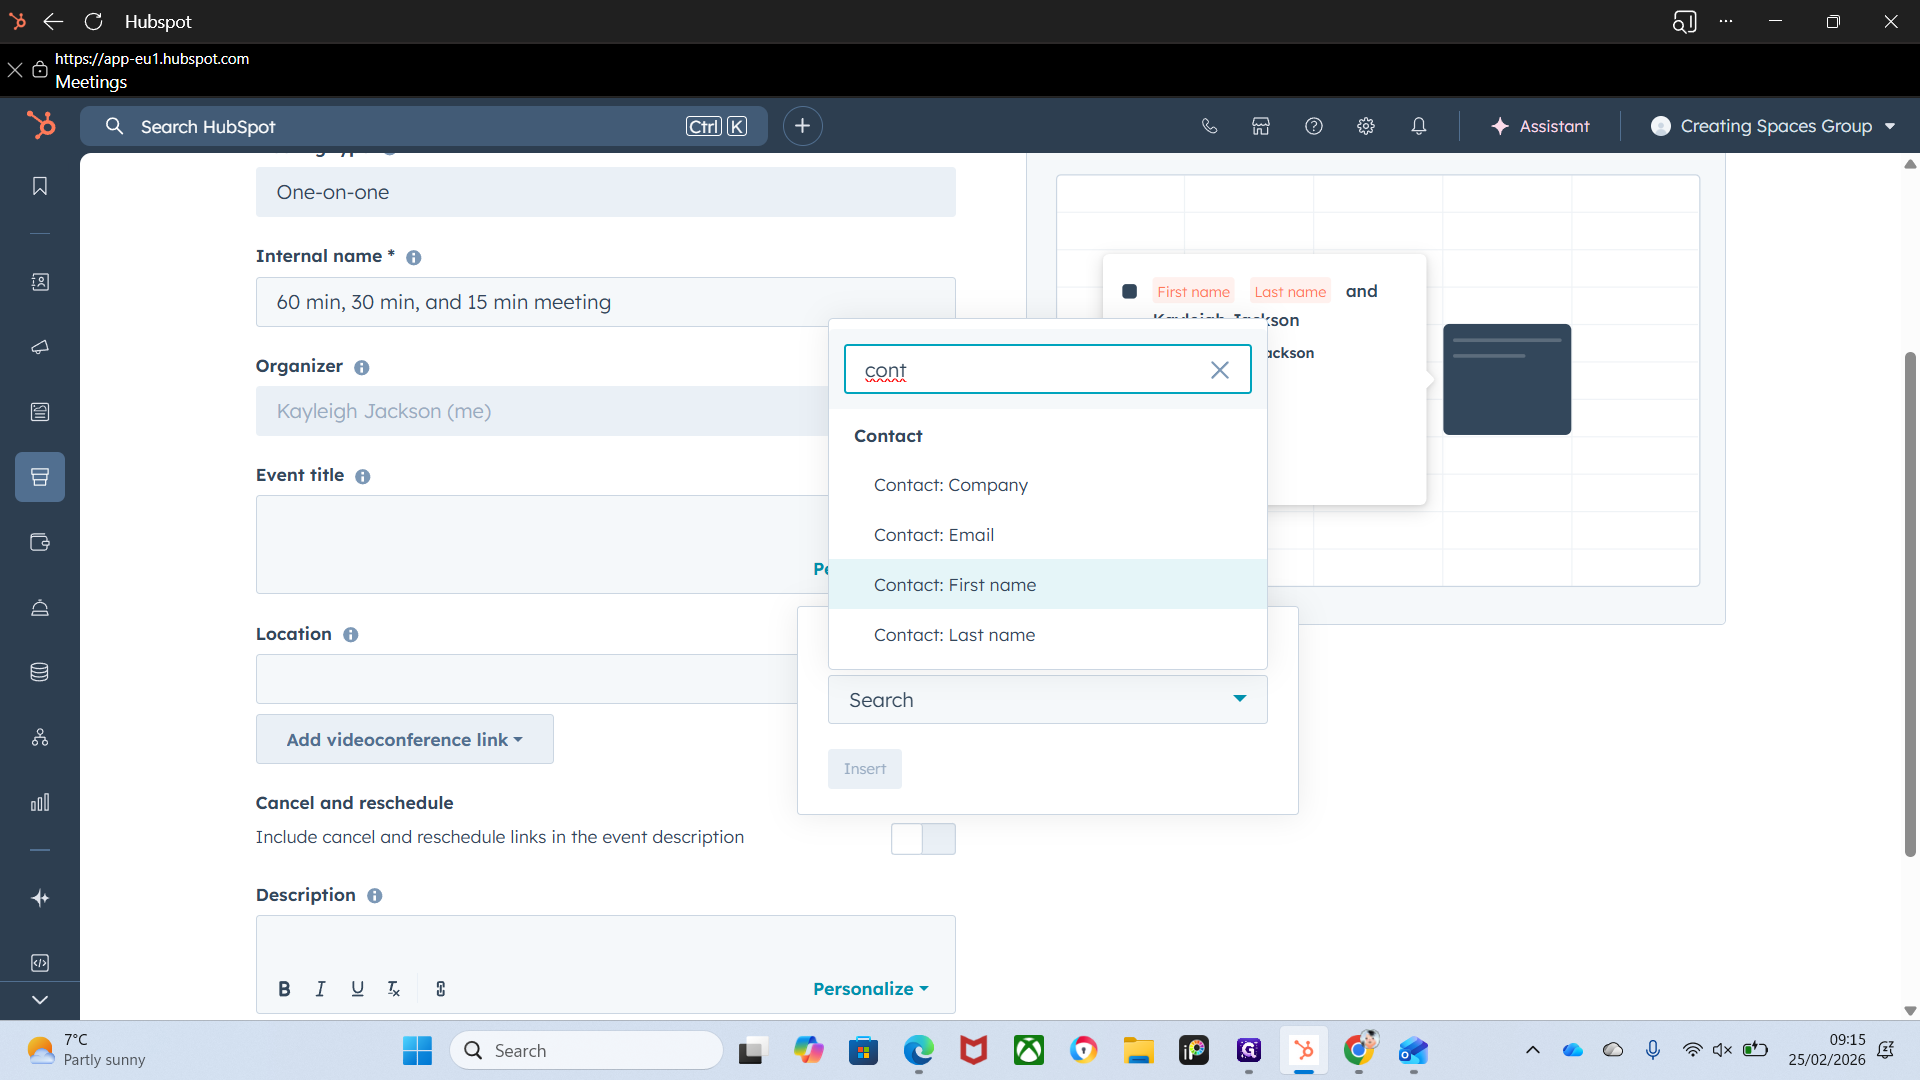
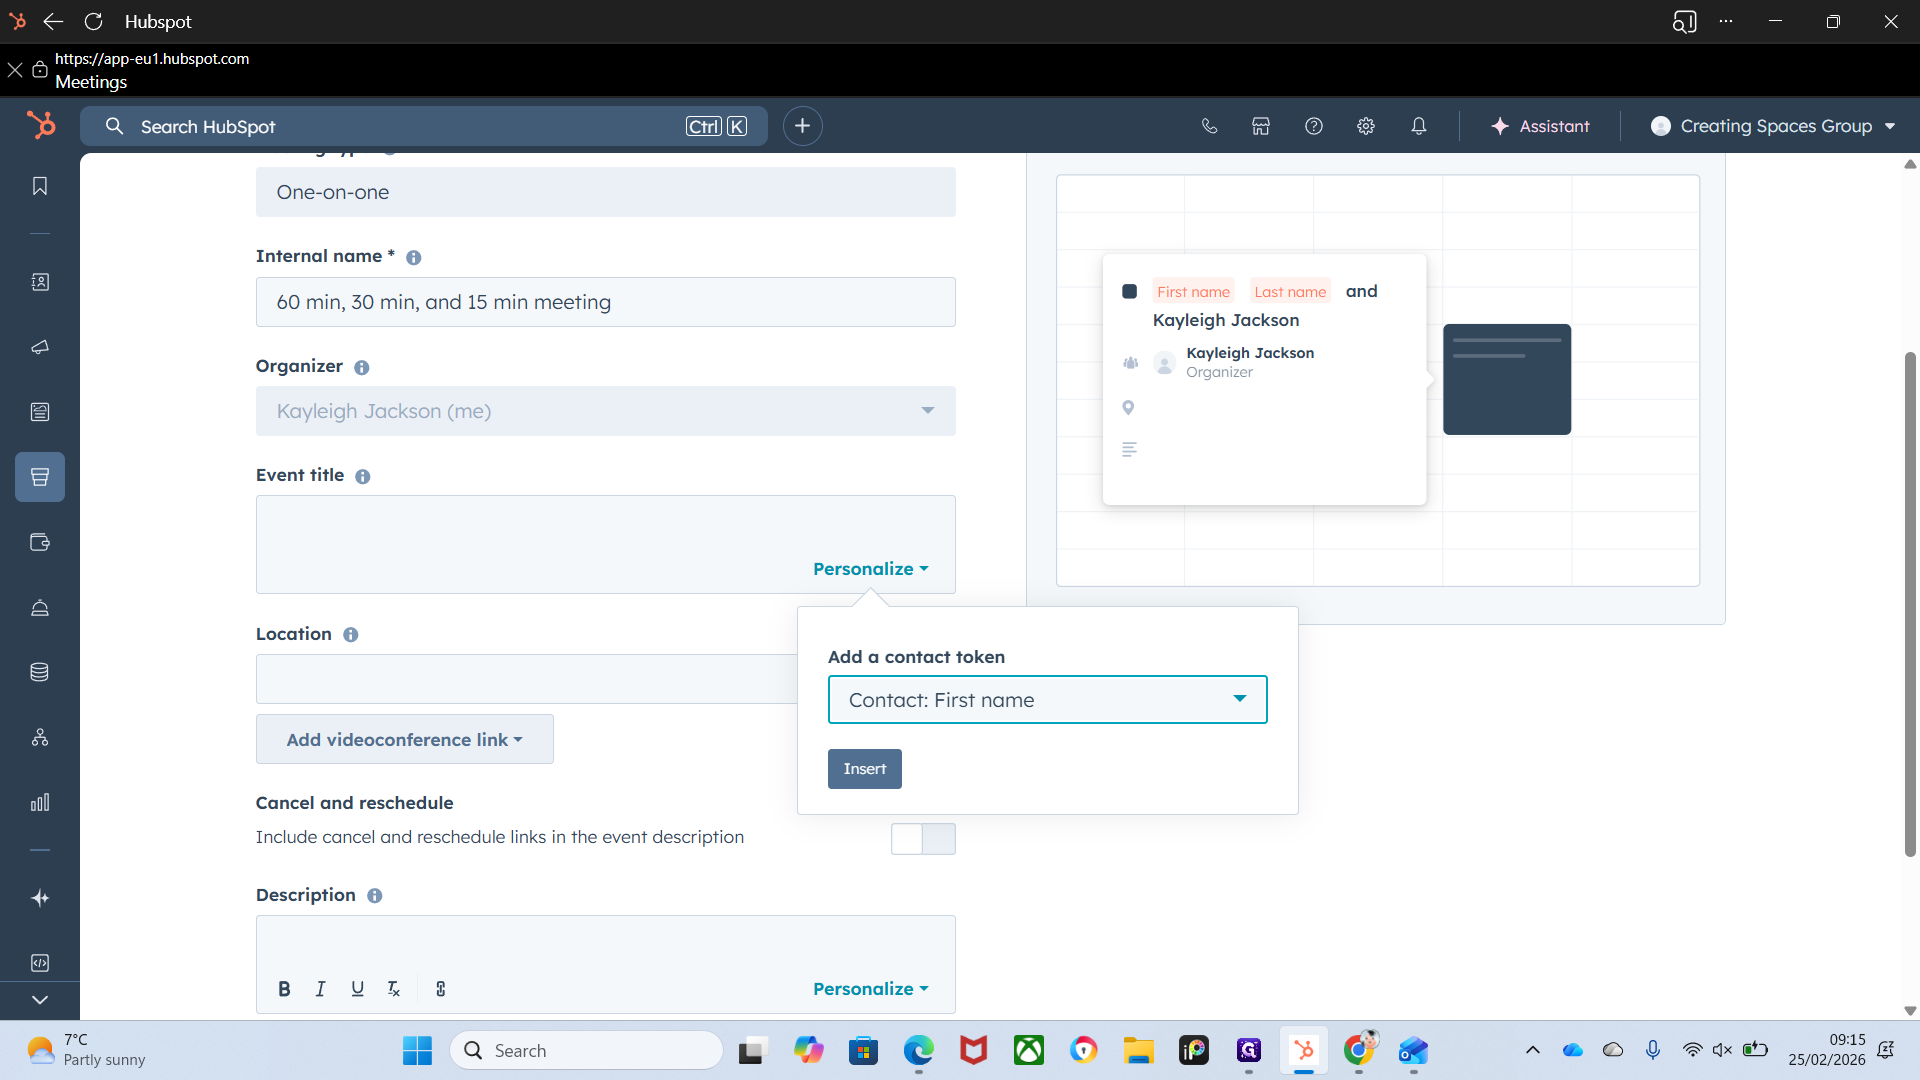
That saves you from having to manually enter the first and last name for each meeting. It automatically pulls that information from the contact details.
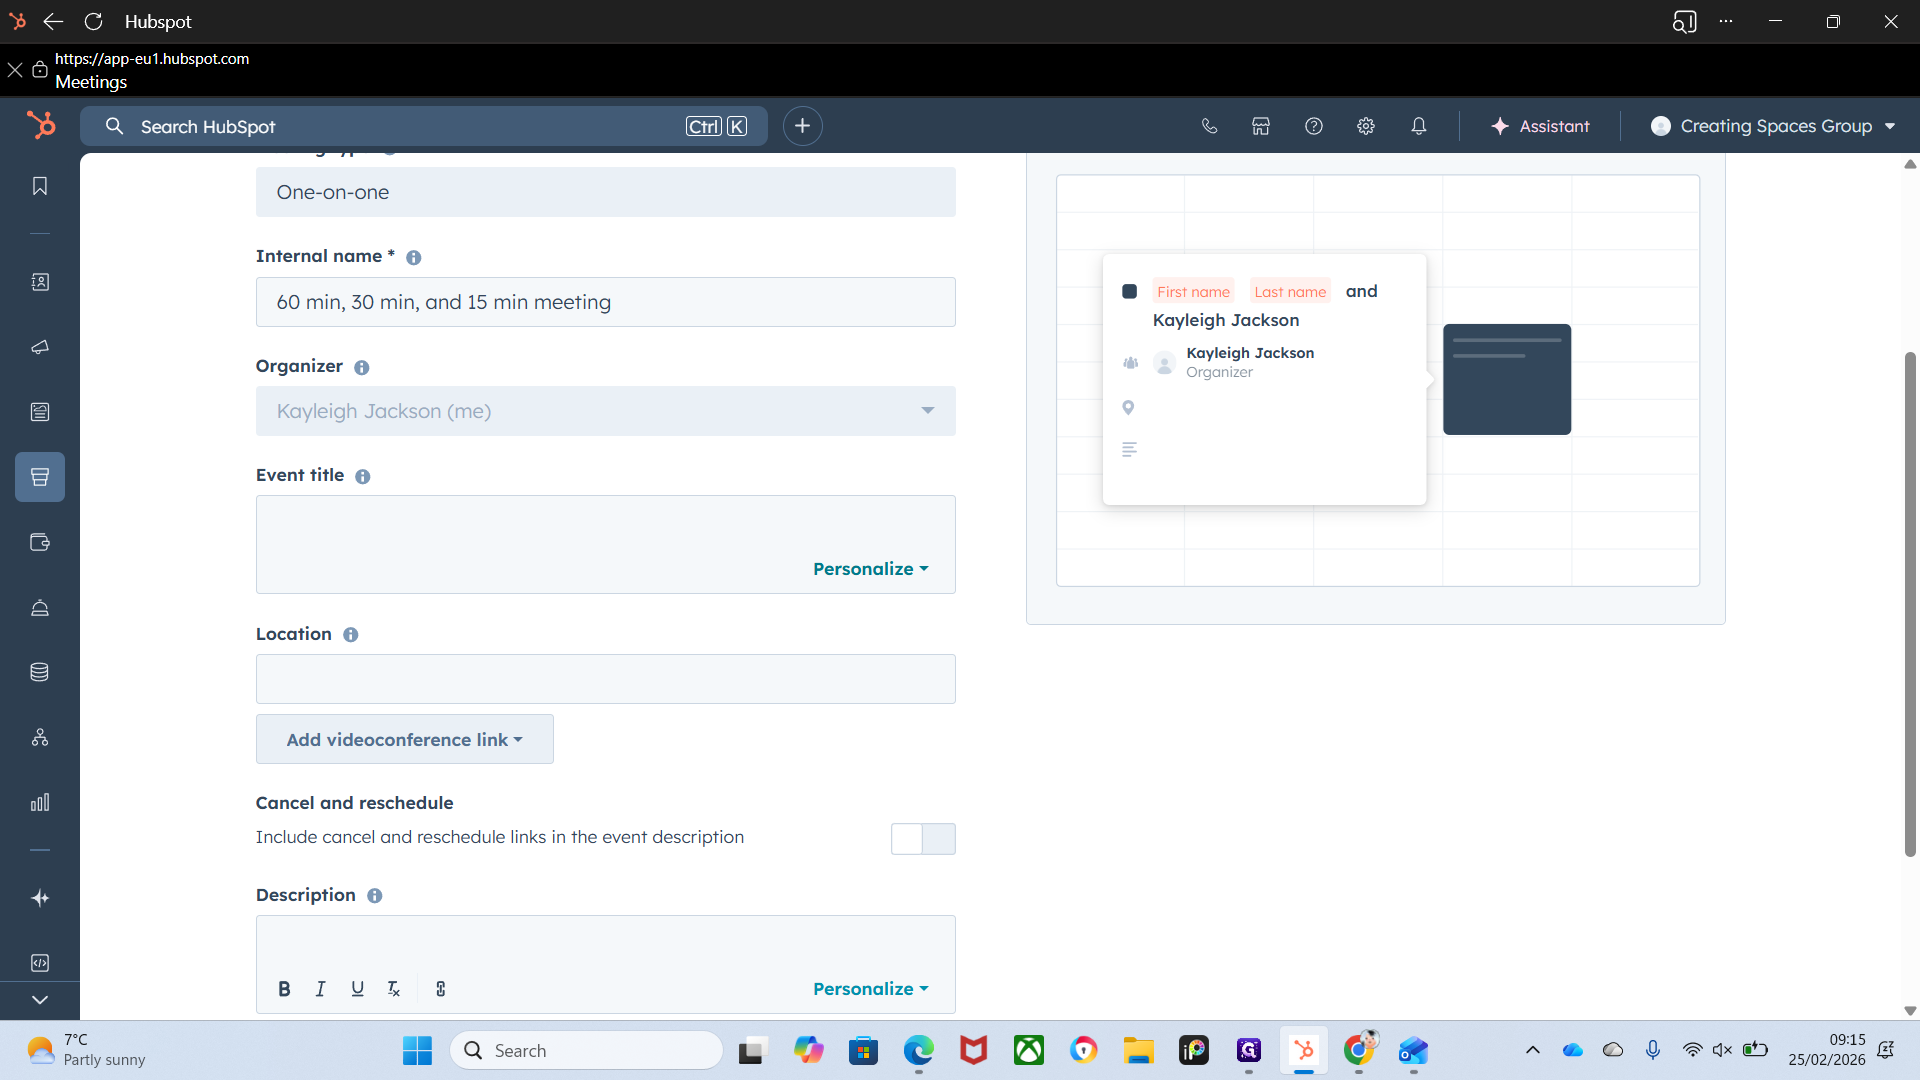
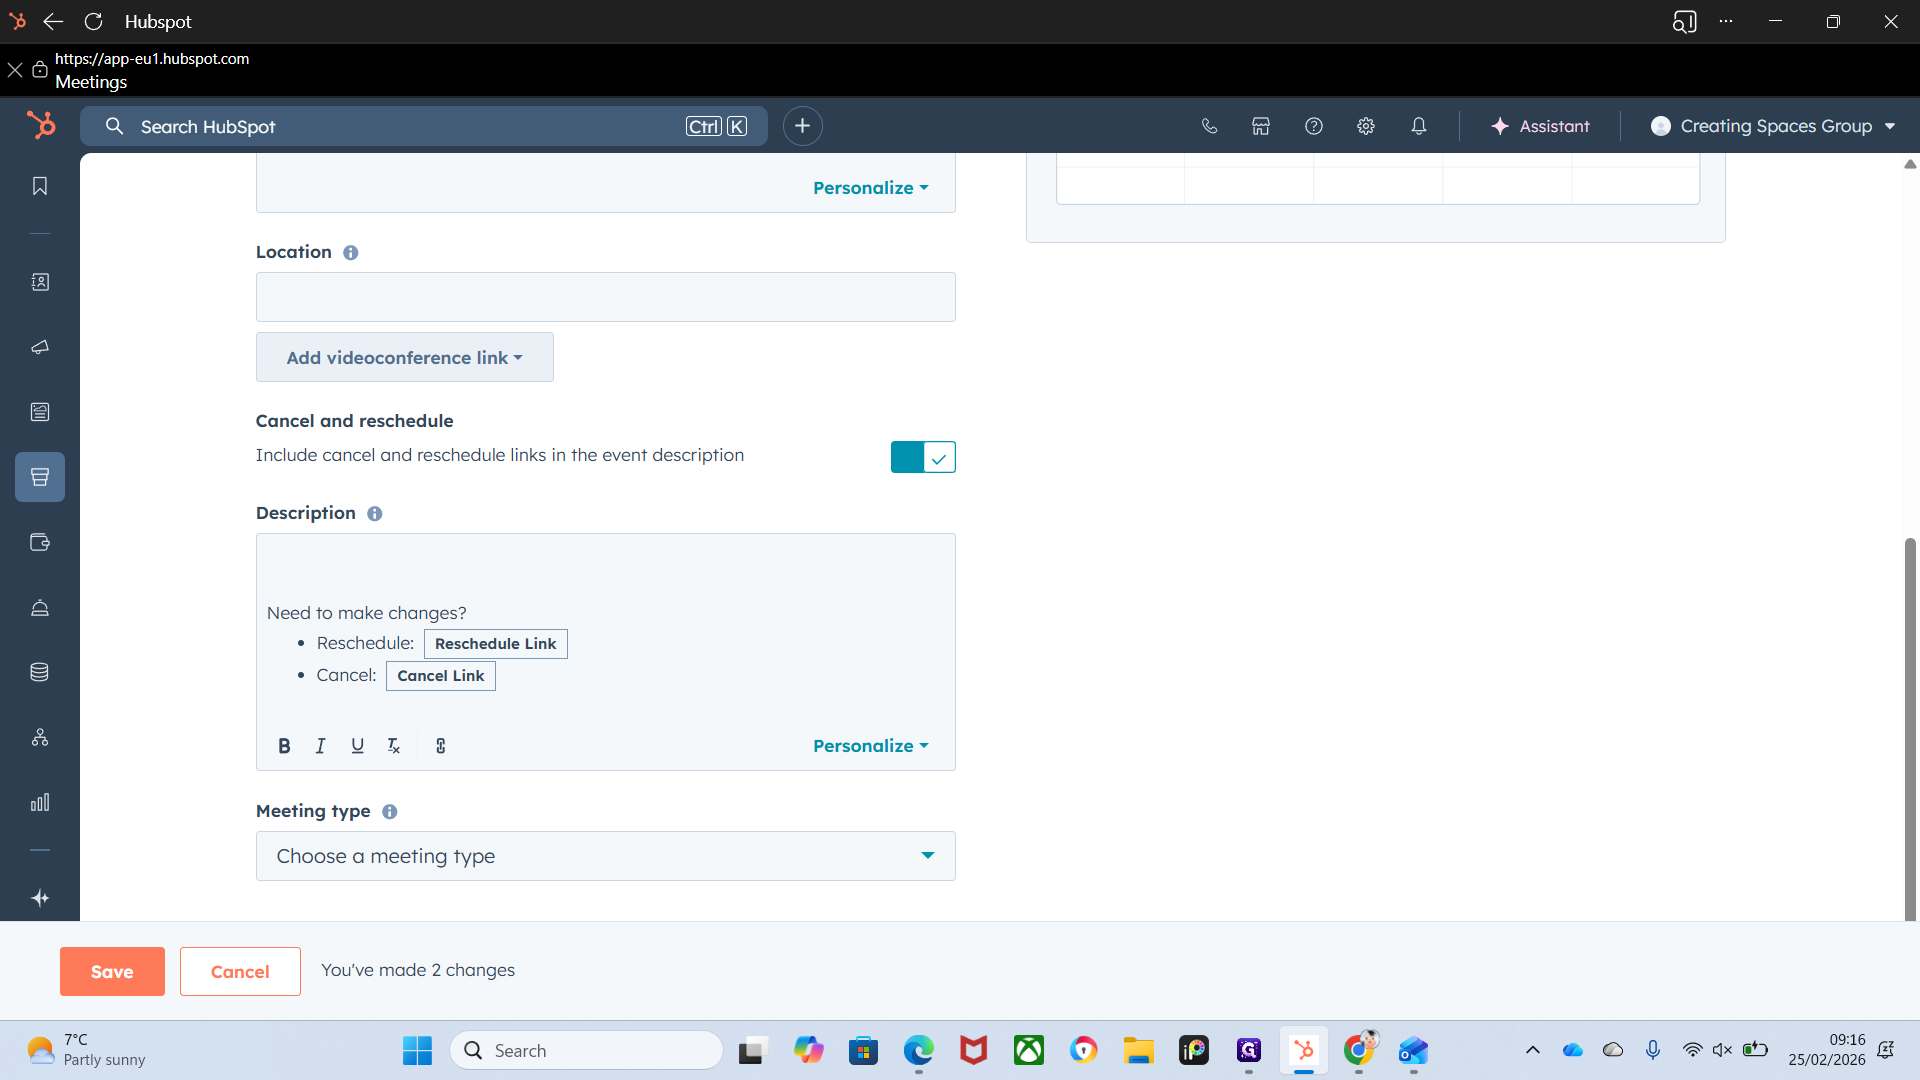
Location. Self-explanatory. Just select where you want the meetings to take place. You can also include cancellation and reschedule links.

All that means is it will appear at the bottom of your meeting email, and recipients can click to reschedule or cancel.
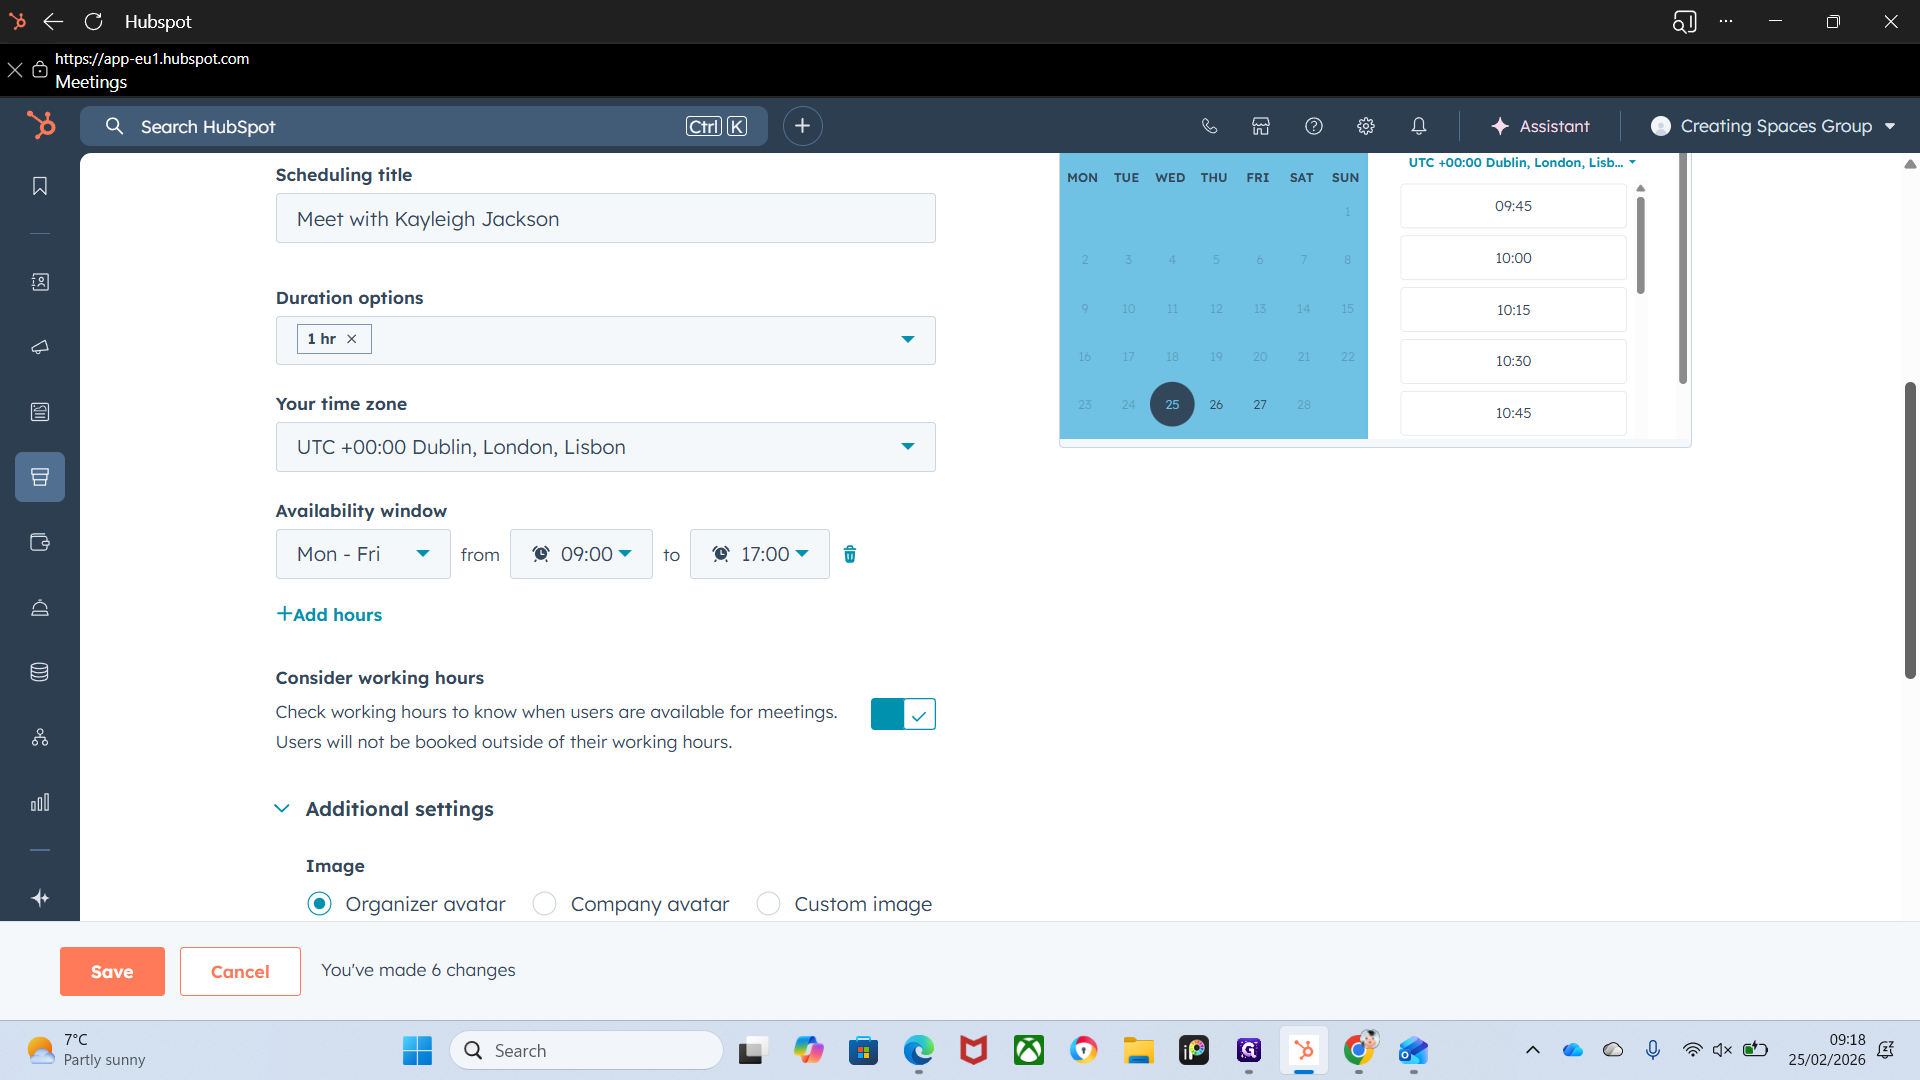
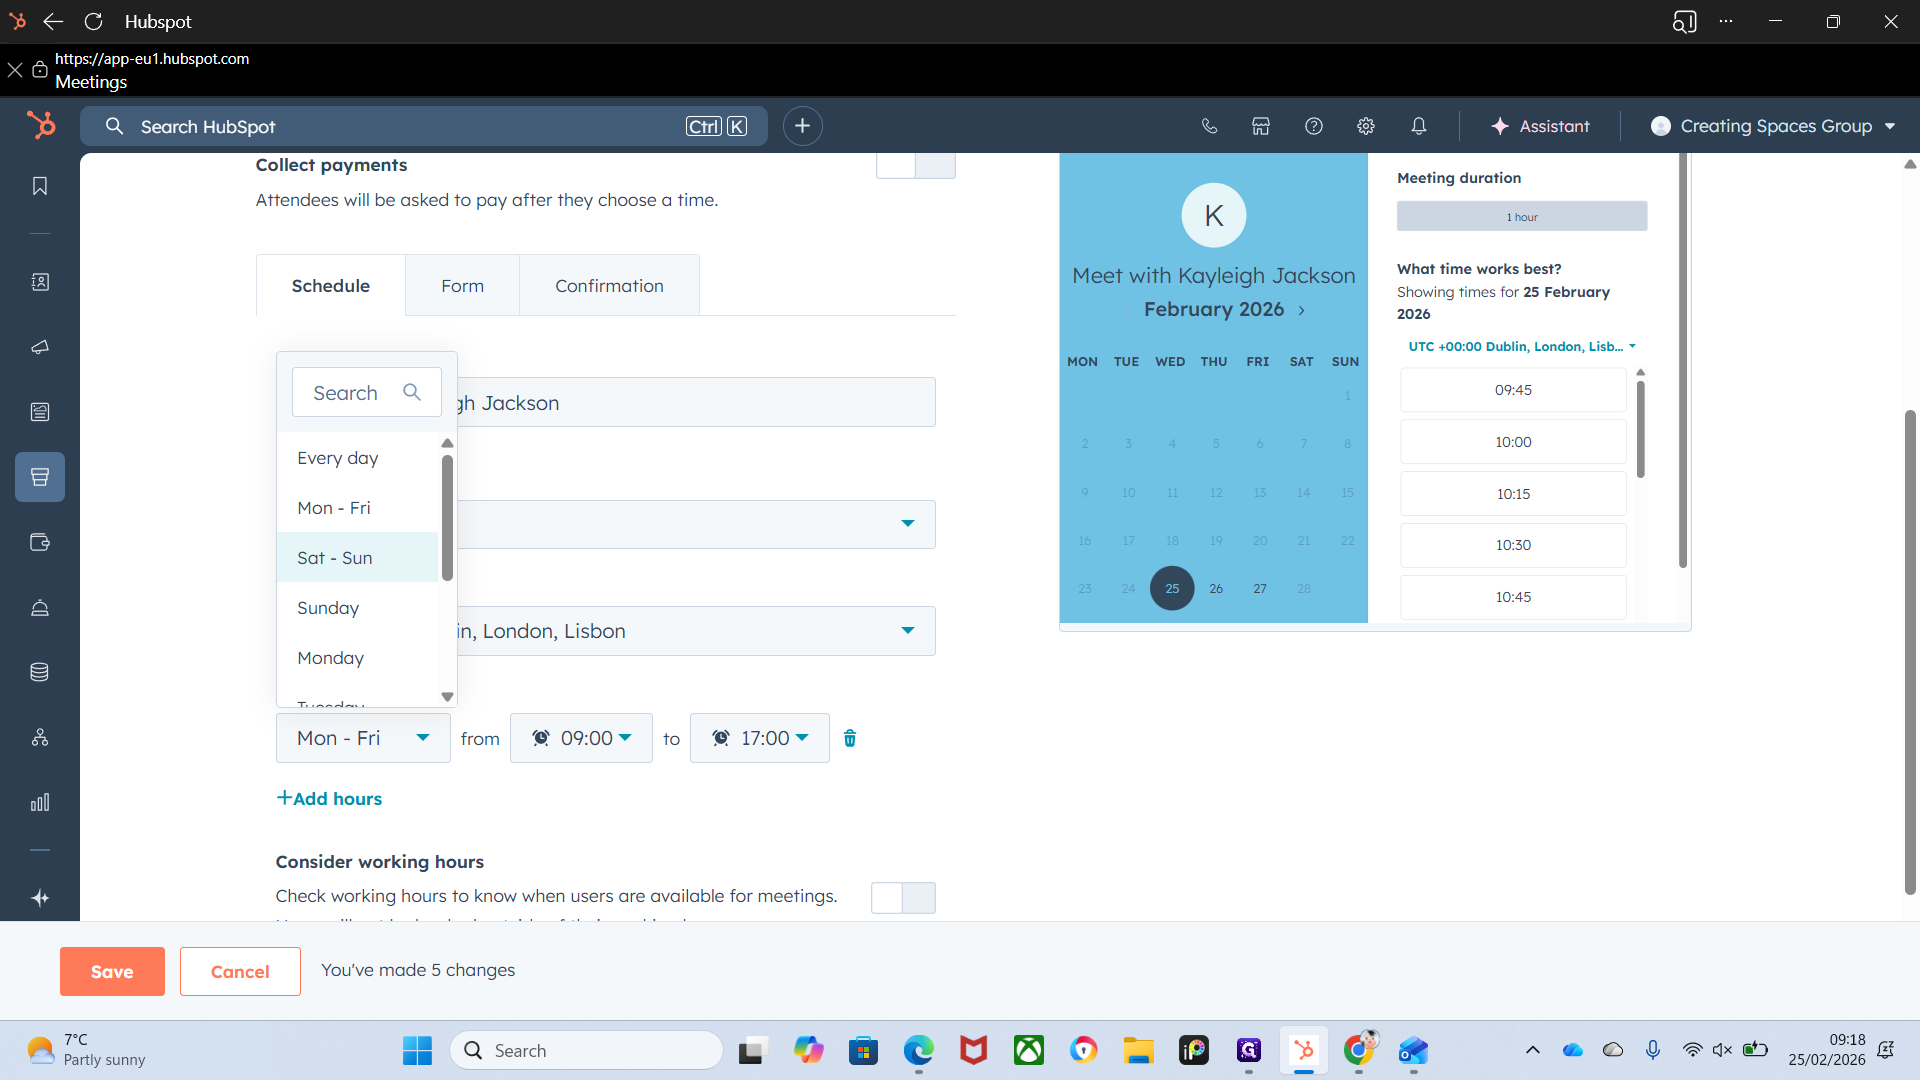
It all links back to the calendar, so it will only show available times. To update your availability, adjust your work week in the calendar. Then choose your meeting type.
I suggest creating one for each, since the time frames and locations are different. When you book an appointment for viewing plans and design, we know it will be at the showroom.
You can add a Zoom call if your meeting is remote

Okay. Click the meeting type to see a brief preview of how it will appear on your calendar.
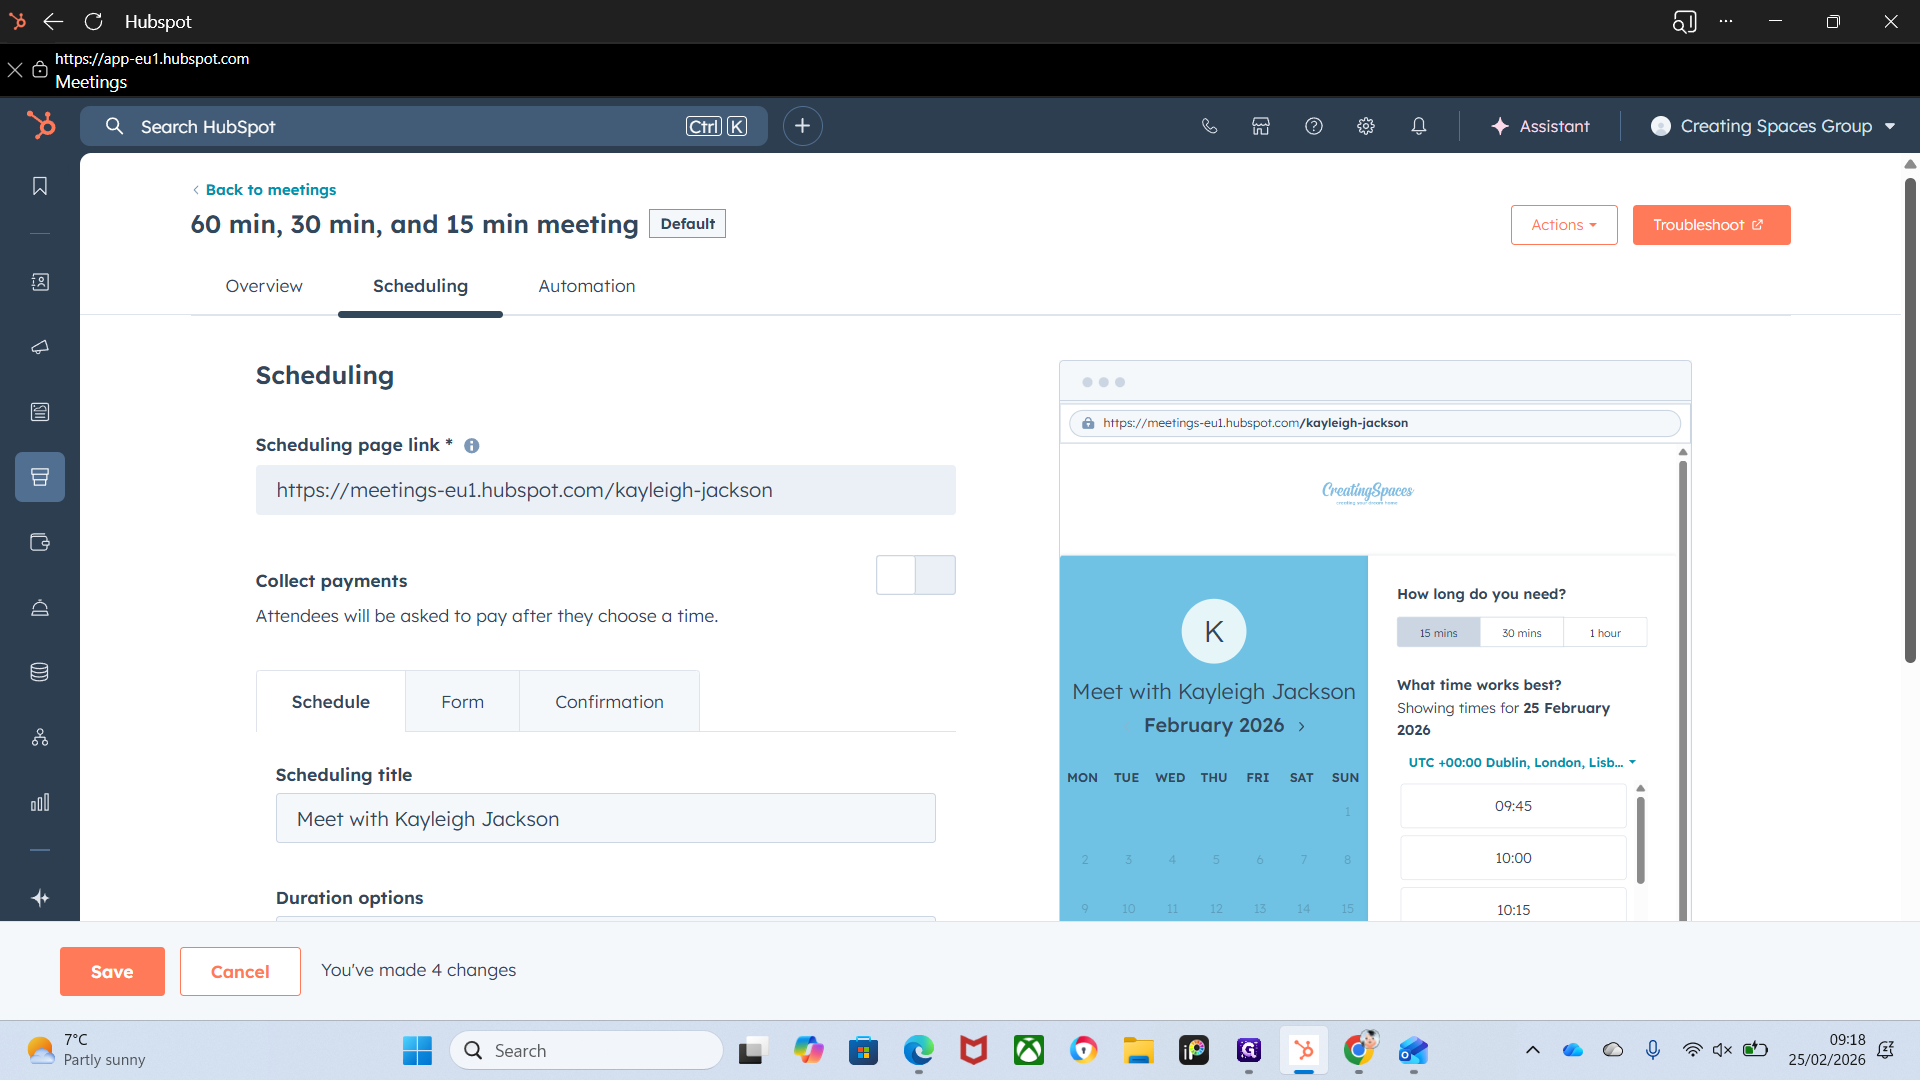
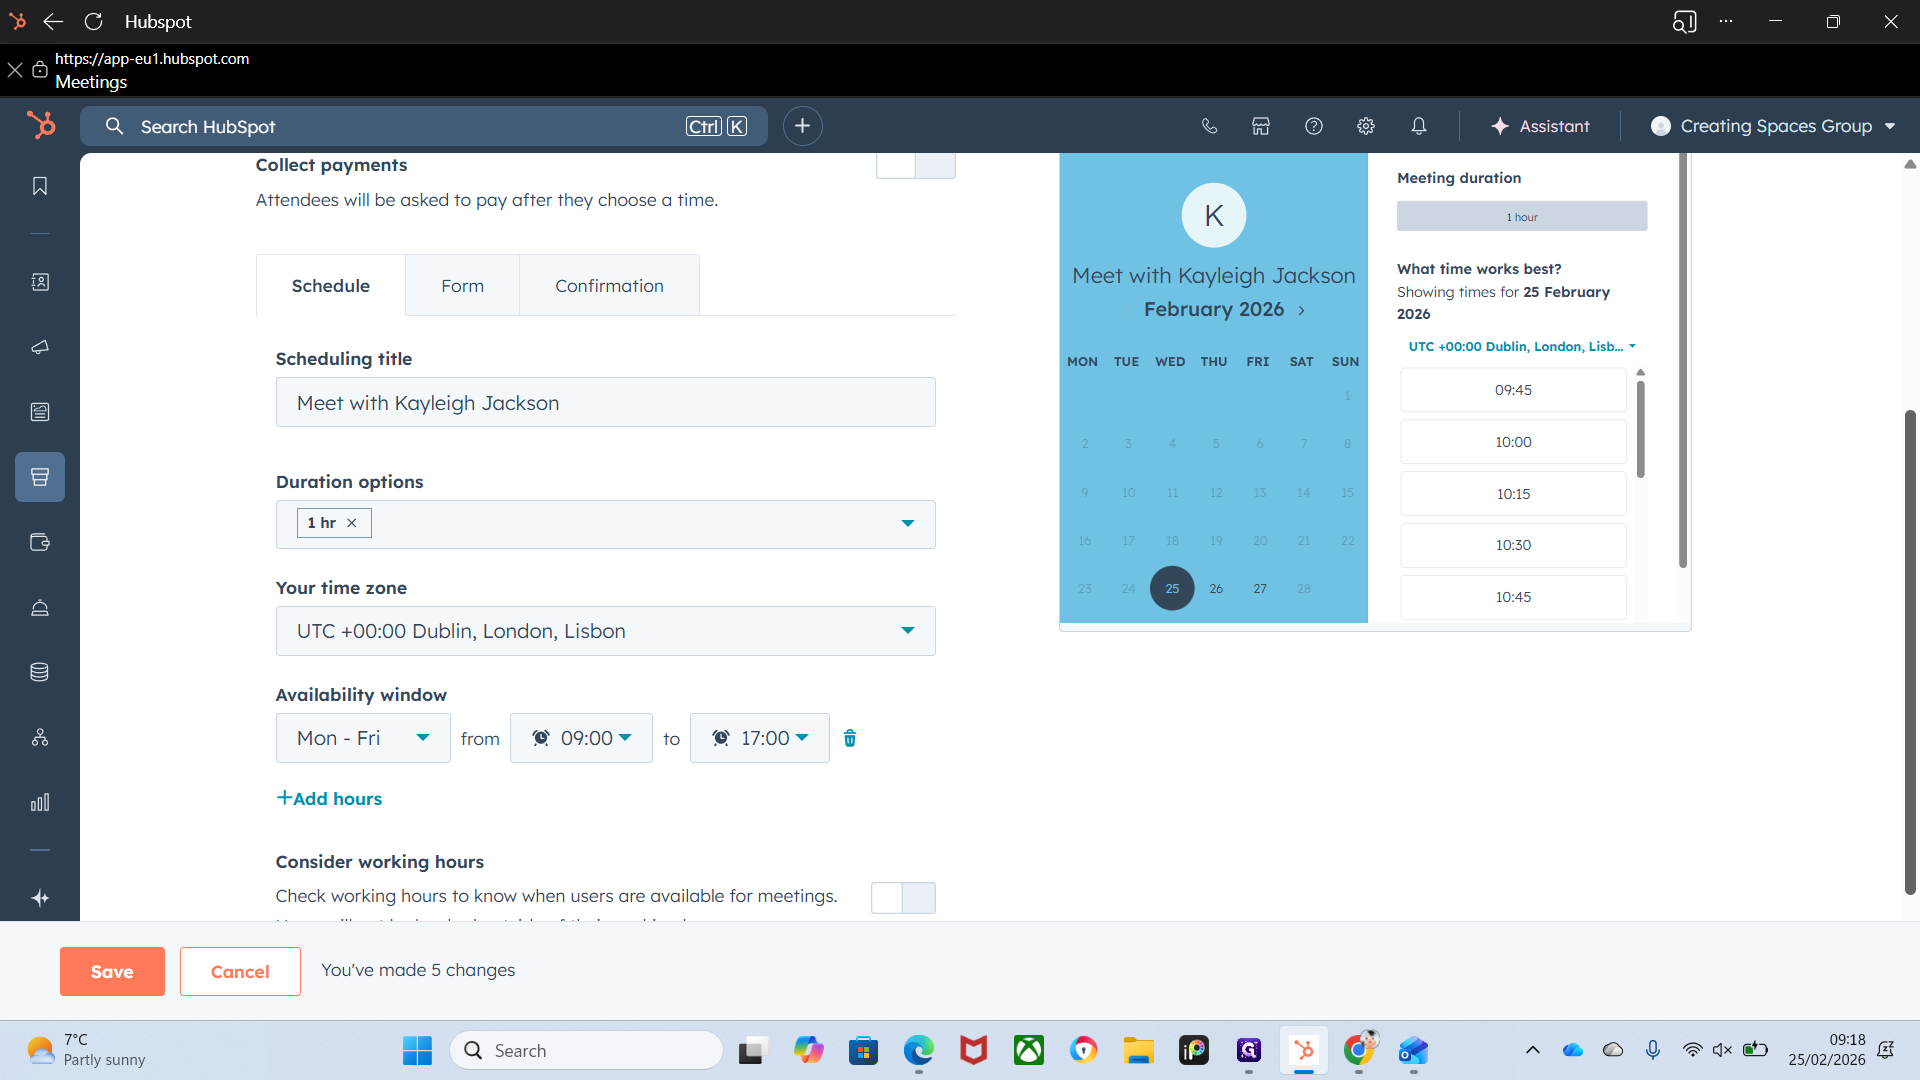
Move over to scheduling. This is your scheduling link. It will appear in the meeting email they receive.

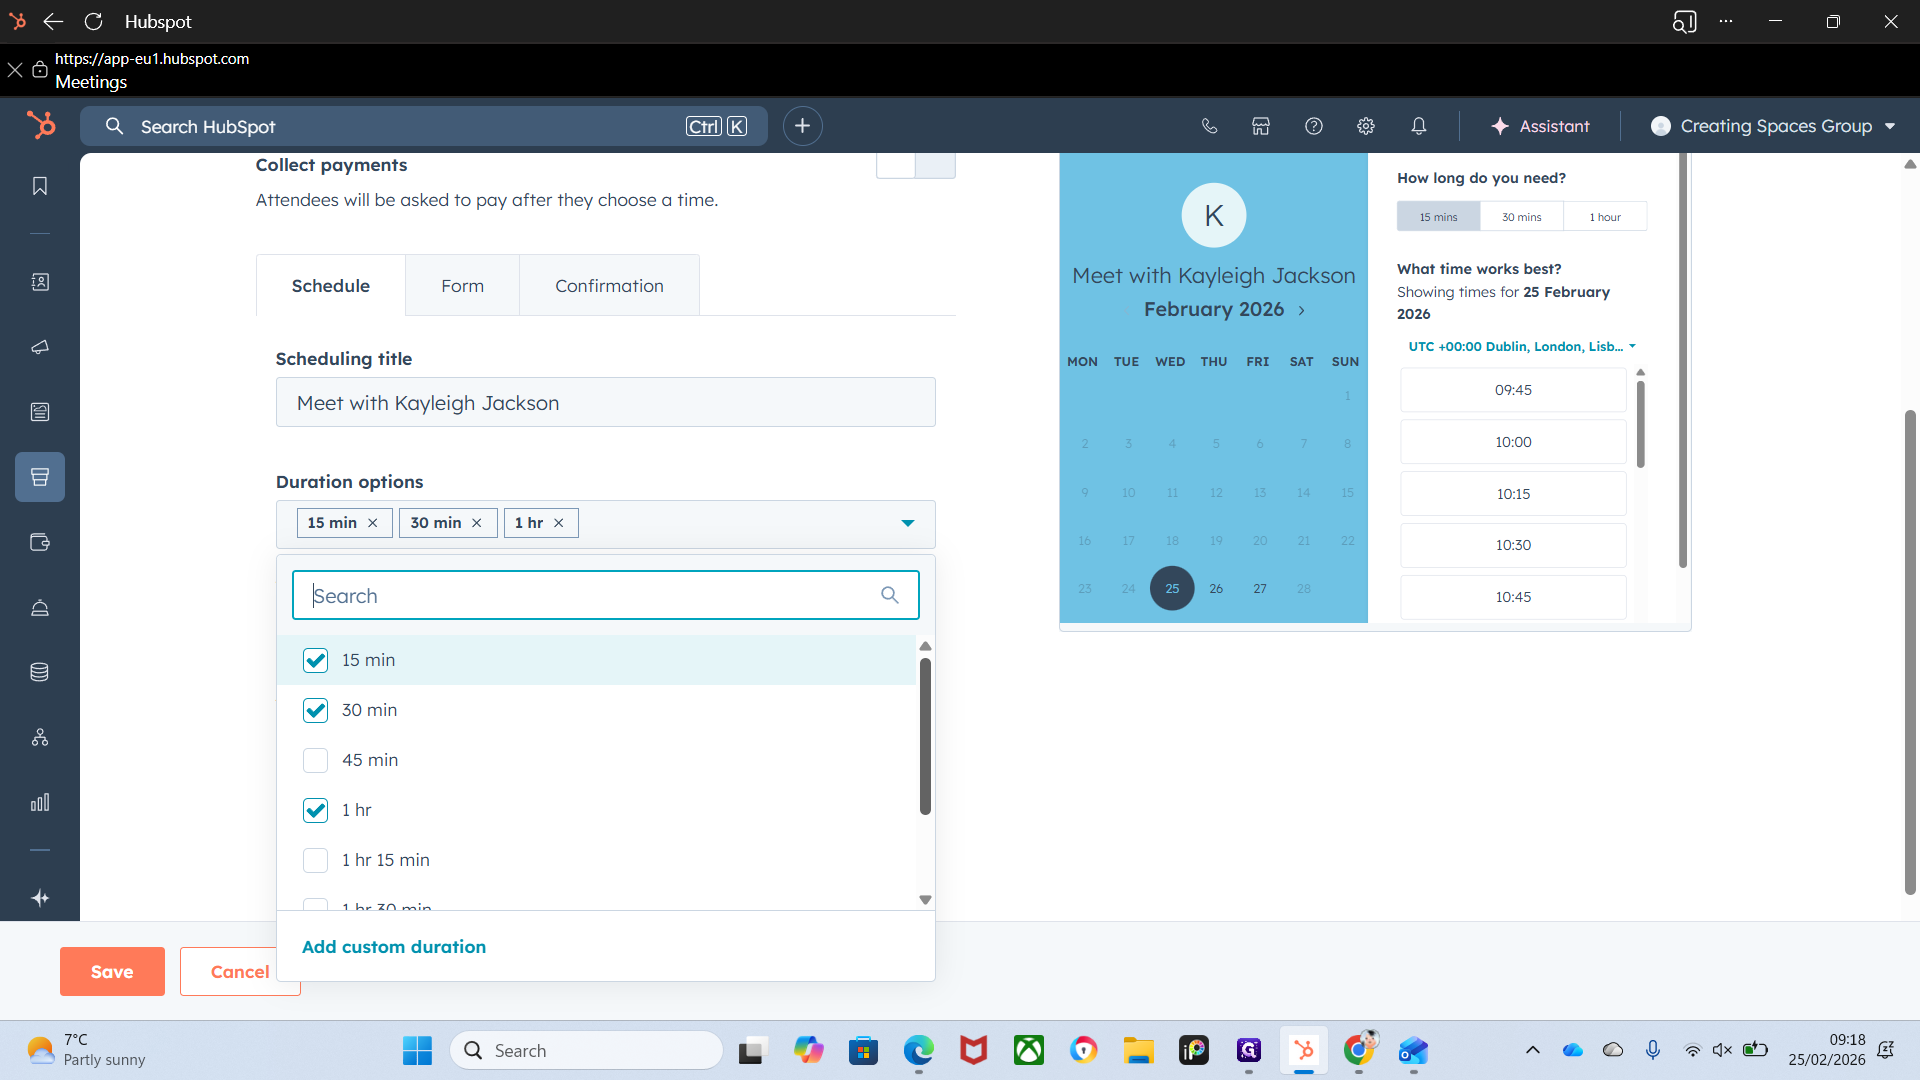
Here are your options. You can set it based on the type of meeting.
Most of our meetings take an hour, so I would remove the others and set it to one hour.

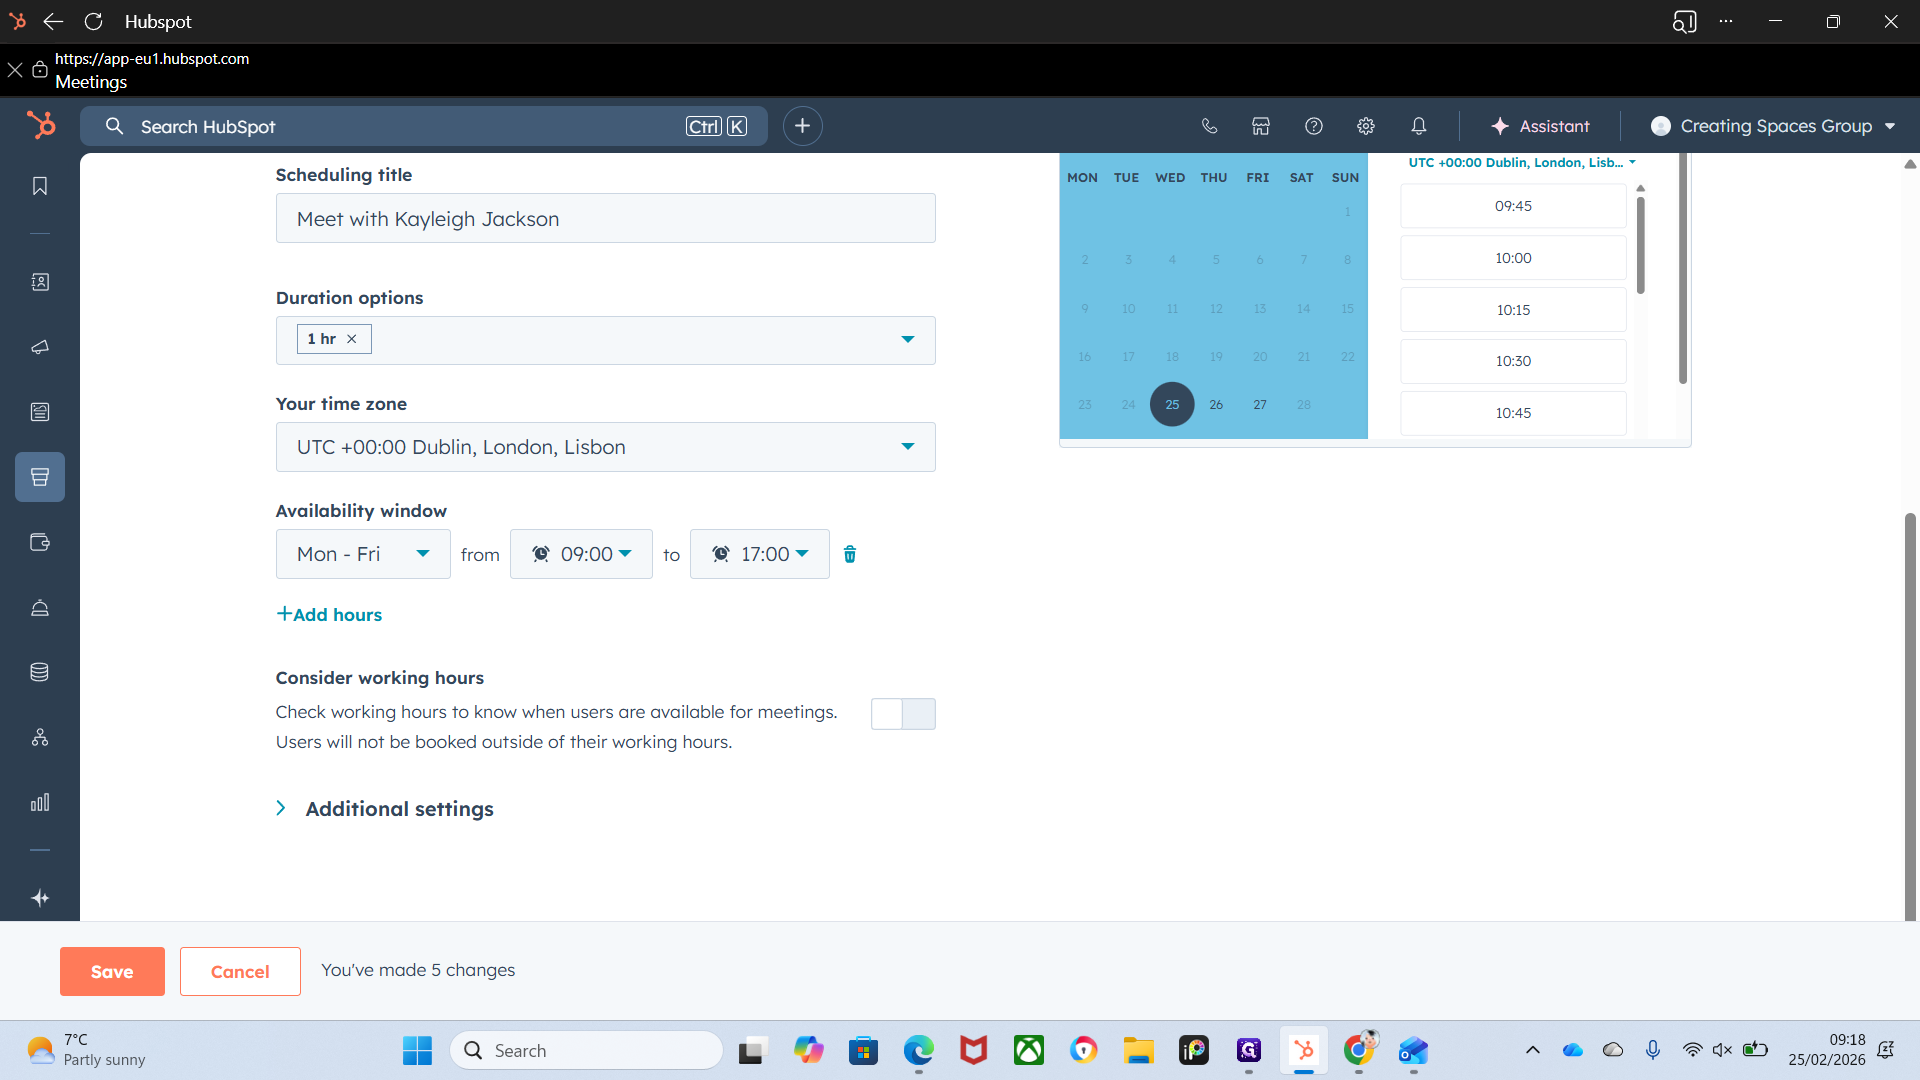
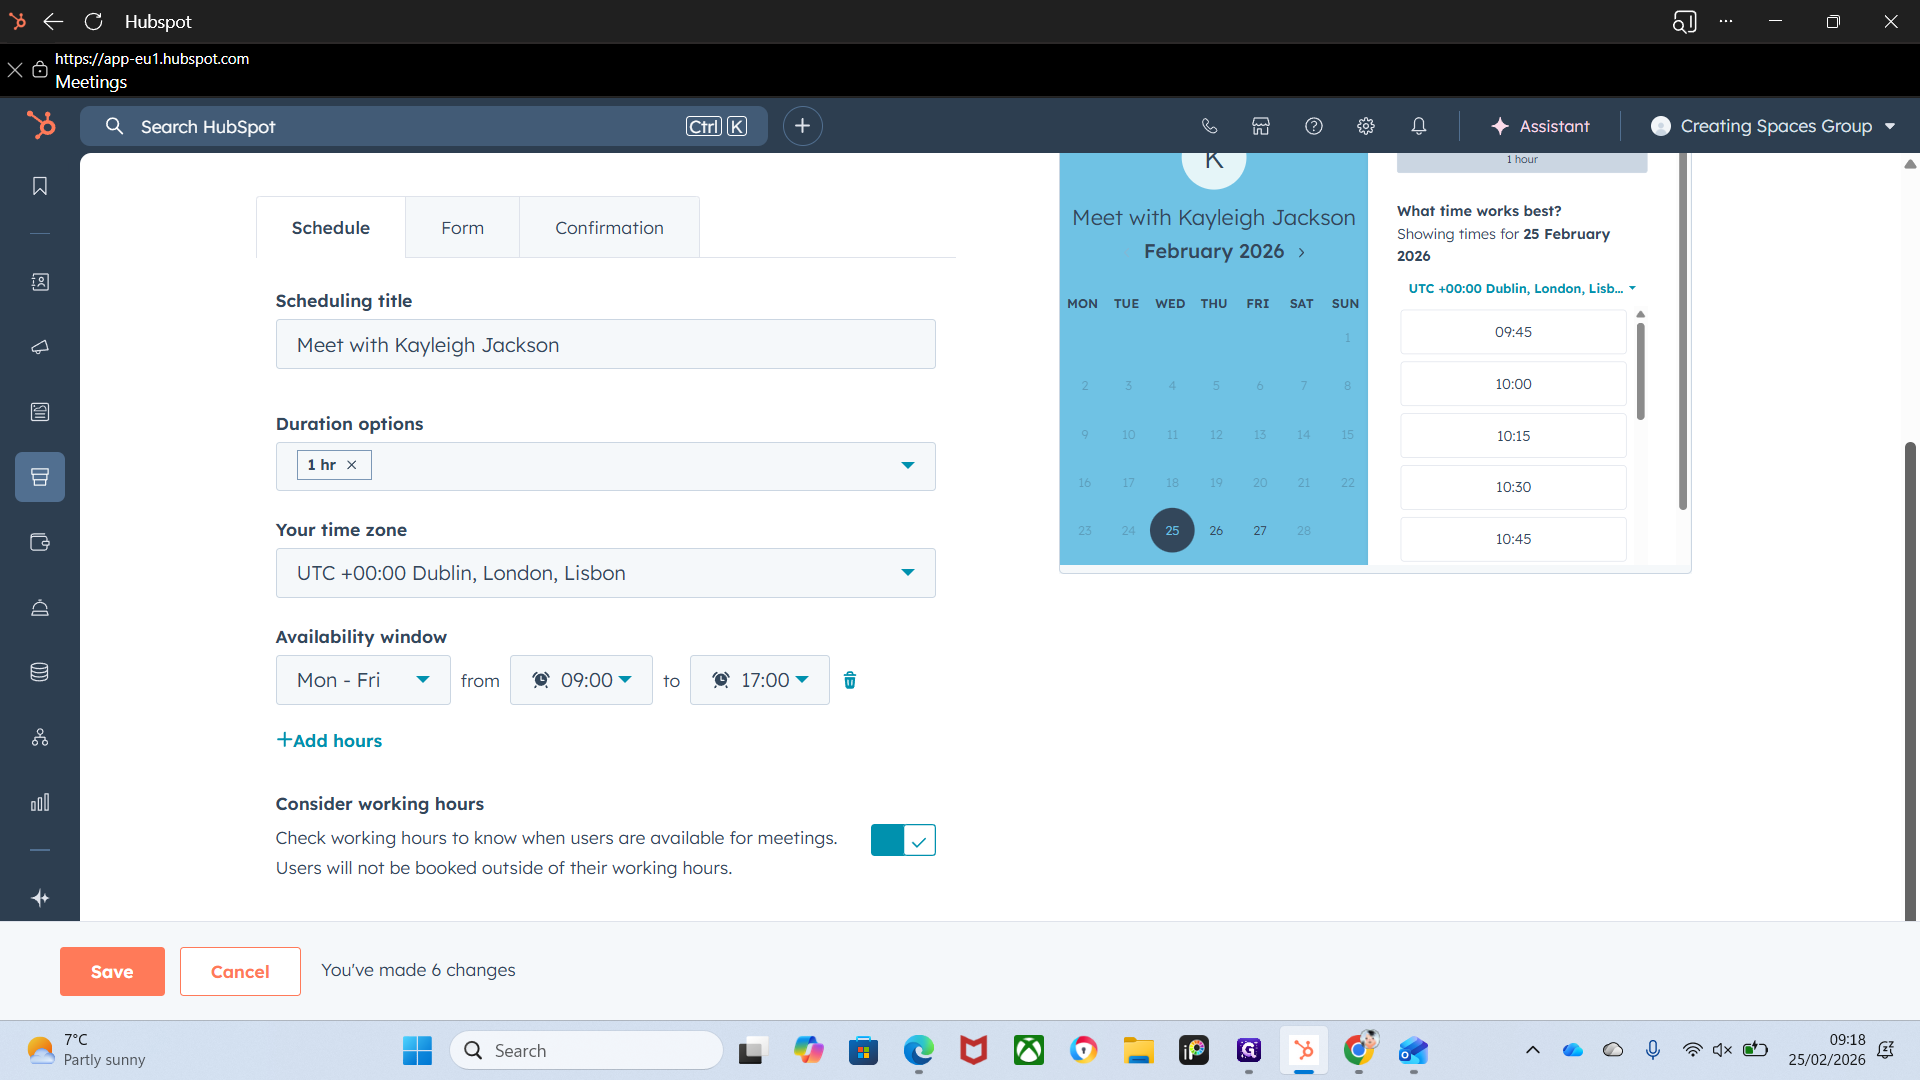
Availability window refers to your working week and shows when you are available.


You can add hours if you want.

It's fully adjustable.

That's a preview of what will appear when they click on it.
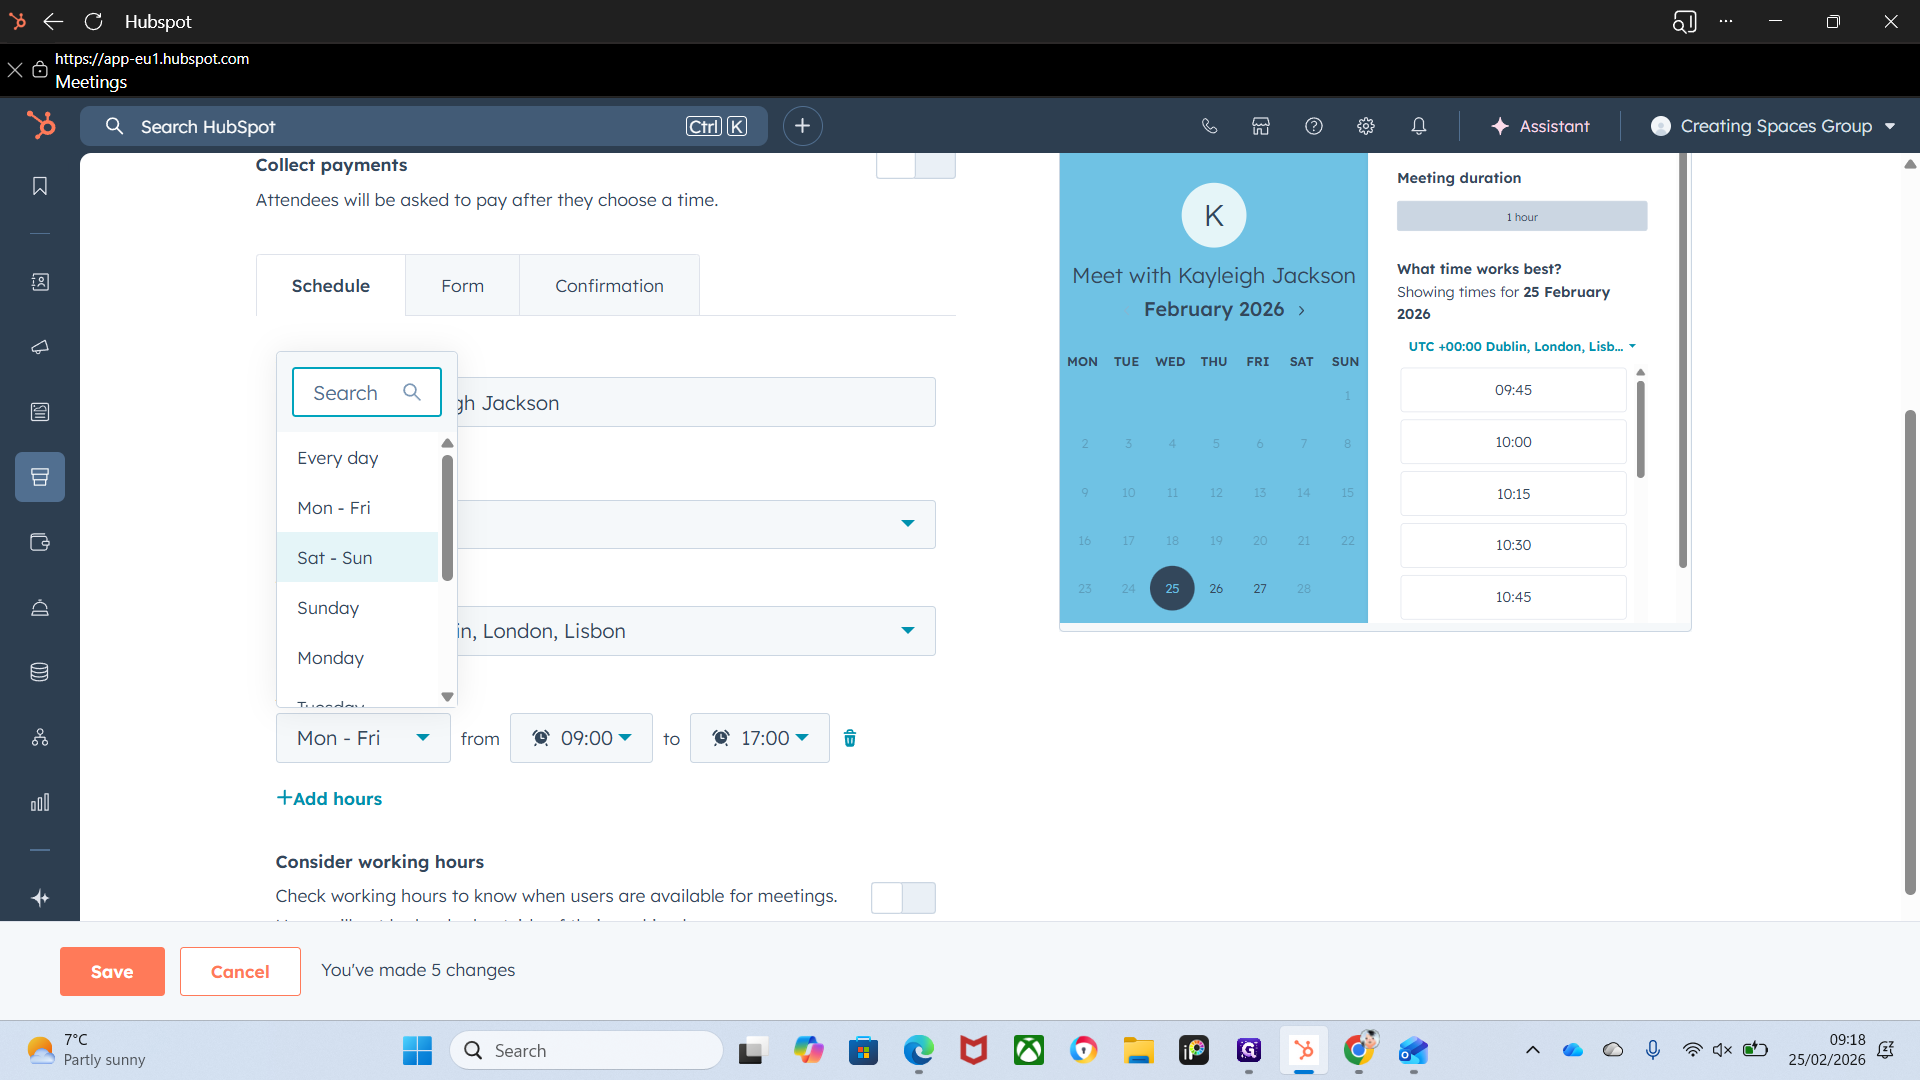
We want to make sure we consider working hours, so we don't book anyone outside of their work week.
In the next video, I will show you additional settings.

There is a lot to cover, so we will address it in another video.
Okay.