How to Use the Outreach Tracking Board: Step-by-Step Guide
Learn how to effectively use the Outreach Tracking Board to vet candidates, assign labels, and track outreach progress for podcasts, organizations, and contacts. Follow our step-by-step guide and best practices for successful outreach management.
In this guide, we'll learn how to use the Outreach Tracking Board to organize and vet potential candidates, podcasts, or organizations for business outreach. The goal is to help you add new candidates, use the vetting template, and classify each opportunity based on alignment with your objectives.
You'll also see how to update the status of each candidate and keep the outreach process organized.
Let's get started
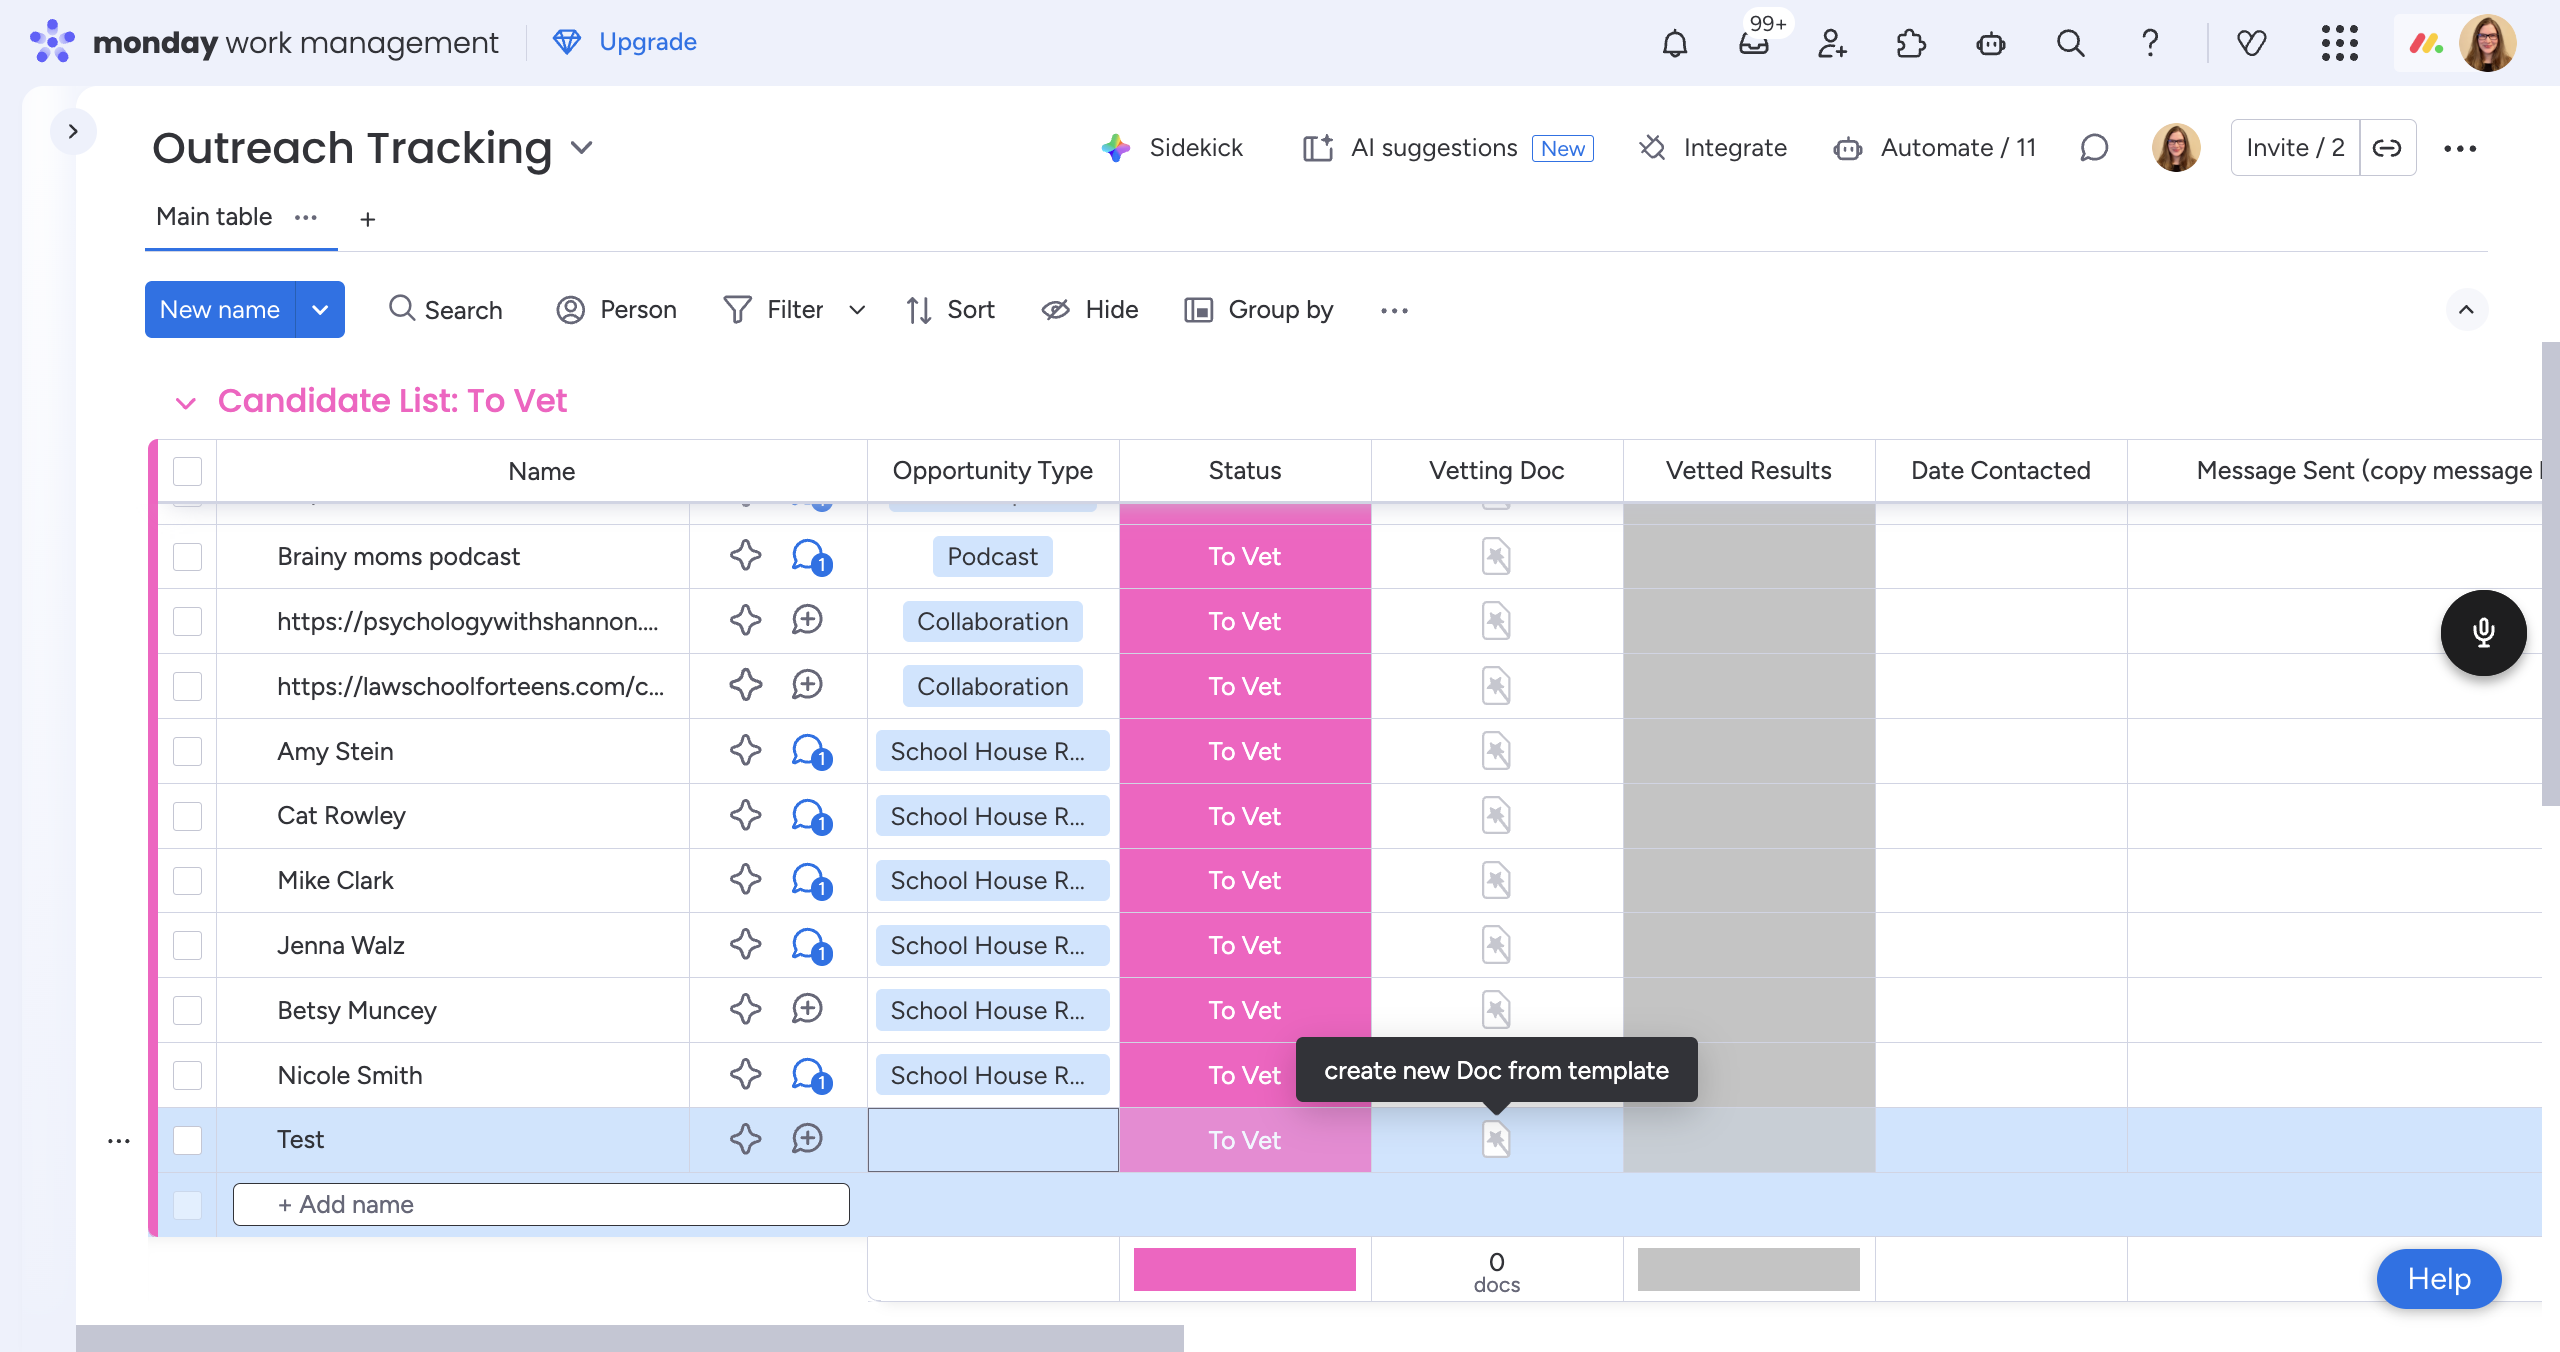
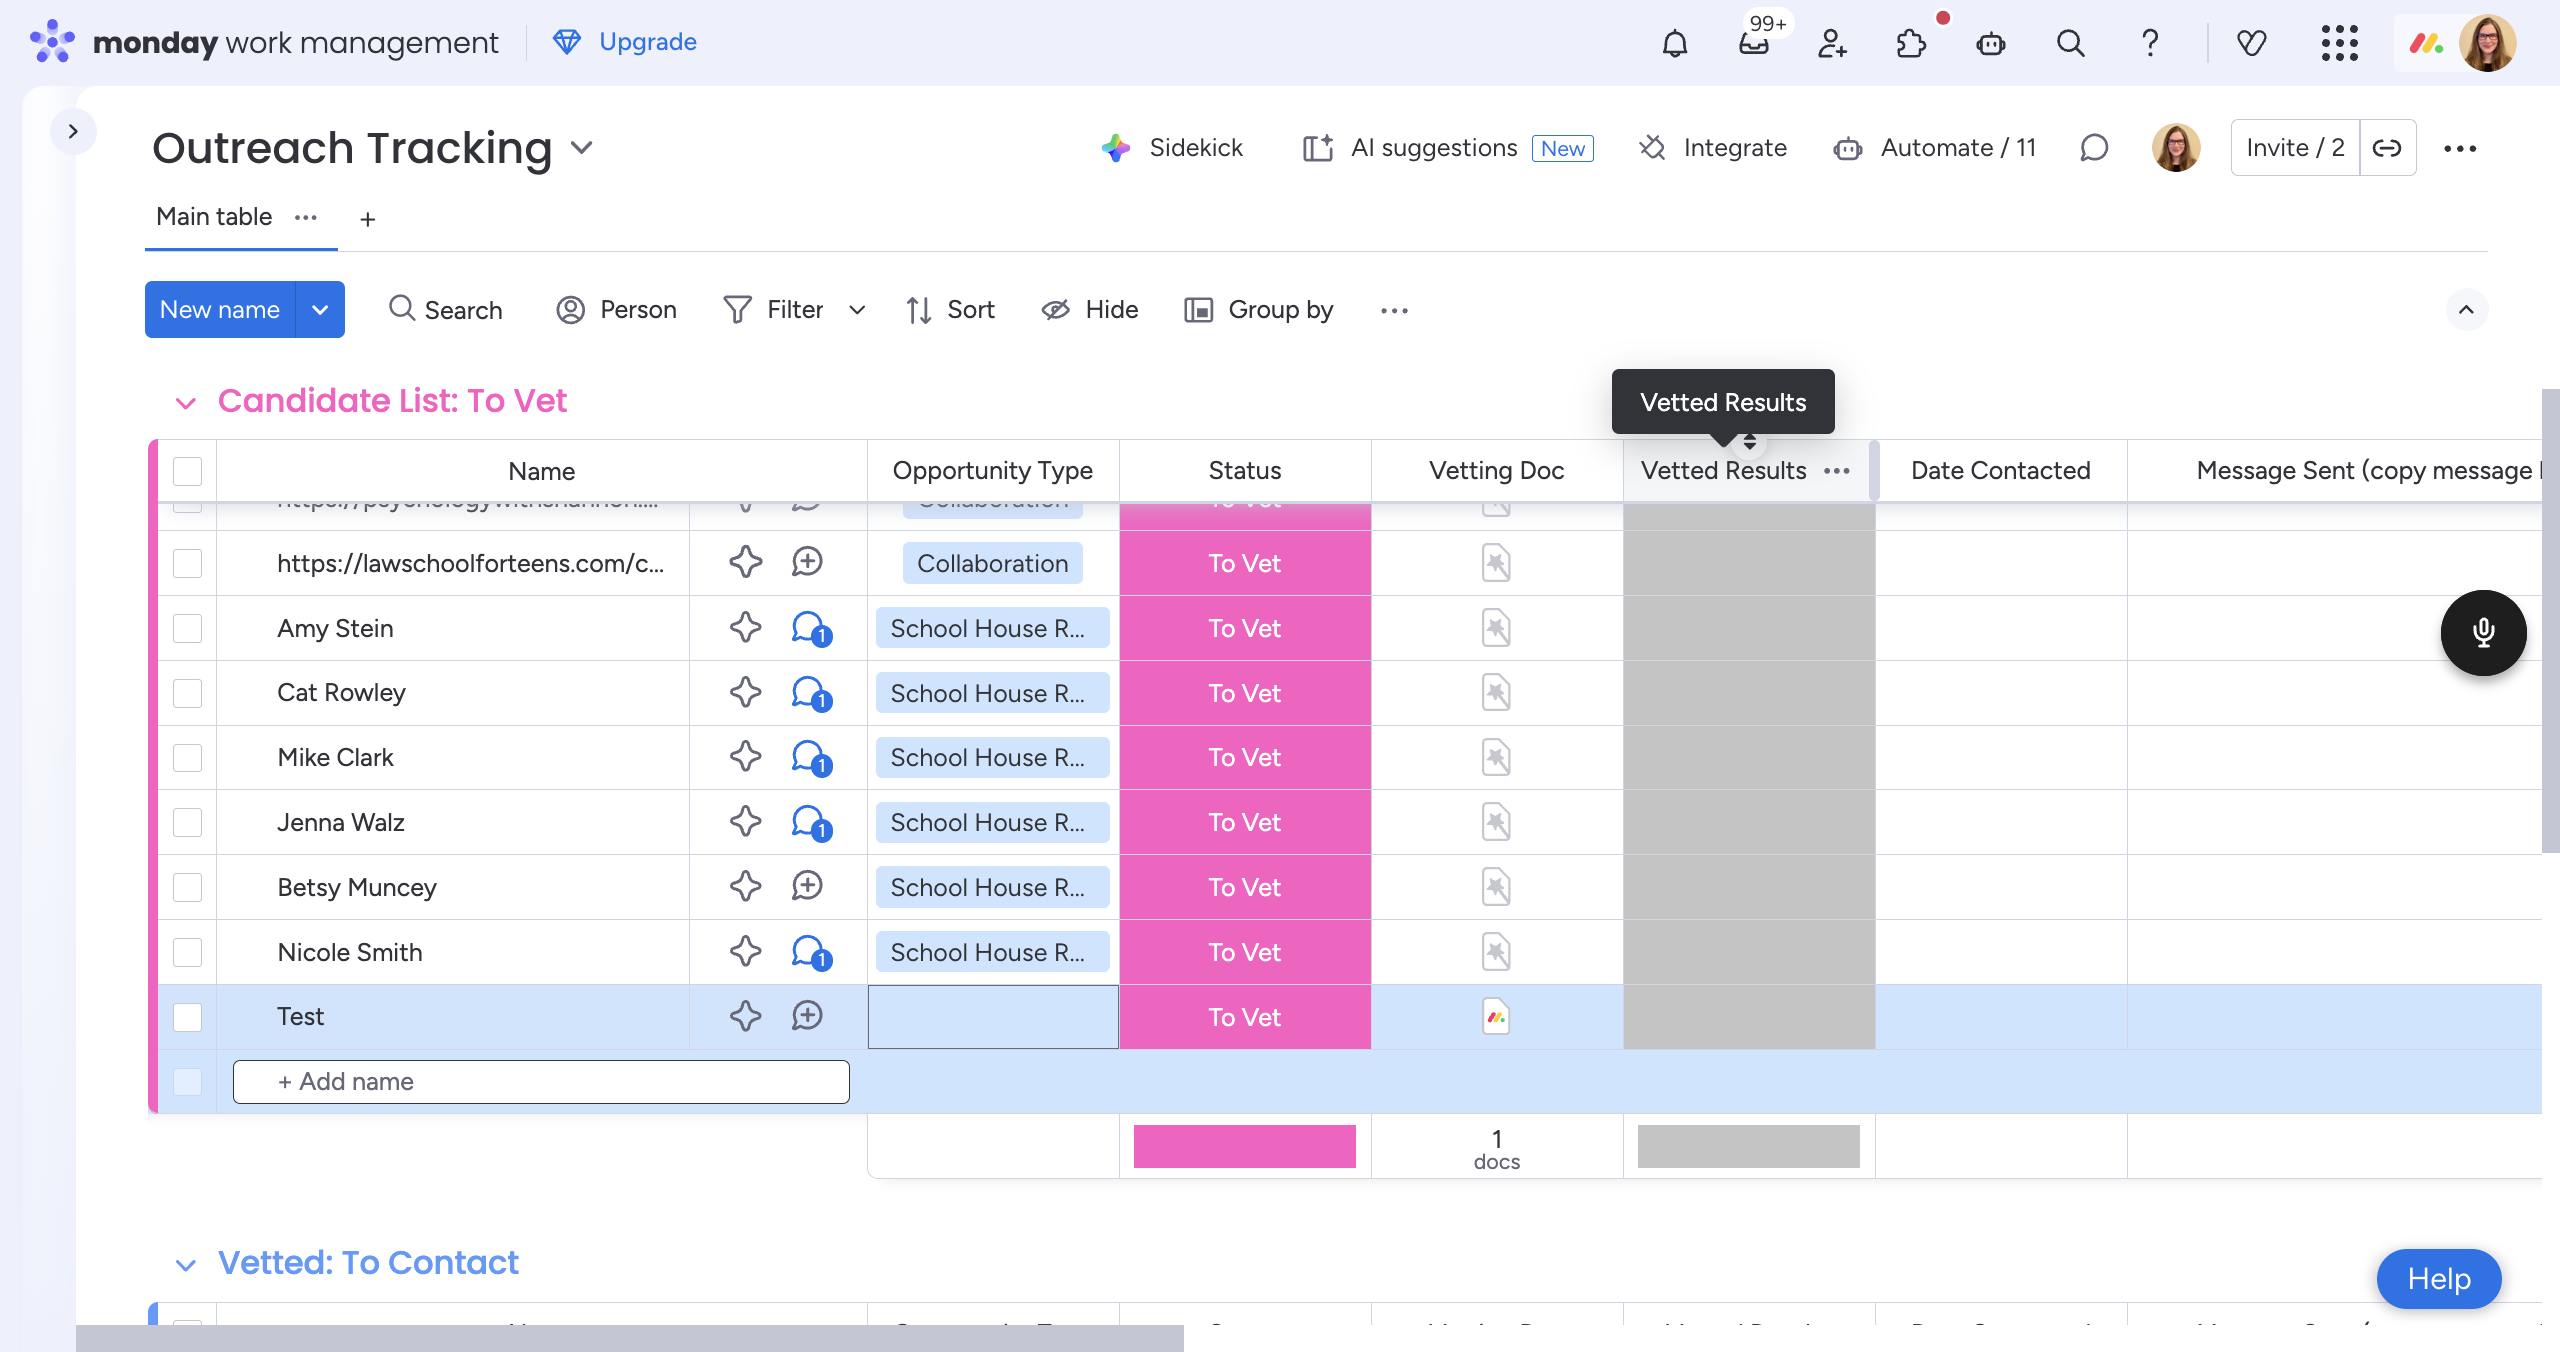
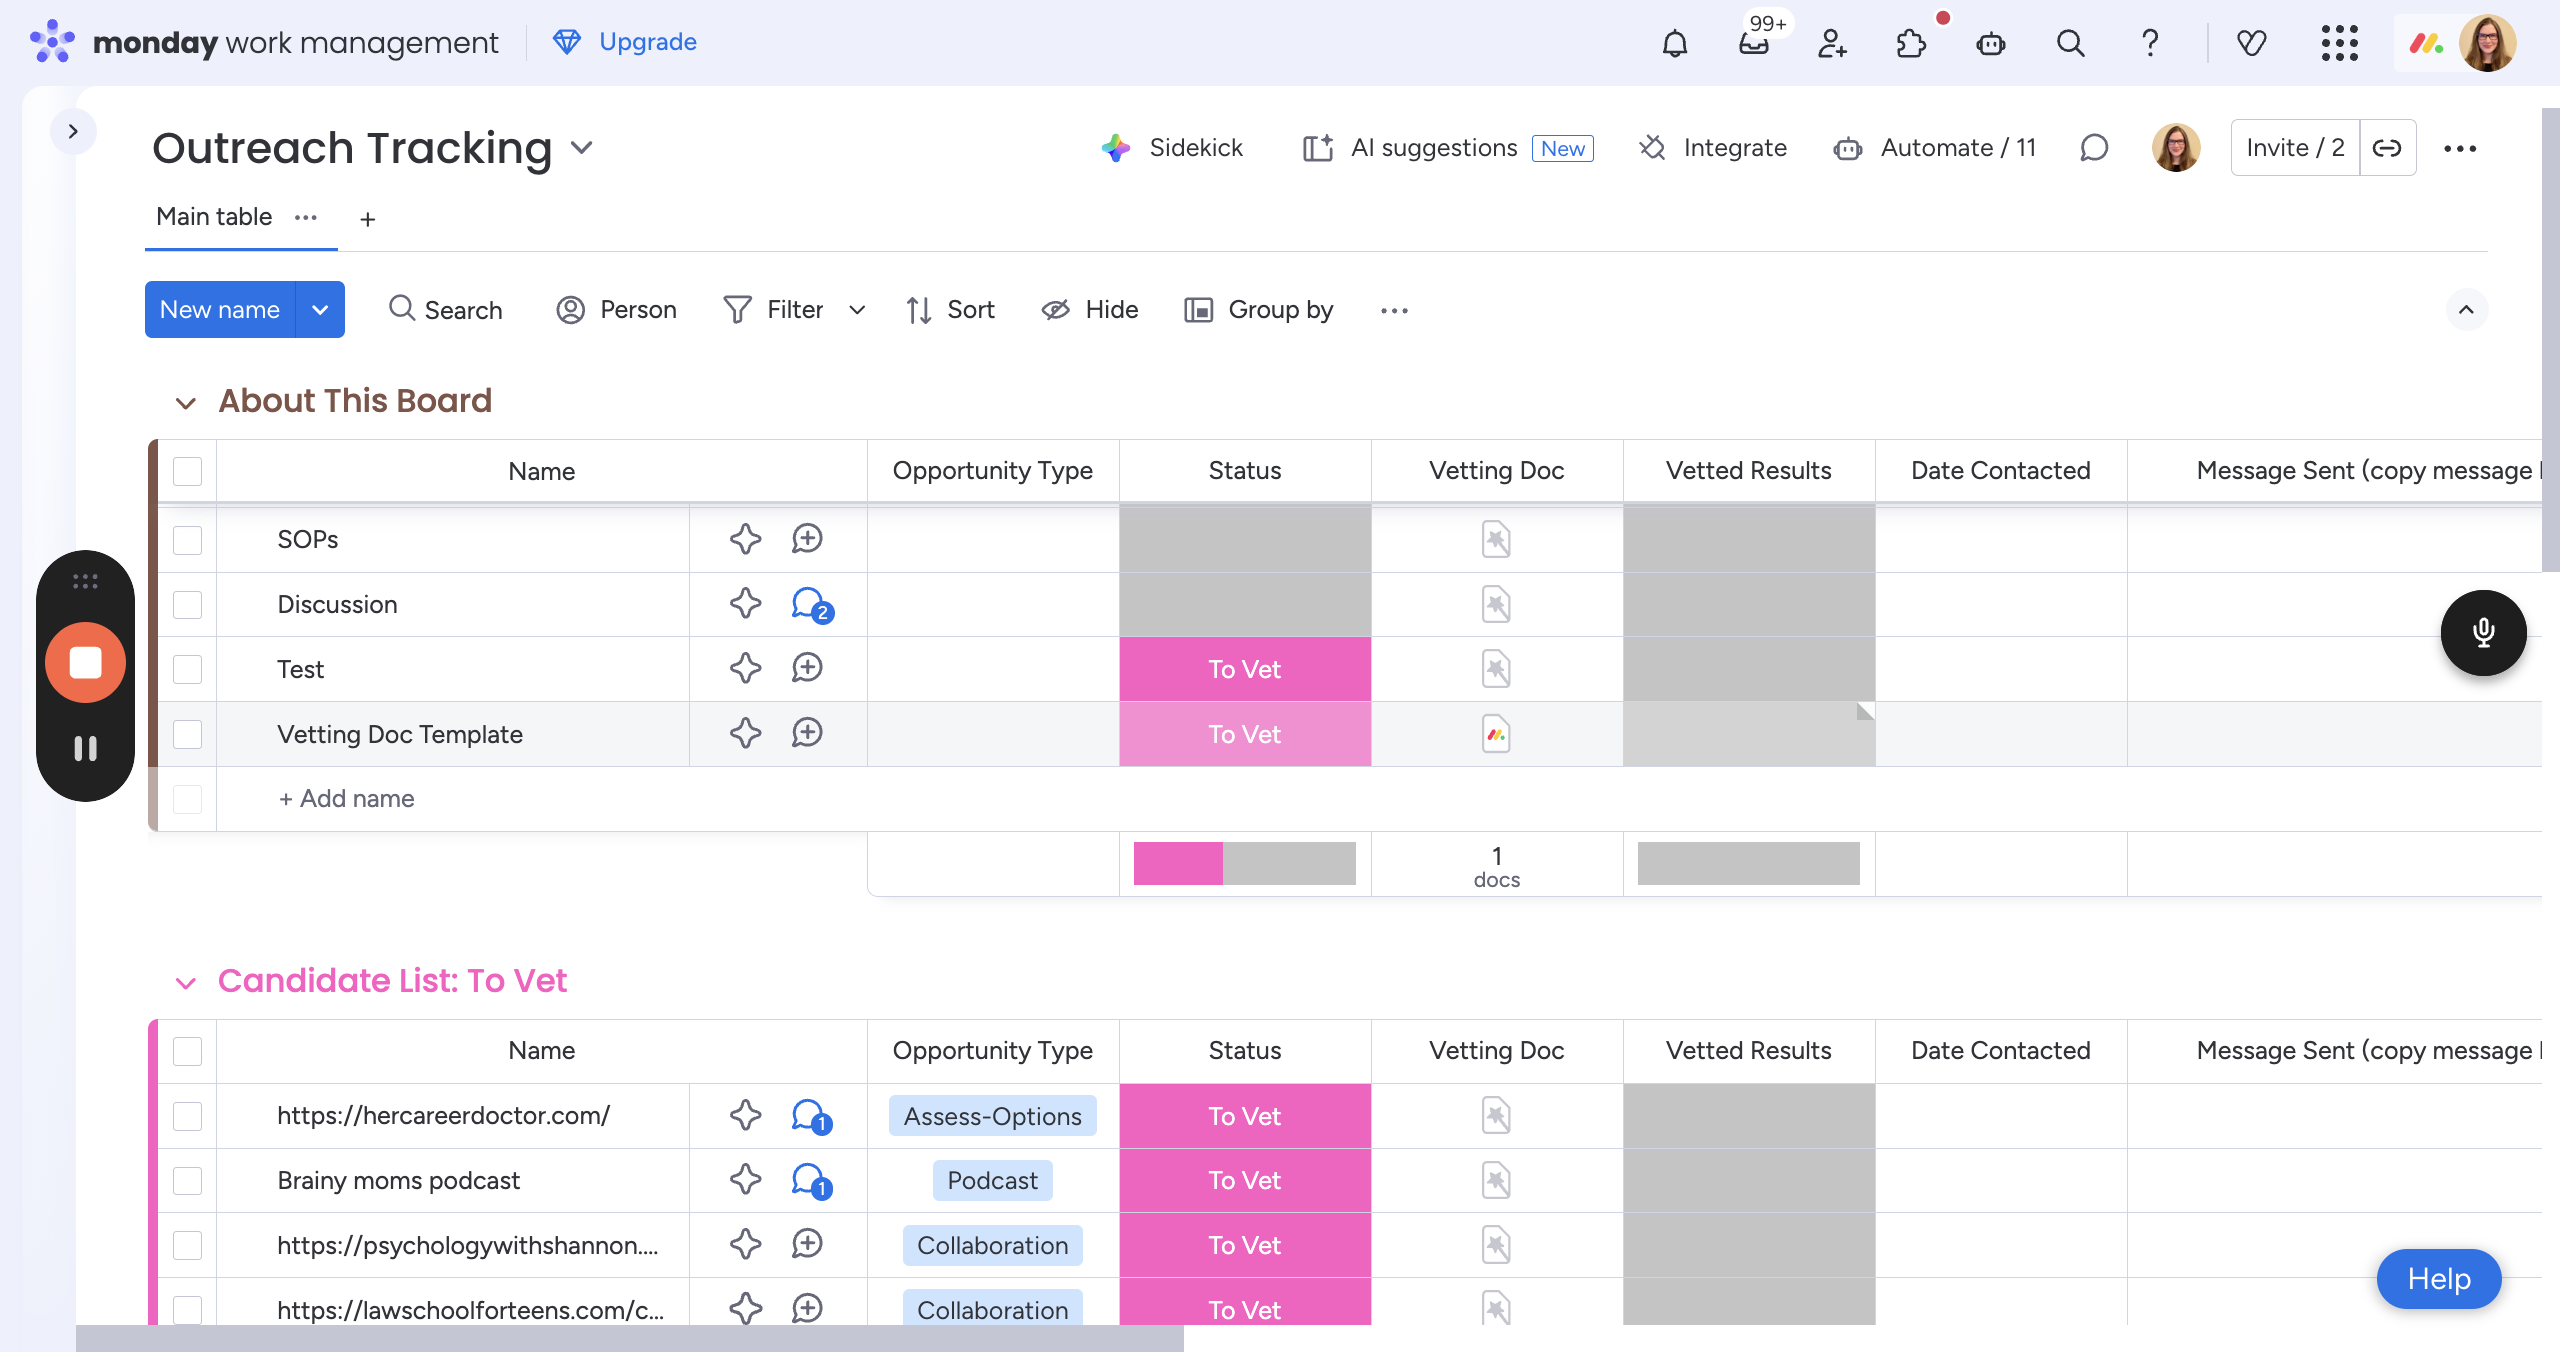
This is our Outreach Tracking Board.
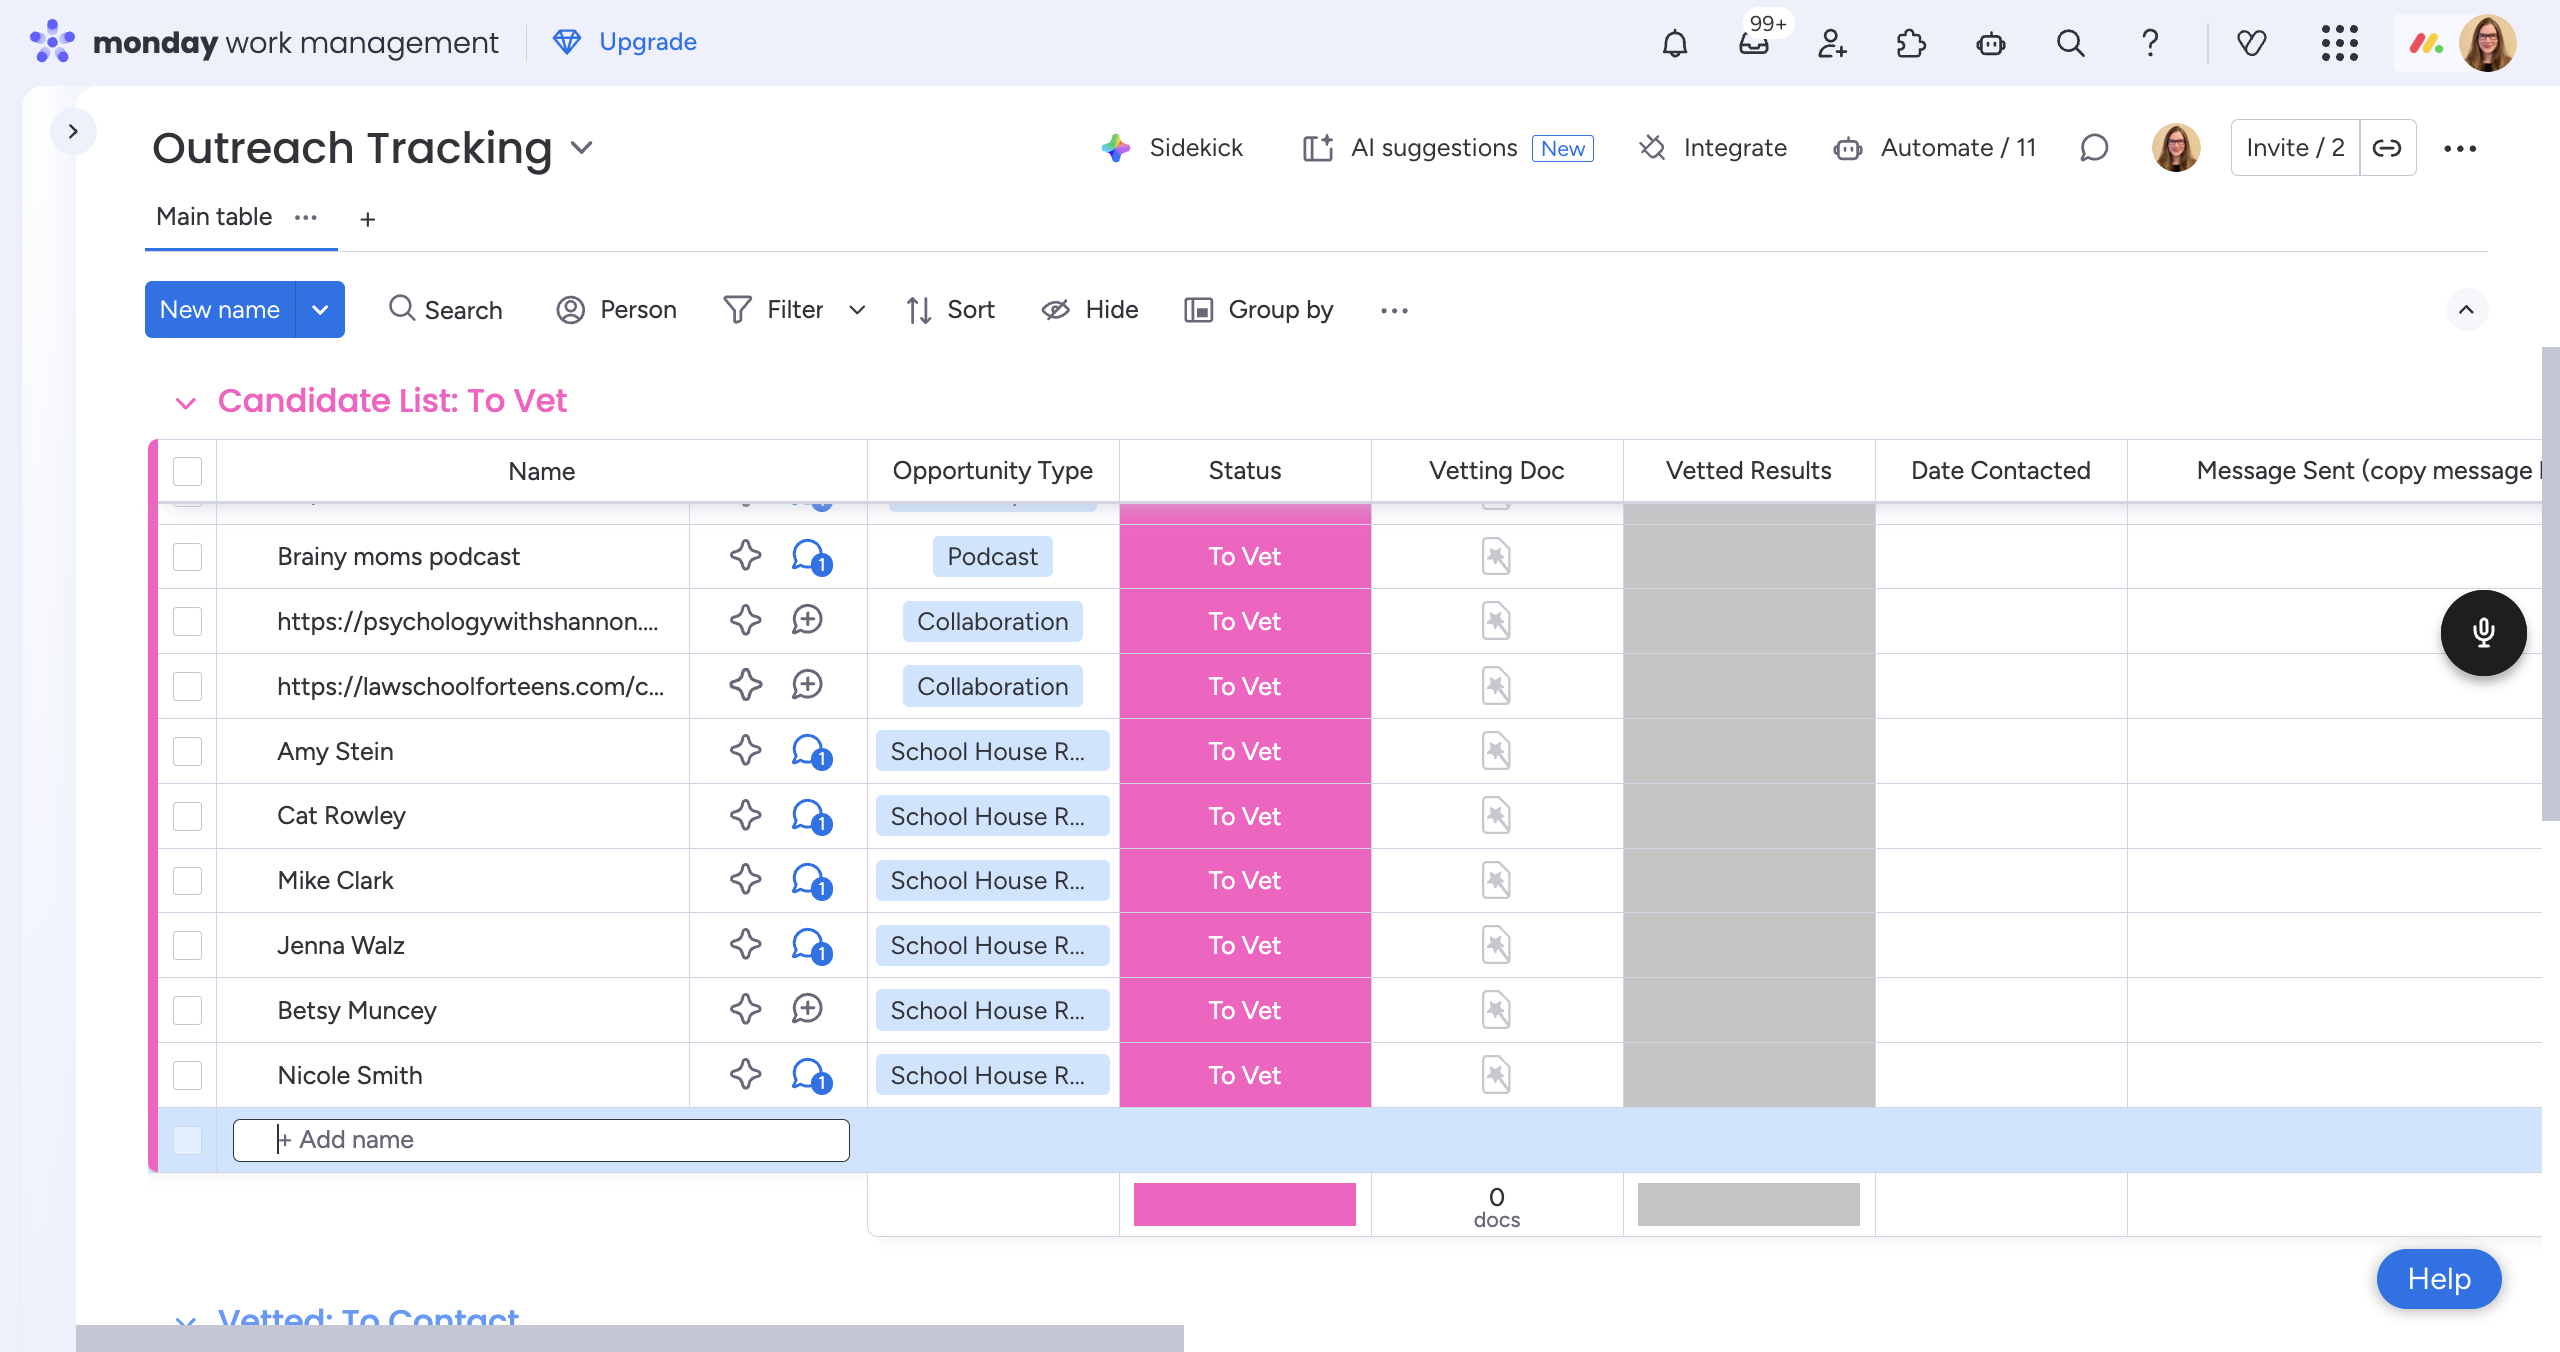
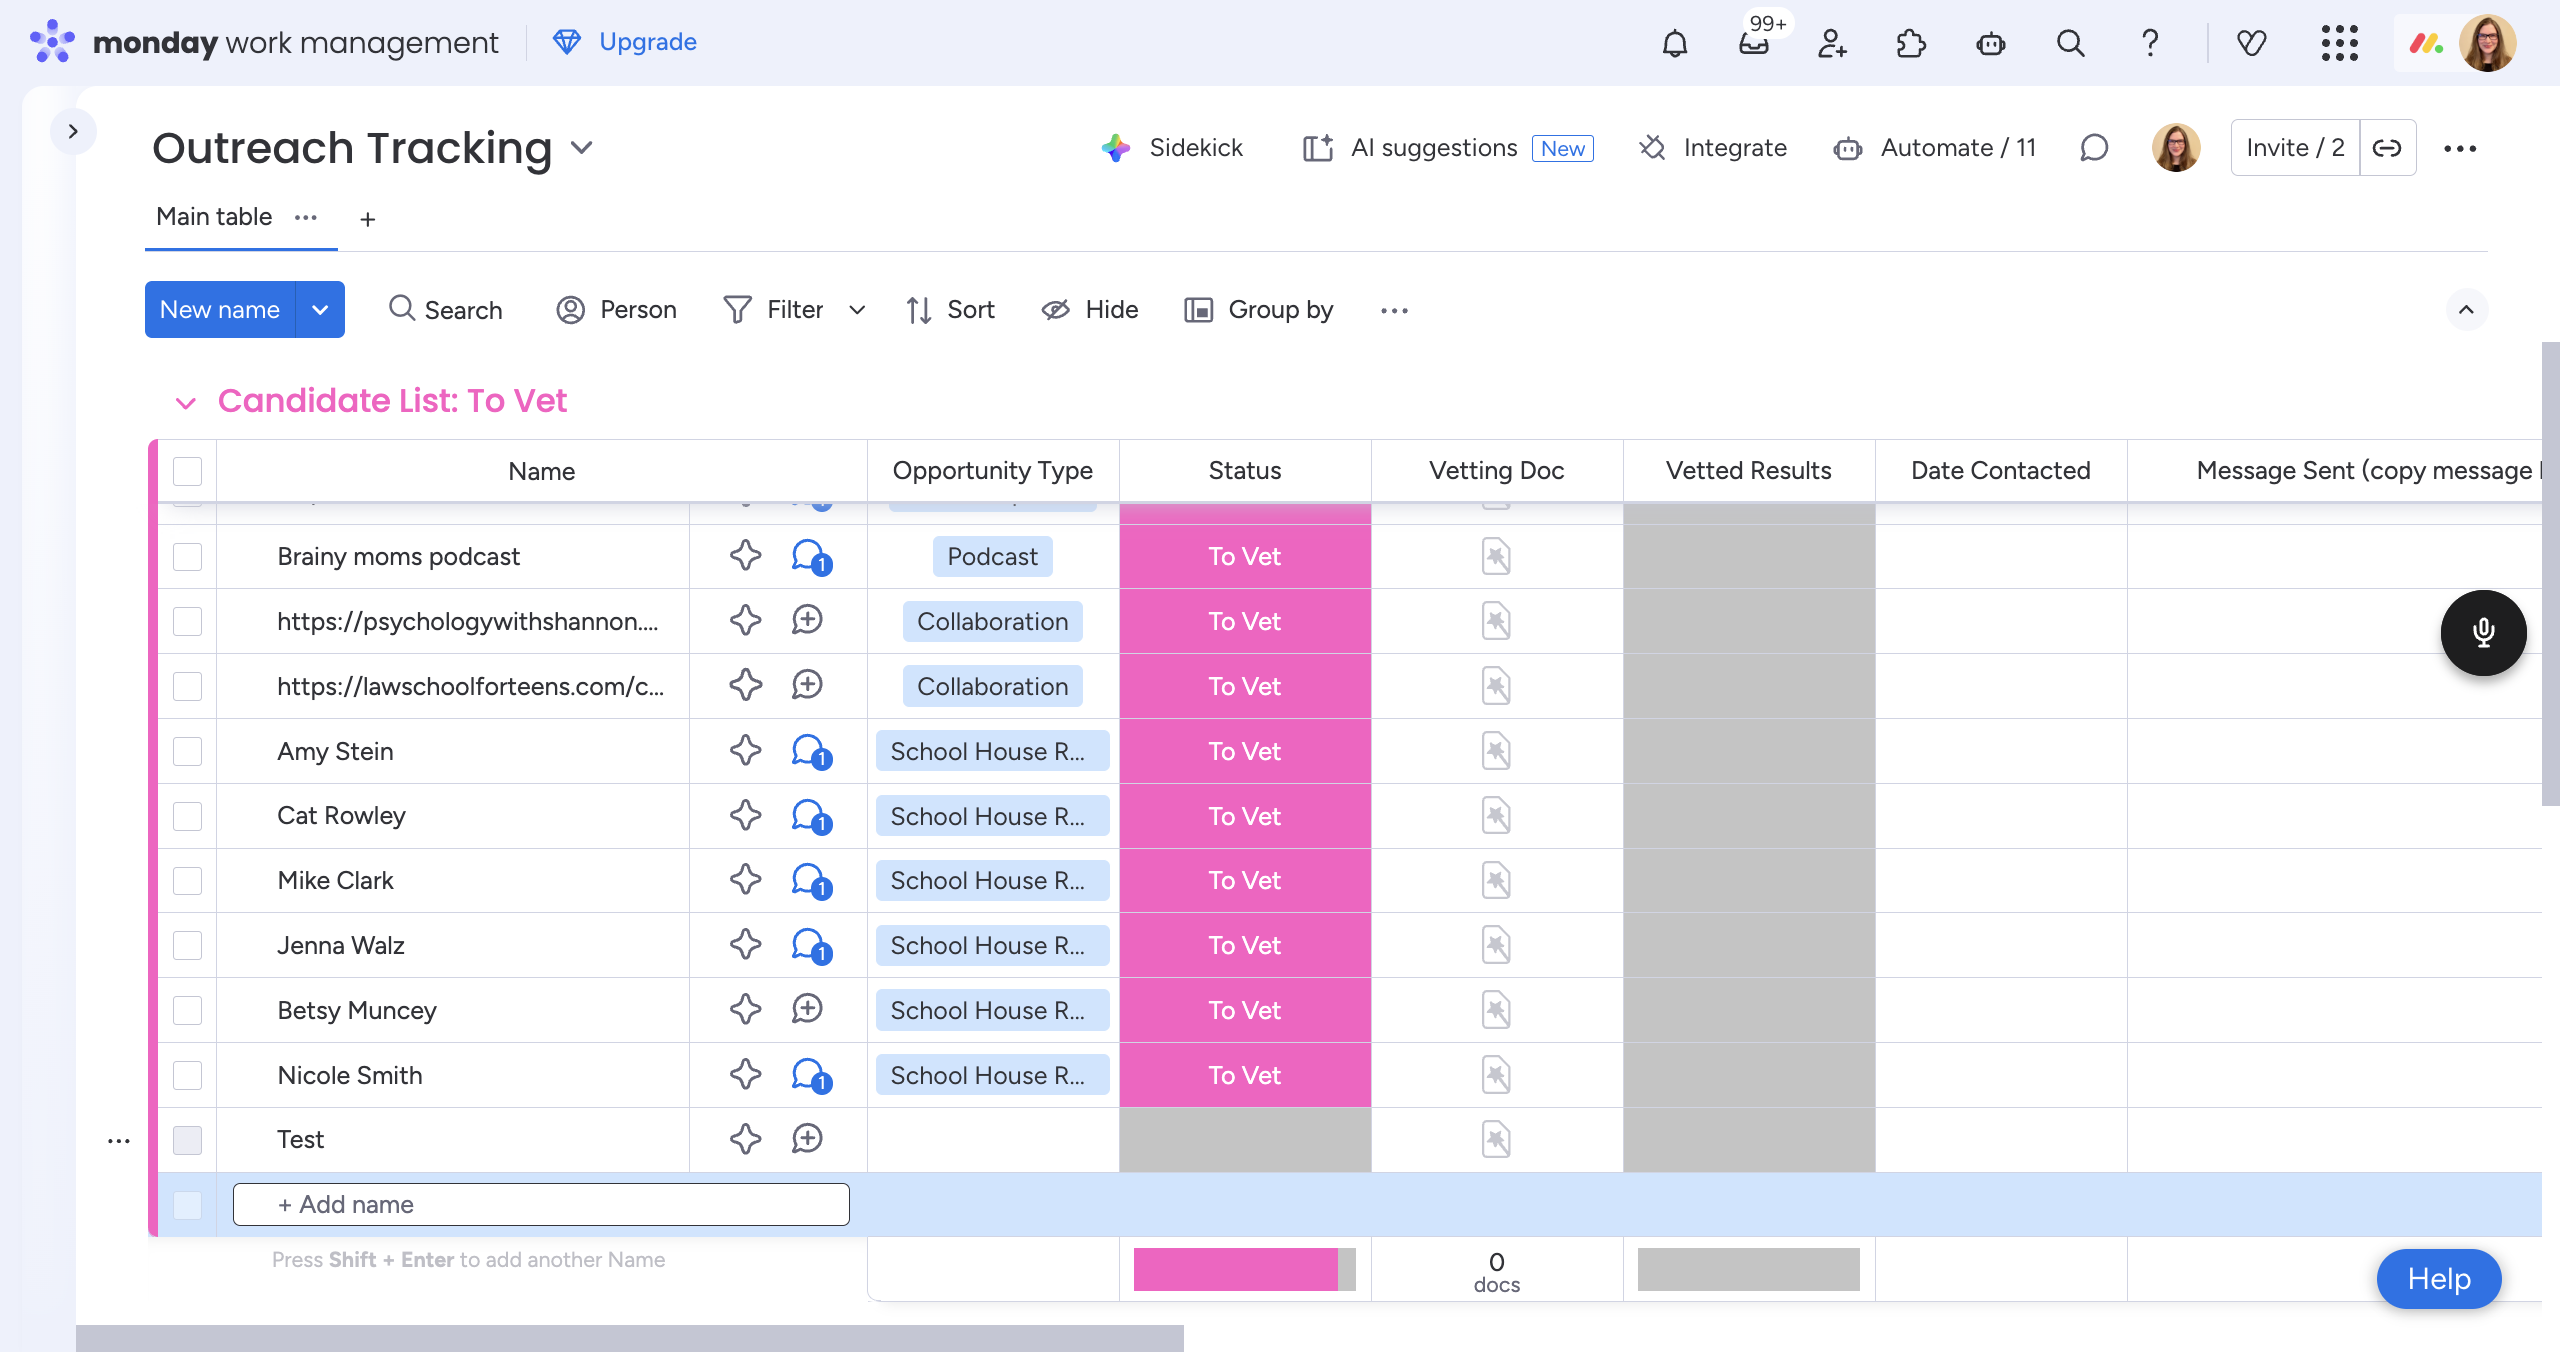
In "Candidate List to Vet" (the pink section), add any podcasts, organizations, or contacts you think we should reach out to. You can enter their name, organization, or whichever is most appropriate.
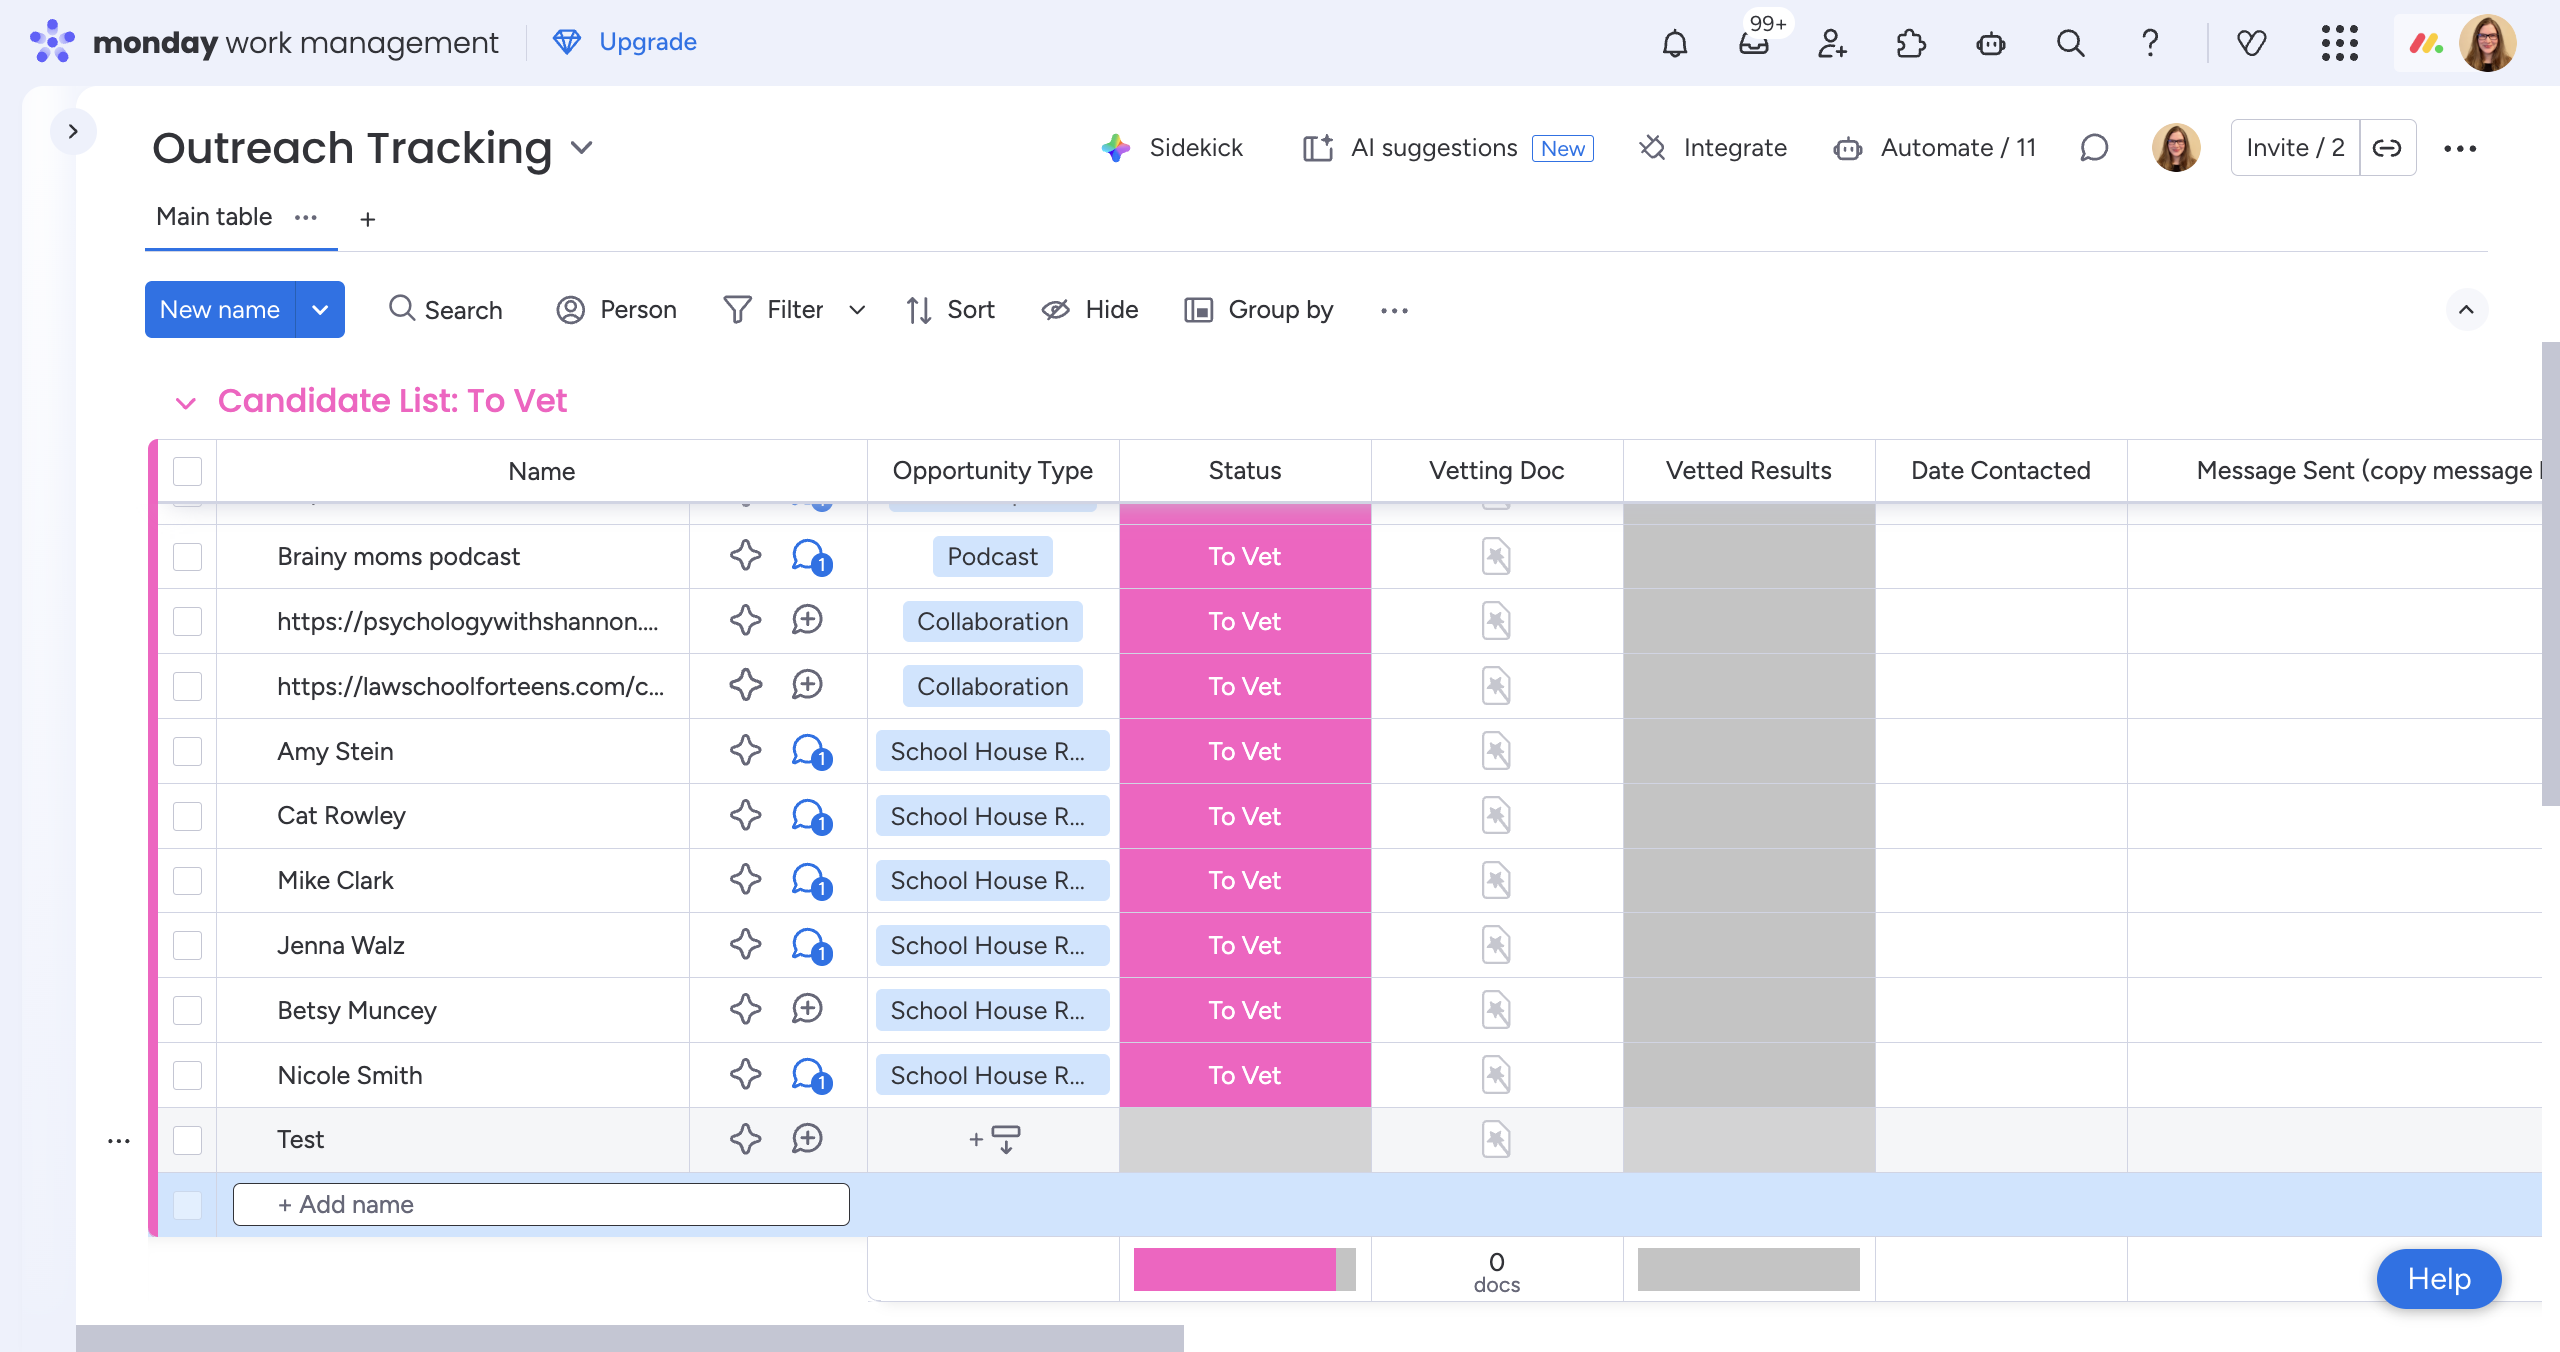
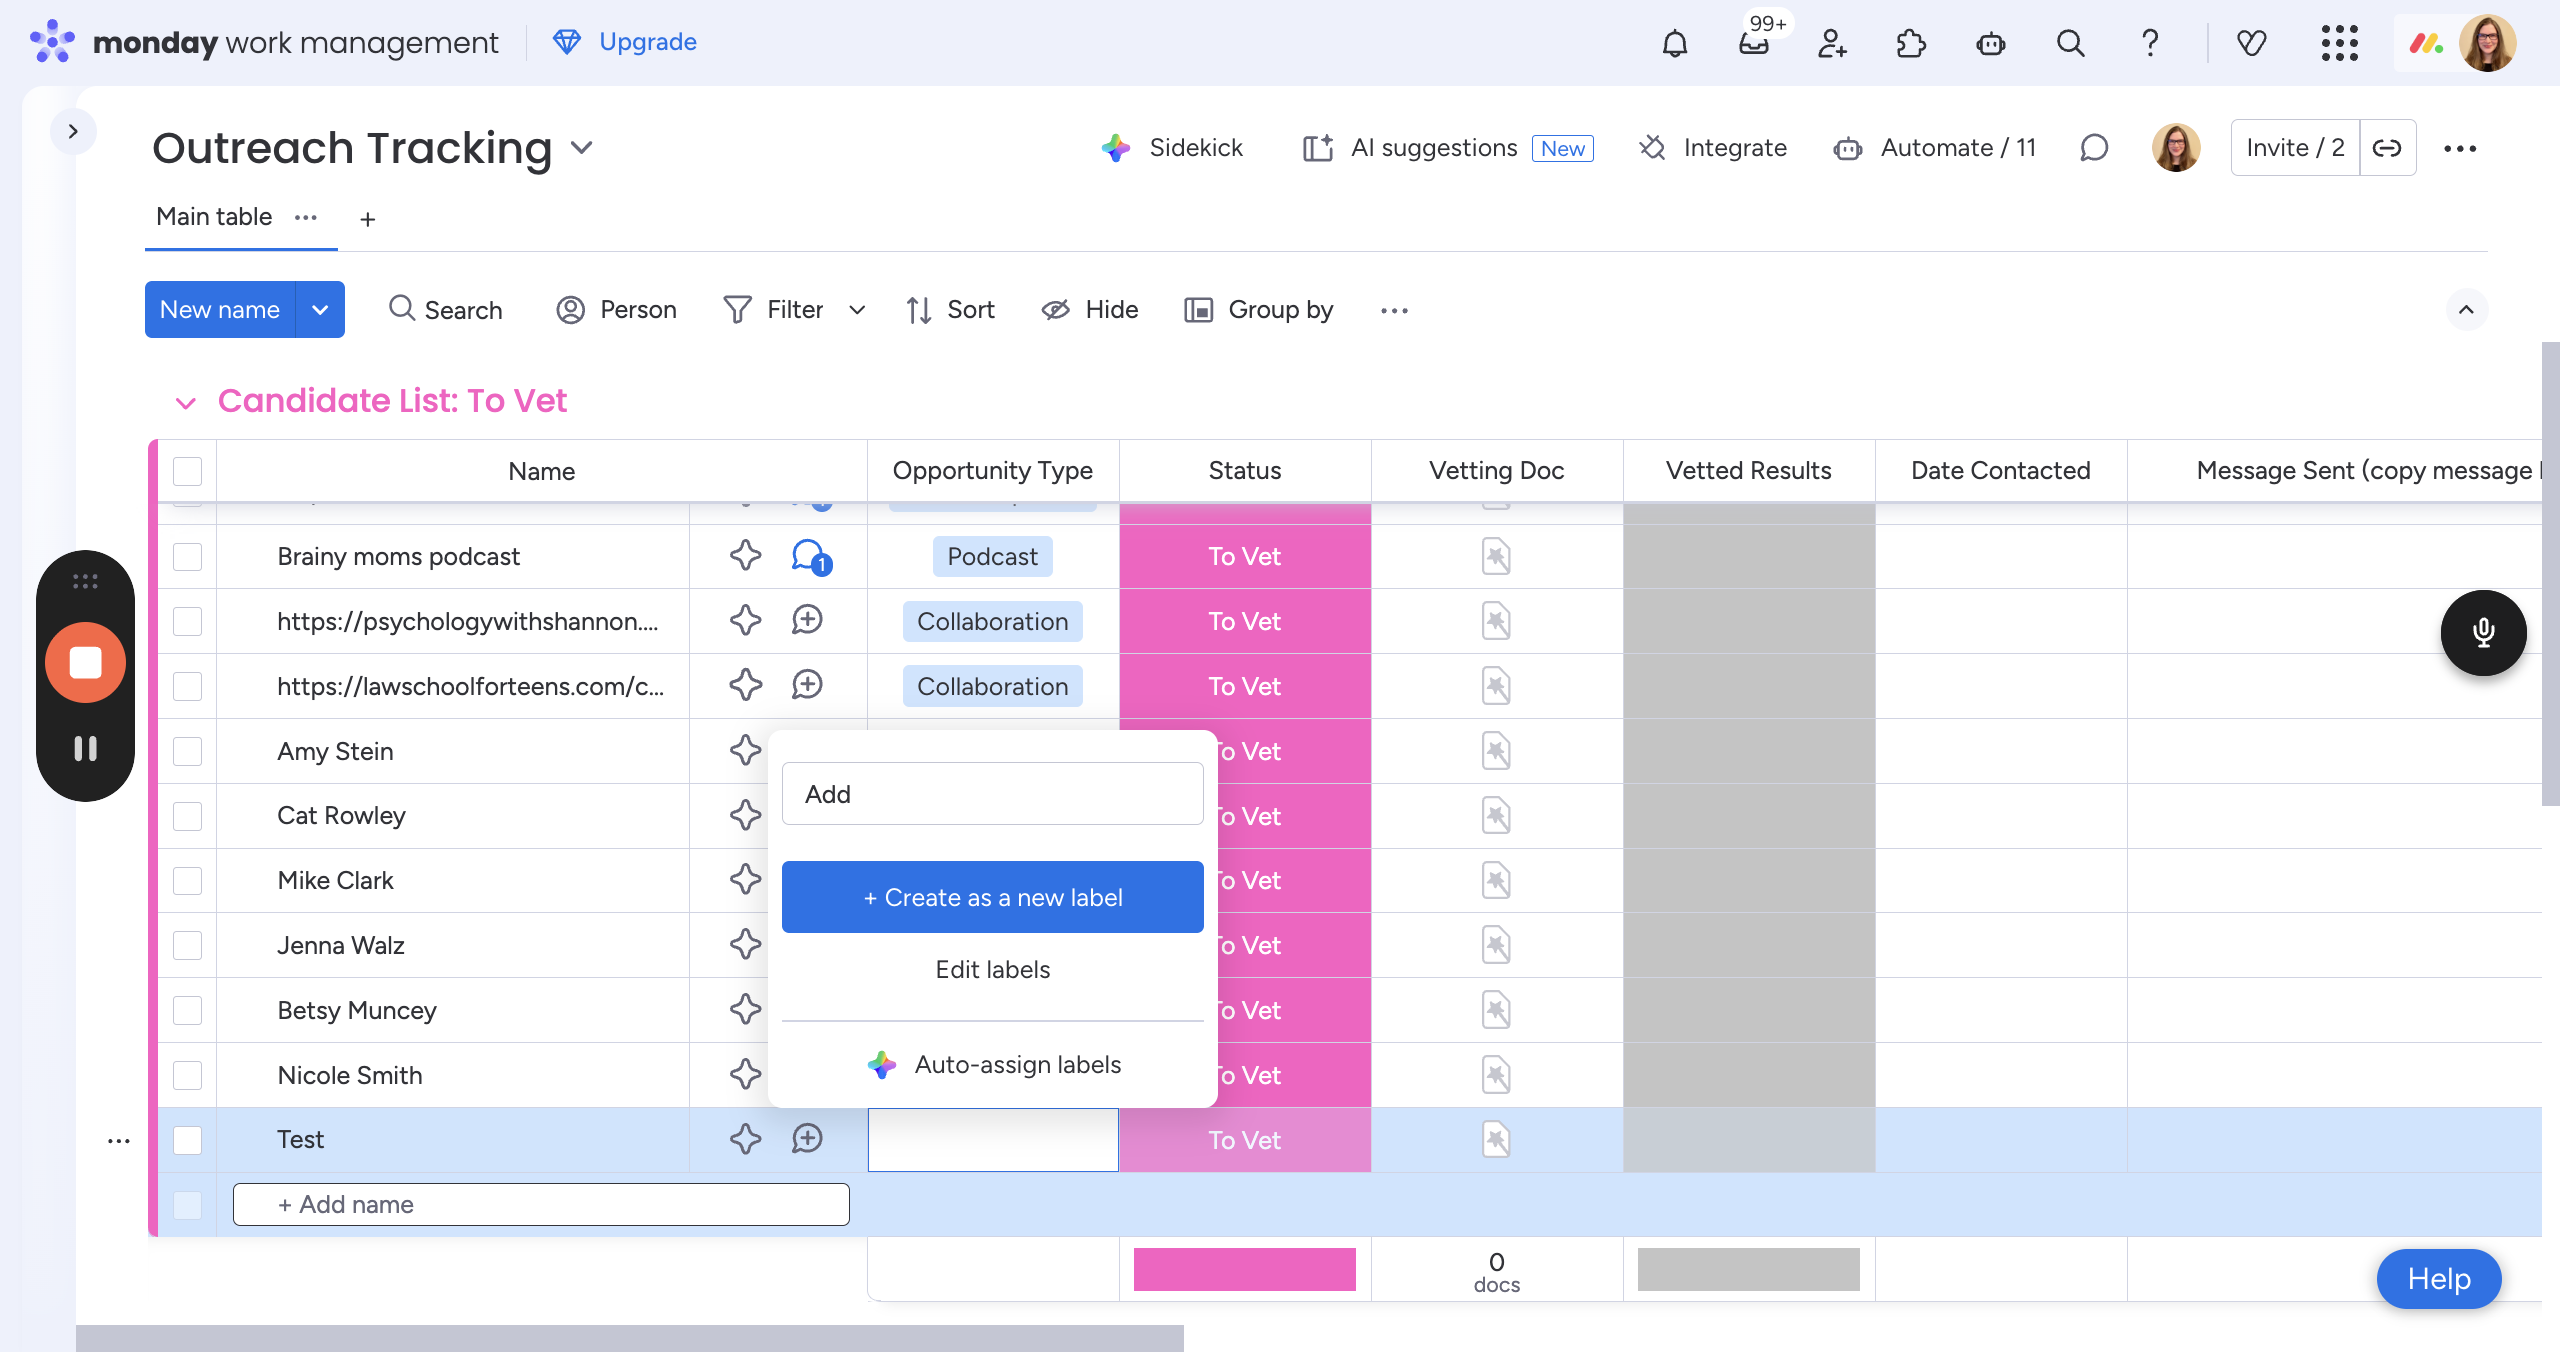
Here, you will choose a label. Select the one that best describes the business.
Next, click this button that looks like a small document with a star wand on it. It says "Create New Doc from Template."
It takes a minute. Just let it load. This will bring up our vetting guide. This guide is specifically for your current entity or organization you've entered.
Follow this vetting guide step by step.
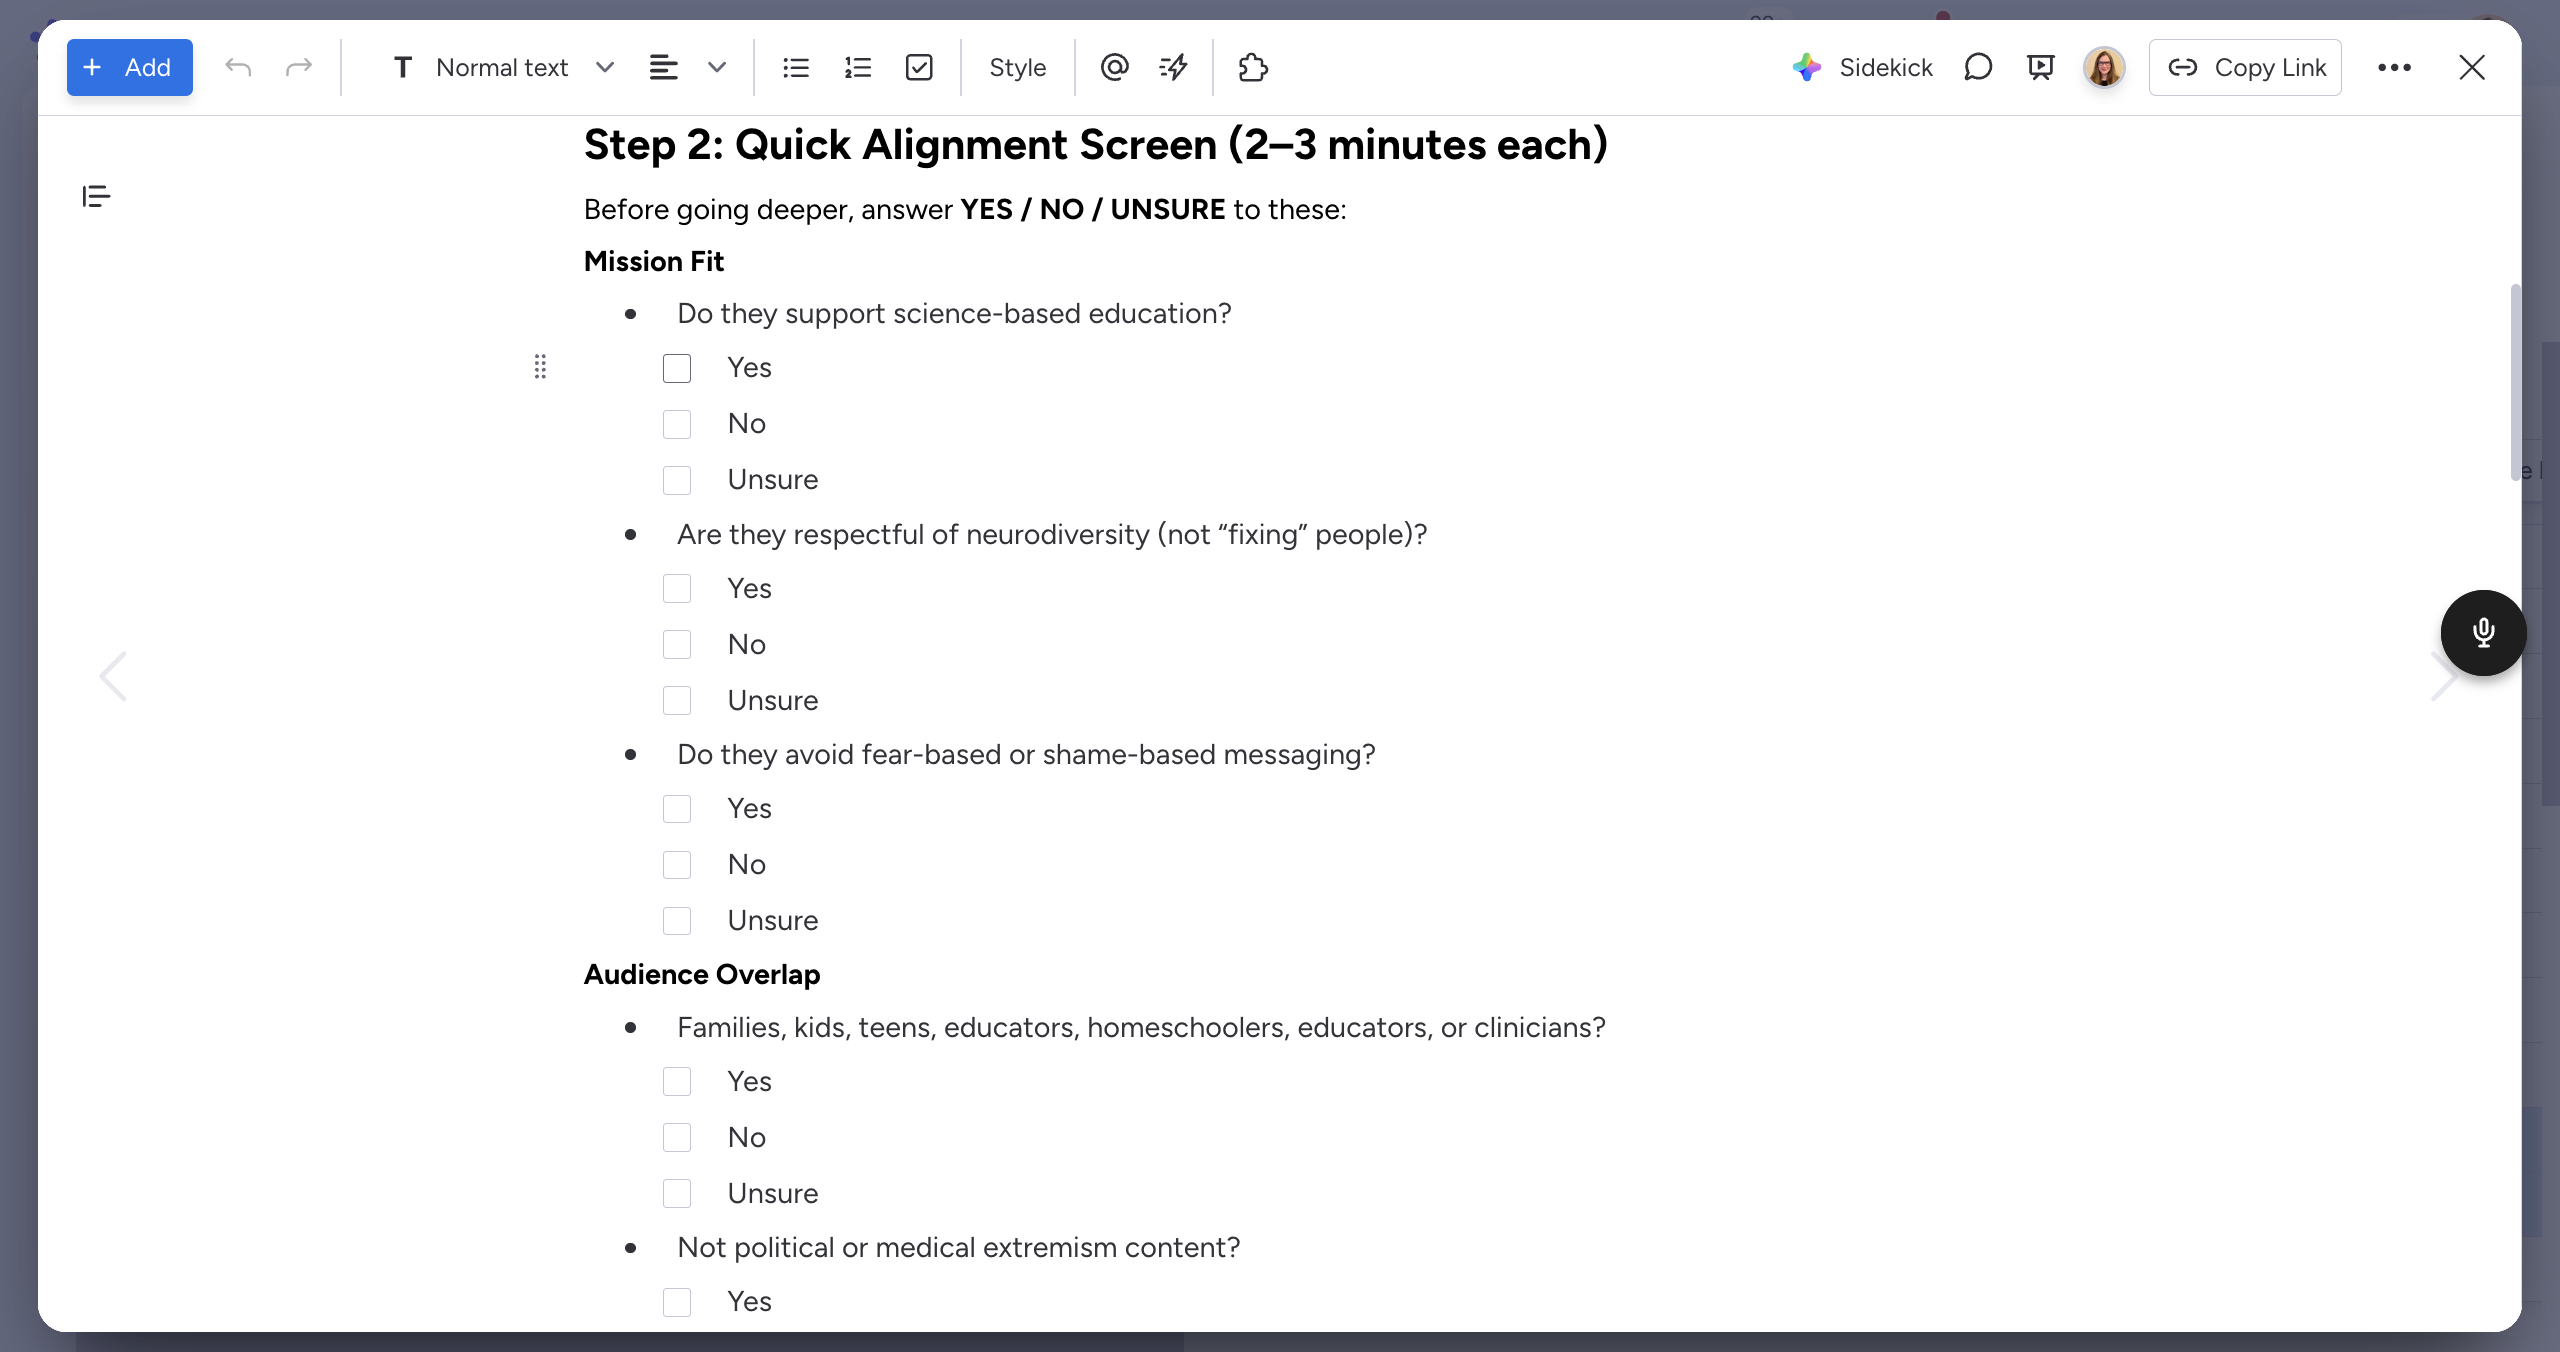

Here, you'll take brief notes—just a few bullet points for each question.
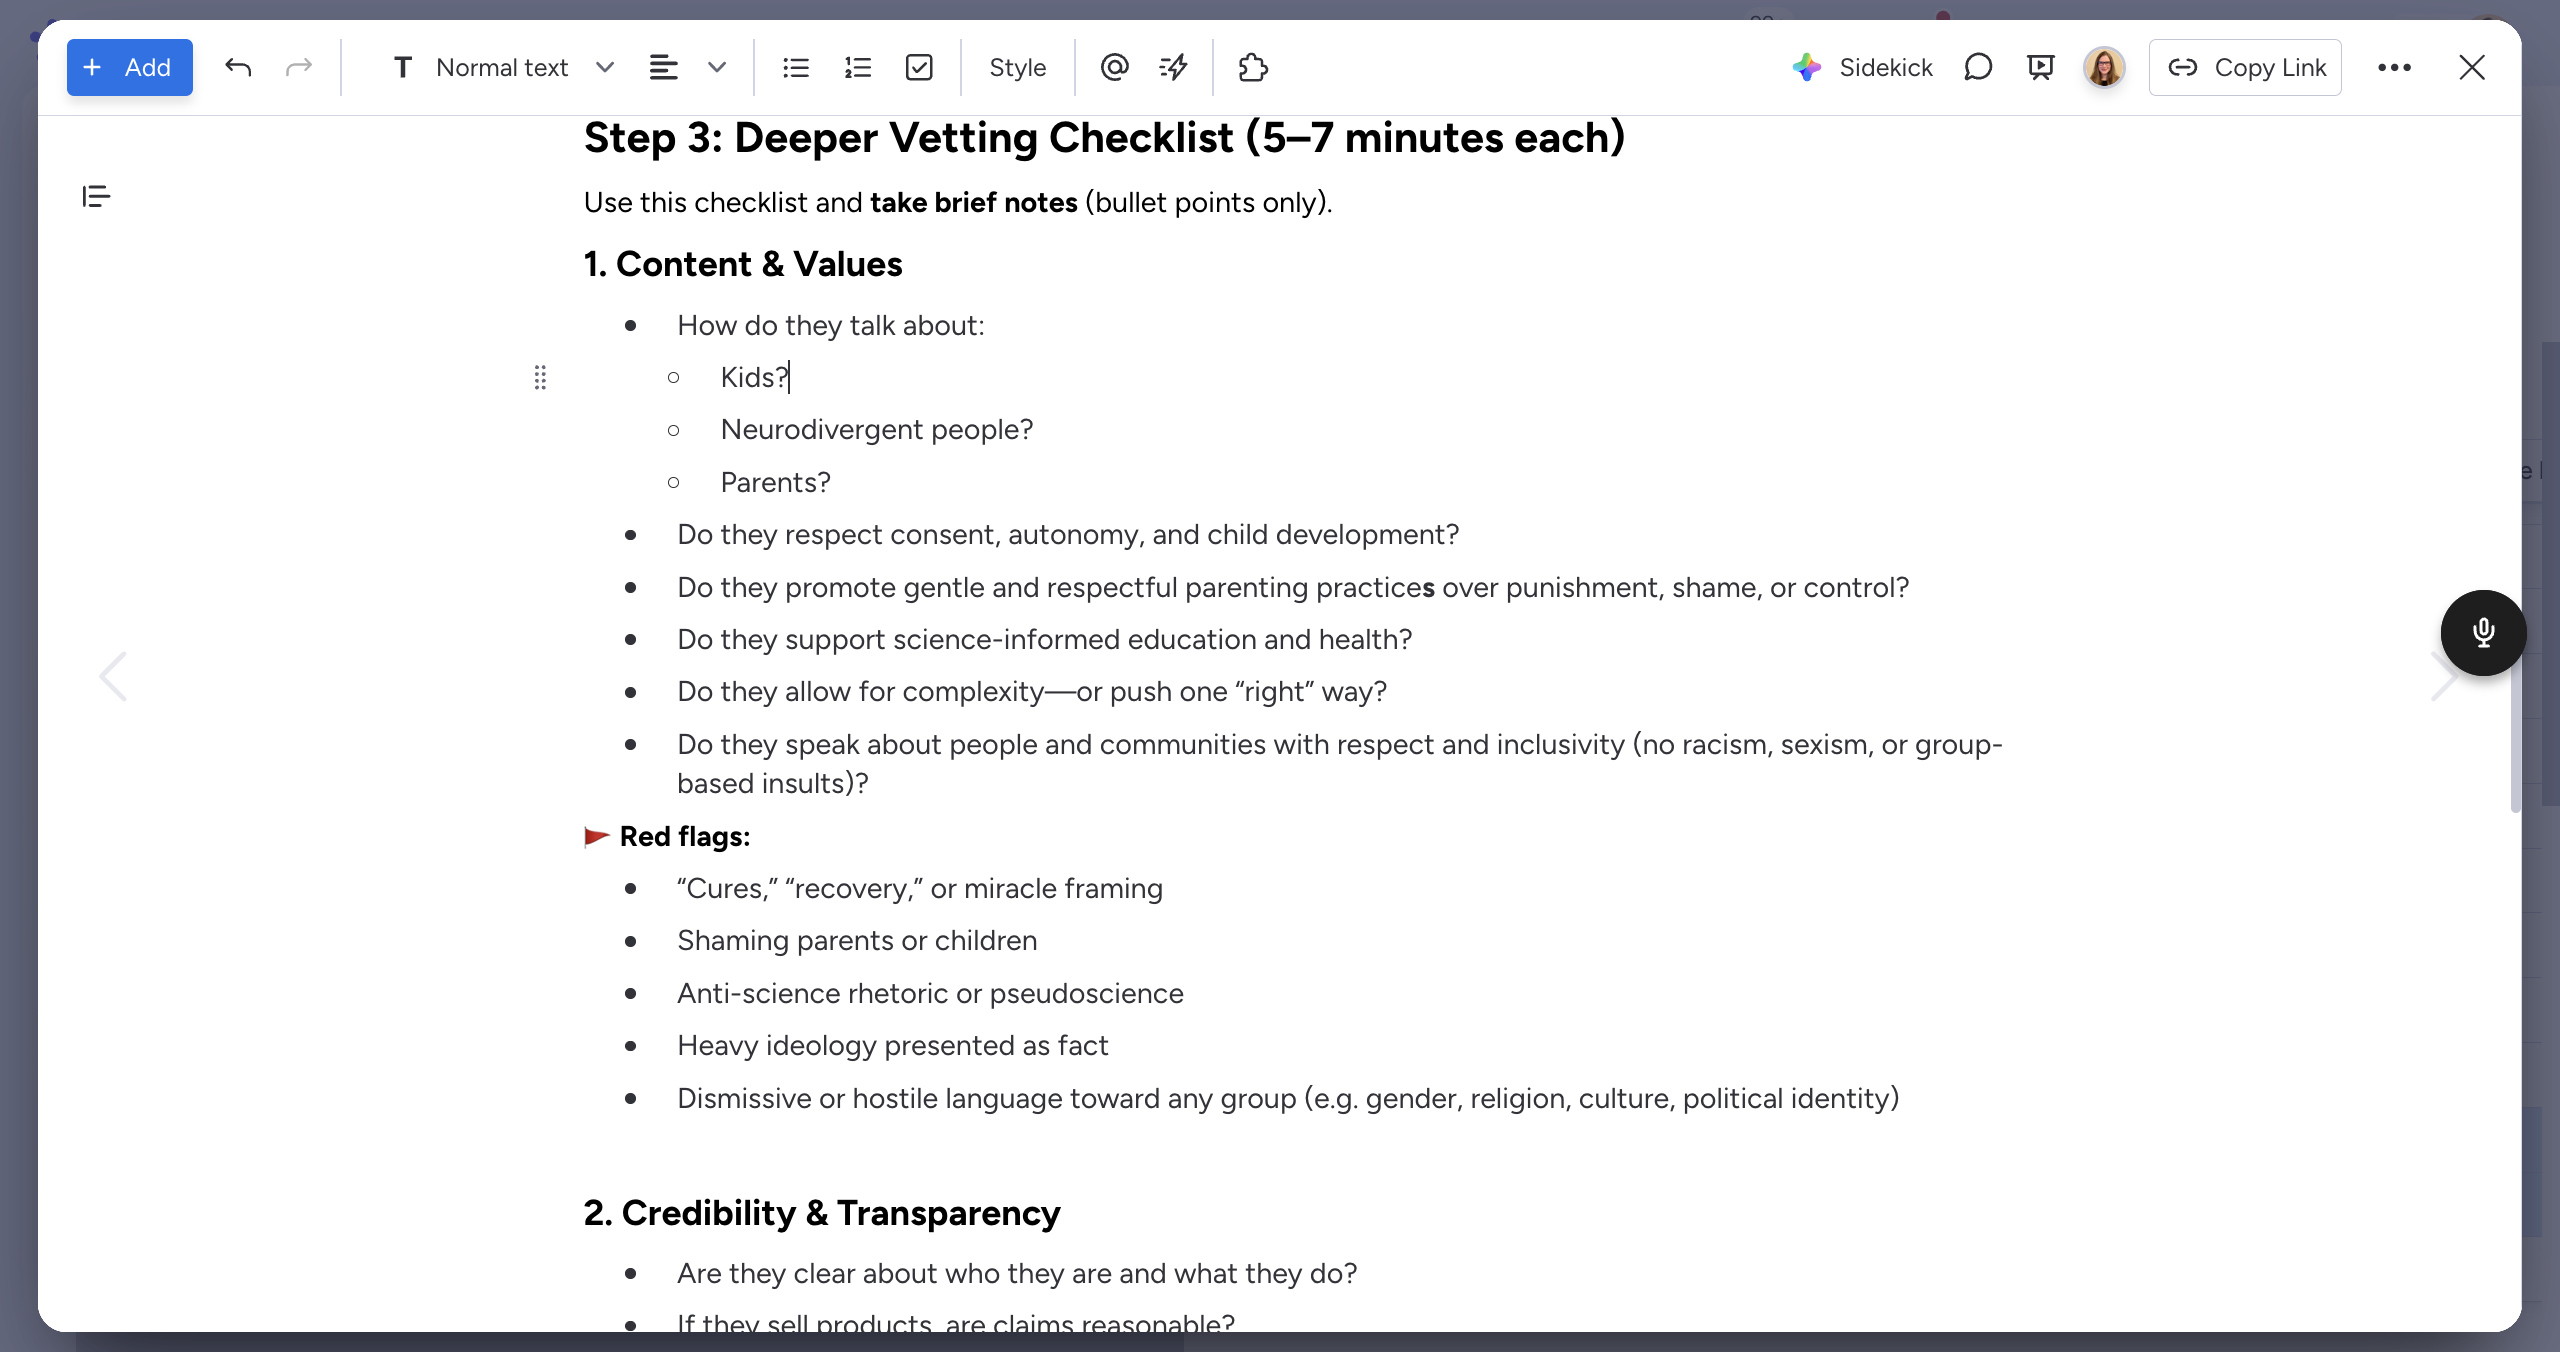
You can add extra notes if needed.
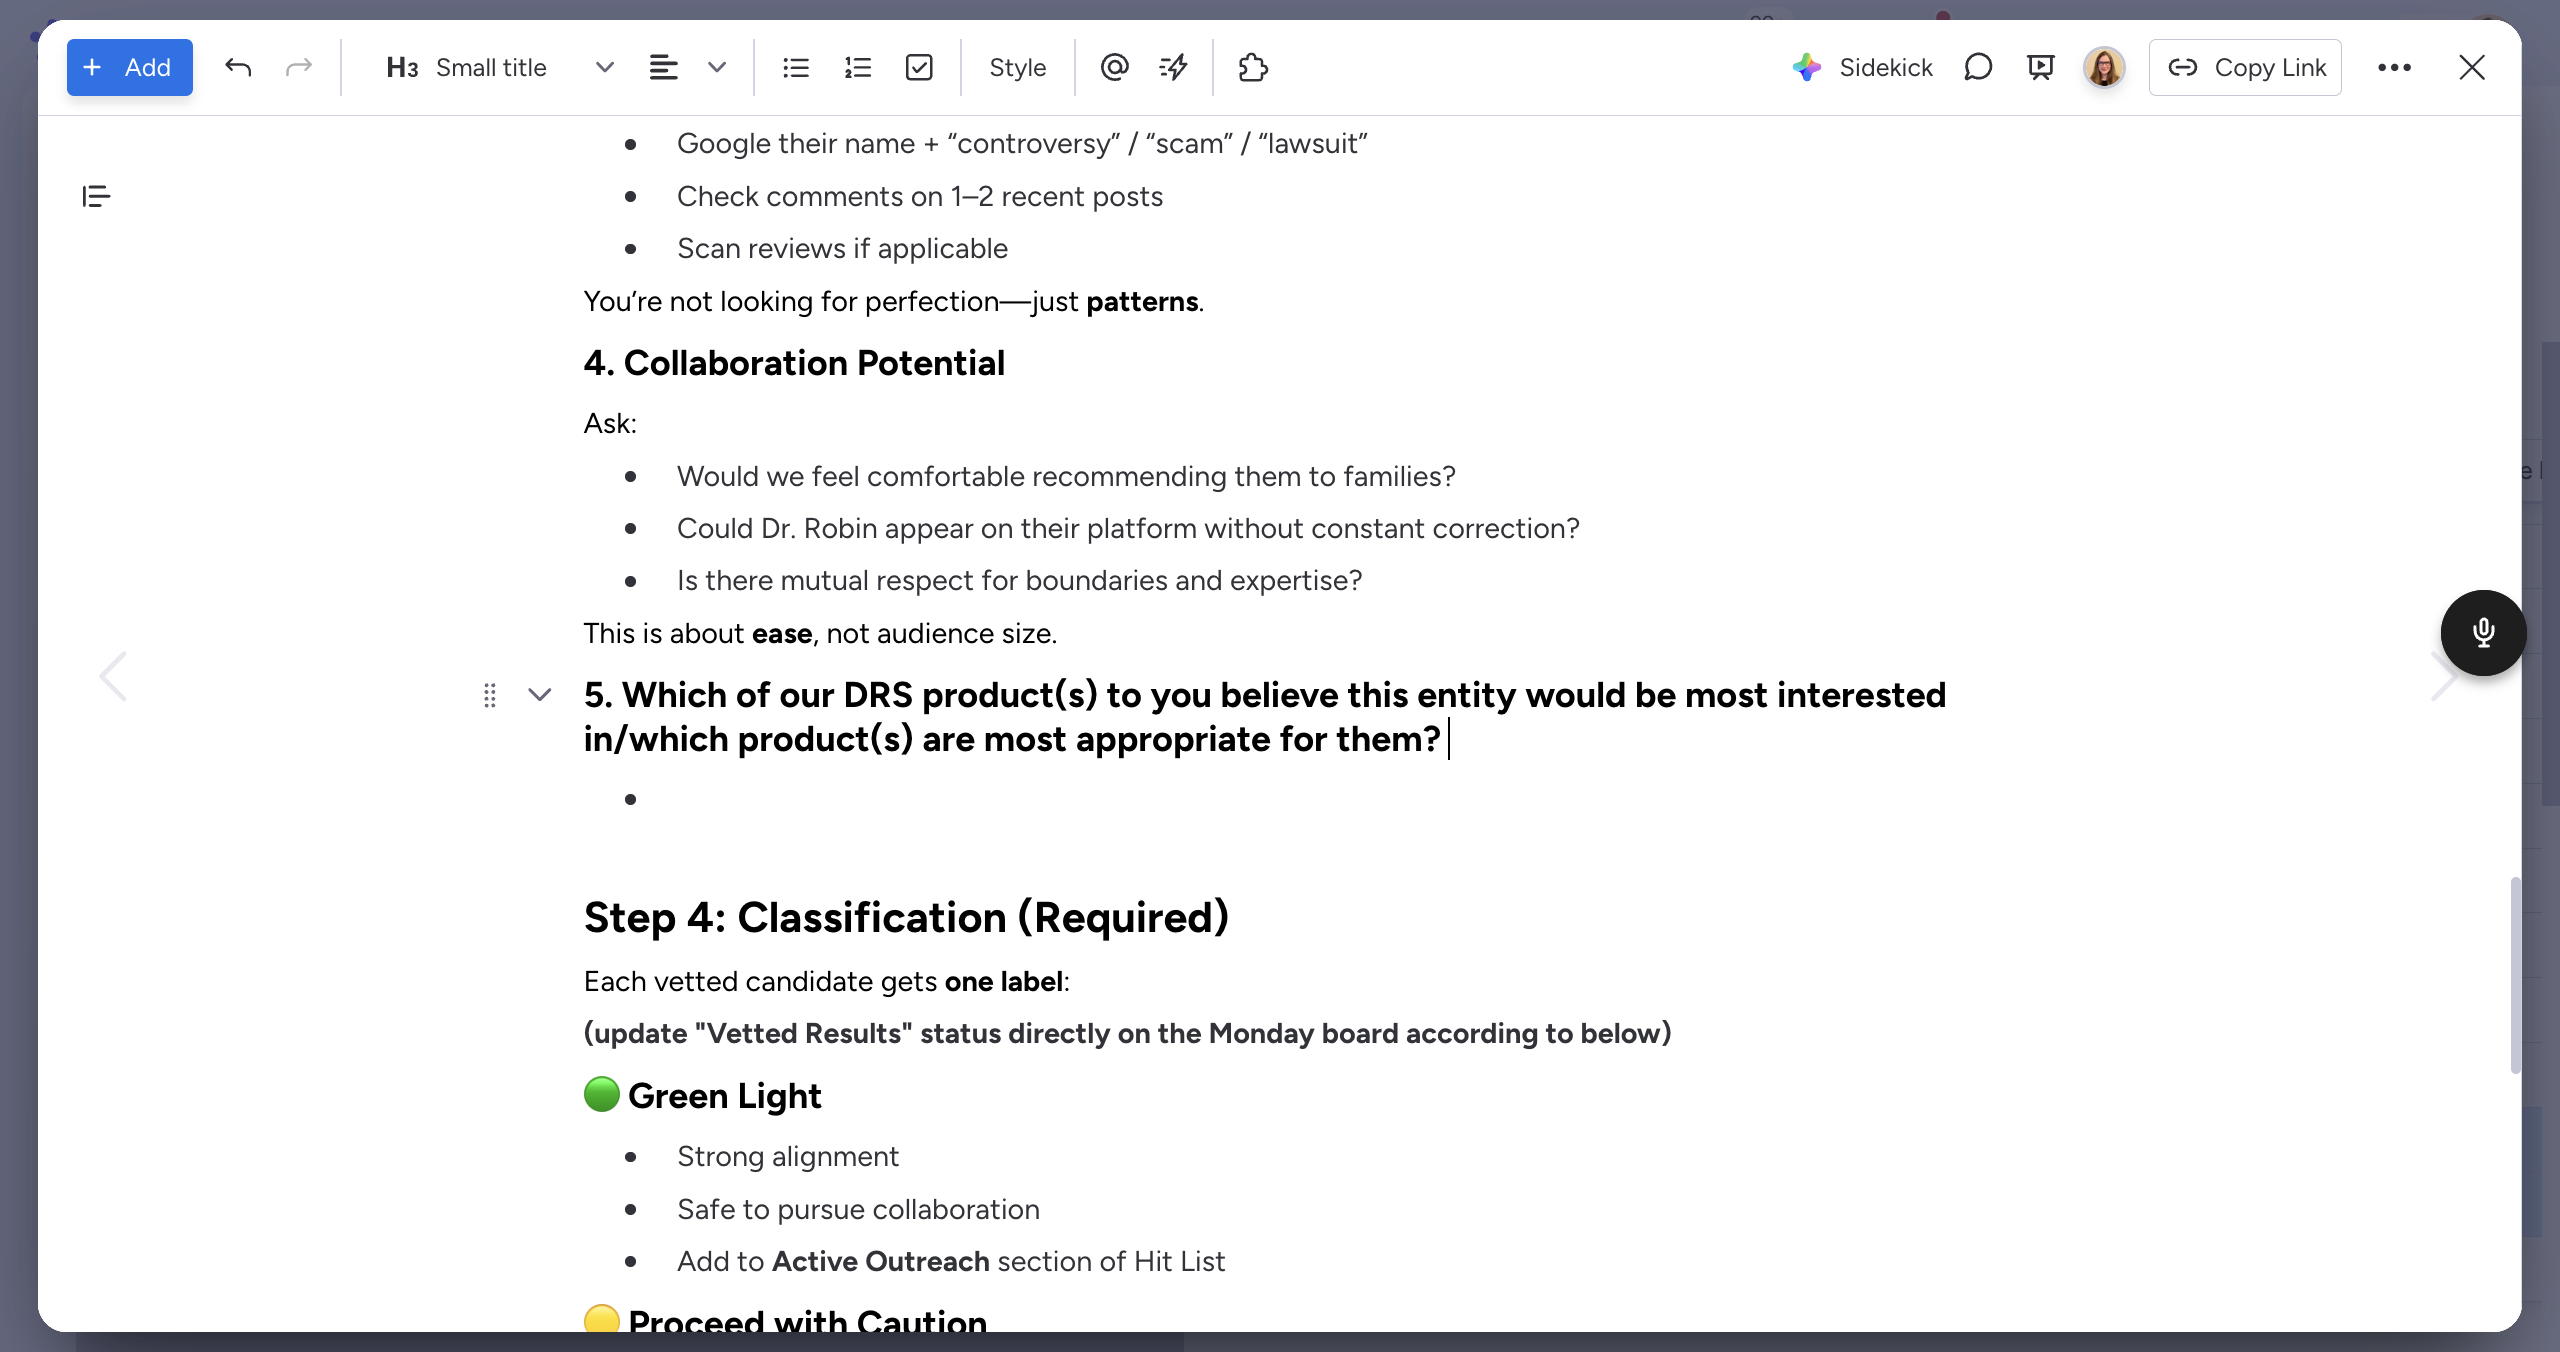
Okay. Finally, after completing all the steps, you should know what classification the organization should have. We will assign labels: green means go ahead with strong alignment, yellow means proceed with caution, and red means do not pursue.
After you finish writing your notes, it will save automatically - you can simply close it.
This is the column I’m referring to—Vetted Results, right here.
It's very important to choose a result that matches the document. The options are: green light, proceed with caution, and do not pursue.
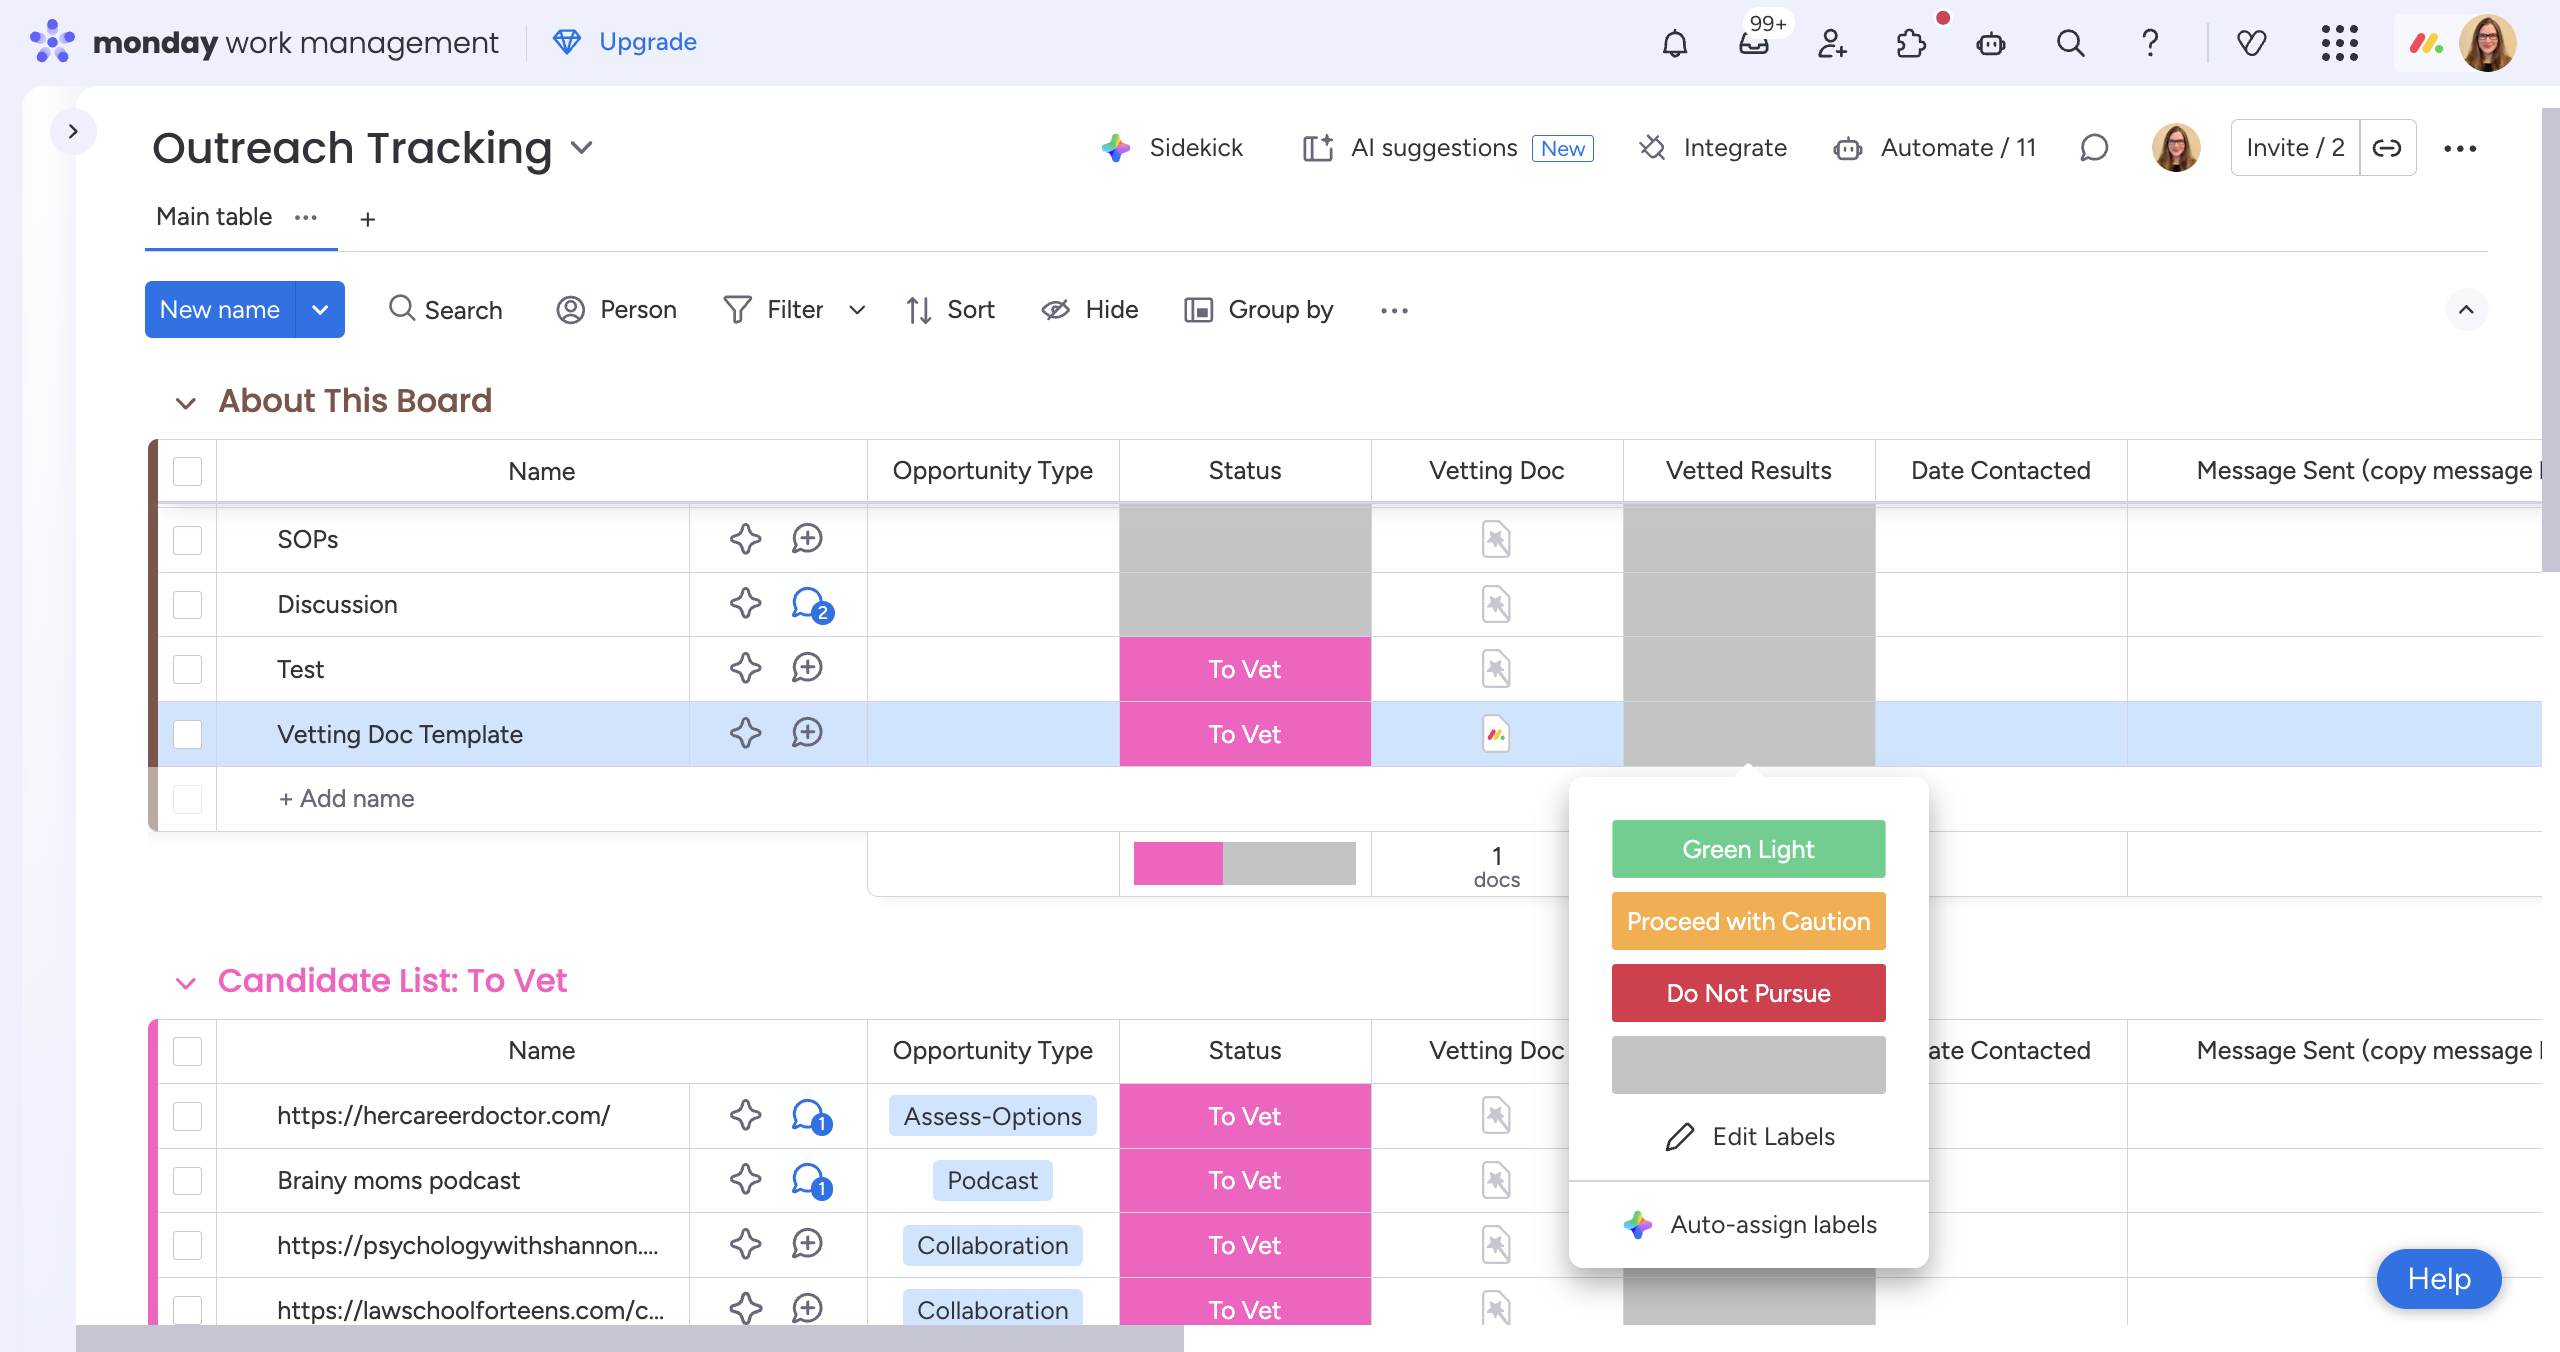
Once you update the "Vetted Results" column with green, yellow, or red, you're all done! The item will automatically move to the spot on the board where it should be.