
How to Use the Sales Tab in the Customer Profile
Learn how to navigate the Sales tab in a customer's profile, filter opportunities and quotes by status, and manage sales activities efficiently. Step-by-step guide for creating opportunities and quotes in your dealership CRM.
By Dominik Black
In this guide, we'll learn how to use the Sales tab within a customer's profile to manage opportunities and quotes. We will cover how to filter sales by status, create new opportunities or quotes, and update the status of each item. This will help you track and organize your sales process more efficiently.
Let's get started
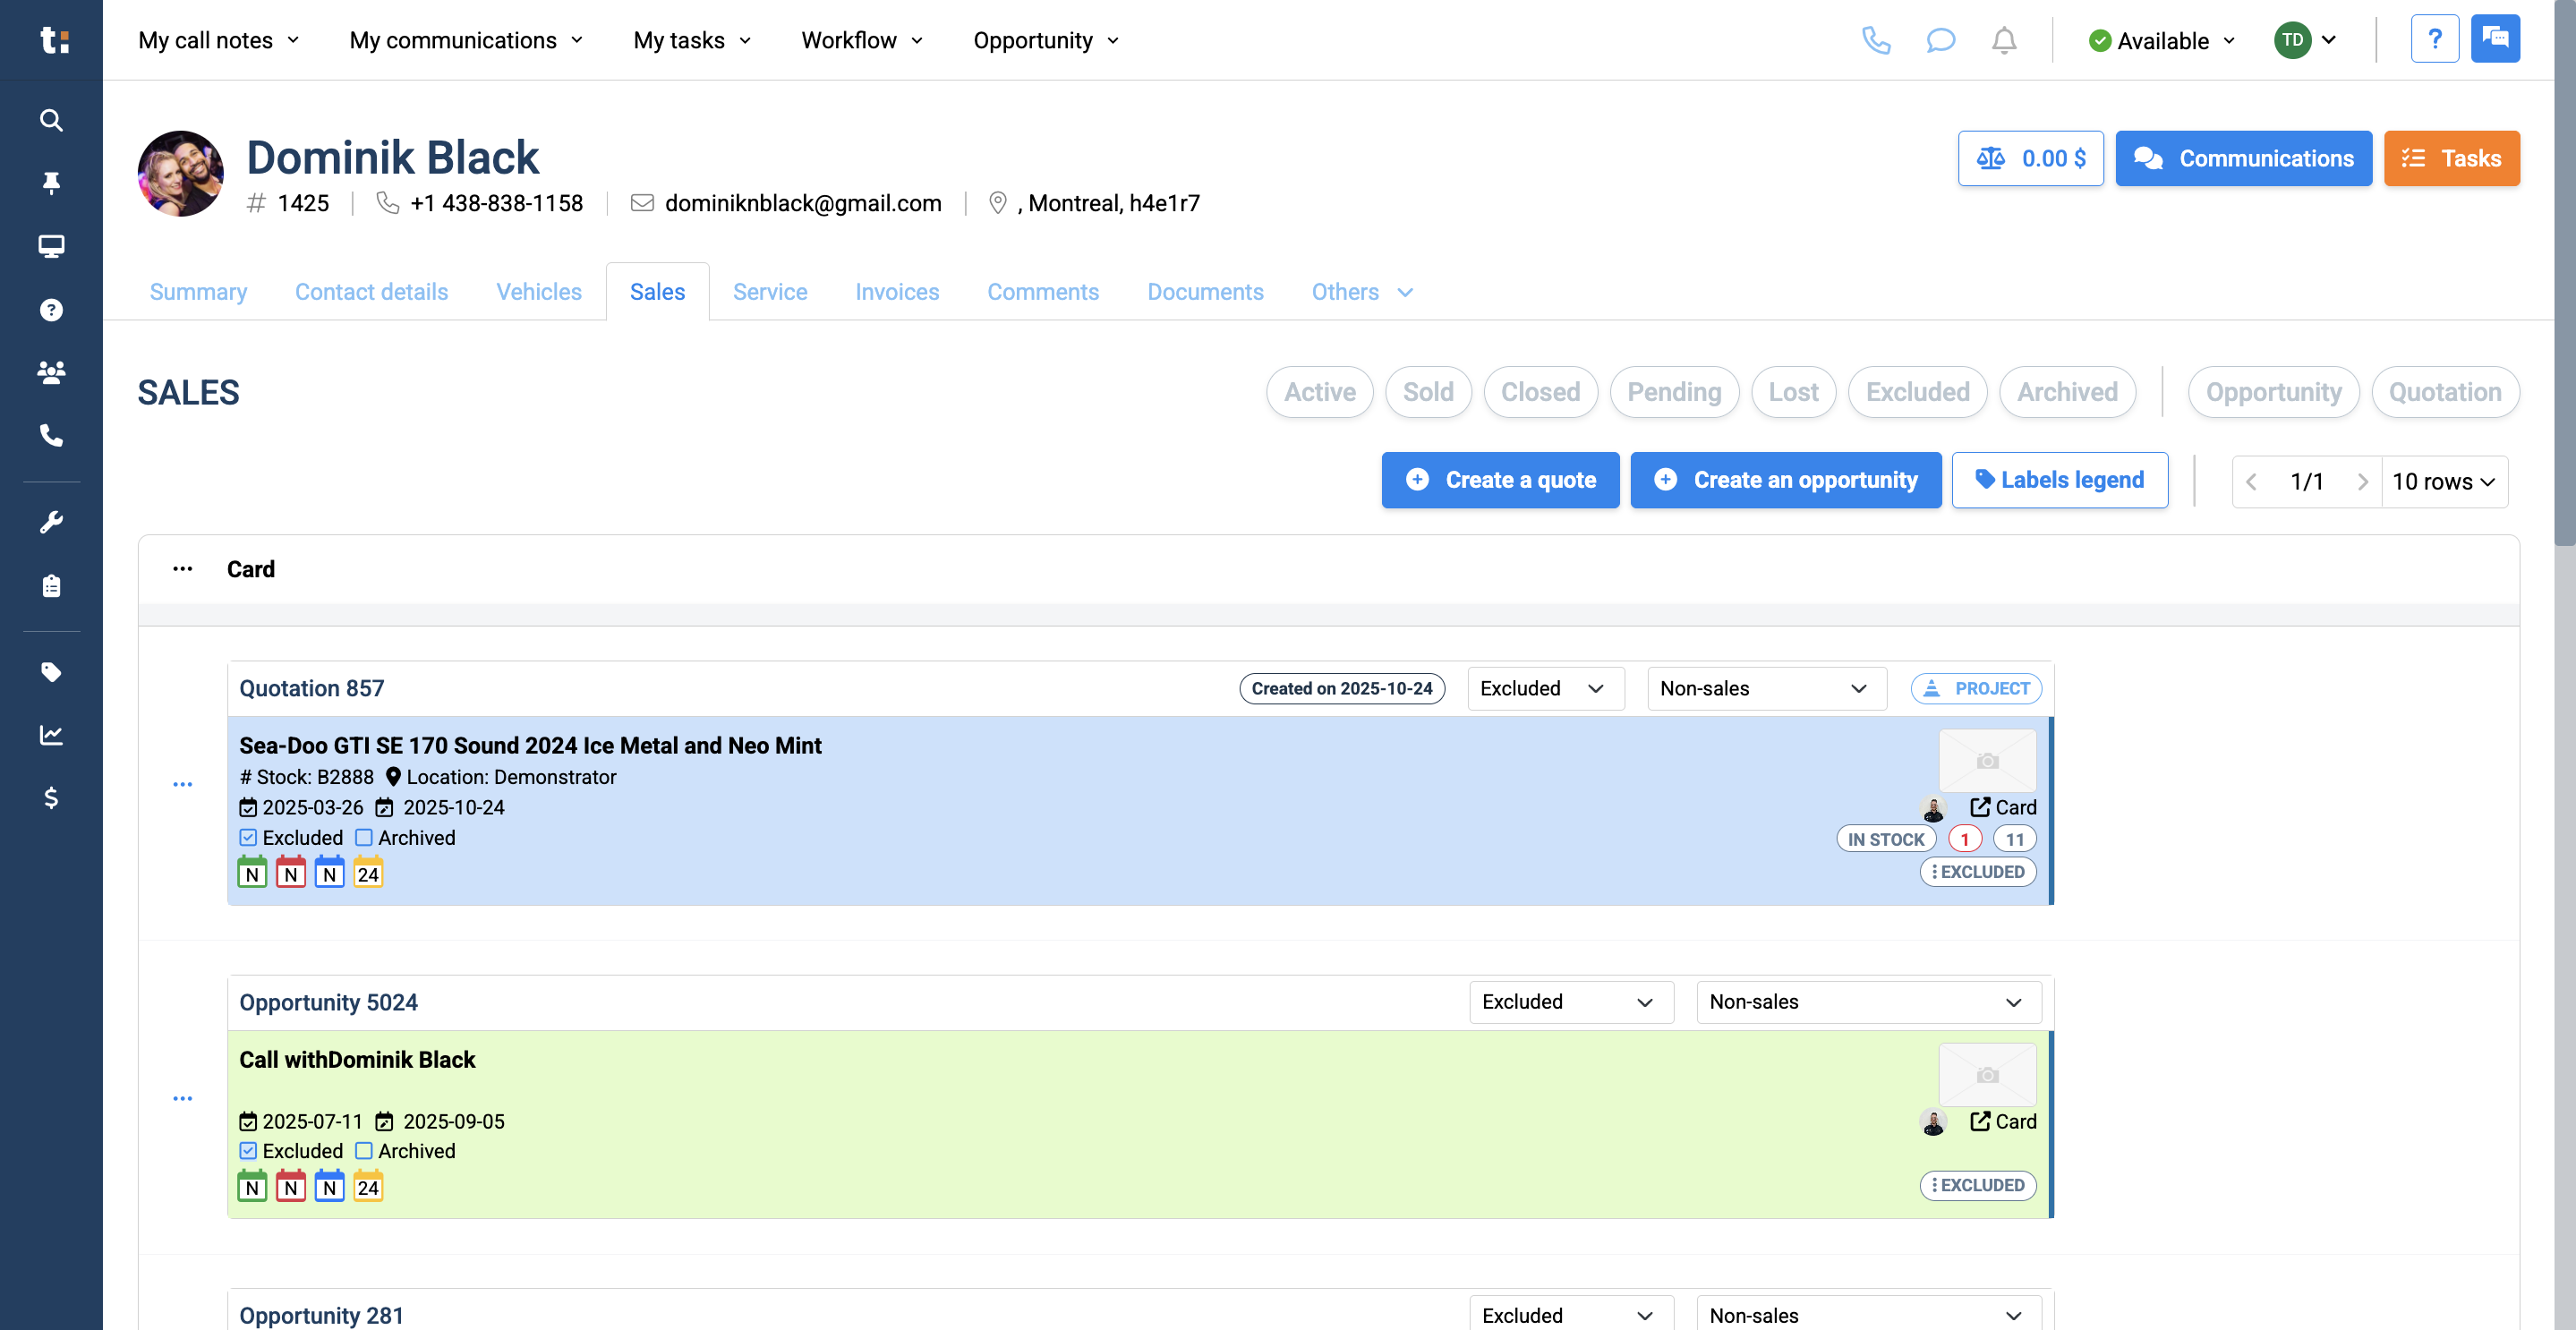
This article covers the Sales tab in the customer's profile.
1
To access the Sales tab, click Sales.

2
Once you're there, you'll see a complete list of all opportunities and sales for the customer. To filter by status, click one of the status buttons at the top, such as Active, Sold, Closed, Pending, Lost, Excluded, or Archived.
3
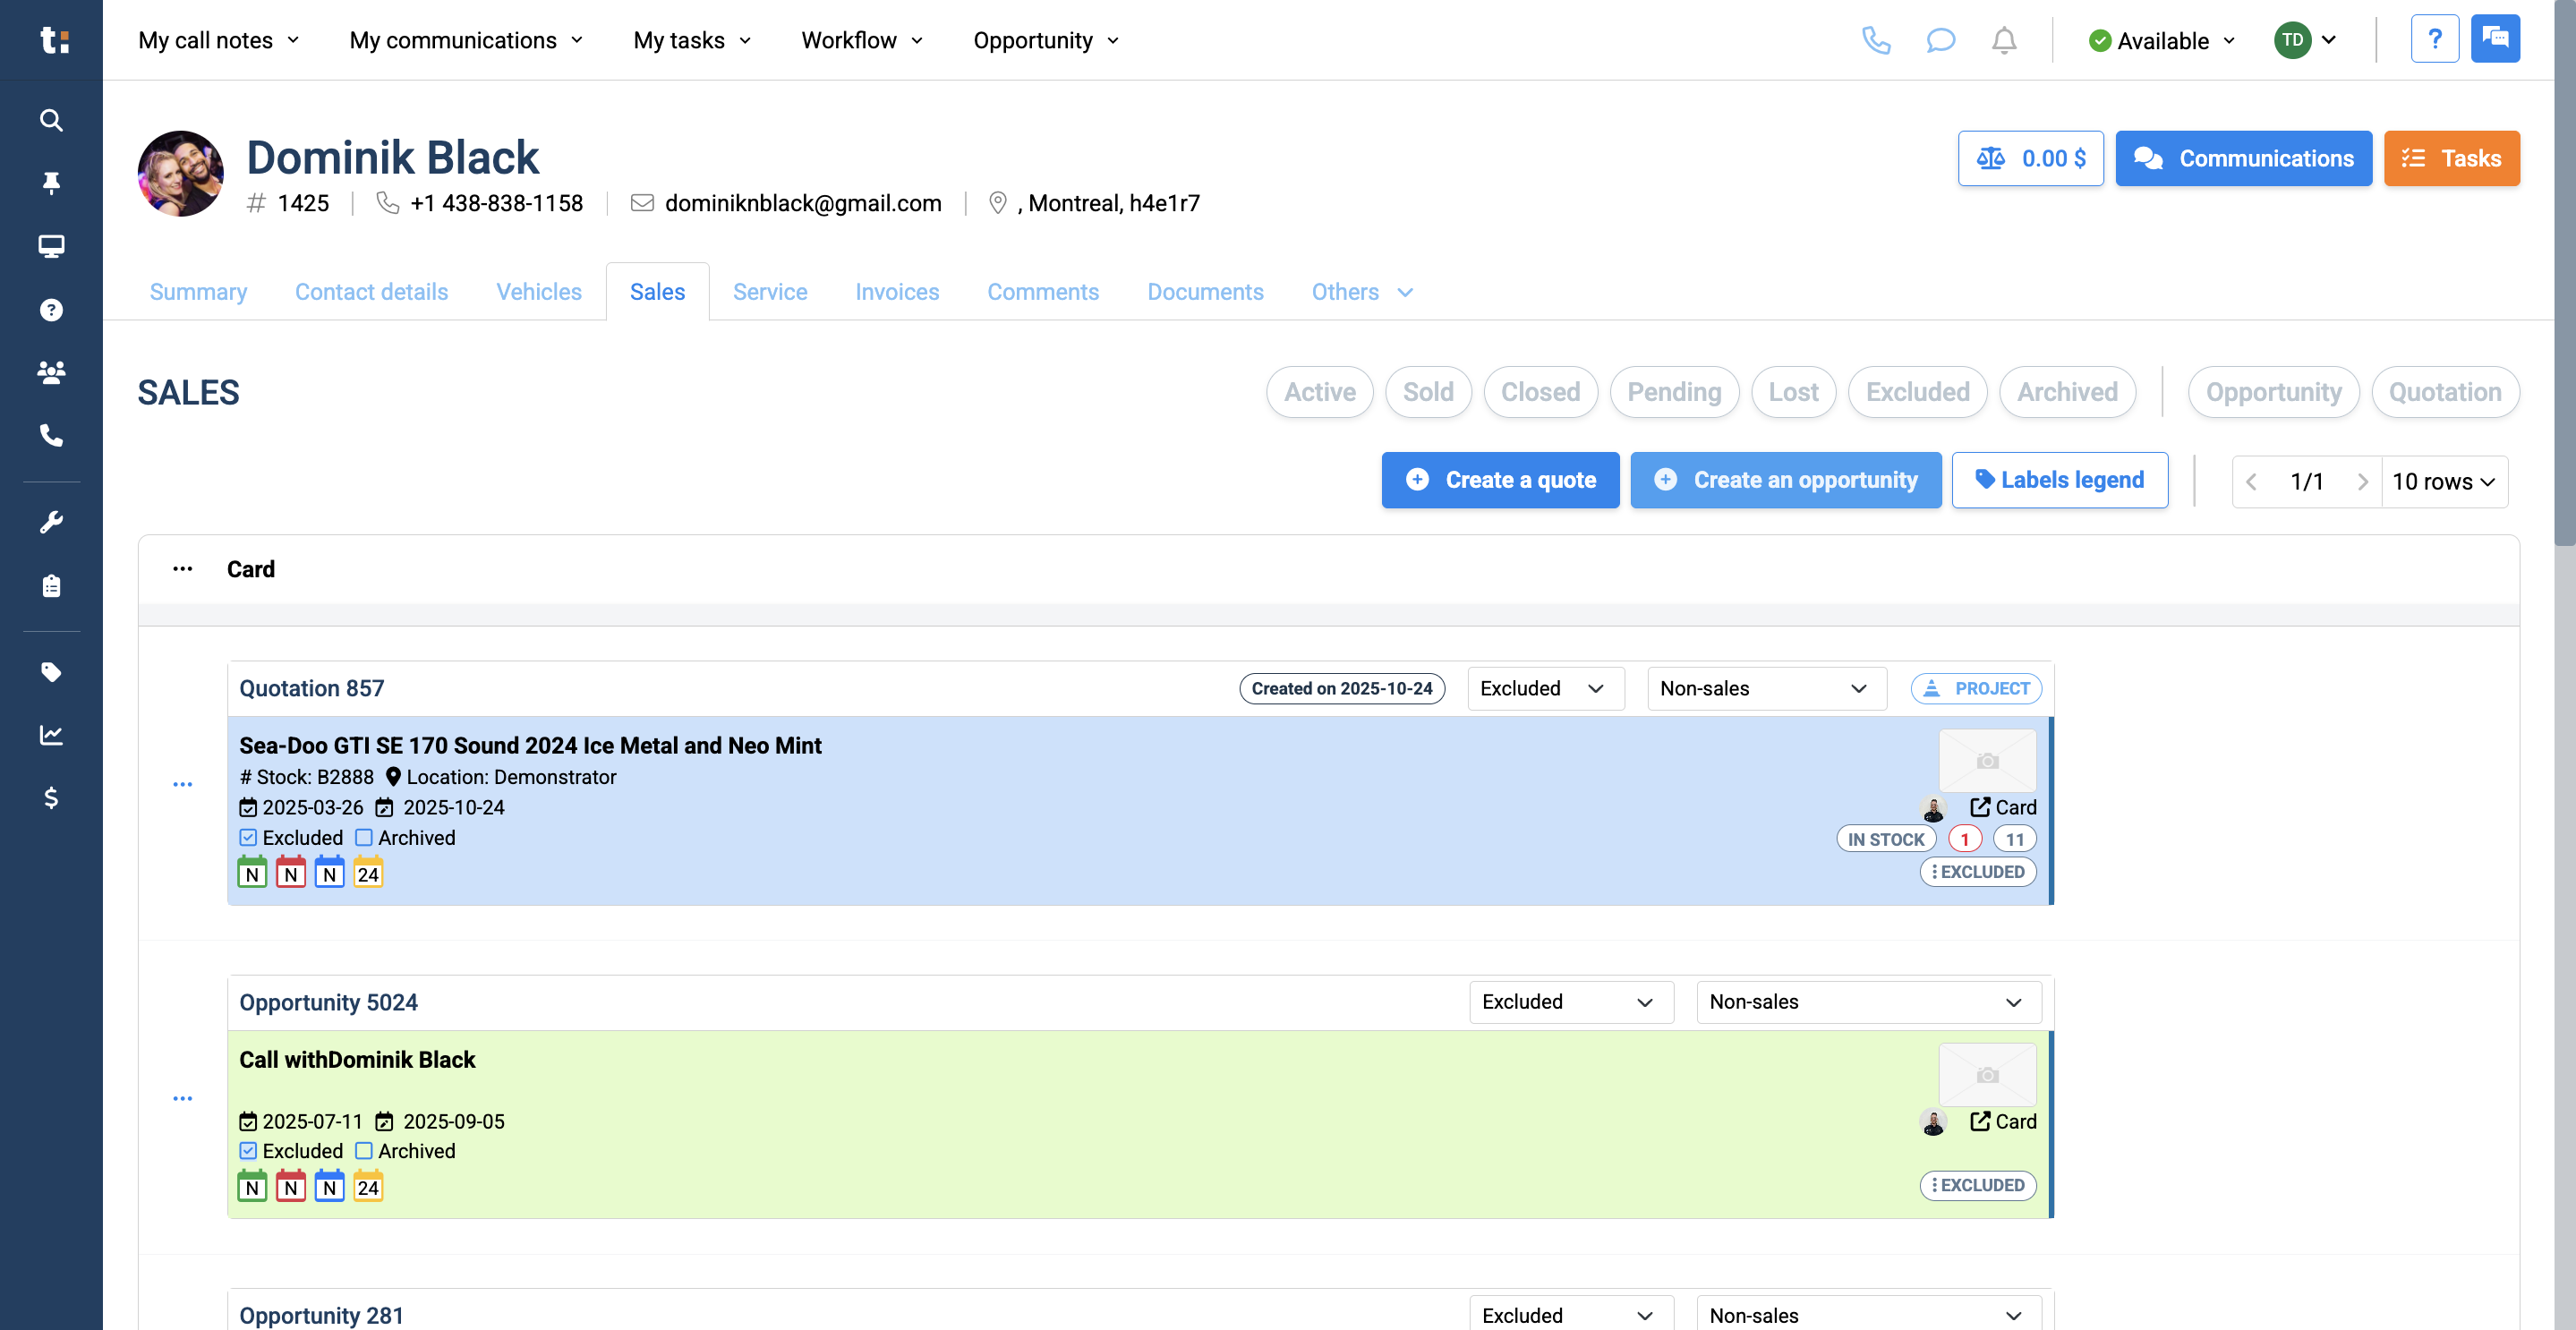
You can also filter to view only Opportunities or only Quotations.

4
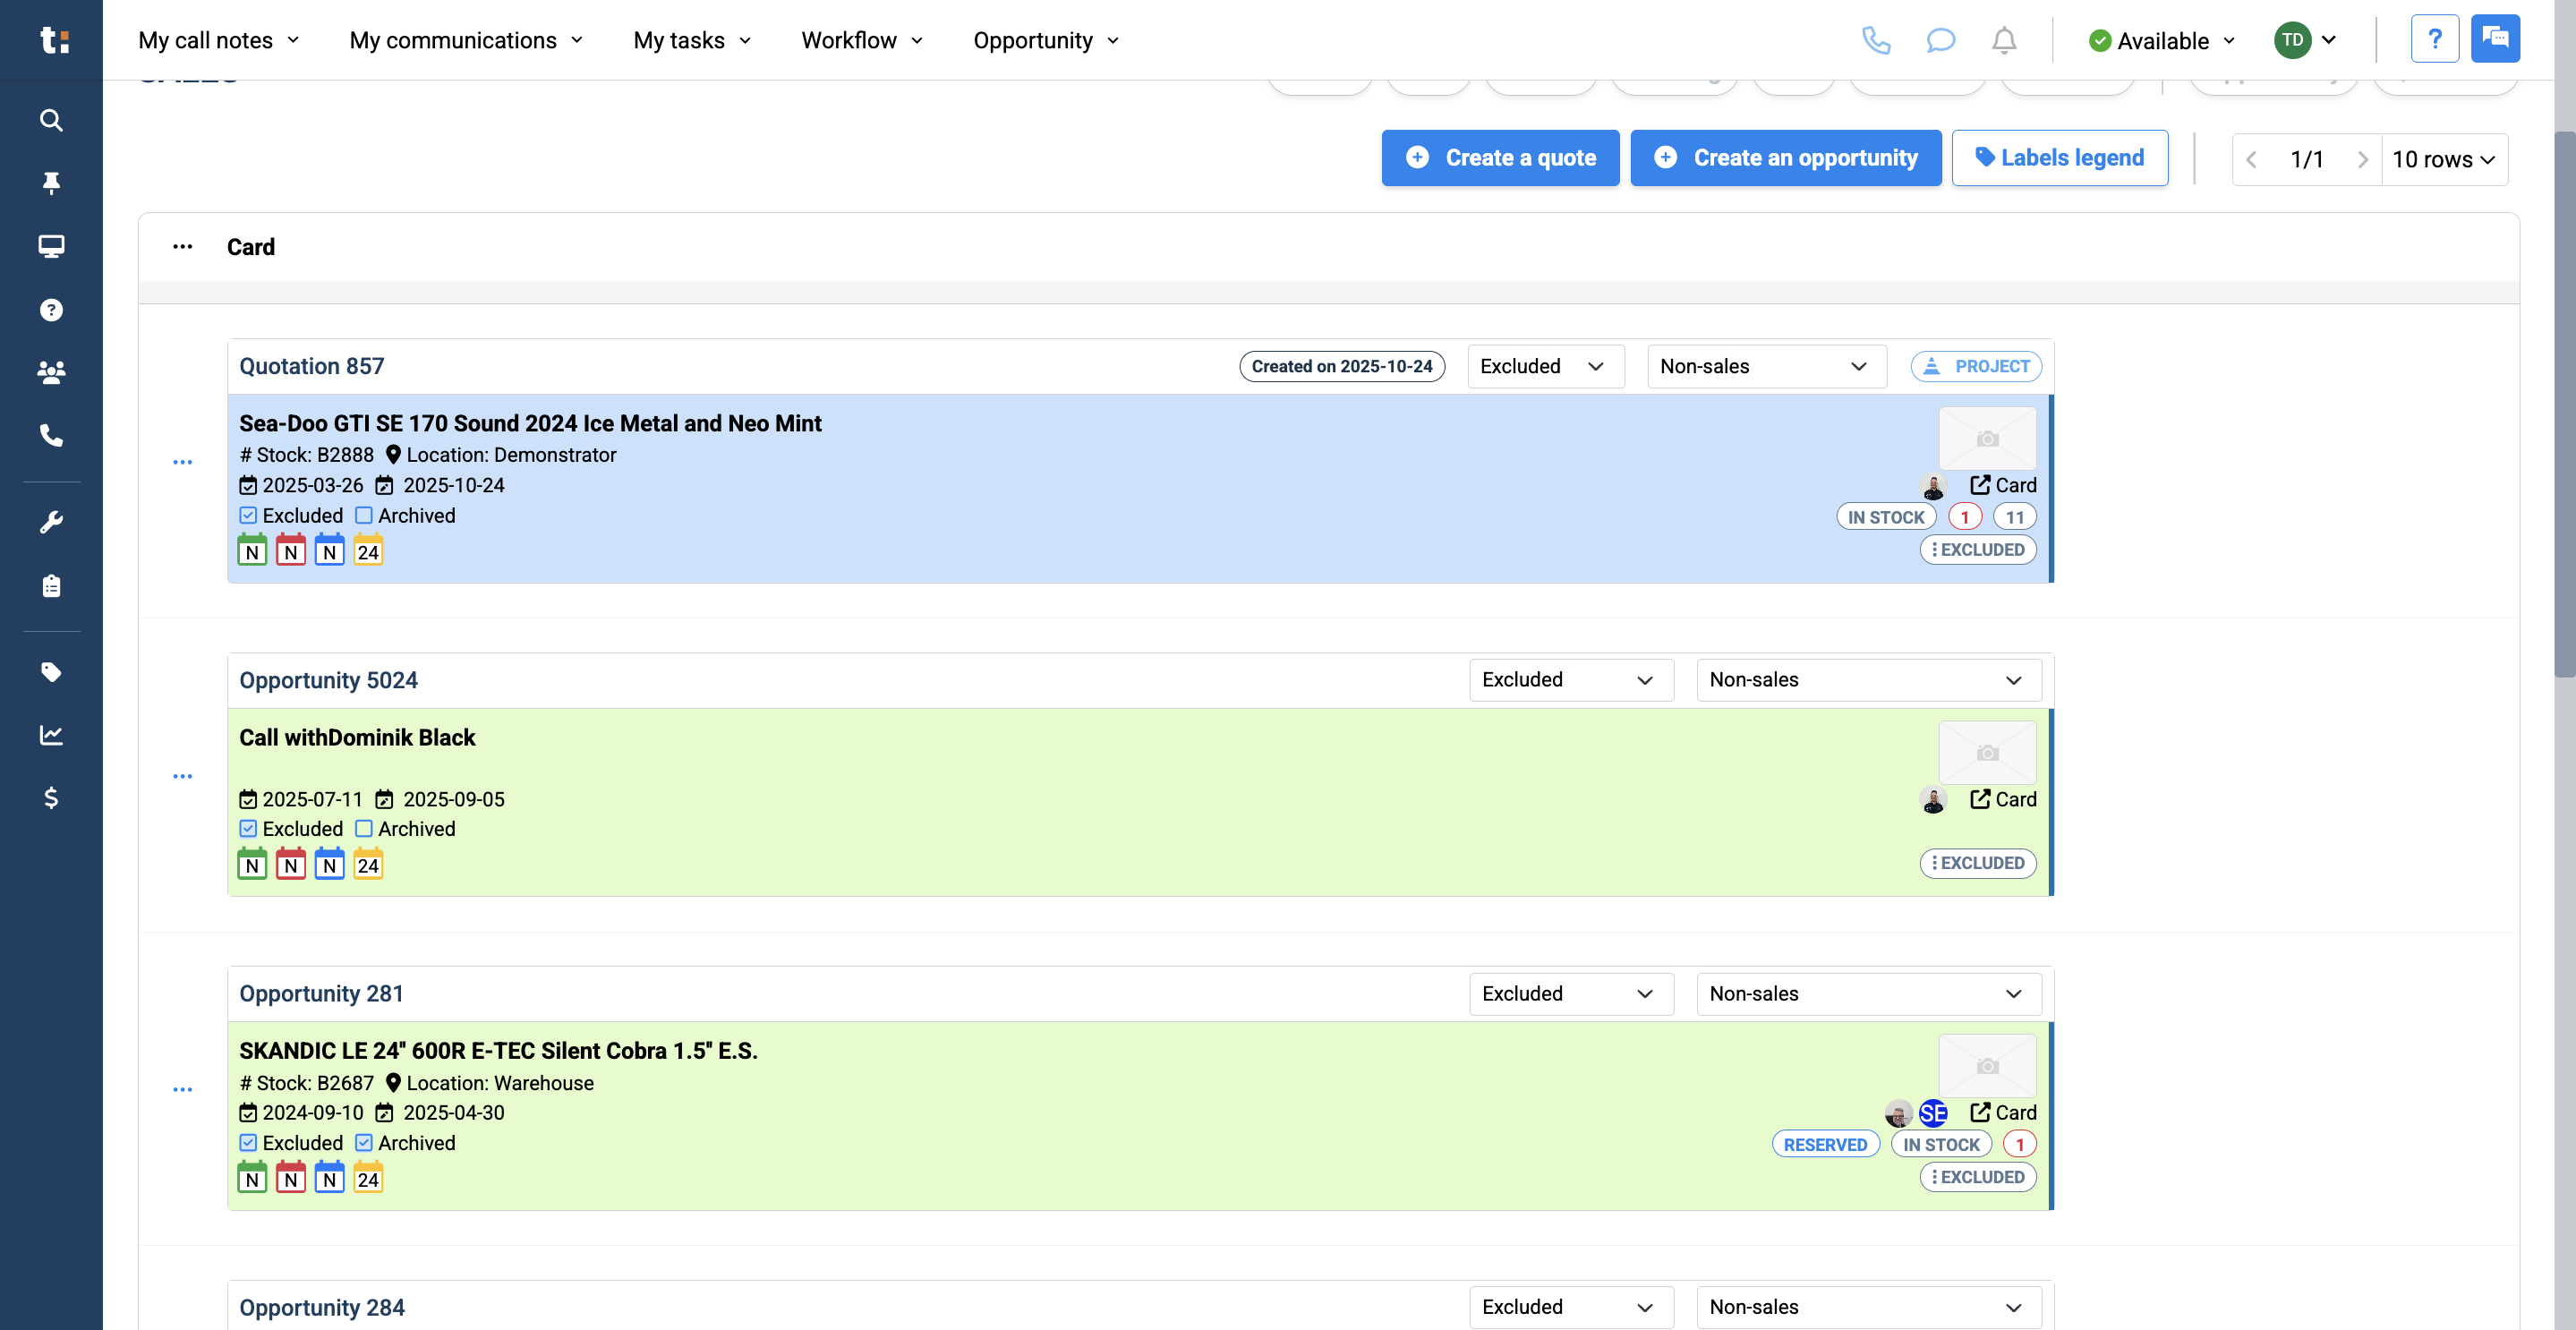
From here, you can either create an opportunity or a quote. Click on "Create an Opportunity."
5
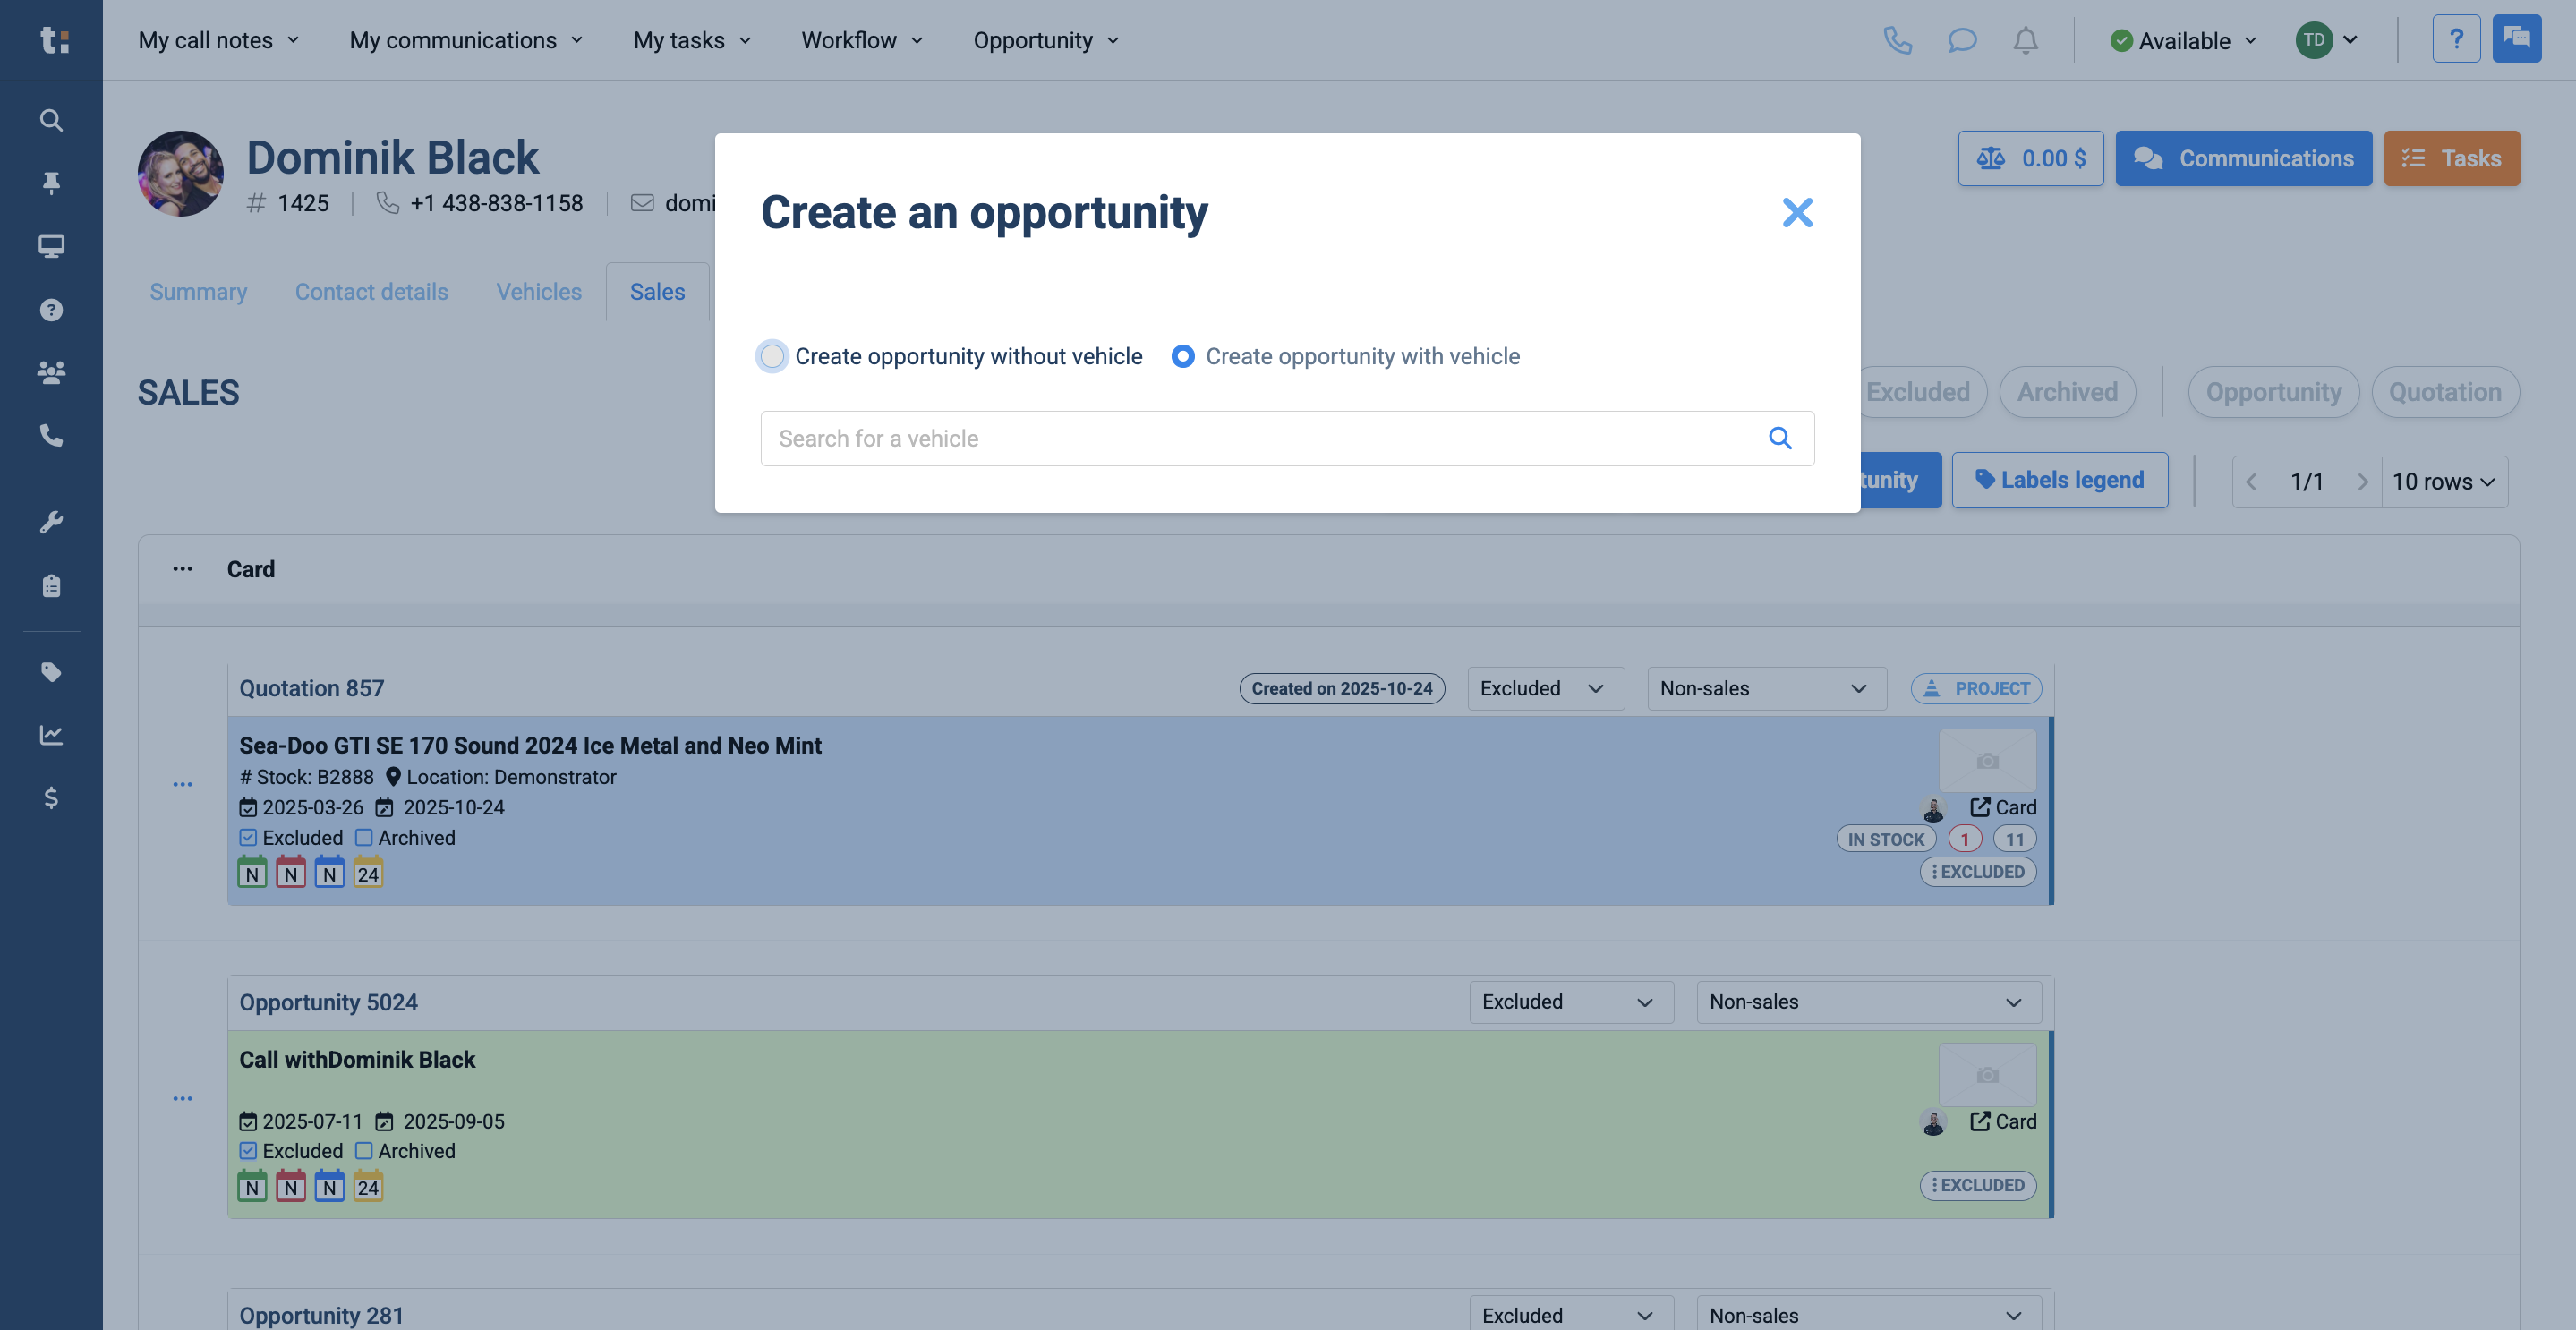
This lets you create an opportunity with an existing vehicle in your dealership,

6
or create one without a vehicle by entering only the unit name.
7
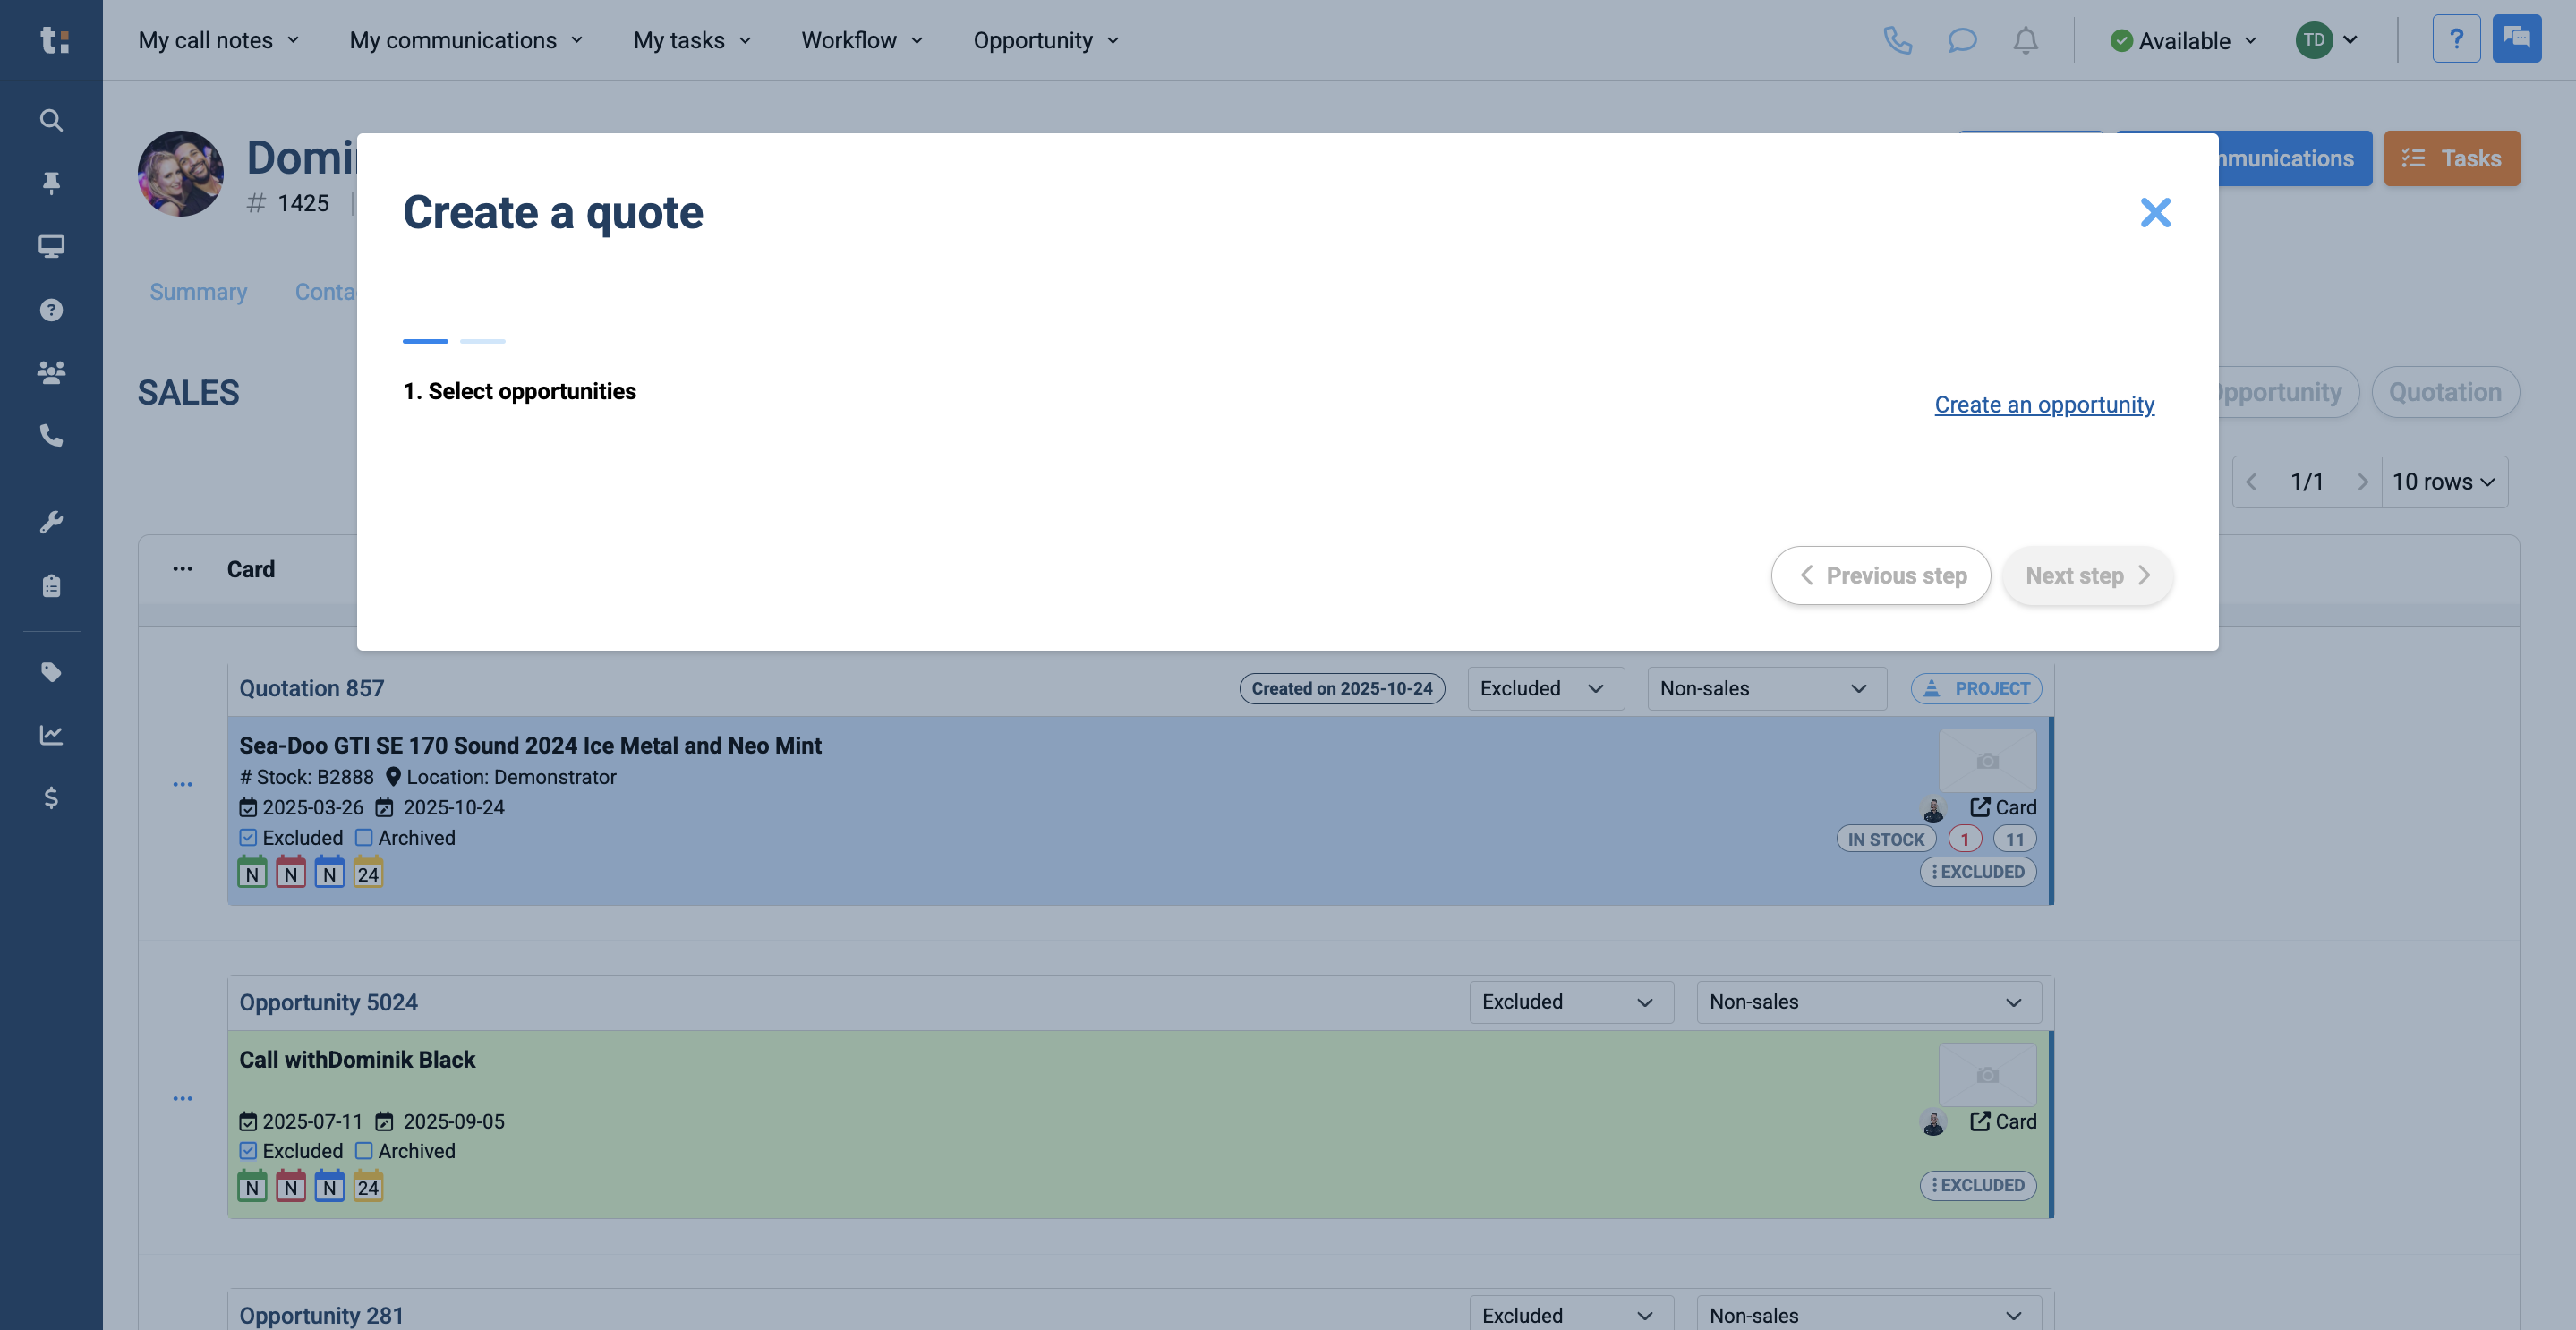
Click the "Create a Quote" button. First, you need to create an opportunity.
8
After your opportunity is created, you can create your quote.
9
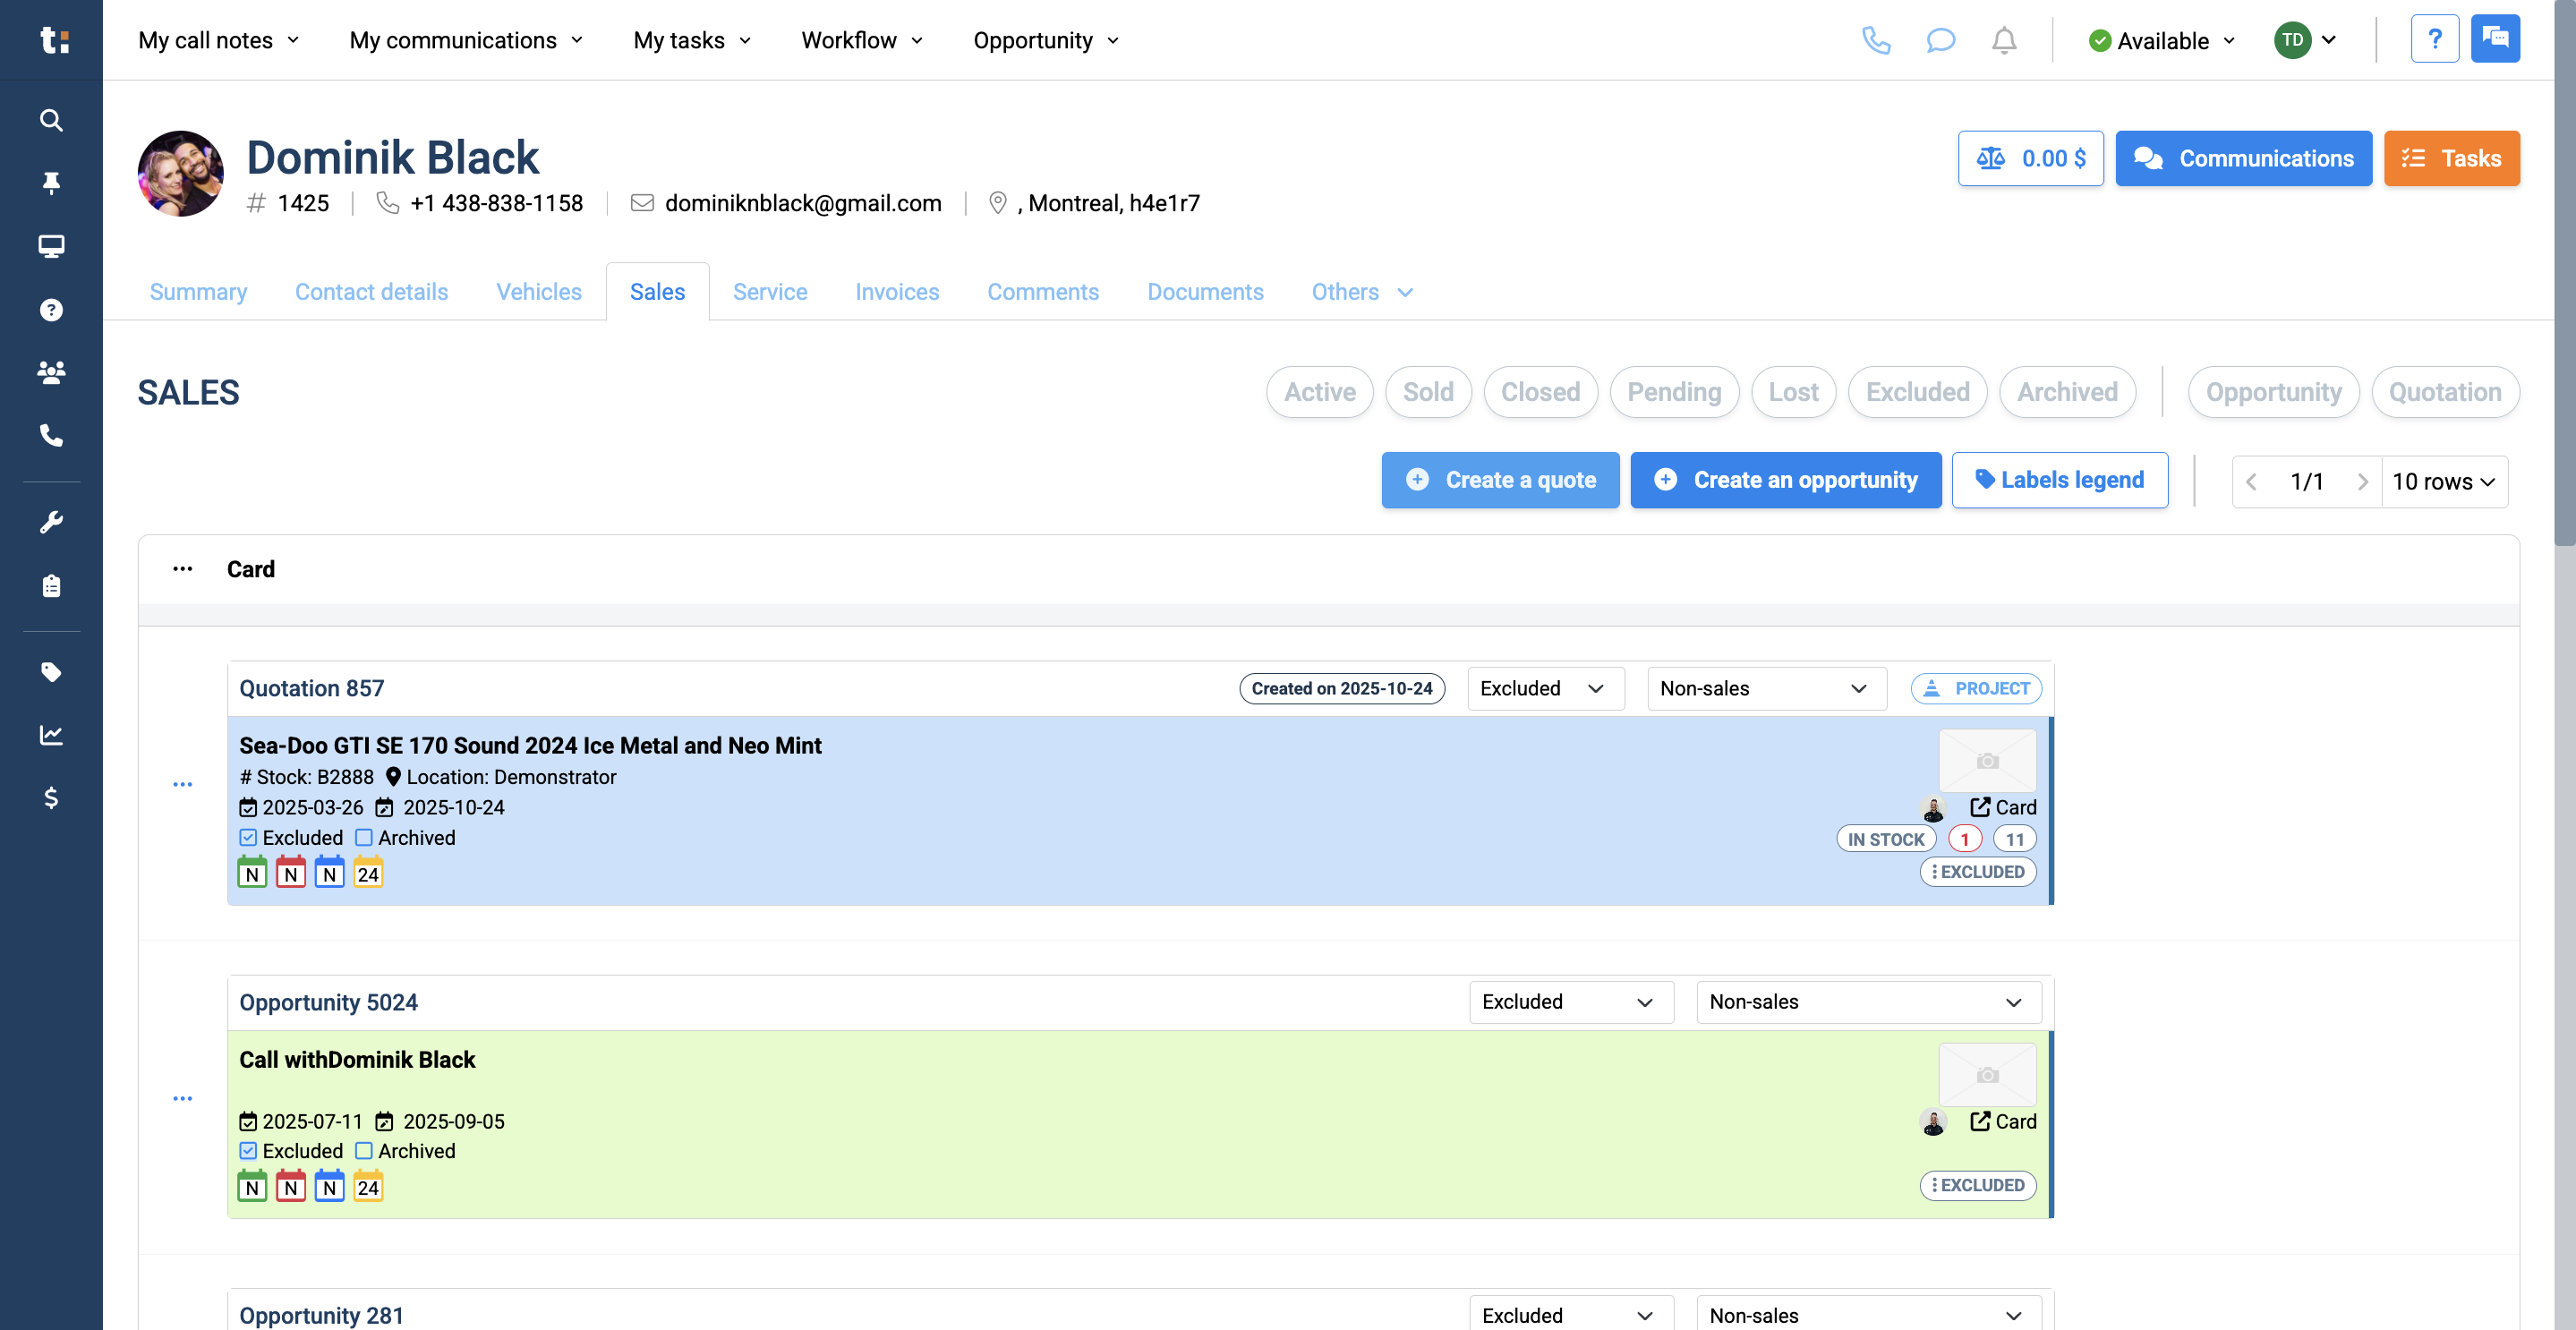
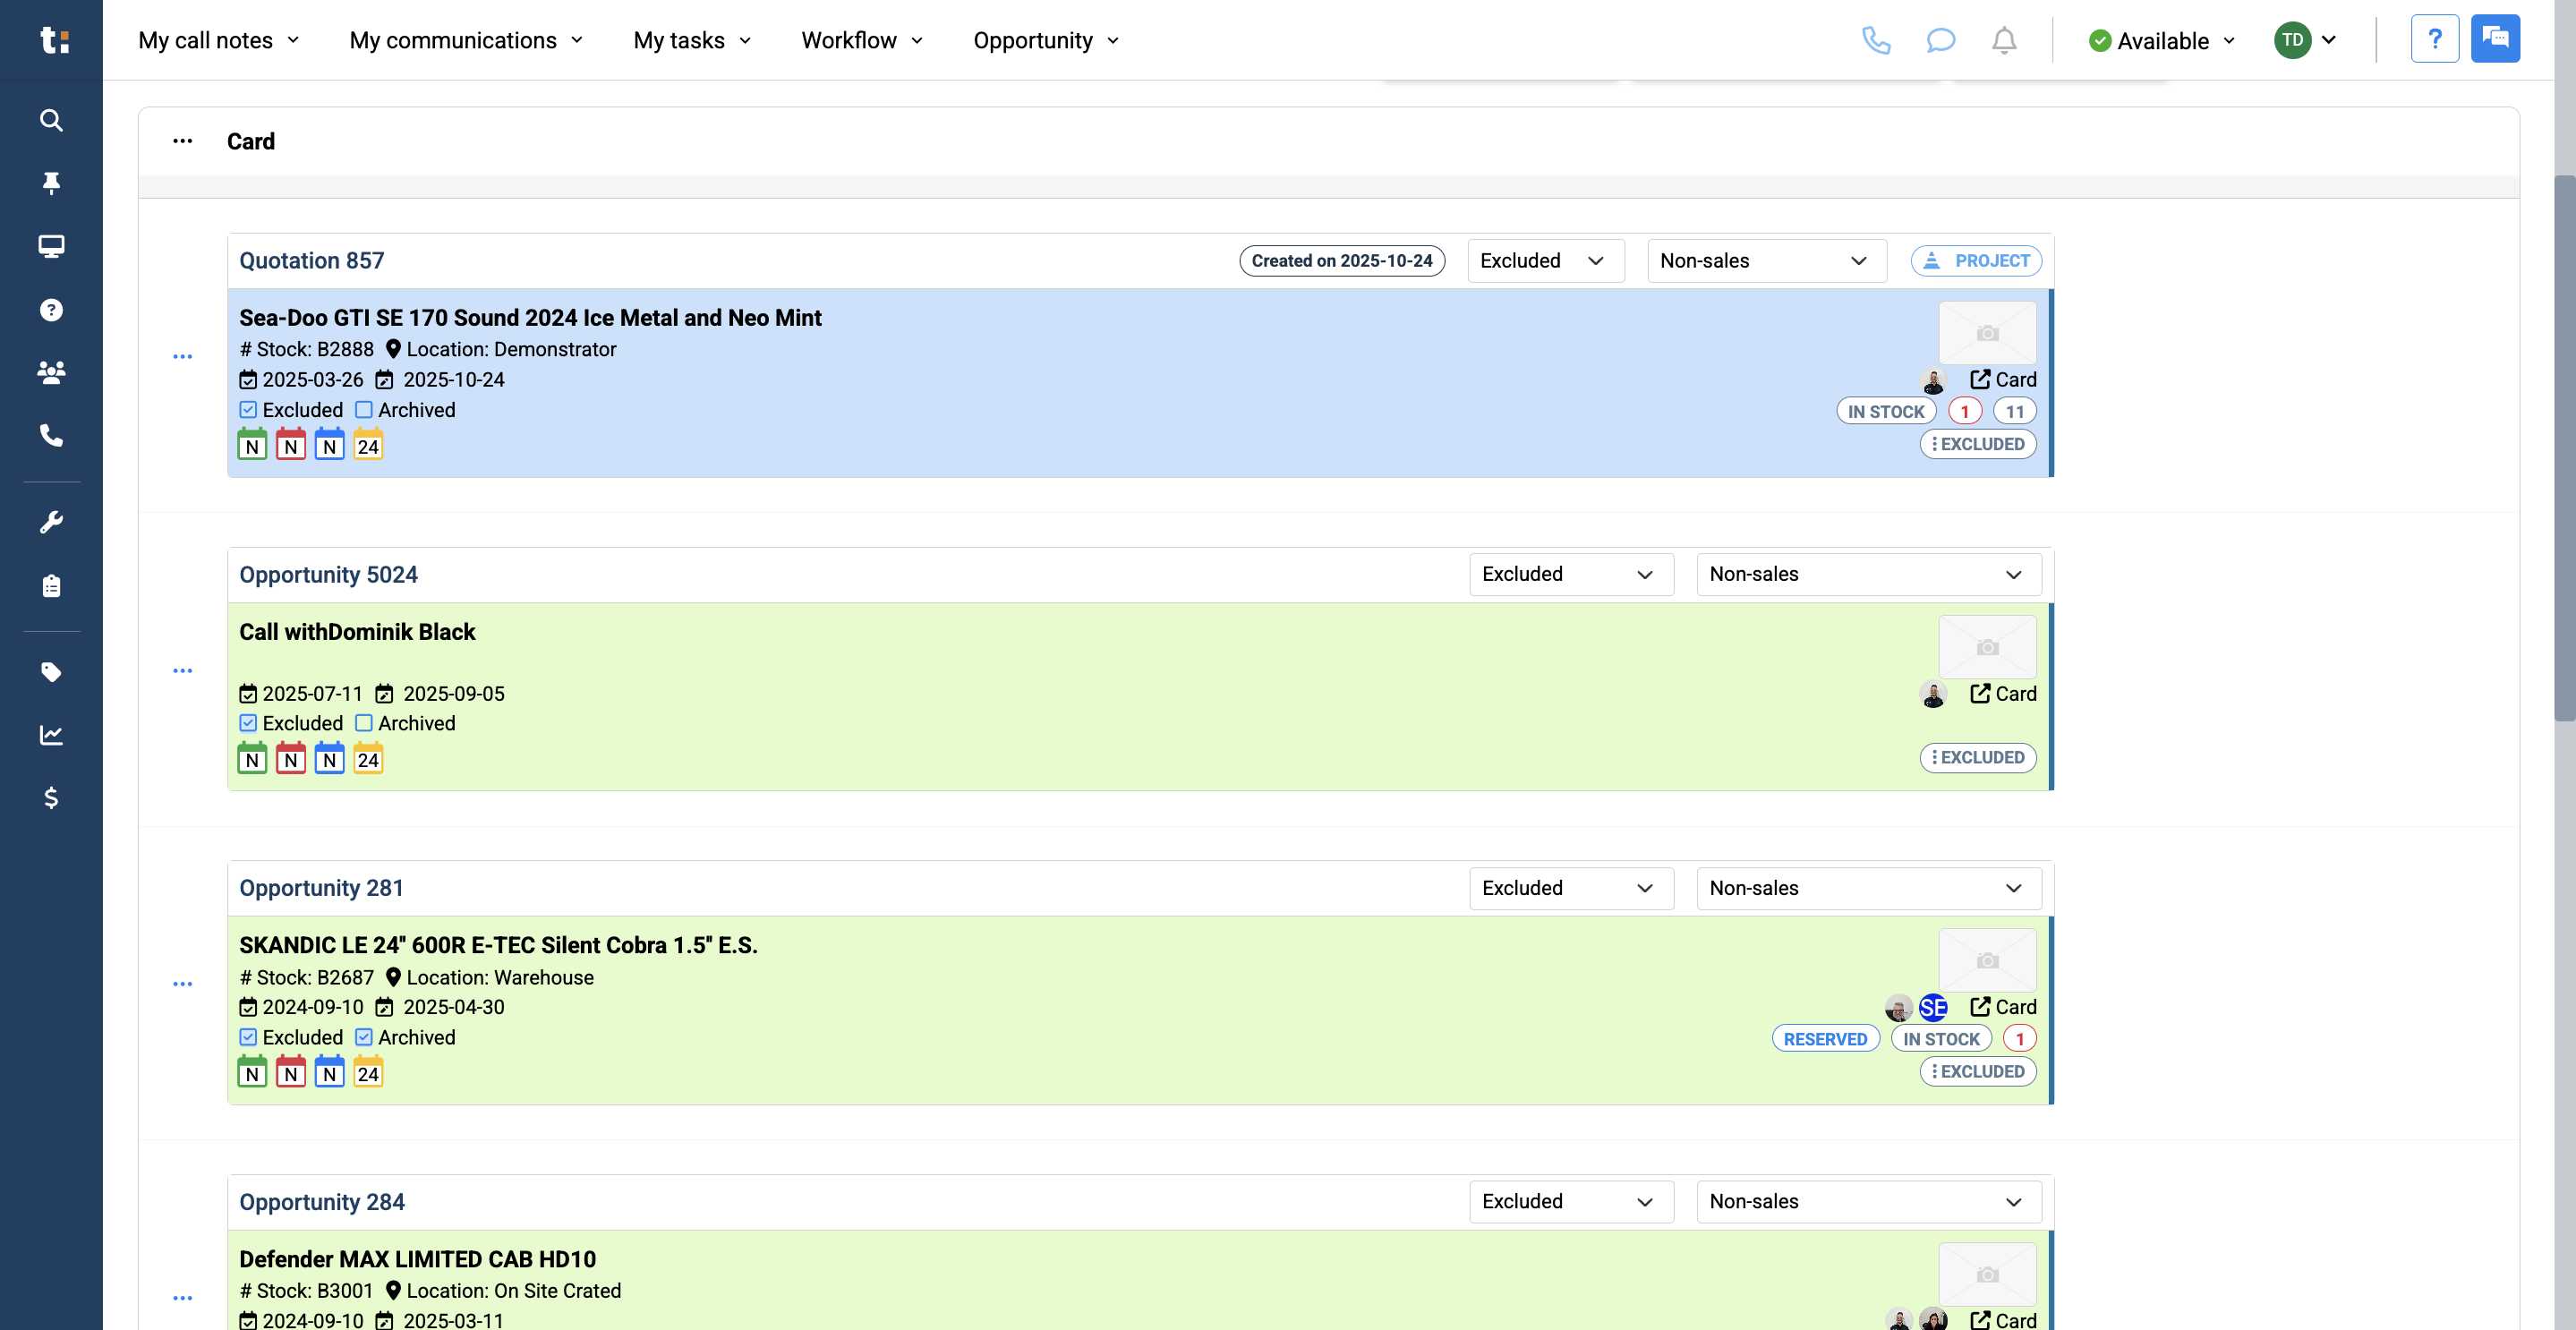
Below, you can change the status of your quotes or opportunities by clicking the Status button. You can change it to Active, Sold, Closed, Pending, Lost, or Excluded. You also have subcategories to choose from.
10
You will find details below about the quotes and opportunities, including unit information, dates,

11
unit status, and the number of opportunities that are sold, active, or excluded for each unit.
12
Quotes are shown in blue, while opportunities appear in pale green.

If you still have questions after consulting this article, please feel free to contact our support team at: support@tractiondk.zohodesk.com