How to Use the Task Calendar

Learn how to access, filter, and customize your task calendar to efficiently manage tasks at your dealership. Discover tips for viewing, filtering, and printing your calendar.

By Dominik Black

In this guide, we'll learn how to access and use the task calendar to manage and organize tasks within your dealership. We will cover how to navigate to the calendar, apply filters to view specific tasks, and adjust the calendar view to suit your needs.

Let's get started

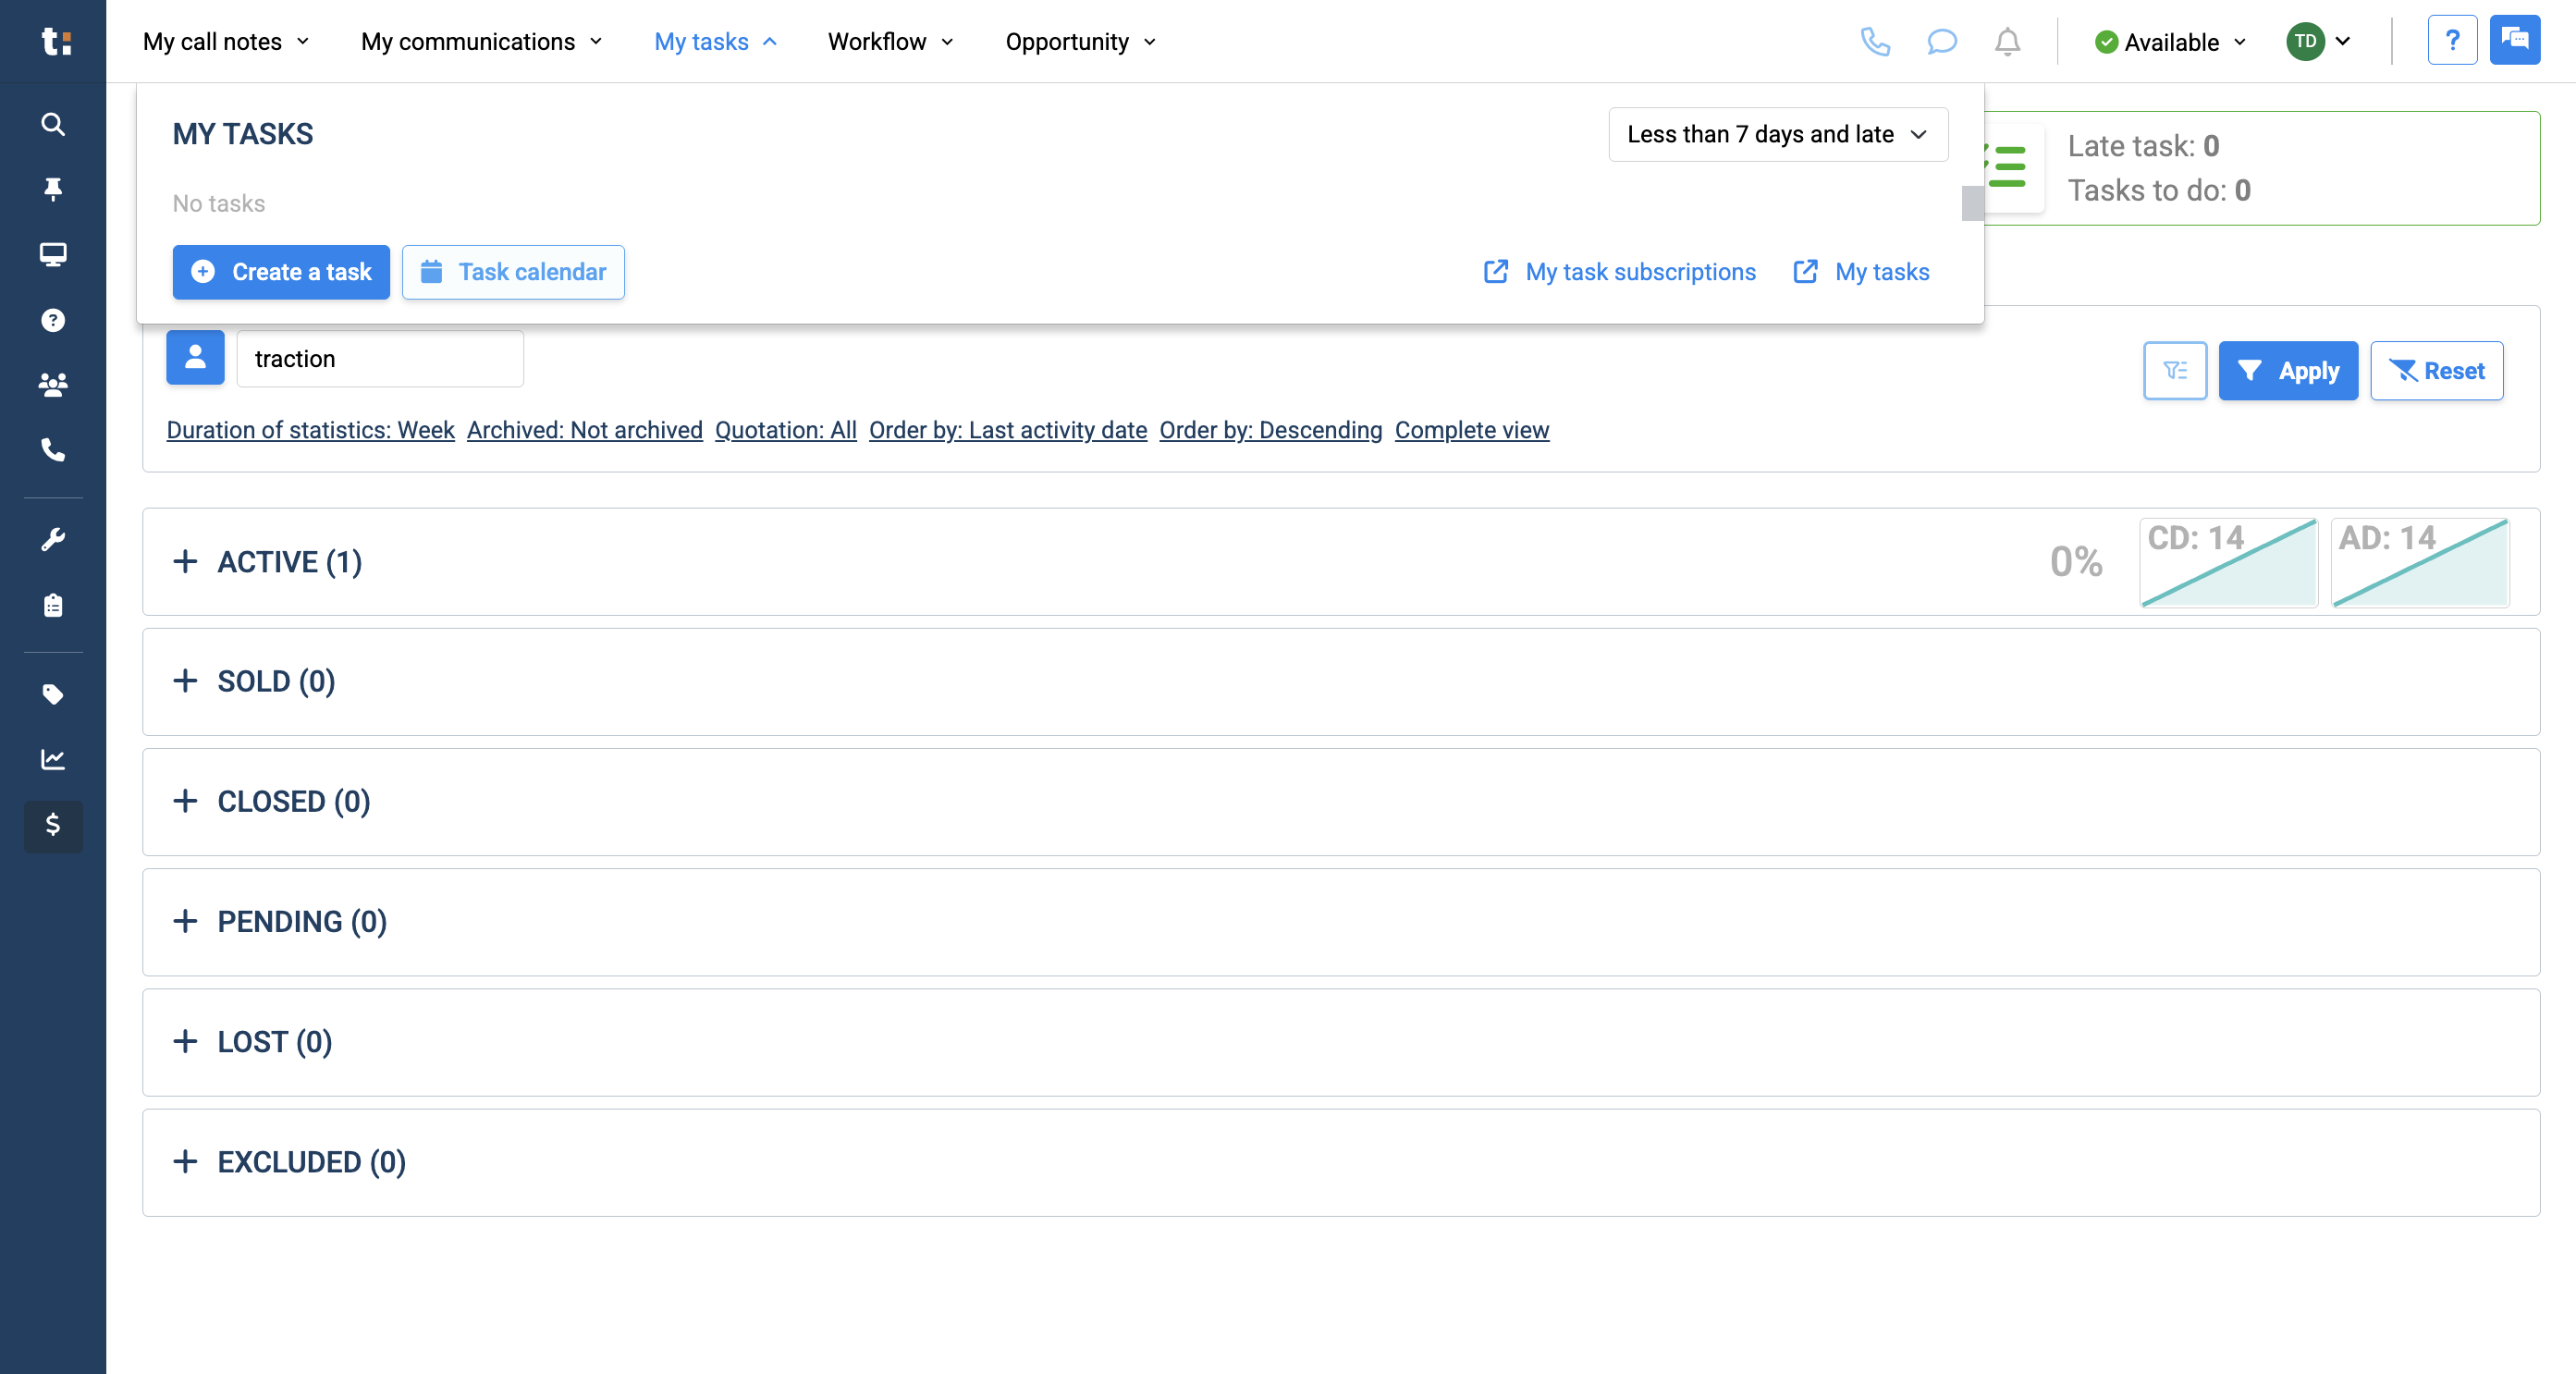
In this article, we will review the task calendar. To access your task calendar, you can go to one of two places. Click the My Tasks tab at the top of your page. Then, select the Task Calendar button.

1
Click on "My tasks"
Step #1: Click on "My tasks"
2
Click on Task calendar
Step #2: Click on Task calendar

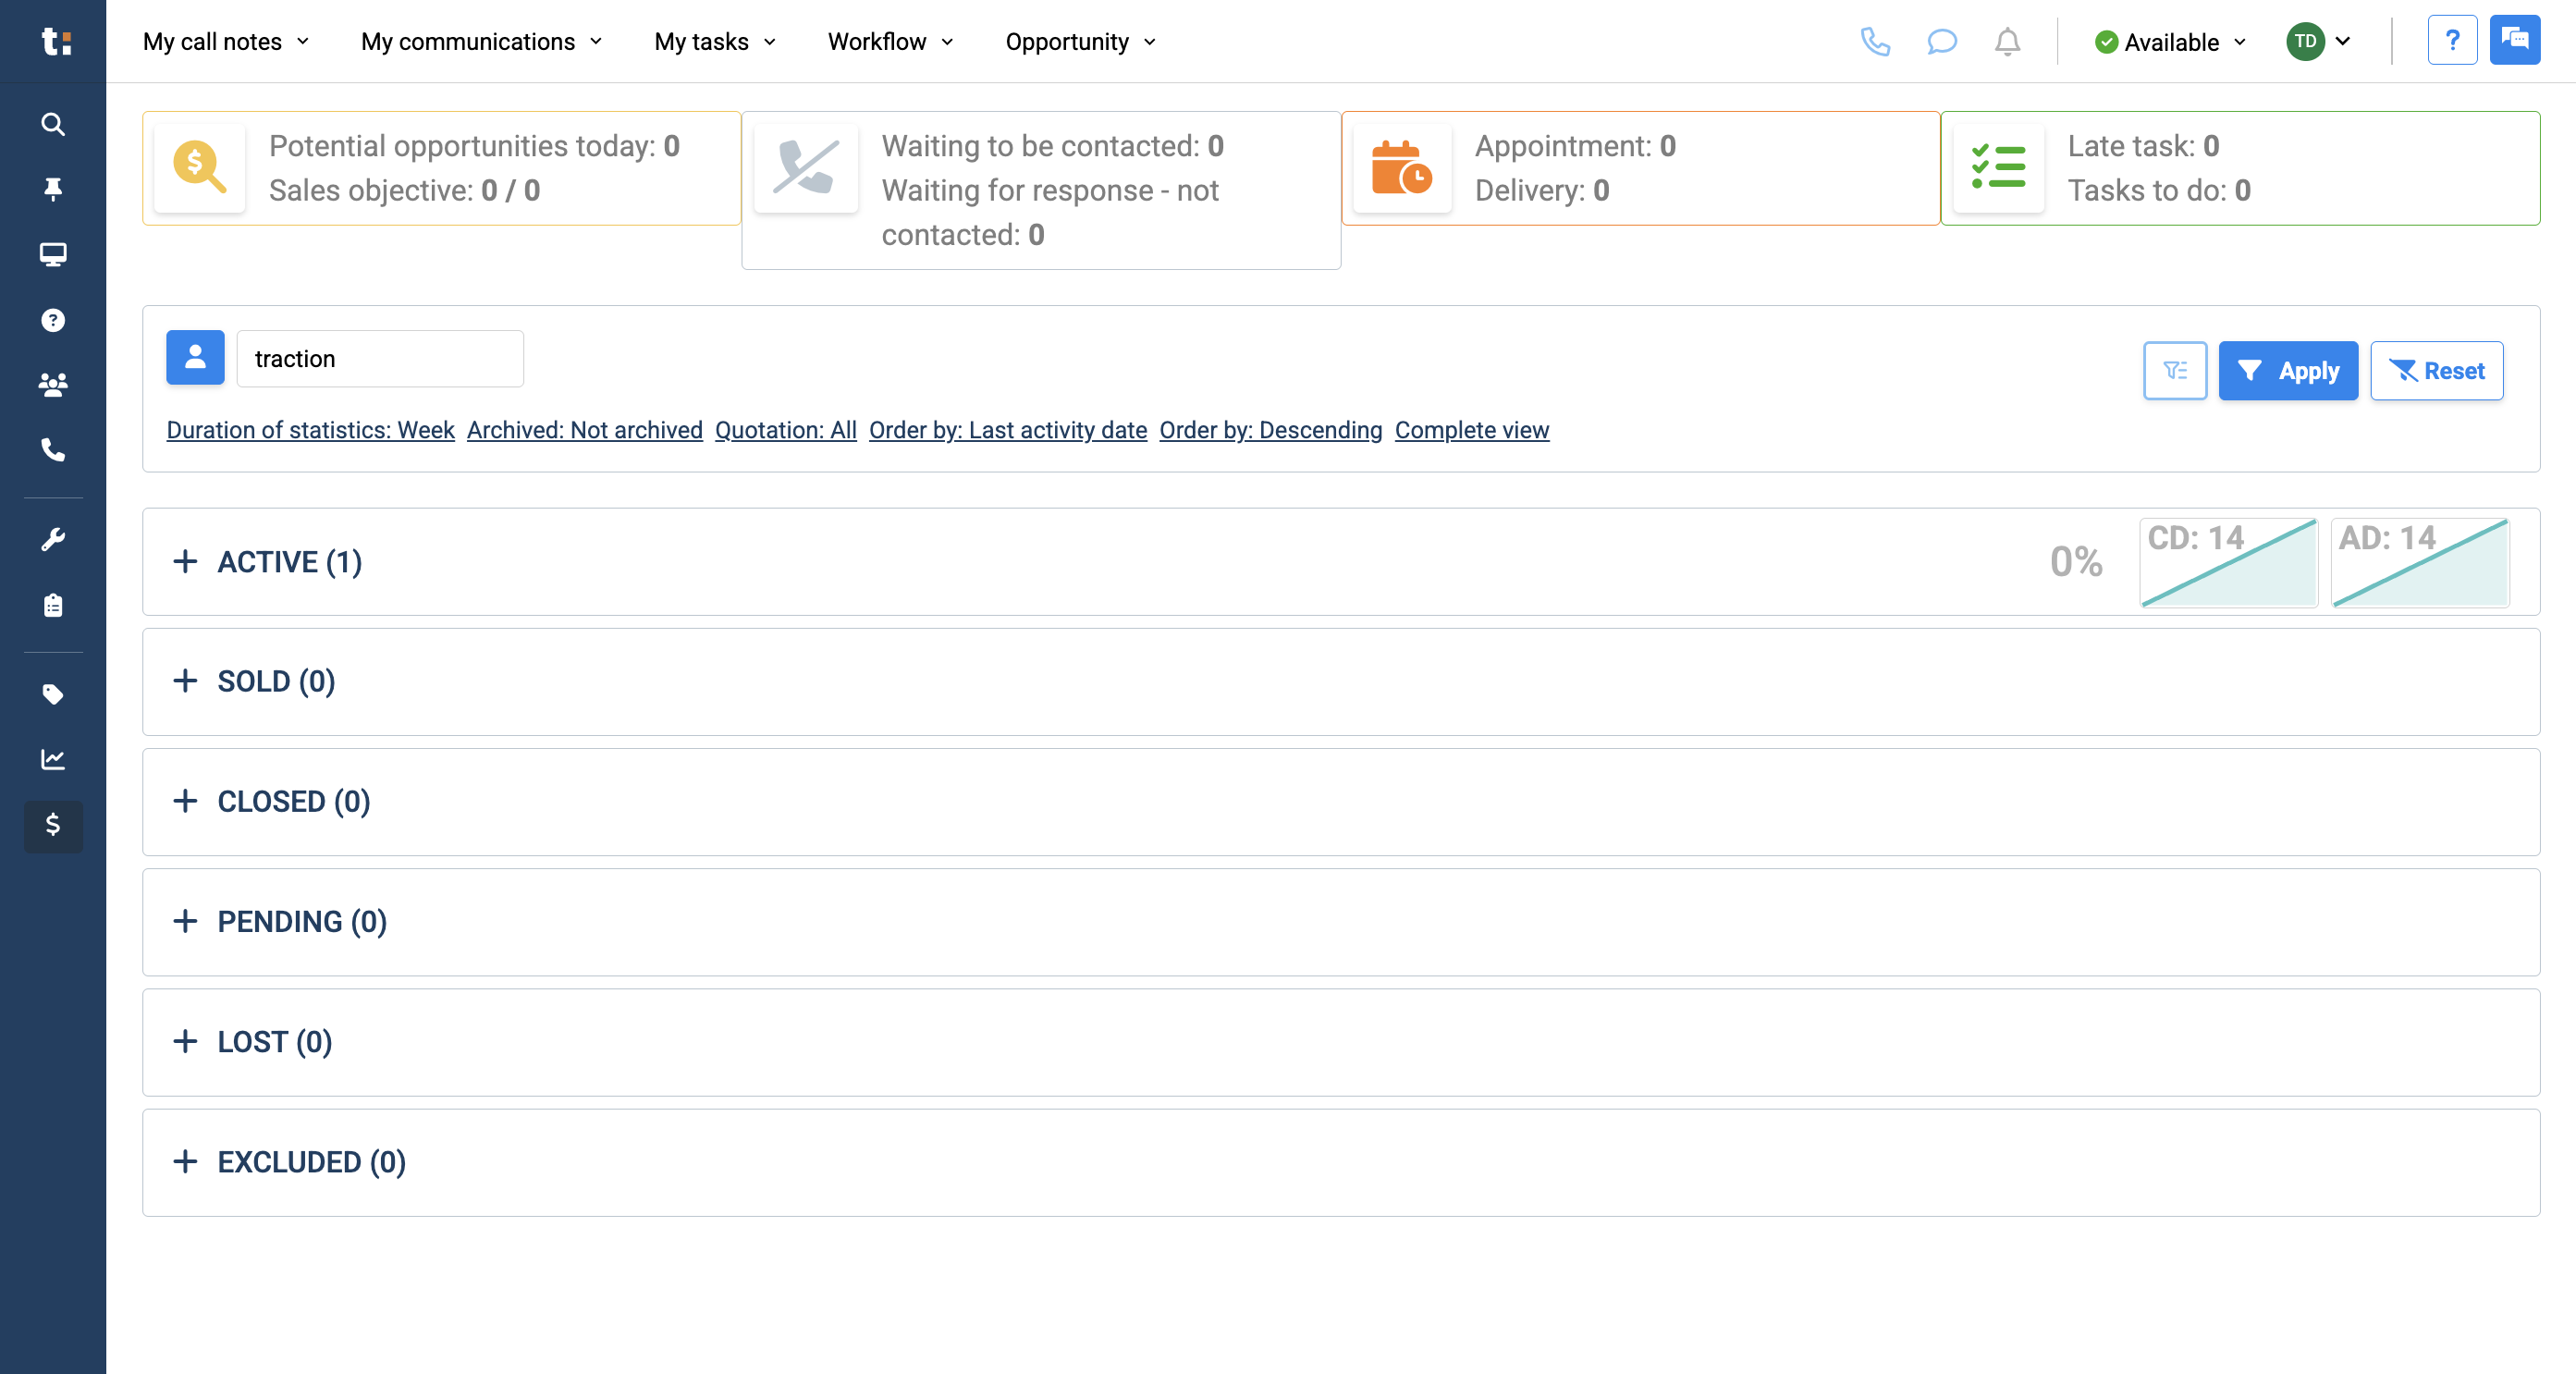
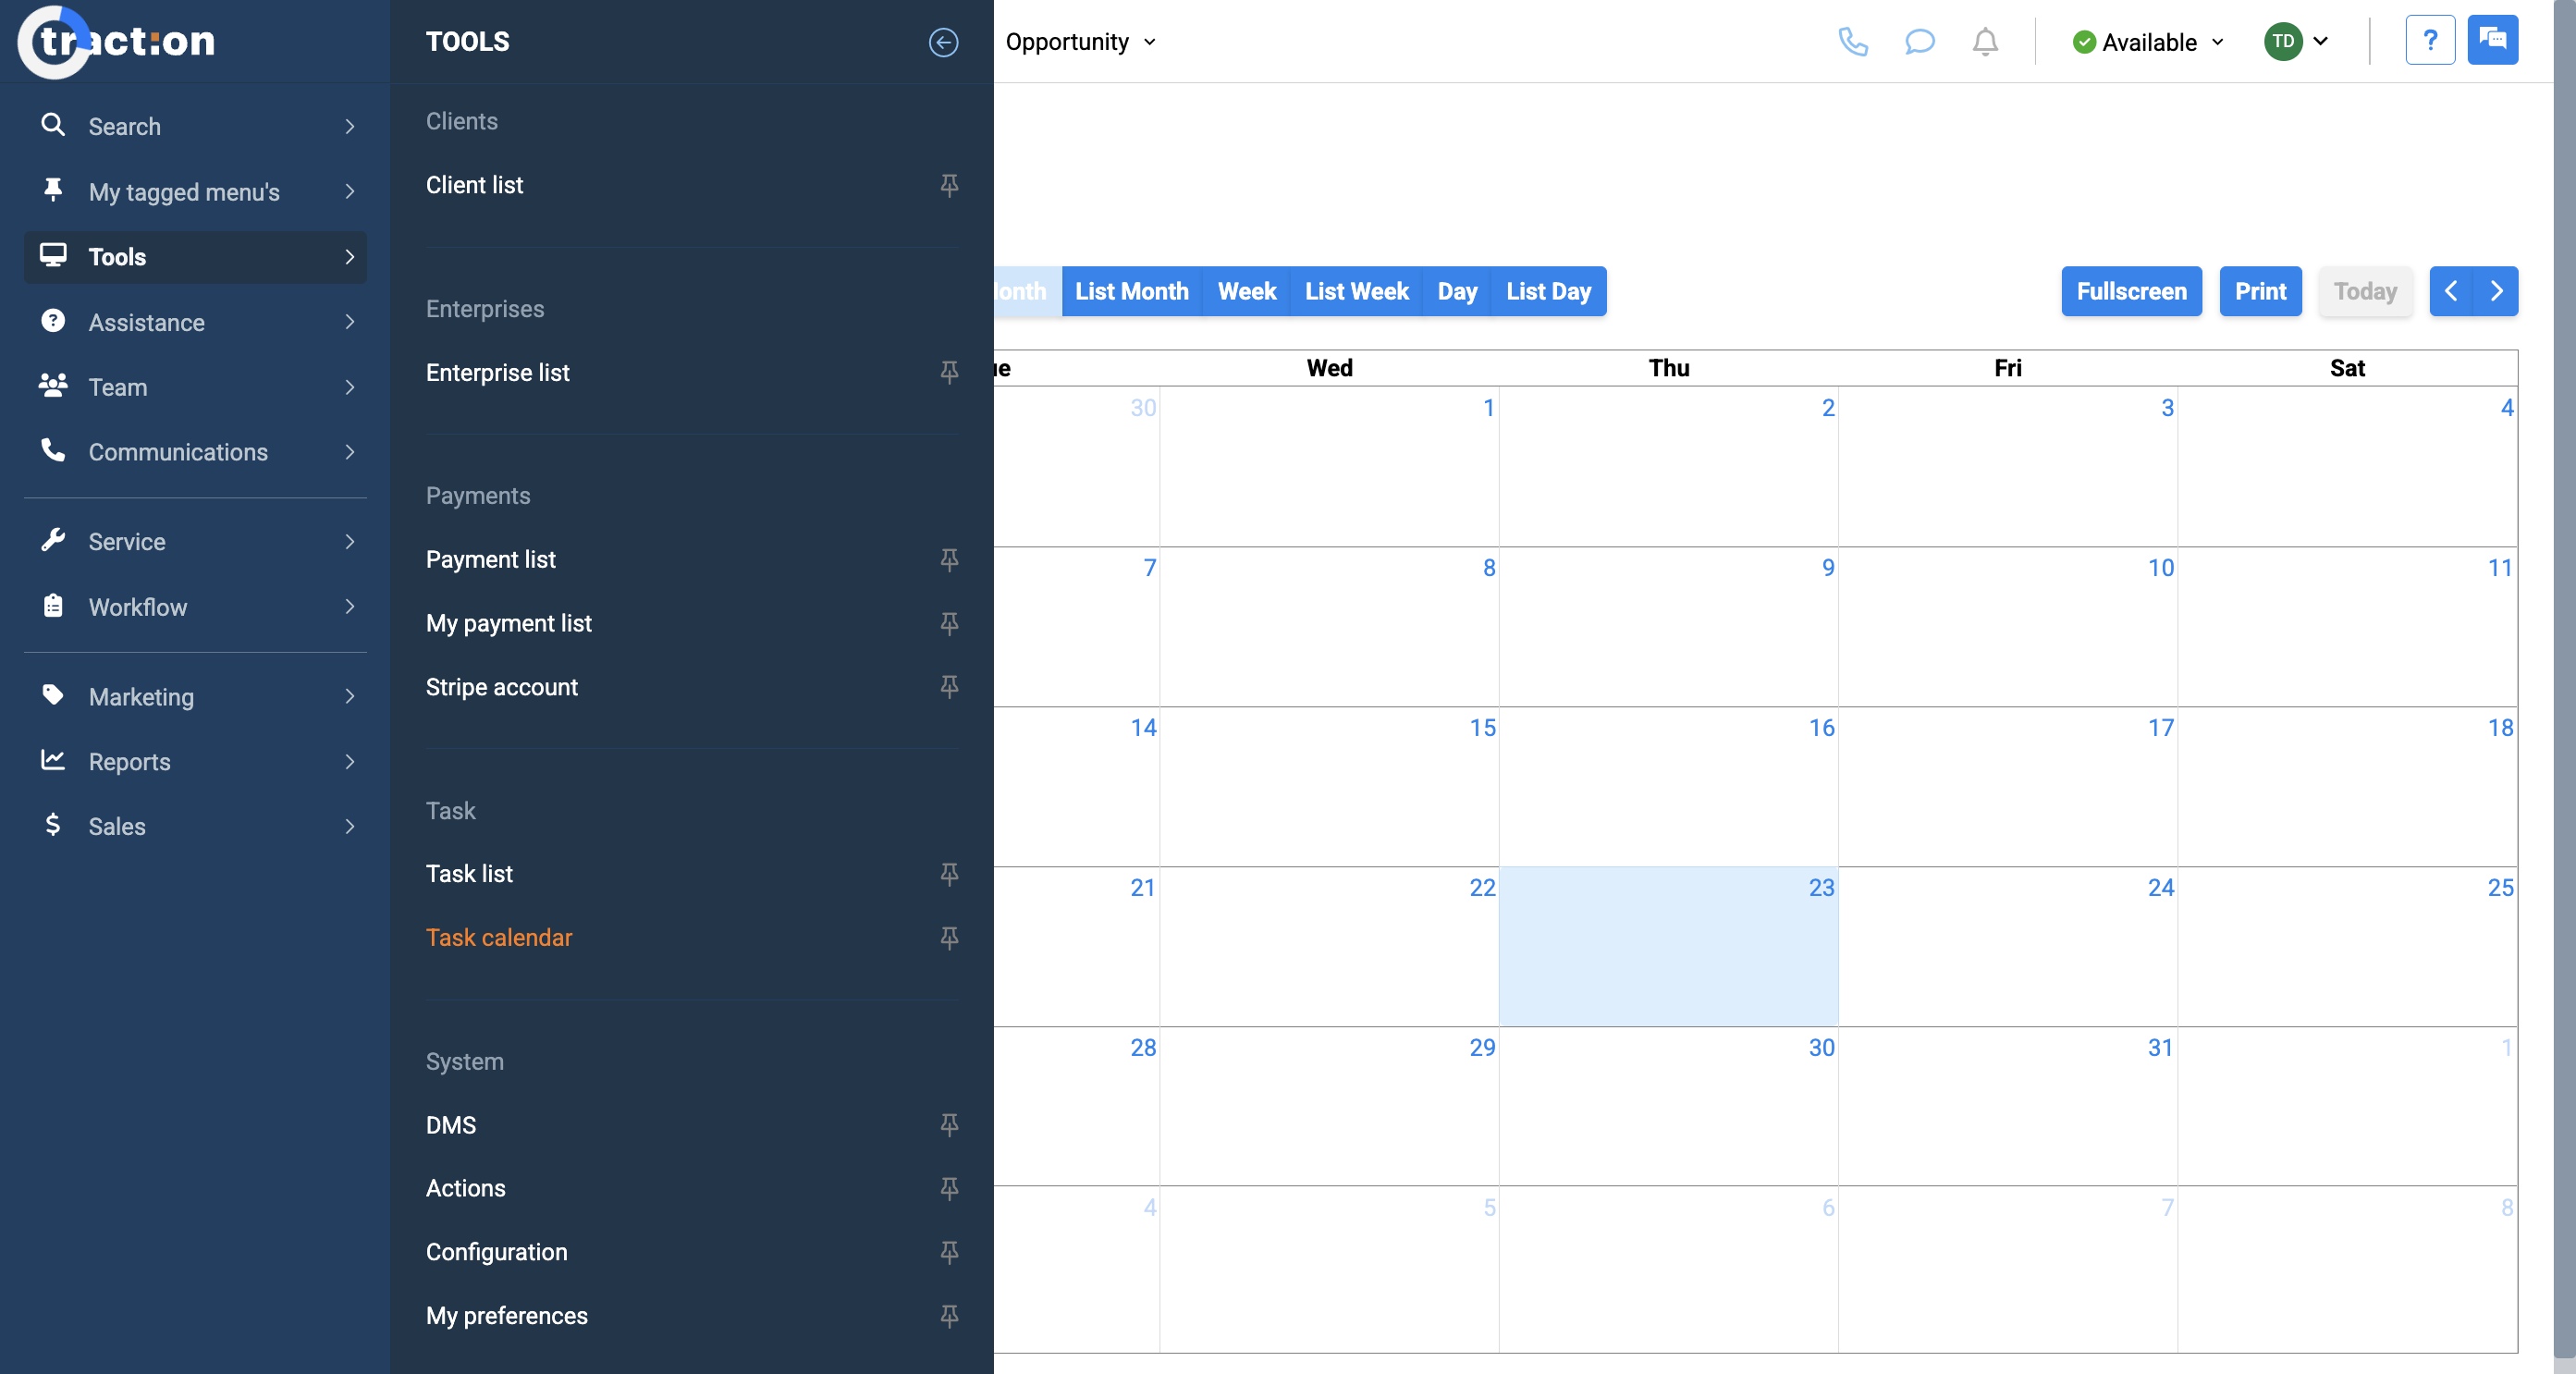
Another way to access your task calendar is to go to Tools in the menu bar and select Task Calendar.

3
Click Tool's
Step #3: Click Tool's
4
Click Task Calendar
Step #4: Click Task Calendar

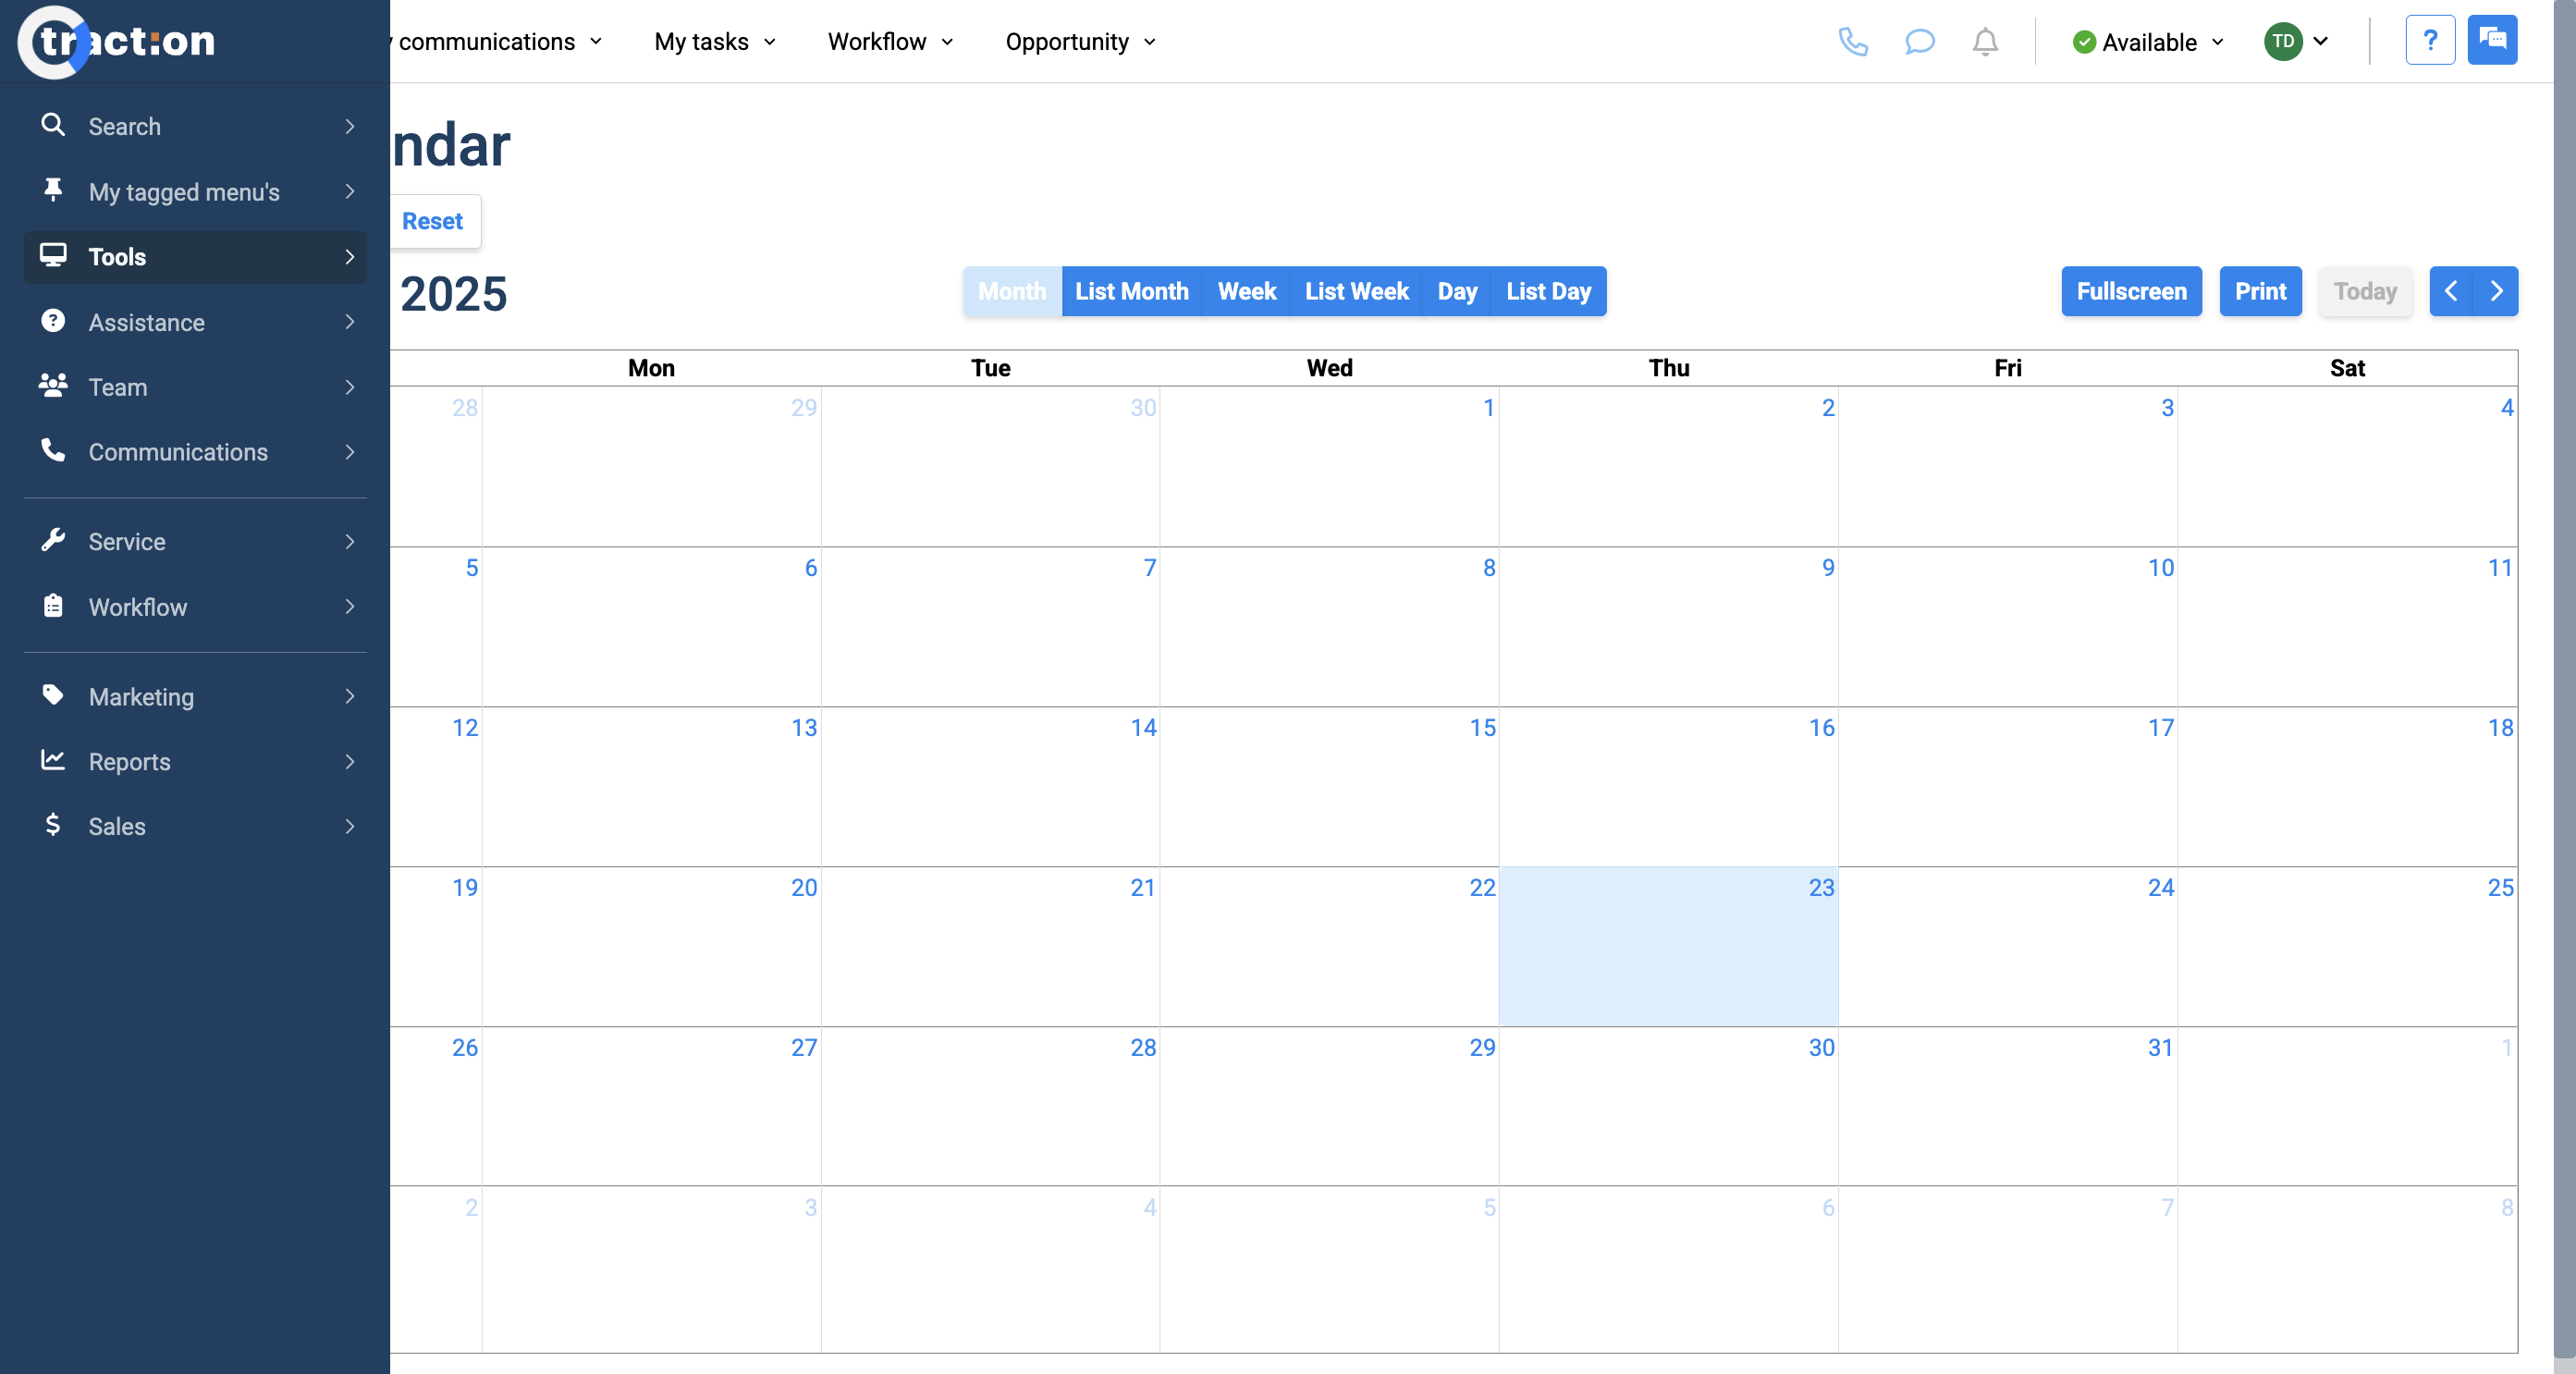
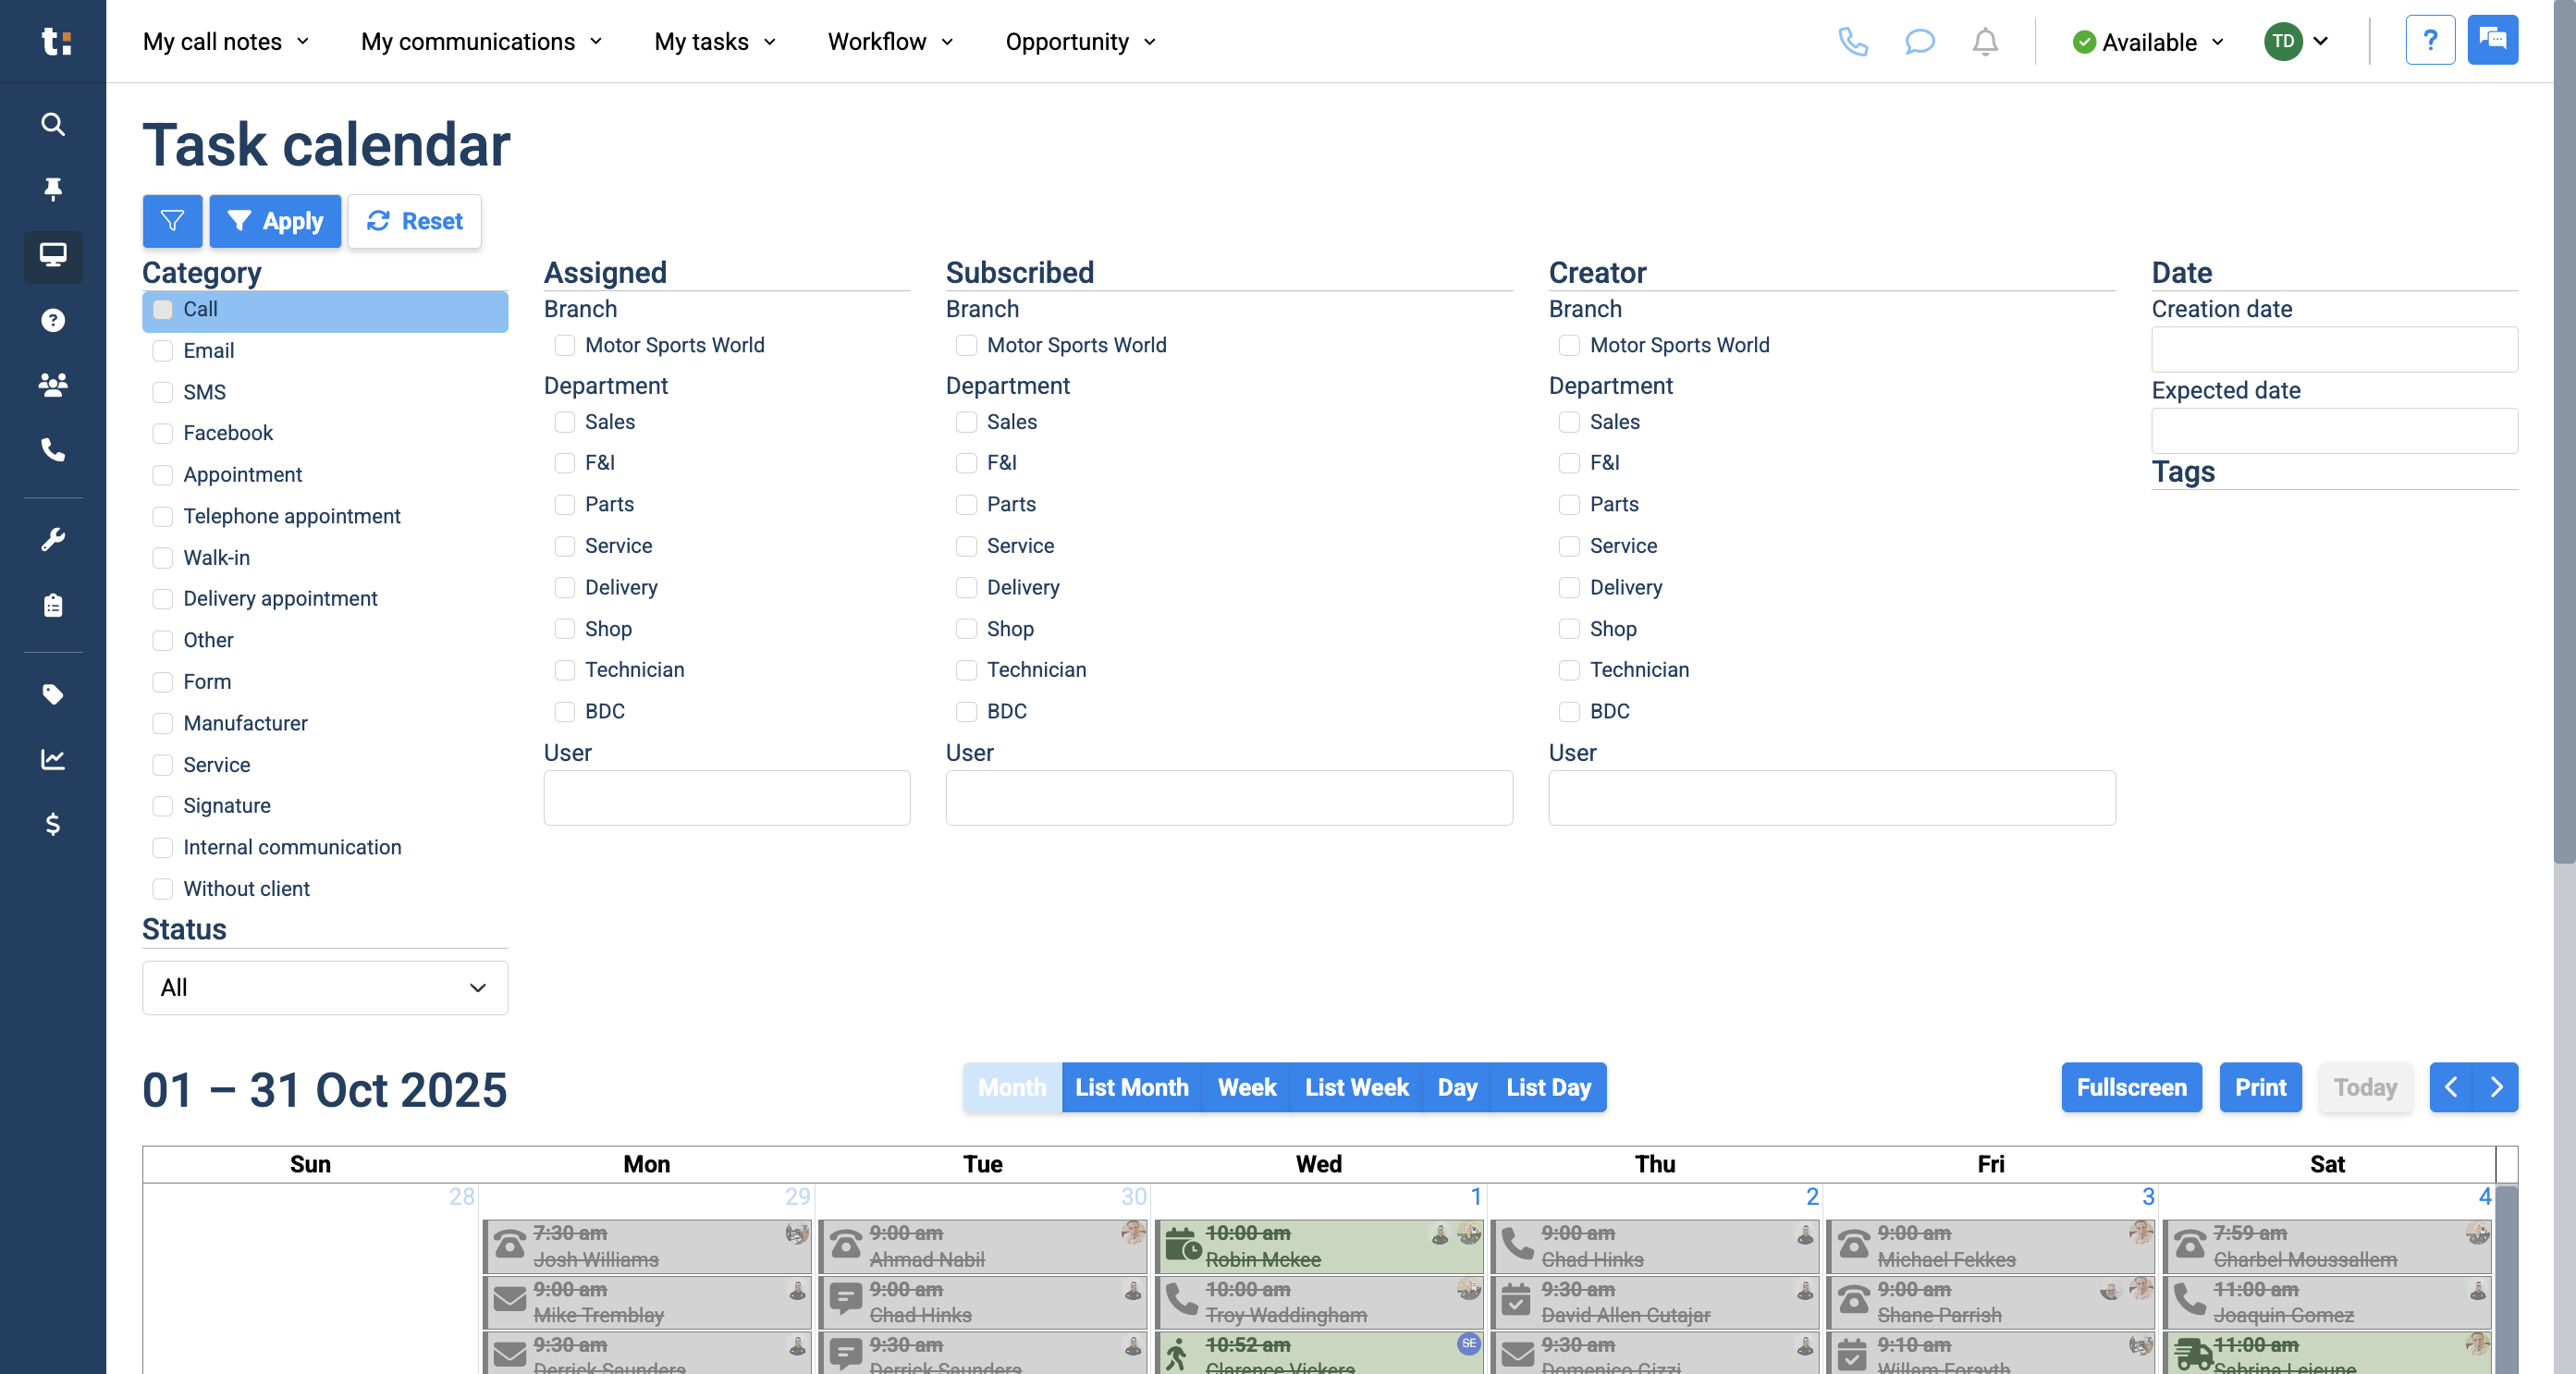
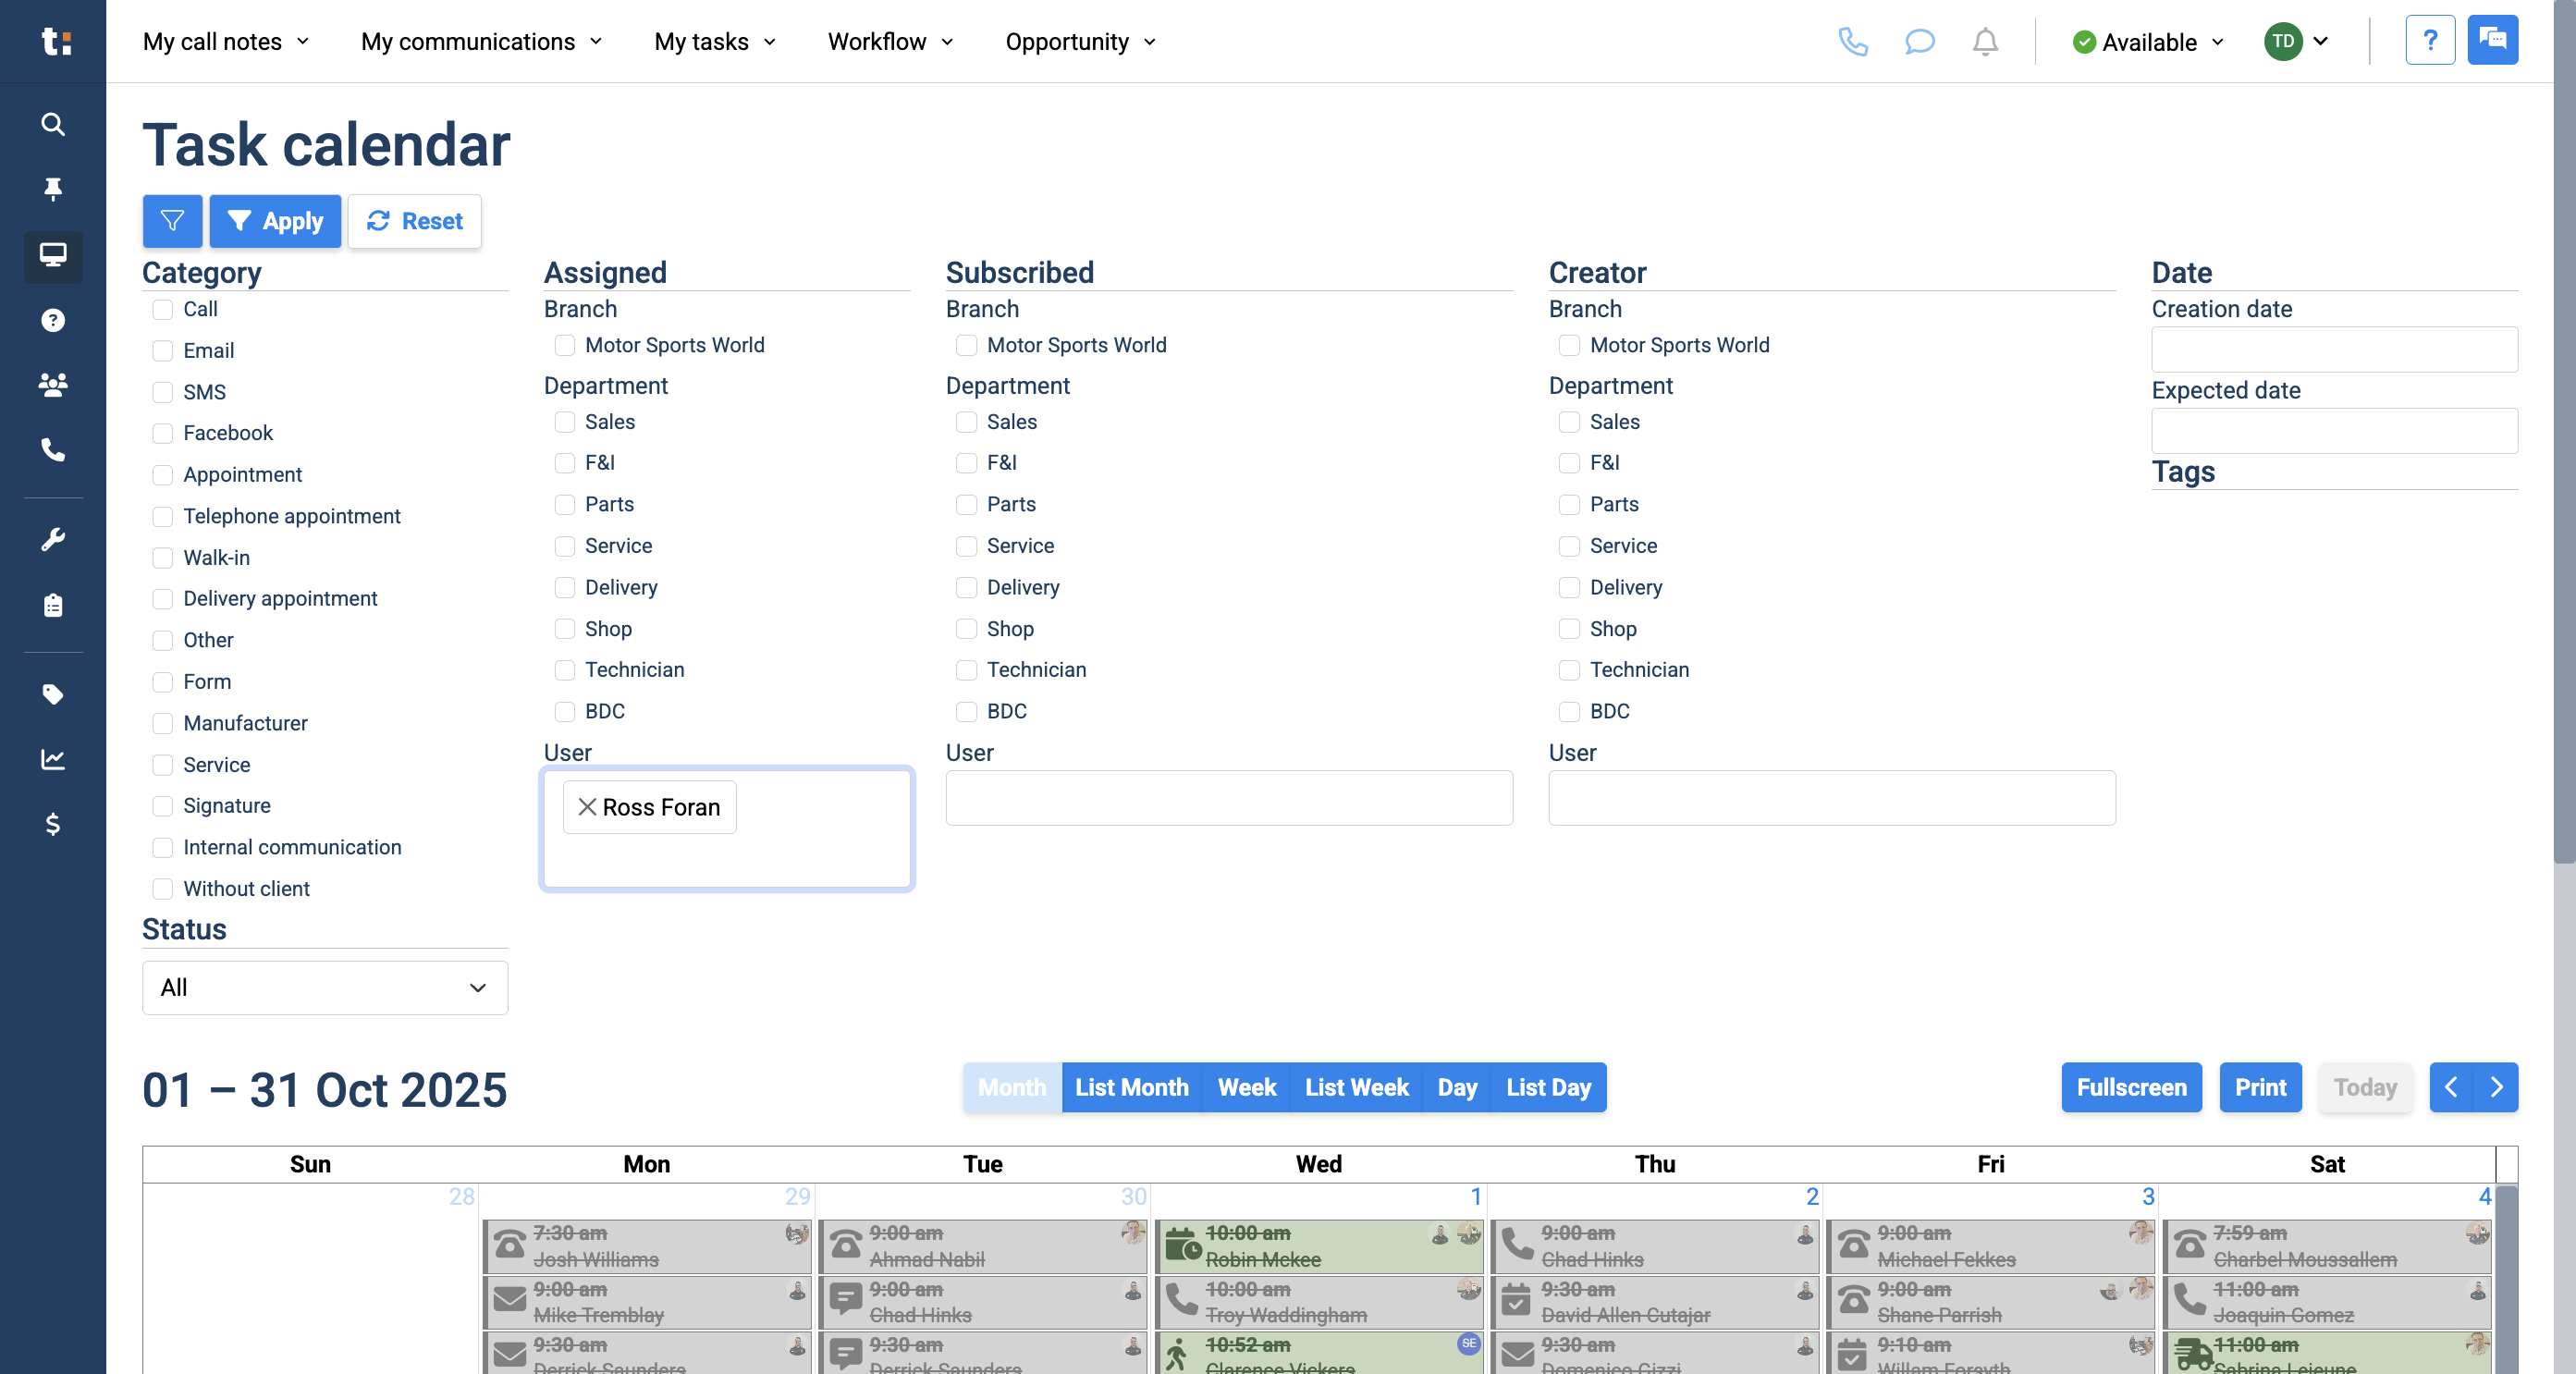
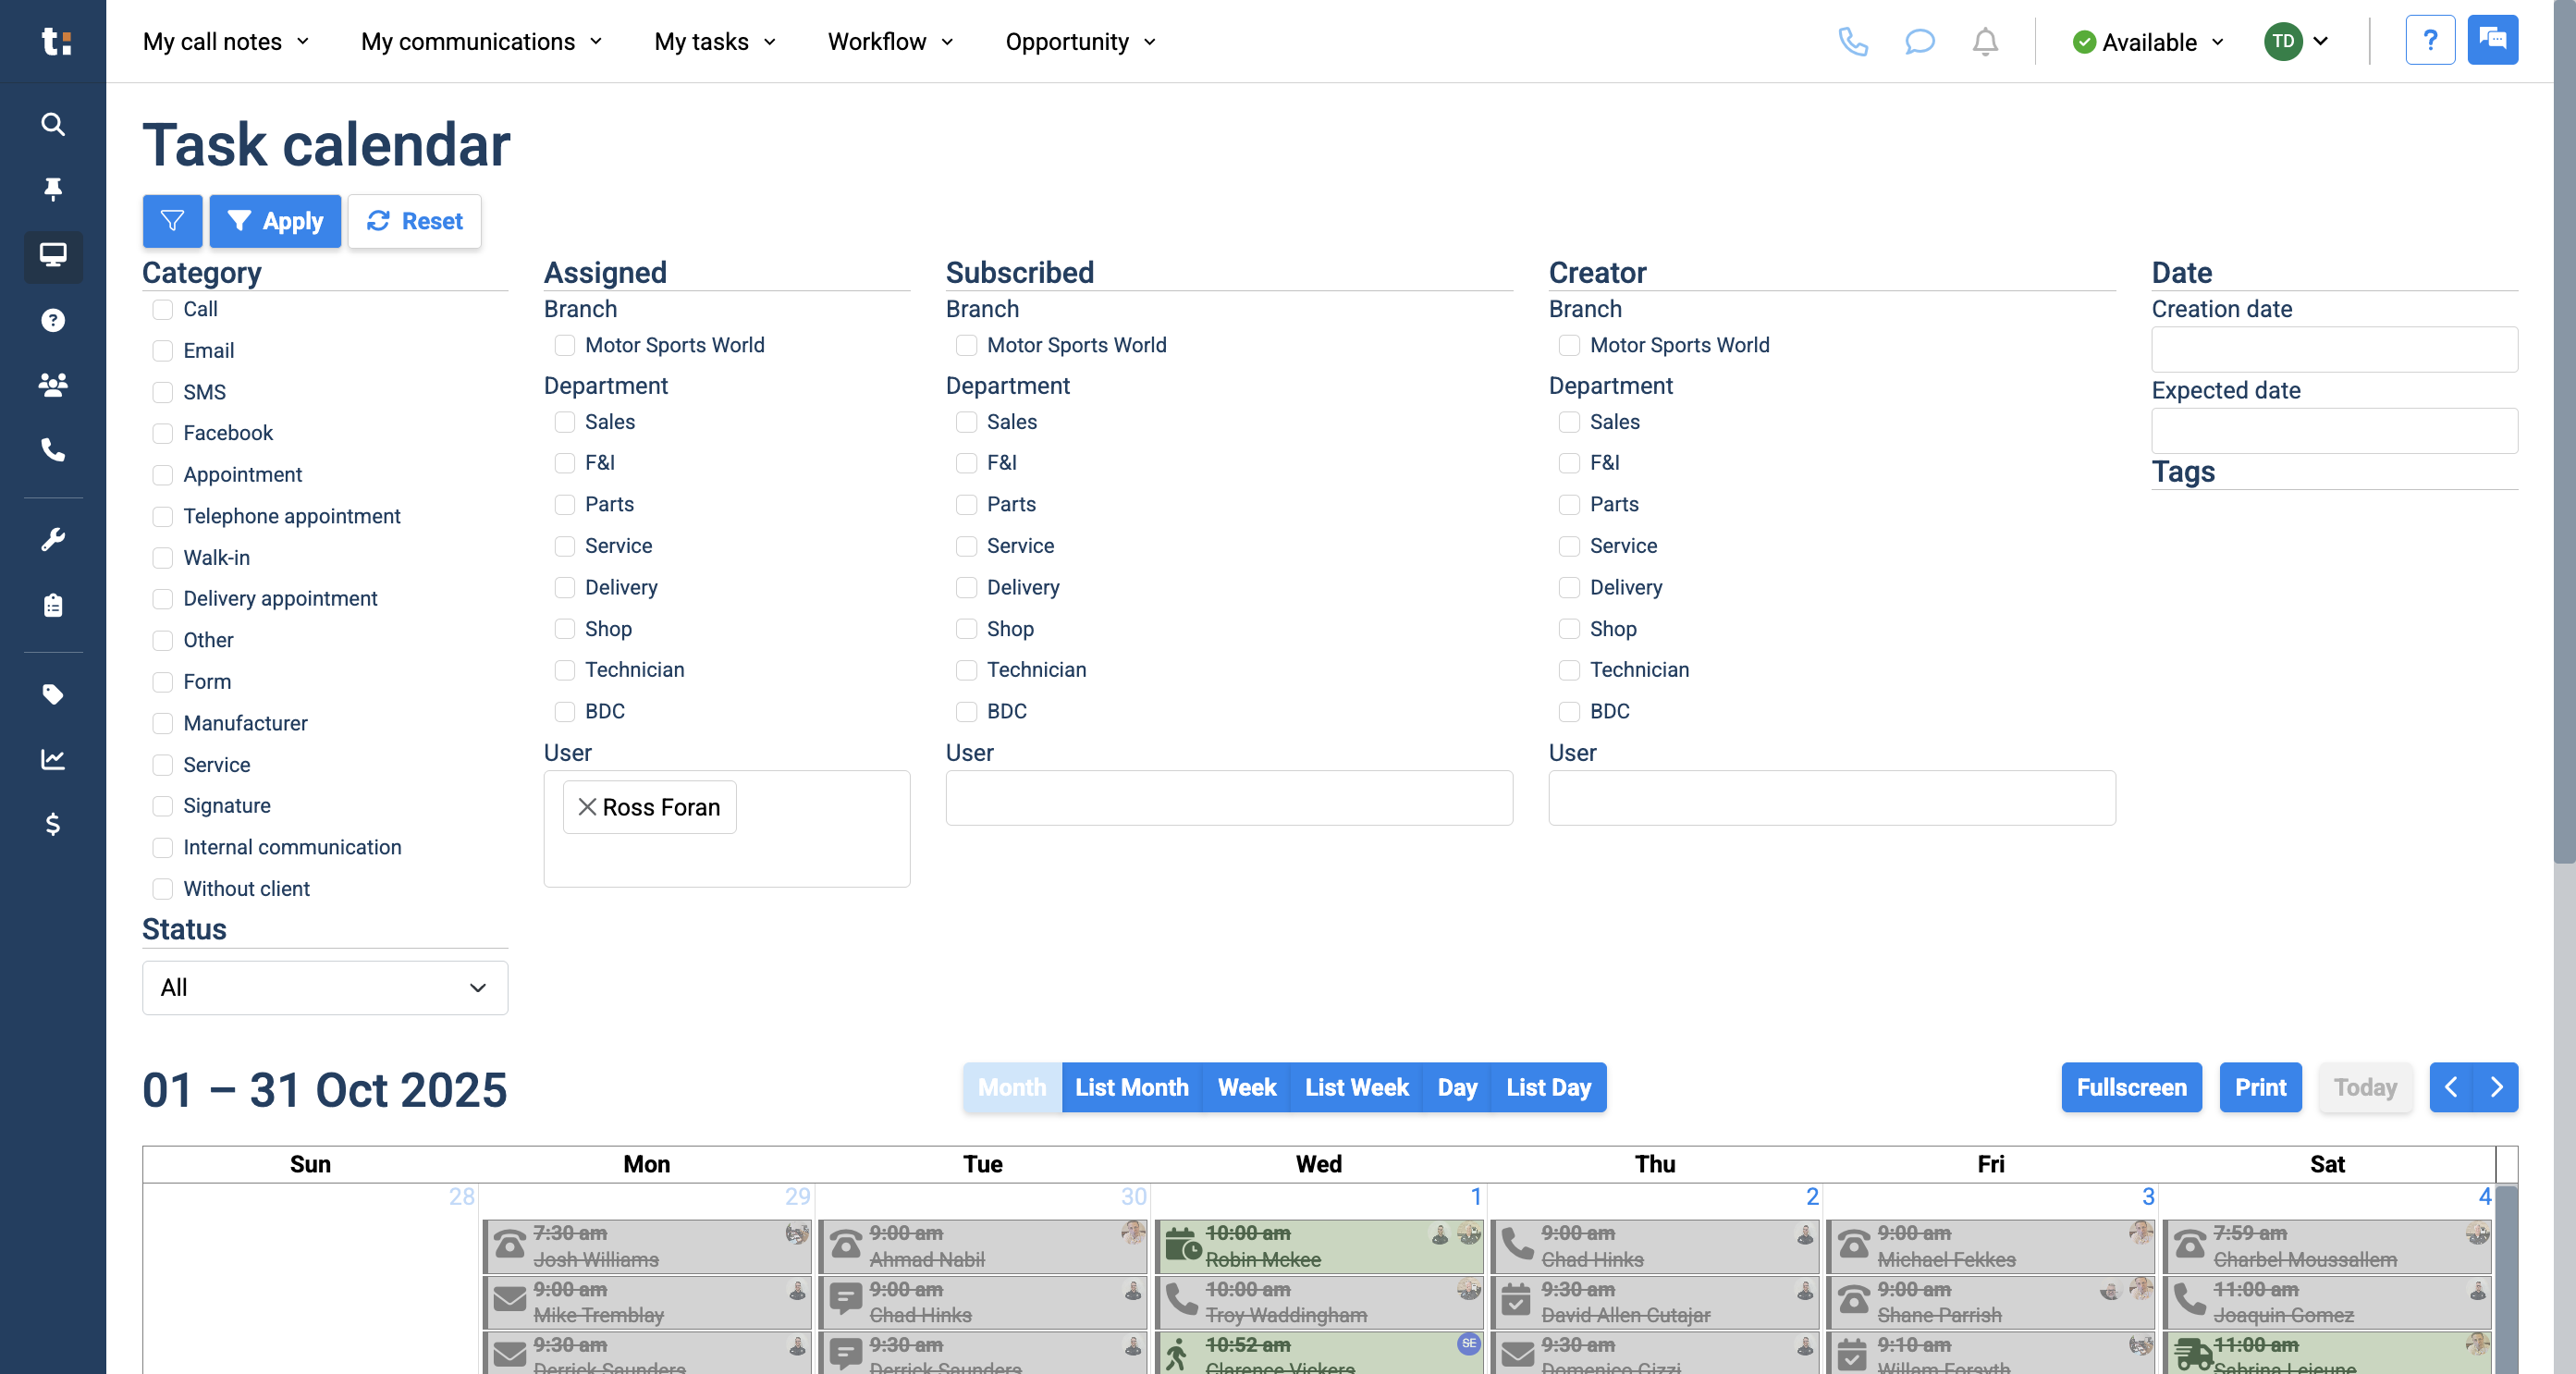
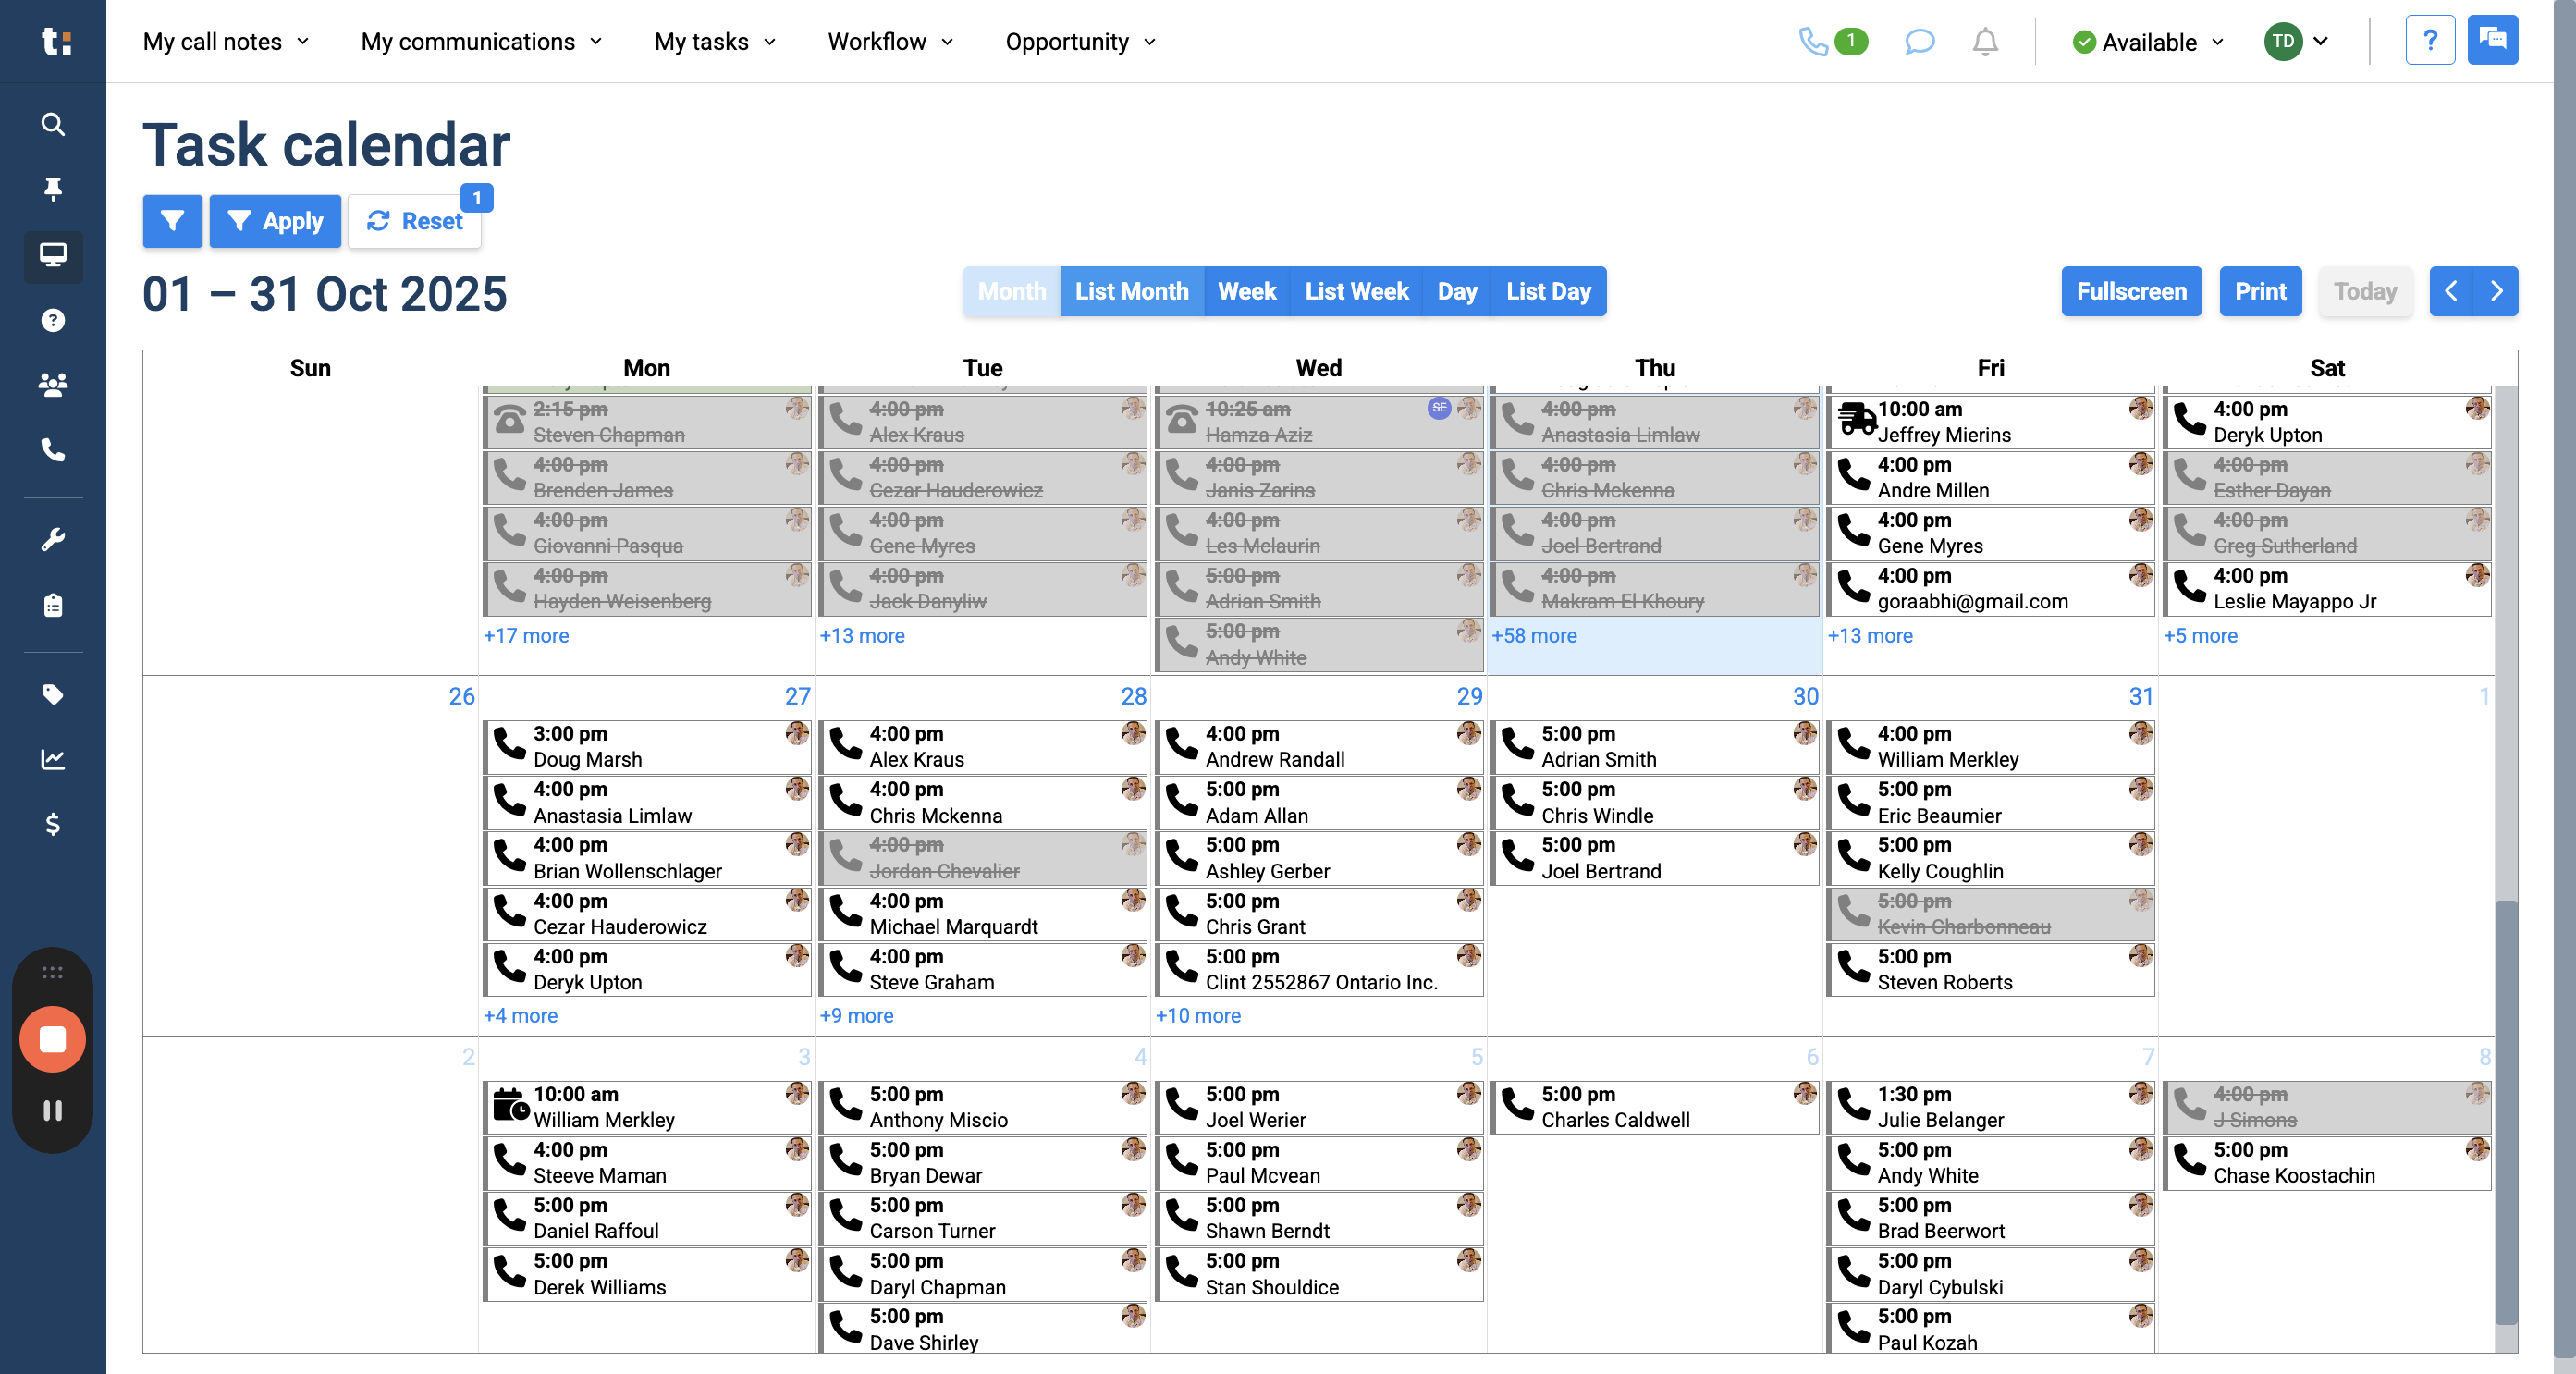
When you open the task calendar, it will show everyone's tasks at your dealership by default. This can become overwhelming. In this case, we add filters. Add filters by clicking the blue filter button in the top left corner.

5
Click on "Expand / Collapse advanced"
Step #5: Click on "Expand / Collapse advanced"

6
You can choose from the following filters. You can select the task category.
Step #6: You can choose from the following filters. You can select the task category.

7
You can view all tasks for a department, or see tasks for a specific user by entering their name in the User search bar.
Step #7: You can view all tasks for a department, or see tasks for a specific user by entering their name in the User search bar.

8
You can view your subscribed tasks by entering your name in the user search bar.
Step #8: You can view your subscribed tasks by entering your name in the user search bar.

9
You can view tasks created by a specific department or by an individual user.
Step #9: You can view tasks created by a specific department or by an individual user.

10
You can filter by the task's creation date, expected due date, or any tags added to tasks.
Step #10: You can filter by the task's creation date, expected due date, or any tags added to tasks.

11
You can also filter tasks by status: to do, done, no show, or canceled.
Step #11: You can also filter tasks by status: to do, done, no show, or canceled.

12
After selecting your filters, click Apply to save the changes, or click Reset to clear all filters.
Step #12: After selecting your filters, click Apply to save the changes, or click Reset to clear all filters.

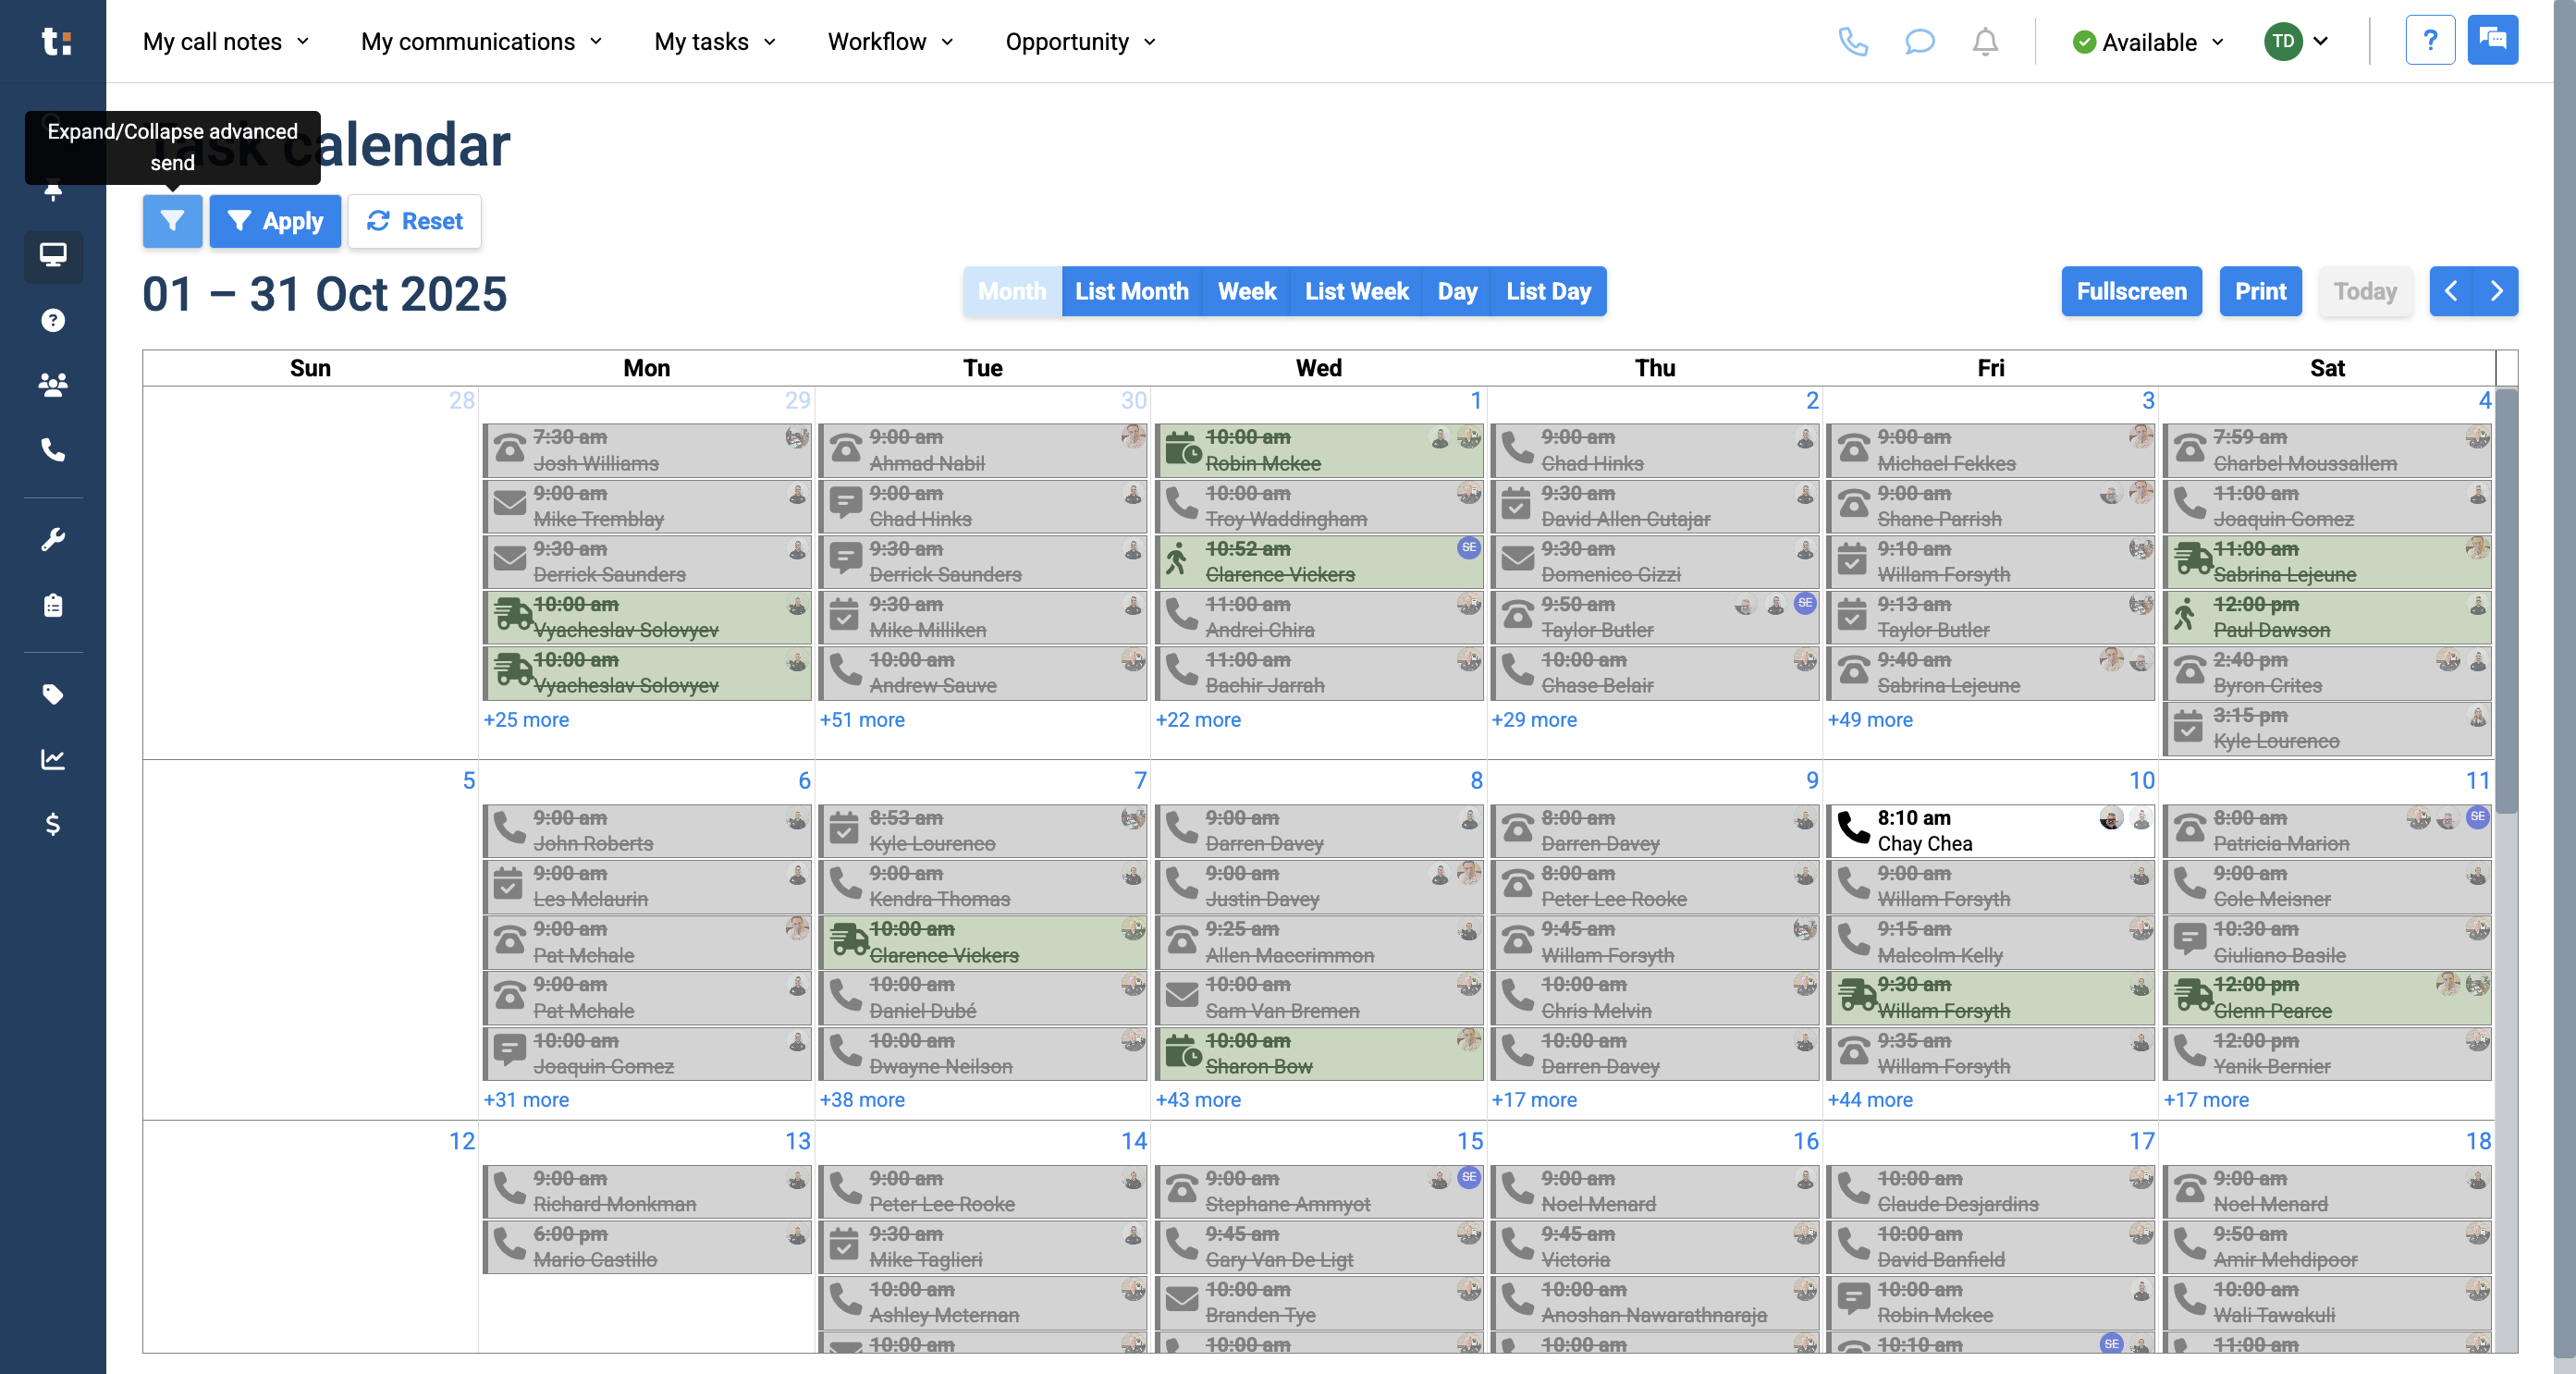
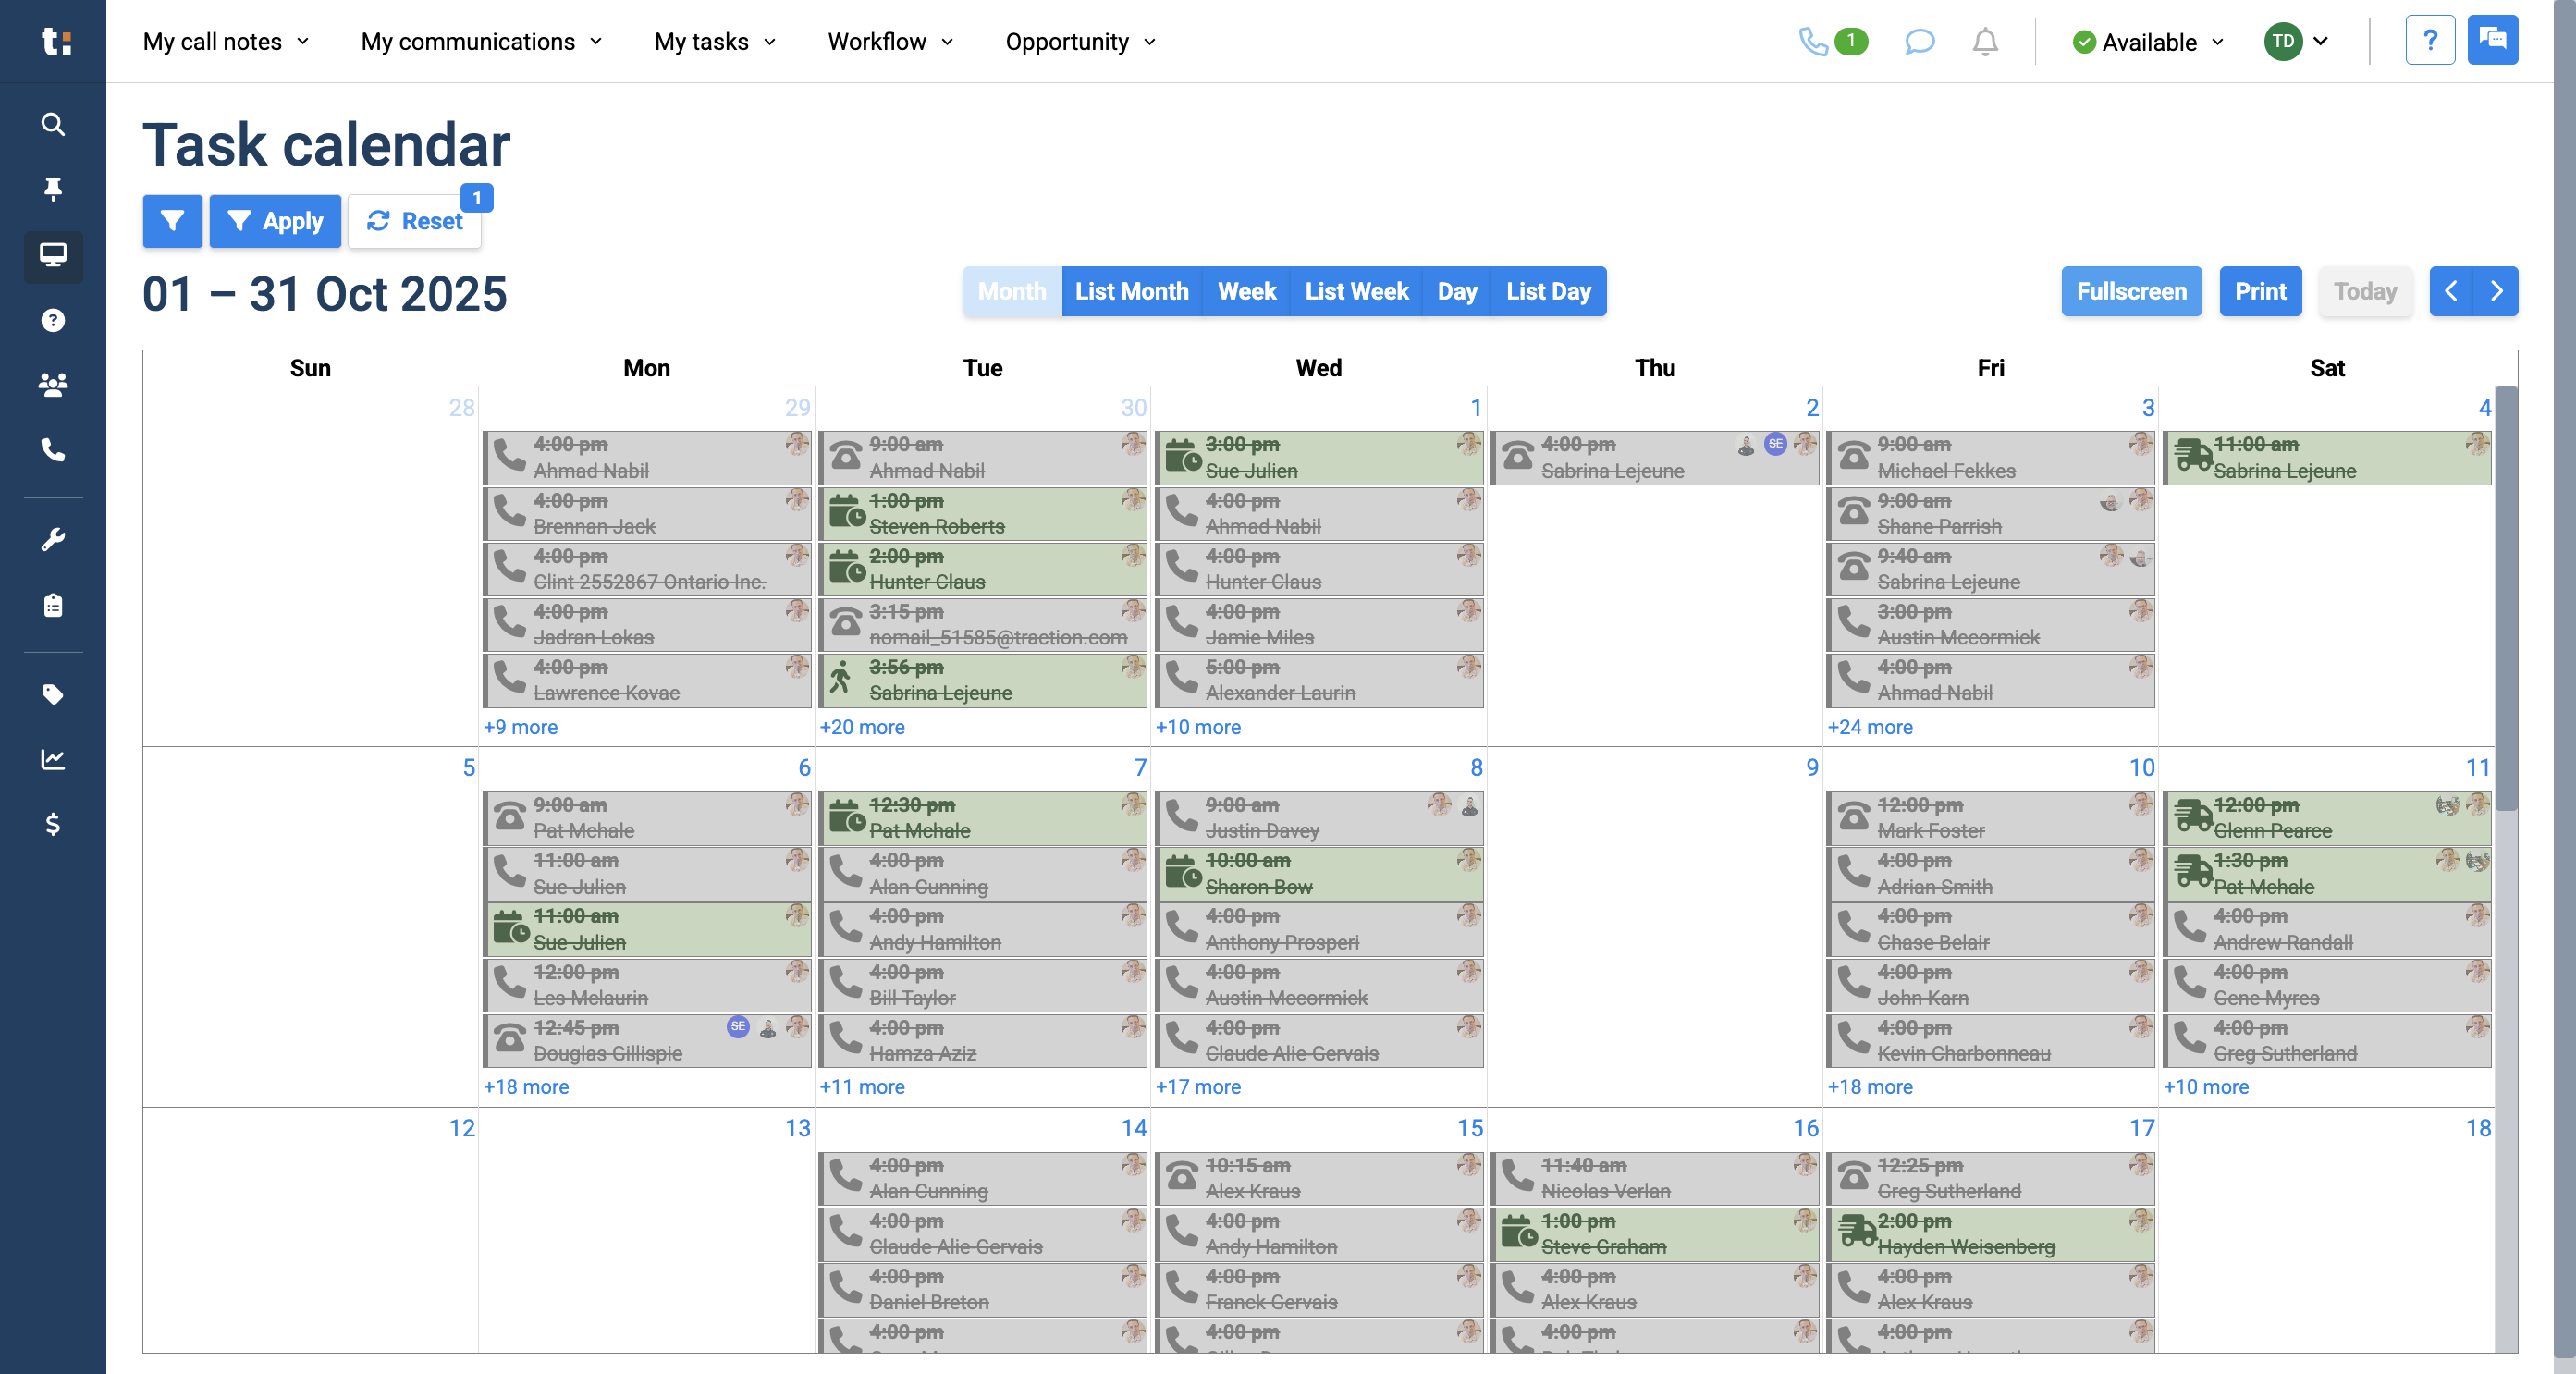
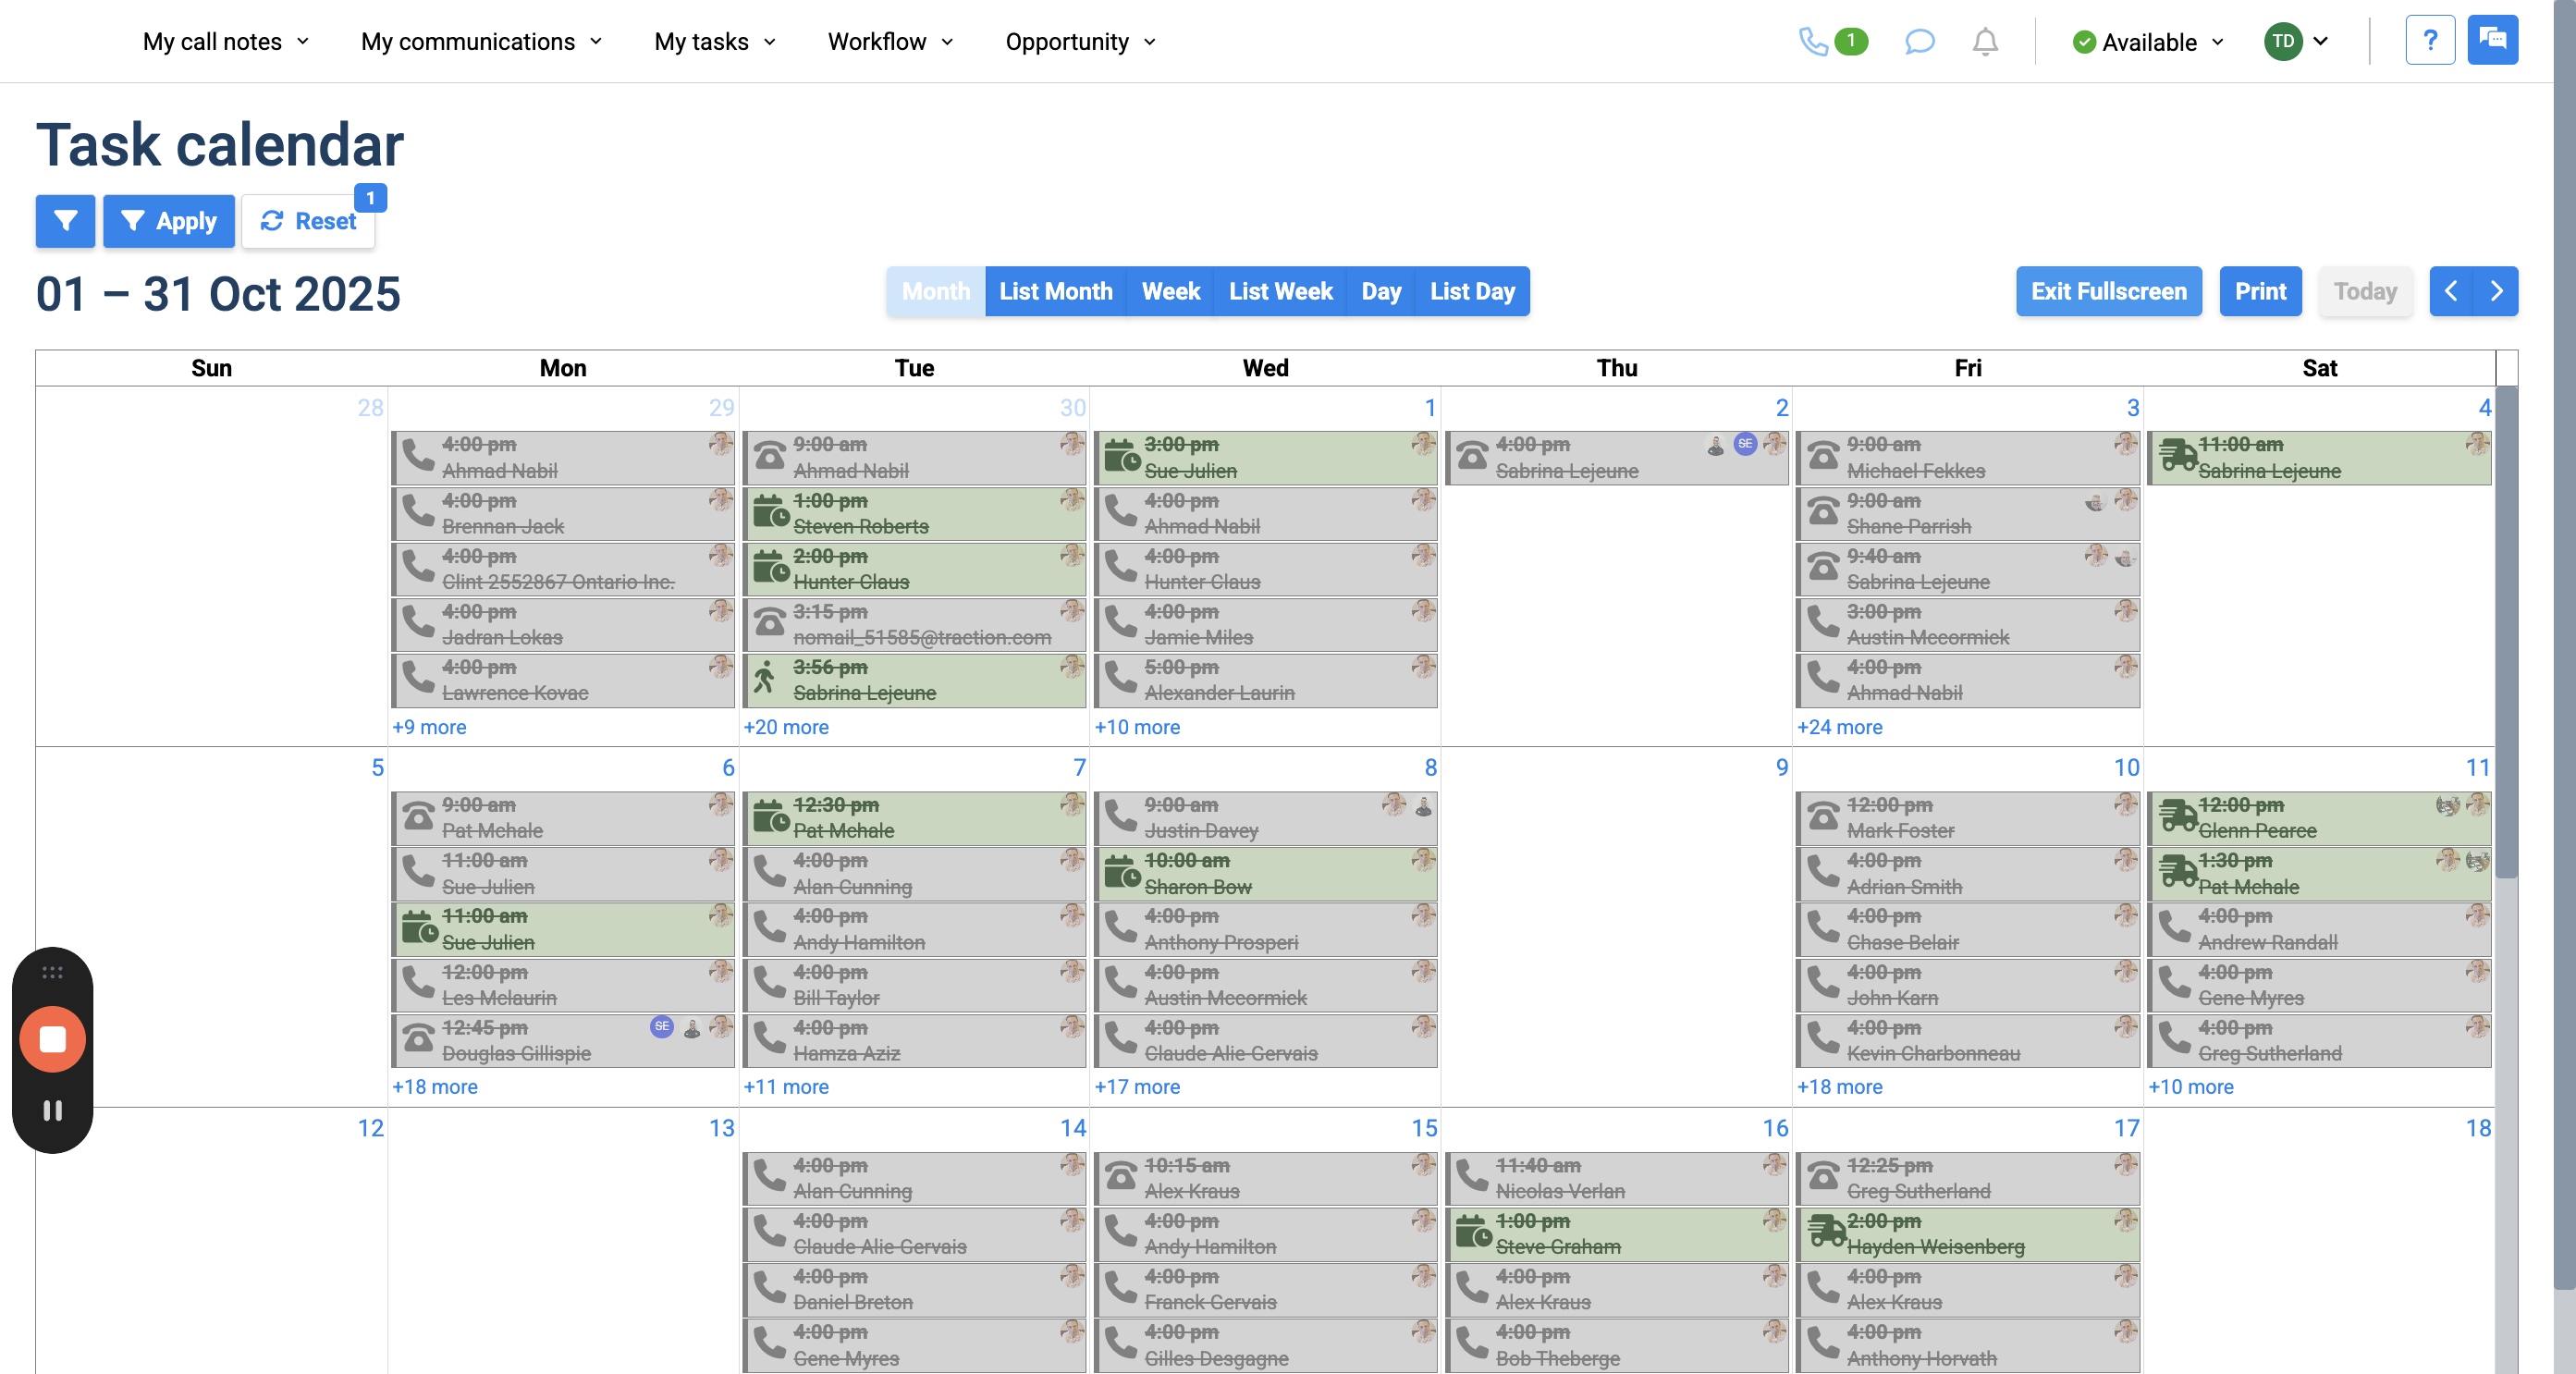
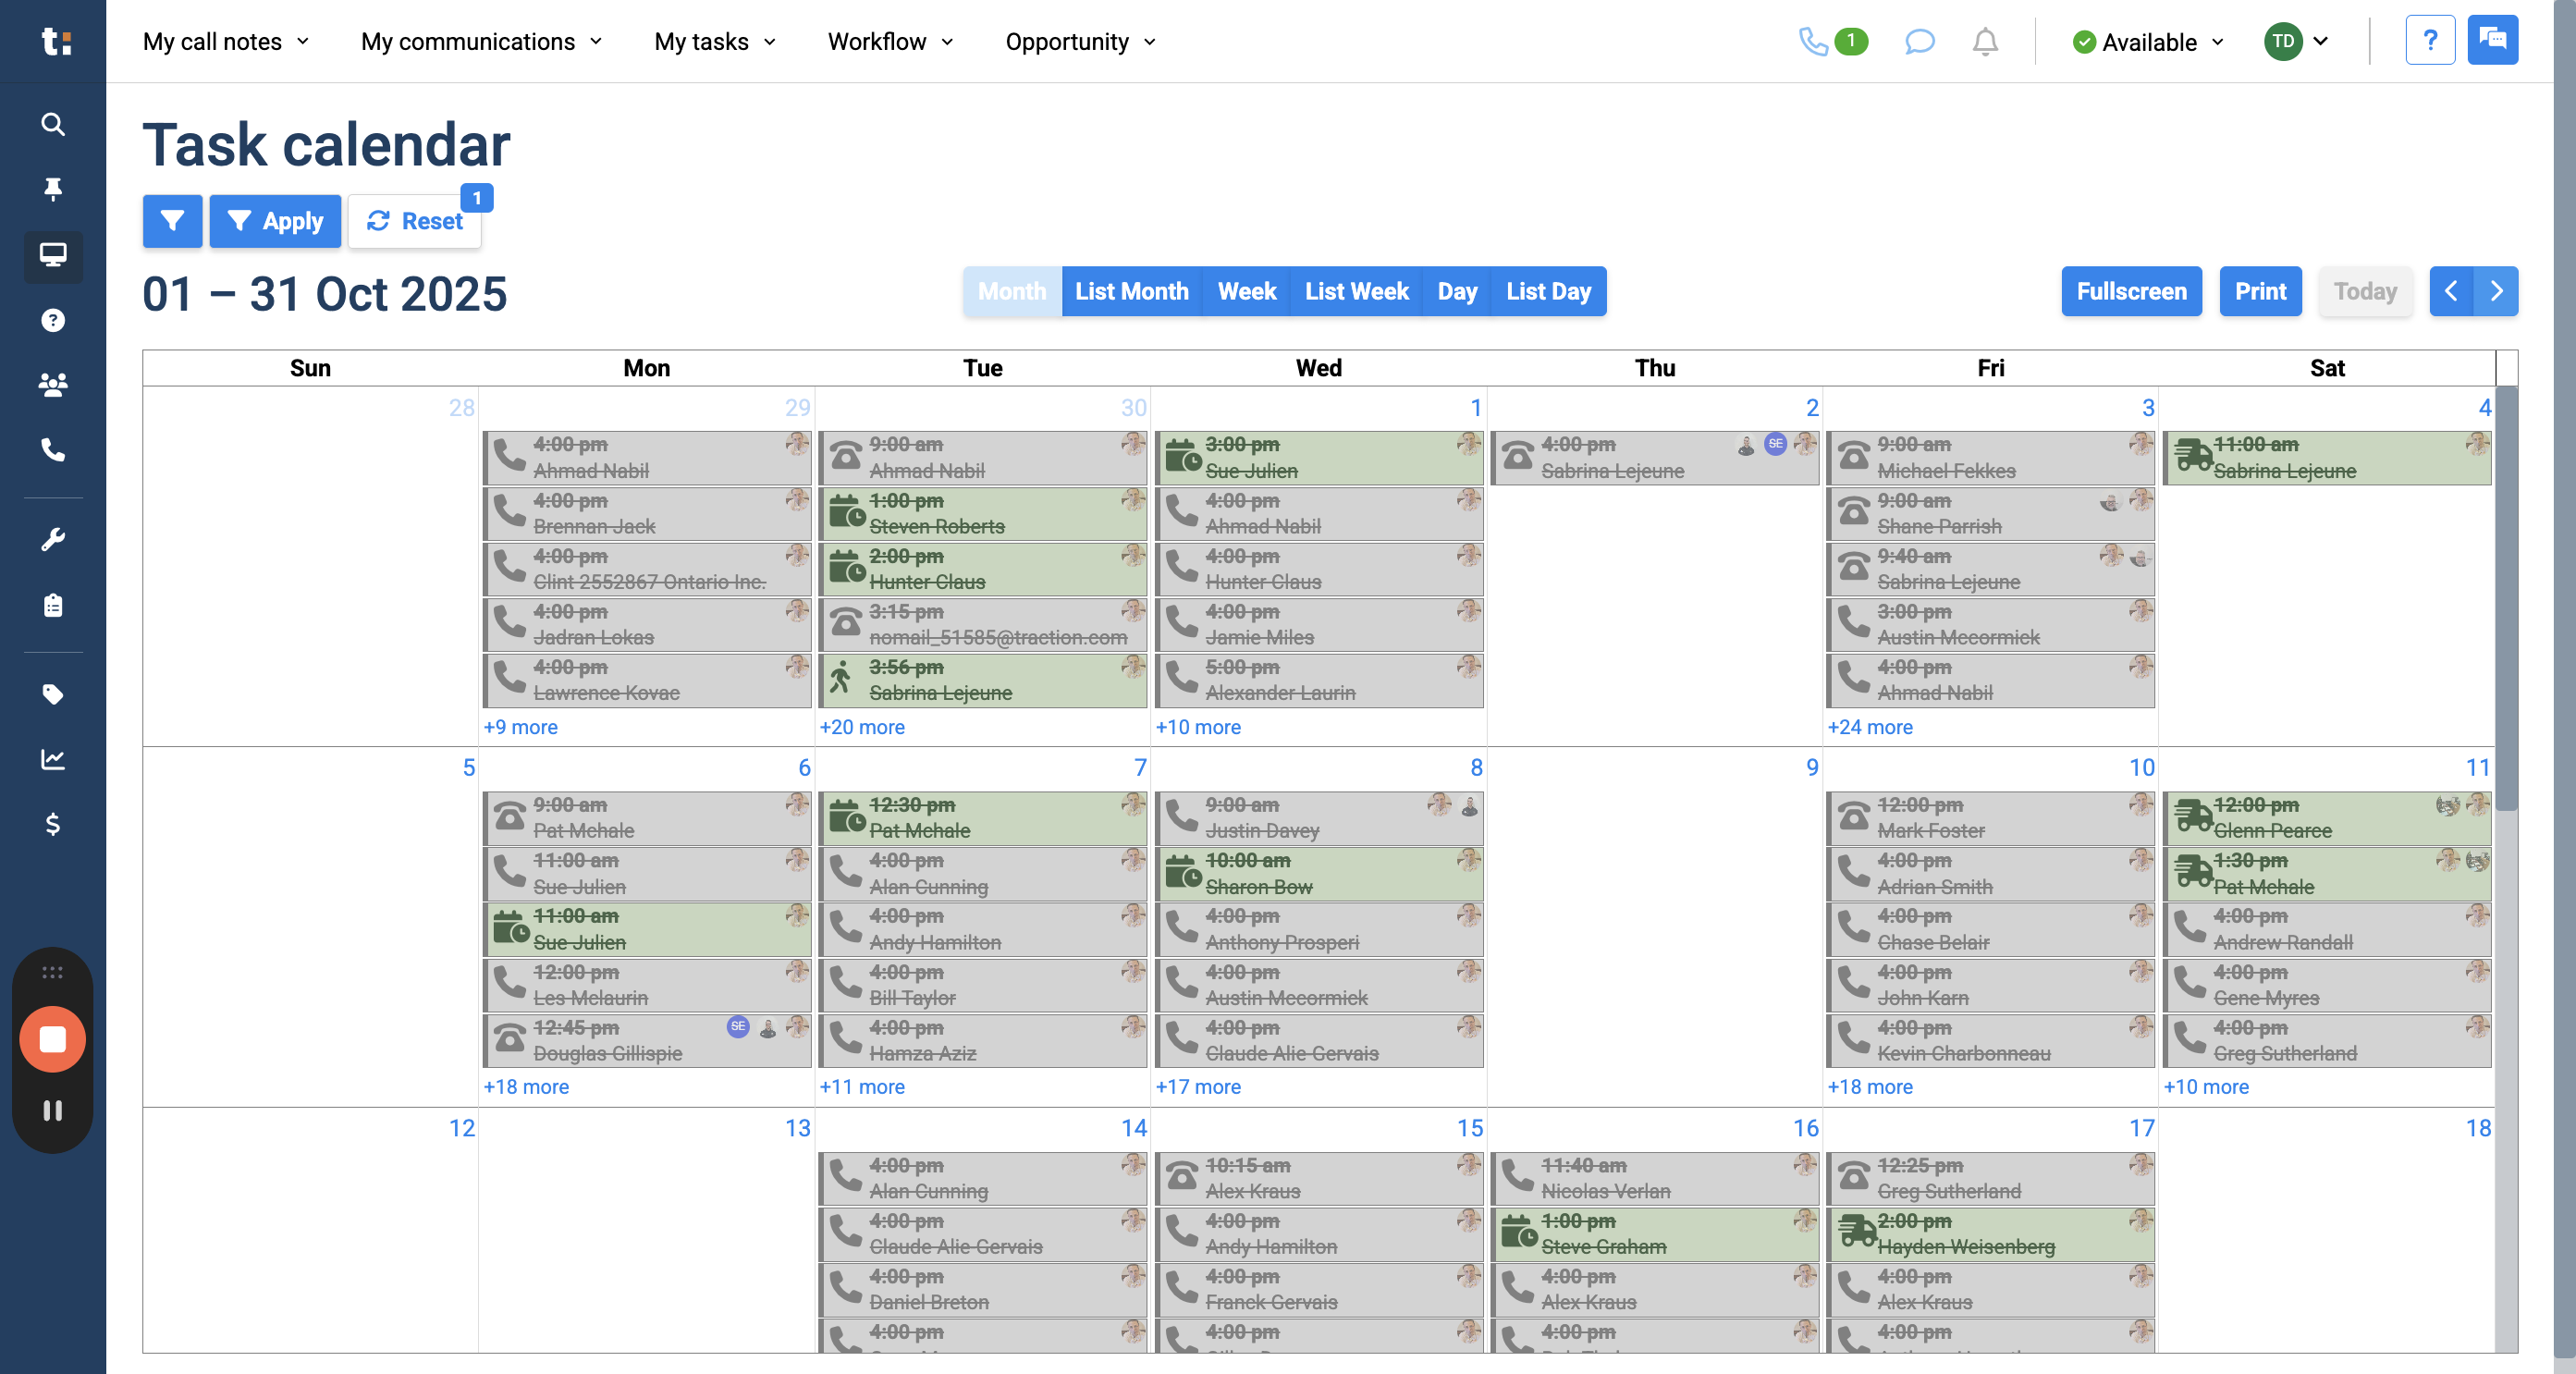
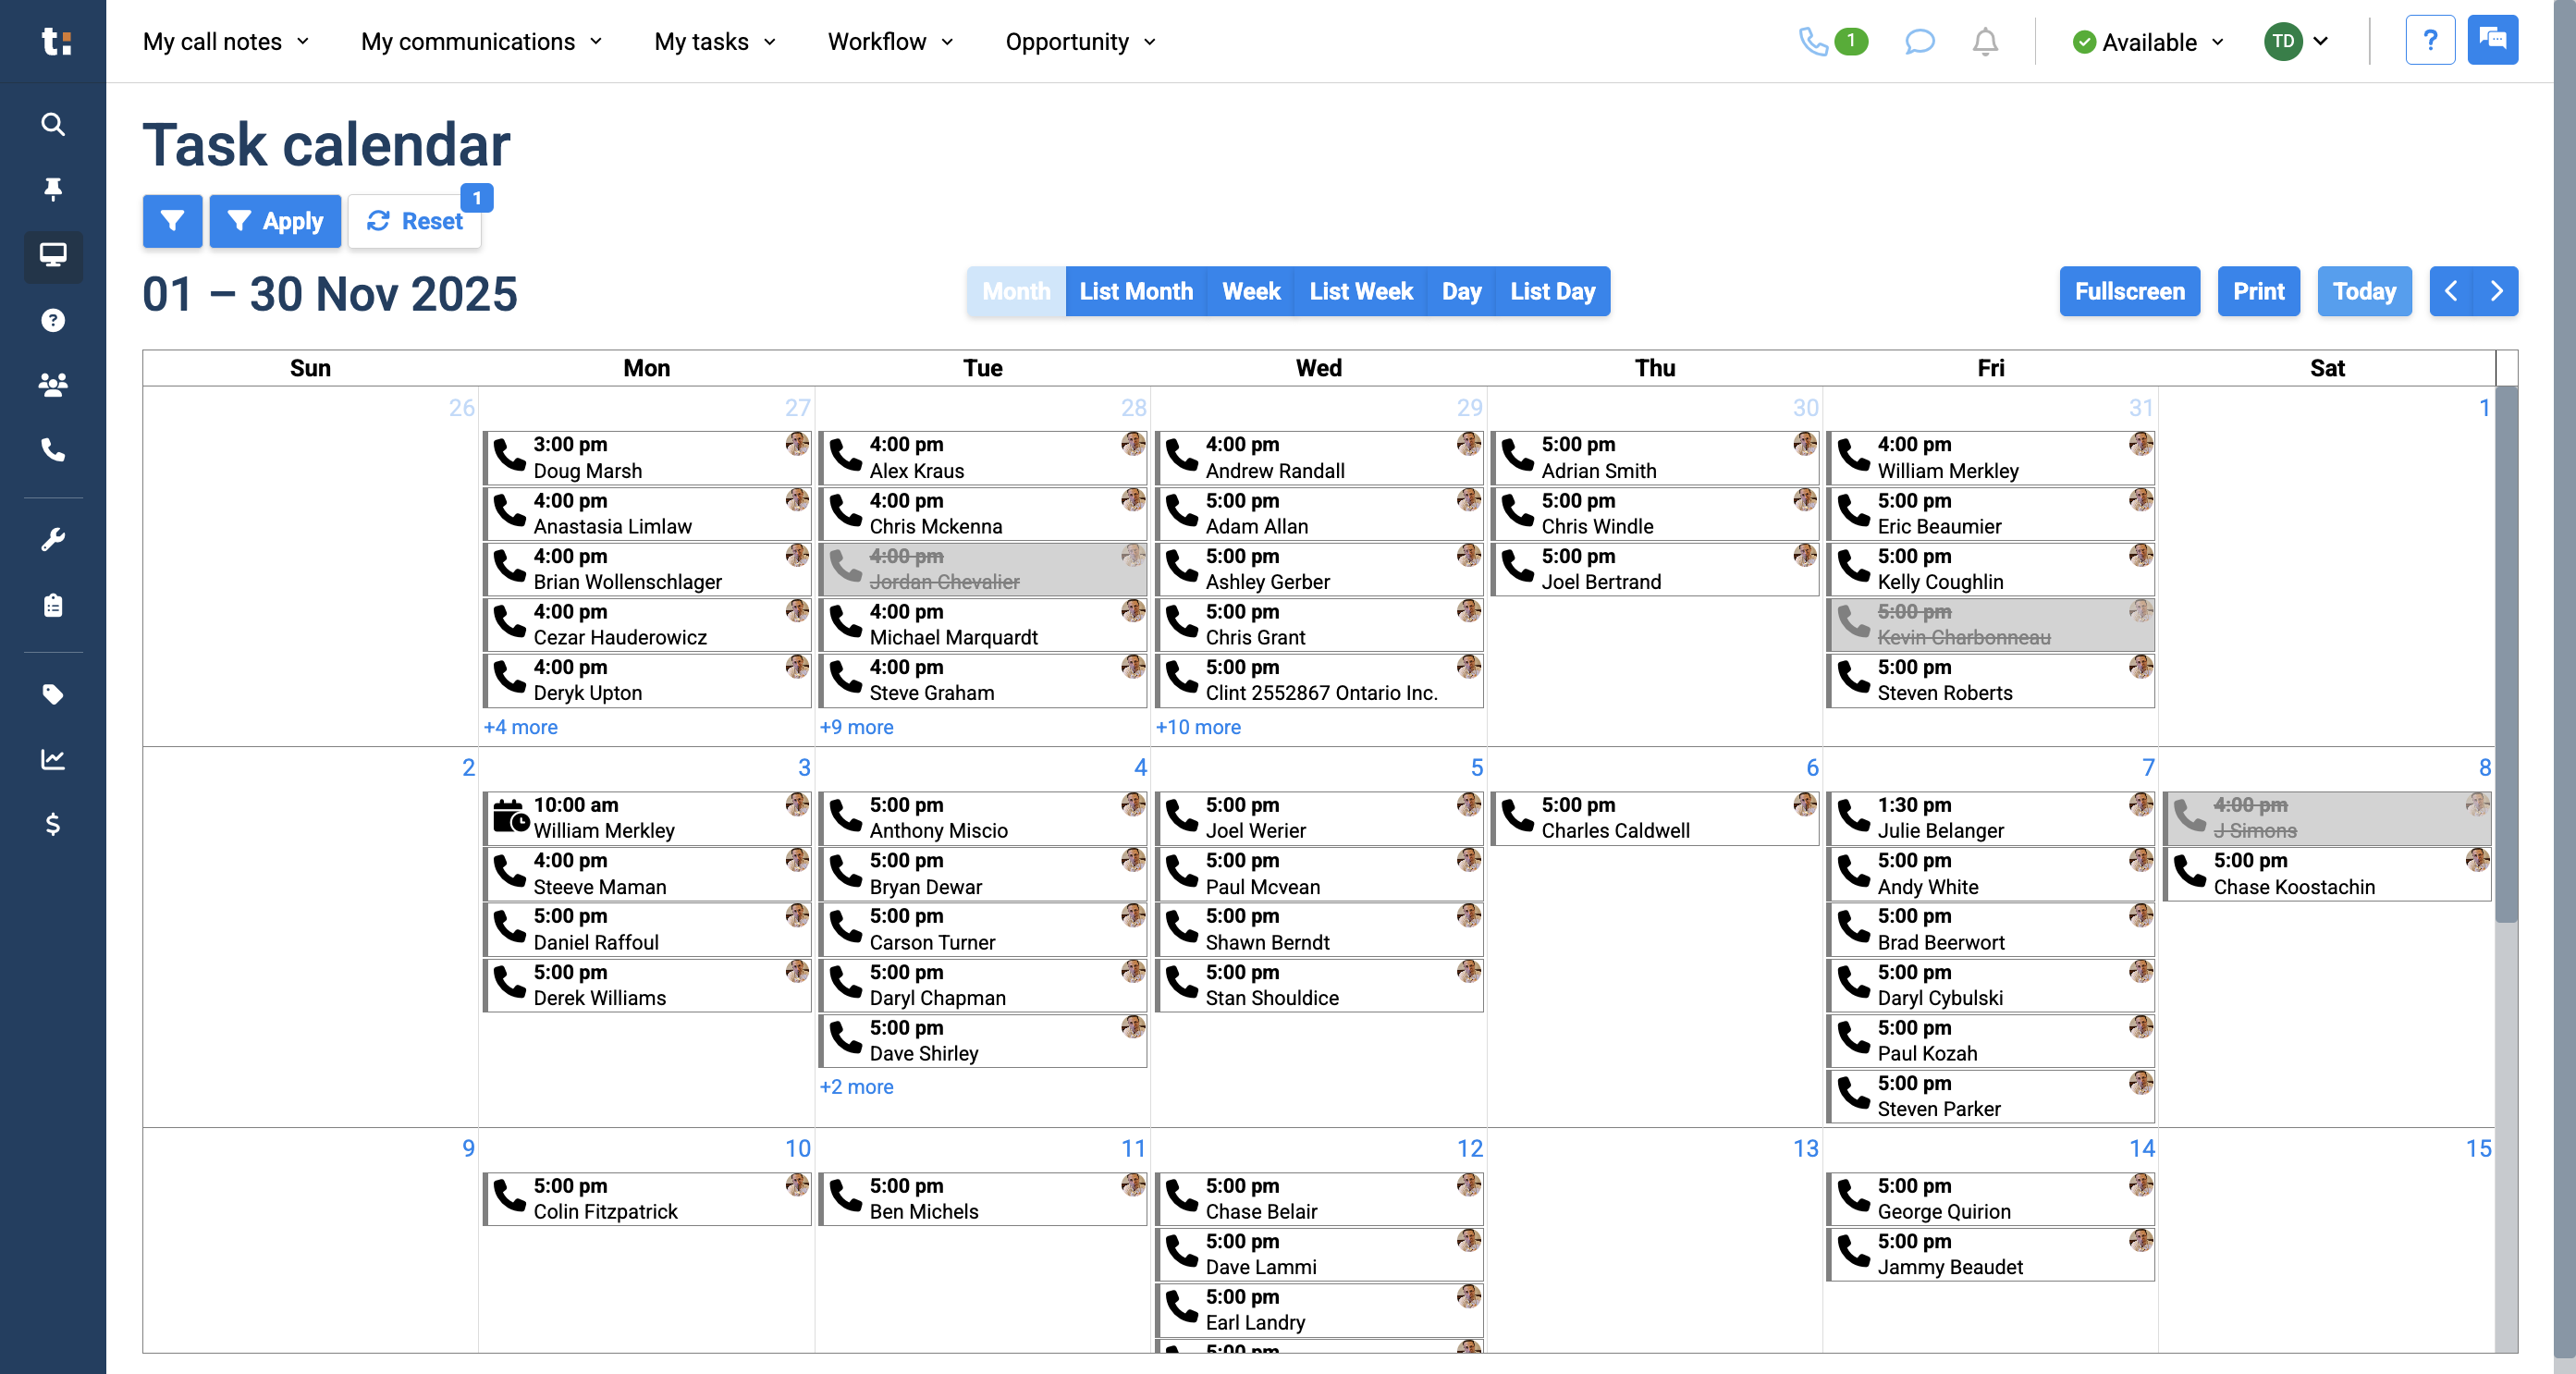
We are now viewing a monthly calendar of all tasks. Gray tasks with a strikethrough are completed. All other tasks still need to be done. You can change your calendar to a list view for the month, week, or day, as well as standard month, week, or day views.

13
Click on your view
Step #13: Click on your view

14
You can view your calendar in full screen by clicking the full screen button.
Step #14: You can view your calendar in full screen by clicking the full screen button.
15
To exit, click the button again.
Step #15:  To exit, click the button again.

16
You can print your calendar if you want by clicking the print button.
Step #16: You can print your calendar if you want by clicking the print button.

17
If you have moved away from today's date, click the Today button to return to the current date.
Step #17: If you have moved away from today's date, click the Today button to return to the current date.

If you still have questions after consulting this article, please feel free to contact our support team at: support@tractiondk.zohodesk.com

How to Use the Task Calendar