How to Use the Task List module: Filtering, Editing, and Managing Tasks for Your Dealership
Learn how to access, filter, and manage your dealership's task list using the Task List tool. Discover tips for filtering by user, department, tags, and more to streamline your workflow.
By Dominik Black
In this guide, we'll learn how to use the task list feature to manage and organize tasks at your dealership. We will cover how to access the task list, apply filters to view specific tasks, and perform actions such as editing, closing, or subscribing to tasks. This guide will help you streamline your workflow and keep track of important activities.
Let's get started
1
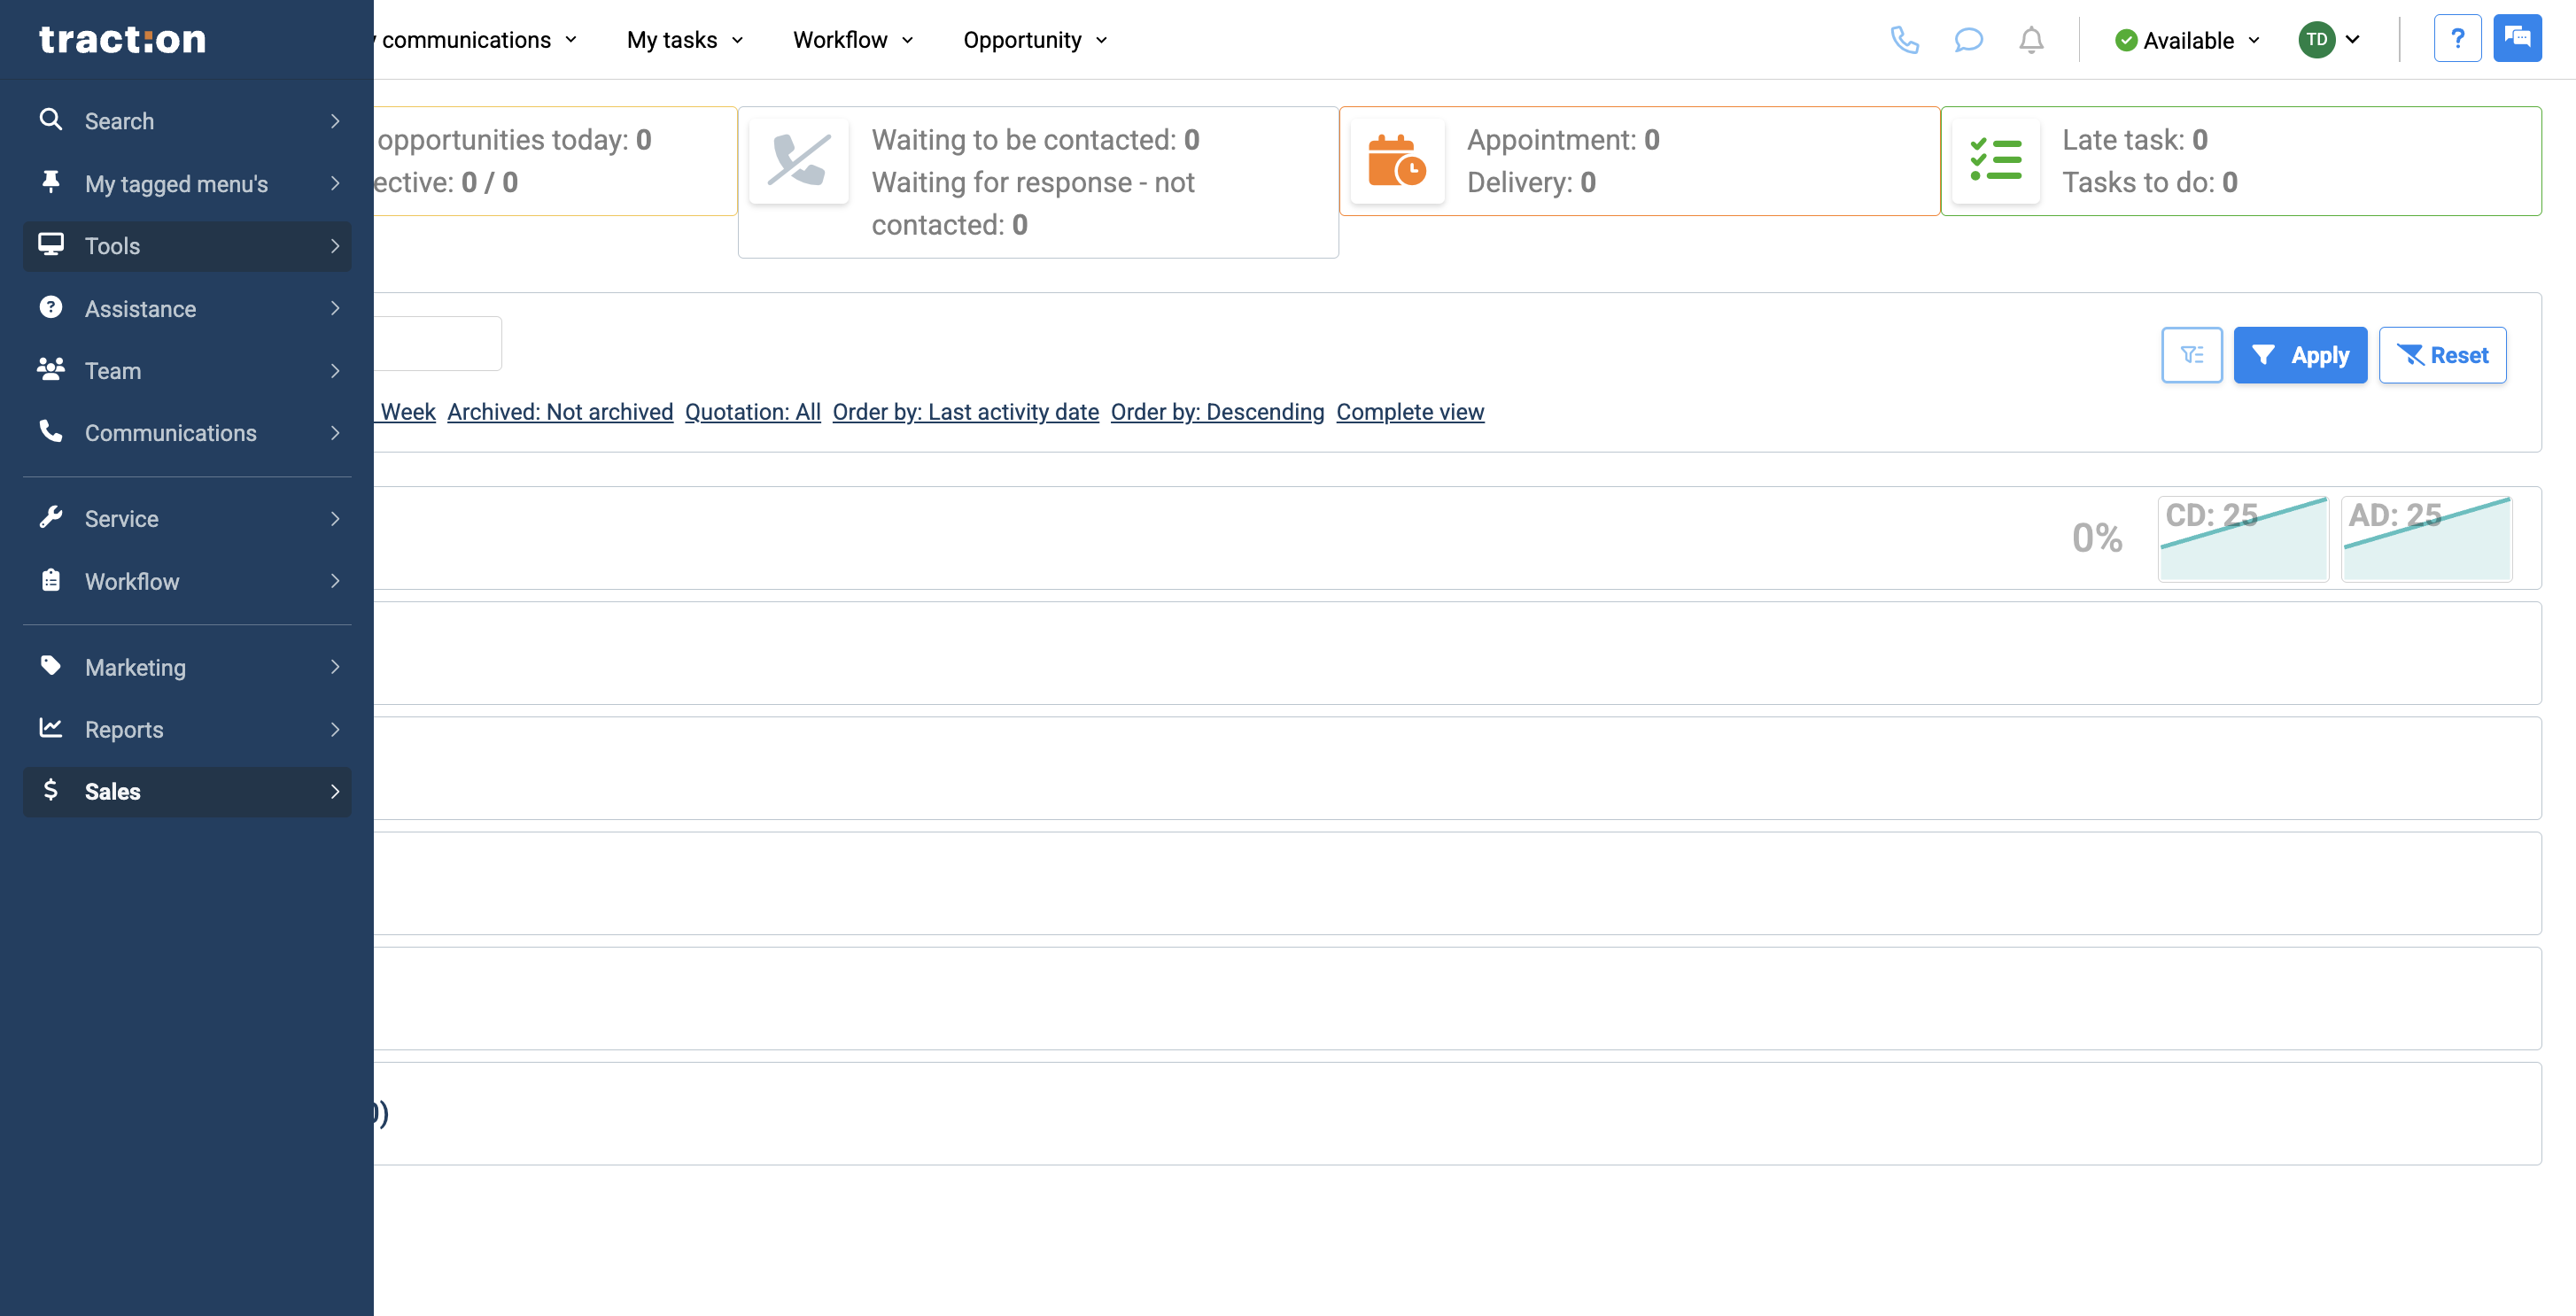
In this article, we will review the task list. To access the task list, go to Tools.
2
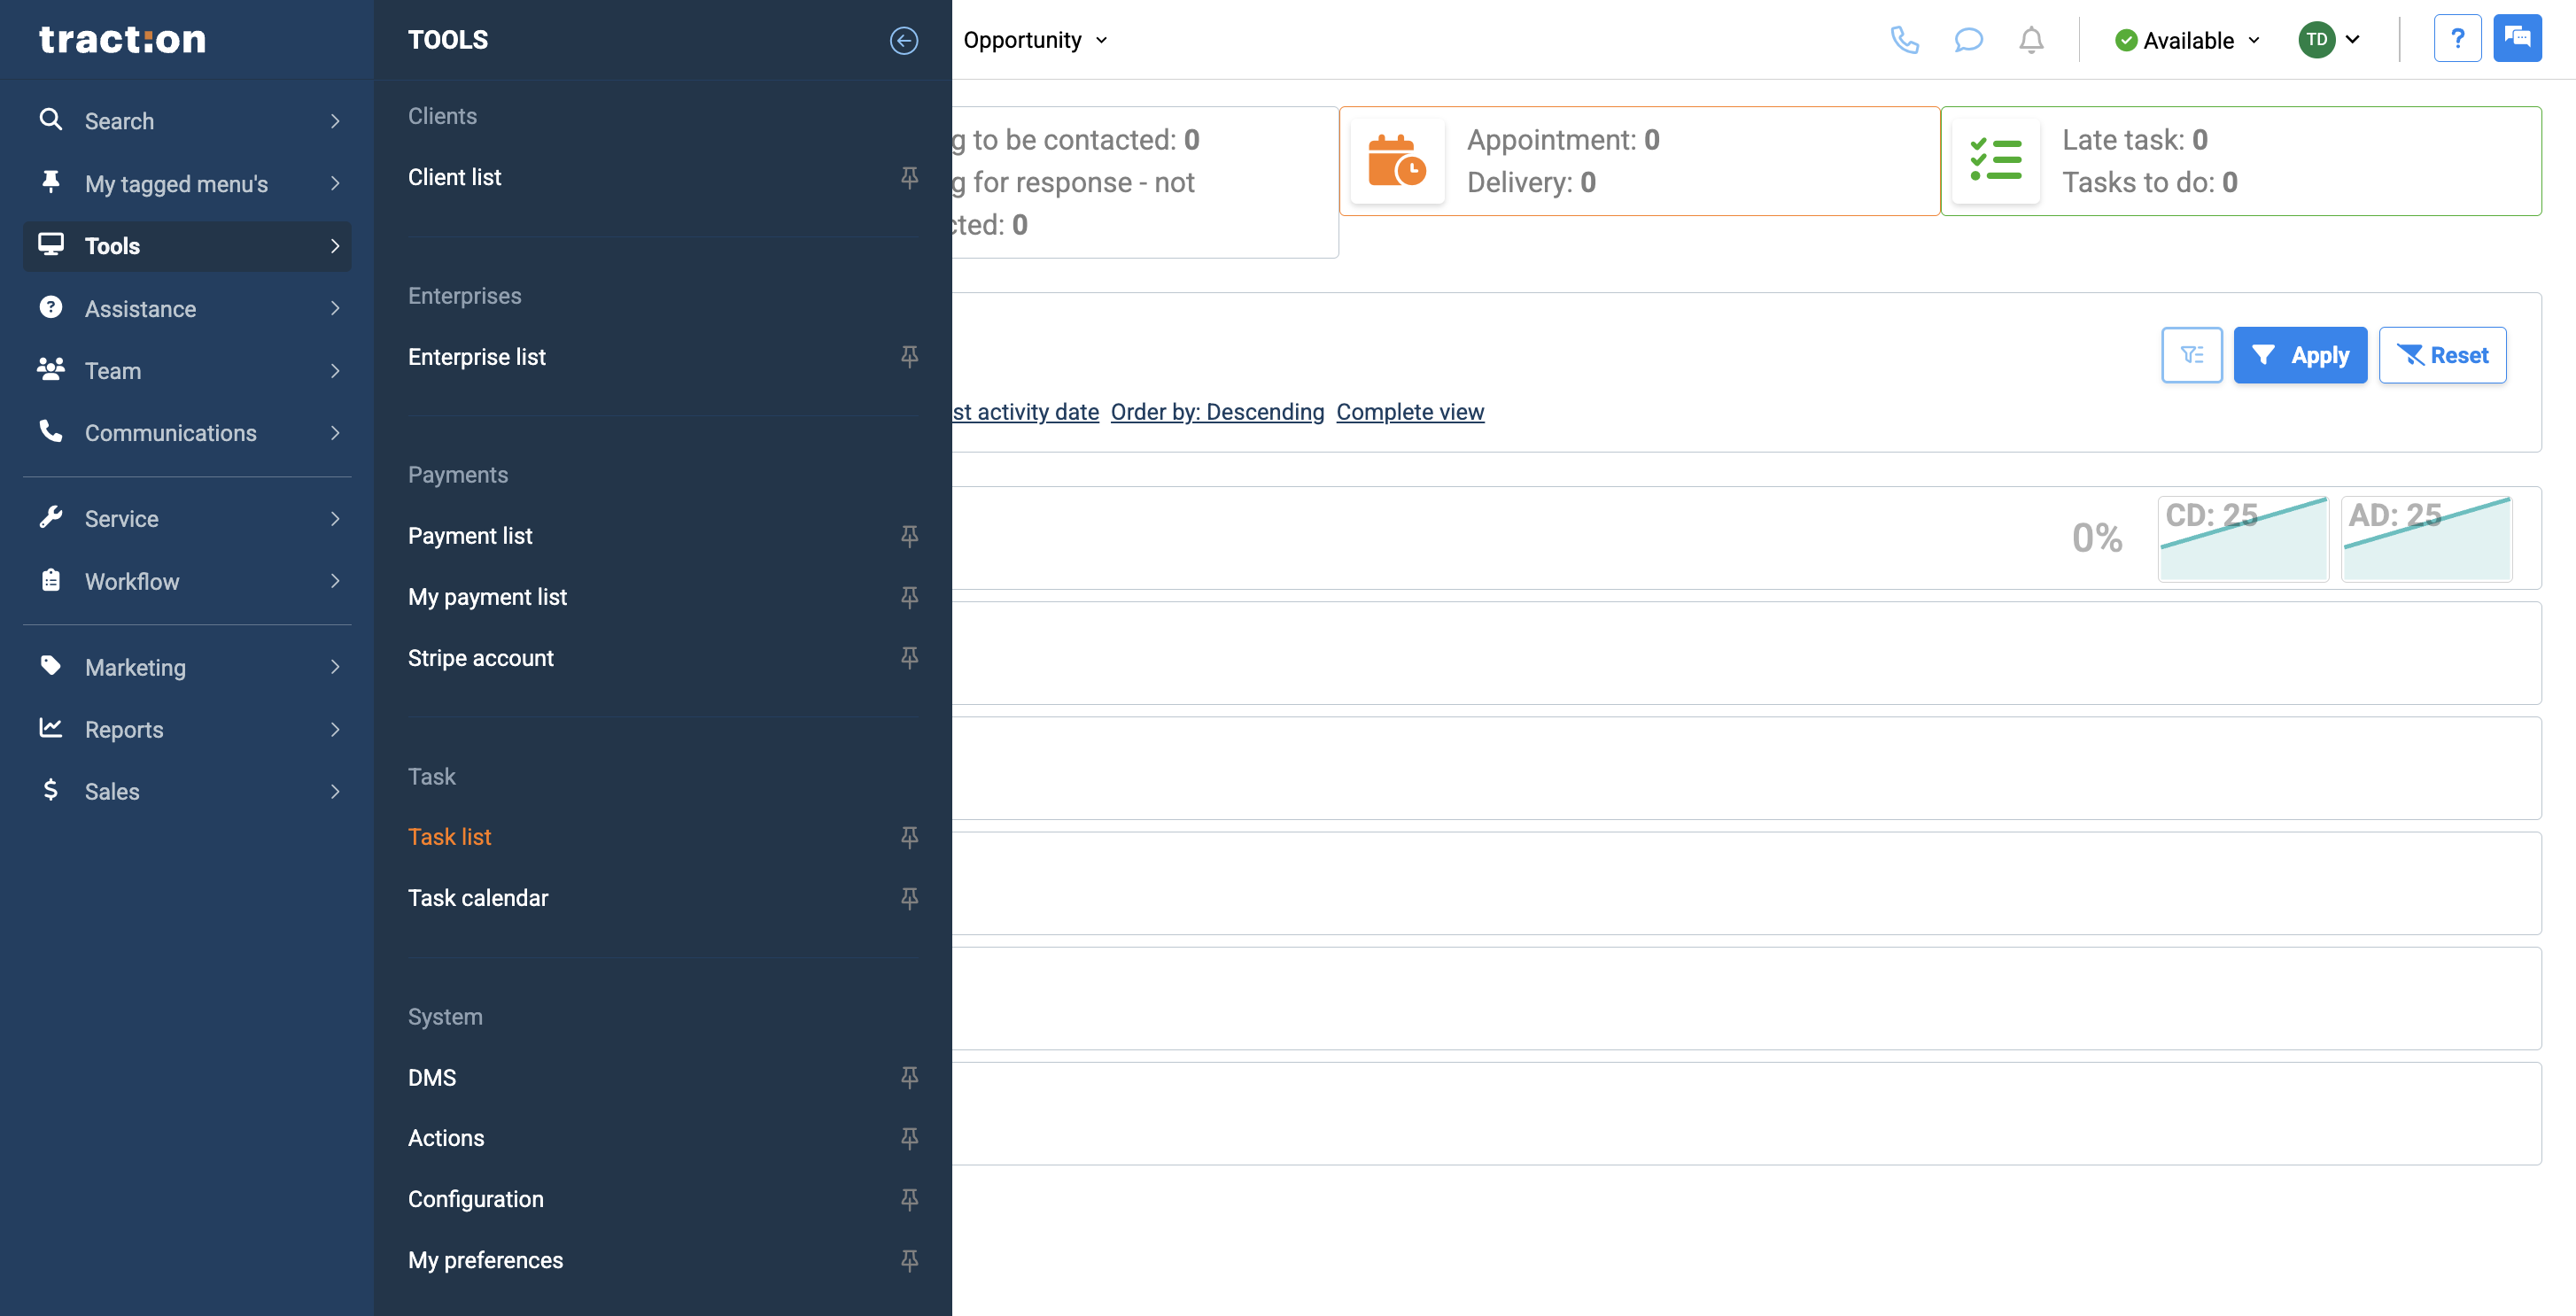
Then click on Task List.
3
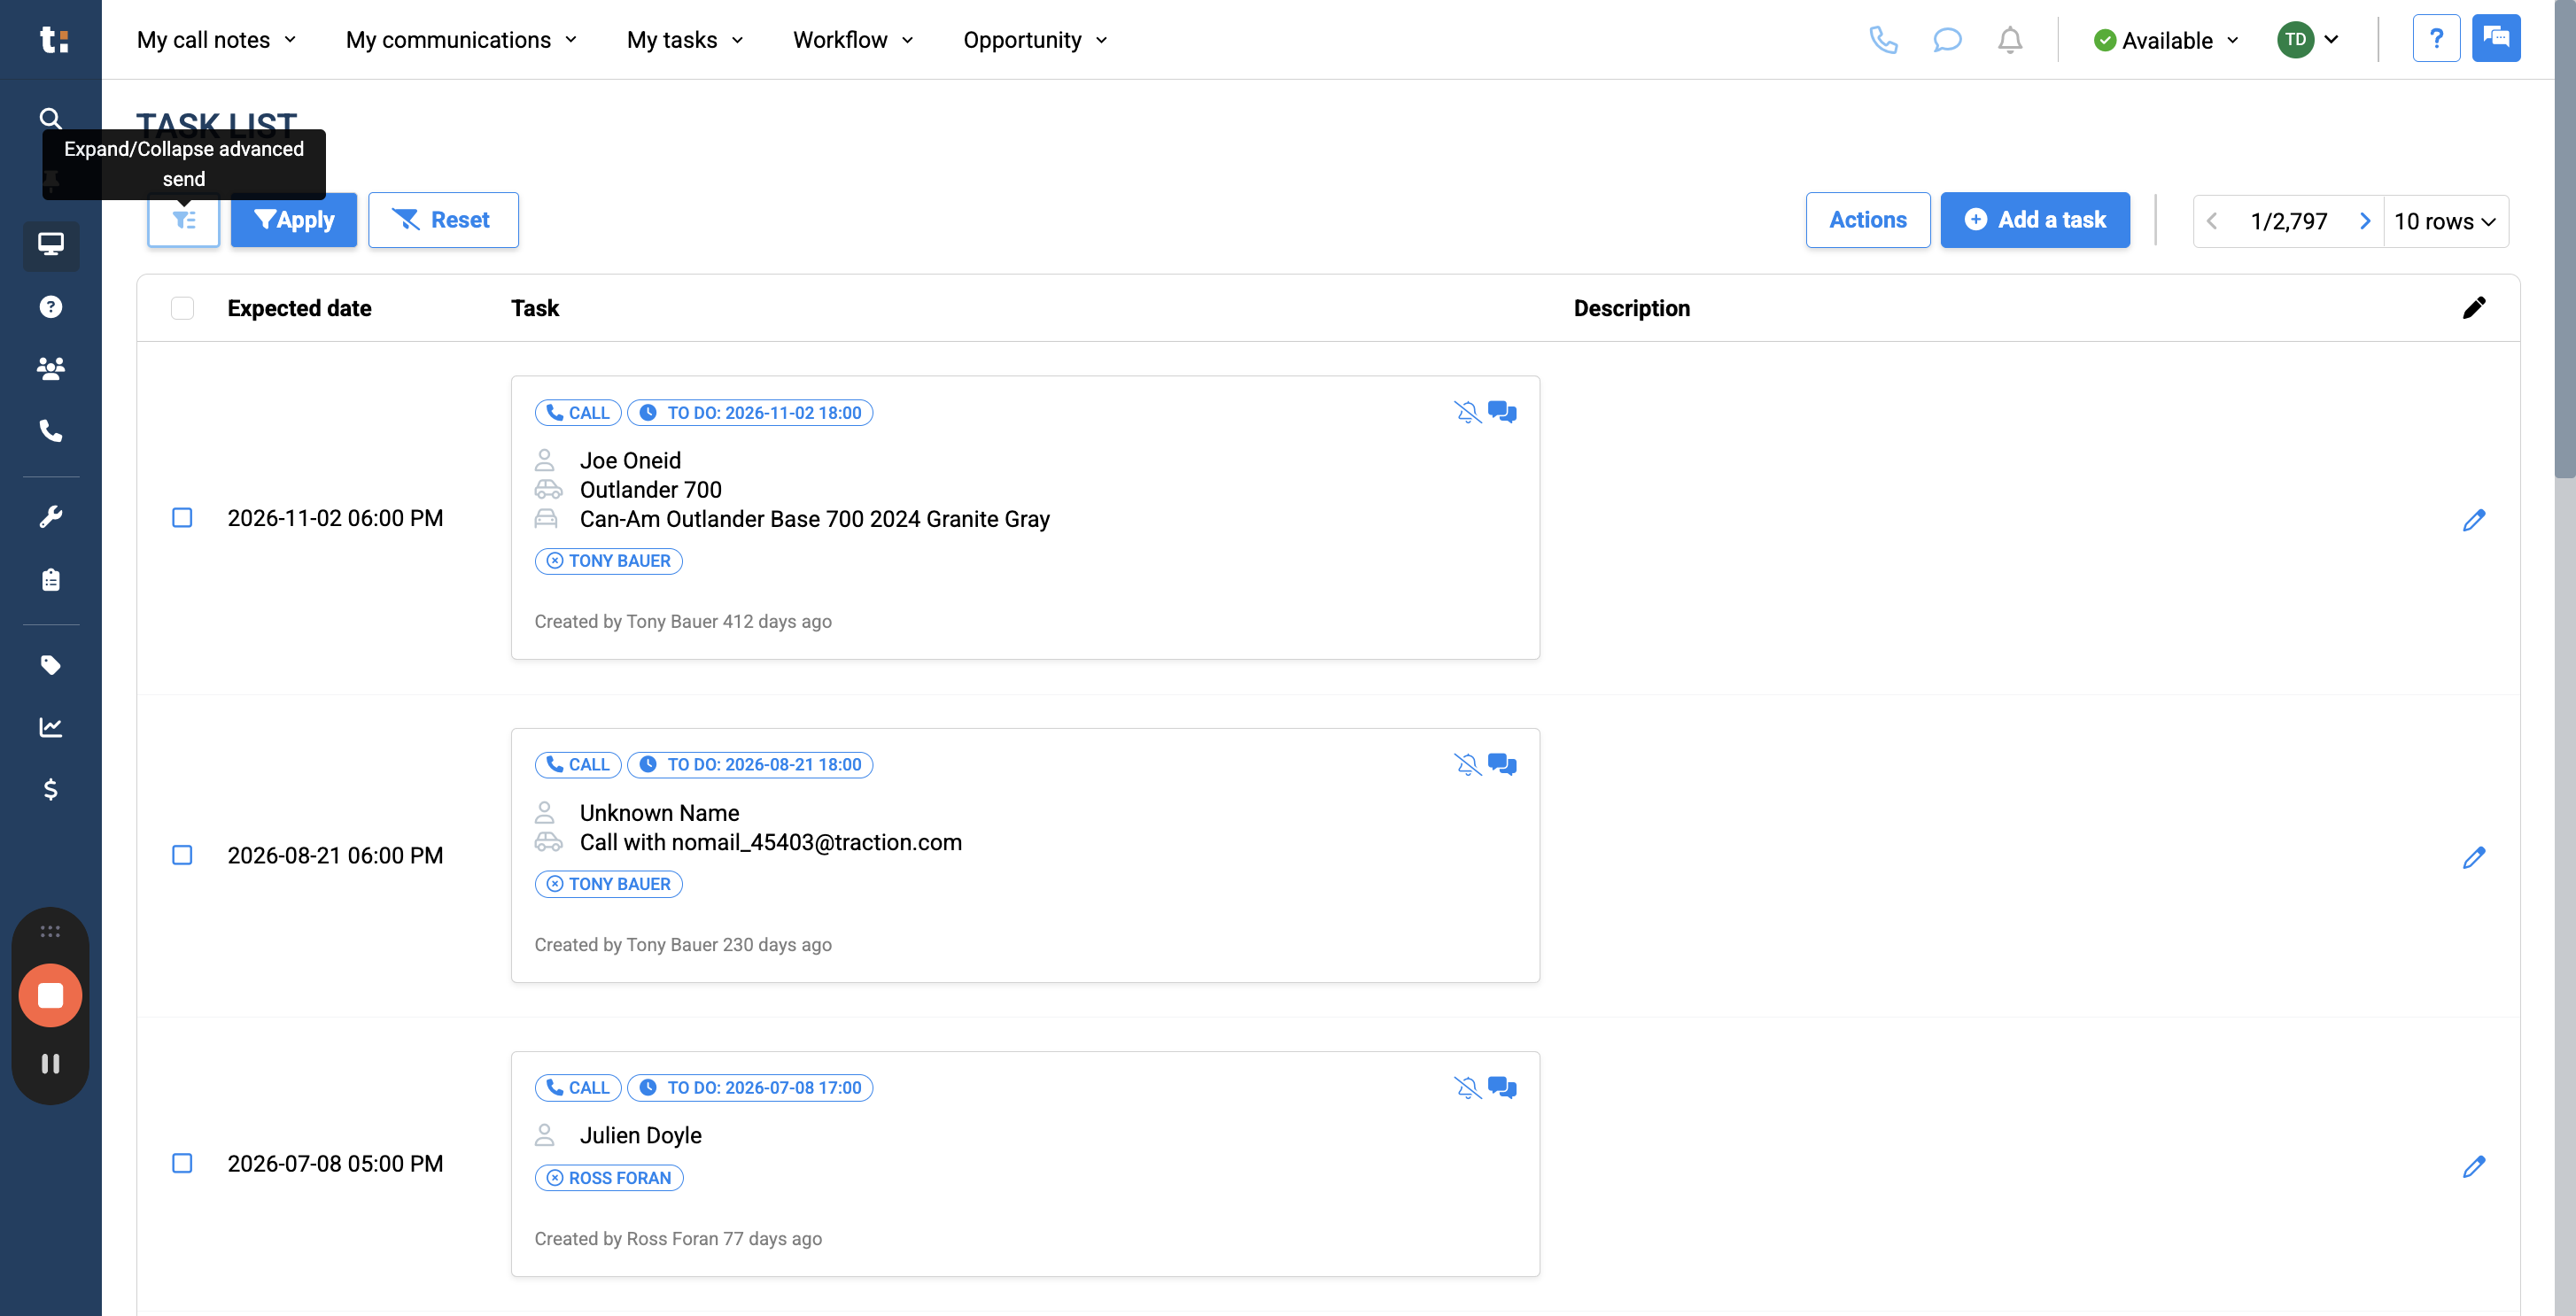
From here, you will see the complete task list for your entire dealership. Start by filtering to see exactly what you want. To filter, click this button.Click on "Expand / Collapse advanced"
4
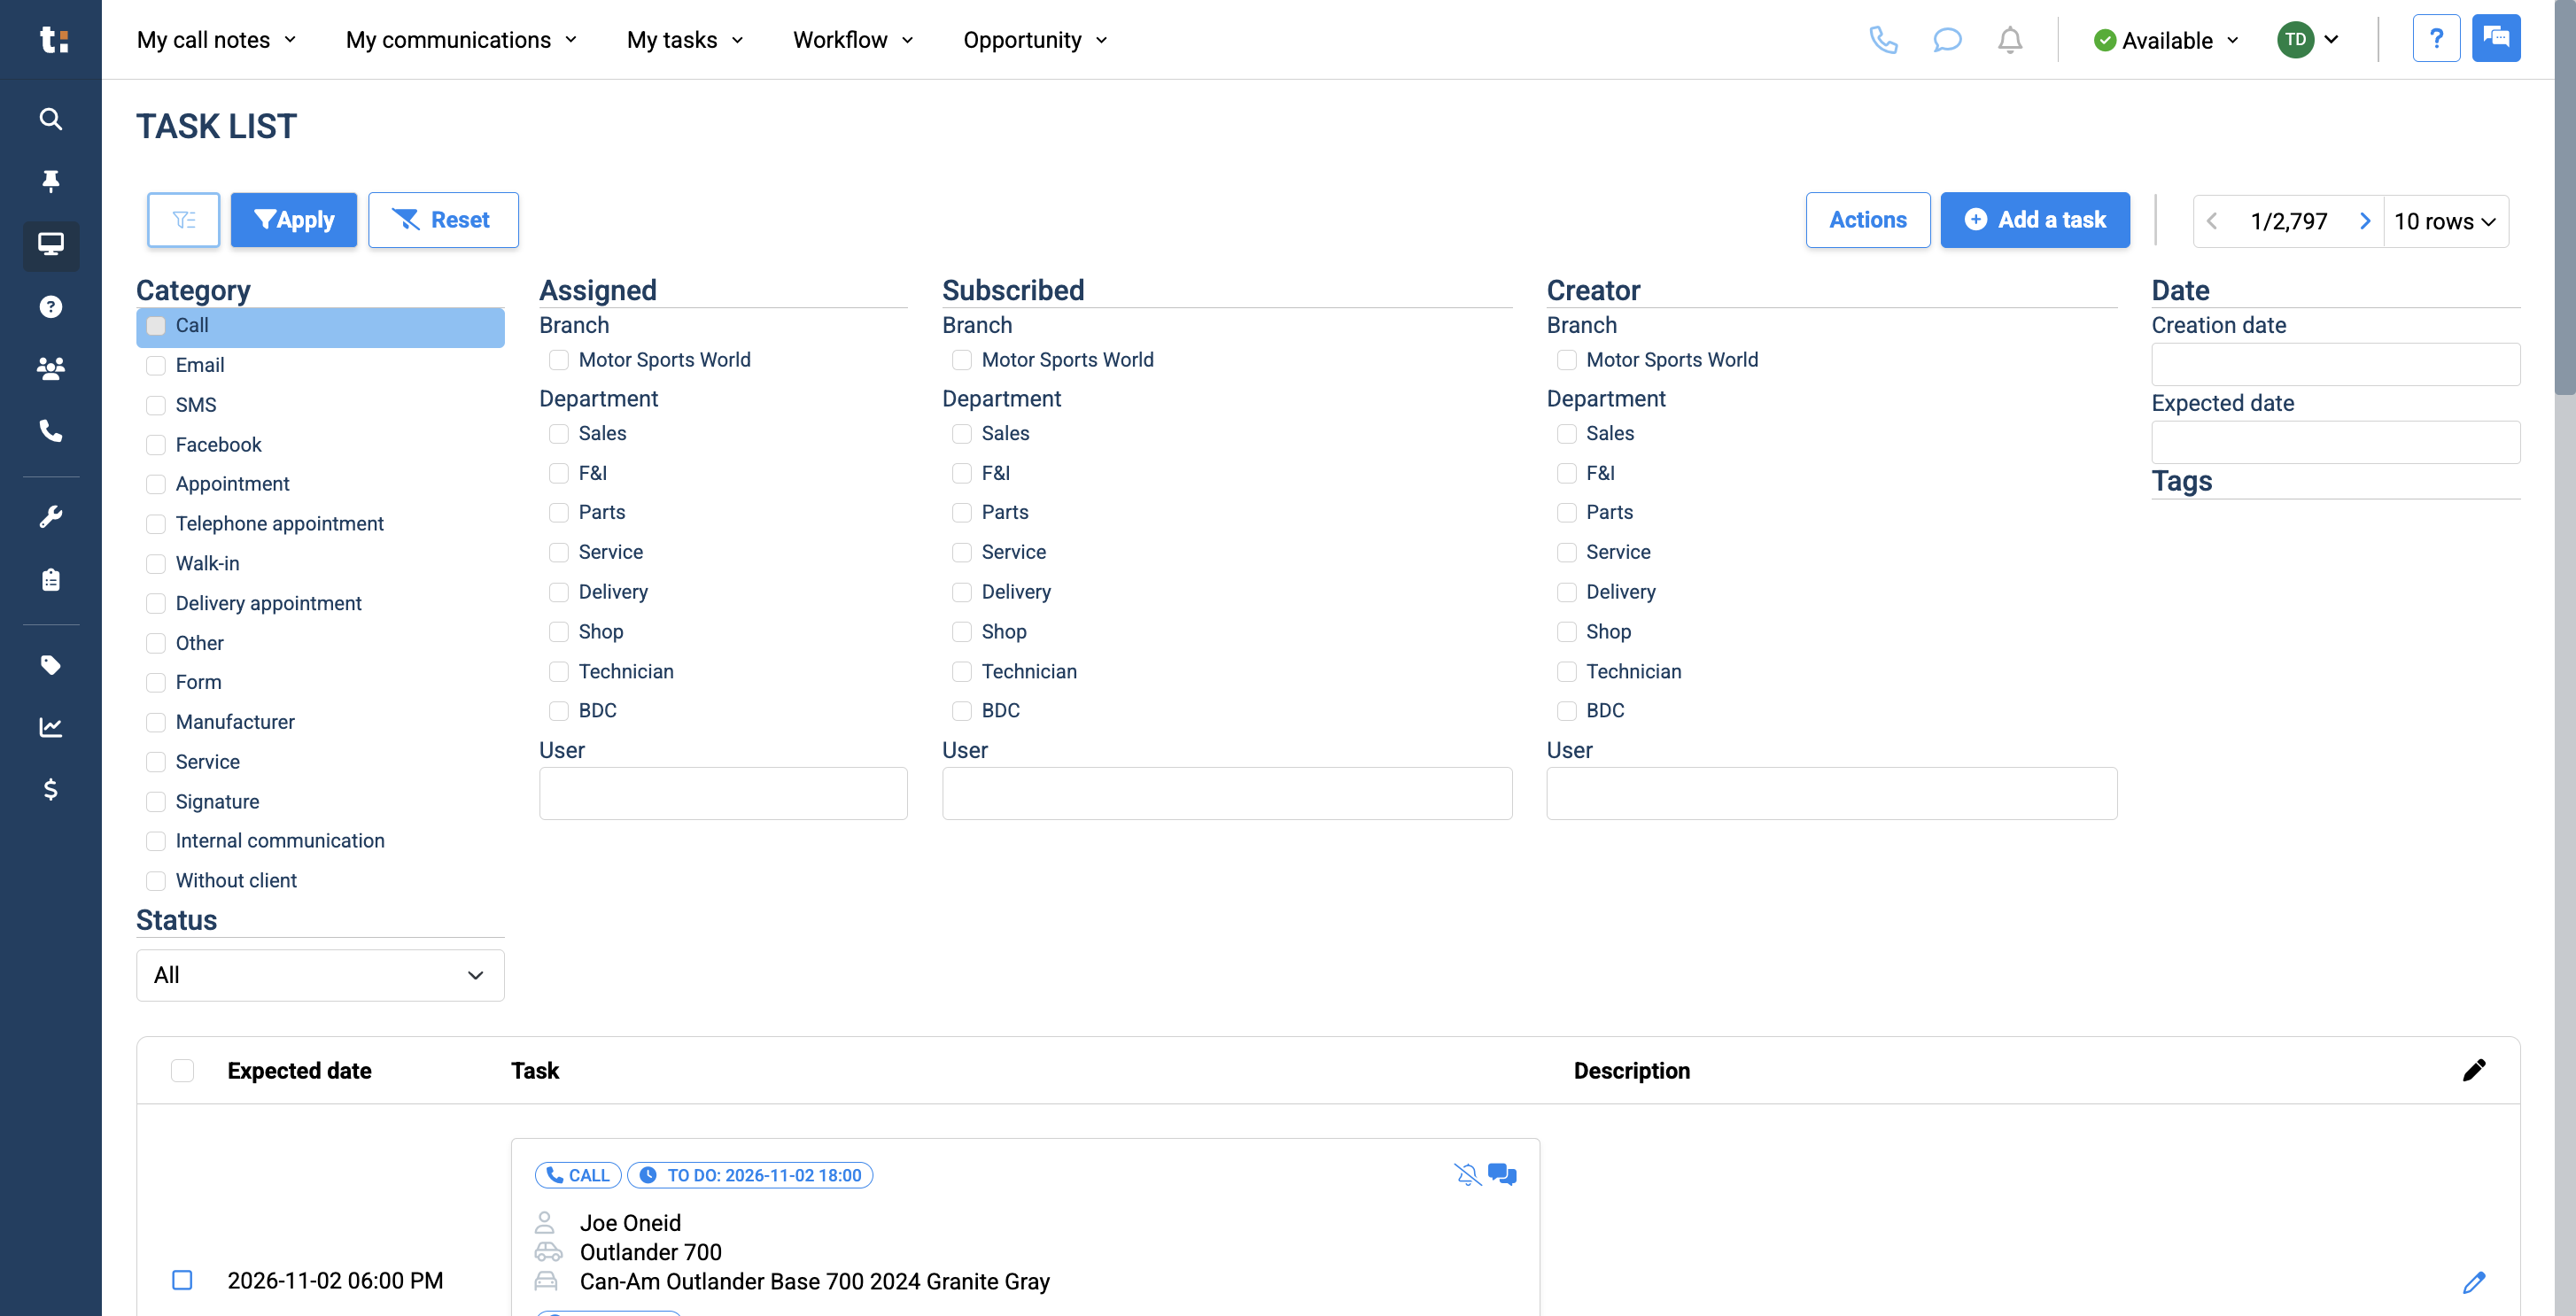
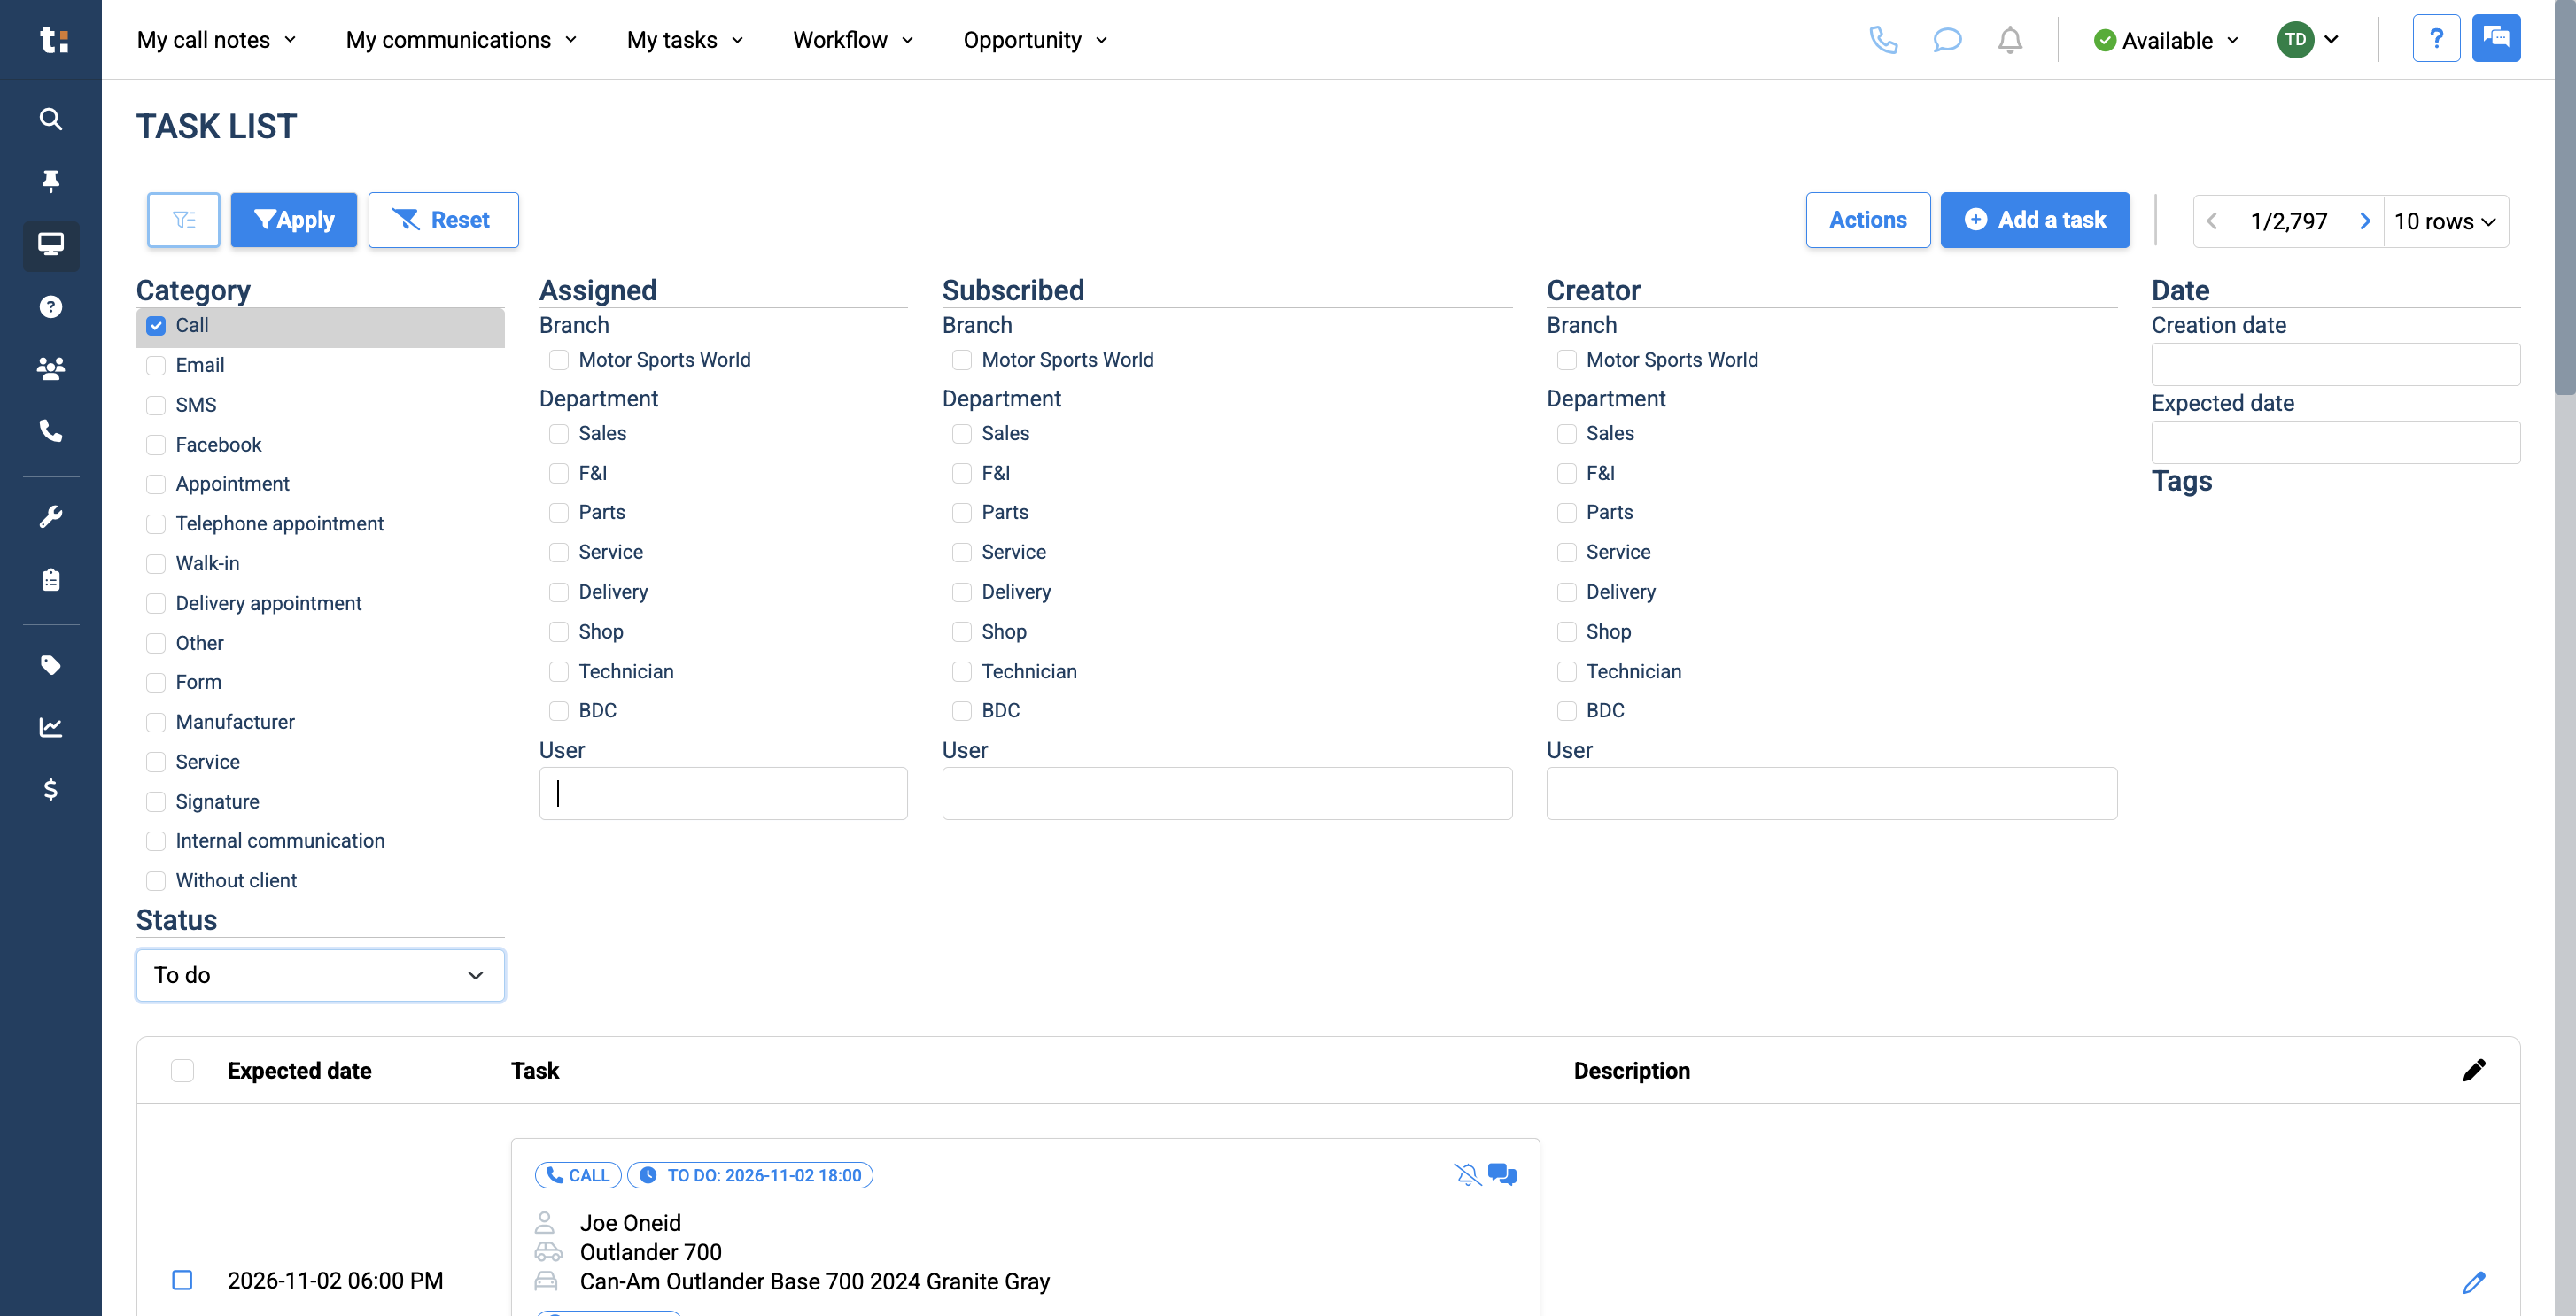
This will give you many options to filter from. For example, to view only call tasks with a status of "to do," click on call and to-do.
5
Change status to: to-do

6
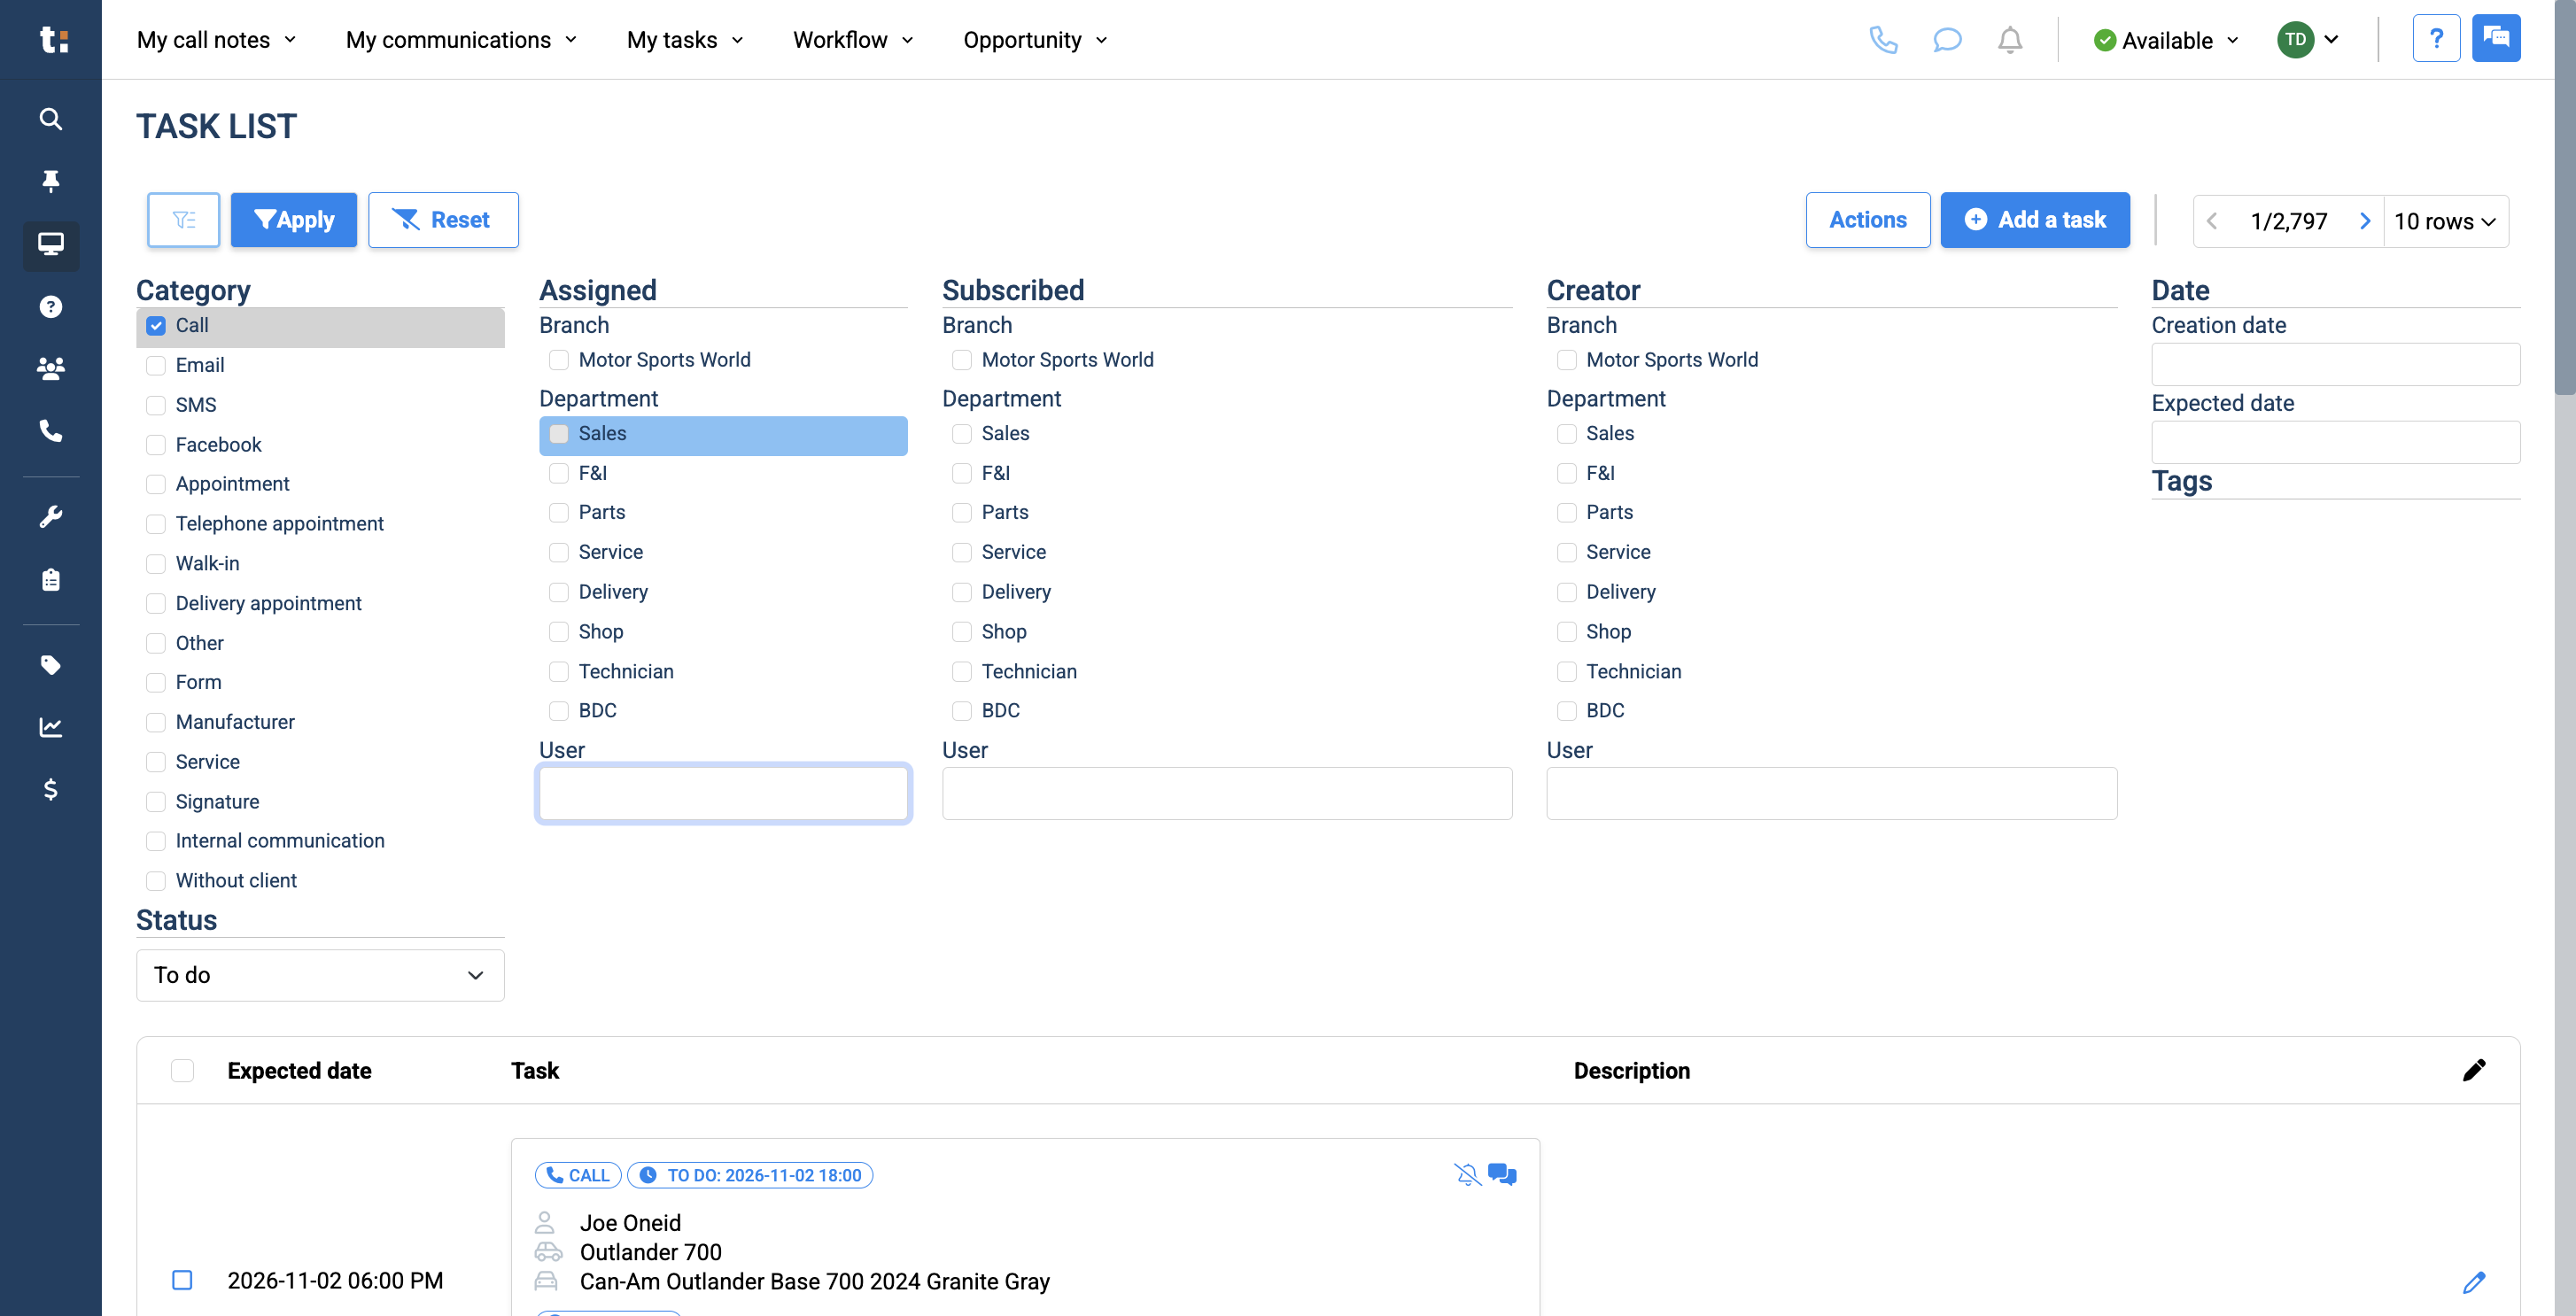
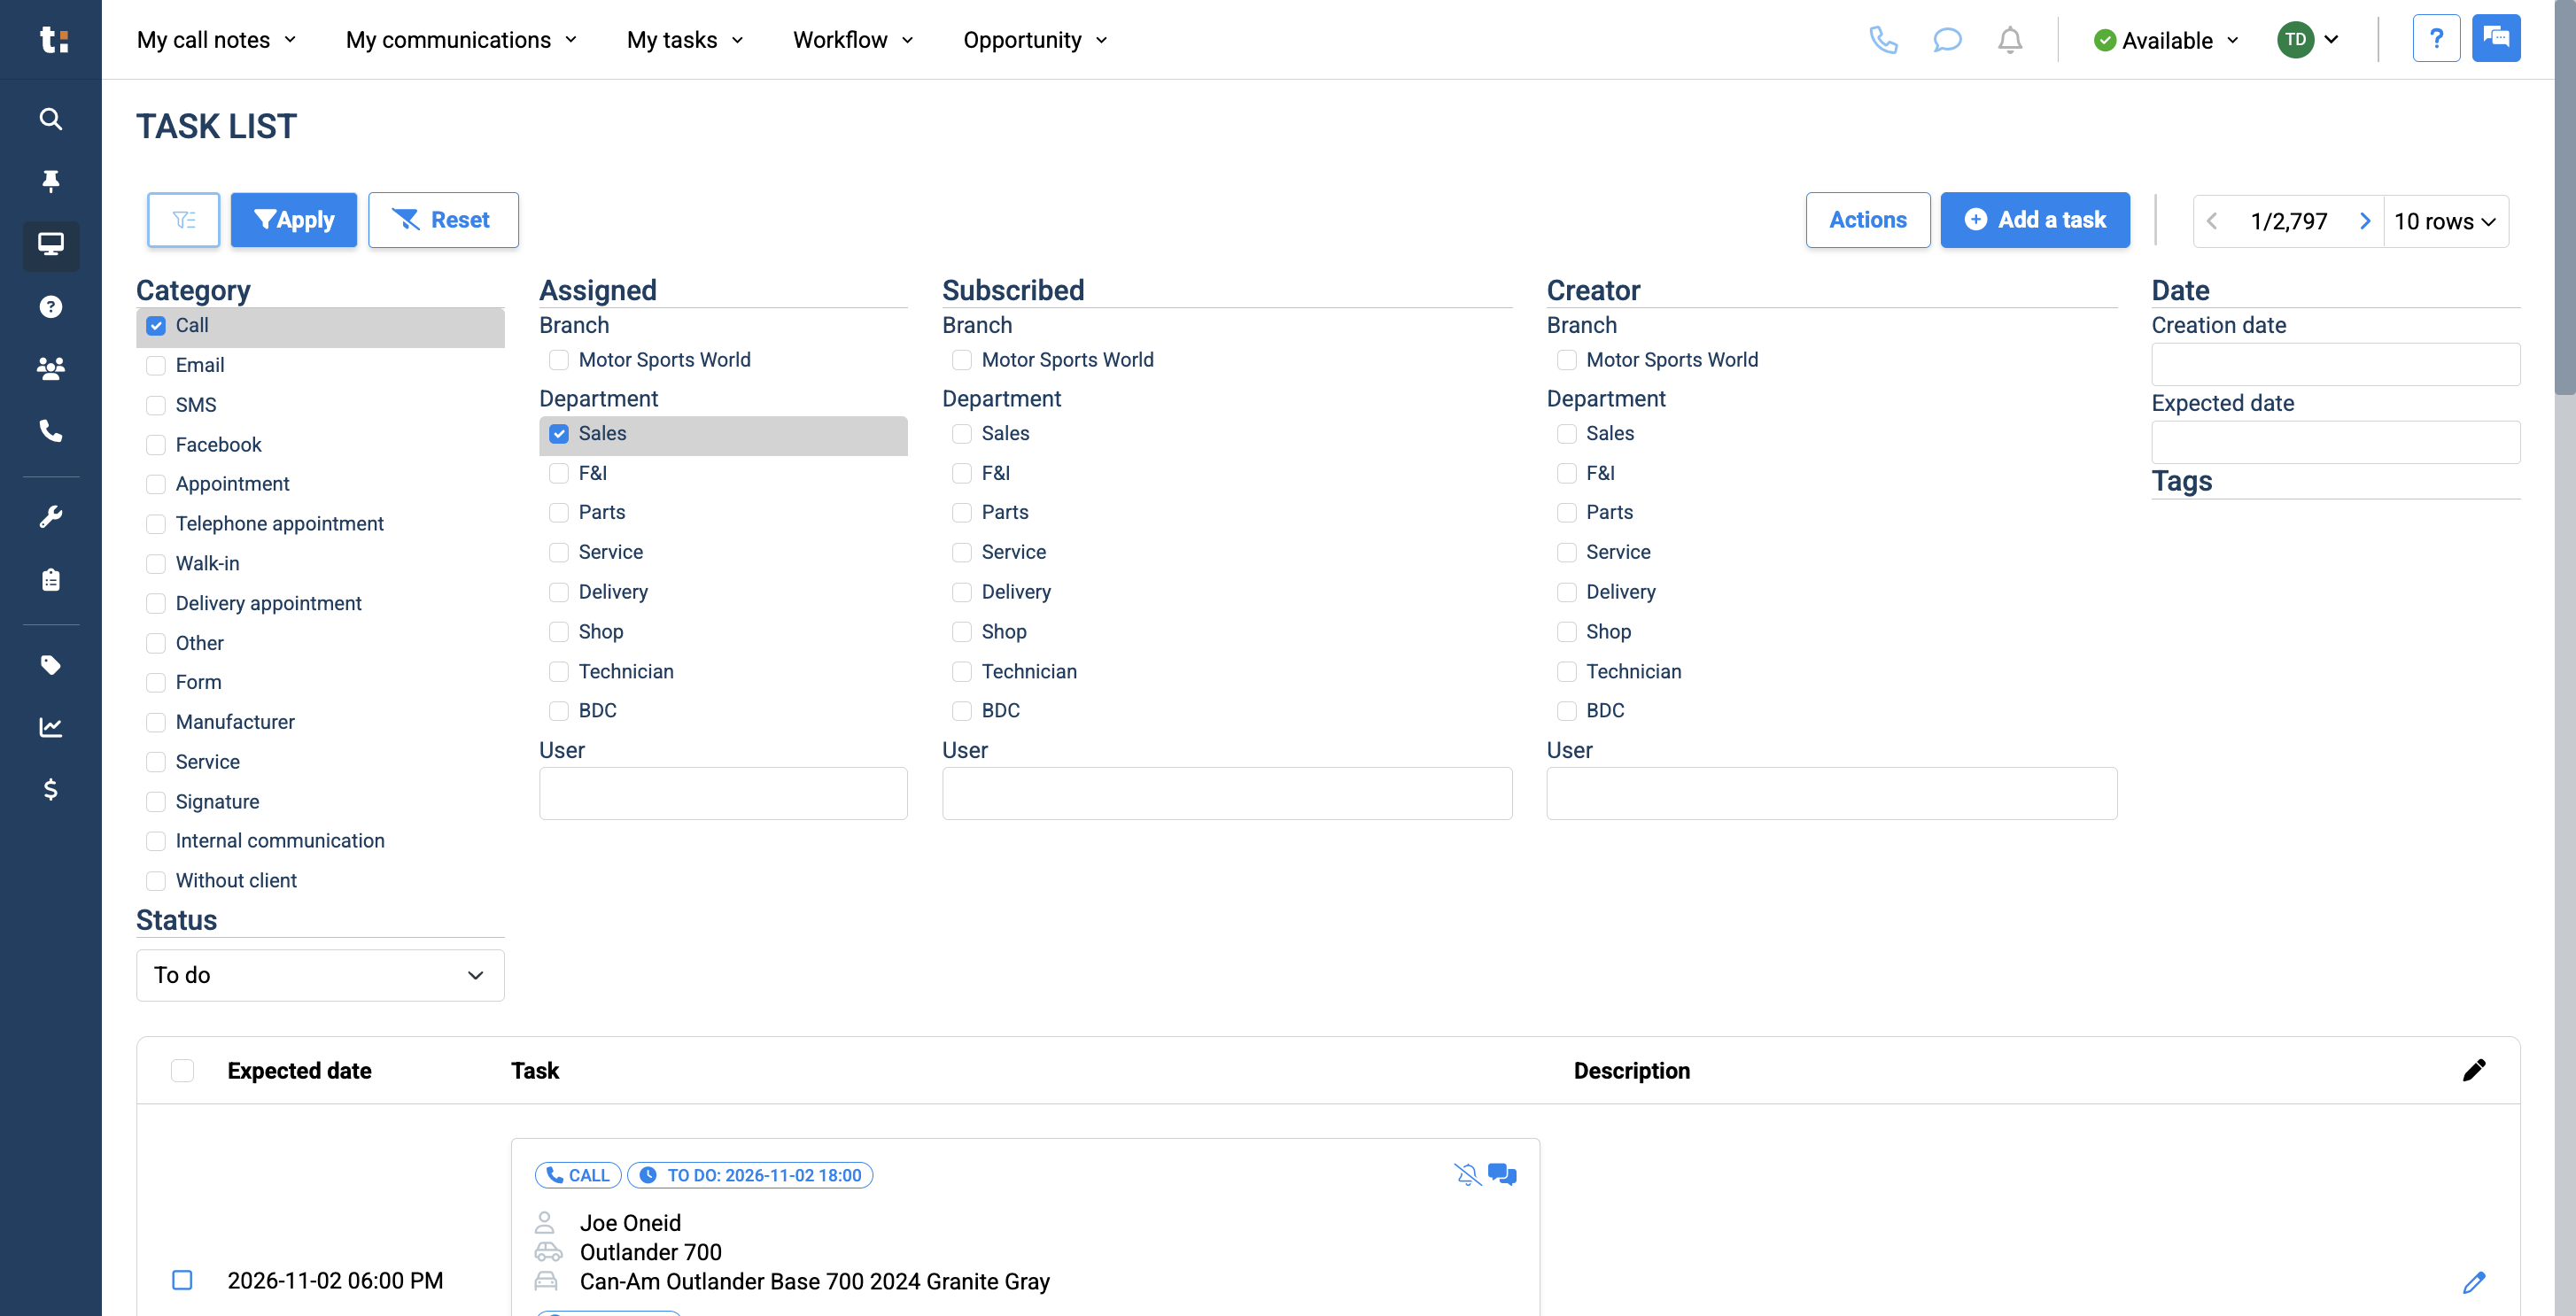
You can also search by a specific user or by department.
7
8
You can filter to see who is subscribed to those tasks. You can also filter by the creator. Other options include creating tags, specifying the creation date of your task, or setting the expected due date.

9
After applying all your filters, click Apply.
10
To remove these filters, simply click the Reset button.
11
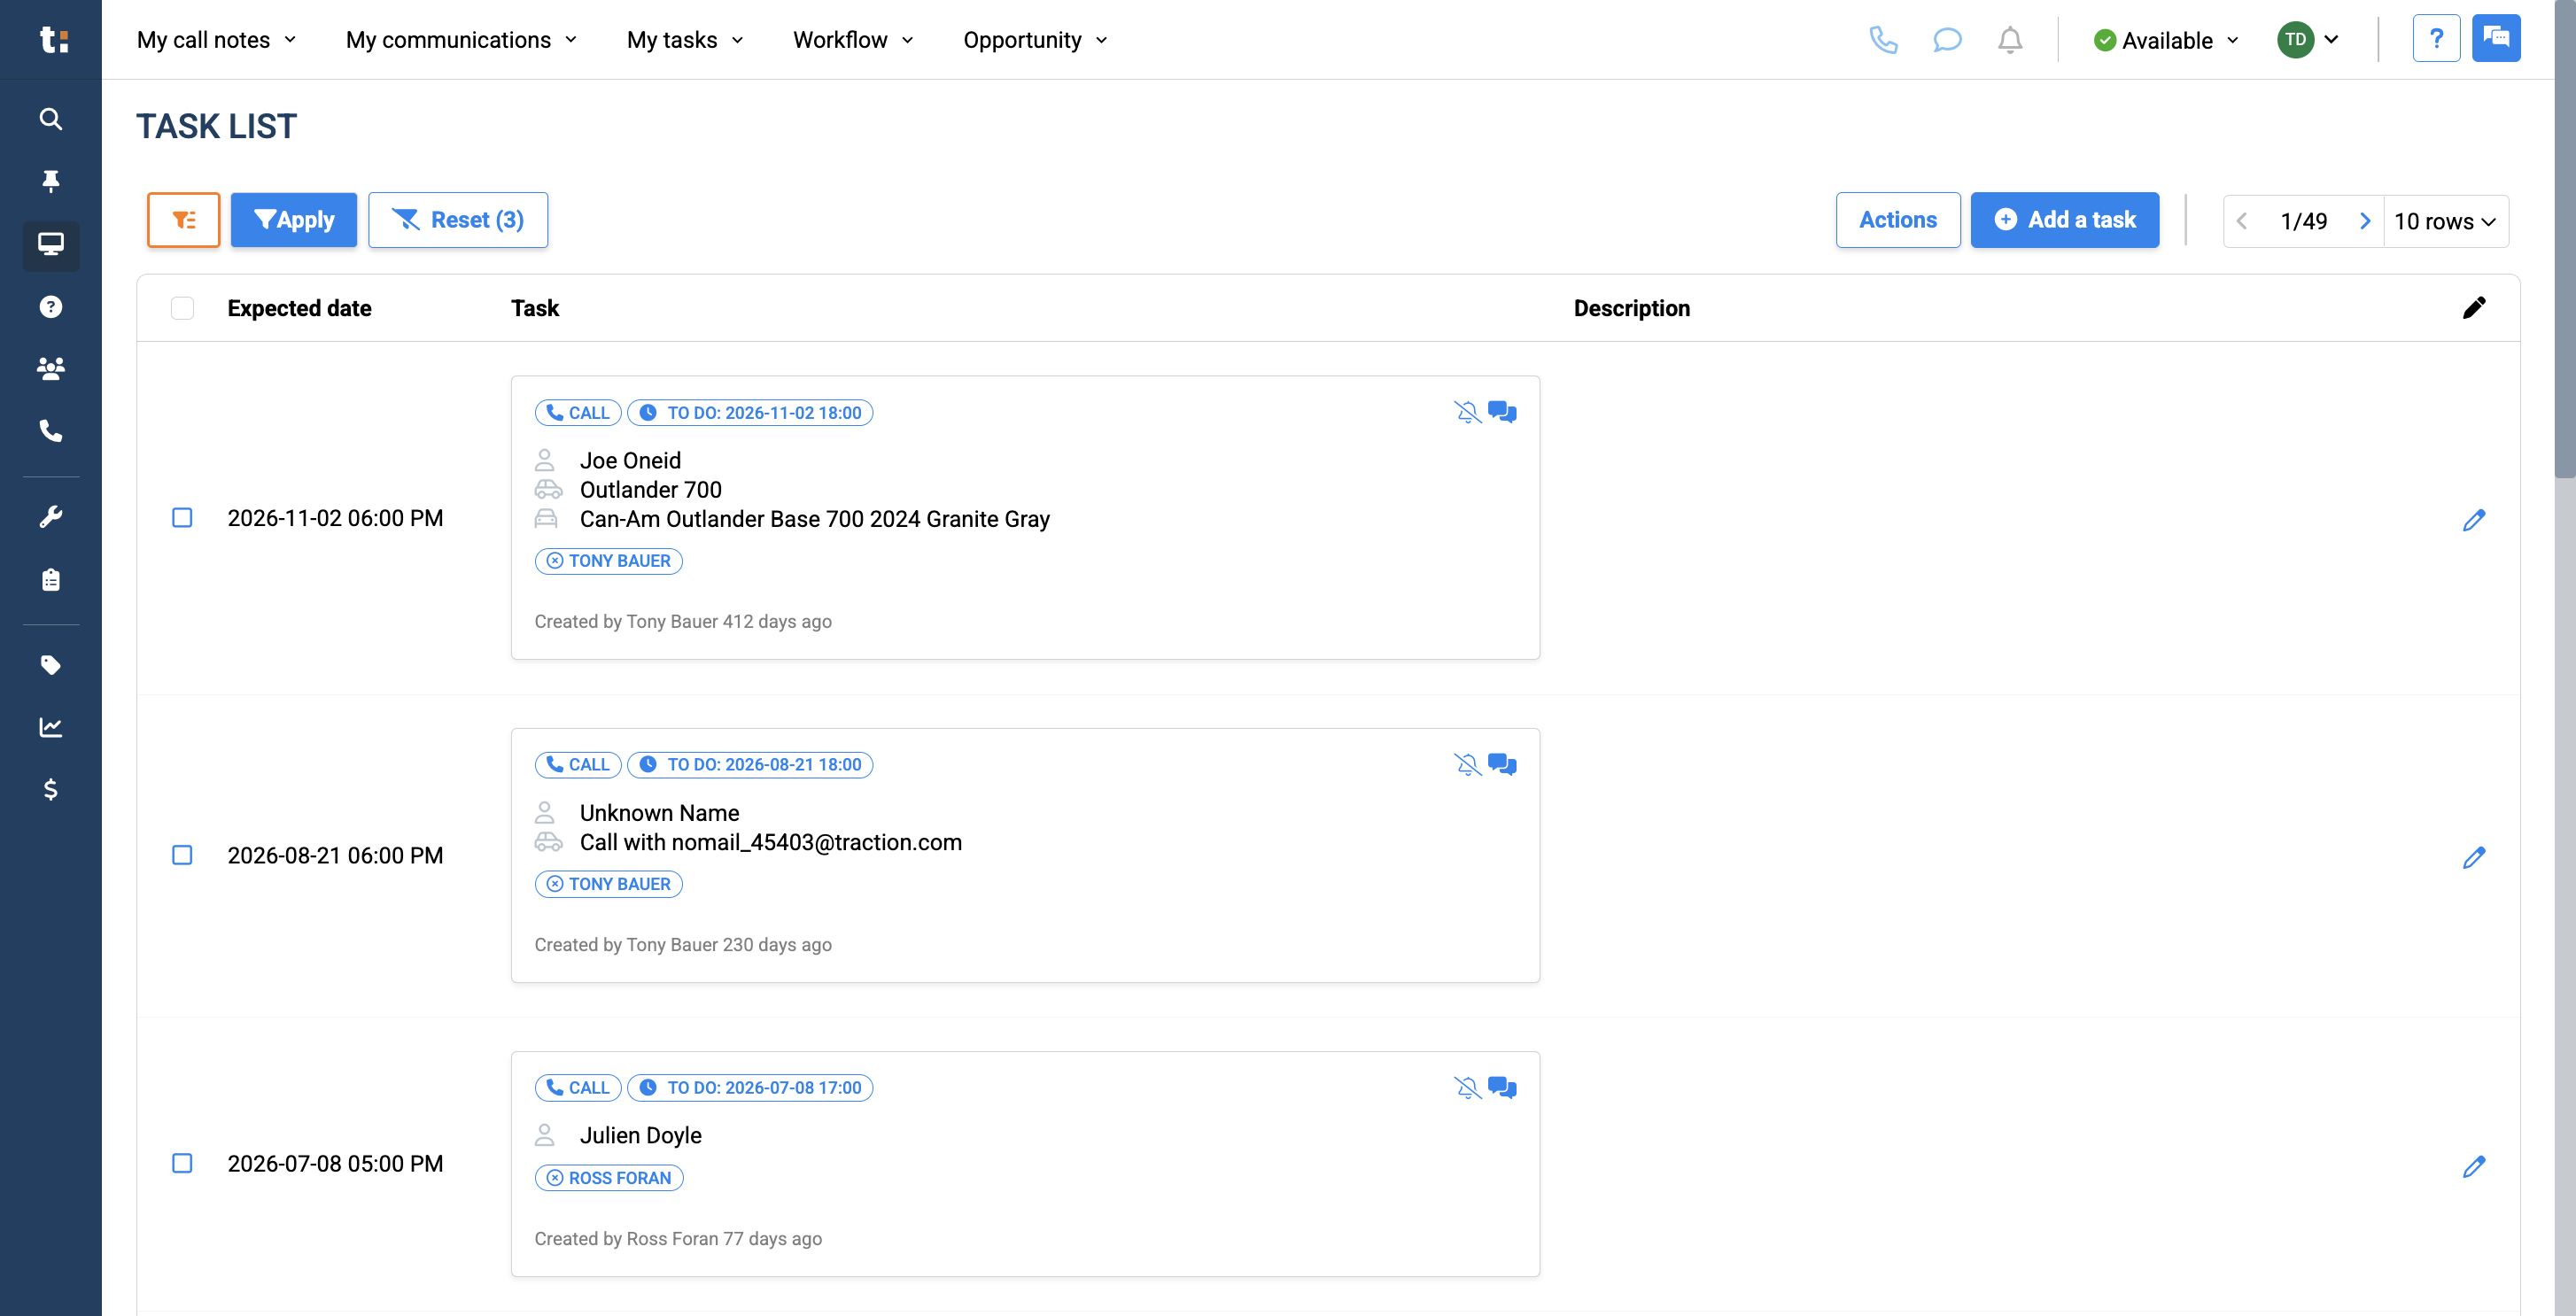
After you apply your filters, you will get an accurate list of your requested items. You can select your entire list and perform other available actions.
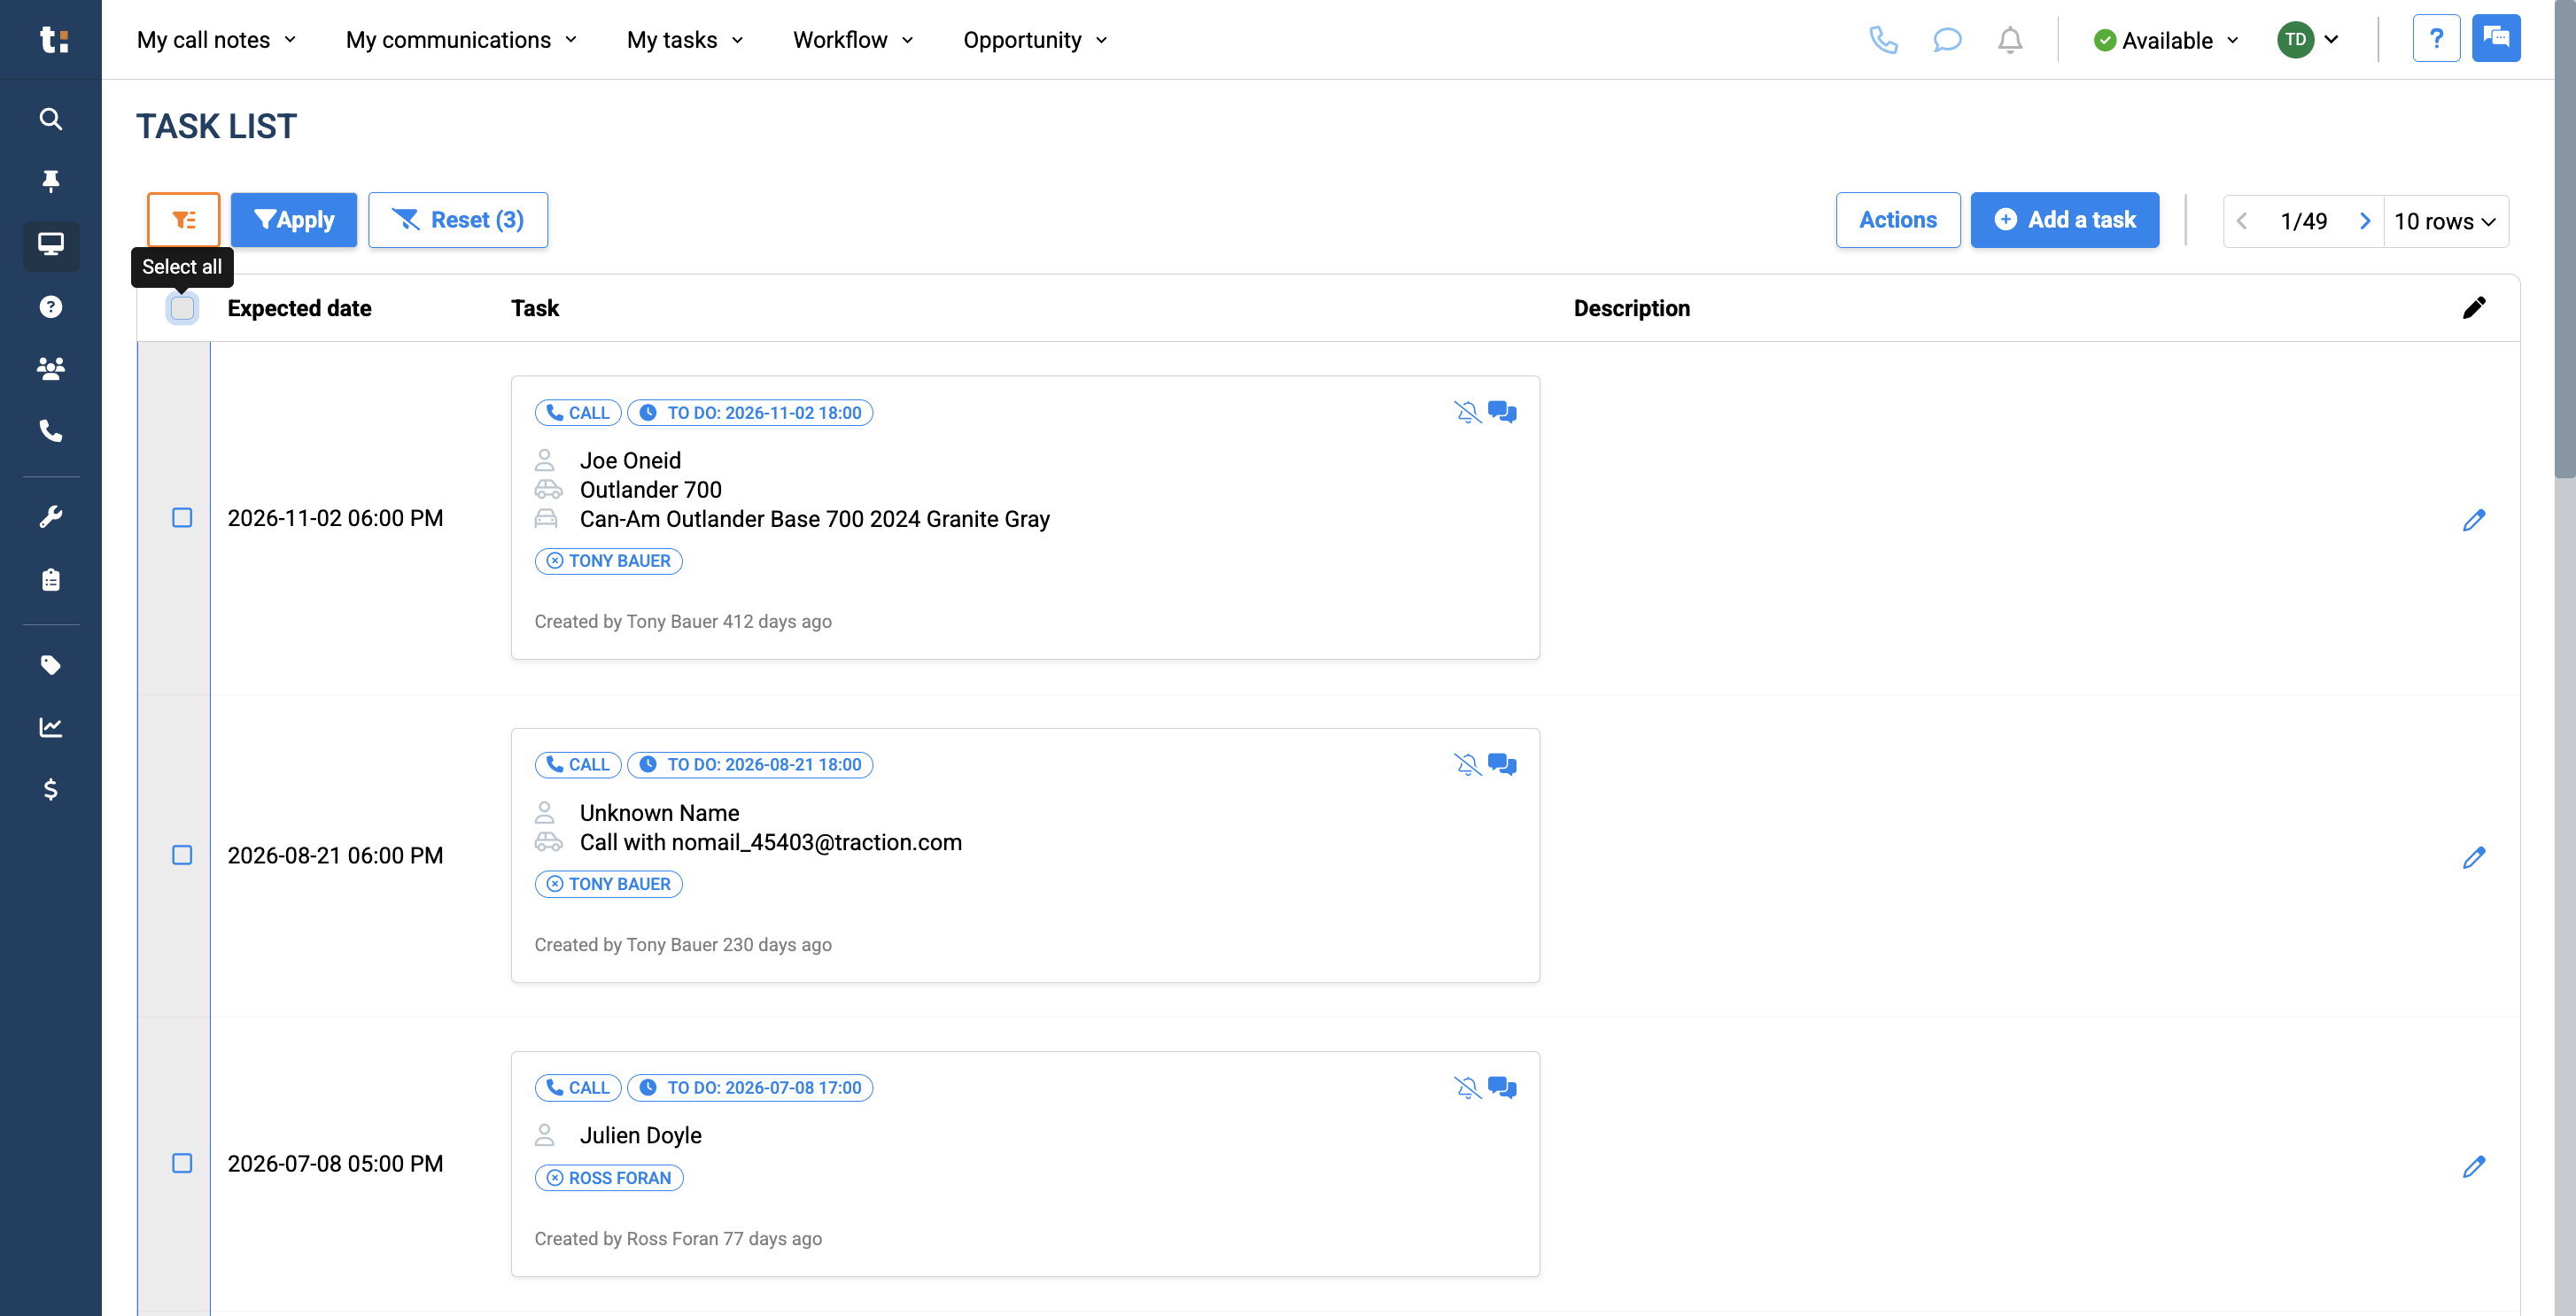
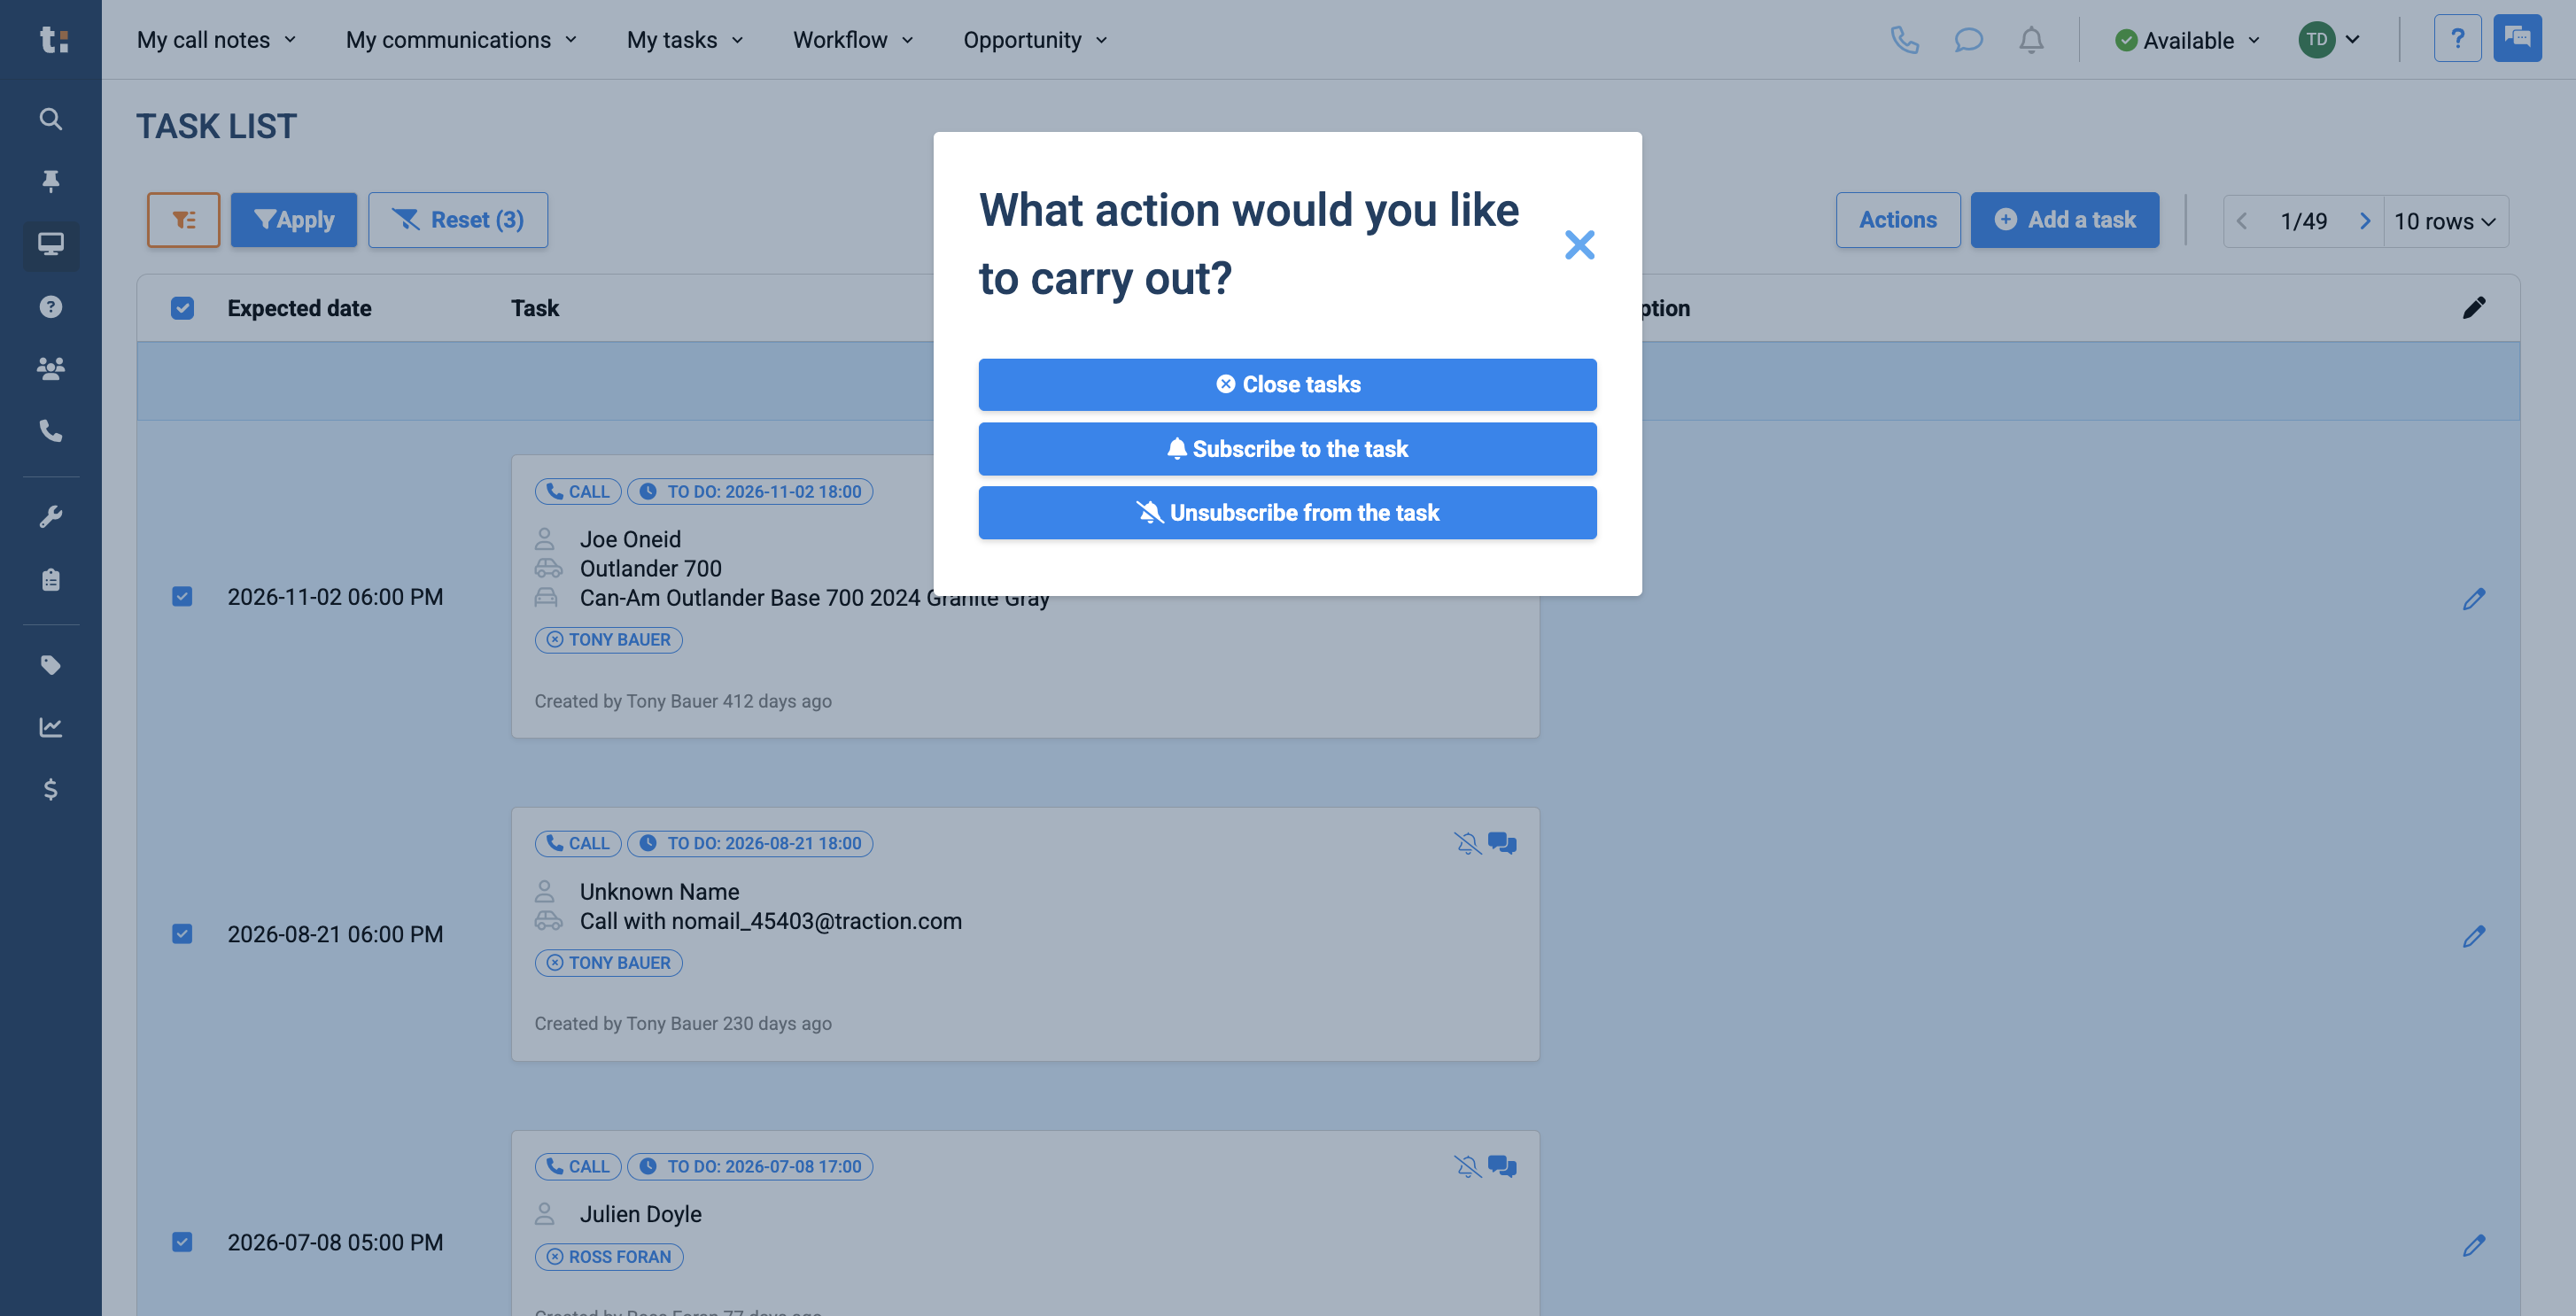
12
You can close all these tasks, subscribe to all tasks, or unsubscribe from all tasks.
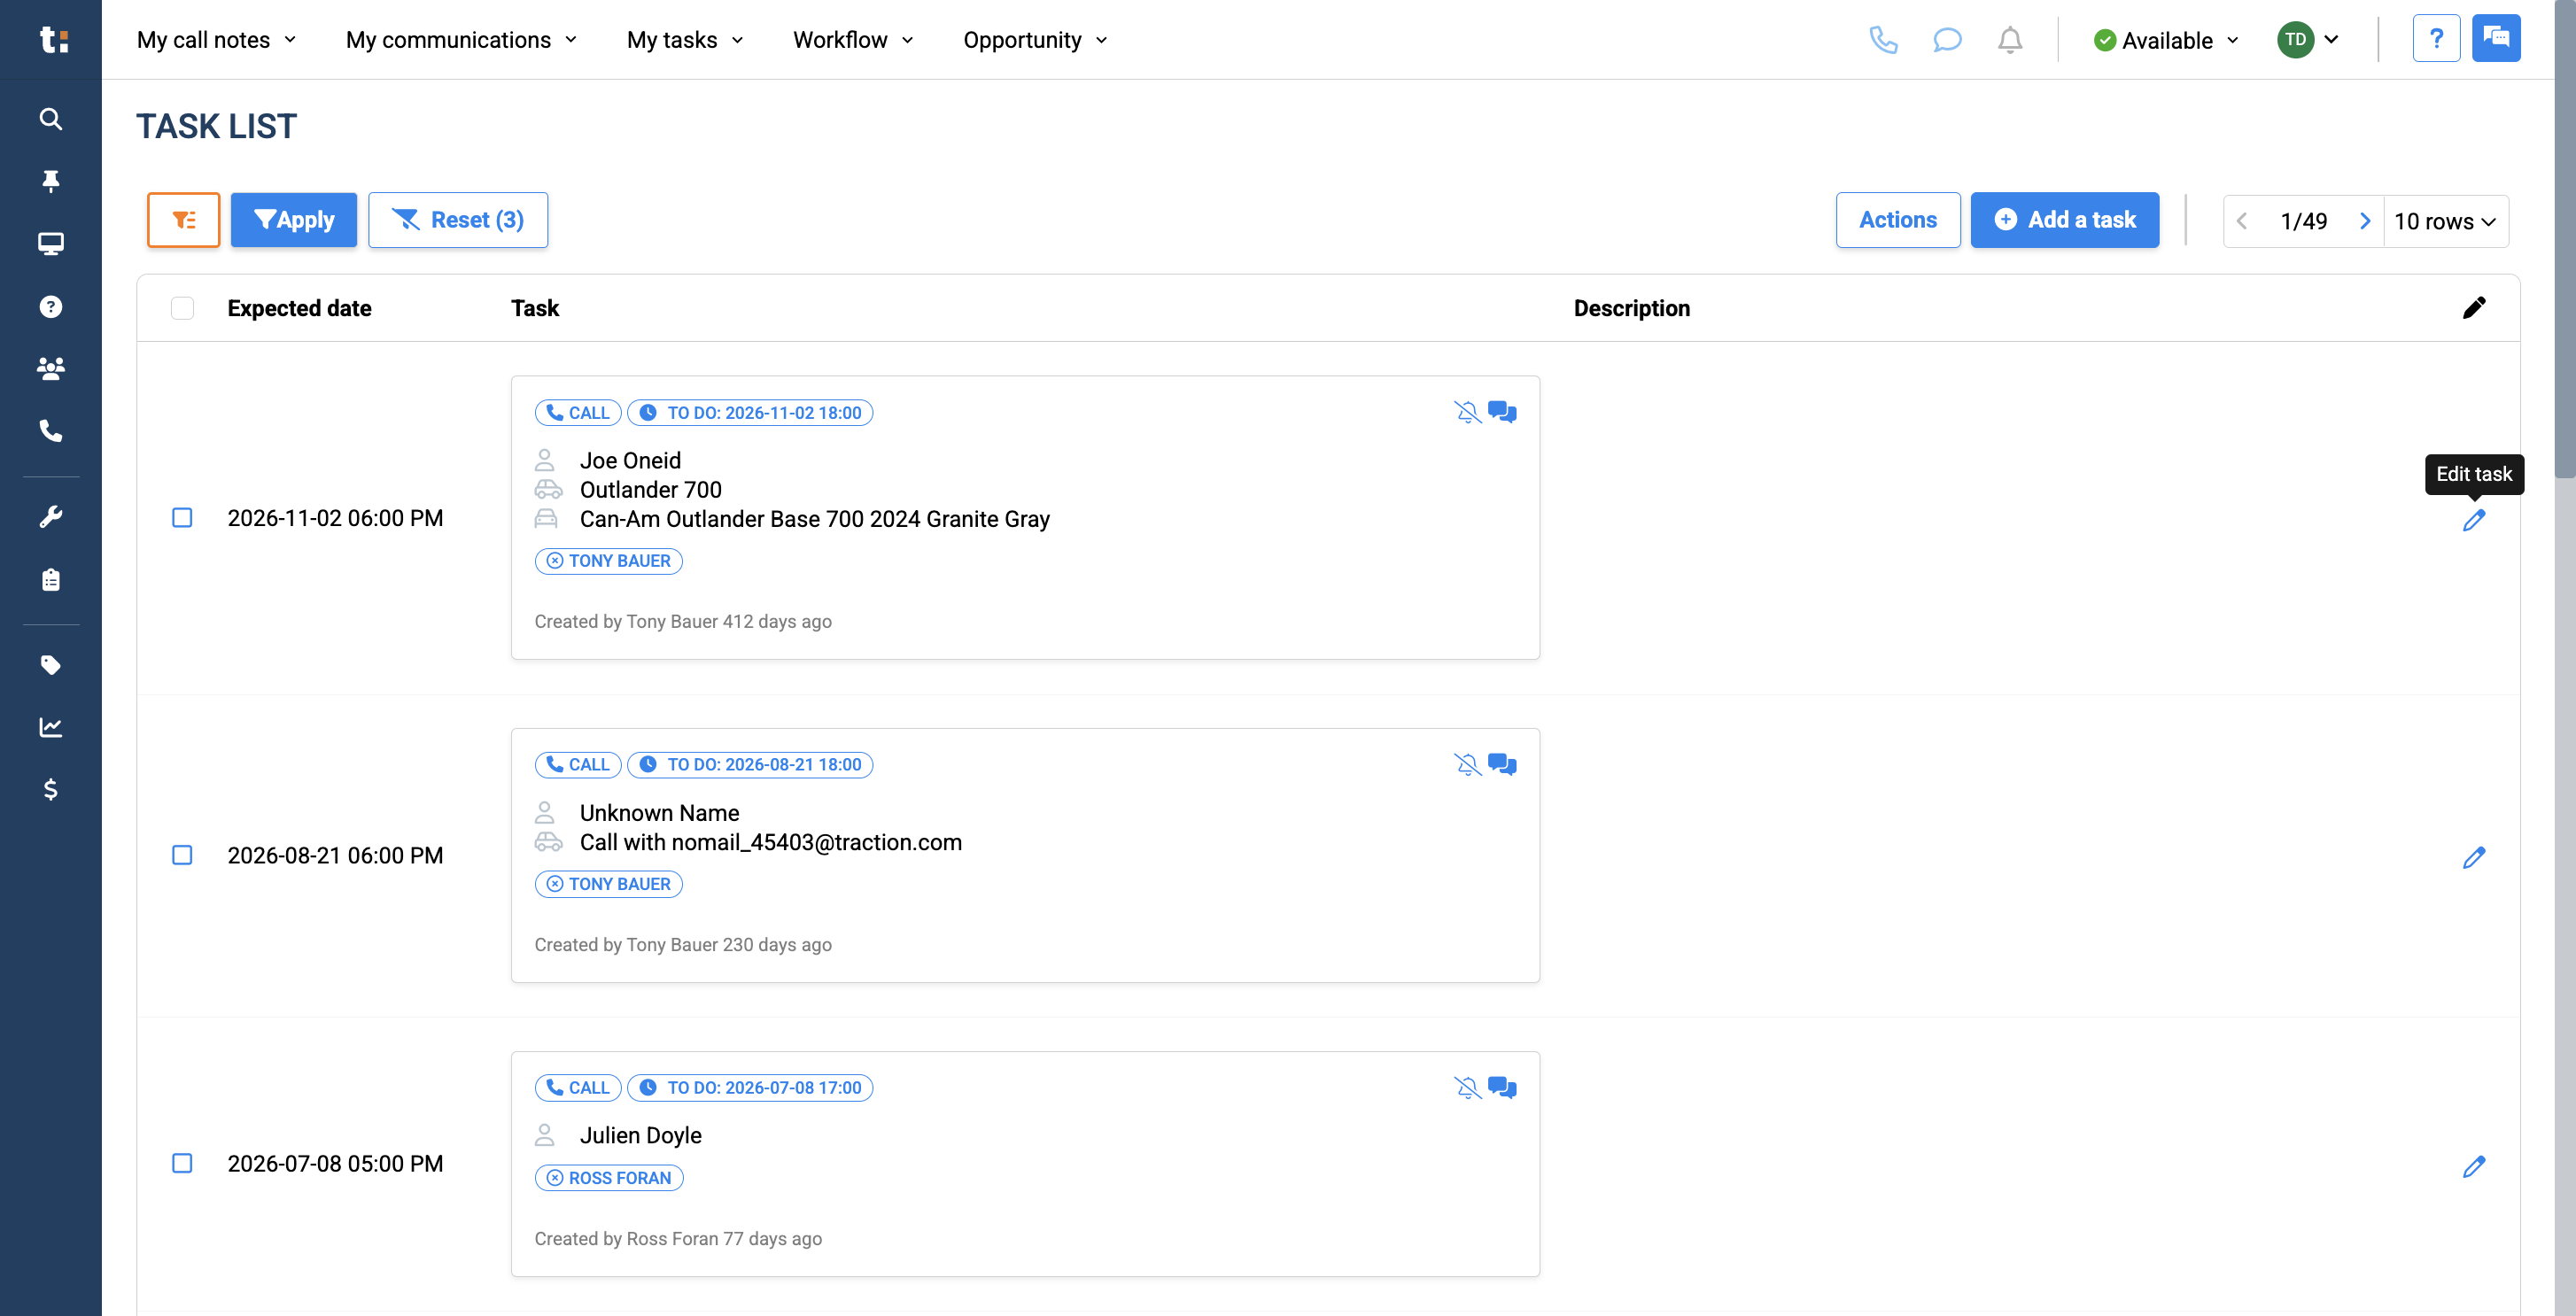
13
You can also edit any of these tasks by clicking the Edit Task pencil.
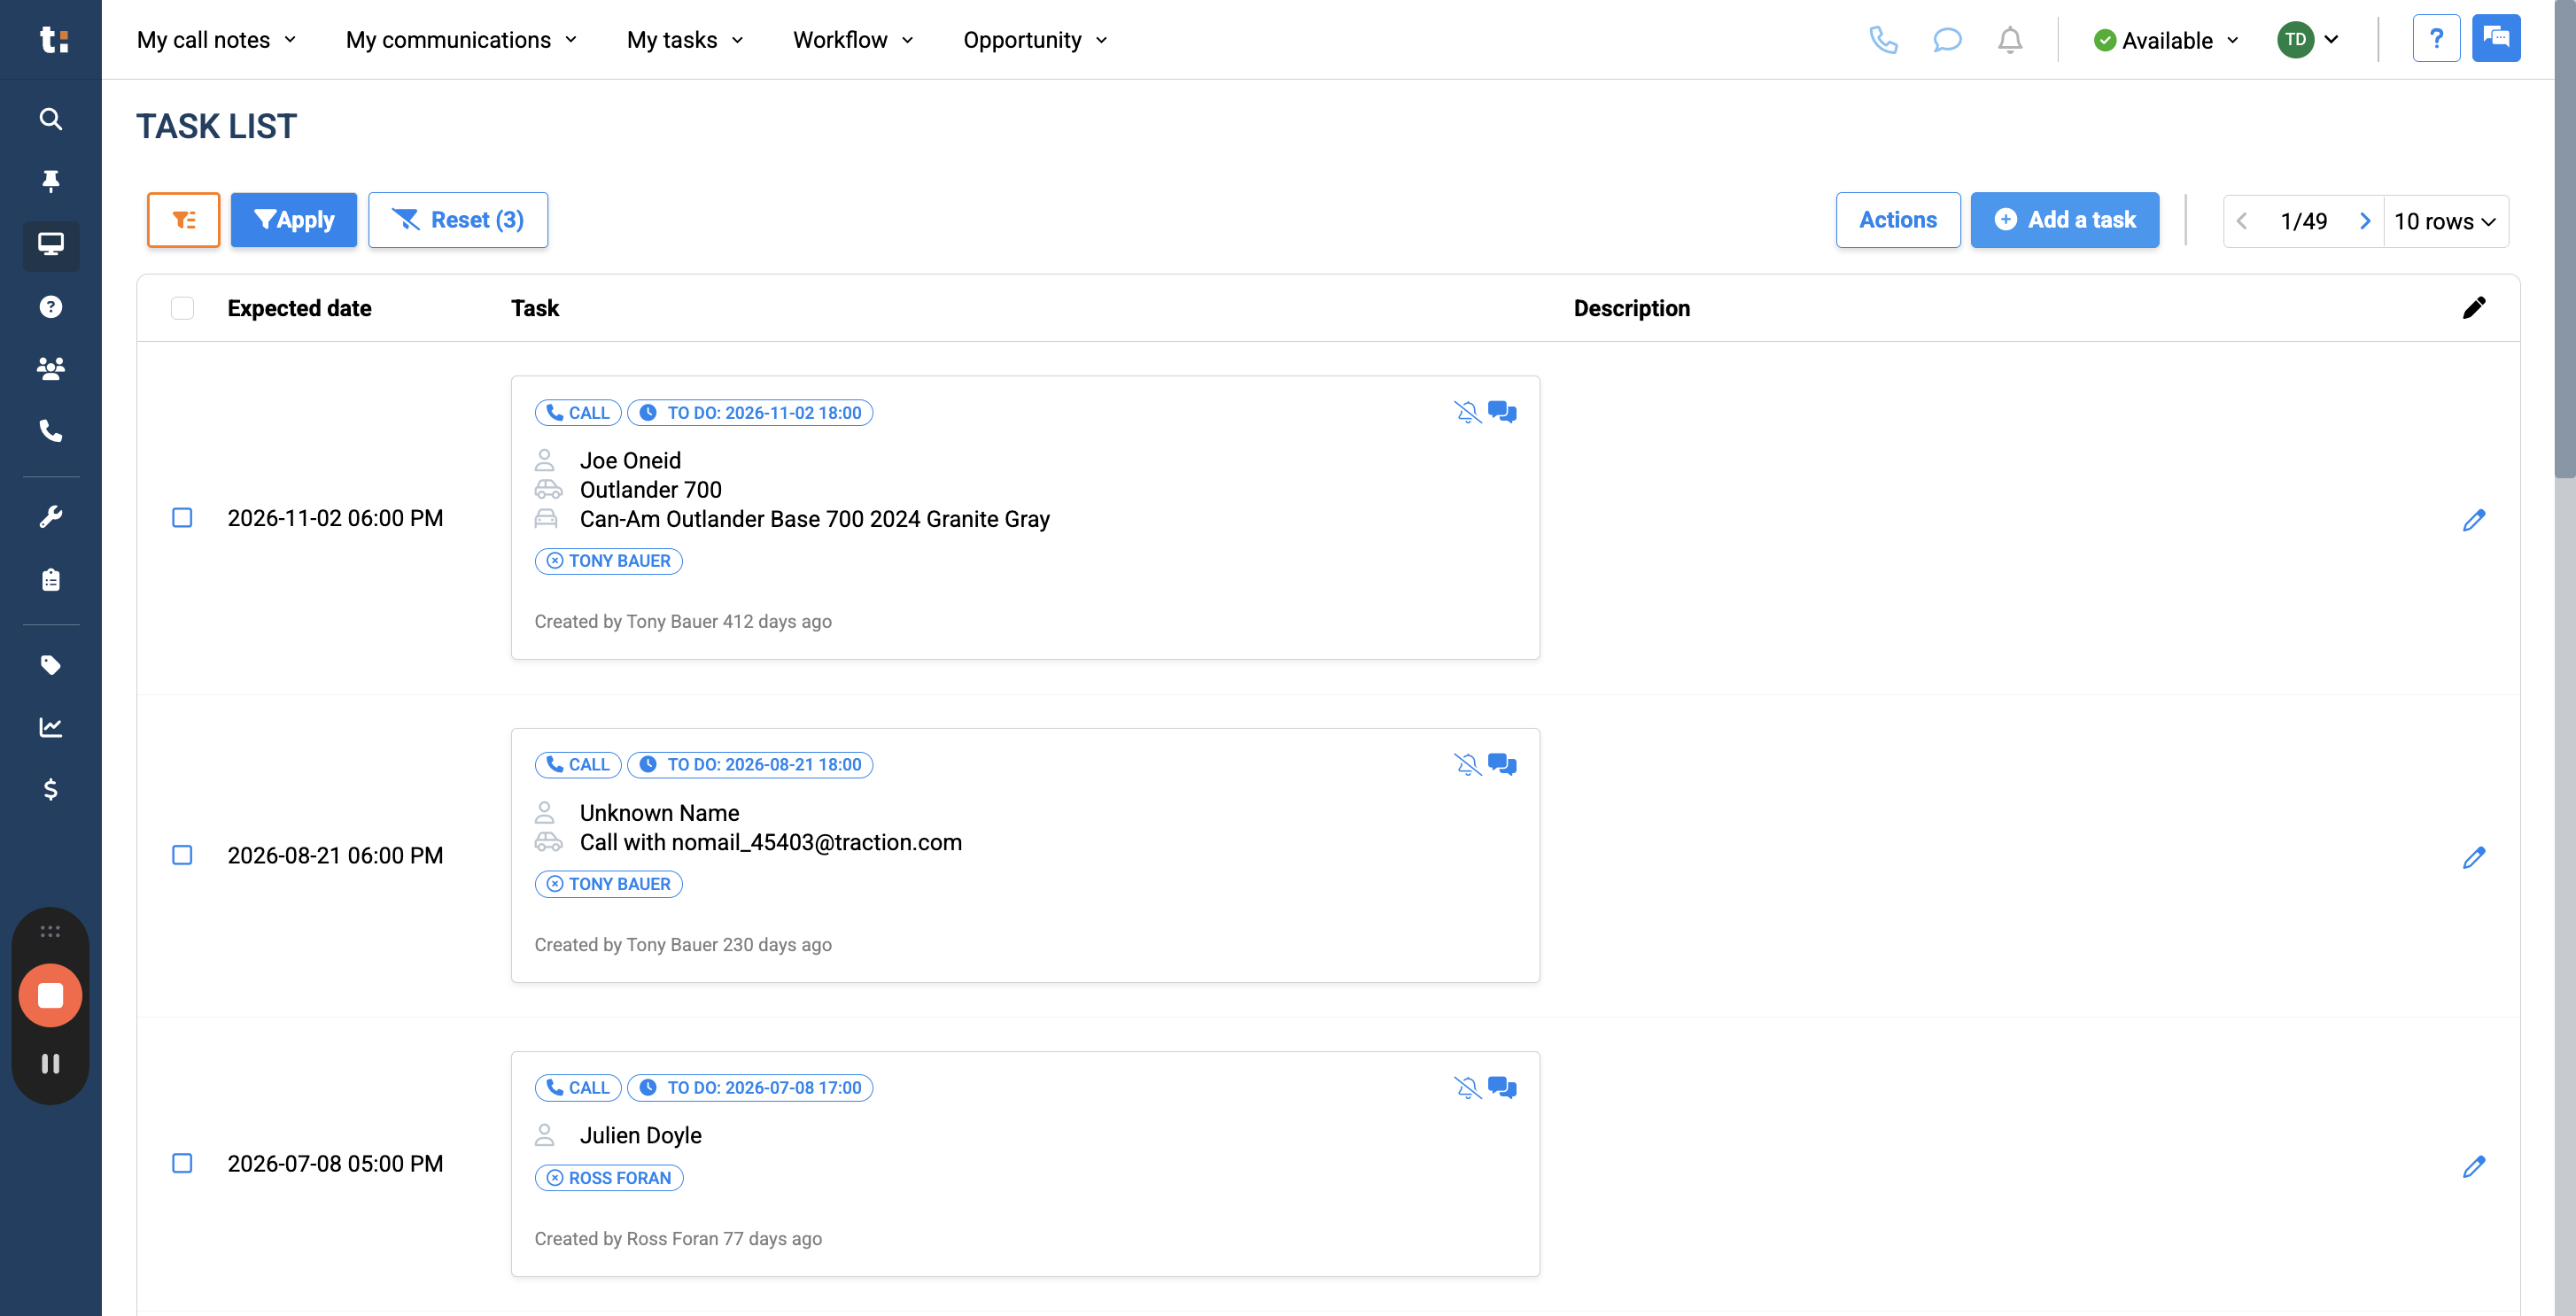
14
Finally, to add a task, click the Add A Task button.
If you still have questions after consulting this article, please feel free to contact our support team at: support@tractiondk.zohodesk.com