How to Use the Team Collaboration Feature in My-Elementor
Learn how to effectively use the Team Collaboration feature in My-Elementor. This guide covers inviting members, managing roles, and synchronizing users.
In this guide, we'll learn how to use the Team Collaboration feature in Elementor. We'll cover how to invite users to your site, manage their roles, and ensure proper synchronization. This will help you efficiently collaborate with your team on your WordPress site.
Let's get started
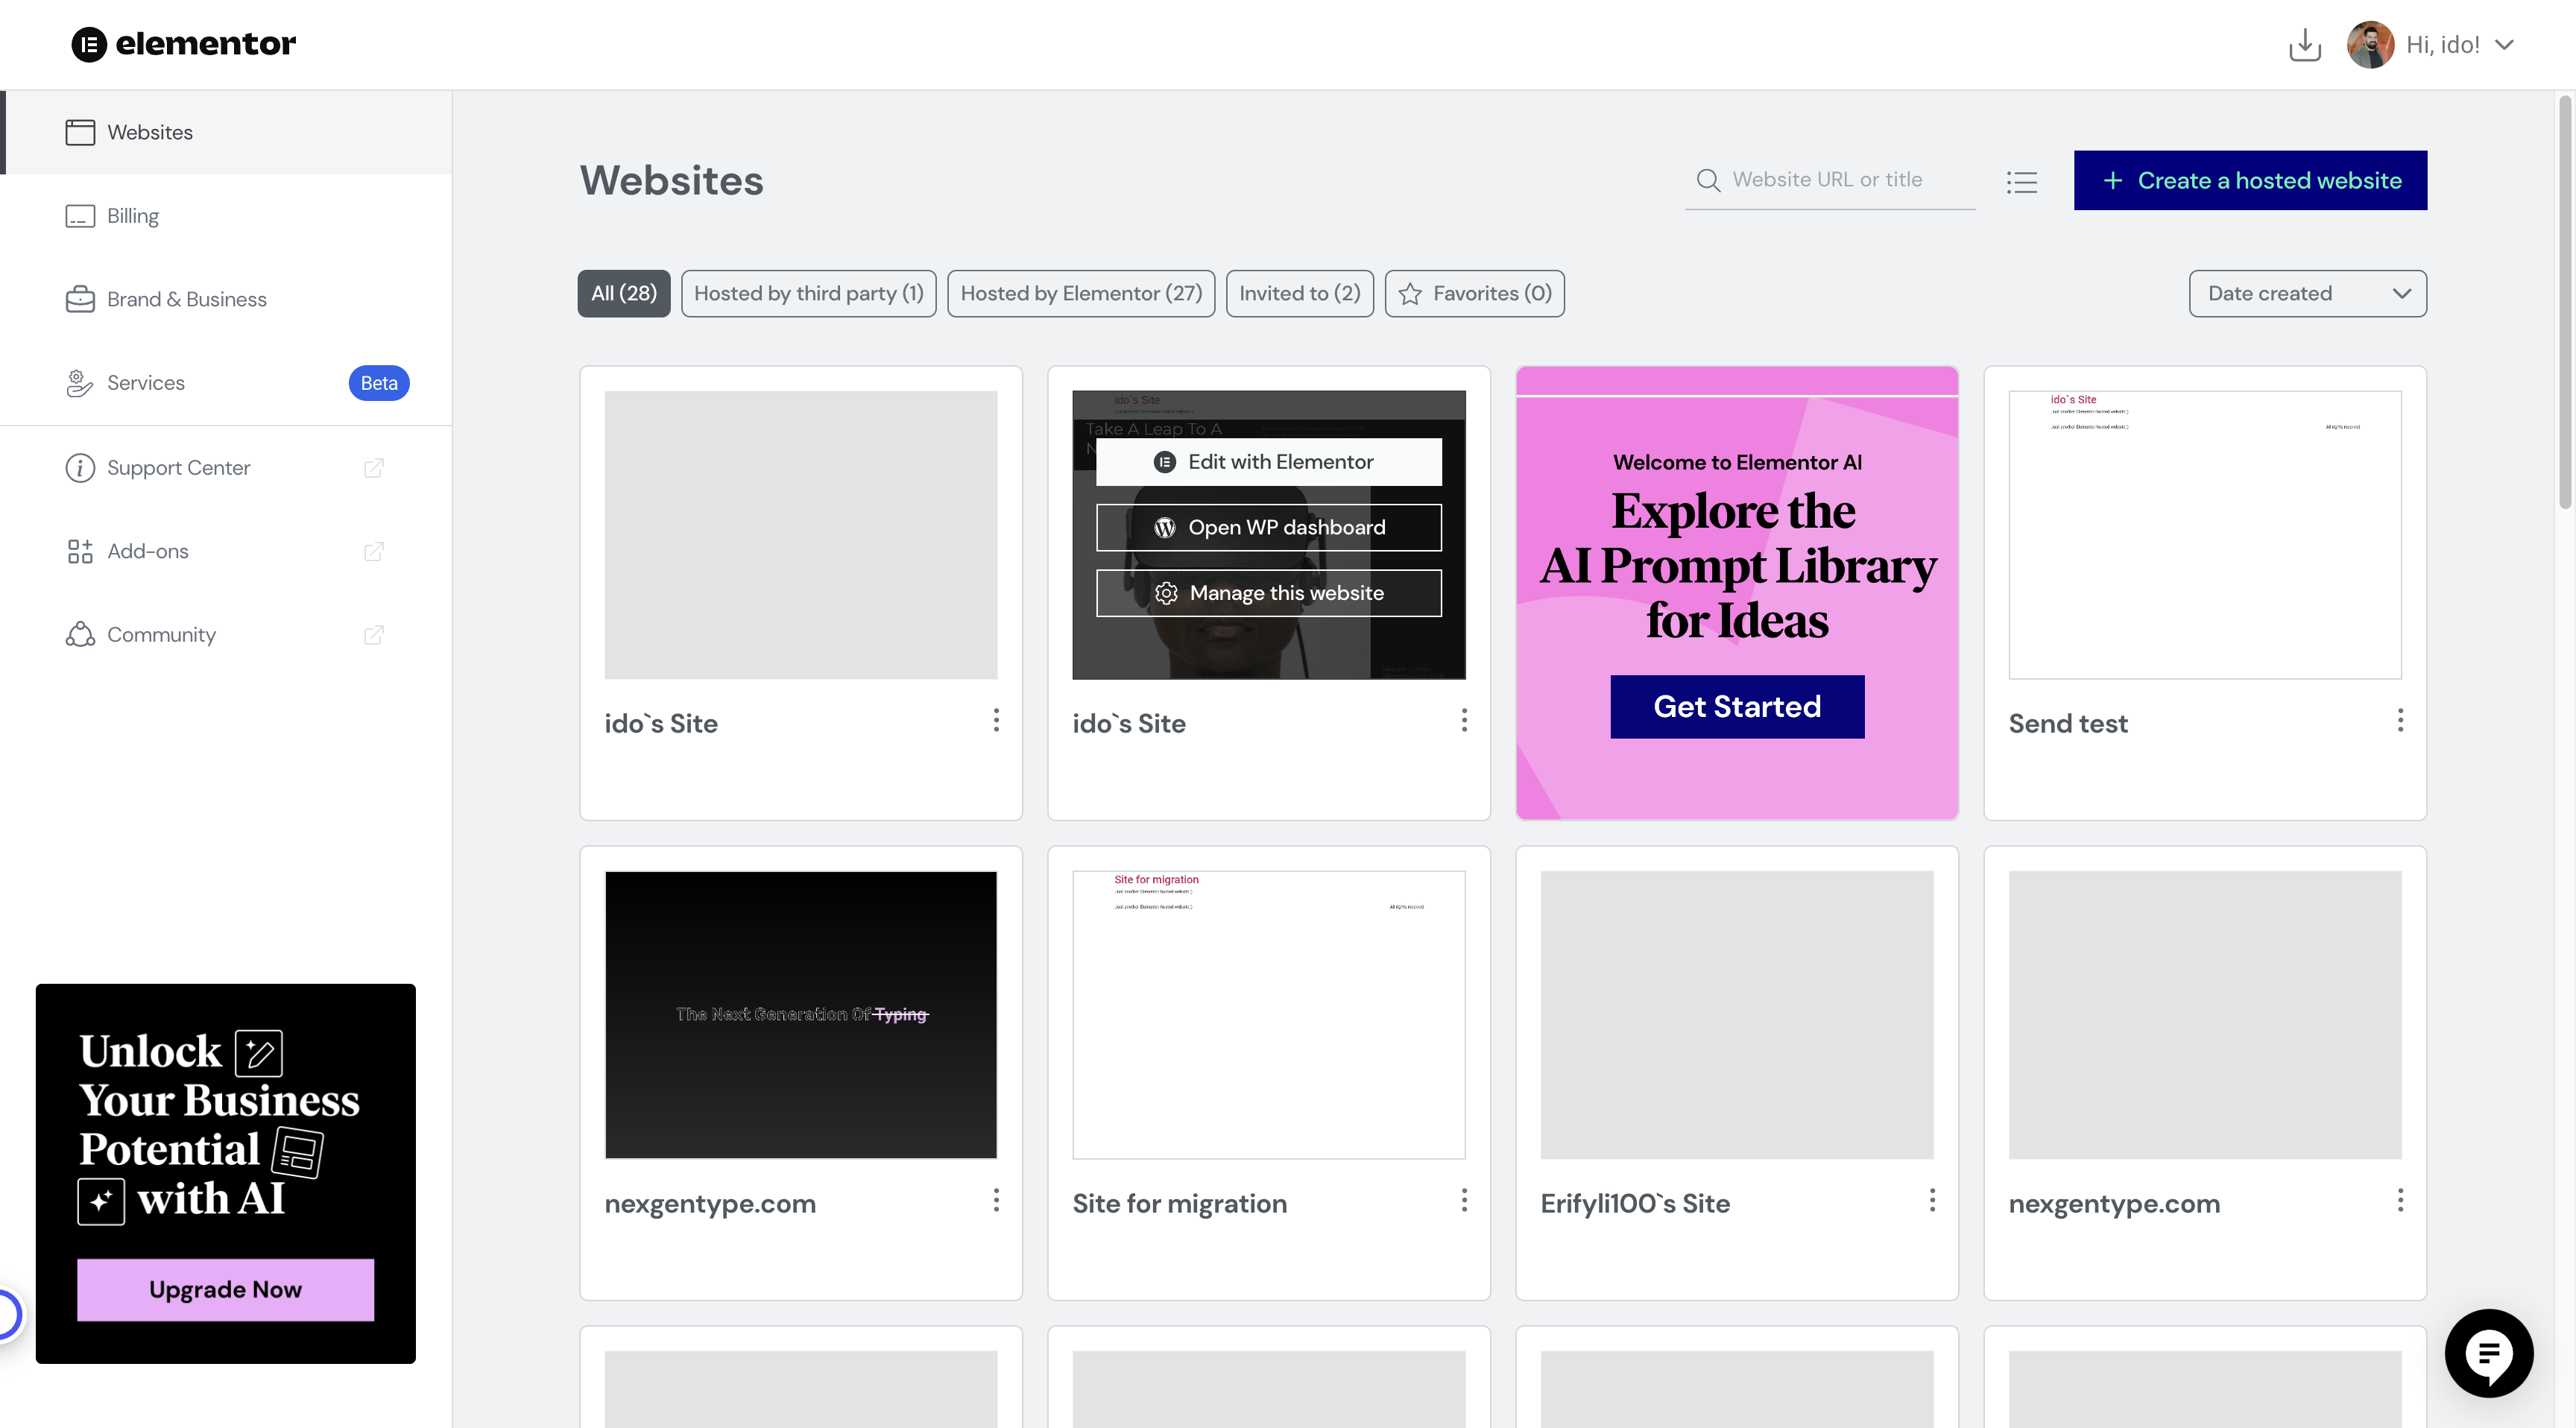
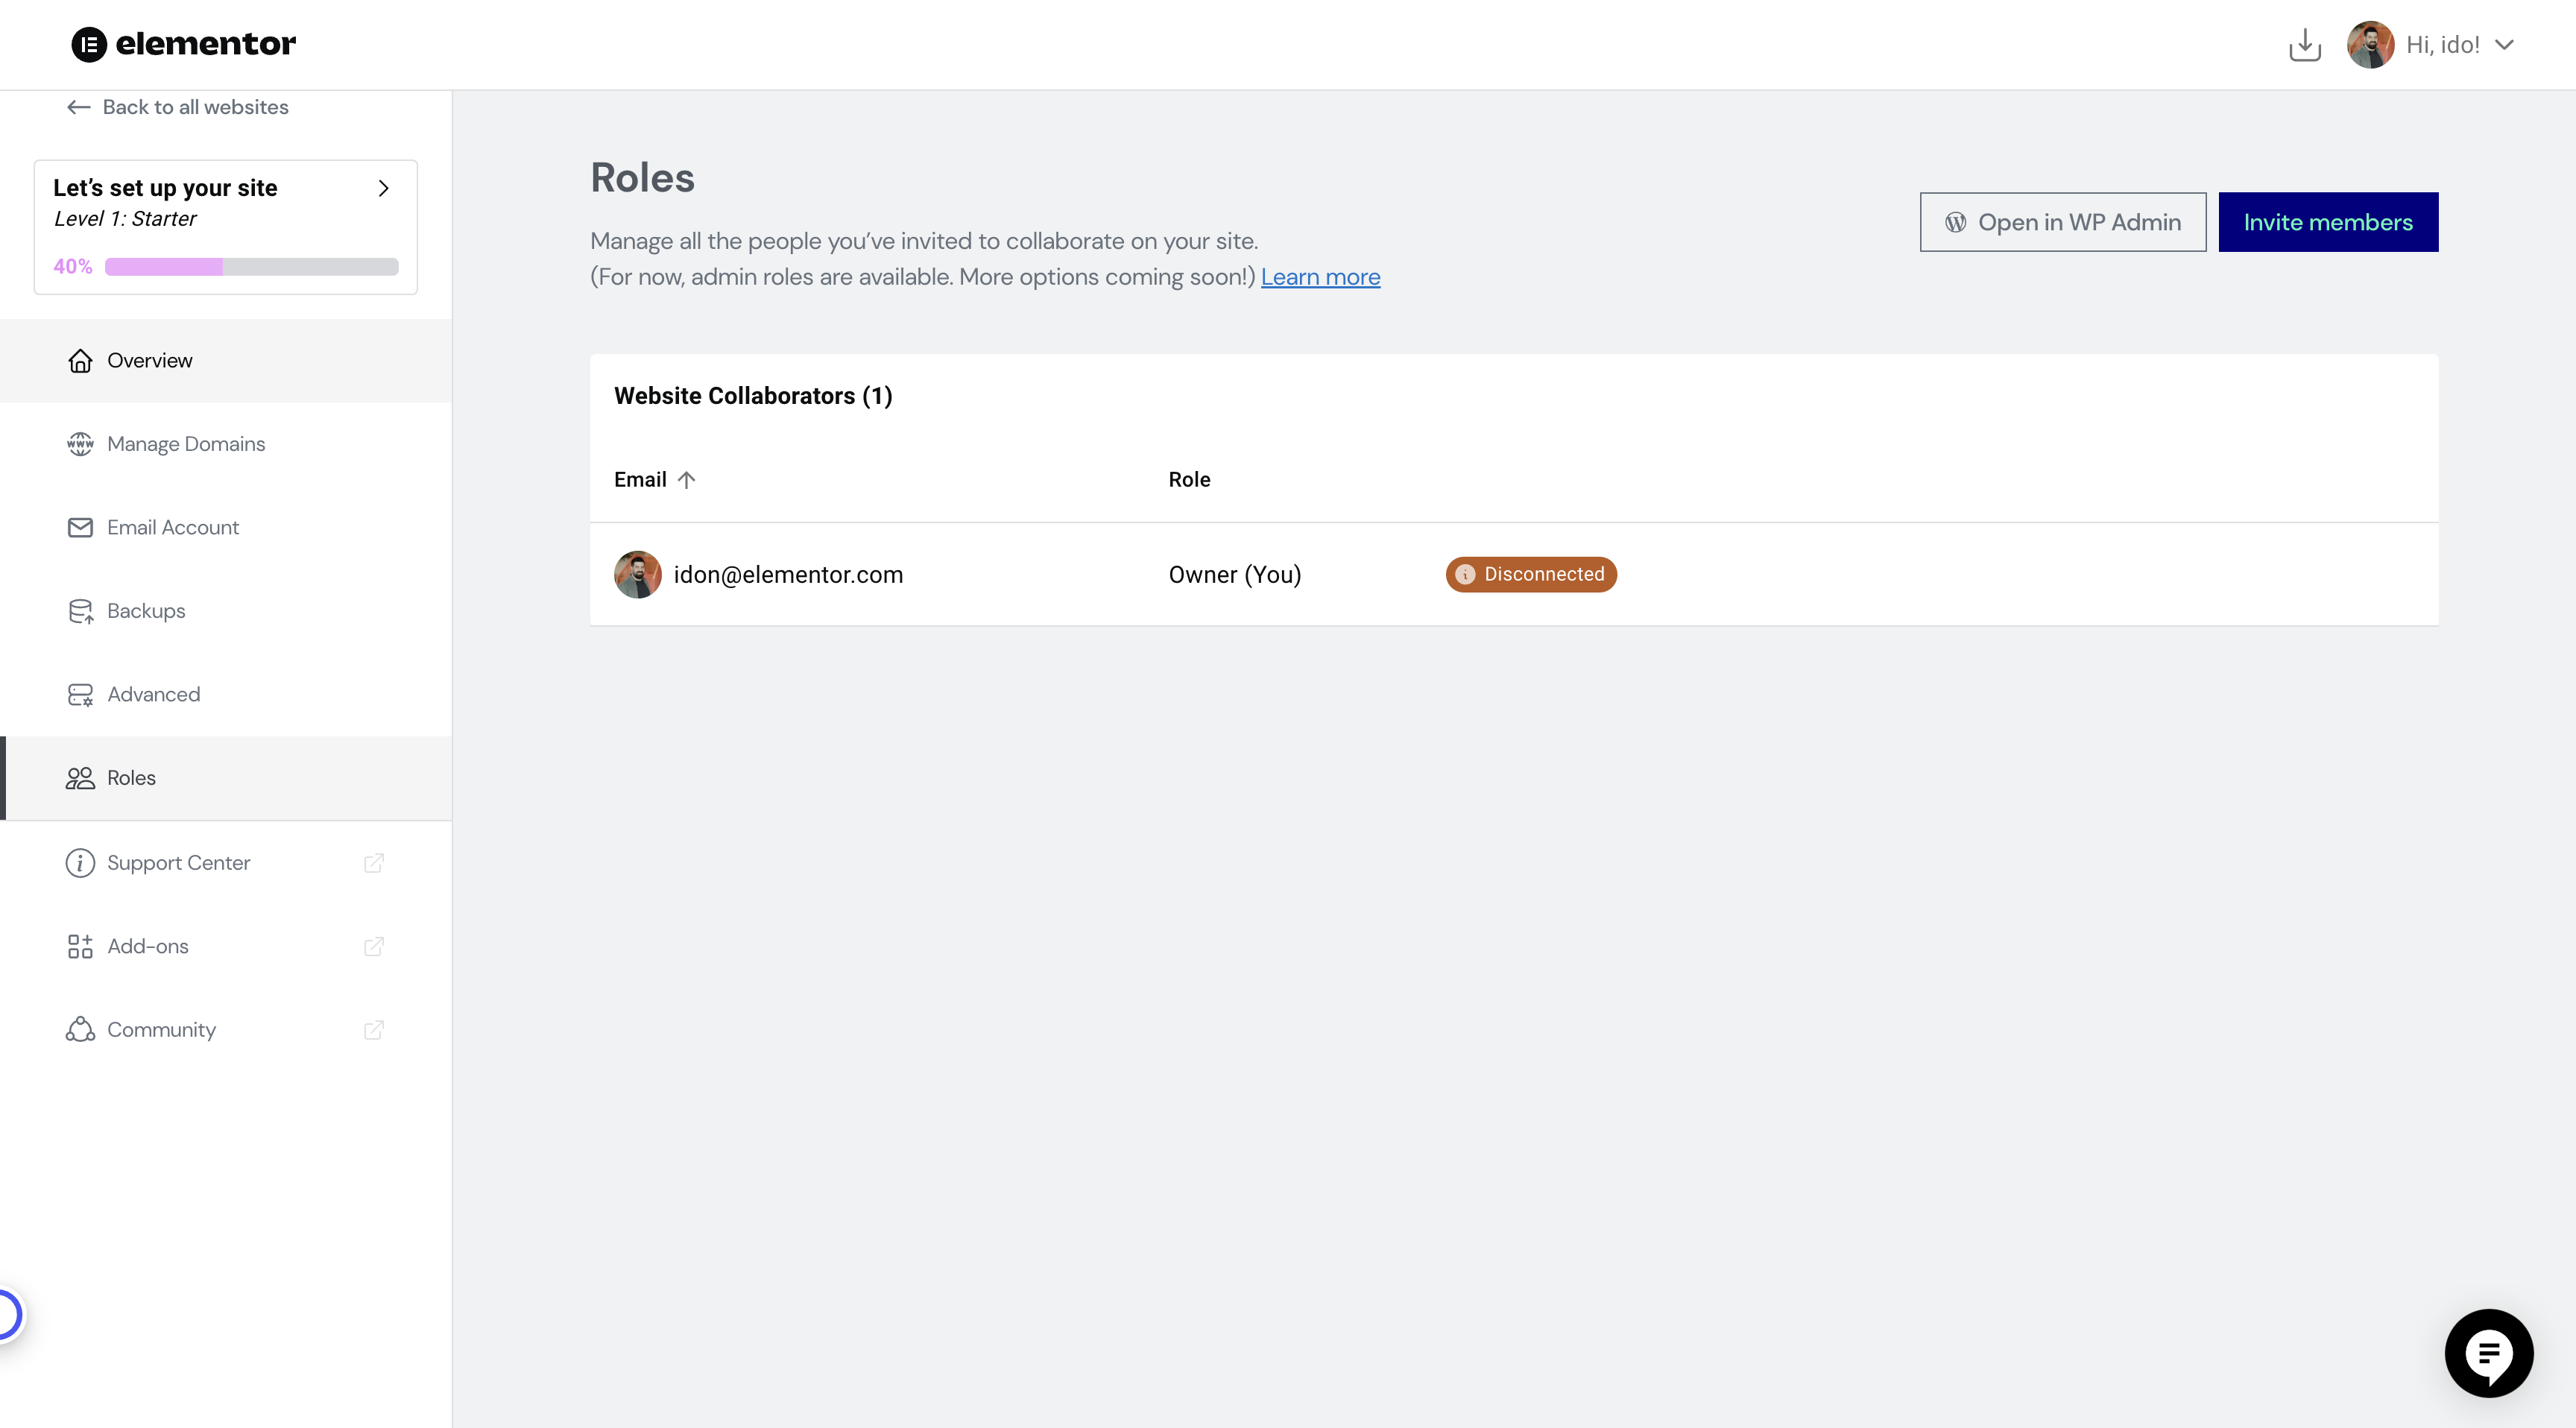
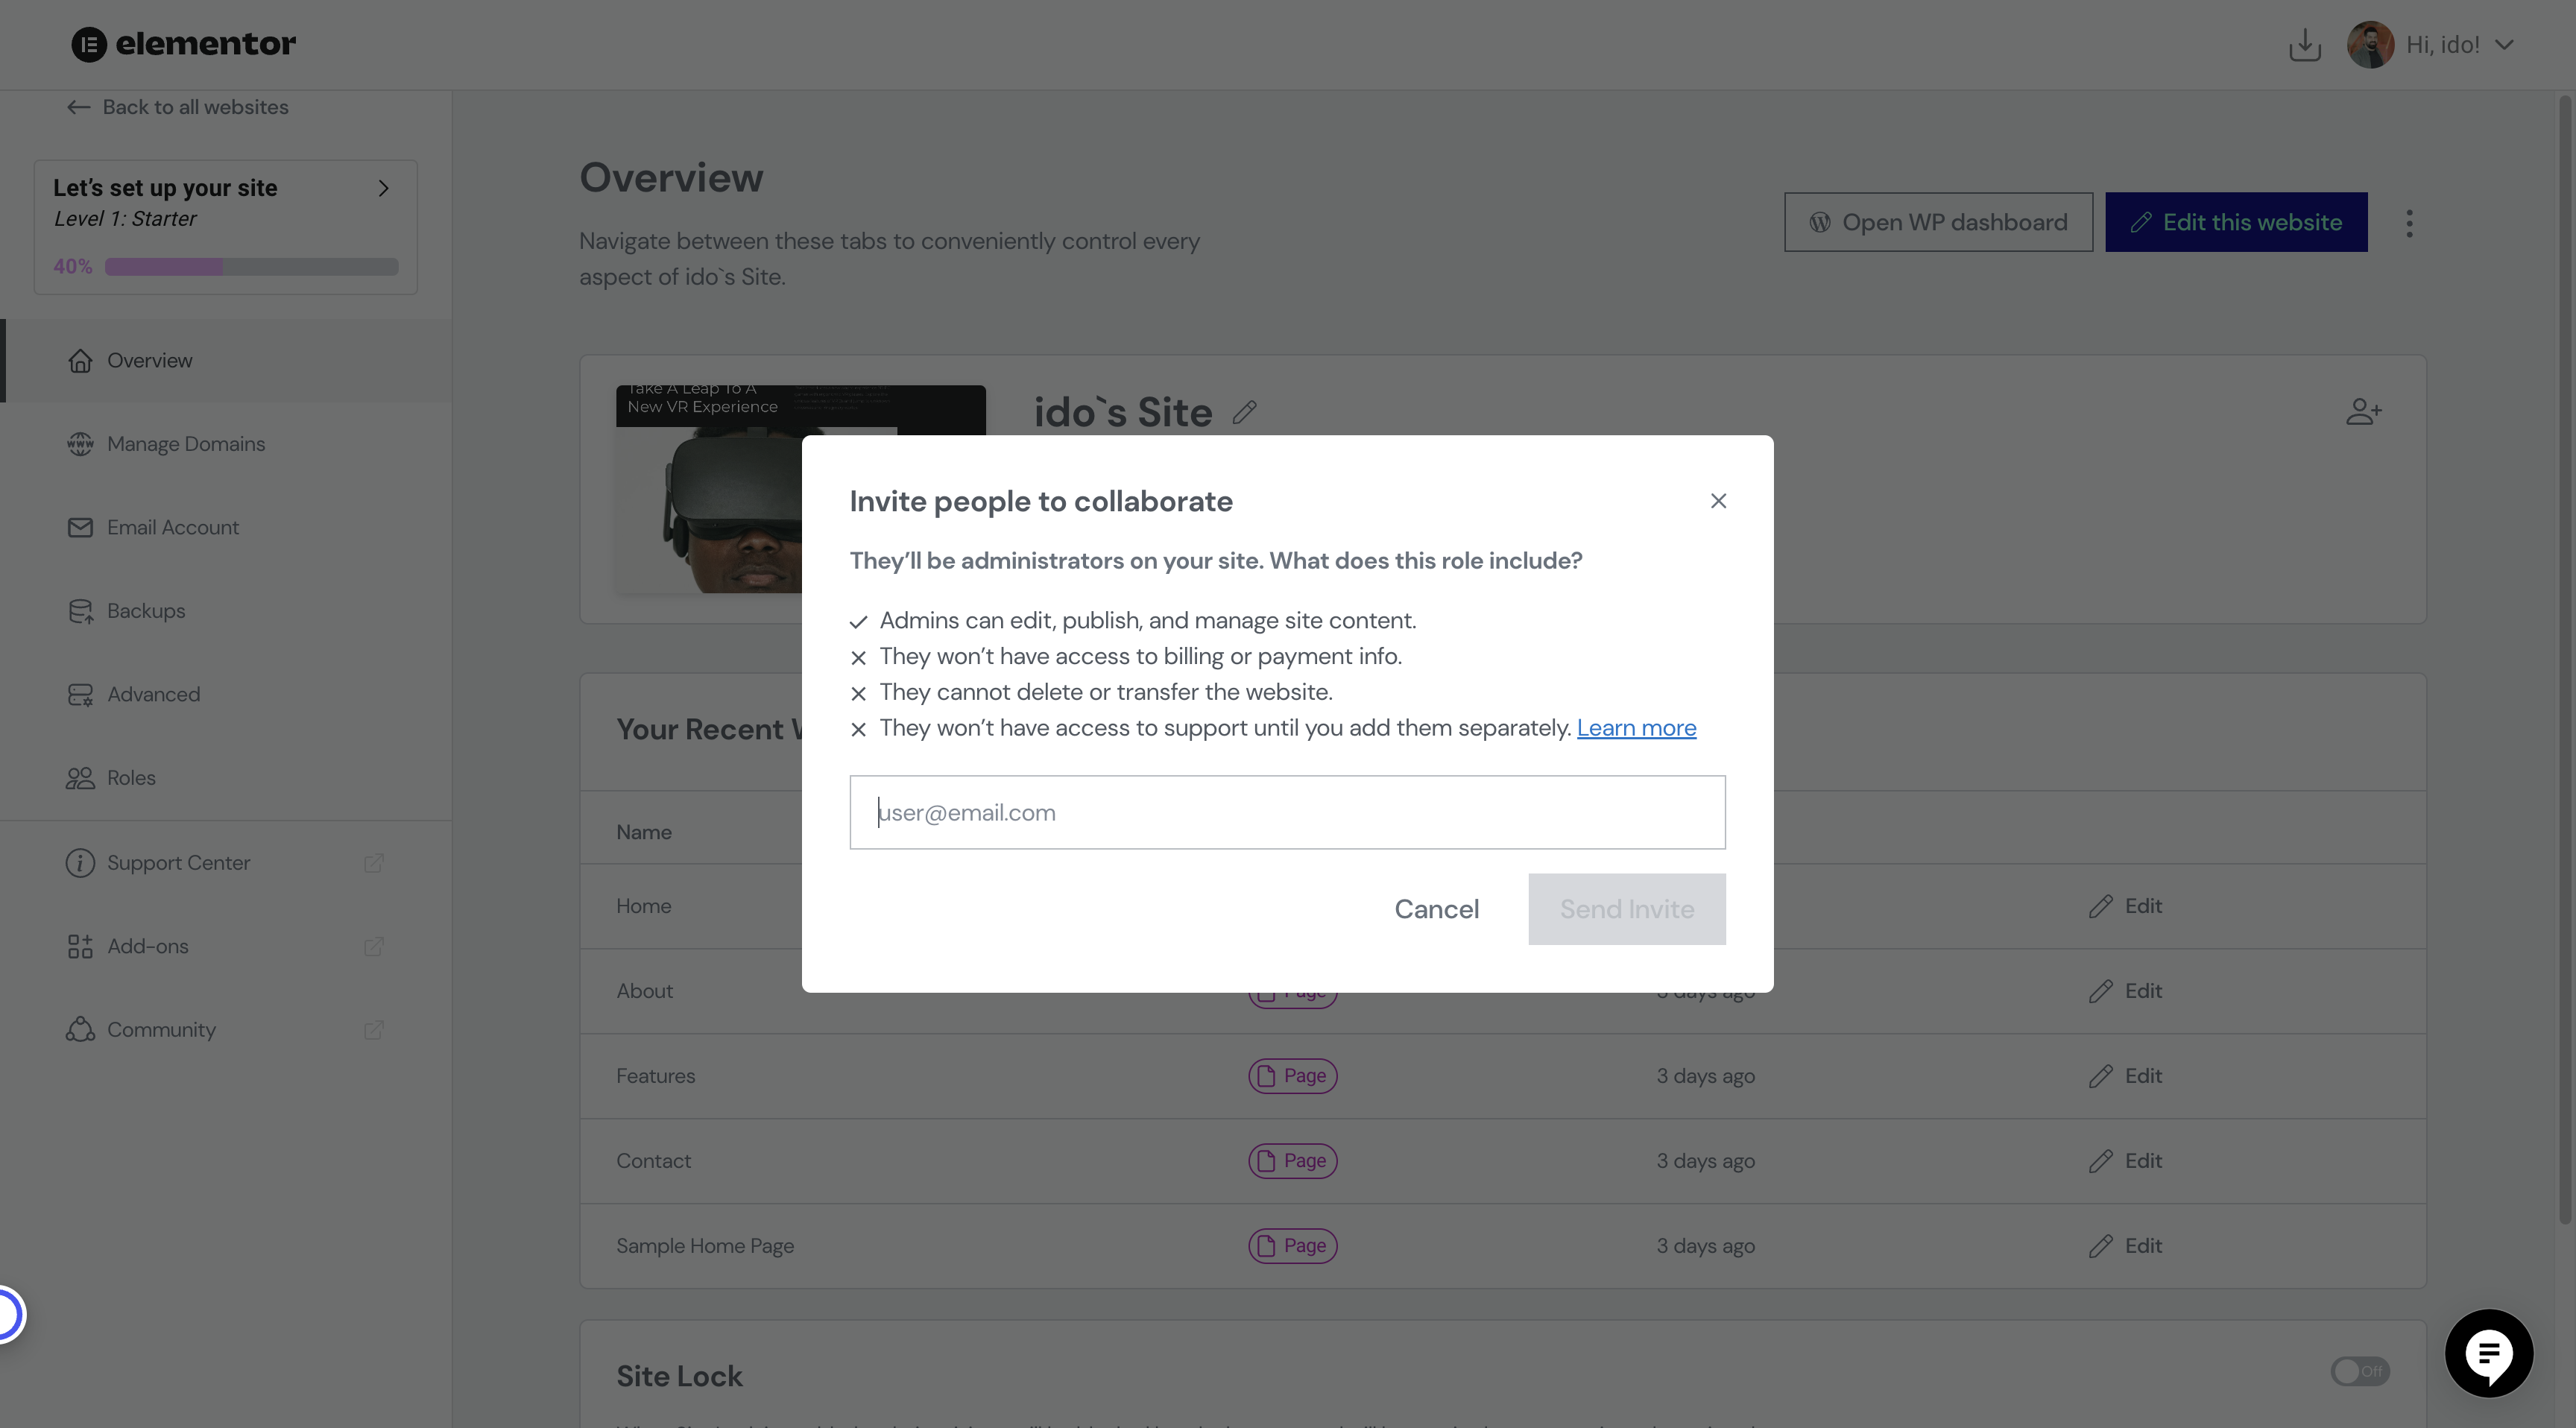
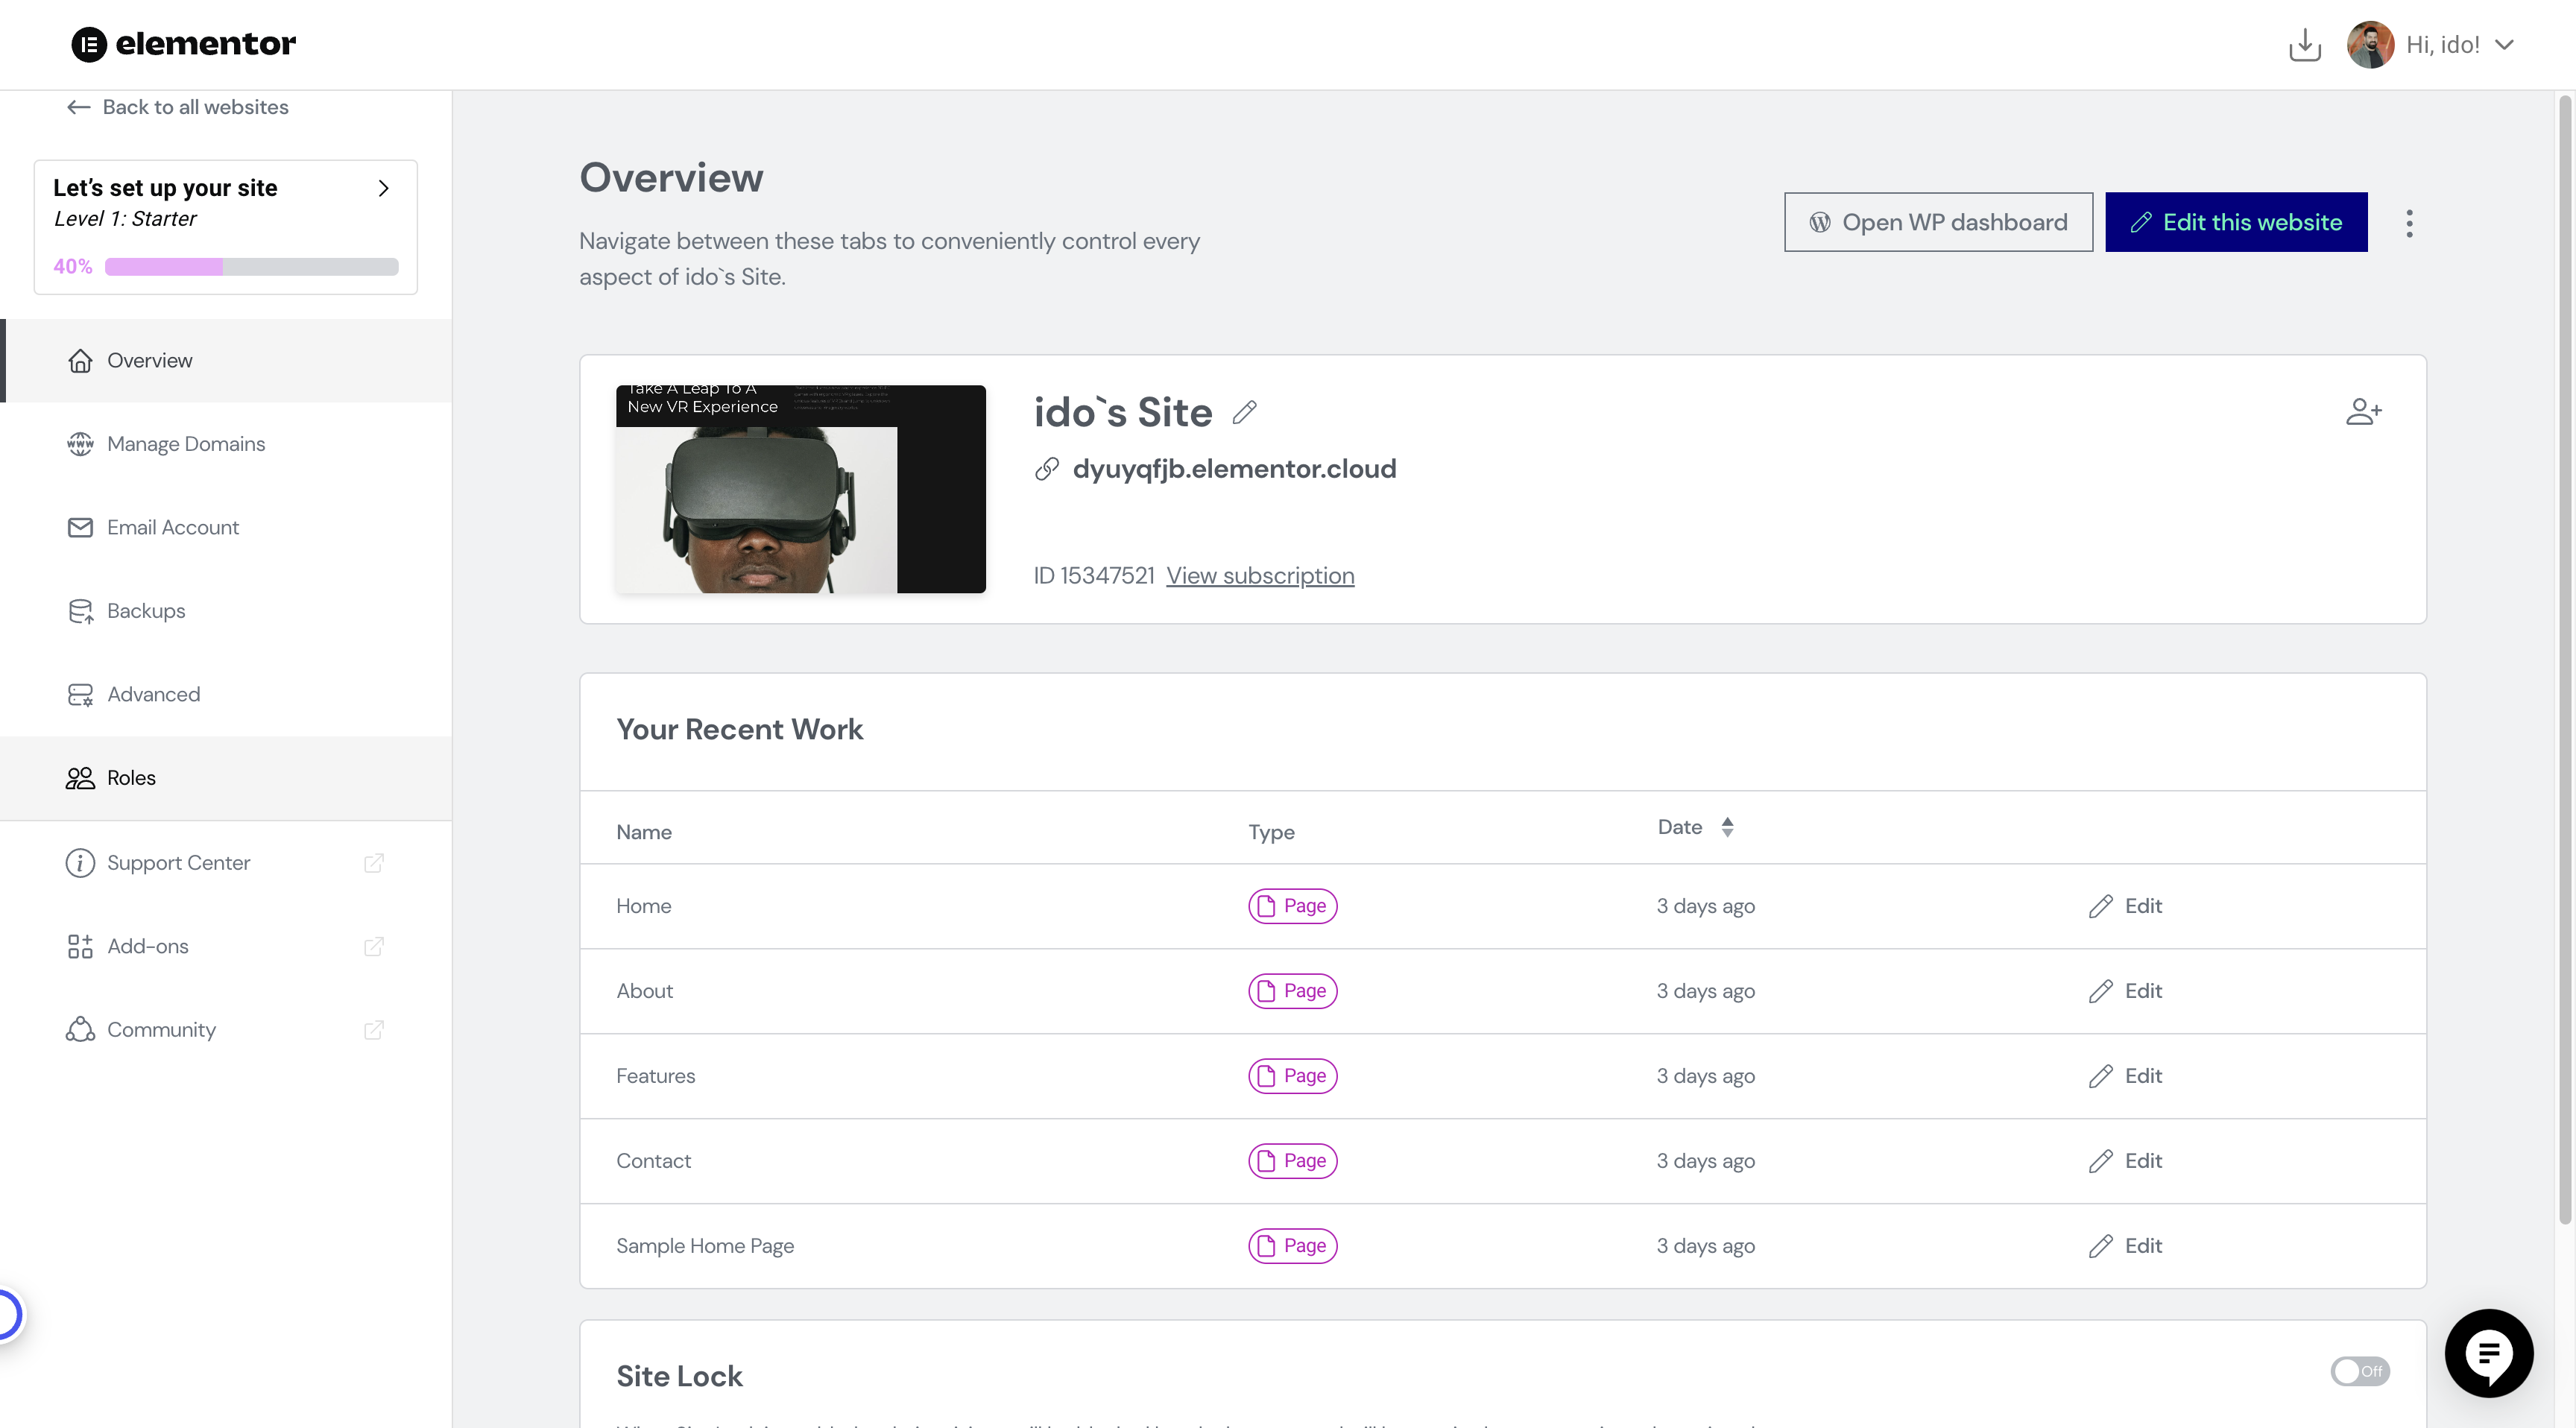
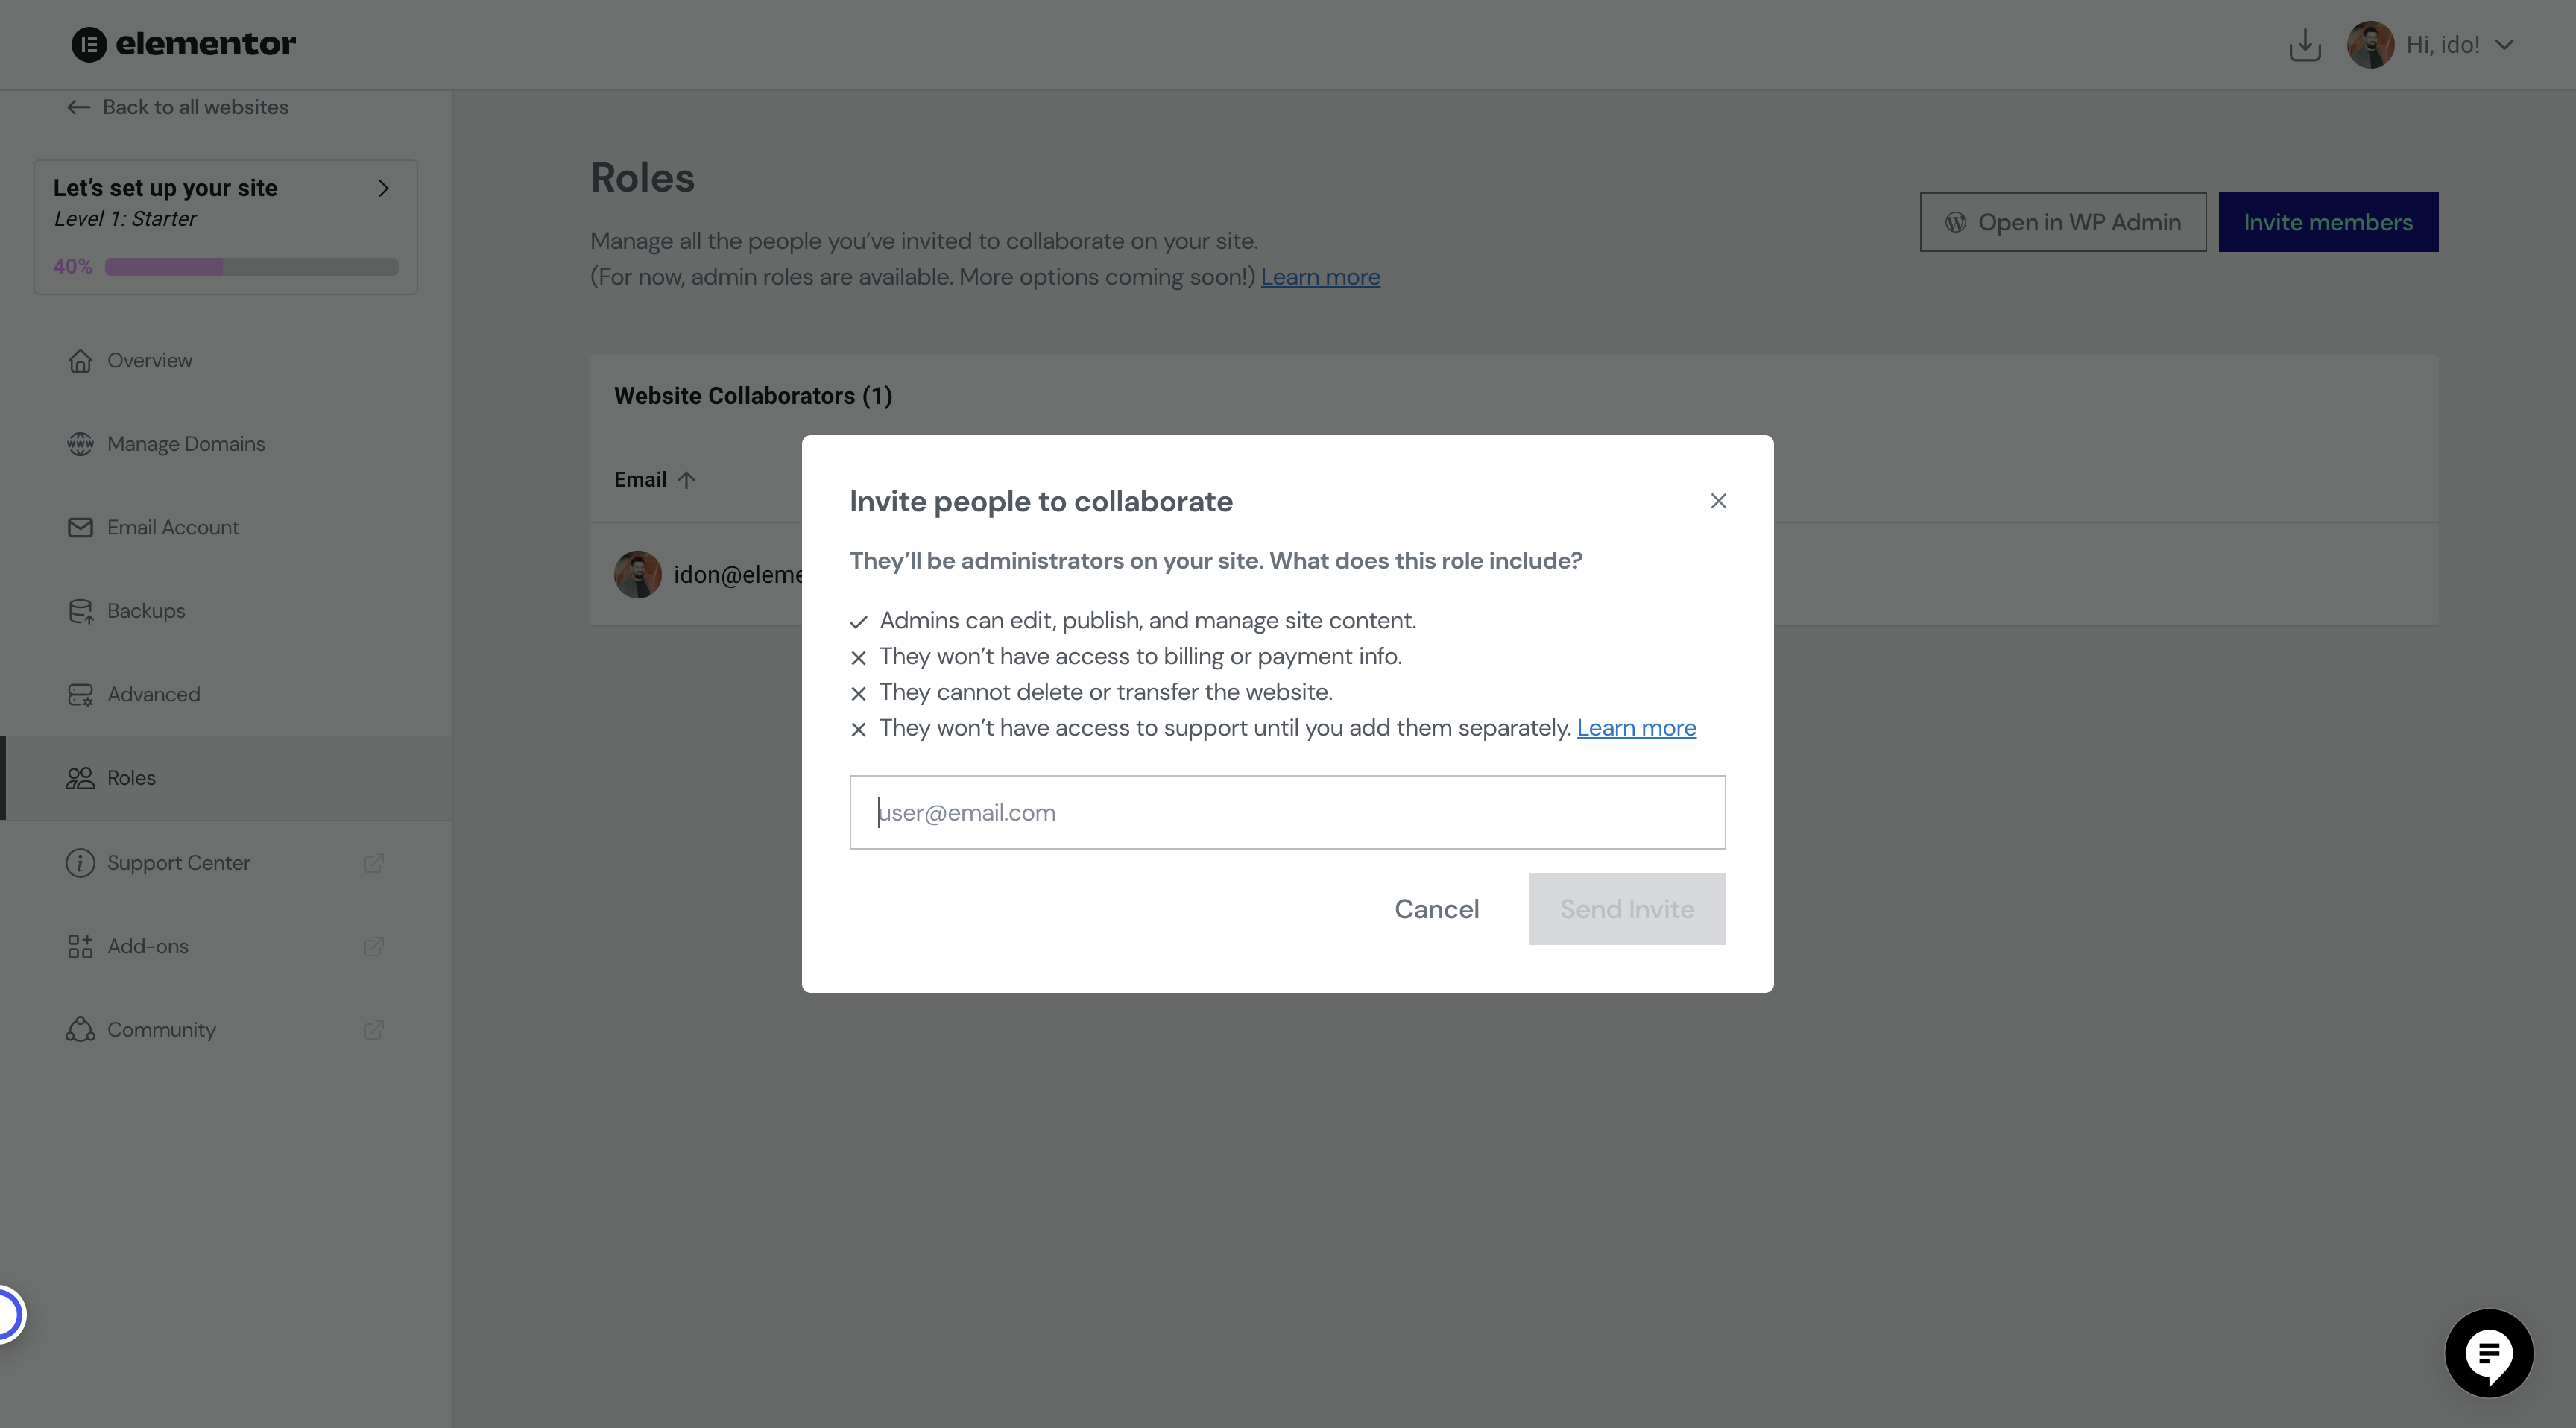
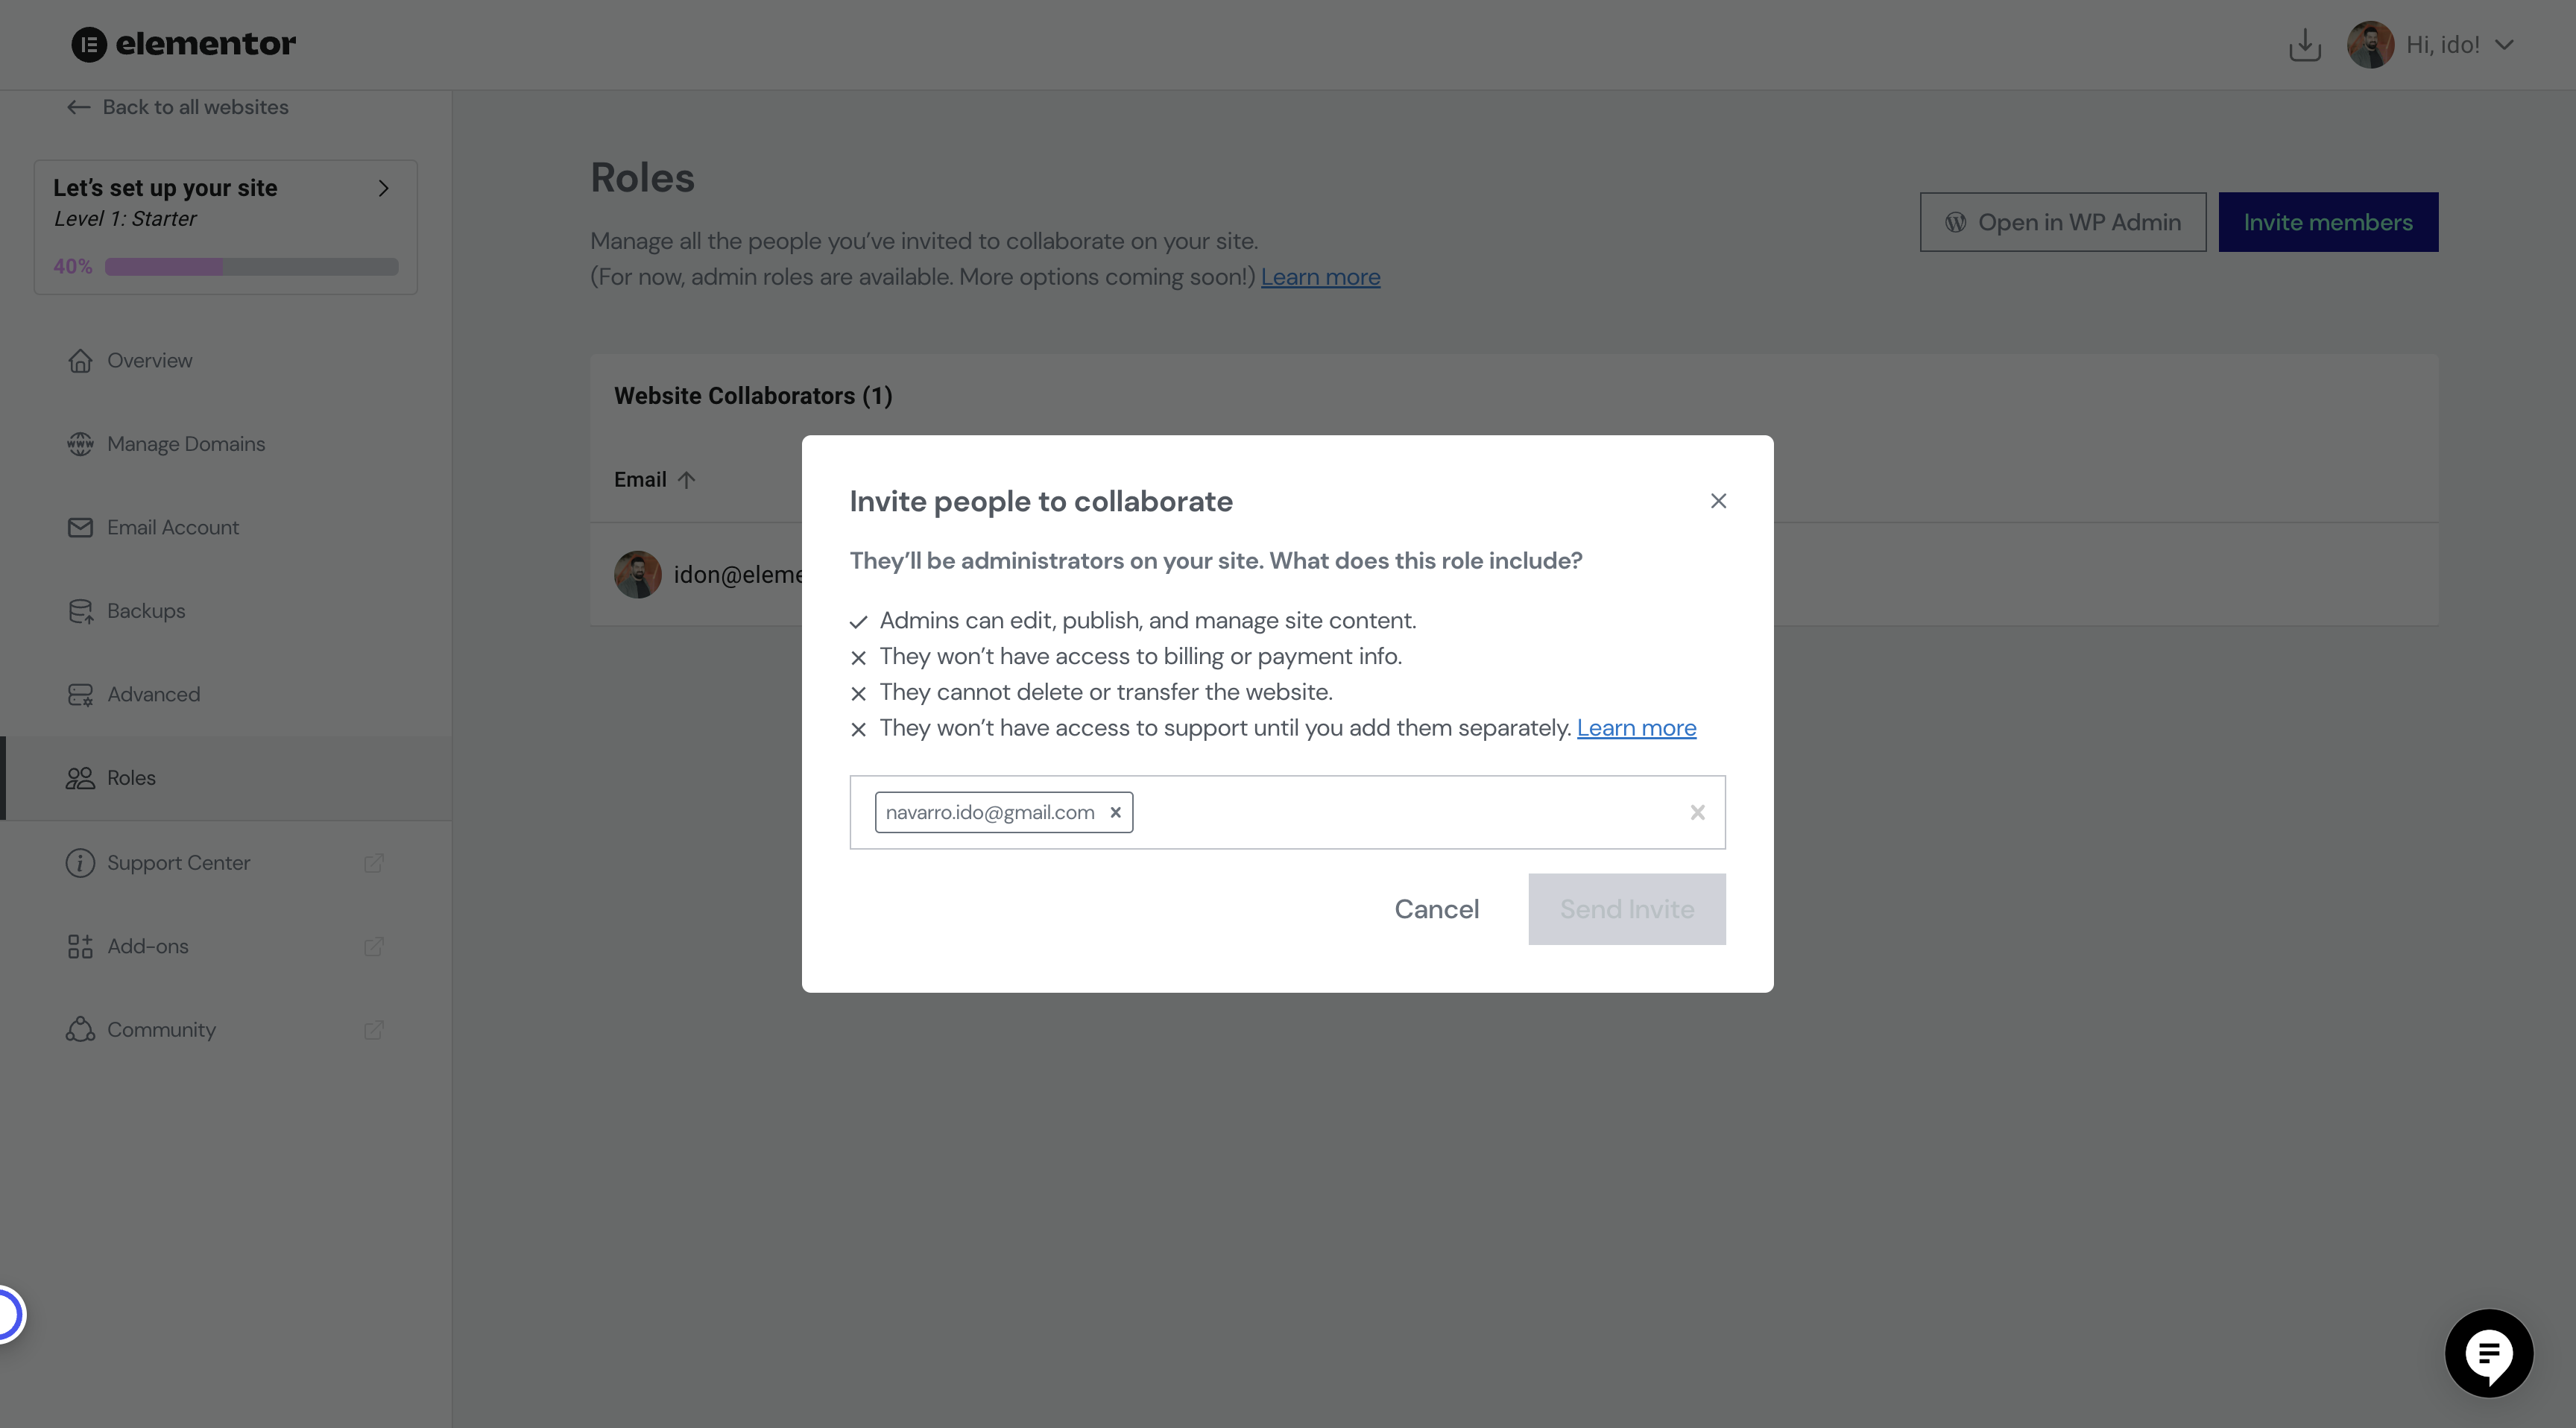
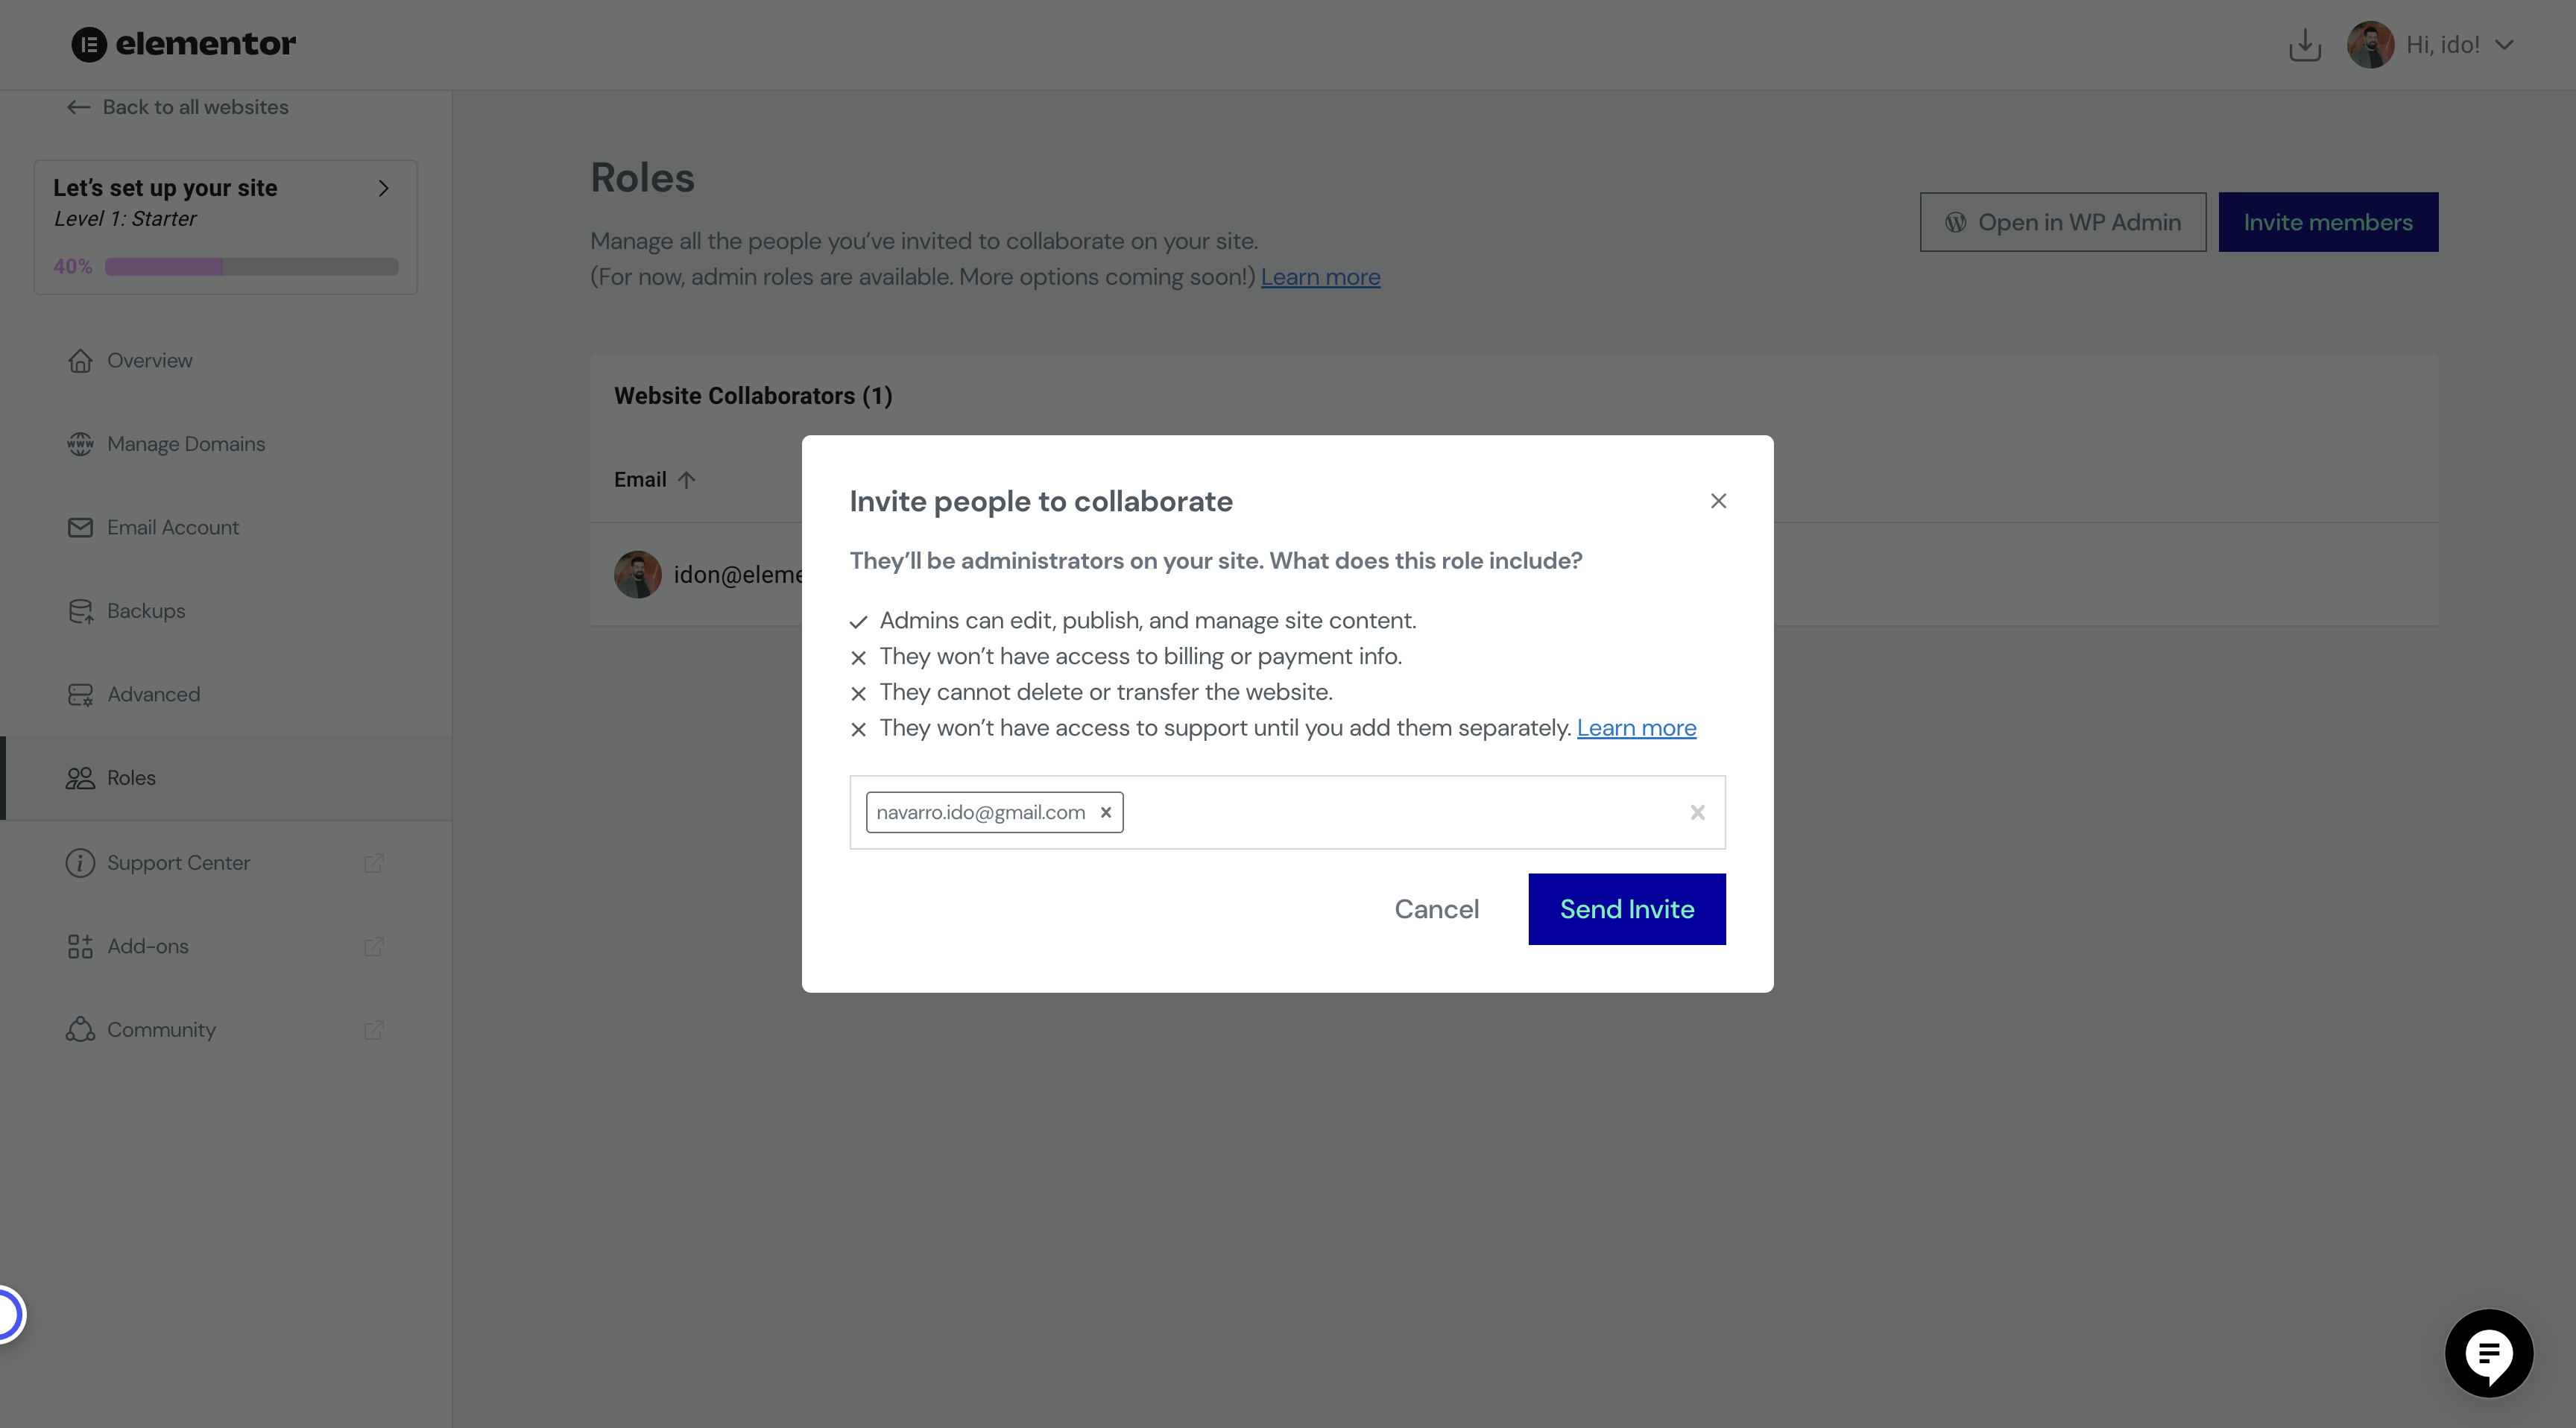
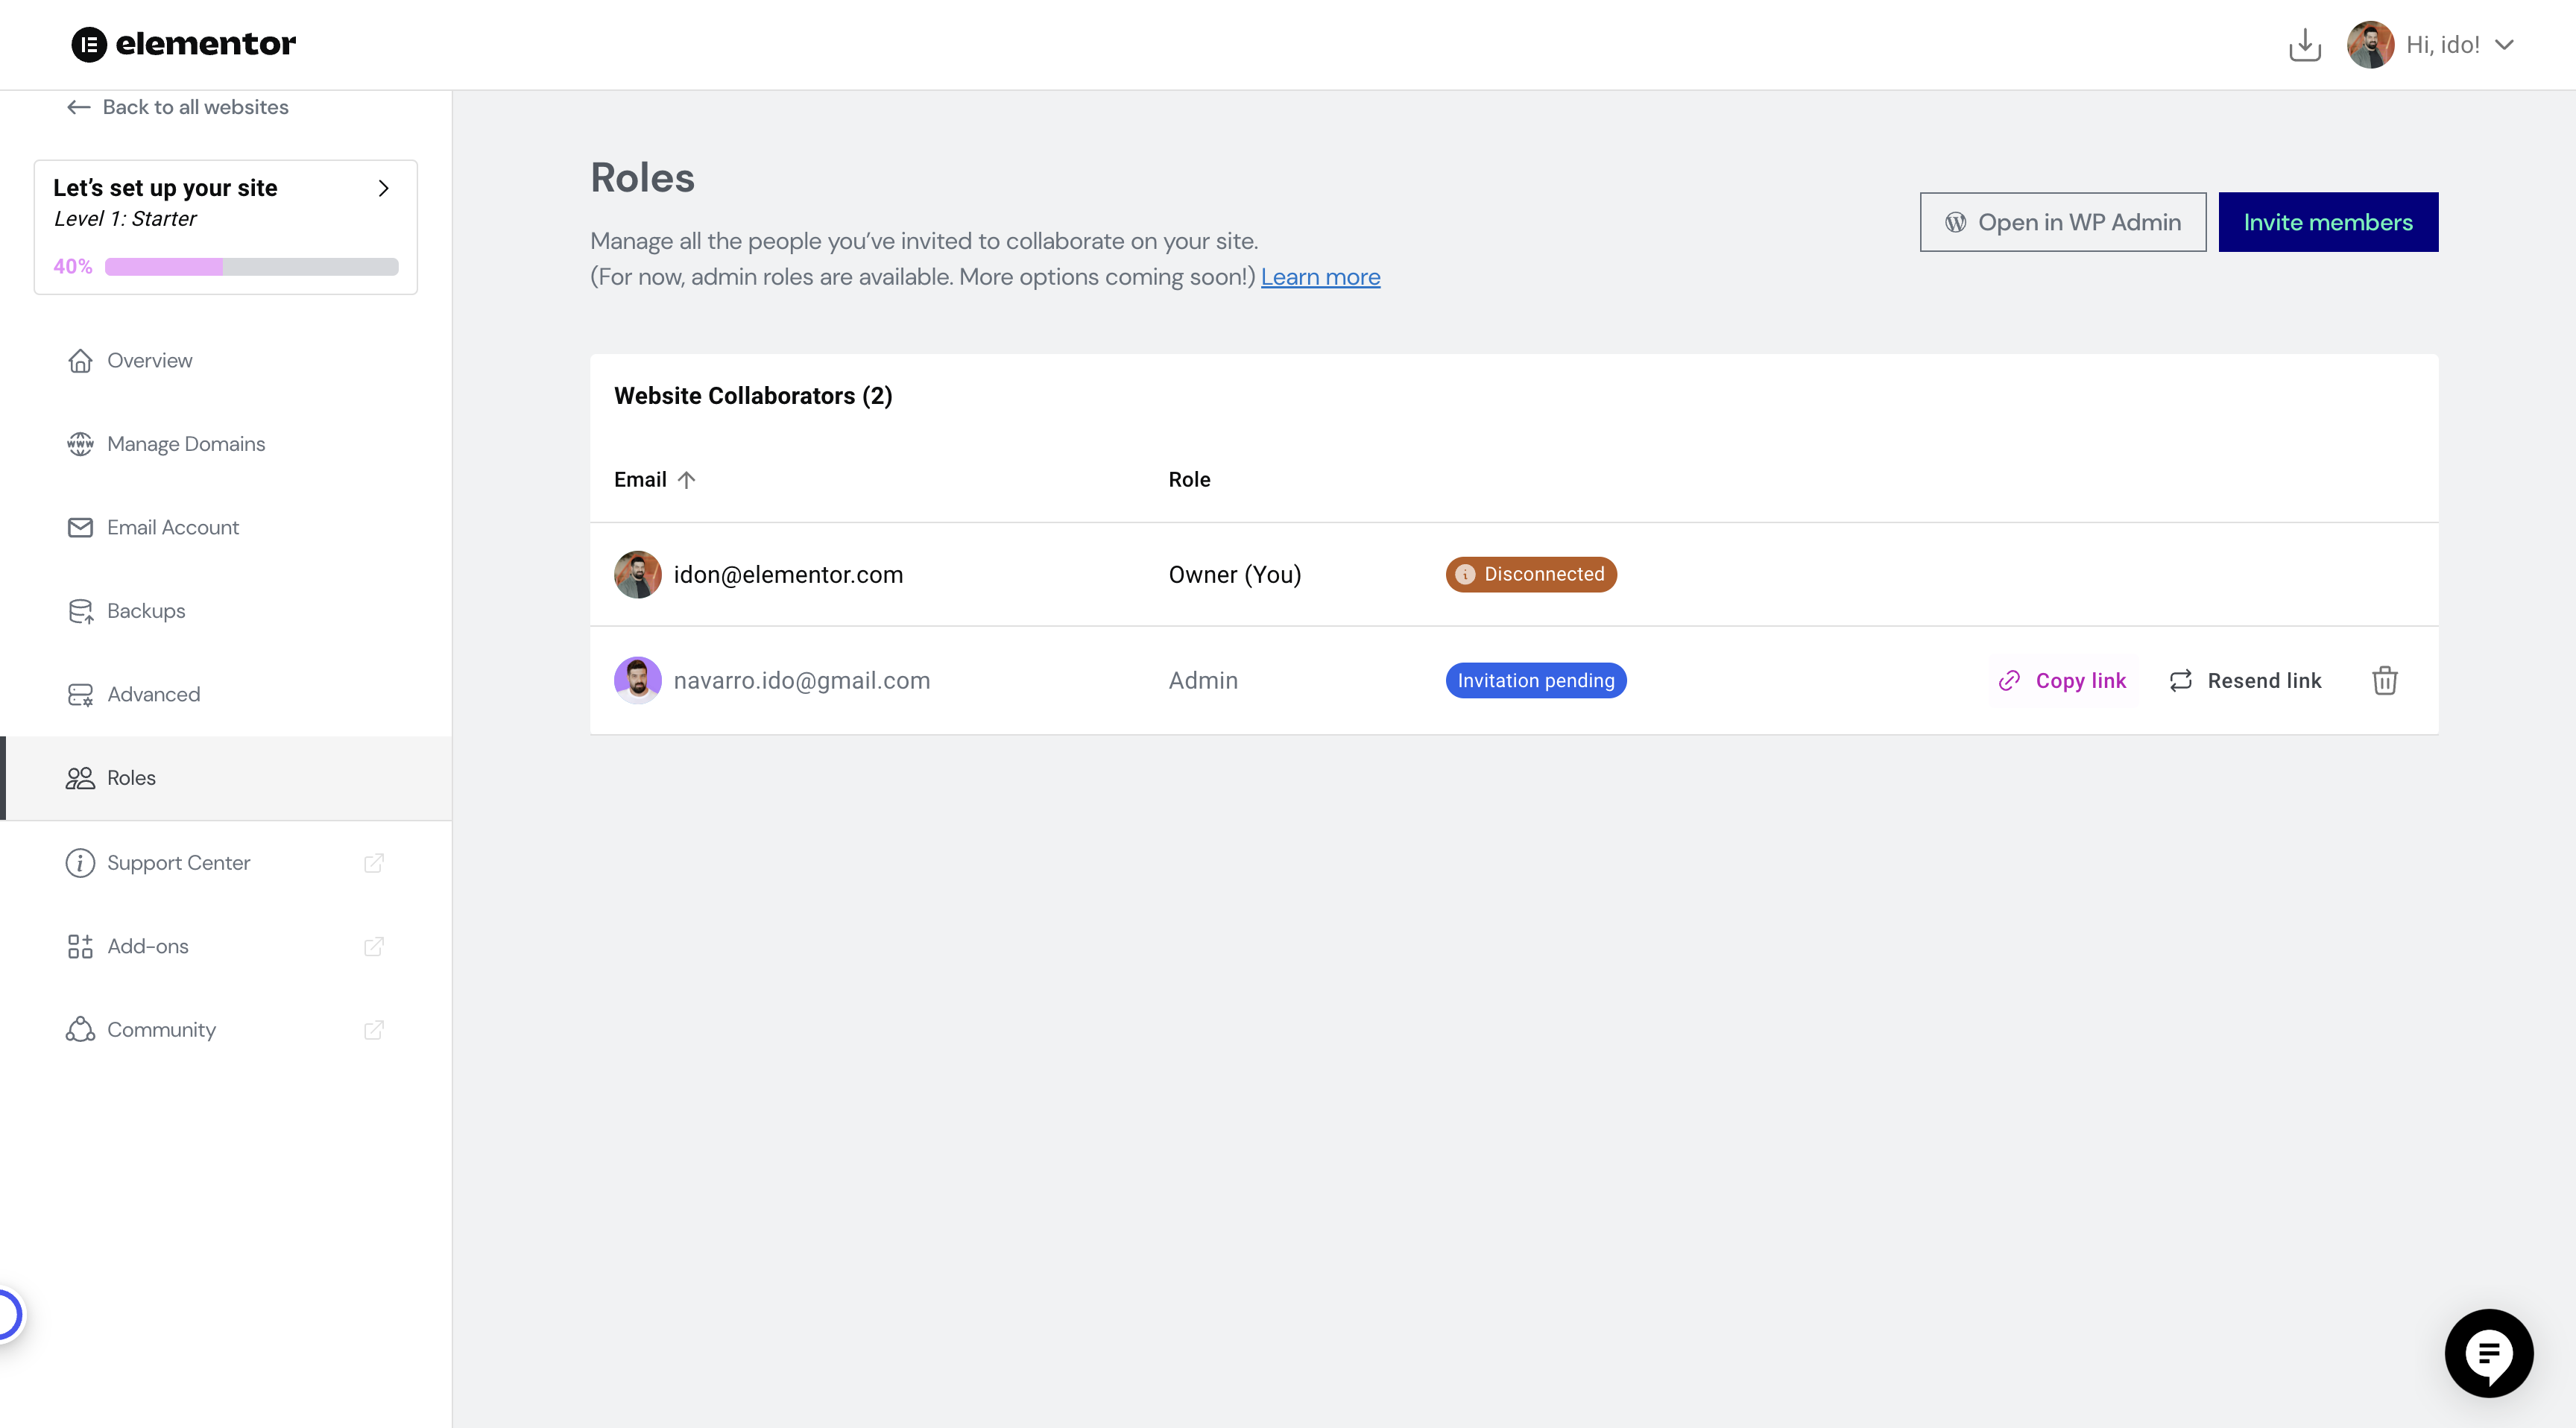
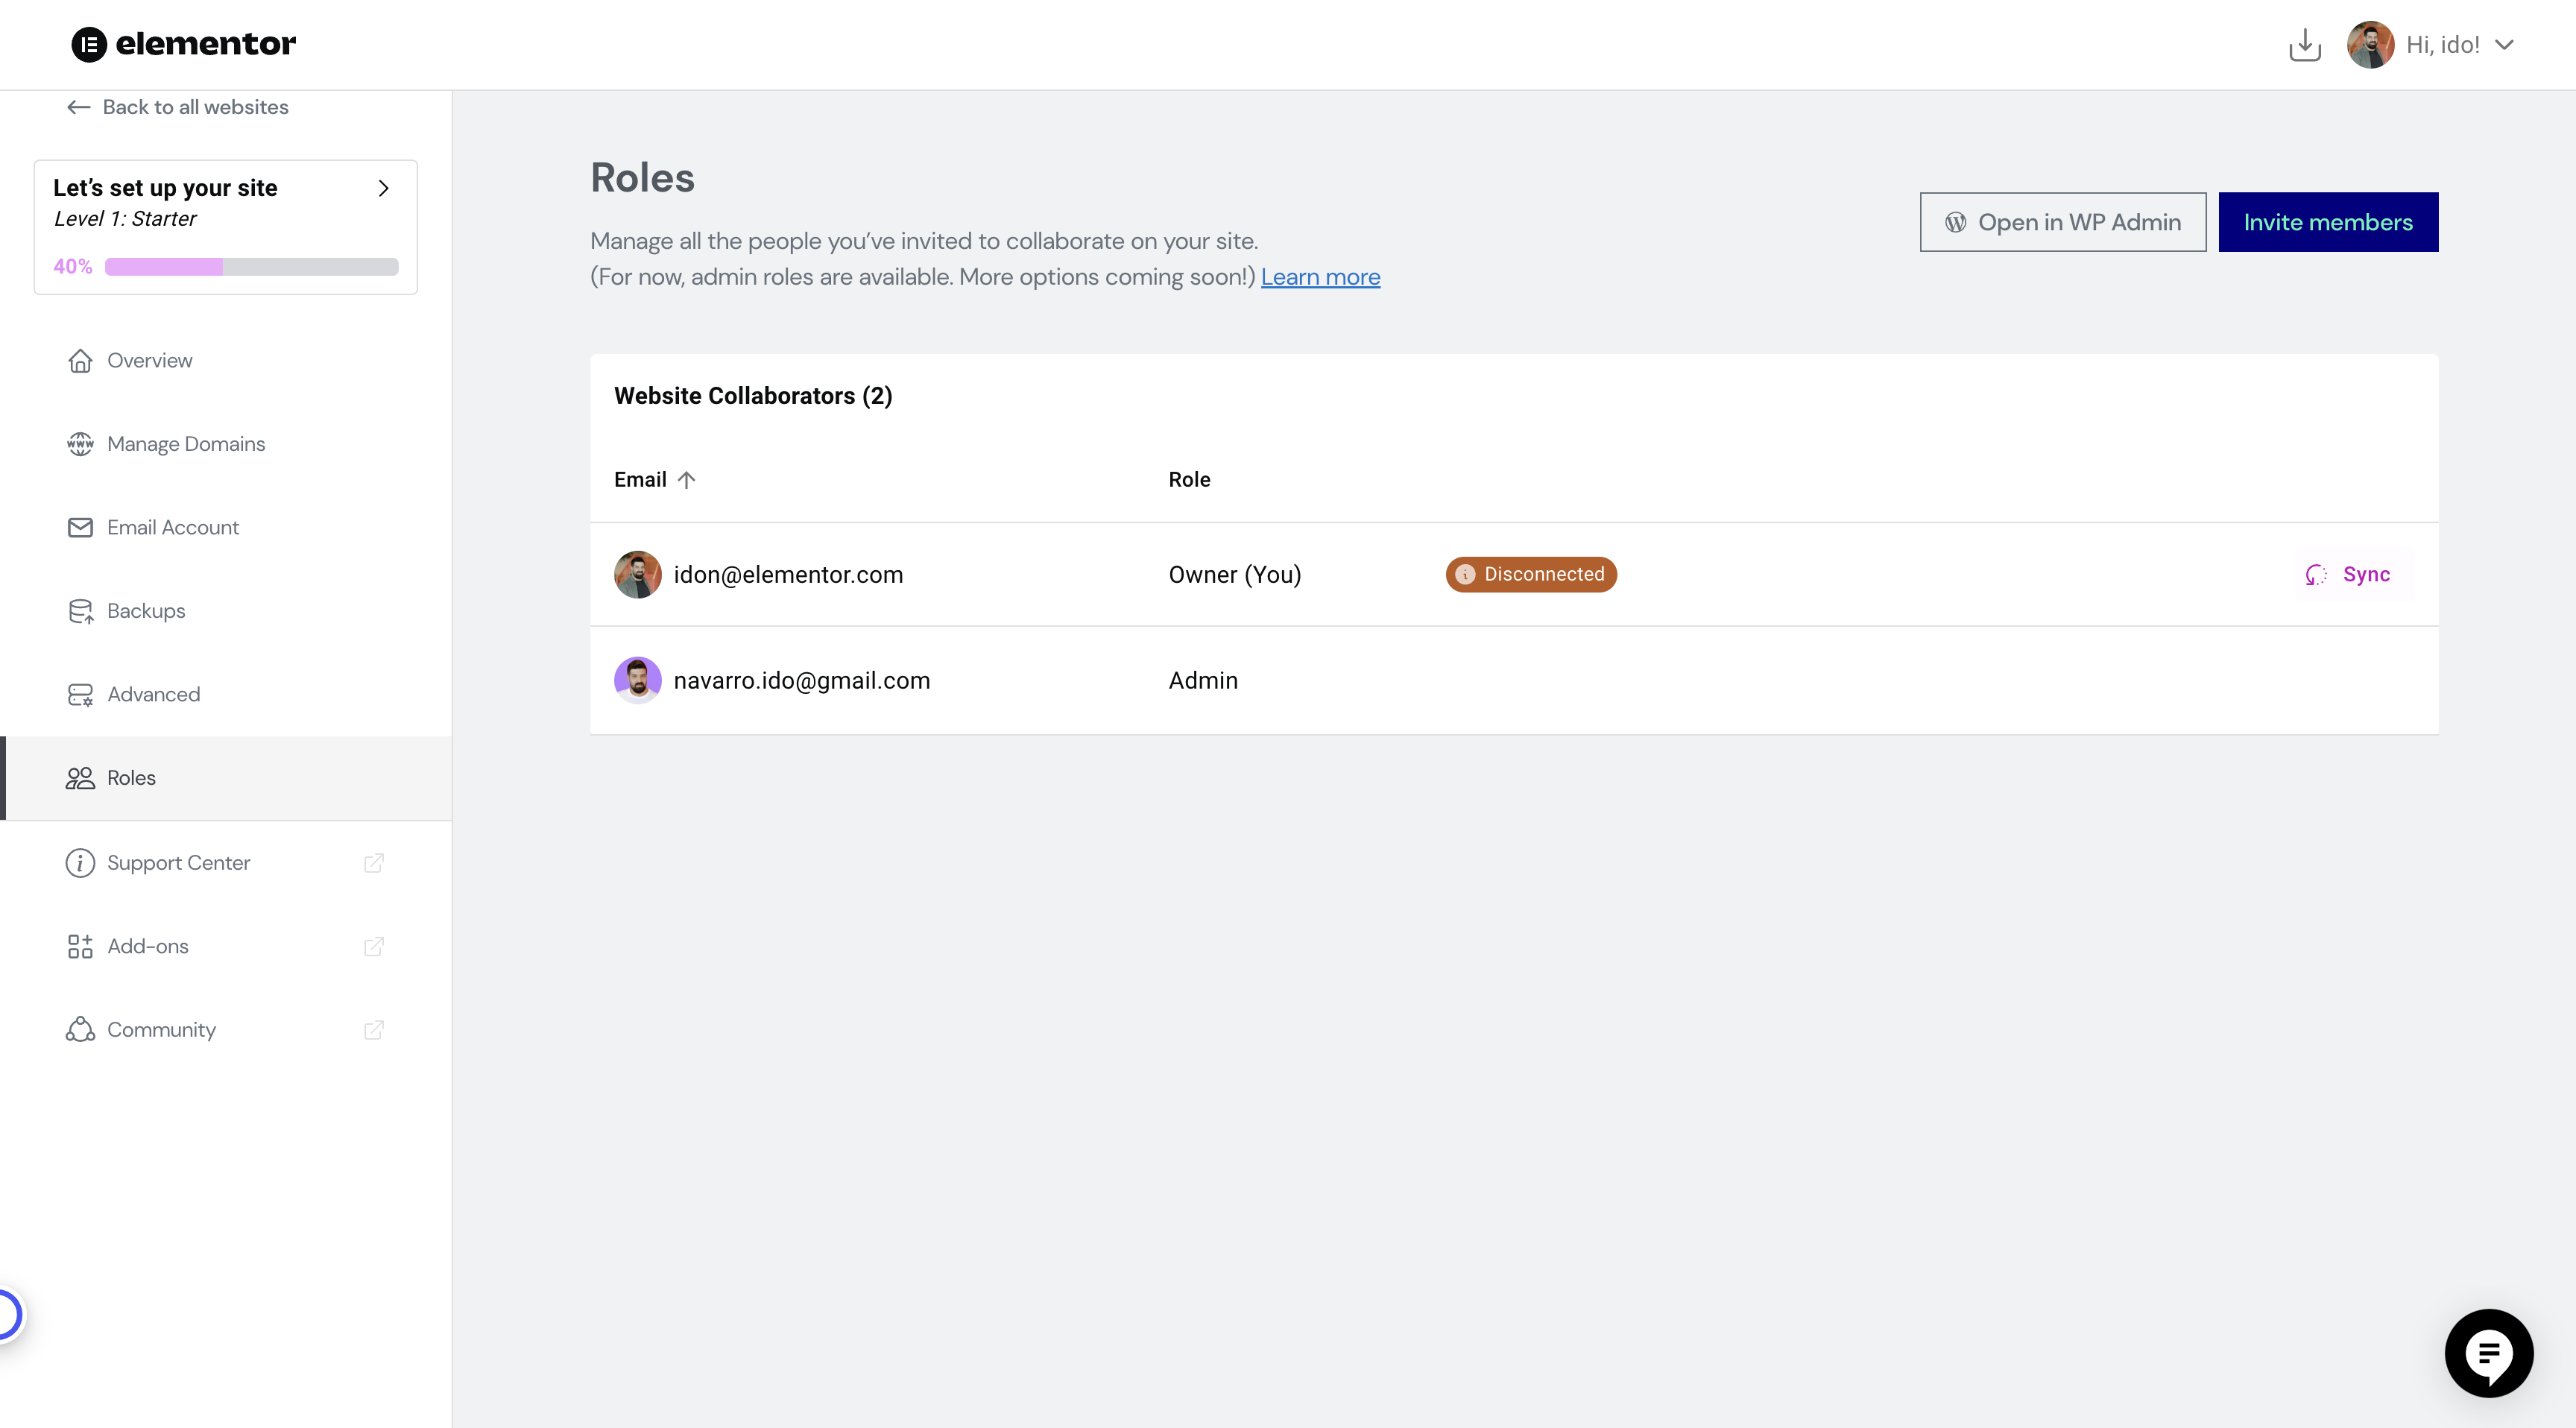
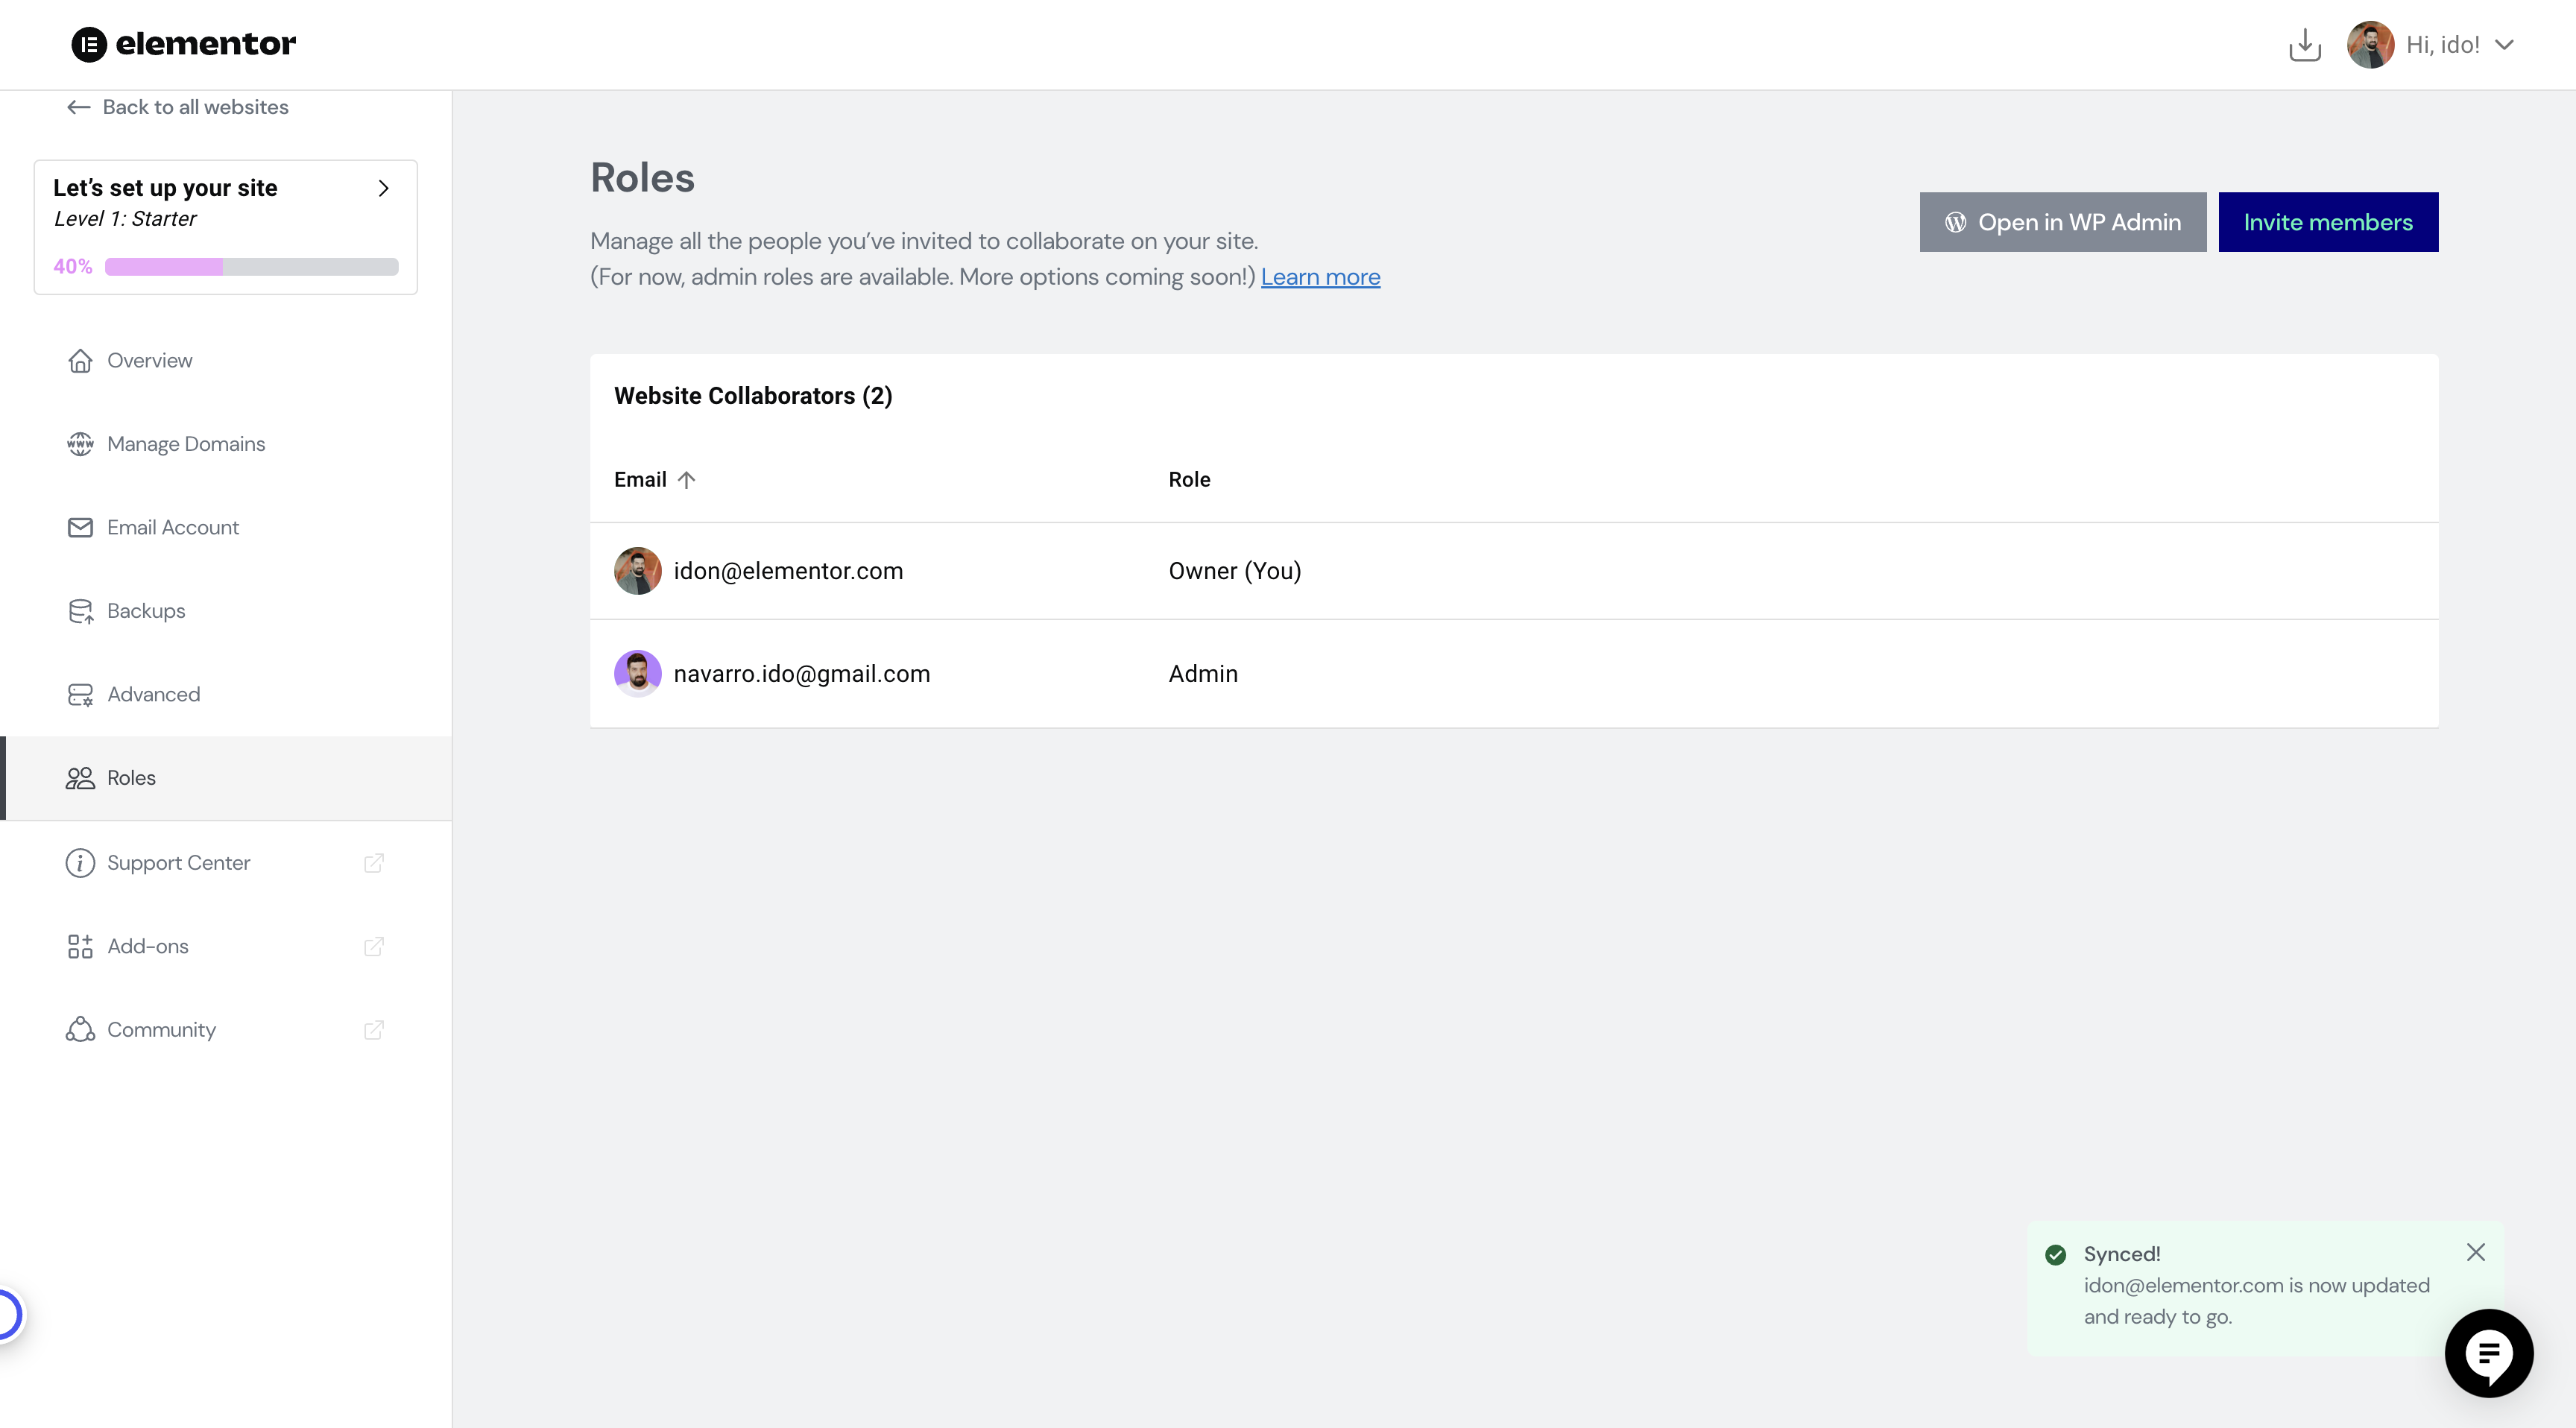
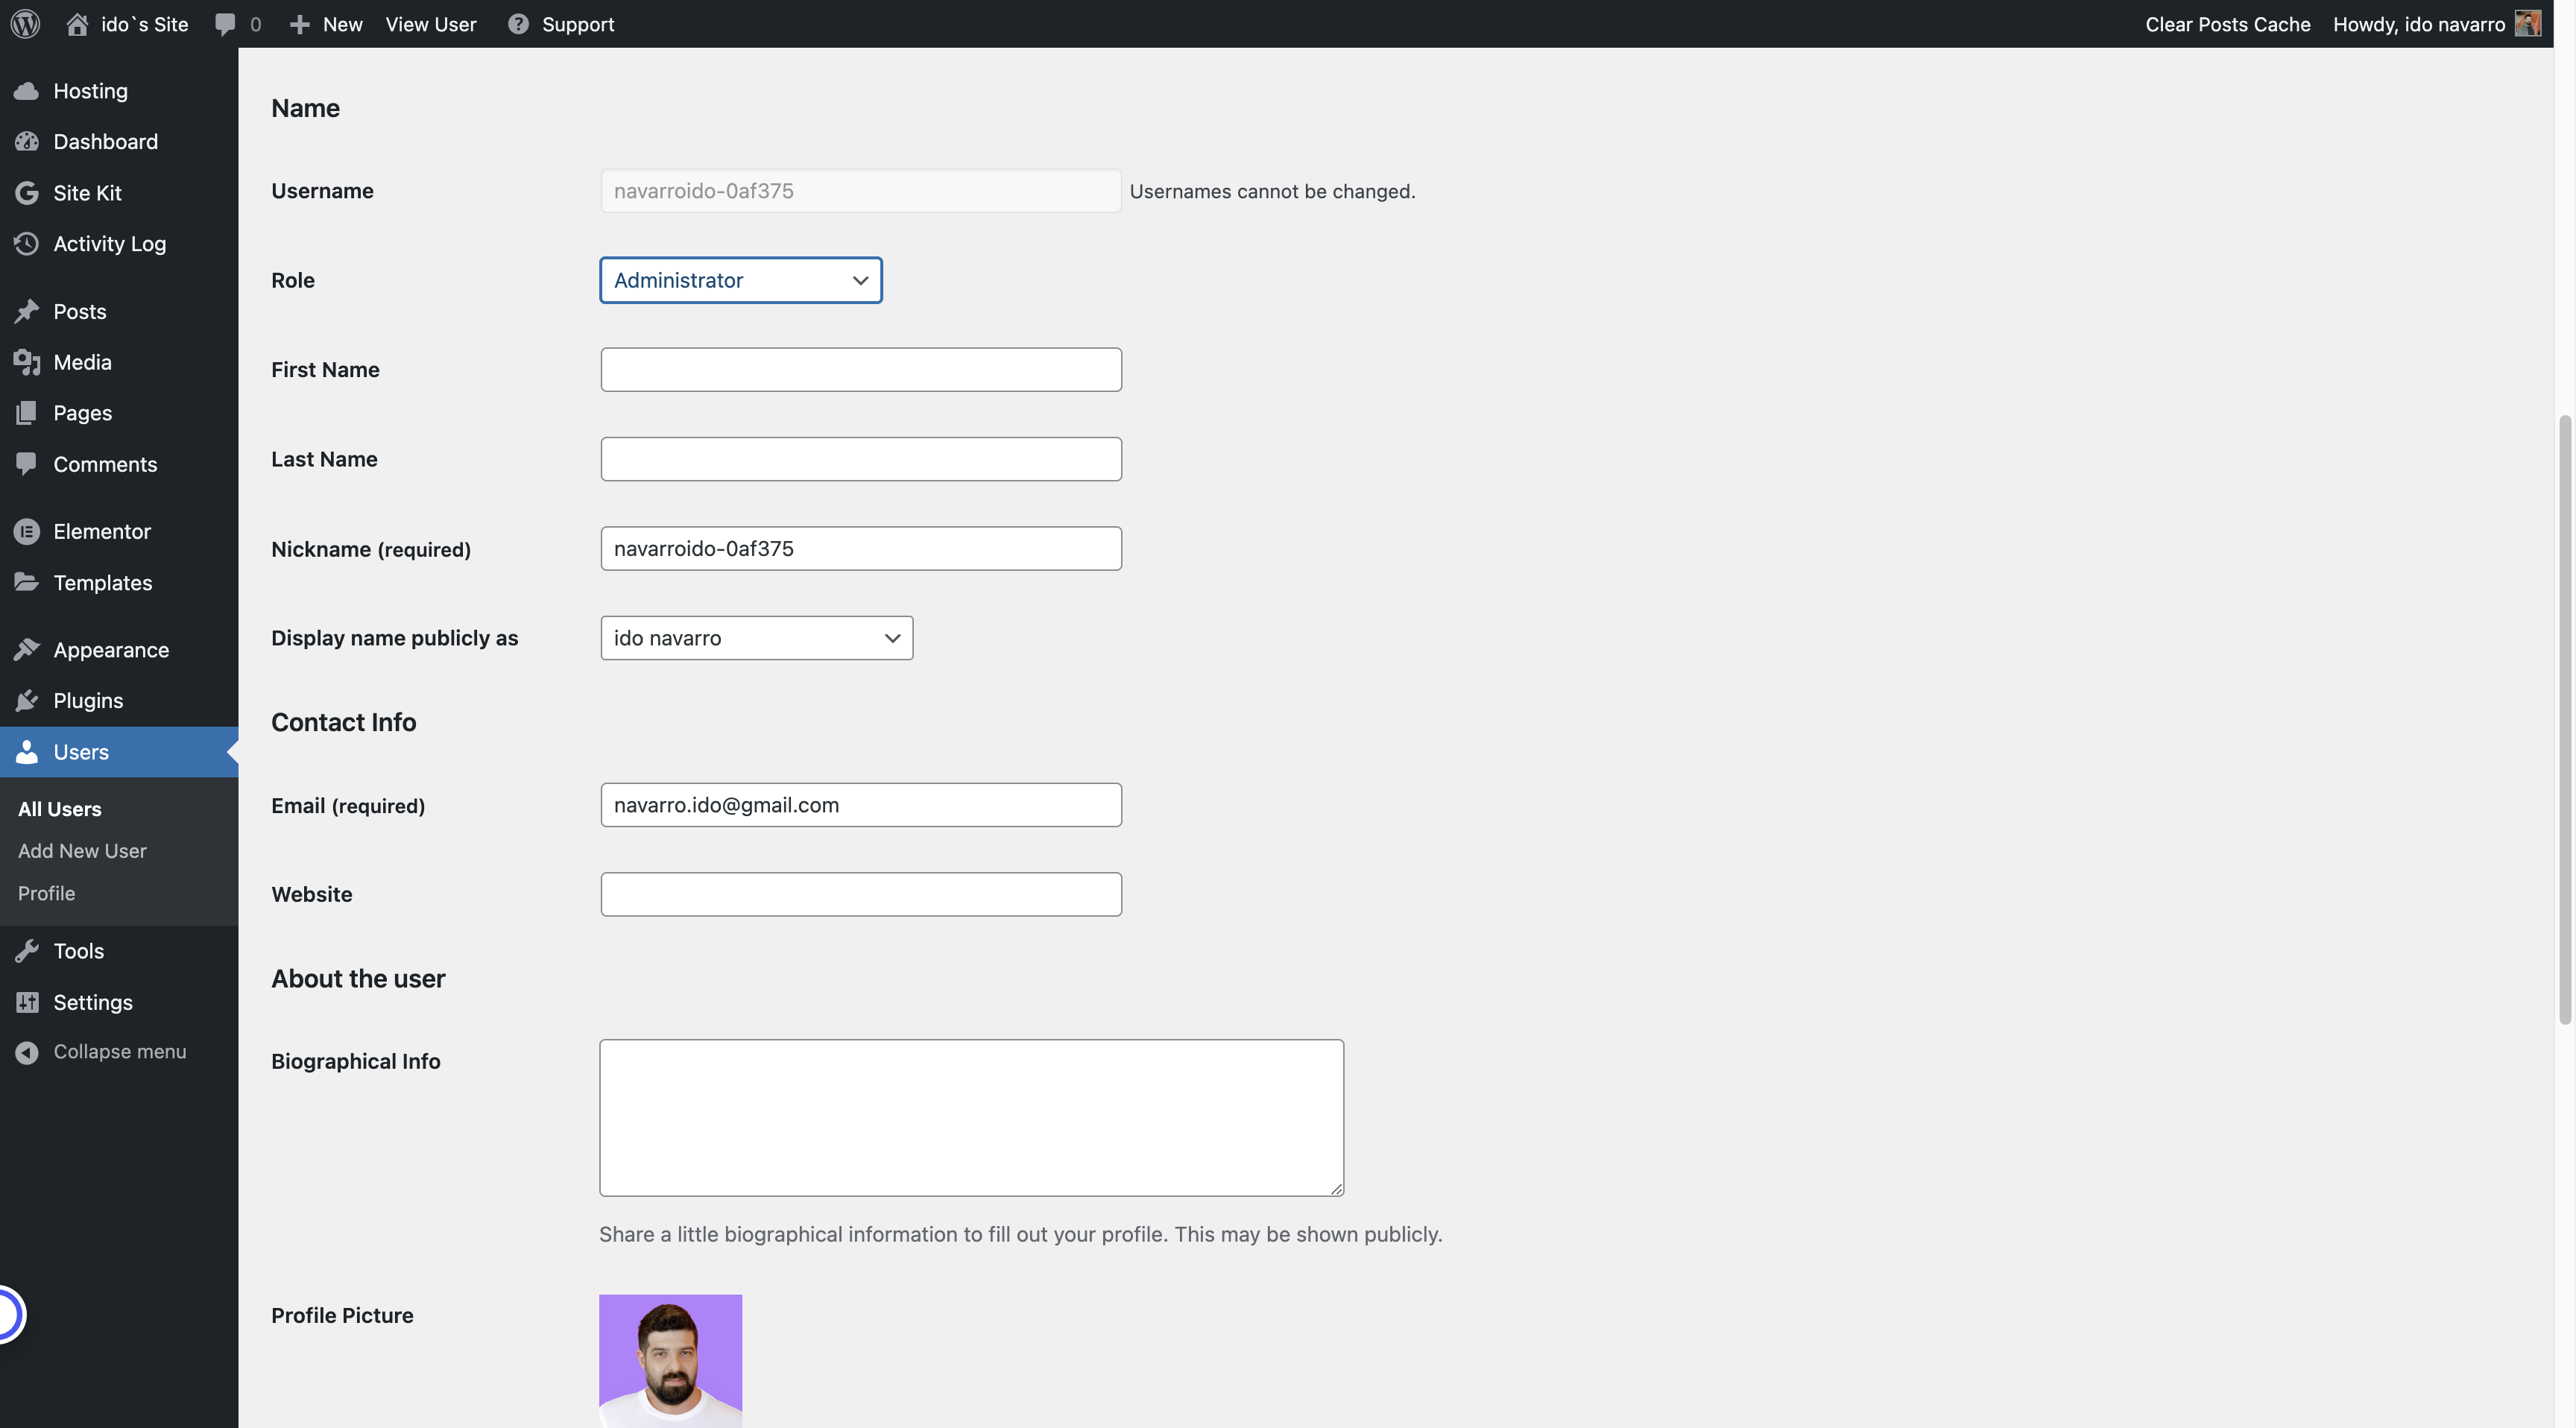
Alright, today we will see how to use the Team Collaboration feature. First, log into your My-Elementor area. Enter one of the sites, and on the side, you will see "Roles." Click here, and from this point, you can add users by clicking "Invite member." You can also add users by going into the "Overview" and clicking the "Add team member" icon. Enter the email you want to invite. Let's do it from here: click "Invite member," type the email, and click "Send invite." The invitation has been sent. Once the invitation is sent, the user will receive an email. You can click "Copy link" or "Resend link" if they didn't receive it, or delete the invitation. Copy the link, go to the user, and check their email. You will see an invitation to join the site. Click "Accept invite" or enter the shared link, choose the role, and click "Save and join." You have now joined the site. You can see the same site with a different account. If you refresh the page, you will see the invitation is no longer pending. Note that if the user is disconnected, they might experience synchronization issues with the site login. To fix this, click "Sync" to properly synchronize the user between the platform and the site. Once the user accepts the invitation, you will see that the email we sent has joined. The user enters with an admin role with full permissions. You can change this by clicking "Edit," entering here, and changing the role to author or whatever is relevant. Custom roles are also possible. That's it for our guide.