Icon

How to Use the TMD and Recycling Module in ADC Mouse Models: A Step-by-Step Guide

Learn how to use the TMD and recycling module in a mouse ADC model with this easy-to-follow guide. Includes instructions on module setup, molecule renaming, simulation configuration, and result analysis.

By Wilbert de Witte

In this guide, we'll learn how to use the TMD and recycling module in a mouse ADC model. The objective is to correctly load the module, rename molecules to match your PKSim base module, and set up a simulation to check target expression in specific organs.

This process helps ensure that your model components are consistent and that your simulation results are reliable.

Let's get started

Okay. Here is a brief guide on how to use the TMD and recycling module. I'm applying this to a random model from our ADC training course—a mouse ADC model with TMD and tumor. However, we won't use these modules in this exercise.

1
Right-click on "Modules"
Step #1: Right-click on "Modules"

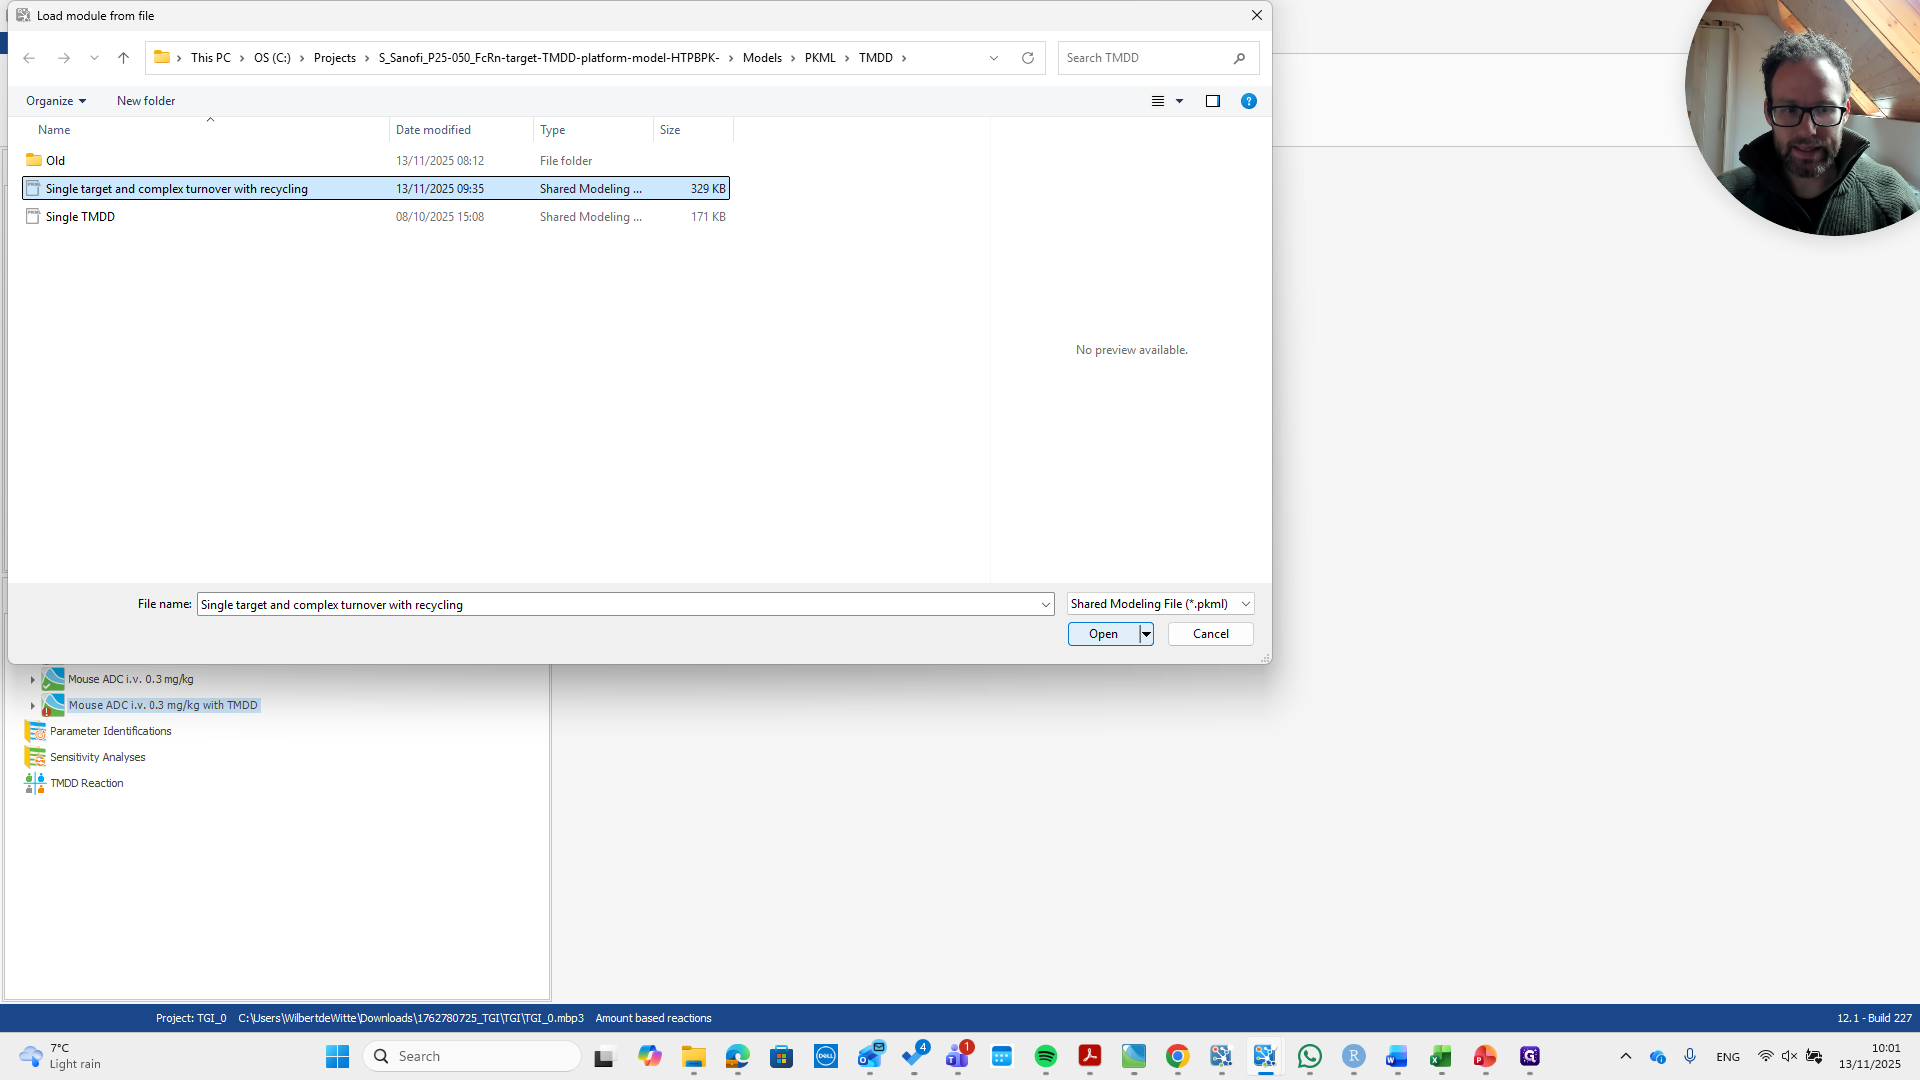
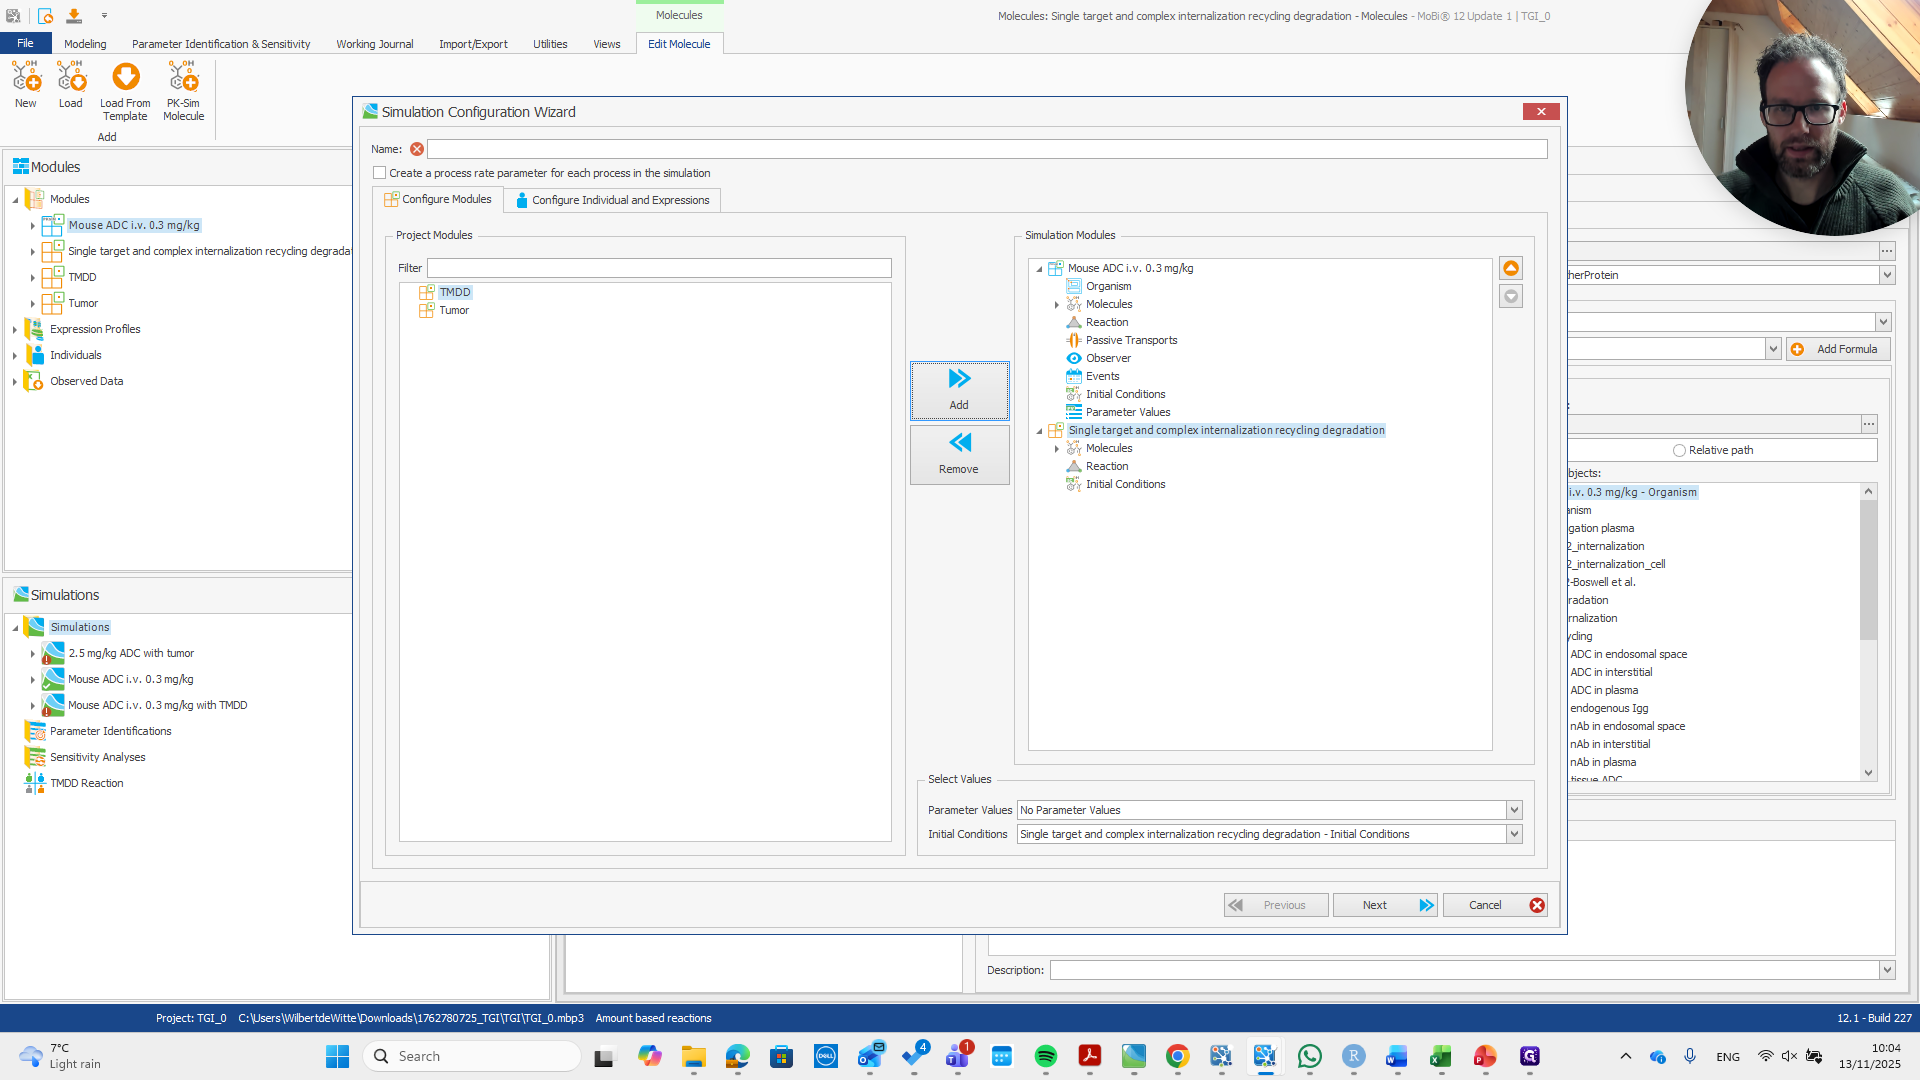
First, we load the module.

2
Click on "Load Module"
Step #2: Click on "Load Module"
3
Step #3:

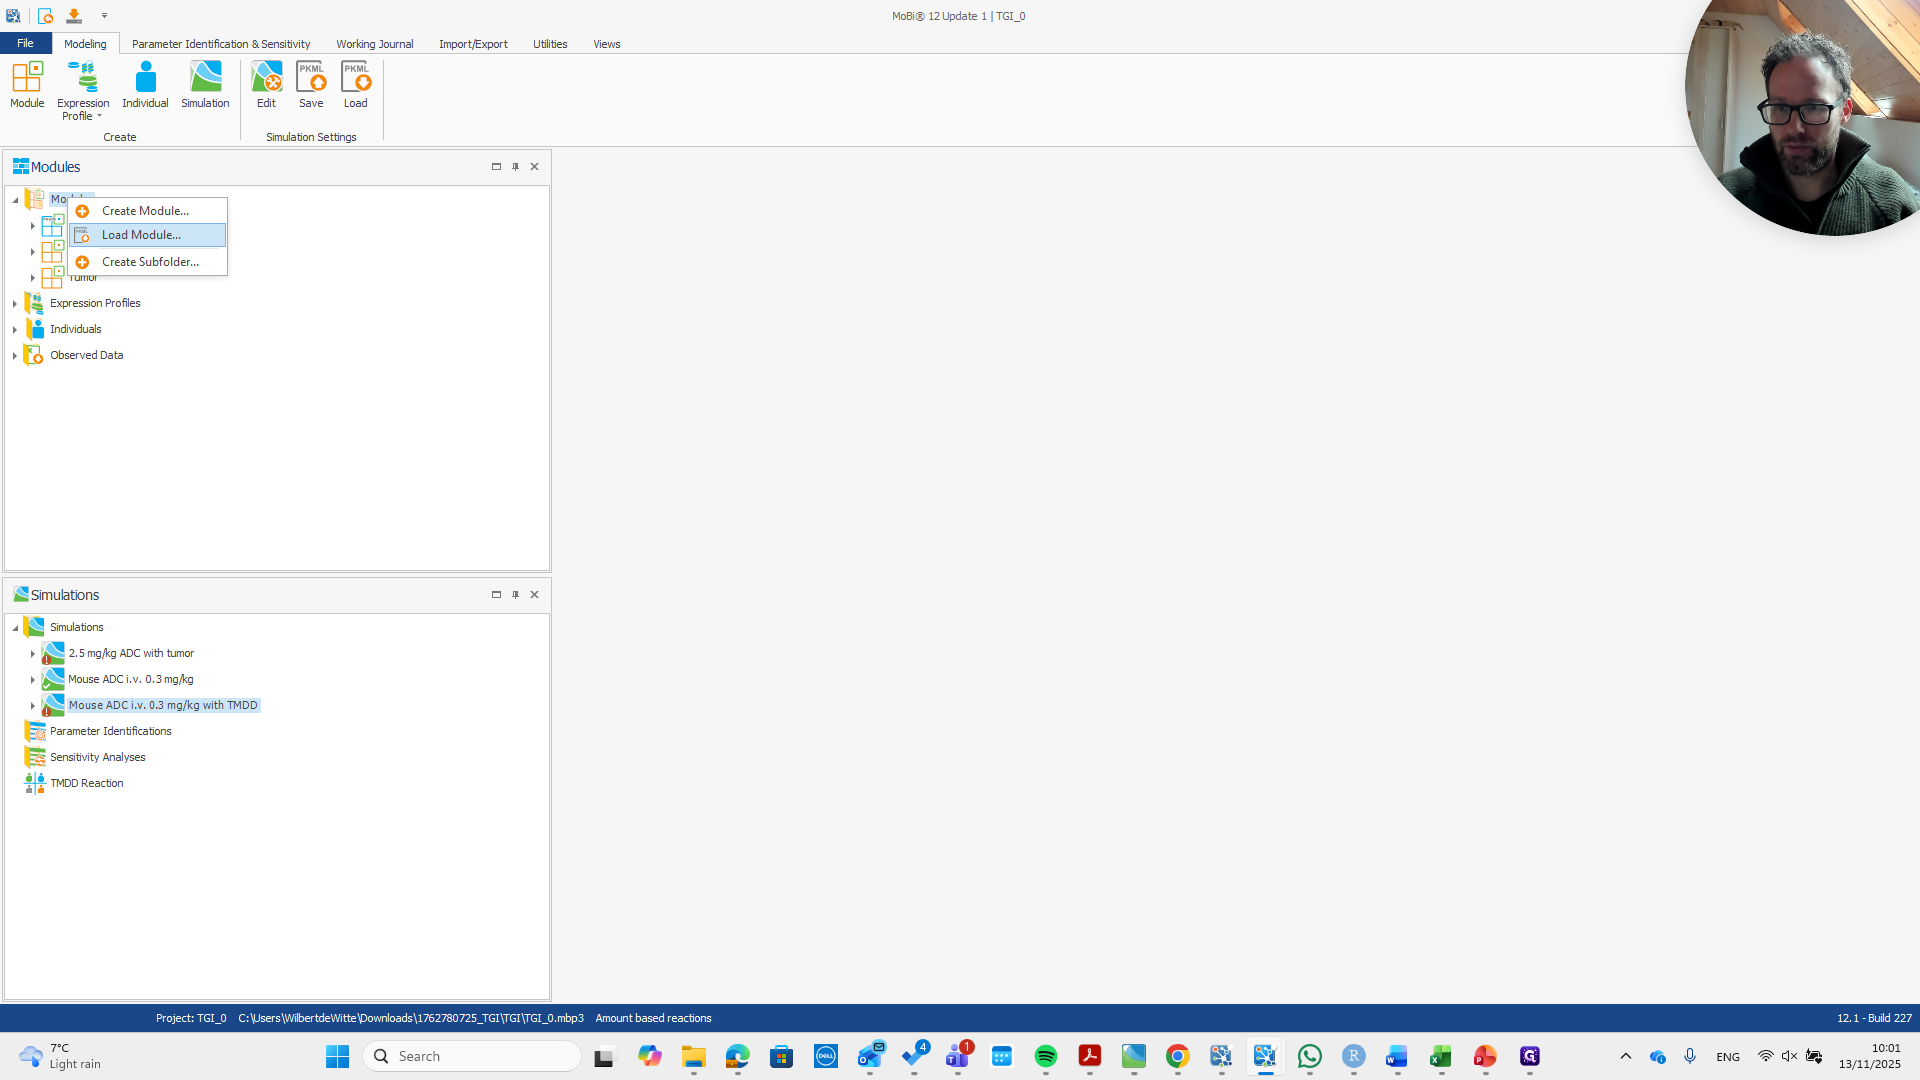
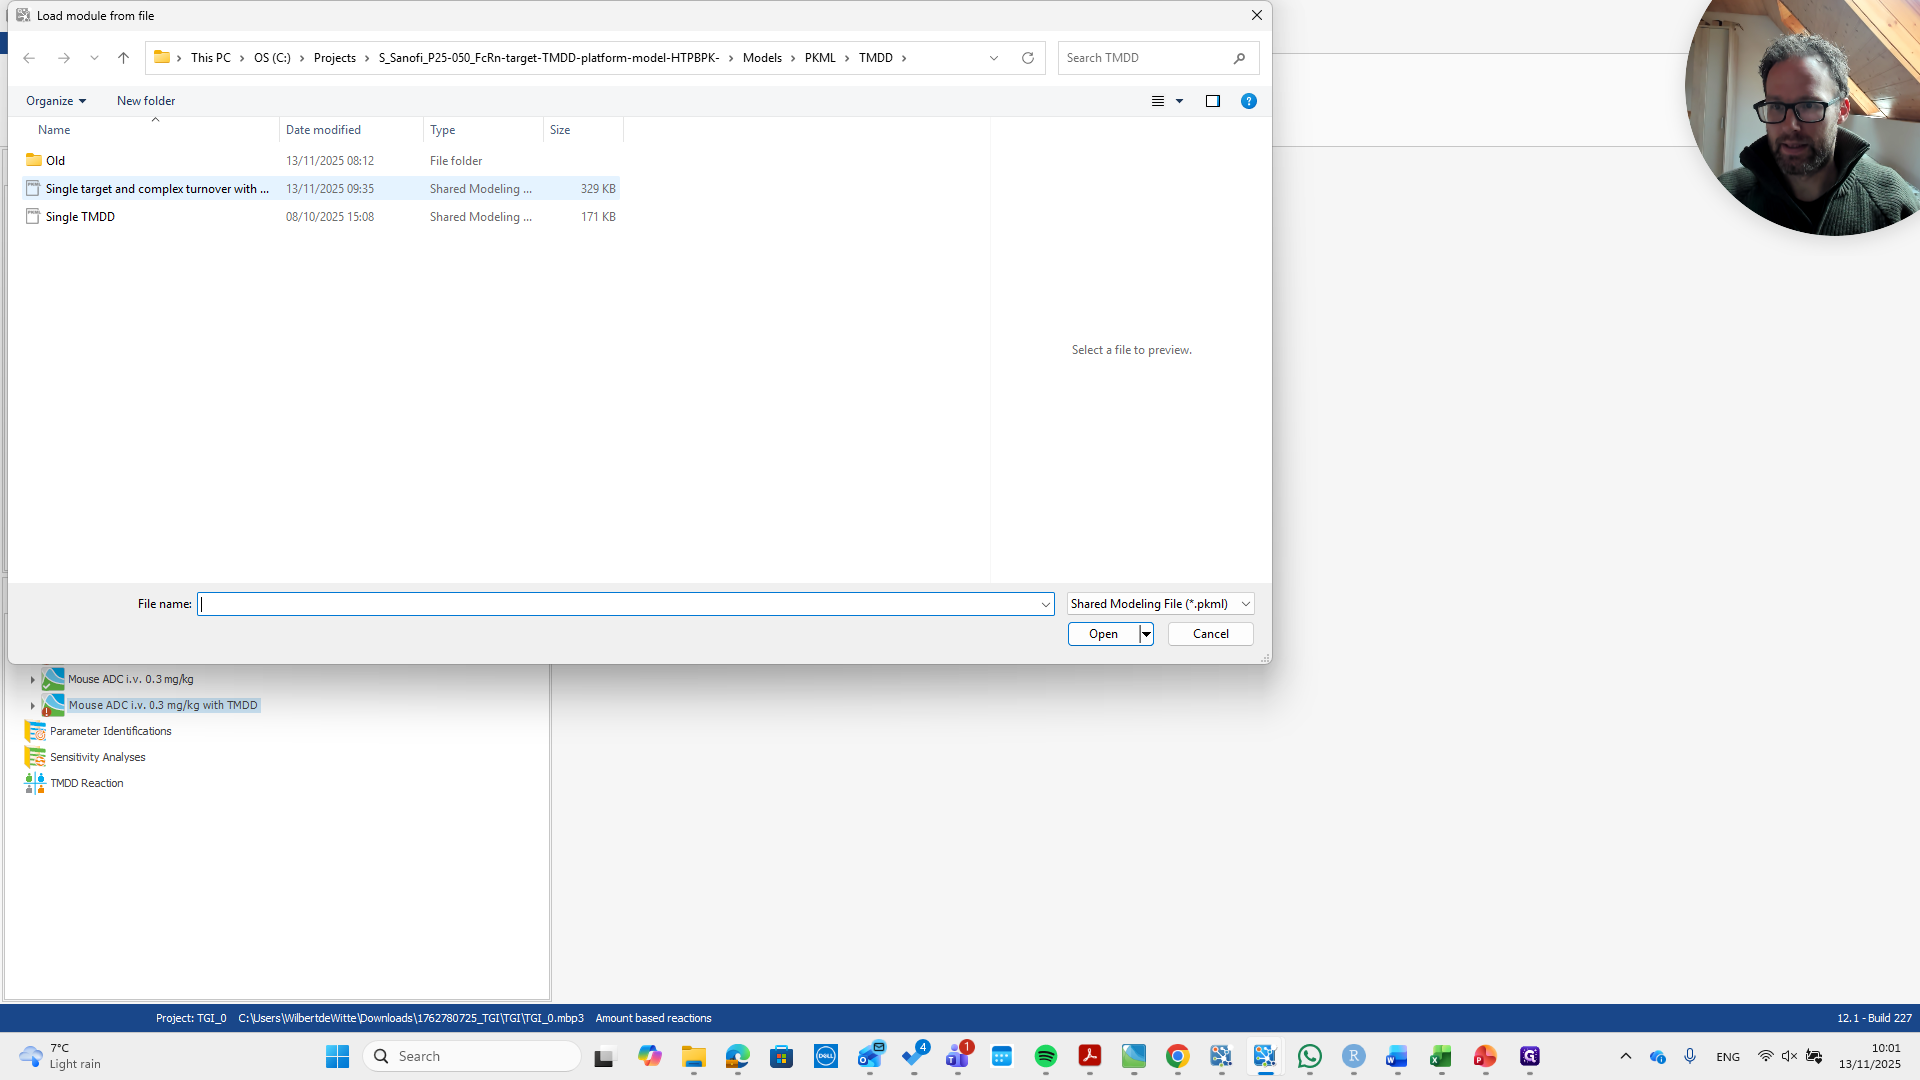
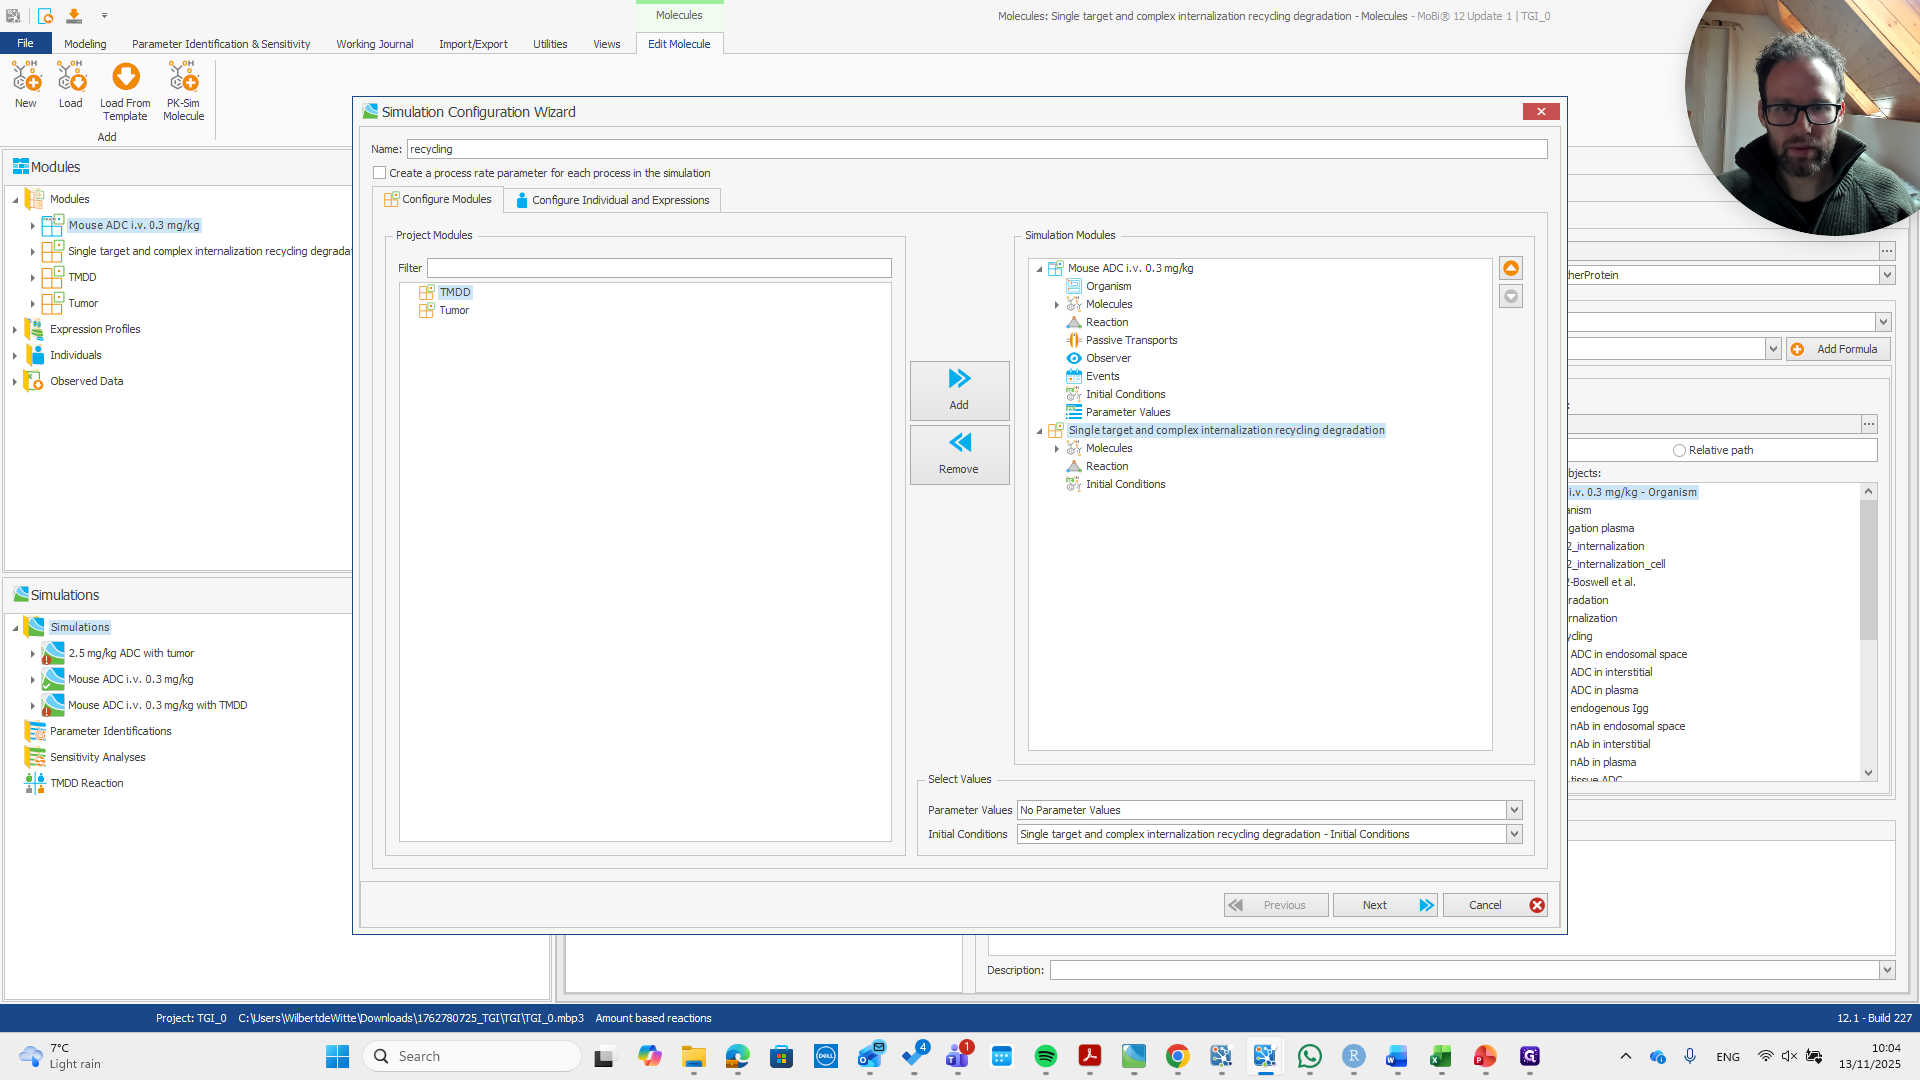
It's named "recycling" so you can easily recognize it.

4
Click on "Open"
Step #4: Click on "Open"

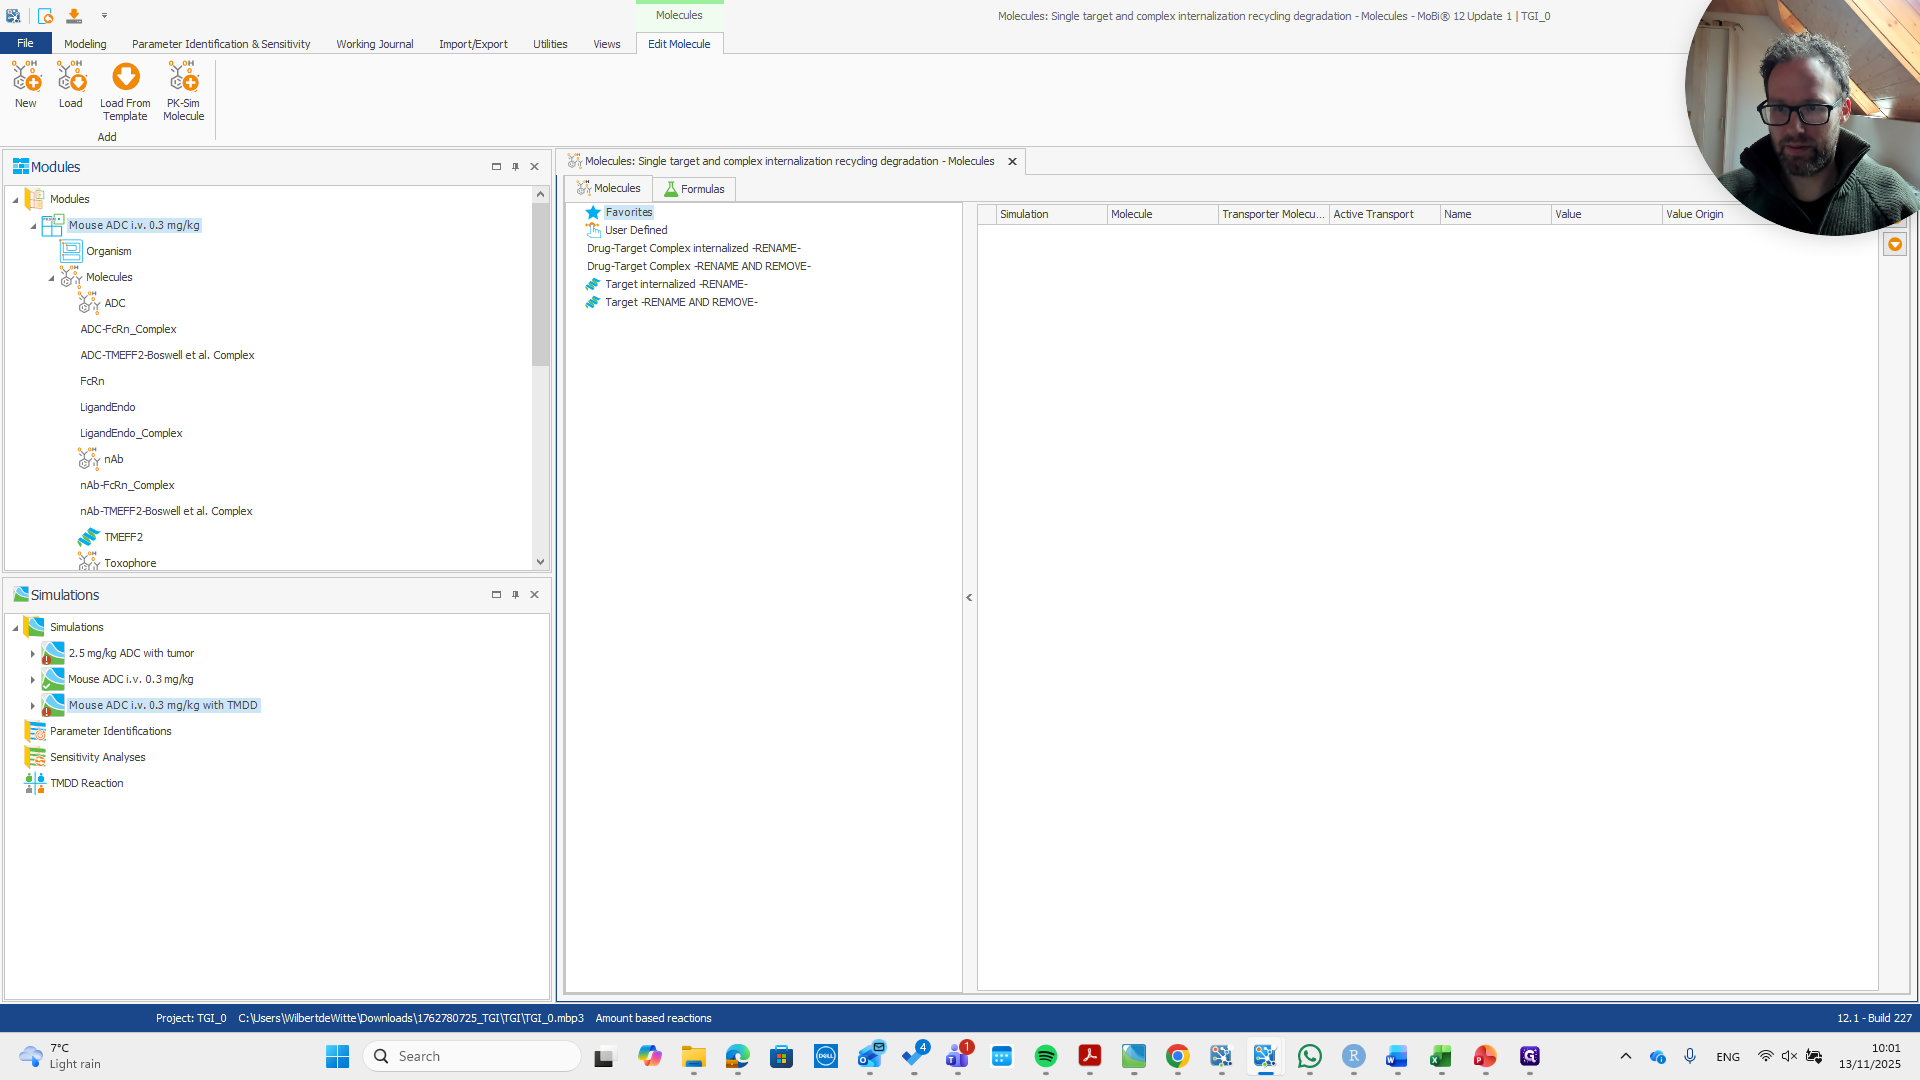
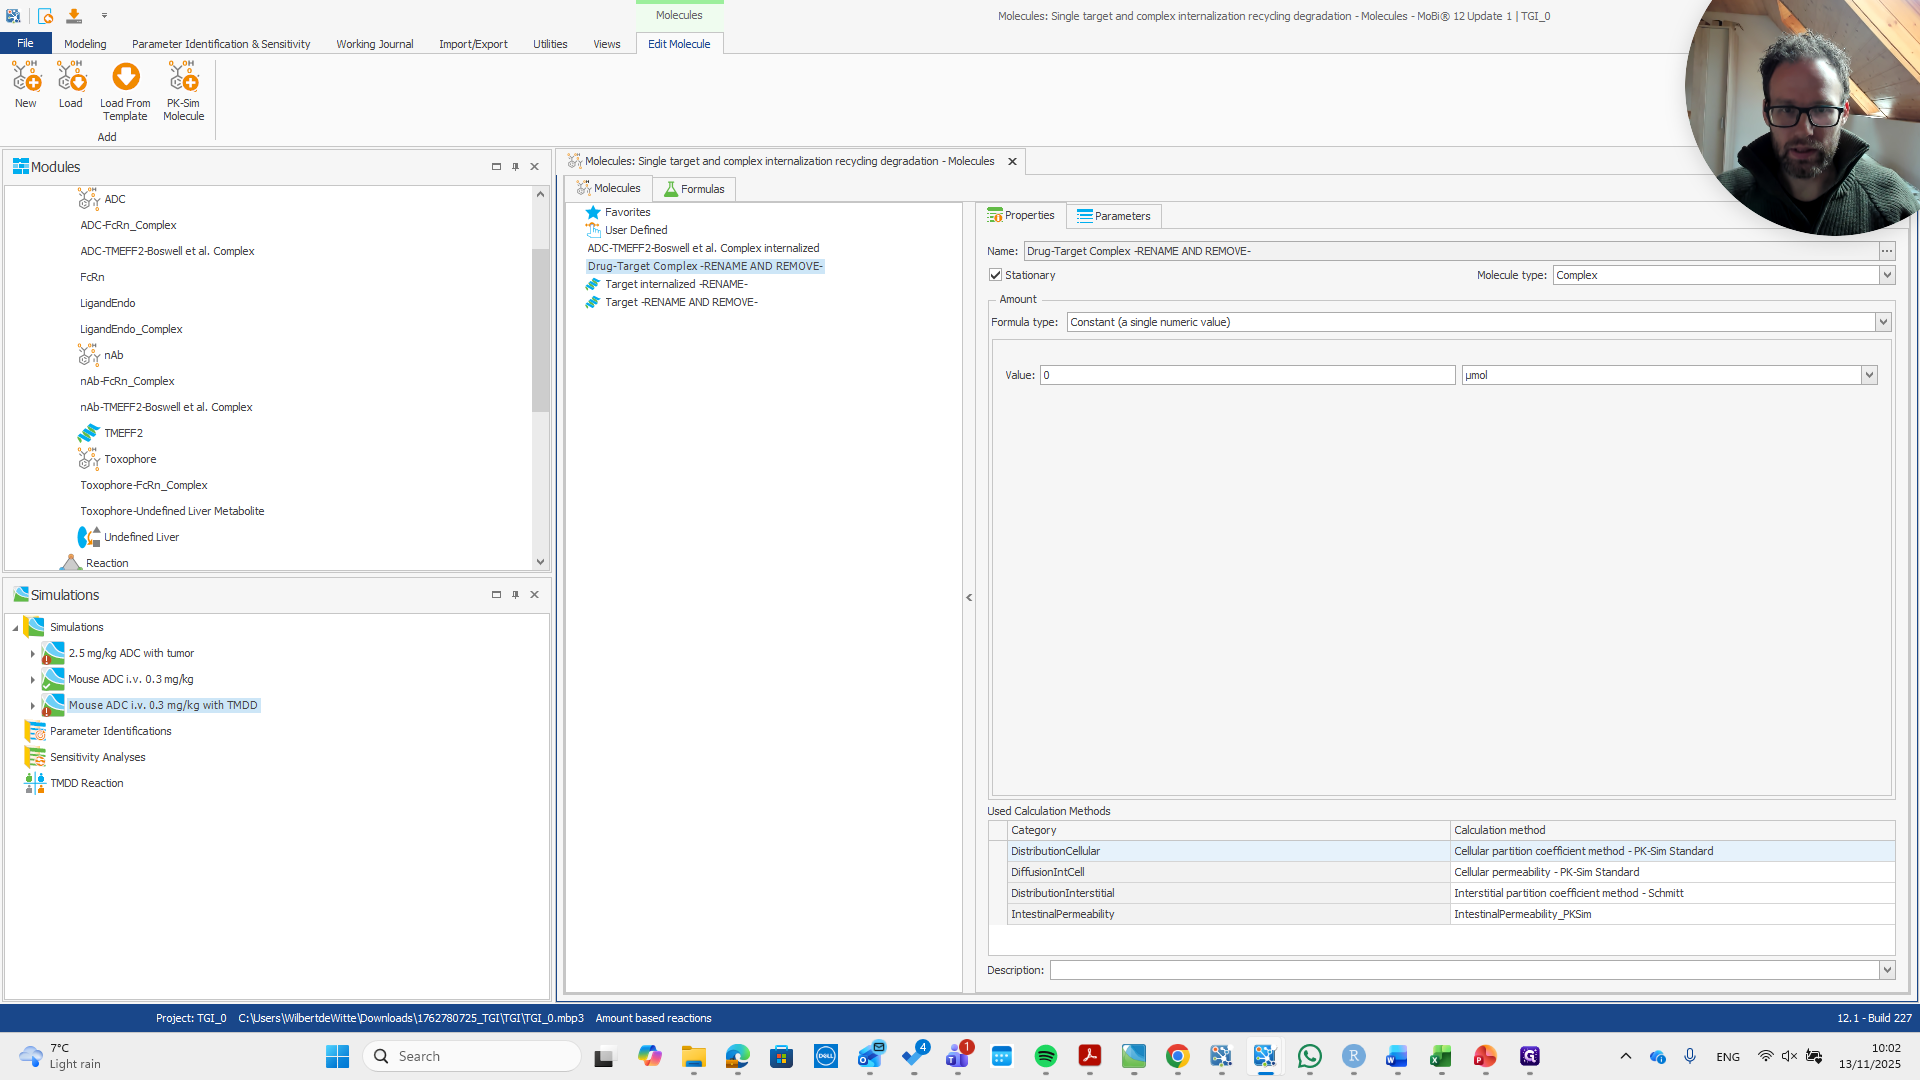
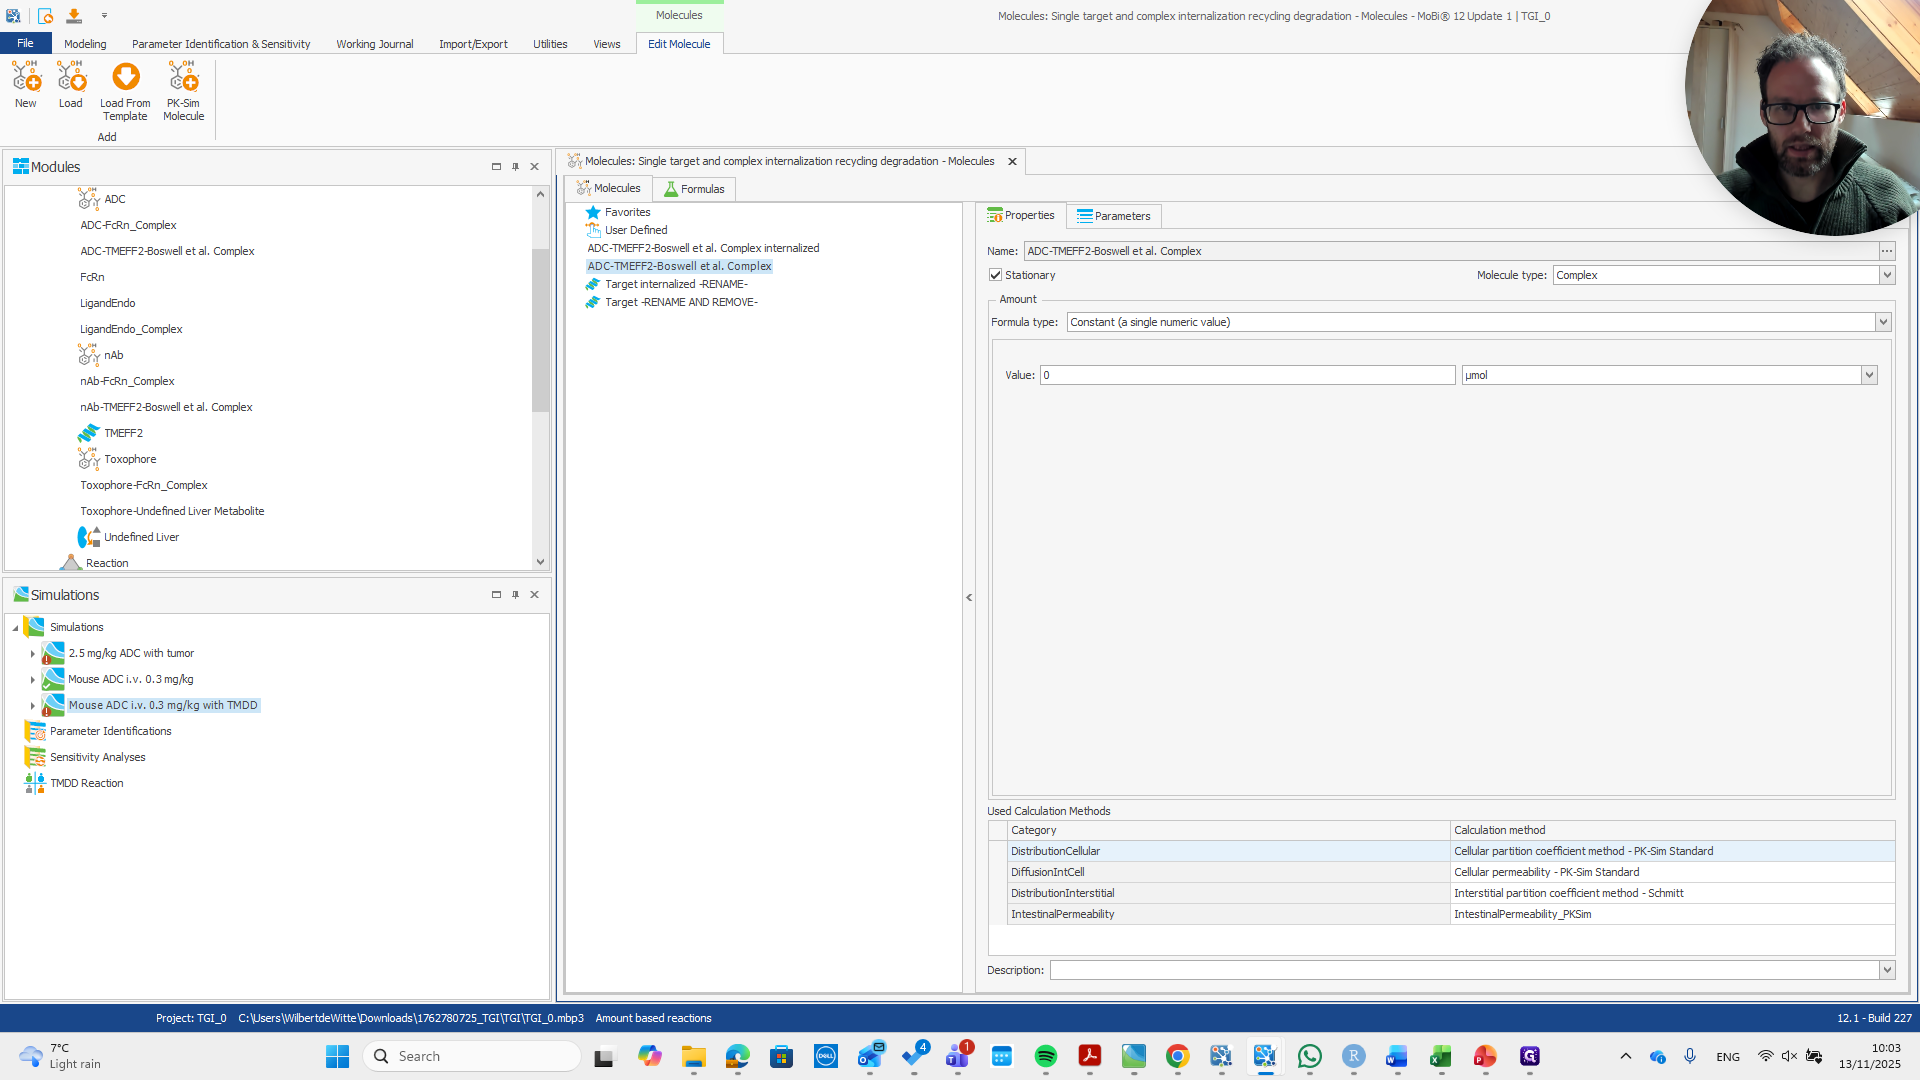
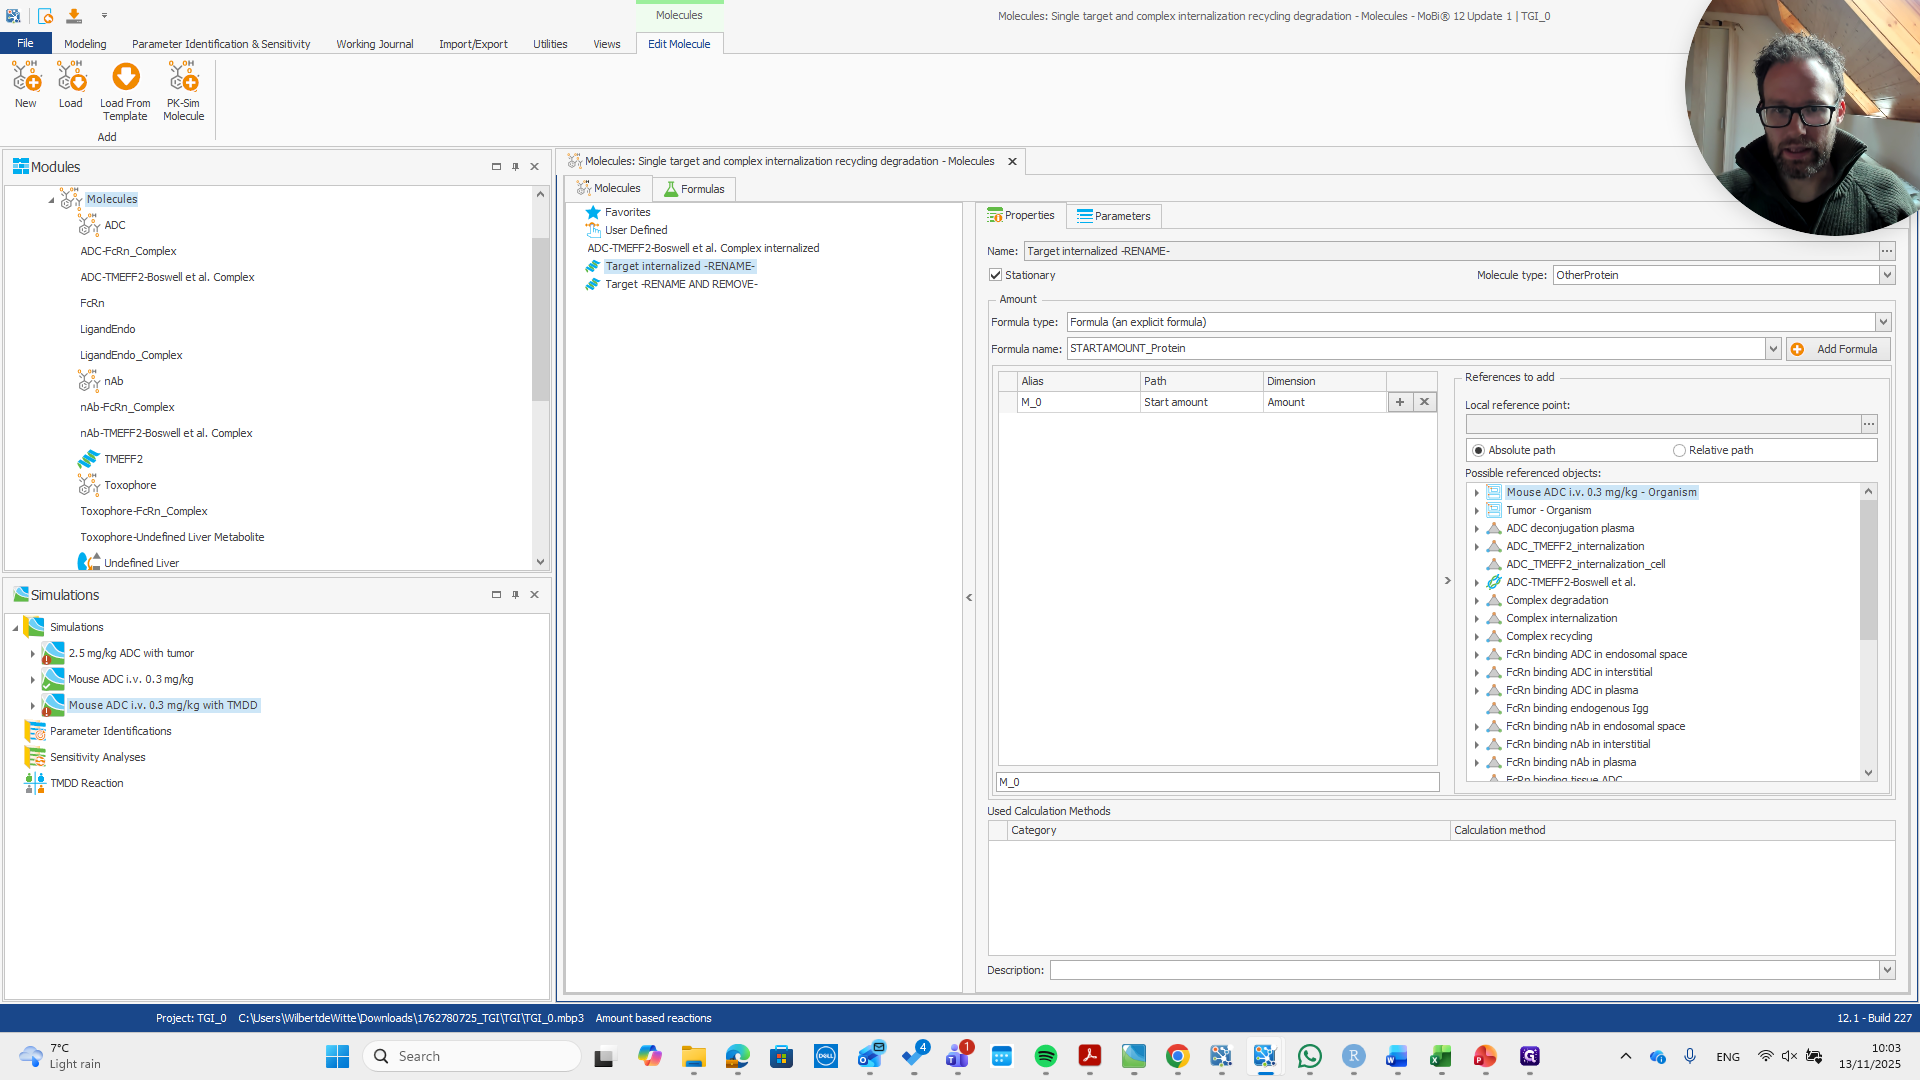
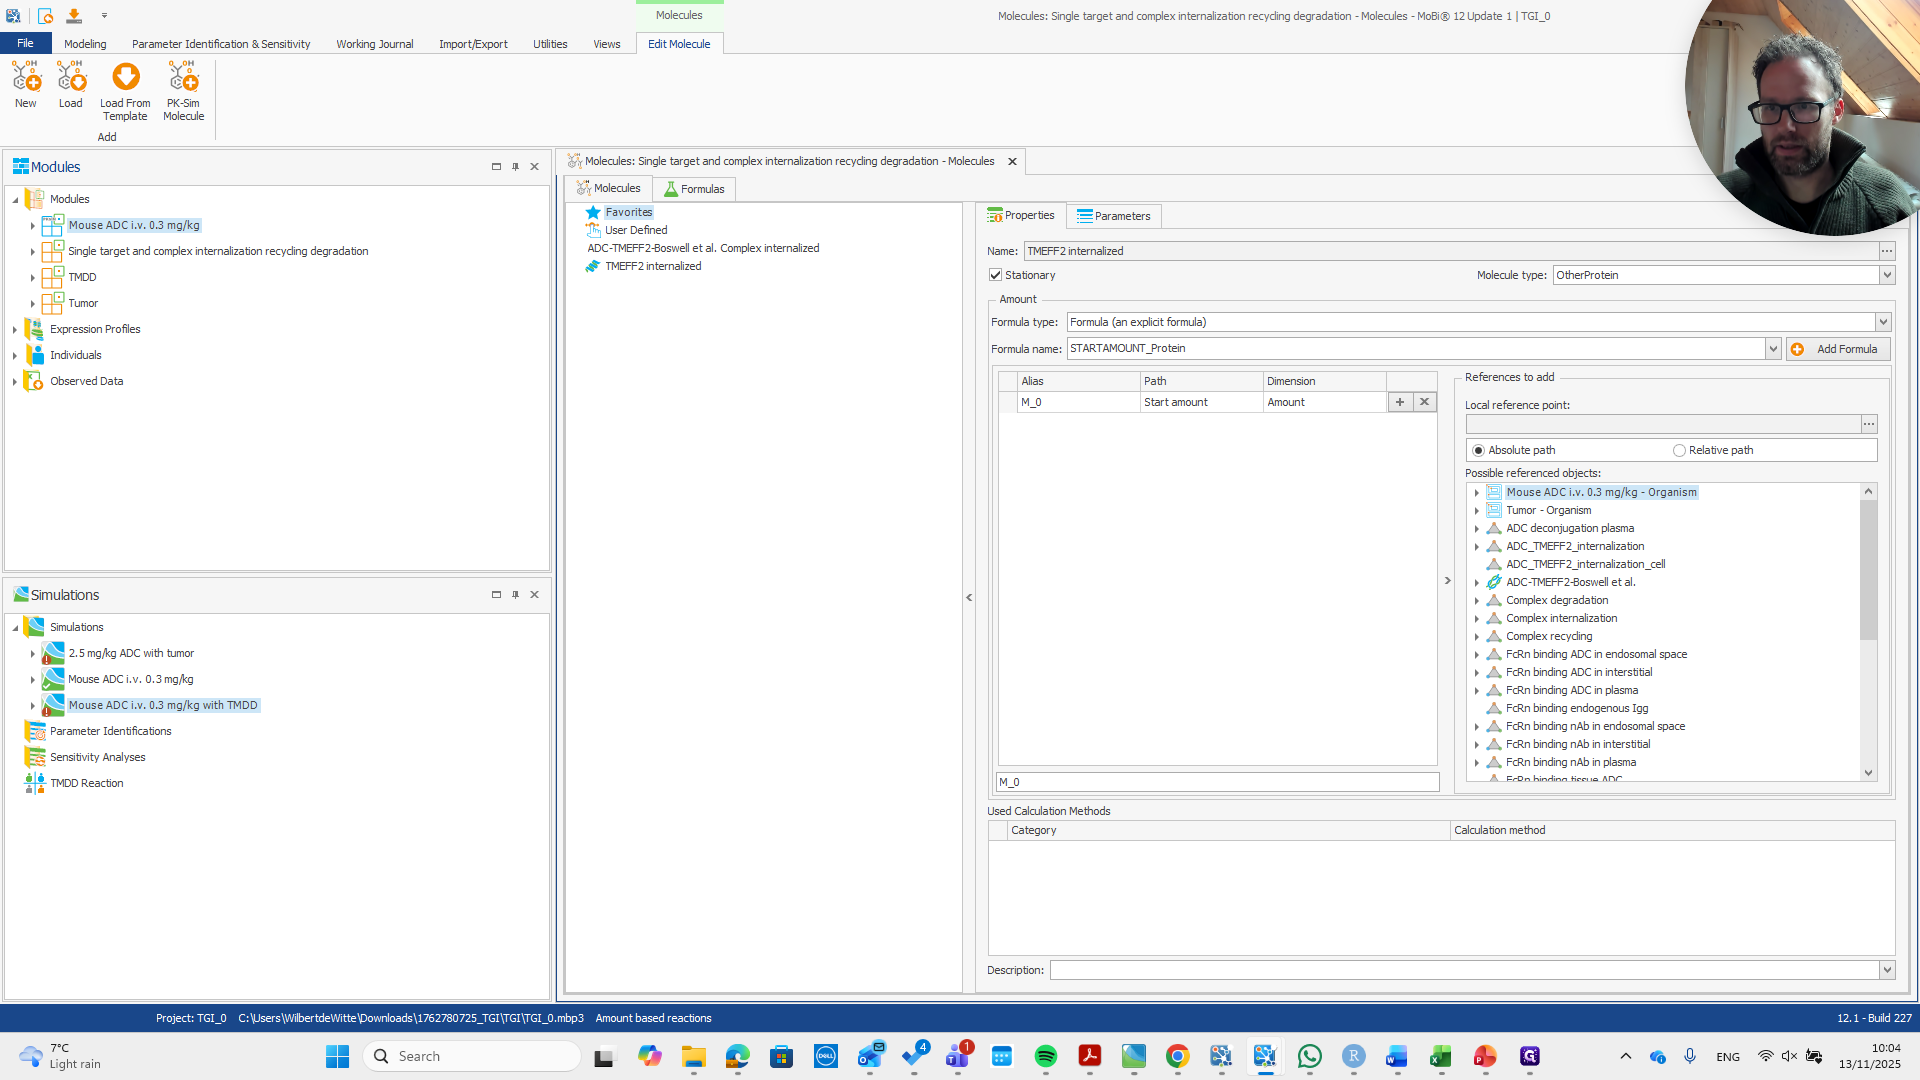
We add it here. Now we have a module with the molecules, building block reactions, and initial conditions. Open the molecules building block by double-clicking it. Then, rename it as needed.

5
Click here
Step #5: Click here
6
Double-click on "Molecules"
Step #6: Double-click on "Molecules"

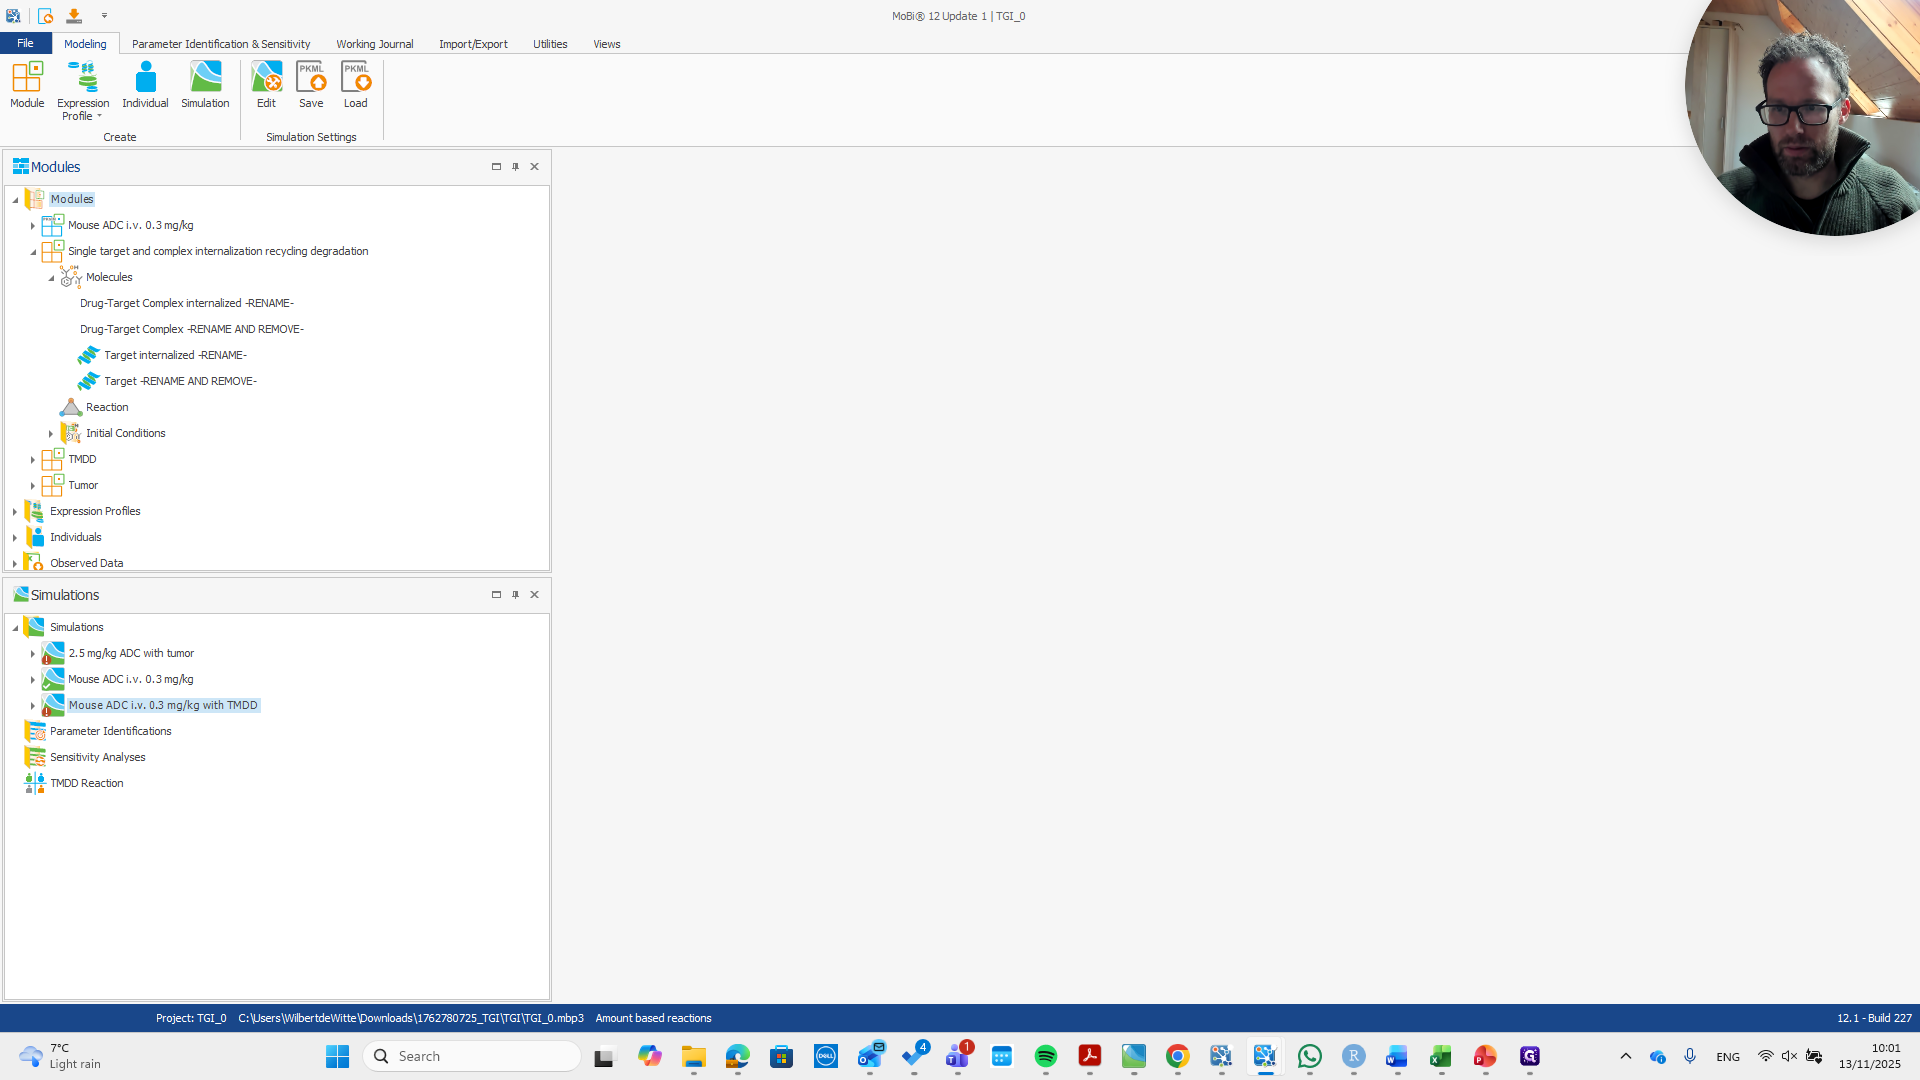
This is already shown in the molecule names here. We need to rename that to match the molecule names in our PKSim base module.

7
Click on "‣"
Step #7: Click on "‣"

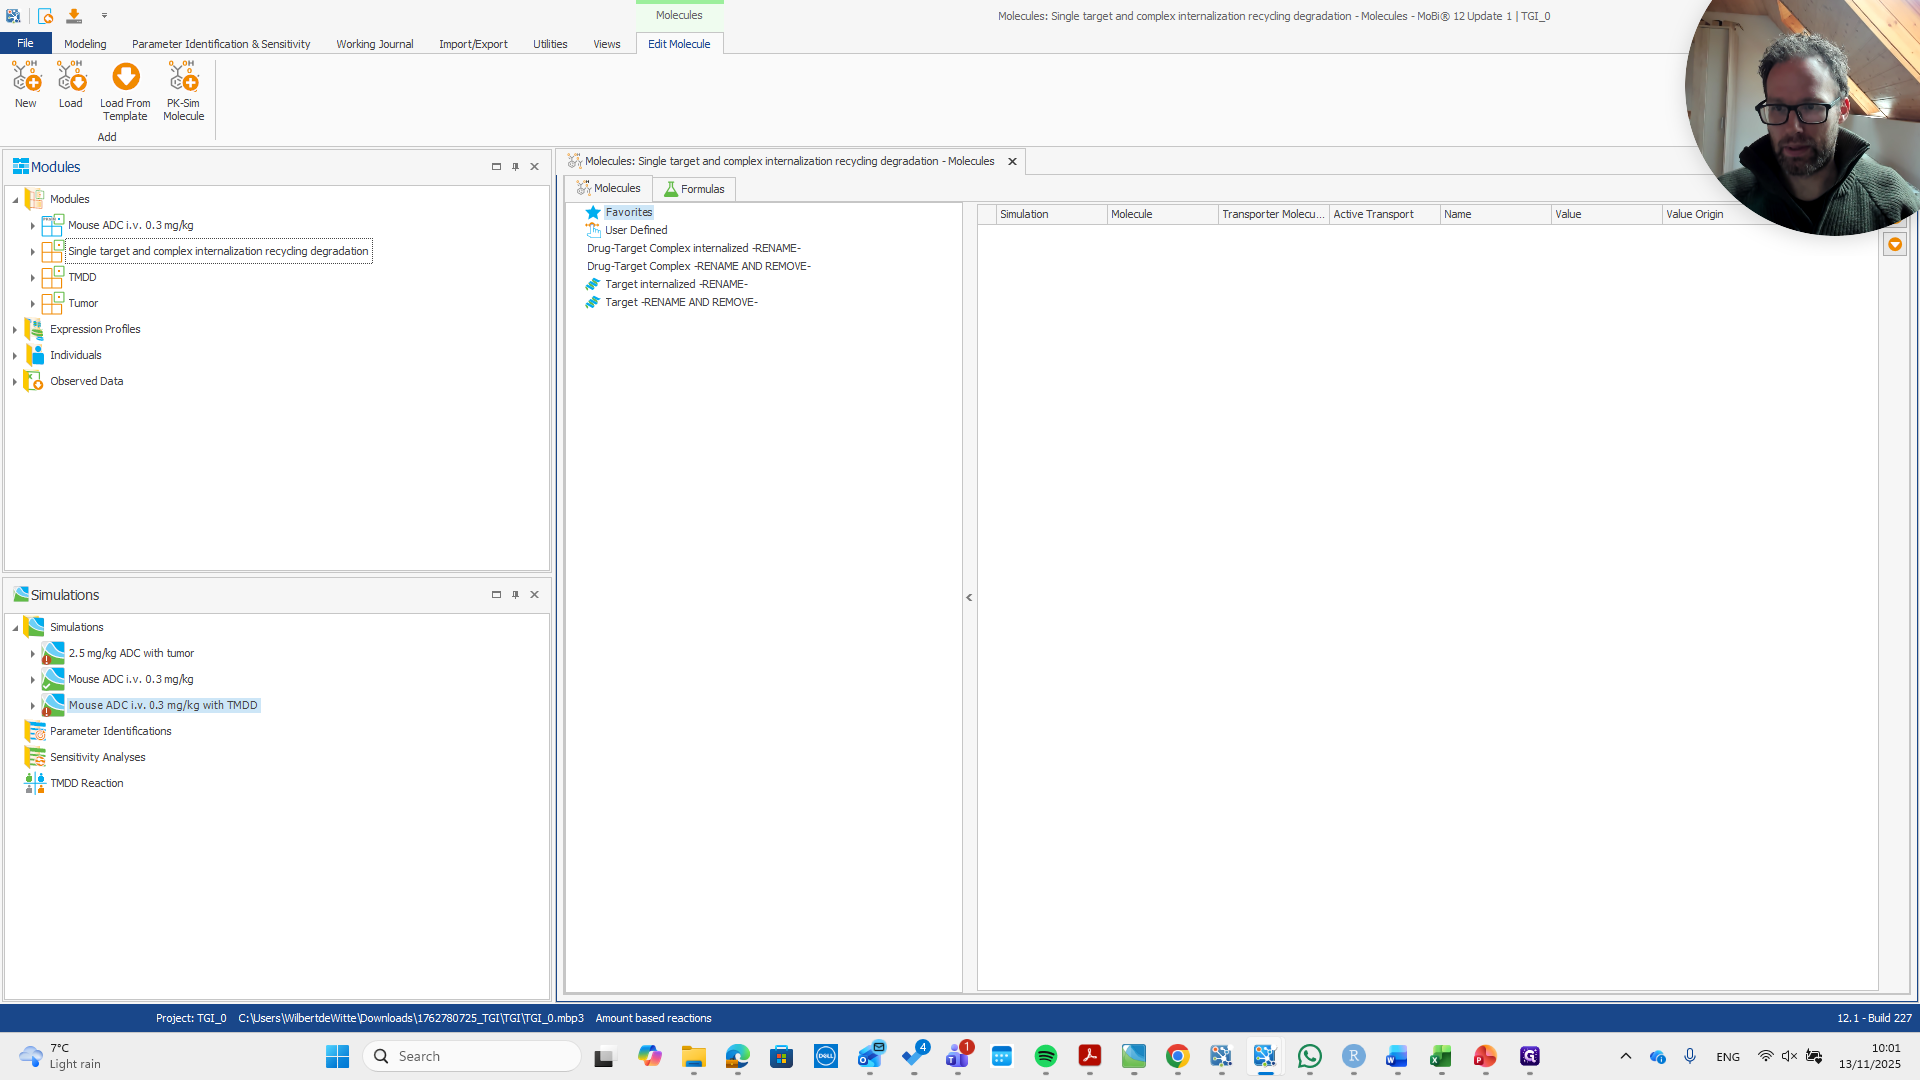
Open the side view to display the molecules. This allows you to see their exact names and rename them appropriately.

8
Click here
Step #8: Click here
9
Click here
Step #9: Click here

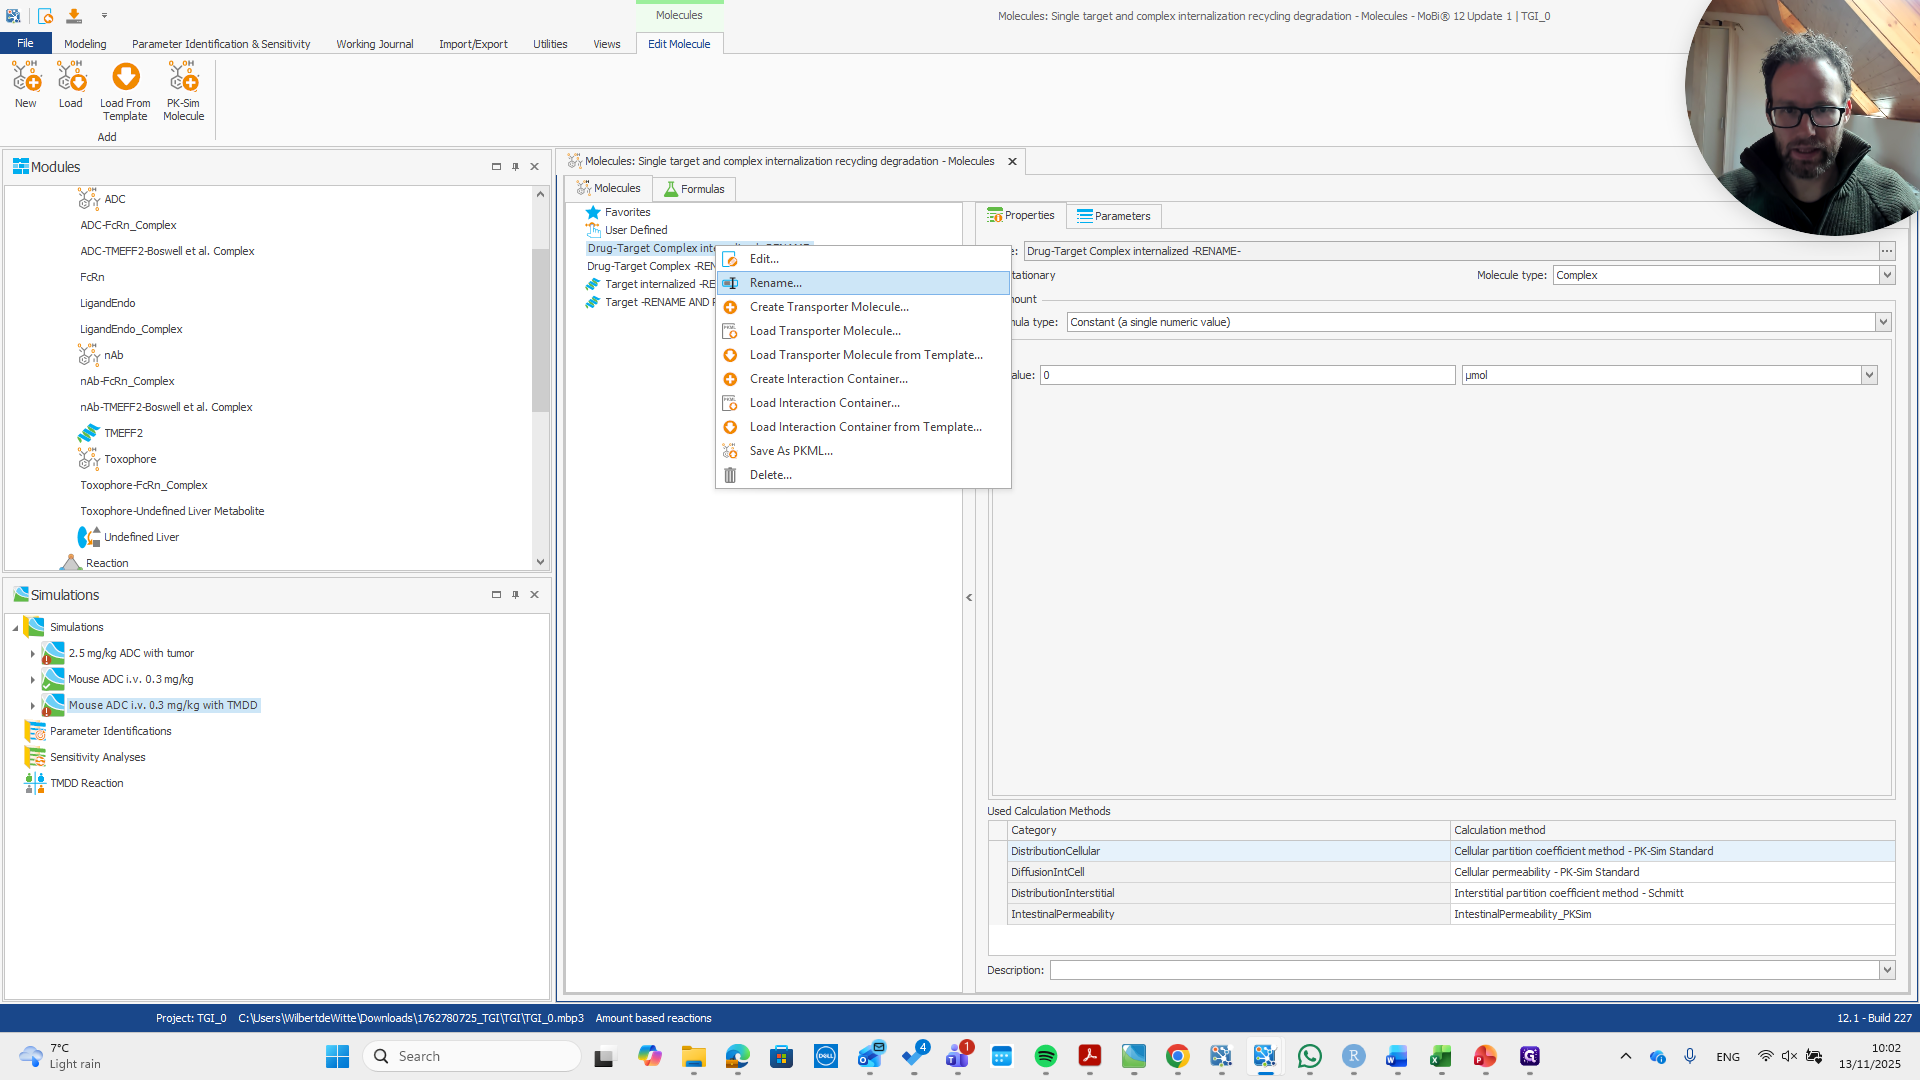
The first step is the internalization of the drug-target complex.

10
Right-click on "Drug - Target Complex internalized -RENAME-"
Step #10: Right-click on "Drug - Target Complex internalized -RENAME-"

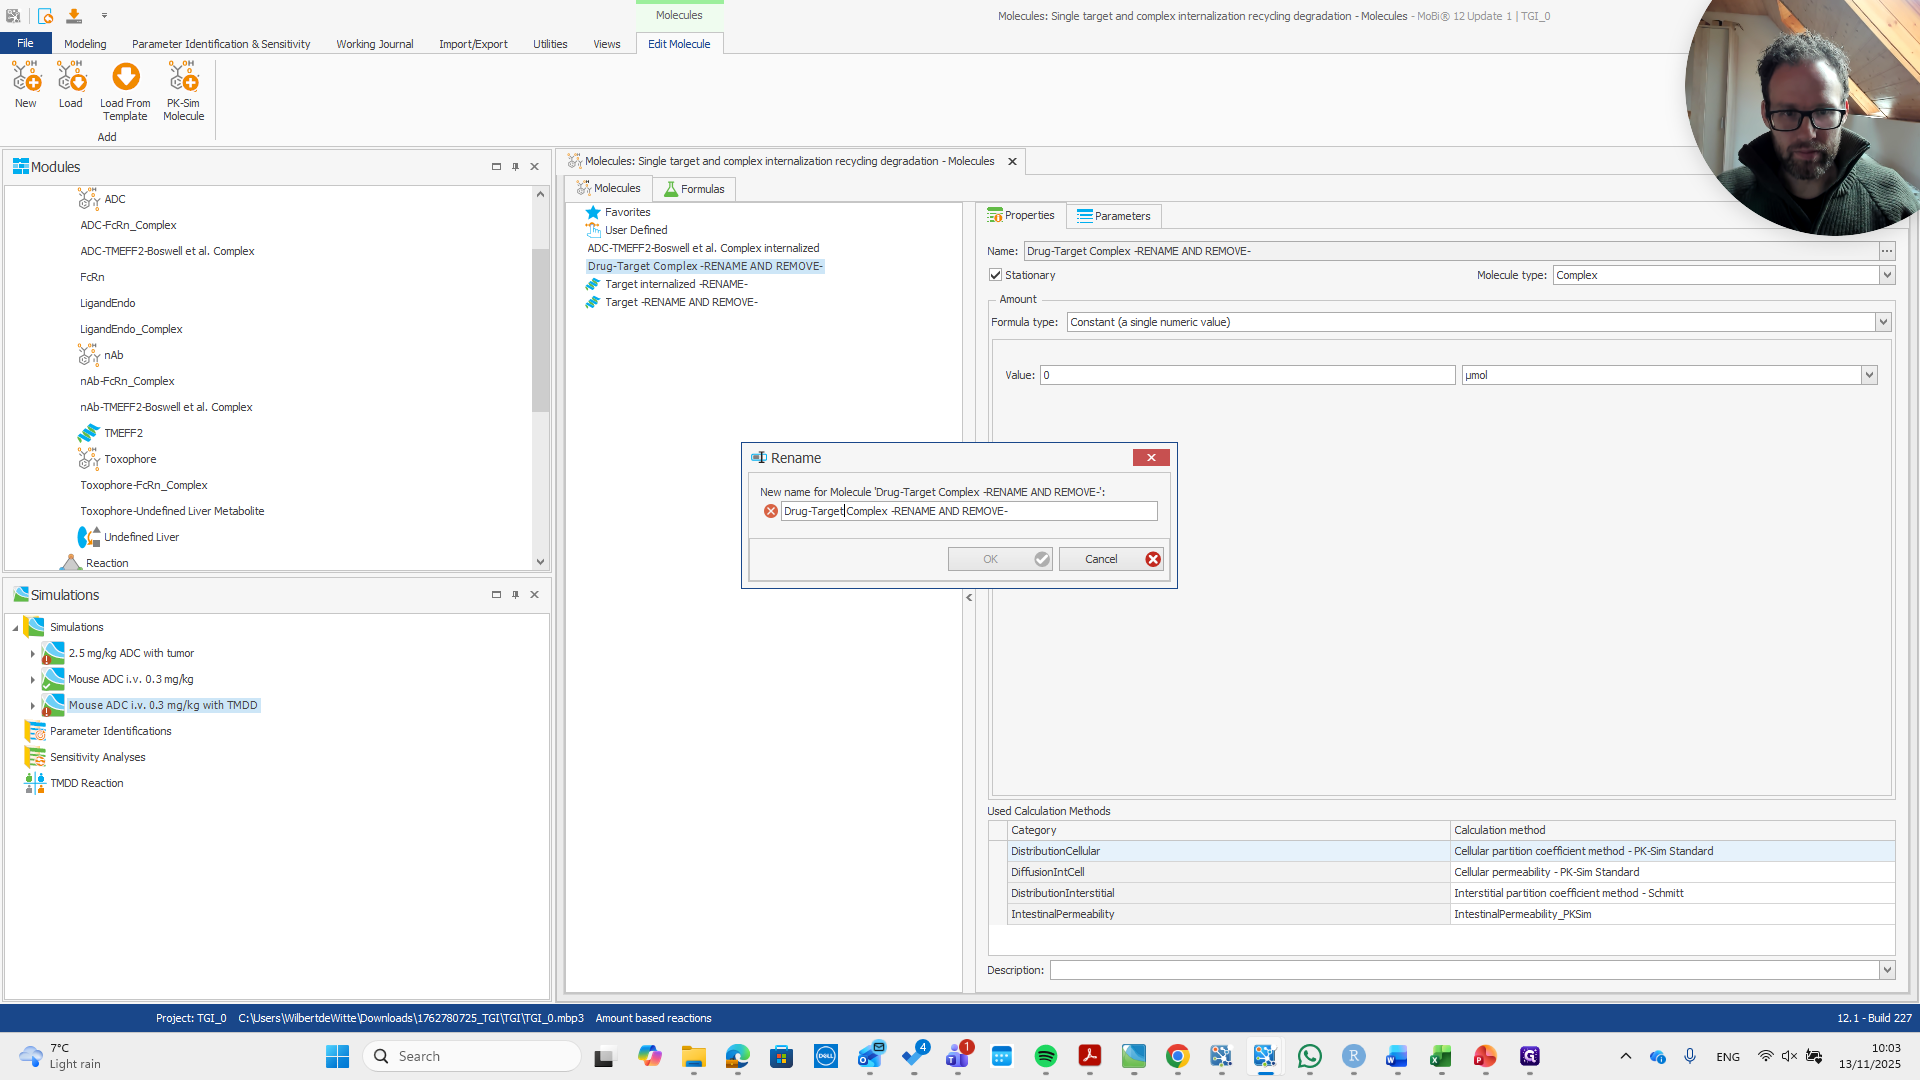
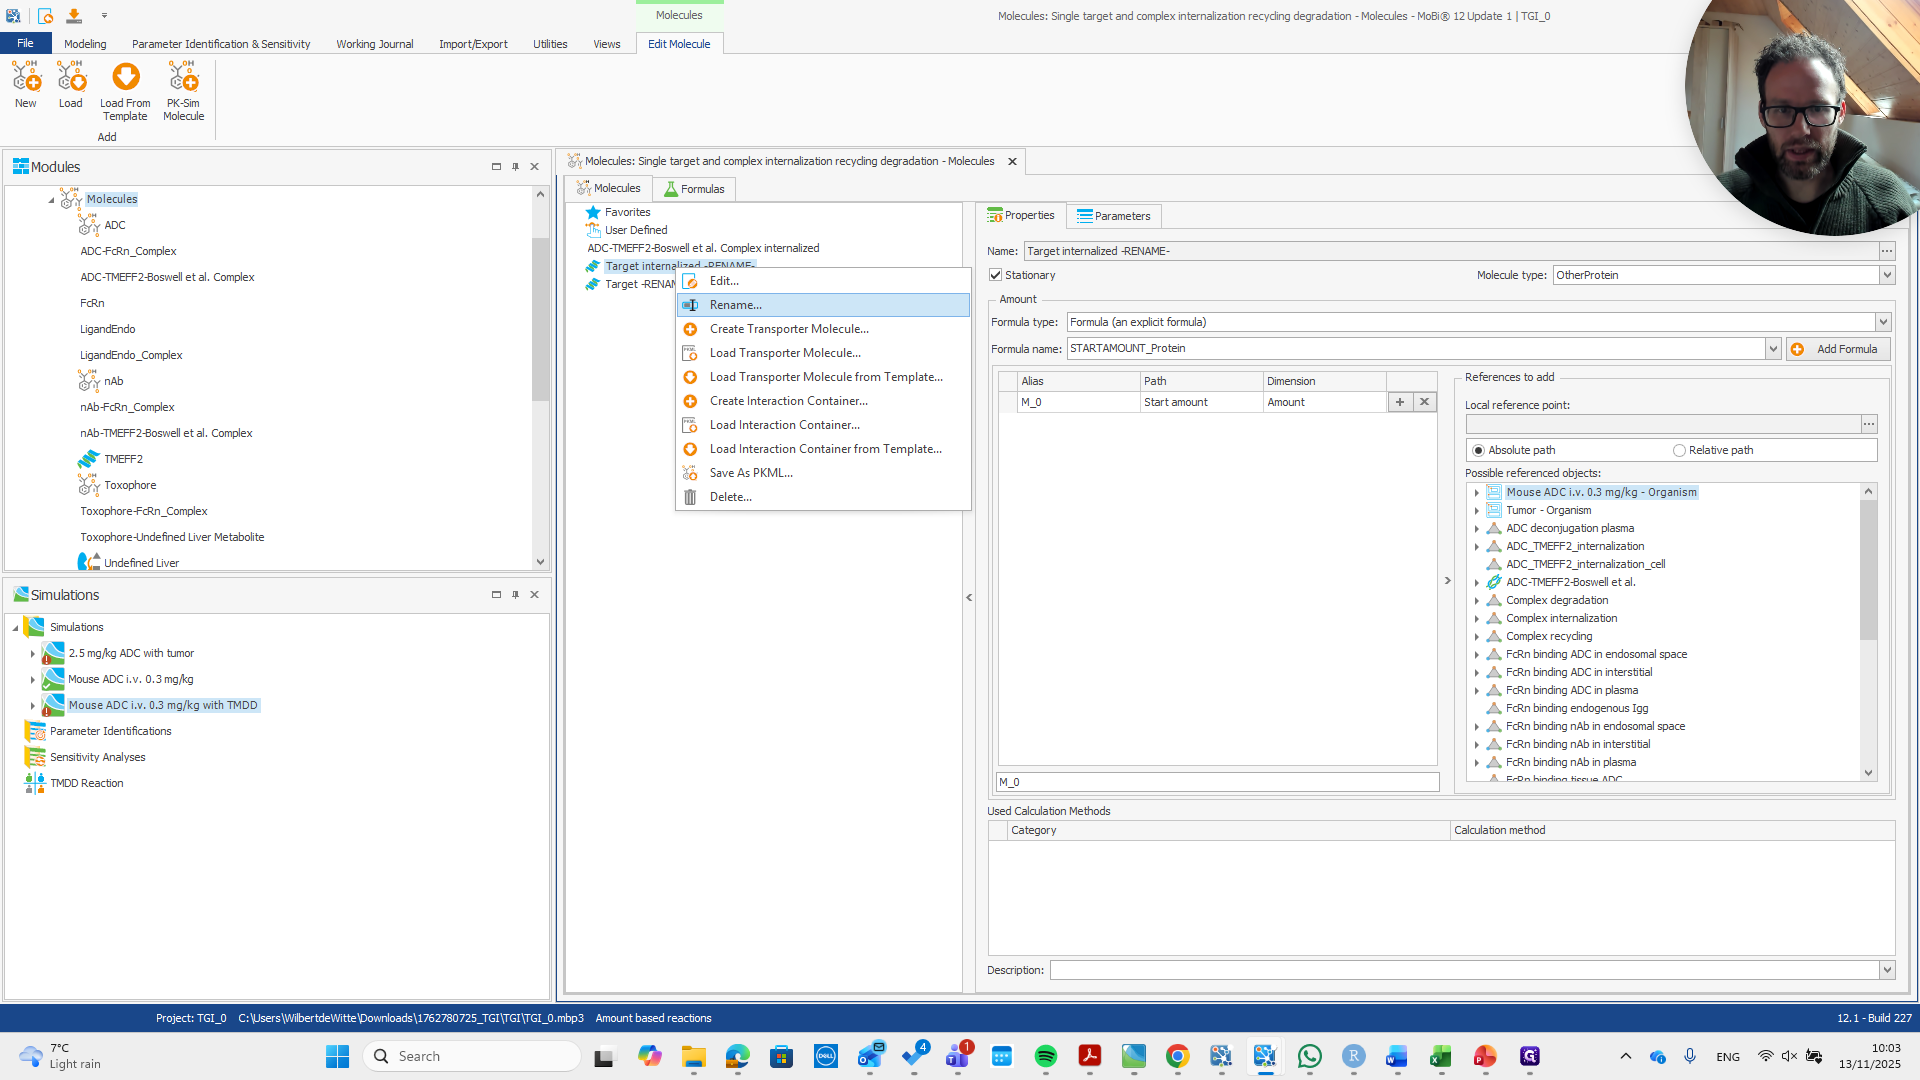
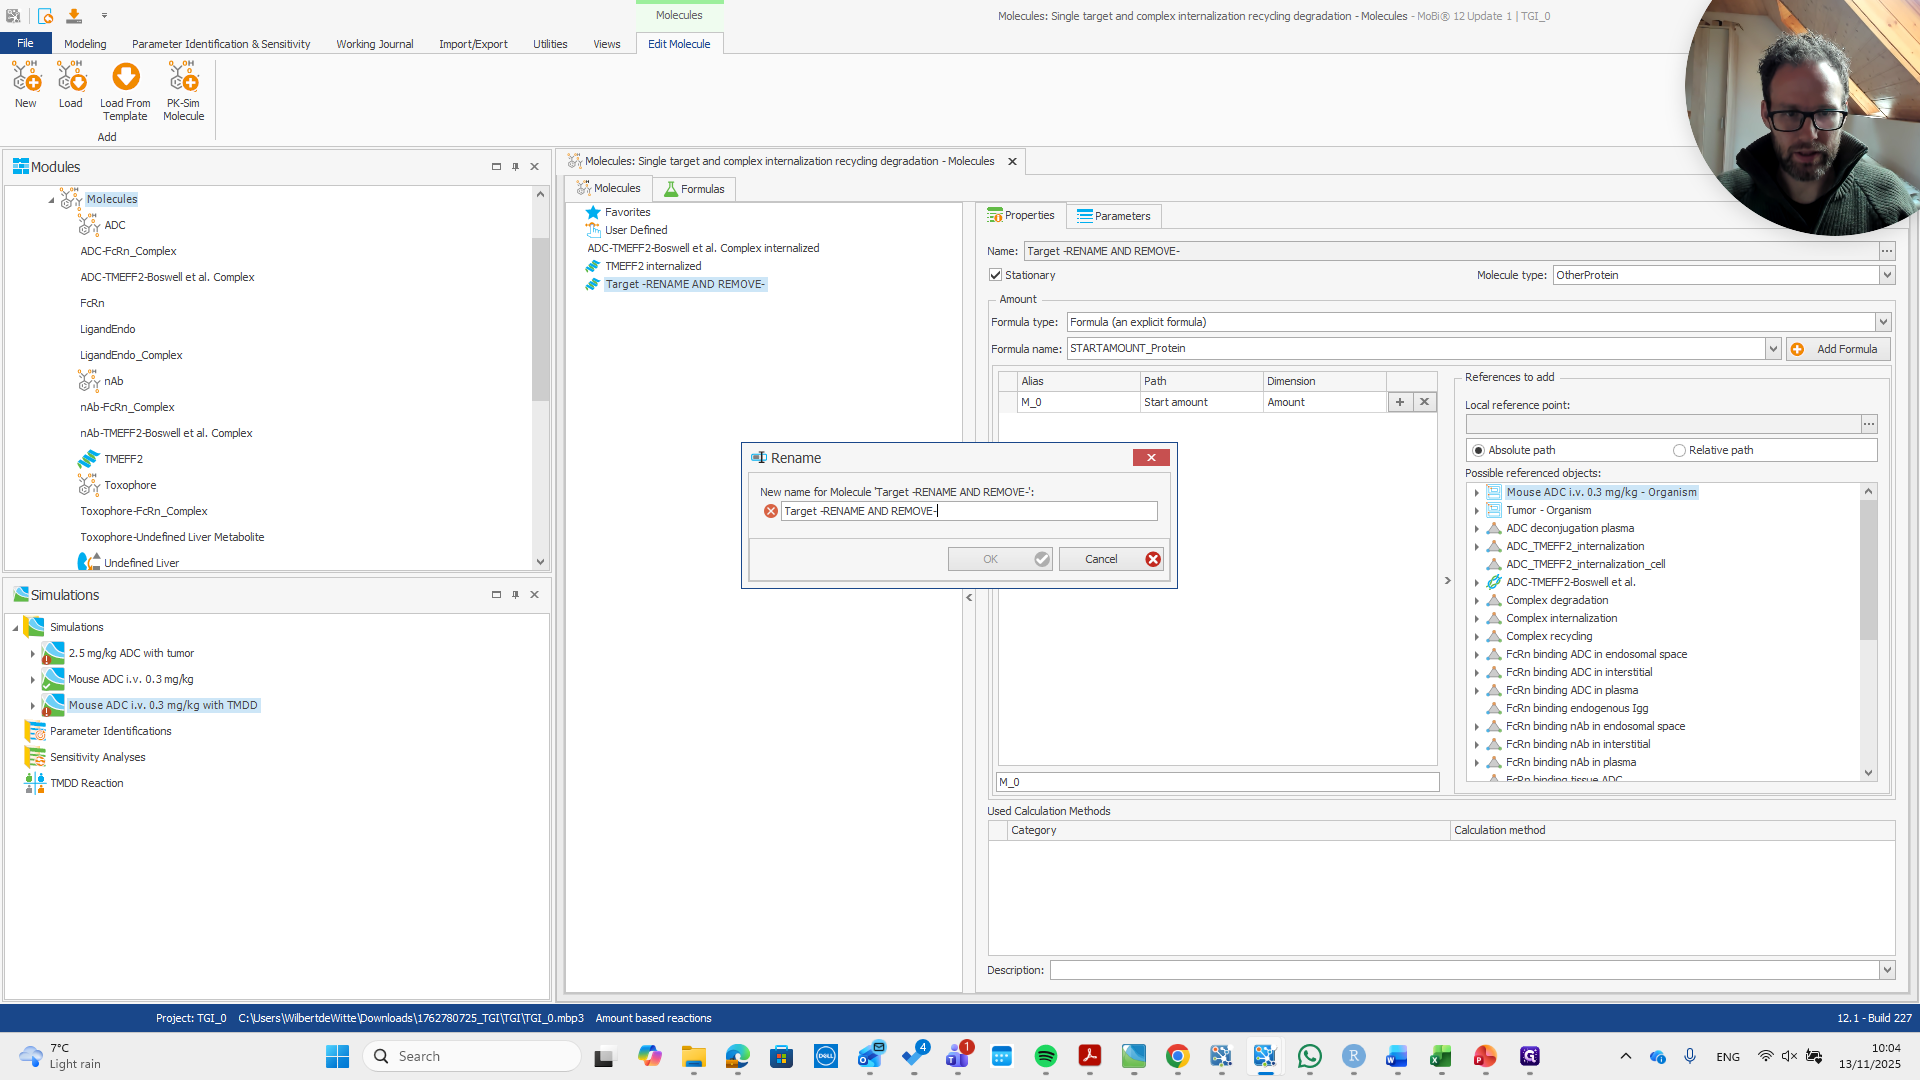
We need to rename it to ensure it matches the name of the drug target.

11
Click on "..."
Step #11: Click on "..."
12
Drag "- Target Complex"
Step #12: Drag "- Target Complex"

13
Type "ADC-TMEFF2 Boswel- et al."
14
Drag "' Drug - Target Complex internalized -RENAME- '"
Step #14: Drag "' Drug - Target Complex internalized -RENAME- '"
15
Type "ADC-TMEFF2 Boswel- et al."
16
Click on "OK"
Step #16: Click on "OK"

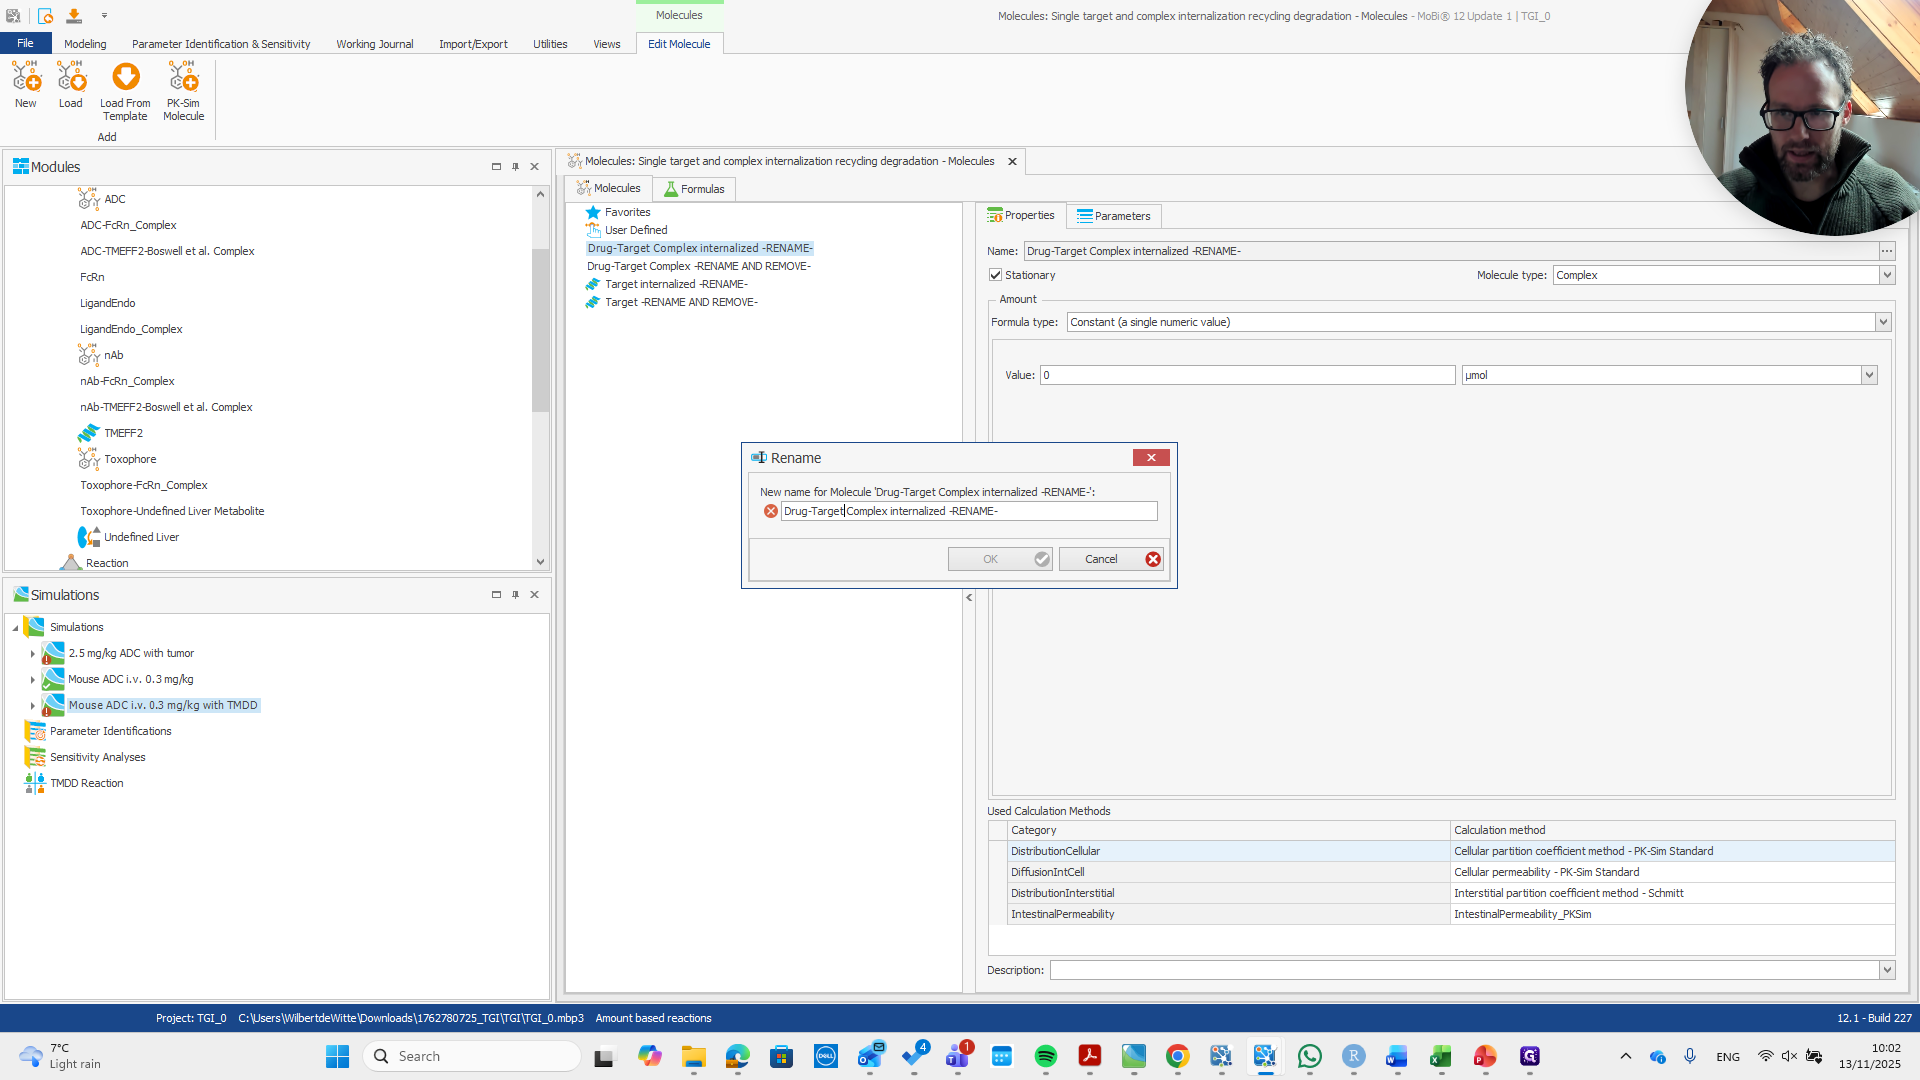
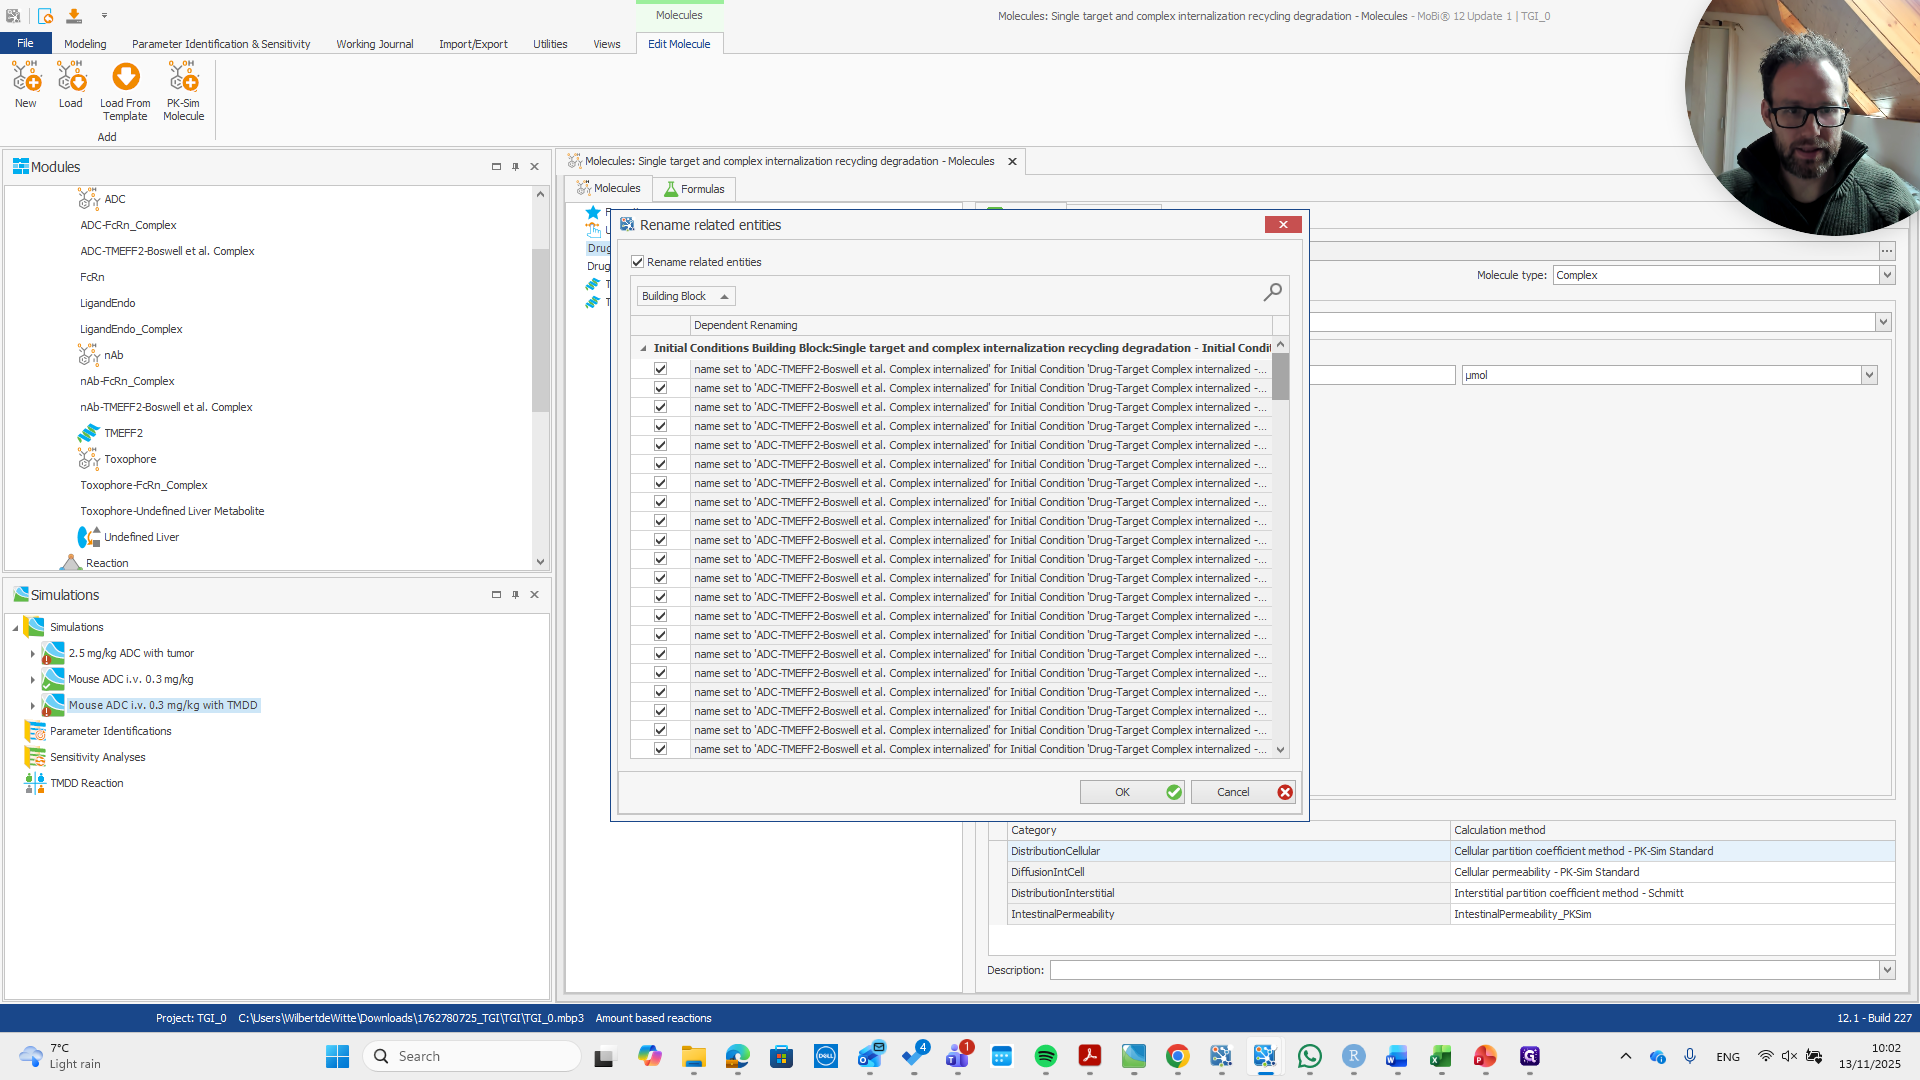
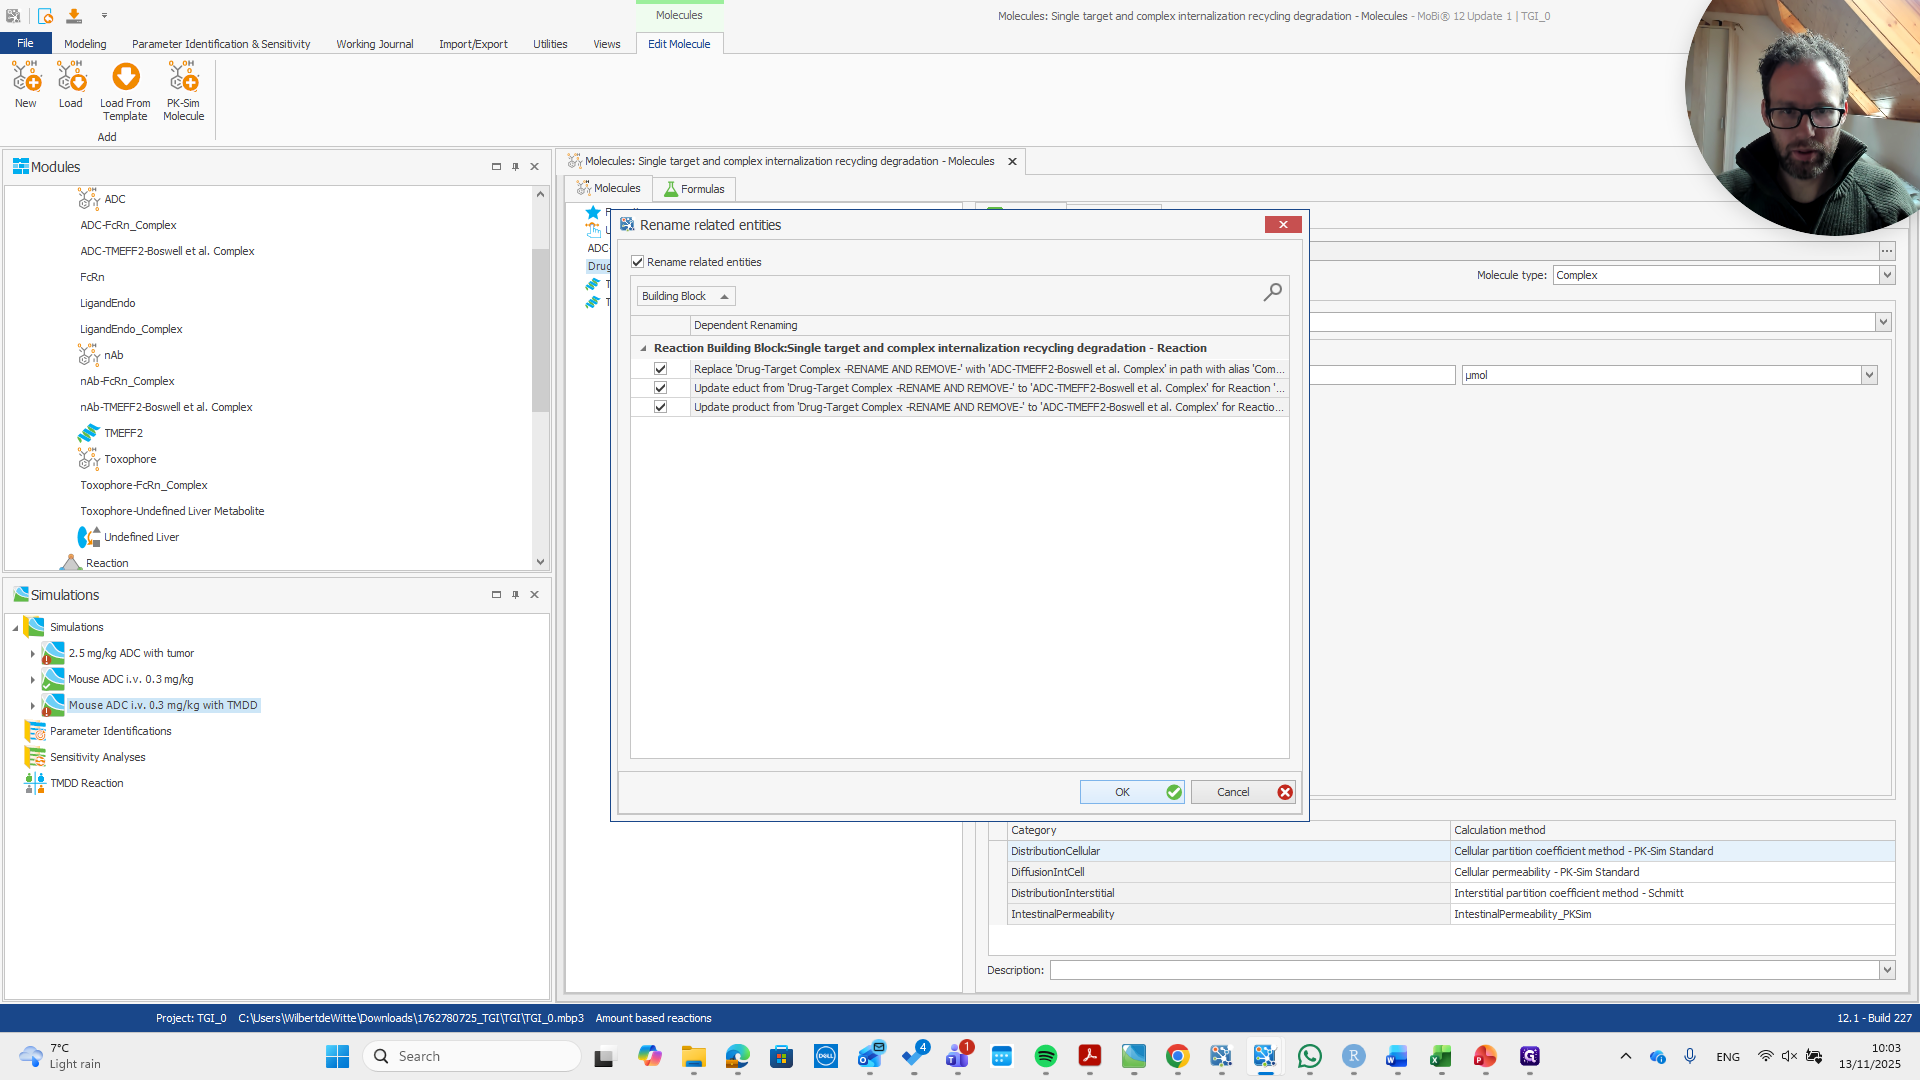
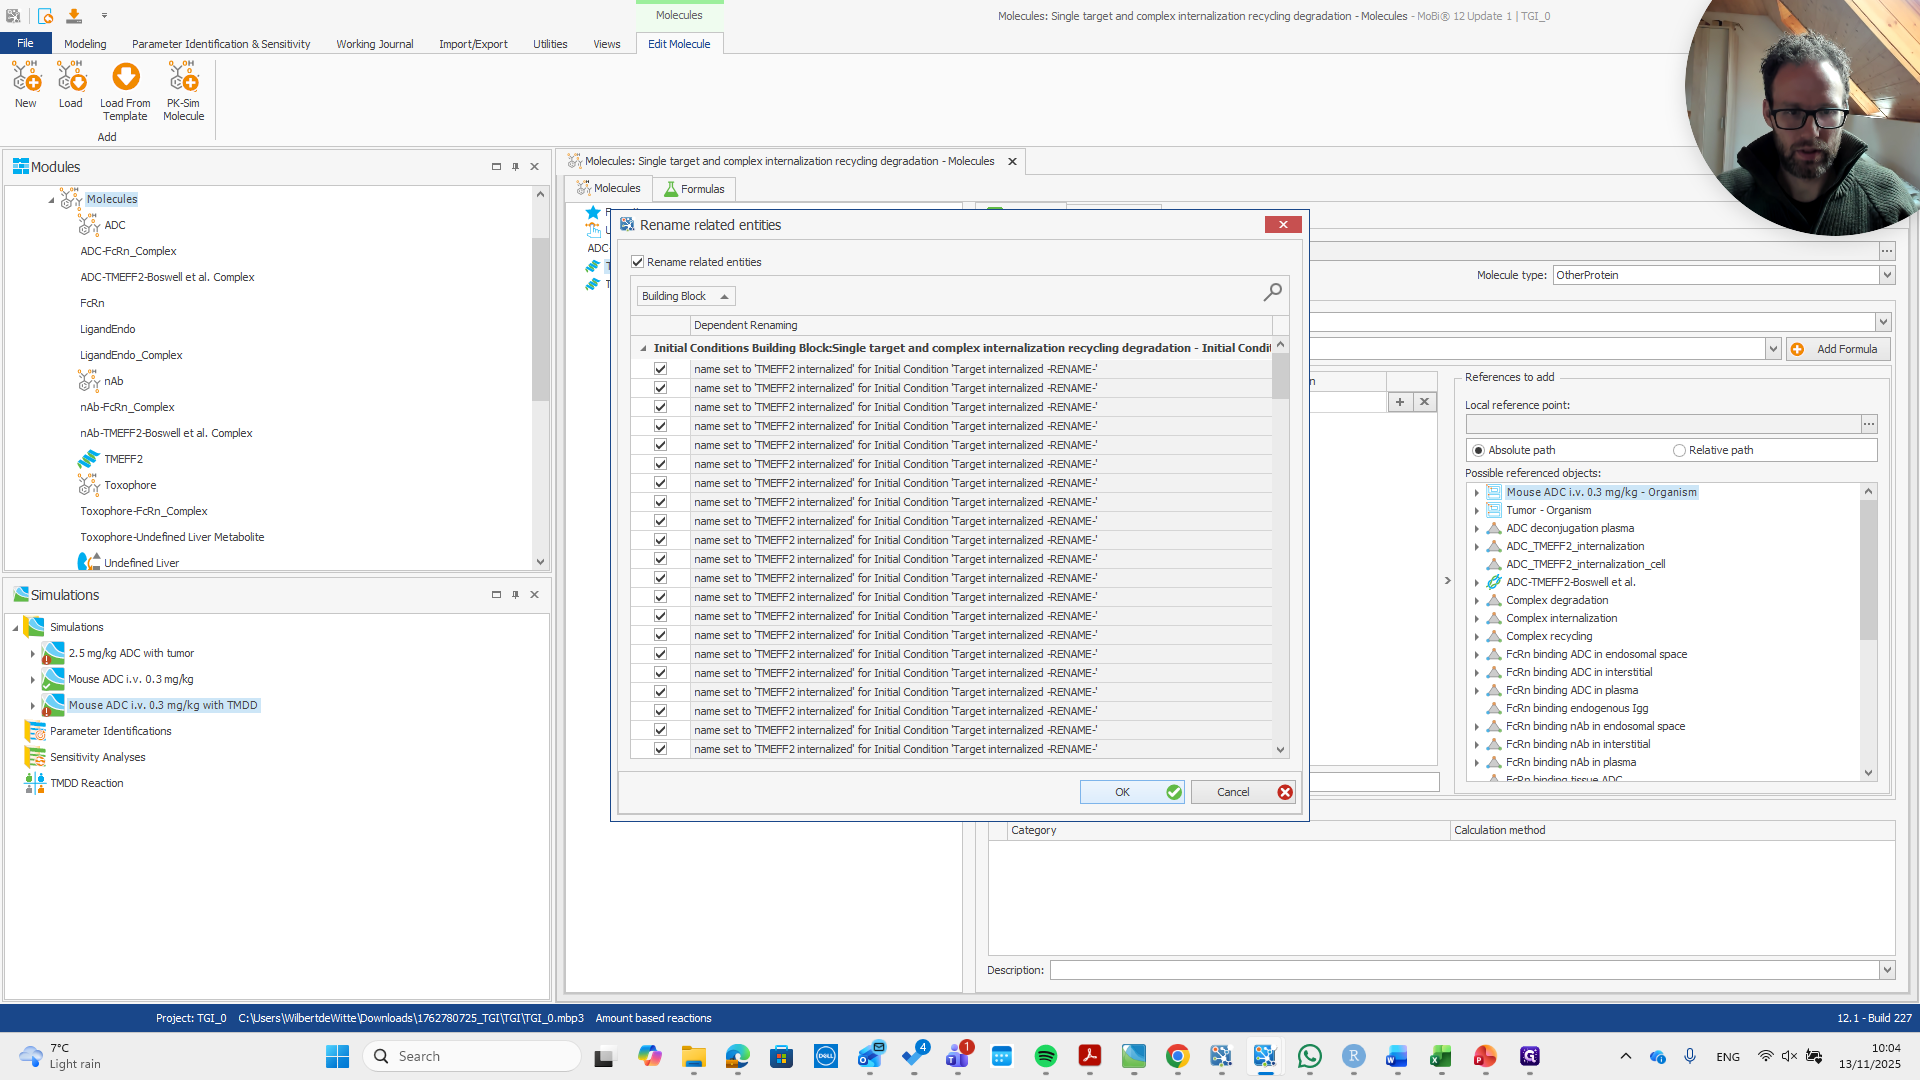
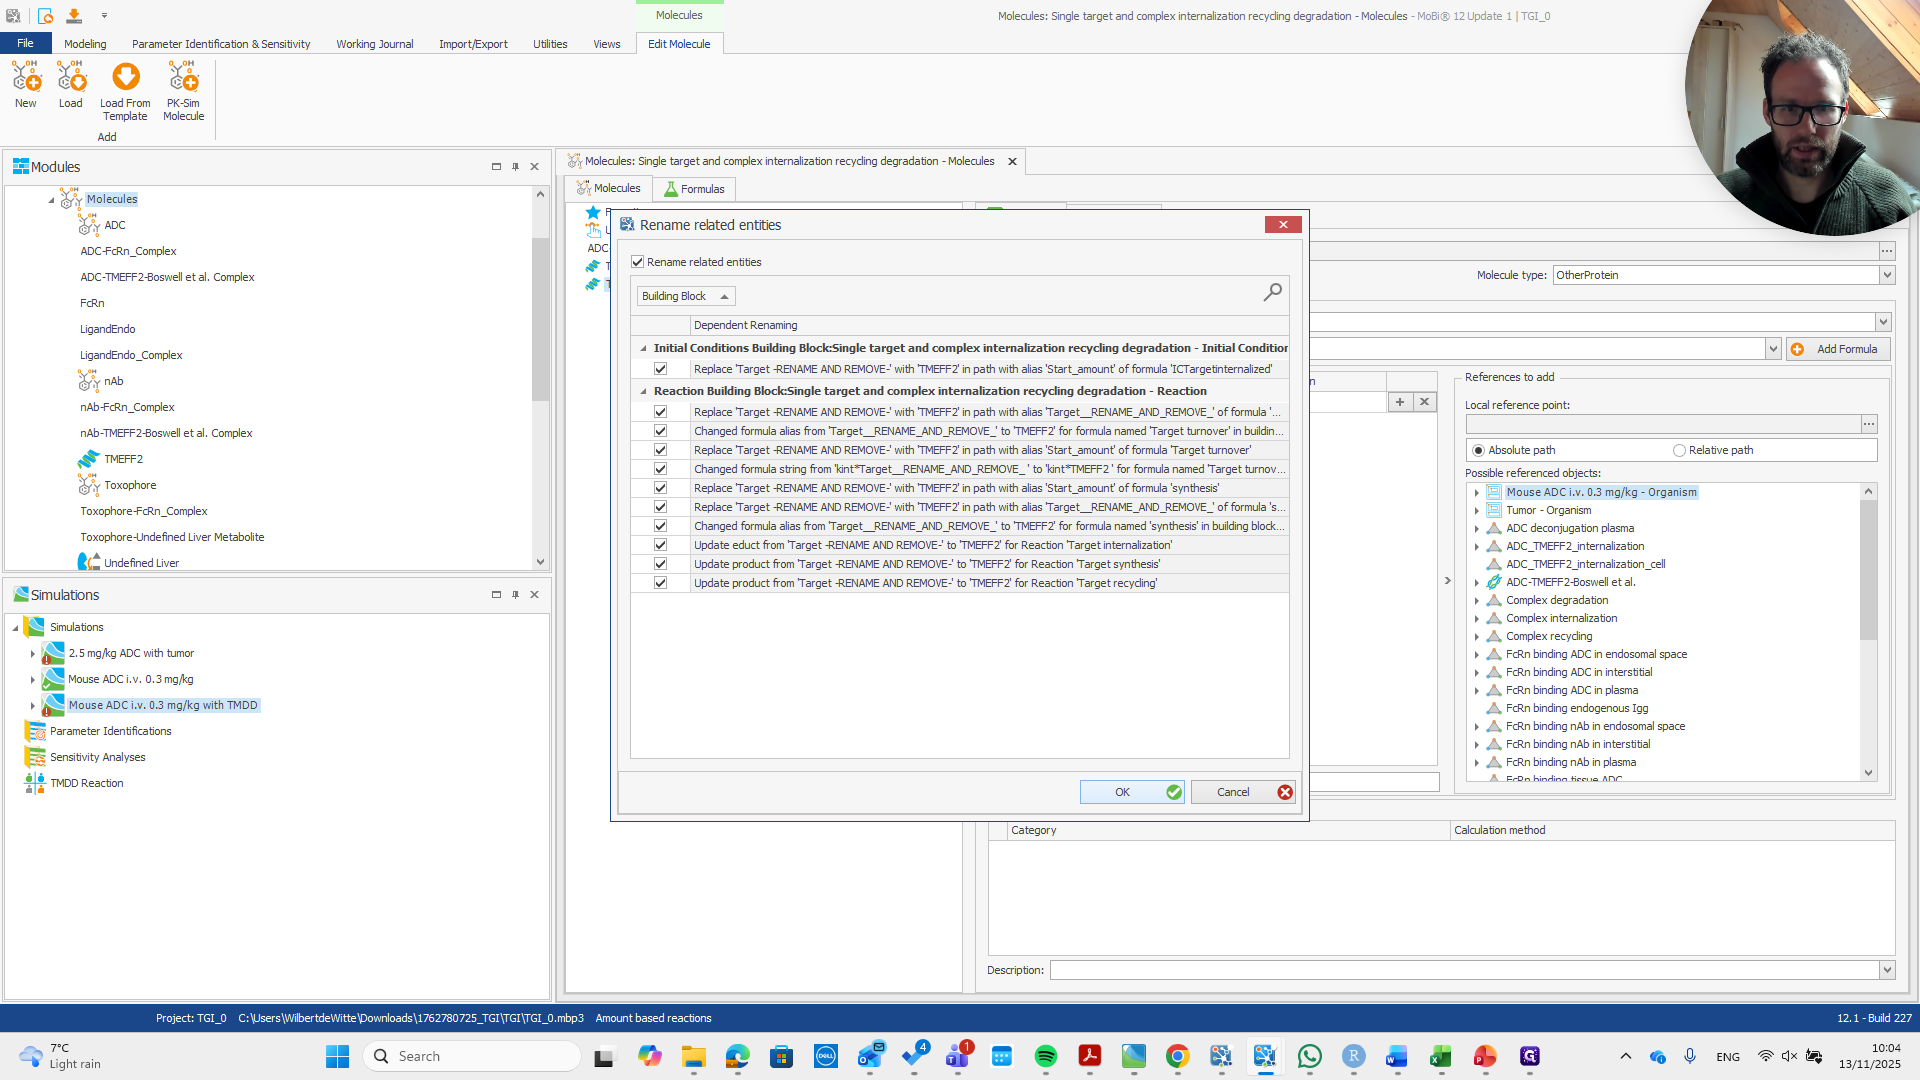
A pop-up window appears with all the options that will be renamed. Simply accept it.

17
Drag "-..."
Step #17: Drag "-..."
18
Click on "OK"
Step #18: Click on "OK"

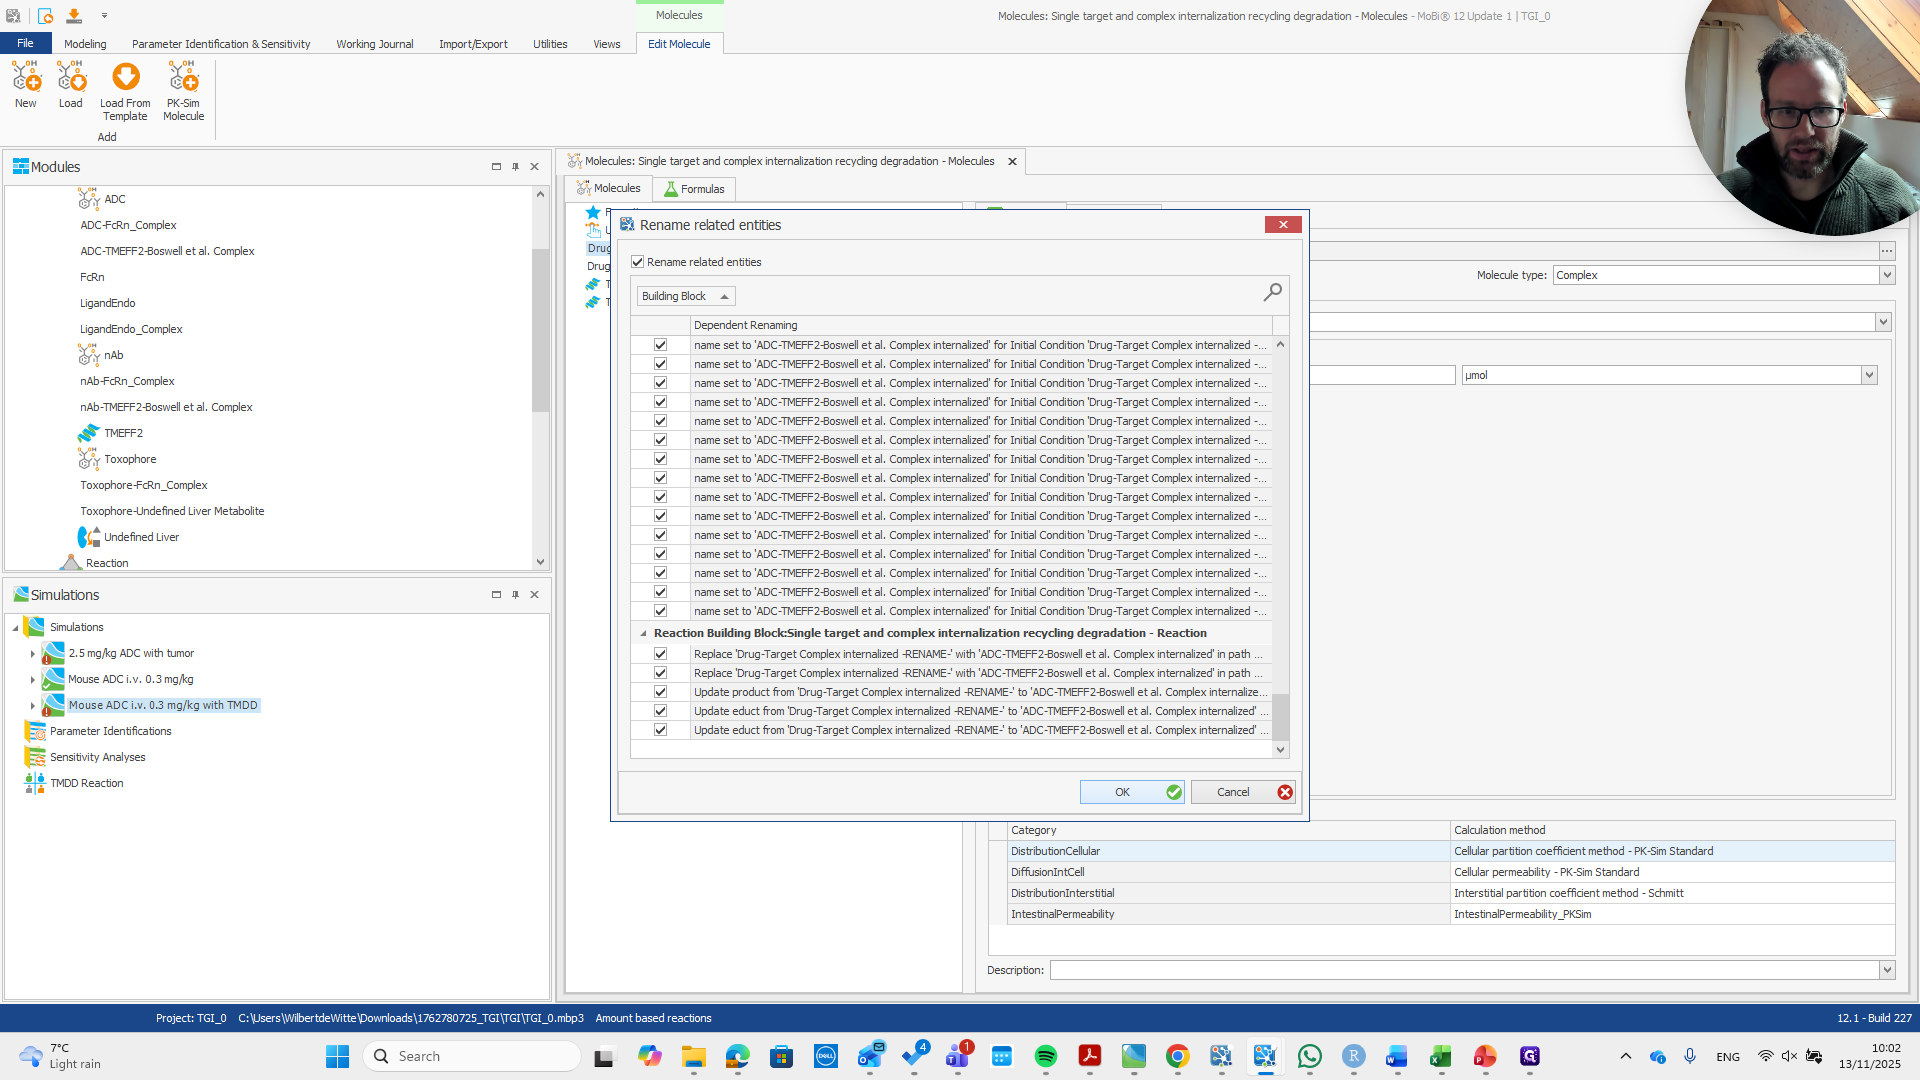
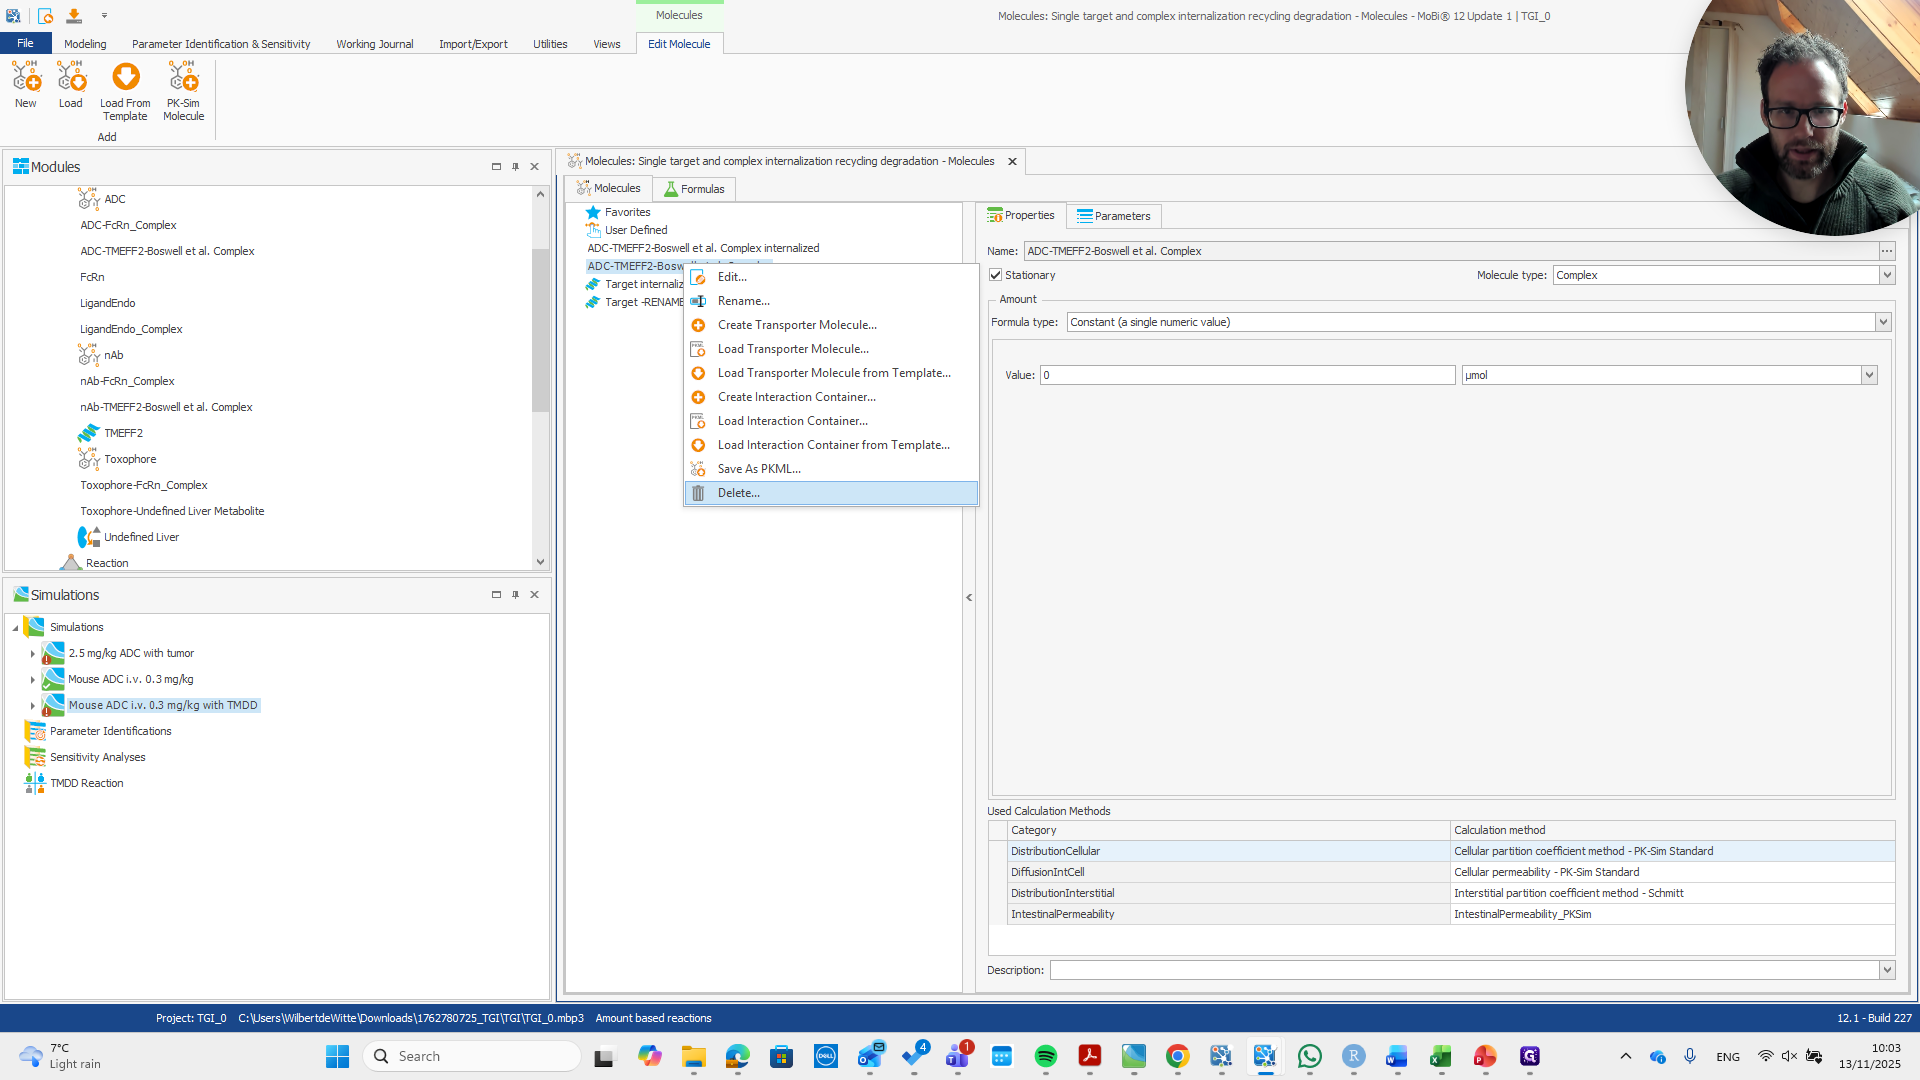
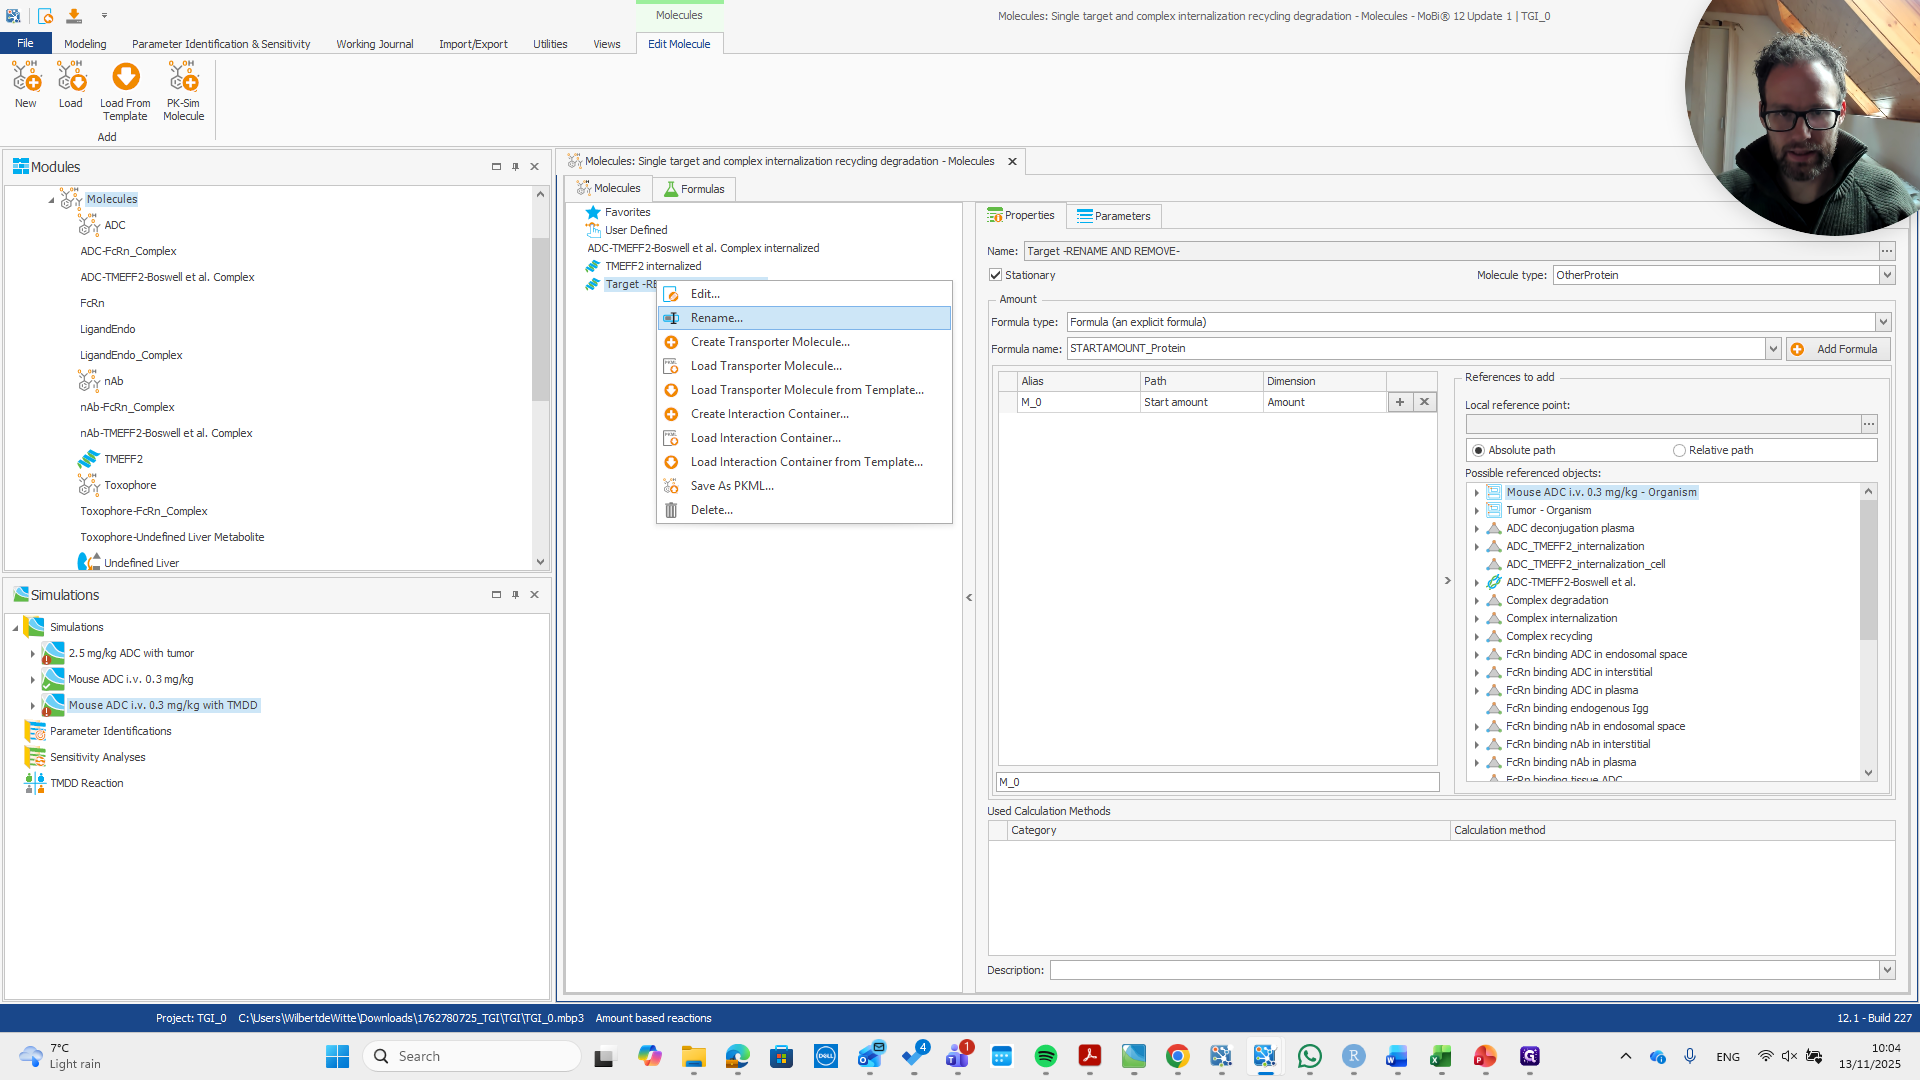
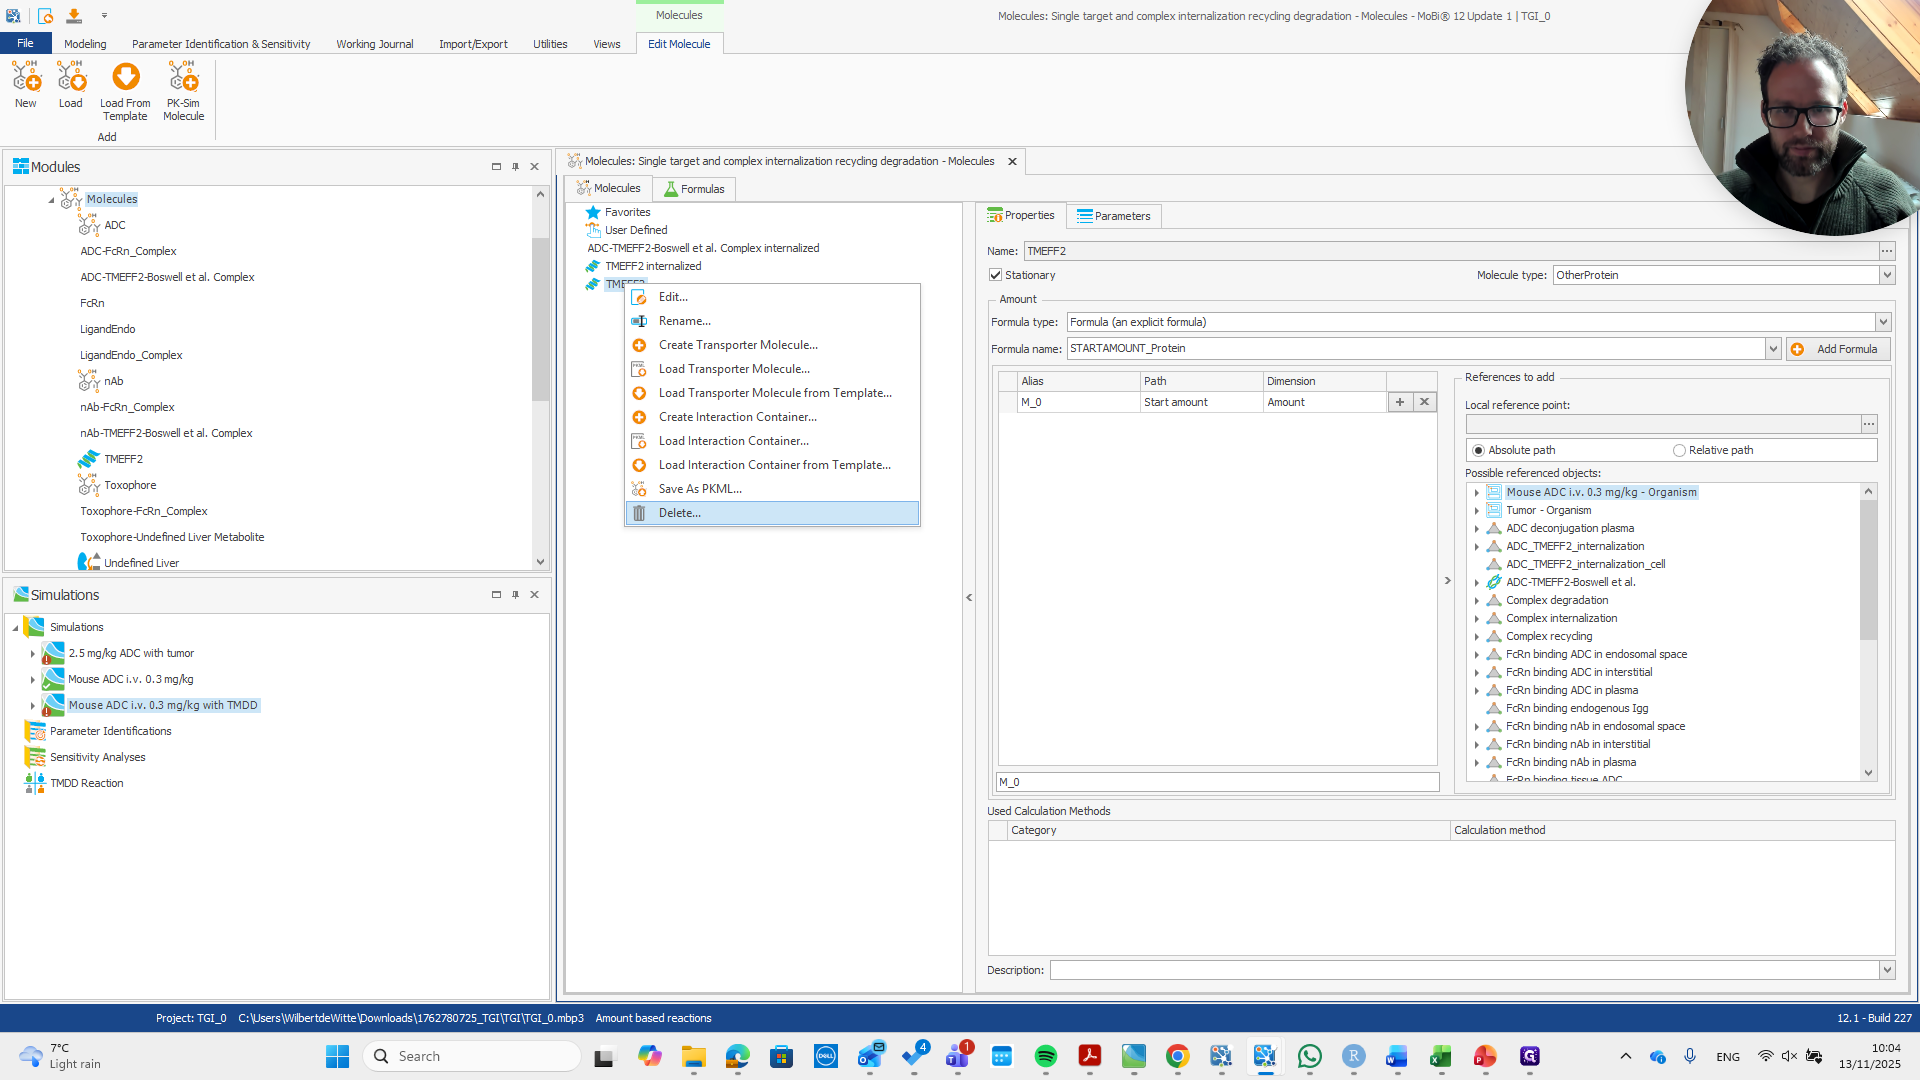
Then we do the same here, but now it says "Rename" and "Remove."

19
Click on "internalized"
Step #19: Click on "internalized"

We don't need this molecule in the building blocks.

20
Right-click on "internalized RENAME-"
Step #20: Right-click on "internalized RENAME-"
21
Click on "Rename"
Step #21: Click on "Rename"

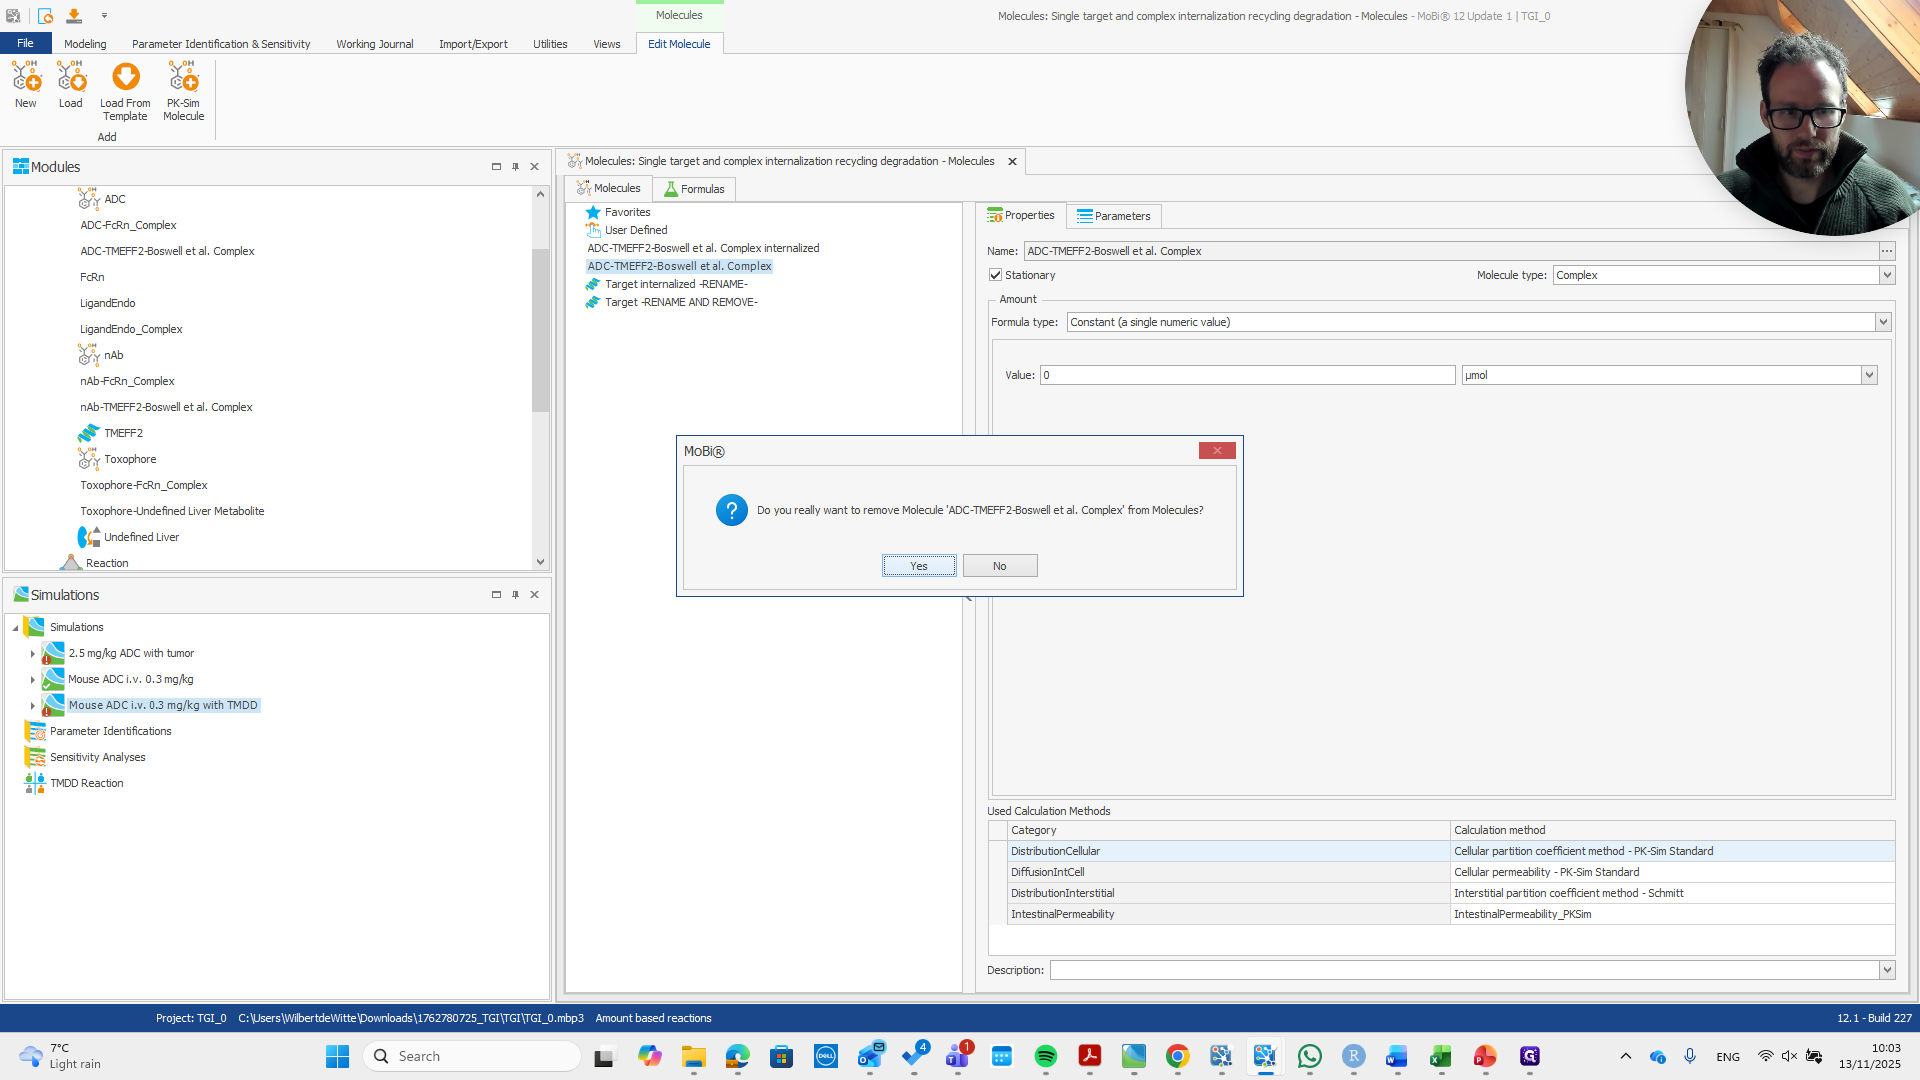
To avoid overwriting the parameters of this molecule, we will remove it.

22
Drag "Drug - Target Complex RENAME AND REMOVE-"
Step #22: Drag "Drug - Target Complex RENAME AND REMOVE-"
23
Type "ADC-TMEFF2"
24
Type "-Boswell et al."
25
Drag "Complex -RENAME AND REMOVE-"
Step #25: Drag "Complex -RENAME AND REMOVE-"

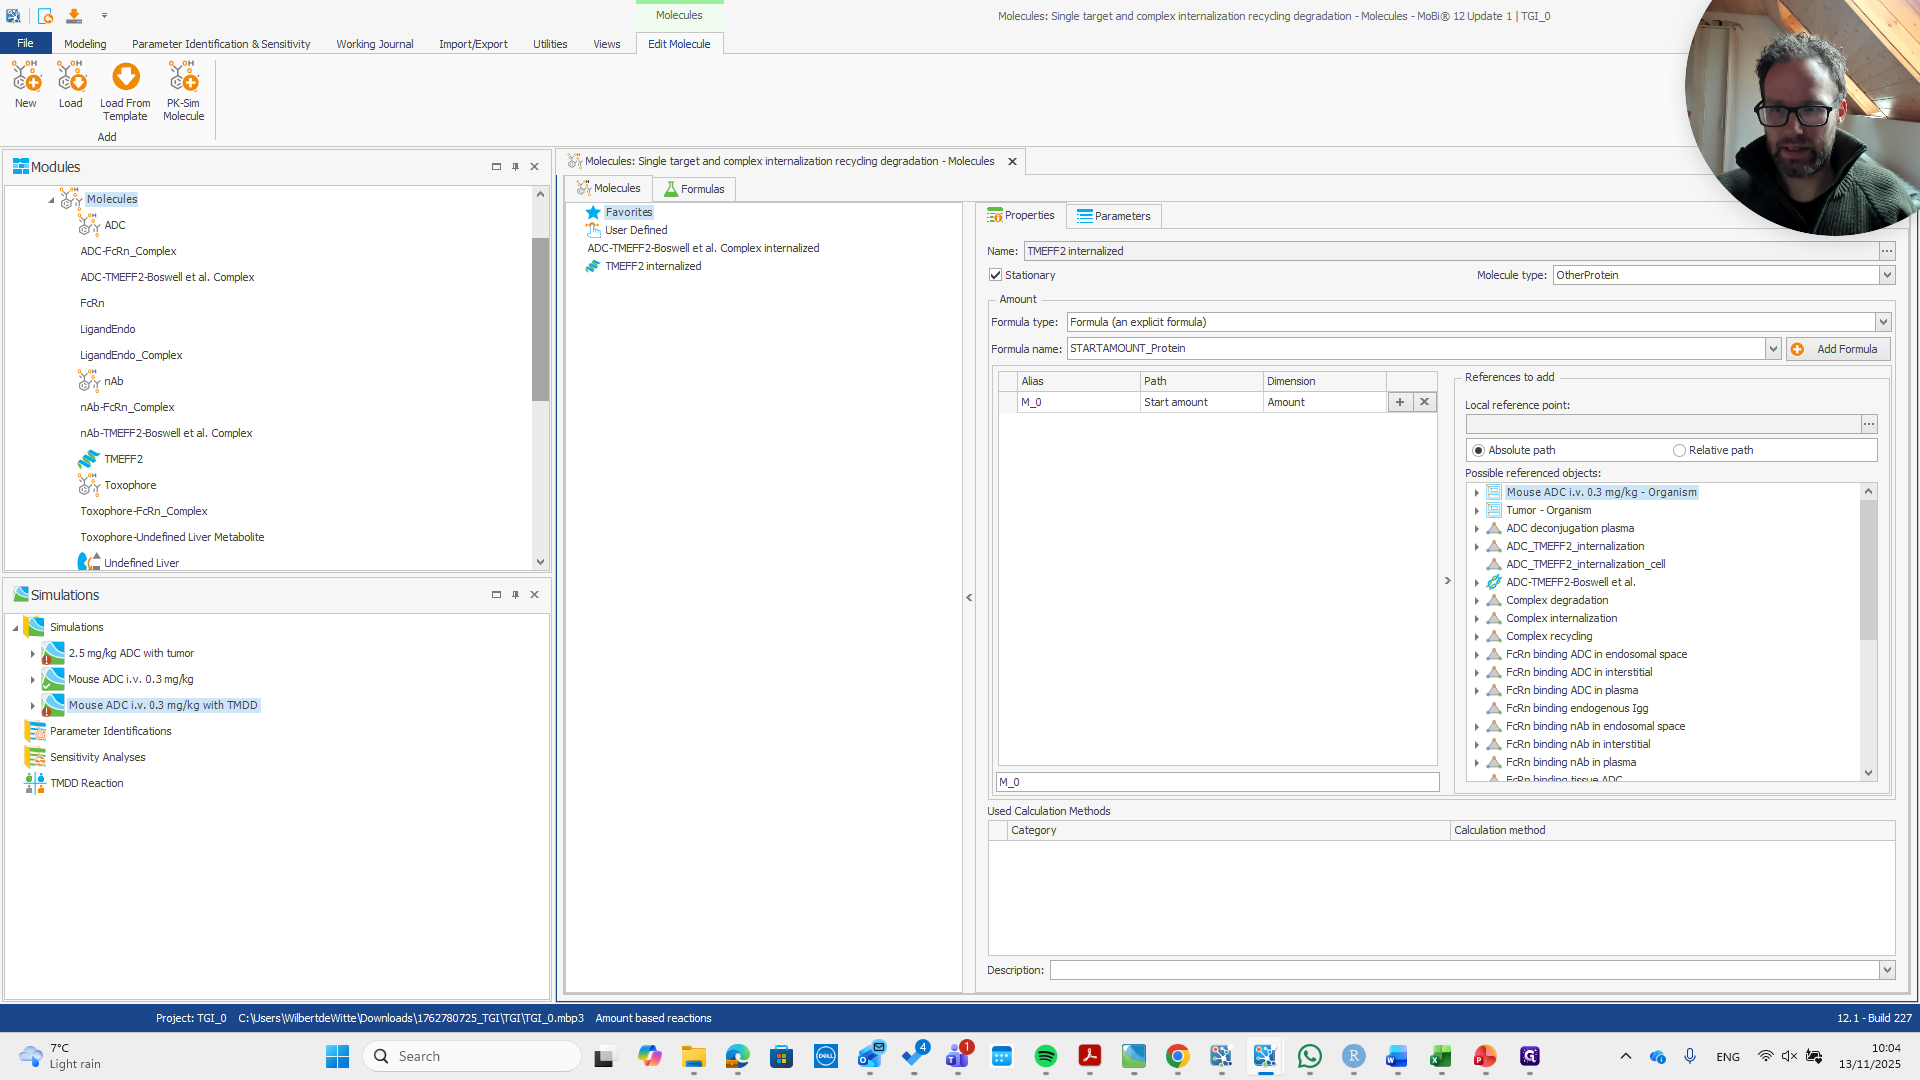
Okay. It is now properly renamed. I'm just double-checking that the name here matches the name there, and it does.

26
Click here
Step #26: Click here

We get a pop-up, confirm, then remove the molecule. Repeat the process for the target.

27
Click on "OK"
Step #27: Click on "OK"
28
Right-click on "ADC - TMEFF2 - Boswell et"
Step #28: Right-click on "ADC - TMEFF2 - Boswell et"
29
Click on "Delete ..."
Step #29: Click on "Delete ..."
30
Click on "Yes"
Step #30: Click on "Yes"
31
Click on "Target internalized -RENAME-"
Step #31: Click on "Target internalized -RENAME-"

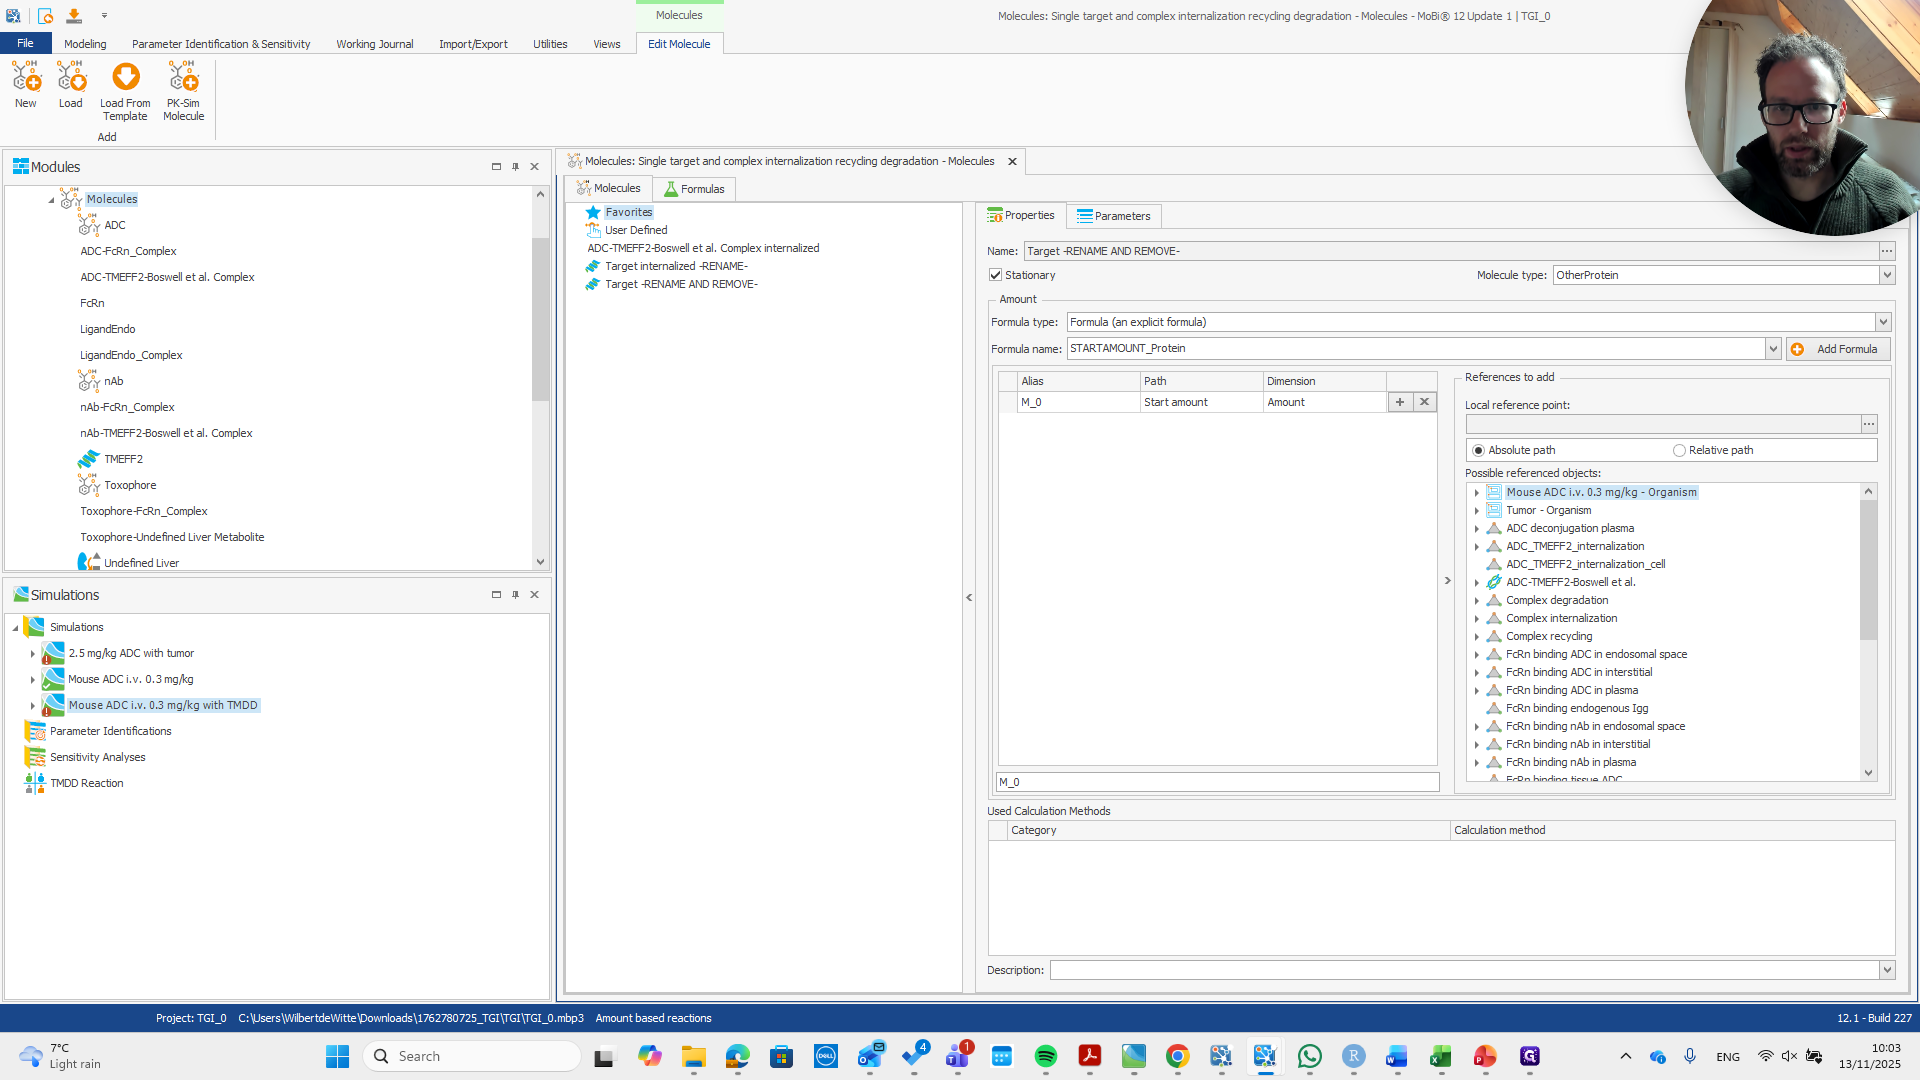
We rename it again, but now it's easier to type—just TMEFF2.

32
Right-click on "internalized"
Step #32: Right-click on "internalized"
33
Click on "Rename"
Step #33: Click on "Rename"
34
Type "TMEFF2"

This is the internalized part. That was a bit too quick.

35
Click on "New name for Molecule ' Target internalized -RENAME- '"
Step #35: Click on "New name for Molecule ' Target internalized -RENAME- '"
36
rename
37
Click on "OK"
Step #37: Click on "OK"

Okay.

38
Click here
Step #38: Click here

This is just the target.

39
Right-click on "TMEFF2 internalized"
Step #39: Right-click on "TMEFF2 internalized"

Rename and remove TMEFF2, and that's it.

40
Click on "Rename"
Step #40: Click on "Rename"
41
Drag "New name for Molecule ' Target -RENAME AND REMOVE- '"
Step #41: Drag "New name for Molecule ' Target -RENAME AND REMOVE- '"
42
Type "TMEFF2"
43
Click on "OK"
Step #43: Click on "OK"

Okay.

44
Click on "OK"
Step #44: Click on "OK"

This can now be removed.

45
Right-click on "TMEFF2"
Step #45: Right-click on "TMEFF2"
46
Click on "Delete..."
Step #46: Click on "Delete..."
47
Click on "Yes"
Step #47: Click on "Yes"

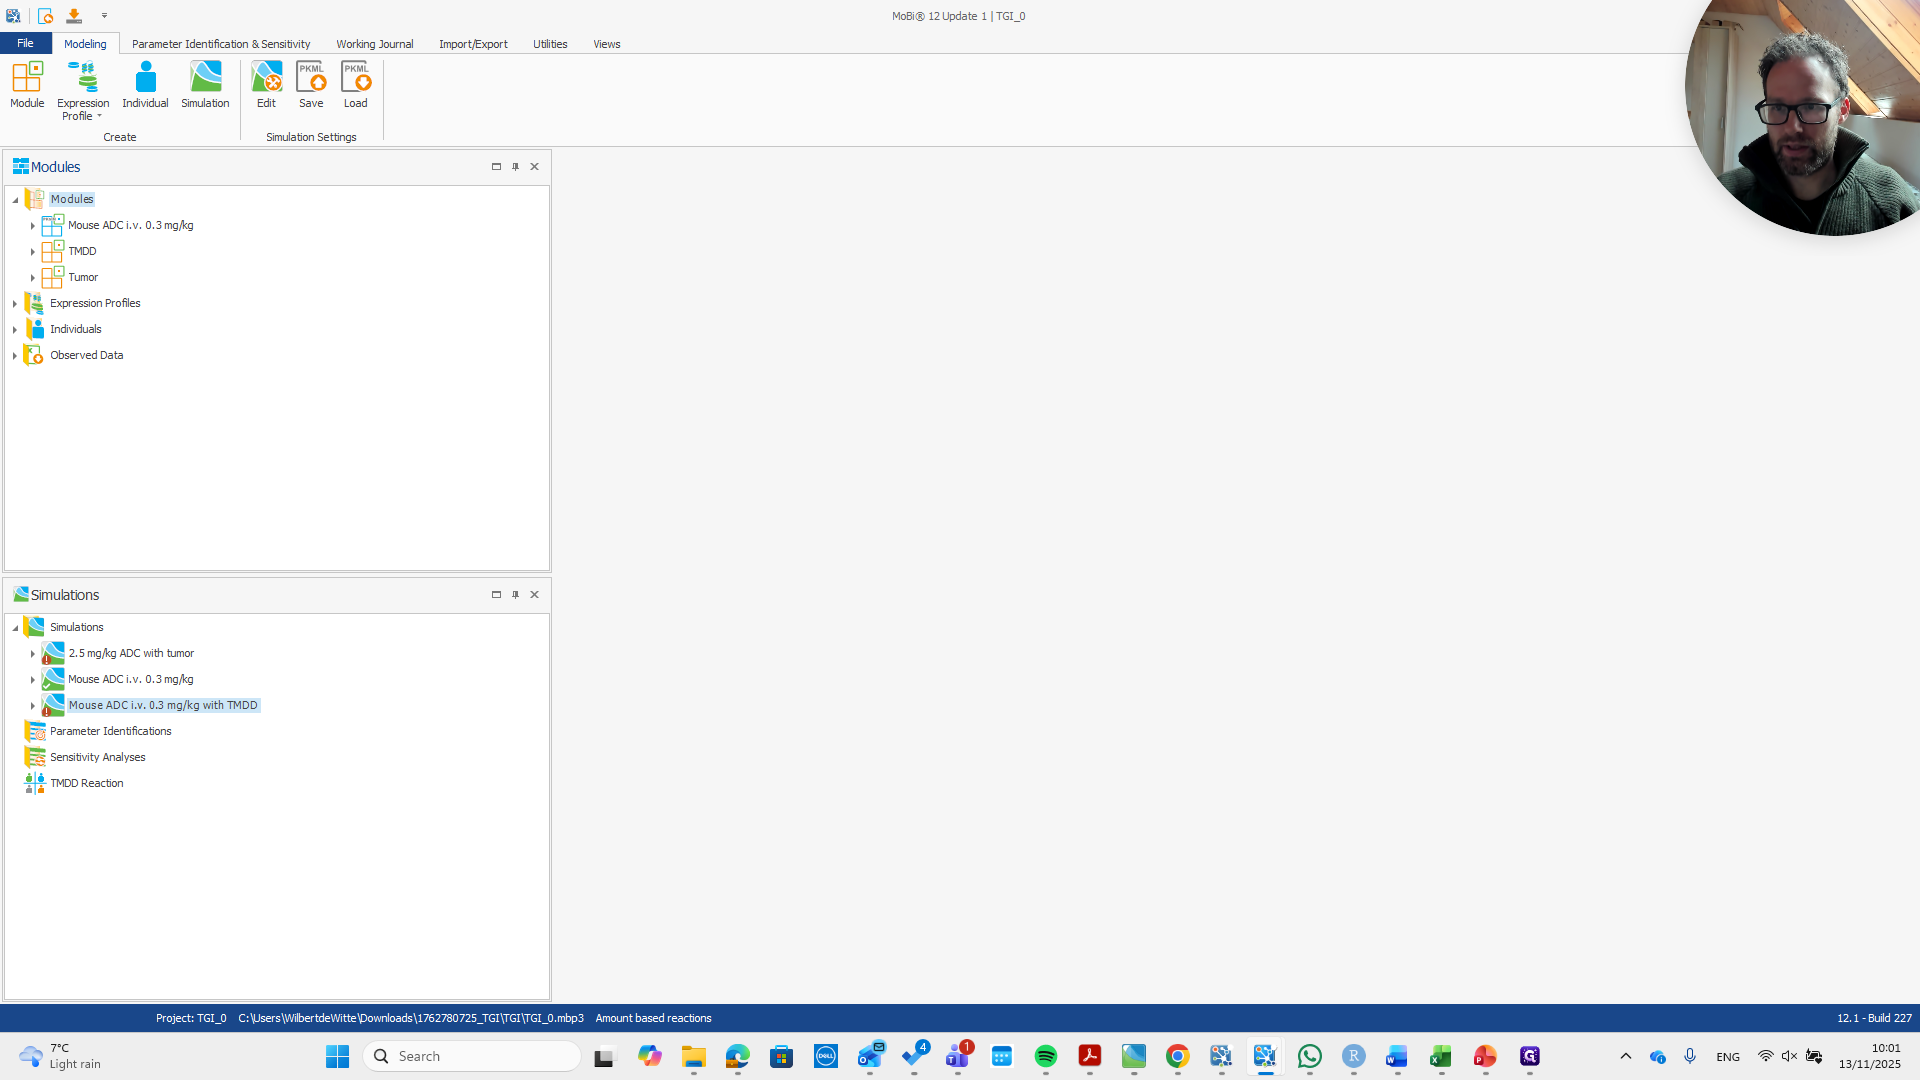
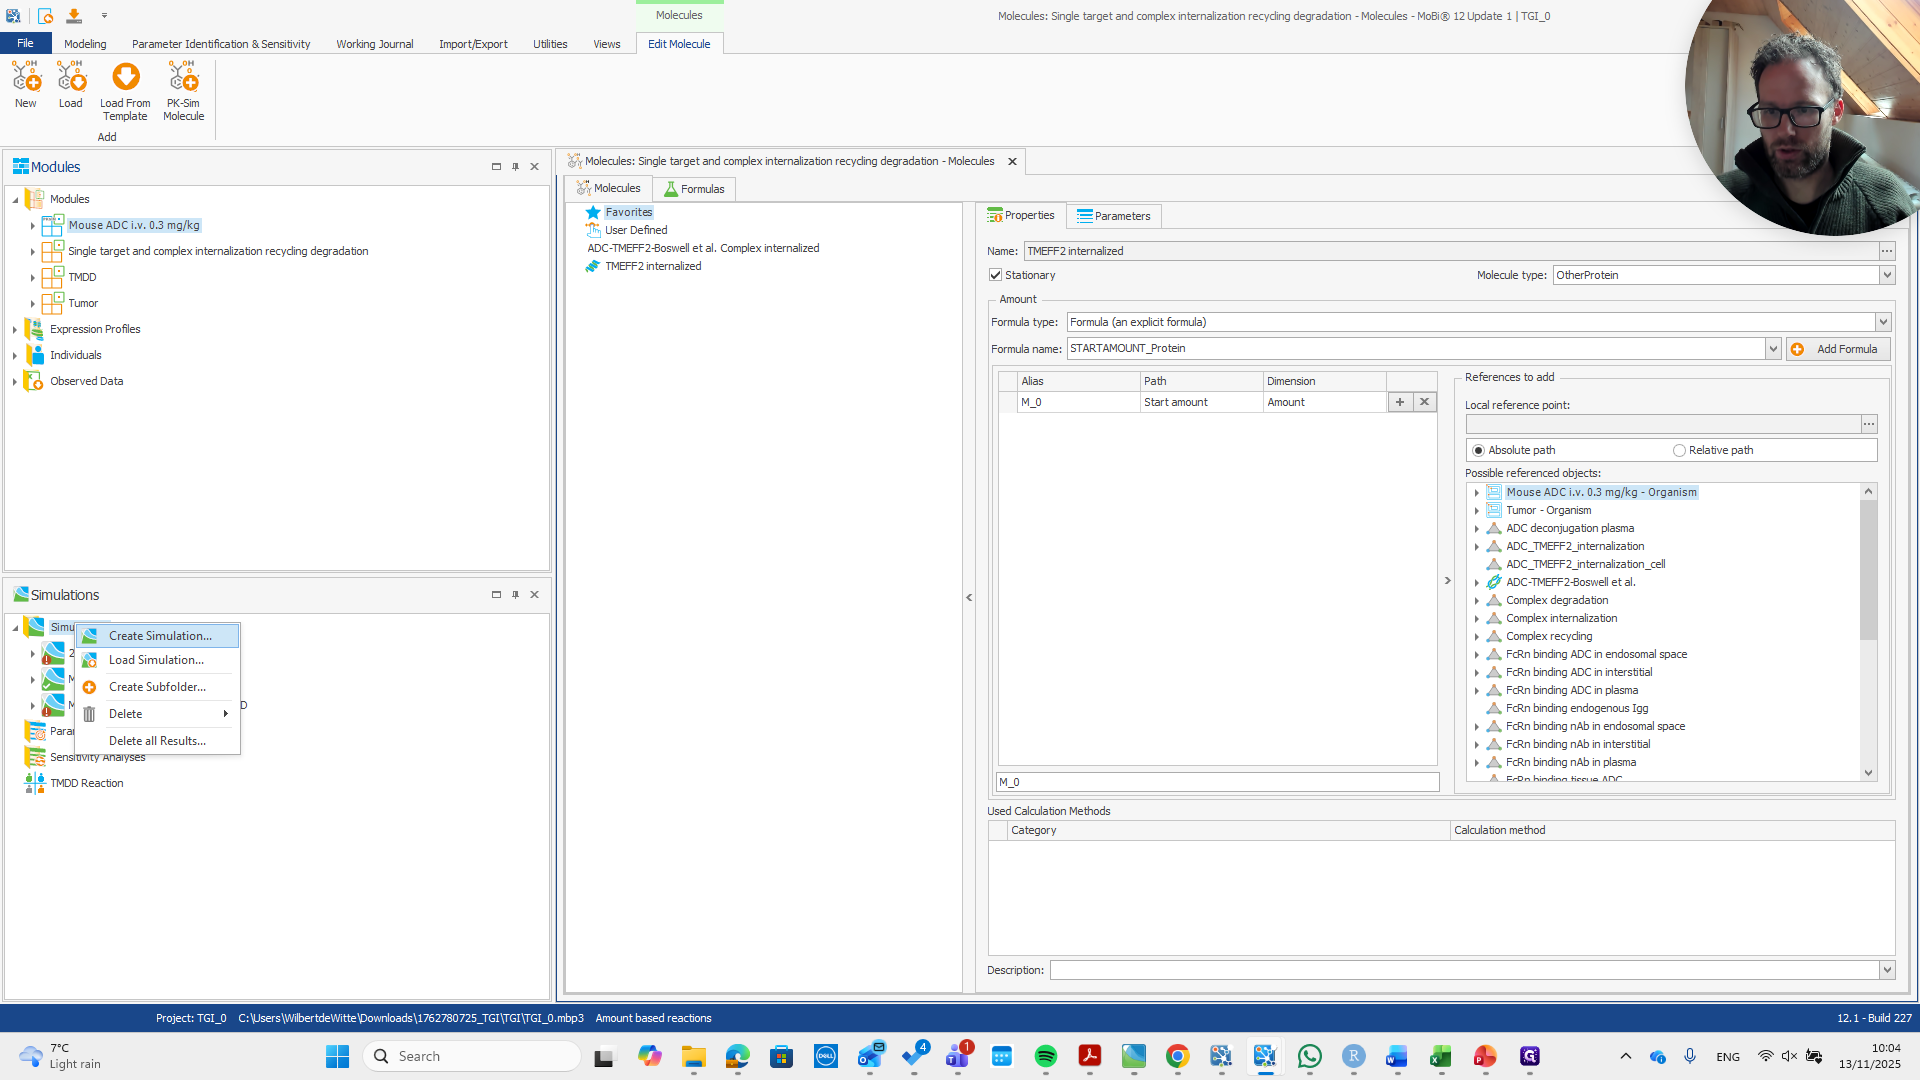
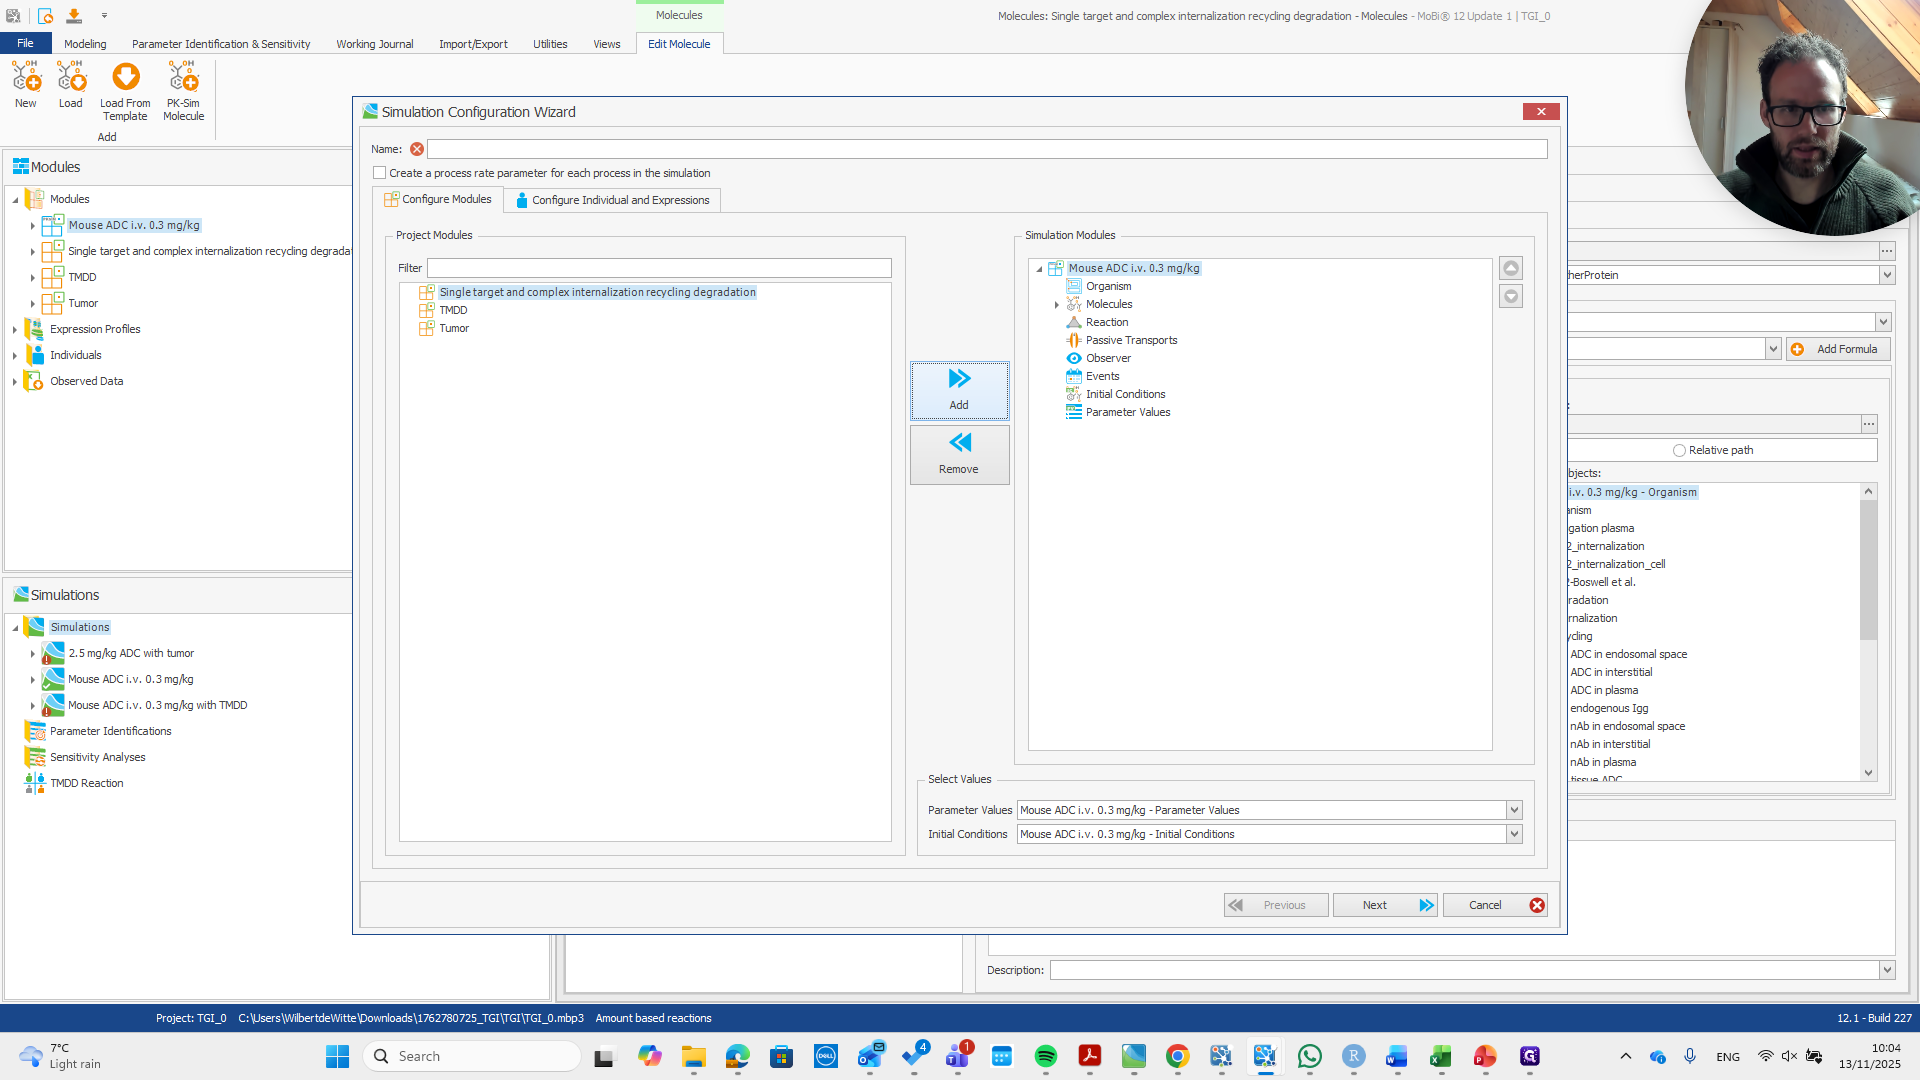
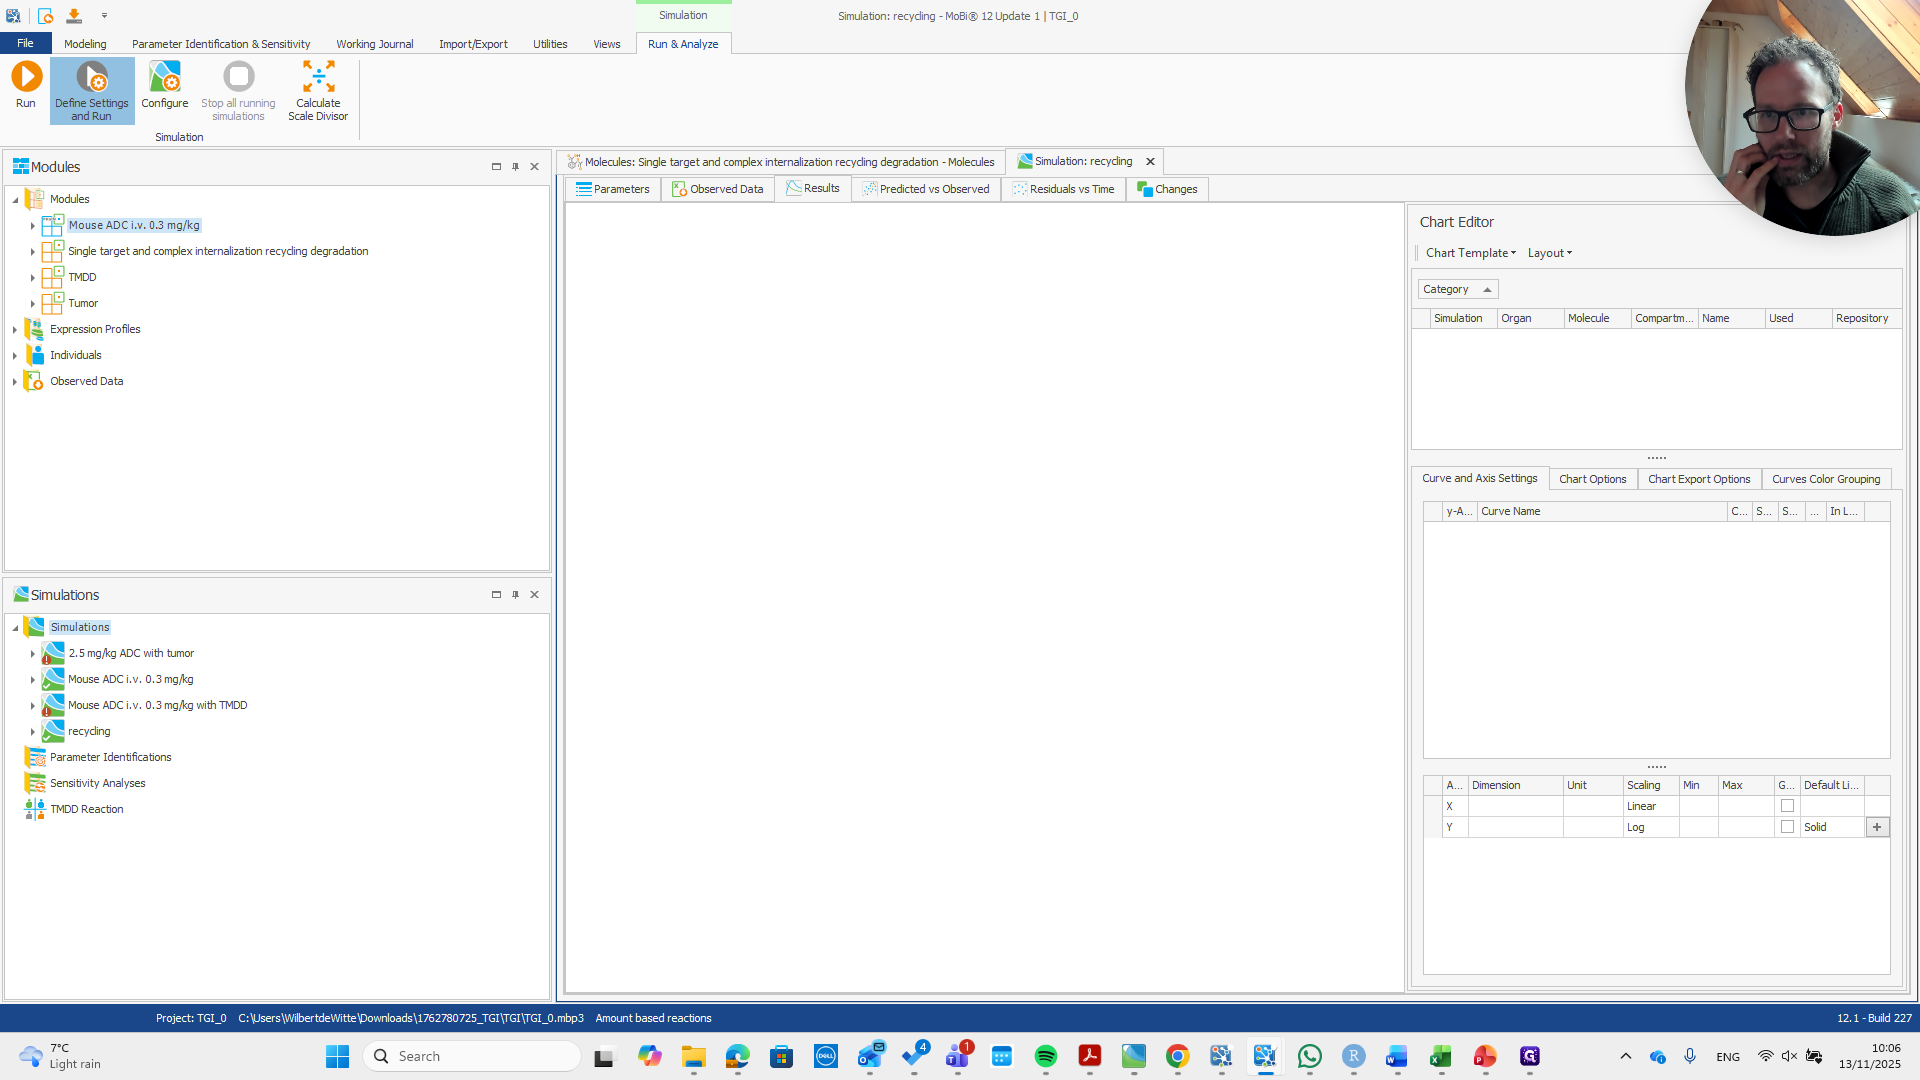
Alright. Now we have the module as needed. We can set up a simulation with the two modules.

48
Drag here
Step #48: Drag here
49
Click here
Step #49: Click here
50
Right-click on "Simulations"
Step #50: Right-click on "Simulations"
51
Click on "Create Simulation ..."
Step #51: Click on "Create Simulation ..."
52
Click on "Mouse ADC i.v."
Step #52: Click on "Mouse ADC i.v."

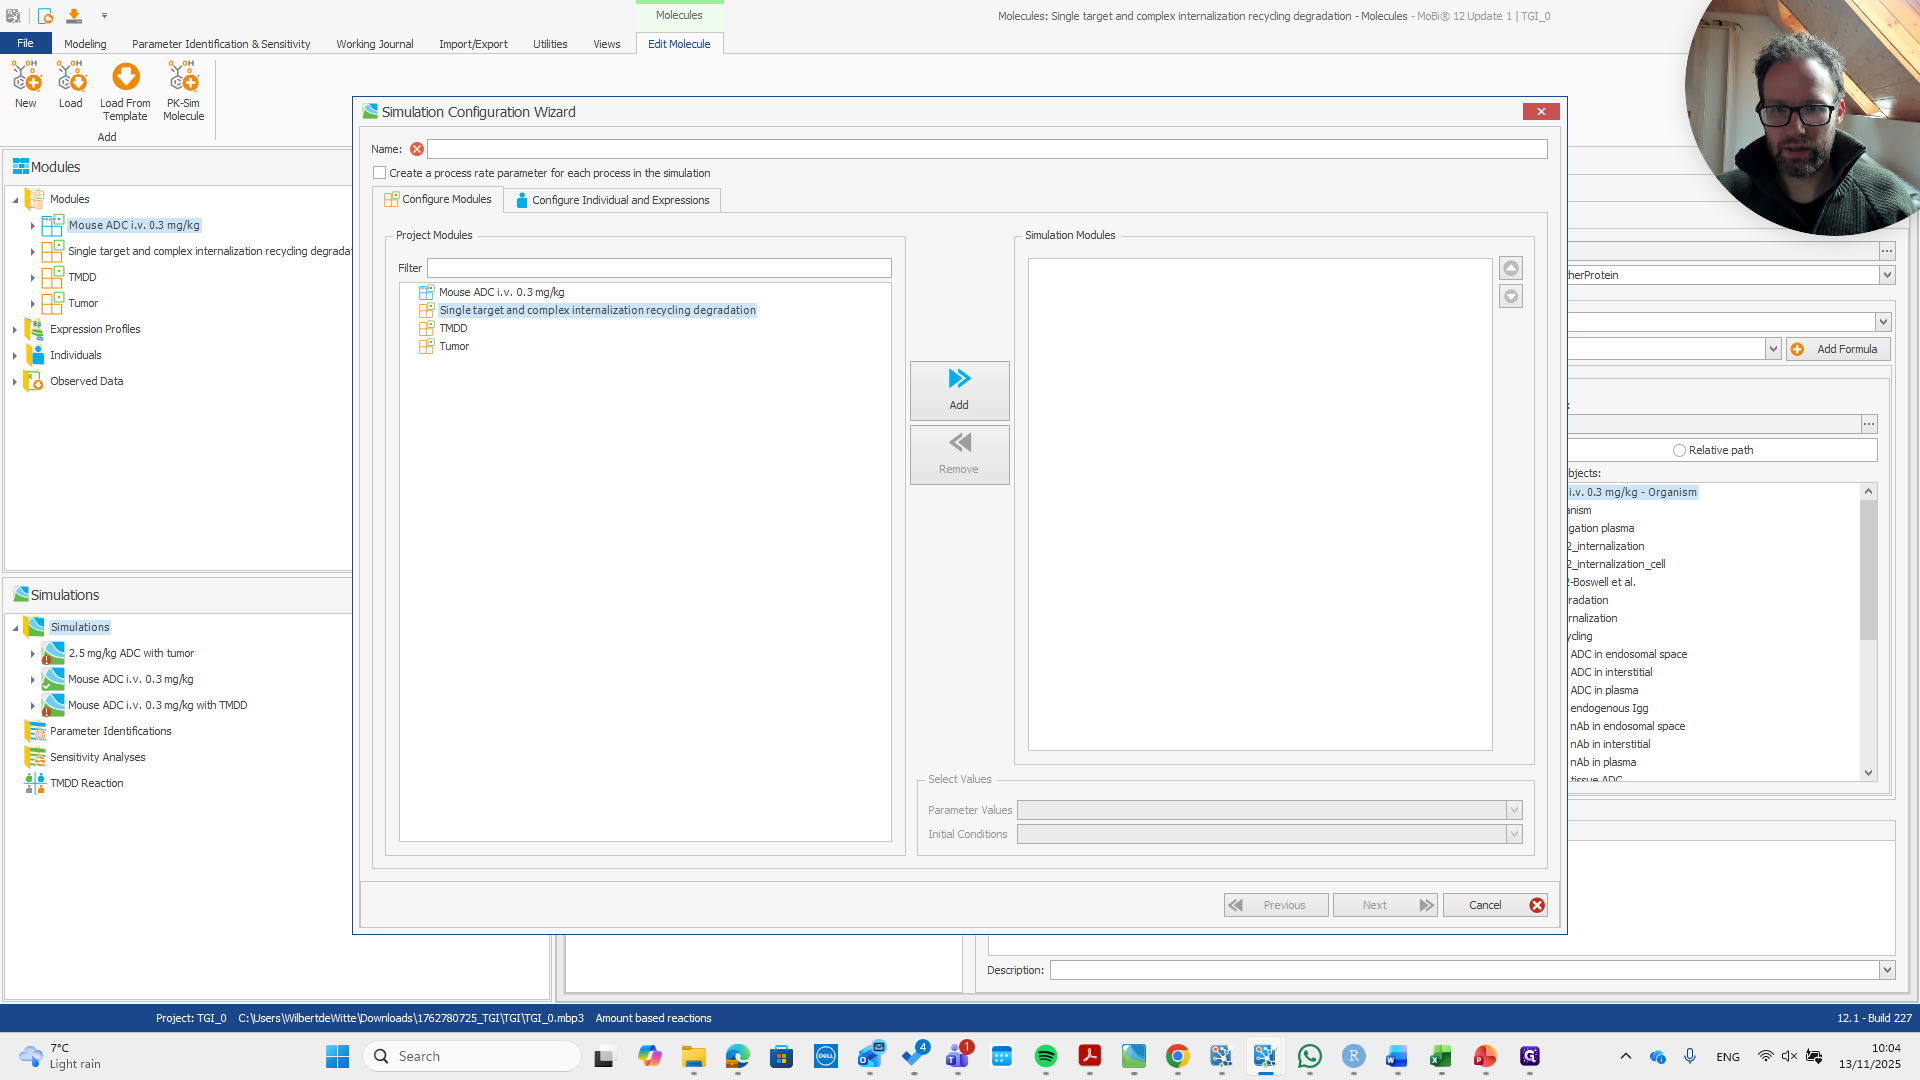
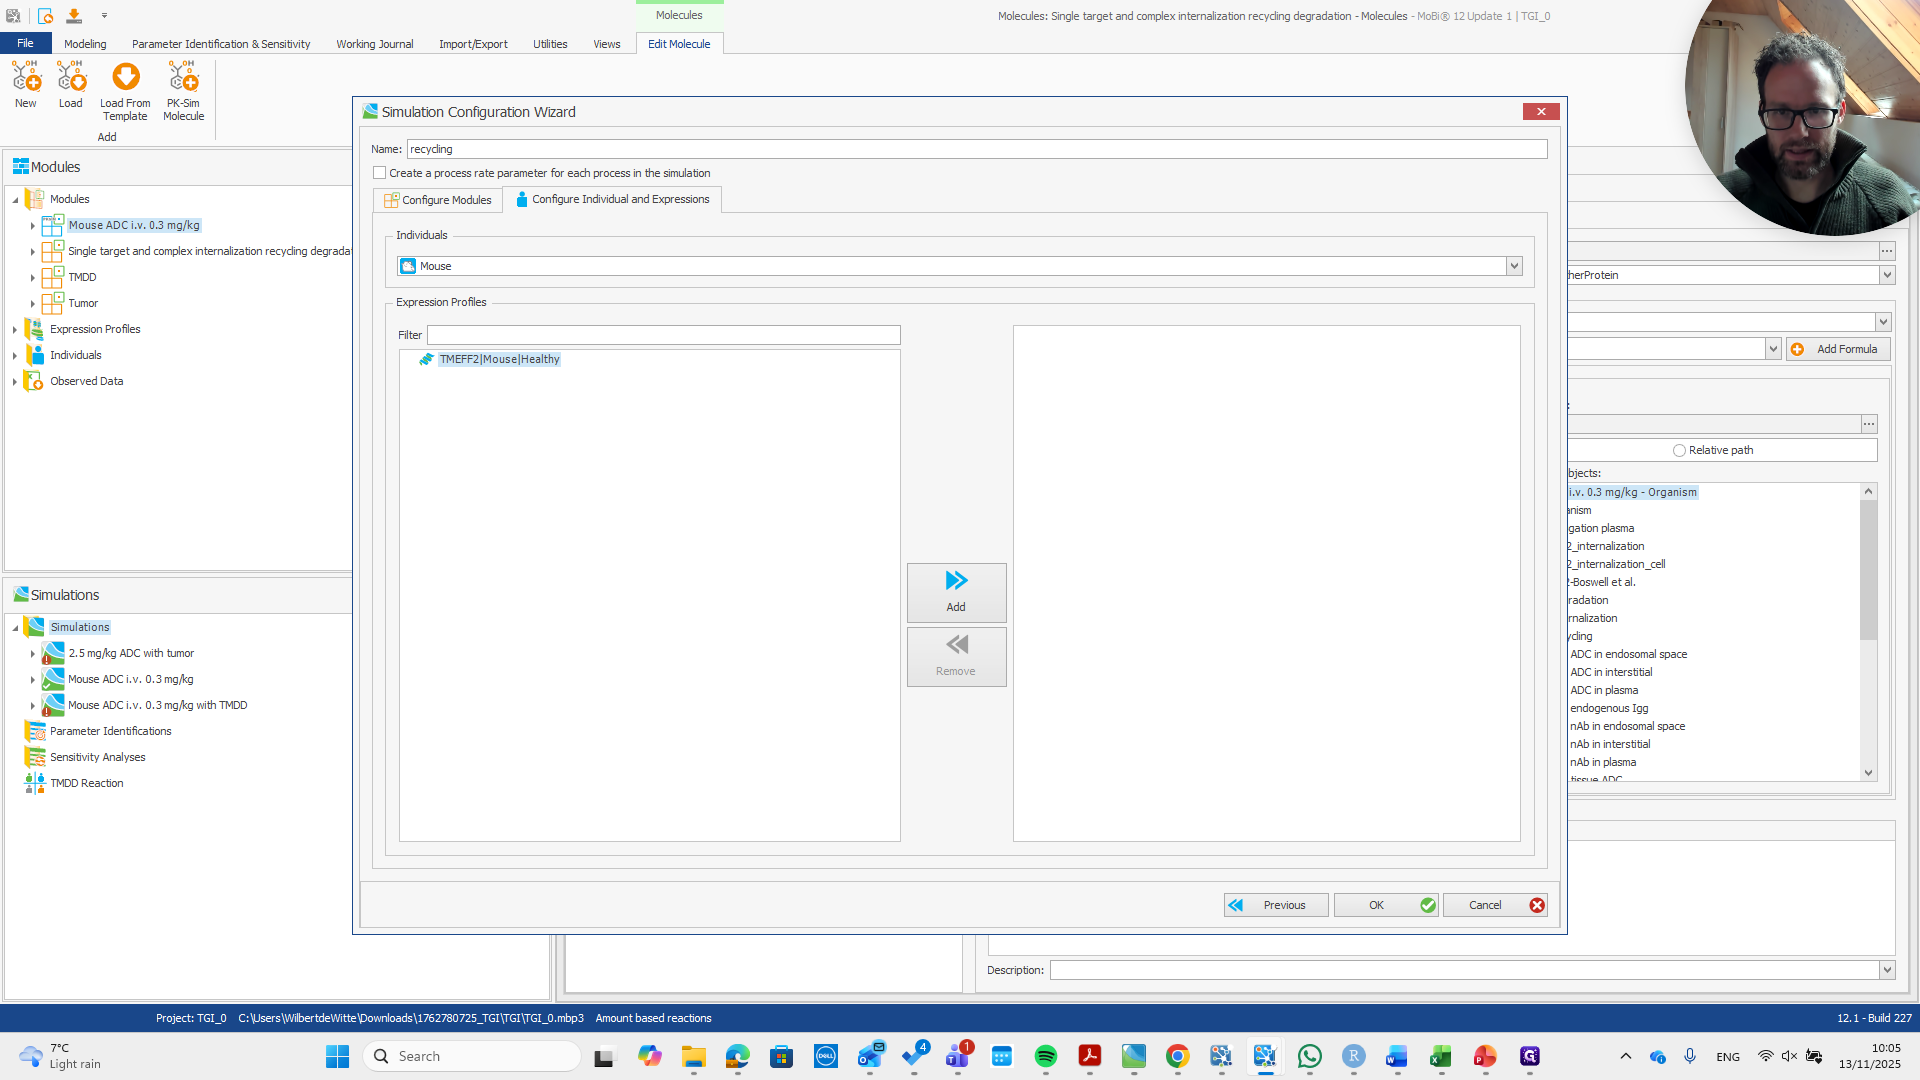
Name the mouse ADC and the recycling option with an informative title. Ensure the expression profile is added and the correct individual is selected.

53
Click here
Step #53: Click here
54
Click here
Step #54: Click here
55
Click on "Create a process rate parameter for each process in the simulation Configure Modules Configure Individual and Expressions"
Step #55: Click on "Create a process rate parameter for each process in the simulation Configure Modules Configure Individual and Expressions"
56
Type "recycling"
57
Click on "Individual and Expressions"
Step #57: Click on "Individual and Expressions"
58
Click on "Mouse Healthy"
Step #58: Click on "Mouse Healthy"
59
Click here
Step #59: Click here
60
Click here
Step #60: Click here

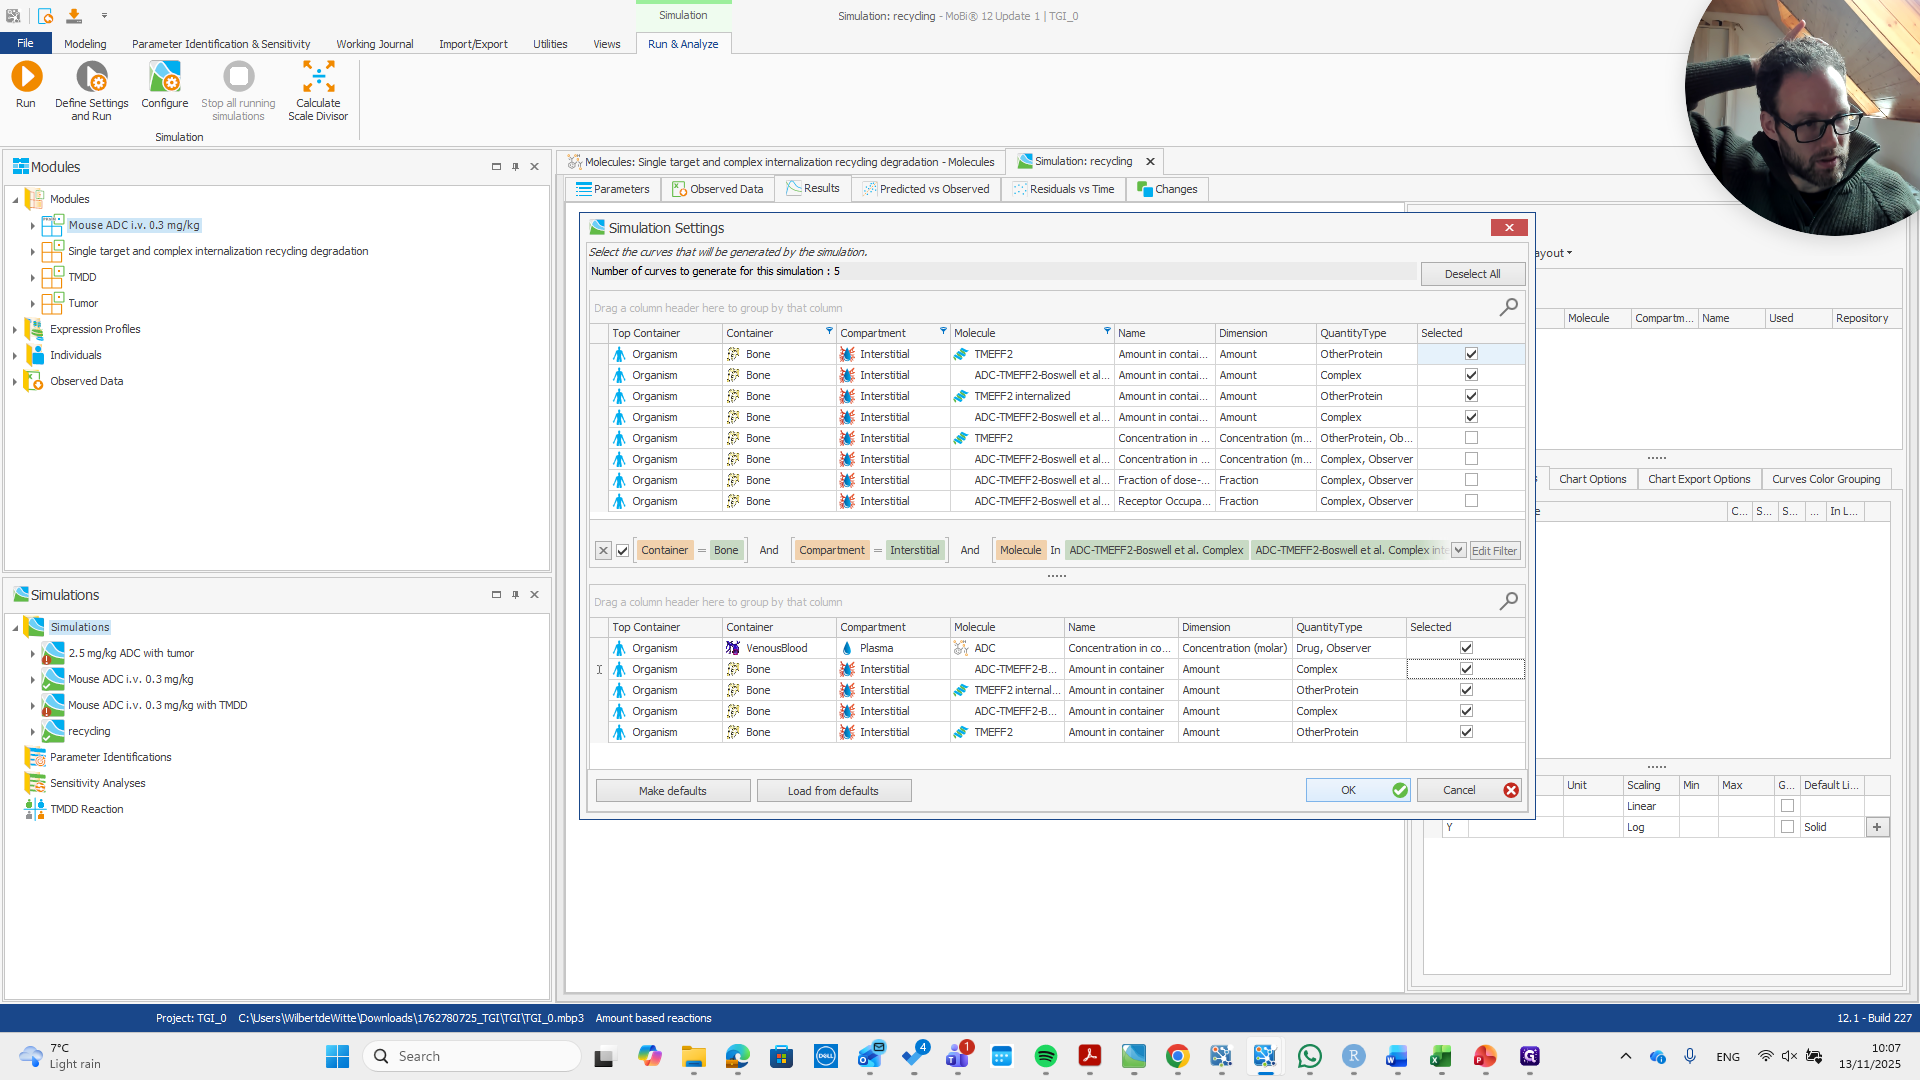
That is all. Here is our simulation. We can immediately check one of the organs where the target is expressed.

61
Click on "▸"
Step #61: Click on "▸"

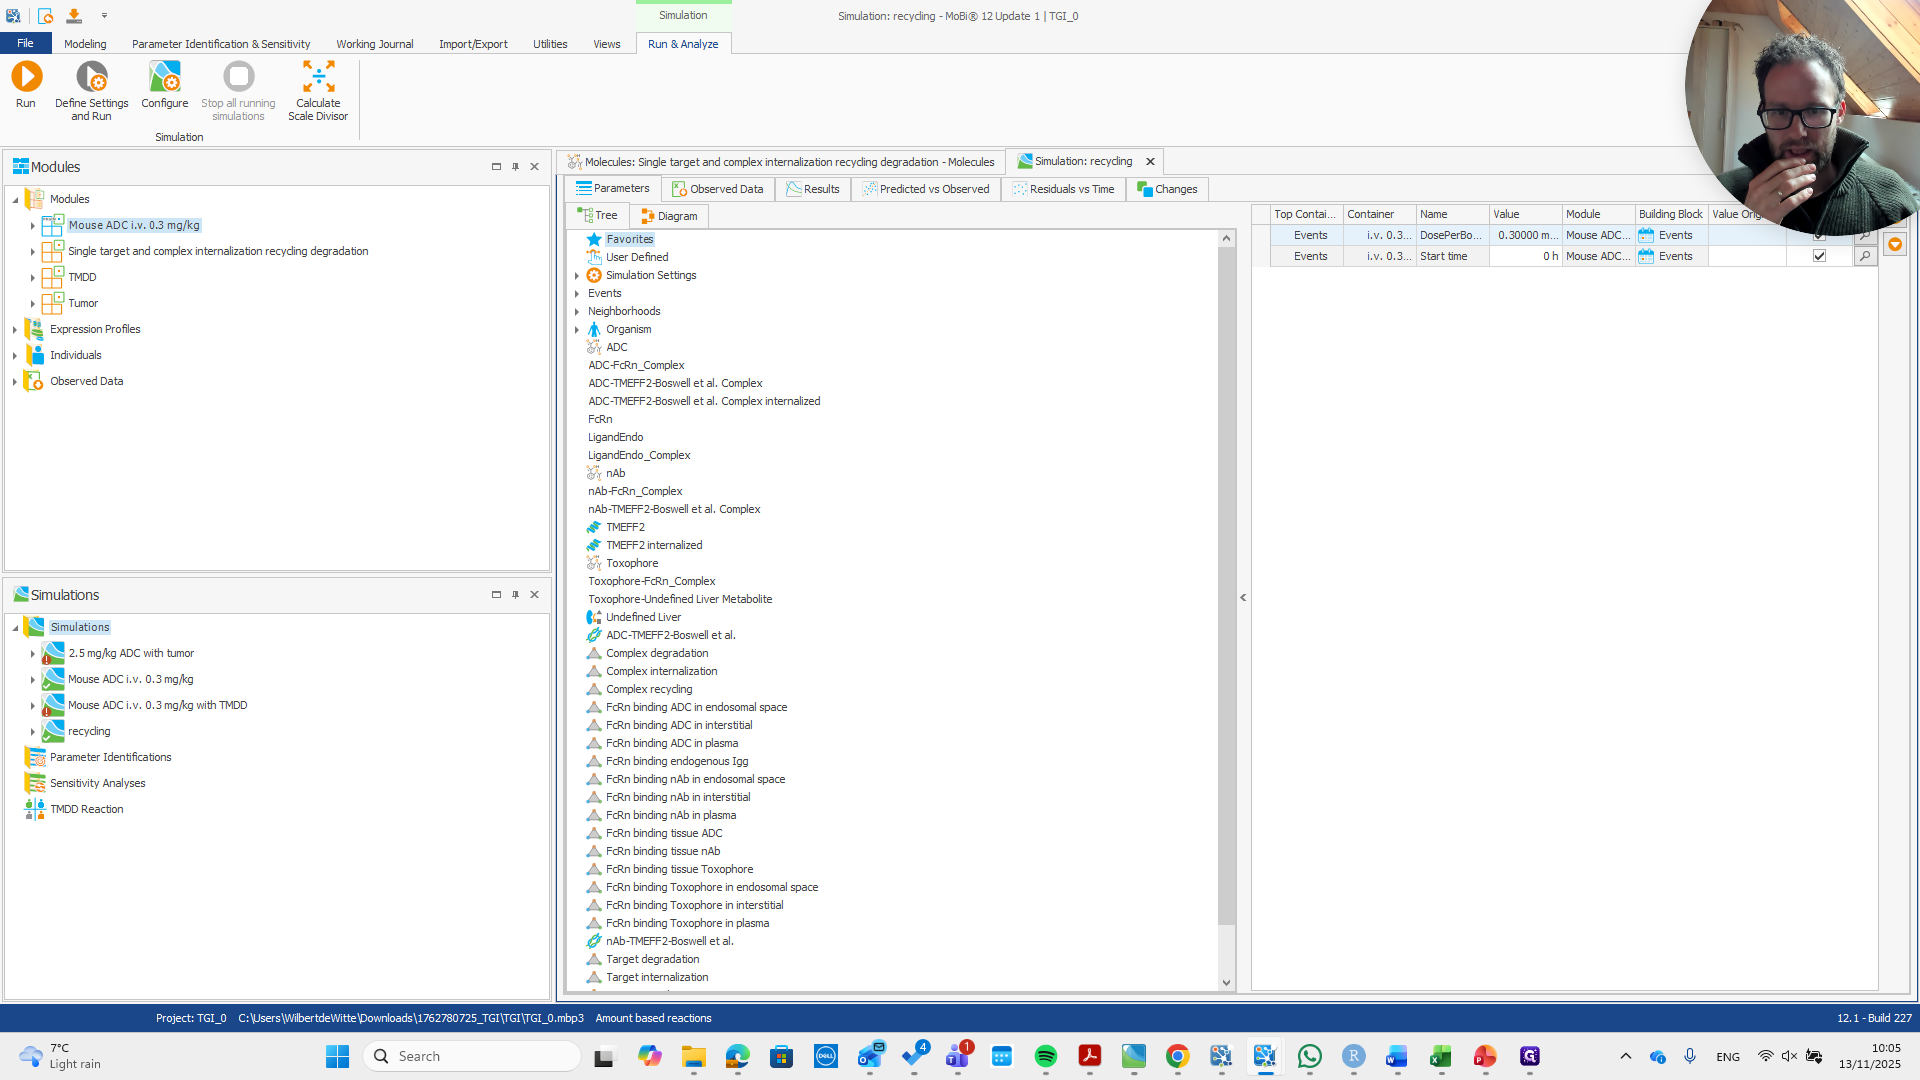
We have relative expression in the bone, which is good. If we want to check the results, the bone is a good organ to examine.

62
Click on "Define Settings and Run"
Step #62: Click on "Define Settings and Run"
63
Click on "Compartment"
Step #63: Click on "Compartment"

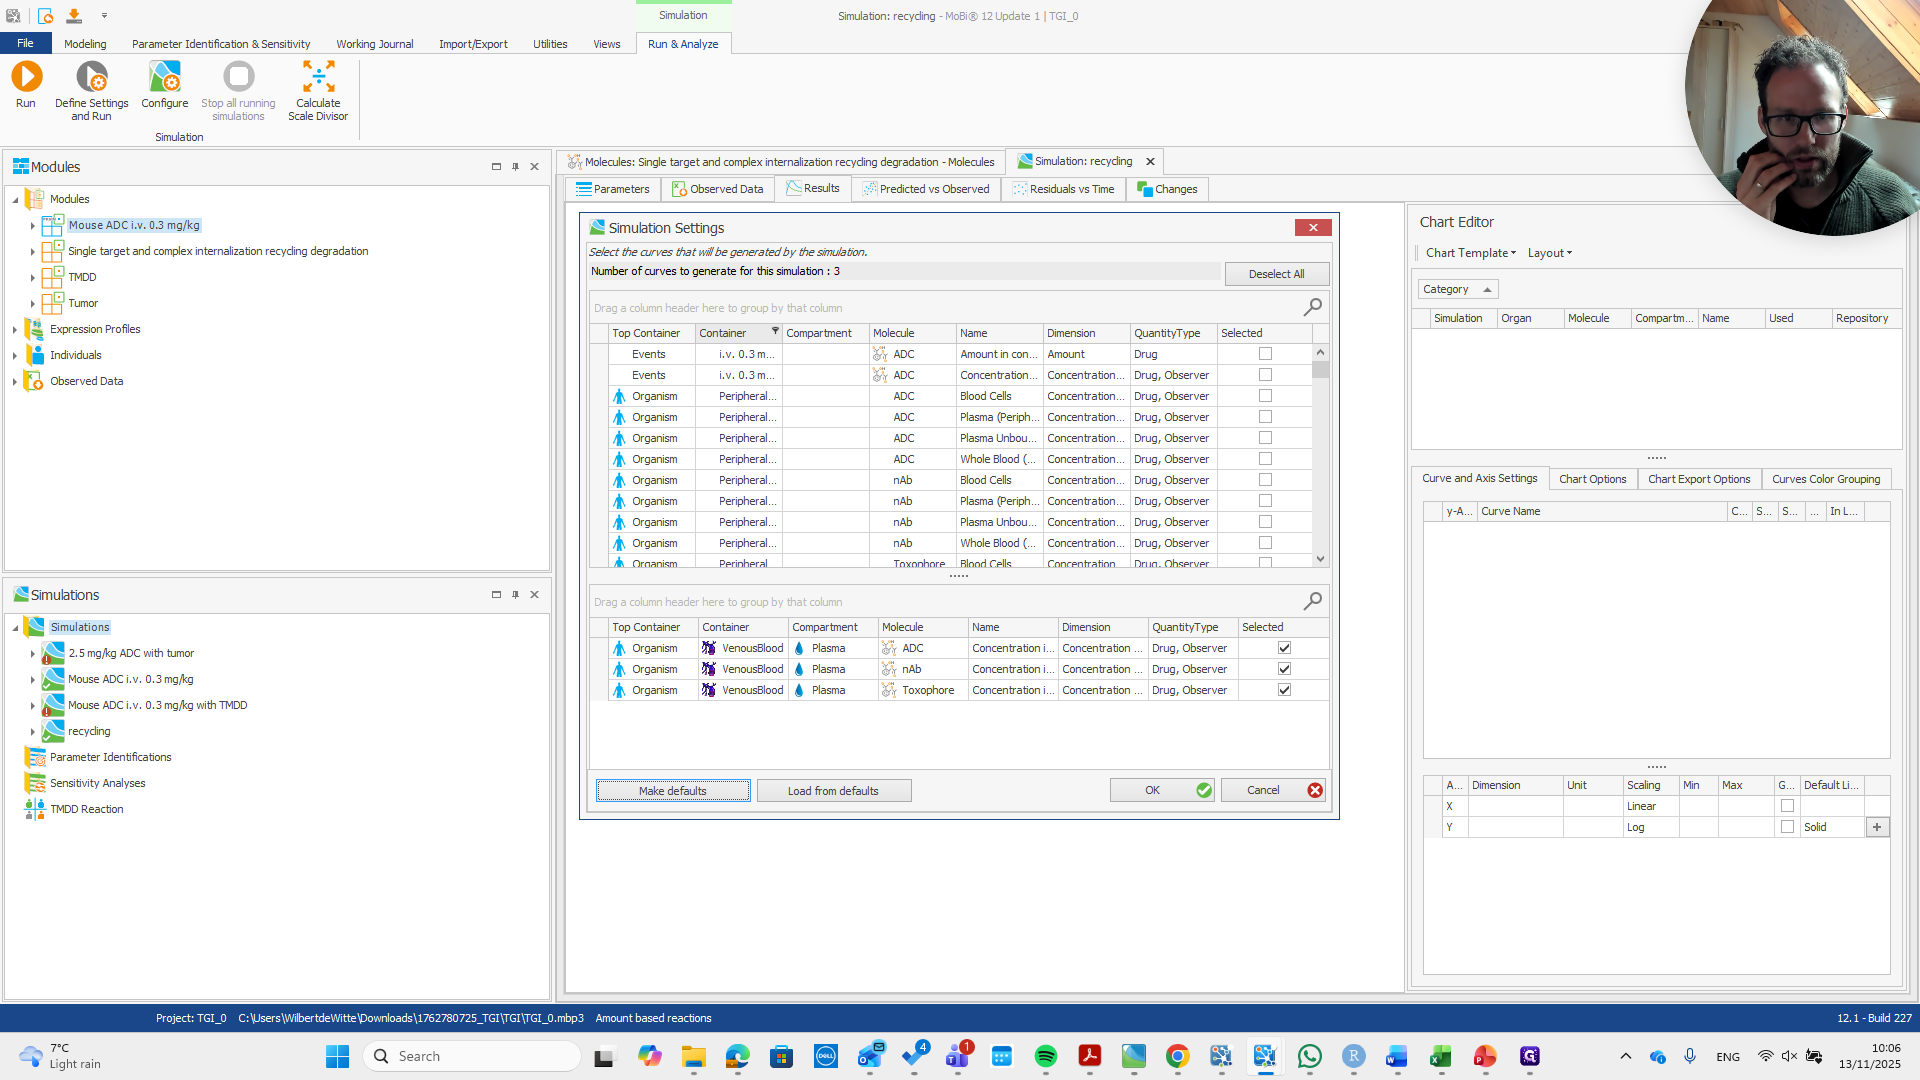
We select "bone" here, then choose "compartment interstitial."

64
Click on "."
Step #64: Click on "."
65
Click on "ок"
Step #65: Click on "ок"
66
Click on "Molecule"
Step #66: Click on "Molecule"

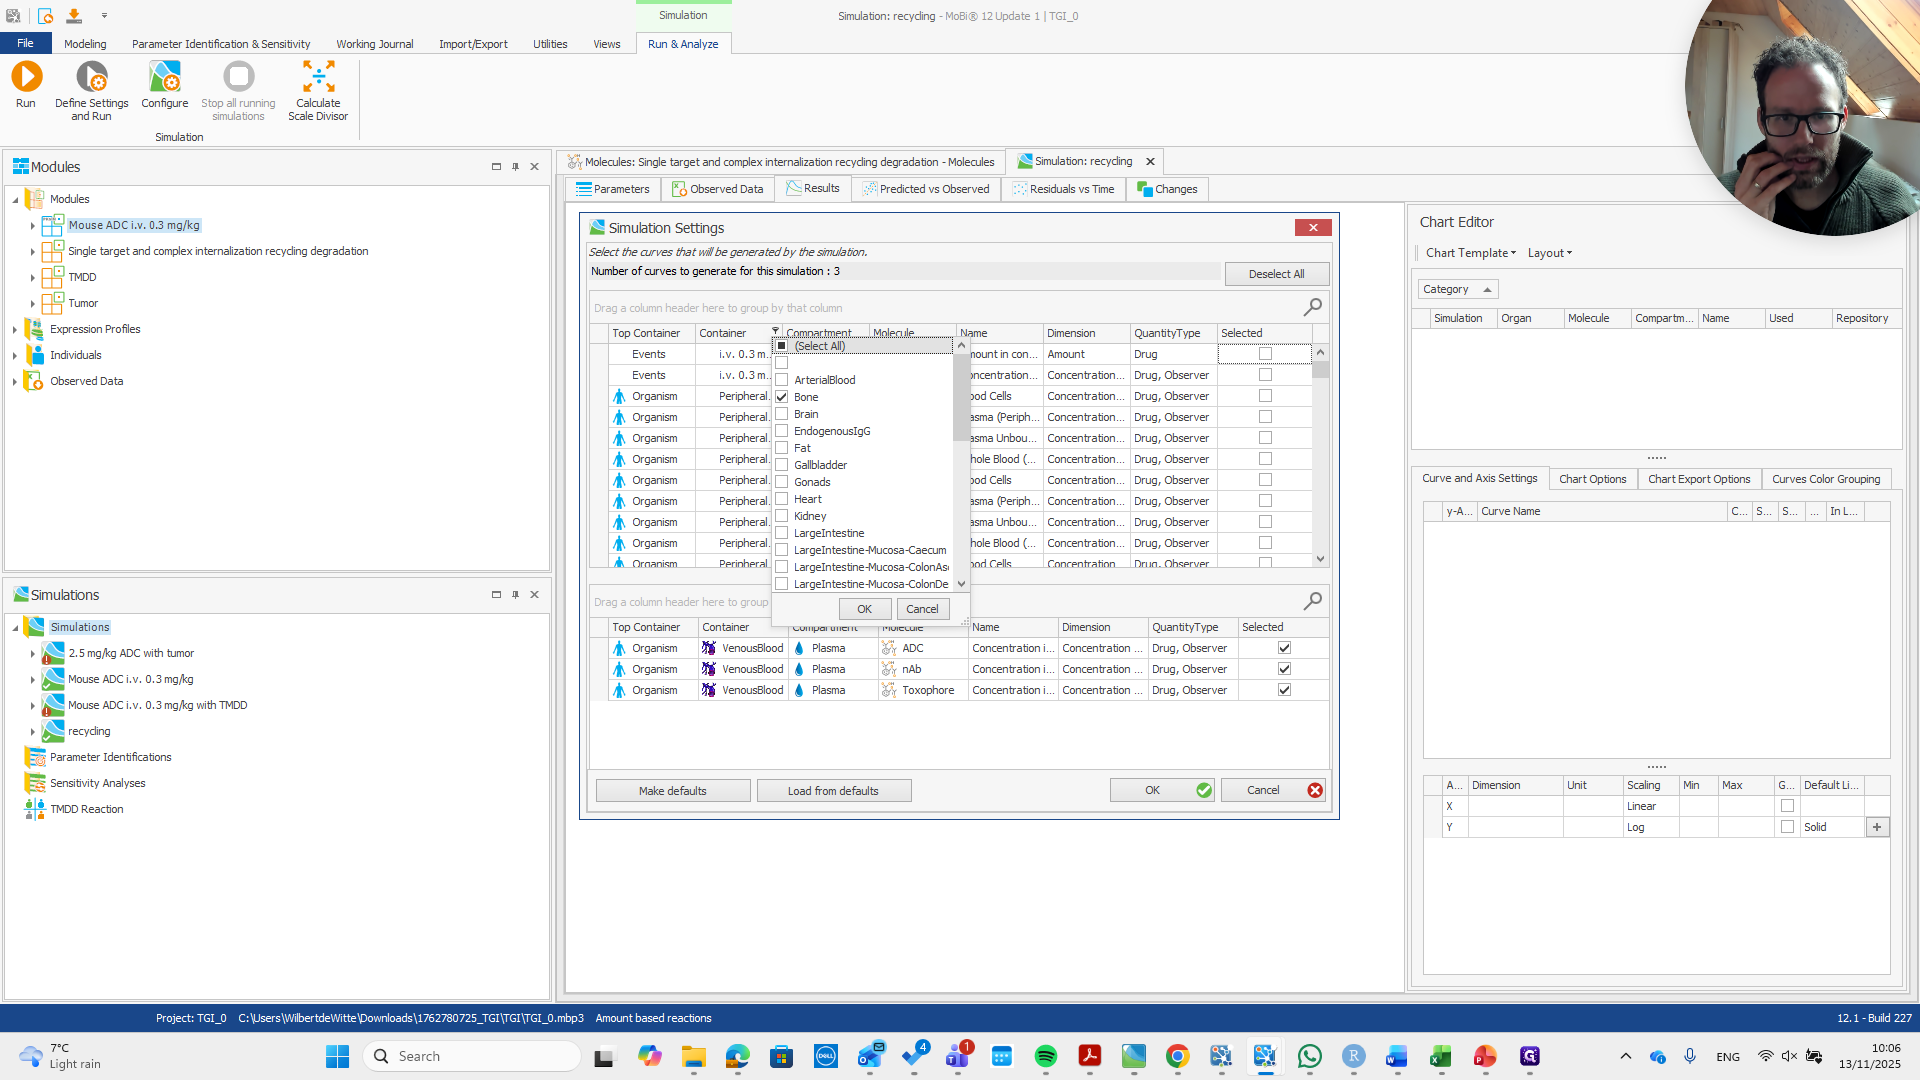
This is all standard.

67
Click here
Step #67: Click here
68
Click on "OK"
Step #68: Click on "OK"

Nothing special here.

69
Click on "Name"
Step #69: Click on "Name"

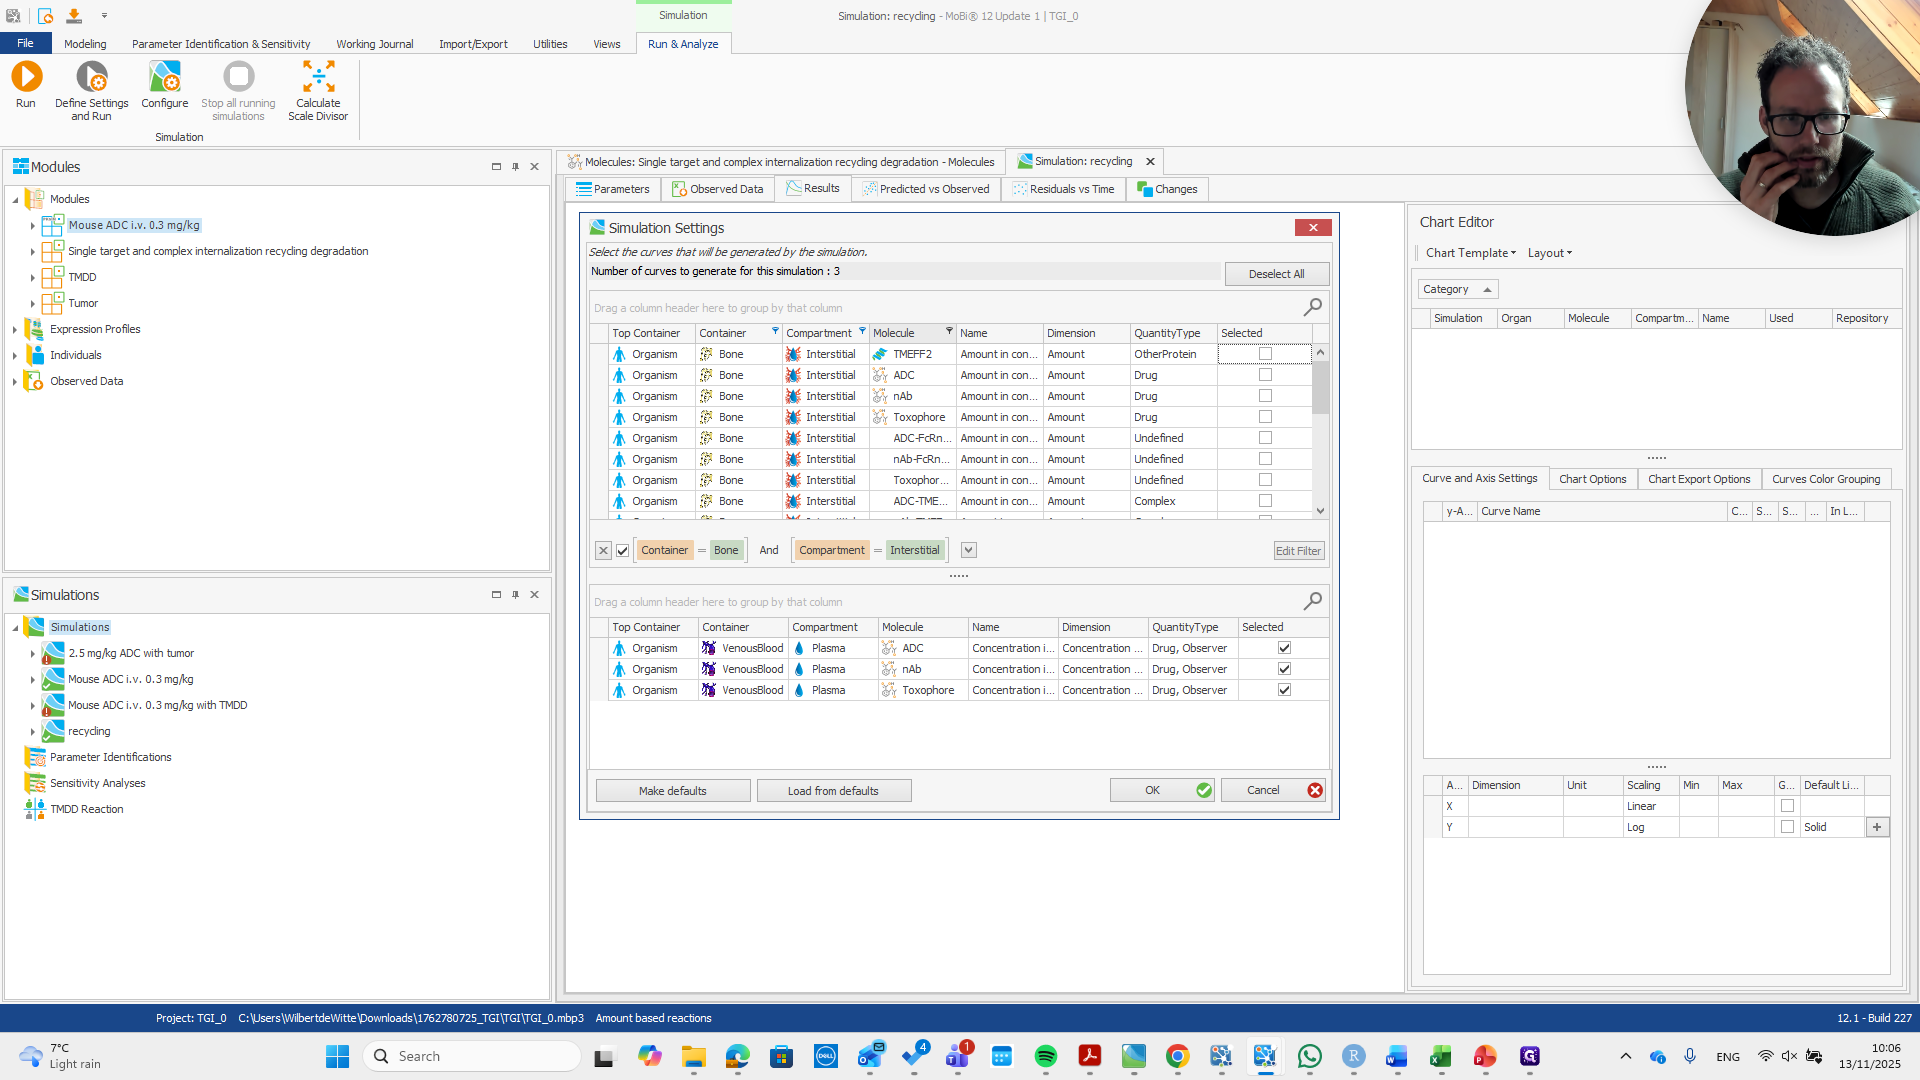
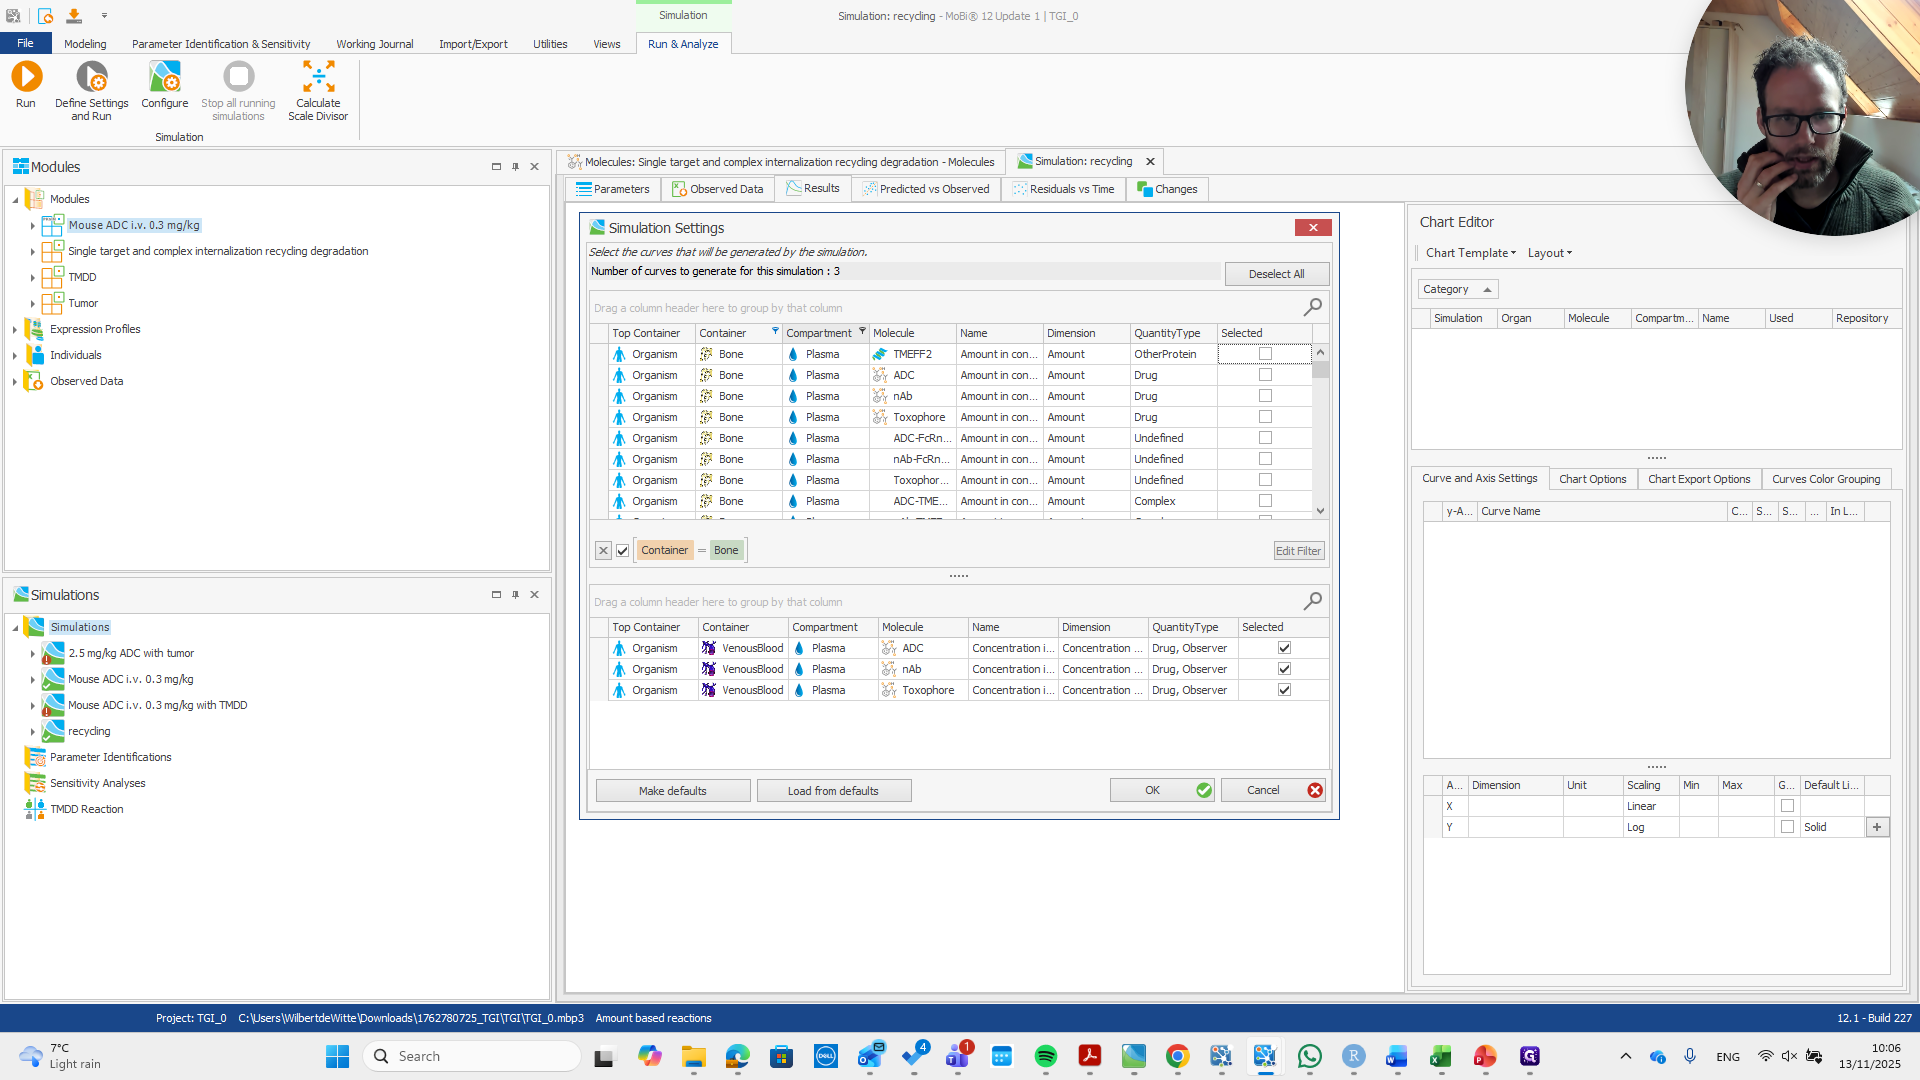
We want to check if the model implementation was successful.

70
Drag "QuantityType Drug , Observer Drug , Observer Drug , Observer"
Step #70: Drag "QuantityType Drug , Observer Drug , Observer Drug , Observer"

We select the relevant molecules. That's it.

71
Double-click on "TMEFF2 ADC nAb"
Step #71: Double-click on "TMEFF2 ADC nAb"
72
Double-click on "ADC - TME TMEFF2 internalized"
Step #72: Double-click on "ADC - TME TMEFF2 internalized"
73
Click on "OK"
Step #73: Click on "OK"
74
Click on "Name"
Step #74: Click on "Name"

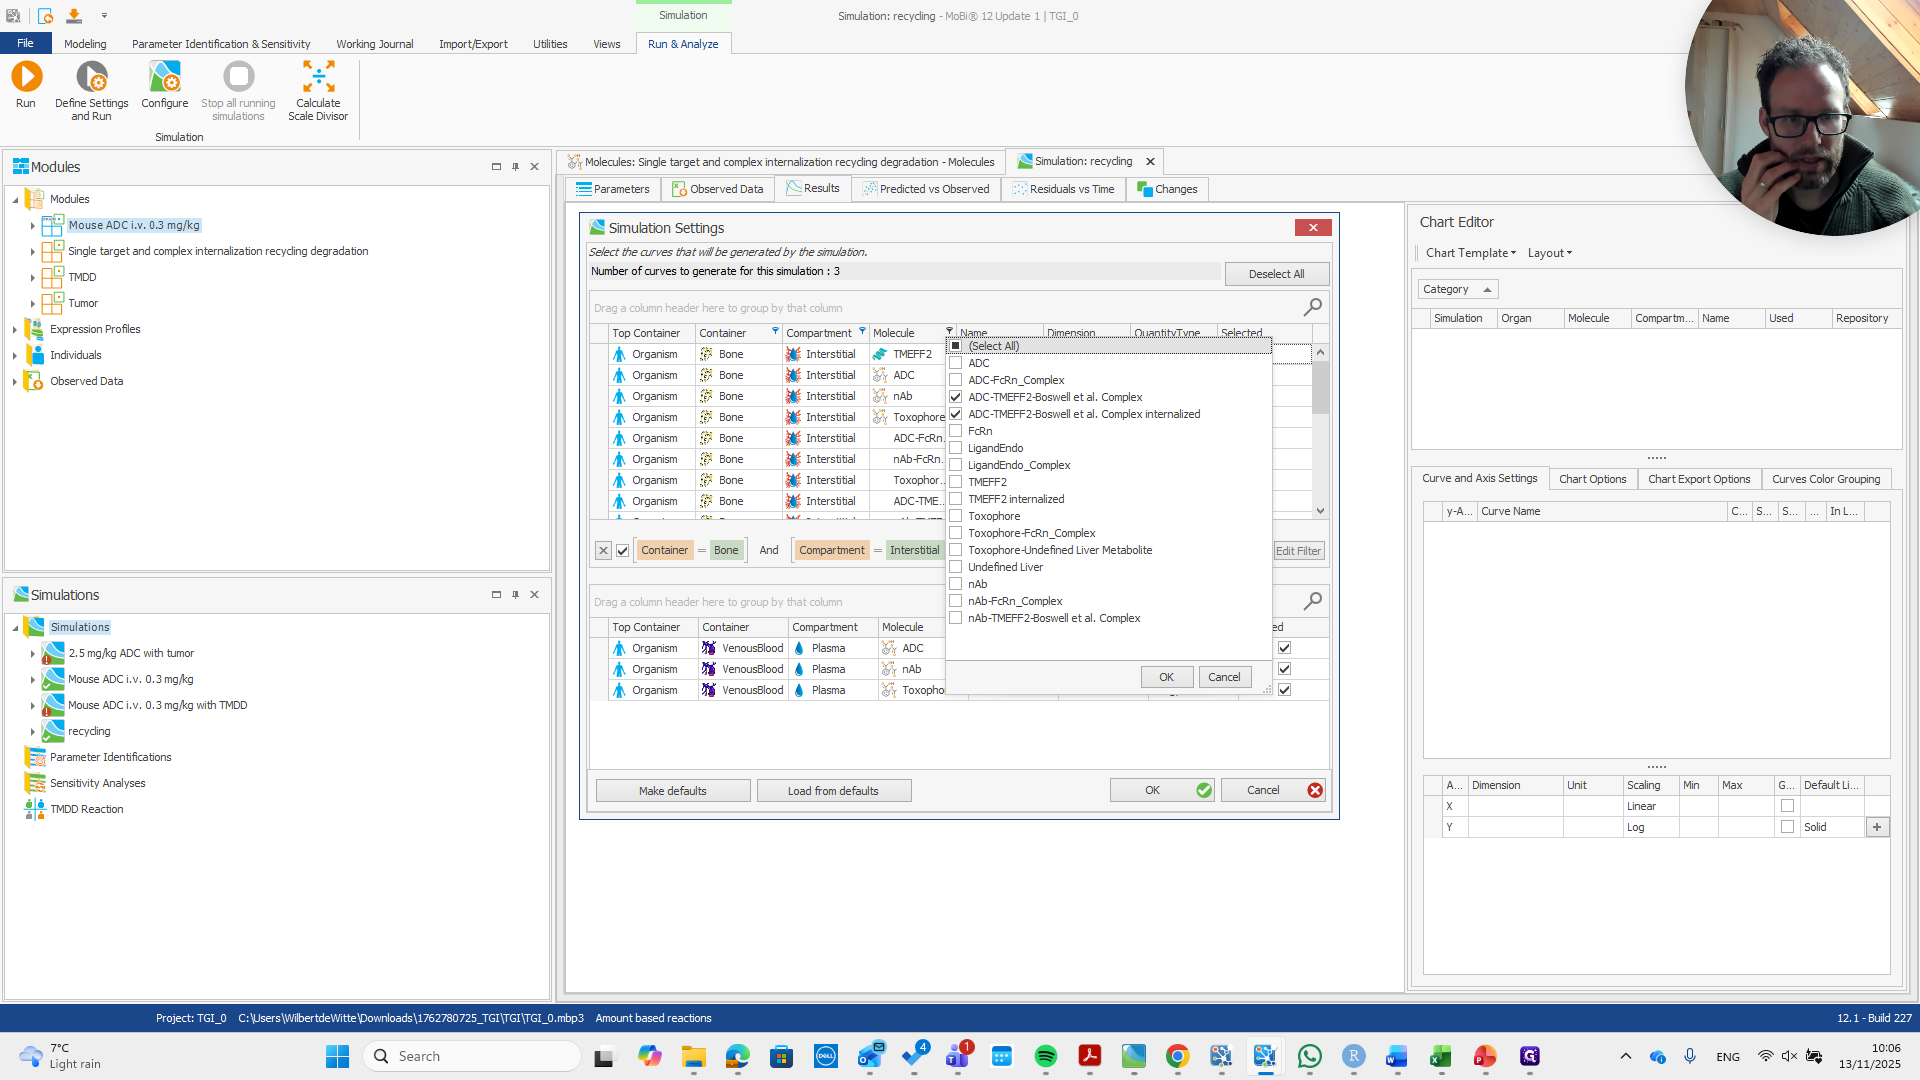
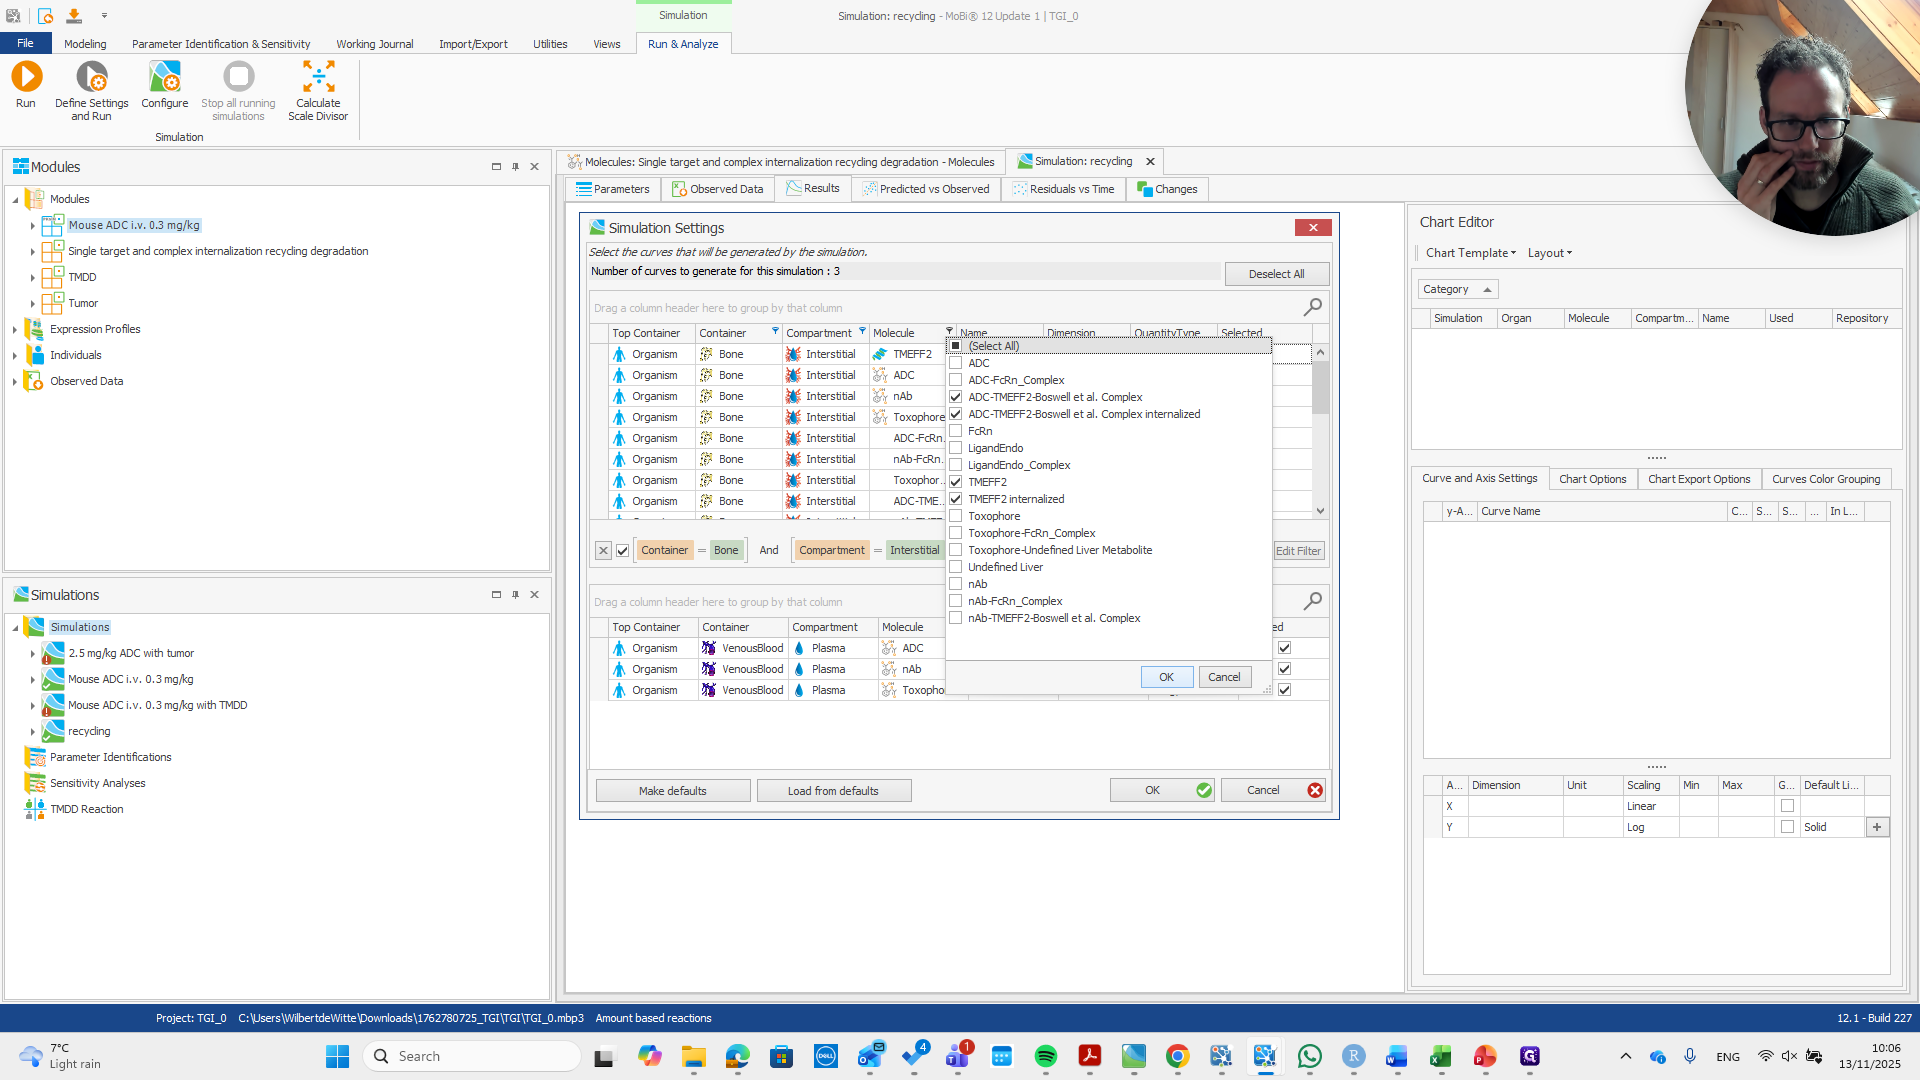
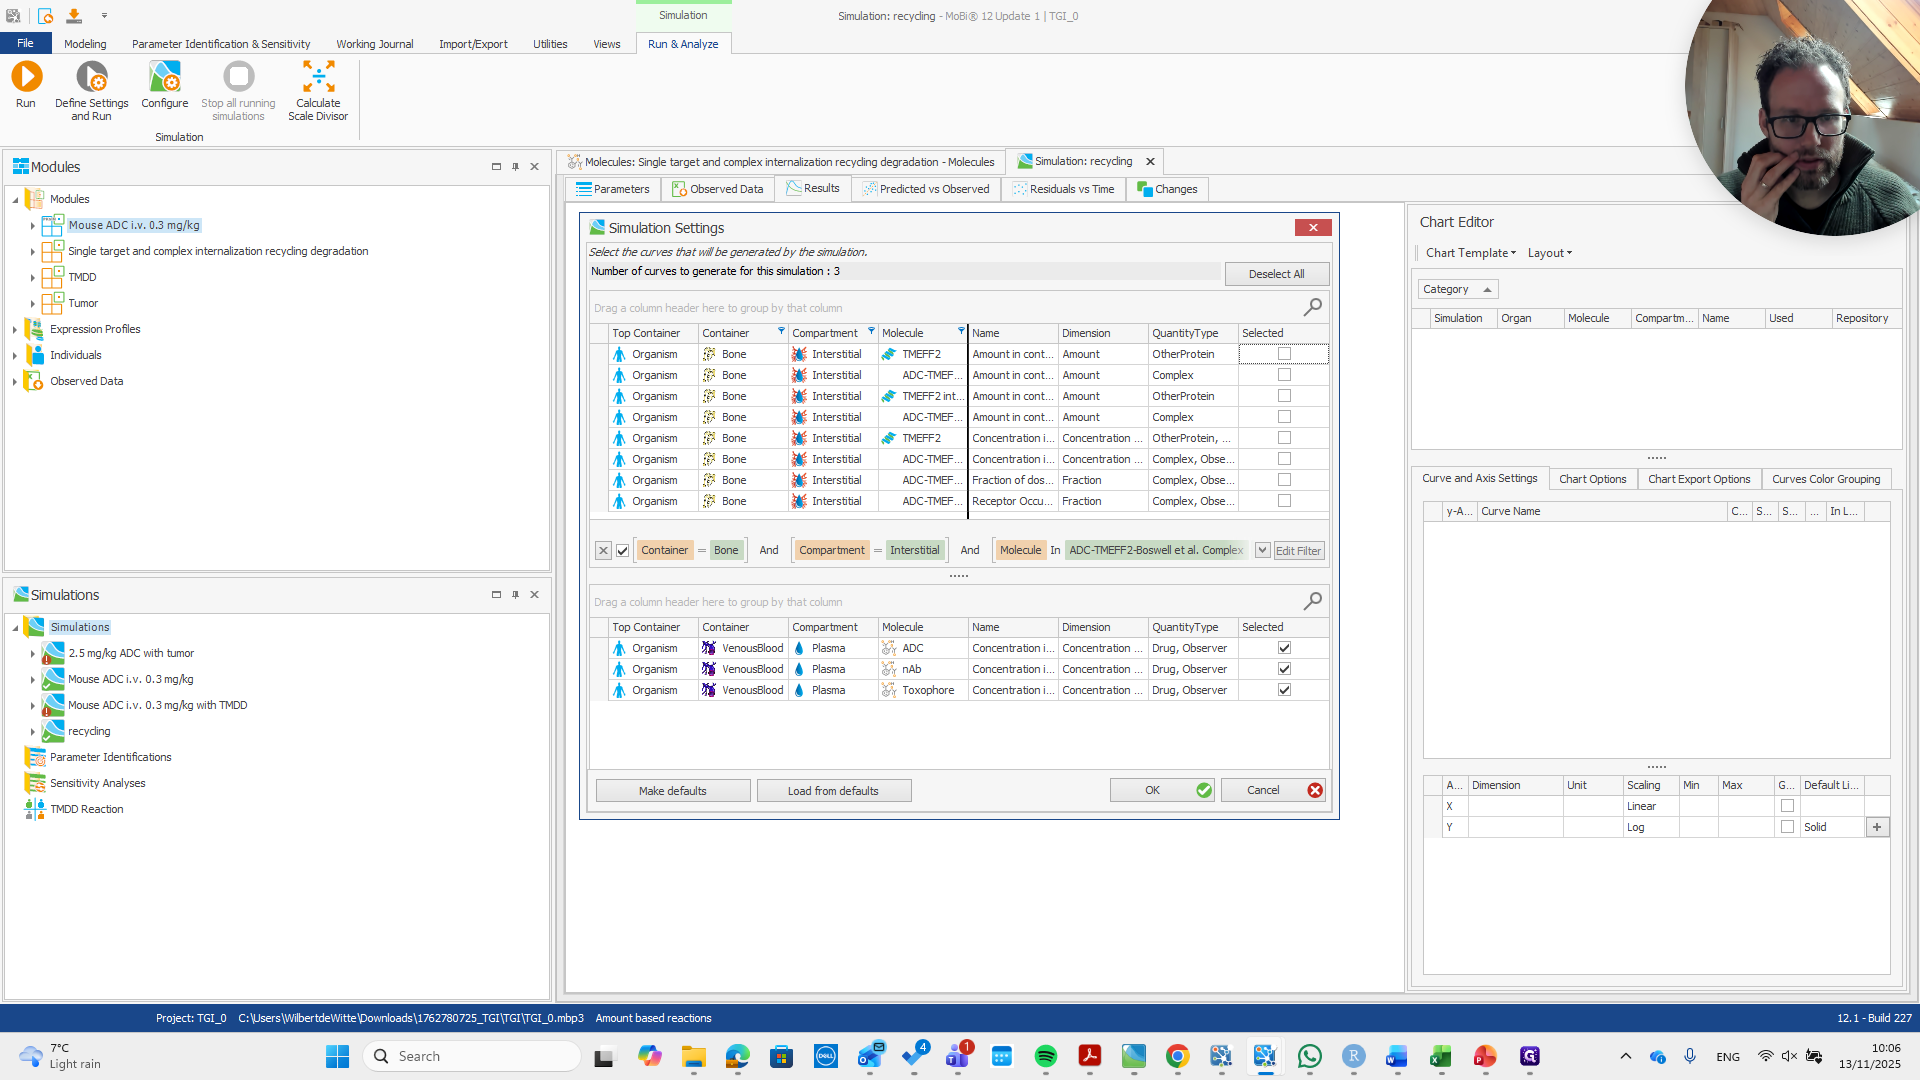
We want this amount in containers to be added to our service.

75
Drag here
Step #75: Drag here
76
Click here
Step #76: Click here
77
Click here
Step #77: Click here
78
Click here
Step #78: Click here
79
Click here
Step #79: Click here

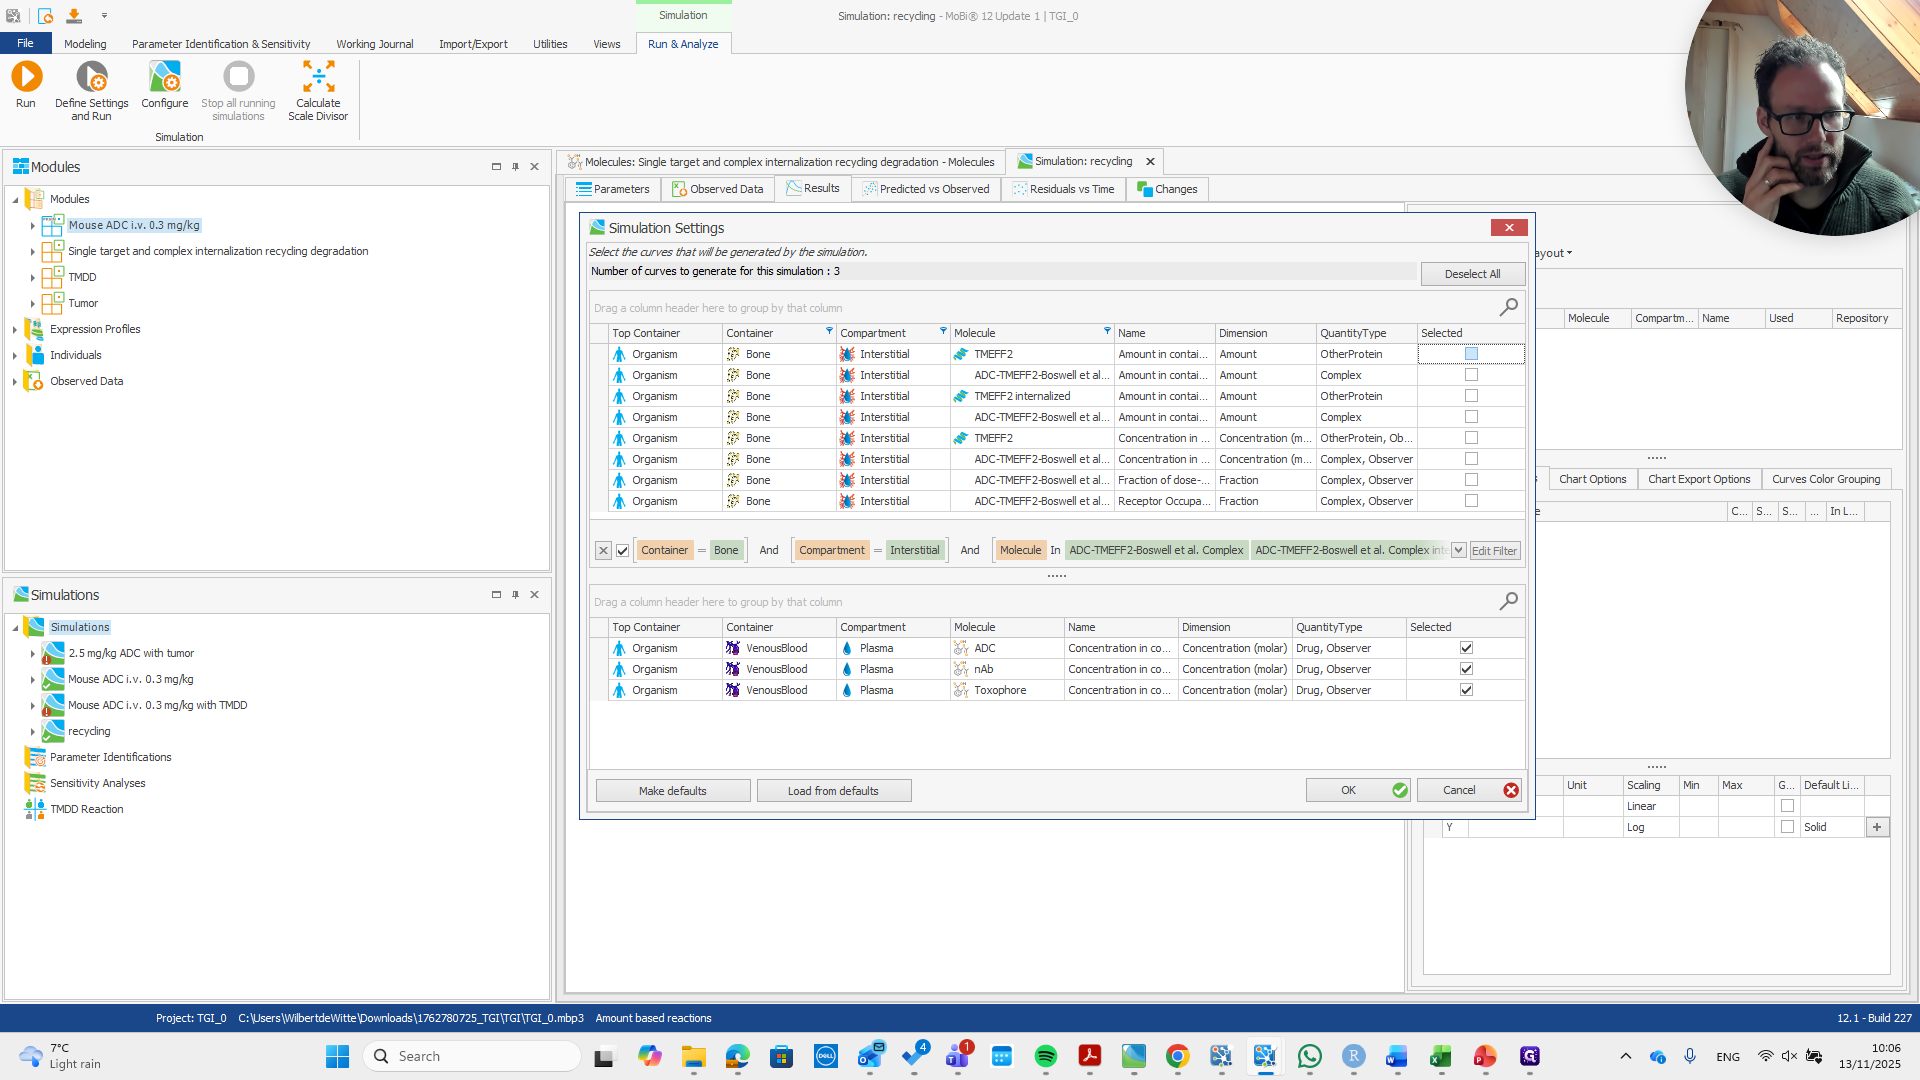
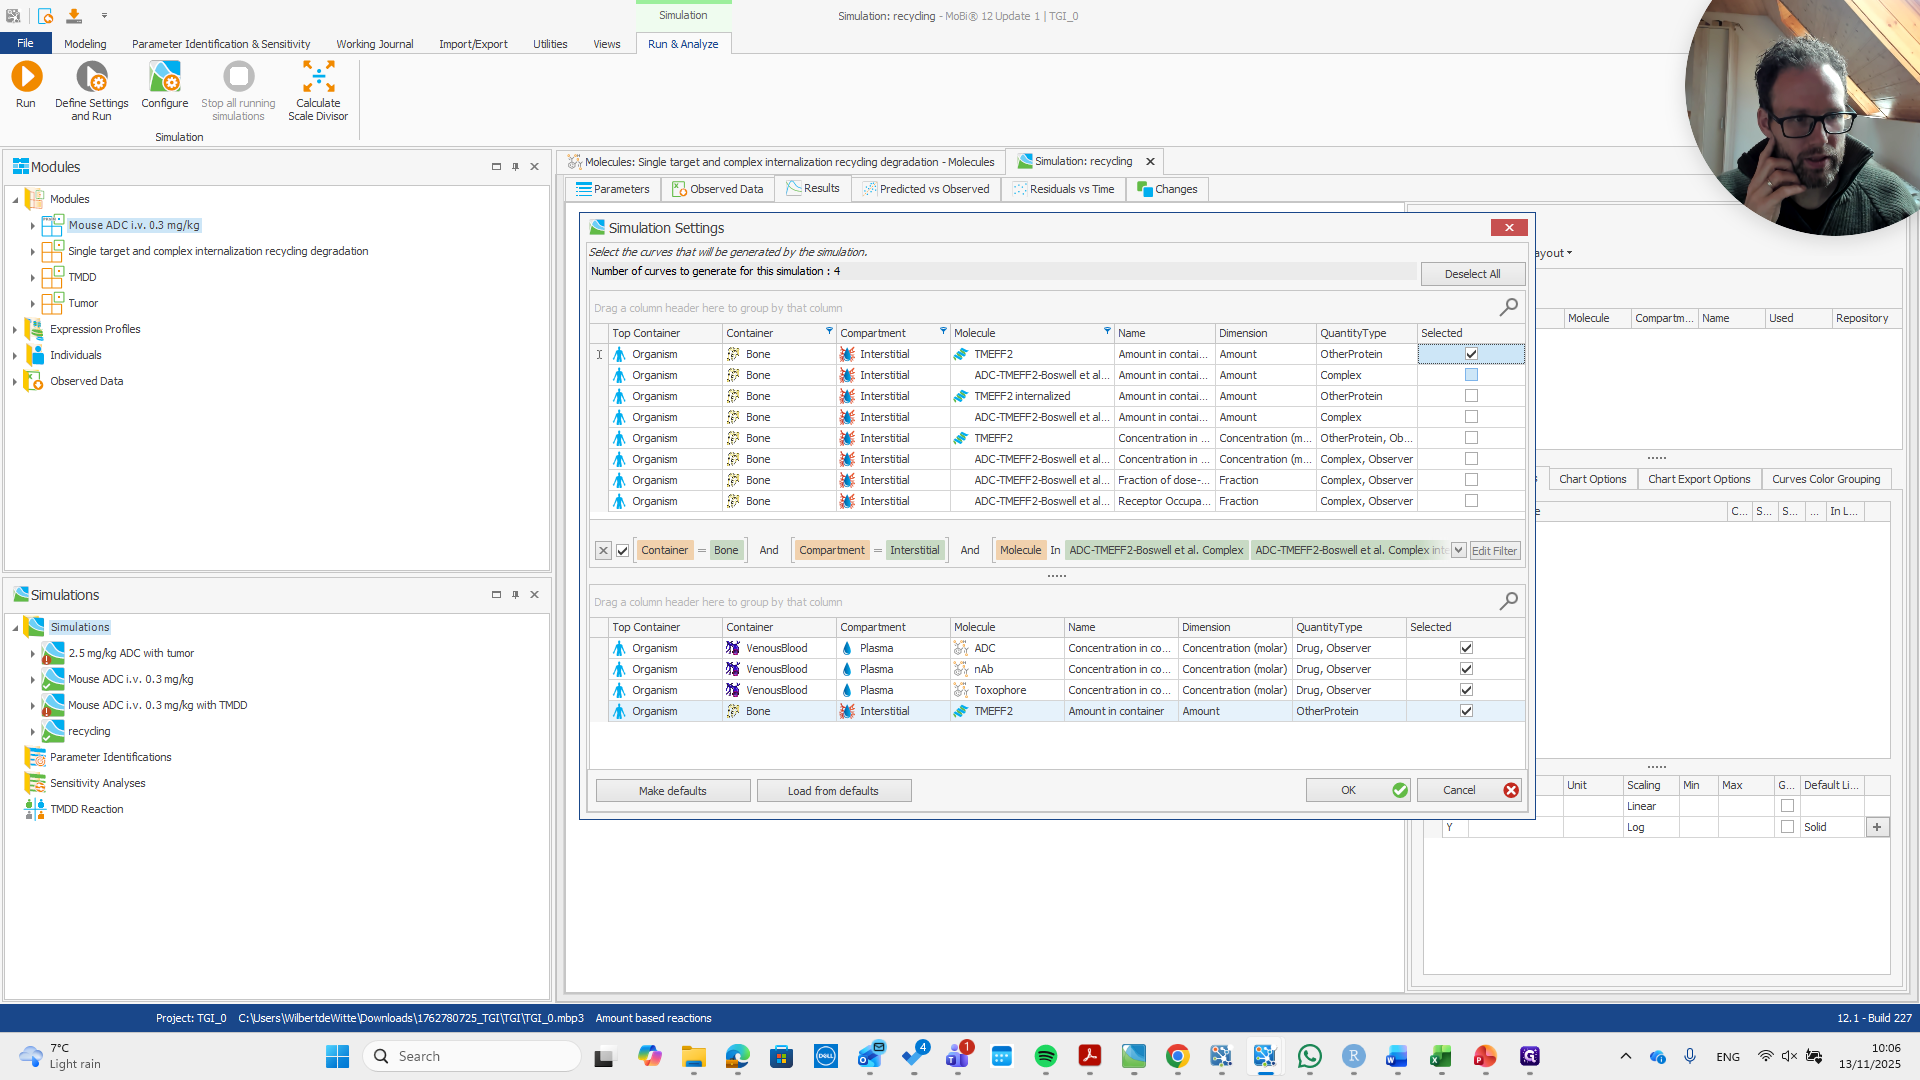
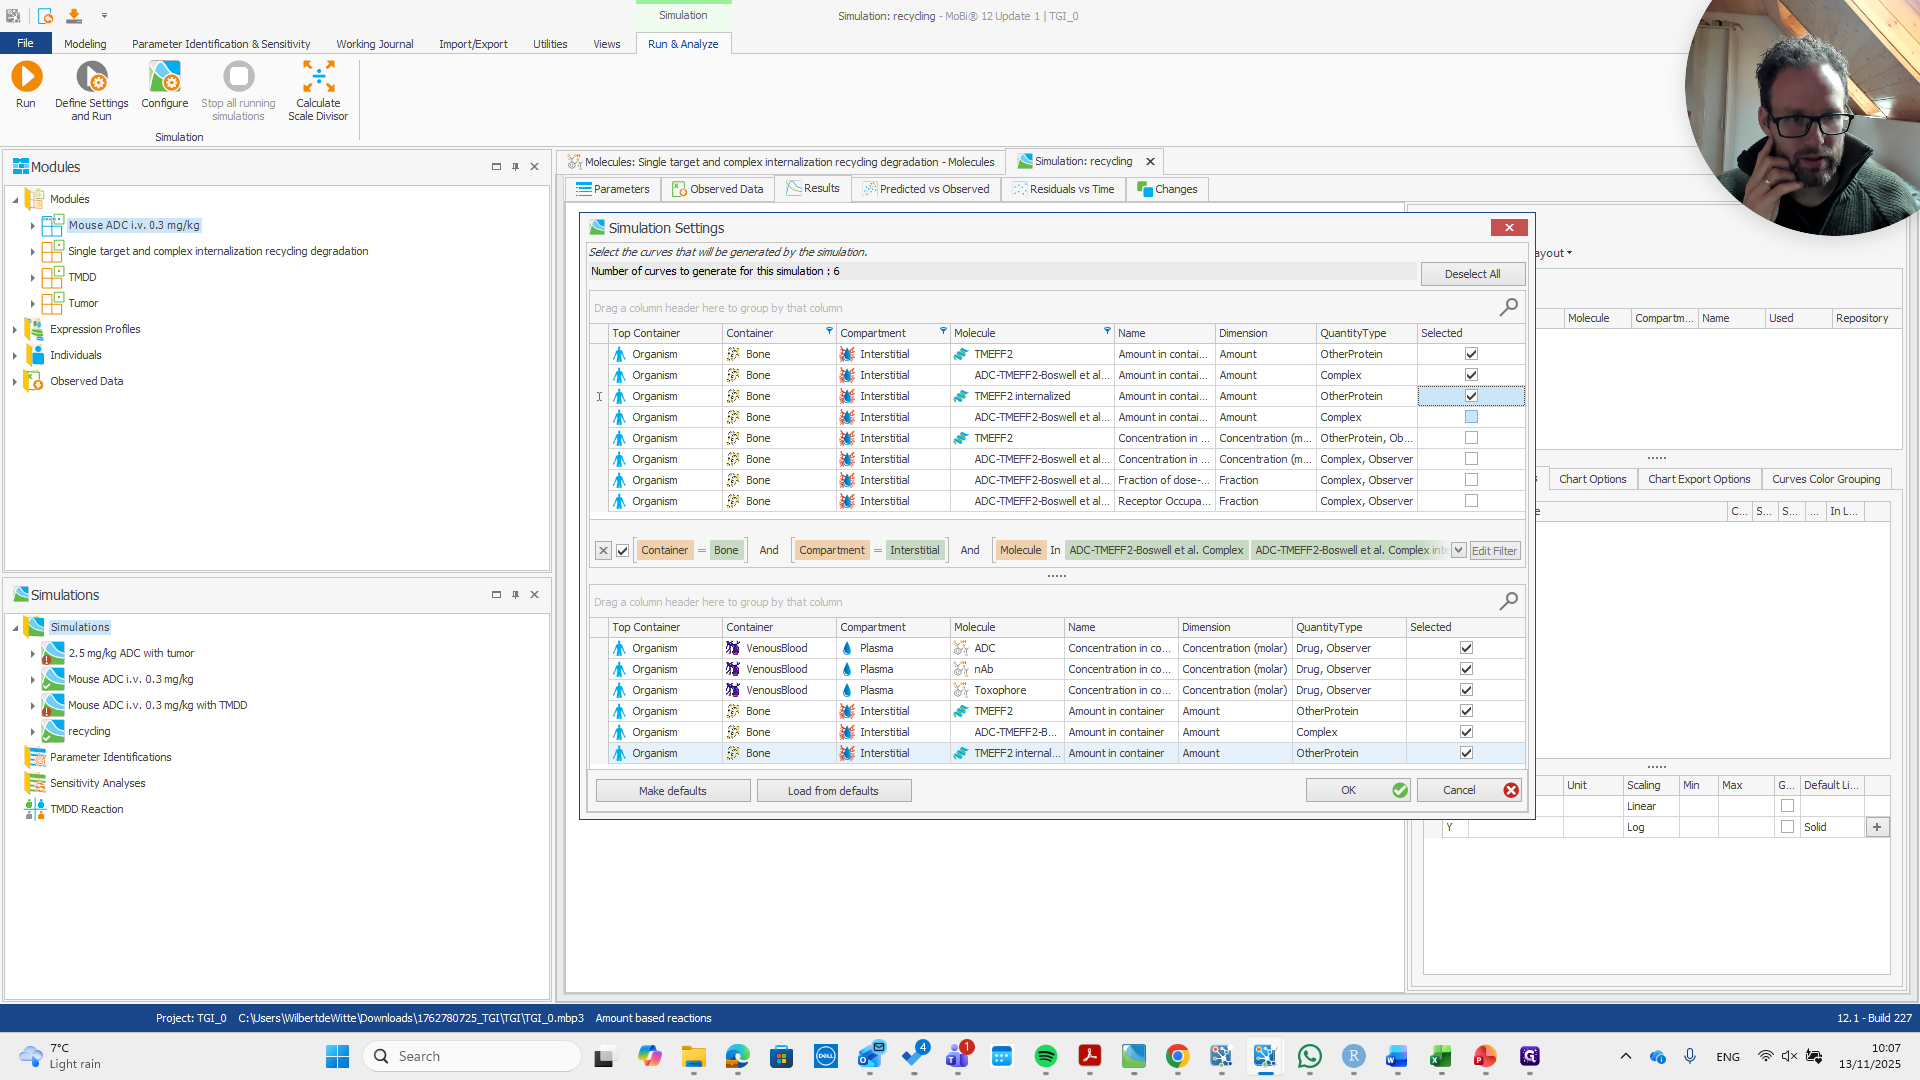
Now, the naked antibody and Toxophore are not relevant here.

80
Click here
Step #80: Click here

Now we have our simulation, and we can see the target concentrations here. It is the internalized one and the standard one. You can also see it returns to the steady state.

That's good.

81
So that's good.
Step #81: So that's good.

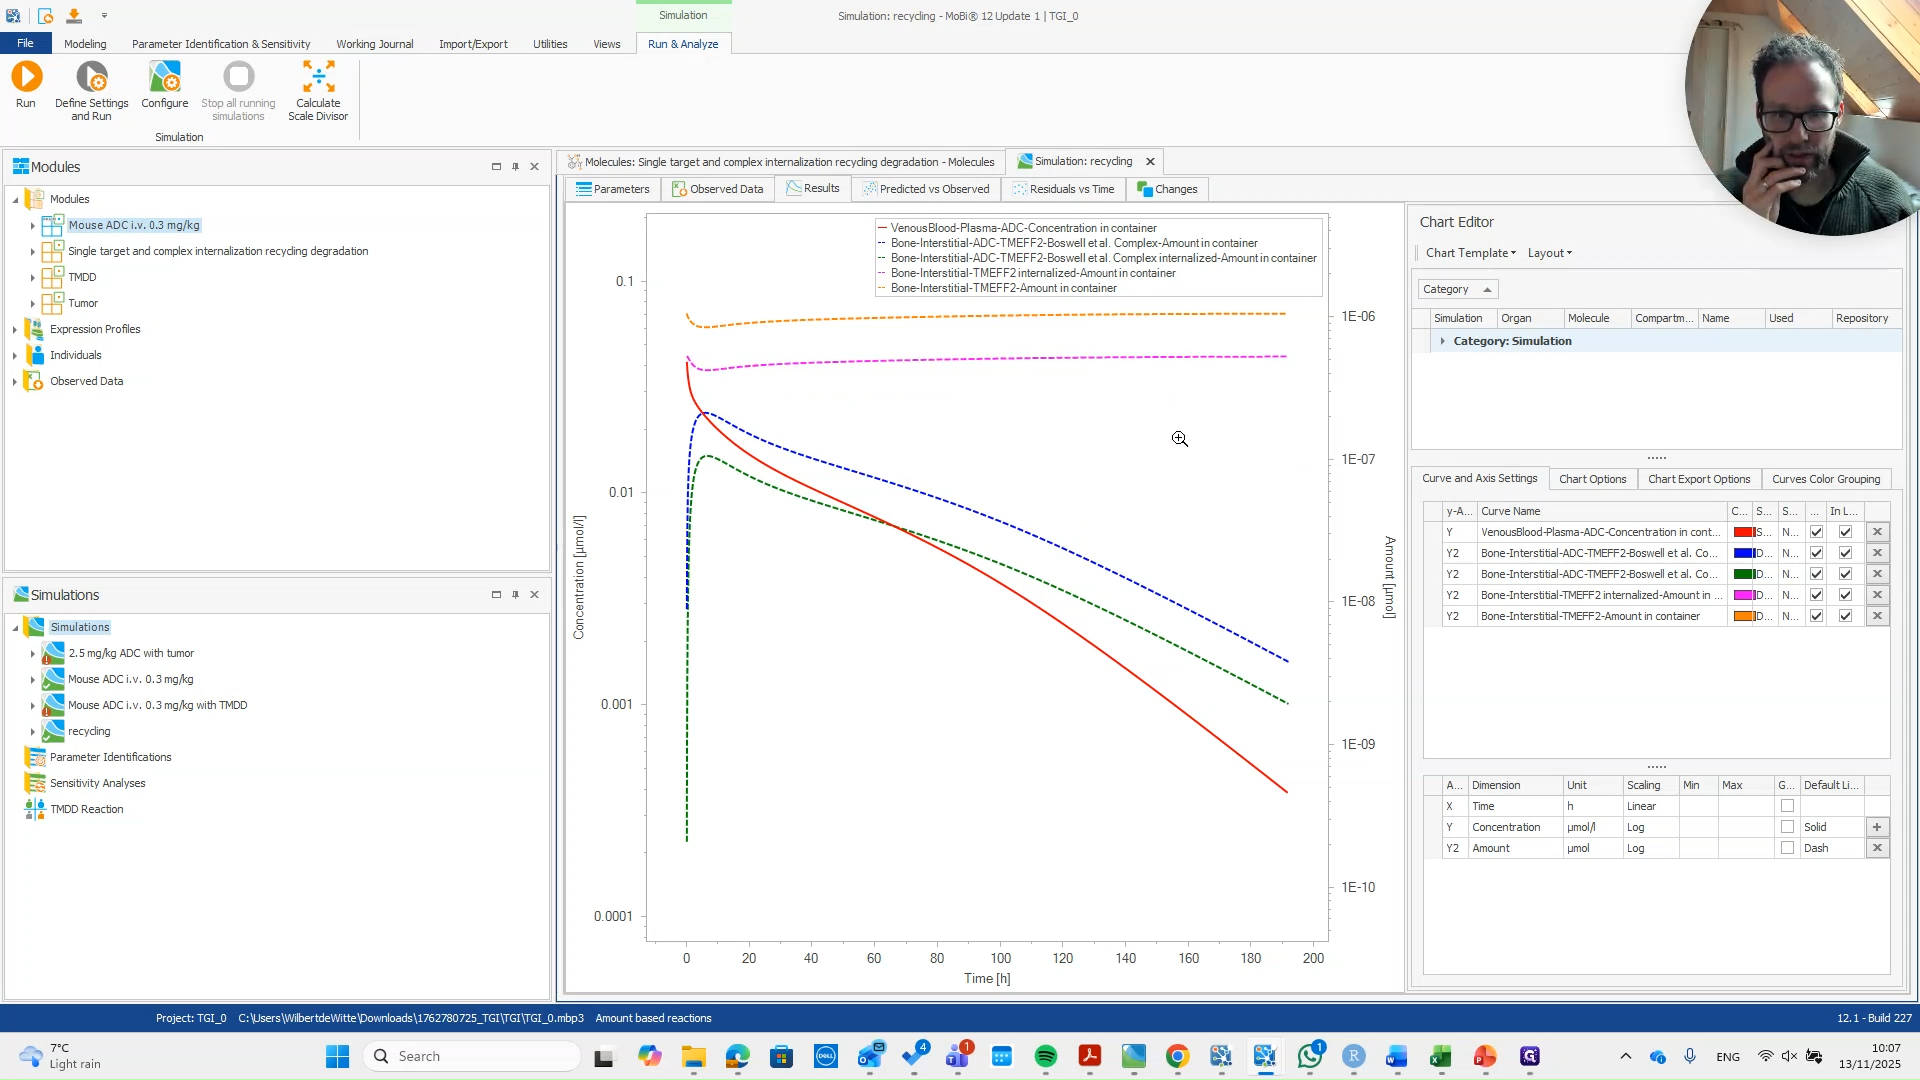
Here are the complex molecules, which move back down along with the plasma concentrations of the molecule. That's all in line with expectations, and it appears this implementation has worked.