How to Use the Visit Log
Learn how to access, filter, and manage the visit log in your dealership's sales module. This guide covers adding, modifying, and classifying walk-in visits for improved sales tracking.
By Dominik Black
In this guide, we'll learn how to use the visit log in your dealership. The visit log helps staff members, such as receptionists and salespeople, track and manage walk-in visits. You will see how to access the log, apply filters, add new visits, and update visit details.
This process helps your team organize client interactions and link visits to sales opportunities.
Let's get started
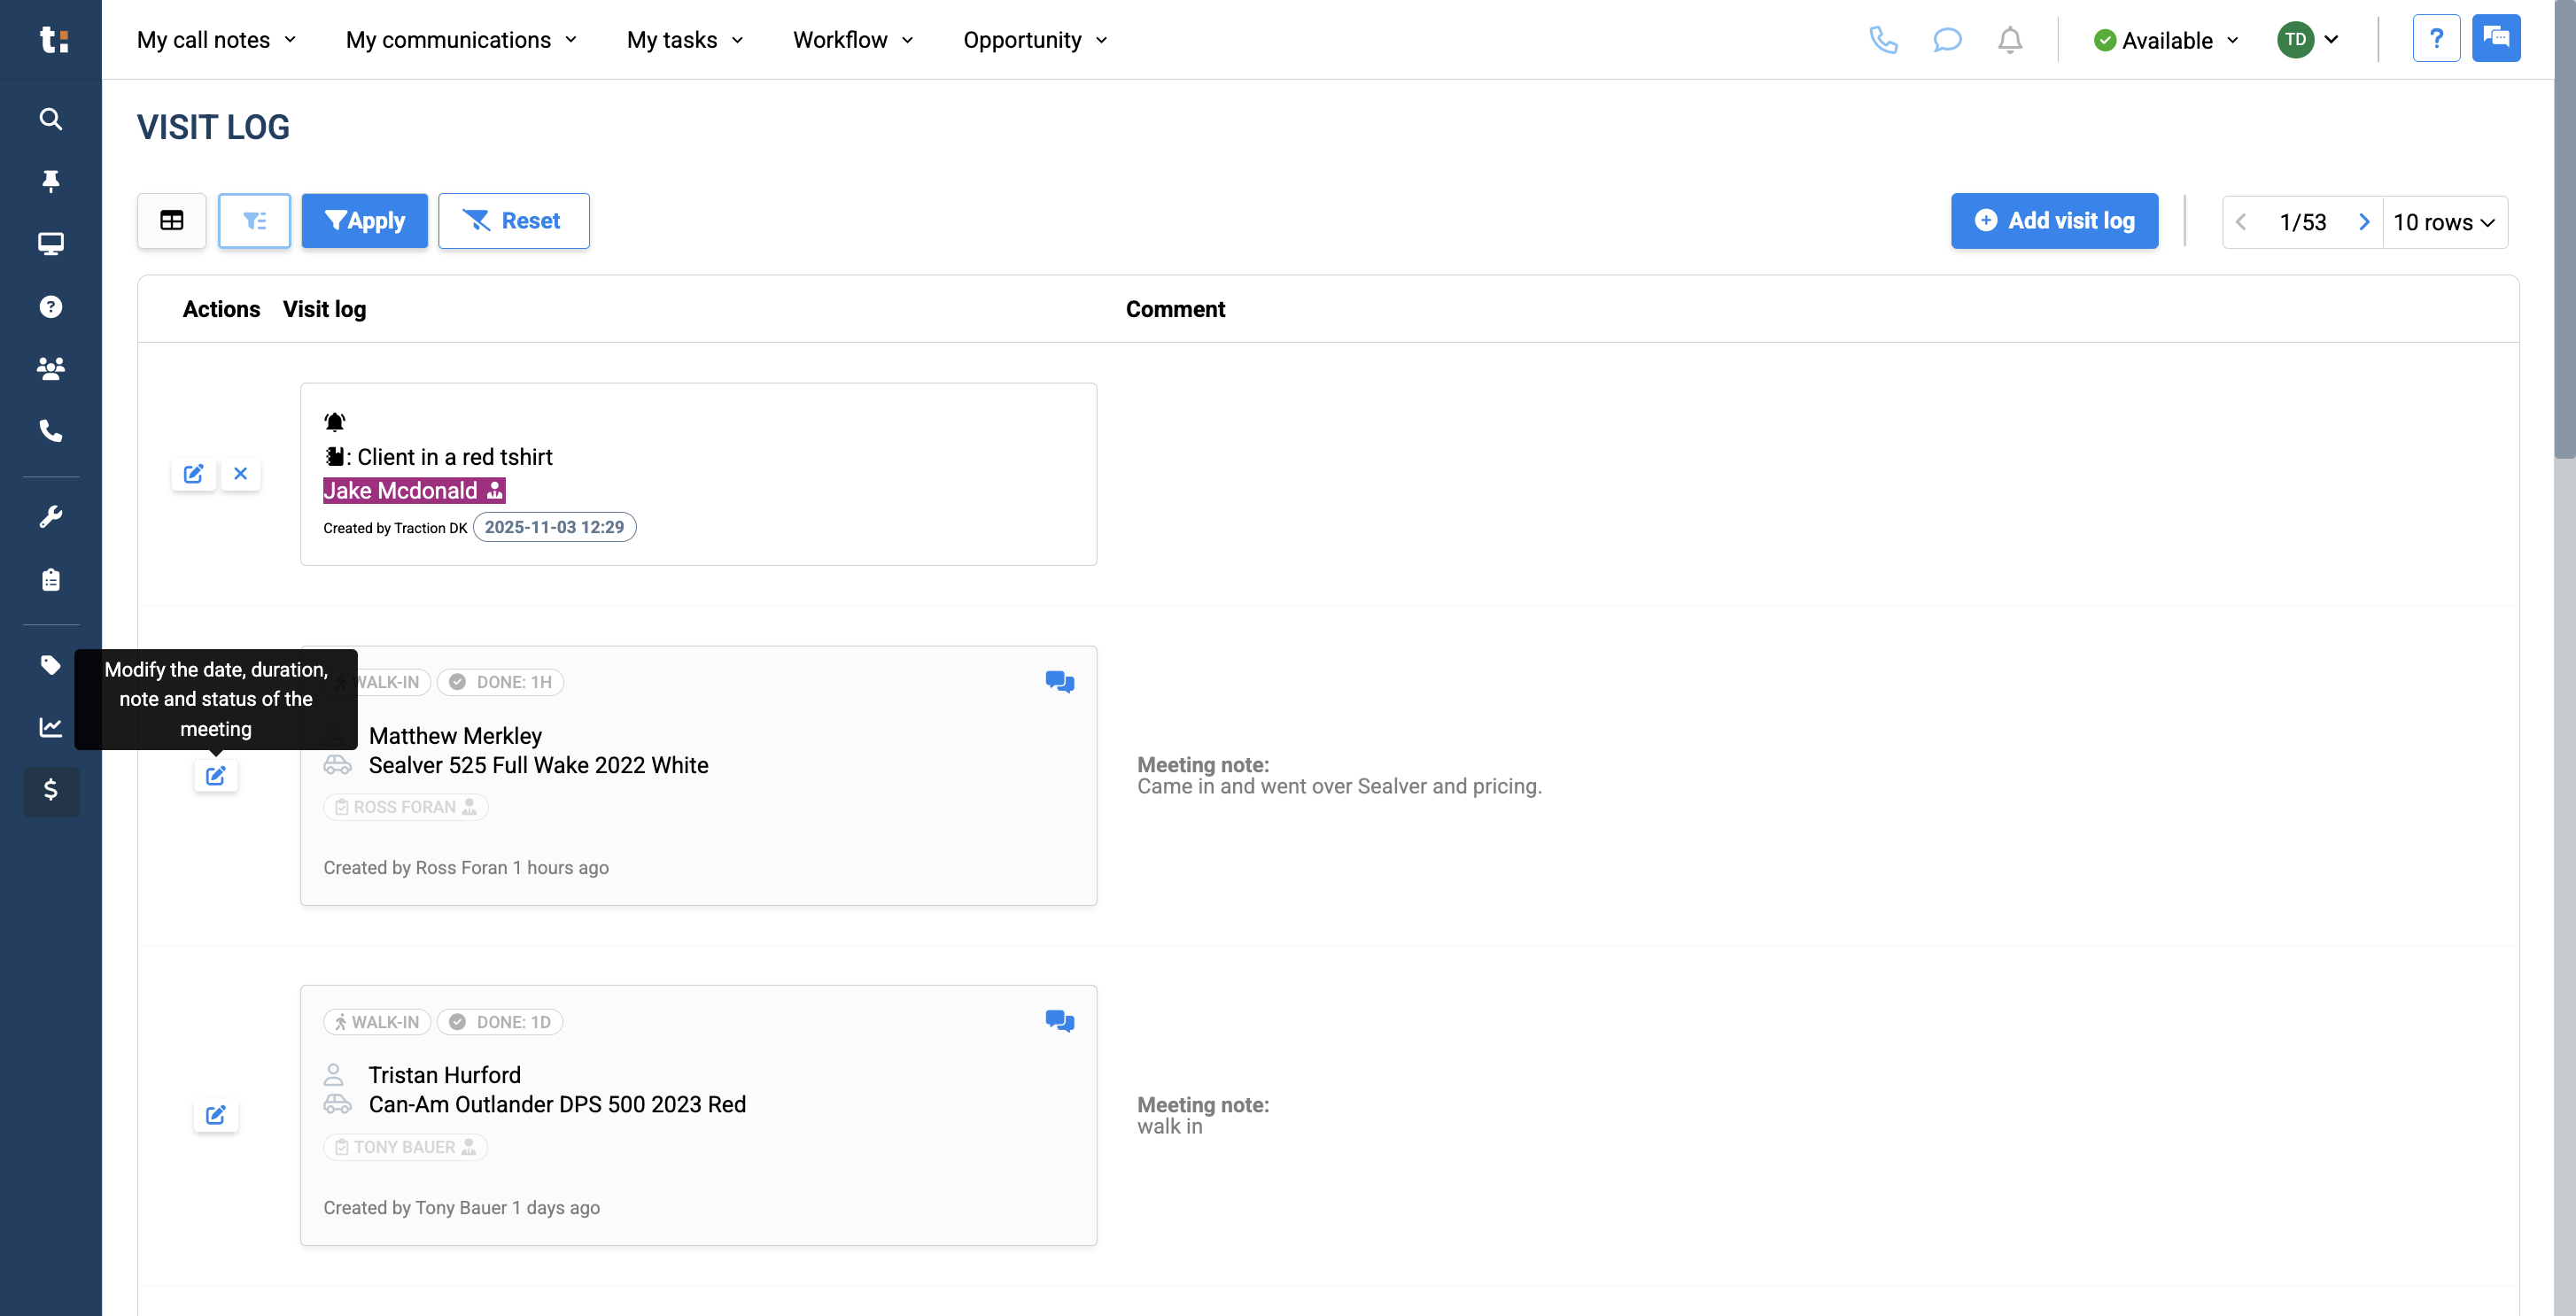
In this article, we will review the visit log. The visit log can be used by multiple people at the dealership, including the receptionist and any salesperson logging walk-ins.
1
To access the visit log, first click the Sales module.
2
Then, select Visit Log.
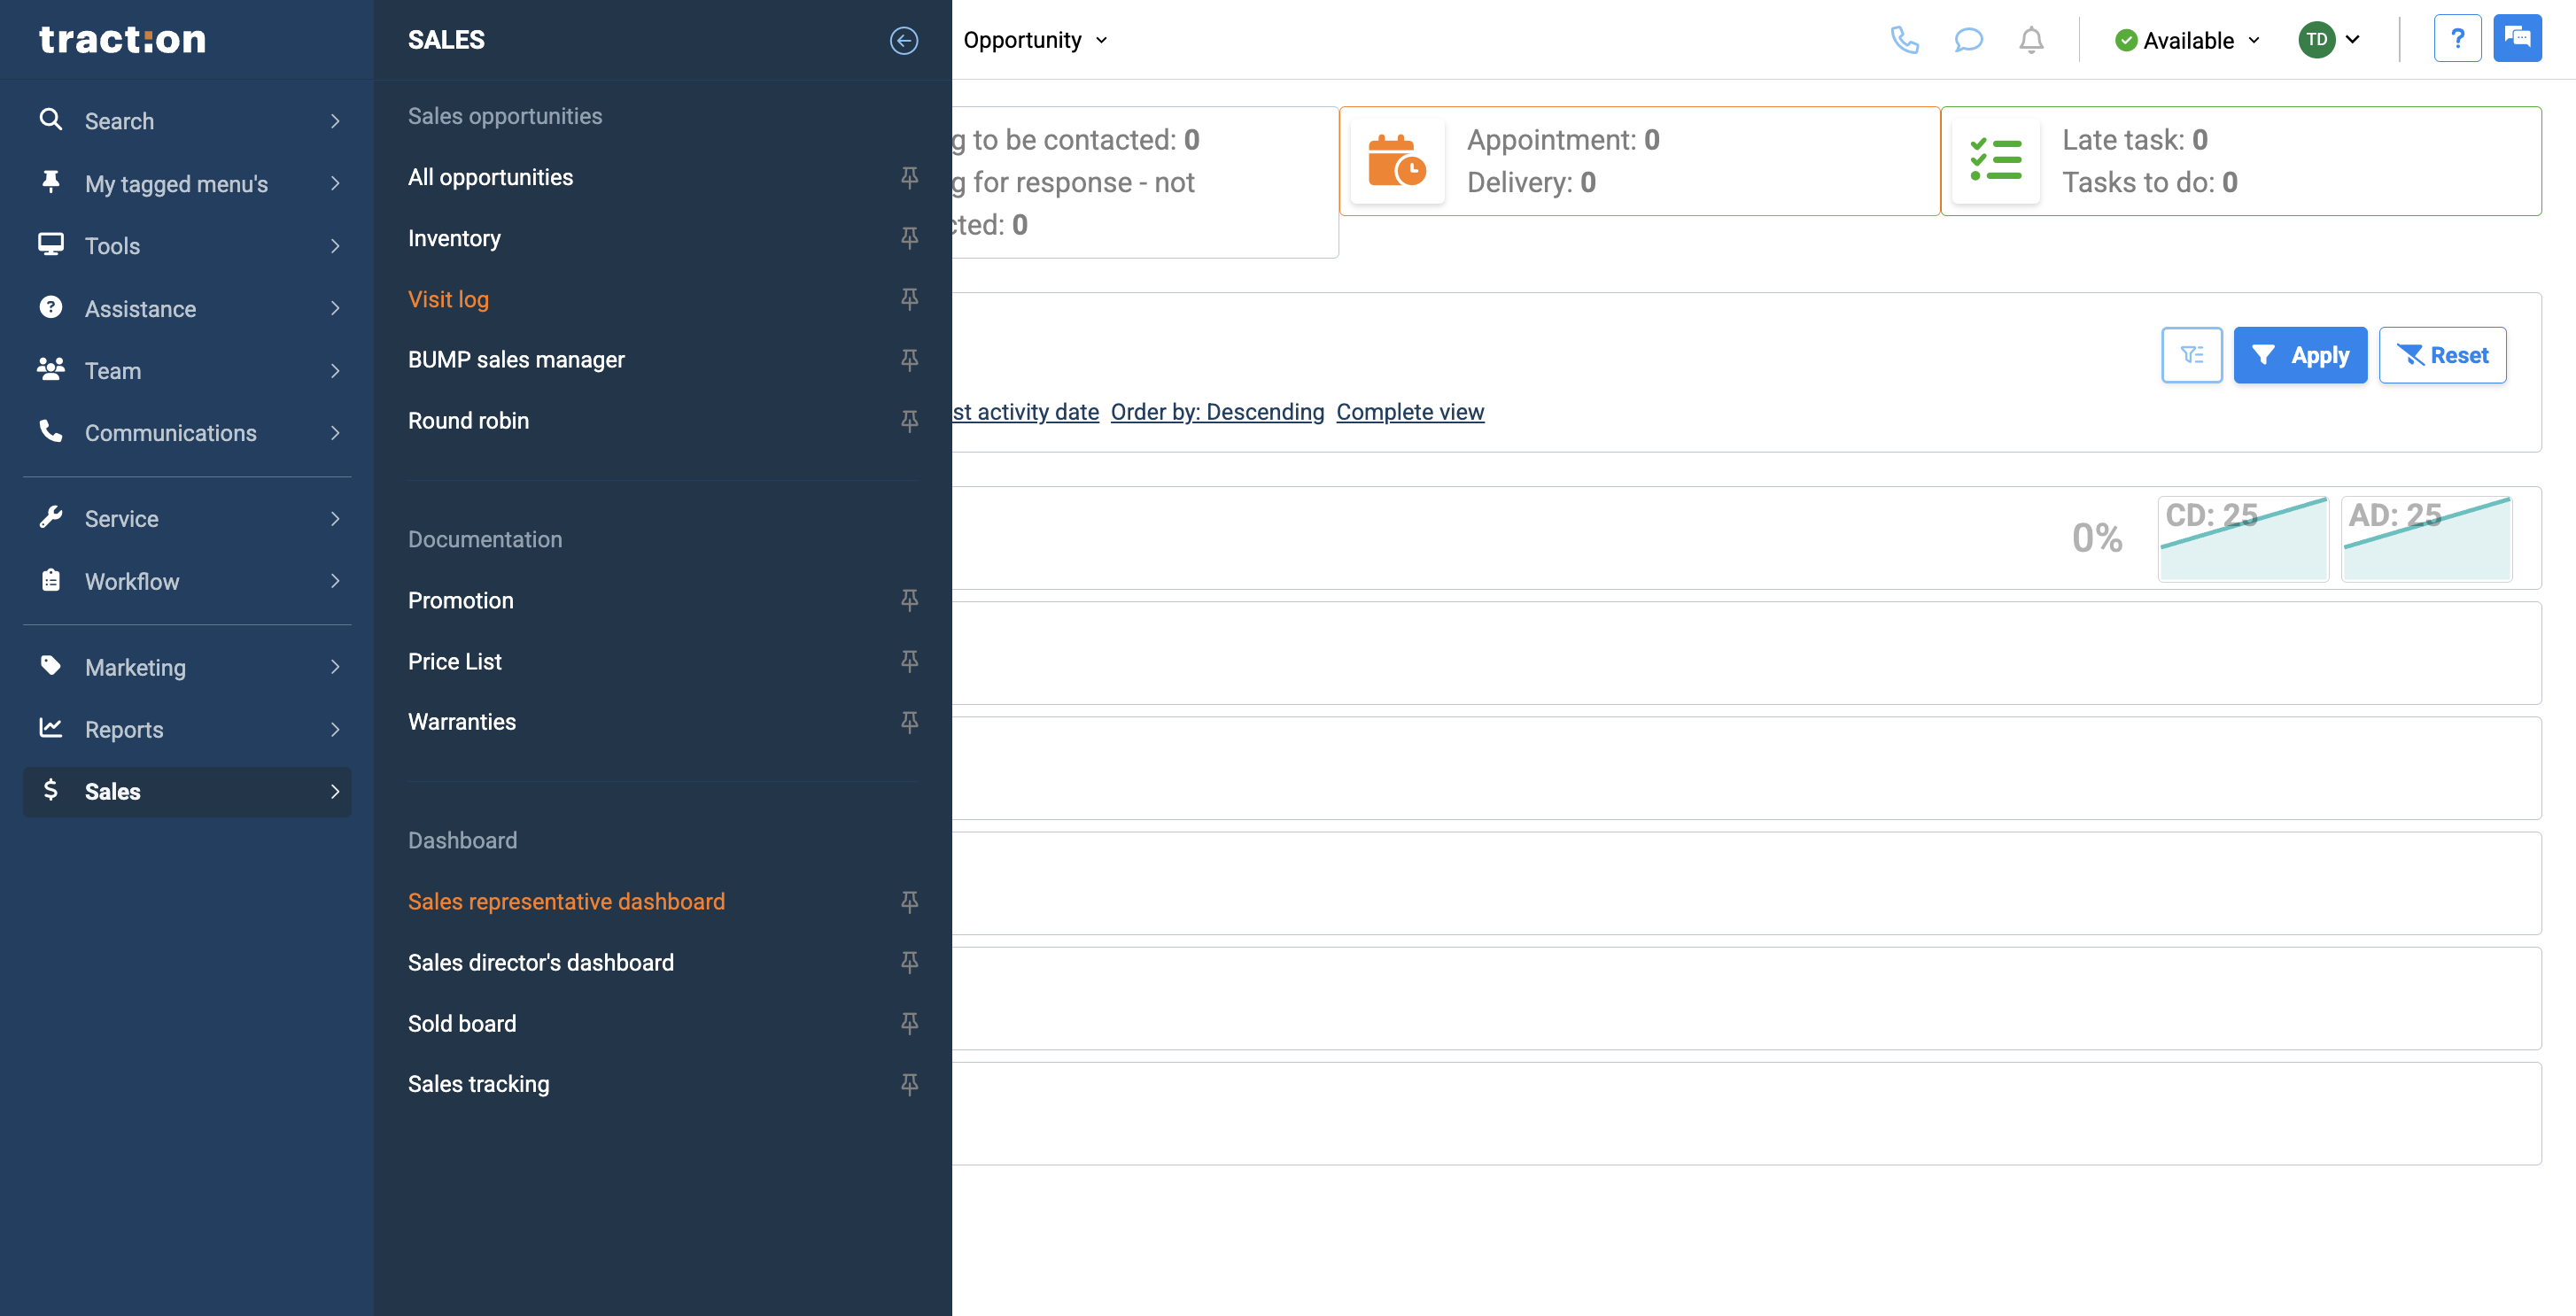
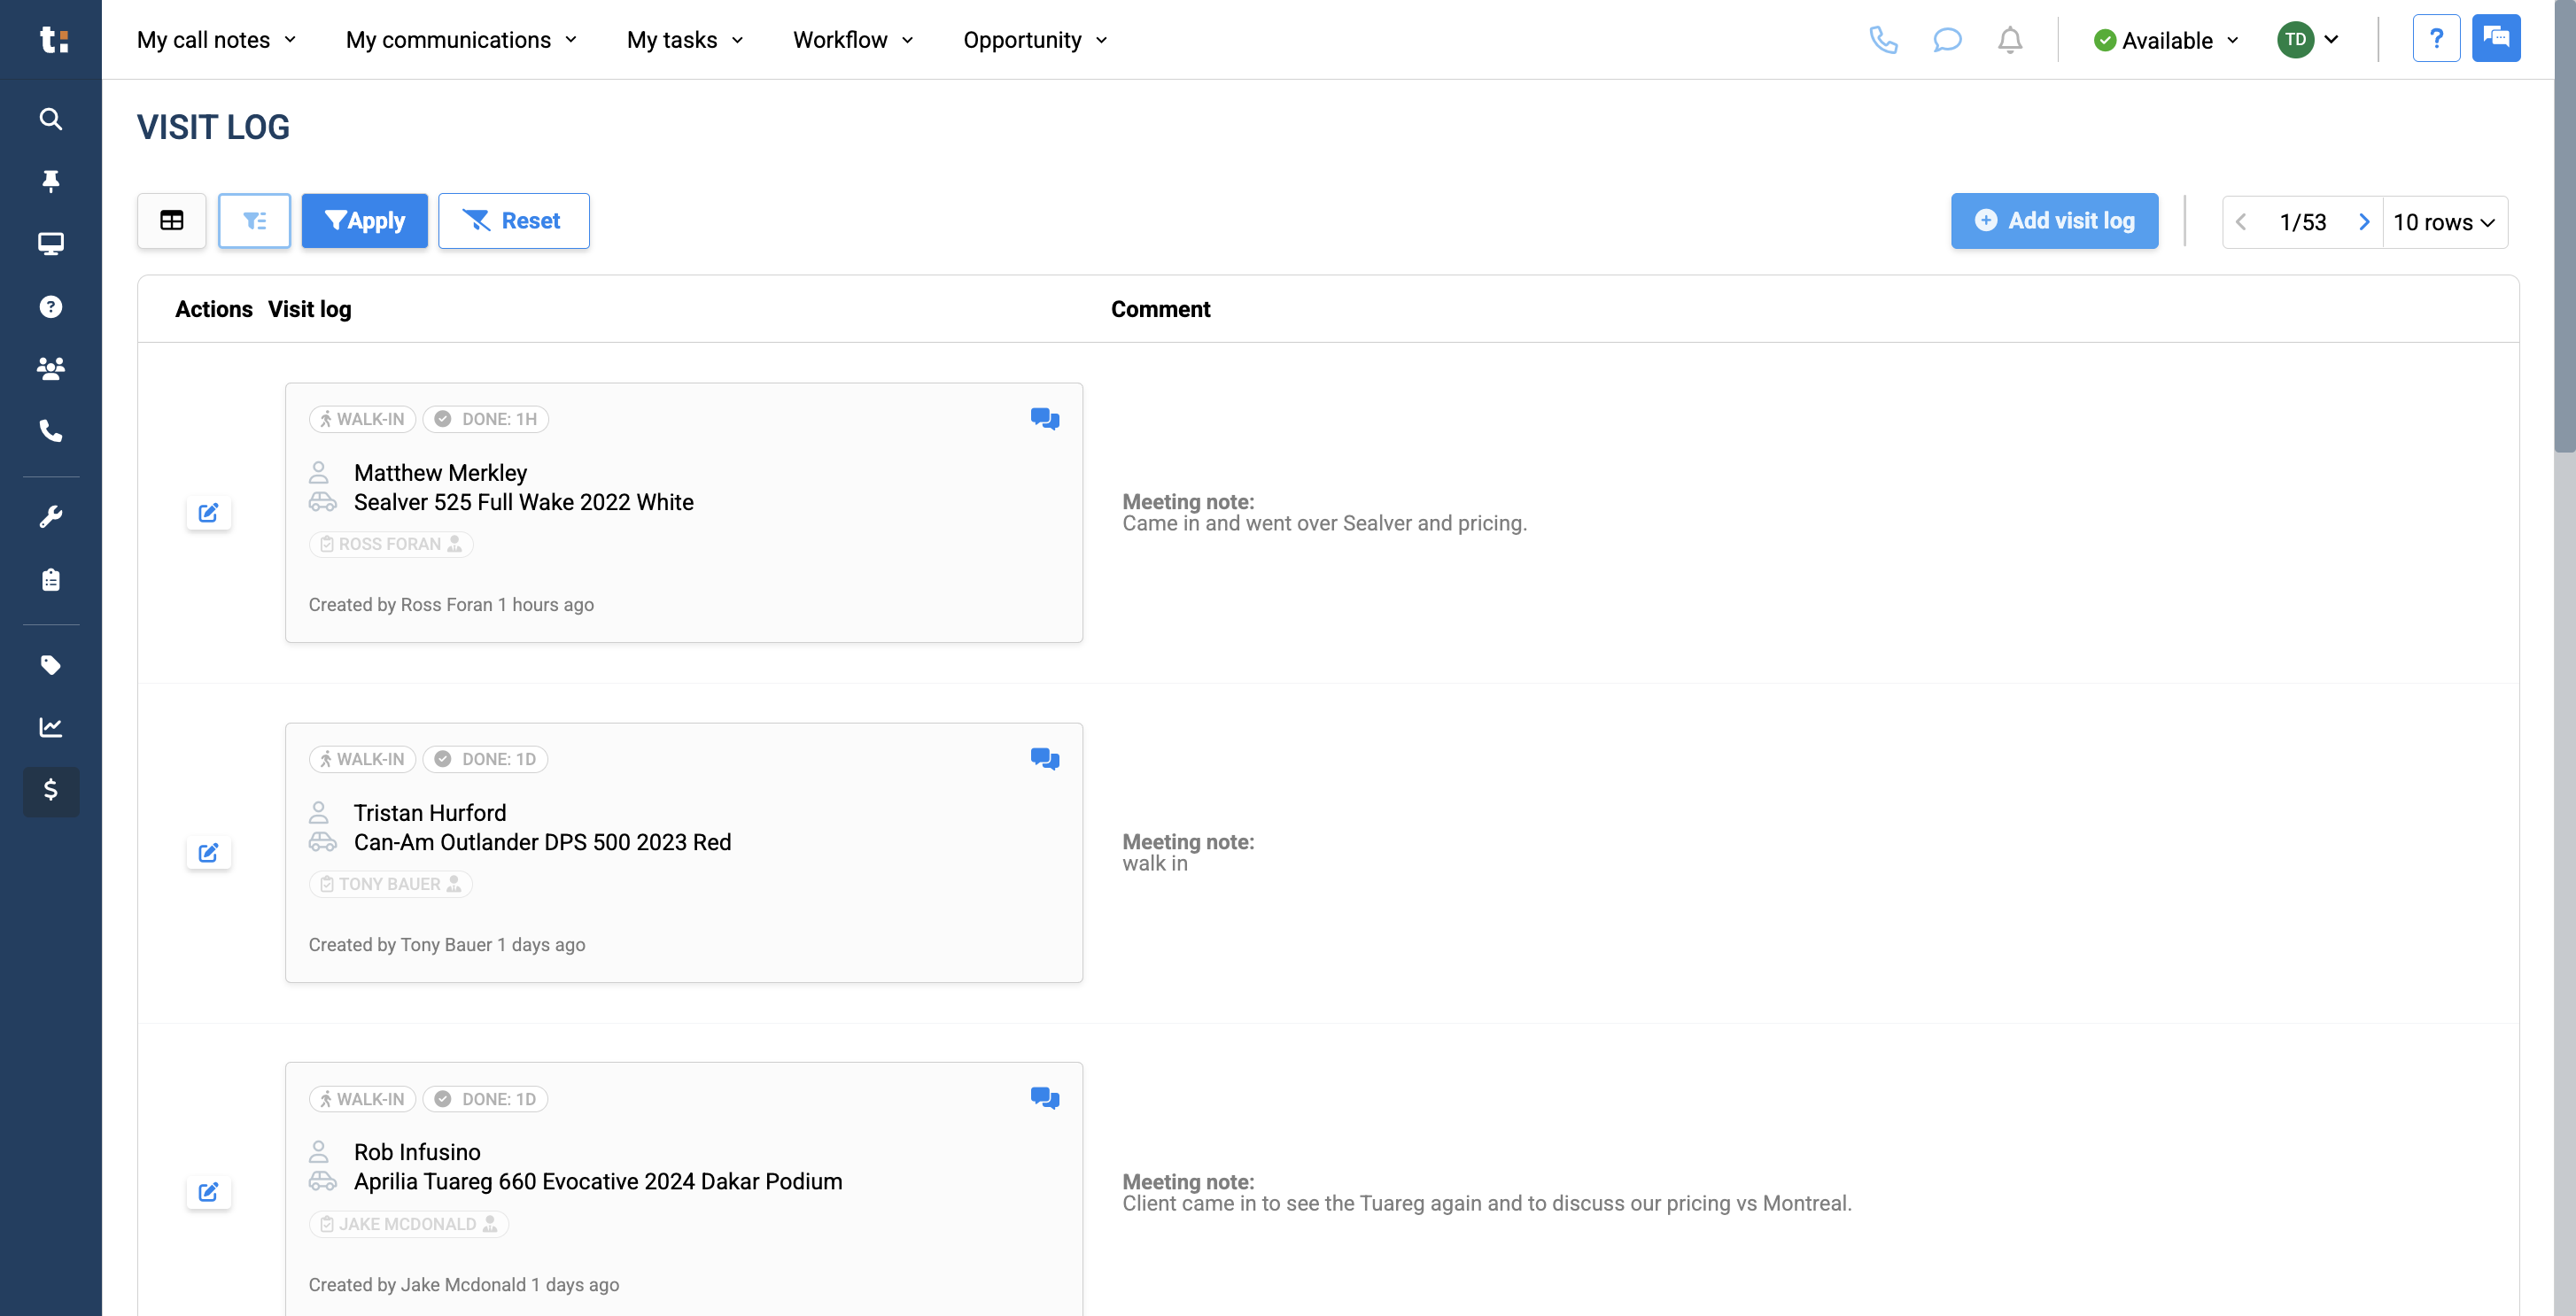
3
From here, you can view the complete visit log for your dealership.
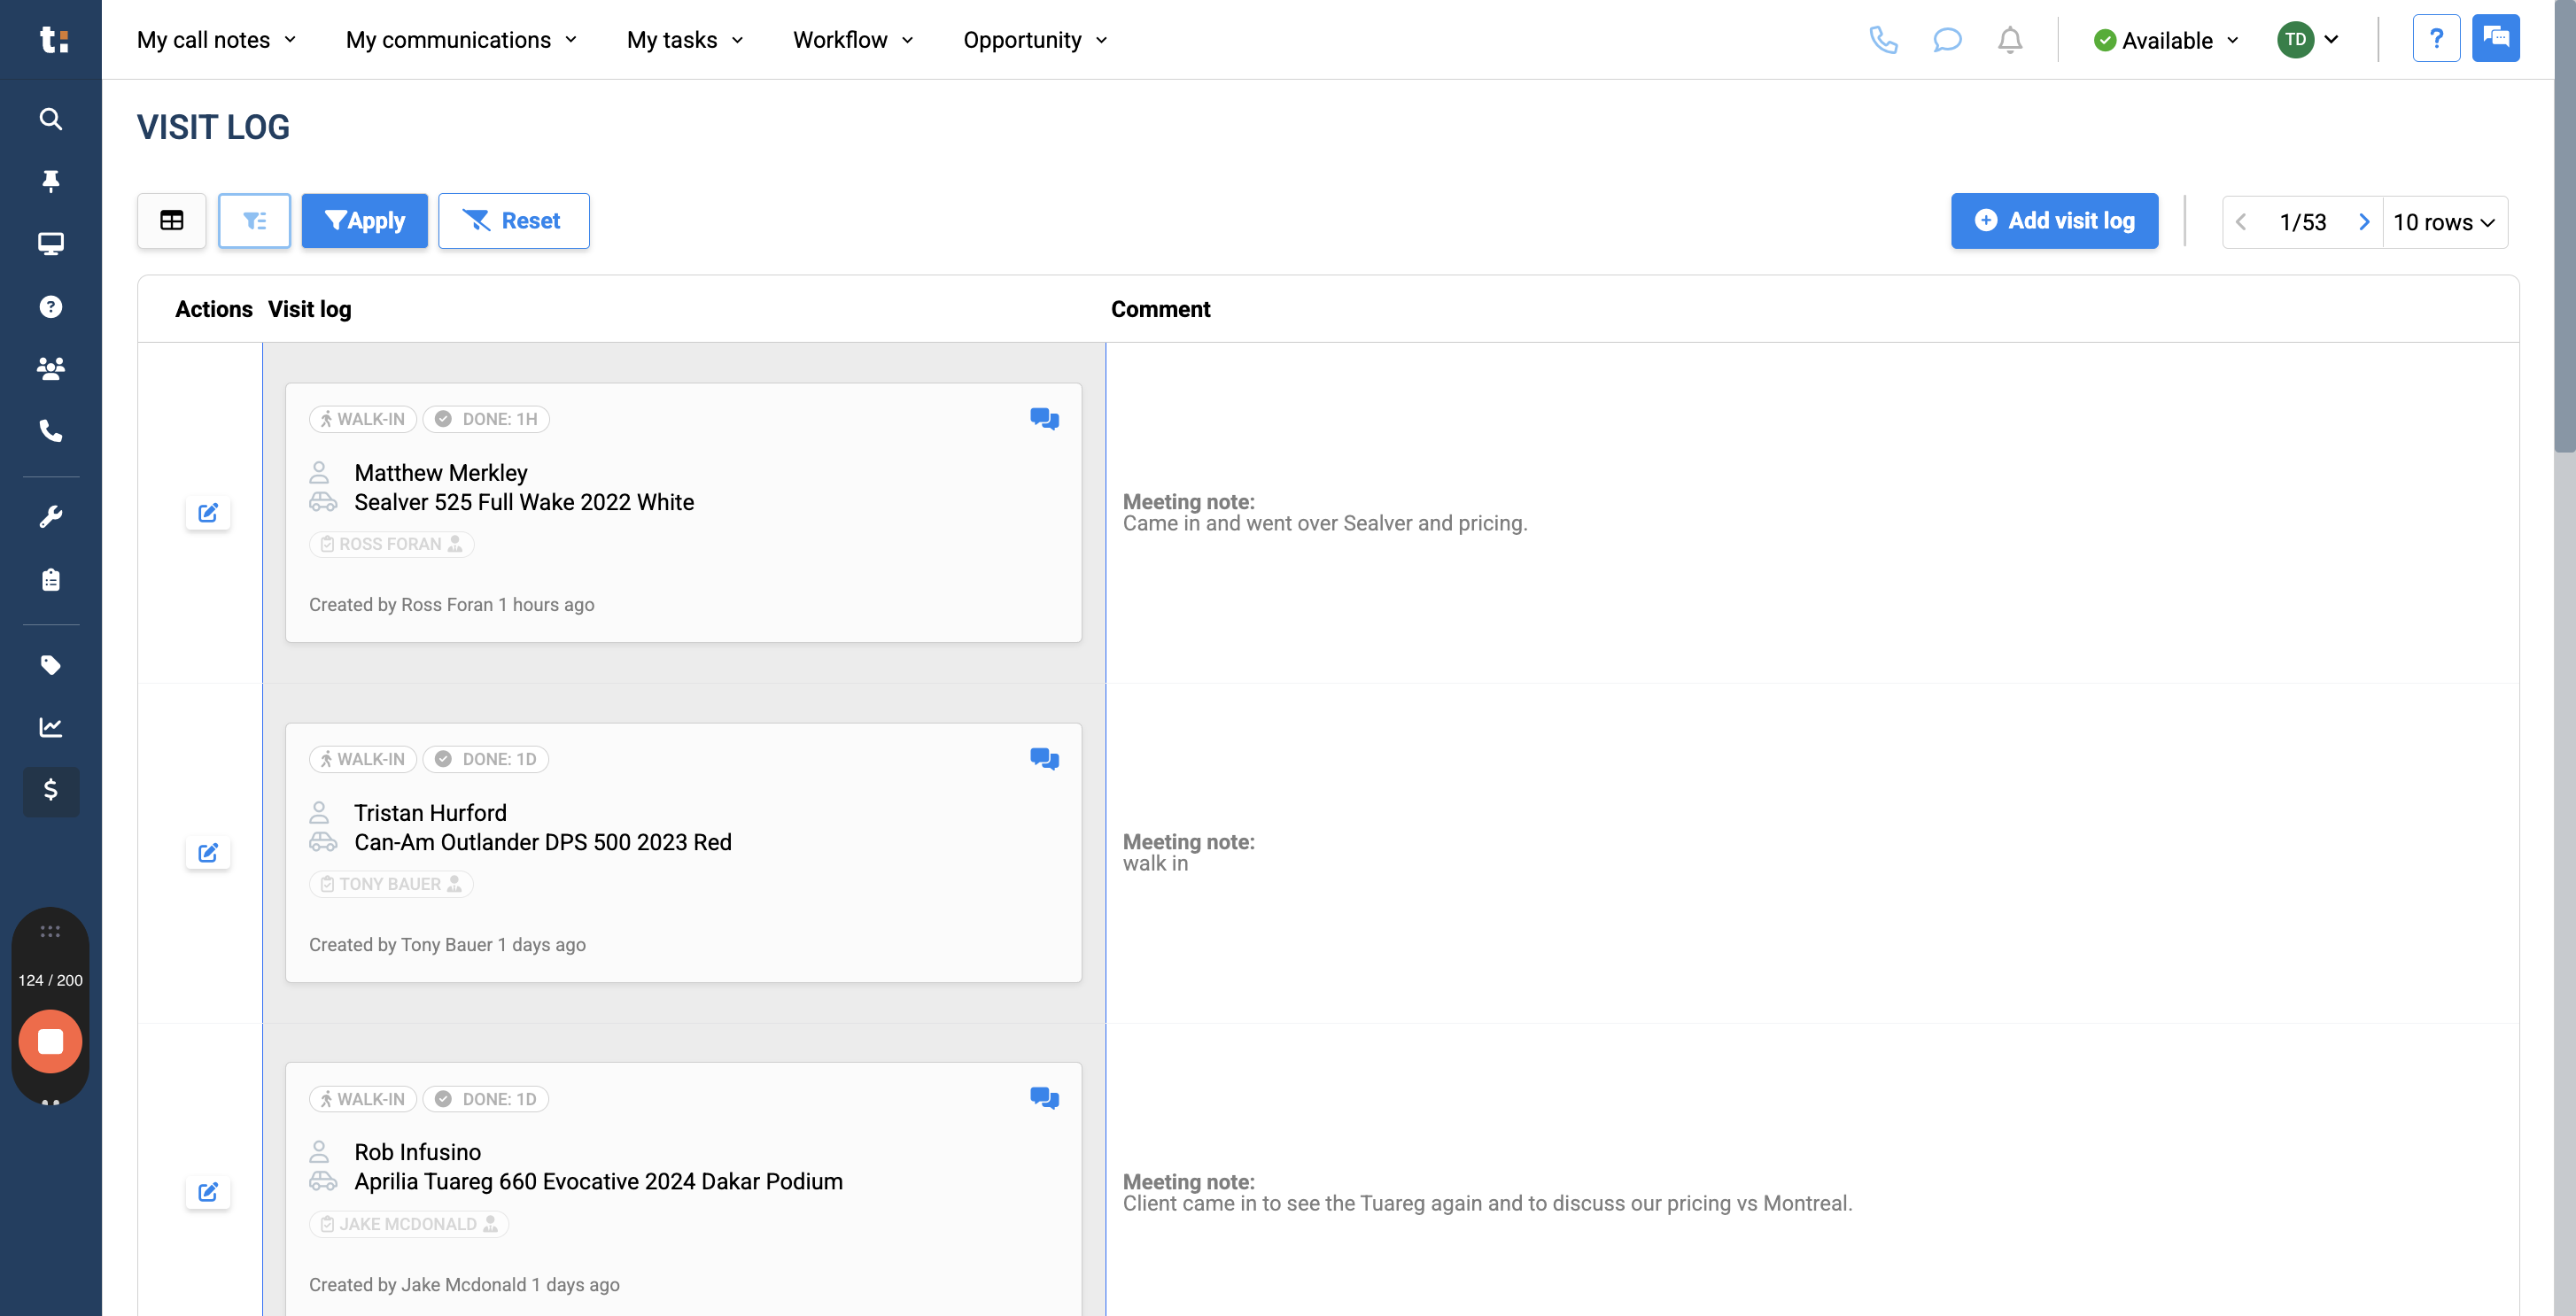
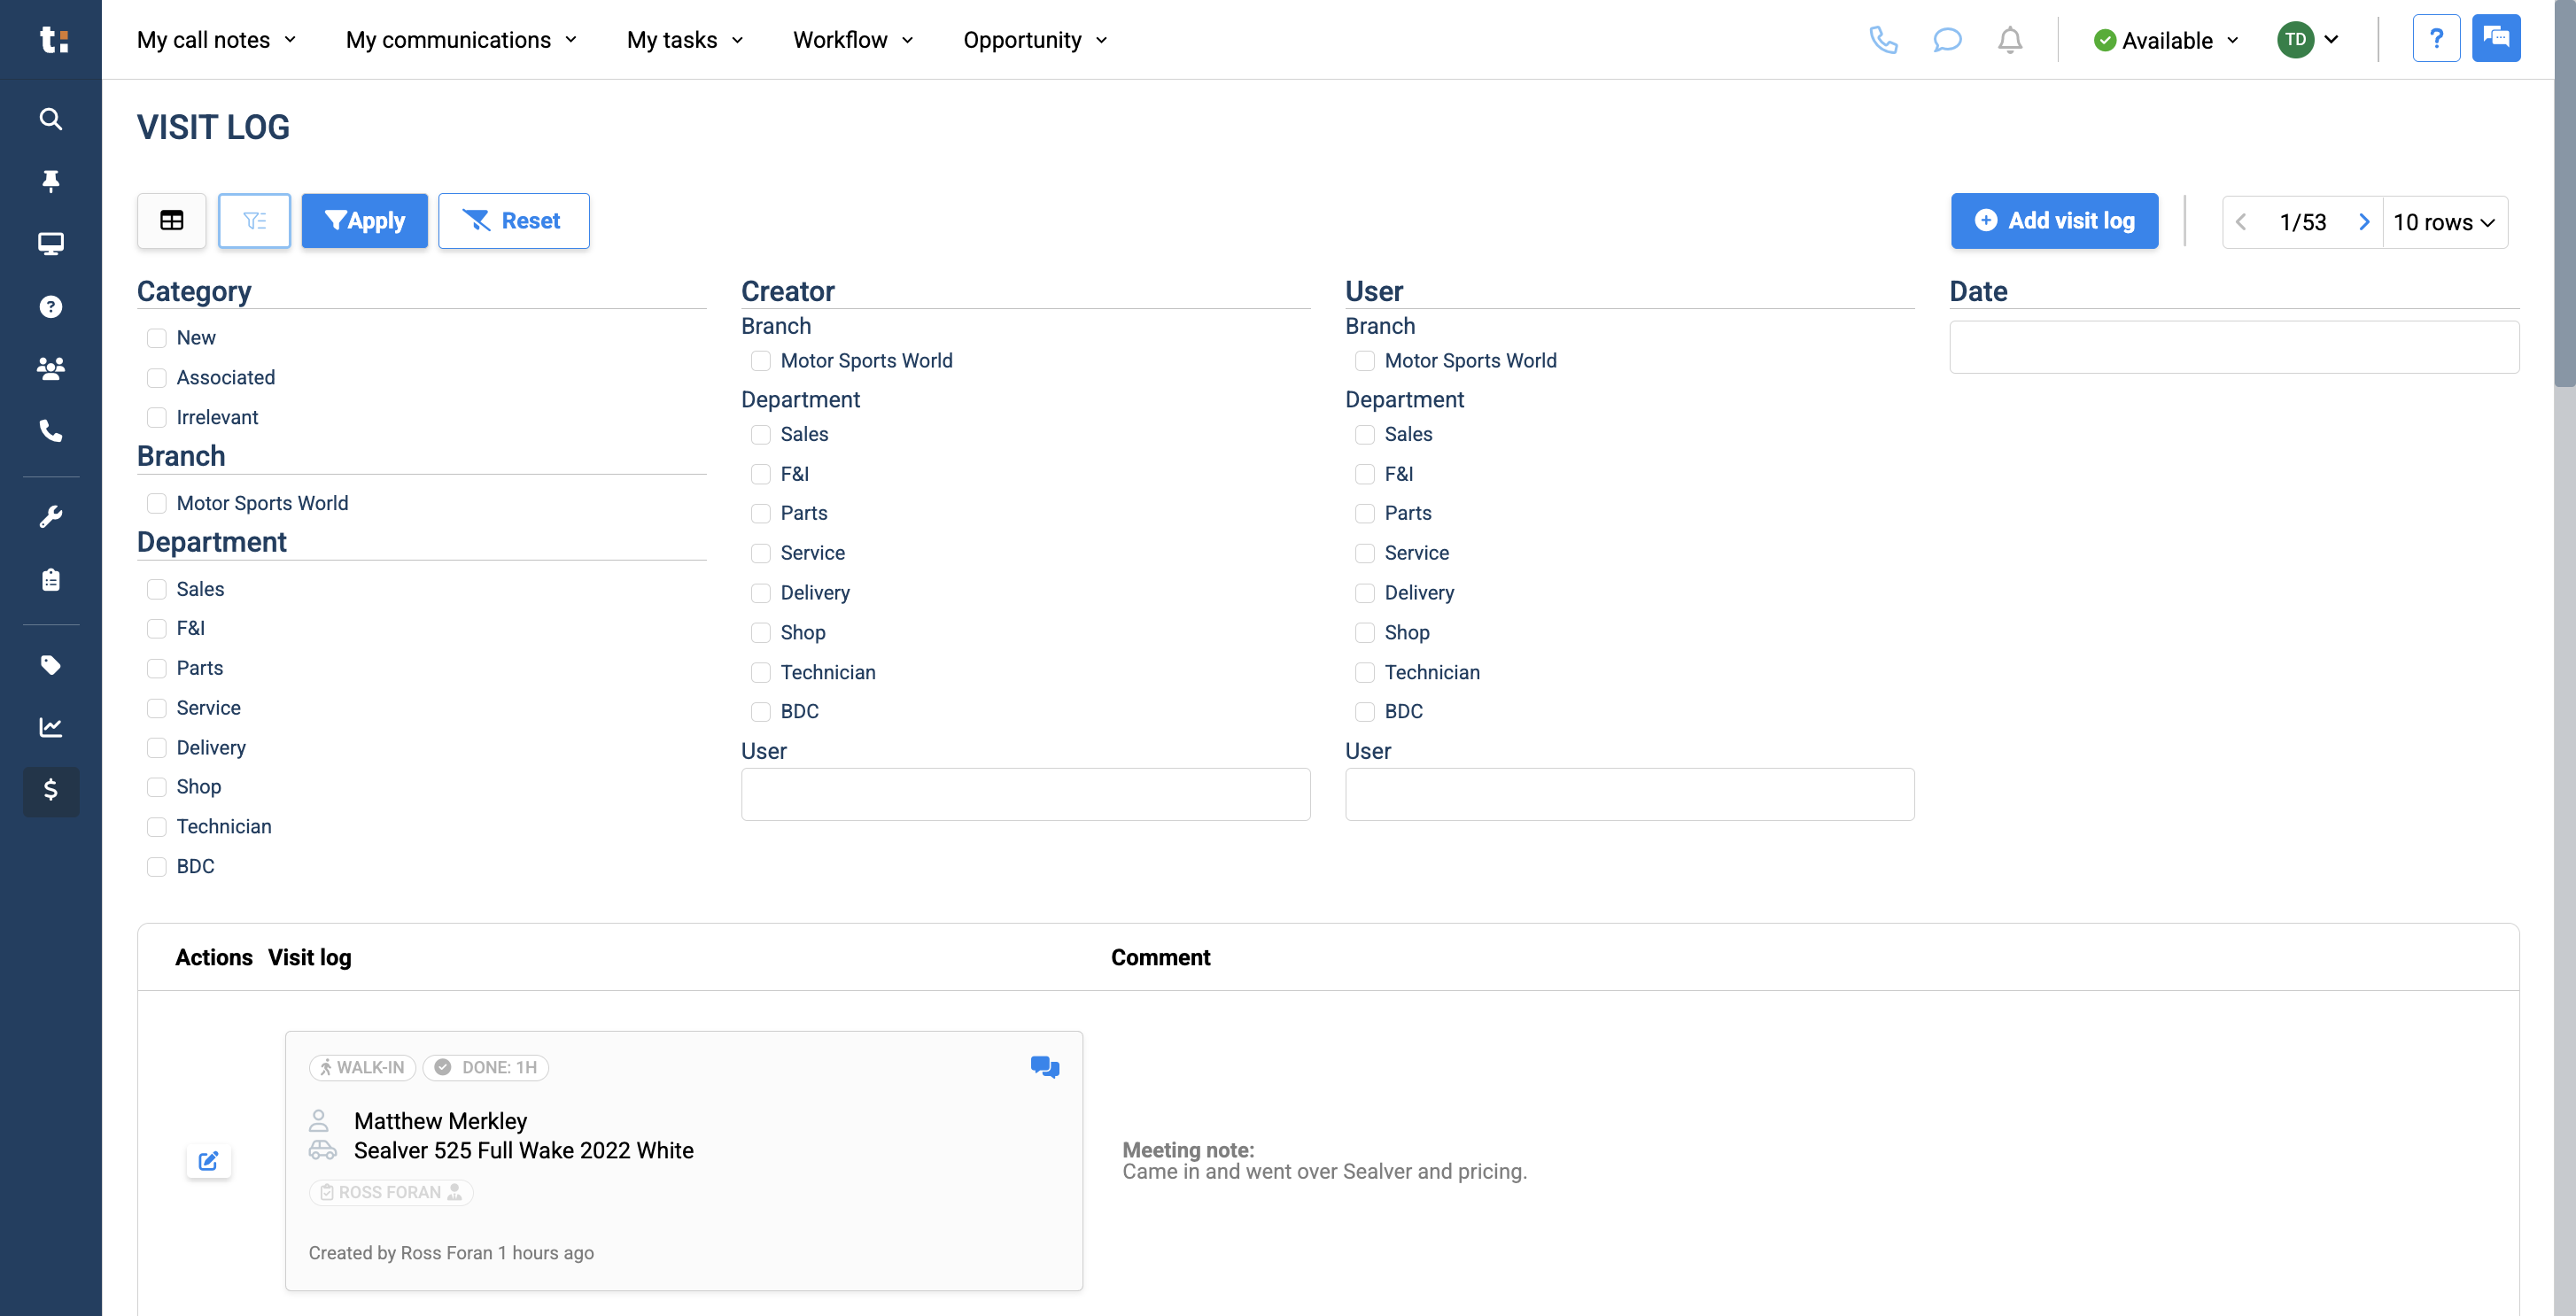
4
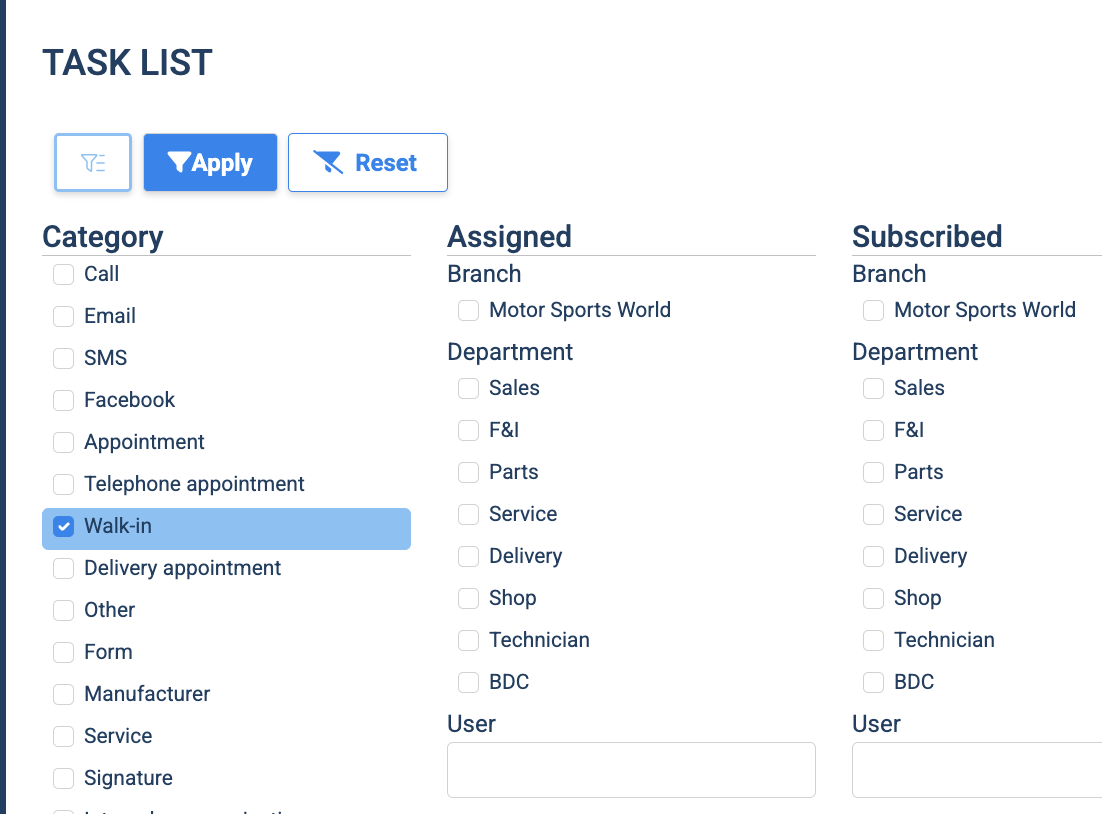
You can use this button to filter the three available columns.
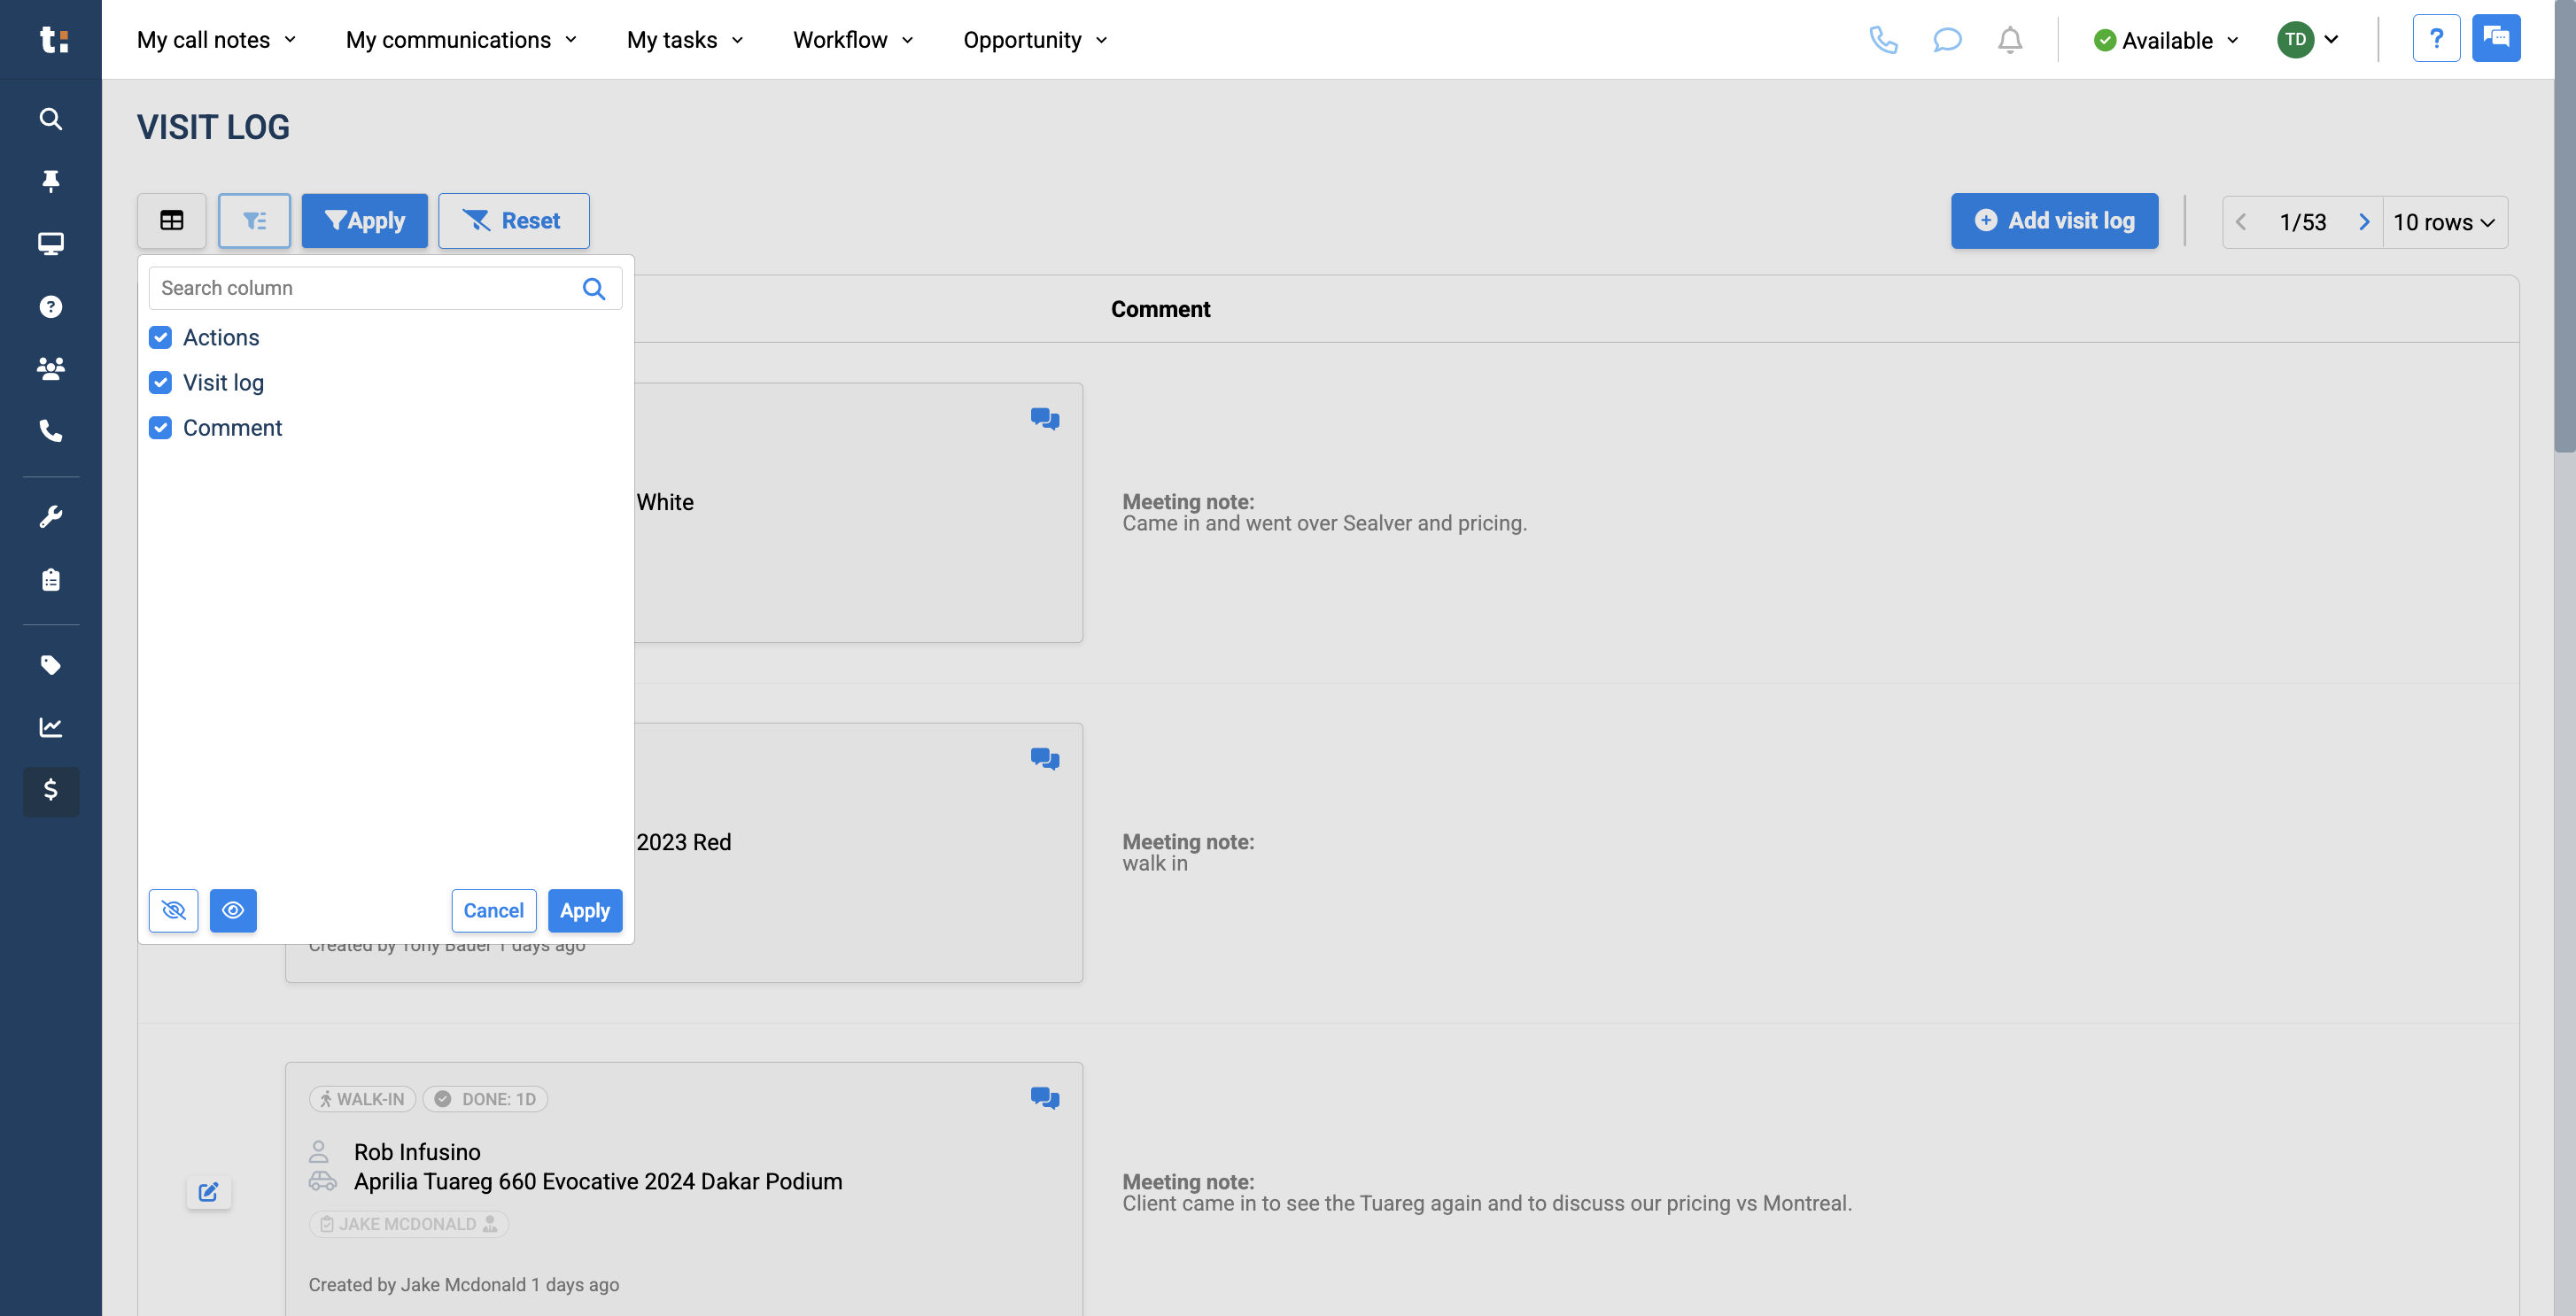
5
Afterwards, you can filter by category, new visit association, or relevance. You can also filter by branch, department, creator, or user.
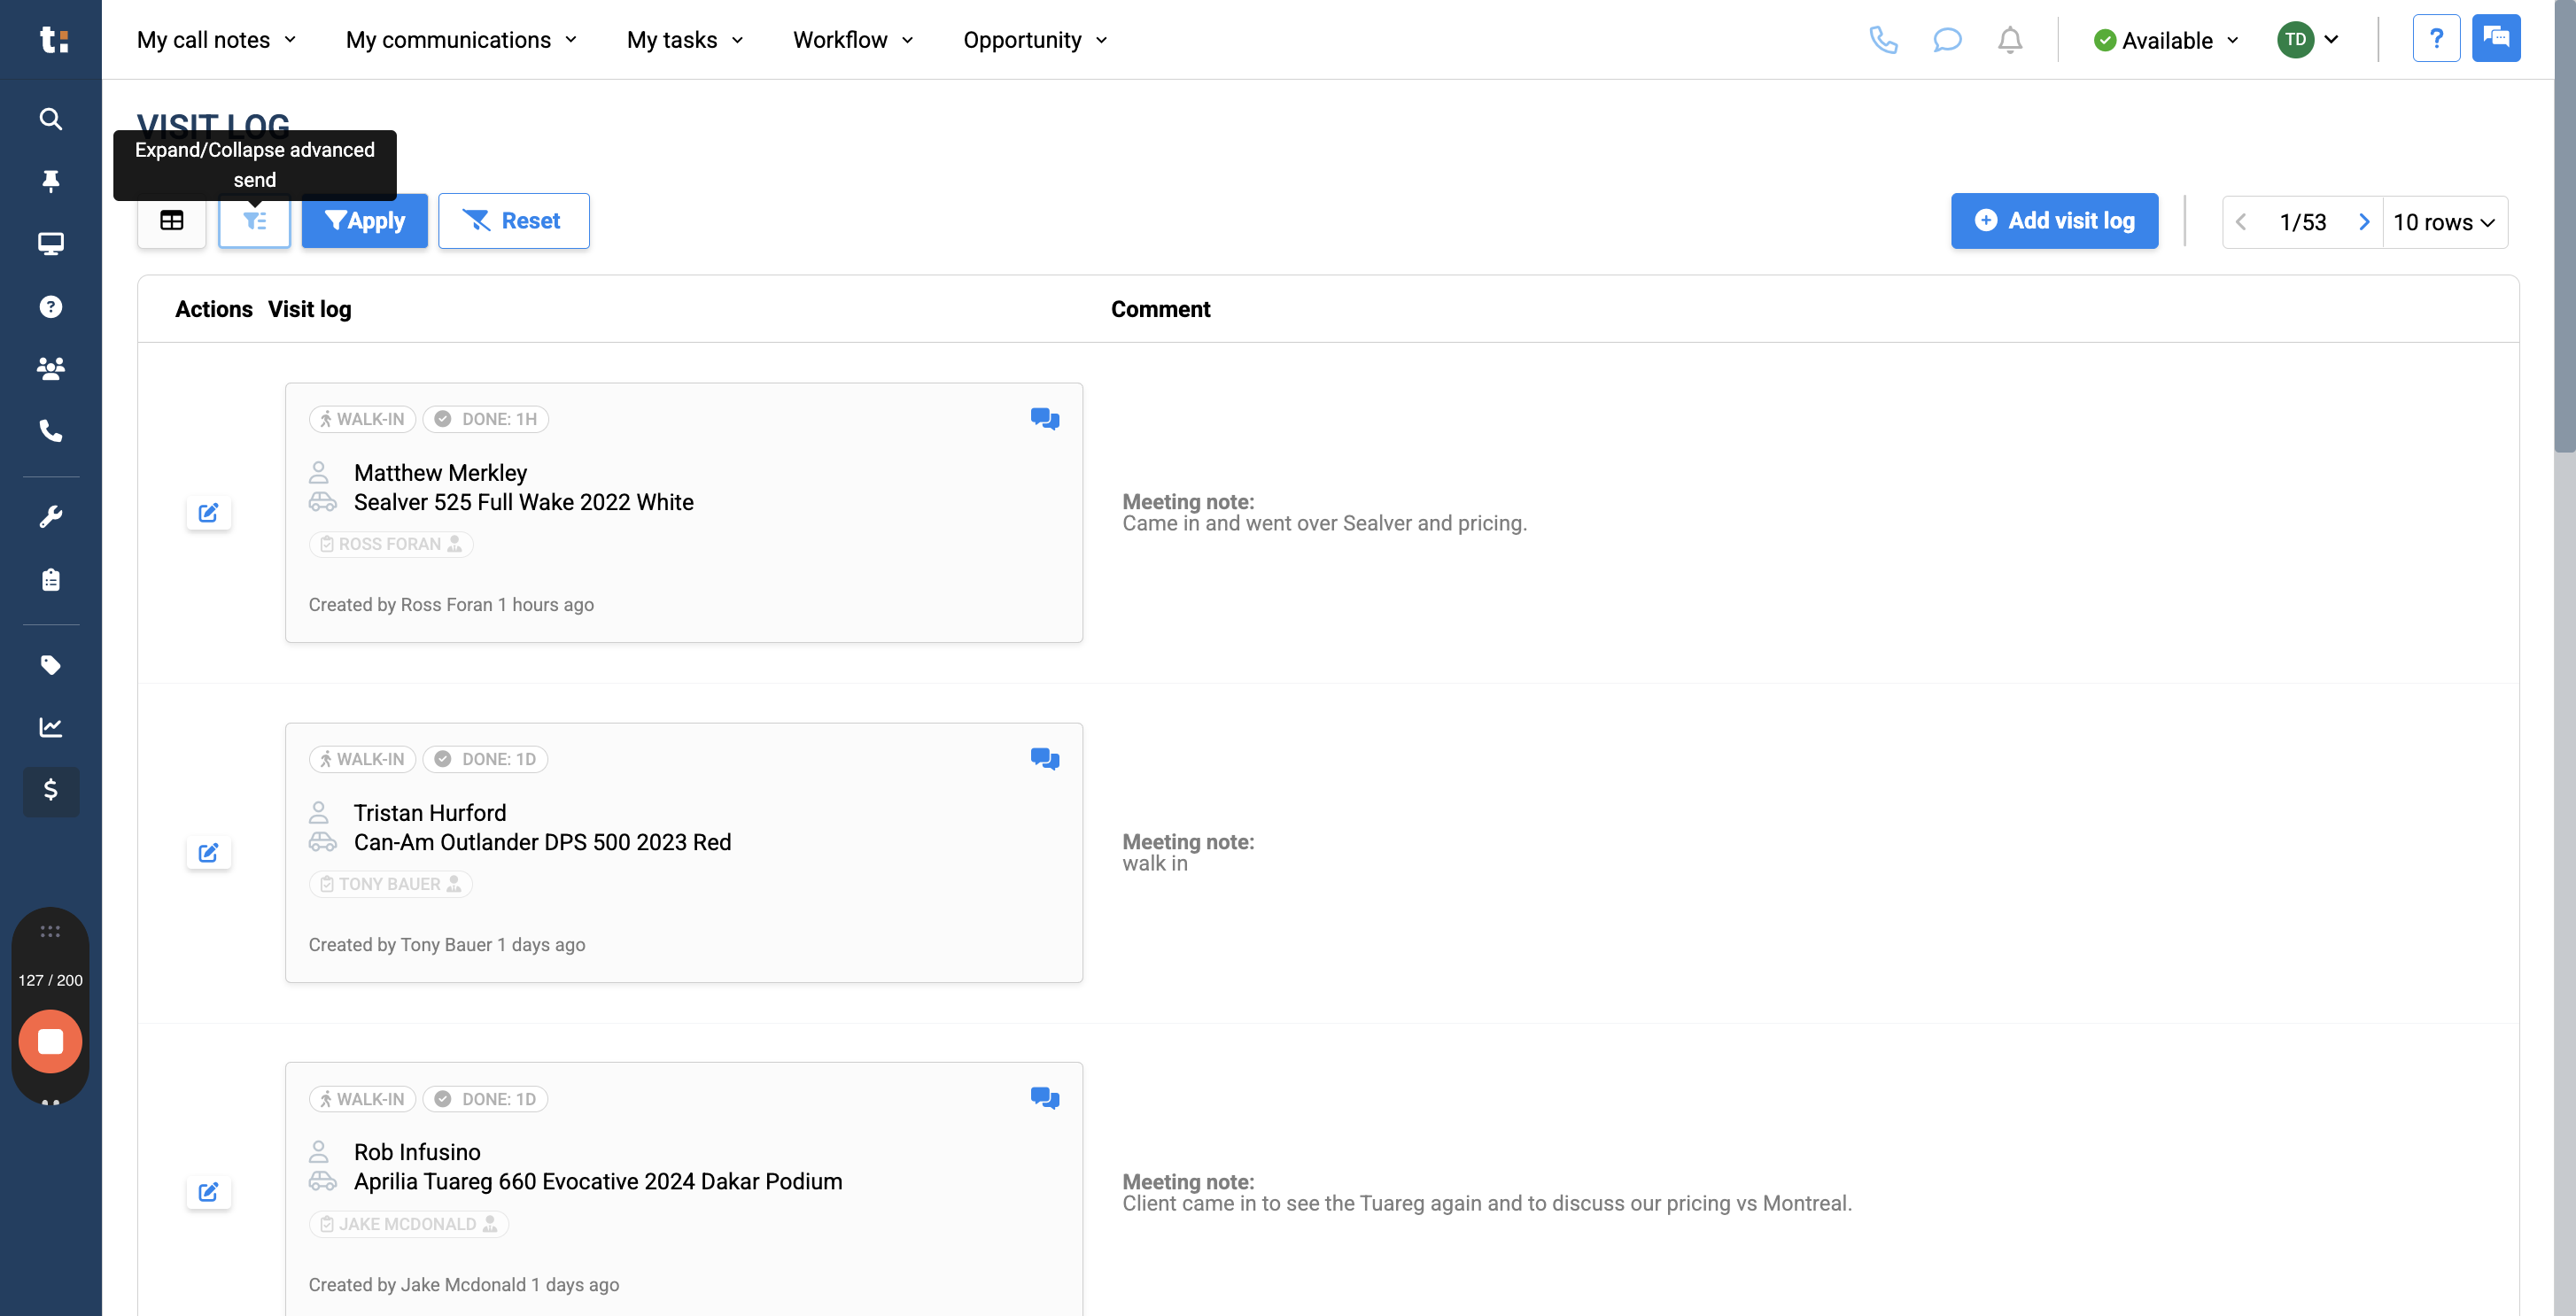
6
Category

7
User

8
Finally, you can filter by date.

9
After applying your filters, click the Apply button. To reset your filters, just click "Reset."
10
Click the "Add Visit Log" button here to record any type of visit.
11
If you know the client entering your store, simply search for them.
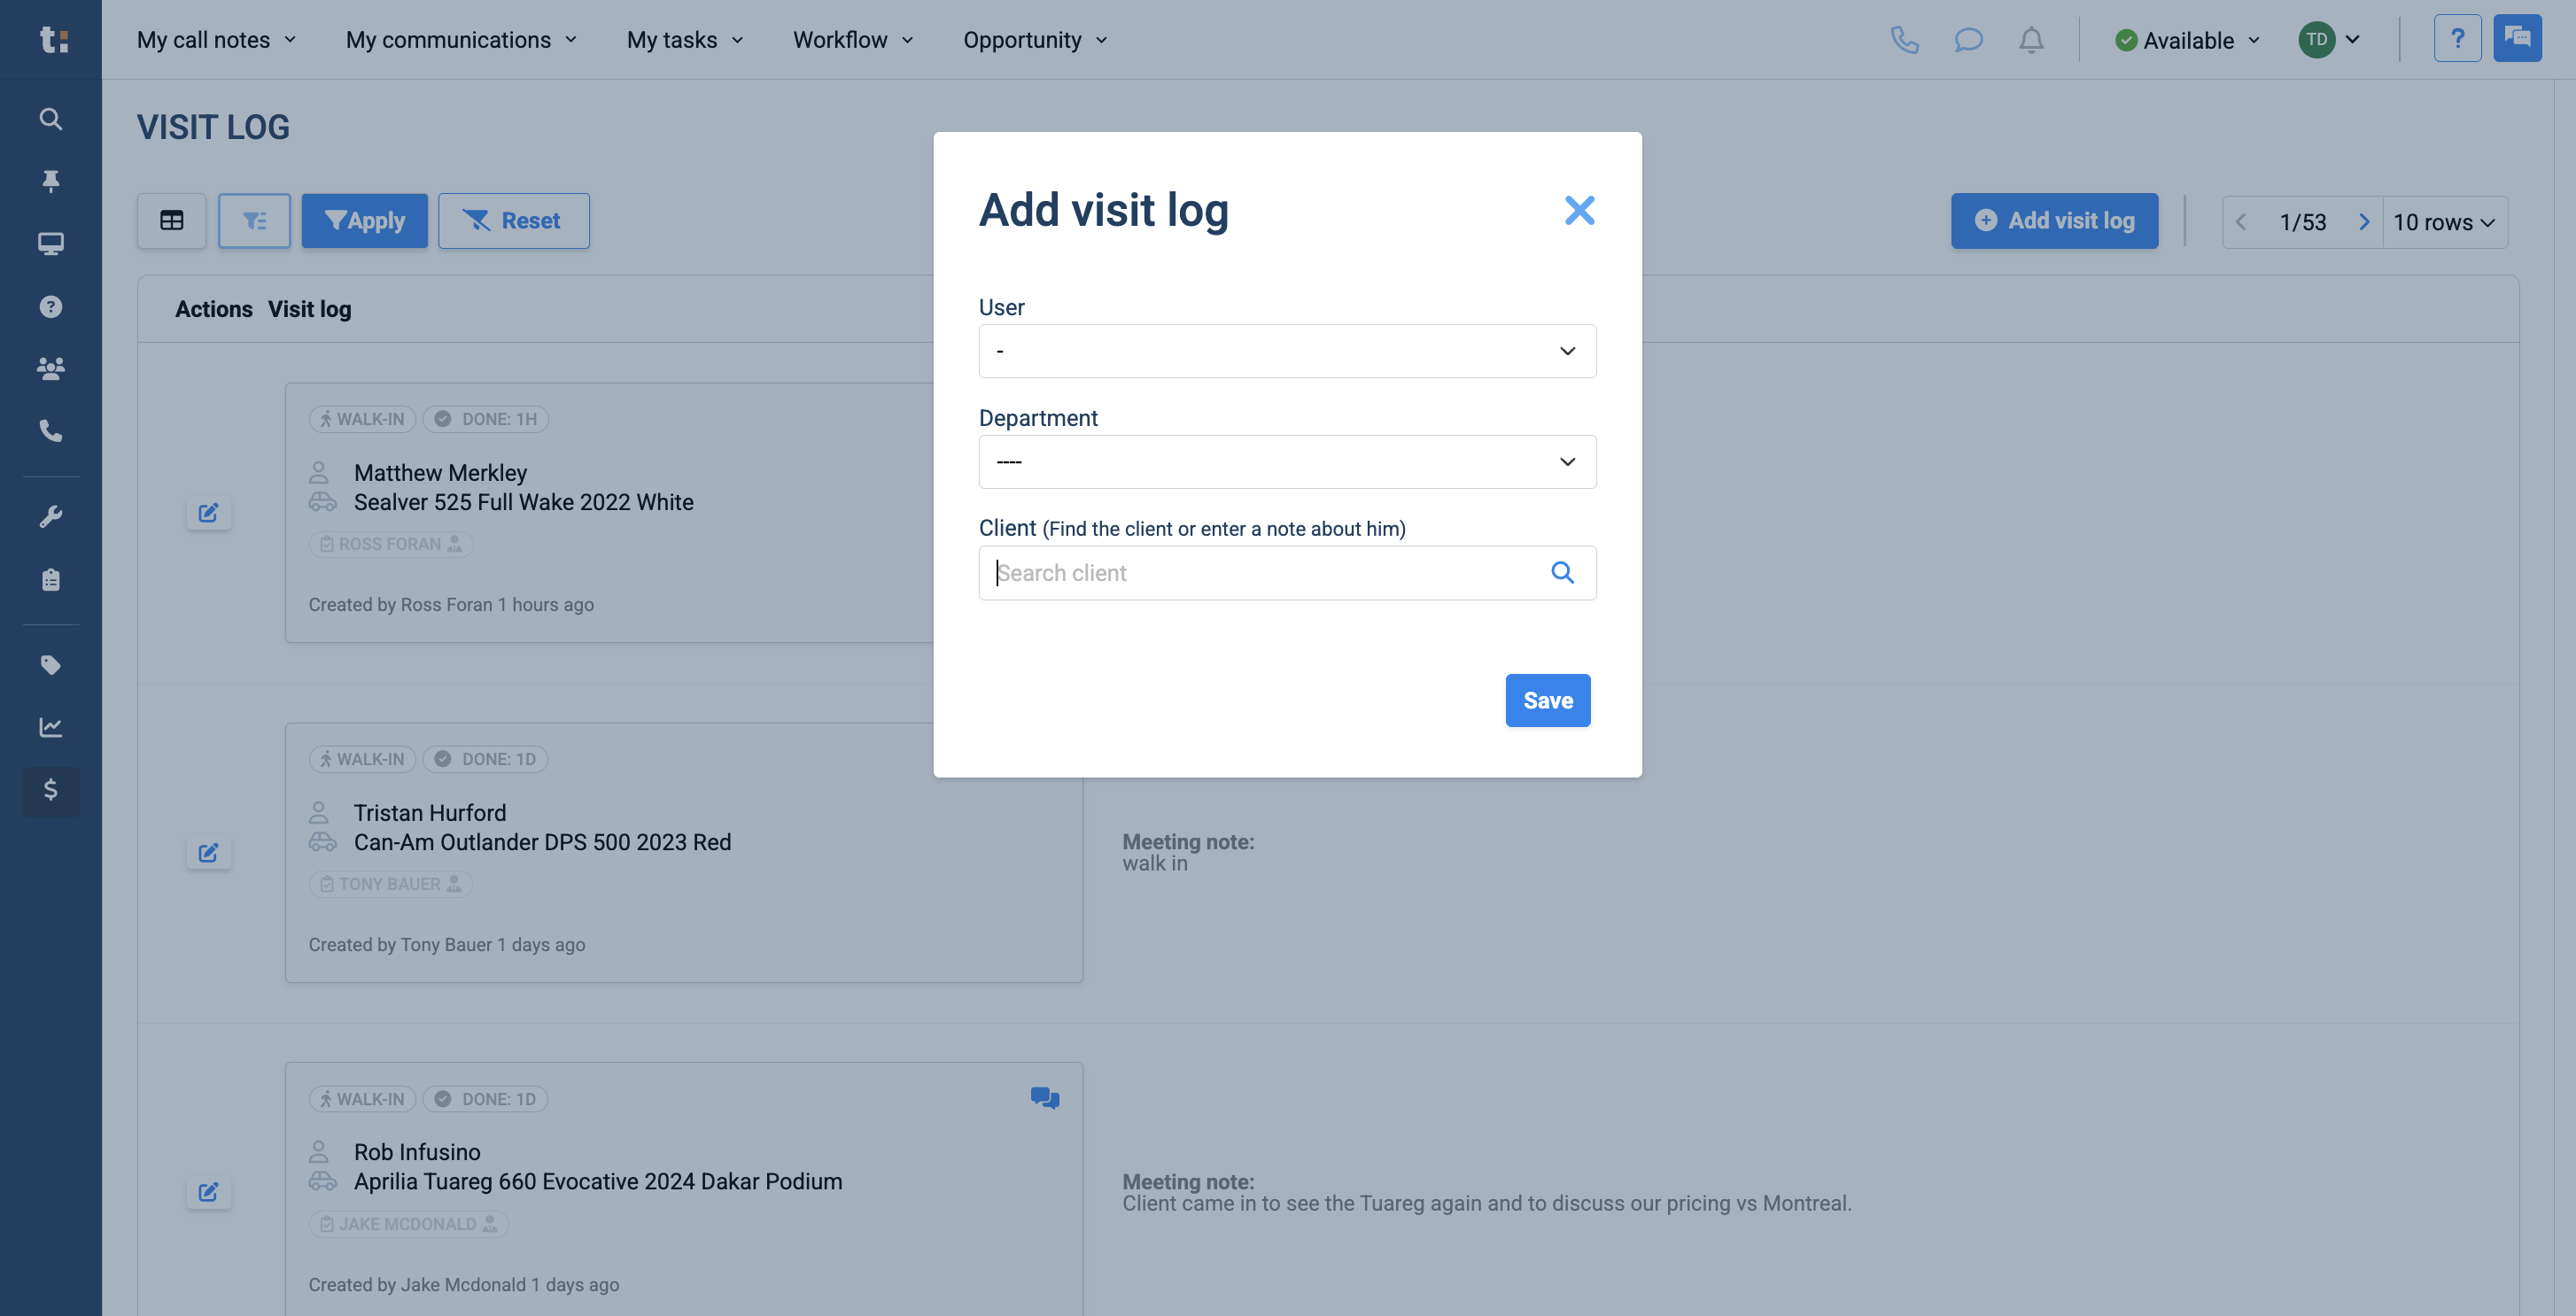
12
If you do not know the client, you can add a brief note about them. For example, a client wearing a red T-shirt.
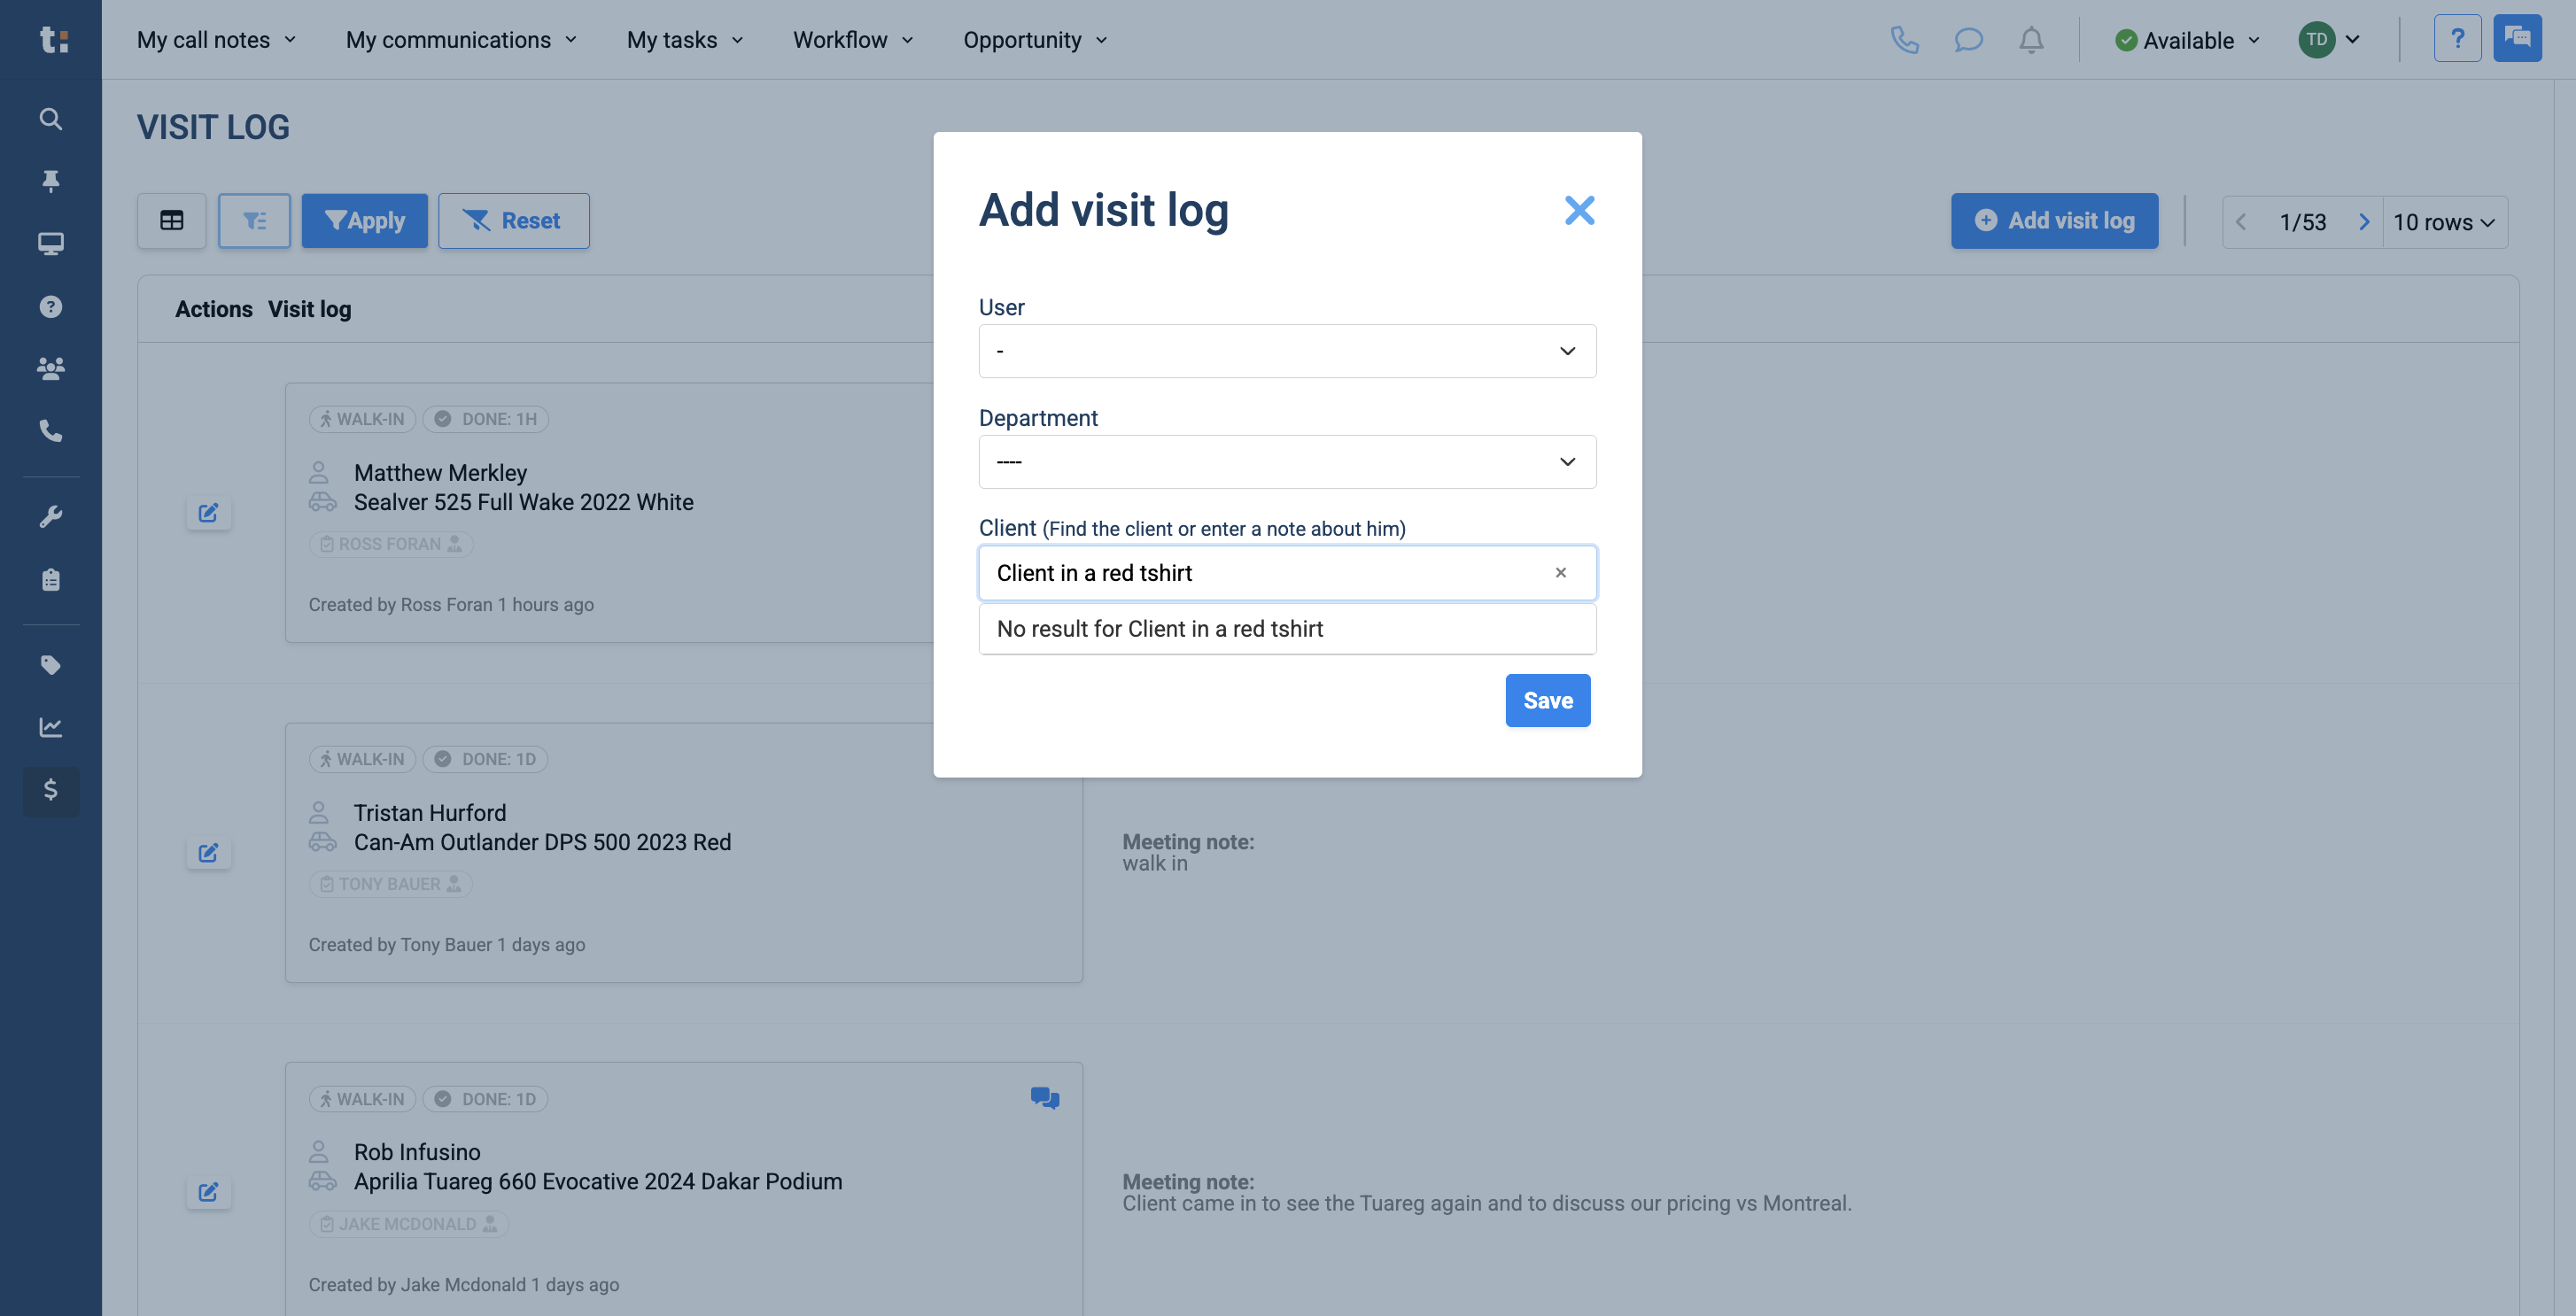
13
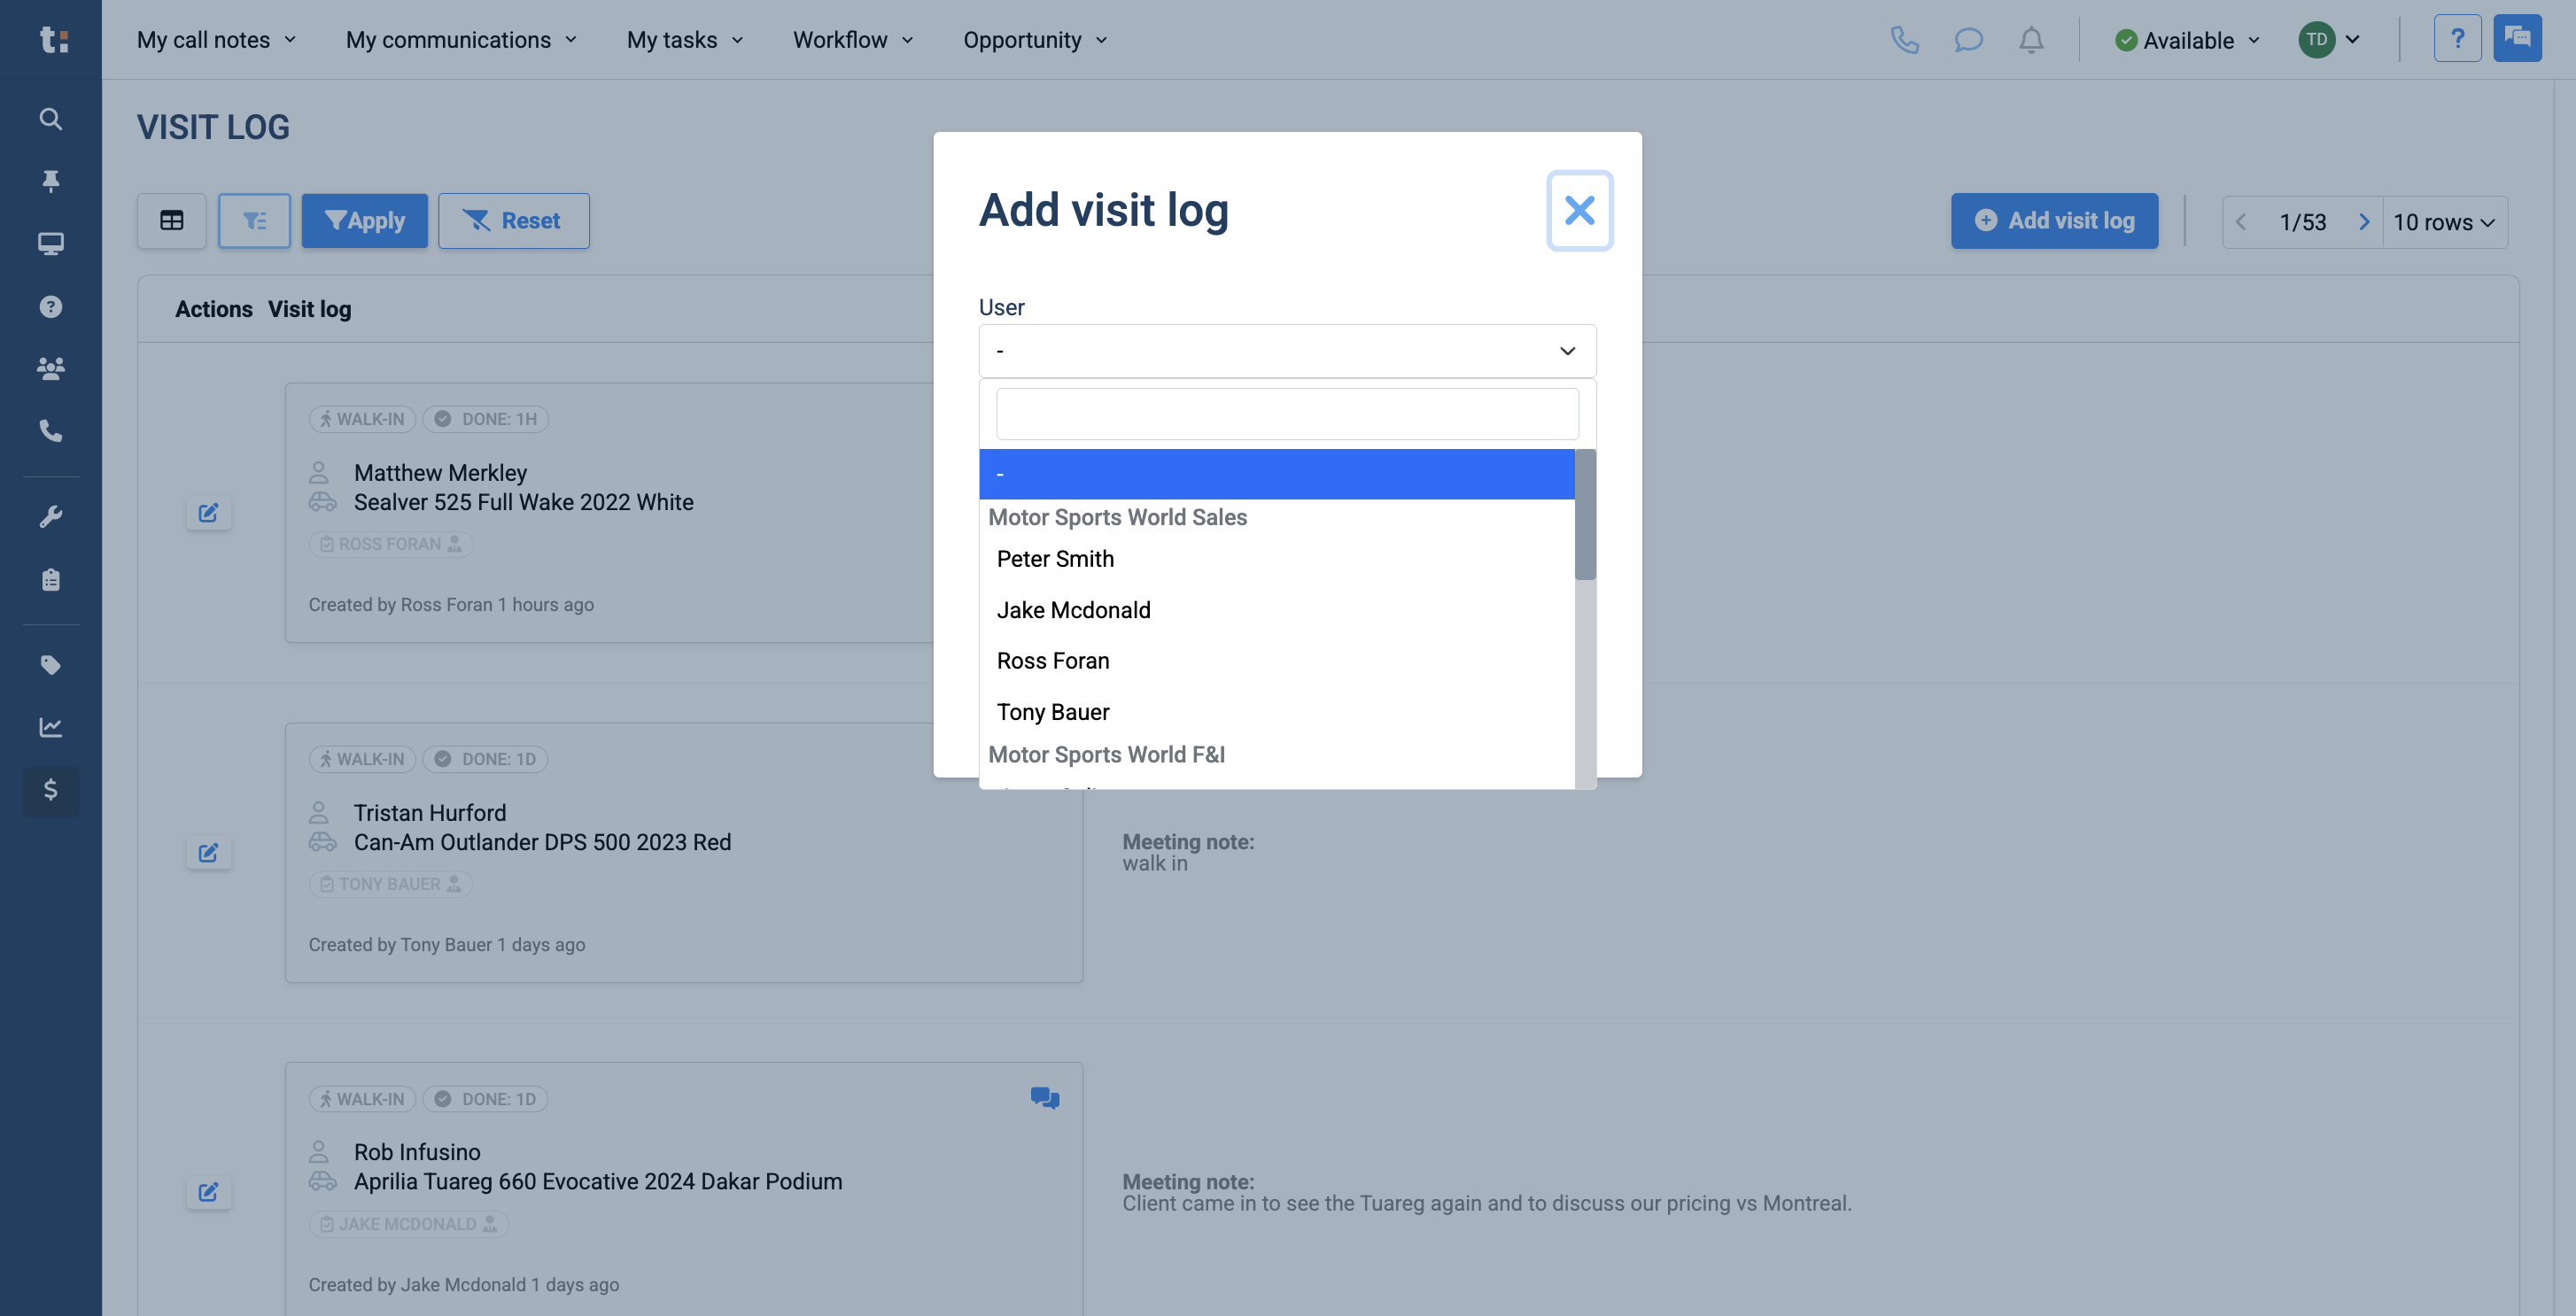
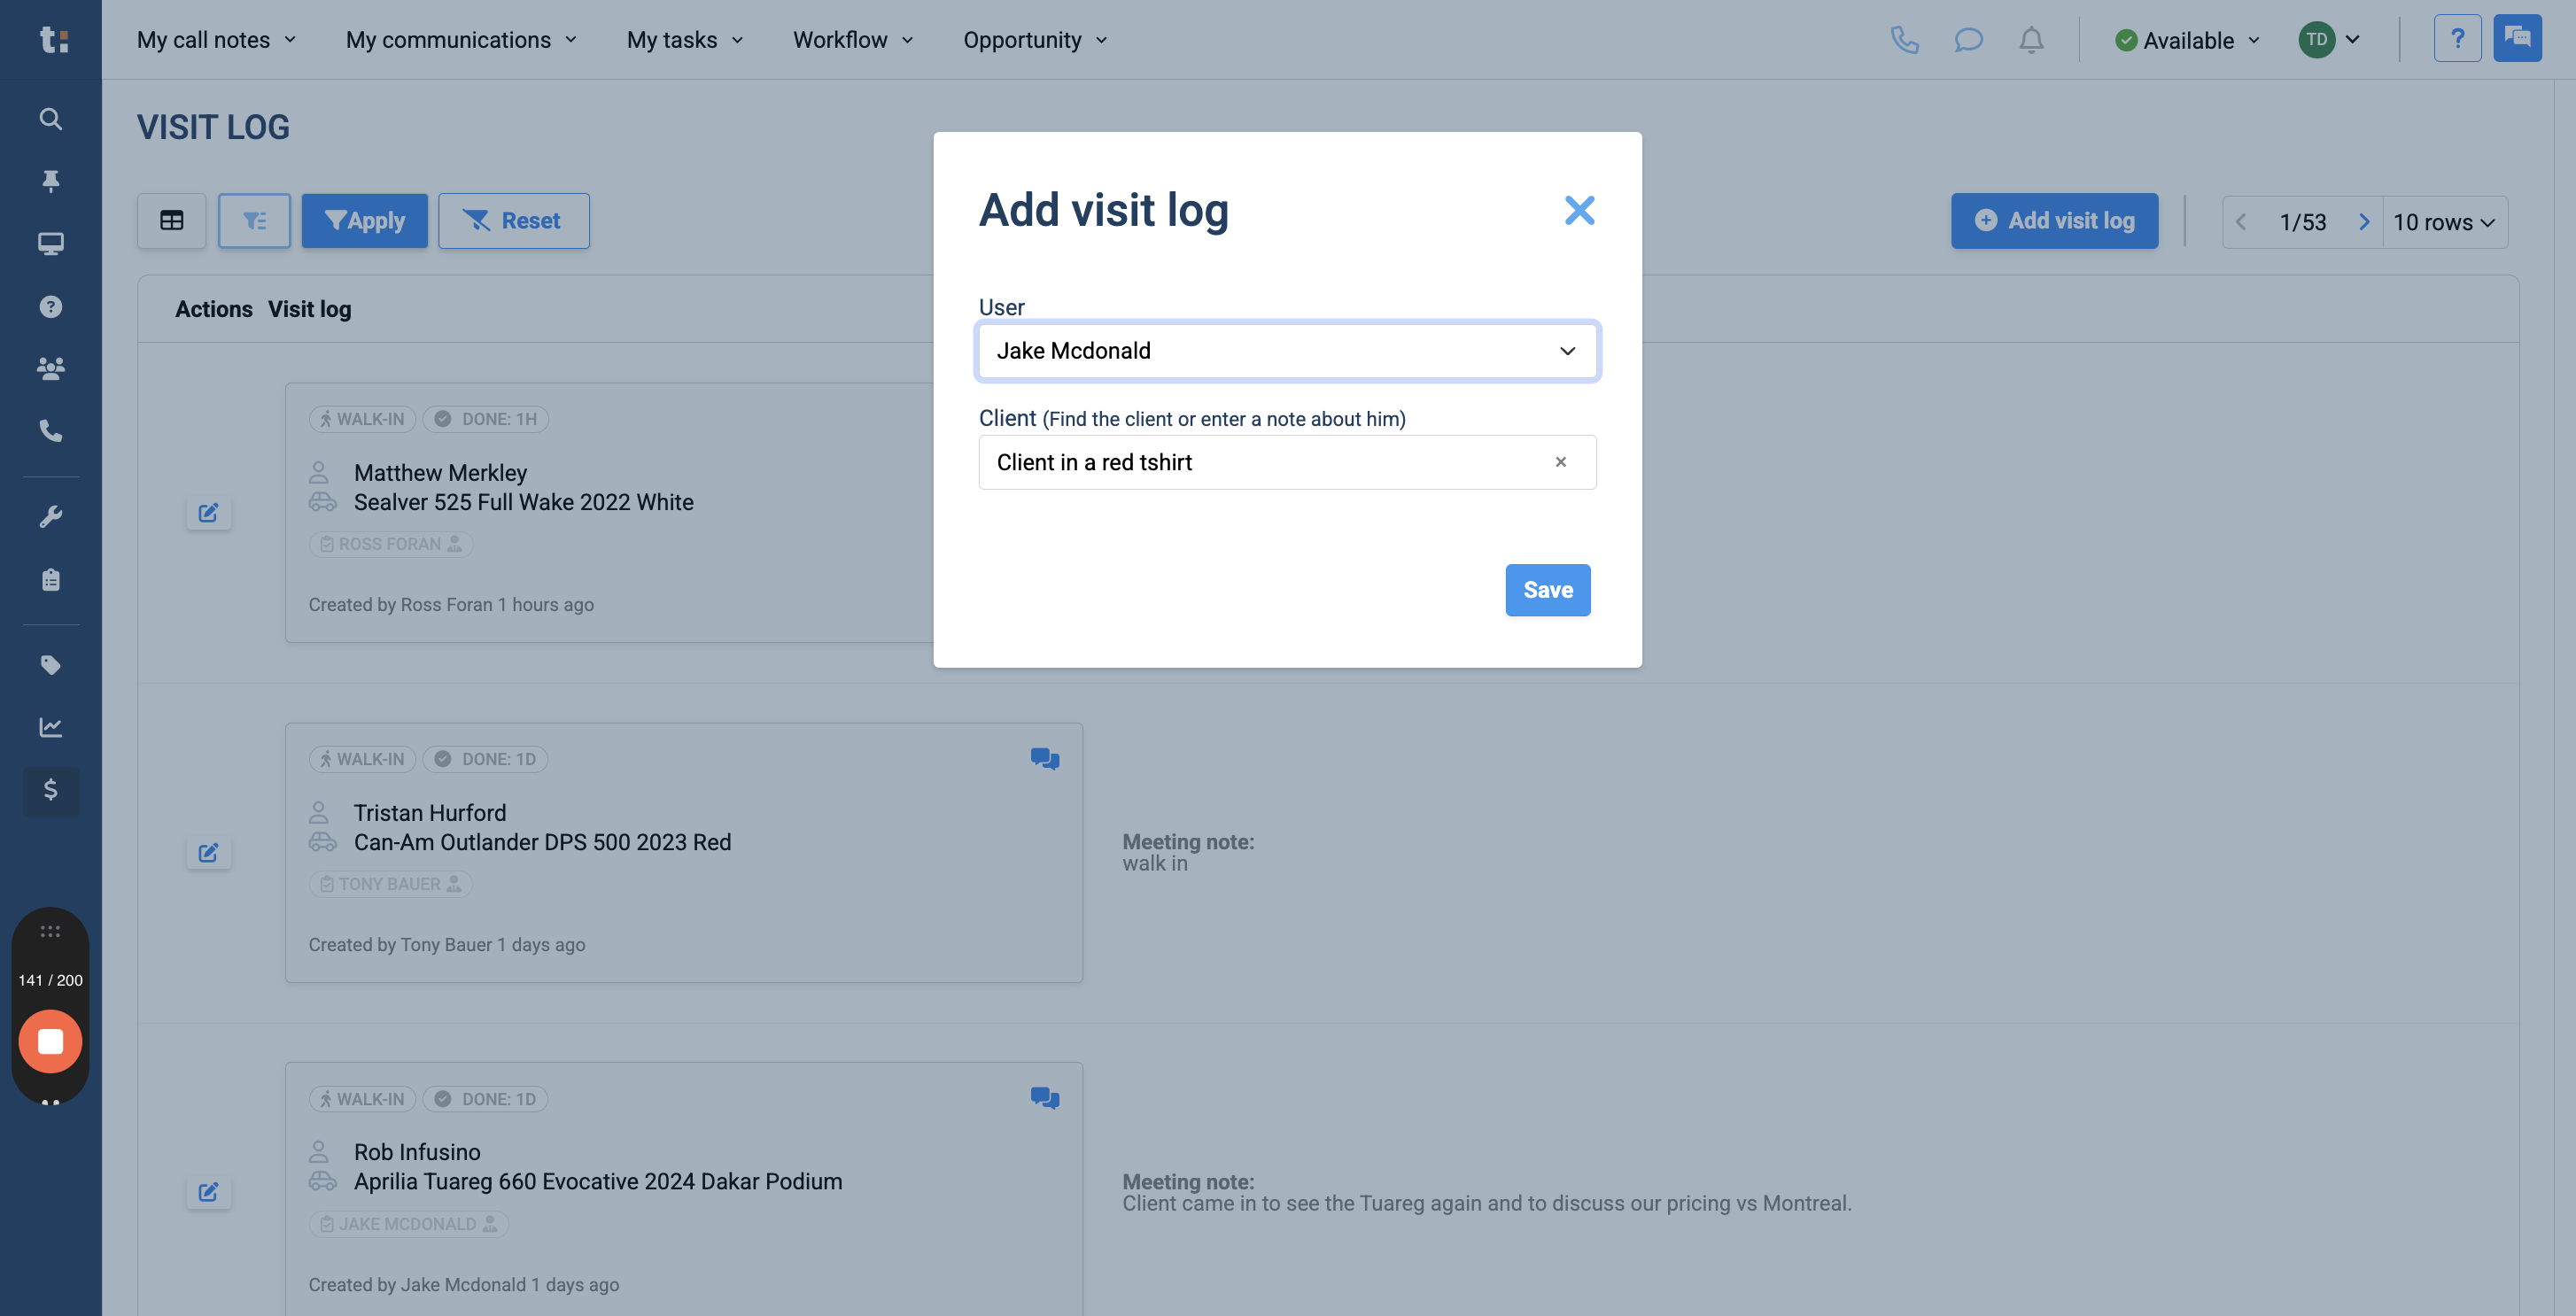
Next, link this walk-in to the staff member the client spoke with, then click save.
14
Click save
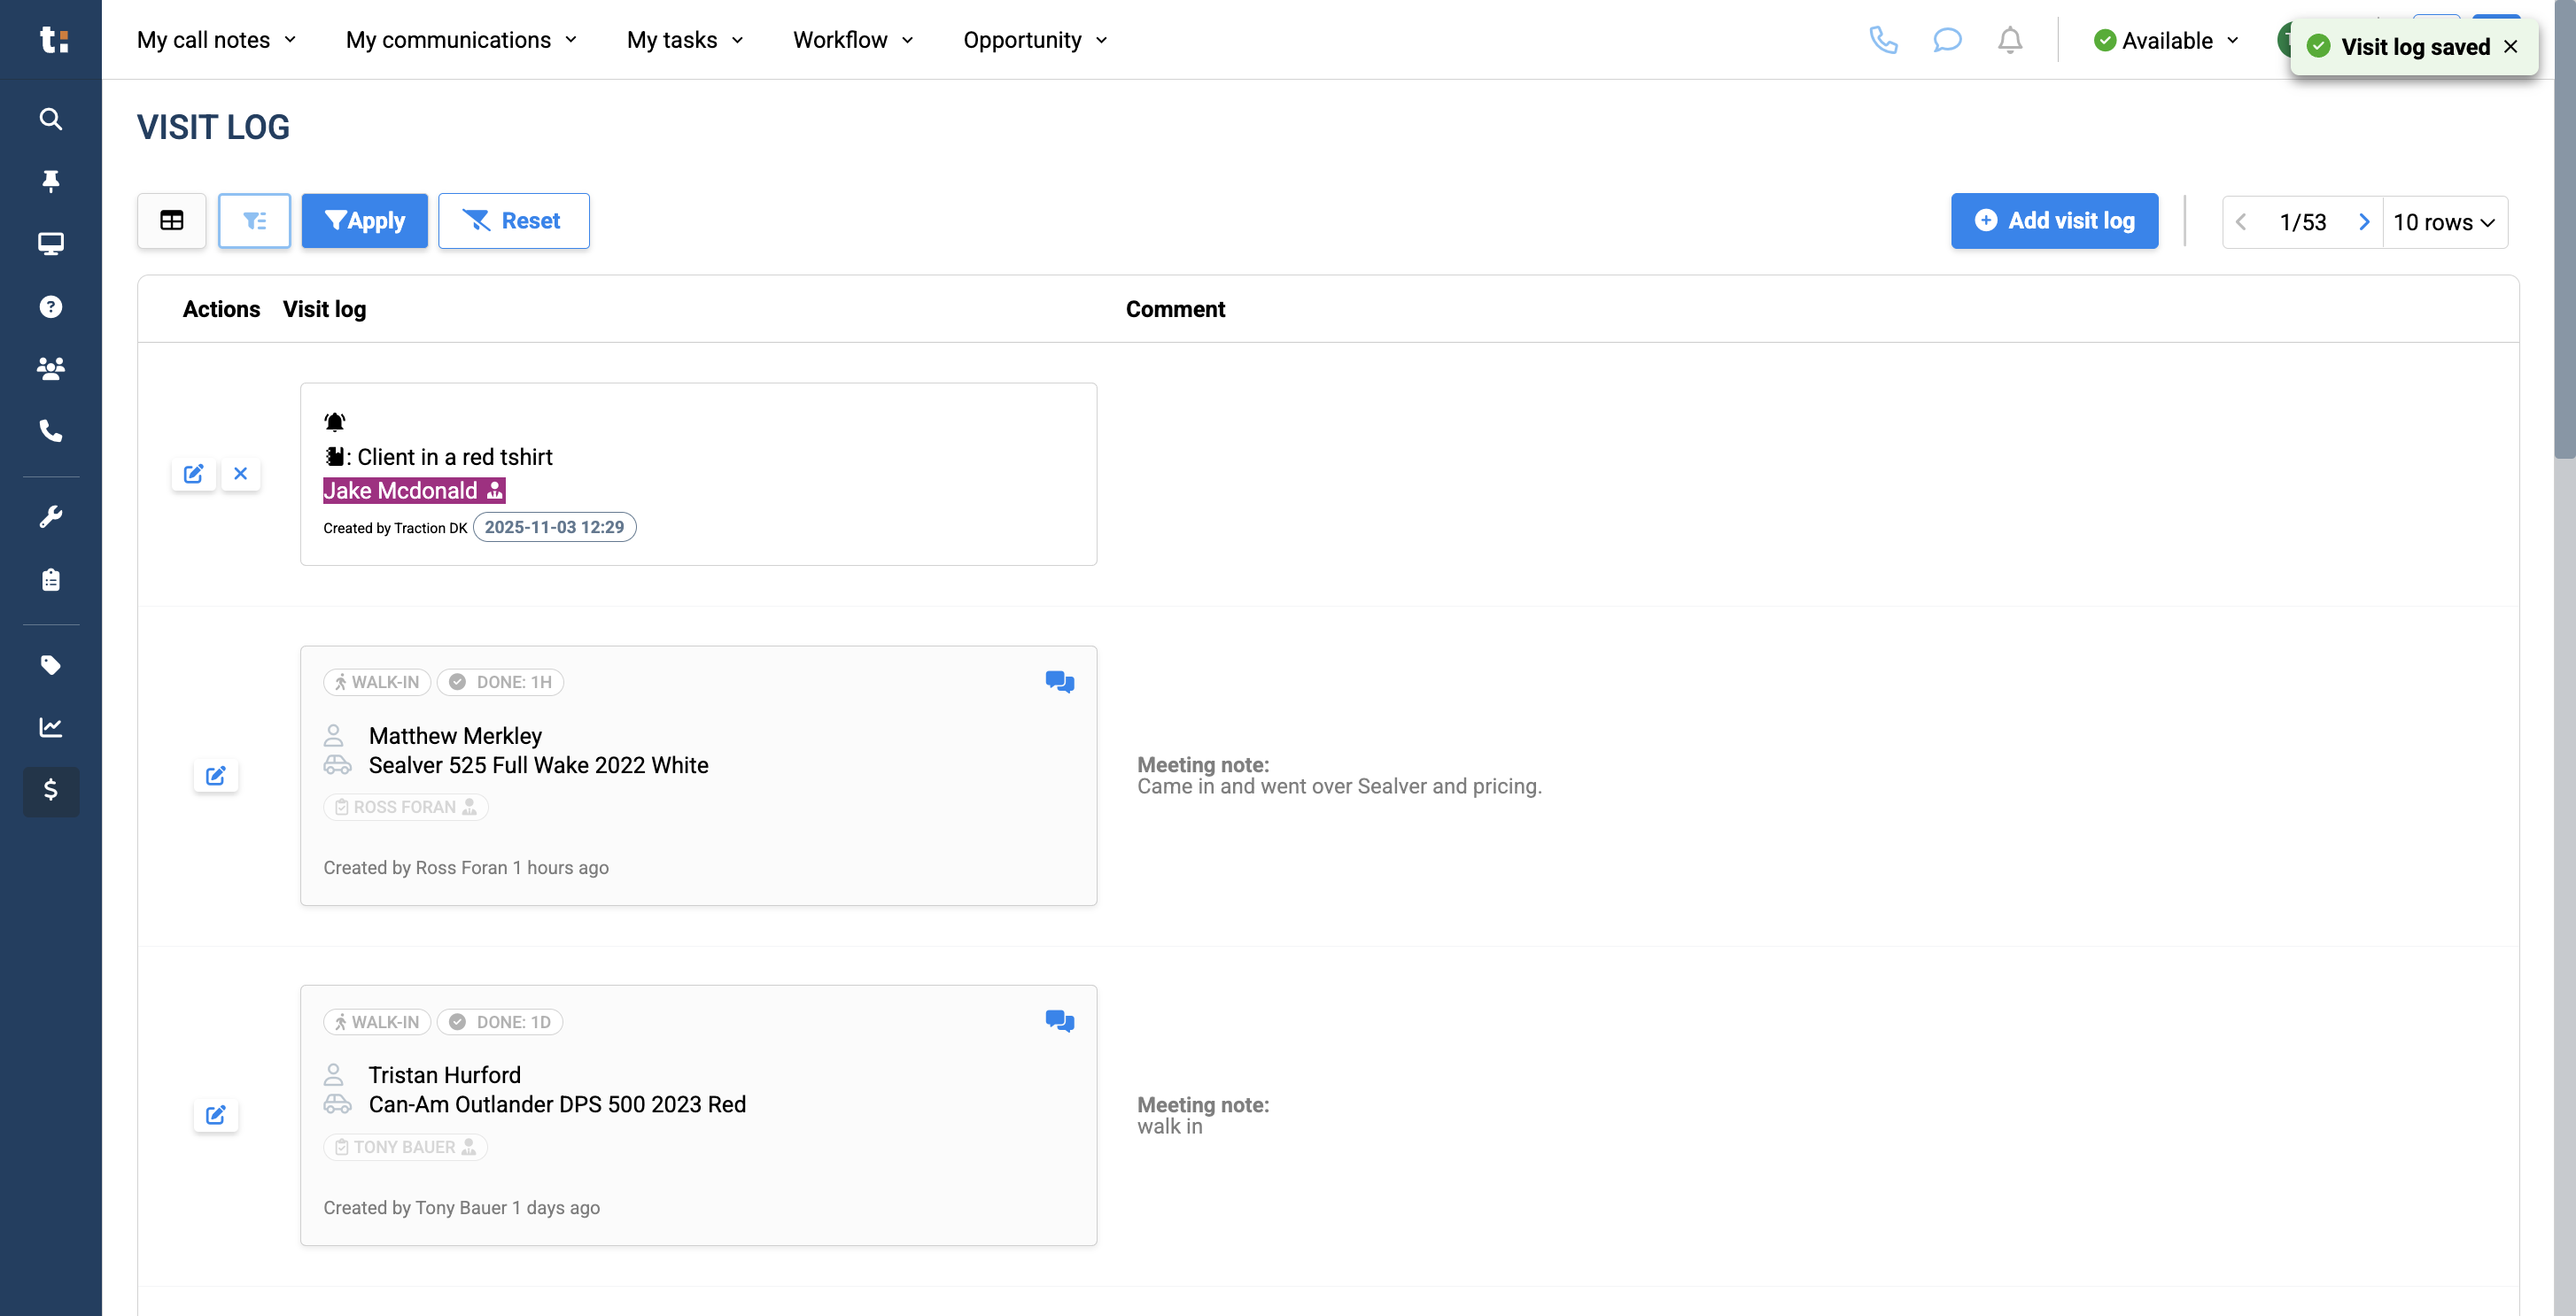
15
Once you've done that, the assigned user will associate this walk-in visit with a sales opportunity they created.
16
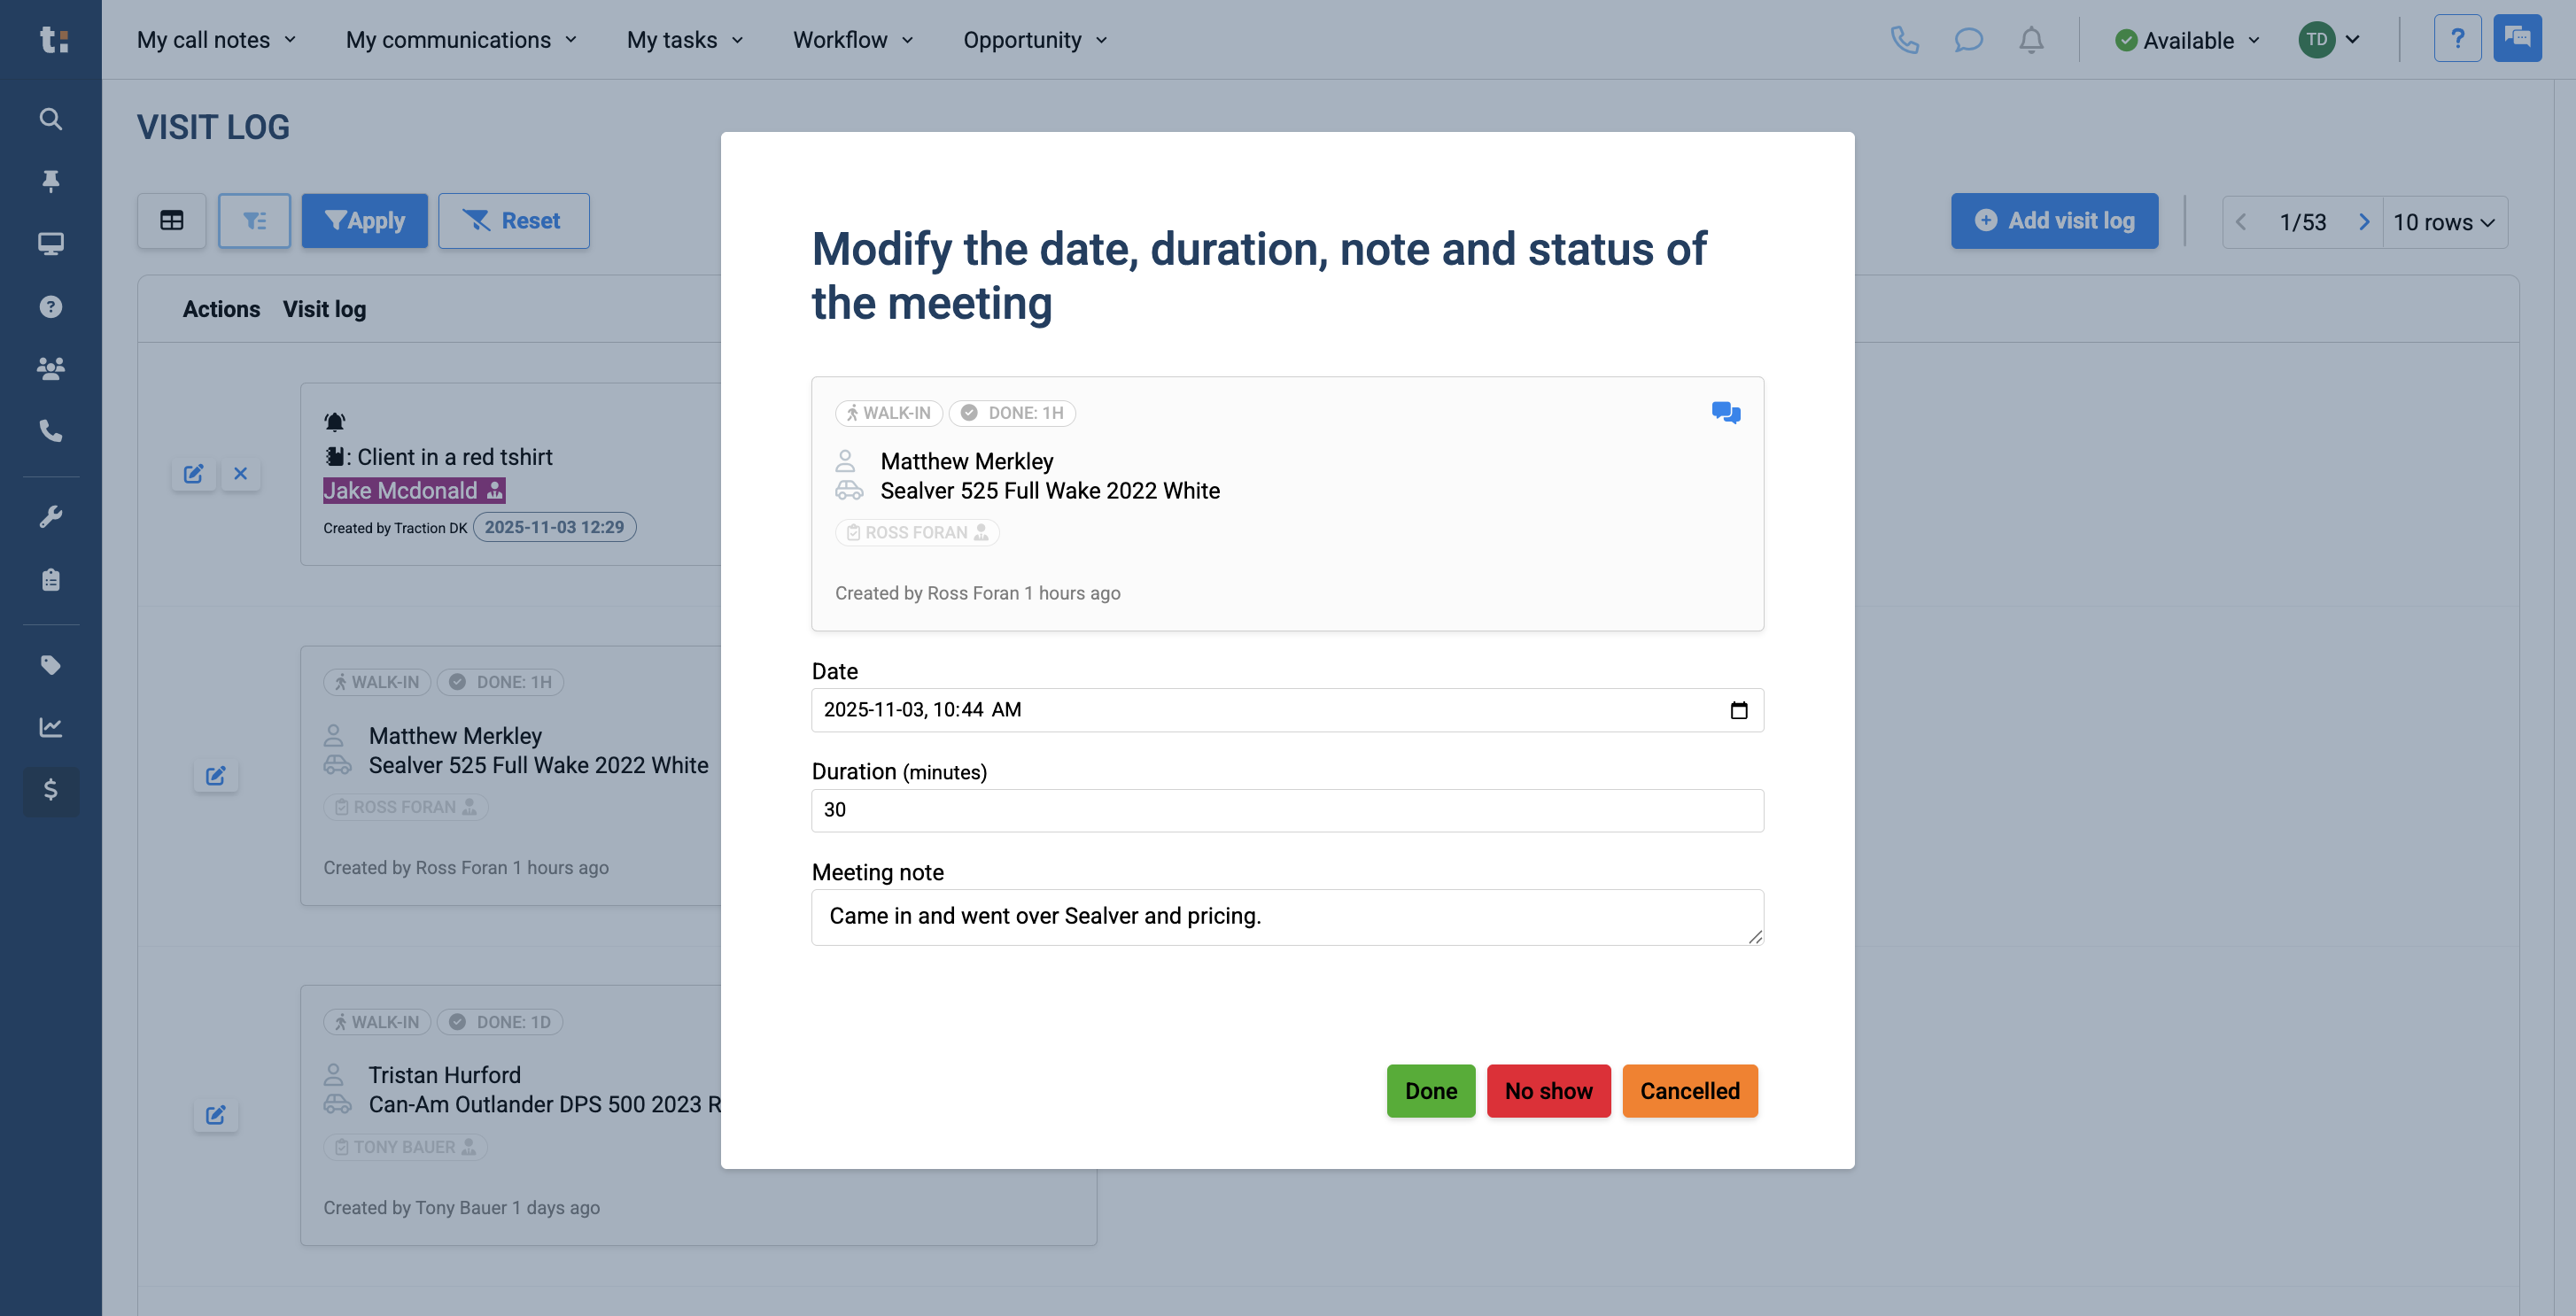
To modify an existing walk-in, click the modify button.
17
Here you can view the walk-in date, duration, and meeting notes.

18
You can classify the meeting as completed, a no-show, or canceled.
19
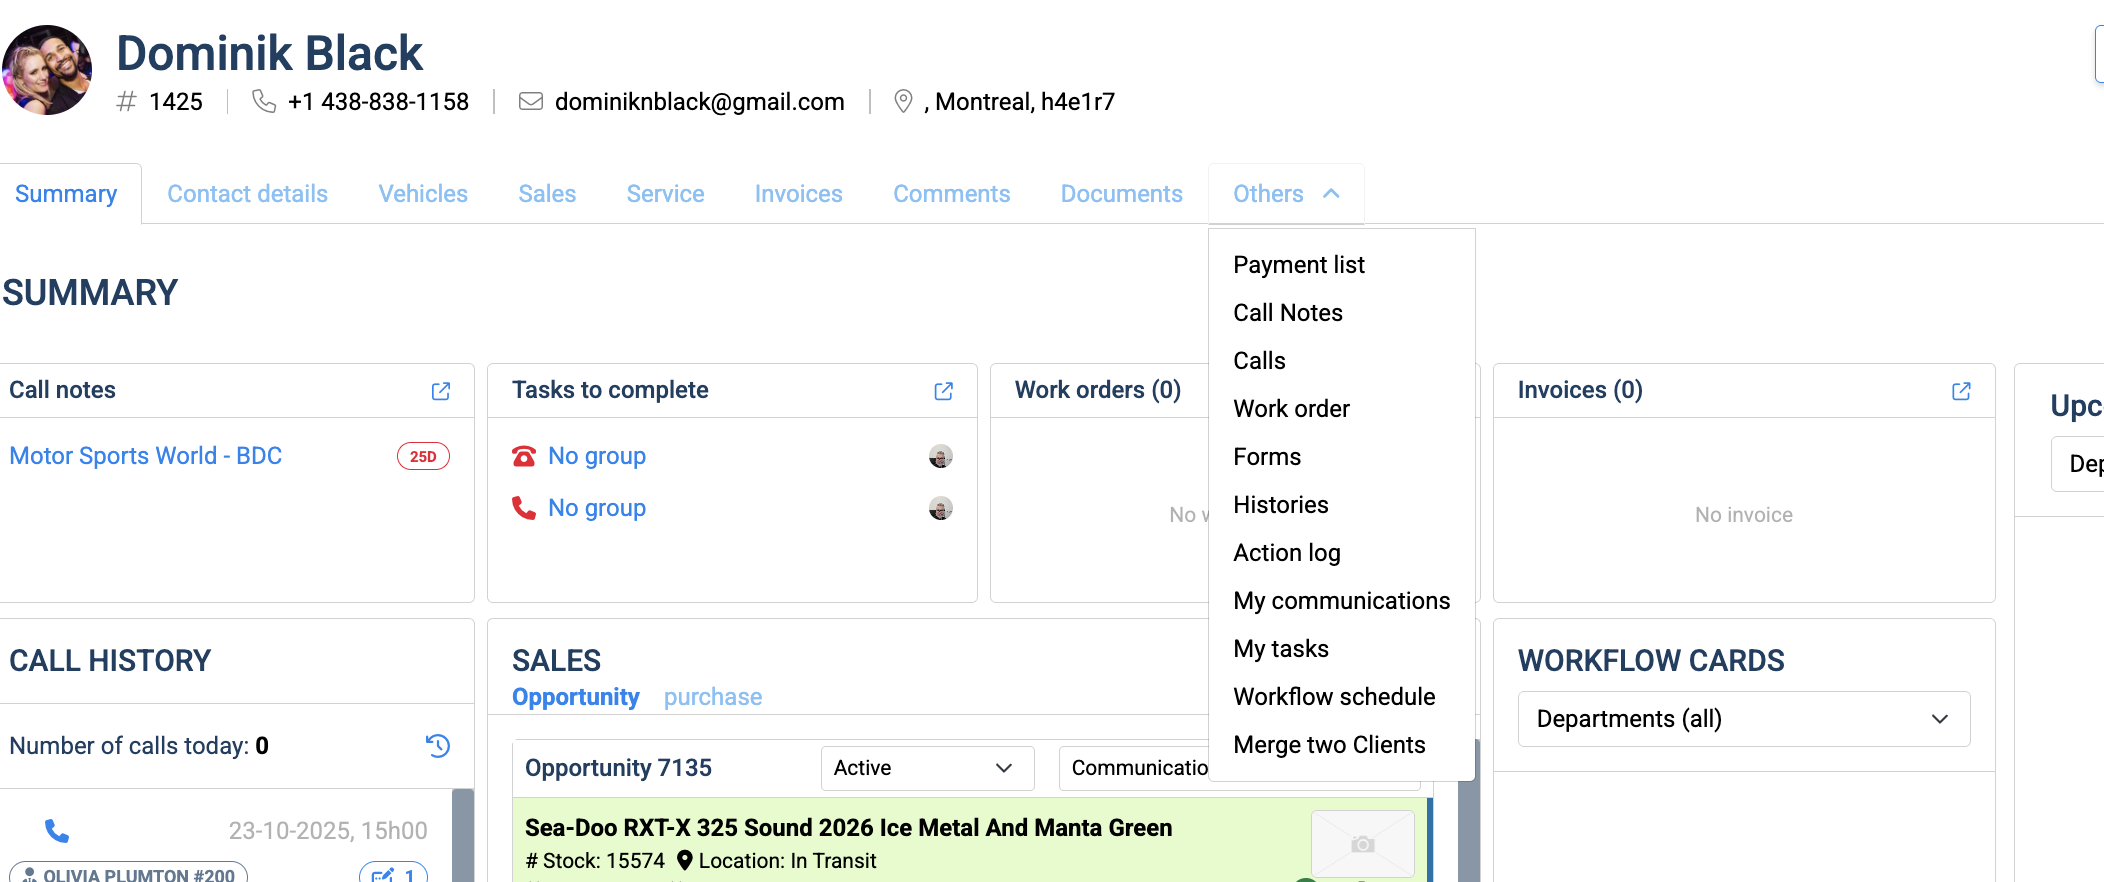
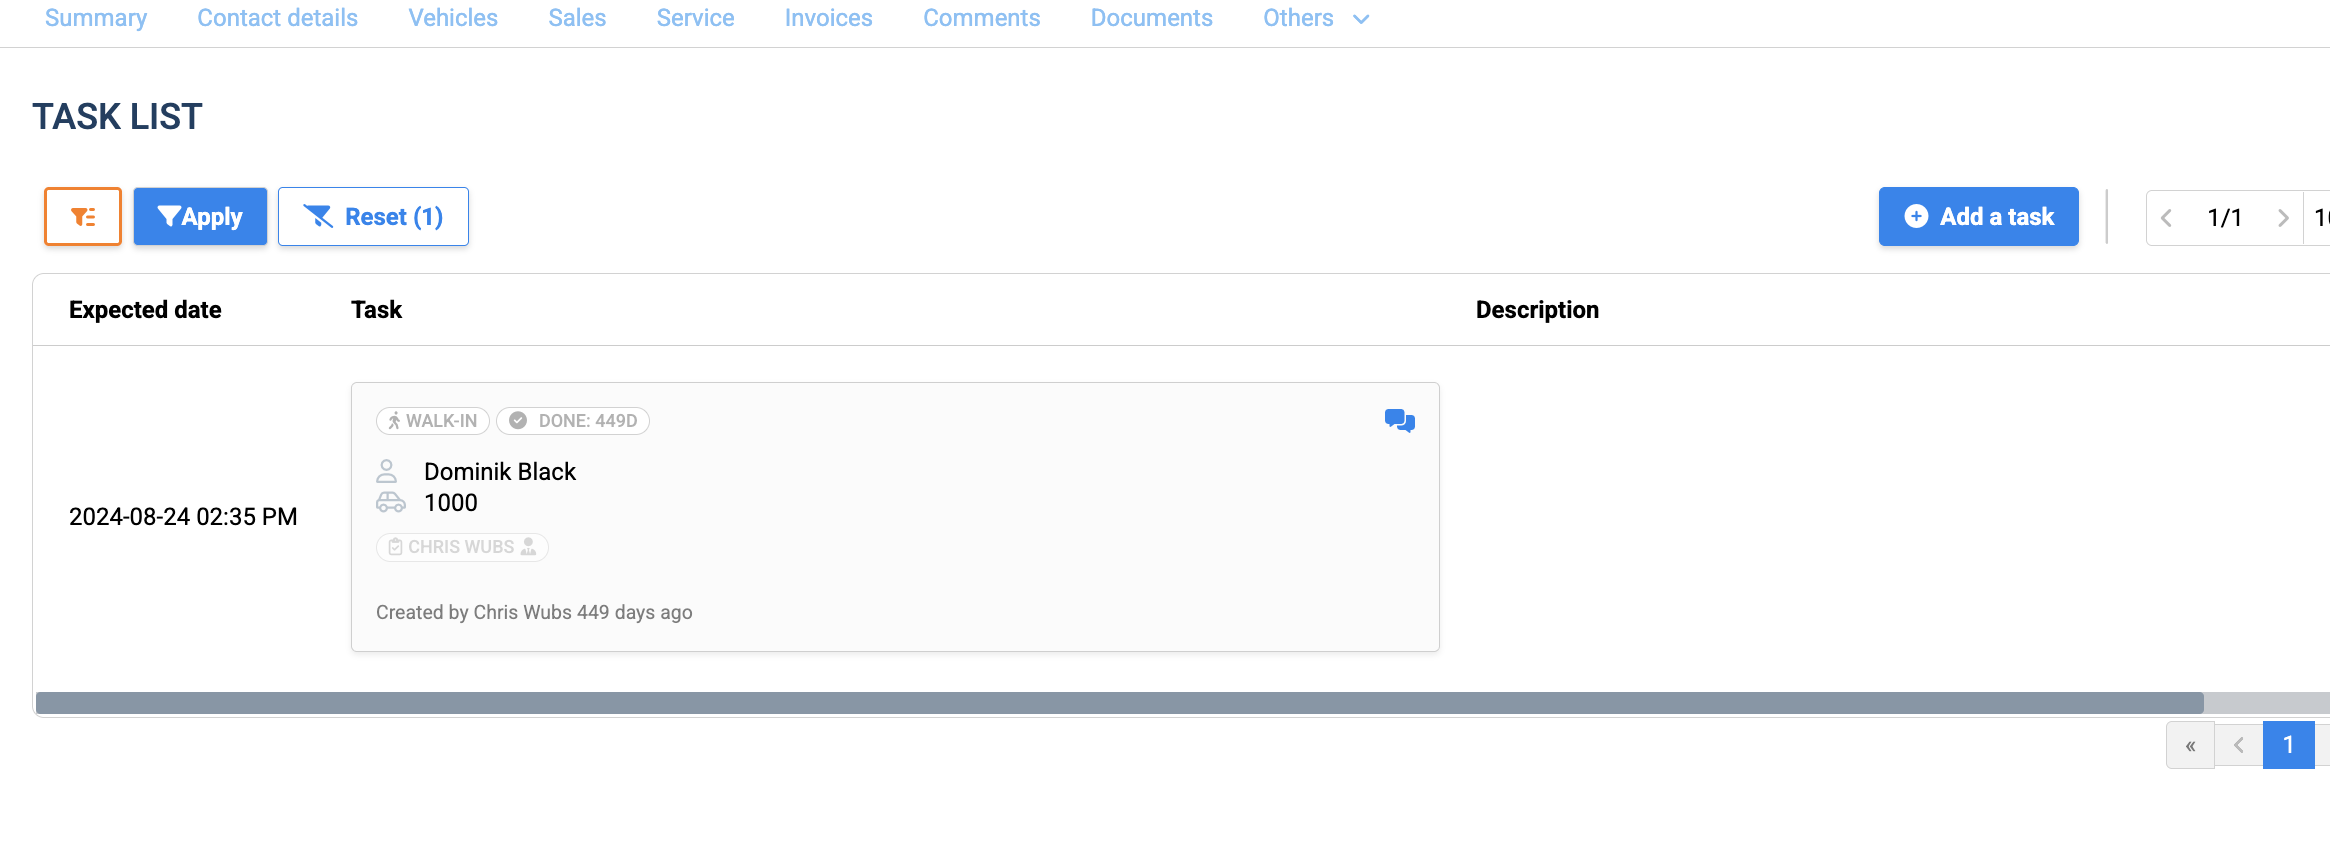
Lastly, you can find a customer's visit log by going to their customer profile and clicking on the Other's tab and selecting My Tasks
20
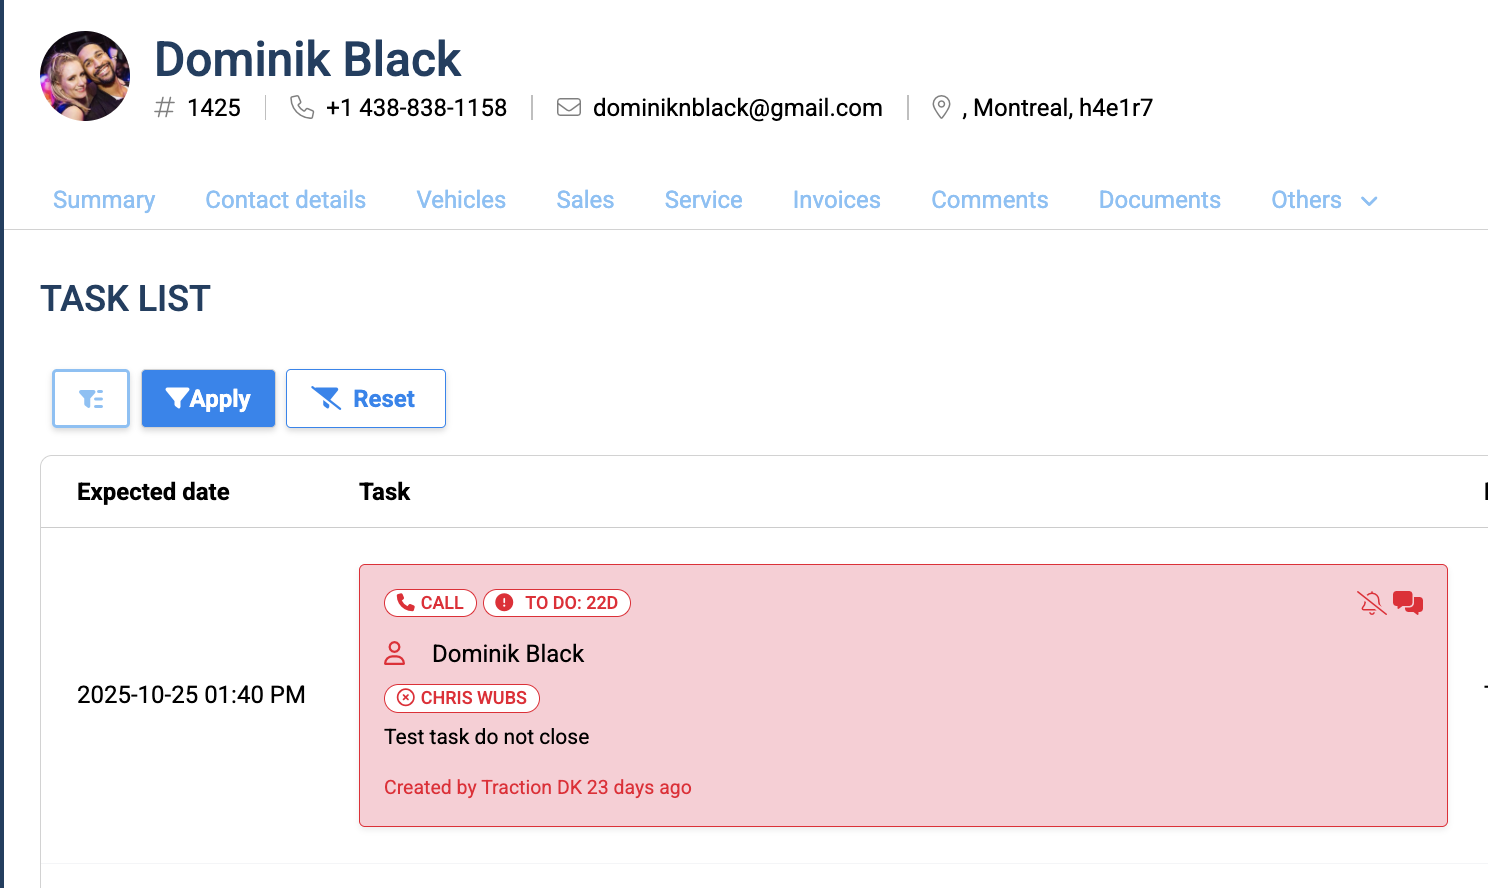
From here, click on the filter button.
21
Filter by Walk-in and click Apply.
22
And you end up with a list of walk-ins associated to this client.
If you still have questions after consulting this article, please feel free to contact our support team at: support@tractiondk.zohodesk.com