How to Use the Workflow Calendar
Learn how to access and navigate the workflow calendar, switch between Kanban and calendar views, filter by end date, search for opportunities or users, and manage your delivery schedule efficiently.
By Dominik Black
In this guide, we'll learn how to use the workflow calendar to track and manage your workflow tasks by date. We will cover how to access the calendar view, filter and search for specific tasks, and understand the color-coded statuses. You will also learn how to switch between different calendar views, print your calendar, and navigate through dates.
Let's get started
In this article, we will review the workflow calendar. There are two ways to access the workflow calendar.
1
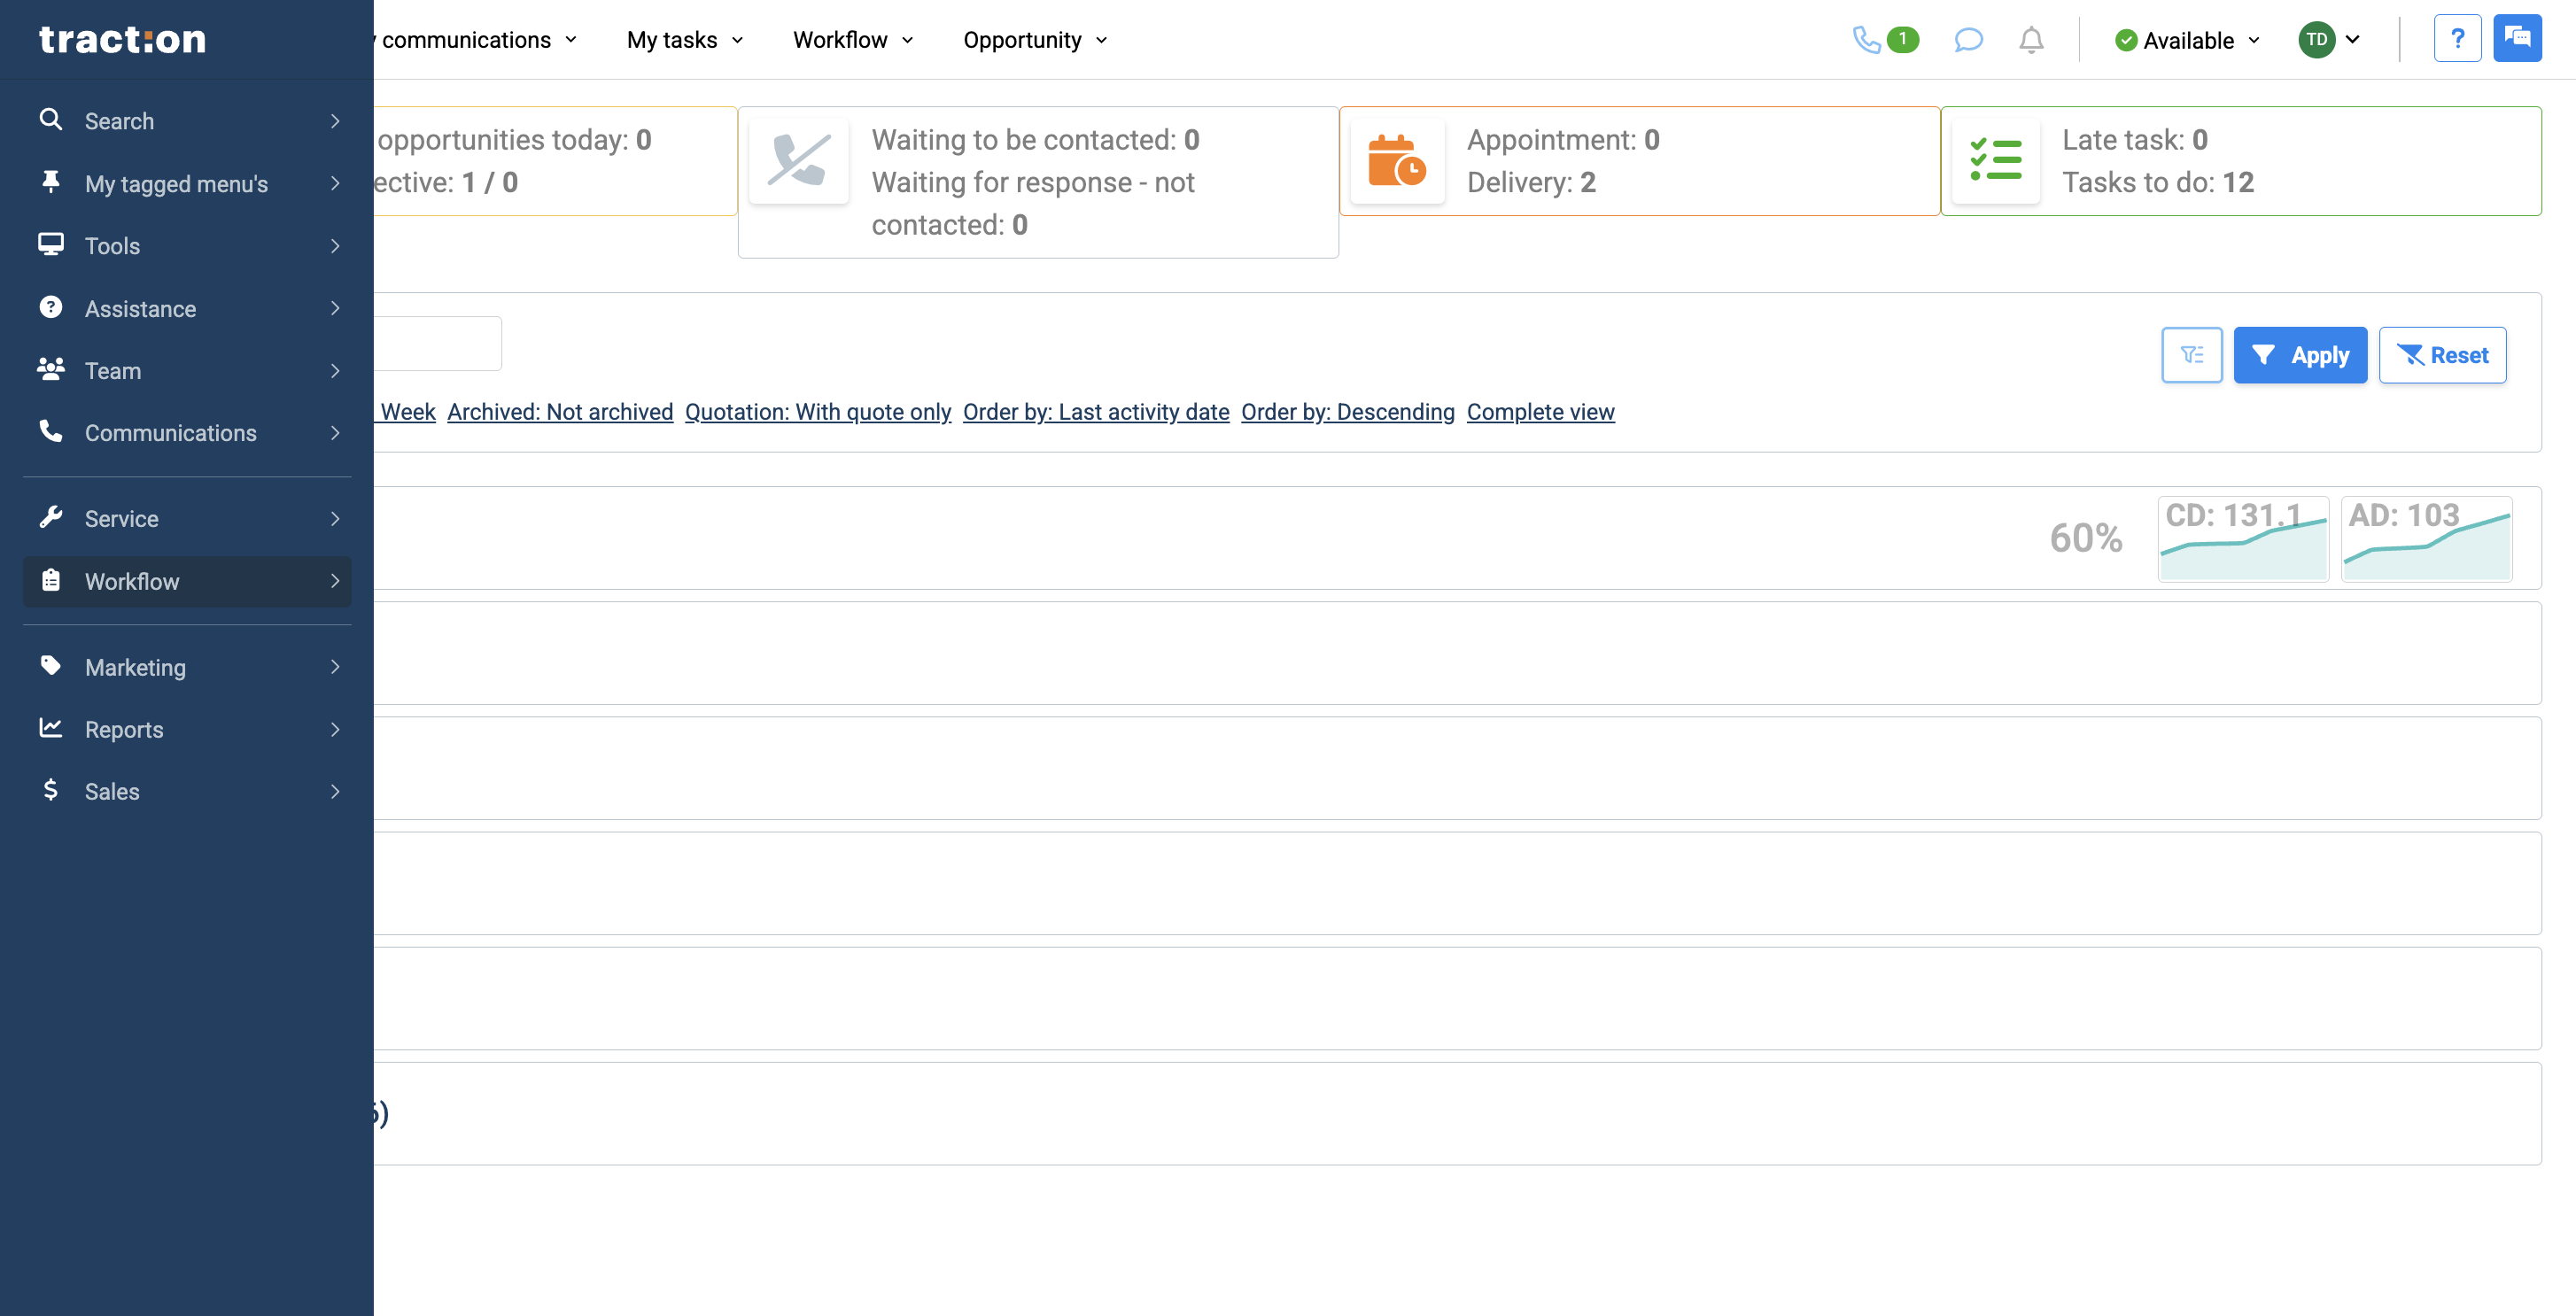
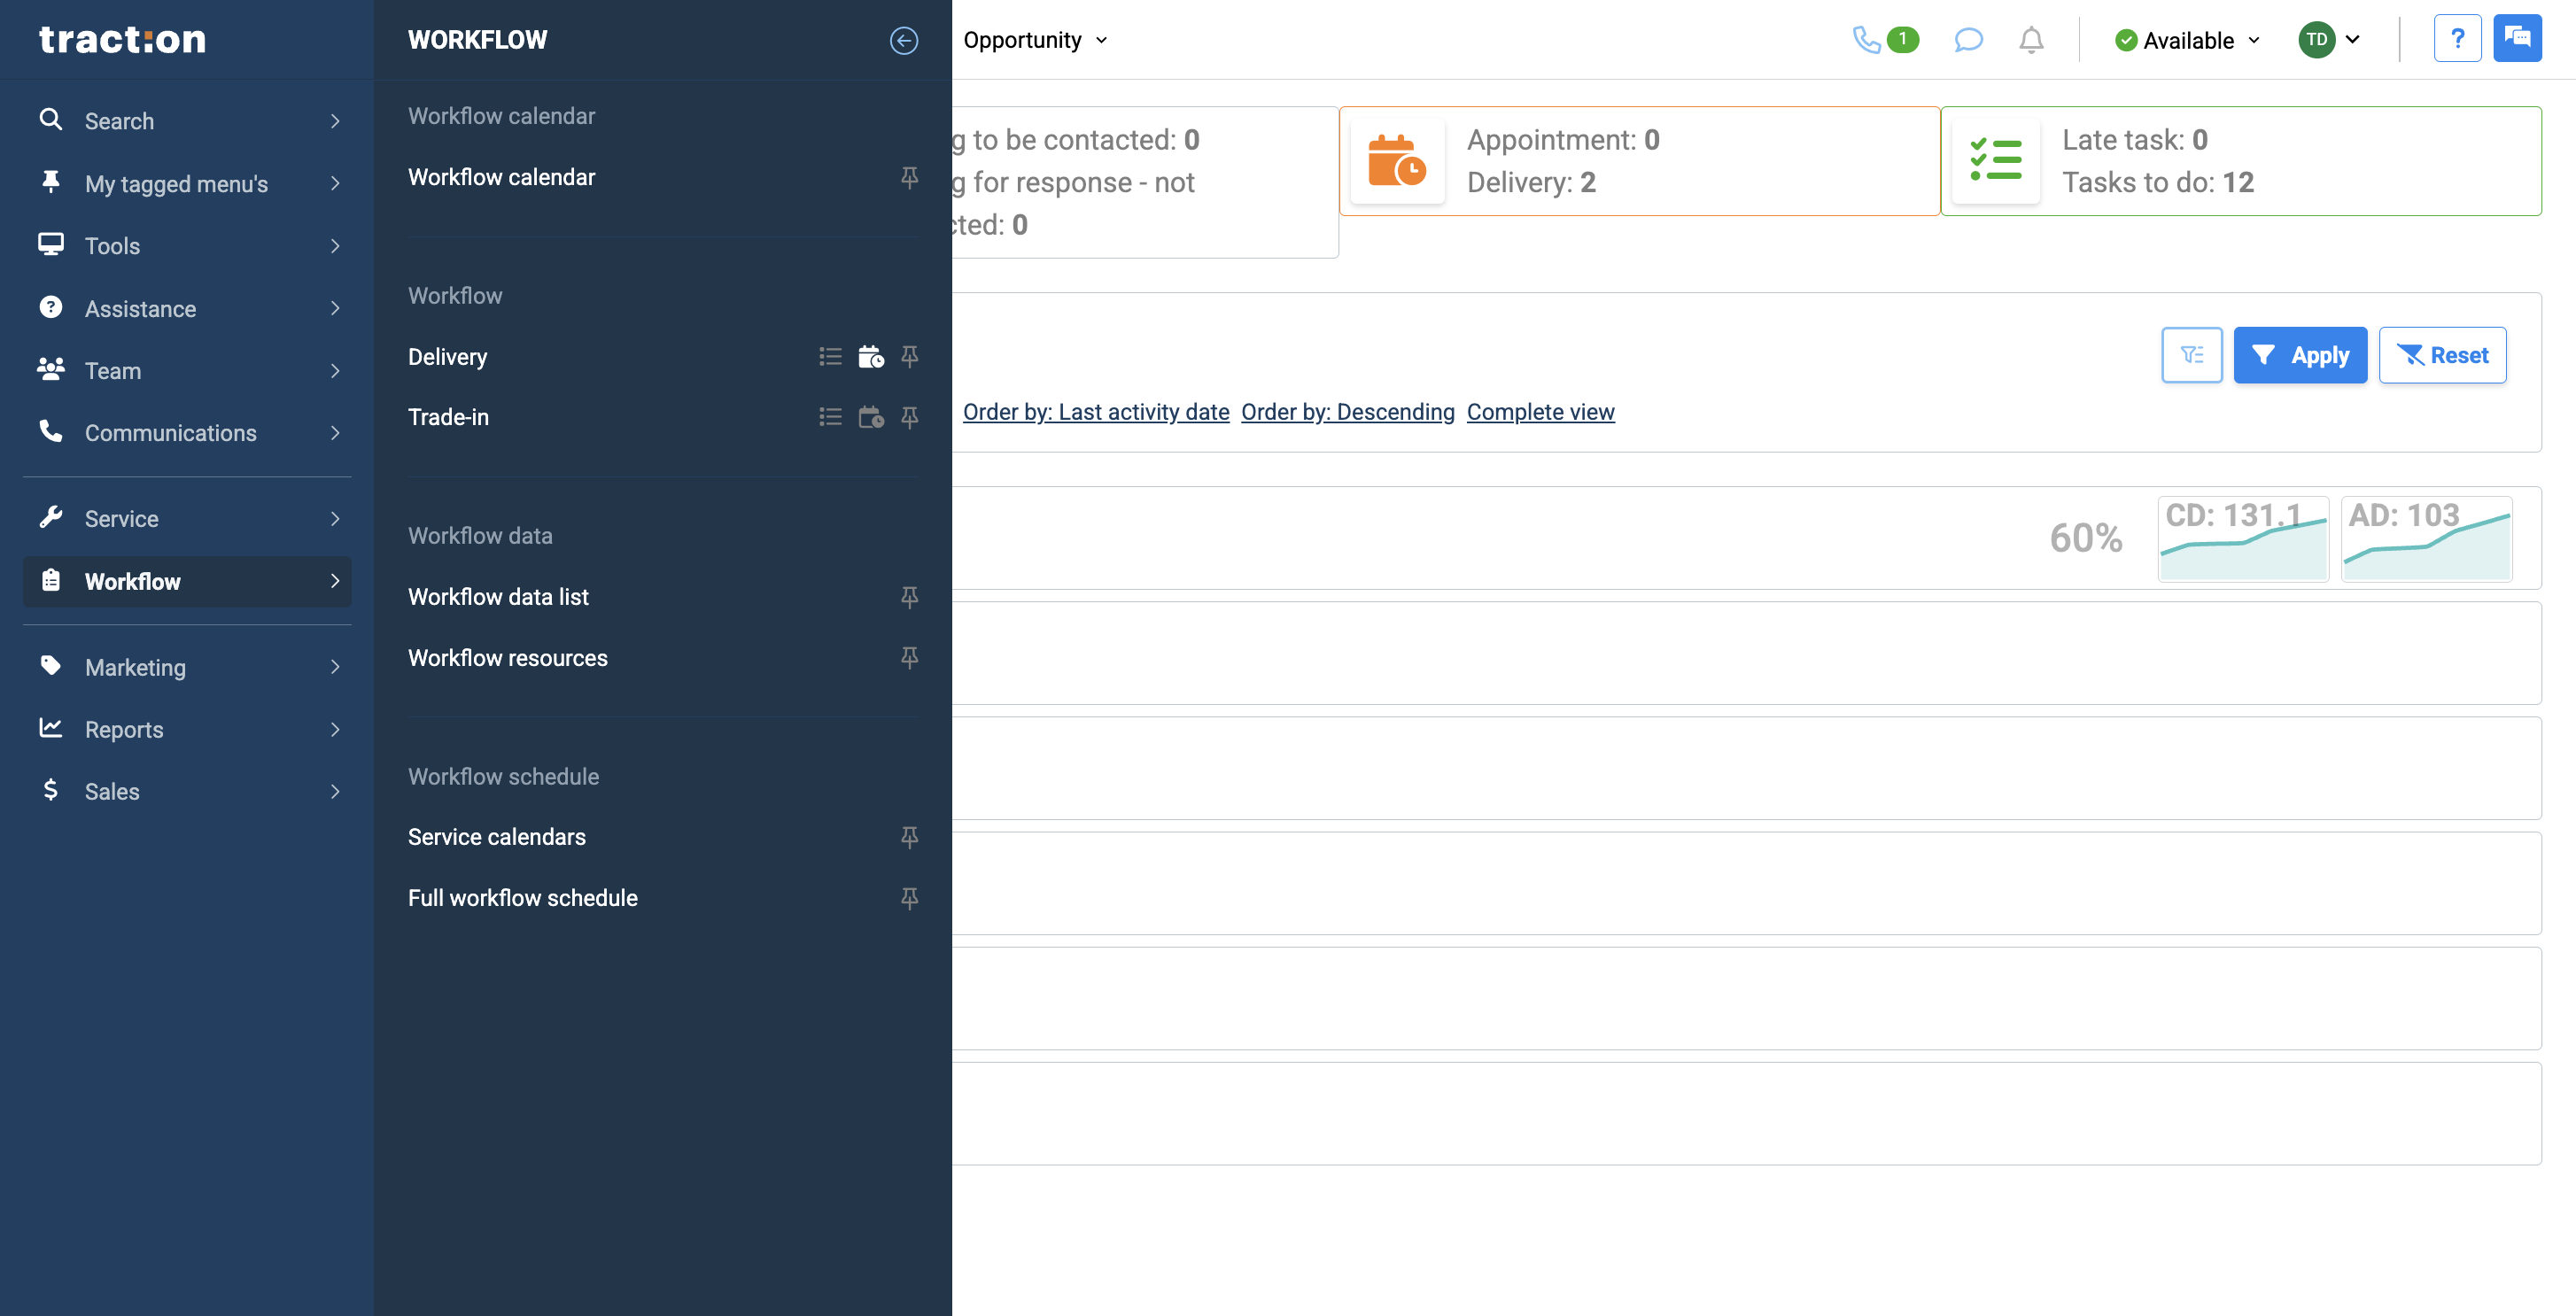
First, click on Workflow.
2
Instead of clicking your workflow title, which opens the Kanban view, click the calendar icon.
3
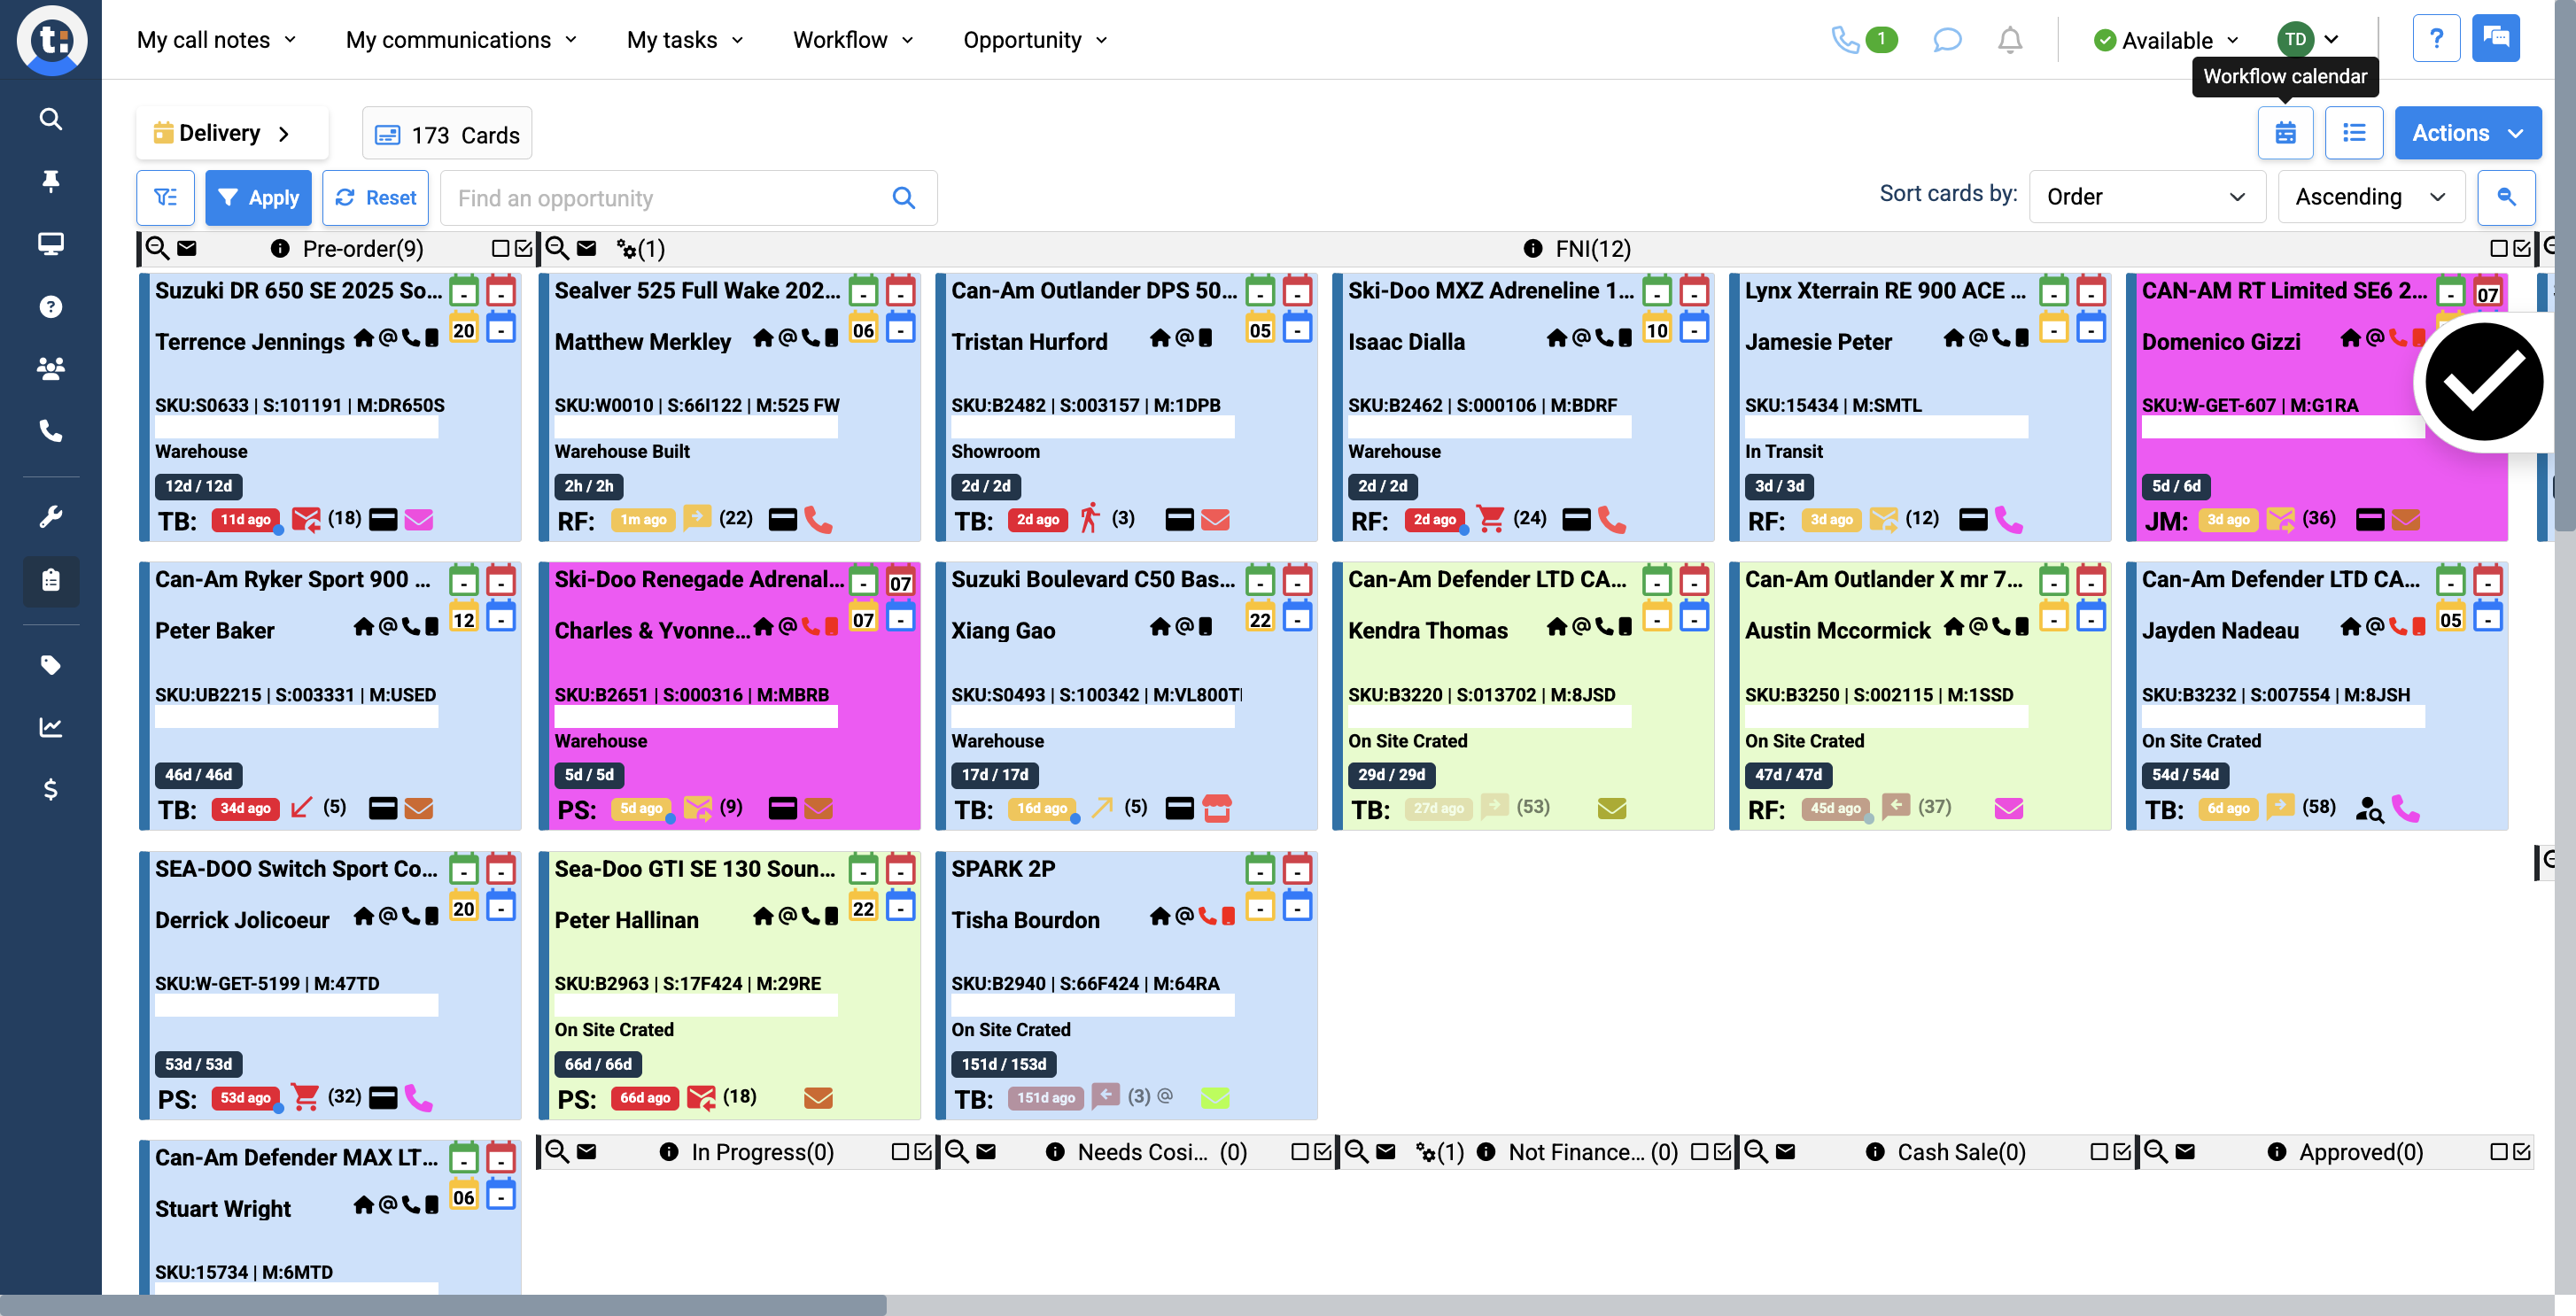
If you are already in the Kanban view of your workflow, you can use the calendar button to switch to the calendar view.
4
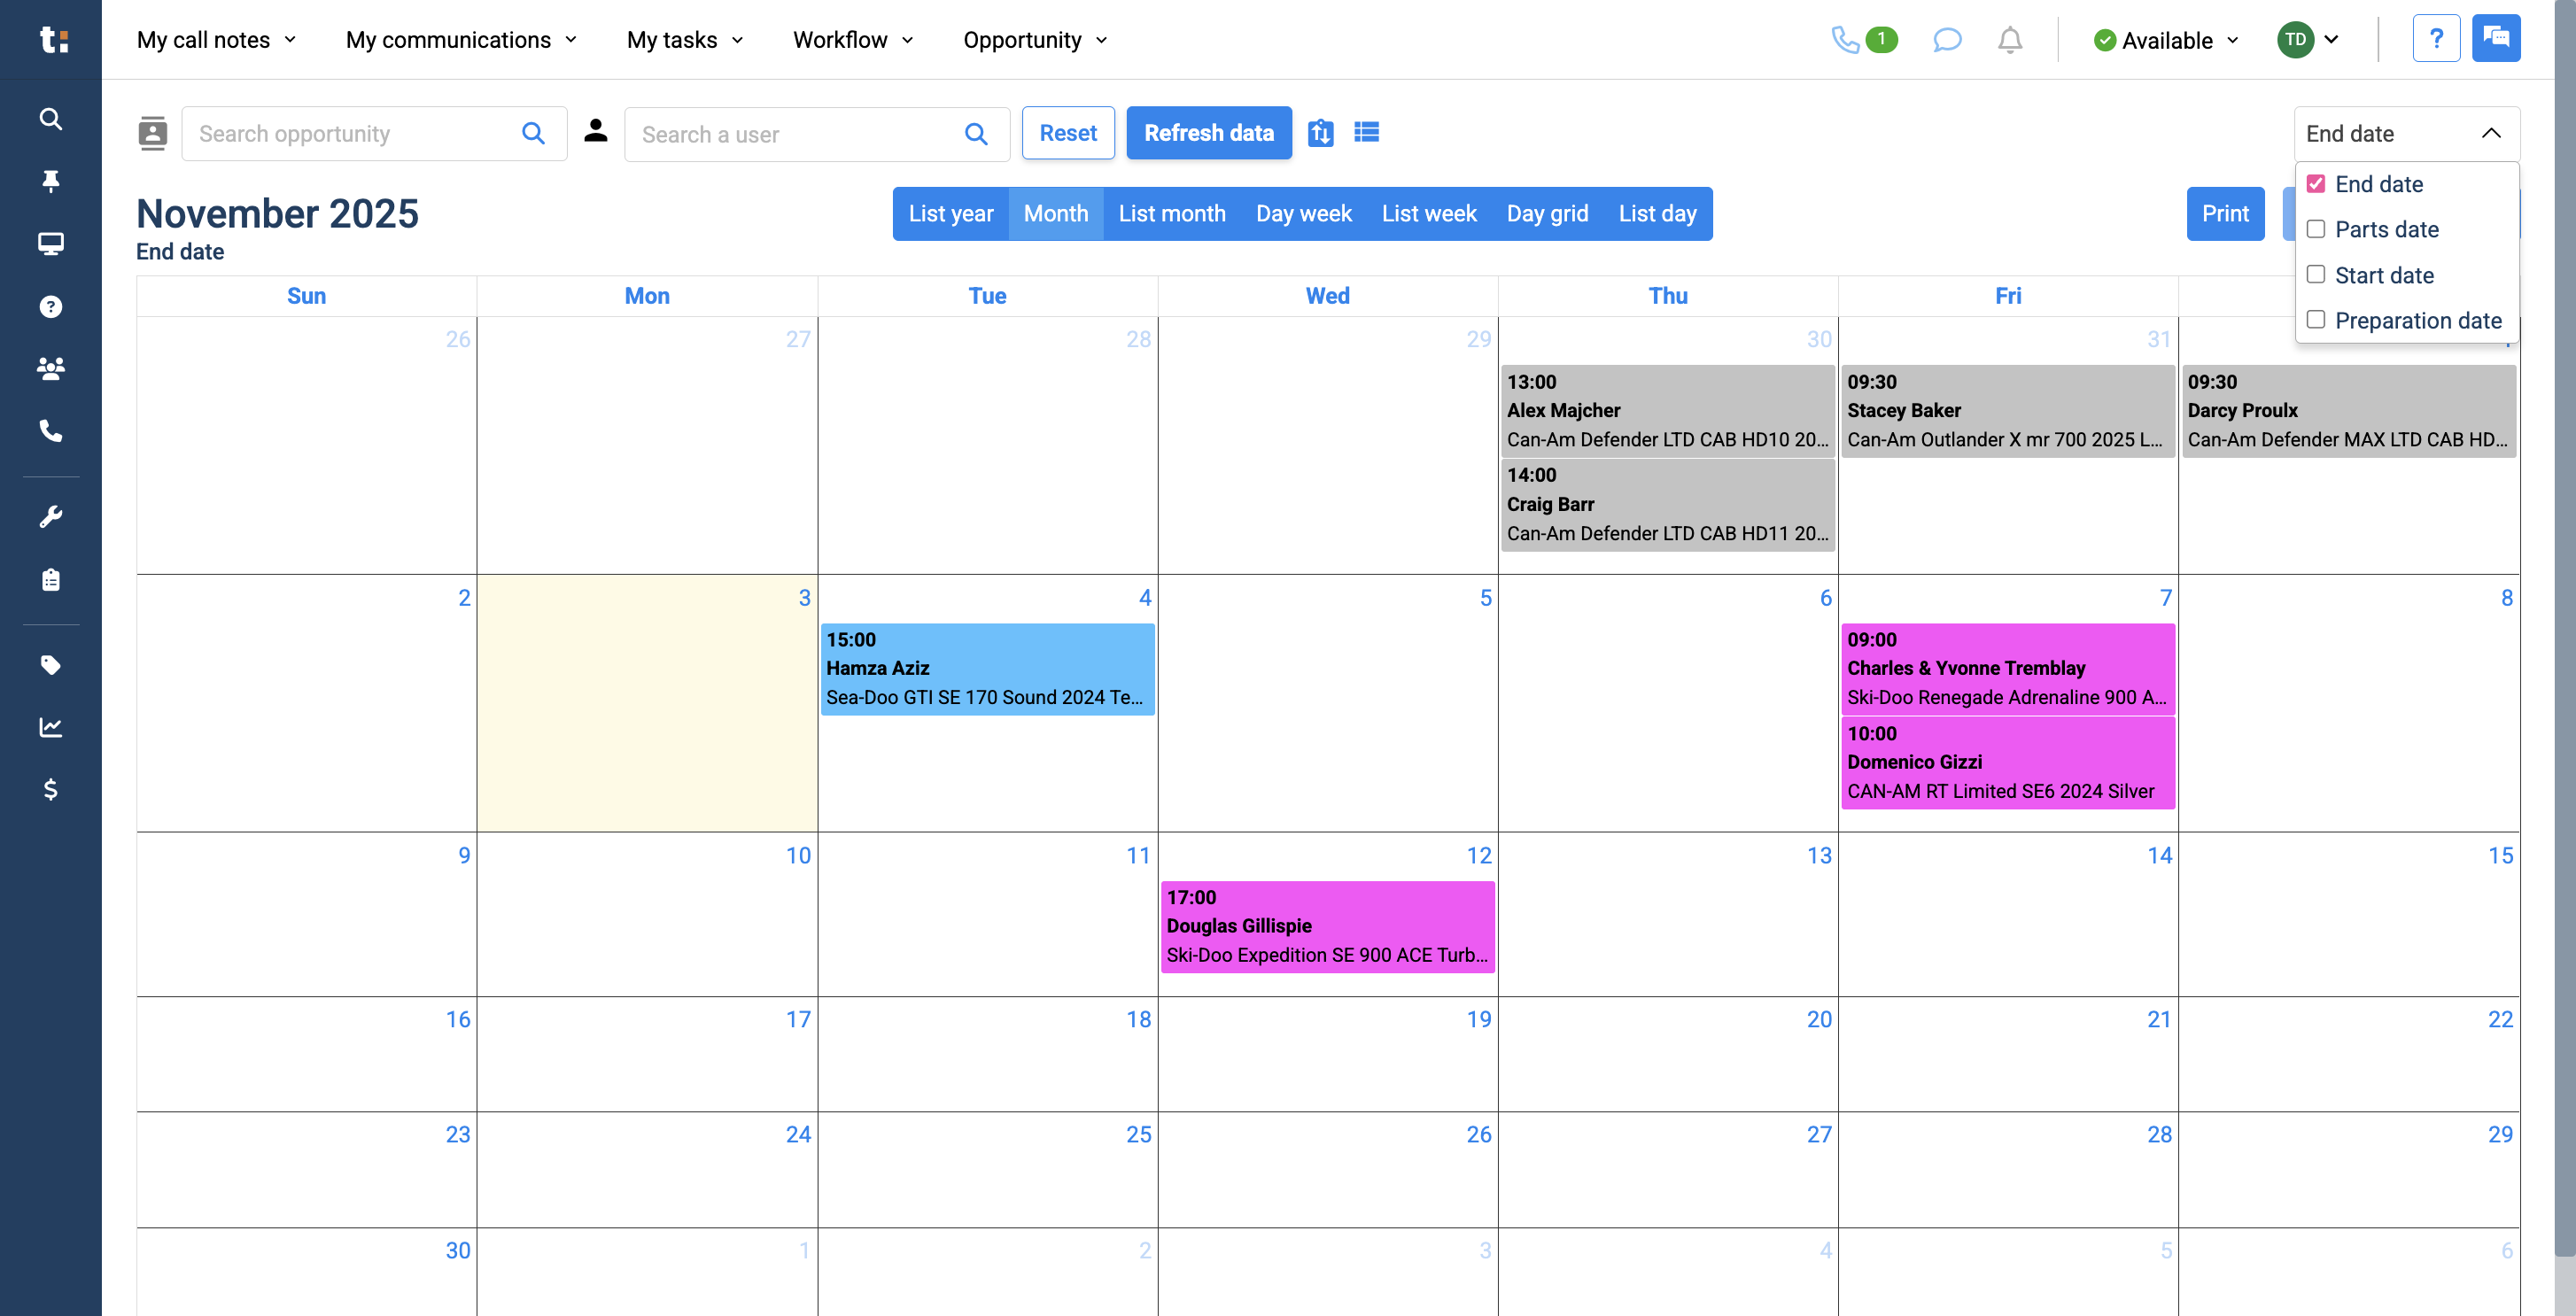
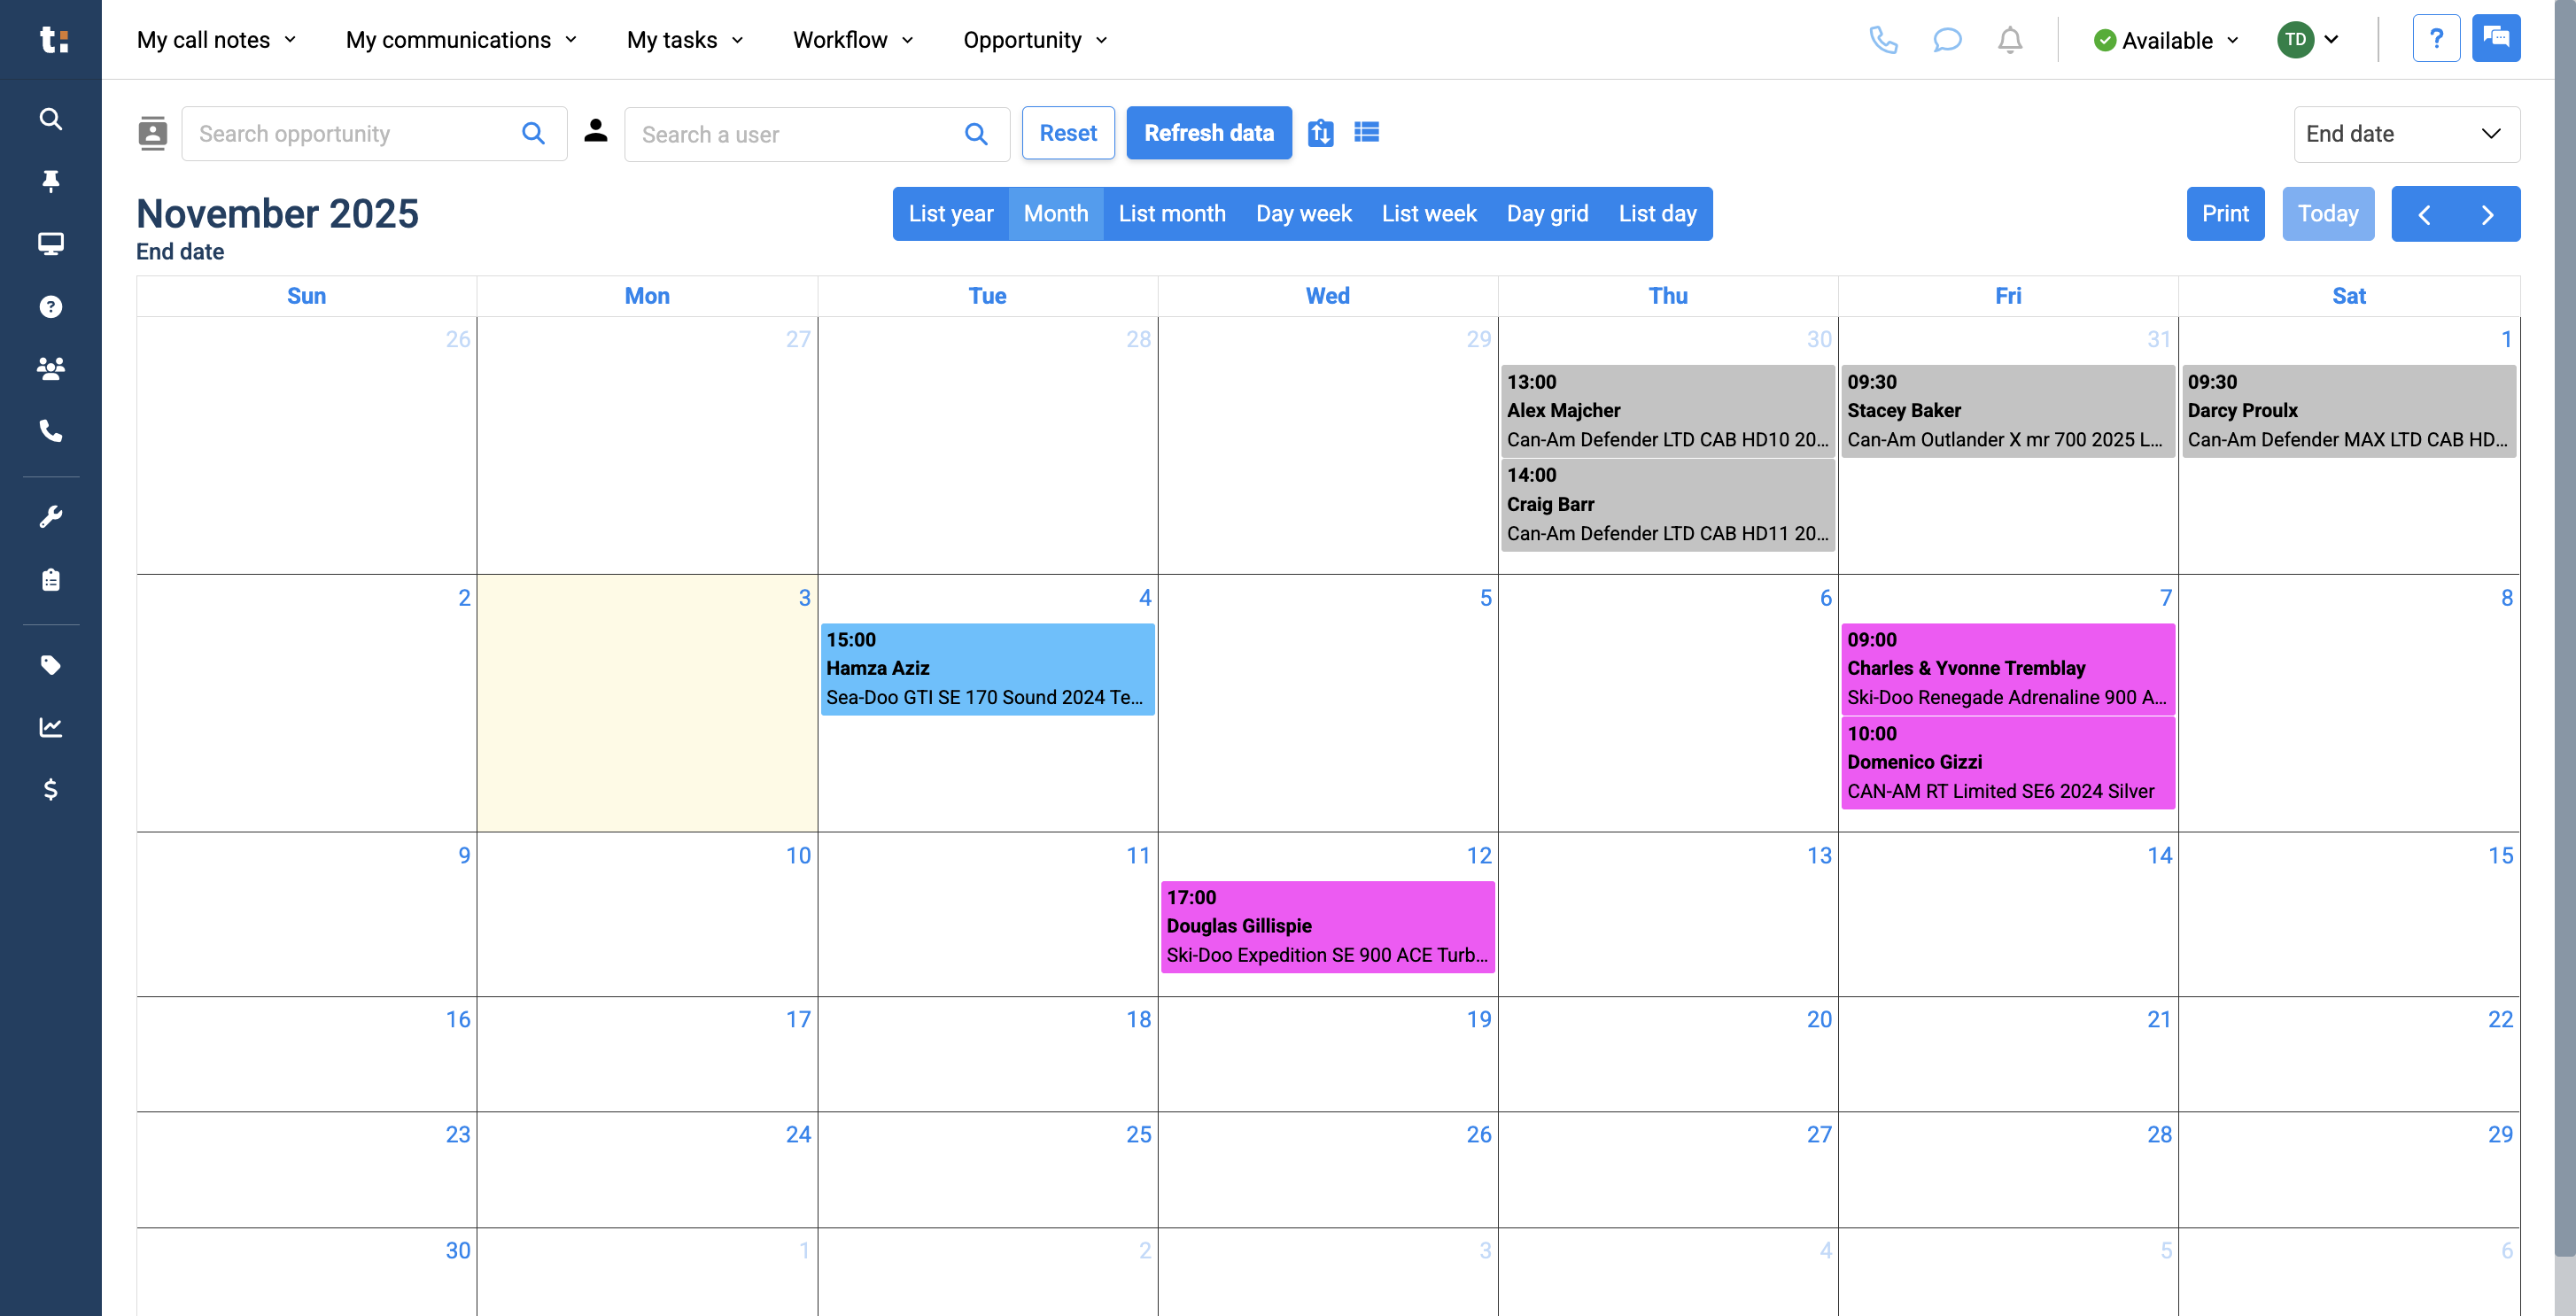
Here, the calendar view displays all cards in your workflow that are filtered by an end date.

If a card in your workflow does not have an end date, it will not appear in the calendar below.
5
You can view any date type by selecting it. The end date shows the delivery date, which is why this is your delivery calendar.
6
You can search for a specific opportunity

7
or a specific user.

8
After this, you can click Reset to remove your filters.

9
To refresh your data, click the Refresh Data button.

10
The first icon takes you to the Kanban view of your workflow. The second icon takes you to the list view.

11
You can change your calendar view by clicking on options like List Year, Month, List Month, Day Week, List Week, Day Grid, and List Day.

12
You can also choose to print your calendar if you wish.
13
Go through the months on your calendar by clicking the arrows.
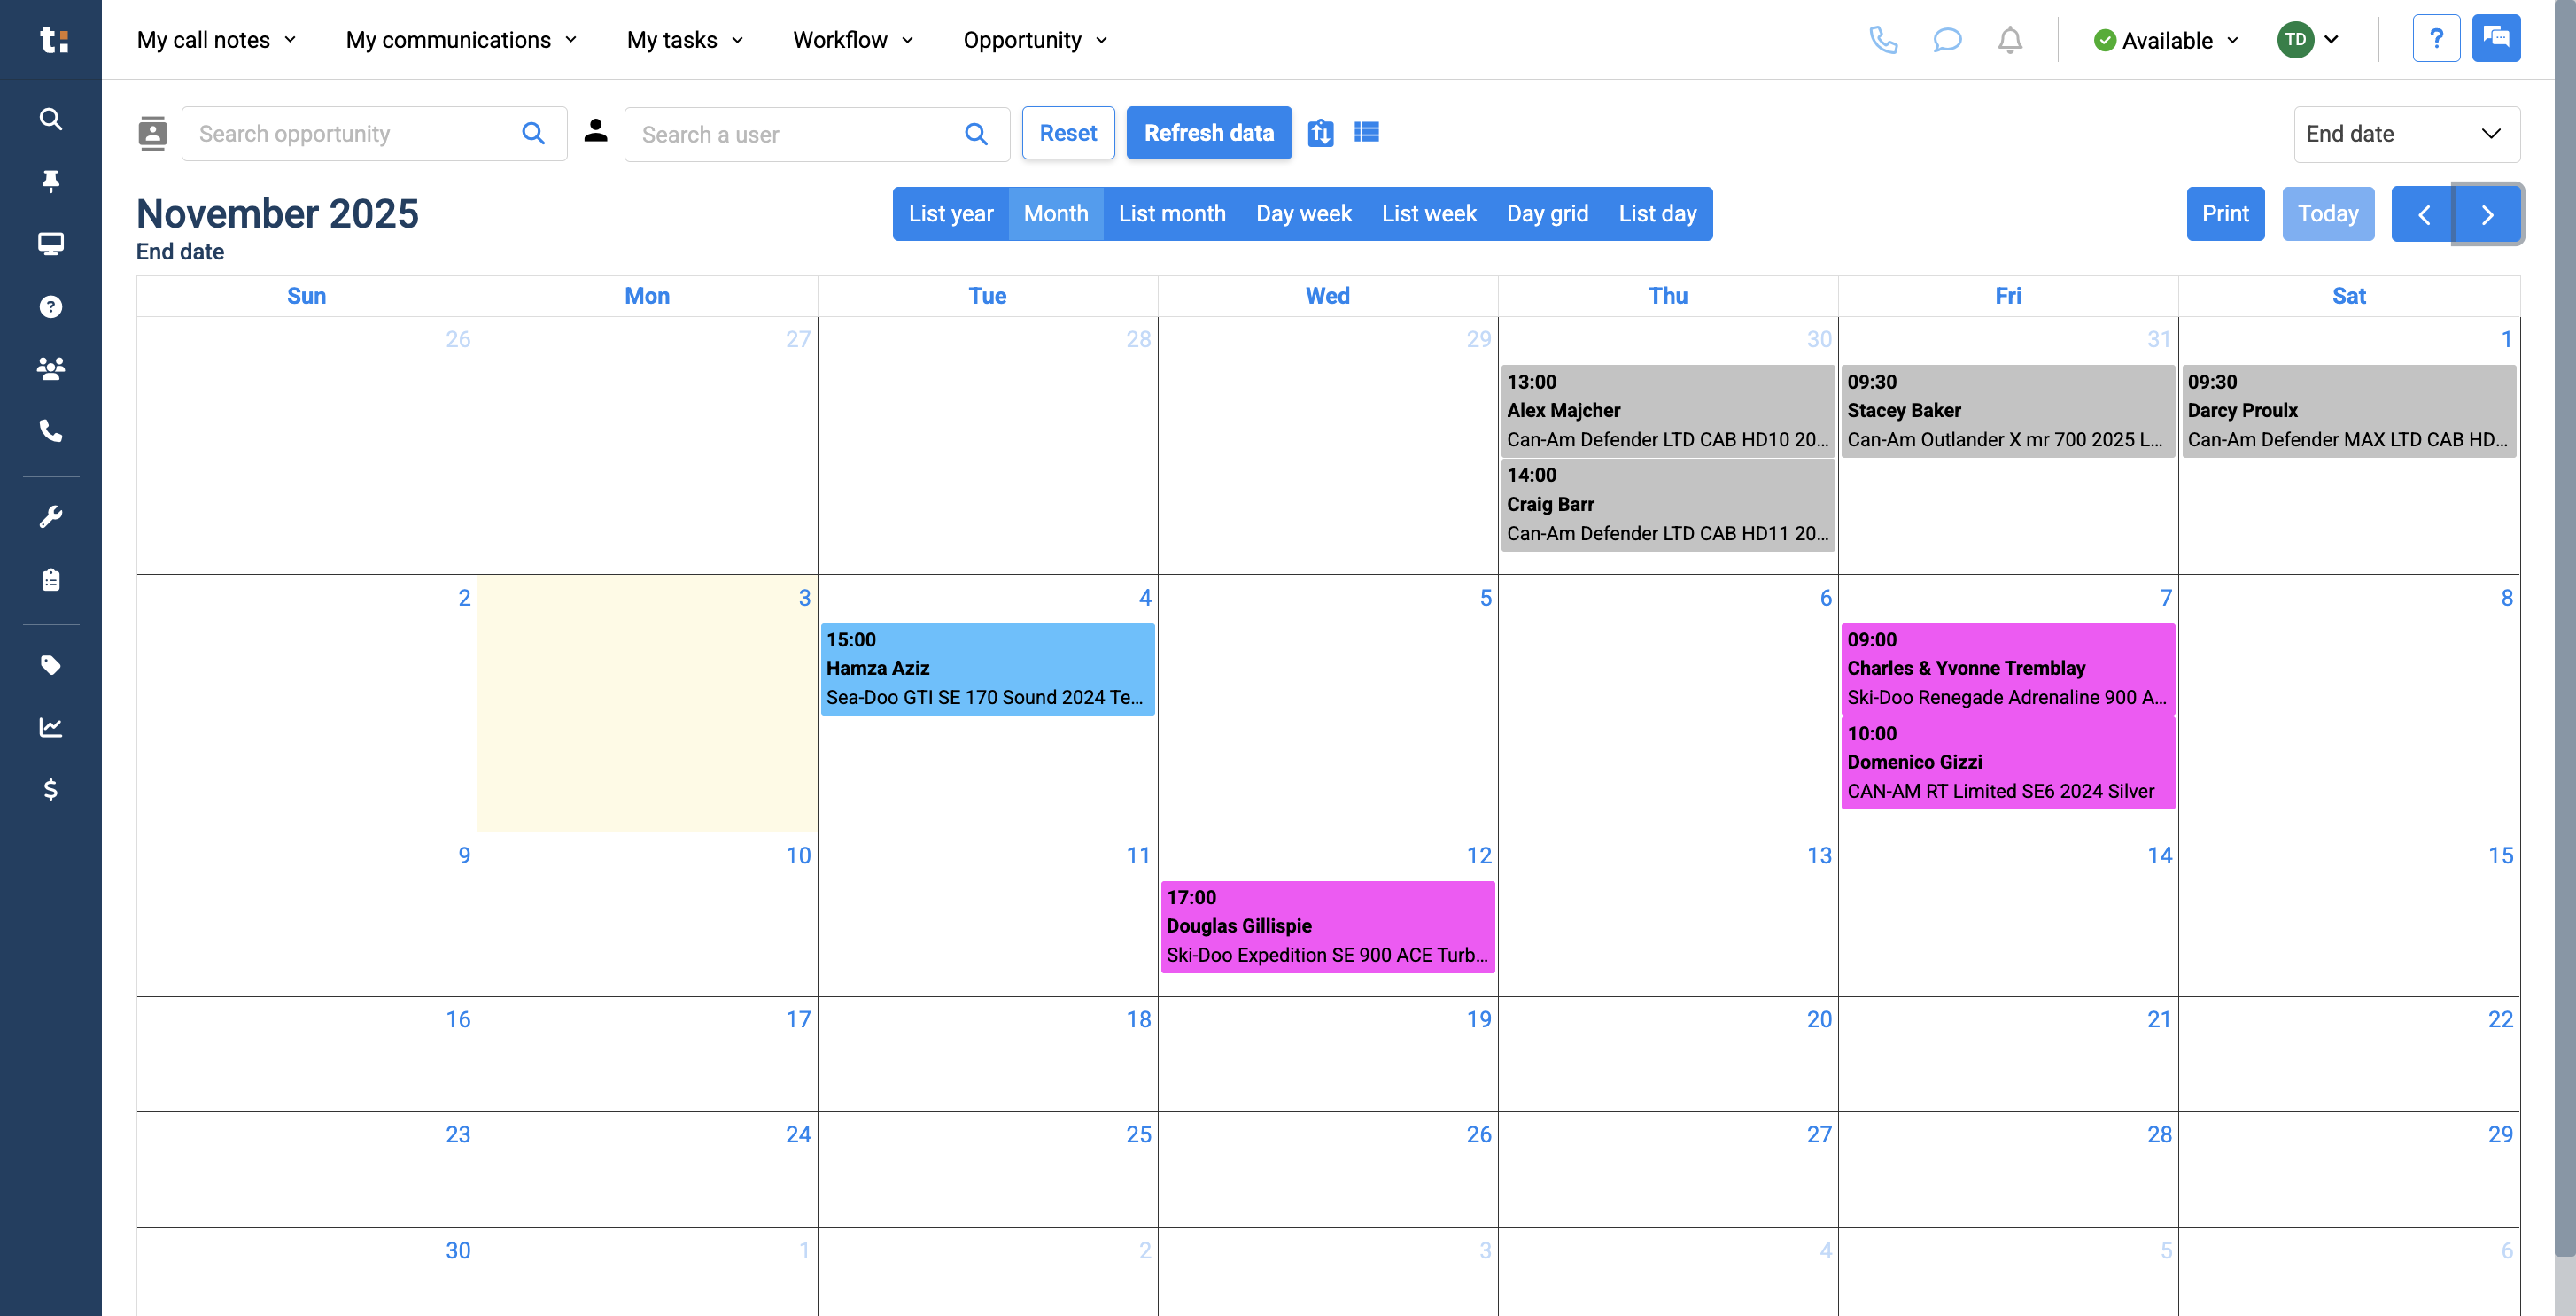
14
To return to today's date, click the Today button.

15
Today's date is highlighted in yellow.

16
From this calendar, I see I have a delivery scheduled for tomorrow at 3:00. Since it is color-coded blue, I know this unit is being washed. From this calendar, I see that all units from last week have been delivered, indicated by the gray color according to the dealership's system. I also see two deliveries scheduled for this Friday.

If you still have questions after consulting this article, please feel free to contact our support team at: support@tractiondk.zohodesk.com