How to Use the Workflow Inbox: A Step-by-Step Guide
Learn how to navigate and manage tasks in the Workflow Inbox, including enabling push notifications, approving or rejecting workflow steps, and using notes and timeline features for efficient workflow management.
In this guide, we'll learn how to use the Workflow Inbox to manage and respond to workflow tasks. The Workflow Inbox helps you track items that need your attention, such as approvals or information requests, and provides tools like search, notifications, and notes to support your workflow process.
You will also see how to interact with workflow items, use notifications, and understand the timeline and notes features.
Let's get started
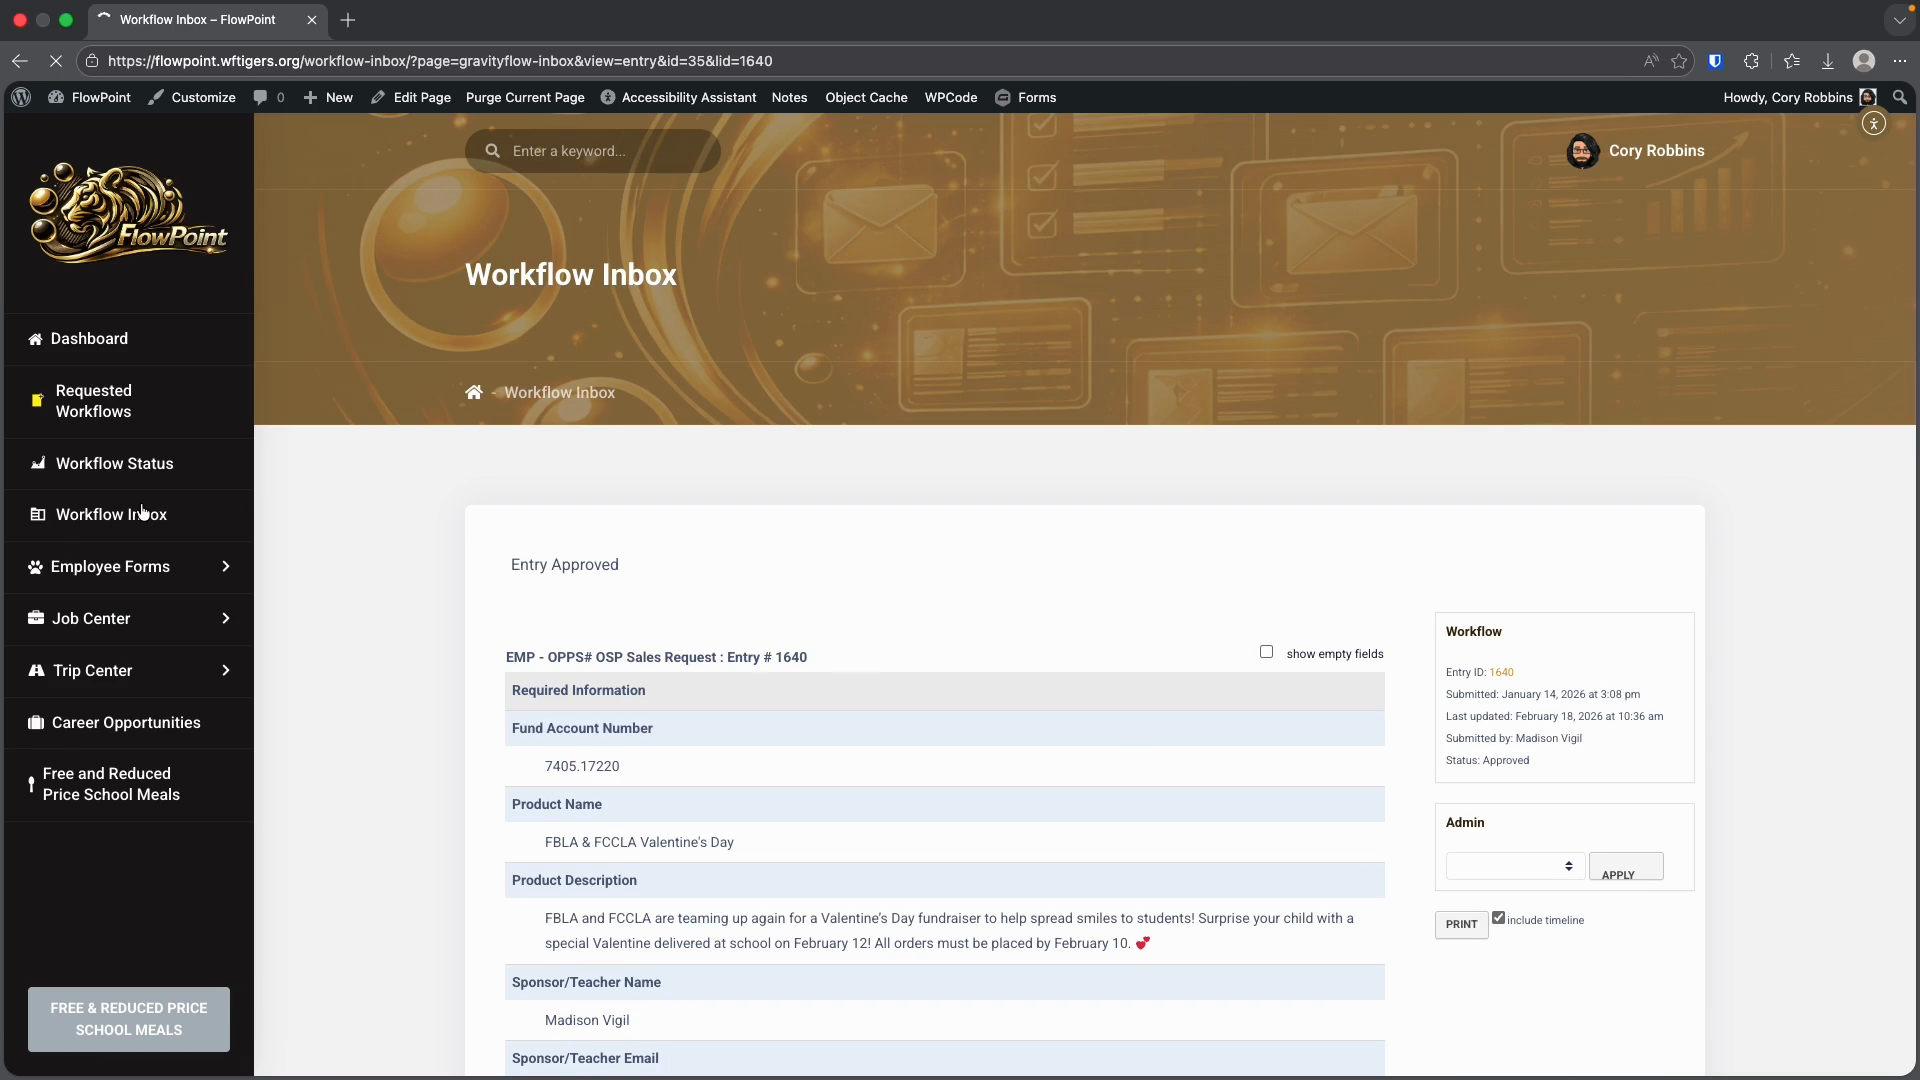
Anything listed here requires action from you or a team member to move the workflow forward. In this example, I have an online sales request displayed. I can see the request ID, which rarely matters; the form or workflow it belongs to; the original submitter; the current workflow step; and the submission date.
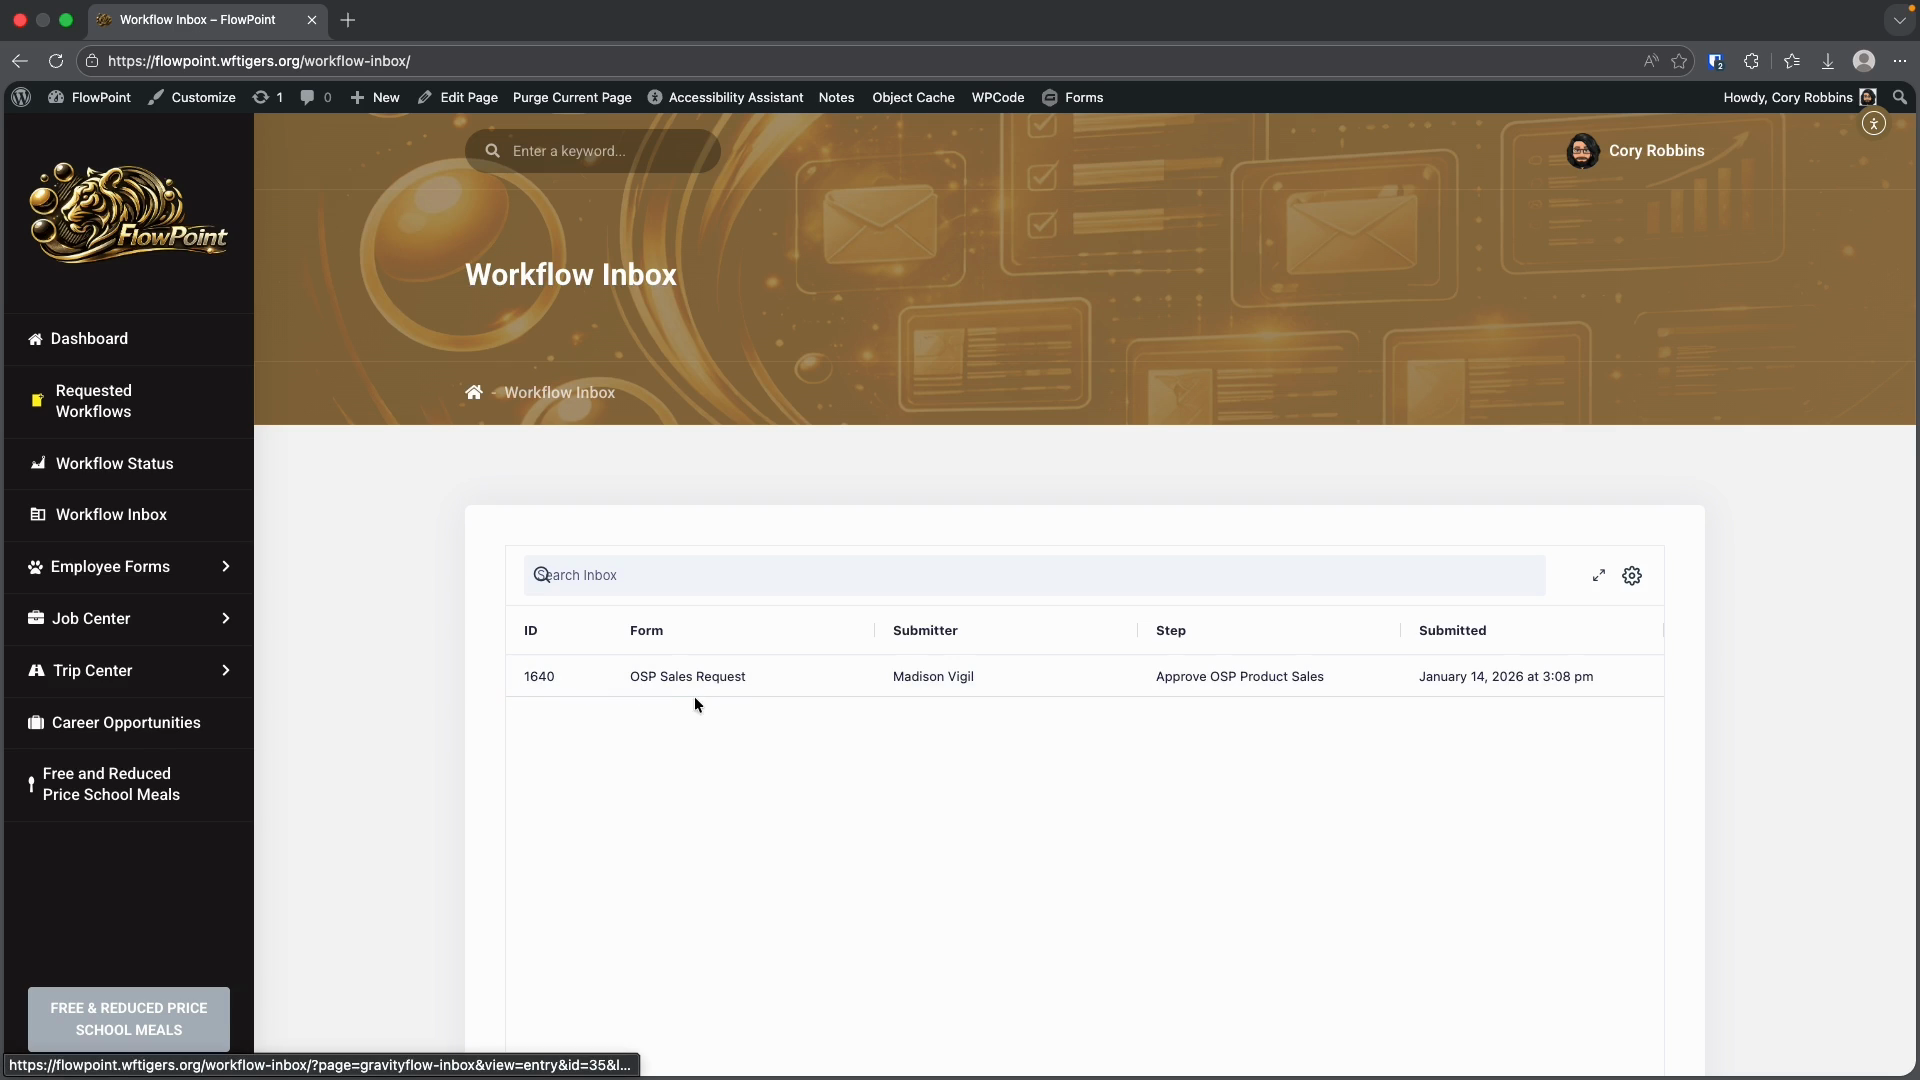
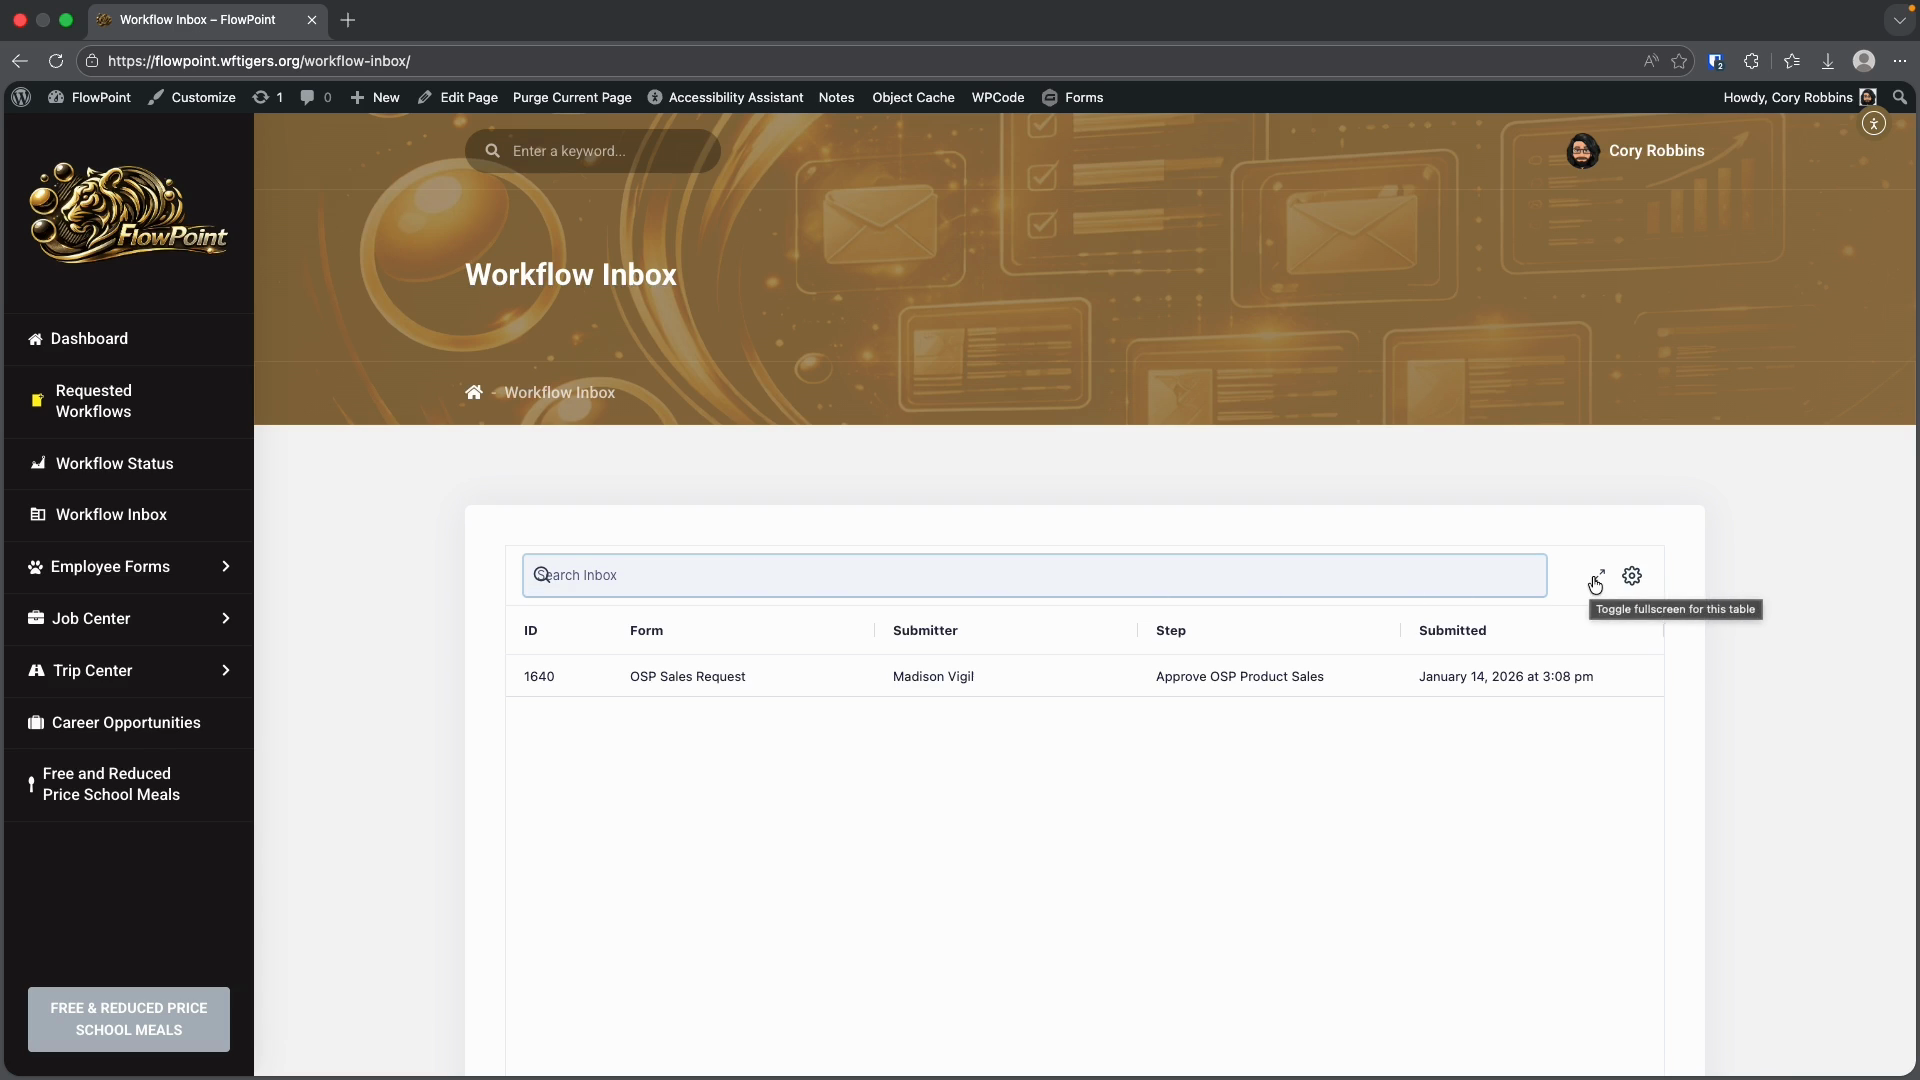
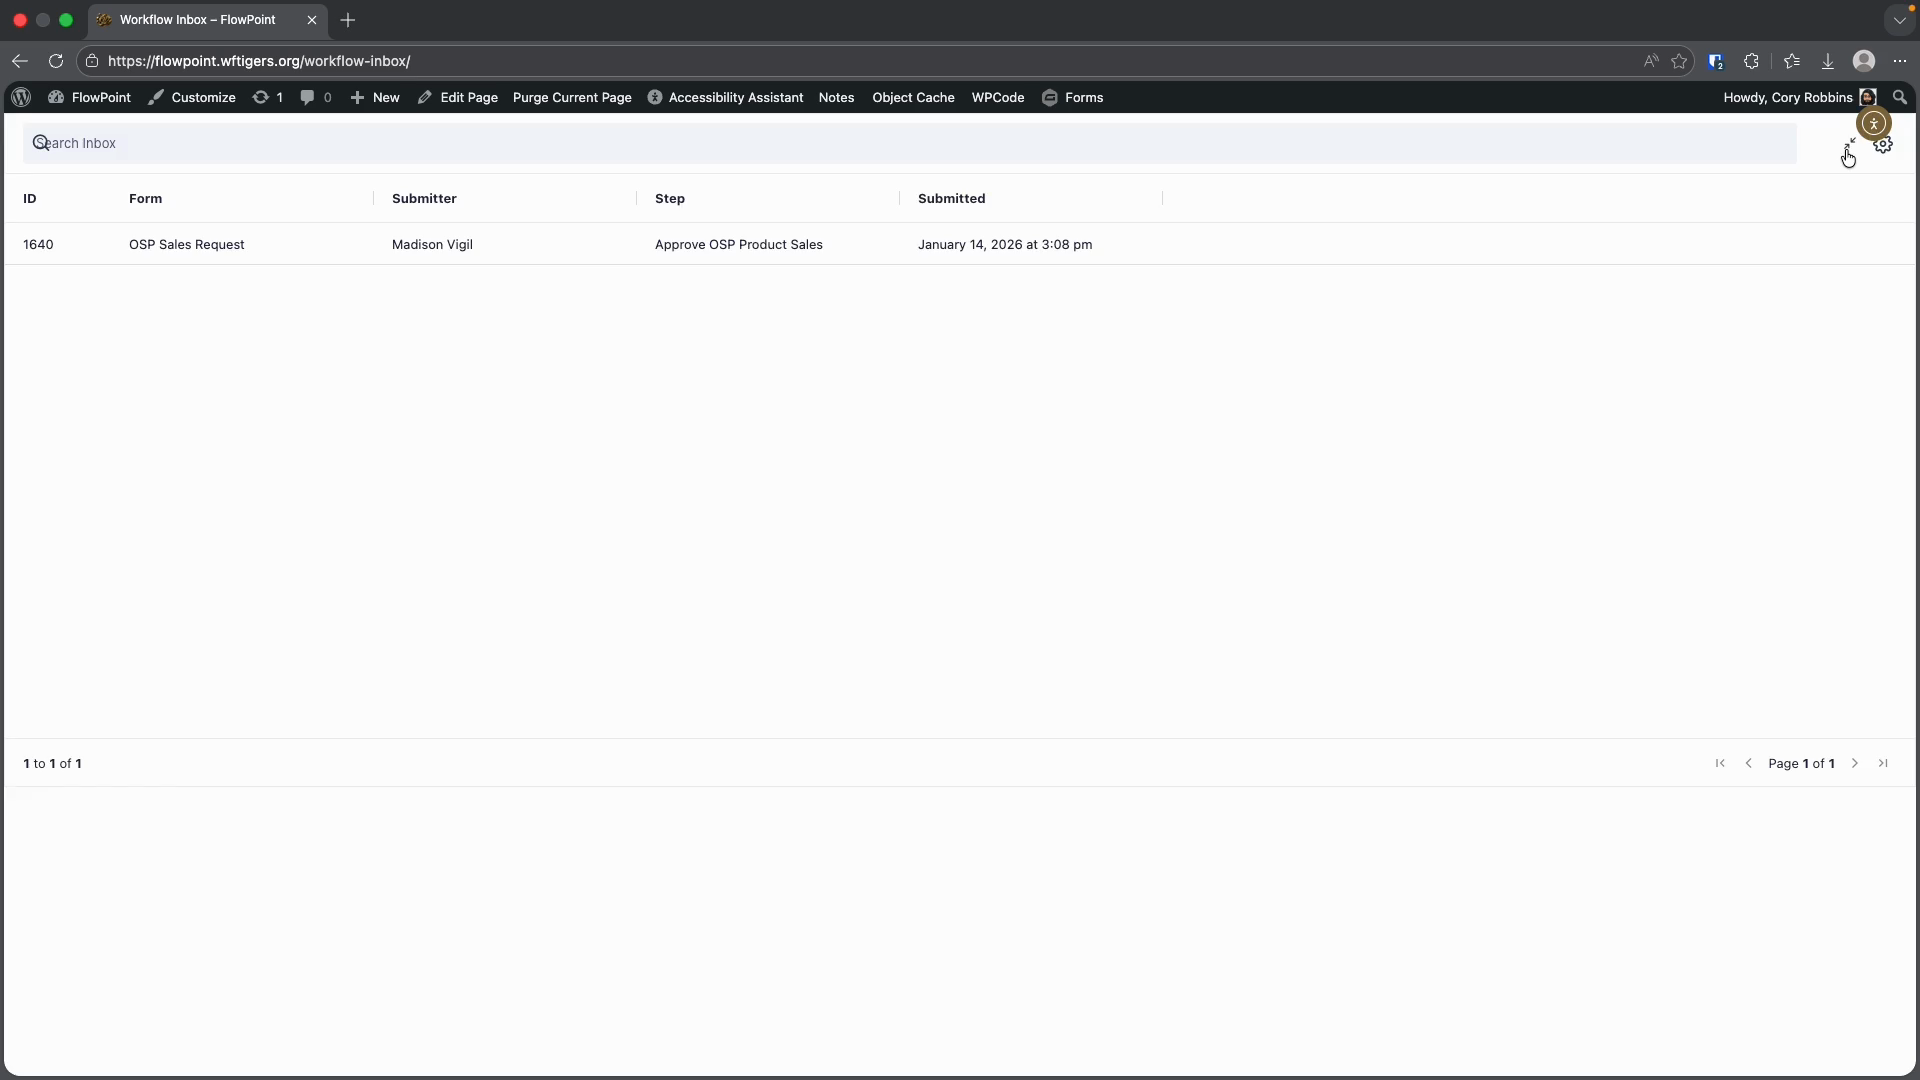
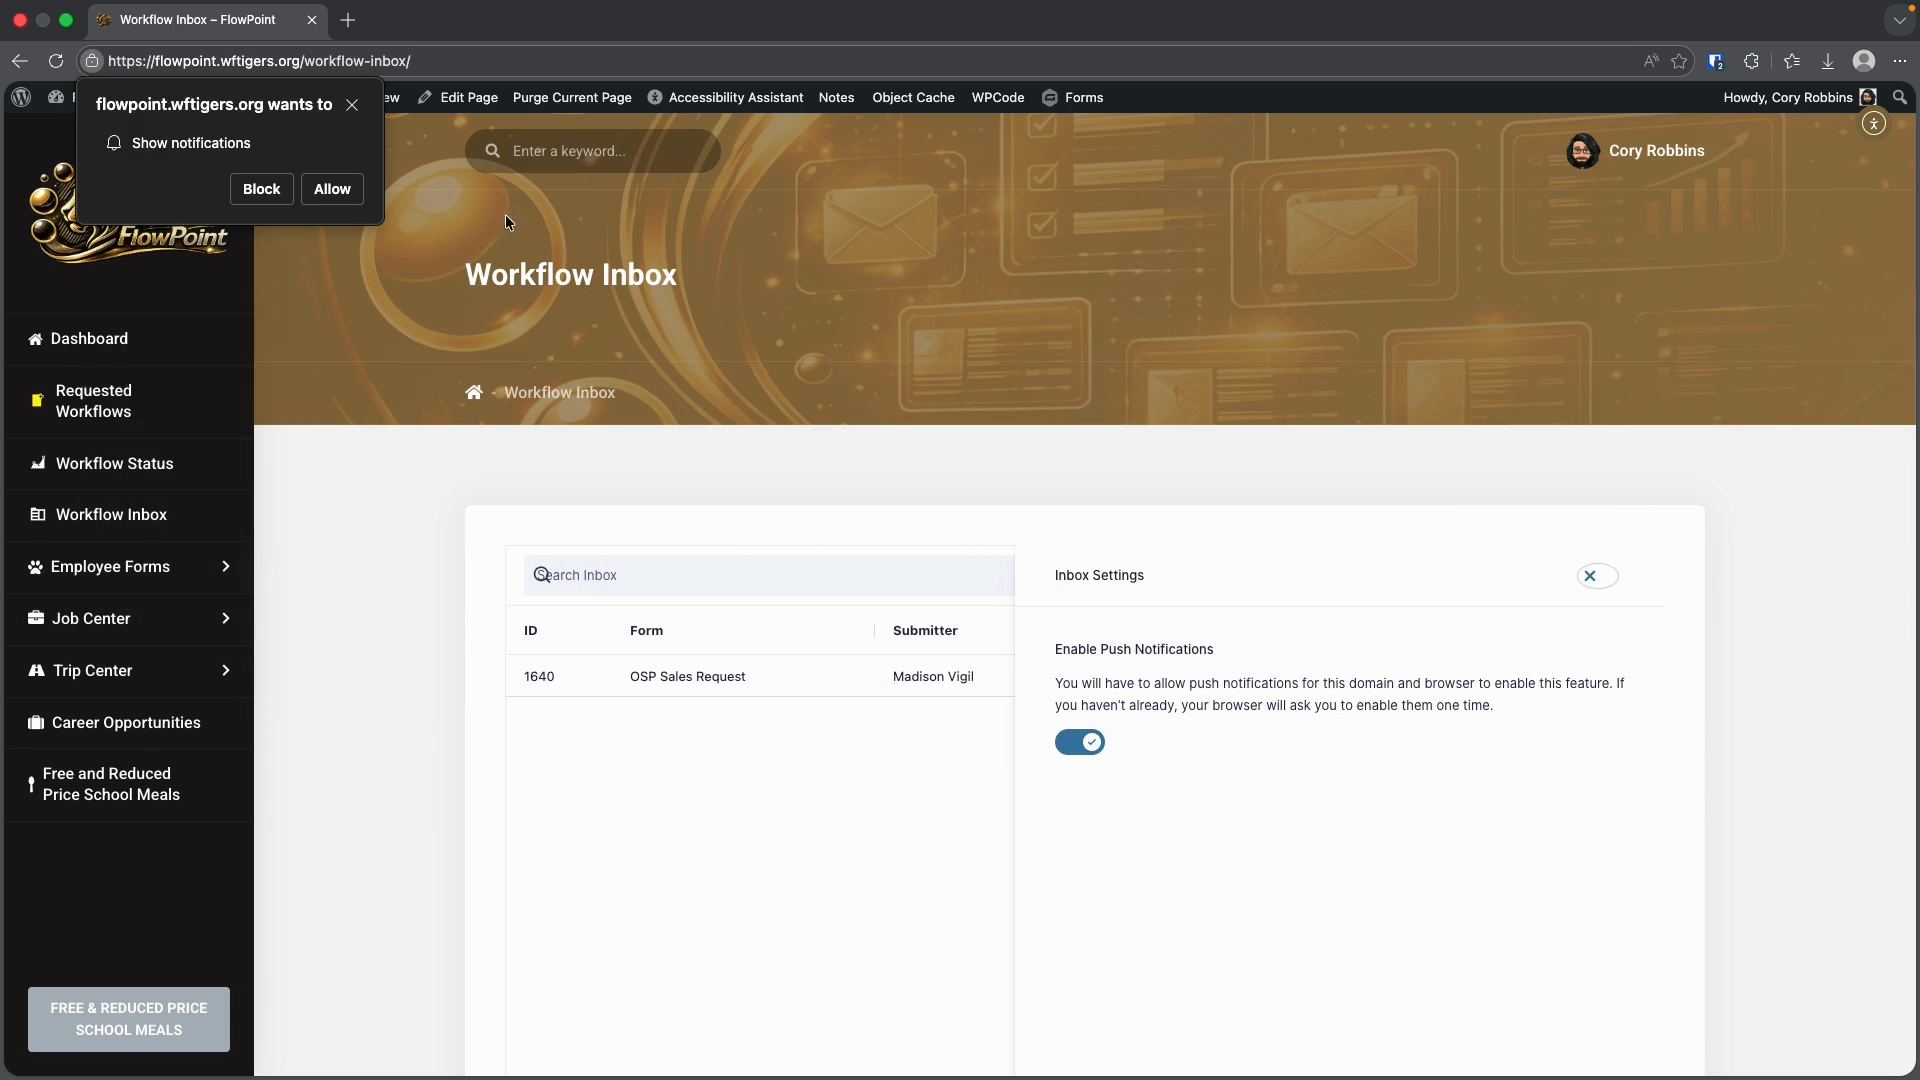
At the top of the inbox, there is a search box for finding items. To the right, you'll see the full screen button and the settings gear. The full screen button does what you expect: it provides a larger viewing area.

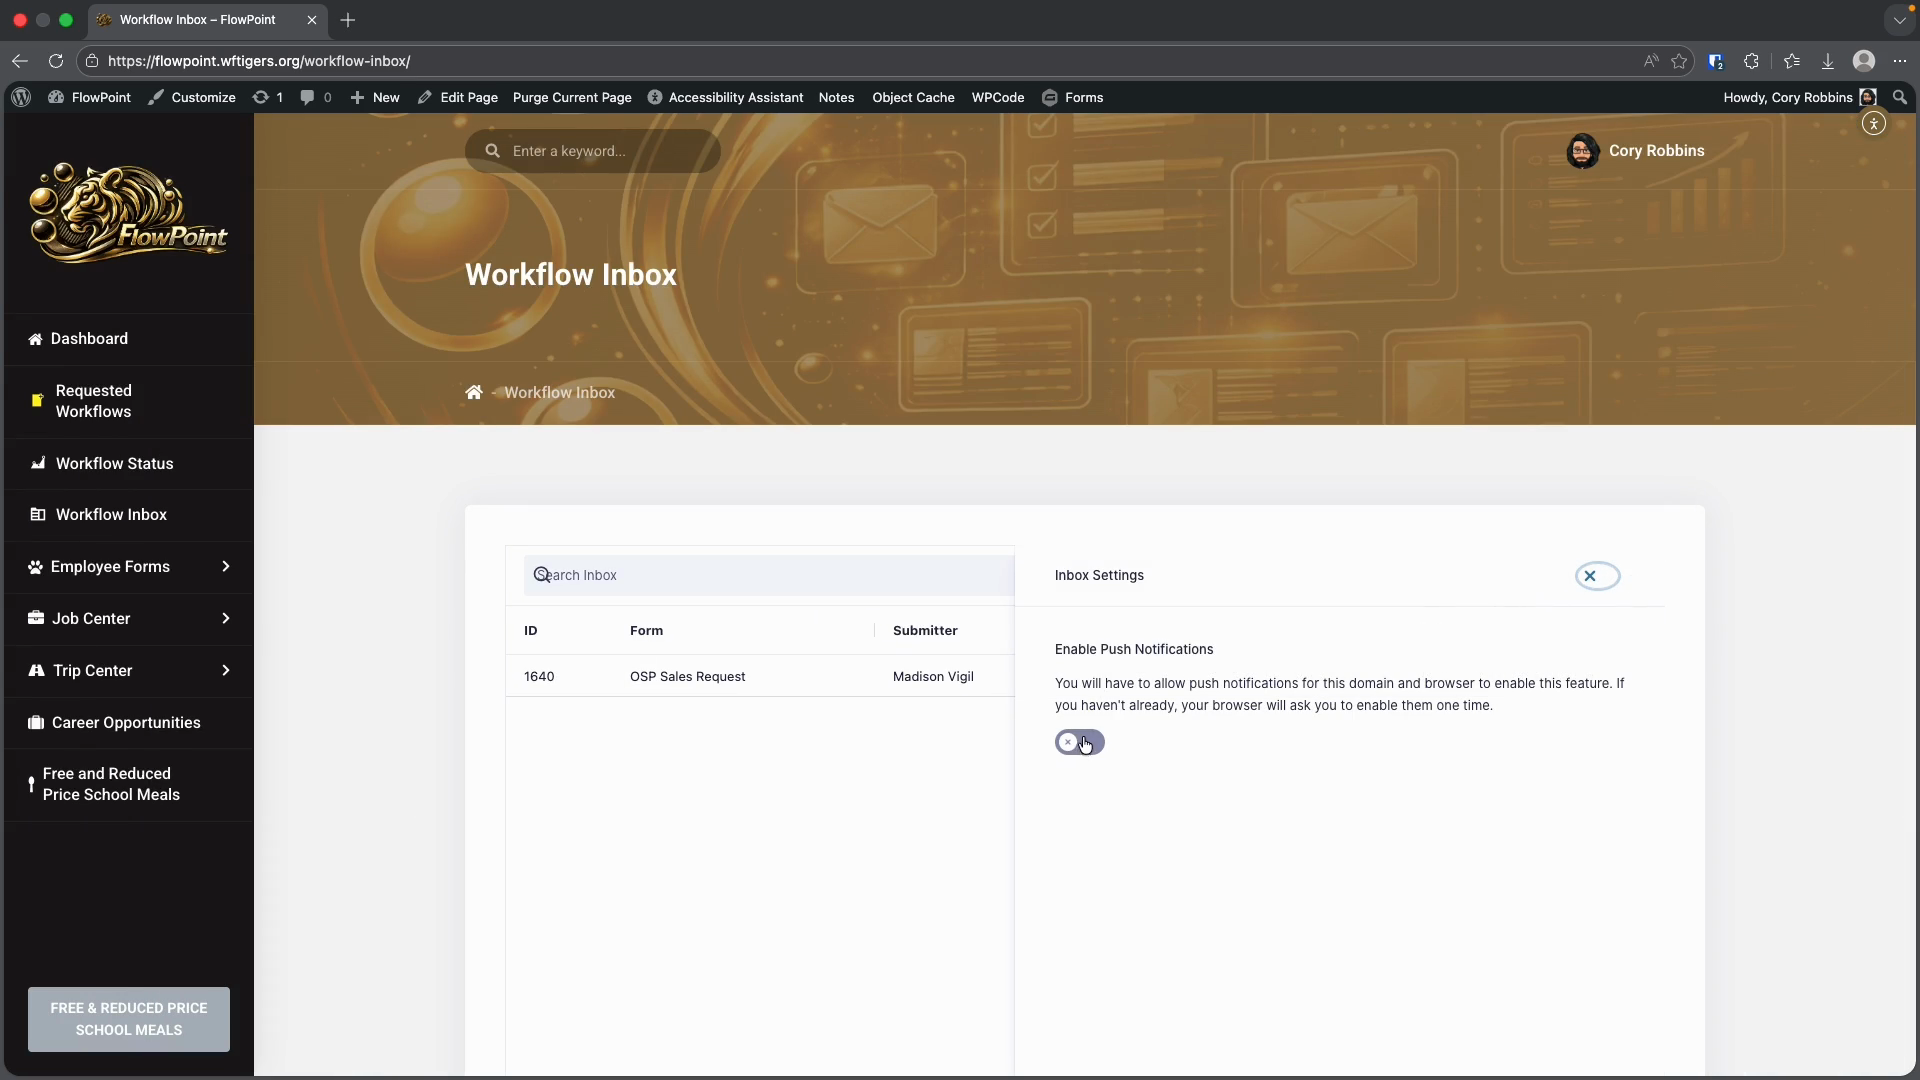
You should definitely do this. You will receive browser notifications, like those from Google Calendar, whenever a new task appears in your inbox. You will also receive an email. If you have trouble with email, this extra notification is helpful. I'll turn this on now. Then, I'll approve the browser notification.
To address the item needing your attention, simply click on its row.

This will open the submission with the information you need to approve, deny, or contribute to for this workflow step. In the center section, I see all the content provided so far. This is also the section where I may need to answer questions. Questions are usually highlighted and are the only interactive part of this section. In this workflow, my role is only as an approver. I am not asked any questions.

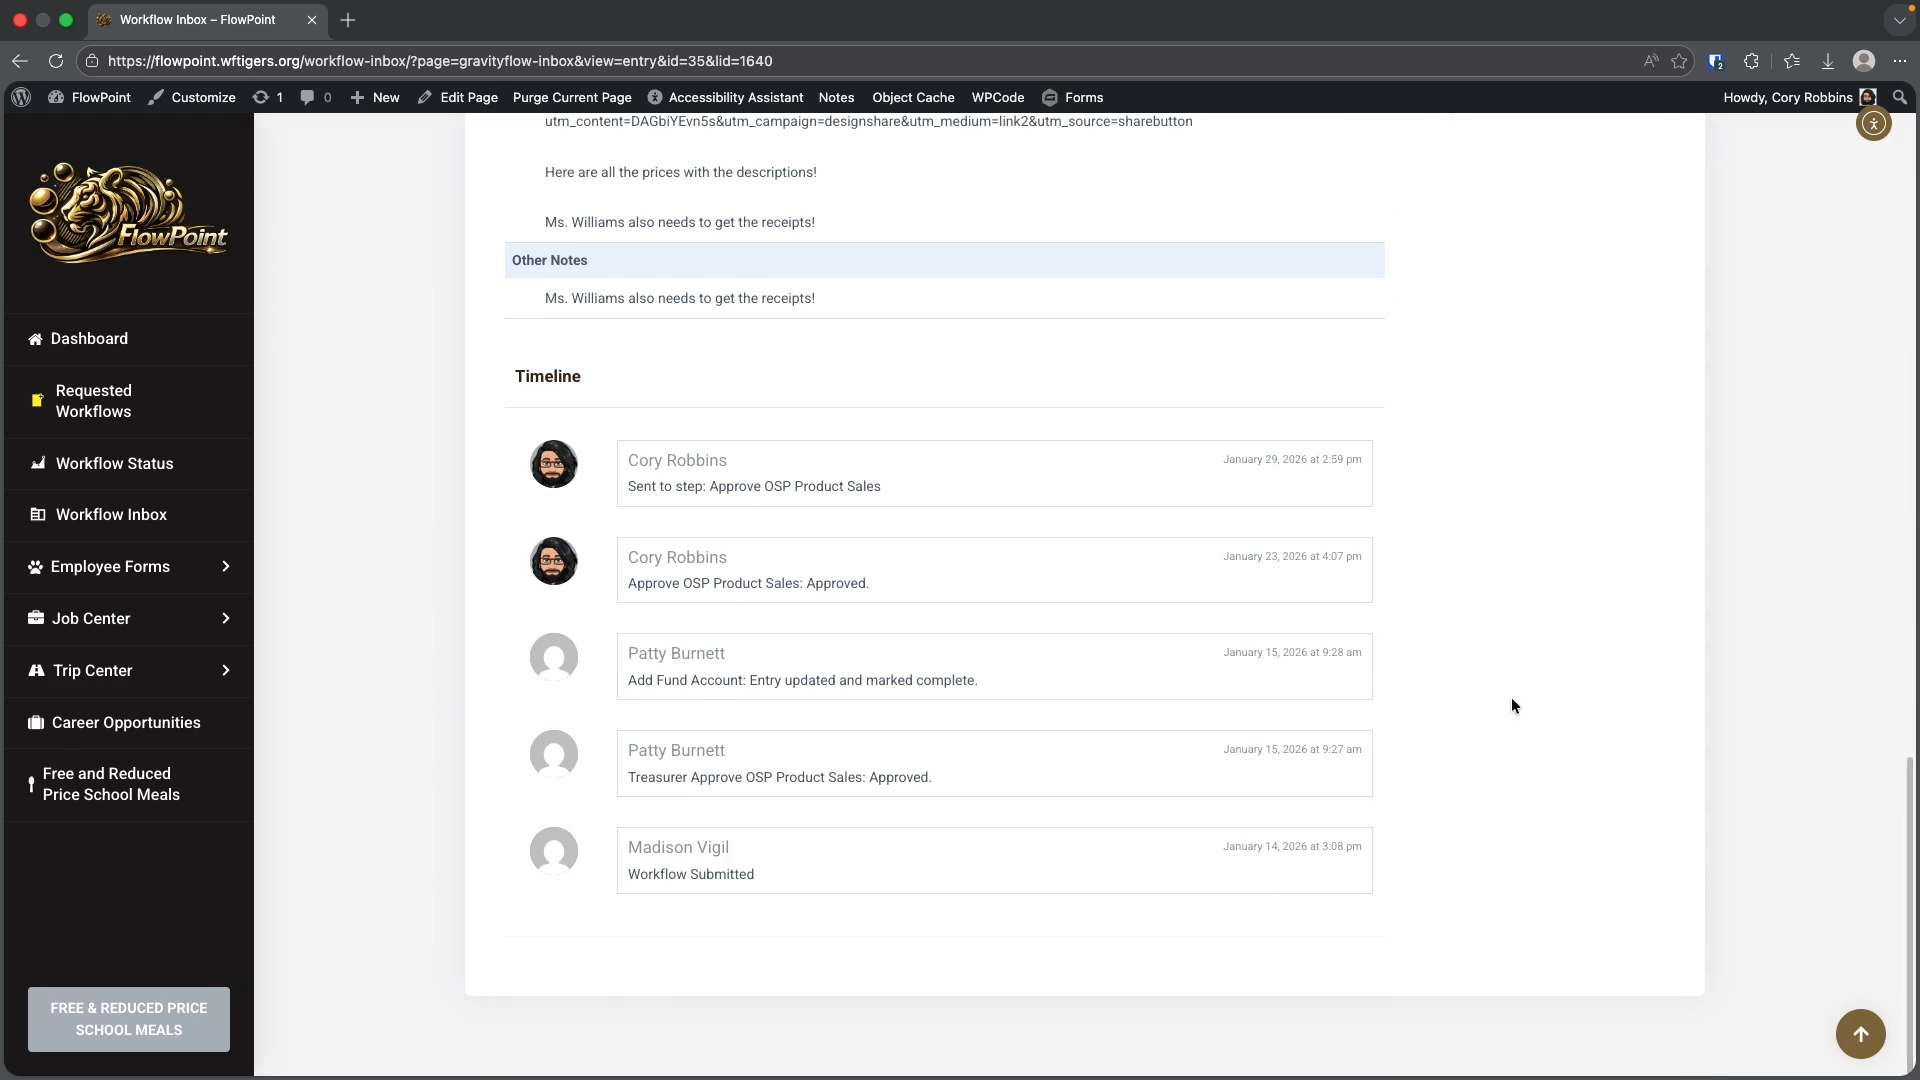
This timeline displays all stages of a workflow item. Sometimes, there may be notes from previous contributors. This section is always helpful to review when viewing a workflow item. I'll go back to the top of the page and use this shortcut button to do it quickly.
Now, let's look at the right side of the page. In this section, you will see the workflow details at this point, as well as the current workflow step. Next, there is usually a notes section.
These notes will be visible to the original submitter and anyone connected to the workflow. Notes are not always required. However, I would type whatever is needed here. As I mentioned, I am the approver in this case. Below the note box, there are Approve and Reject buttons.
Approving will move the workflow step to the next stage after your current action.
Reject will sometimes completely stop the workflow. In other cases, it will return the workflow to a specific point.
Clicking Reject will usually require you to fill out the notes section as well.
If you are asked to provide information instead of approving or rejecting, you will see both Save and Submit buttons.
Save lets you return to the same workflow item and continue working on it later.
Click the Submit button only after you have completed your part of the workflow.
It will send the workflow to the next step. Some workflows require two consecutive steps. For example, in this workflow, I can scroll to the timeline and see that Patty completed two steps in a row.
In these situations, when you click Approve or Submit, the workflow automatically moves to the next step. You do not need to return to the inbox to continue. I don't have a next step after this, so I will be taken to the Overview page for this workflow request.
When I return to my inbox, I see the task has been removed.