Step 1 - How to Use the WMCockpit Dashboard
A step-by-step guide on how to use the WMCockpit Dashboard, including adding users, selecting data levels, and creating a customer.
In this guide, we'll learn how to efficiently navigate the WMCockpit Dashboard to manage users and create customer accounts. The dashboard serves as the primary interface for Relationship/Wealth Managers, offering essential functionalities for user management. By following the steps outlined below, you will be able to seamlessly add a new customer account, specify the reference currency, select the desired data level for analysis, and save the customer details effectively.
Overview of this guide
1, Adding a Customer Account
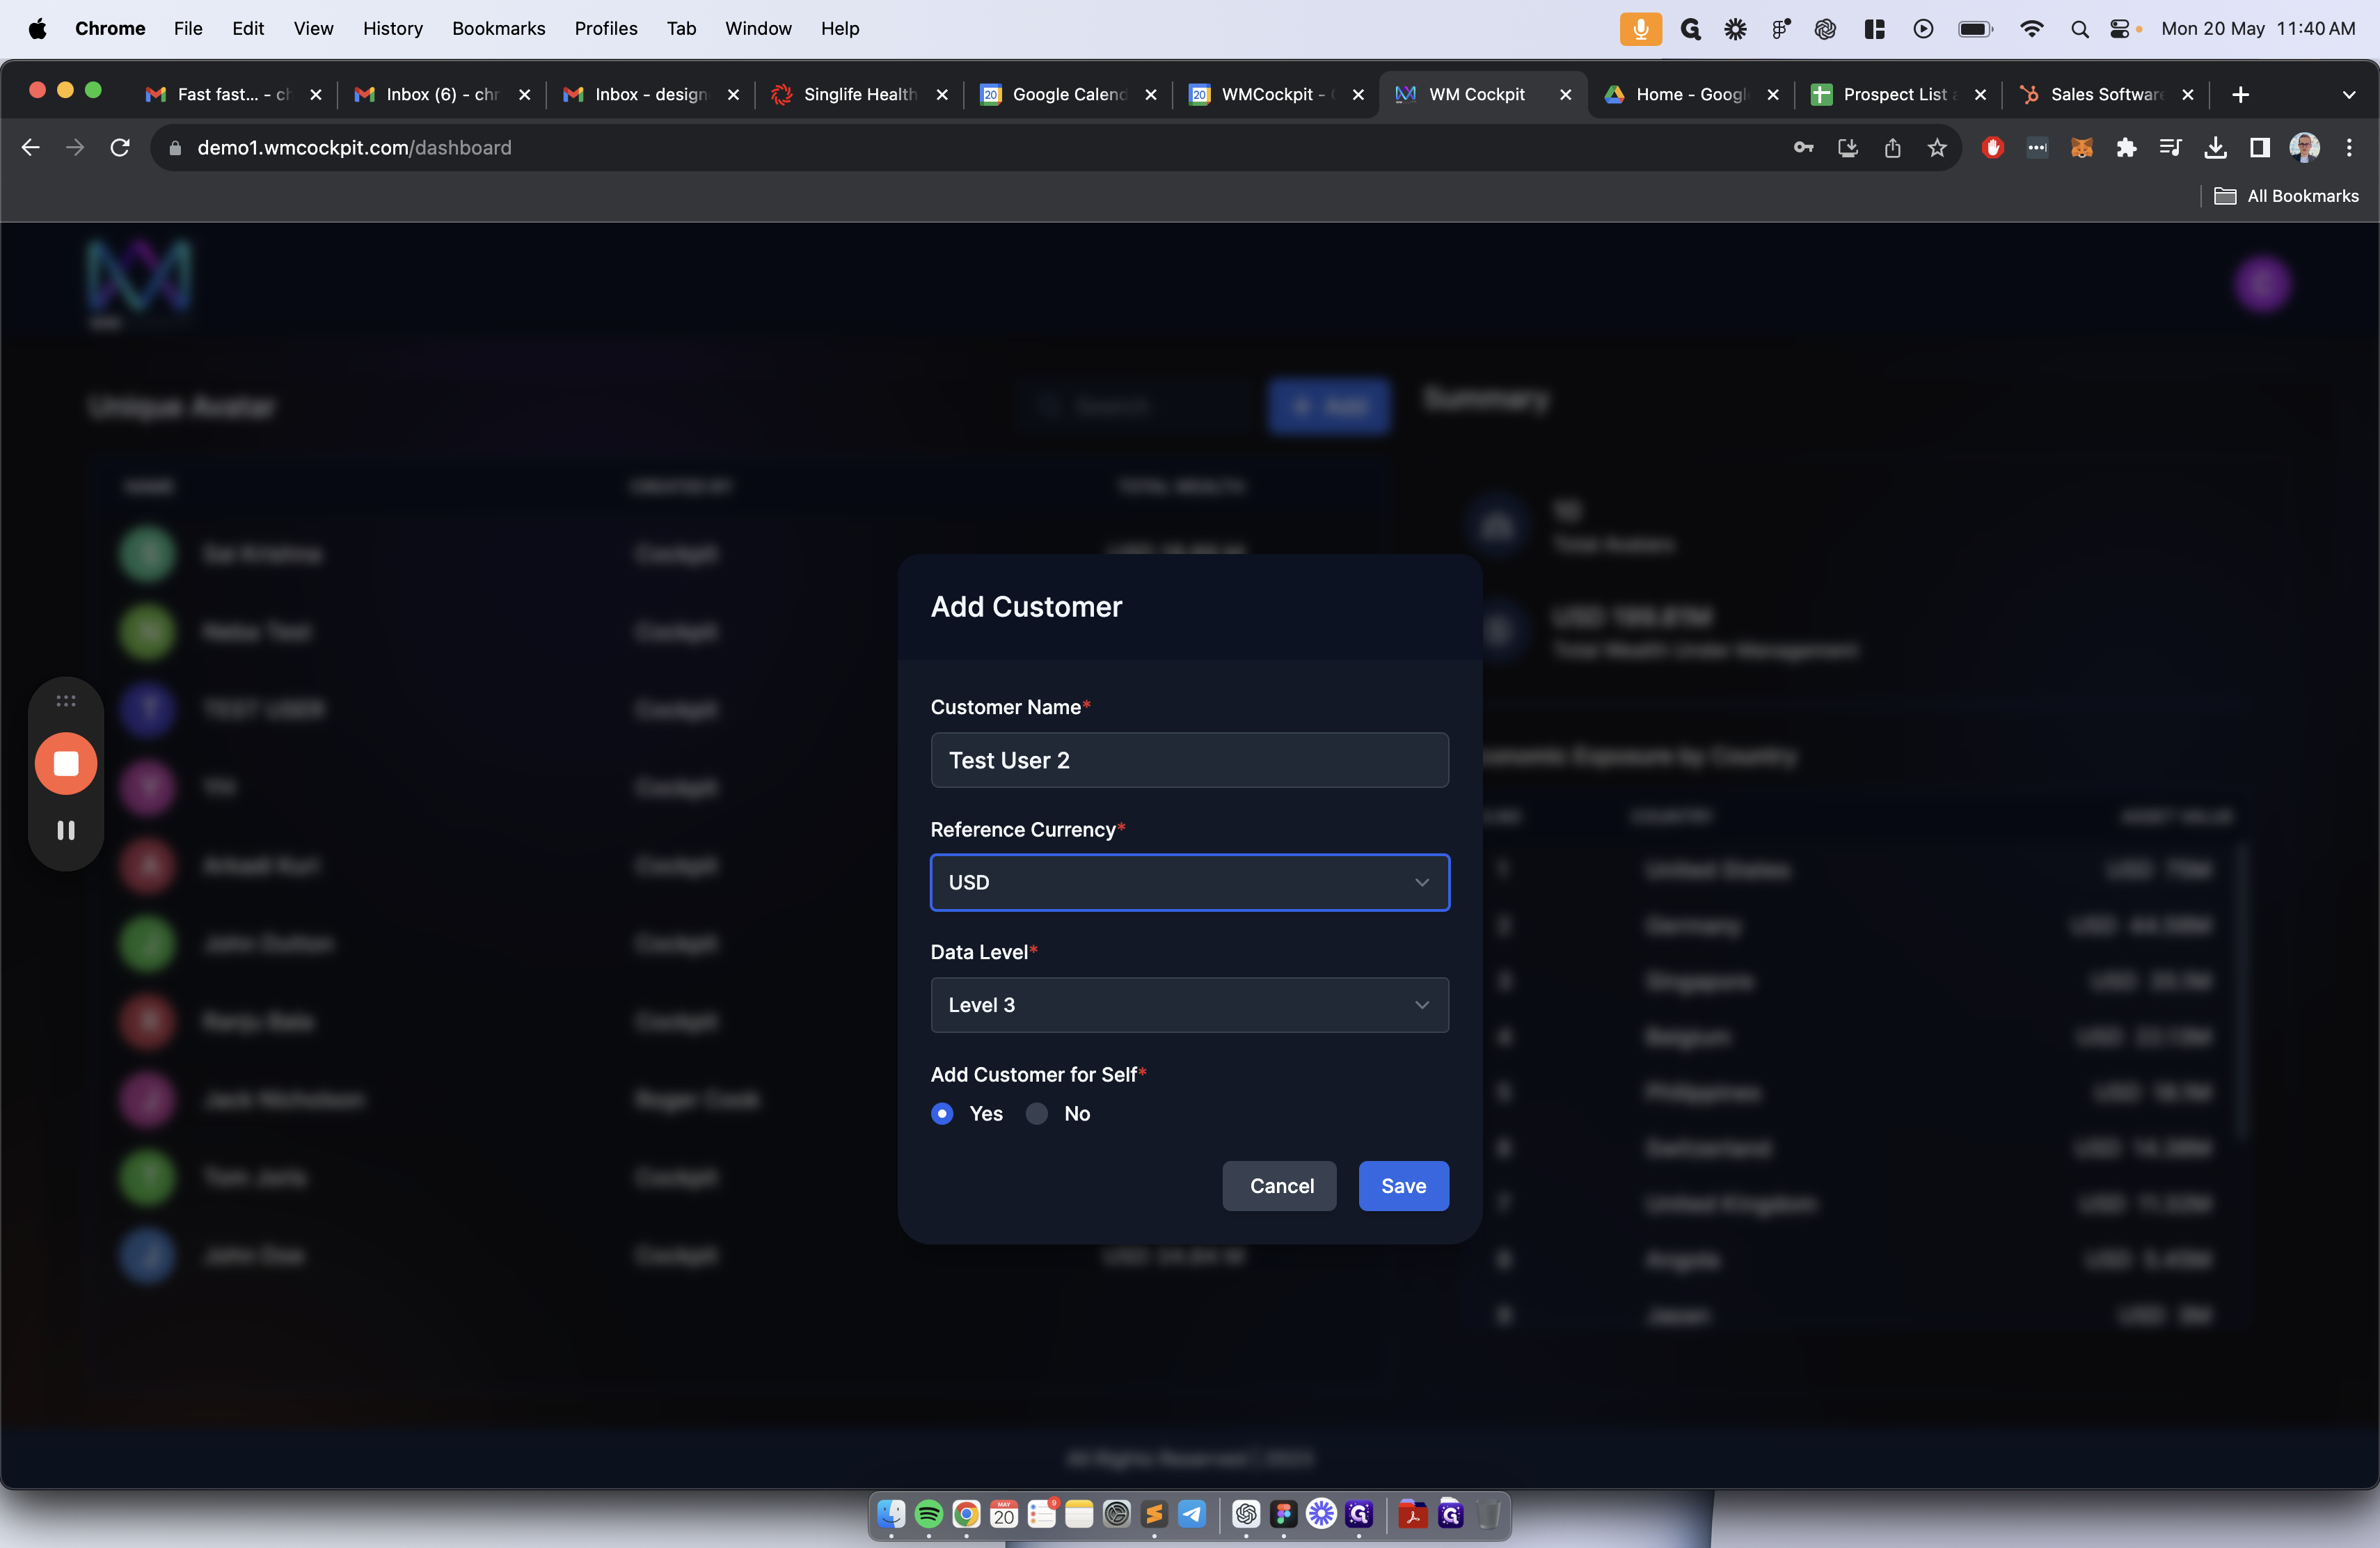
To initiate the process, you will begin by entering the customer's name and proceeding to specify the reference currency for the account. This step ensures accurate financial tracking and management within the system.
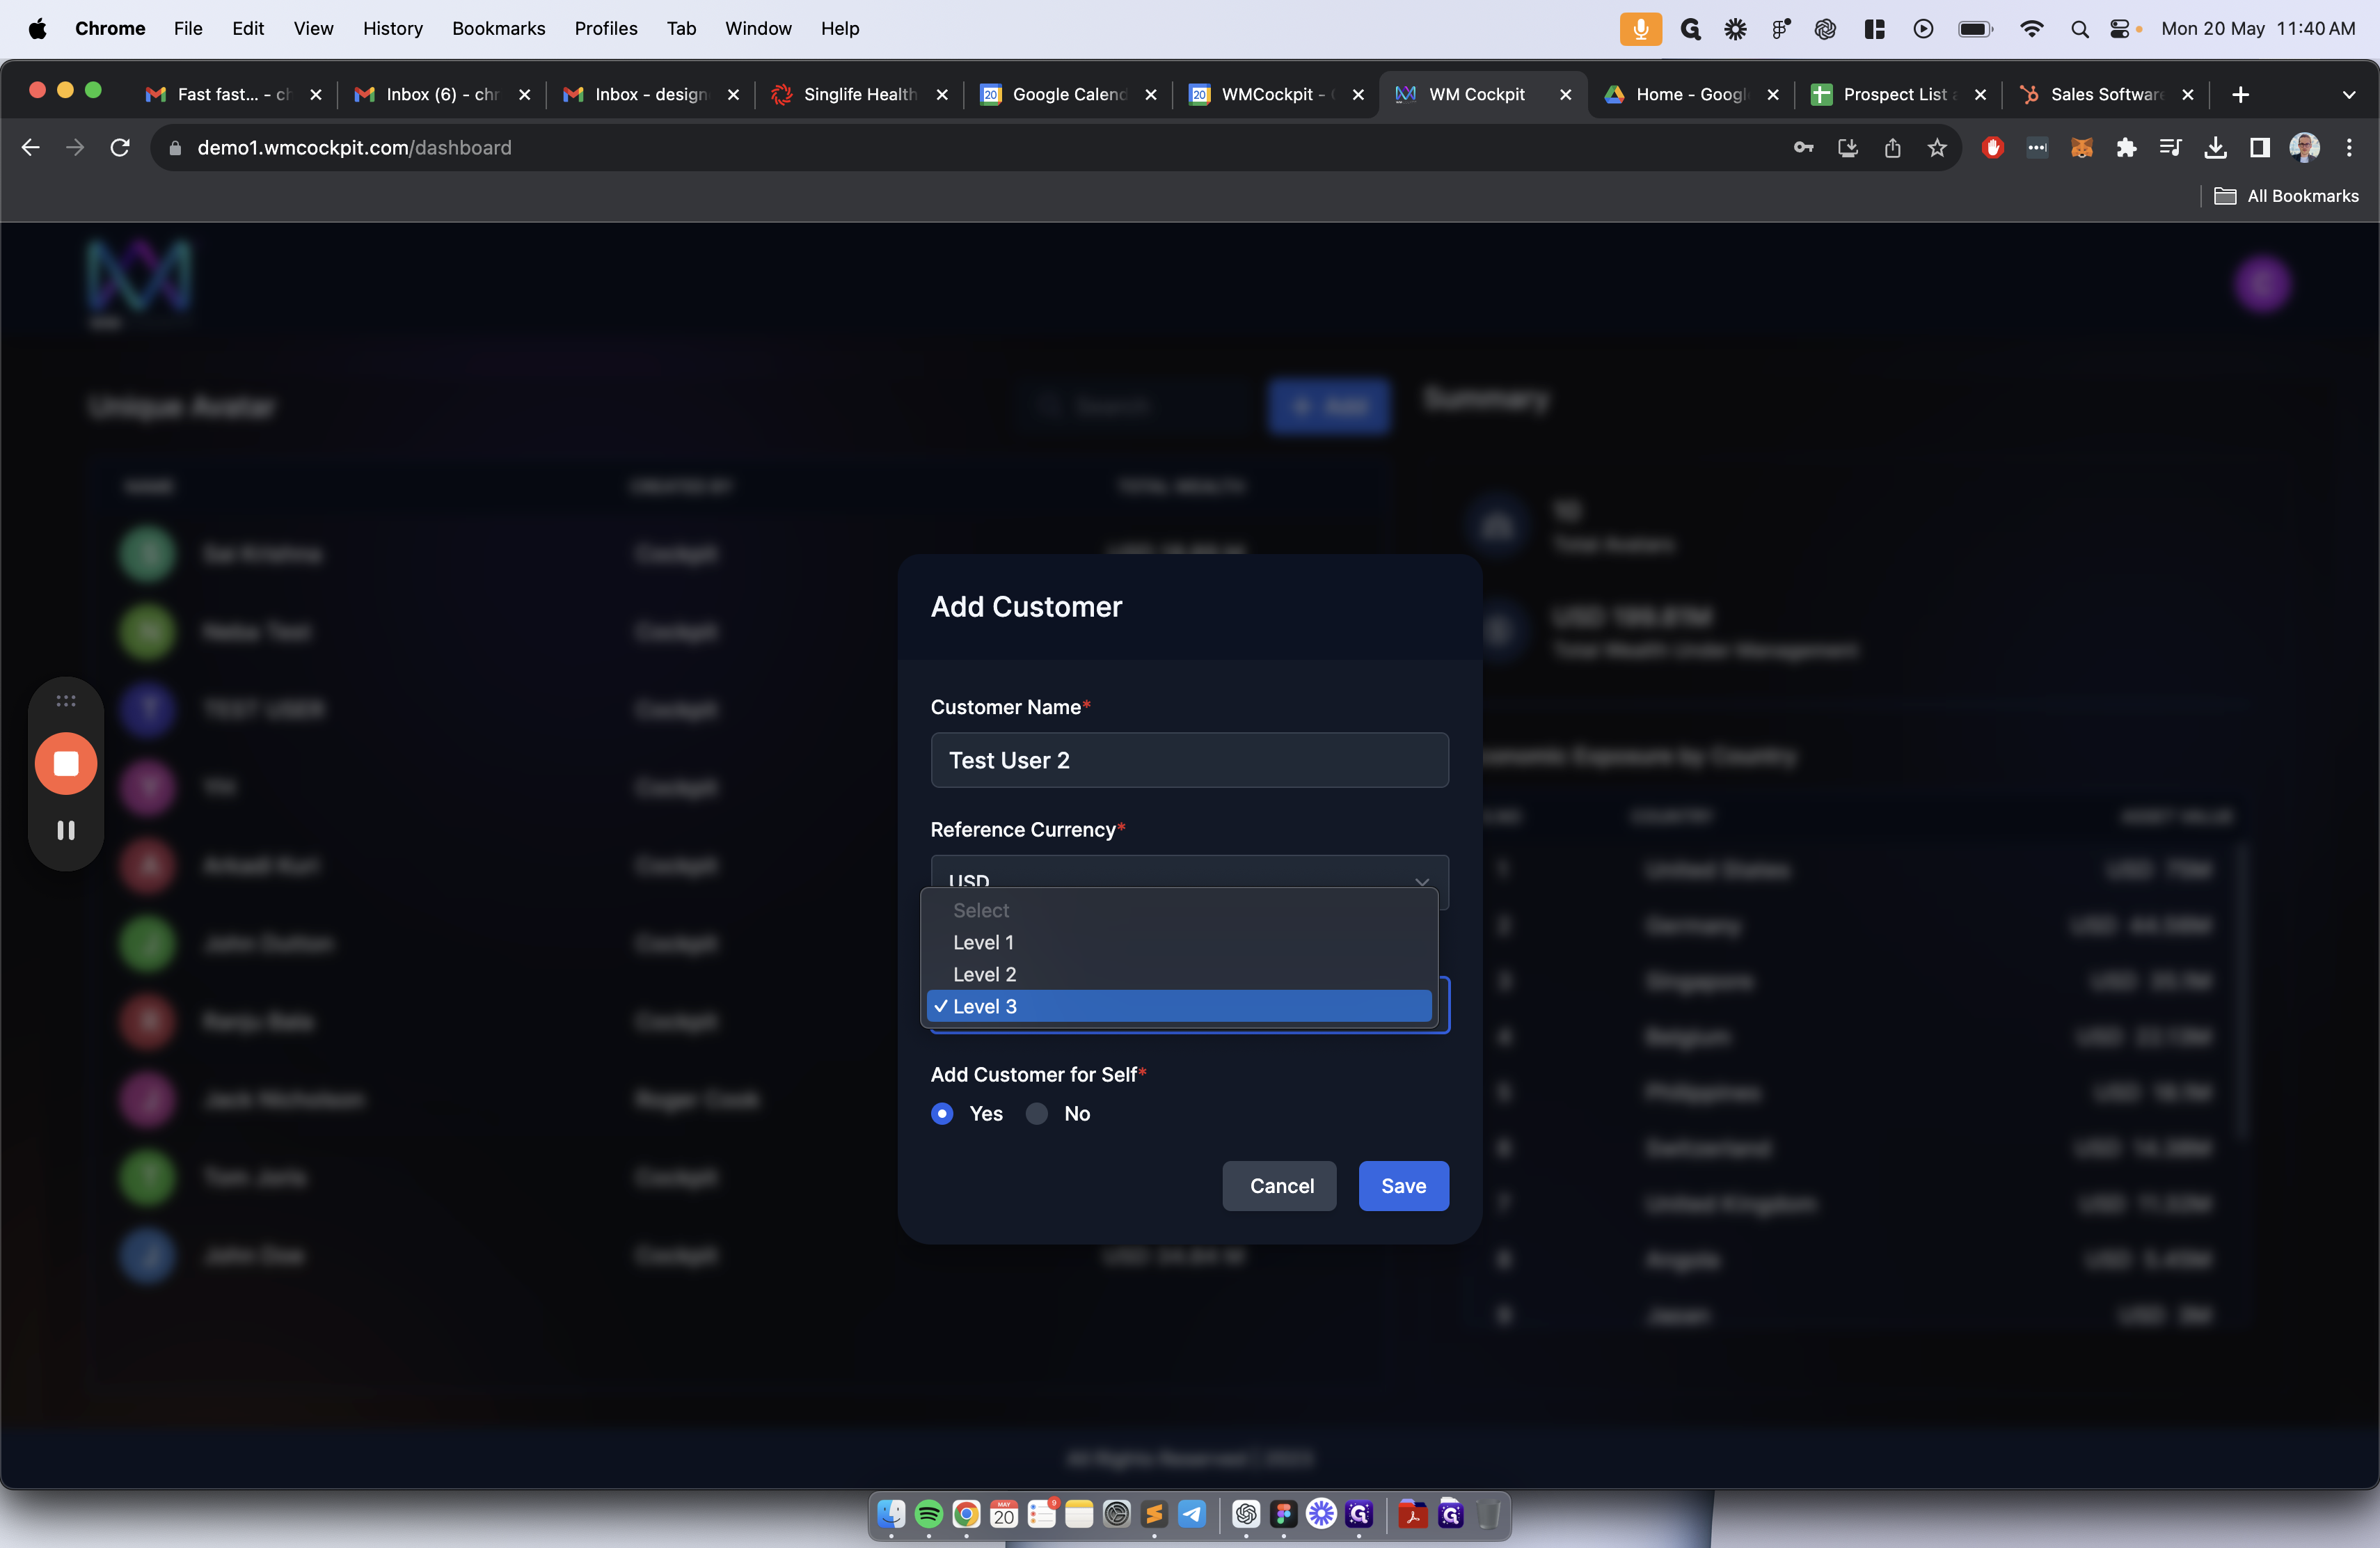
2. Selecting Data Level
Next, you will choose the appropriate data level based on the depth of analysis required. Opting for Level 3 provides the most comprehensive insights, enabling you to make informed decisions and enhance your strategic approach.
3. Saving Customer Details
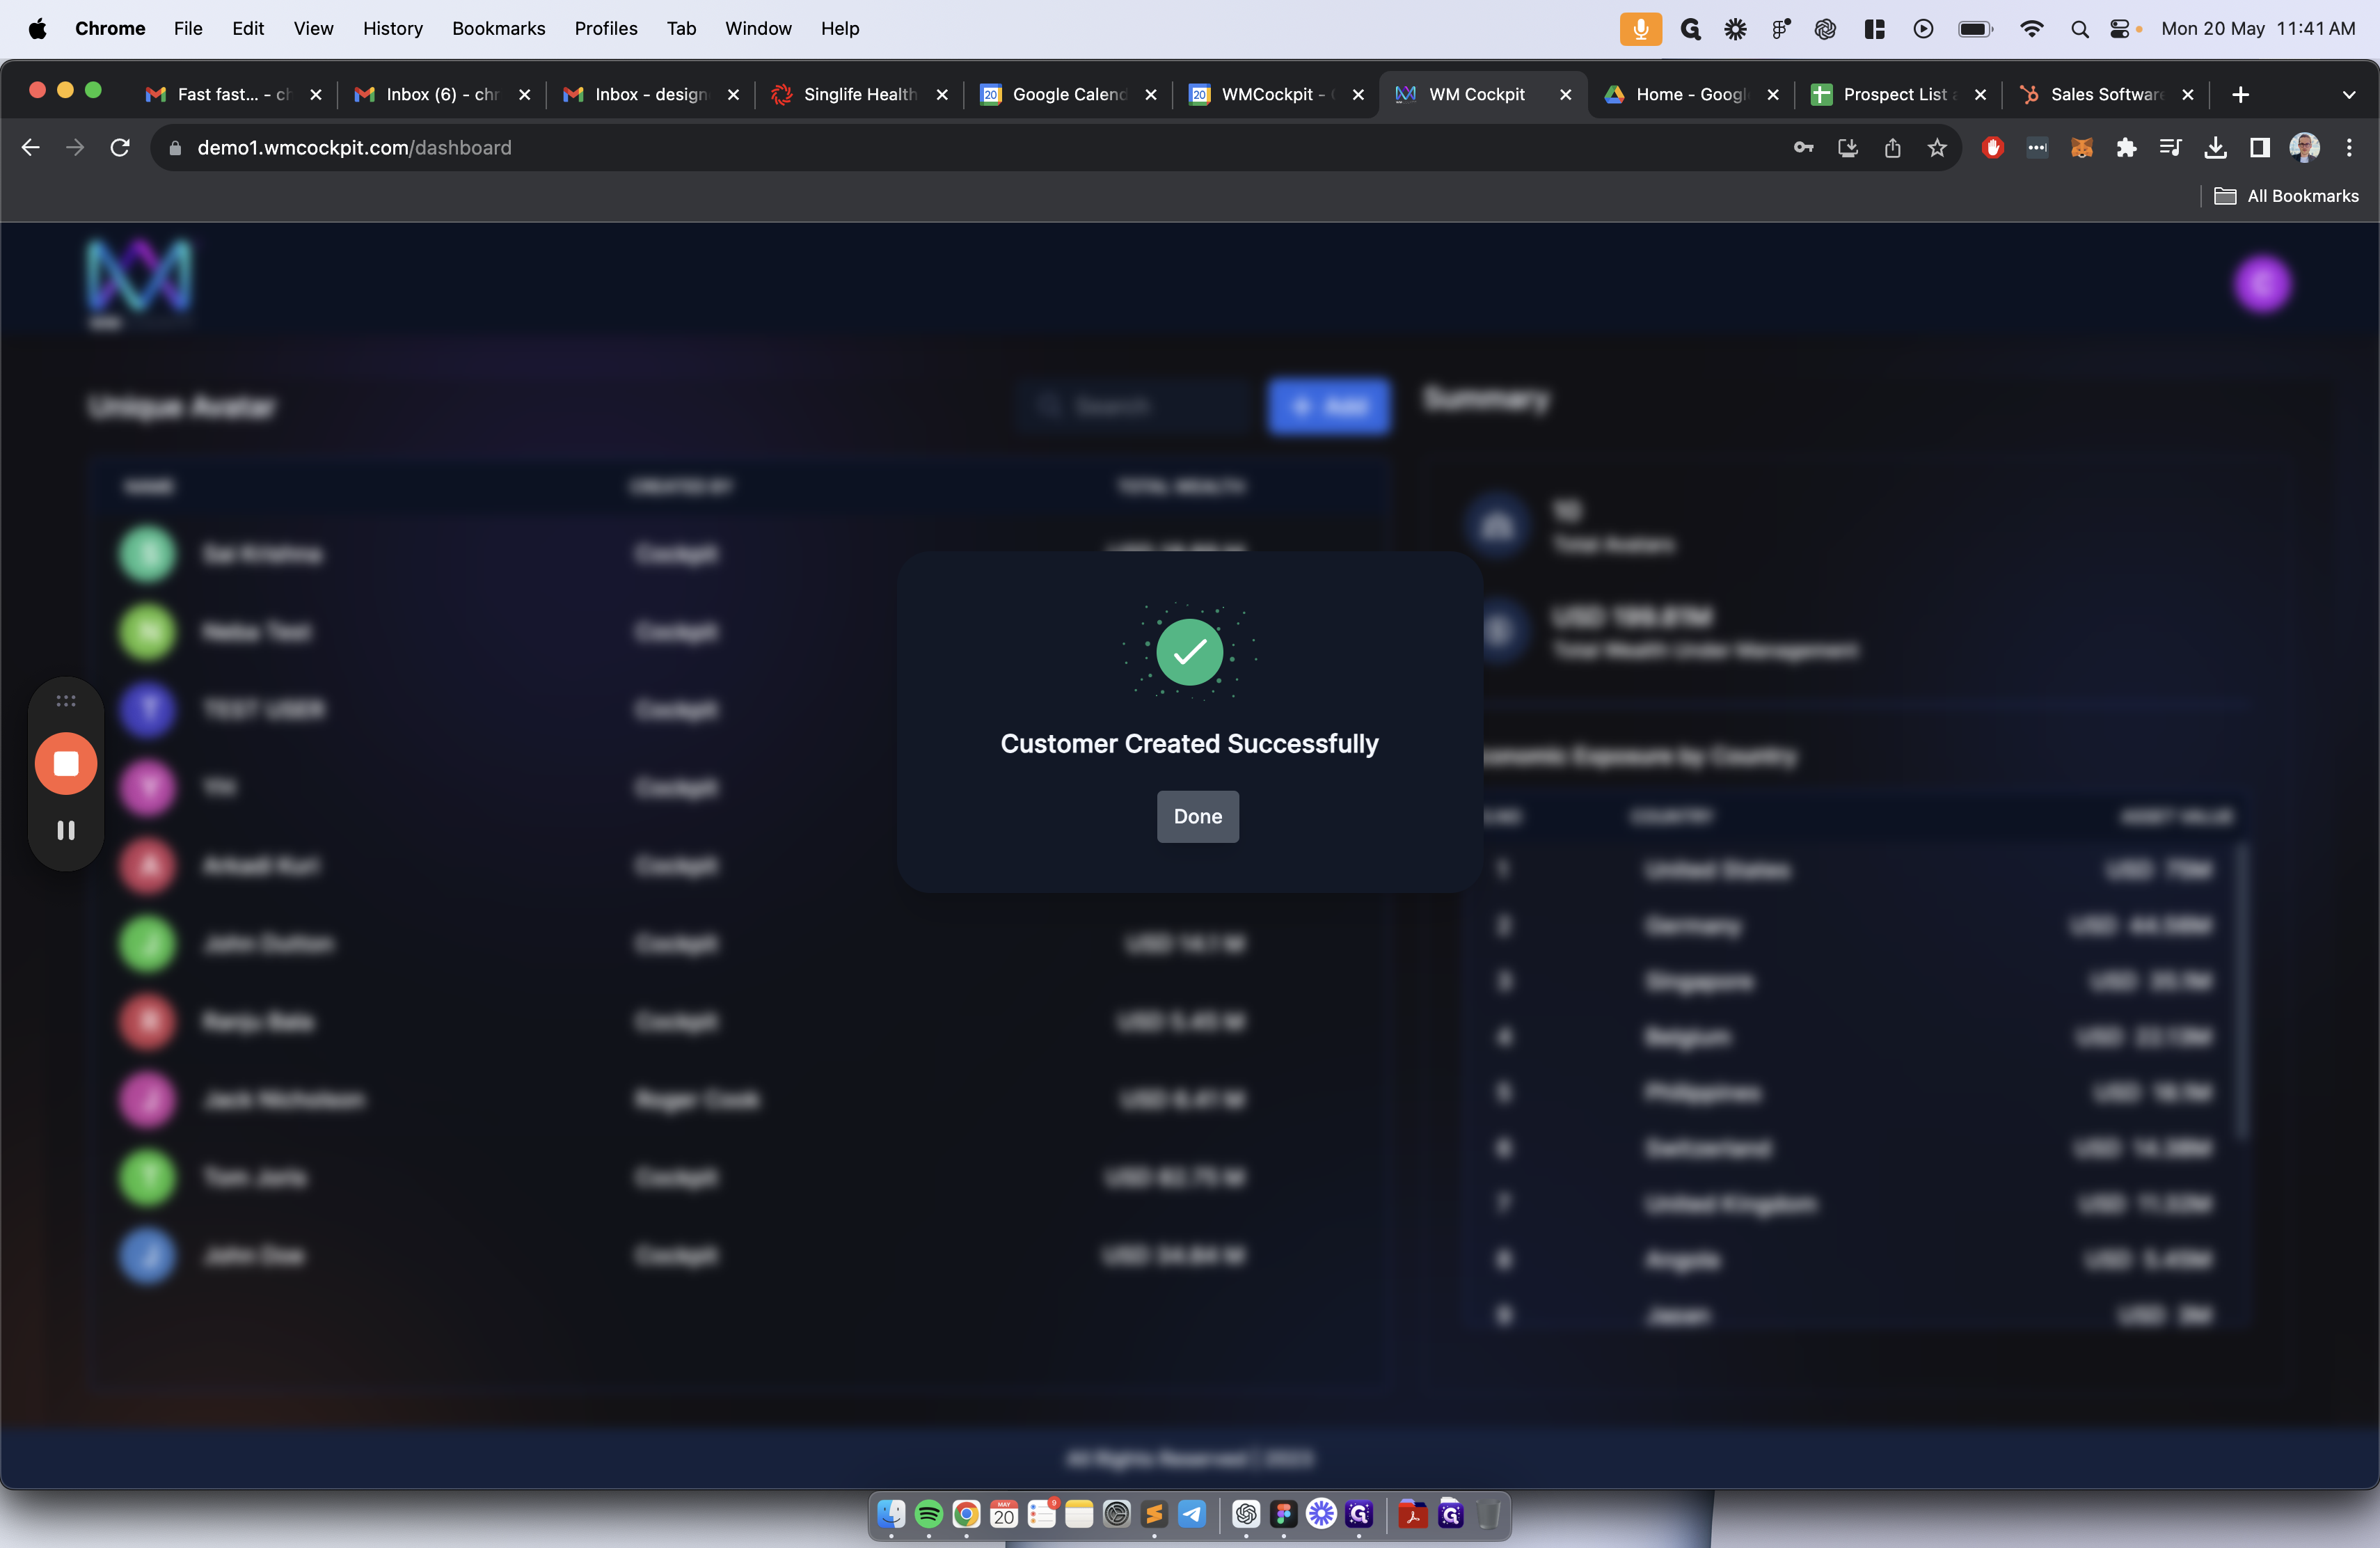
Upon completing the necessary entries, add a customer for yourself and save the information. This action finalizes the account creation process, confirming that the customer has been successfully added to the system.
Let's get started.
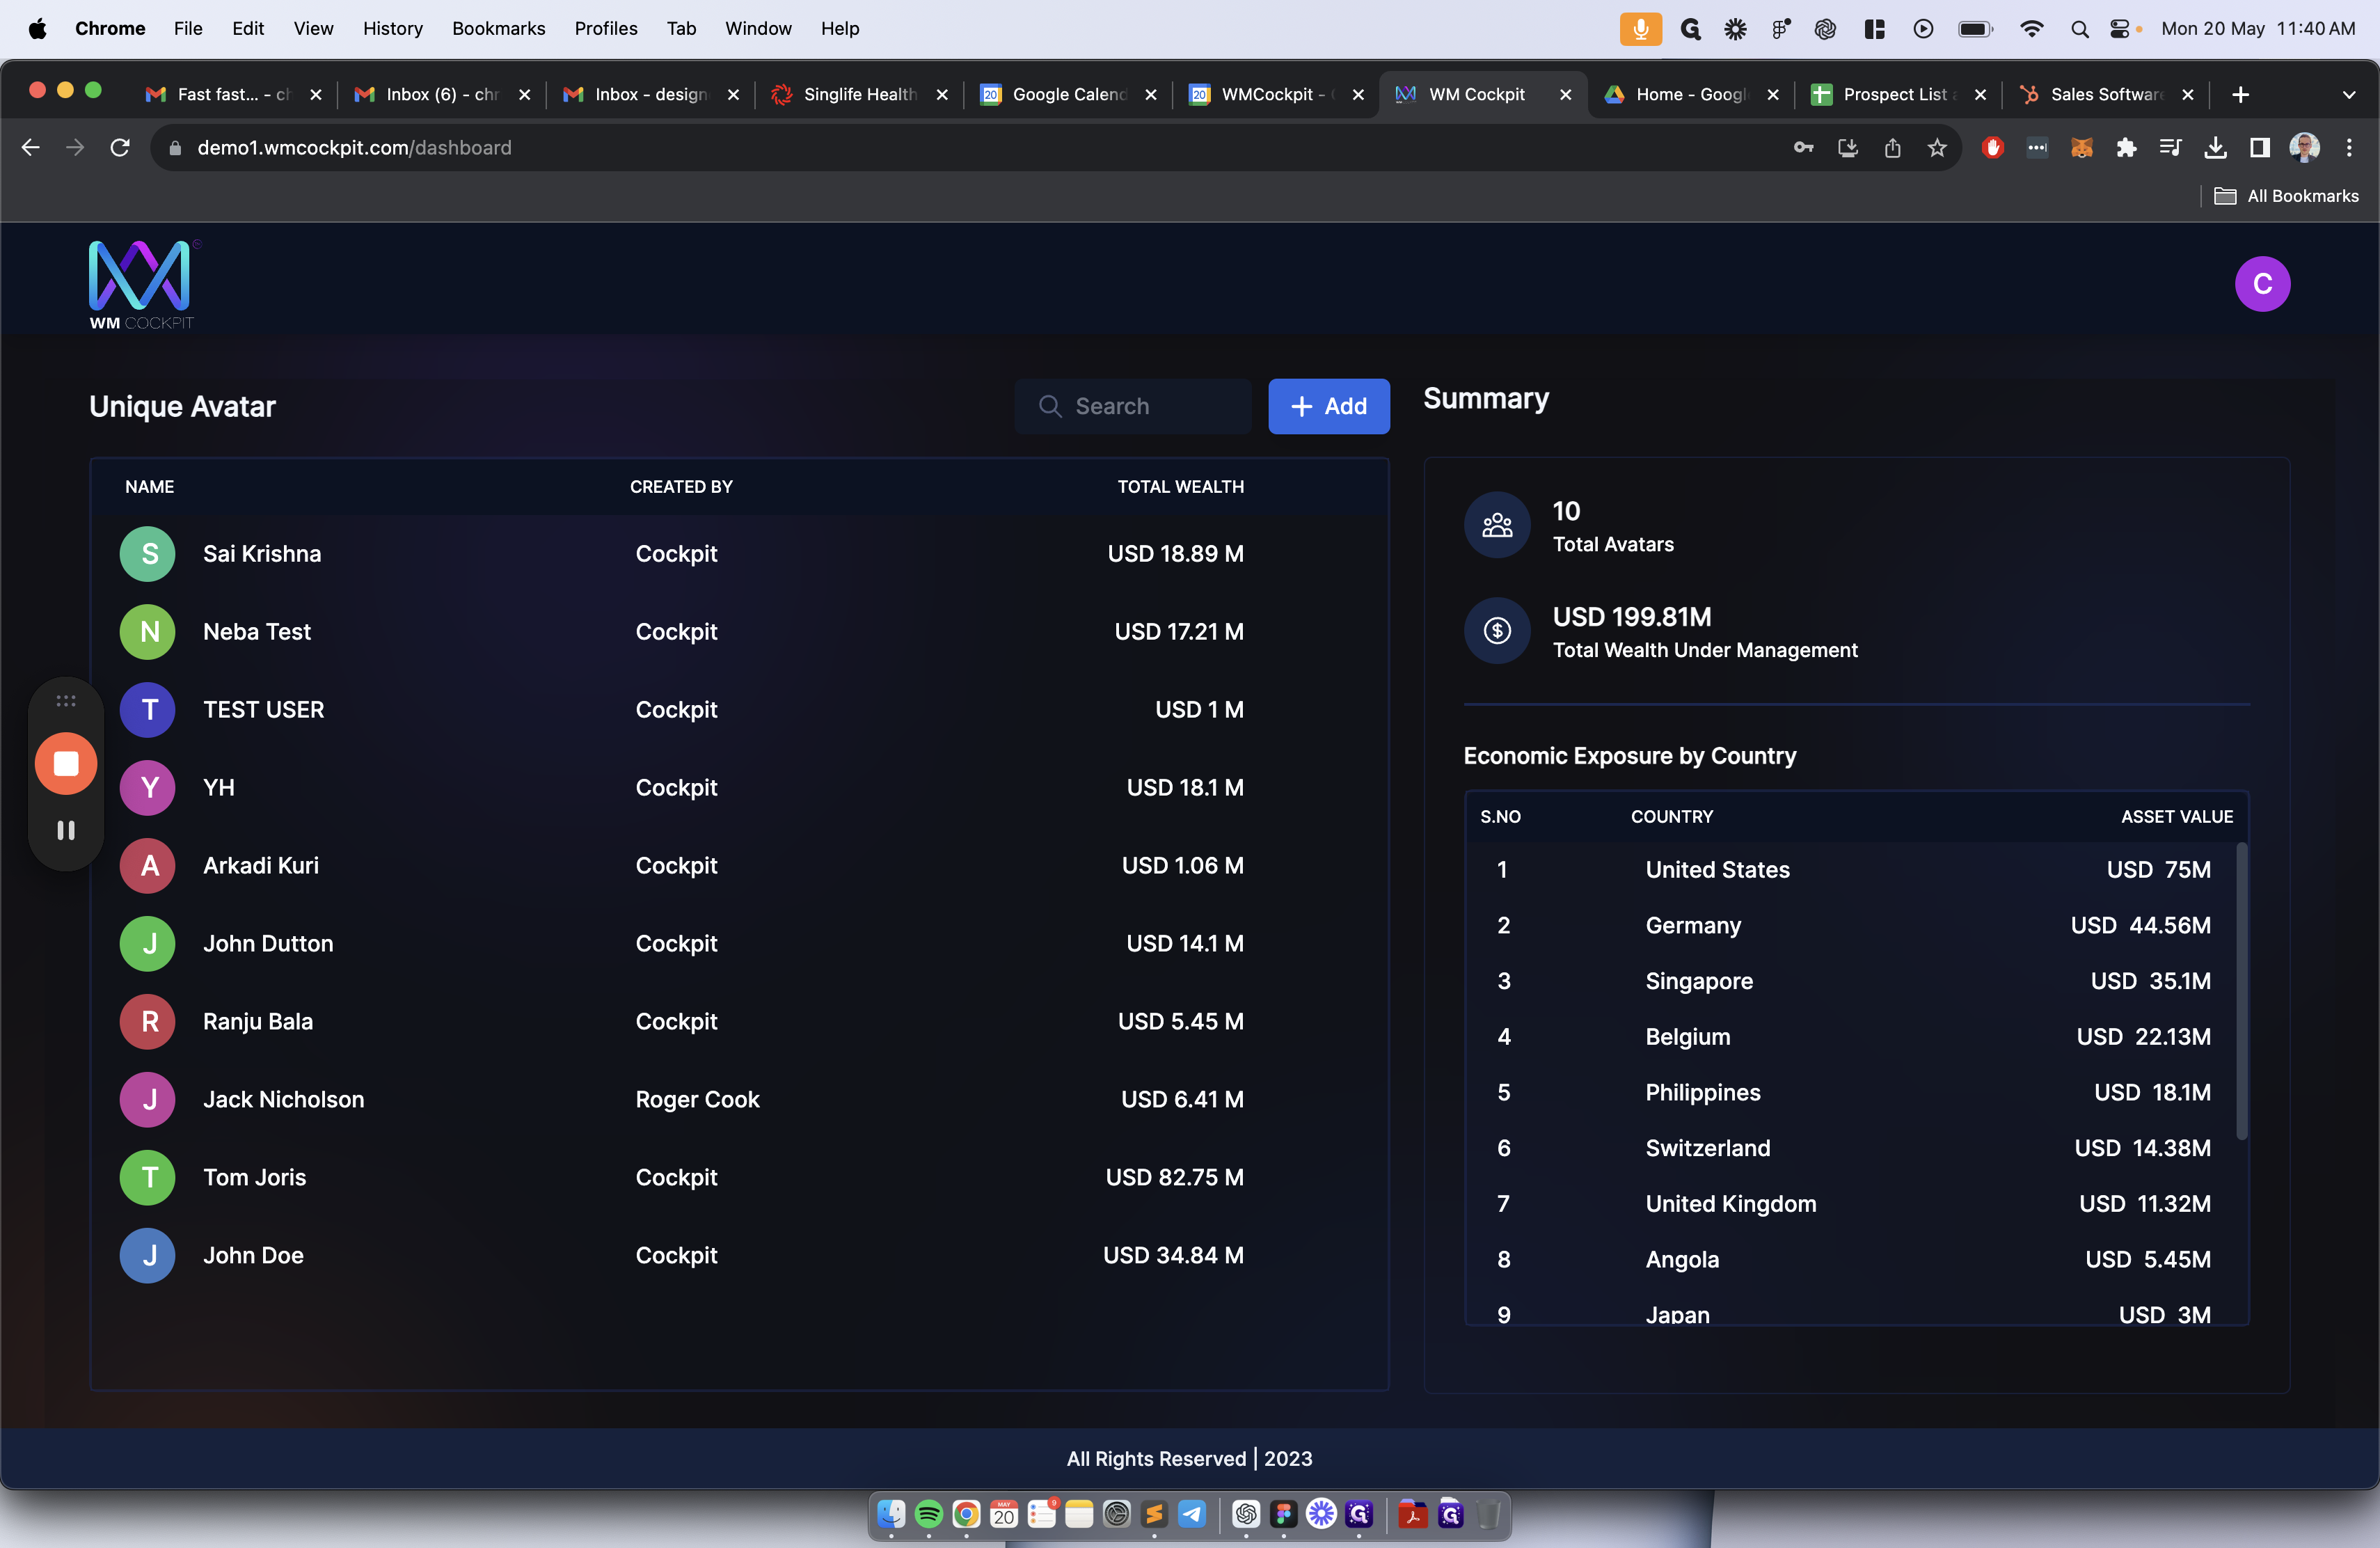
You are first presented with the WMCockpit Dashboard. This initial screen is what the Relationship Manager sees and where they can add the users they manage. You will begin by adding an account.
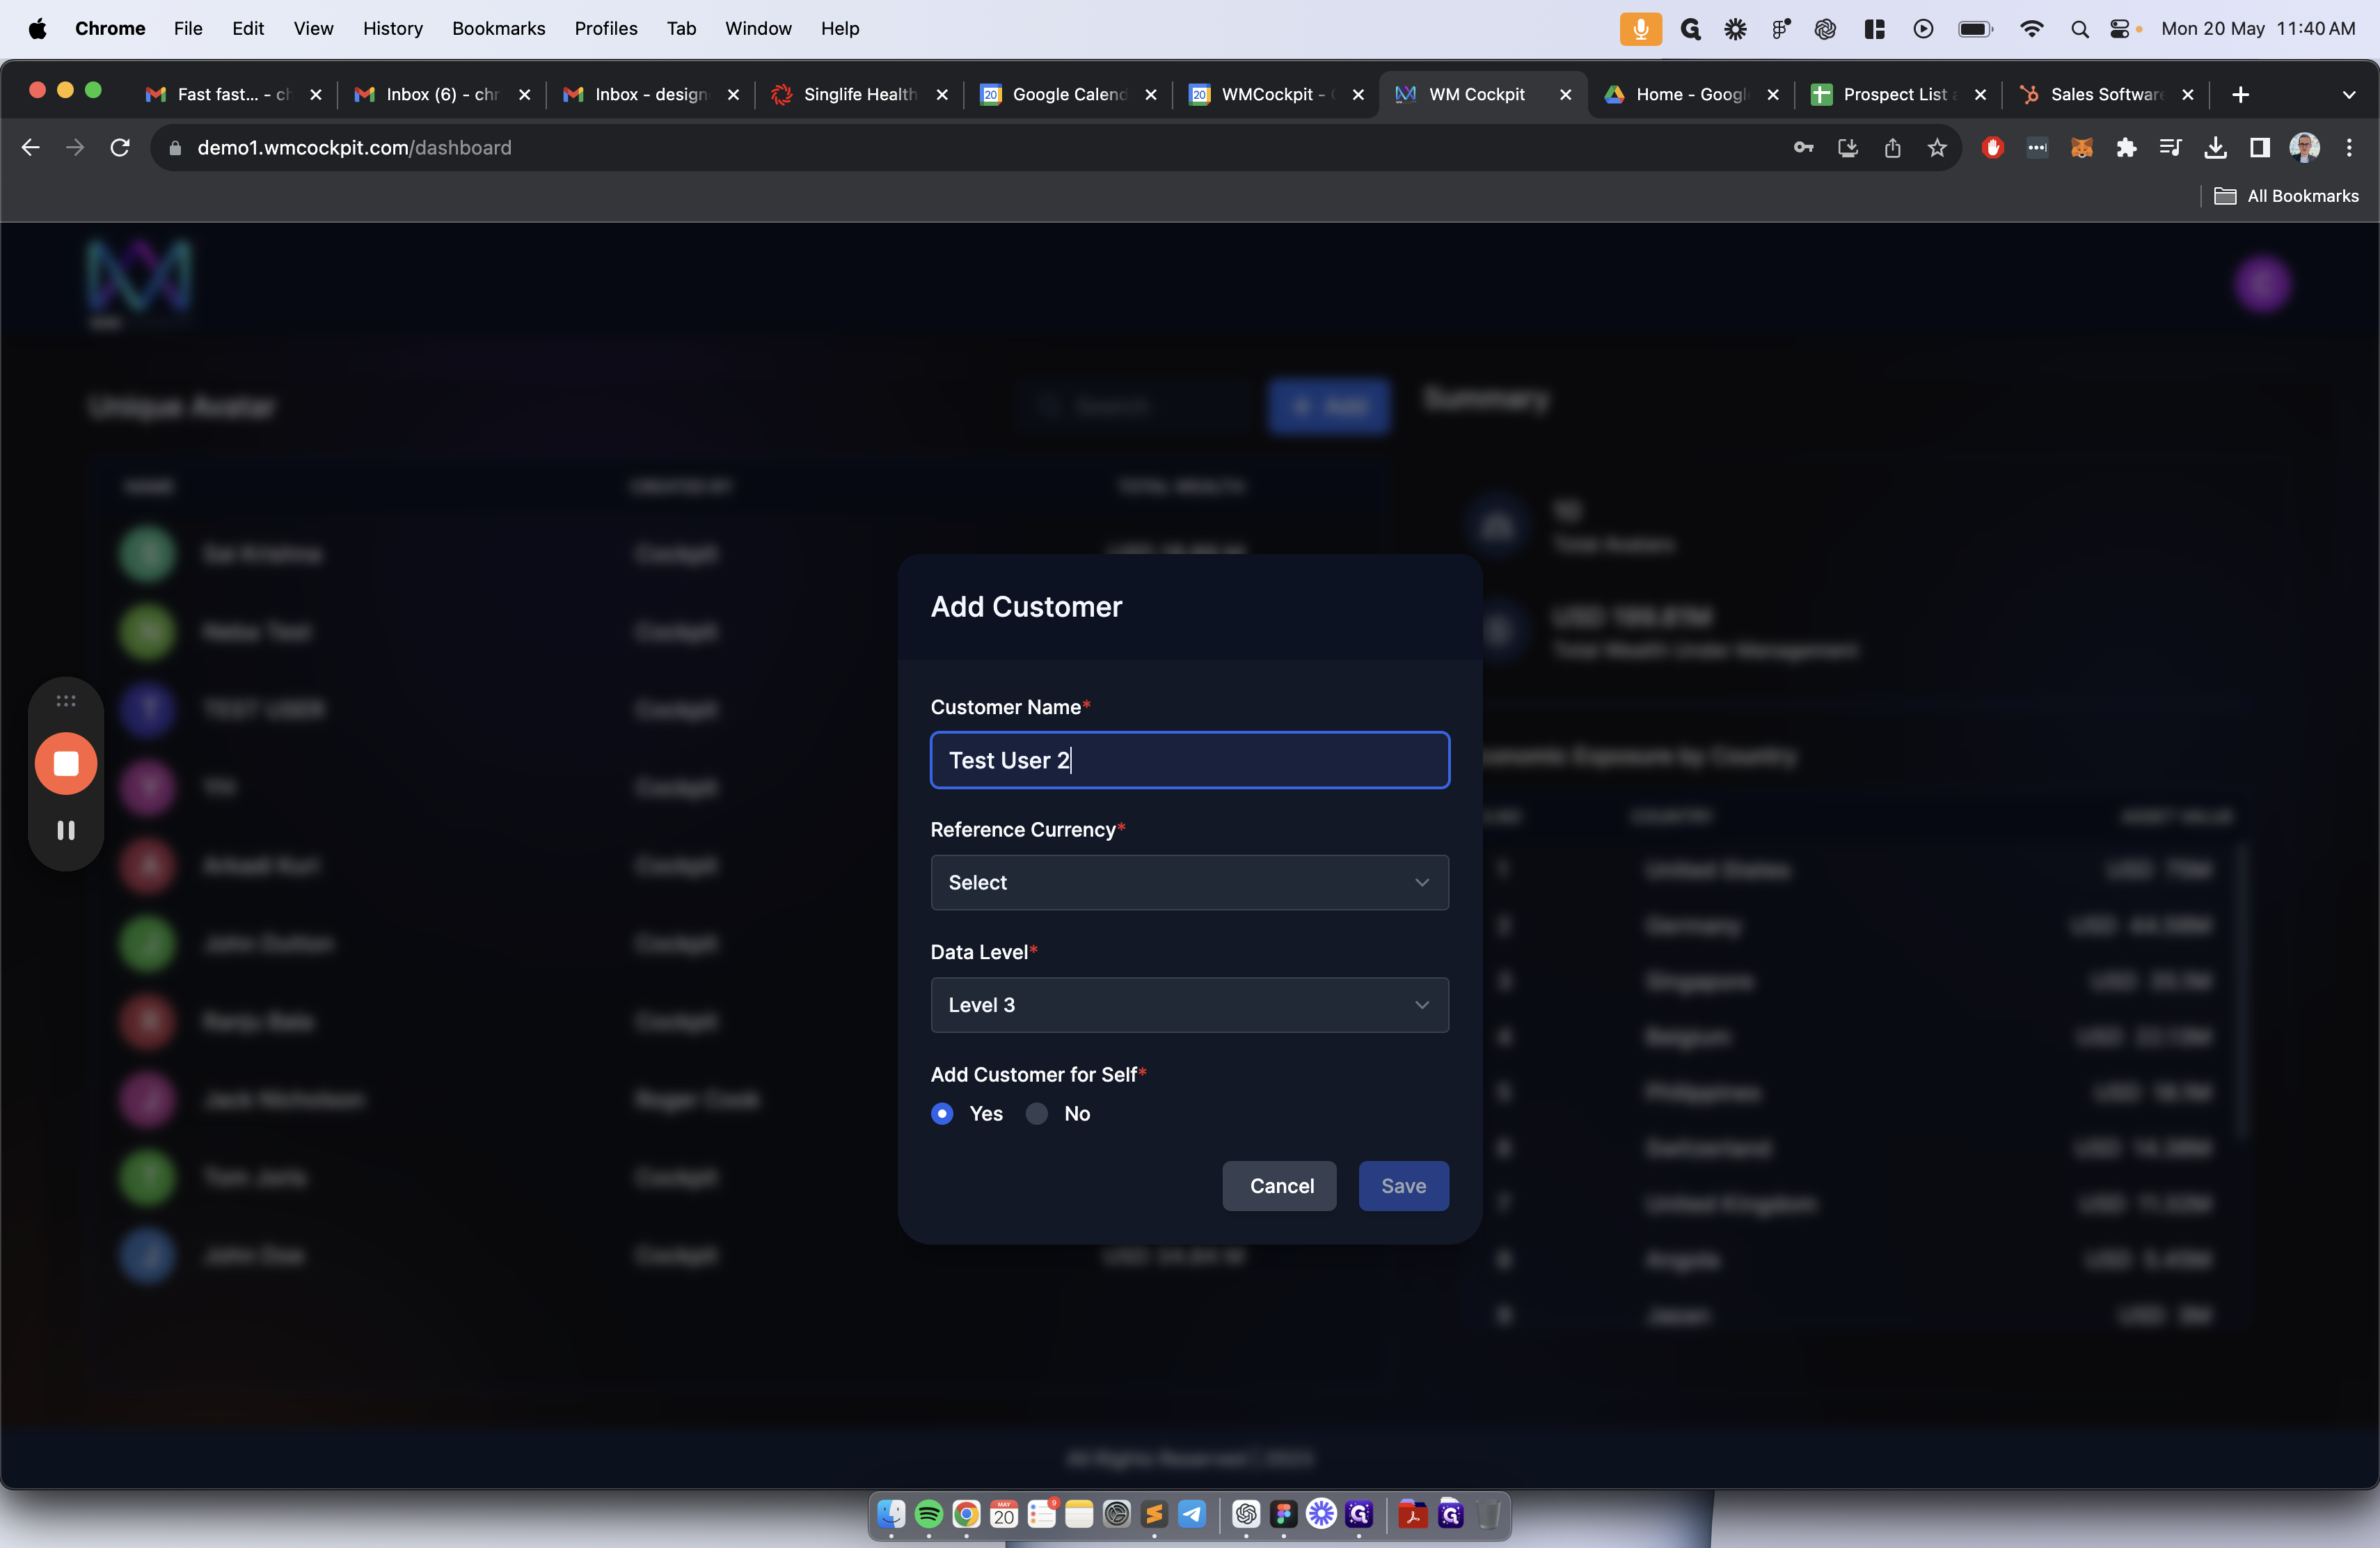
Enter the customer's name.
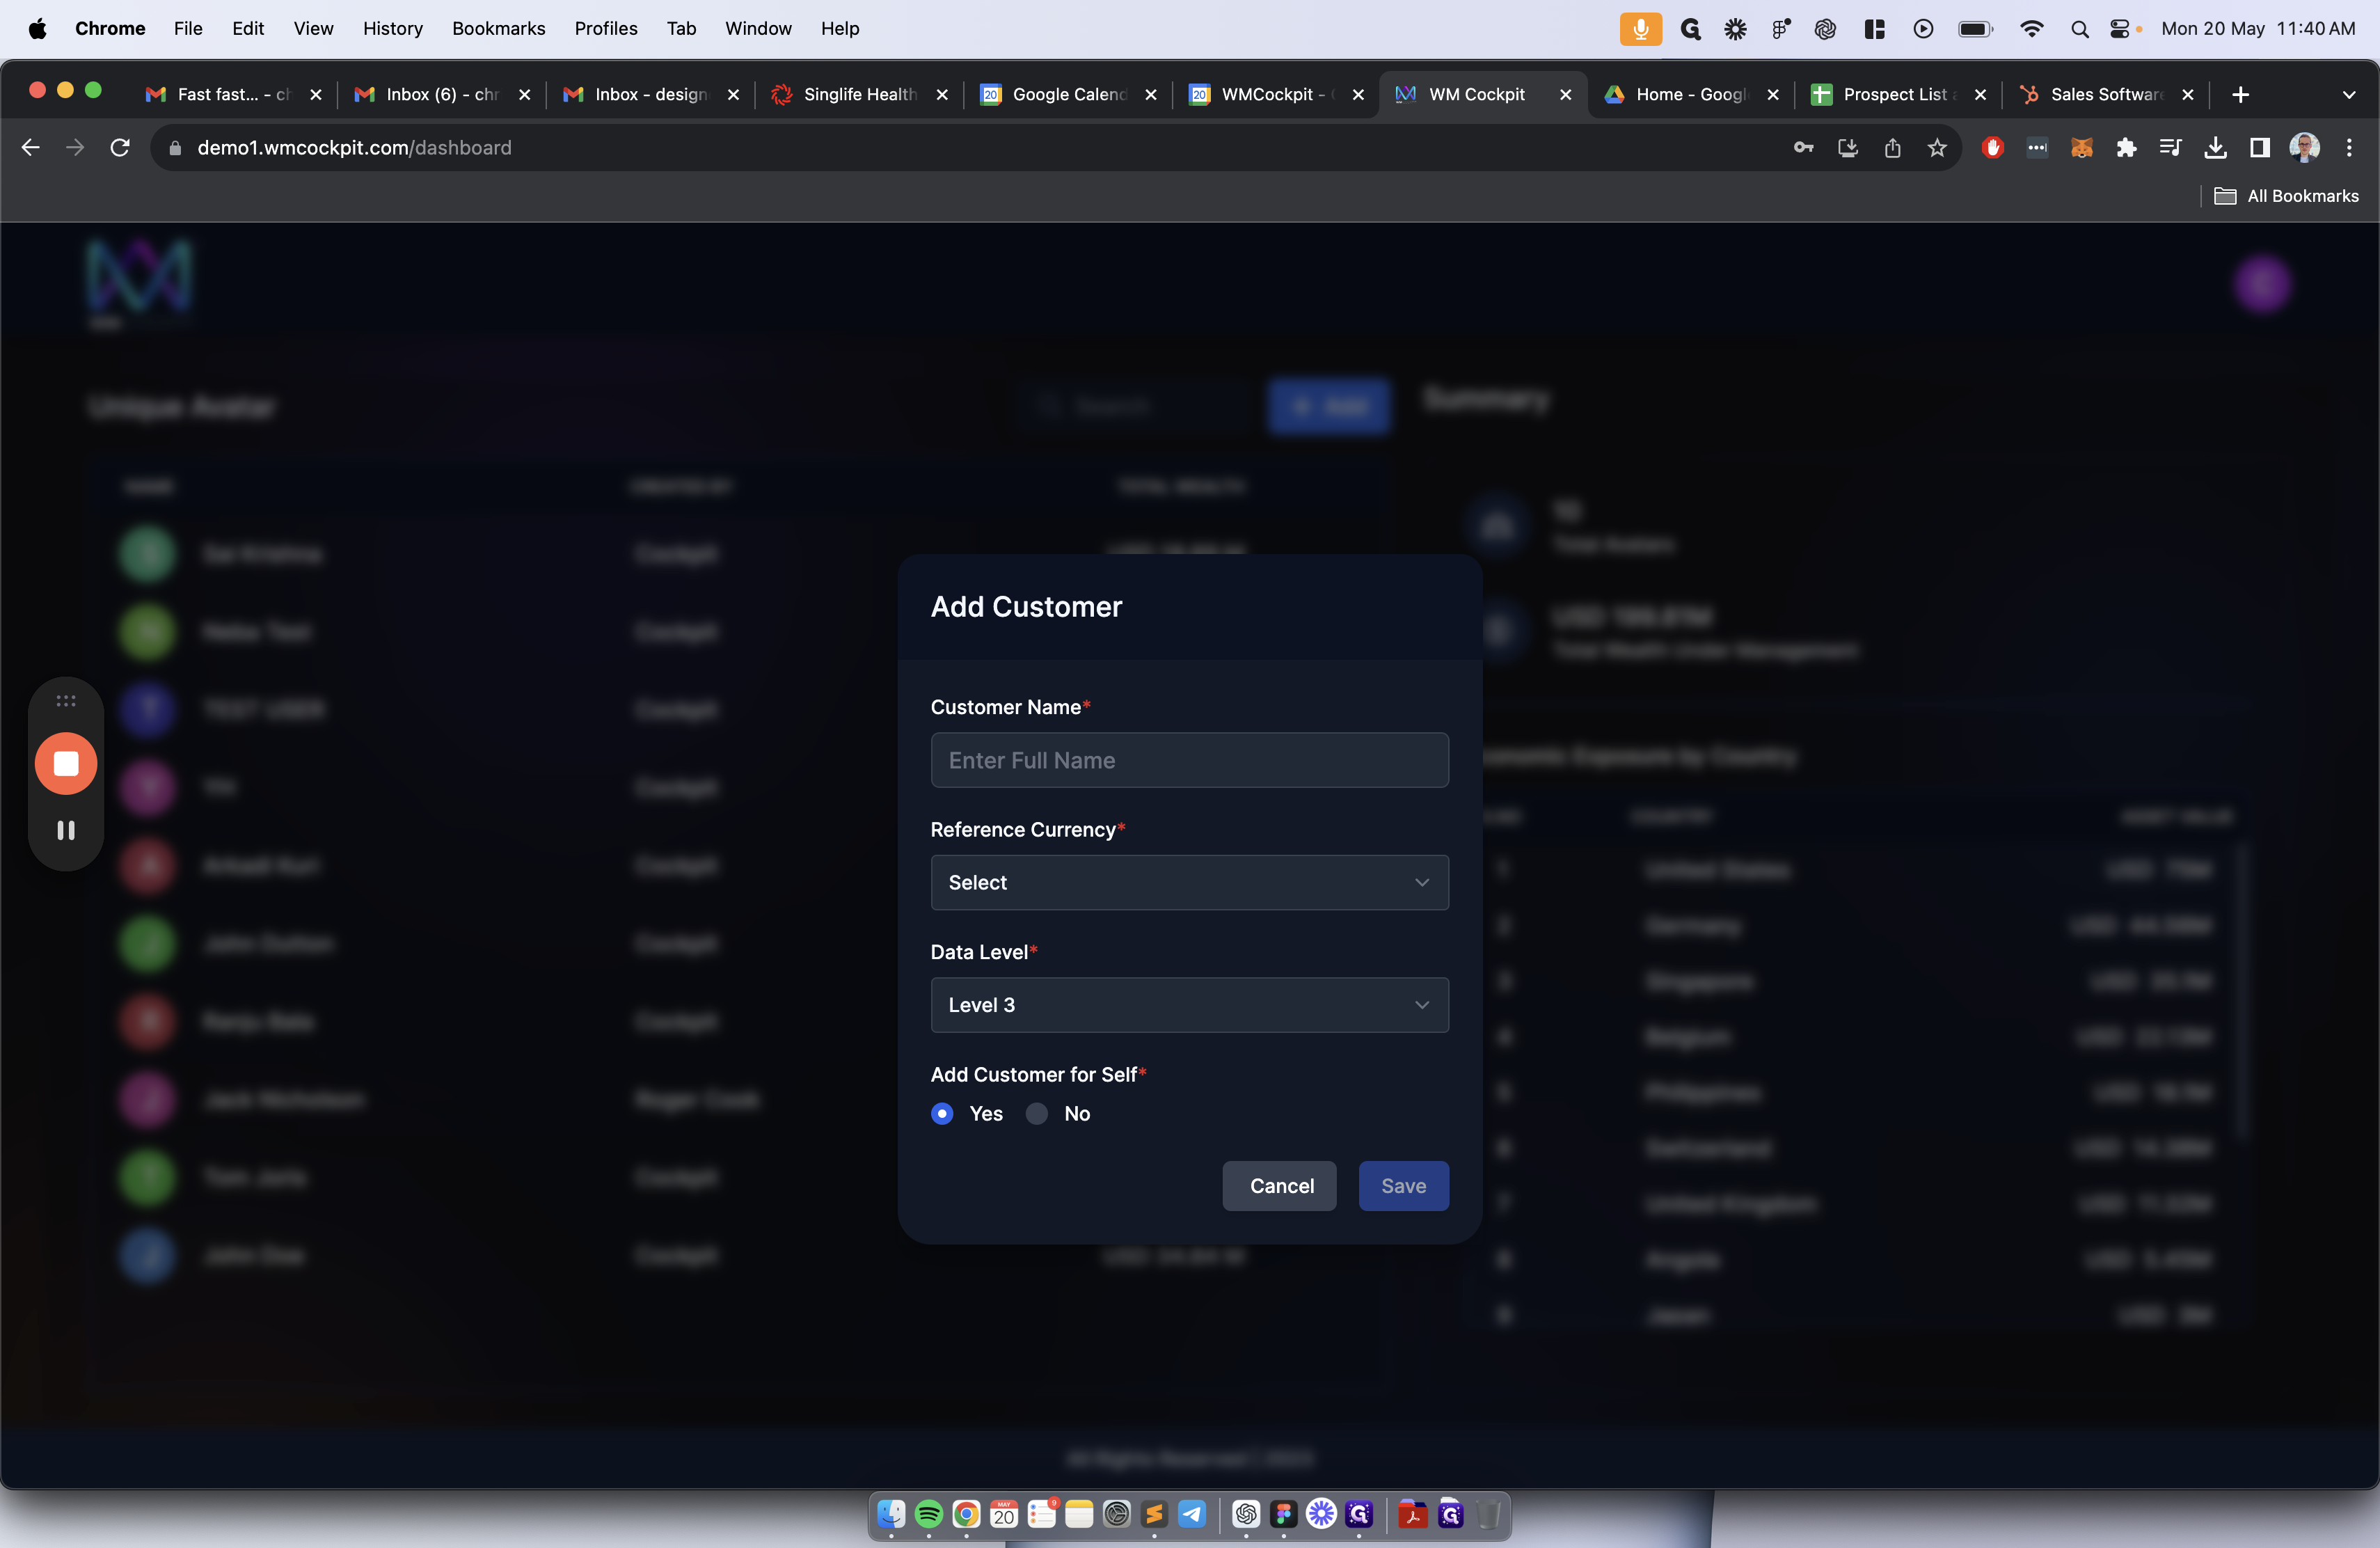
The different data levels depend on the comprehensiveness of data analysis you desire. Level 3 offers the most insights, so we will choose this option.
Finally, add a customer for self "yes" and click save.

The customer has now been successfully created.