
Use Yet Another Mail Merge with Google Sheets
Learn how to effectively use Yet Another Mail Merge with Google Sheets to send personalized emails. Step-by-step guide included.
In this guide, we'll learn how to use Google Sheets and Yet Another Mail Merge to send personalized emails efficiently. This process involves setting up your columns in Google Sheets, drafting your email, and using the mail merge extension to customize and send your emails. By following these steps, you can ensure that each recipient receives a tailored message, improving communication and engagement.
Let's get started!
Here is my draft. You can see where I have inserted the name of my column that contains the first names of everyone. You will do this for all the fields. The syntax is double curly brackets.
Leave the "To" field blank. You can set the "From" field in the extension.
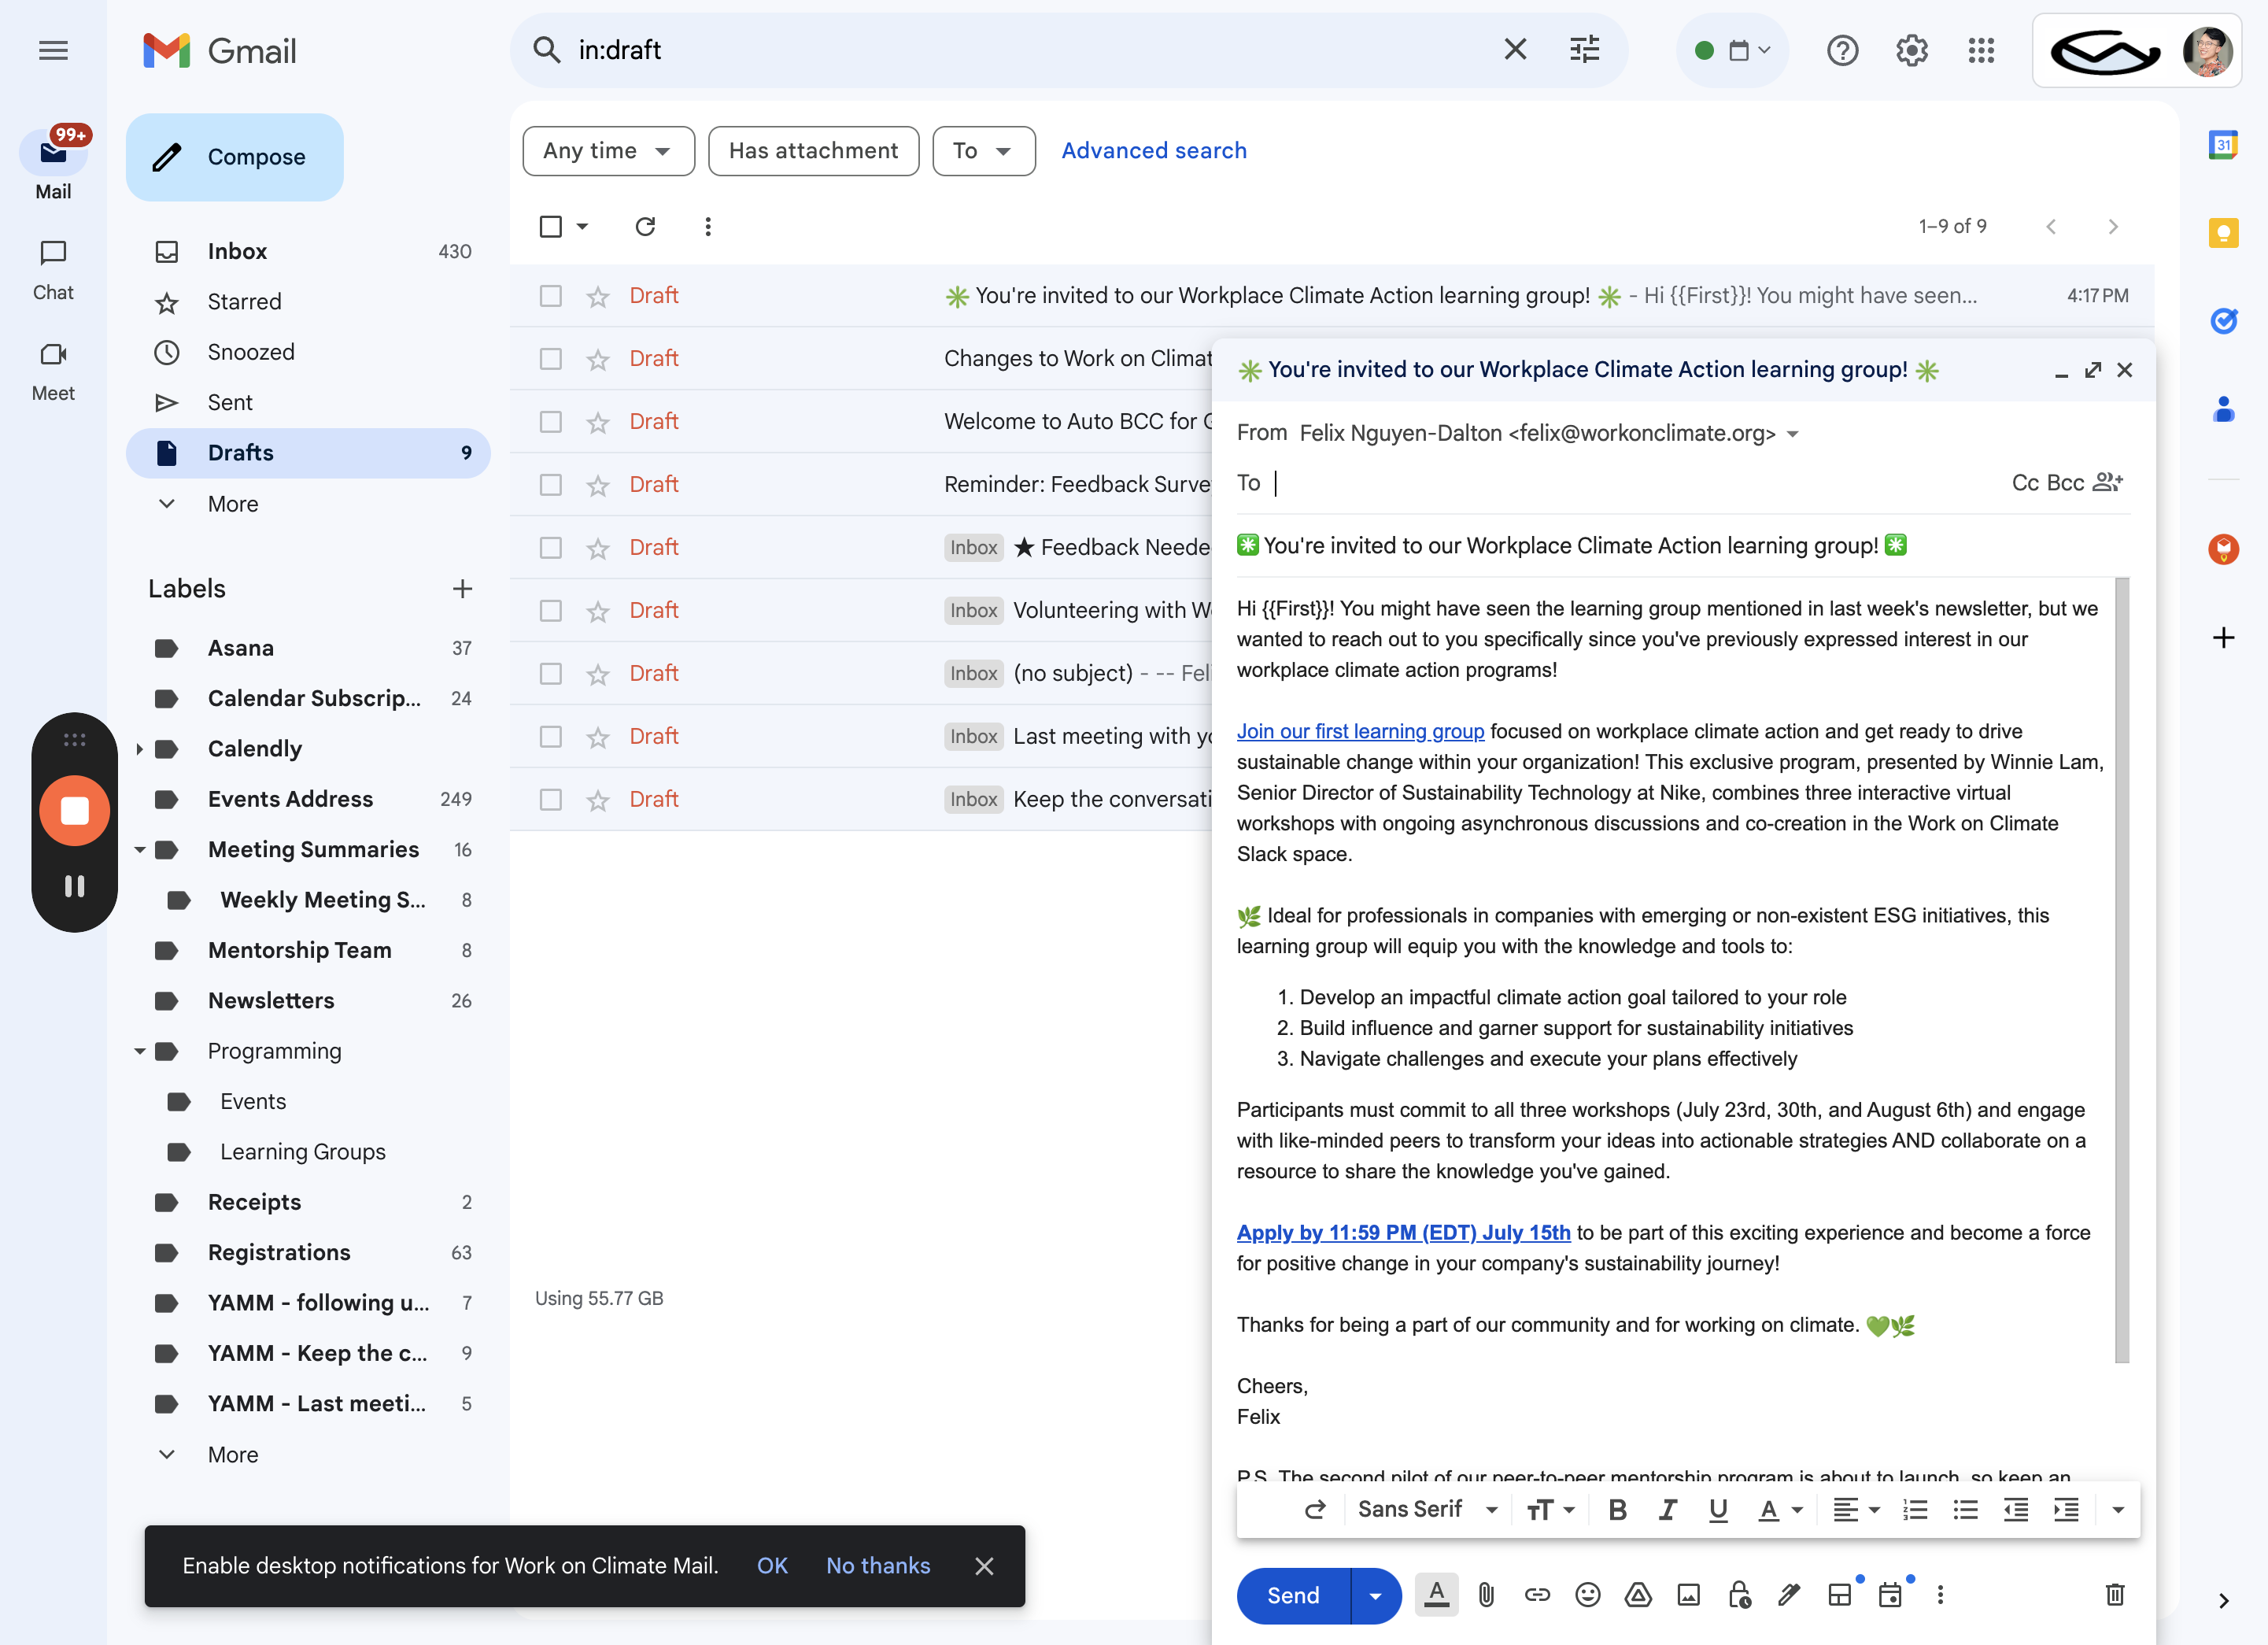
When you hit mail merge, a pop-up window will appear where you can set the "from" name and email address as well as the email address people can reply to.
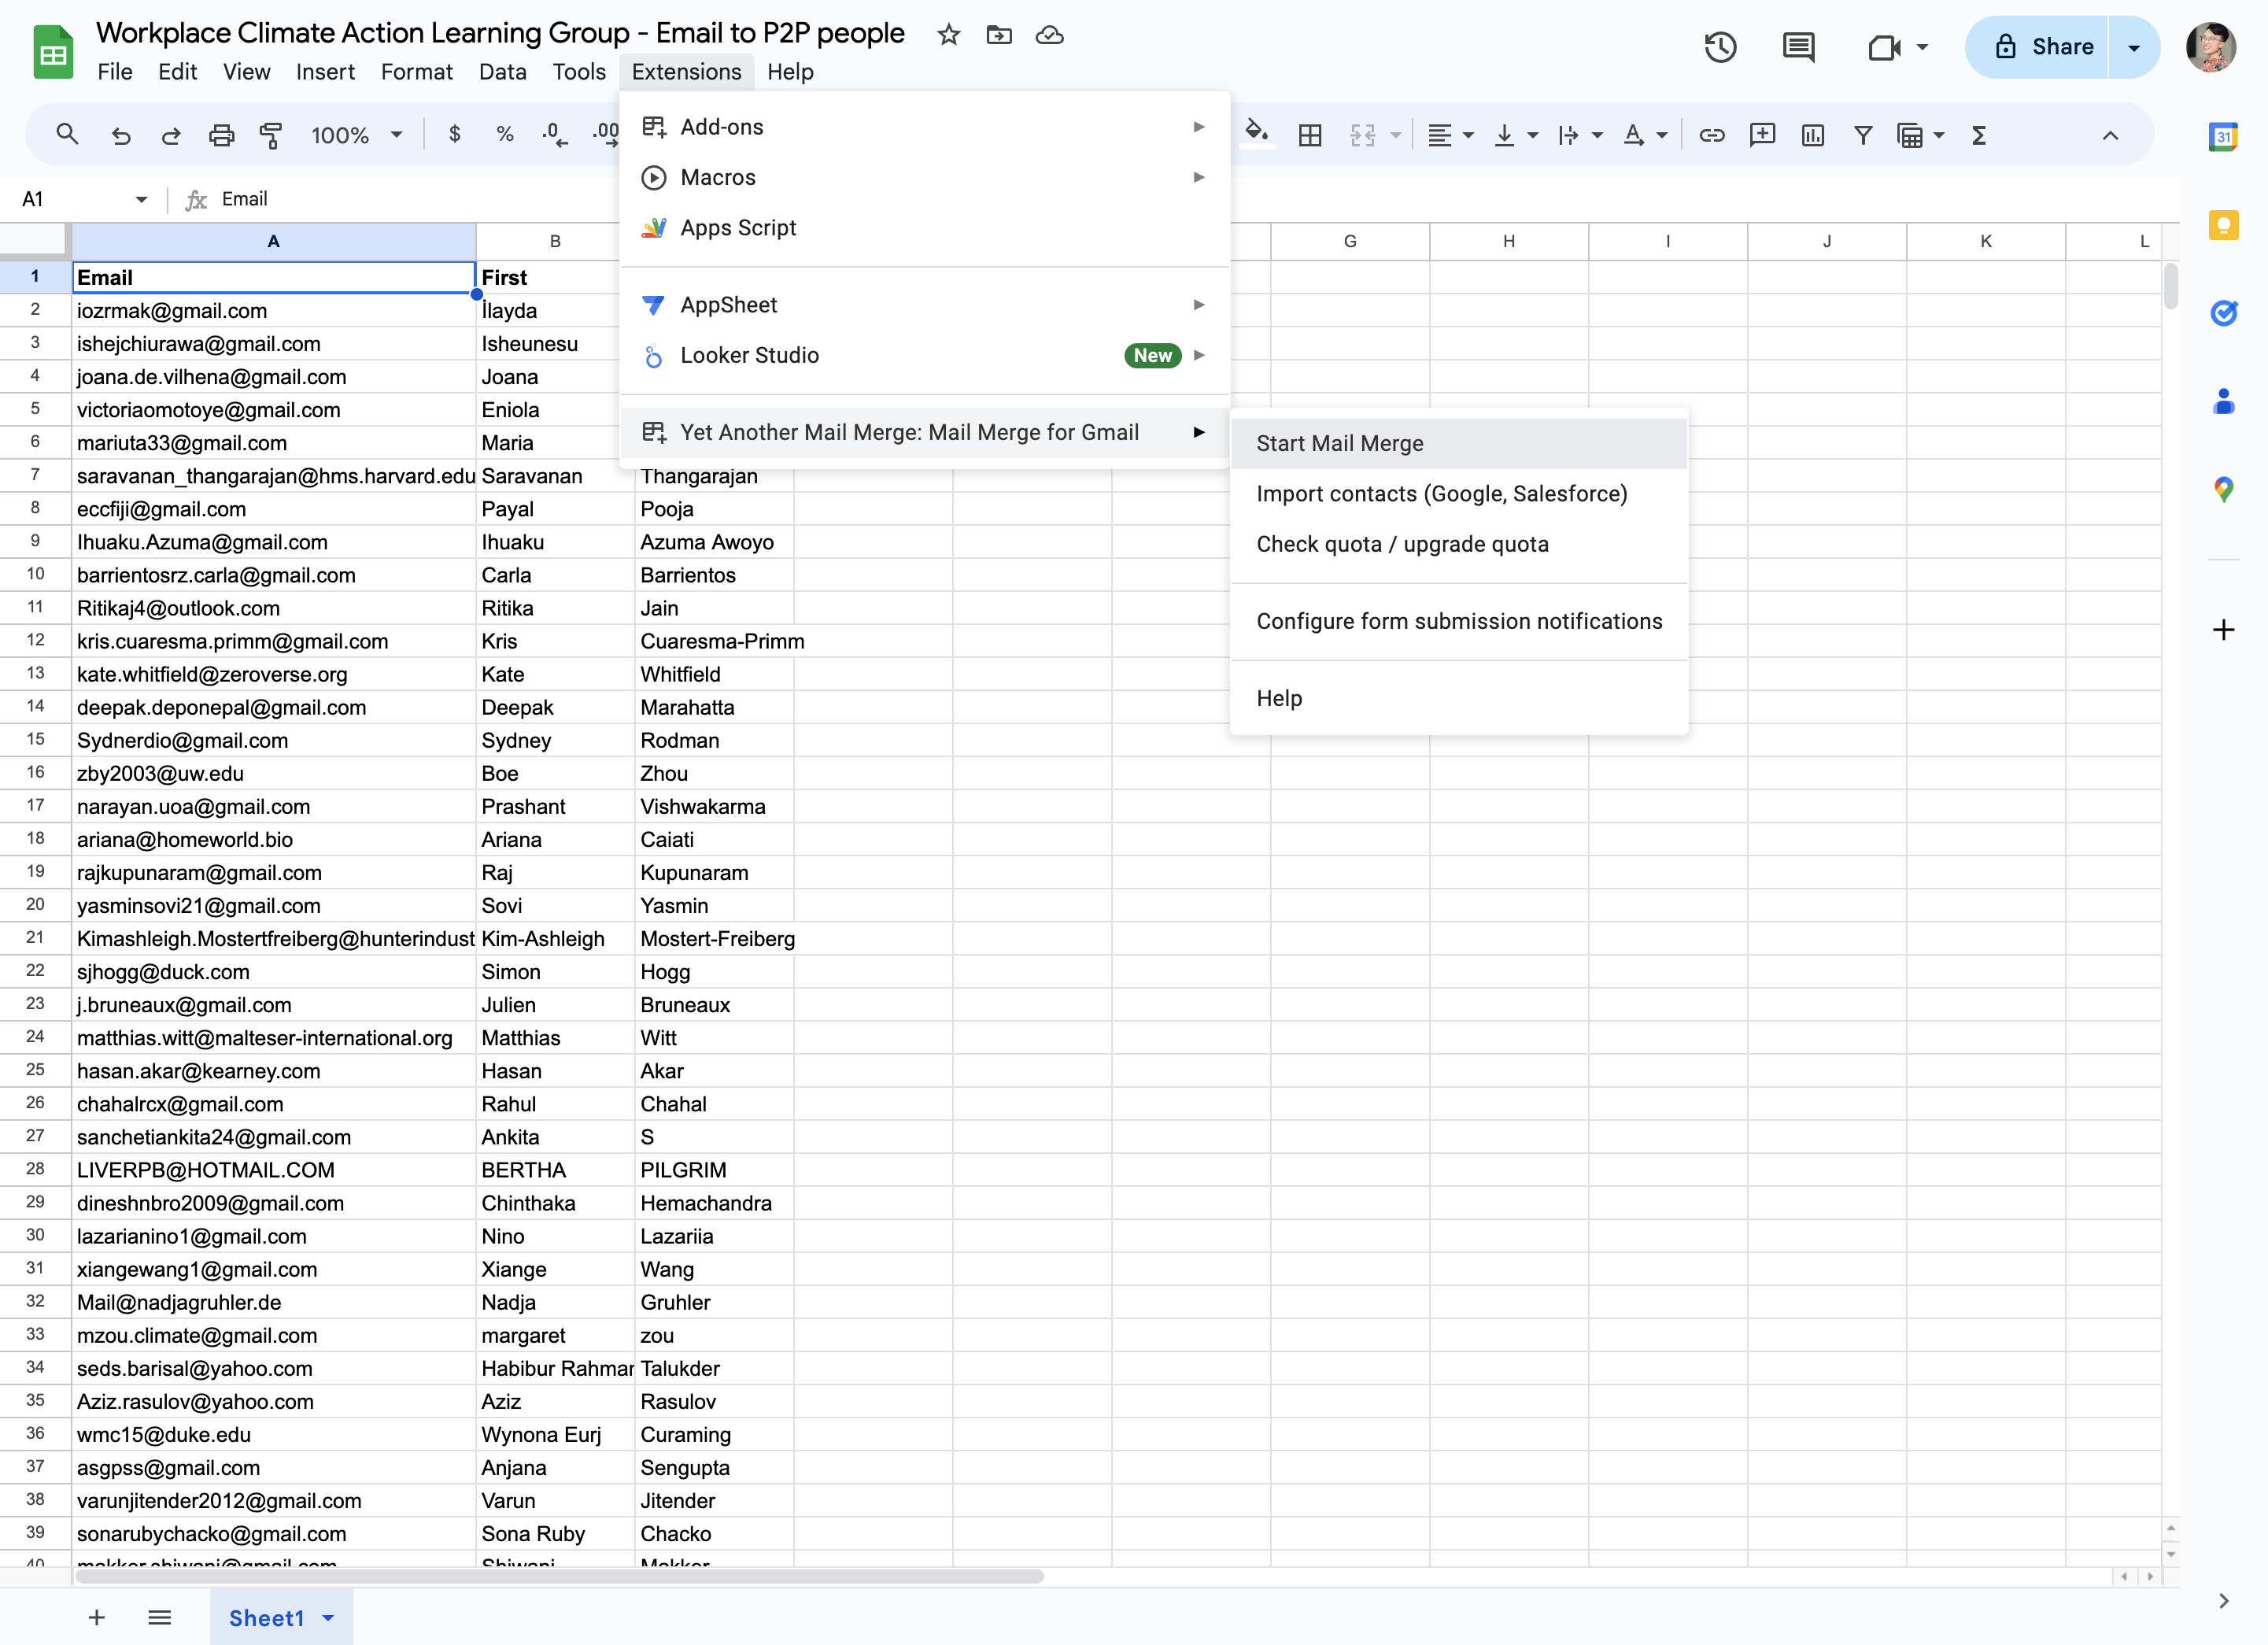
Select your email template and leave the "track emails" checked in case we want to send follow ups. I usually like to send a test email, which will be sent to you using the information from the first row of data.