Icon

How To: Use Your Diary

Learn how to use the Toucan Sales Analytics private diary to schedule appointments, log customer interactions, and navigate between different calendar views.

By Josh

This guide provides instructions on how to navigate the Toucan Sales Analytics calendar, log new customer interactions, and schedule appointments.

This guide is intended for sales representatives and account managers who use Toucan Sales Analytics to manage their schedules and document customer touchpoints. It is useful when planning your week or logging follow-up activities.

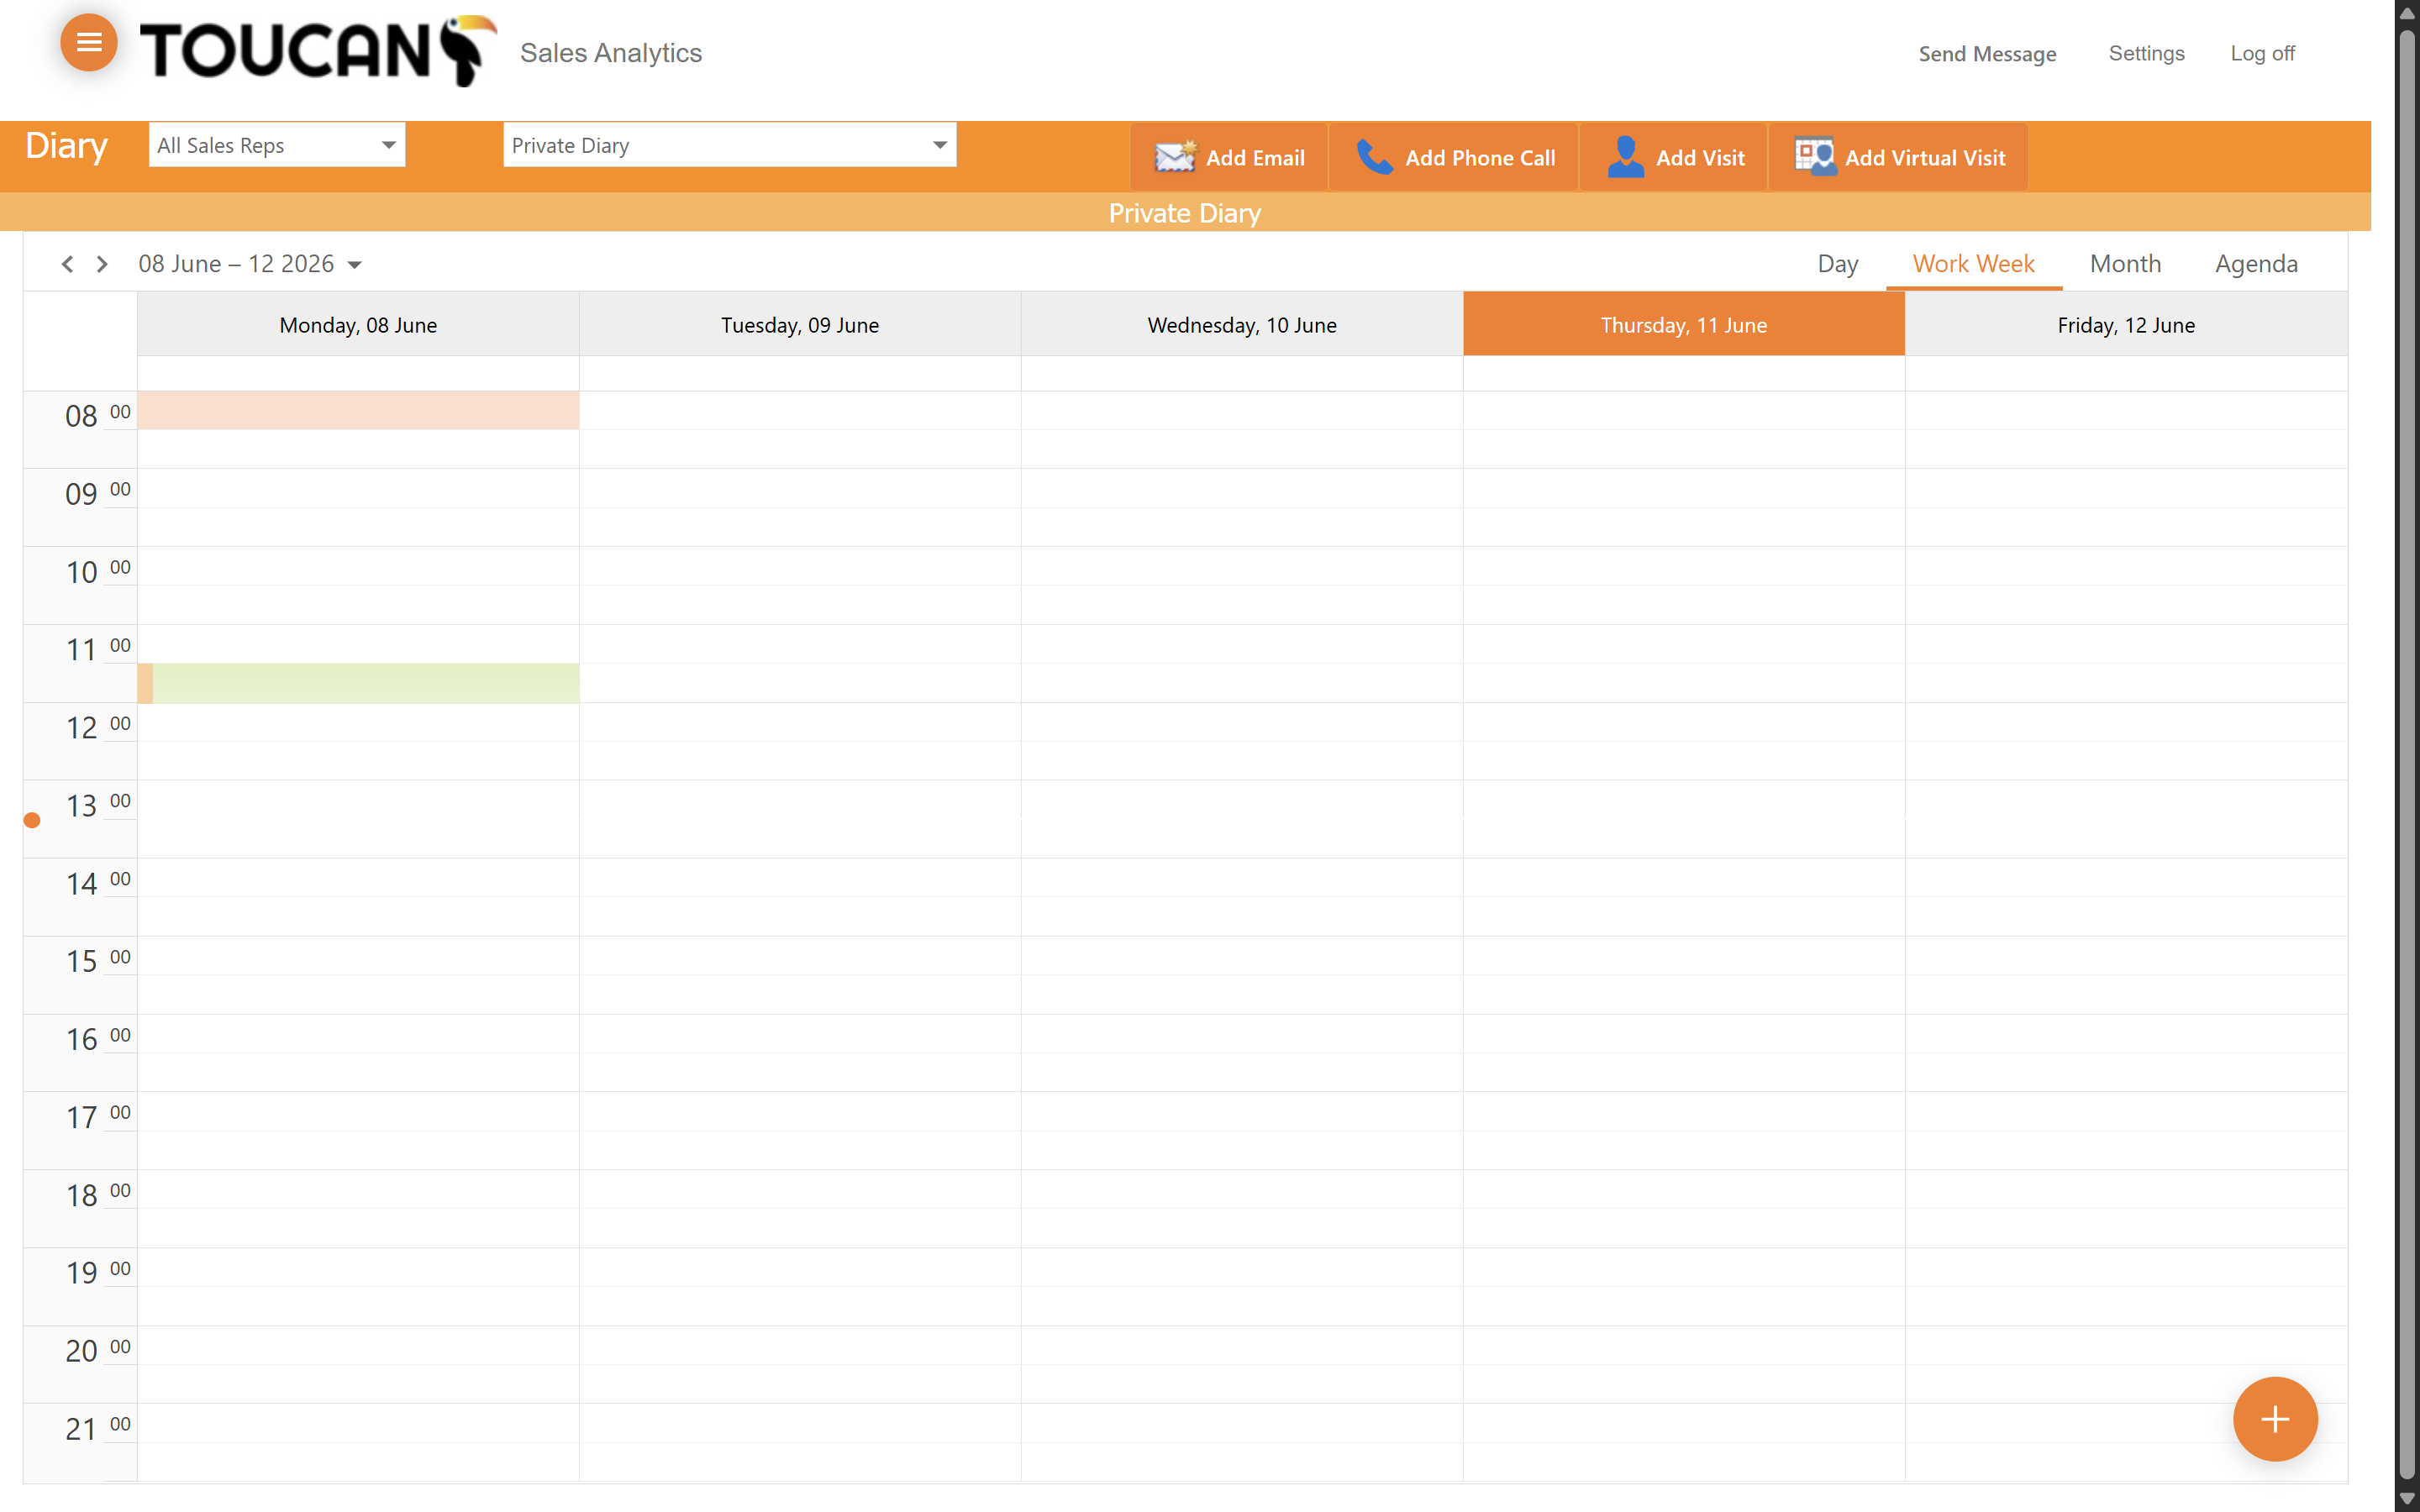
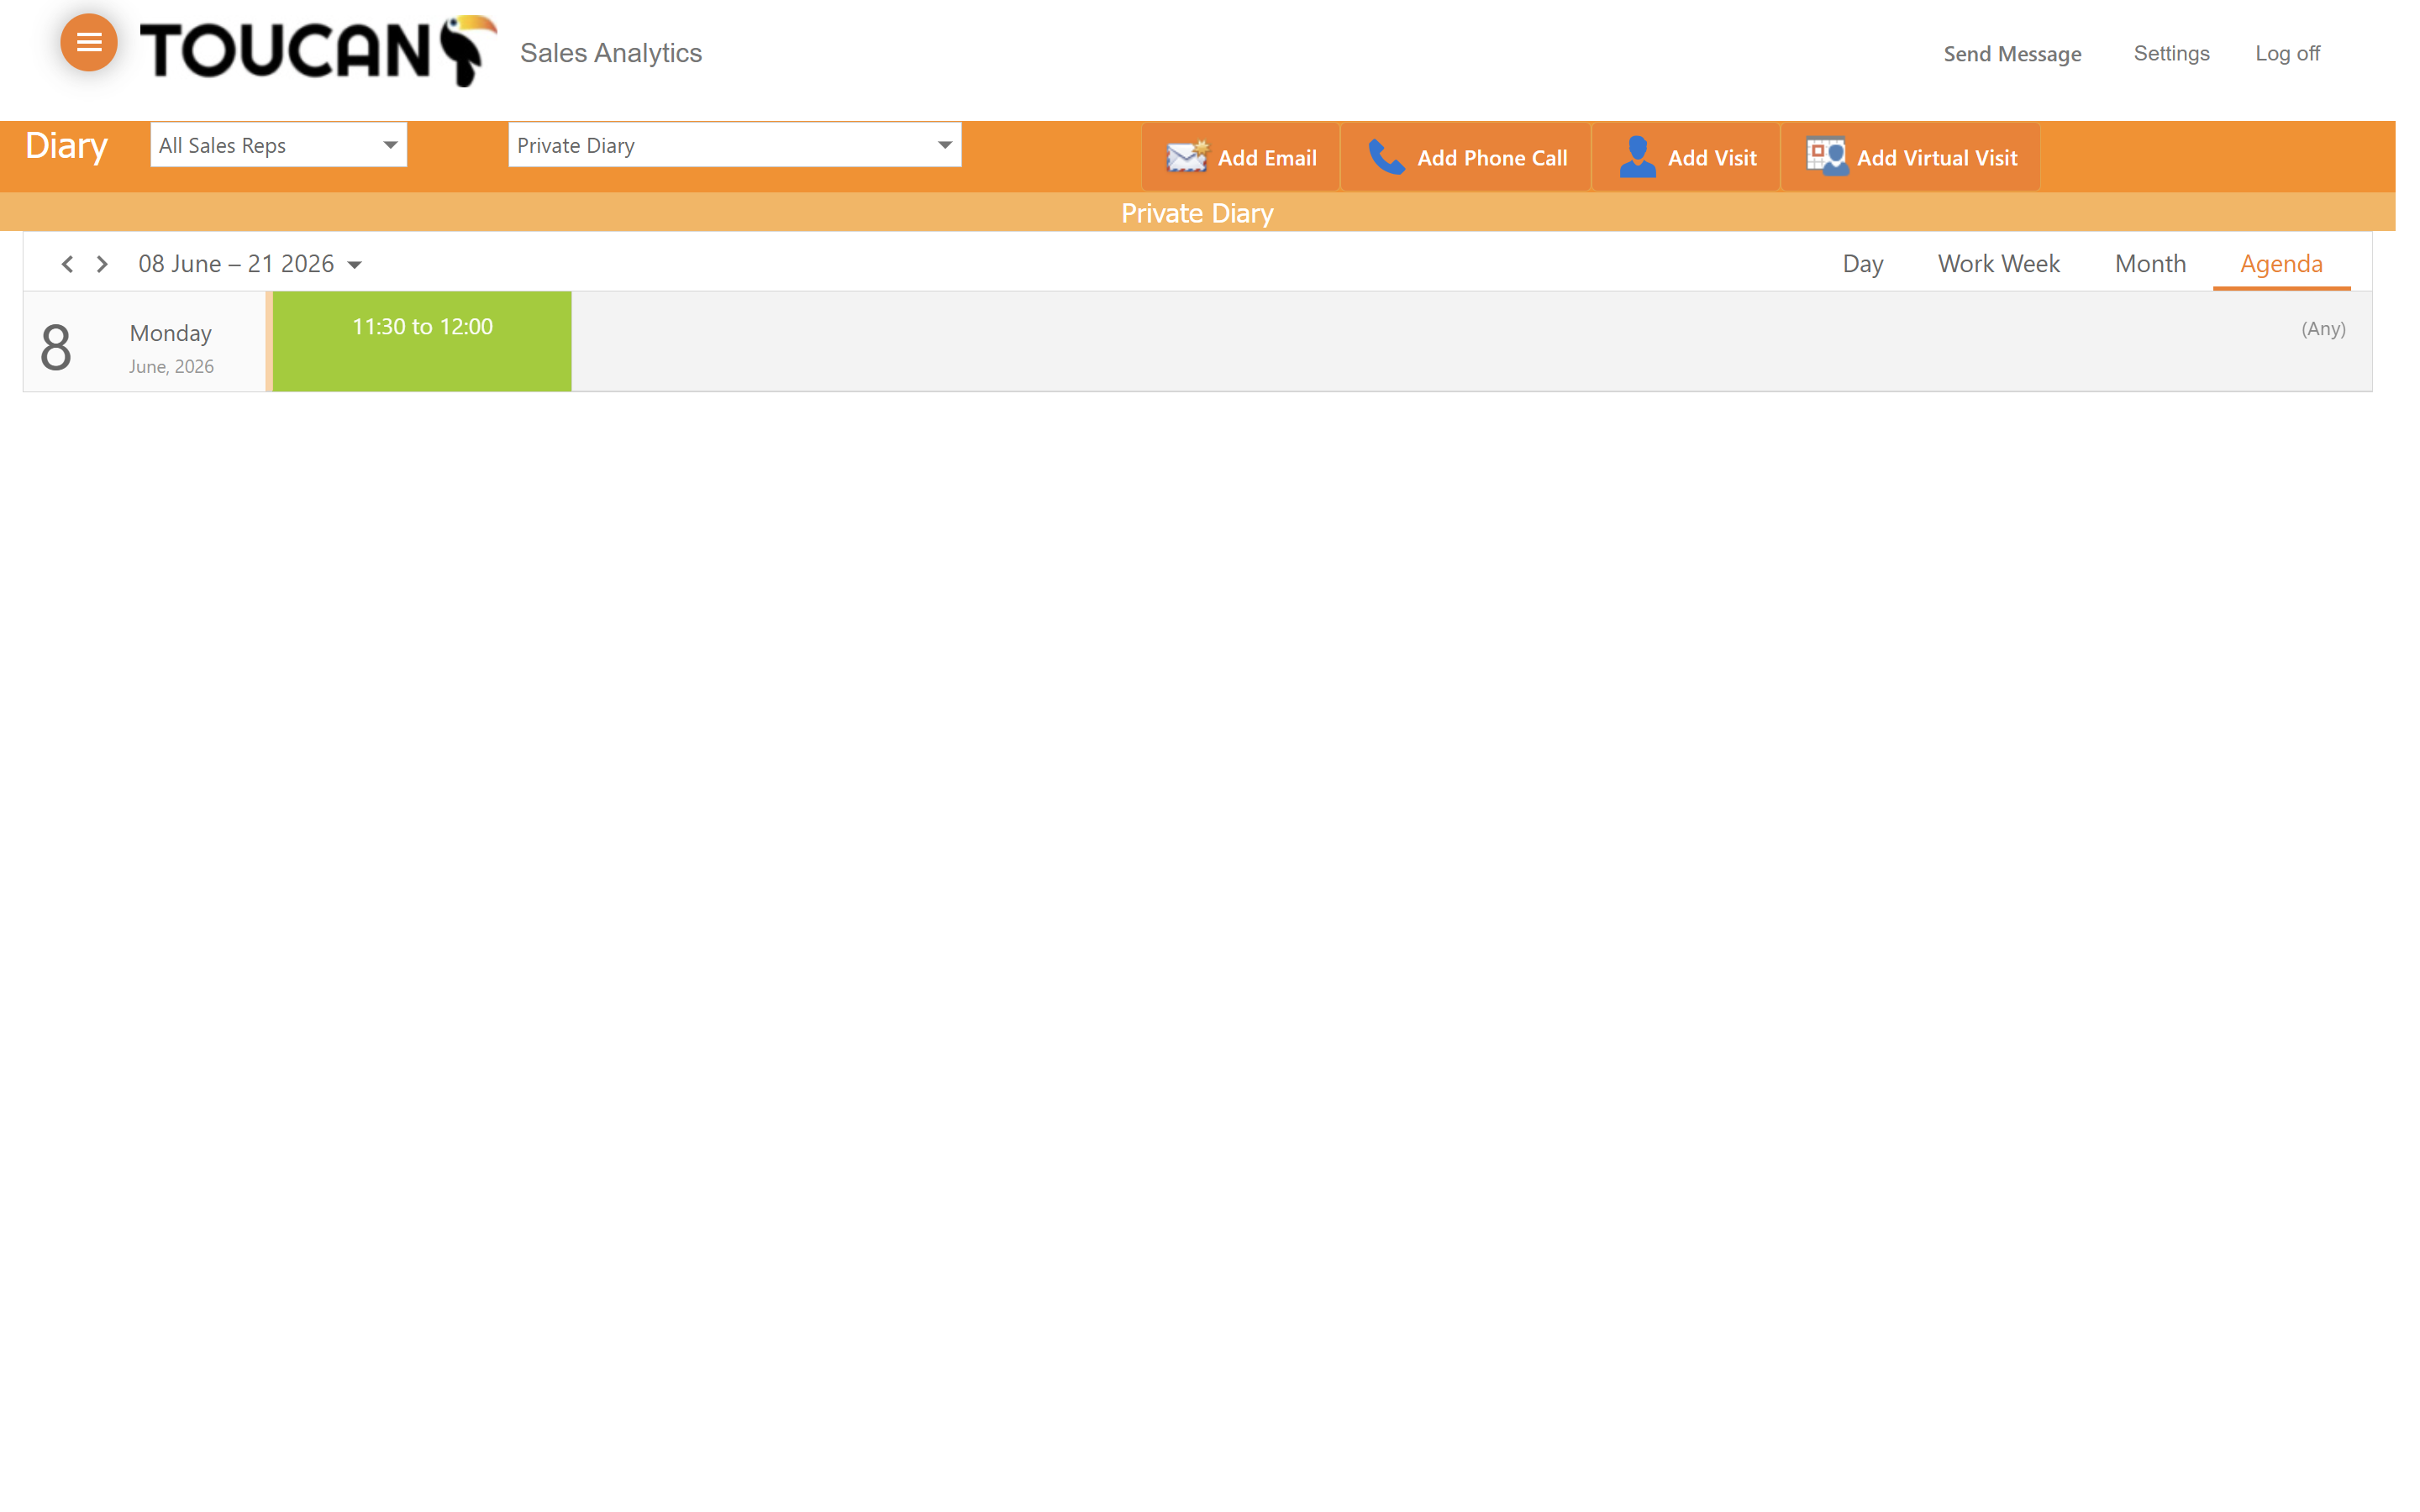
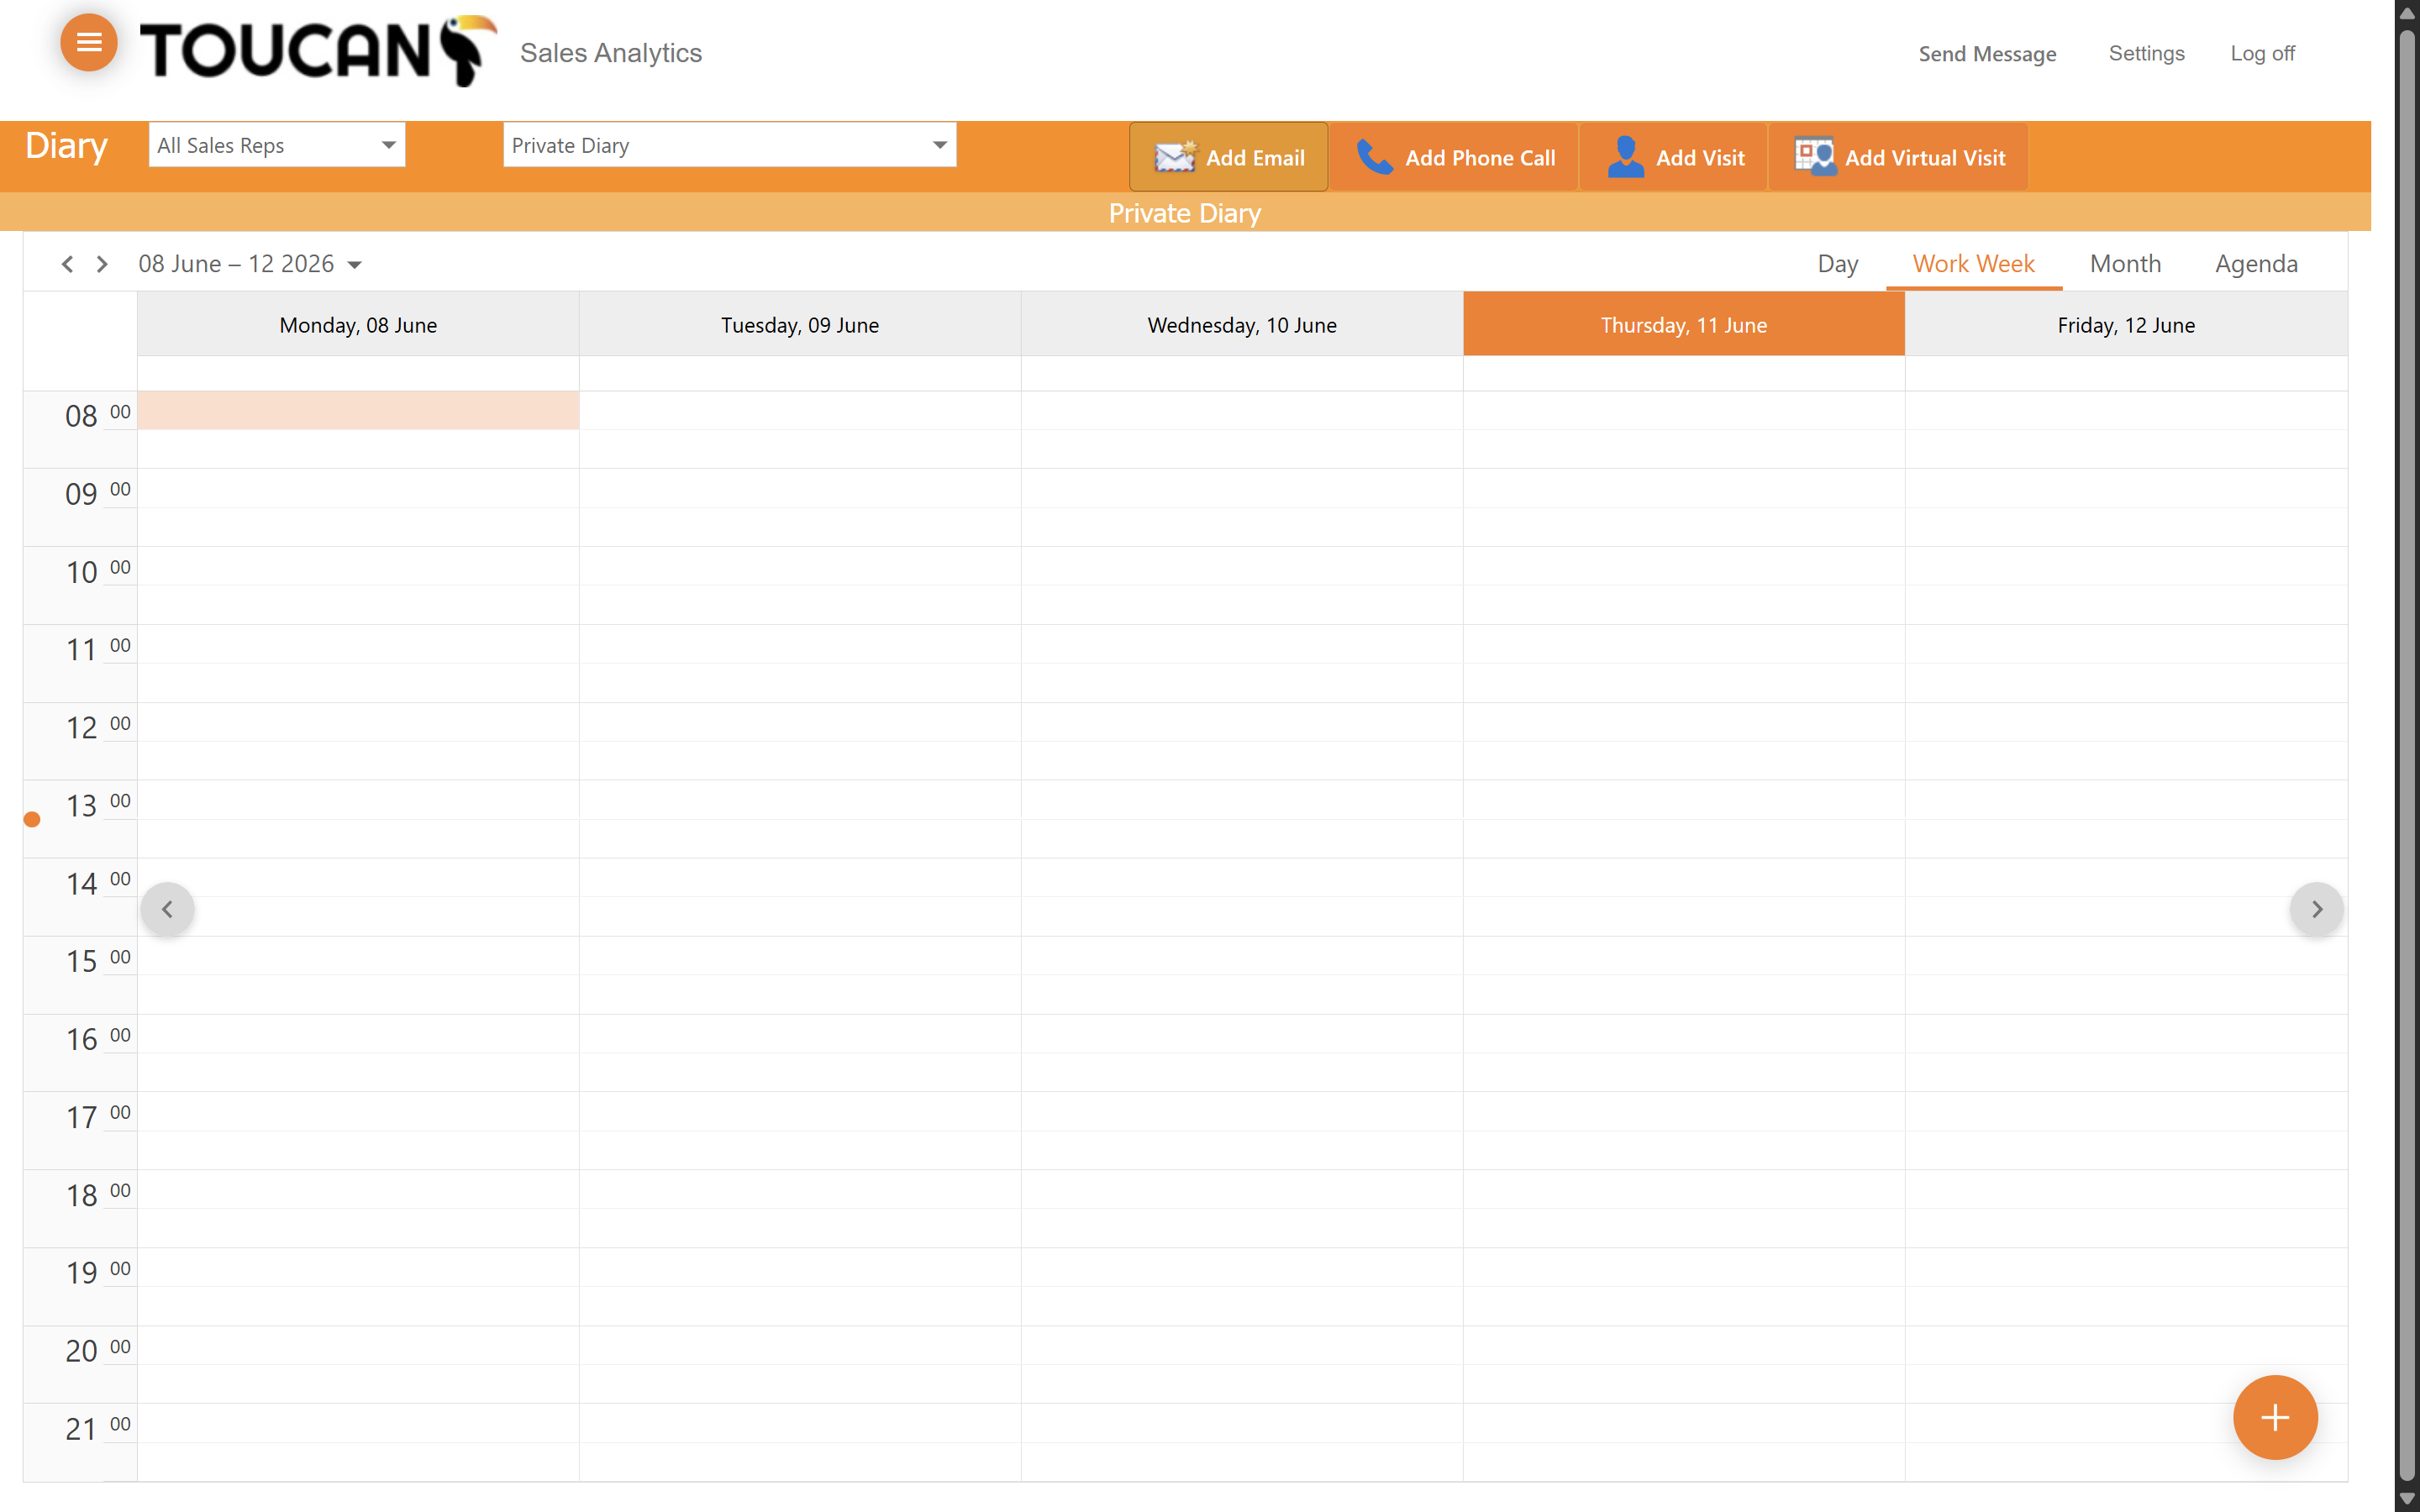
Navigating Calendar Views

Toucan Sales Analytics offers multiple ways to view your schedule, allowing you to focus on immediate tasks or plan ahead.

1
Click on Month in the top navigation bar to switch your calendar from a Work Week to a Monthly view.
Step #1: Click on Month in the top navigation bar to switch your calendar from a Work Week to a Monthly view.
2
To view your commitments for day ahead, select the Agenda tab to view every meeting or appointment you have scheduled. Select through other dates here with the date selection.
Step #2: To view your commitments for day ahead, select the Agenda tab to view every meeting or appointment you have scheduled. Select through other dates here with the date selection.

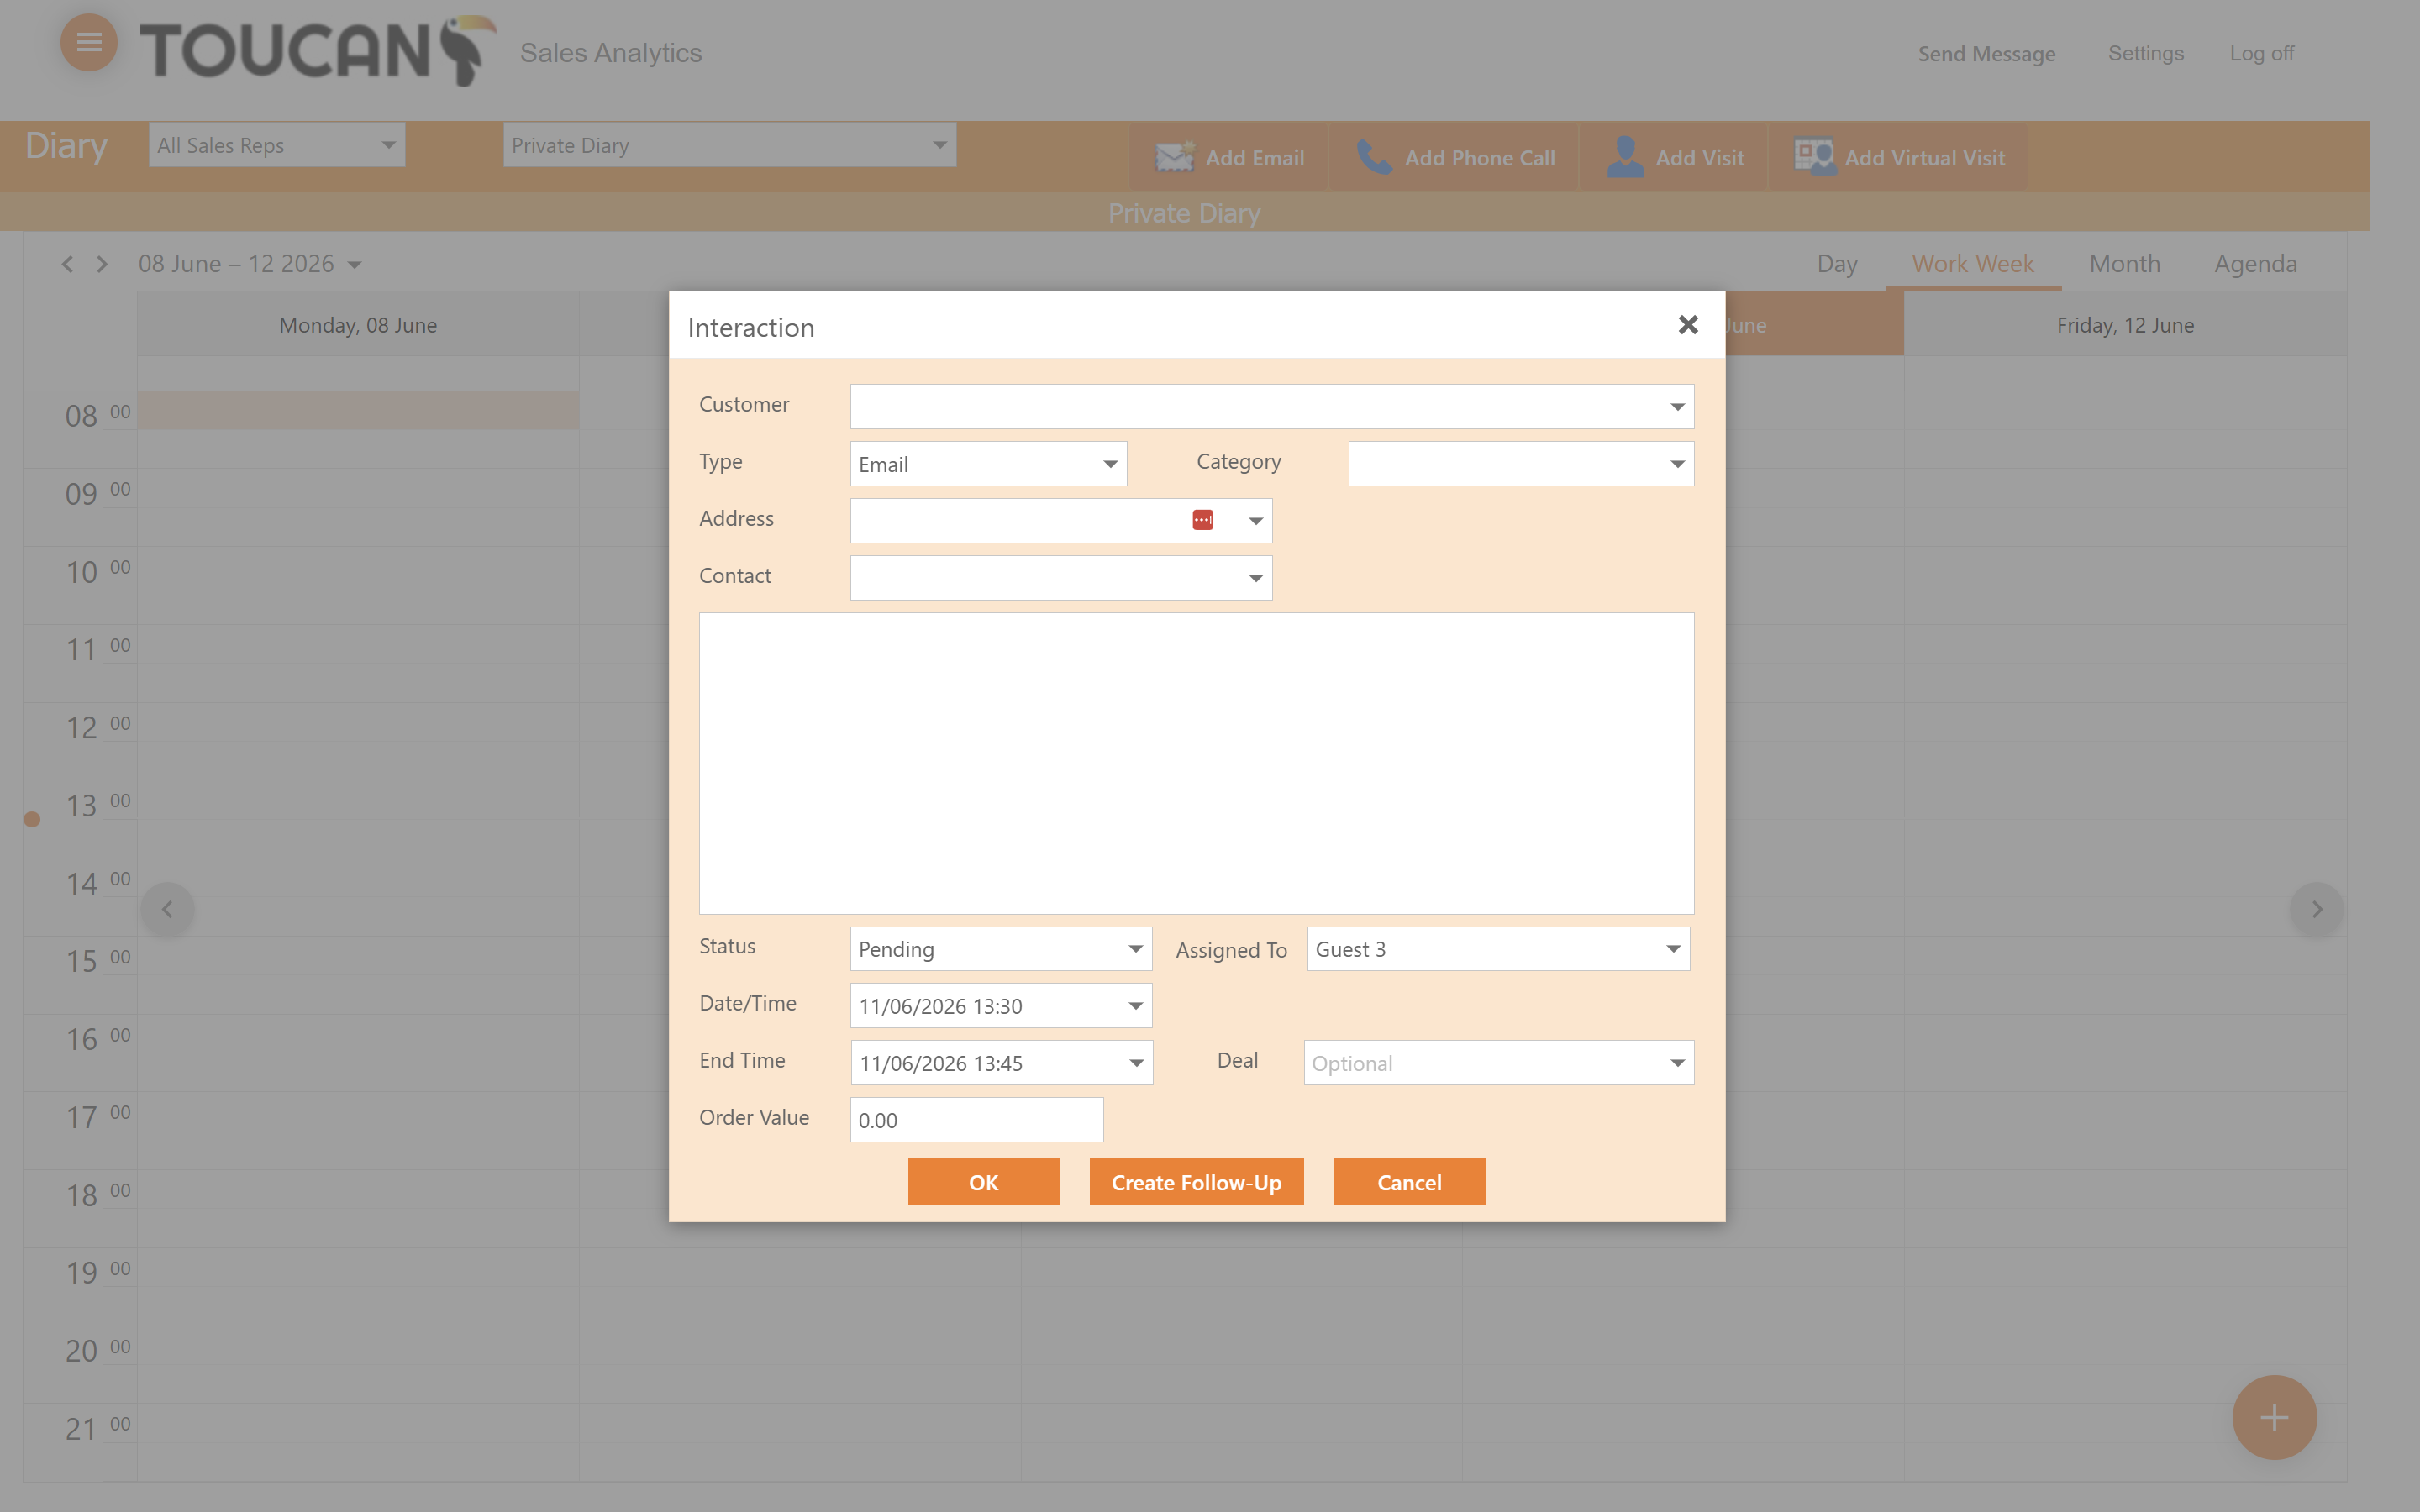
Scheduling an Interaction

From the Diary portal you can log emails, phone calls, visits and virtual visits directly from this page if you are on the move with customer and lack the time to search within the system for further features.

3
To log a new email, select the Add Email button.
Step #3: To log a new email, select the Add Email button.
4
Fill out the required interaction fields in the modal window, including the customer name, contact details, and the scheduled date and time.

This process can be repeated for other interaction types available.
Step #4: Fill out the required interaction fields in the modal window, including the customer name, contact details, and the scheduled date and time. This process can be repeated for other interaction types available.

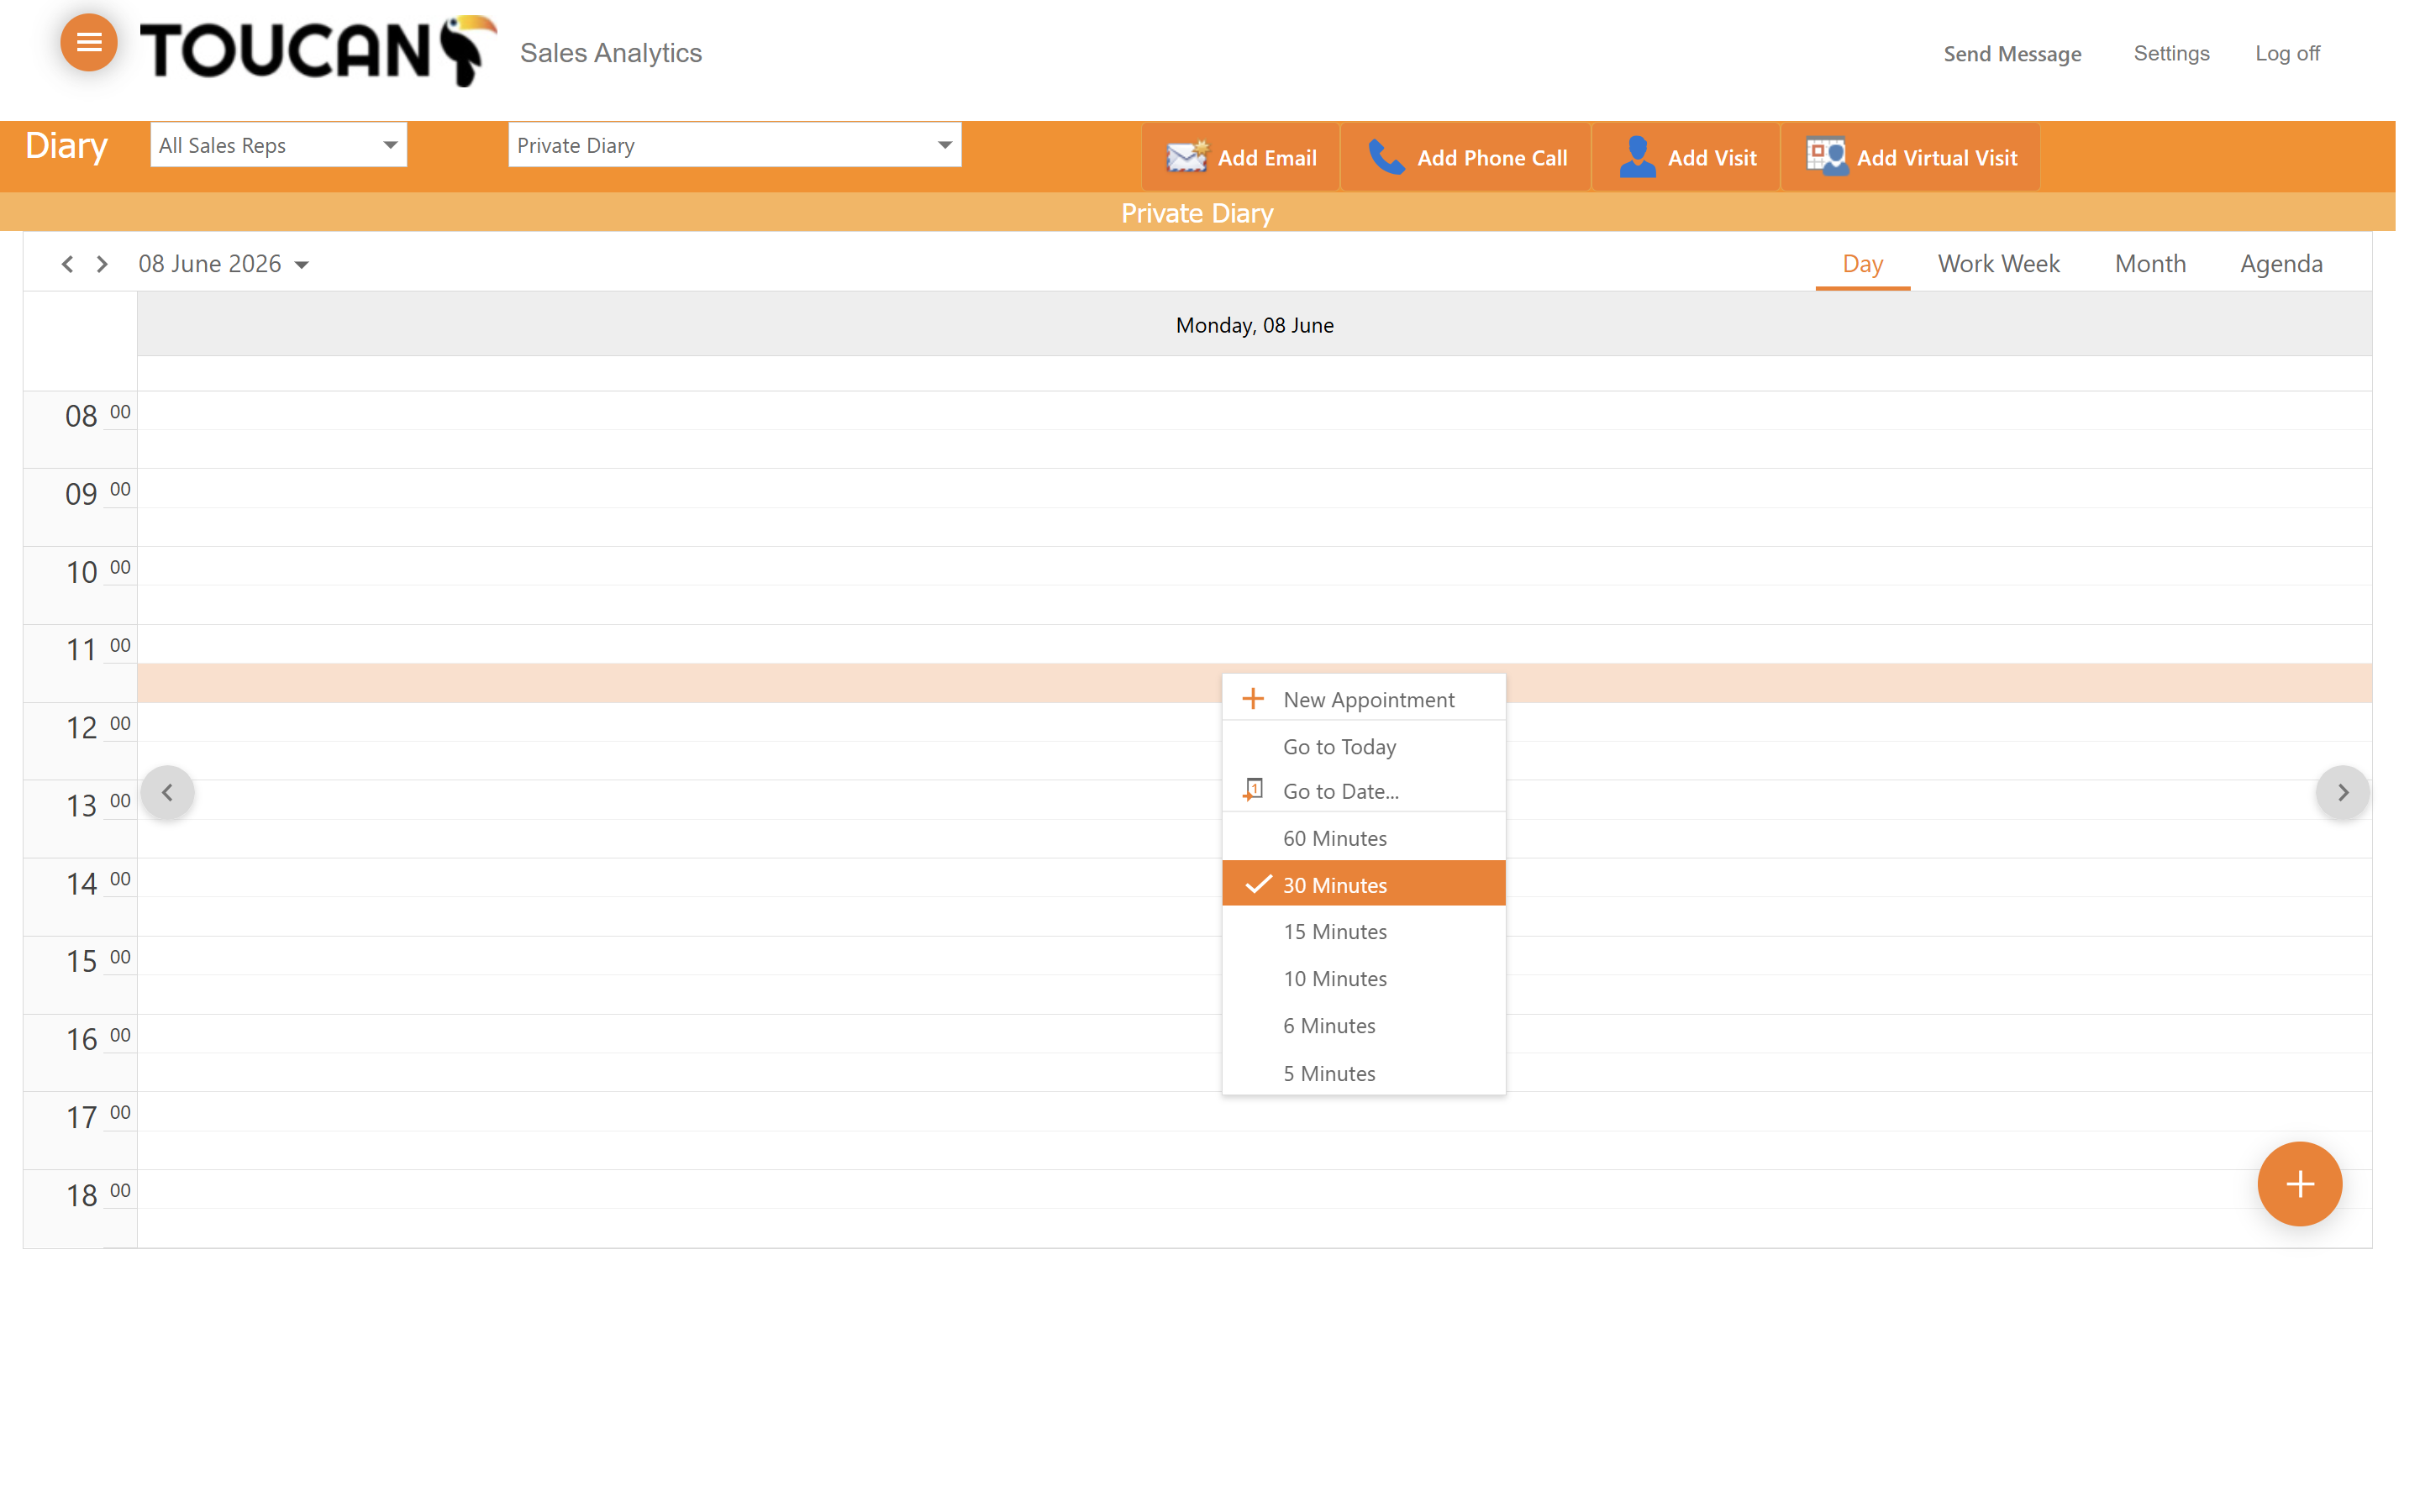
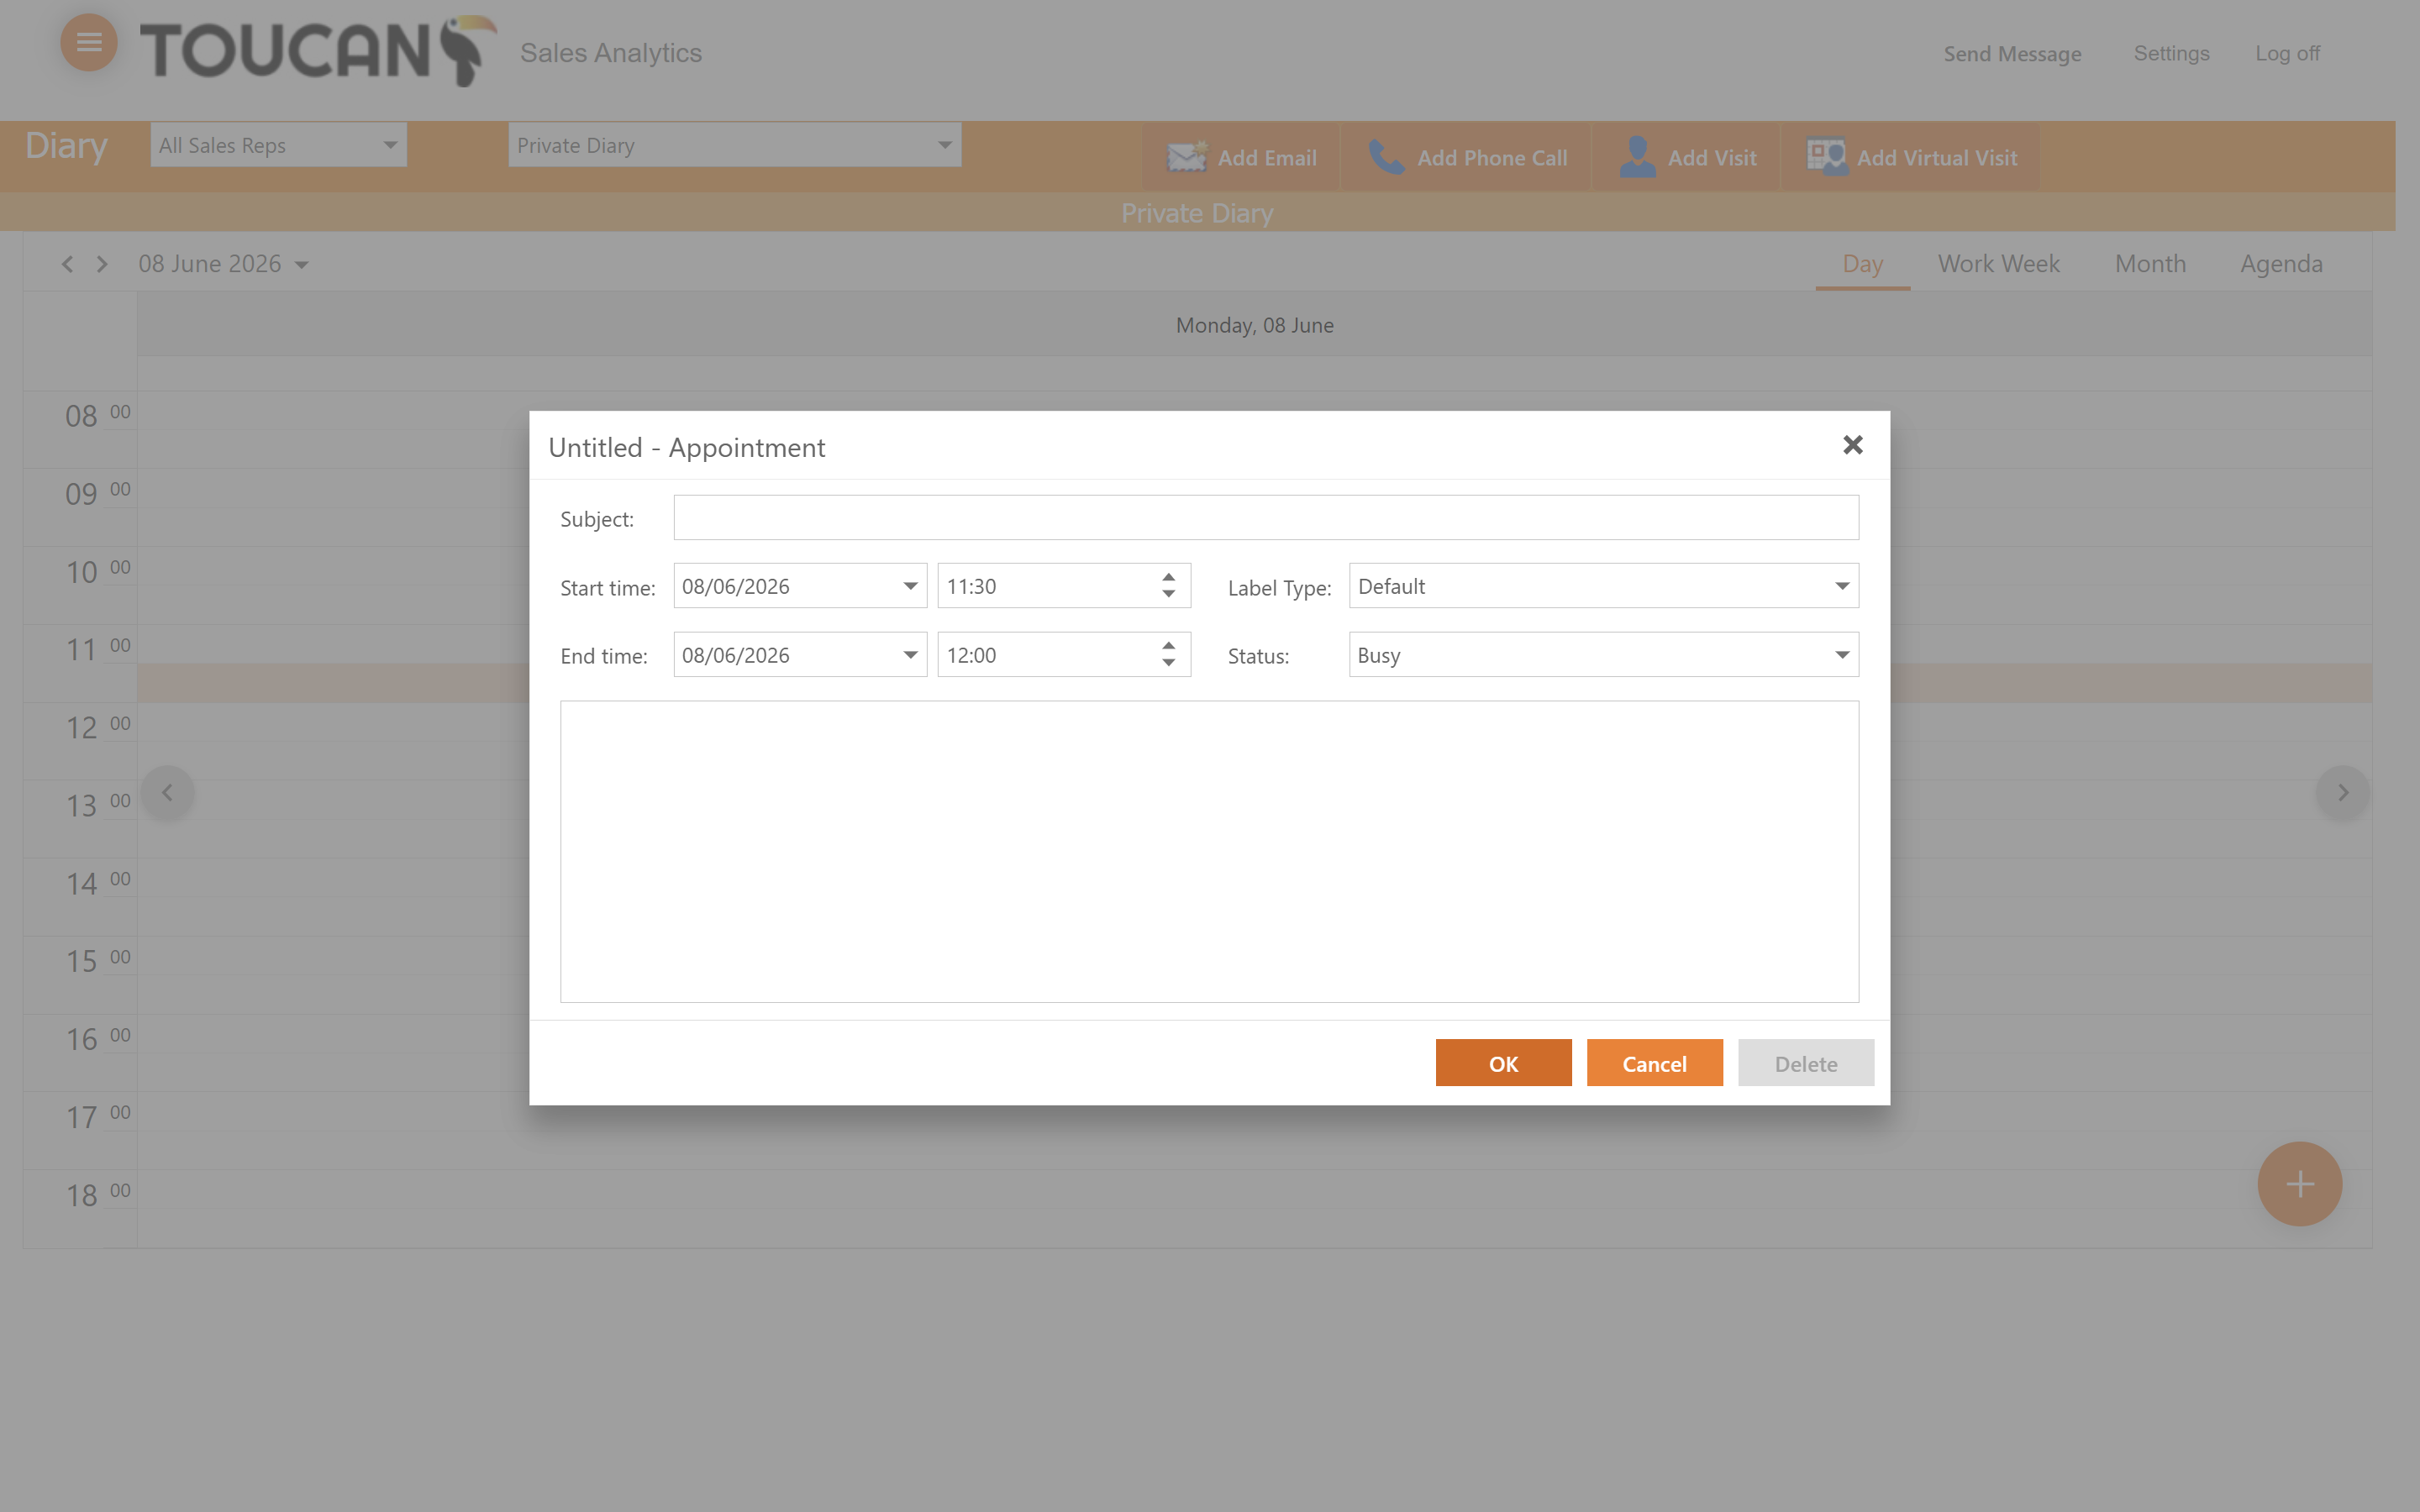
Adding Appointments Directly to the Calendar

If you simply need to block out time without logging a specific customer interaction, you can add appointments directly to your calendar grid.

5
Click on a specific 30-minute time interval directly on the calendar to open the quick-add appointment context menu.
Step #5: Click on a specific 30-minute time interval directly on the calendar to open the quick-add appointment context menu.
6
Enter your appointment details—such as the subject, start and end times, and label—then click OK to schedule the event.
Step #6: Enter your appointment details—such as the subject, start and end times, and label—then click OK to schedule the event.