How to View and Export Order Sales Reports: Step-by-Step Guide

Learn how to view and export order sales reports, filter by order status and date, and export your data to CSV. Follow this step-by-step guide to generate daily sales and returned items reports easily.

By Reservety

In this guide, we'll learn how to view and export order sales reports. You will see how to filter orders by status and date, and how to generate reports for specific order types, such as returned items. We will also cover how to export these reports to a CSV file for further use.

Let's get started

1
Click Reports on the left sidebar.
Step #1: Click Reports on the left sidebar.
2
Click the Daily Sales Report button.
Step #2: Click the Daily Sales Report button.

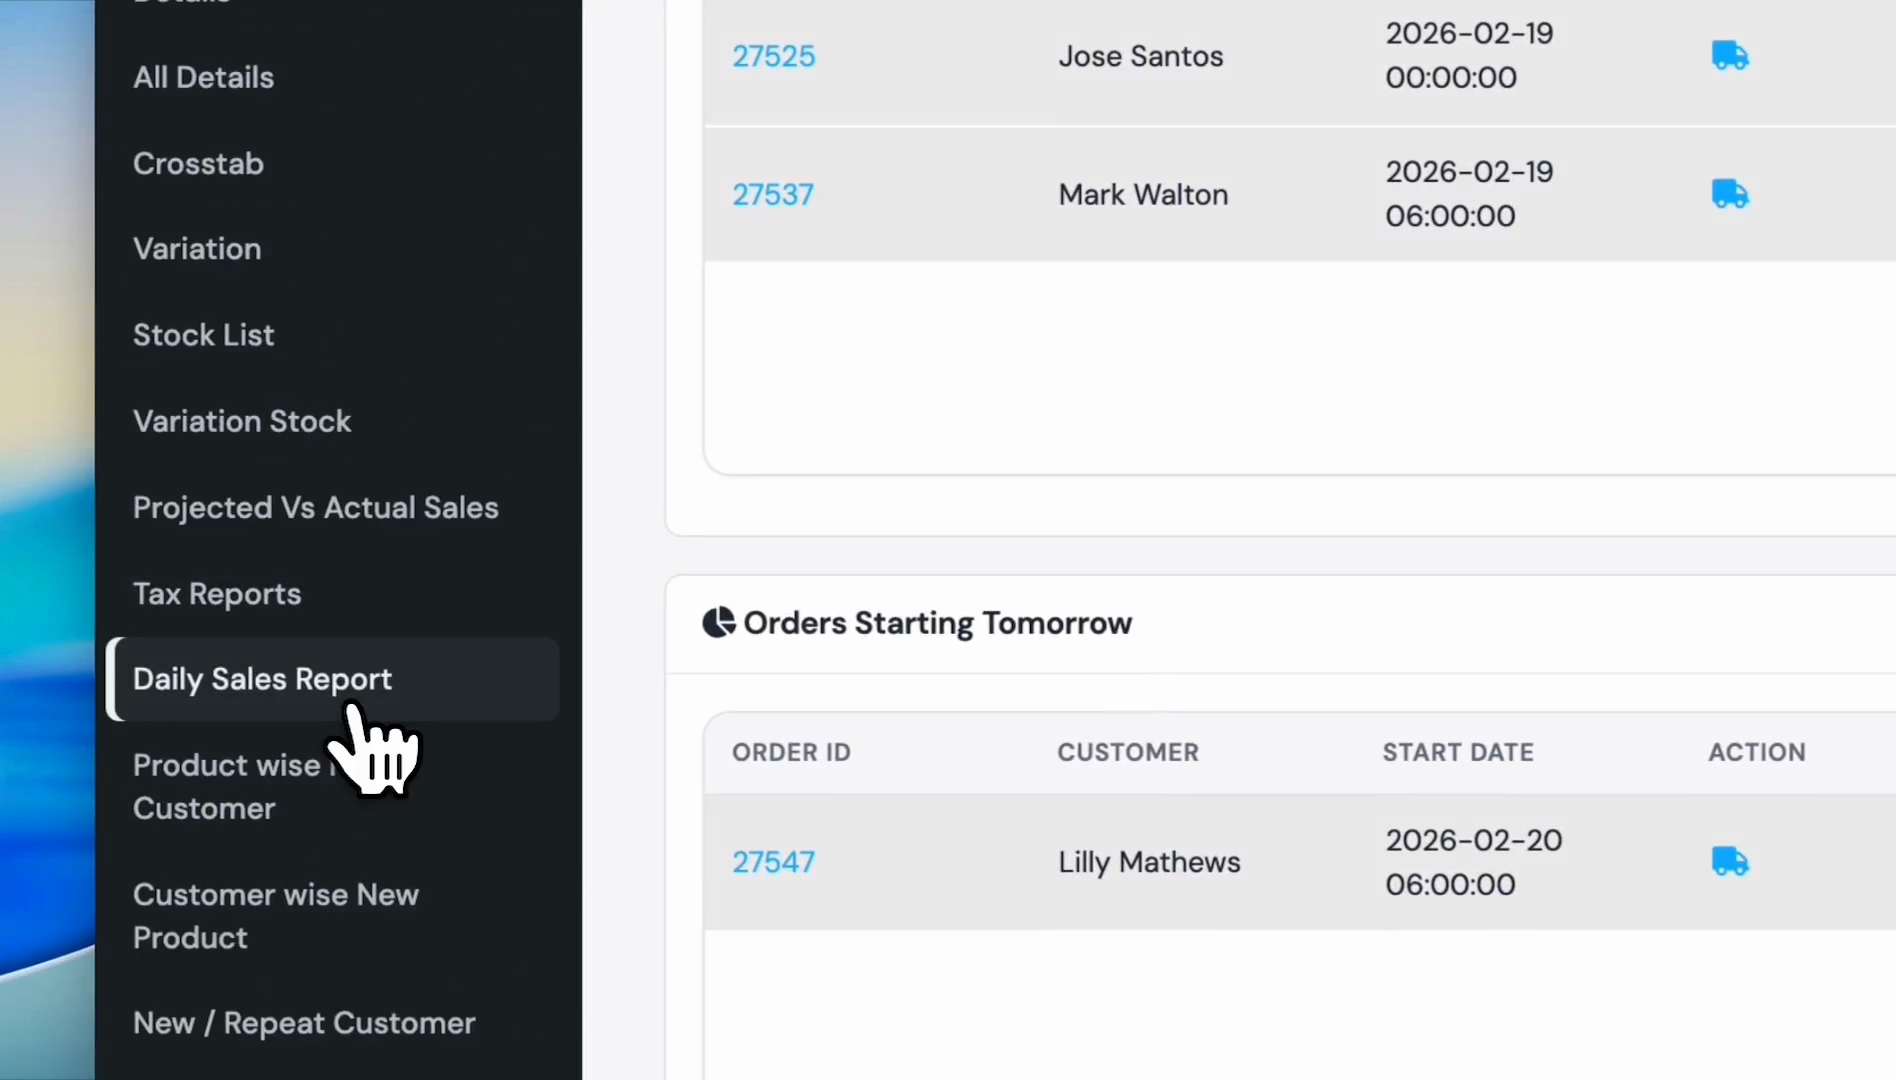
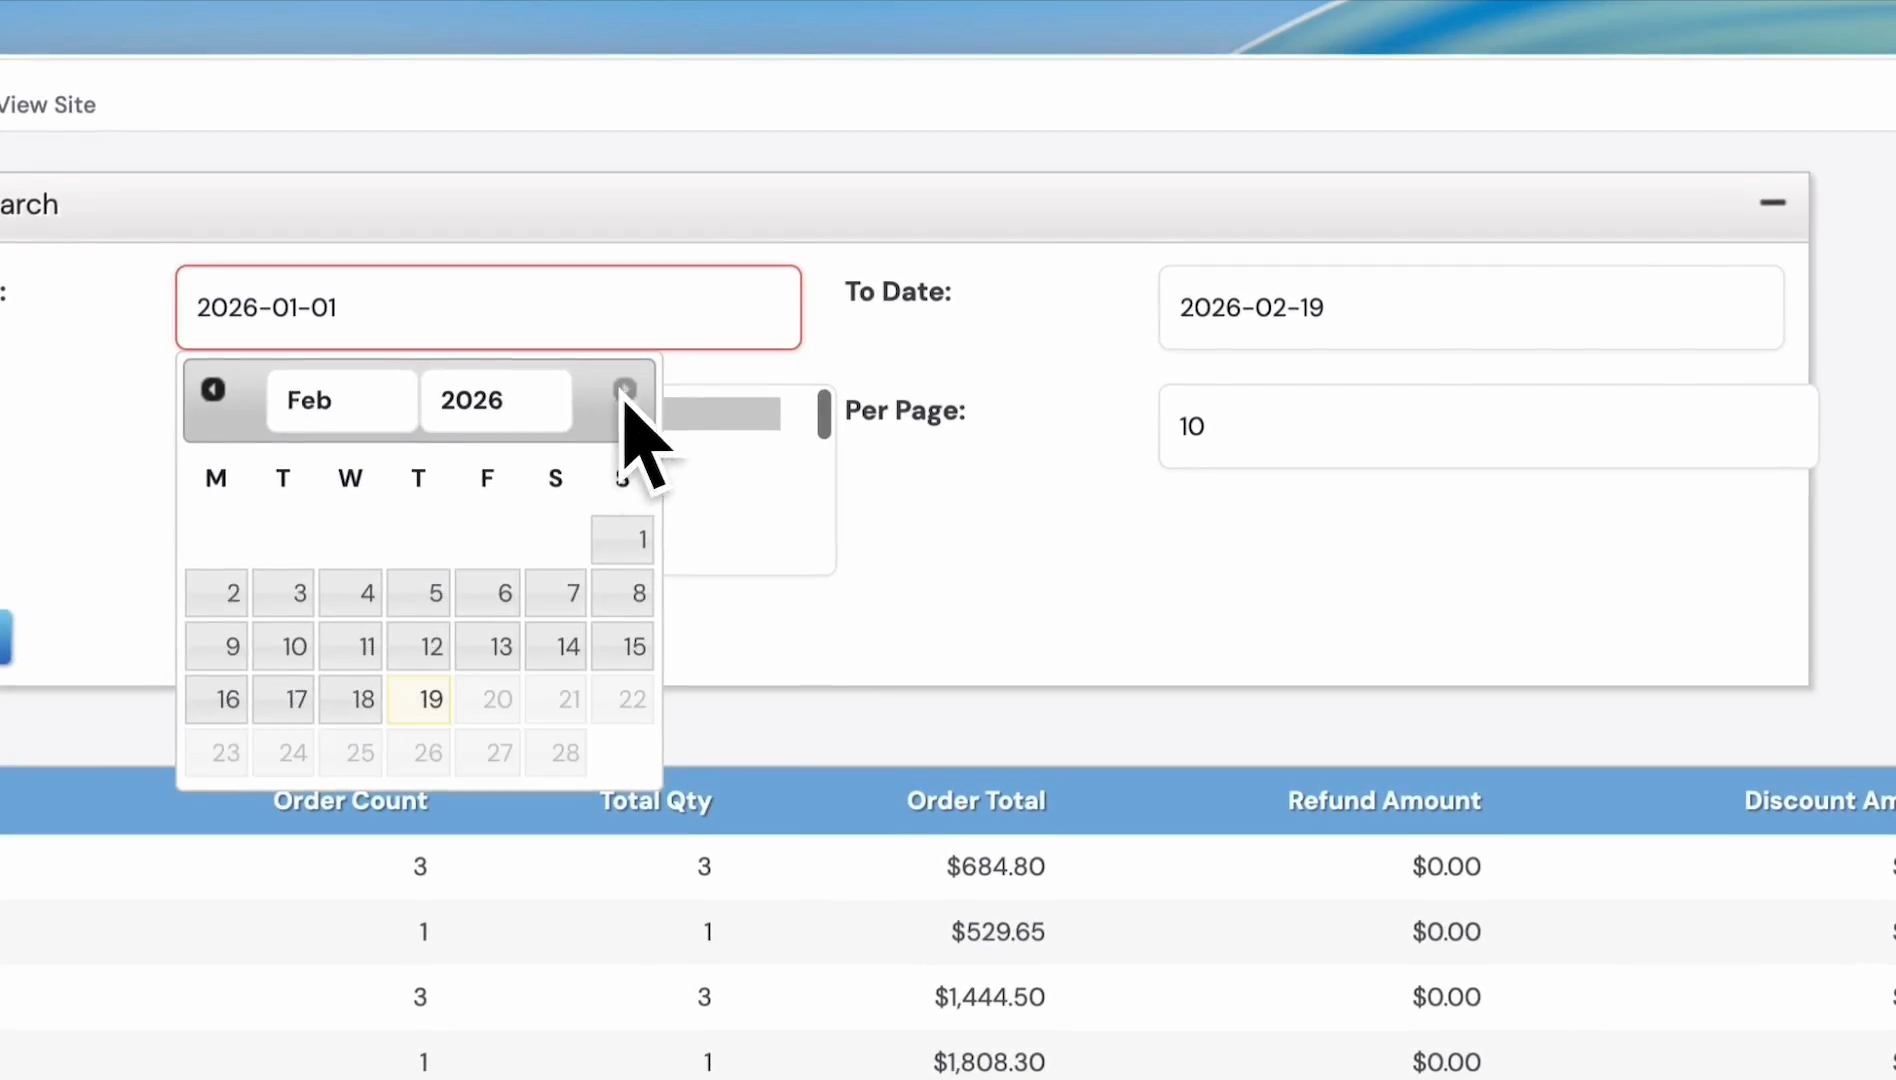
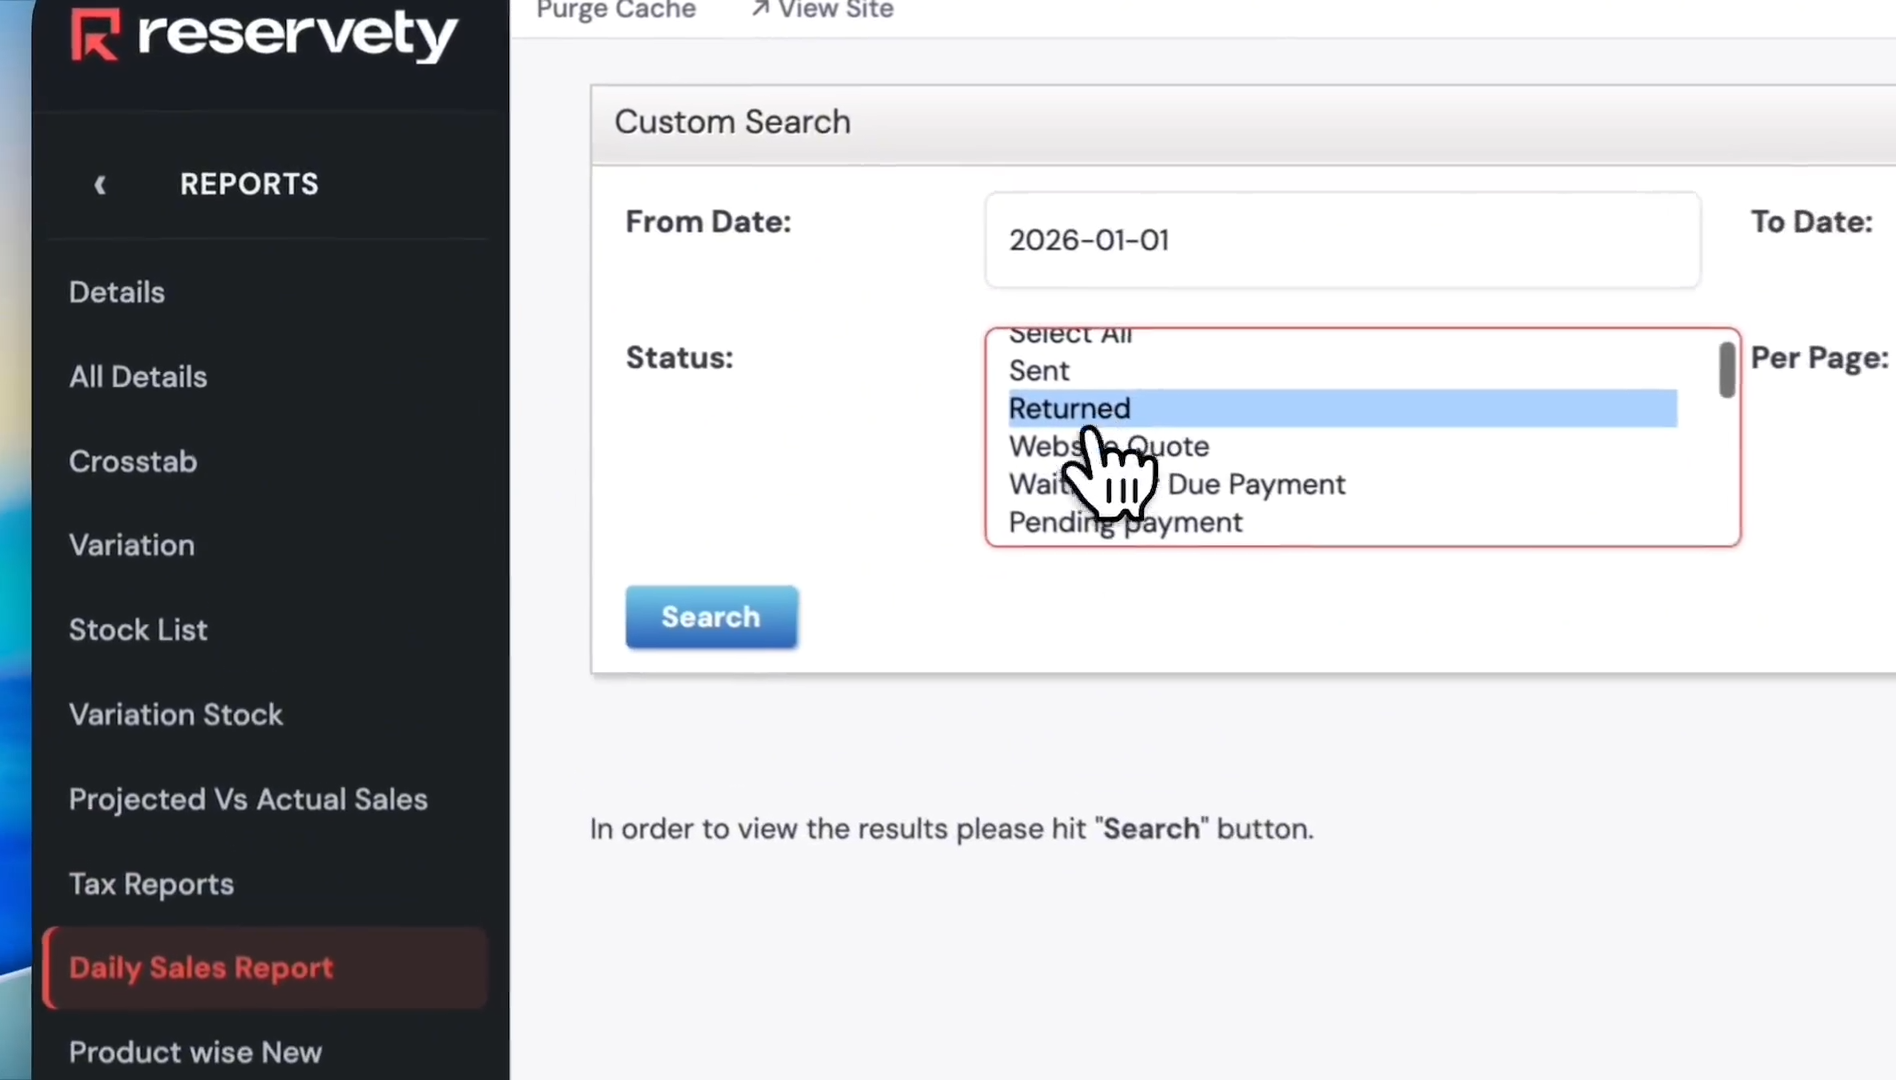
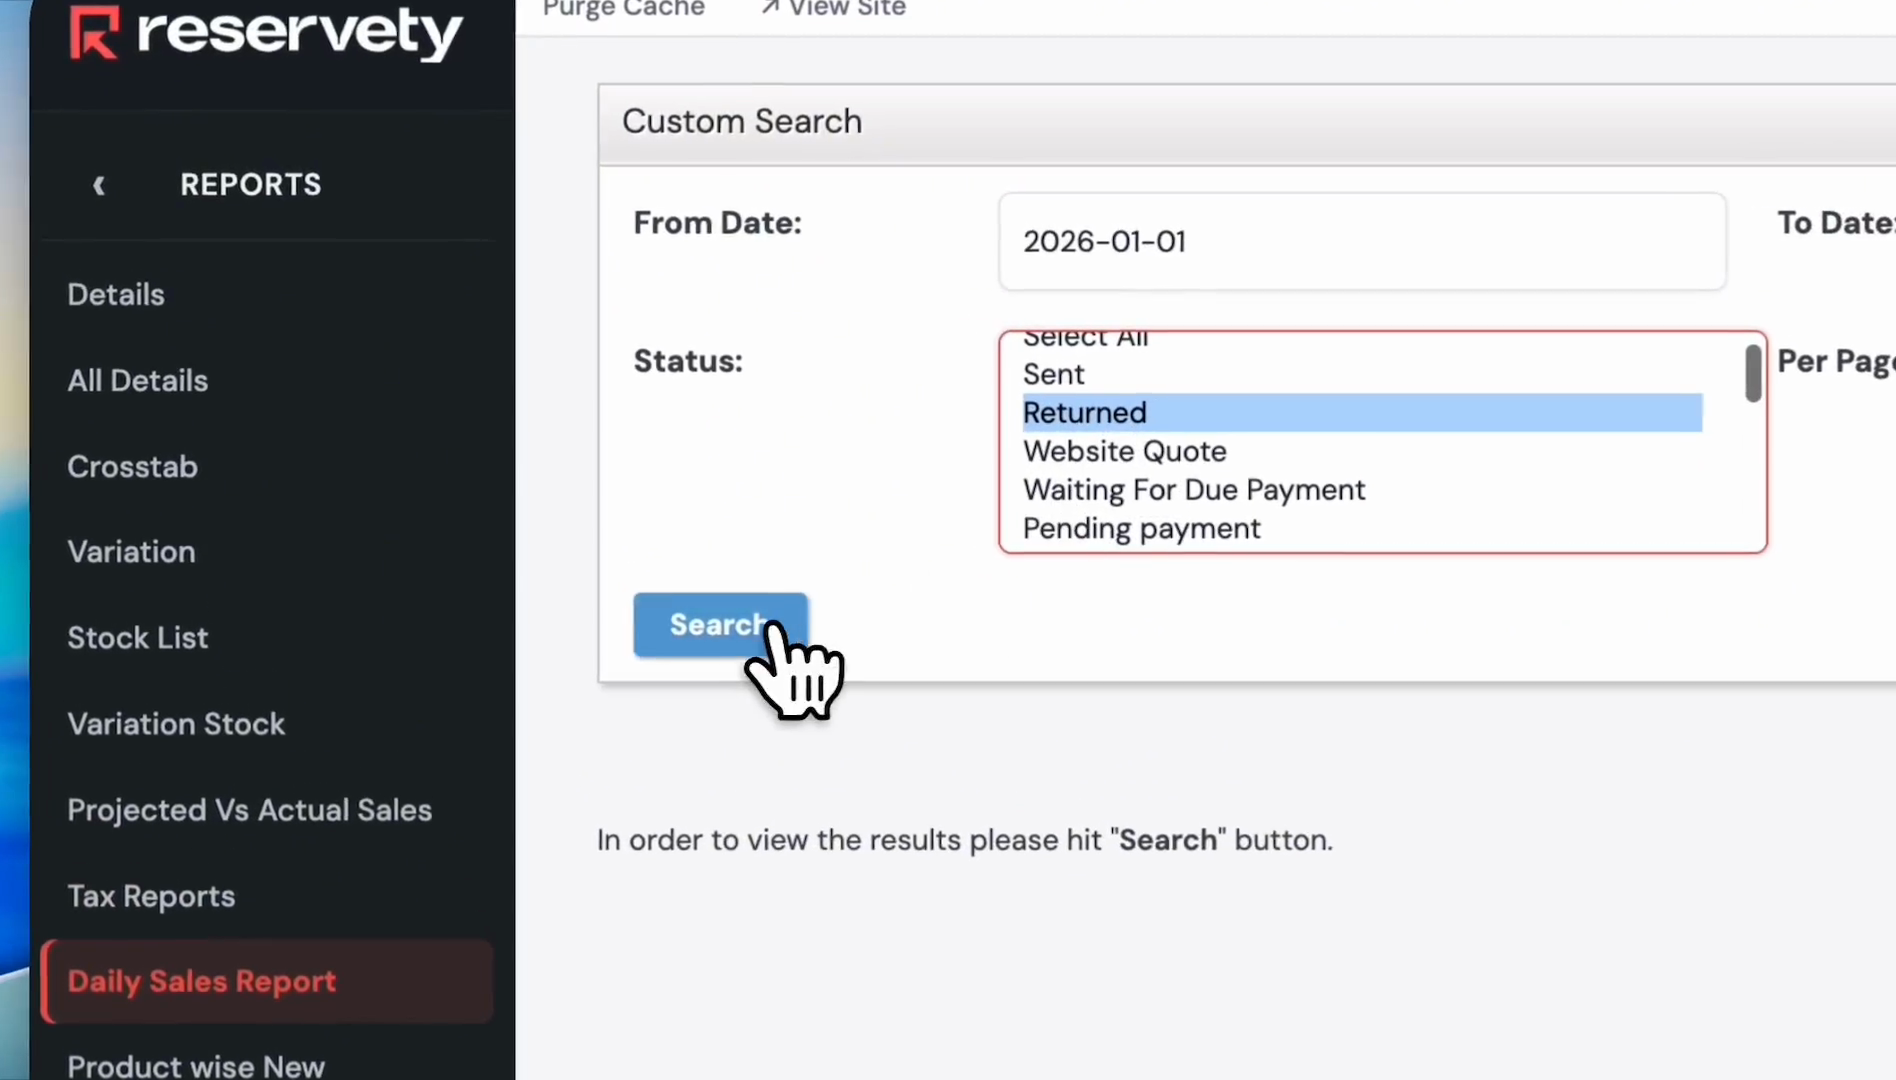
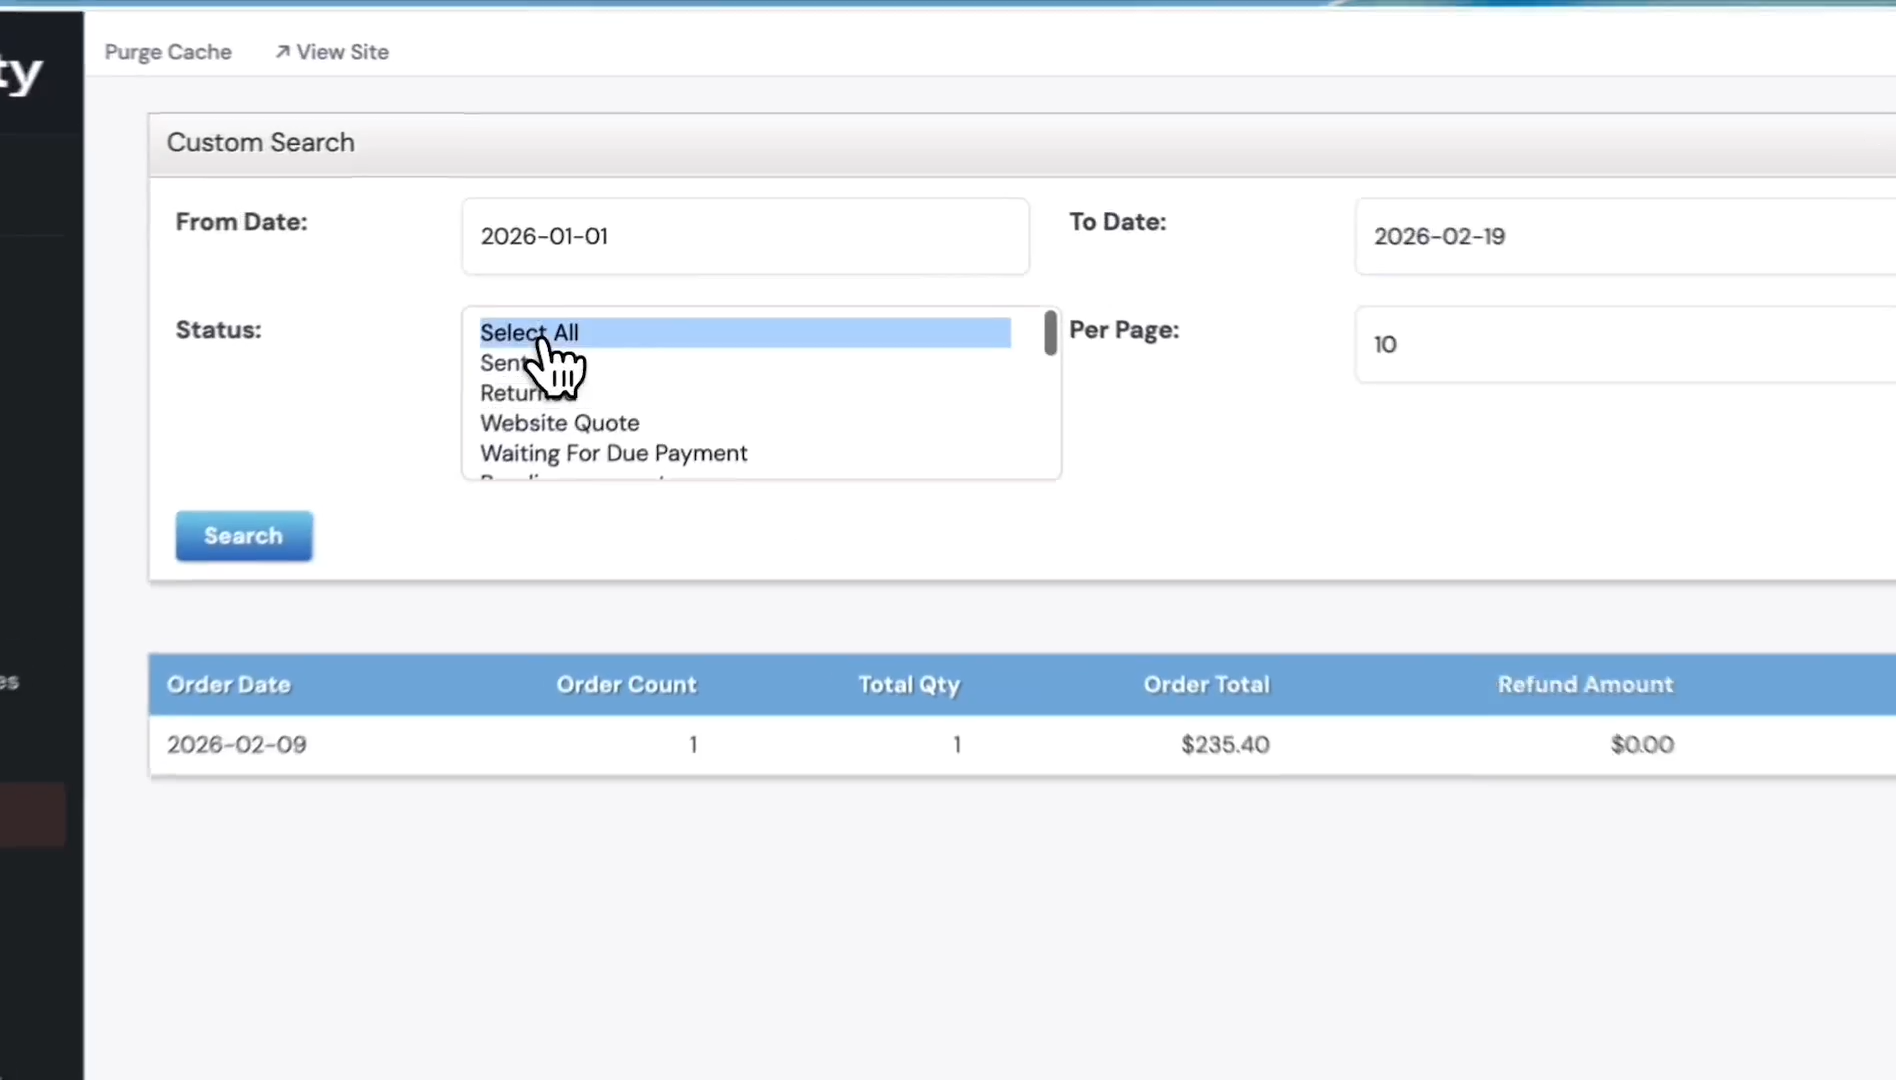
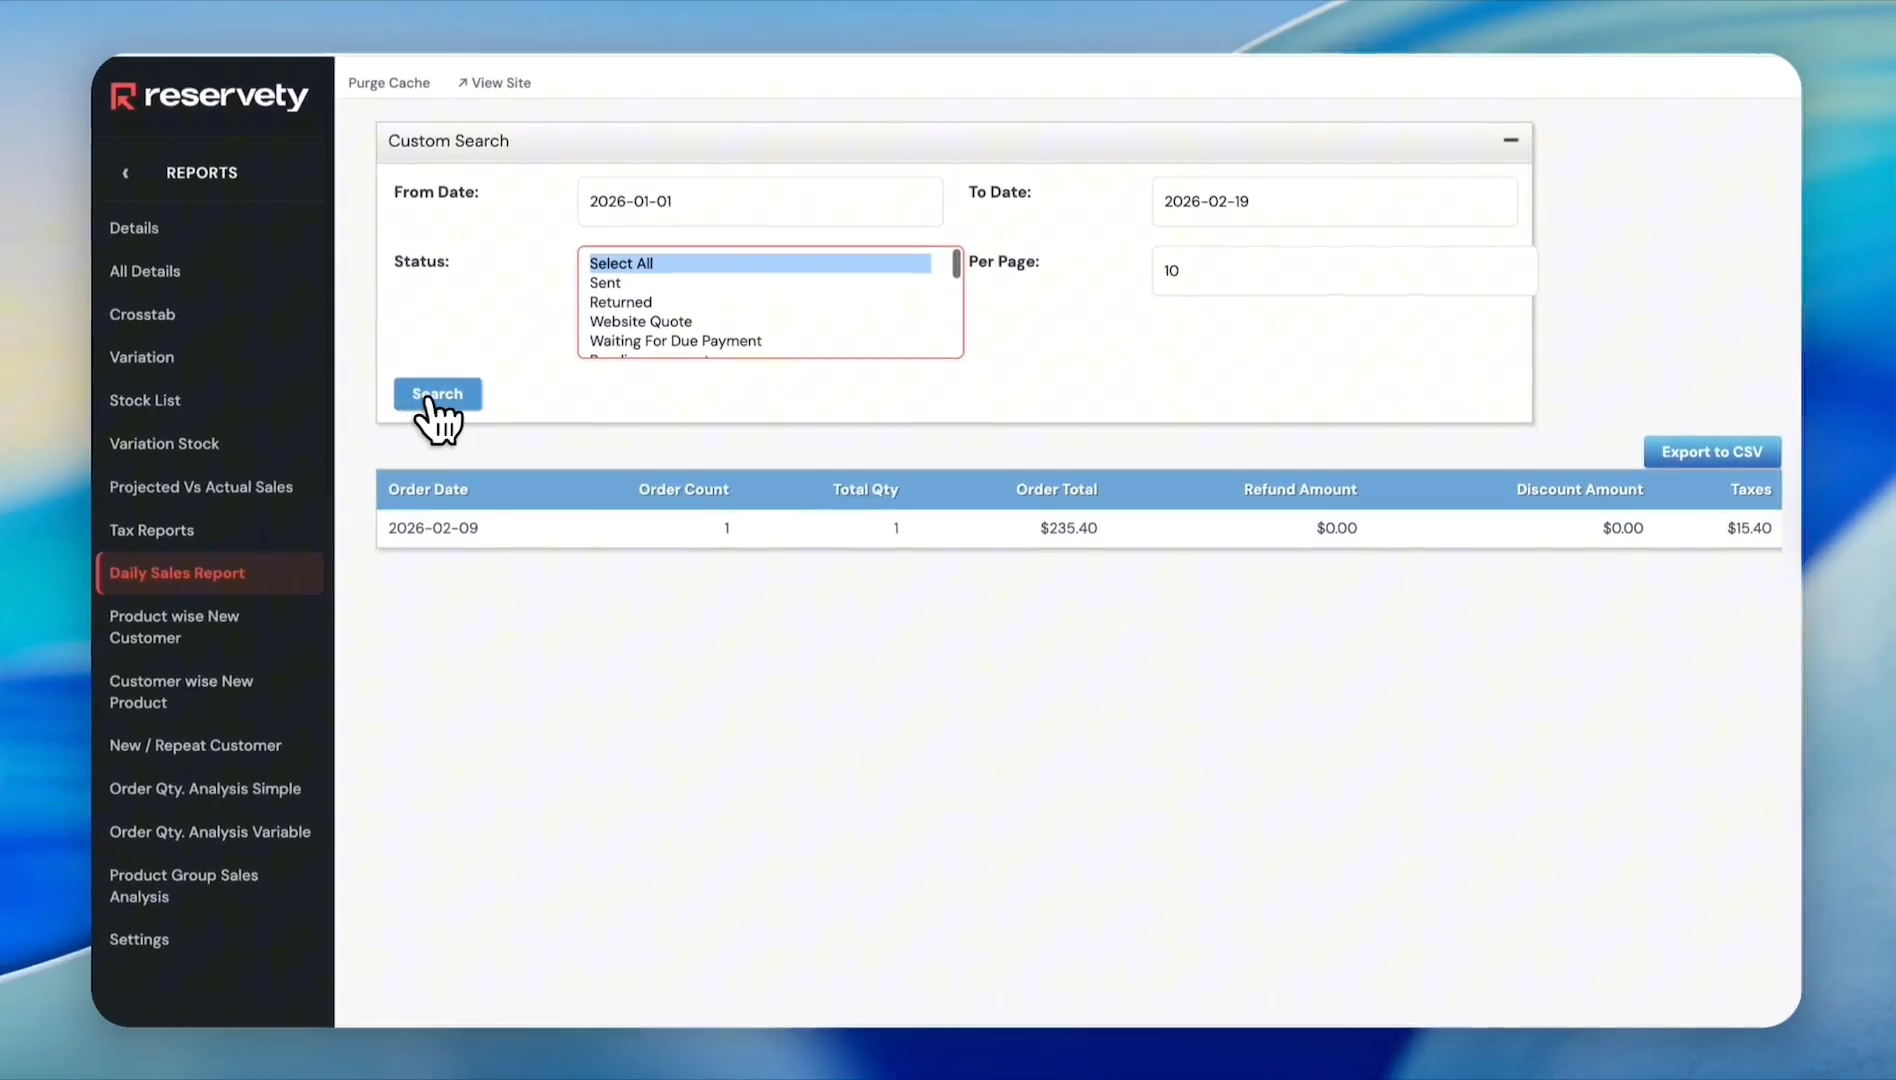
After clicking on the Daily Sales Report, a box with custom search options will appear. You can filter orders by their status and select the dates when the orders were placed.

3
Click the From Date box.
Step #3: Click the From Date box.

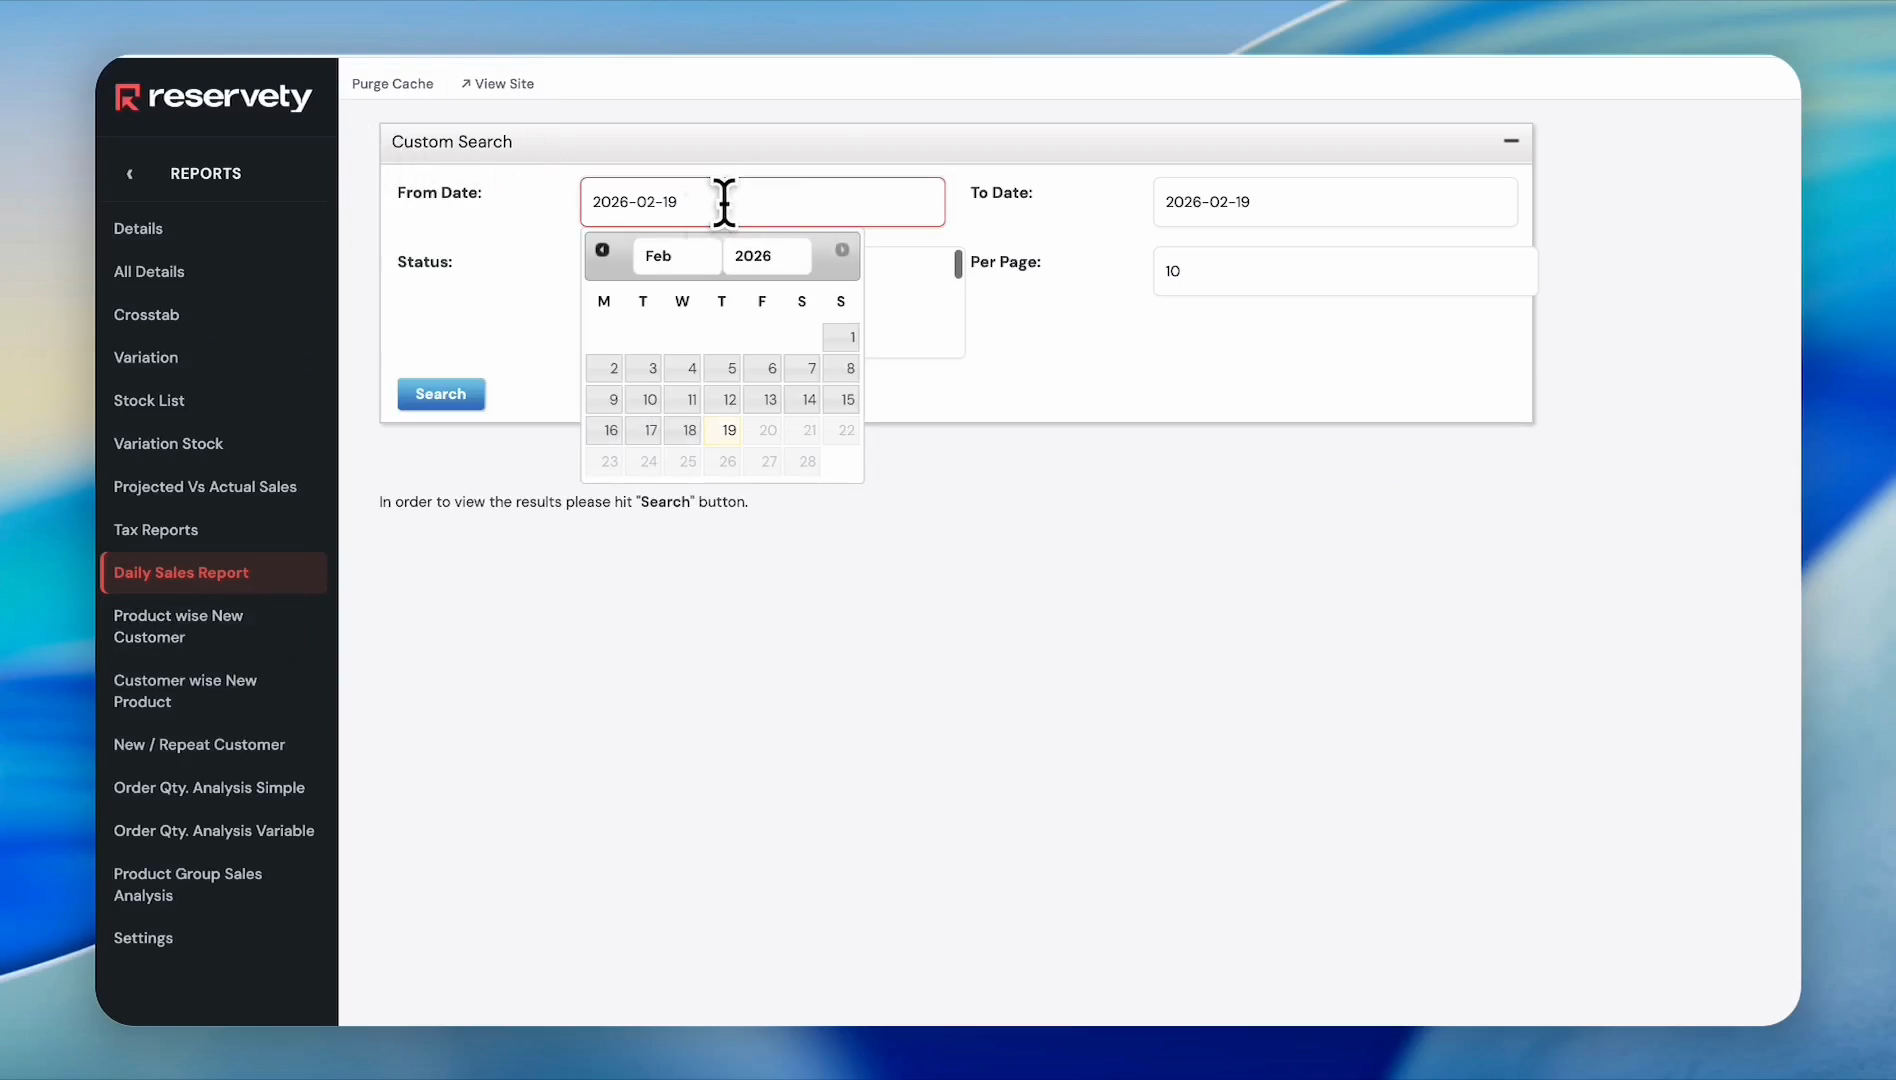
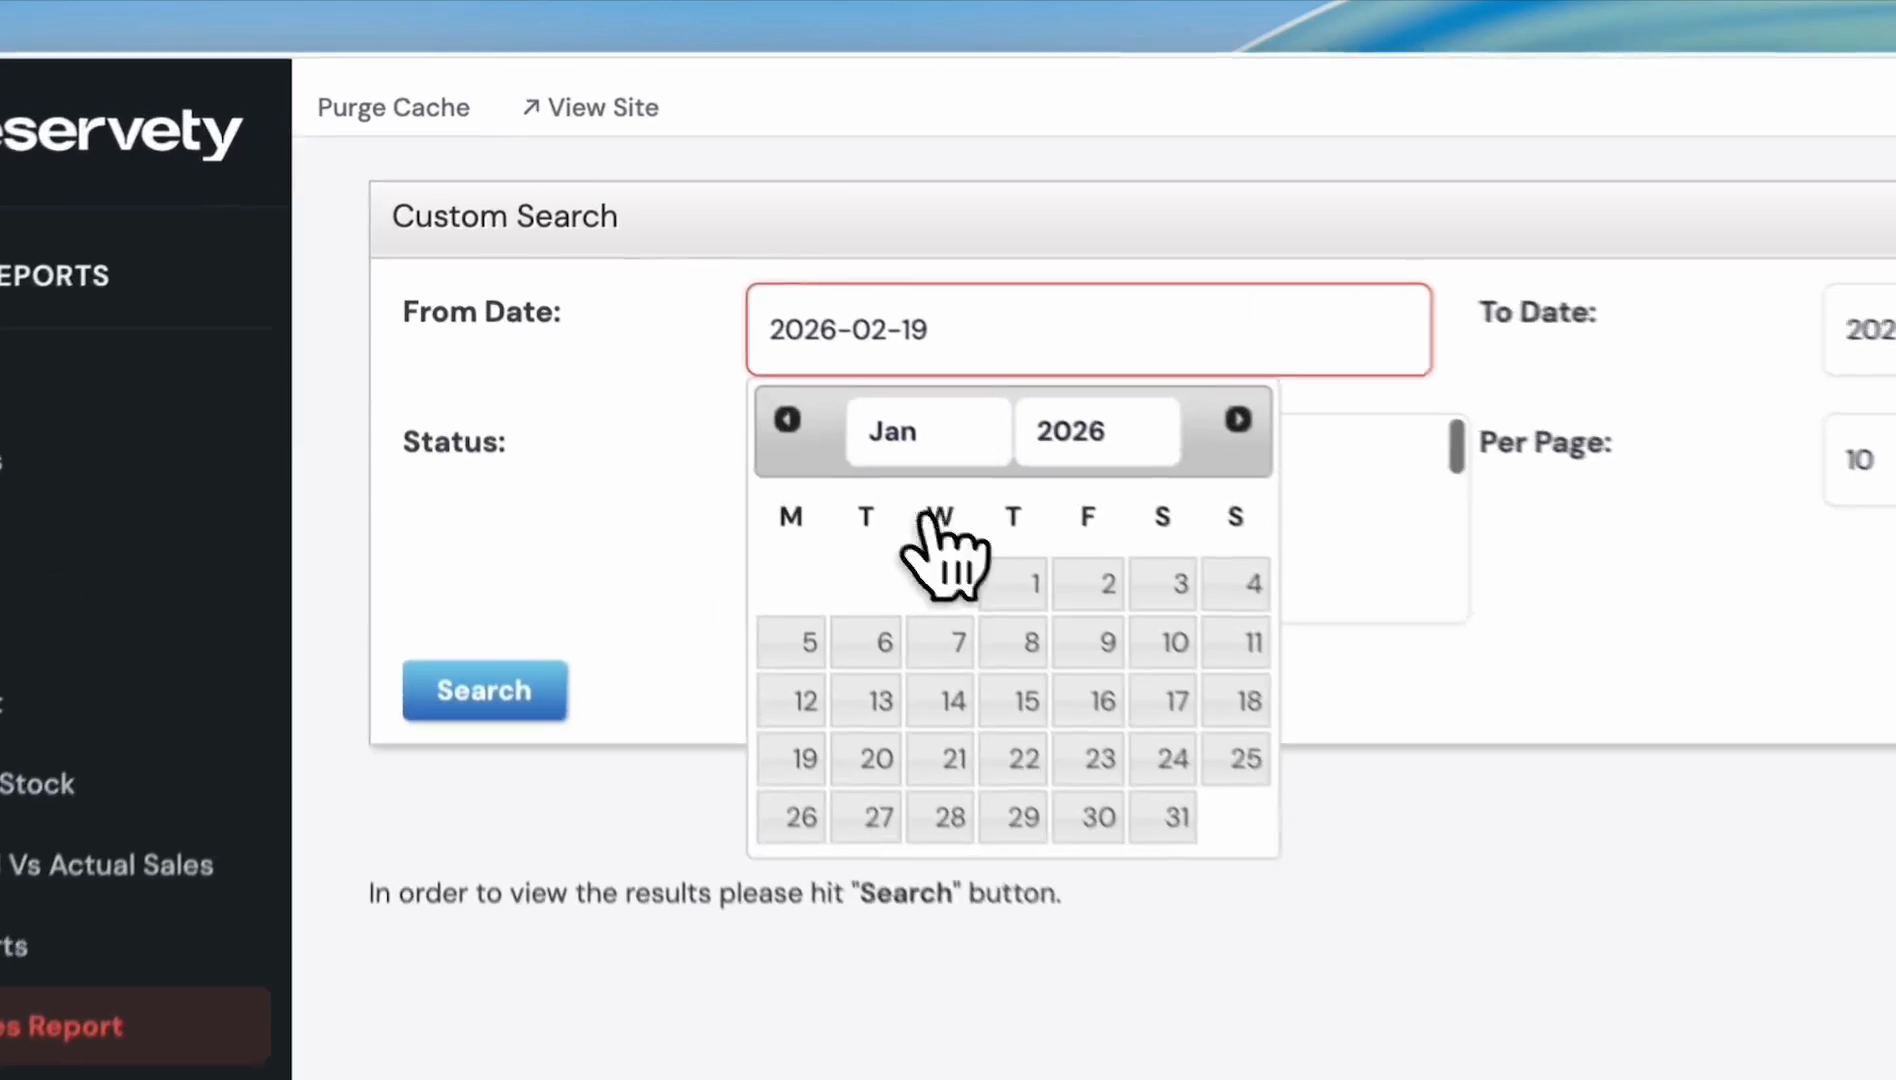
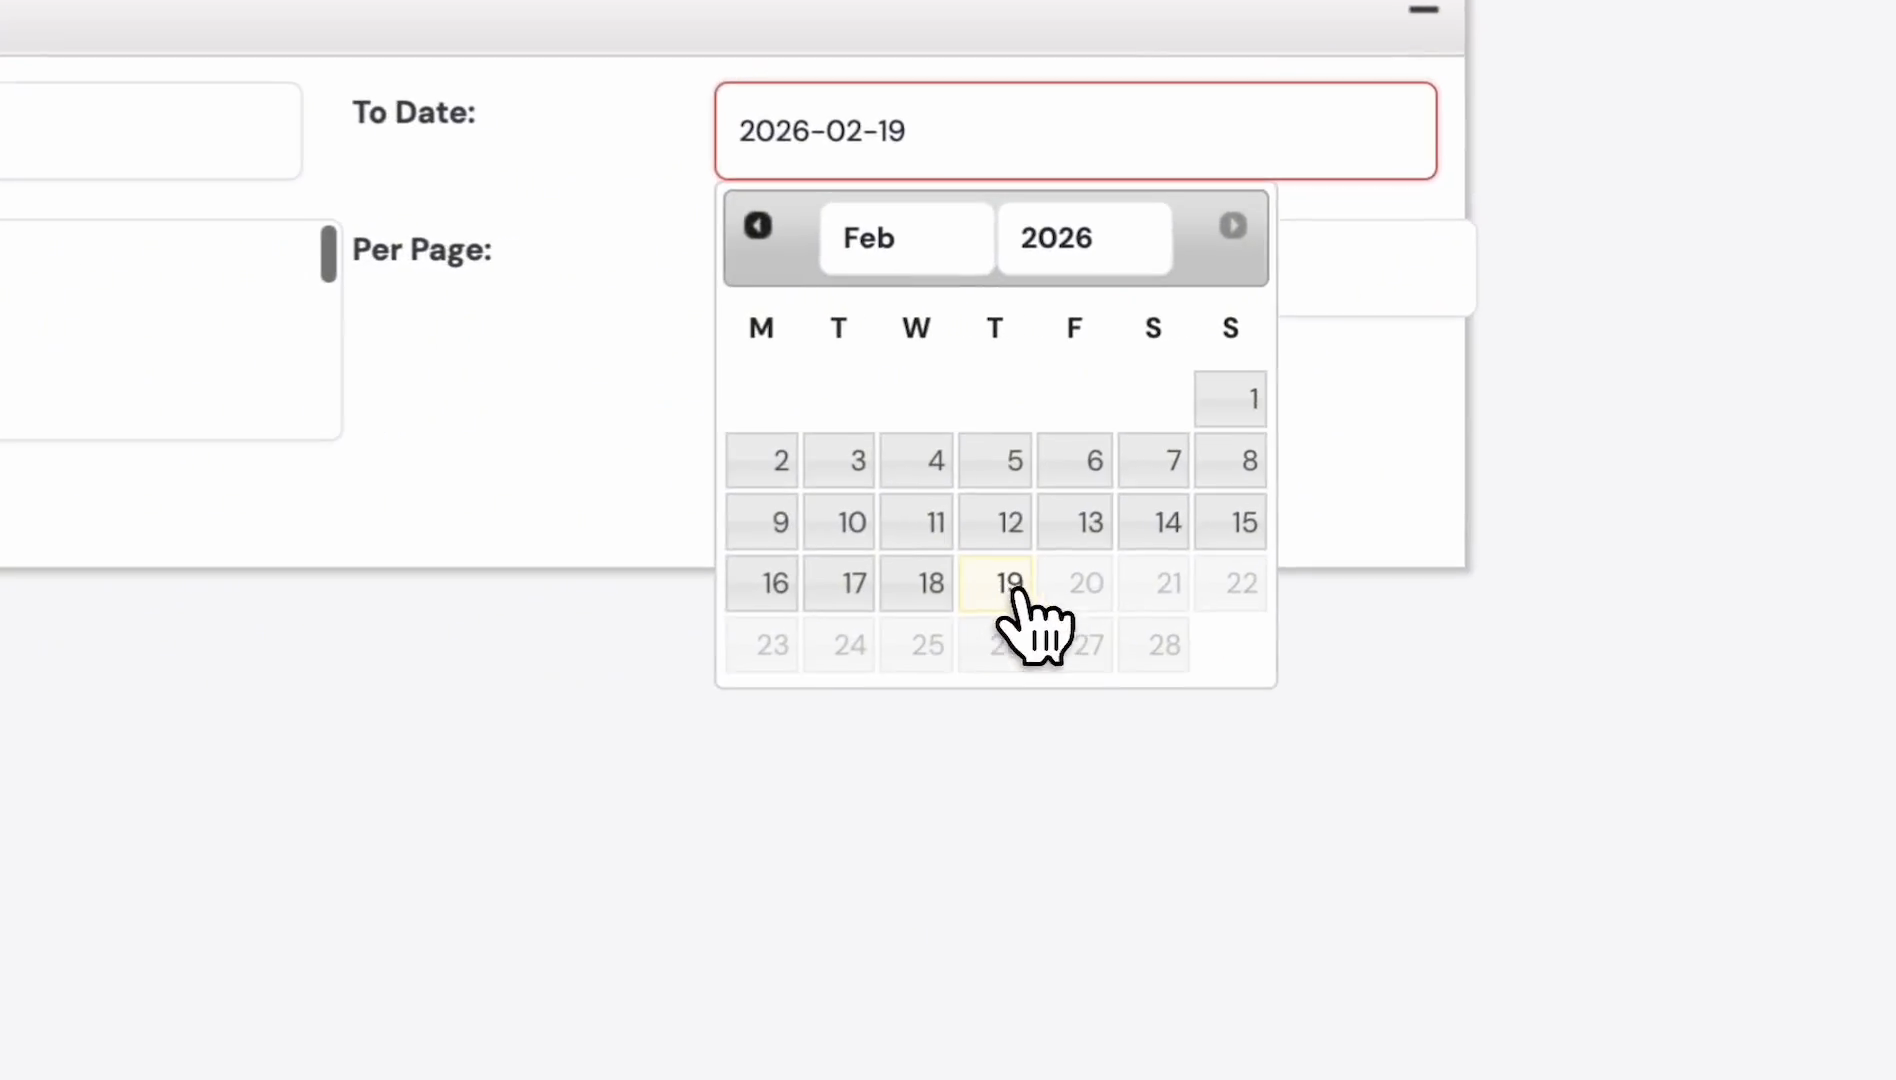
In this case, we will select January 1st. We want to see data up to today, which is February 19th.

4
Click the 1st of the month.
Step #4: Click the 1st of the month.
5
Click the To Date selection box.
Step #5: Click the To Date selection box.
6
Click the 19th of the month.
Step #6: Click the 19th of the month.

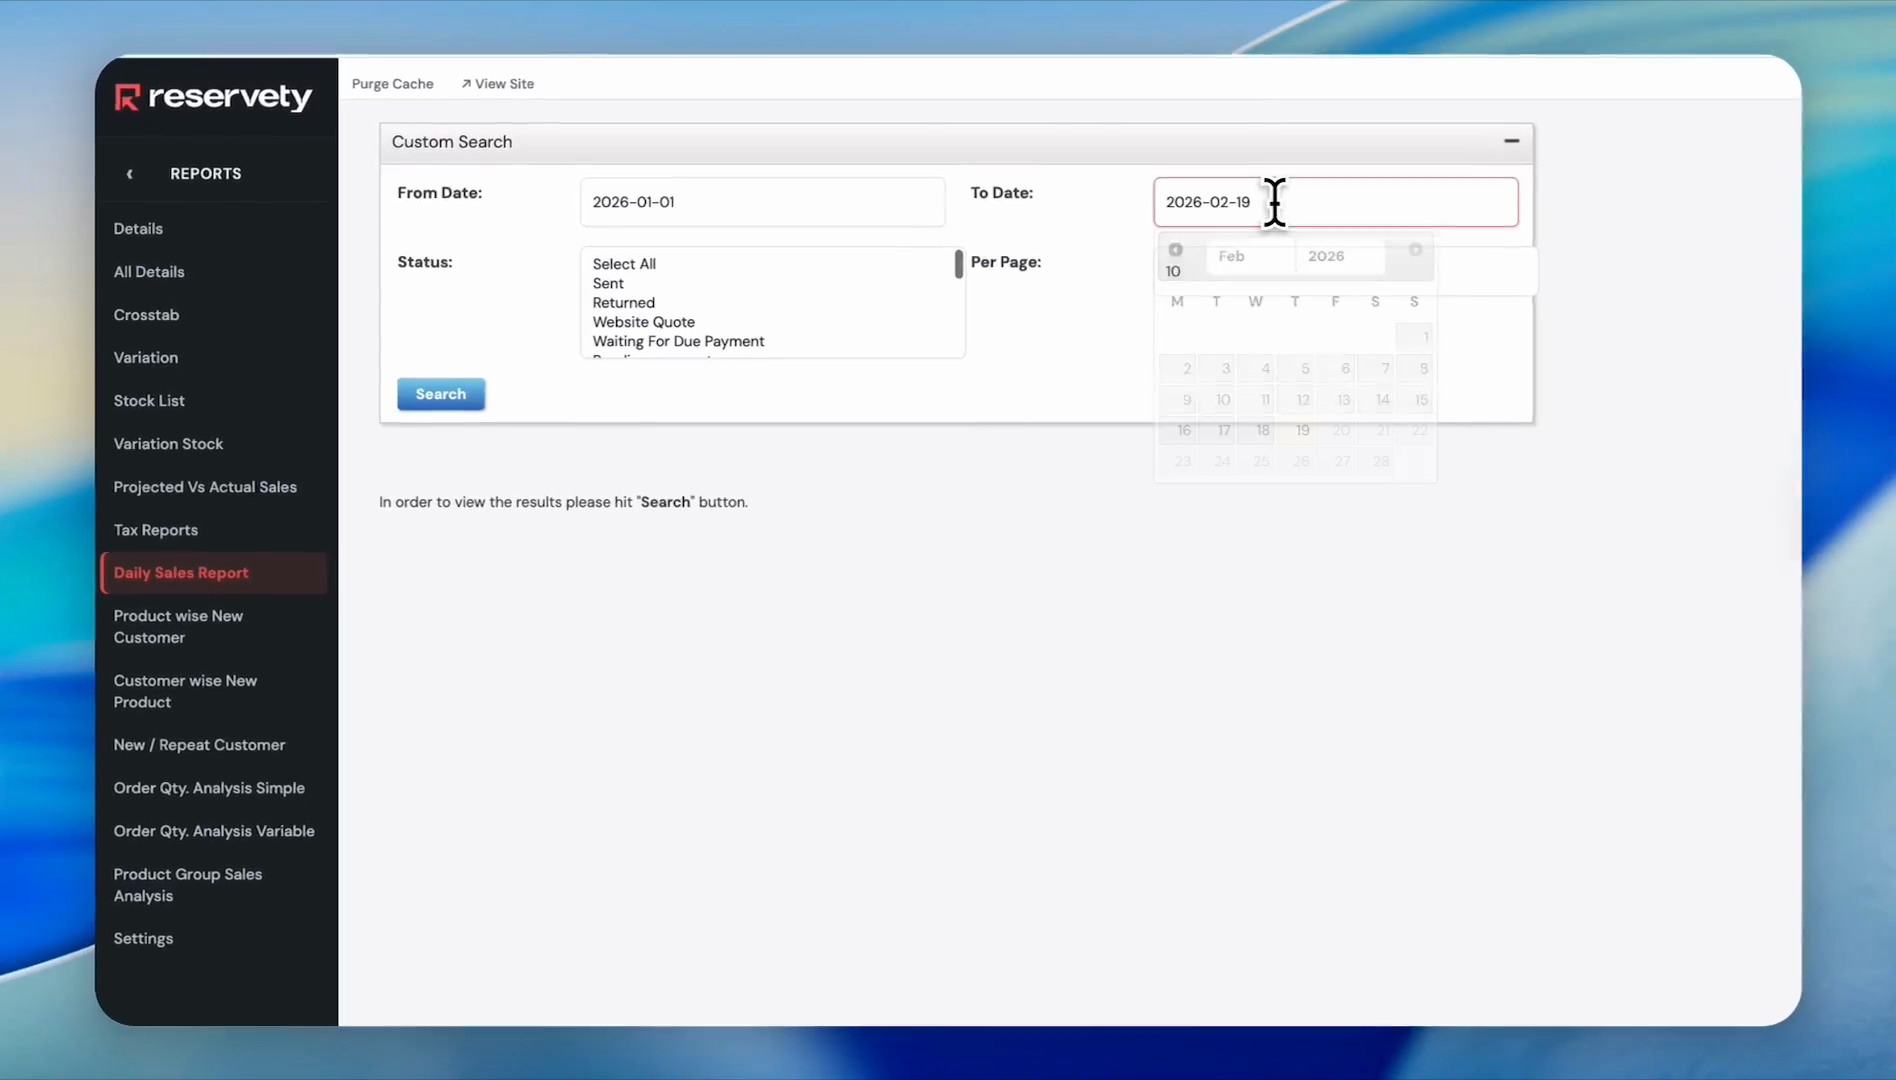
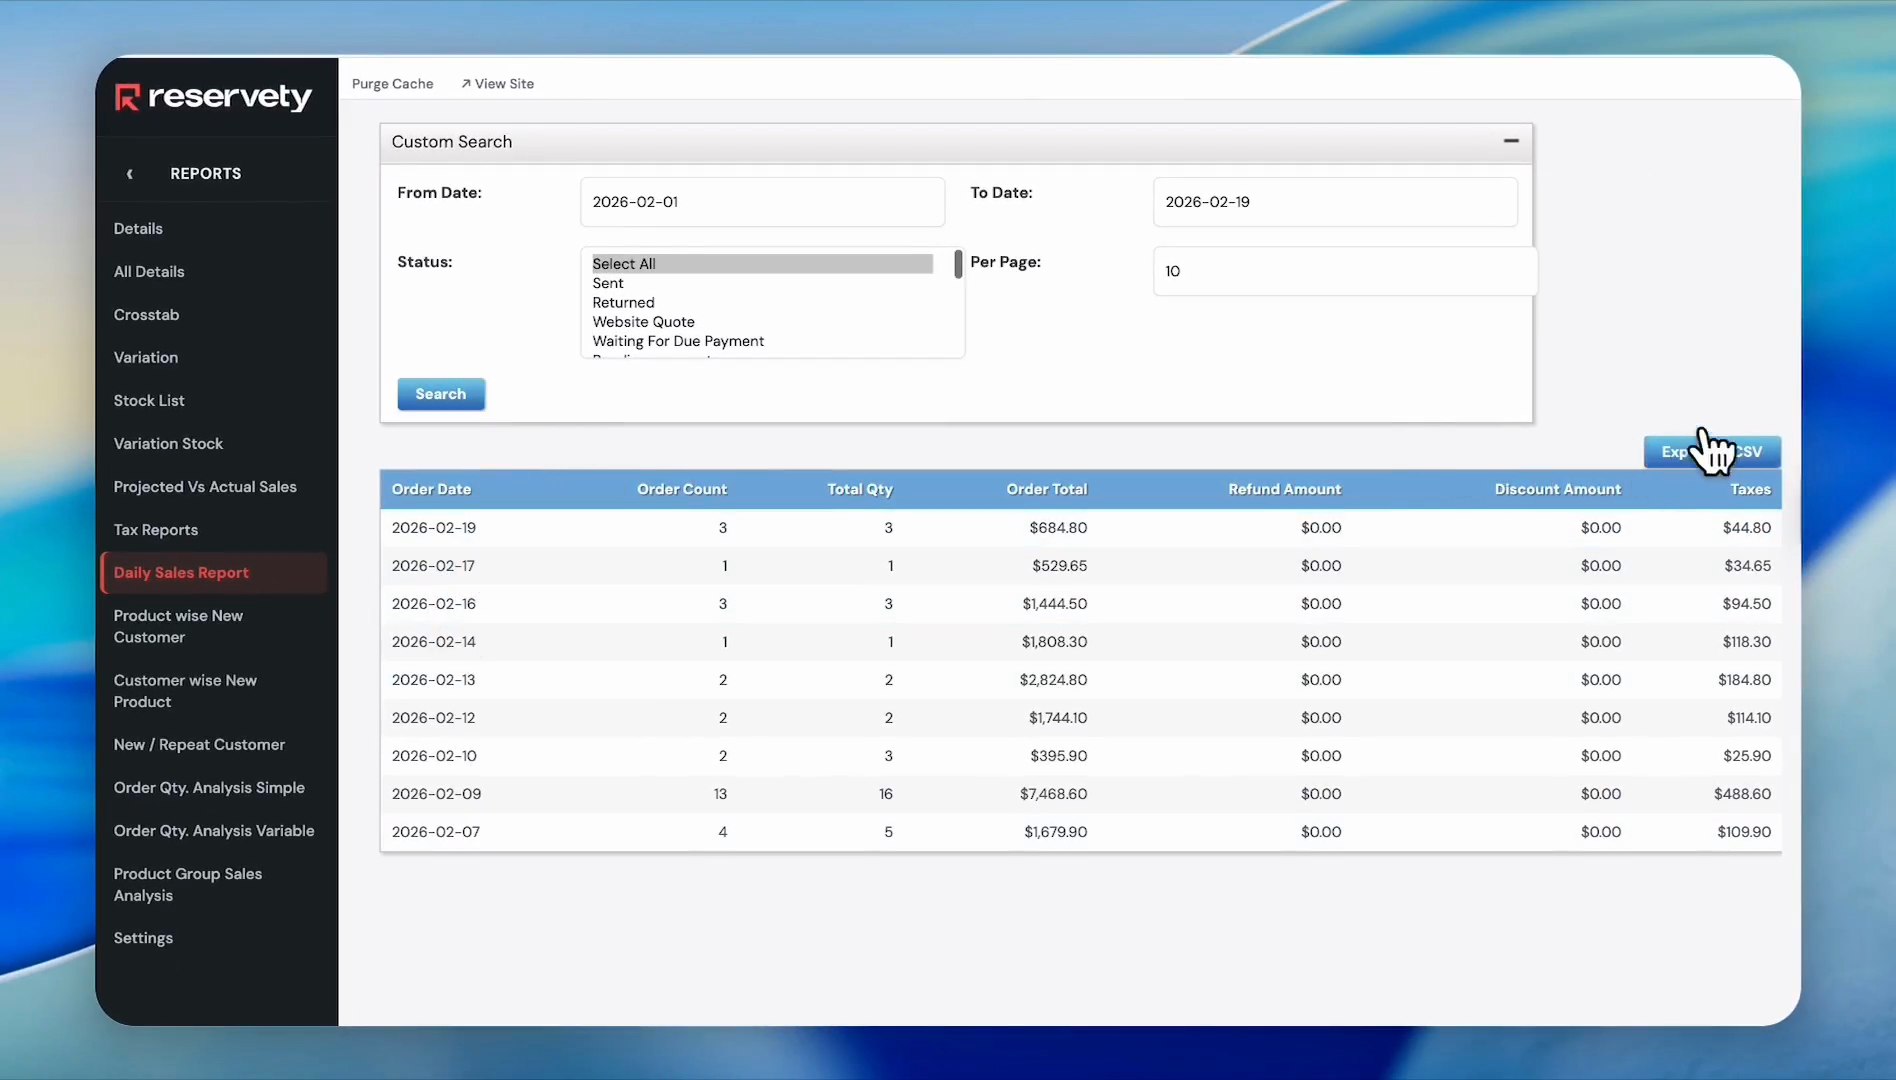
Let's say we want to generate a report on returned items.

7
Click in the Status field.
Step #7: Click in the Status field.
8
Select Returned from the dropdown menu.
Step #8: Select Returned from the dropdown menu.
9
Click the Search button.
Step #9: Click the Search button.

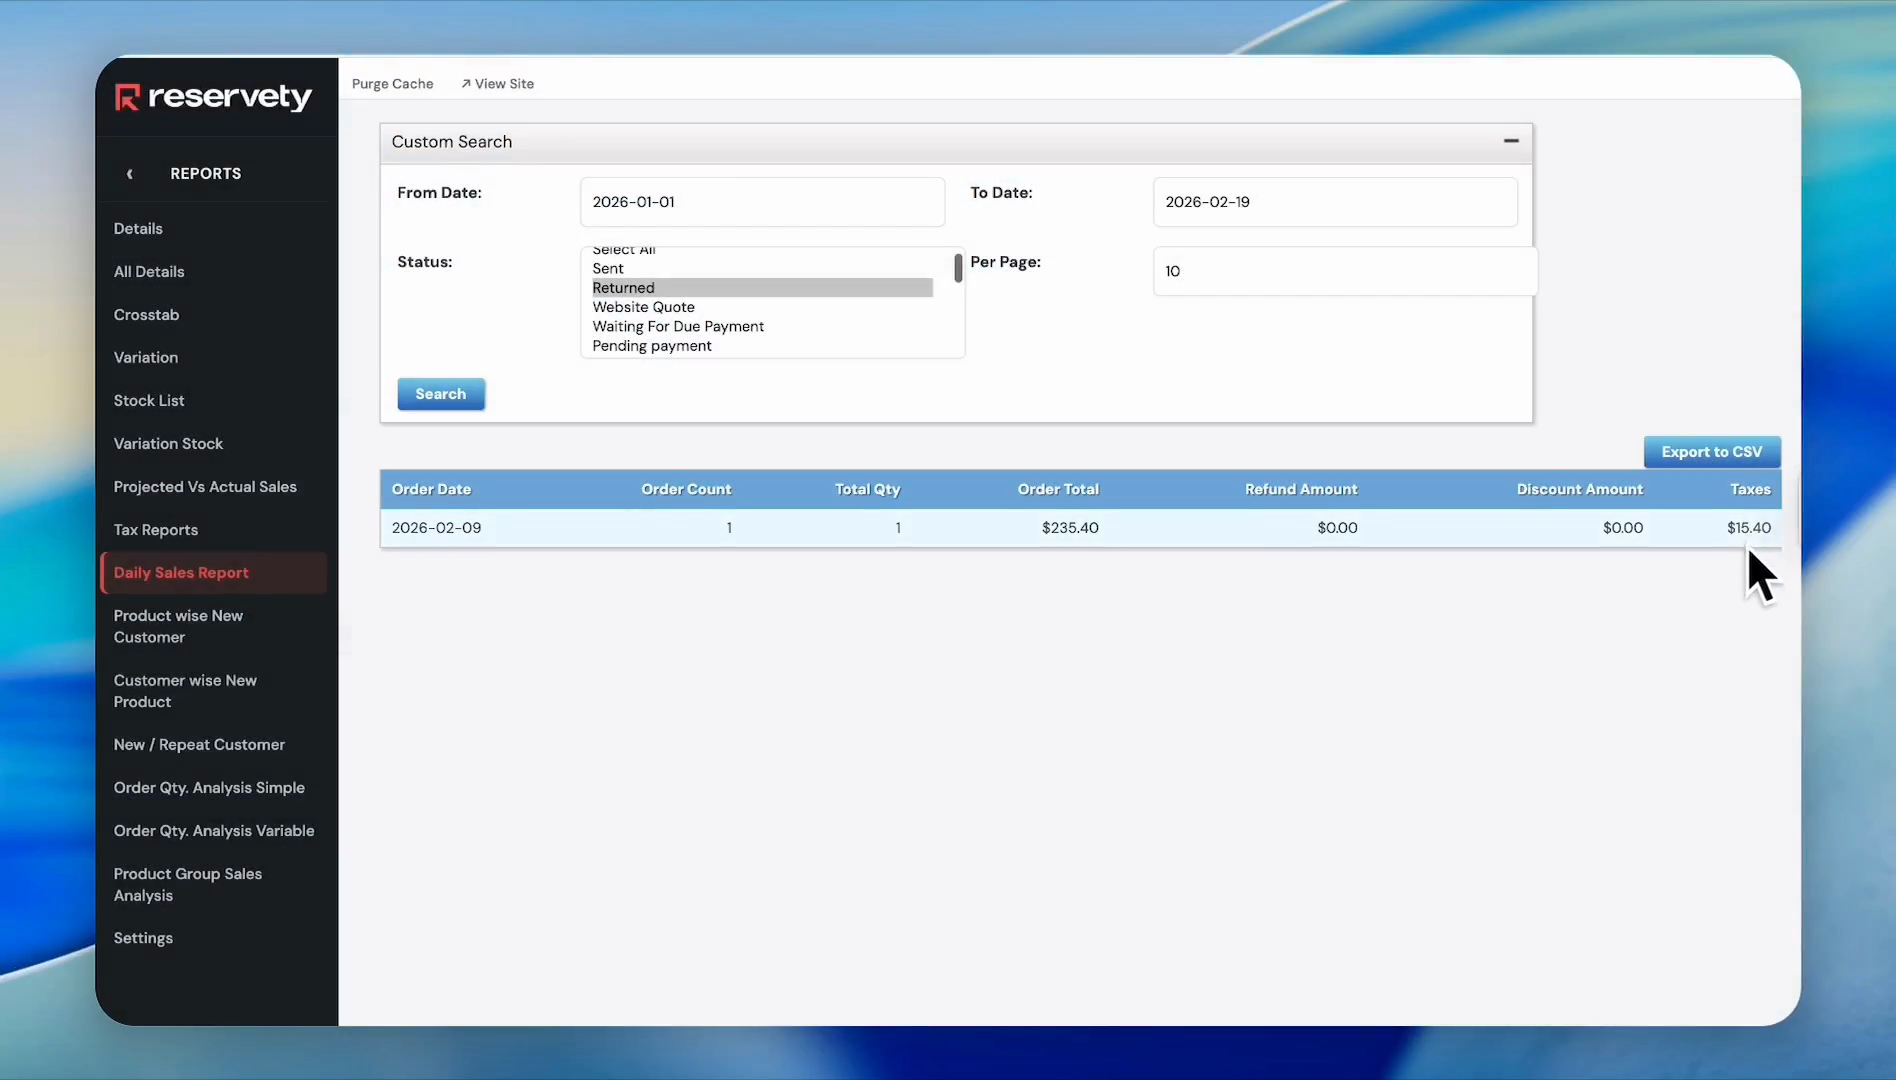
There is only one order recorded on February 9th. The order amount is $235.40, and the total taxes collected are $15.40.

10
To save it in your CSV file, click Export to CSV.
Step #10: To save it in your CSV file, click Export to CSV.
11
If you want to see all orders, click Select All in the Status dropdown.
Step #11: If you want to see all orders, click Select All in the Status dropdown.
12
Click the Search button.
Step #12: Click the Search button.
13
This report shows all orders with all statuses generated from January 1st to February 19th.
Step #13: This report shows all orders with all statuses generated from January 1st to February 19th.

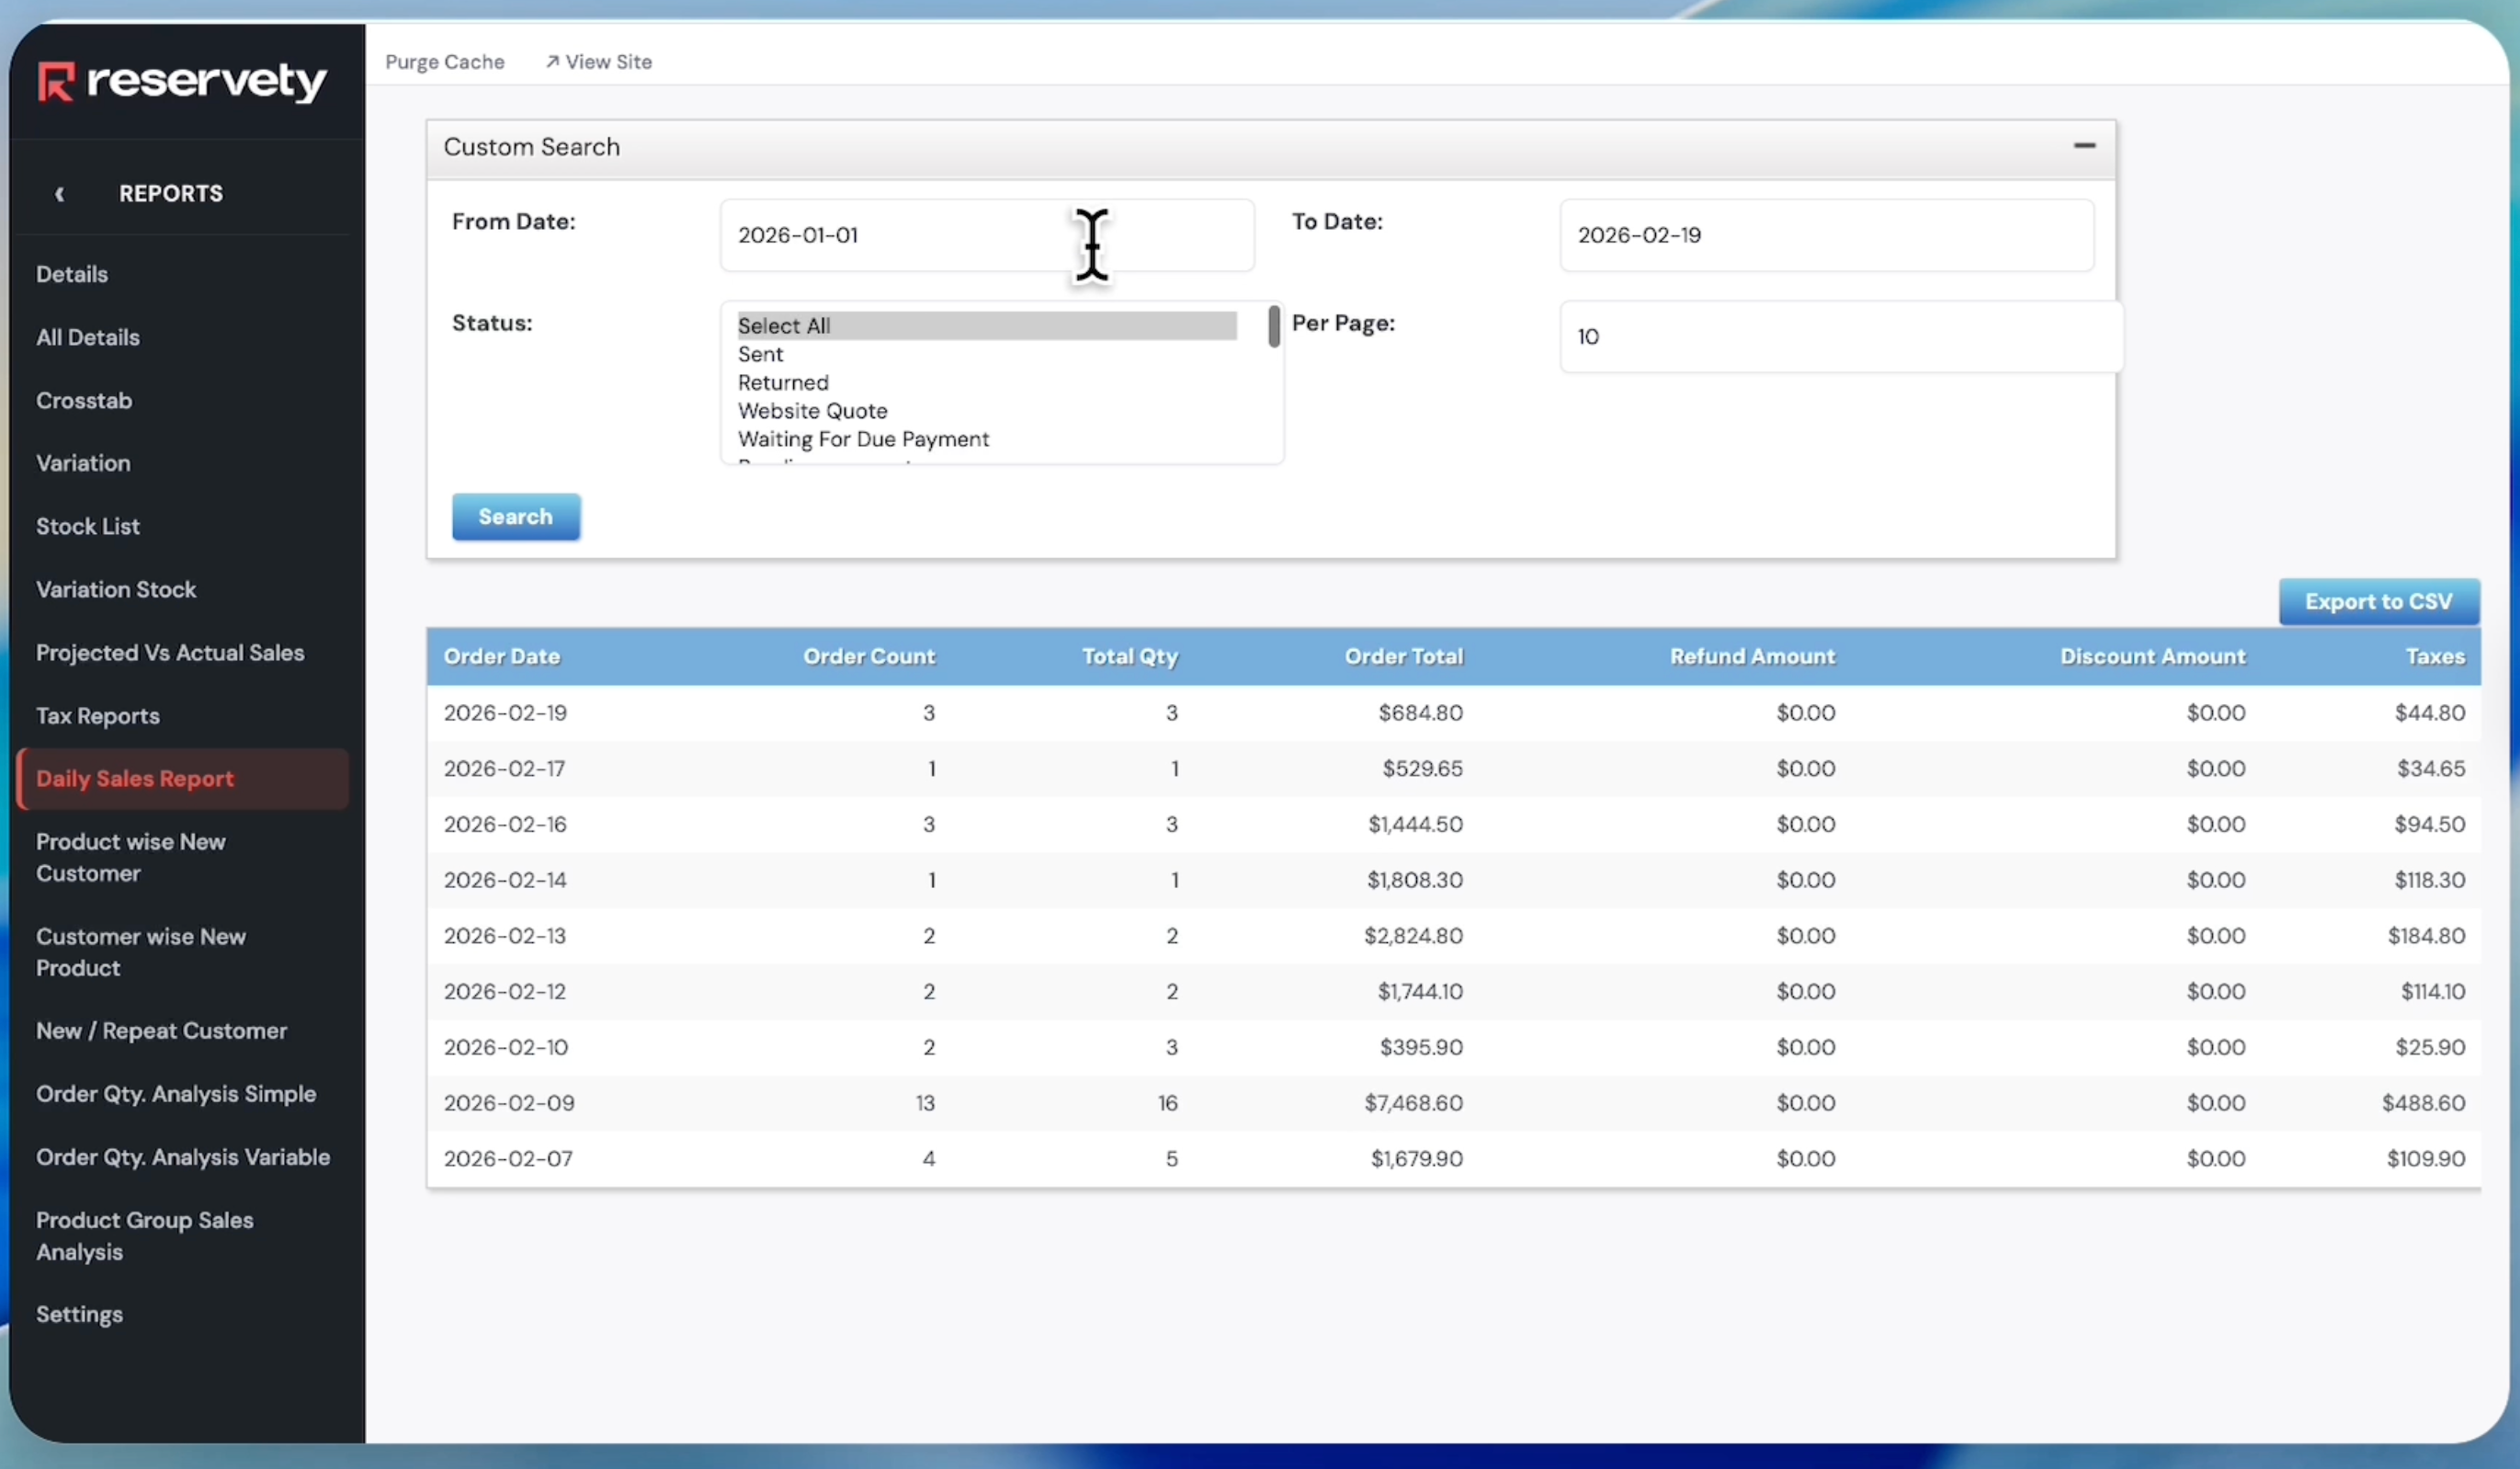
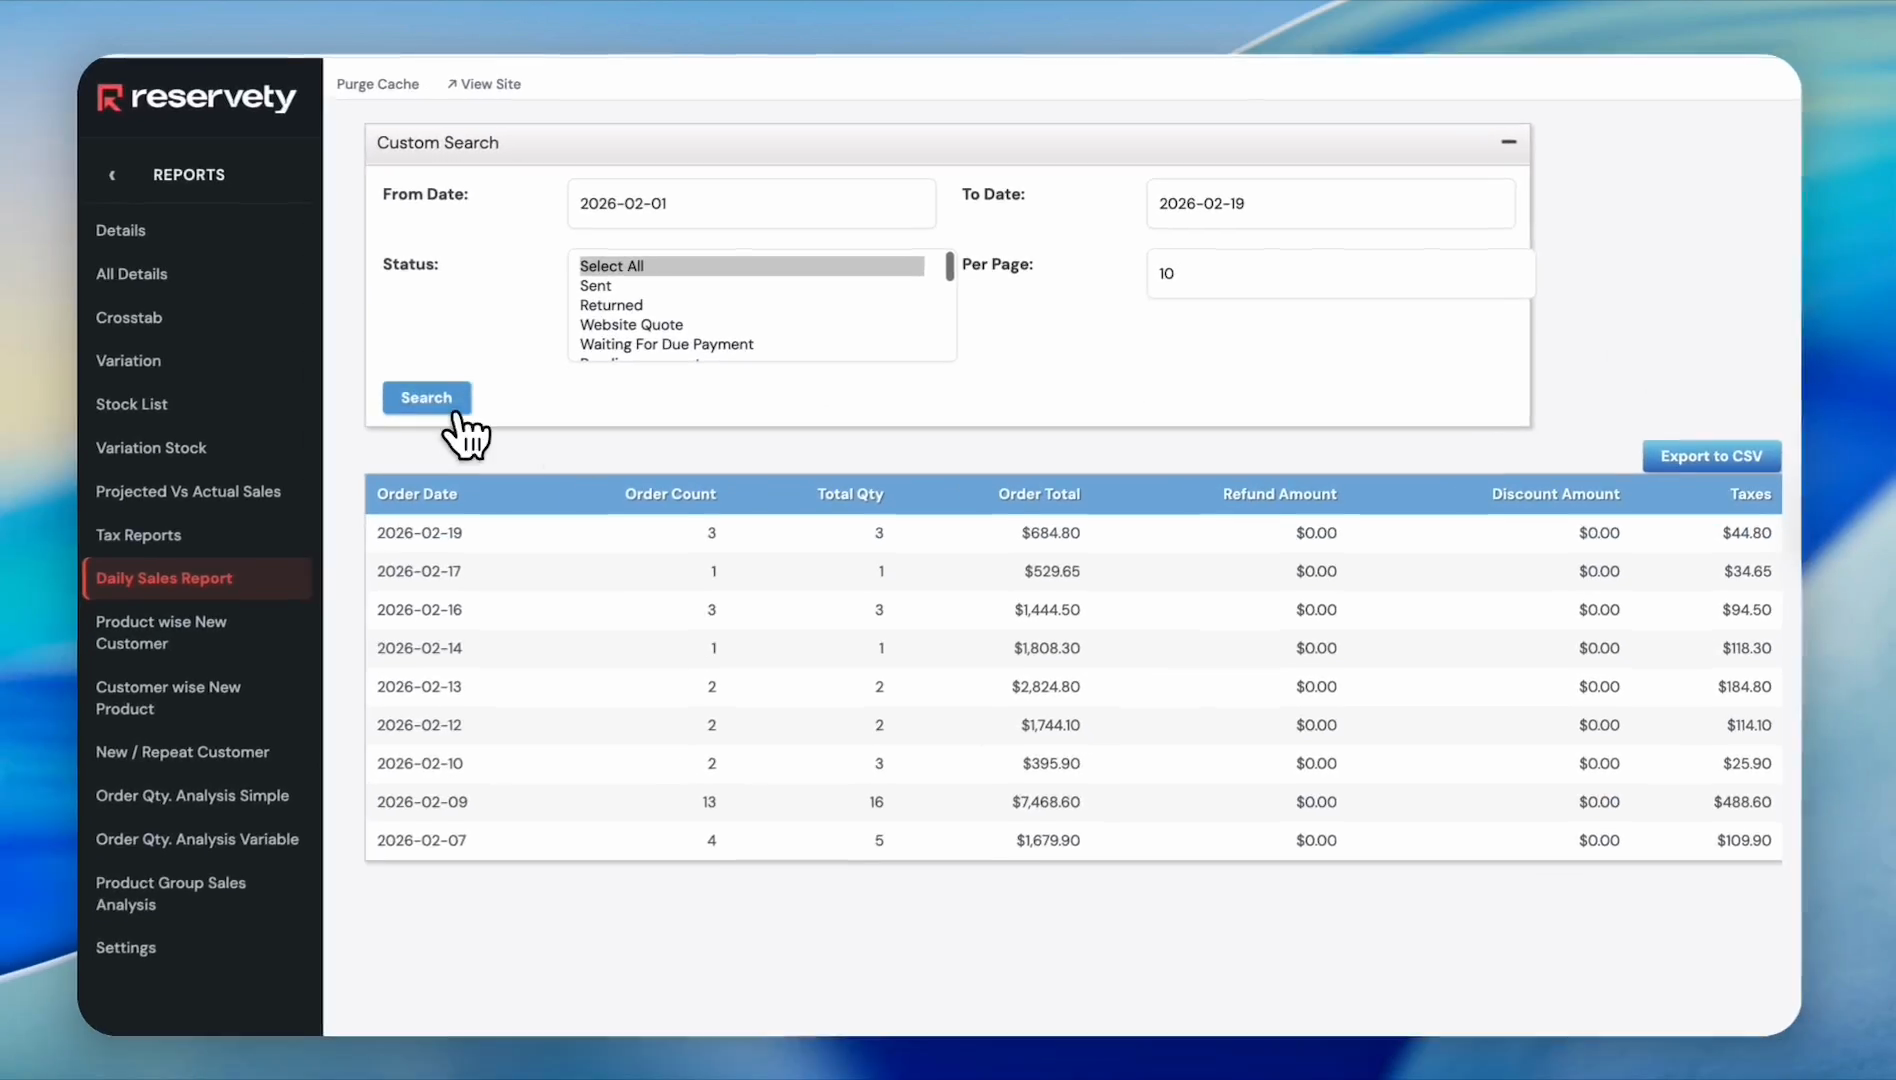
You can customize these dates. For example, you can view orders from February 1st through today, the 19th, and then search.

14
Click the From Date field.
Step #14: Click the From Date field.
15
Click the 1st of February.
Step #15: Click the 1st of February.
16
Click the Search button.
Step #16: Click the Search button.
17
Now it only shows the orders made in February. To save this report as a CSV file, click Export to CSV.
Step #17: Now it only shows the orders made in February. To save this report as a CSV file, click Export to CSV.
How to View and Export Order Sales Reports: Step-by-Step Guide