
Finalizing Multi-Crane Project Photospheres by Setting the View Map (Part 5)
Learn how to finalize your HP Ready setup by adjusting mapping ports, centering between cranes, and optimizing longitude and latitude for your multi-crane project. This step-by-step guide covers zoom settings, project setup, and tips for accurate mapping.
In this guide, we'll learn how to fine-tune the mapping view for a multi-crane project using longitude and latitude coordinates. The goal is to center the map between cranes, adjust the zoom level for better navigation, and prepare the view to include future additions like a third crane and new photo spheres.
We'll also cover how to select the correct coordinates and save your changes for an improved project setup.
Let's get started
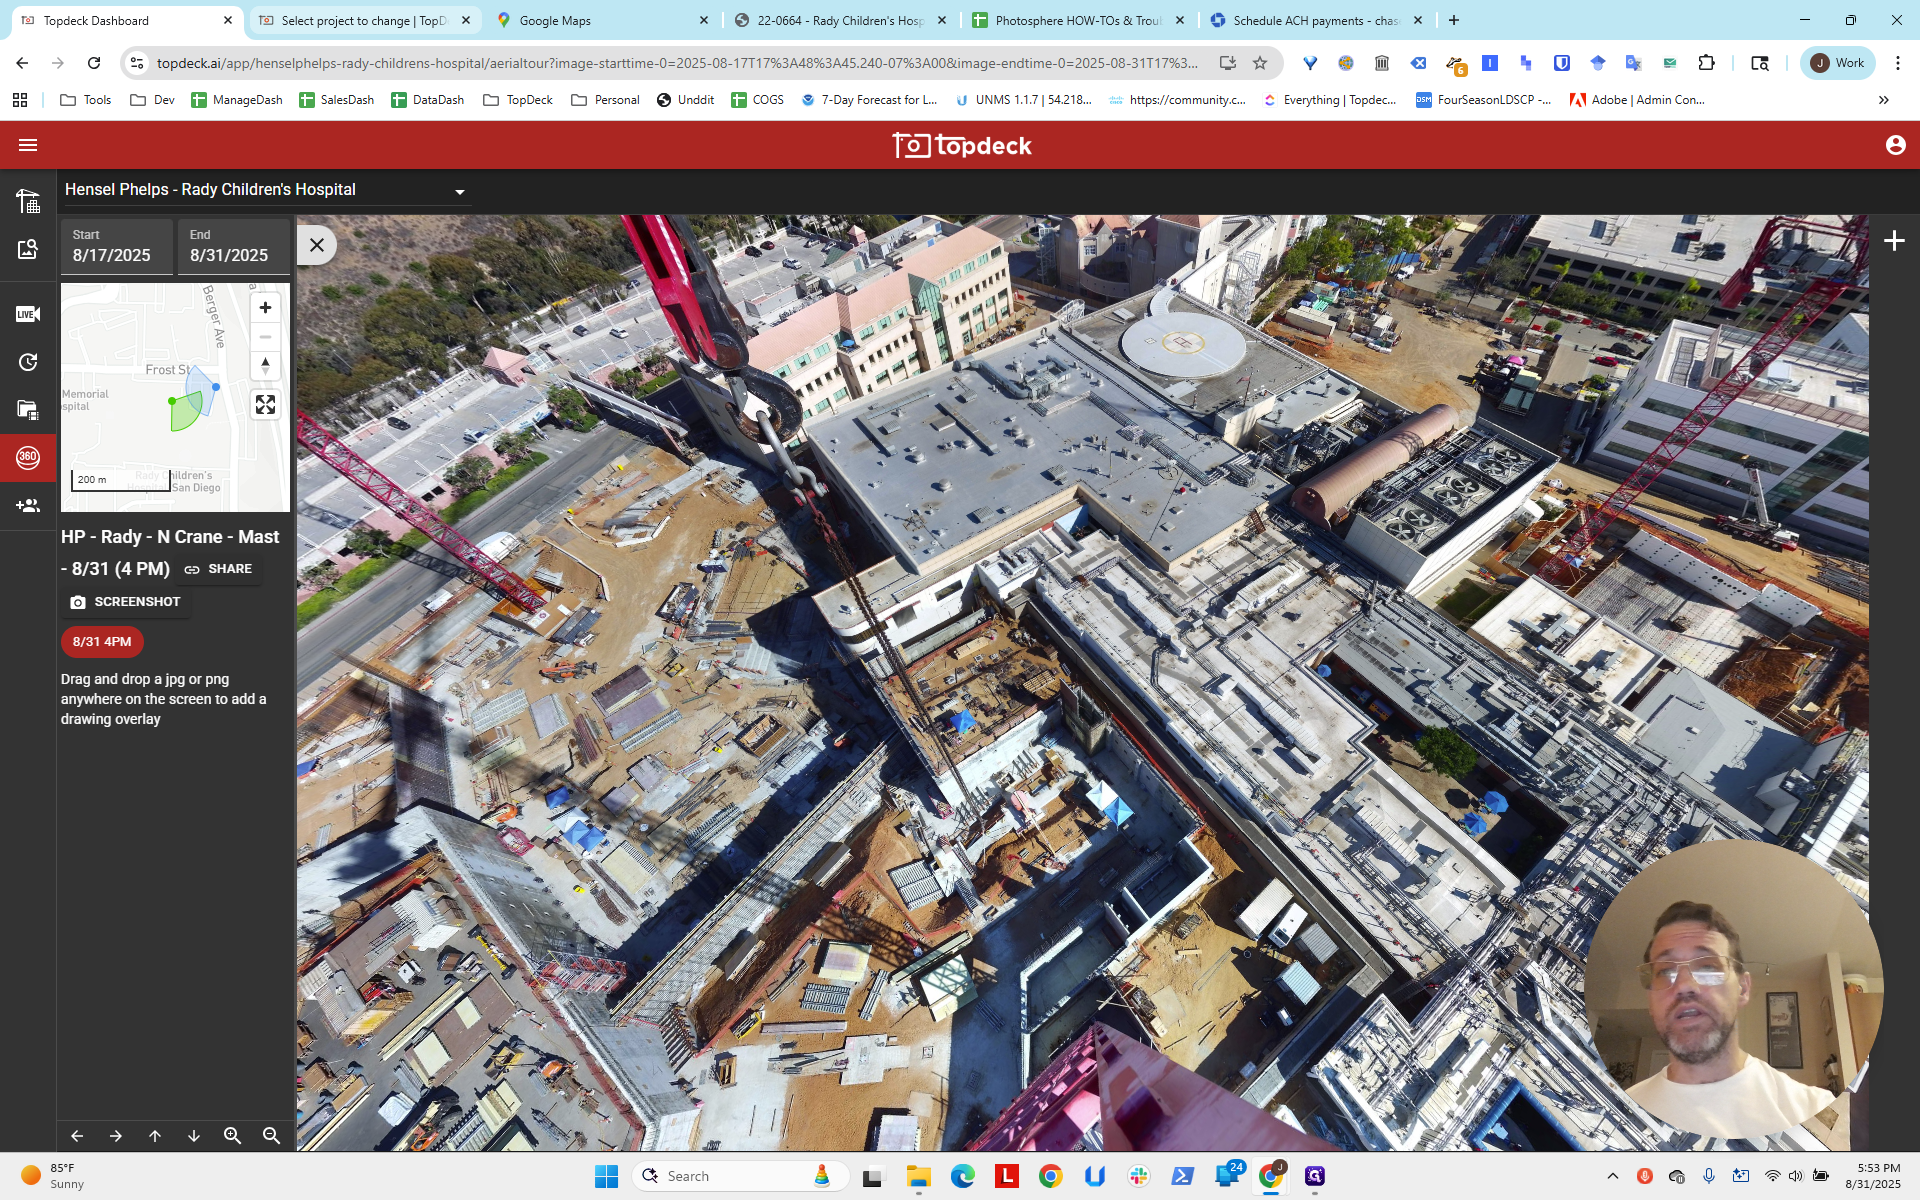
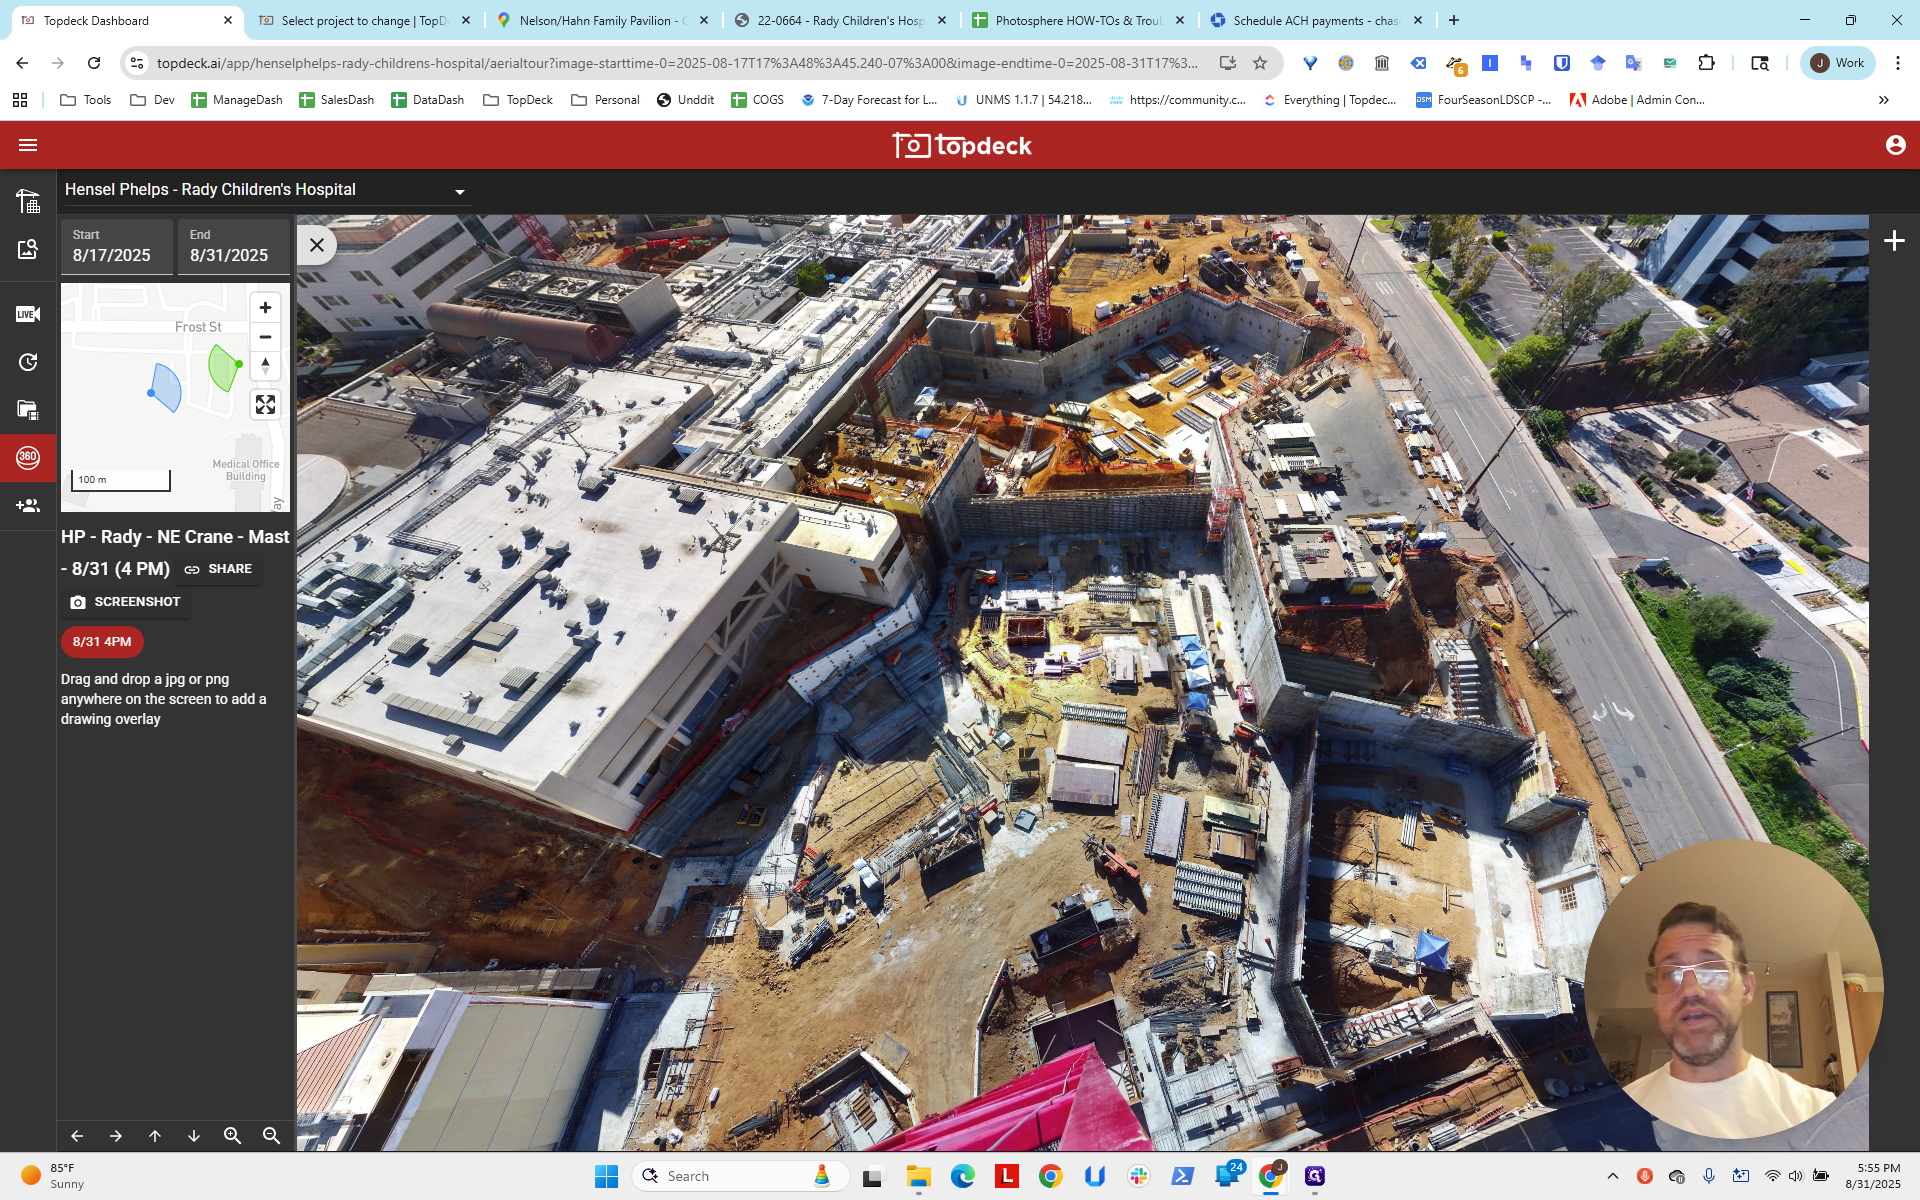
Hello, everyone. This is the fifth and final part of the HP Ready setup video series I have been creating. Now, we have set up our photo spheres.
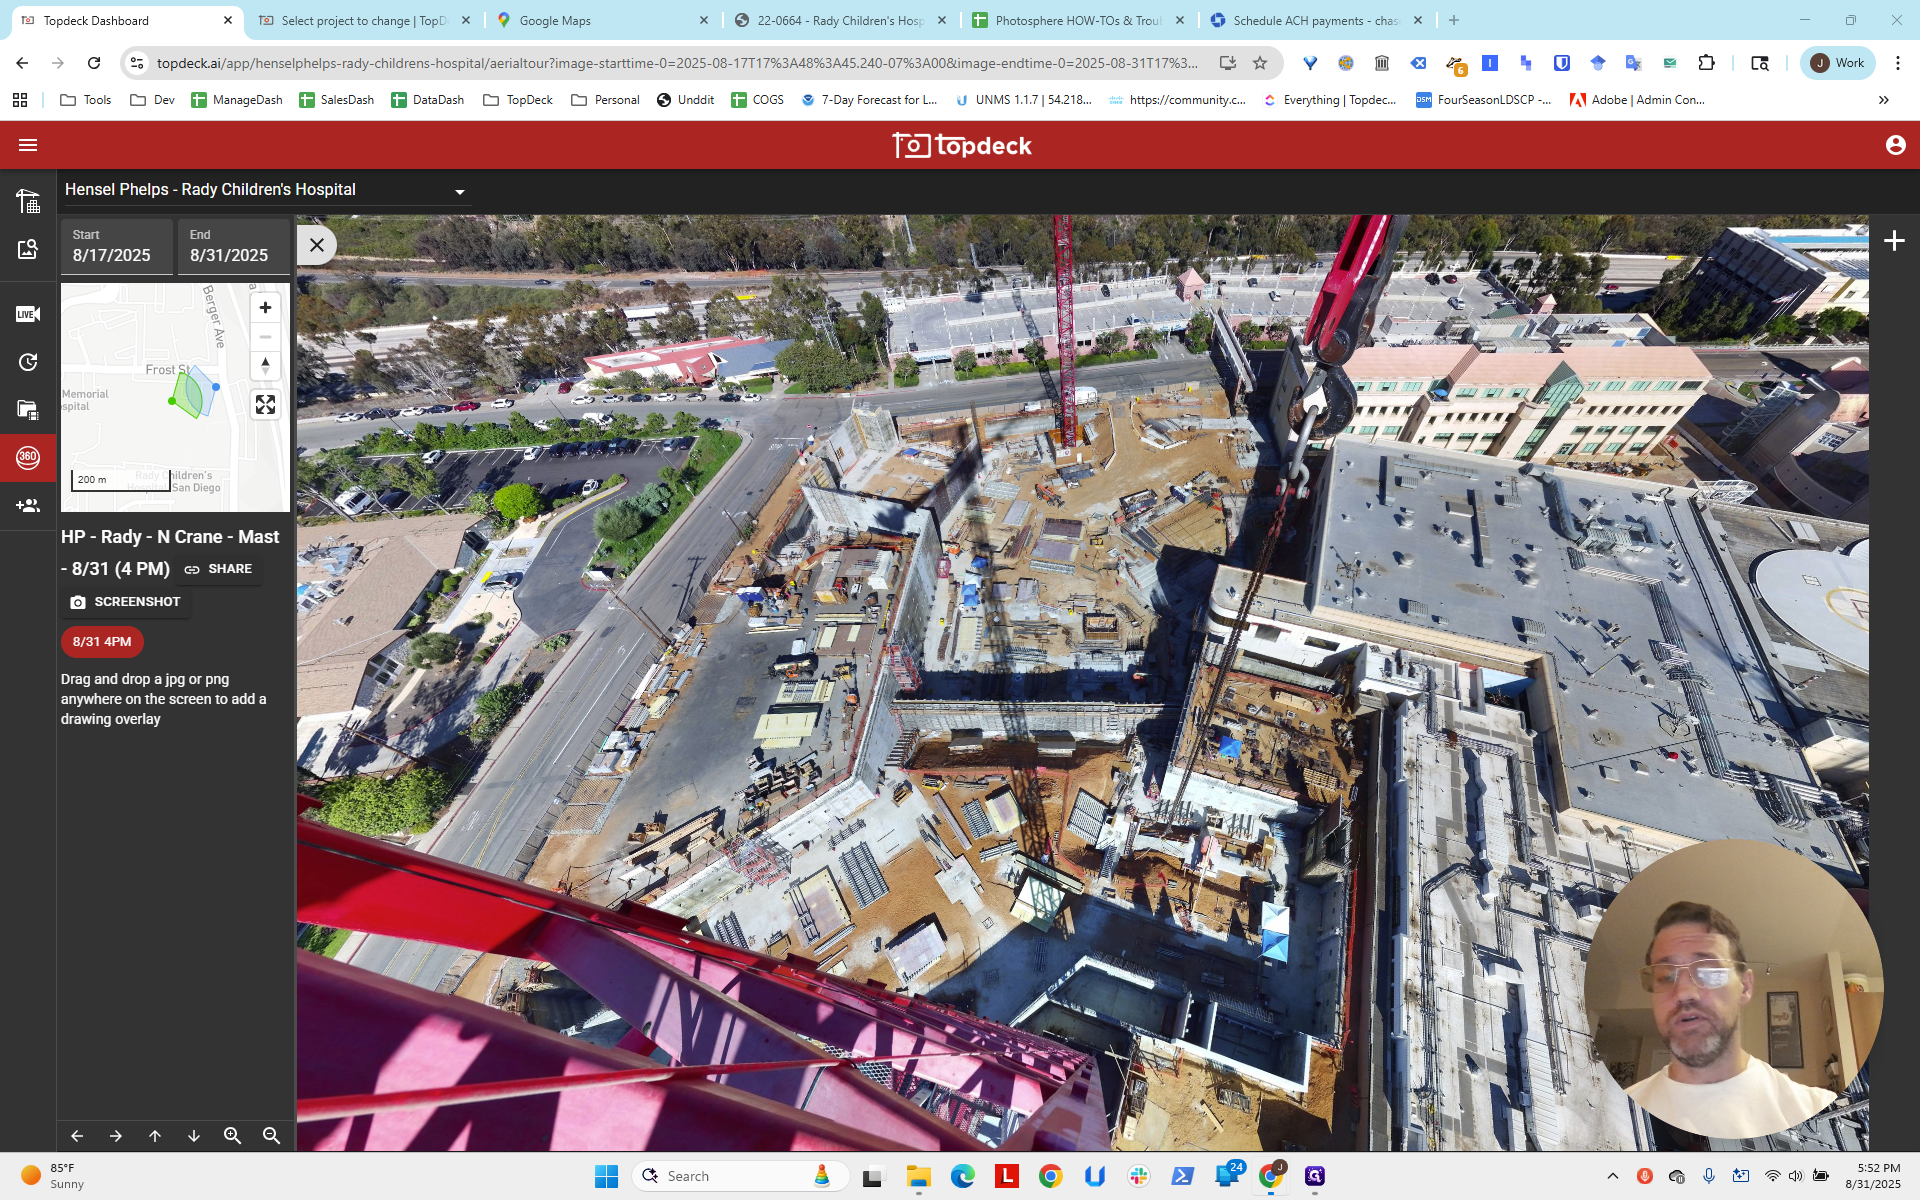
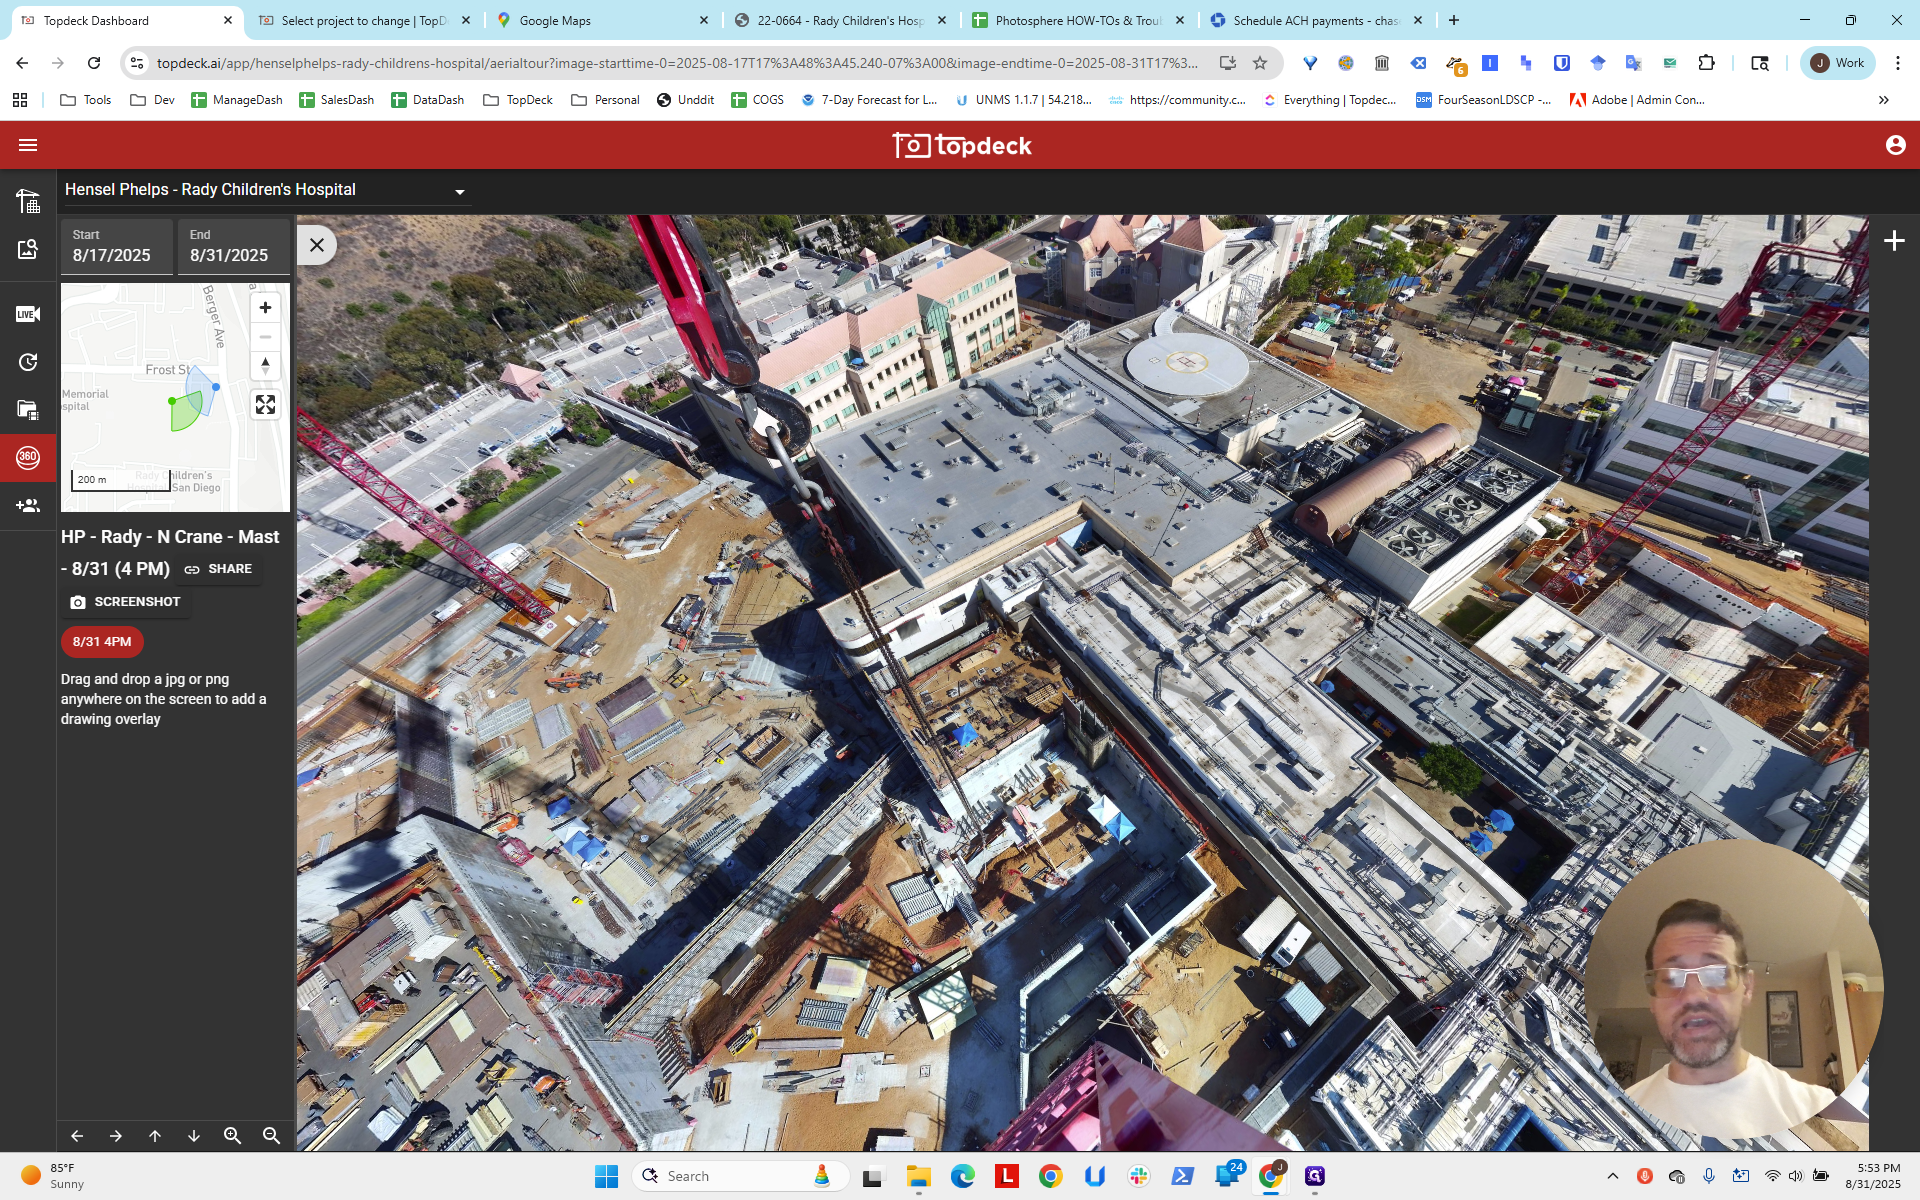
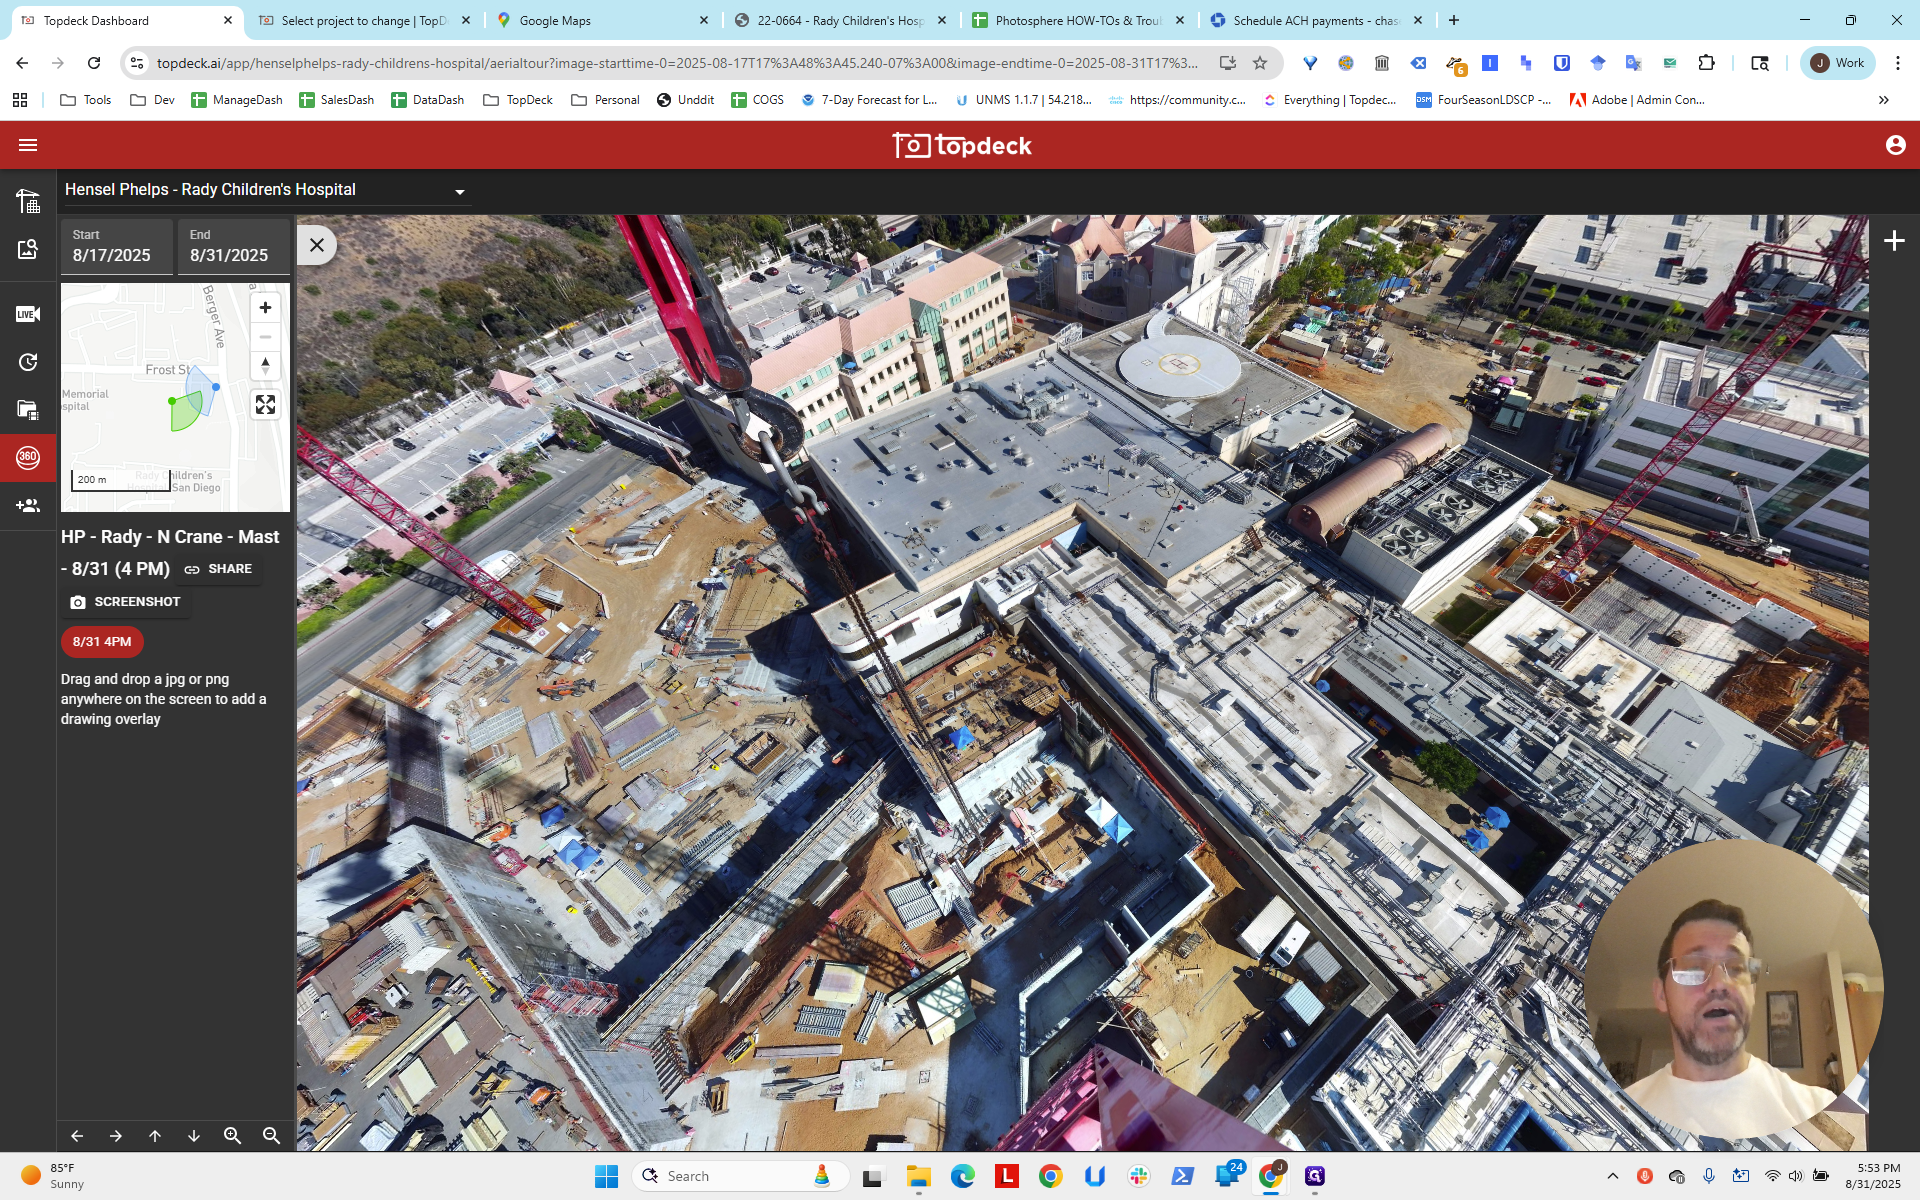
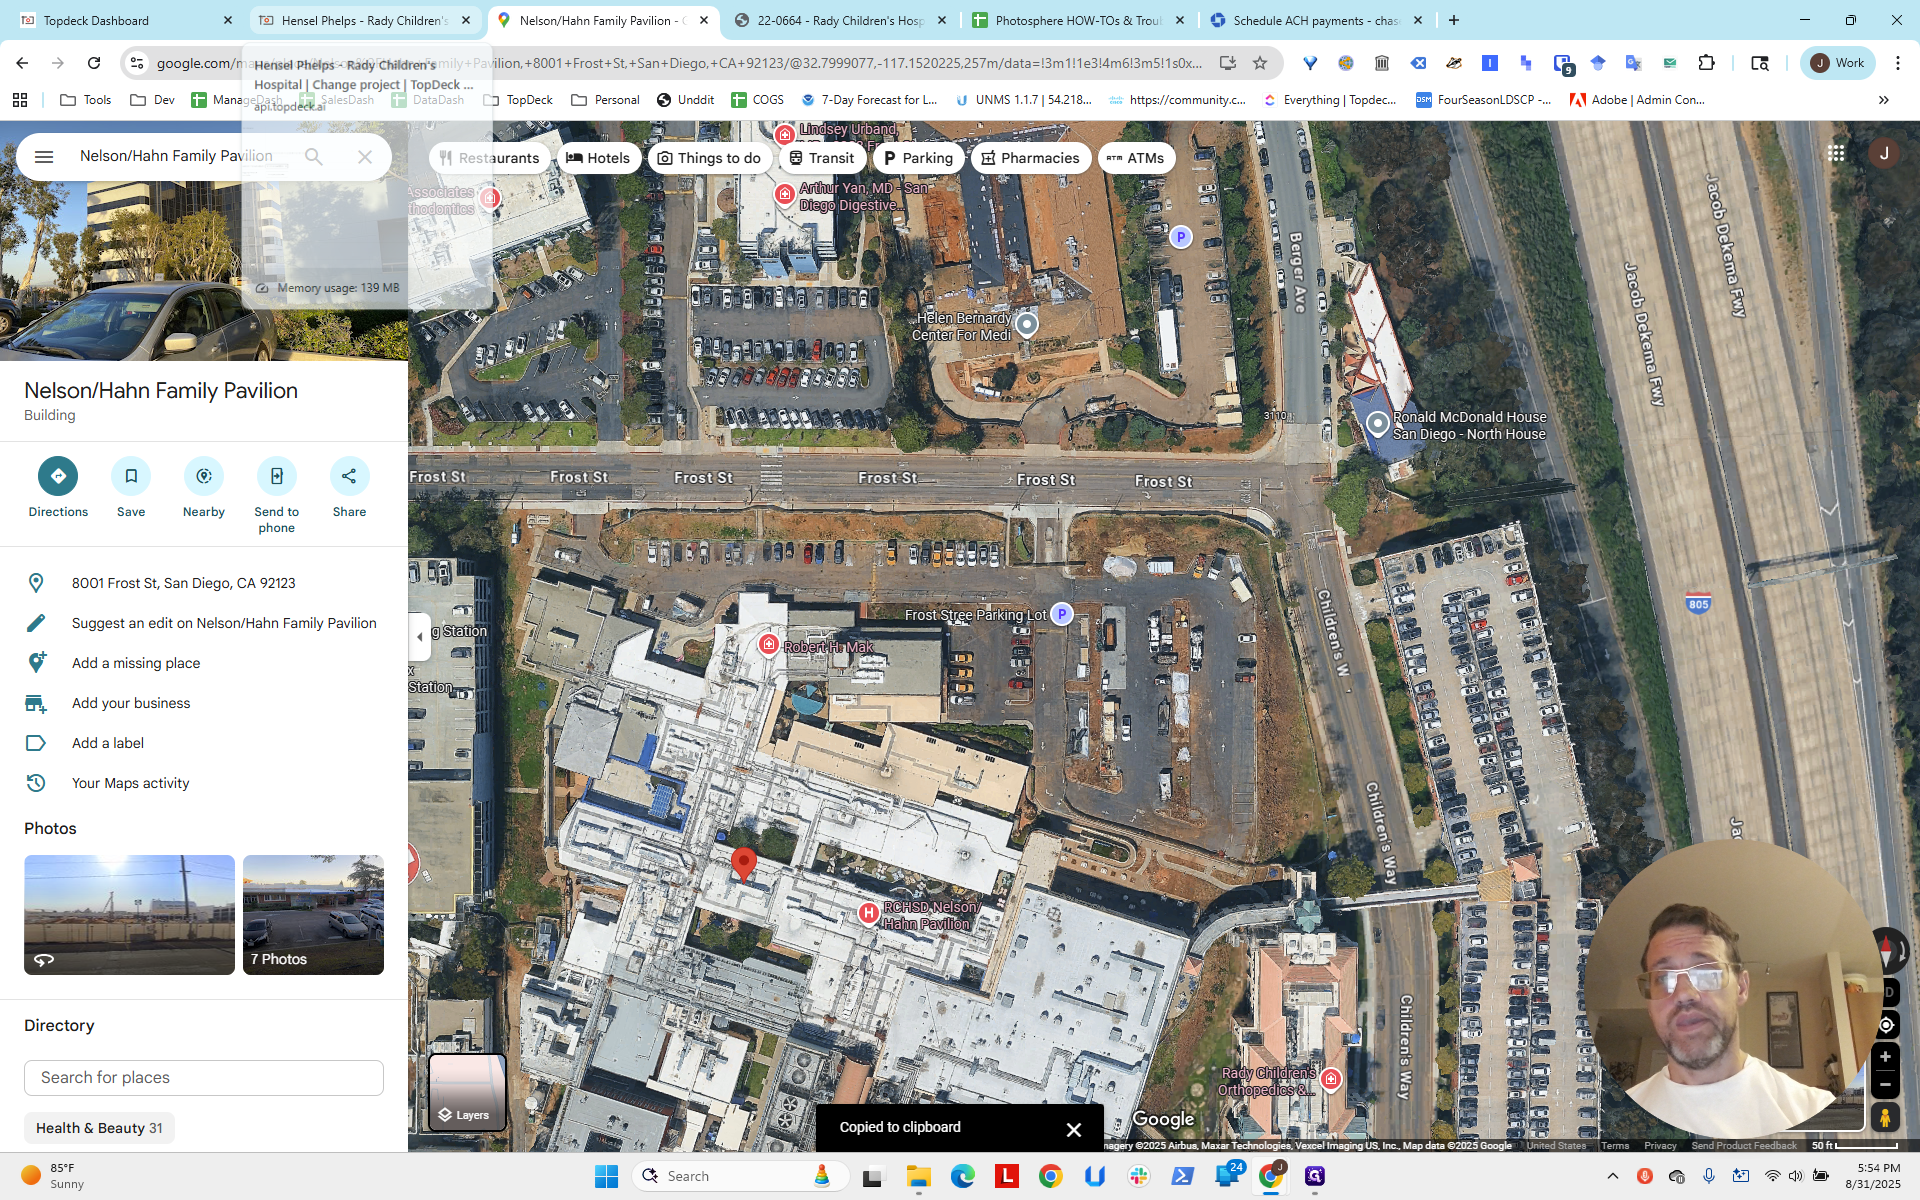
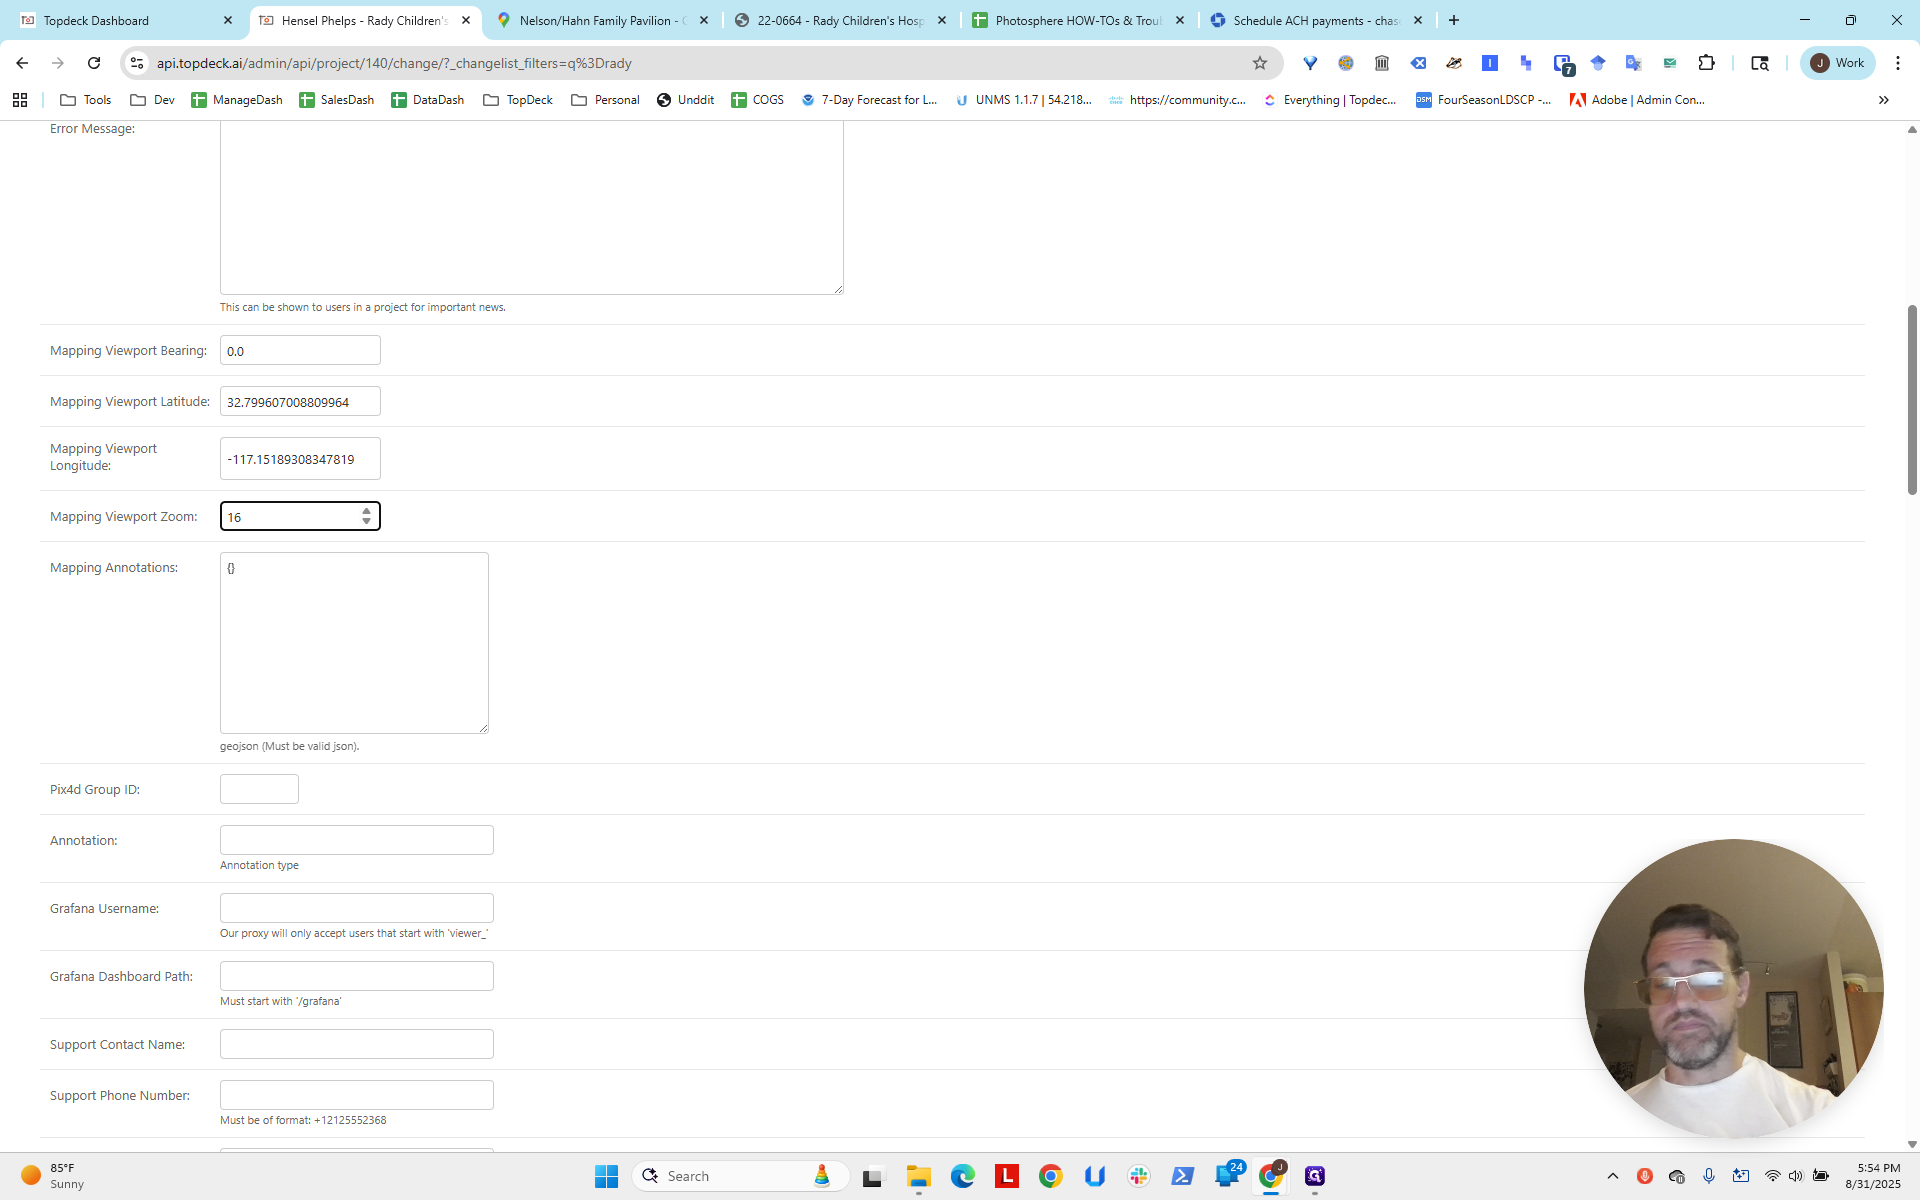
We've contacted them. We have set up the project. We've set up the mapping port. Now we'll adjust the mapping port to zoom in and center it better between the cranes. Also, pay attention to the distance, the building, and other features in this area.

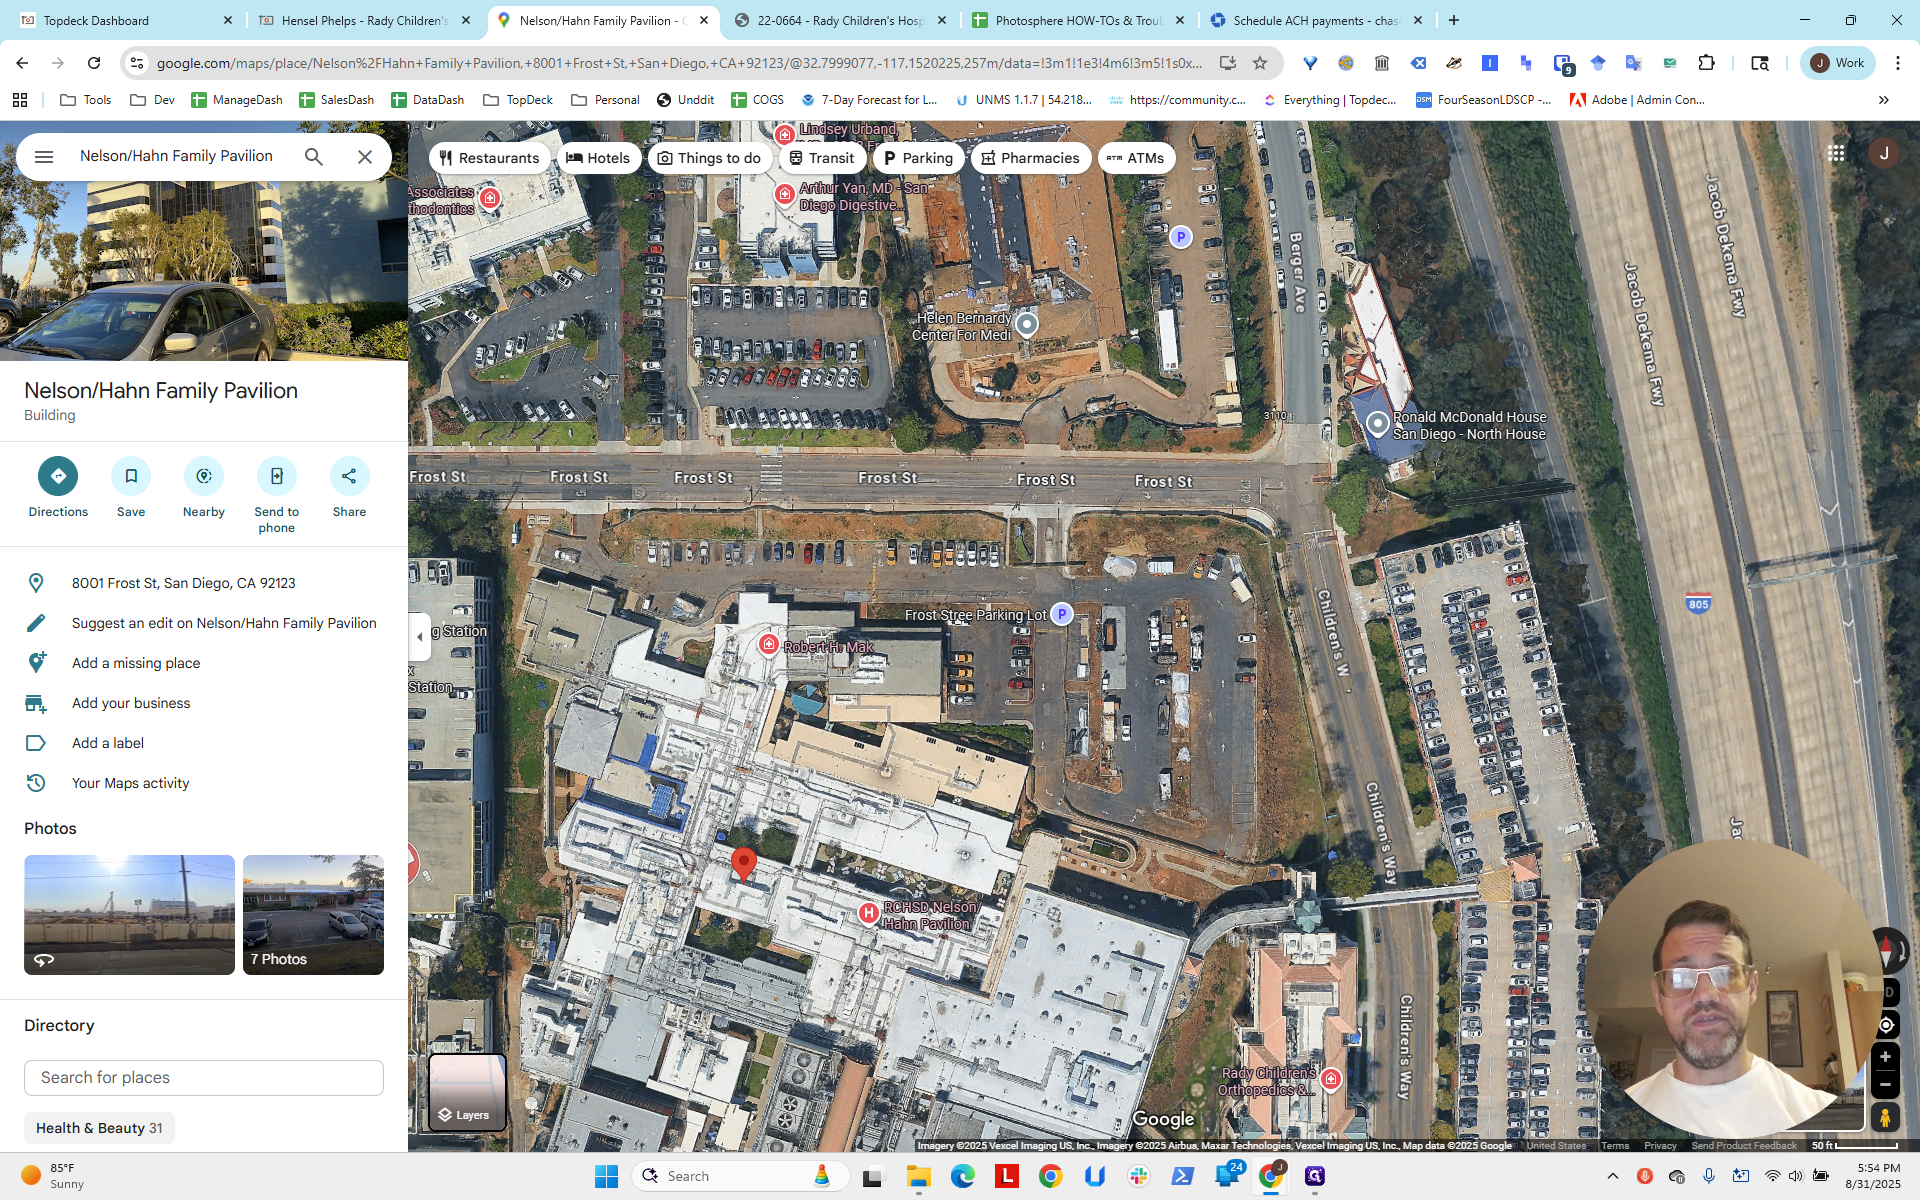
Ideally, you want to center this content. We'll find the location on Google Maps and get the longitude and latitude. Then, we'll zoom in to create more distance between the points, making it easier to click around.
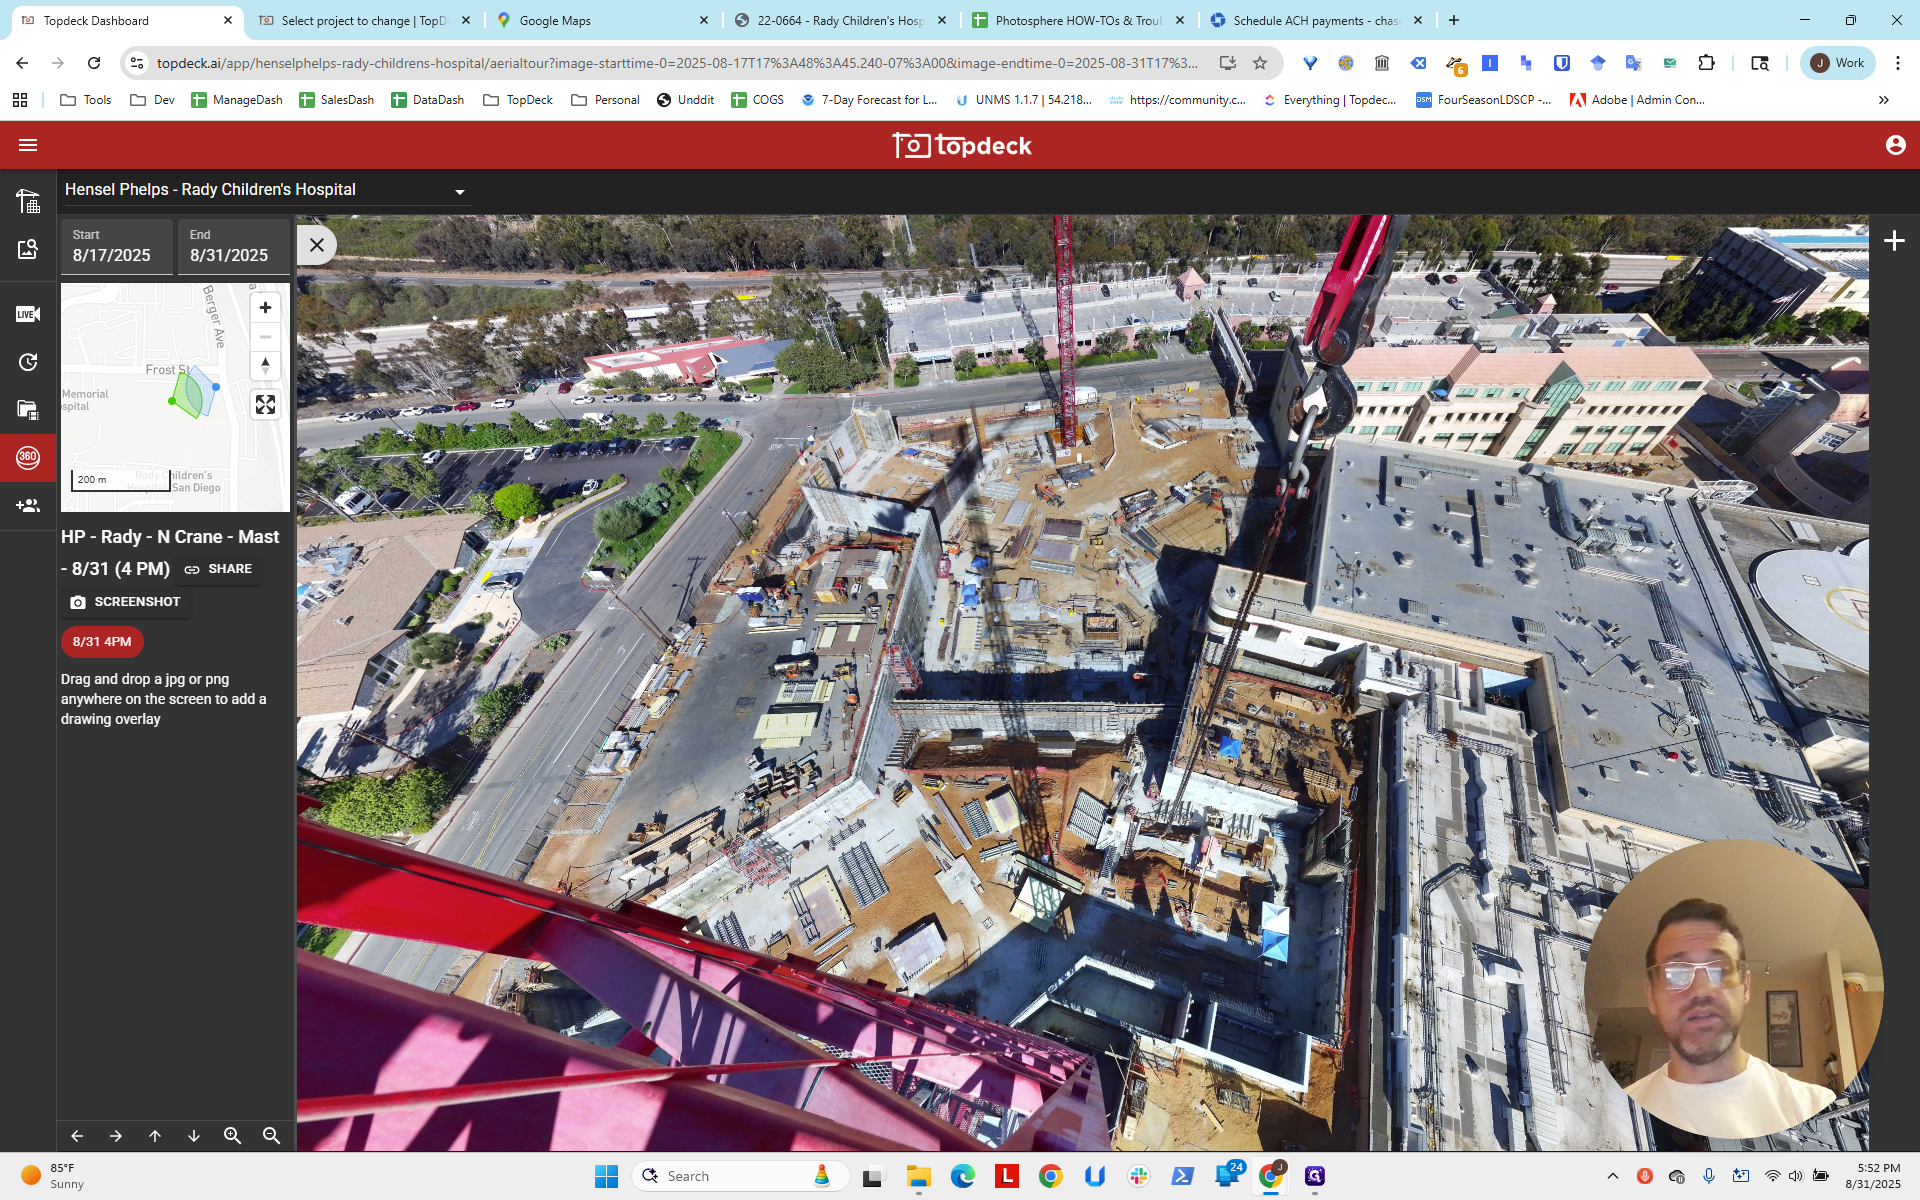

Keep in mind, there is a third crane at a similar distance as the other two that appears here.
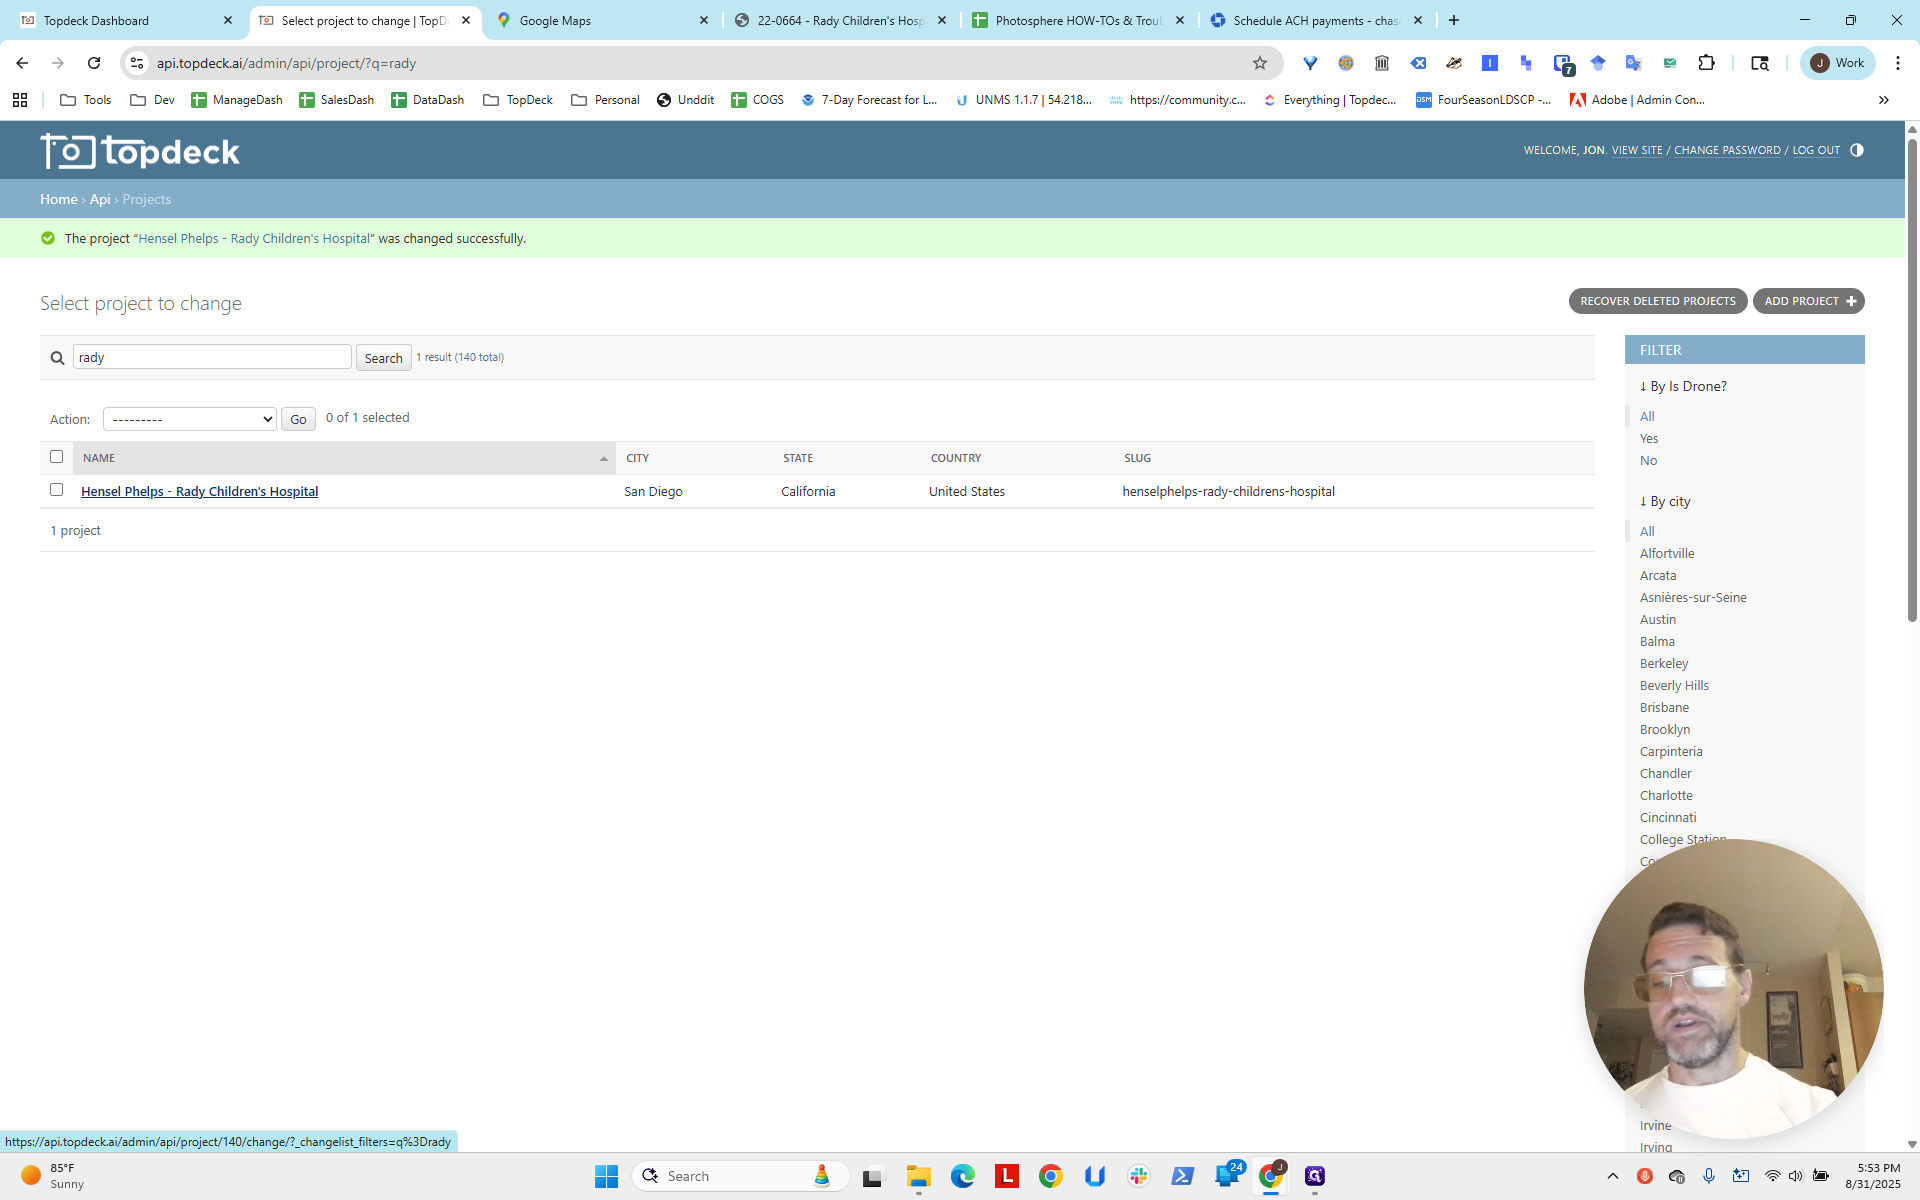
We will add cameras and a photo sphere later. As we go through this process, we need to ensure our setup can thoughtfully include these additions. We will go to the project. I have already entered "Ready" in the search field under projects, so we will click on it.

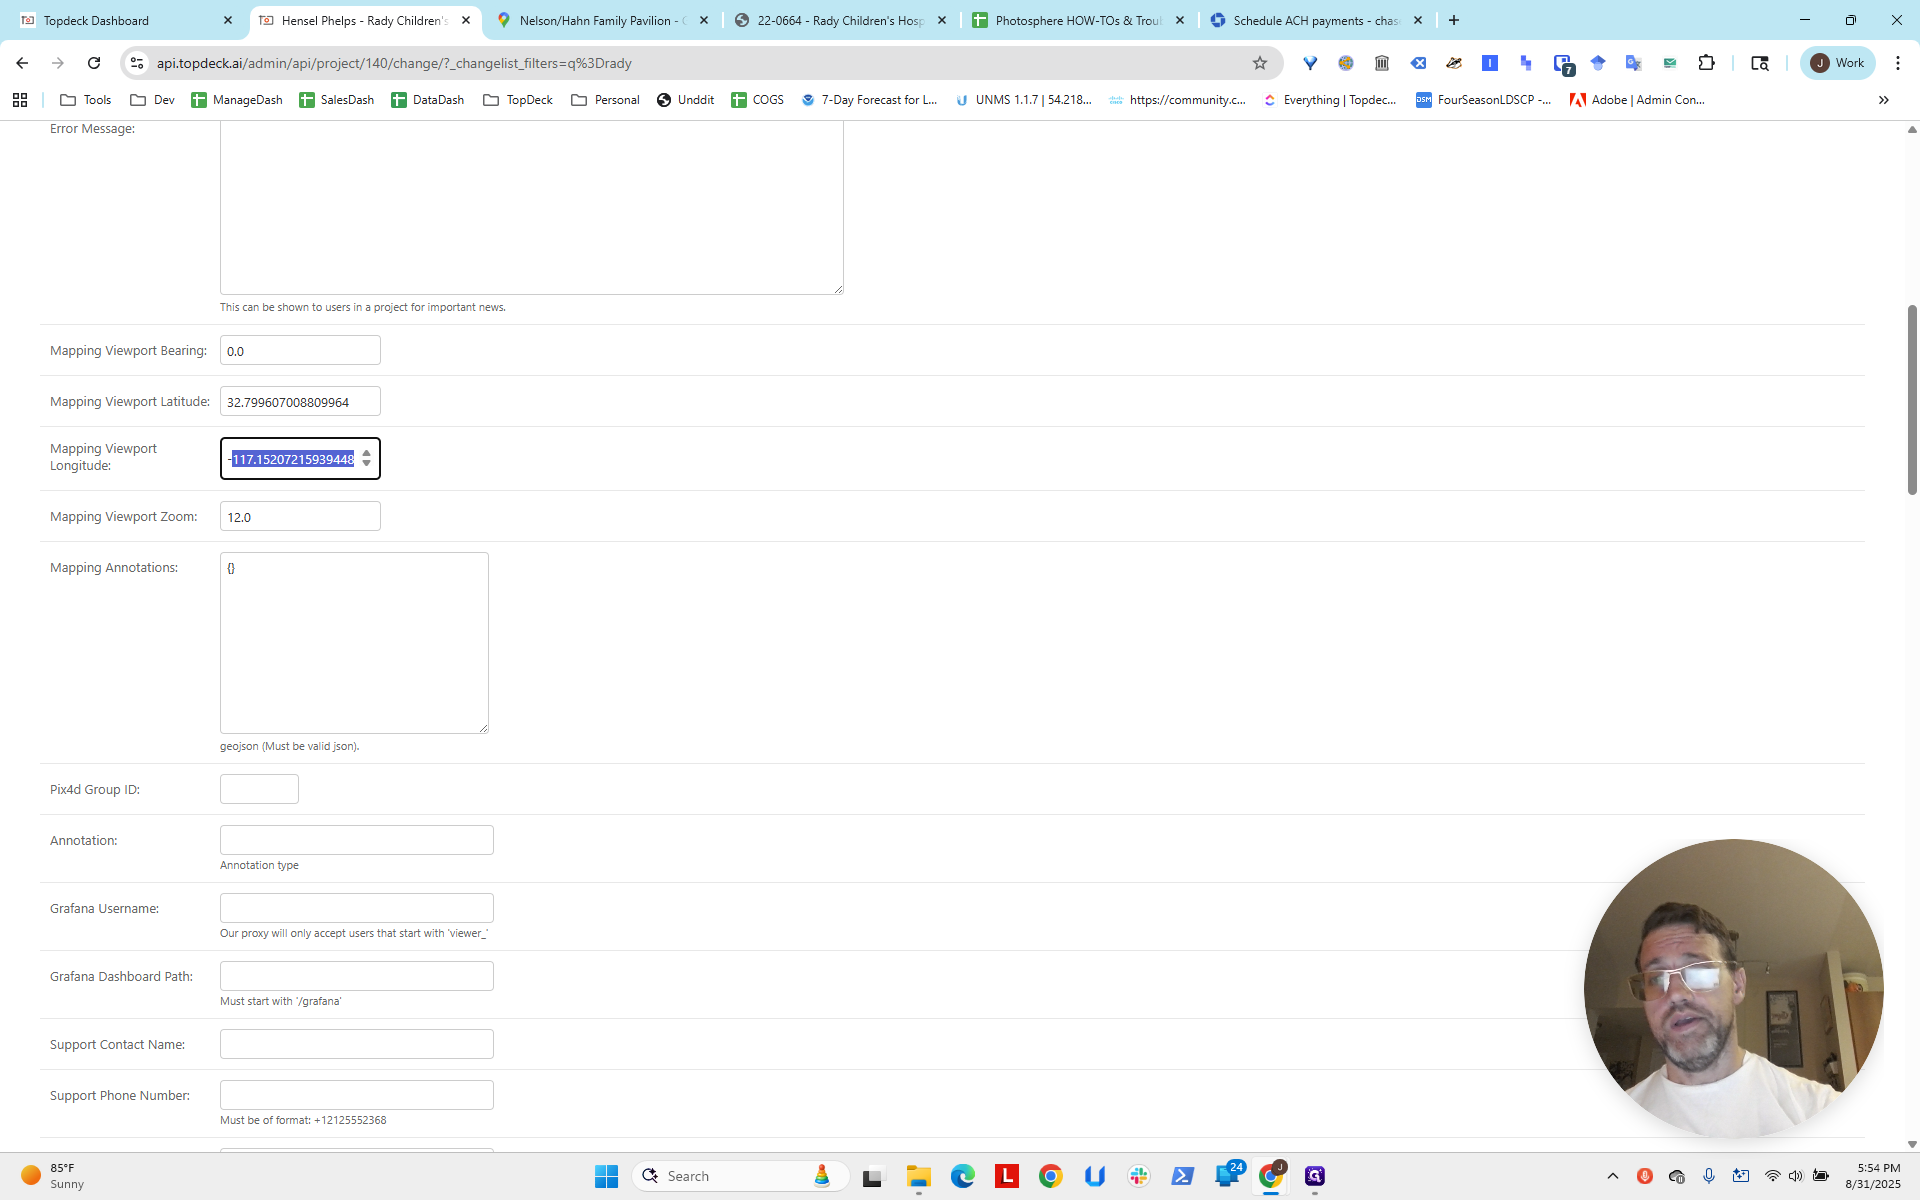
We will scroll down. It's not this first longitude and latitude. It's the viewport, with longitude and latitude.

We will look here, keeping in mind that construction is happening in this area and that this building is being worked on right now.

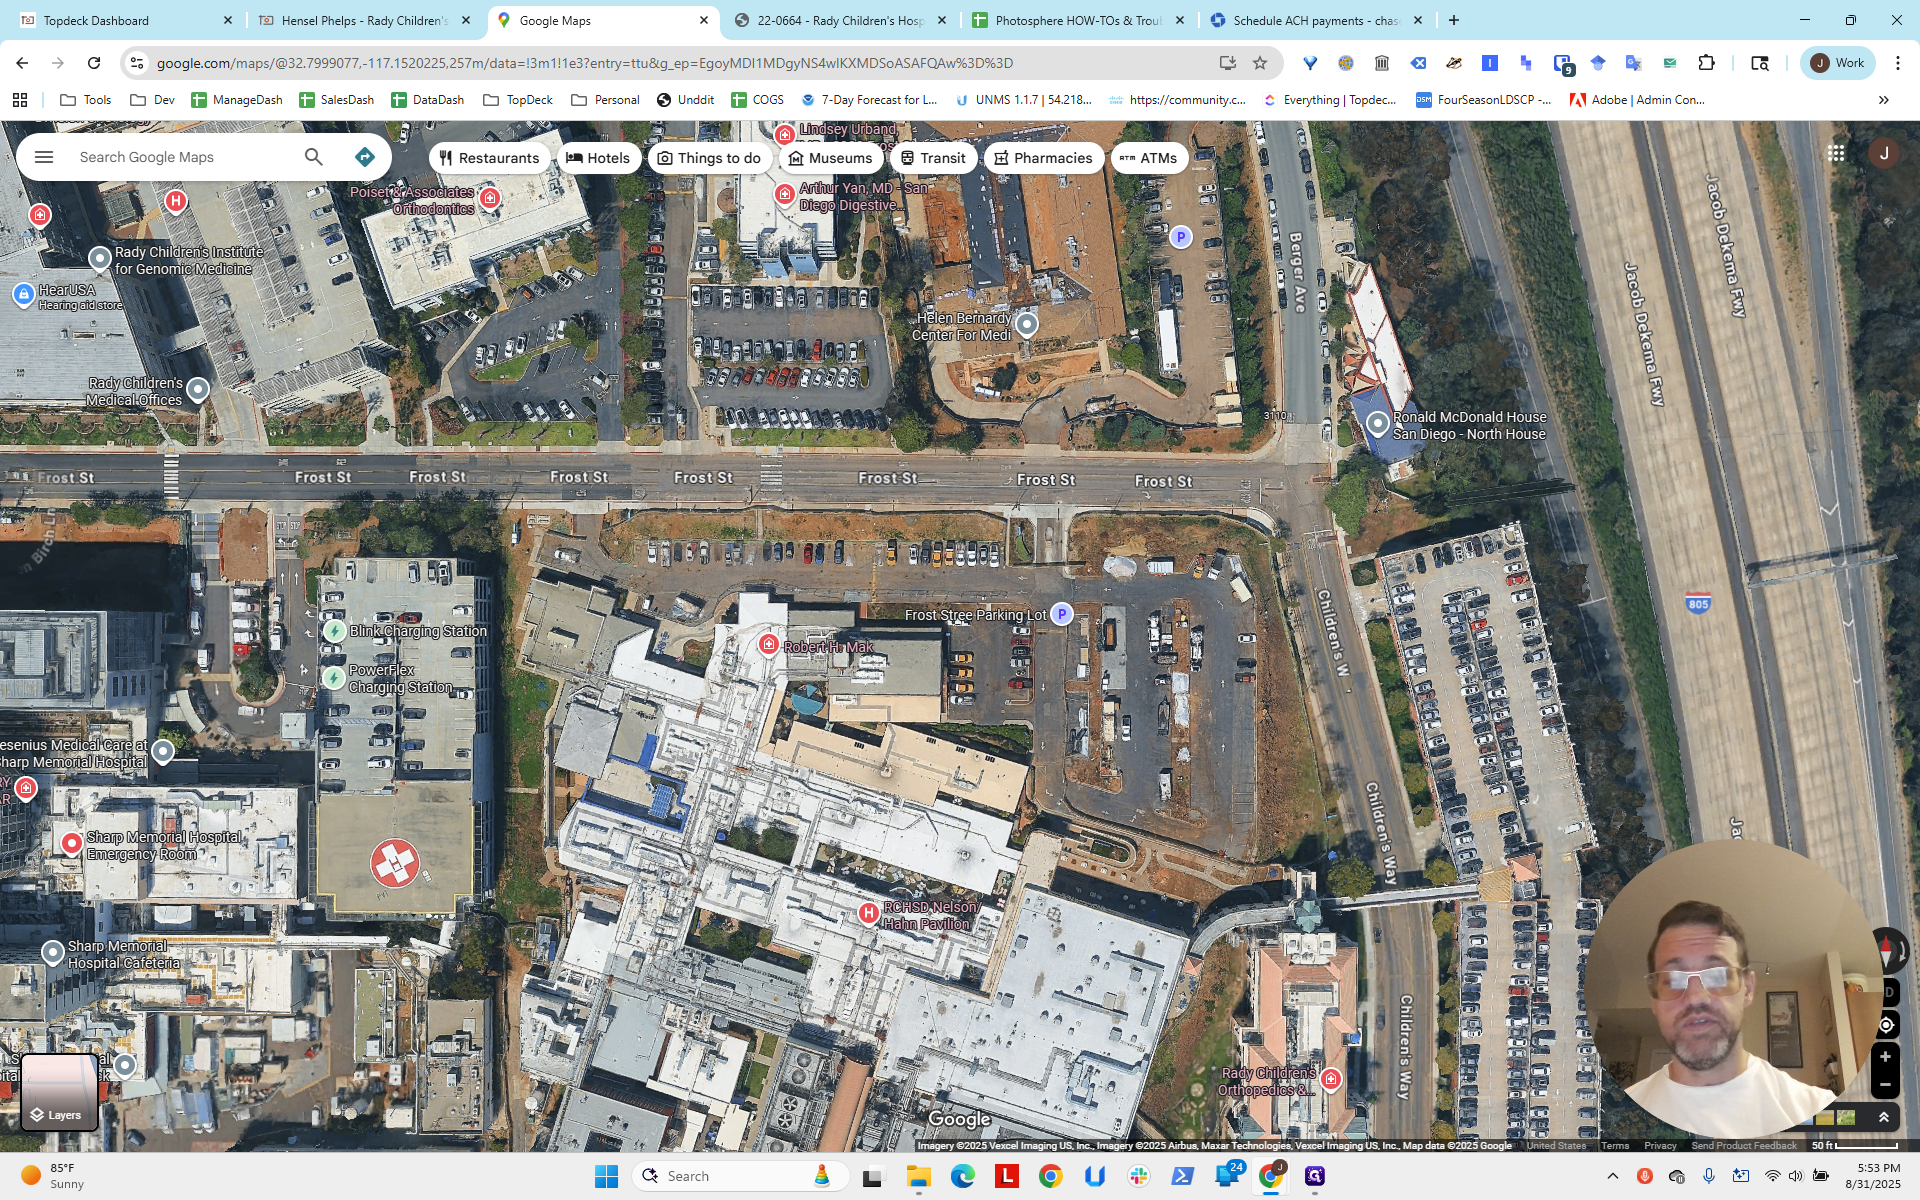
We will choose this point, which gives us the longitude and latitude. I will enter that here.

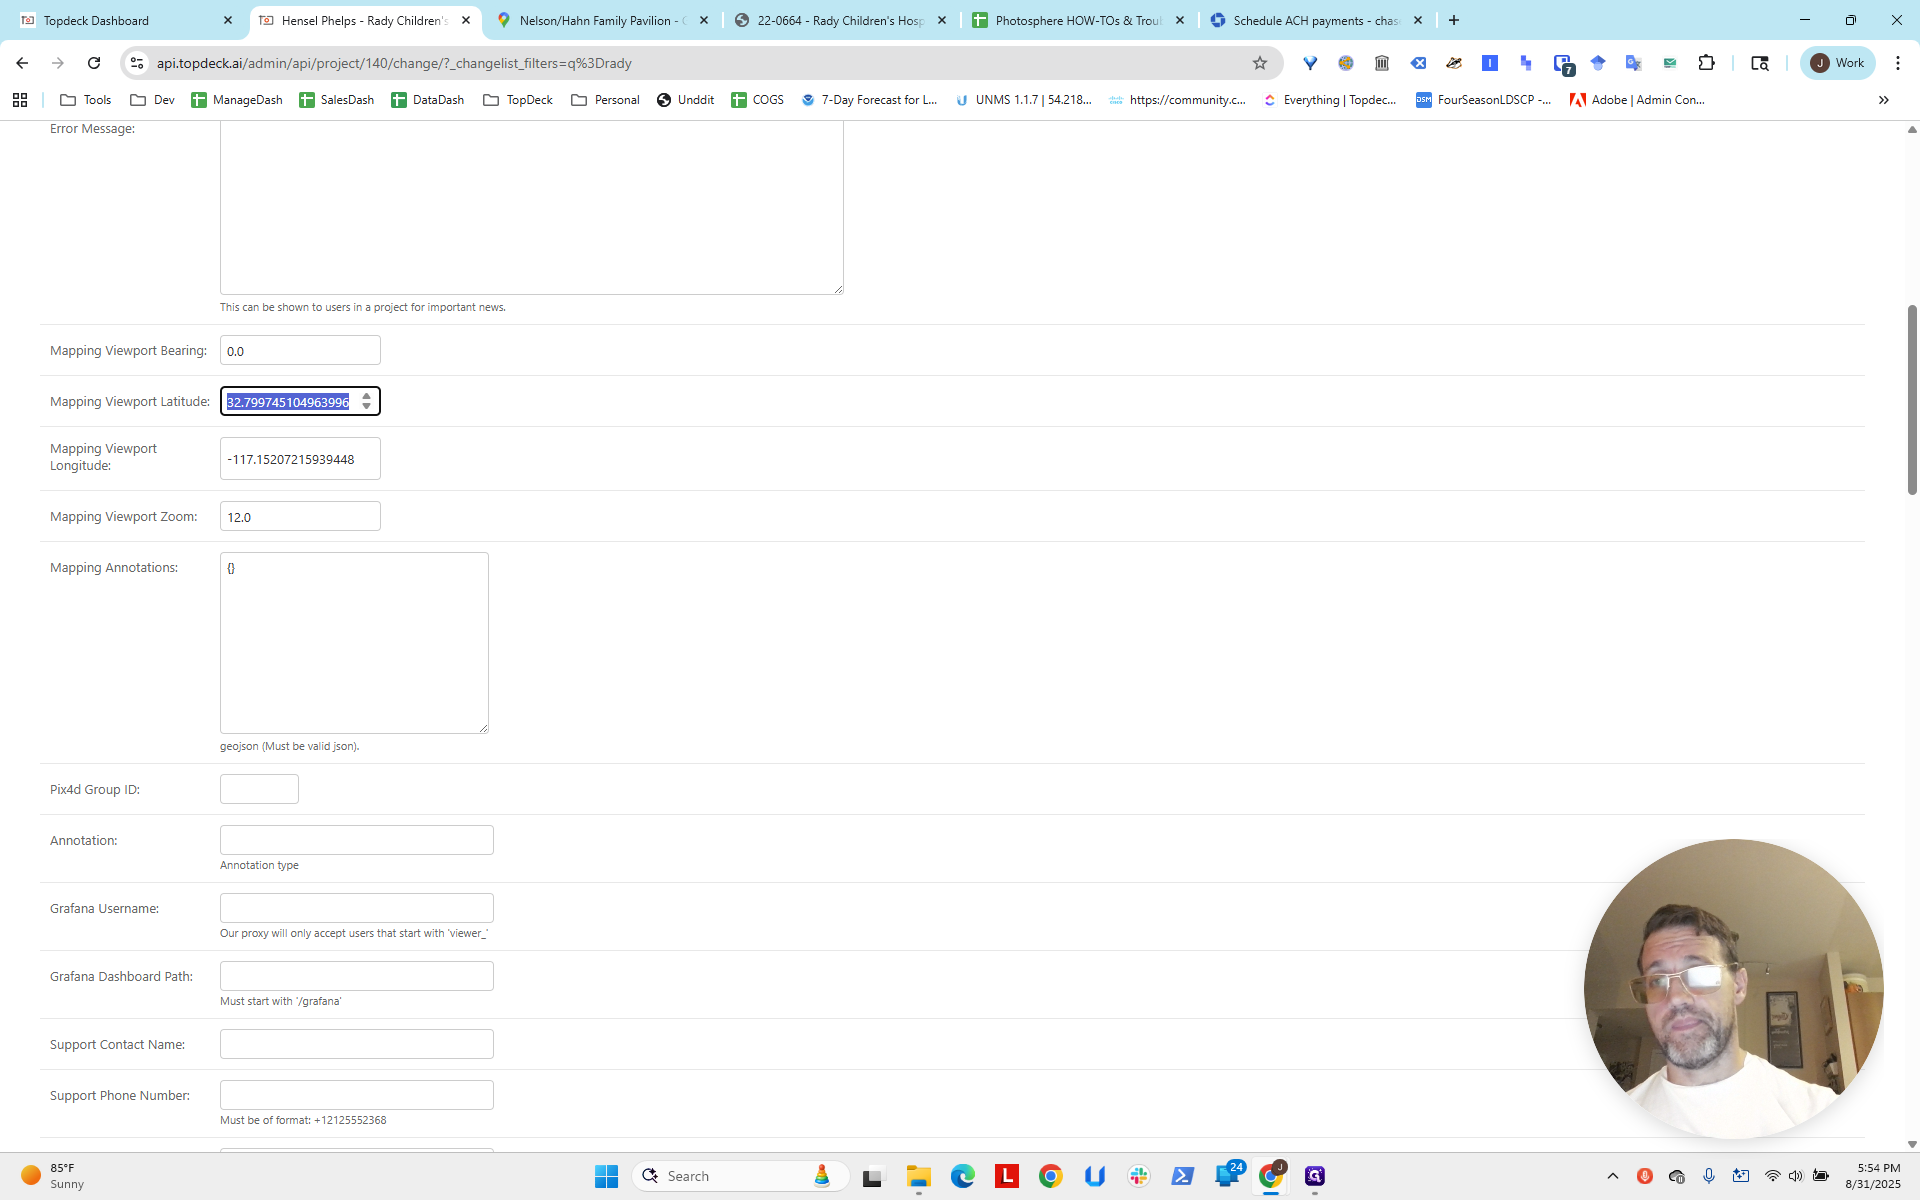
At a minimum, you want to have six decimal places.


That reduces it to feet. Anything less than that is just extra.
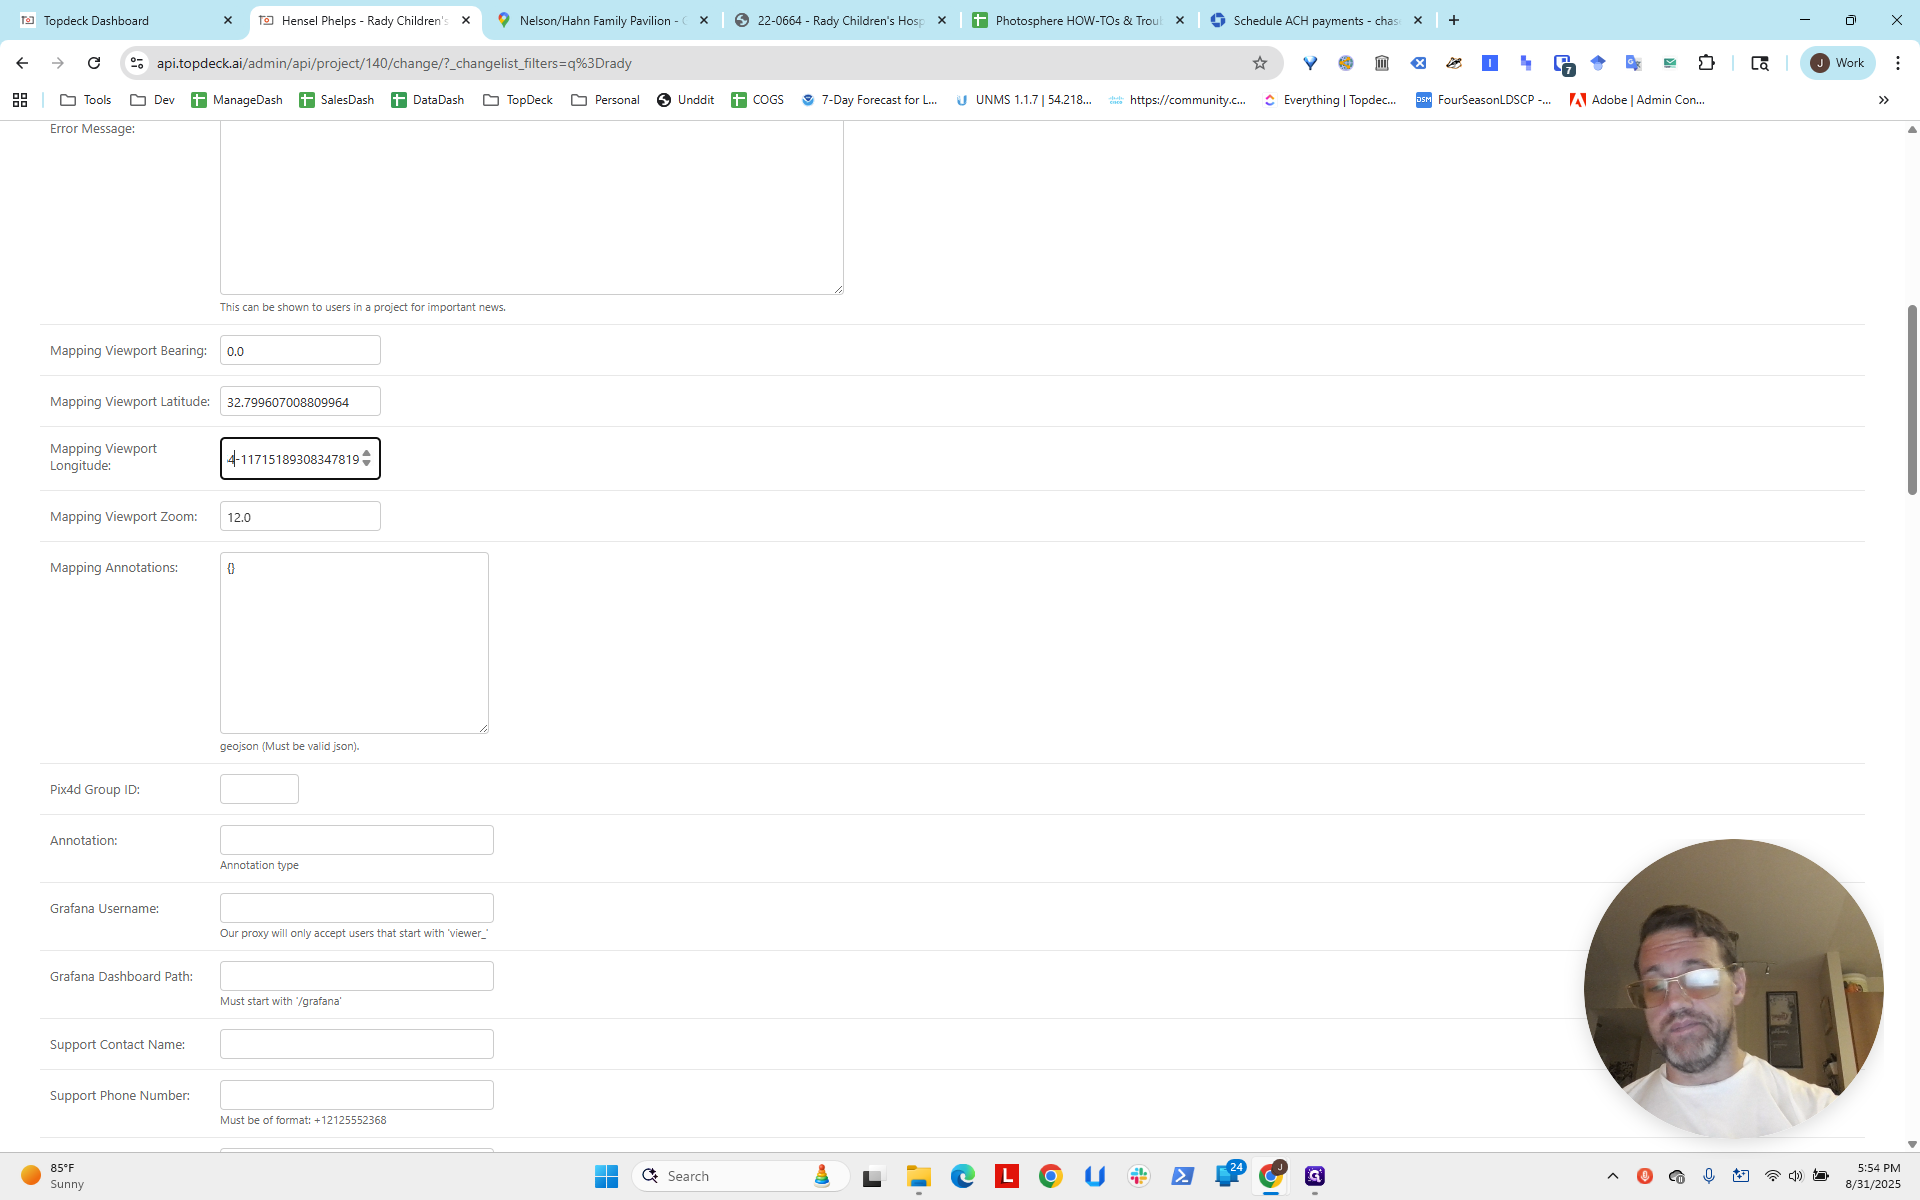
We're going to go here. There are longitude and latitude. We will zoom in a bit.

We'll zoom in to about 16. Higher numbers mean higher zoom. Not 176. That would be crazy. You can scroll all the way down, or as a pro tip, just press Enter.
Normally, you can.
Scroll down. Click Save.
Now we reload, and we can see that we are zoomed in much better.
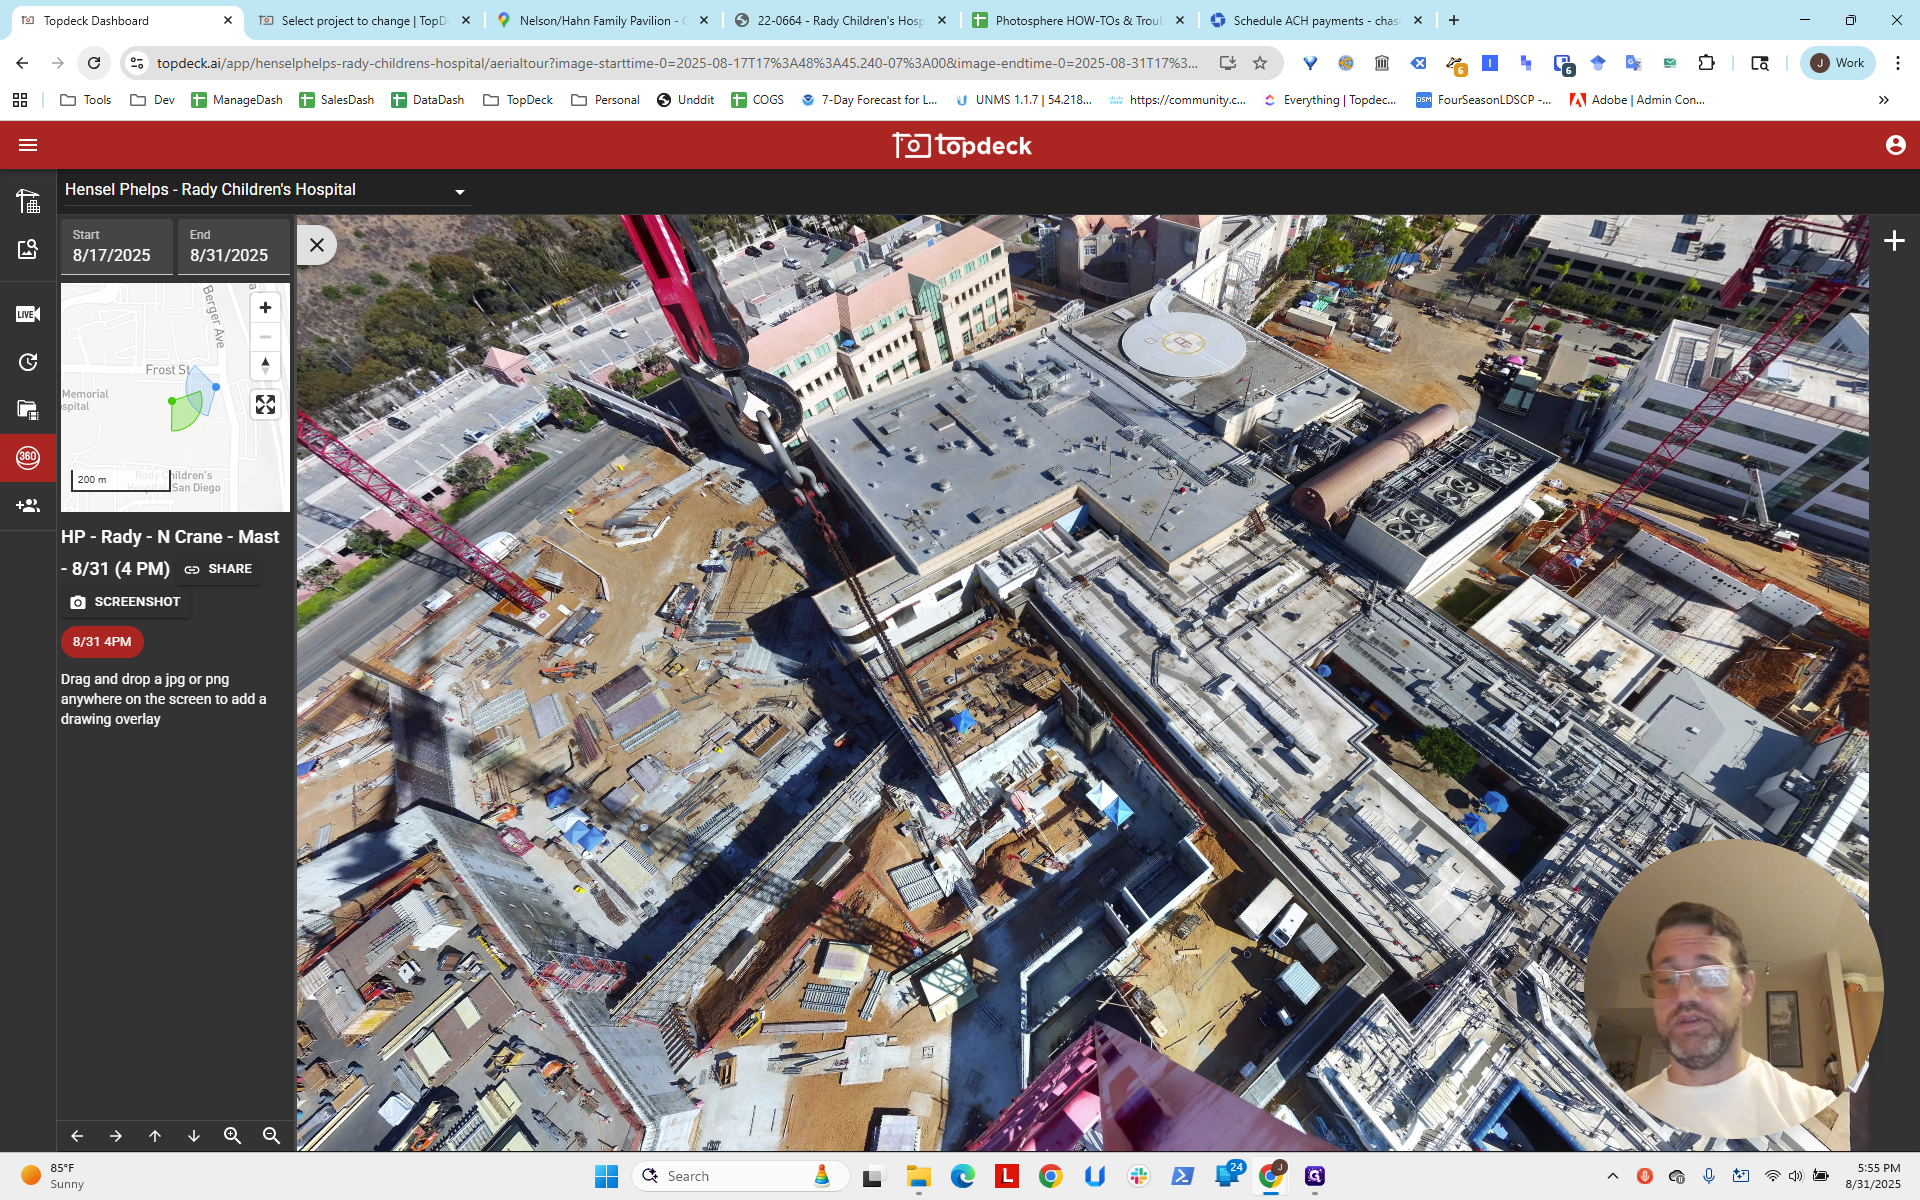
We have a north crane. We have a northeast crane.
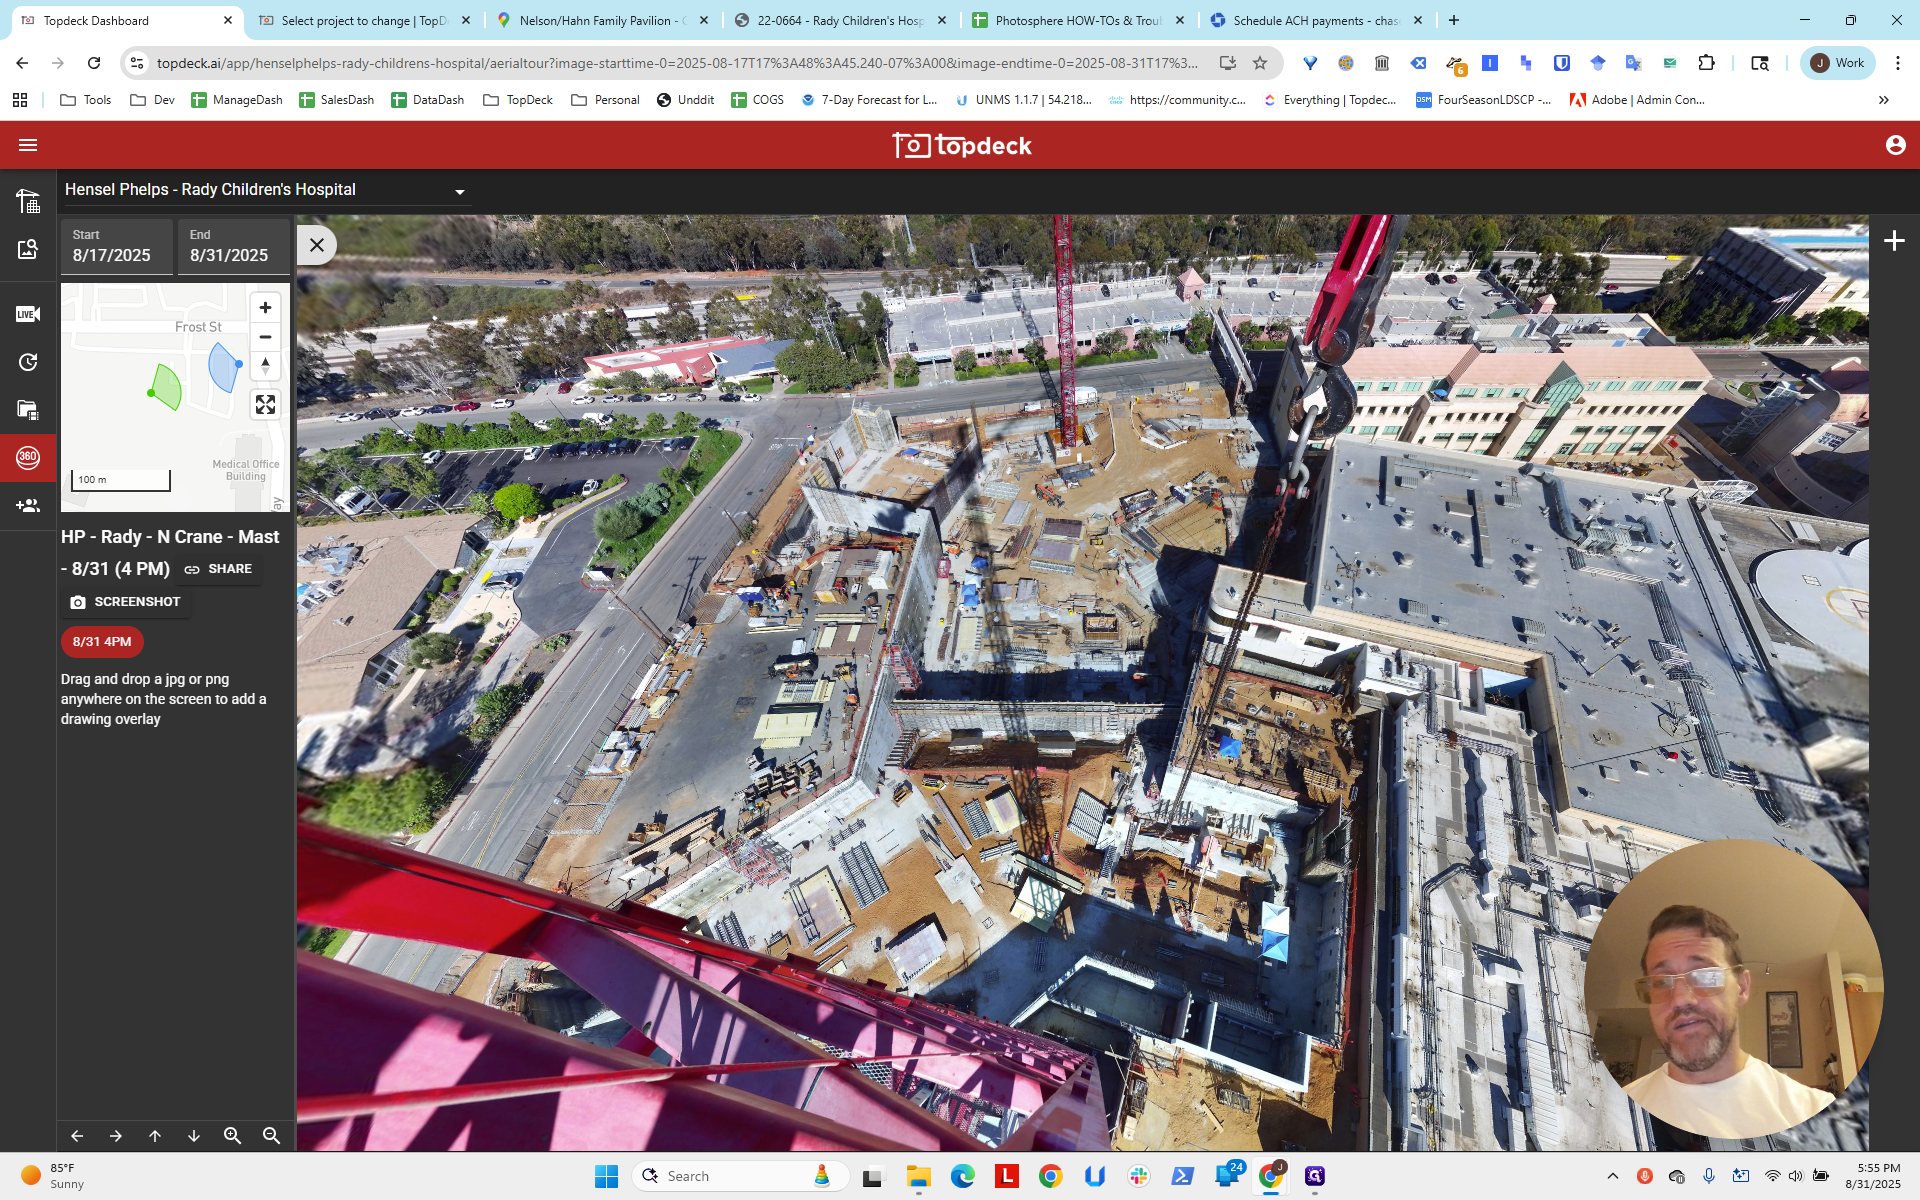
They are facing each other. The bearings are in good condition. There is still space at the bottom for the south one, which is ideal.
You can adjust it further if you like, but this shows you how to complete setting up a multi-crane project.