In-Depth Guide to Creating Press Clips for Media Outlets
Learn the step-by-step process of creating effective press clips for media outlets, focusing on organization, photo selection, and formatting tips.
In this guide, we'll learn how to create press clippings for media outlets that you will send back over to the publicists. The process involves selecting appropriate photos from our clients press kits, and ensuring the clippings are visually appealing and informative. We'll explore using Pages to compile and format these clippings, ensuring they meet the standards required by the publicists. This guide will also cover how to incorporate key elements like media outlet titles and quotes, and how to adjust formatting for clarity and impact.
Let's get started
I'll show you the steps I use to make clips and share what I've learned from the process. First, open a Pages tab.
You typically receive your clippings and emails in this manner.

Each publicist will send and primarily organize the information by the artist they provide when giving you the task to make clips.
First, obtain a photo from their press kit to use for a clipping.
Type in the artist you are making the clip for. Just type in "Artist Name."
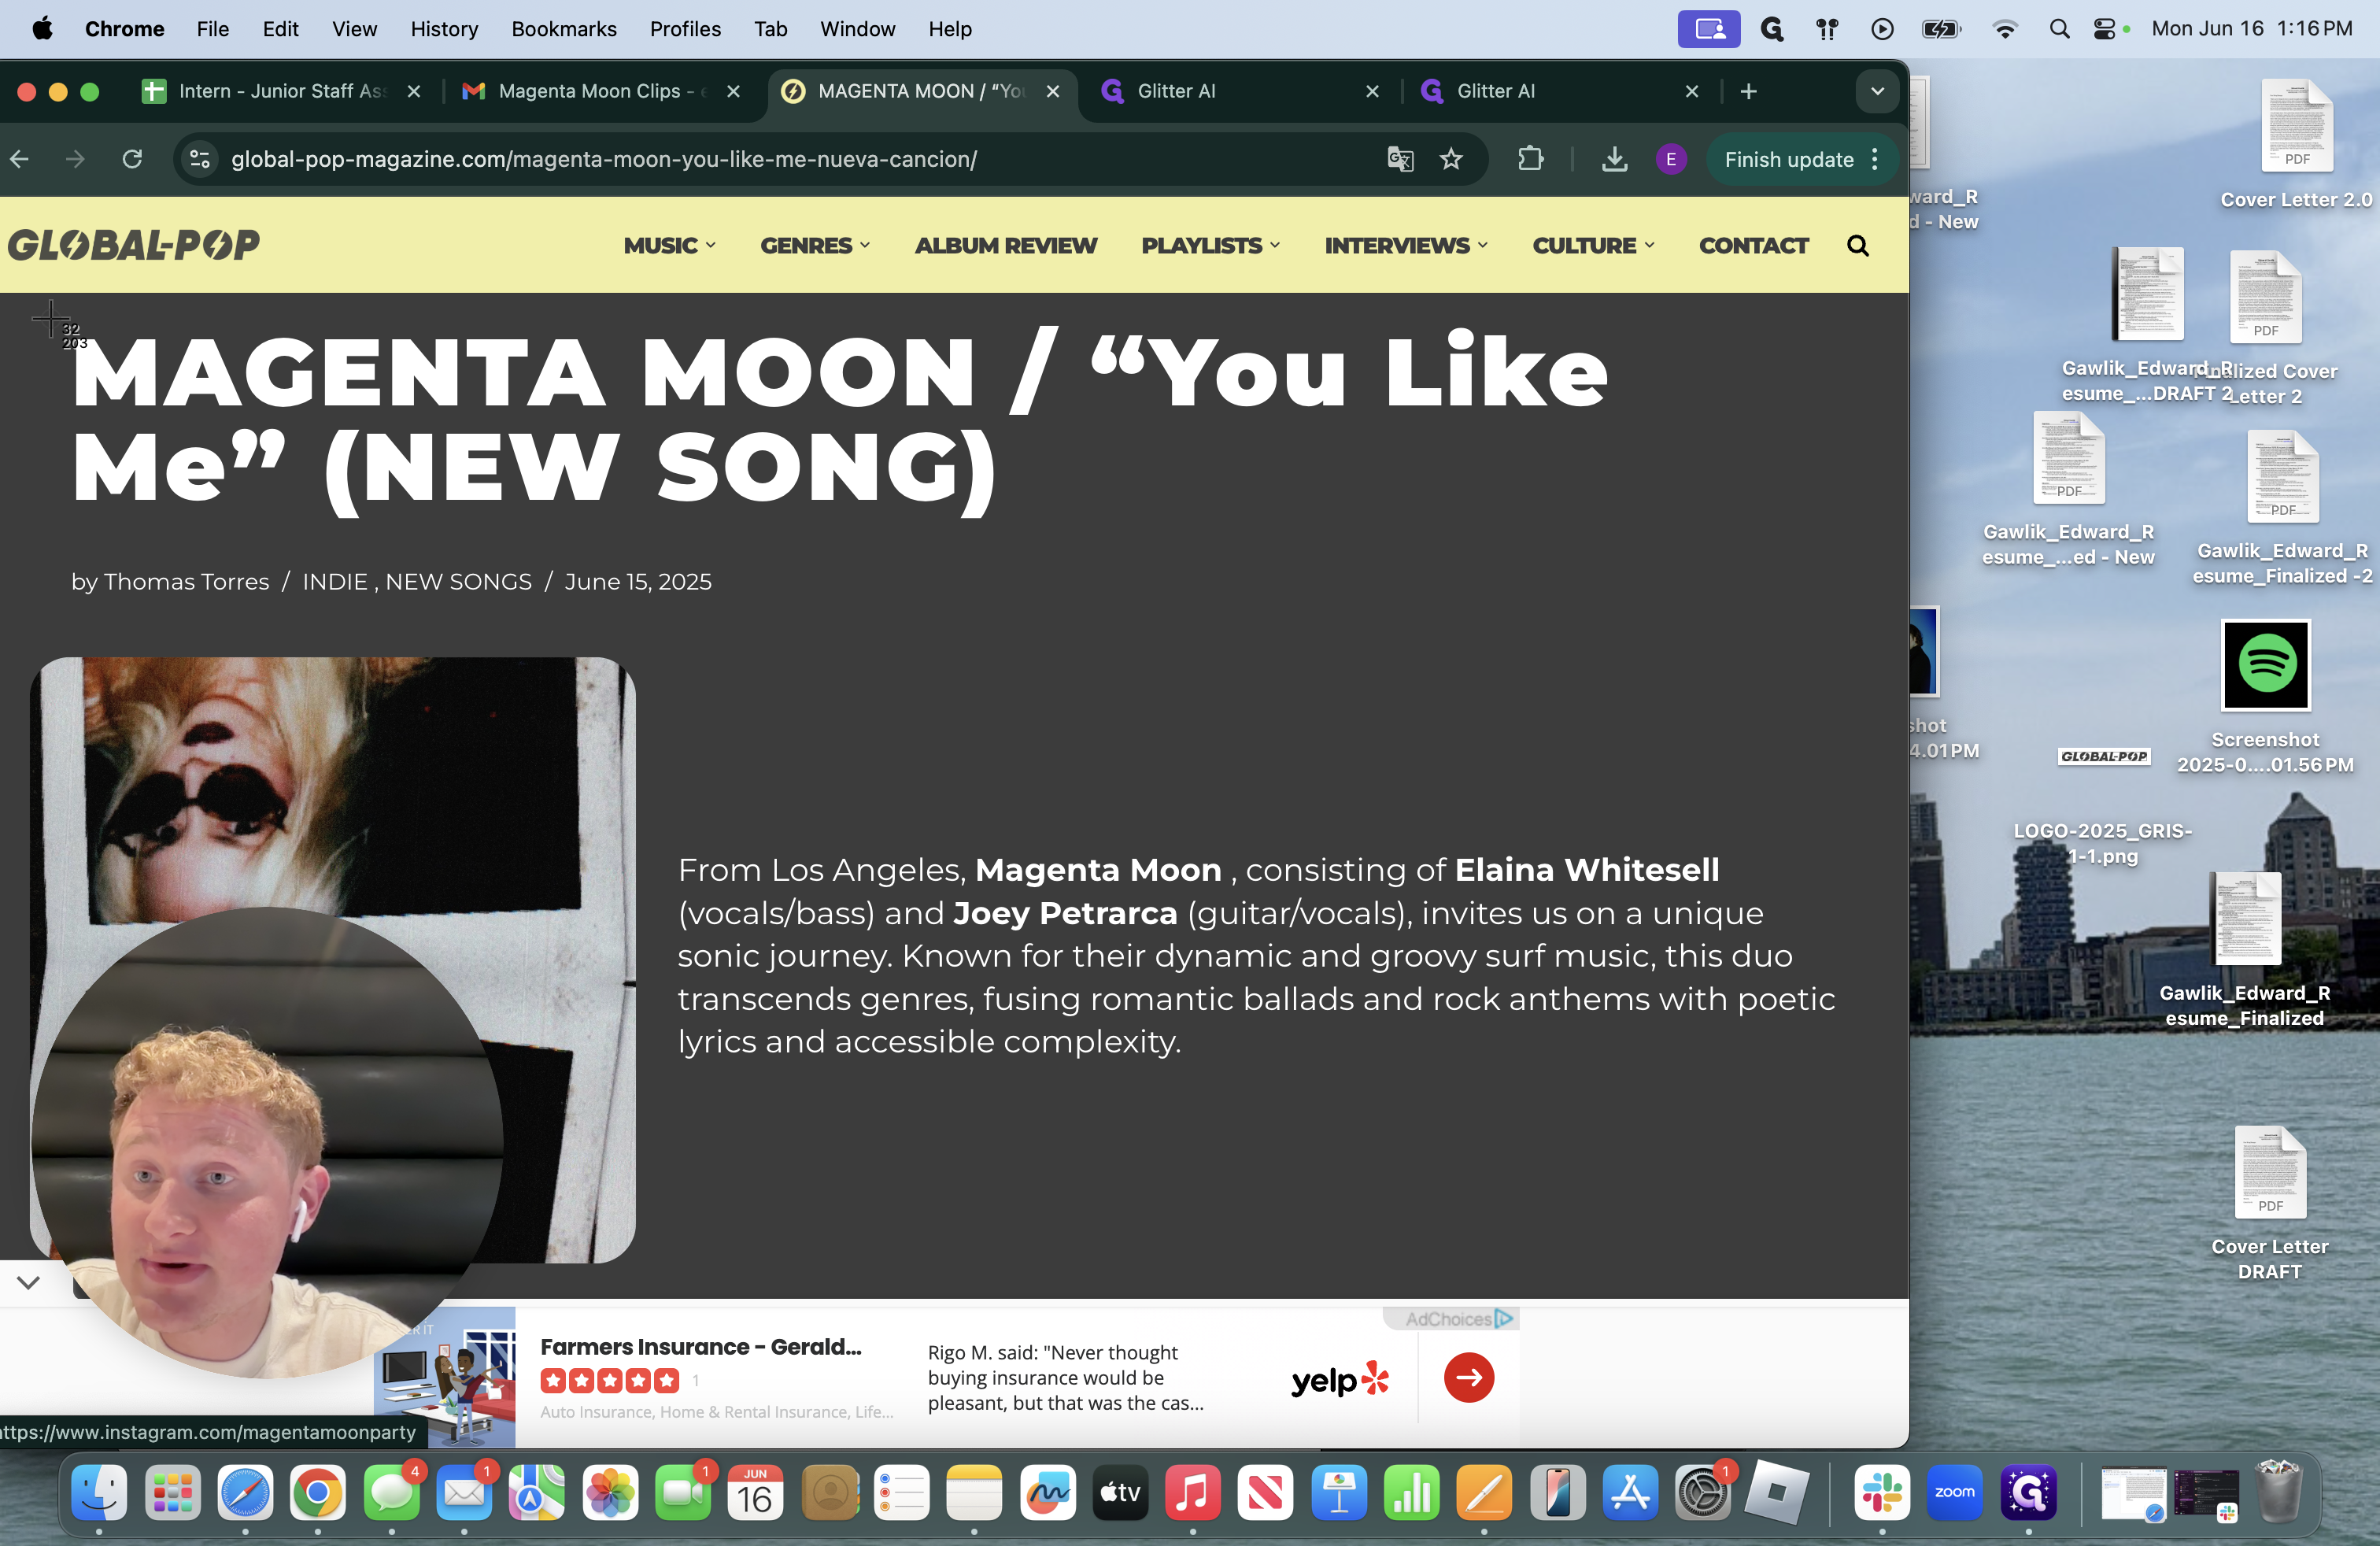
You are directed to the artists press kit. Scroll to the bottom to find their most recent press photos. Be careful, as some old single press photos might be present. Avoid using these for a new single or album unless instructed otherwise. Usually, they will be up to date. However, be cautious, as older single artwork might appear for a newer single.
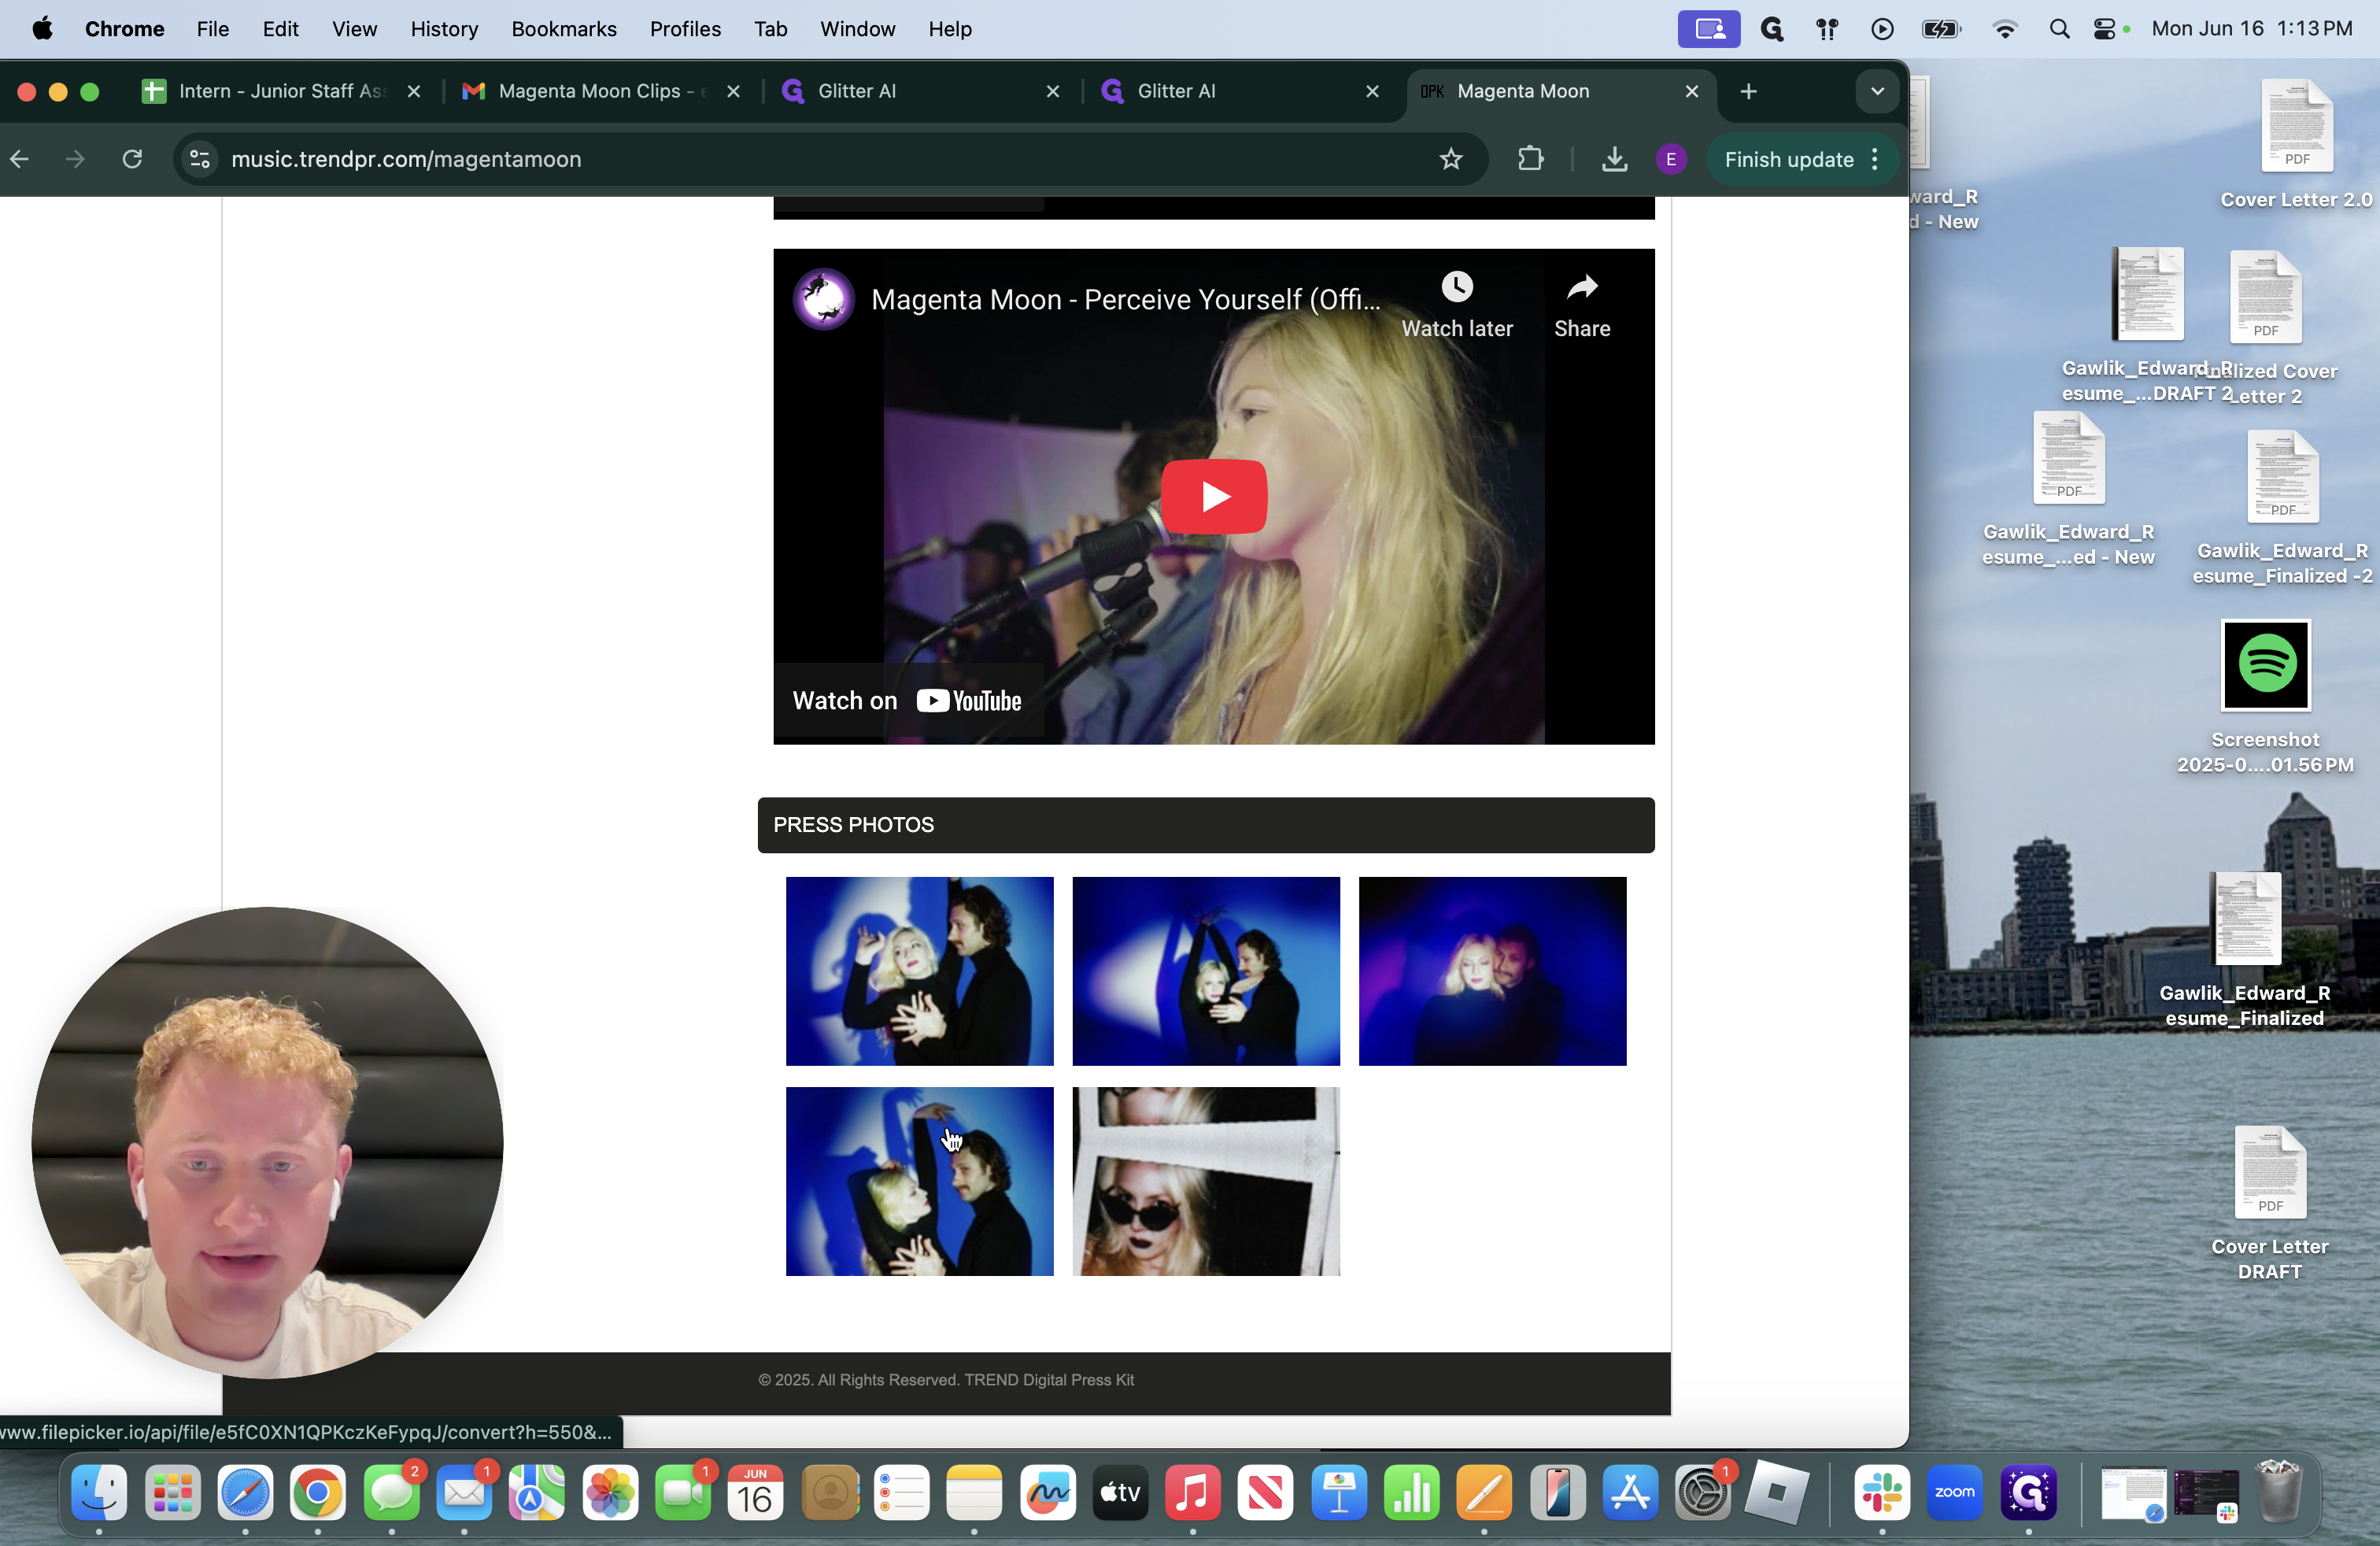
Click on the photo, then select "Click to download high resolution" to get the best quality photo.
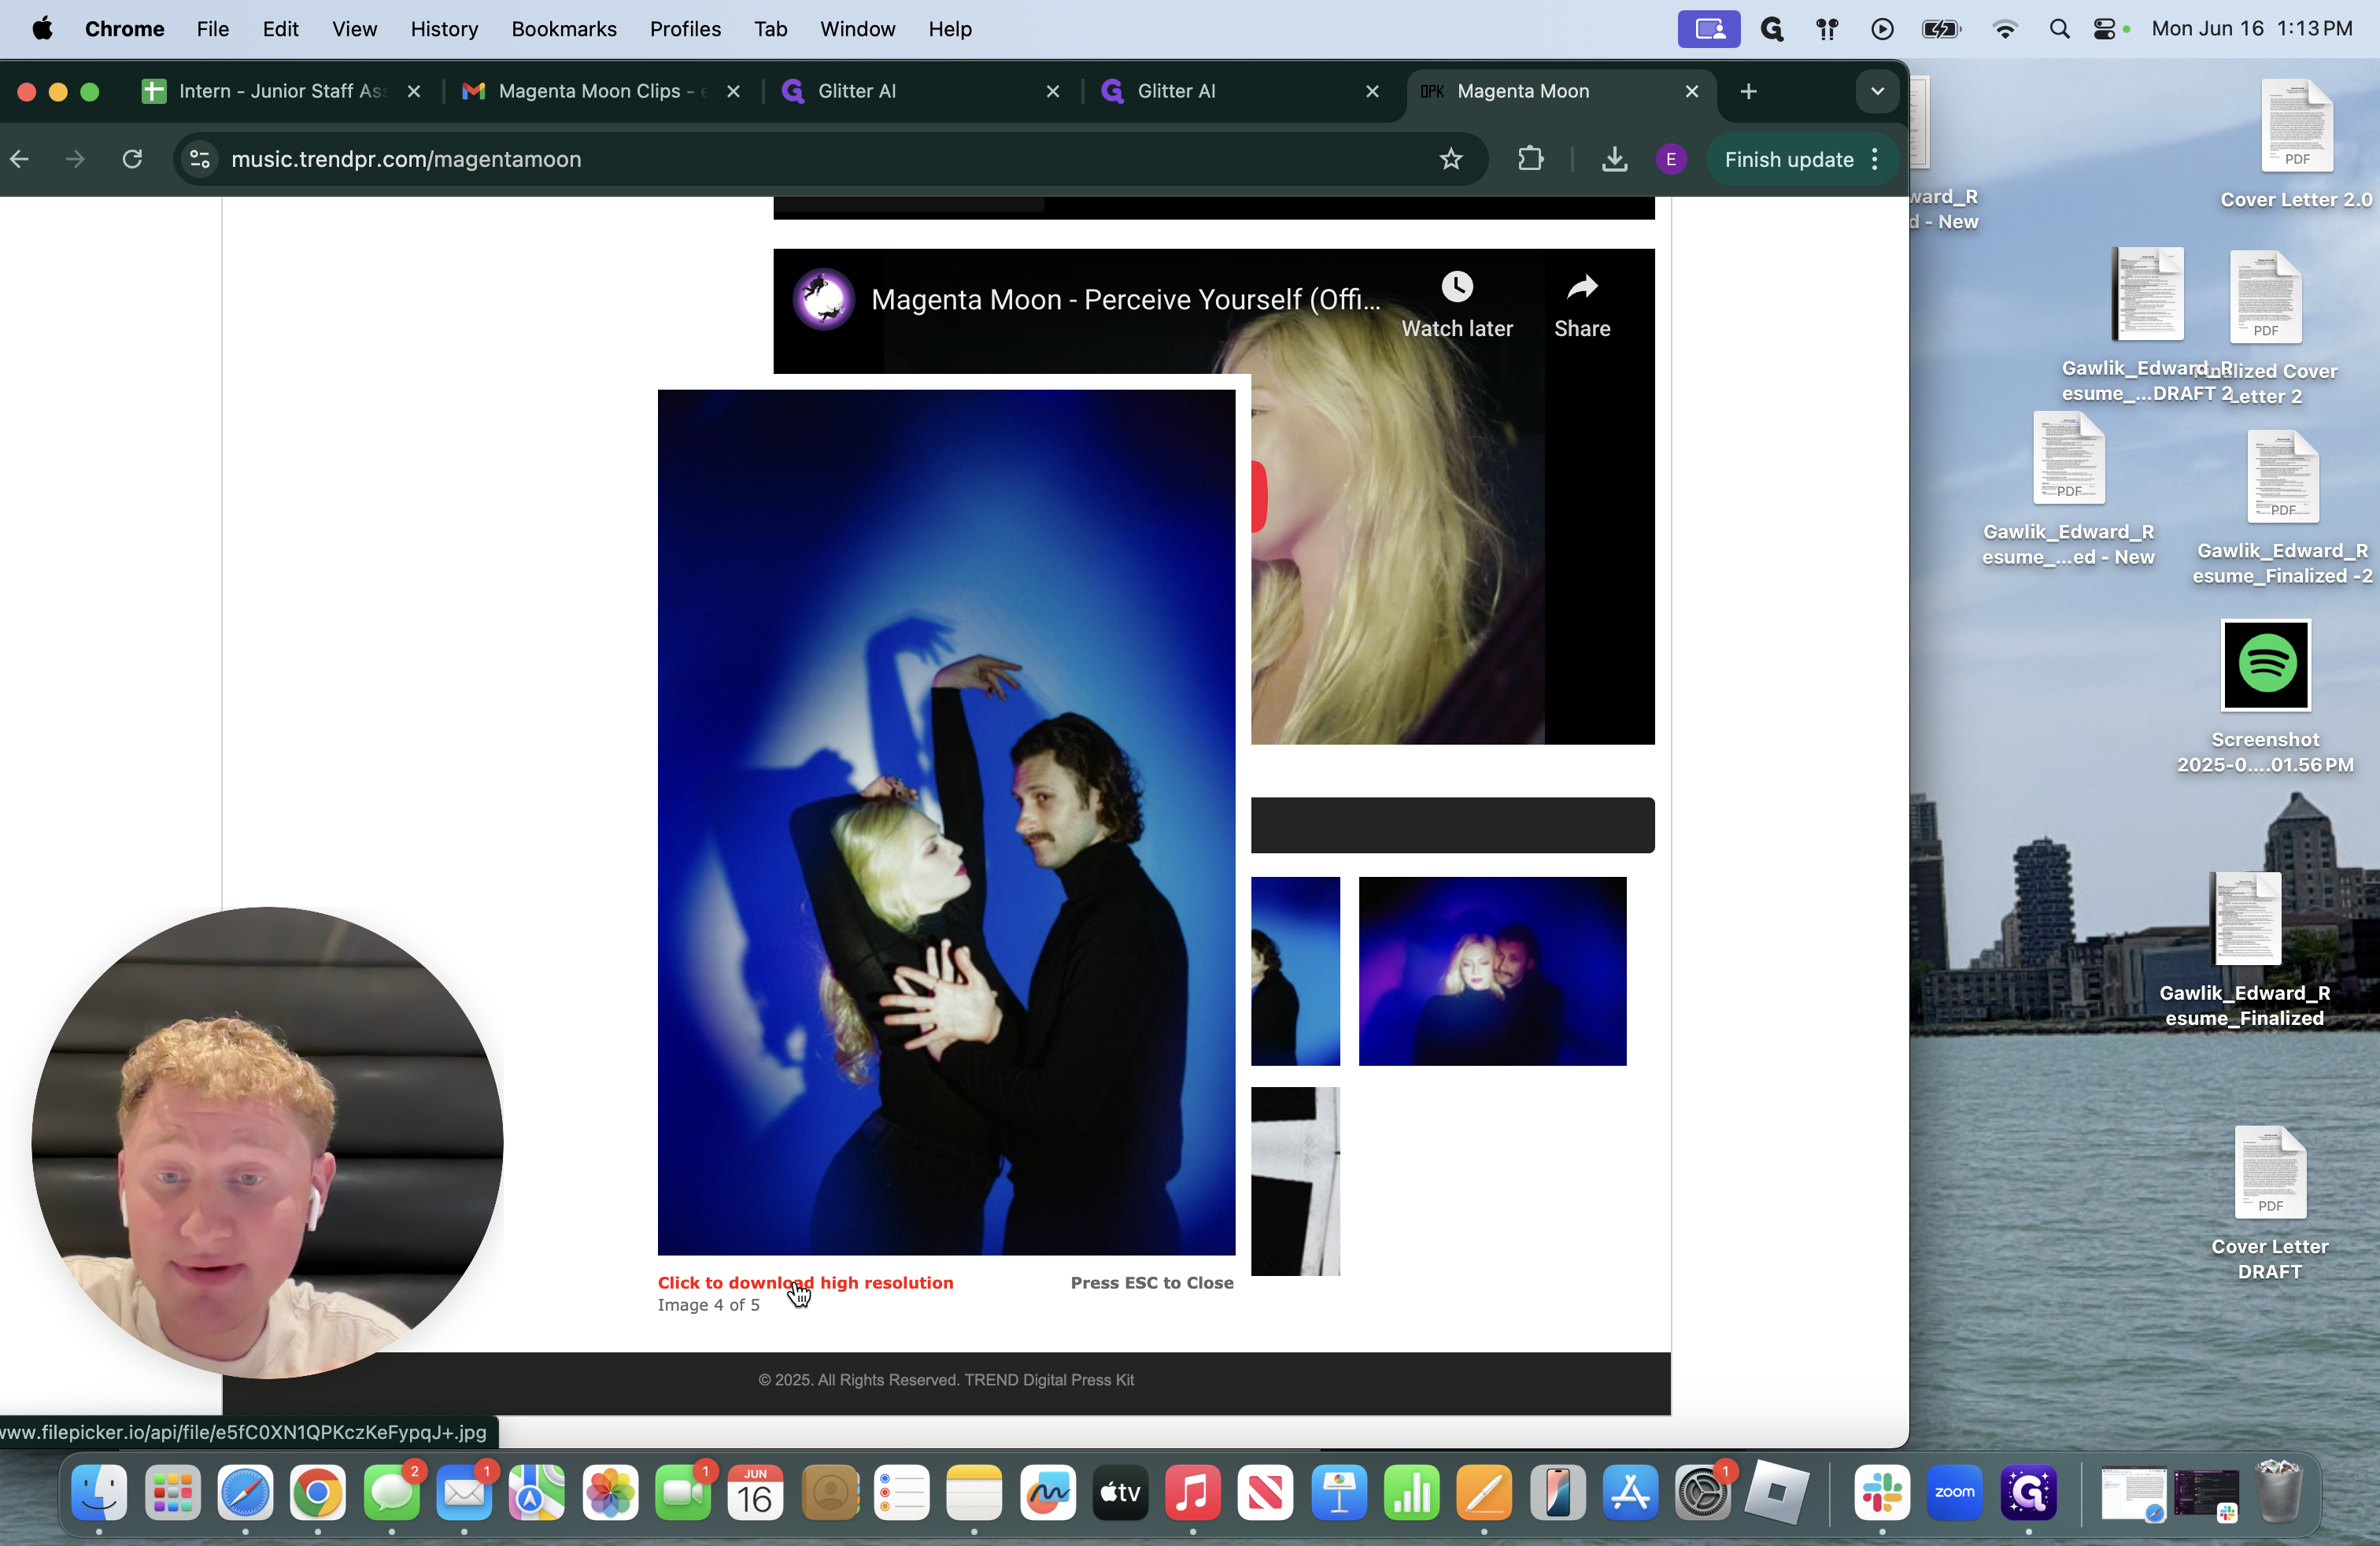
Next, you'll need to take a screenshot. If you're unsure how to do this, let me guide you. Press Command, Shift, and then 4, as I will do now.
It brings you to this small cursor. Make sure everything is a square. Ensure that the clipping or screenshot you create is a square. This is important because the publicists take it from Pages, screenshot it, and need it to be a square.
We are ready to take a screenshot. I start in the corner and screenshot down, creating a simple square. This allows the media outlet's title to fit without covering anything.
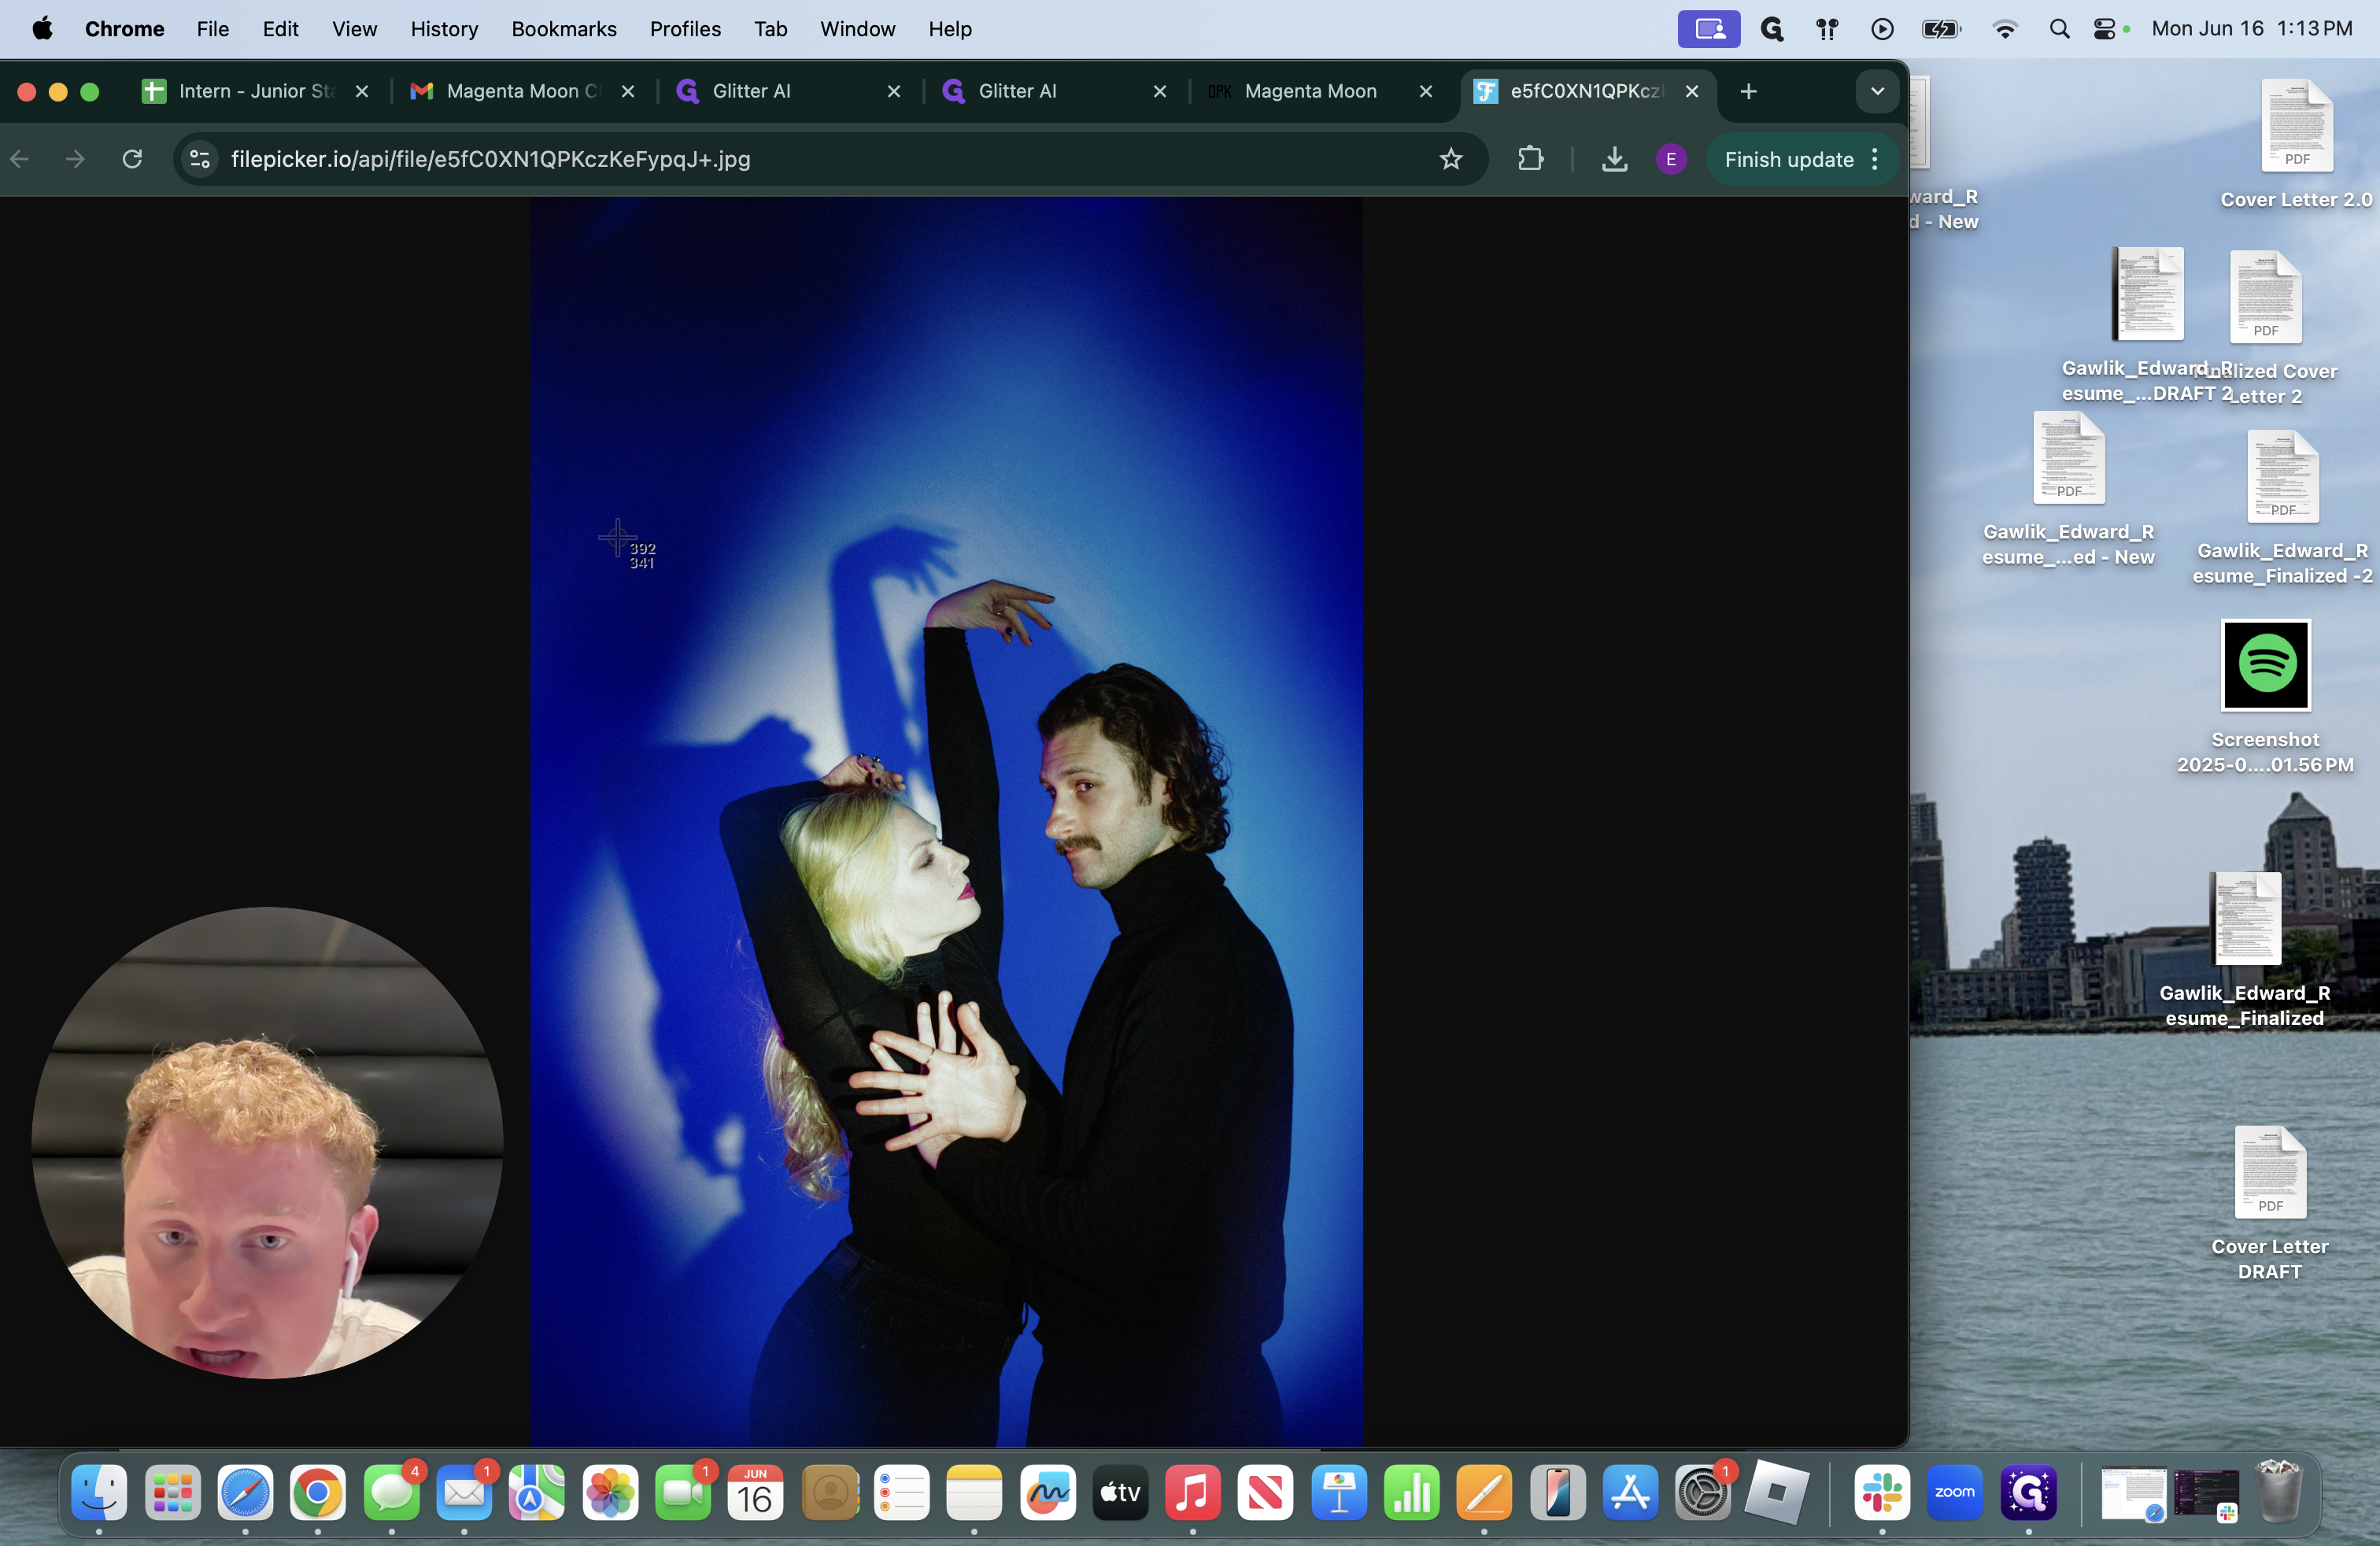
I take the screenshot after I make the perfect square and move it to the side of my screen. You can close it in the browser or and exit from the press kit.
My biggest recommendation is for when we get many media and press outlets to create clippings for, avoid using the same photo repeatedly. If people see the same photo repeatedly, it becomes boring. We want to change it up a bit! Ensure that if there are eight different media outlets discussing them, use one photo for four outlets and a different one for the other four. It's beneficial to mix it up. Next, we will work with our photo.
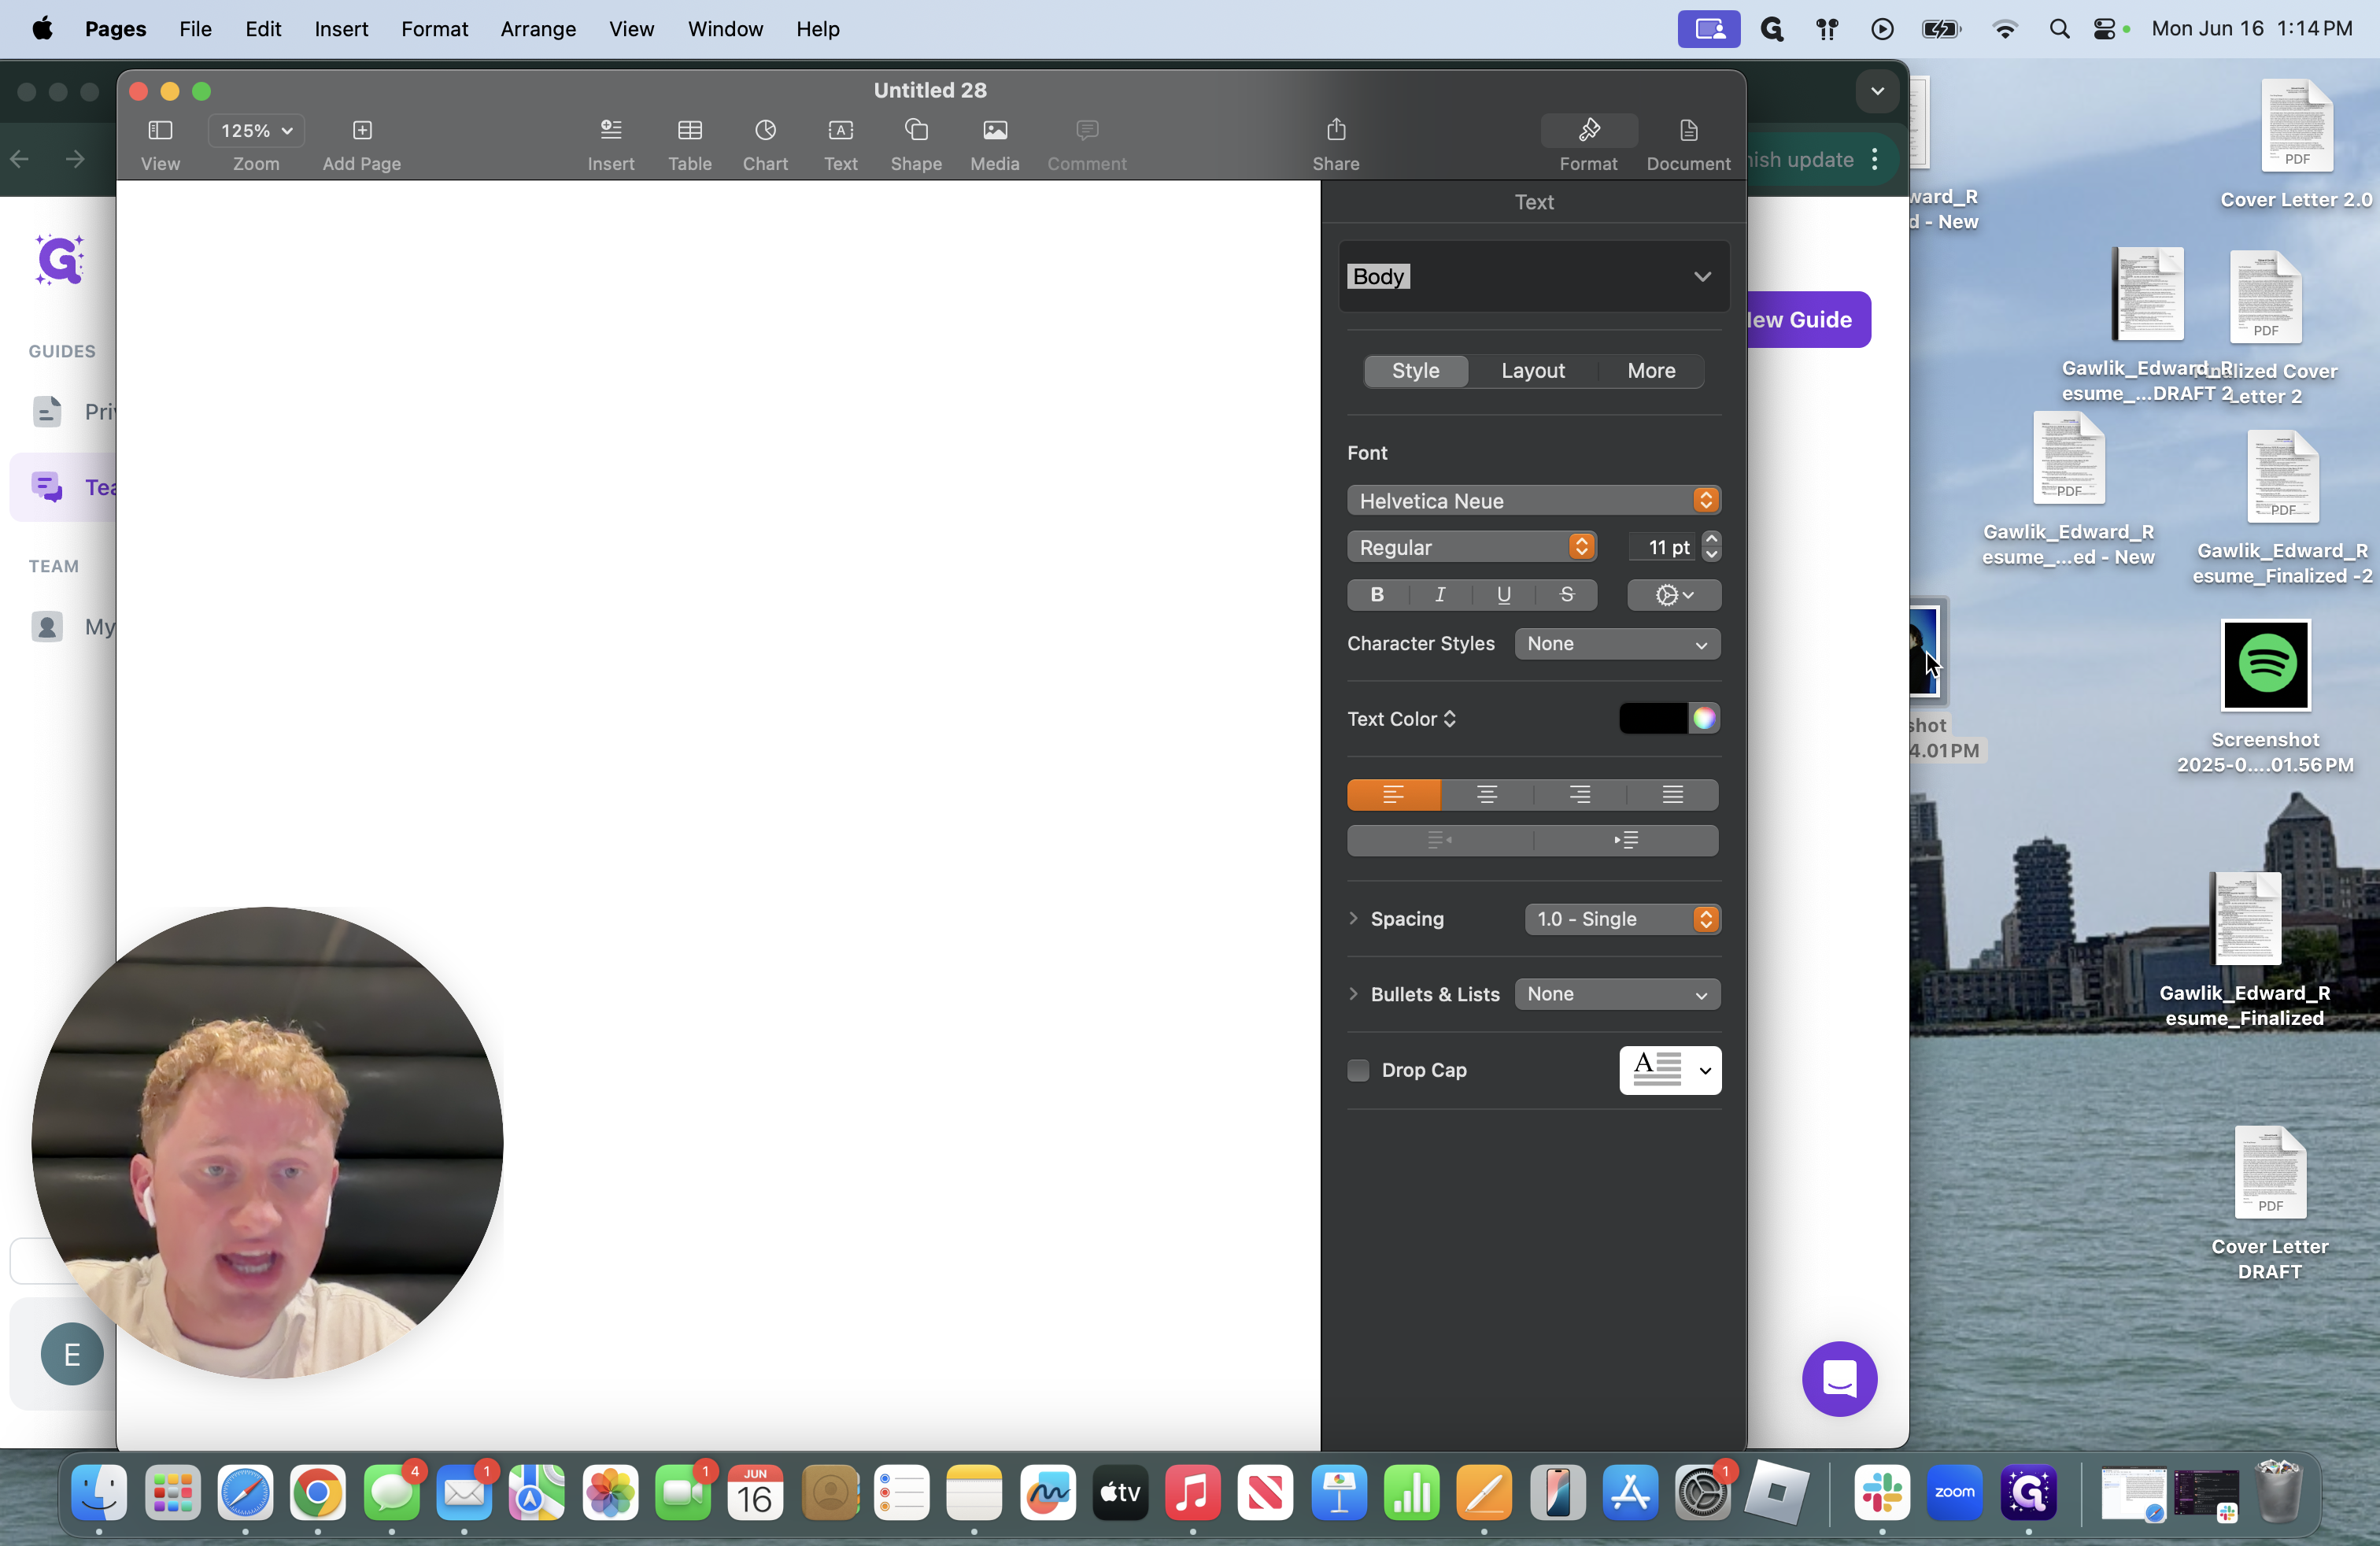
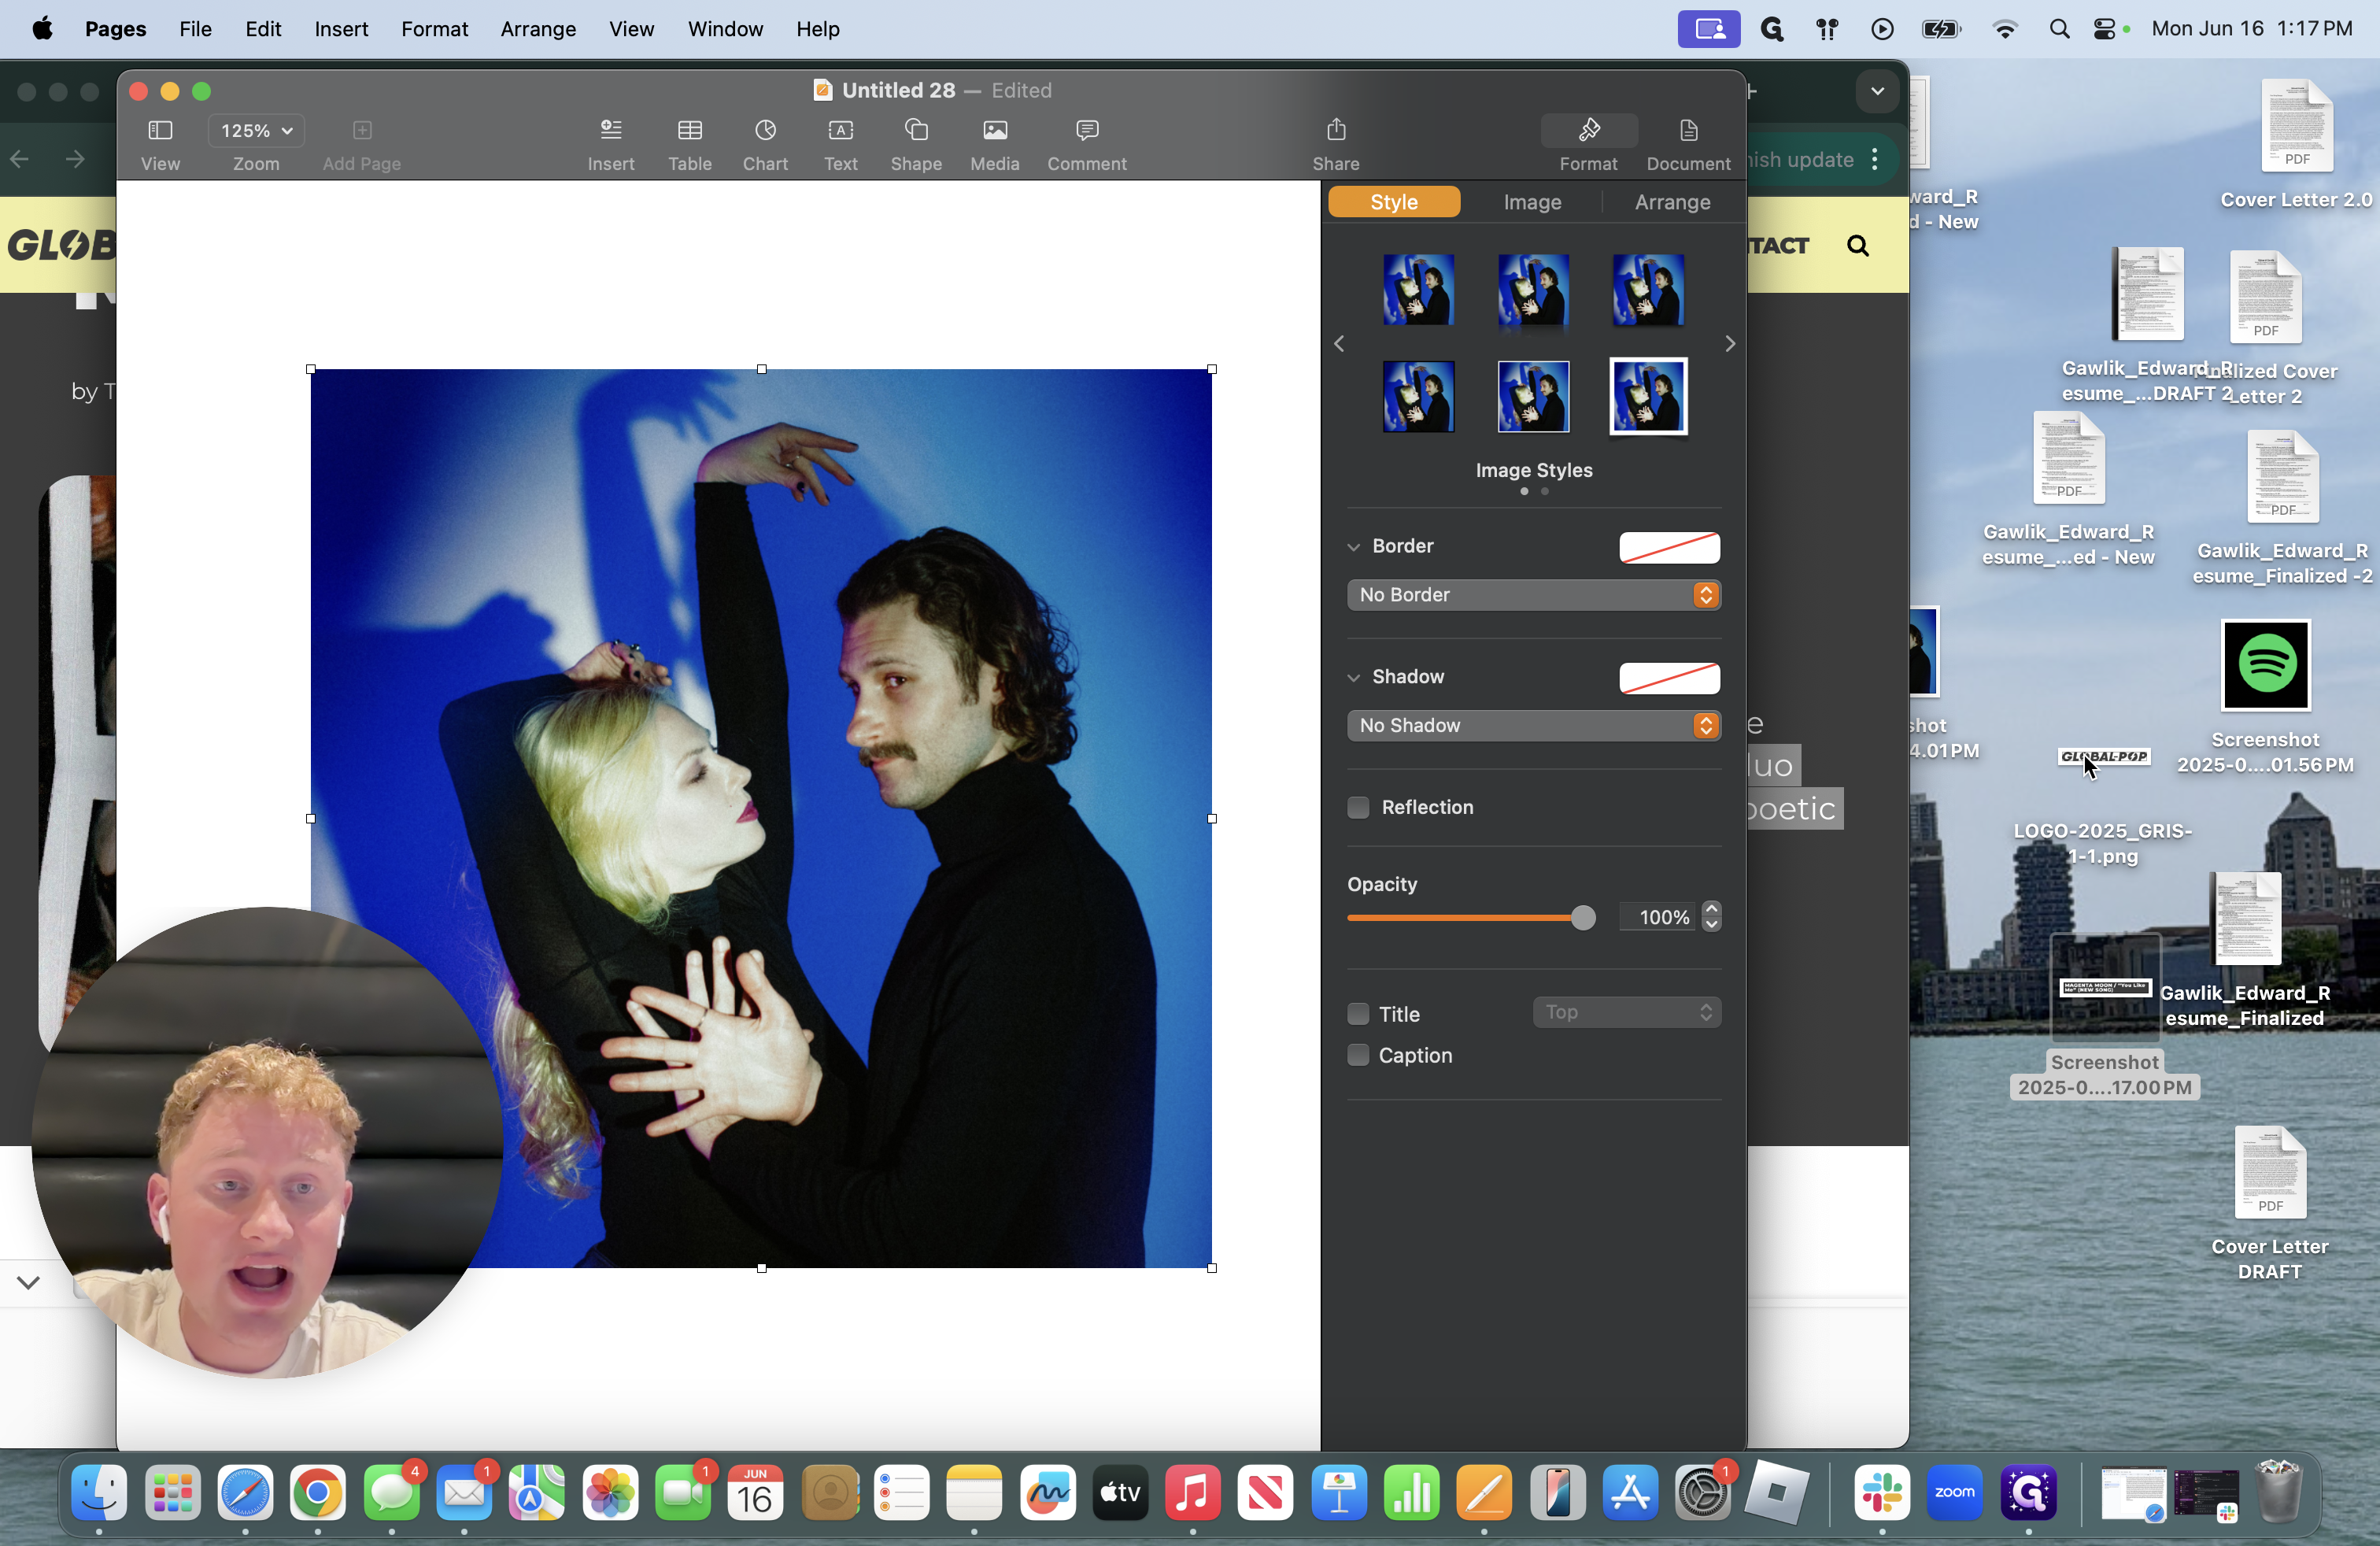
Take the photo we have here and drag it to the Pages screen.
I'll leave it there in the middle because there are still more steps to complete.
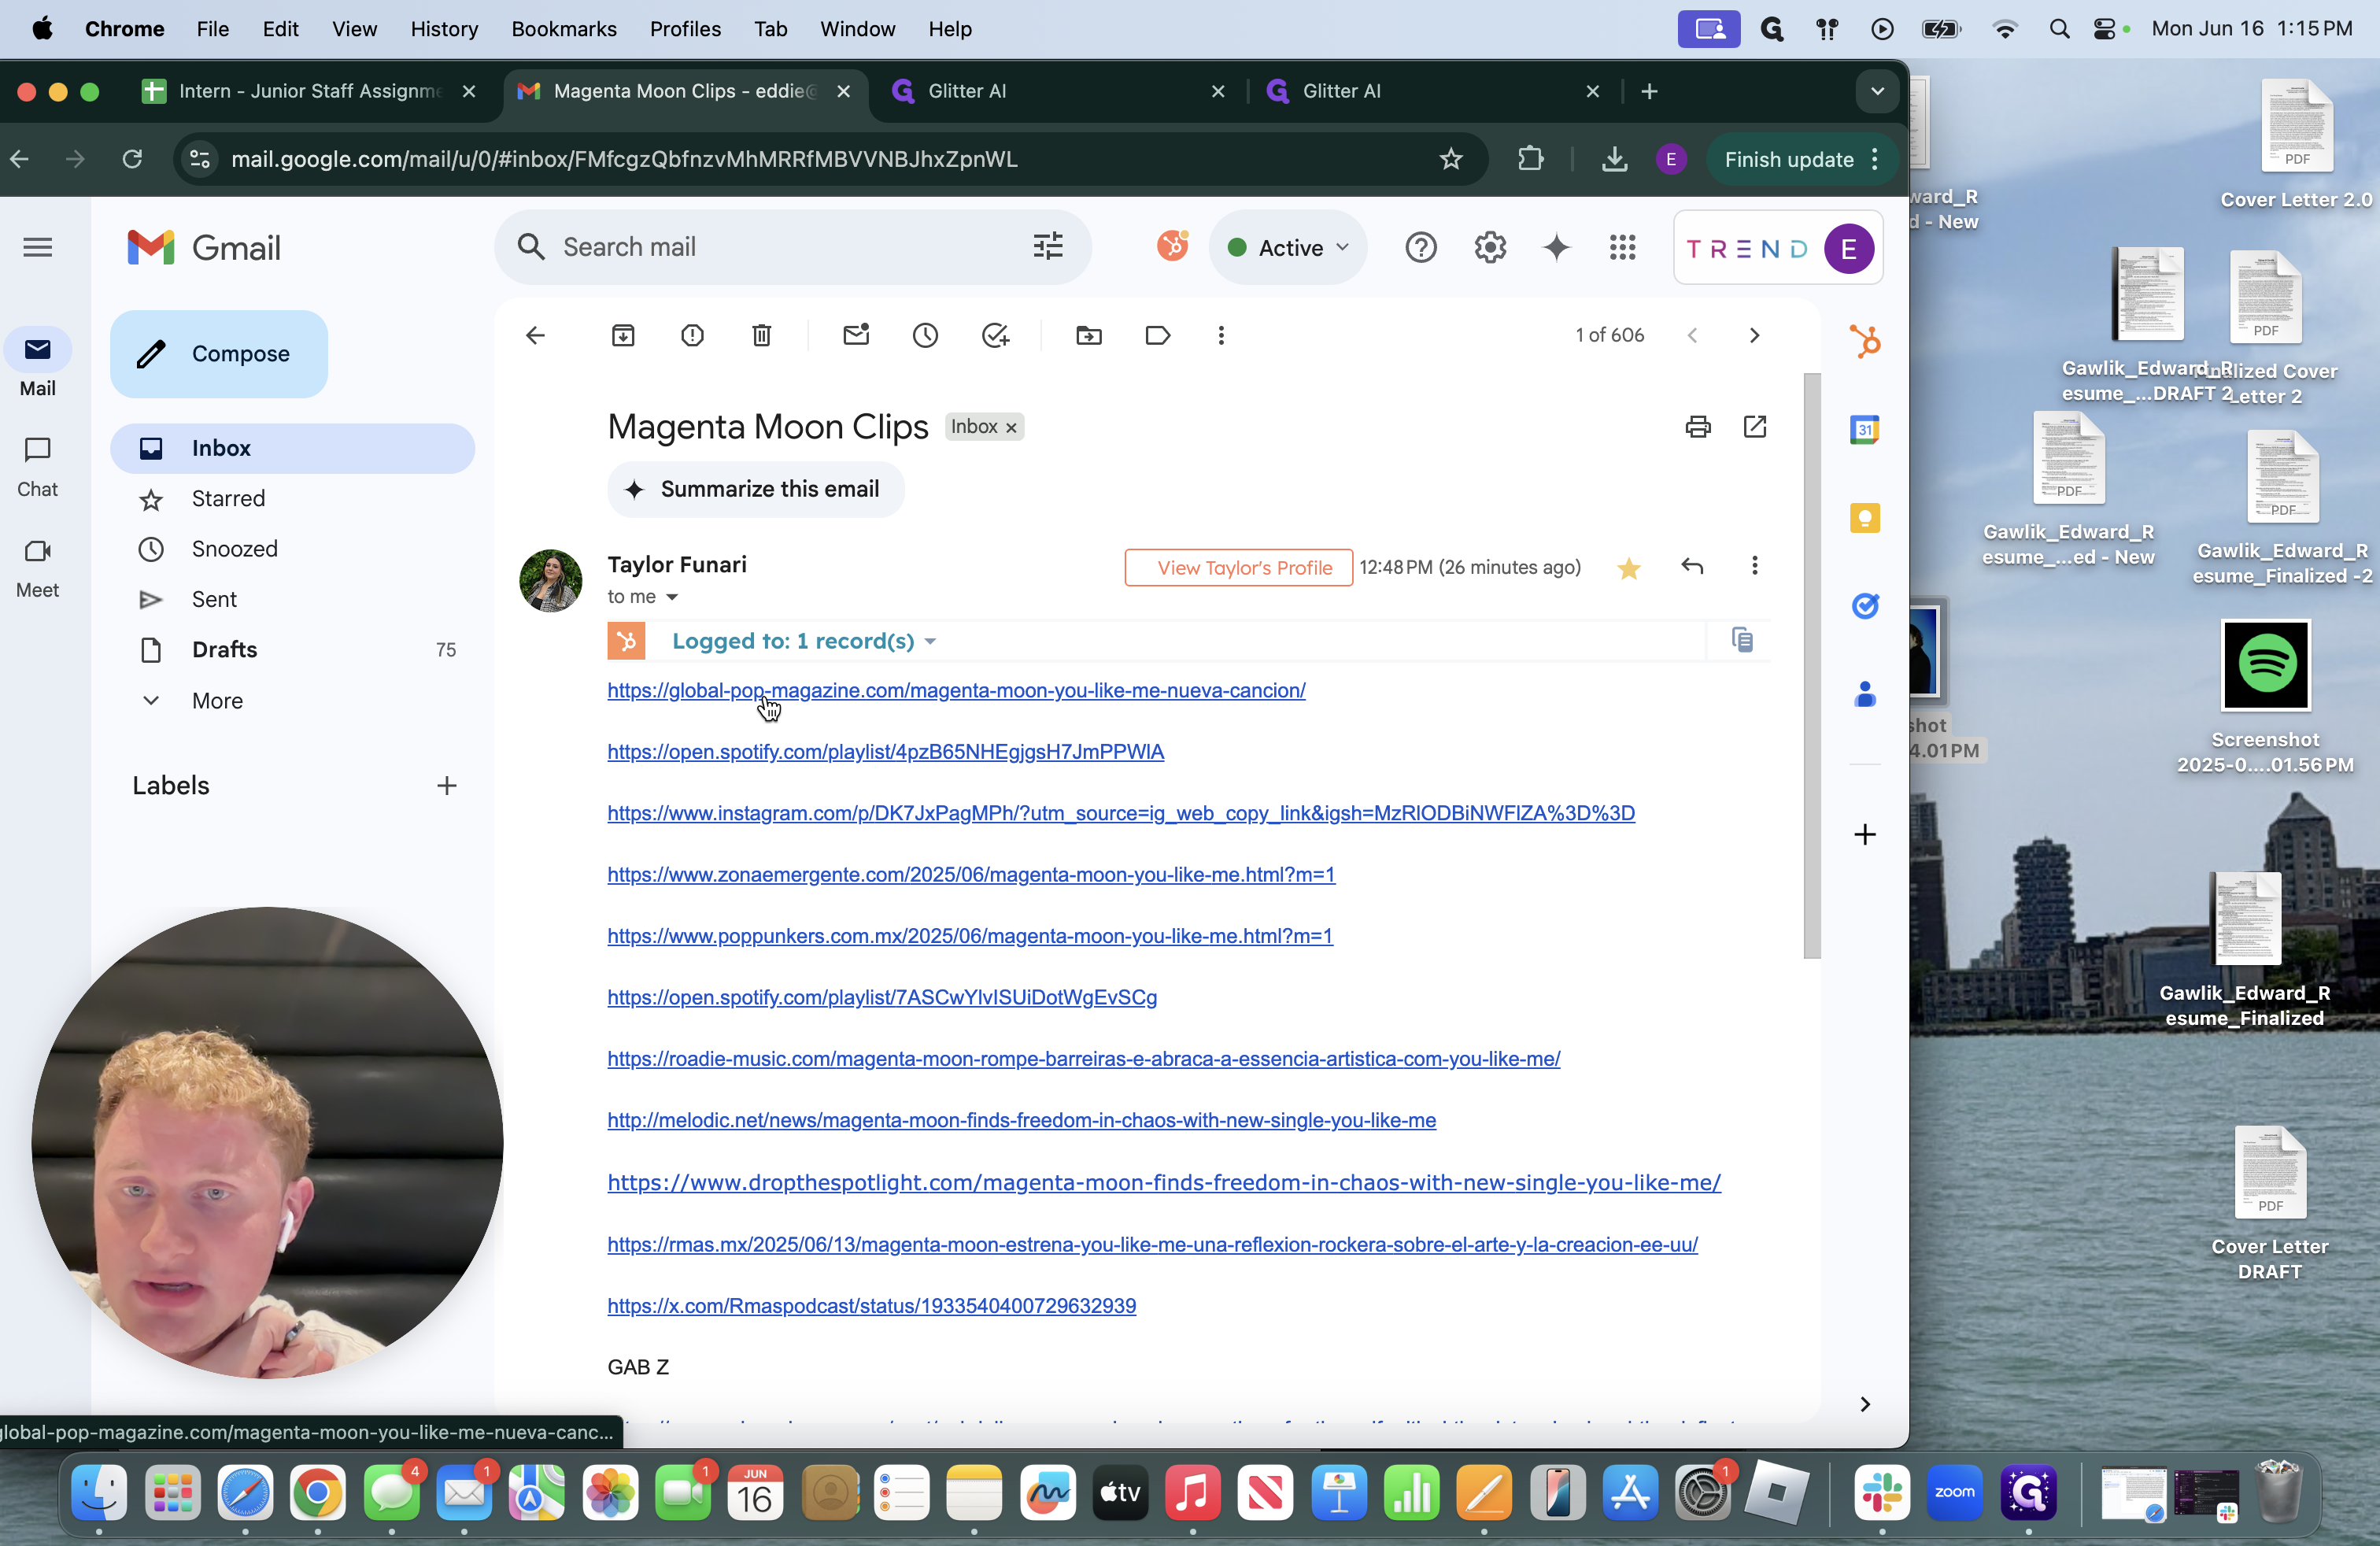
Return to the original email and click on the first link.
This outlet is in Spanish. Sometimes, they will be in other languages.
You need to change the translation. Sometimes, it will prompt you to select English.
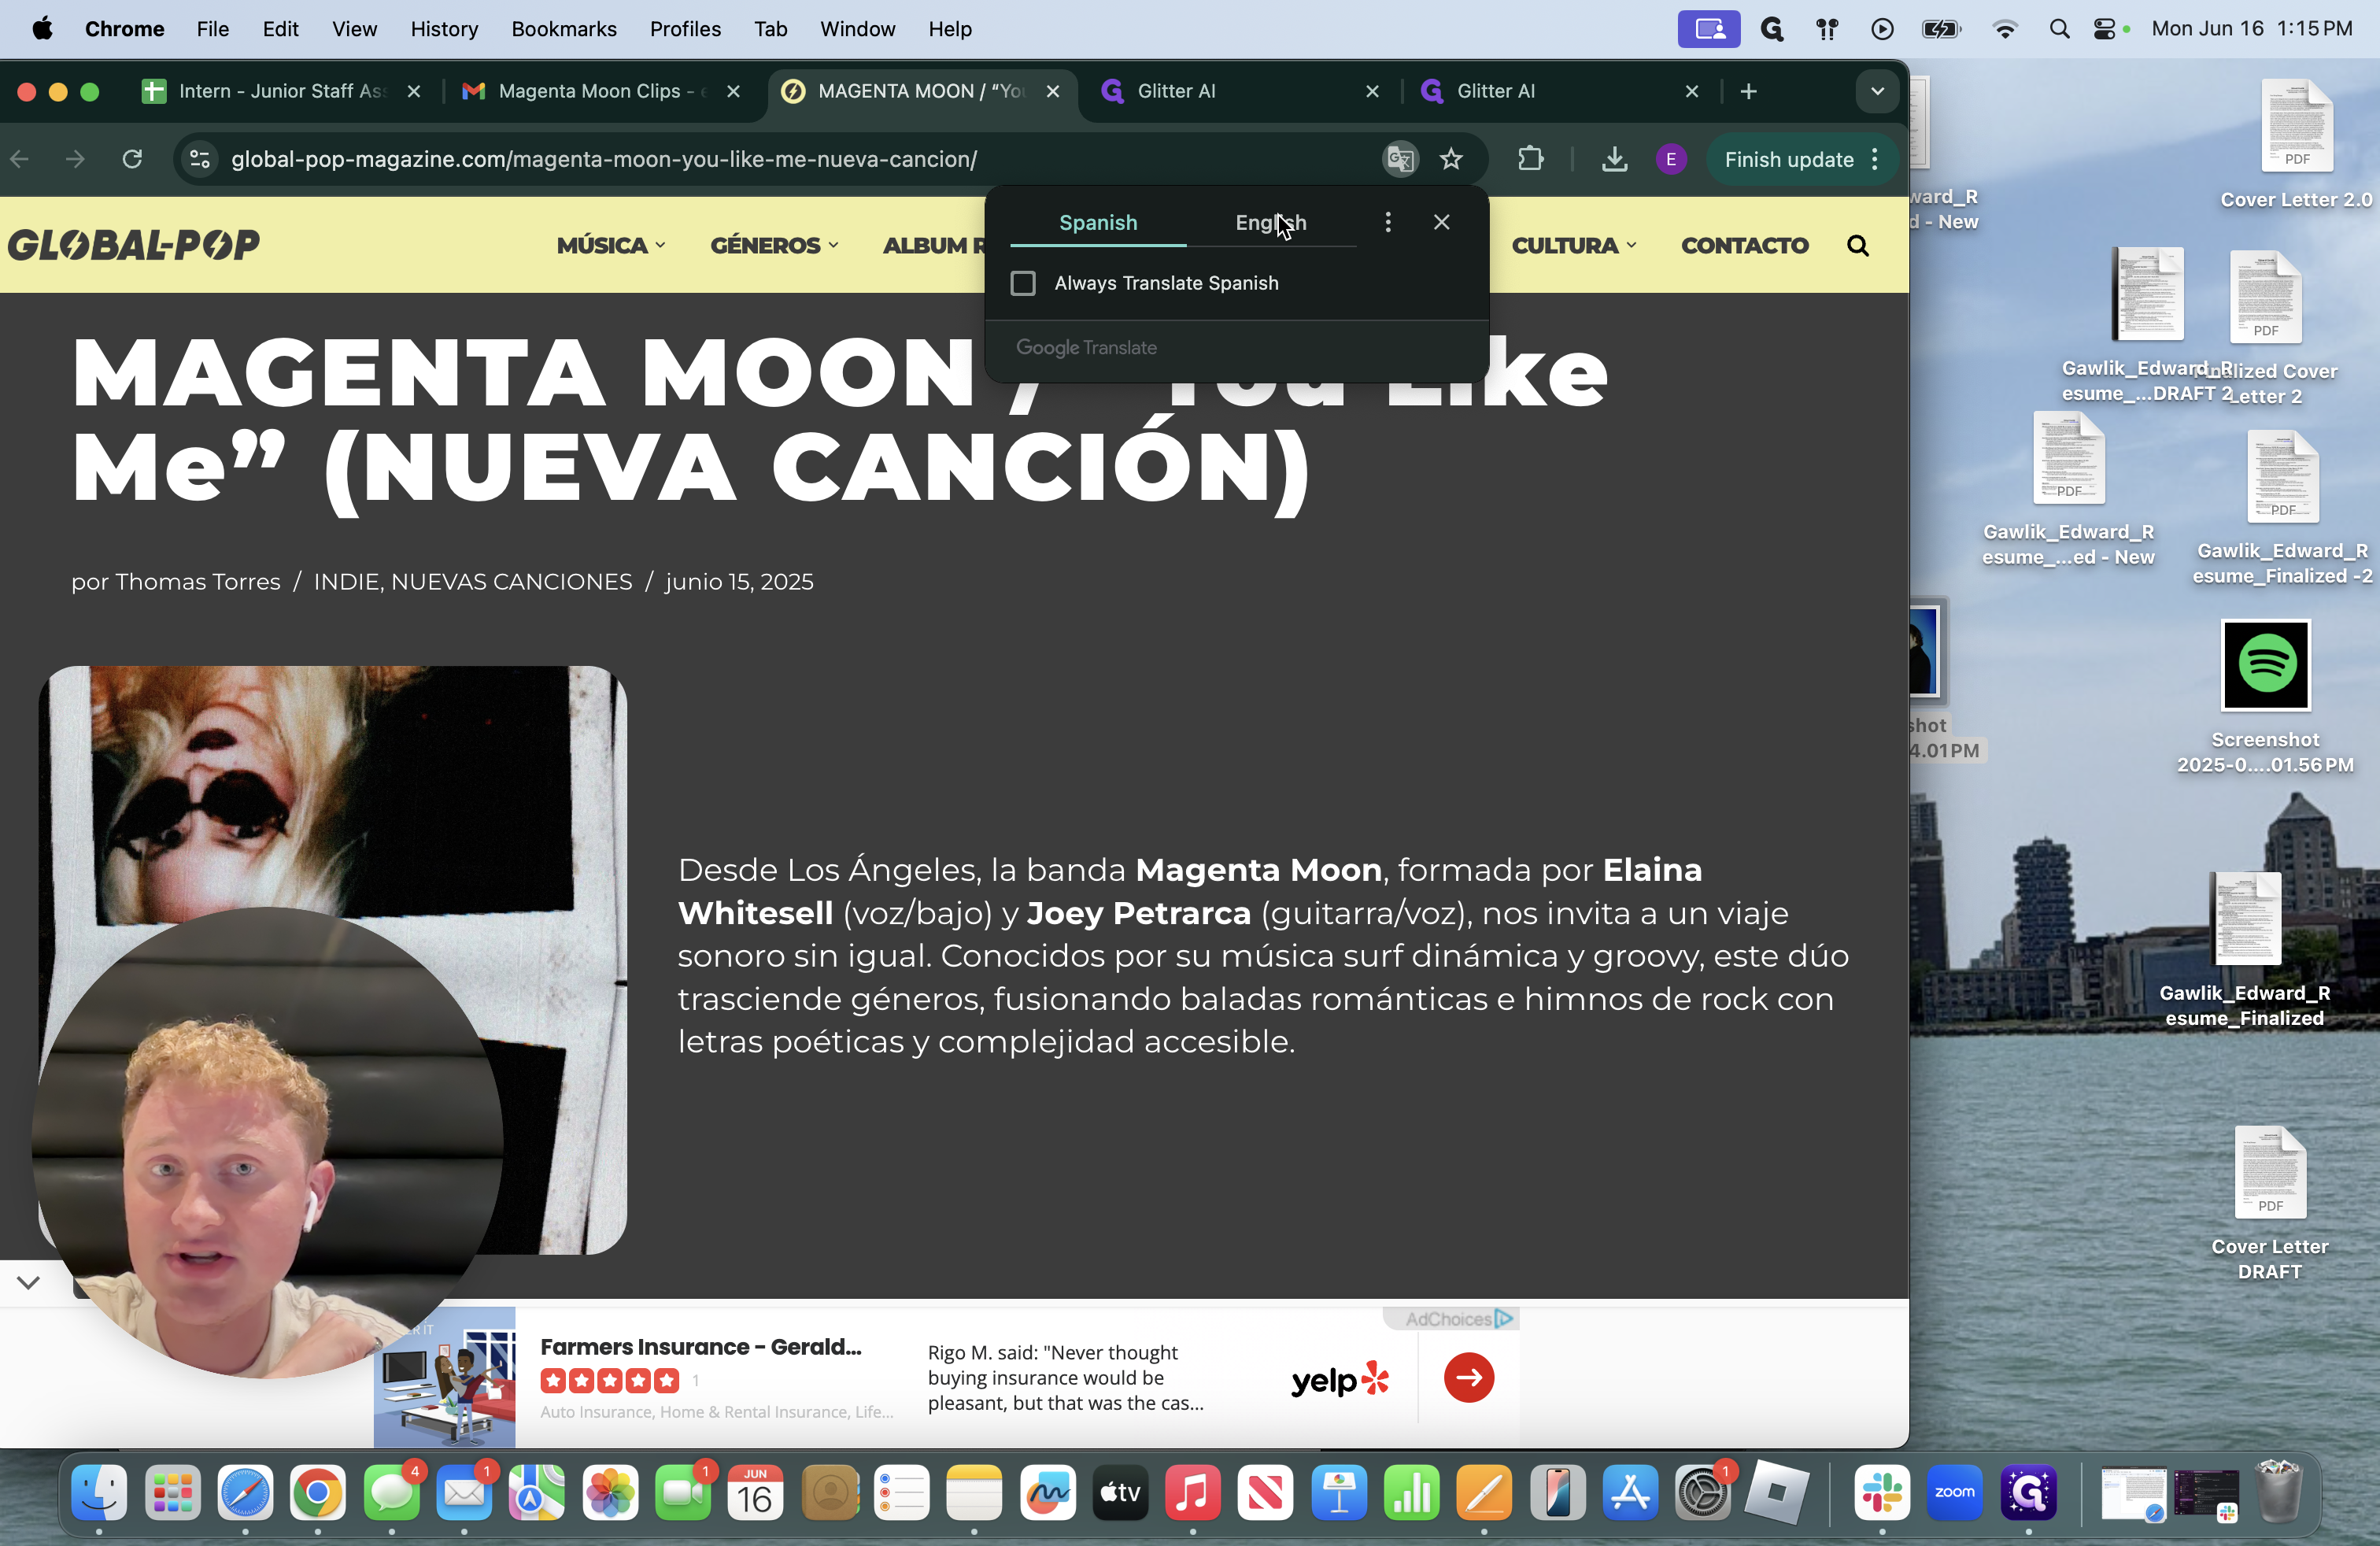
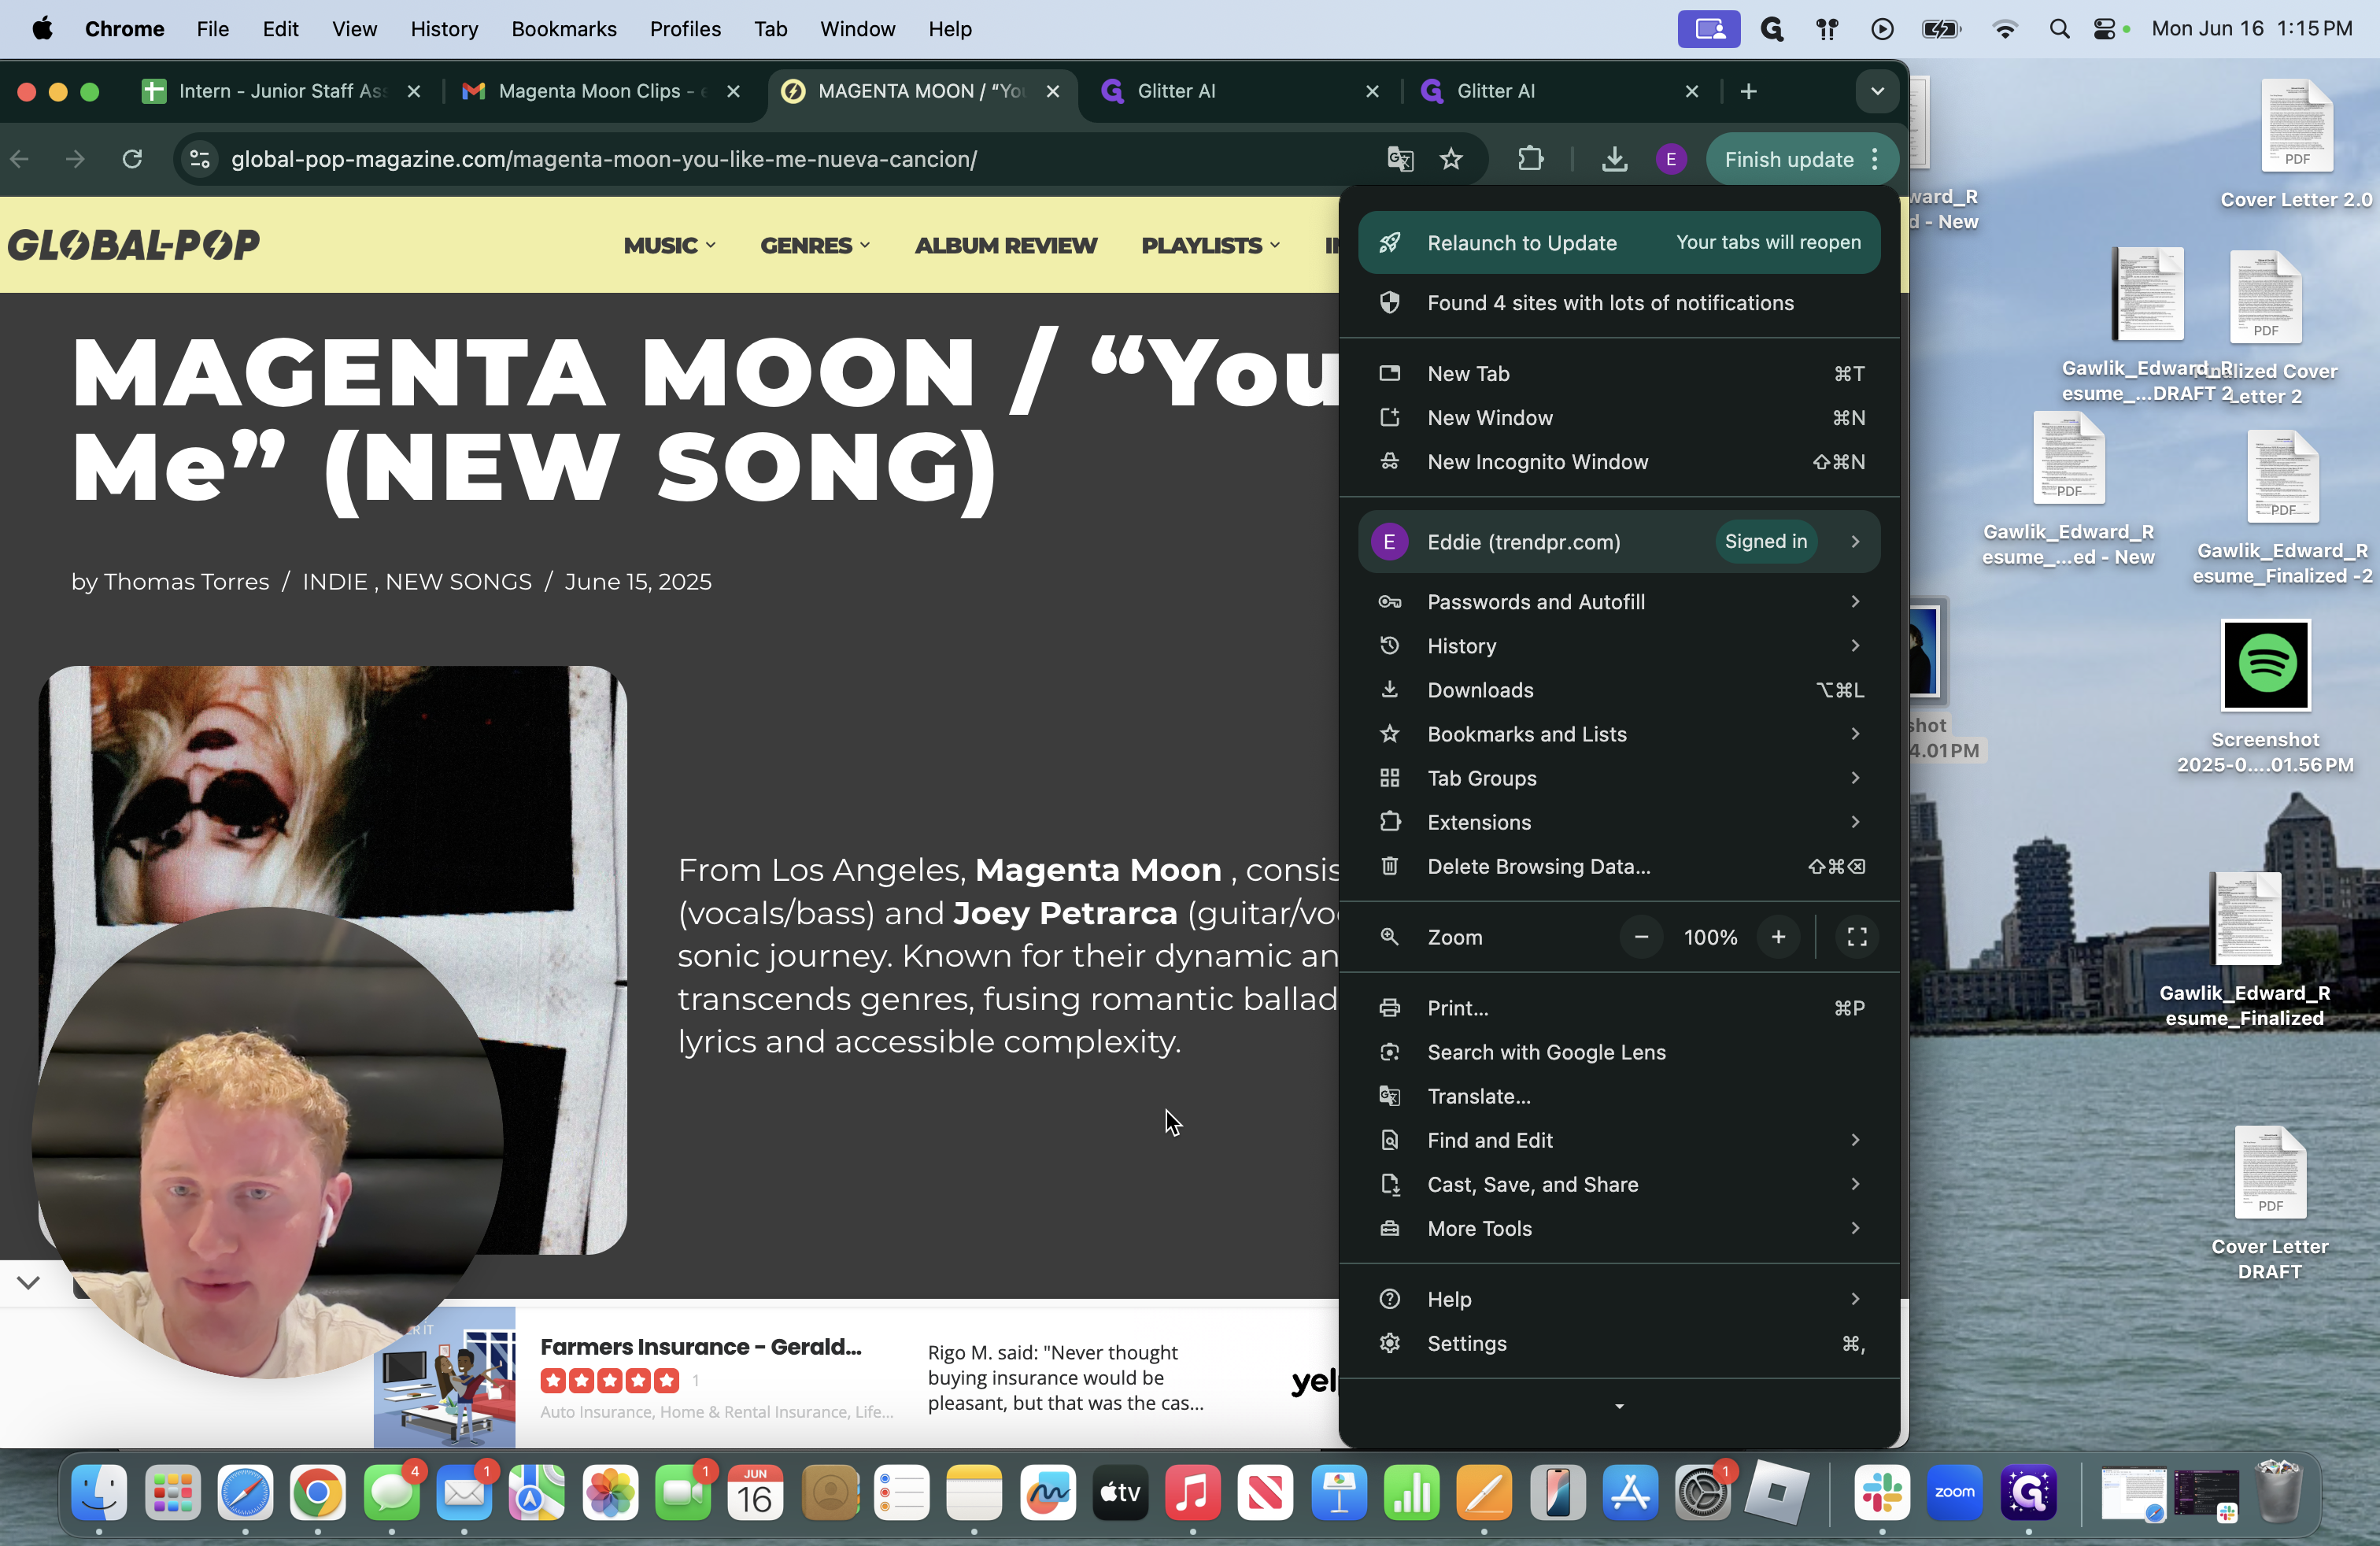
NOTE* You may need to click the three dots in the upper right corner and select "Translate."

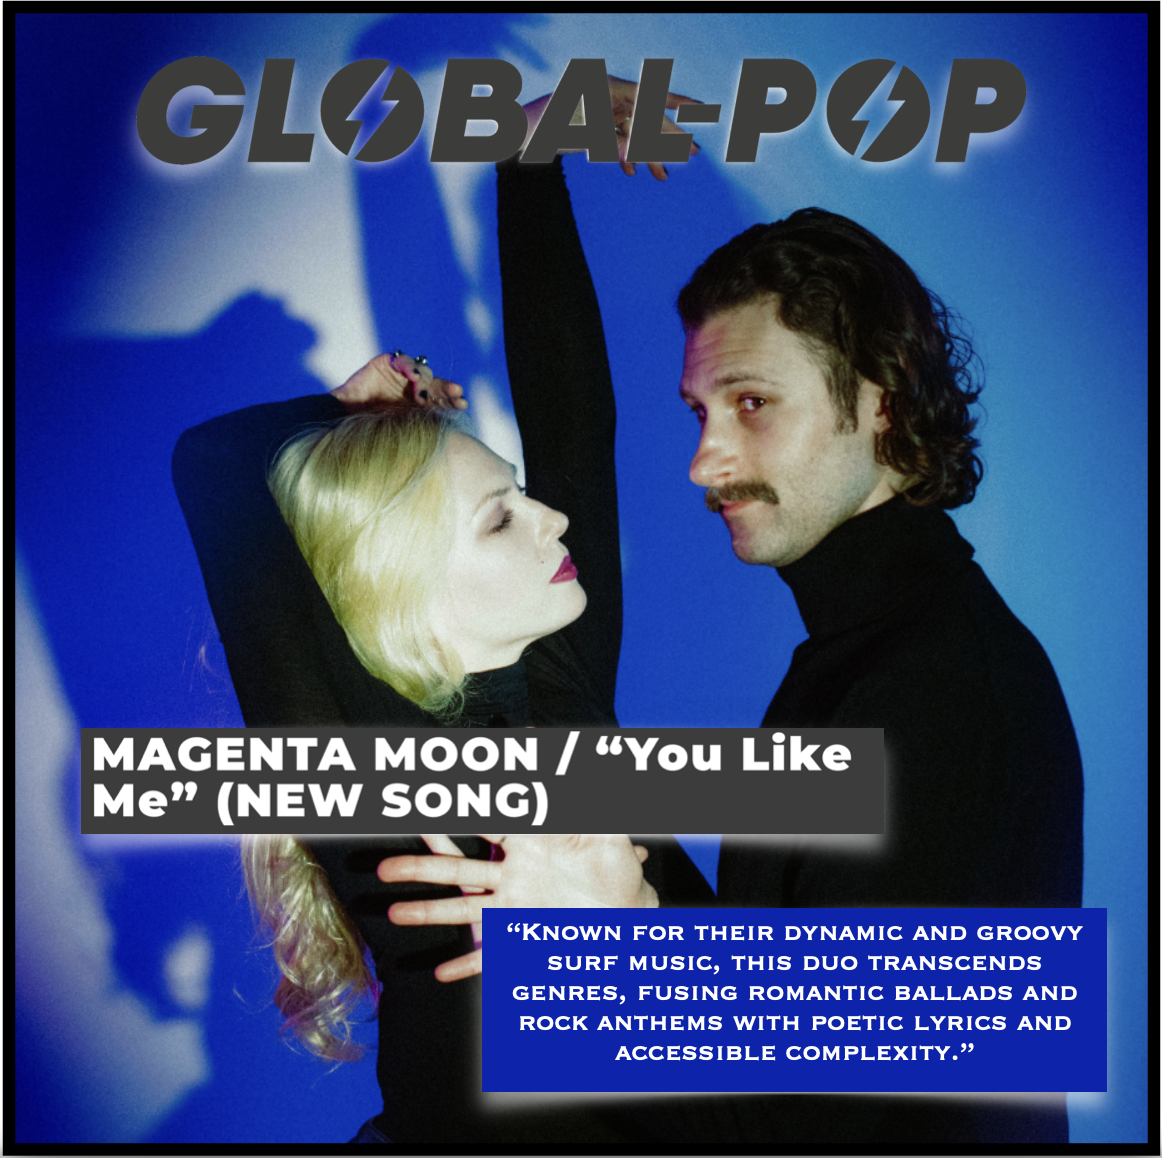
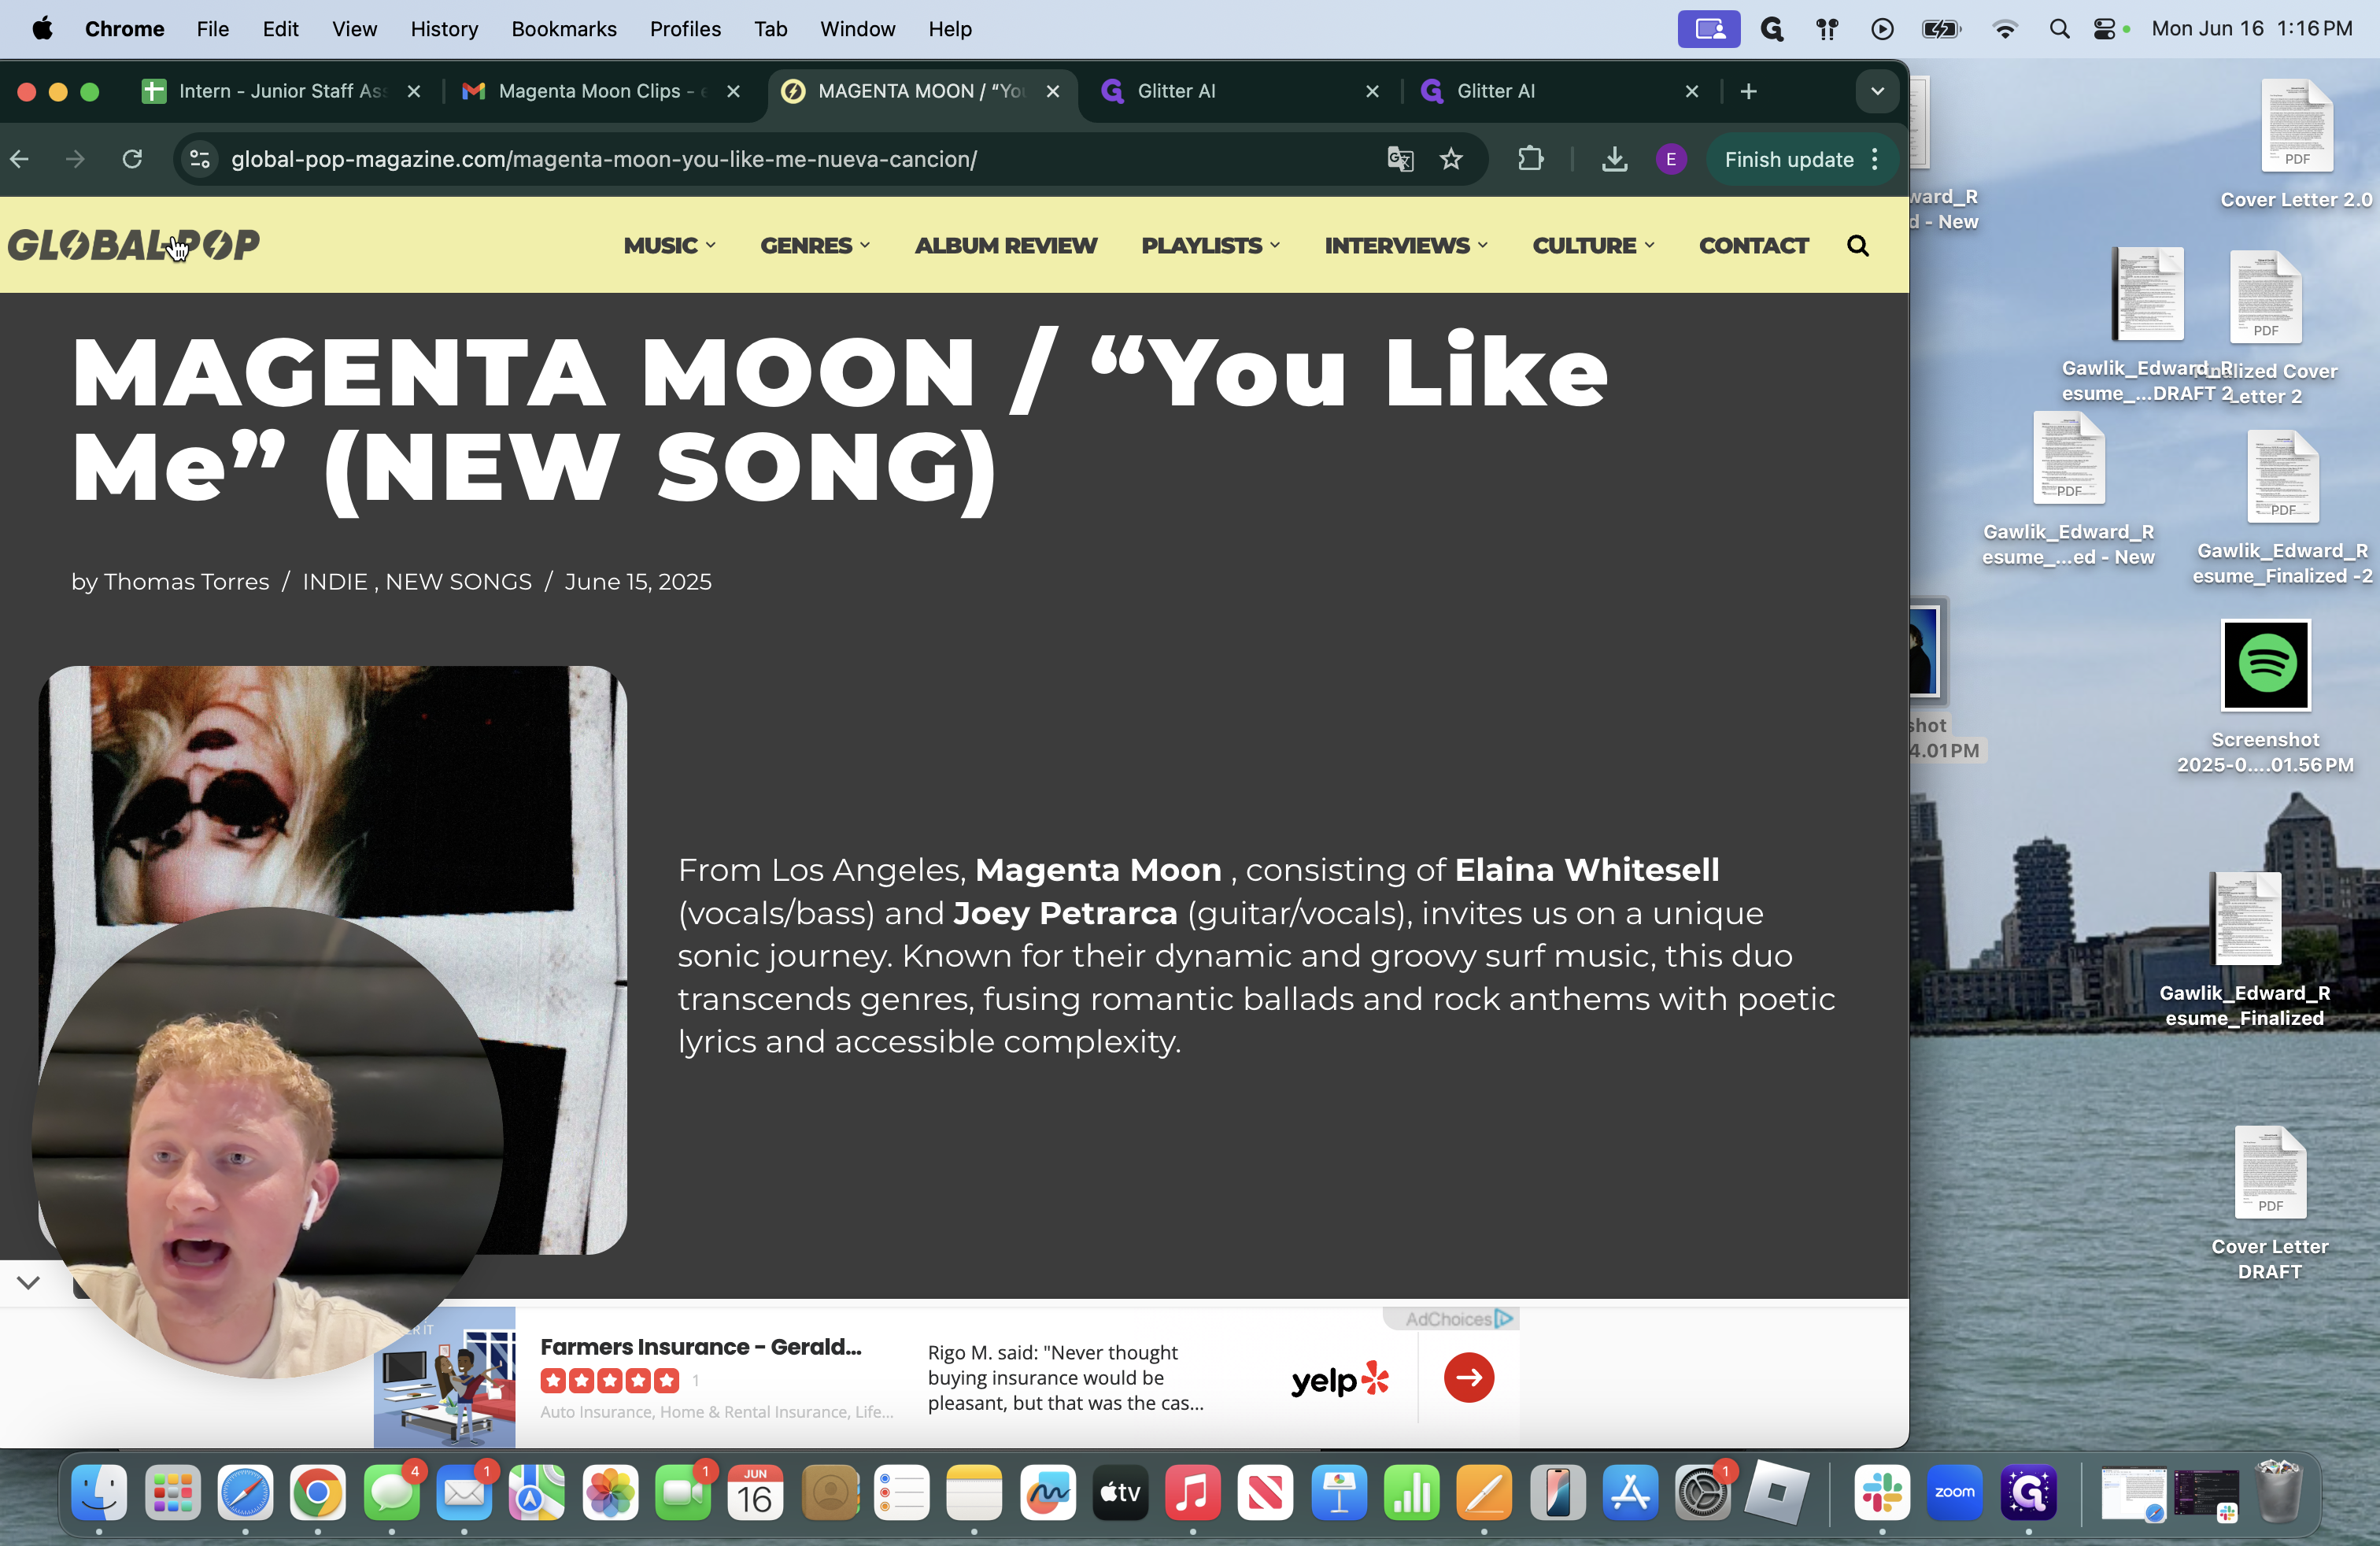
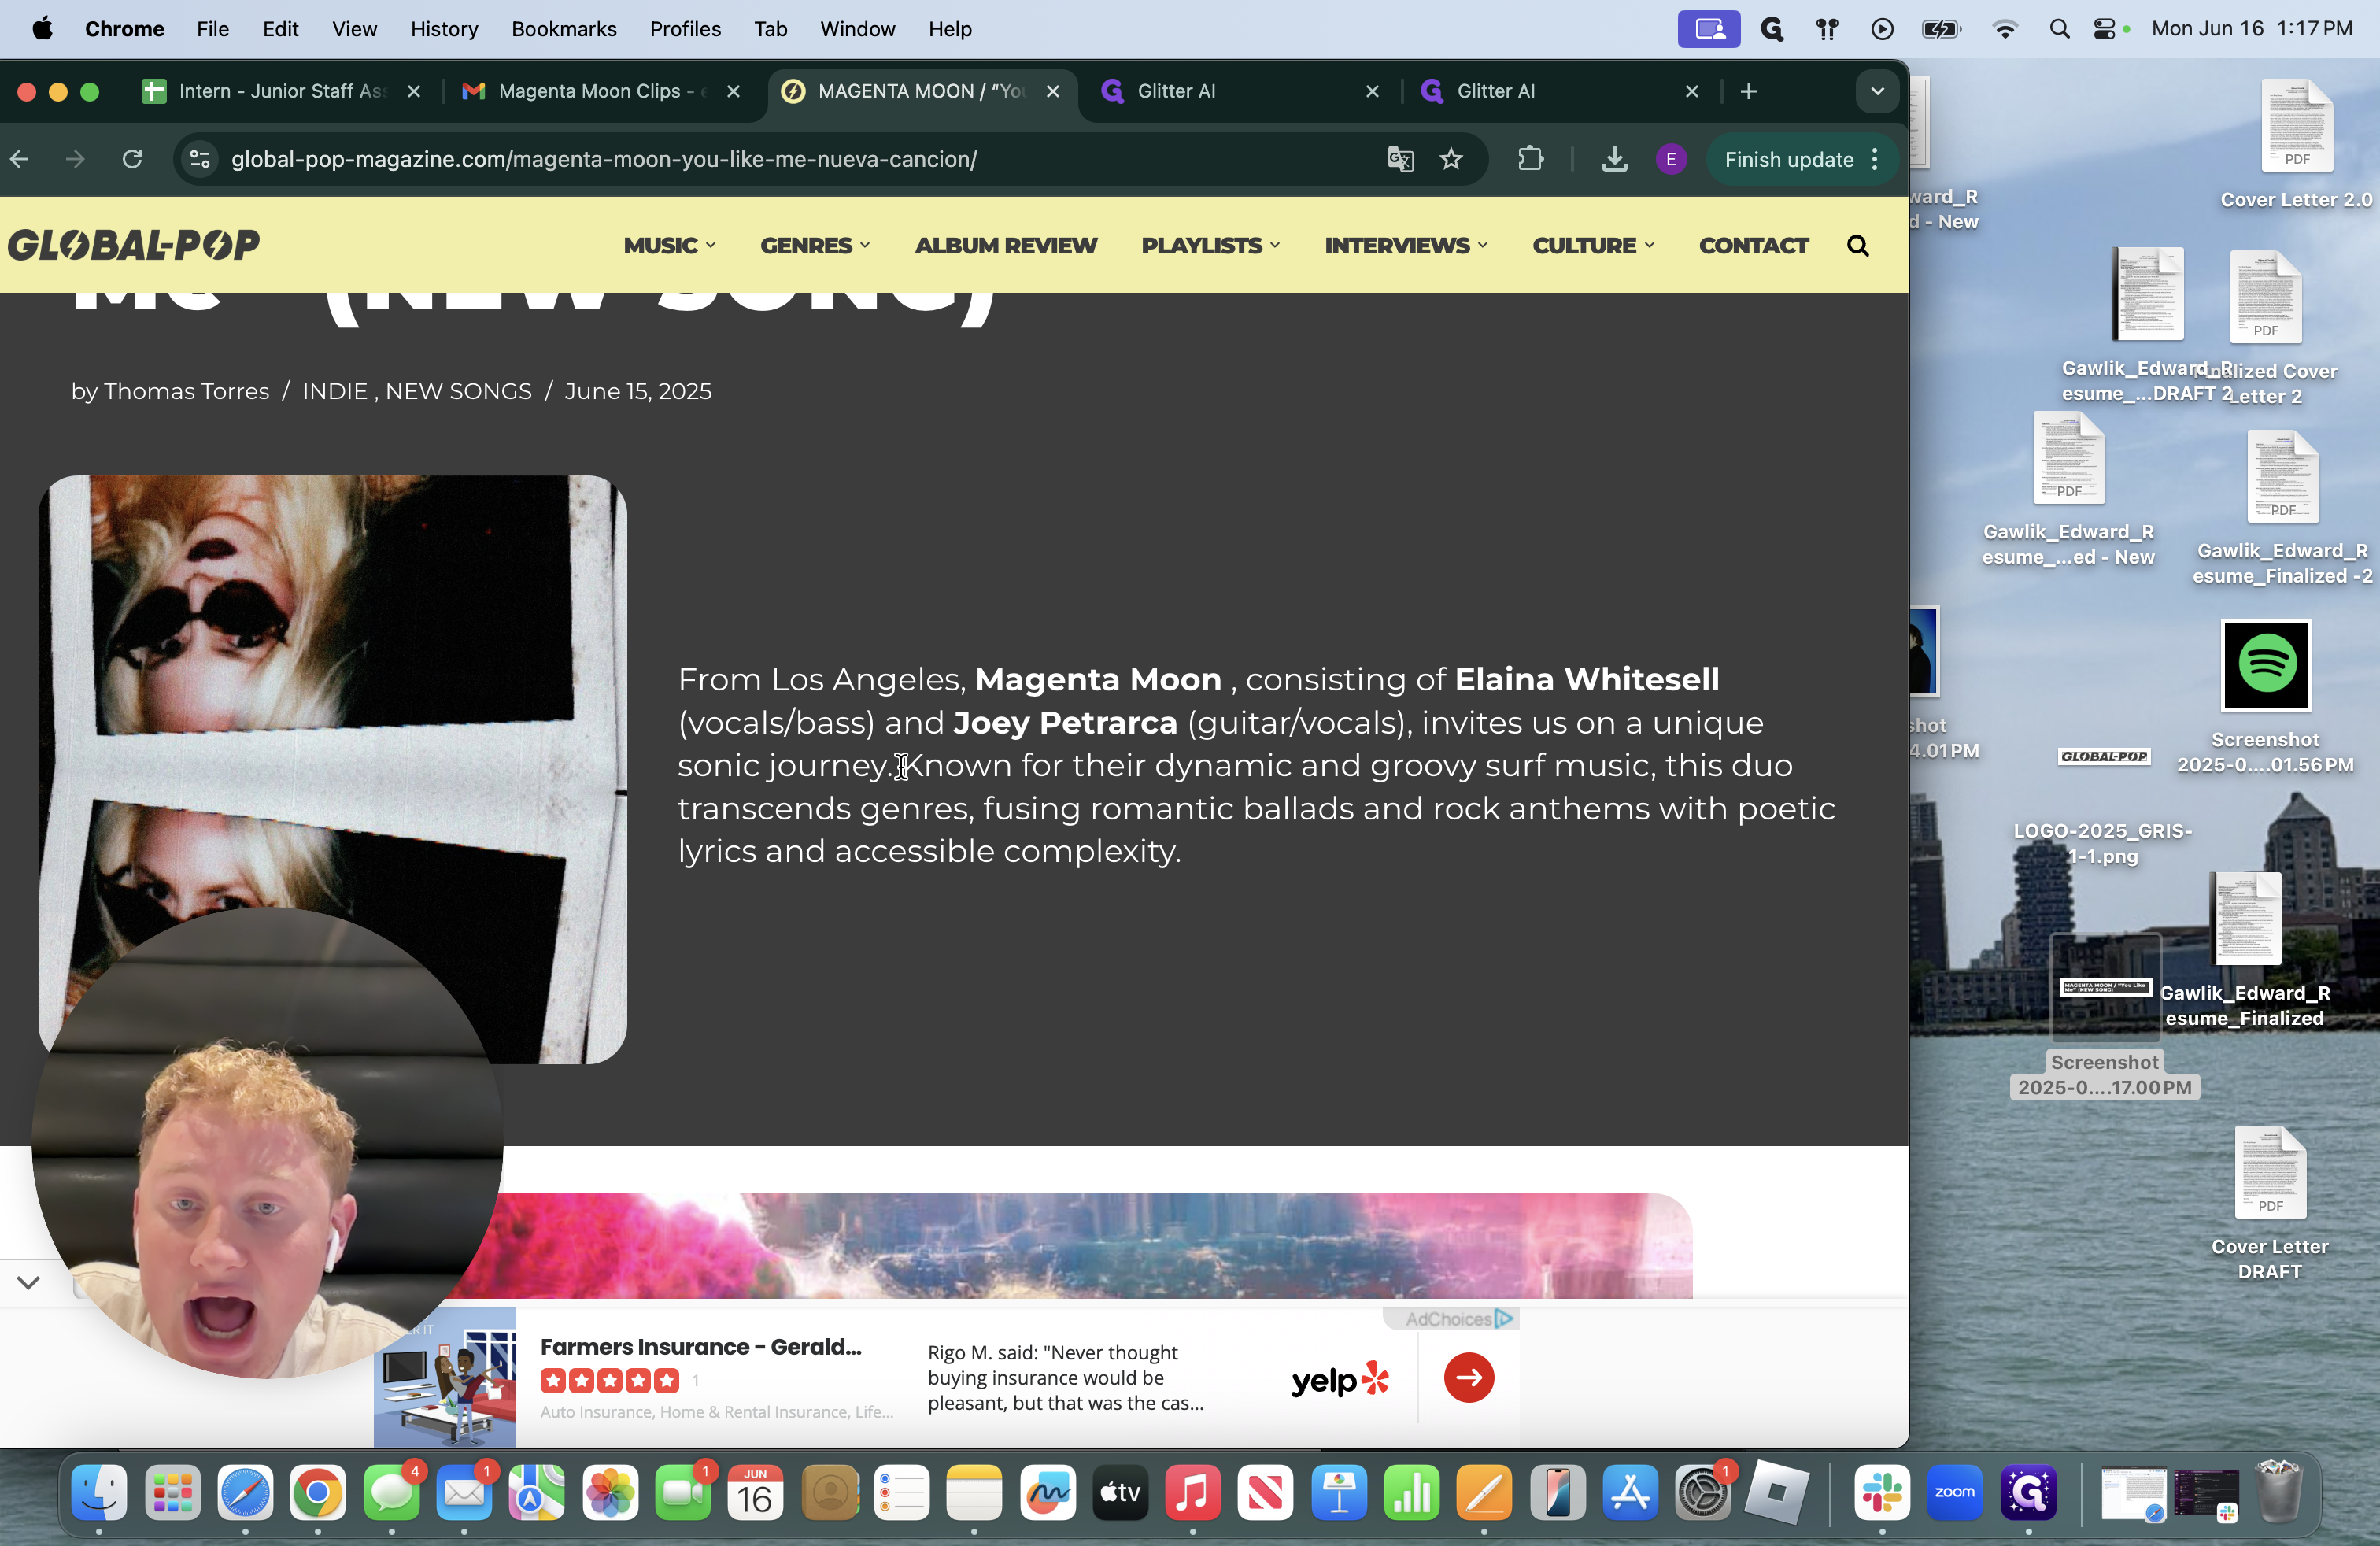
There are key elements you need in a clipping, especially for press outlets. The title, the media outlet's name, and then a quote, typically from within. Sometimes writers use what we put in our press releases, which is perfectly fine. It's also okay for you to take something from that, screenshot it, or copy and paste it into the clipping. I do that to fill up the screen and the clip. The key elements you must always include are the title of the media outlet and the article title. Now, go to the article to get all that information!
Drag the source, bring it over to the side of your screen where your screenshot was. It should appear on your screen.
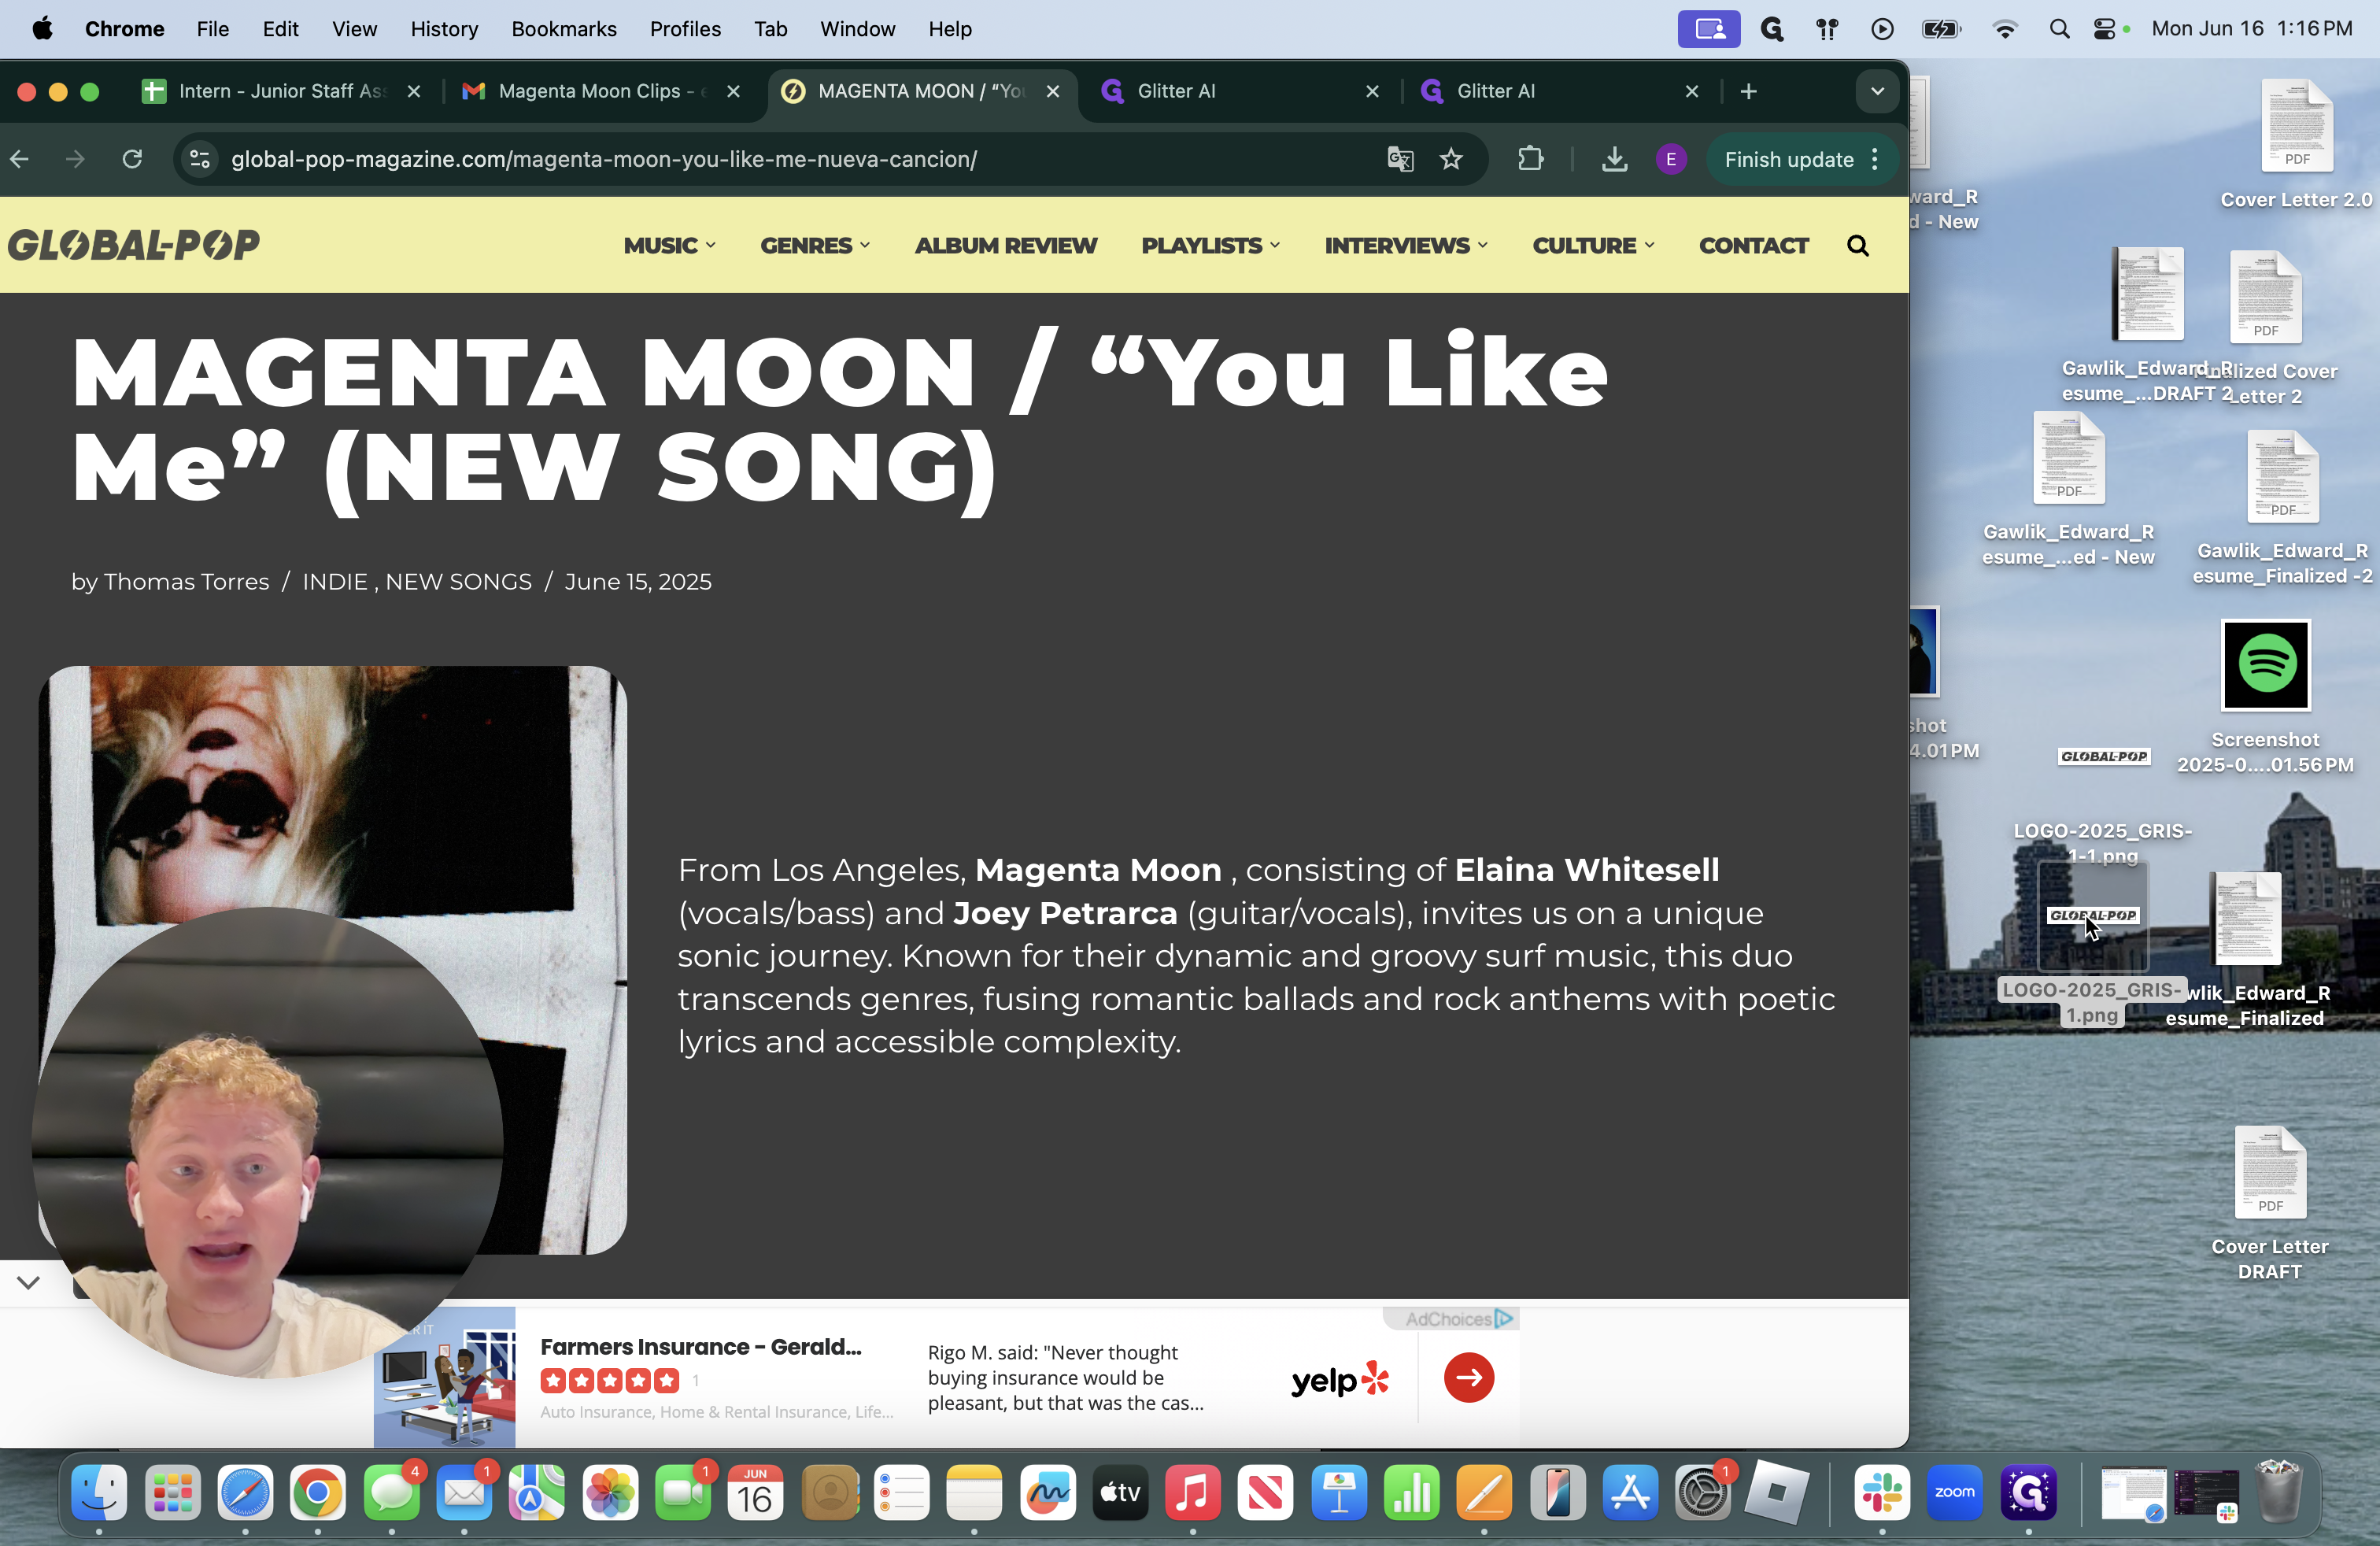
Save it there. Next, press Command-Shift-4 to screenshot the title of the article.
Next, try to find a quote from this one to include. You can go through the article to see what is said about them.
We can extract a great quote from this. I will copy and paste what is being said.
If you want to use the entire paragraph, you can simply take a screenshot and include it in the press clipping. I'll copy and paste something to show you a different method I use to get specific quotes. I'm going to copy and paste as usual and save it there. It will remain saved until I need it later.
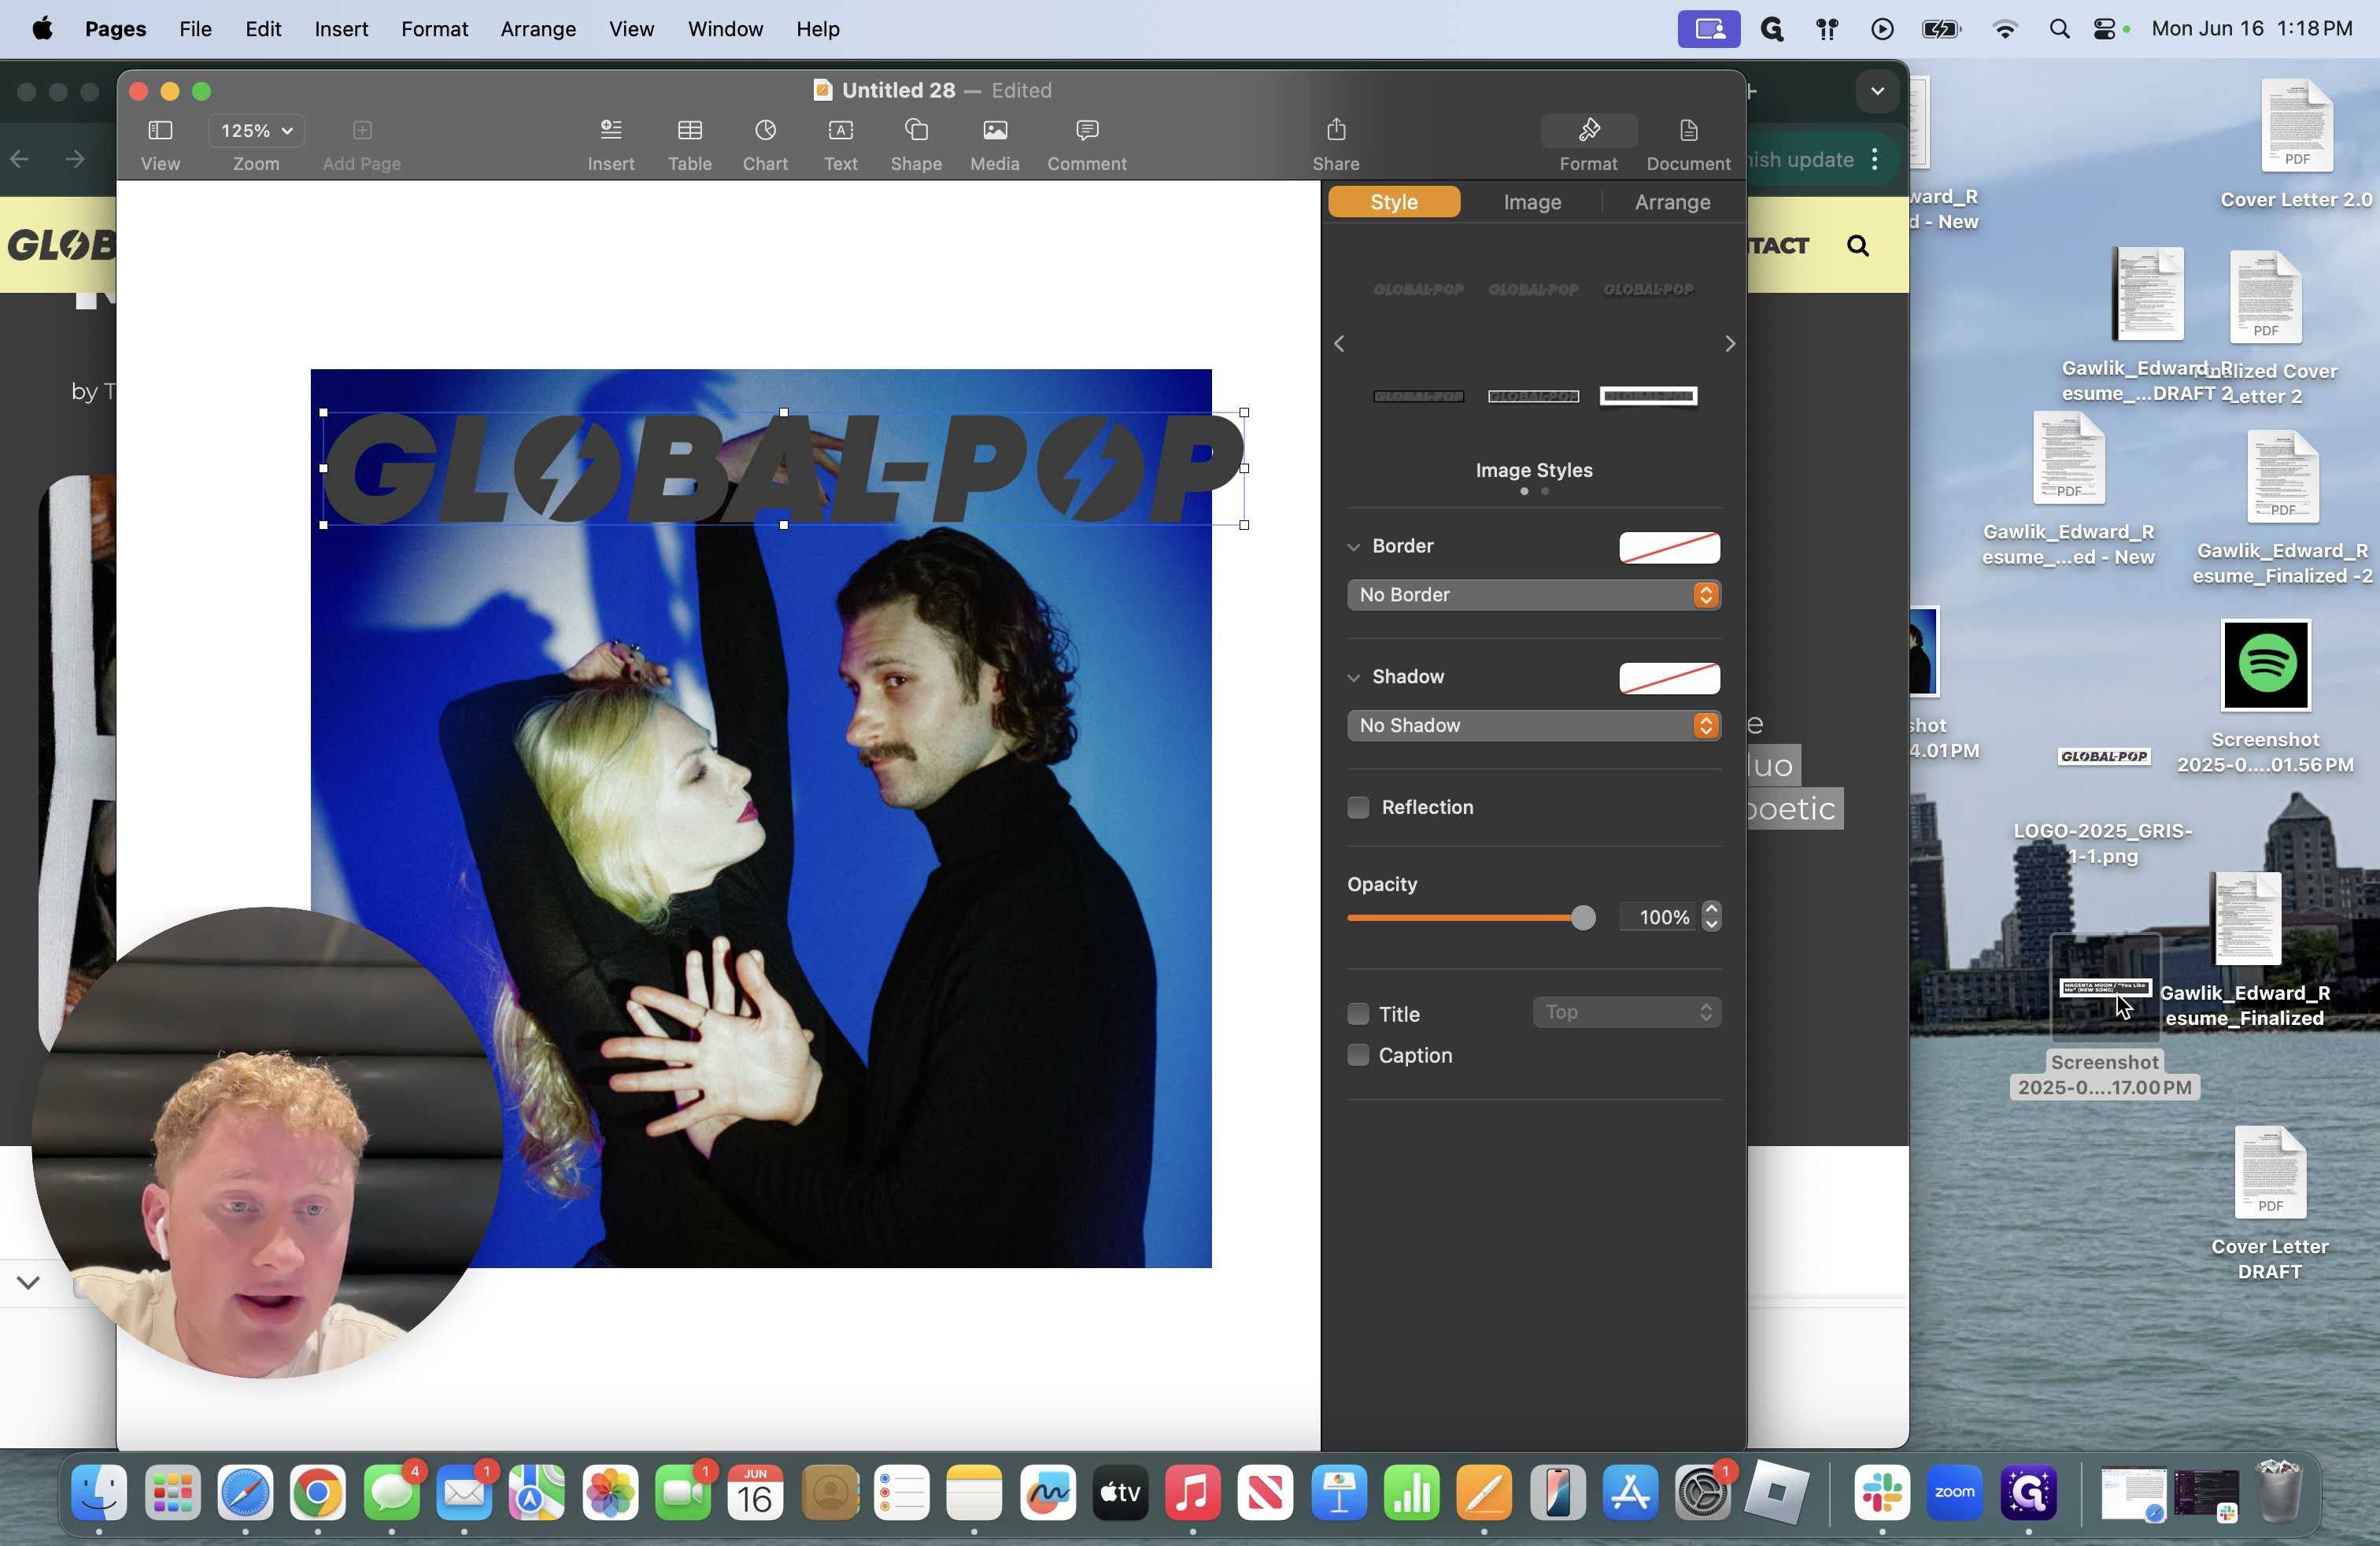
Return to your Pages document where you added the photo from the press kit. Start by dragging over the media outlet title, followed by the article title.
NOTE* This is specific to Pages. You can see that the colors here should stand out and look as good as possible.
We will begin at the Global-Pop title.
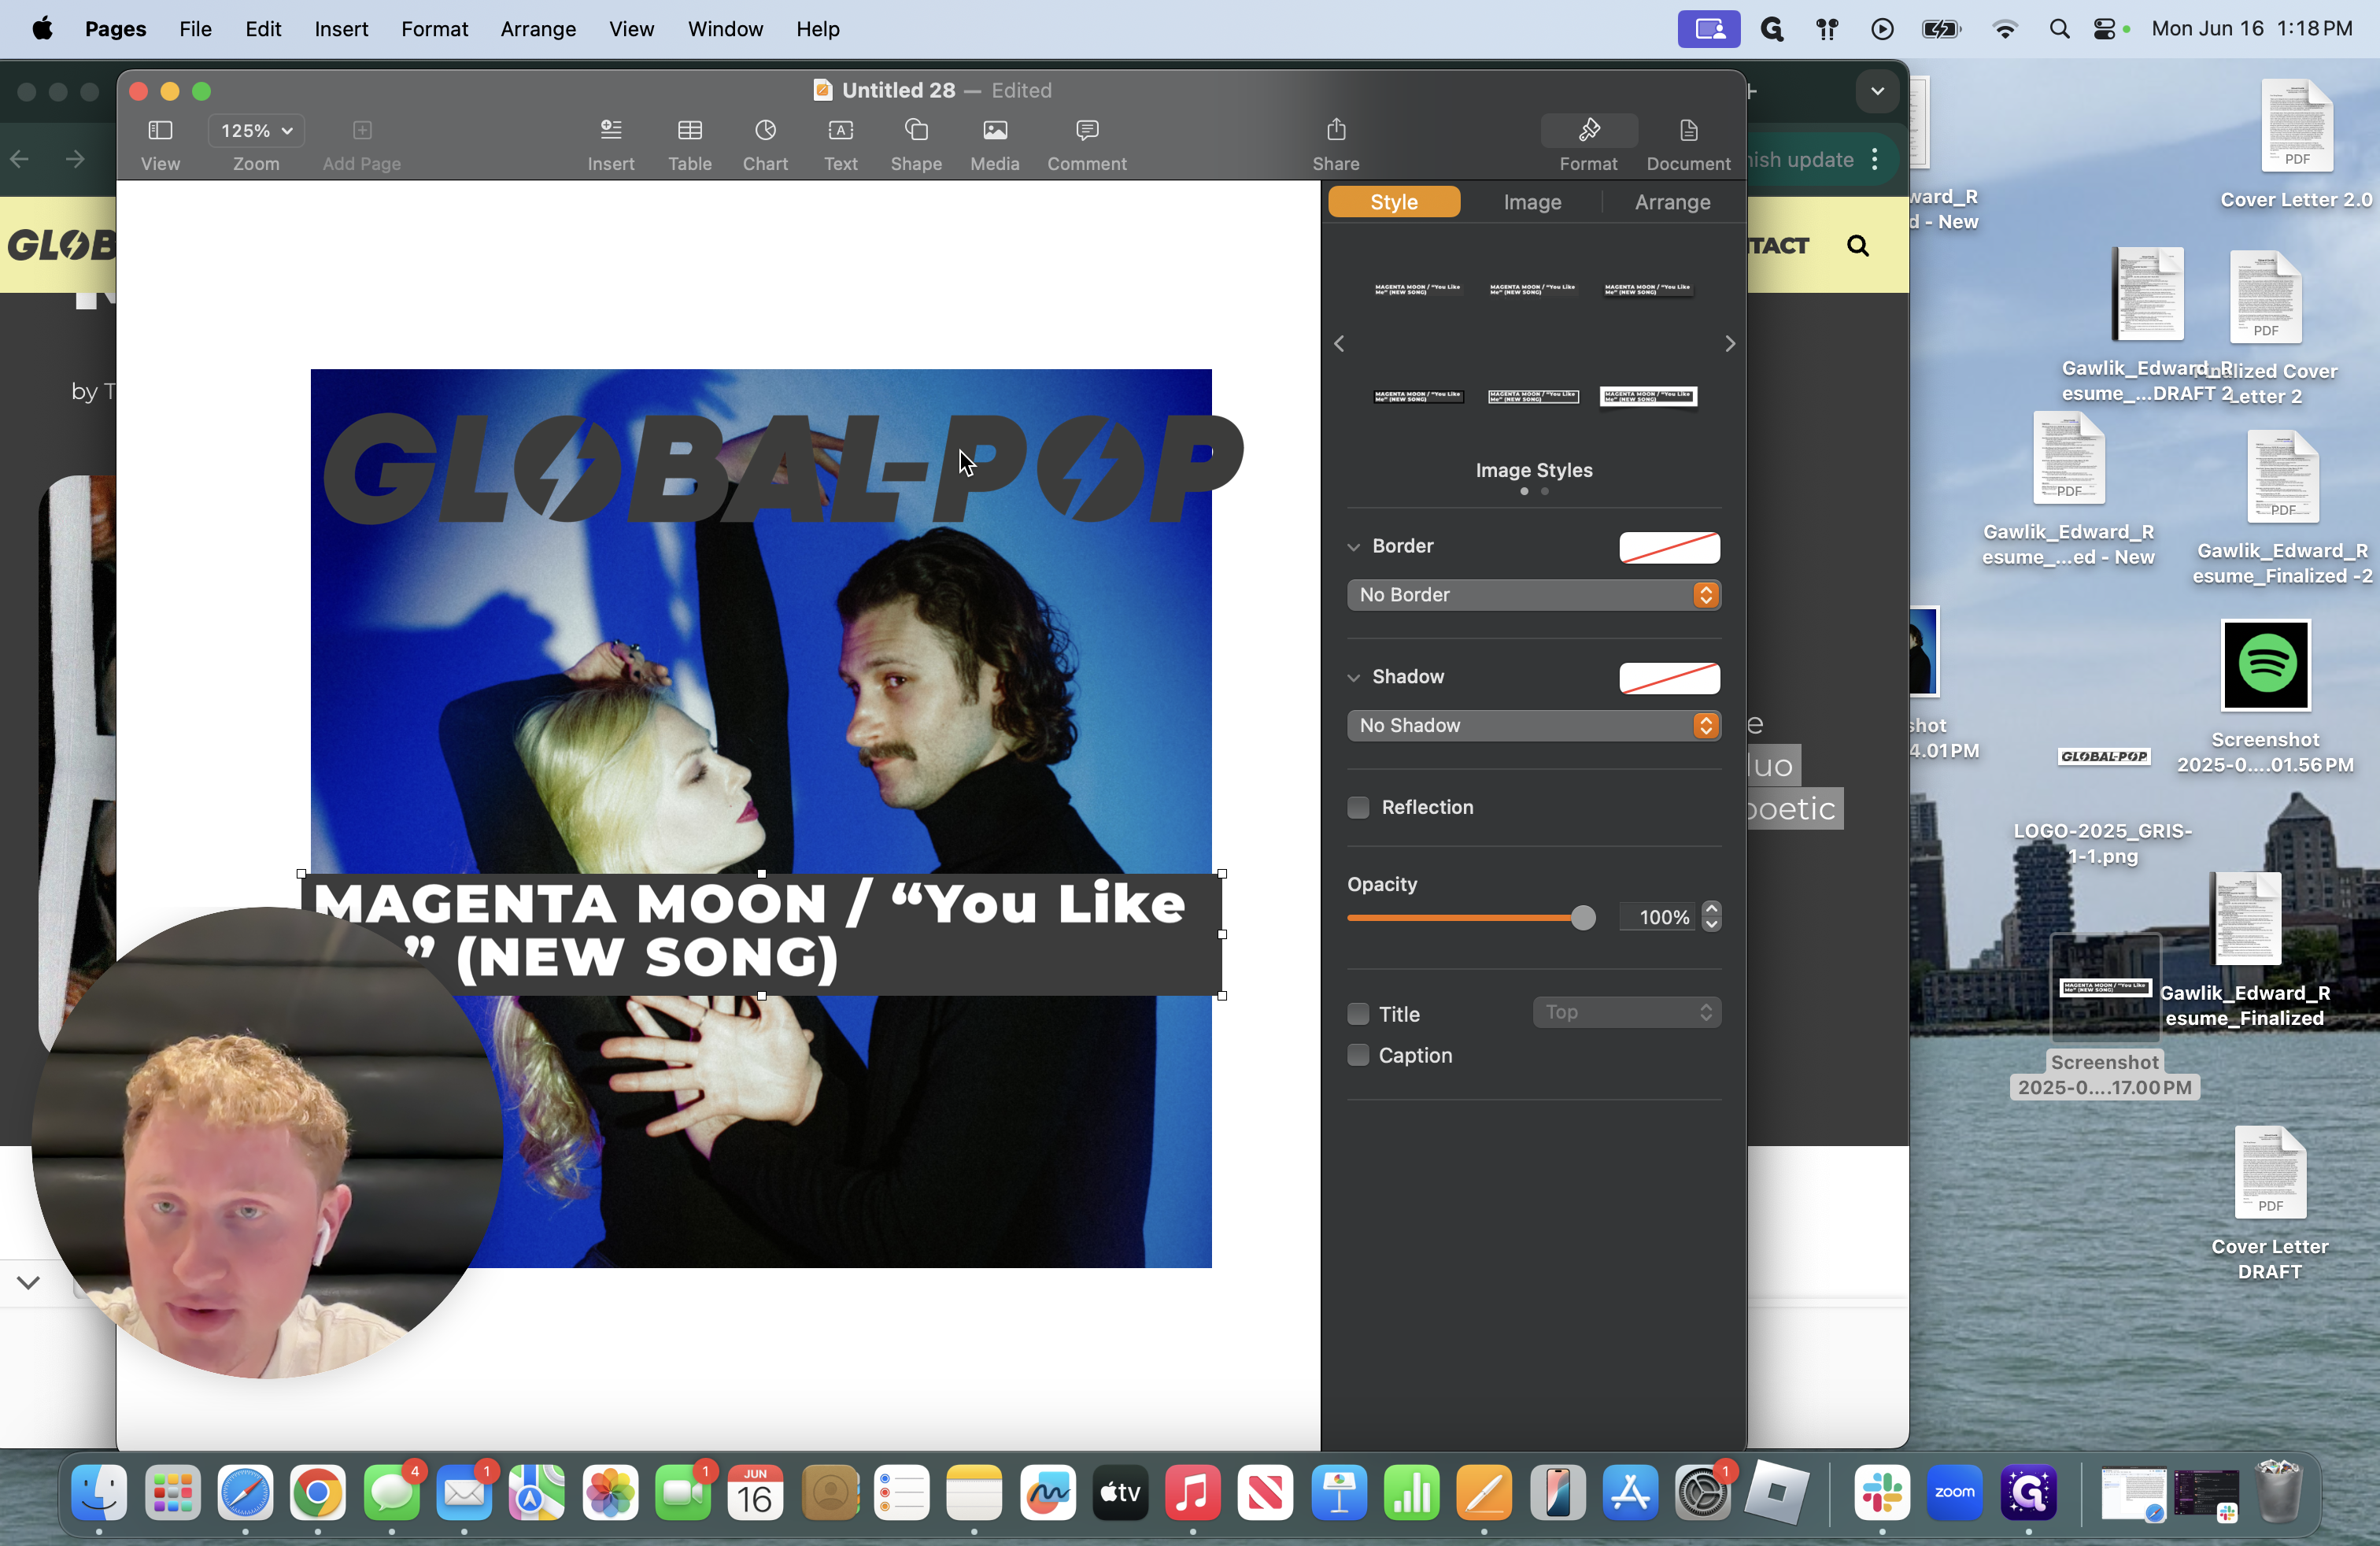
Shrink it slightly to center it.
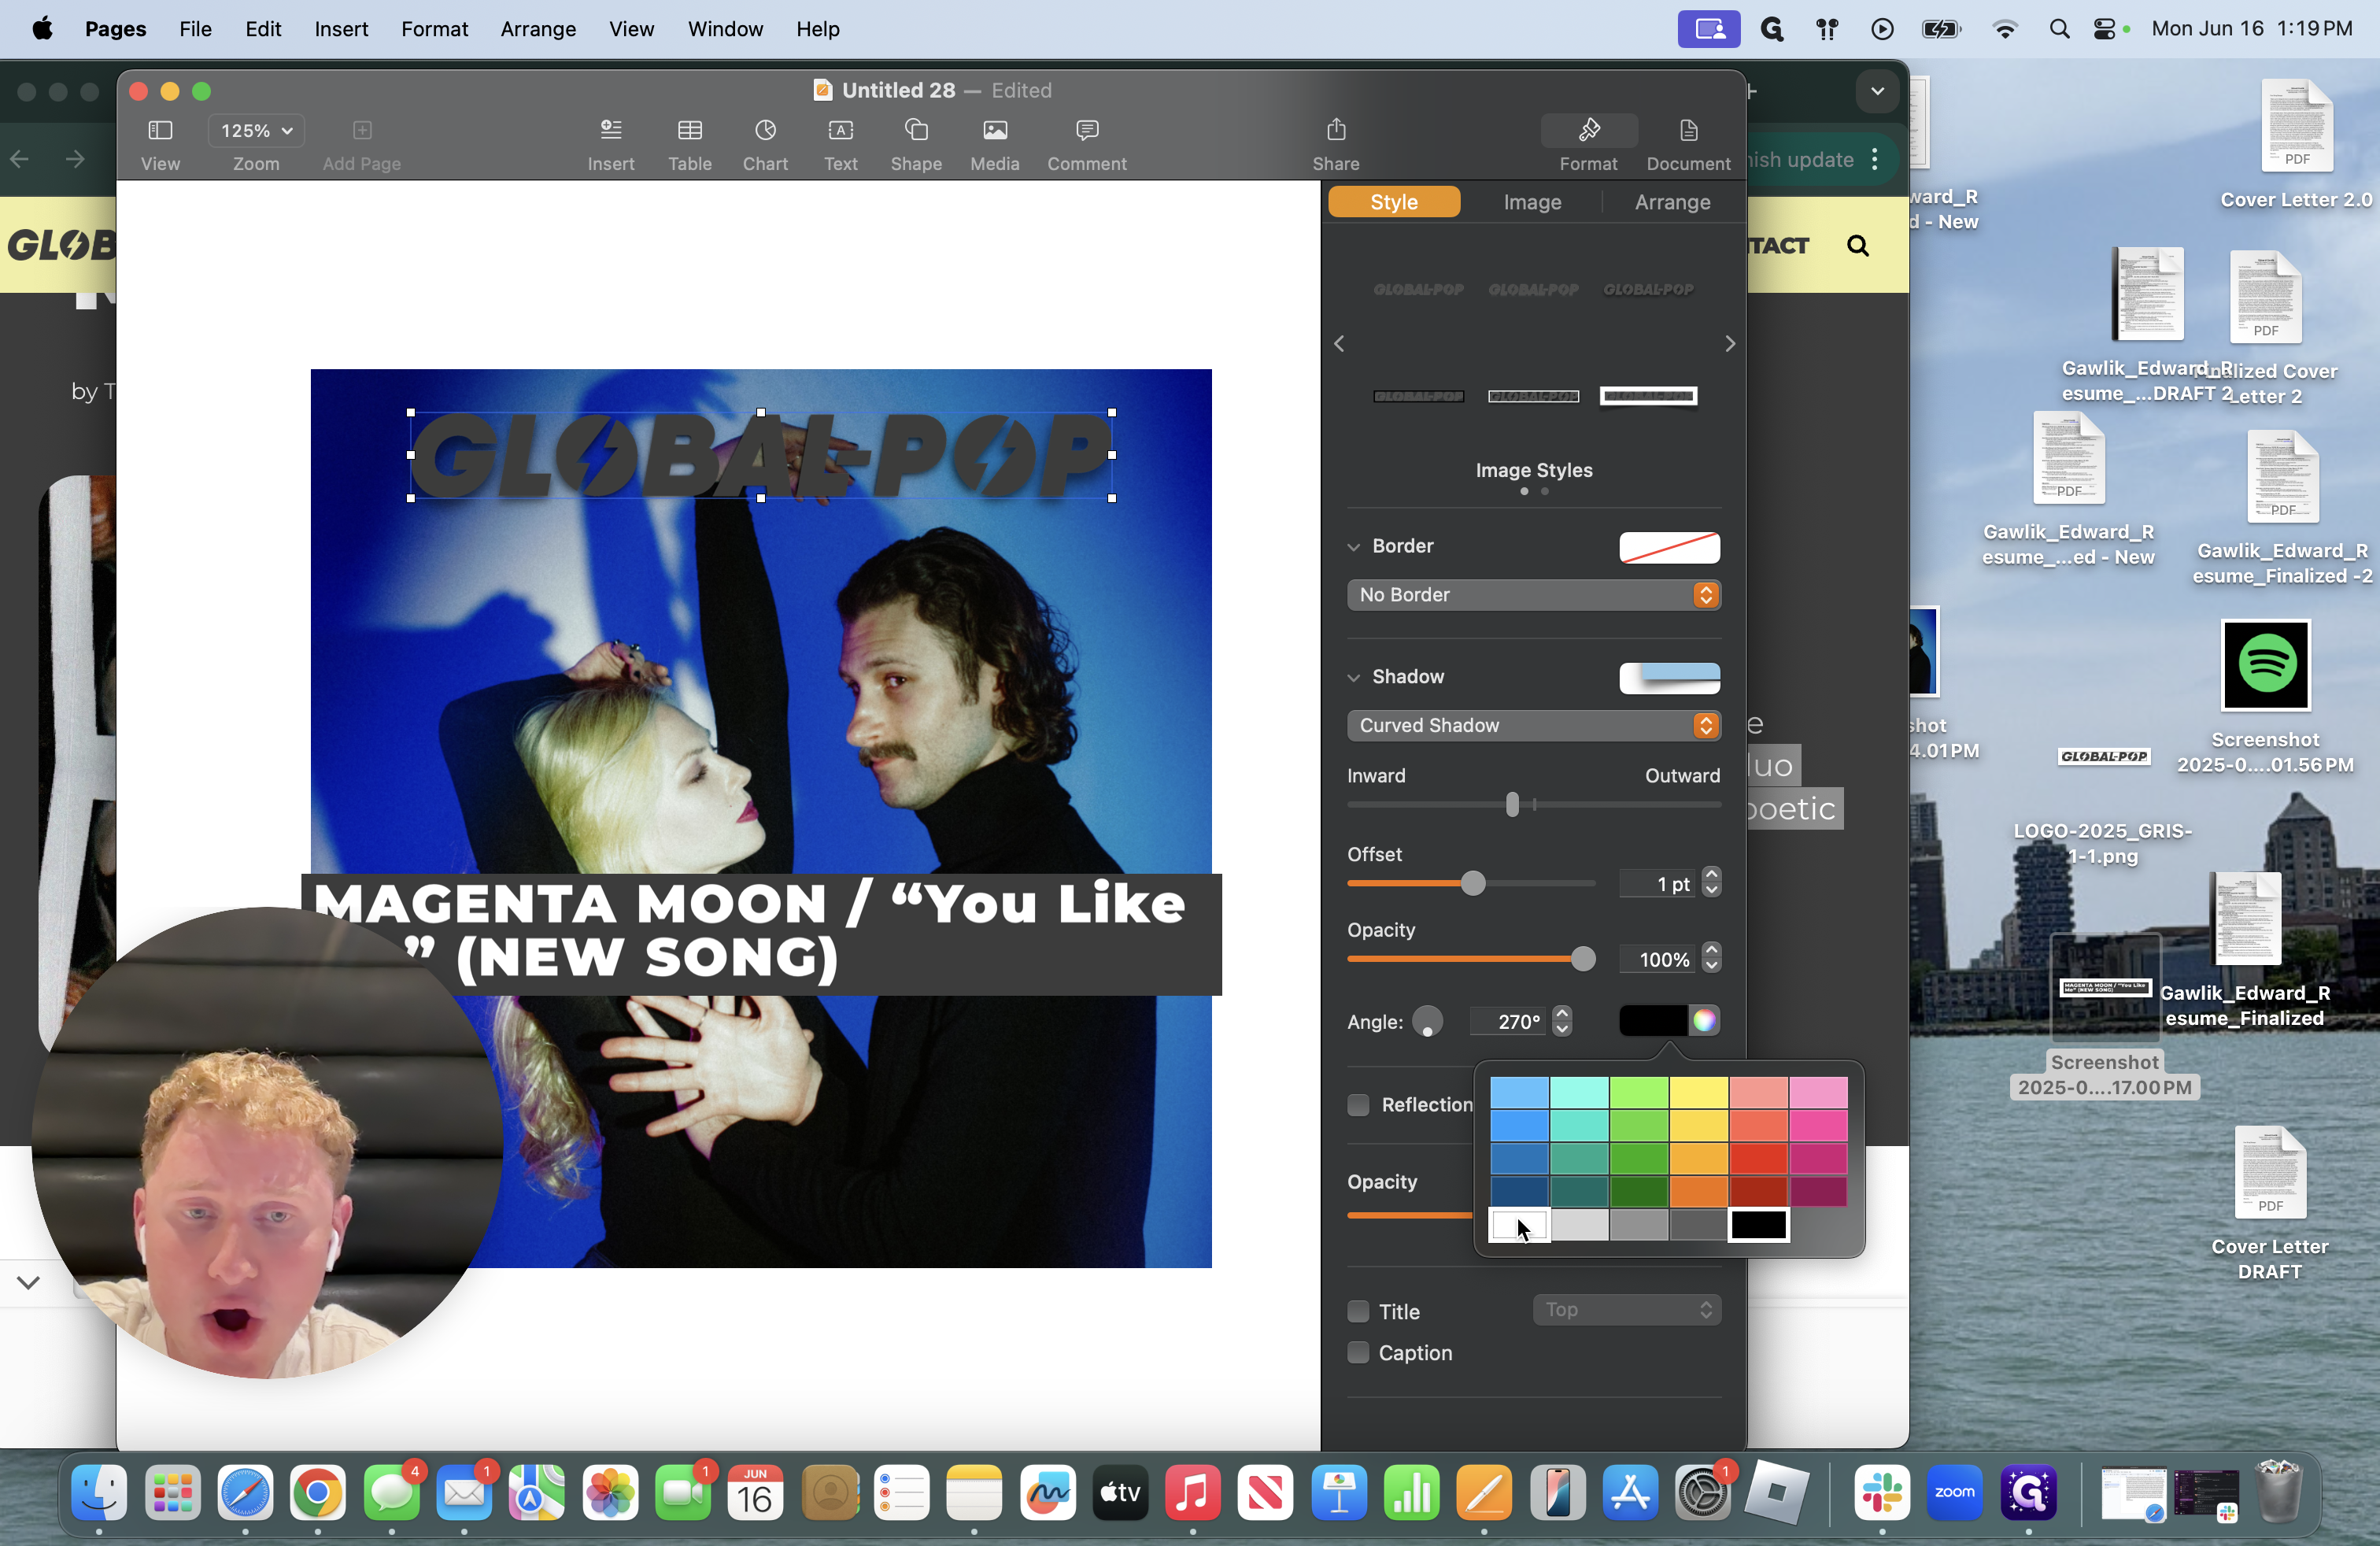
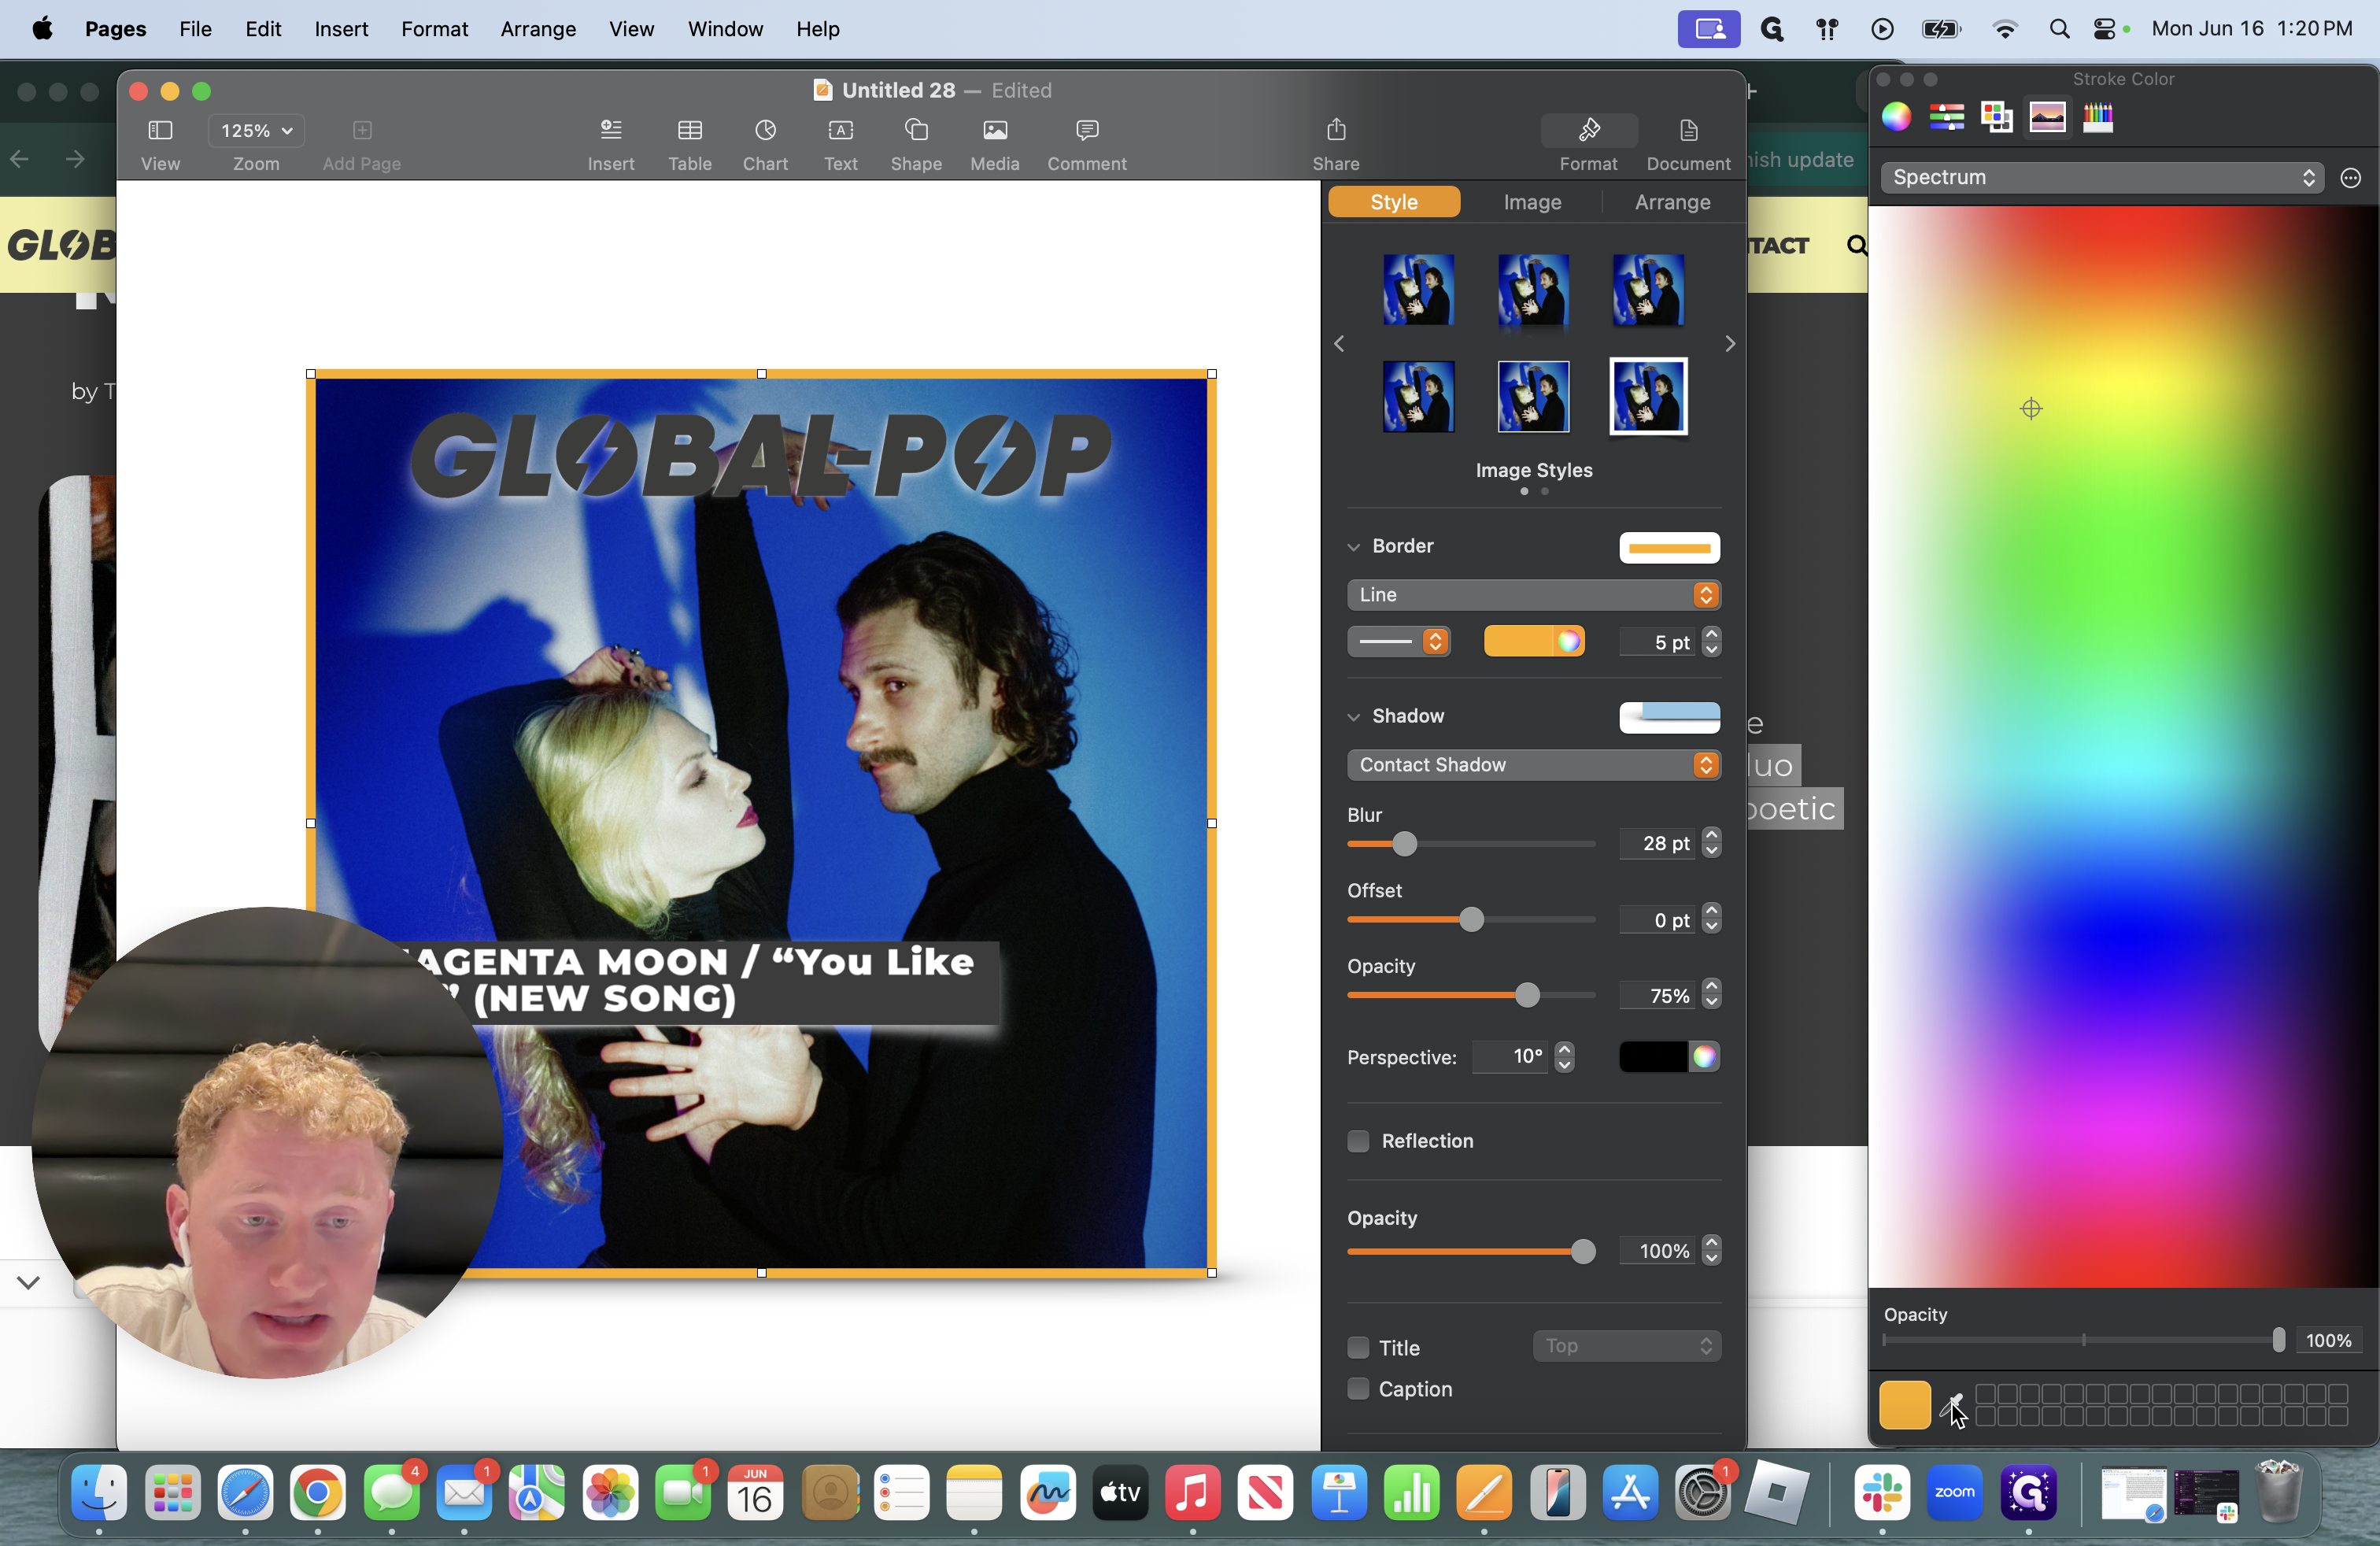
SECRET FROM EDDIE*: Click on the shadow option over here. Create the most authentic clippings from what you take from this video. This is what I consistently do.
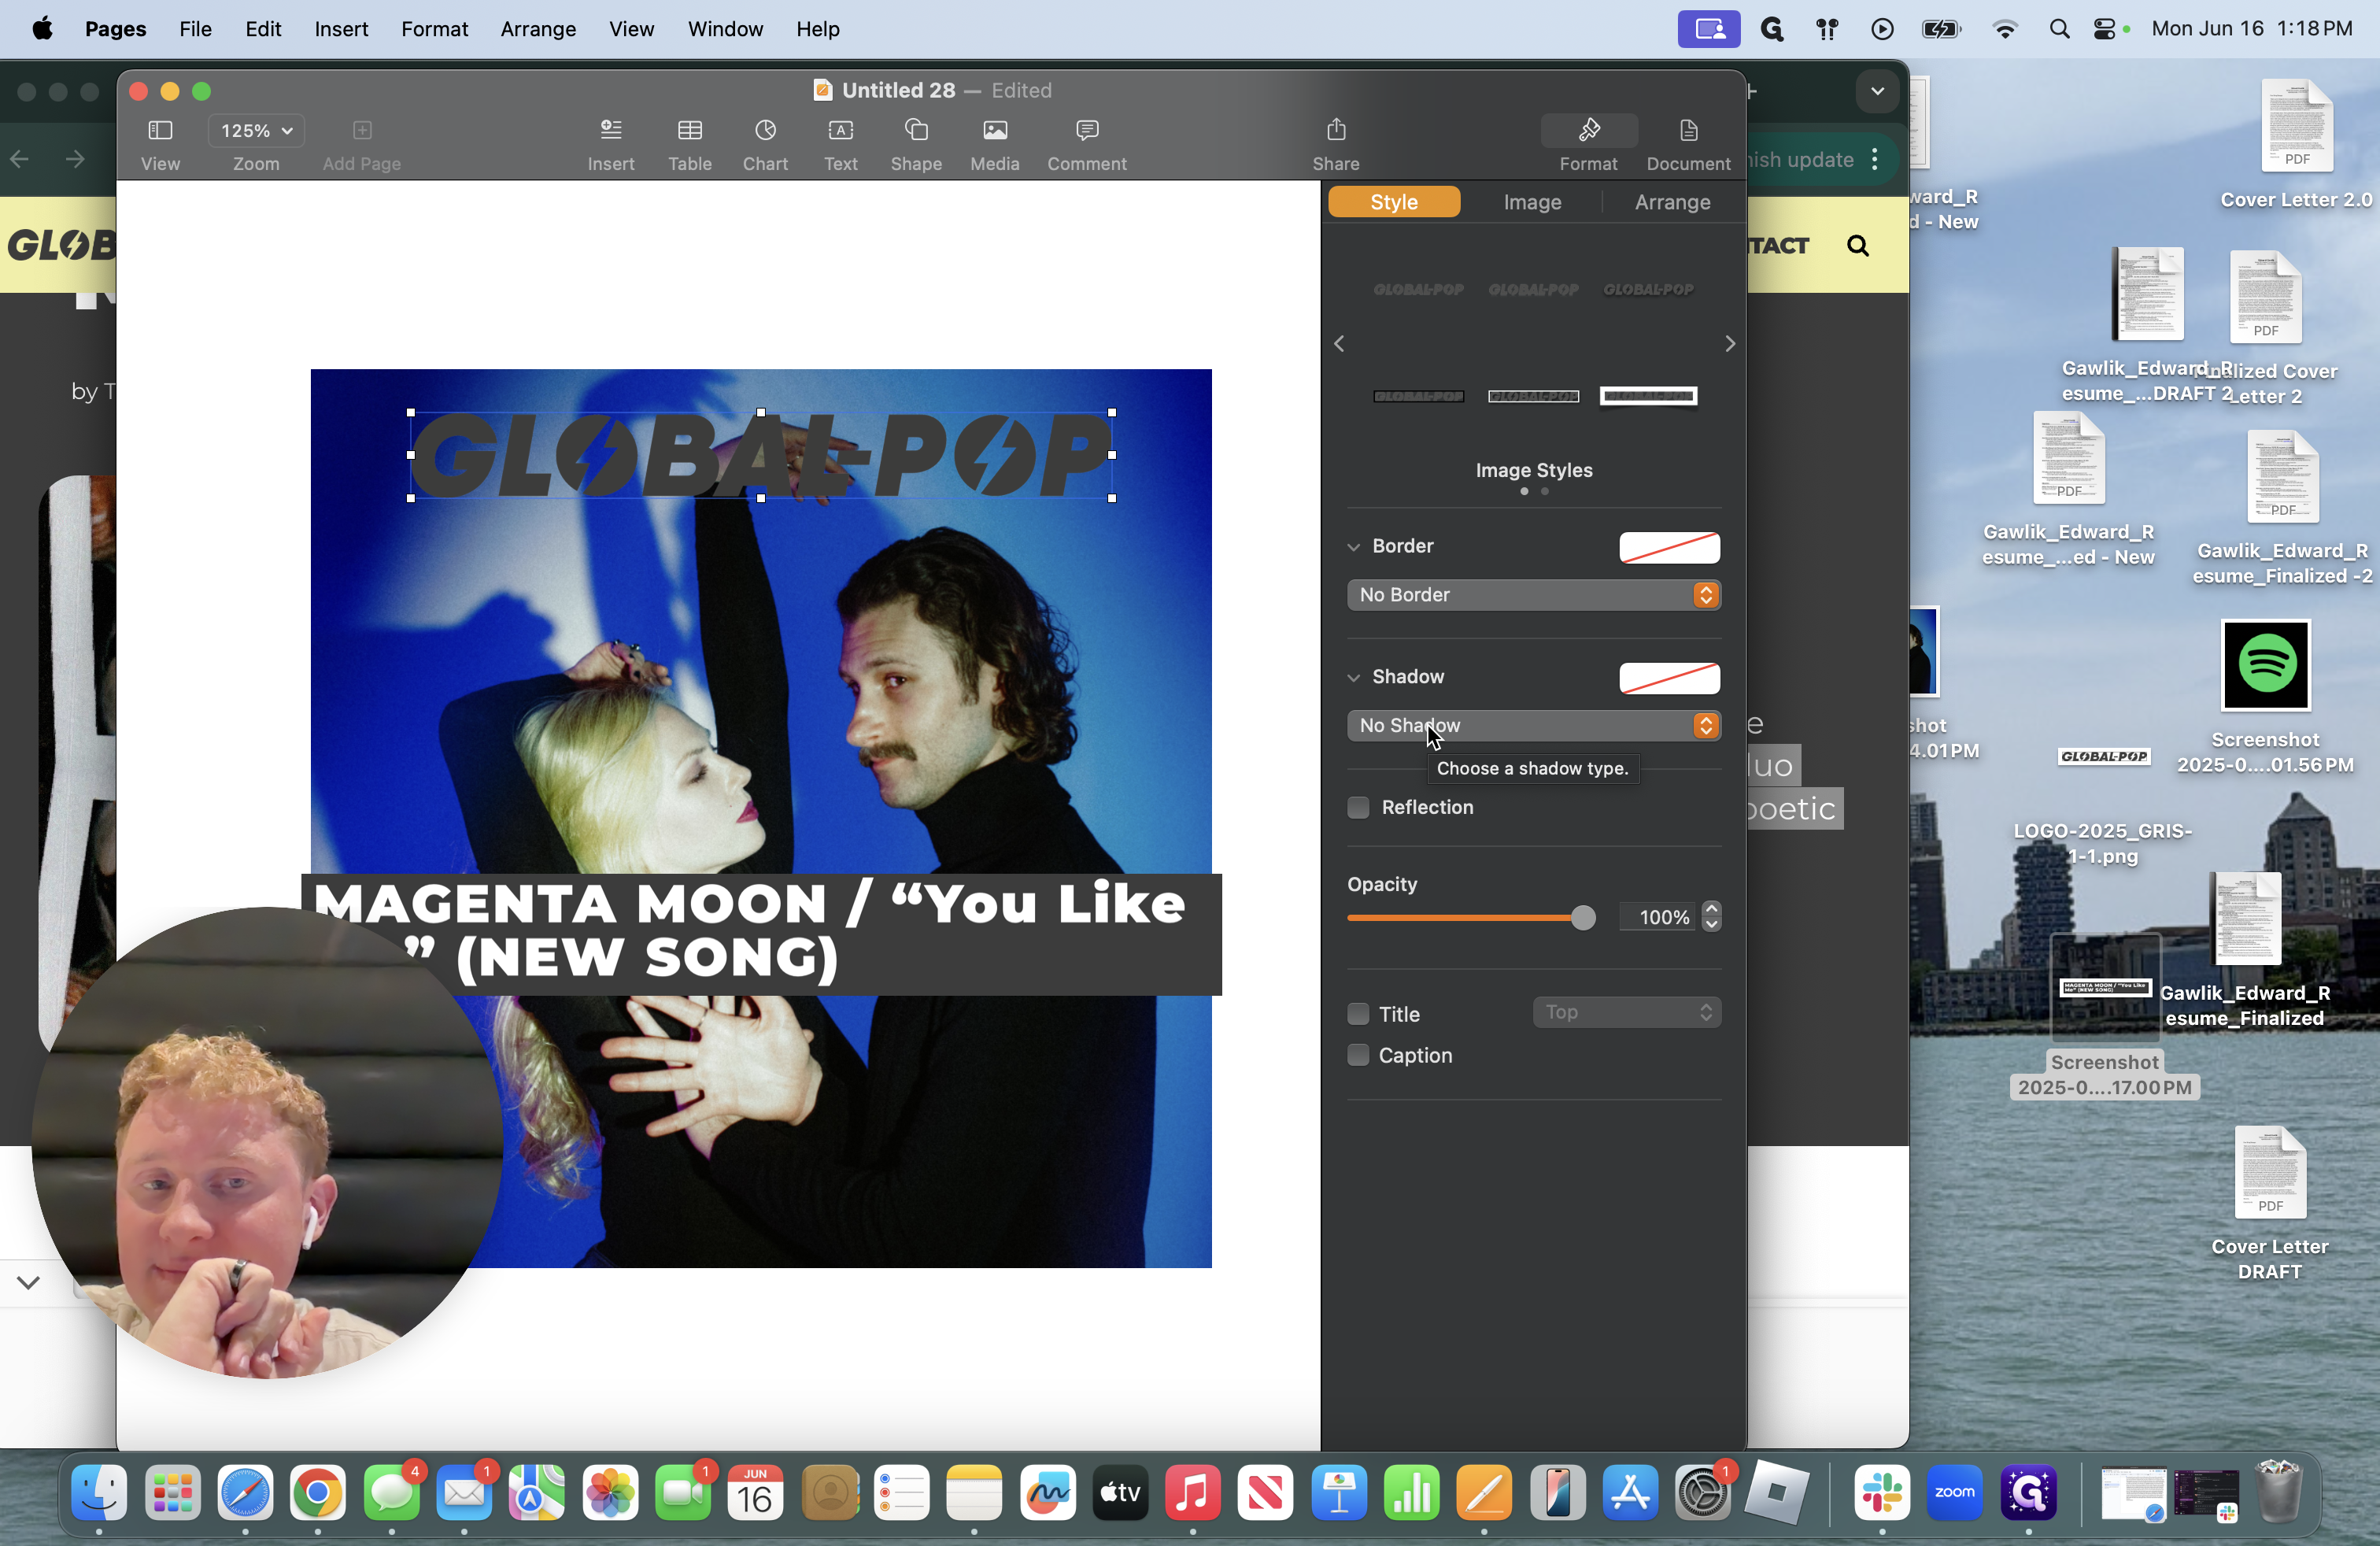
There are various types of shadows you can create. My go-tos are contact and curve.
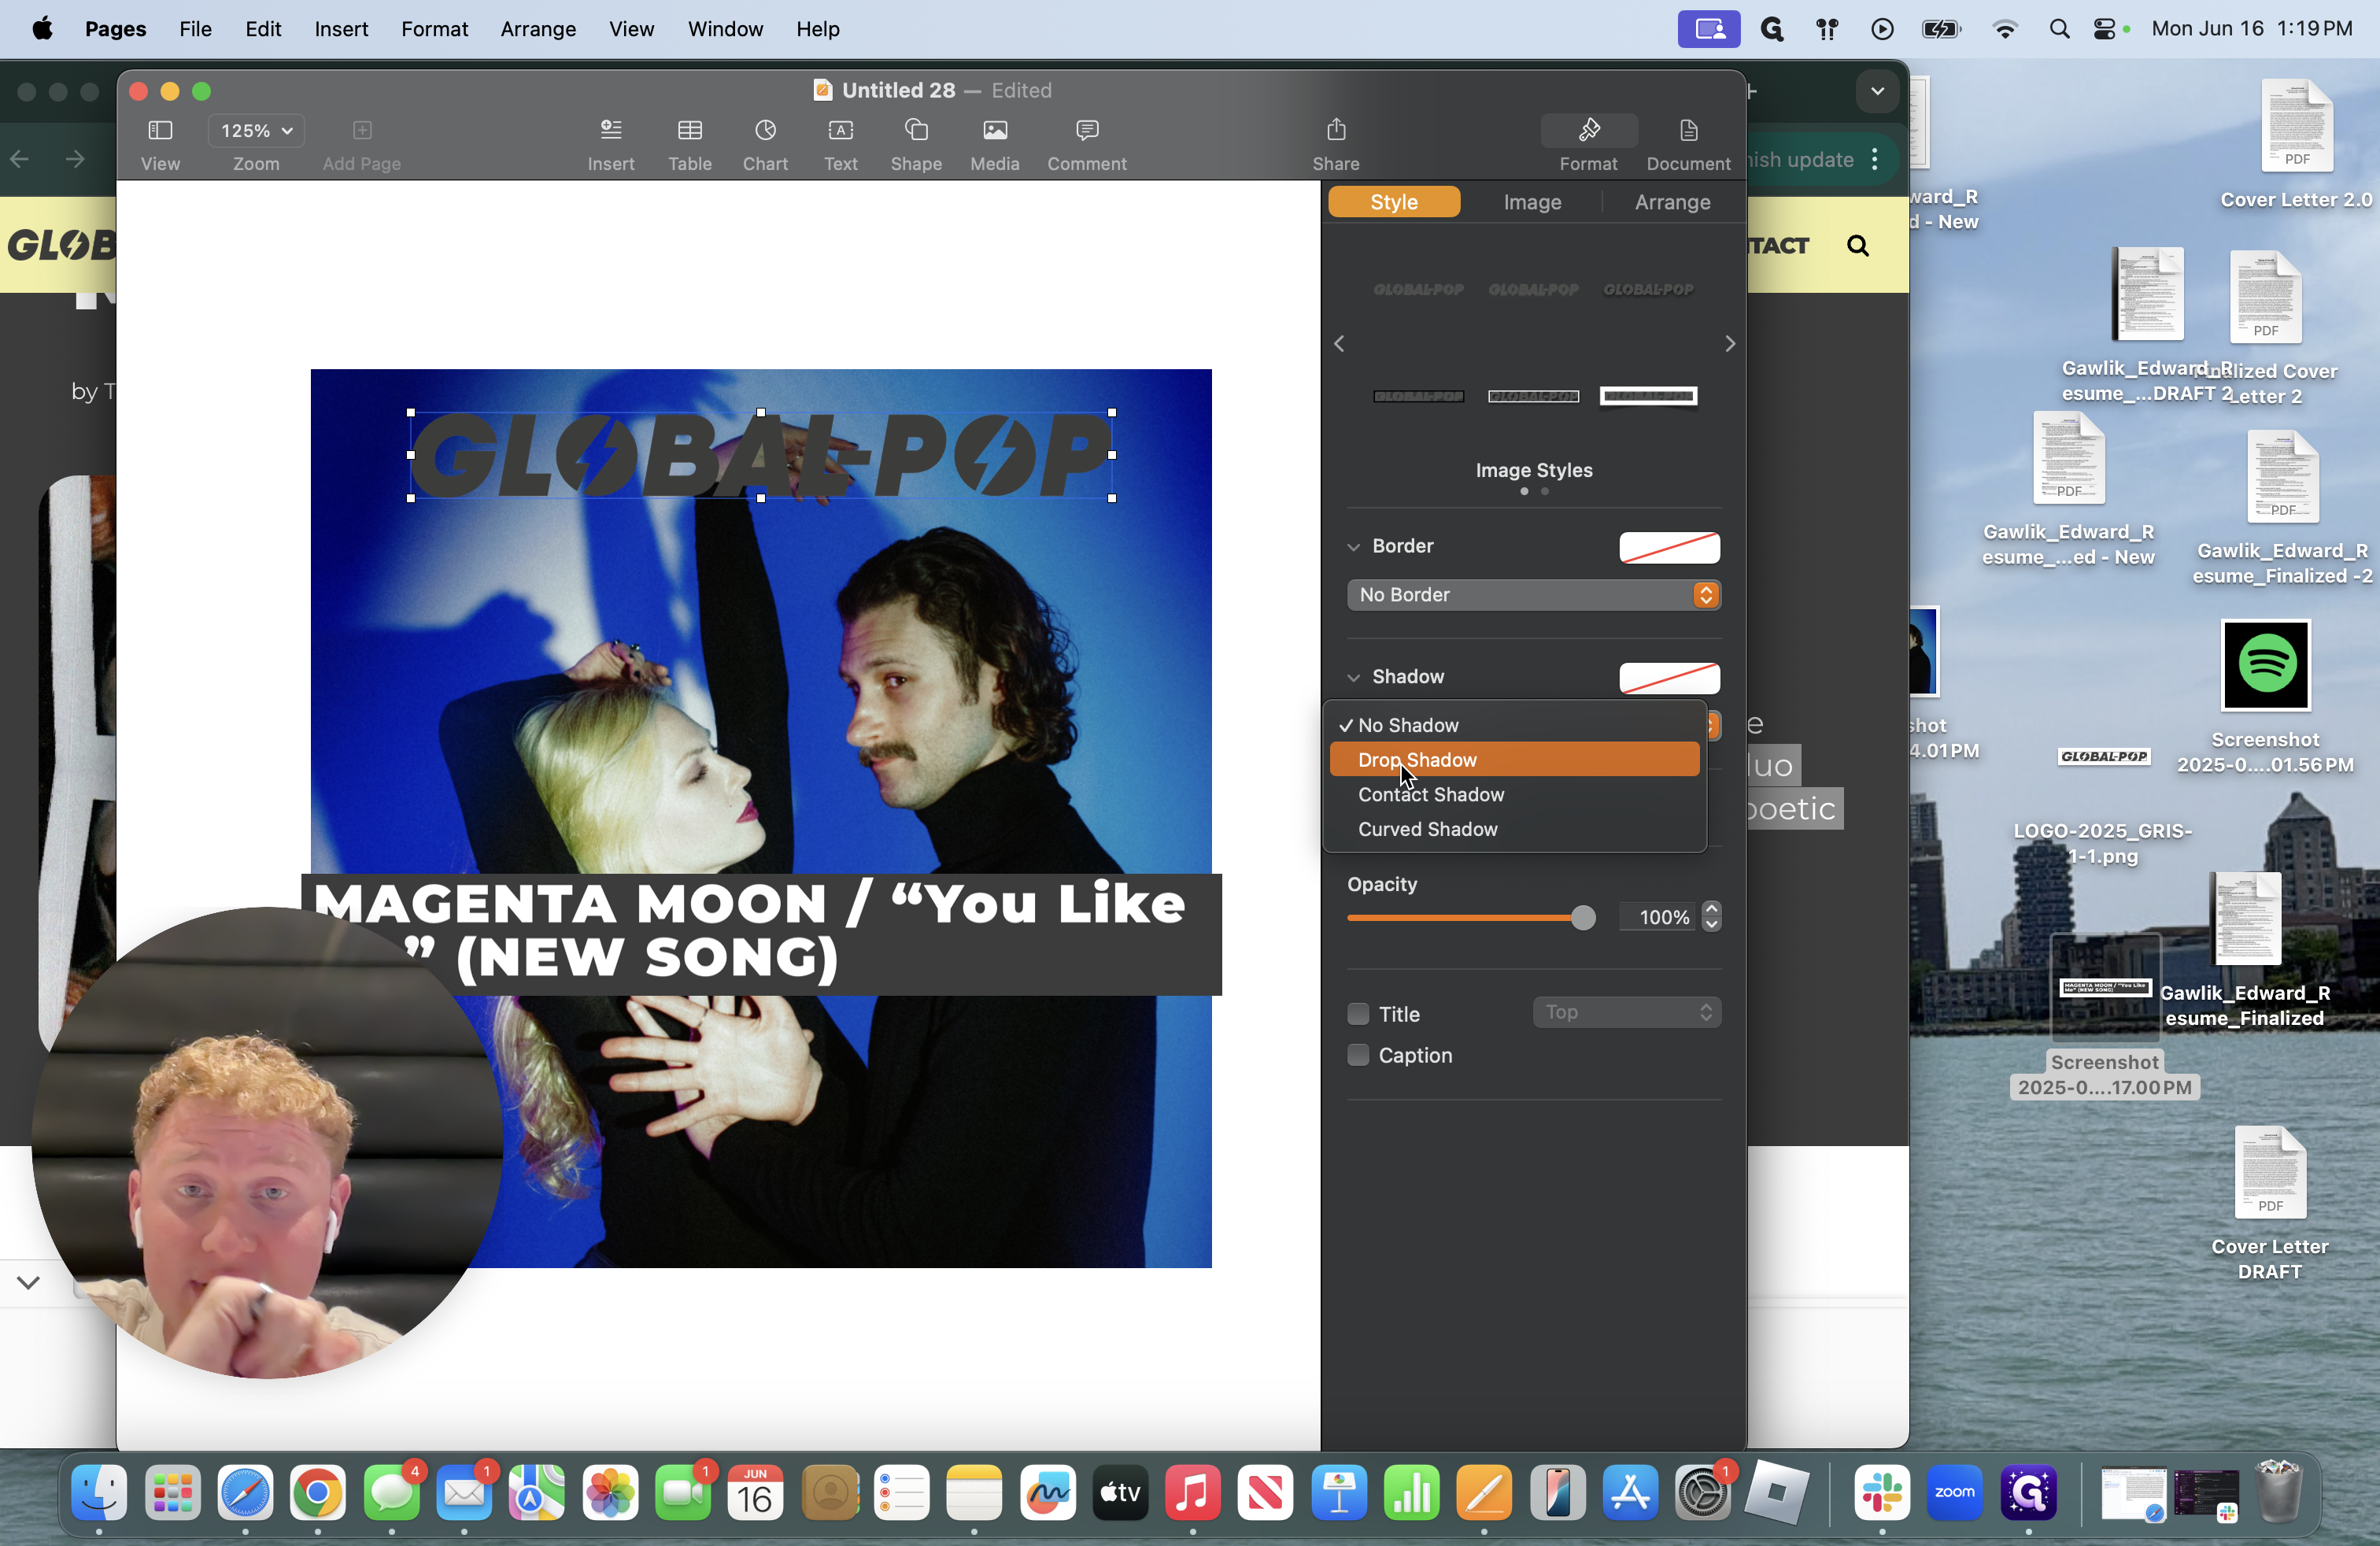
See your options: Drop shadow, contact shadow, and curve shadow.
I will create a curved shadow.
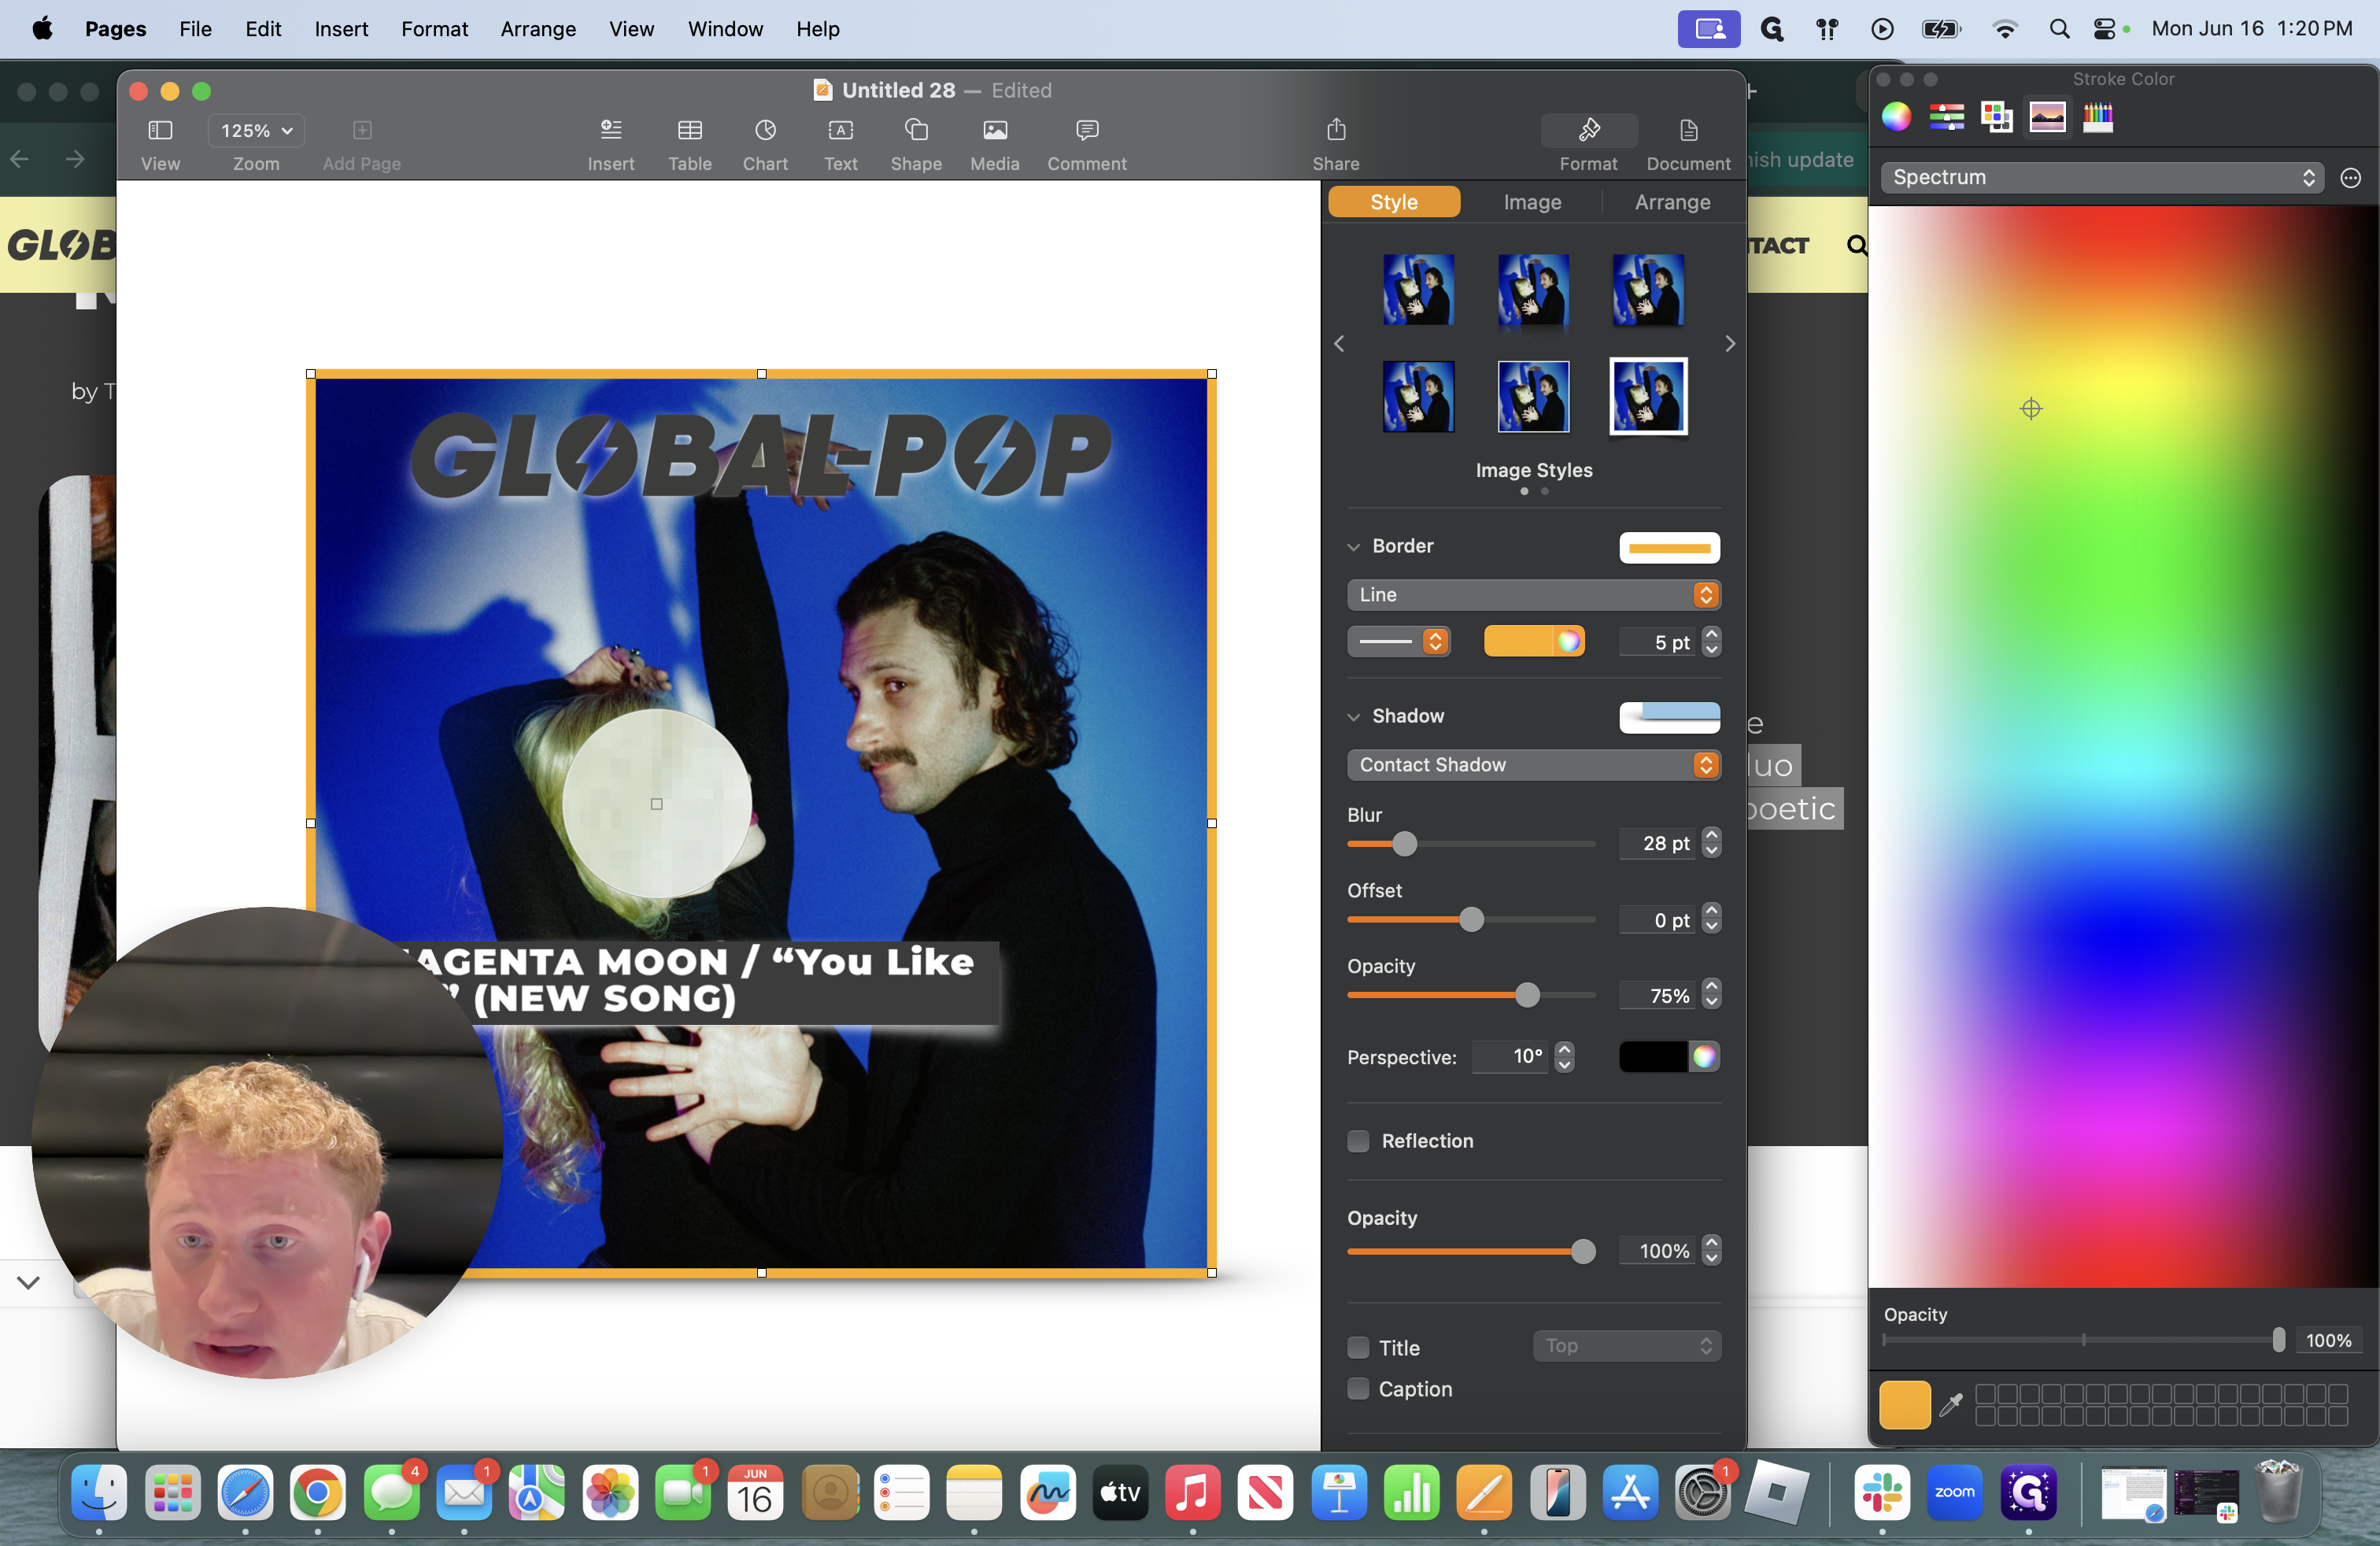
You can't read it clearly. To make it clearer, I go into the color-changing feature and always make it lighter if the background is darker.
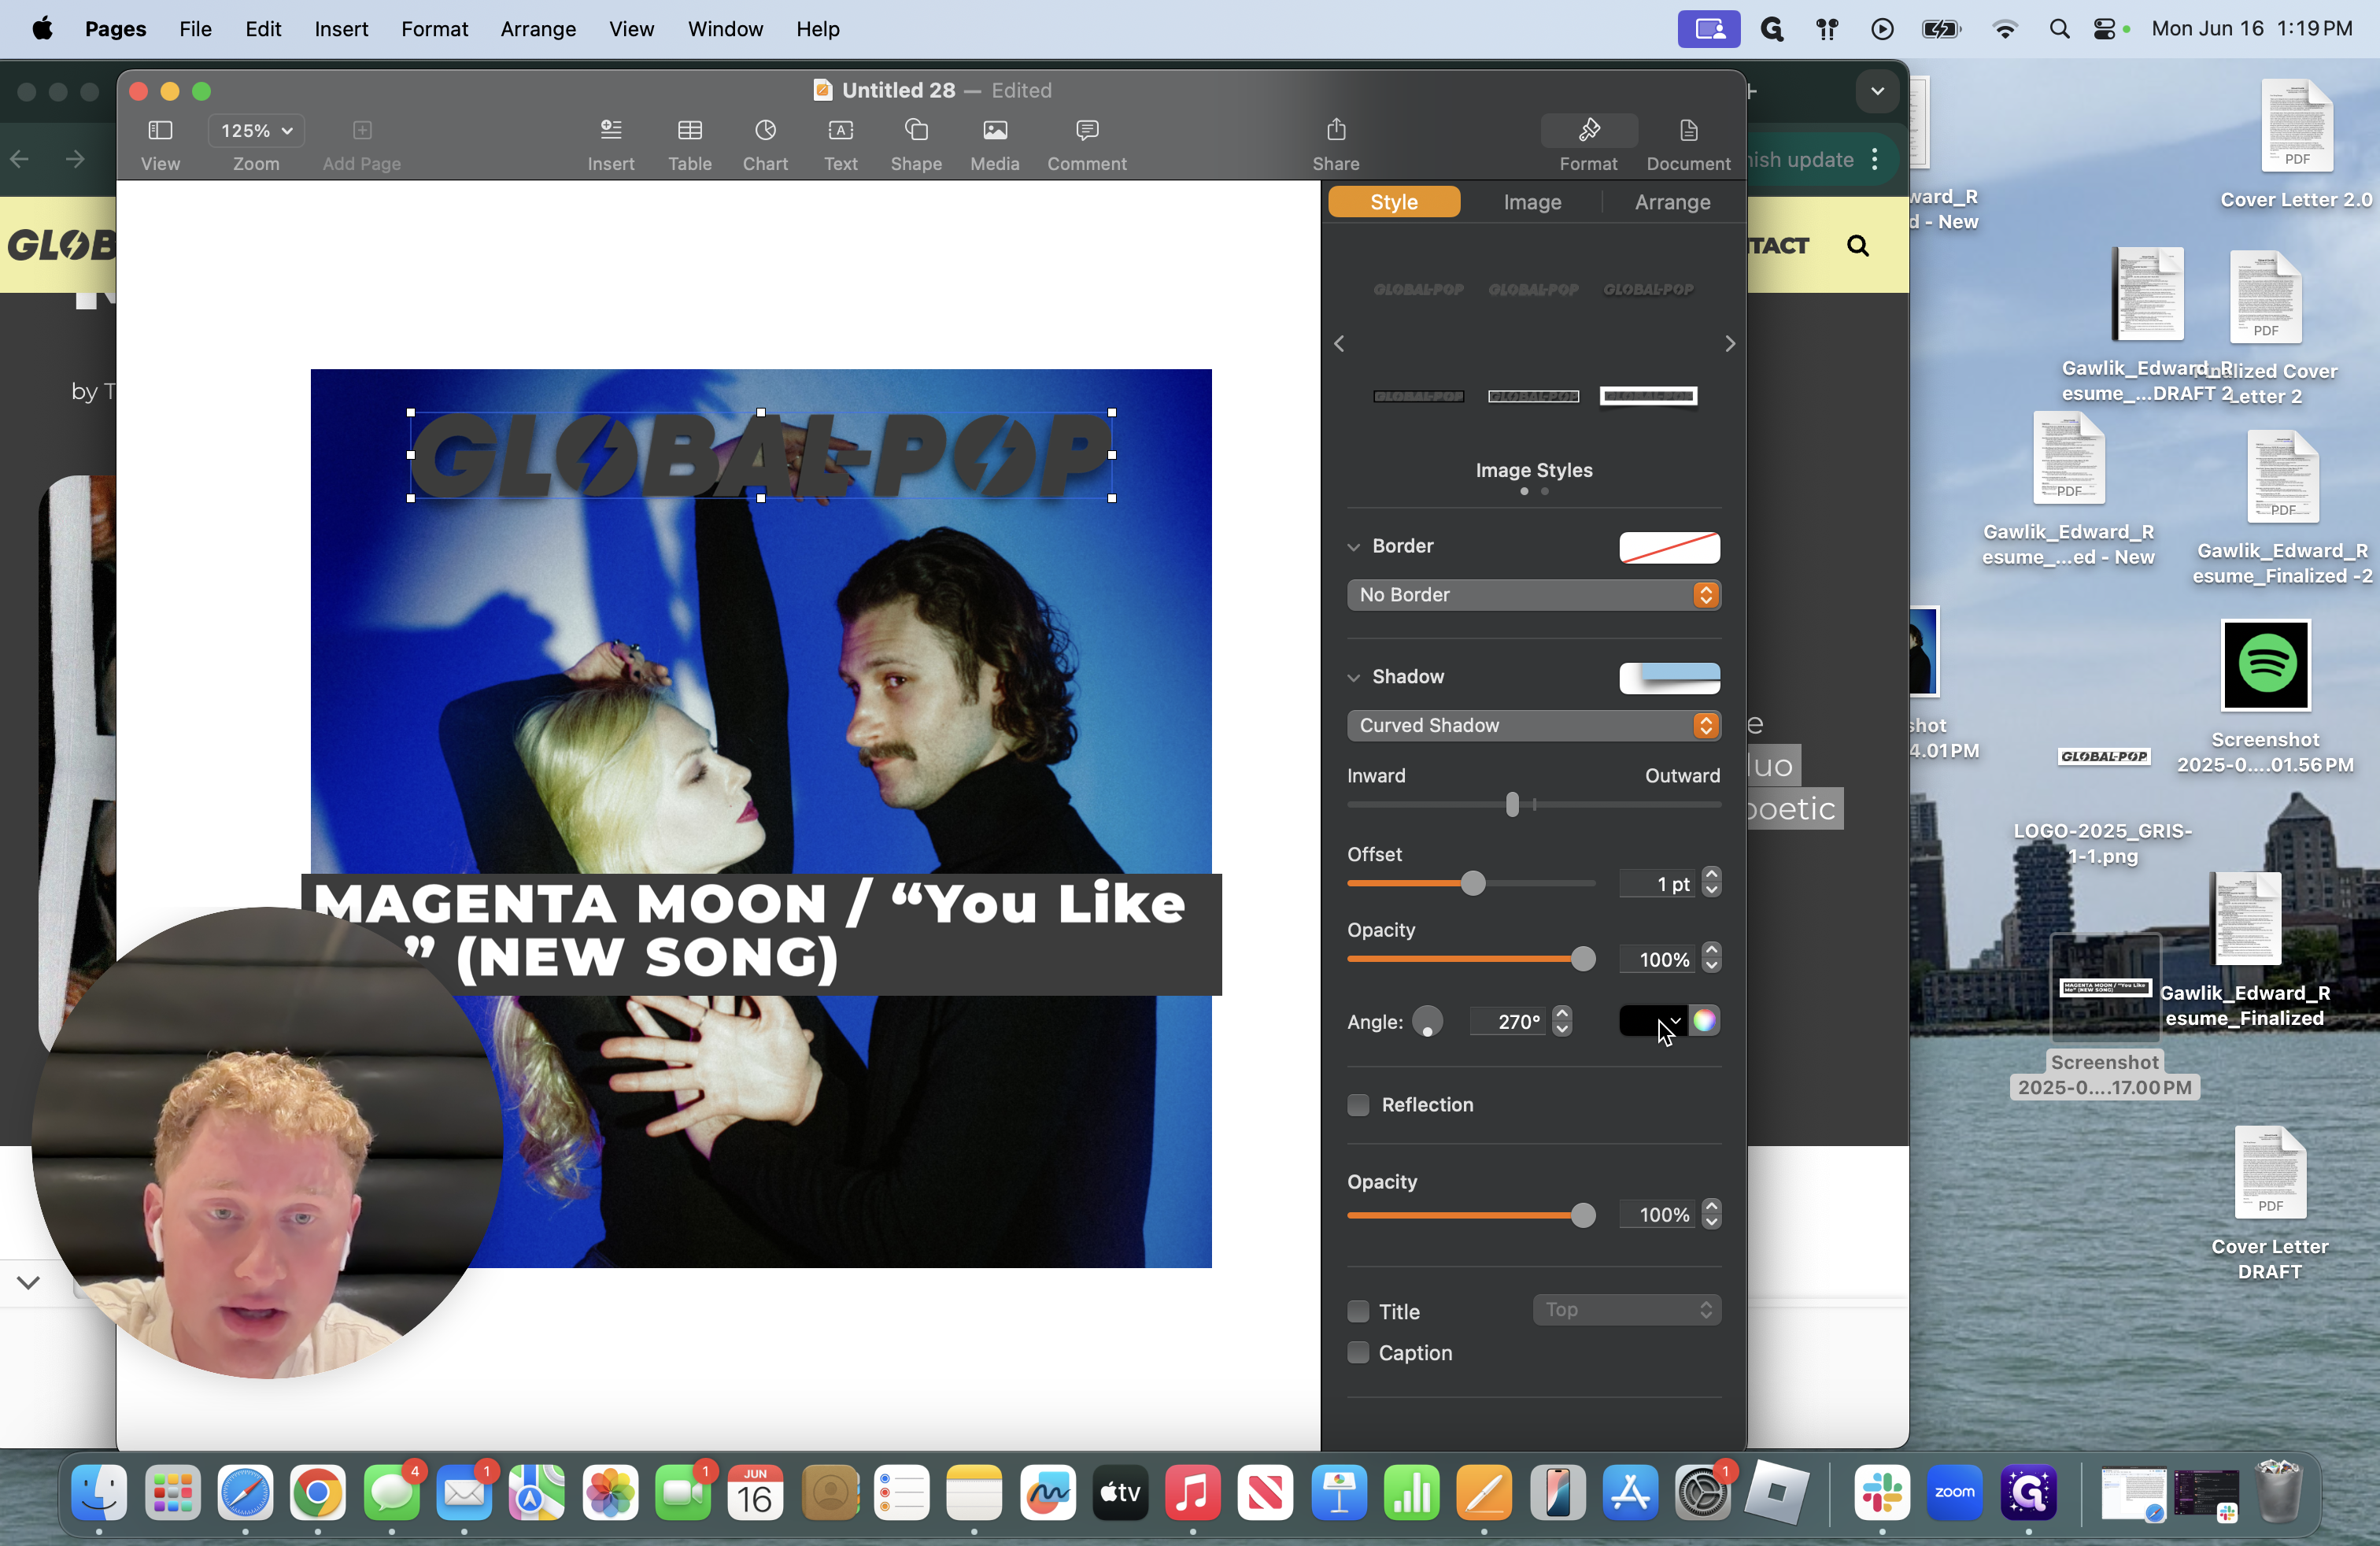
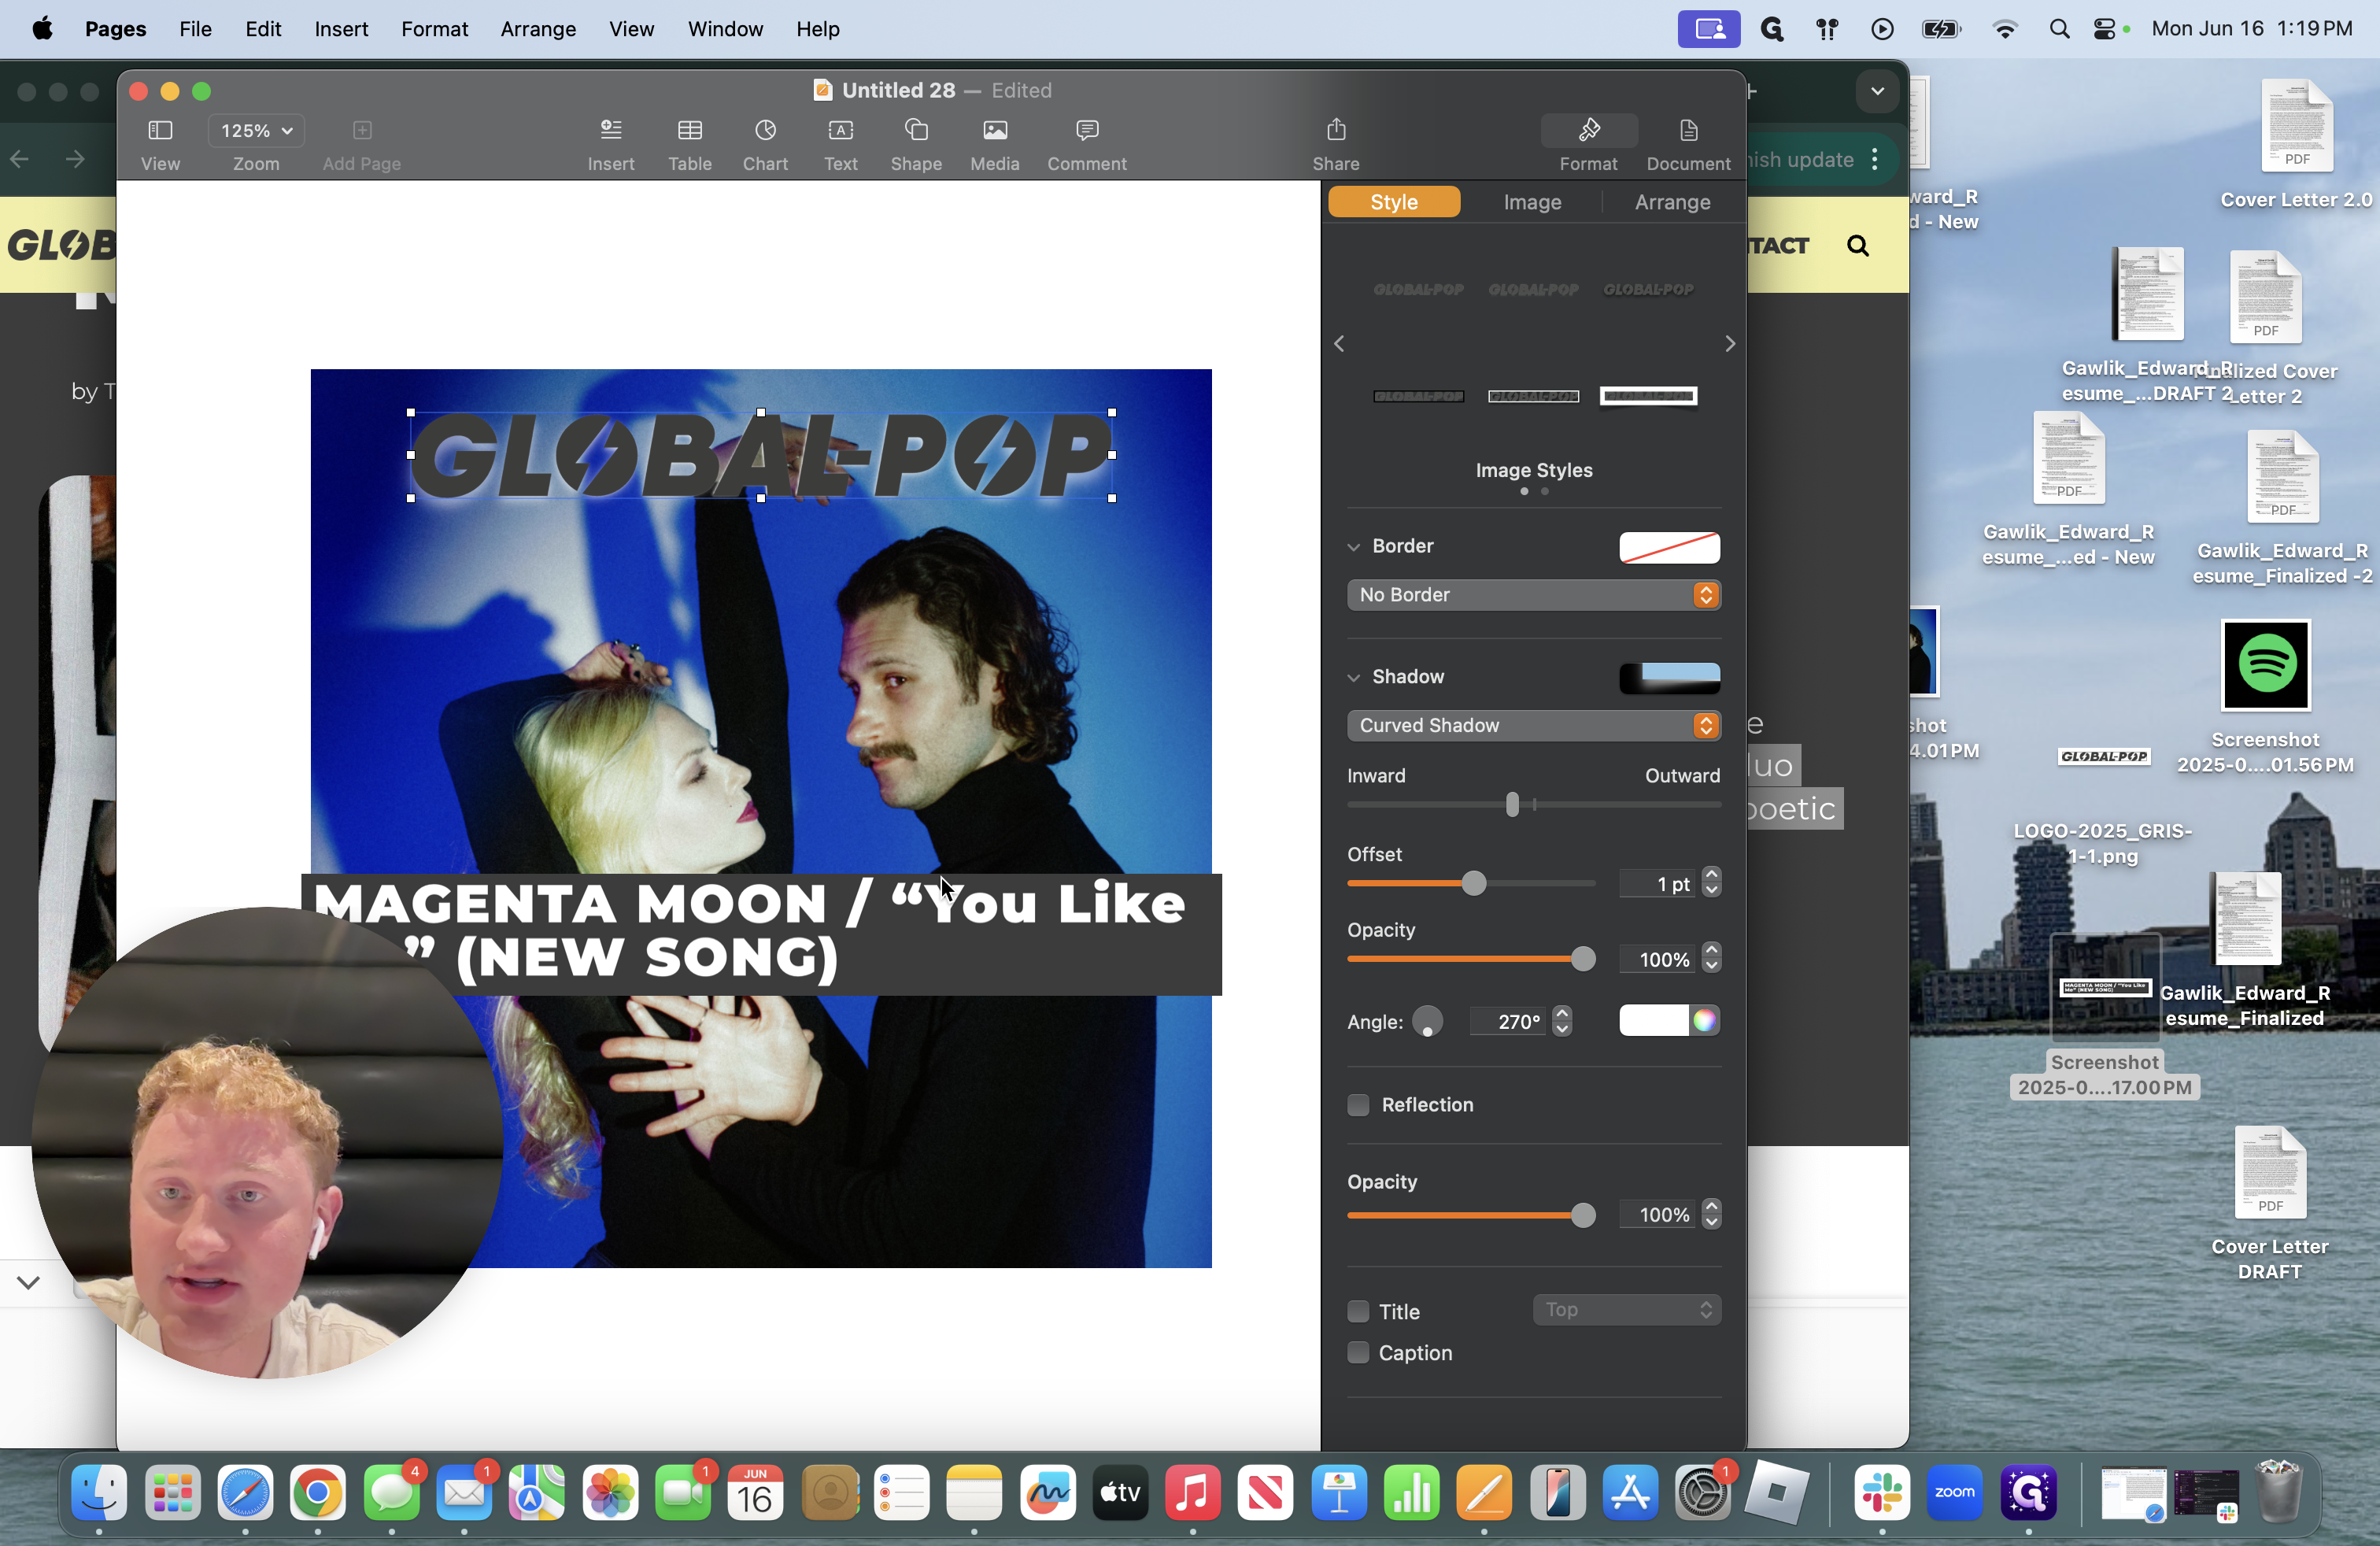
I'm going to place the article title in the middle and add a curved shadow to make it stand out.
Now you have two essential items that you always need in a clipping done.
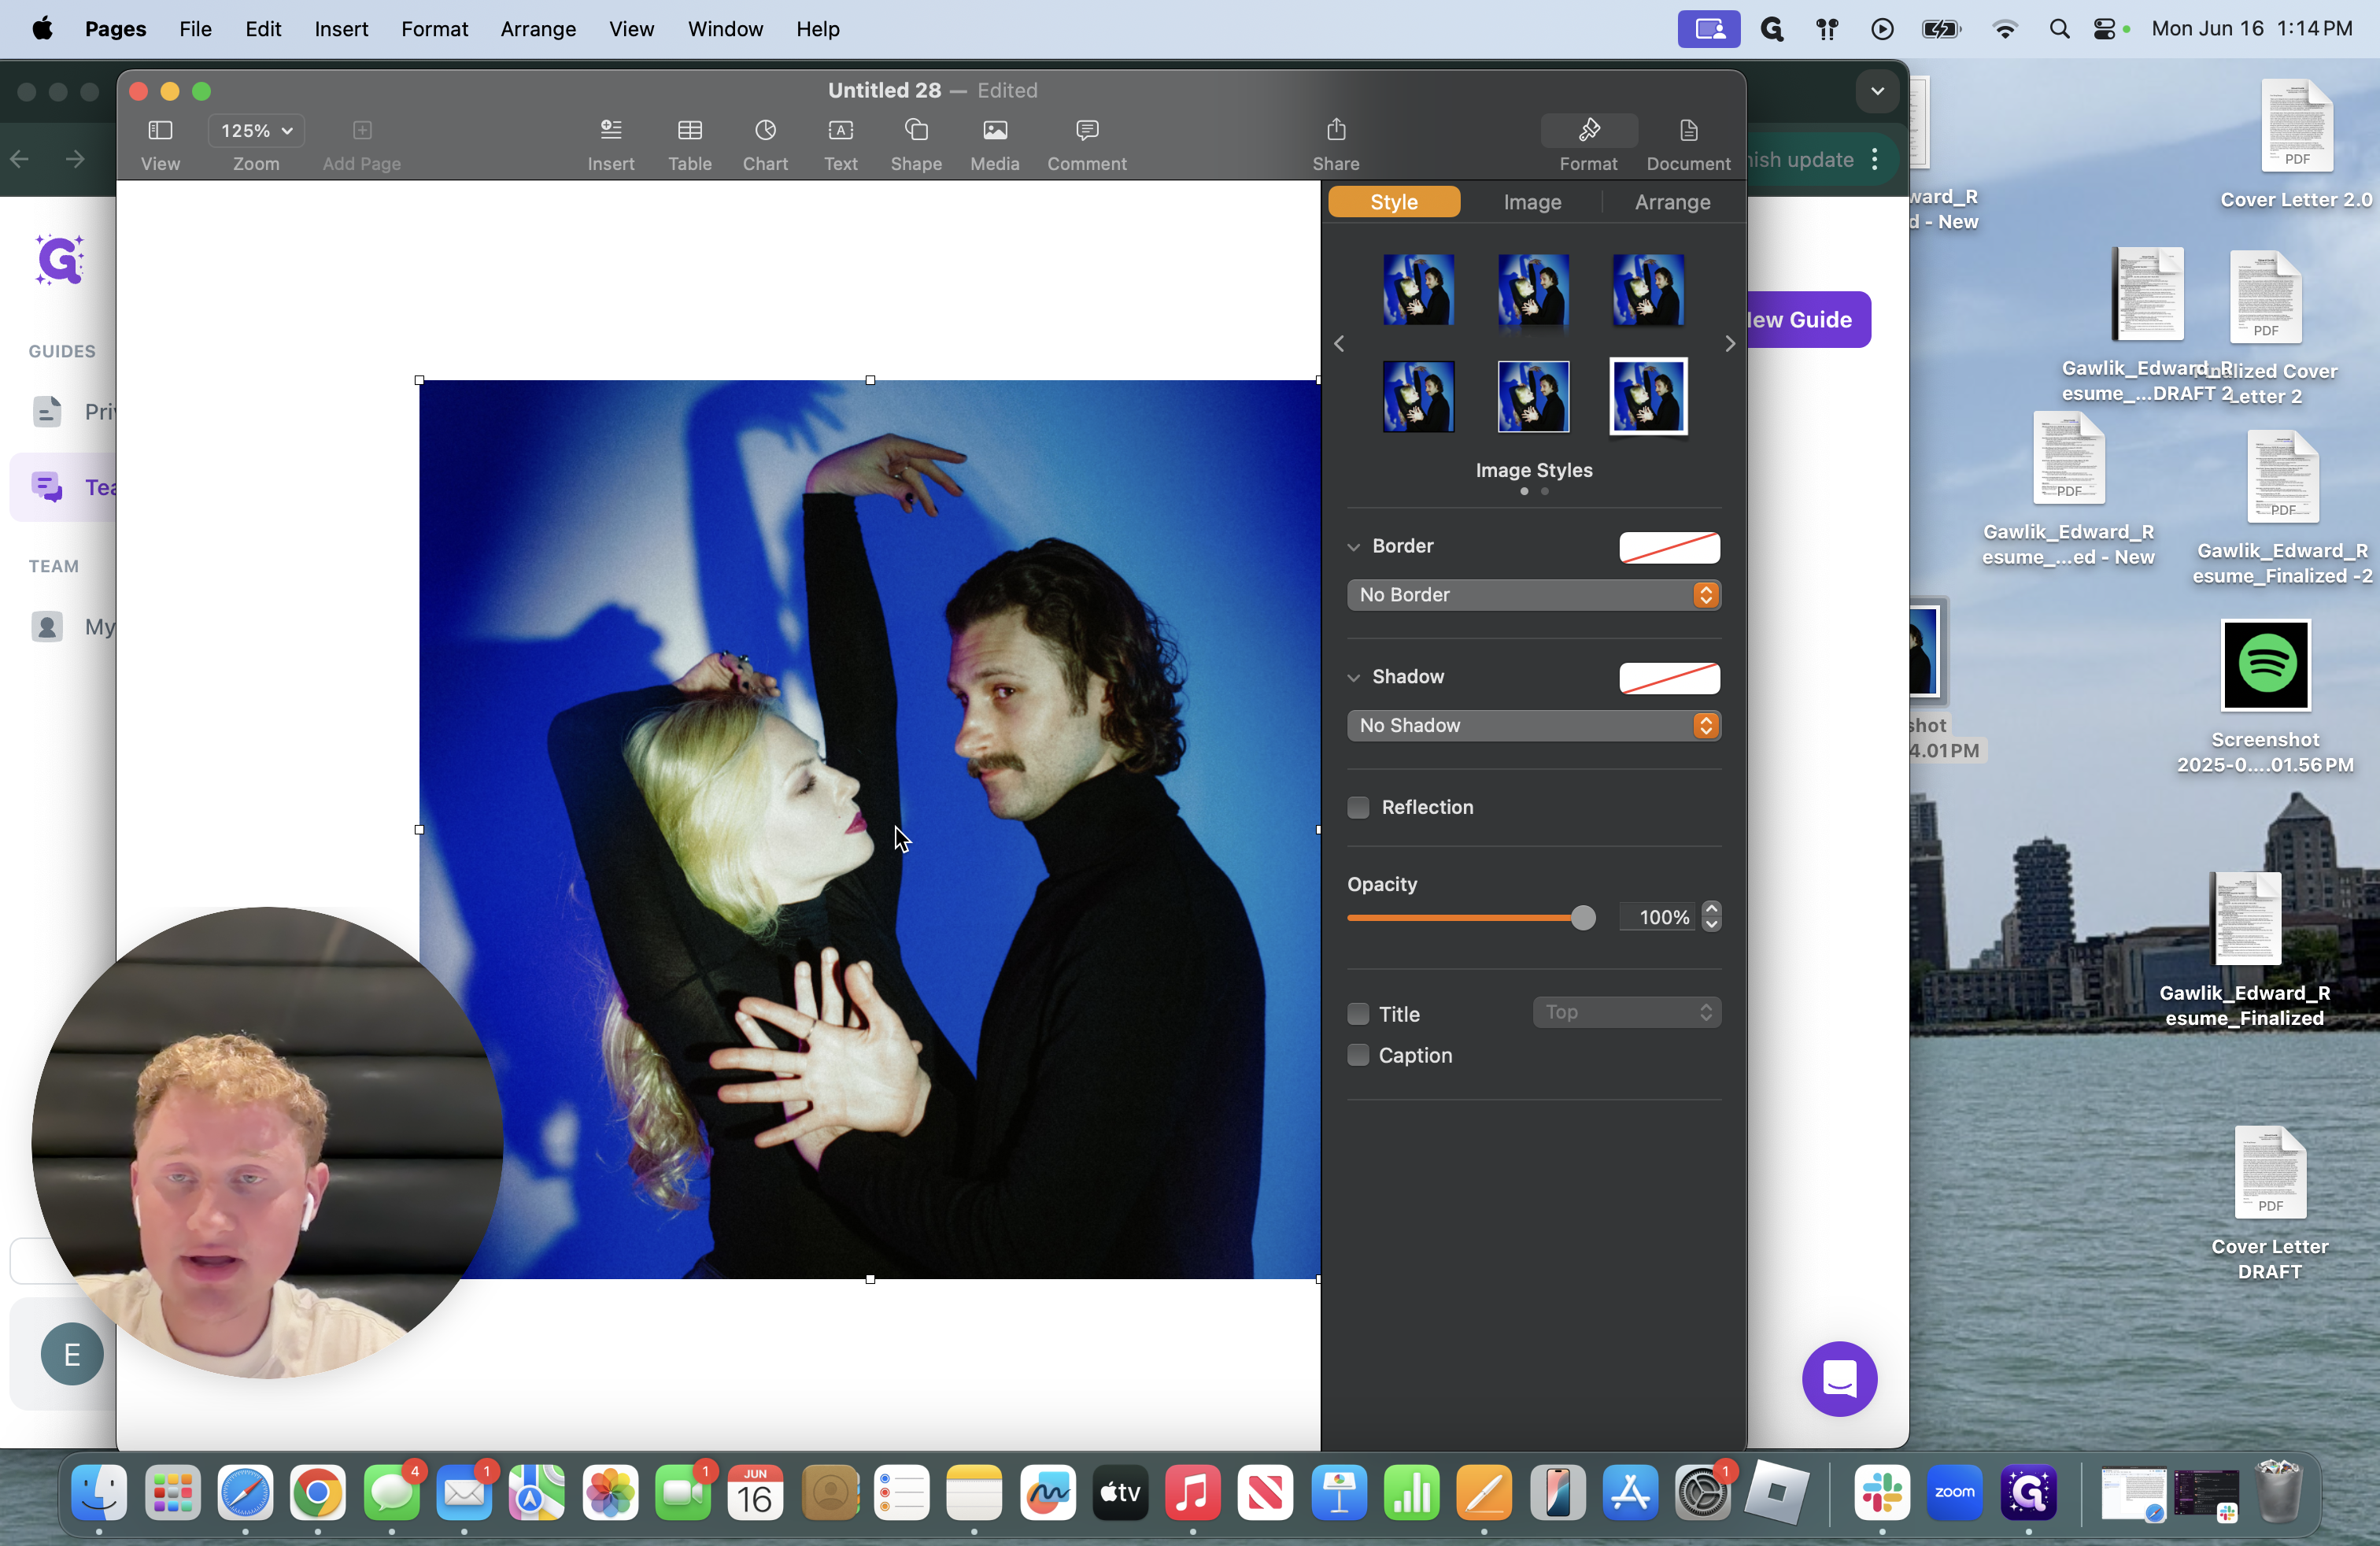
However, I don't want to leave the photo as it is.
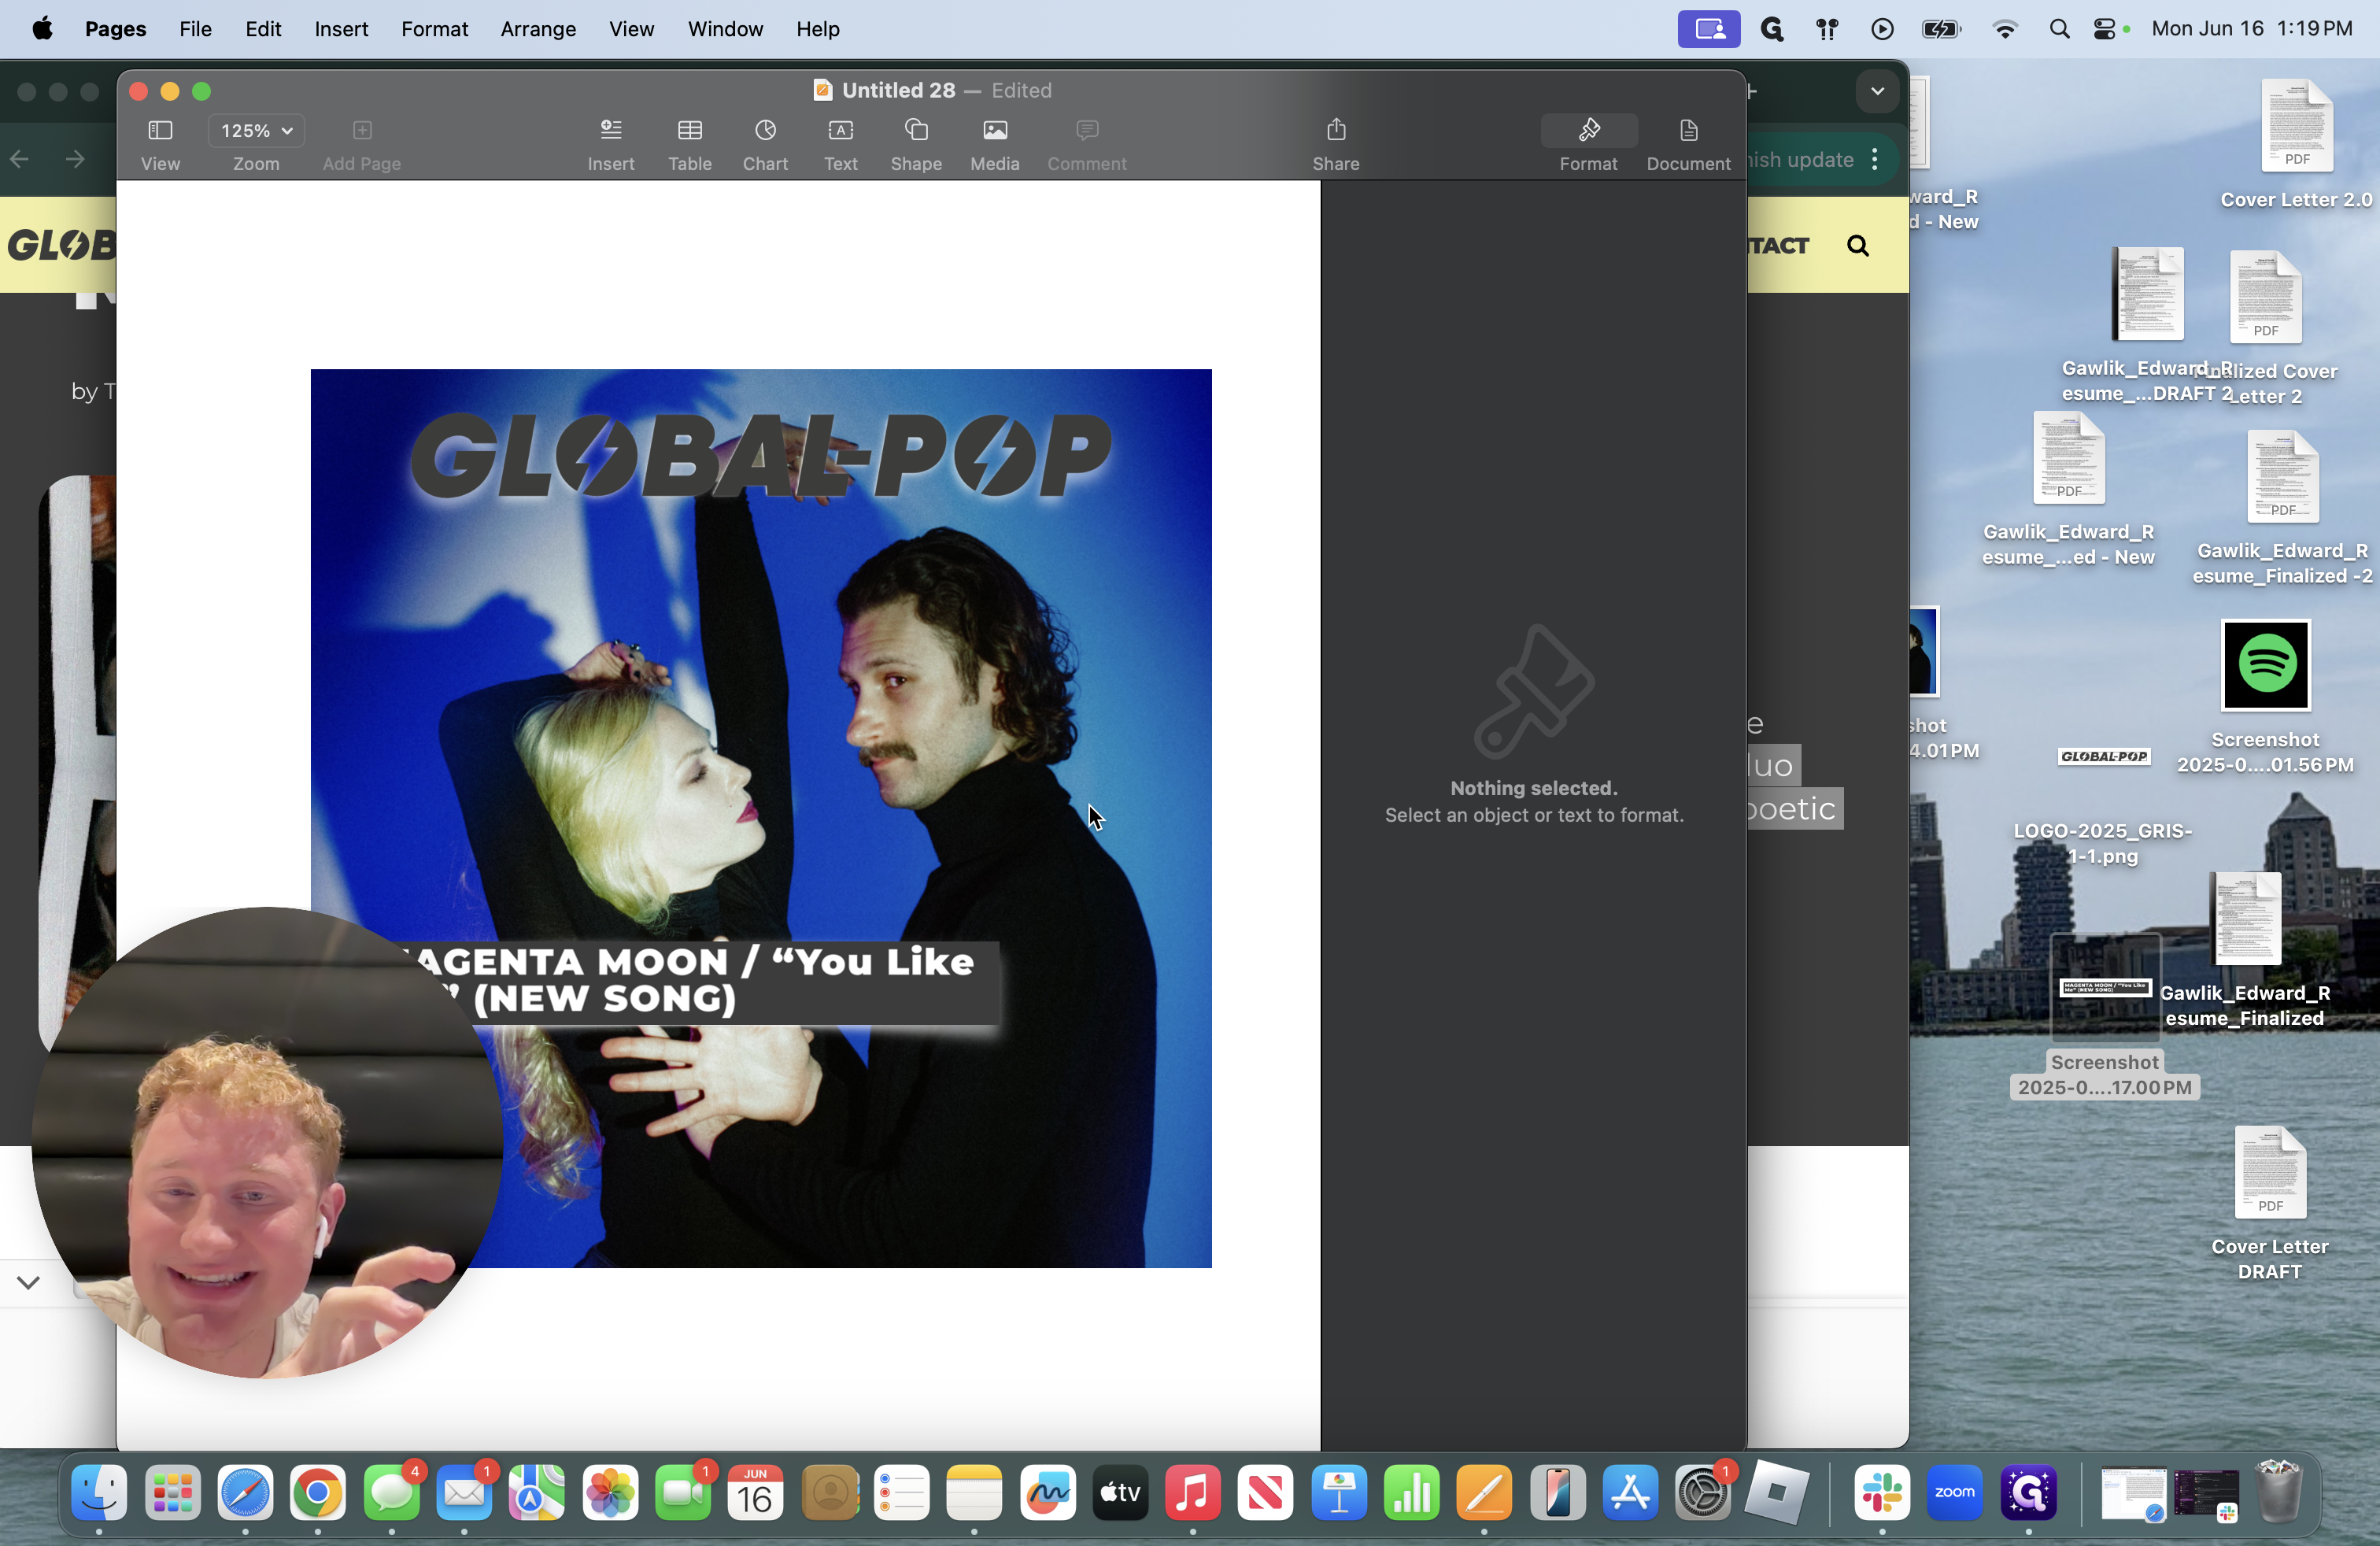

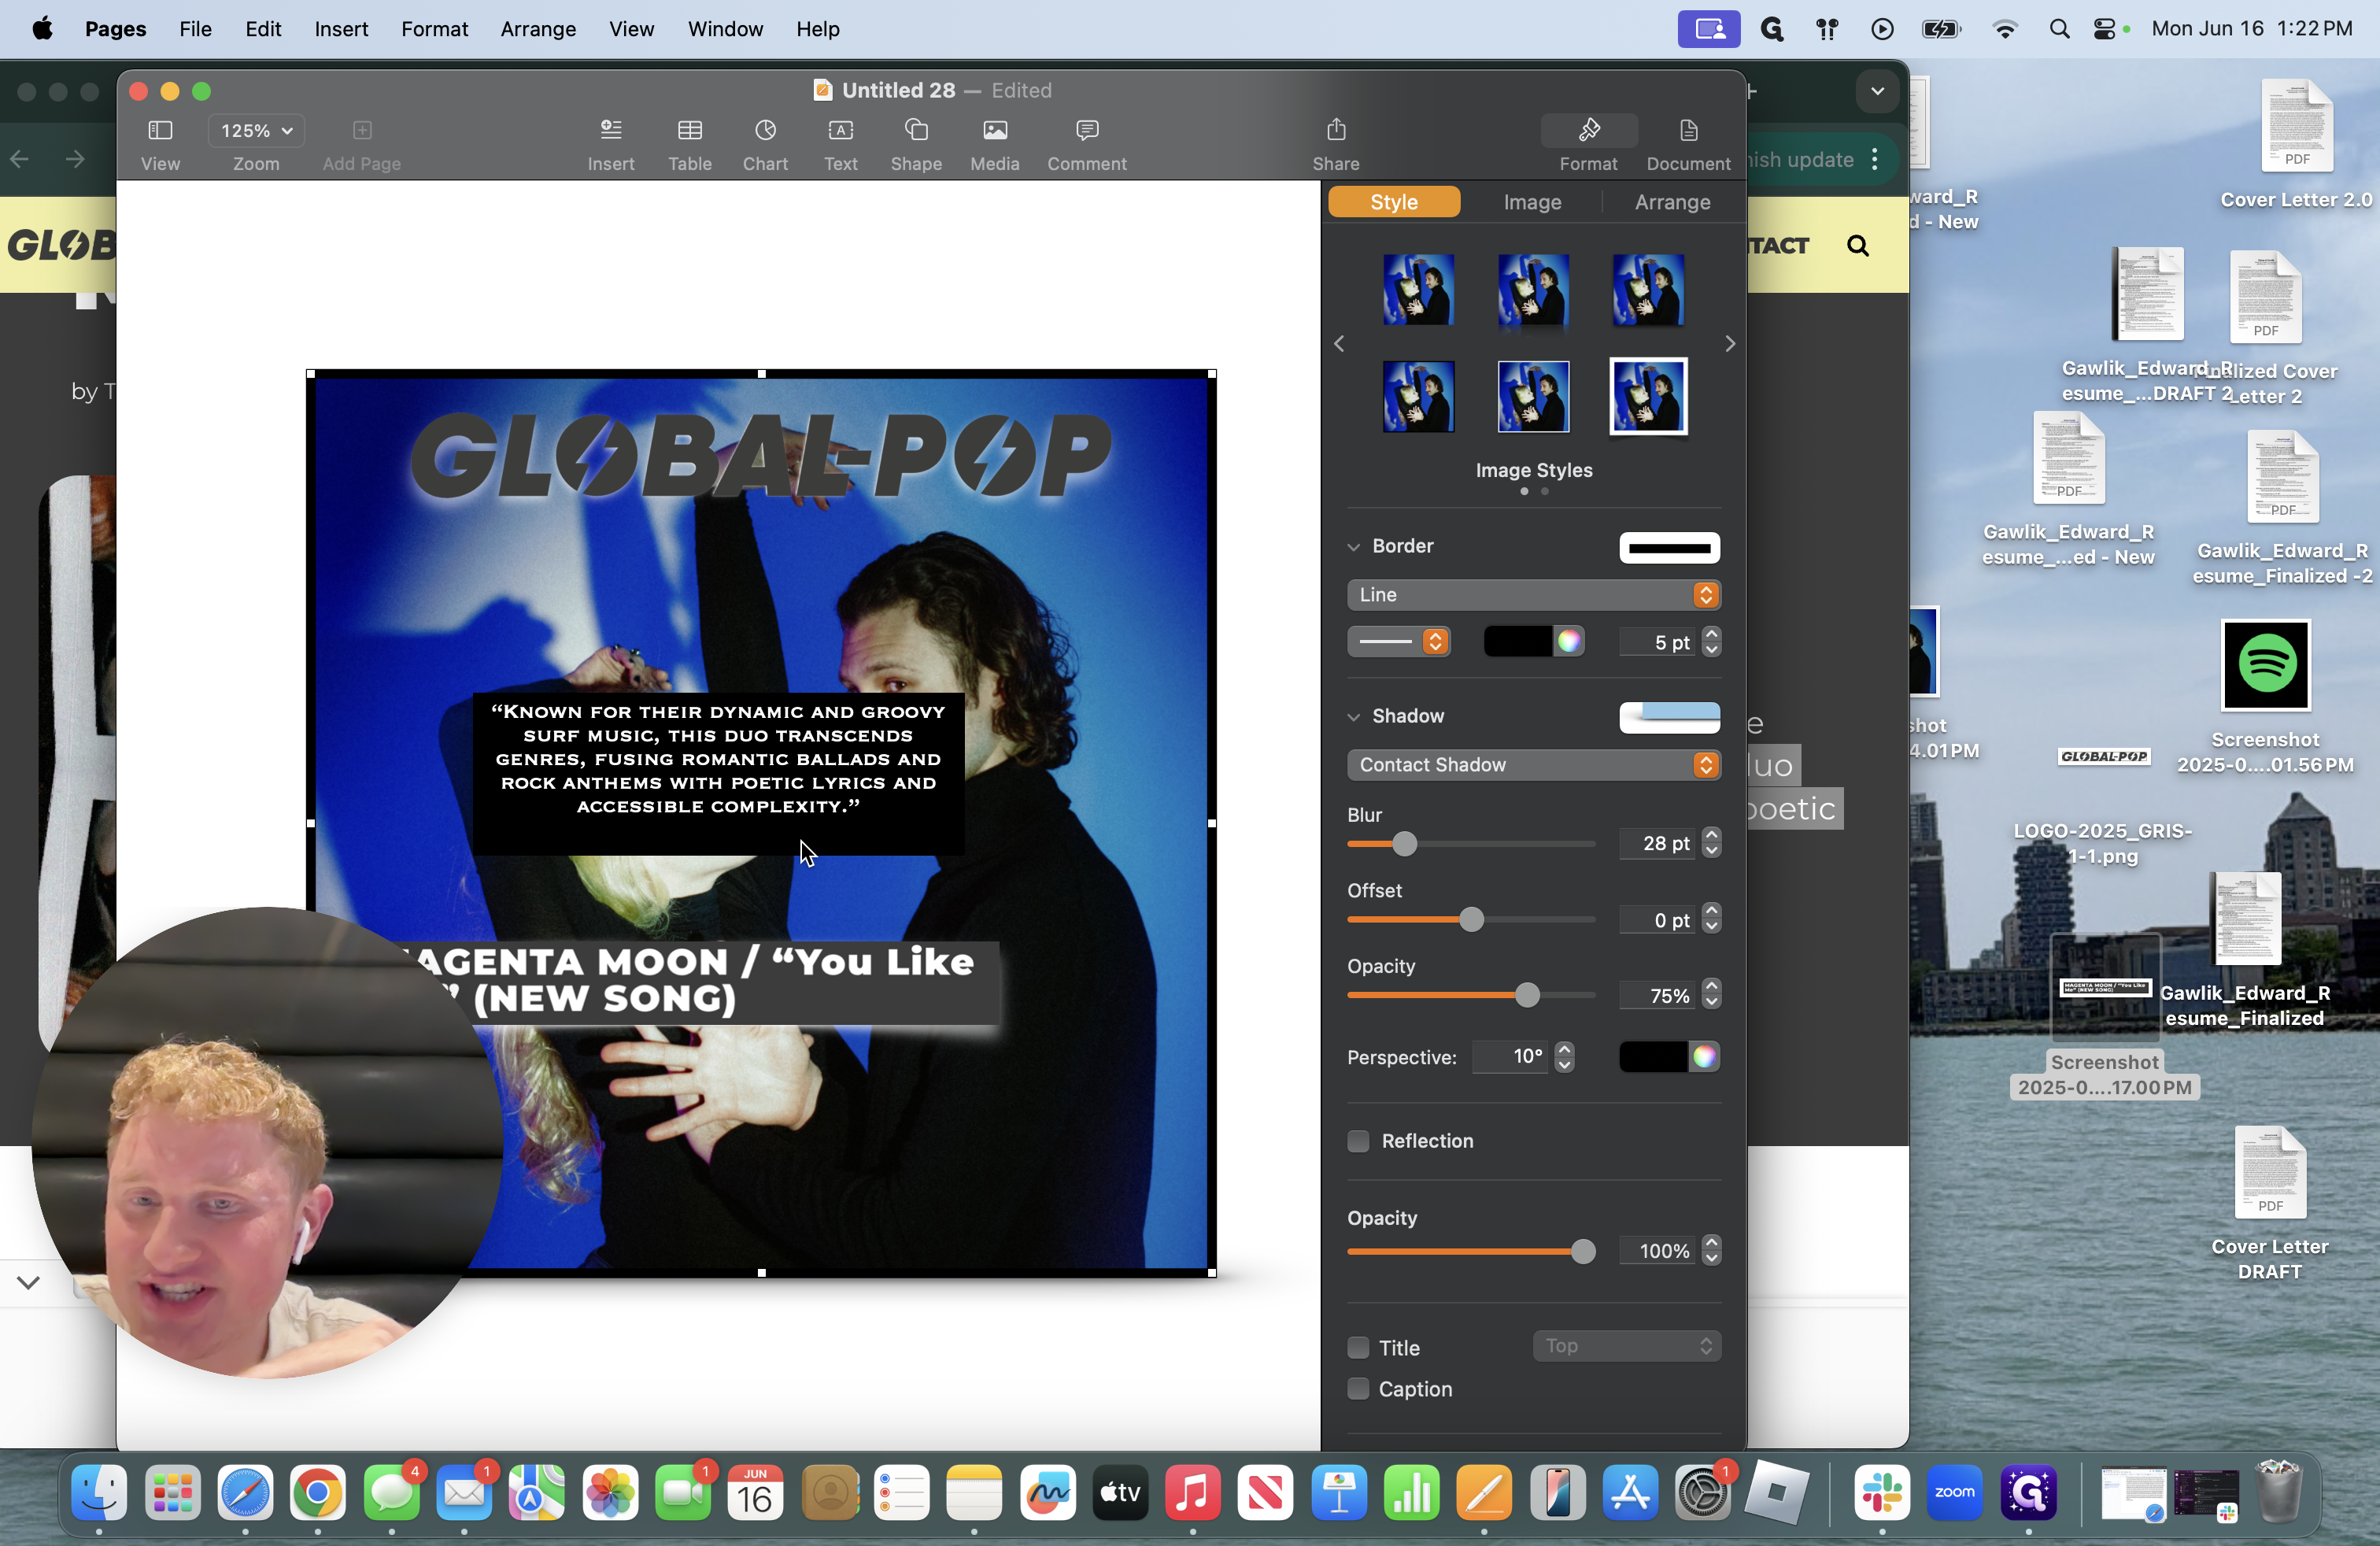
I also add a border.
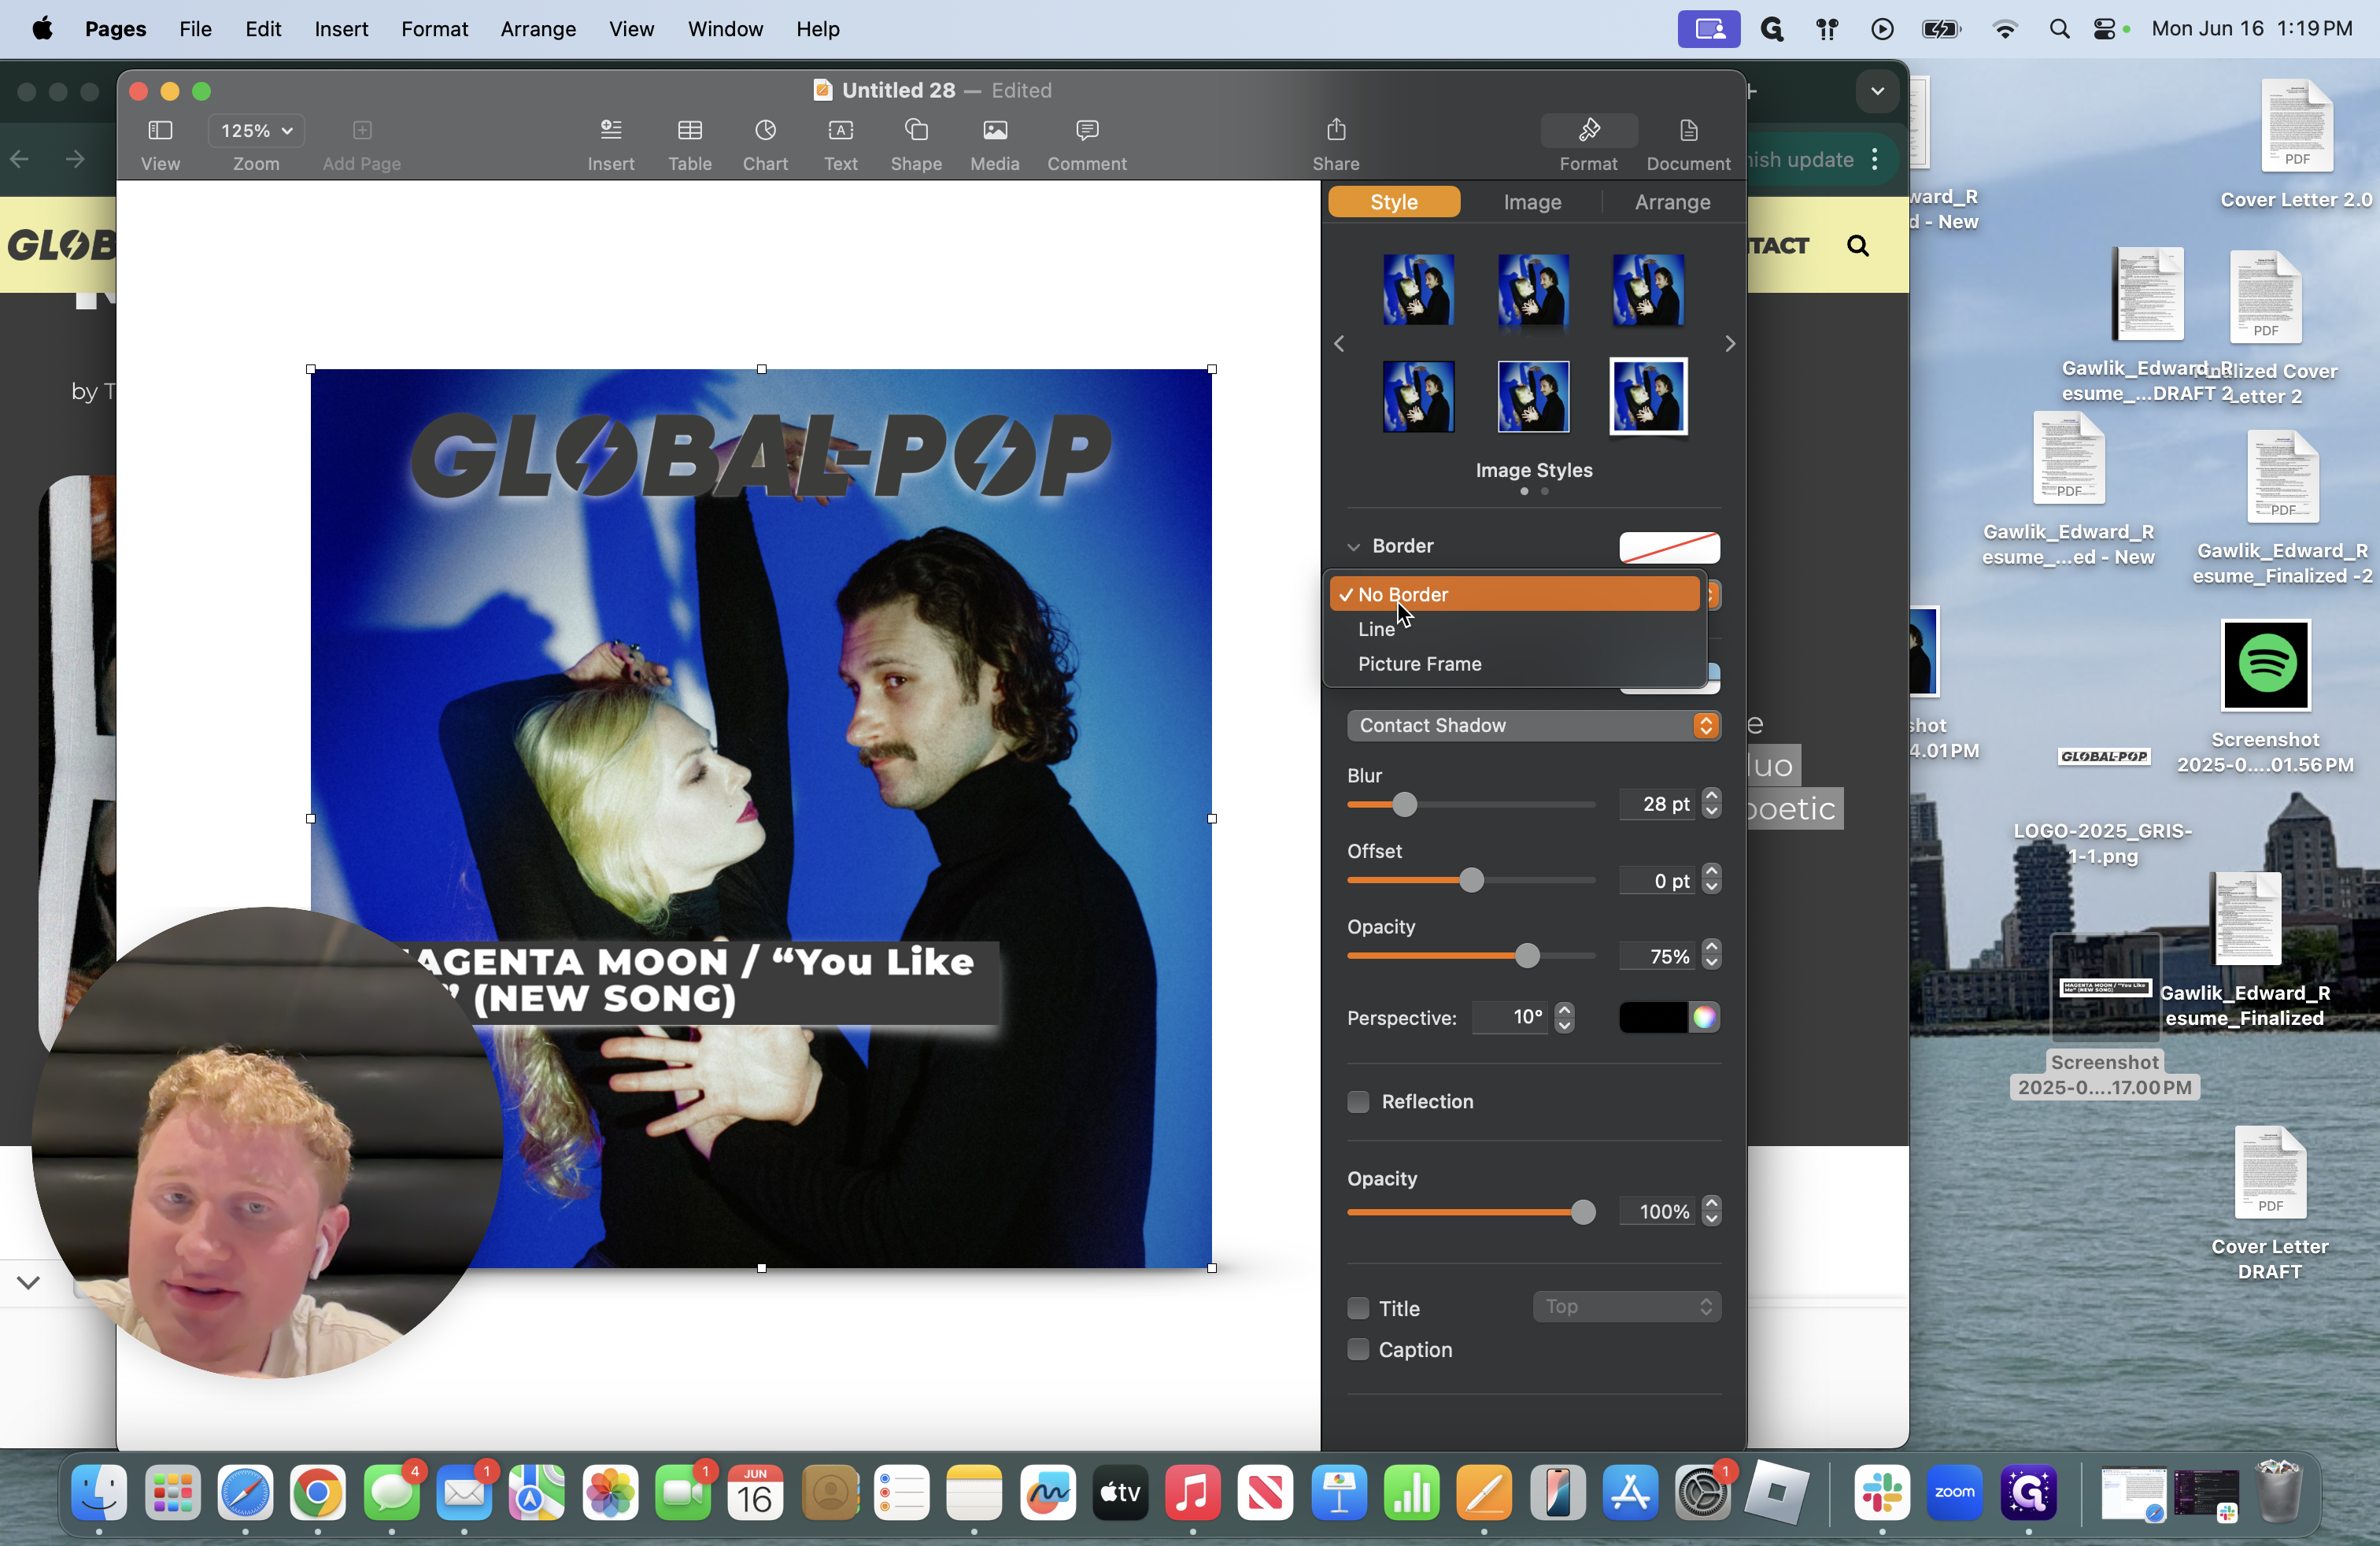
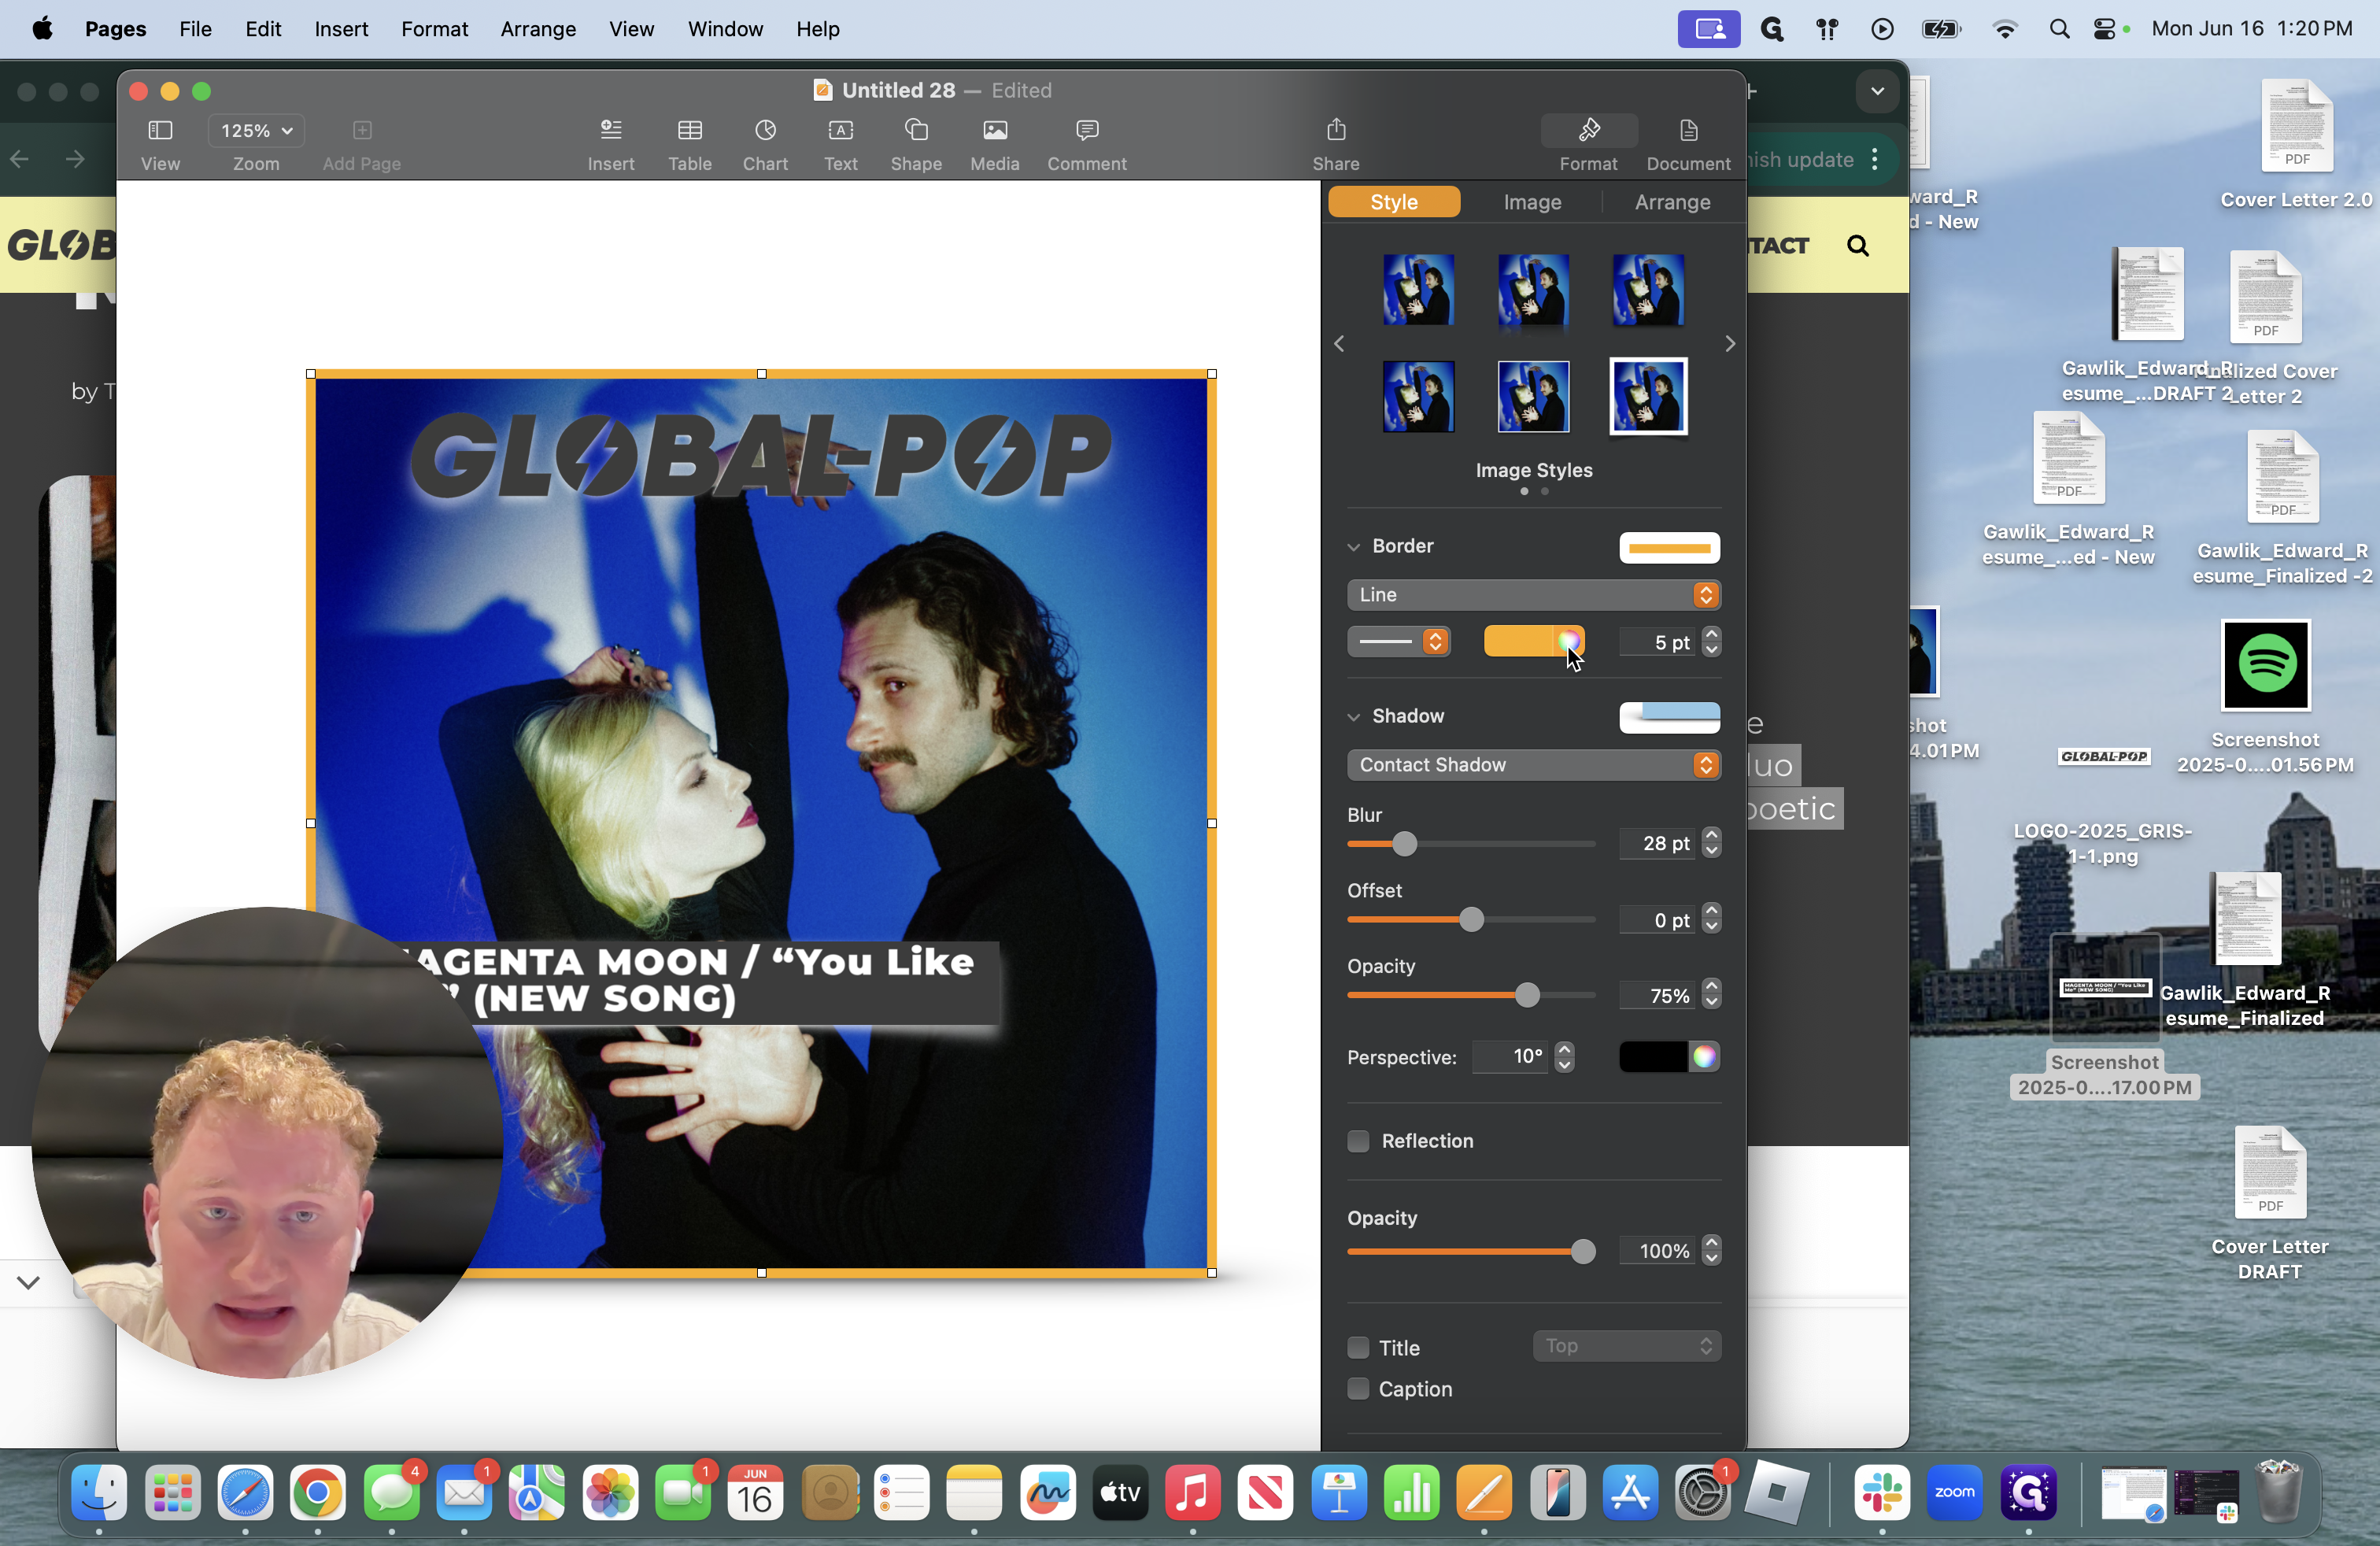
I always add borders to the edges, either matching the color of the image or the media outlets color. For example, Tinnitist is red, so I will always use a red border for any clipping I do for them.
Consistency again is key amongst clips.
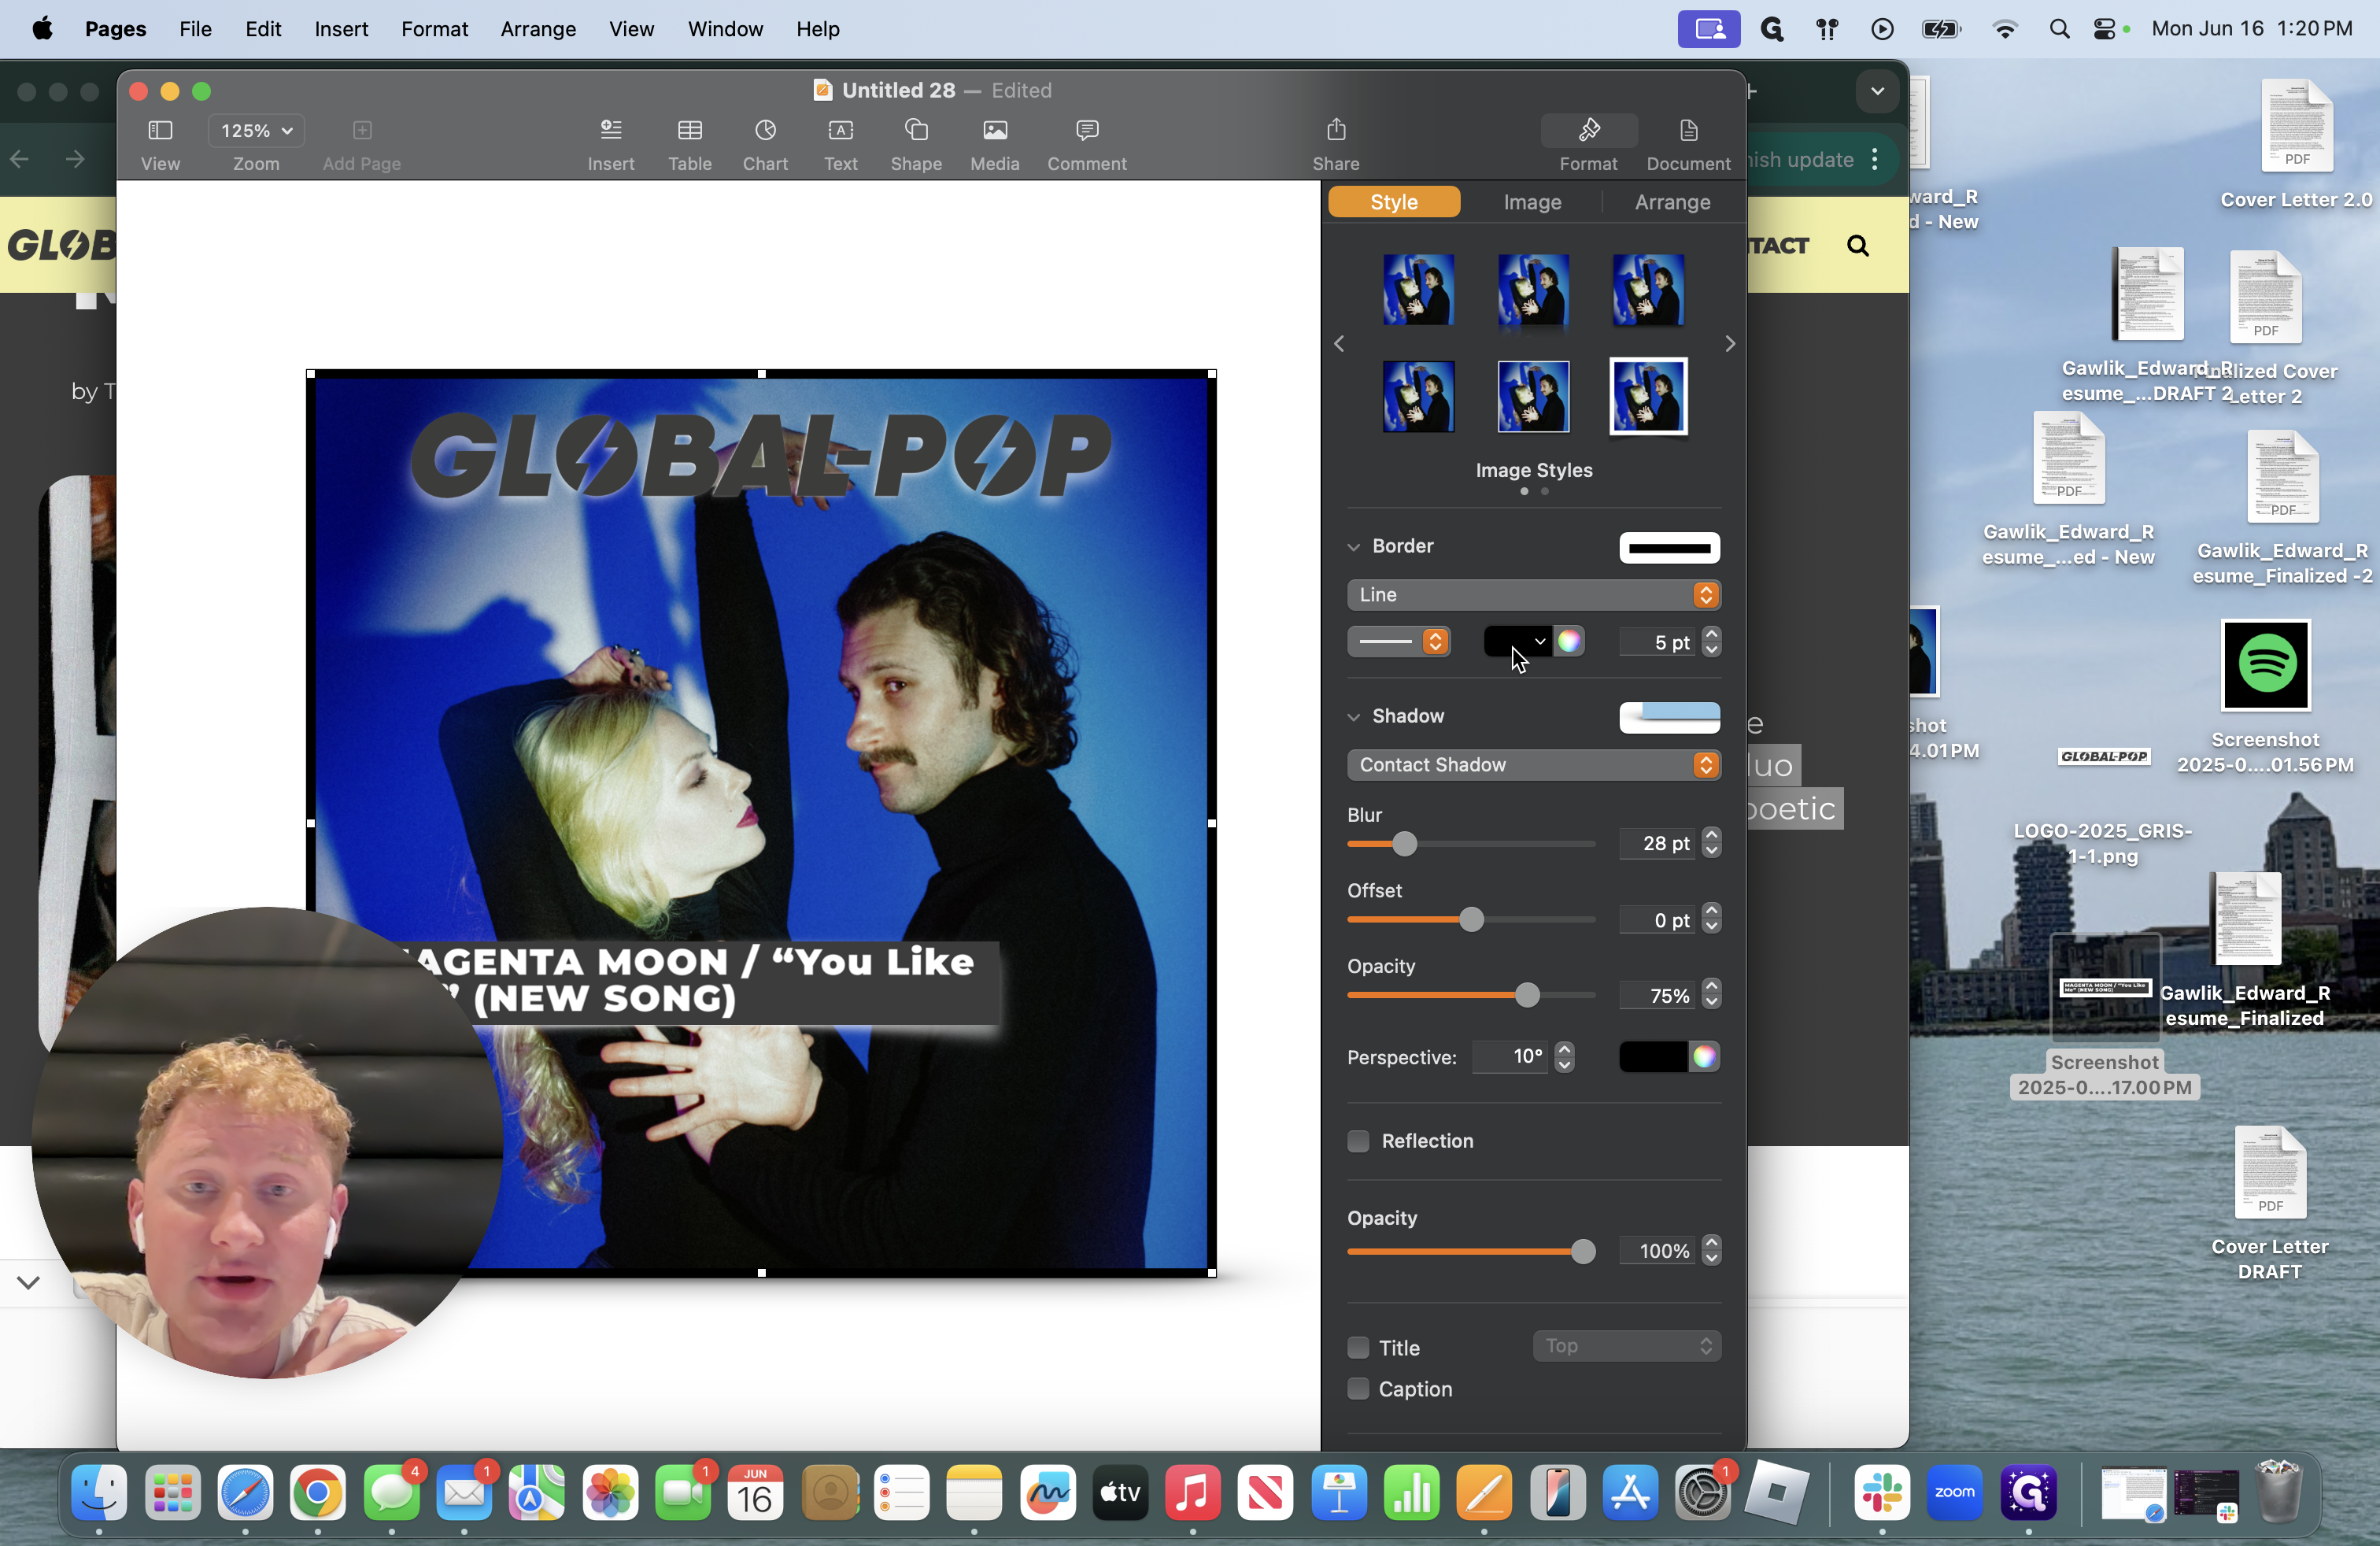
After creating your border, you can then experiment with it. I can enlarge or shrink it.
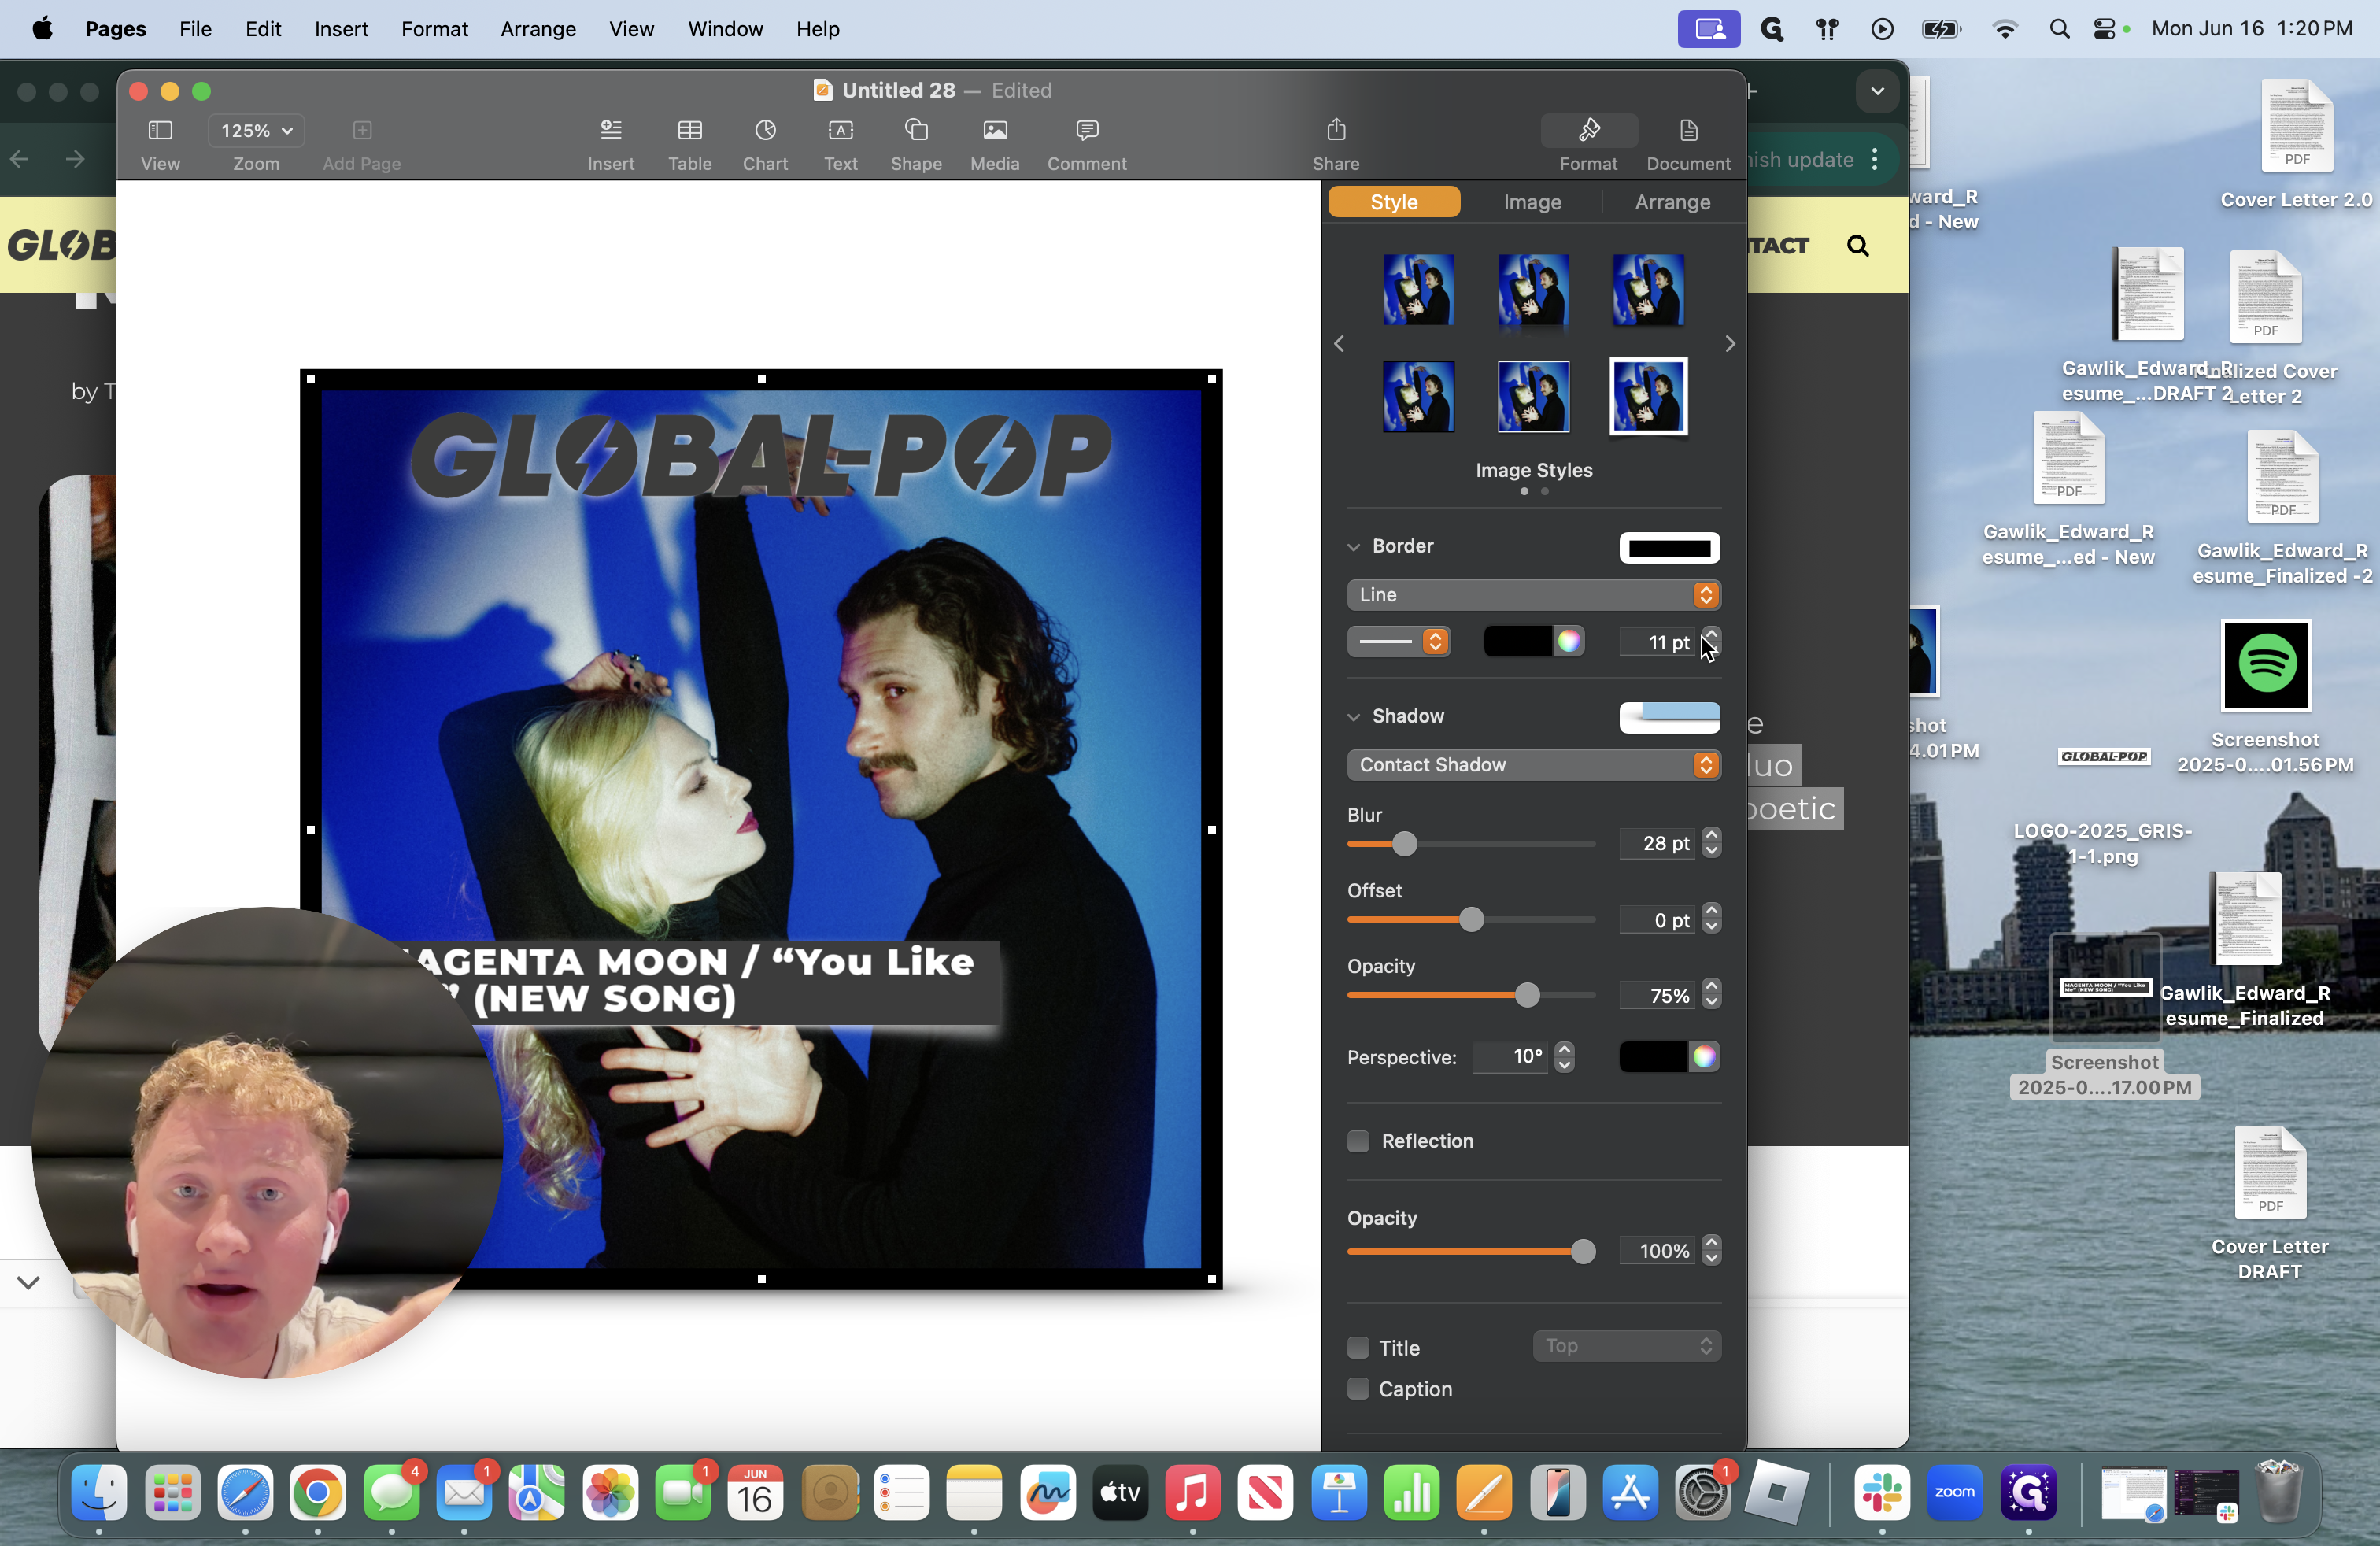
I usually stay consistent with four or five in the border size.
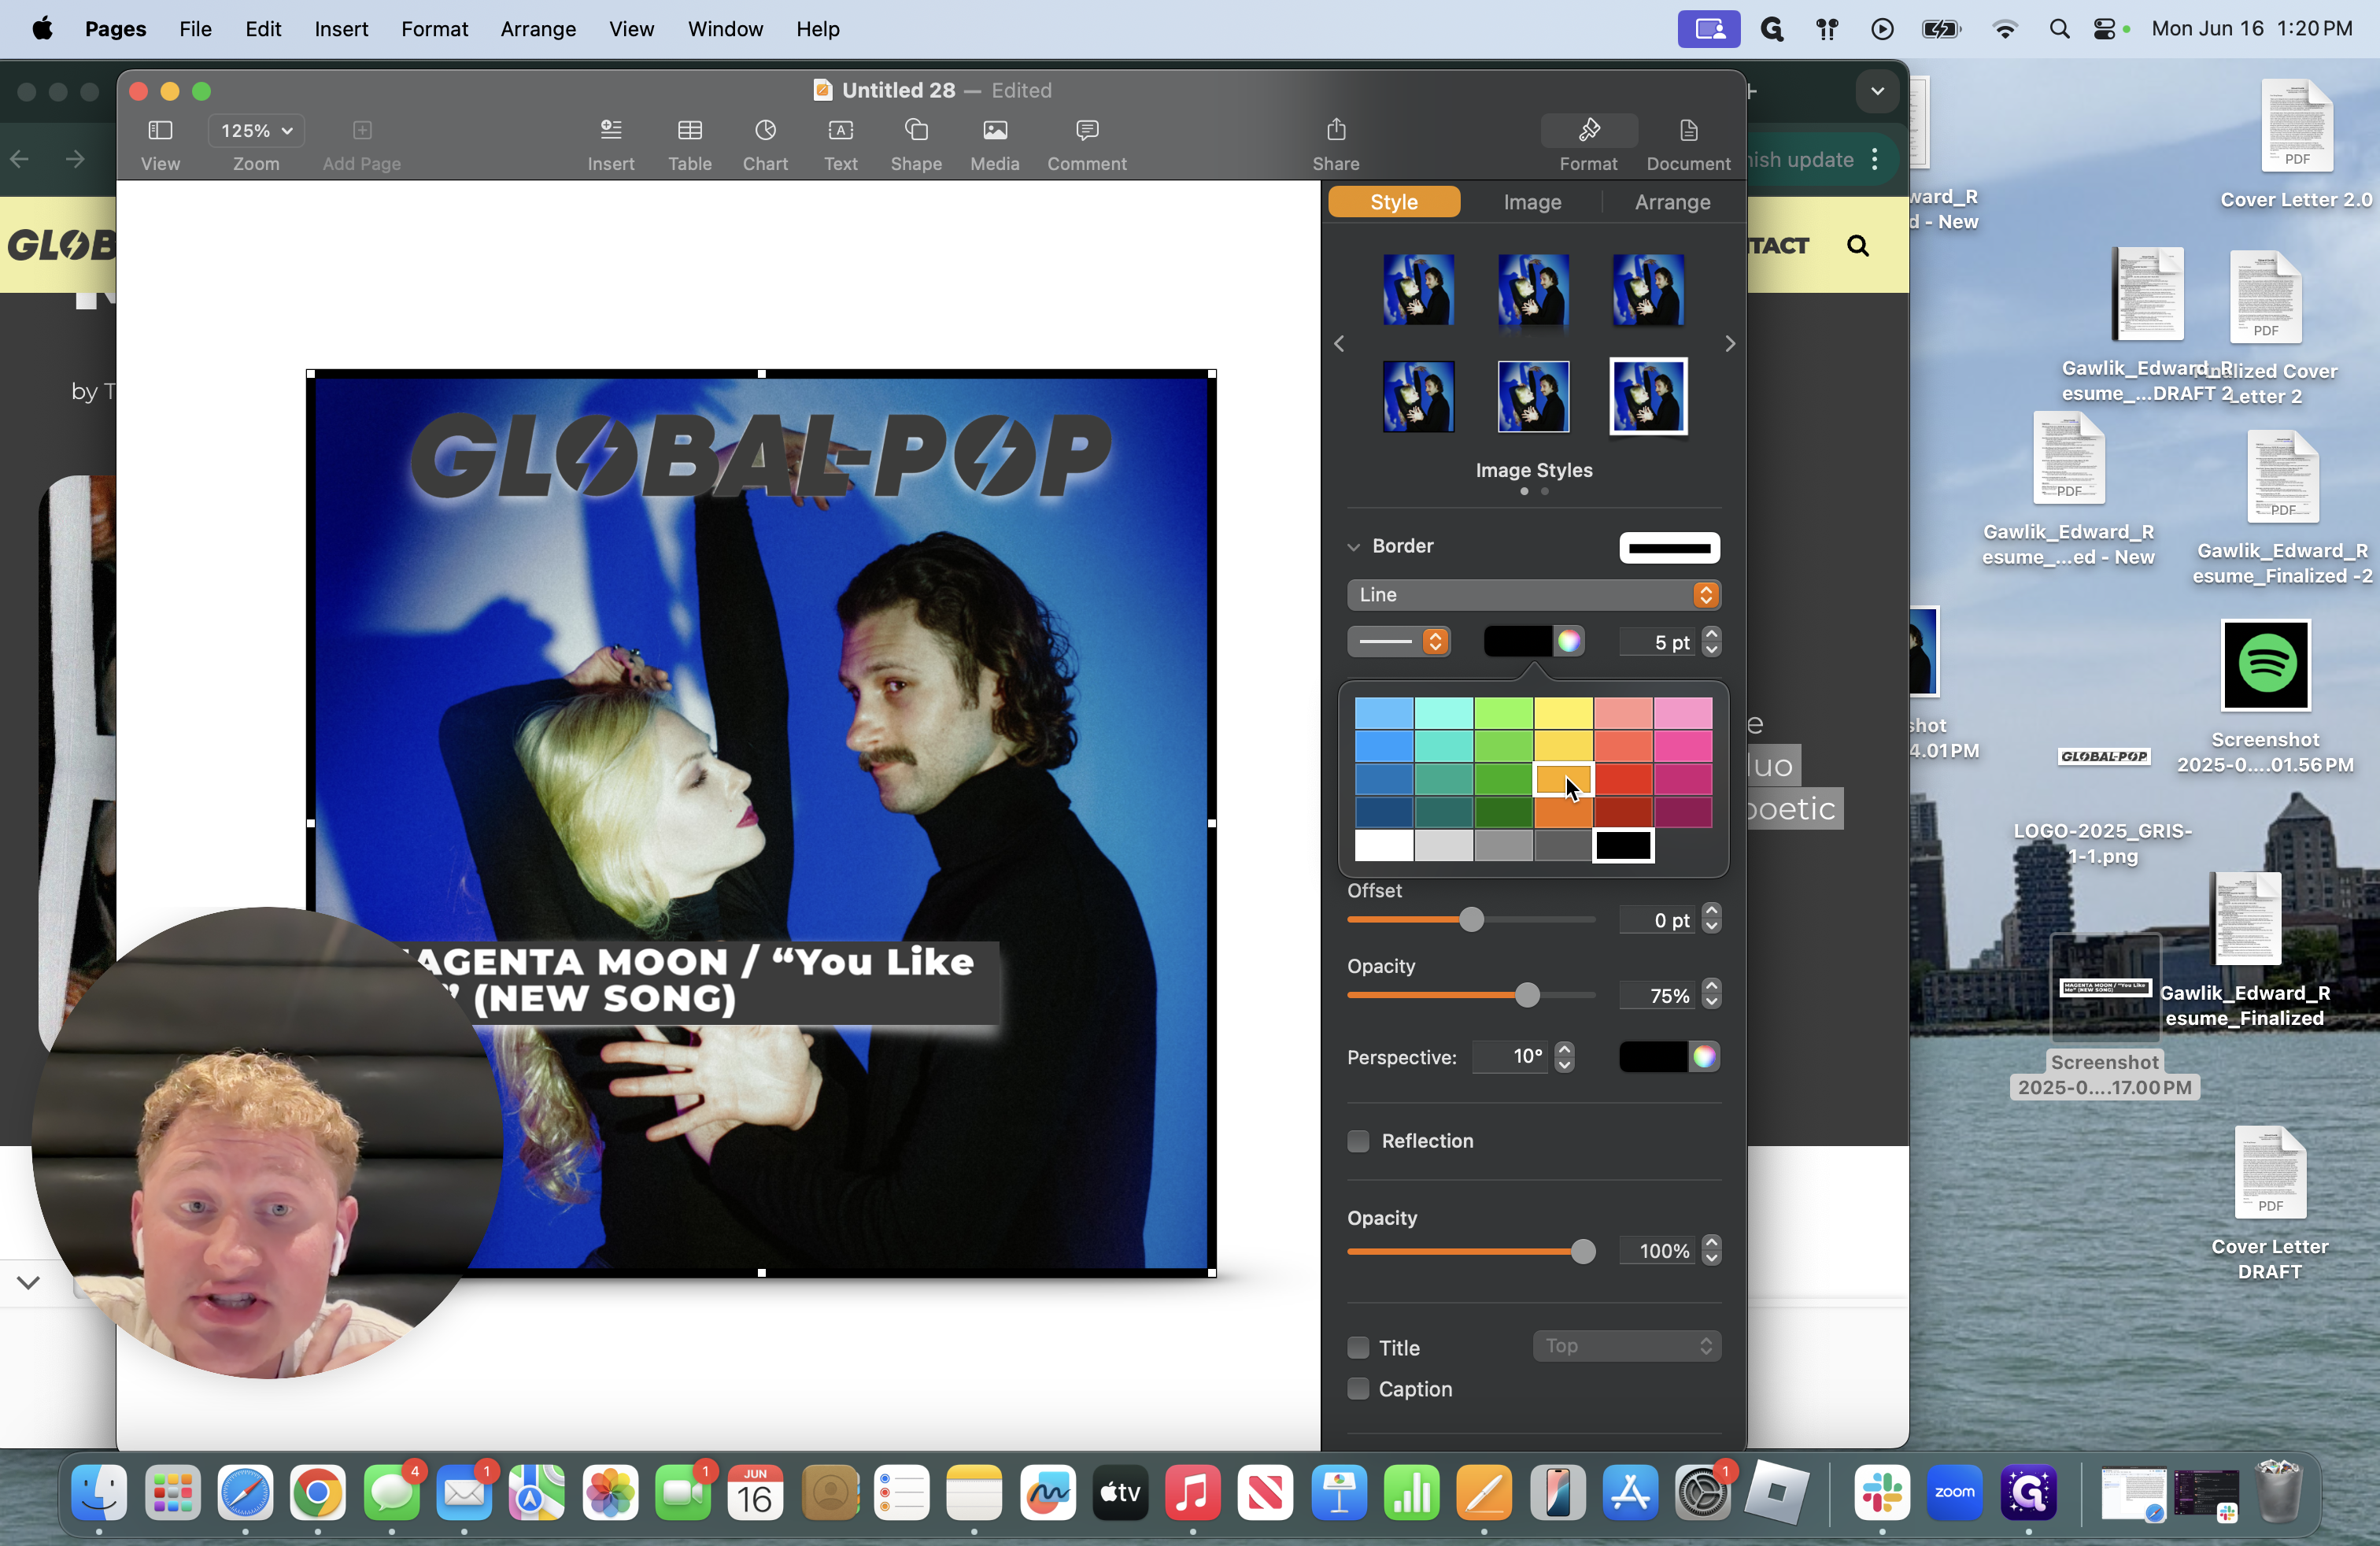
You can also change its color.
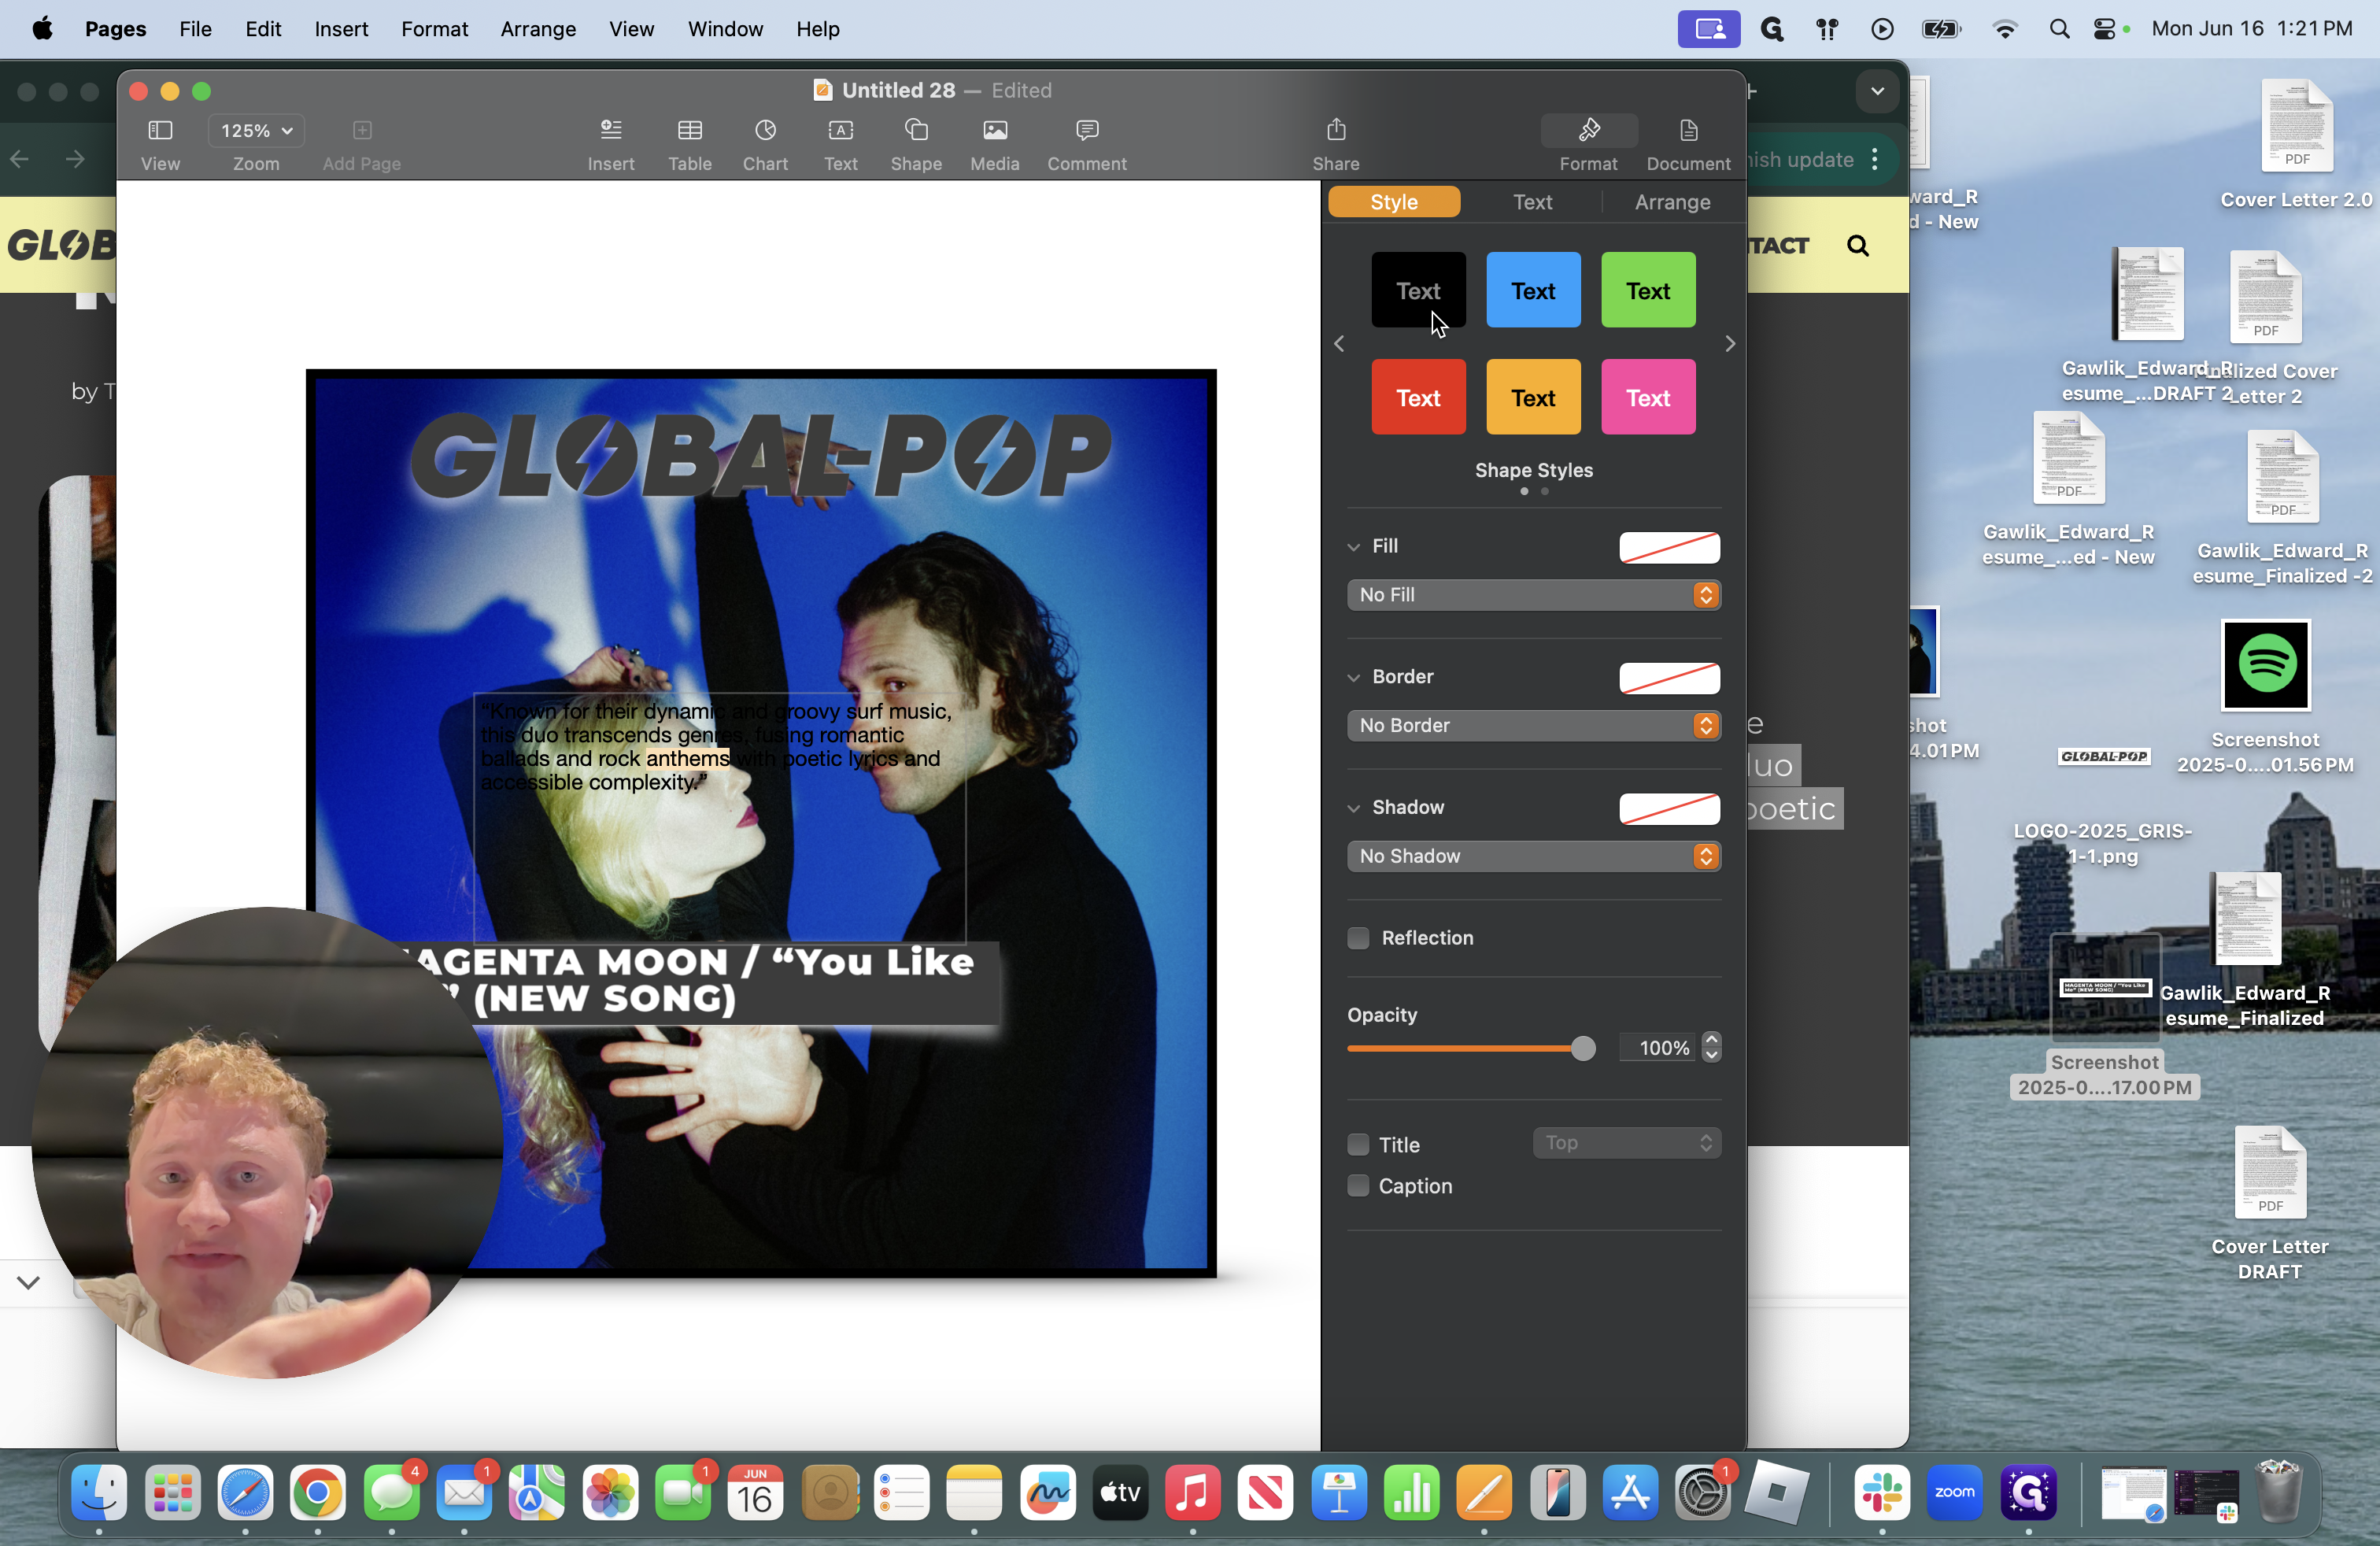
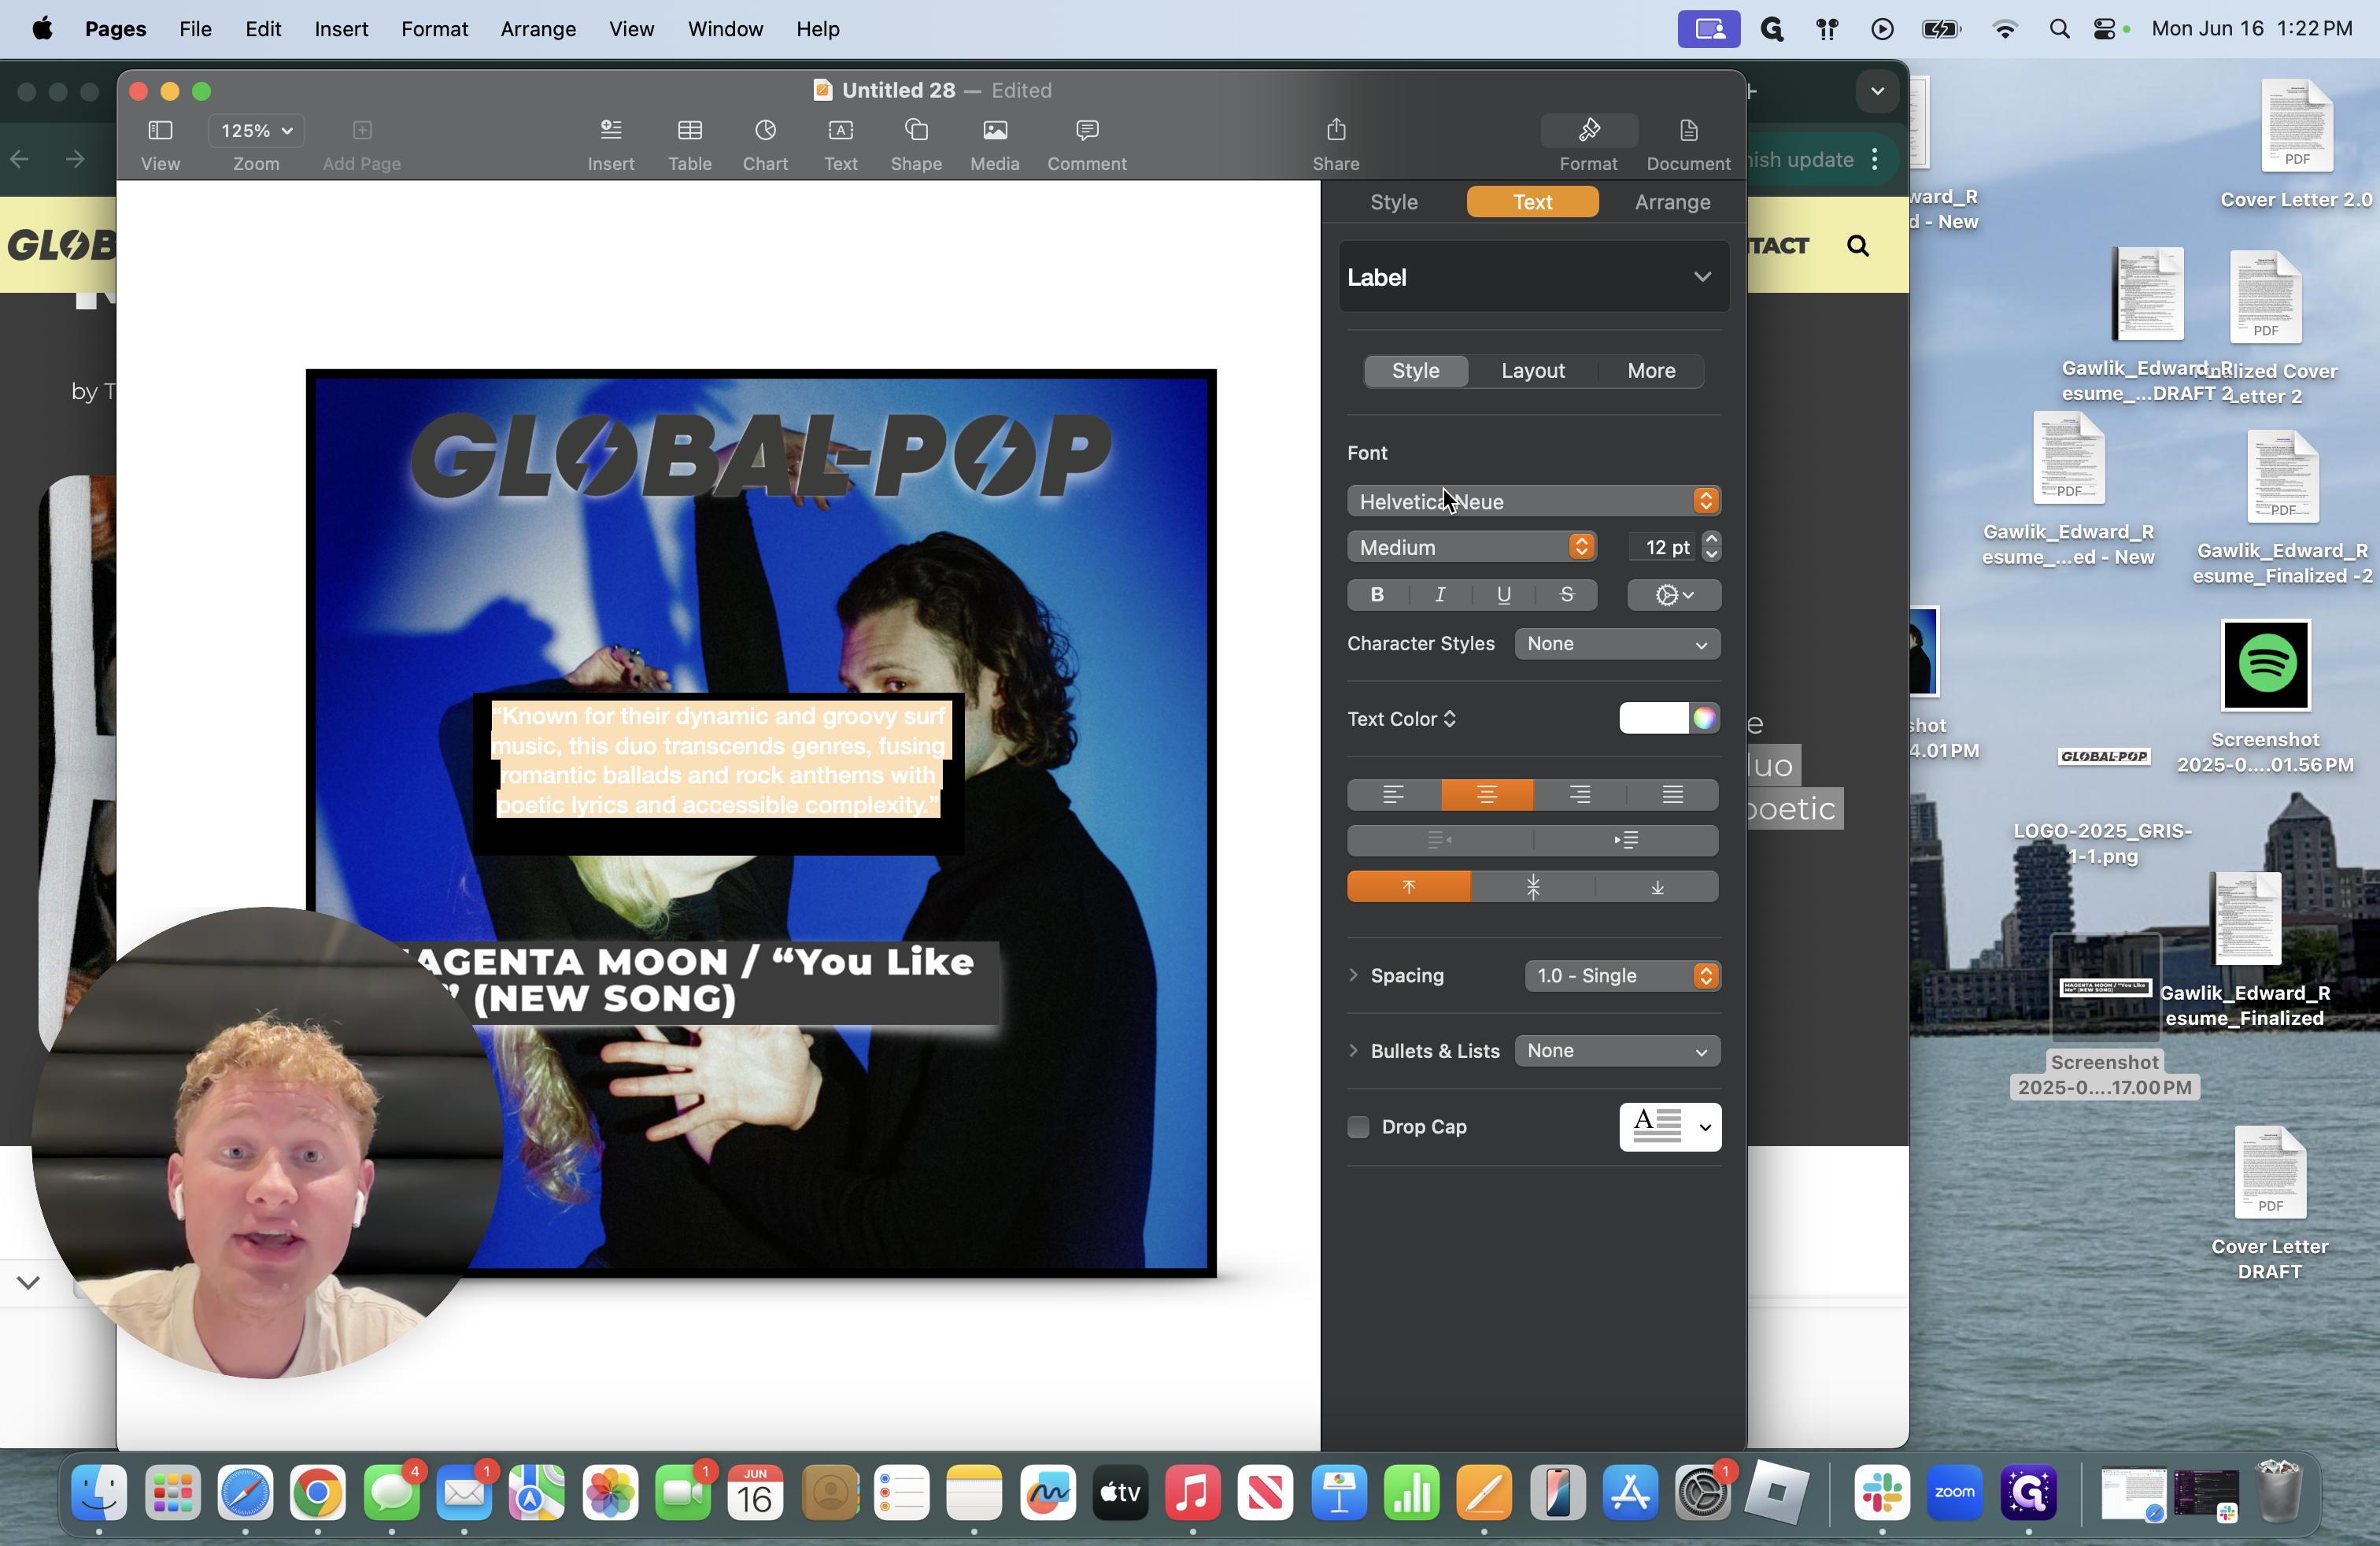
As you saw in the article, I was going to copy and paste a quote.
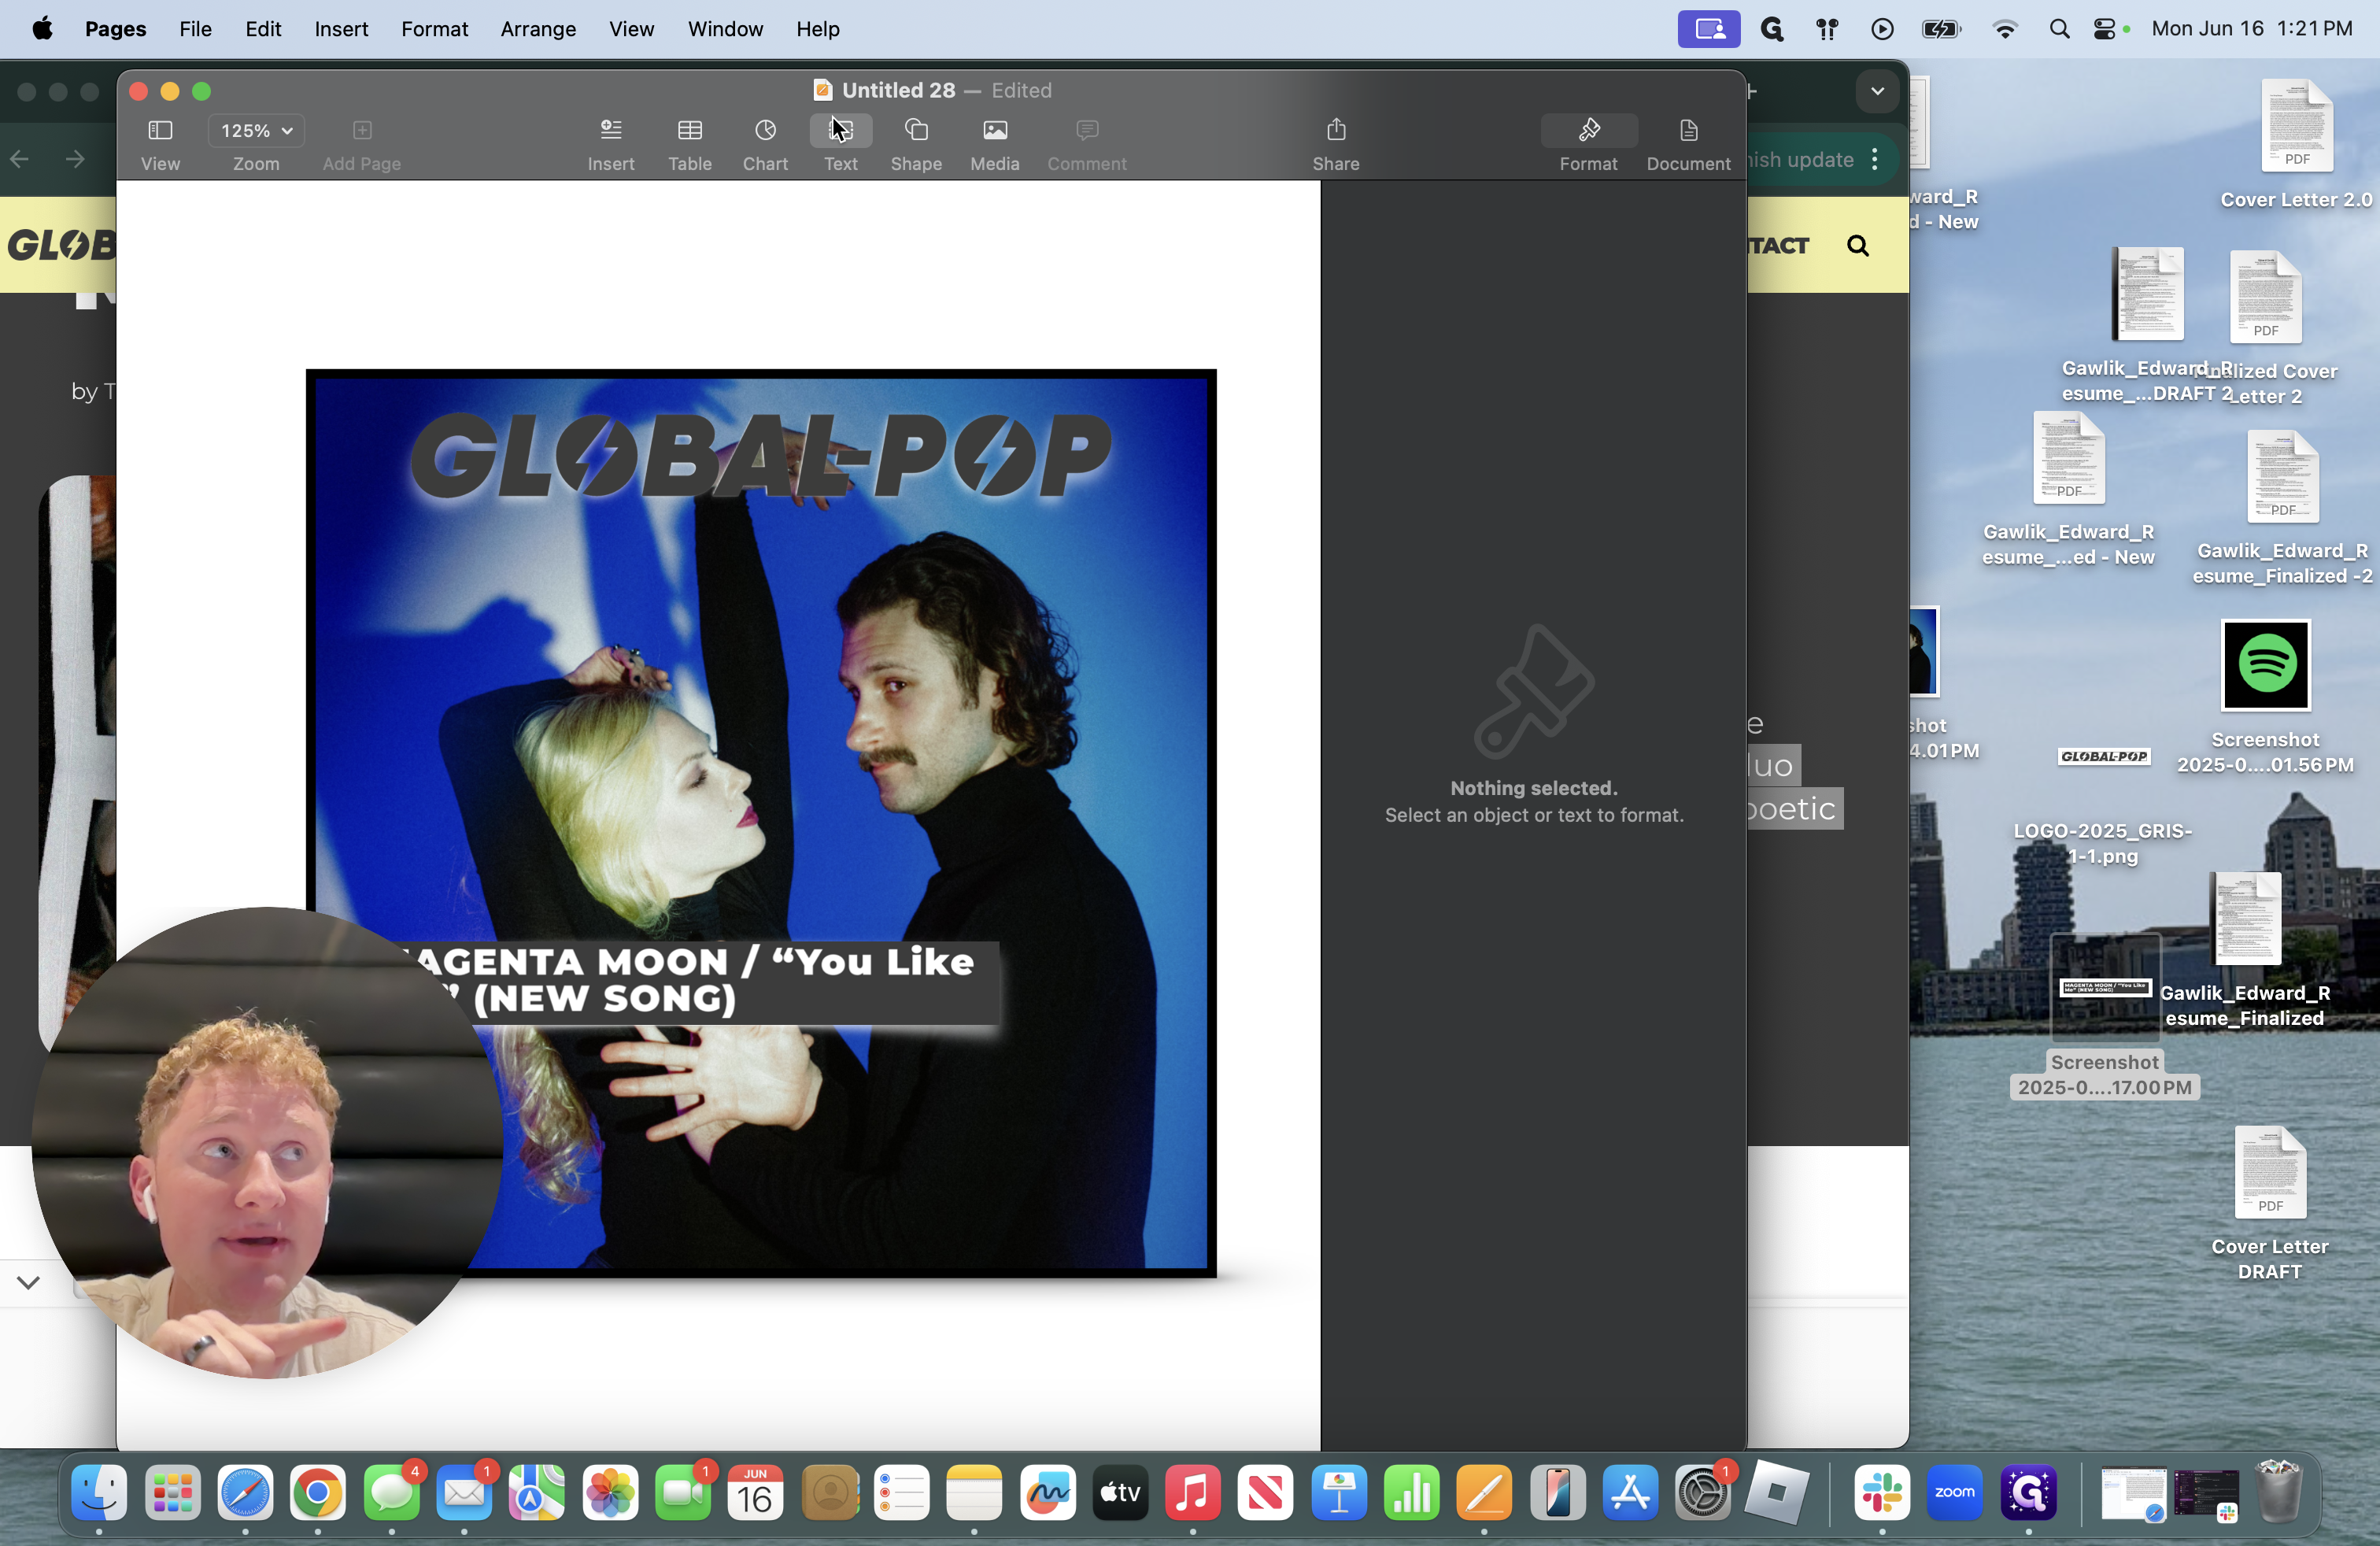
Click on the textbox, then press Control + V. The quote I saved will appear instantly.
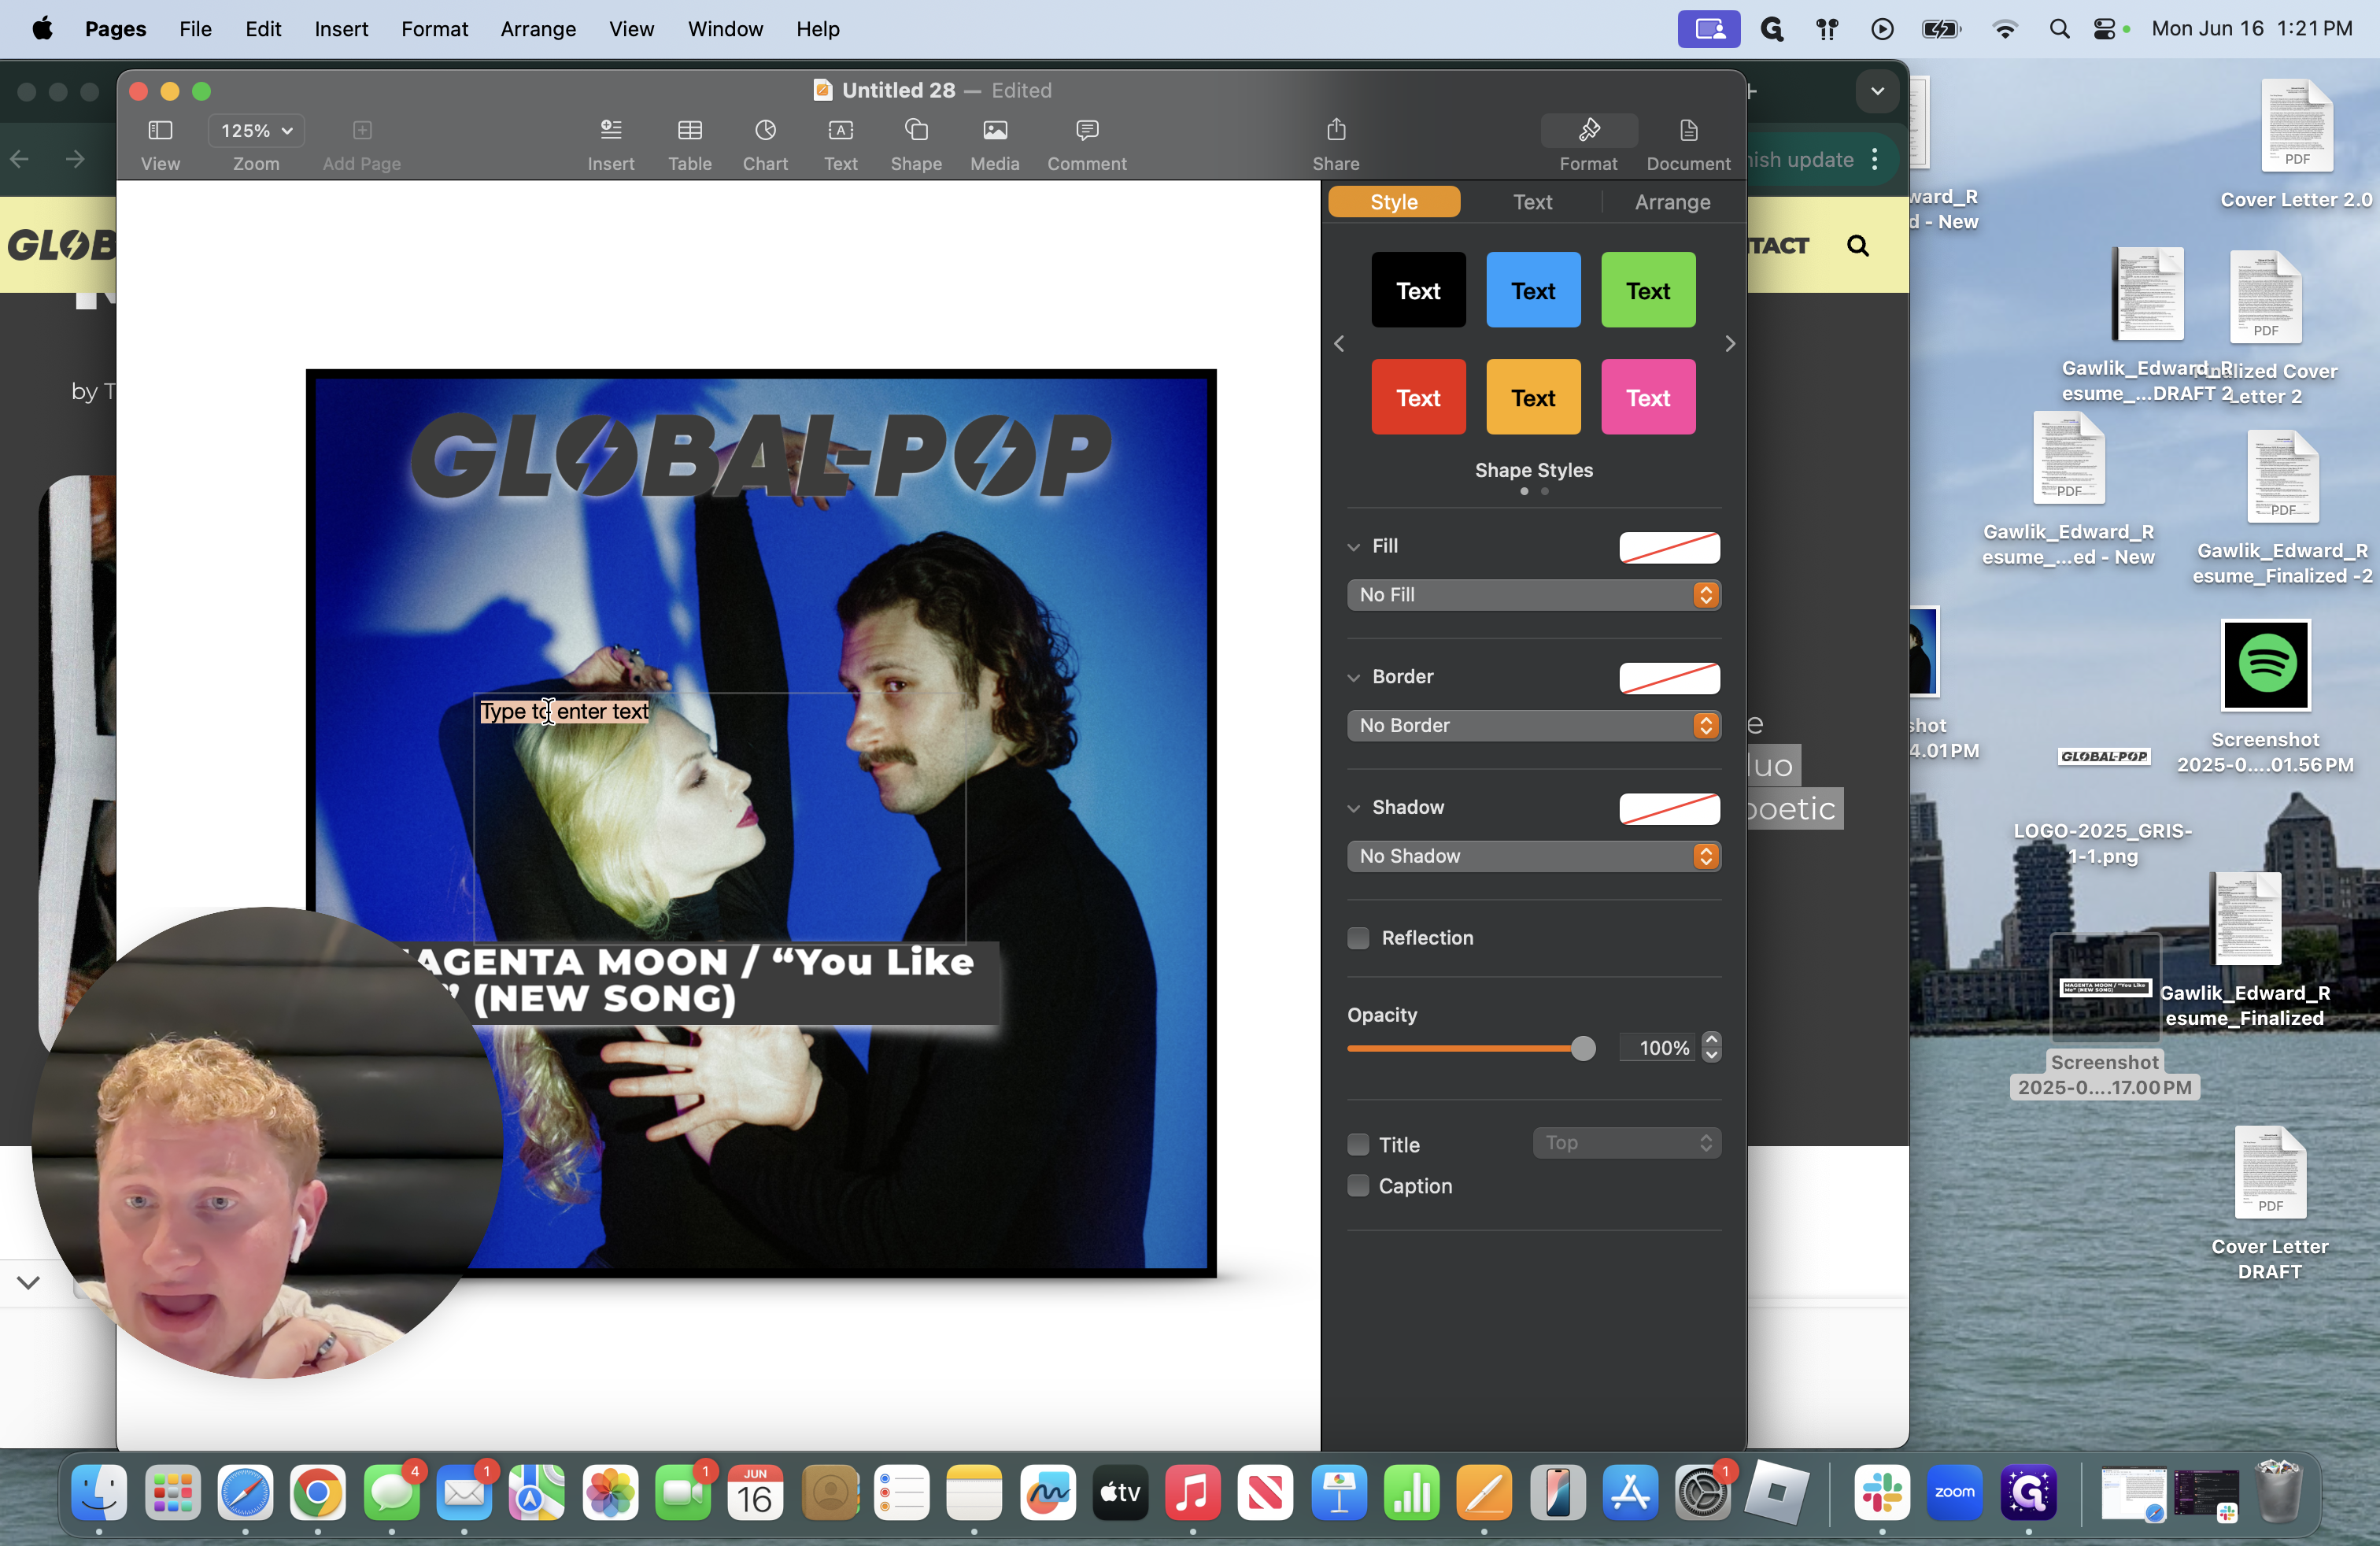
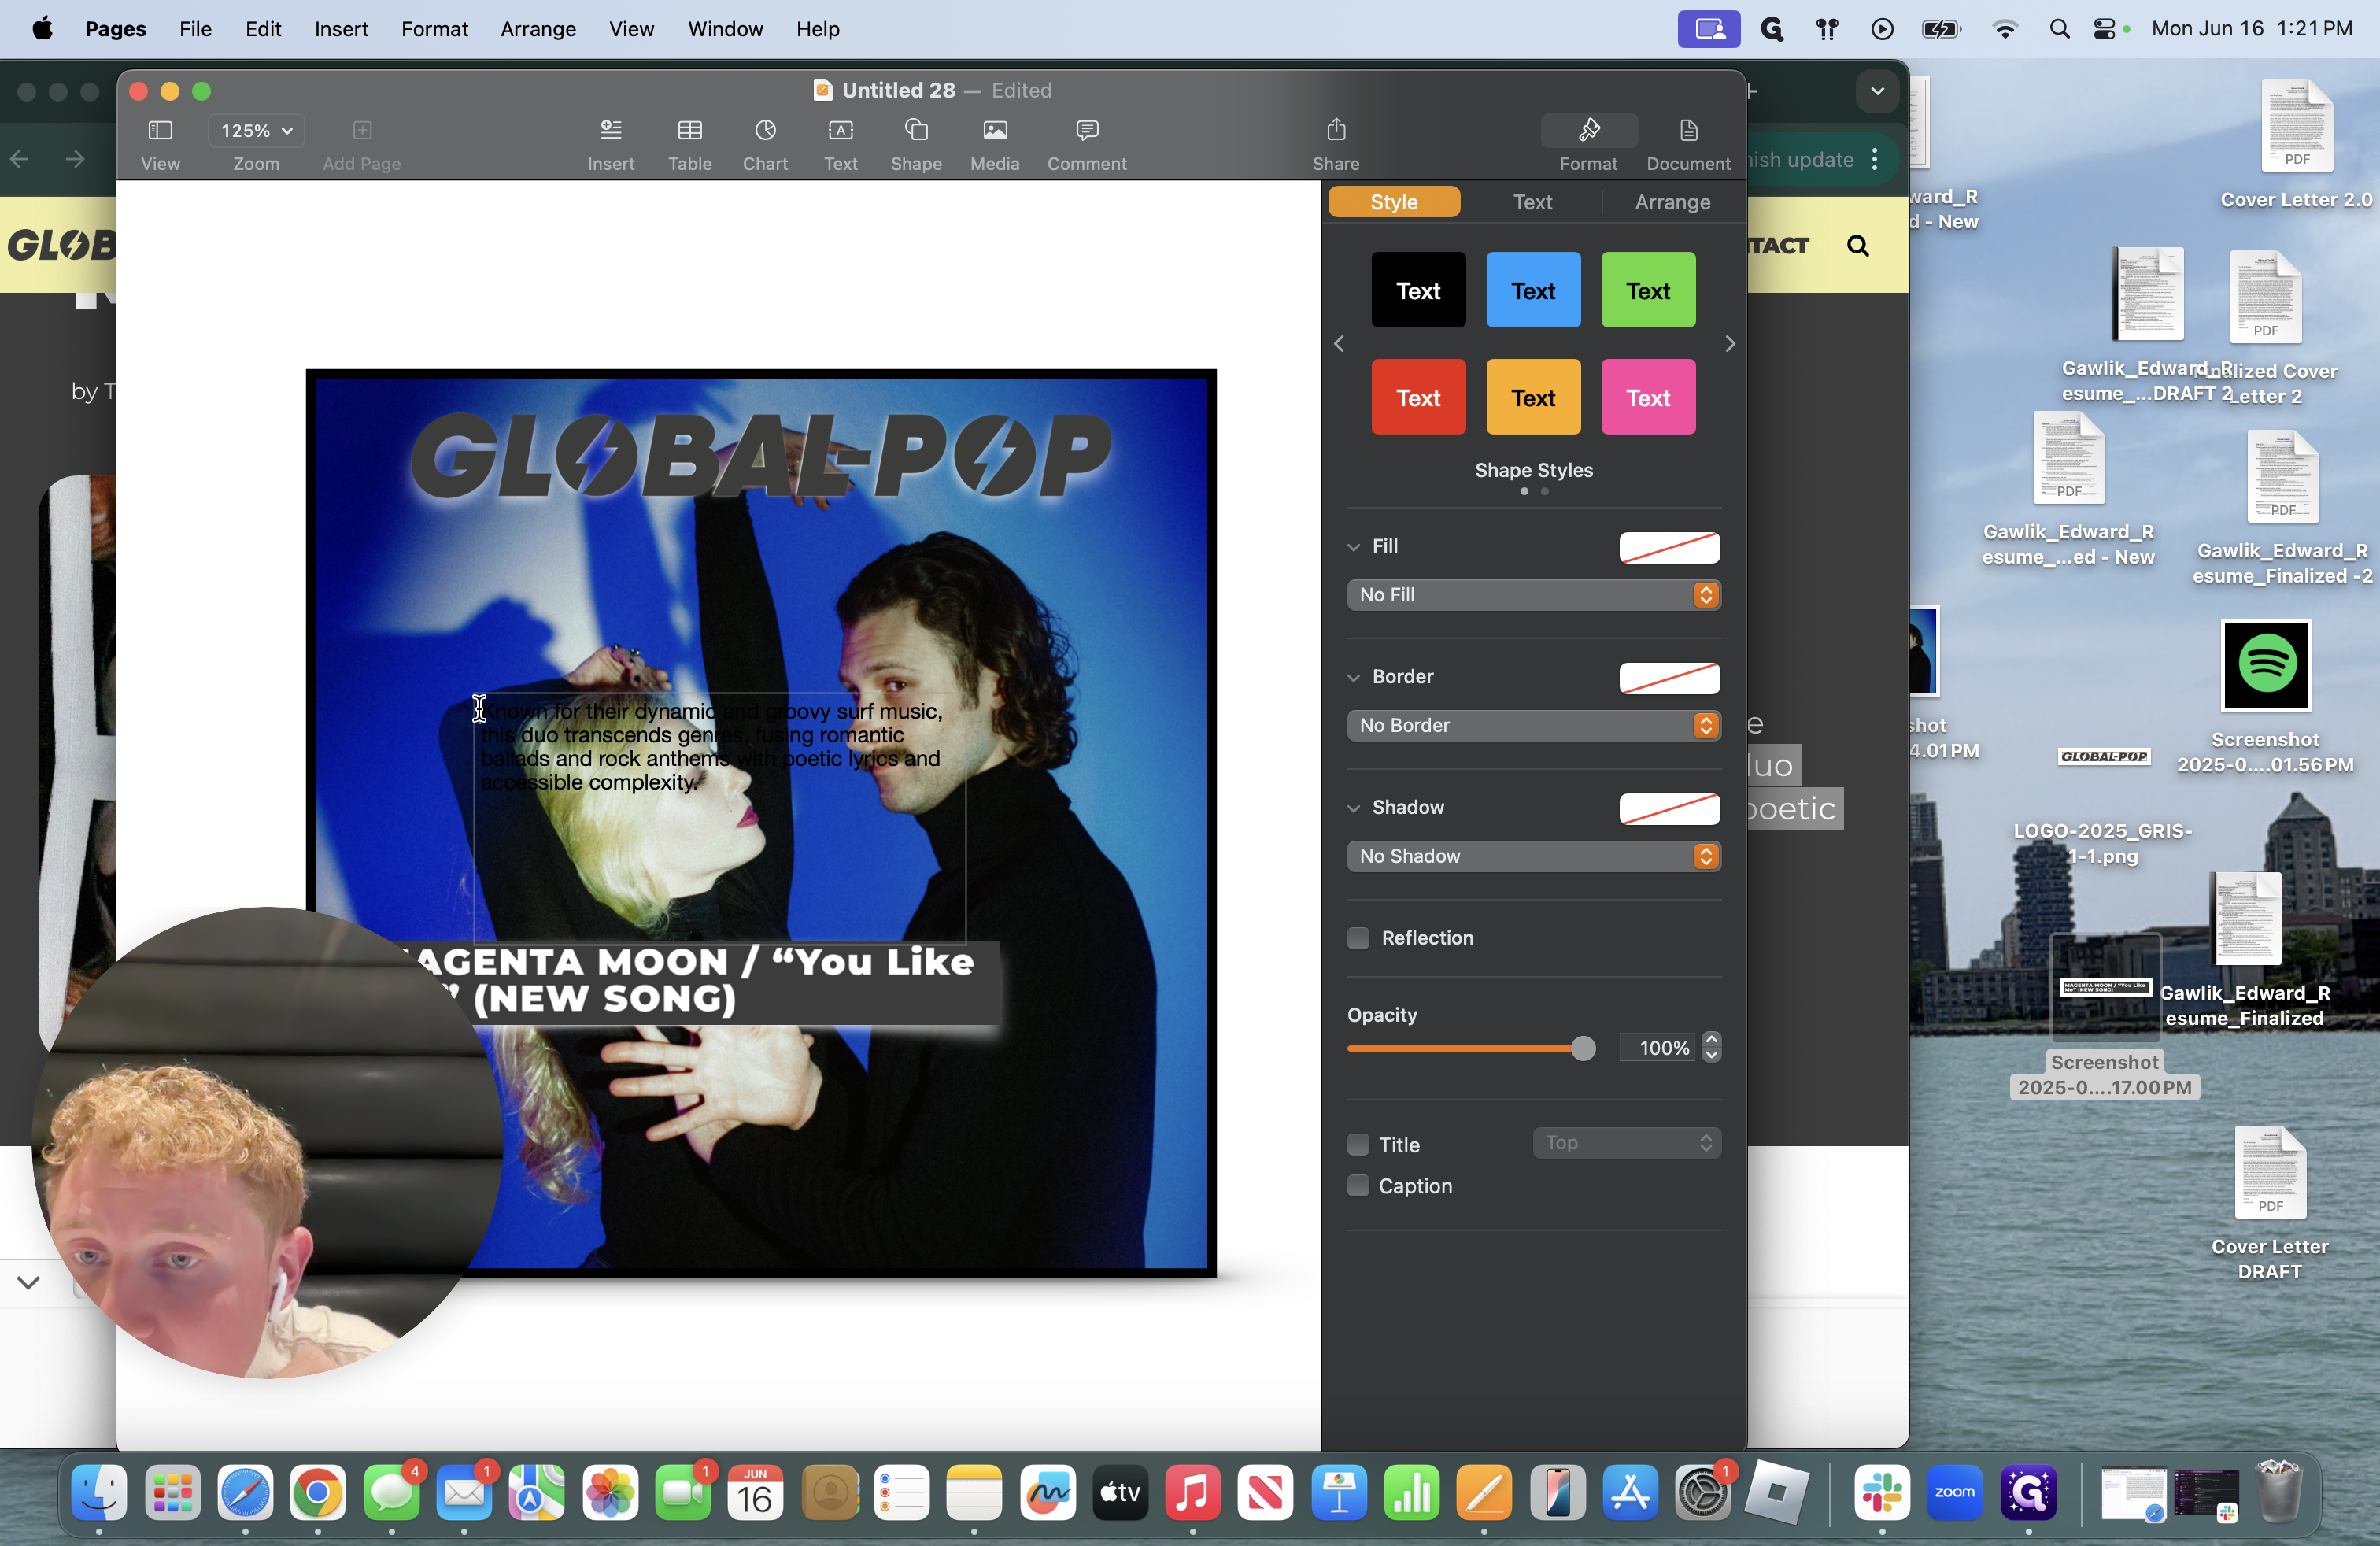
I always change the formatting to ensure quotes are added and proper grammar is used. Ensure consistency in your grammar and that there are no mistakes. It's important that song titles, EPs, and albums are italicized or placed in quotes as appropriate. I go back and start experimenting with the font style.

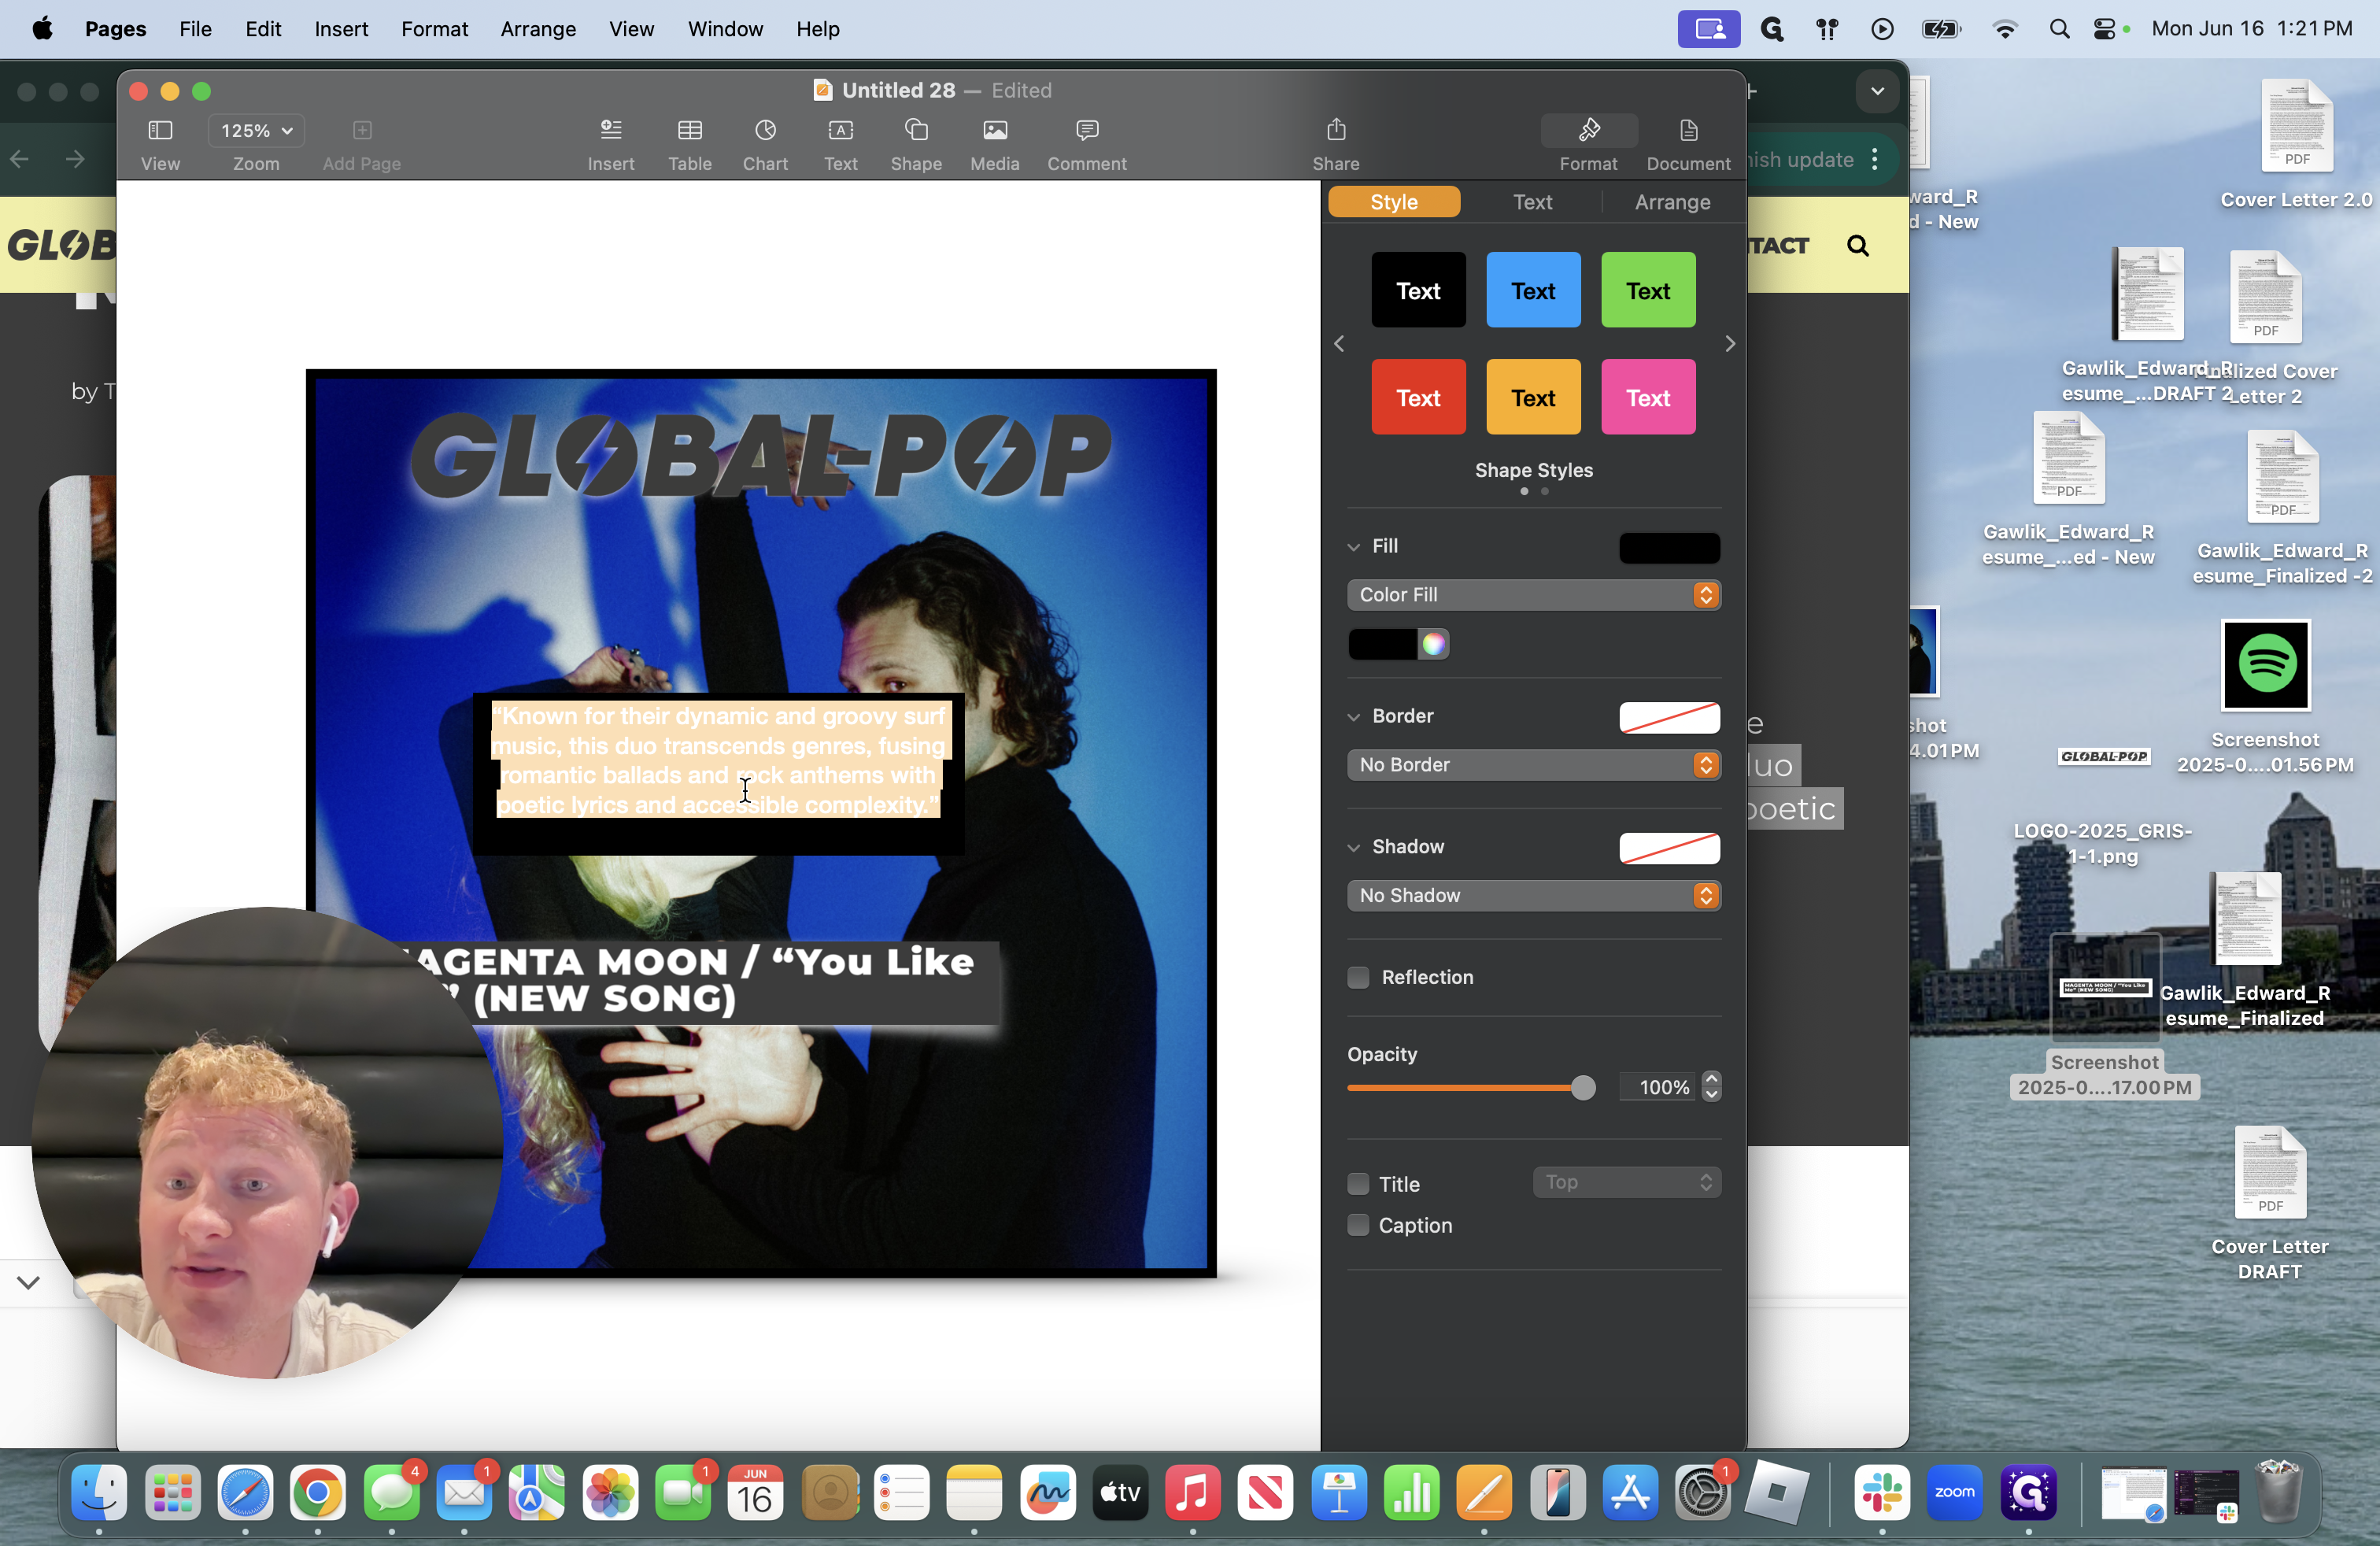
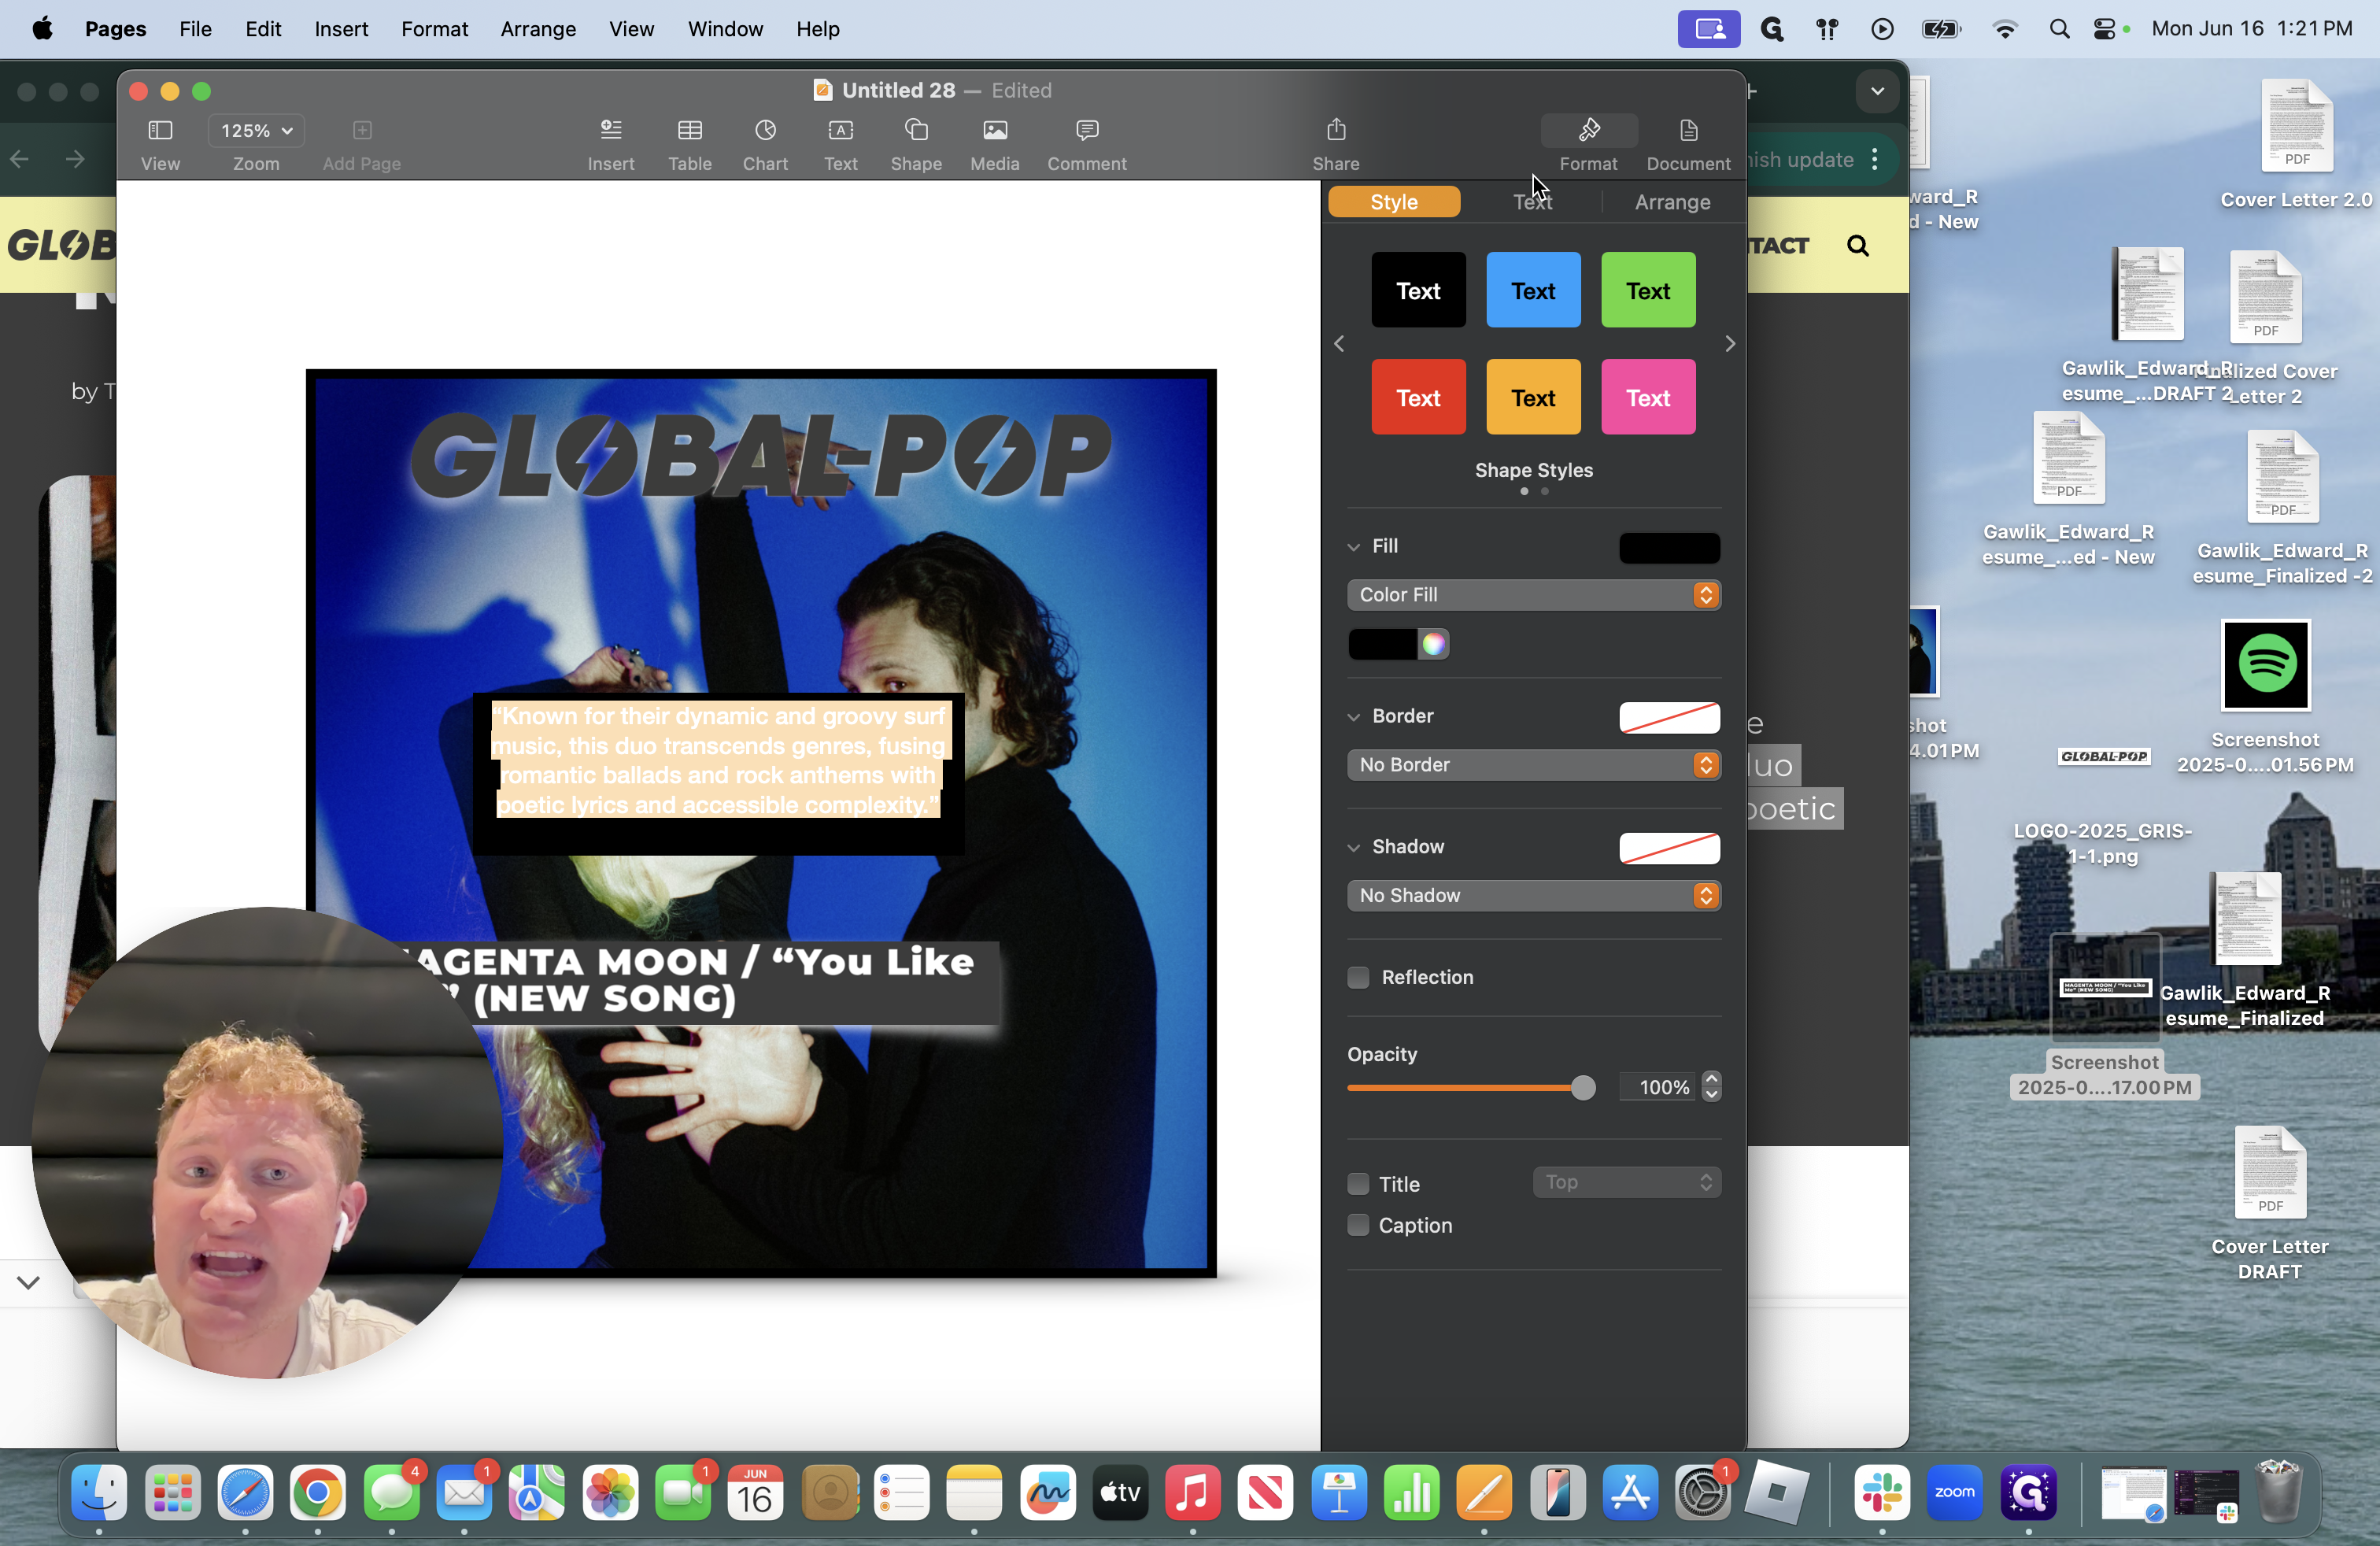
I will always fill the text box with the color of the media outlet or the border color I chose to make sure everything matches.
Now, it is time to change the font.
Ensure the font is easy to read, as some fonts are not.
You do not want to make the quote hard to read. We want others to easily see and hear the praise our artists receive.
I usually use two fonts: Cochin and Copperplate.
Add a shadow to make it stand out and change the color fill of the text box.
That is how you create a press clipping for a media outlet.
The key elements to a clipping for a media outlet: Photo from artists' DPK, title of media outlet, article title, screenshot or copy/paste of quote from article. Remember, place your own touch on different fonts, borders, and shadows.
That's how you create a media press clipping for a media outlet.