Integrate Google Calendar with the LVL UP Budget System
Learn how to create a dedicated Google Calendar, retrieve its Calendar ID, and authorize Apps Script to automate scheduling in your budget dashboard.
By TheArtistXP
This guide explains how to create a new Google Calendar and link it to your budget spreadsheet using Apps Script. By completing this integration, you can automate debt payment reminders and seamlessly track your monthly schedule.
This guide is for anyone using the LVL UP Budget System who wants to automate calendar scheduling and reminders. You will need to perform this setup once when initially configuring your budget dashboard.
Create and Obtain the Calendar ID
1
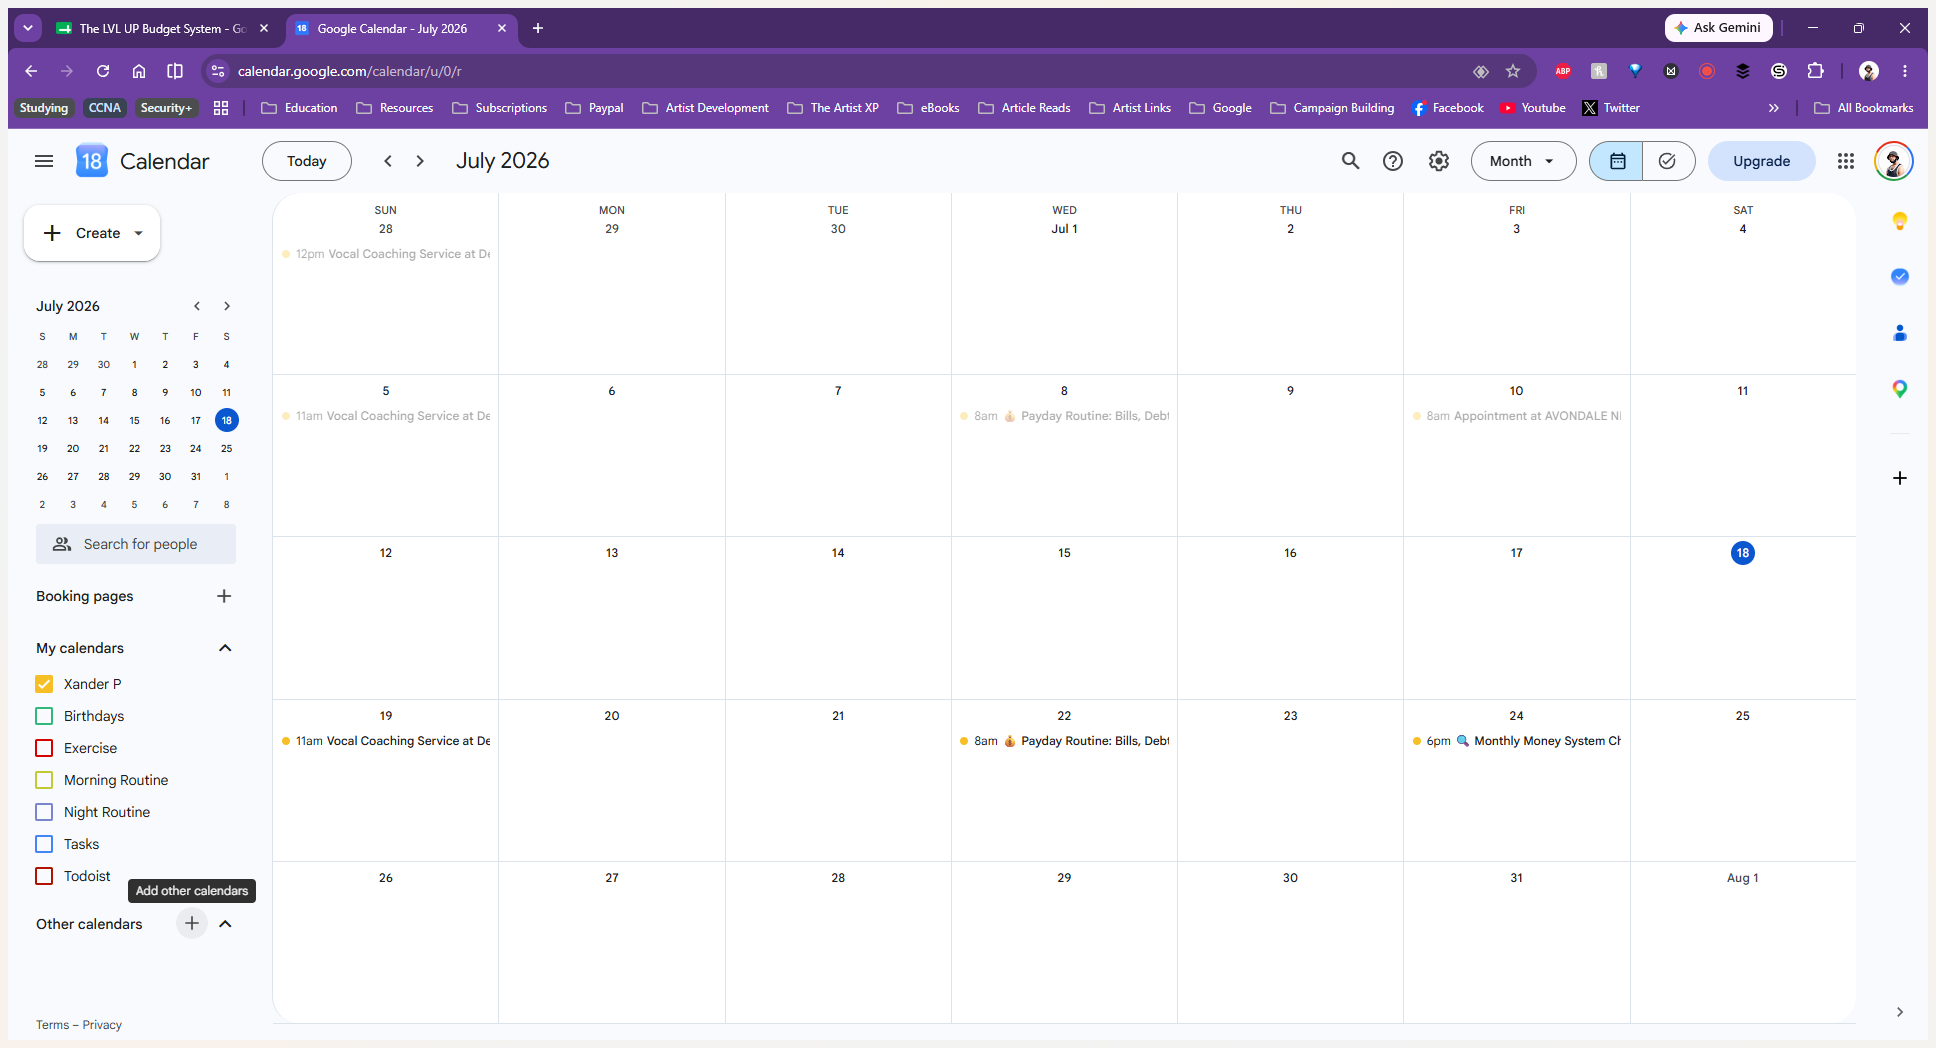
In Google Calendar, click the + (Add other calendars) icon located at the bottom of the left-hand sidebar.
2
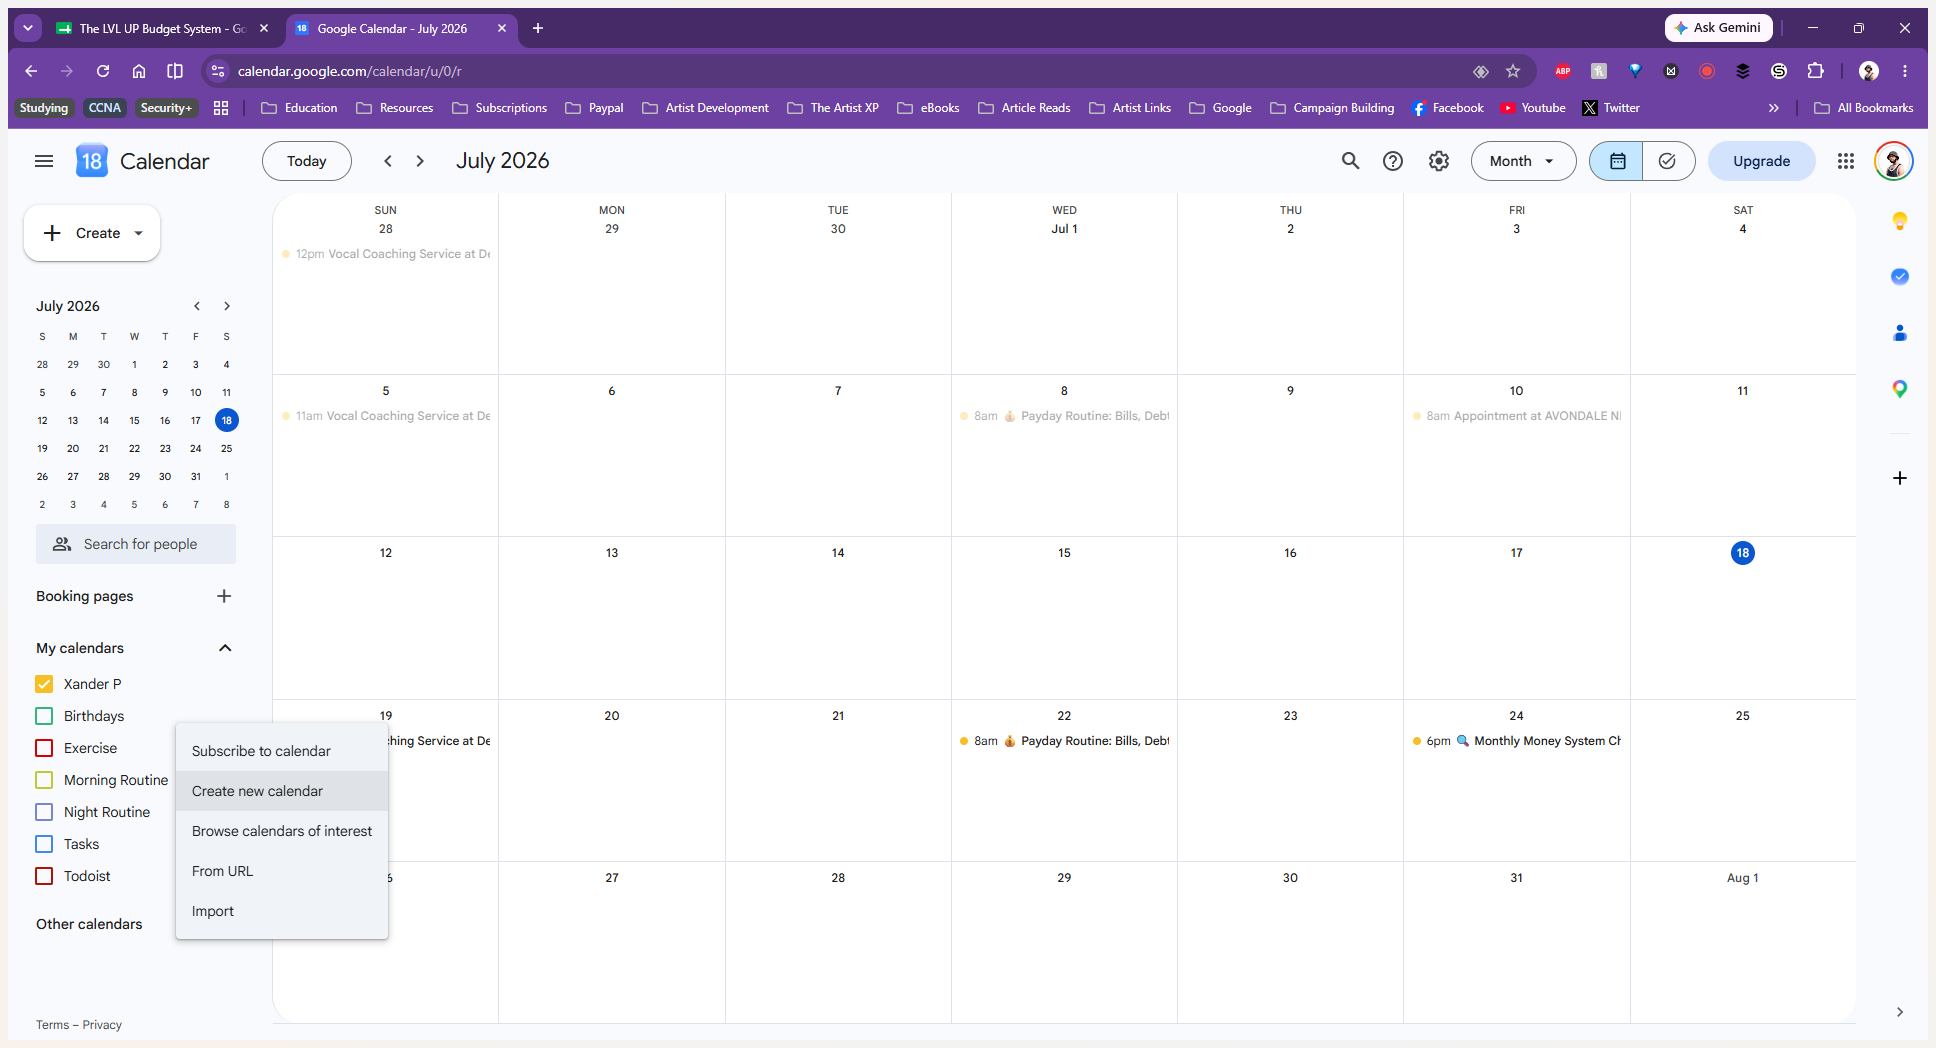
Click Create new calendar from the dropdown menu.
3
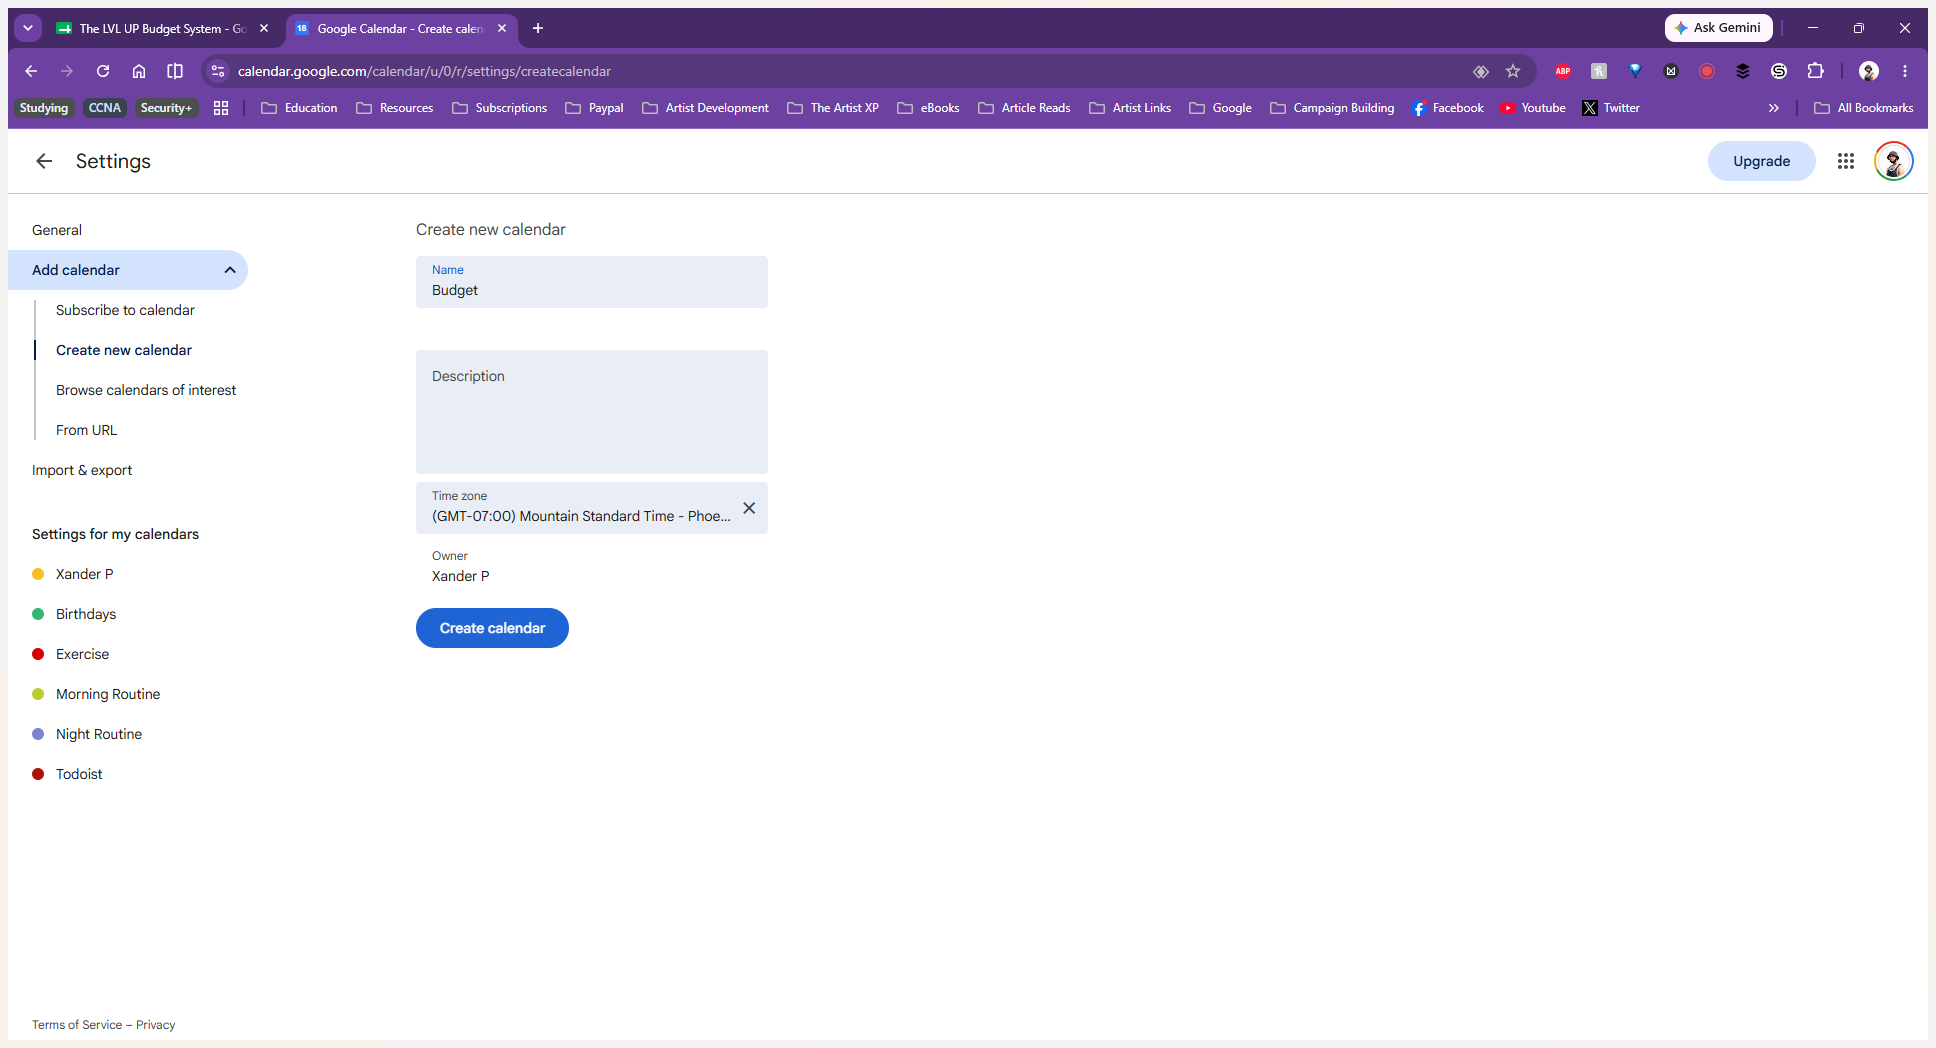
Name your calendar (for example, "Budget") and click the Create calendar button.
4
In the left-hand navigation menu under your new calendar's settings, click Integrate calendar.
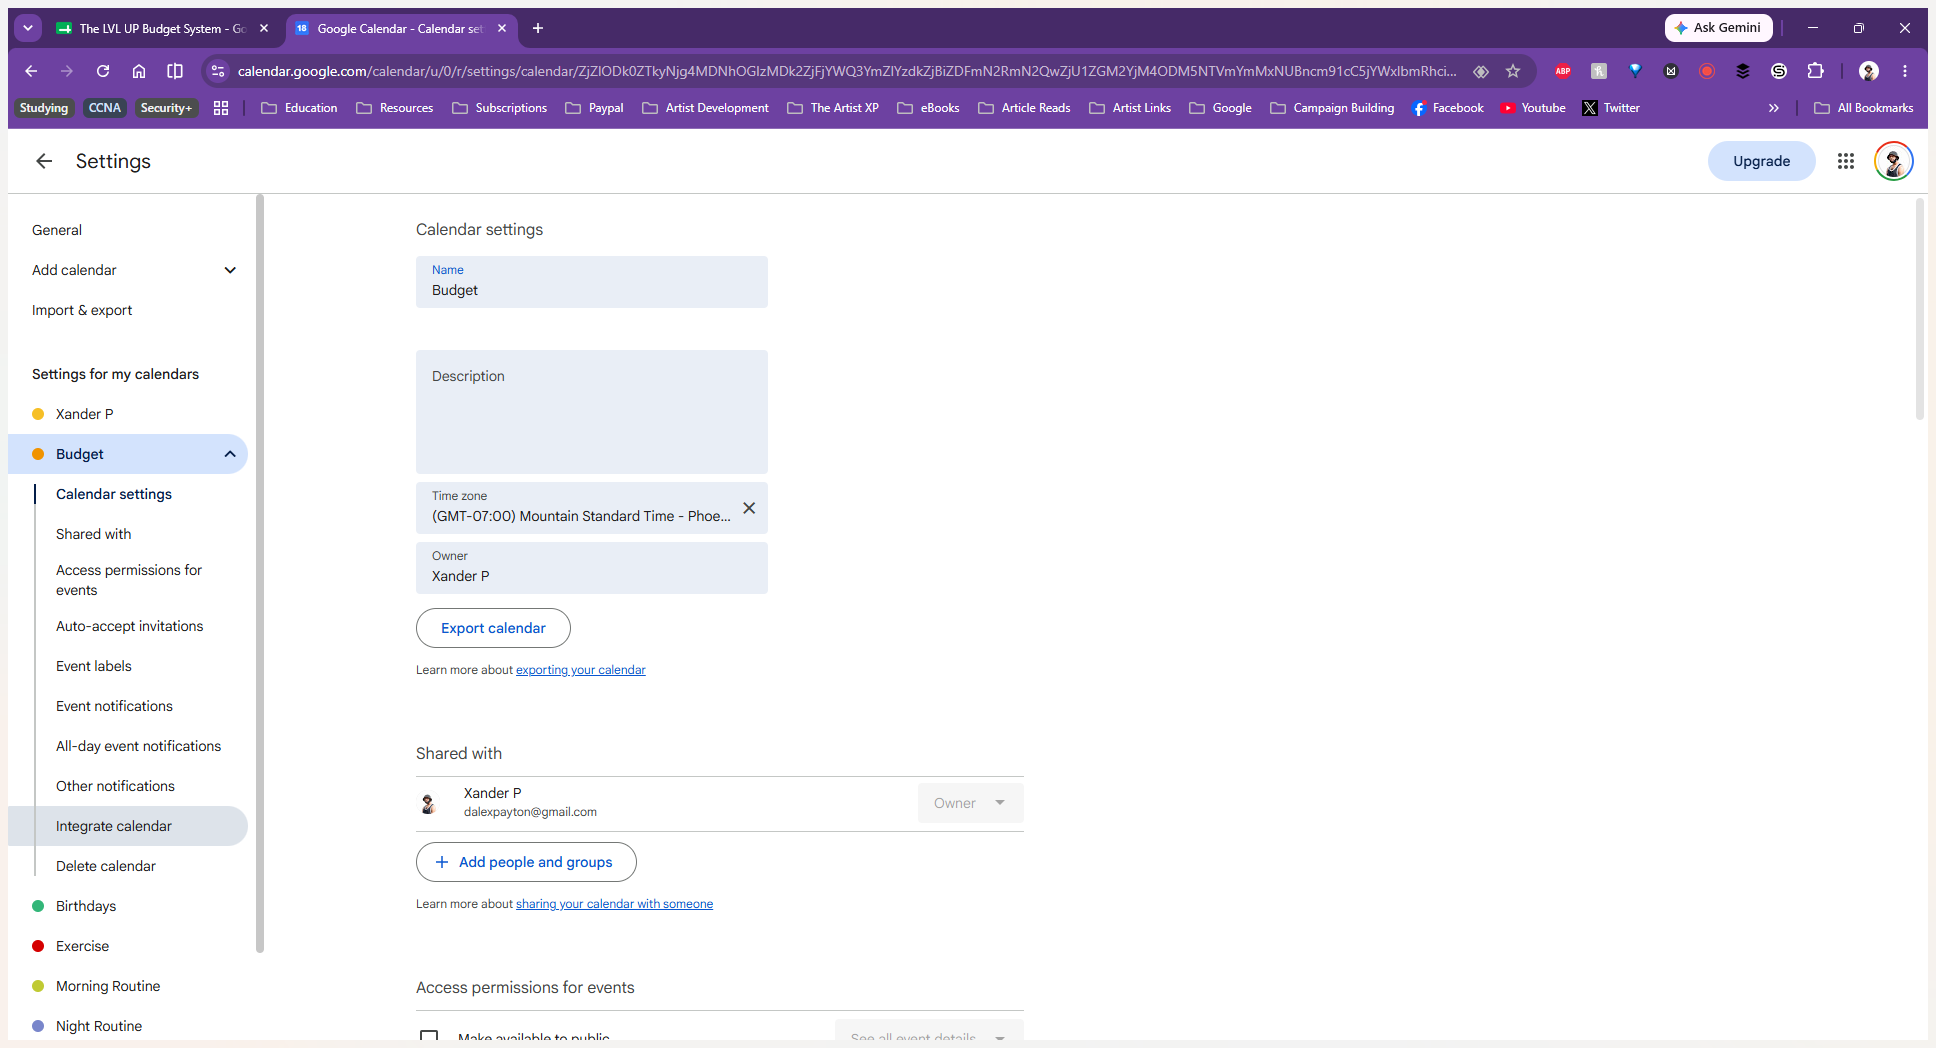
5
Locate the Calendar ID field in this section.
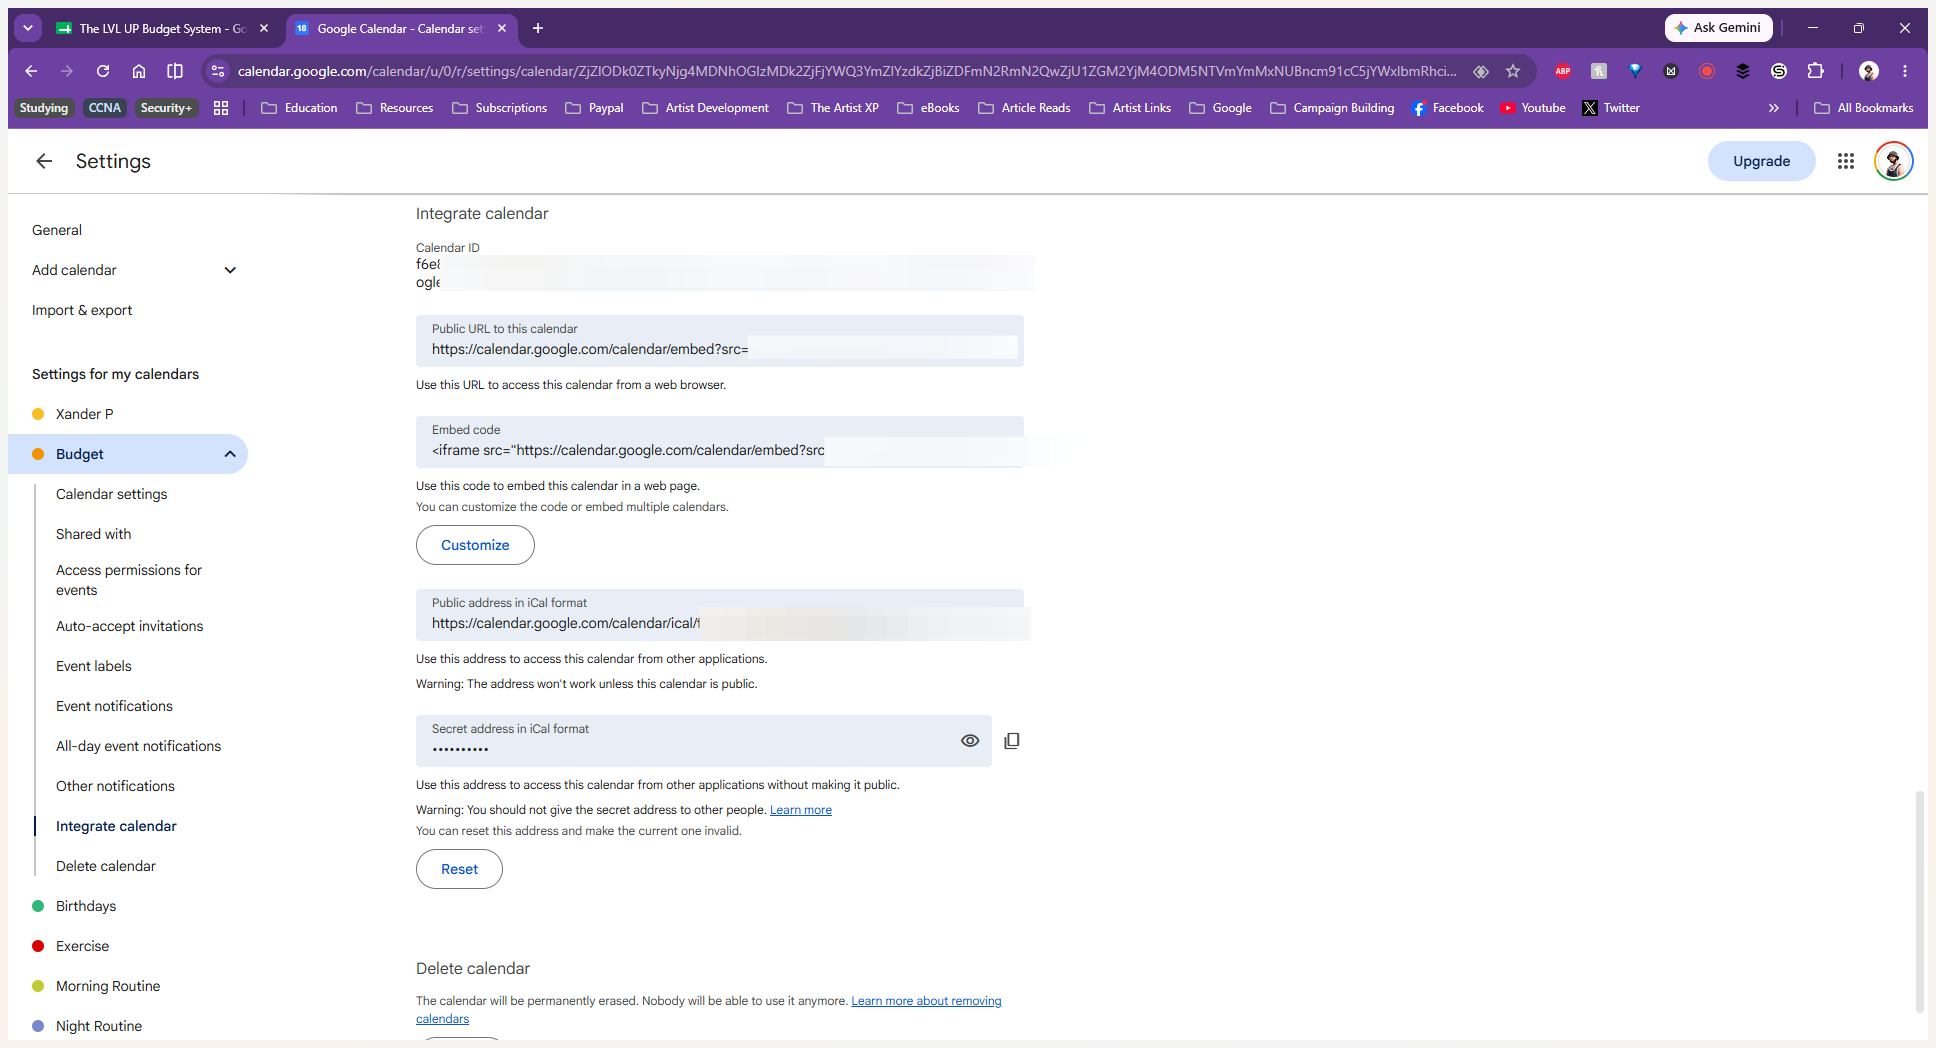
6
Select and right-click the entire calendar ID (which looks like an email address ending in
@group.calendar.google.com) and copy it.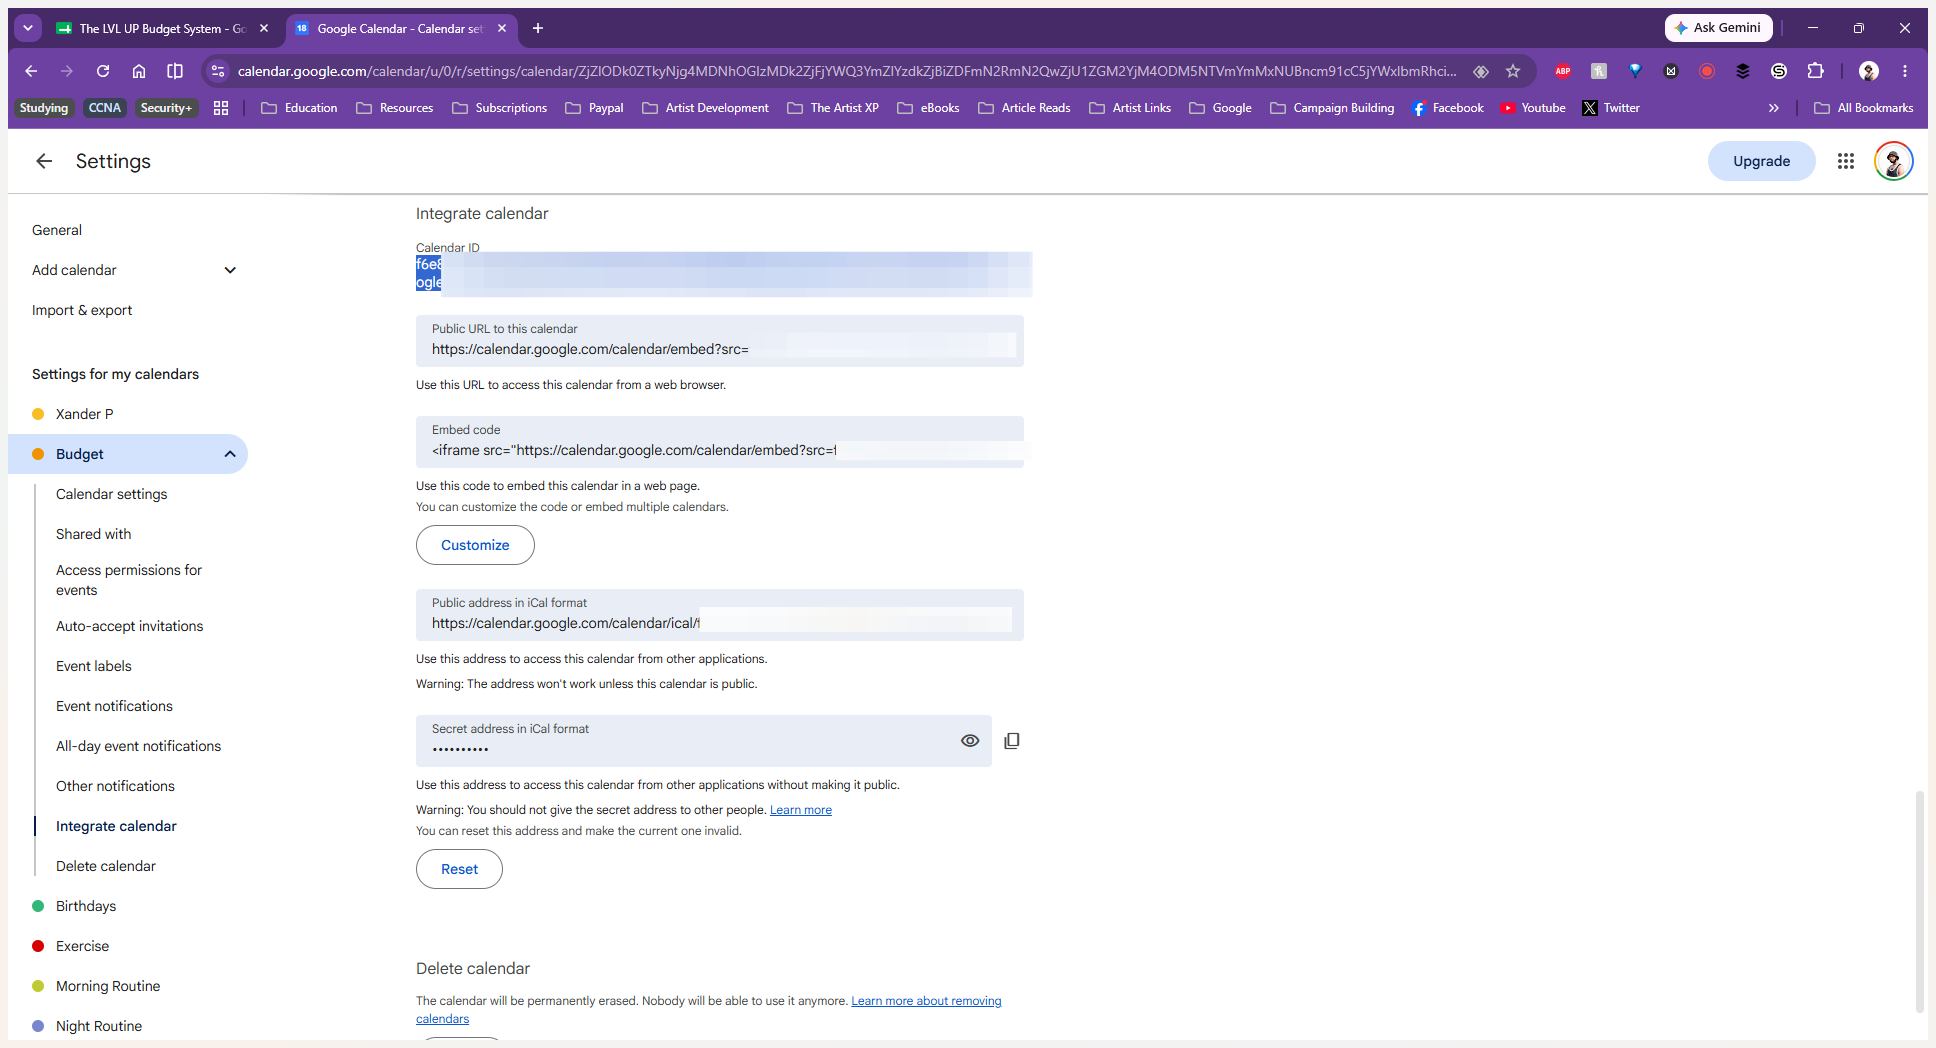
Link the Calendar to Your Budget System
7
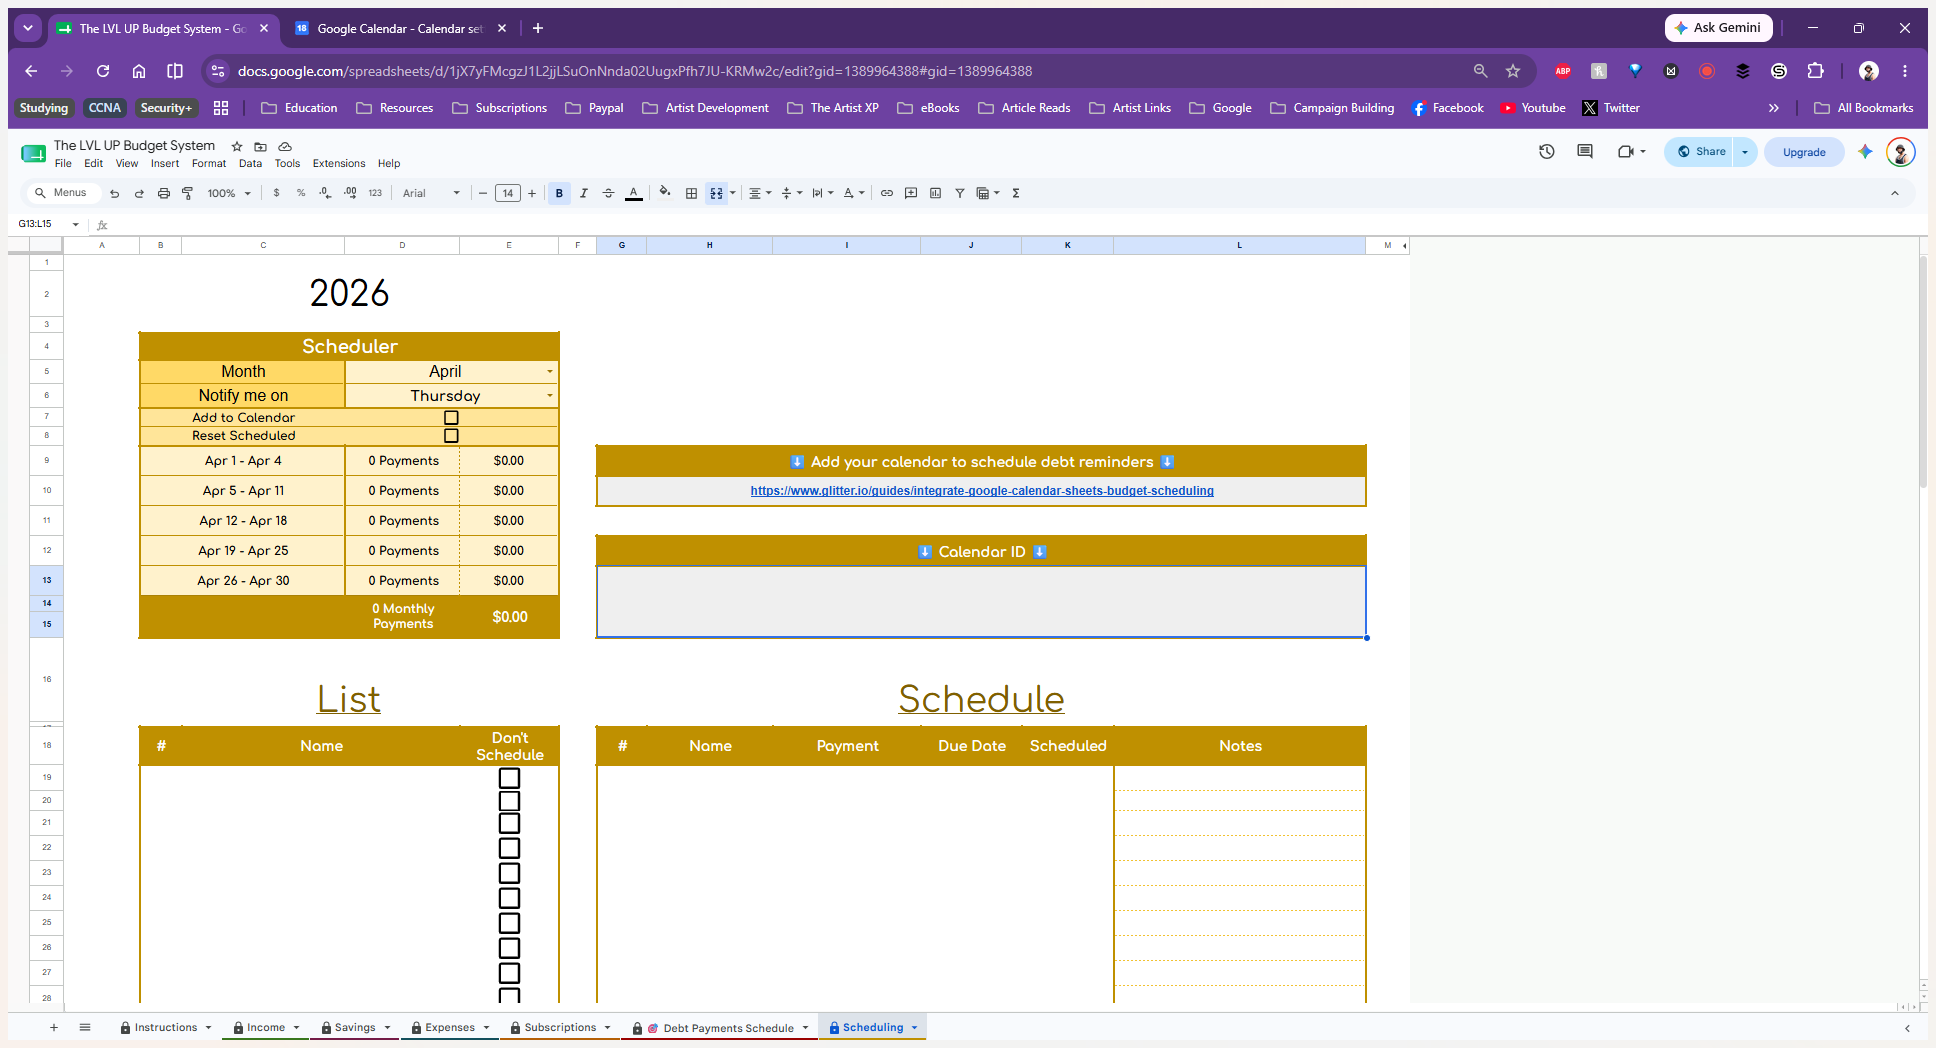
Open "The LVL UP Budget System" document in Google Sheets and navigate to the Scheduling tab.
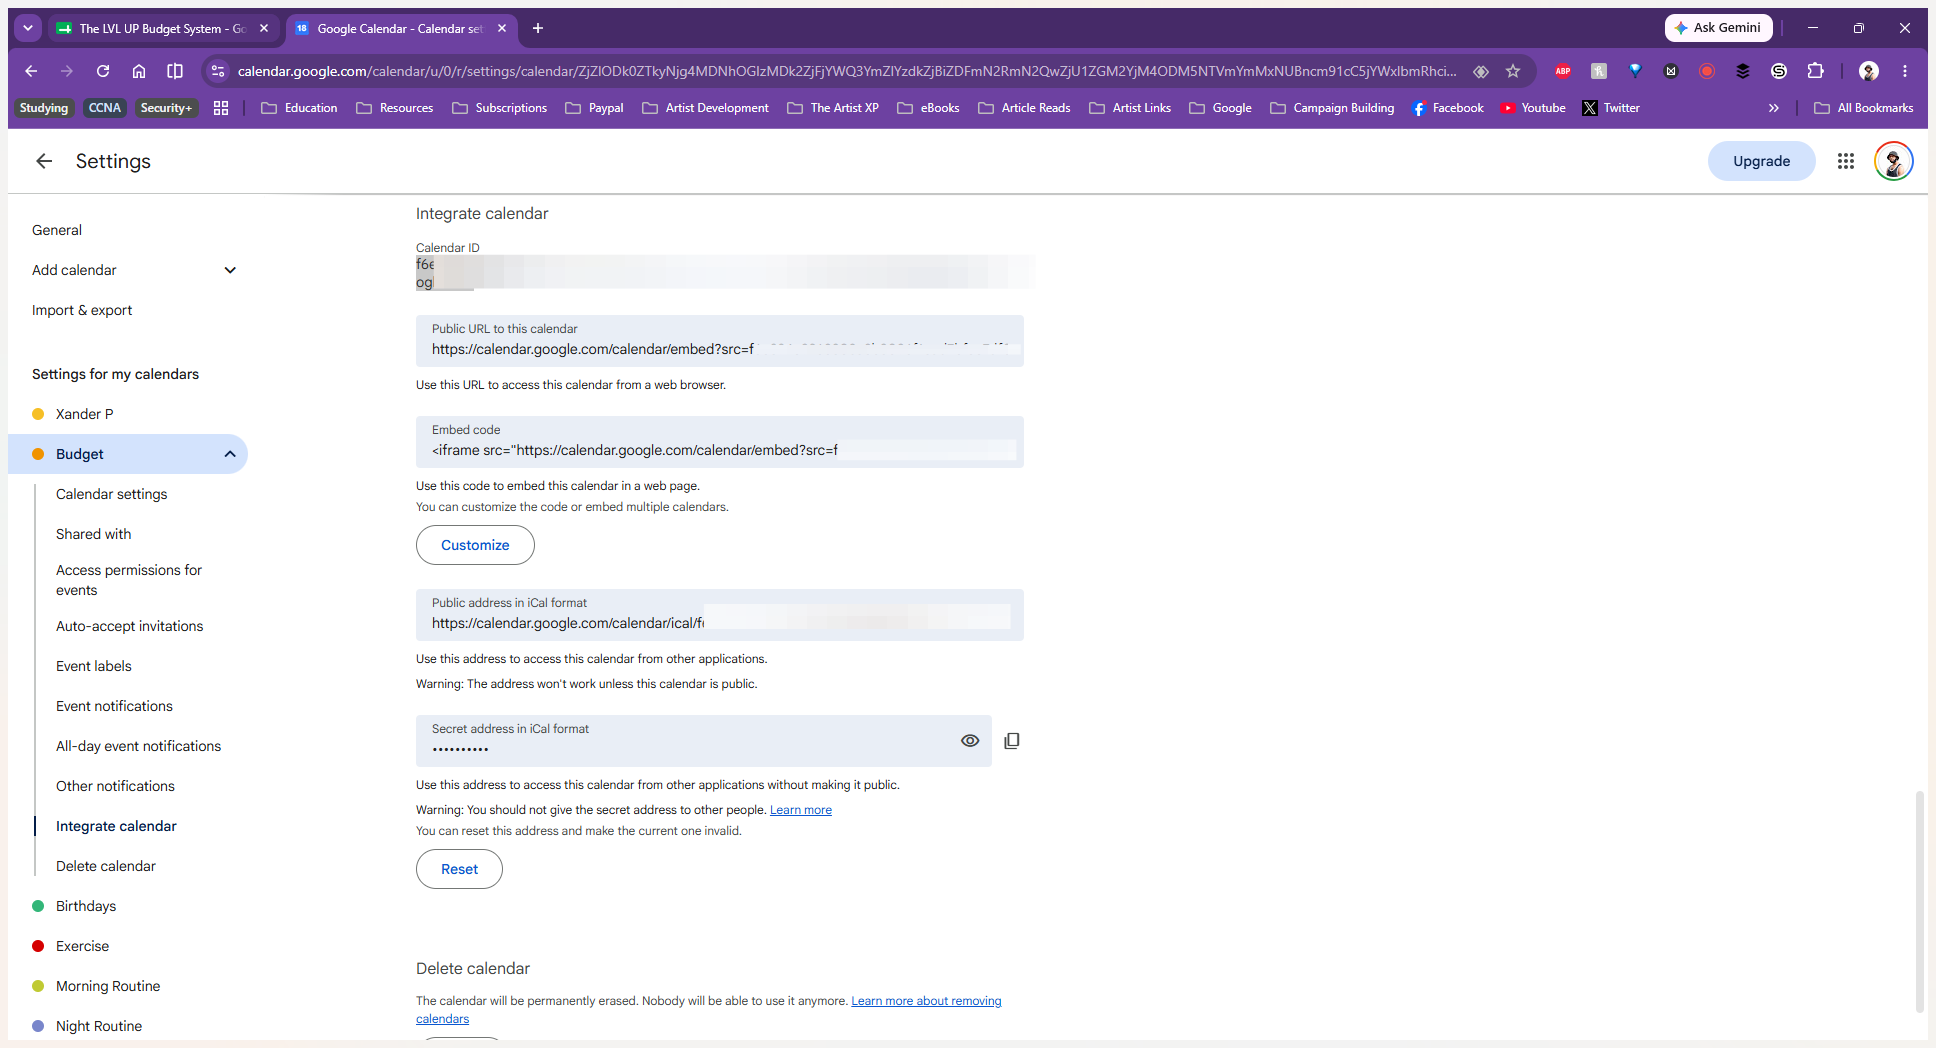
8
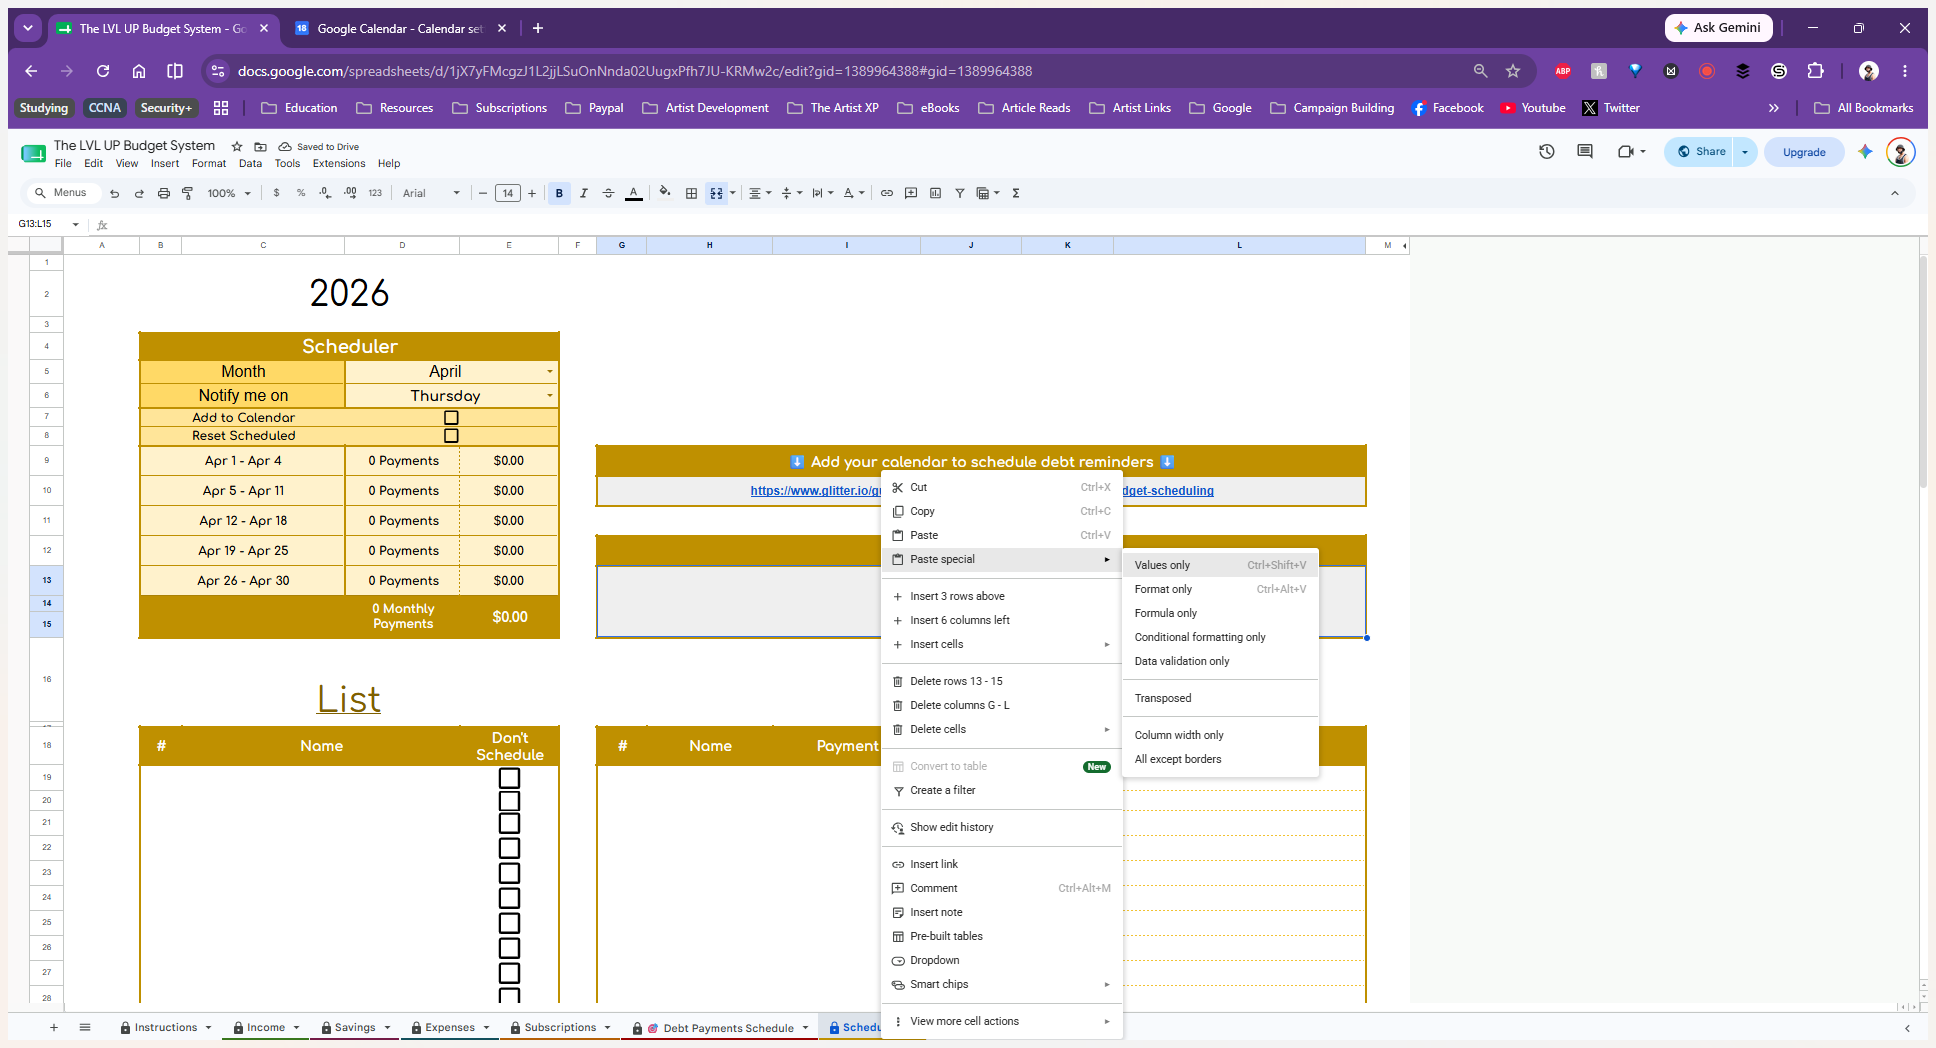
Right-click the empty input cell labeled Calendar ID.
9
Hover over Paste special and select Values only from the paste options to insert the ID without altering the cell's background formatting.
Authorize the Automation Script
10
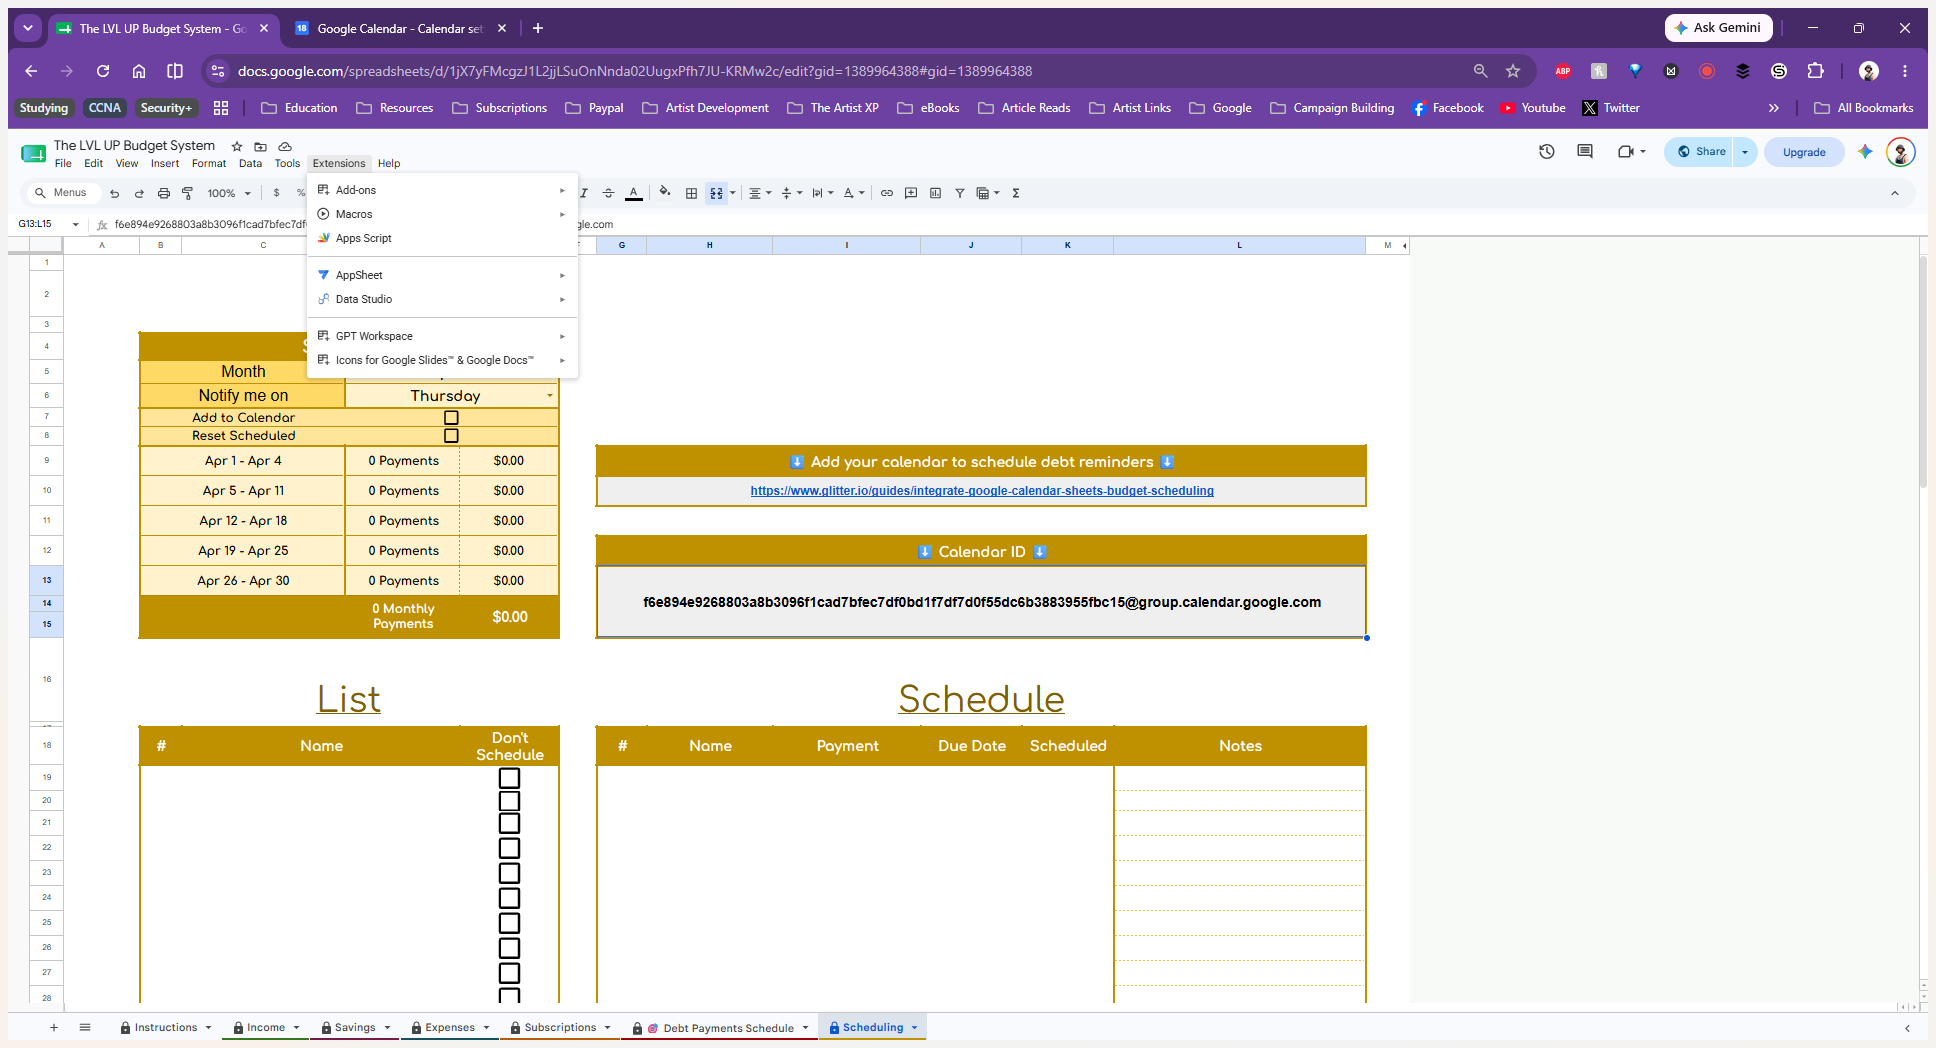
In the Google Sheets top menu bar, click Extensions.
11
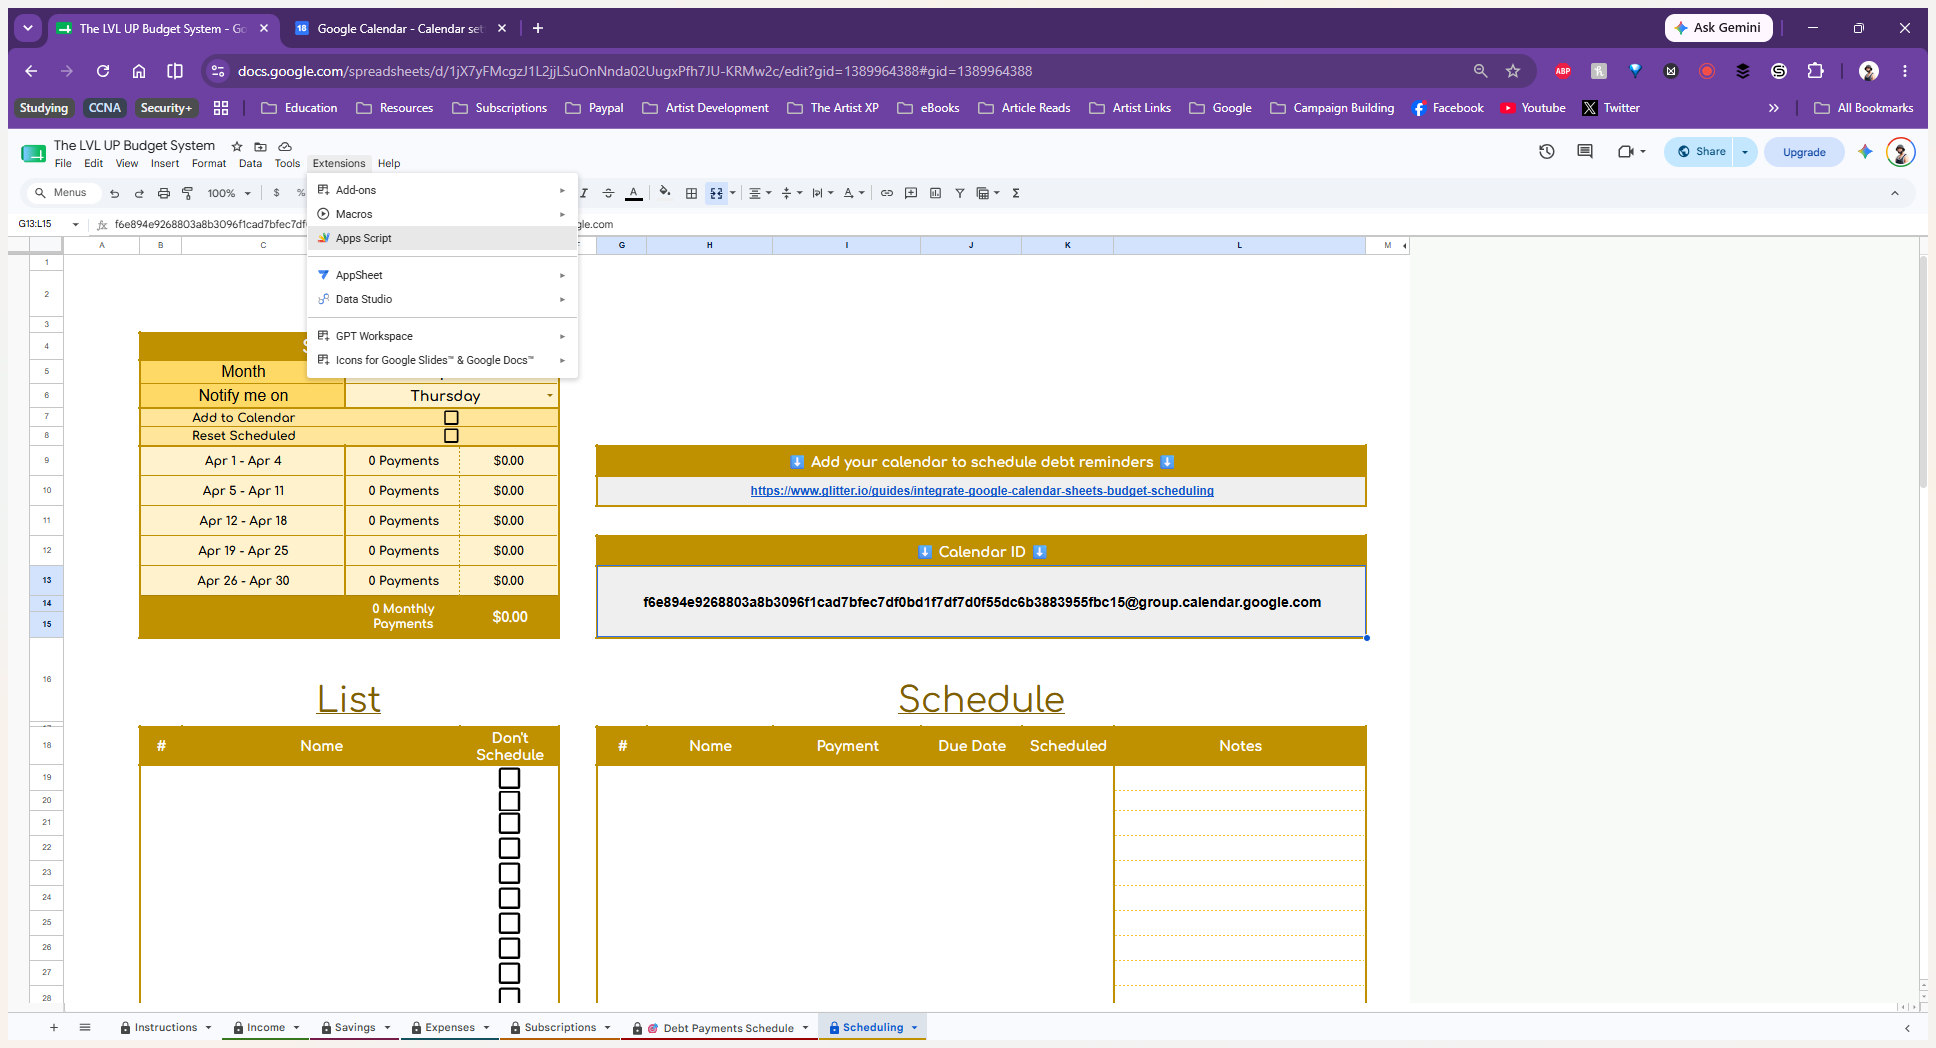
Select Apps Script from the dropdown menu to open the code editor.
12
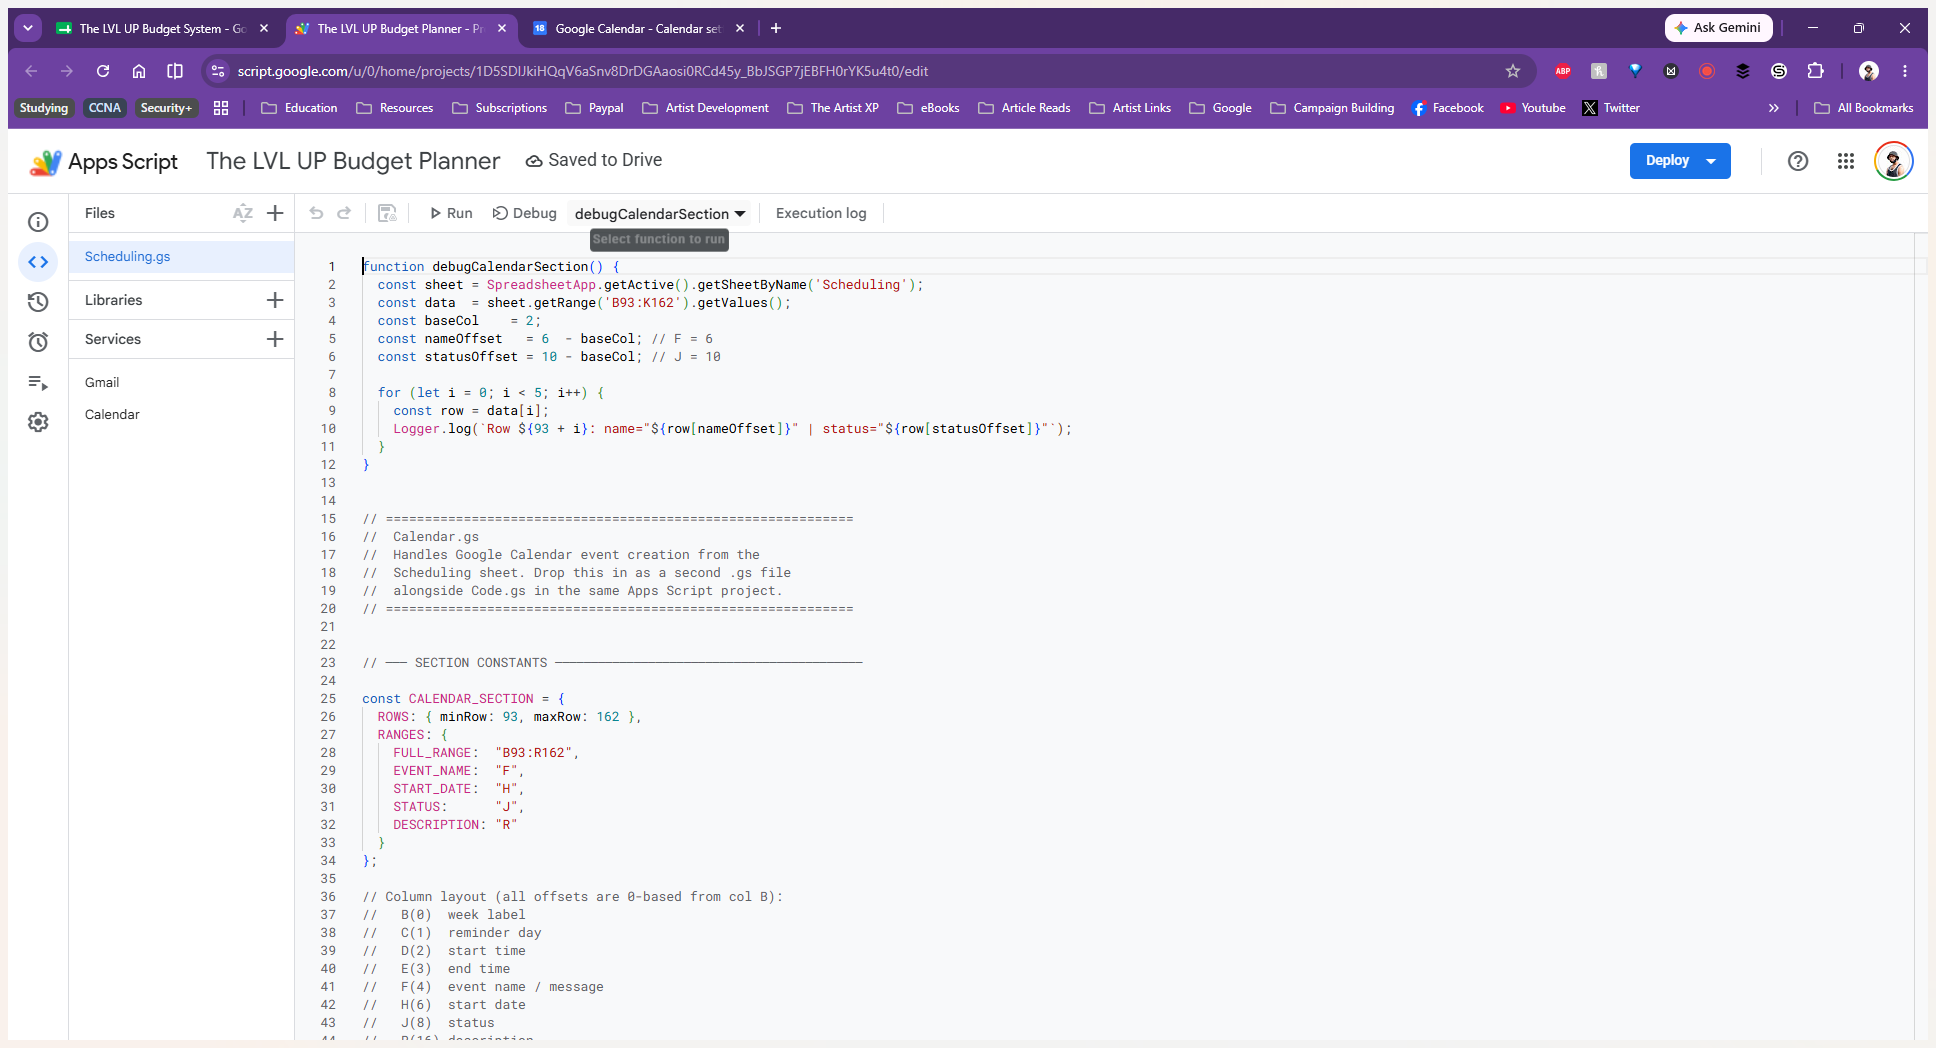
In the Apps Script editor's top toolbar, click the function selection dropdown menu.
13
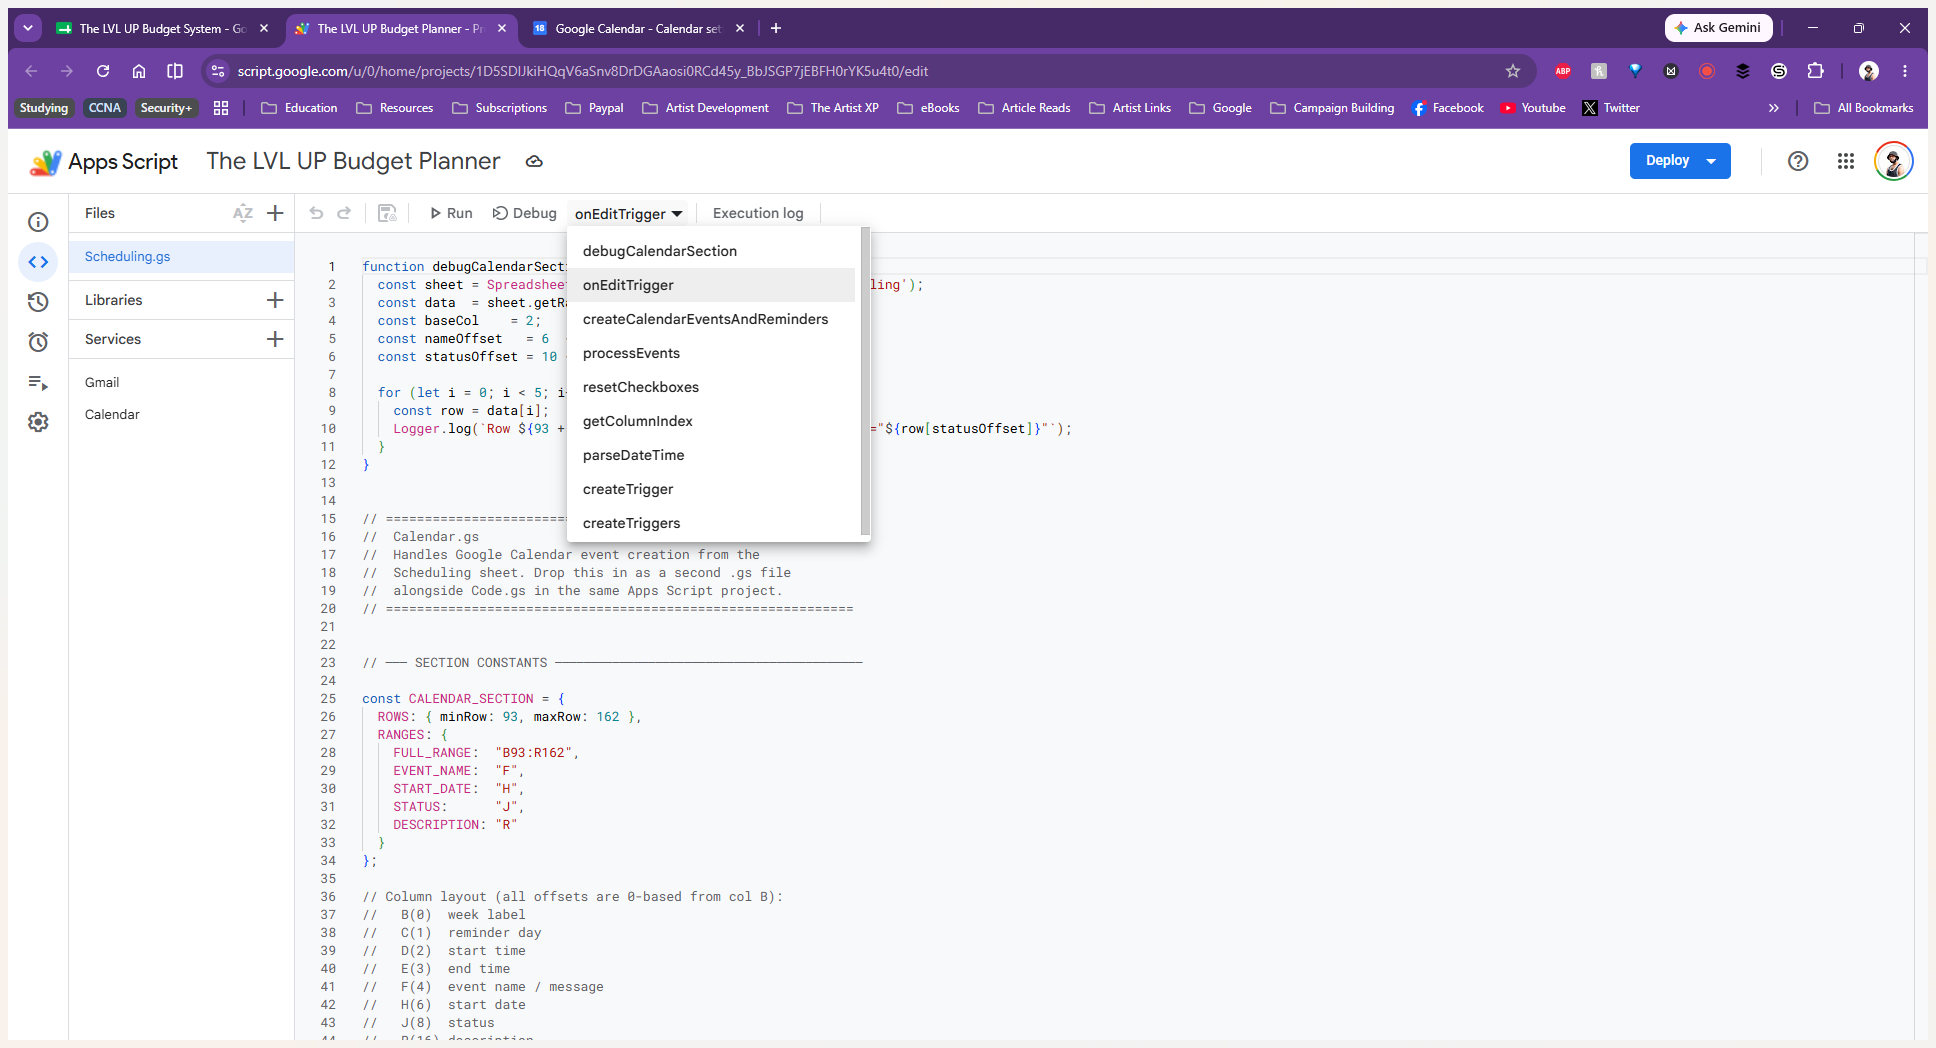
Select the onEditTrigger function from the list.
14
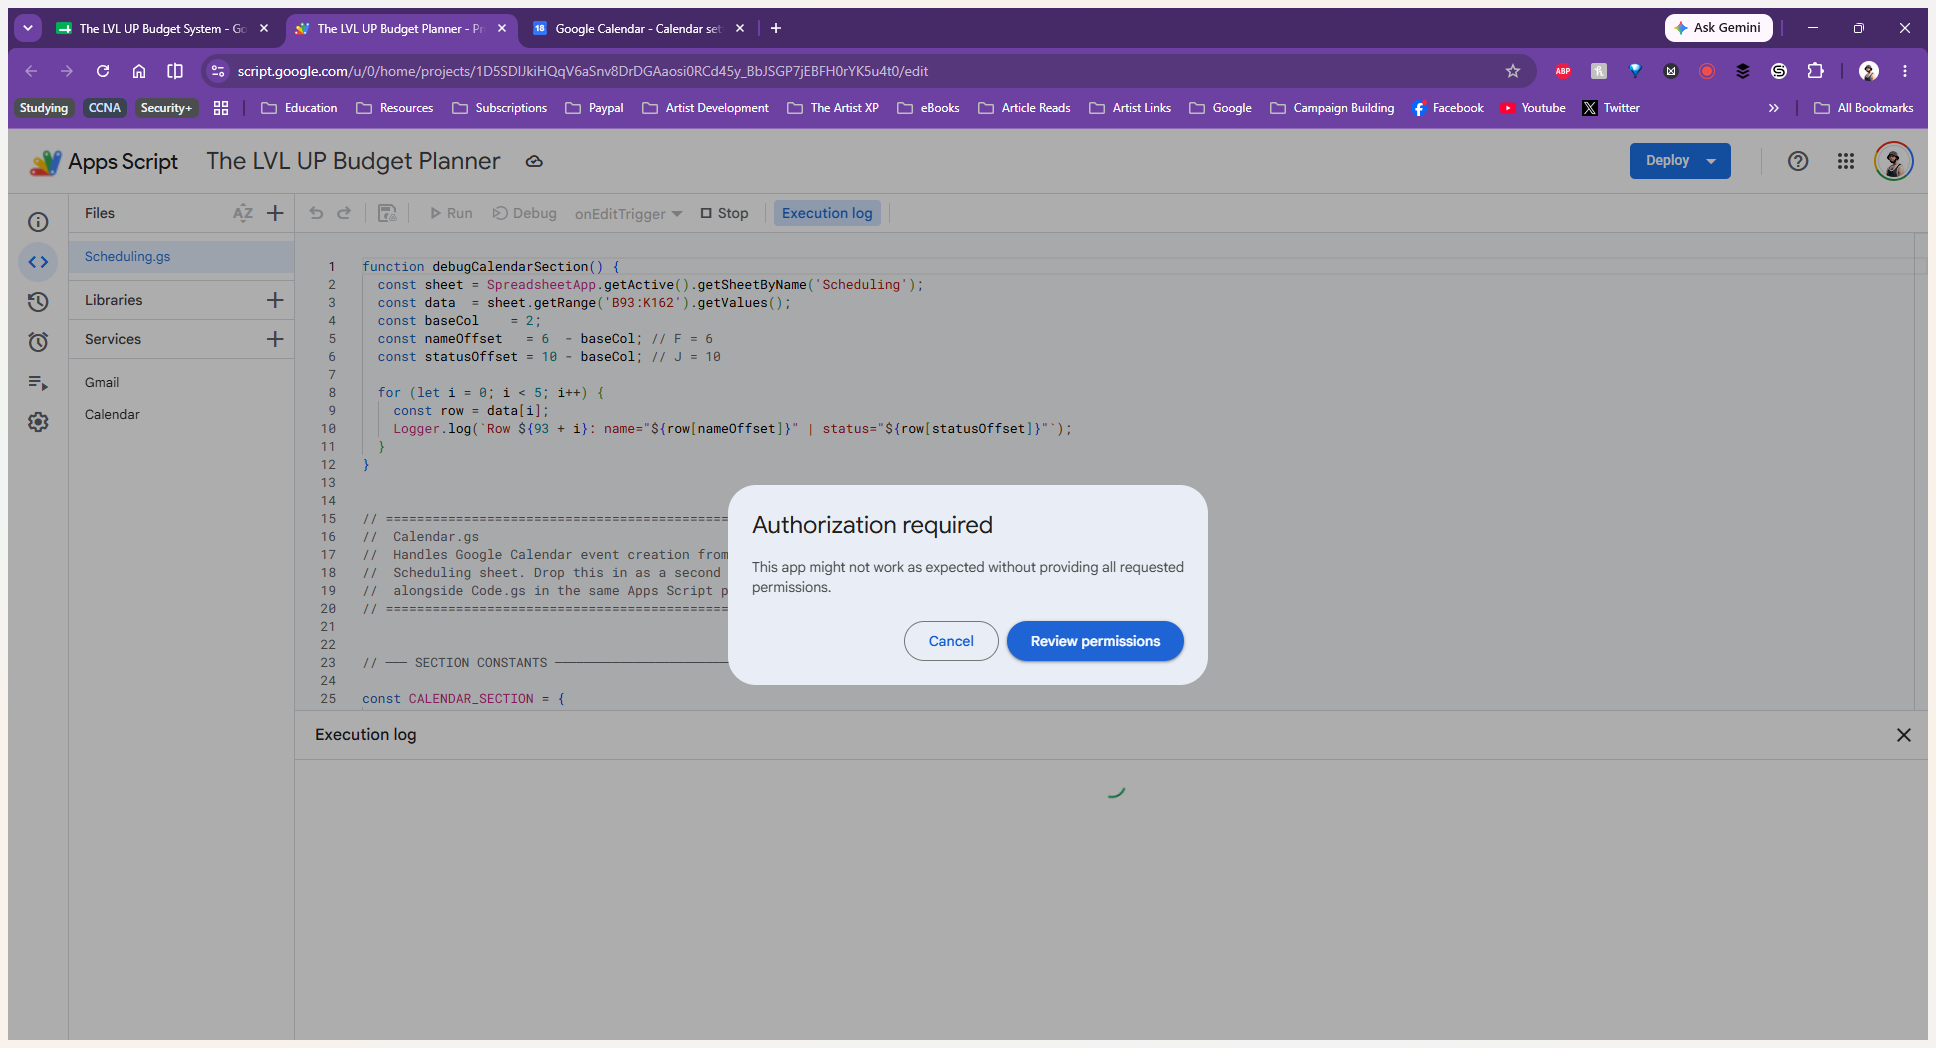
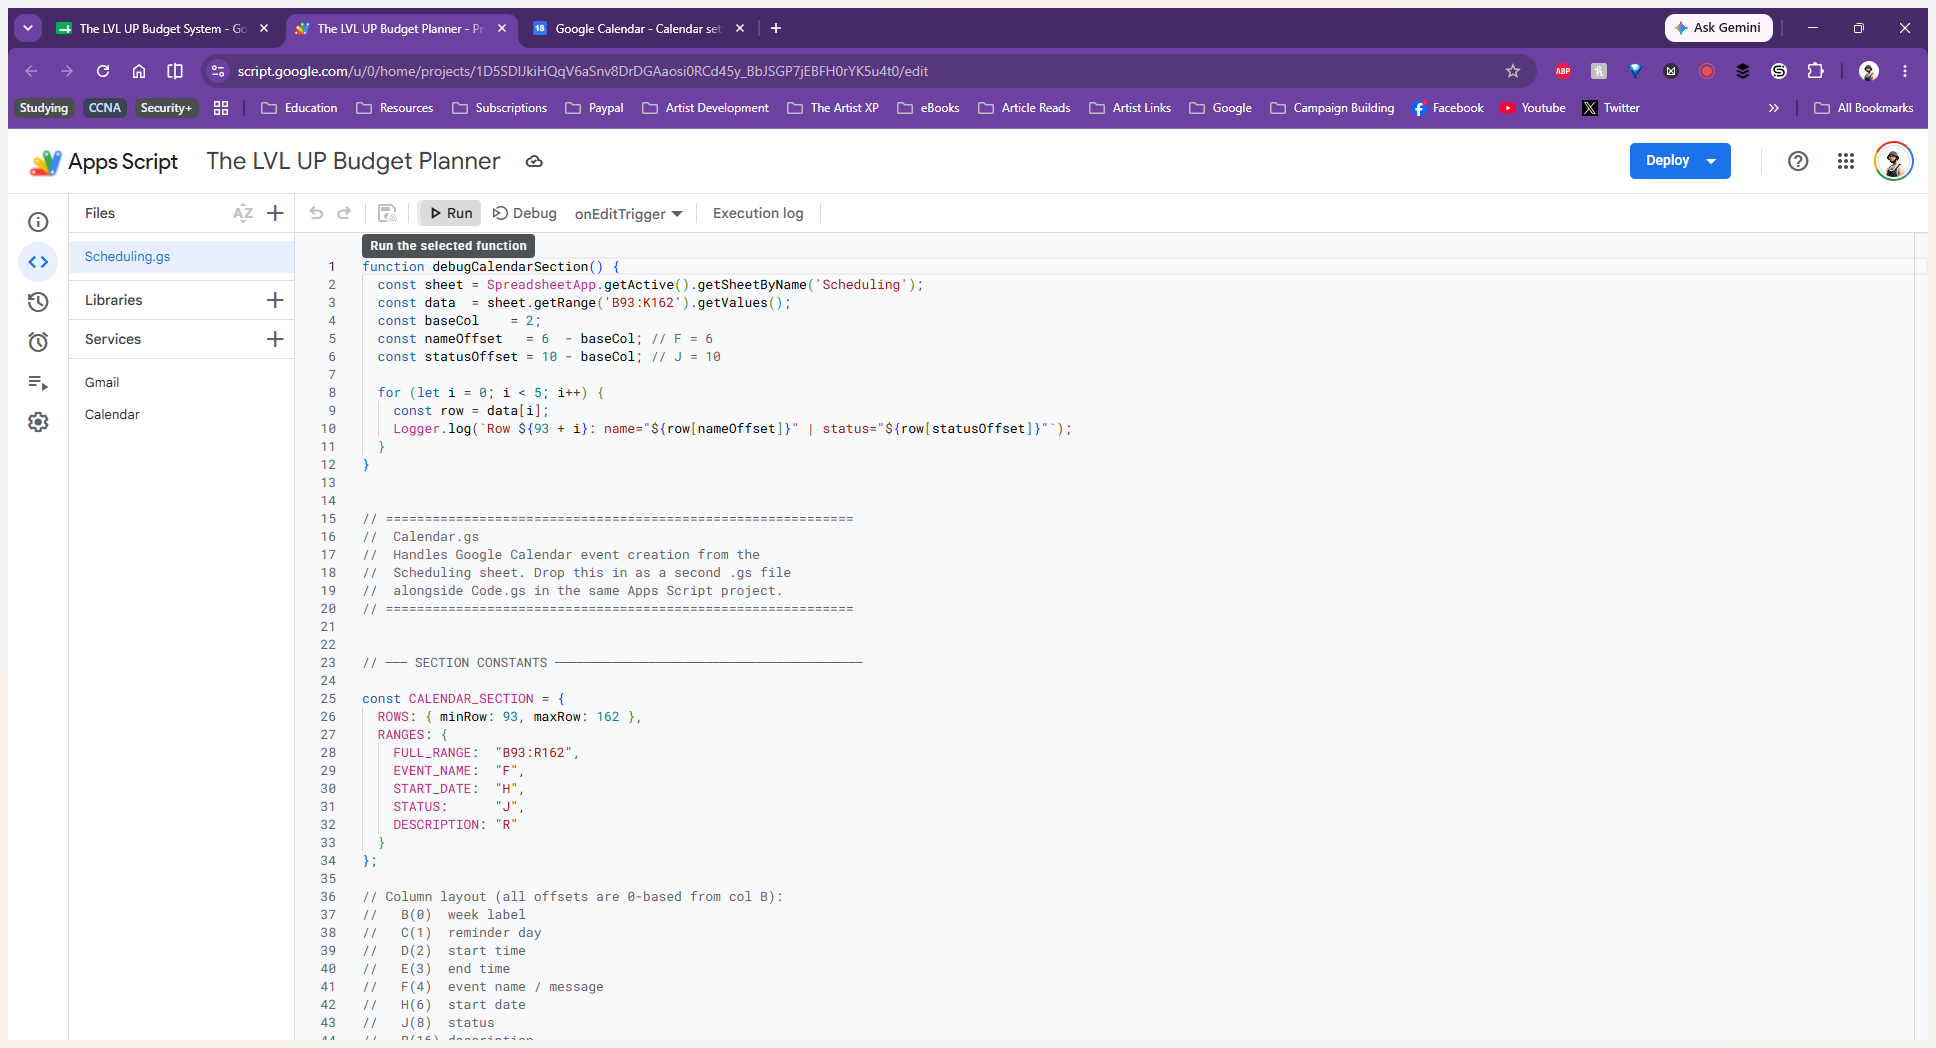
Click ▷ Run to execute the function.
15
When the "Authorization Required" dialog box appears, click Review permissions and follow the prompts to grant the script access to your Google Calendar.