Introducing Playbook Automation: Streamline New Customer Onboarding
Discover the new Playbook Automation feature built into our automation engine. Automatically enroll new customers in onboarding playbooks, integrate with CRM tools, and enhance your team support workflow.
In this guide, we'll learn how to use the Playbook Automation feature to streamline new customer onboarding. This process allows you to automatically assign new customers to an onboarding playbook when they are added to your system.
You will see how to set up rules based on customer events, such as when a customer is created, and how to link these events to your existing playbooks. This helps ensure that every new customer follows a consistent onboarding process.
Let's get started
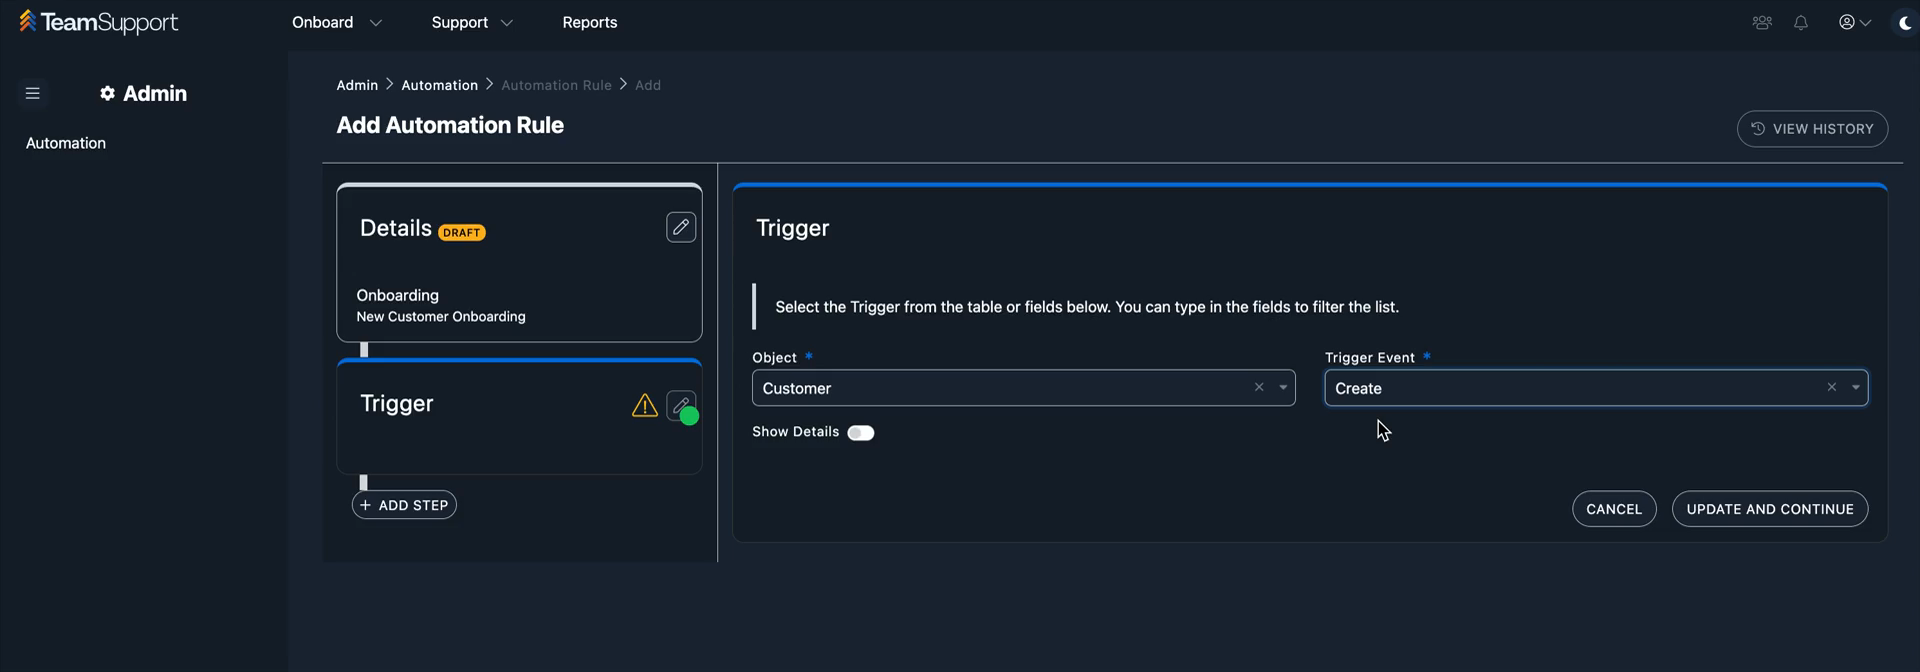
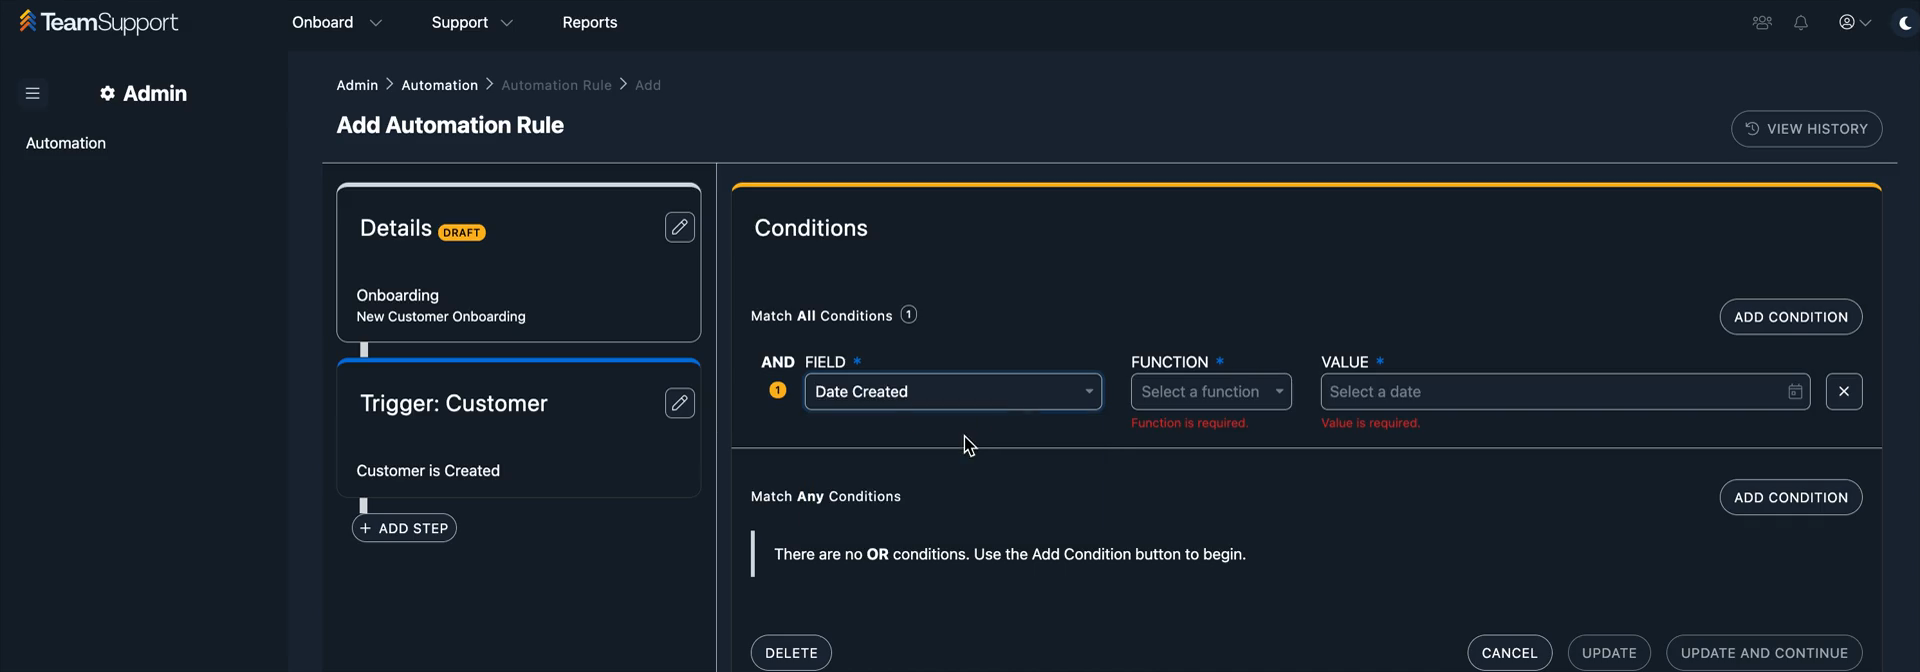
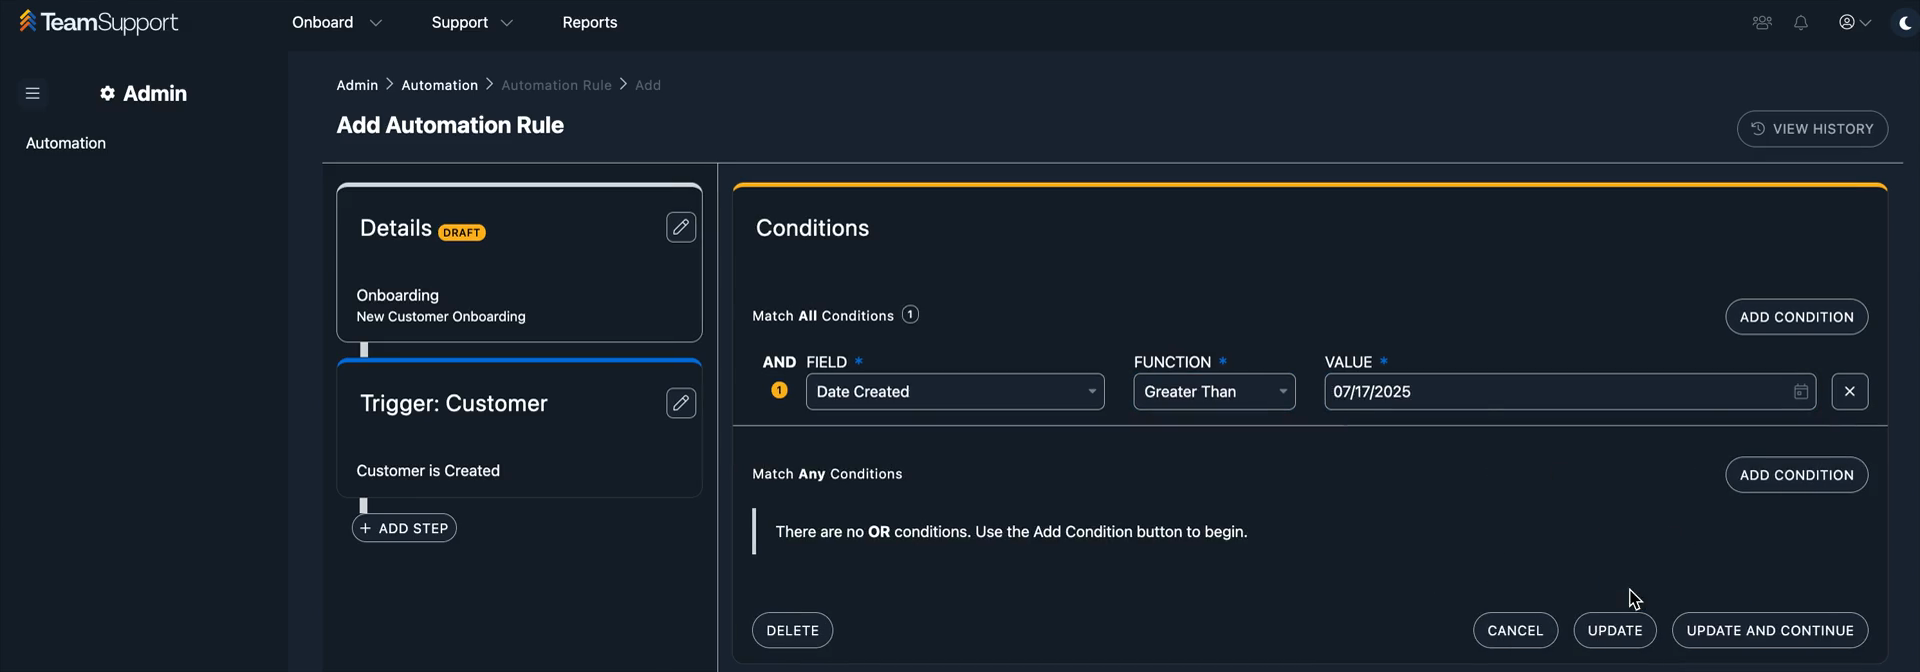
Here's a quick overview of our new Playbook Automation feature. This feature is built into the automation engine. When you create a new rule, such as "Onboarding" for new customer onboarding, the customer object is now included.
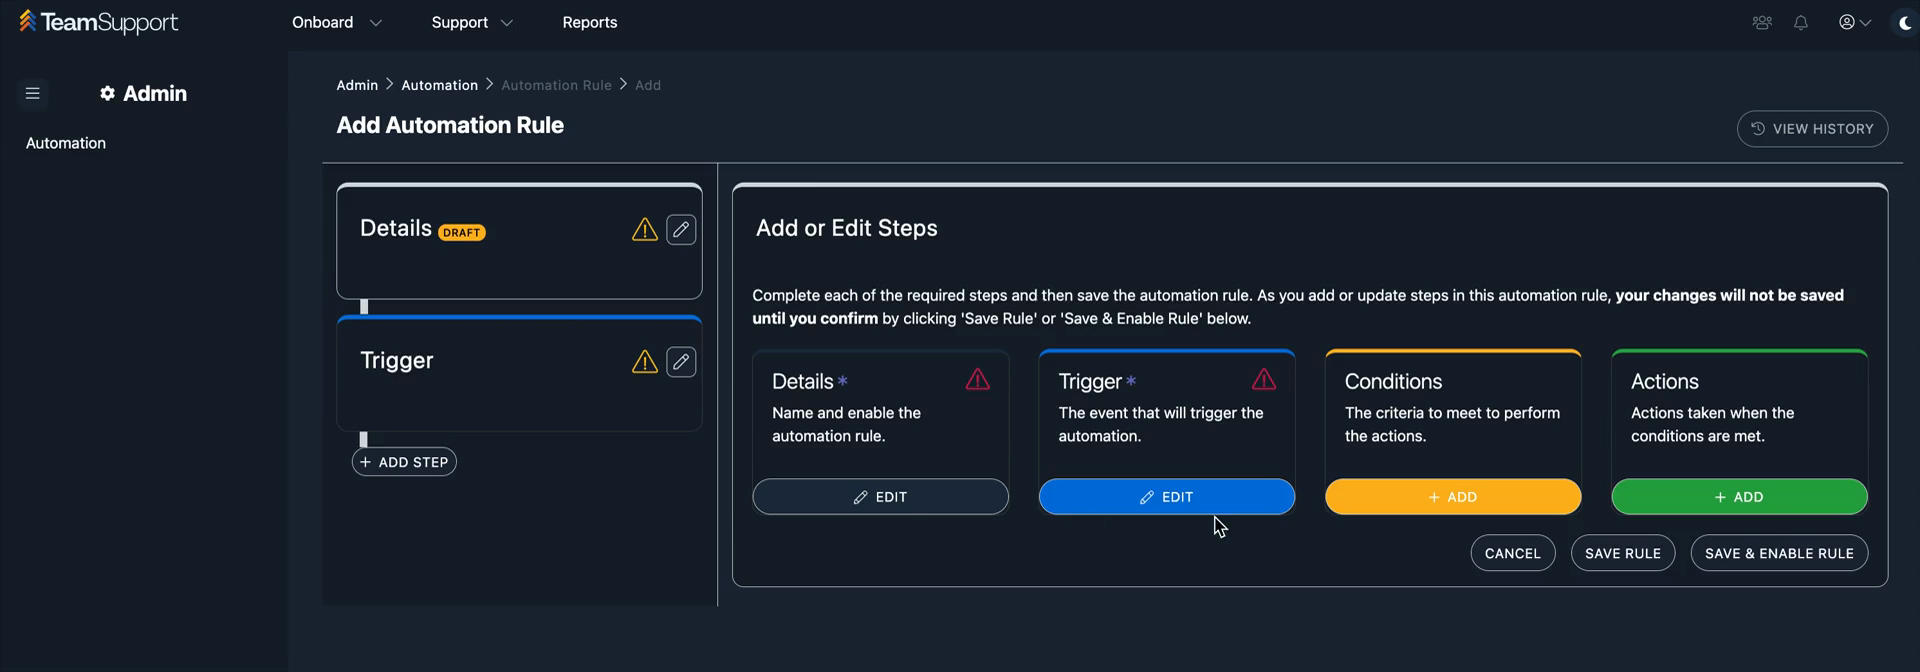
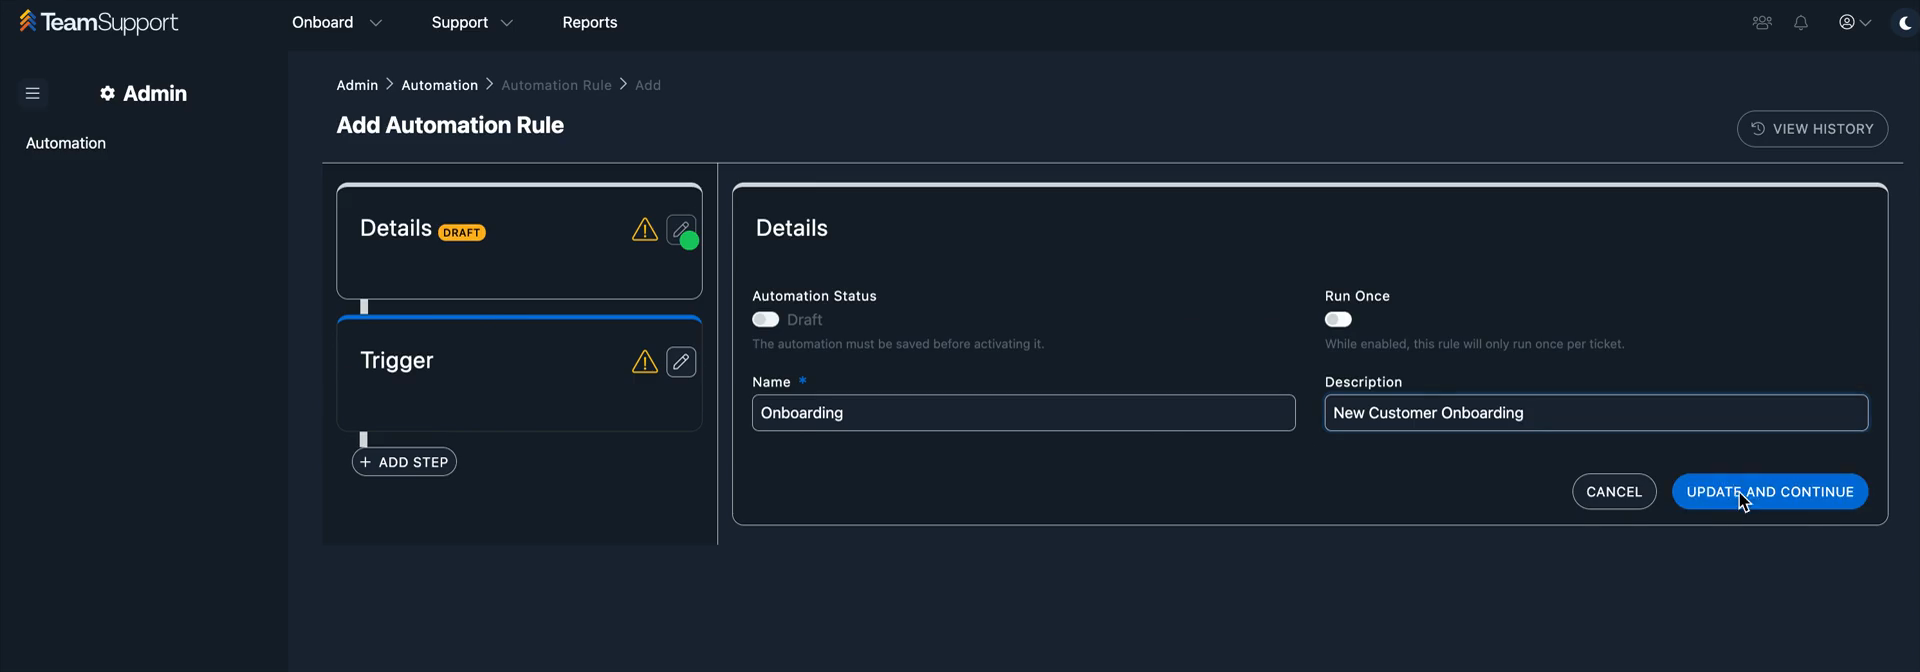
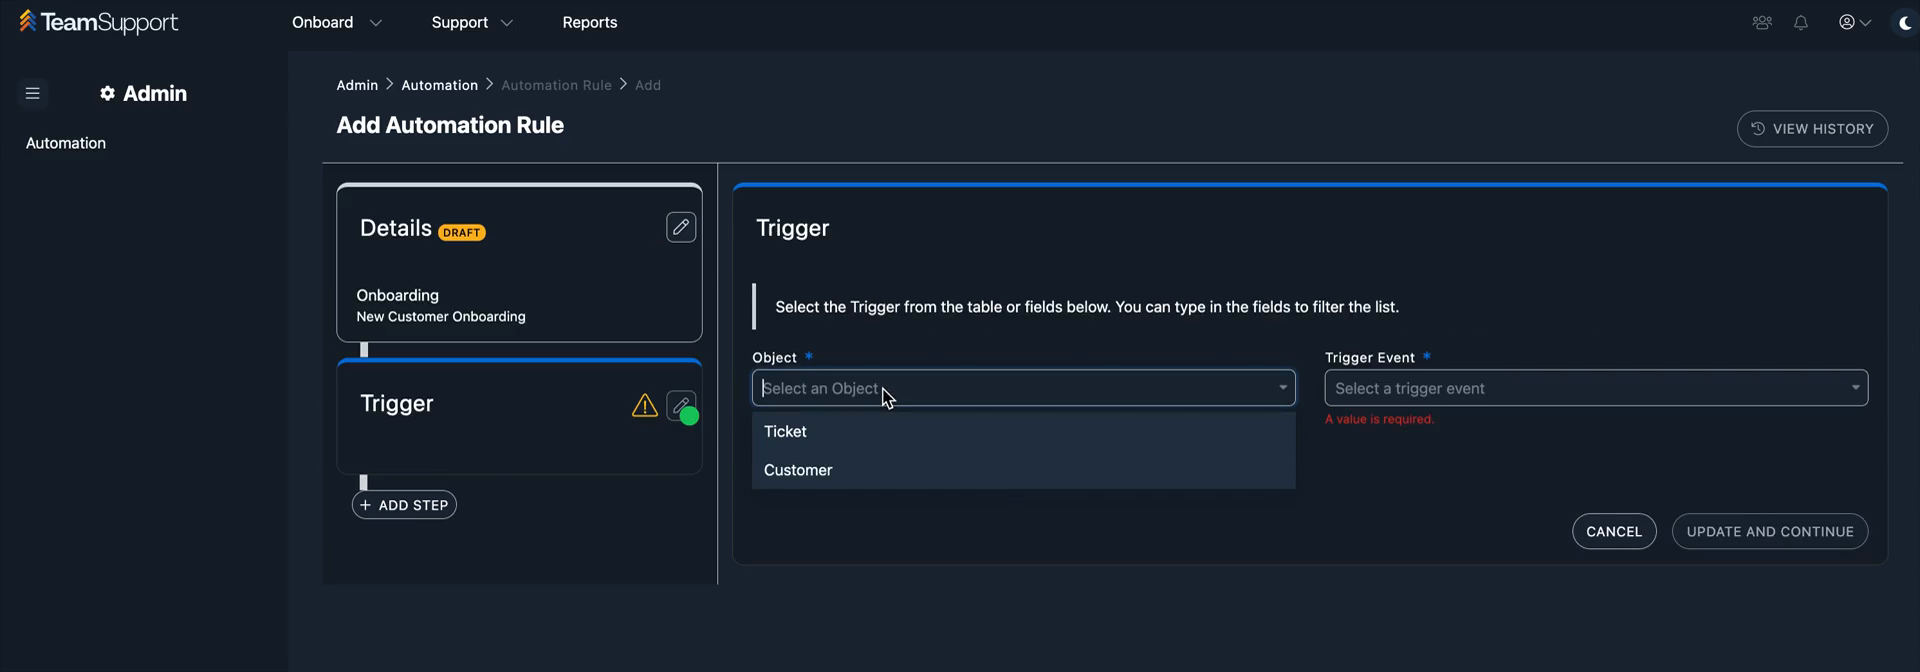
This can clearly be expanded in the future. We started with tickets when we first launched the system. Now, we have customers.
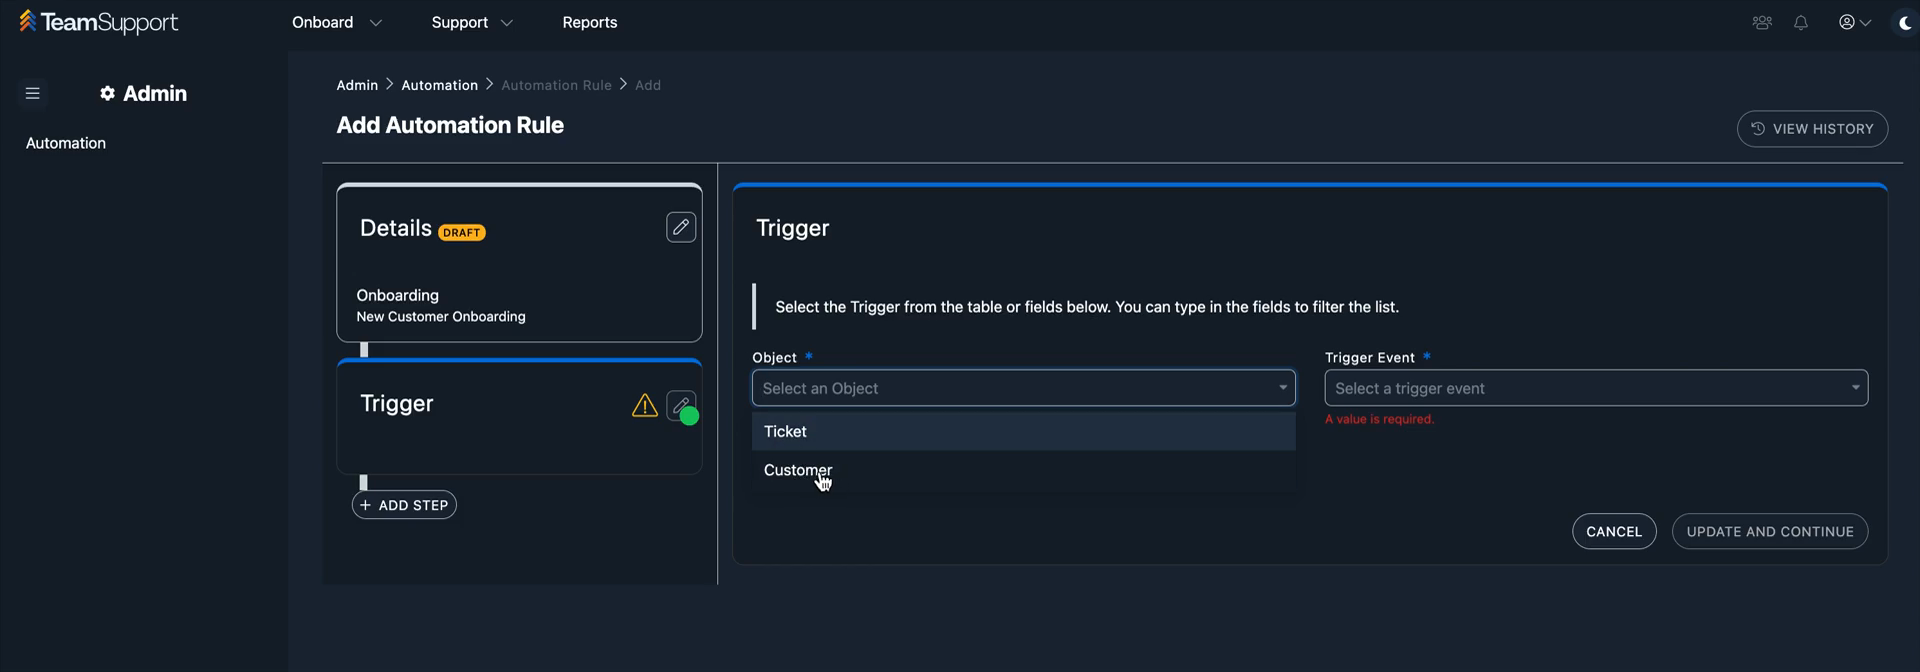
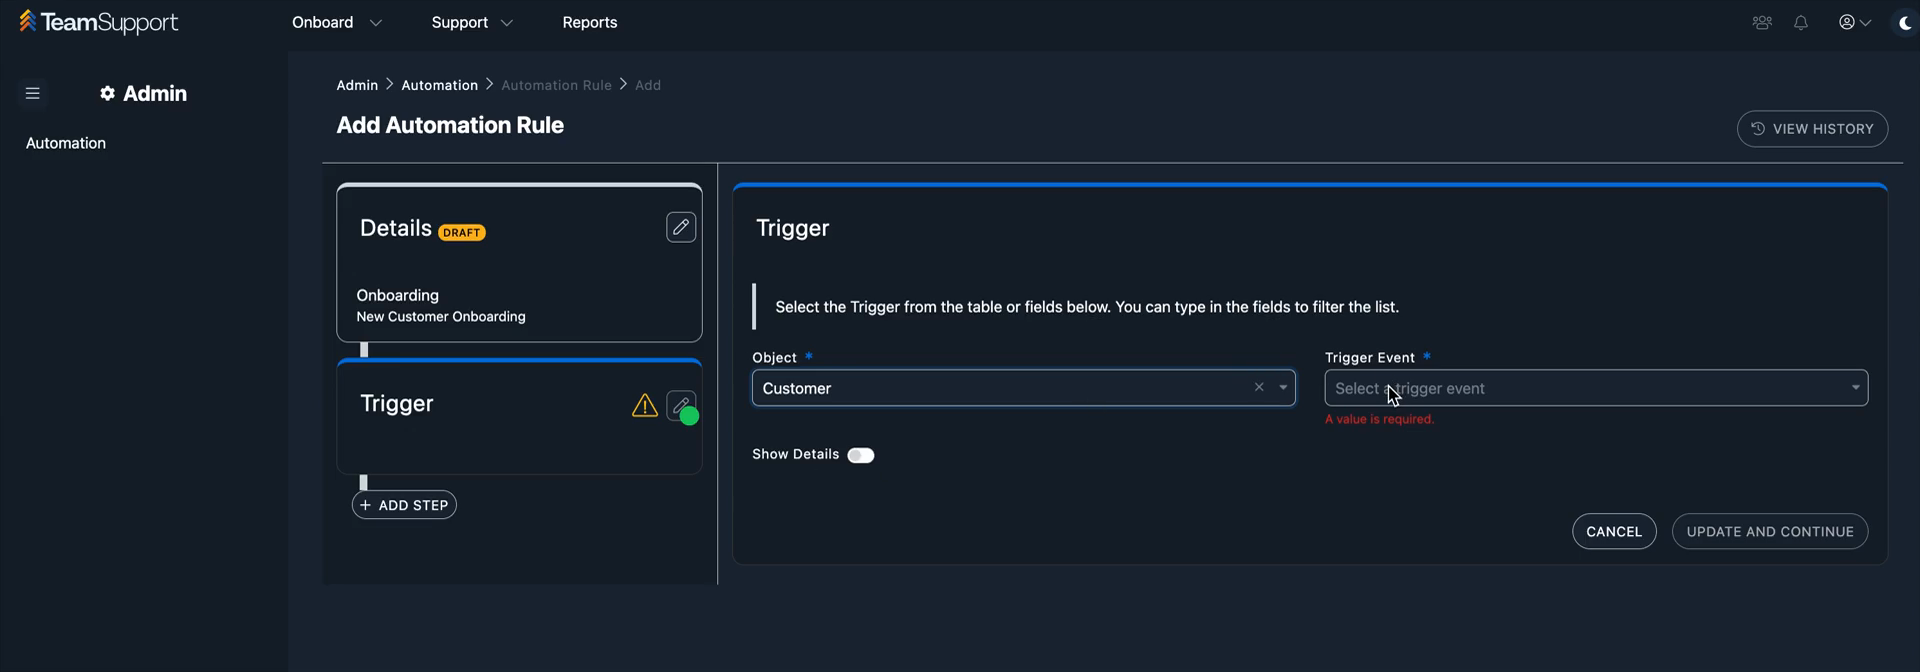
You can set up the rule to apply when a new customer is created.
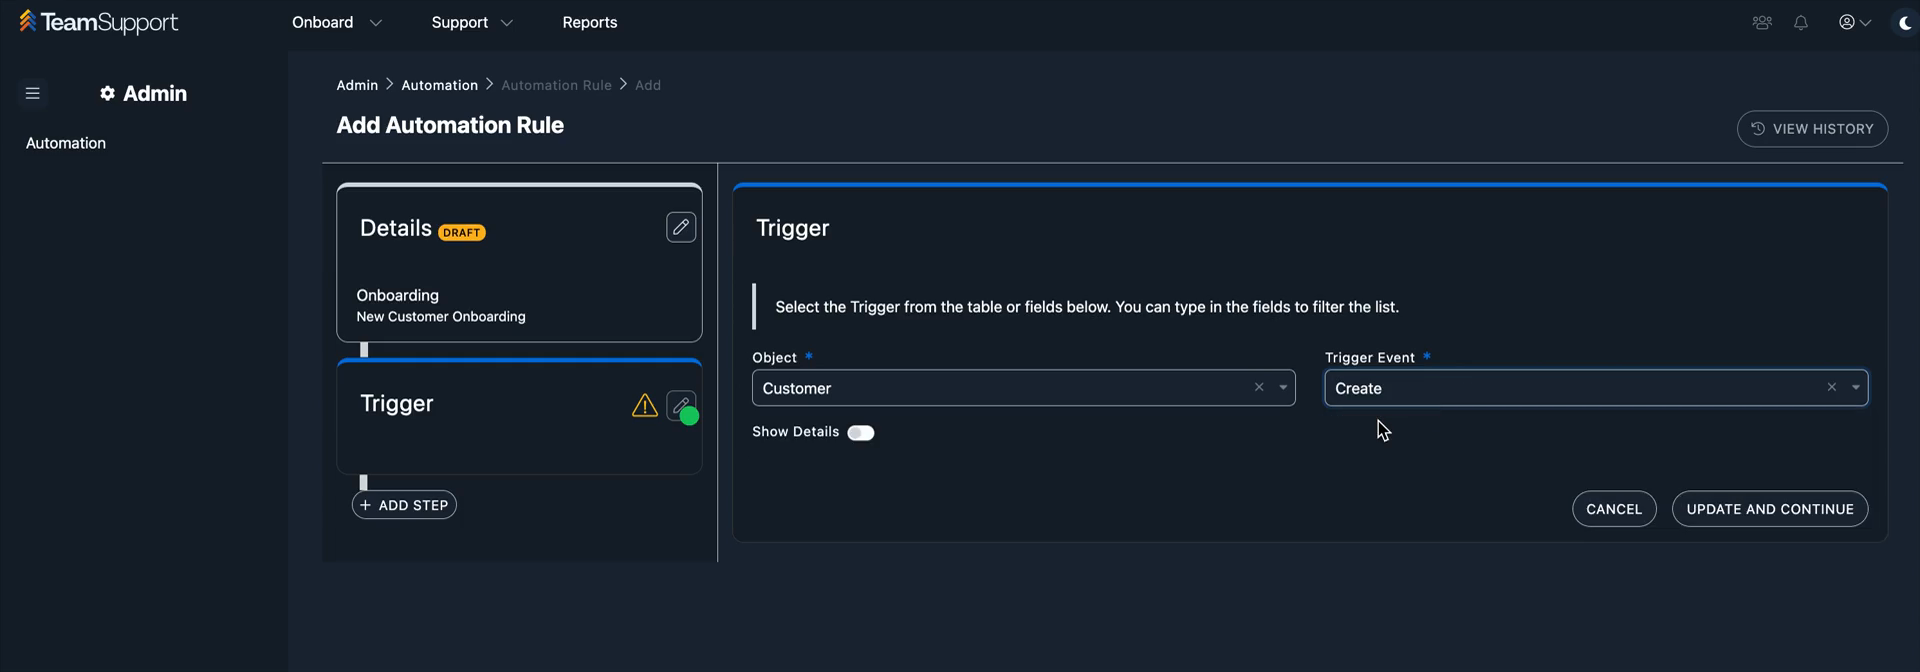
This use case applies when a new customer is added to team support. The goal is to automatically enroll them in an onboarding playbook.
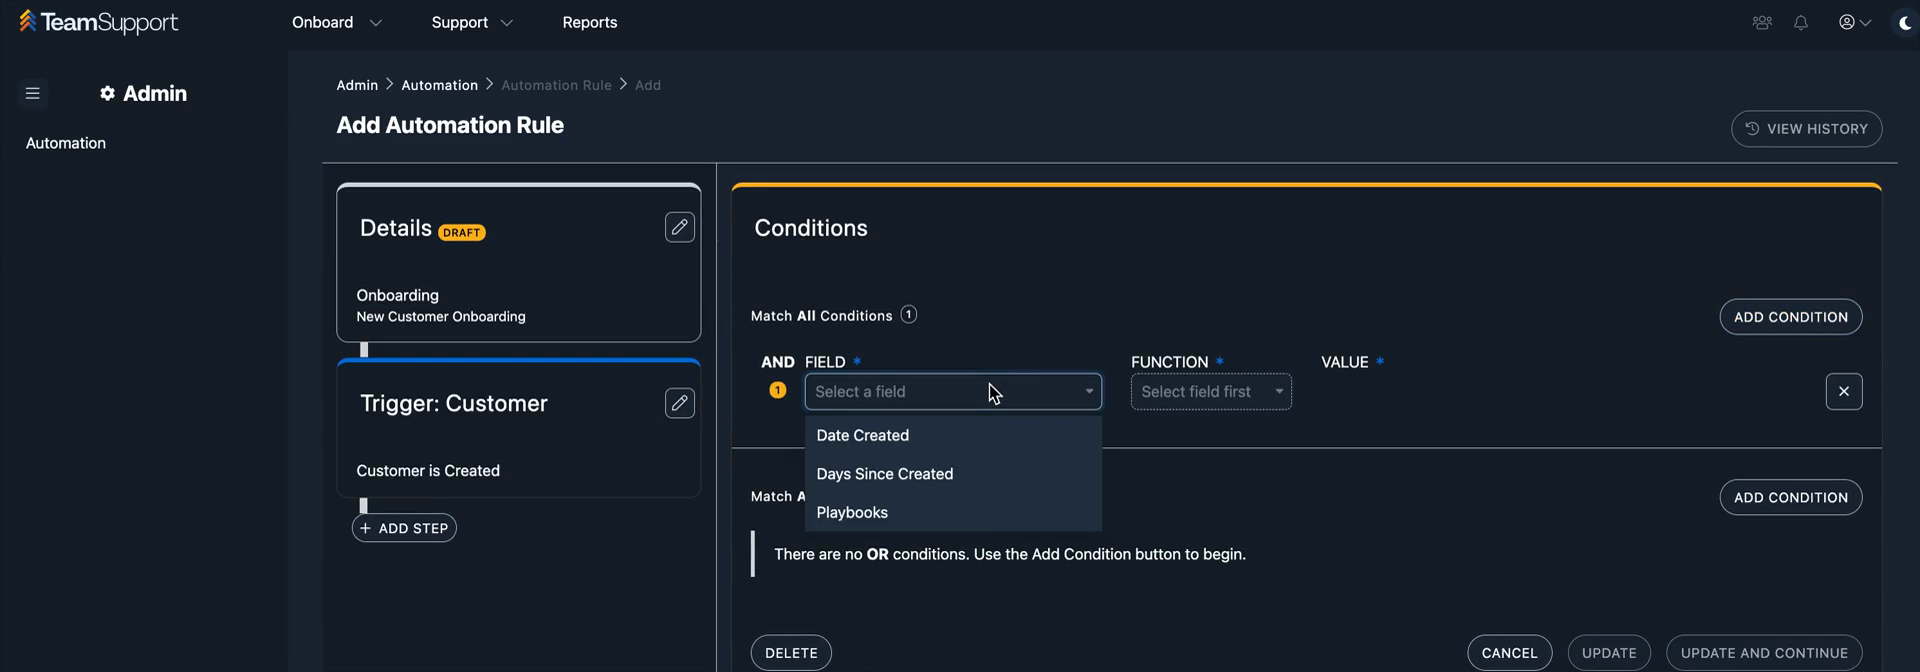
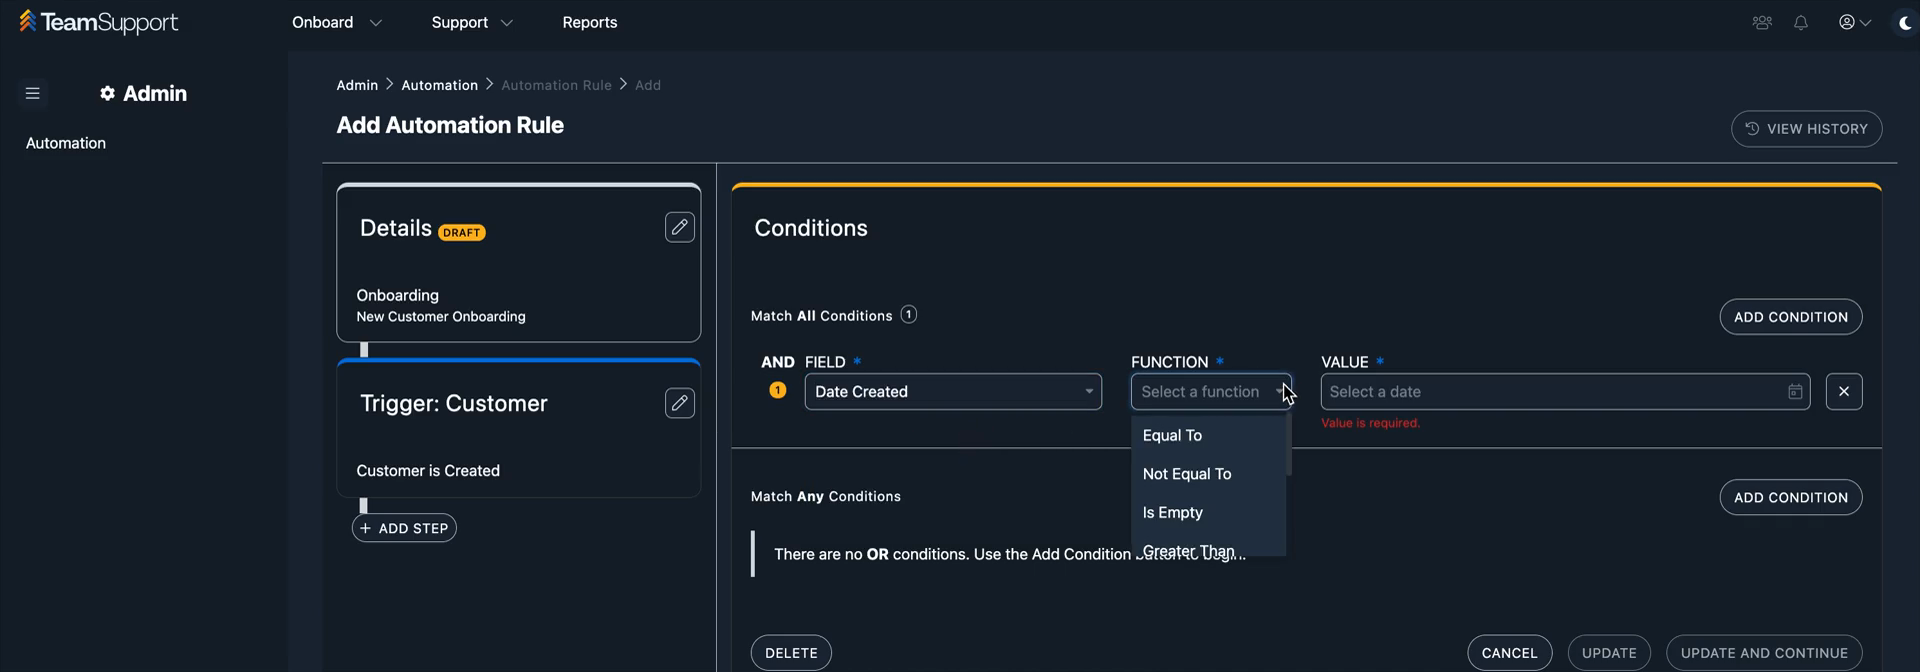
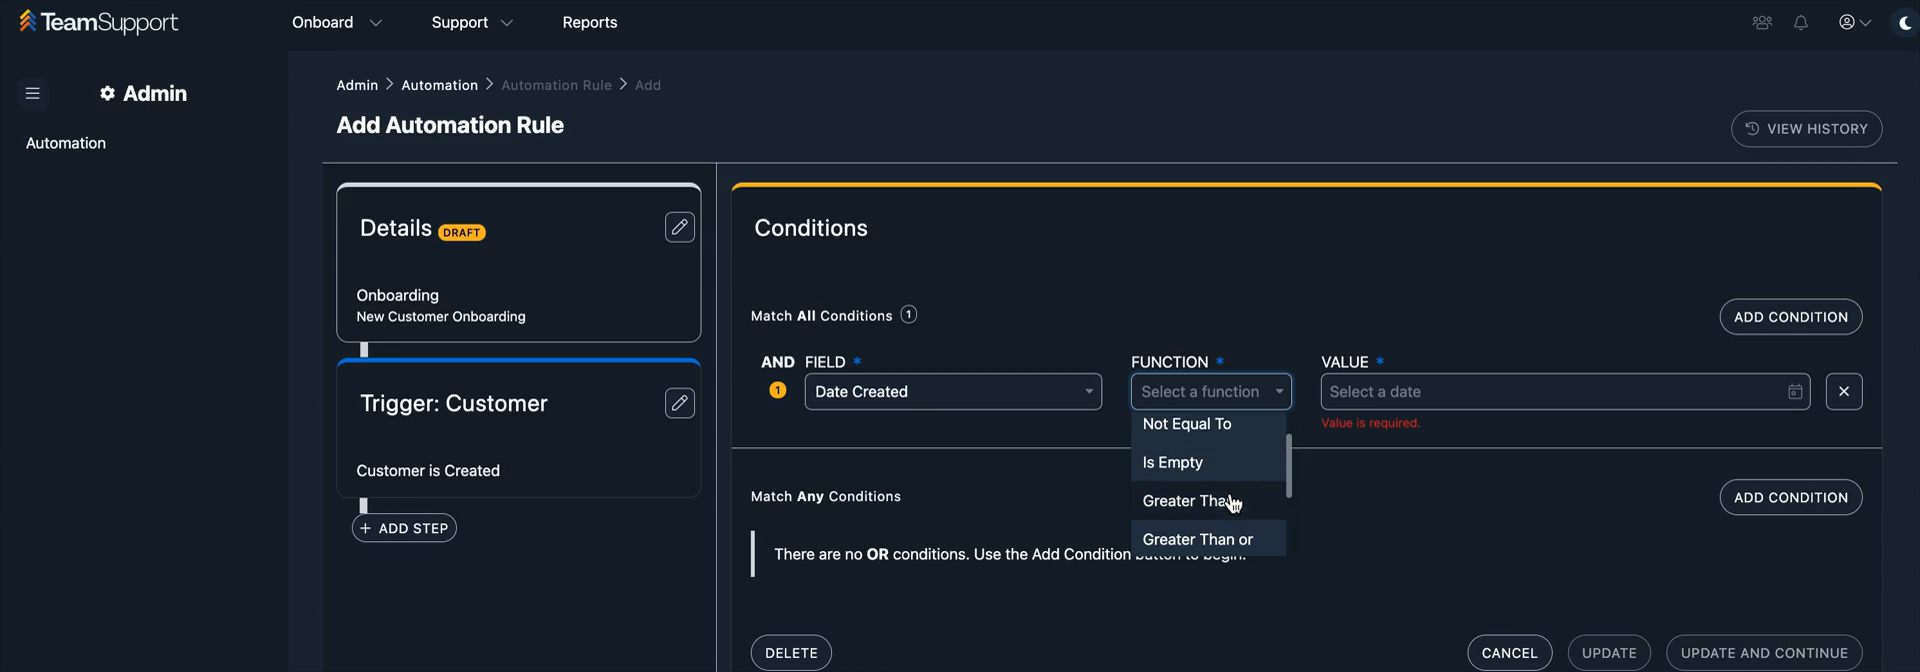
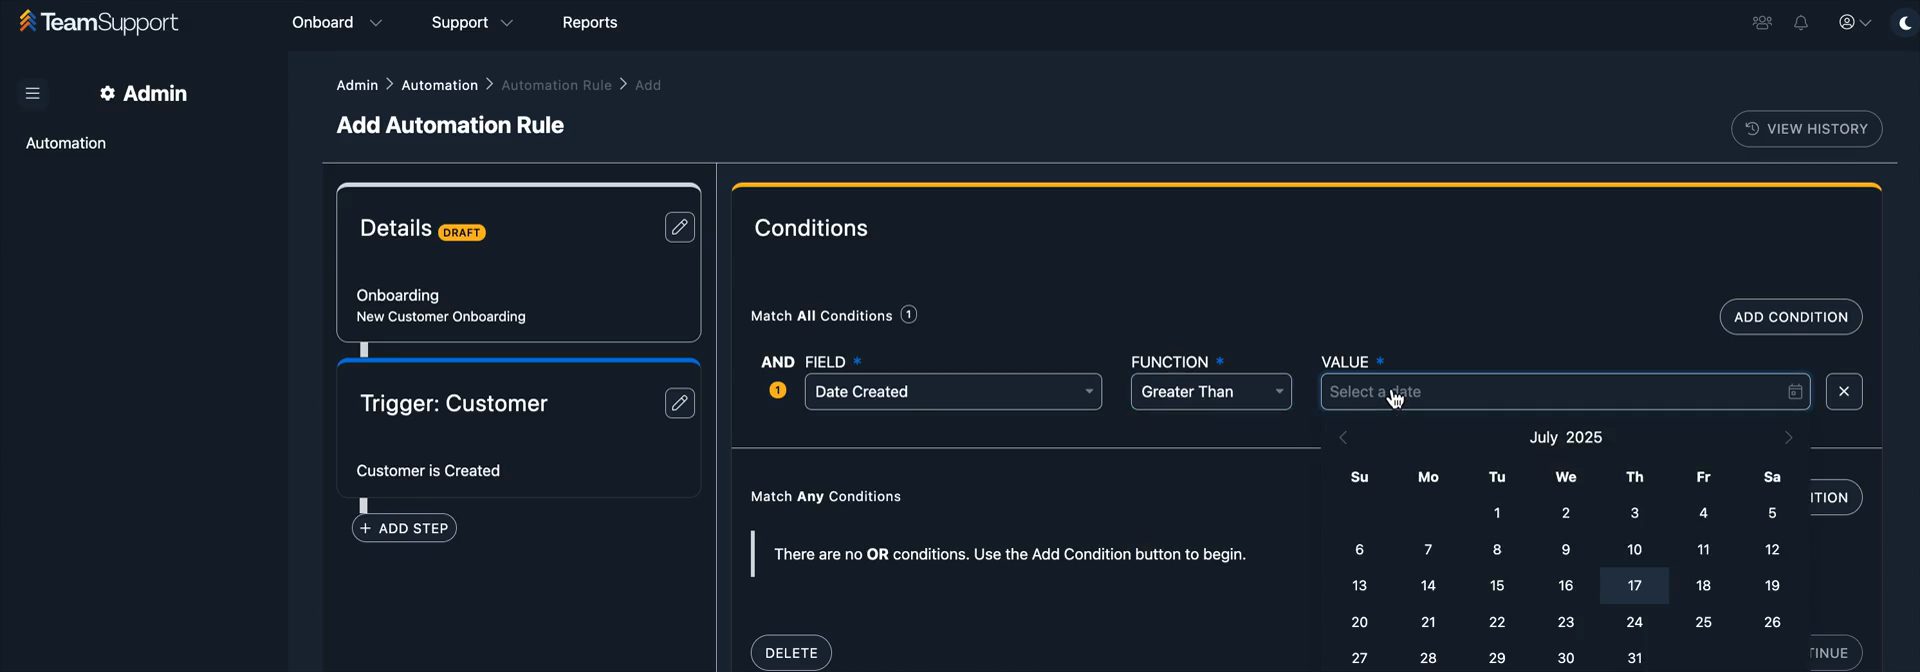
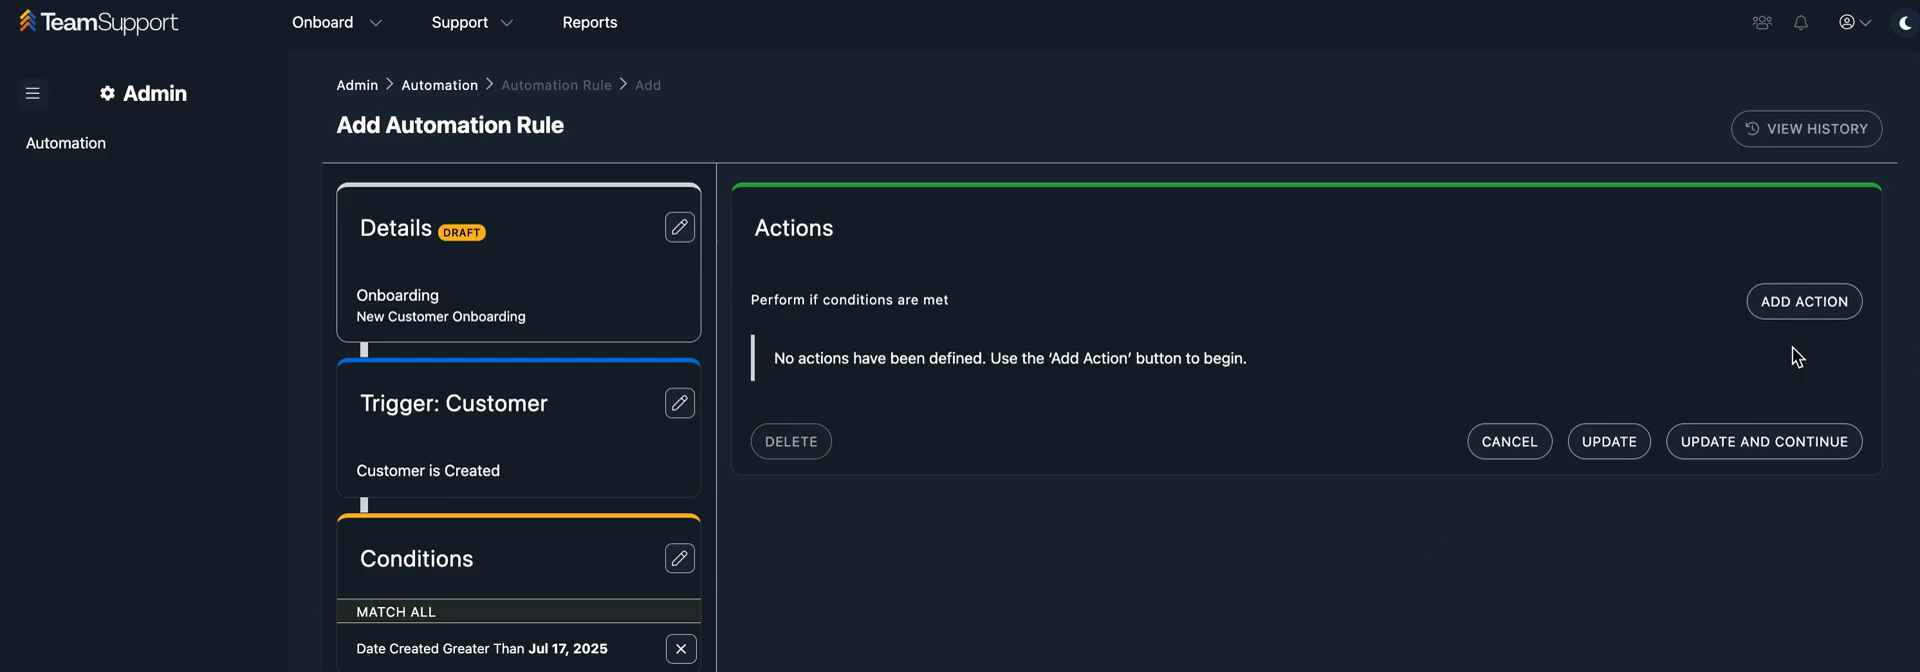
Conditions are filtered by the object, which is currently customers. For example, you can set "date created" to be greater than today's date.
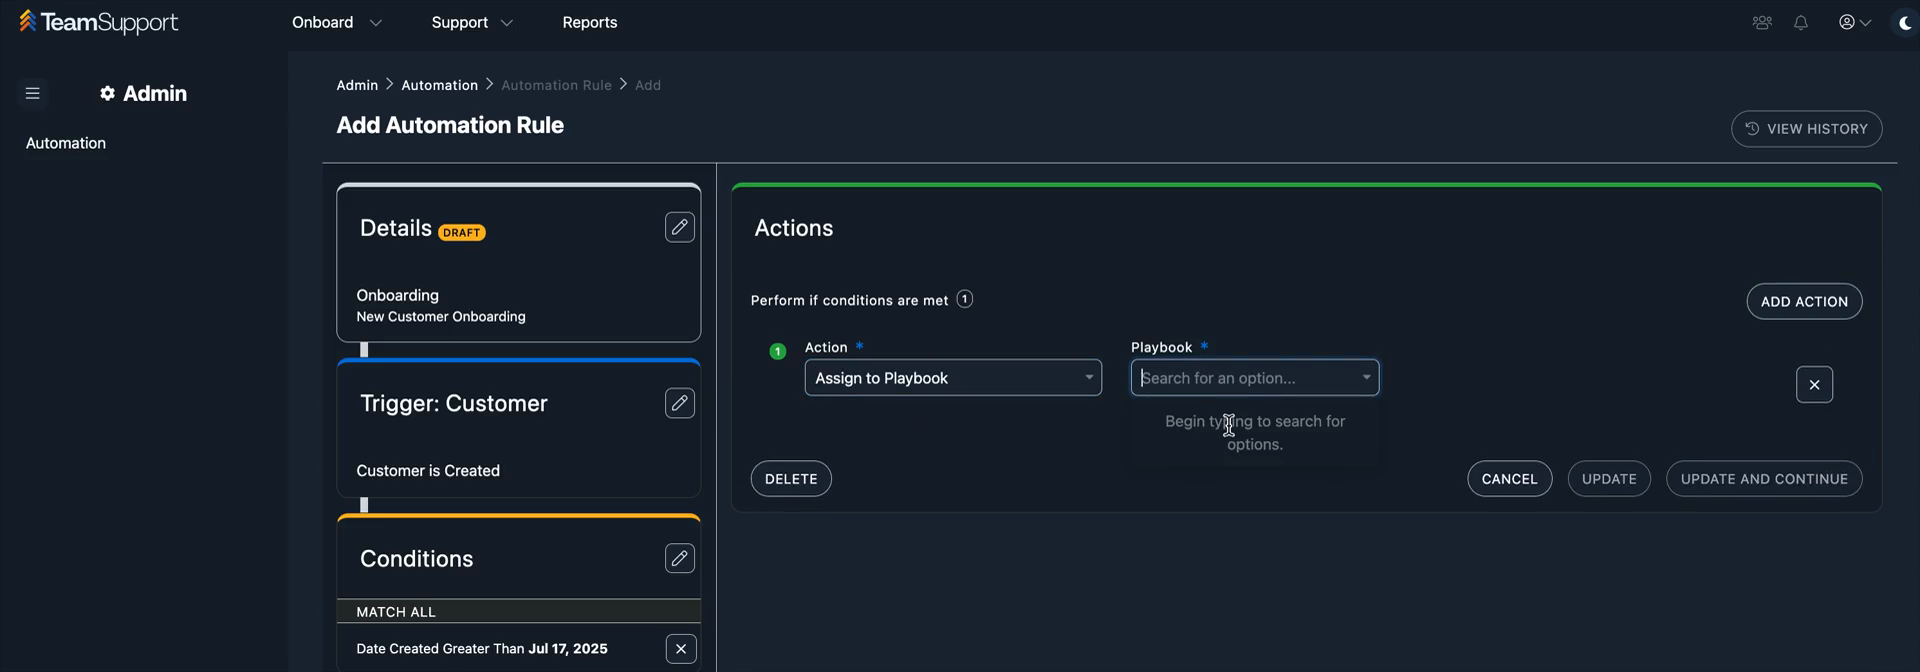
You can add an action to assign them to a playbook.
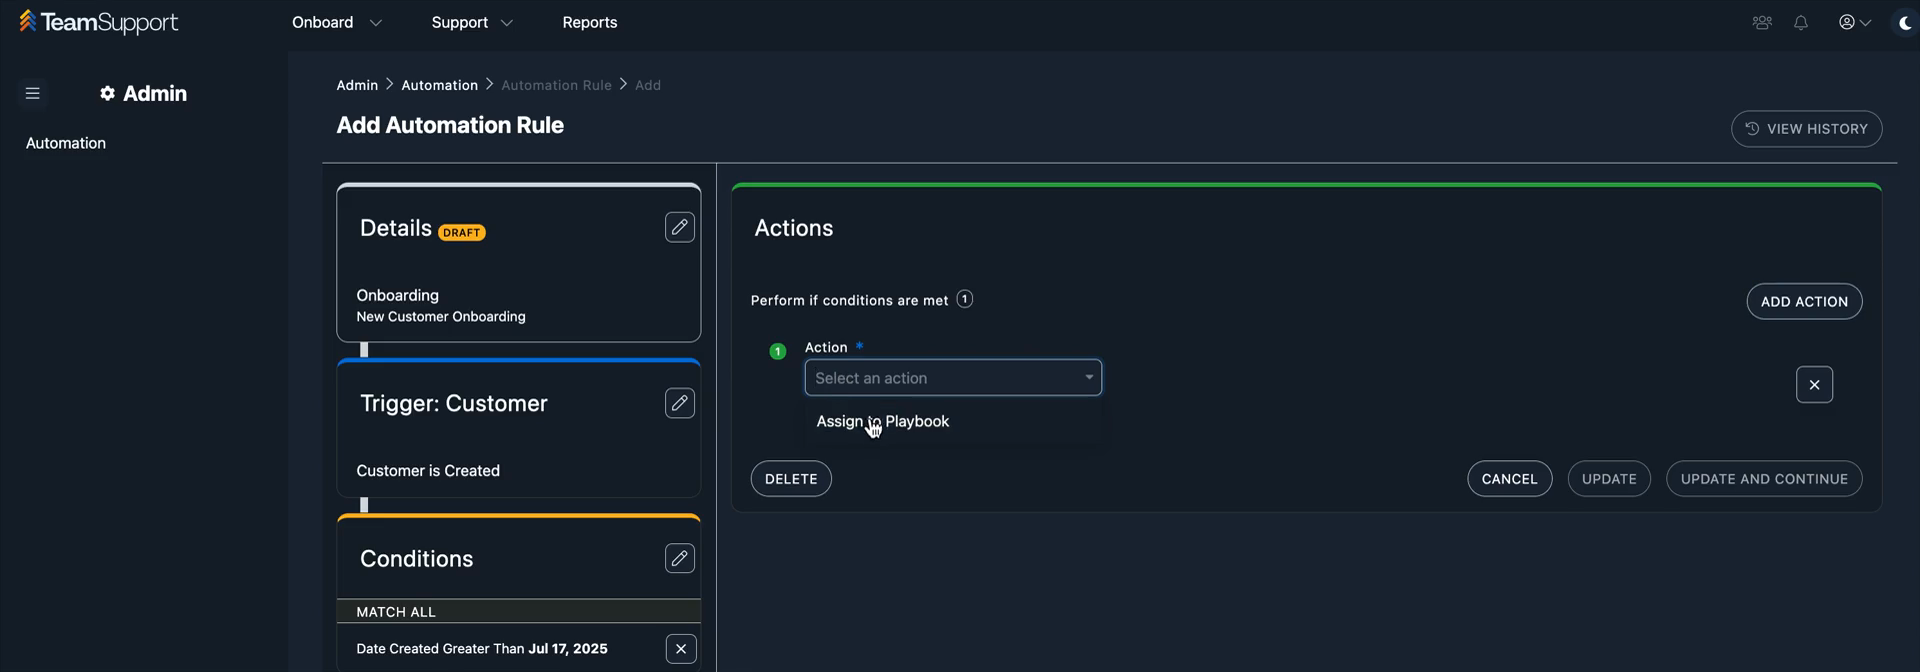
Any playbooks you have configured will appear in the dropdown menu.
This is an event-based platform.
It will work with new customers, mainly outside of team support. It will work with the import tool. It will work with CRM integrations. Check the PR FAQ for more information on positioning and how it helps us strategically with our ICP.