Introducing Super 3.0: New Features and Improved Site Management
Discover the latest updates in Super 3.0, including a revamped Site Overview, enhanced site management tools, the new Zap Bar, and improved domain settings. Learn how these features make managing your site easier and more efficient.
In this guide, we'll learn how to navigate and manage your site using the new features in Super 3.0. You will see how to use the updated Site Overview page, switch between card and list views, and use the search bar to find your sites quickly.
We will also cover how to edit your site, update site details, and manage site status. The guide will introduce the new Zap Bar for accessing site settings, changing the site language, and managing domains.
Let's get started
Hello. This is Cam. Welcome to Super 3.0.
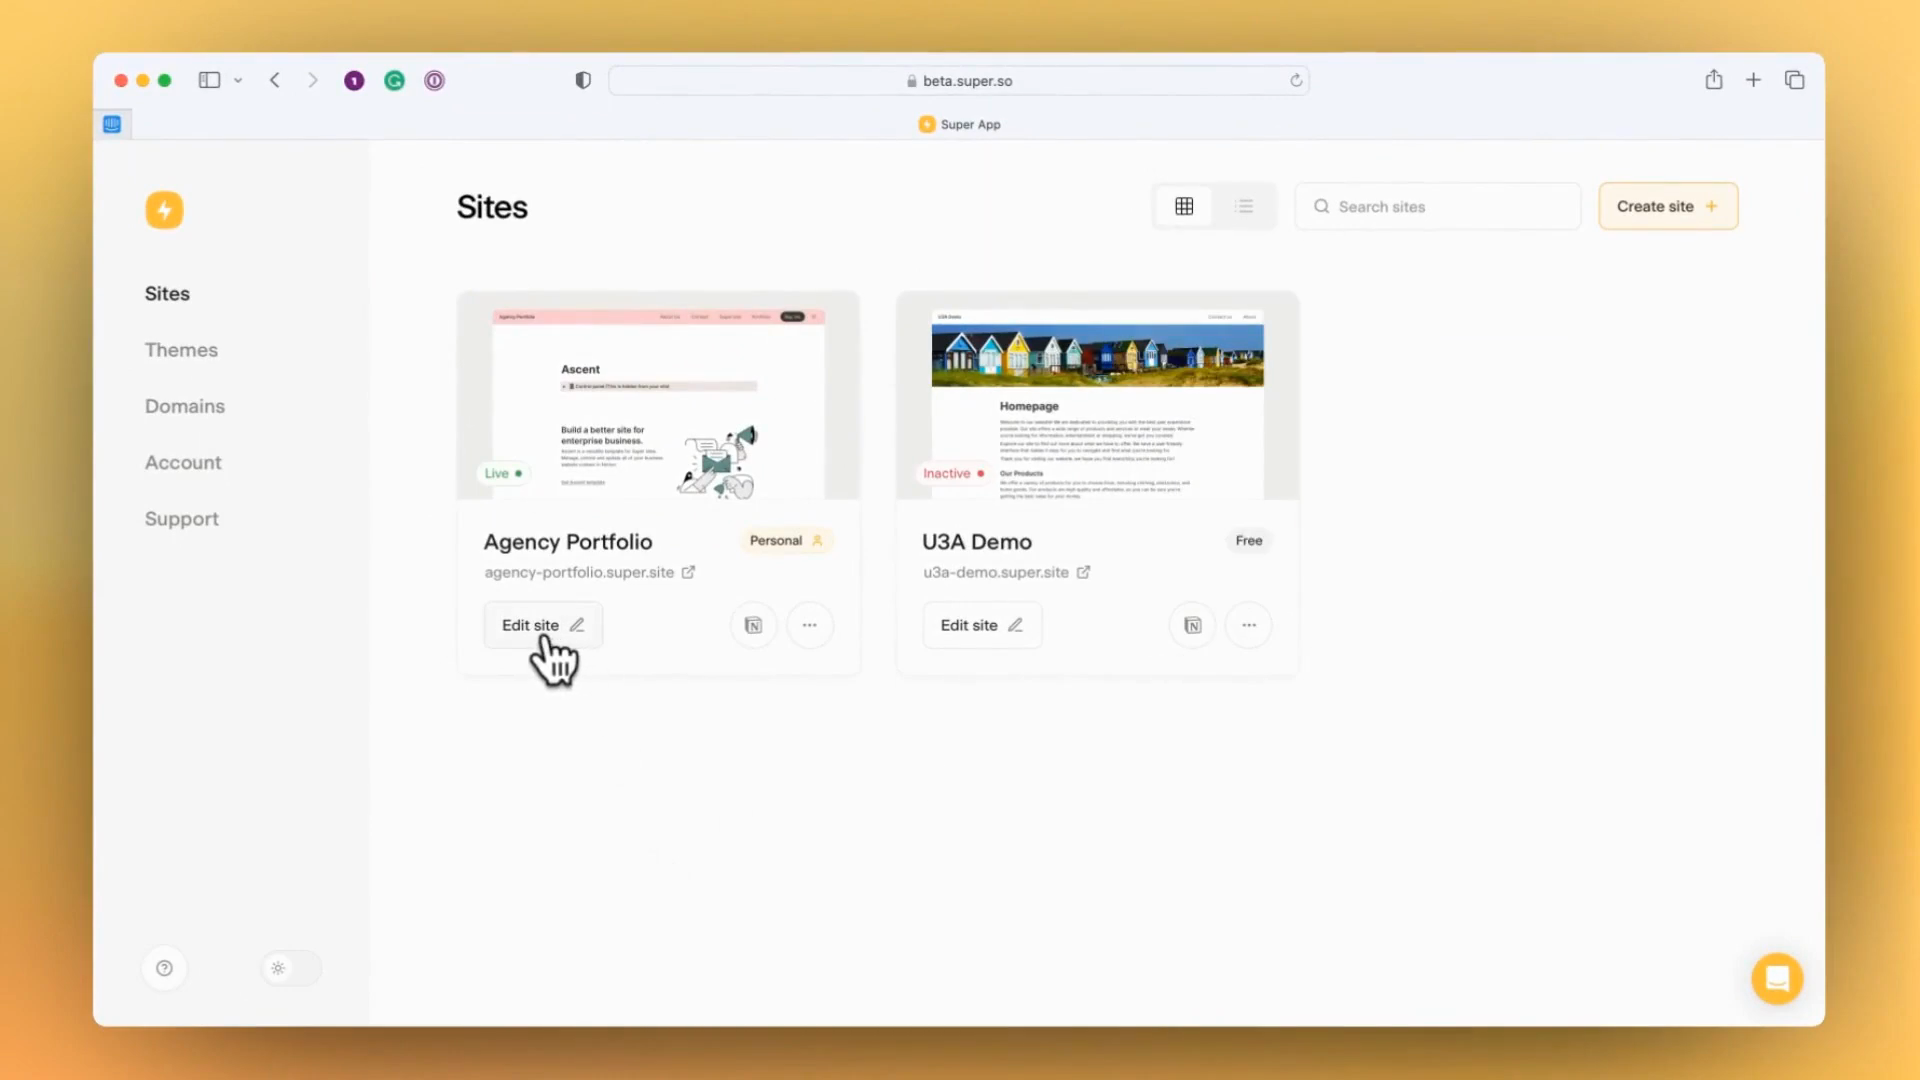
I'm excited to show you the changes in this major release and help you start managing your site in the new Super view. The Site Overview page has been updated. The layout is slightly different.
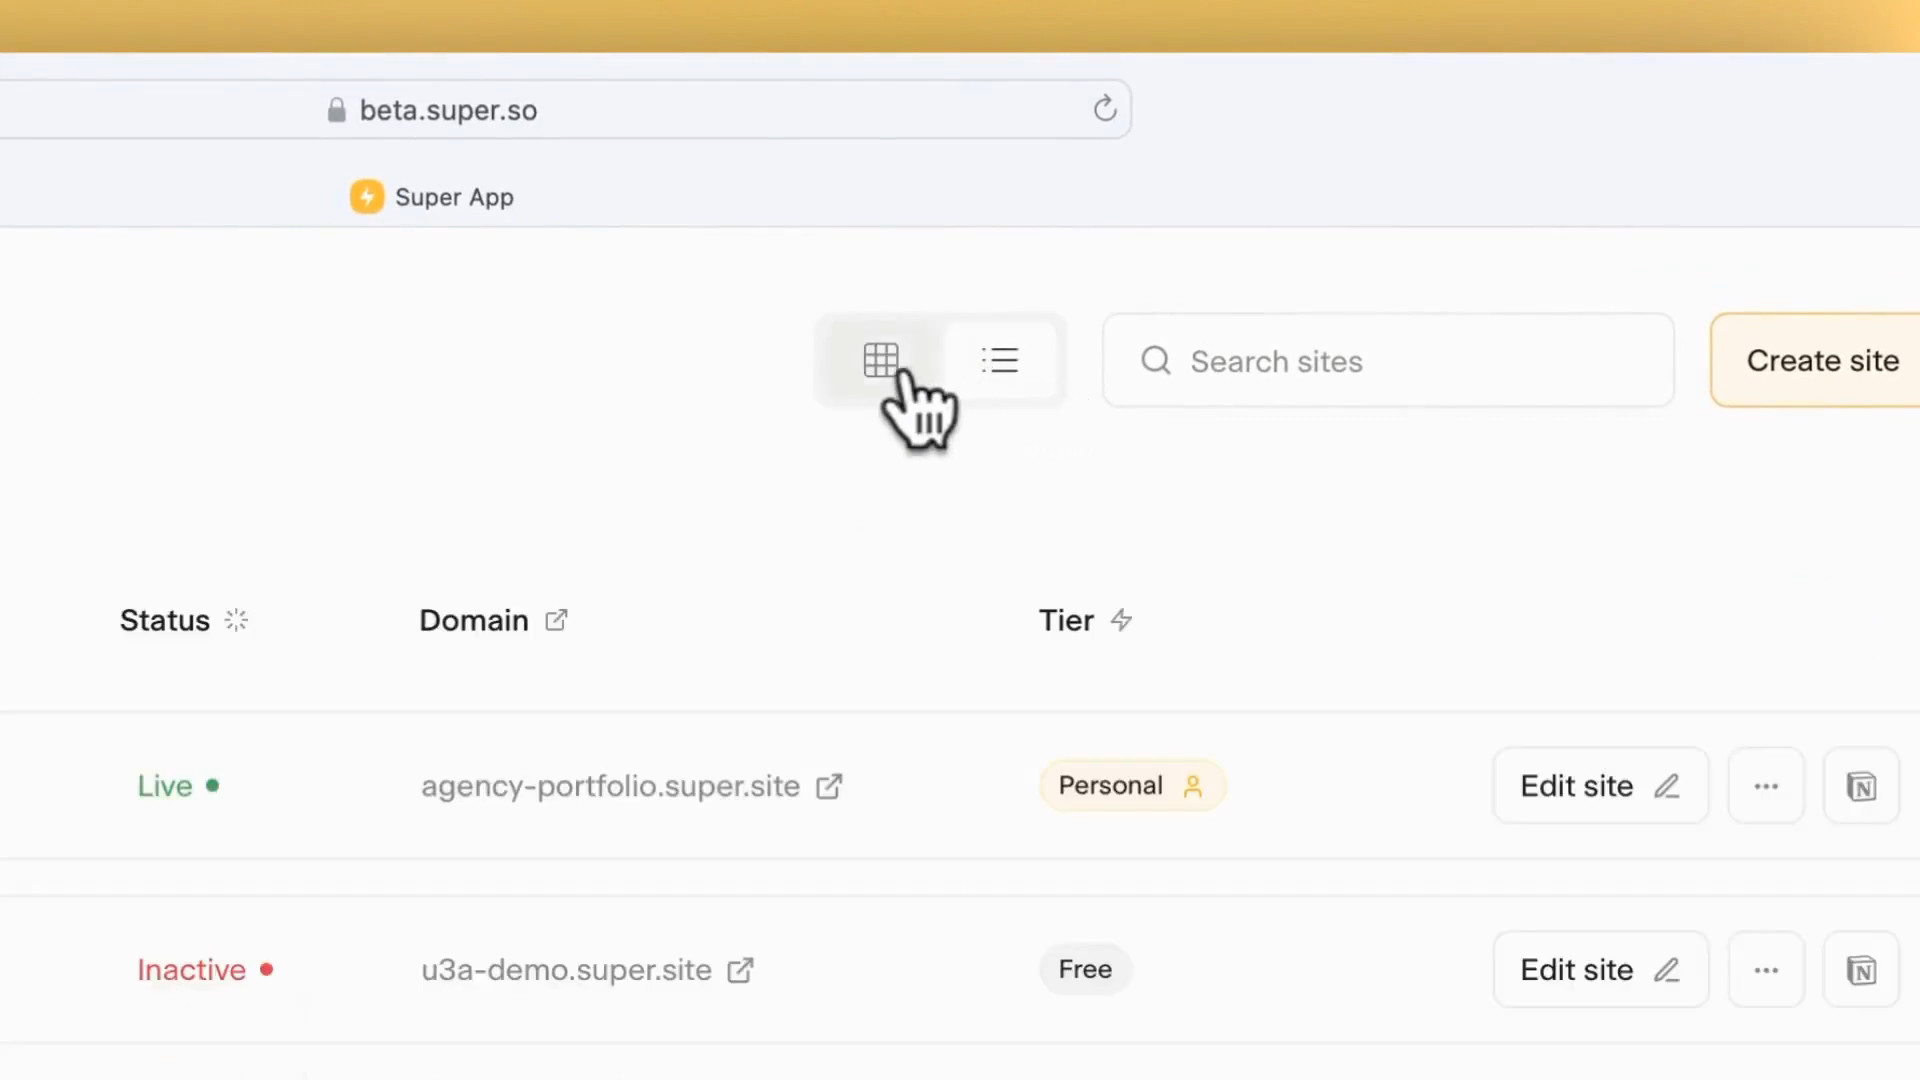
The sites are now shown as cards, but you can switch to list view. This is helpful if you have many sites.
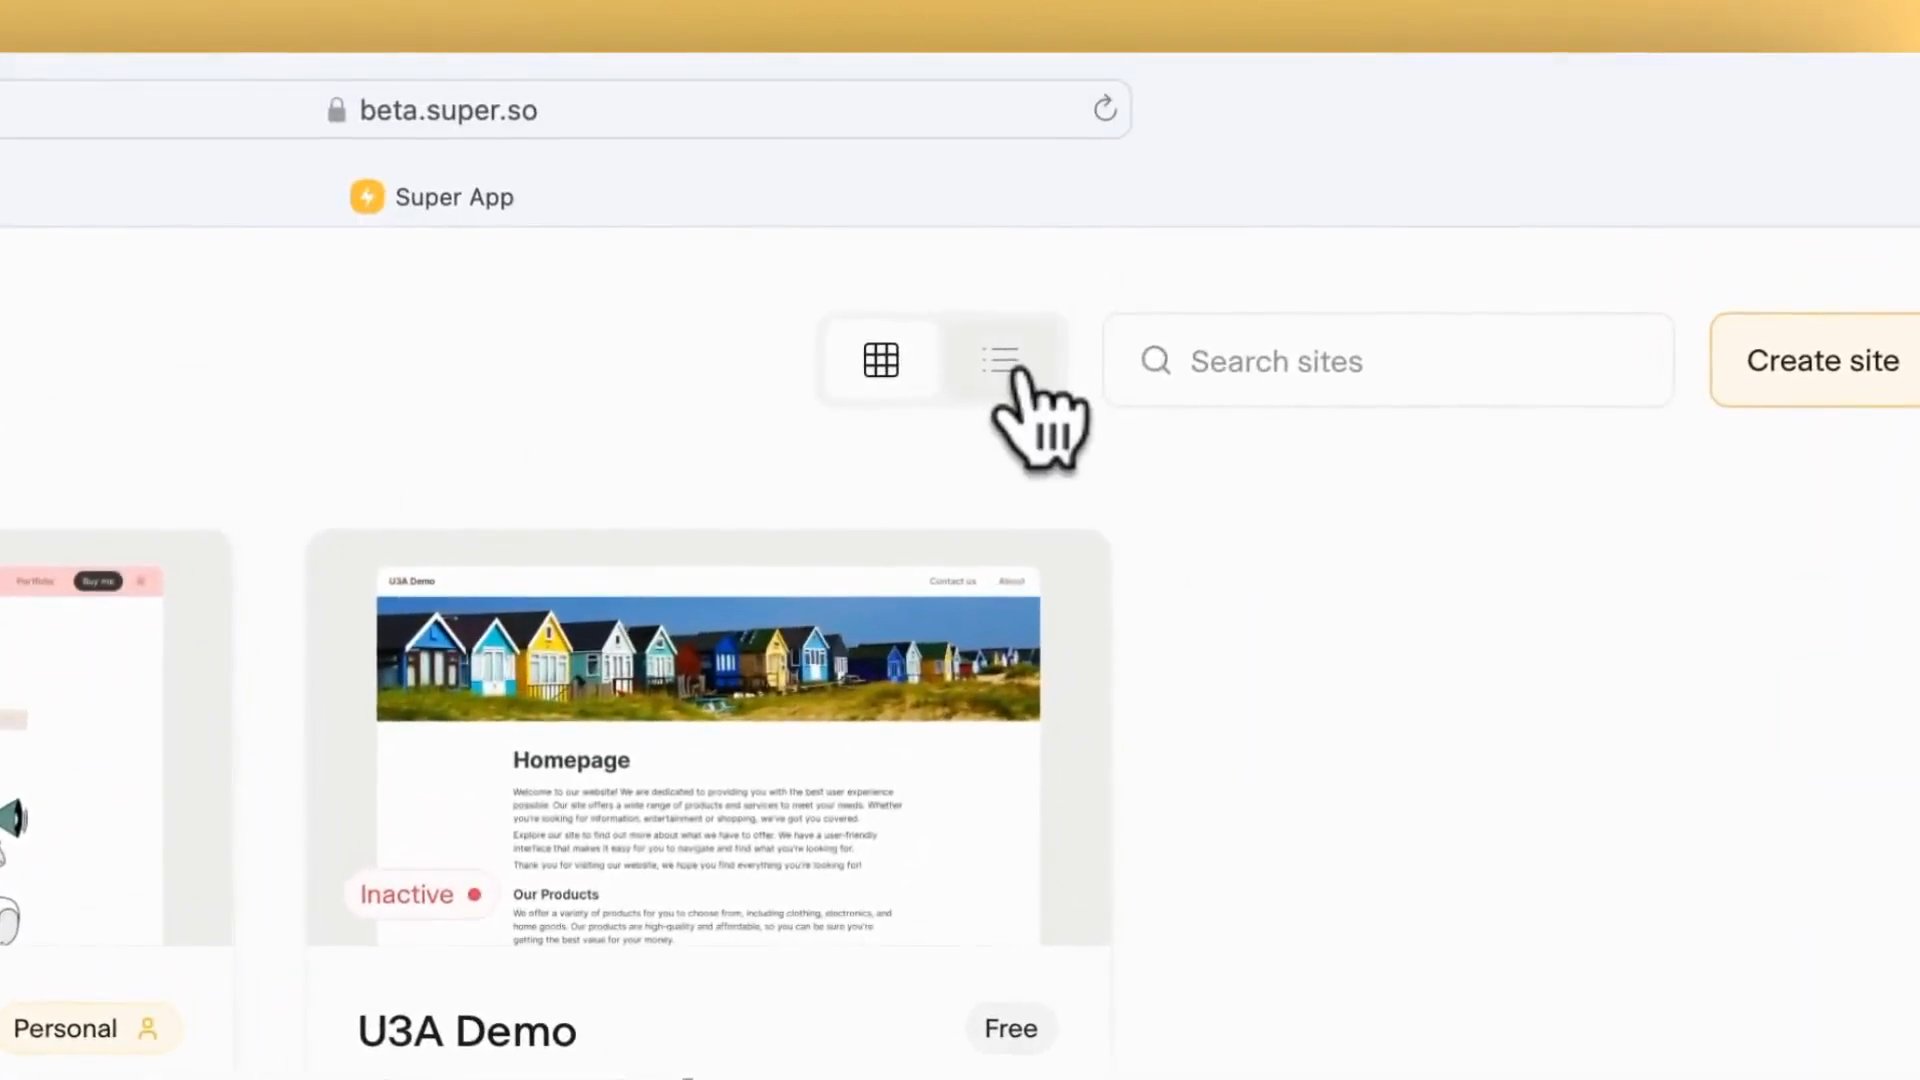
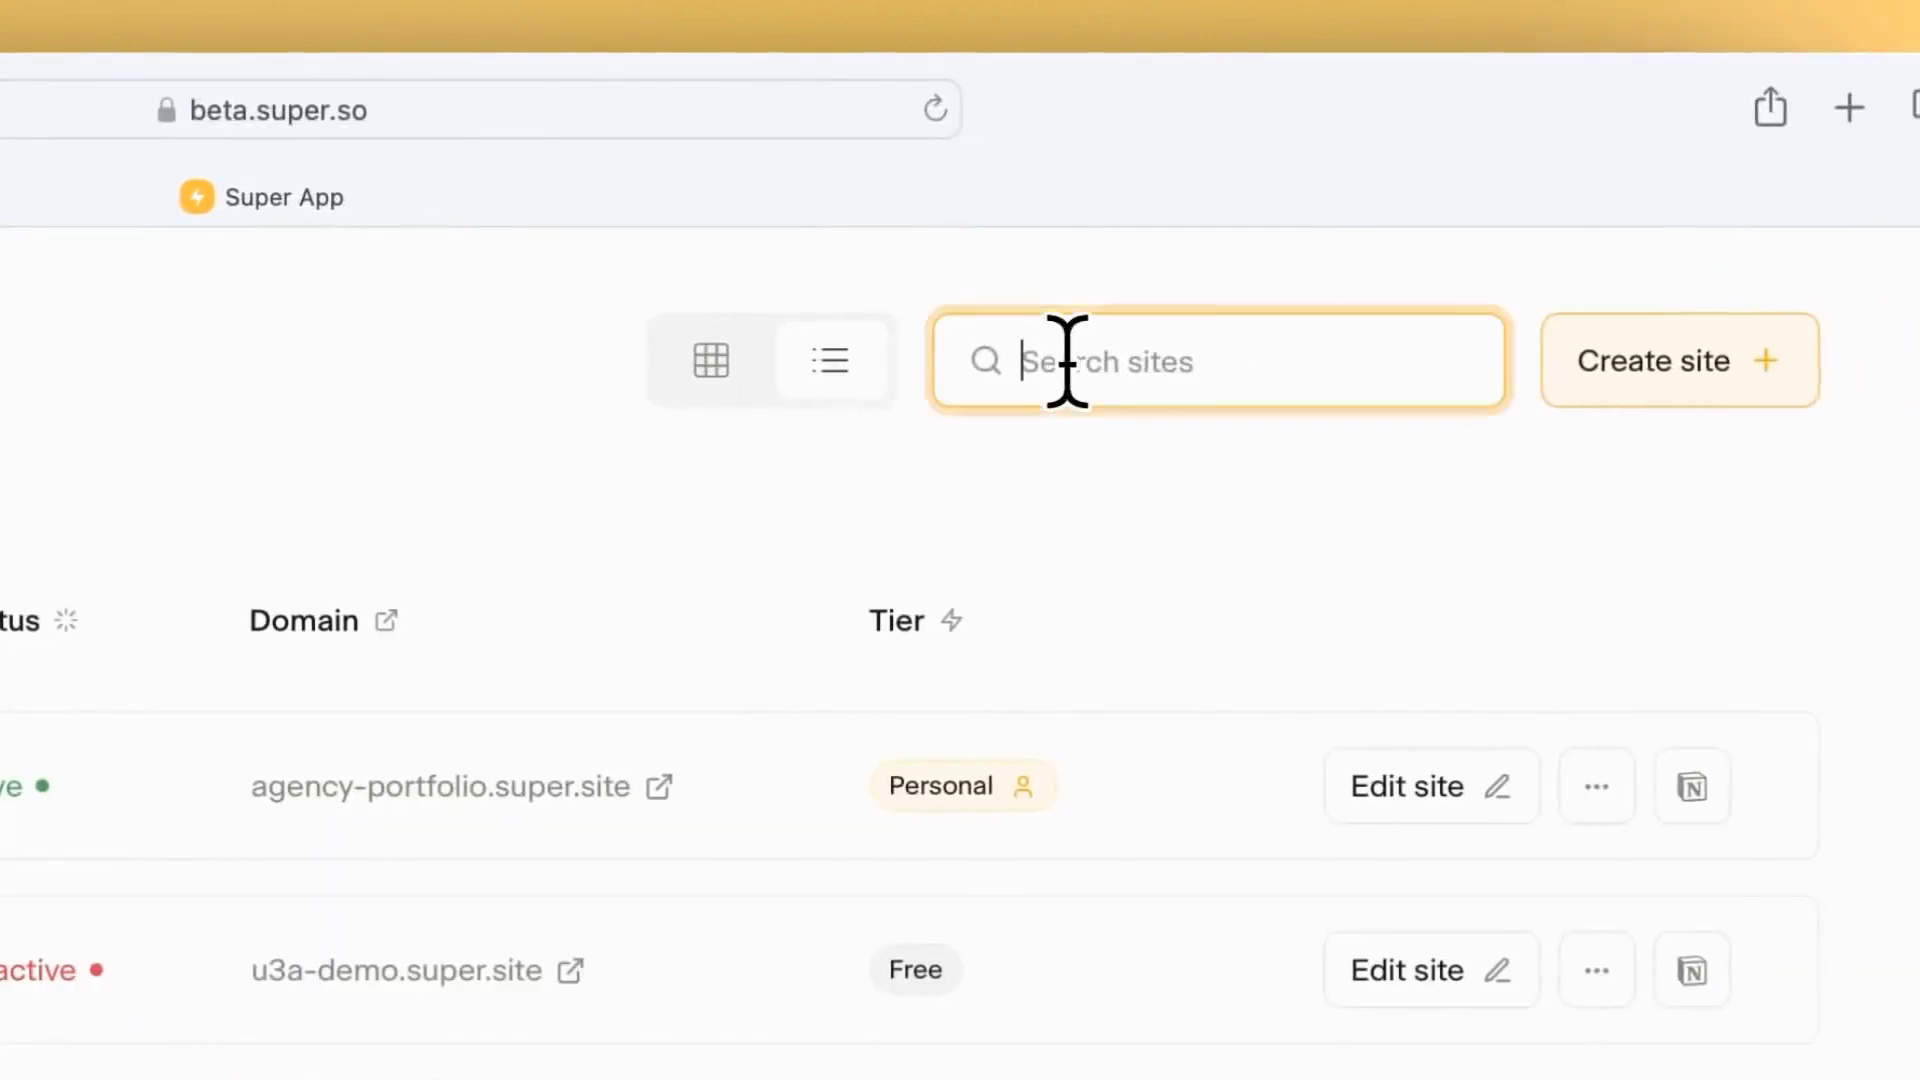
The search bar lets you quickly find sites, so you can manage your site and edit pages or details efficiently.

You can also edit the site from the site page.

You can also view the Notion page. You can update a site.
You can now take a site live or offline, which was not possible before.
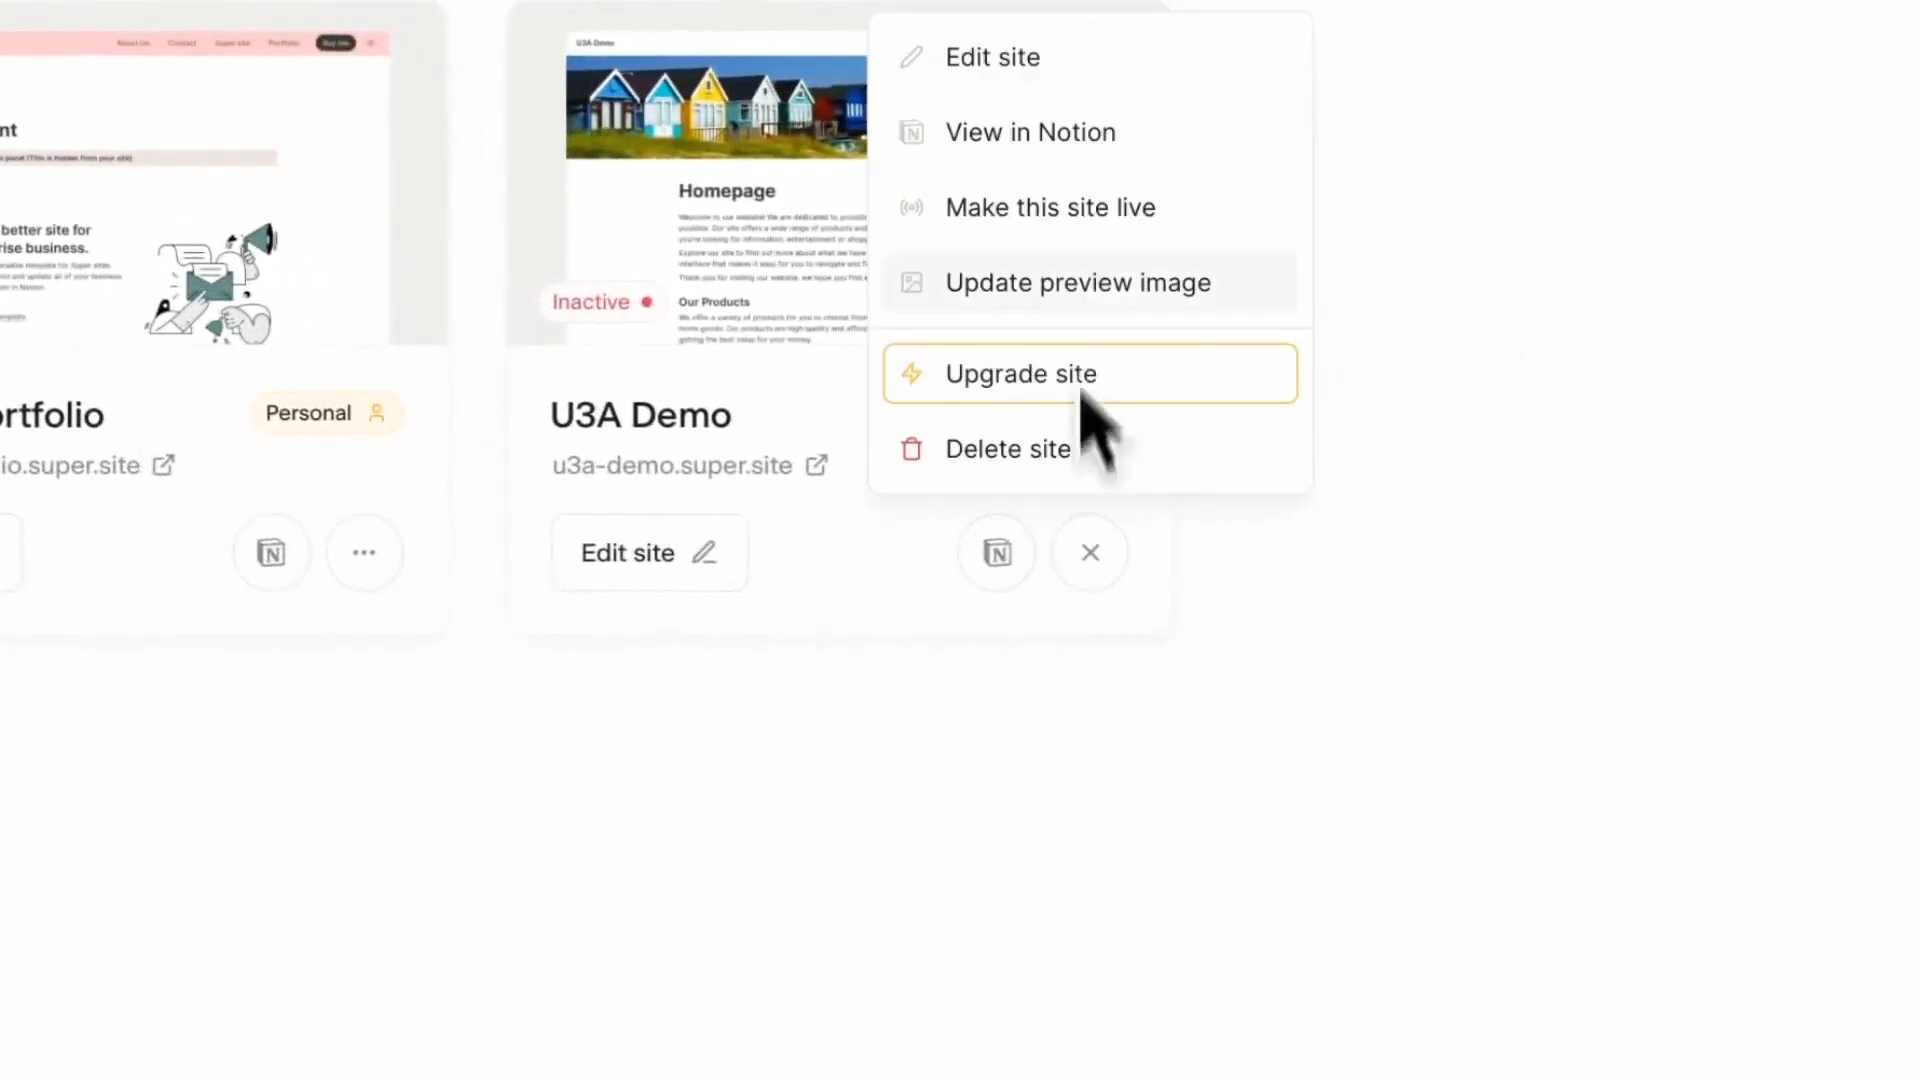
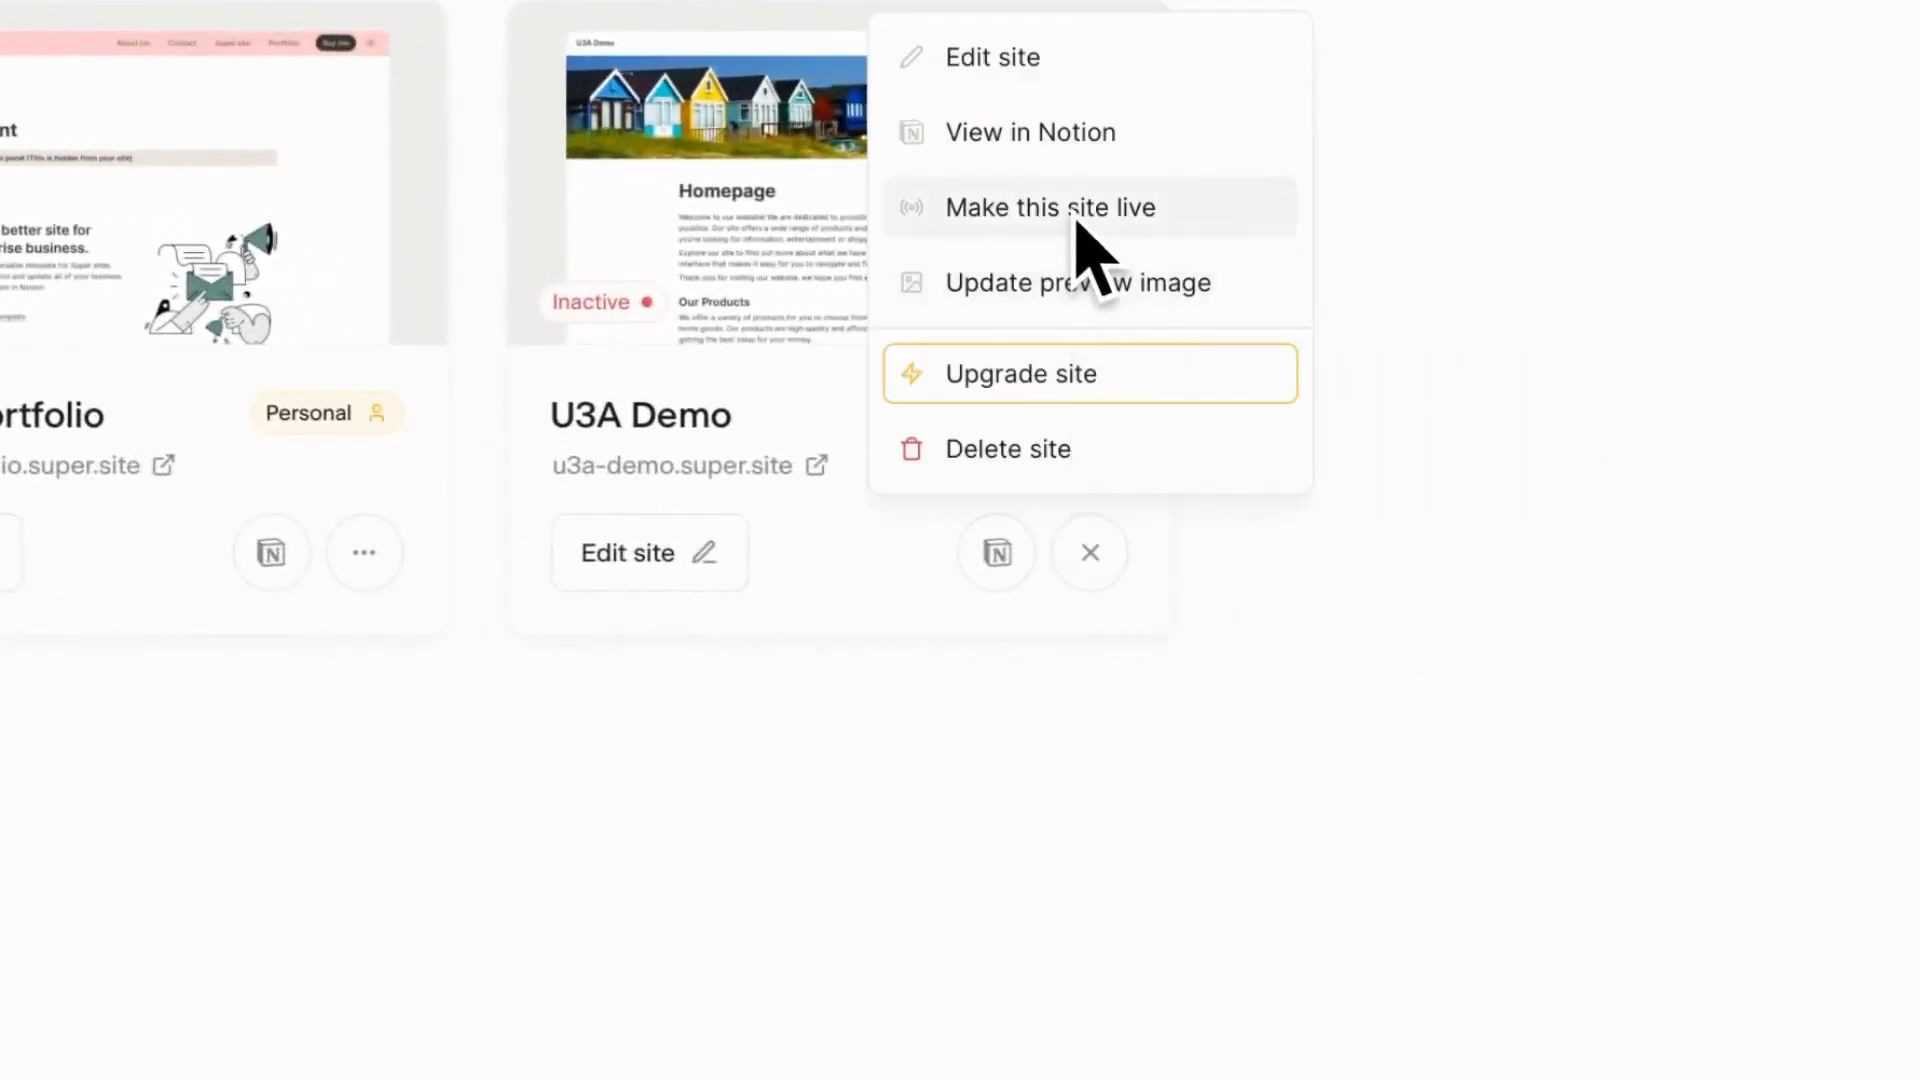
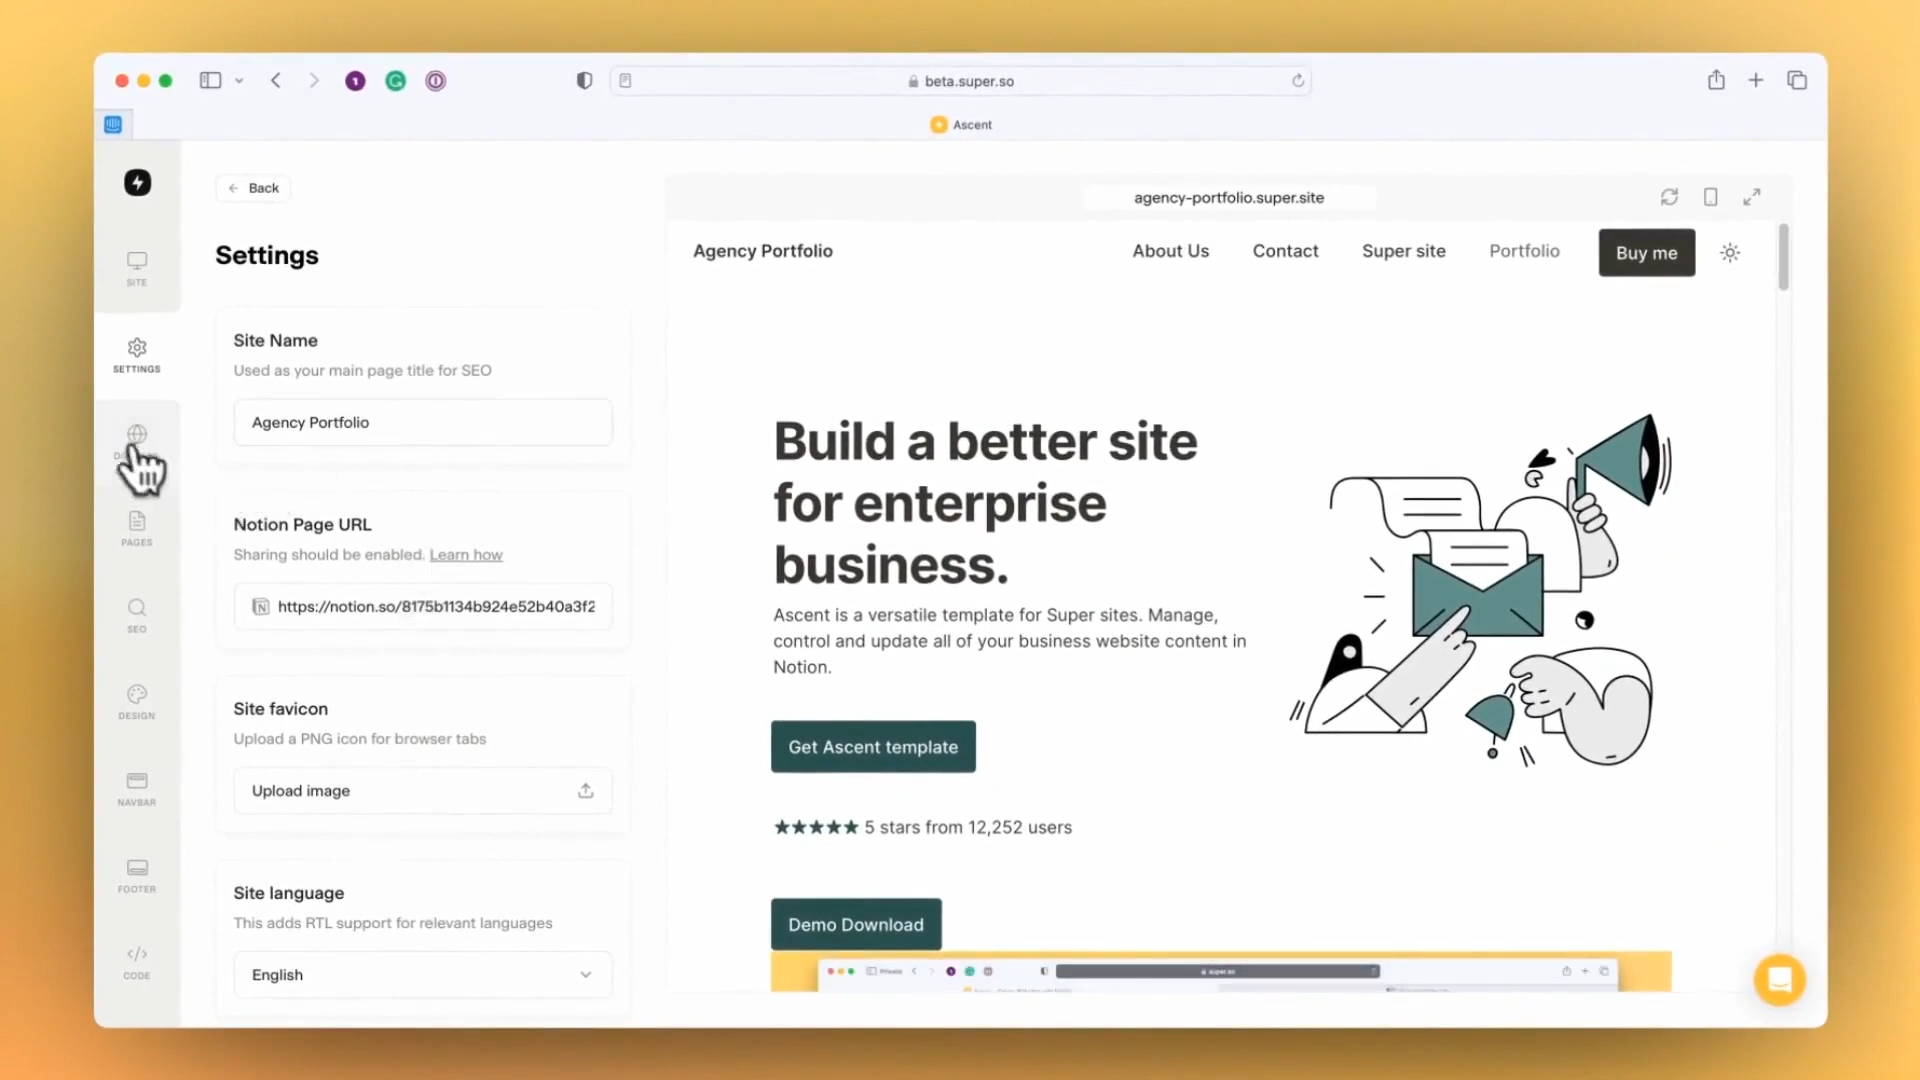
Most changes appear in the Edit Site dashboard.
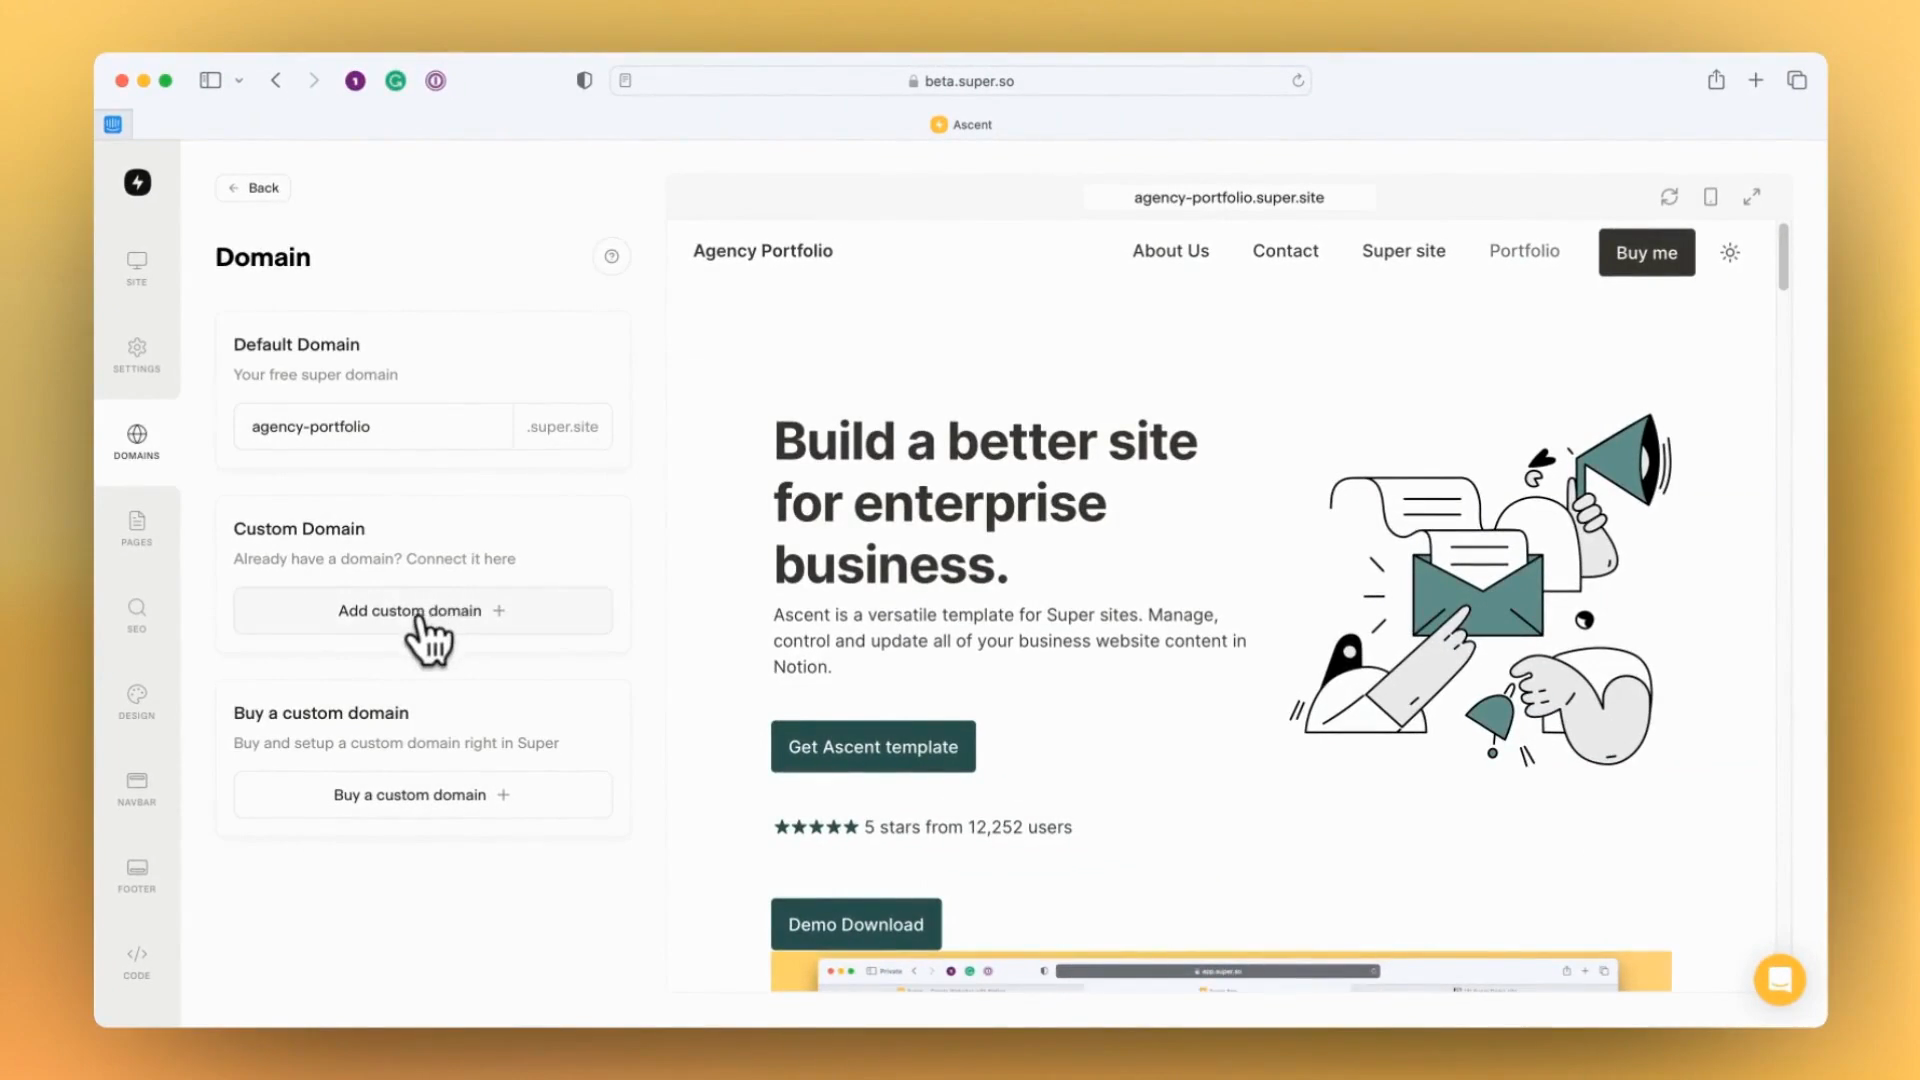
If we go in, I'll quickly show you some of the changes. We have a new navigation bar on the side called the Zap Bar. In the Zap Bar, you can manage the site and view site settings. Here, you can set the favicon, site language, and site name.
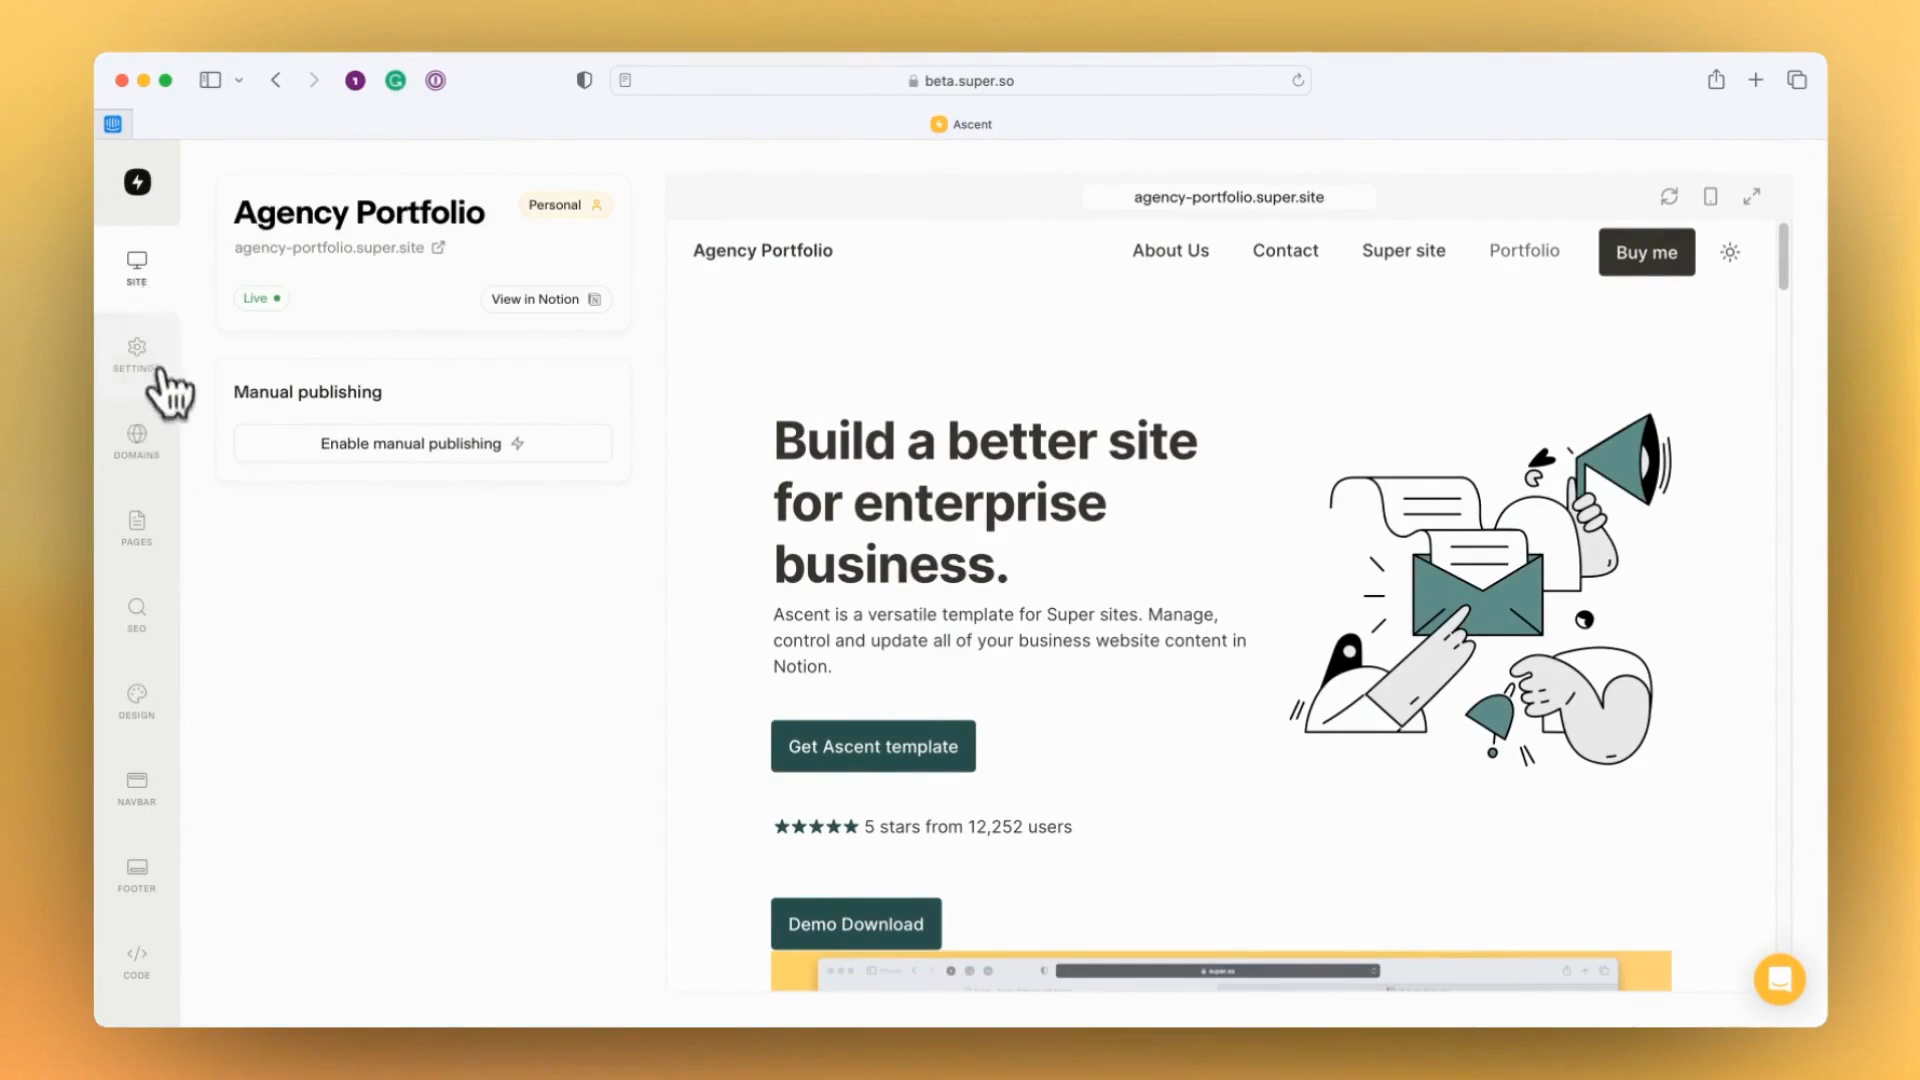
We have a domain panel for managing the default Super.site domain and connecting custom domains.