
Introducing the Digital Daily Transactions Log
Explore the new digital version of the Daily Transactions Log, a significant improvement over the traditional paper version. Learn how to efficiently manage and record financial transactions with ease.
In this guide, we'll learn how to navigate and utilize the new digital Daily Transactions Log, which replaces the traditional paper-based daily financial sheets. This transition aims to streamline the process of recording and managing financial transactions, making it more efficient and accessible. We'll cover how to fill out the required fields, select payment methods, and categorize payment purposes. Additionally, we'll explore how to handle customer information and ensure accurate data entry into QuickBooks. This guide will help you adapt to the new system and make the most of its features.
Let's get started
Greetings! The daily financial sheets are now digitized. They have been remade entirely in order to create a significant improvement over the paper version we've used for years.
I've renamed it the Daily Transactions Log

You'll find a bookmark in the Chrome browser near the Google Drive bookmark, top left corner. It will bring you here, and for every charge, you simply fill this out and submit it.

Recording a Financial Transaction
You need to make one submission for each charge. I'll guide you through it a couple of times. First, note that a red asterisk indicates a required field.

Transaction date: we should enter the payment date here. Usually, this is the same day you're processing it. However, if you're handling a reservation made online the previous night, enter that prior date. To show an example, let's say we're recording a deposit that had come in last night. First, I'll click the little button beside of the date field:

The current day is April 17th, highlighted in blue for easy identification. However, I will select the 16th, which is right next to it.

Payment Method: You will see various payment methods listed here, similar to the receive payments section in QuickBooks.

Choose the option that matches what you're recording. Remember, the difference between CardPointe and Eviivo is where the charge originated. Eviivo transactions run through CardPointe, which is why we refer to CardPointe in QuickBooks memos. However, this is about the point of origin. If the charge came through Eviivo or was manually charged in Eviivo, select Eviivo. But if you used the virtual terminal manually through CardPointe, then choose CardPointe (Virtual Terminal).
For this example, I'll choose Eviivo.

Payment Purpose: The purpose of the payment is crucial as it determines the next steps.

I will choose "reservation deposit."

Customer Name: Please use the person's last name as it appears in QuickBooks.

Let's say this is Beltz (Fred Beltz). I'll just type his last name.

If you want to be an overachiever, you can add a comma, then the first name.
You can also use parentheses to mention that someone else is paying, but it's on Fred's account.
Example - I wrote it out like this, take a look:

This indicates that the payment on Fred Belt's QuickBooks account is being made by someone with the last name Moody. It's important to note this detail if someone else is paying on another's behalf. Otherwise, you can just use the last name.

Customer Type: Fred Beltz is a member, so I will select that option.

You can also choose "new guest," "repeat guest," or "other."


Reservations Section
Since I selected one of the reservation options under payment purposes, it directed us to the Reservations section.

We'll mark this reservation as for presidents by placing a check mark next to it.

Please note, you can check as many options as you want. For example, you can check Longfellow, and now both options are selected. Useful for when someone books multiple cabins!

Here, you can select the Check-in Date. Clicking on it will open a new window.

Let's say he is arriving on June 1st.


You can scroll to June 1st like that. Alternatively, click on the line and start typing.

Now, I'm going to click Next.

Payment Details Section
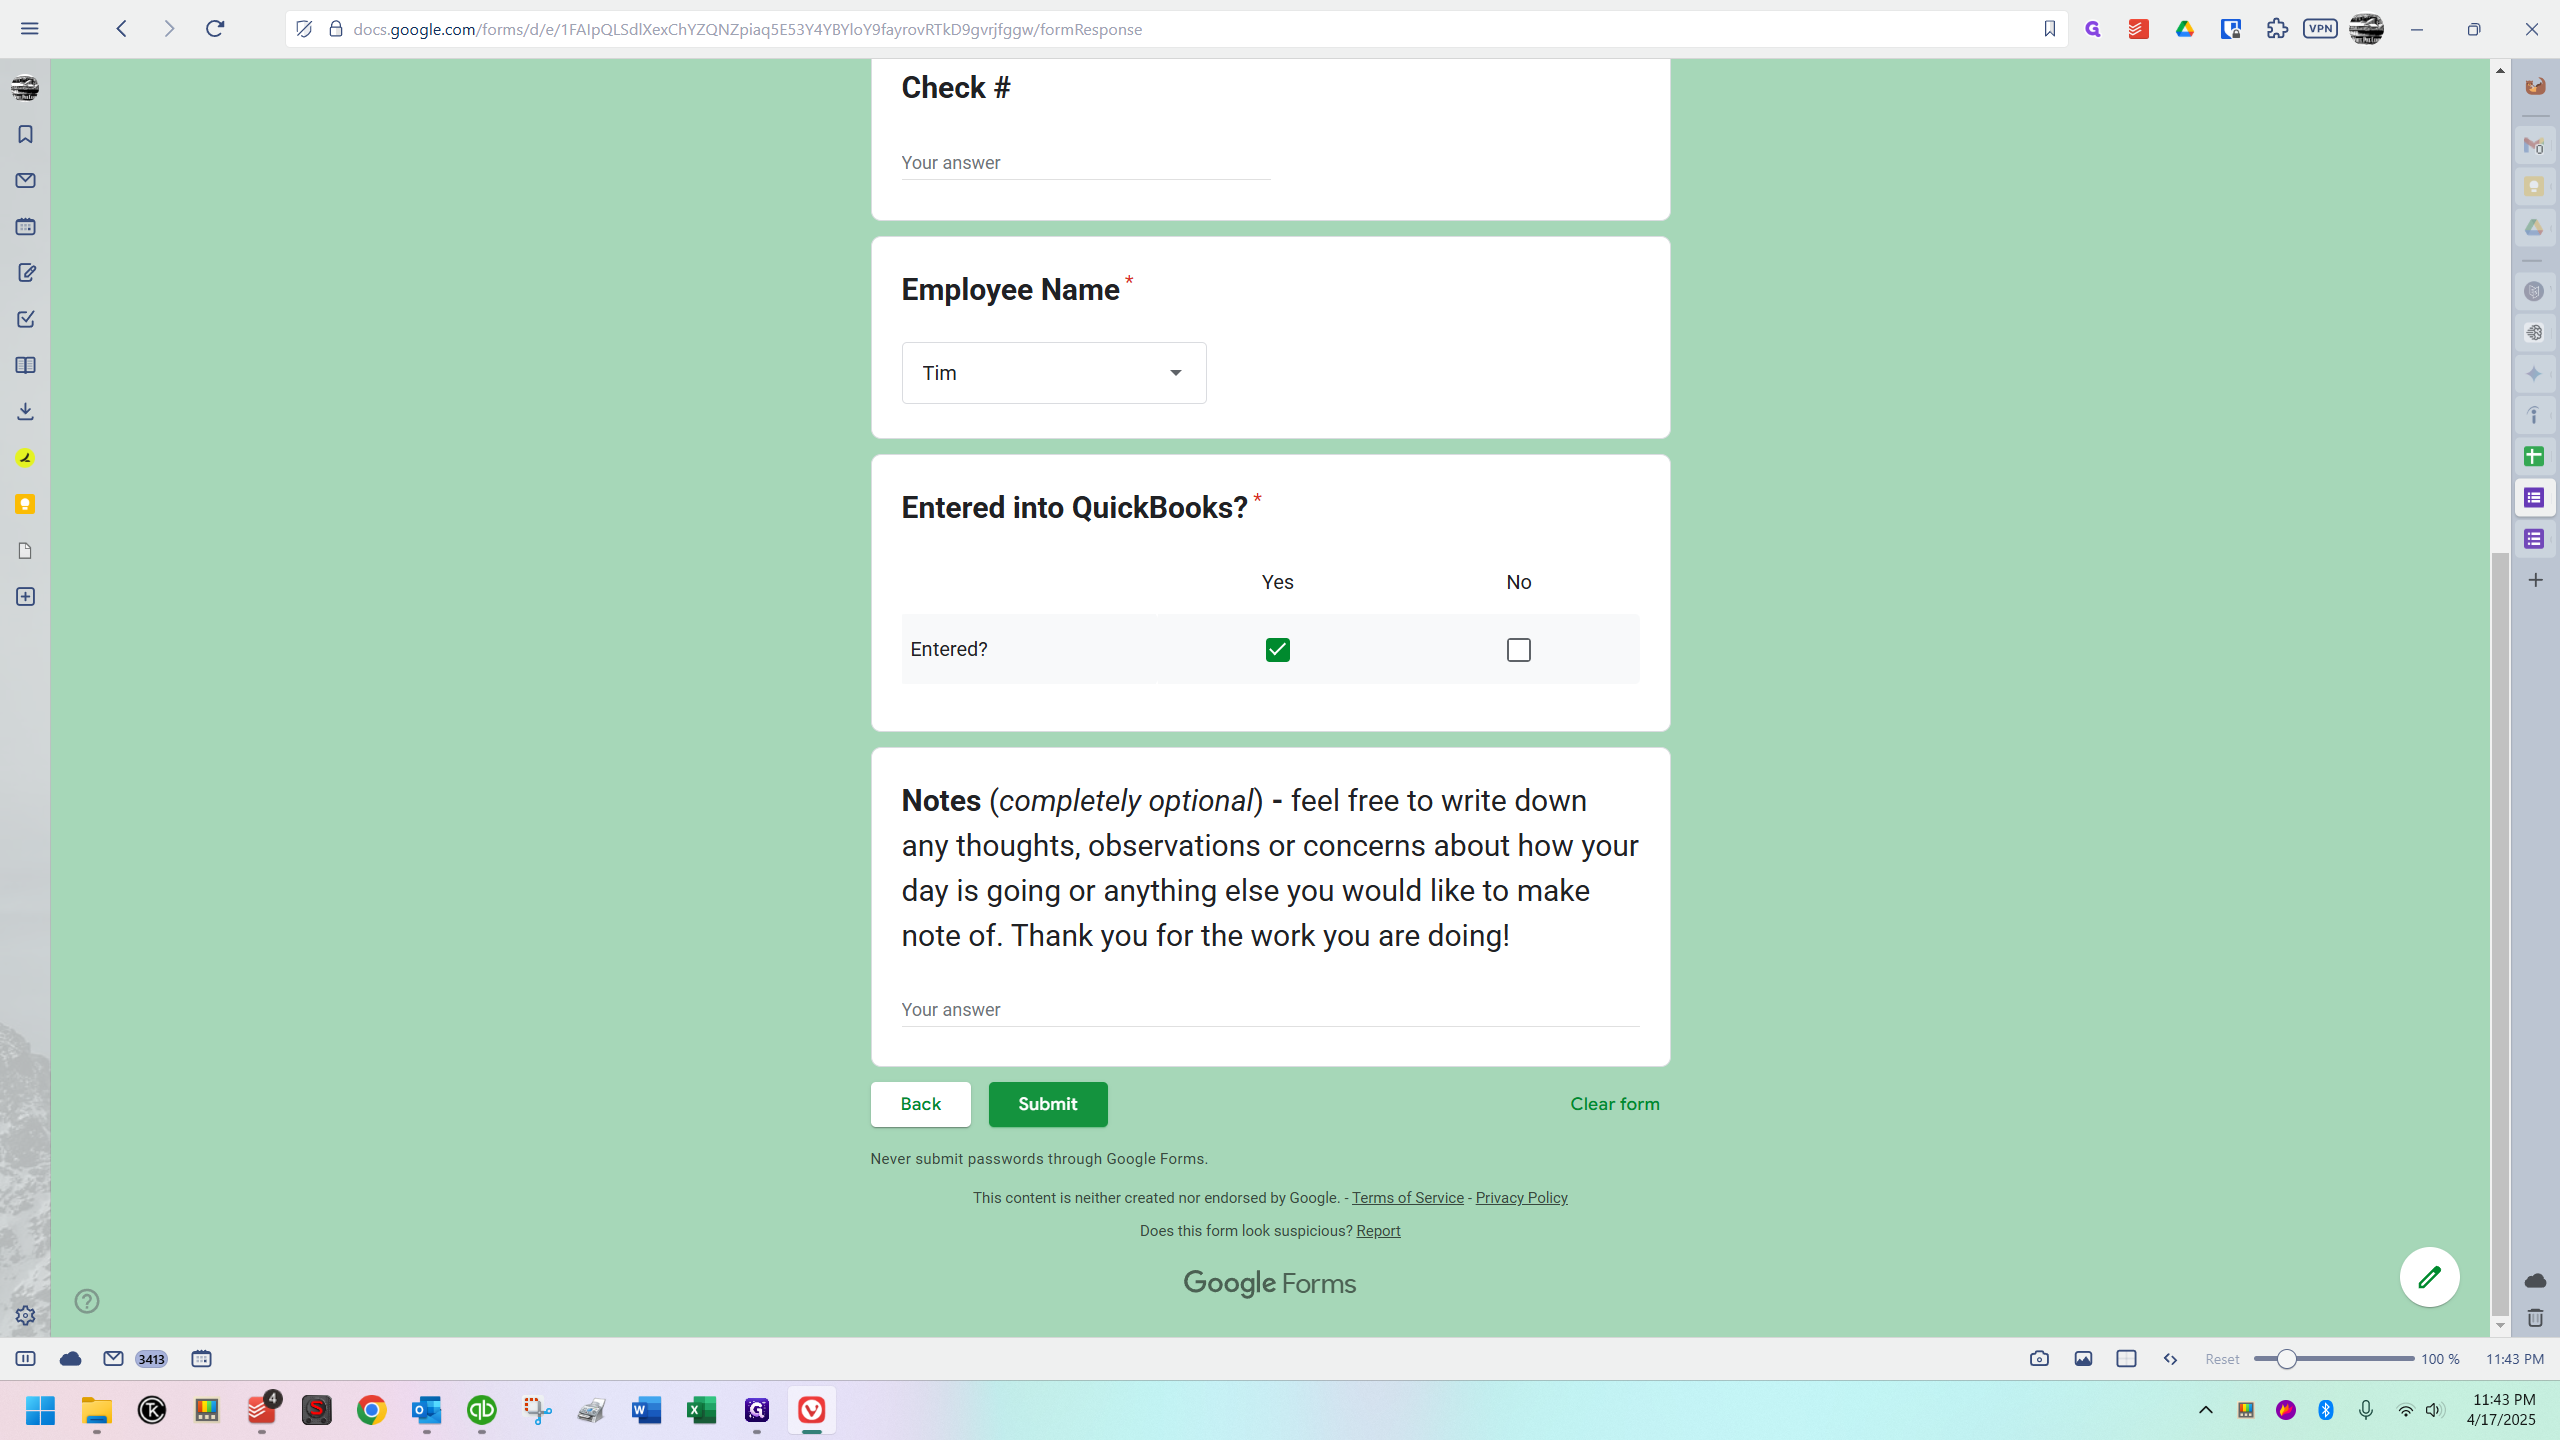
Amount: Now we are at the Payment Details section, the final part. I will enter an amount of $100. However, this should be whatever amount you are recording.

Check #: The check number is irrelevant unless payment is made by check.

Employee Name: The employee name should be yours. I included "Unlisted" in case someone else fills in while I'm unavailable.

I'm doing this right now, so I'll choose my name.

Entered into QuickBooks?: Entering data into QuickBooks is a required field. Please select yes or no. Generally, enter this into QuickBooks first and then choose yes. If you're too busy, log it and select no. Later, we can sort the sheet by this answer to ensure it was eventually entered into QuickBooks. For this example, I'll select yes.

Notes: The final section for notes is optional. Use it to jot down anything about your day, observations about the customer, or any other comments you wish to make, if you wish to make any.


Once finished, you will see a pop-up indicating that your response has been recorded.

You're done! There is a sheet where this dumps the information, and you are welcome to view it, and I'll show you what it looks like at the end of this tutorial. However, please don't make any changes to it. Just use this form to submit each transaction, and you're golden 😎
If you want to do multiple in a row, just click this link, and you're right back in.

Store Purchases
I'm going to quickly go through this and show you a few more things. This time, I'll choose Store Purchase.


Going to choose Store Purchases here.


You can just write "Store" if you prefer.
For the Store Customer account, select "Other" as the customer type and click "Next."


Store Sales Section
Since I selected Store Purchases, it directed me to this section where it asks which store items were purchased.

Store Items Purchased: Select all that apply. Suppose someone purchased a ball cap and a mug.


Item Quantities / Details: Please note there is a section below for item quantities and details.

Here's how to do this: If someone is buying multiple items, make a note of it. Otherwise, leave it blank. We assume a checked item is a quantity of one unless specified otherwise. For example, if a person buys one ball cap and two mugs, simply type "2 mugs." This way, you can easily see they bought two mugs.

The ball cap is checked, but not mentioned, indicating they bought only one. Mugs is checked, and the note specifies 2 of them were purchased. Click Next when finished.

We are back in the Payment Details section.


I will show you another.

Member Annual Capital Contributions / Special Assessments

This time, I'm choosing the Member Special Assessment Fee and selecting a check as the payment method.


We will use Beltz again.


Now, take a look.

It took us directly to the payment details. There's no separate section for special assessment fees or annual capital contributions.


Only one more to show you.
Event Fees / Other


I'm going to choose Event Fee for this.


Reason / Event Details Section
Take a look at this.

If you select "Event Fee" or "Other," the next screen will prompt you to describe in your own words what the payment is for.

If this is related to an event like a wedding, write out which wedding it is. You might include the last name or simply refer to it as the June wedding of 2025, for example. Then, specify whether it's a deposit, balance, or something else. Be descriptive. If it's a donation or another type of transaction, you can describe it in your own words. For example, you might write something like that.


We're back here.

This time, I will choose "Unlisted" for the employee name.


If someone random is filling in and is not listed, they should select "Unlisted" and type their name in the notes.


The response has been recorded, and we are finished.

The Sheet Where These Answers Go After Submission
Let me quickly show you the sheet. BTW, just so you know, if anything ever goes wrong, I'll be notified. If someone submits something and it doesn't work, doesn't go to the sheet, I'll know immediately.
You can check out the sheet anytime you like, but please be careful to not modify it directly unless you know exactly what you're doing (like fixing a submission error). Unlike daily financial sheets, this data can be extremely useful beyond just identifying errors or discrepancies. We can manipulate this data in the future and explore it further.
None of this is real at the time I'm recording, by the way. It's just a collection of things I've experimented with. Every time a submission is made, a new line is added to the bottom of the table, and this process continues indefinitely. At the very bottom, we have different tabs or sheets.

Currently, there's only one, but I'll likely create a new one each quarter. This way, they will be organized by quarter, preventing the sheet from becoming super large.

The first column is a timestamp, recording the date and time whenever it's submitted, followed by the transaction date you selected. You can review this information. Looking at the bottom five entries, you can glance through the data to see how it's working.


For example, on the top ones, the cabins are separated by a comma when we checked more than one. Then you have the check-in date and checkout date.

Here is the store item. It says, "Ballcap, mug," and right beside it, "2 mugs." To me, this clearly indicates one ball cap and two mugs. I think it works well enough 👍 (and the example seen above it, that one means 3 mugs, 1 ballcap, 1 tshirt)

Here we can see that this was the June 2025 wedding balance.

Over here are the dollar amounts, check numbers, and the employee names of those who did these.

You need to scroll over.
This is a very wide table. By the way, Steve, if you're reading this, it's useful, but it's cumbersome due to its width. In the future, when I have extra time, I'll script a few things to automatically extract information from this table and create at least two other tables. One will contain the same information but only the reservation details, and the other will include everything else. This way, it won't be as wide, and you can view everything more easily. Additionally, we can always sort the information.
For example, in this column, you can see a series of yes and no answers.

If I sort column A to Z, it organizes the data by "no" and "yes" answers.


Now, we can see that the top five have said no.
We can scroll back to the left. For the top few entries, we can look up customer names in QuickBooks to check if the payments were recorded. If not, we can correct them and make the necessary changes.

There are many things we could do in the future. This is just a starting point and will likely change. Even by the time someone first looks at it, the table might look a bit different. However, the layout is ready, and any changes to the layout or way it works will be a ways off, as I need to focus on other tasks. I'm pleased we've reached a point where we can use this instead of the daily financial sheets we used before, though, and begin collecting transaction data in this way 👍
Those were great when we had an issue and needed to investigate, but this is easier to use. If we need to dig deeper, it's faster and can be done remotely as well (hi Carol, you're welcome 😎). Unlike daily financial sheets, everything is in one place and easily accessible. We can sort the data any way we want and gather a lot of information.
Let me know if you have questions!
